Chestnut is one of the most famous and popular treasures of autumn for children.
She is a popular craftsman and inspires in many ways to play and craft.
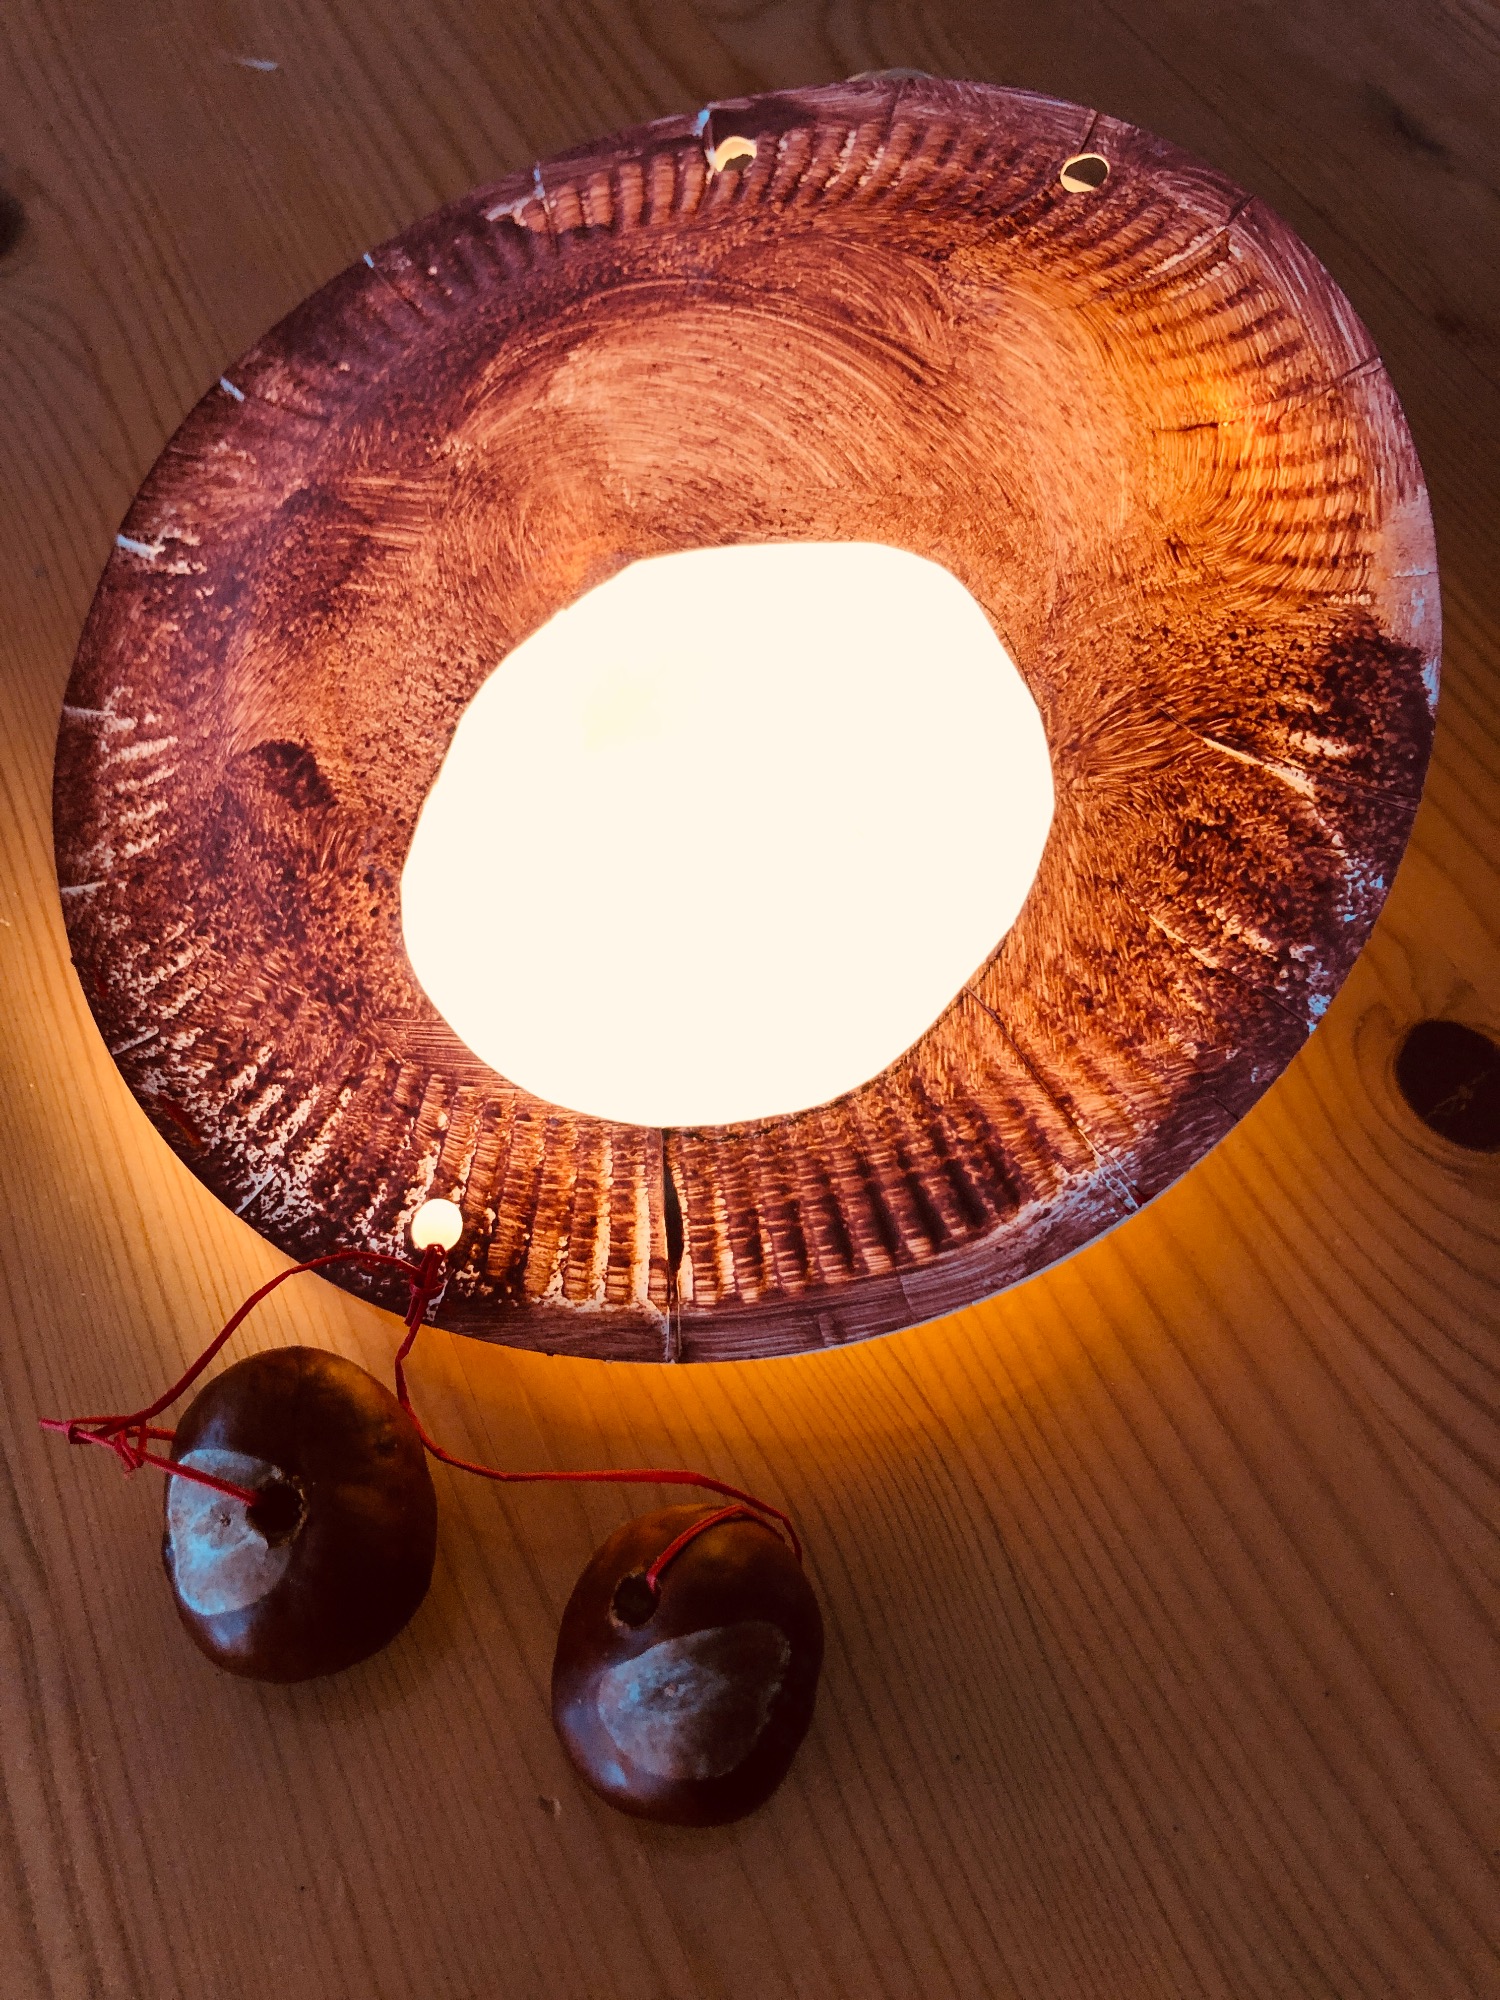
A very simple lantern, even for the smallest ones, is this chestnut lantern made of two cardboard plates.
Media Education for Kindergarten and Hort

Relief in everyday life, targeted promotion of individual children, independent learning and - without any pre-knowledge already usable by the youngest!
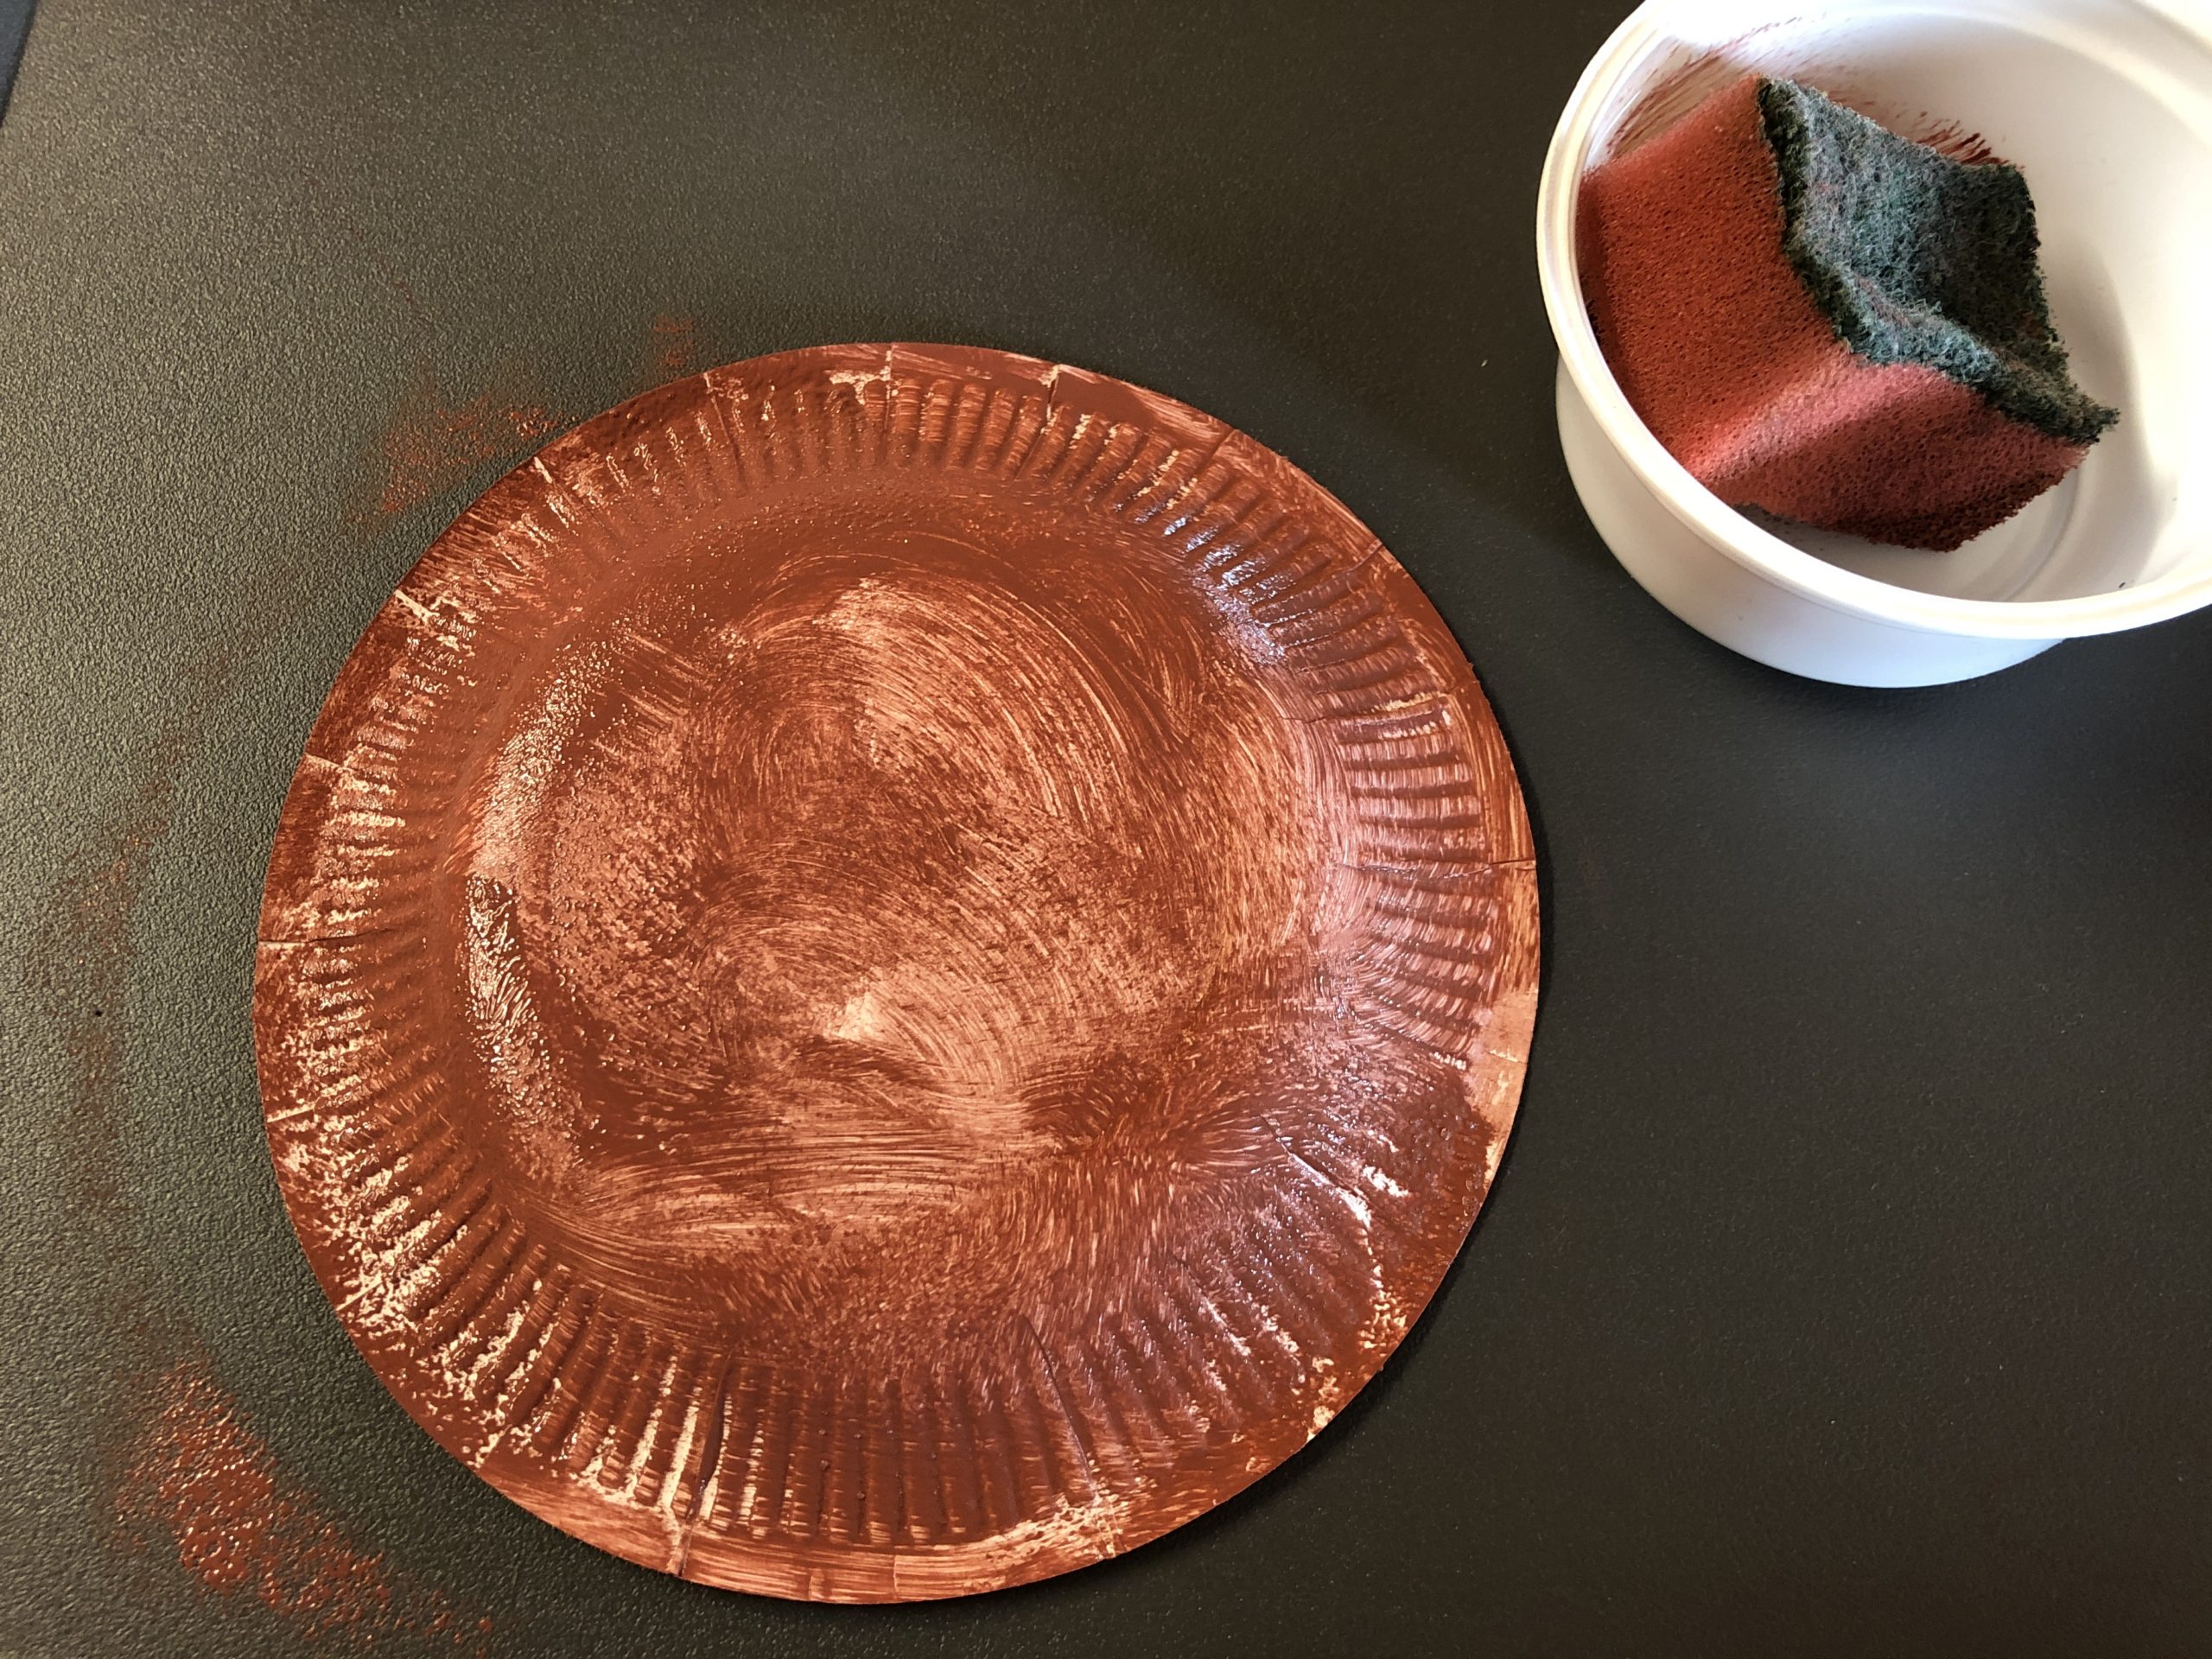
Put your cardboard plate on a base. Prepare paint and sponges.
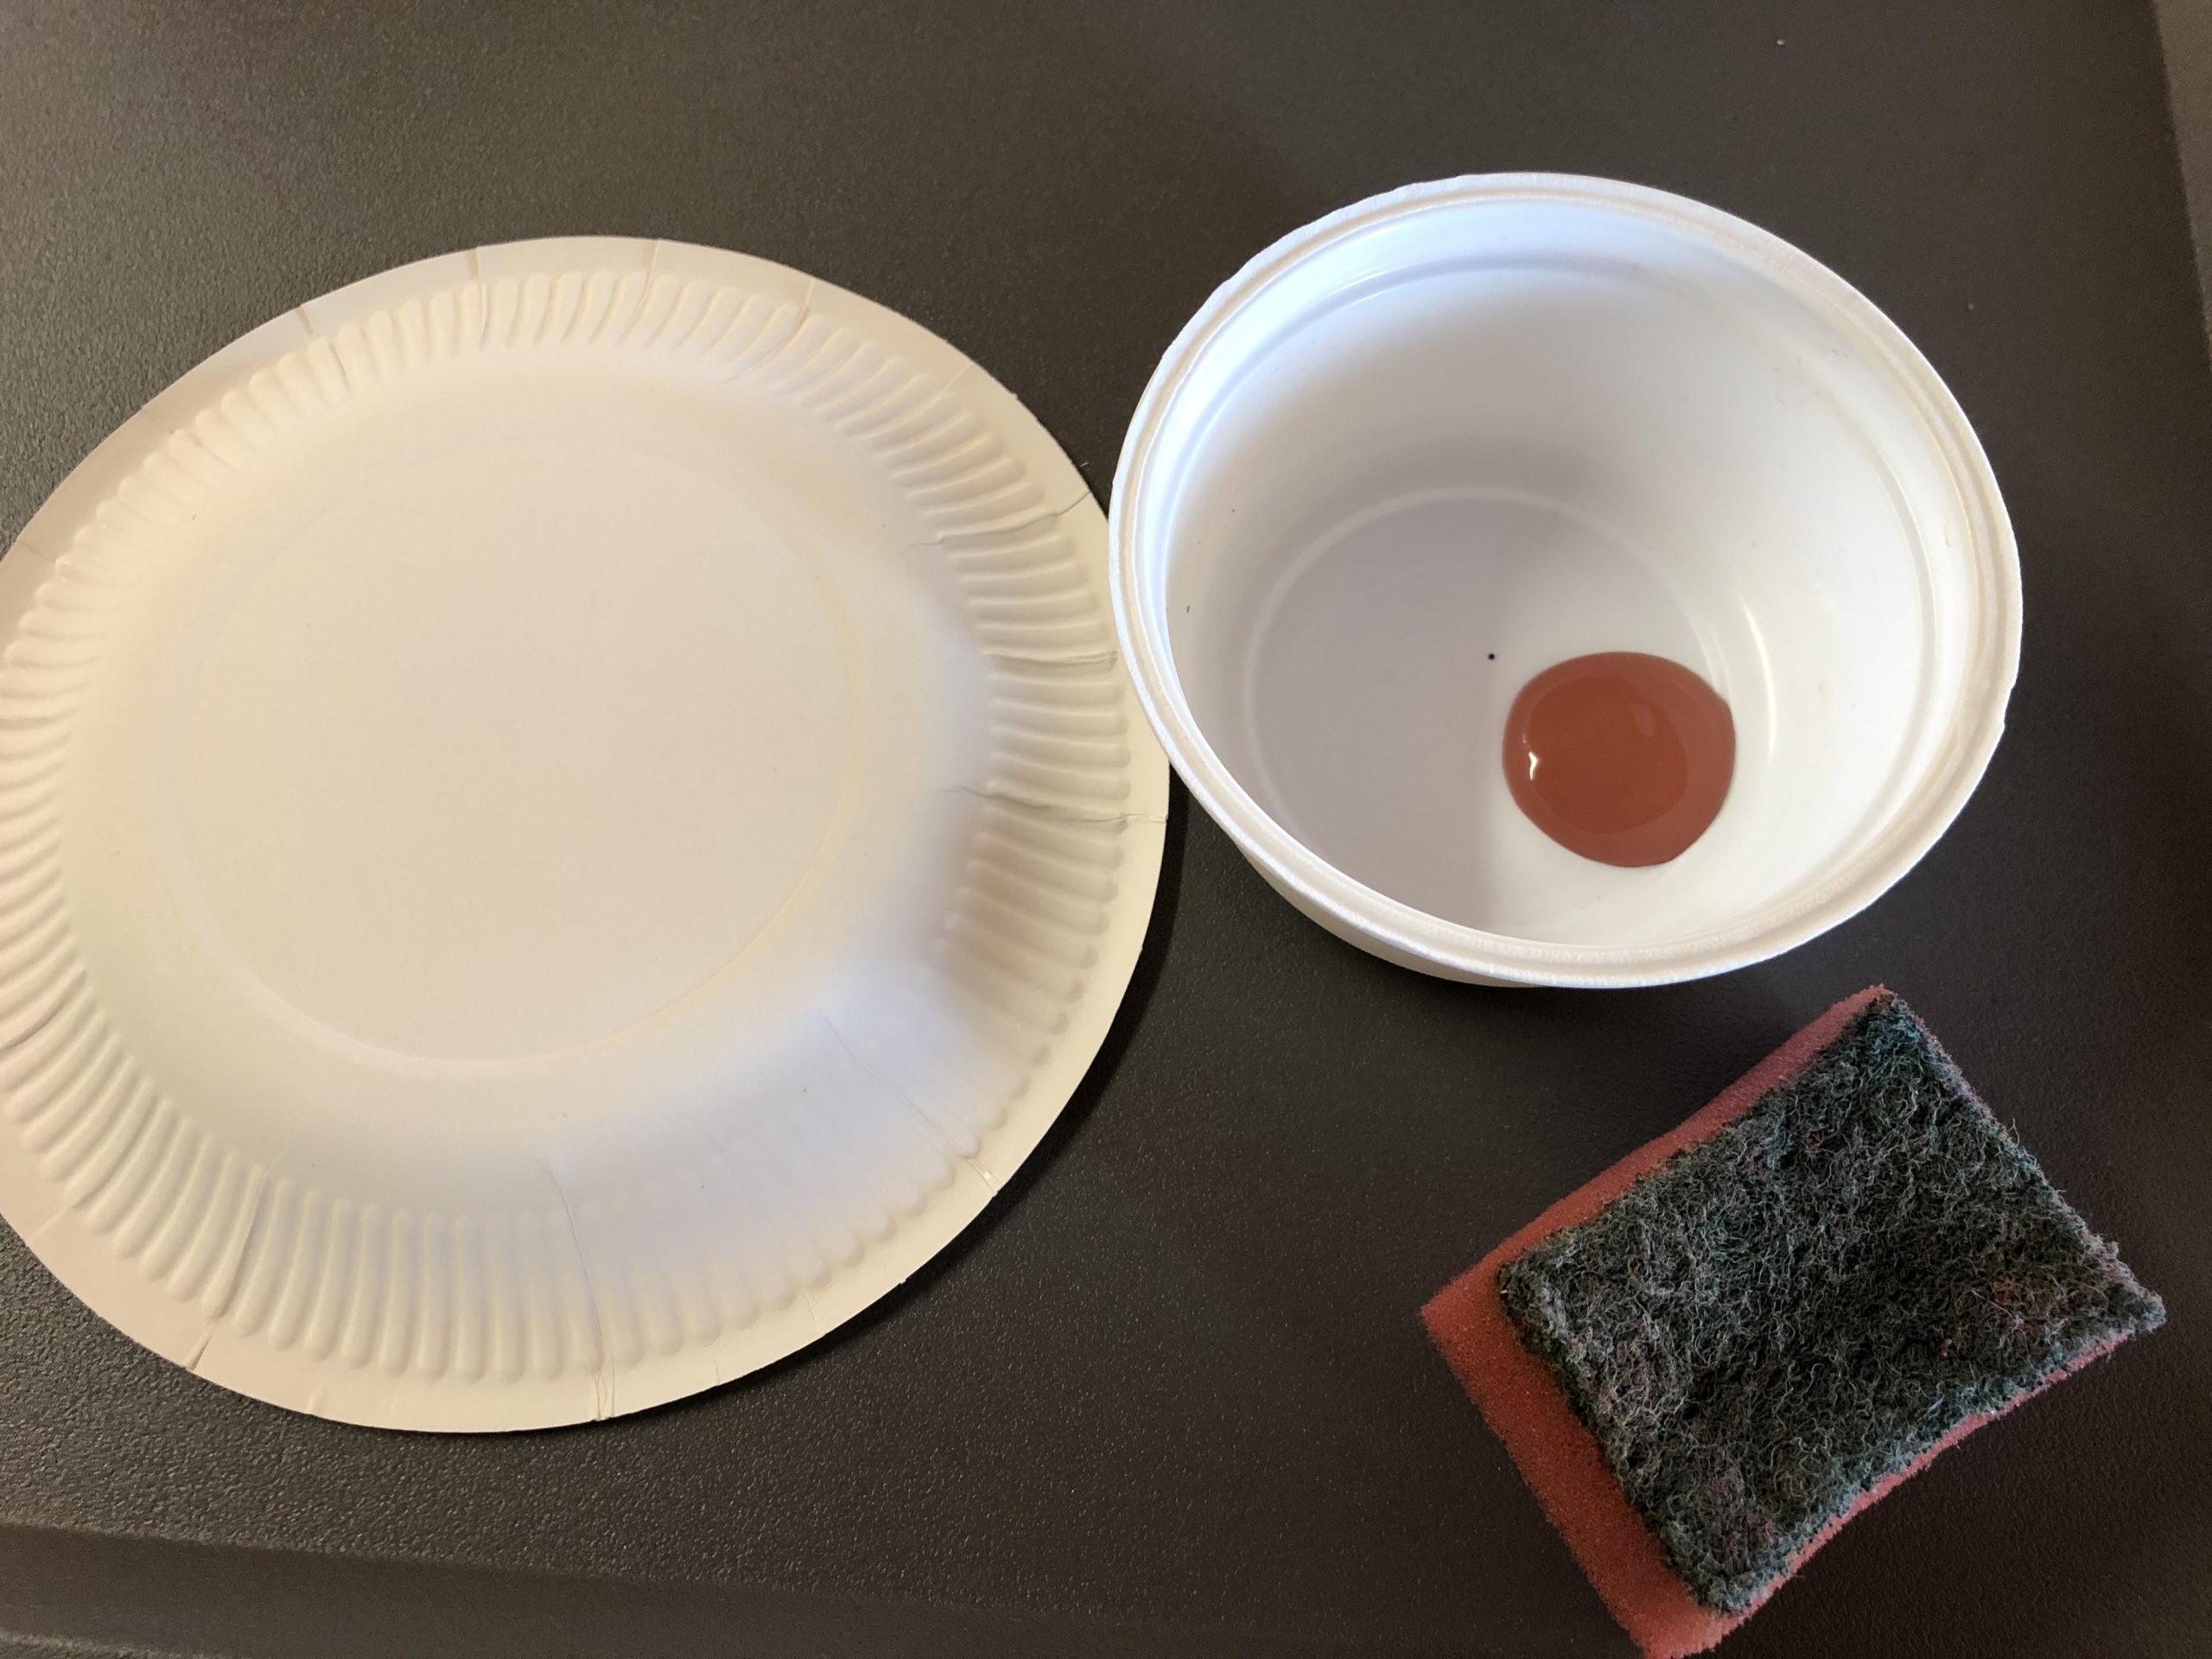
Covers the complete underside (curved side) of the plate with brown color.
Repeat the procedure on the second plate.
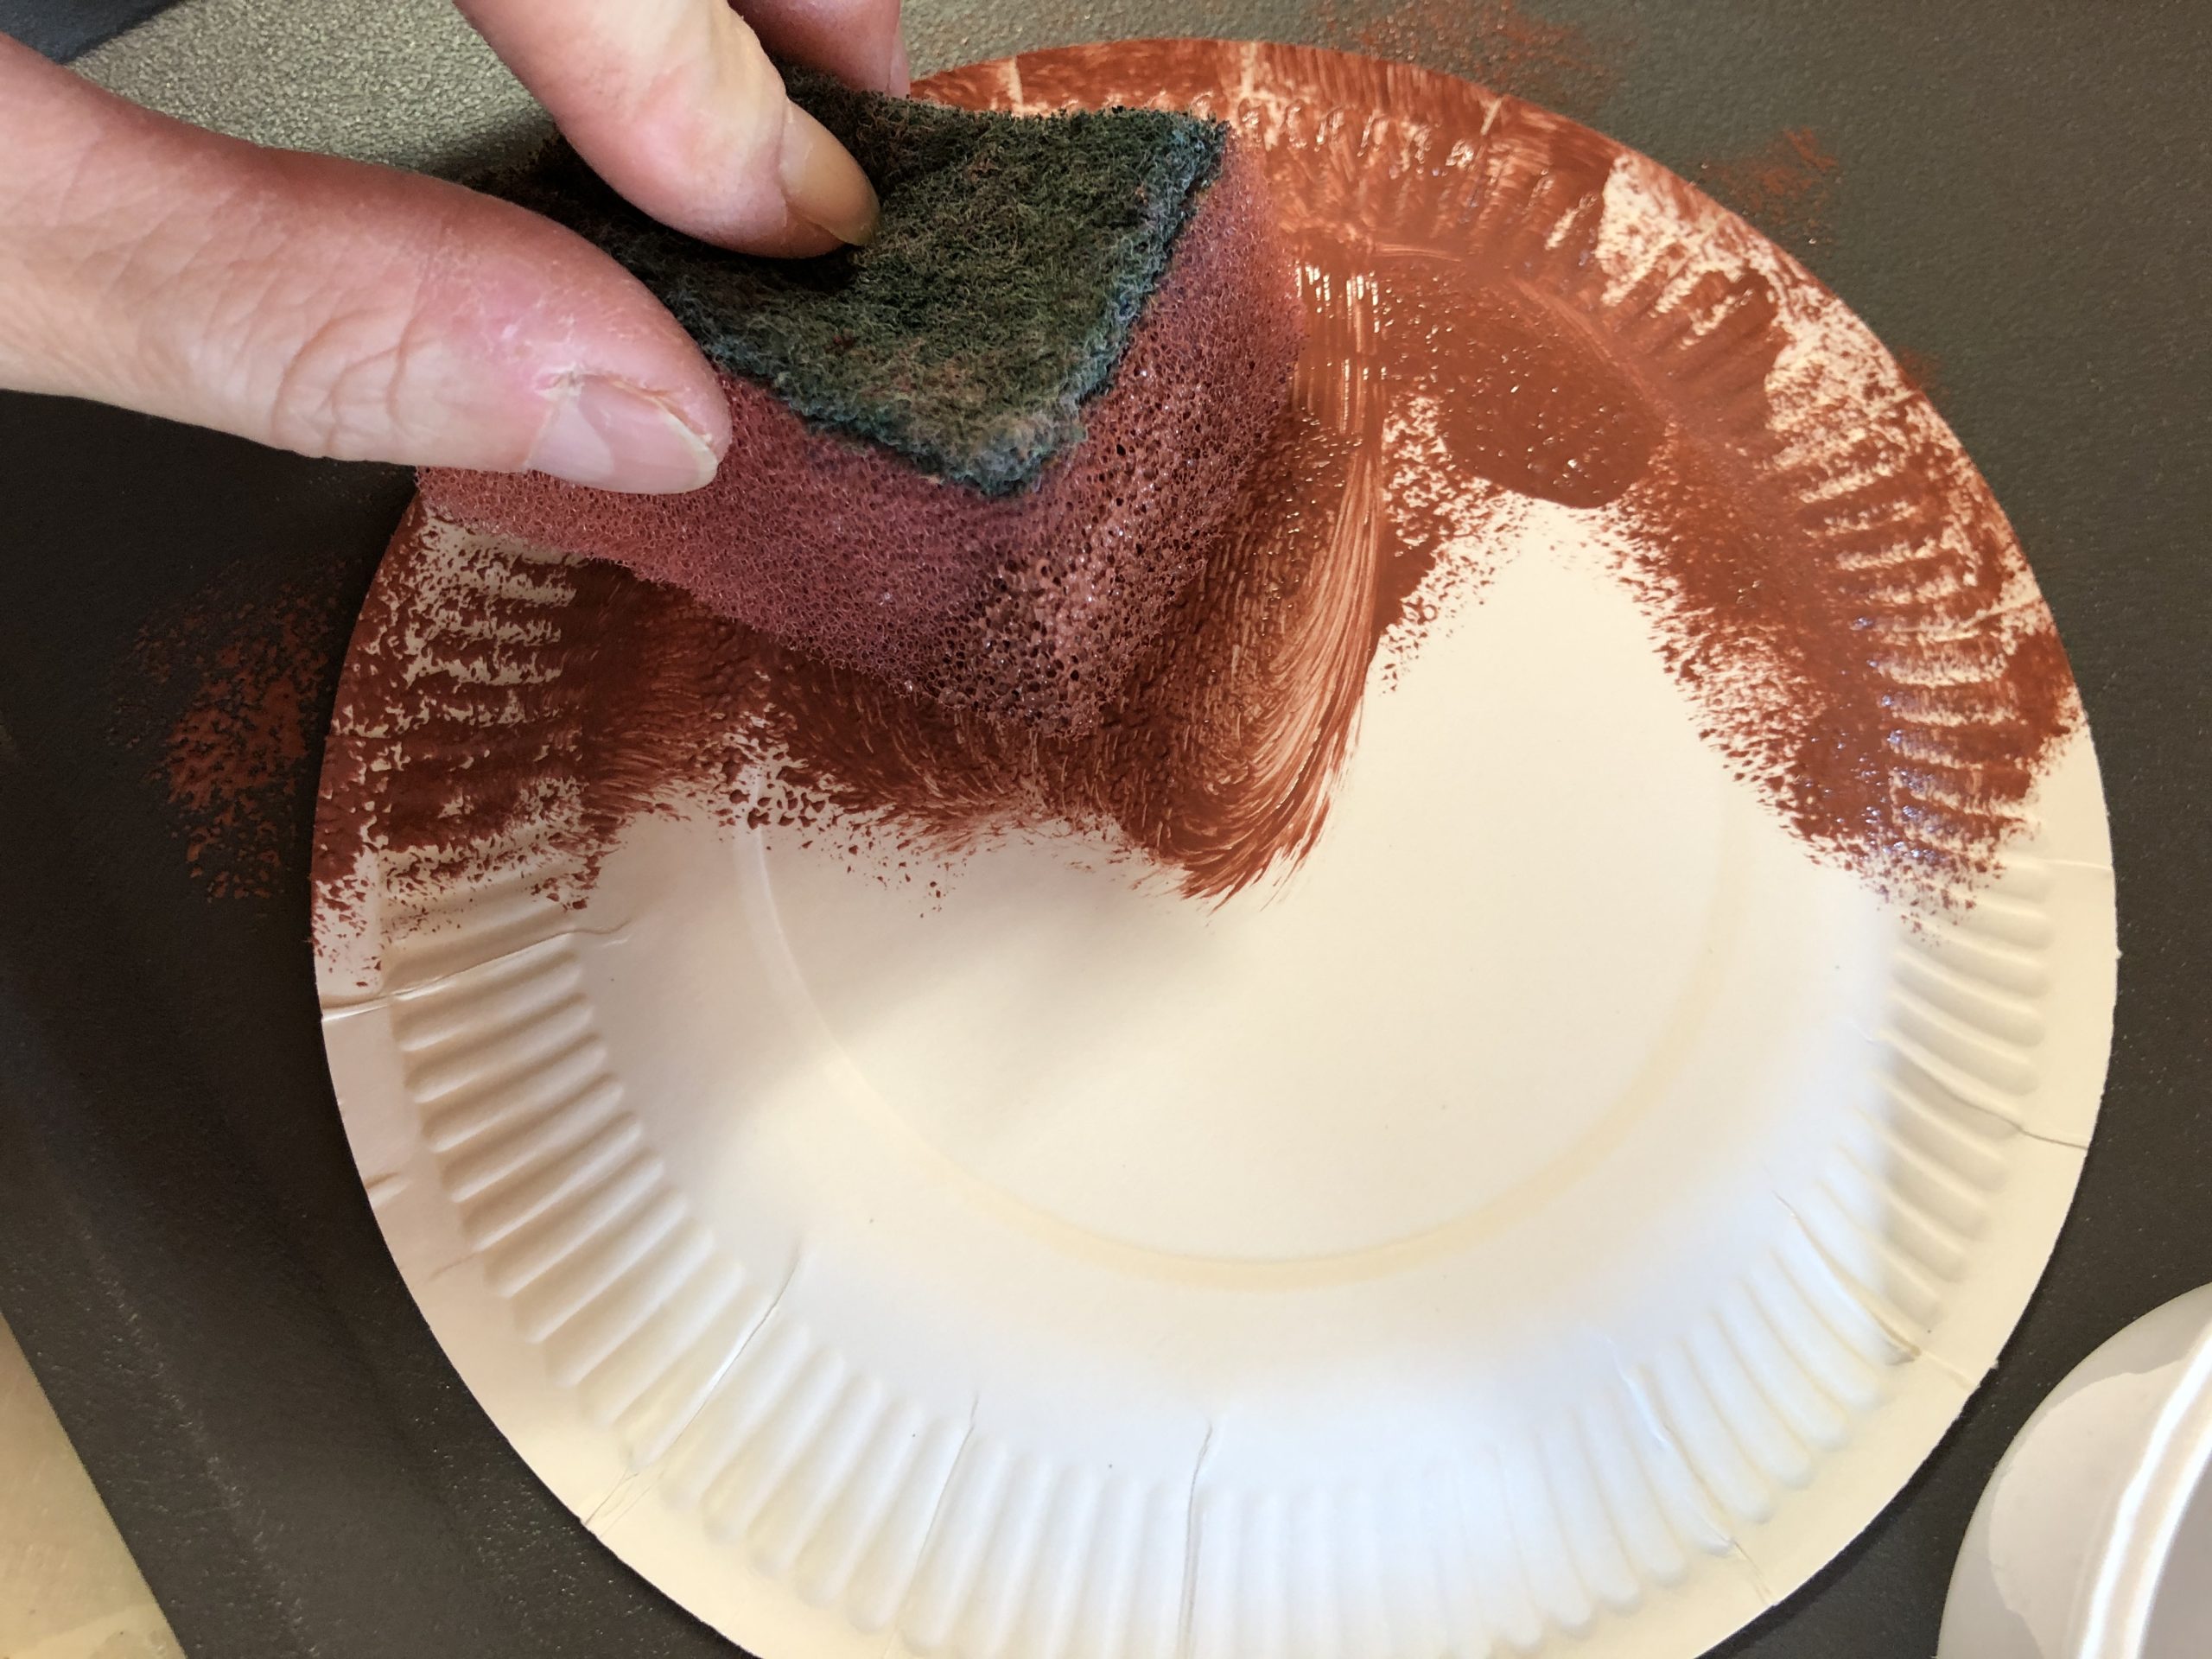
You need two brown plates, which you put to dry after painting.
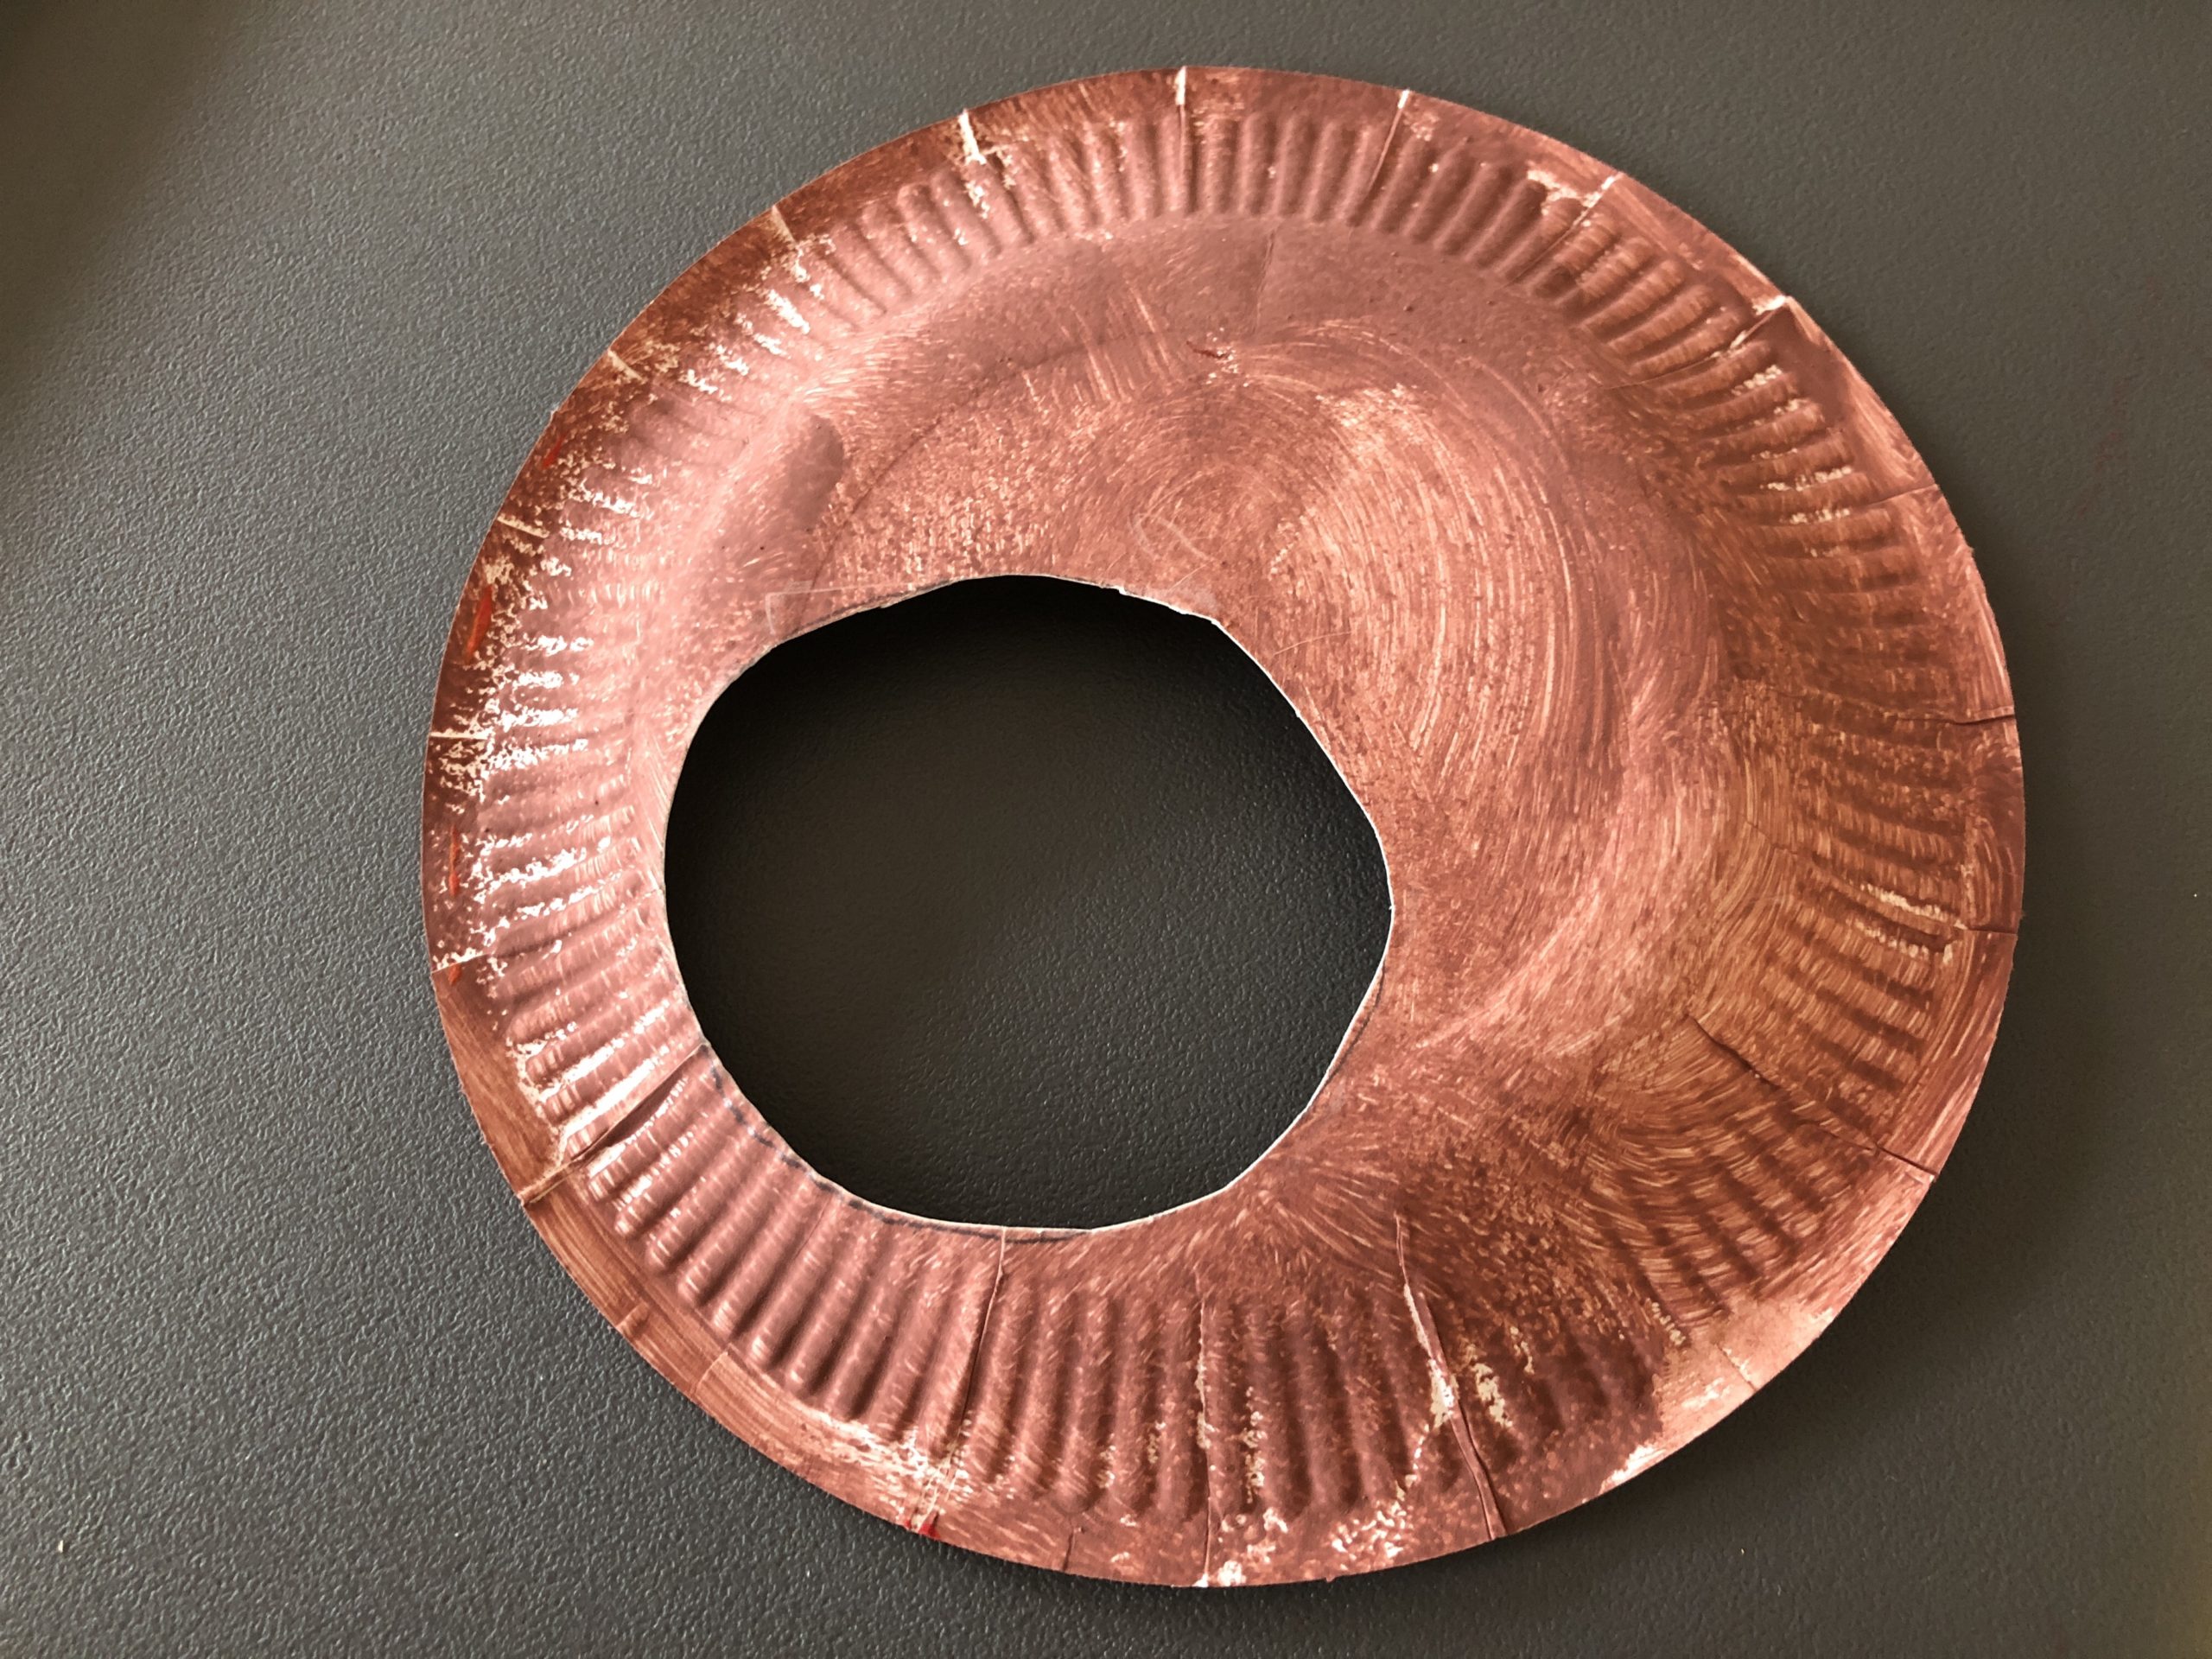
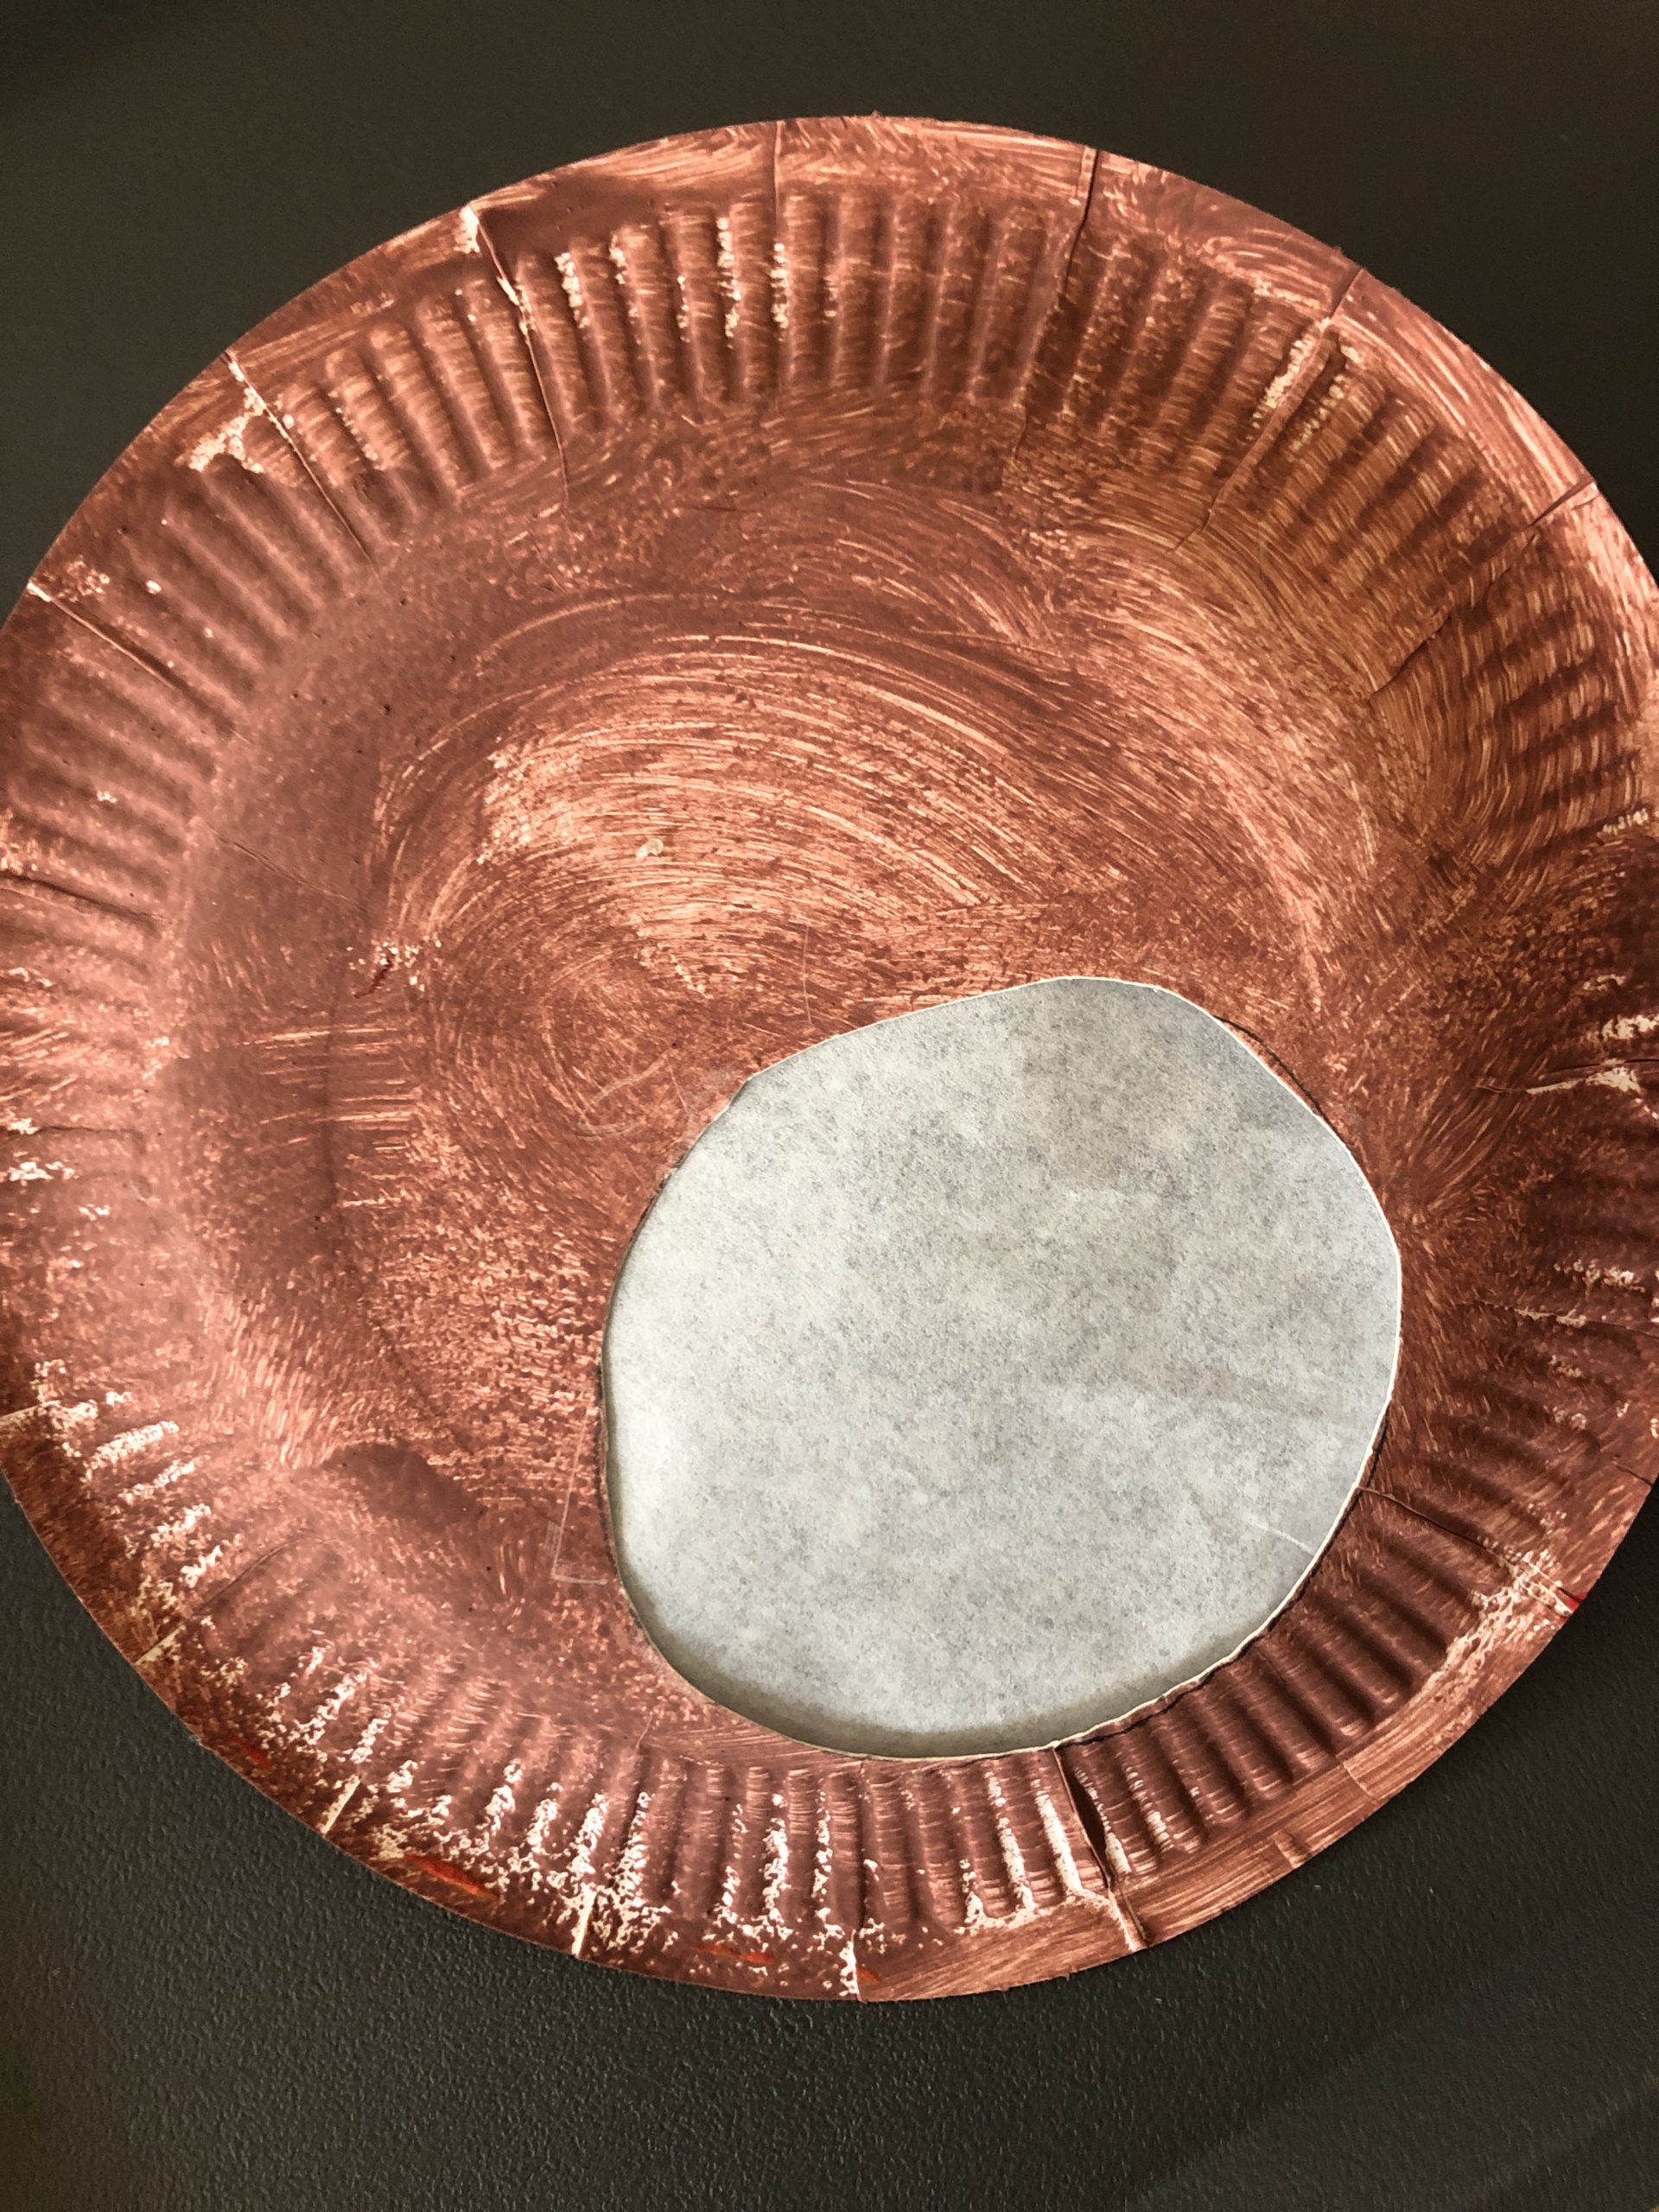
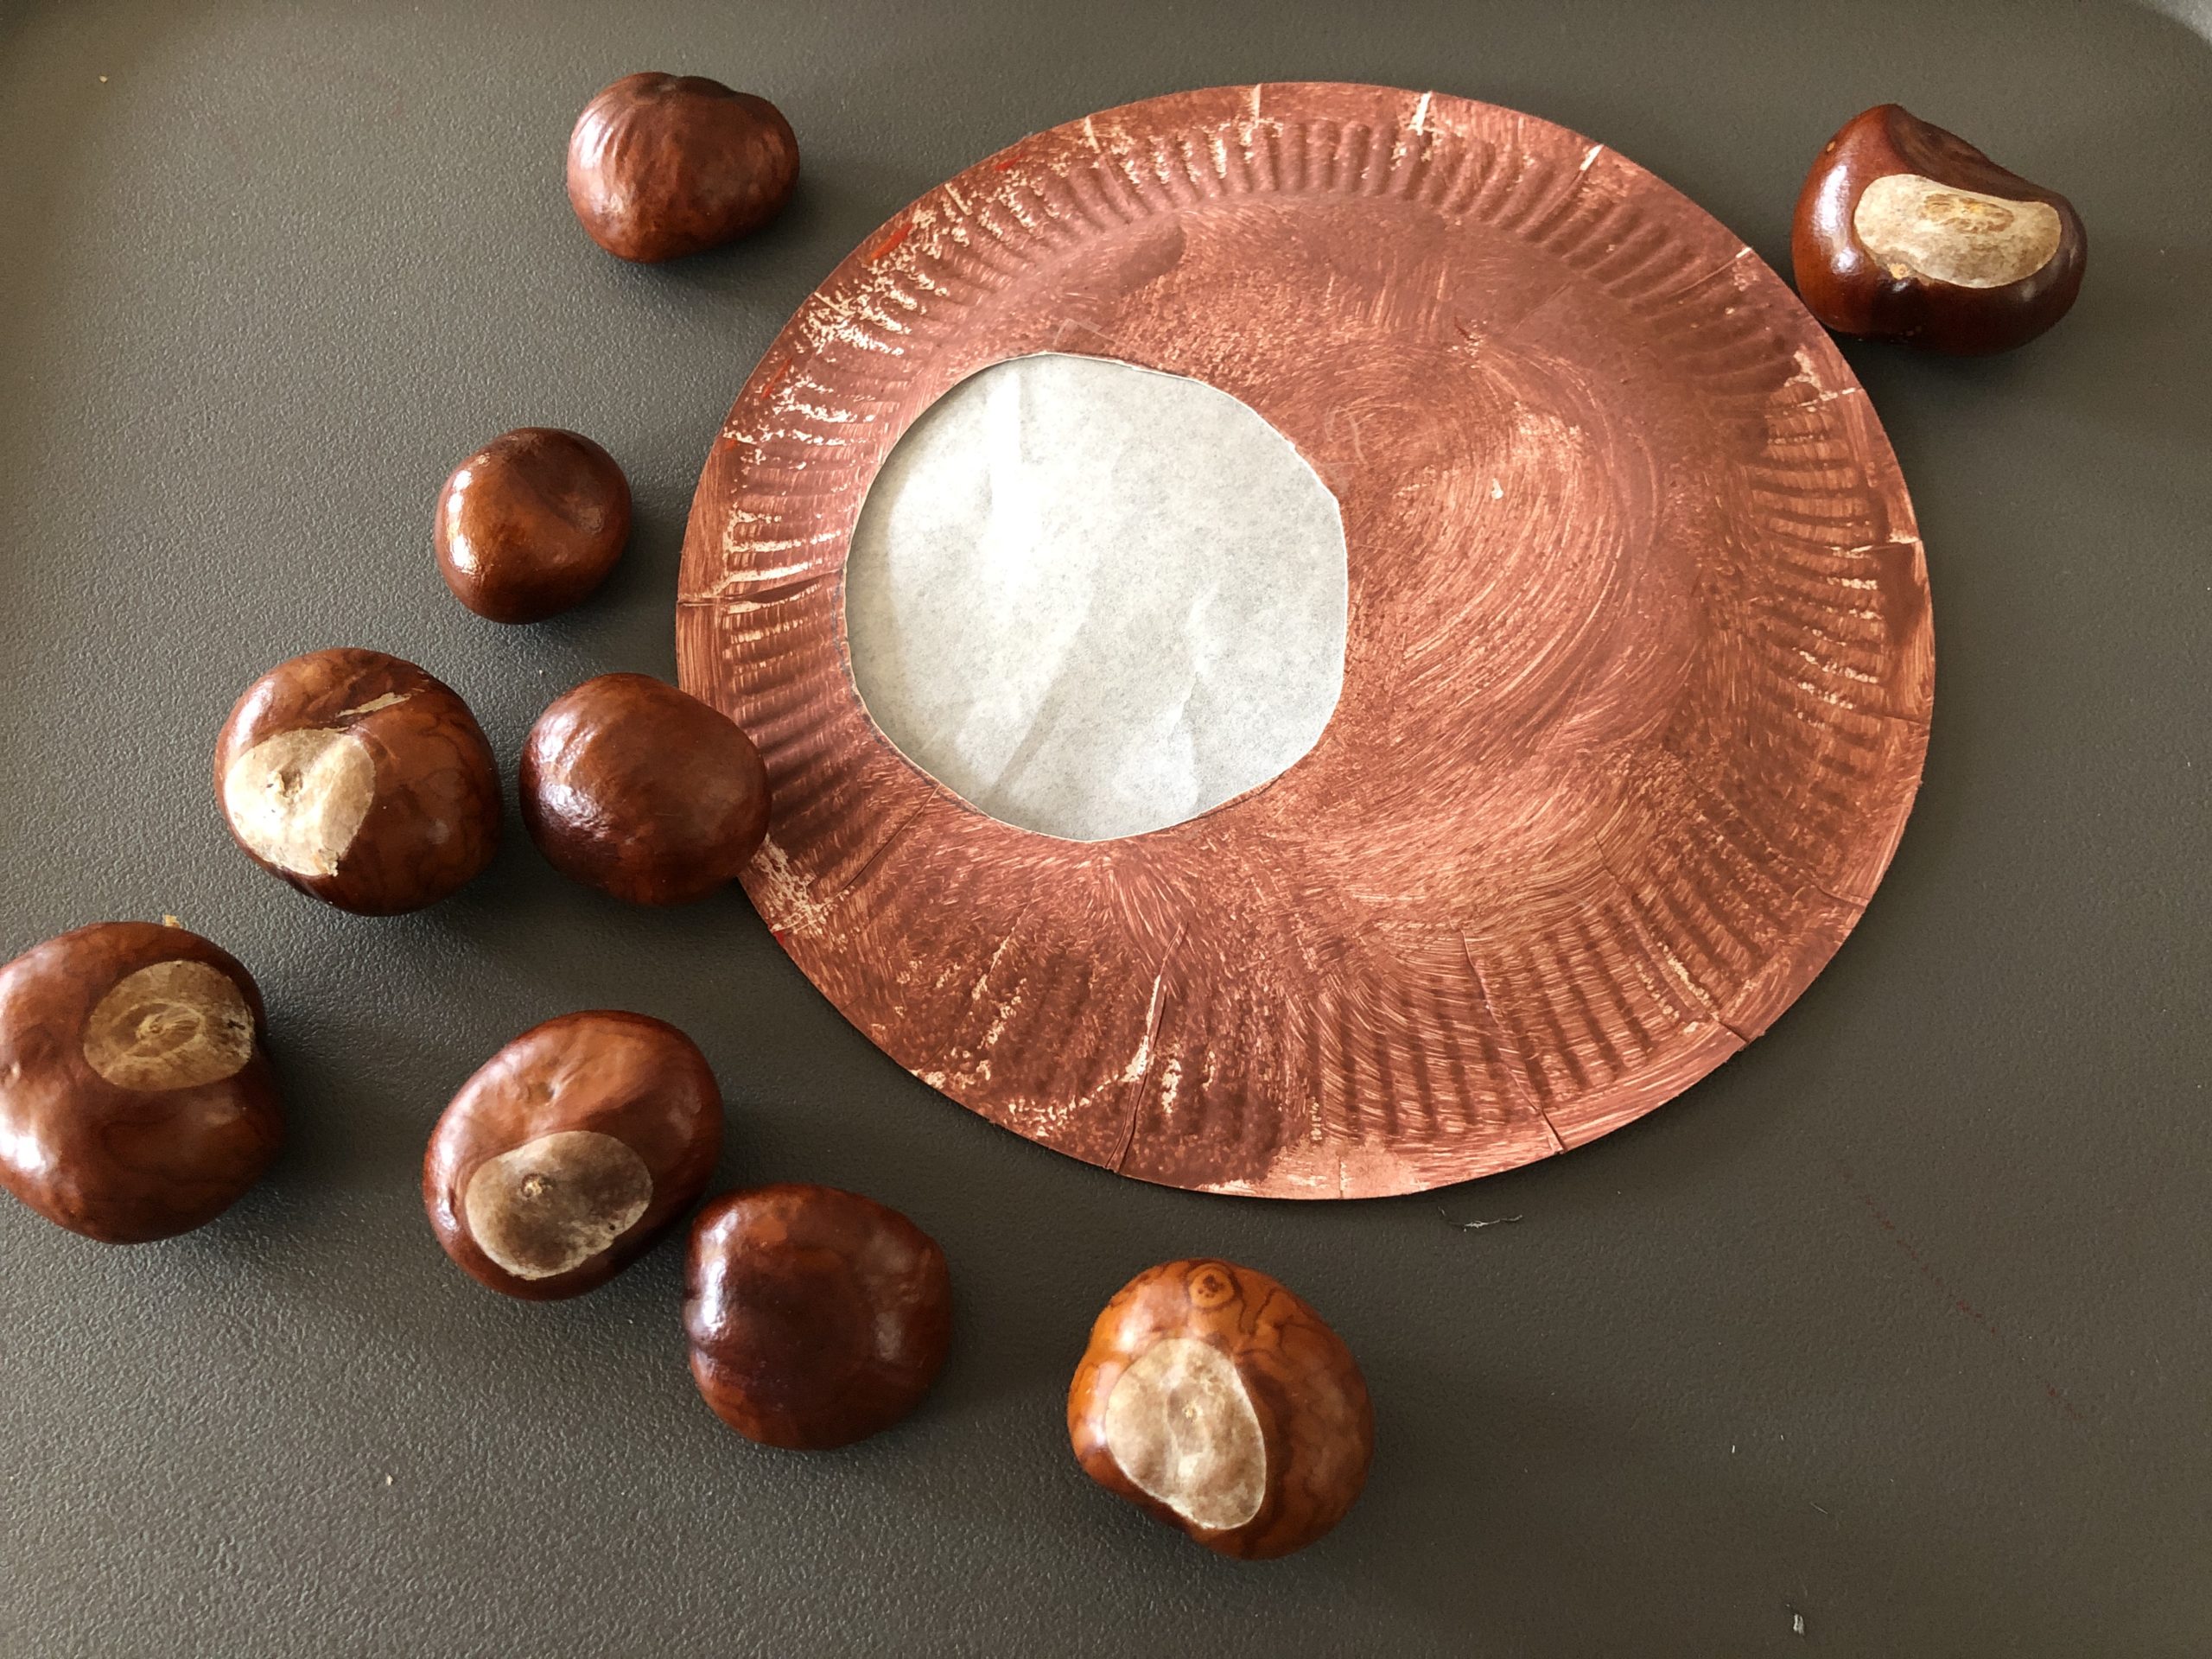
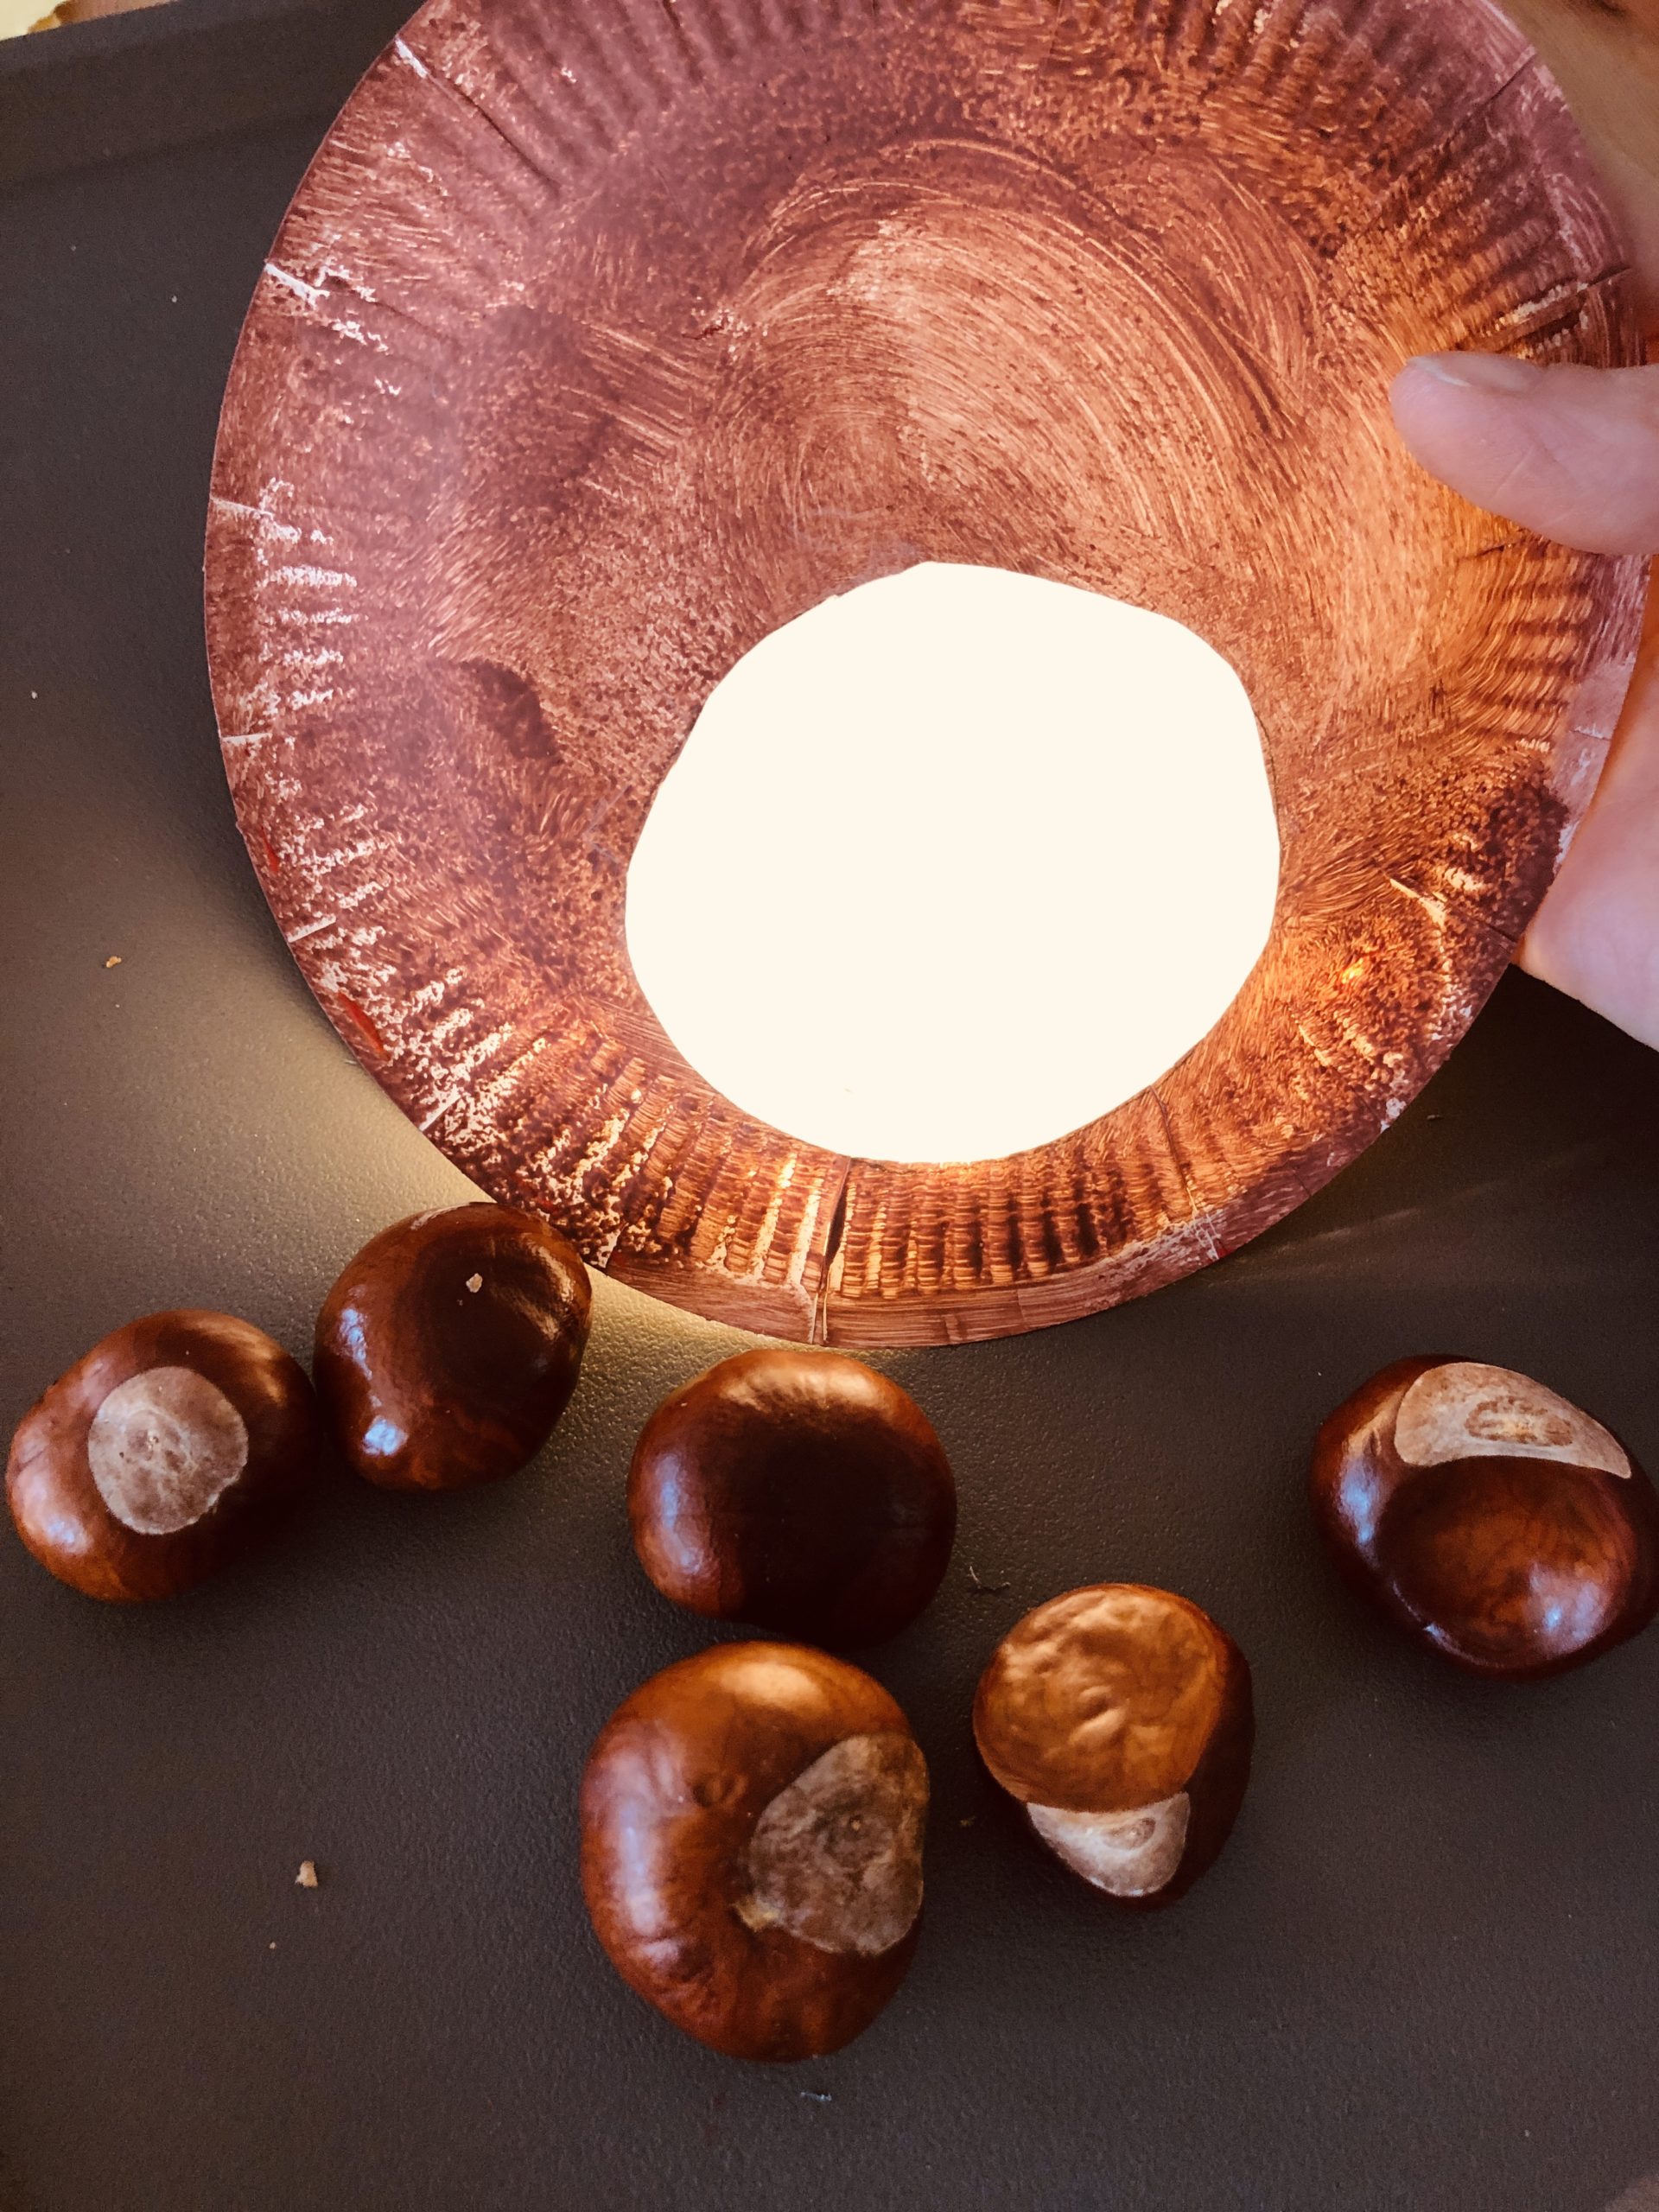
Now you paint a small circle on the dried plate on the side.

You cut this one out with scissors.
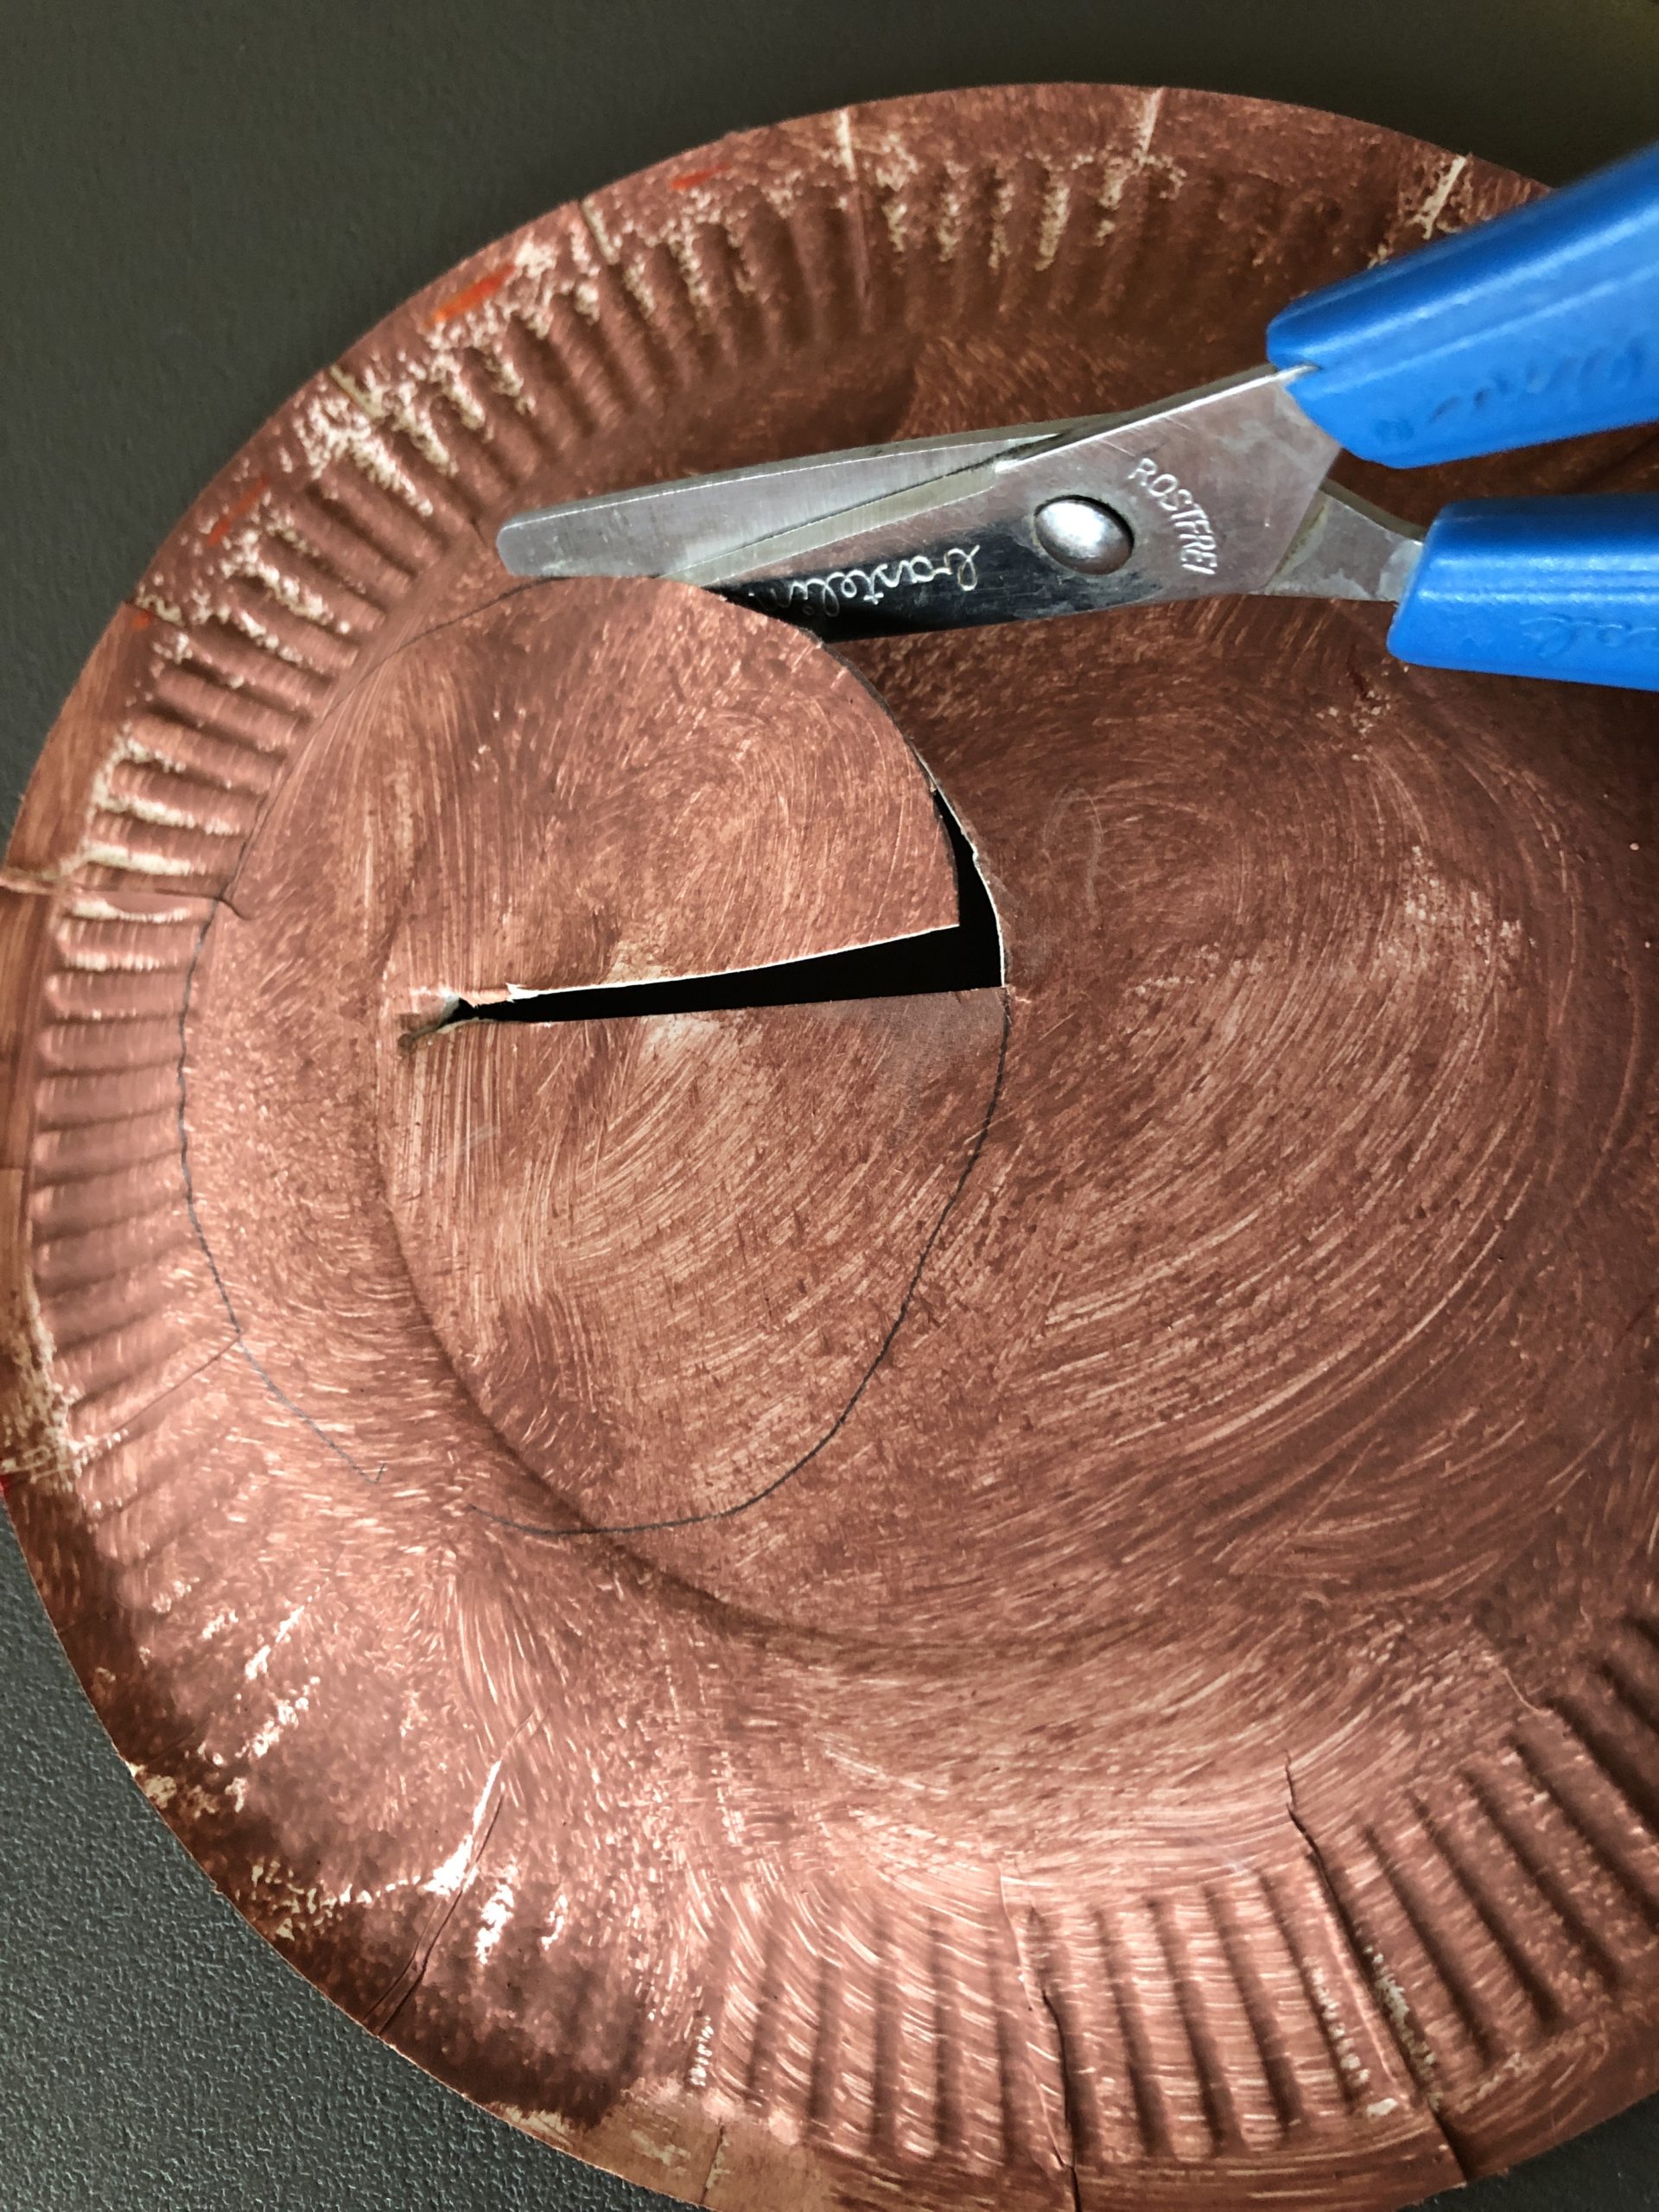
On both plates a circle is cut out.
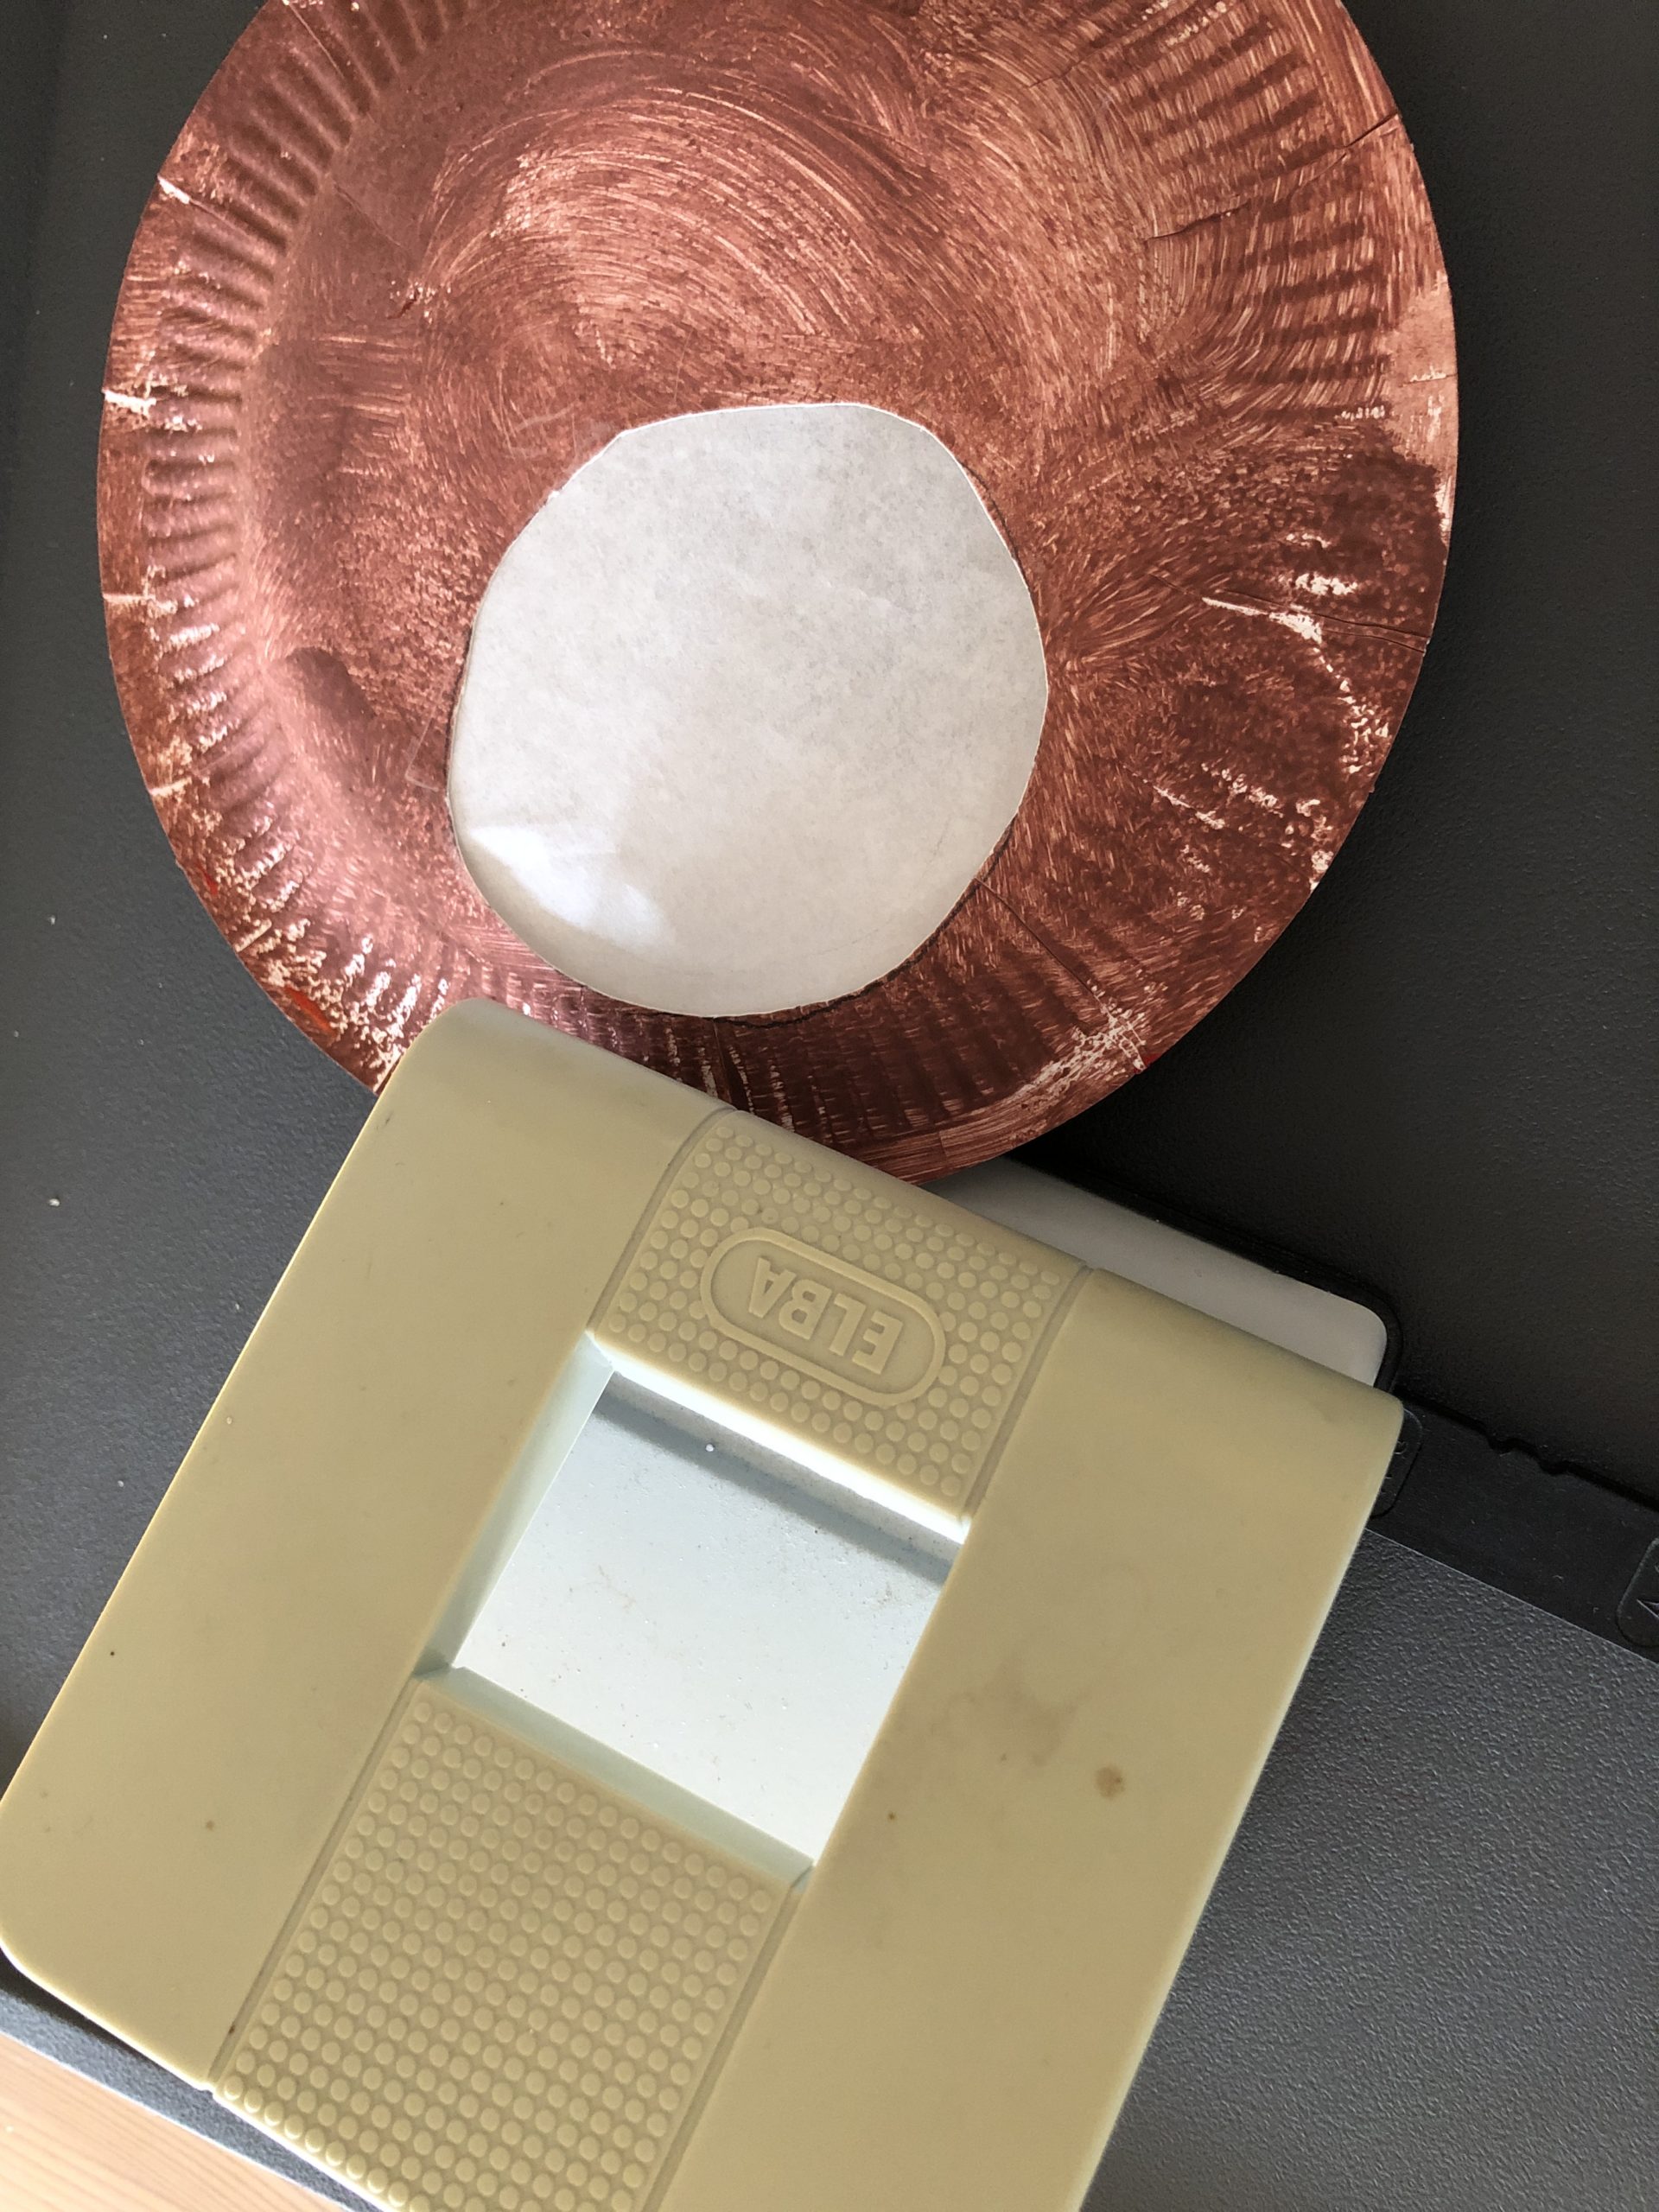
Transfer the size of the cut-out circle to a butterbread paper. Then add one centimetre around and cut the butterbread paper.
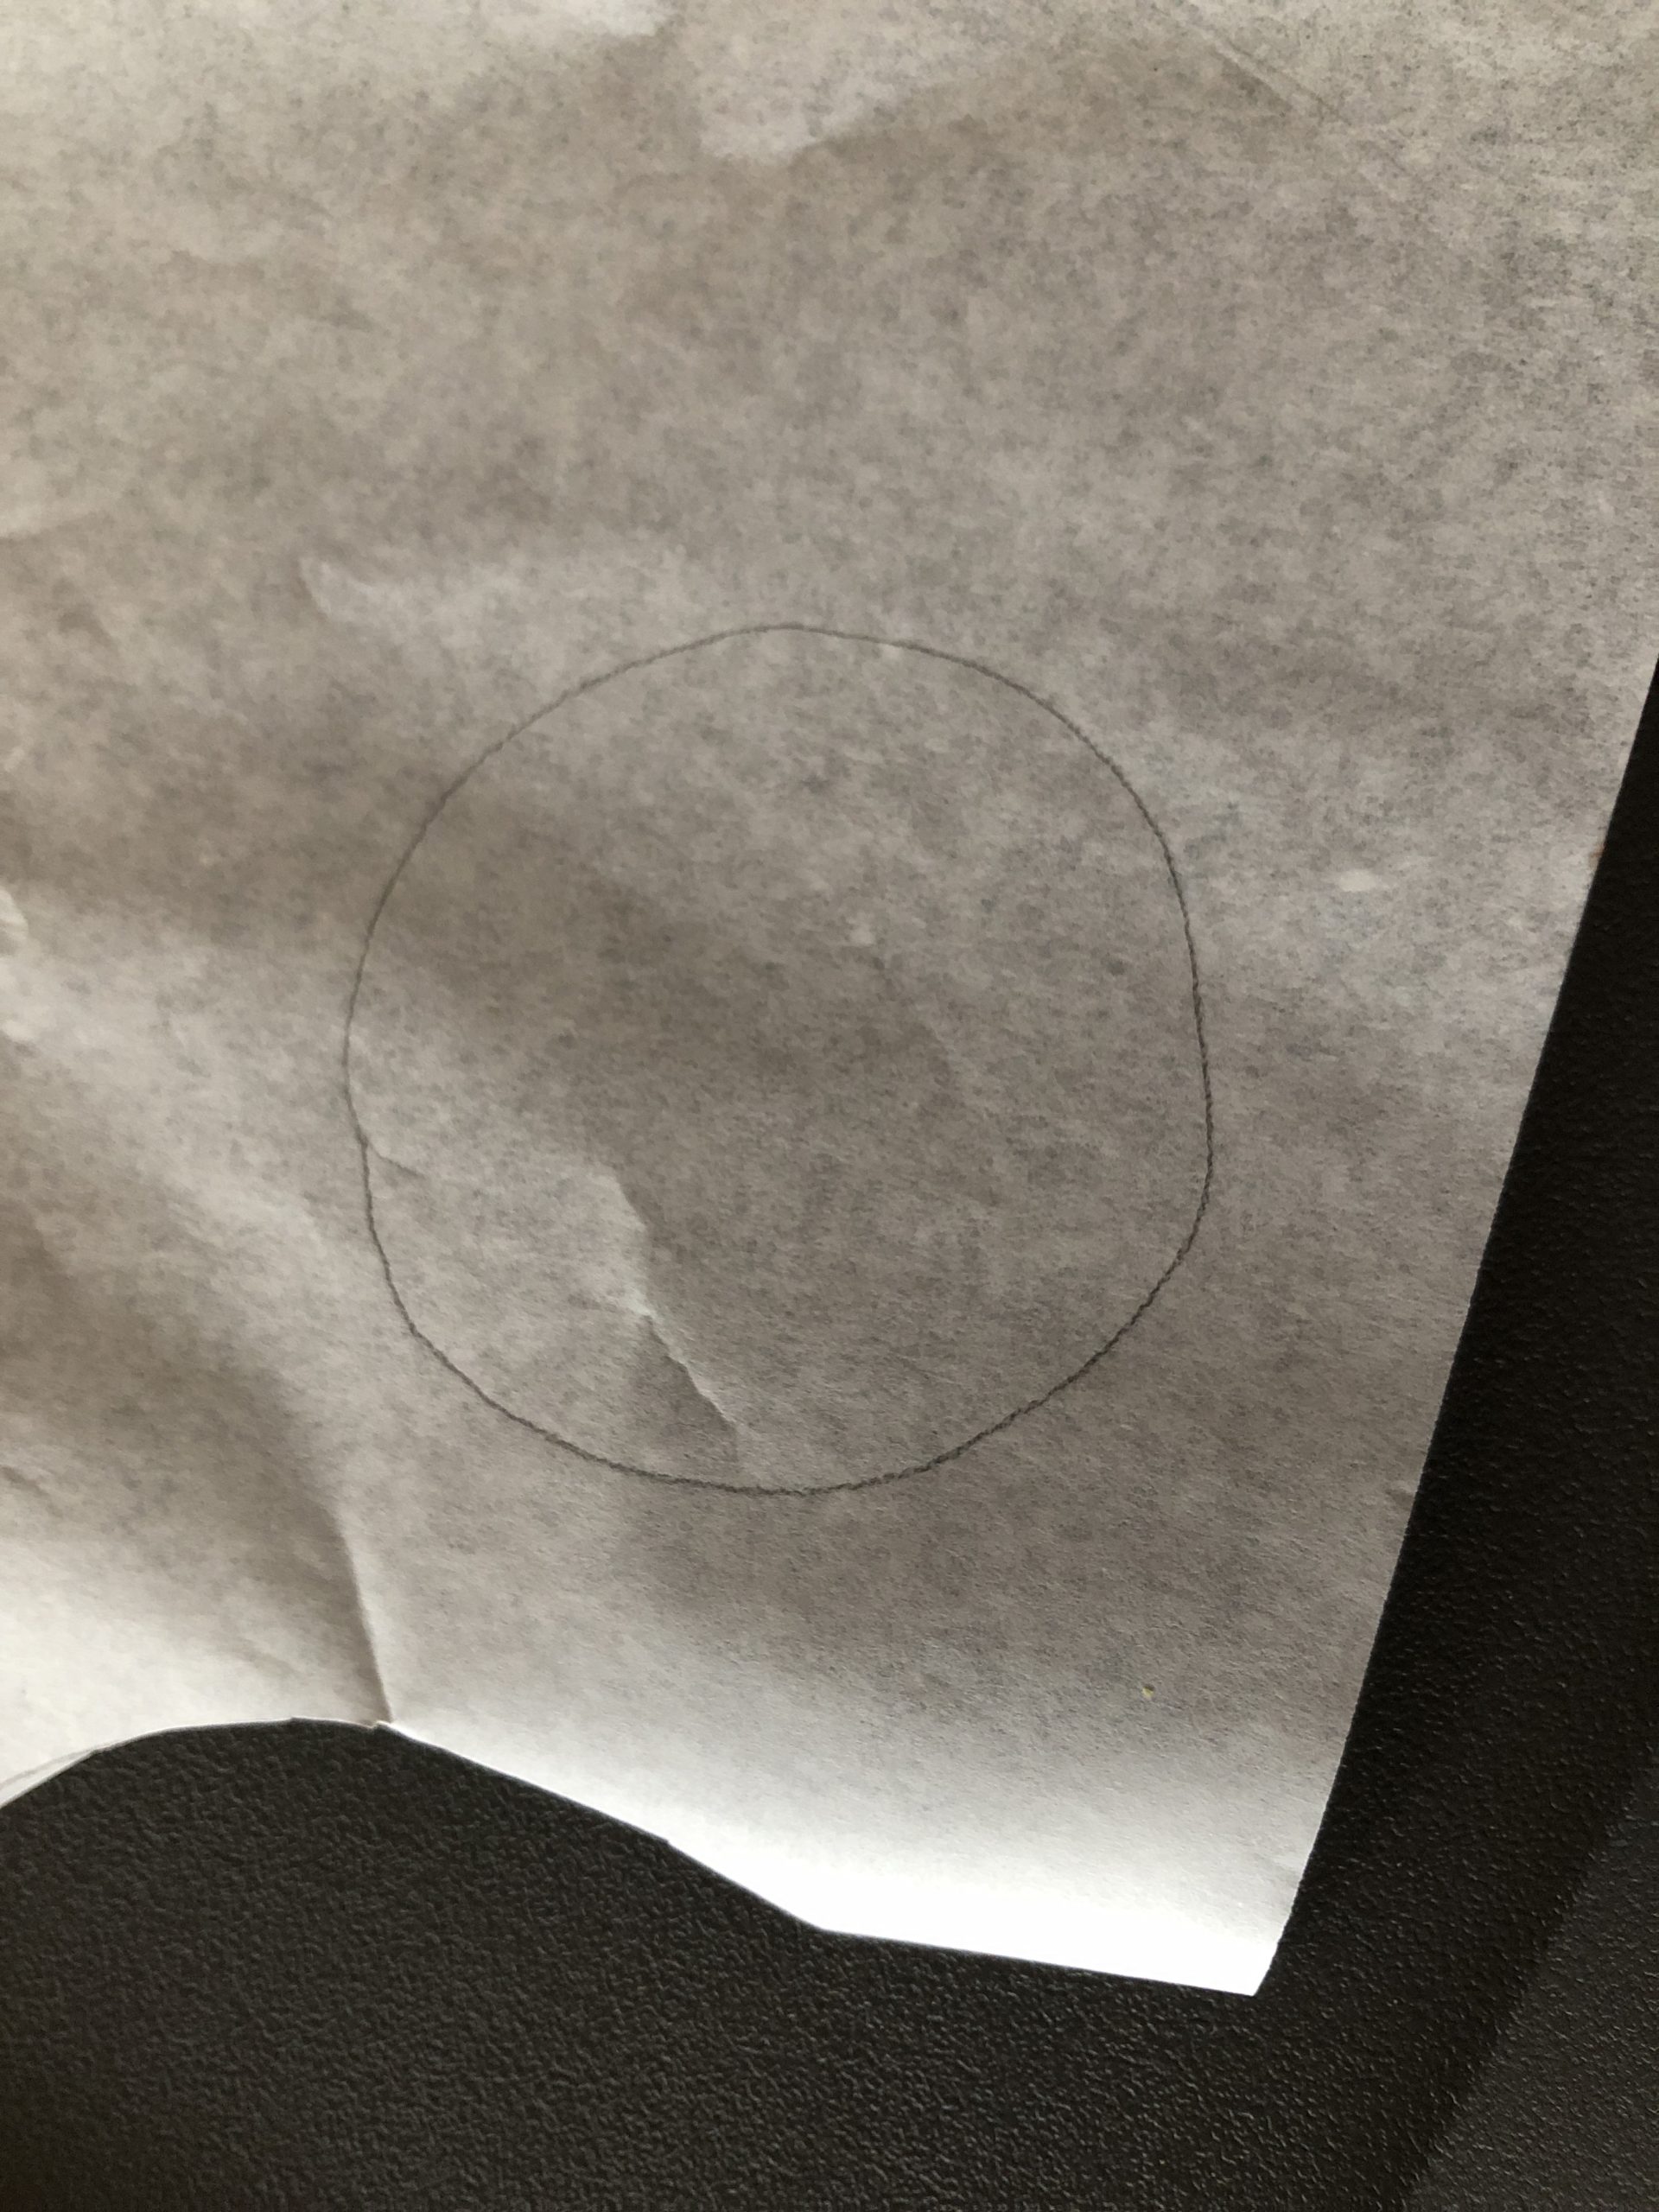
The butterbread paper should cover the entire cut-out.
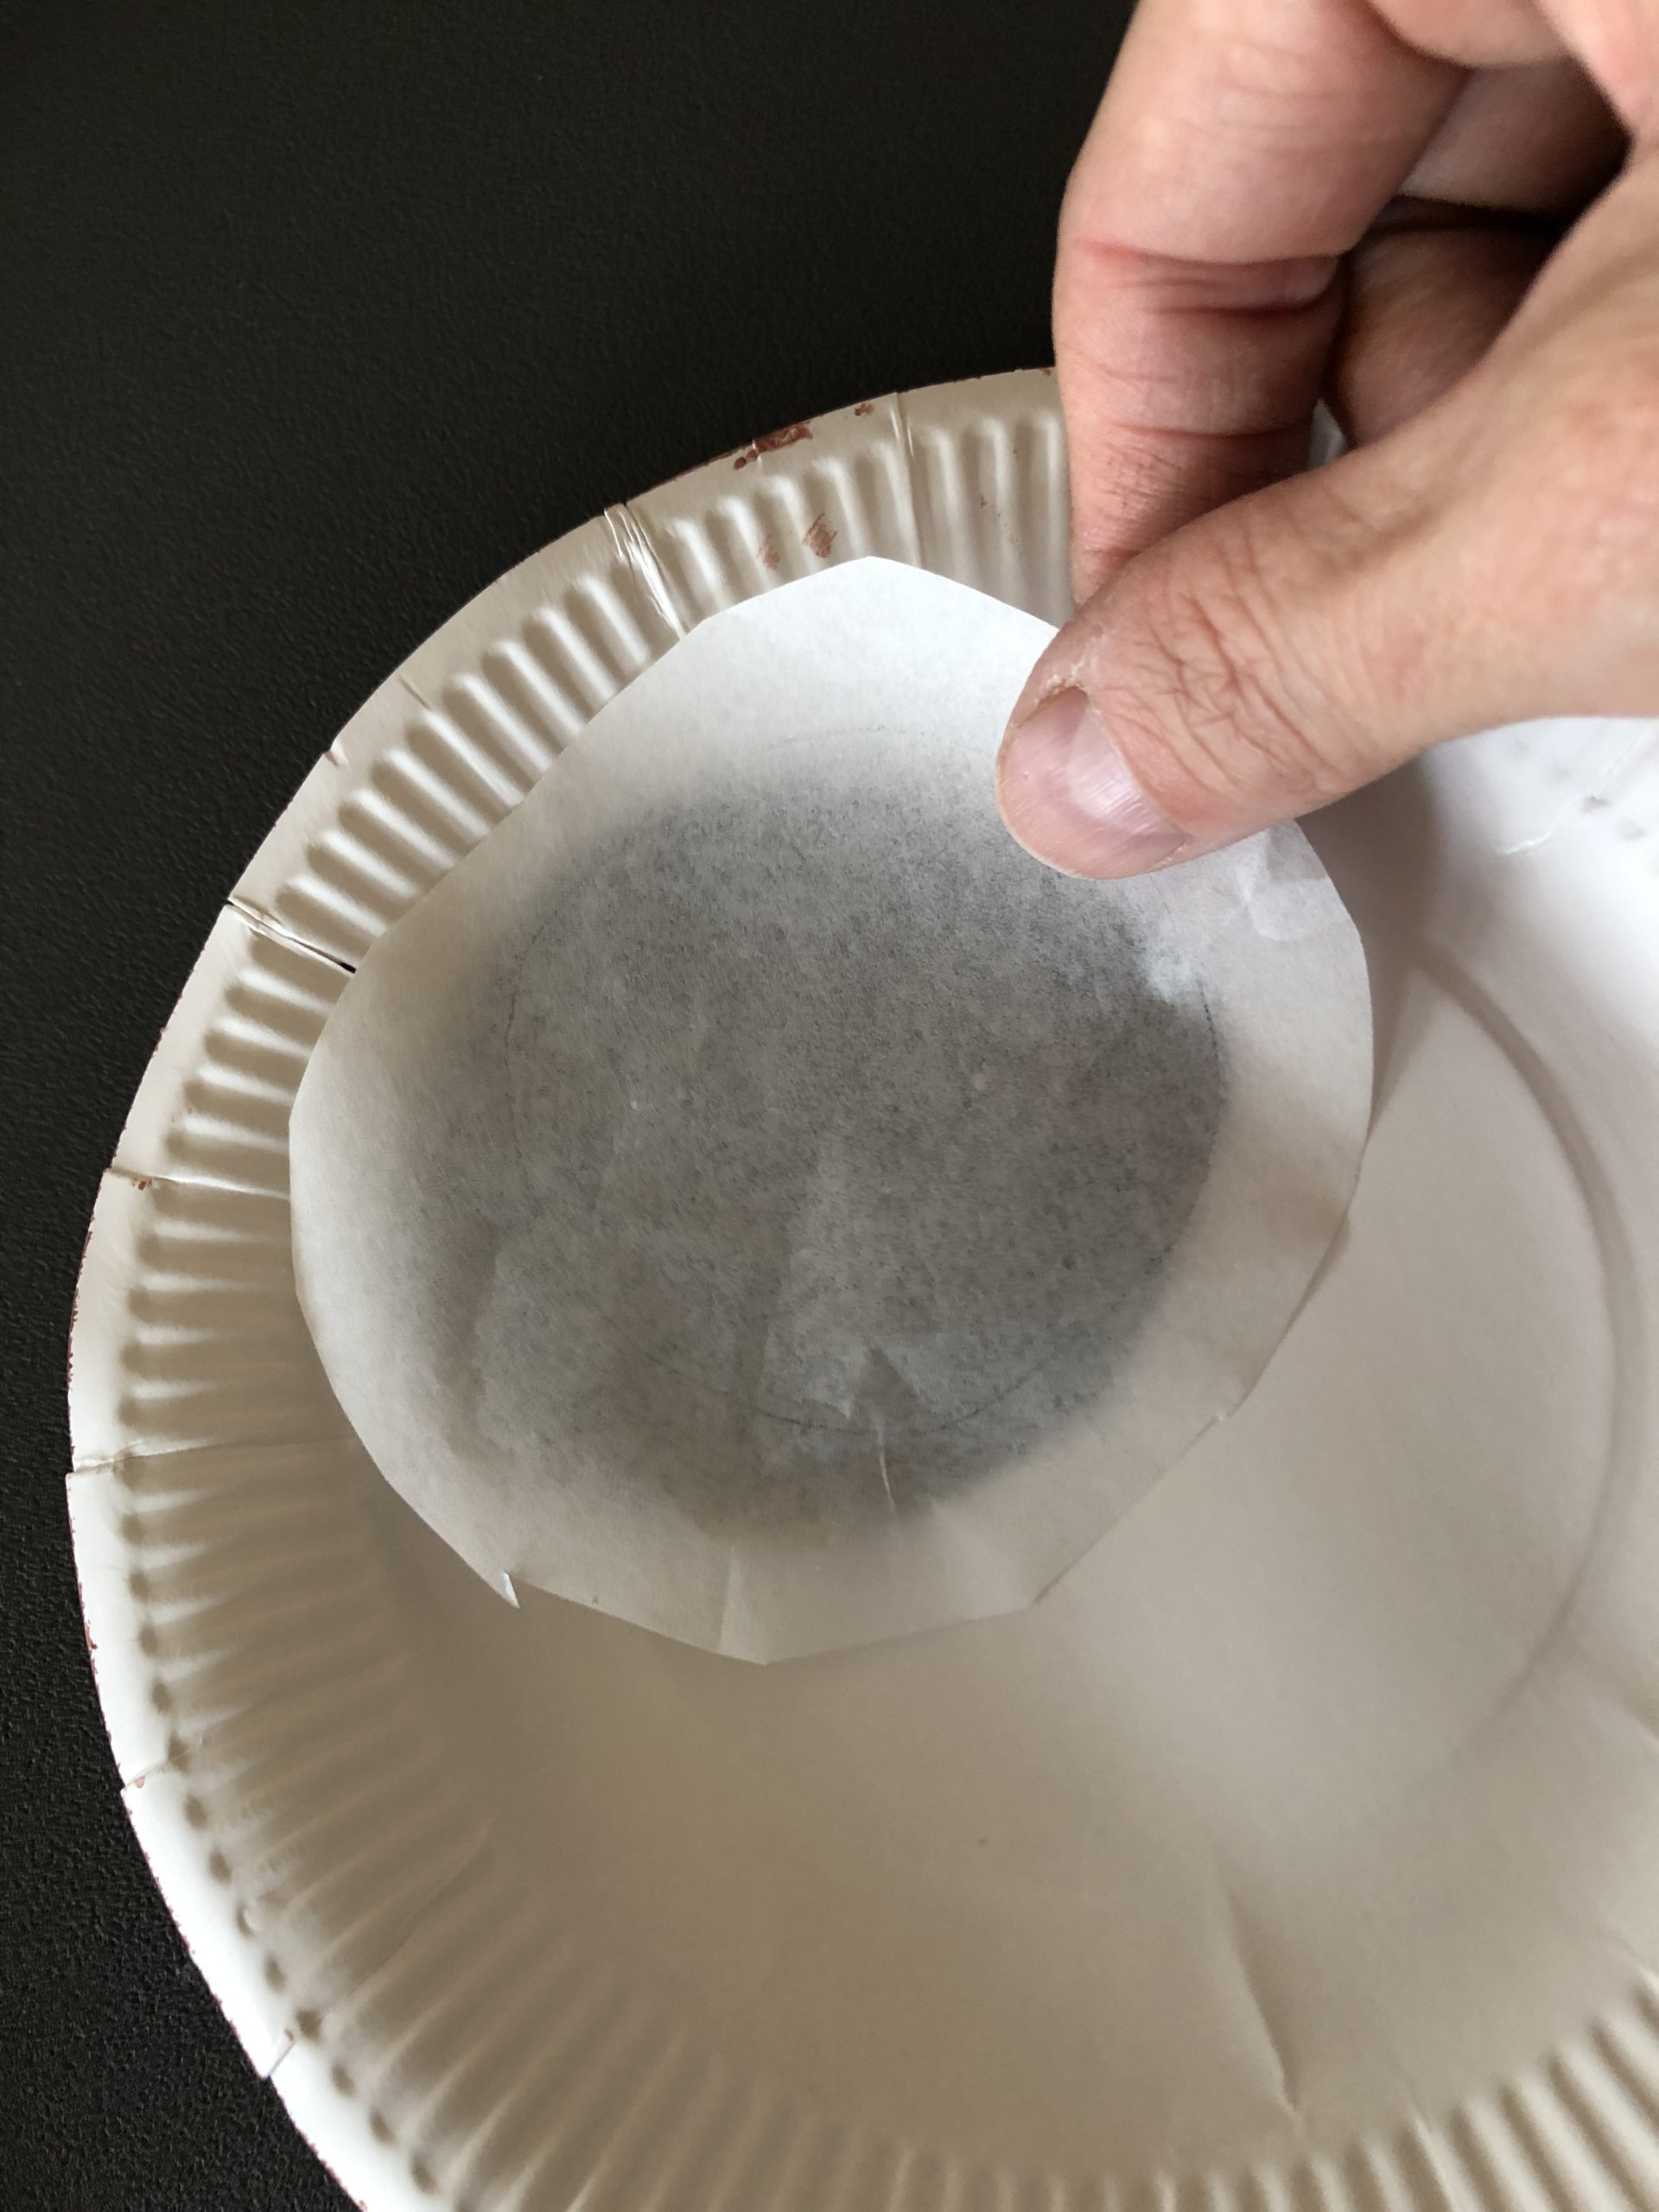
Apply glue around the cut-out circle and fix the butterbread paper on the inside of the plate. The outside of the plate is painted brown!


Repeat the procedure on the second plate.
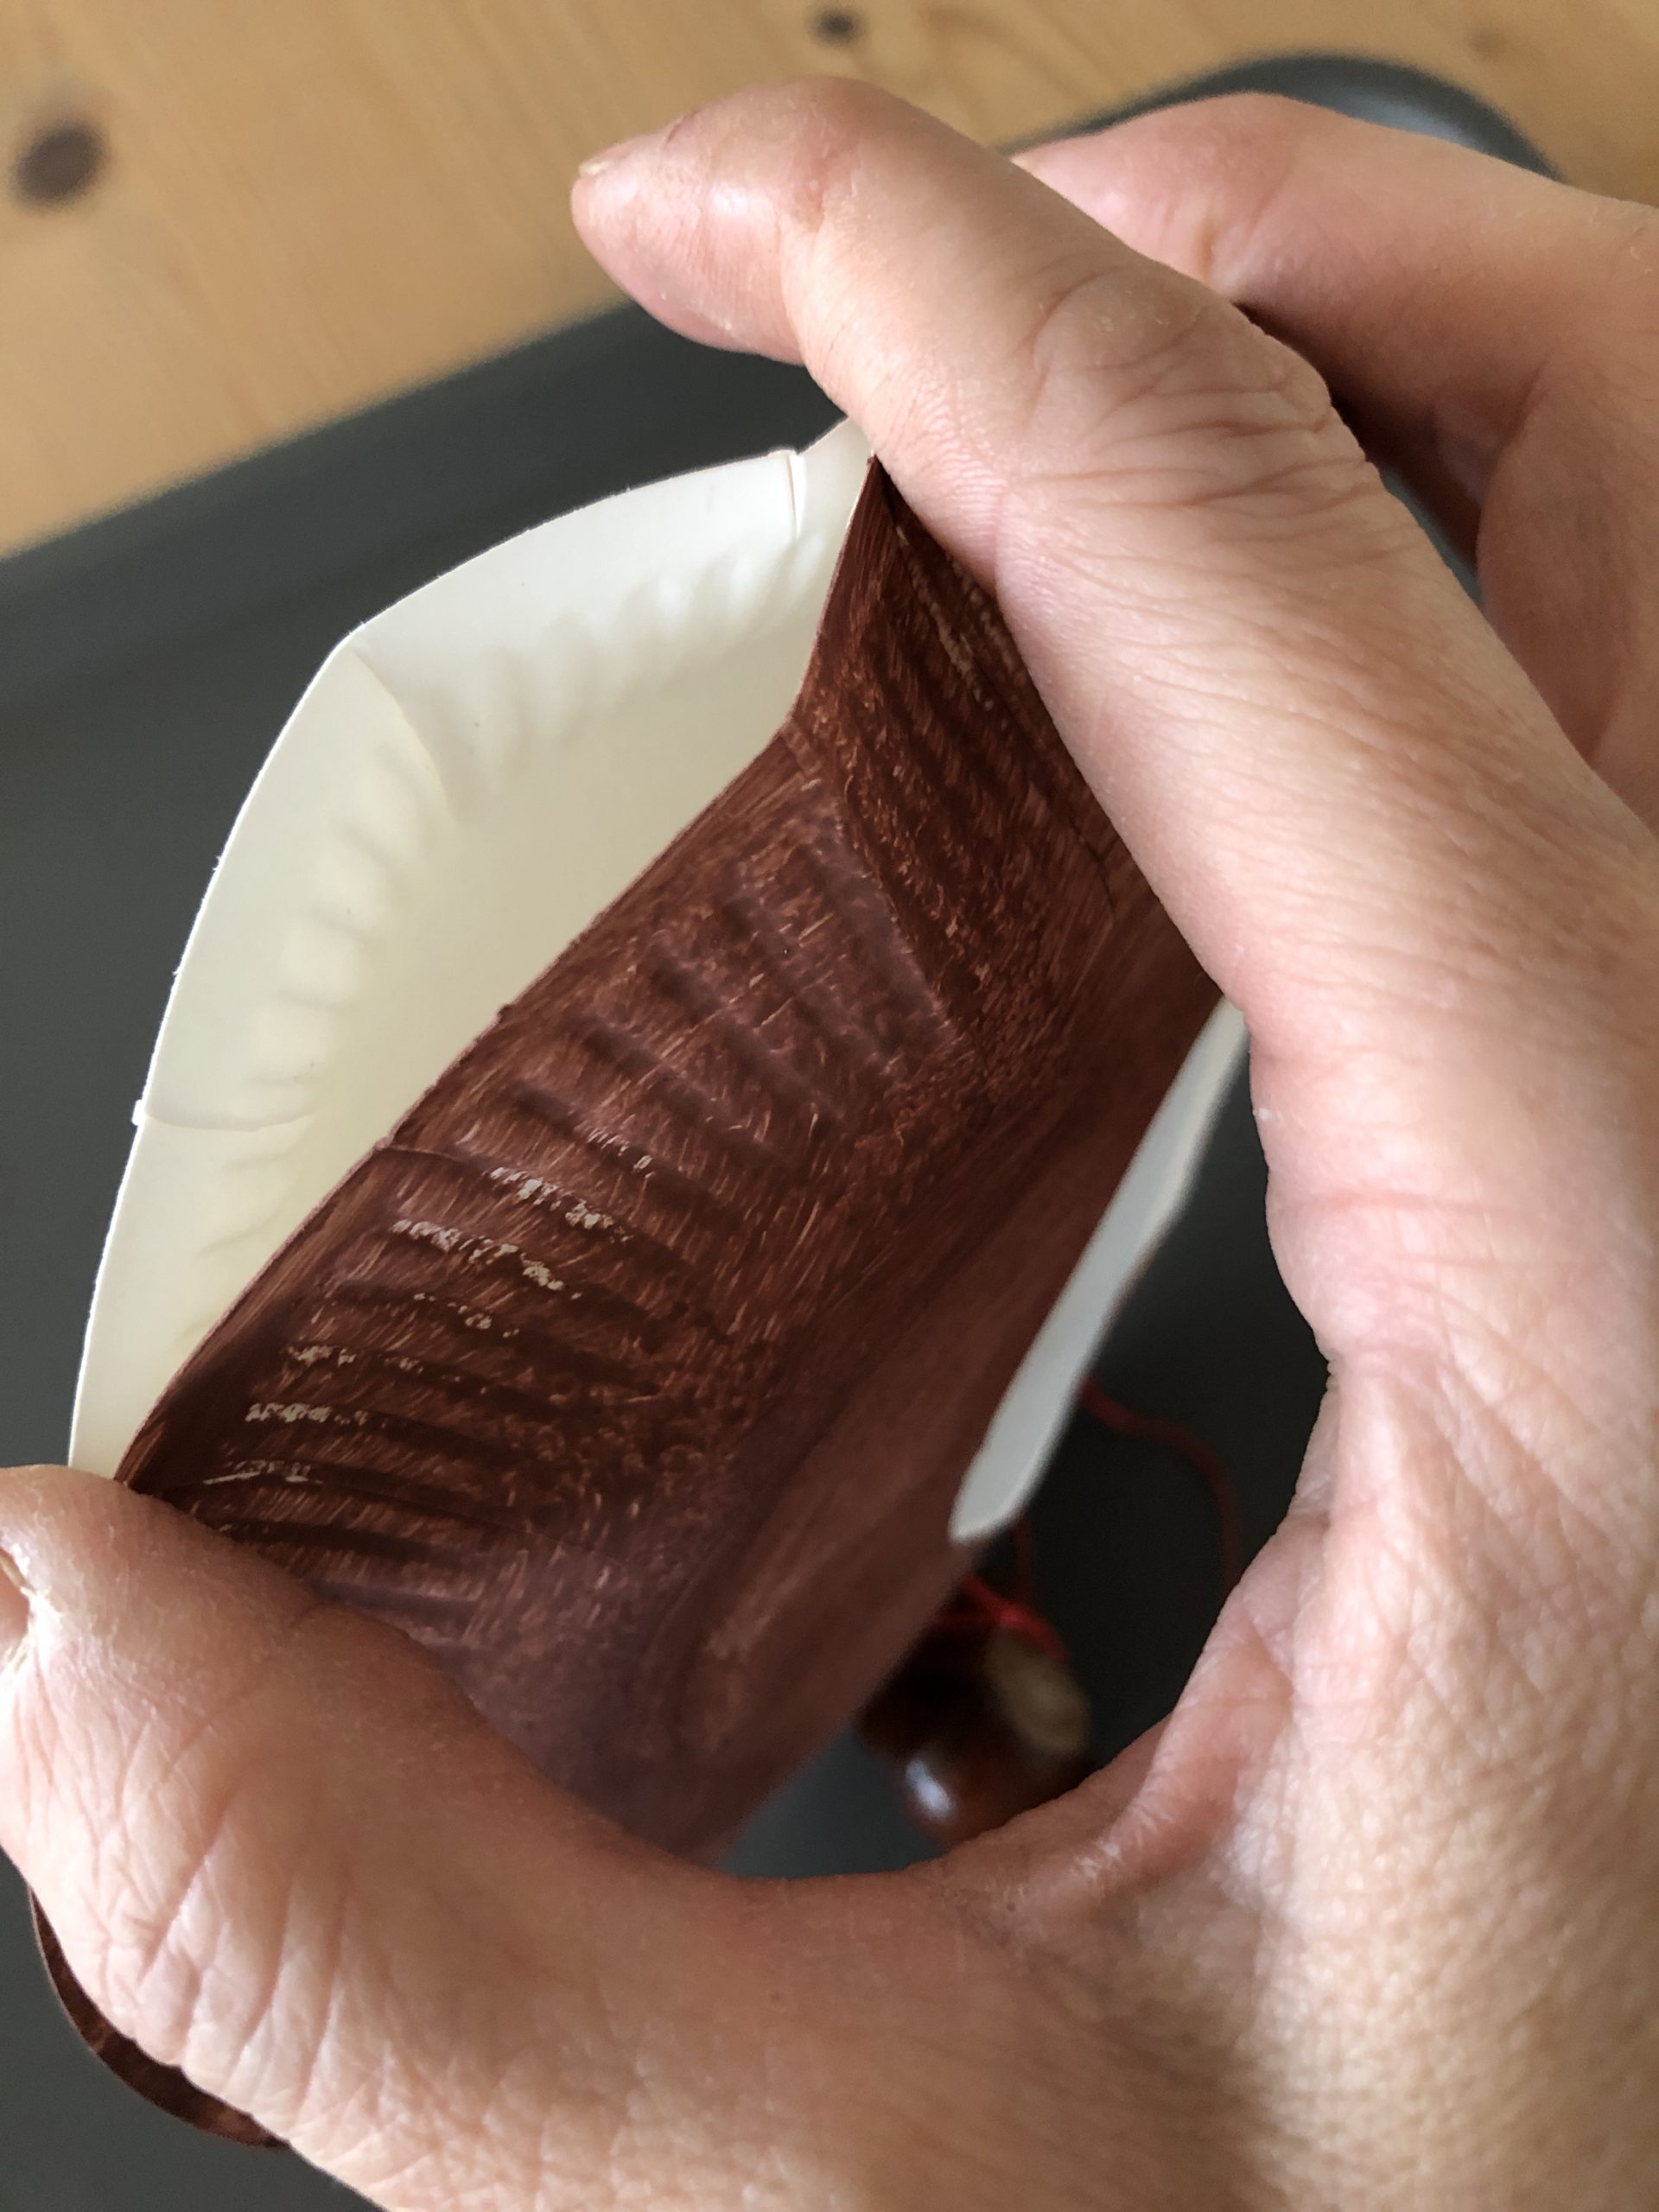
Then glue the two parts together with hot glue. The two cut out circles should lie opposite each other.
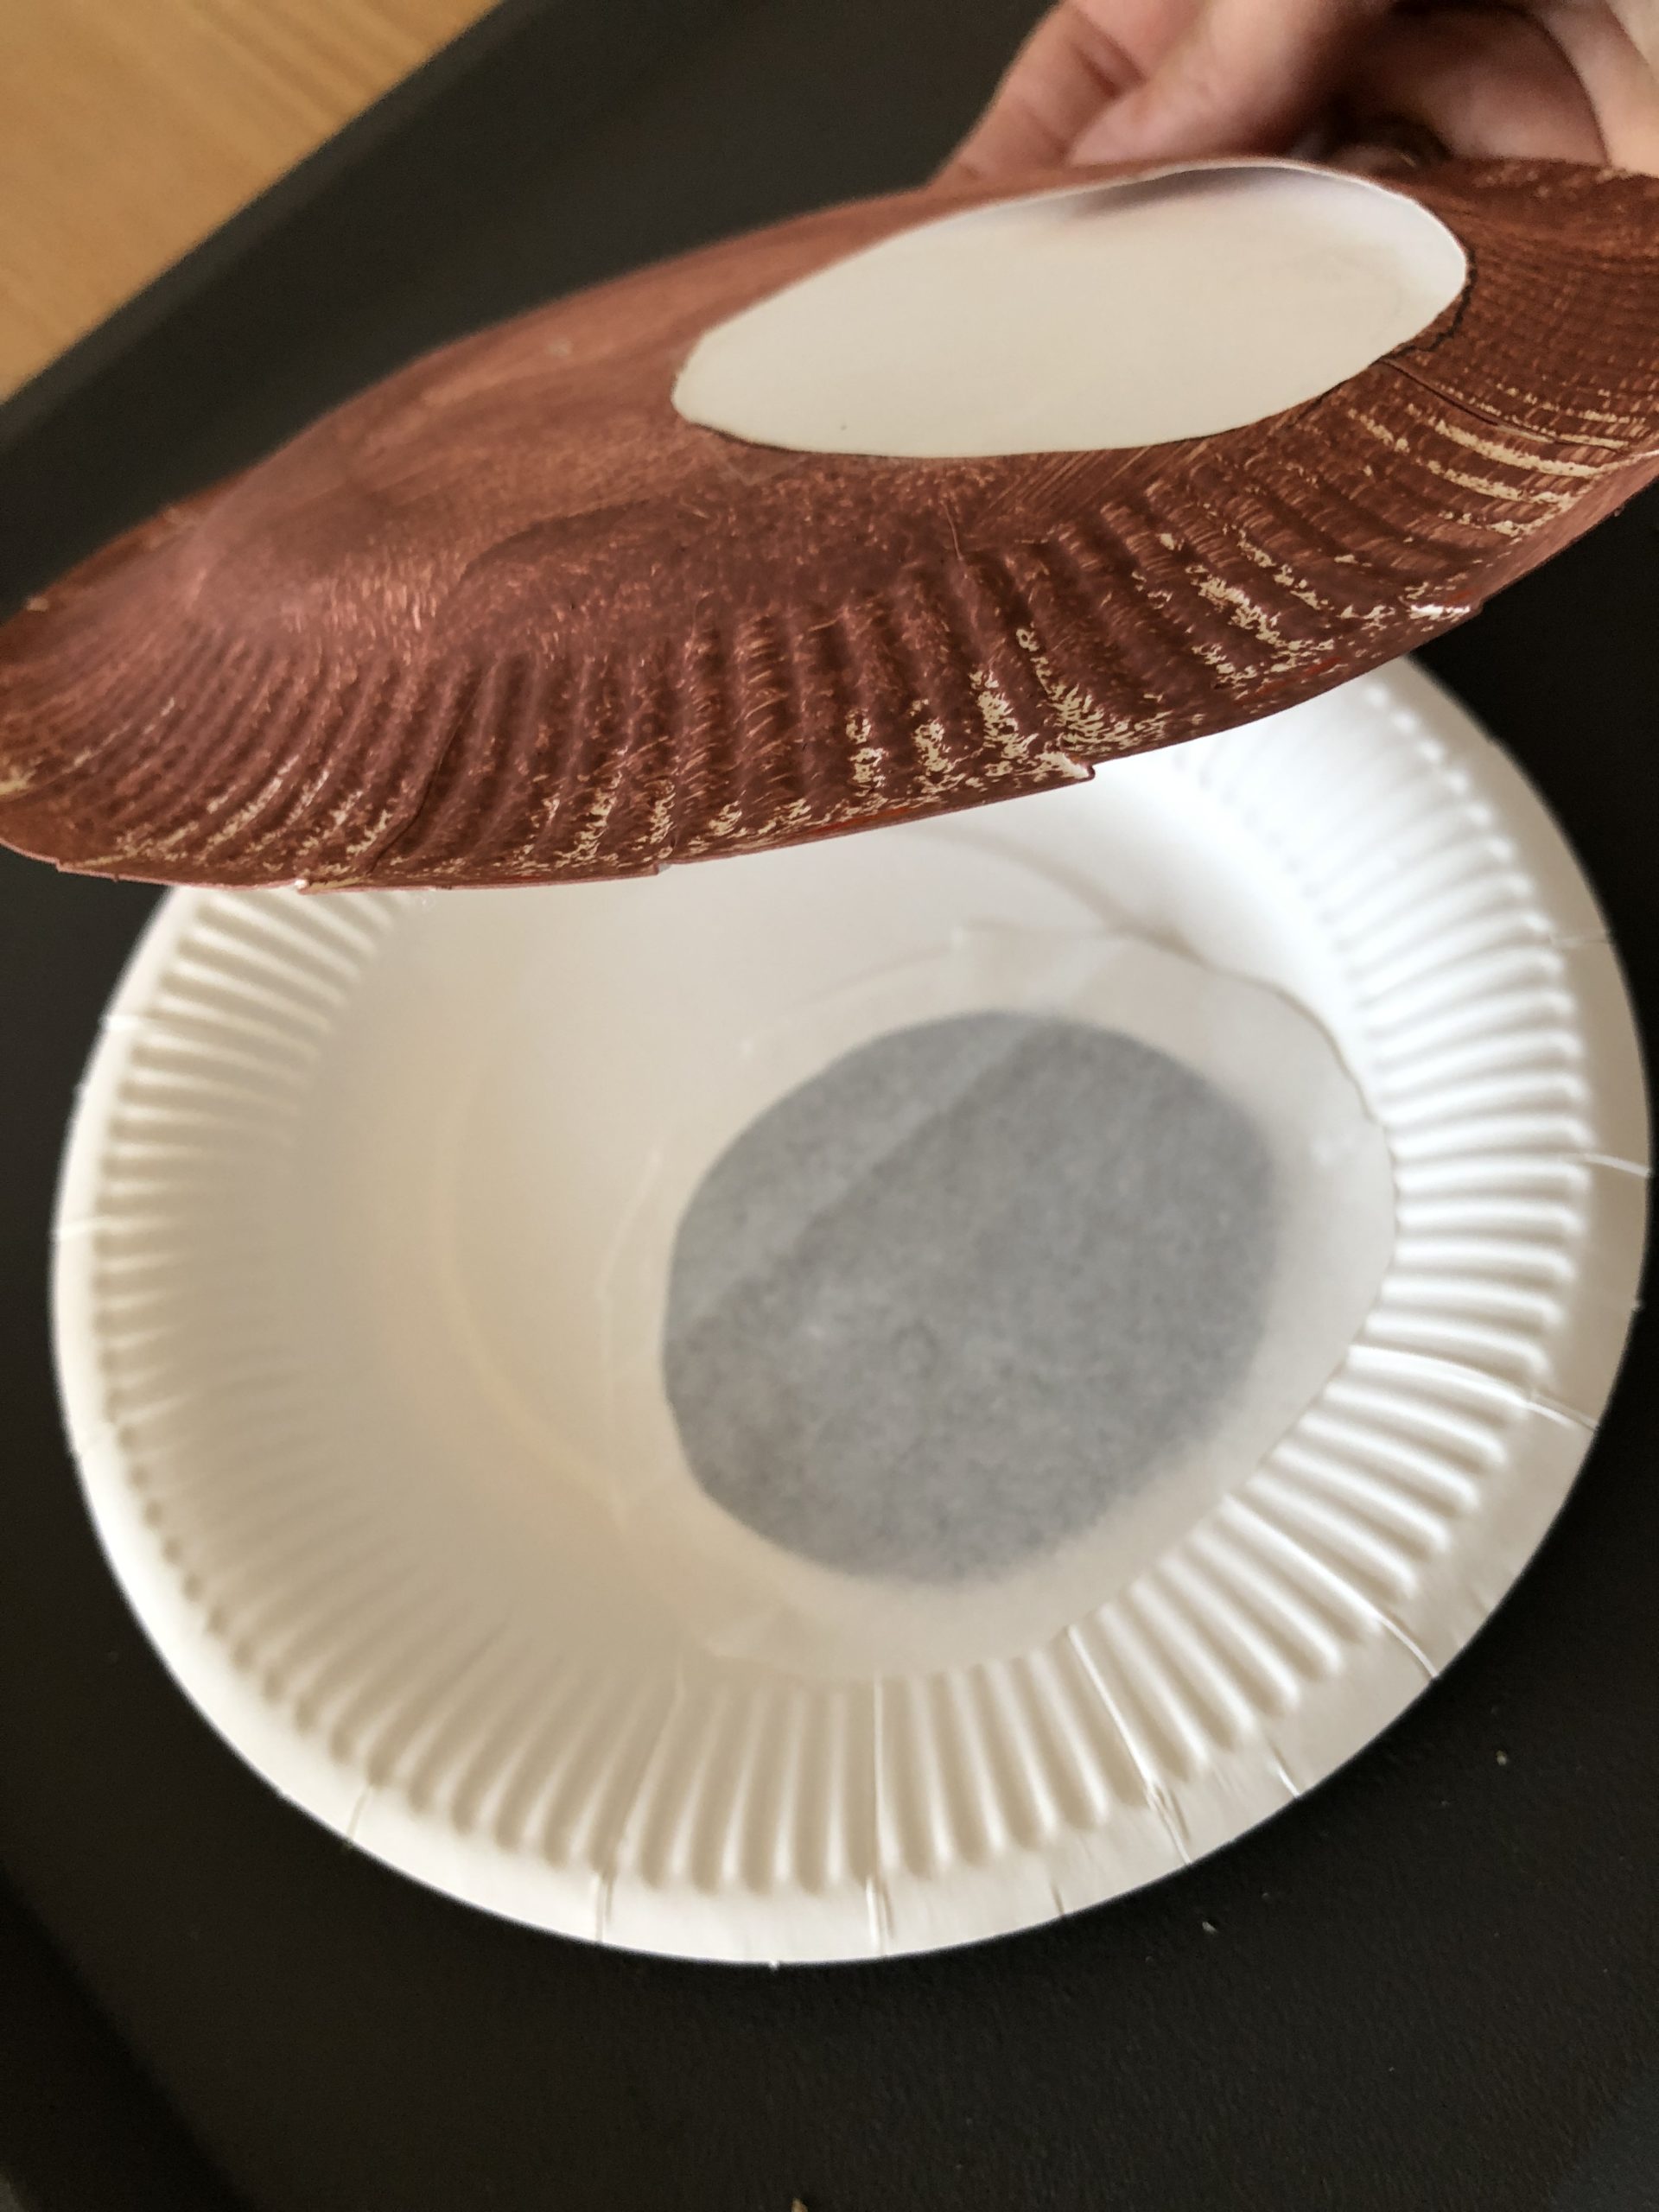
Apply a thin strip of hot glue and leave an opening of about 8cm at the top.

You need the opening to insert the light source into the lantern. For example, you can use a light chain with a button cell or thread a battery-powered lantern rod.
If you want to attach a lantern stick, punch the two cardboard plates in the middle of the opening with a hole. Through the holes you put a piece of wire. You twist it at the ends. Then you can attach the lantern stick to it.
You can also use this chestnut to hang up in the room! It looks very nice with a few cut-out chestnut leaves and fresh chestnuts.
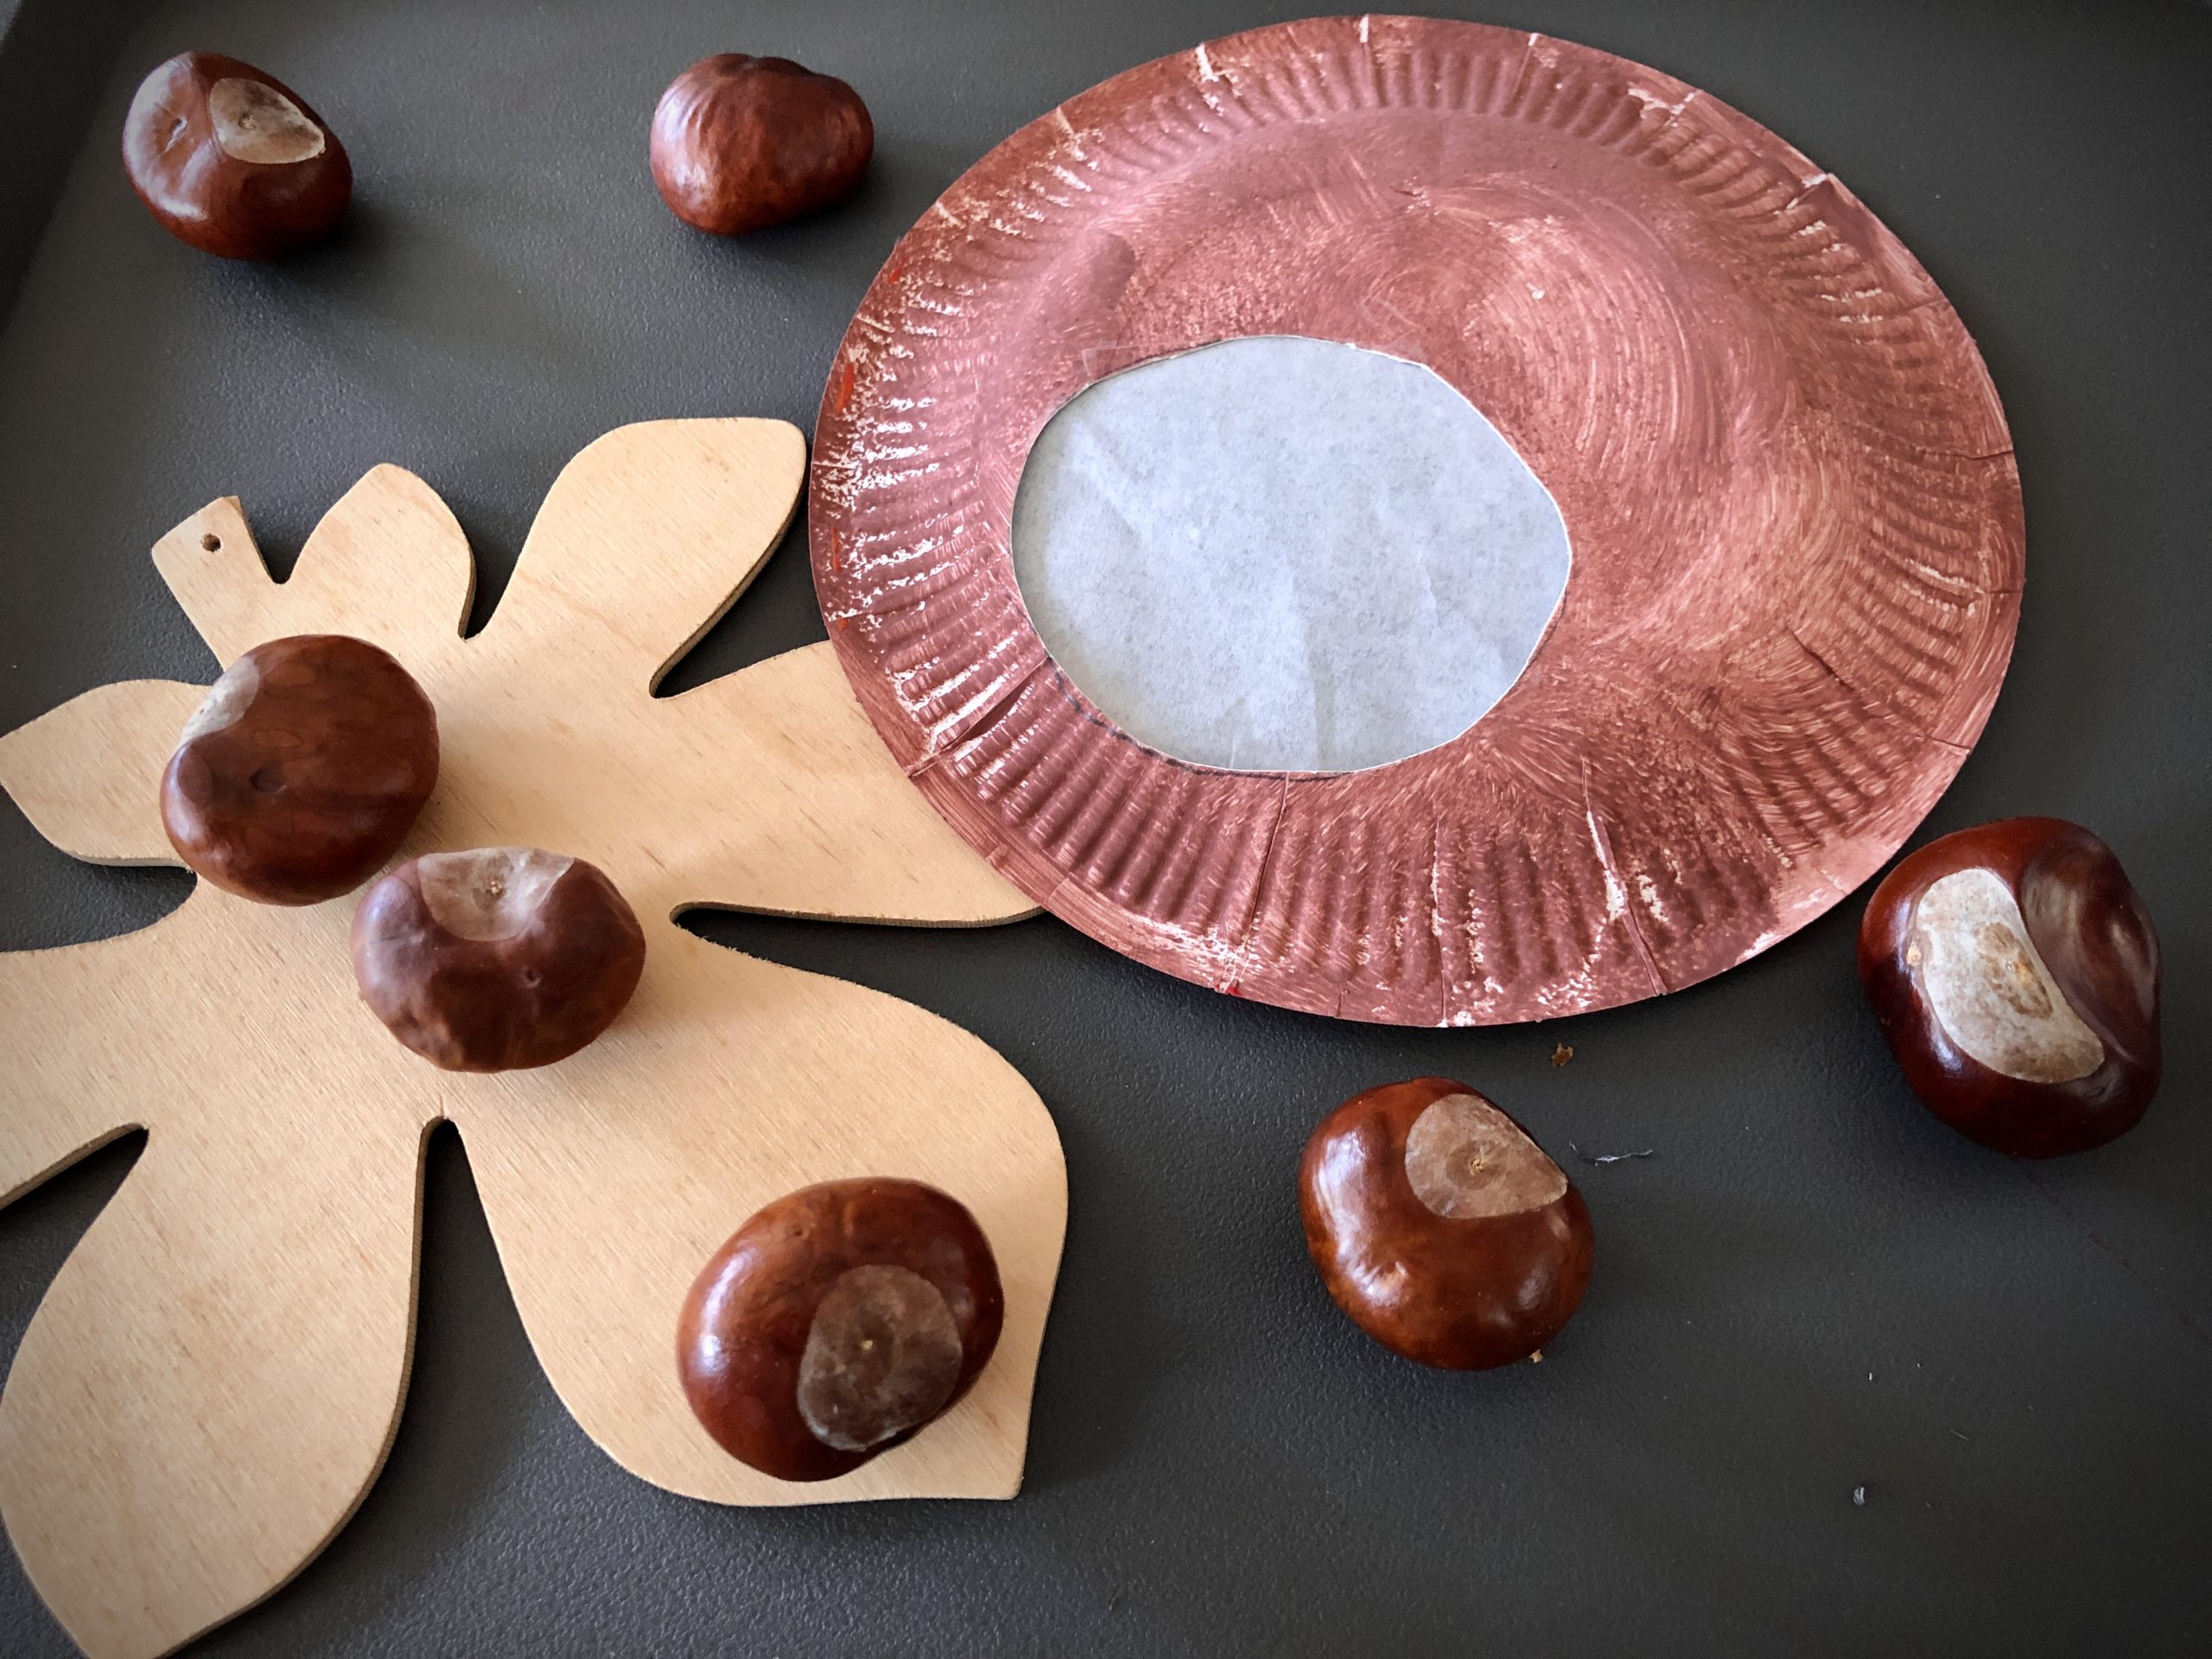
For this you punch a hole in the edge of the cardboard plates.
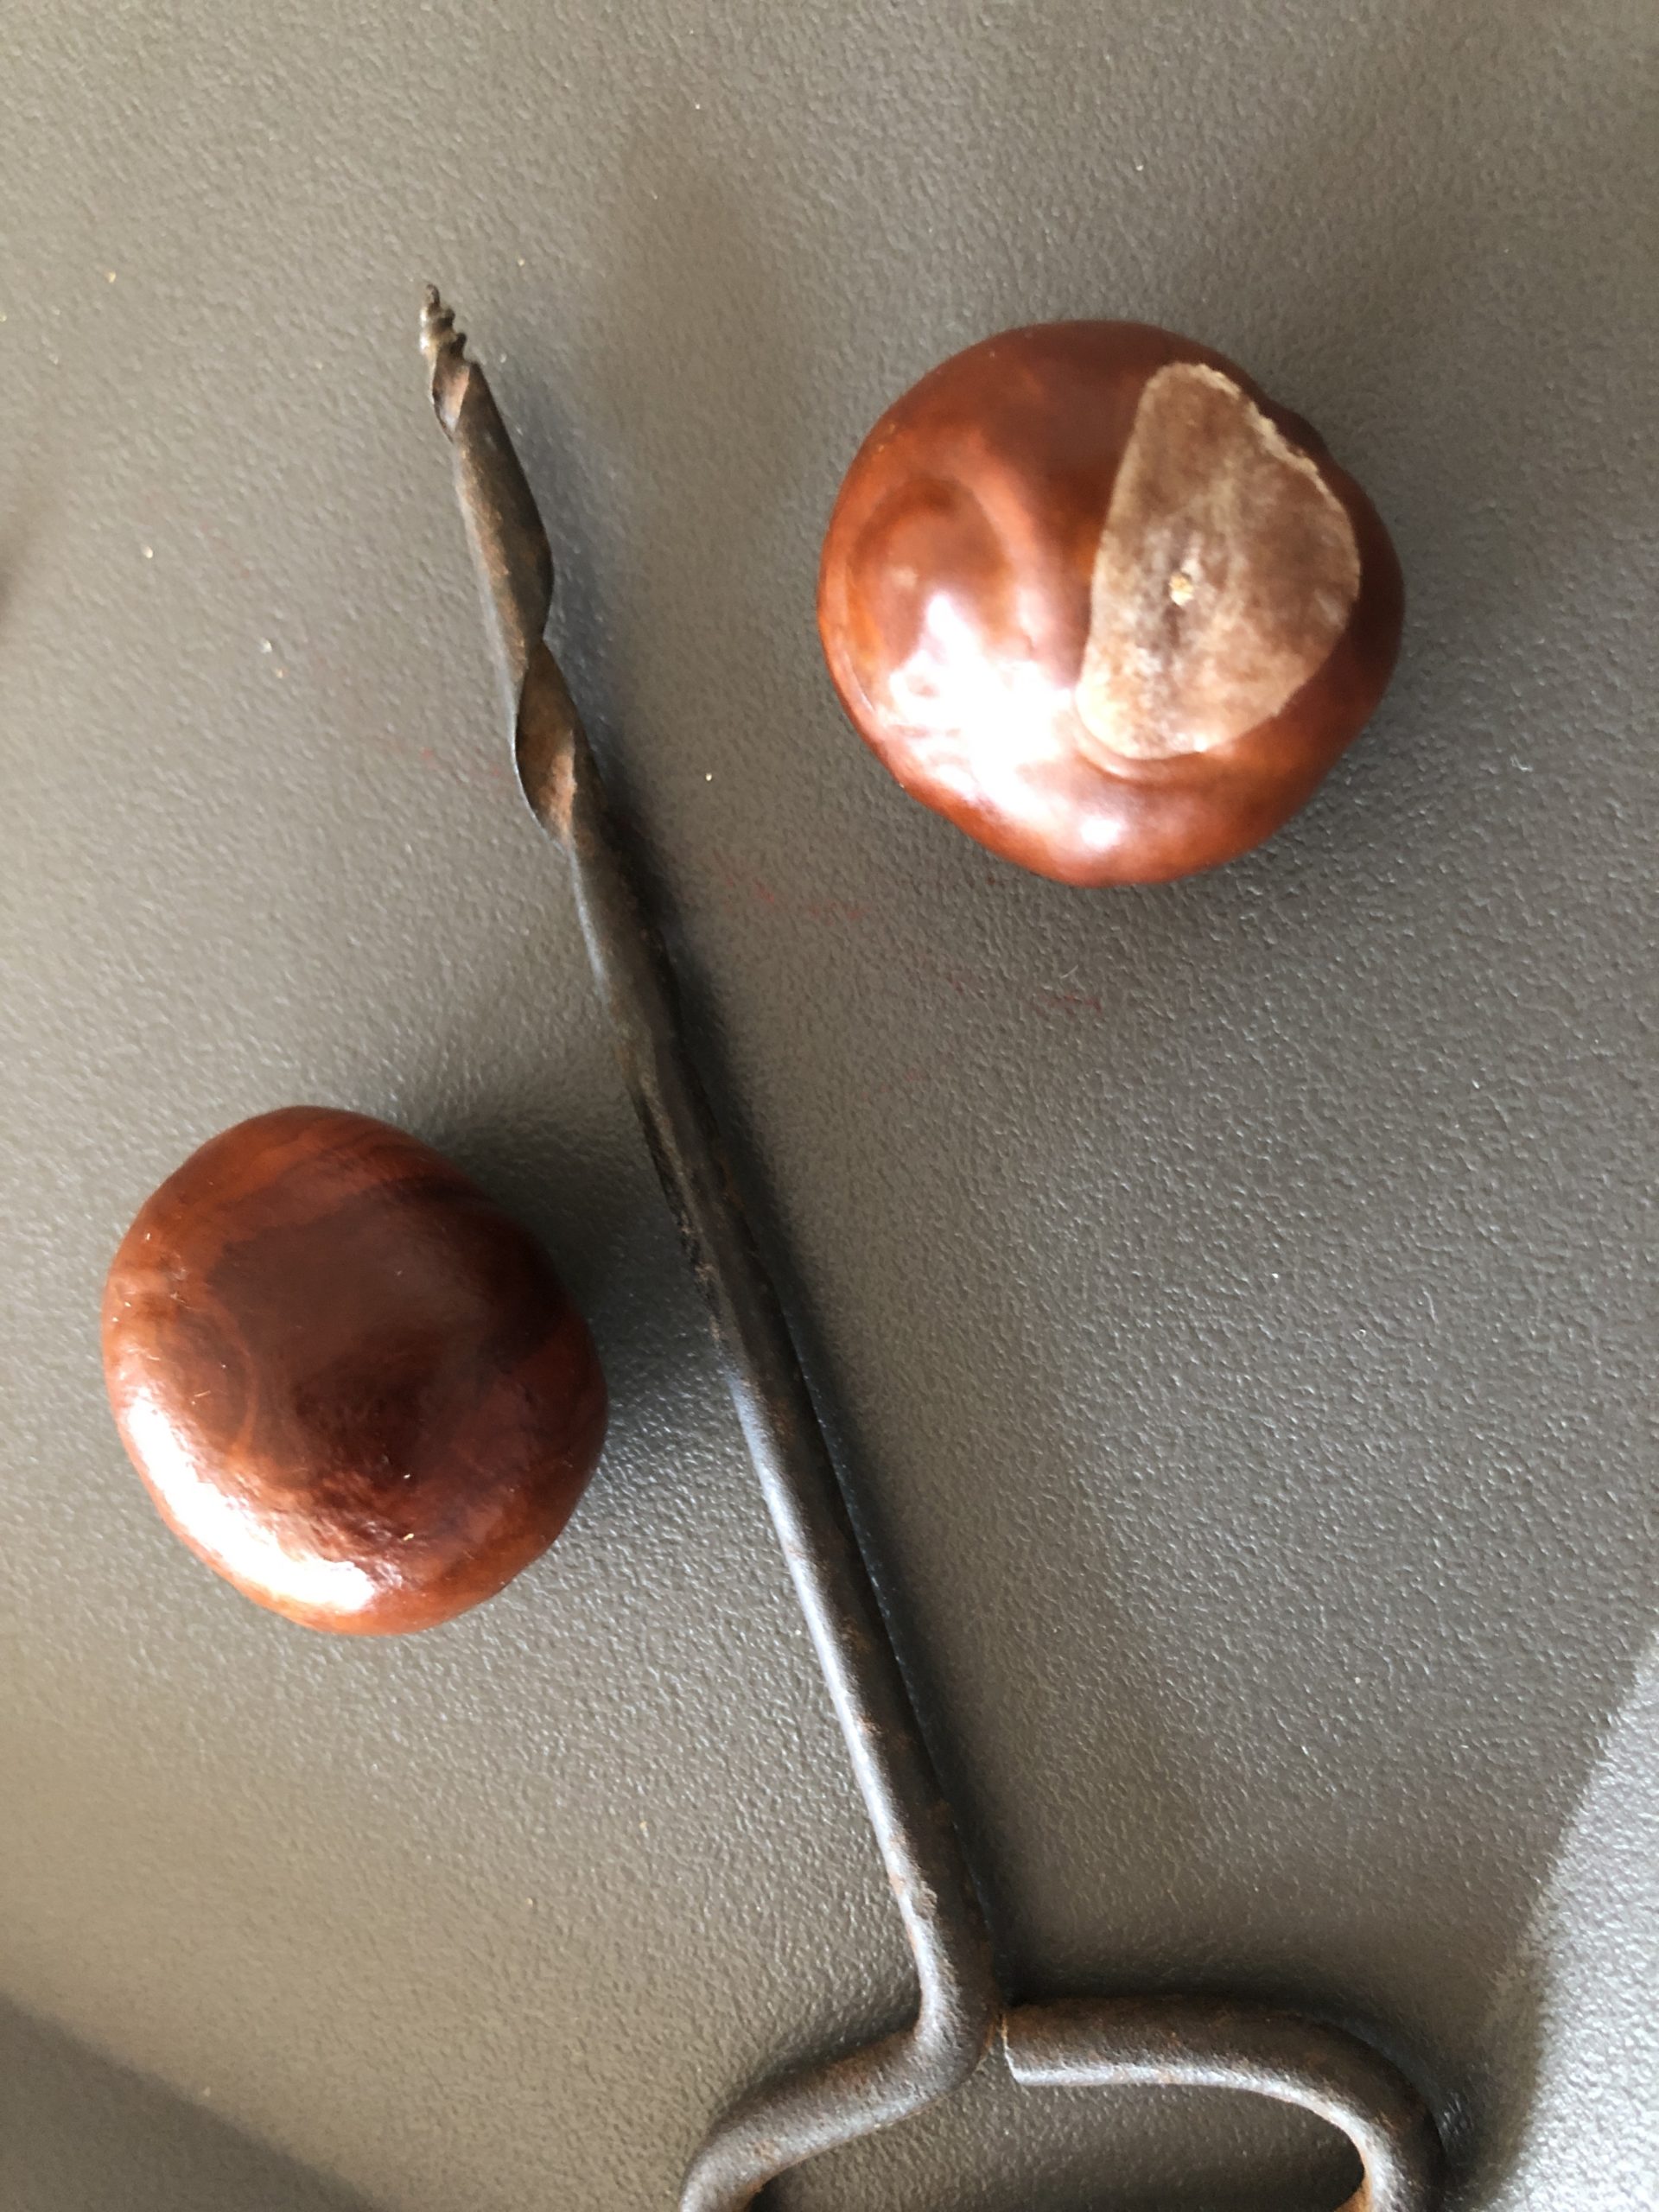
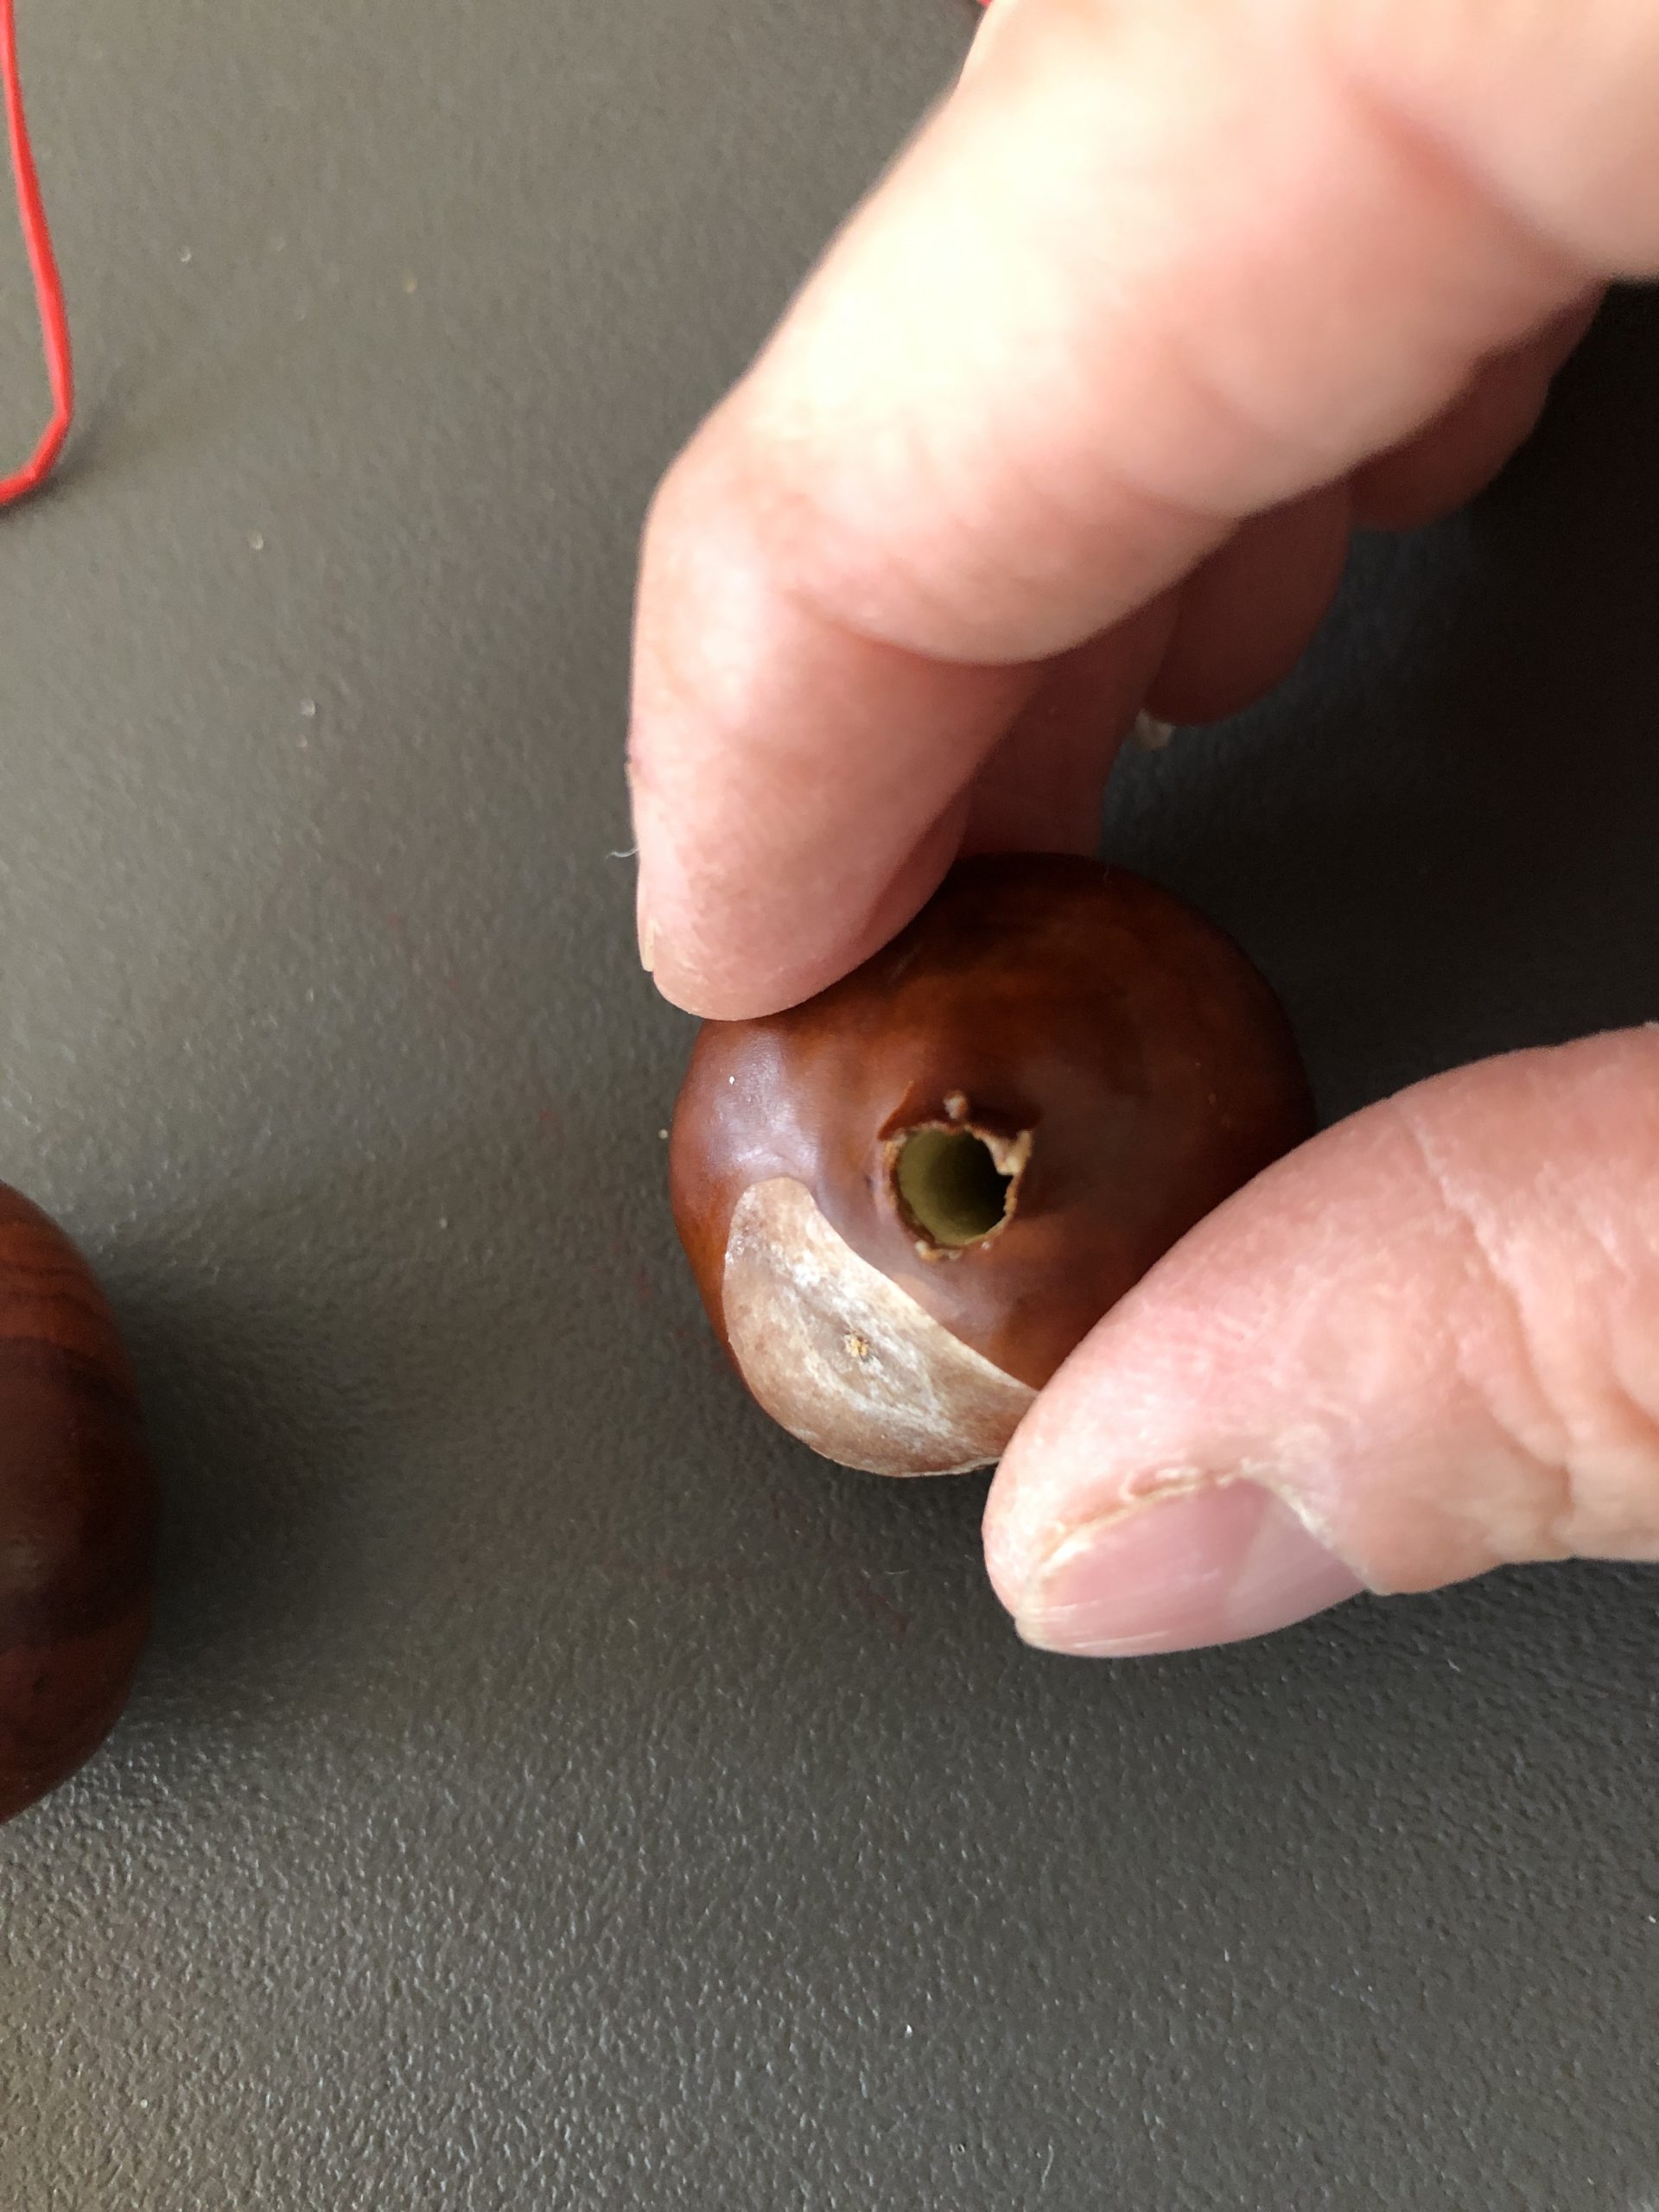
Now you drill a hole in two fresh chestnuts. Use a chestnut drill (or a cordless screwdriver).
If the chestnuts are fresh, a hole can also be pierced with a thick shank rod or with a long screw.
Let us help you! There is a risk of injury!!!
Threads a bast or other thin string through the hole. Makes a double knot.
Then you thread a chestnut to the two cords.

You knot this by tying a double knot into the cord.

Your chestnut lantern is ready!

Materials
Directions
Put your cardboard plate on a base. Prepare paint and sponges.
Covers the complete underside (curved side) of the plate with brown color.
Repeat the procedure on the second plate.
You need two brown plates, which you put to dry after painting.
Now you paint a small circle on the dried plate on the side.
You cut this one out with scissors.
On both plates a circle is cut out.
Transfer the size of the cut-out circle to a butterbread paper. Then add one centimetre around and cut the butterbread paper.
The butterbread paper should cover the entire cut-out.
Apply glue around the cut-out circle and fix the butterbread paper on the inside of the plate. The outside of the plate is painted brown!
Repeat the procedure on the second plate.
Then glue the two parts together with hot glue. The two cut out circles should lie opposite each other.
Apply a thin strip of hot glue and leave an opening of about 8cm at the top.
You need the opening to insert the light source into the lantern. For example, you can use a light chain with a button cell or thread a battery-powered lantern rod.
If you want to attach a lantern stick, punch the two cardboard plates in the middle of the opening with a hole. Through the holes you put a piece of wire. You twist it at the ends. Then you can attach the lantern stick to it.
You can also use this chestnut to hang up in the room! It looks very nice with a few cut-out chestnut leaves and fresh chestnuts.
For this you punch a hole in the edge of the cardboard plates.
Now you drill a hole in two fresh chestnuts. Use a chestnut drill (or a cordless screwdriver).
If the chestnuts are fresh, a hole can also be pierced with a thick shank rod or with a long screw.
Let us help you! There is a risk of injury!!!
Threads a bast or other thin string through the hole. Makes a double knot.
Then you thread a chestnut to the two cords.
You knot this by tying a double knot into the cord.
Your chestnut lantern is ready!
Follow us on Facebook , Instagram and Pinterest
Don't miss any more adventures: Our bottle mail