With these delicious raspberry-Johannisbeer-wolks children can help diligently. You don't need cloud cuttings, flowers cut-outs are also suitable. In two different sizes the cookies look really great and the fruity, juicy taste convinces with us all.
In spring, of course, you can bake these cookies as raspberry flowers!
Media Education for Kindergarten and Hort

Relief in everyday life, targeted promotion of individual children, independent learning and - without any pre-knowledge already usable by the youngest!
First wash your hands and put on an apron and then you can get started.
Weigh all the ingredients and put them in a bowl.
Then you make all the ingredients into a clove.
Tip: Children also like to knead with their hands. So let them knead the ingredients themselves to a dough.
The finished dough is cooled for 20 to 30 minutes (fridge or balcony).
Tip: If the dough is covered with clinging foil, it will not dry.

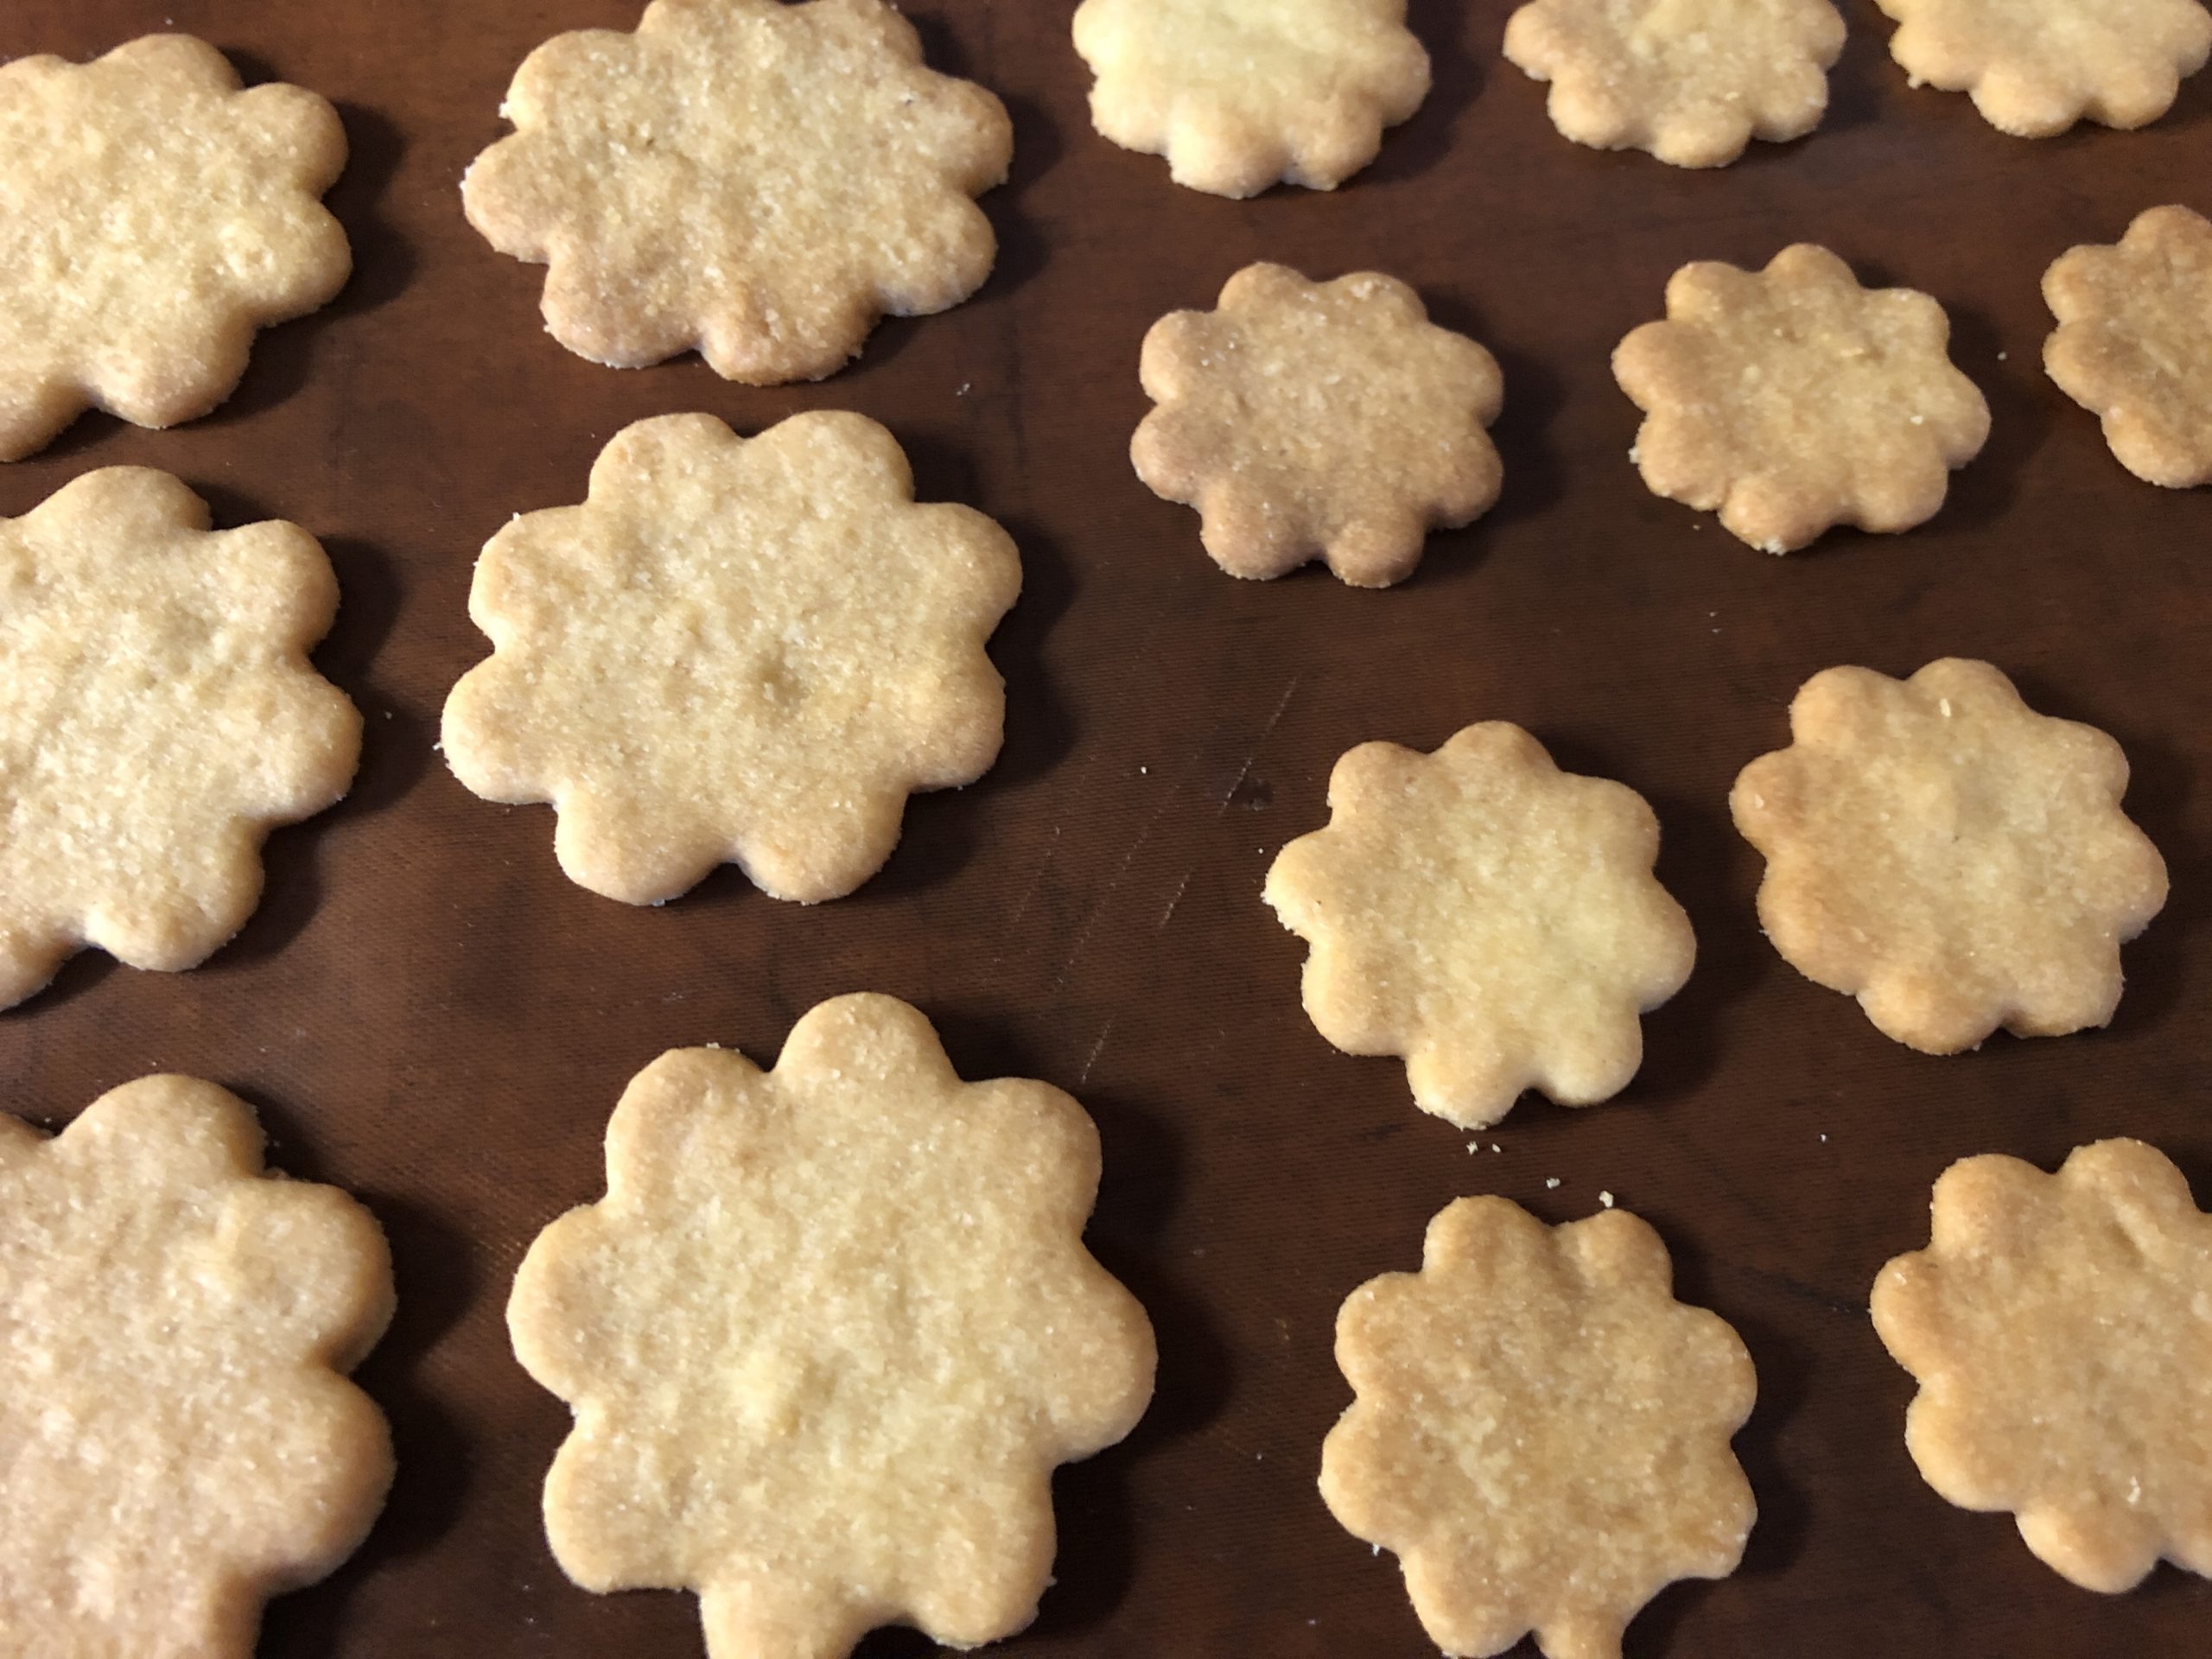
Rolls out the dough evenly thin and cuts out large and small clouds.
Make sure you cut out the same number of large and small clouds.
Let the cookies cool down.
They break apart if they haven't fully cooled down yet.
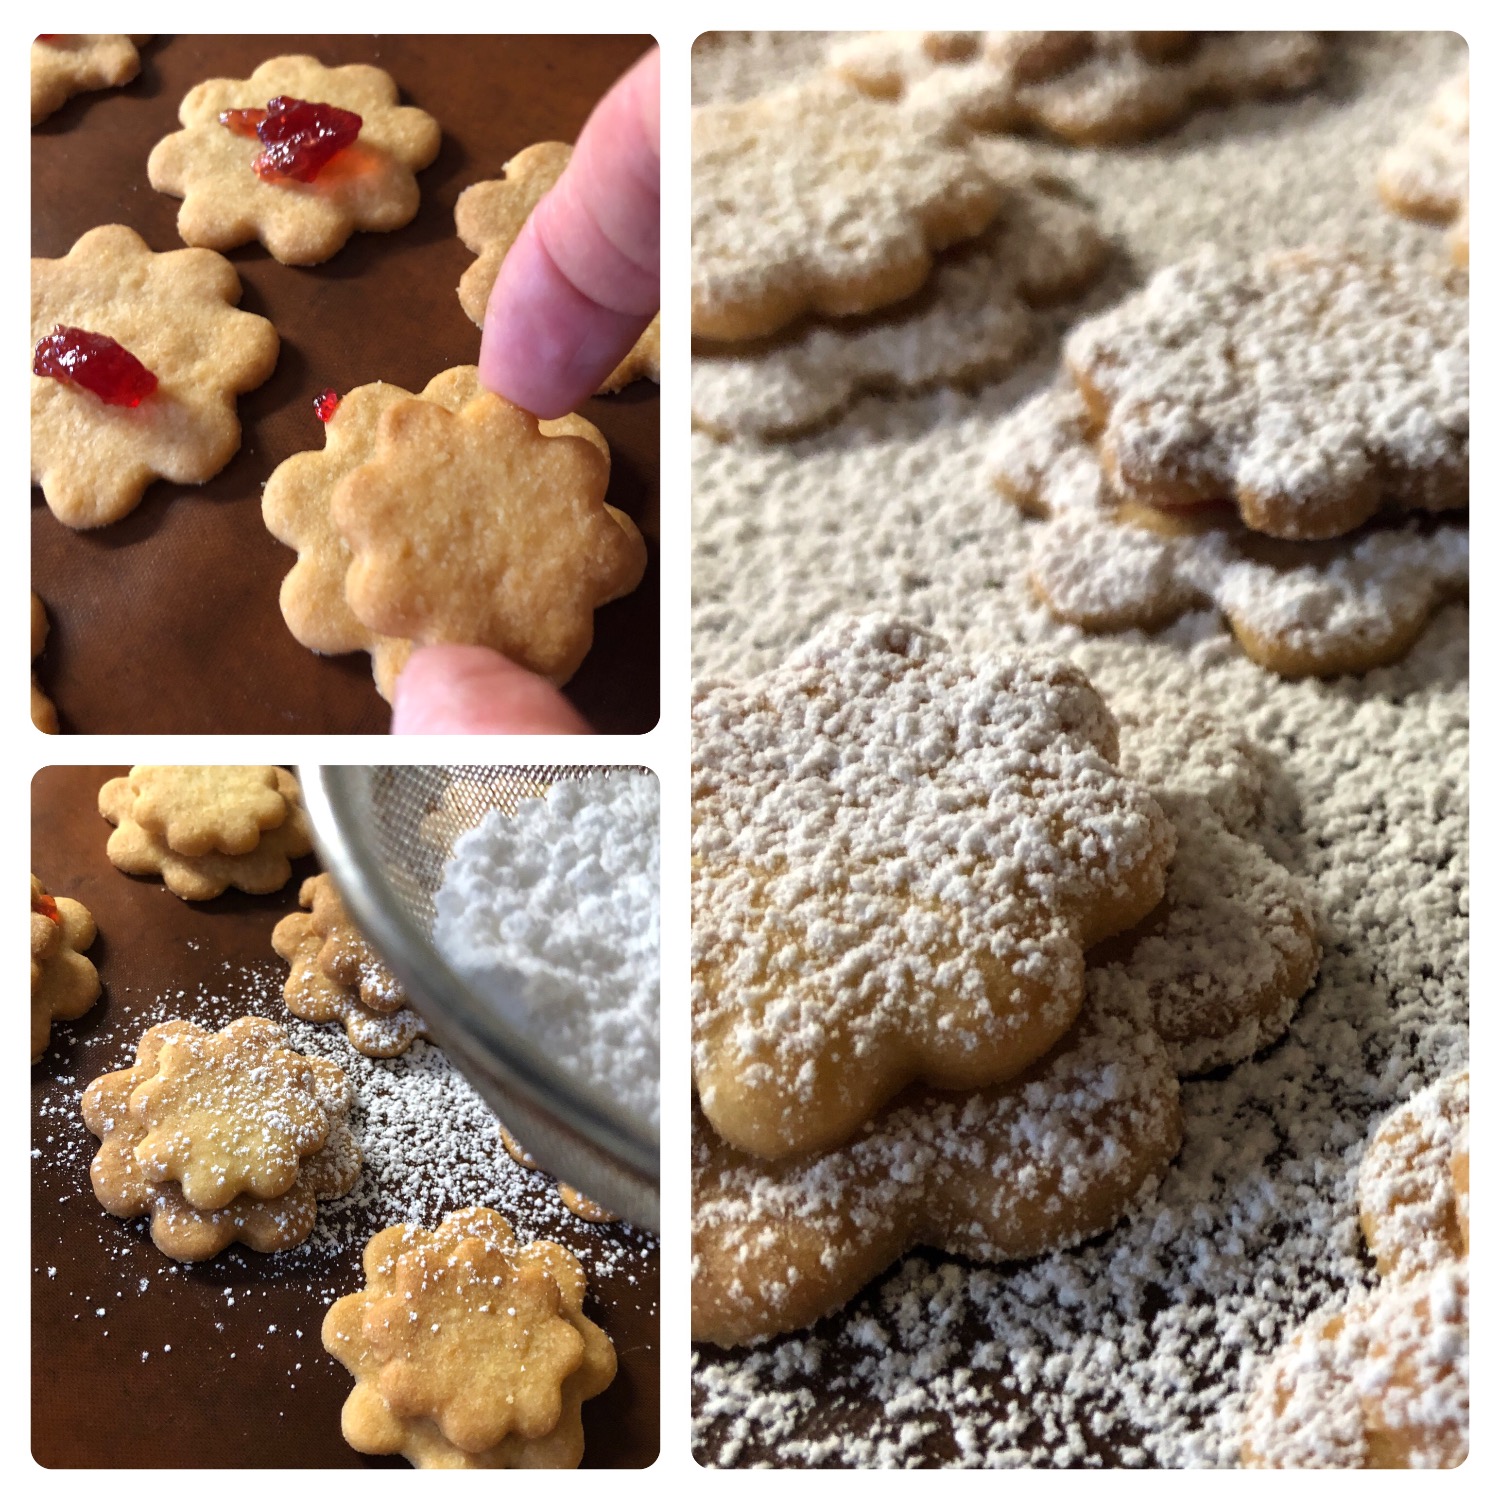
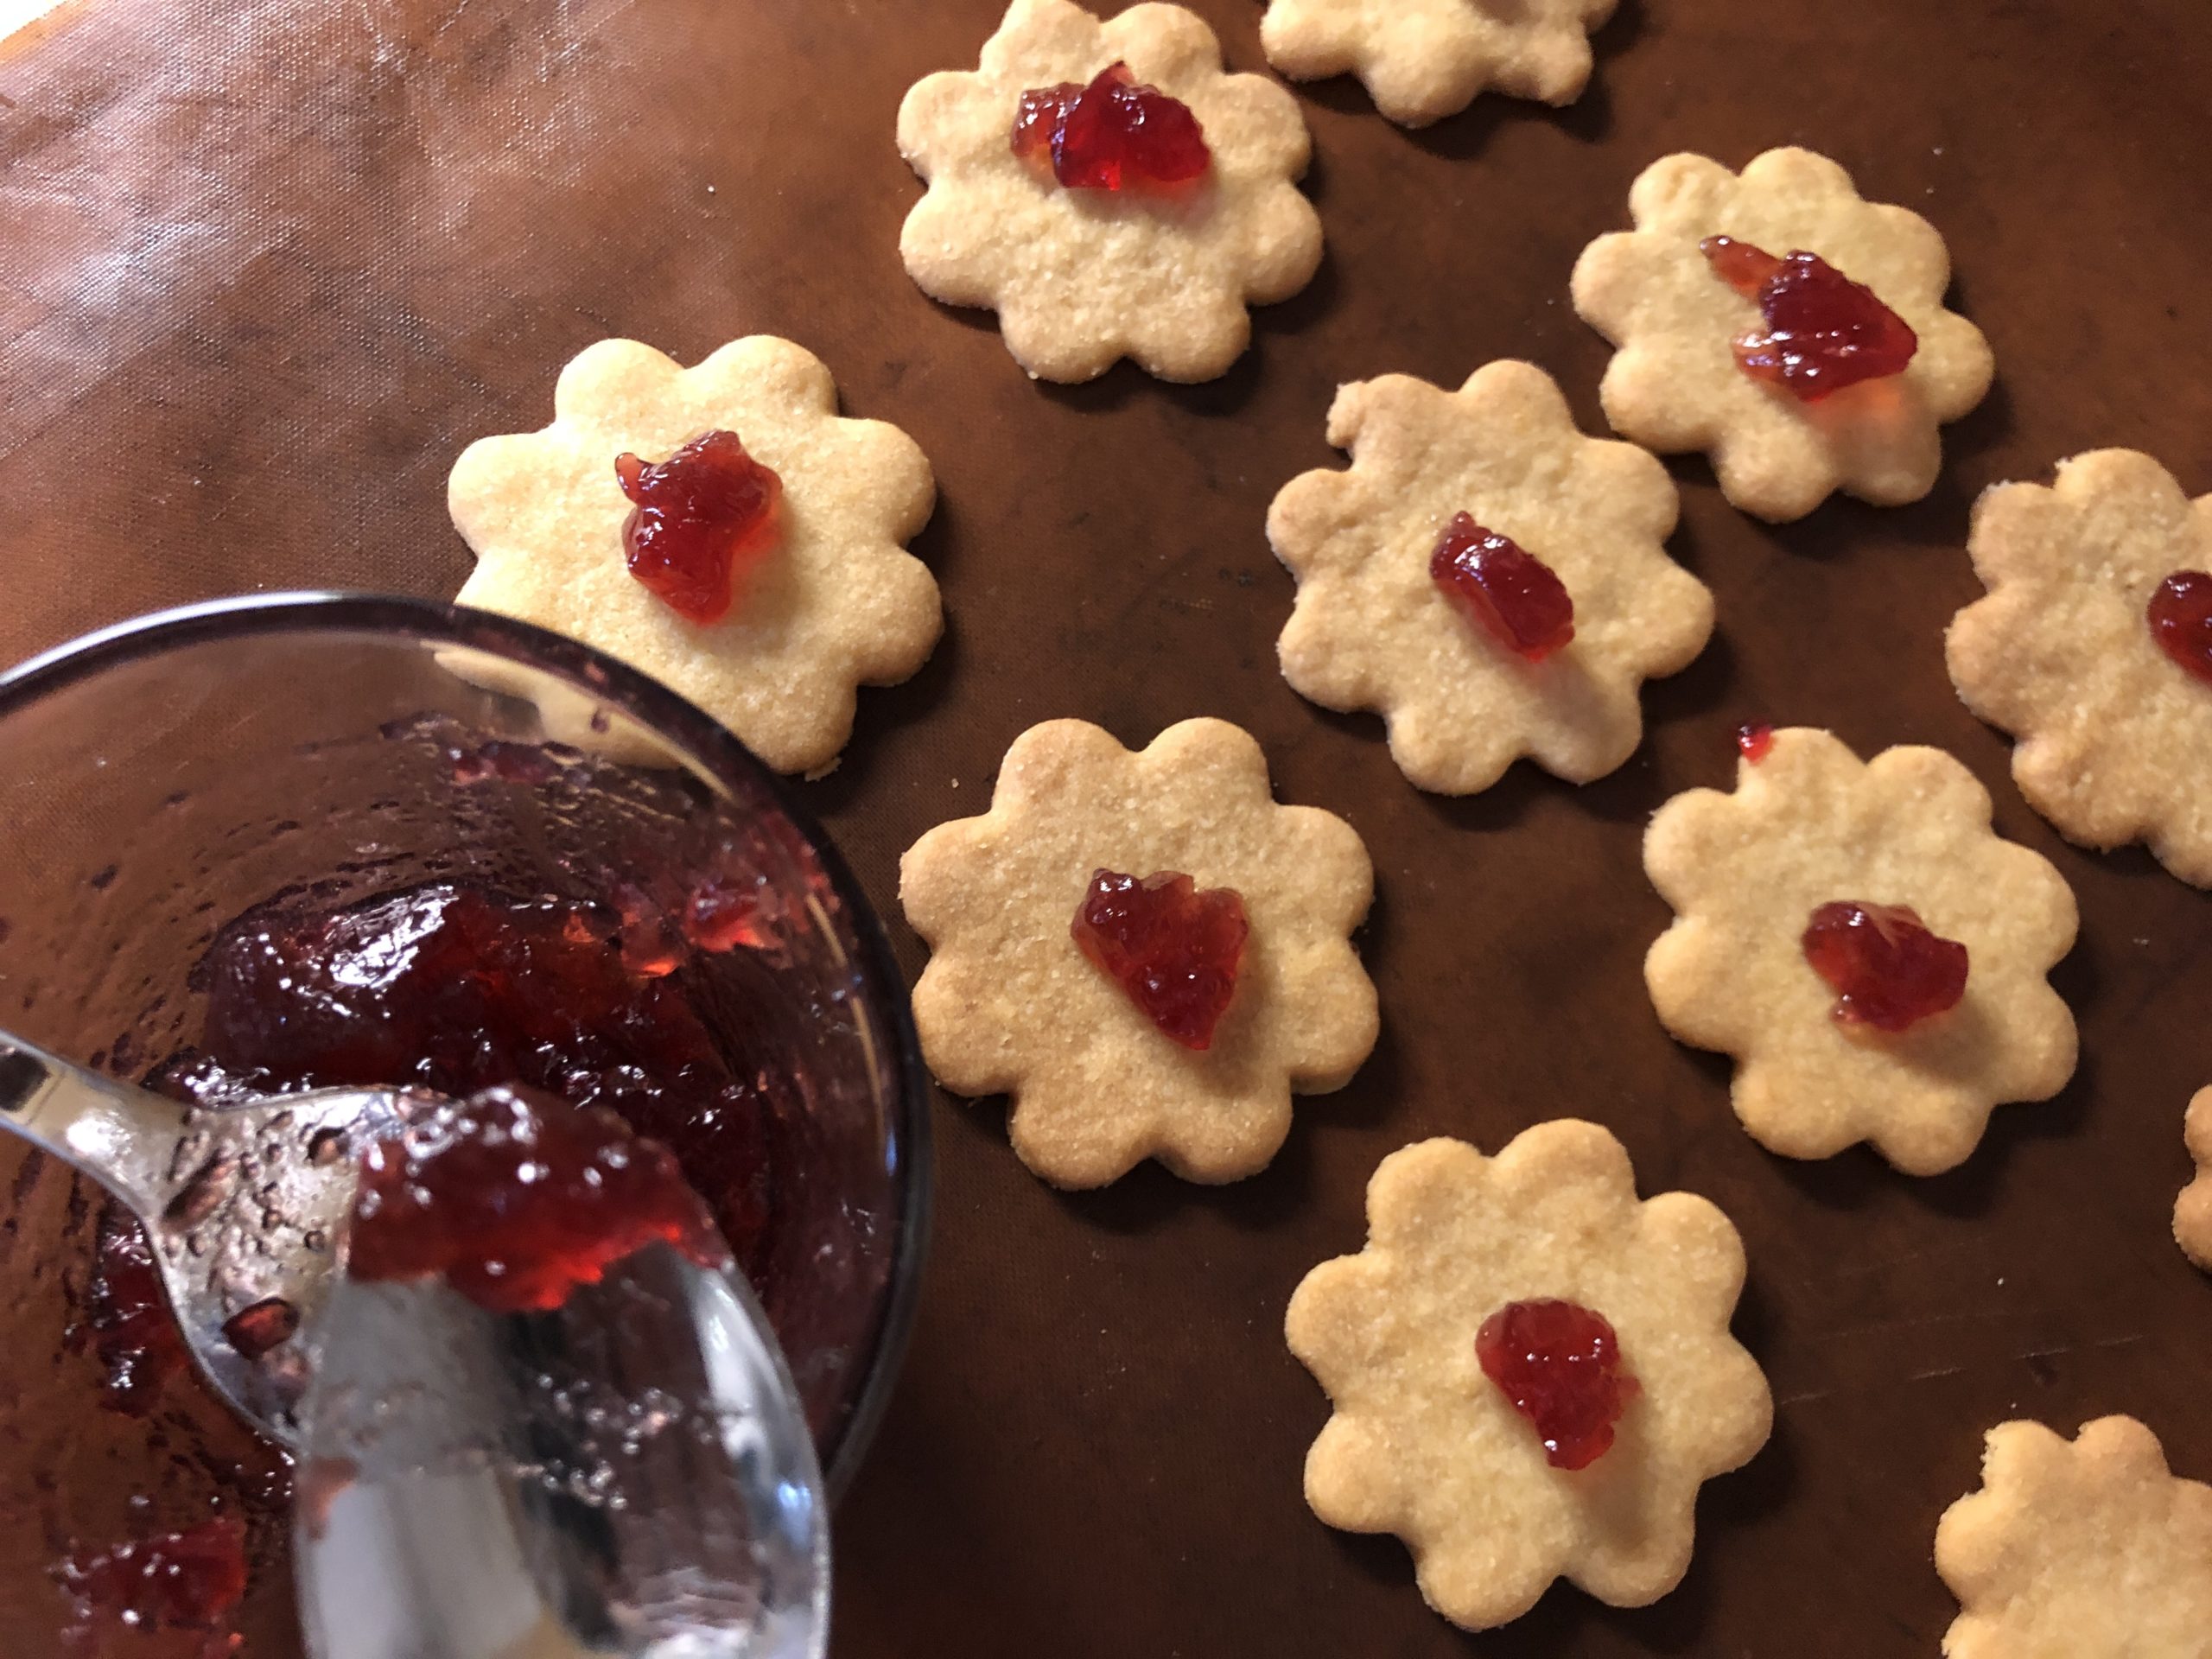
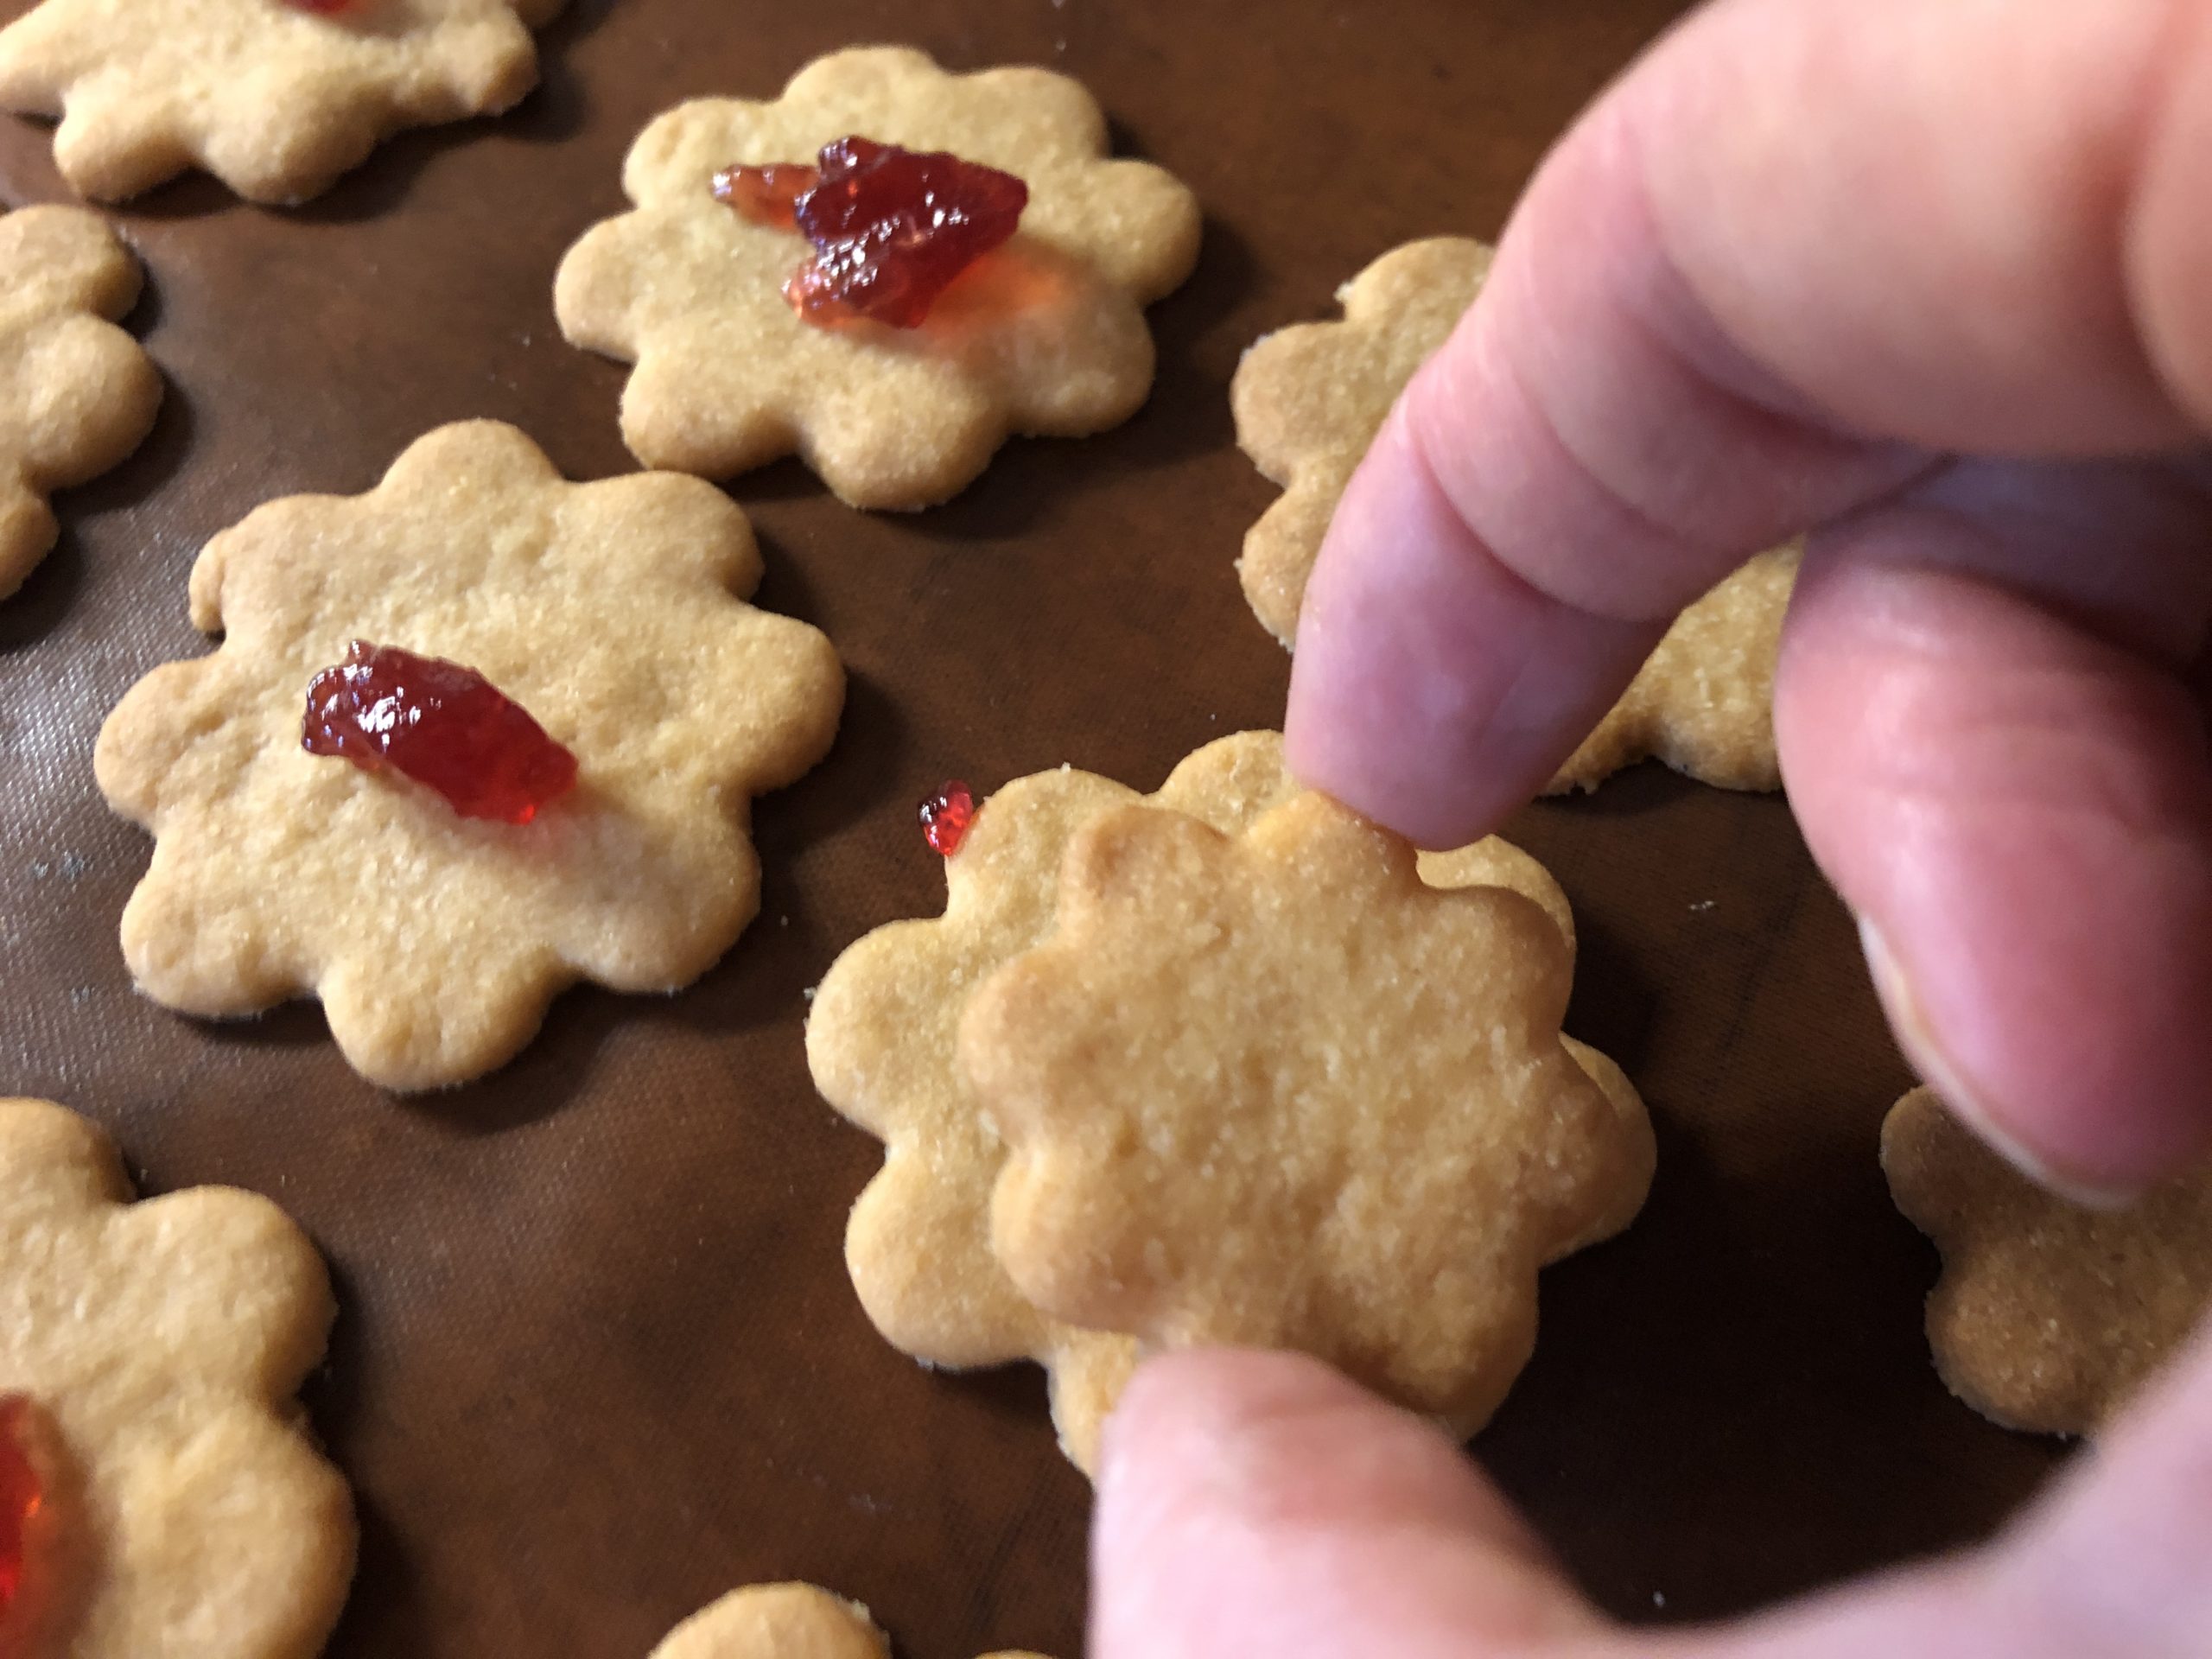
Now place on the large cookies a stick of raspberry-Johannisbeer marmalade. Take a teaspoon of jam out of the glass and strip the jam with another teaspoon on the cookies.
It's not that easy for children. But it's great for coordination and fine motor skills.
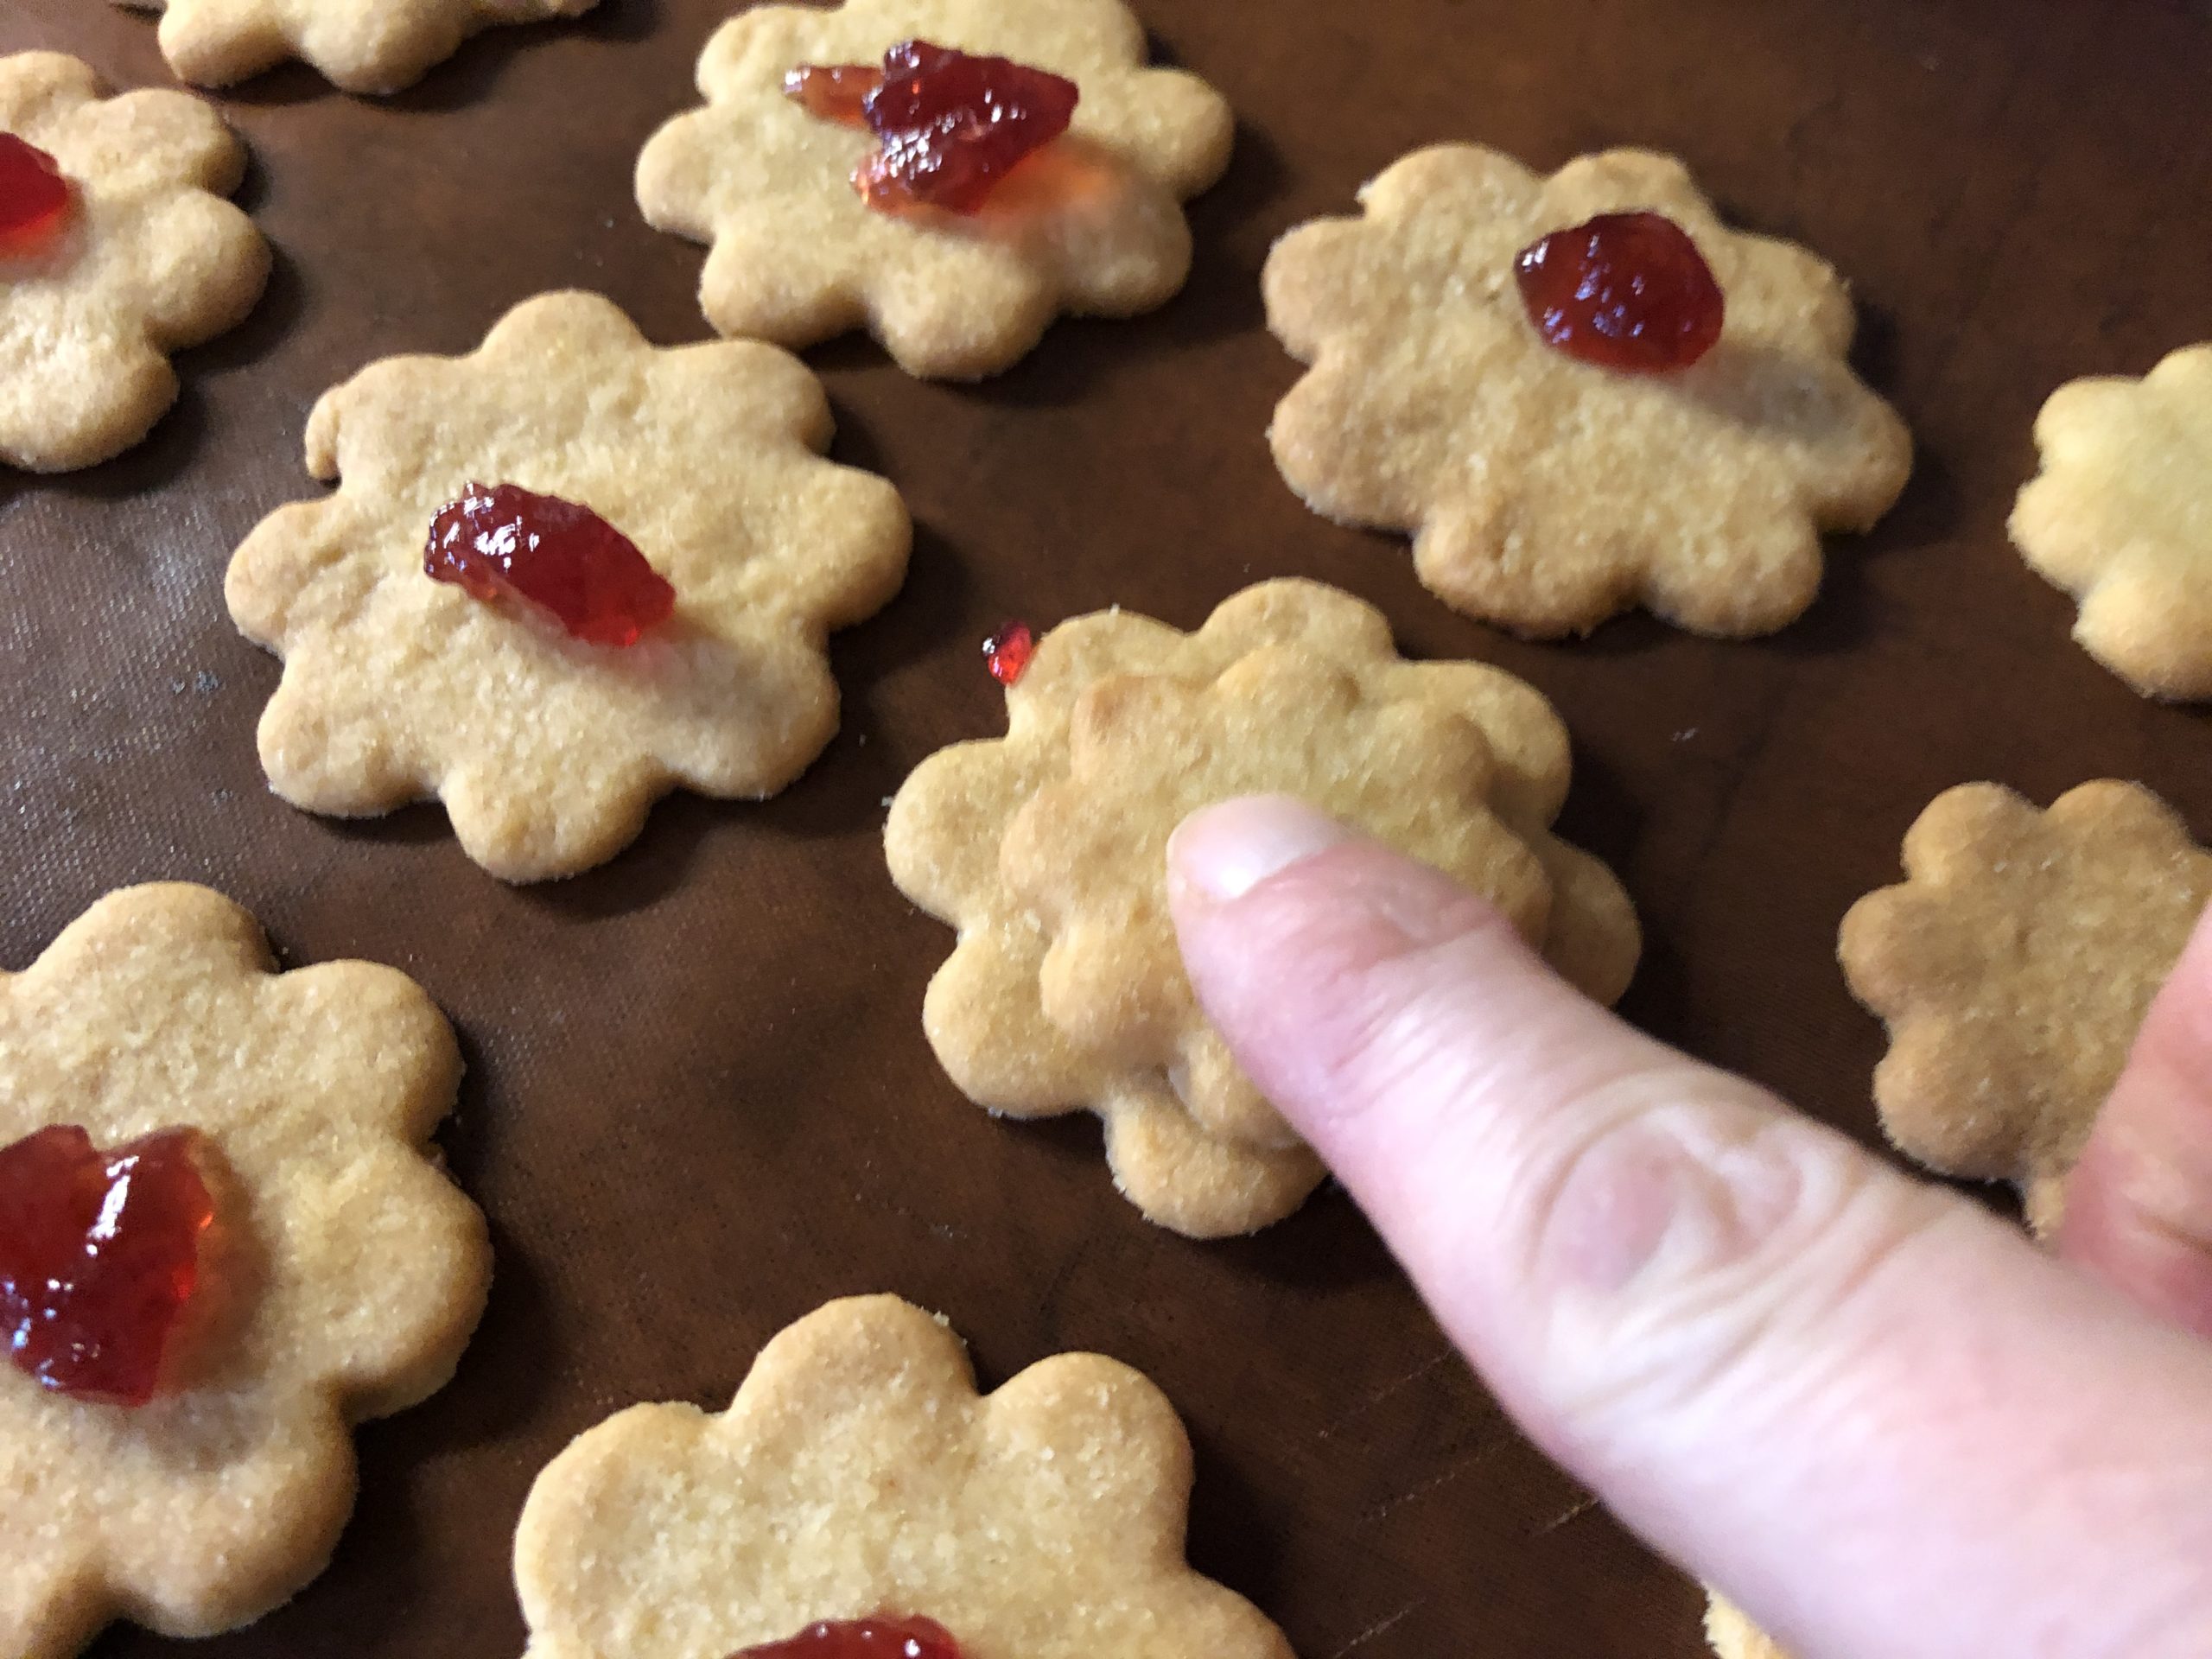
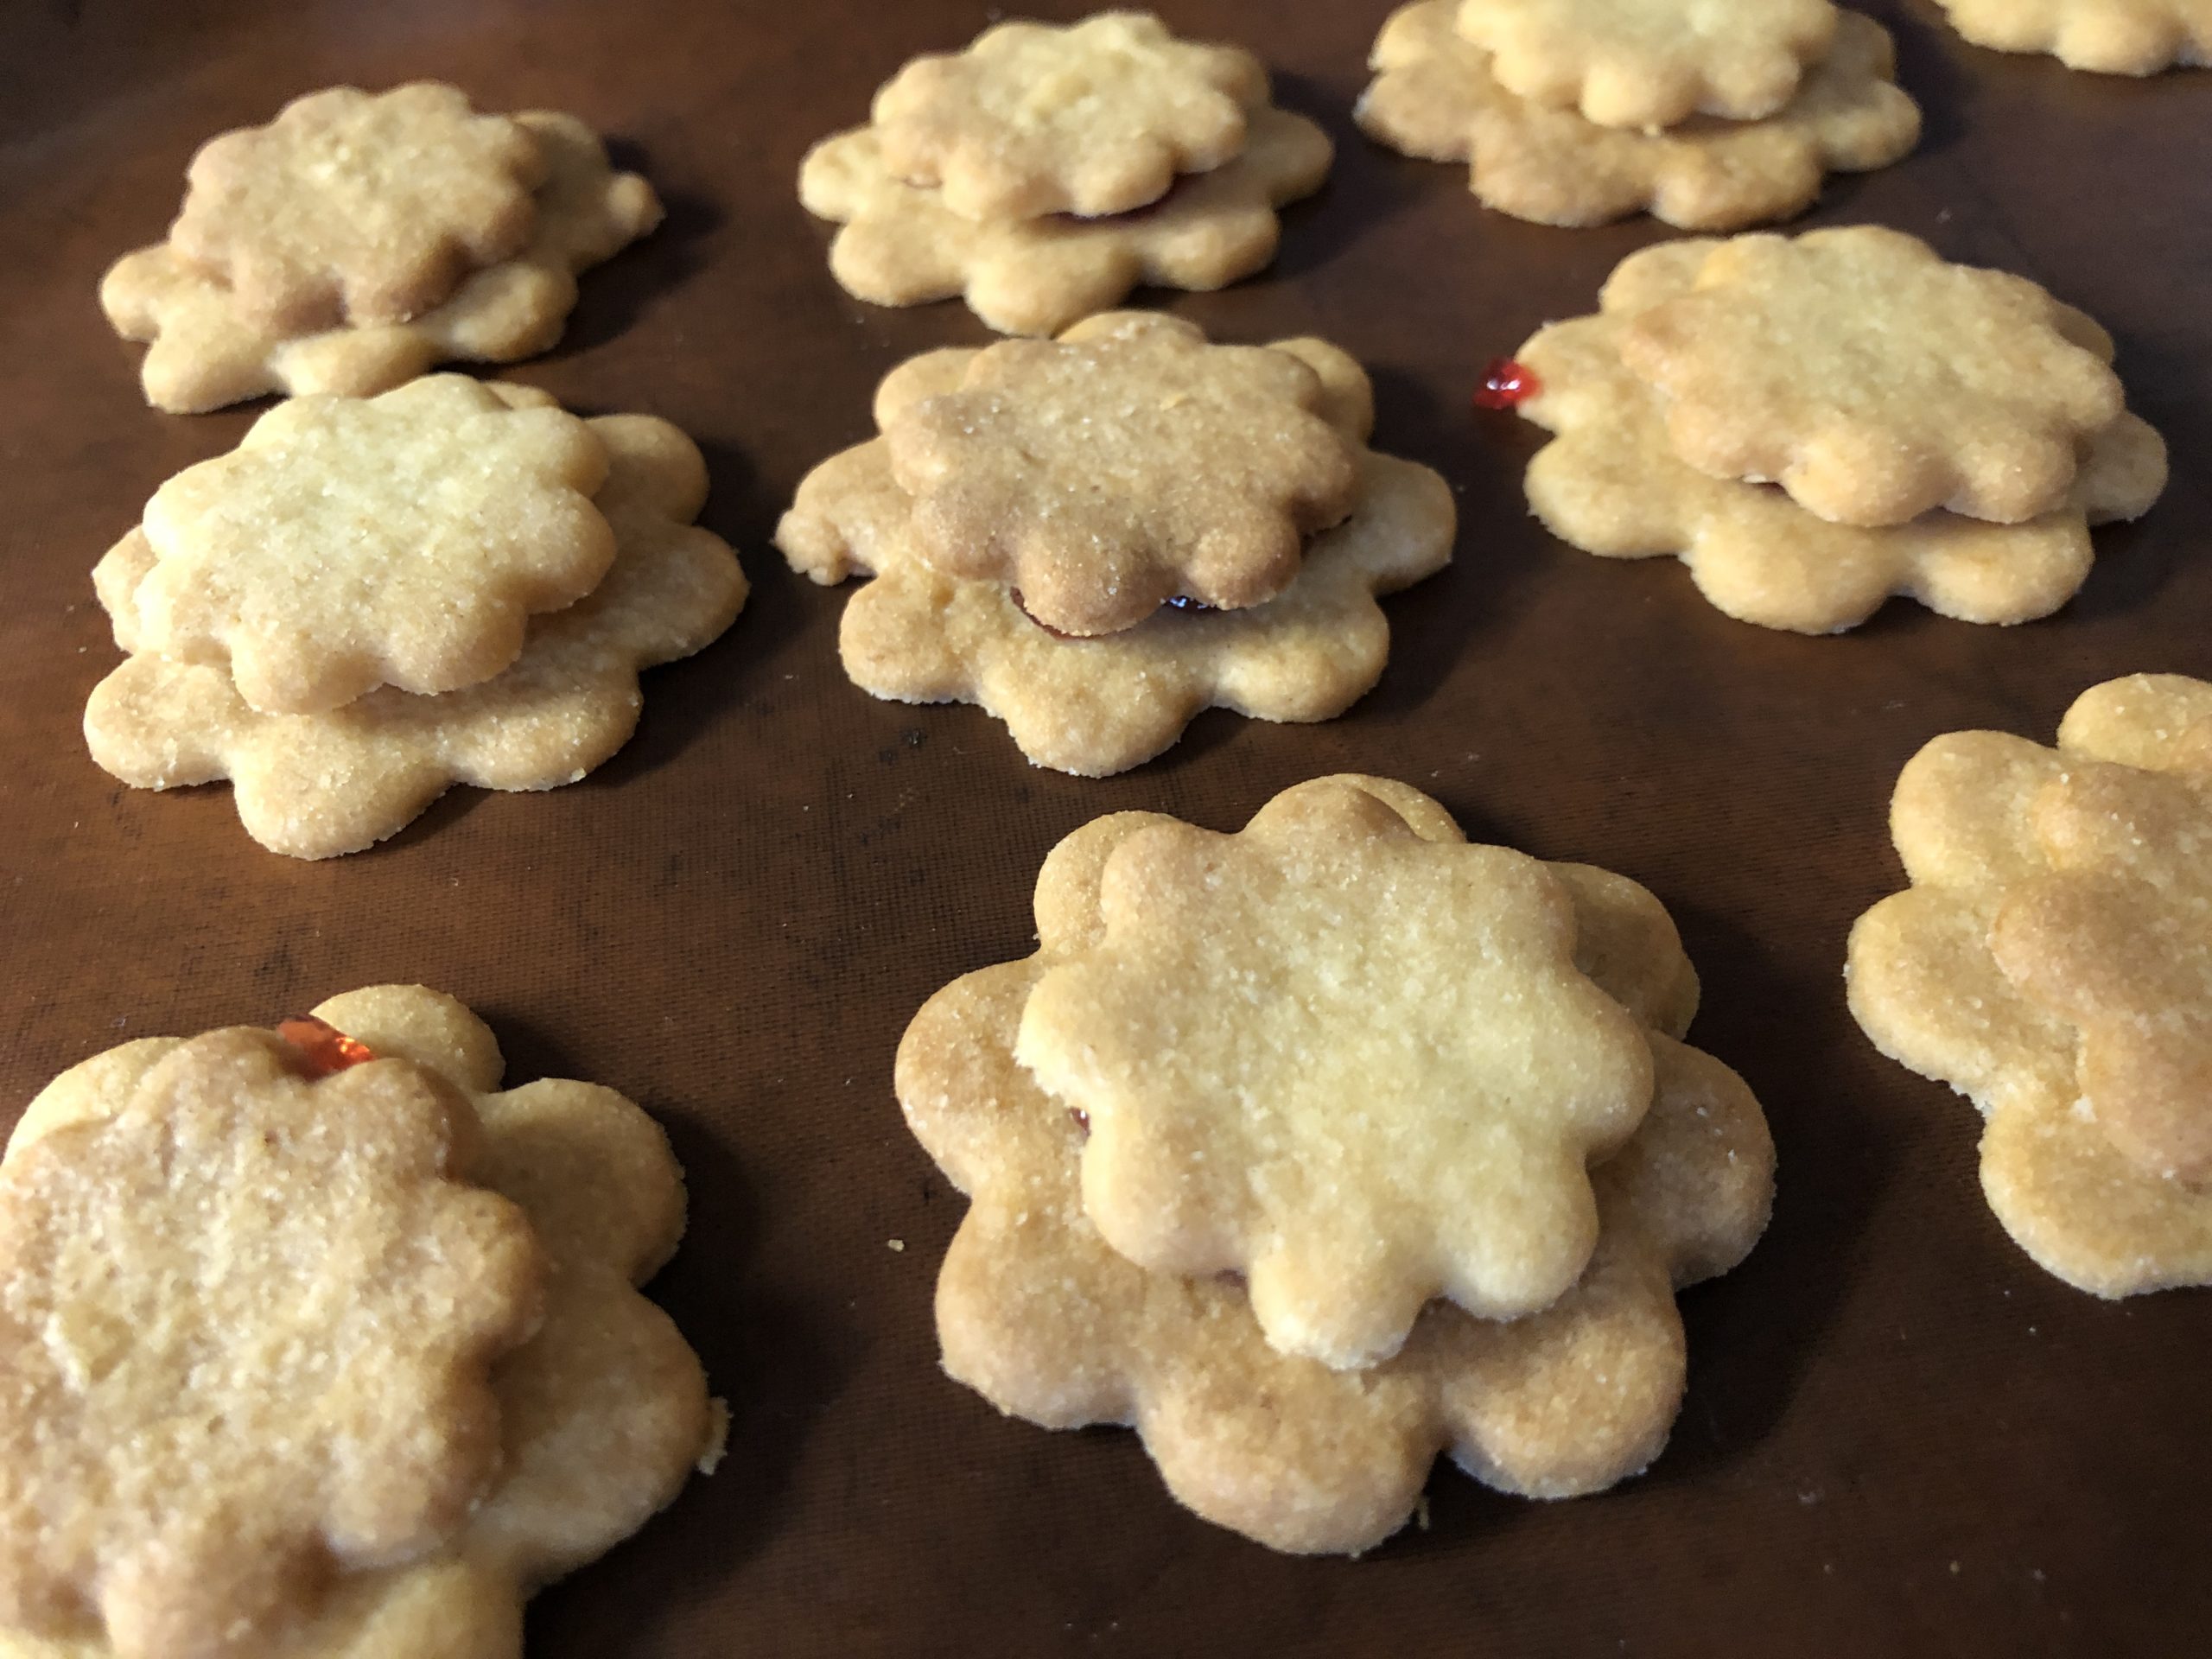
Then put a small cookie on top of the jam.
Turns the little cookie slightly back and forth, so that it connects with the lower cookie. The jam should remain under the cookie.
Attention: If you press too hard, you can break the top cookie.
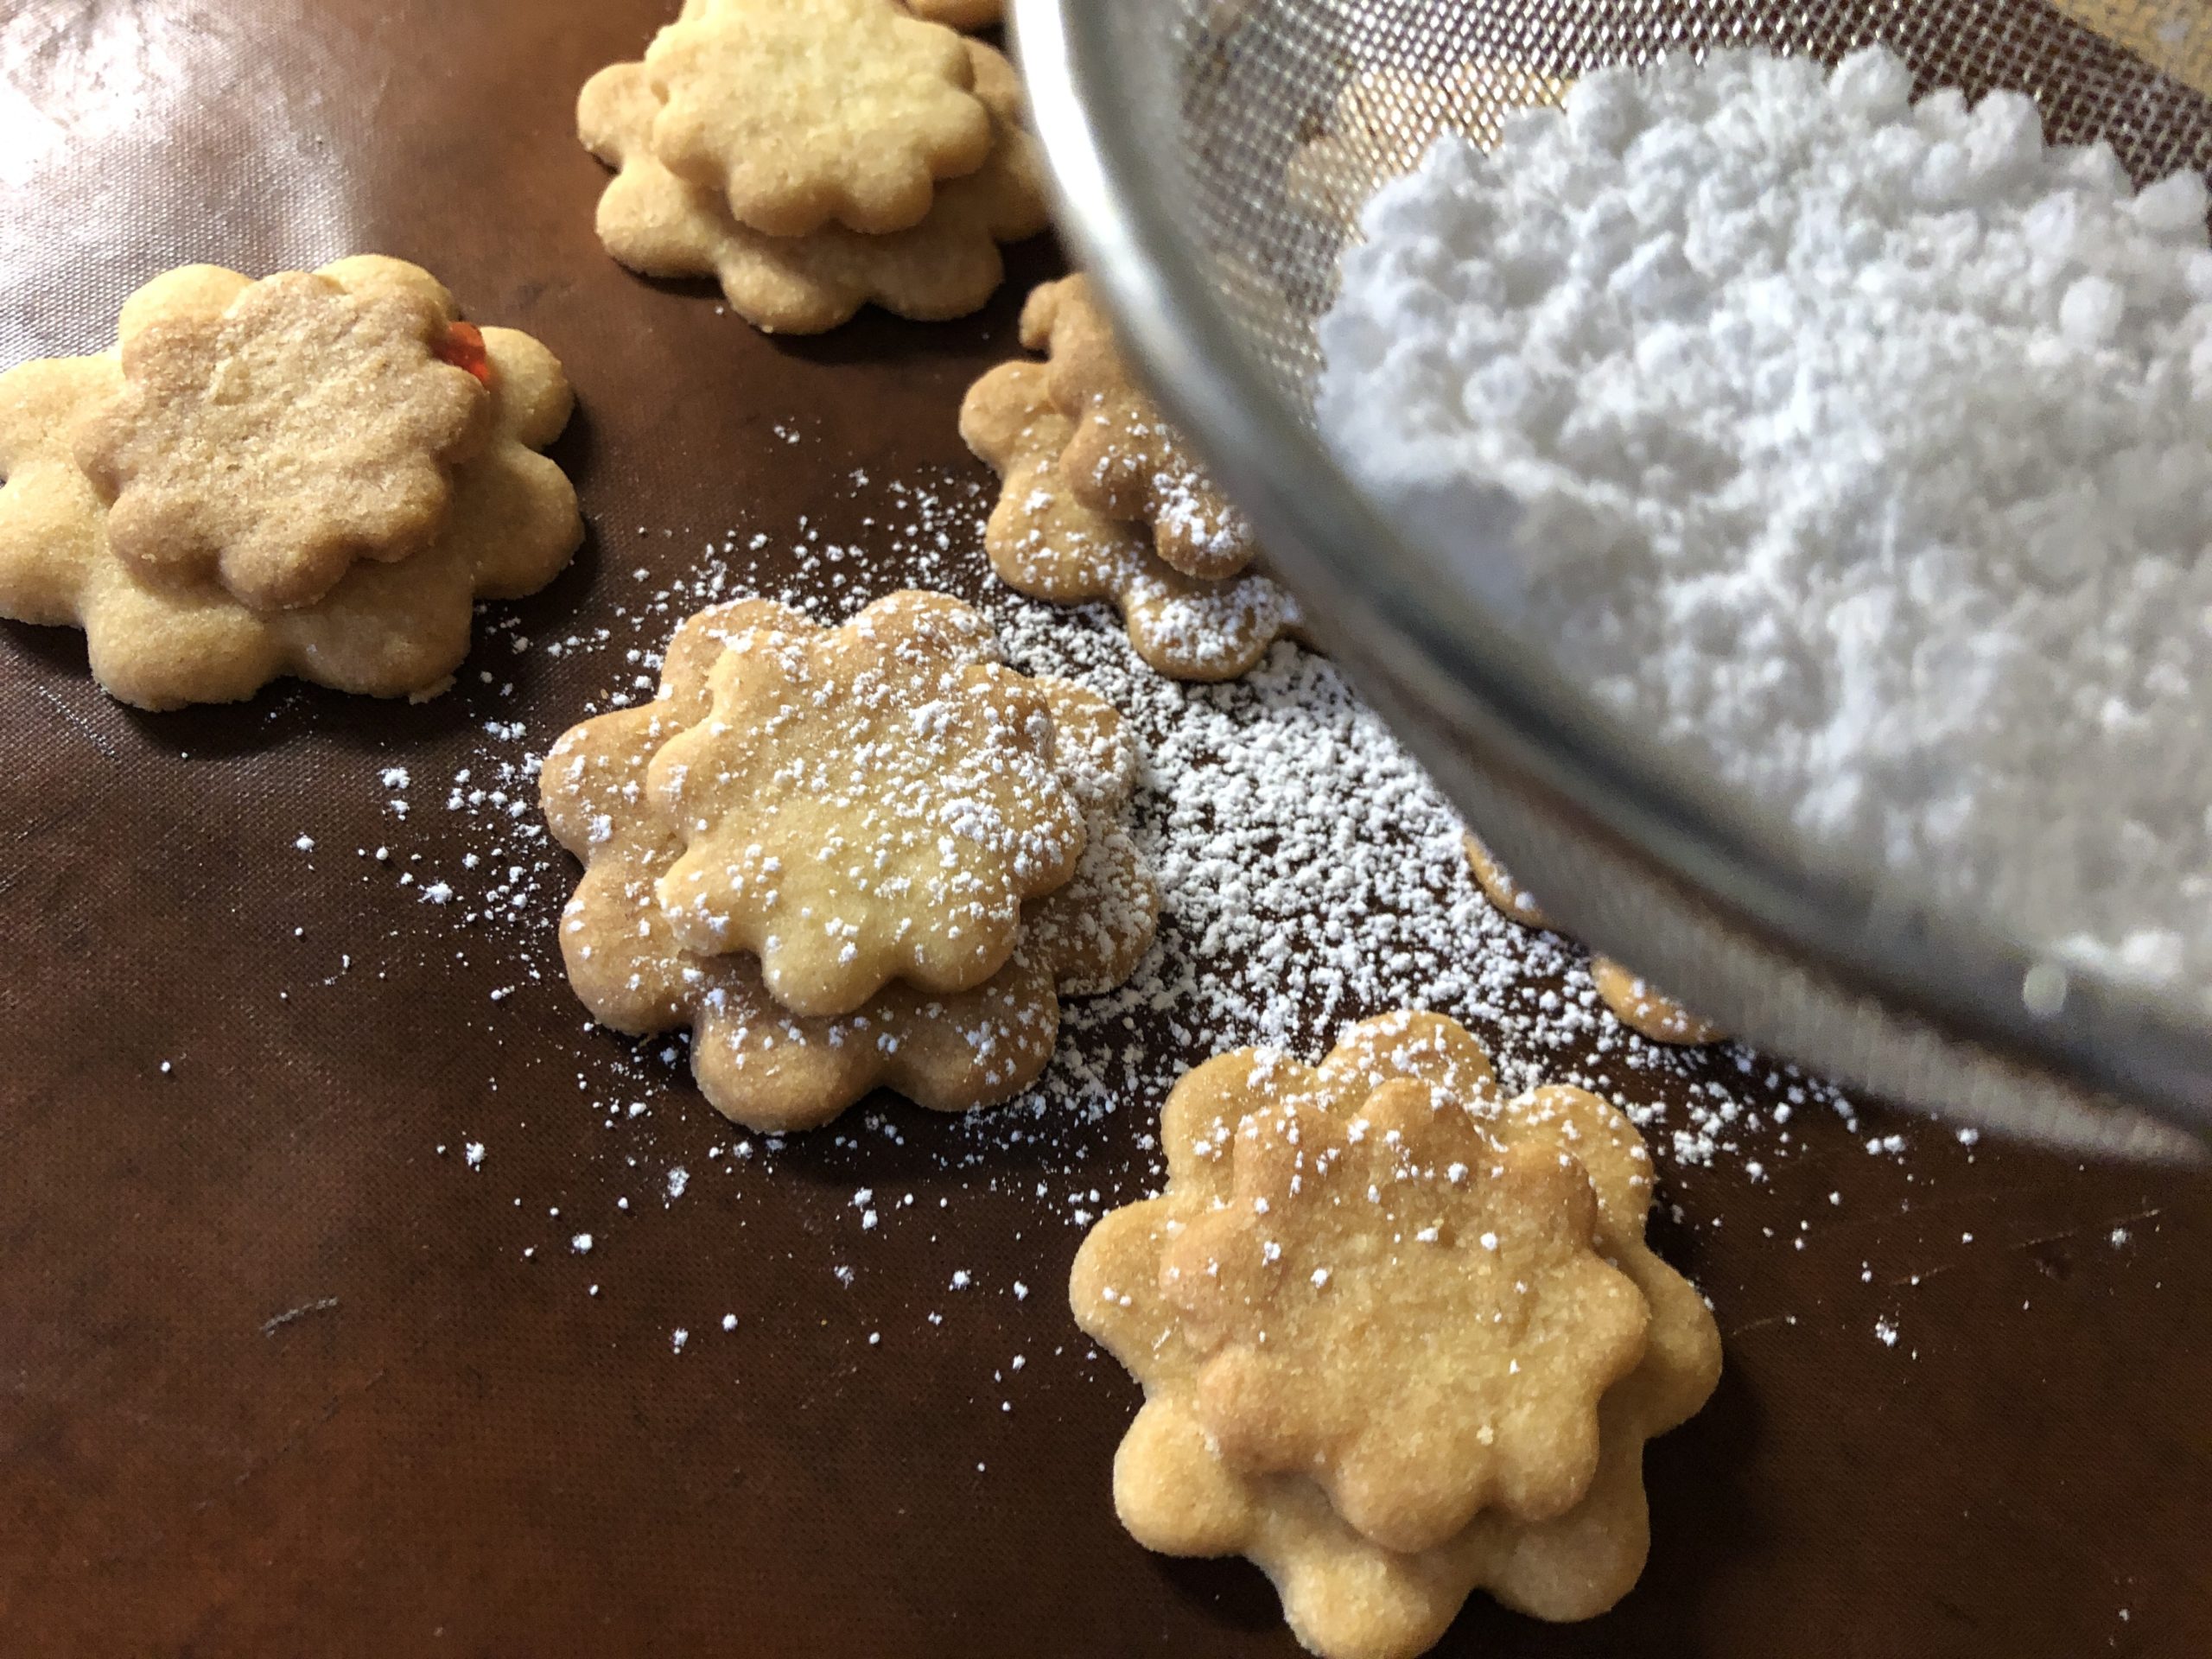
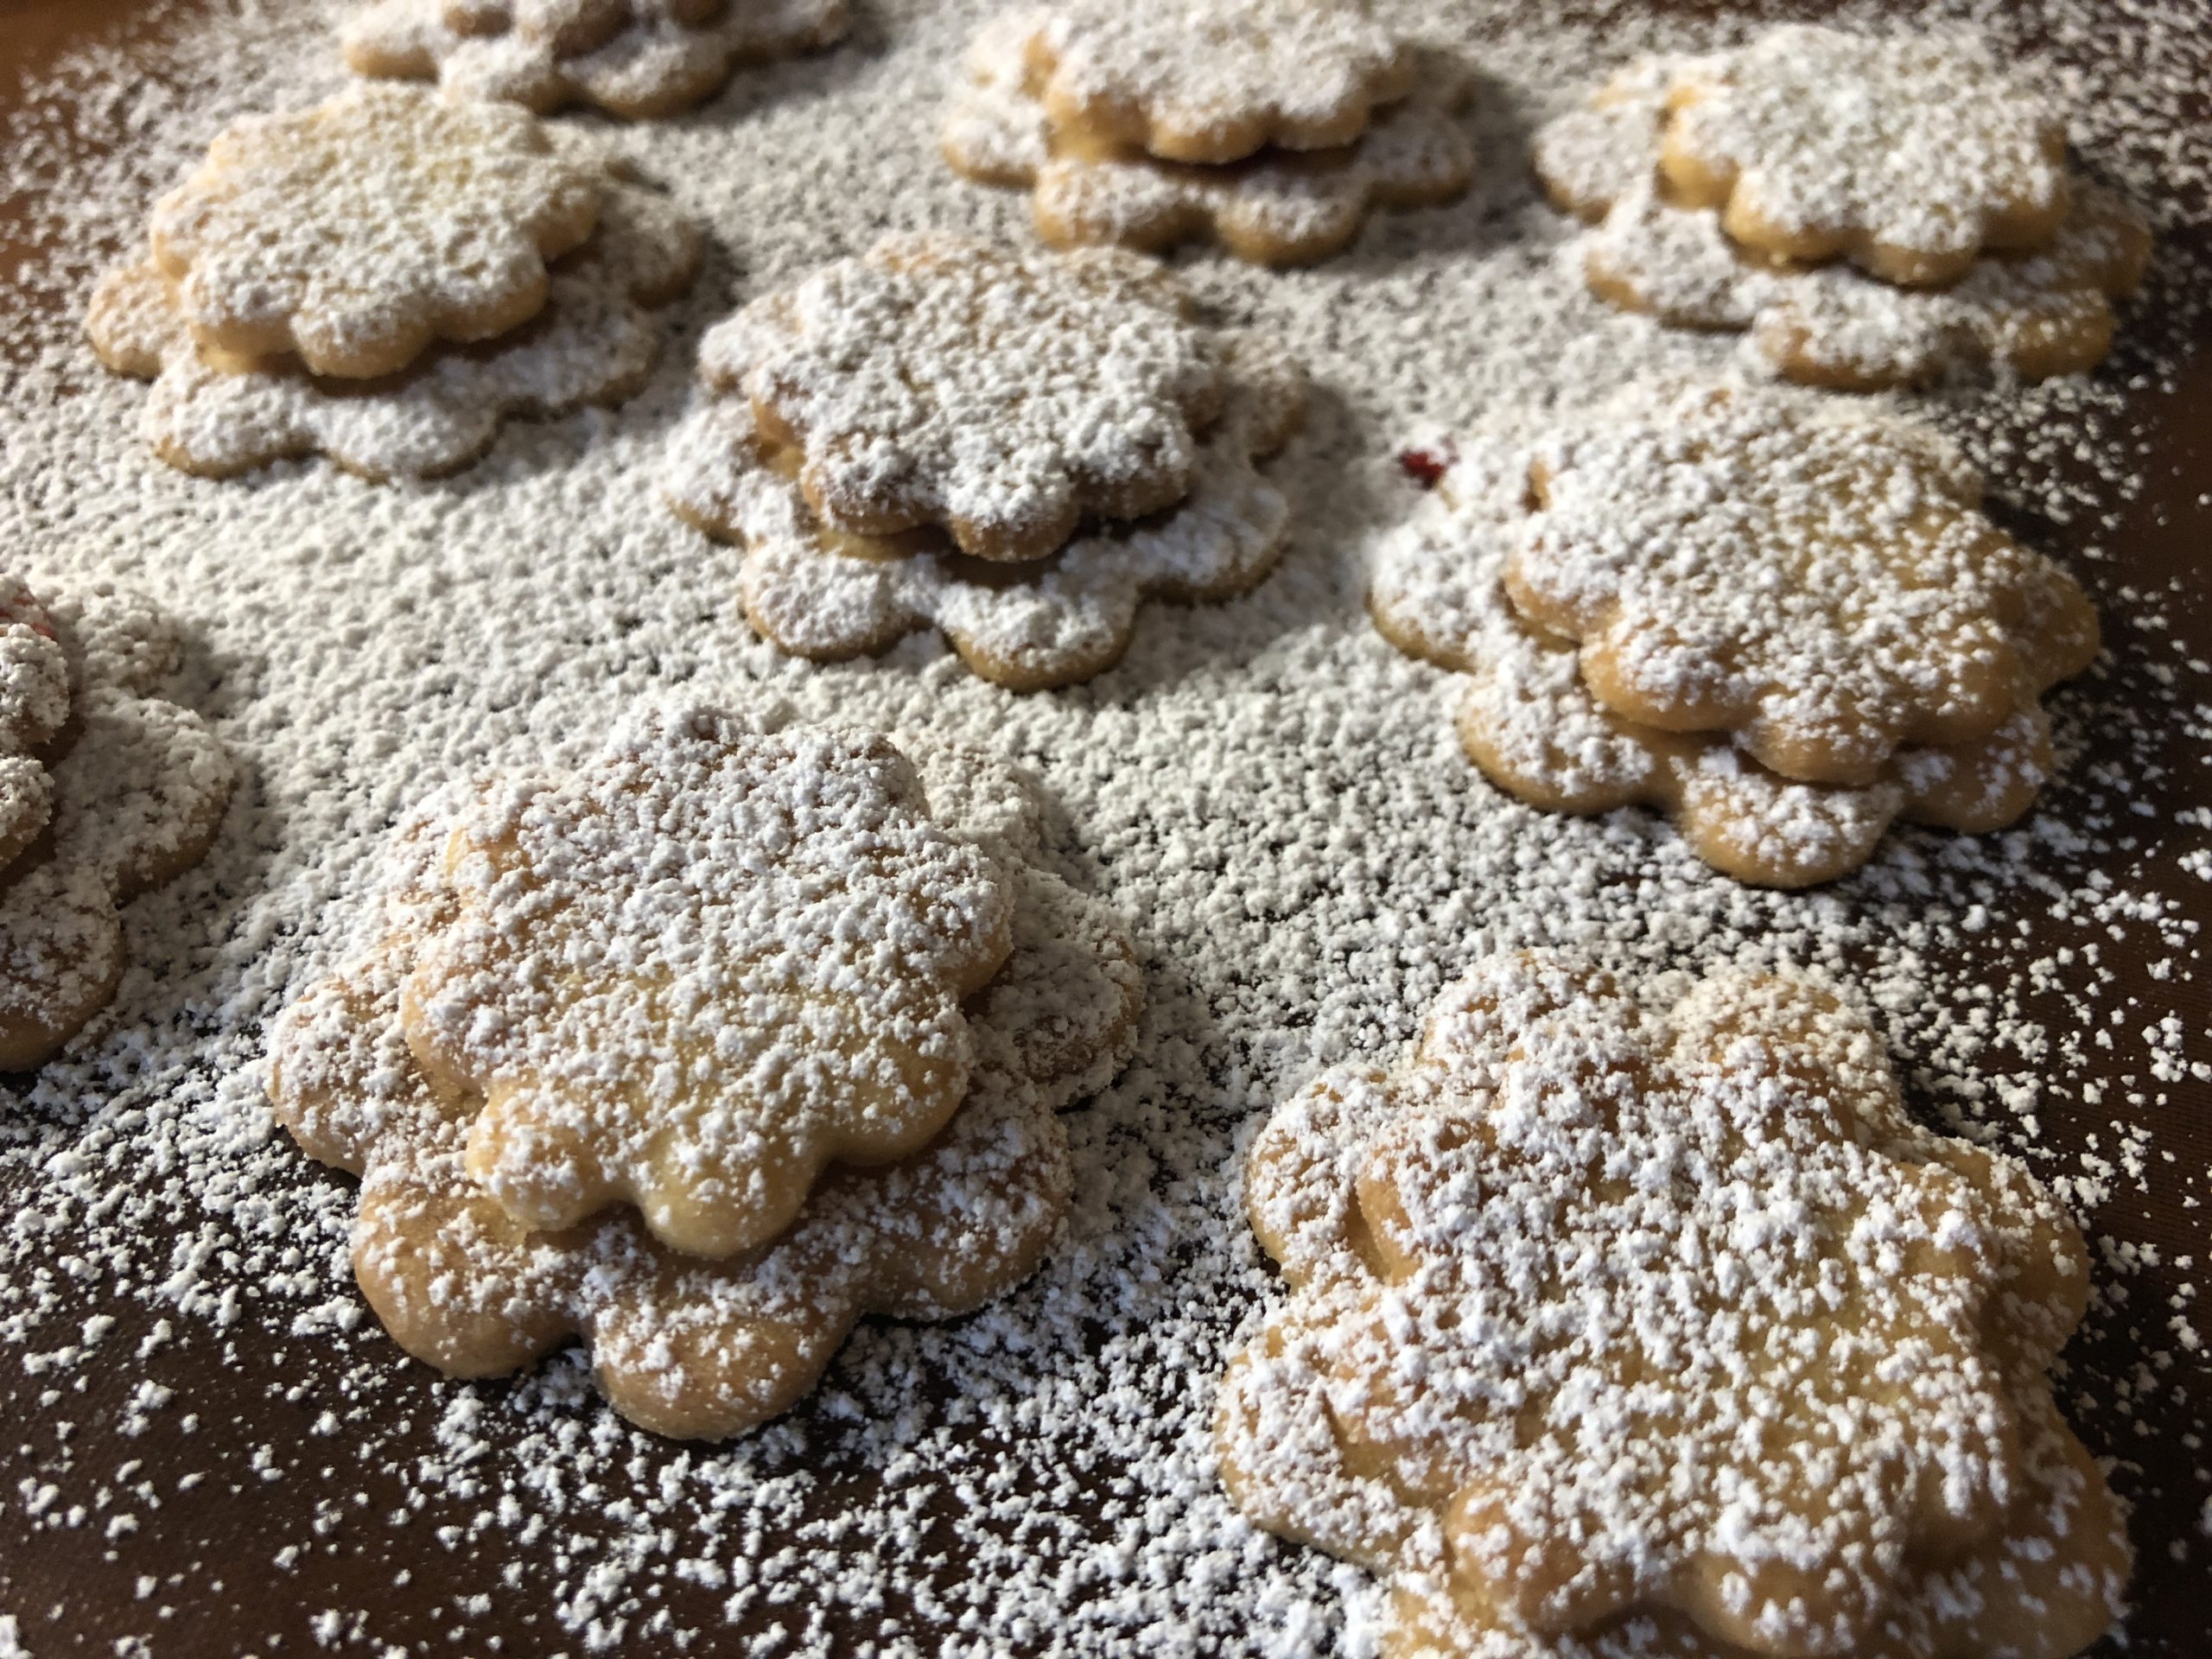
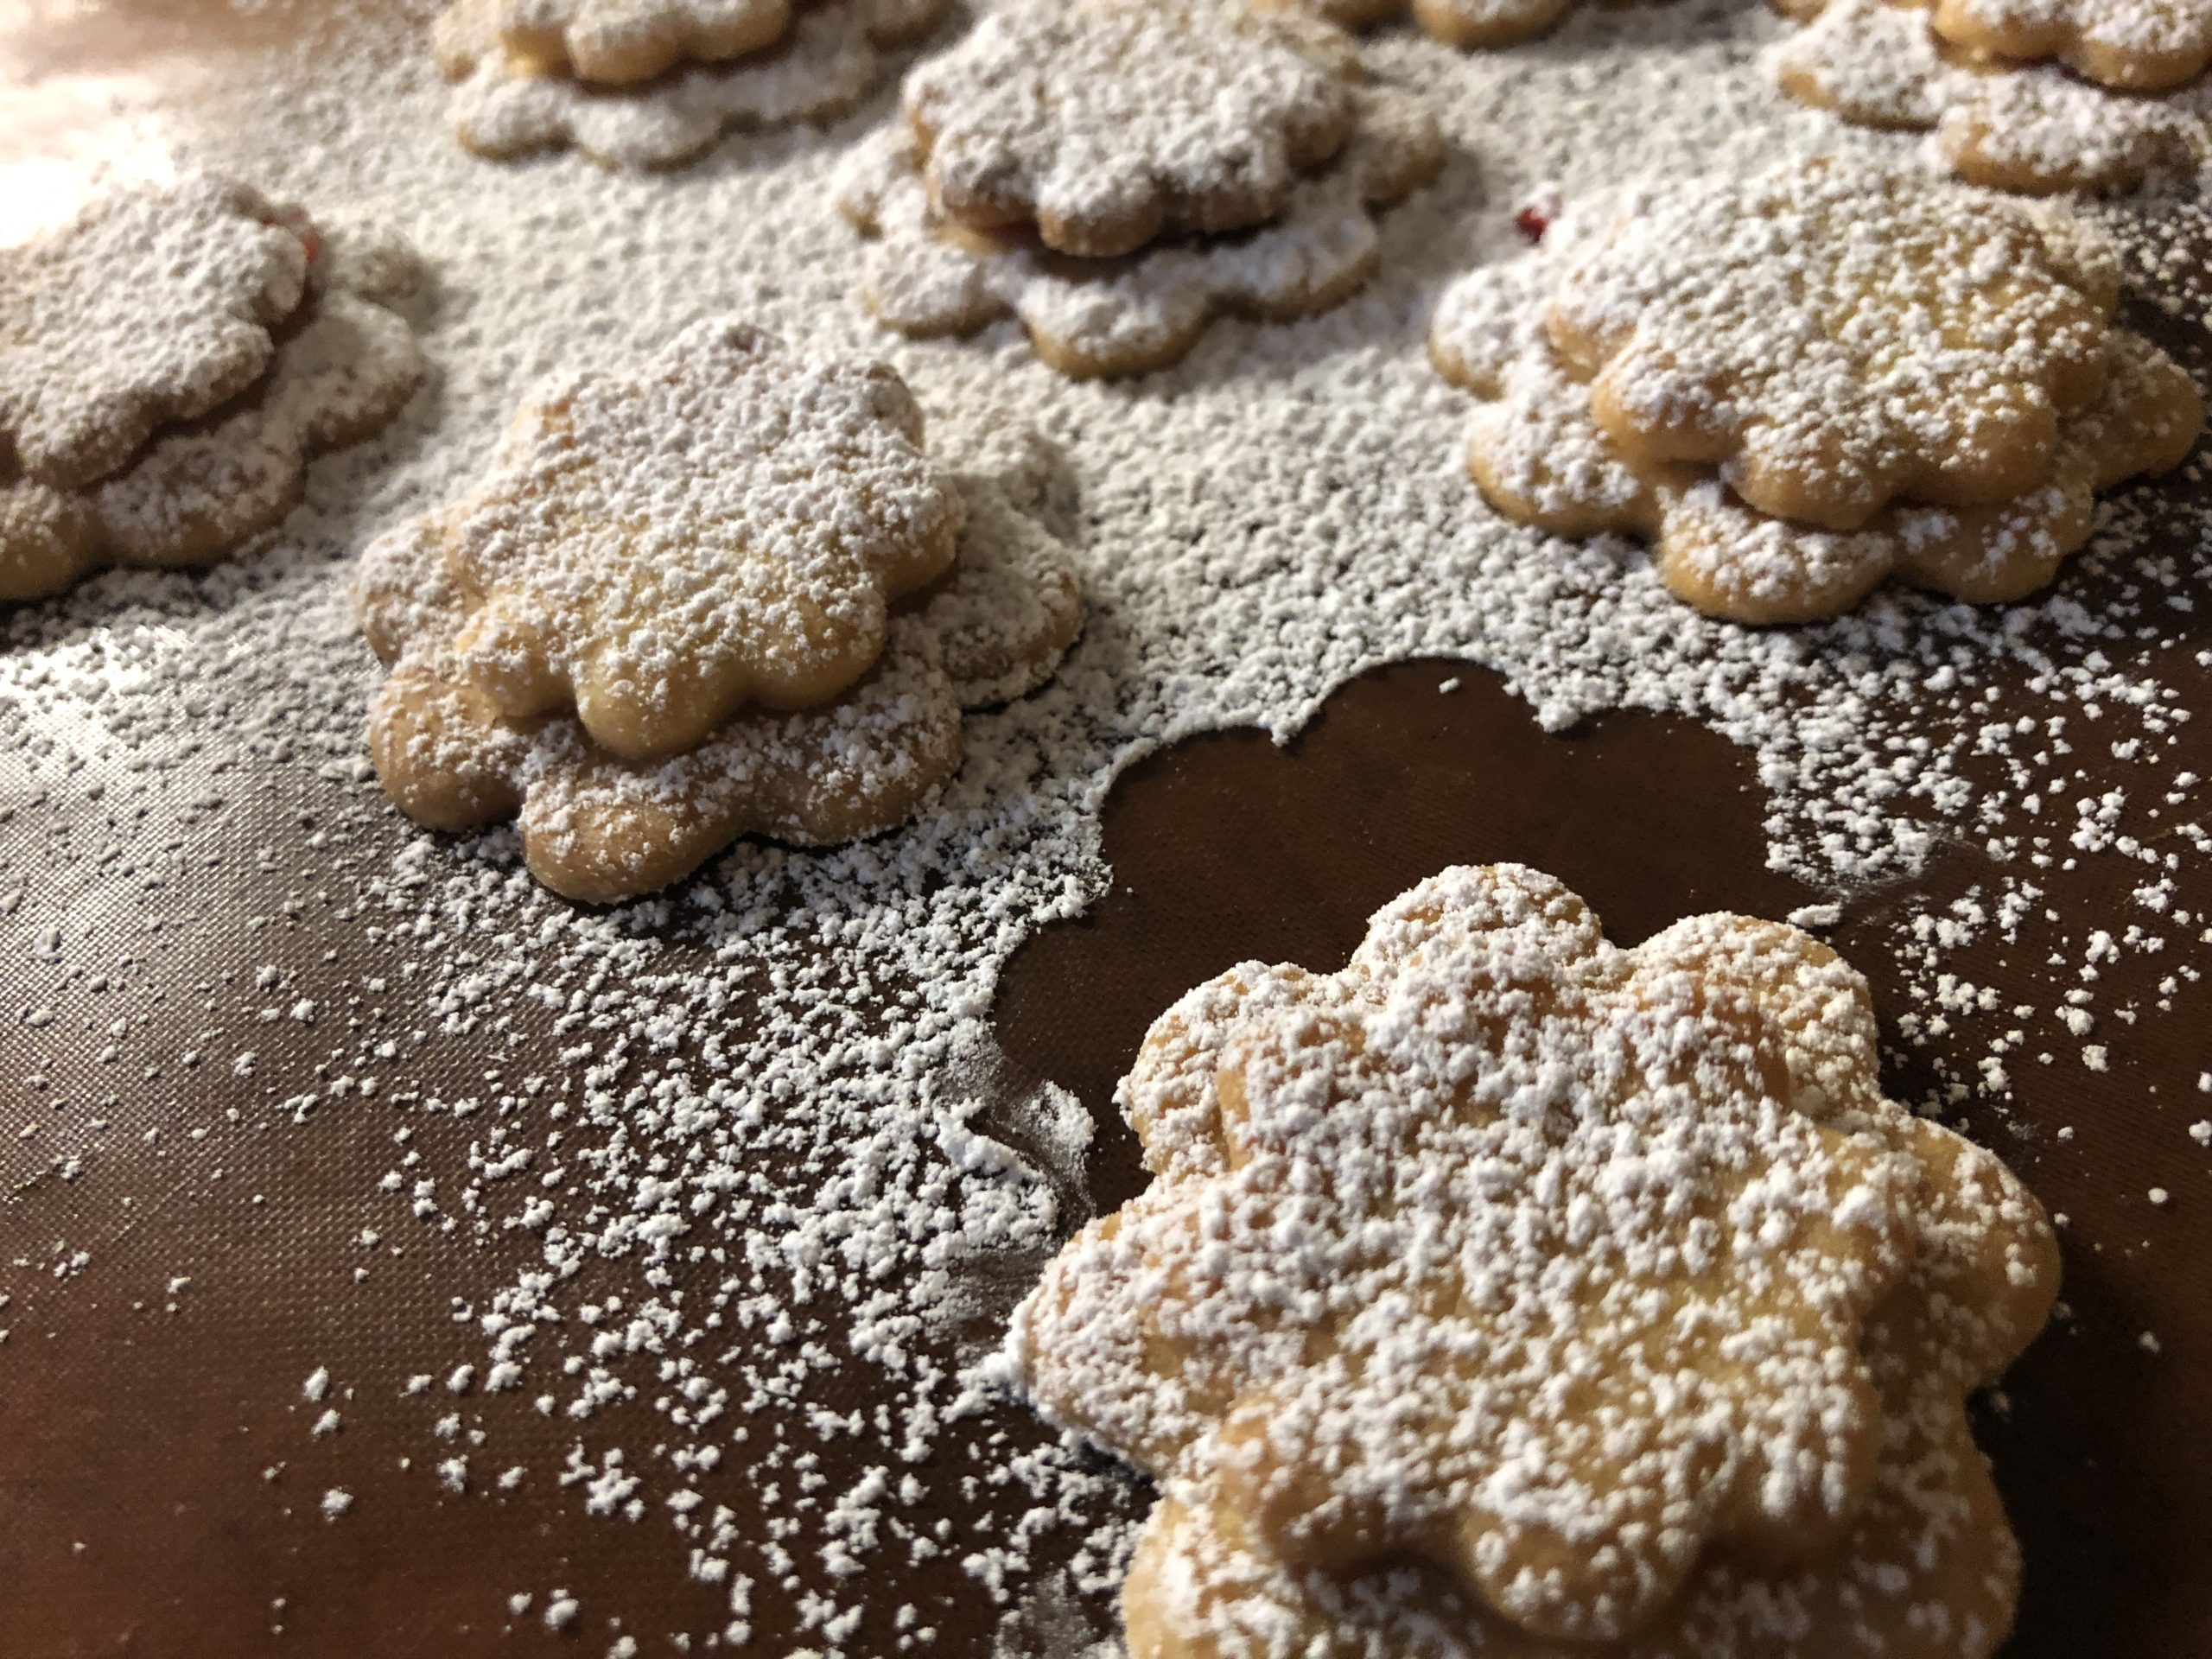
Finally, sprinkle powdered sugar with a sieve over it.
Et voilà! The clouds are ready.
Keep the clouds in a can.
Let them pass through, then they taste very juicy and wonderfully fruity.
Have fun trying it out!
Enjoy it and stay creative!
Materials
Directions
First wash your hands and put on an apron and then you can get started.
Weigh all the ingredients and put them in a bowl.
Then you make all the ingredients into a clove.
Tip: Children also like to knead with their hands. So let them knead the ingredients themselves to a dough.
The finished dough is cooled for 20 to 30 minutes (fridge or balcony).
Tip: If the dough is covered with clinging foil, it will not dry.
Rolls out the dough evenly thin and cuts out large and small clouds.
Make sure you cut out the same number of large and small clouds.
Let the cookies cool down.
They break apart if they haven't fully cooled down yet.
Now place on the large cookies a stick of raspberry-Johannisbeer marmalade. Take a teaspoon of jam out of the glass and strip the jam with another teaspoon on the cookies.
It's not that easy for children. But it's great for coordination and fine motor skills.
Then put a small cookie on top of the jam.
Turns the little cookie slightly back and forth, so that it connects with the lower cookie. The jam should remain under the cookie.
Attention: If you press too hard, you can break the top cookie.
Finally, sprinkle powdered sugar with a sieve over it.
Et voilà! The clouds are ready.
Keep the clouds in a can.
Let them pass through, then they taste very juicy and wonderfully fruity.
Have fun trying it out!
Enjoy it and stay creative!
Follow us on Facebook , Instagram and Pinterest
Don't miss any more adventures: Our bottle mail