Make a fly fungus

AdventurerKatzi
Rating4.79.8 thousand times & (3) DifficultyIntermediate

In autumn the mushrooms sprout everywhere from the ground! They are great to look at and fascinate children. Therefore I show you a craft idea for a mushroom, which you can easily implement with a few materials. Make the mushroom head from a small cardboard plate. Find a thick branch as a mushroom stalk and collect some moss, bark and a few leaves. Then you can also start with the craft action.

Media Education for Kindergarten and Hort

Kind bastelt eine Rassel mit dem Navi
The Adventure Navi, the app for DIY projects, enables media education for the youngest.

Relief in everyday life, targeted promotion of individual children, independent learning and - without any pre-knowledge already usable by the youngest!
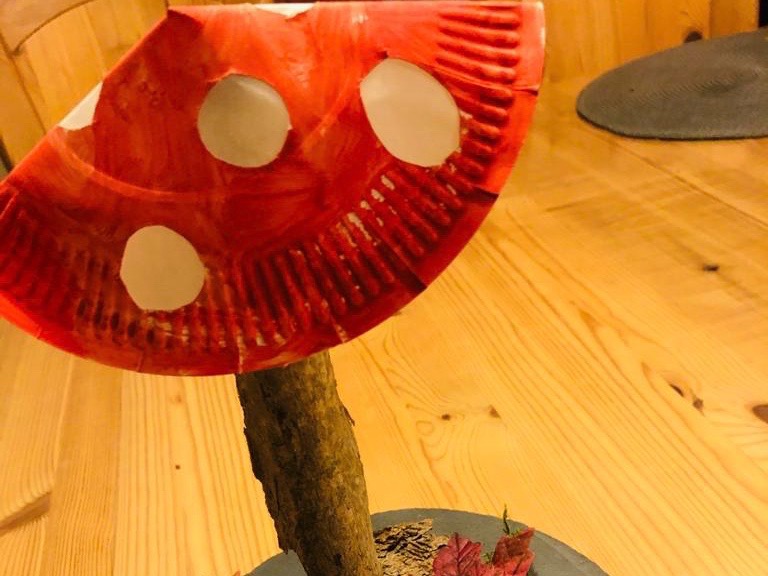


Titelbild zur Bastel- und DIY-Idee für Kinder '(432) Fliegenpilz basteln'
Material for1 Child
Prep Time10 min.Adv. Time25 min.Total Time35 min.
 1 Cardboard plates (small)
 Water colours
 Brushes and water cups
 Pen
 Hot glue gun
 Butterbread paper
 1 Ast about 20 cm long
 1 A handful of moss
 1 Pieces of bark
 Leaves
 1 Slate plateor a slice of a tree trunk or a wooden board;
All links marked with a shopping cart lead to Amazon - here we have selected products that we would order ourselves and in part also ordered. In a qualified purchase via the advertising link, we as Amazon partner receive a commission, for you there are no costs. You thus support our cost- and advertising banner-free, educational offer.
1

Cut a cardboard plate with the scissors to the middle.
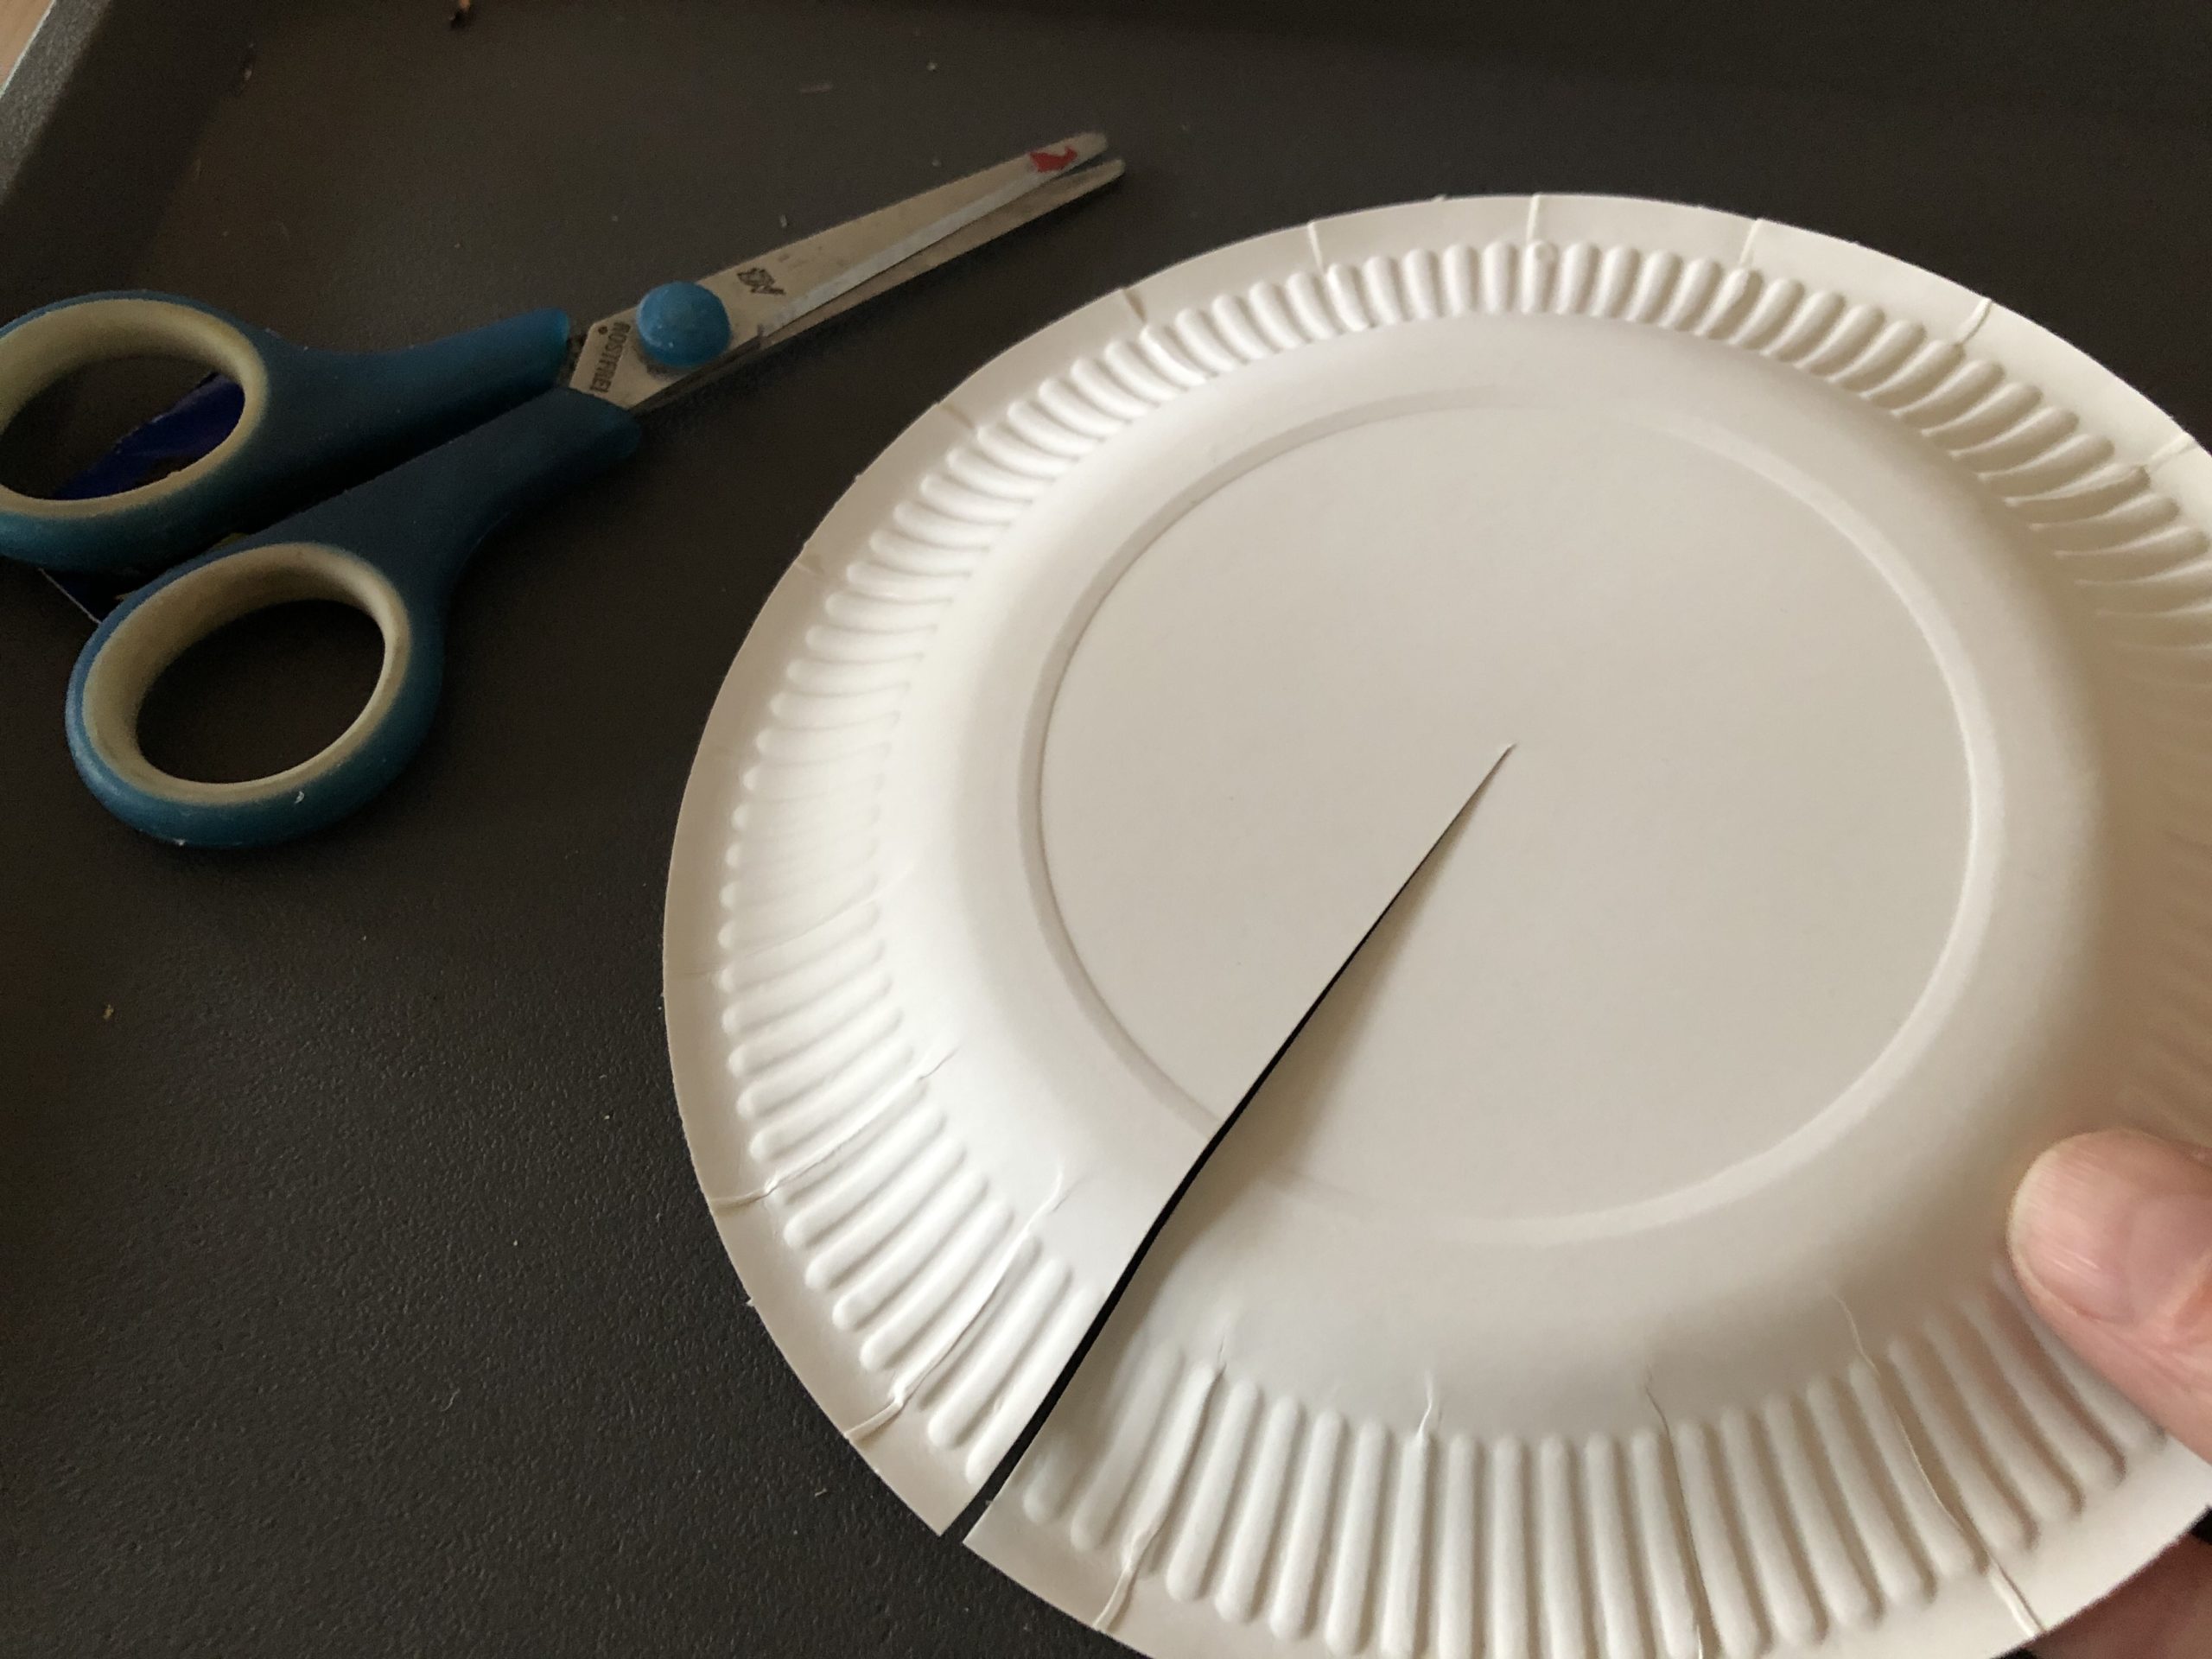
Bild zum Schritt 1 für das Bastel- und DIY-Abenteuer für Kinder: 'Schneidet mit der Schere einen Pappteller bis zur Mitte ein.'

2

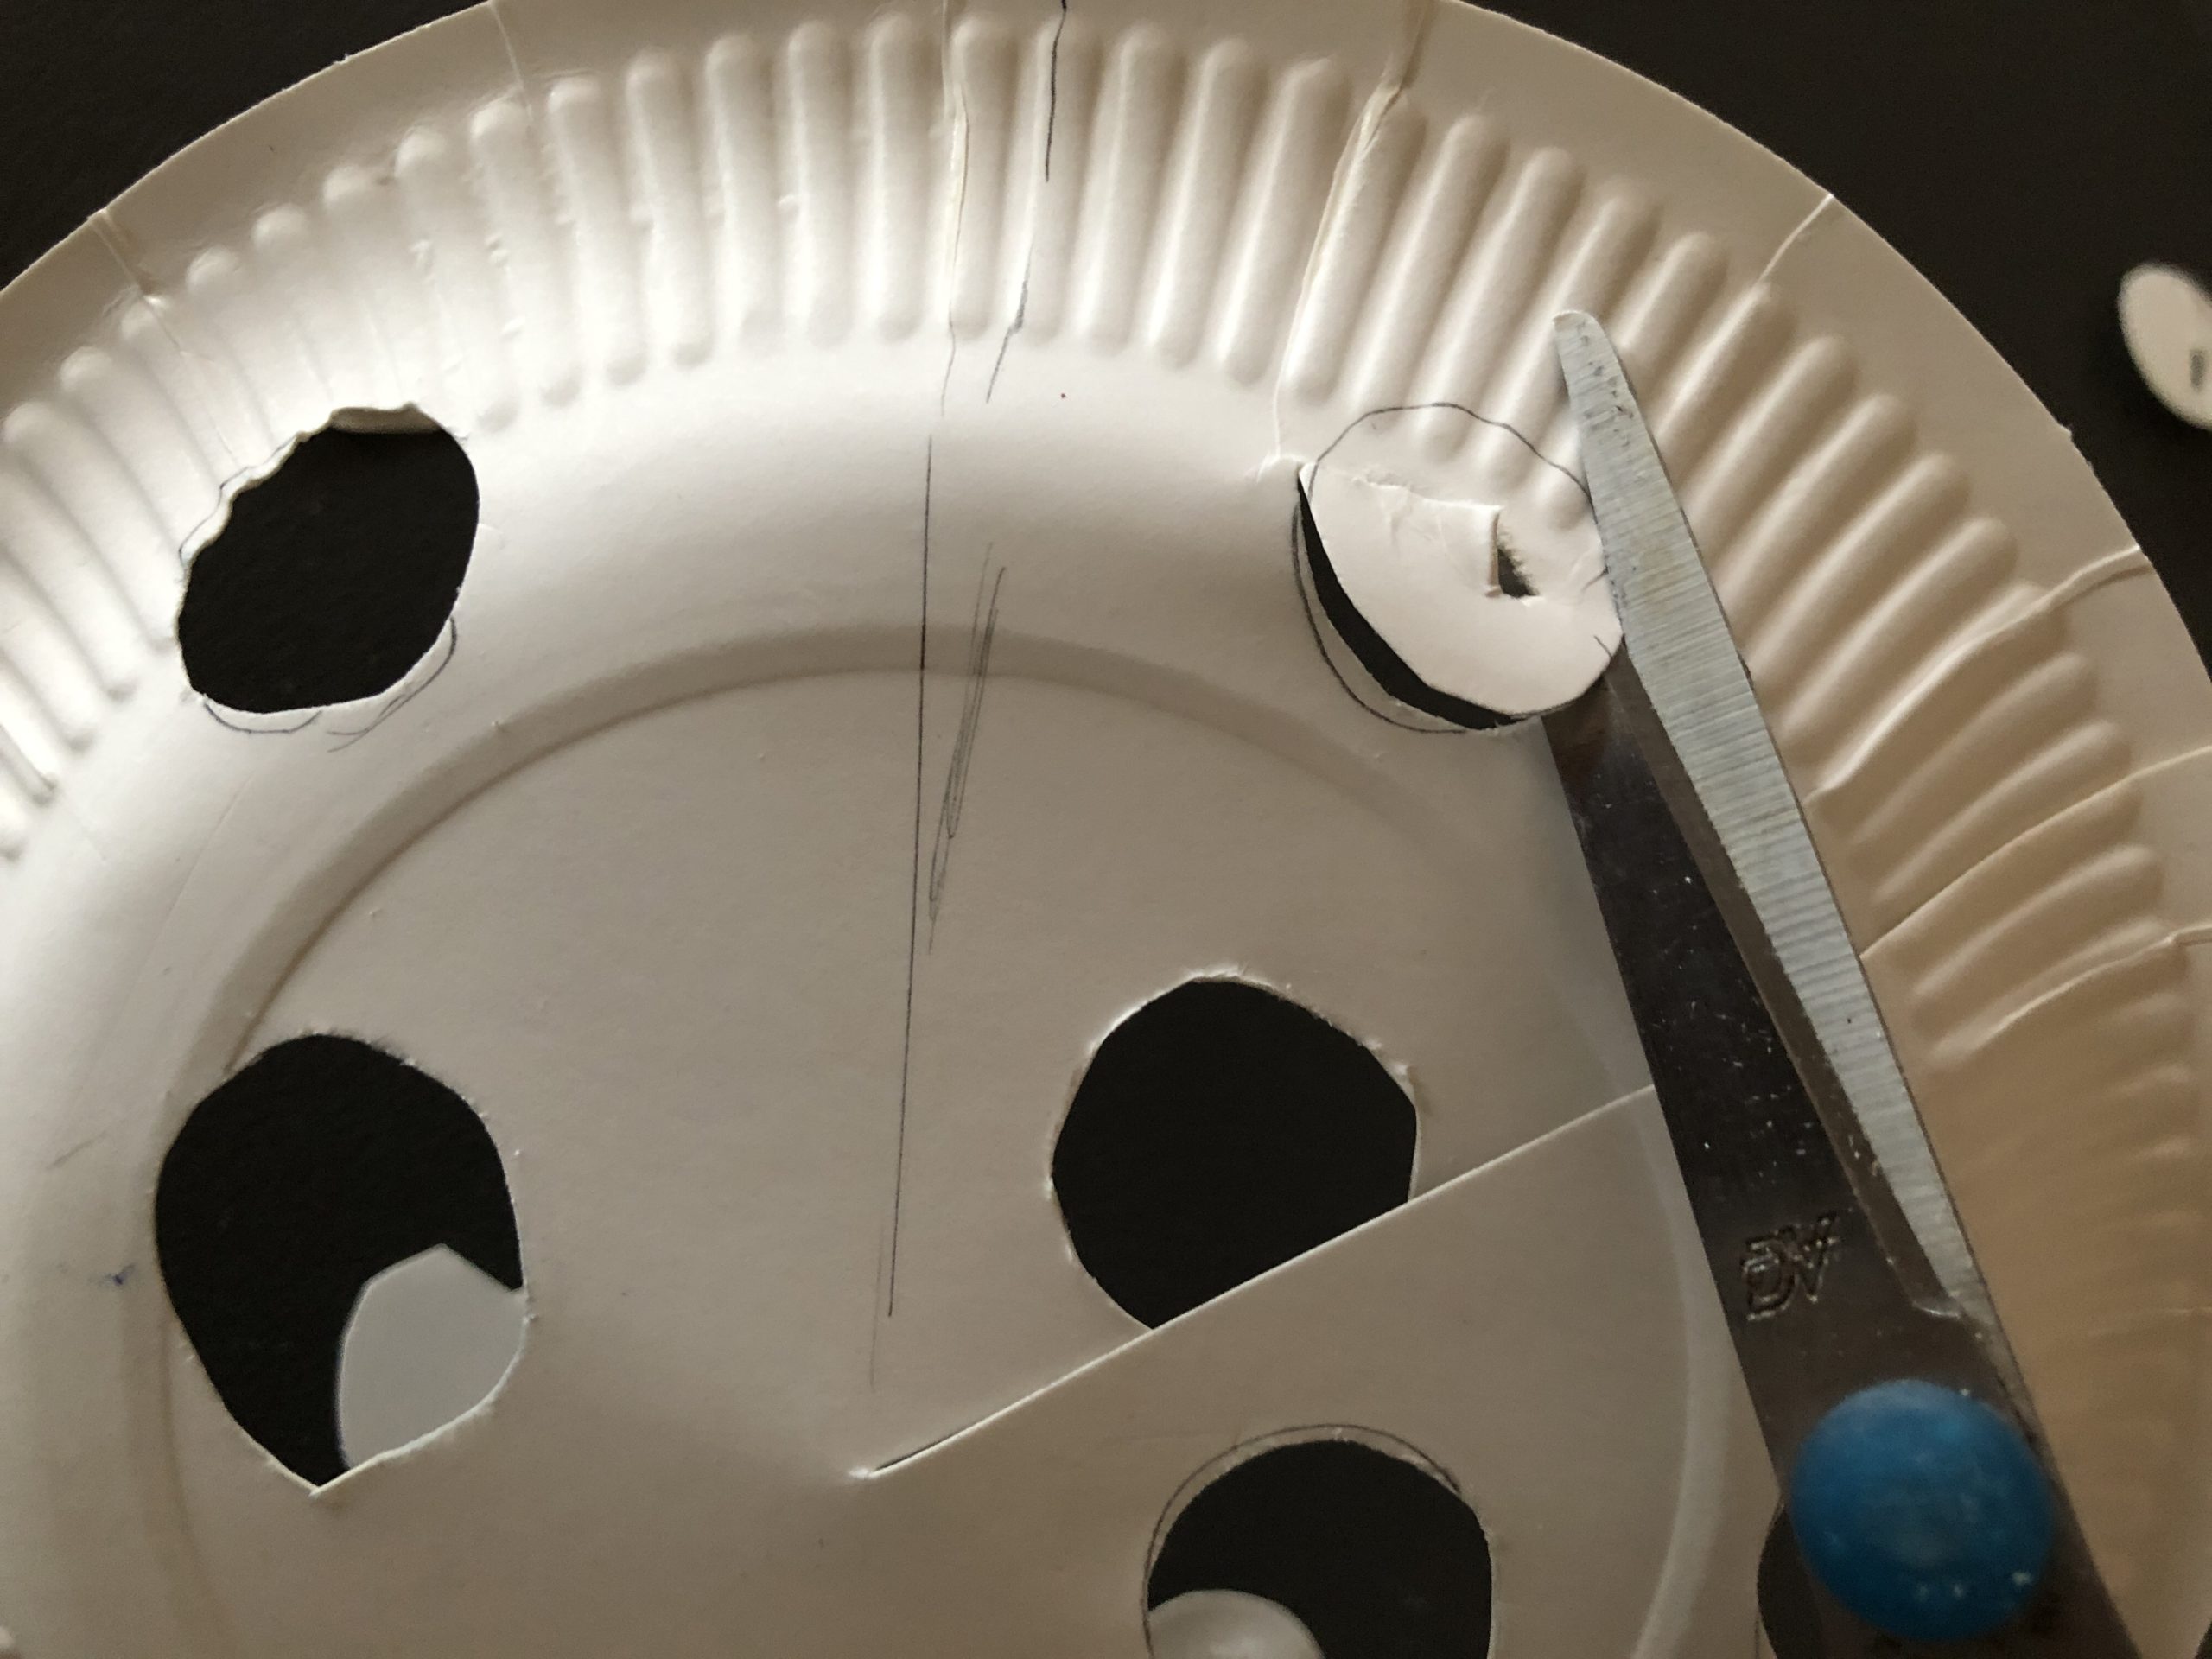
Paints on the plate the points of the mushroom.
Then cut them out.
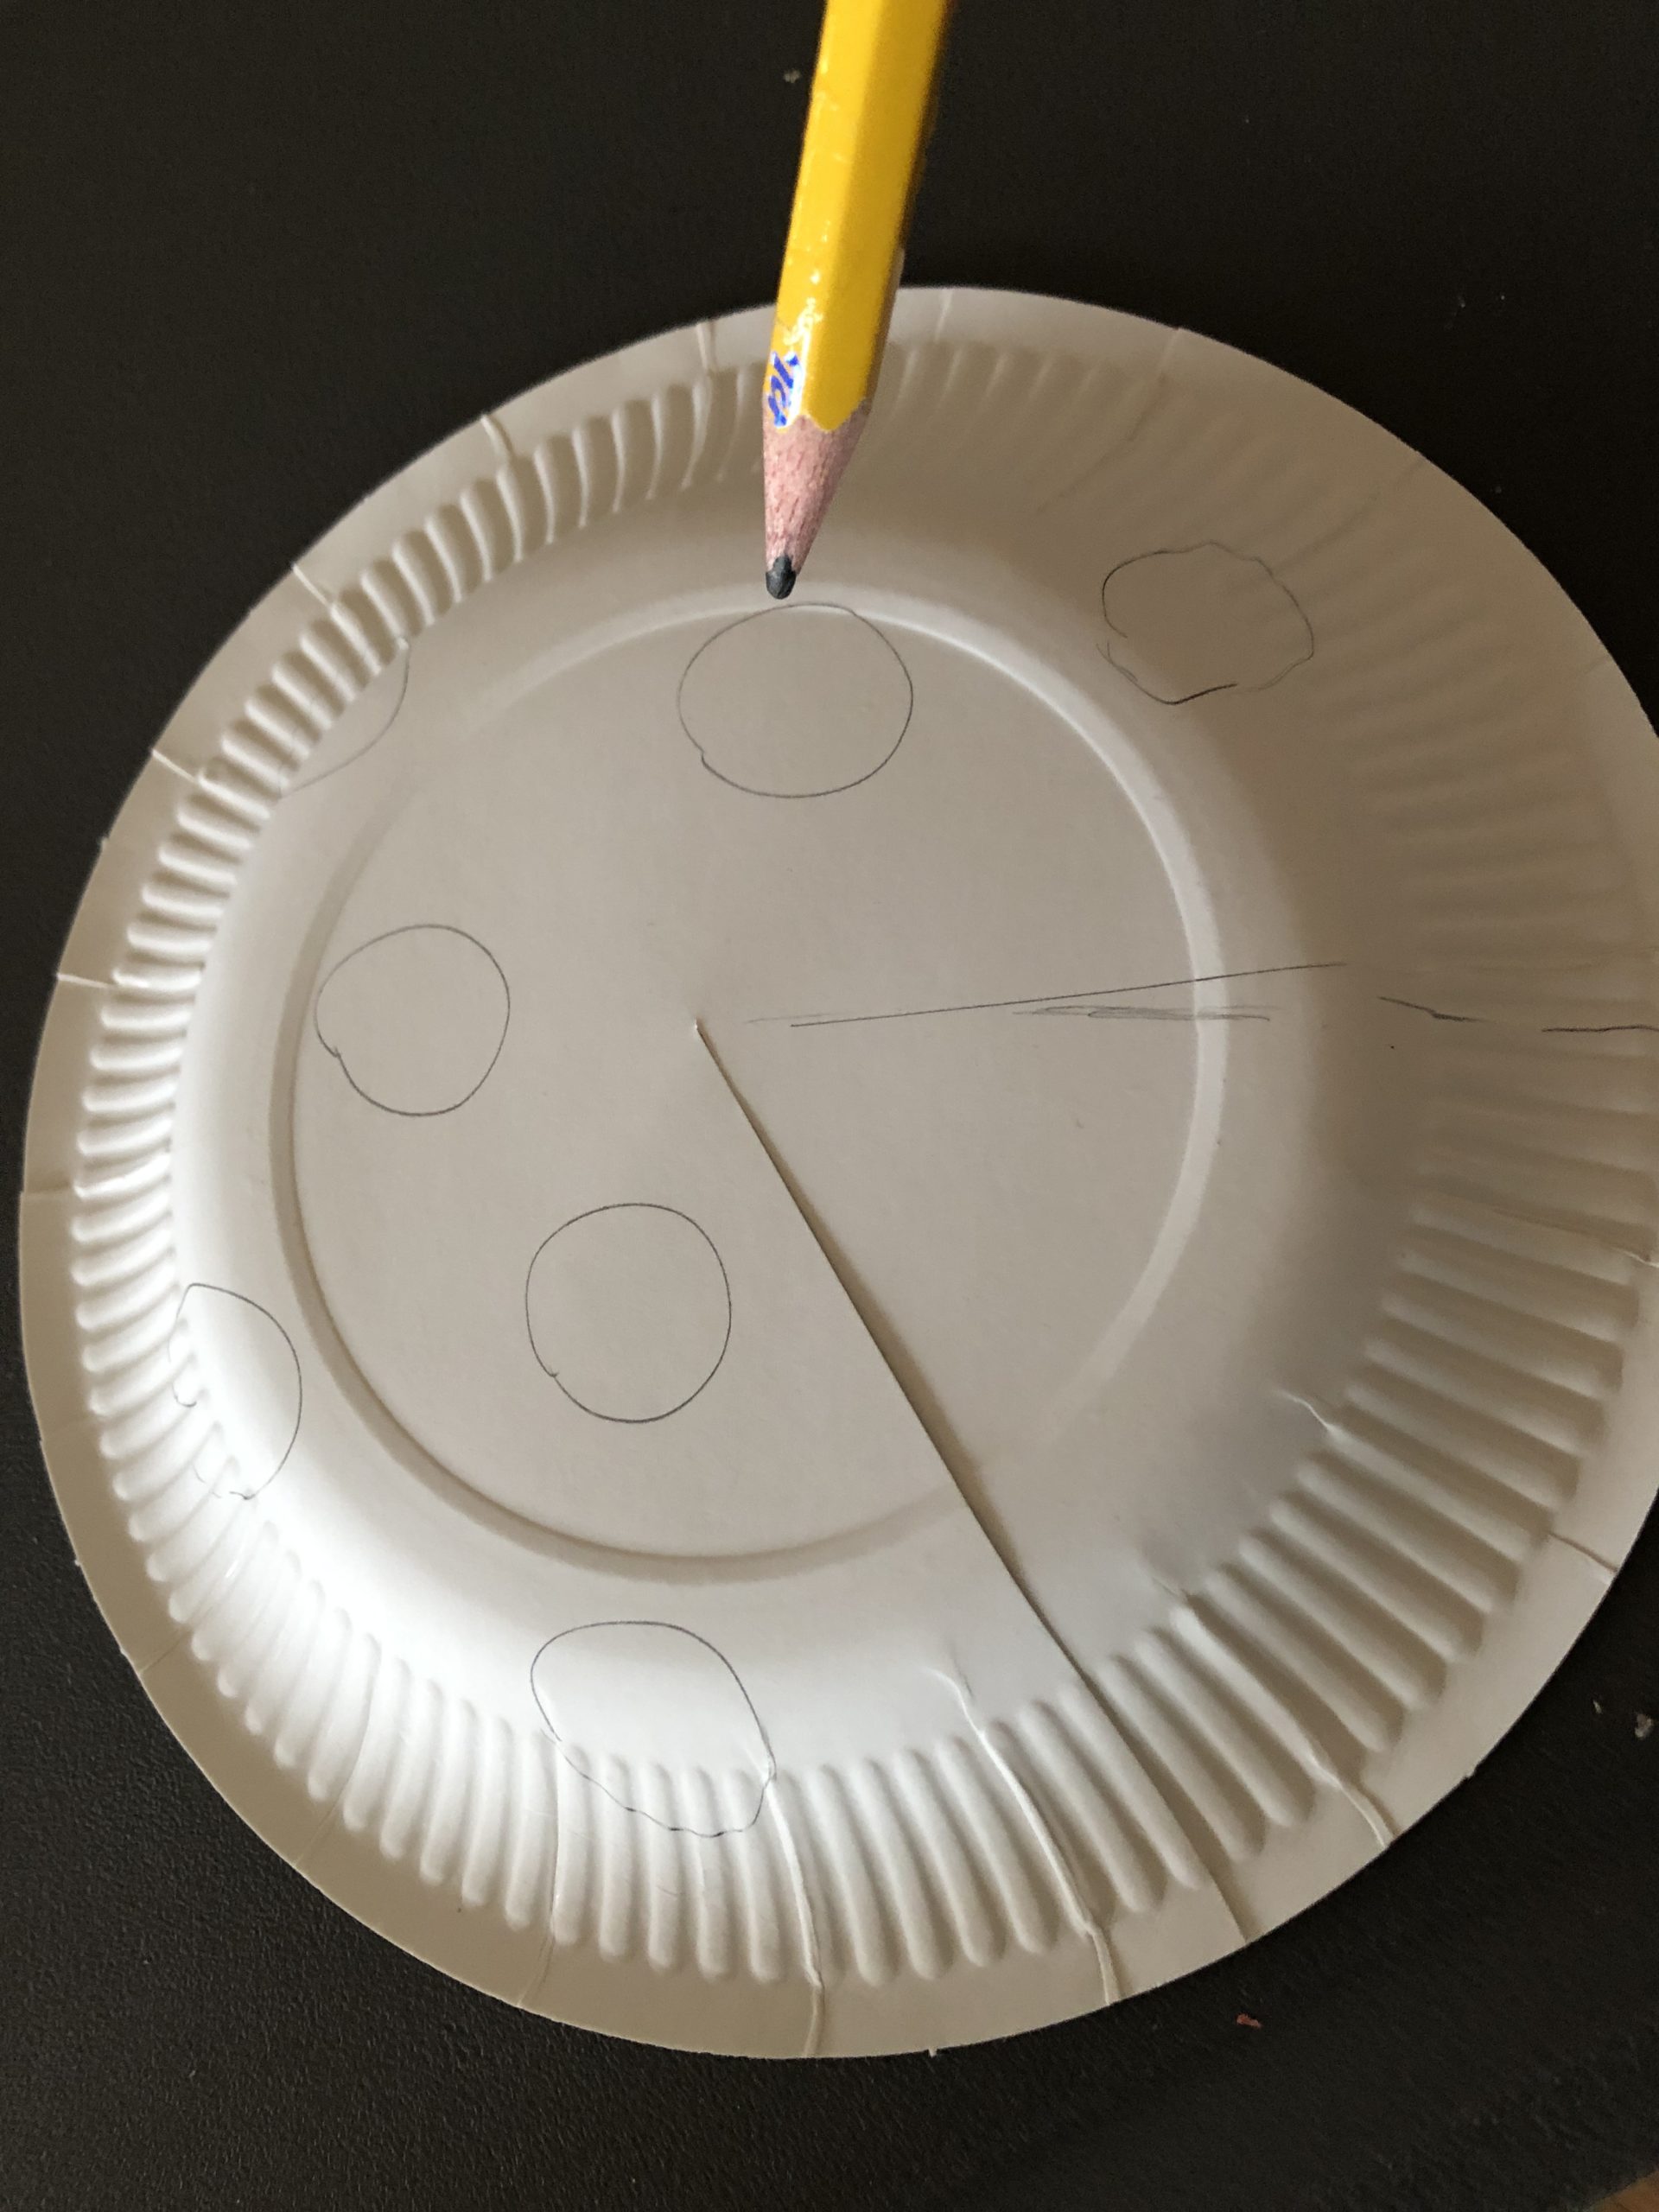
Bild zum Schritt 2 für das Bastel- und DIY-Abenteuer für Kinder: 'Malt auf den Teller die Punkte des Pilzes auf. ...'

3

2. Bild zum Schritt 2 für das Bastel- und DIY-Abenteuer für Kinder: 'Malt auf den Teller die Punkte des Pilzes auf. ...'

4

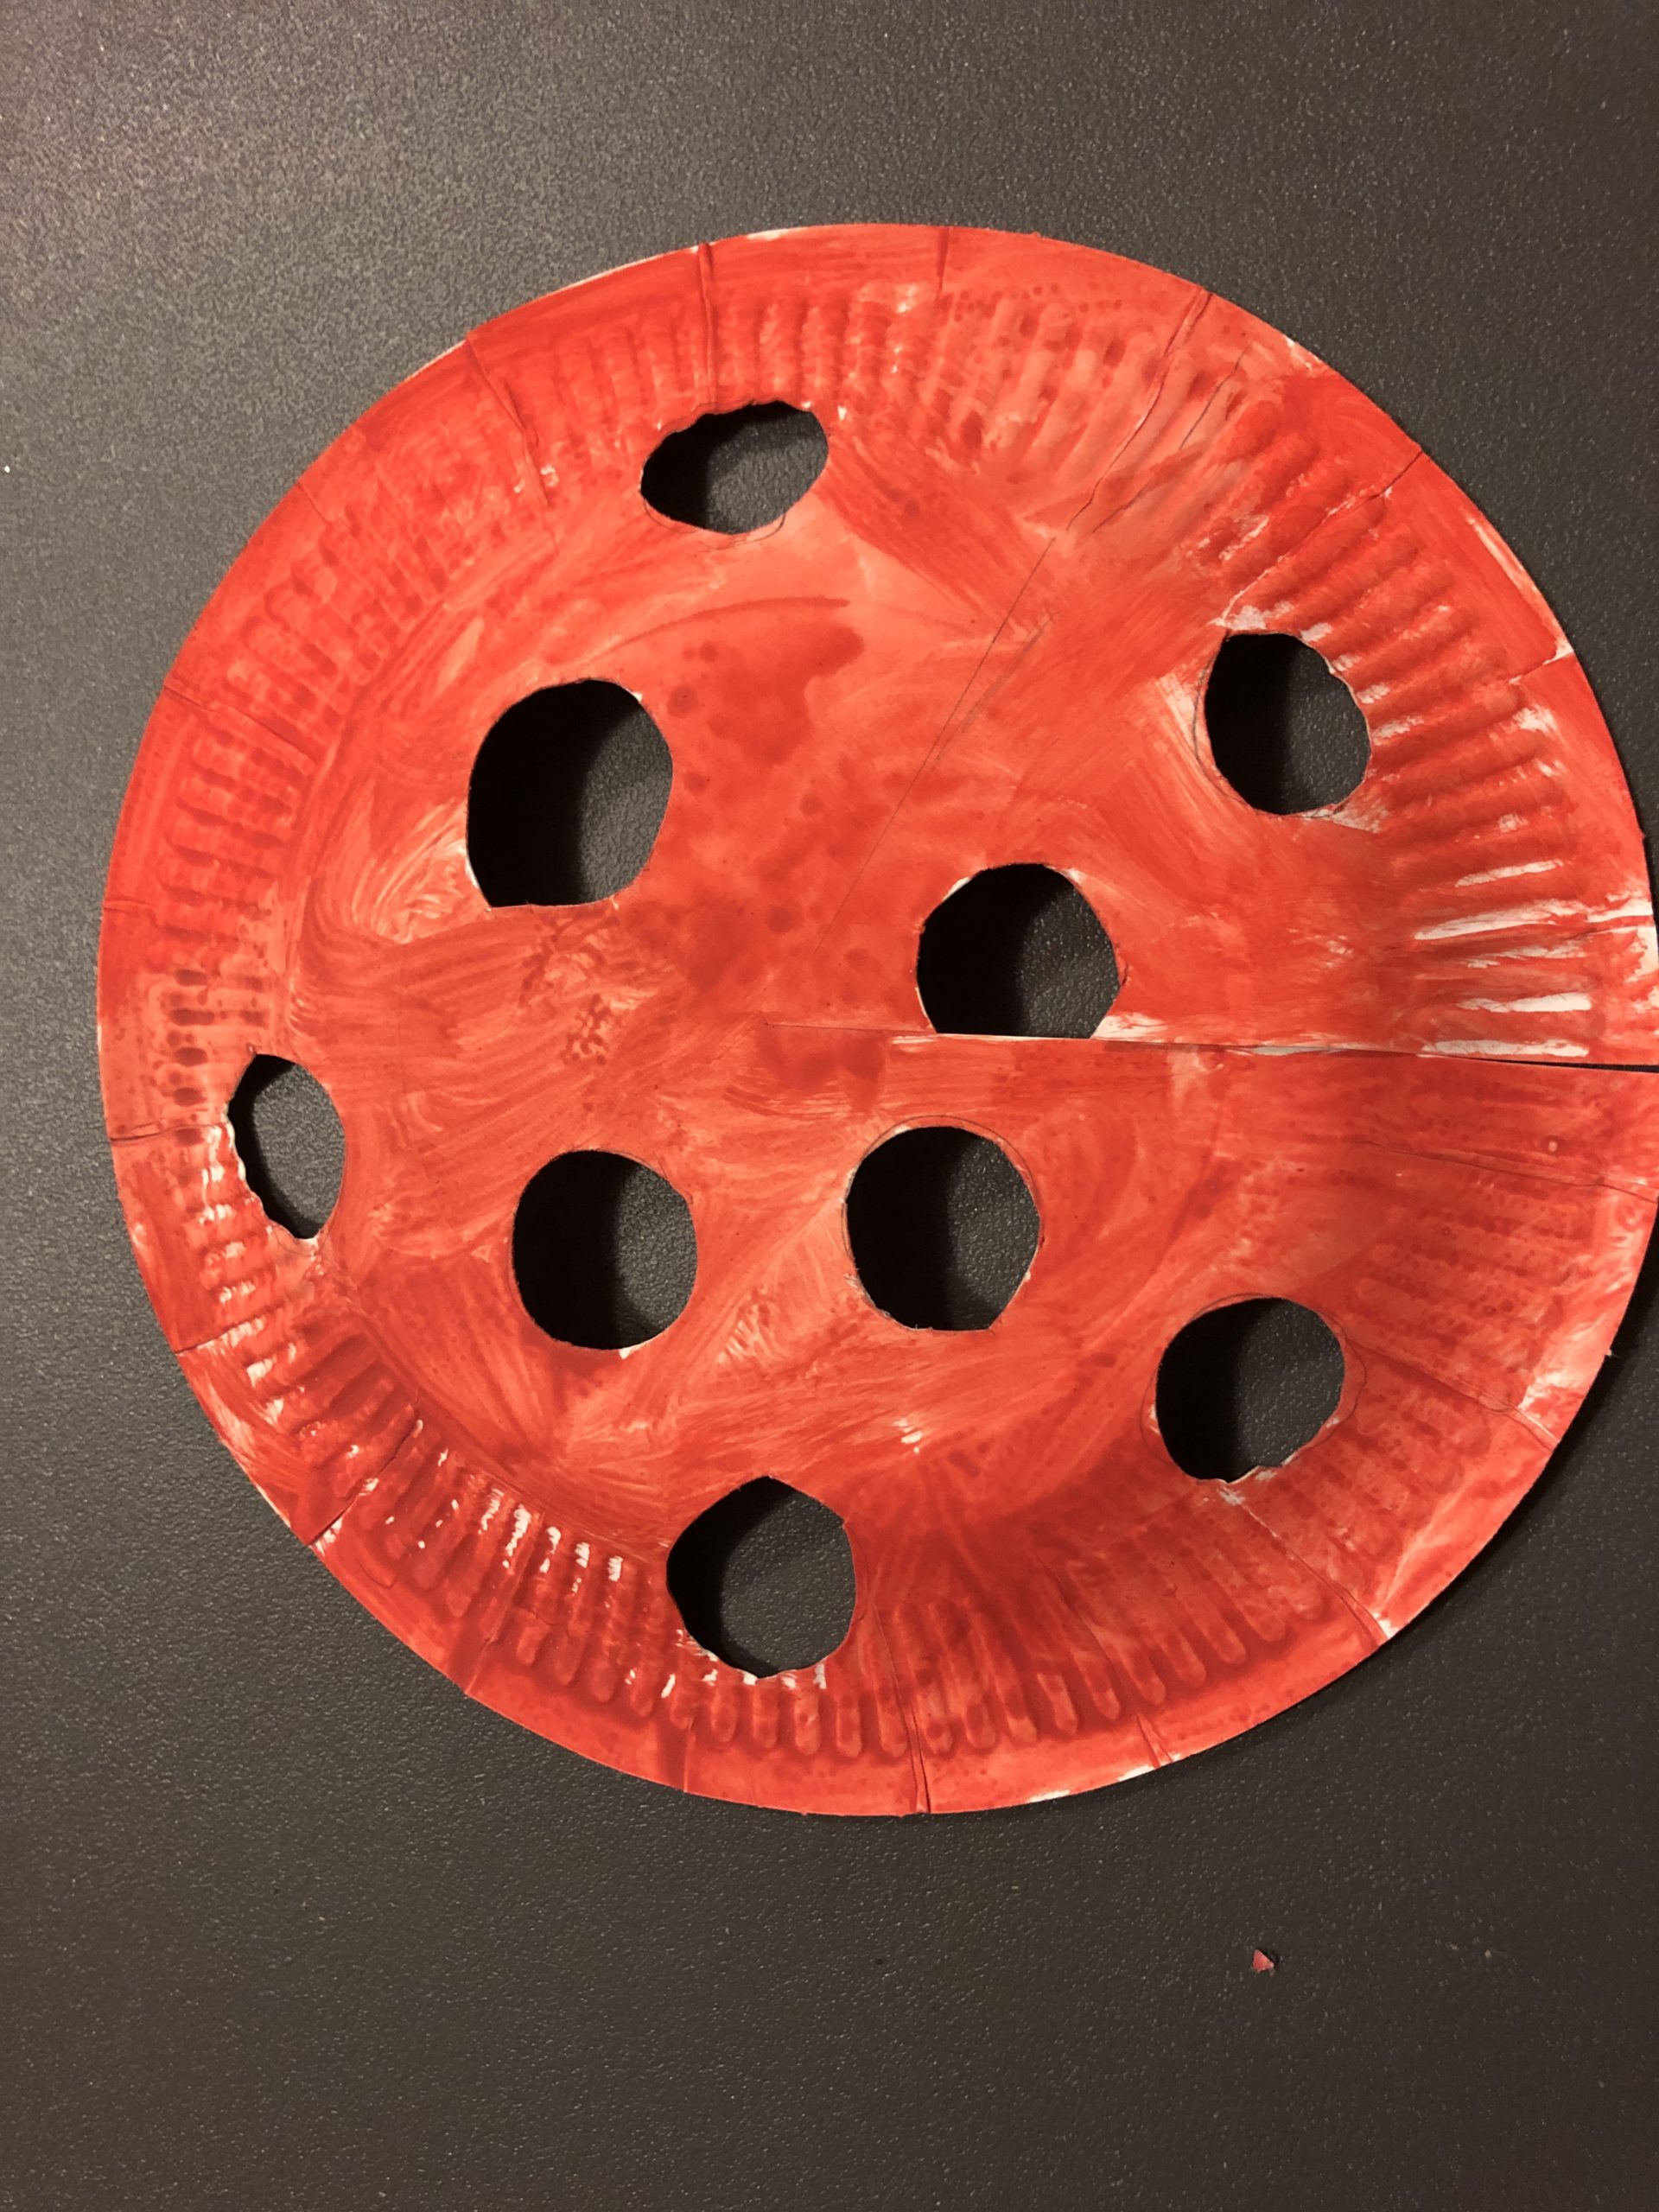
Paint the cardboard plate with red colour (e.g. water color). Apply the colour to the curved side of the plate (bottom side of the plate).

Bild zum Schritt 4 für das Bastel- und DIY-Abenteuer für Kinder: 'Malt den Pappteller mit roter Farbe (z.B. Wasserfarbe) an. Die...'

5

Let the paint dry.

Bild zum Schritt 5 für das Bastel- und DIY-Abenteuer für Kinder: 'Lasst die Farbe trocknen.'

6

Now rips pieces out of the butterbread paper to glue the holes.
How many holes do you have?

Bild zum Schritt 6 für das Bastel- und DIY-Abenteuer für Kinder: 'Jetzt reißt aus dem Butterbrotpapier Stücke zum Bekleben der Löcher...'

7

Glue the holes from the inside of the plate with the snippets.

Bild zum Schritt 7 für das Bastel- und DIY-Abenteuer für Kinder: 'Beklebt die Löcher von der Innenseite des Tellers mit den...'

8

Turn the plate around and glue the cardboard plate at the cut-in place about 5cm above each other.

Bild zum Schritt 8 für das Bastel- und DIY-Abenteuer für Kinder: 'Dreht den Teller um und klebt den Pappteller an der...'

9

This creates a plastic mushroom hat.

Bild zum Schritt 9 für das Bastel- und DIY-Abenteuer für Kinder: 'So entsteht ein plastischer Pilzhut.'

10

Now fold the finished mushroom hat half.

Bild zum Schritt 10 für das Bastel- und DIY-Abenteuer für Kinder: 'Faltet nun den fertigen Pilzhut zur Hälfte.'

11

Now you can attach the mushroom hat on a thick piece of branch. Use some hot glue. (Attention: for hot glue there is risk of injury!)
But before you stick the mushroom hat on the branch, first stick the branch on a plate.

Bild zum Schritt 11 für das Bastel- und DIY-Abenteuer für Kinder: 'Jetzt könnt ihr den Pilzhut auf einem dicken Stück Ast...'

12

Fasten the branch on a slate plate or on a wooden disc with hot glue.

Bild zum Schritt 12 für das Bastel- und DIY-Abenteuer für Kinder: 'Dafür den Ast auf einer Schieferplatte oder auf einer Holzscheibe...'

13

Now stick the mushroom hat on the branch with the hot glue.

Bild zum Schritt 13 für das Bastel- und DIY-Abenteuer für Kinder: 'Jetzt klebt den Pilzhut mit dem Heißkleber auf den Ast.'

14

Finally, the mushroom is decorated with moss, leaves and bark pieces.

Bild zum Schritt 14 für das Bastel- und DIY-Abenteuer für Kinder: 'Abschließend dekoriert den Pilz mit Moos, Blättern und Rindenstücken.'

15

Your autumn decoration is ready!

Variation:
16

If you paint the cardboard plate in brown tones, then you made a brown porridge in the nu.

Bild zum Schritt 17 für das Bastel- und DIY-Abenteuer für Kinder: 'Malt ihr den Pappteller in Brauntönen an, dann habt ihr...'

17

This variant is also suitable for smaller children, as the mushroom hat is less elaborate.
You can find this adventure here? Tinkering of porcini fungus.

Bild zum Schritt 18 für das Bastel- und DIY-Abenteuer für Kinder: 'Diese Variante ist auch für kleinere Kinder geeignet, da der...'

18

Try it yourself.

Materials

 1 Cardboard plates (small)
 Water colours
 Brushes and water cups
 Pen
 Hot glue gun
 Butterbread paper
 1 Ast about 20 cm long
 1 A handful of moss
 1 Pieces of bark
 Leaves
 1 Slate plateor a slice of a tree trunk or a wooden board;
All links marked with a shopping cart lead to Amazon - here we have selected products that we would order ourselves and in part also ordered. In a qualified purchase via the advertising link, we as Amazon partner receive a commission, for you there are no costs. You thus support our cost- and advertising banner-free, educational offer.

Directions

1

Cut a cardboard plate with the scissors to the middle.

Bild zum Schritt 1 für das Bastel- und DIY-Abenteuer für Kinder: 'Schneidet mit der Schere einen Pappteller bis zur Mitte ein.'

2

Paints on the plate the points of the mushroom.
Then cut them out.

Bild zum Schritt 2 für das Bastel- und DIY-Abenteuer für Kinder: 'Malt auf den Teller die Punkte des Pilzes auf. ...'

3

2. Bild zum Schritt 2 für das Bastel- und DIY-Abenteuer für Kinder: 'Malt auf den Teller die Punkte des Pilzes auf. ...'

4

Paint the cardboard plate with red colour (e.g. water color). Apply the colour to the curved side of the plate (bottom side of the plate).
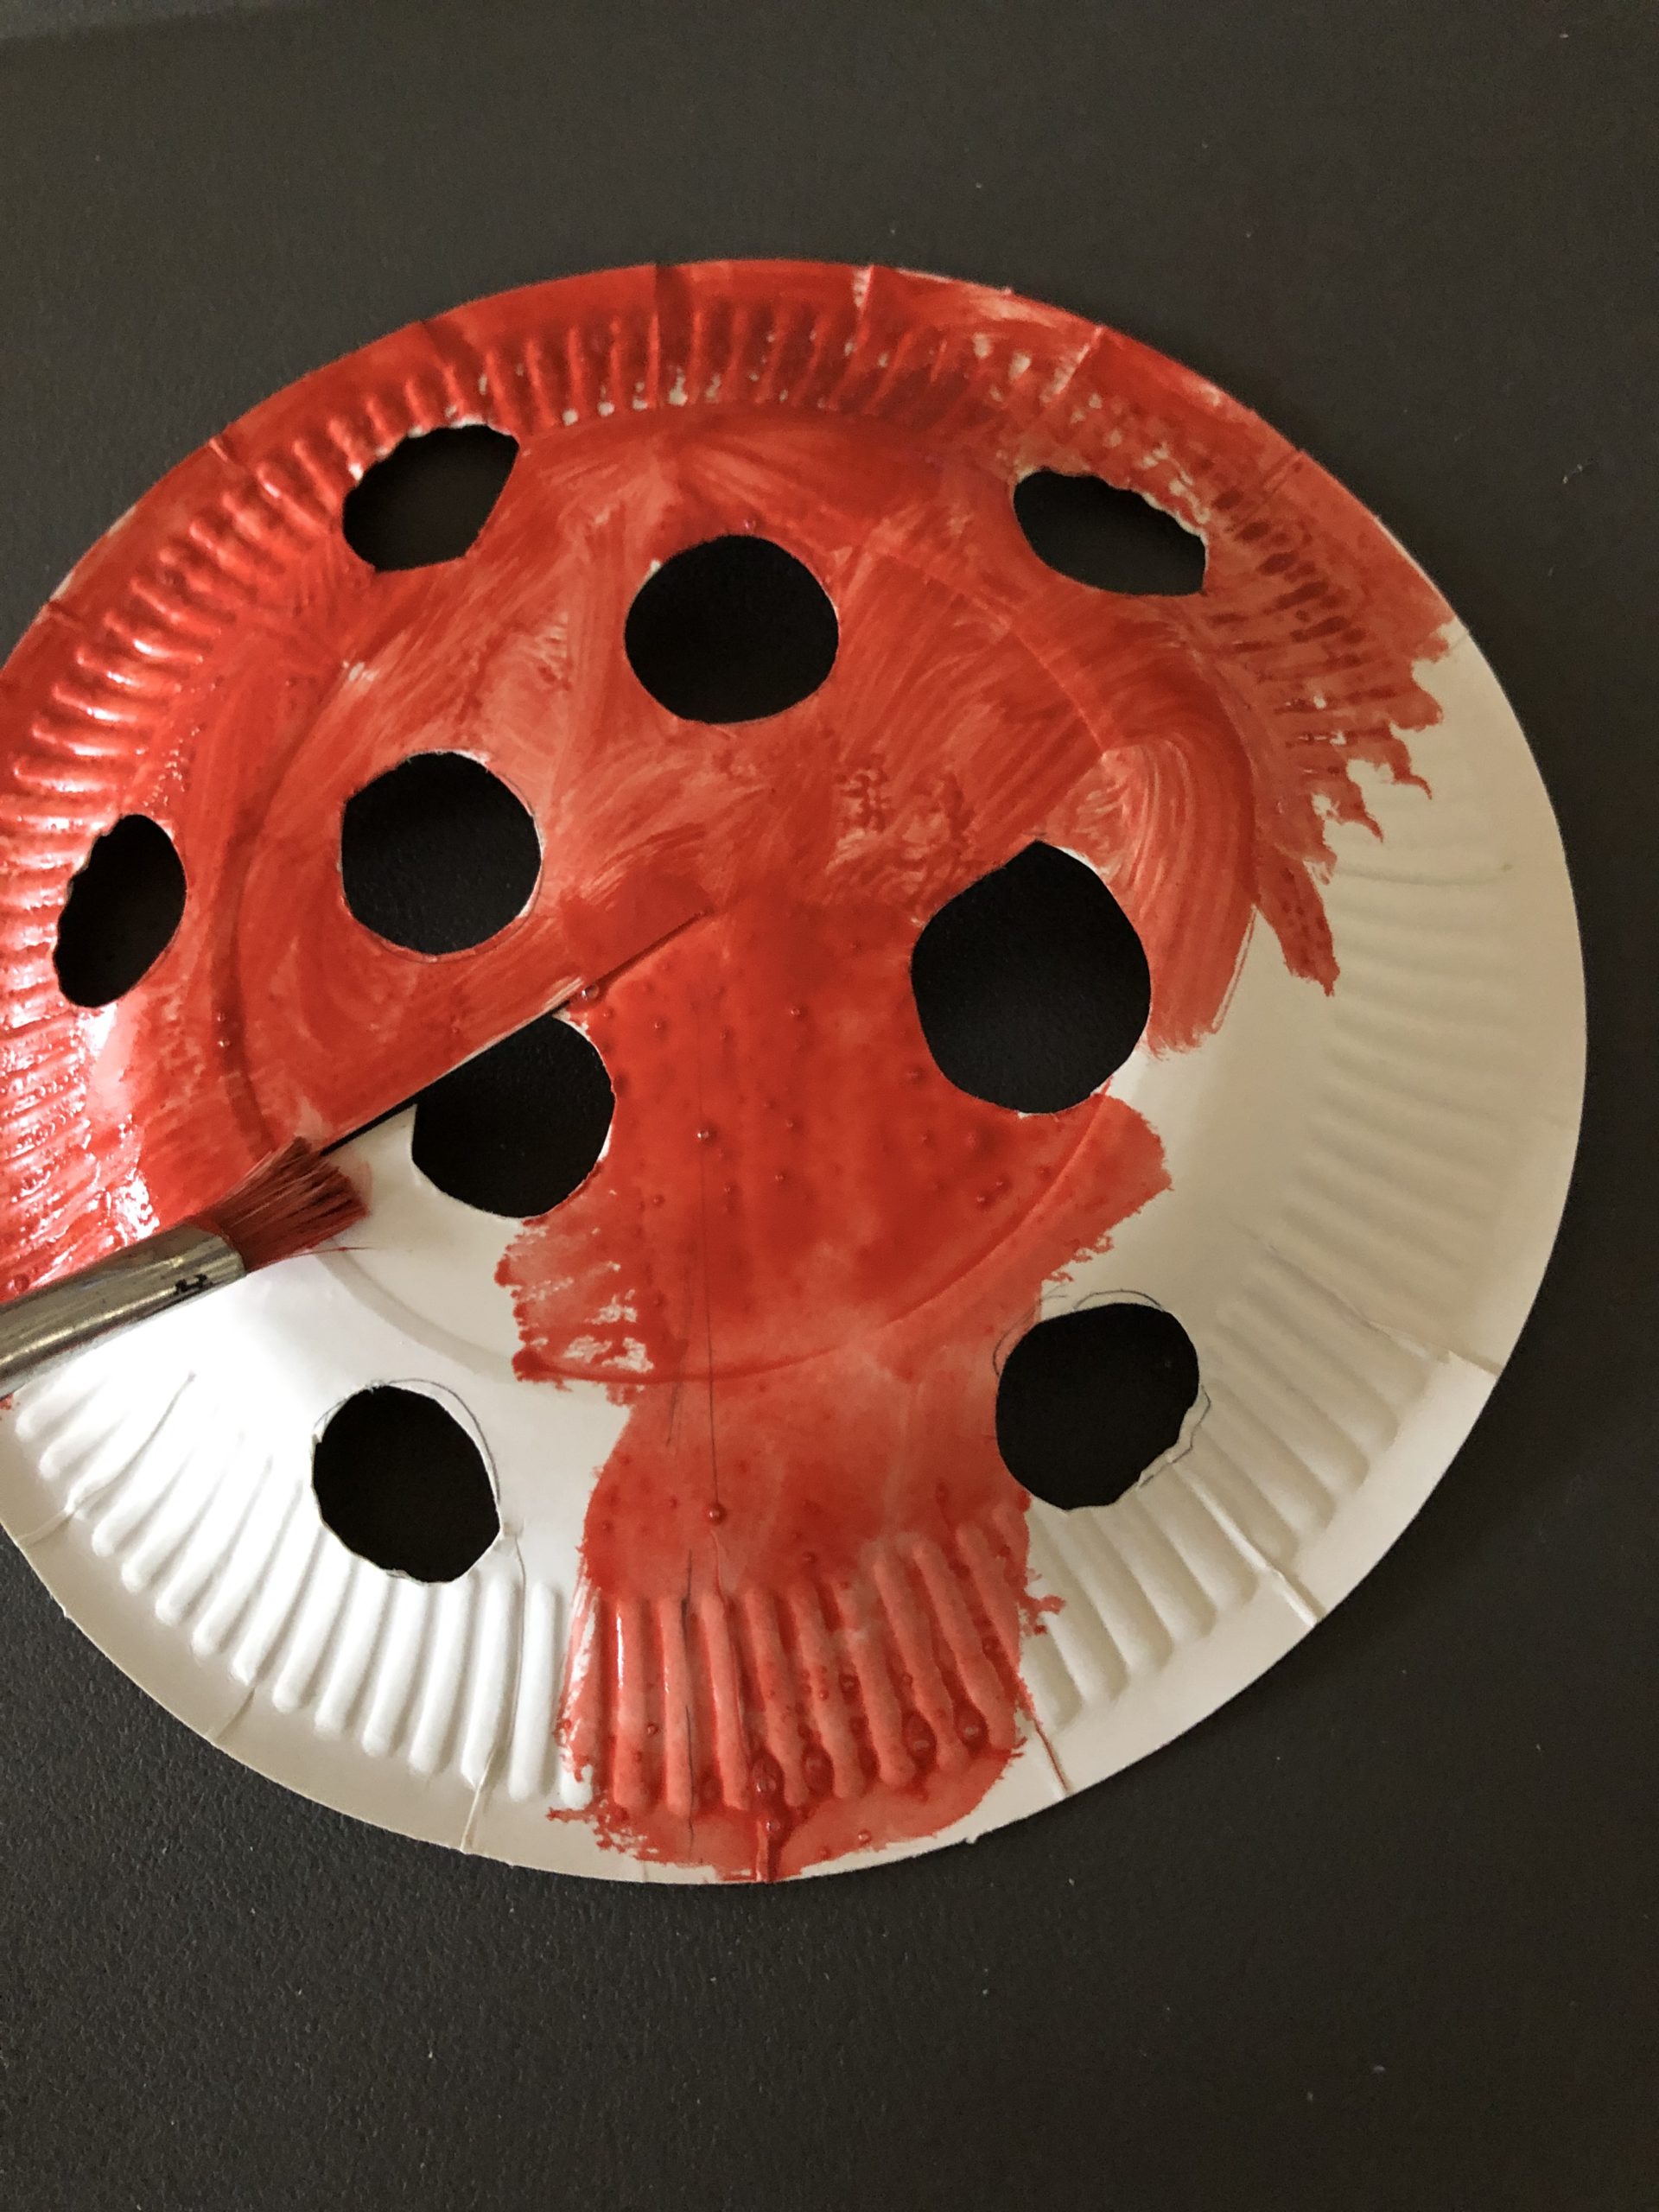
Bild zum Schritt 4 für das Bastel- und DIY-Abenteuer für Kinder: 'Malt den Pappteller mit roter Farbe (z.B. Wasserfarbe) an. Die...'

5

Let the paint dry.

Bild zum Schritt 5 für das Bastel- und DIY-Abenteuer für Kinder: 'Lasst die Farbe trocknen.'

6

Now rips pieces out of the butterbread paper to glue the holes.
How many holes do you have?
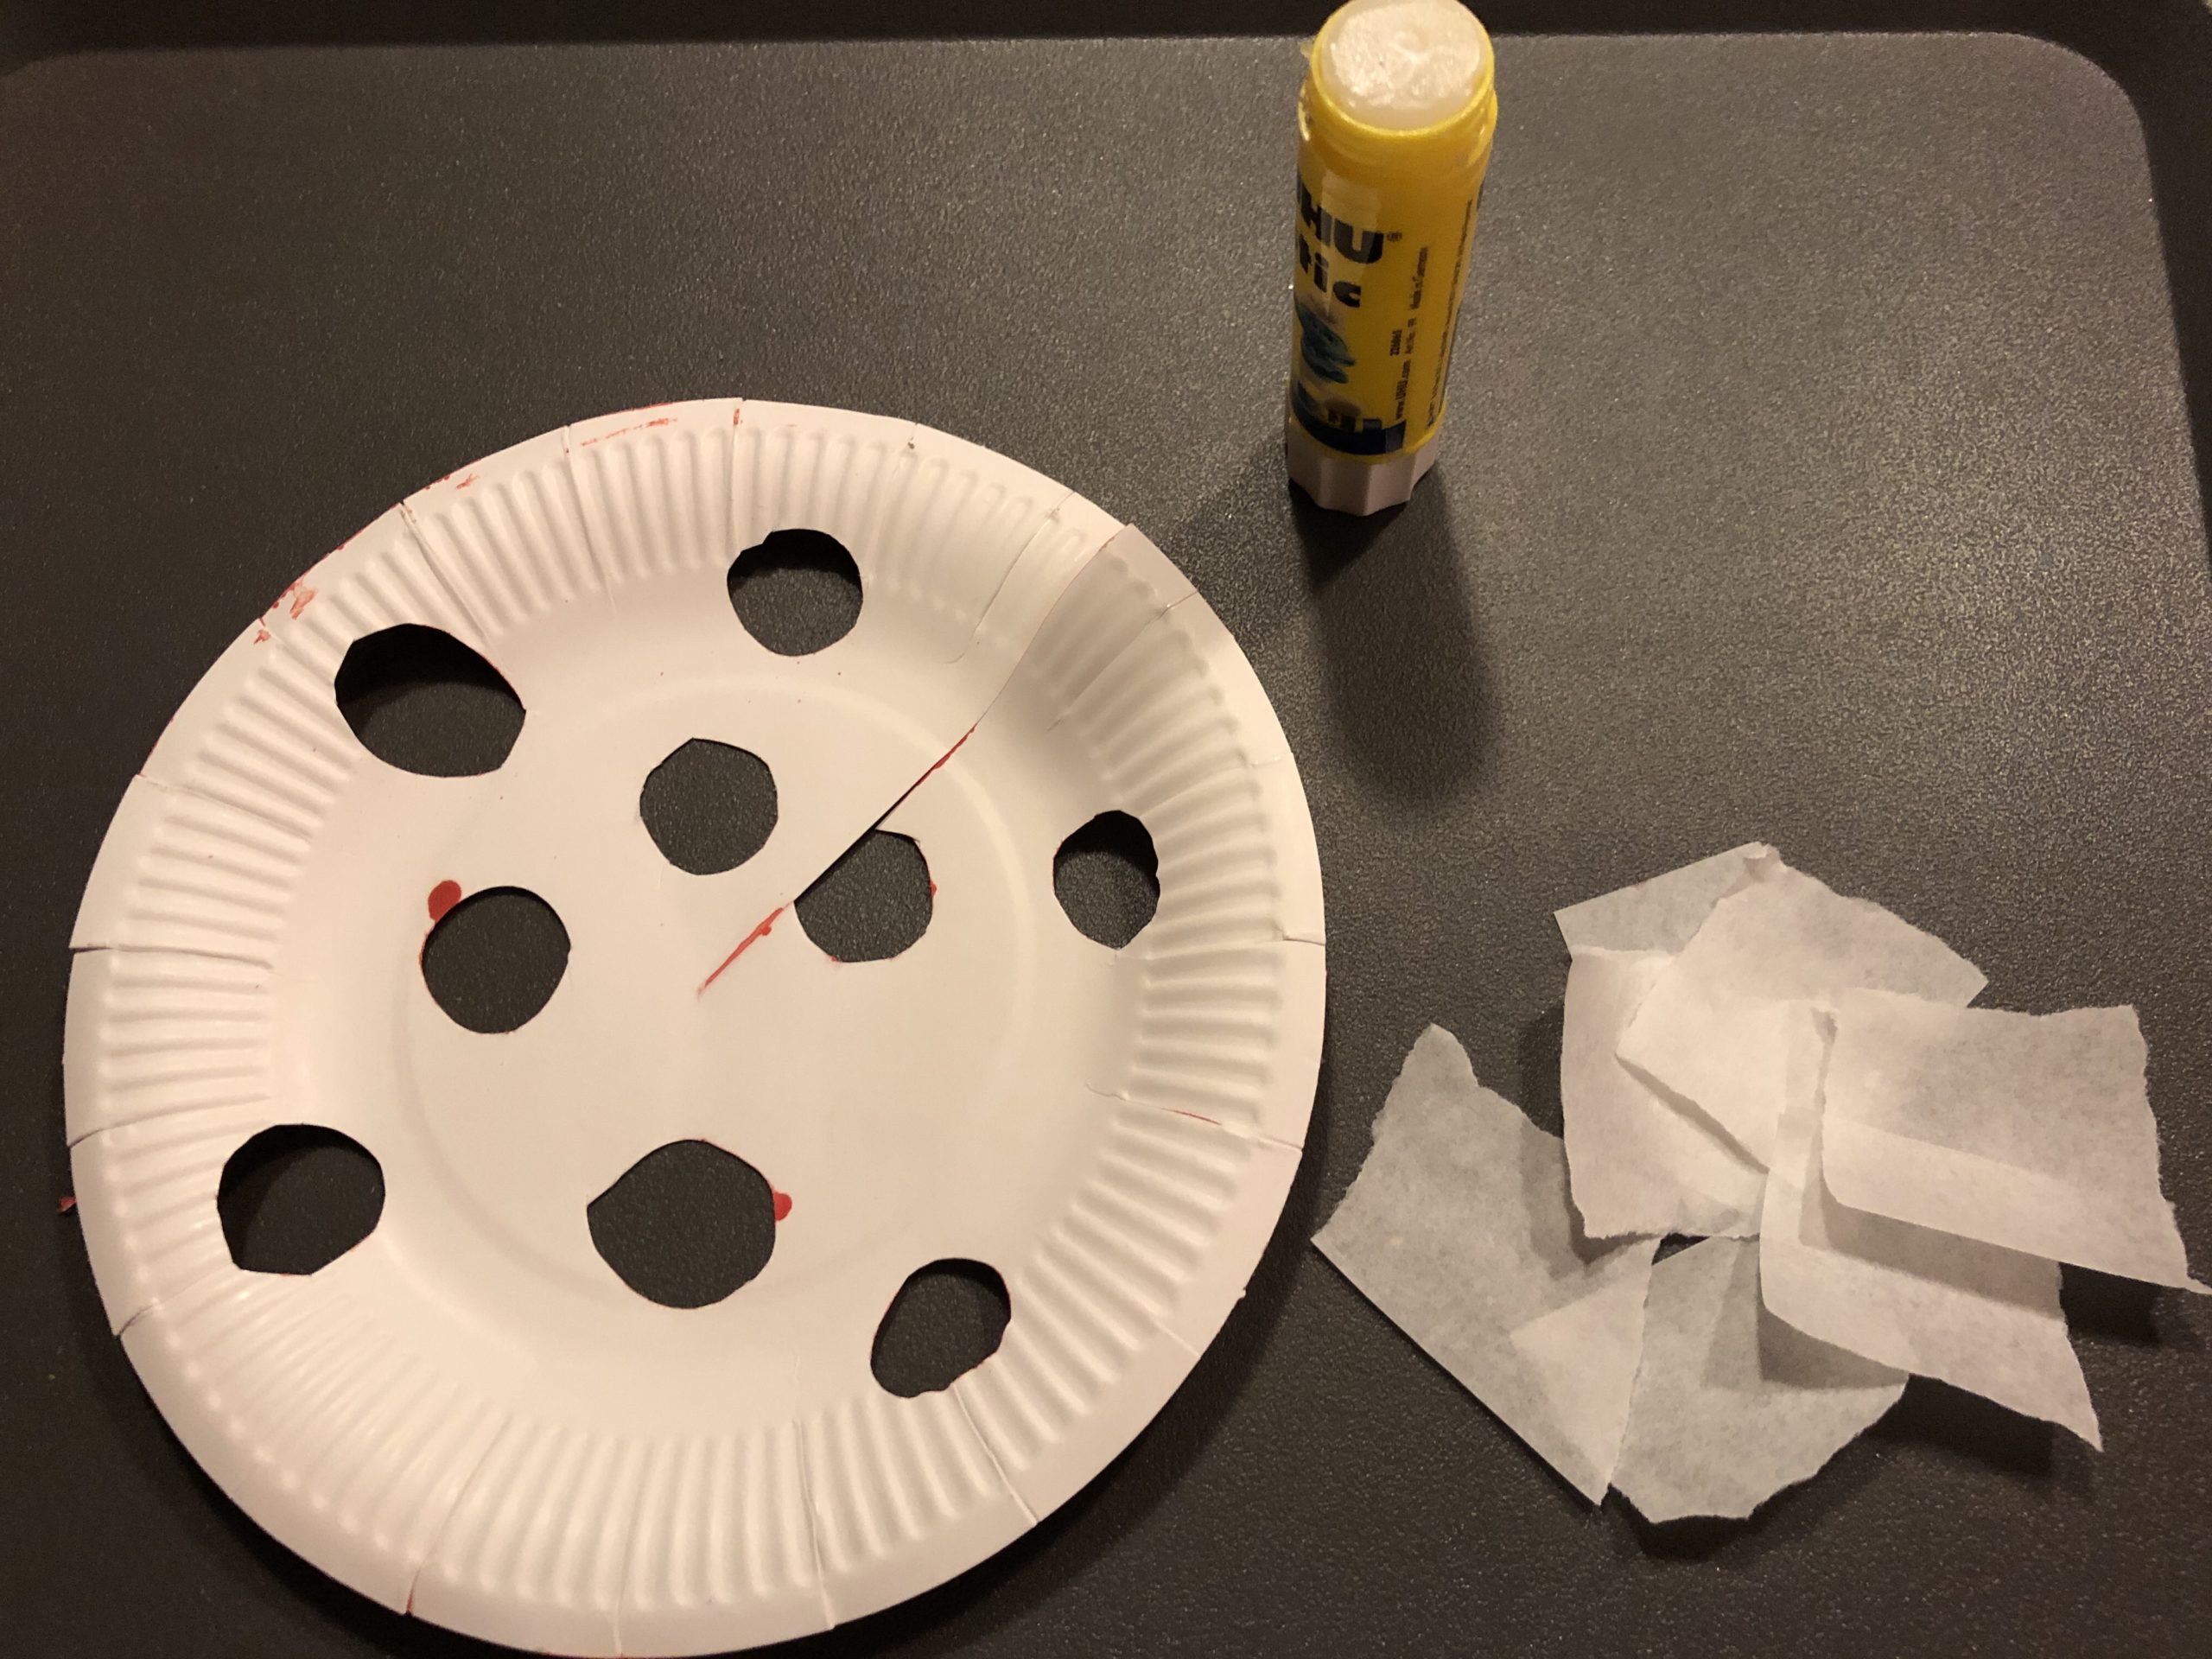
Bild zum Schritt 6 für das Bastel- und DIY-Abenteuer für Kinder: 'Jetzt reißt aus dem Butterbrotpapier Stücke zum Bekleben der Löcher...'

7

Glue the holes from the inside of the plate with the snippets.
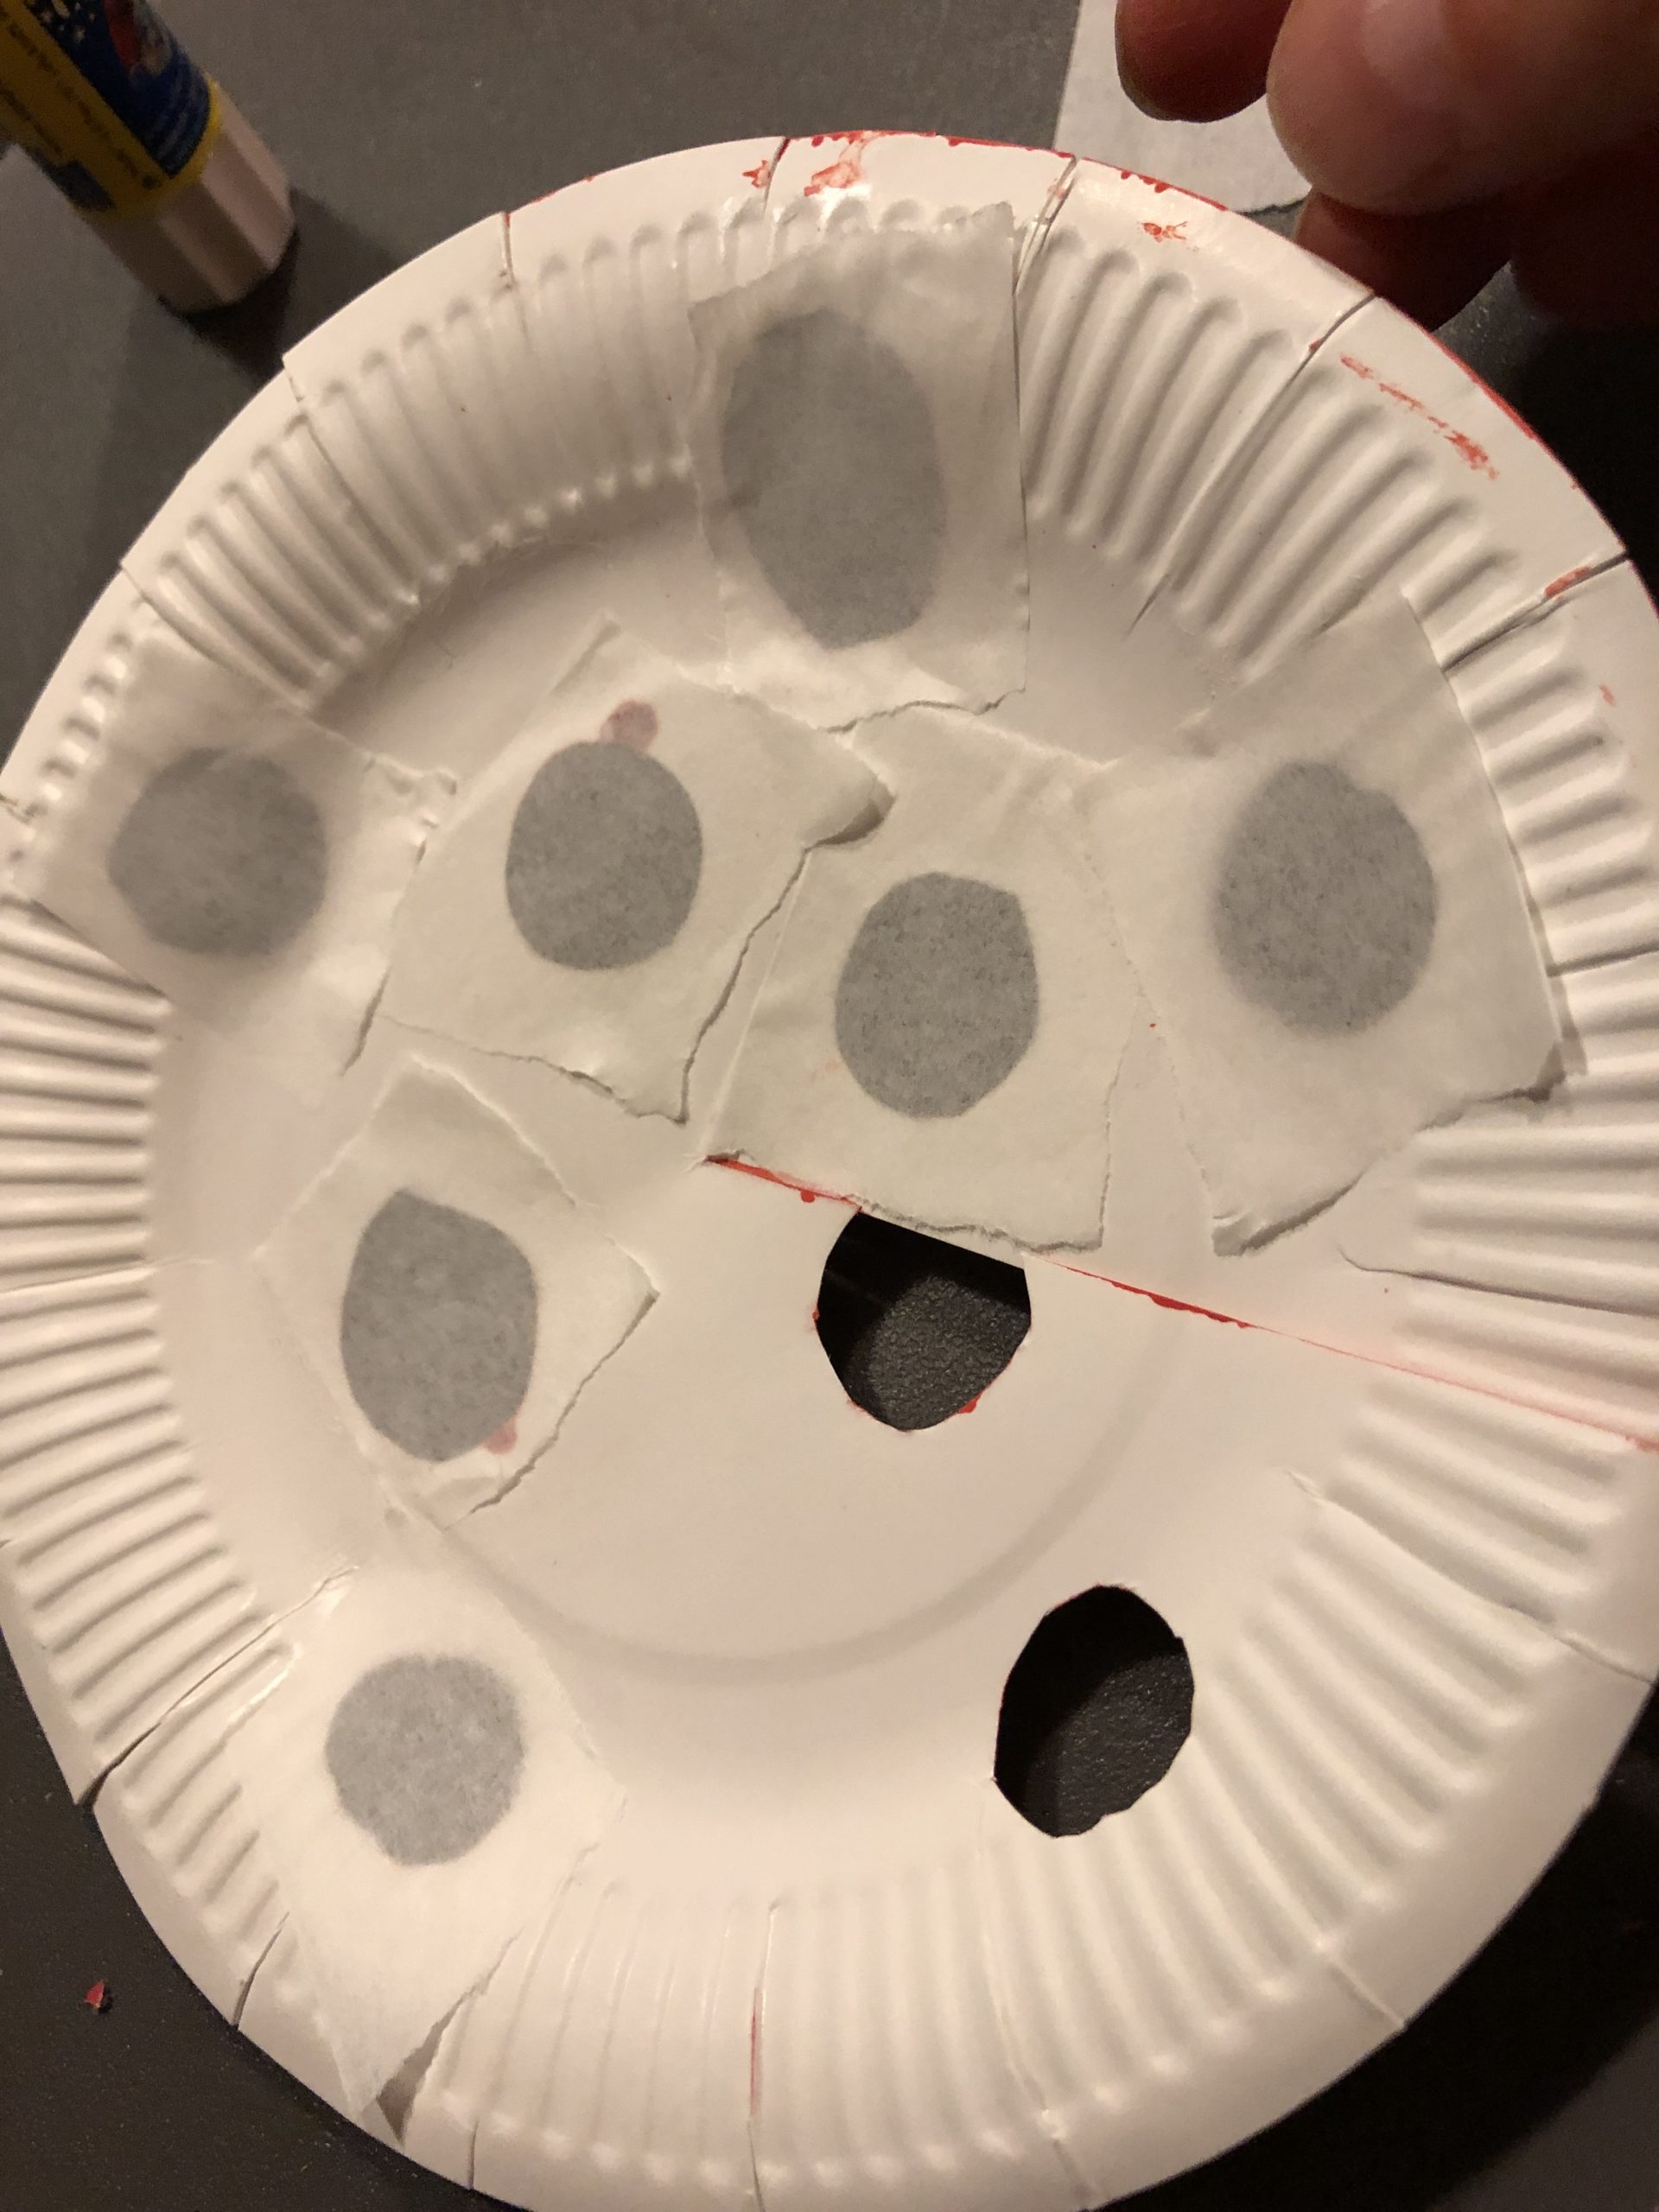
Bild zum Schritt 7 für das Bastel- und DIY-Abenteuer für Kinder: 'Beklebt die Löcher von der Innenseite des Tellers mit den...'

8

Turn the plate around and glue the cardboard plate at the cut-in place about 5cm above each other.
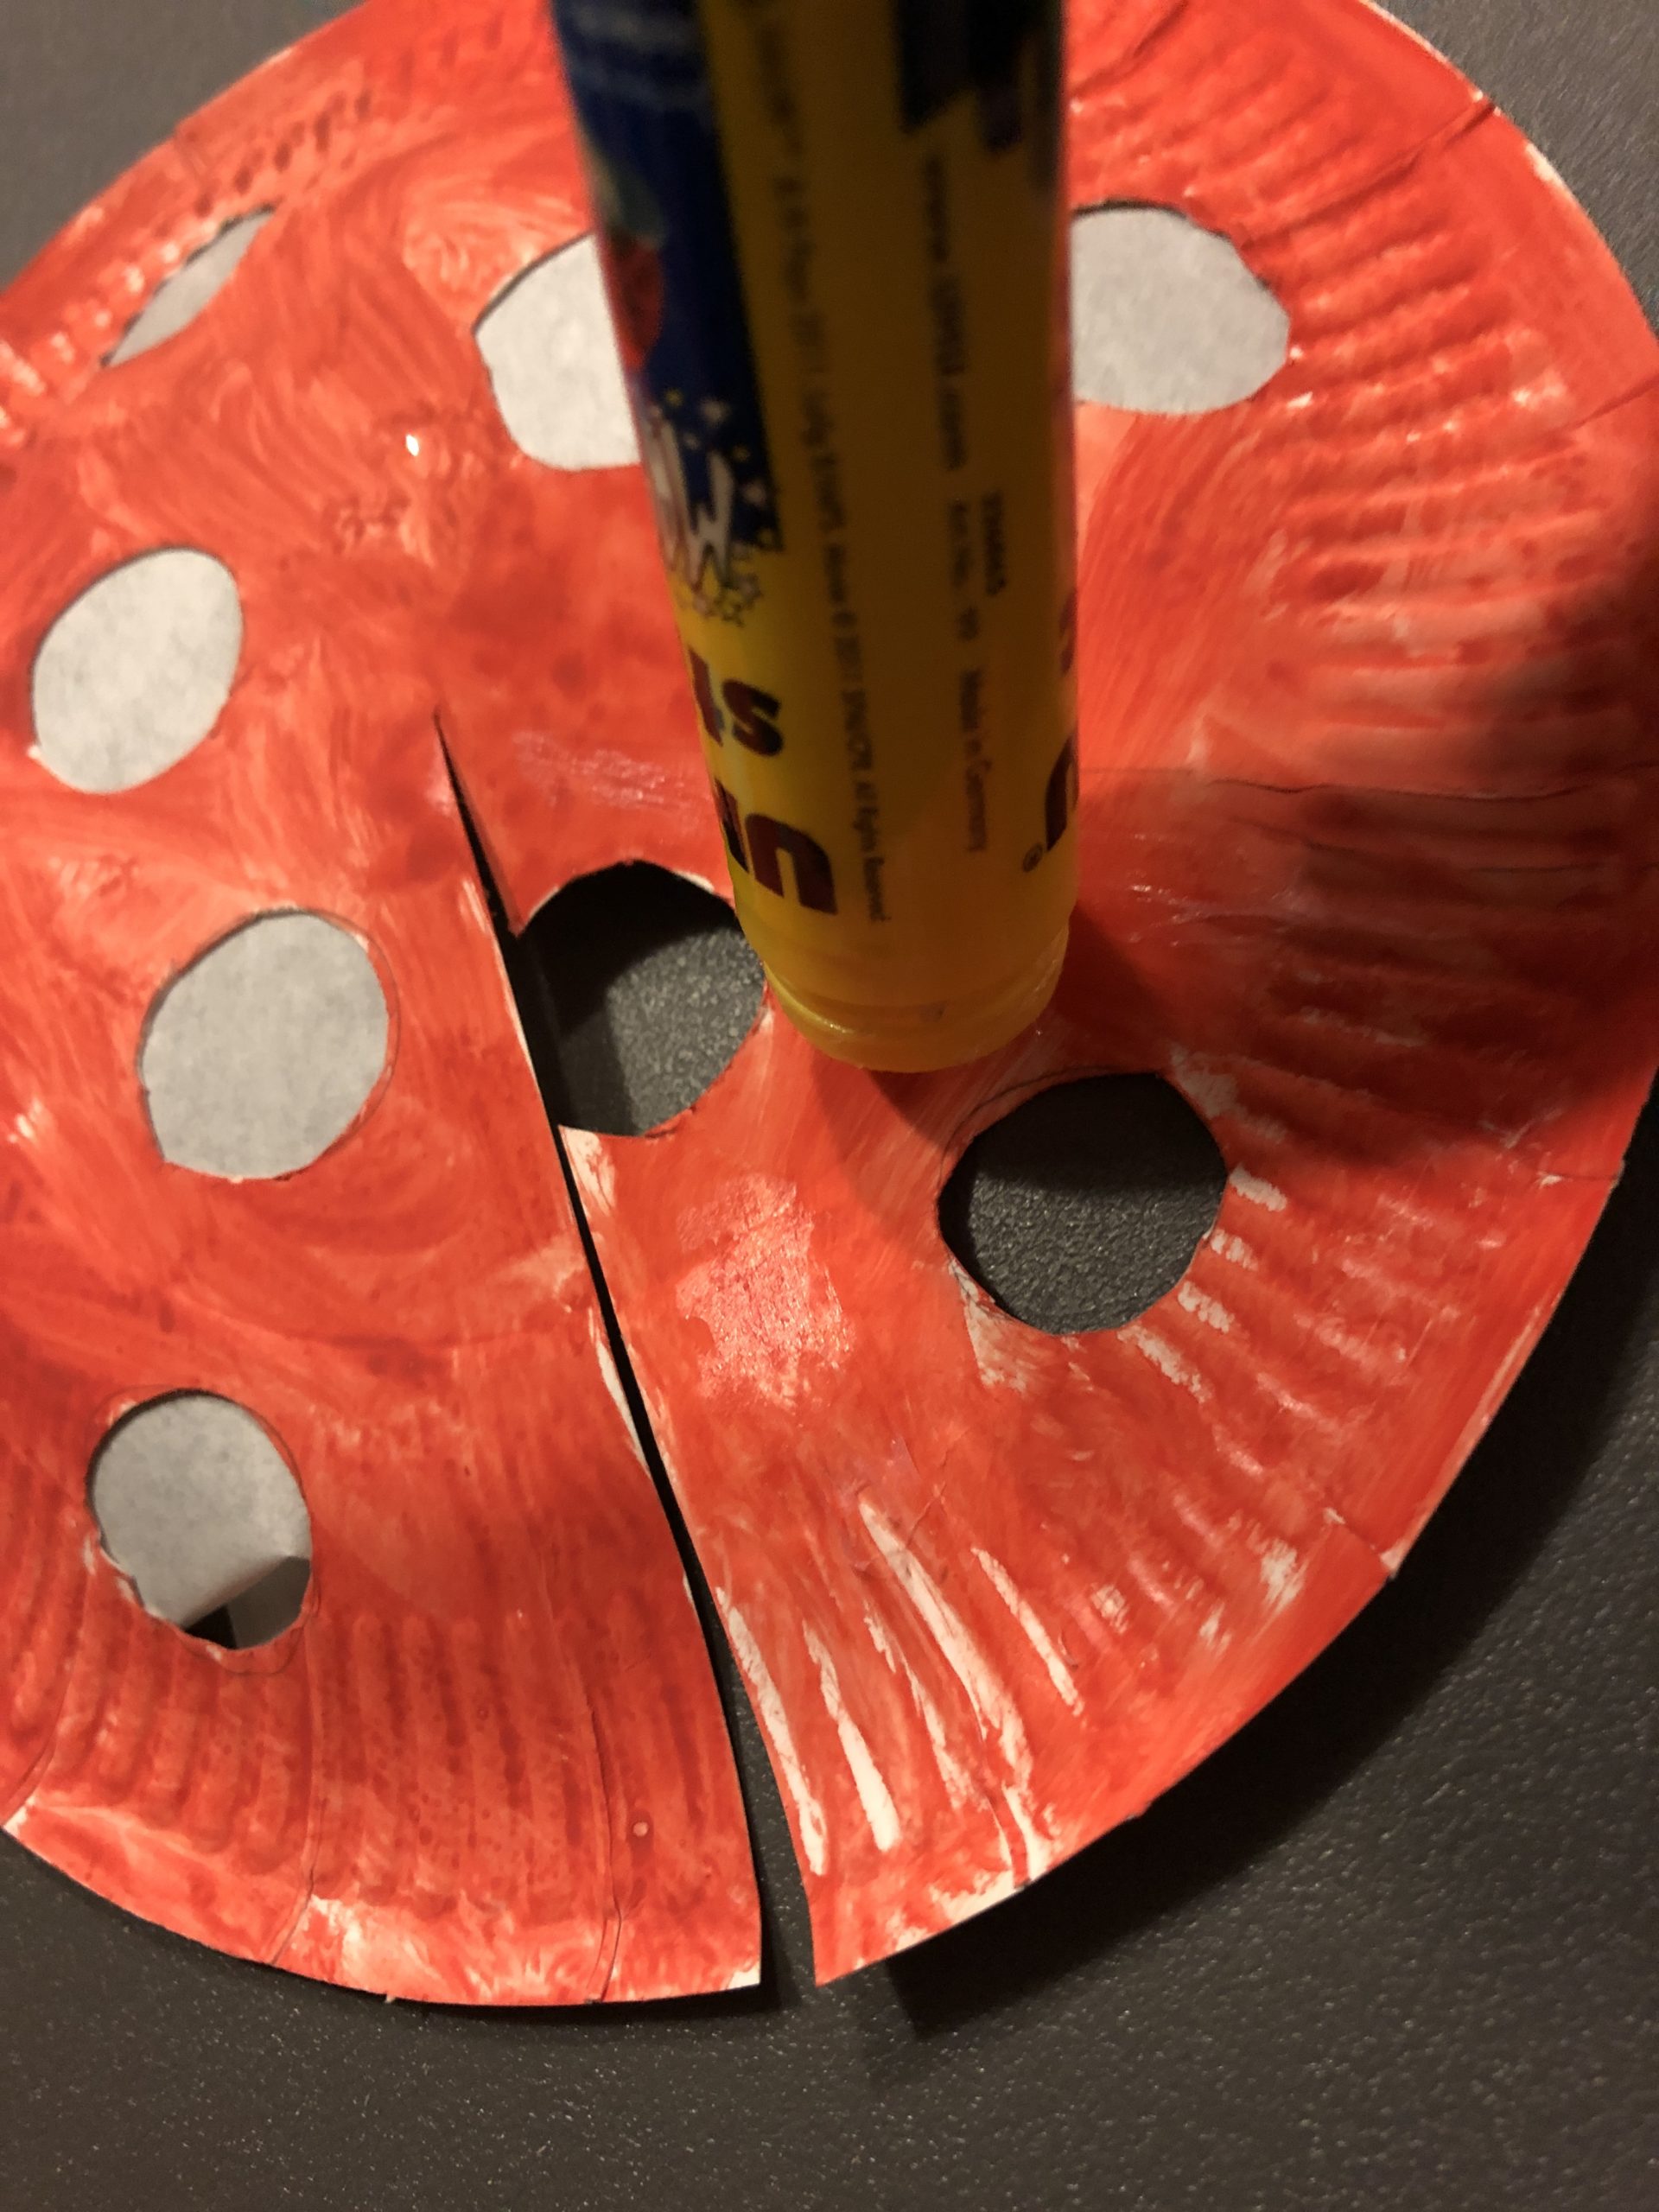
Bild zum Schritt 8 für das Bastel- und DIY-Abenteuer für Kinder: 'Dreht den Teller um und klebt den Pappteller an der...'

9

This creates a plastic mushroom hat.
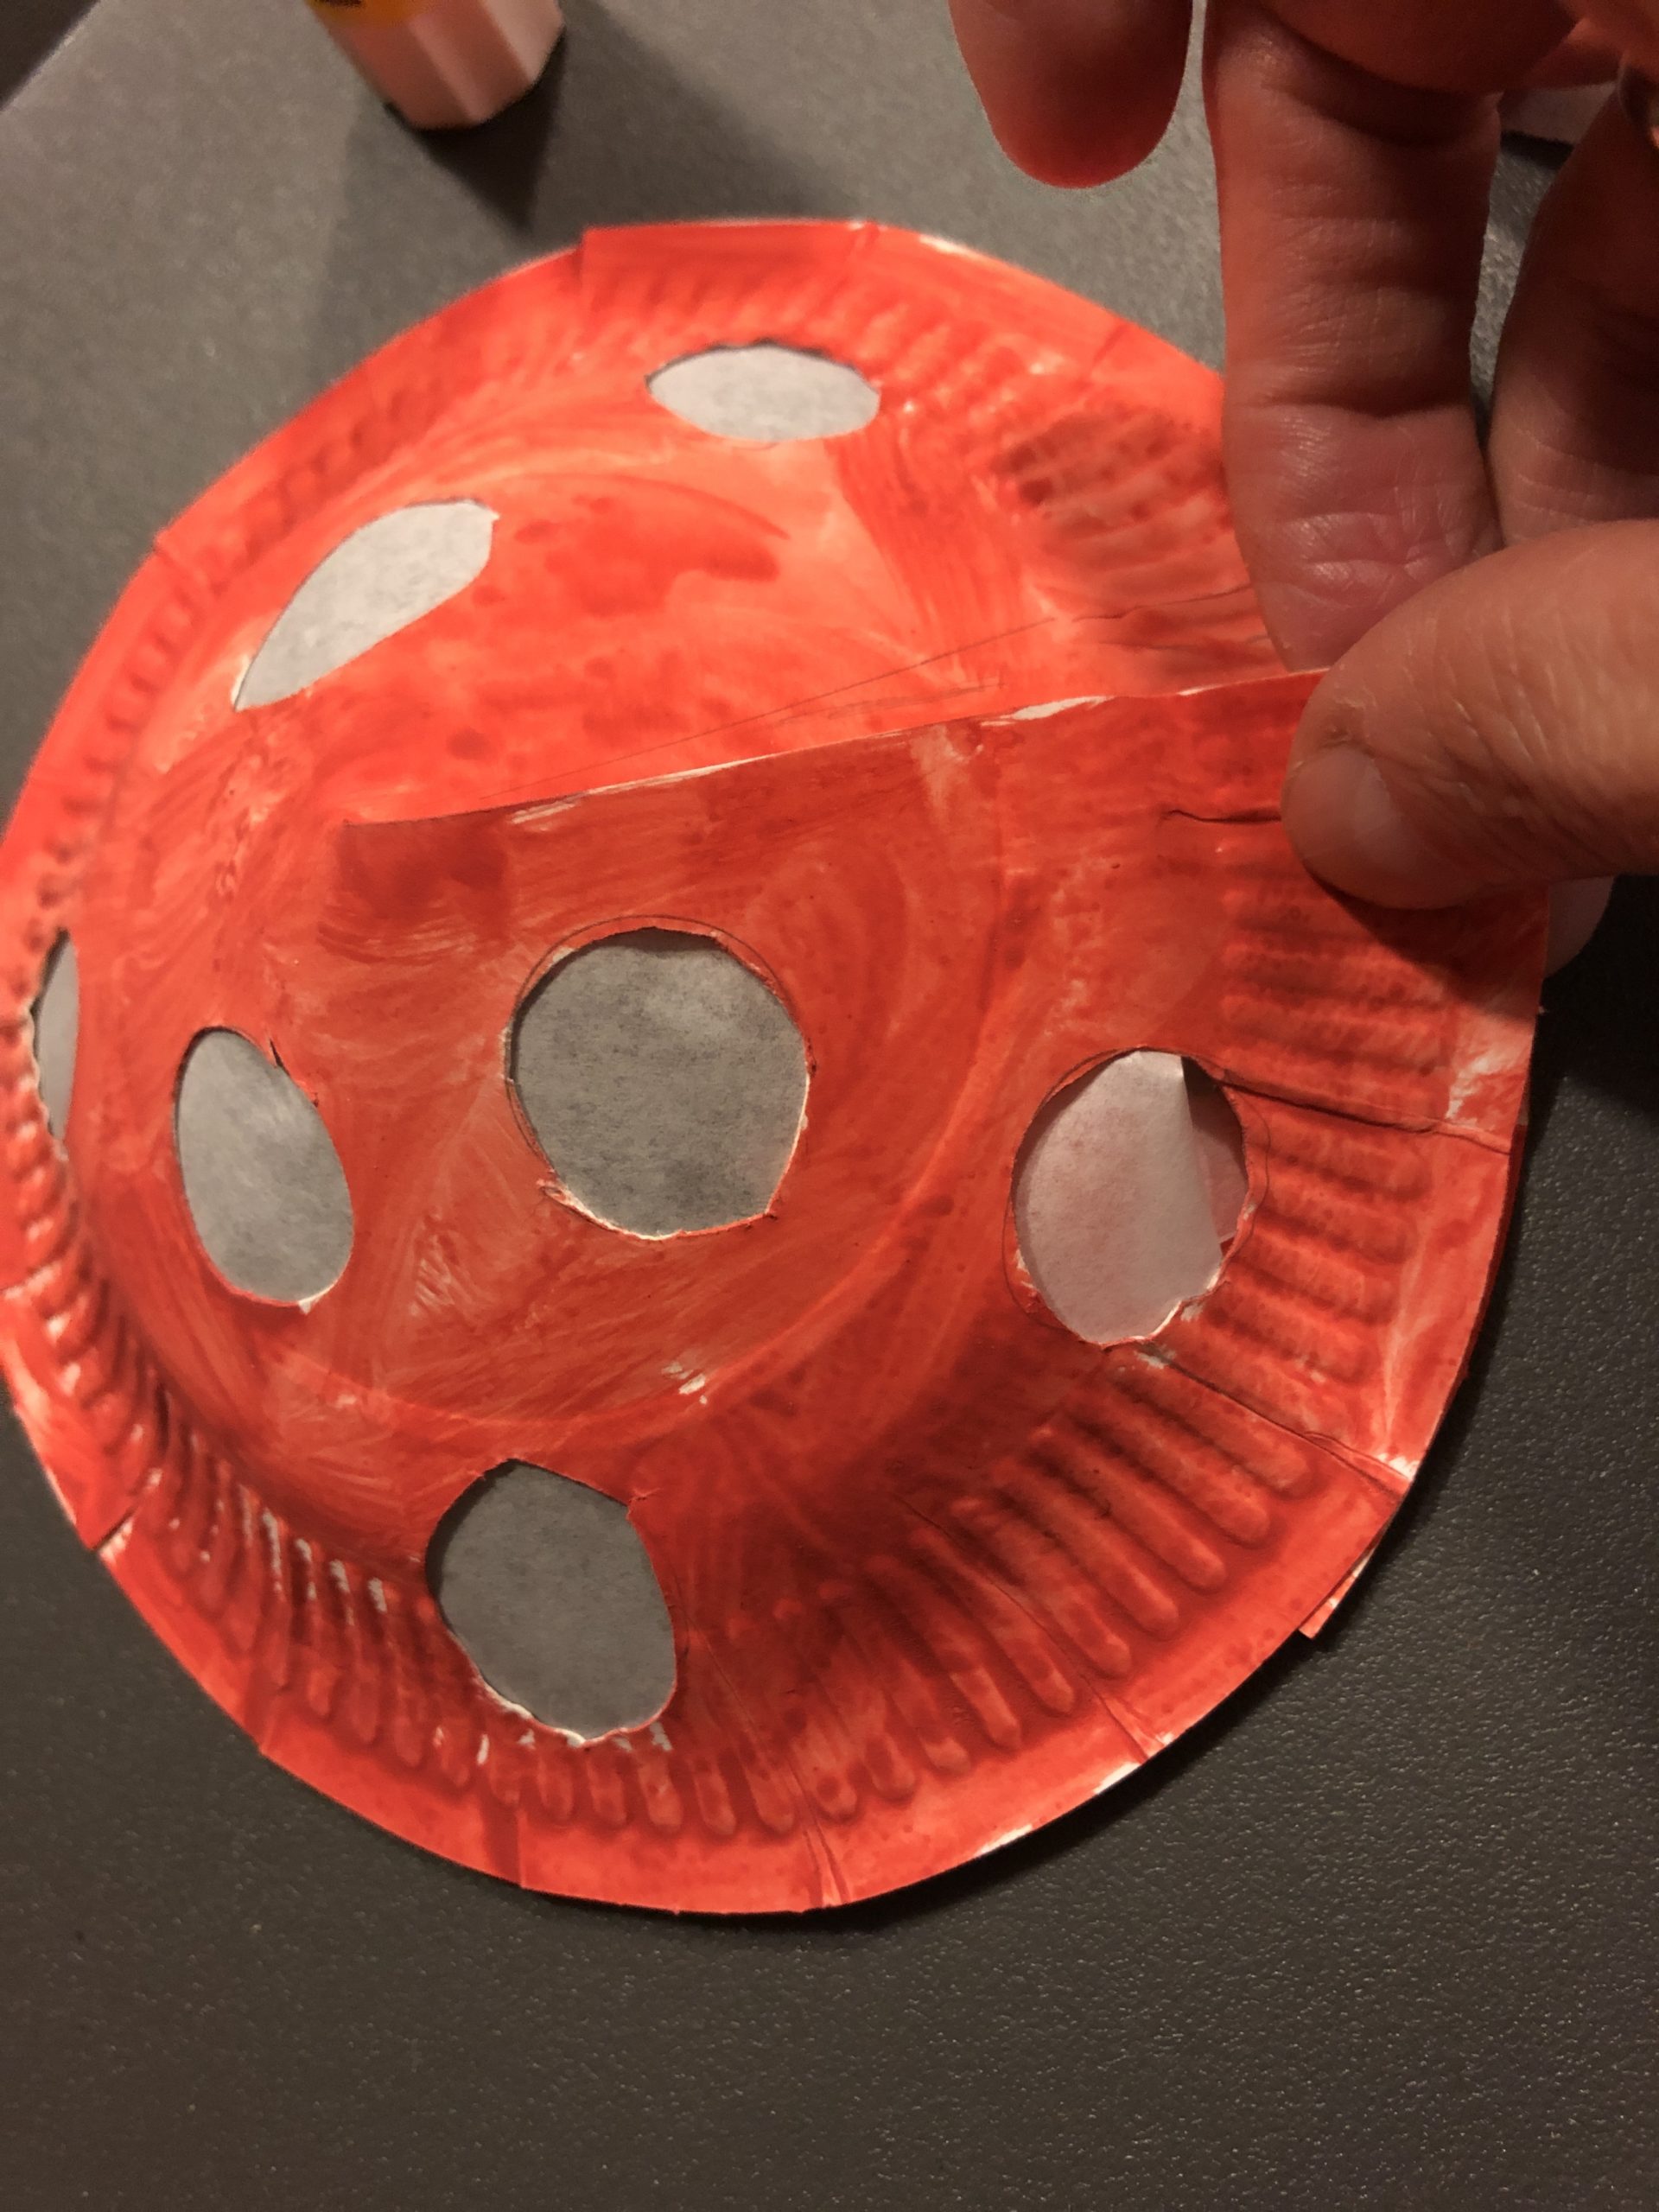
Bild zum Schritt 9 für das Bastel- und DIY-Abenteuer für Kinder: 'So entsteht ein plastischer Pilzhut.'

10

Now fold the finished mushroom hat half.
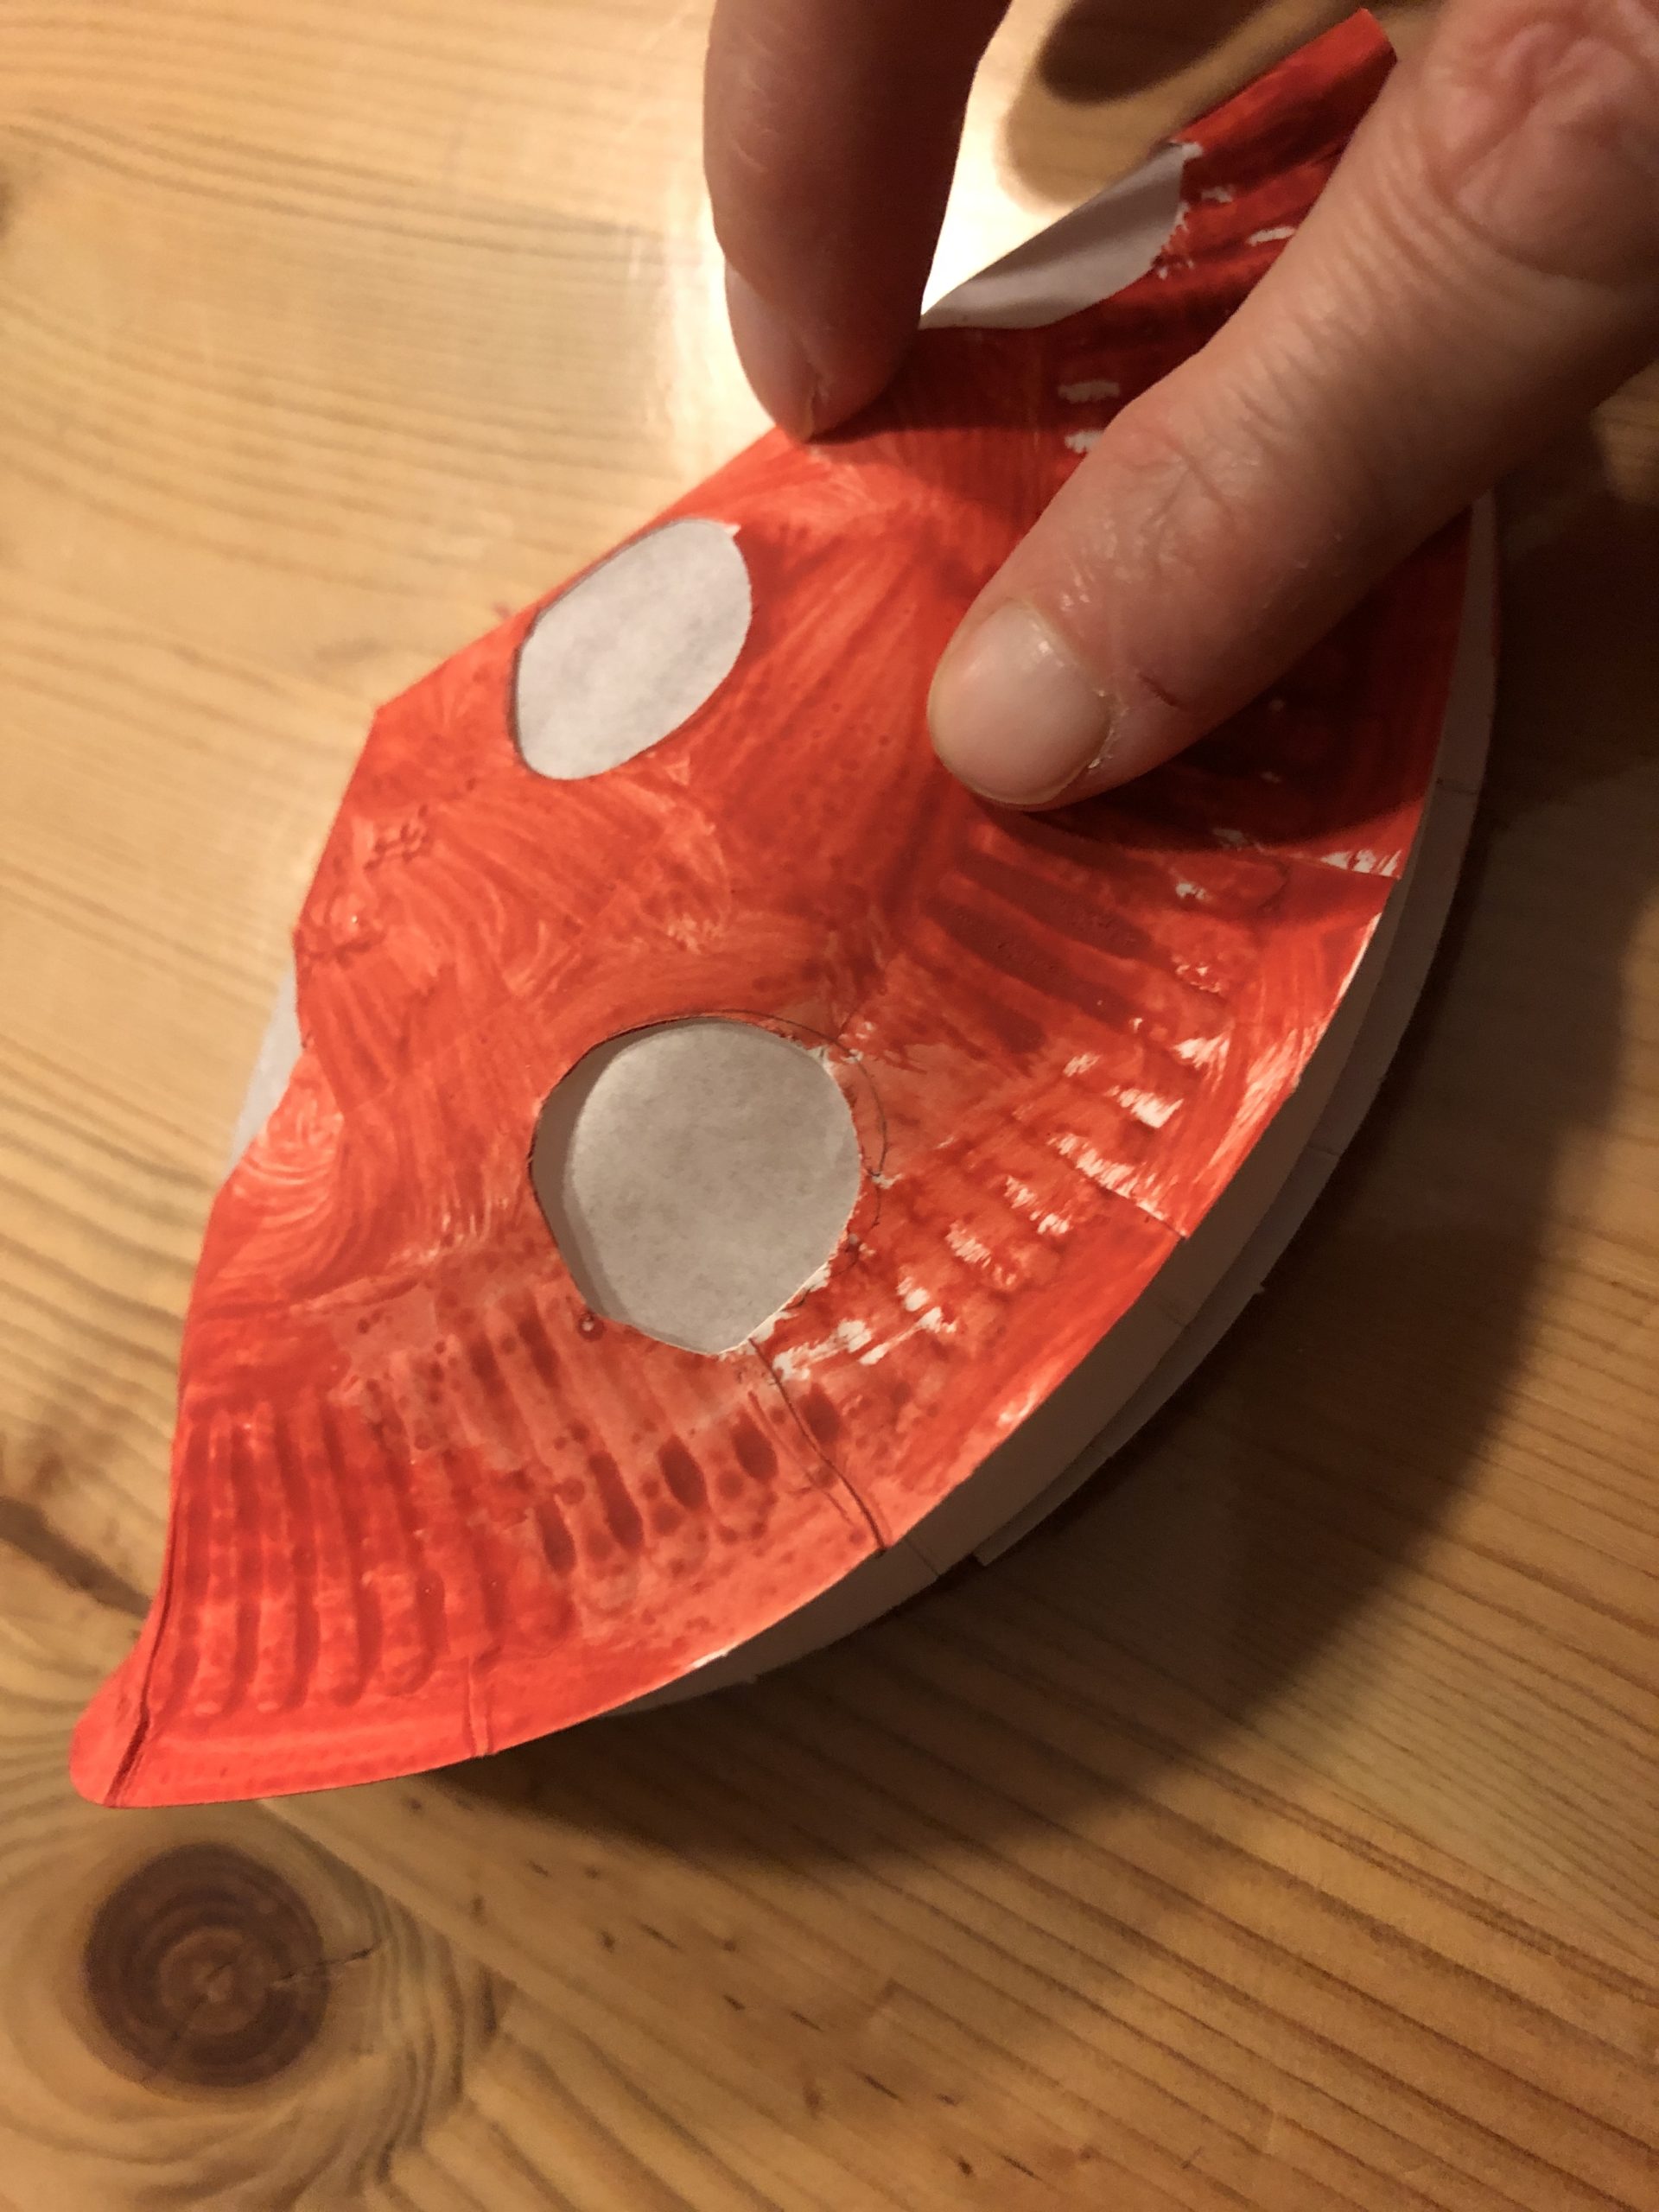
Bild zum Schritt 10 für das Bastel- und DIY-Abenteuer für Kinder: 'Faltet nun den fertigen Pilzhut zur Hälfte.'

11

Now you can attach the mushroom hat on a thick piece of branch. Use some hot glue. (Attention: for hot glue there is risk of injury!)
But before you stick the mushroom hat on the branch, first stick the branch on a plate.
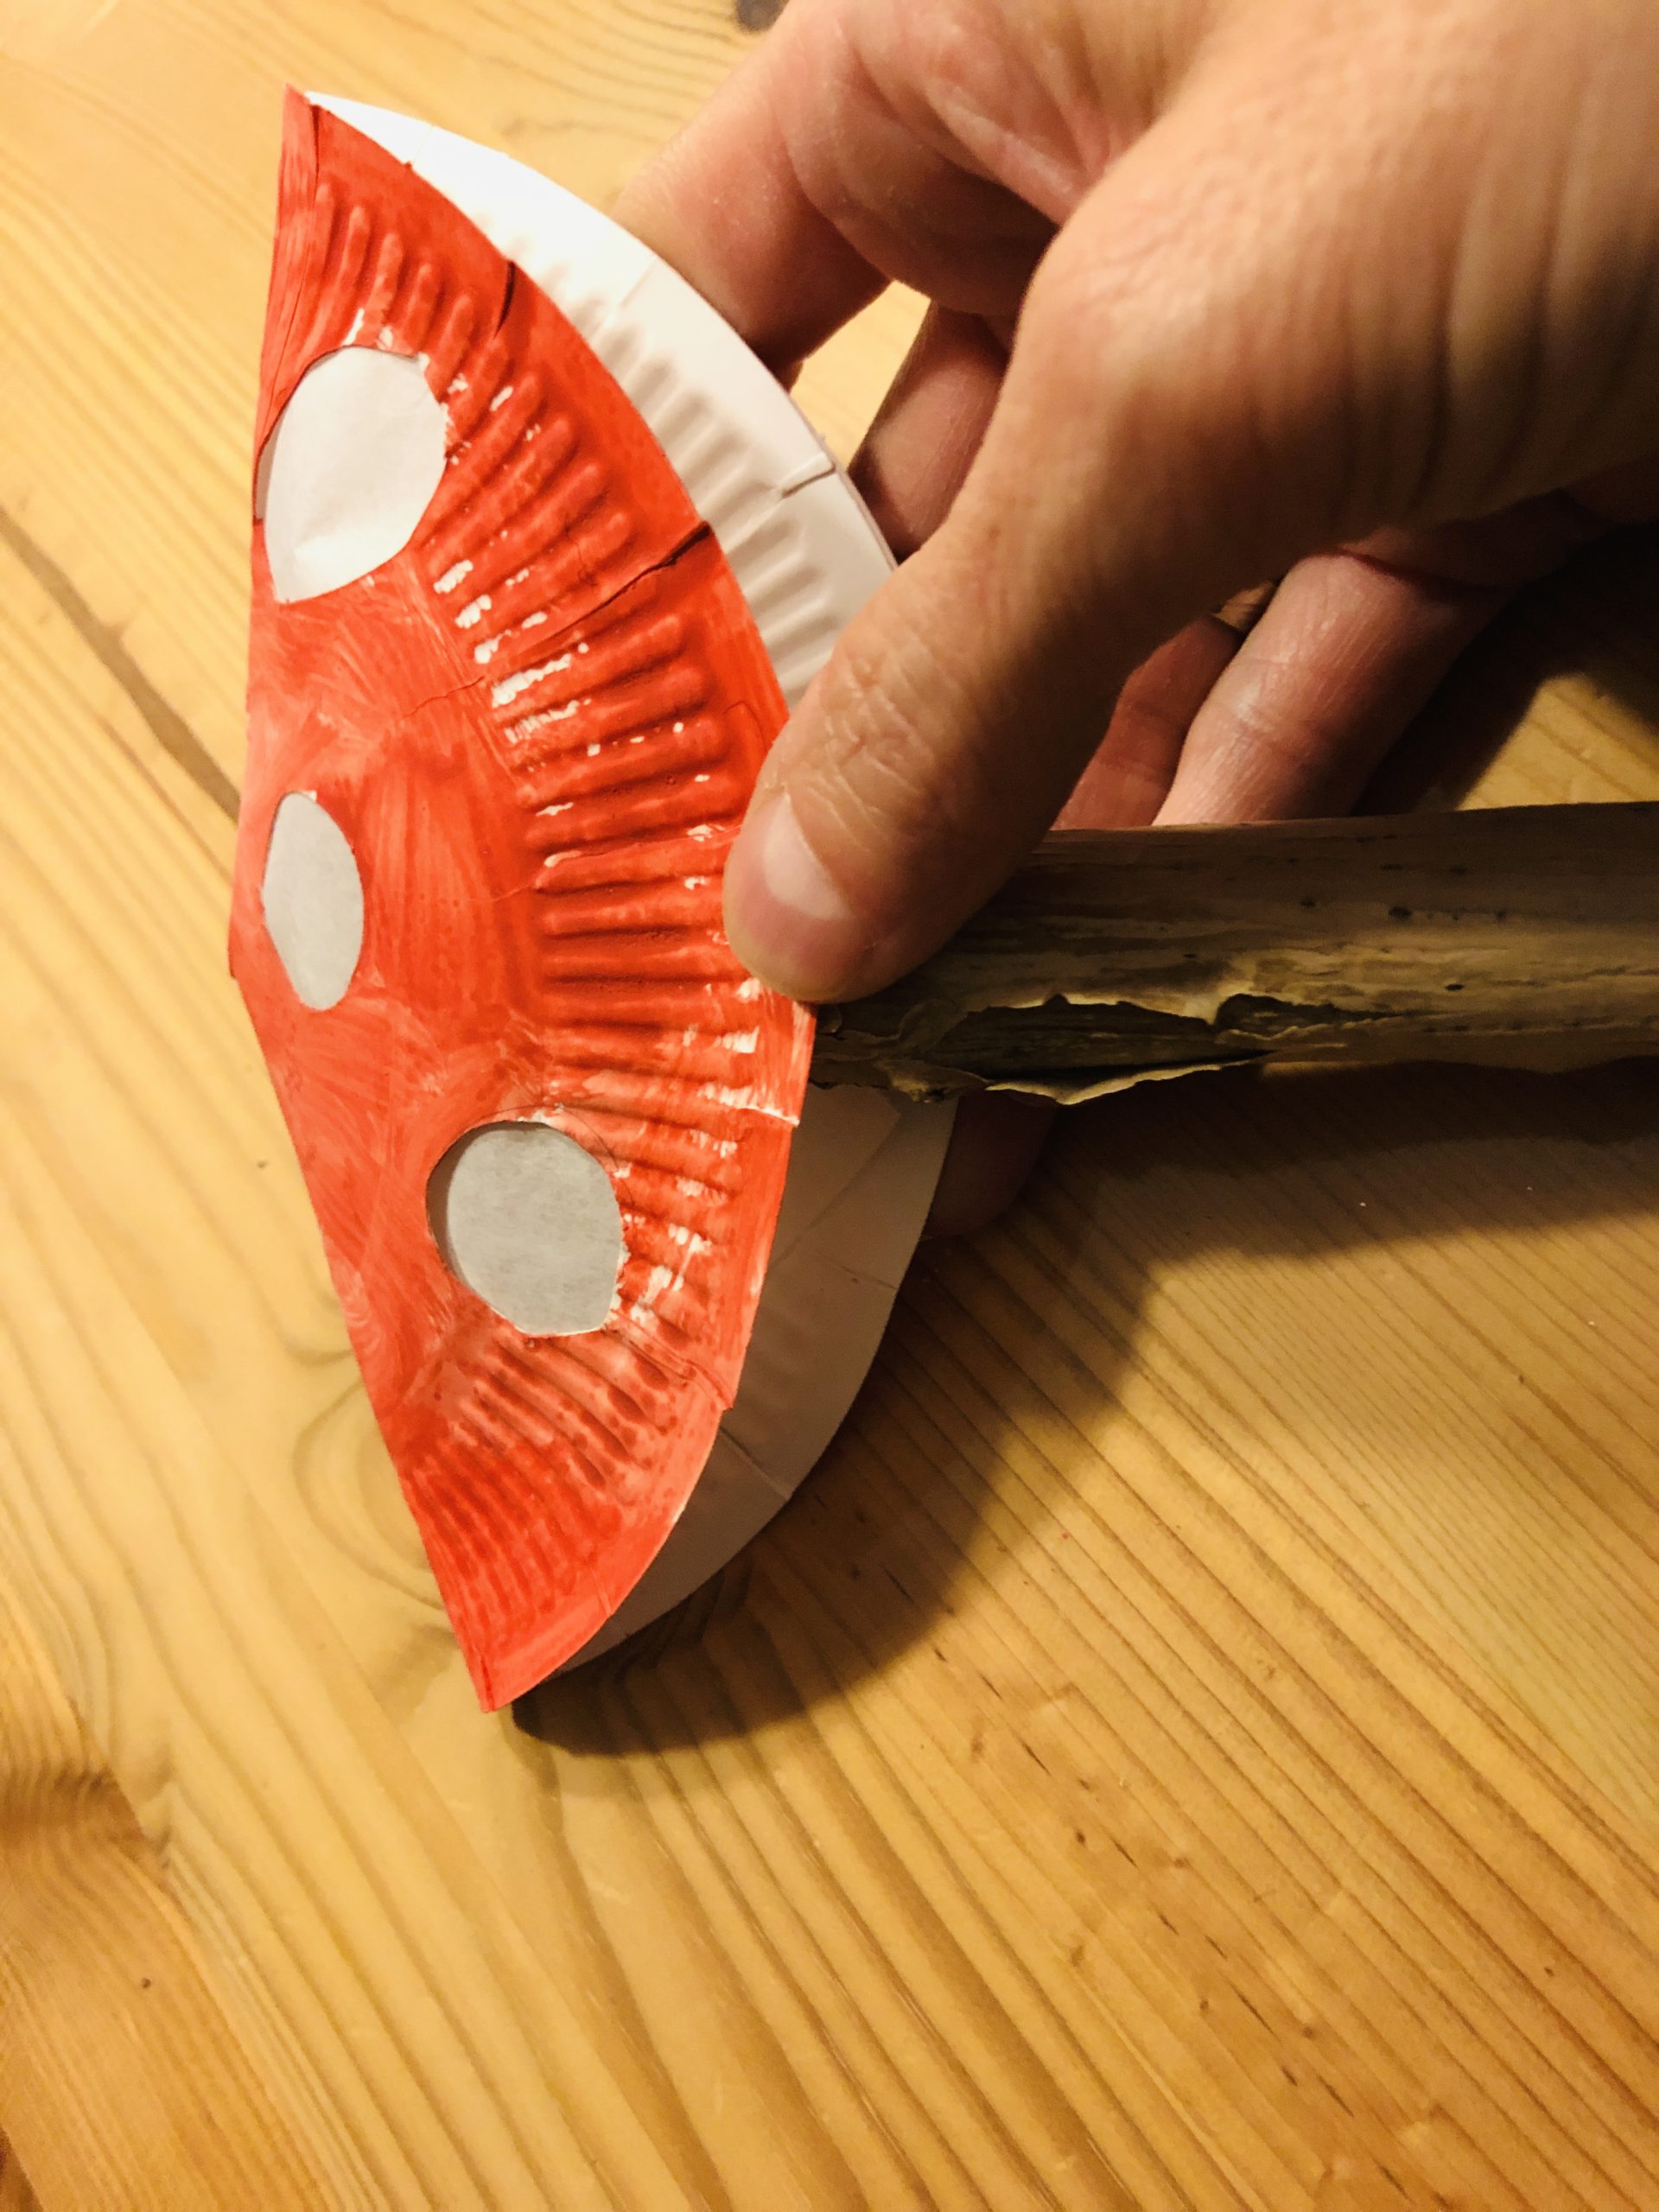
Bild zum Schritt 11 für das Bastel- und DIY-Abenteuer für Kinder: 'Jetzt könnt ihr den Pilzhut auf einem dicken Stück Ast...'

12

Fasten the branch on a slate plate or on a wooden disc with hot glue.
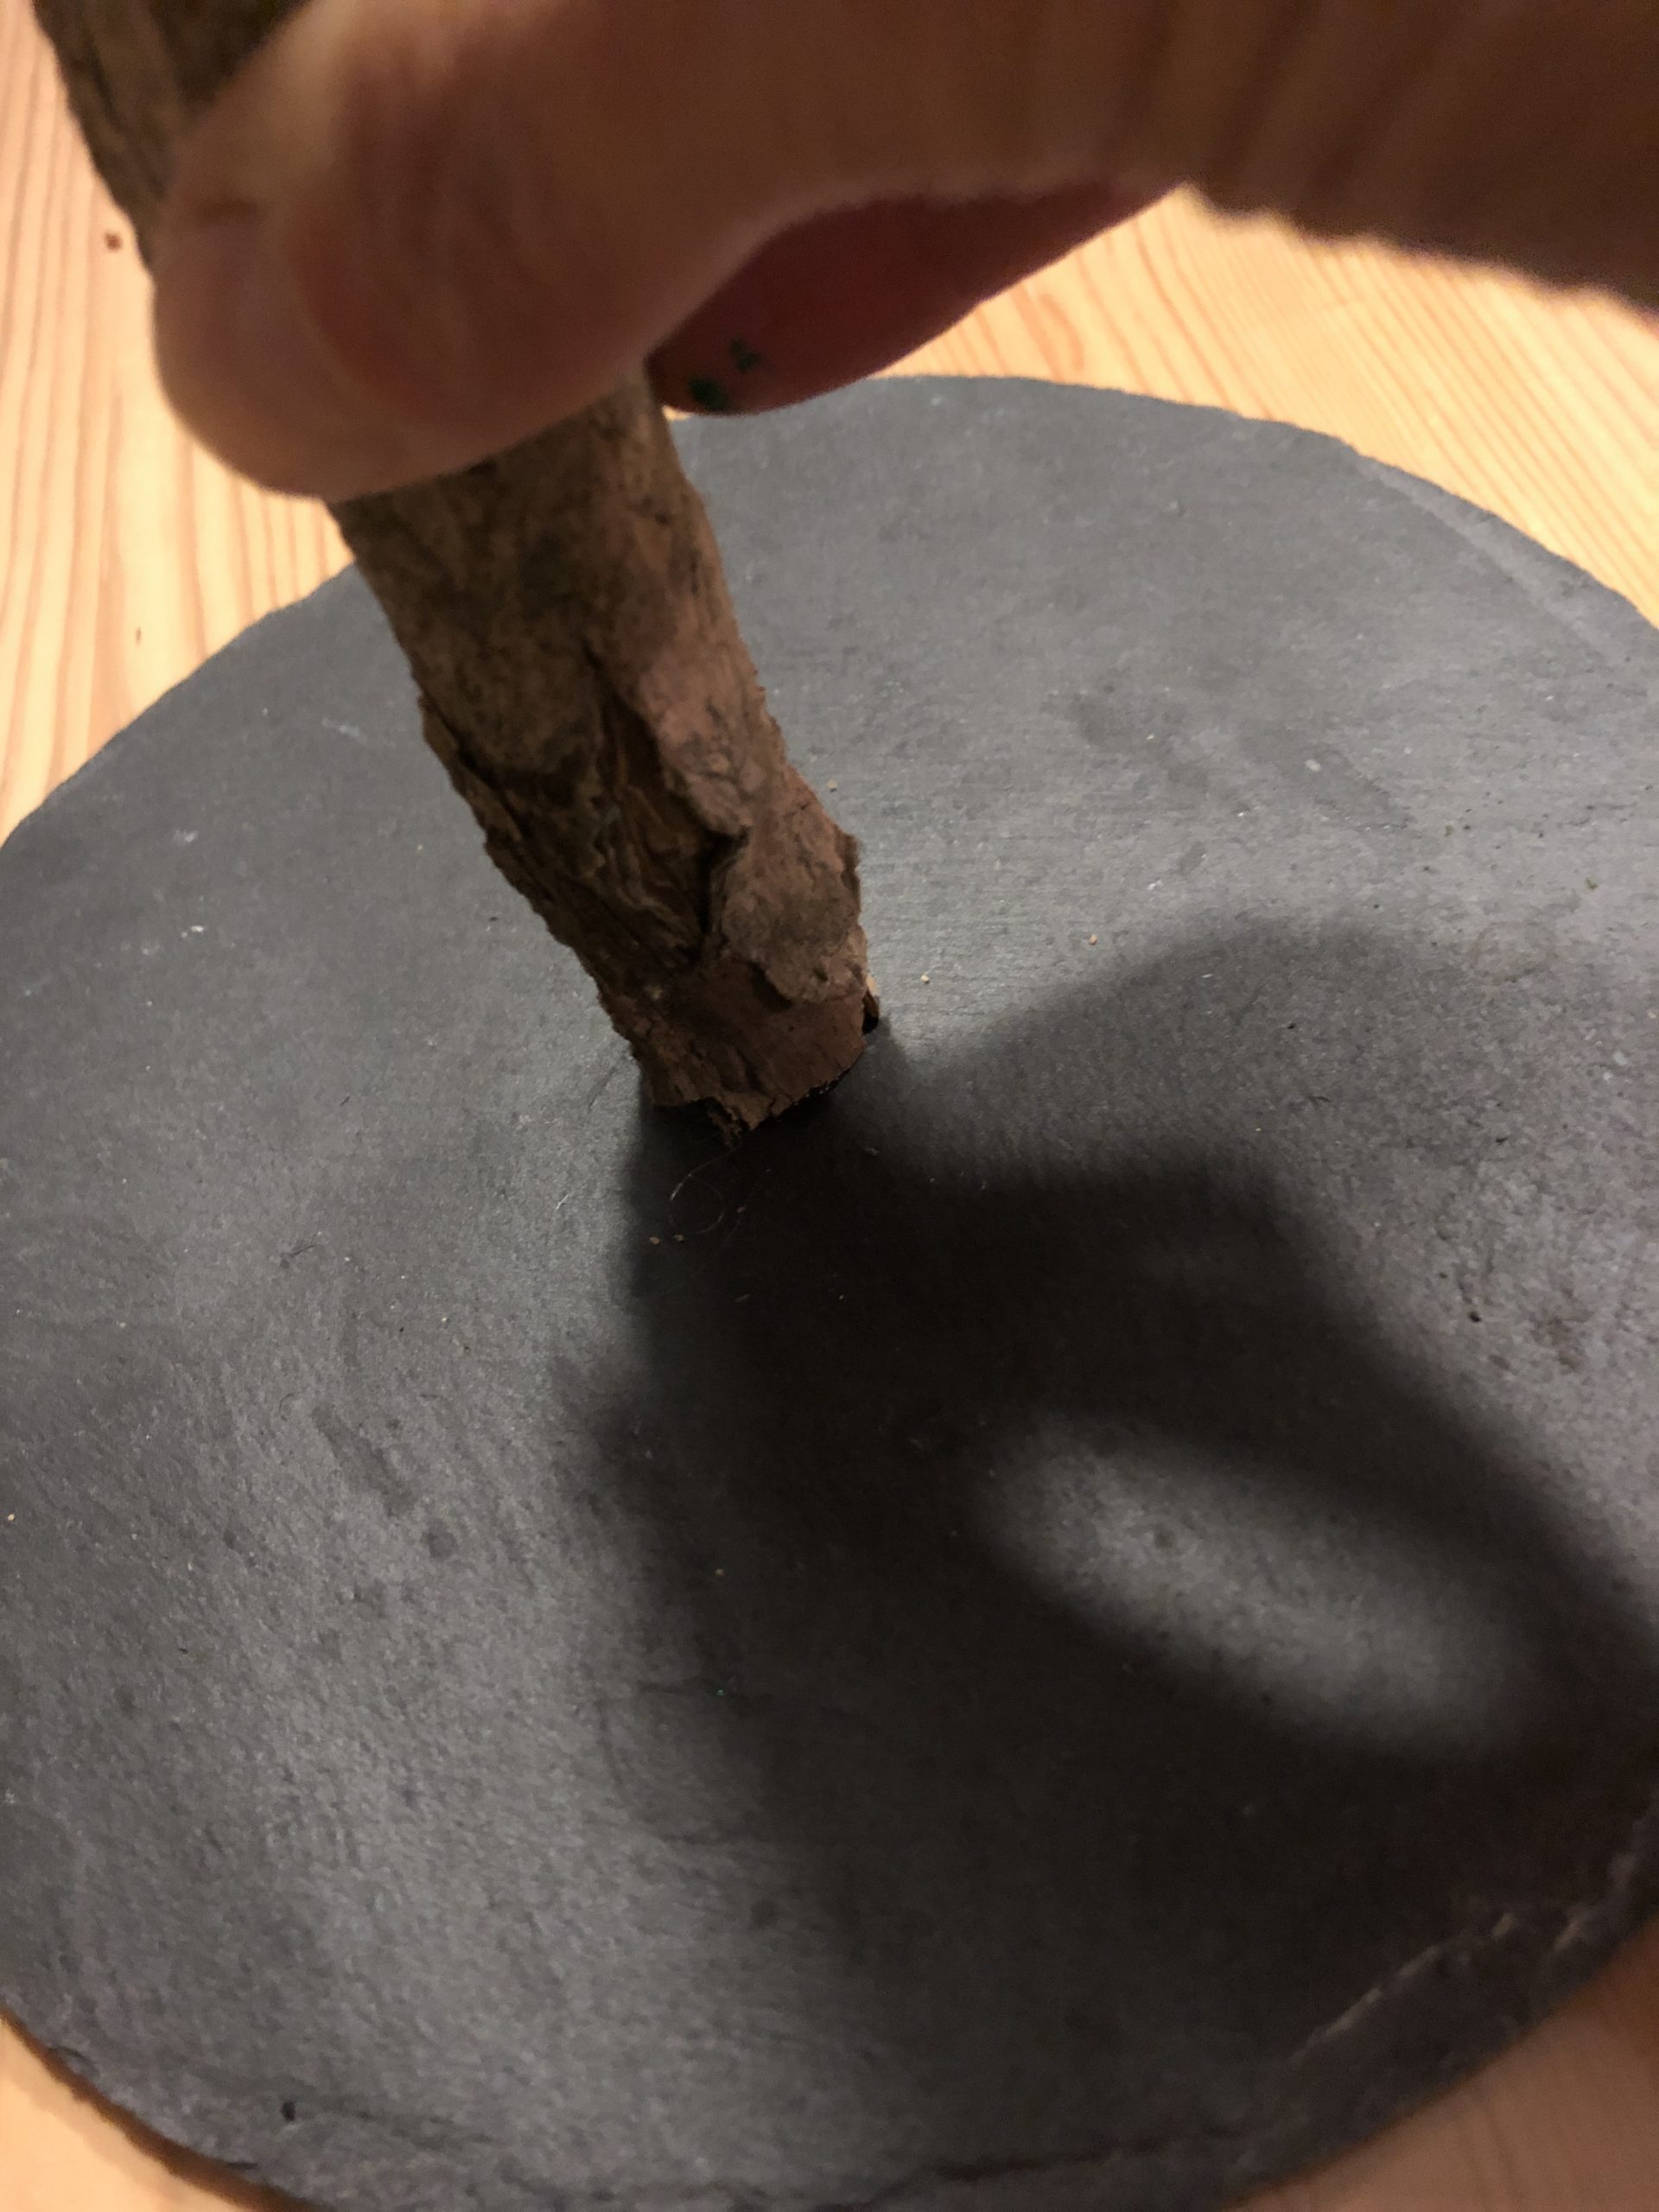
Bild zum Schritt 12 für das Bastel- und DIY-Abenteuer für Kinder: 'Dafür den Ast auf einer Schieferplatte oder auf einer Holzscheibe...'

13

Now stick the mushroom hat on the branch with the hot glue.

Bild zum Schritt 13 für das Bastel- und DIY-Abenteuer für Kinder: 'Jetzt klebt den Pilzhut mit dem Heißkleber auf den Ast.'

14

Finally, the mushroom is decorated with moss, leaves and bark pieces.
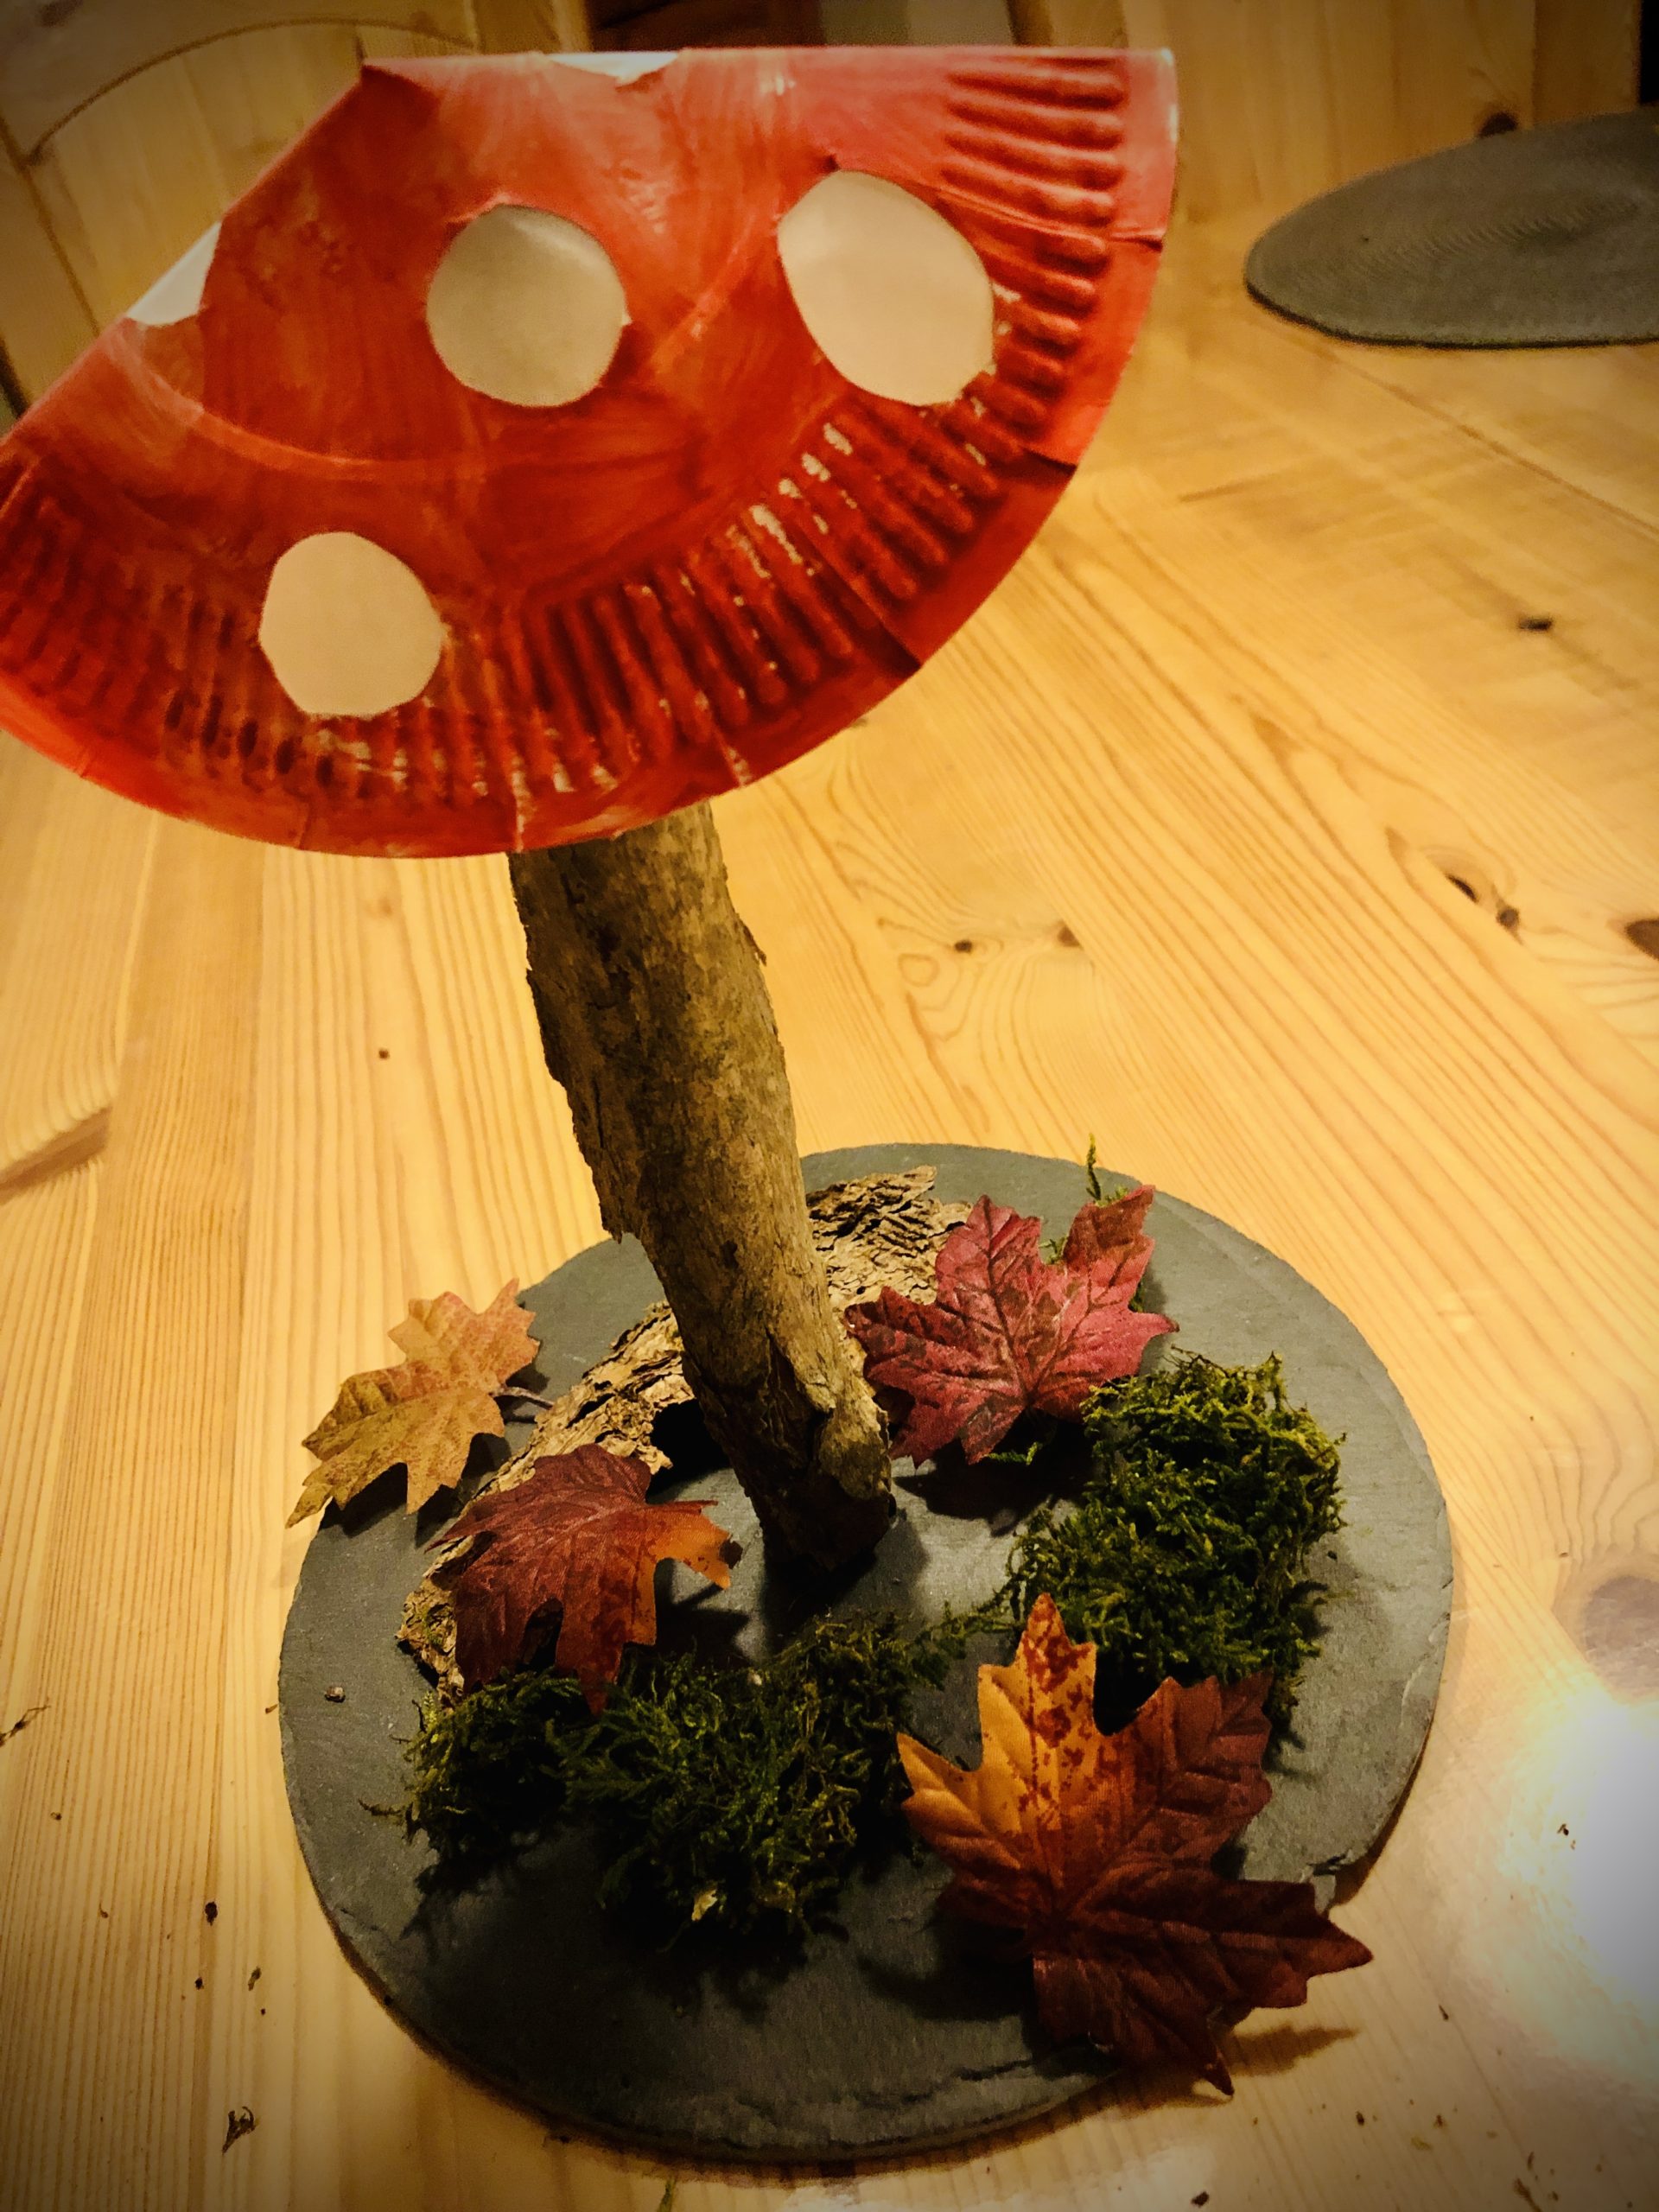
Bild zum Schritt 14 für das Bastel- und DIY-Abenteuer für Kinder: 'Abschließend dekoriert den Pilz mit Moos, Blättern und Rindenstücken.'

15

Your autumn decoration is ready!

Variation:
16

If you paint the cardboard plate in brown tones, then you made a brown porridge in the nu.
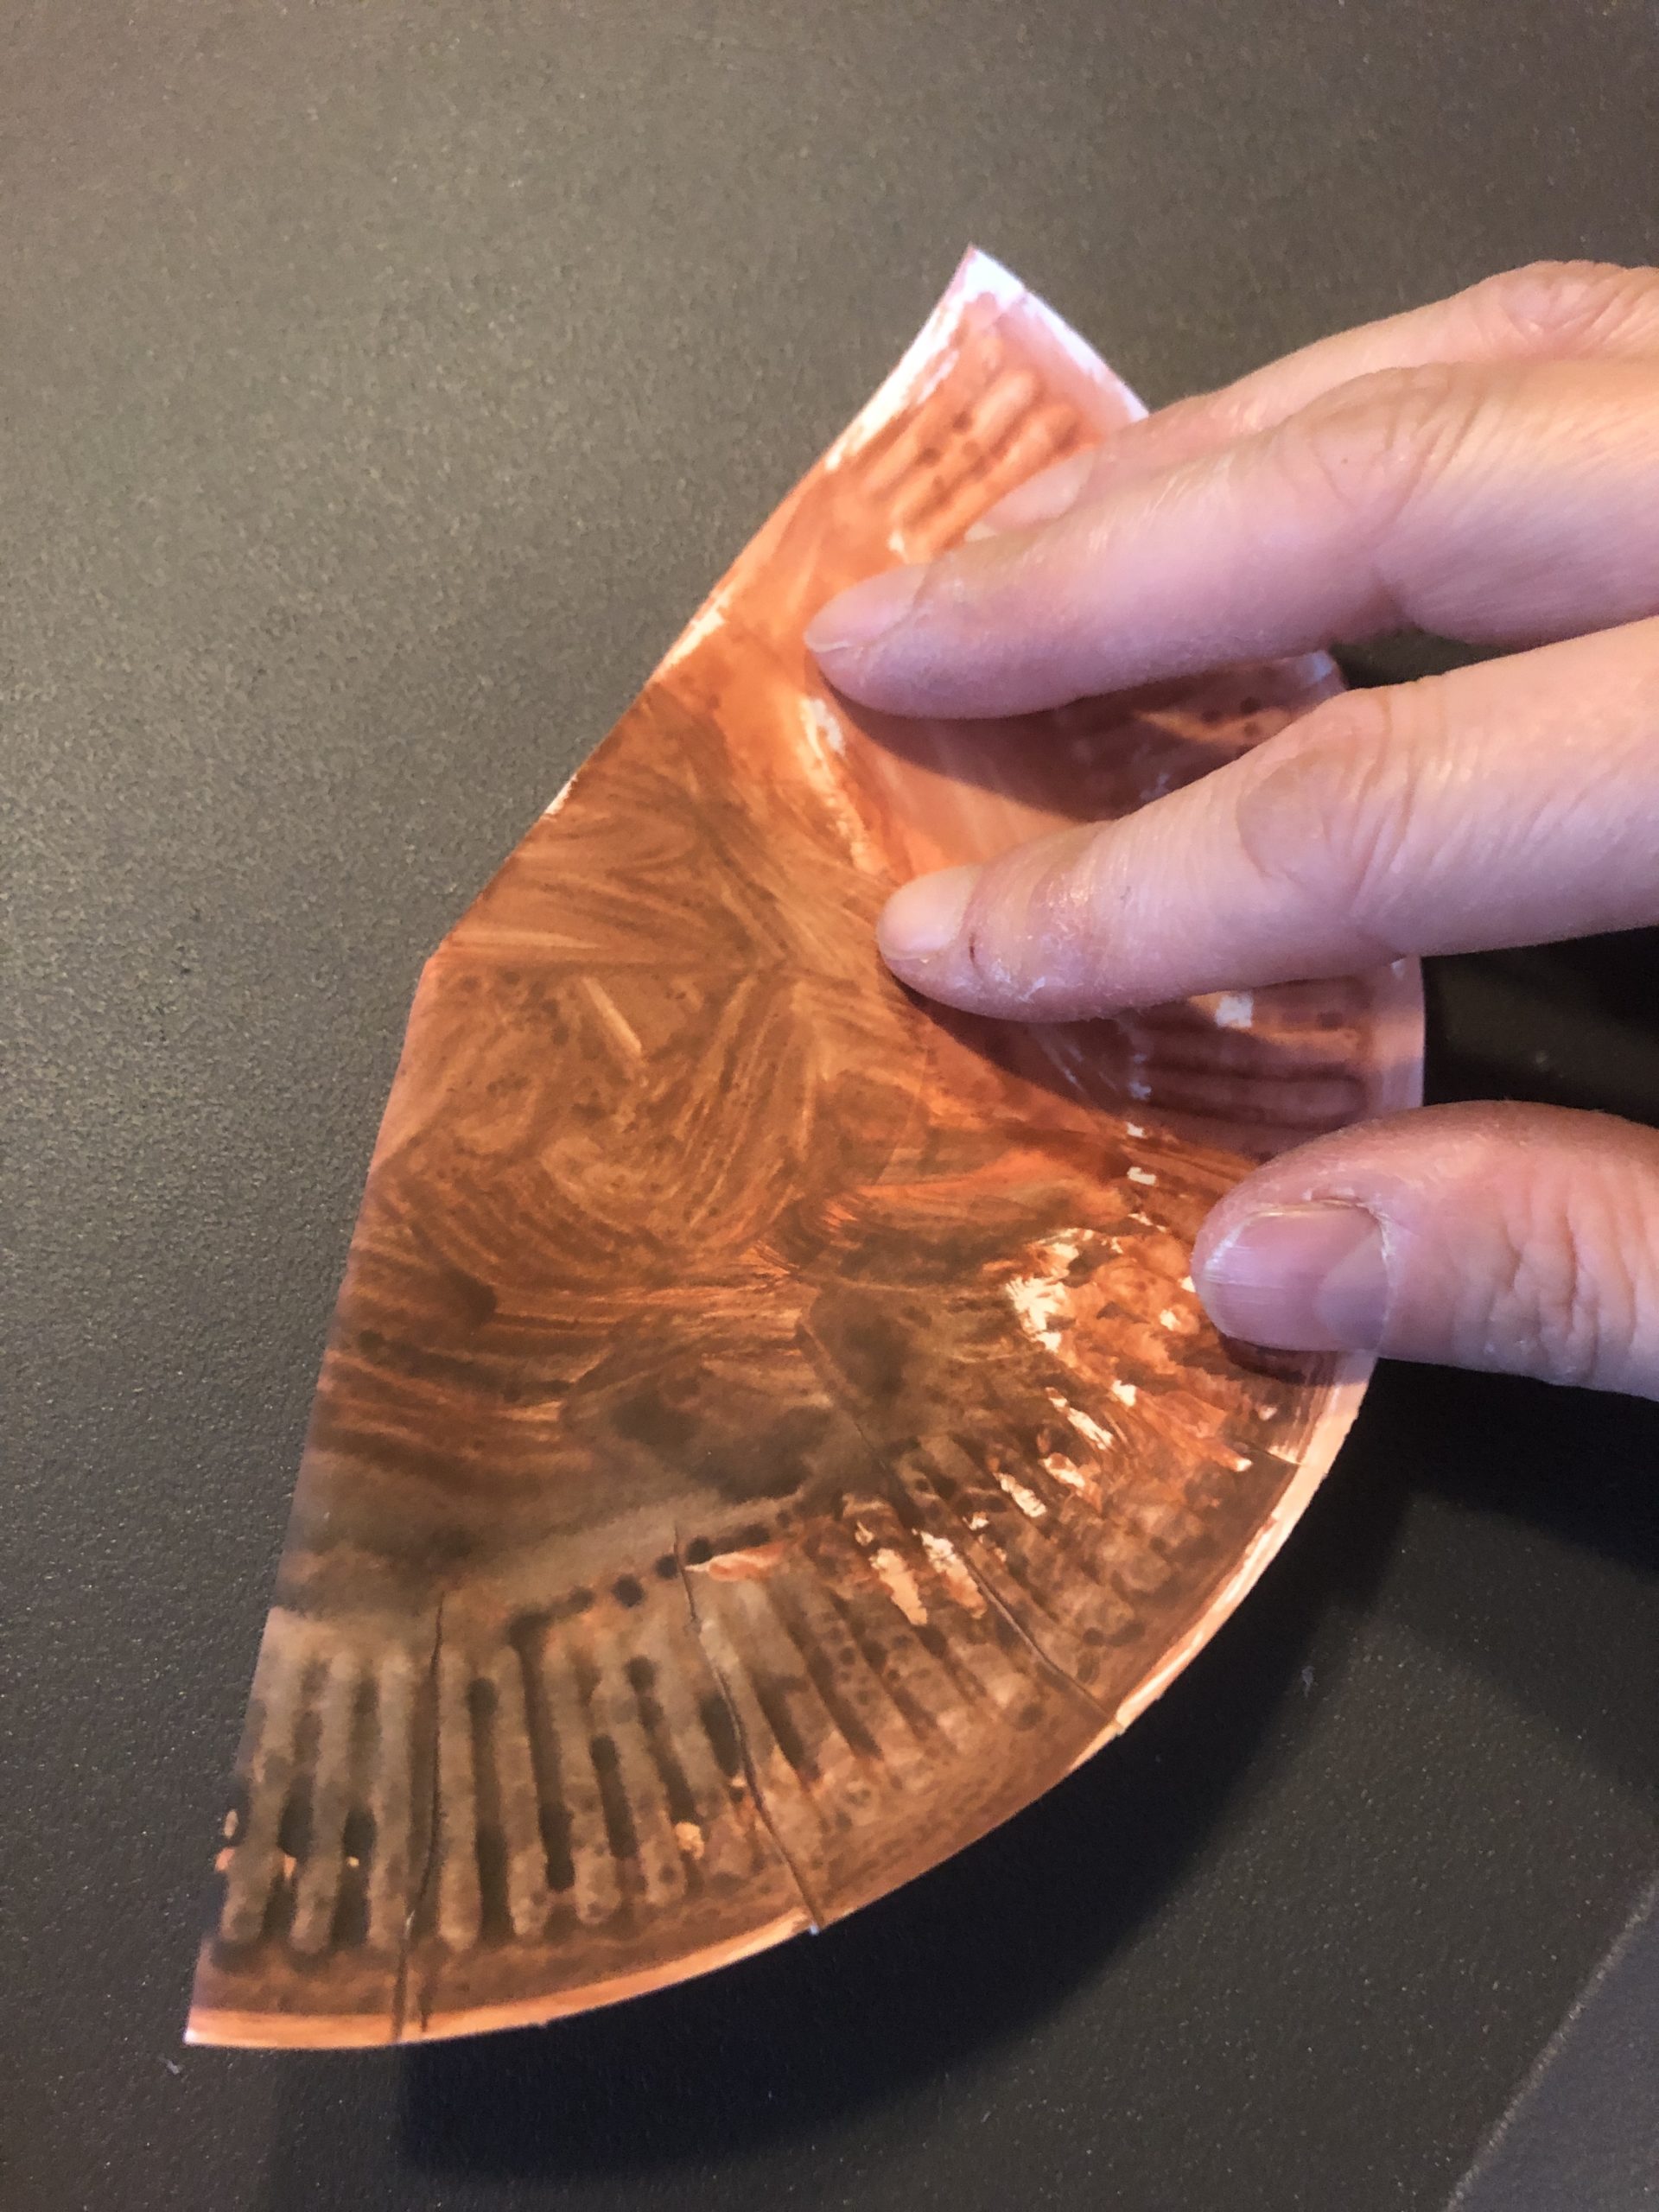
Bild zum Schritt 17 für das Bastel- und DIY-Abenteuer für Kinder: 'Malt ihr den Pappteller in Brauntönen an, dann habt ihr...'

17

This variant is also suitable for smaller children, as the mushroom hat is less elaborate.
You can find this adventure here? Tinkering of porcini fungus.
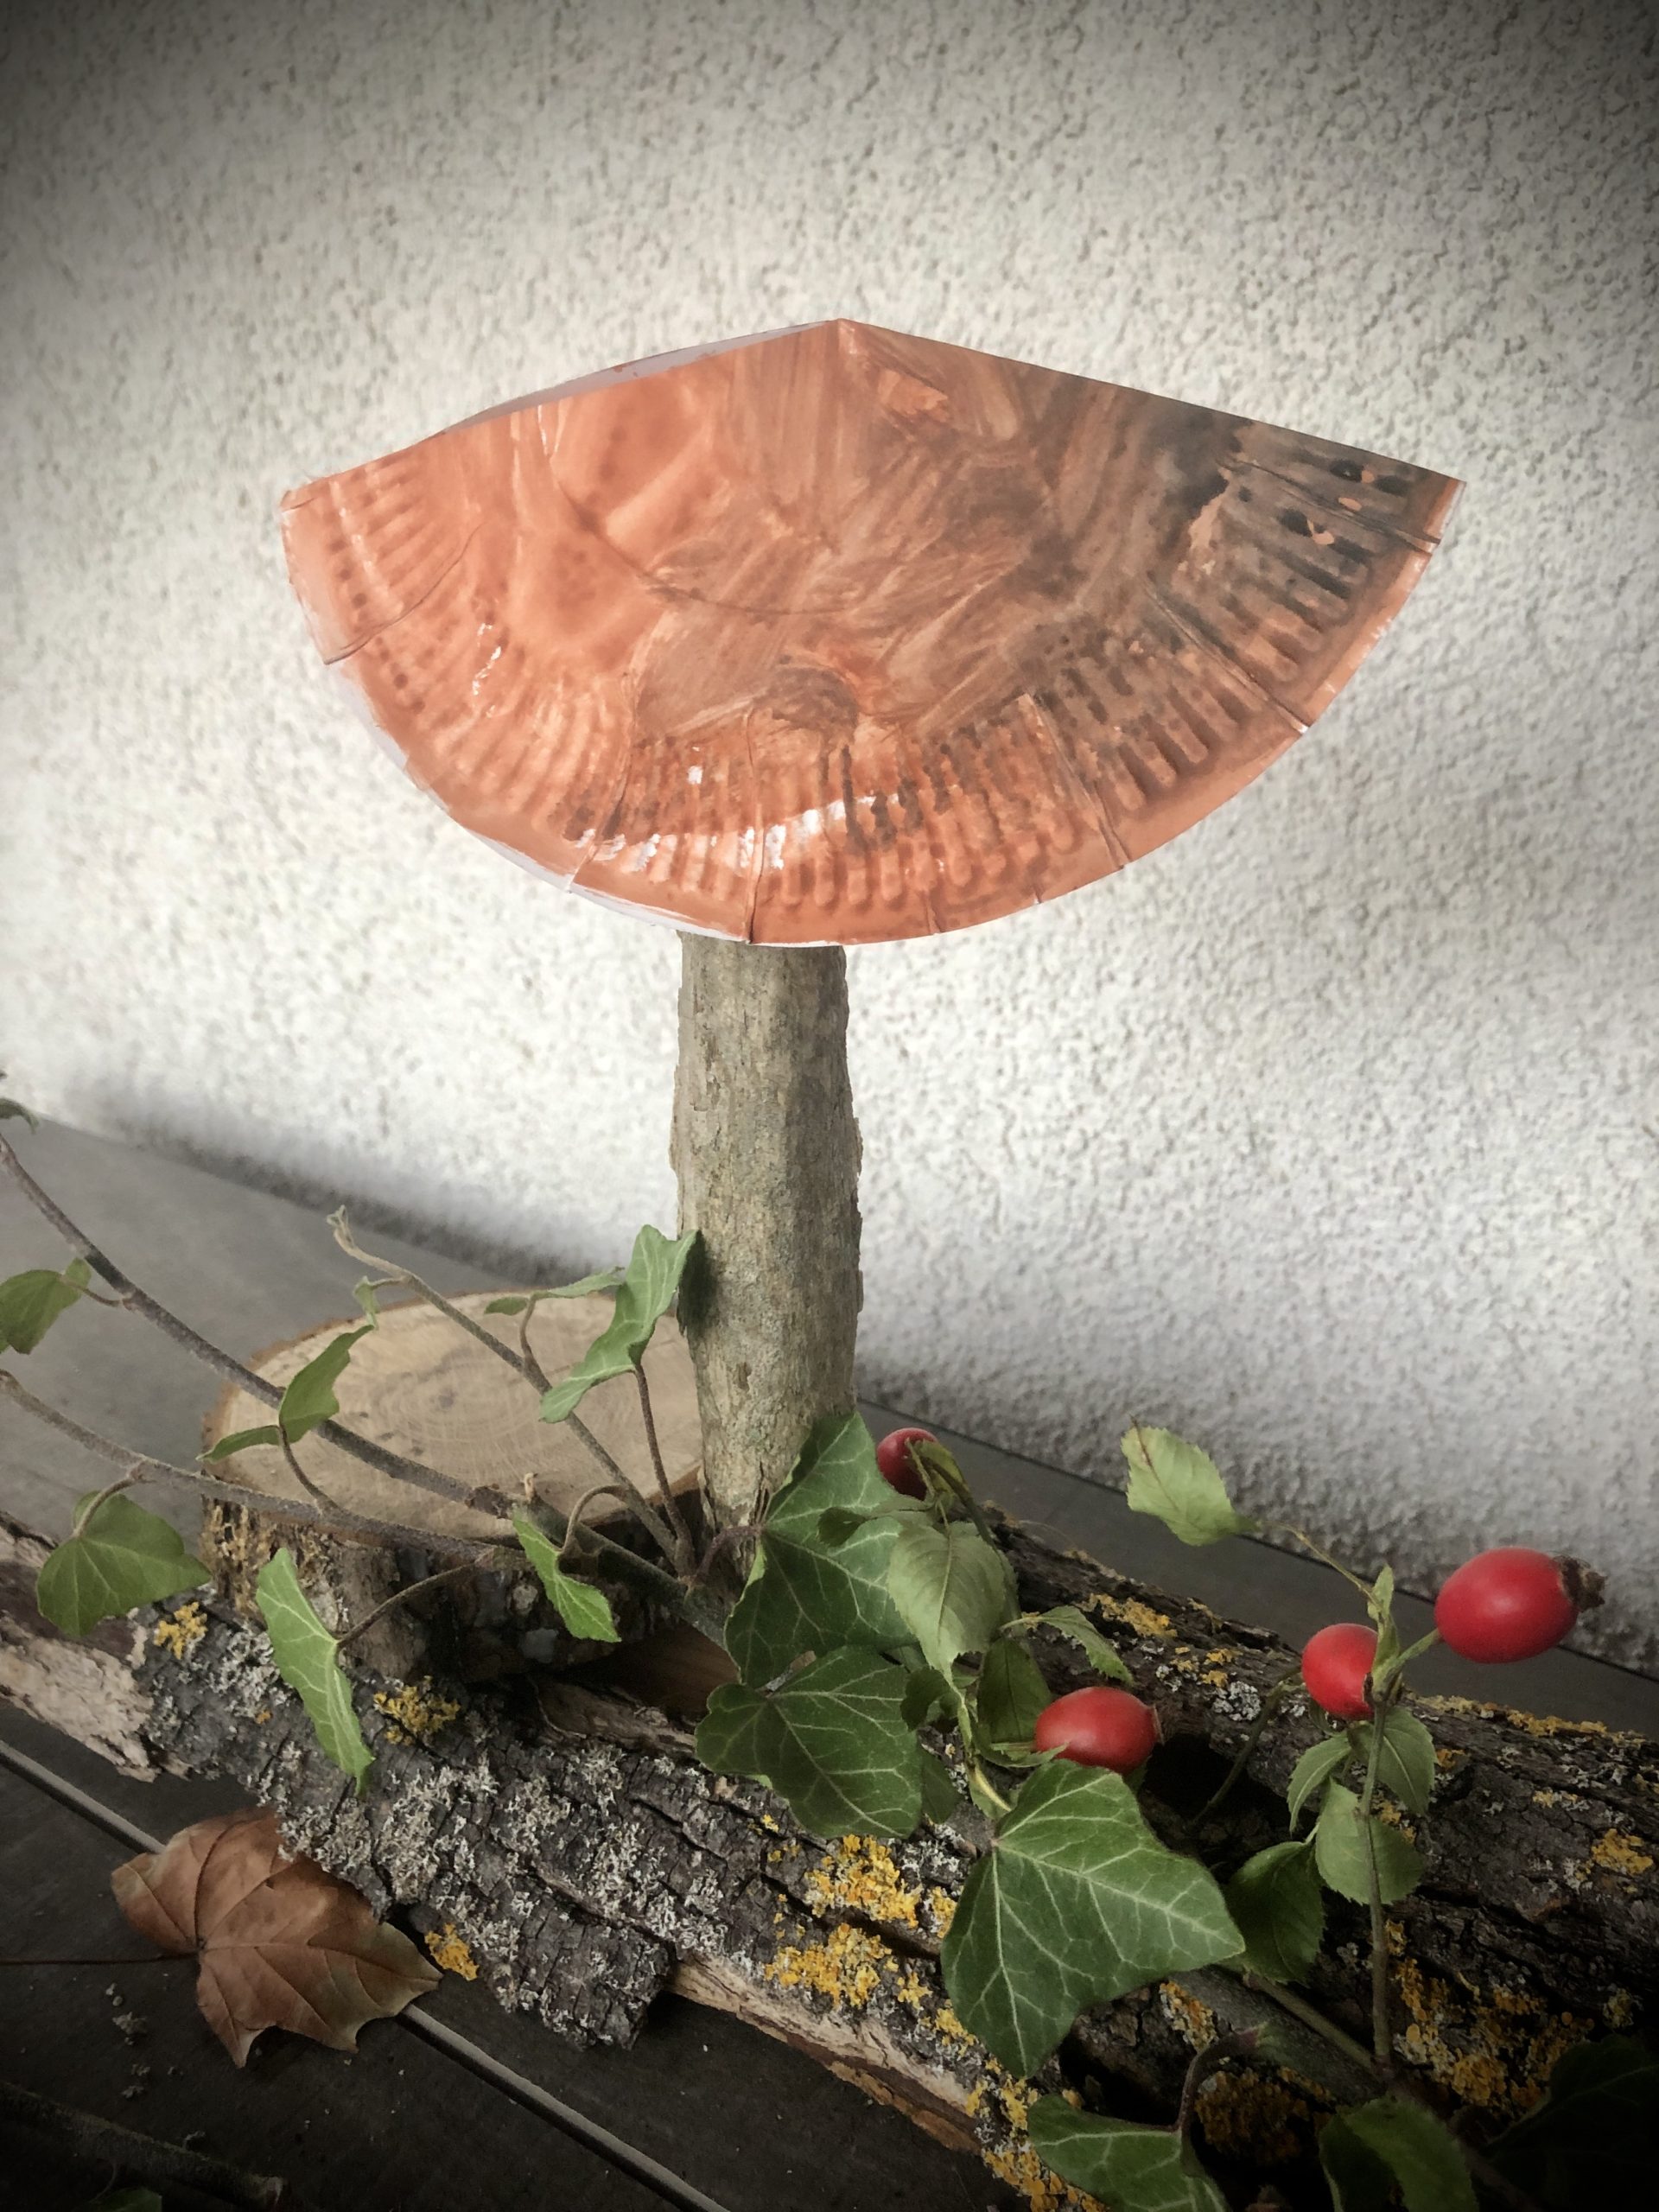
Bild zum Schritt 18 für das Bastel- und DIY-Abenteuer für Kinder: 'Diese Variante ist auch für kleinere Kinder geeignet, da der...'

18

Try it yourself.

Make a fly fungus

Follow us on Facebook , Instagram and Pinterest
Don't miss any more adventures: Our bottle mail

Leave a Reply

Your email address will not be published.

The maximum upload file size: 5 MB. You can upload: image, document. Drop file here