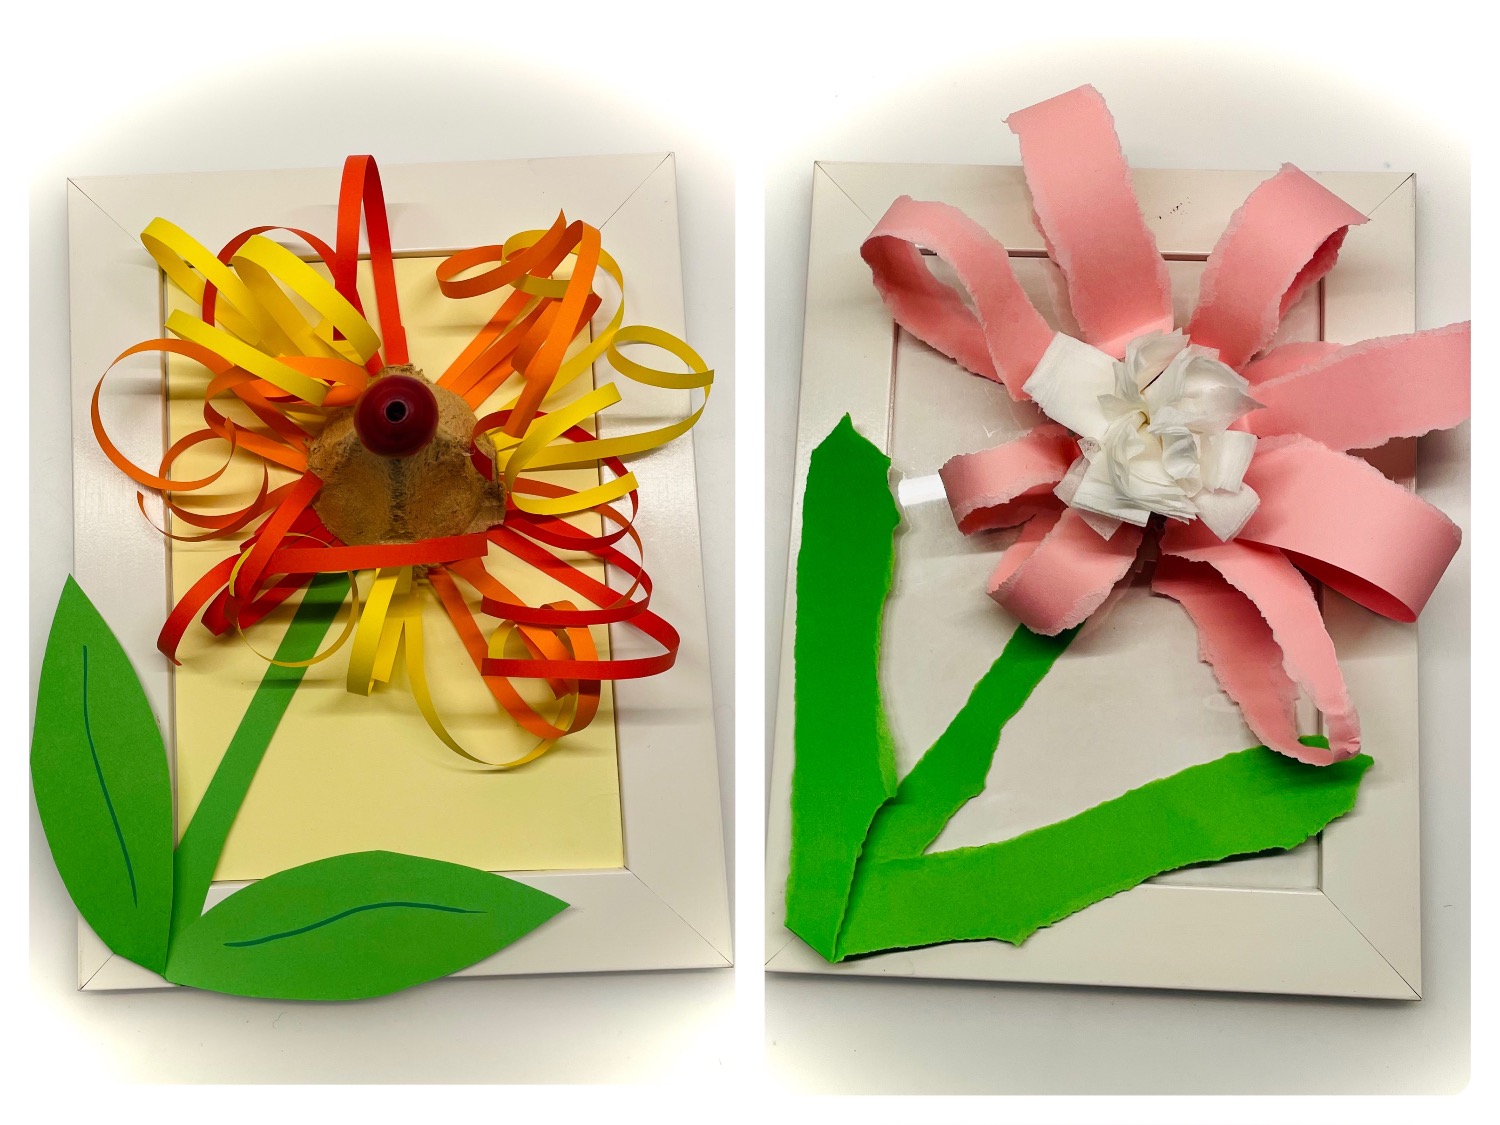
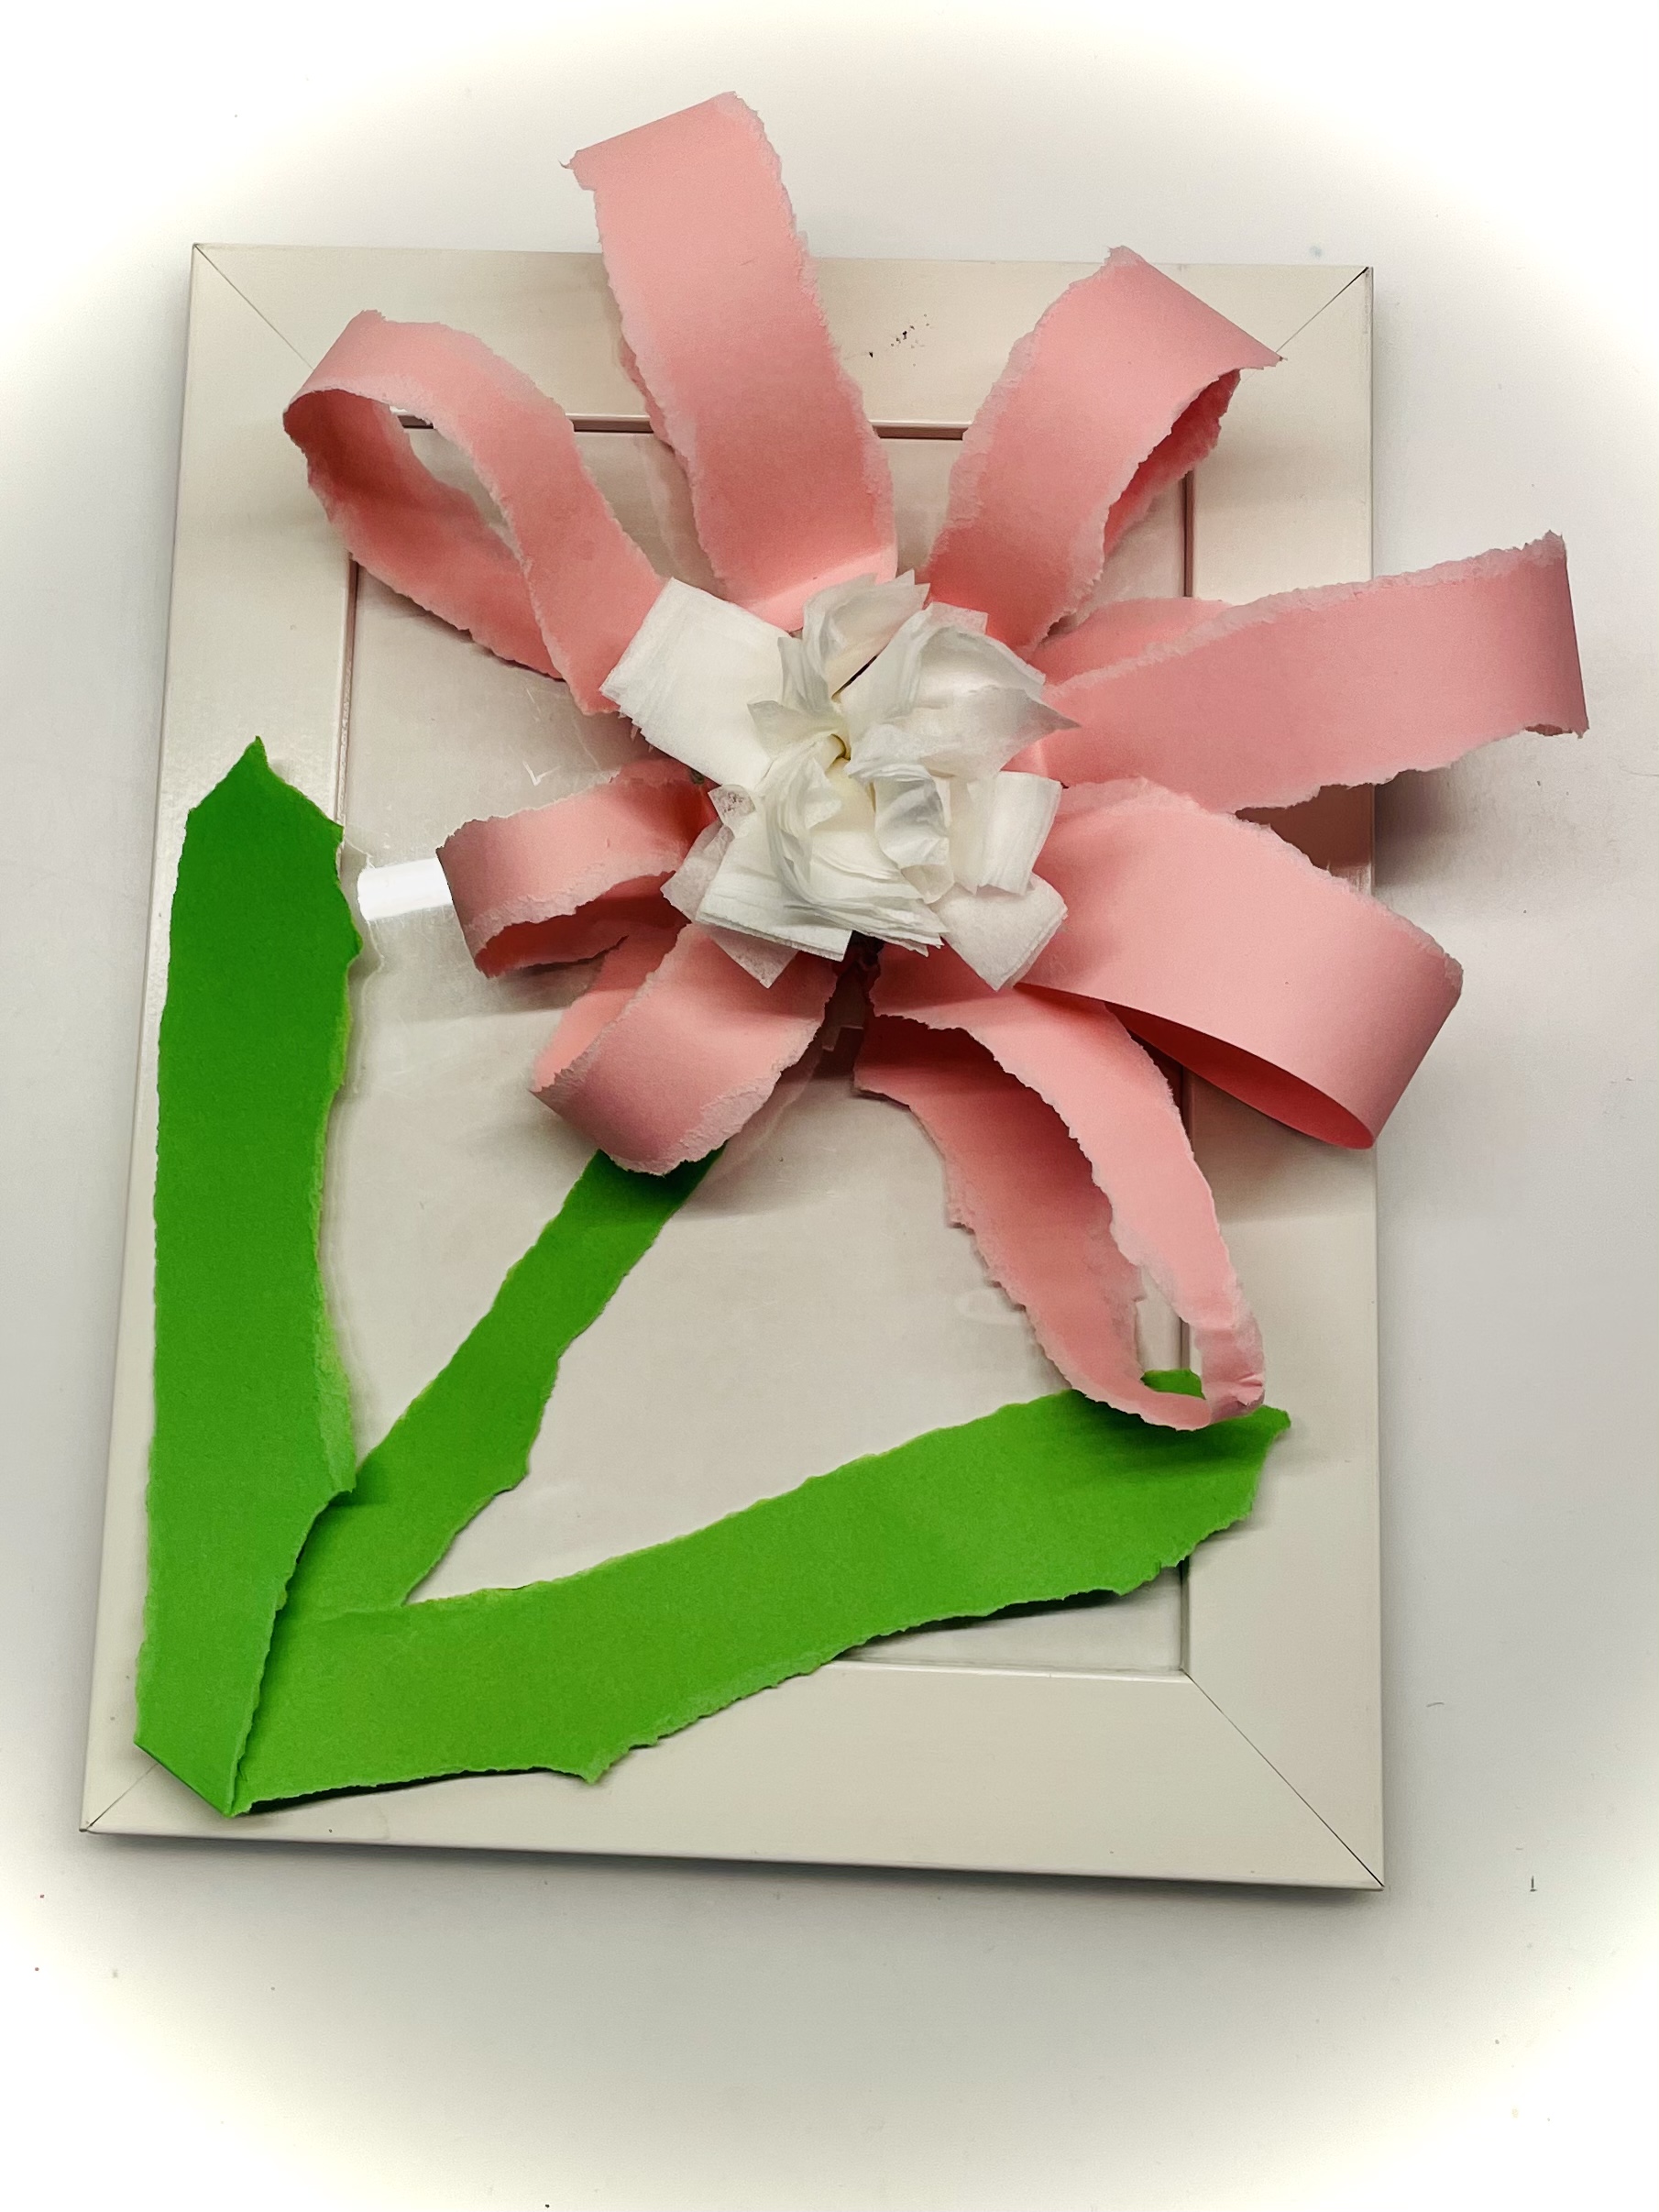
These enchanting 3D flowers are attached to a small picture frame. They are suitable for gifting a flower voucher, as a birthday bastel and as a self-made gift as well as for decoration.
The blank of this flower consists of a tip of an egg box. Flowers, leaves and stalks emerge from colorful paper. I'll show you how to do it!
Media Education for Kindergarten and Hort

Relief in everyday life, targeted promotion of individual children, independent learning and - without any pre-knowledge already usable by the youngest!
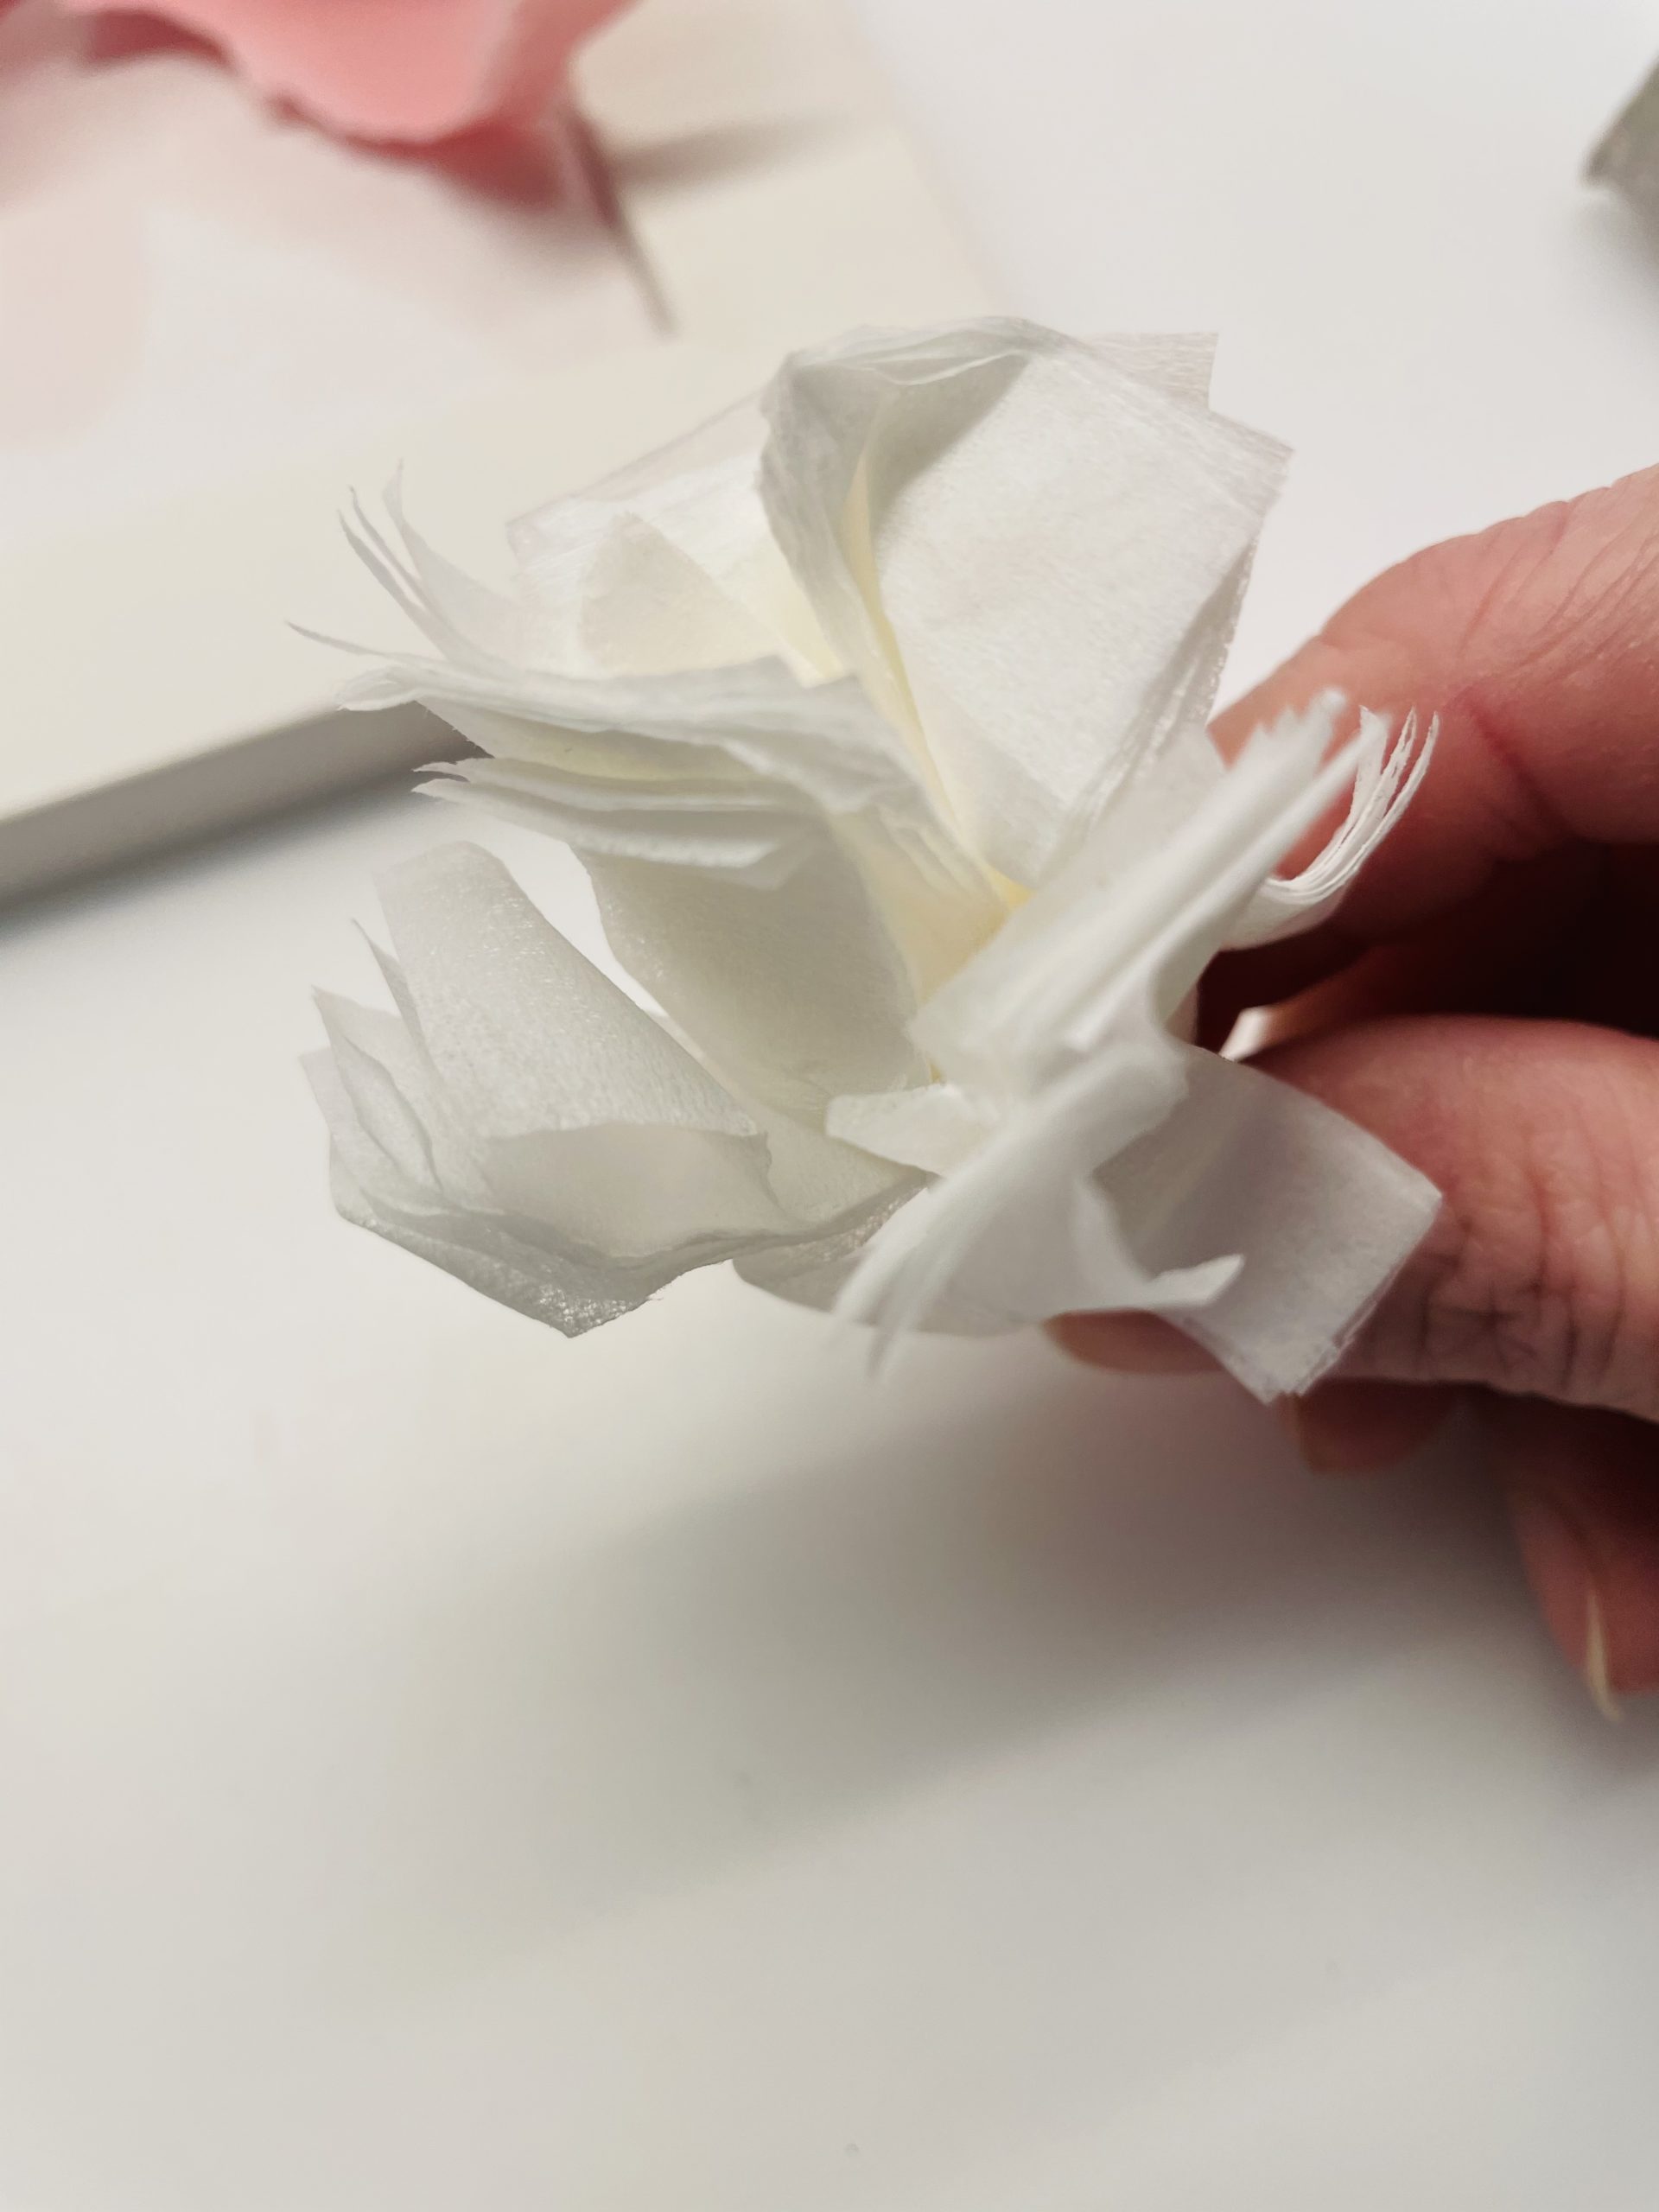
However, do not put the paper handkerchief in the flower cup.
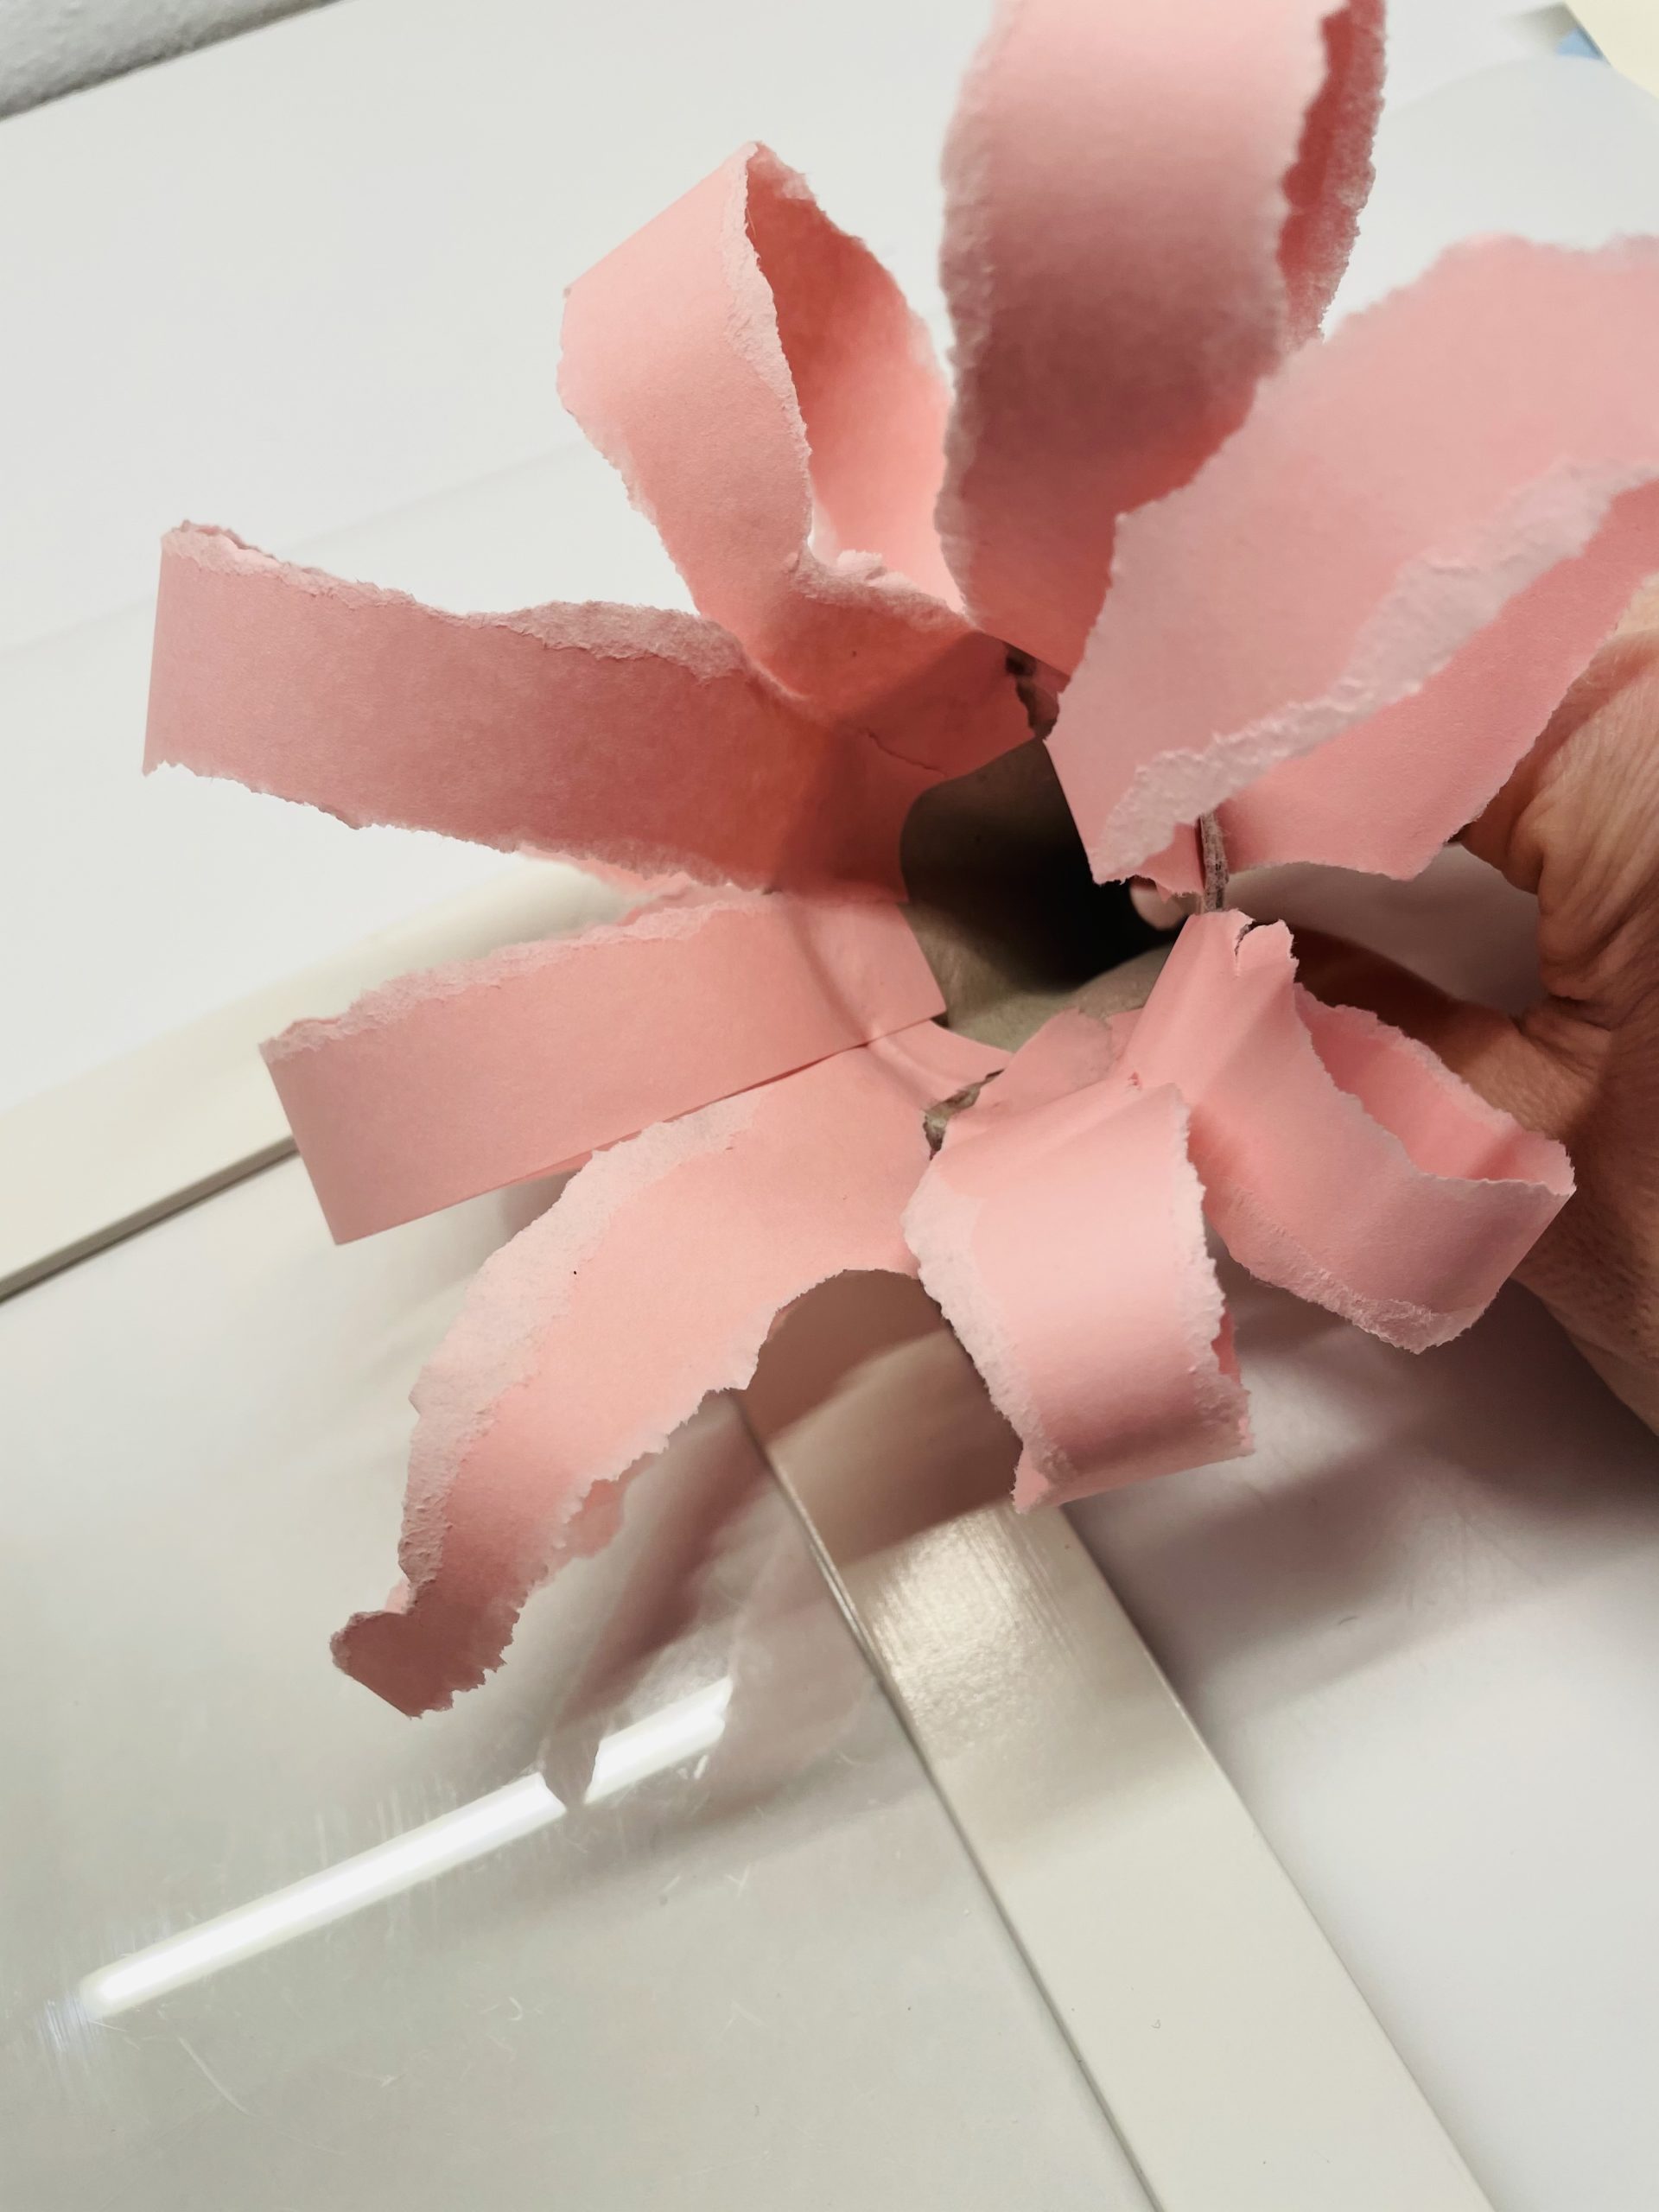
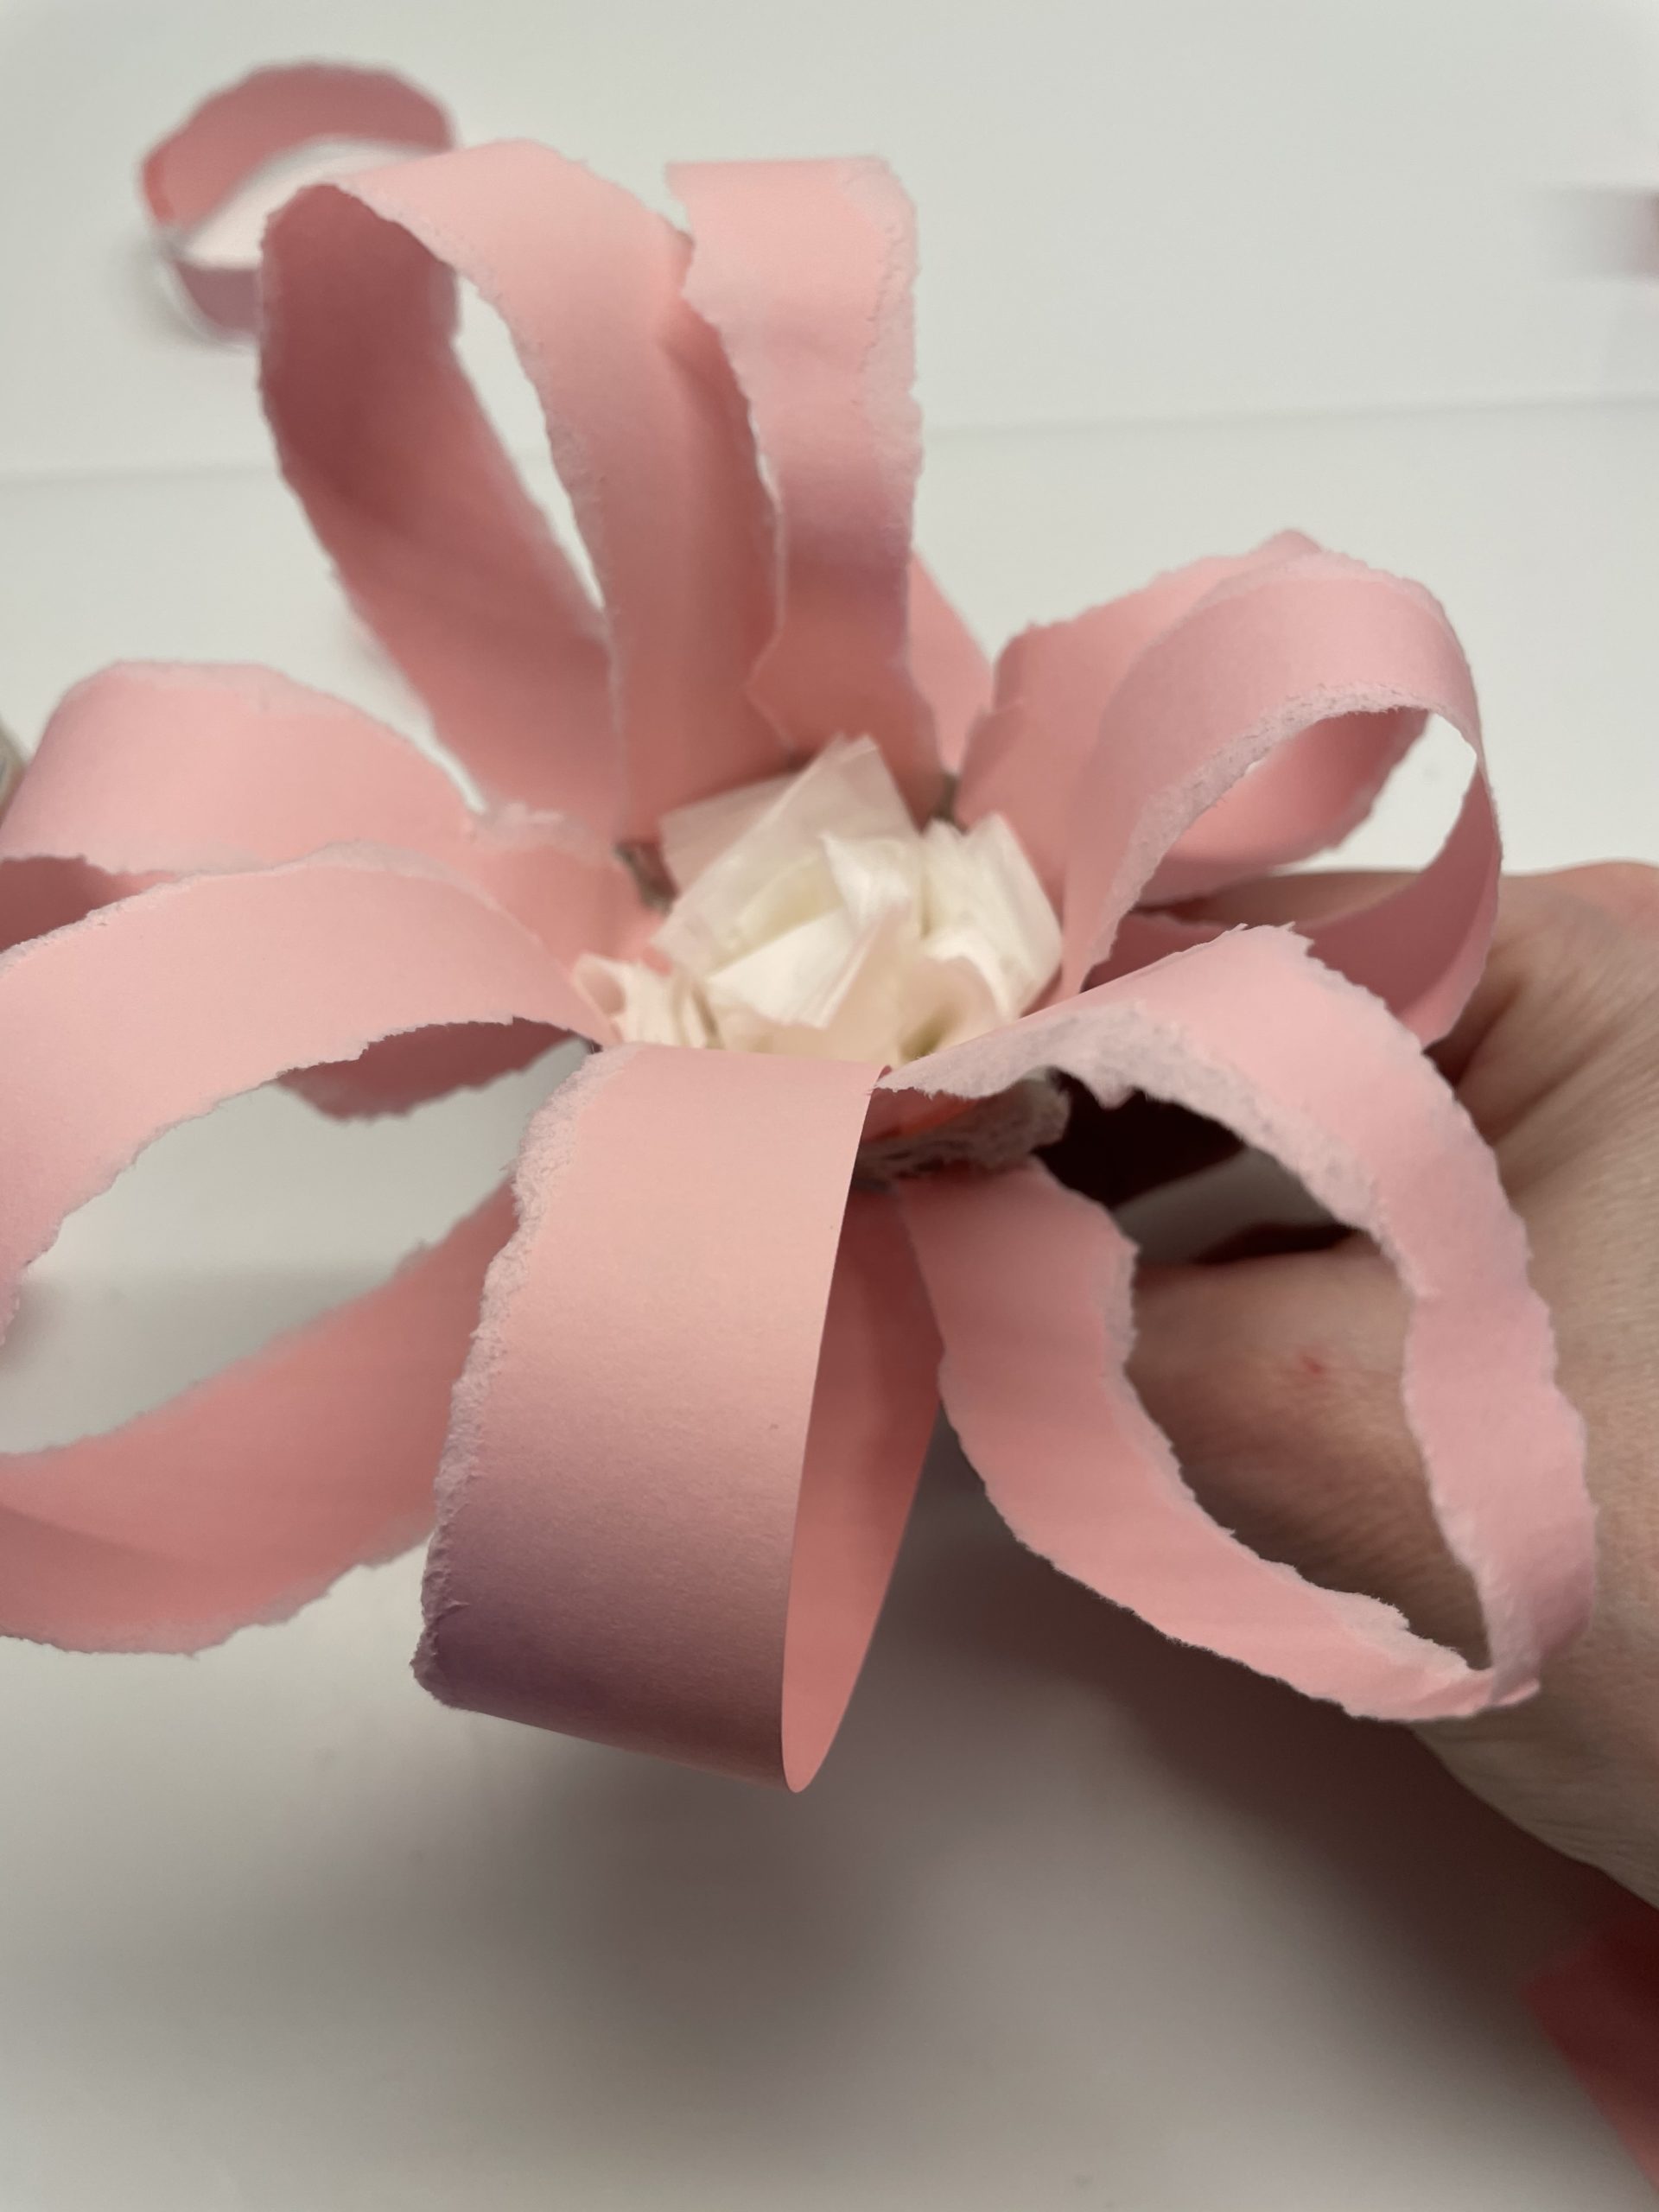
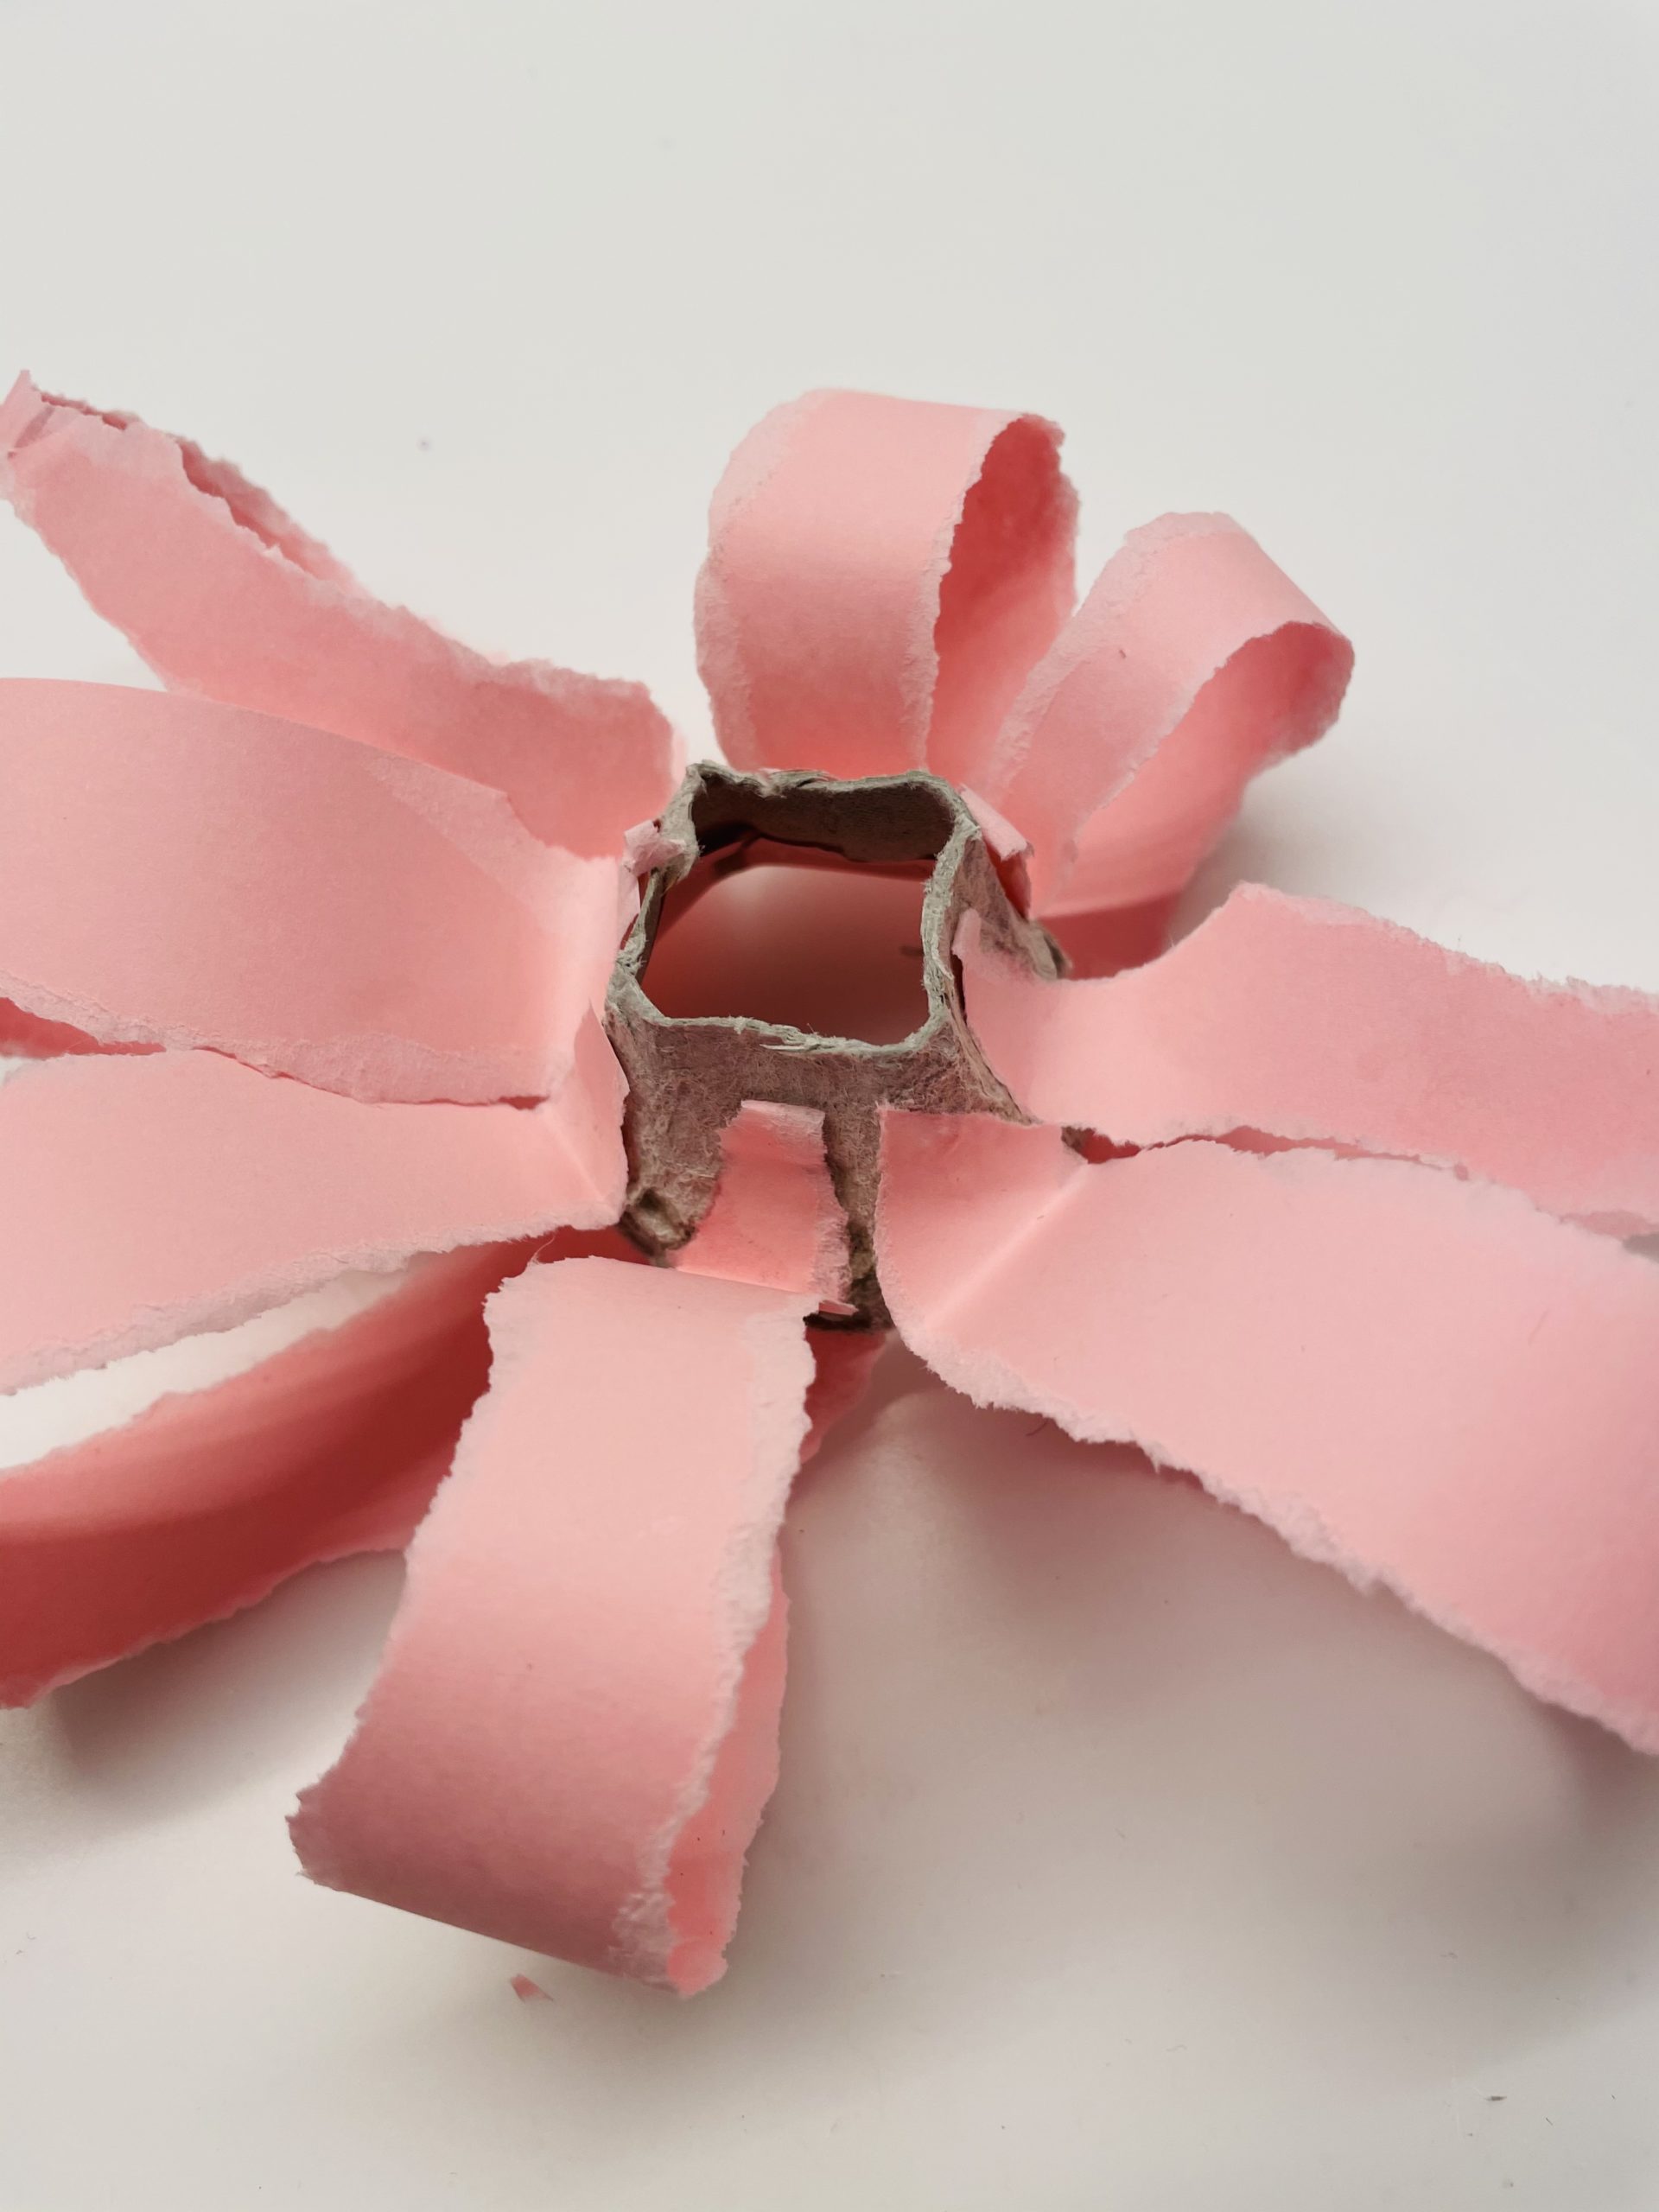
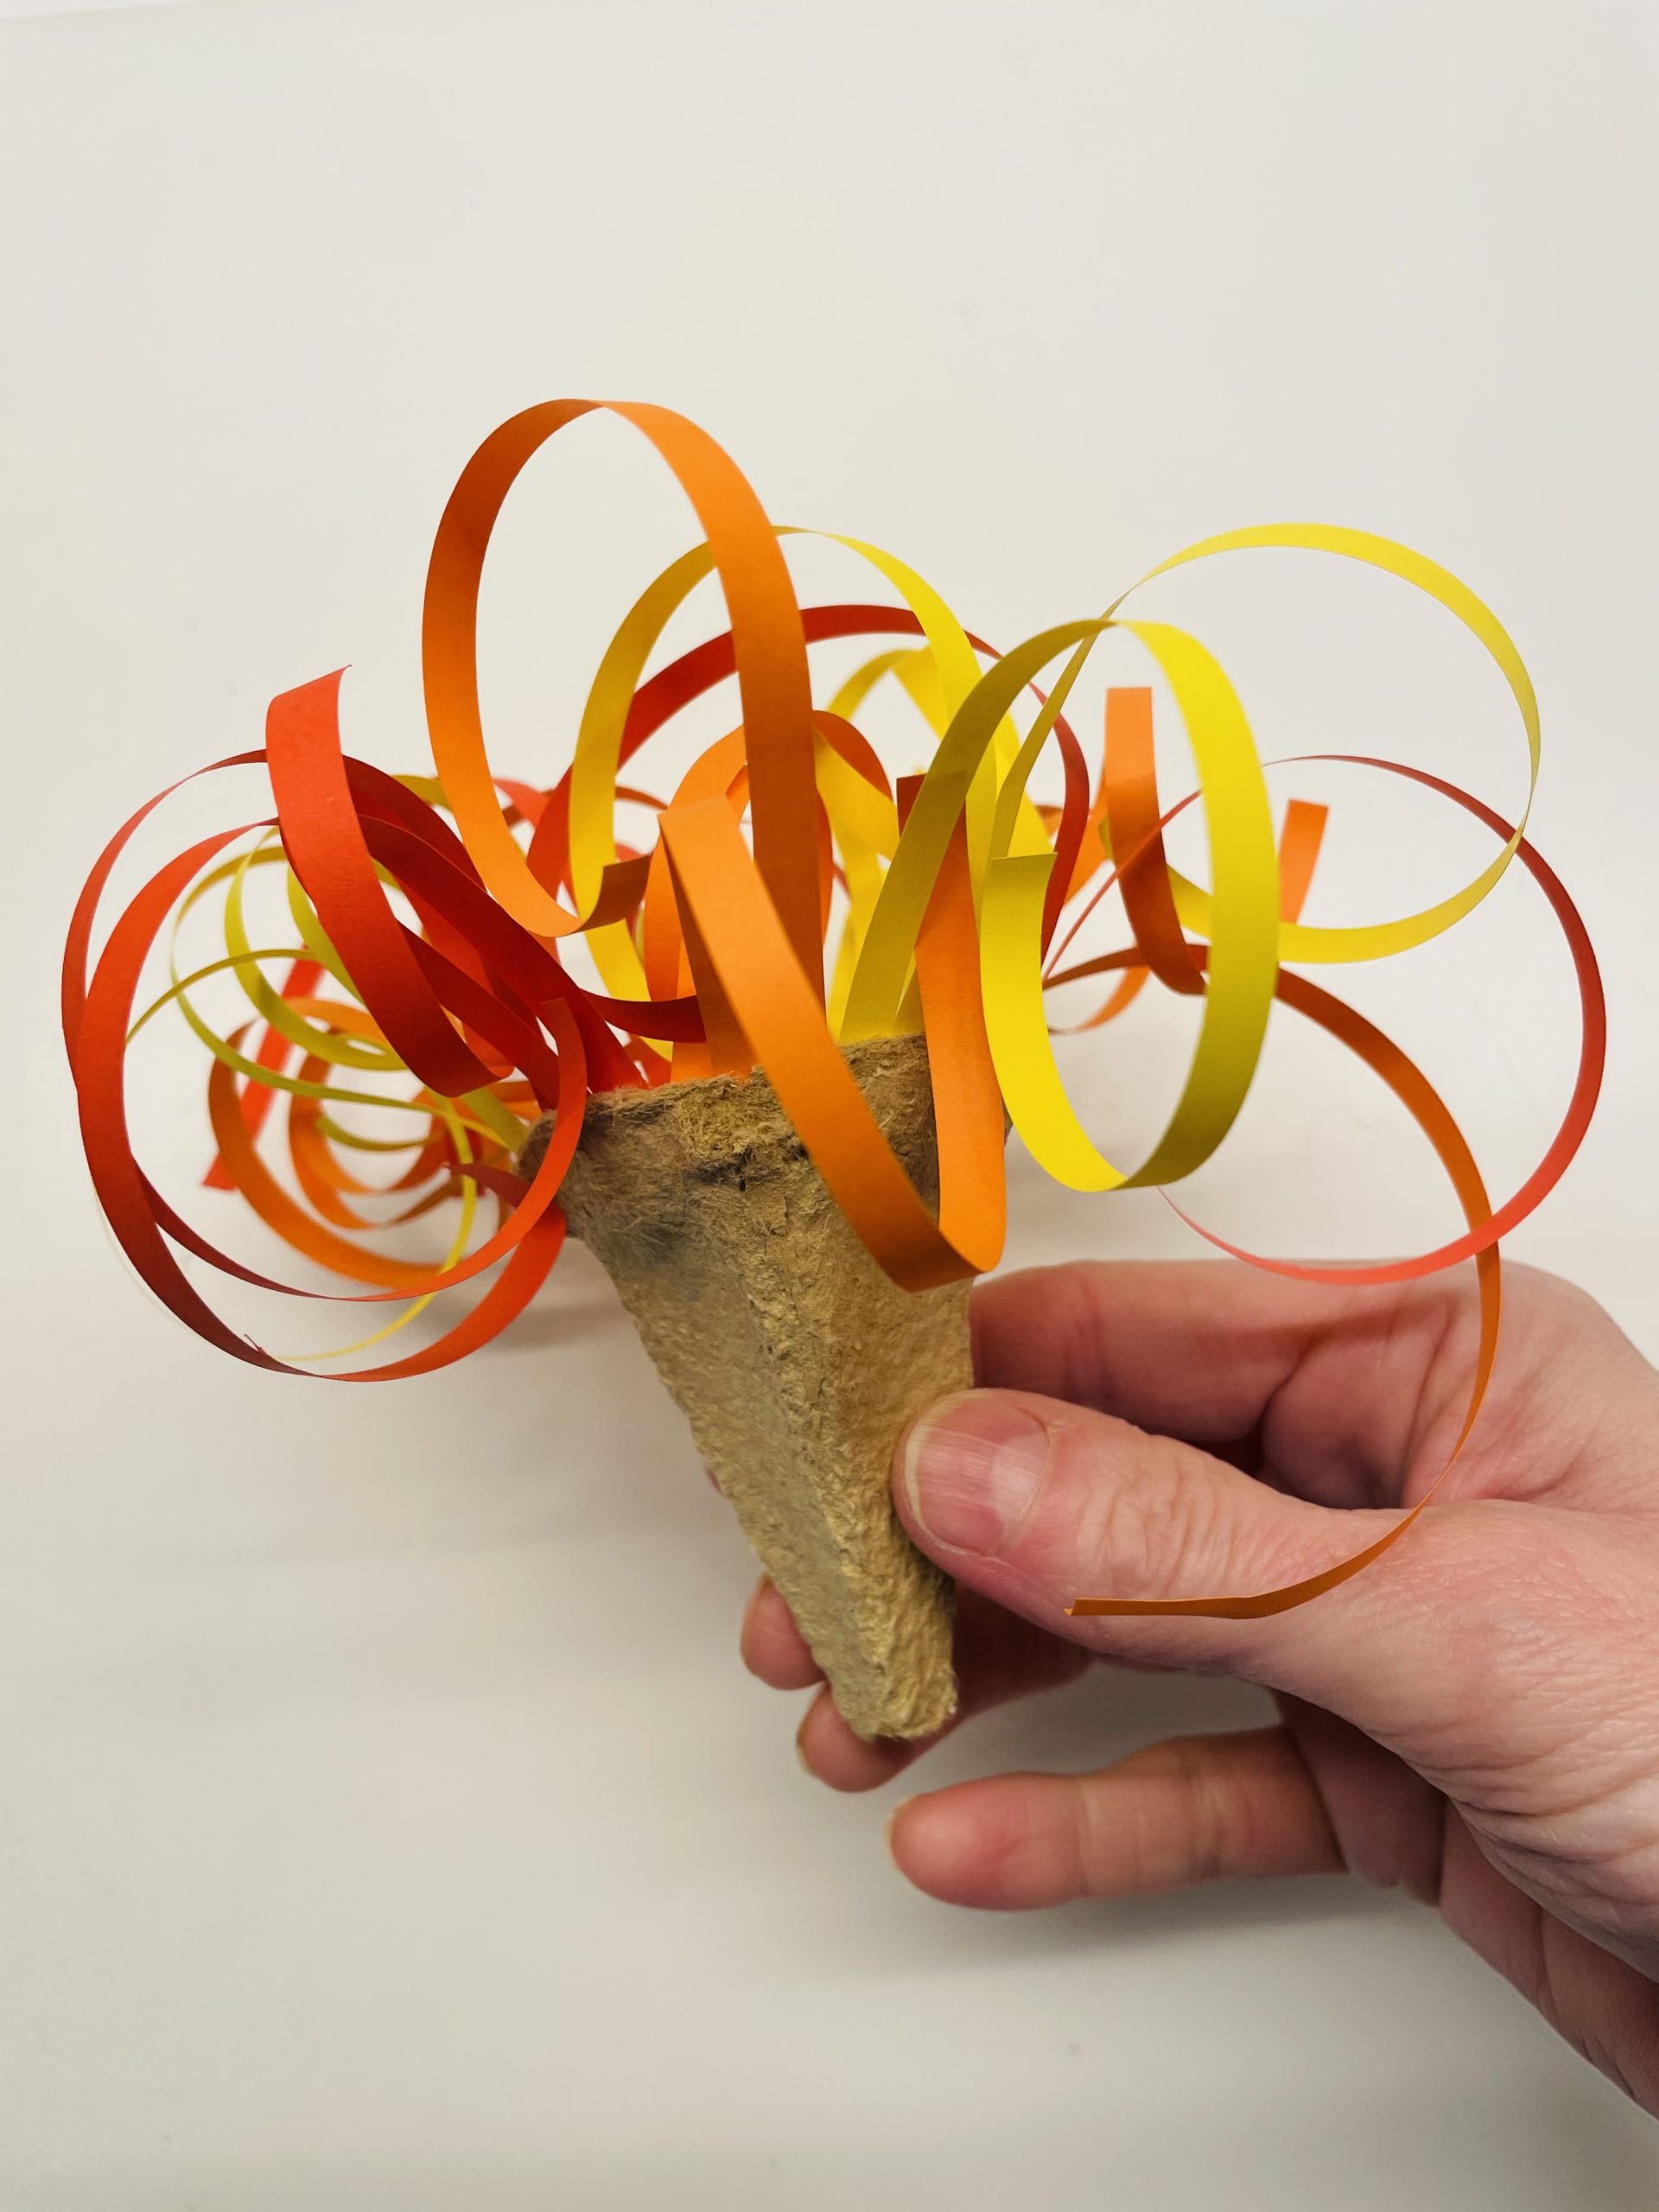
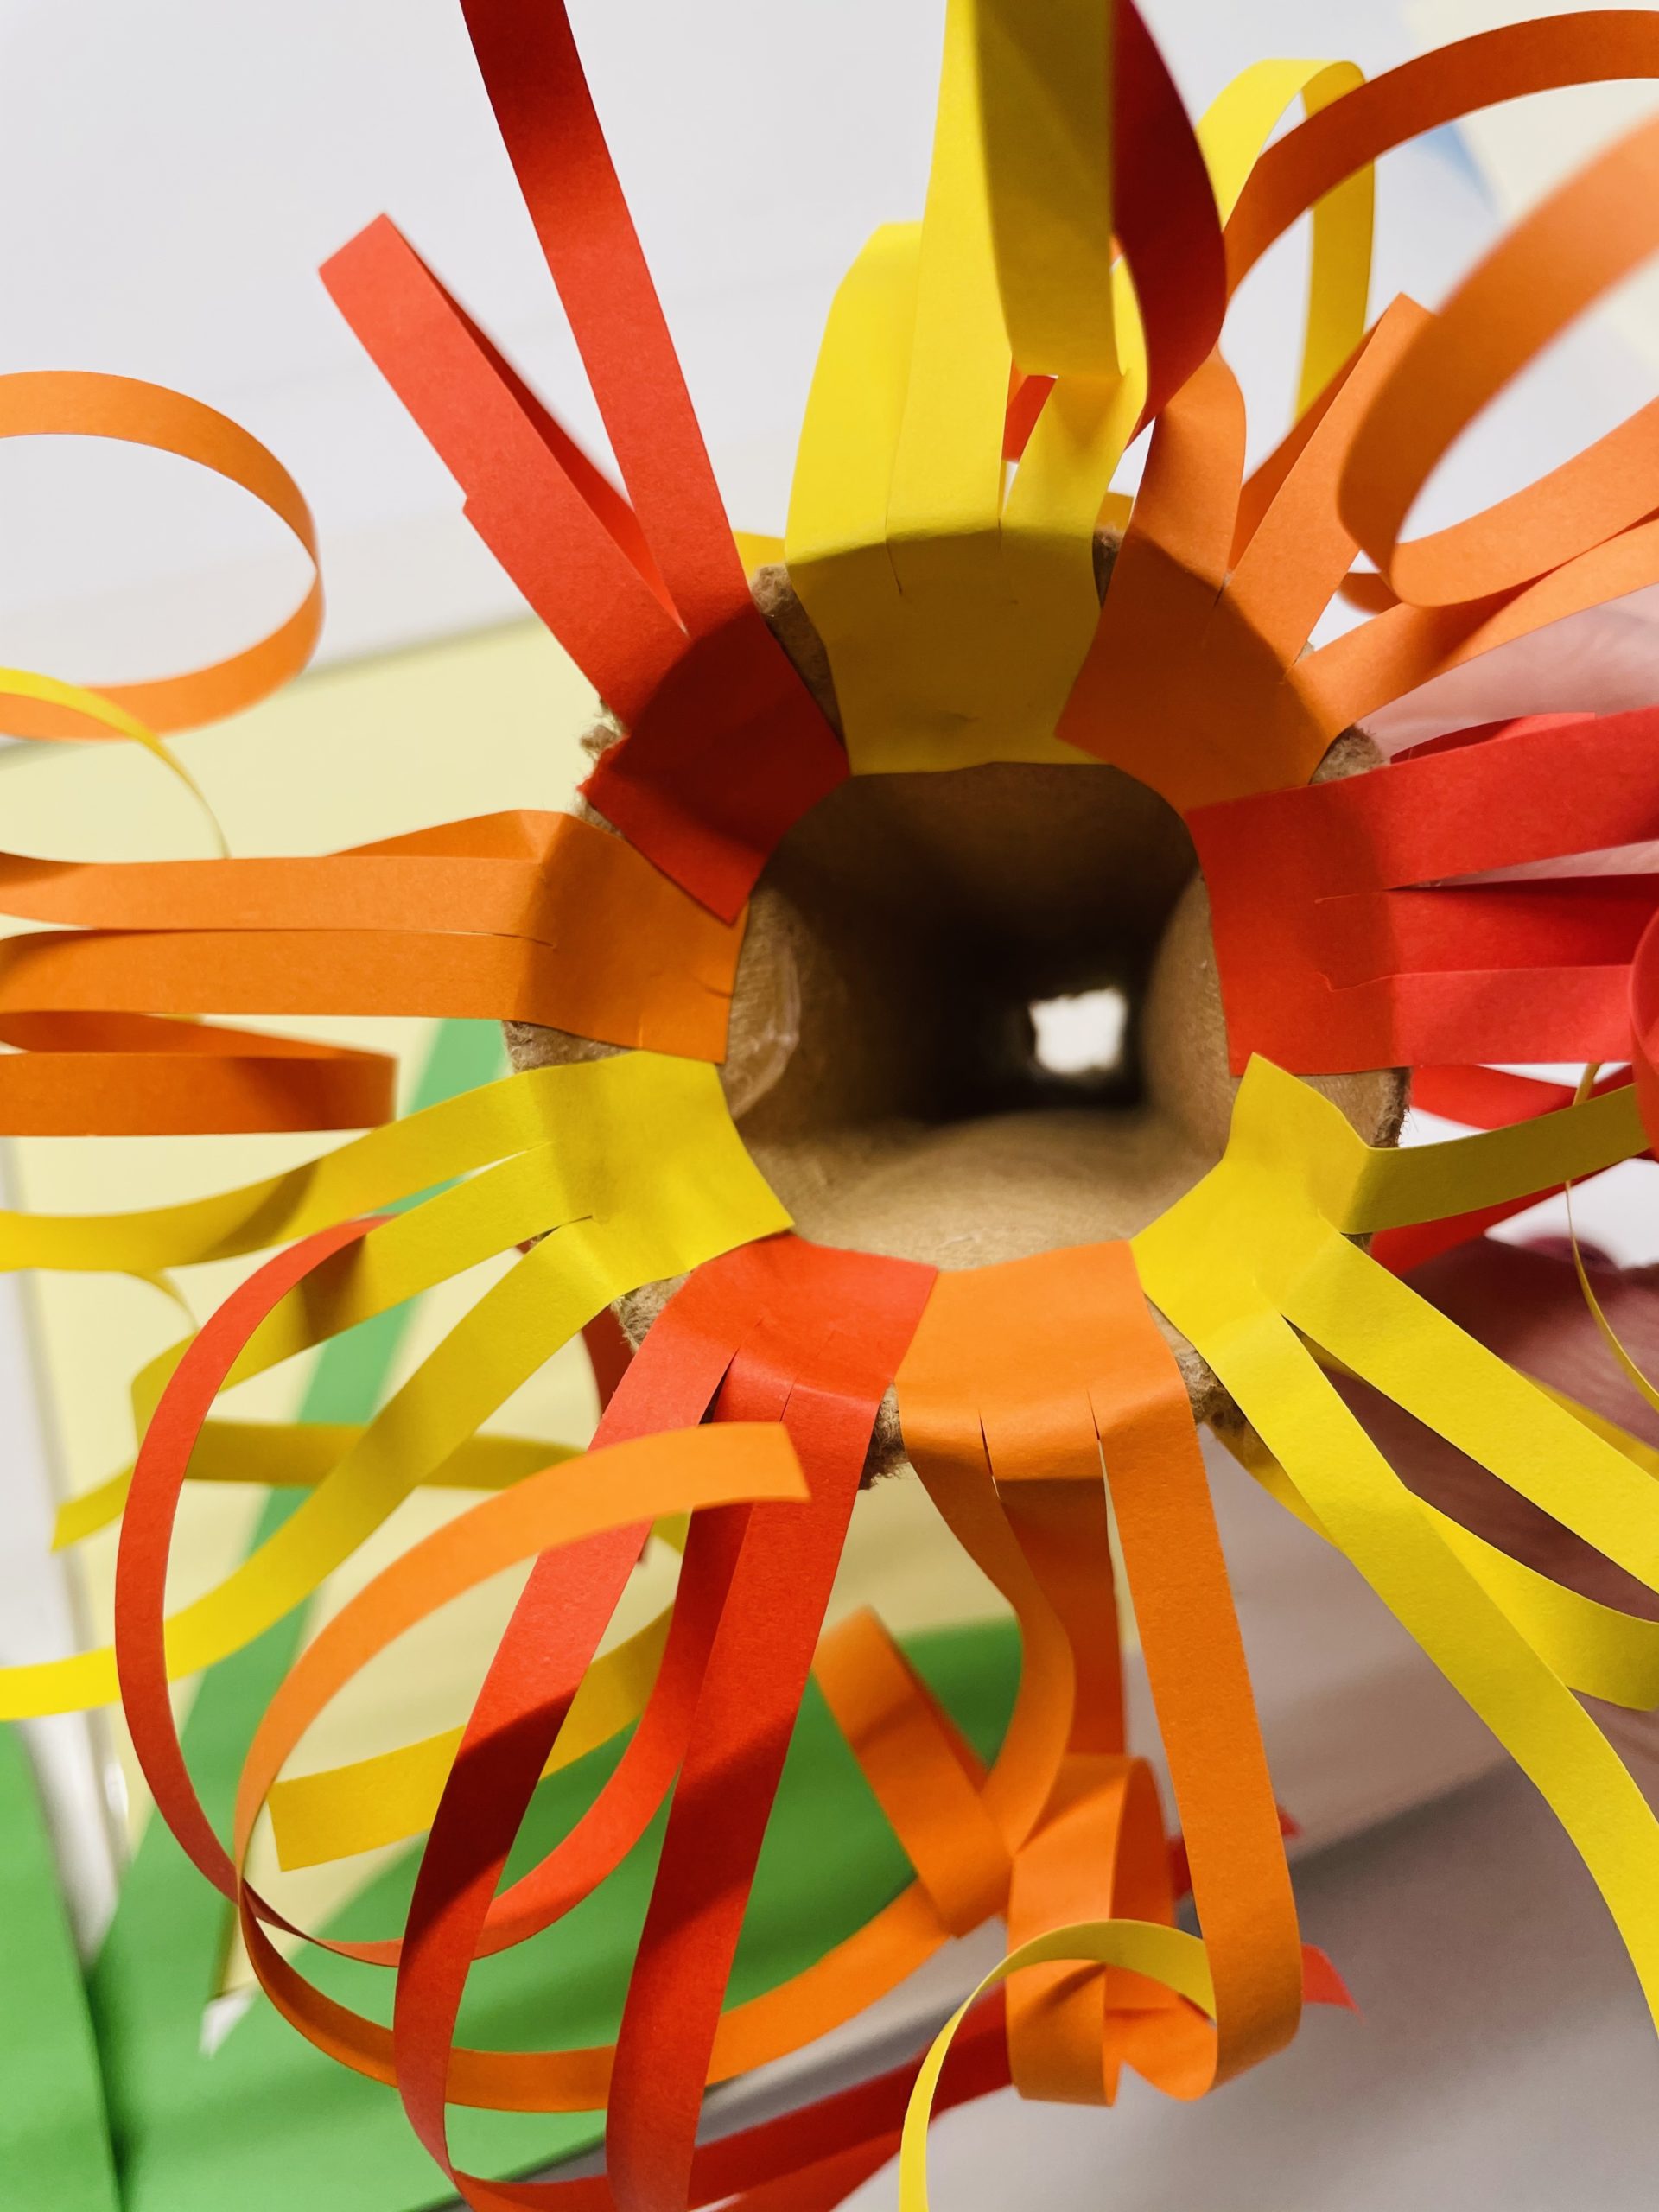
Now bend the individual strips of flowers with your fingers, so that they stand off from the egg box sideways.

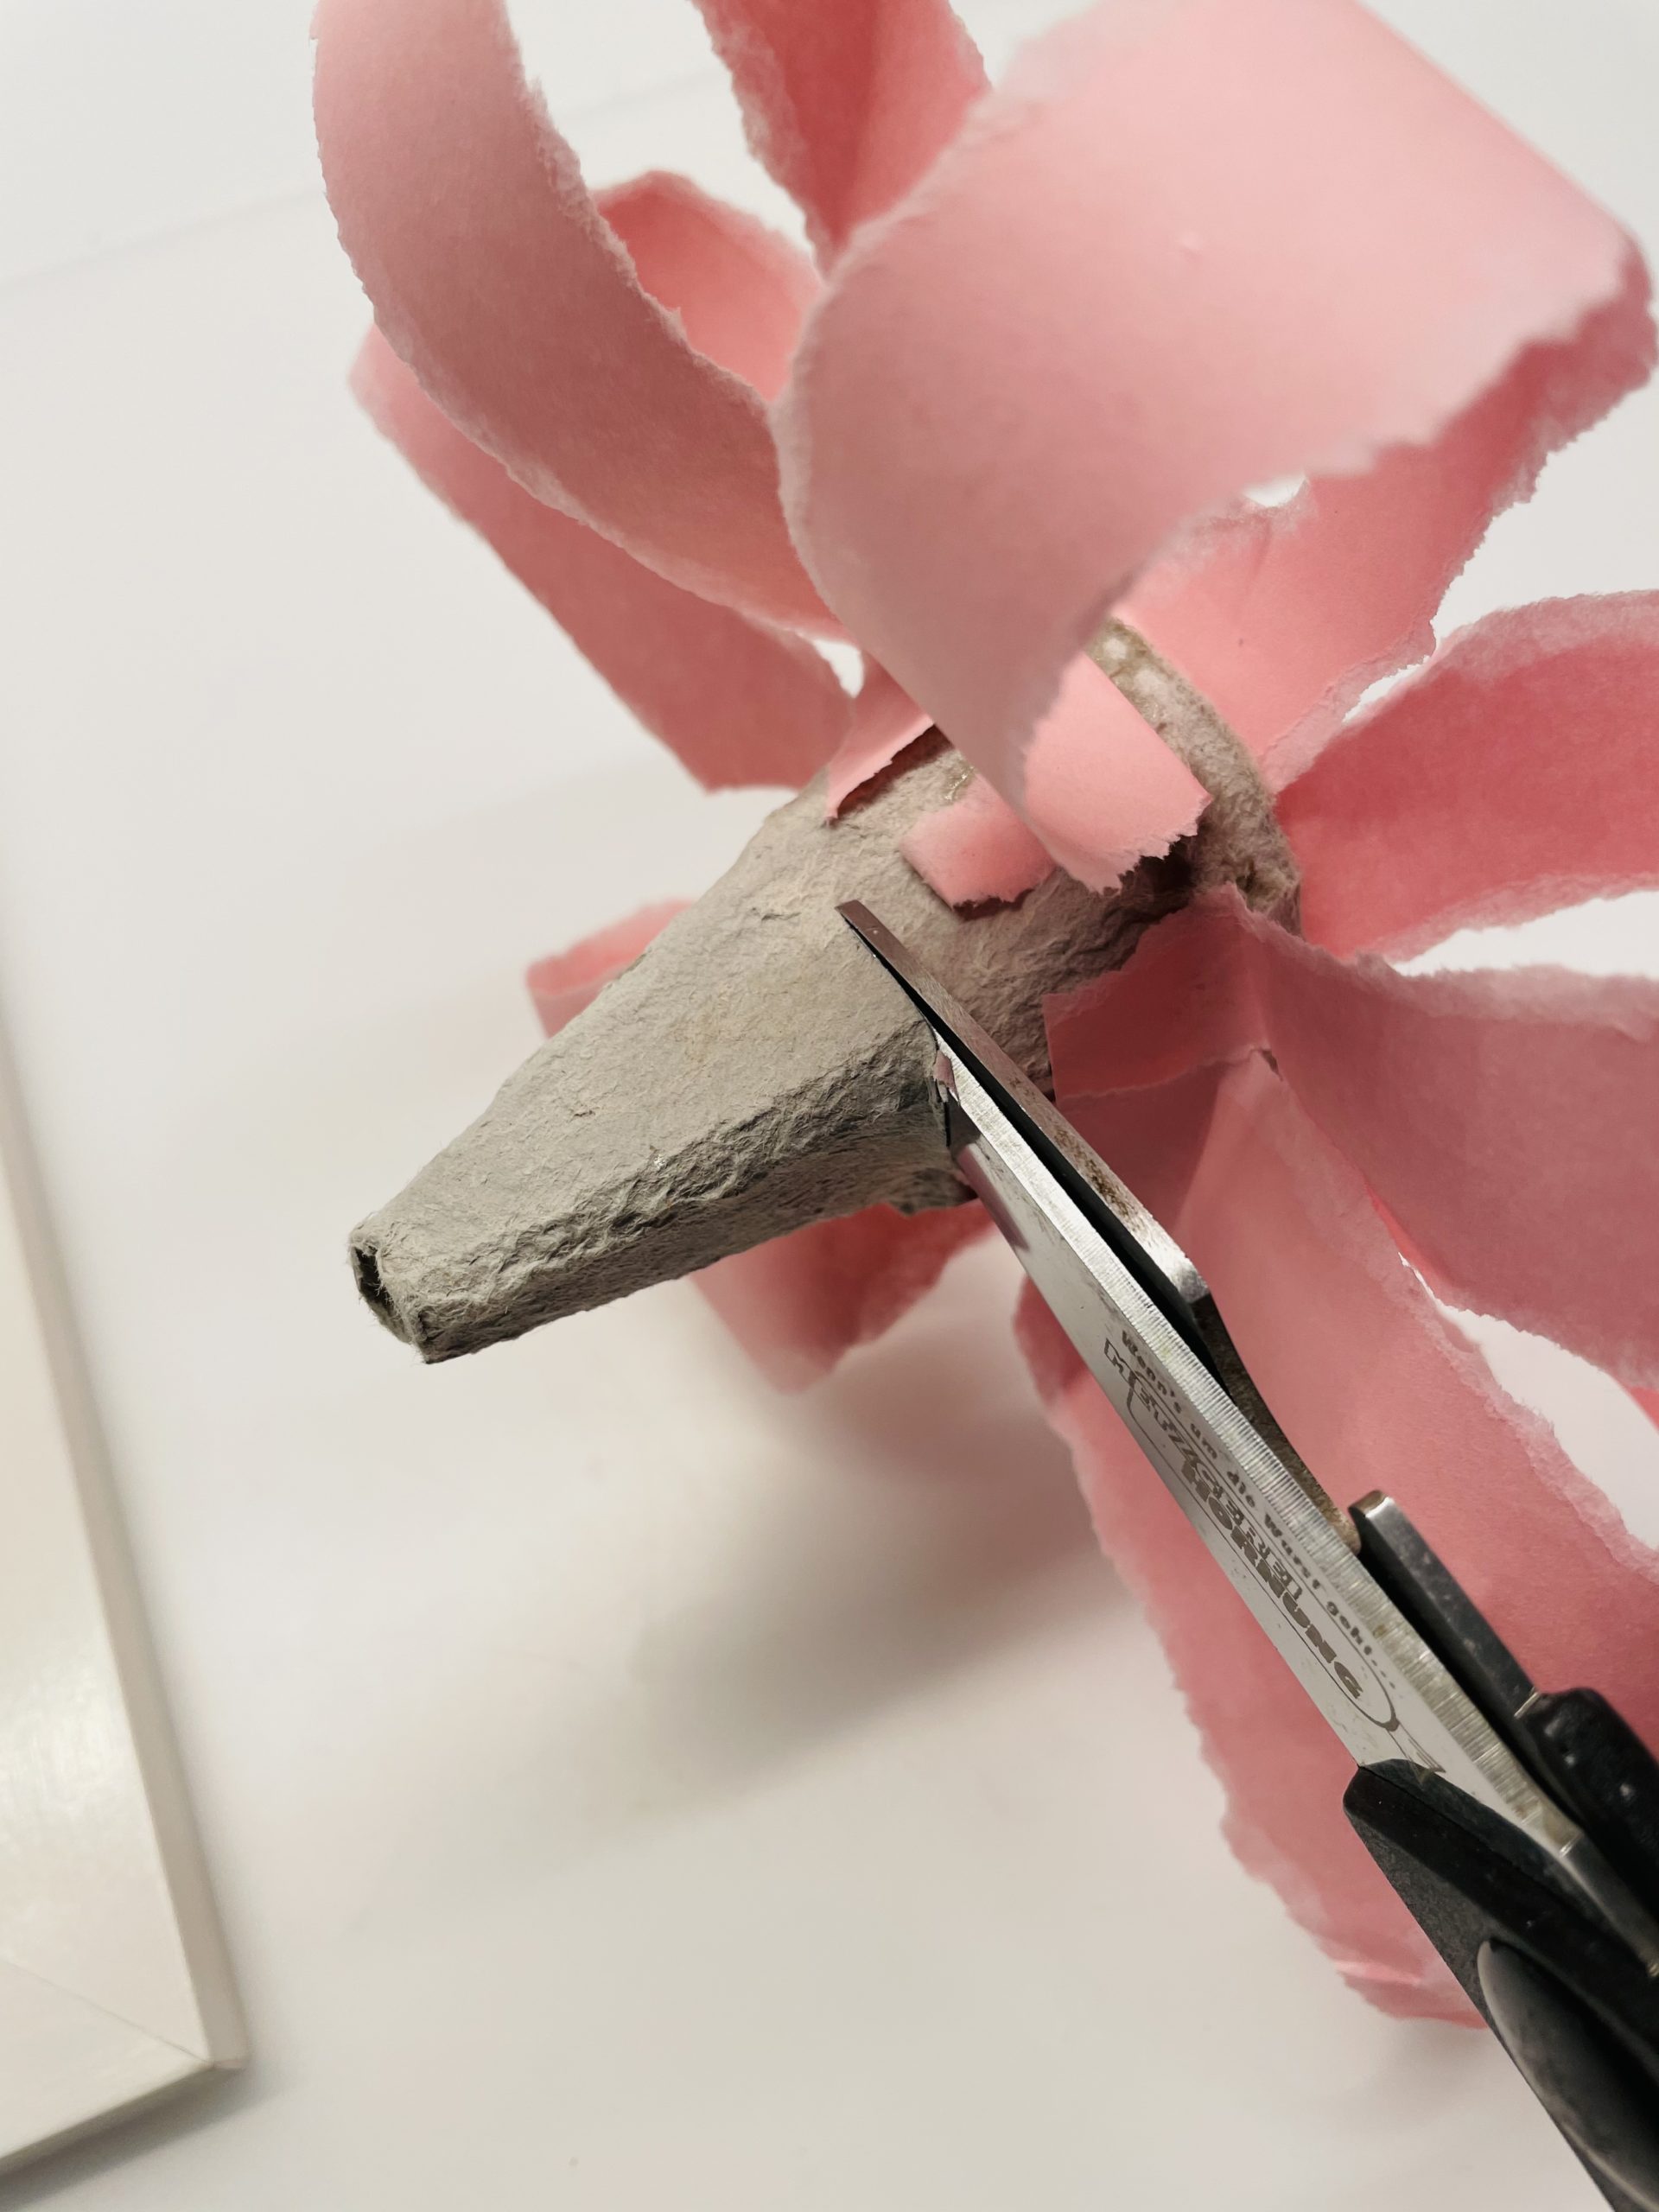
Then cut off the tip of the egg box.
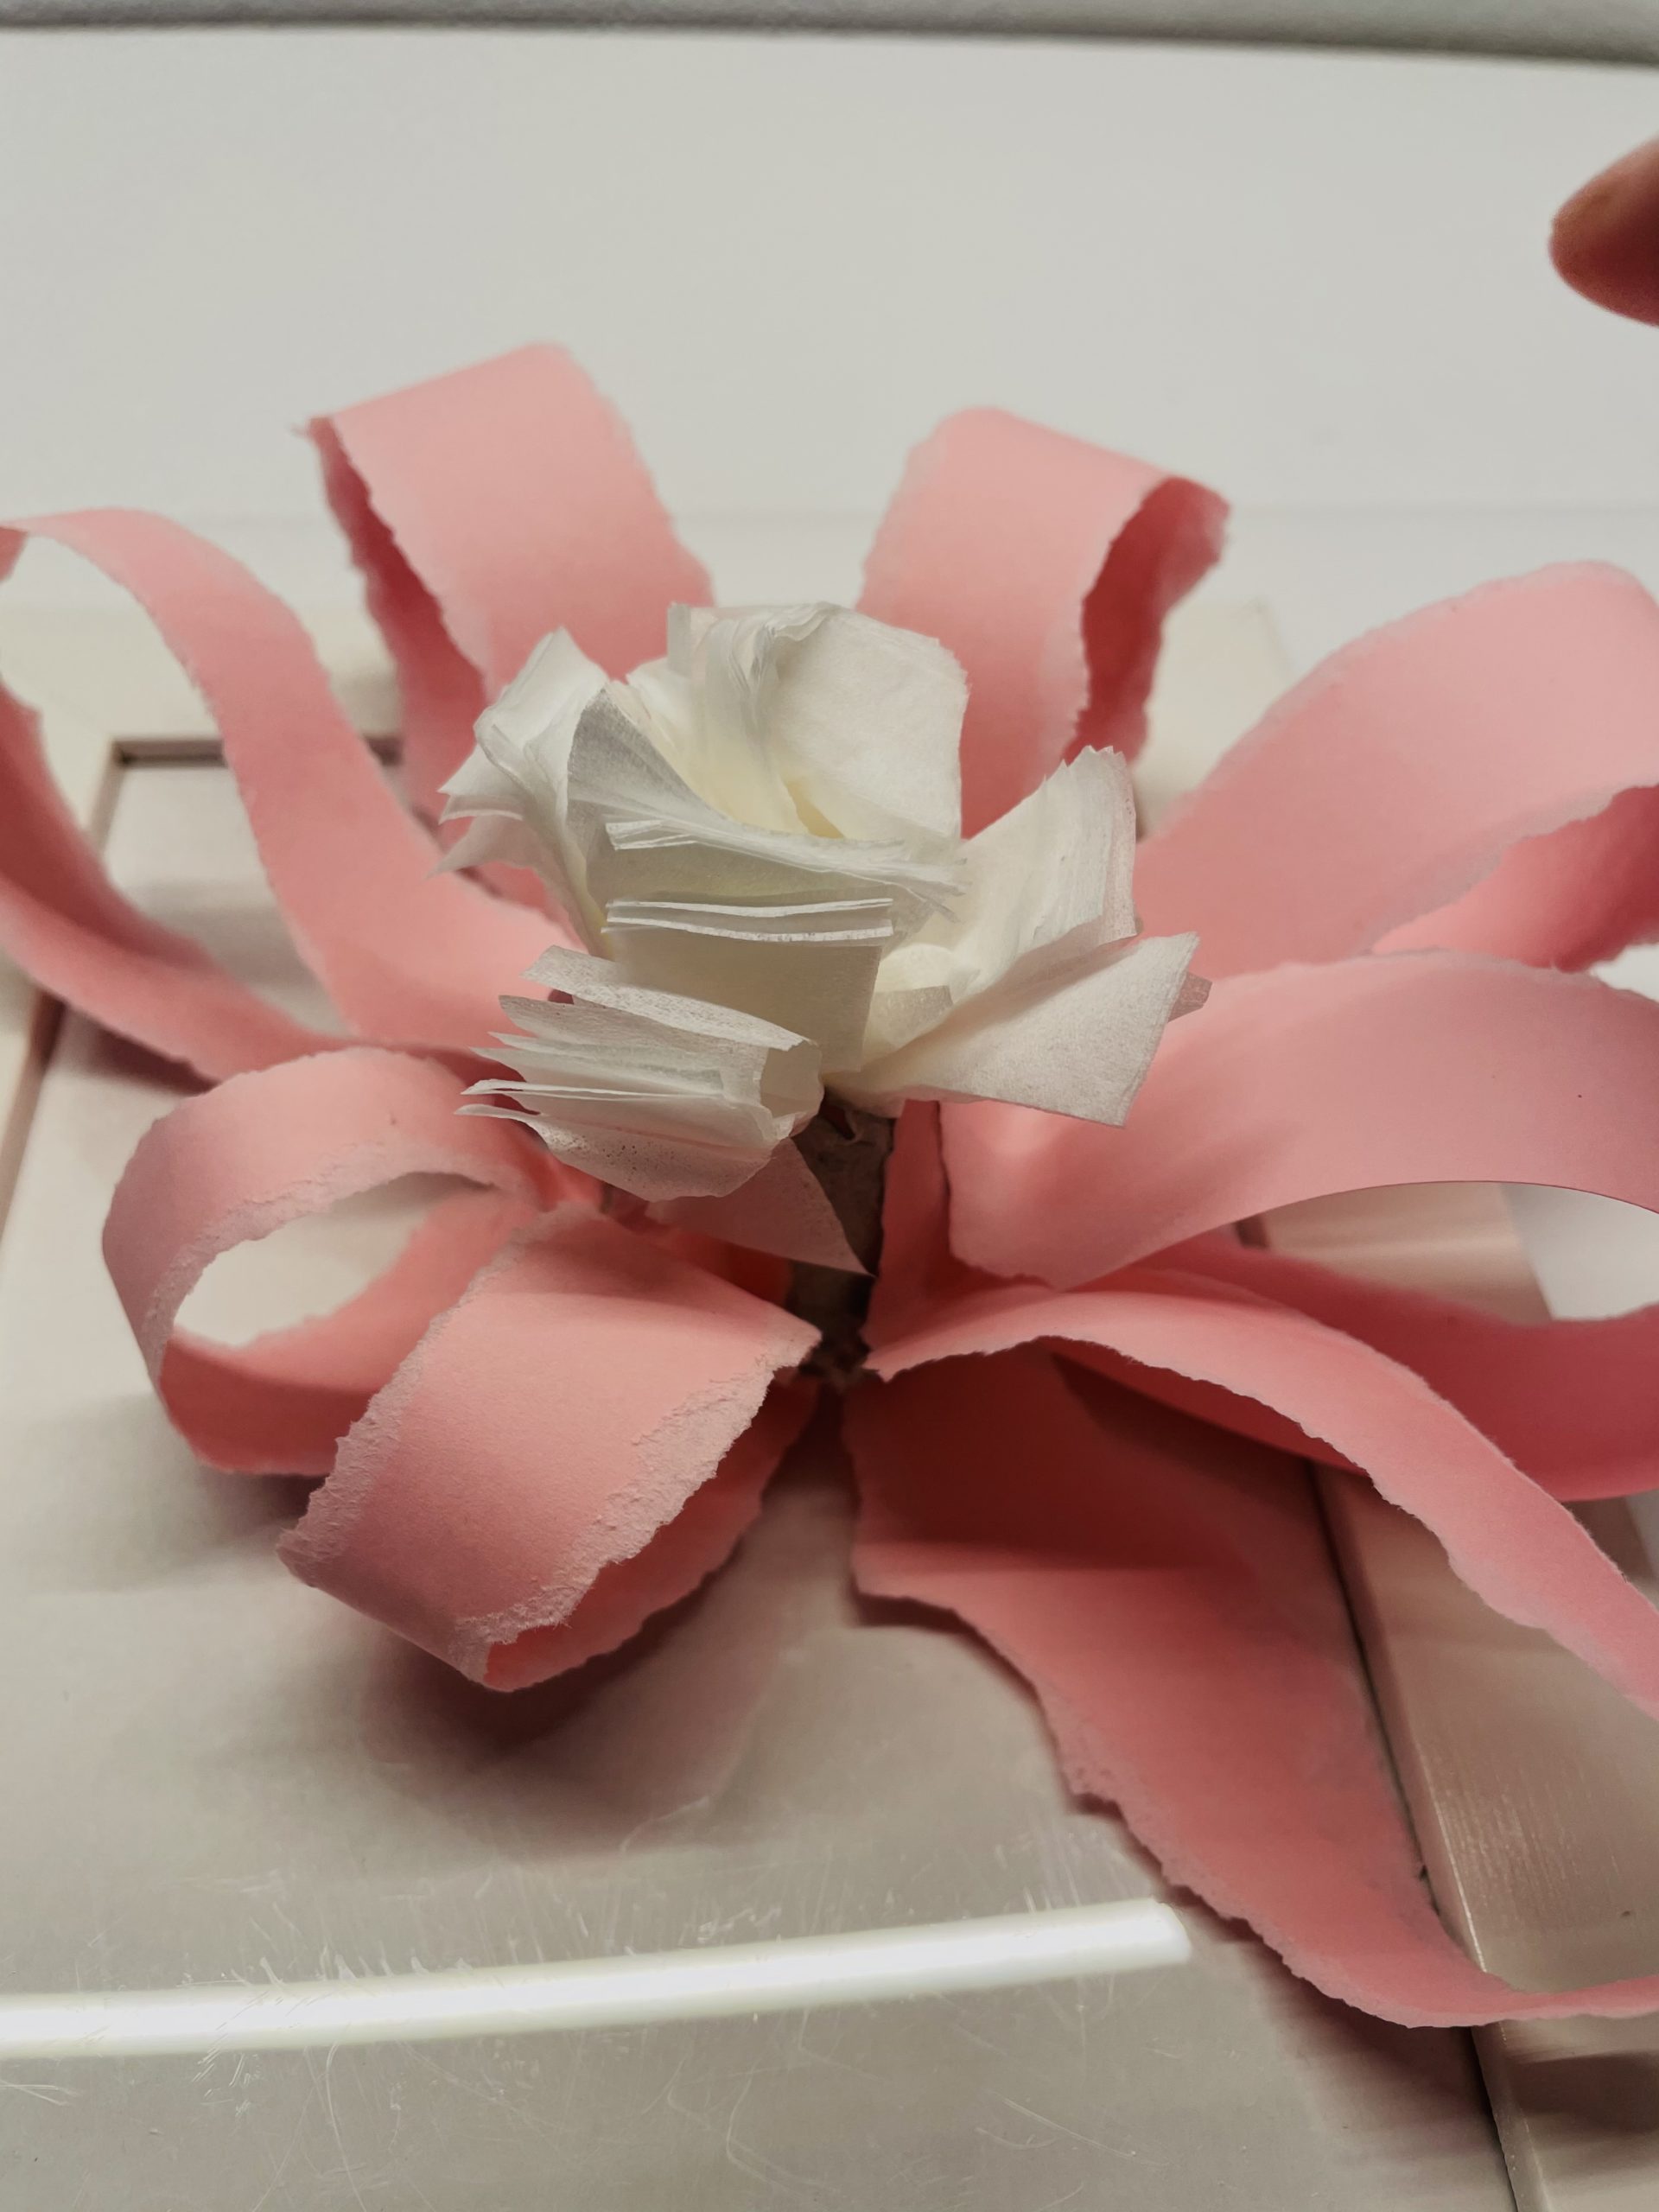
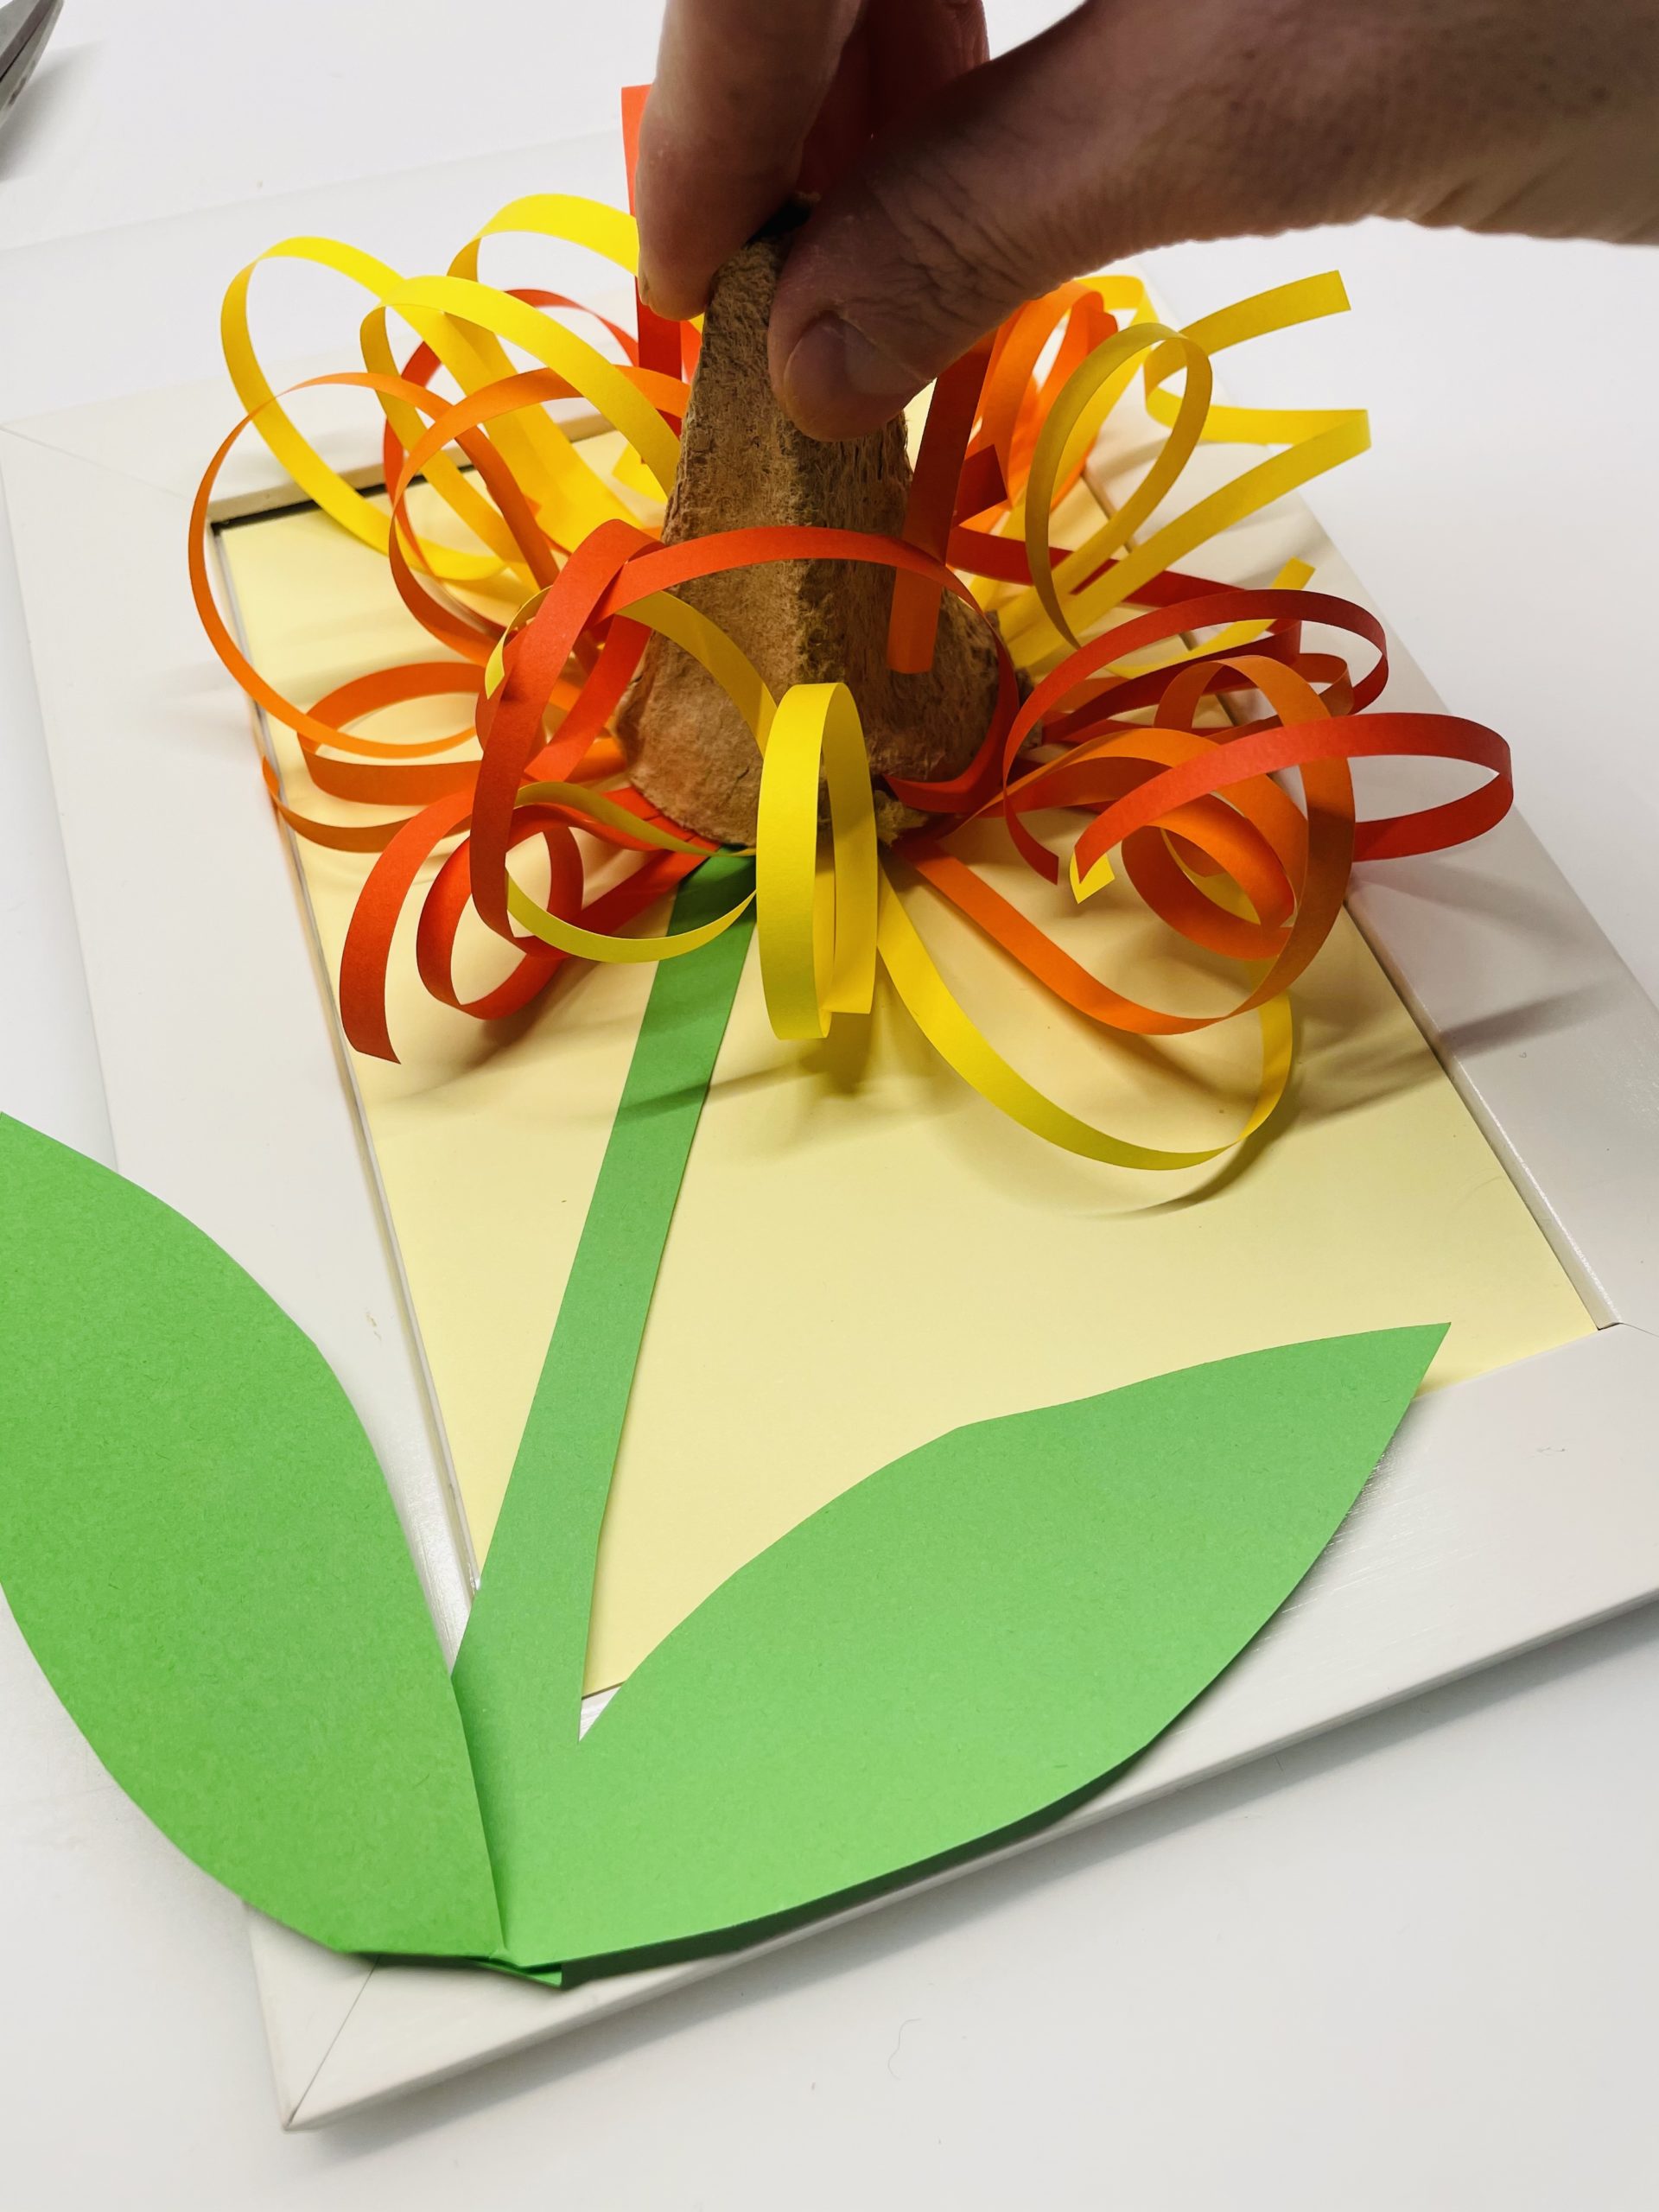
Then place the flower on the curved petals.
That's what the flower looks like now.
Now you put the crafted handkerchief flower in the cut lace.
The flower is ready.
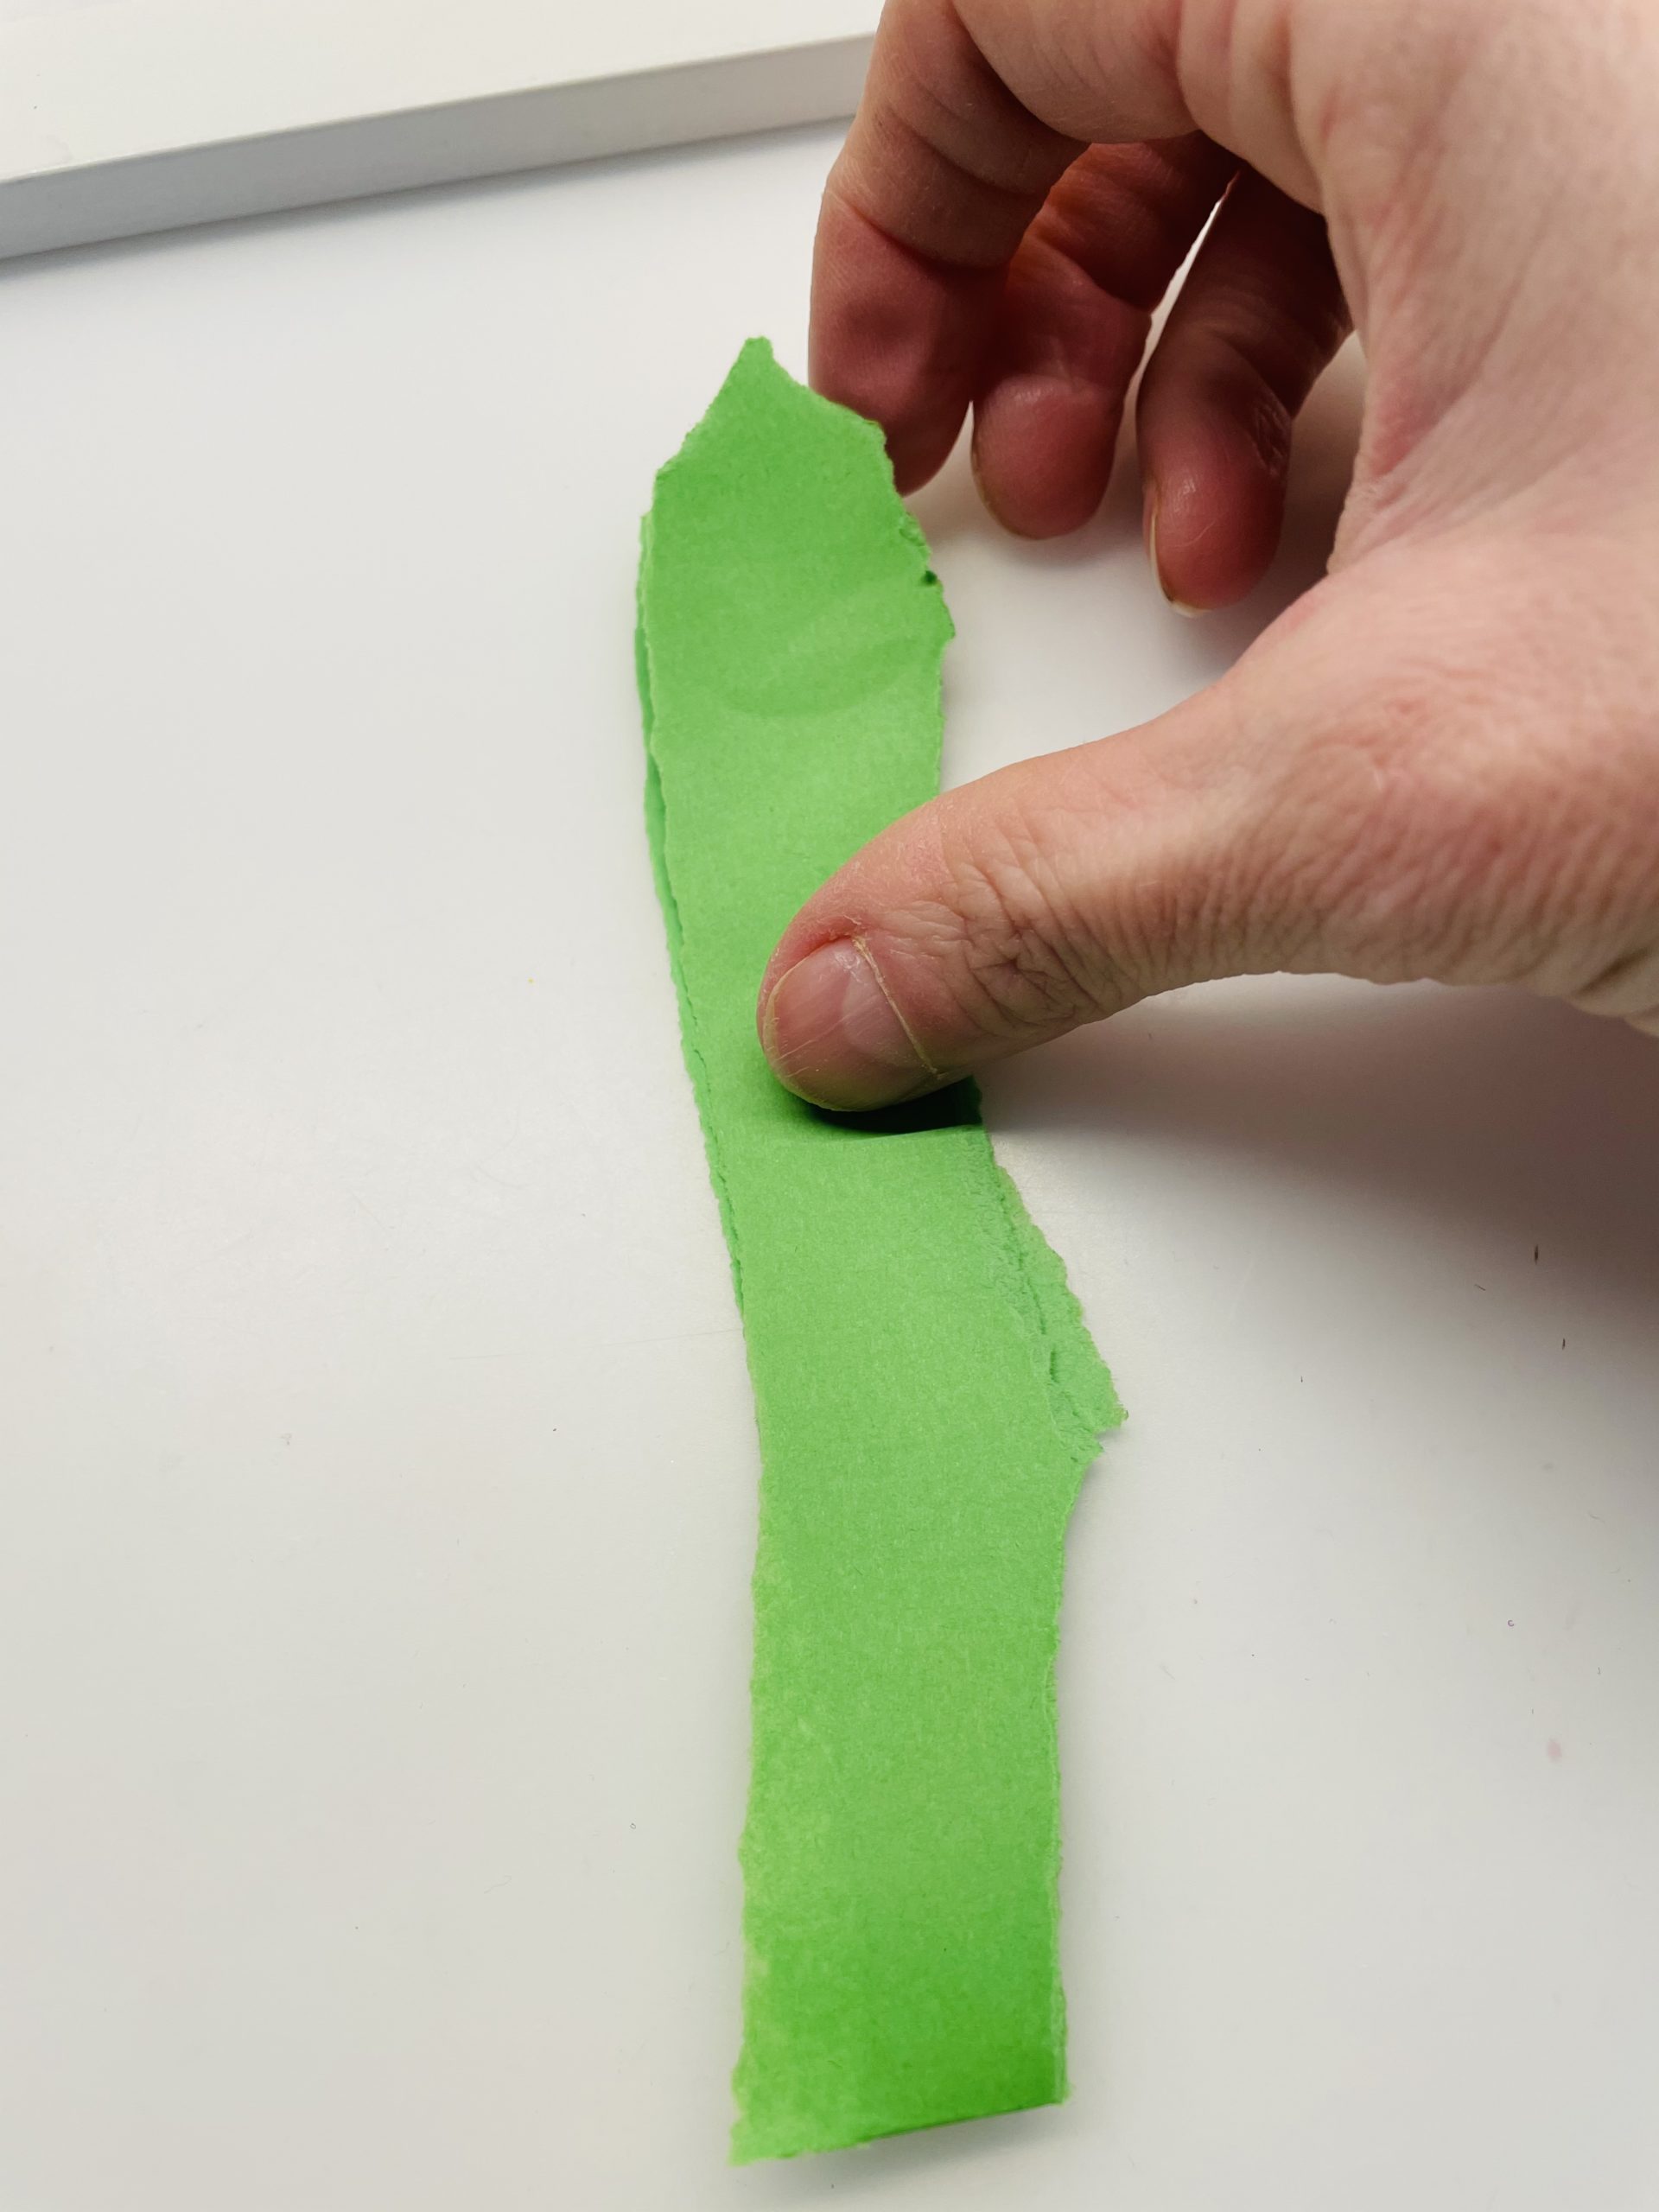
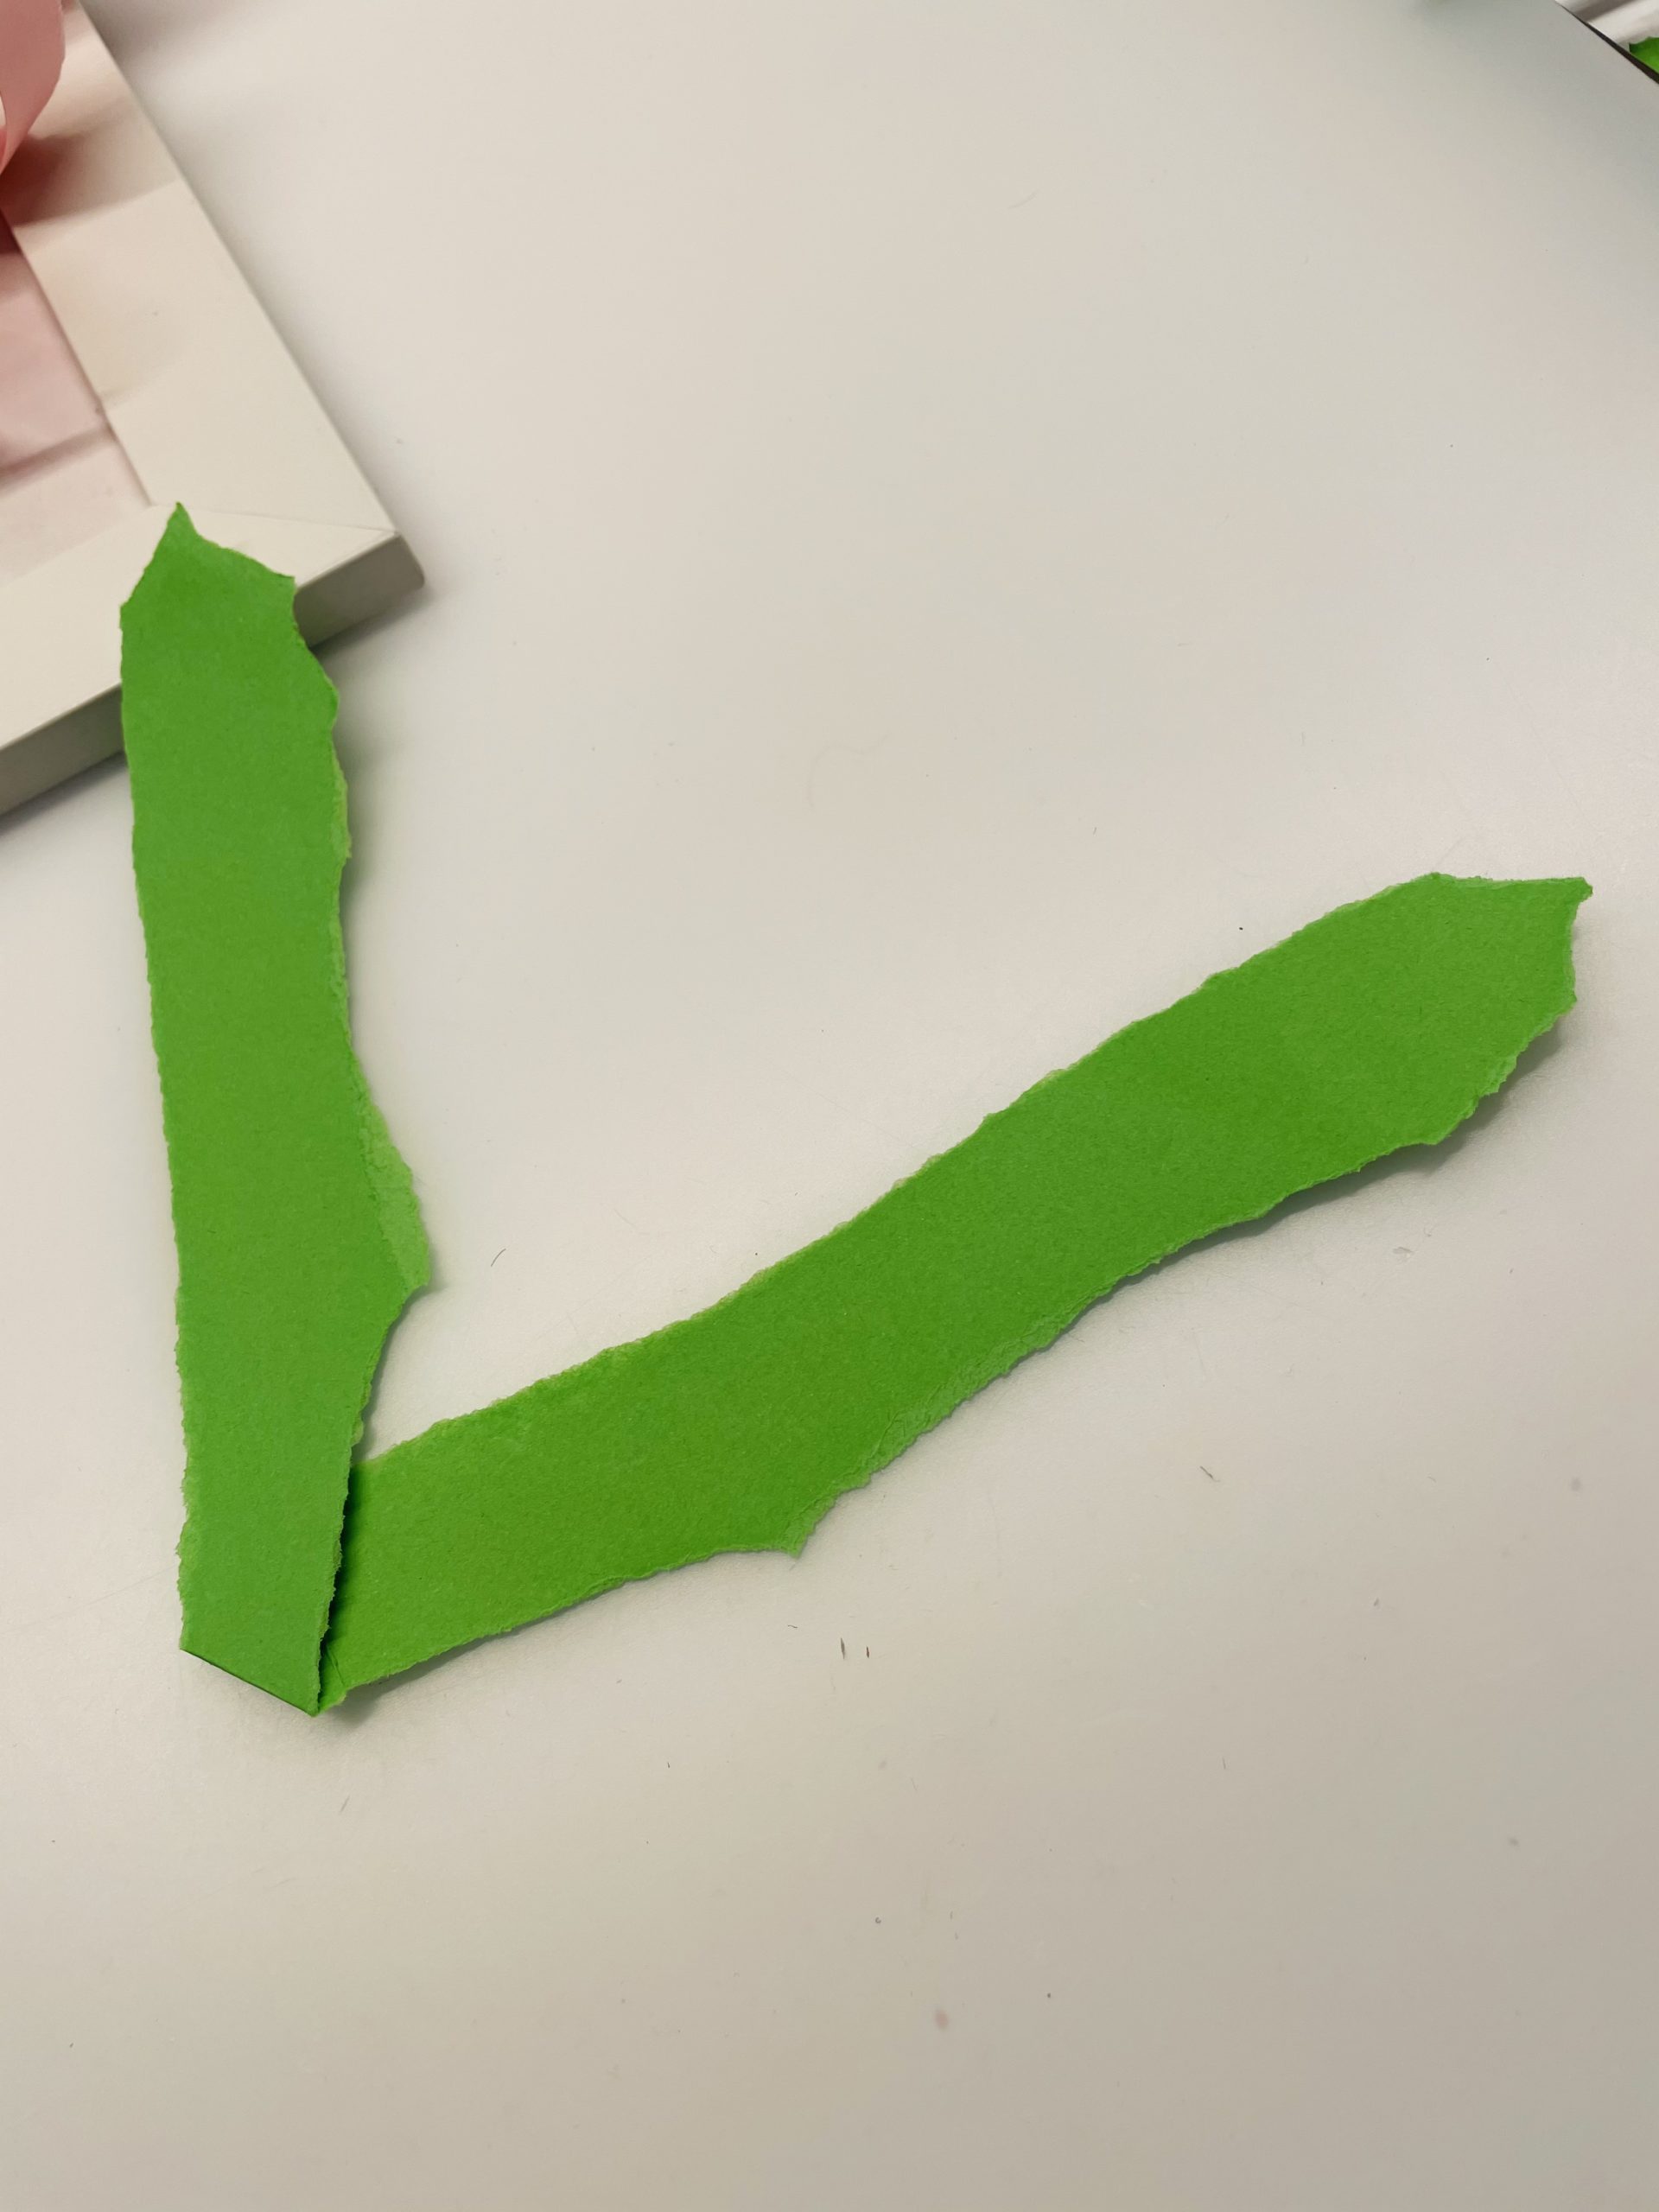
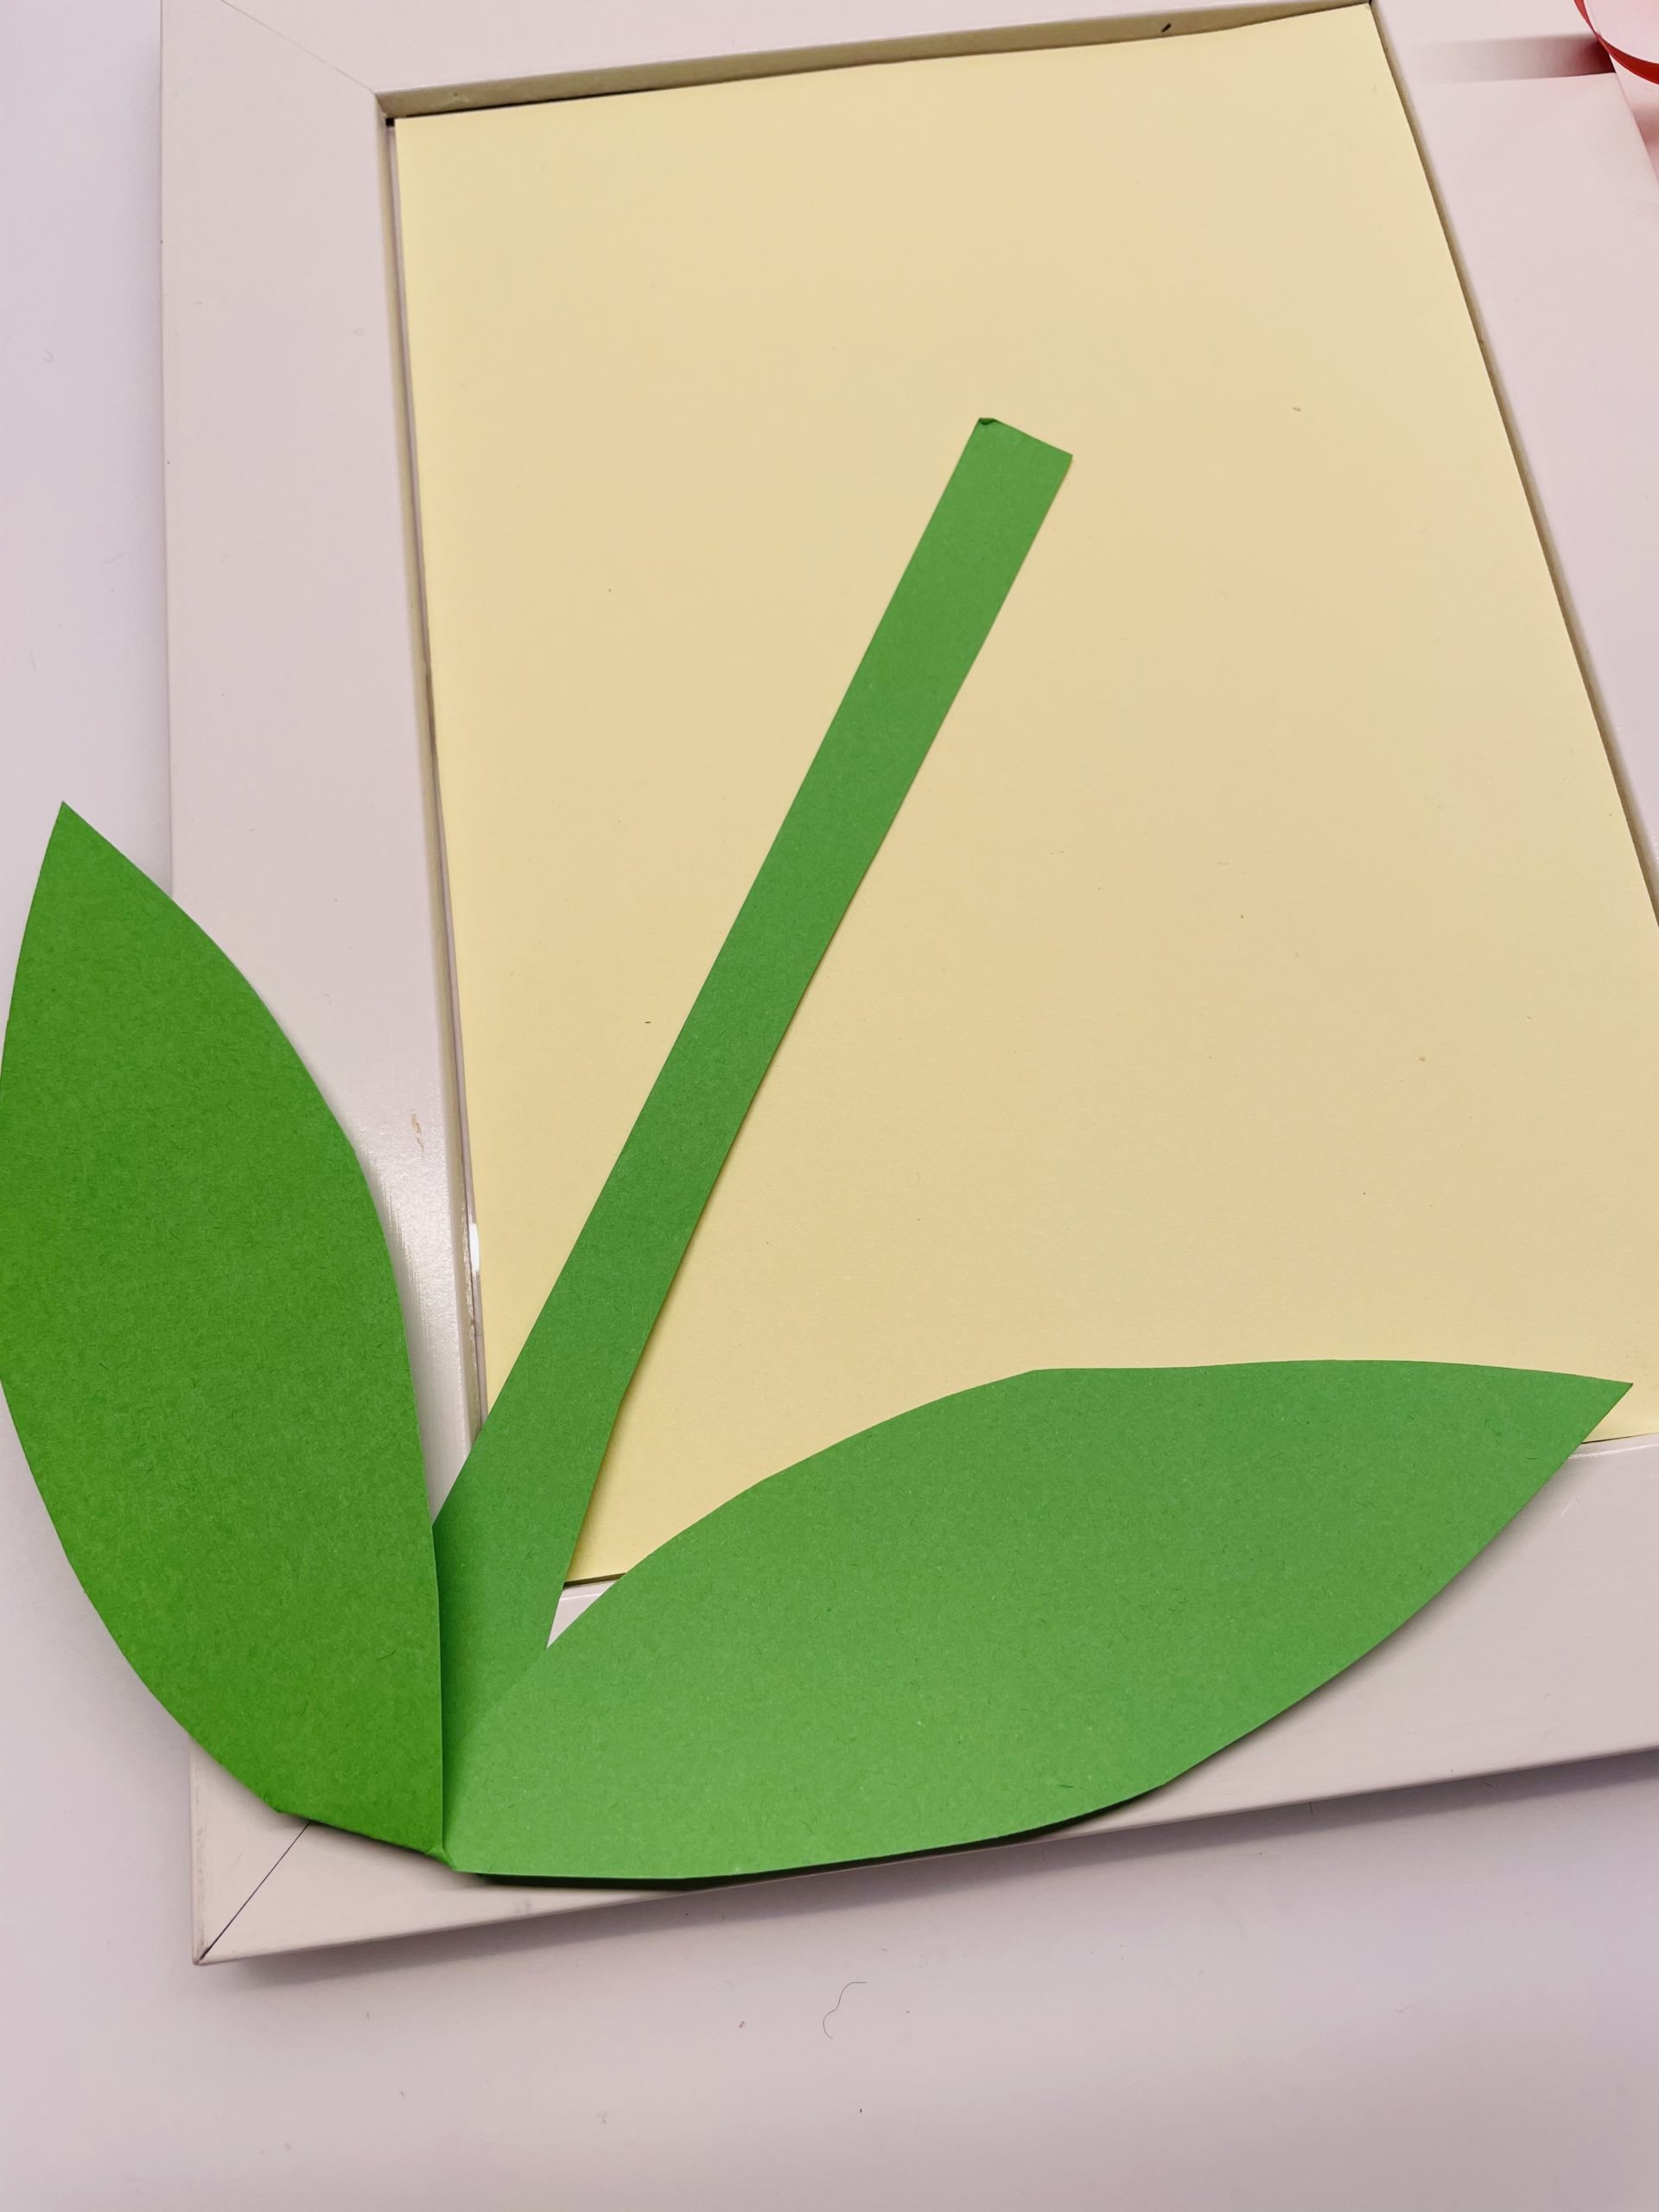
Now fold the green paper in the middle. It should be about 10cm long.
Then you tear off a strip of paper about 2cm wide.
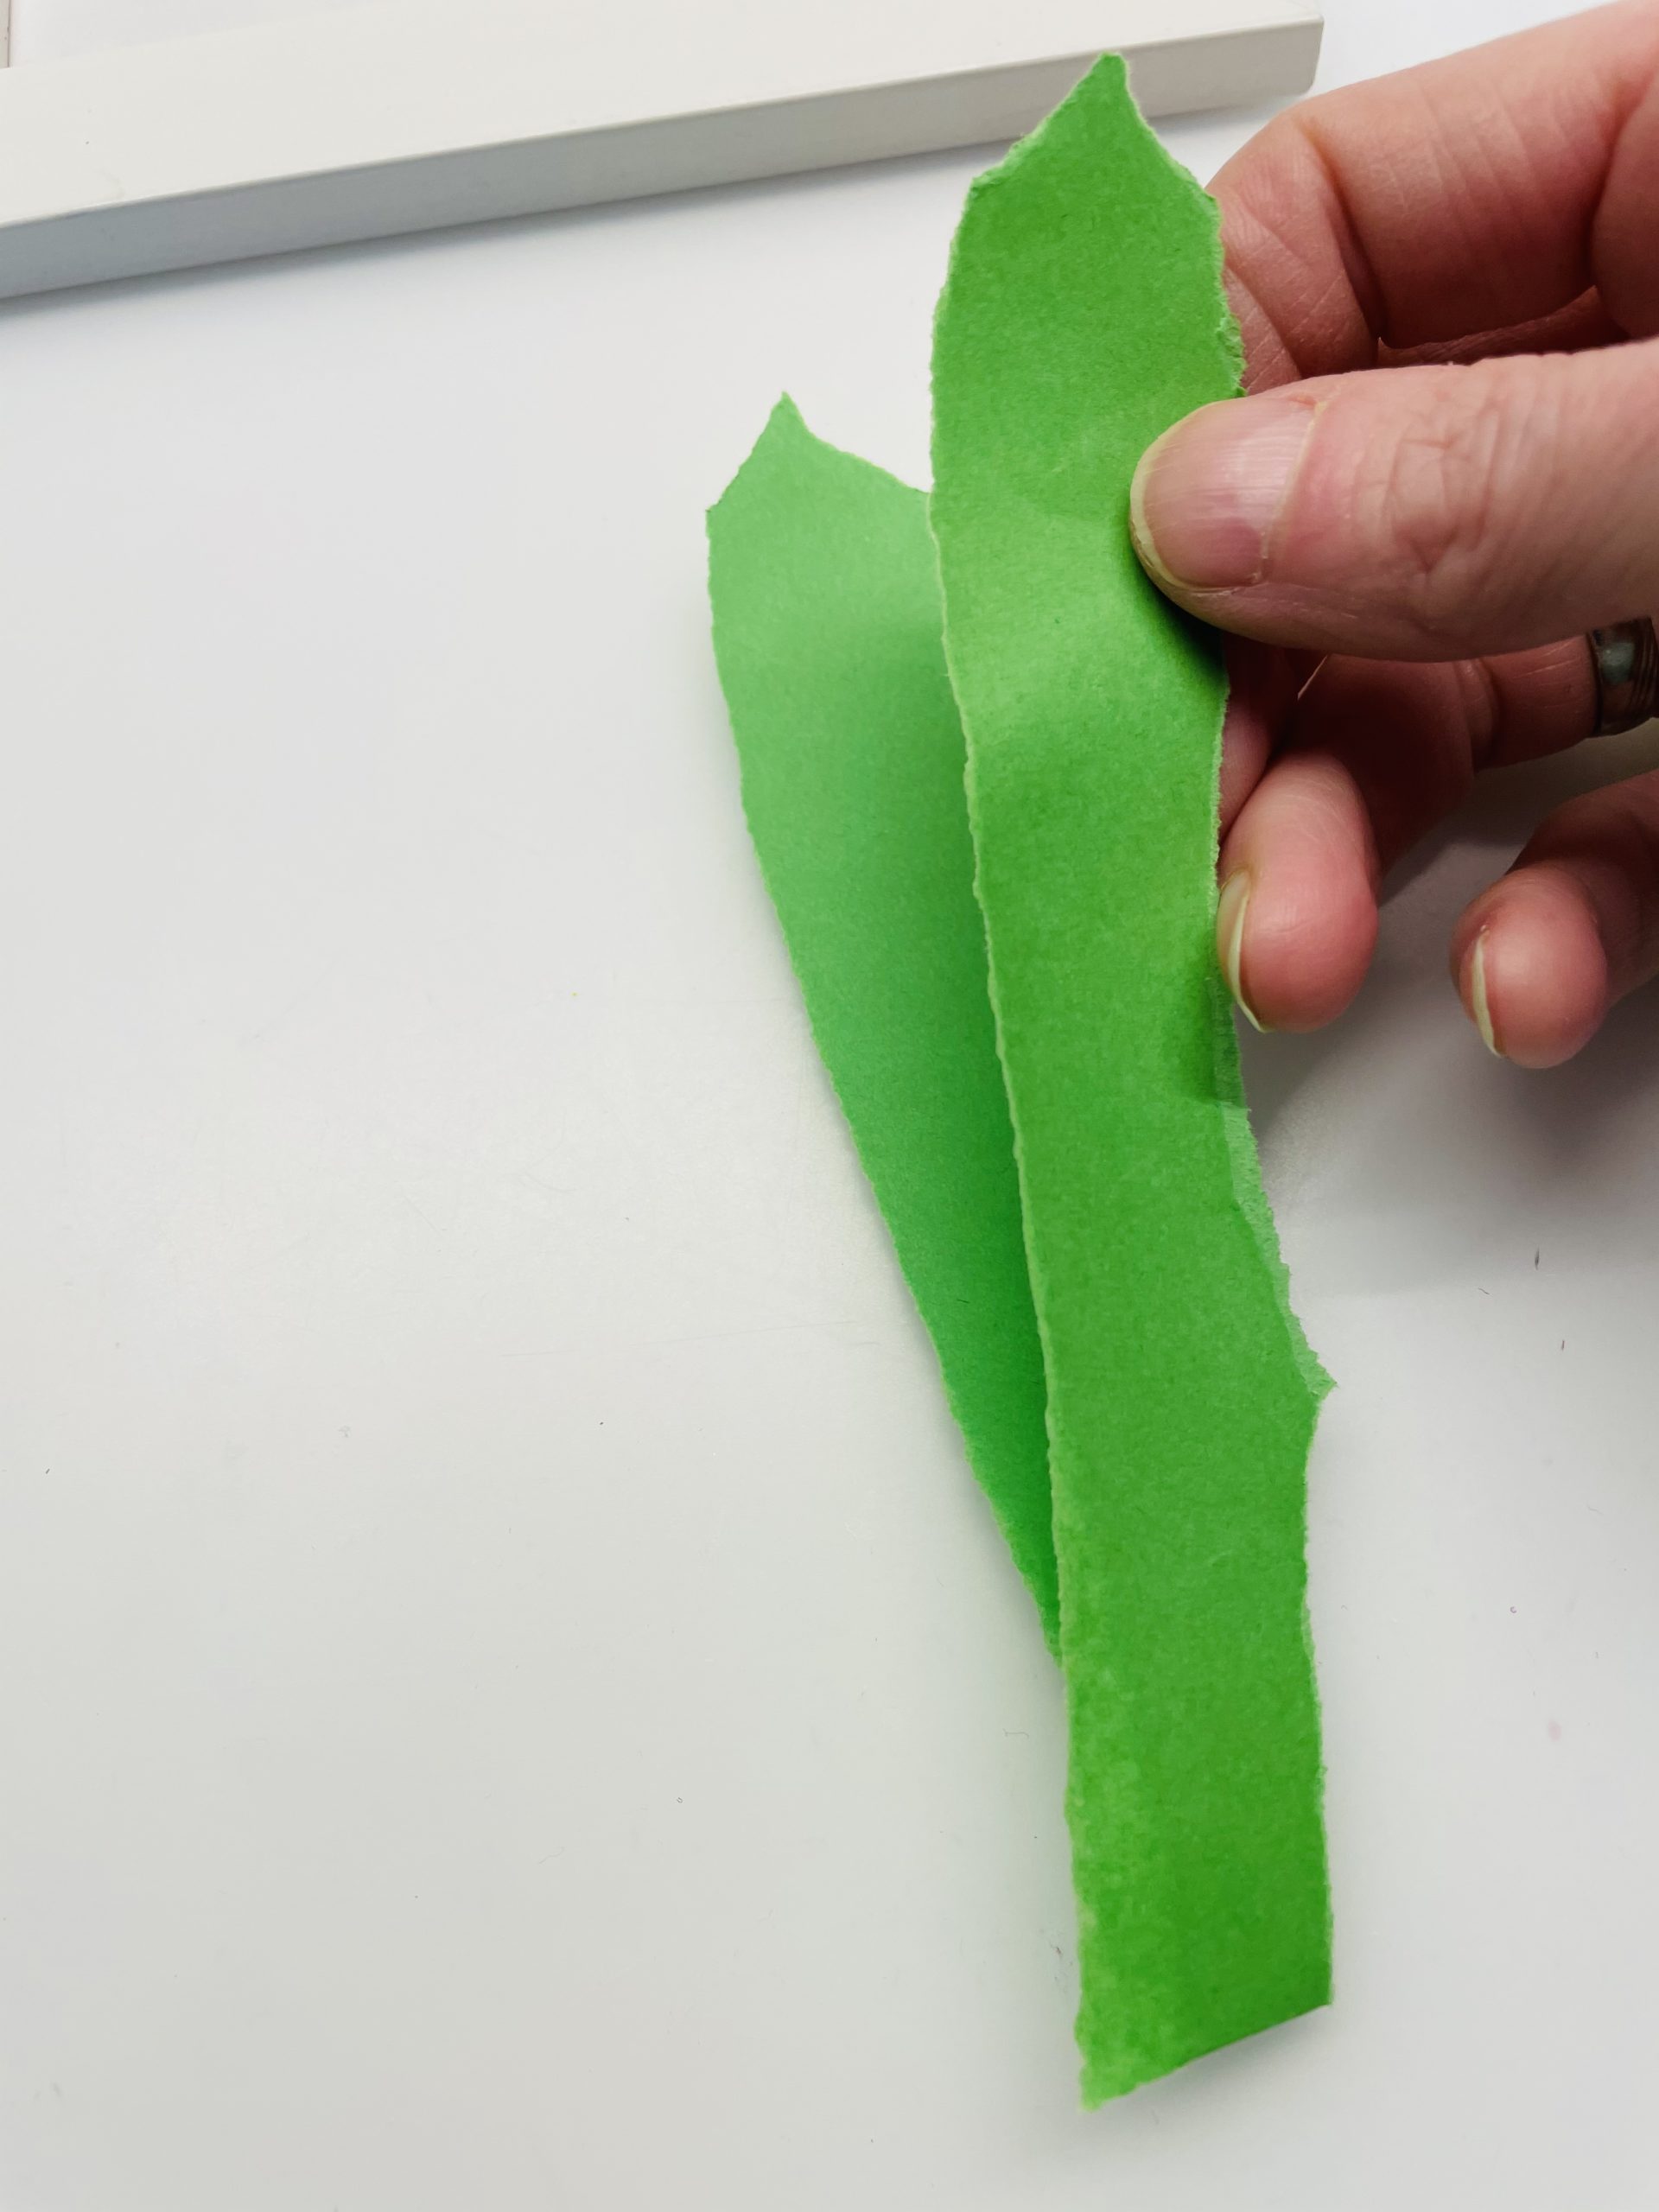
Attention: The fracture of the fold is down, so that the leaves are related after cutting out.
So you'll get two leaves that are connected below.
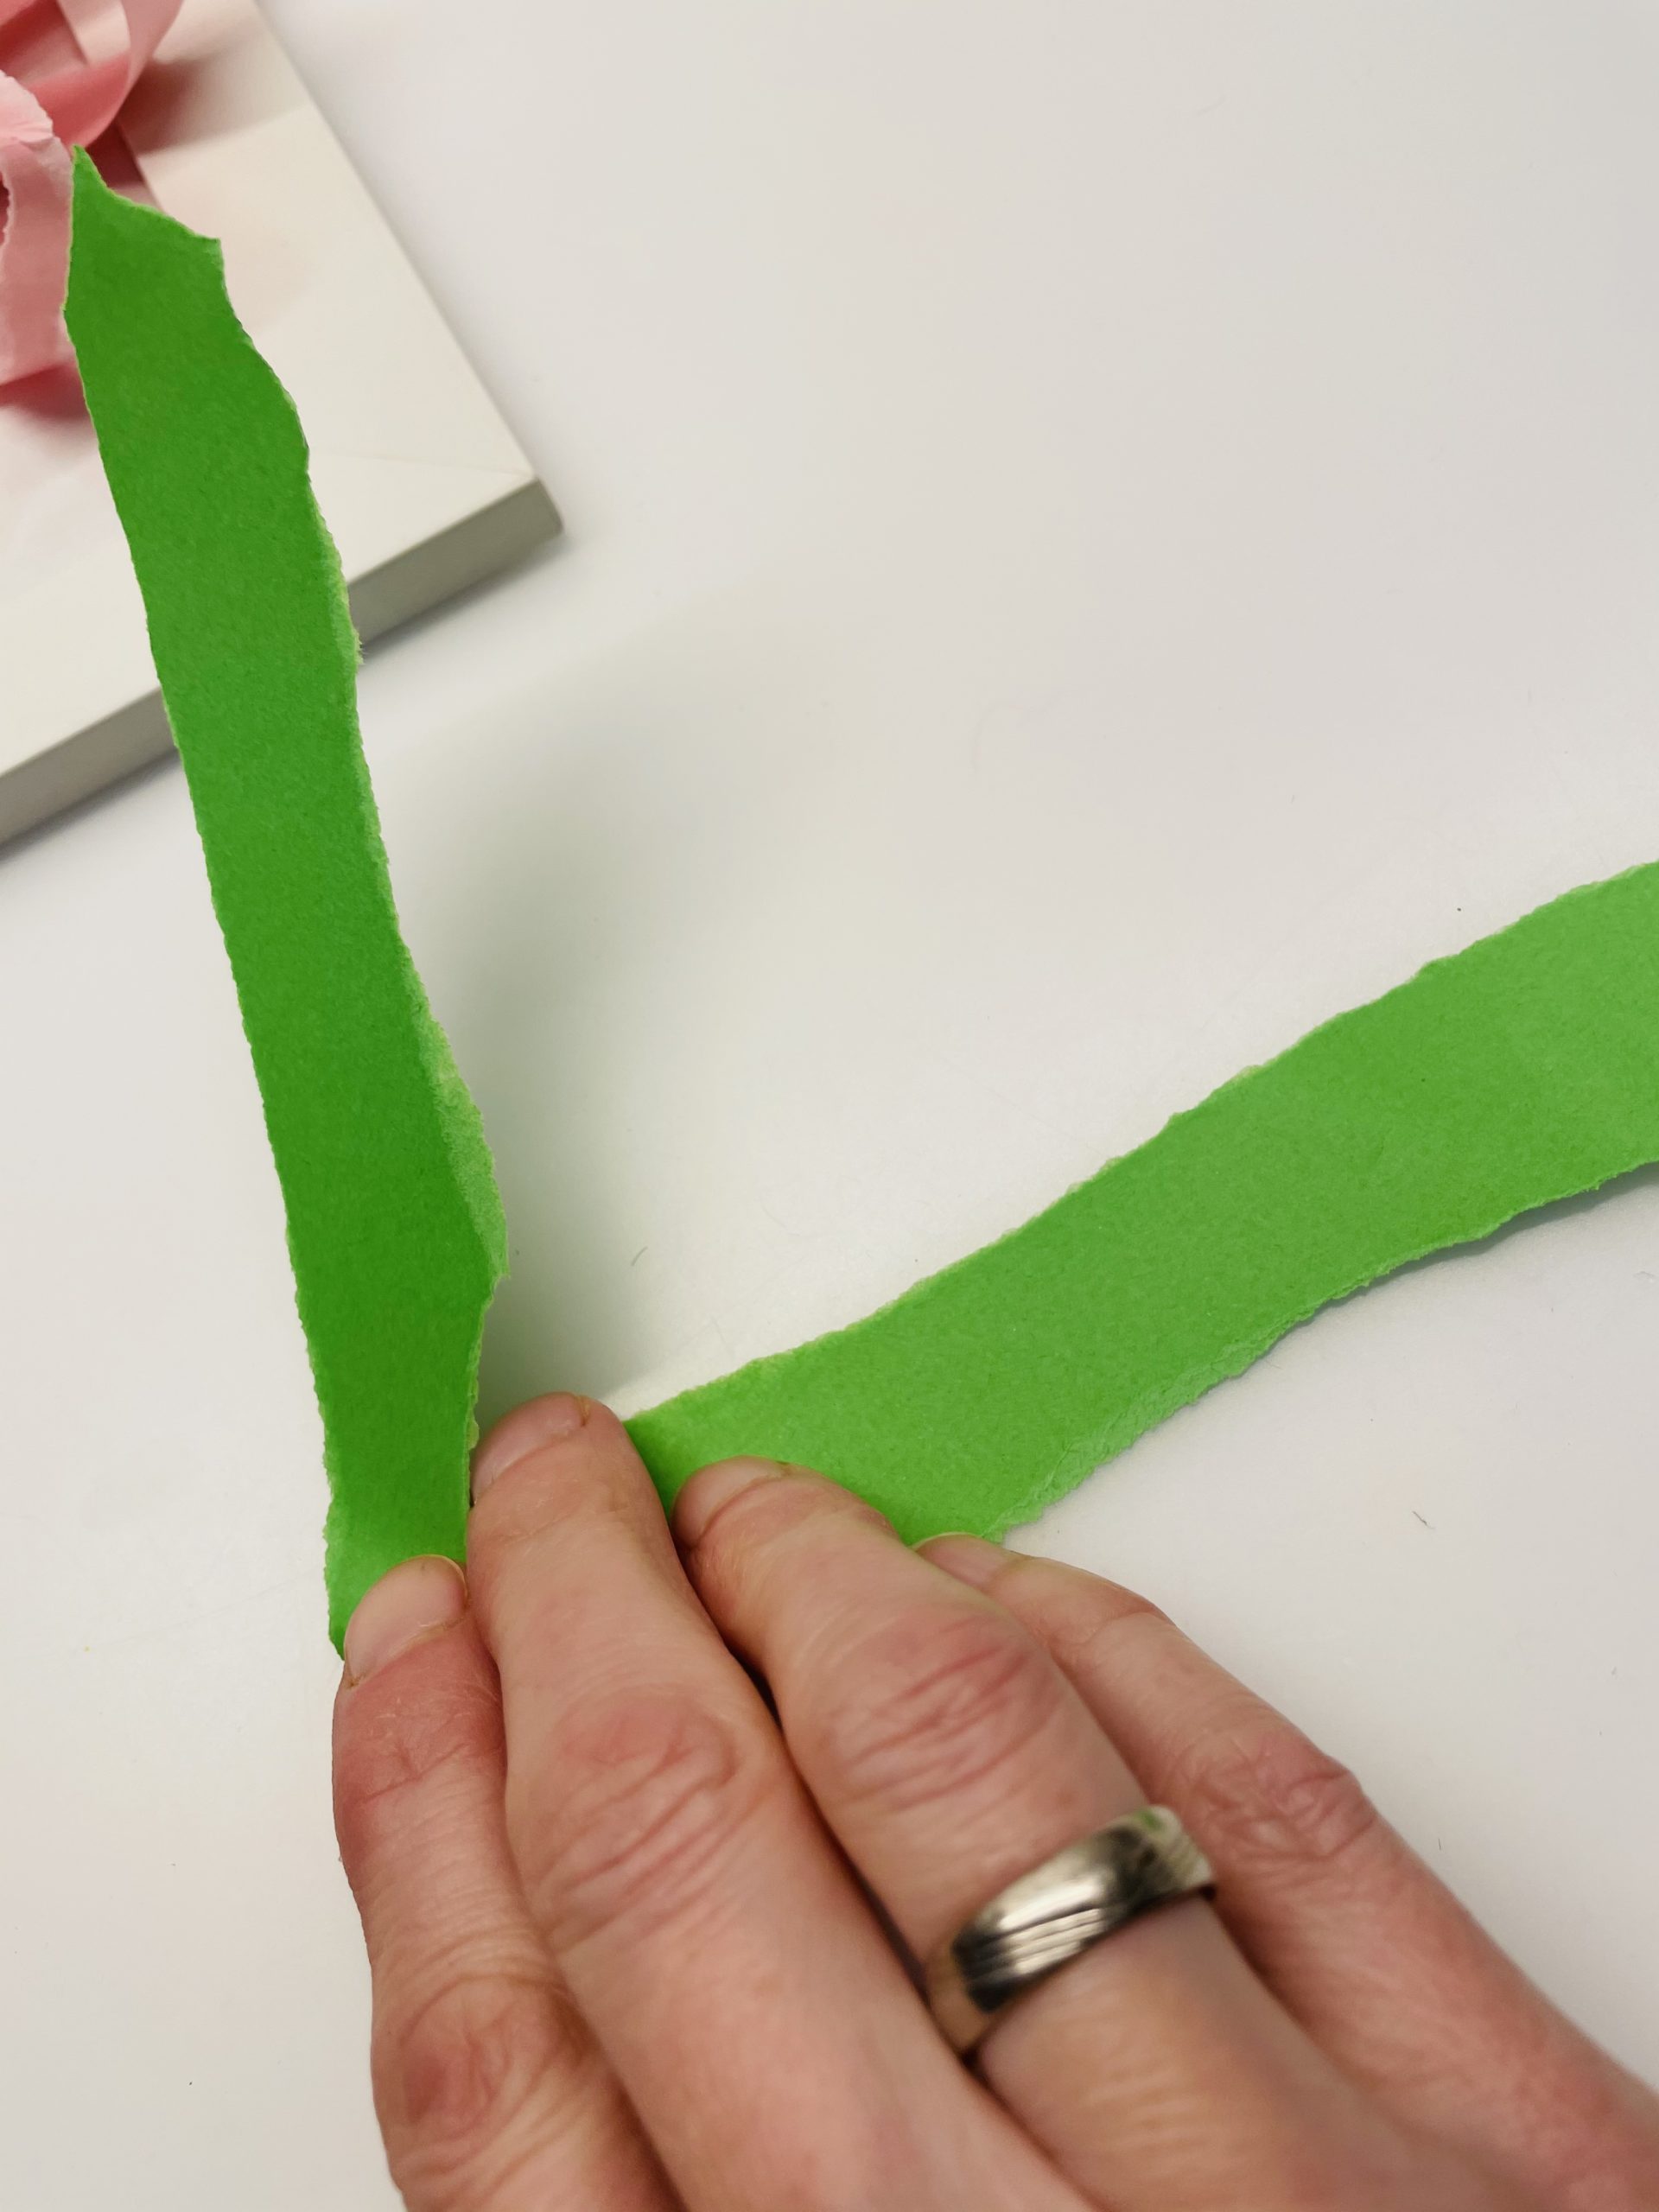
Fold these leaves and fold them L-shaped.
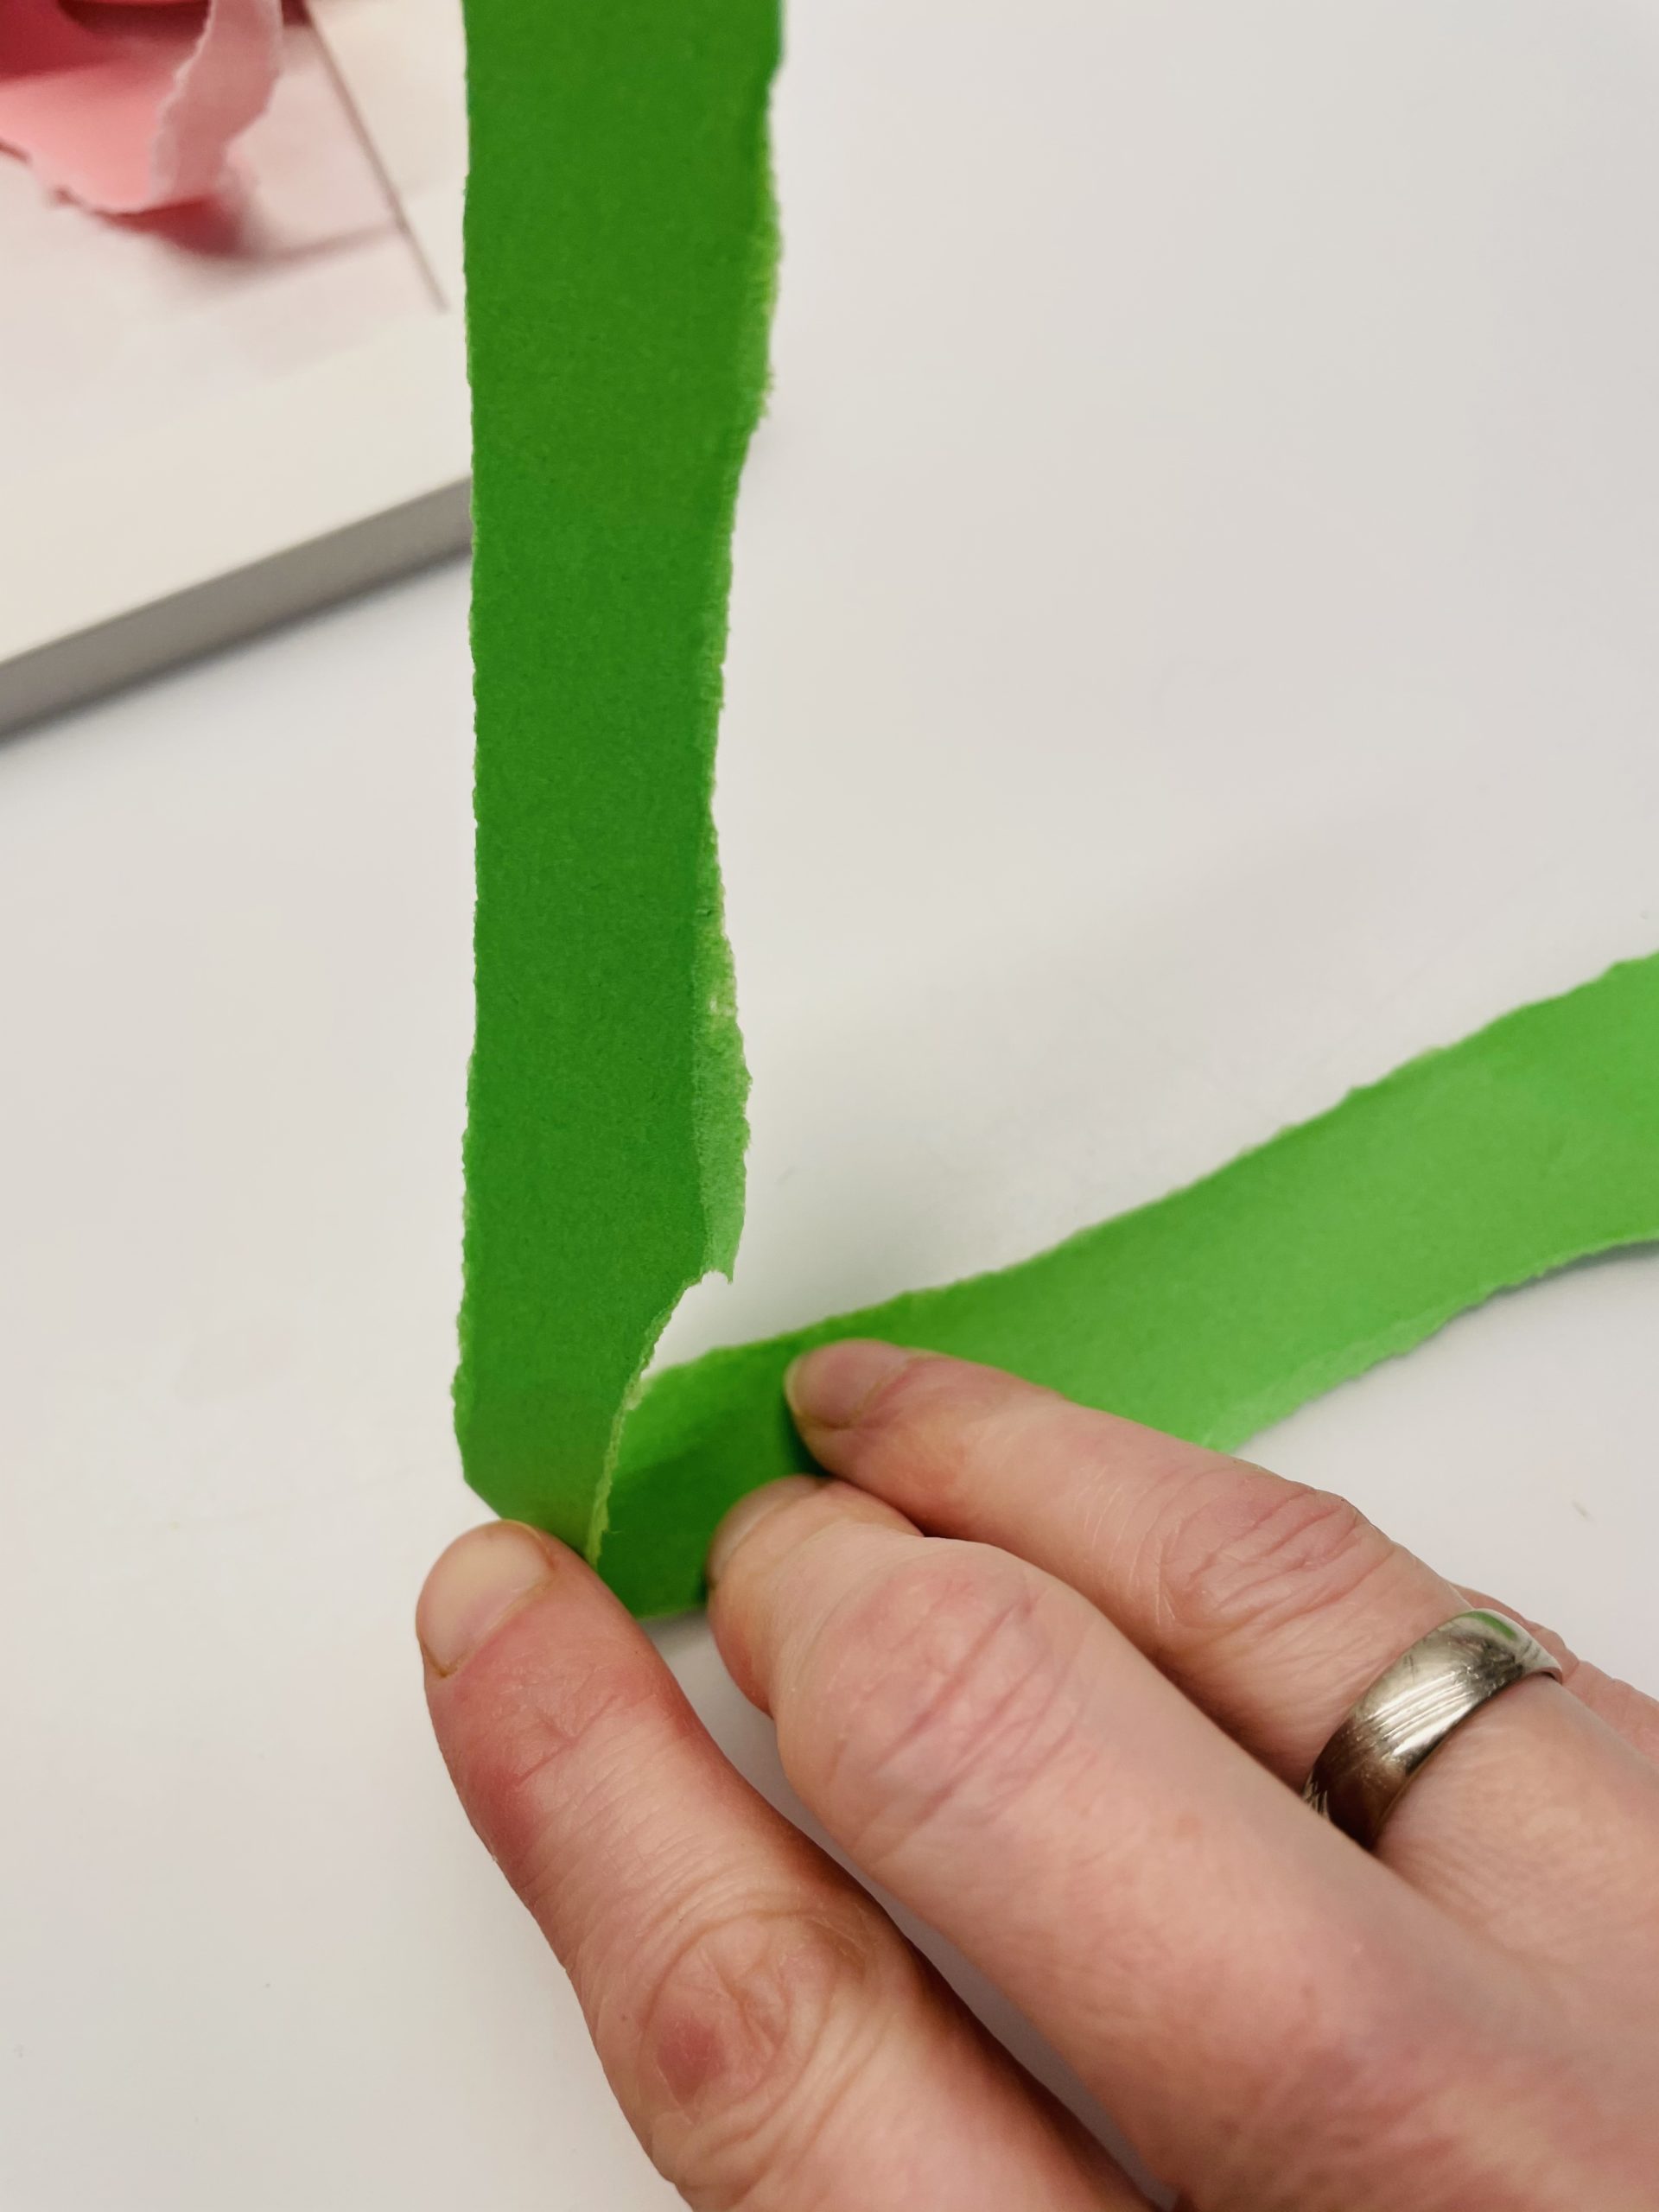
That's how the leaves come into being.
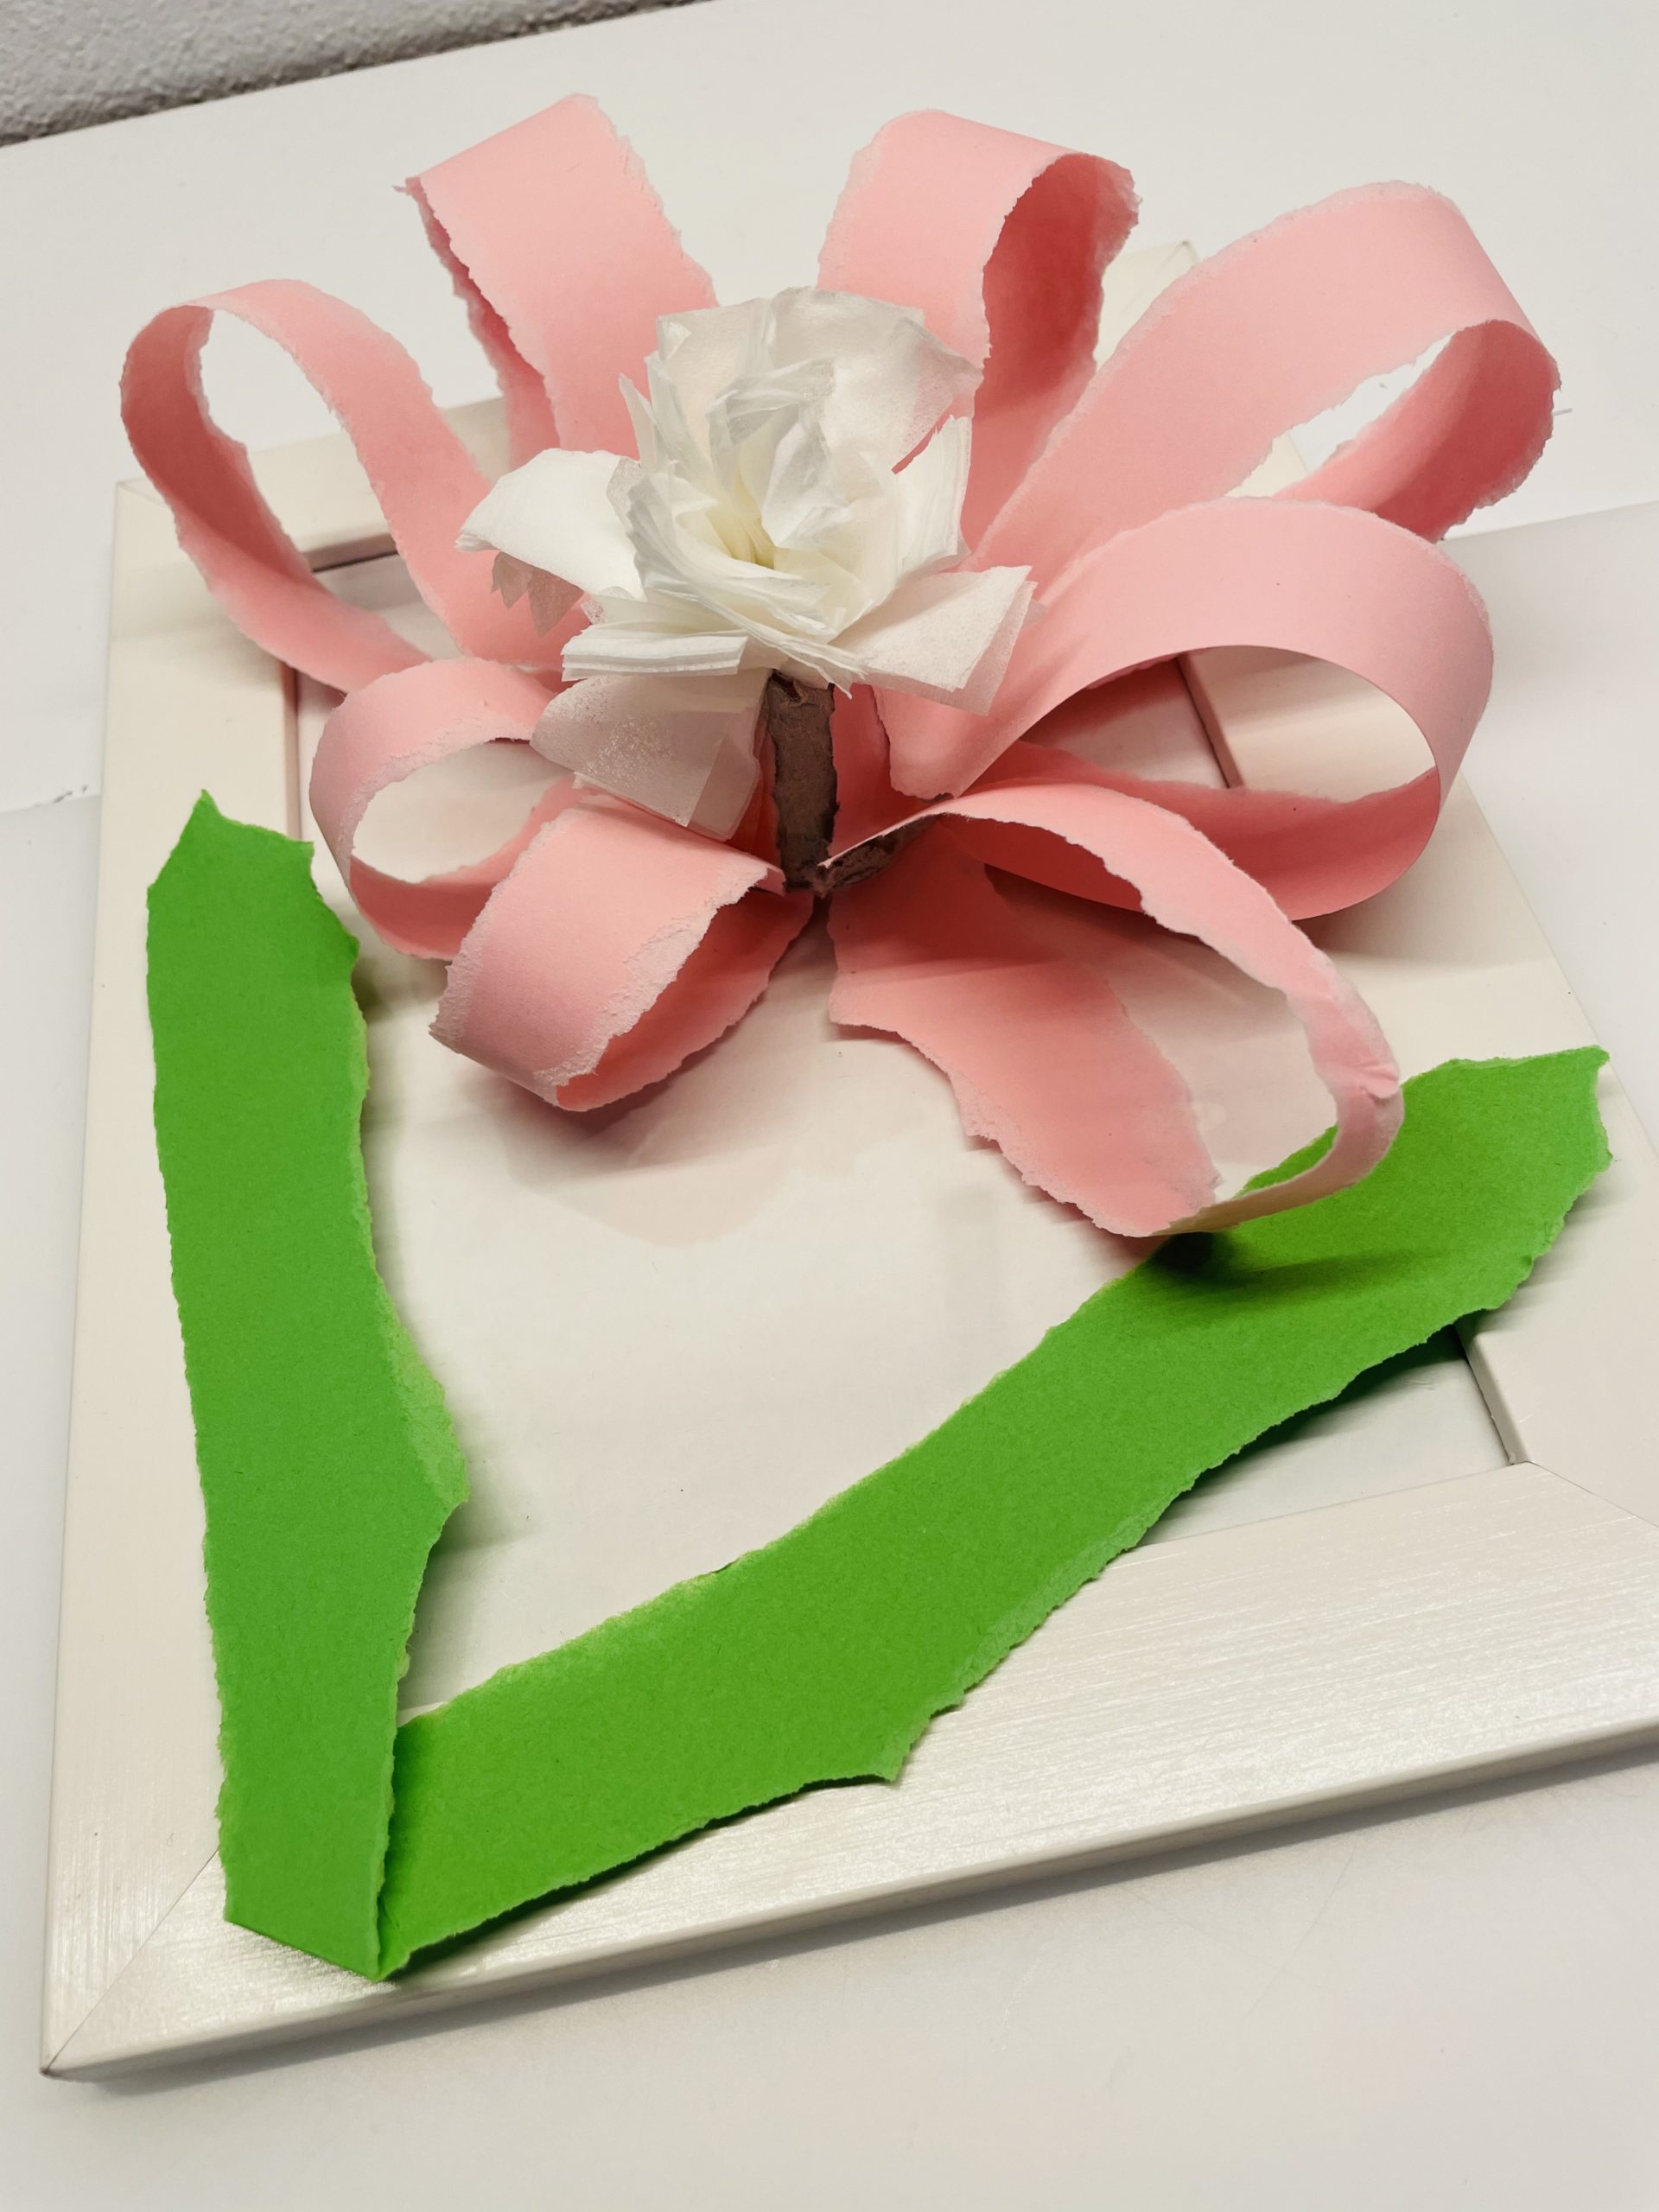
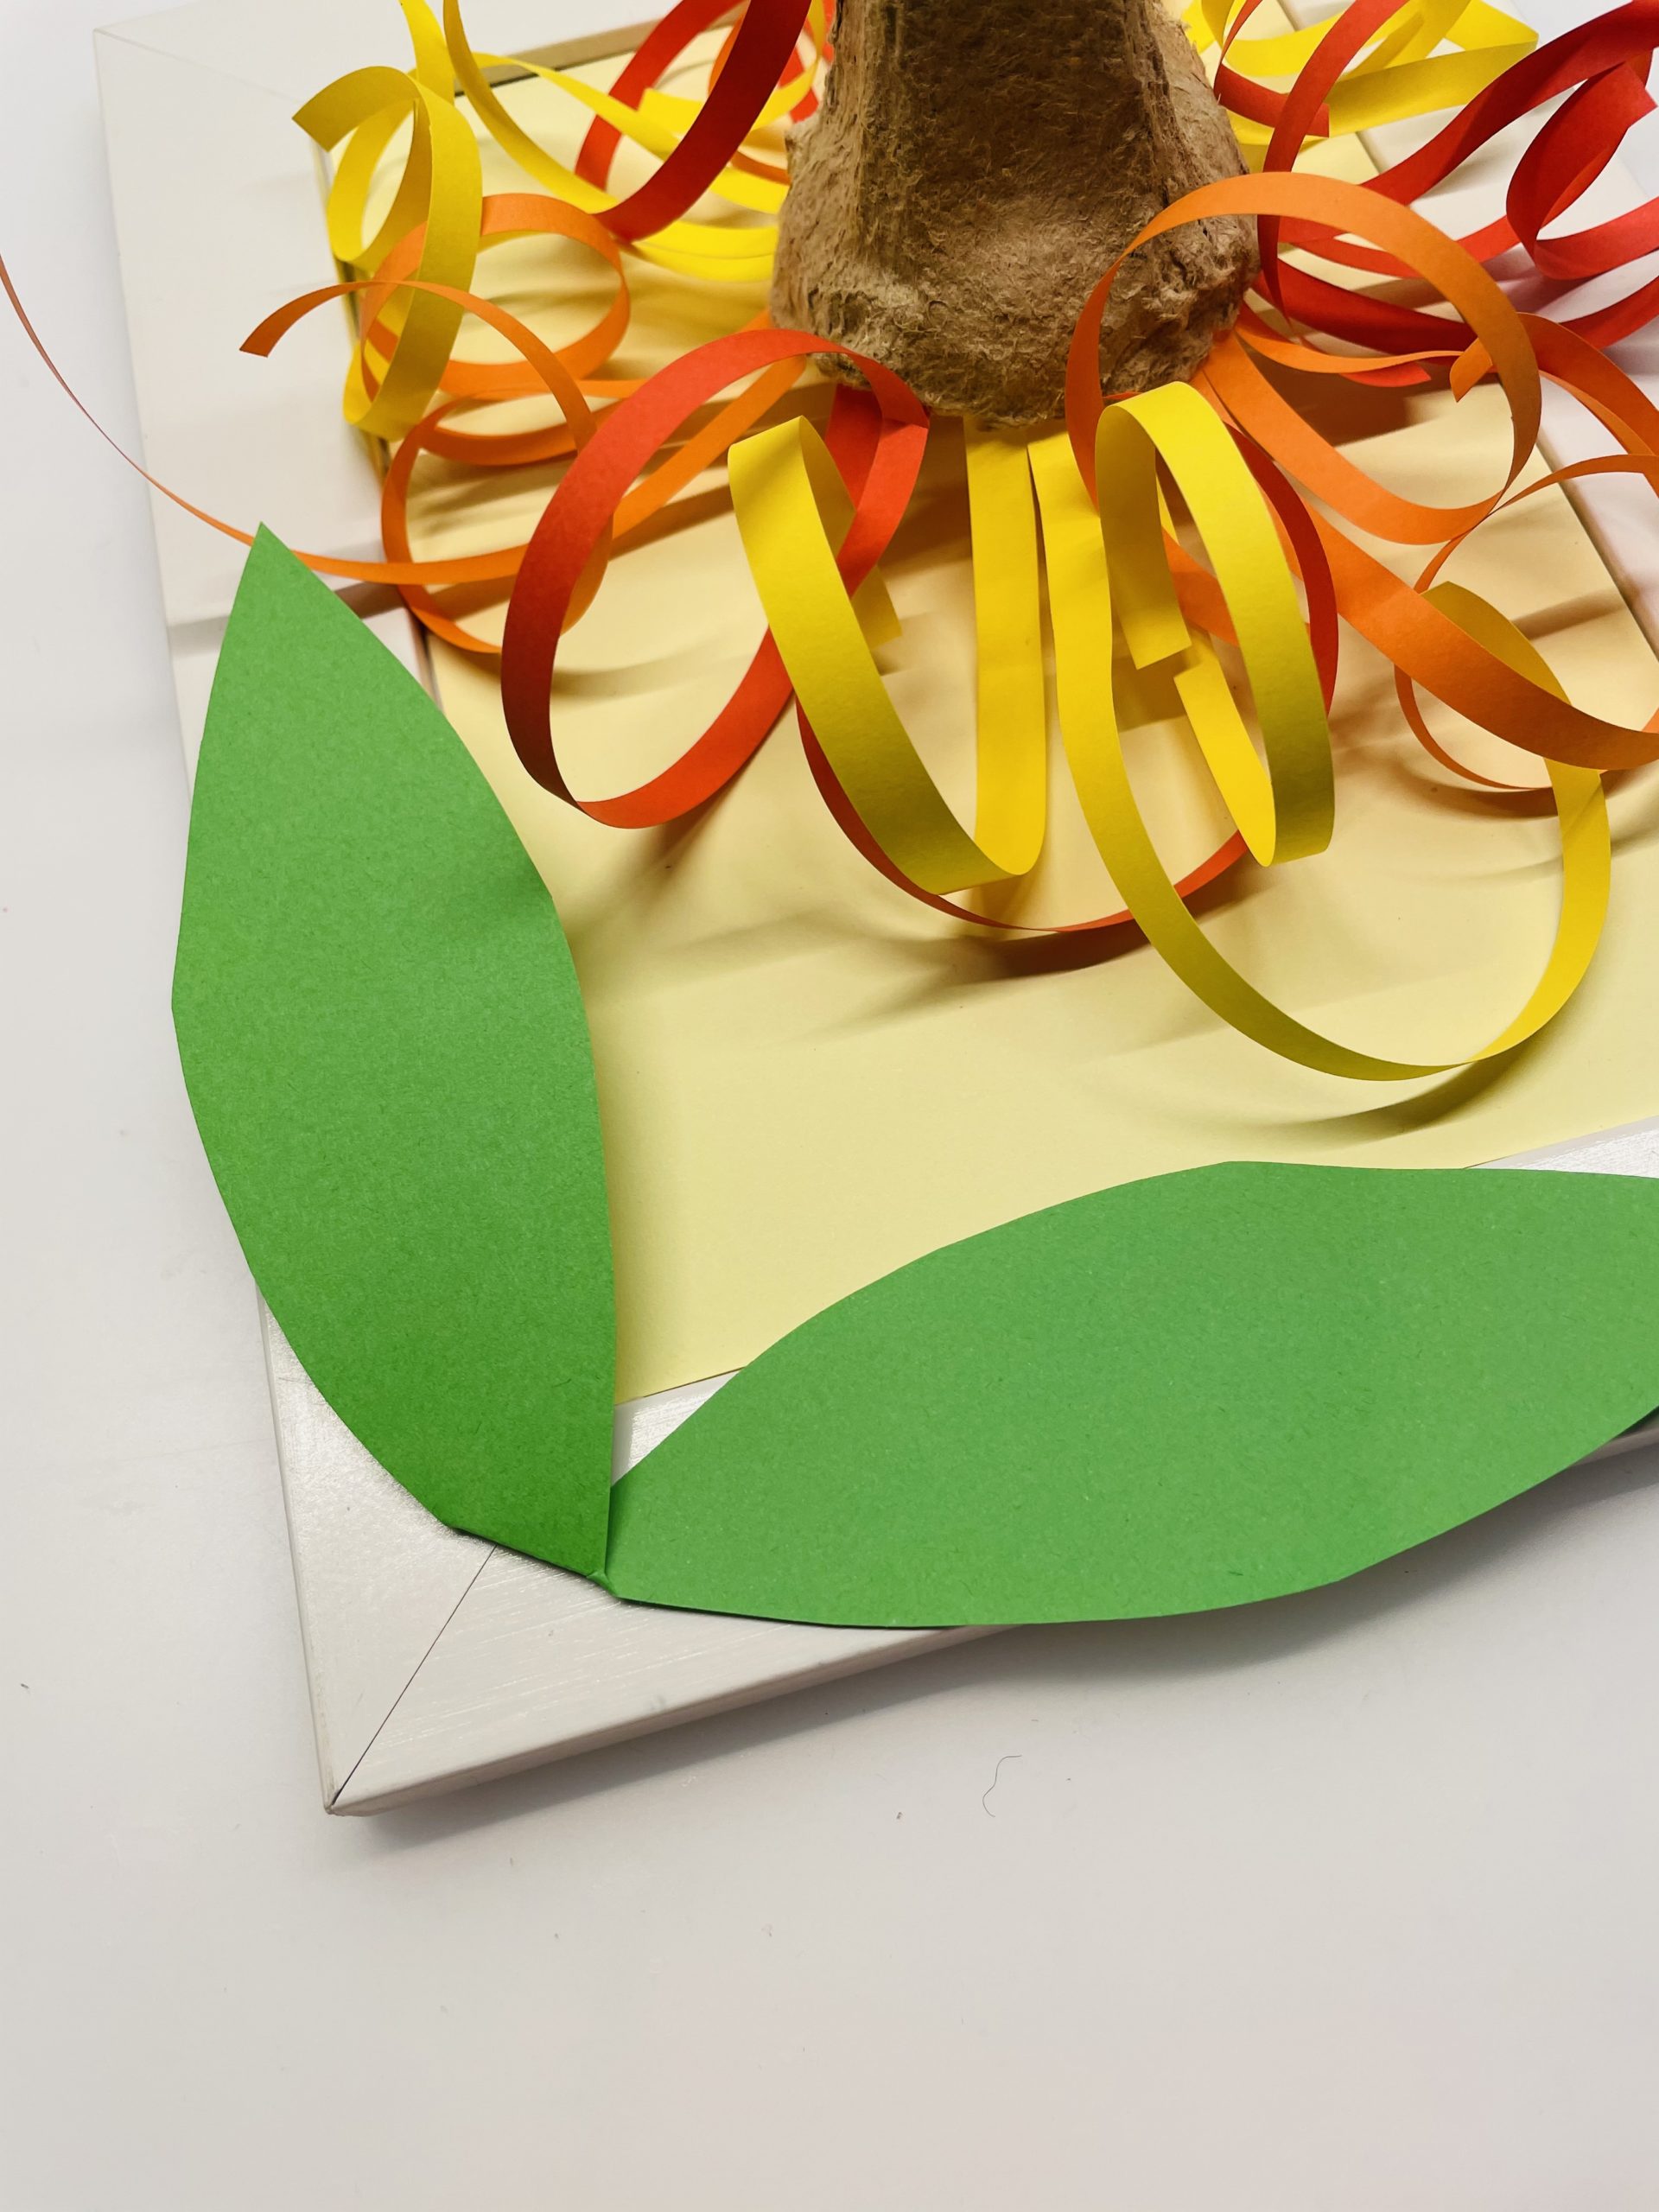
Now stick these in the corner of your picture frame.
Like in the picture.
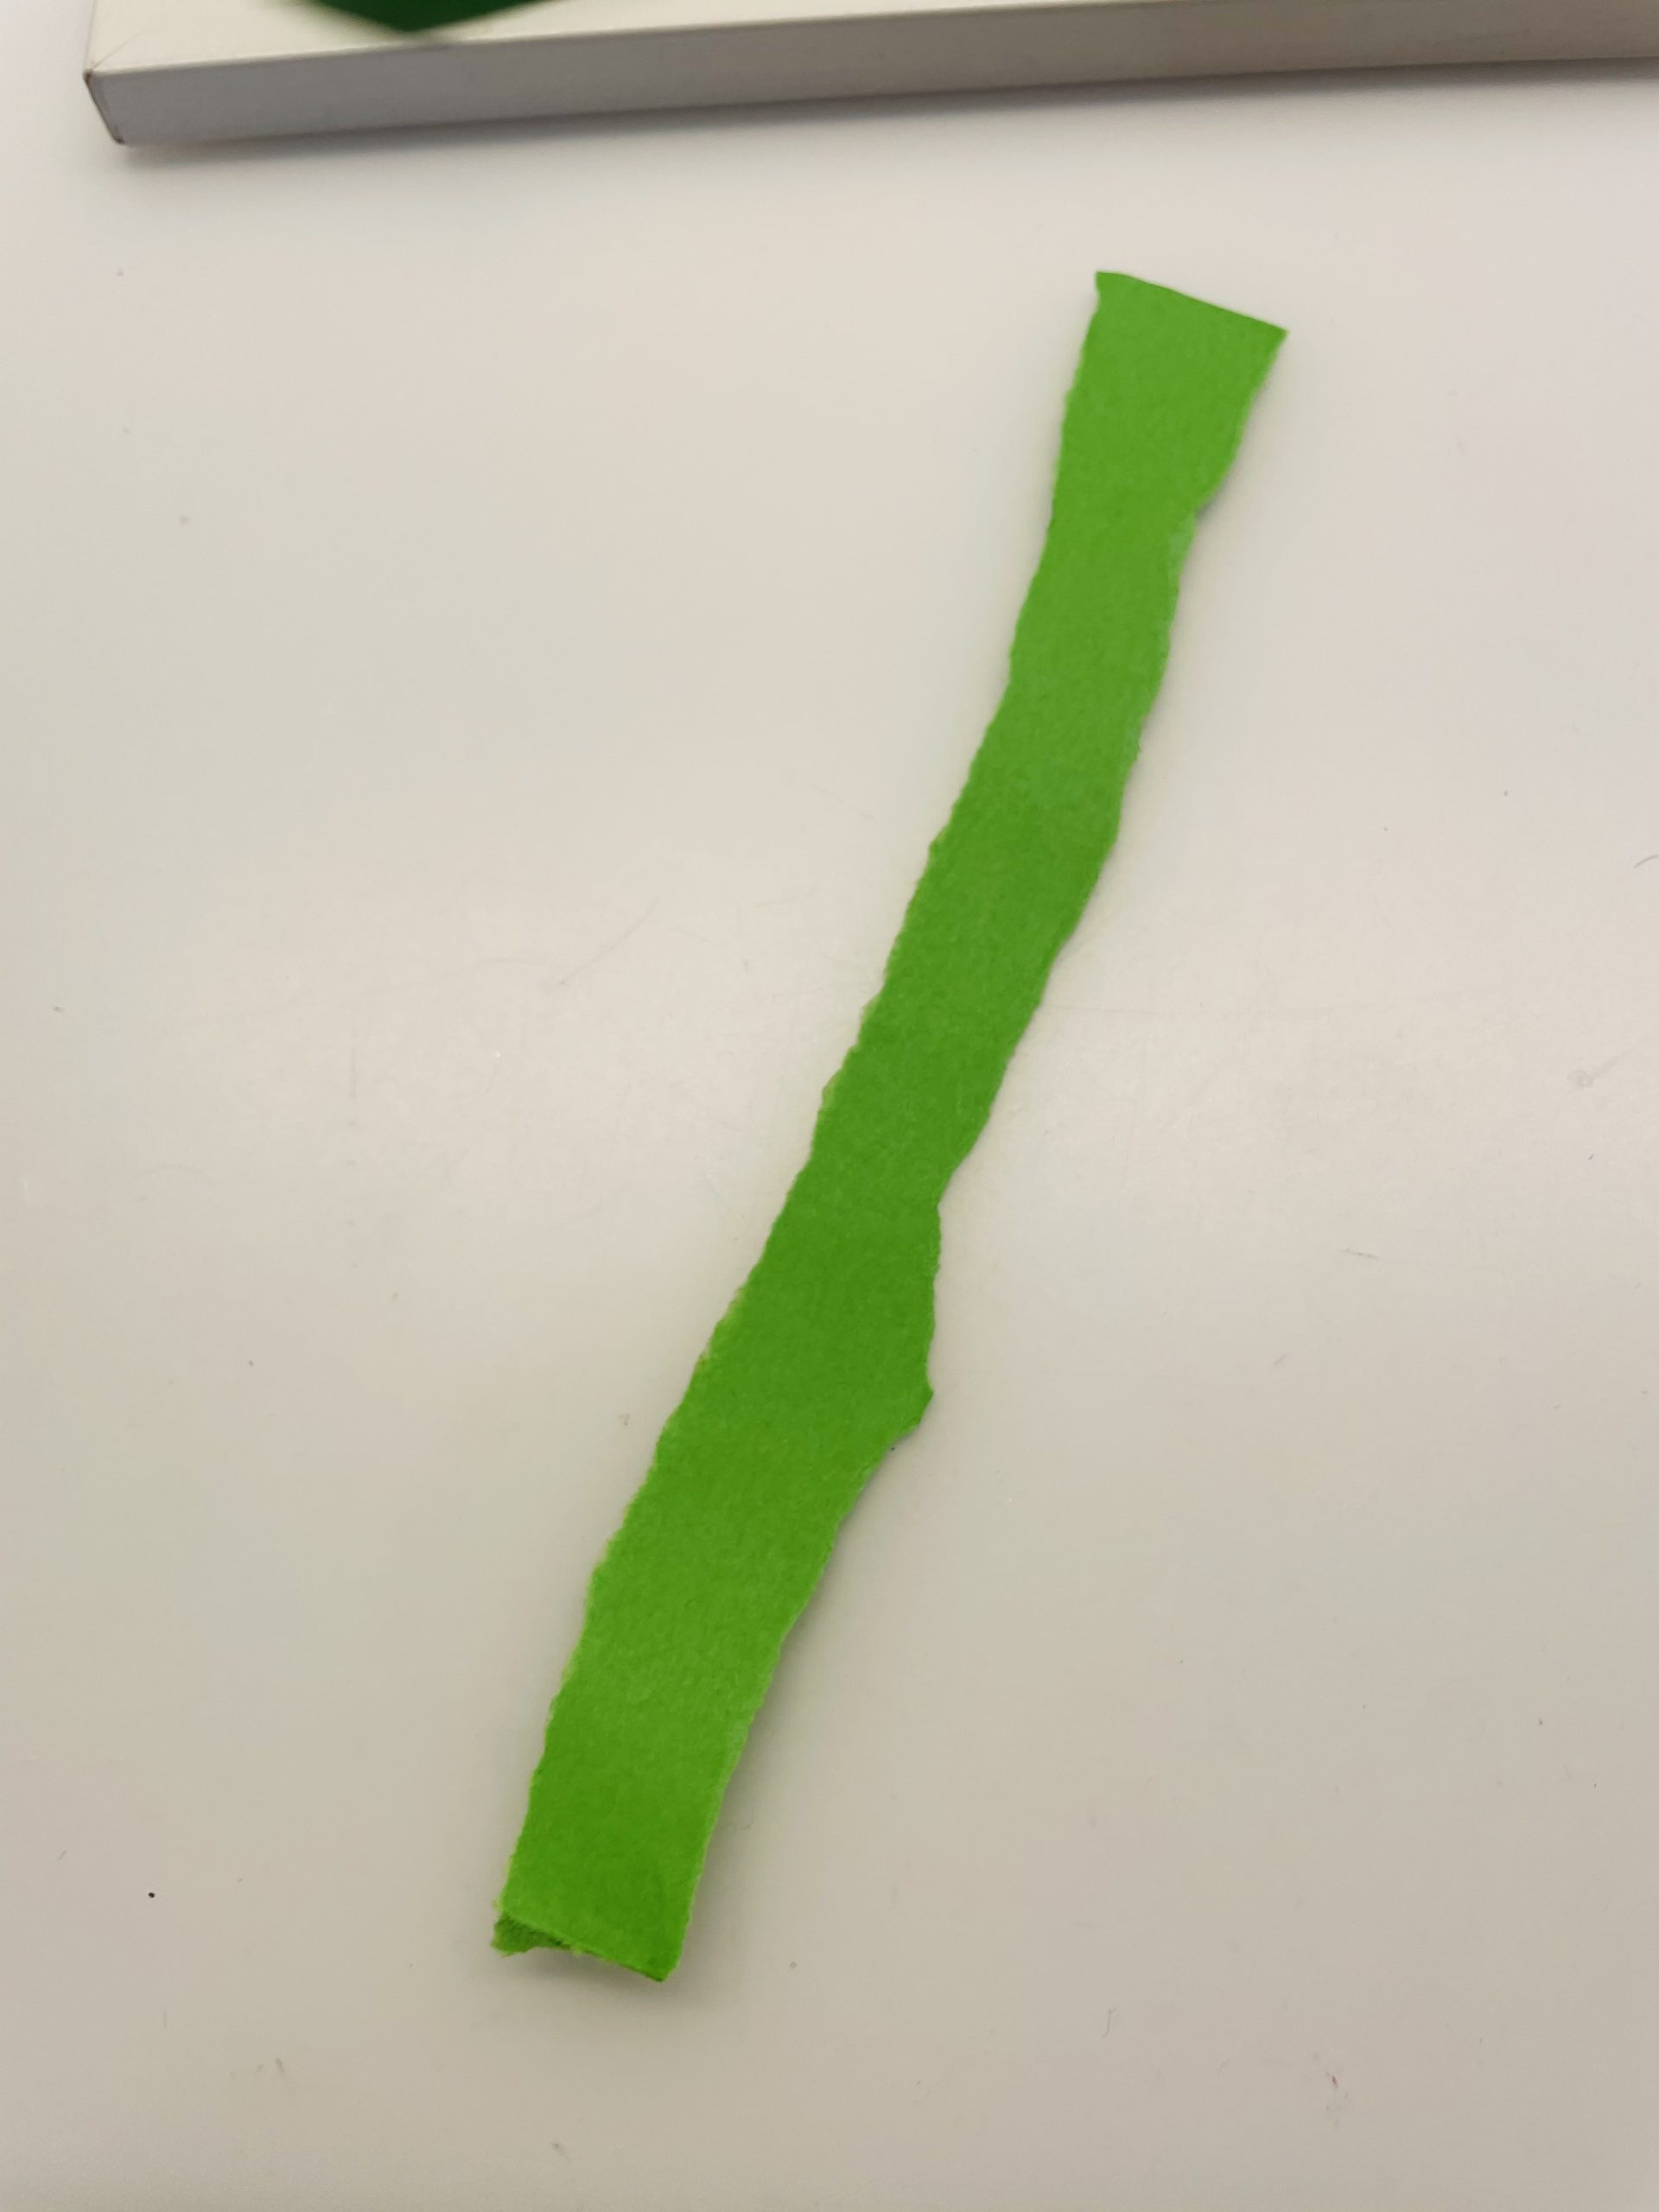
Tear off another strip of green paper (1cm wide).
This becomes the stalk of the flower.
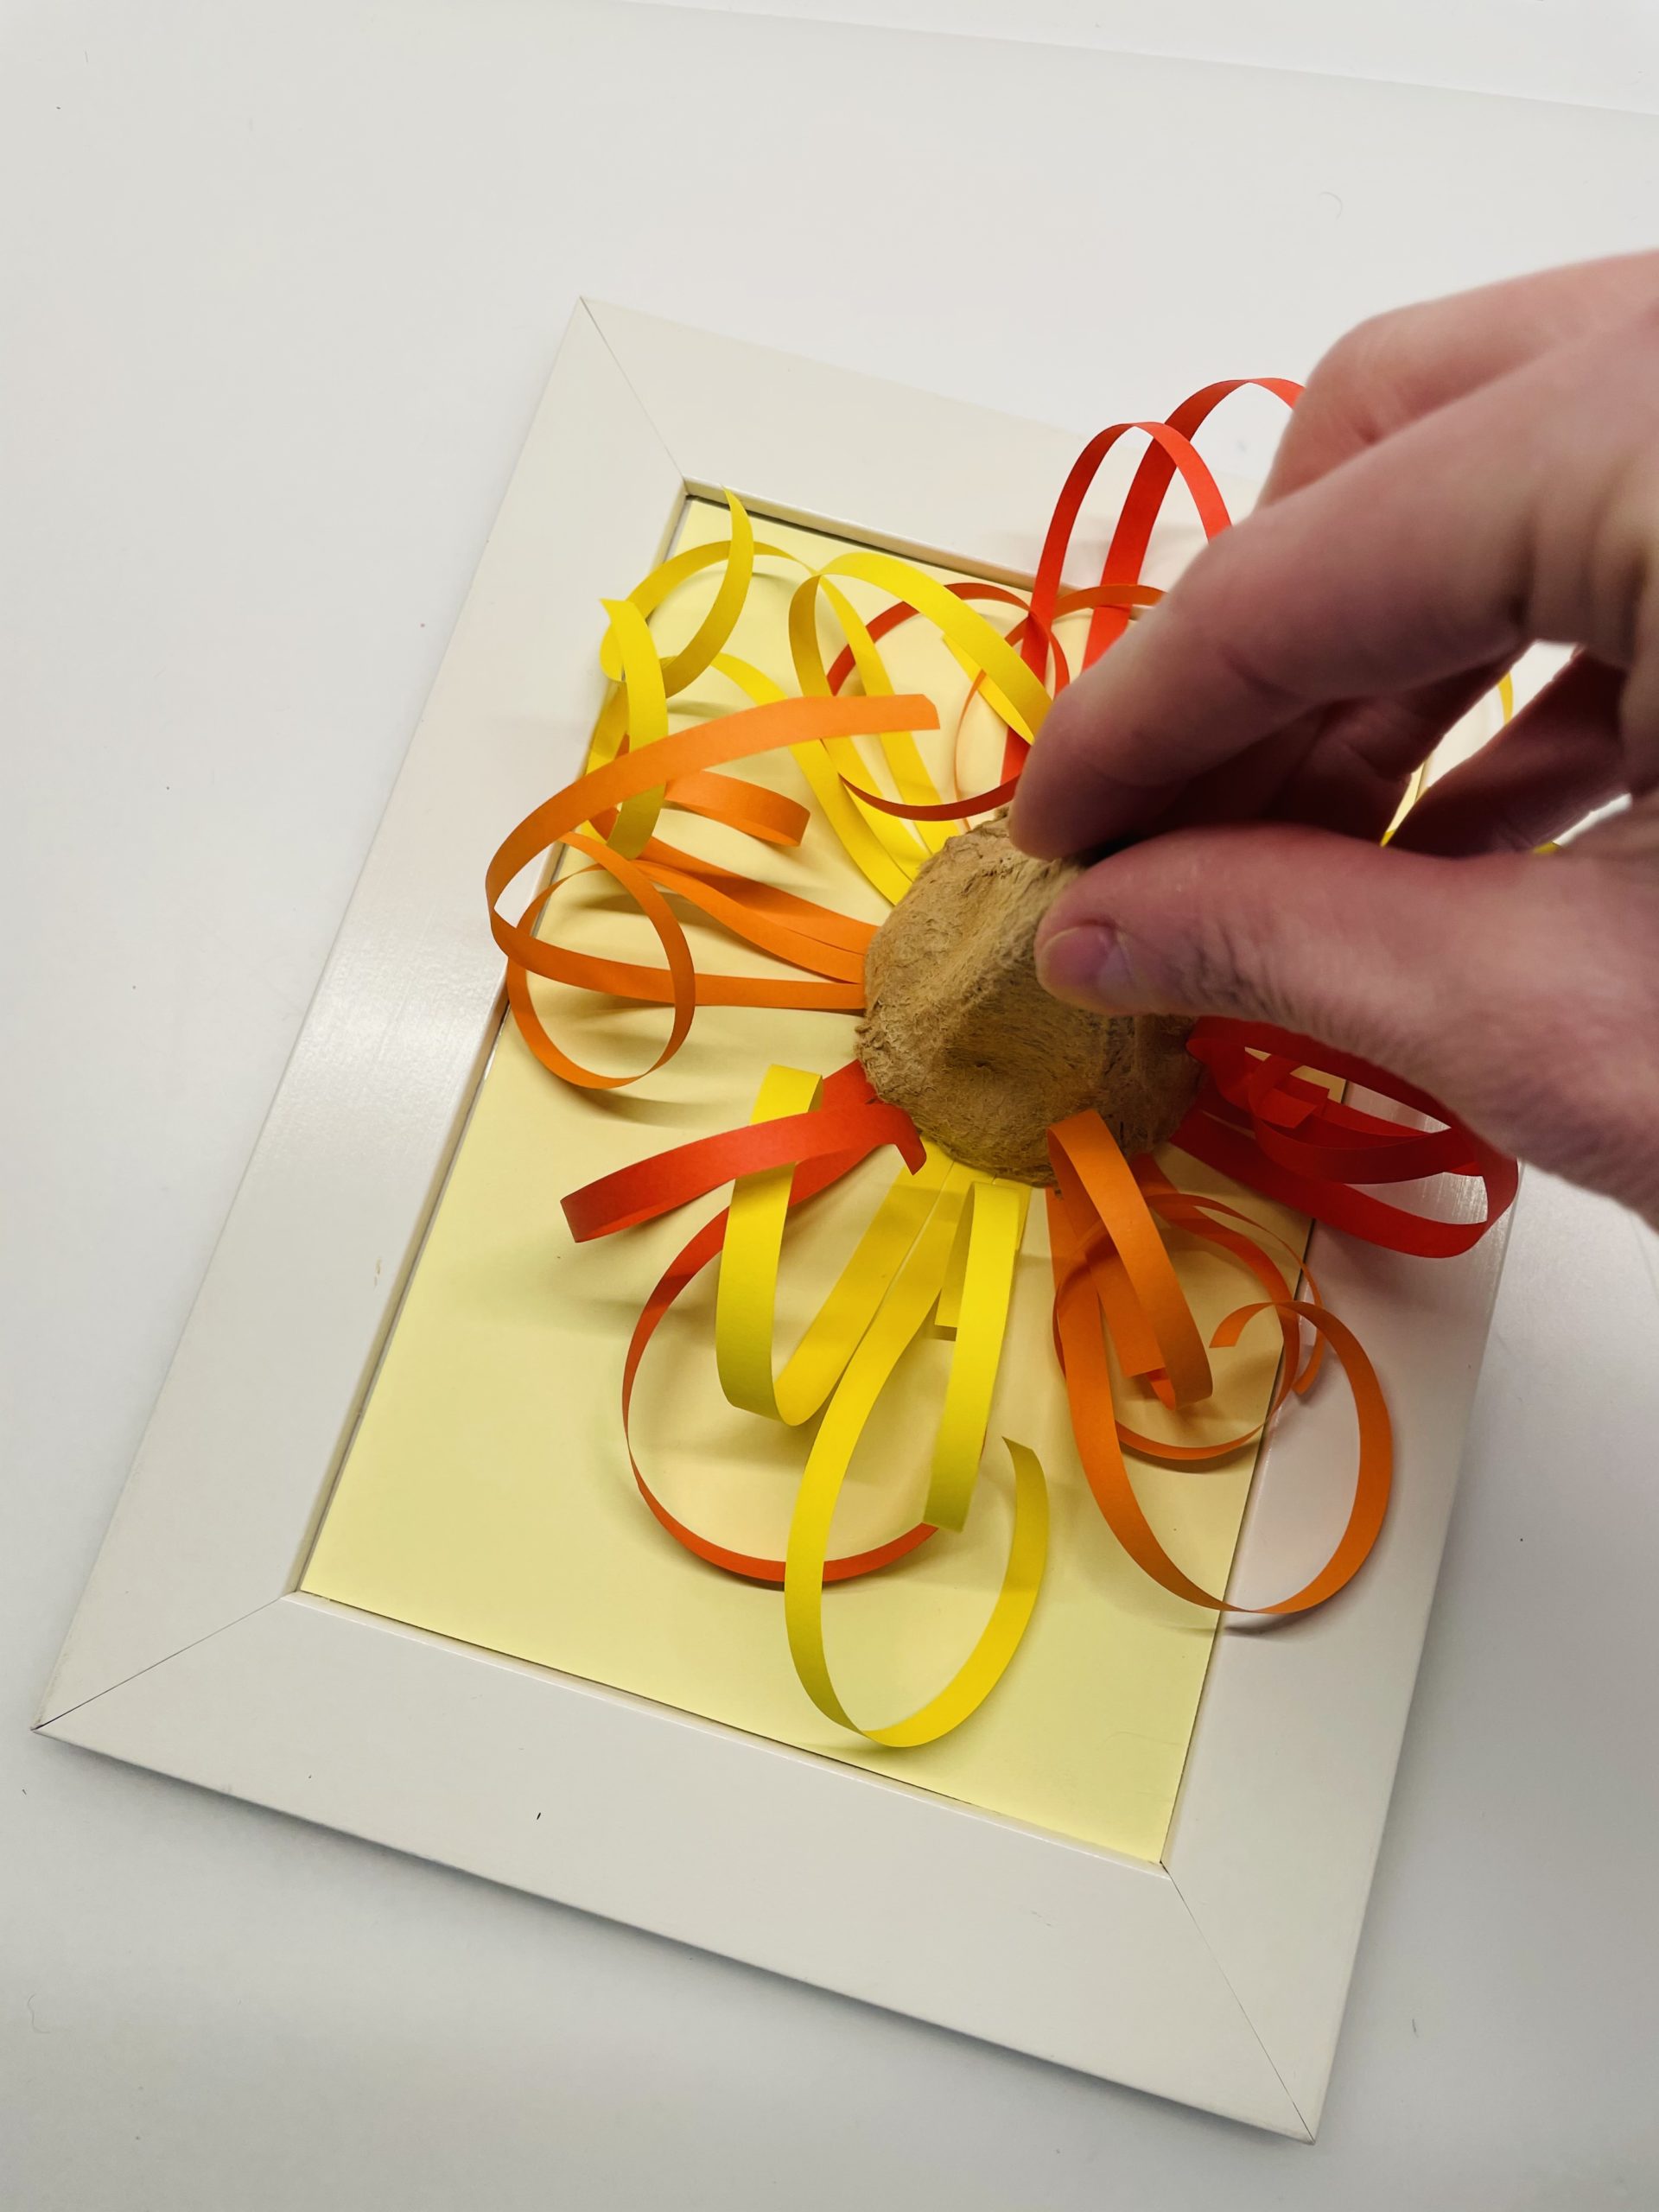
Place and stick the flower on the frame.
The flowers and leaves can also protrude beyond the edge.
Attention: The flower should not protrude beyond the lower edge, otherwise you can no longer put the frame.
Take an empty picture frame and possibly insert a matching insert.

Puts the flower upside down on the frame.
Make sure you don't crush the petals.
Now find a wooden bead.

You stick these on the tip of the egg box. Perhaps you have to cut off a small piece from the tip so that the ball holds better.

Then you fold a green paper in half.

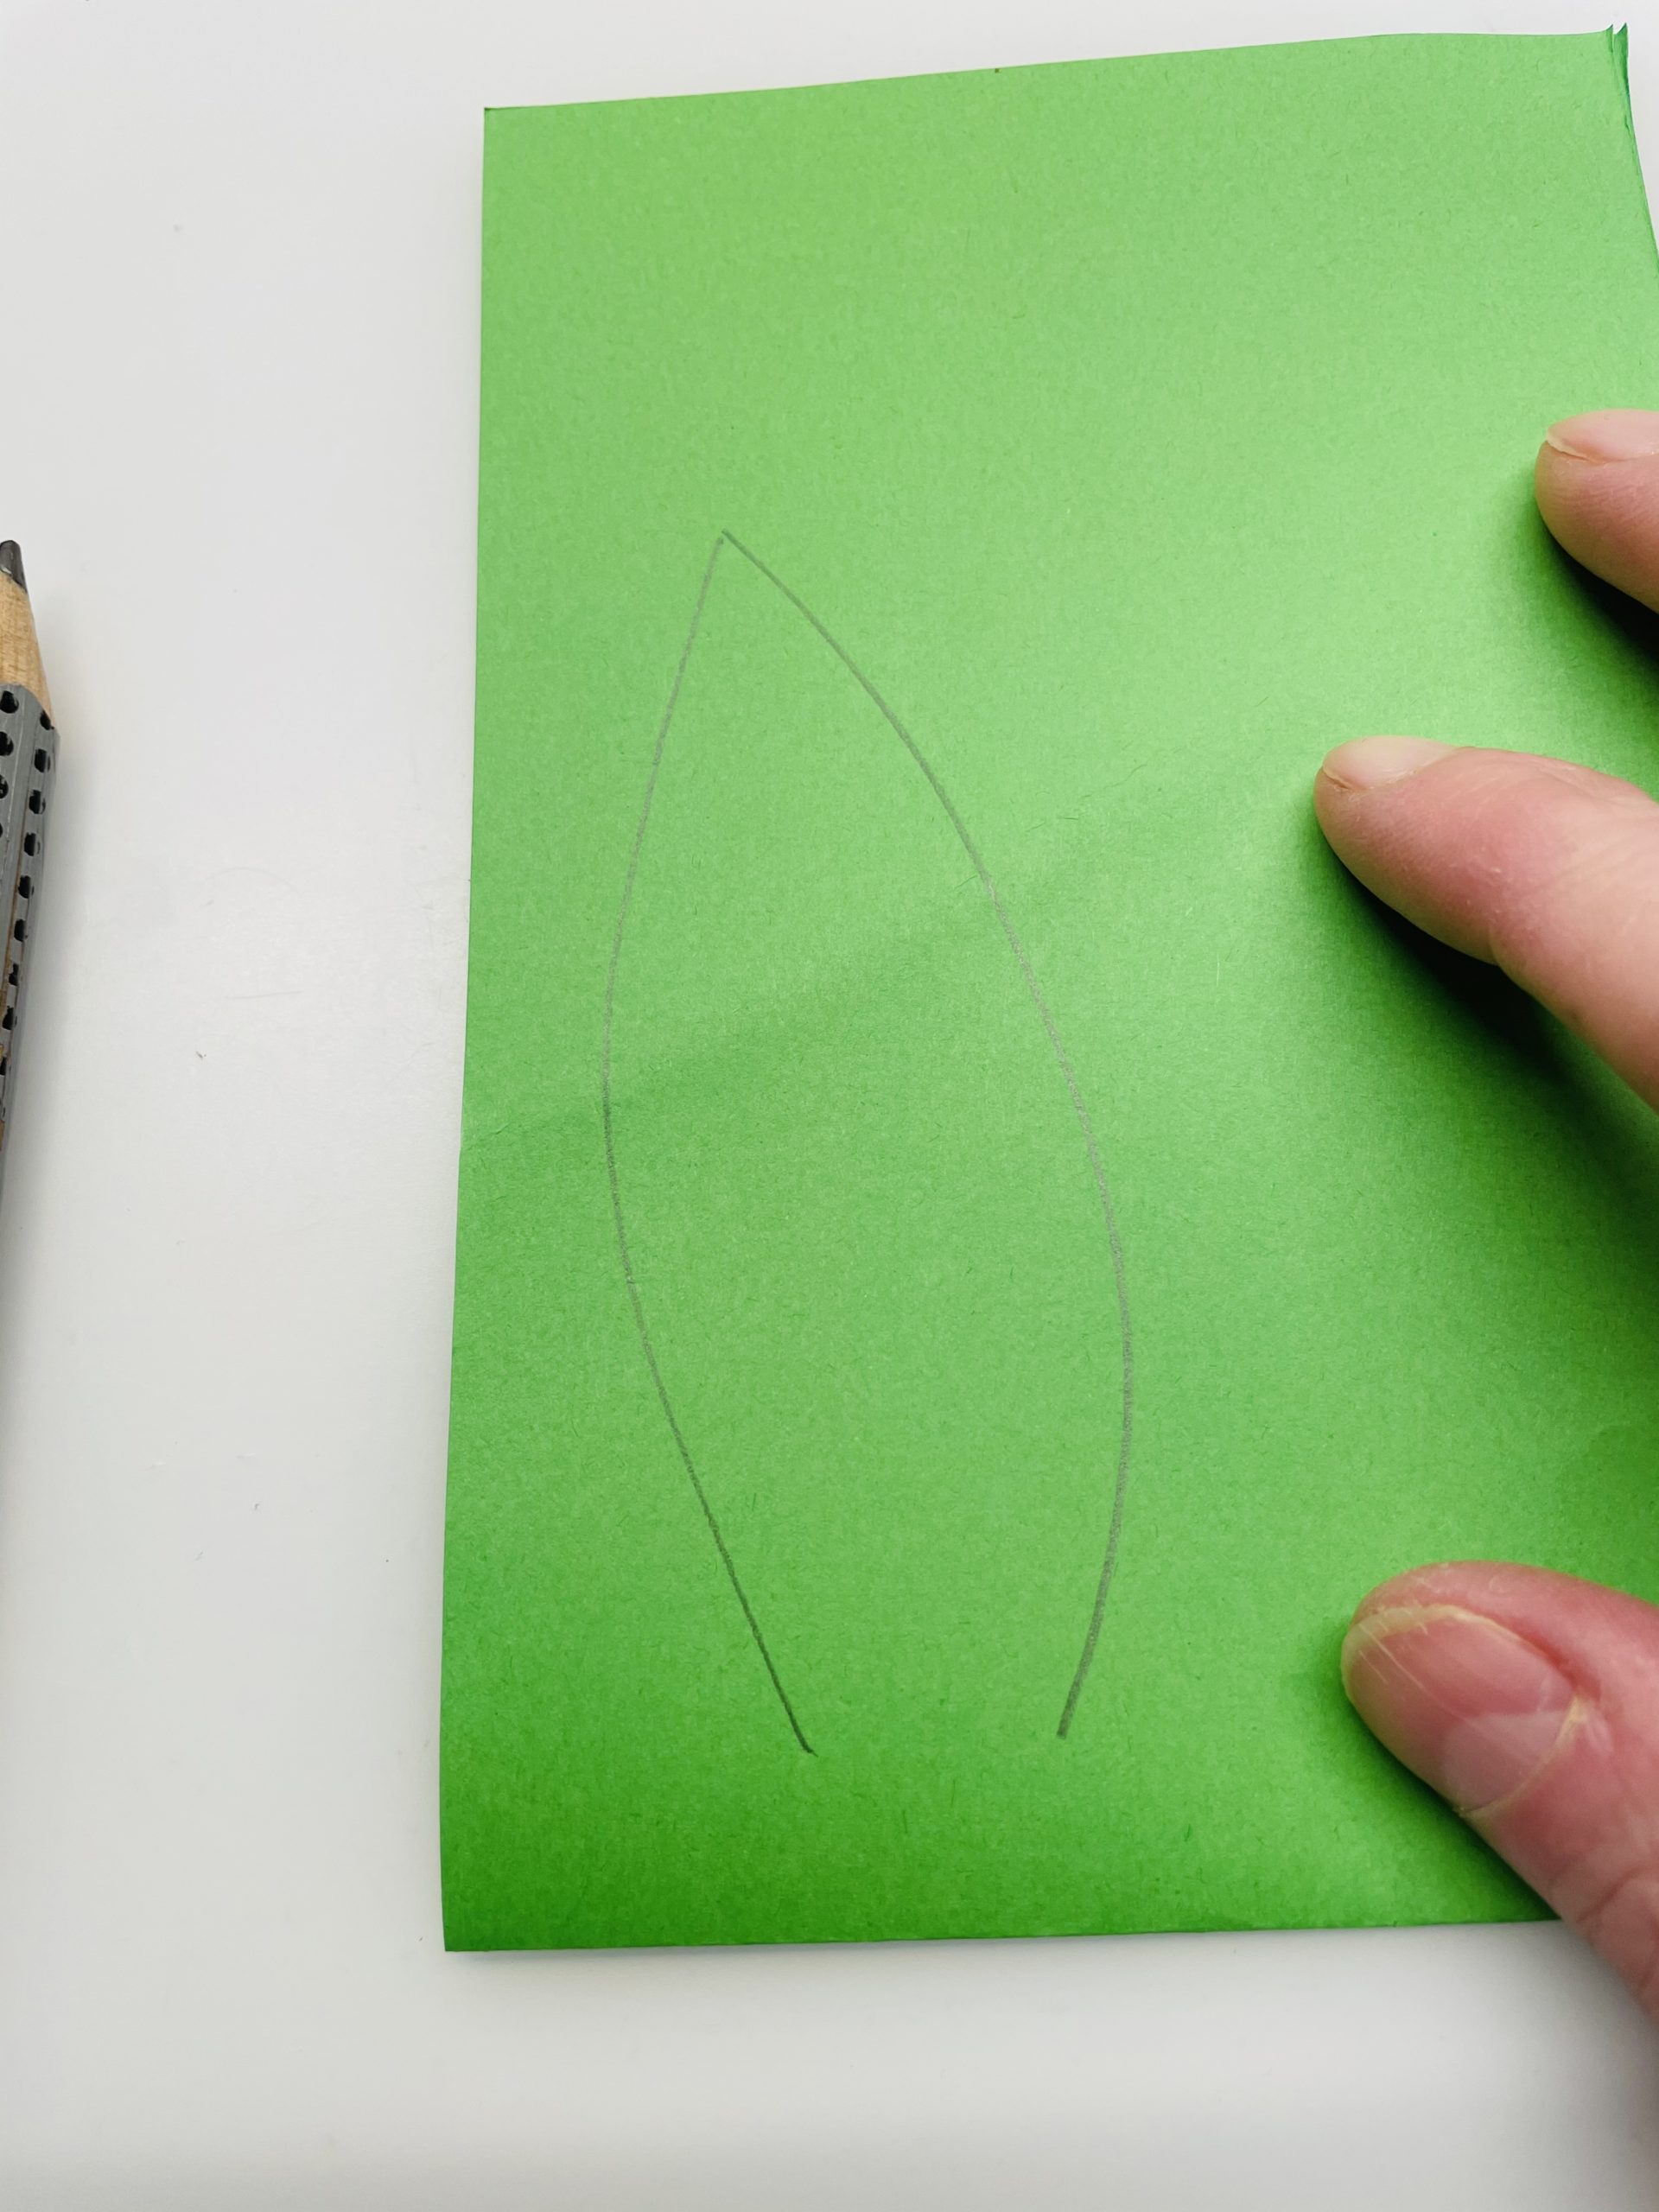
Paint up the shape of a leaf. The fracture of the fold is down, so that the leaves are connected after cutting out.
Then cut out the leaf.
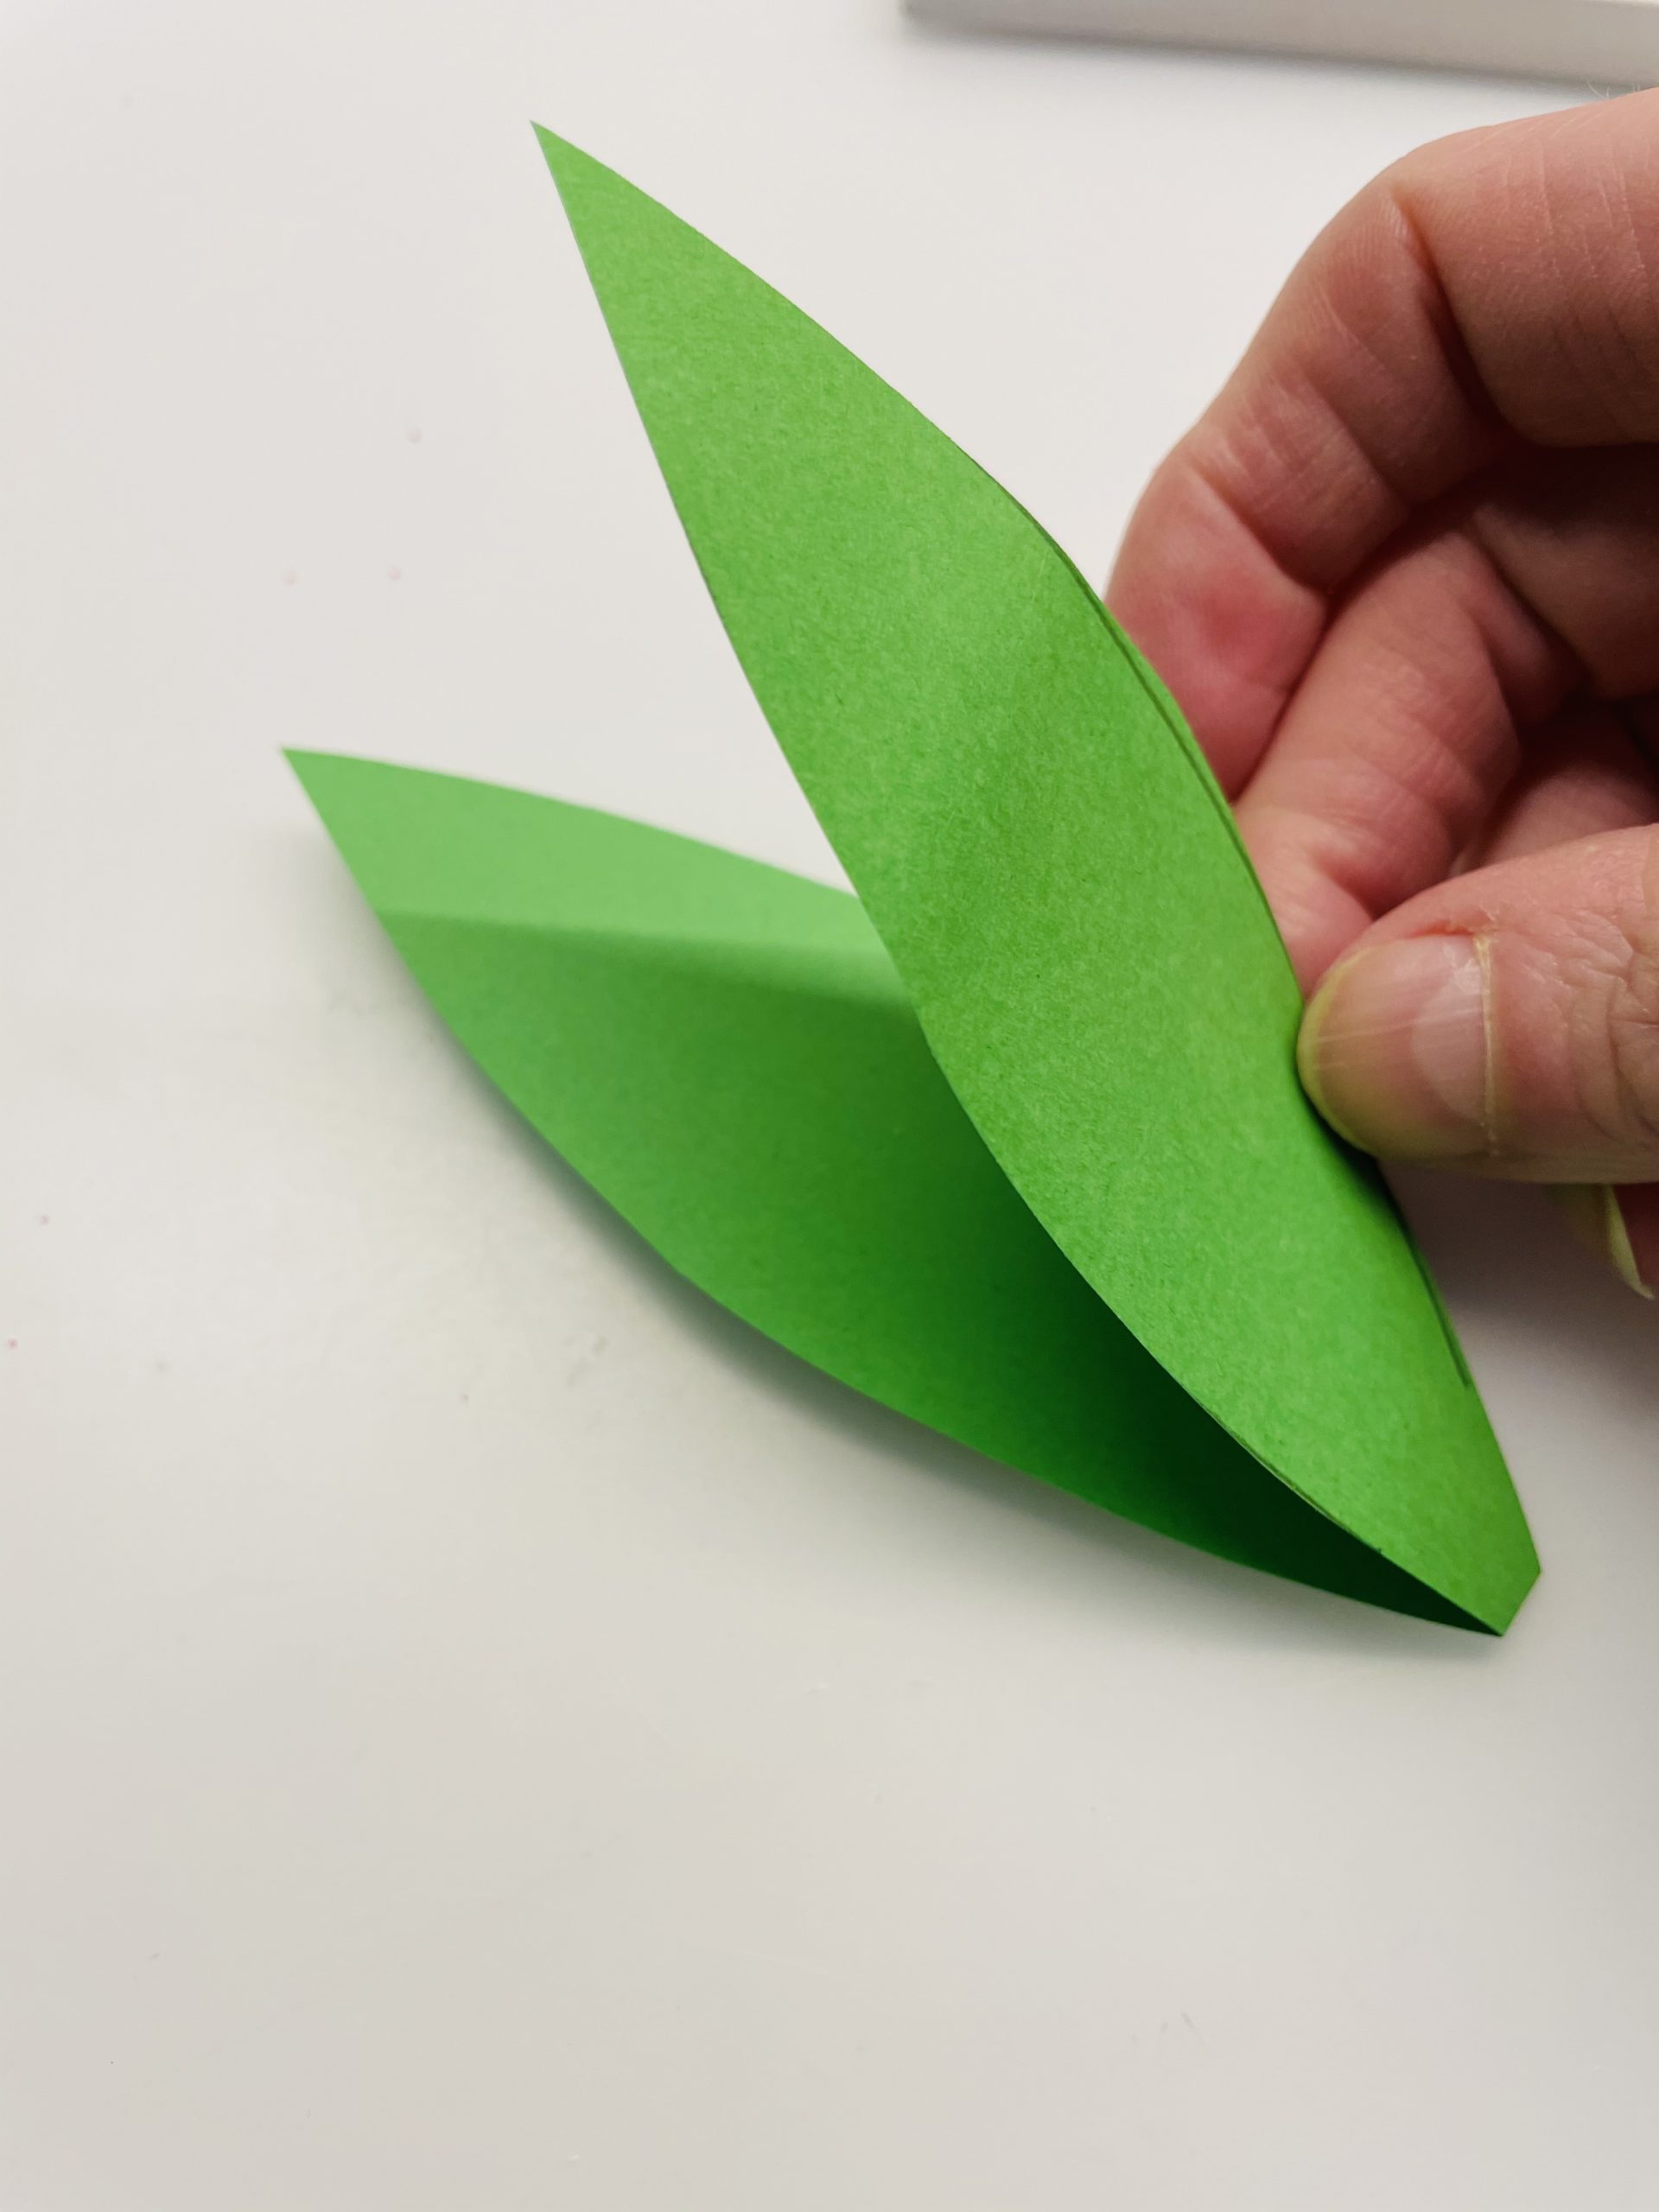
Then fold the leaves apart.

Now fold the leaves L-shaped to each other.
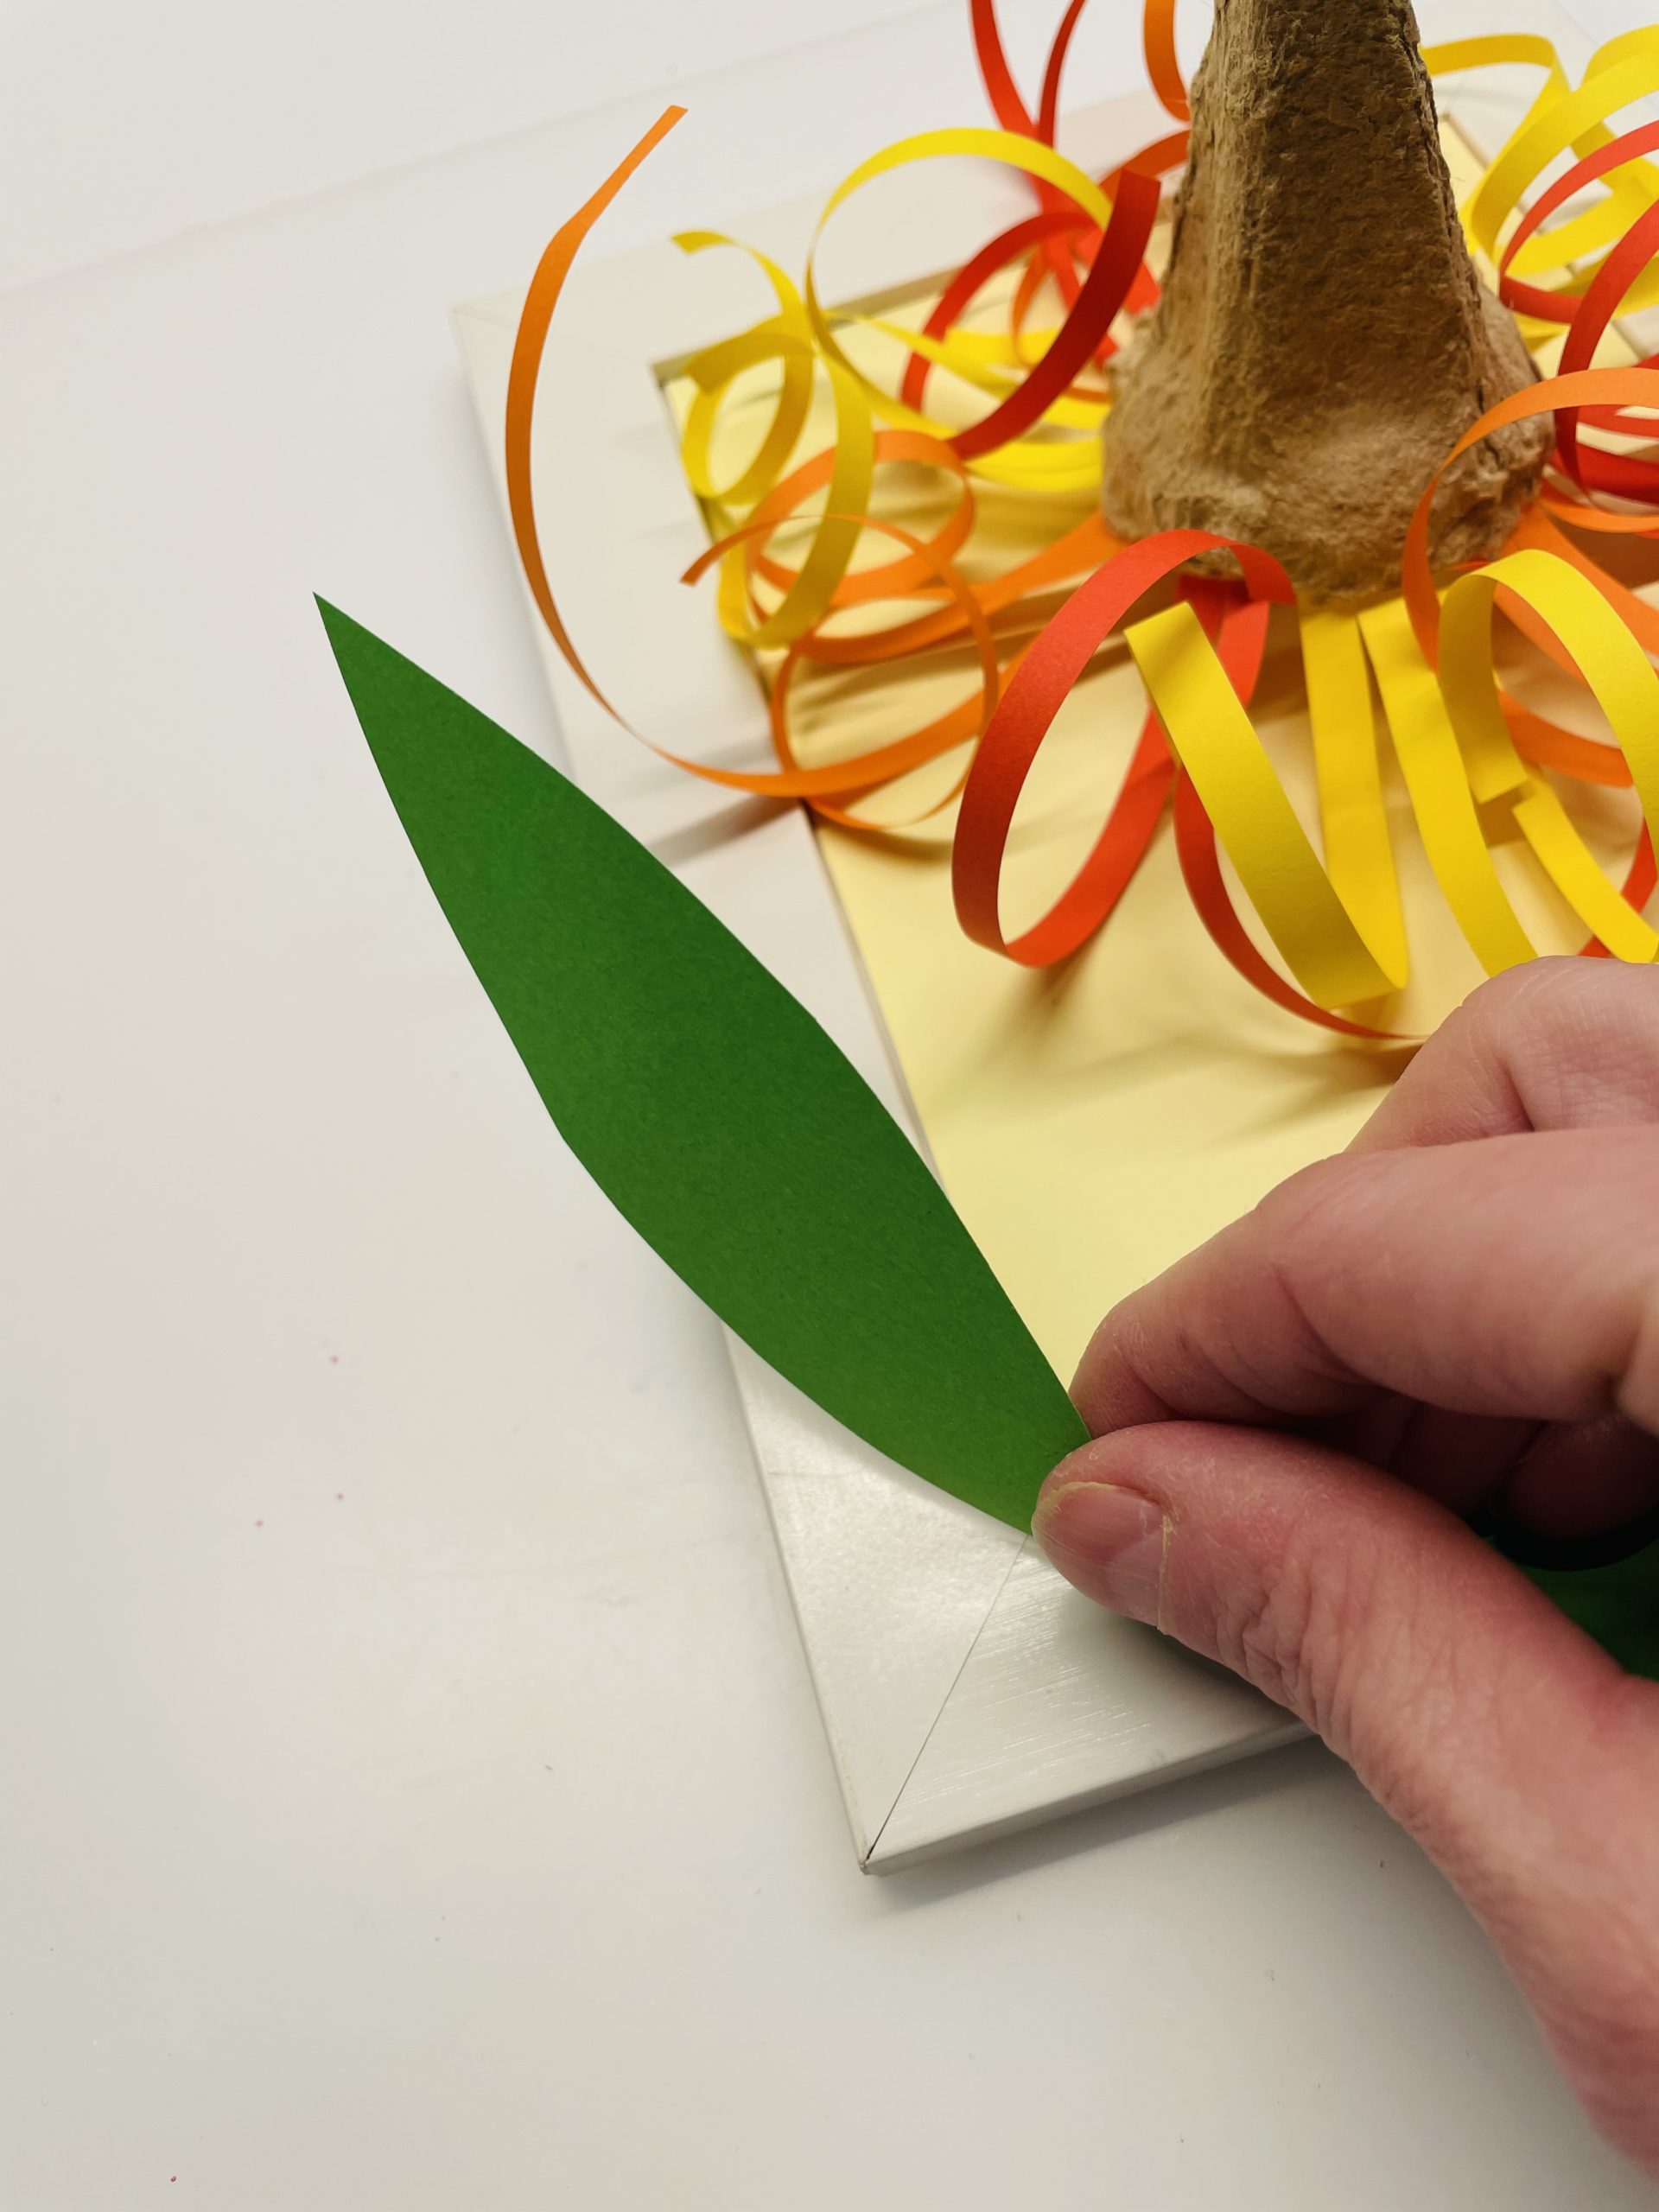
Positions the sheets in a corner of the picture frame.
Cuts off a narrow strip of green paper.
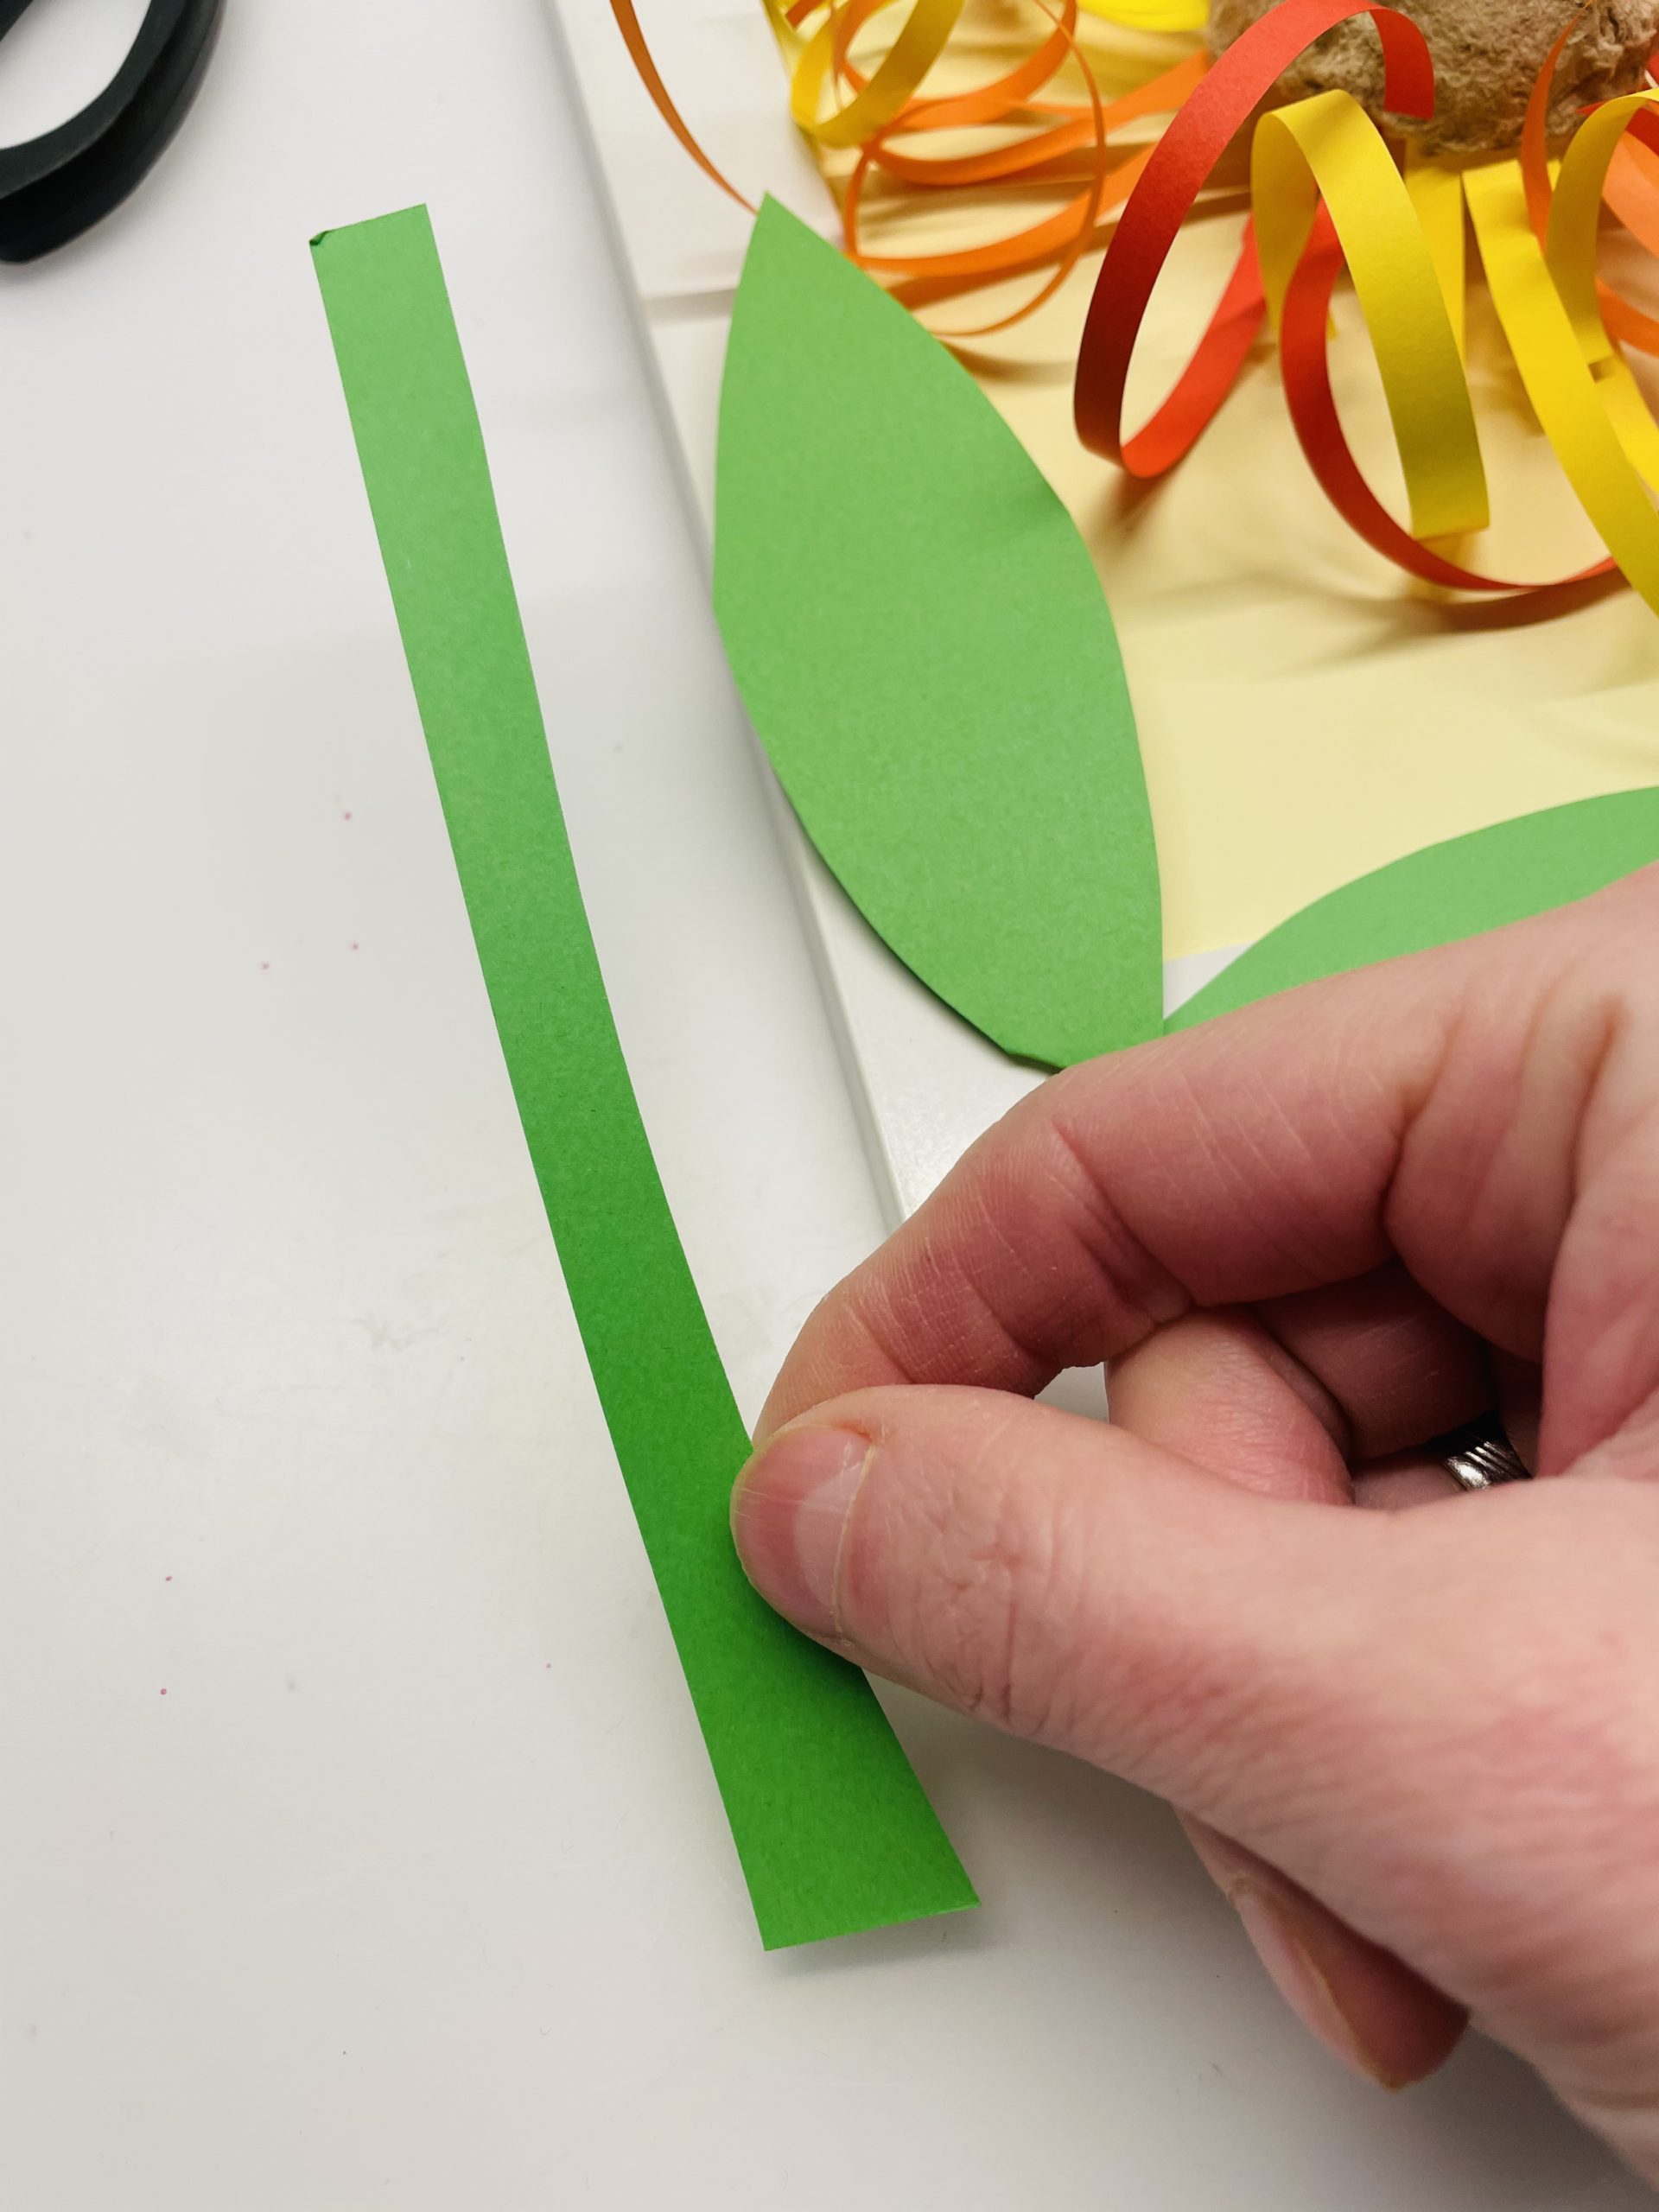
Then place it as a stalk to the leaves.
Now you bend your fingers over the edge of the egg box to the outside. This creates a straight surface.
Now you stick this on the picture frame in the upper area.
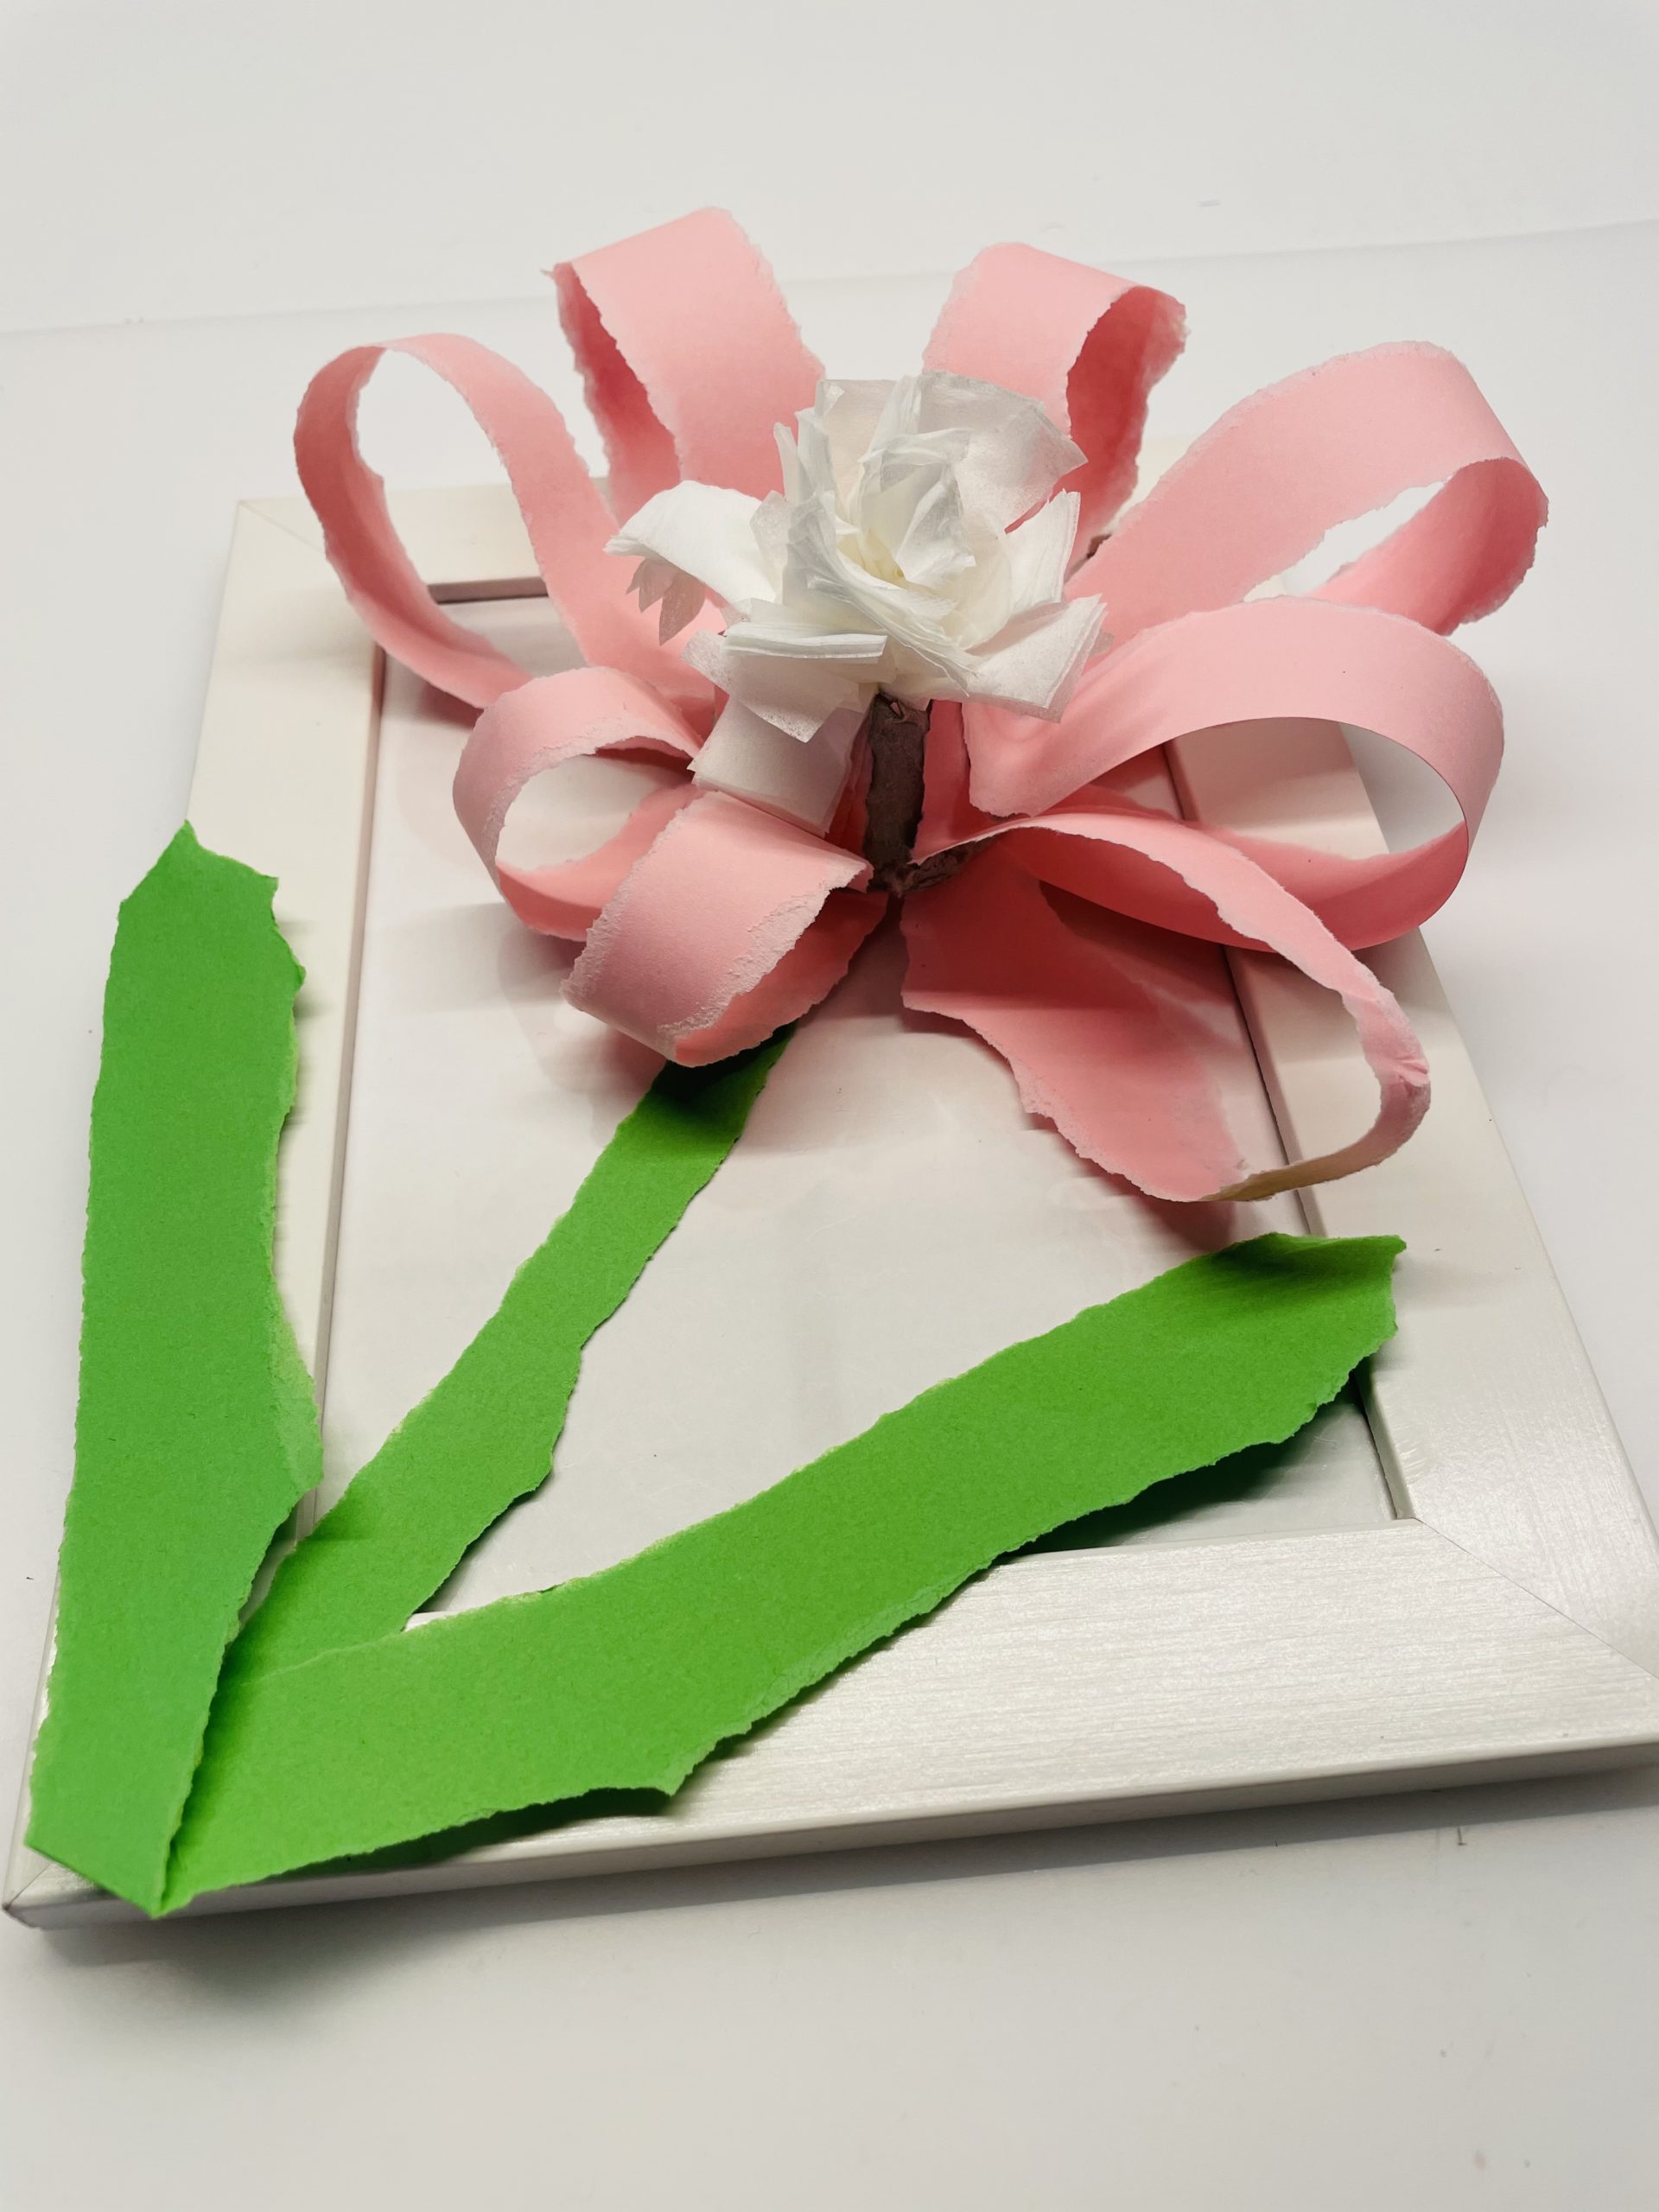
Your flower is ready.
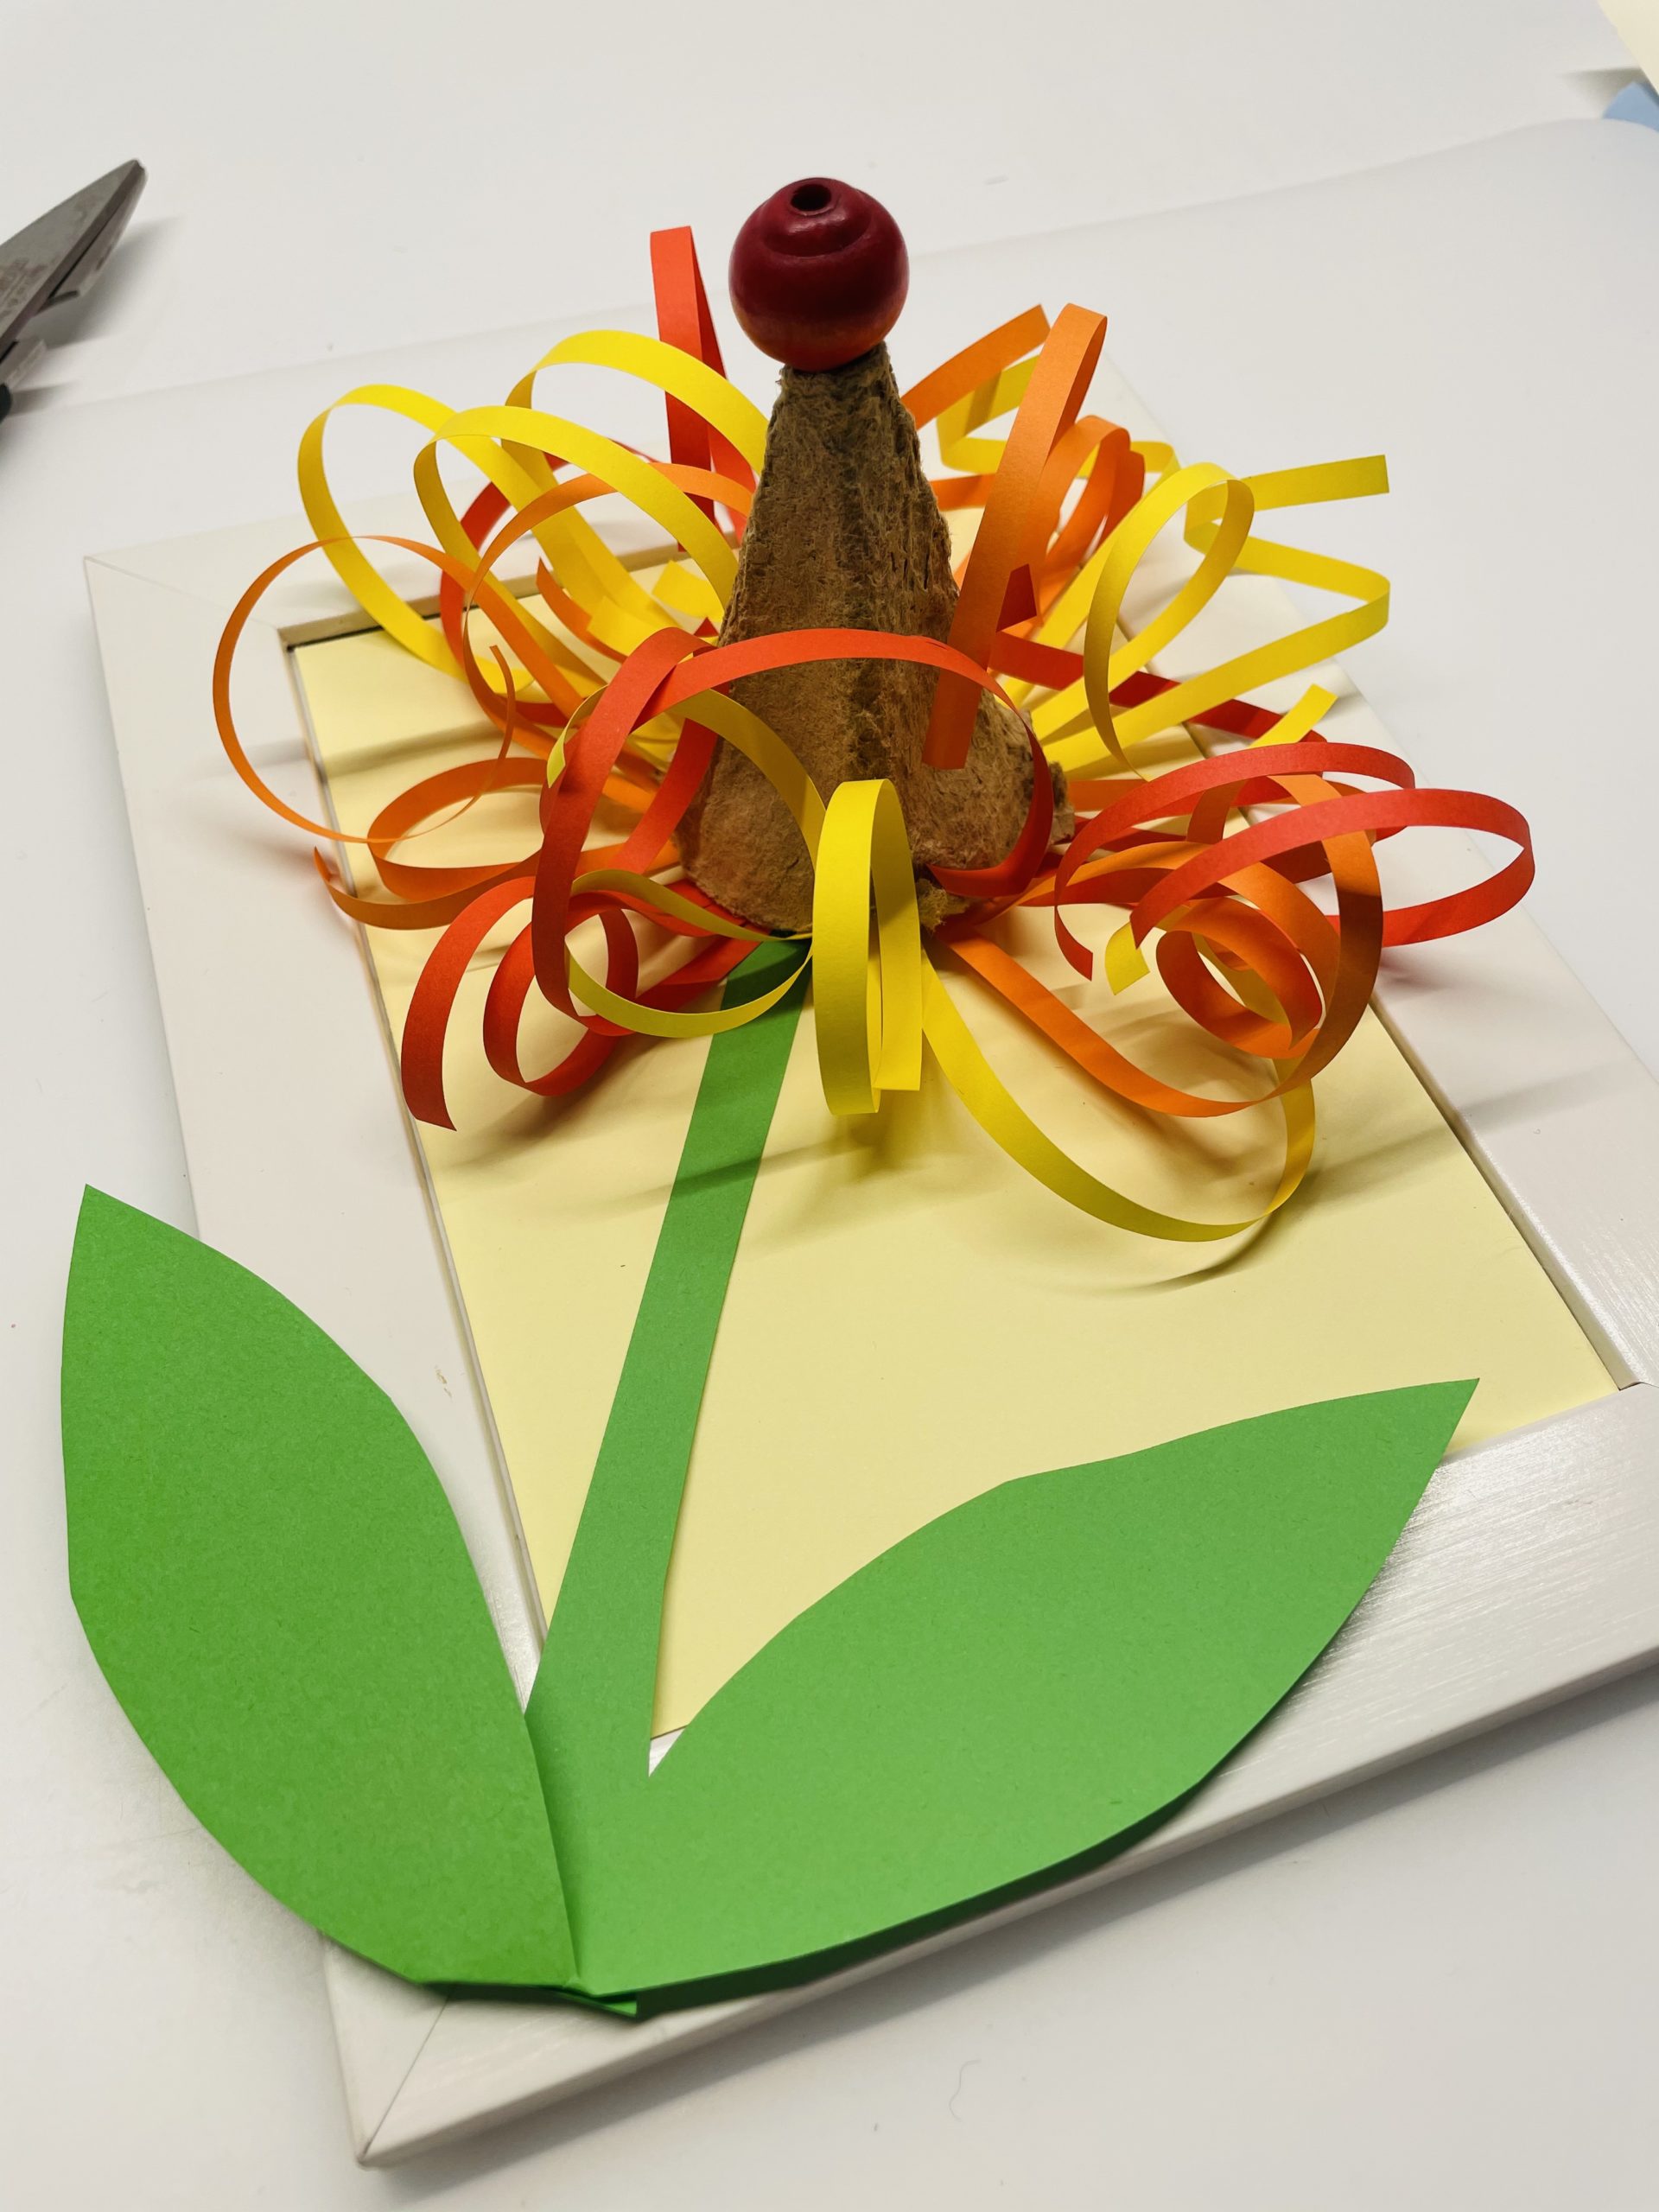
Maybe you paint leaf veins on the green leaves with a felt pen.
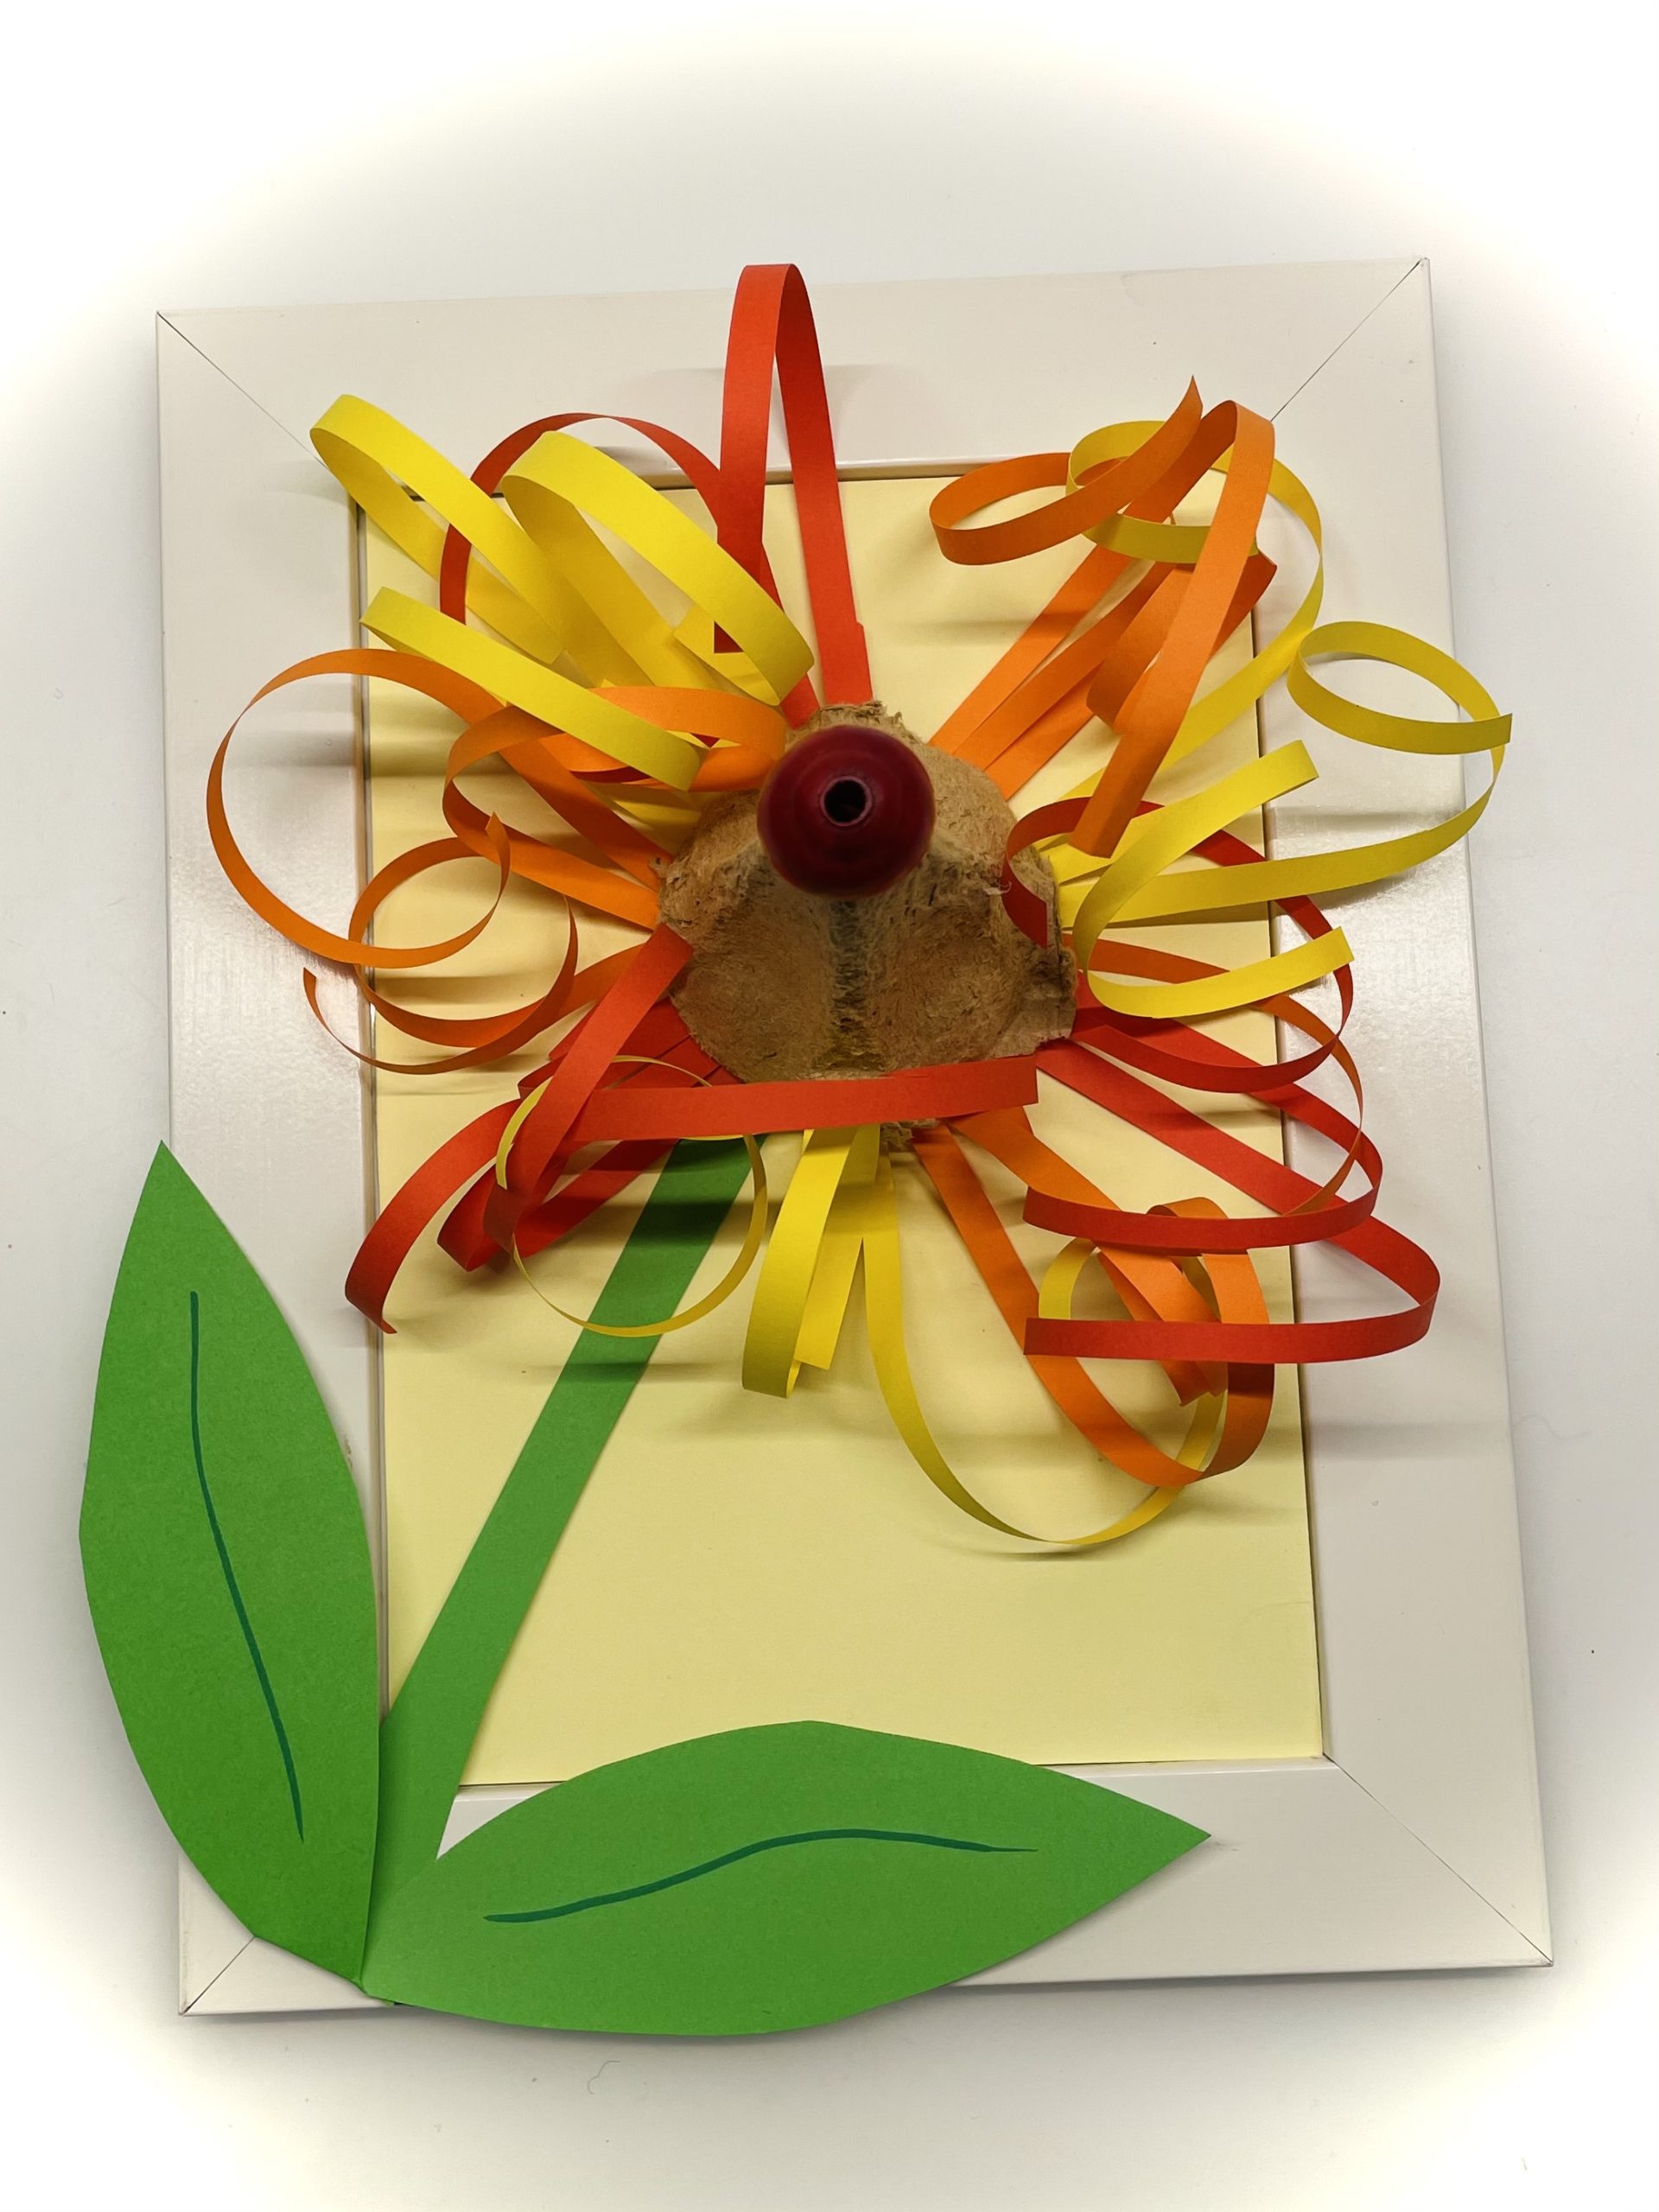
Your flower greeting is ready.
Have fun doing crafts!
Materials
Directions
However, do not put the paper handkerchief in the flower cup.
Now bend the individual strips of flowers with your fingers, so that they stand off from the egg box sideways.
Then cut off the tip of the egg box.
Then place the flower on the curved petals.
That's what the flower looks like now.
Now you put the crafted handkerchief flower in the cut lace.
The flower is ready.
Now fold the green paper in the middle. It should be about 10cm long.
Then you tear off a strip of paper about 2cm wide.
Attention: The fracture of the fold is down, so that the leaves are related after cutting out.
So you'll get two leaves that are connected below.
Fold these leaves and fold them L-shaped.
That's how the leaves come into being.
Now stick these in the corner of your picture frame.
Like in the picture.
Tear off another strip of green paper (1cm wide).
This becomes the stalk of the flower.
Place and stick the flower on the frame.
The flowers and leaves can also protrude beyond the edge.
Attention: The flower should not protrude beyond the lower edge, otherwise you can no longer put the frame.
Take an empty picture frame and possibly insert a matching insert.
Puts the flower upside down on the frame.
Make sure you don't crush the petals.
Now find a wooden bead.
You stick these on the tip of the egg box. Perhaps you have to cut off a small piece from the tip so that the ball holds better.
Then you fold a green paper in half.
Paint up the shape of a leaf. The fracture of the fold is down, so that the leaves are connected after cutting out.
Then cut out the leaf.
Then fold the leaves apart.
Now fold the leaves L-shaped to each other.
Positions the sheets in a corner of the picture frame.
Cuts off a narrow strip of green paper.
Then place it as a stalk to the leaves.
Now you bend your fingers over the edge of the egg box to the outside. This creates a straight surface.
Now you stick this on the picture frame in the upper area.
Your flower is ready.
Maybe you paint leaf veins on the green leaves with a felt pen.
Your flower greeting is ready.
Have fun doing crafts!
Follow us on Facebook , Instagram and Pinterest
Don't miss any more adventures: Our bottle mail