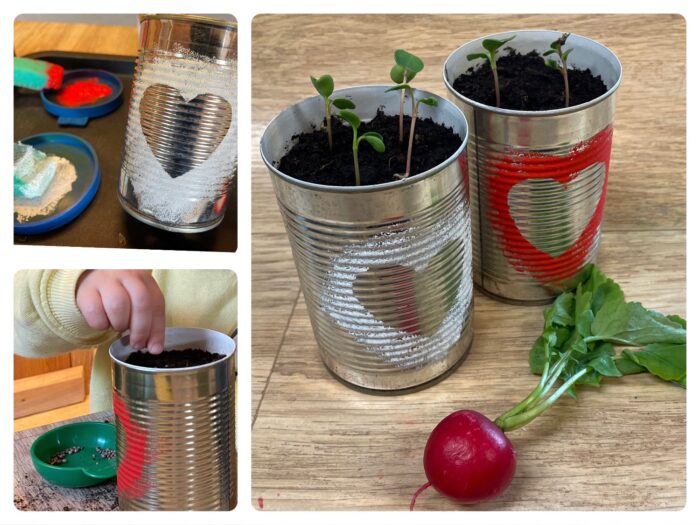
This can is a great upcycle project. Use it as a planter for e.g. radishes and beautify it before with a dabbed heart. So you get a nice mother's day (or family) gift at the same time. As this goes, you see here as a step by step guide.
Have fun trying out.
Media Education for Kindergarten and Hort

Relief in everyday life, targeted promotion of individual children, independent learning and - without any pre-knowledge already usable by the youngest!
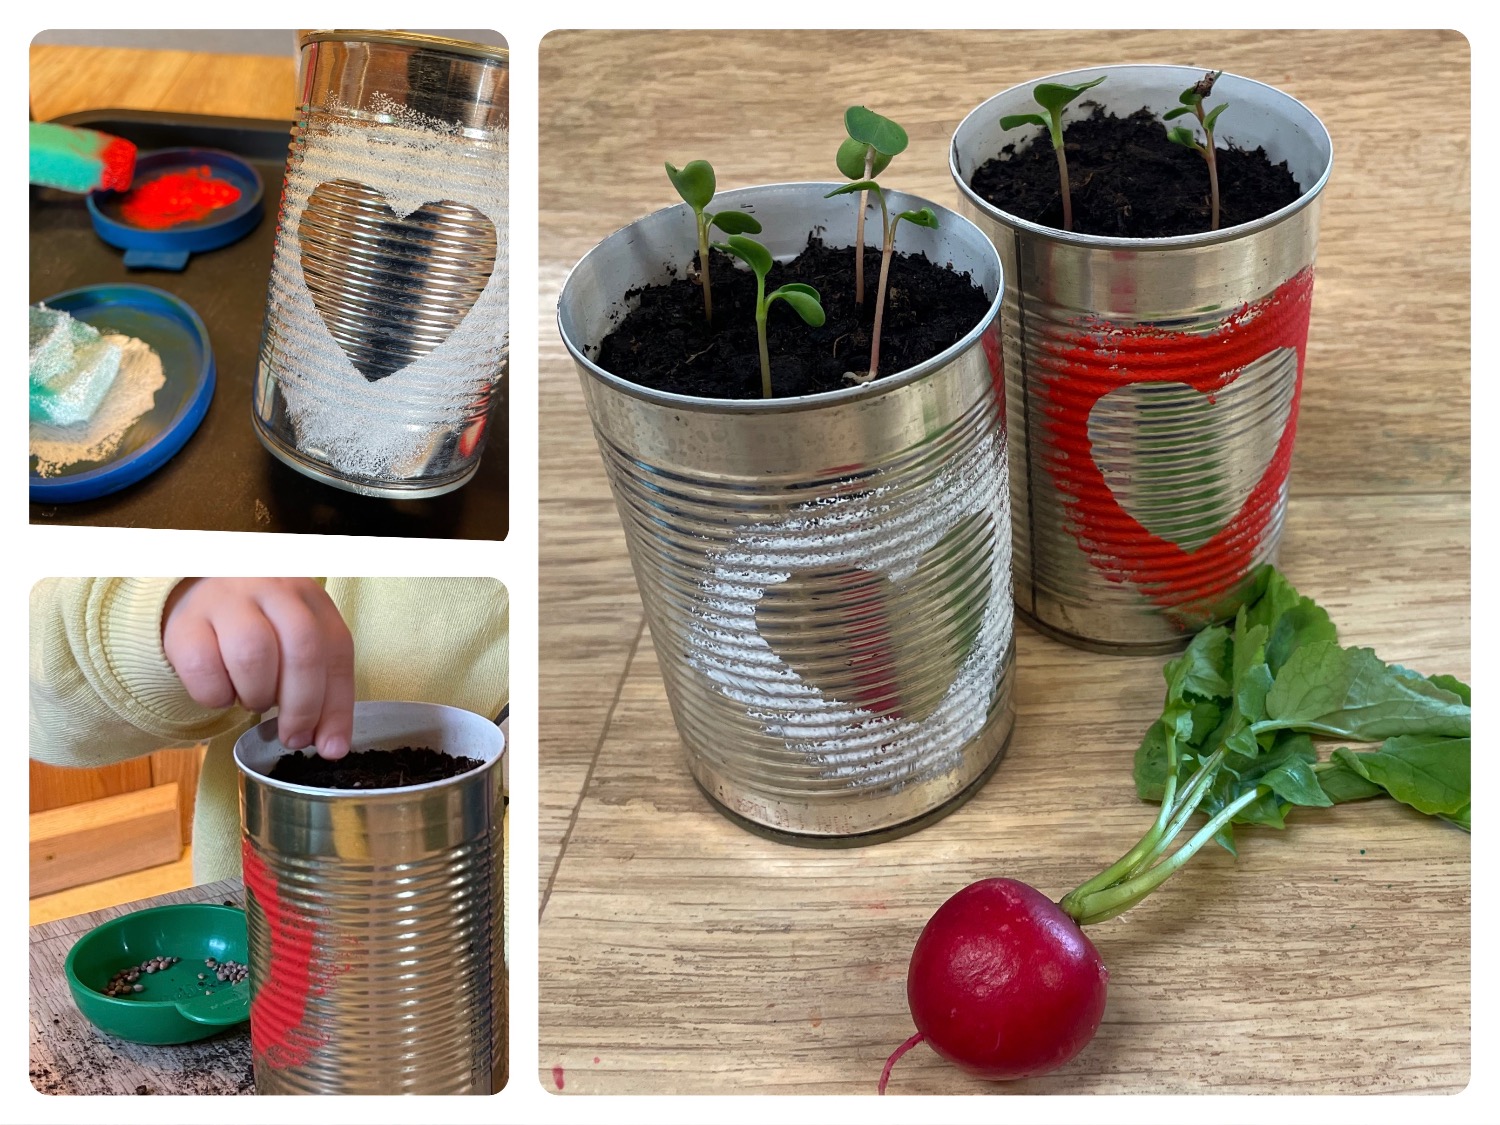
First you need an empty and clean tin can with rounded edge (possibly with a can opener recut). Removes also the label.

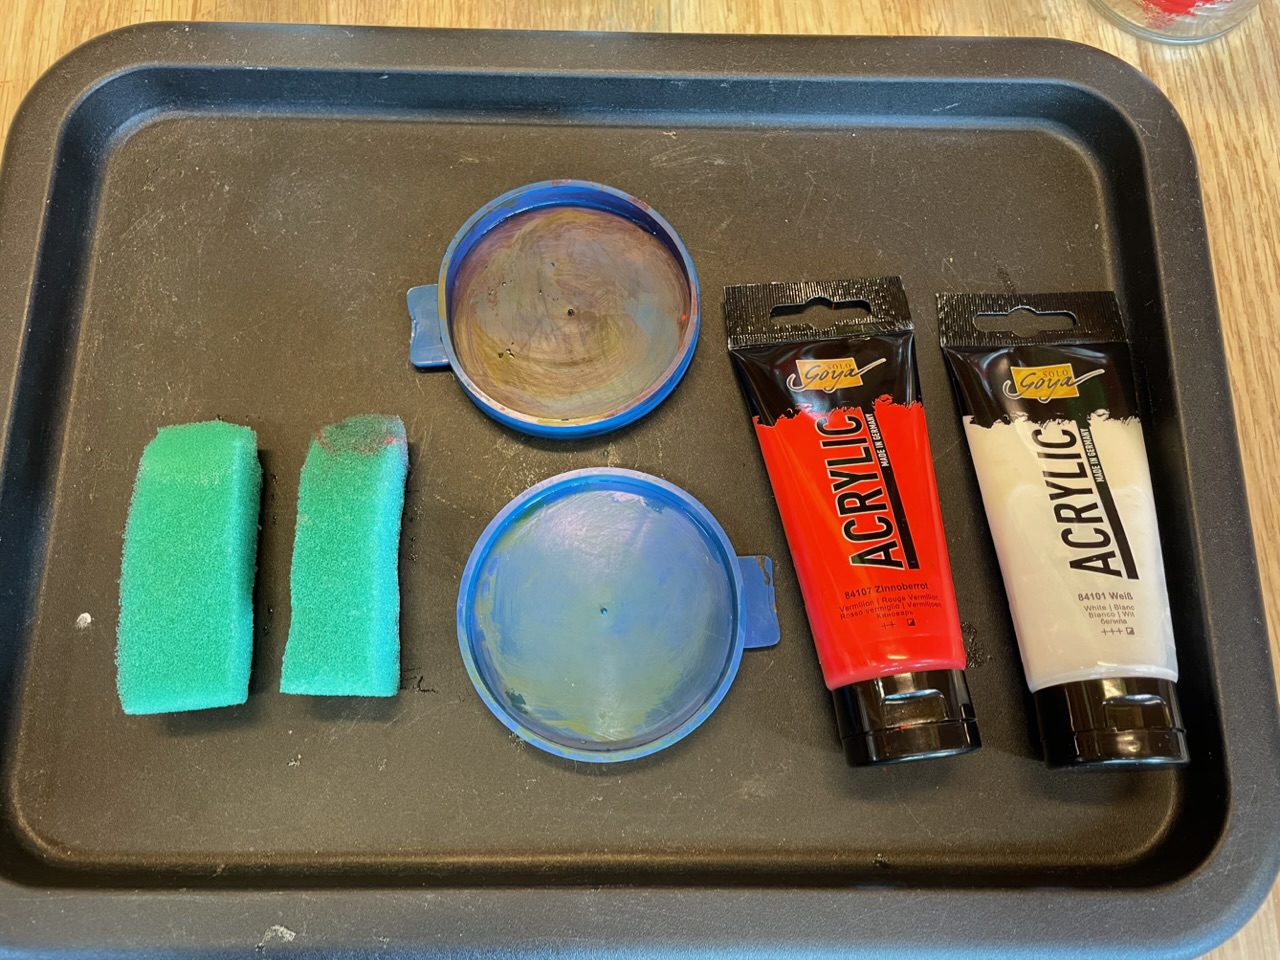
First prepare sponges (here you can use old sponges or halve a sponge to have your own sponge for each color!) Furthermore, you will need a flat lid or saucer for the color and one (or two different) acrylic paints.


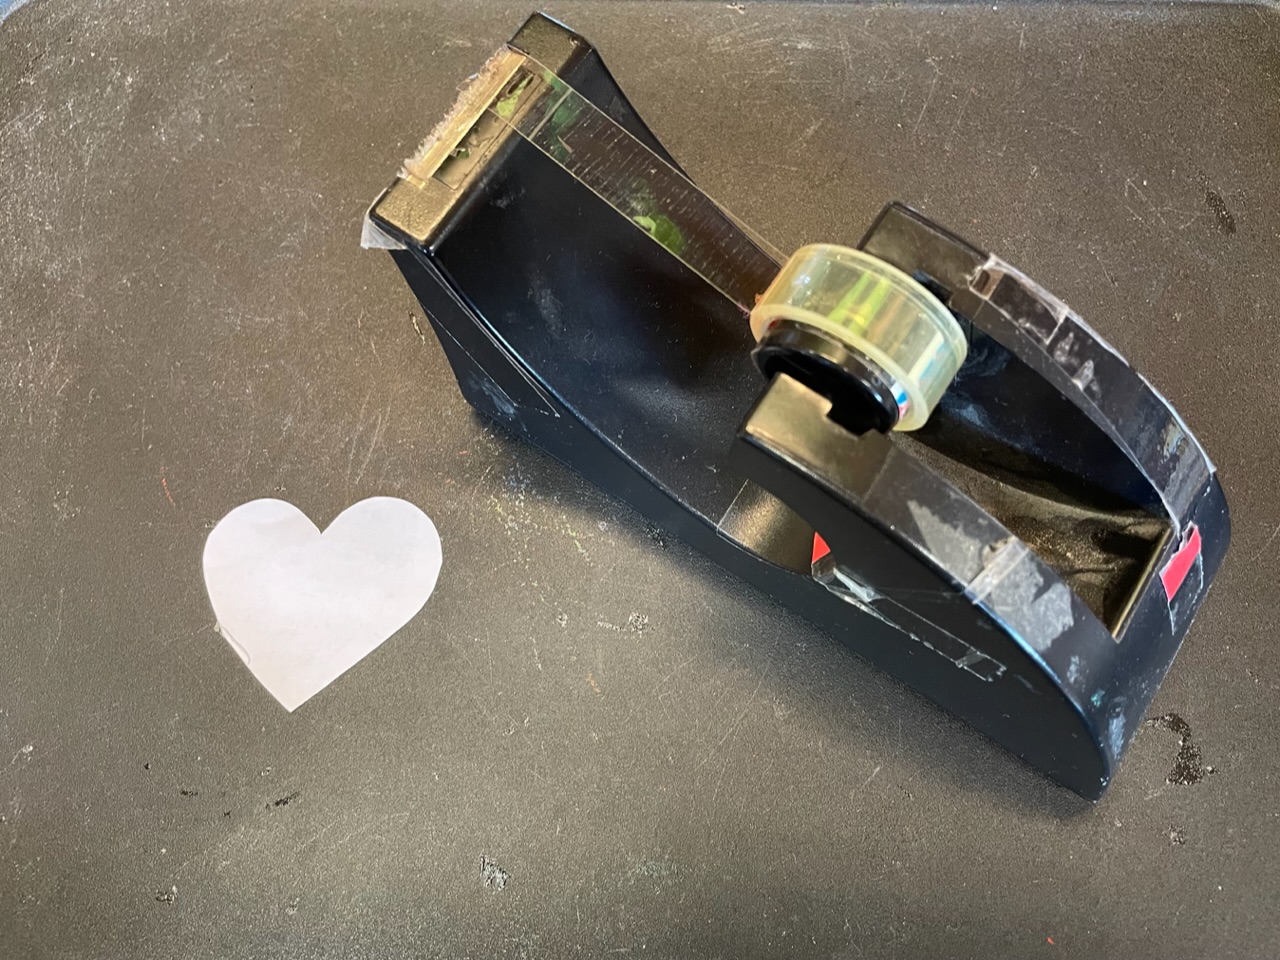
Now you paint a heart (or a flower) with a pencil on the paper and cut it out with the scissors. Then you need another adhesive strip.


Now put everything on a tray or a craft pad.
Then put on a paint coat.
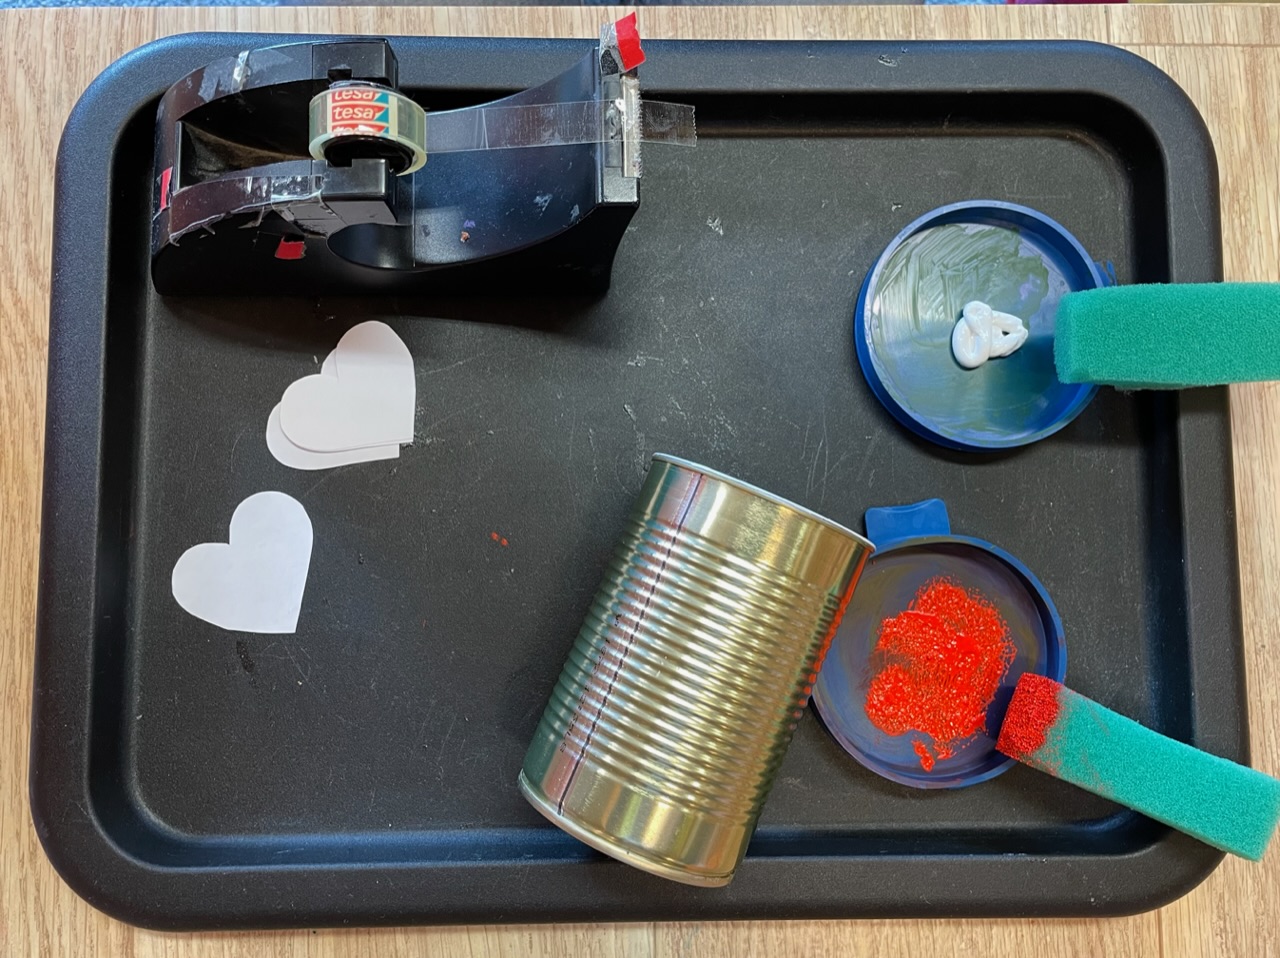


Take a piece of adhesive tape and roll with it, the adhesive surface must be on the outside.
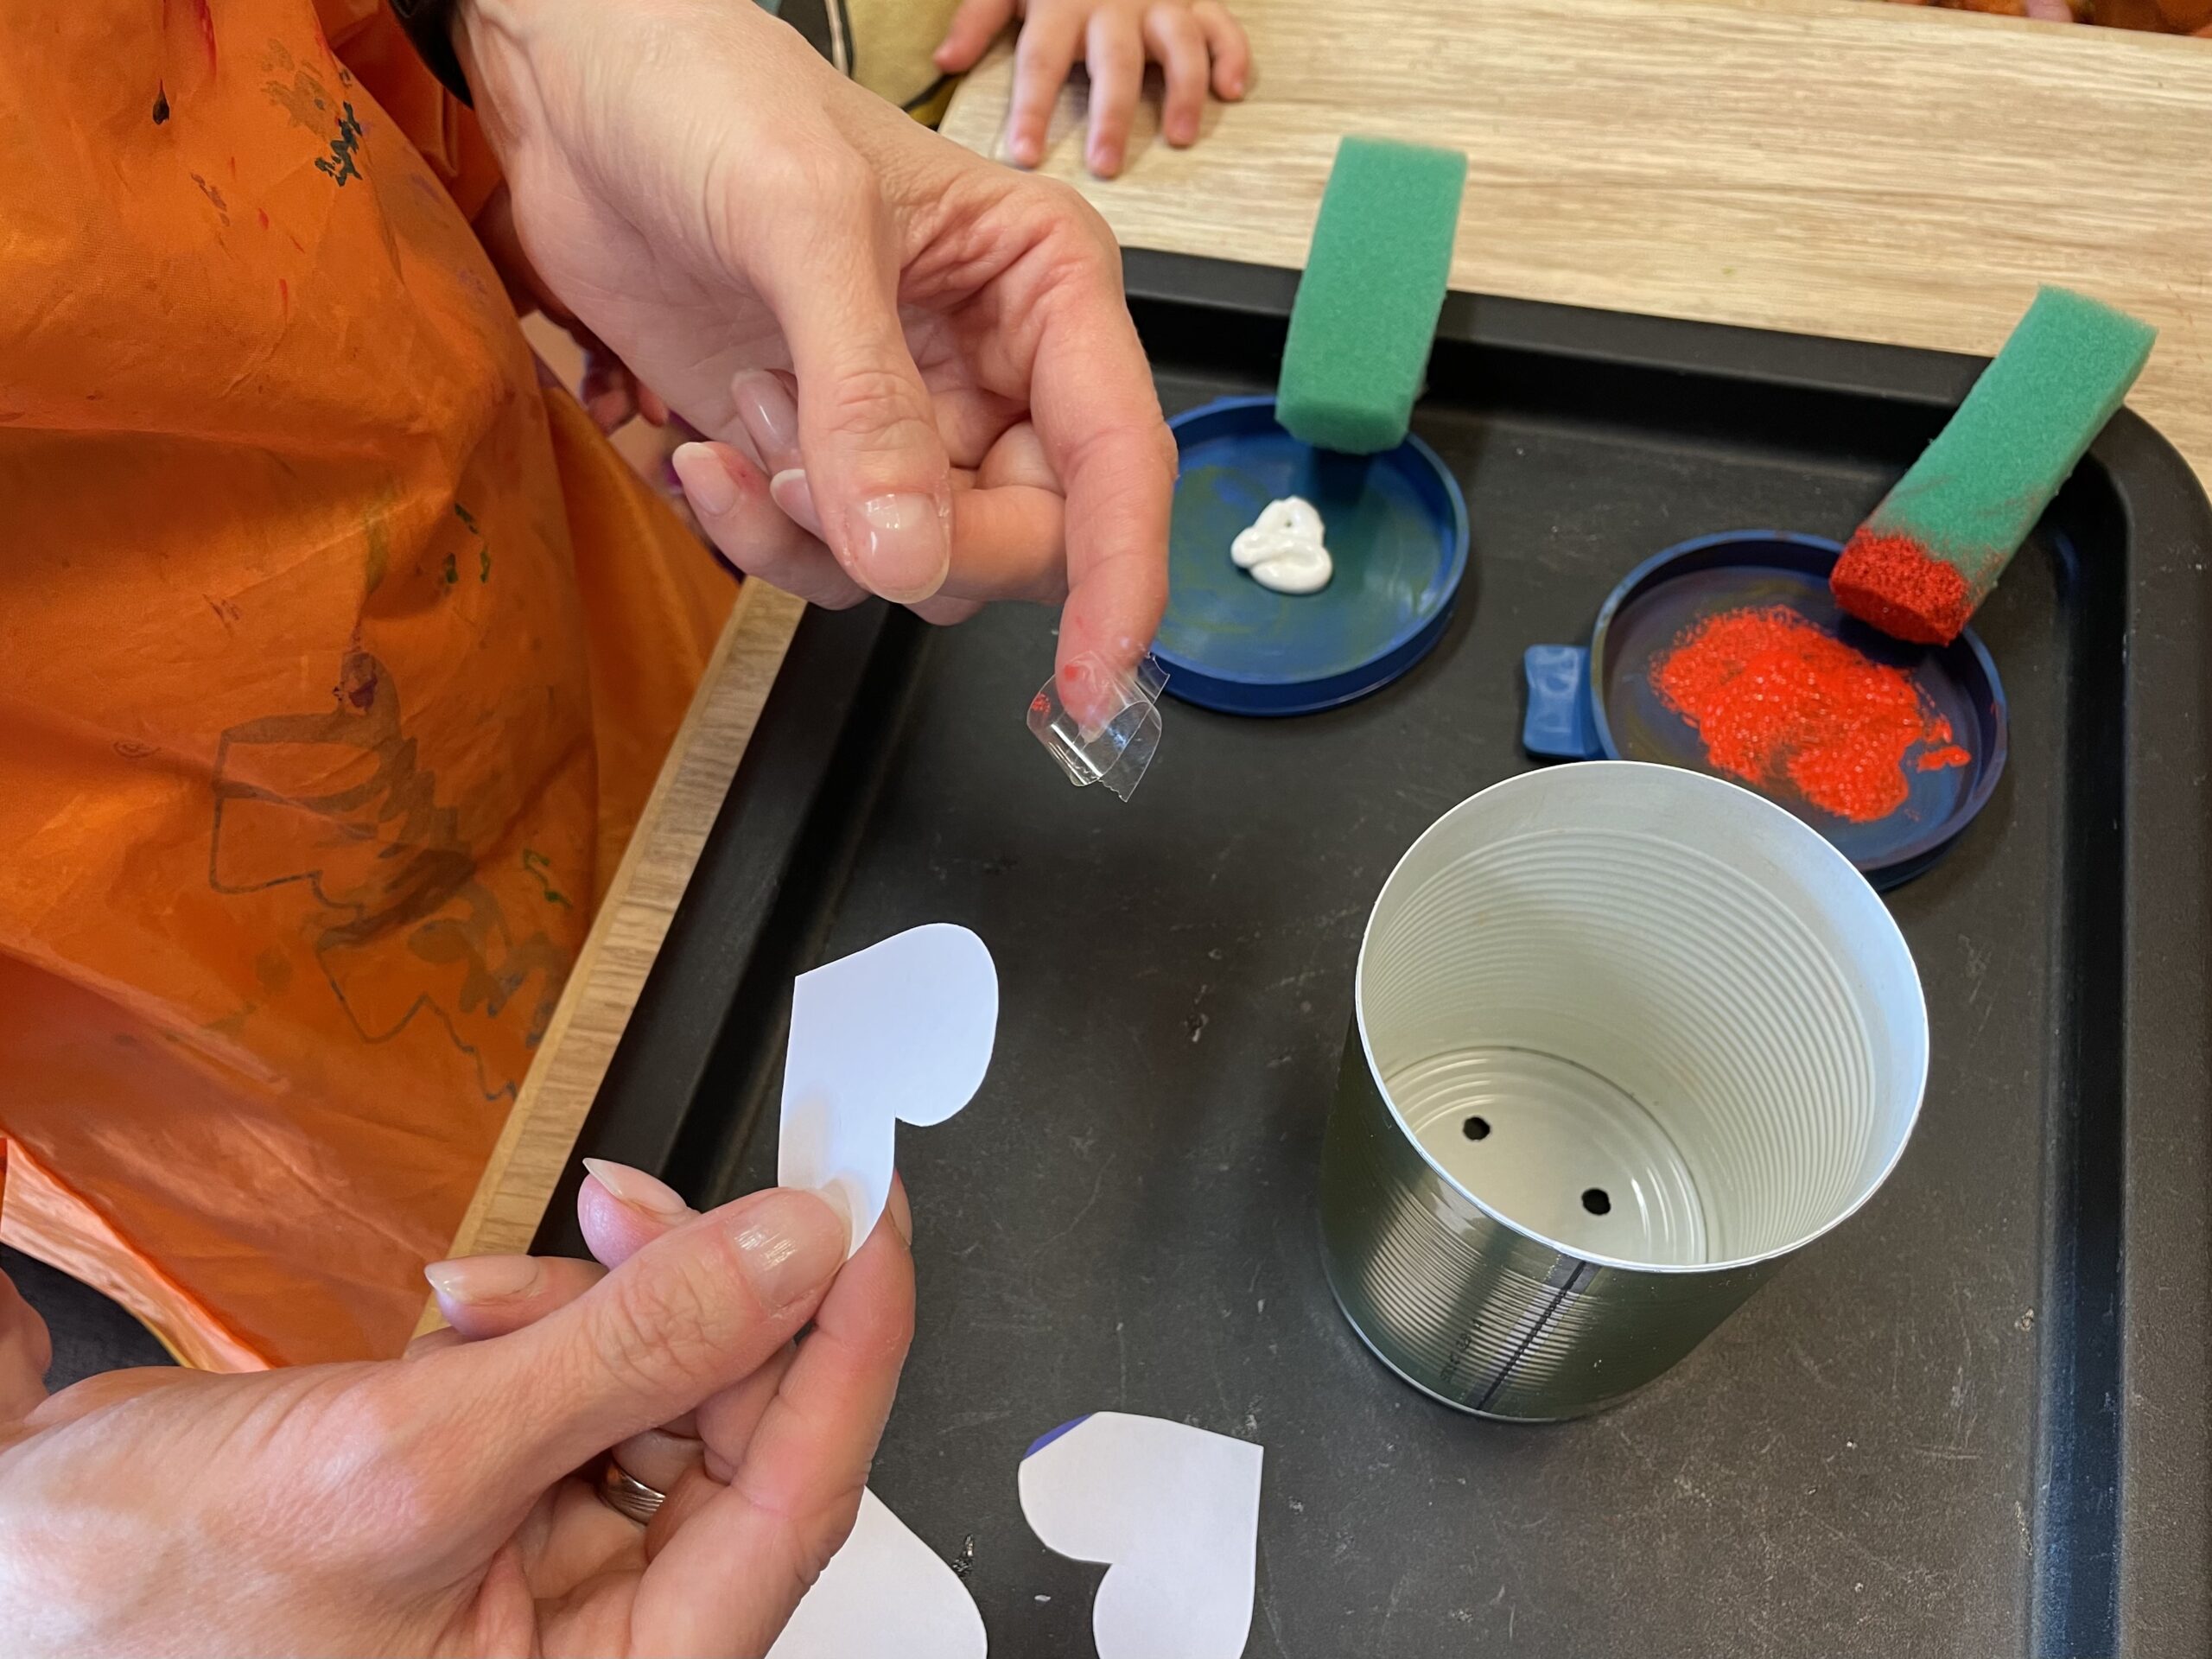


The adhesive strip roll is glued centrally to the paper heart.
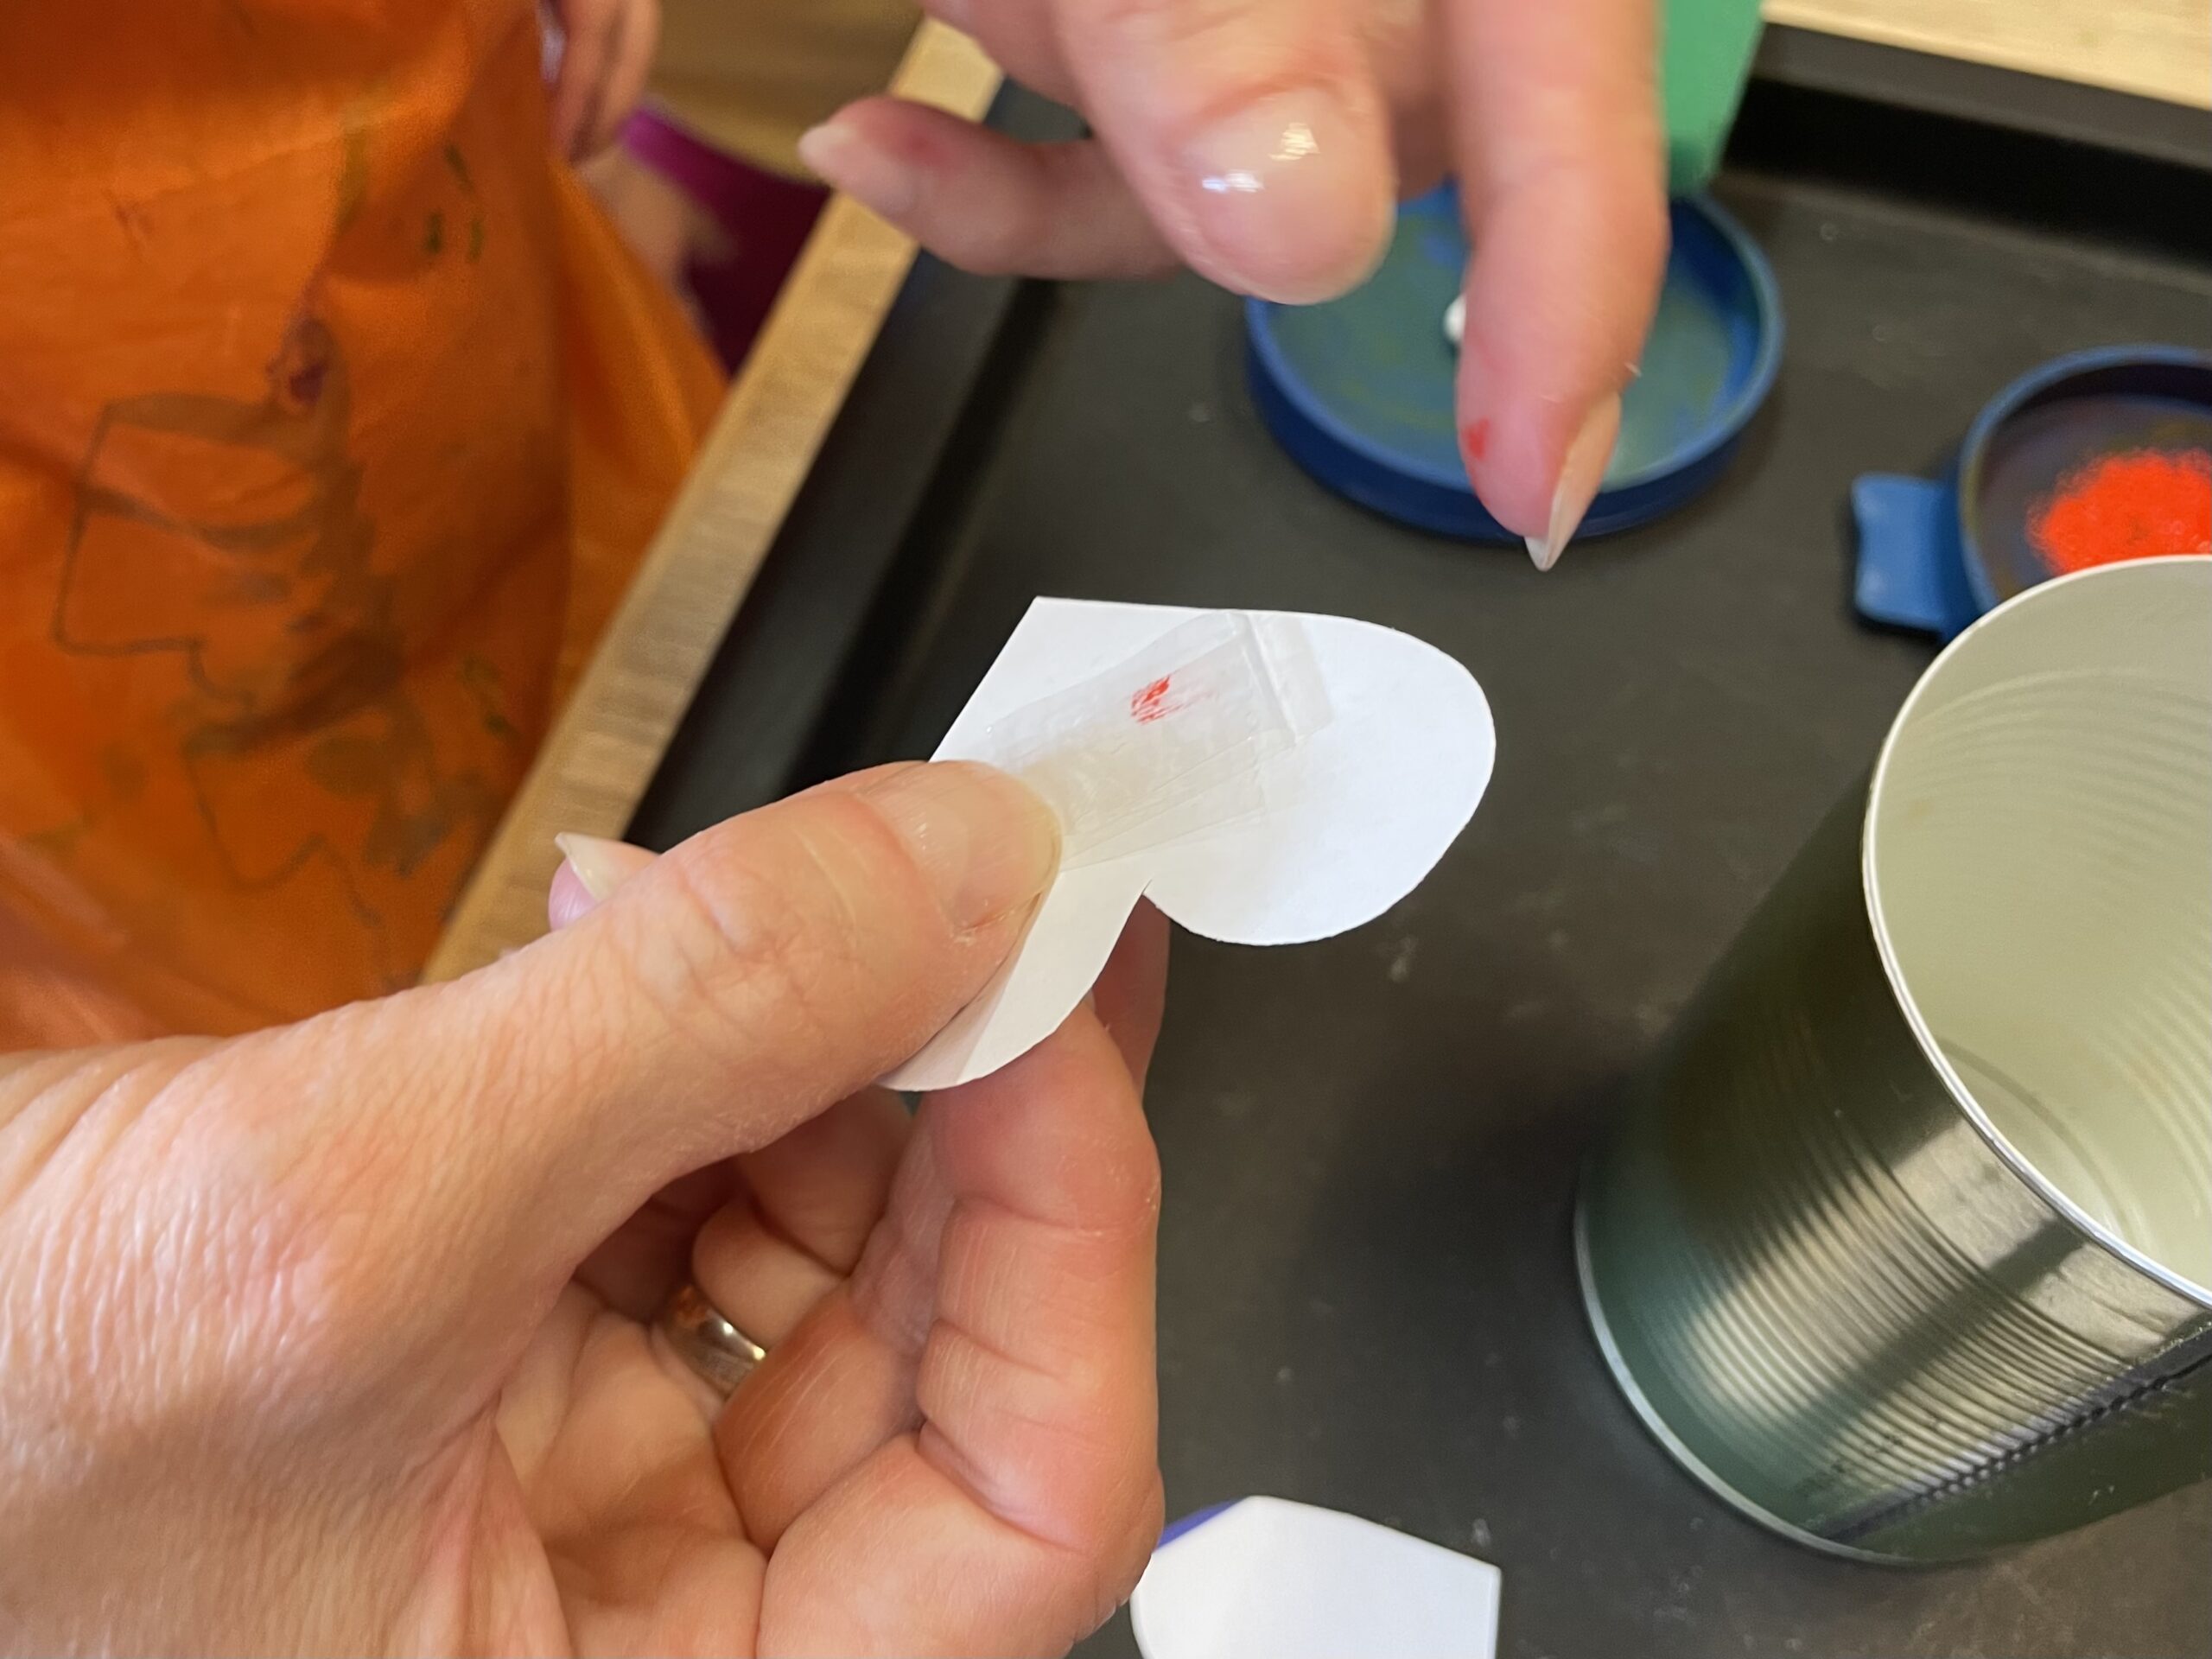


Stick the heart with the adhesive tape on the can and press it firmly. The can is now prepared for printing.
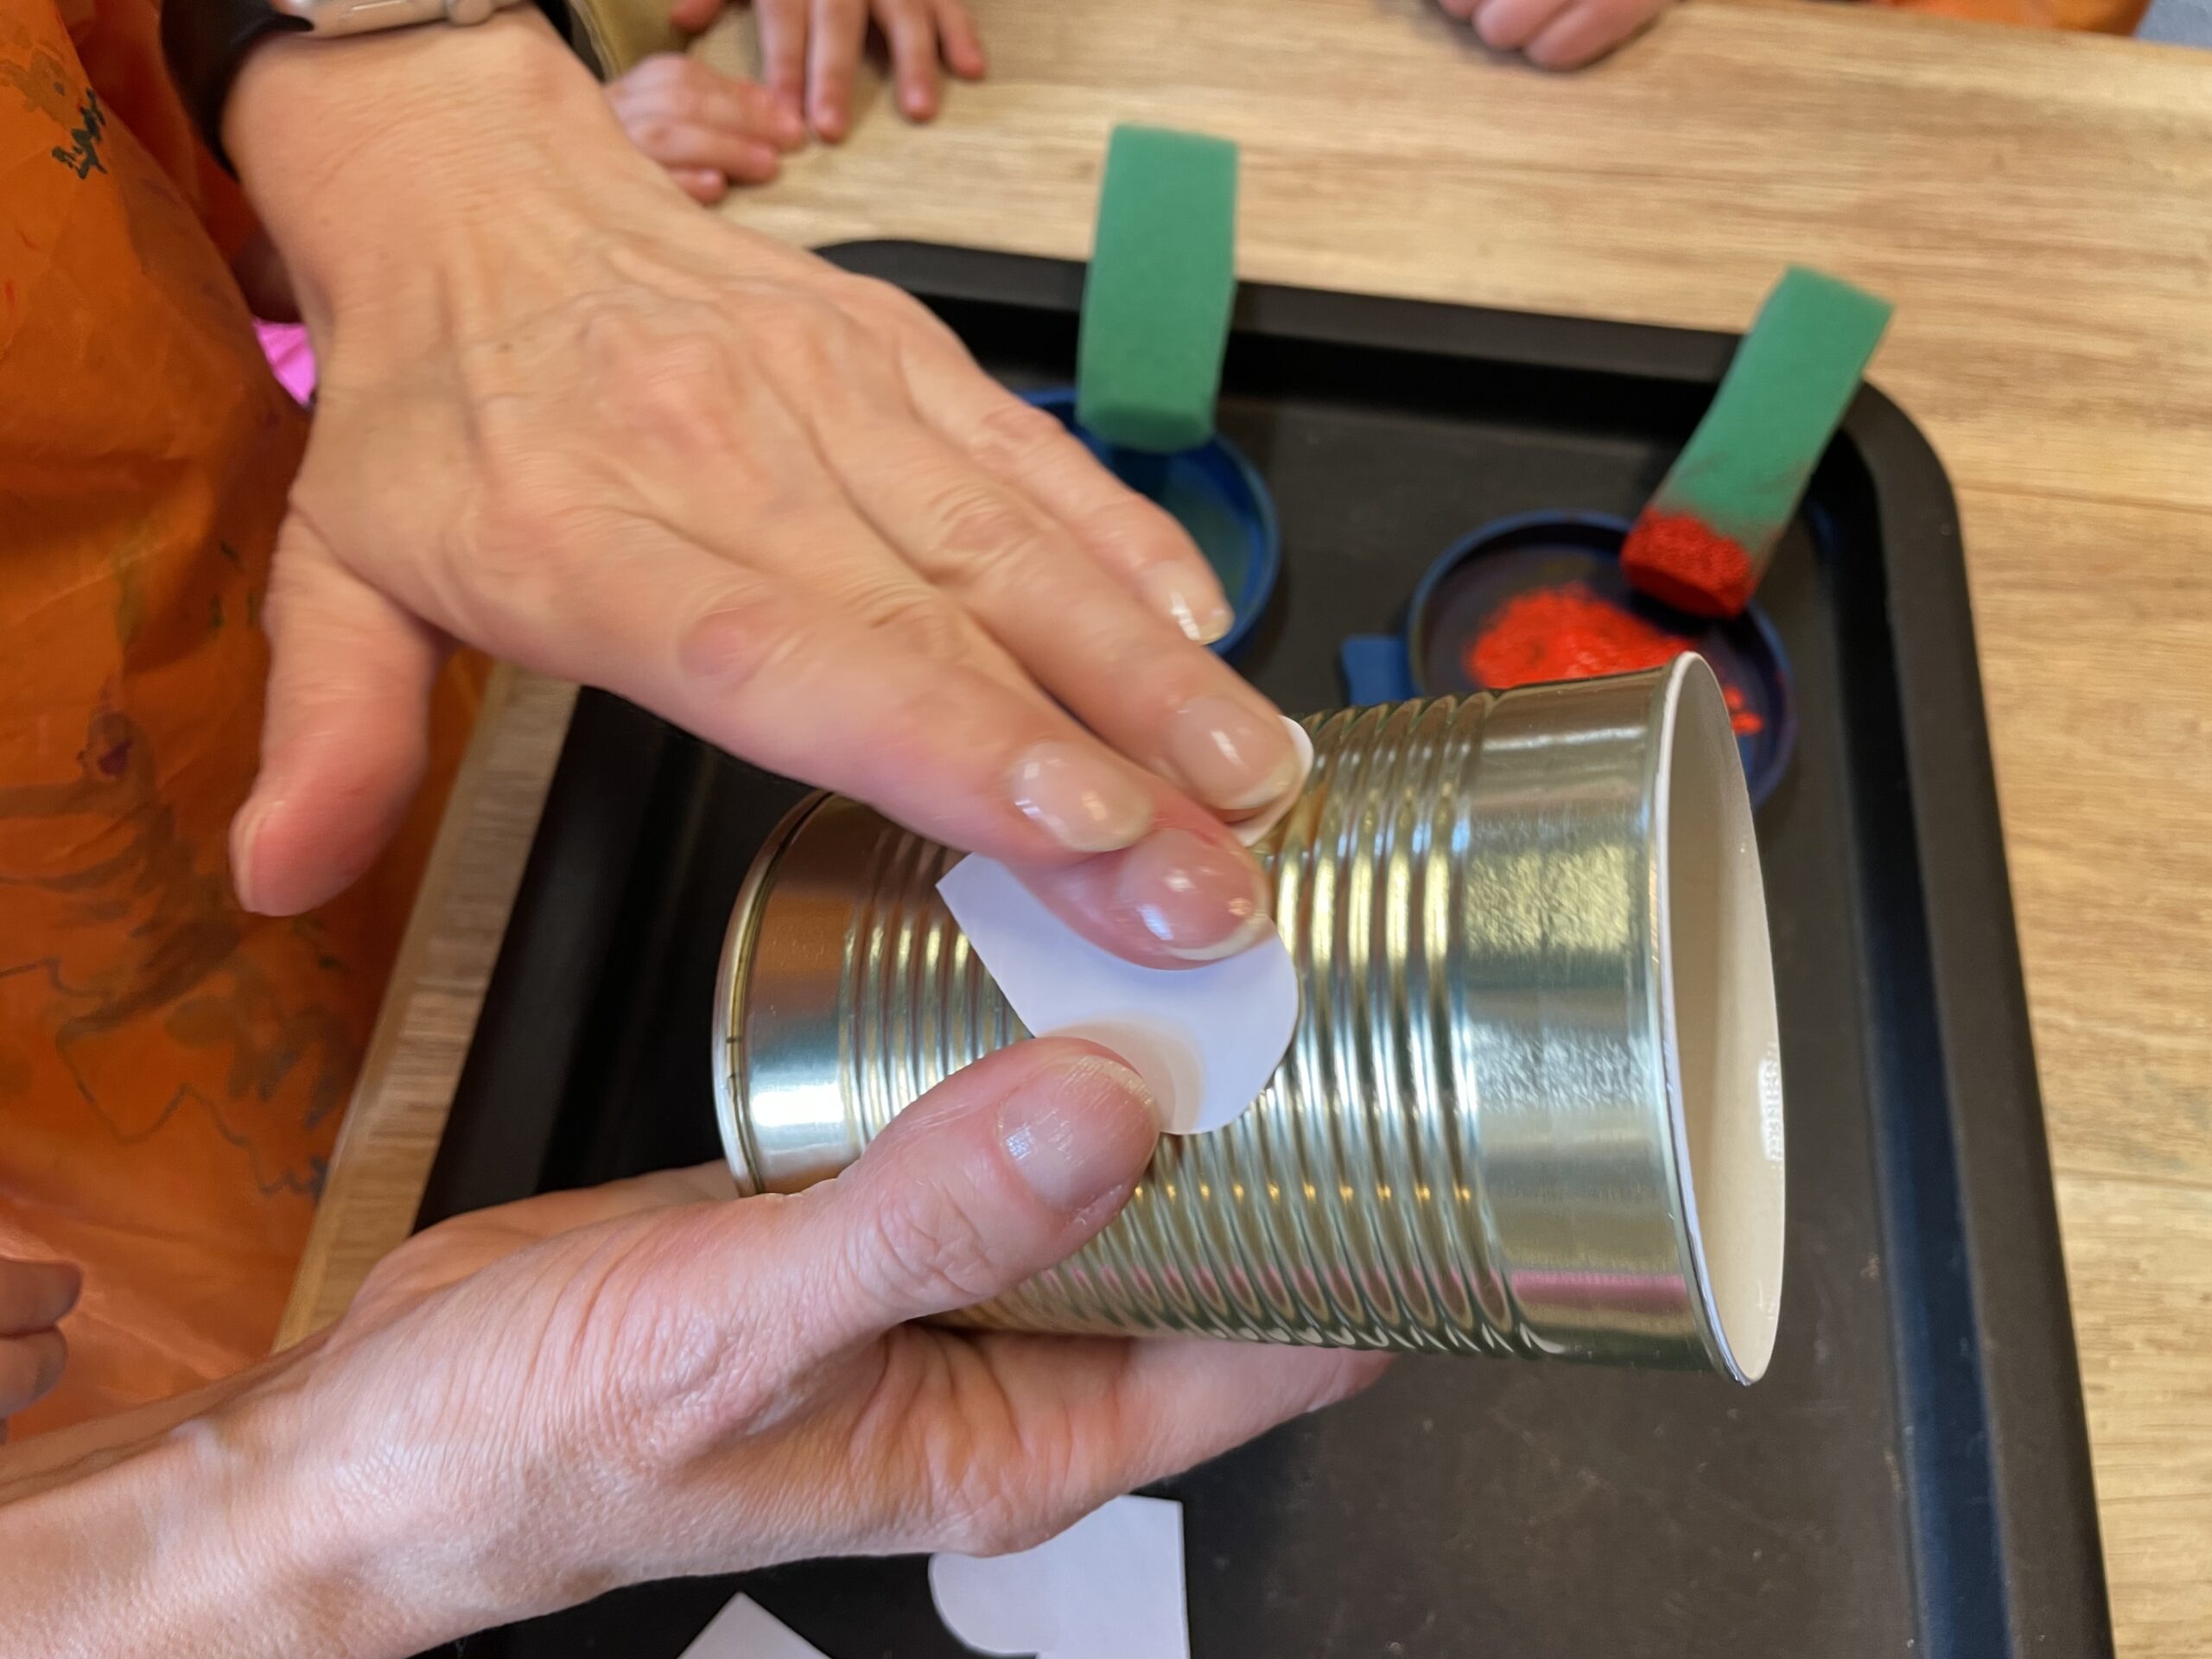


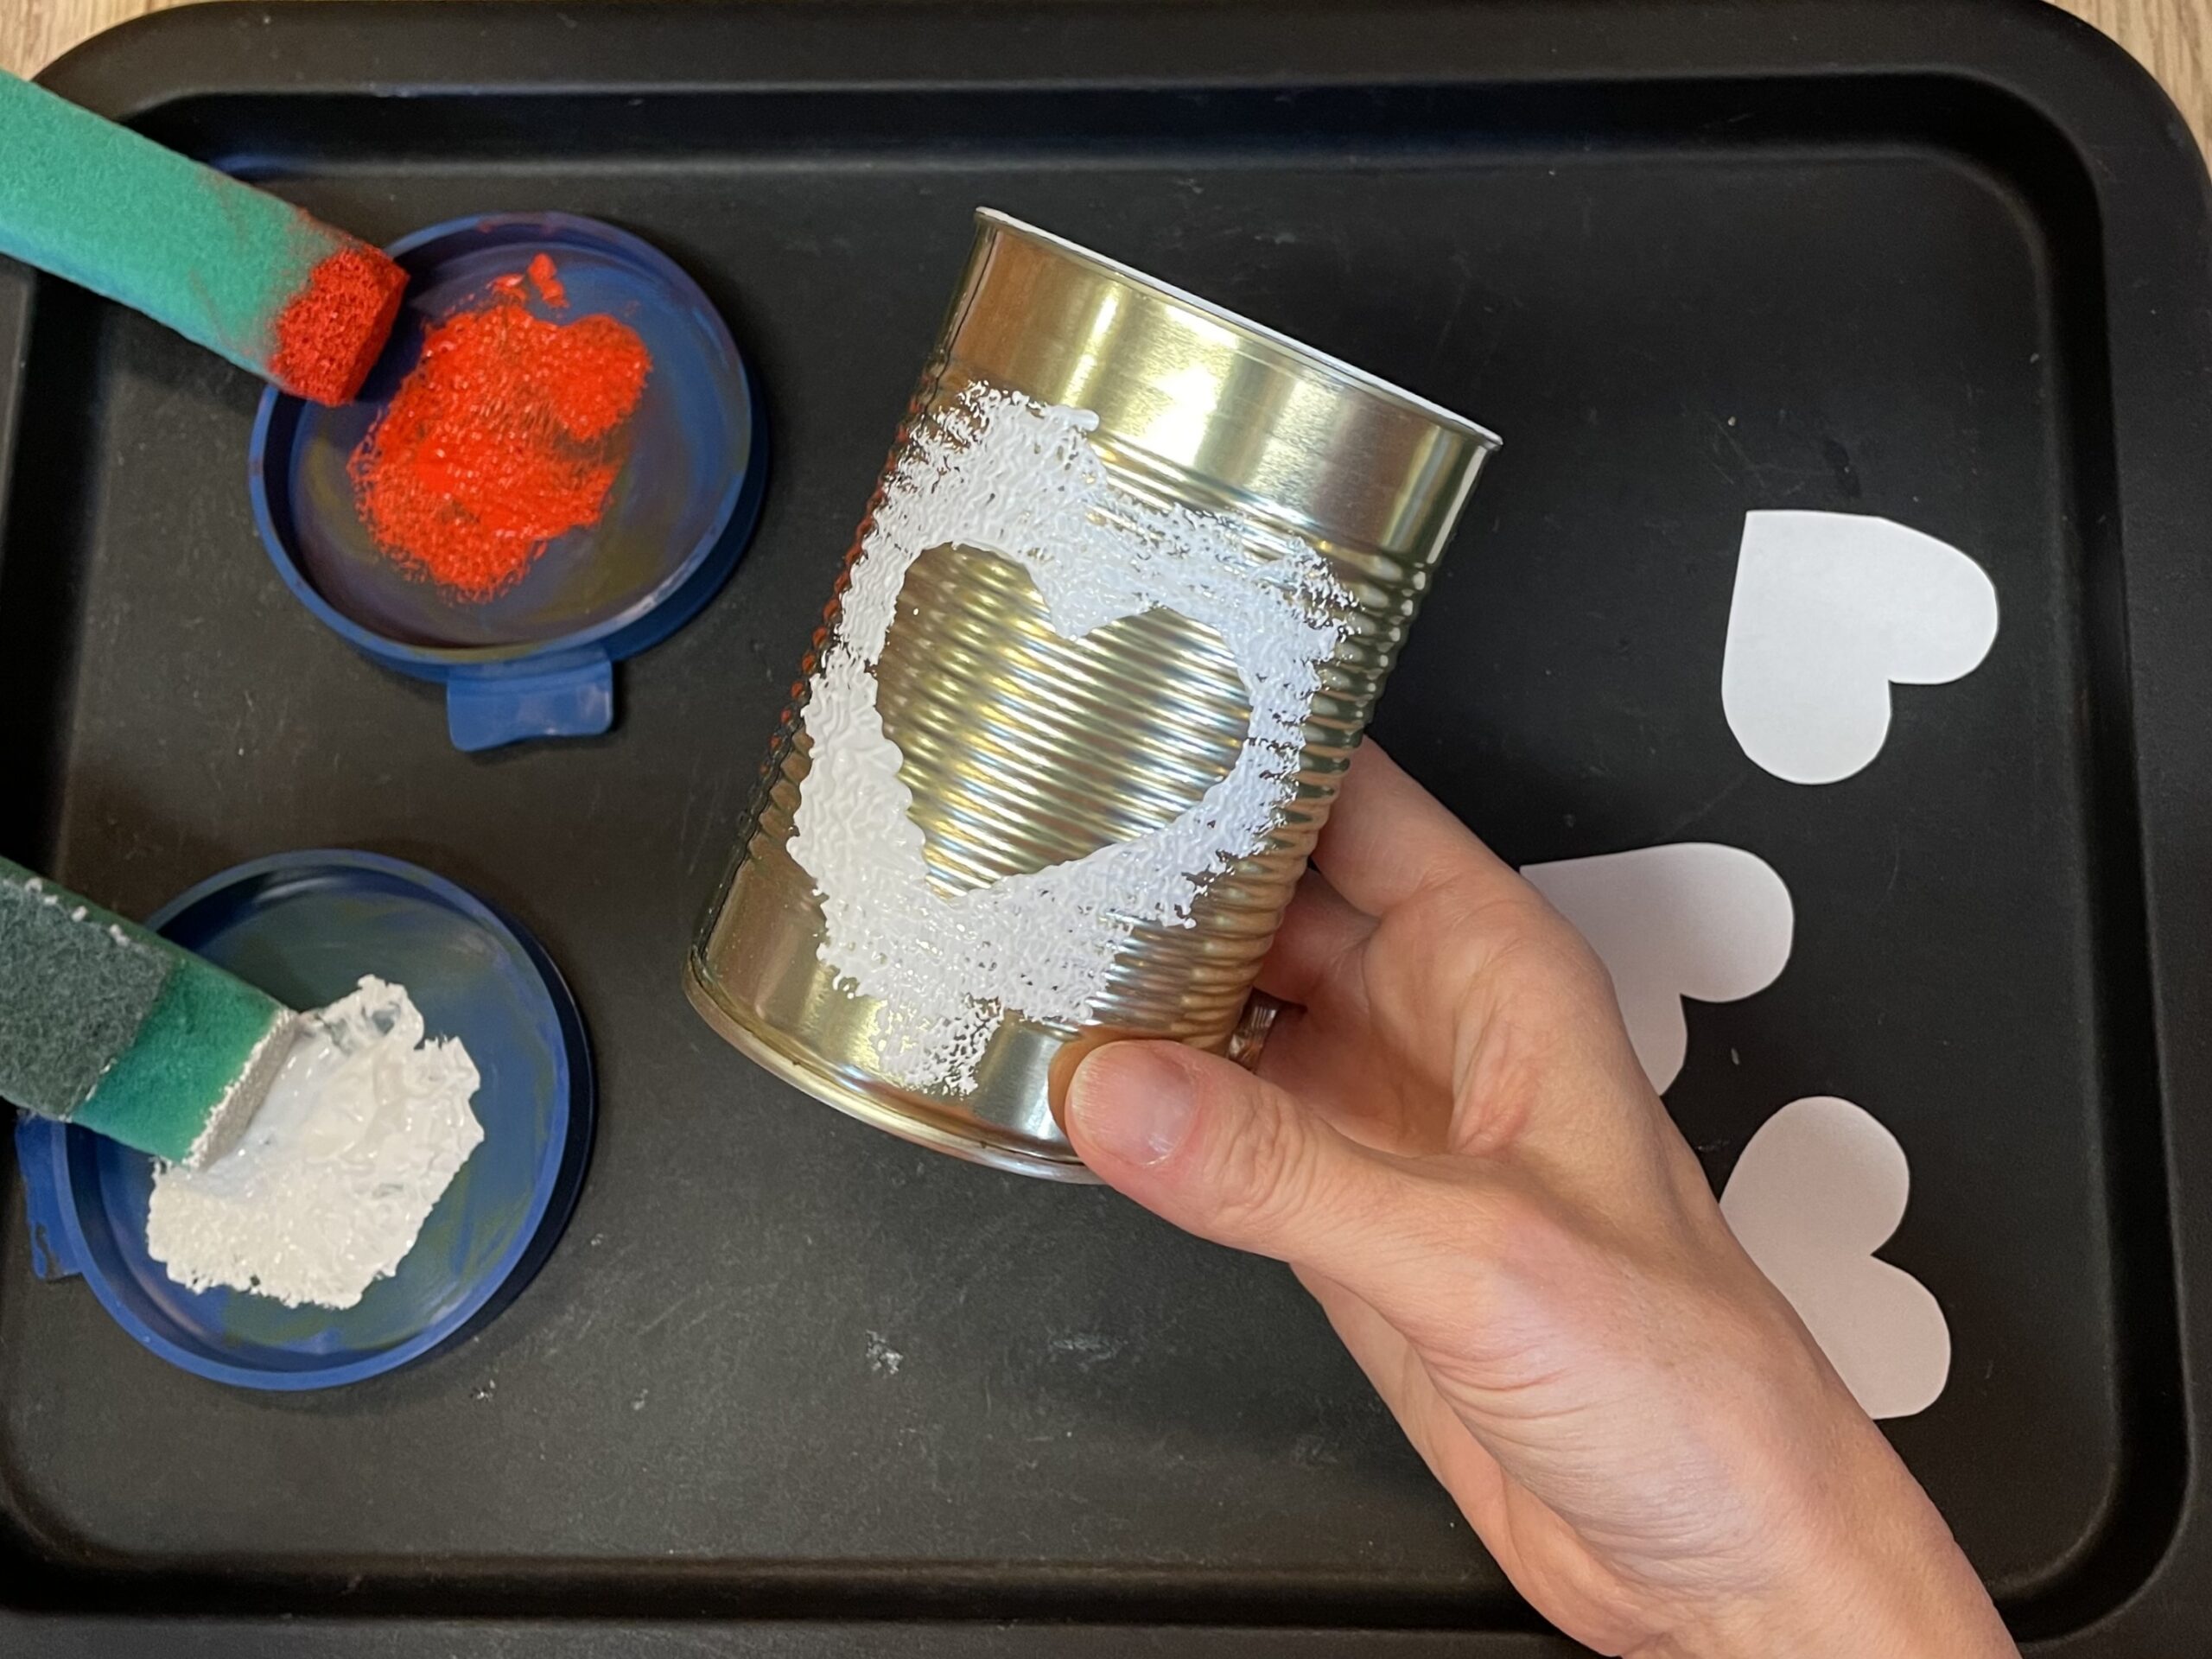
Put a pea-sized blob of paint on the lid or saucer and dip the sponge in with the tip, so that color remains on the sponge.
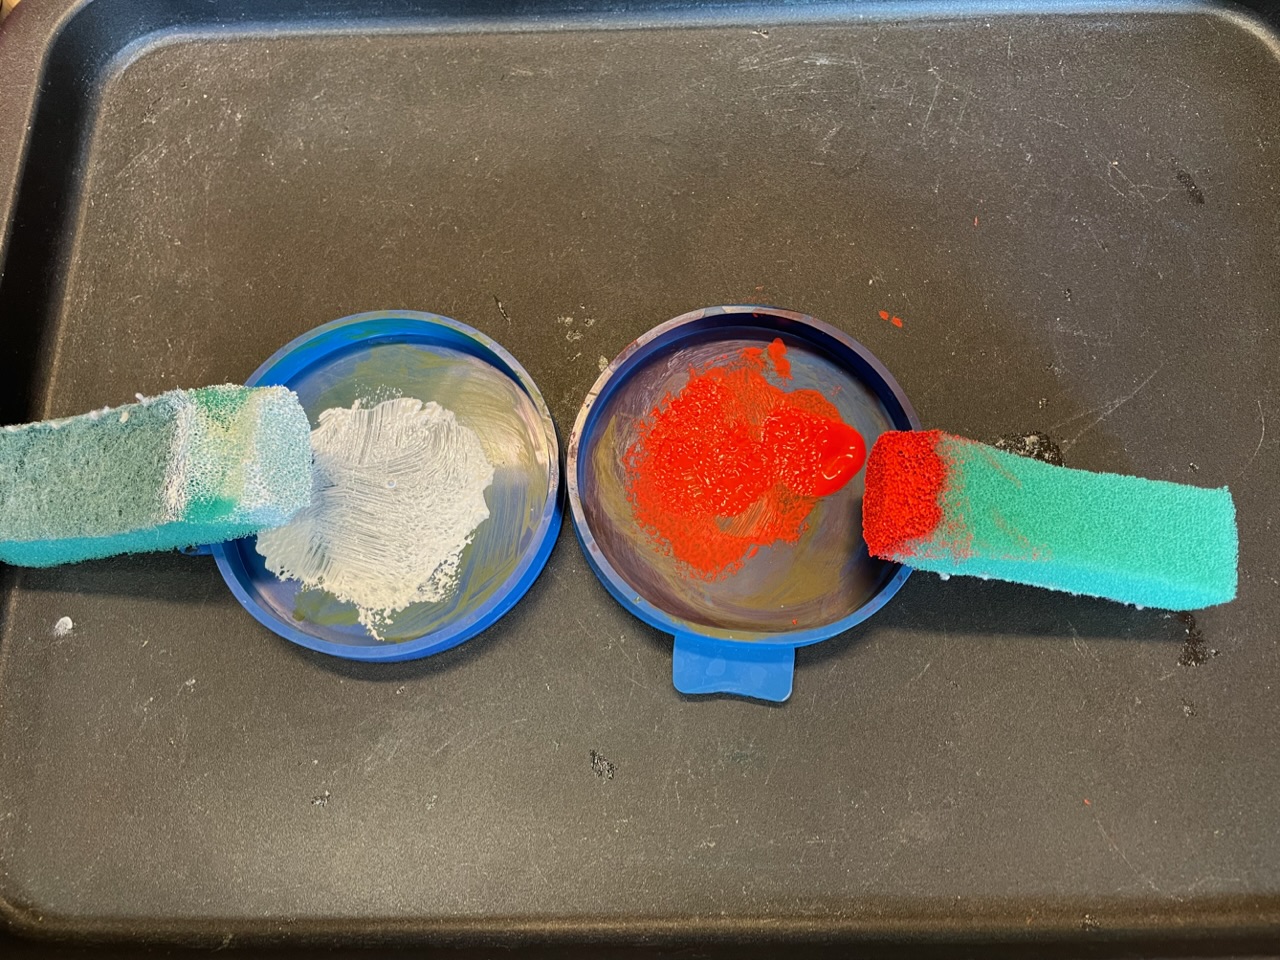


Now swab the paint around the glued-on heart.
Tip: For younger children, an adult can keep the can slightly oblique. Children will then be easier to do!


If the whole heart is dabbed with paint at the edge, the can is ready.
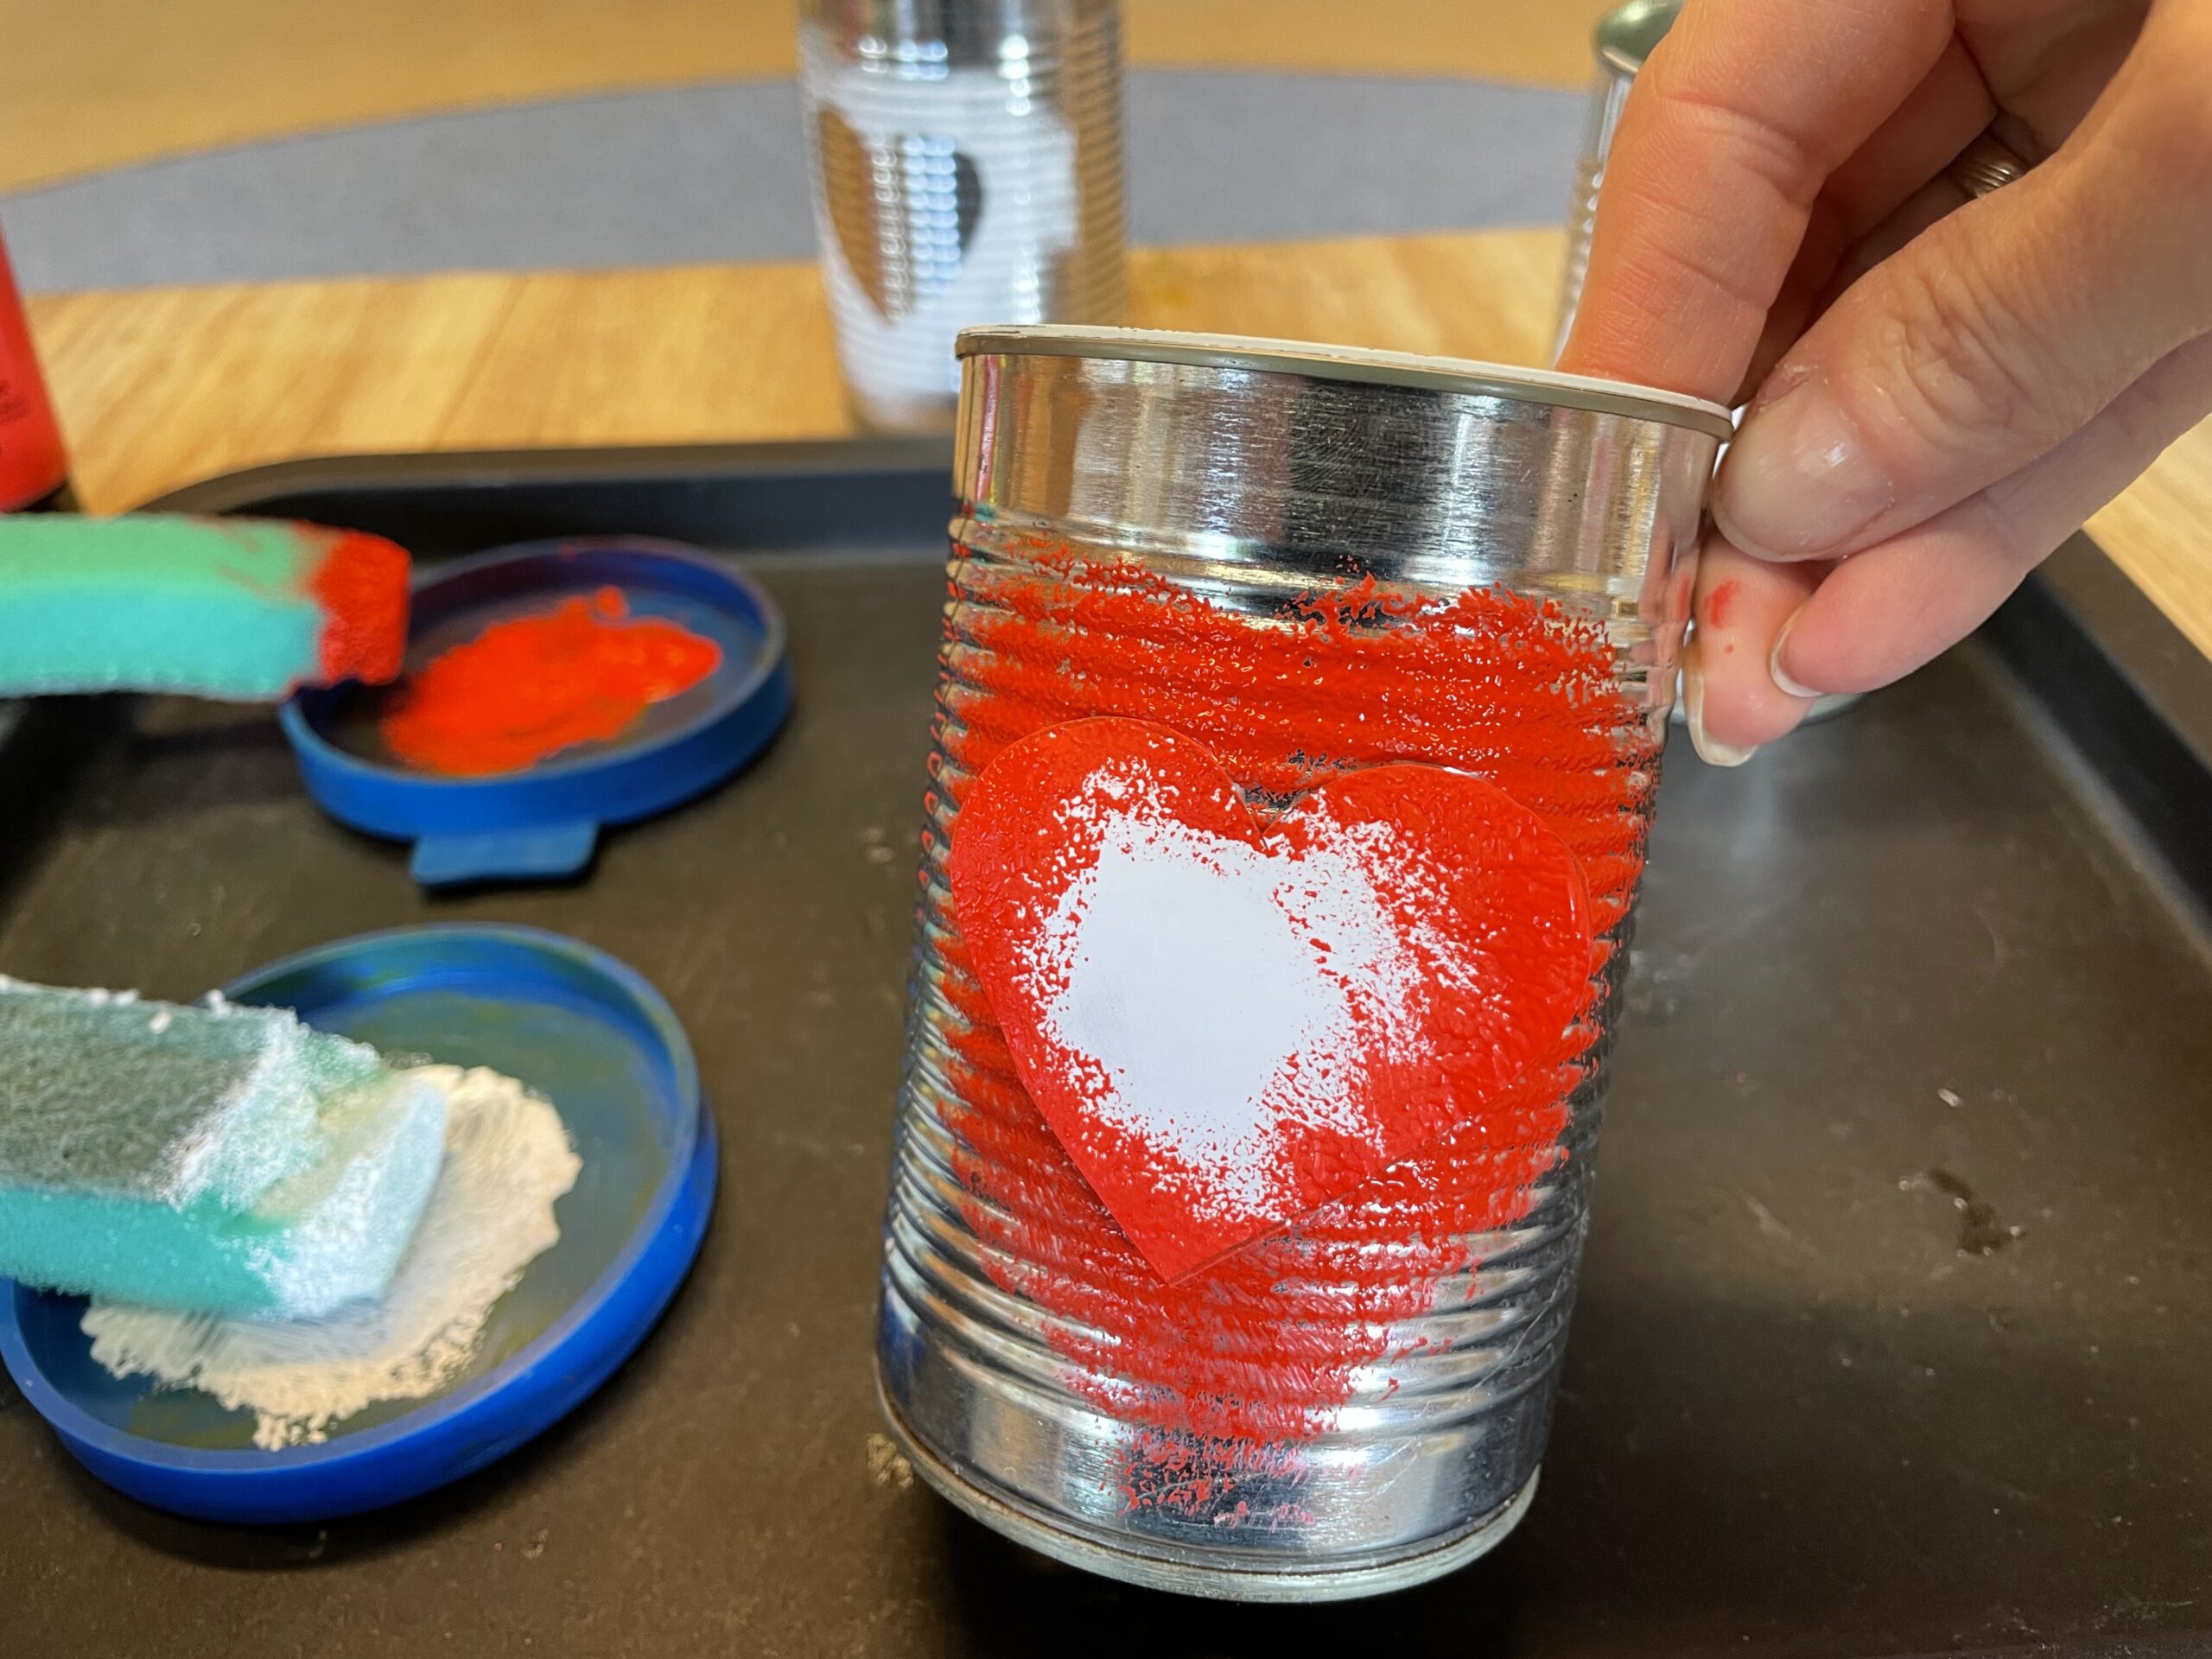


In the same way, you can cover the heart with white acrylic paint.
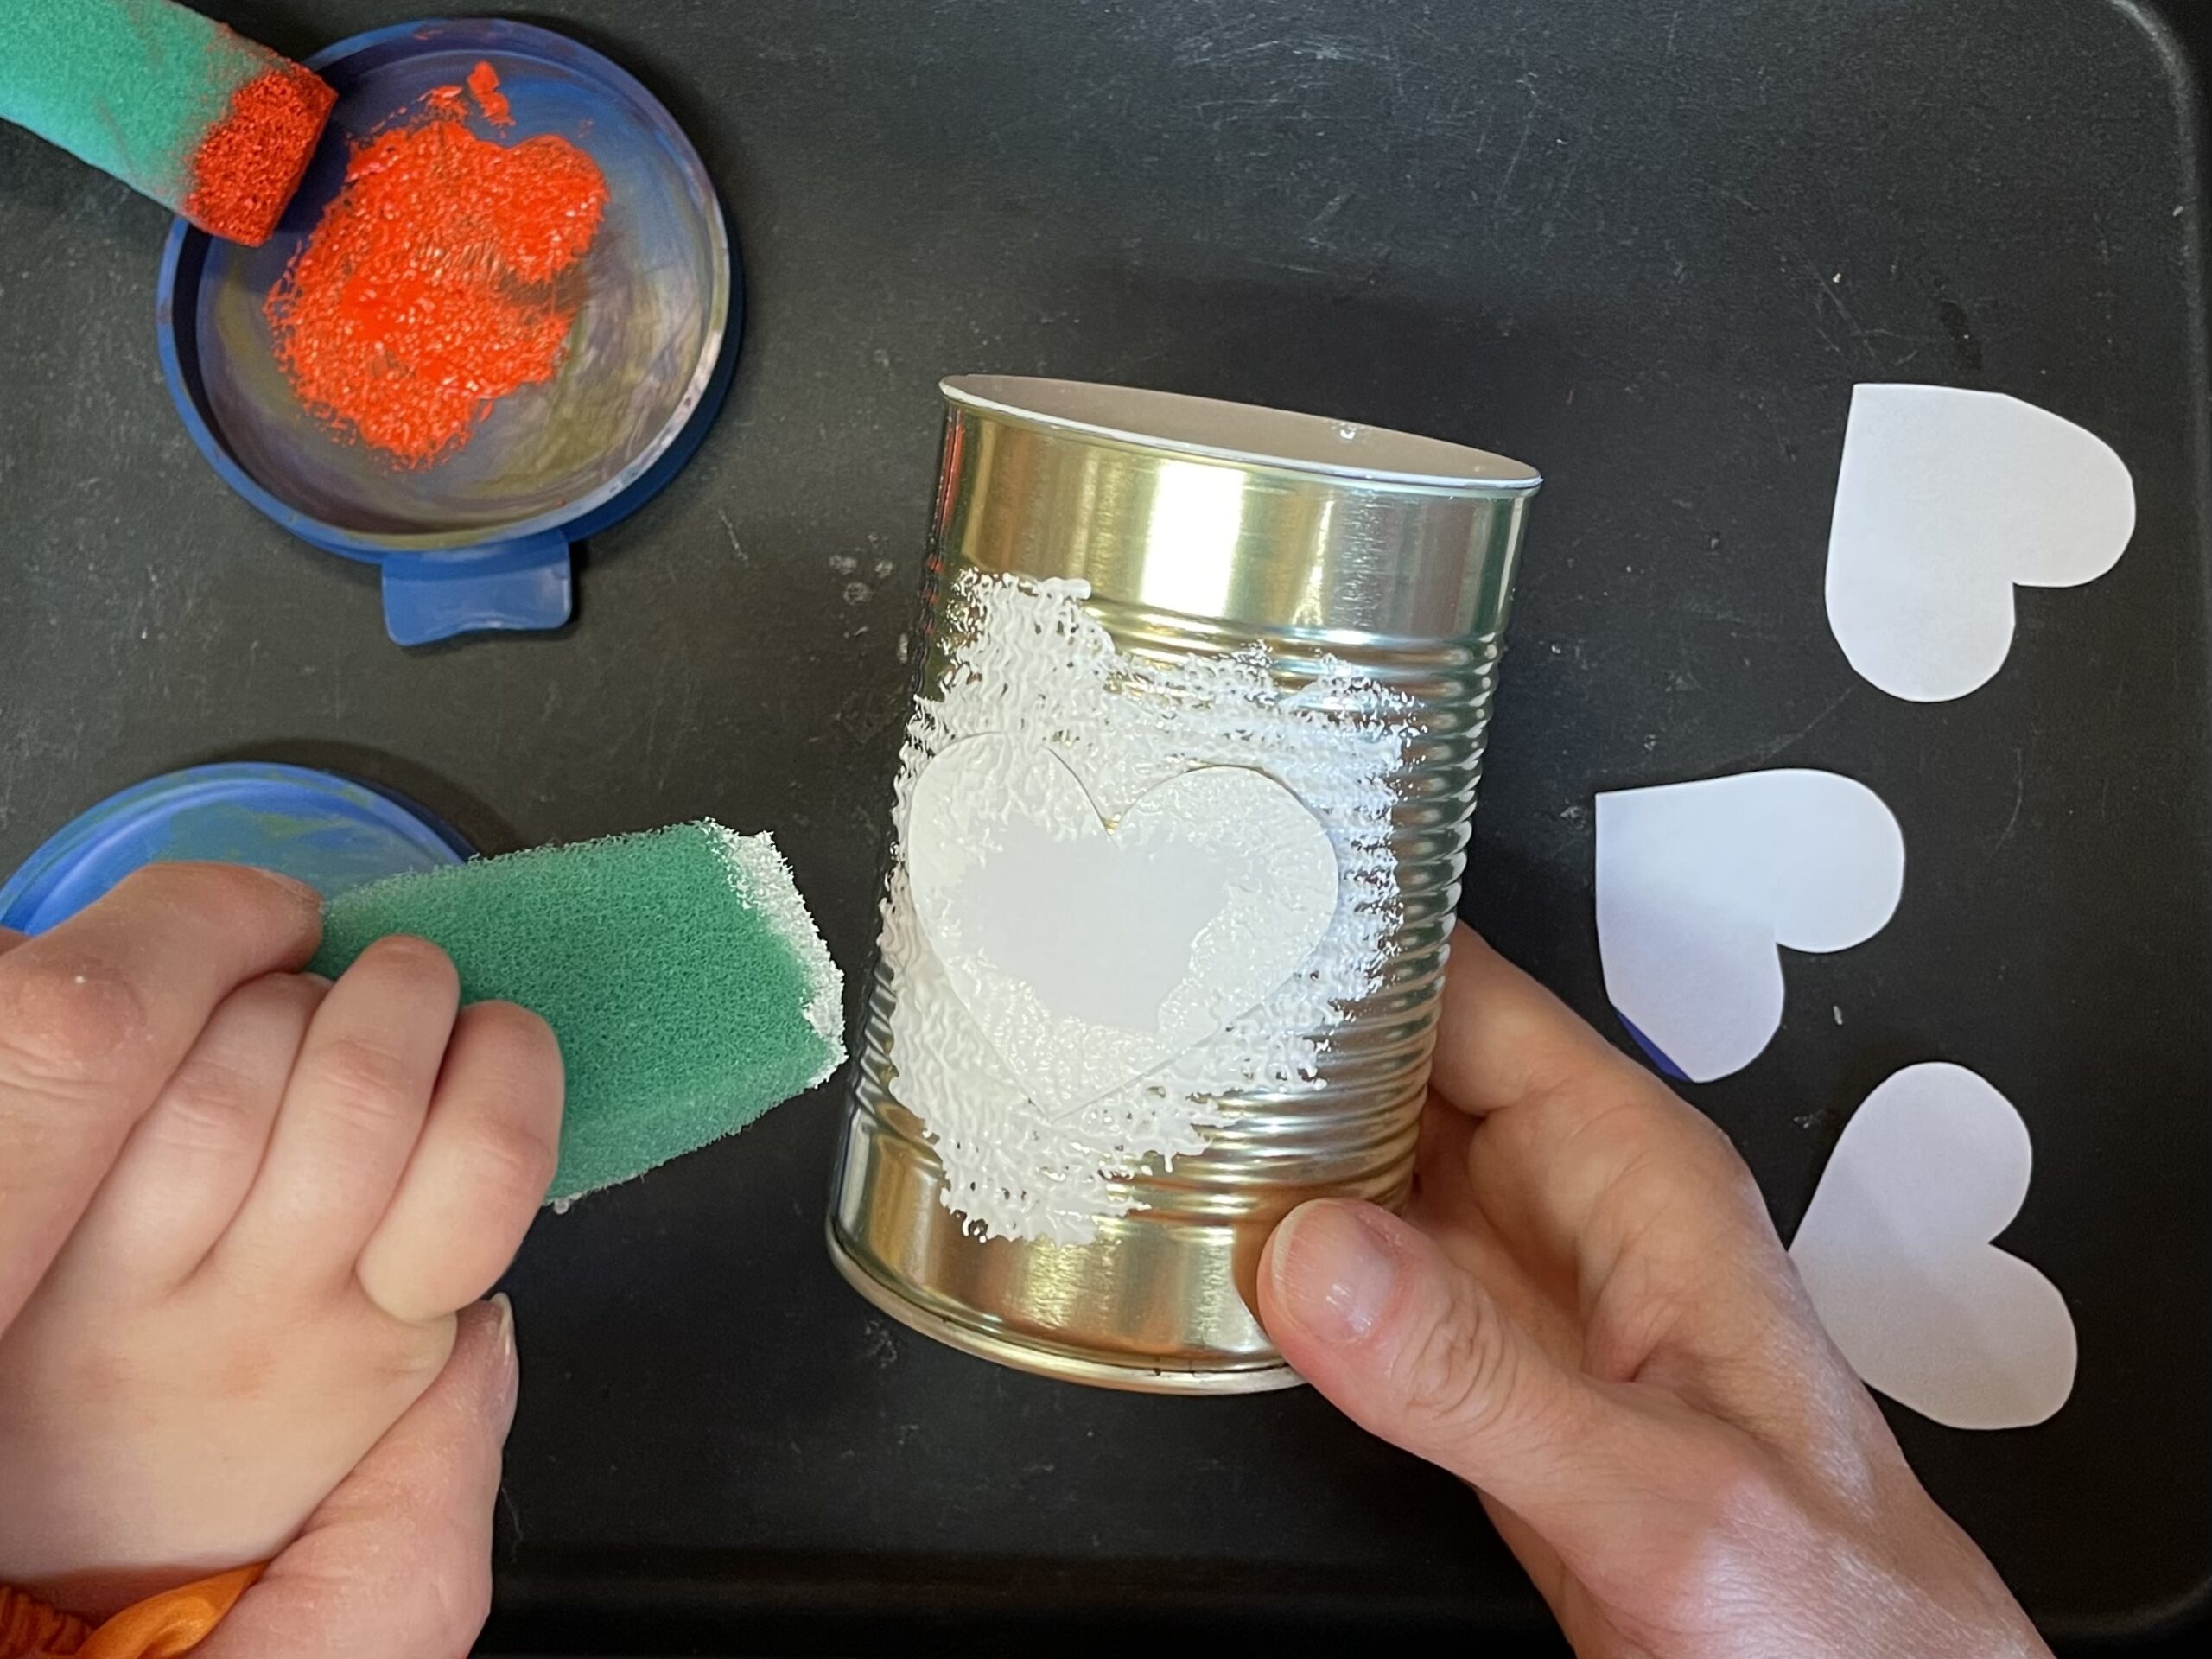


Take another sponge for the second color.
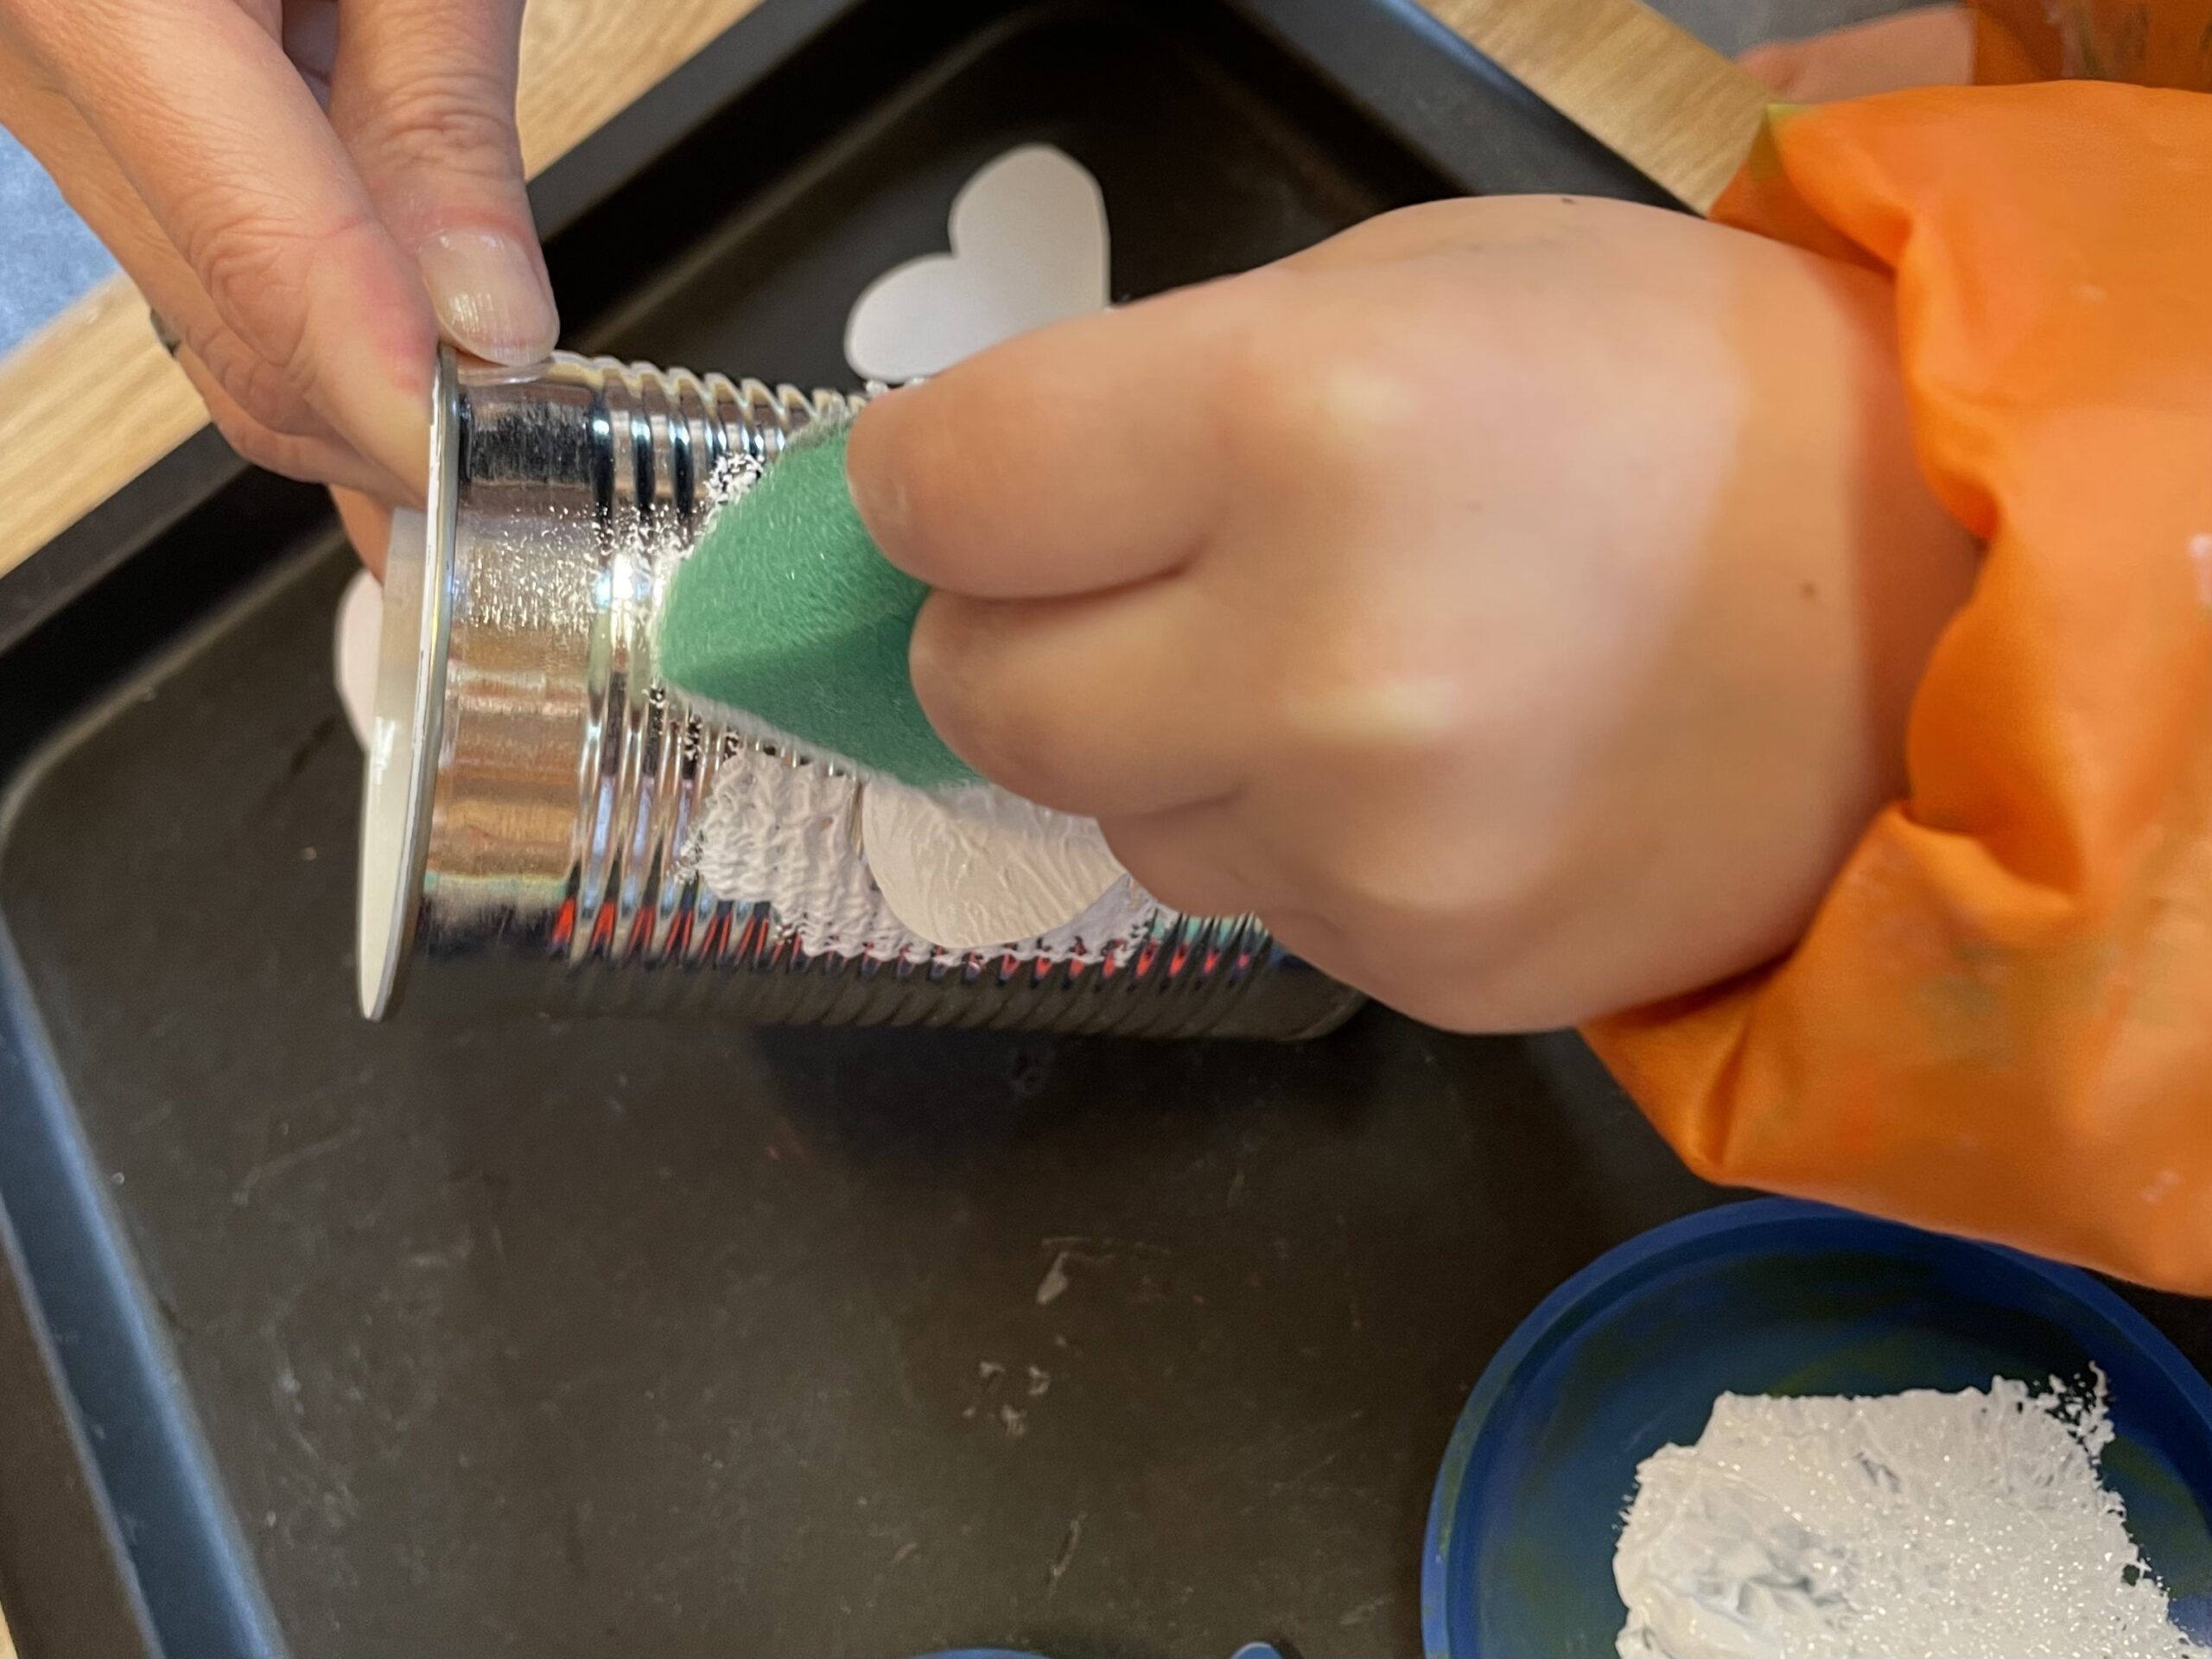


Once you've finished dabbing, you can carefully remove the paper heart from the can. Make sure you don't blur any paint. Or let the paint dry first!
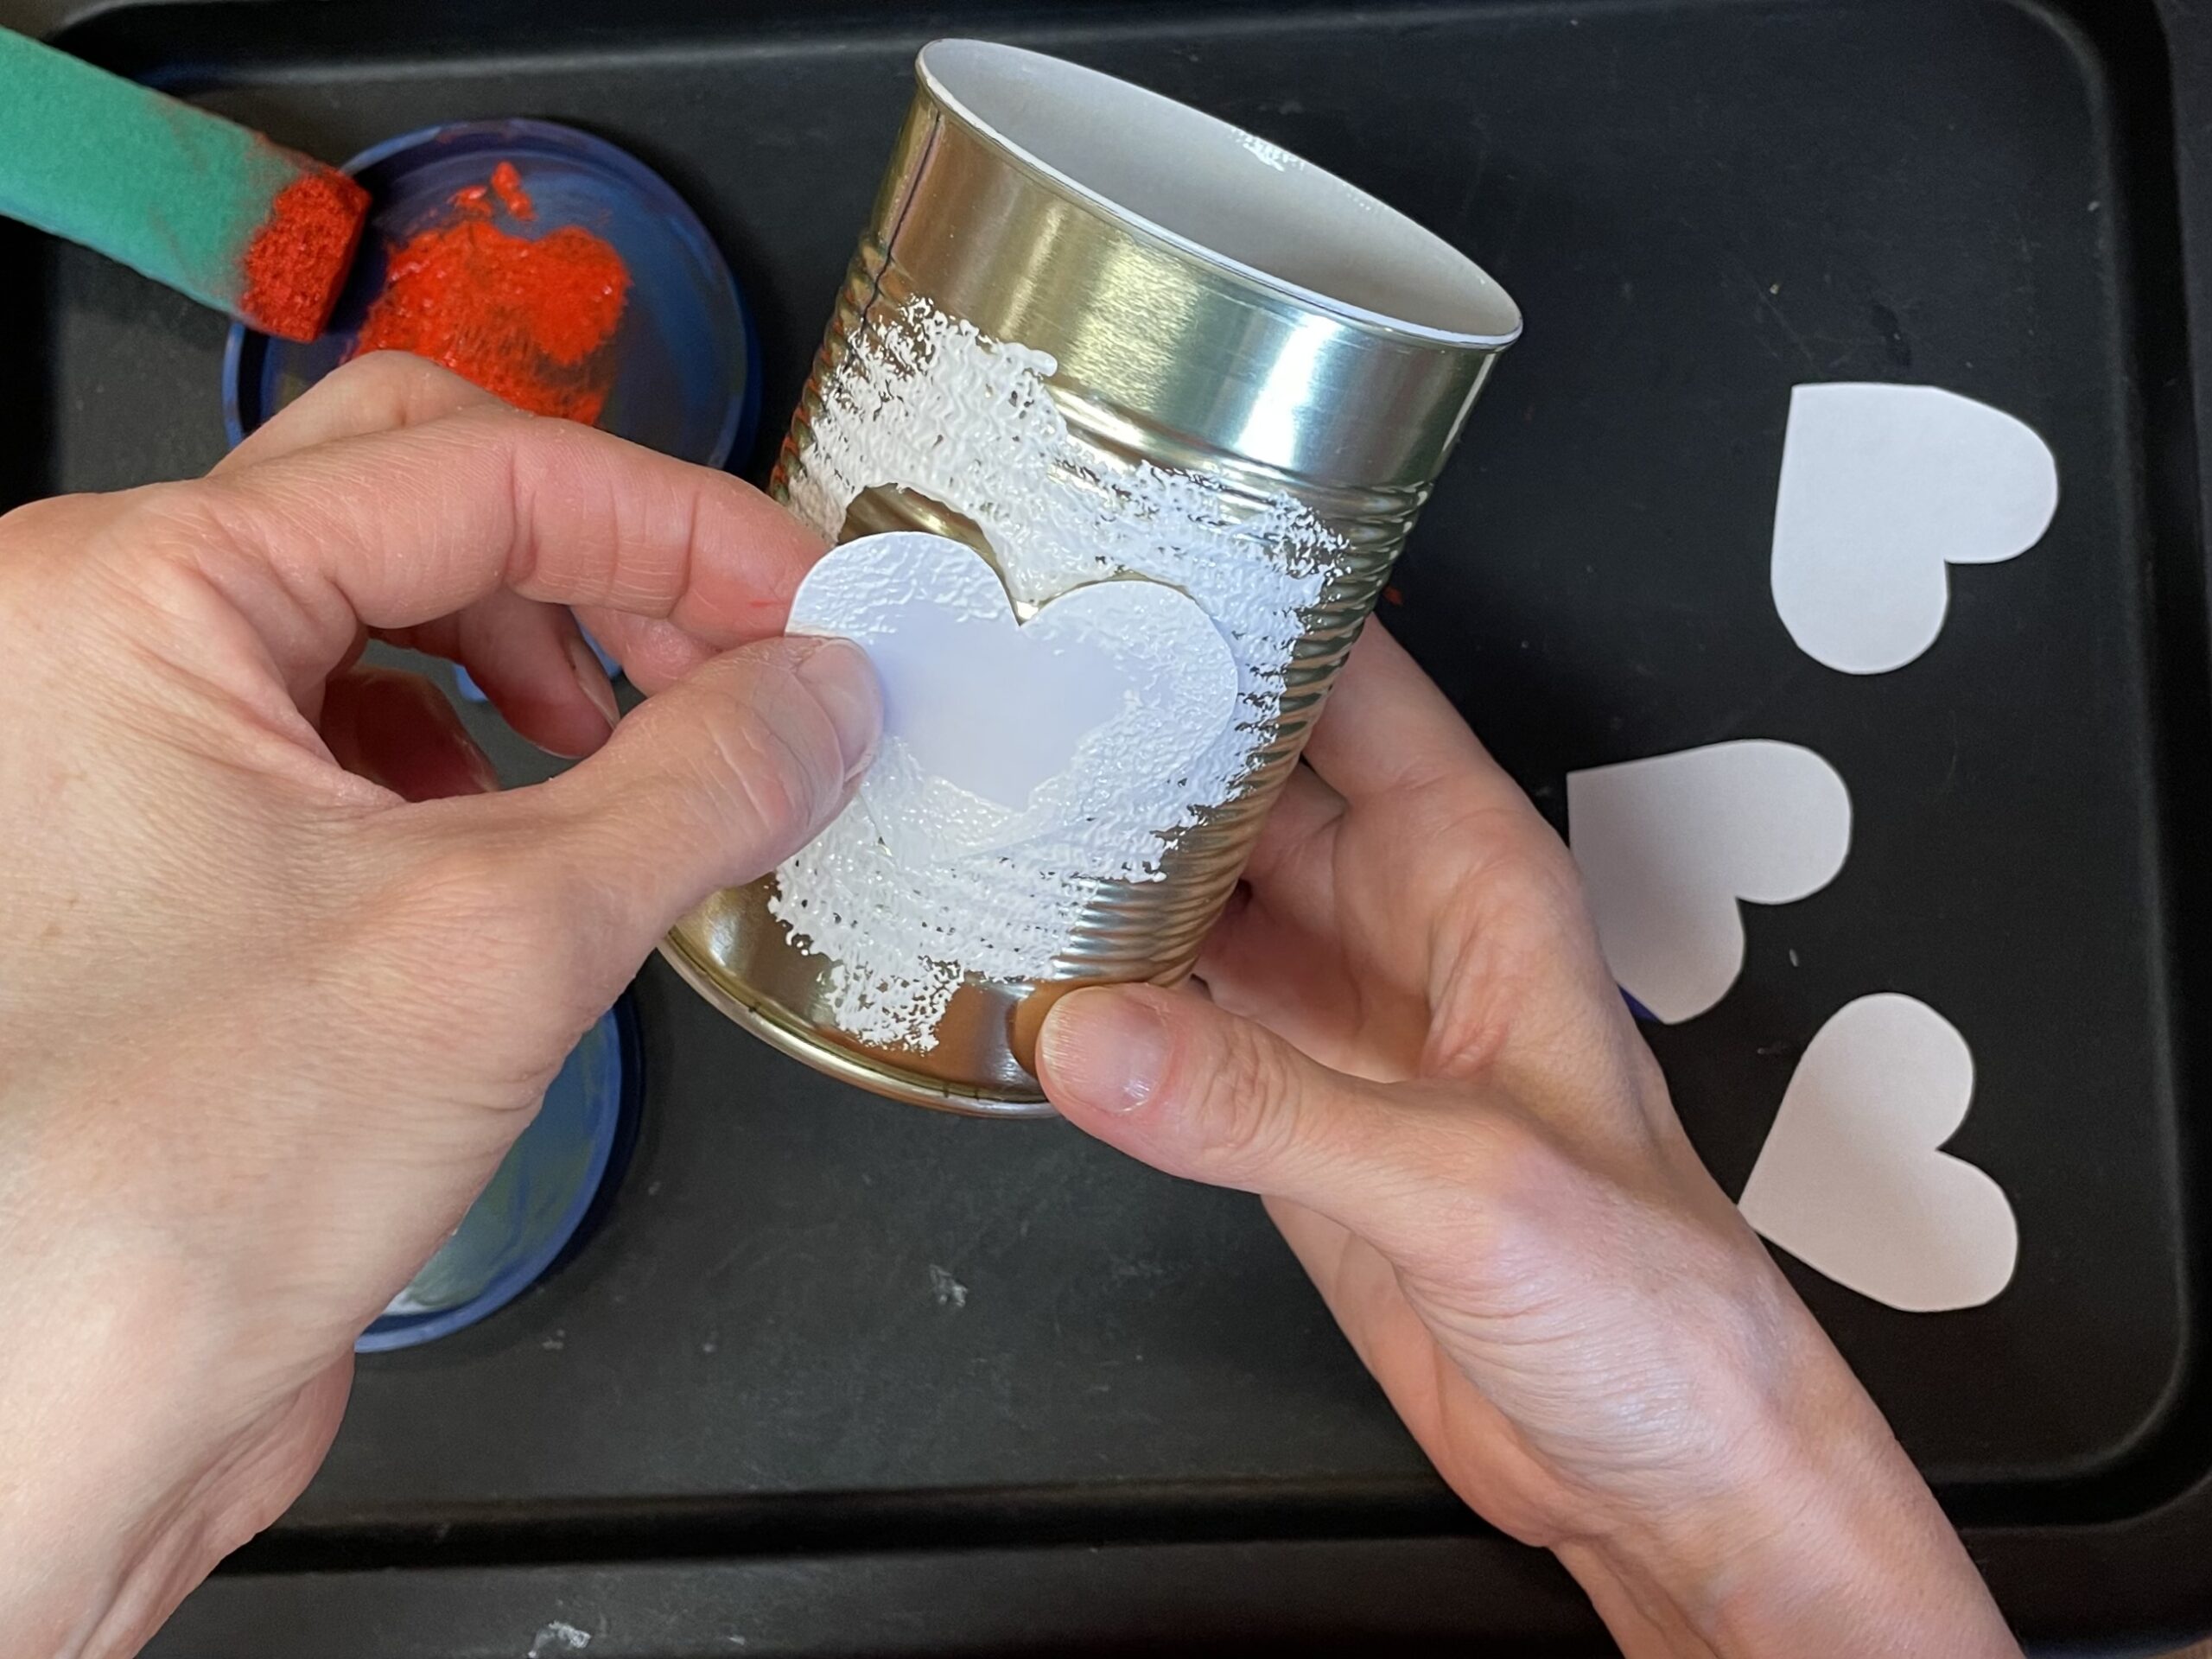


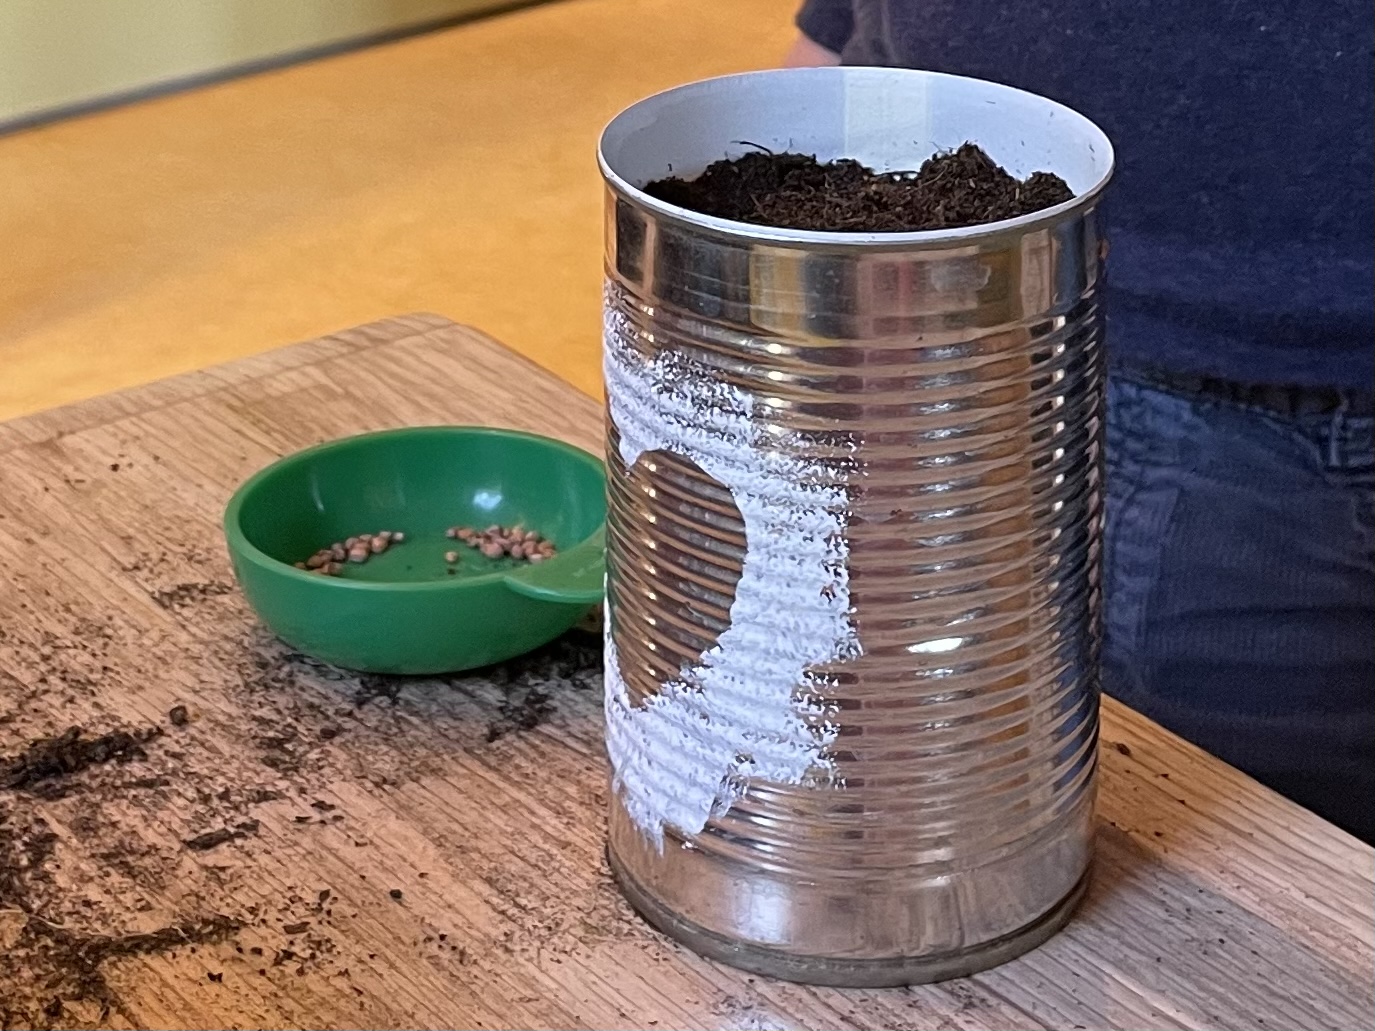
This is how the finished can looks now. Set it up for drying.


In order to be able to use the can as a flower pot, you have to make holes in the bottom of the can so that excess water can flow off when watering.
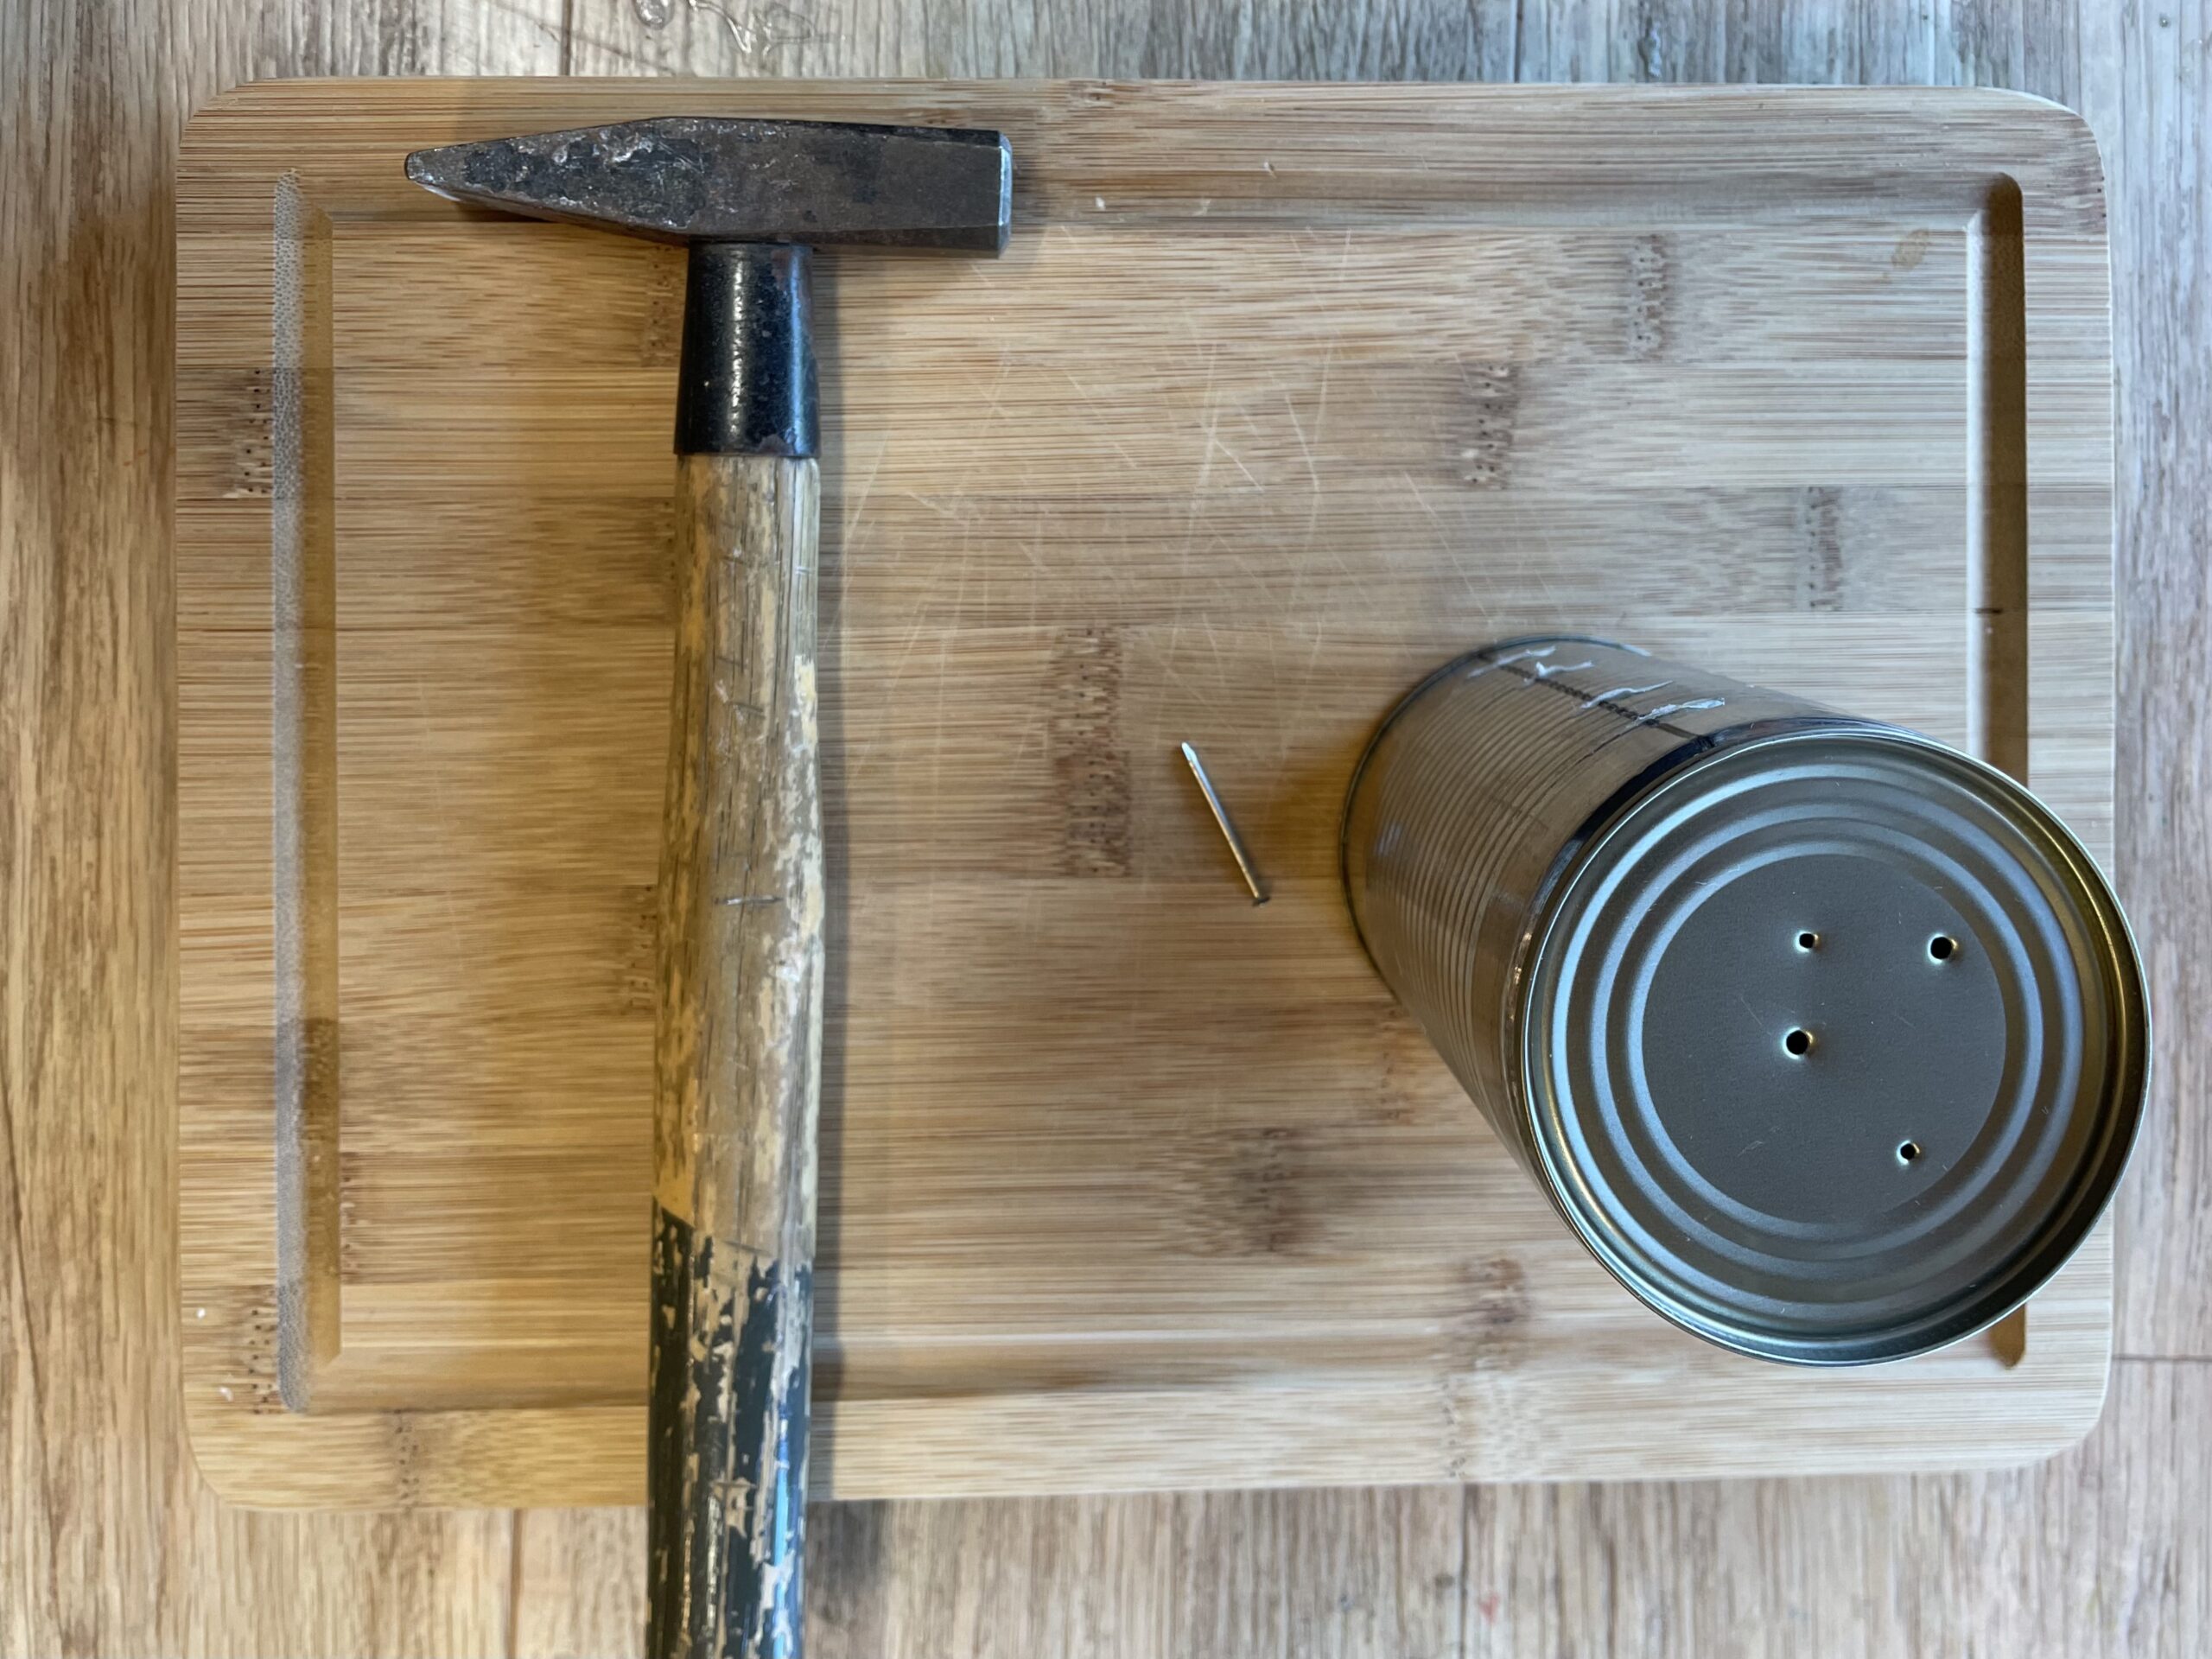
First of all, put a wooden board, a hammer and a nail.
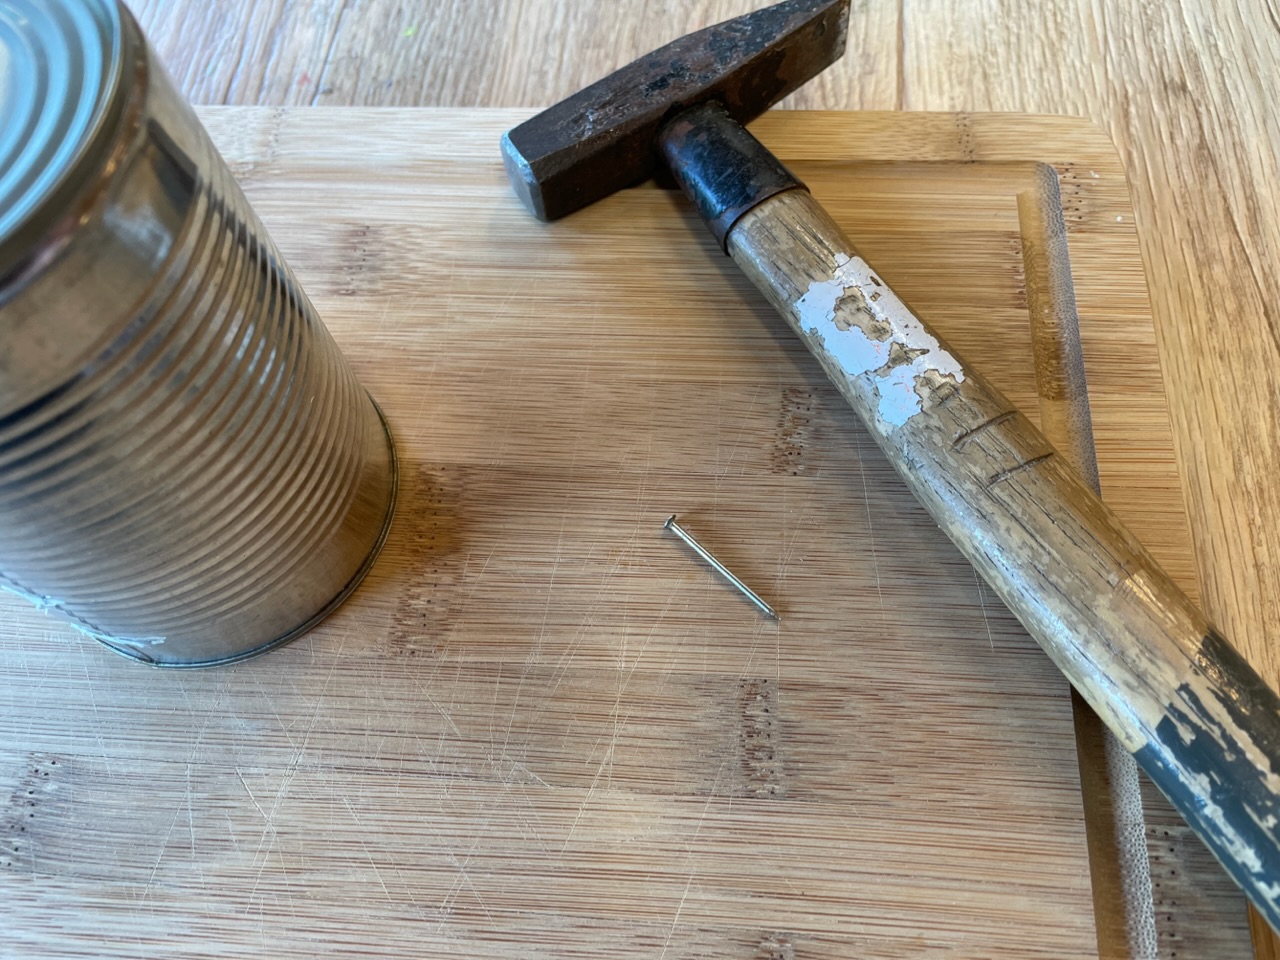


Then tap the can with hammer and nail at least three to four holes. Let an adult help you with this. (Danger of injury!)
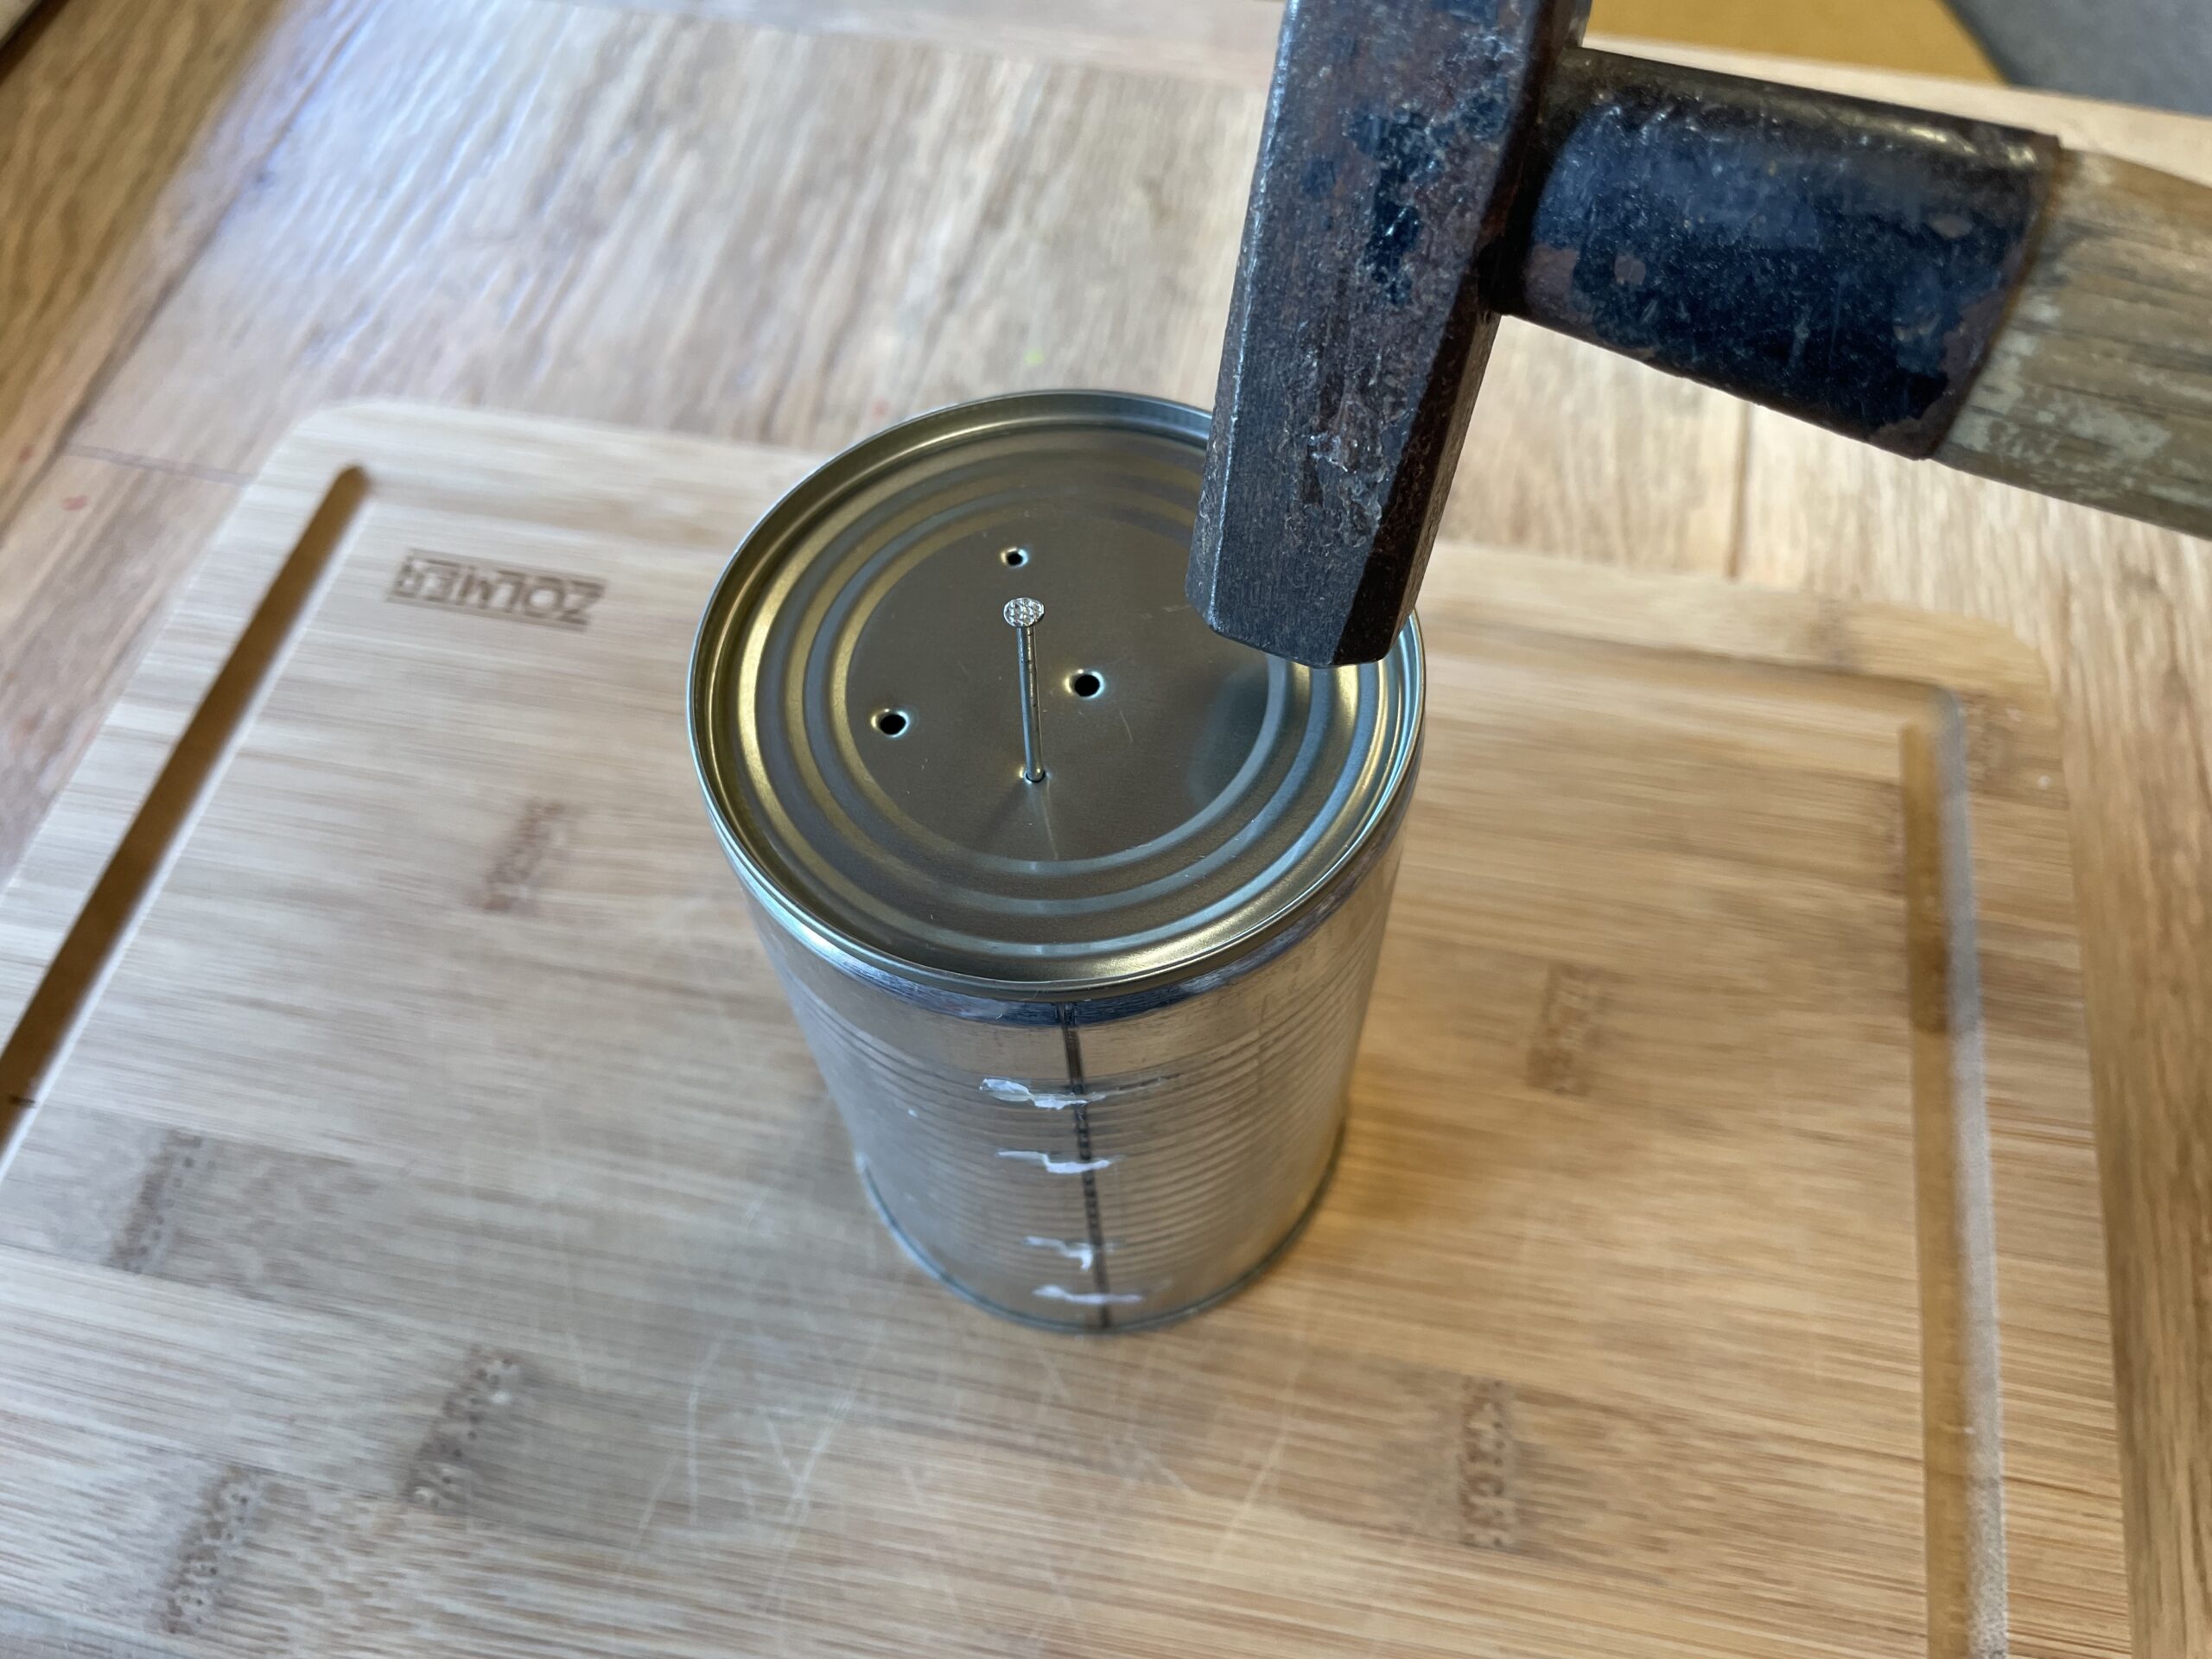


Hold the nail with two fingers and gently knock it on. If the nail is holding alone, you can take your fingers away. If you have a hole in the can, pull the nail out again to make another hole in the can in the same way.
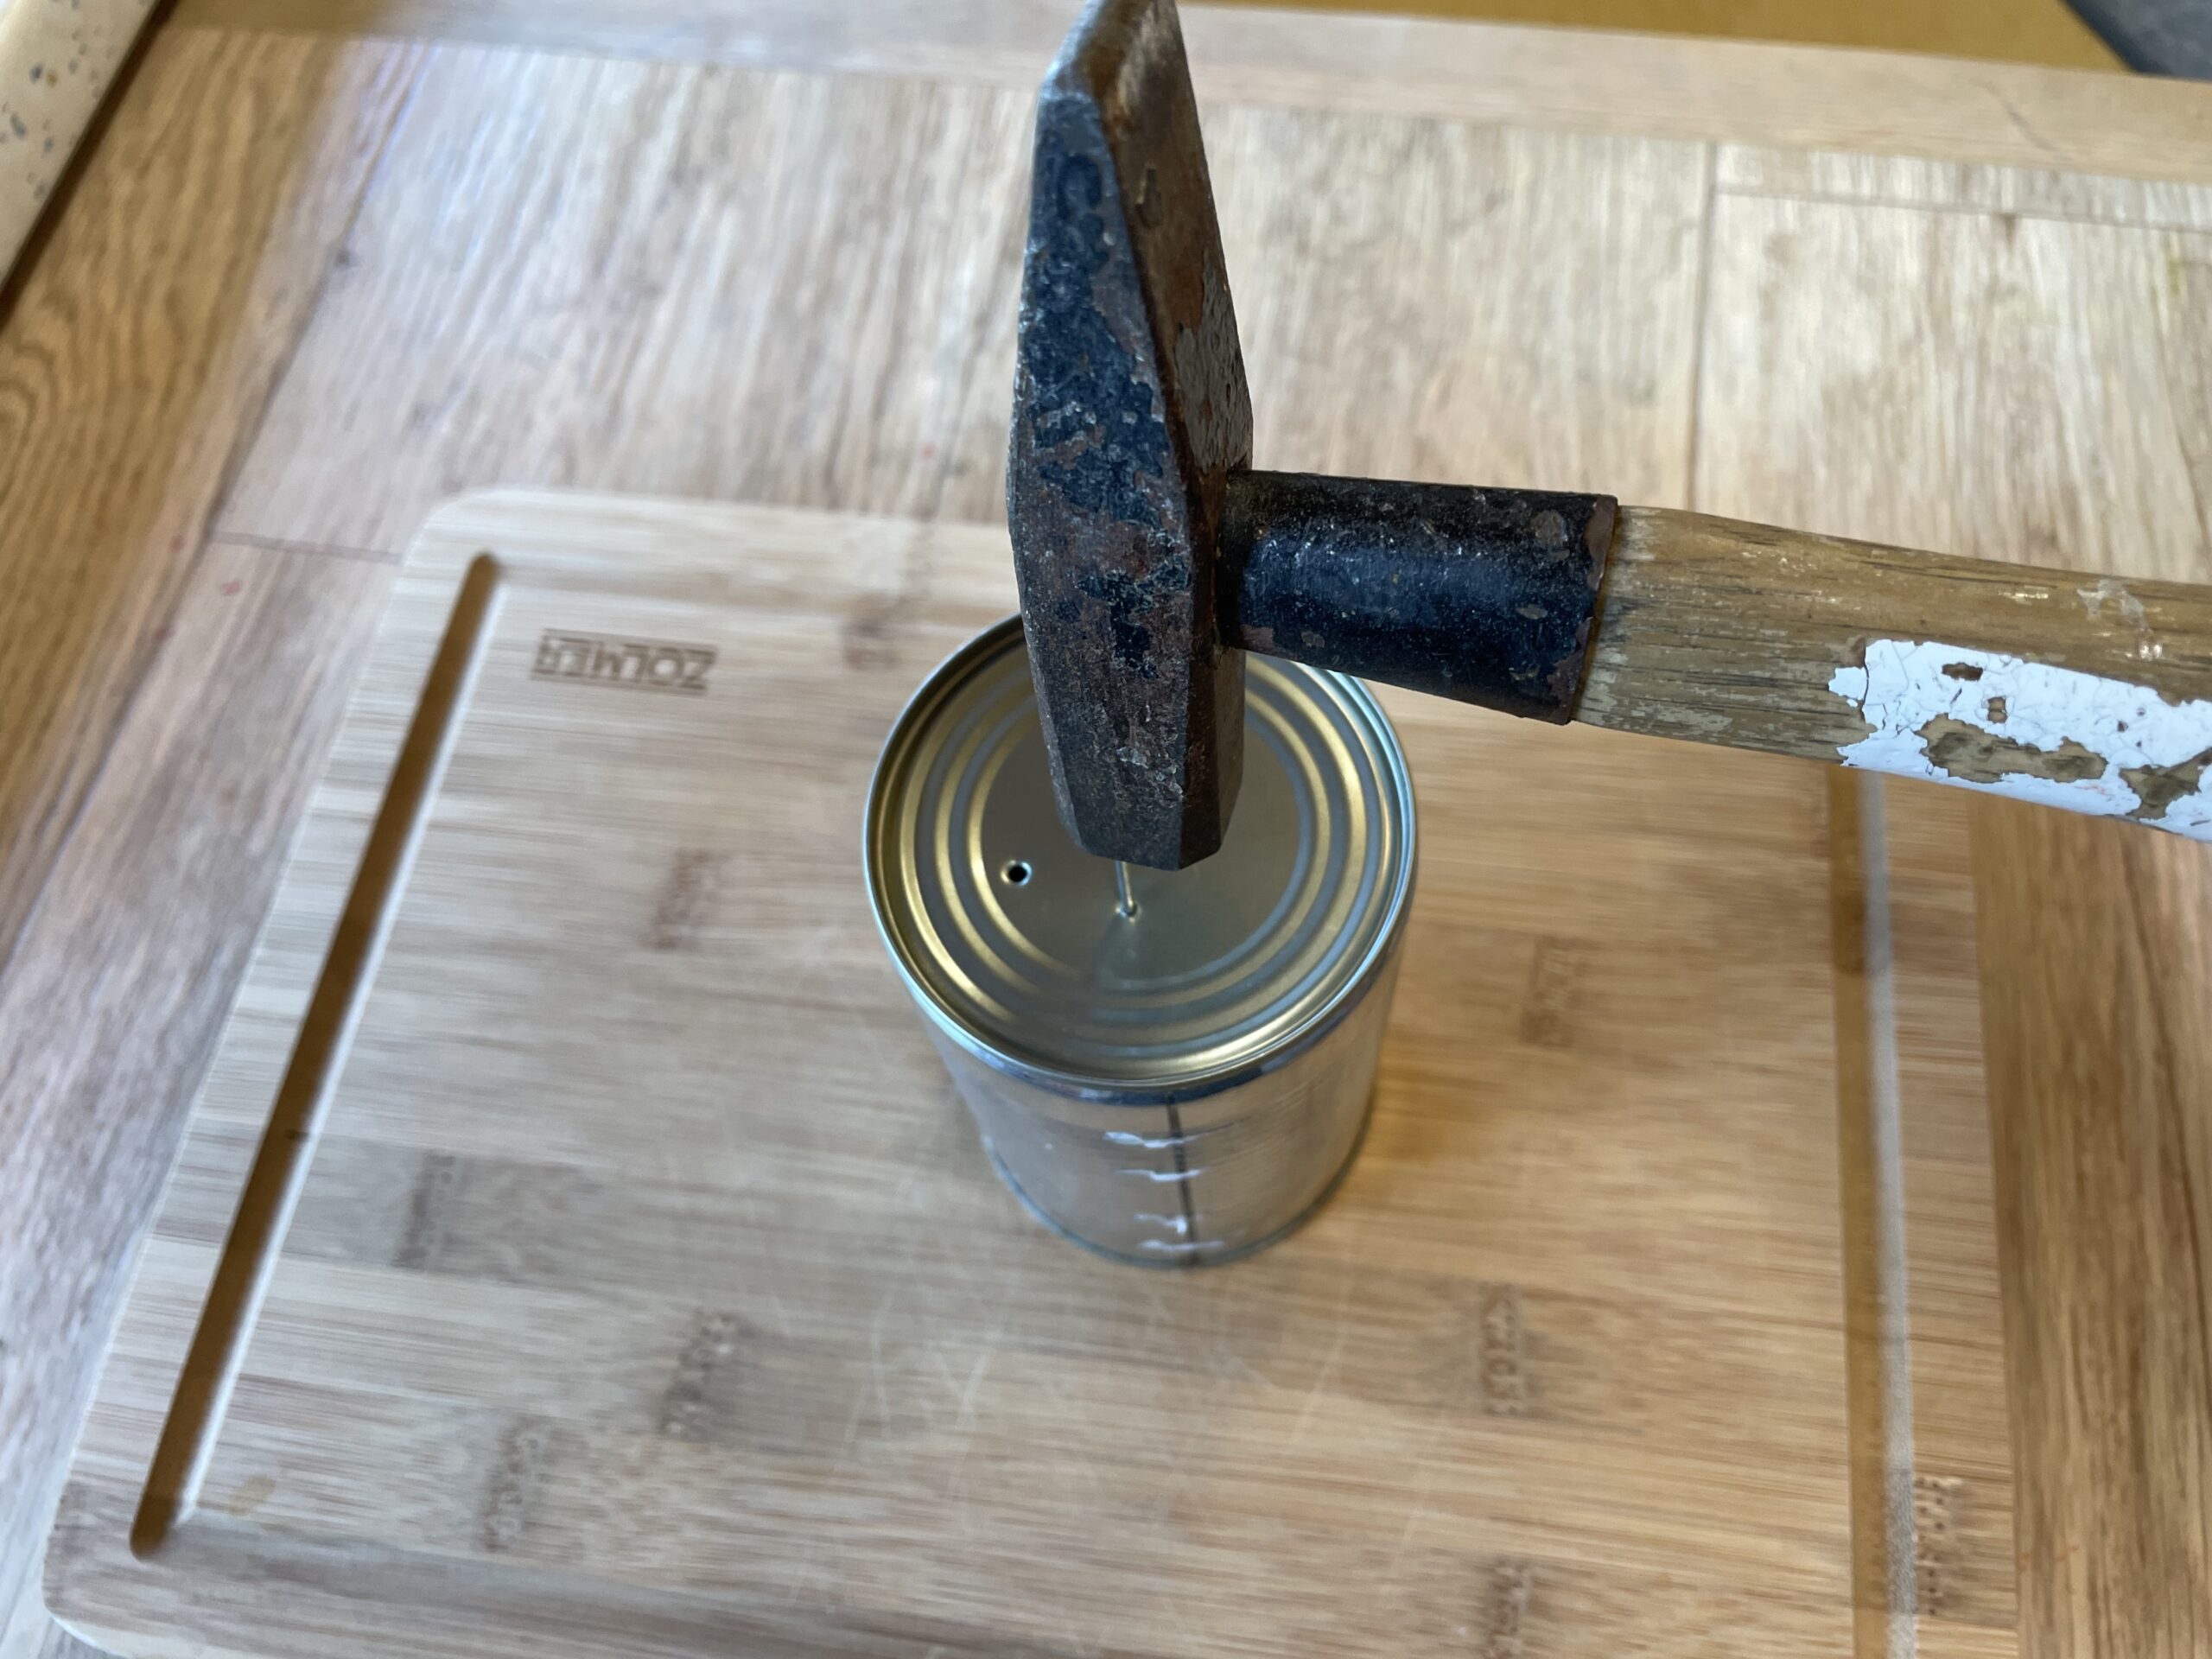


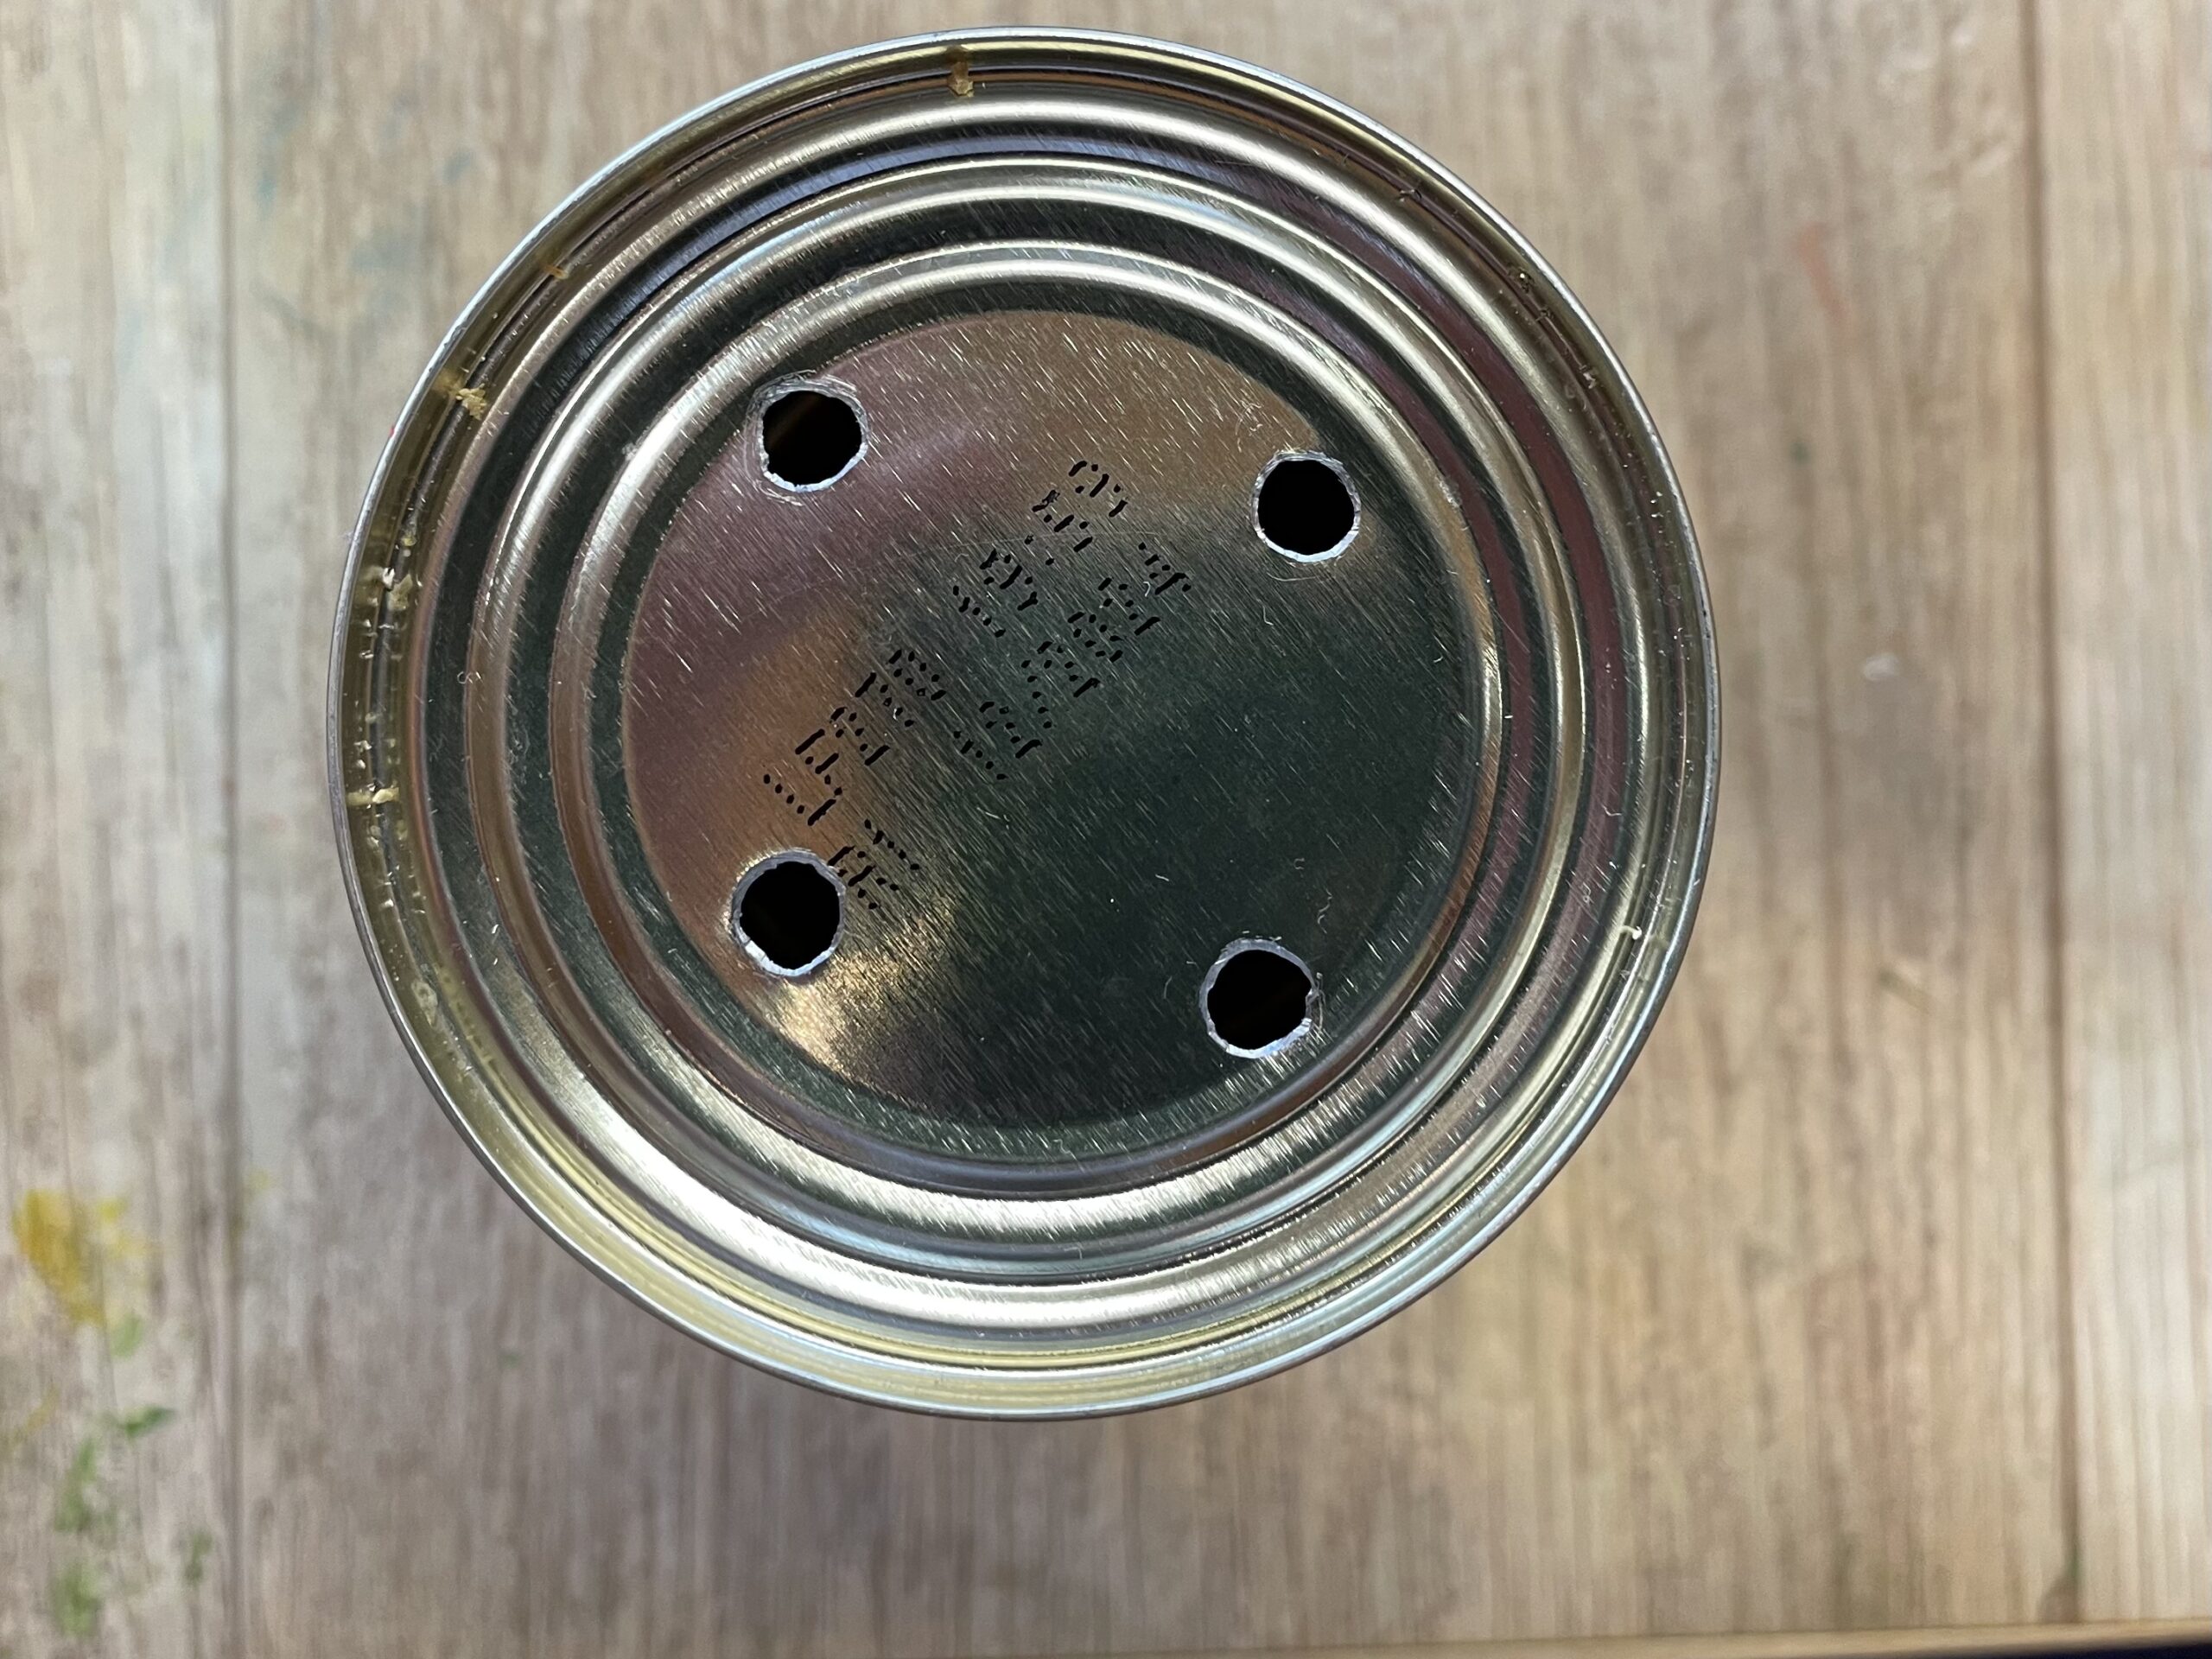
To make holes, you can also use a drill or cordless screwdriver. However, this should be done by an adult.


With a drill, the holes get a little bigger, but that doesn't matter for this purpose.


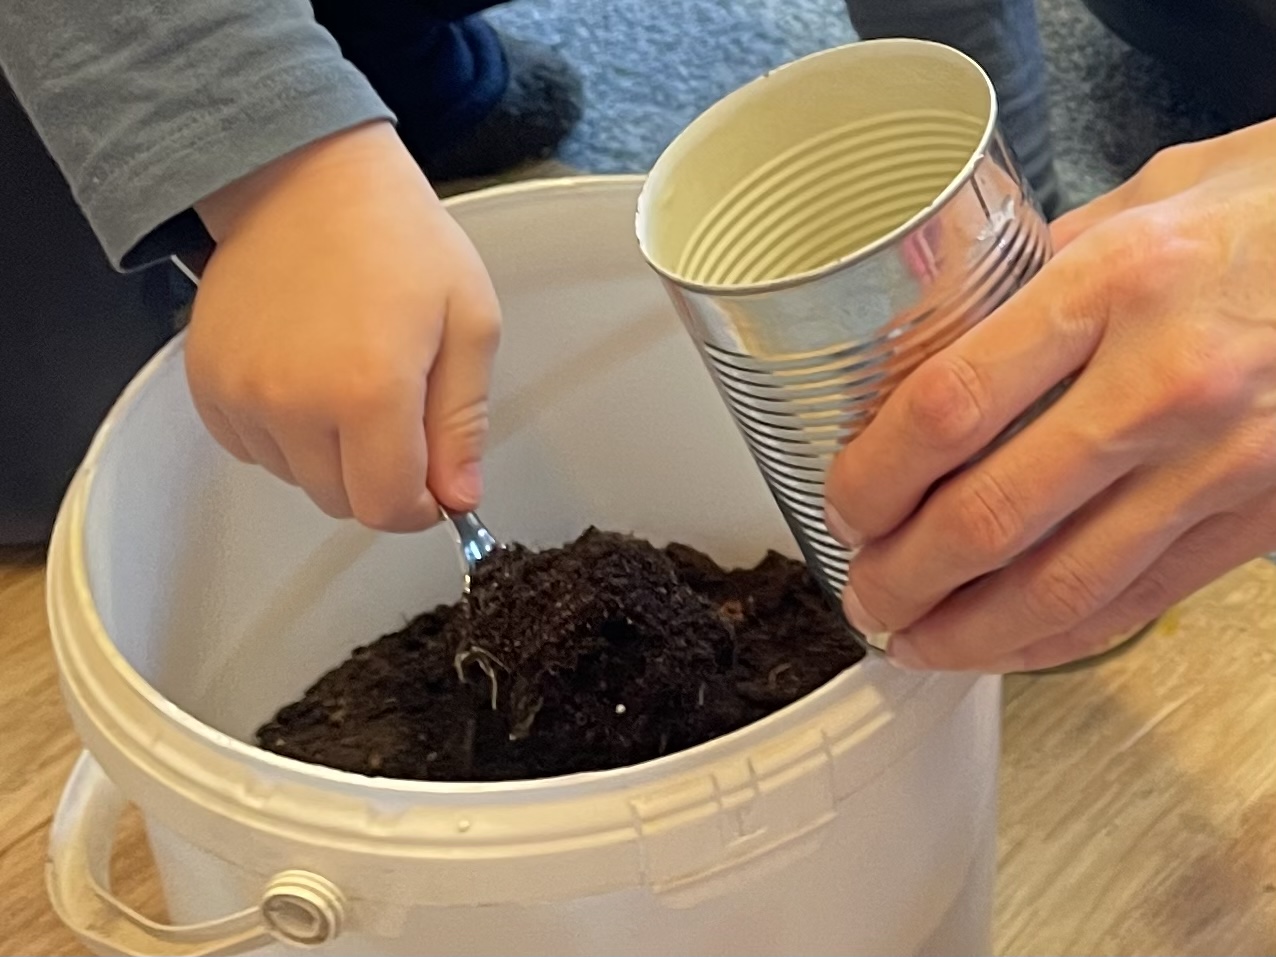
Now you fill the can with soil. With a tablespoon it works best.


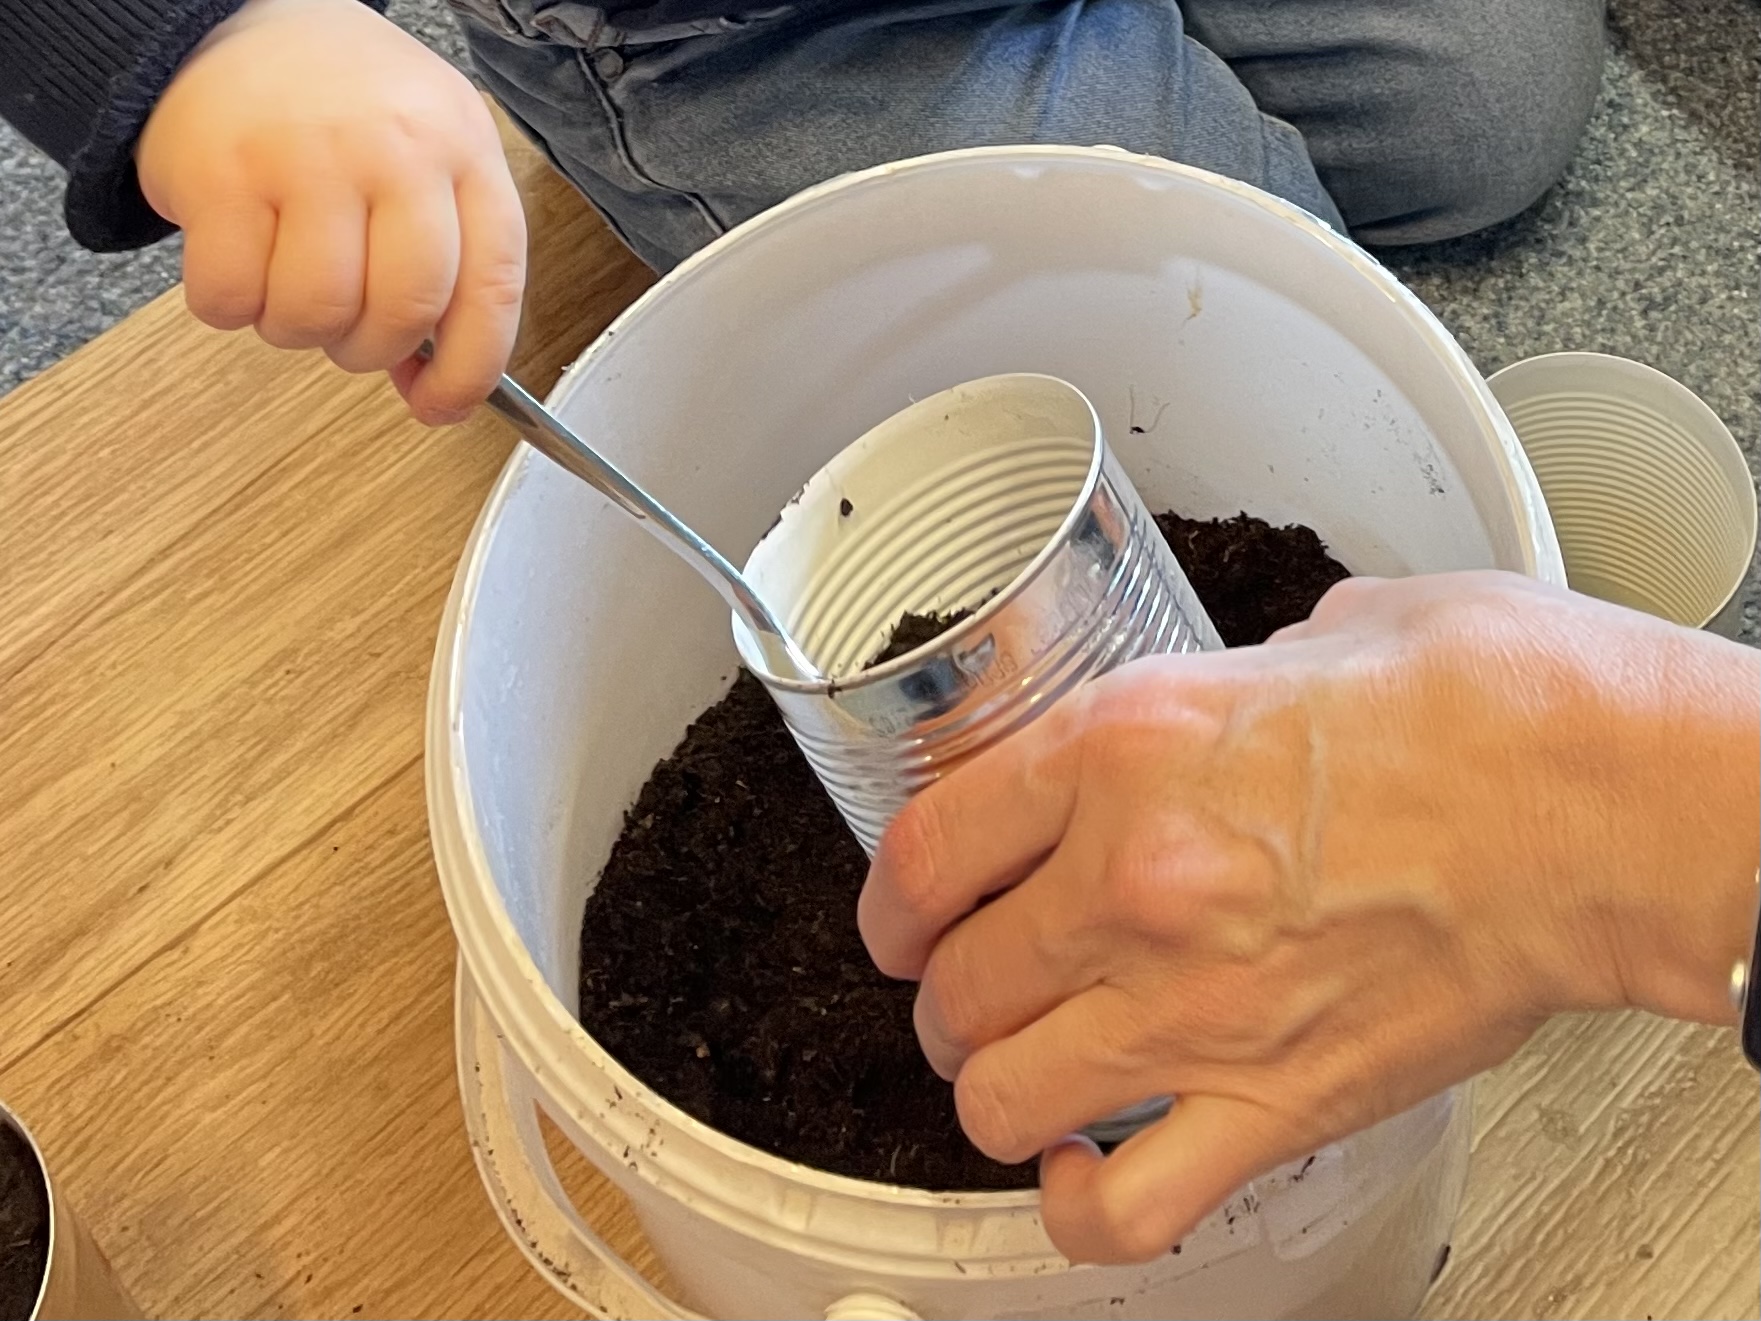
For small children, an adult can hold the can slightly oblique, then filling is easier. If the can is filled, press the earth a bit.


Now sow. Take the radishes seeds and place 3-4 on the earth with sufficient distance.
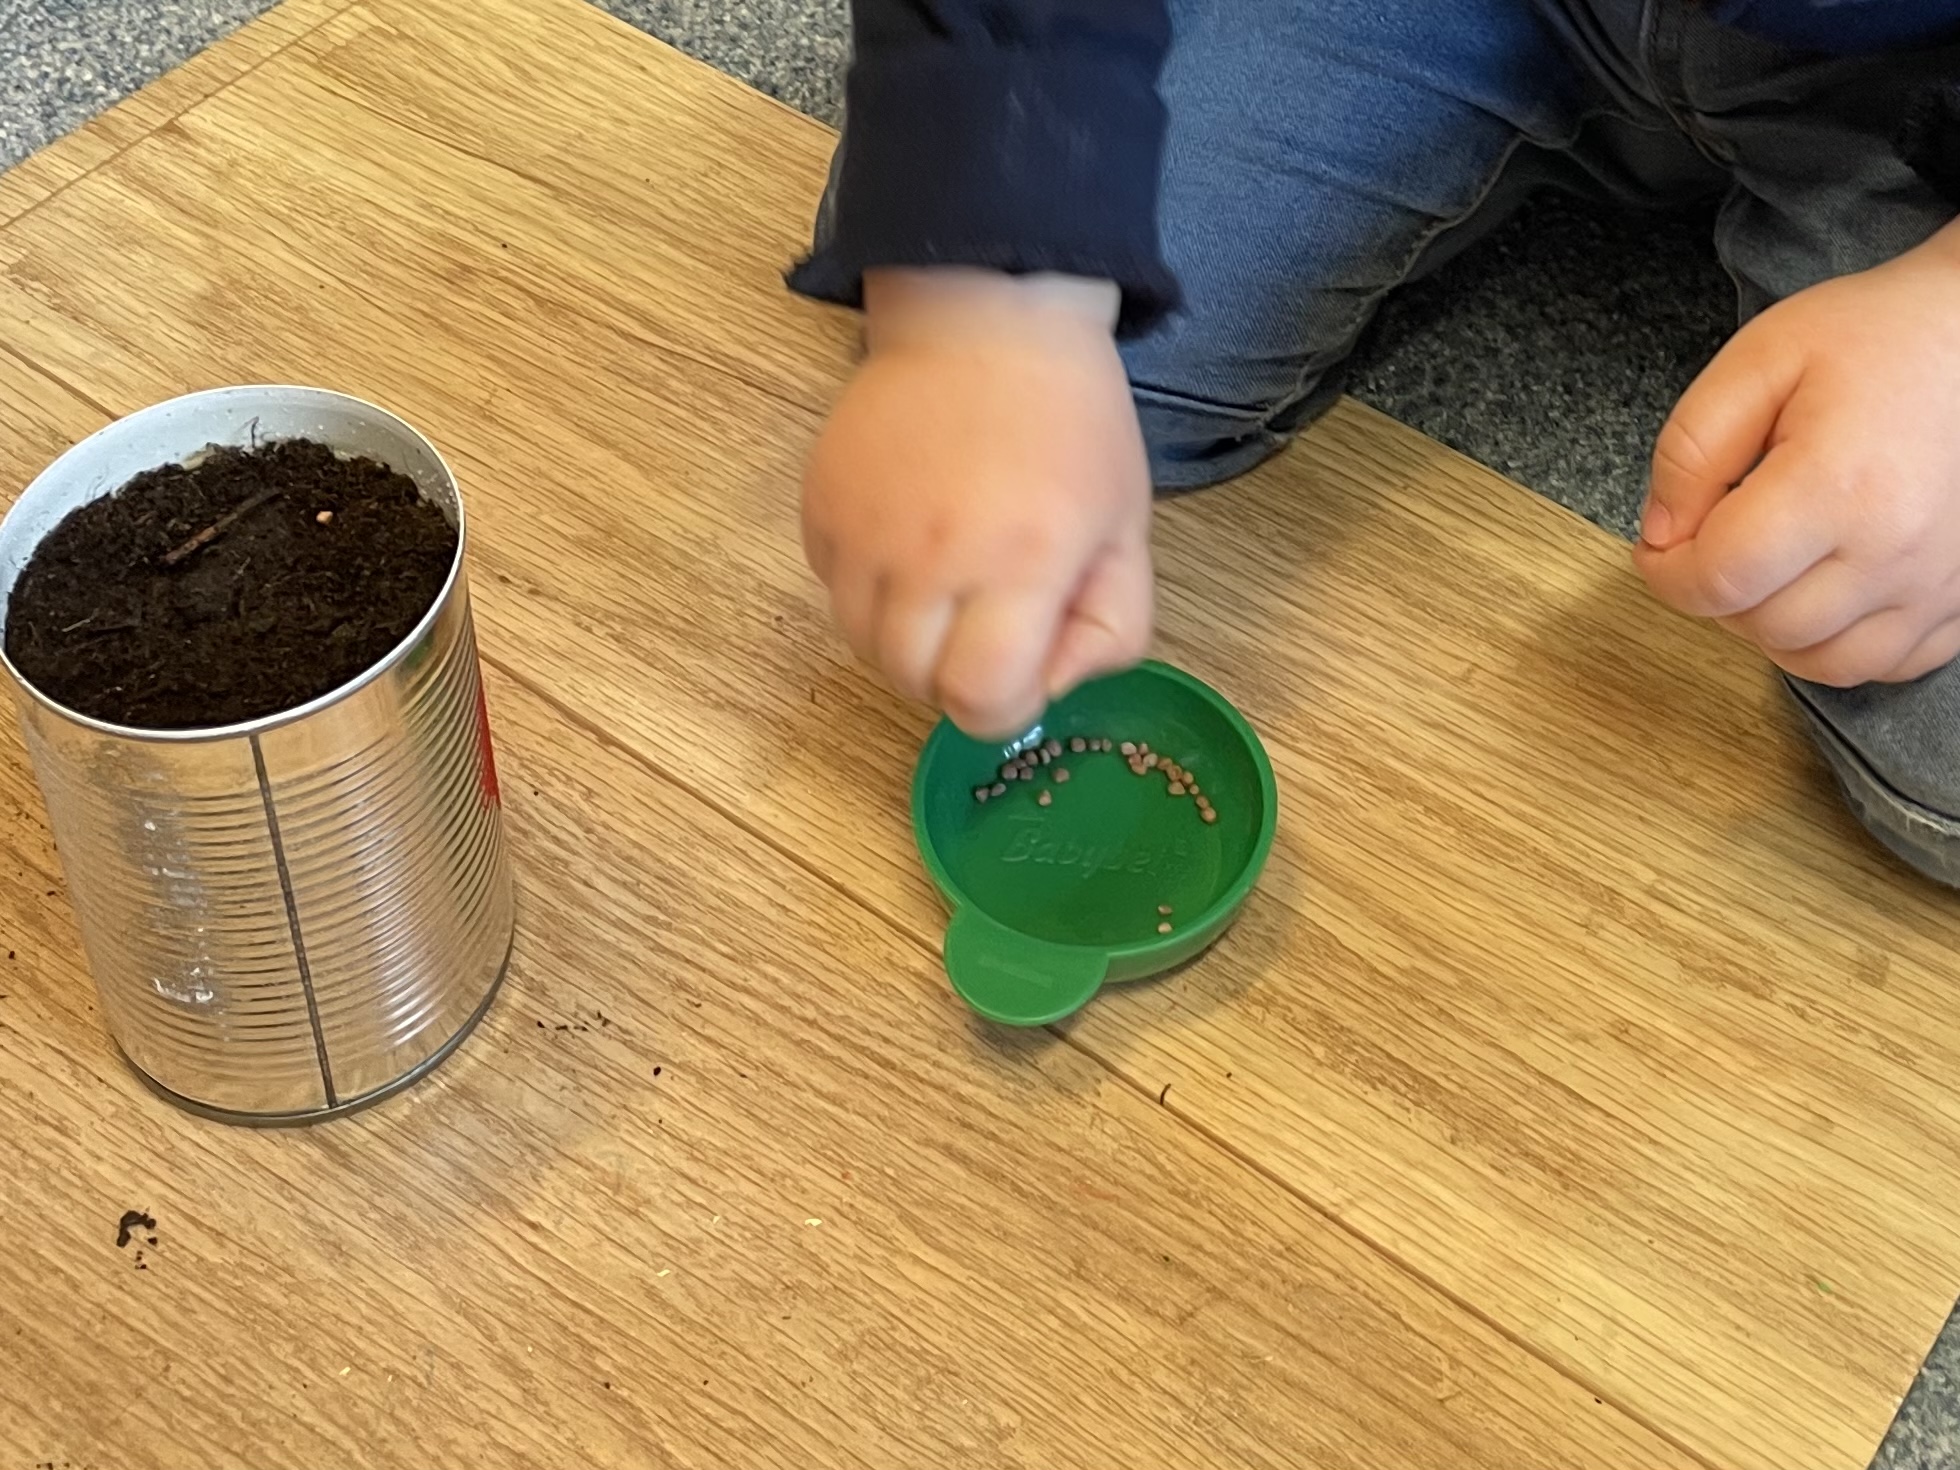


That's a nice fine motor exercise.
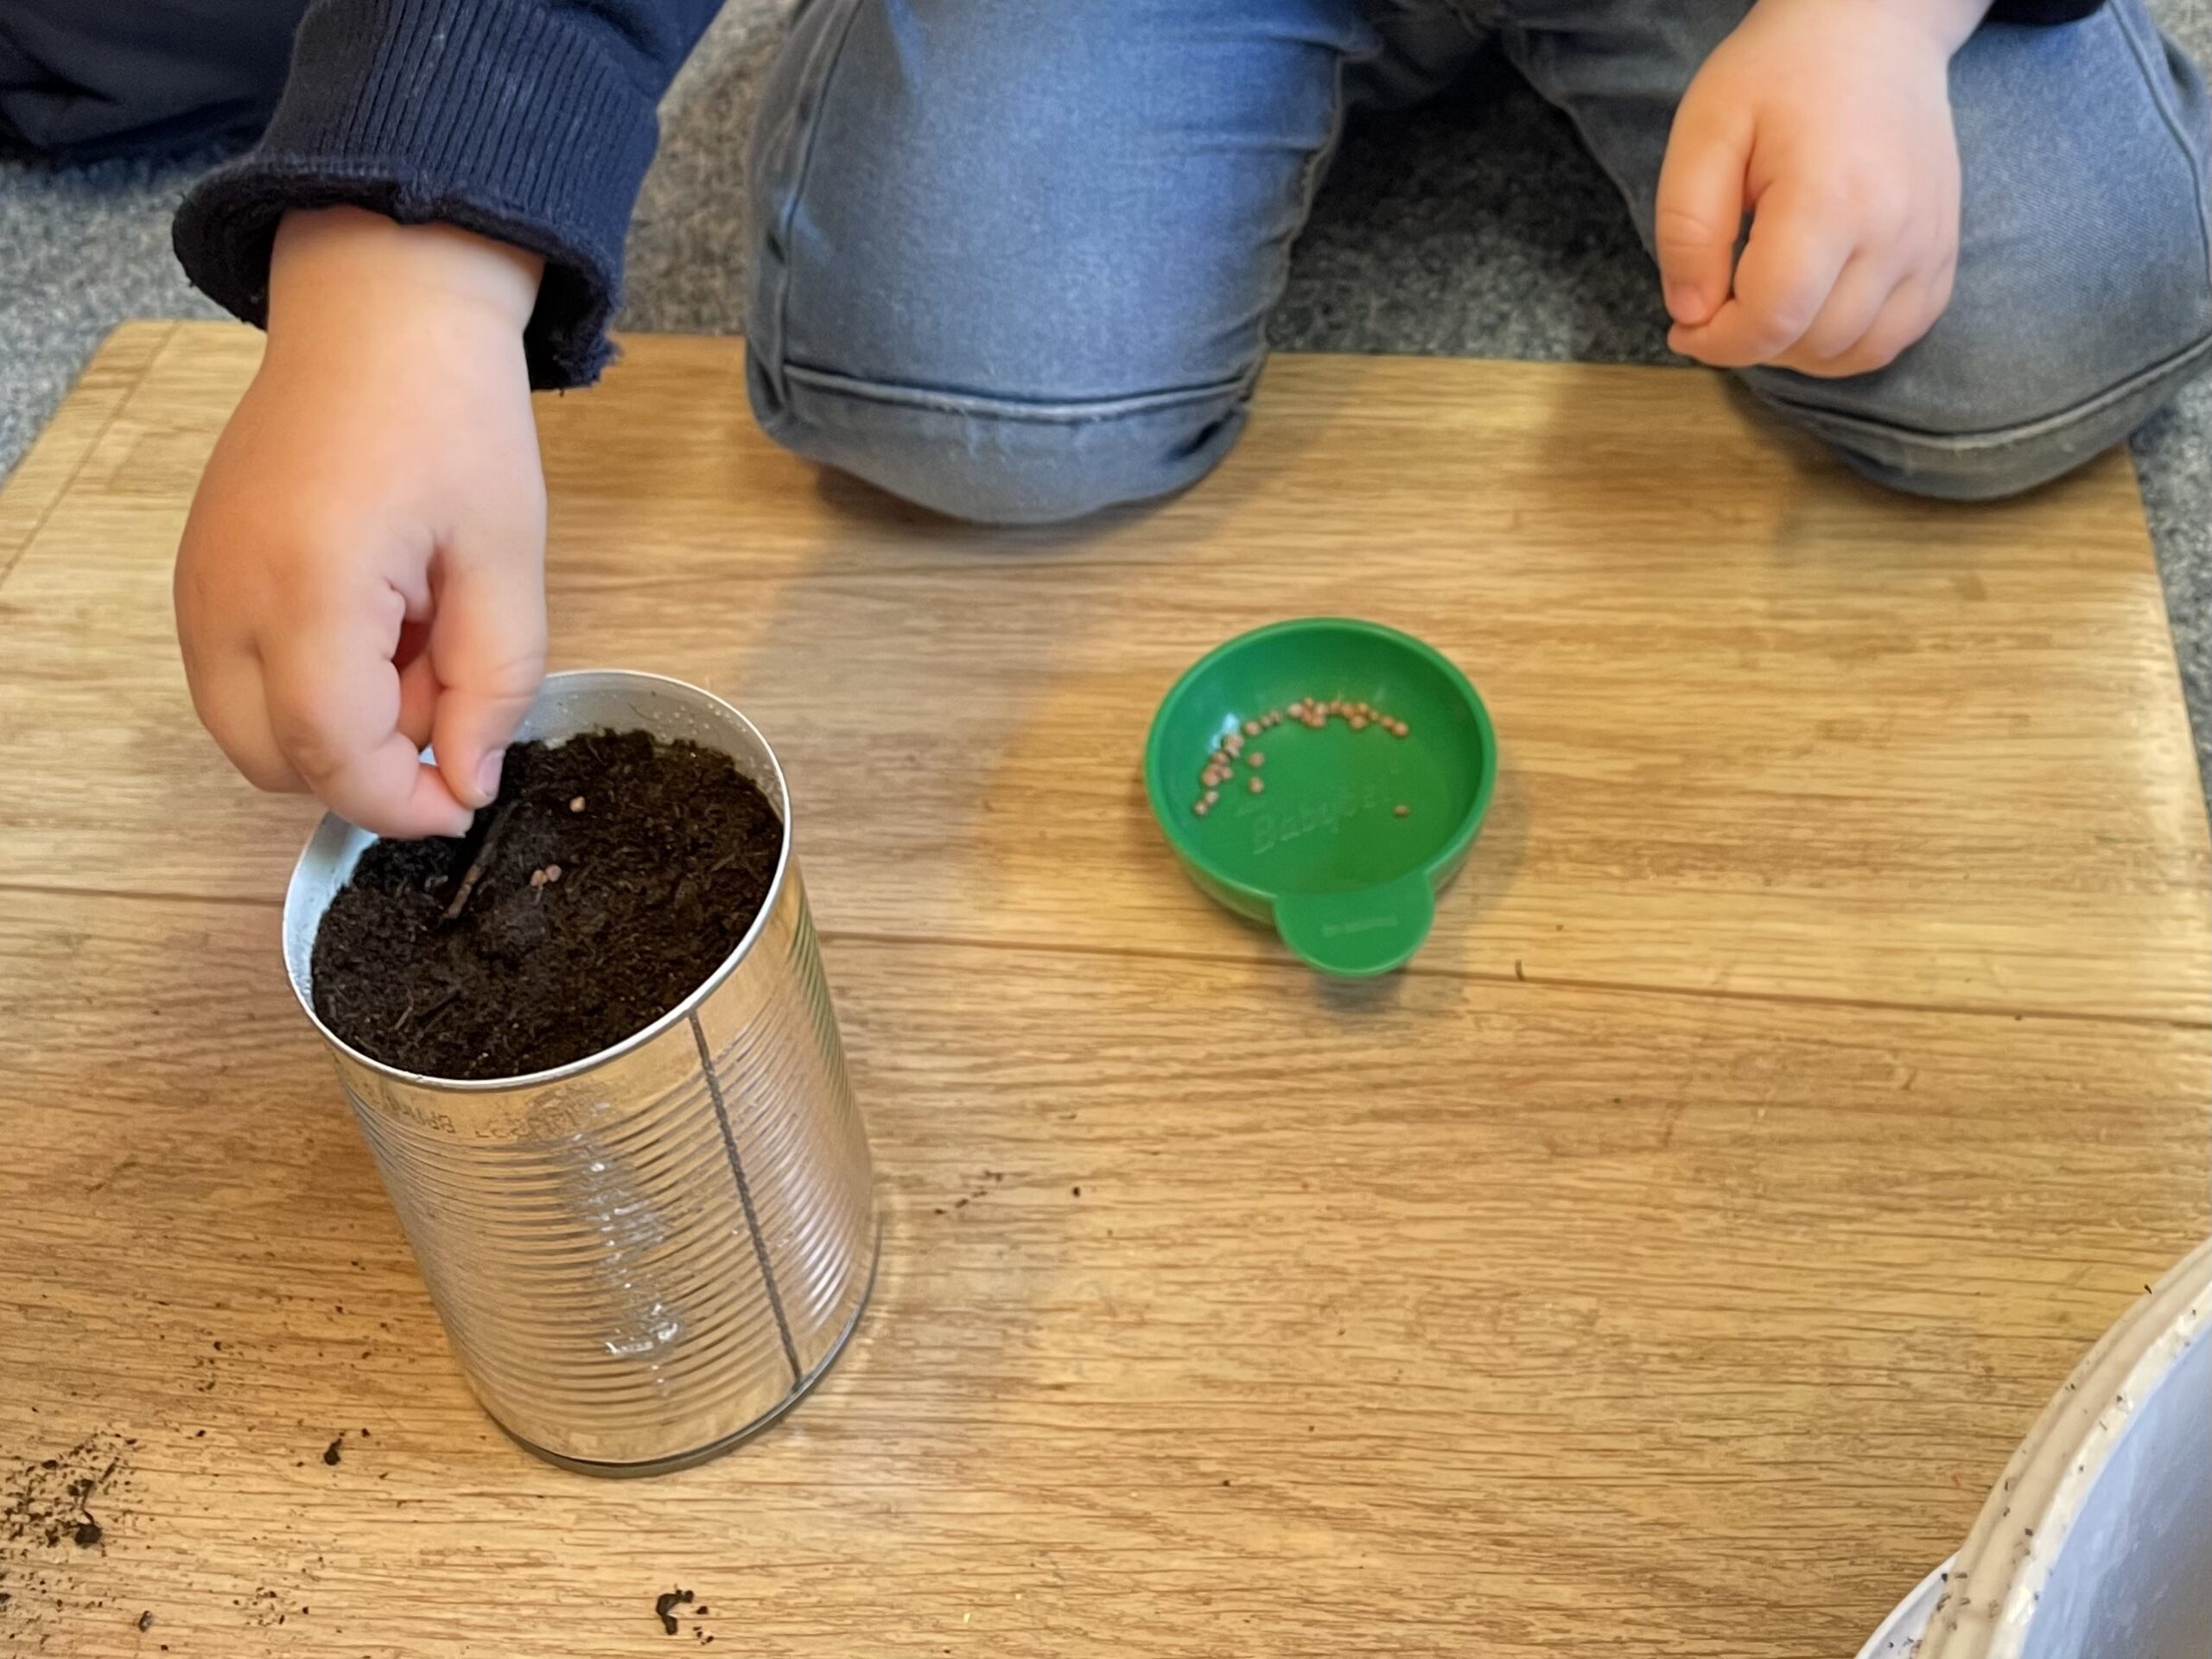


At the end you spread some soil over the seeds. The can is ready.


With a water spray bottle you can moisten the earth.
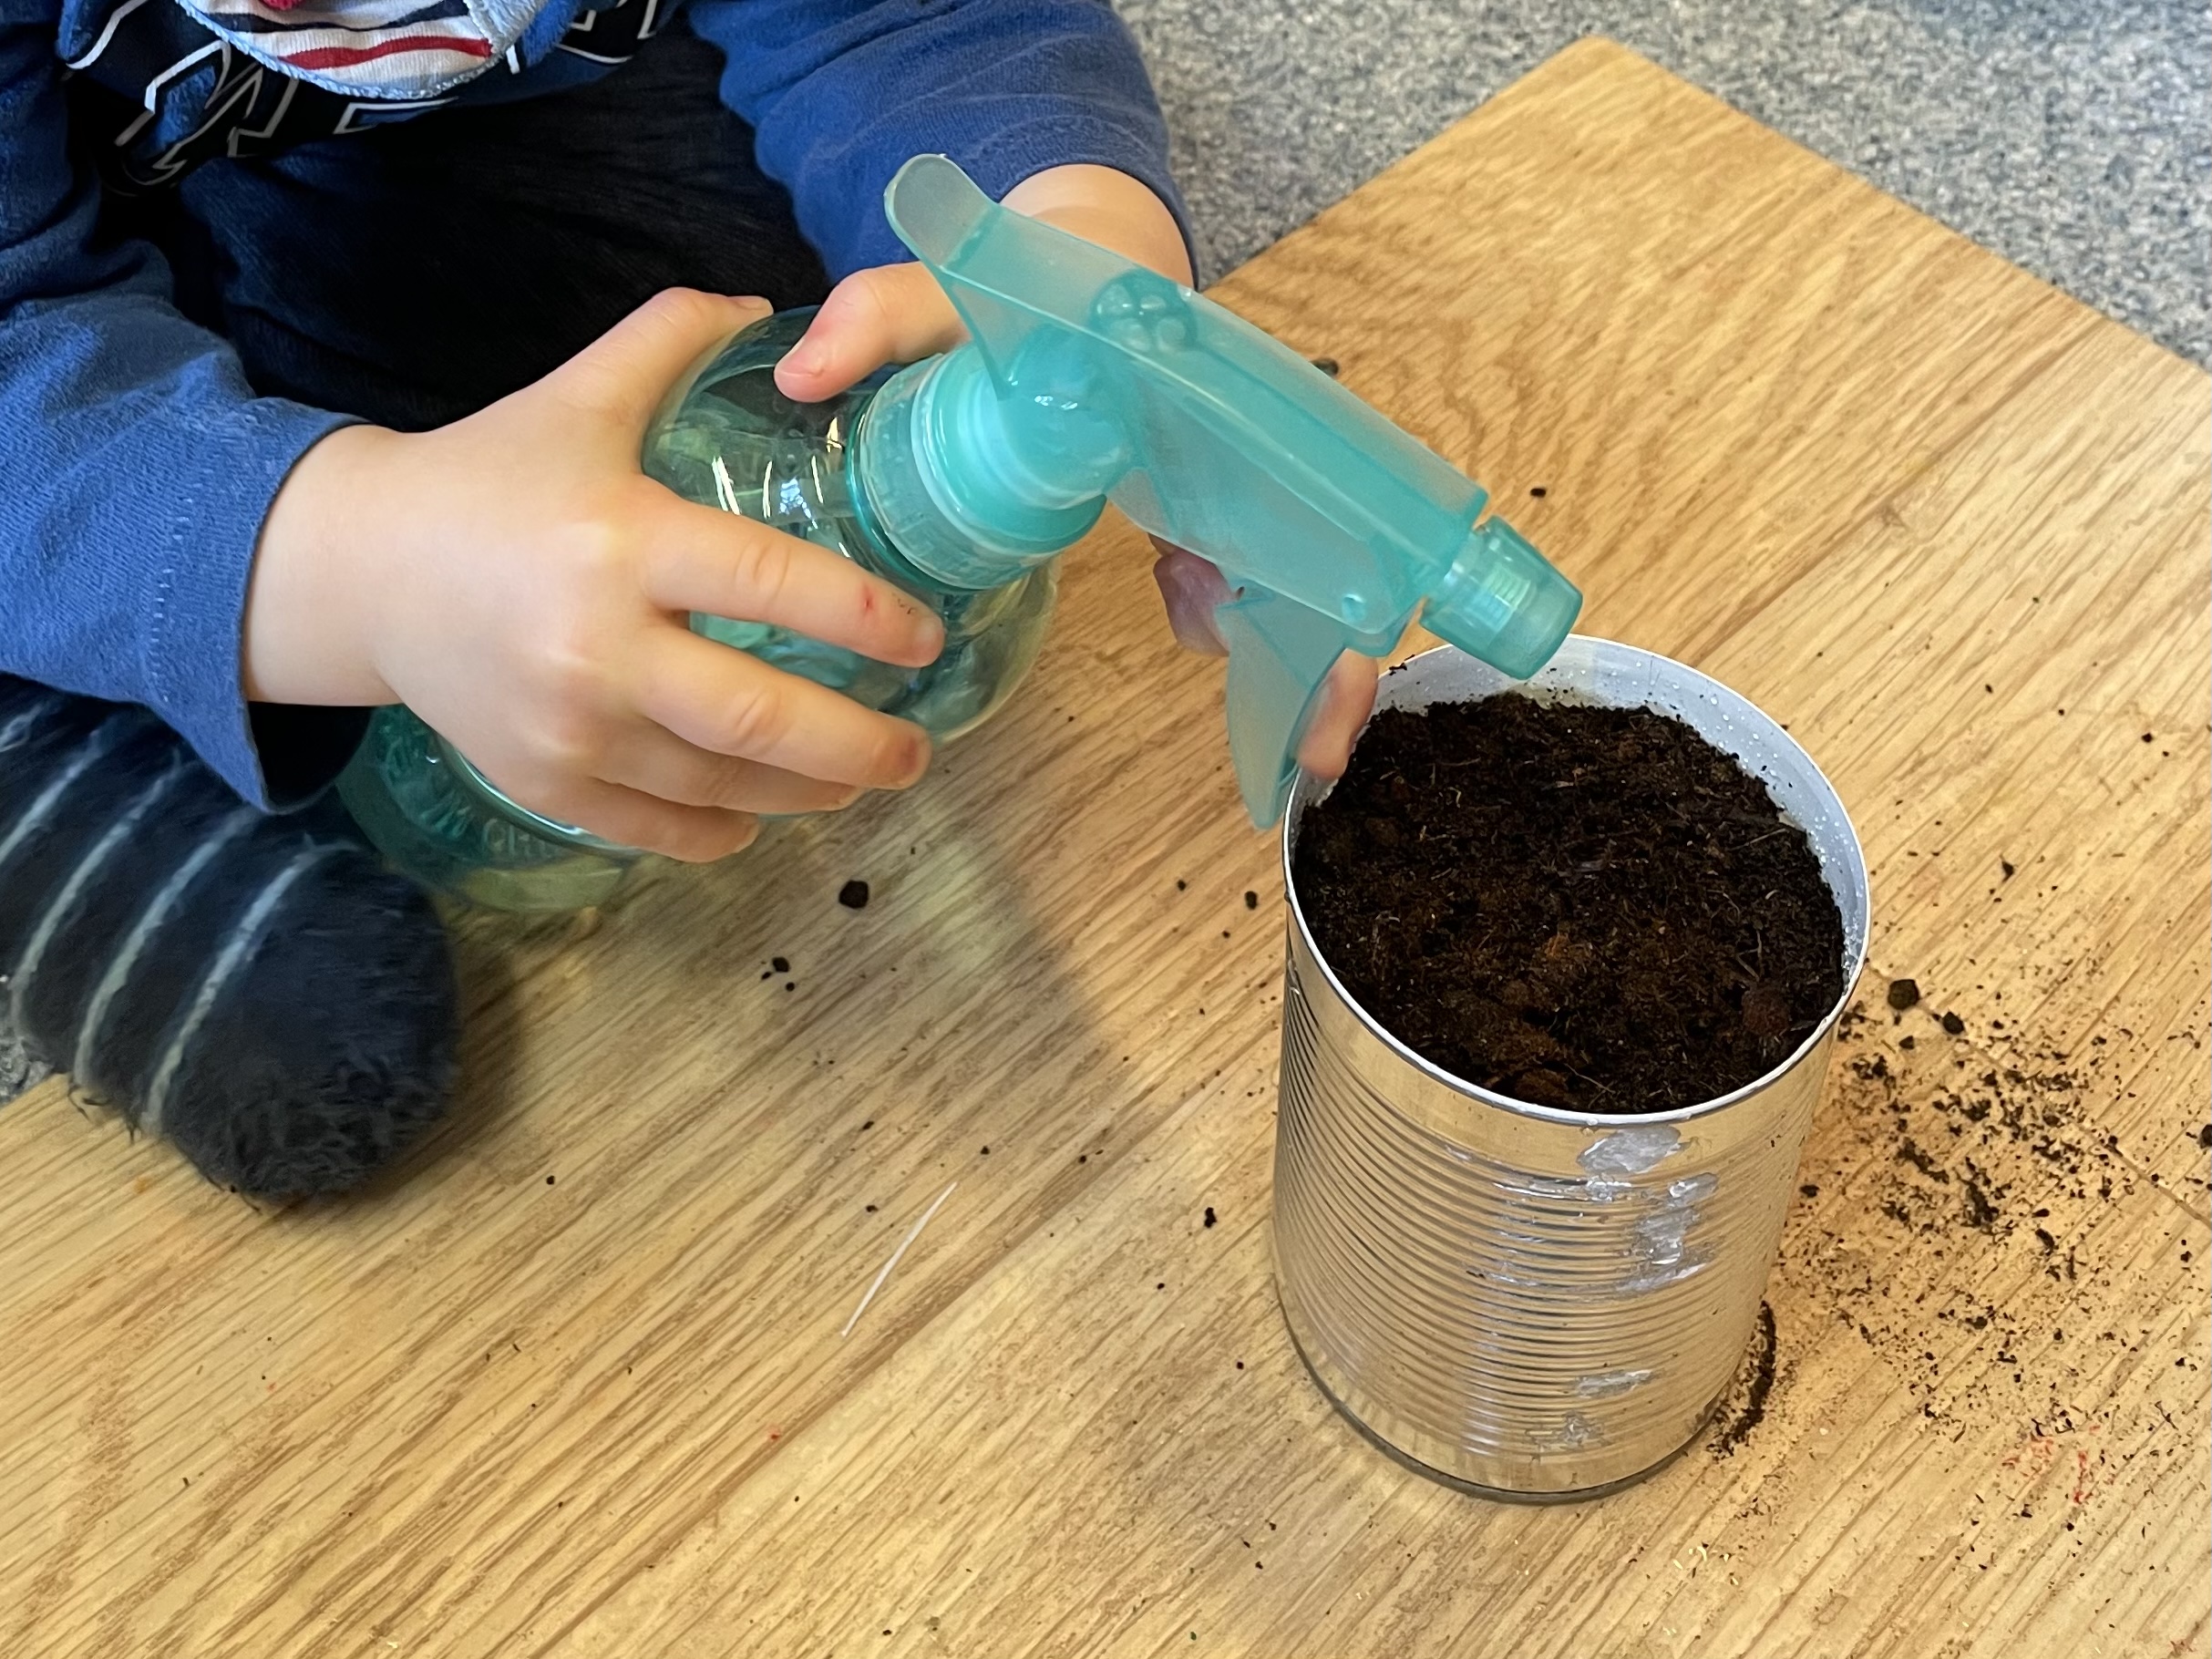


The soil is not washed away and the seeds do not "drink". The soil is only moist. If the spraying is repeated several times at a distance, the lower soil becomes moist.
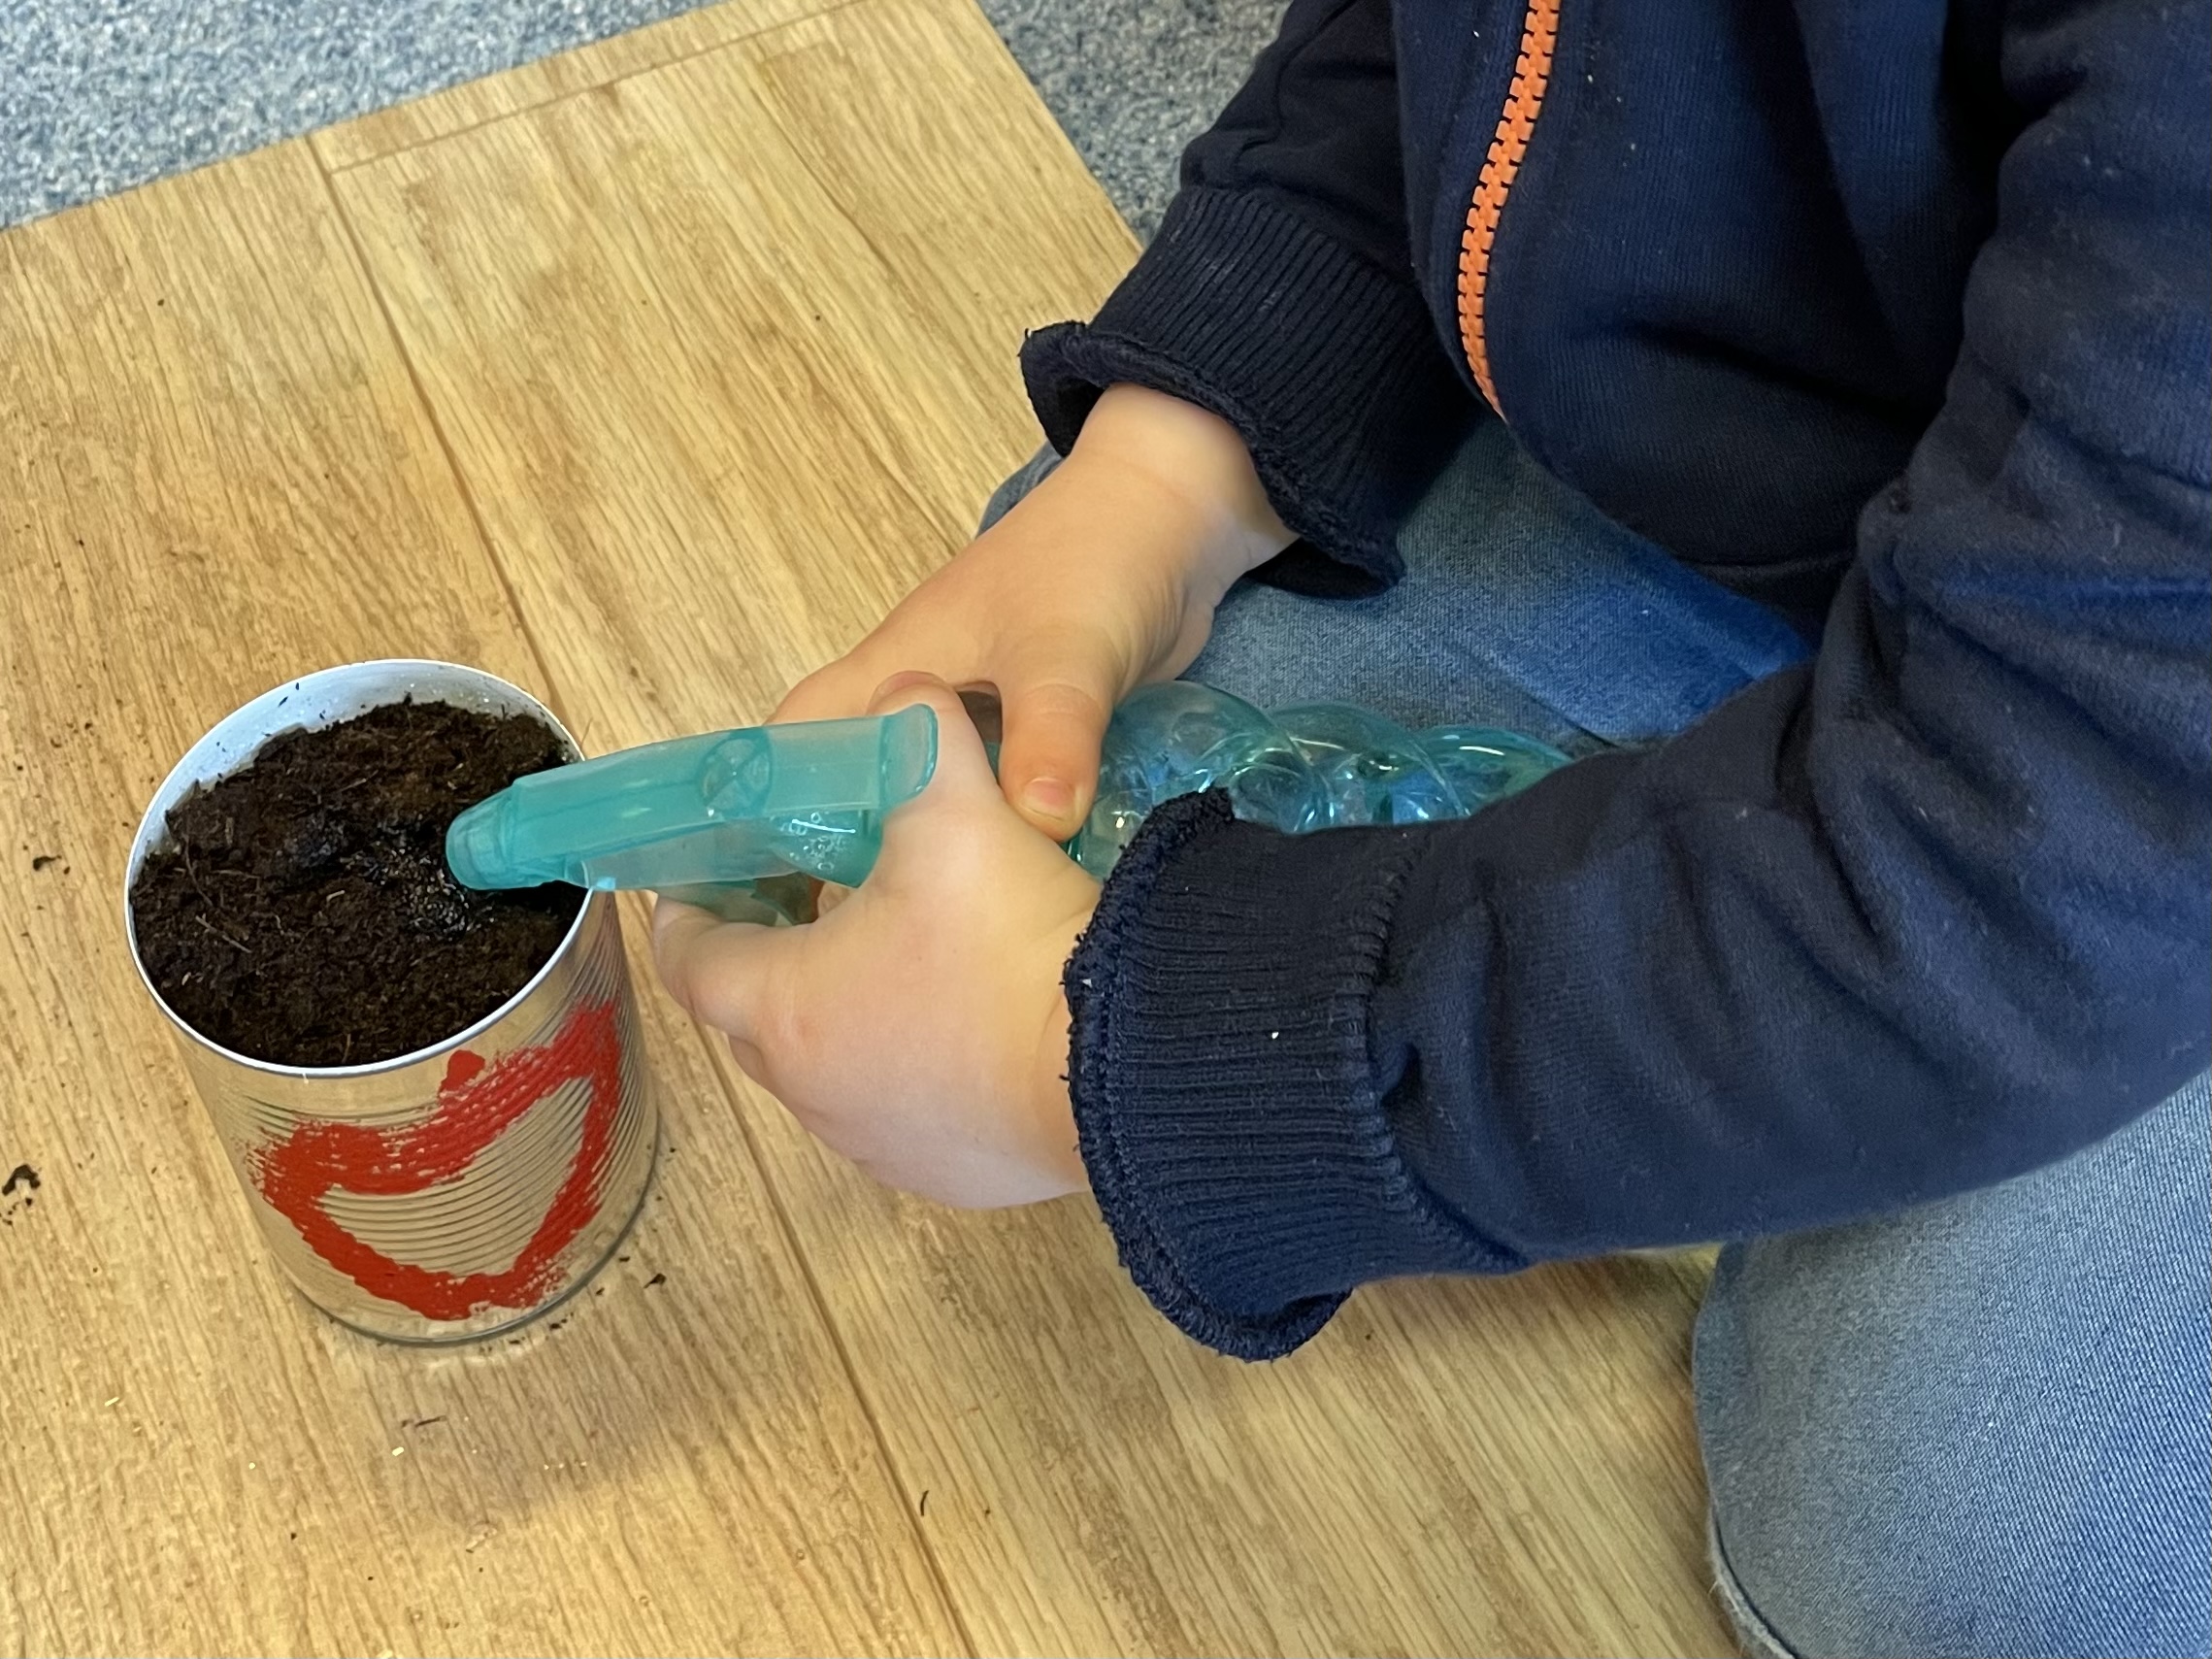


At a window, the seeds can now drive out.
If you put them in a warm place (not on the heater!) and spray them regularly moist, the seeds will be exfoliated after 3-4 days.
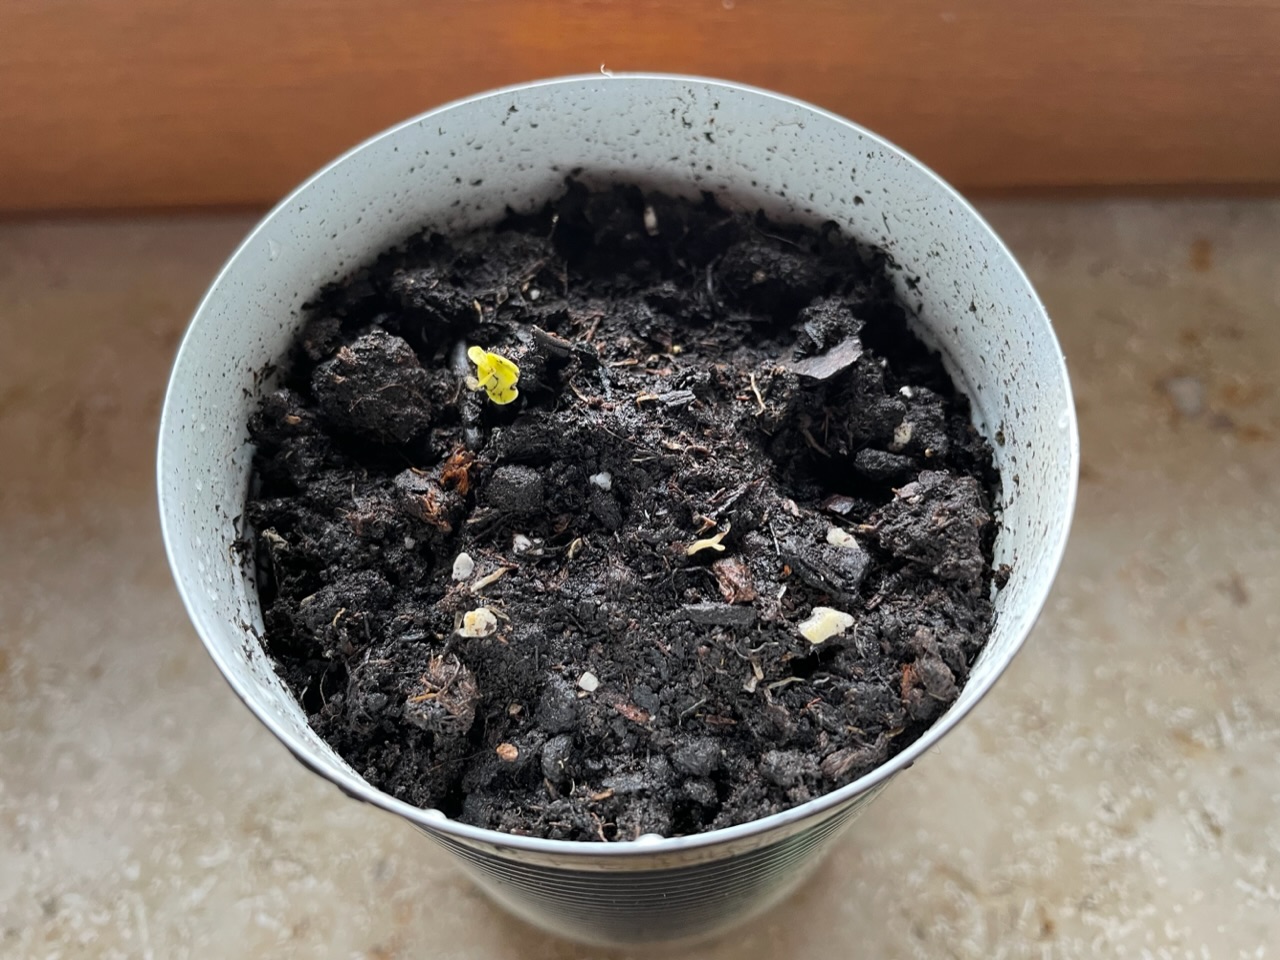


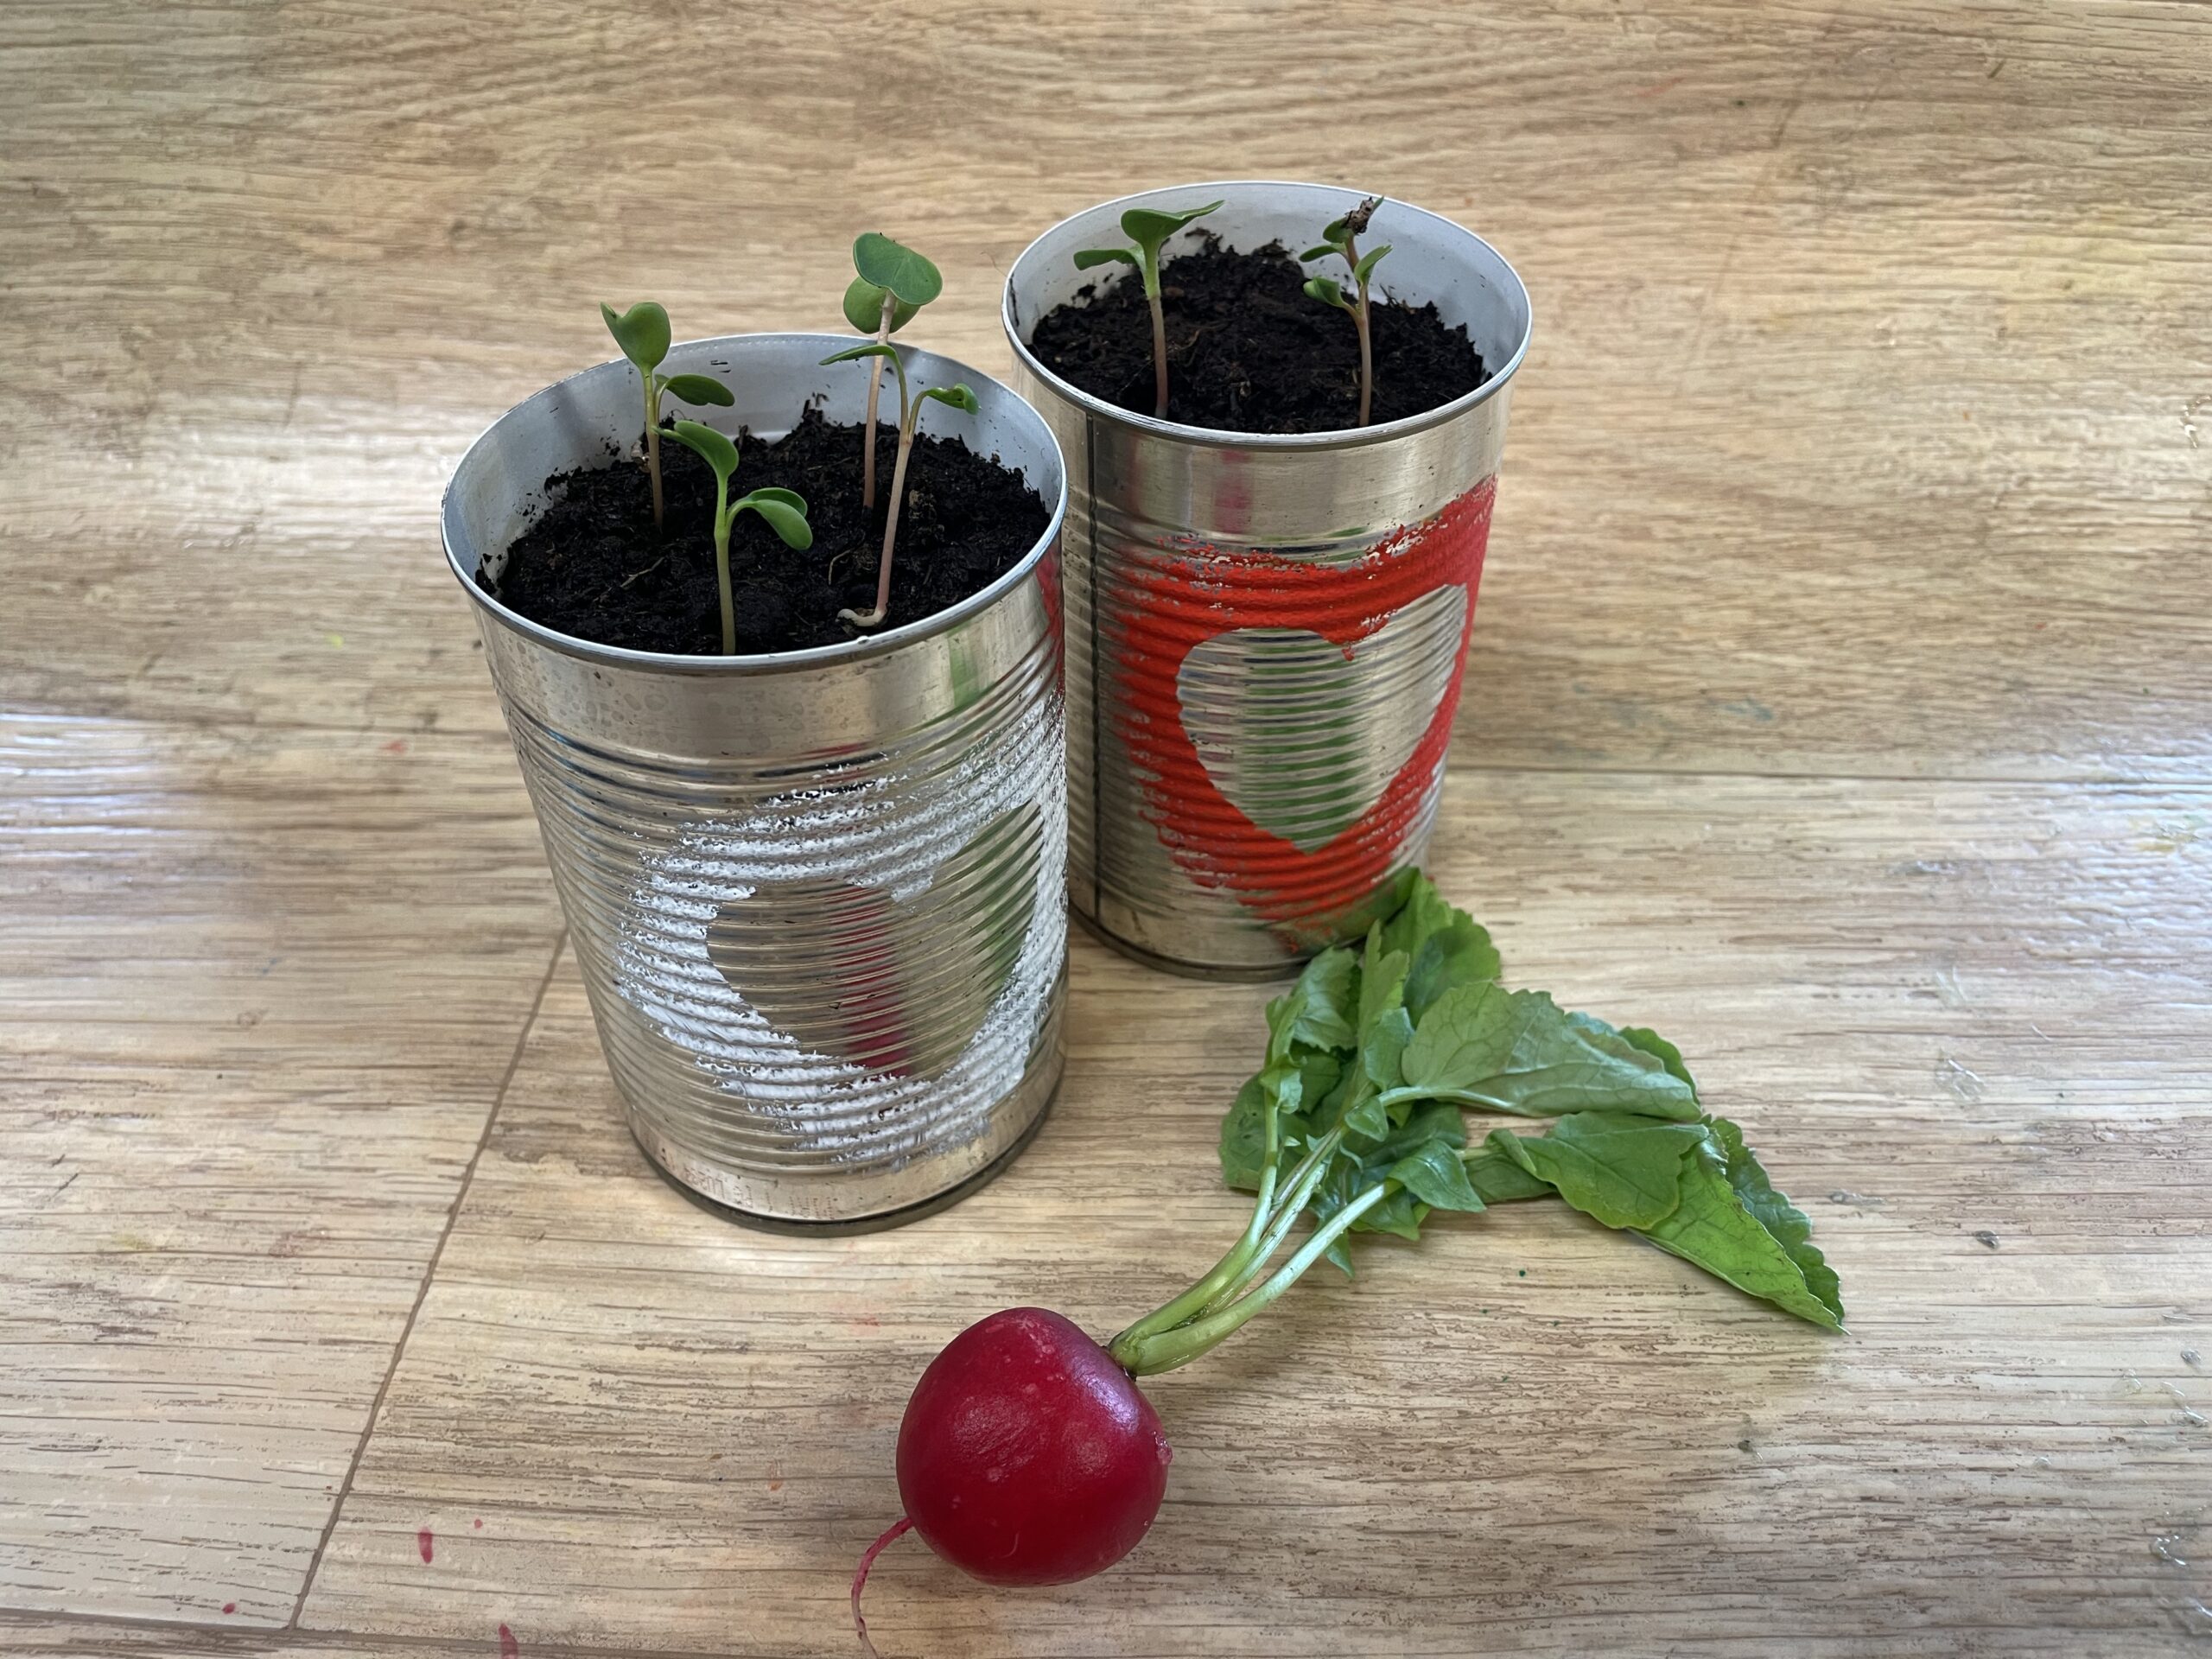
After radishes drive out very quickly, the interest in the children is very great to take care of.
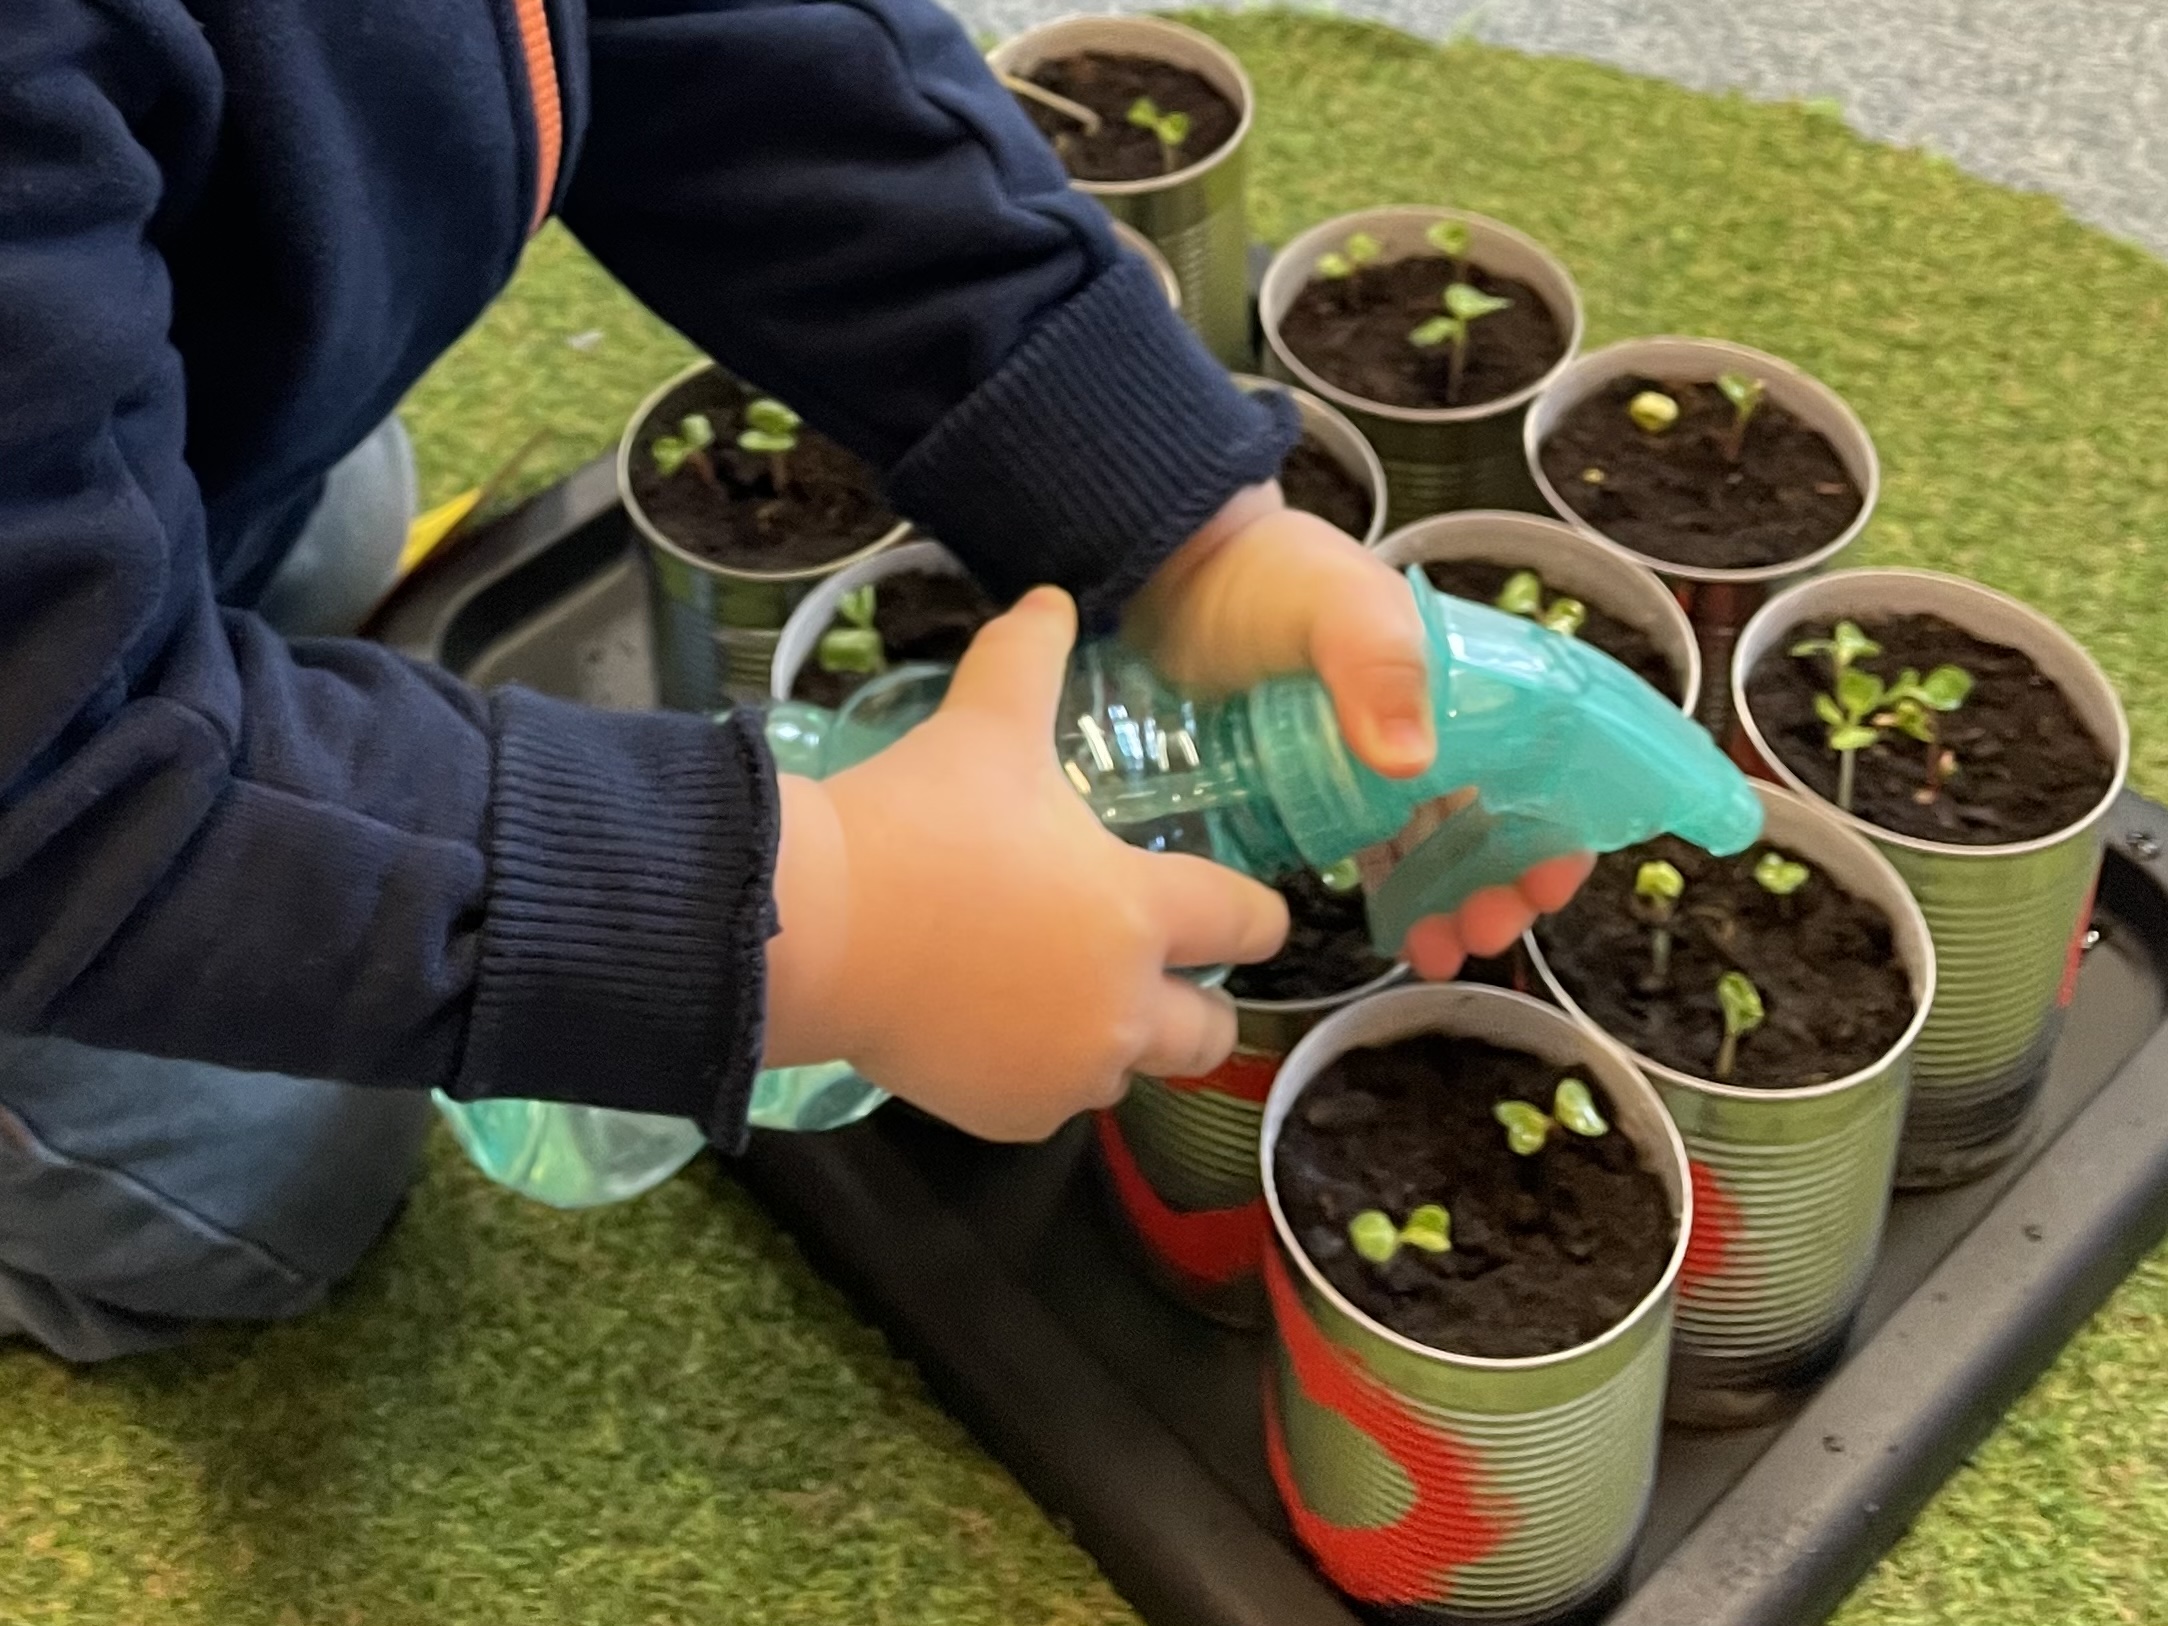


Daily spraying and observing is part of this.
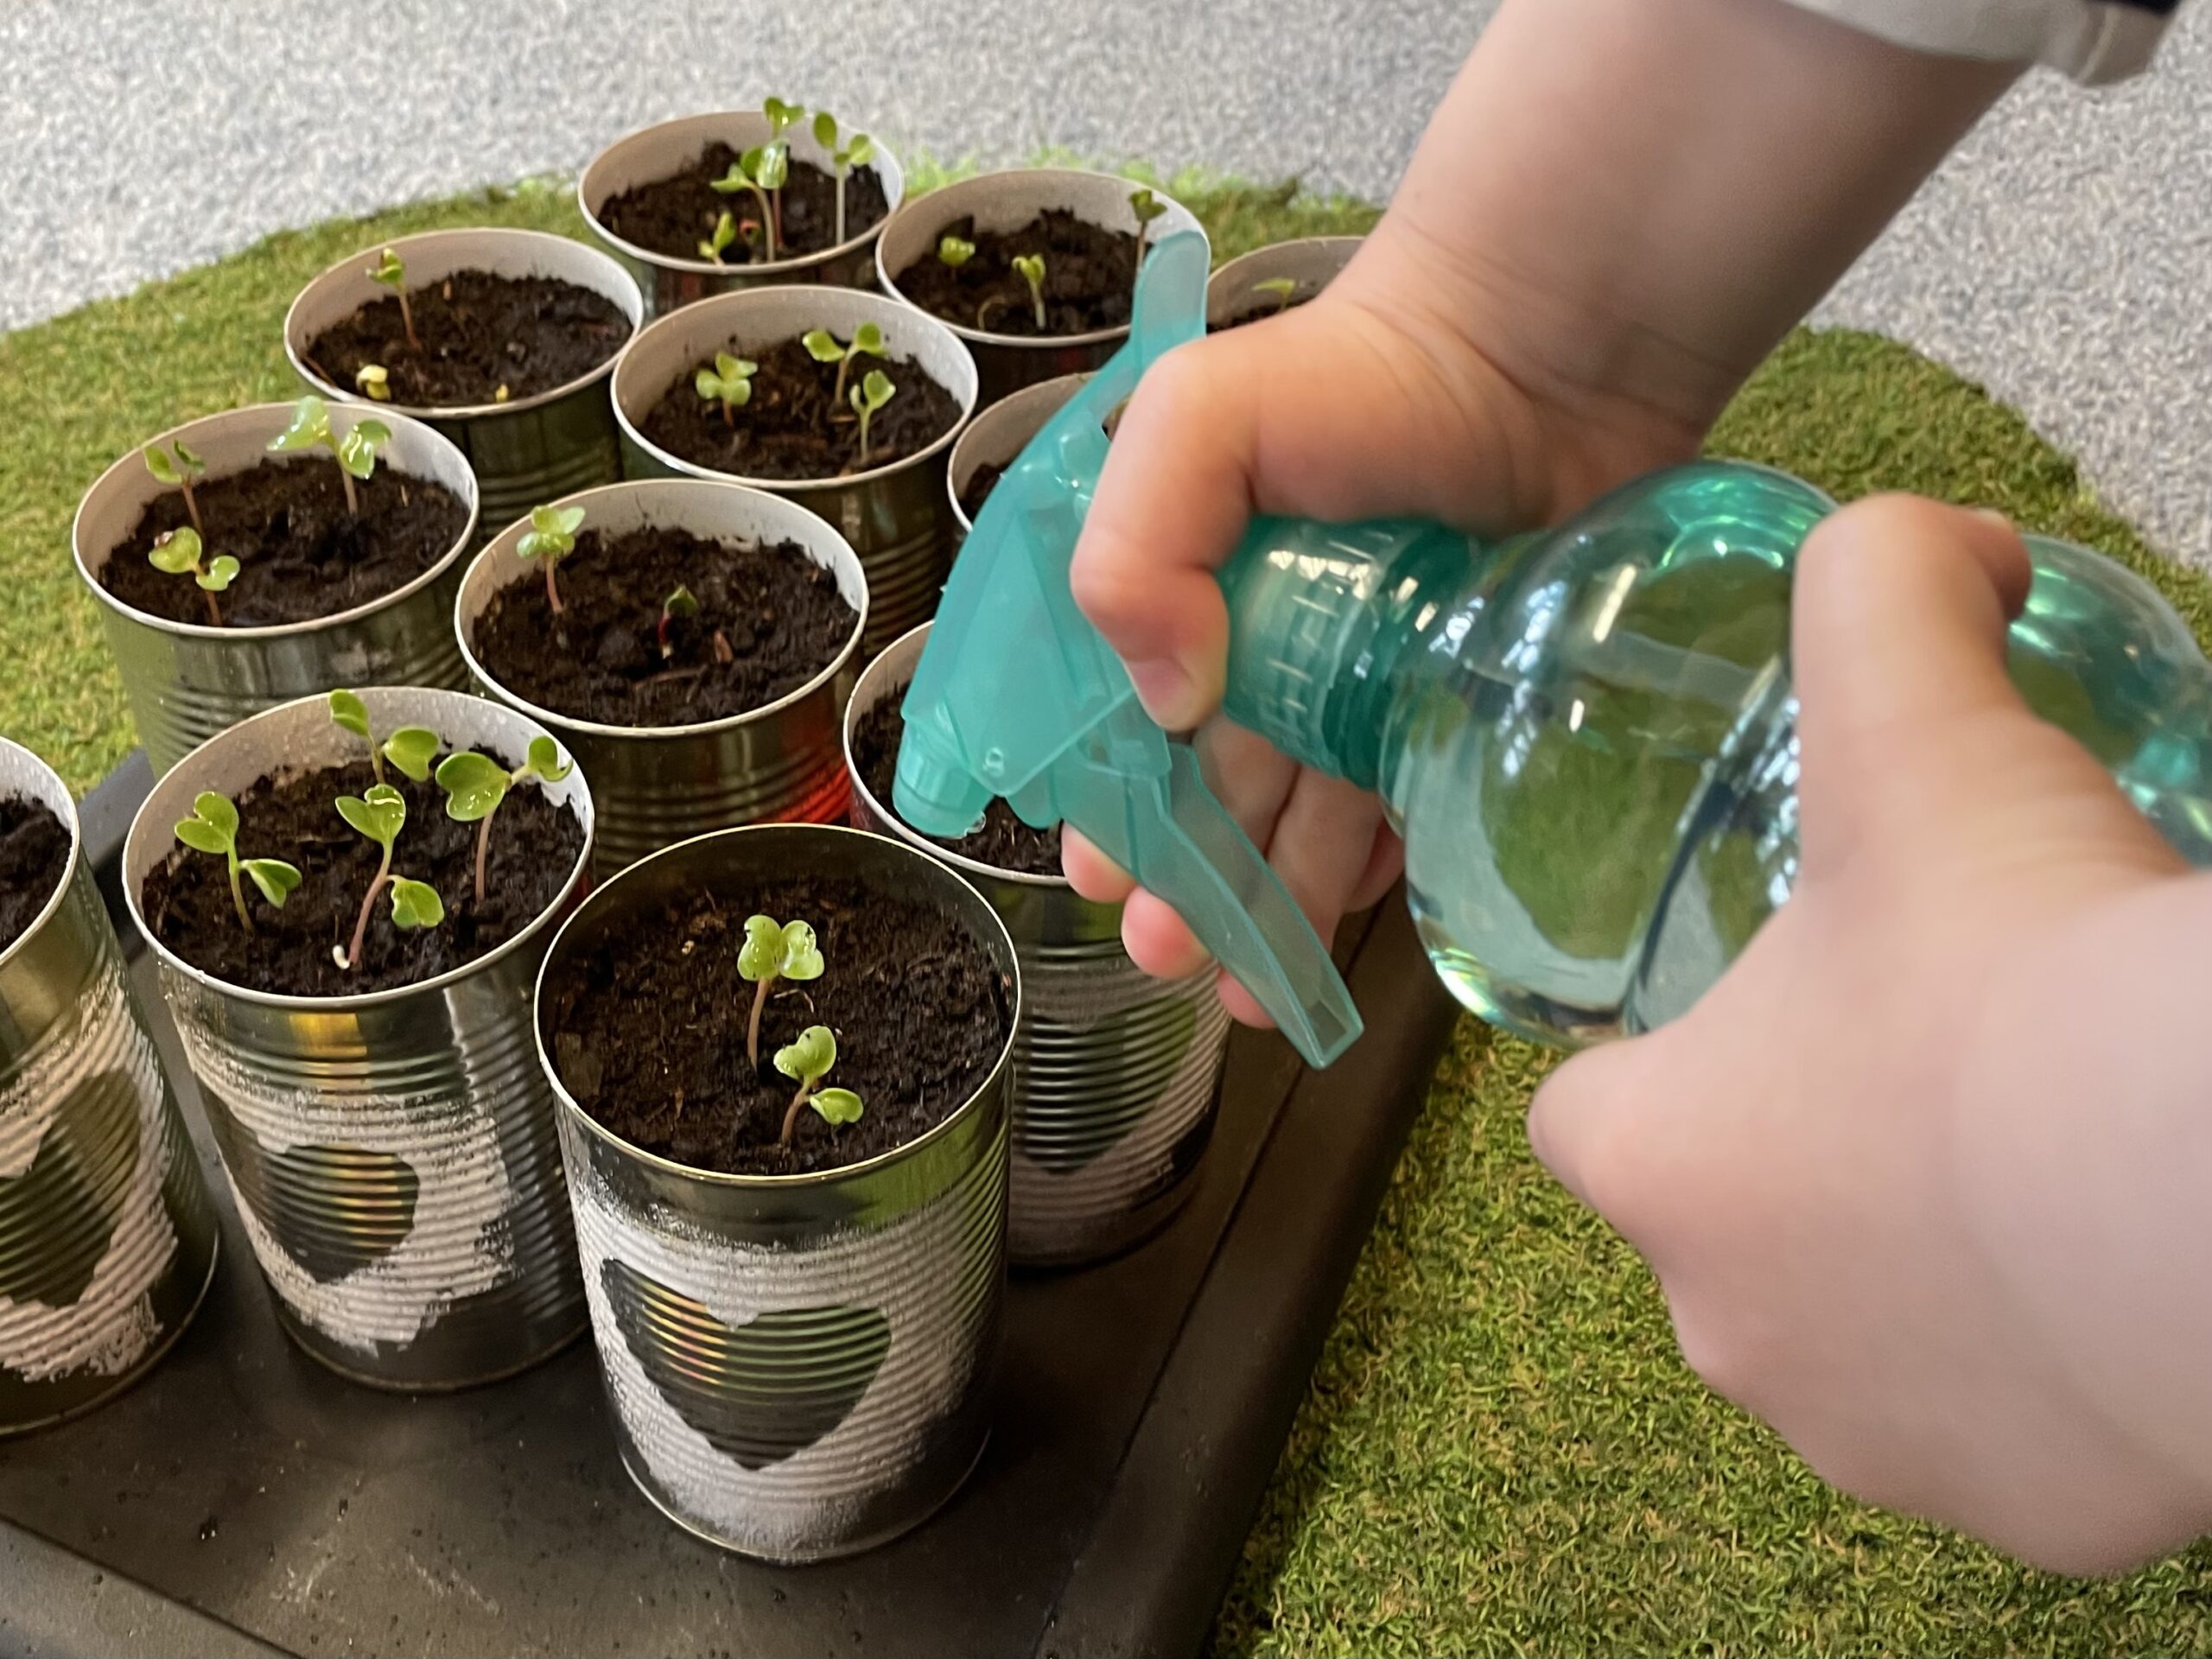


Tips after a few days the first sheets, - then you did everything right!
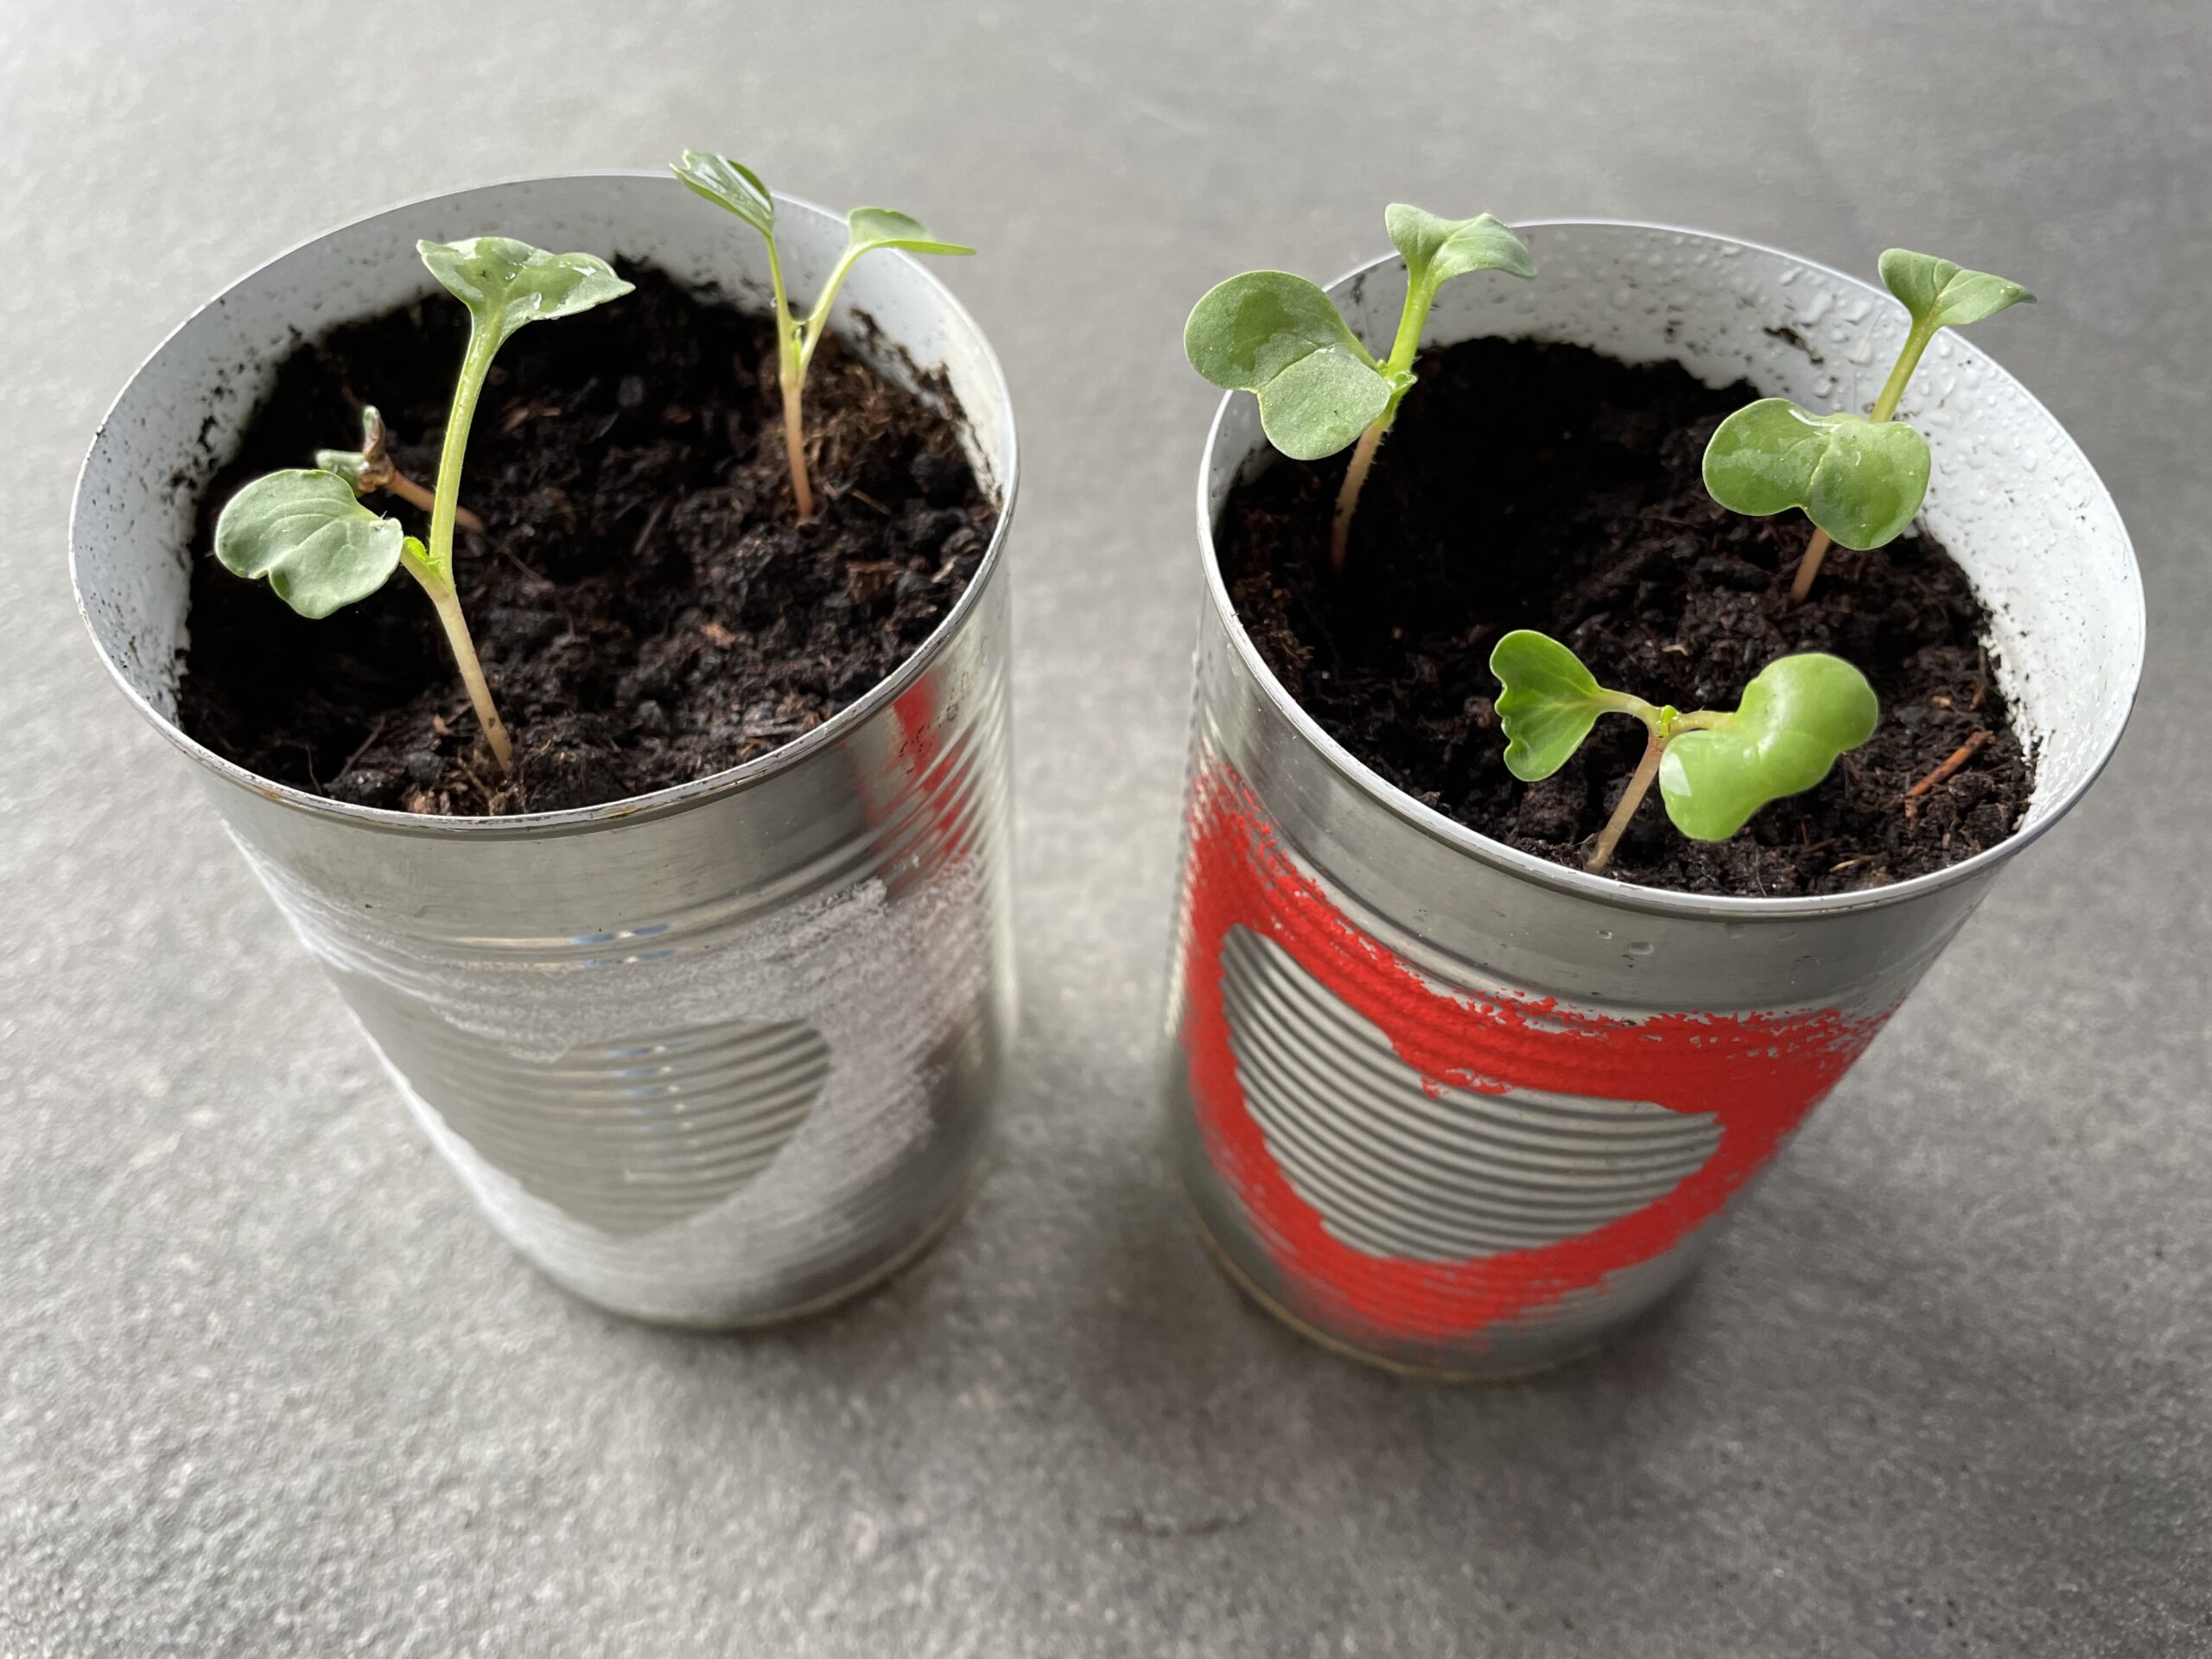


Tip: Check out the children in advance, how a ready-to-mature radish looks. This way, children can better understand what they are looking at.
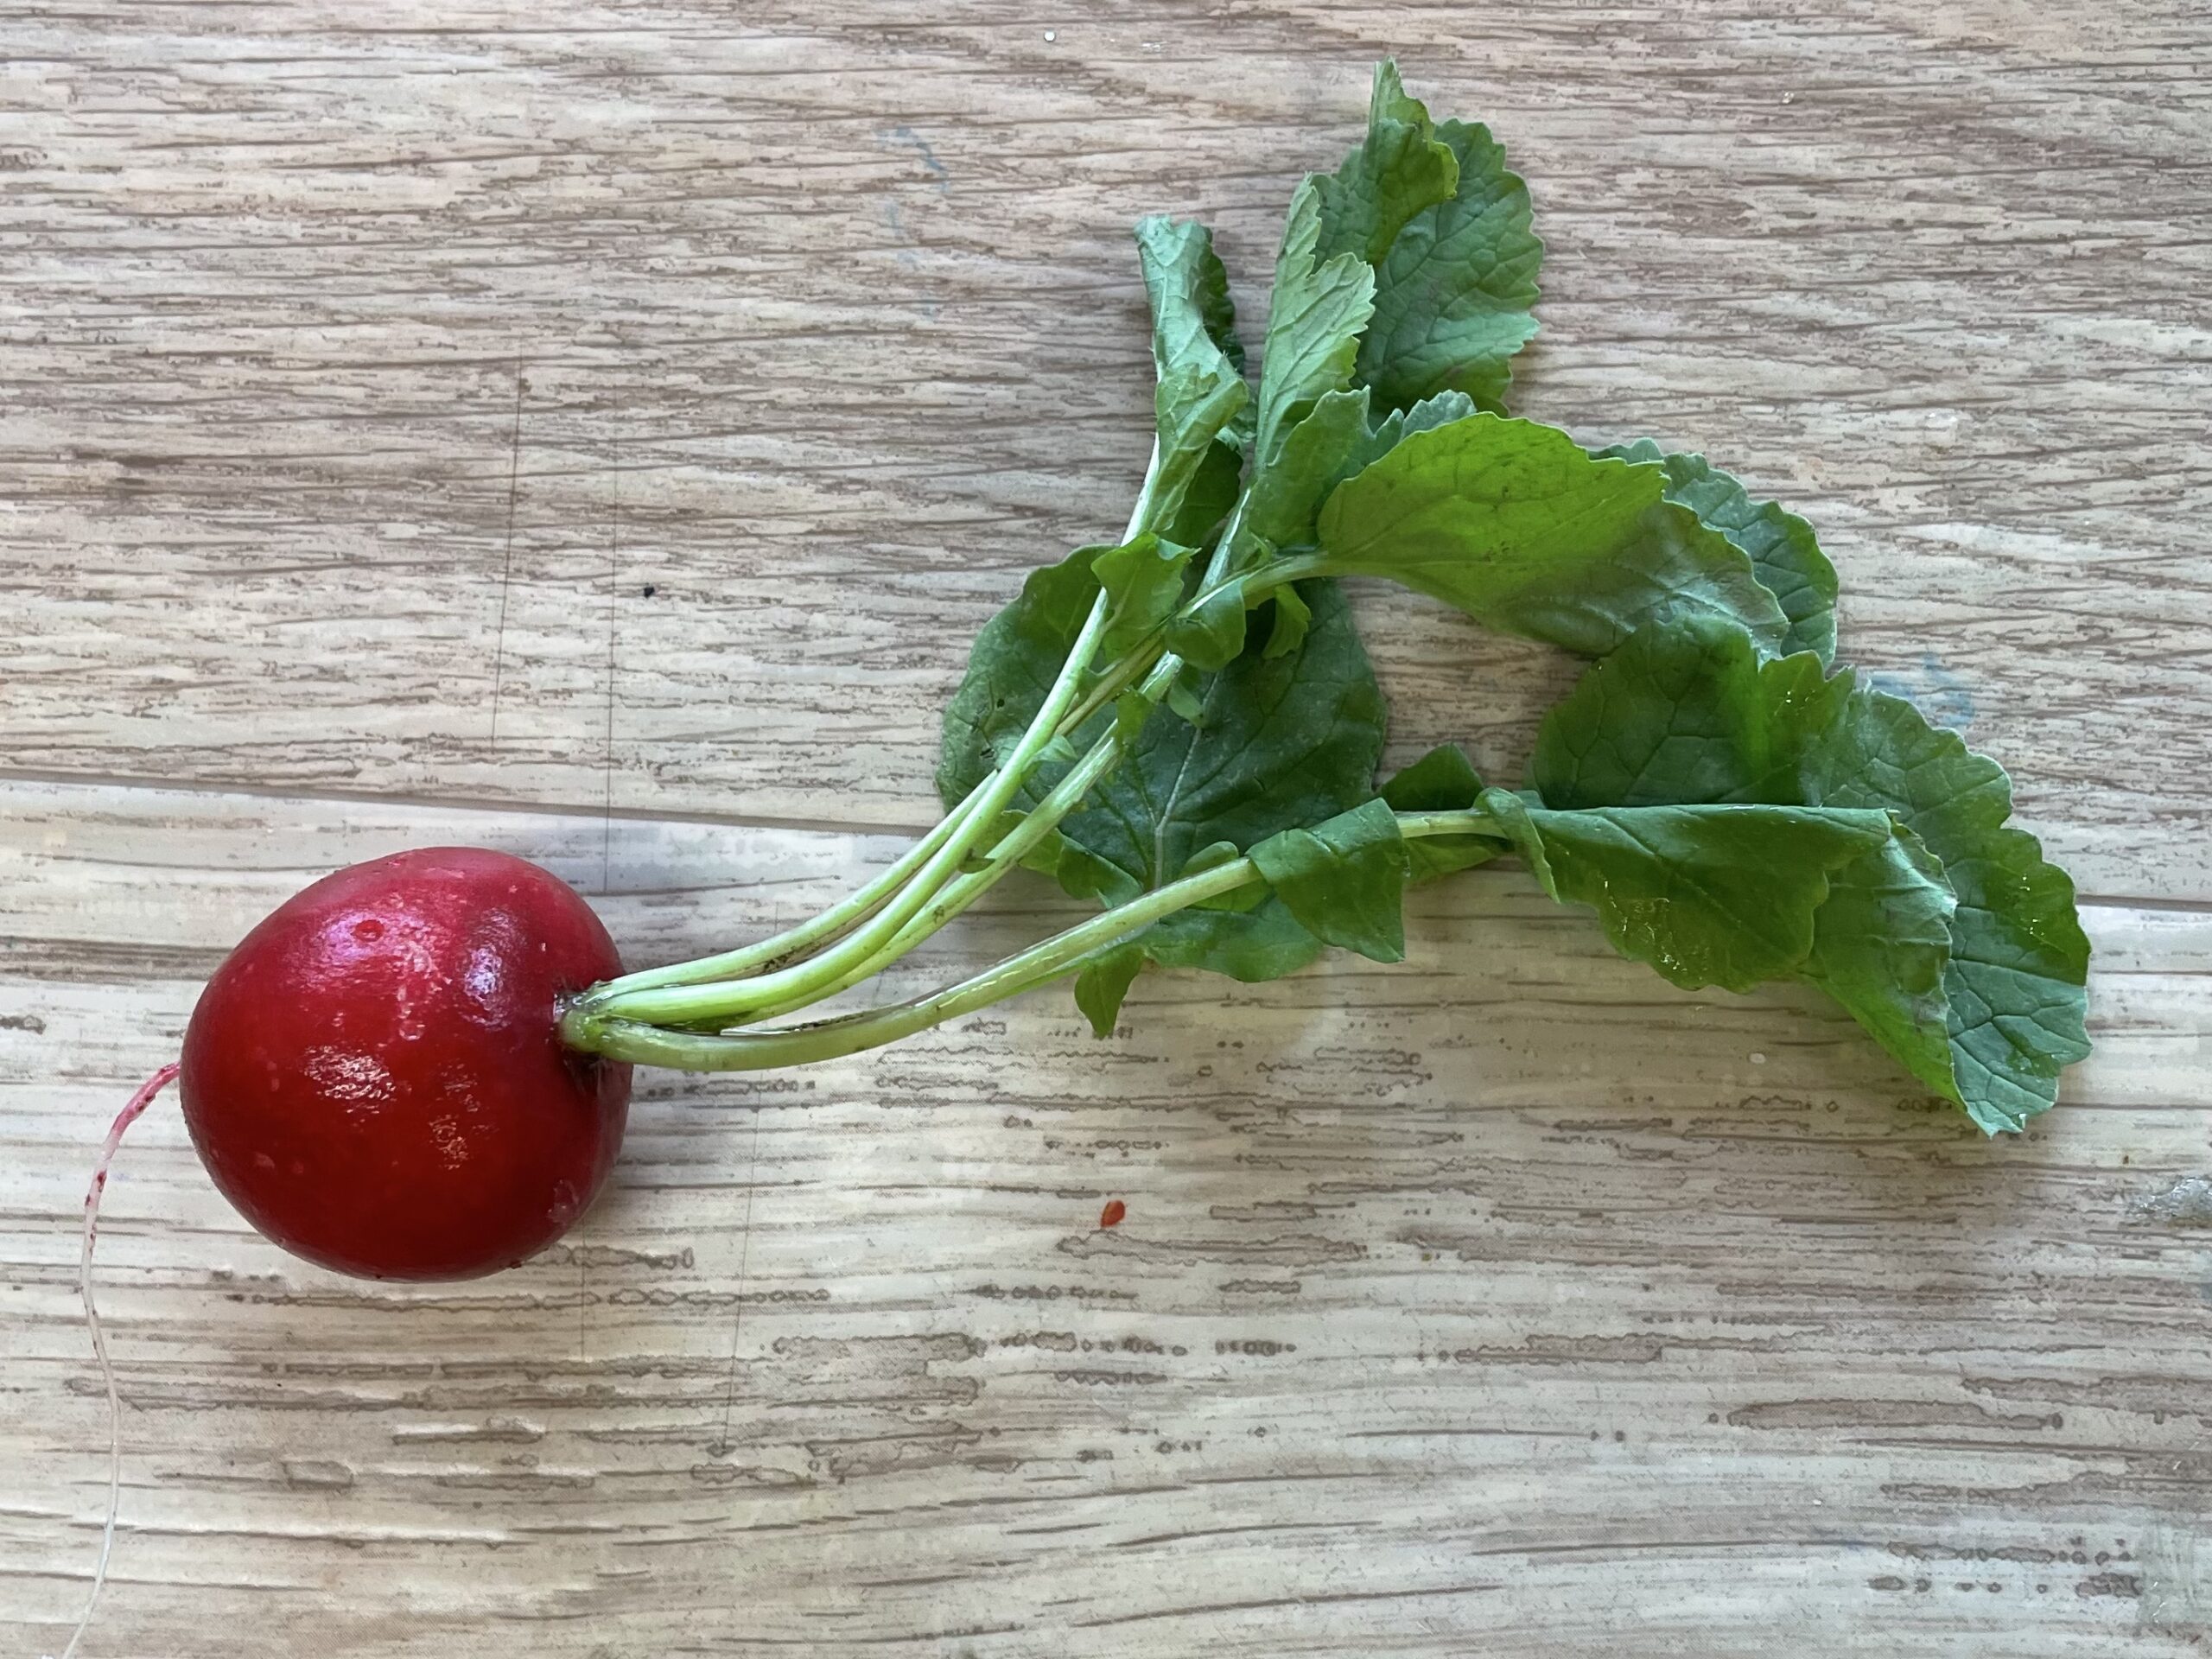


If you want to give away your cans for Mother's Day or Father's Day, for example, you should look at them at least a week in advance. Then look out the first leaves.
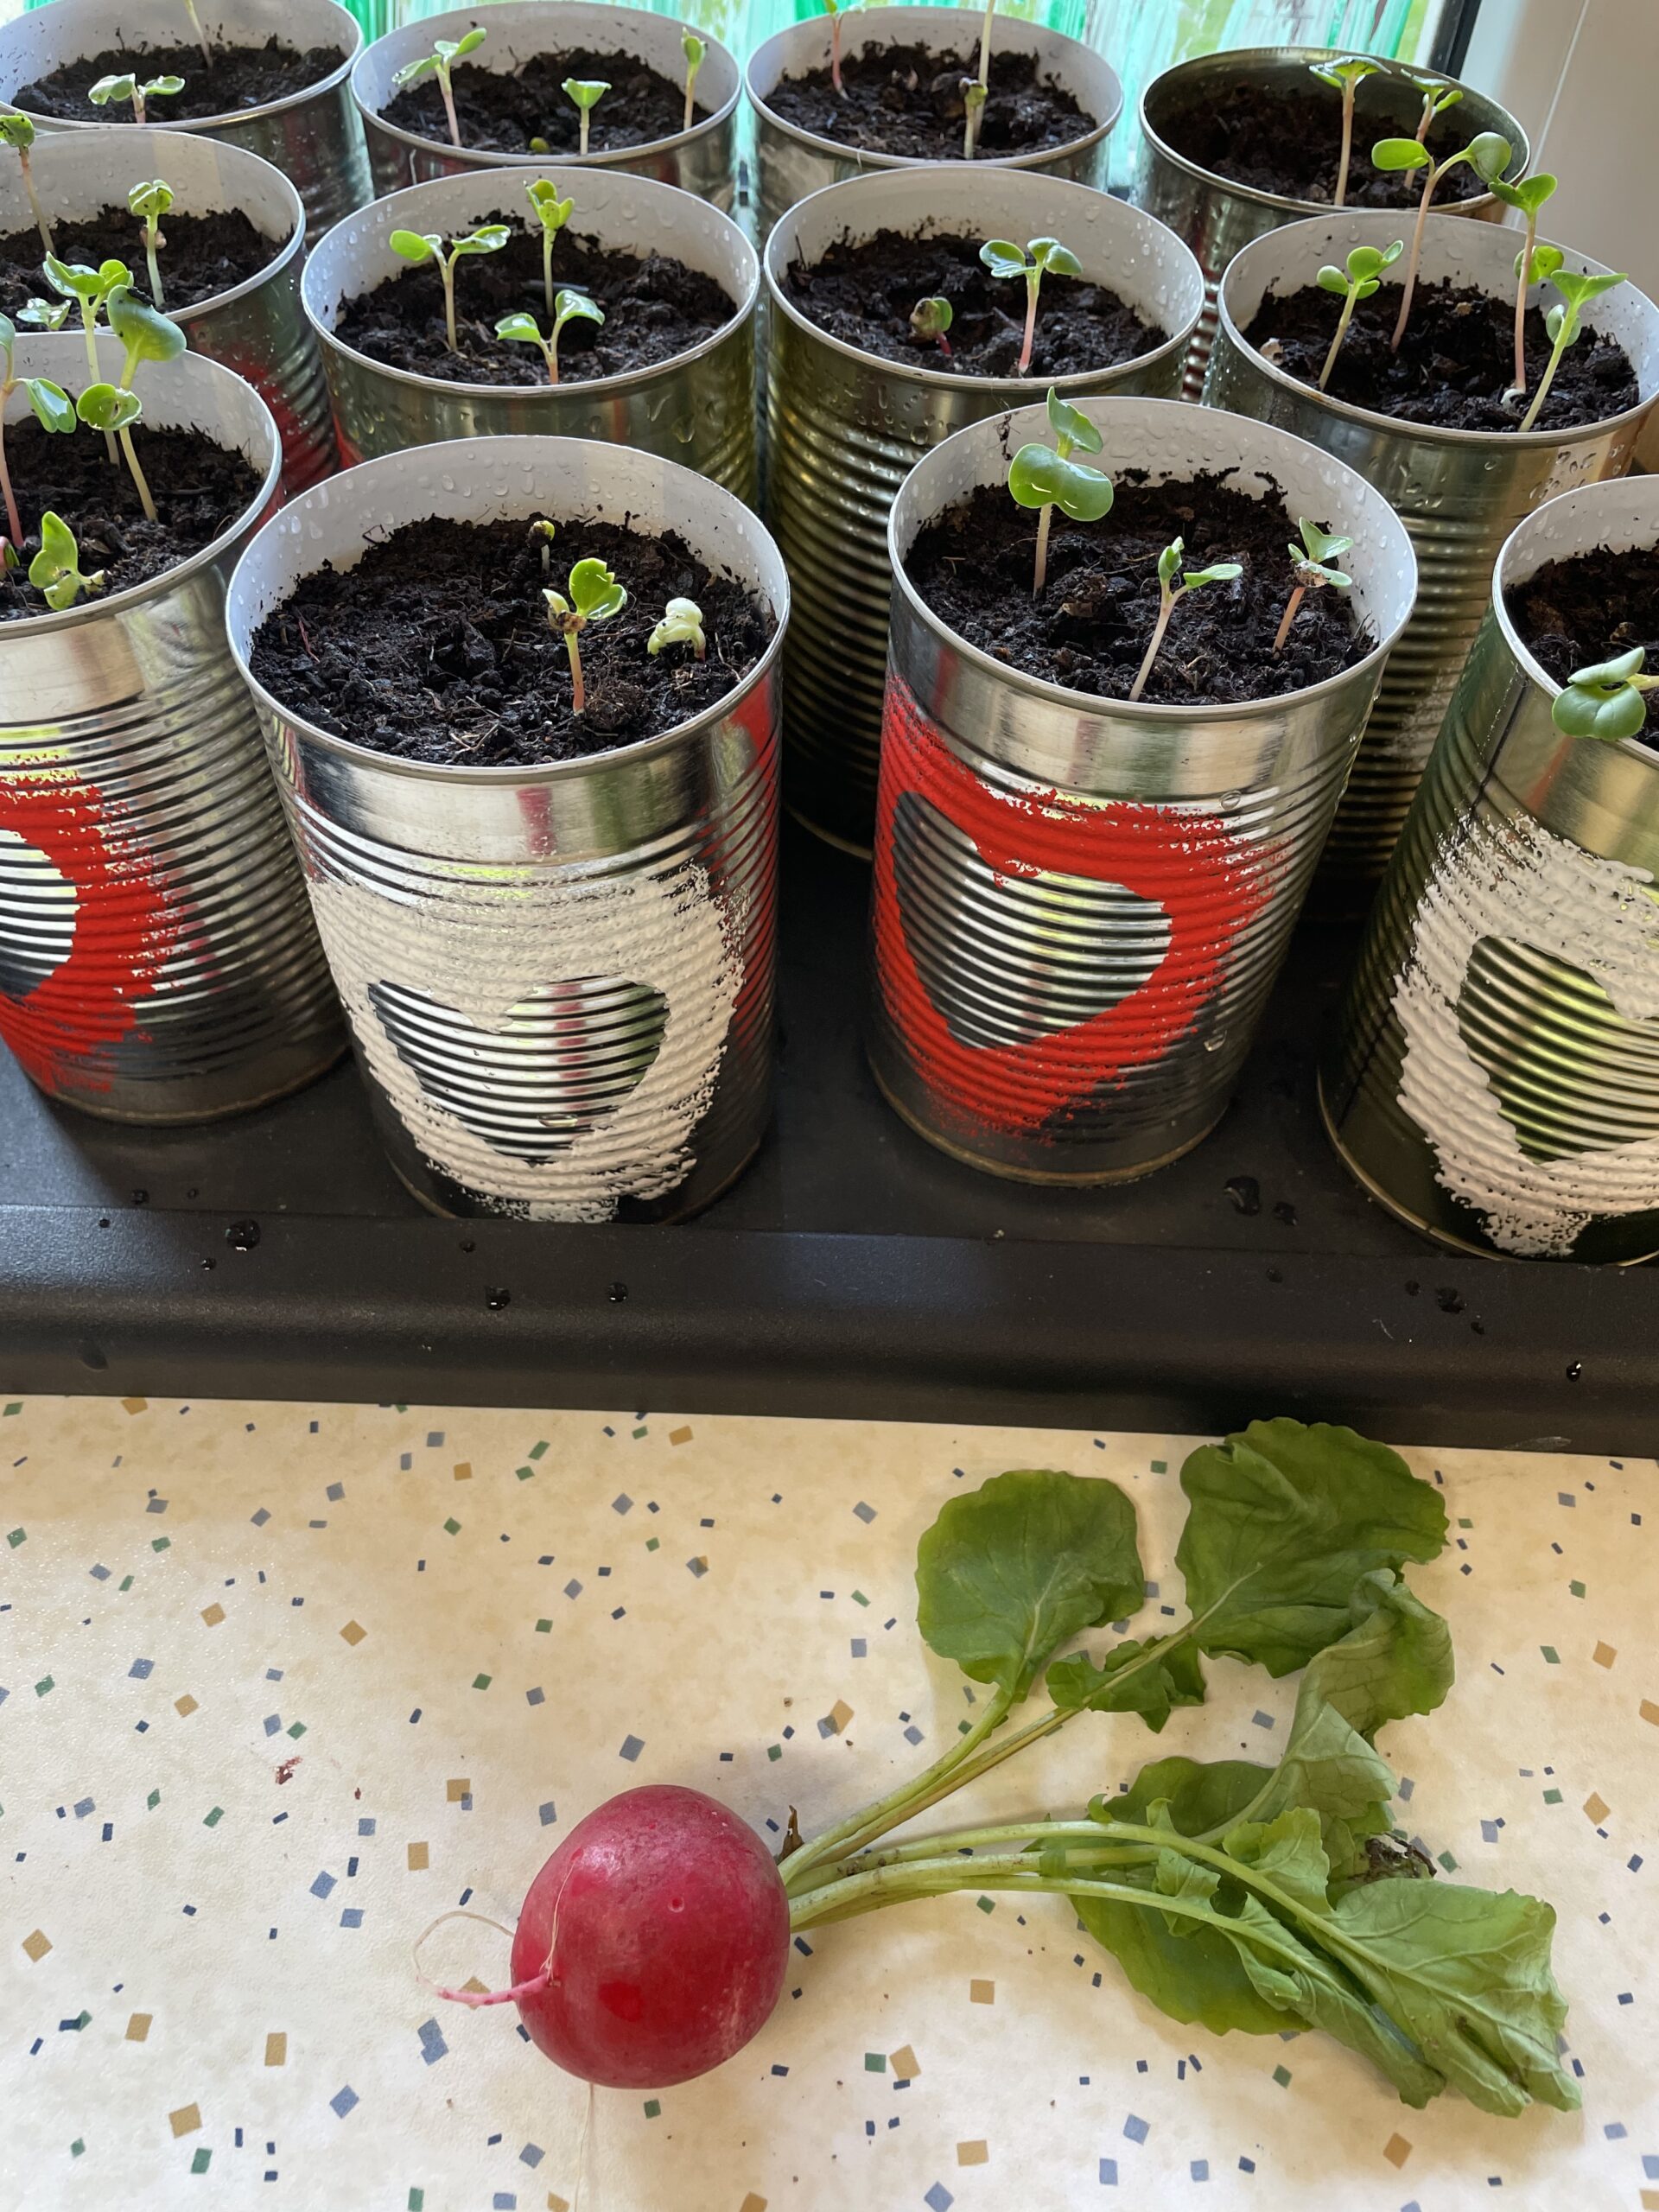


Alternatively, you can also see cress or chives or a sunflower.
Stay creative!
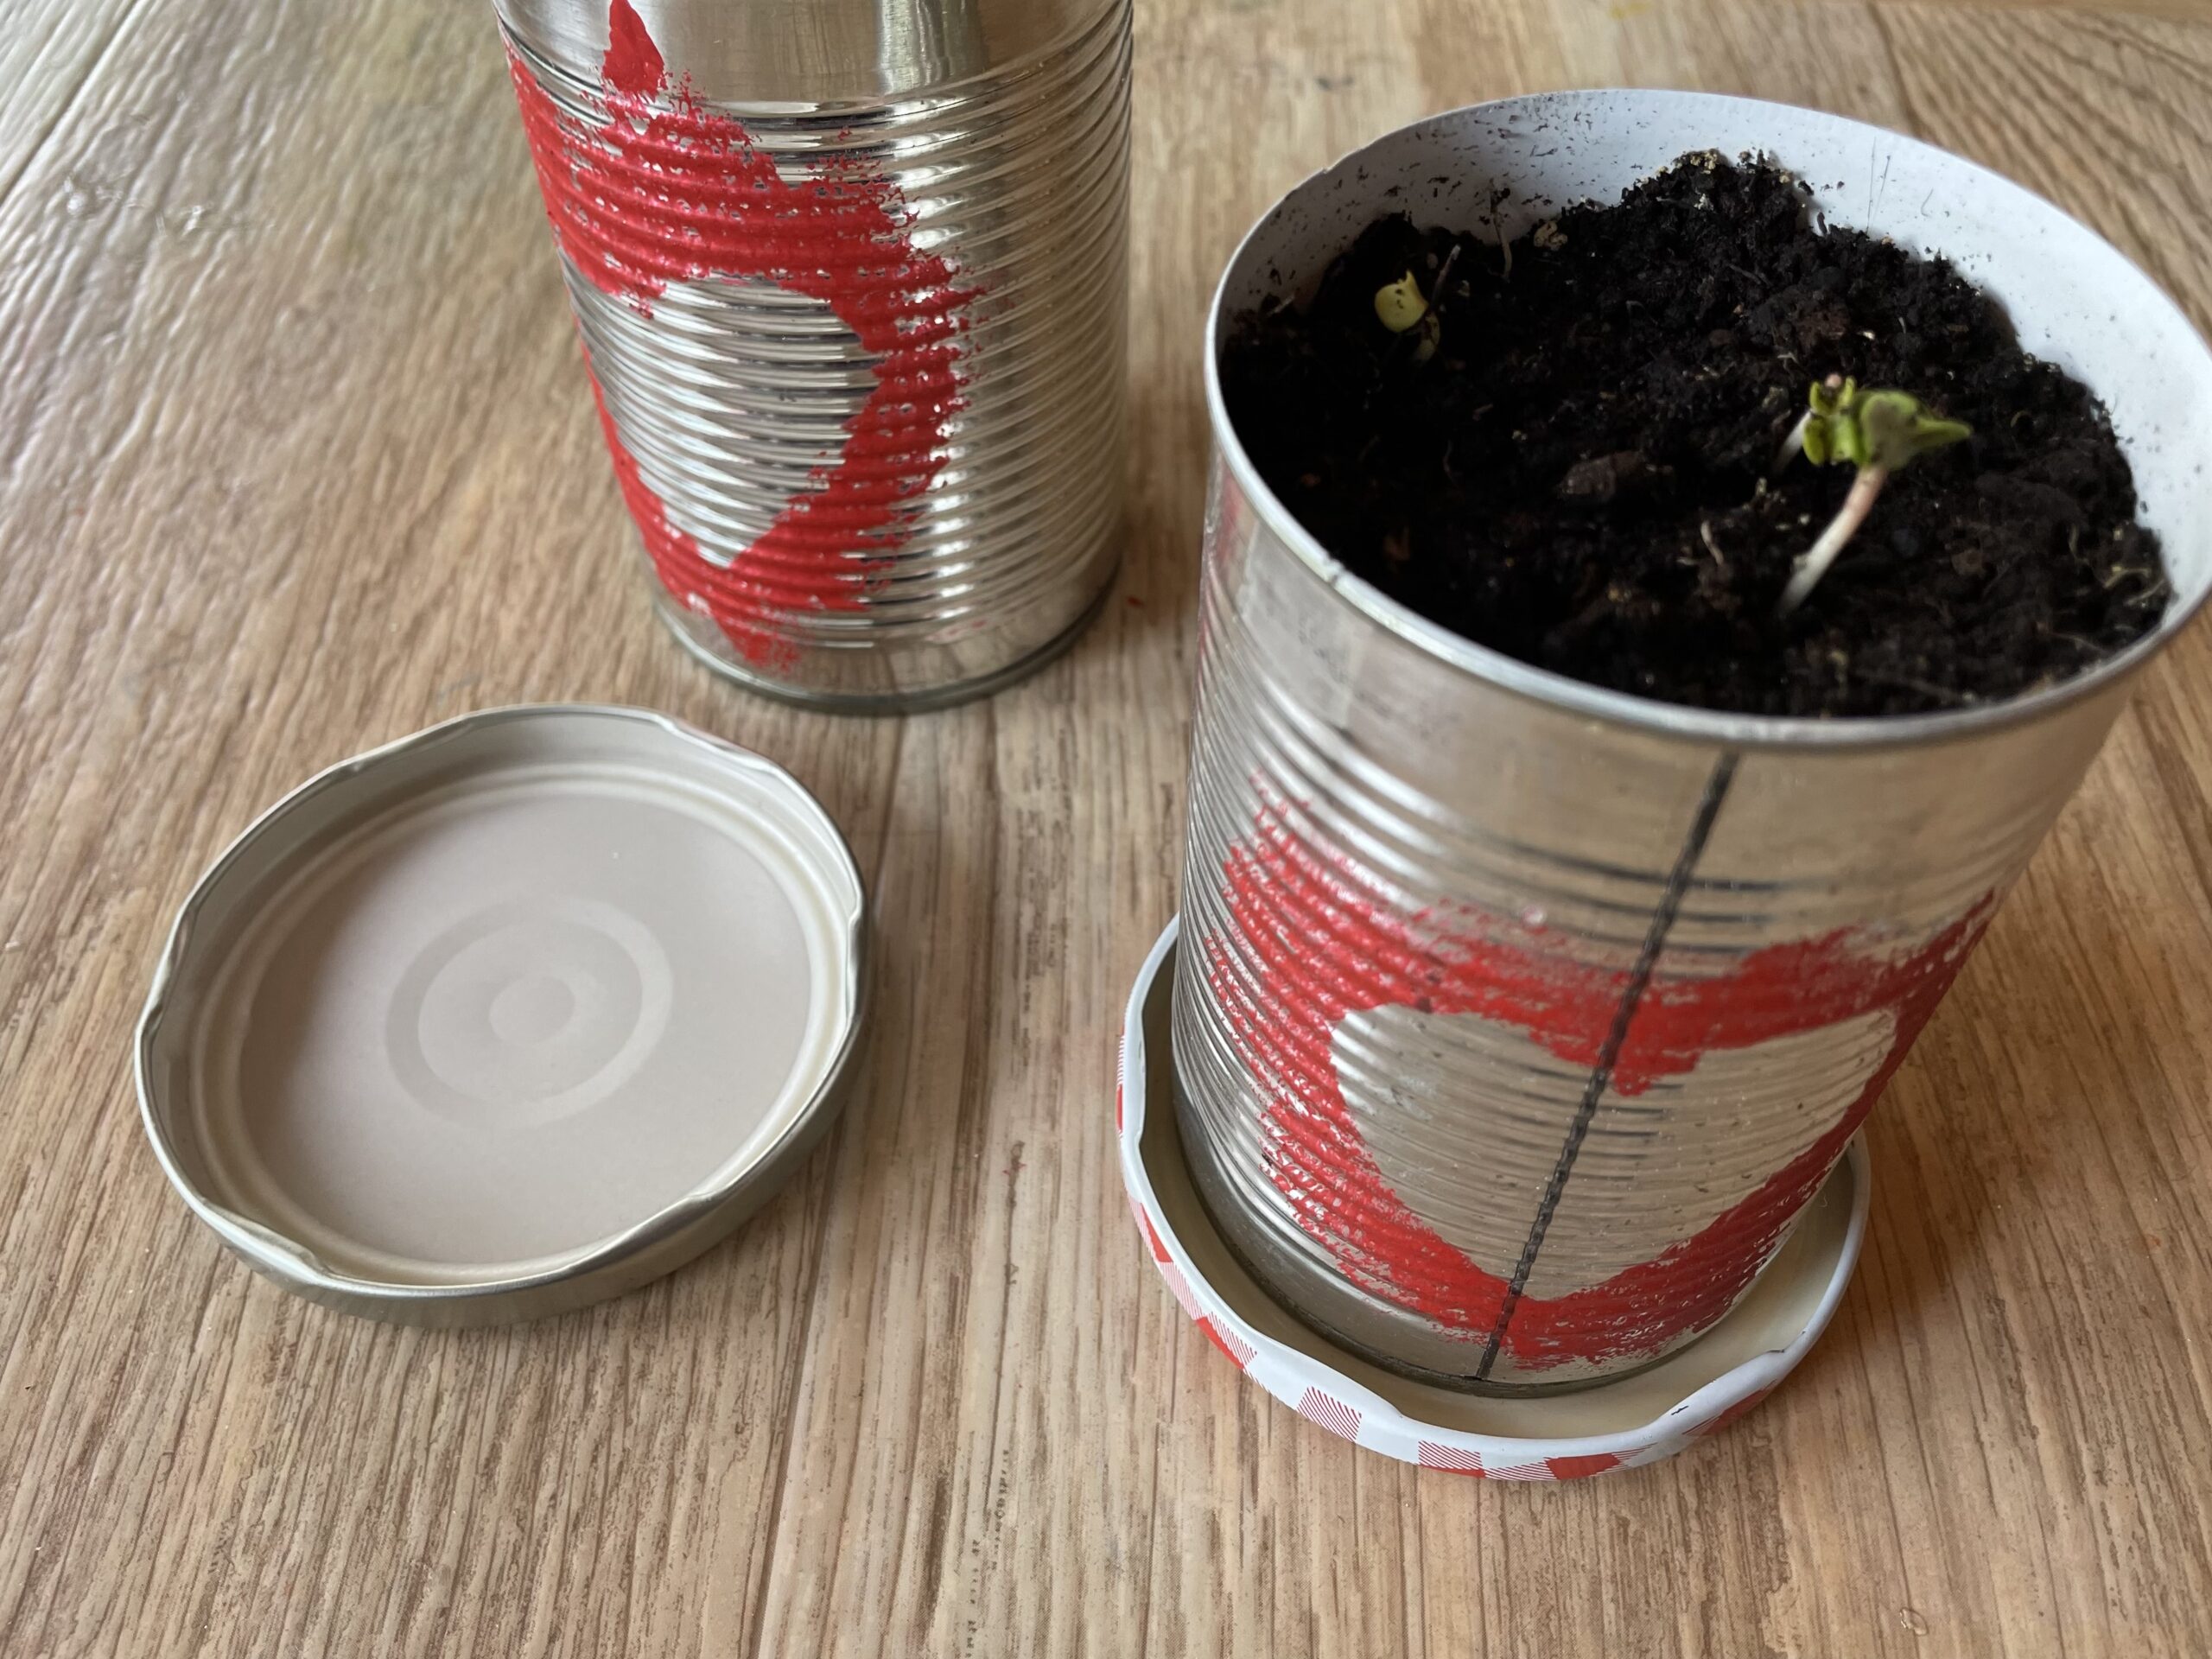
Put the cans either on a coaster or on a plate or use (also sustainable!) a large screw glass lid as a coaster.
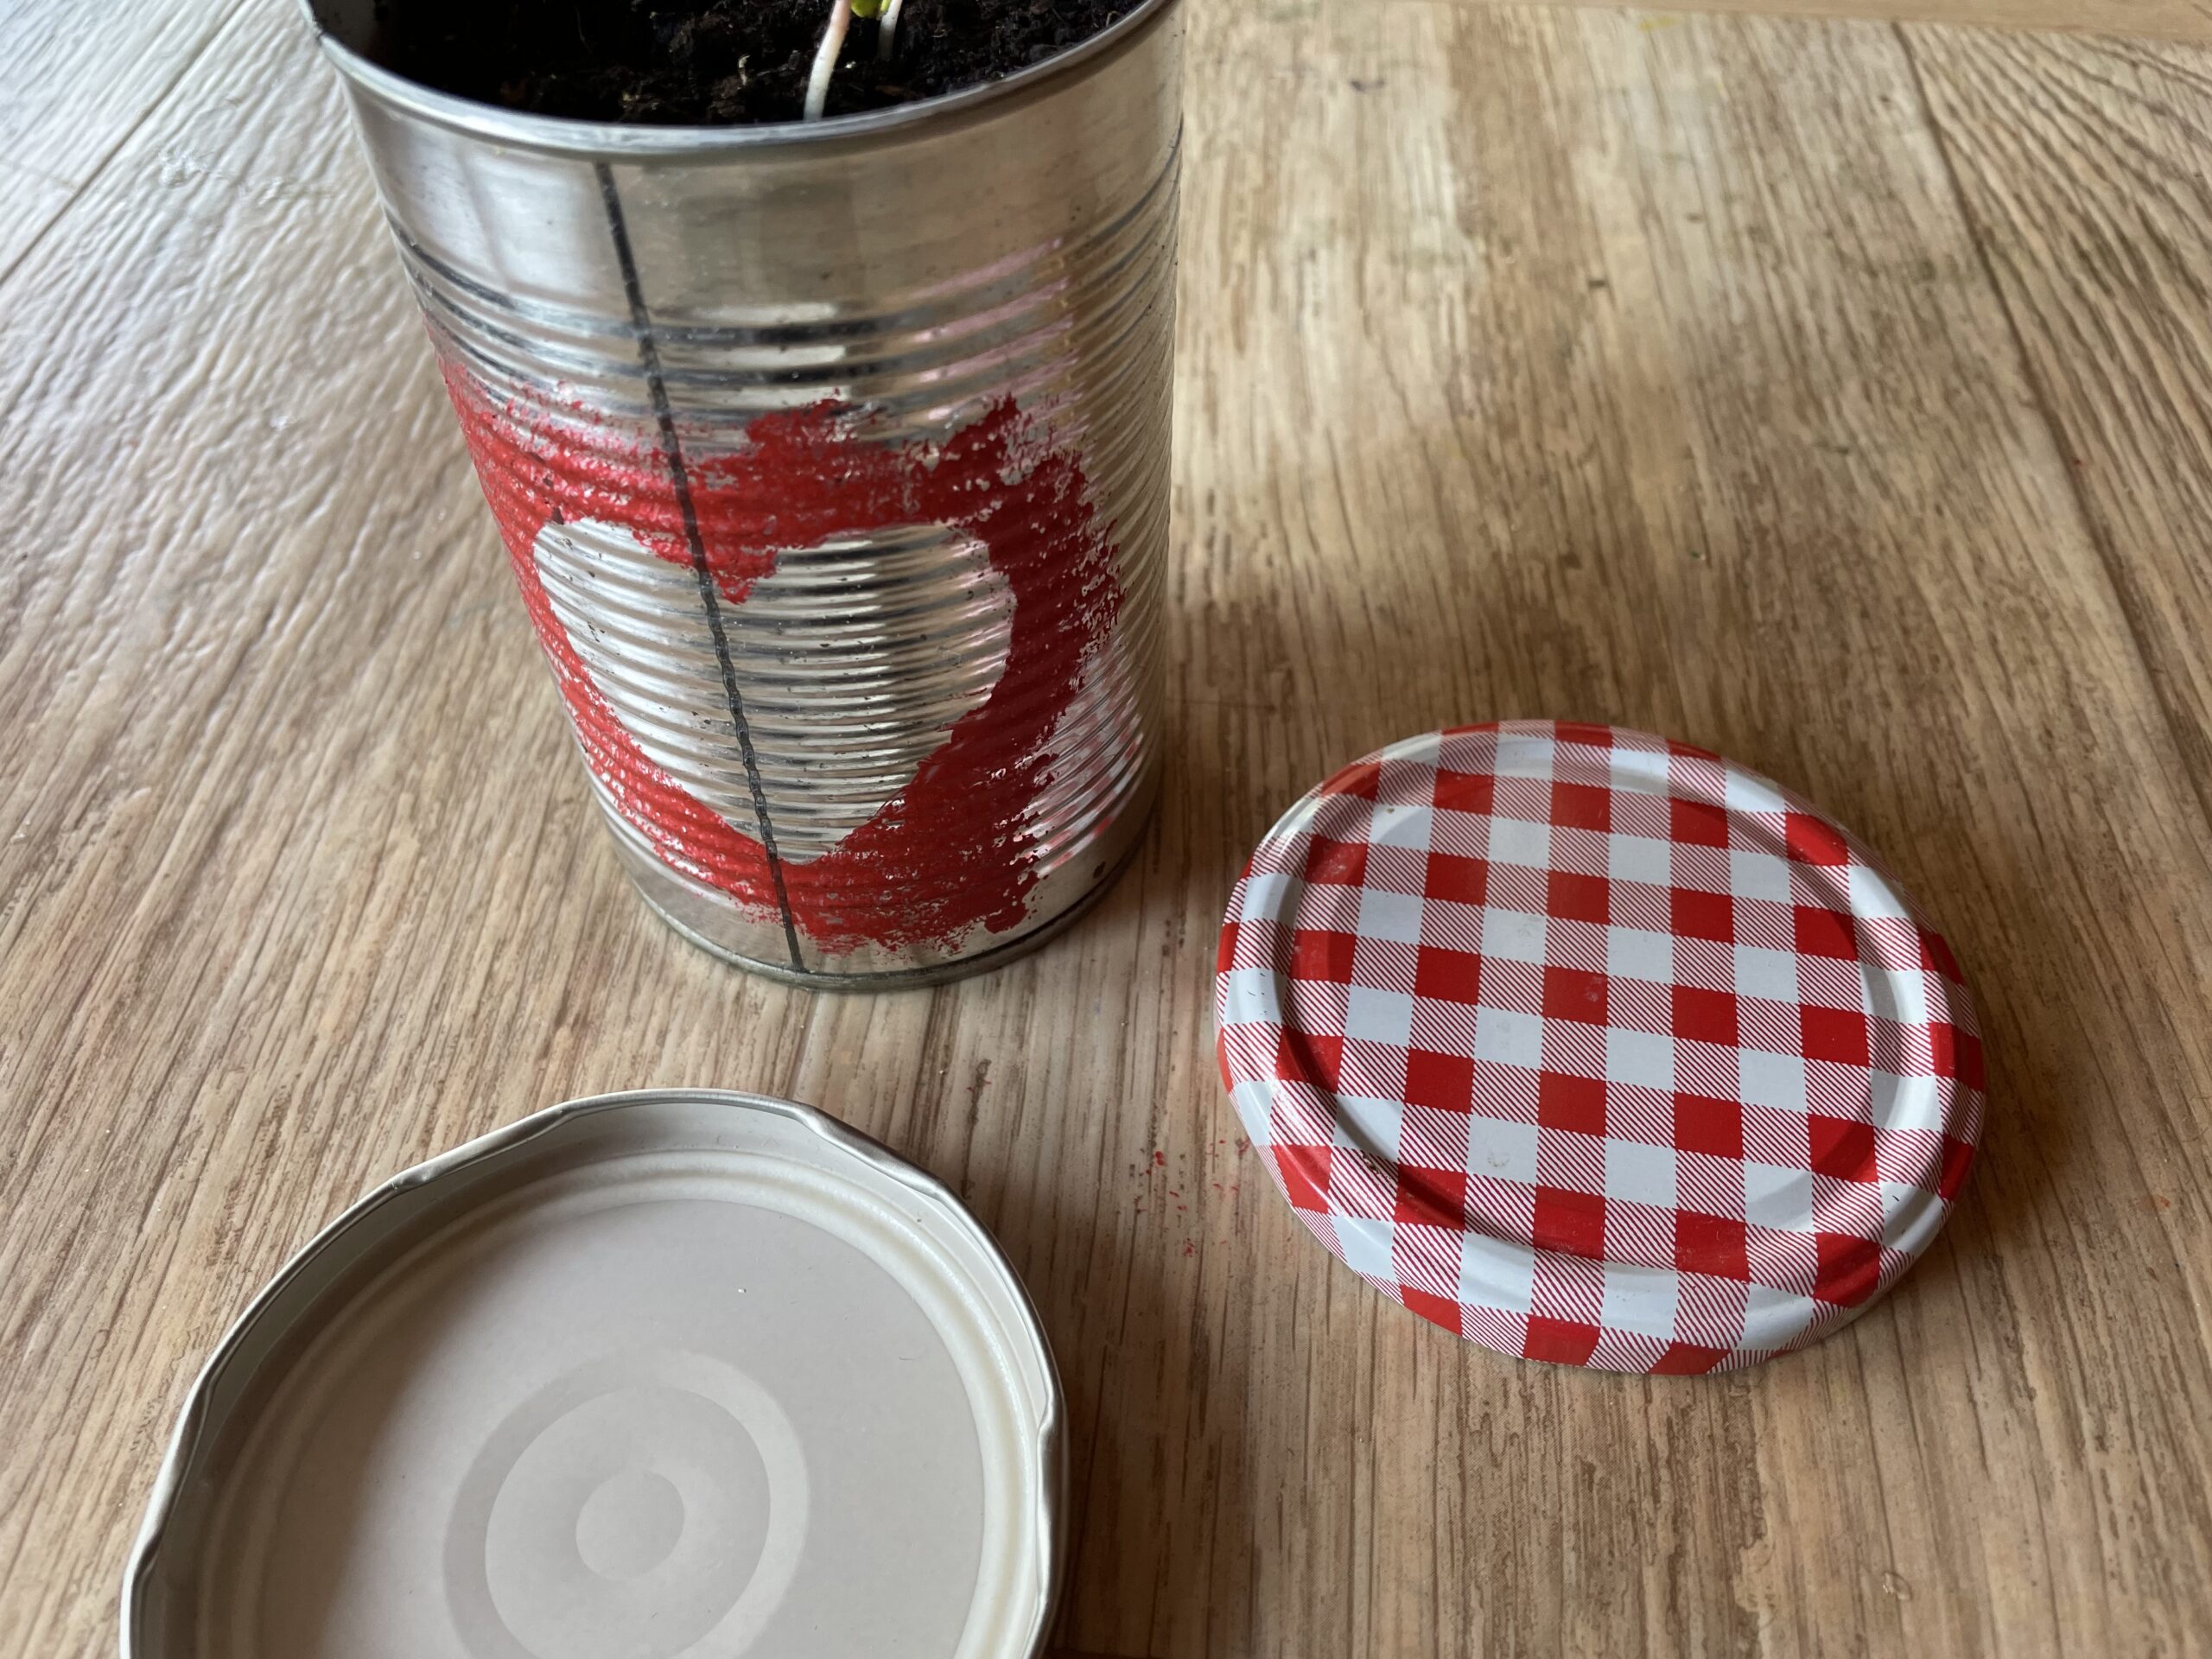


Thus, excess water is collected well and you do not make any stains or edges on the window sill or the table.


Have fun trying and giving away.


Materials
Directions
First you need an empty and clean tin can with rounded edge (possibly with a can opener recut). Removes also the label.


First prepare sponges (here you can use old sponges or halve a sponge to have your own sponge for each color!) Furthermore, you will need a flat lid or saucer for the color and one (or two different) acrylic paints.


Now you paint a heart (or a flower) with a pencil on the paper and cut it out with the scissors. Then you need another adhesive strip.


Now put everything on a tray or a craft pad.
Then put on a paint coat.


Take a piece of adhesive tape and roll with it, the adhesive surface must be on the outside.


The adhesive strip roll is glued centrally to the paper heart.


Stick the heart with the adhesive tape on the can and press it firmly. The can is now prepared for printing.


Put a pea-sized blob of paint on the lid or saucer and dip the sponge in with the tip, so that color remains on the sponge.


Now swab the paint around the glued-on heart.
Tip: For younger children, an adult can keep the can slightly oblique. Children will then be easier to do!


If the whole heart is dabbed with paint at the edge, the can is ready.


In the same way, you can cover the heart with white acrylic paint.


Take another sponge for the second color.


Once you've finished dabbing, you can carefully remove the paper heart from the can. Make sure you don't blur any paint. Or let the paint dry first!


This is how the finished can looks now. Set it up for drying.


In order to be able to use the can as a flower pot, you have to make holes in the bottom of the can so that excess water can flow off when watering.
First of all, put a wooden board, a hammer and a nail.


Then tap the can with hammer and nail at least three to four holes. Let an adult help you with this. (Danger of injury!)


Hold the nail with two fingers and gently knock it on. If the nail is holding alone, you can take your fingers away. If you have a hole in the can, pull the nail out again to make another hole in the can in the same way.


To make holes, you can also use a drill or cordless screwdriver. However, this should be done by an adult.


With a drill, the holes get a little bigger, but that doesn't matter for this purpose.


Now you fill the can with soil. With a tablespoon it works best.


For small children, an adult can hold the can slightly oblique, then filling is easier. If the can is filled, press the earth a bit.


Now sow. Take the radishes seeds and place 3-4 on the earth with sufficient distance.


That's a nice fine motor exercise.


At the end you spread some soil over the seeds. The can is ready.


With a water spray bottle you can moisten the earth.


The soil is not washed away and the seeds do not "drink". The soil is only moist. If the spraying is repeated several times at a distance, the lower soil becomes moist.


At a window, the seeds can now drive out.
If you put them in a warm place (not on the heater!) and spray them regularly moist, the seeds will be exfoliated after 3-4 days.


After radishes drive out very quickly, the interest in the children is very great to take care of.


Daily spraying and observing is part of this.


Tips after a few days the first sheets, - then you did everything right!


Tip: Check out the children in advance, how a ready-to-mature radish looks. This way, children can better understand what they are looking at.


If you want to give away your cans for Mother's Day or Father's Day, for example, you should look at them at least a week in advance. Then look out the first leaves.


Alternatively, you can also see cress or chives or a sunflower.
Stay creative!
Put the cans either on a coaster or on a plate or use (also sustainable!) a large screw glass lid as a coaster.


Thus, excess water is collected well and you do not make any stains or edges on the window sill or the table.


Have fun trying and giving away.


Follow us on Facebook , Instagram and Pinterest
Don't miss any more adventures: Our bottle mail


