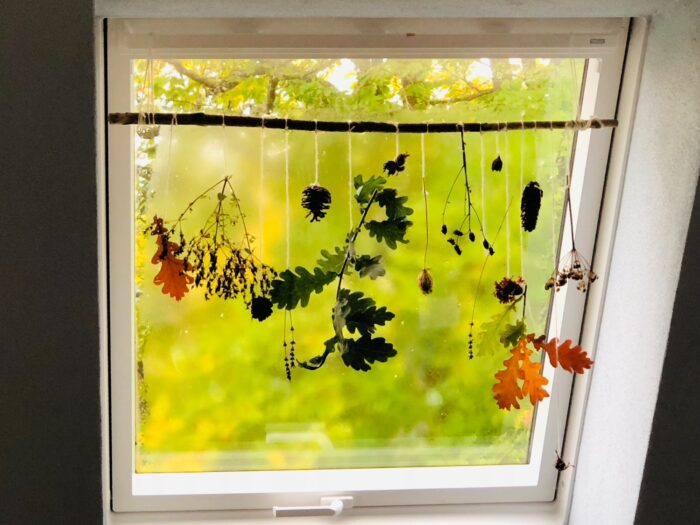
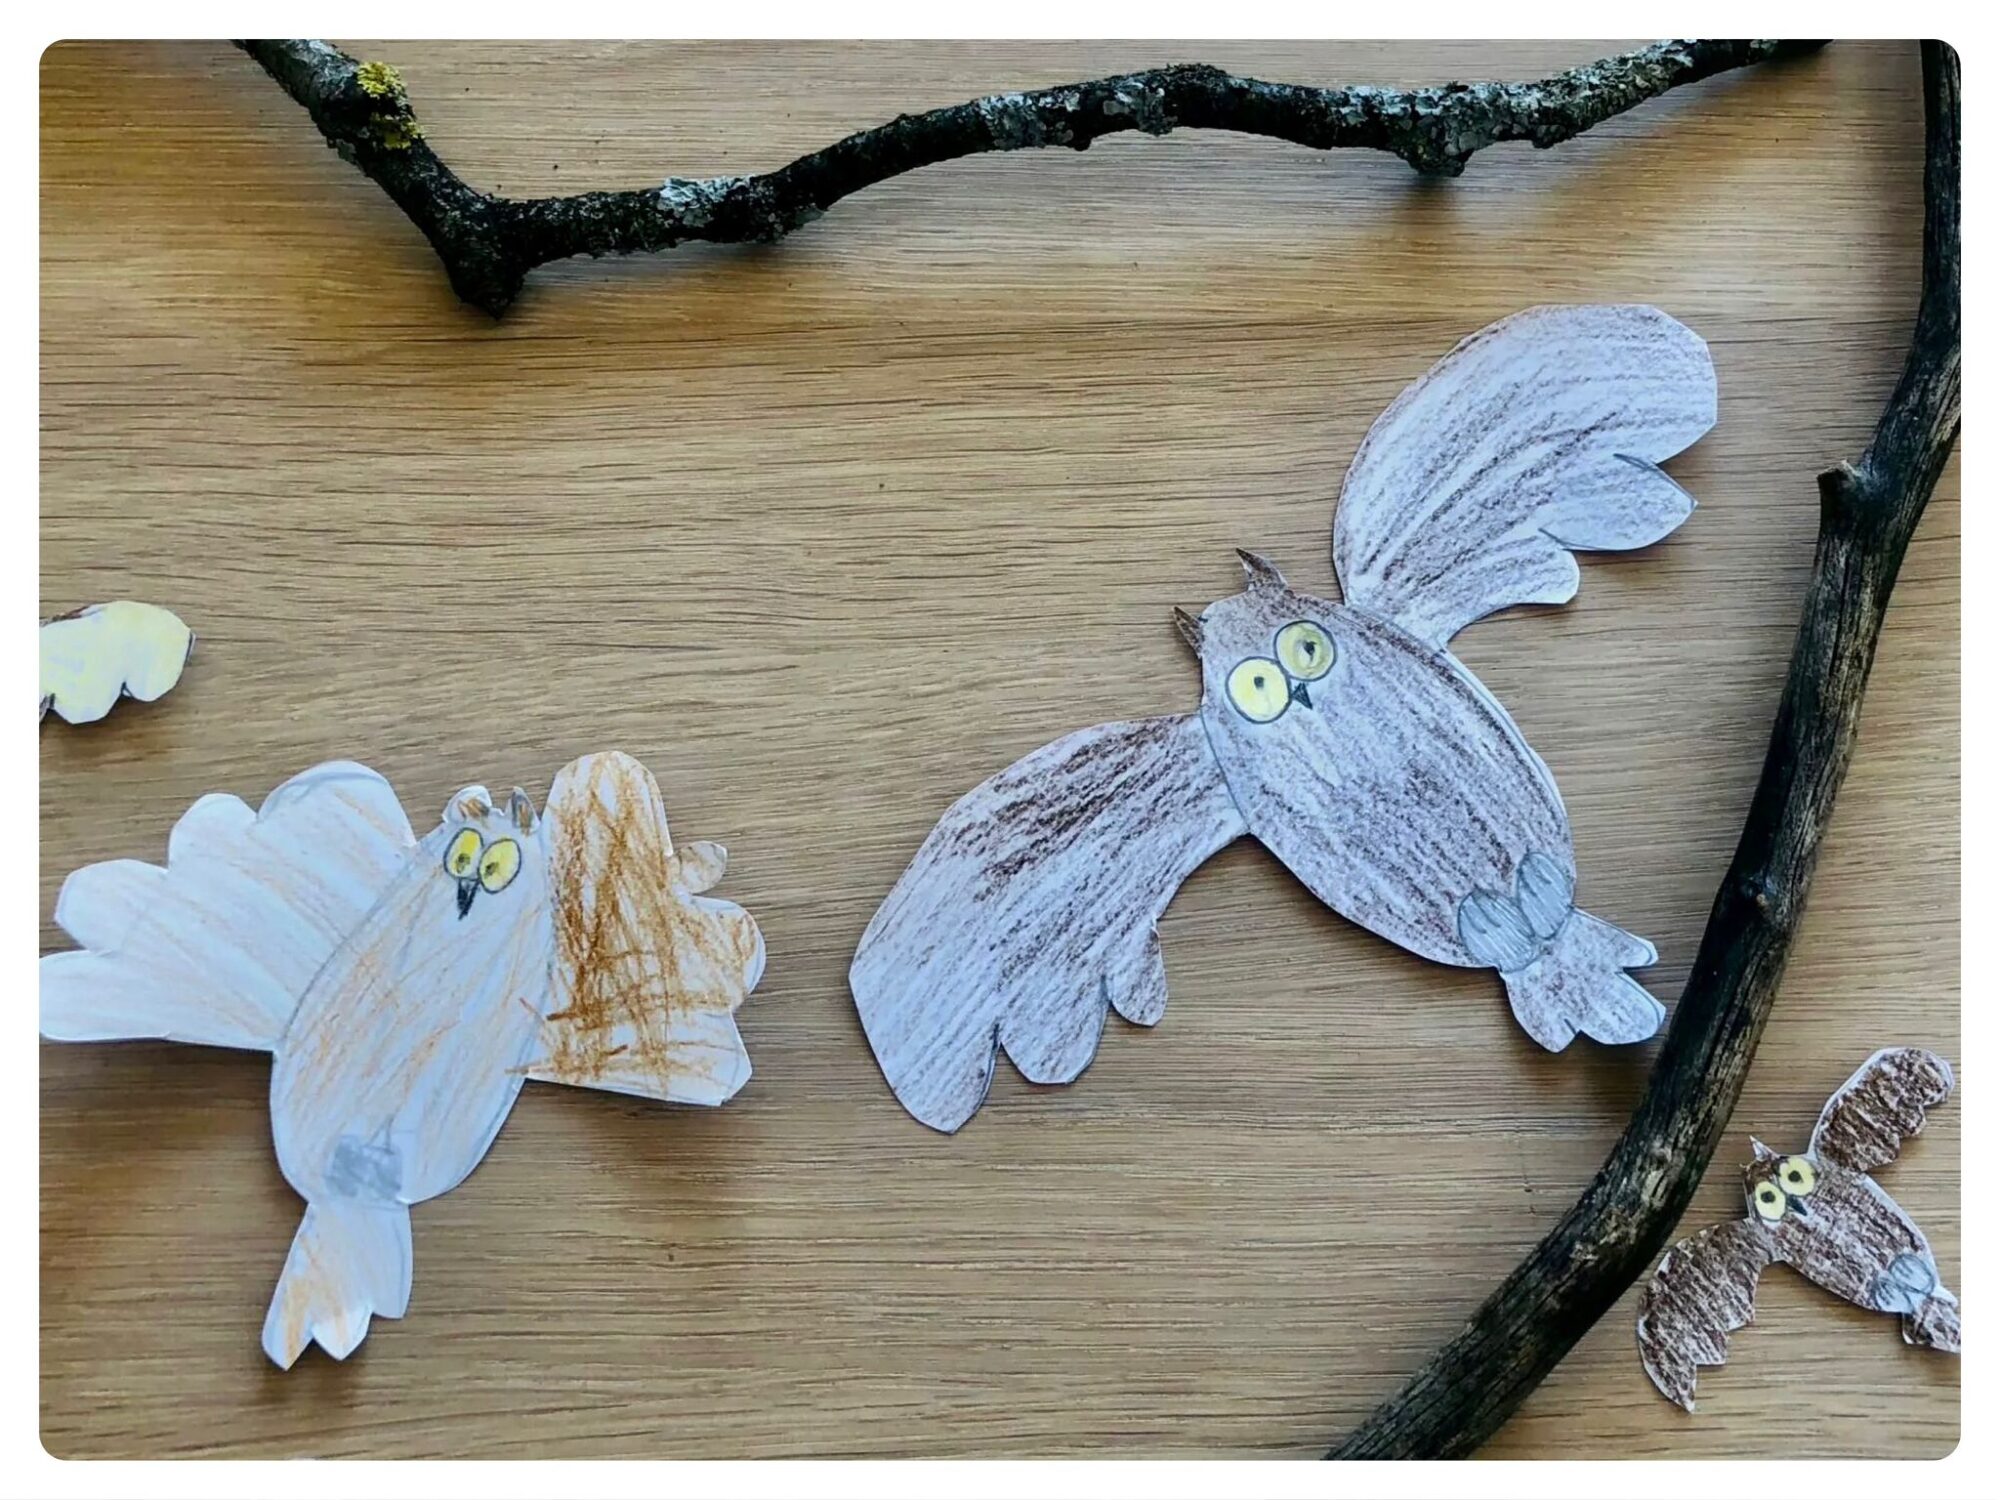
With this step by step description, children learn to paint an owl in a playful way. In addition, they can also solidify the learned and draw and paint some more owls. Attached to a branch, a beautiful autumn decoration is created in no time. Let yourself be inspired!
Media Education for Kindergarten and Hort

Relief in everyday life, targeted promotion of individual children, independent learning and - without any pre-knowledge already usable by the youngest!
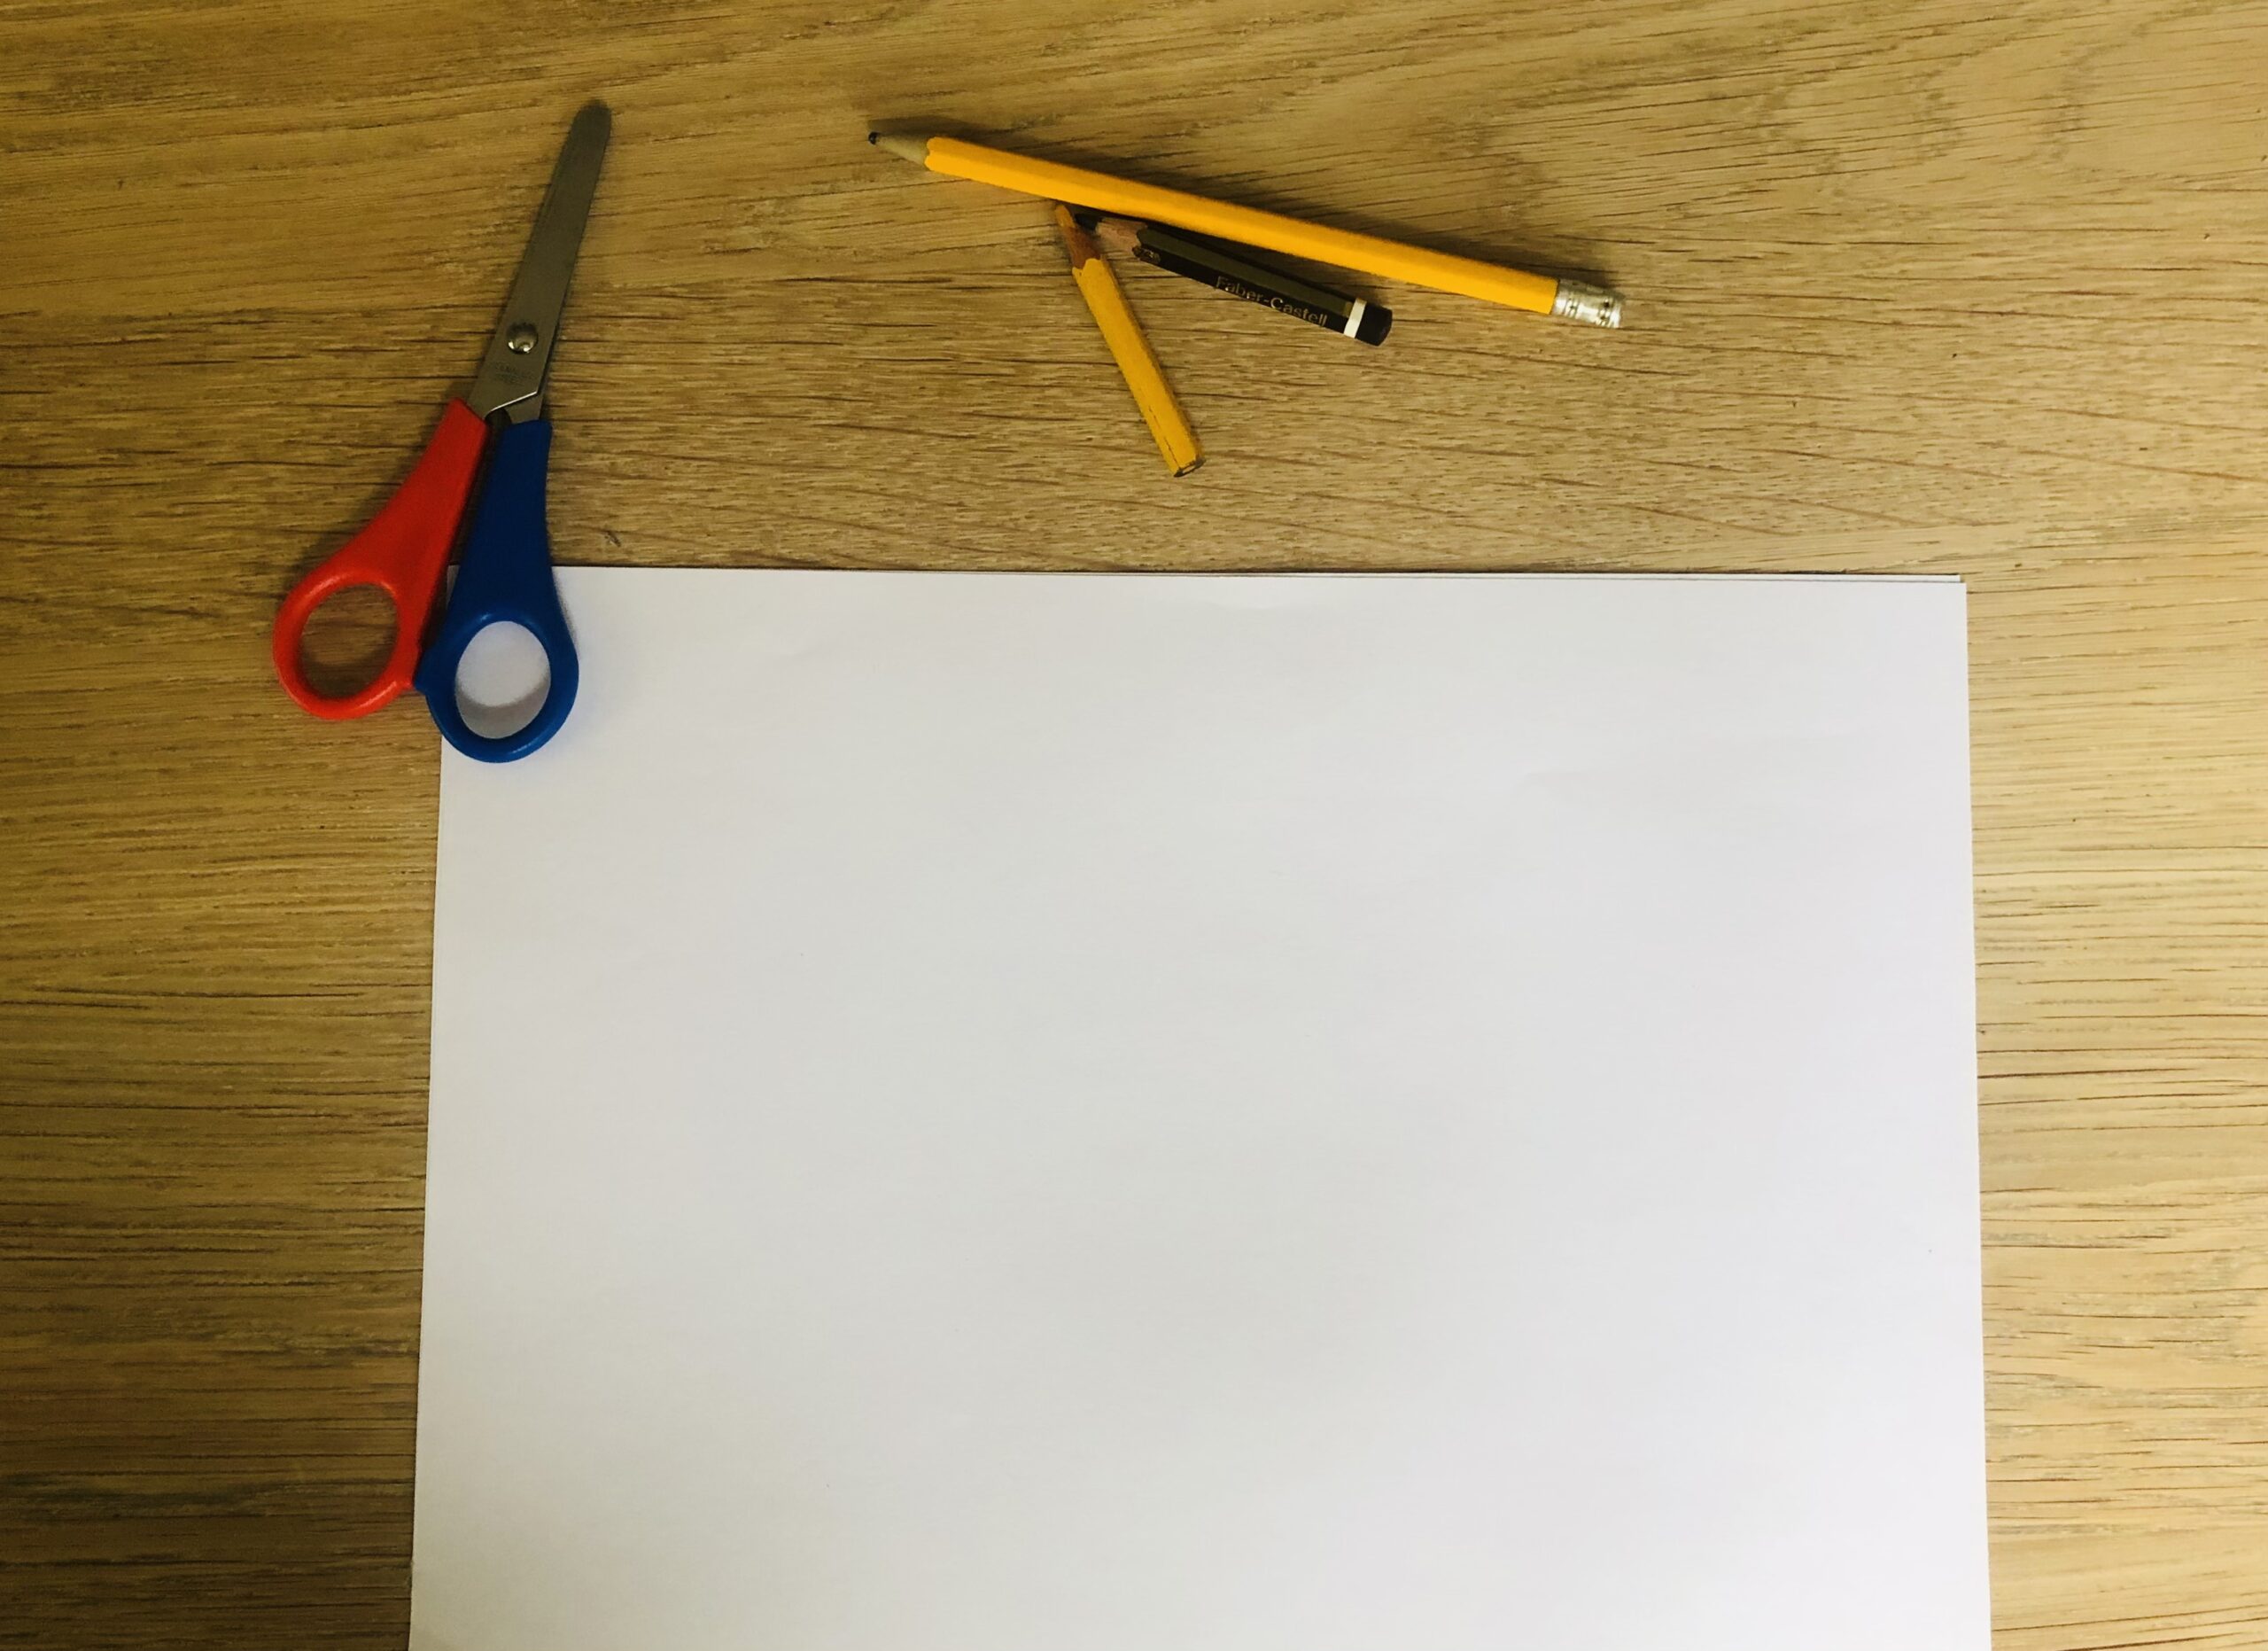
First you pick up your material and lay out the craft file.
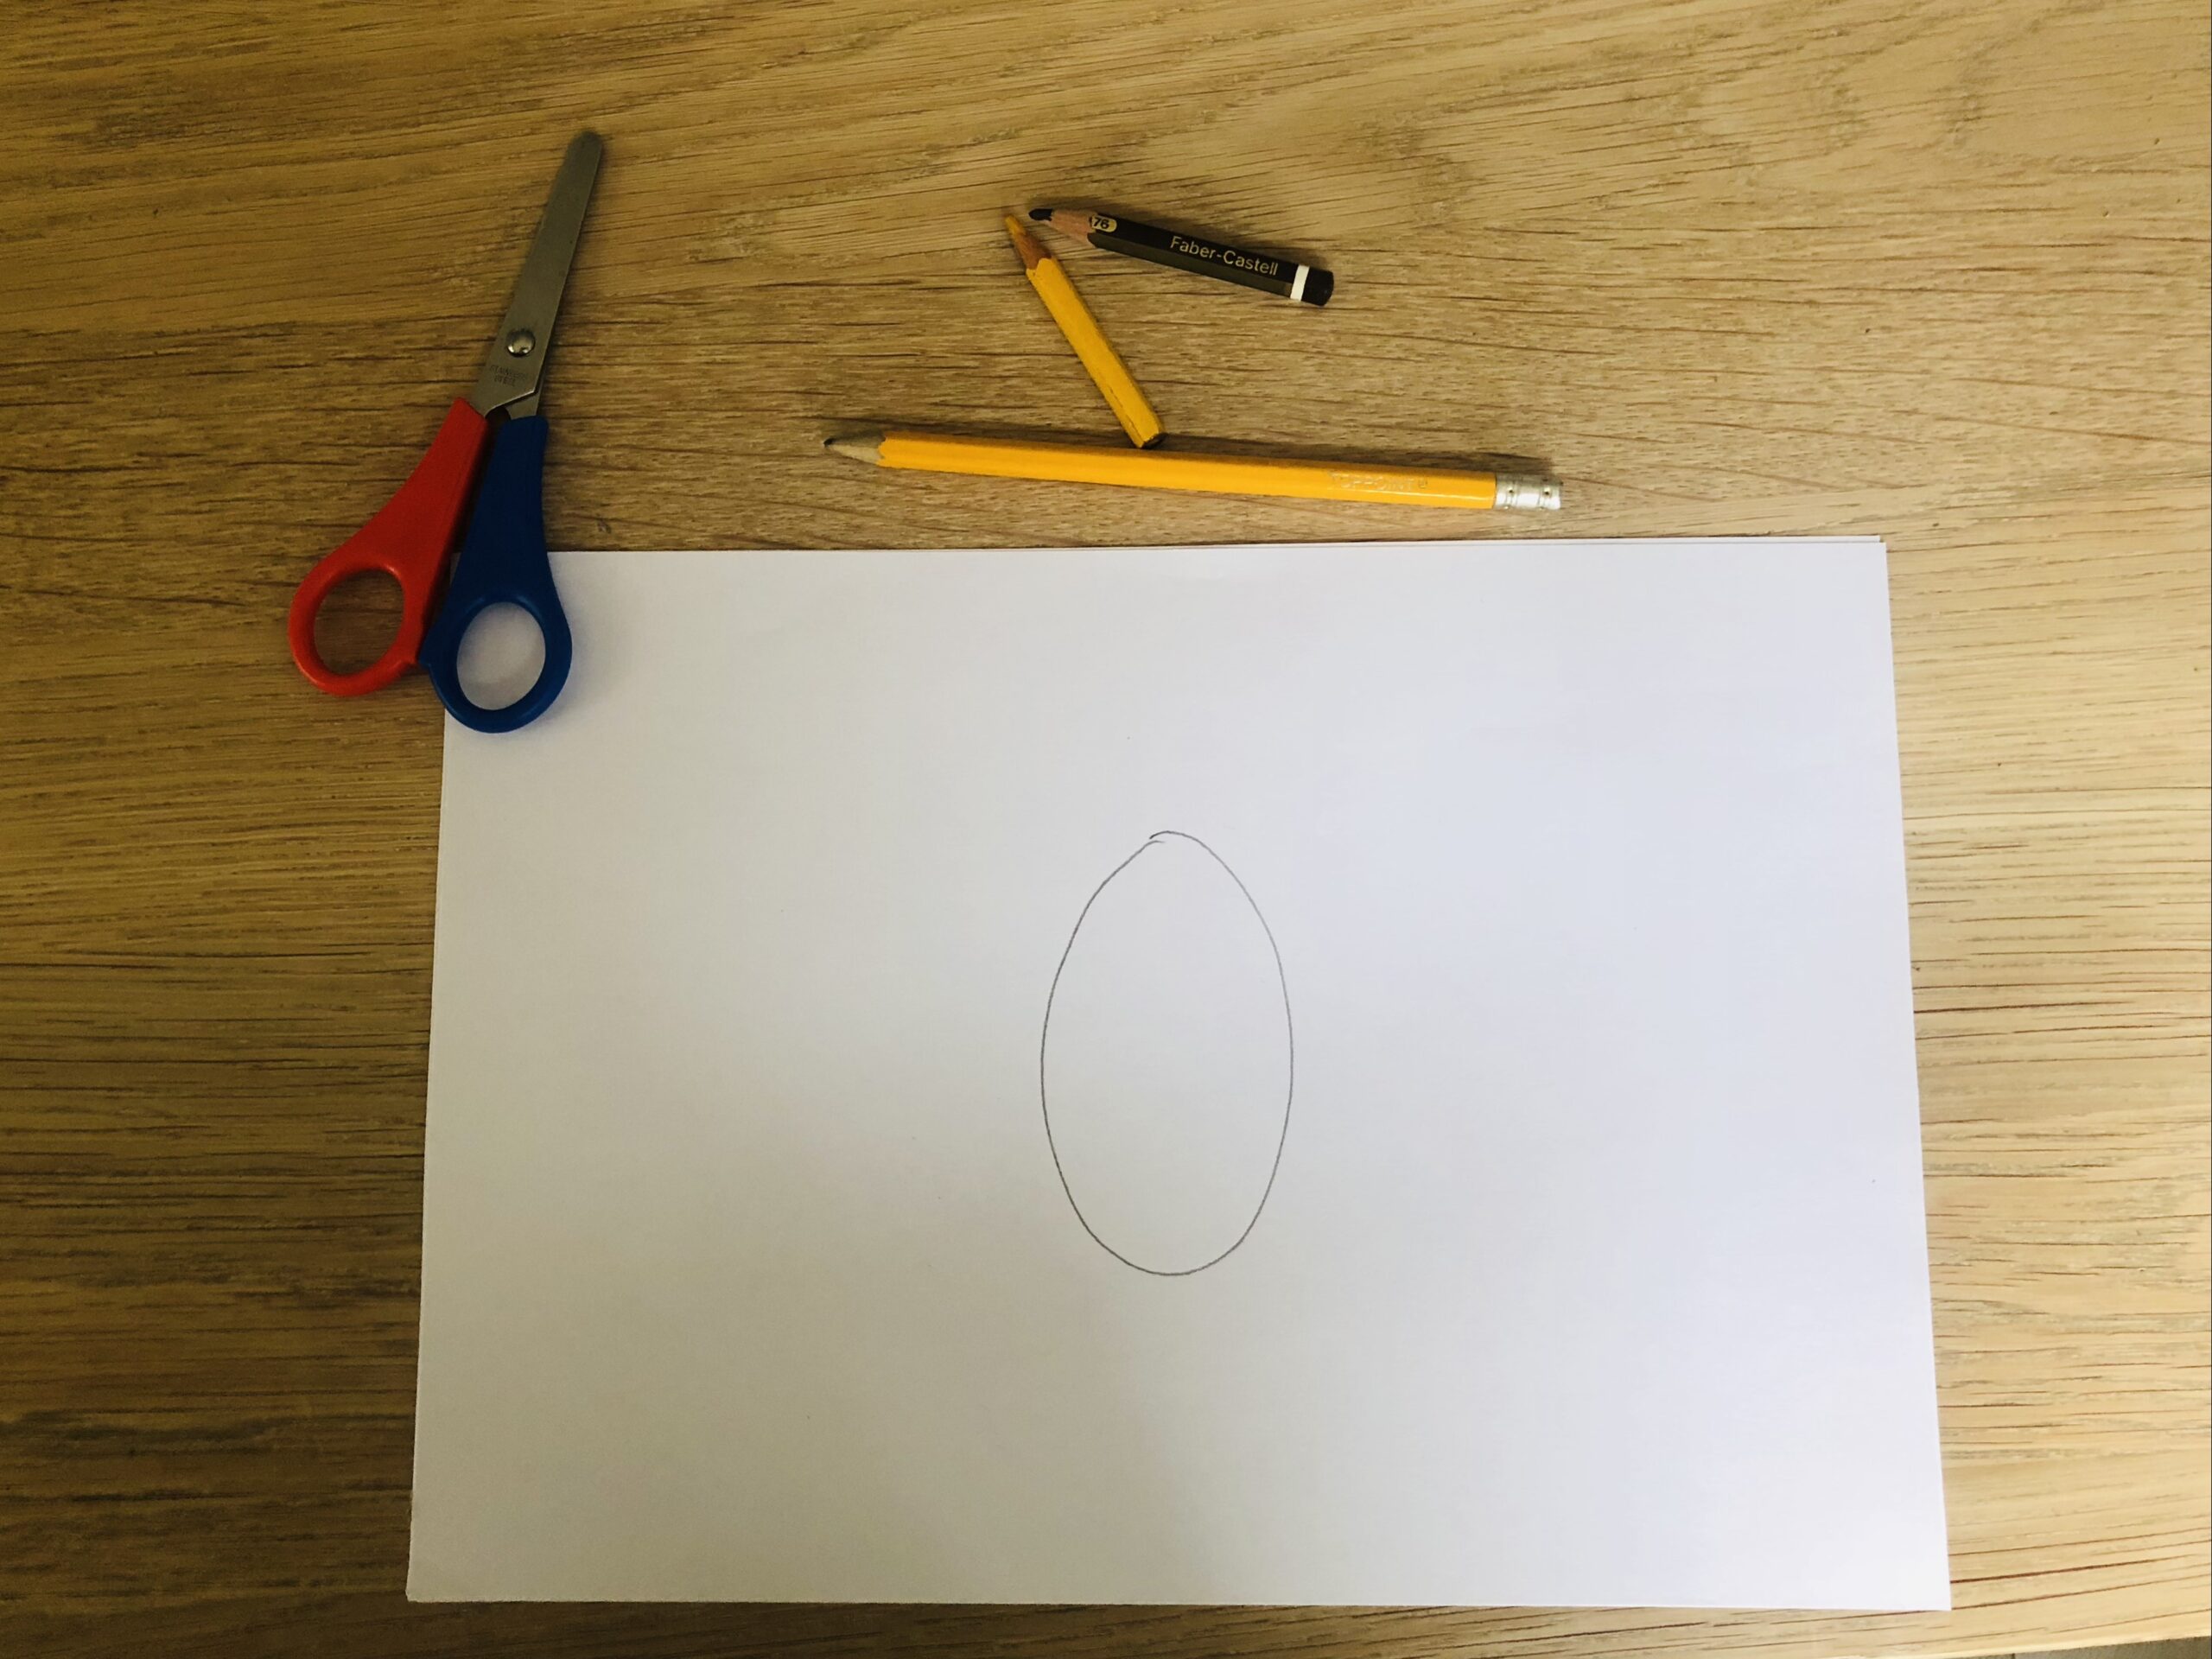
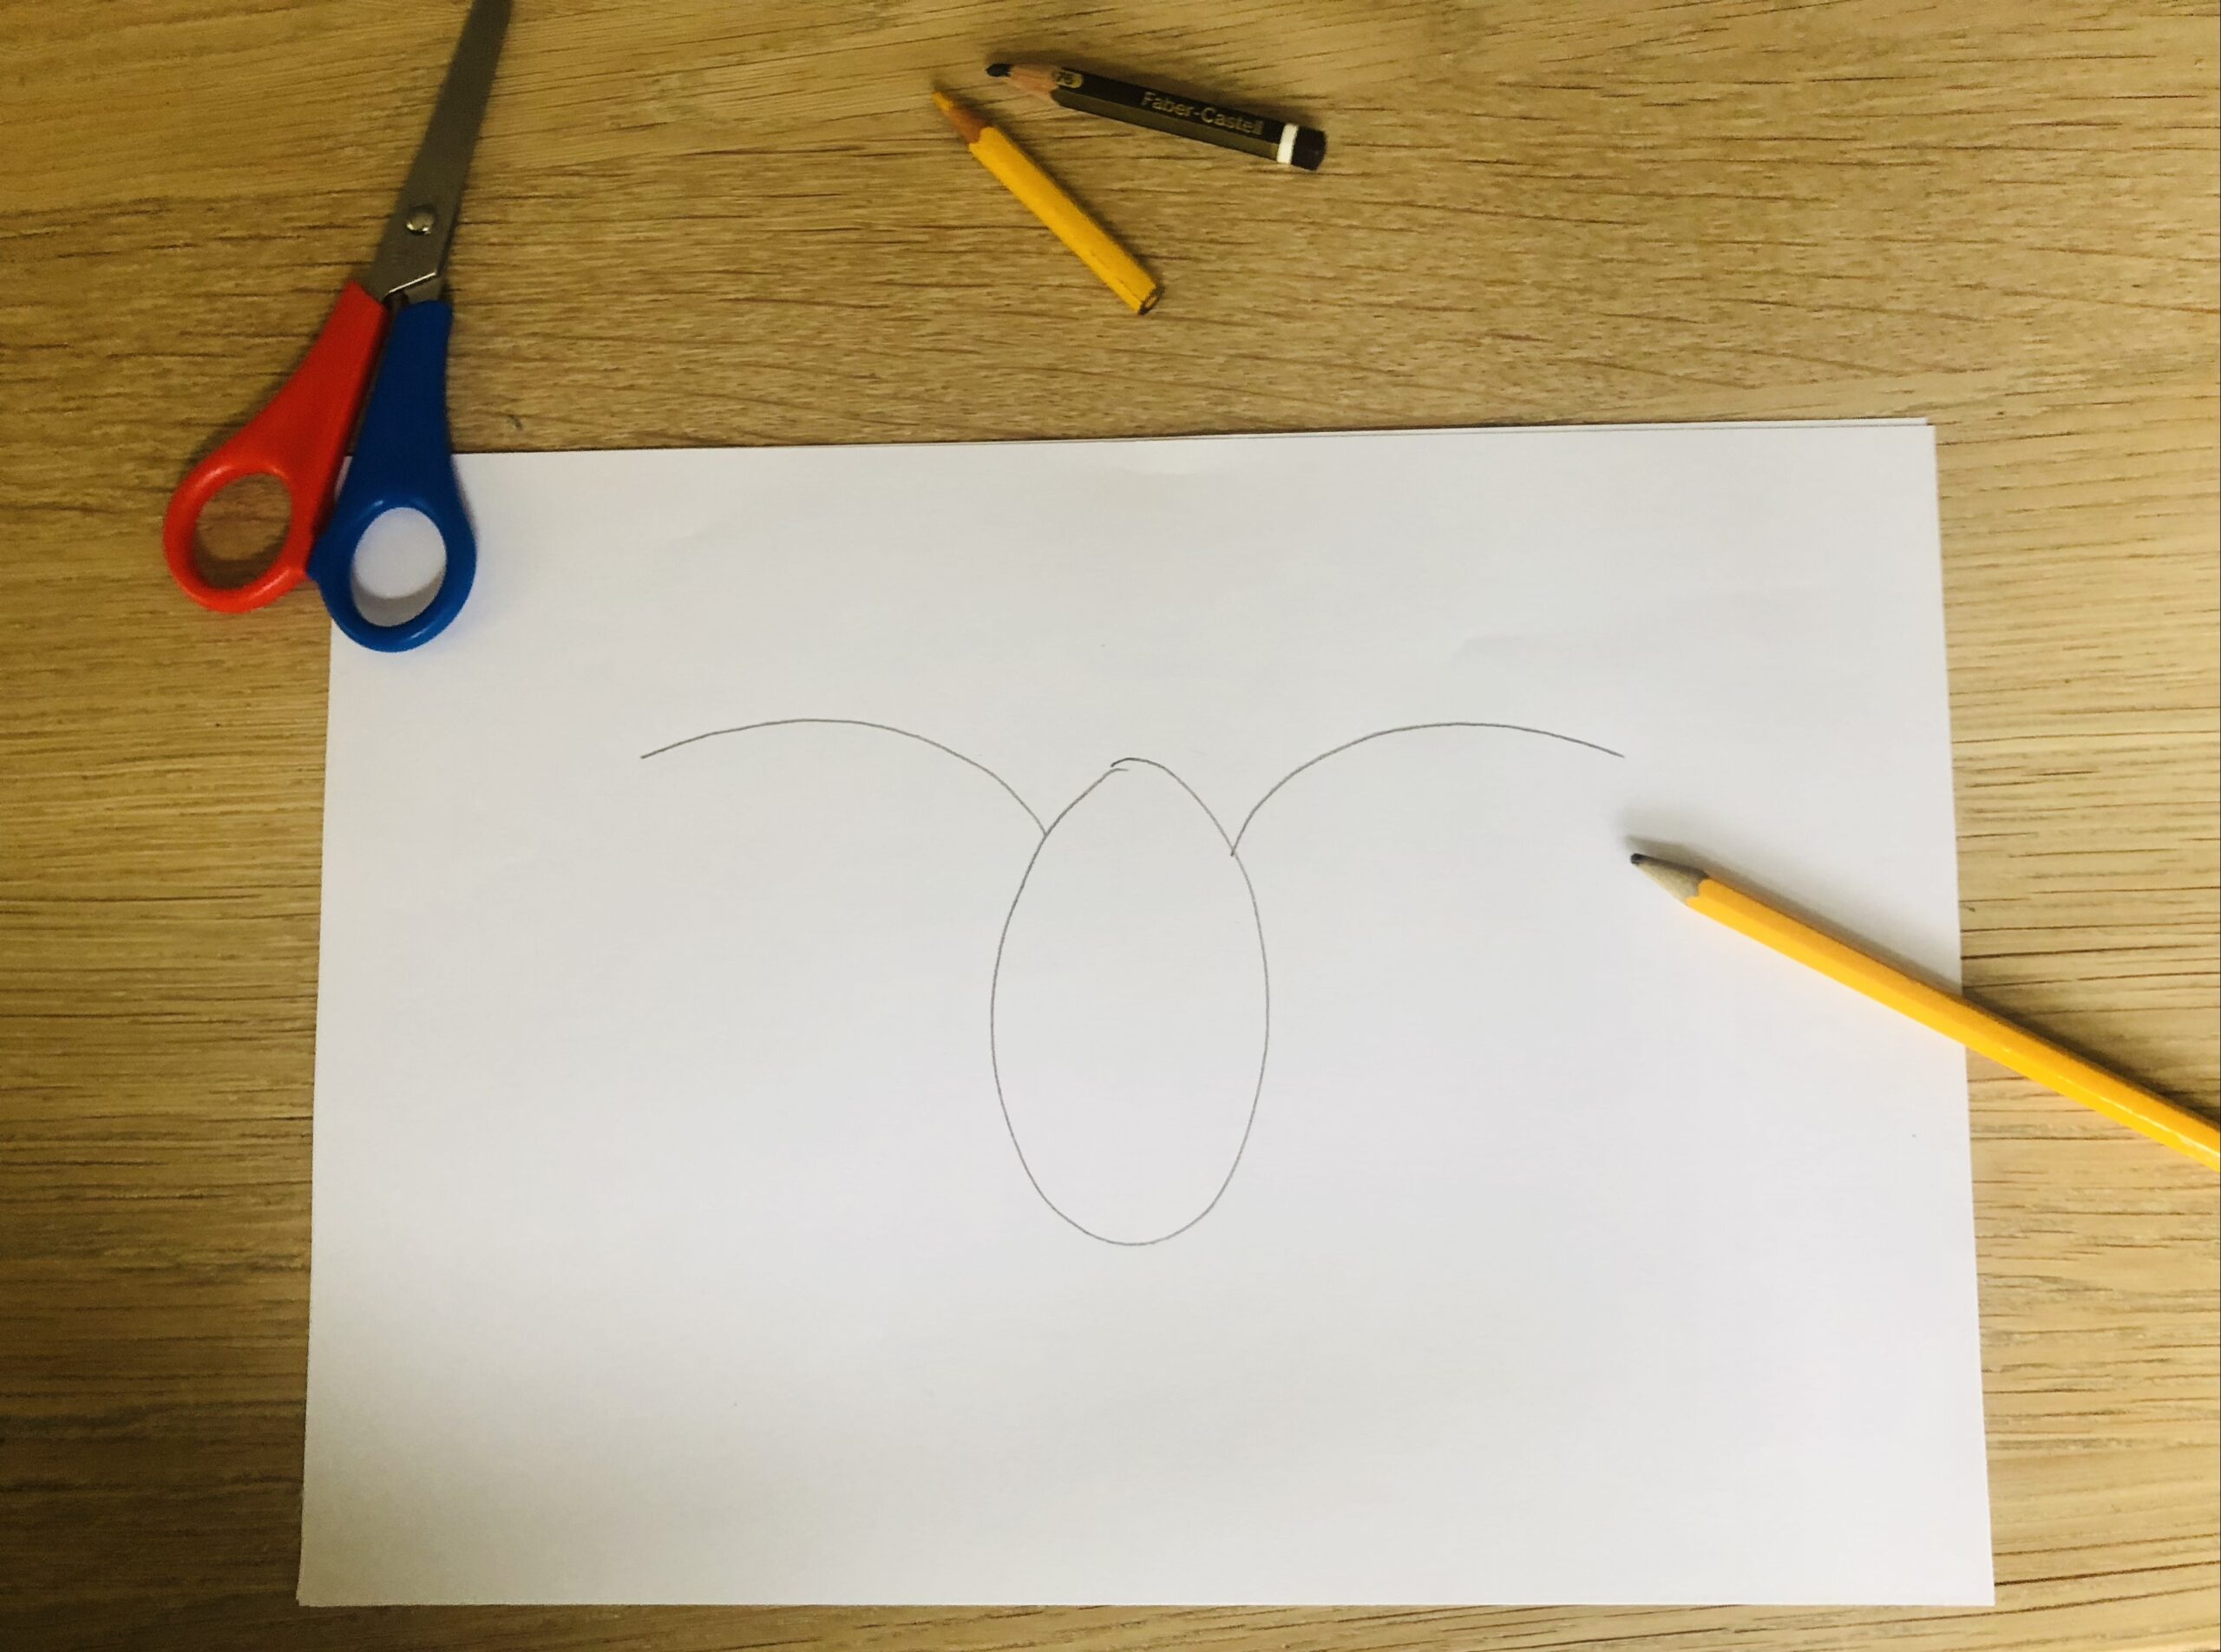
Then you begin to paint the body of the owl. The body looks like an egg.


Then you paint a large bow to the left and right in the upper third of the egg.


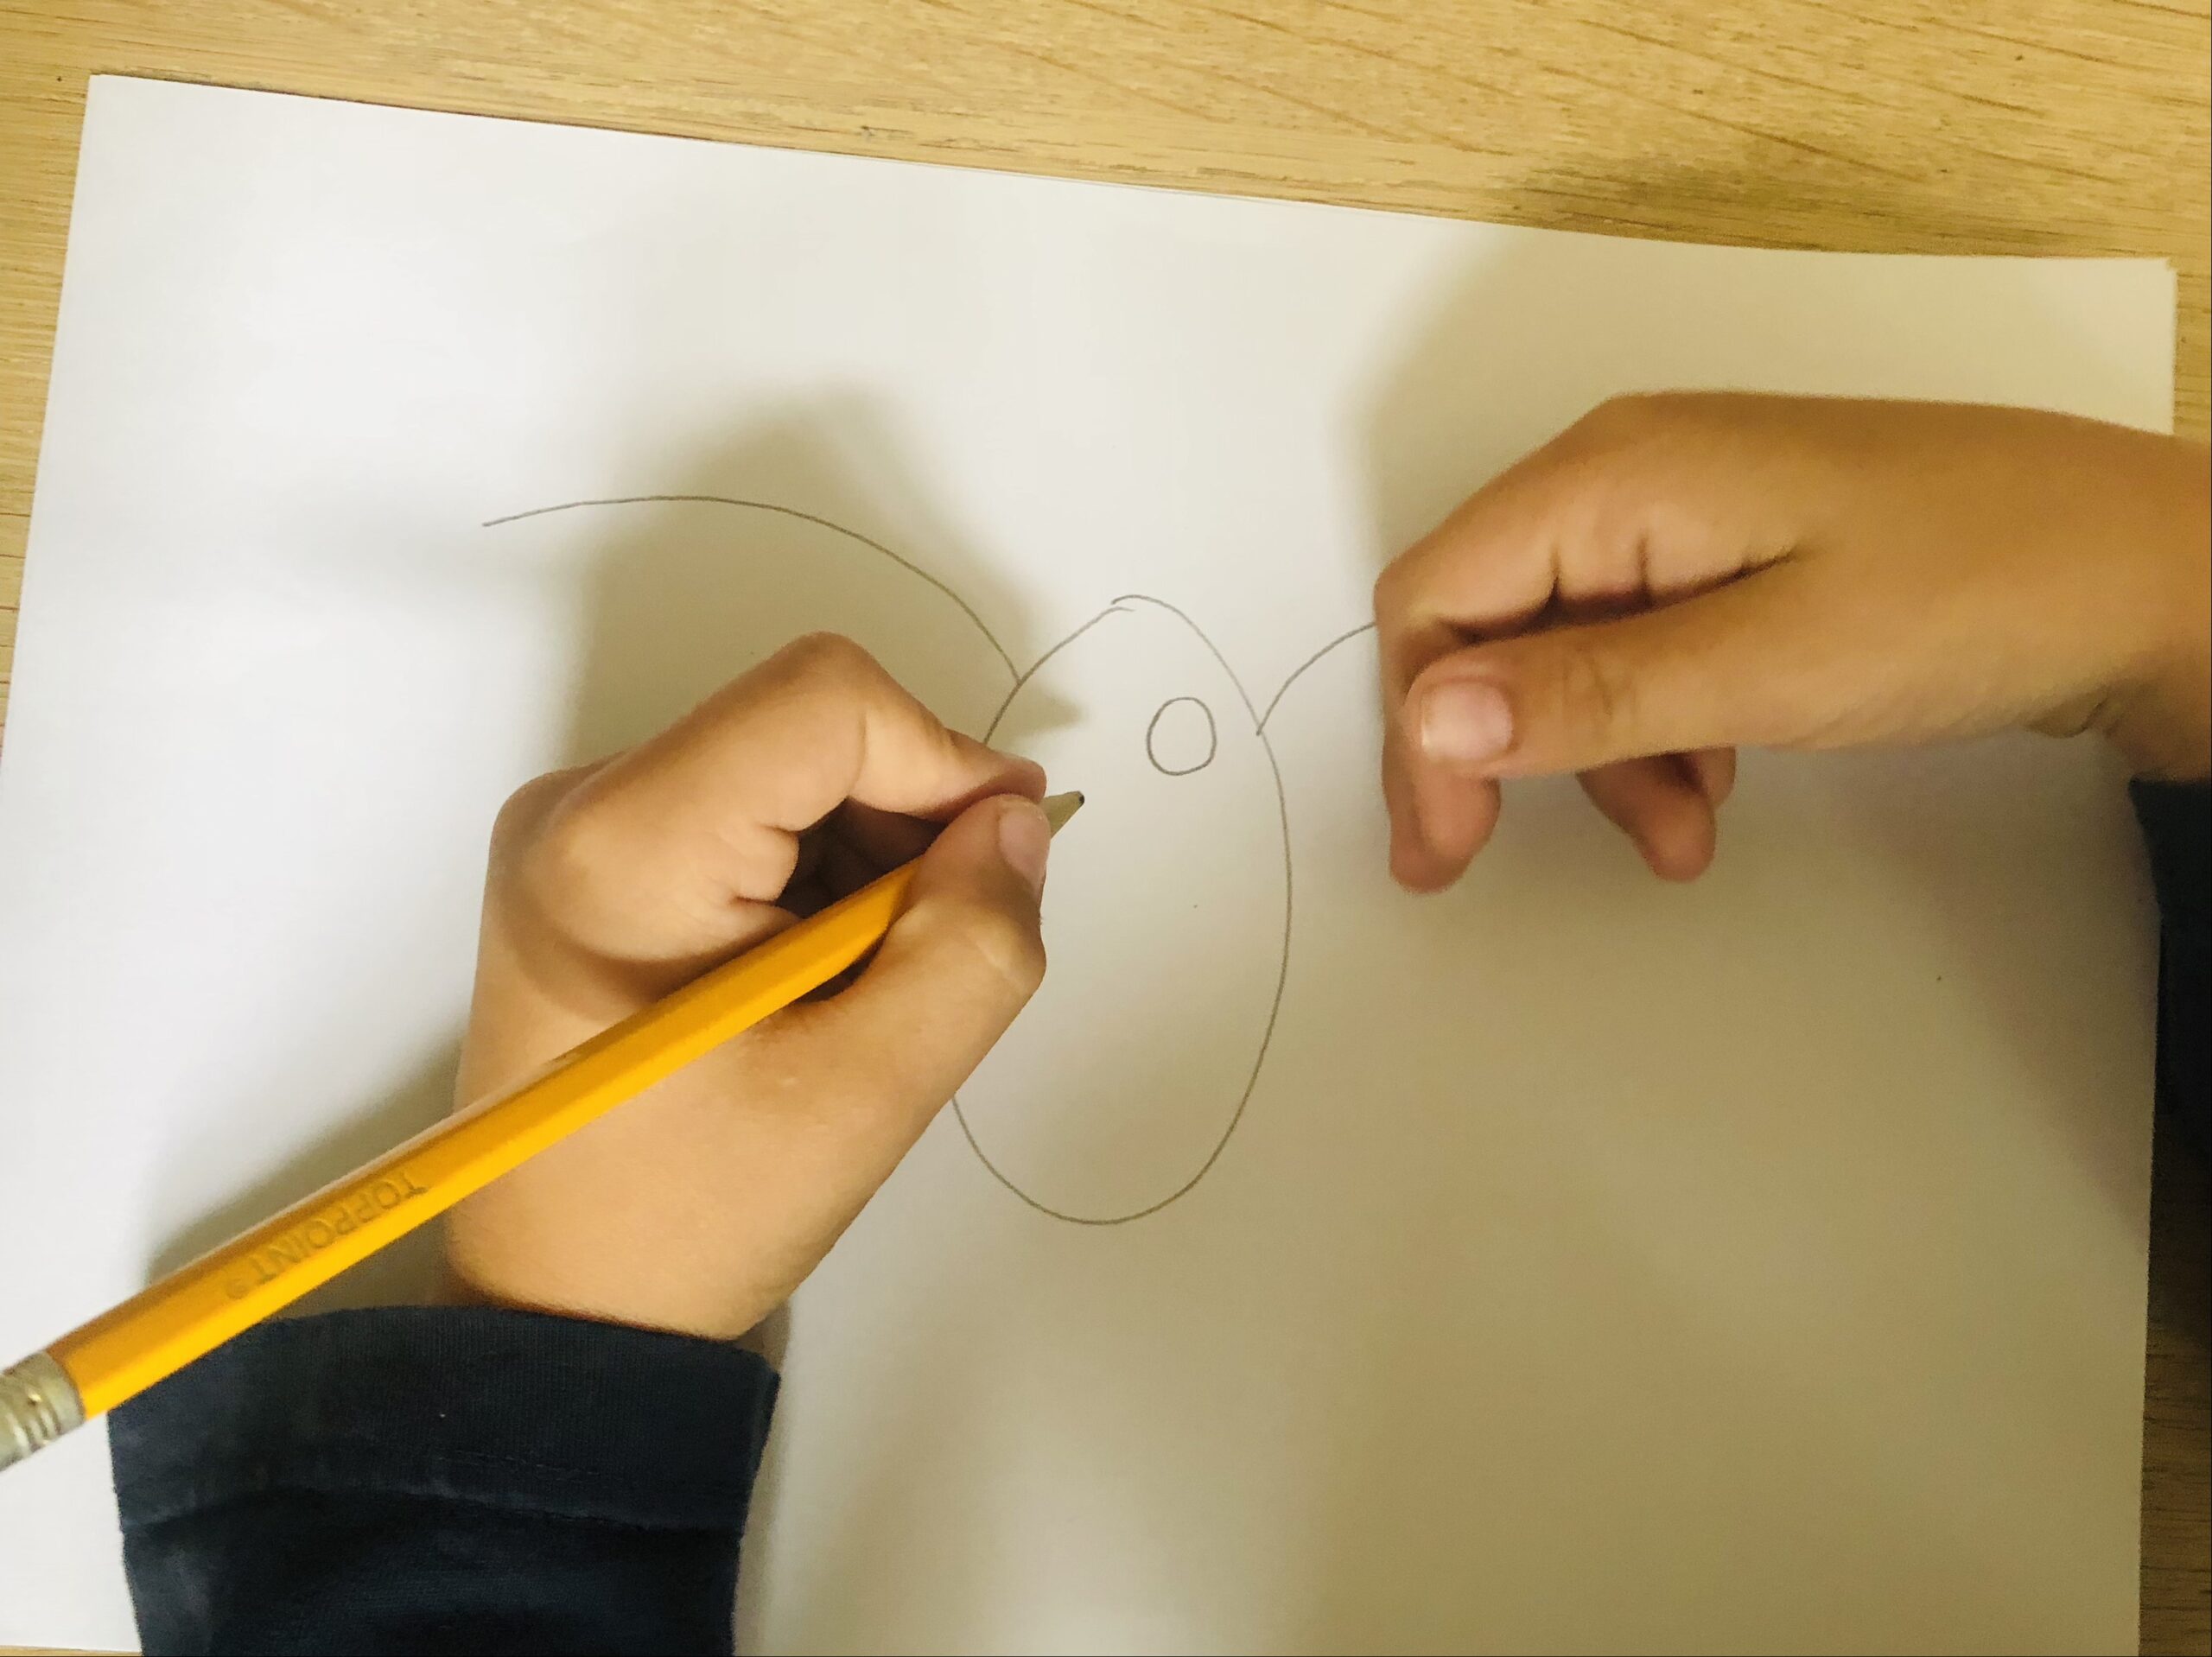
Now you paint two small circles in the body of the owl. Paint the circles together. These are the eyes.


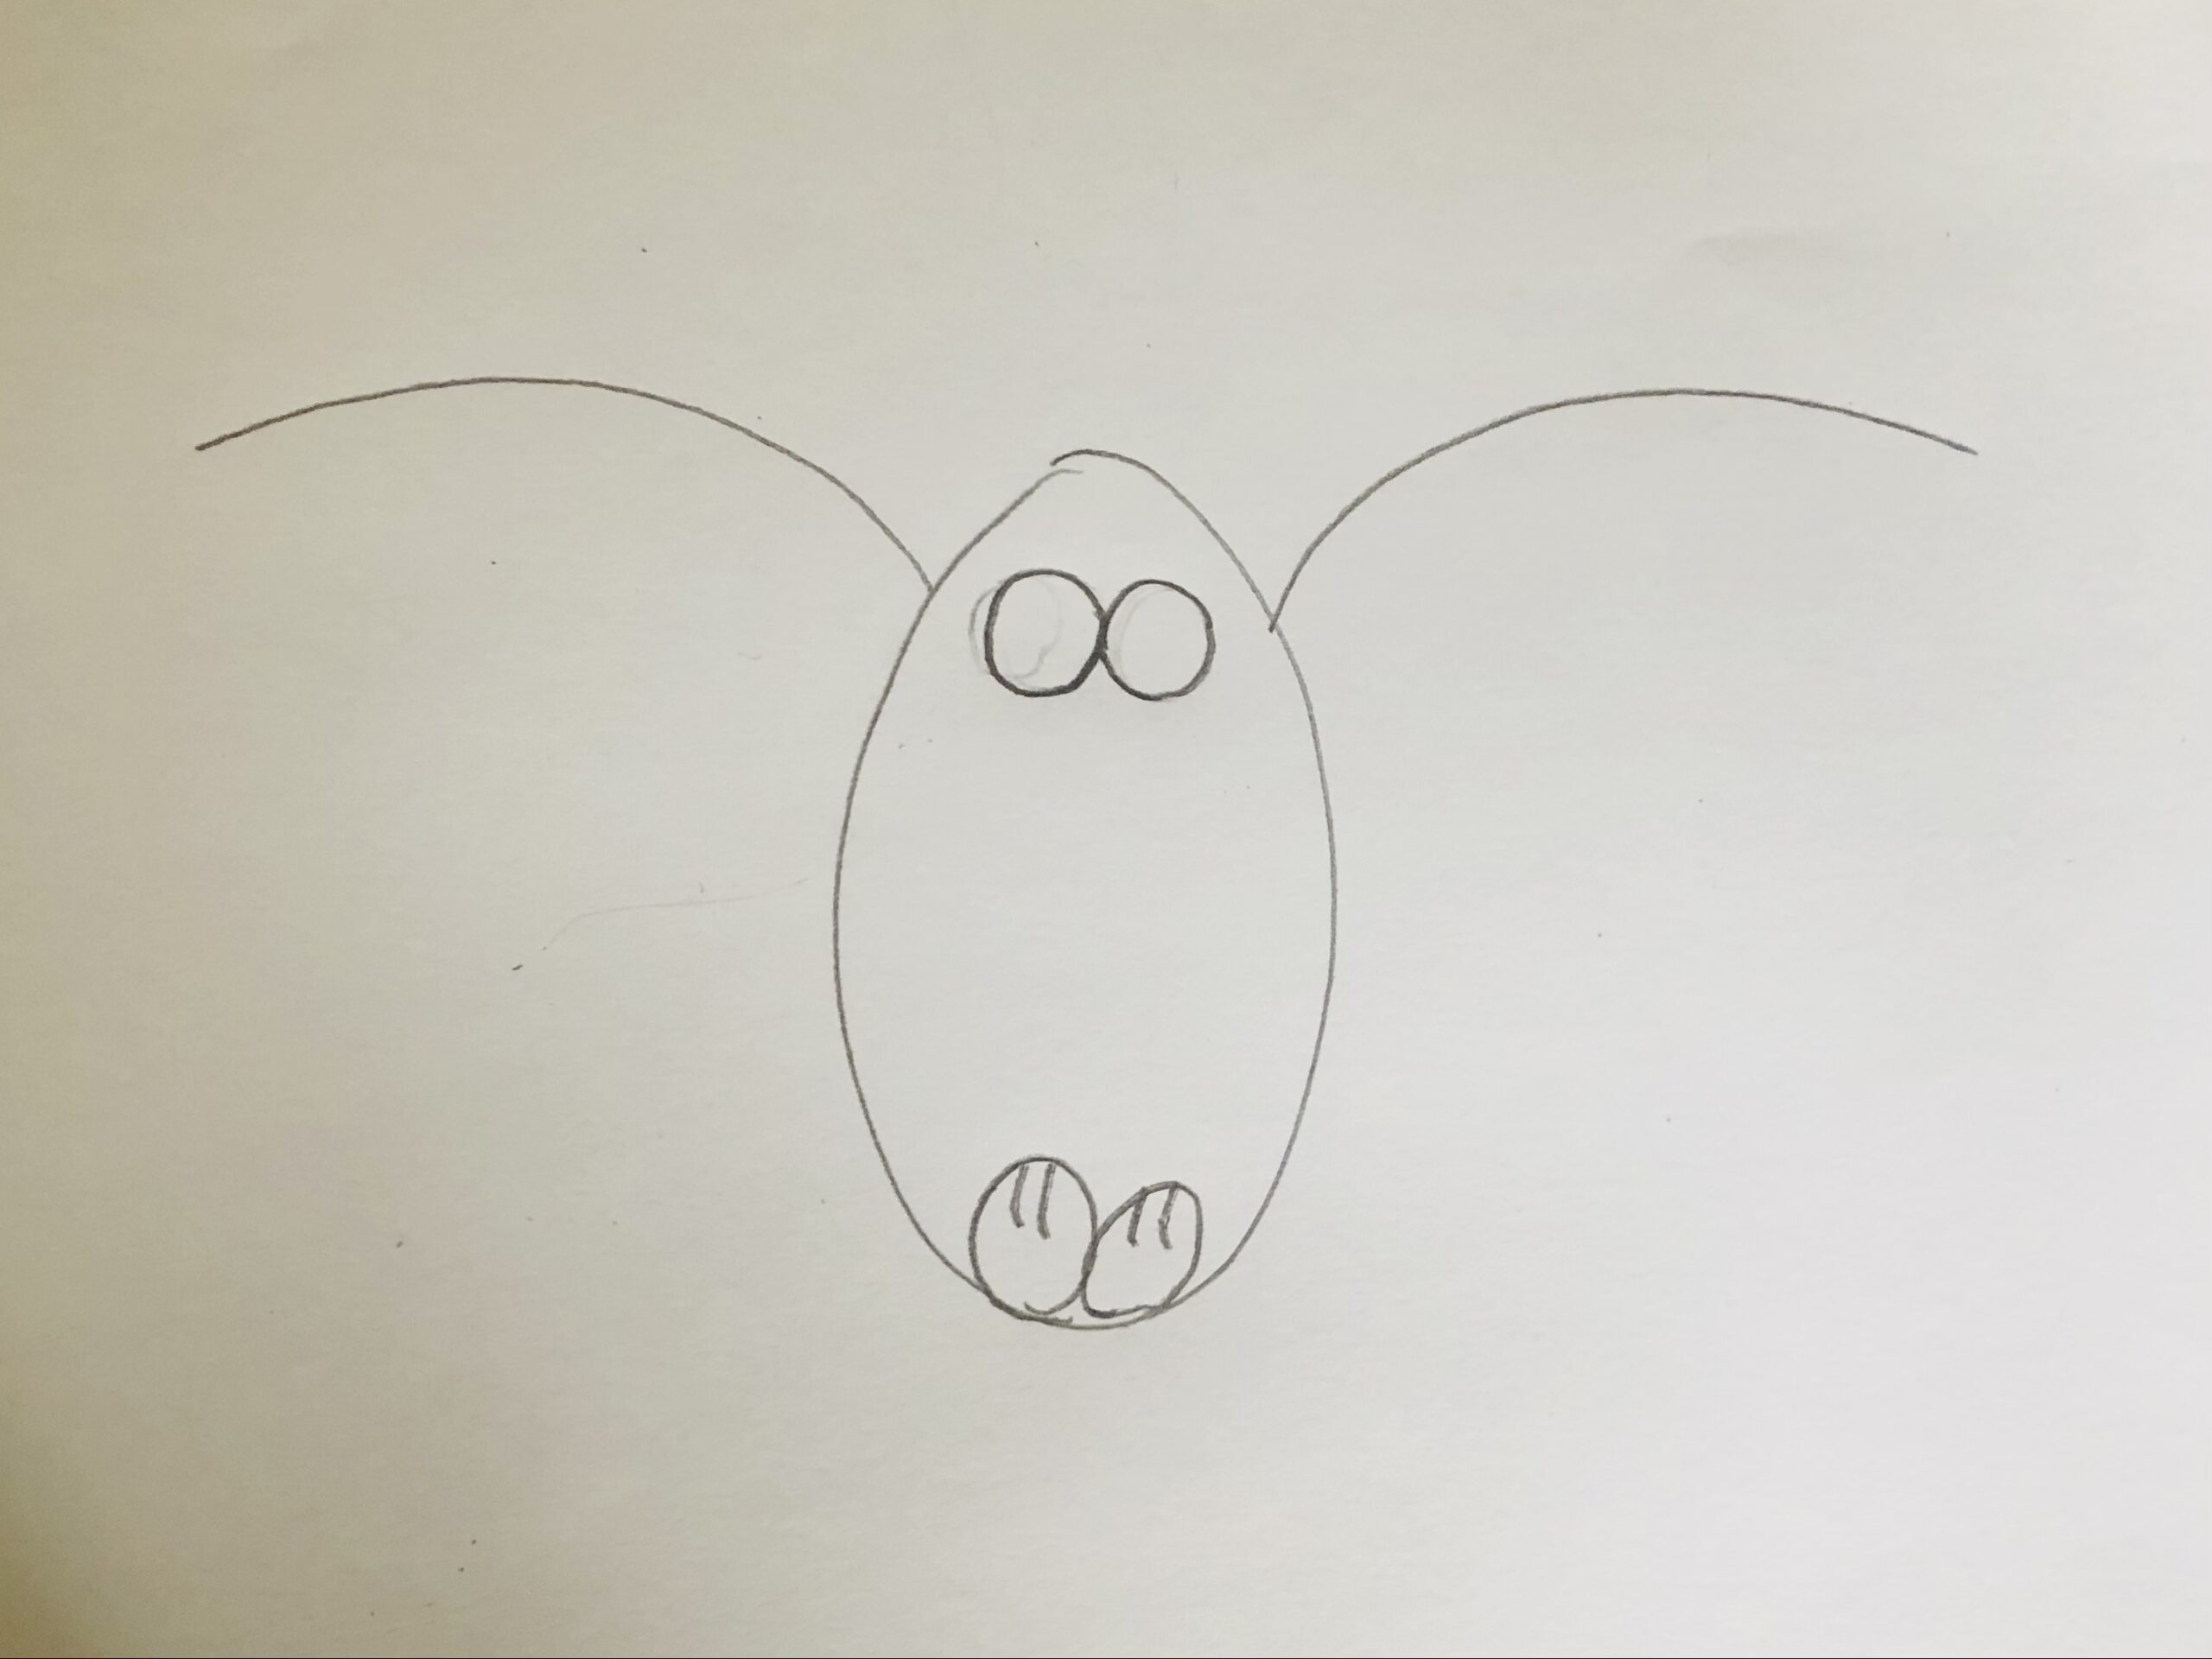
Then you also paint two circles in the lower end of the body. You paint a few strokes in the circles. These are the claws.


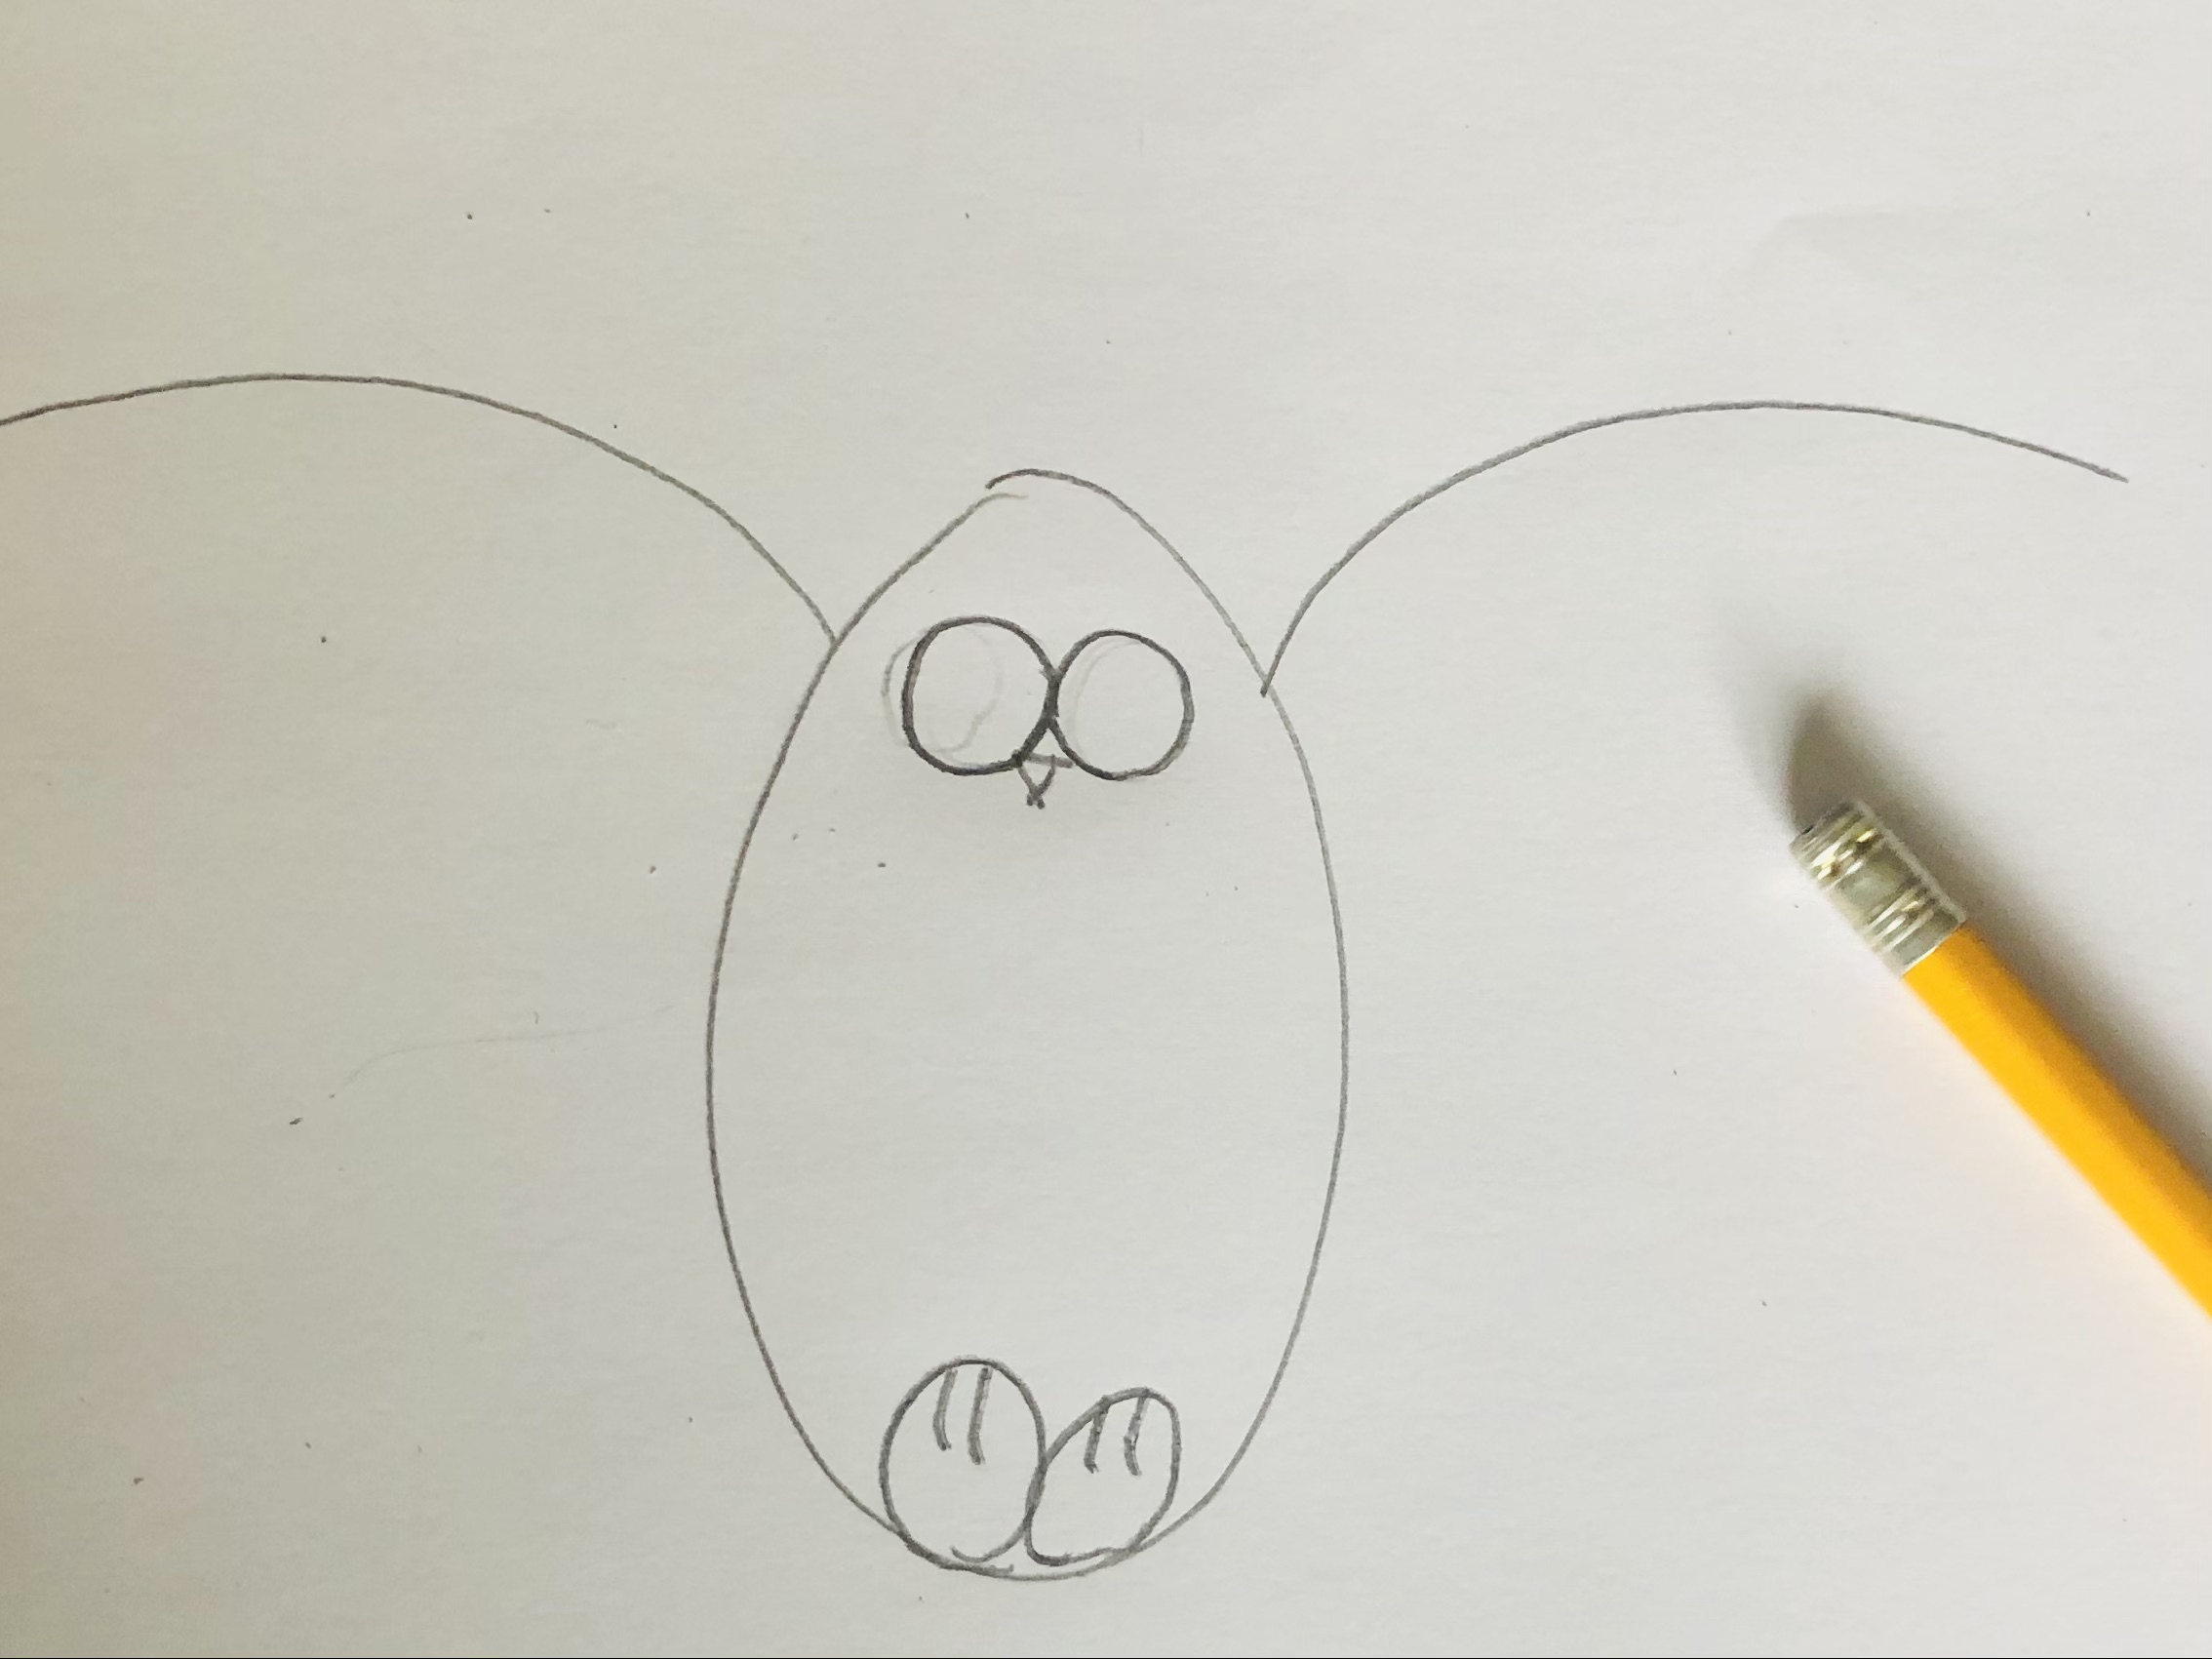
Now you paint the beak. For this you paint a small triangle in the middle under the eyes.


Then paint a dot in the eyes for the pupil and two small ears on the body of the owl. The ears look like two small curved triangles.
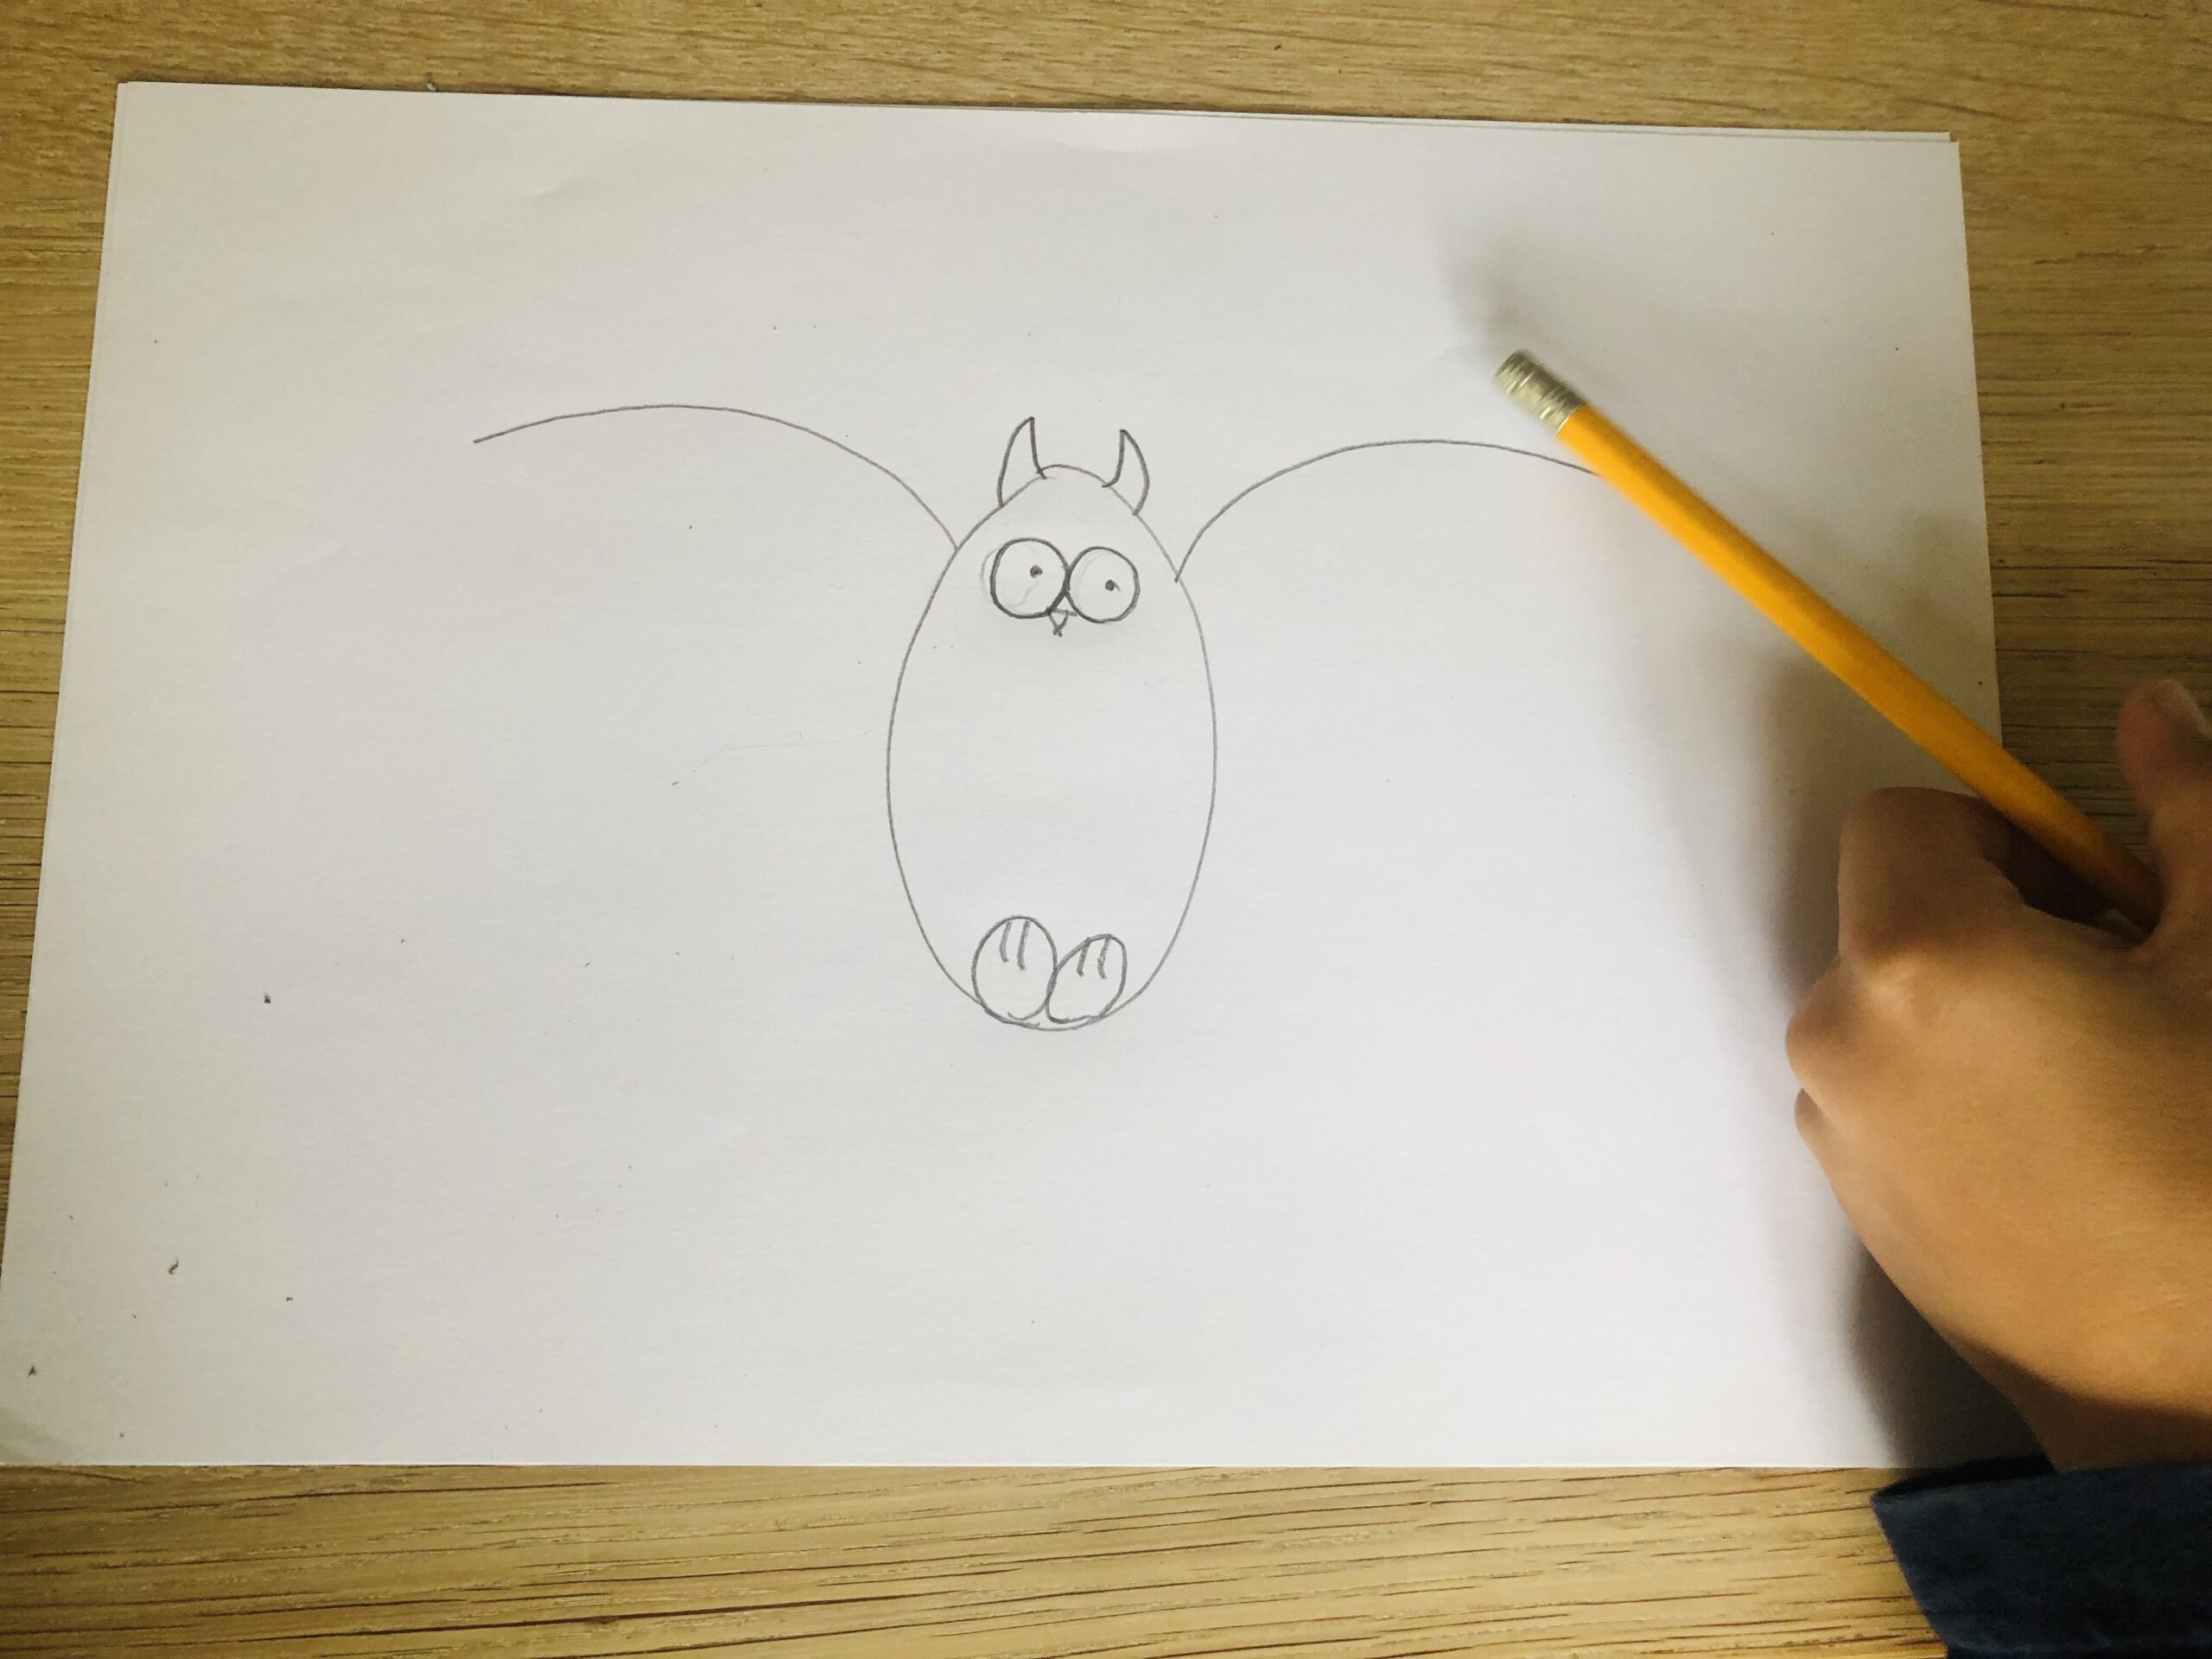


Now you paint the wings. For this you paint three arches (like roof tiles) under the at first painted large arch right and left next to the body.
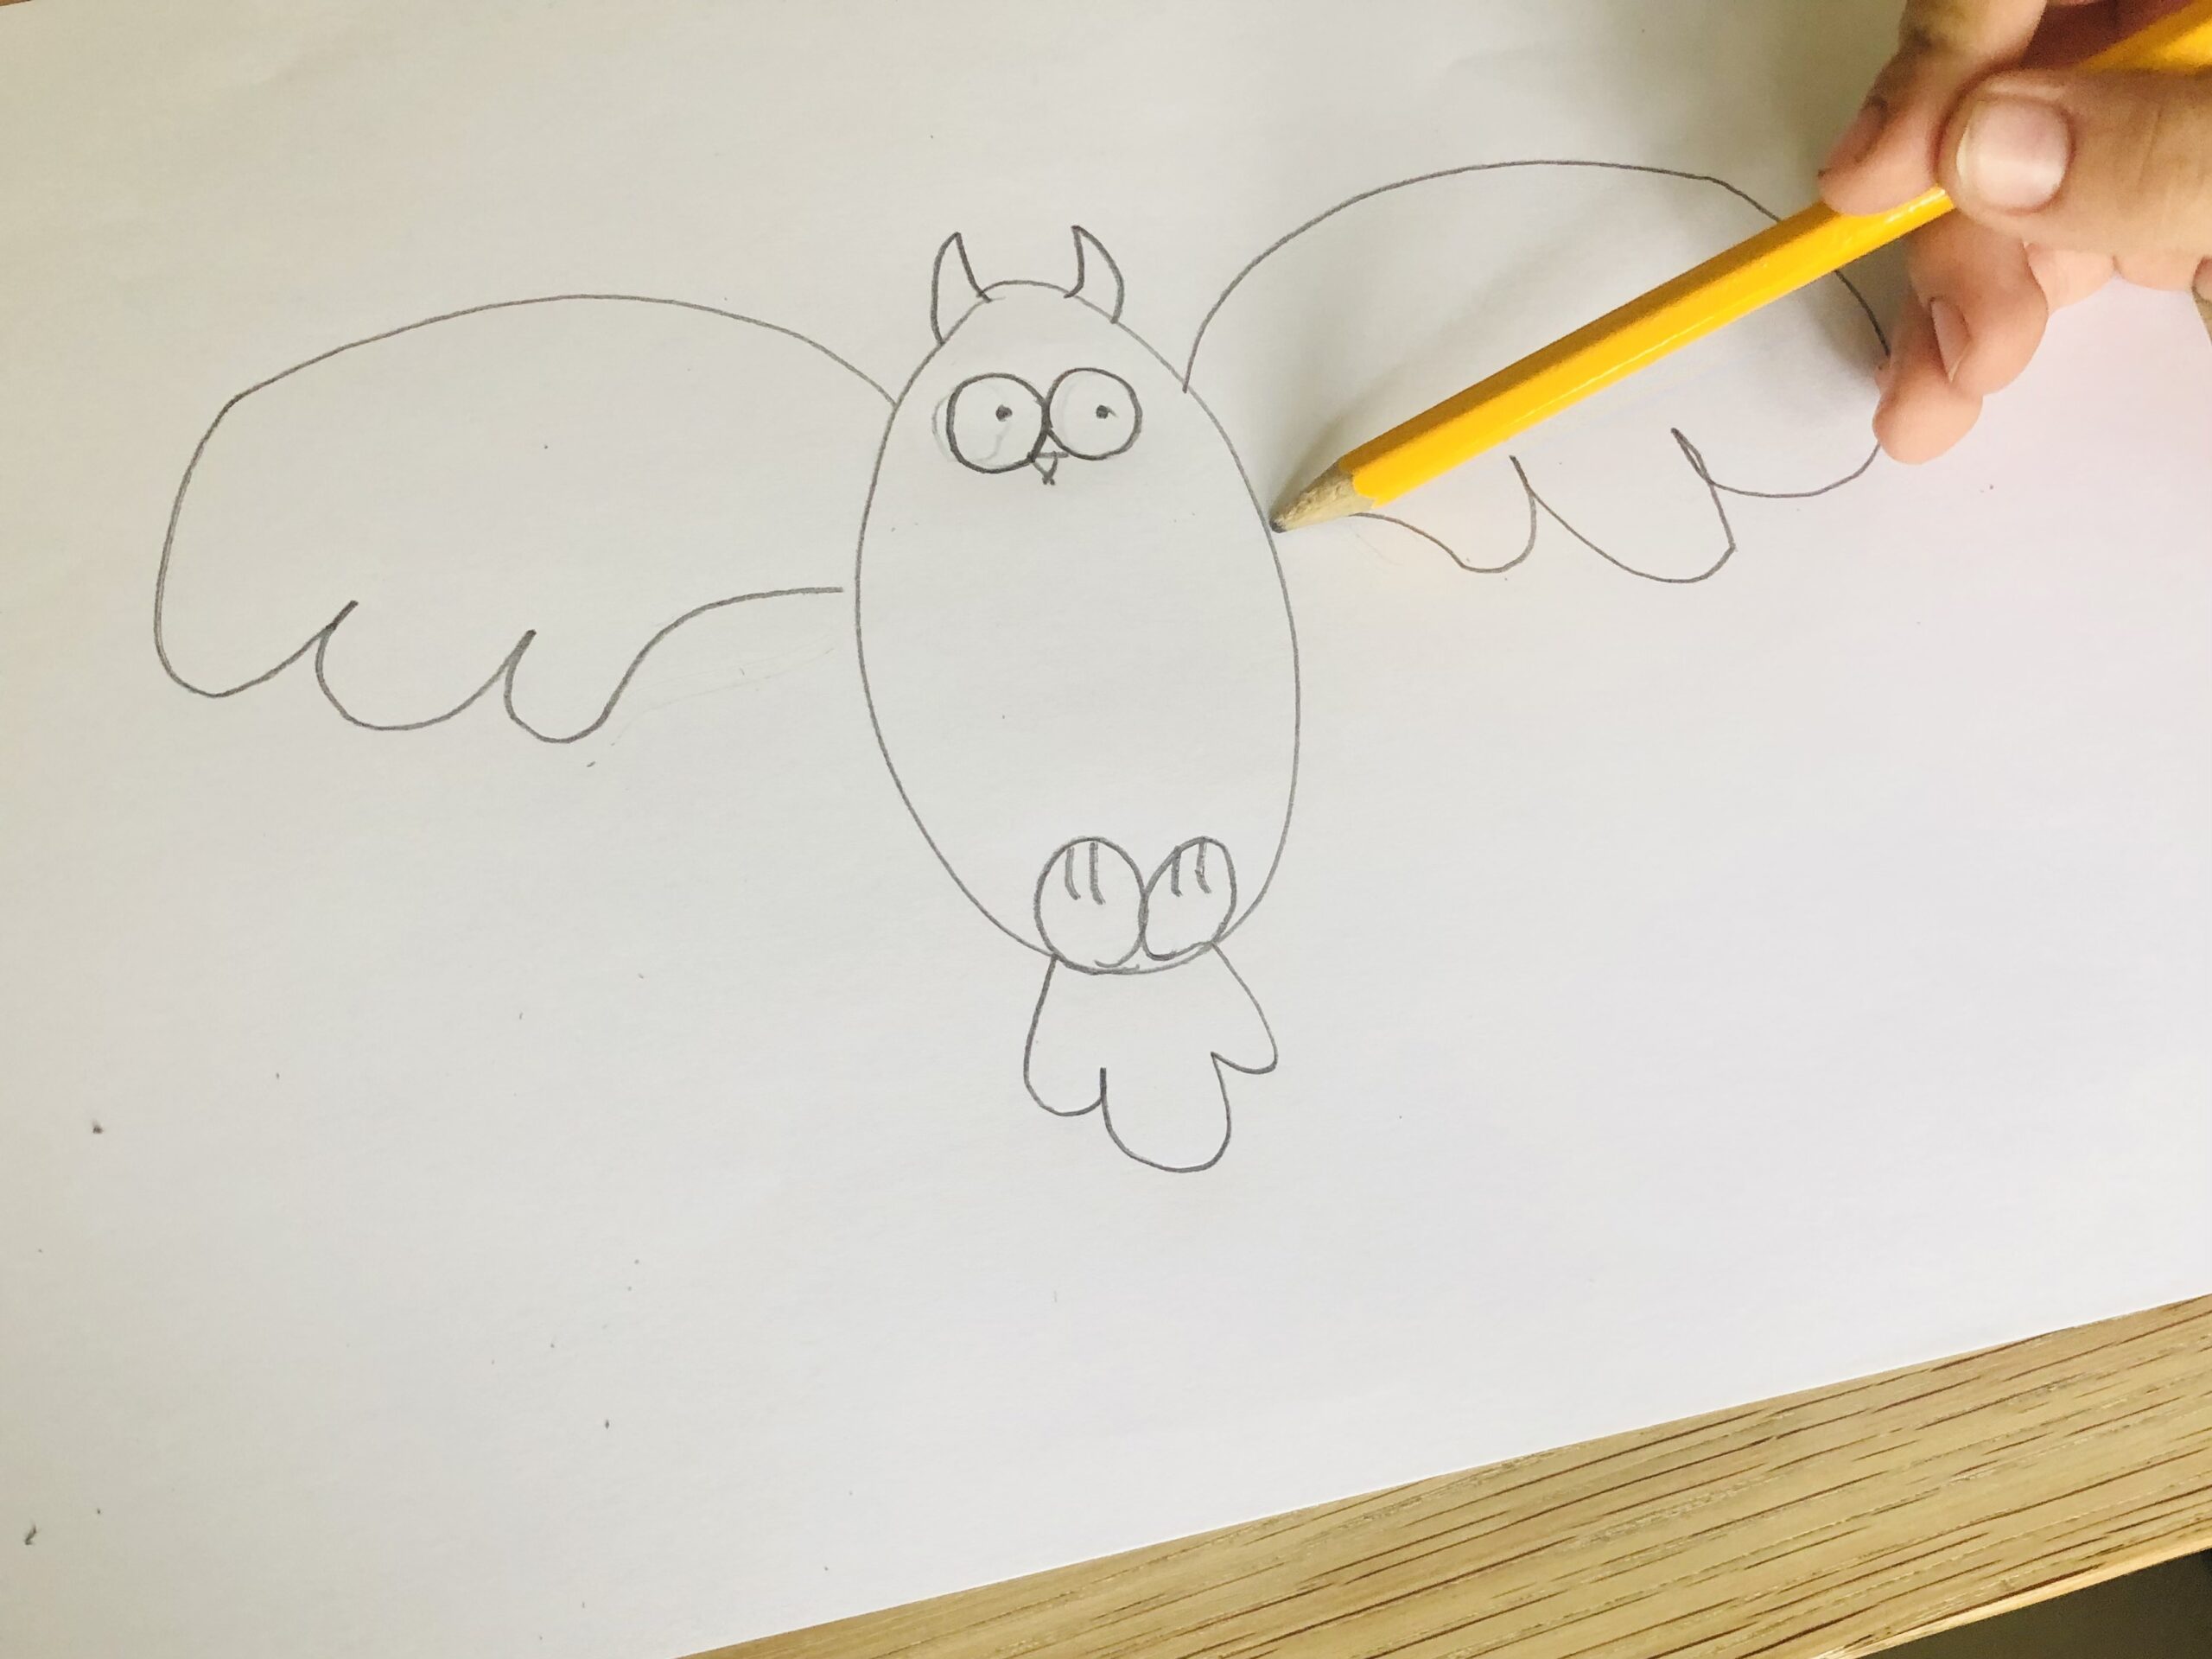


Then you also paint three bows under the body. These form the tail. Make sure that the middle bow is a little longer than the two outer bows.
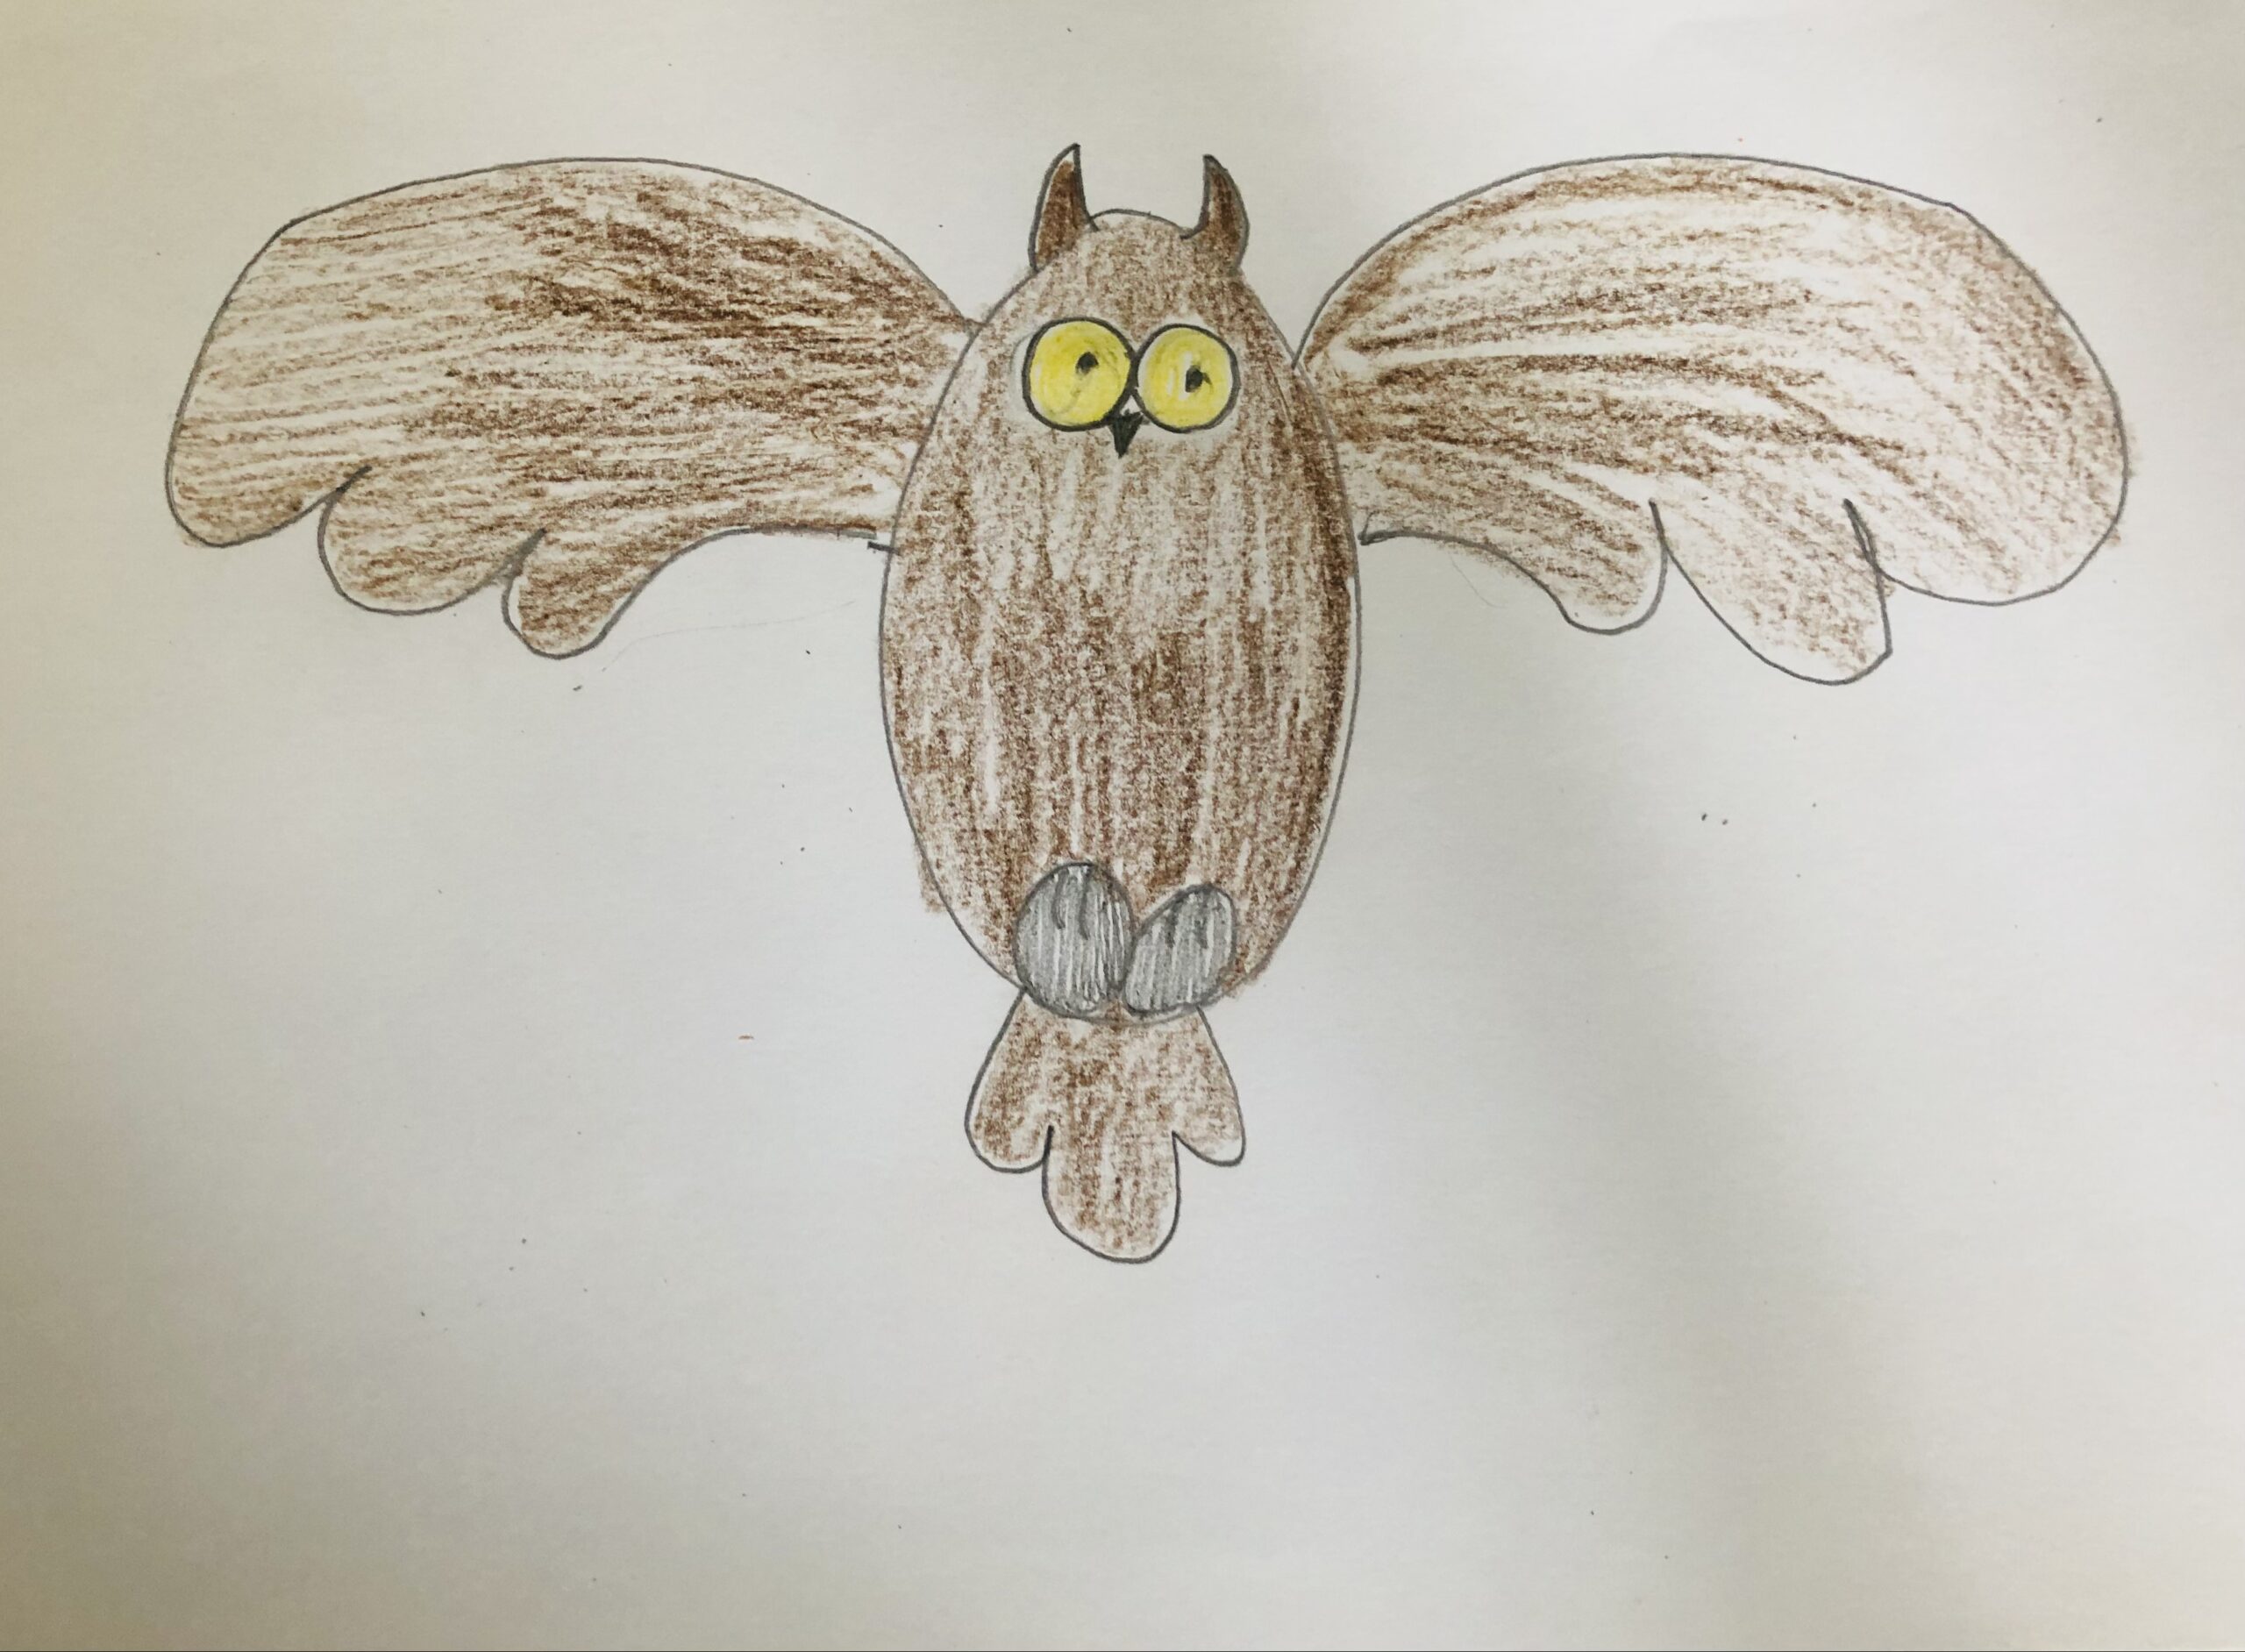
Now you paint the owl with crayons.
Alternatively, it paints with water paints or crayons.


Then cut out the owl.
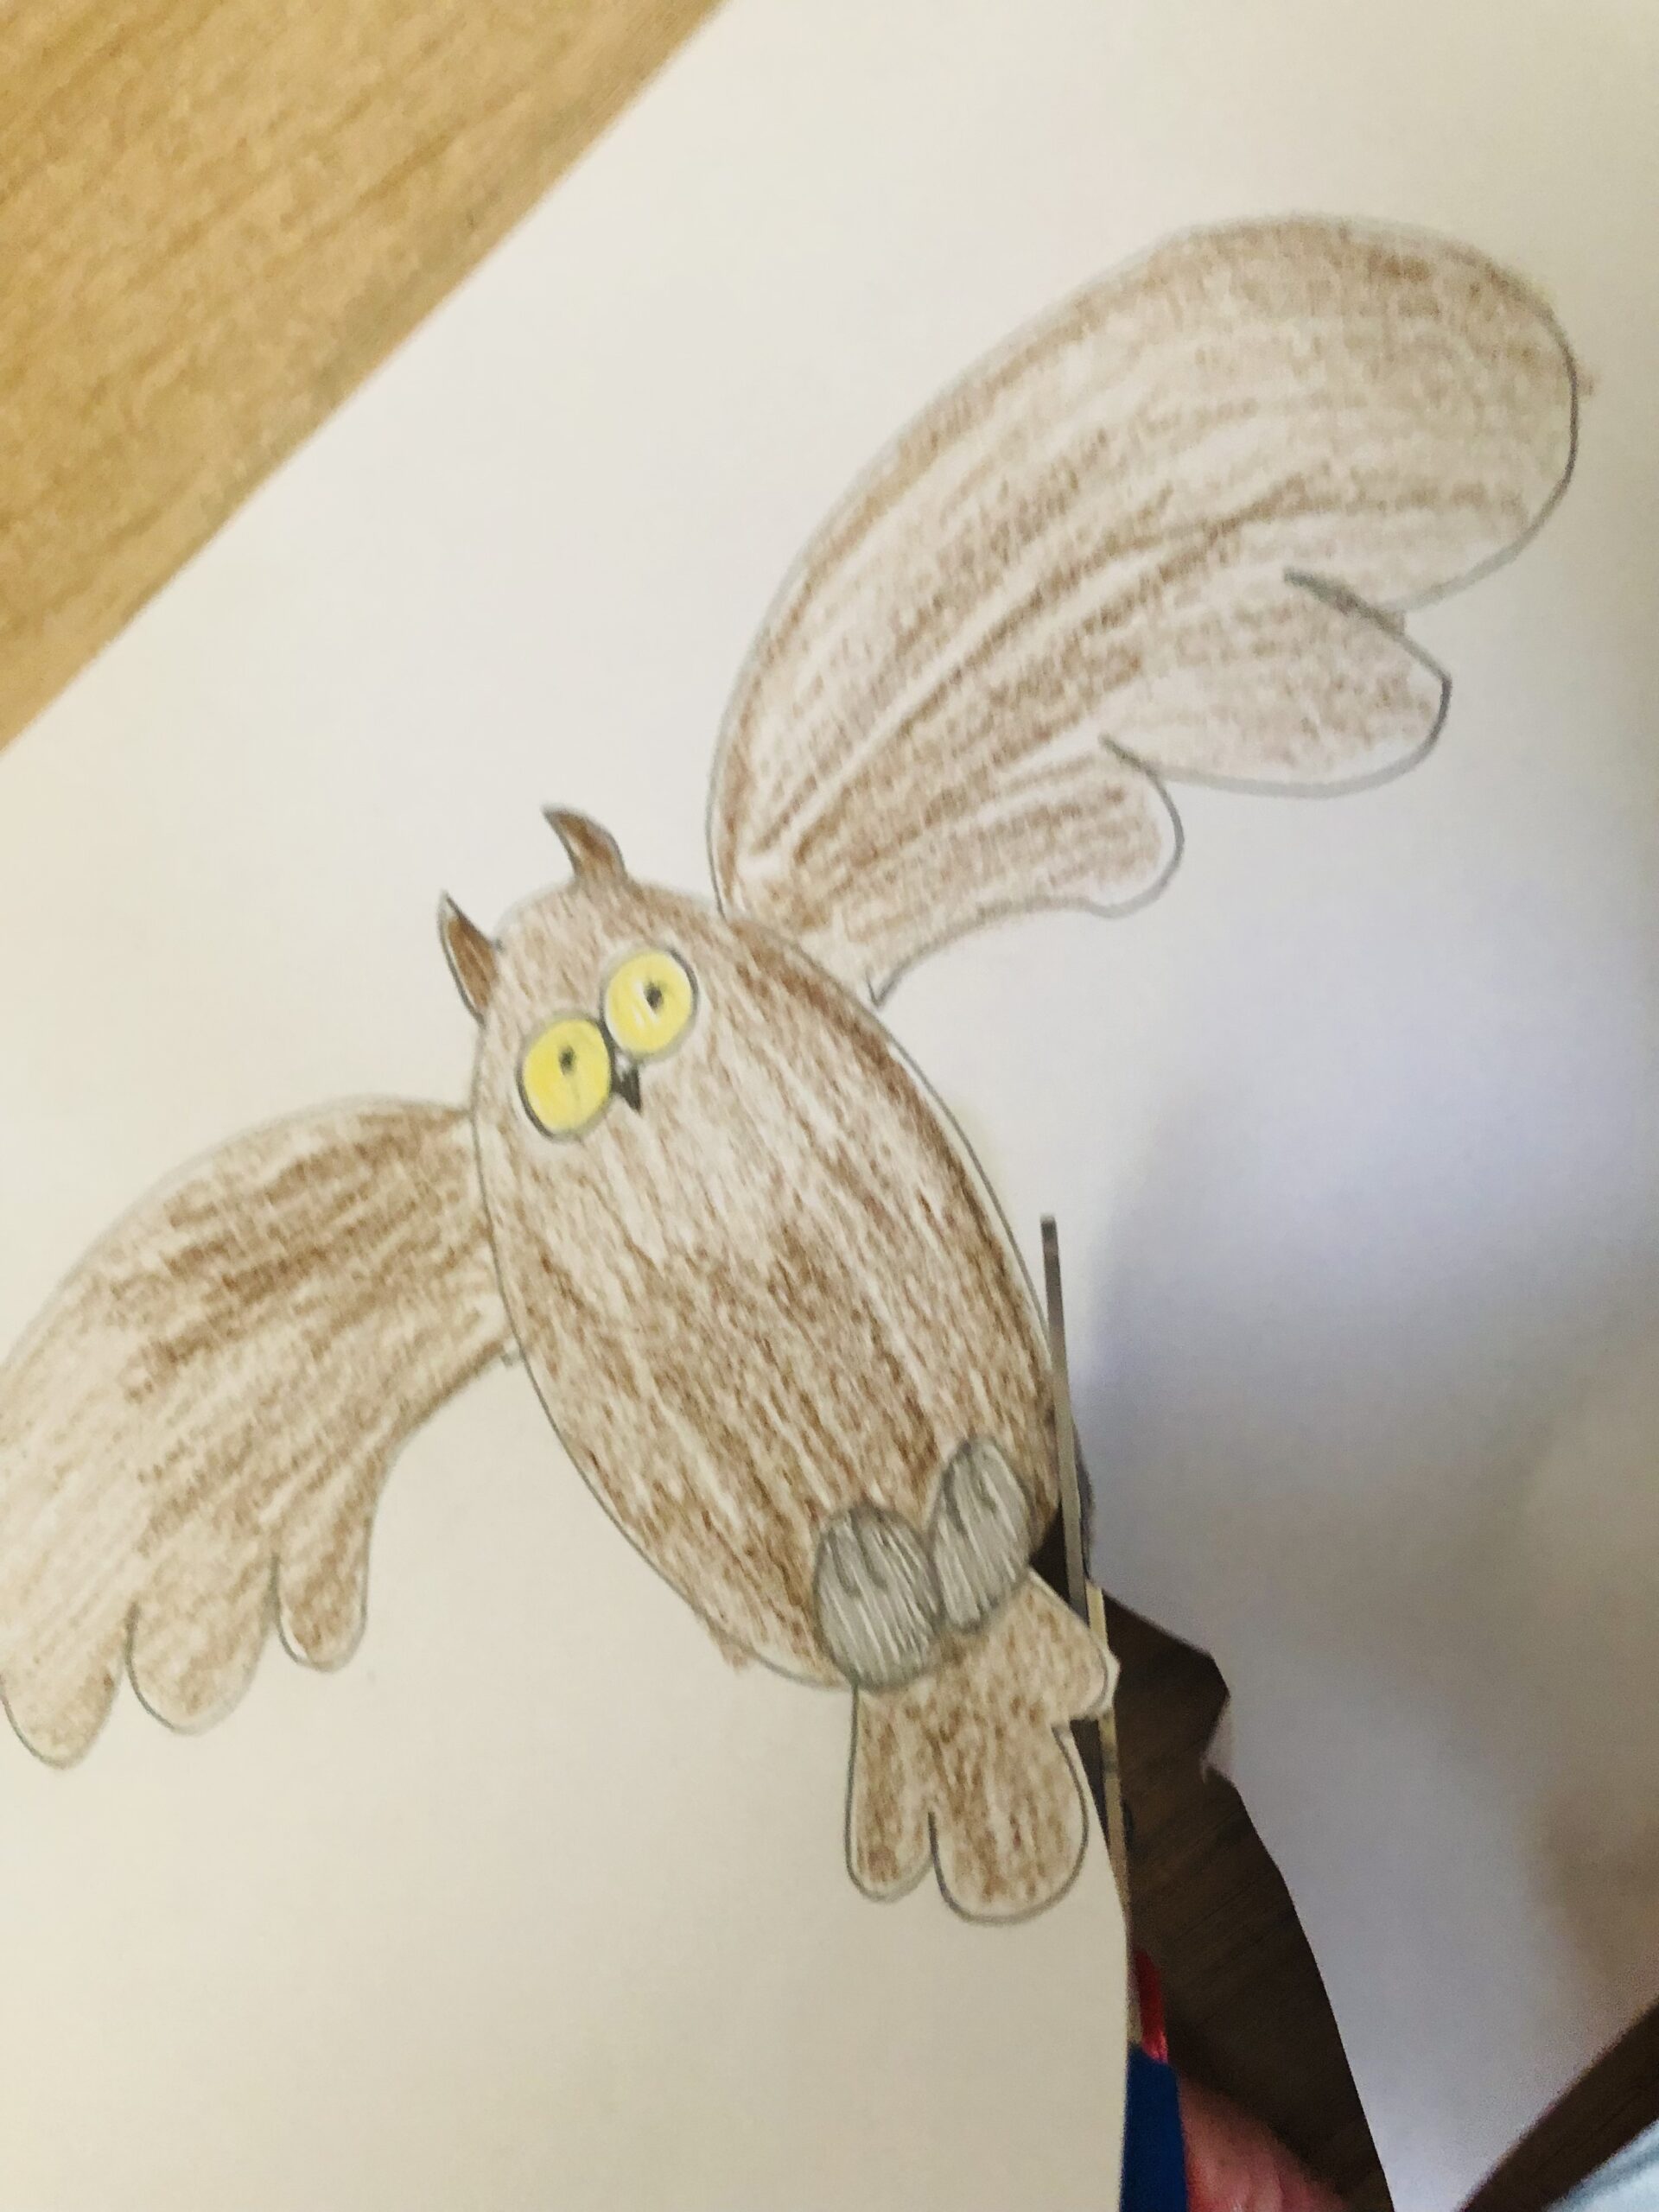


Now paint several owls and cut them out.
Then choose a branch. Make sure it's dry.
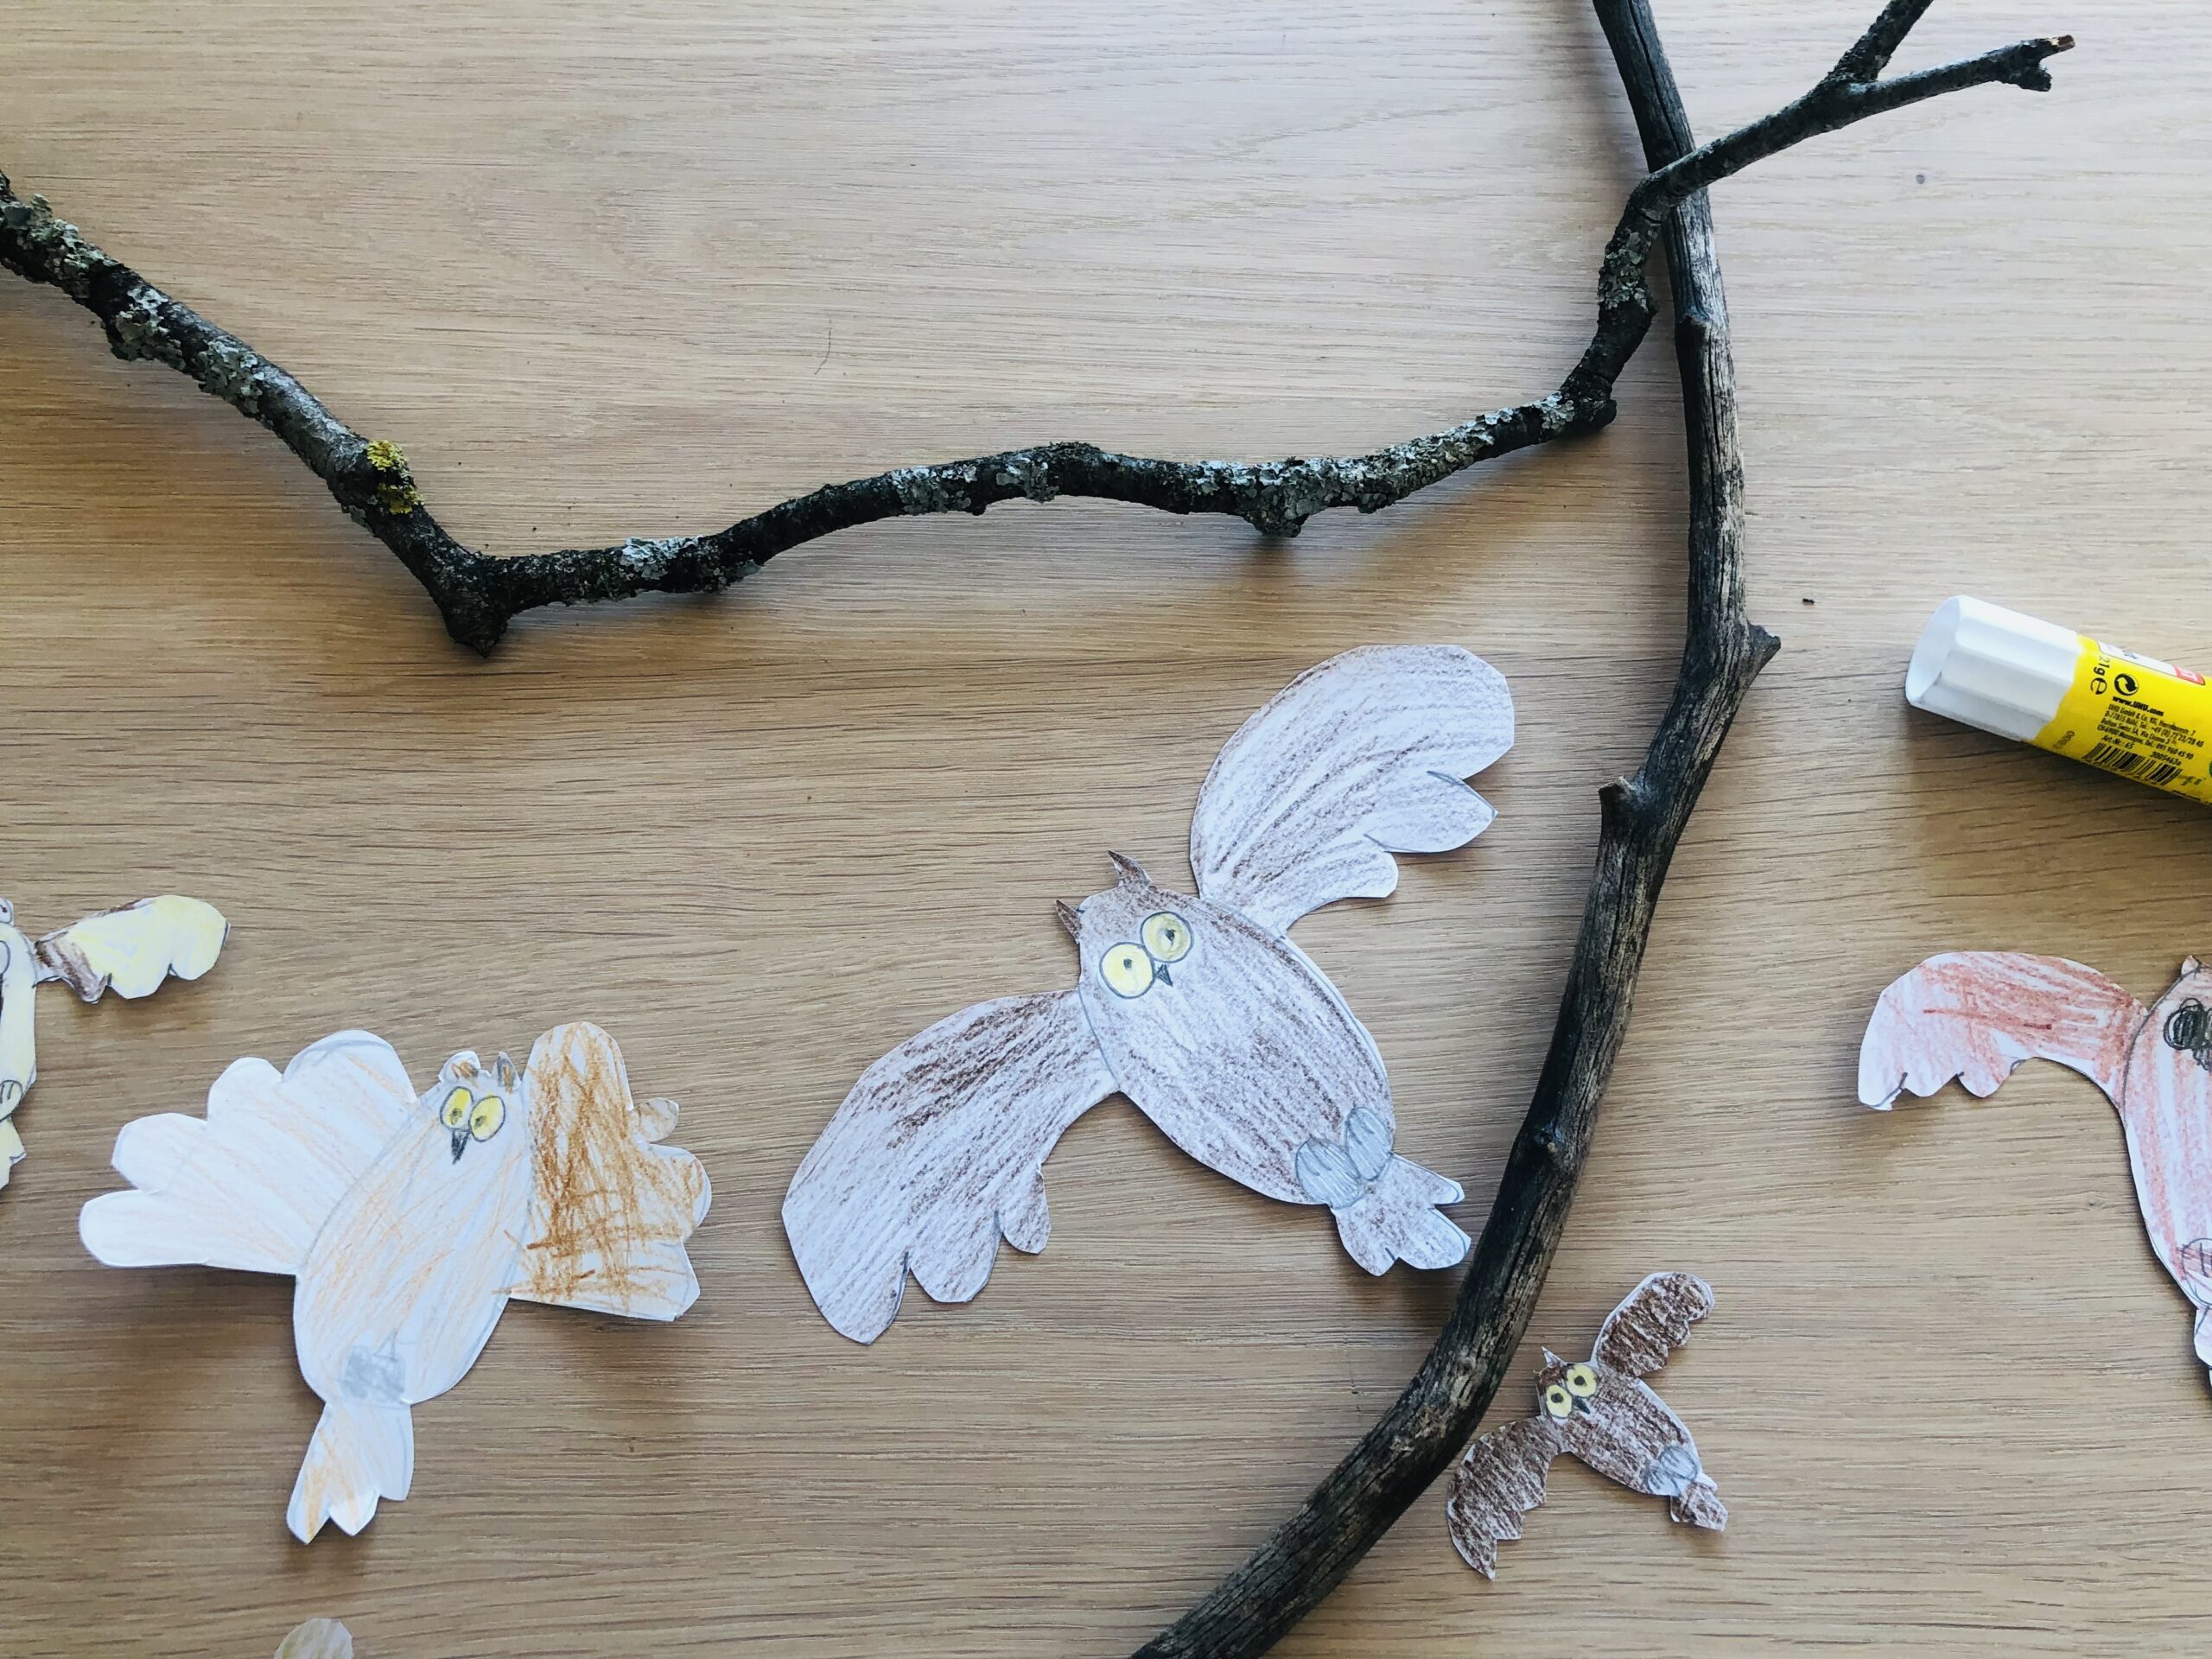


Now you stick the owls with a point hot glue on the branch. Attention when handling the hot glue - risk of injury!
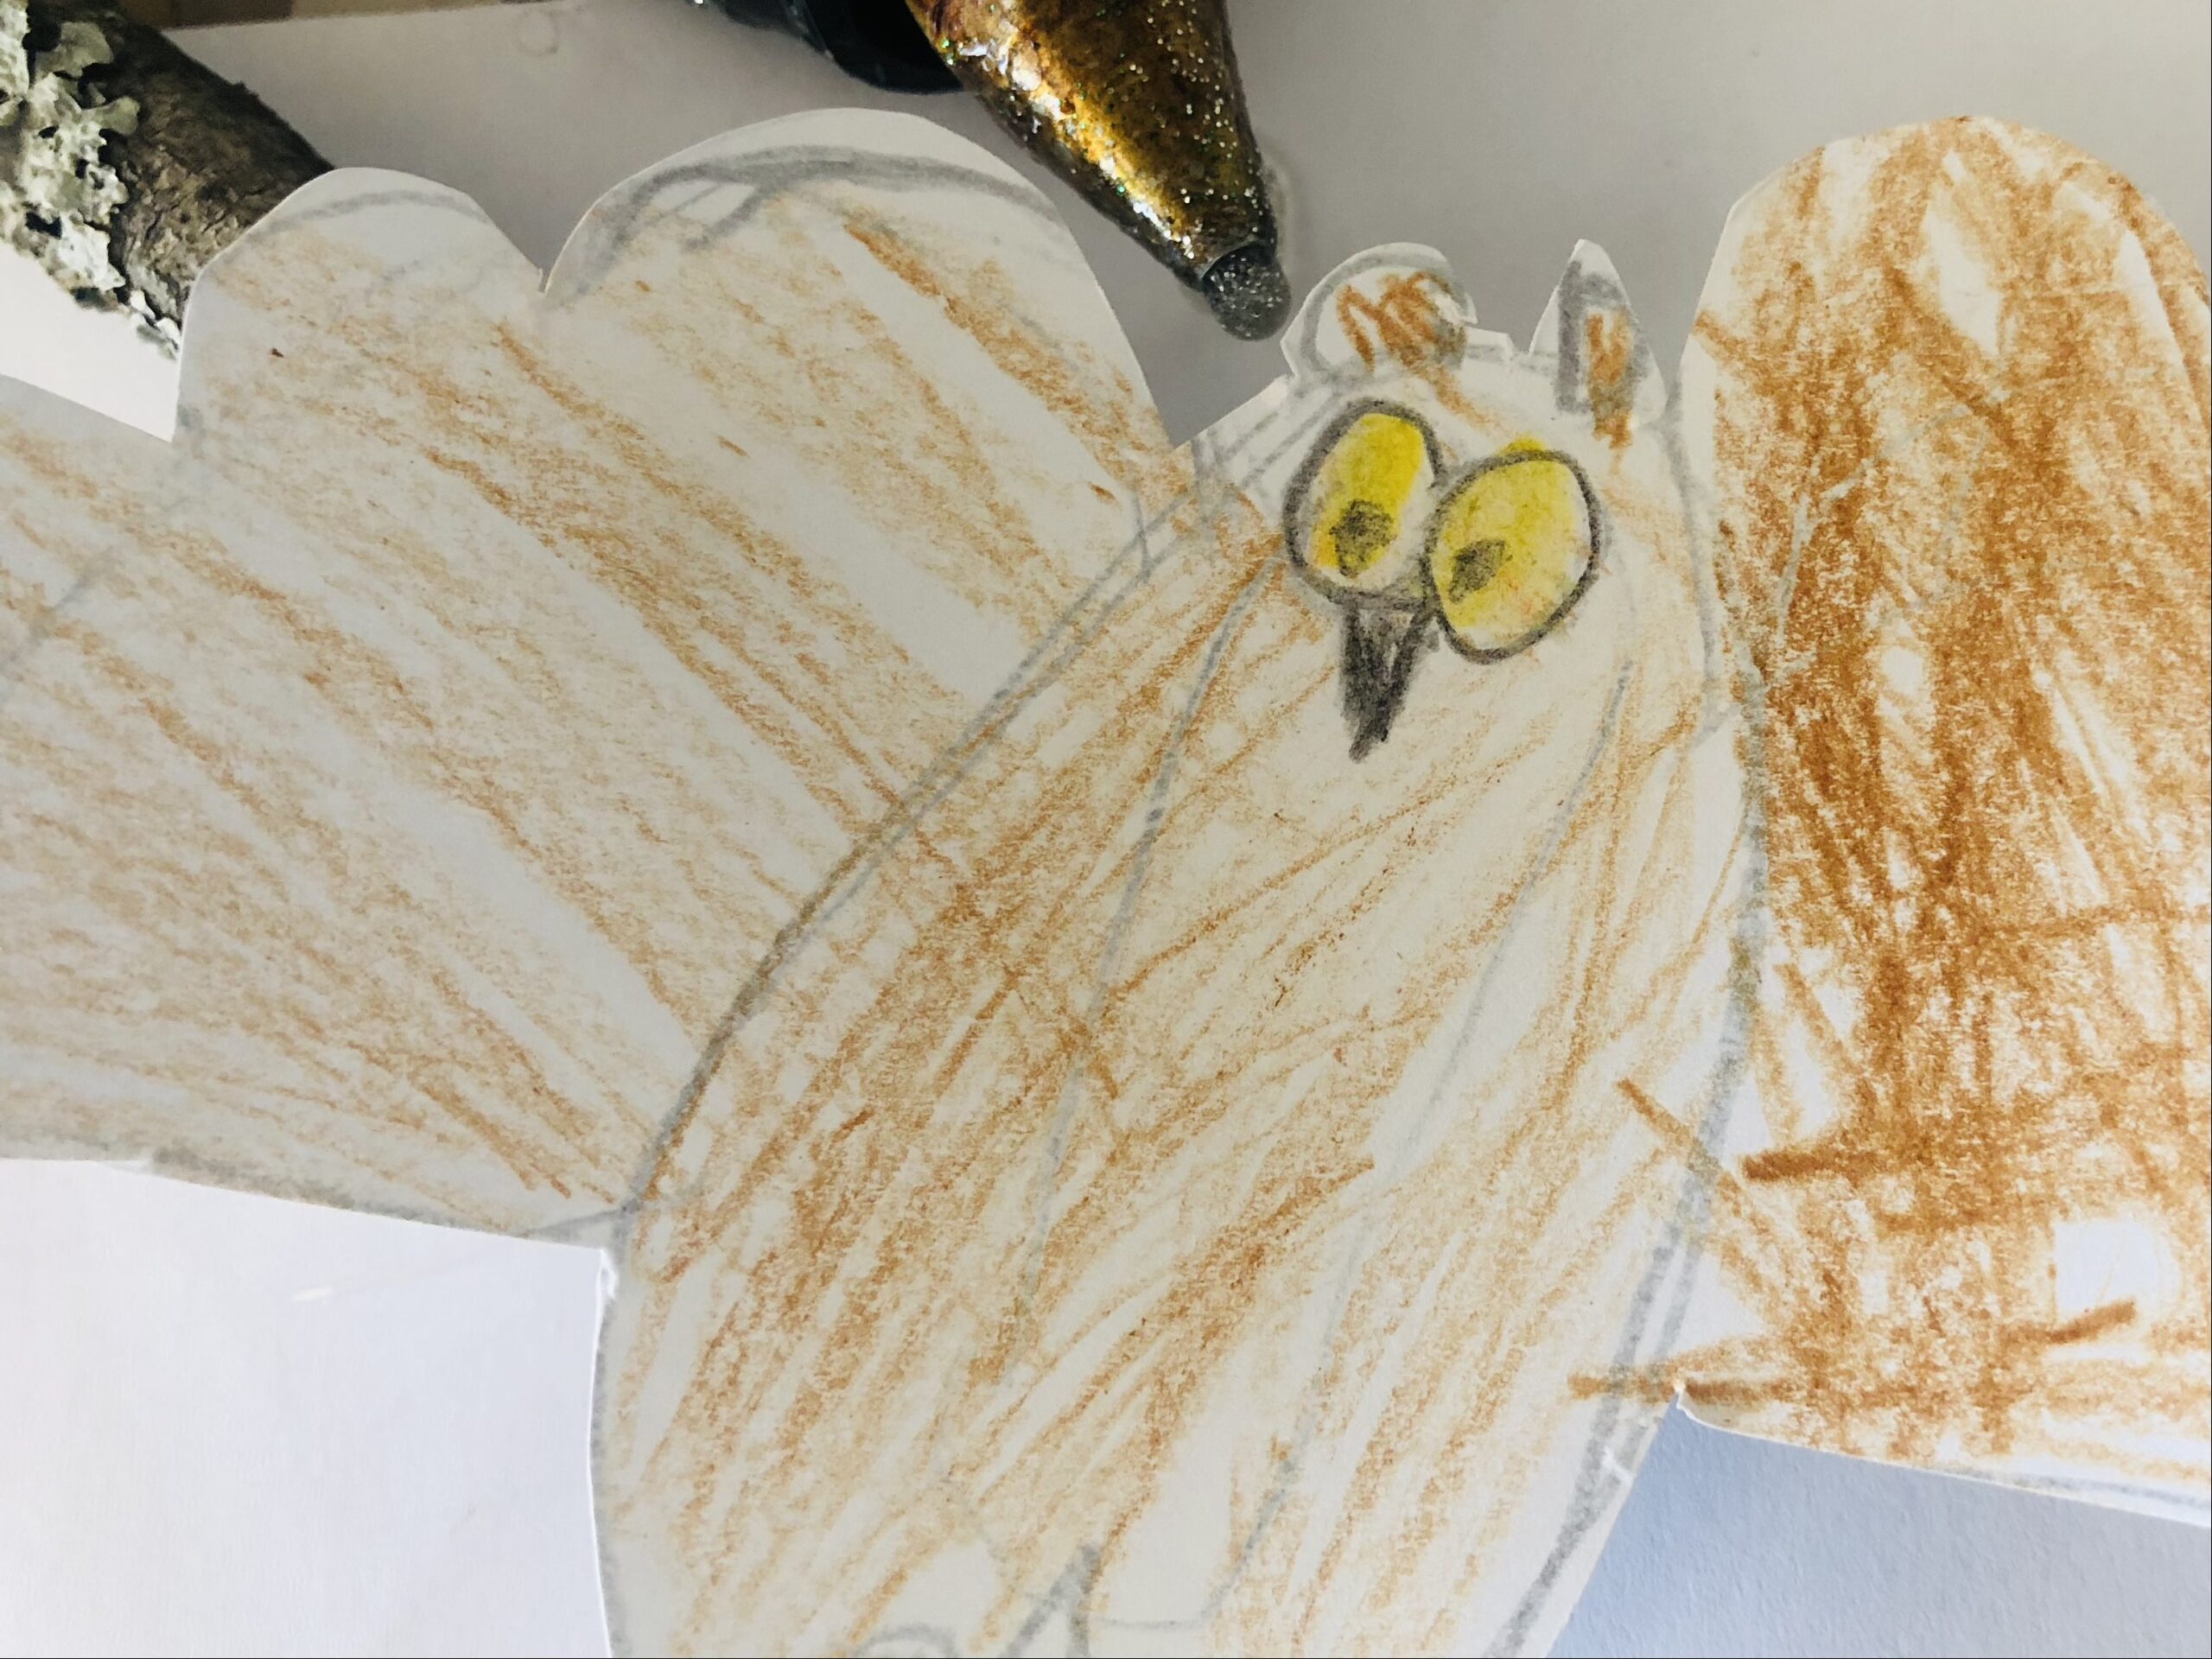


Then you can hang the branch with a nylon thread, for example.
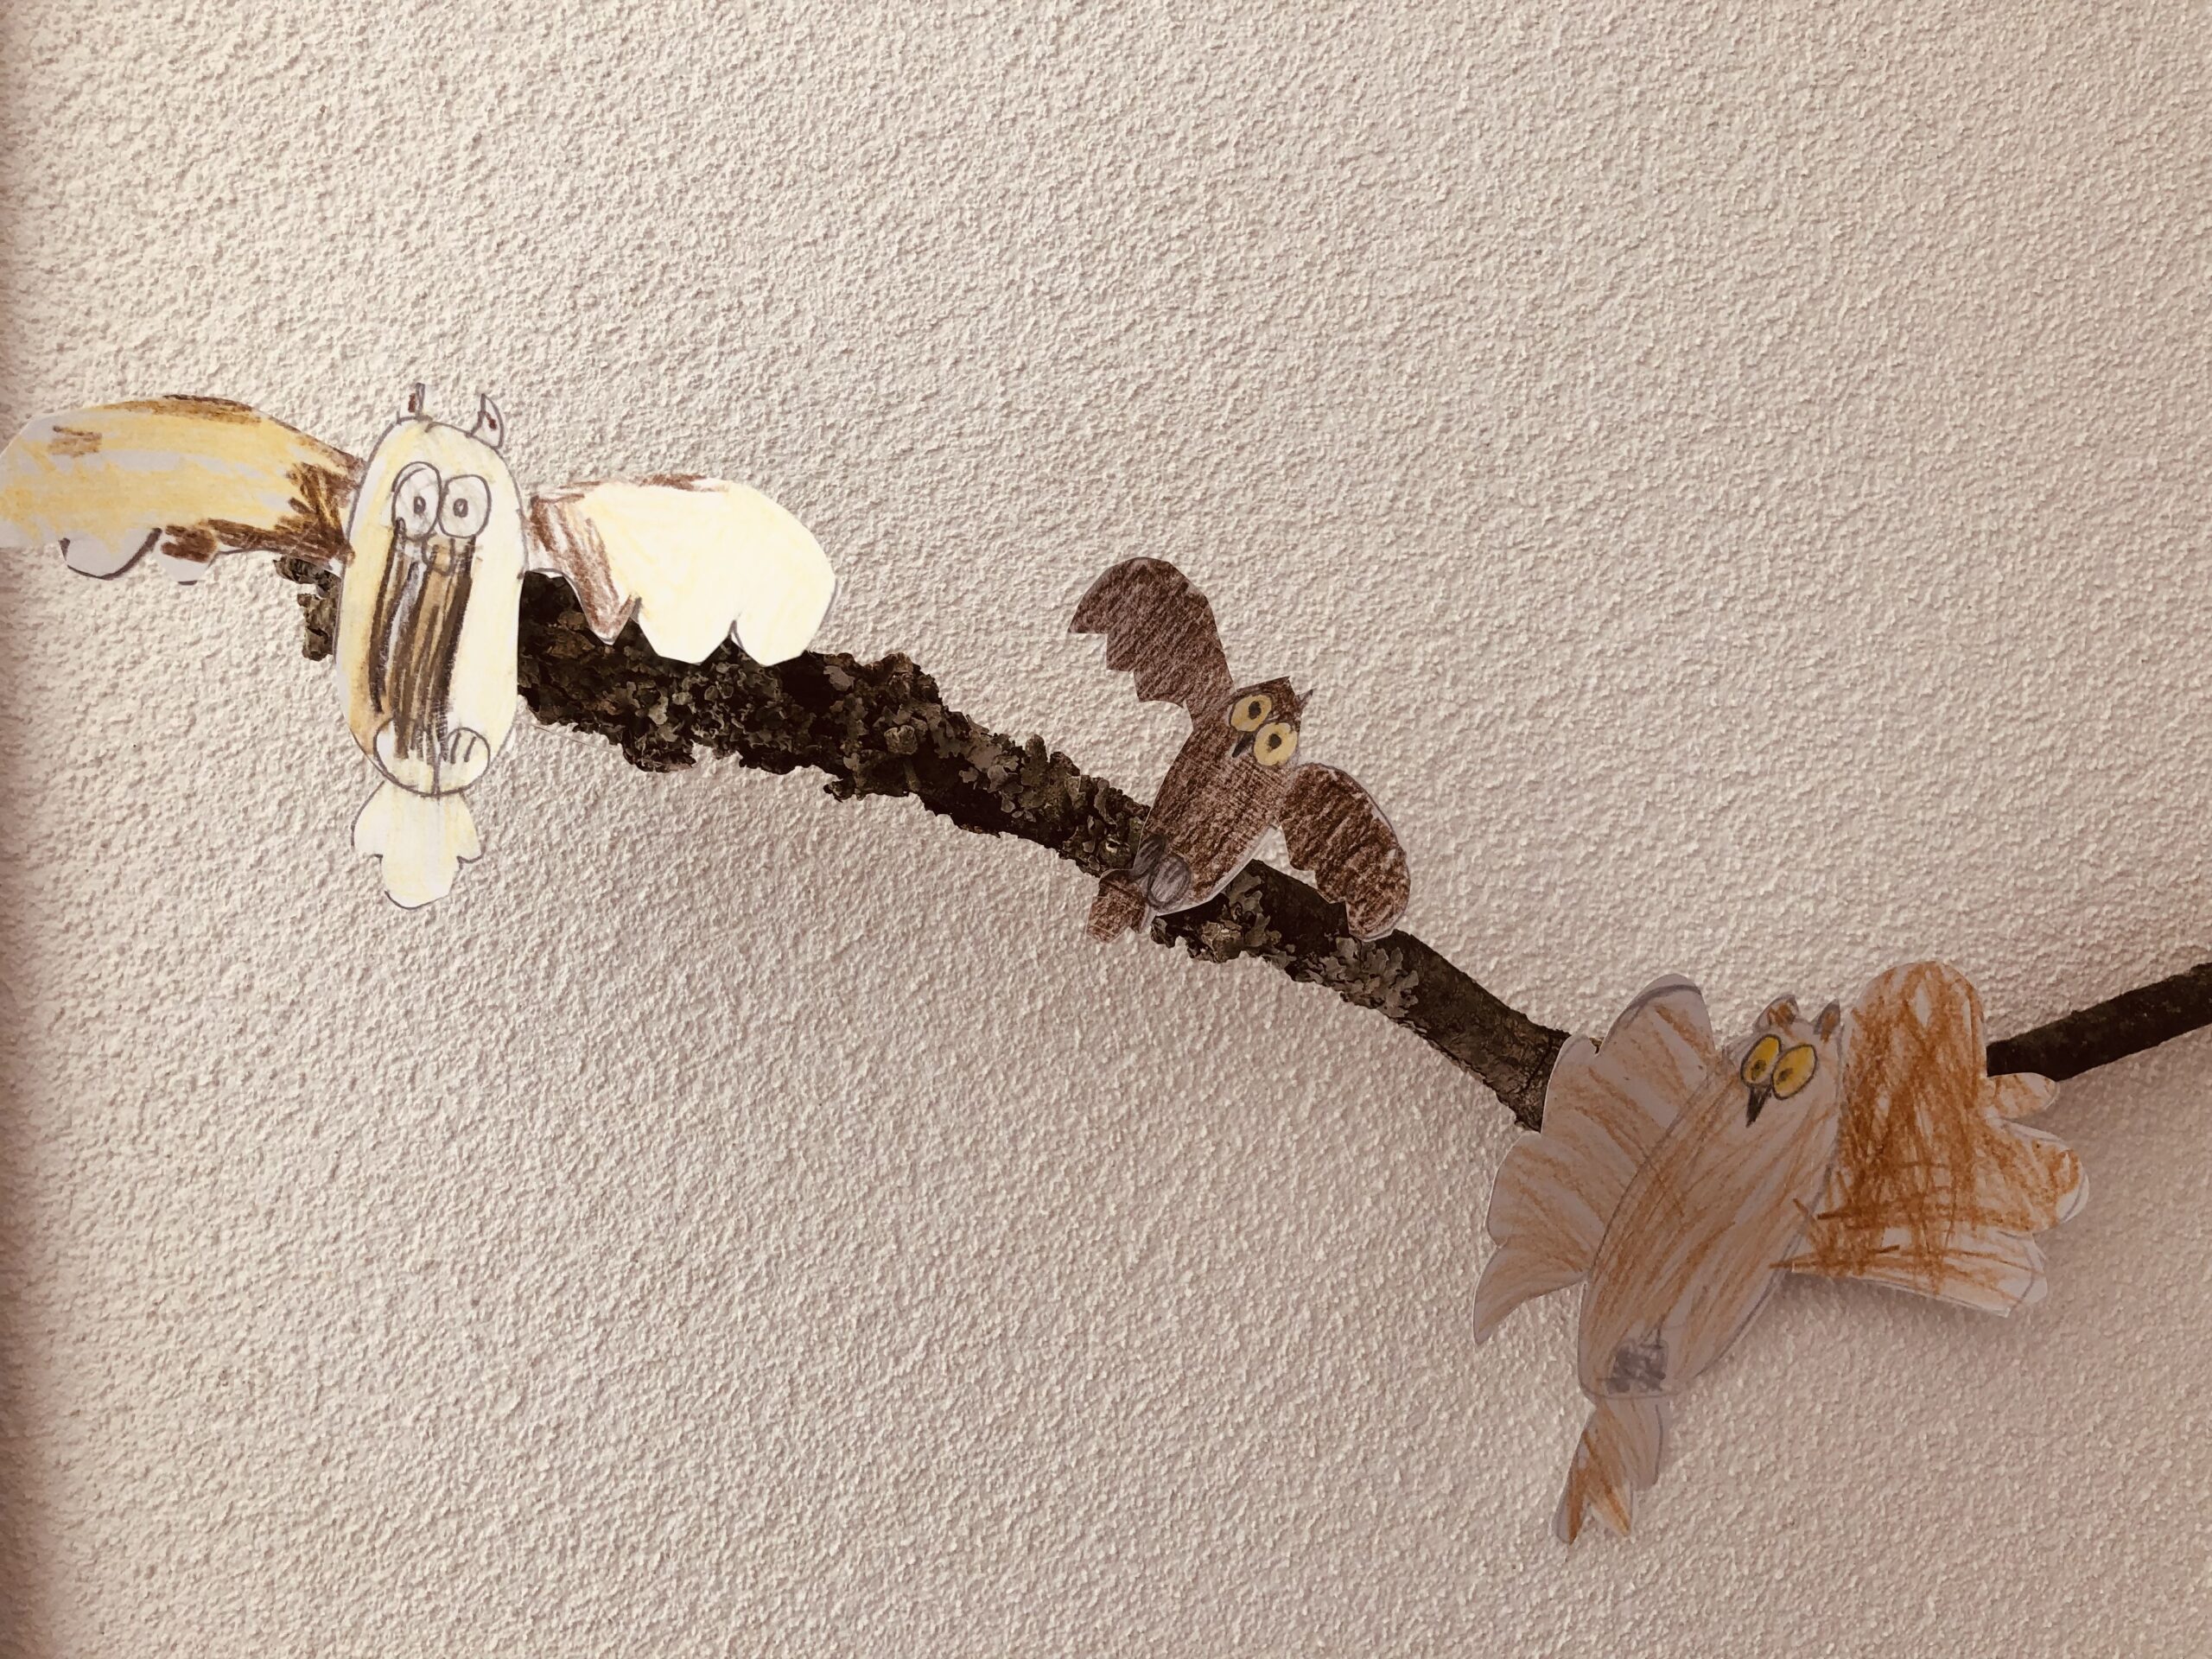


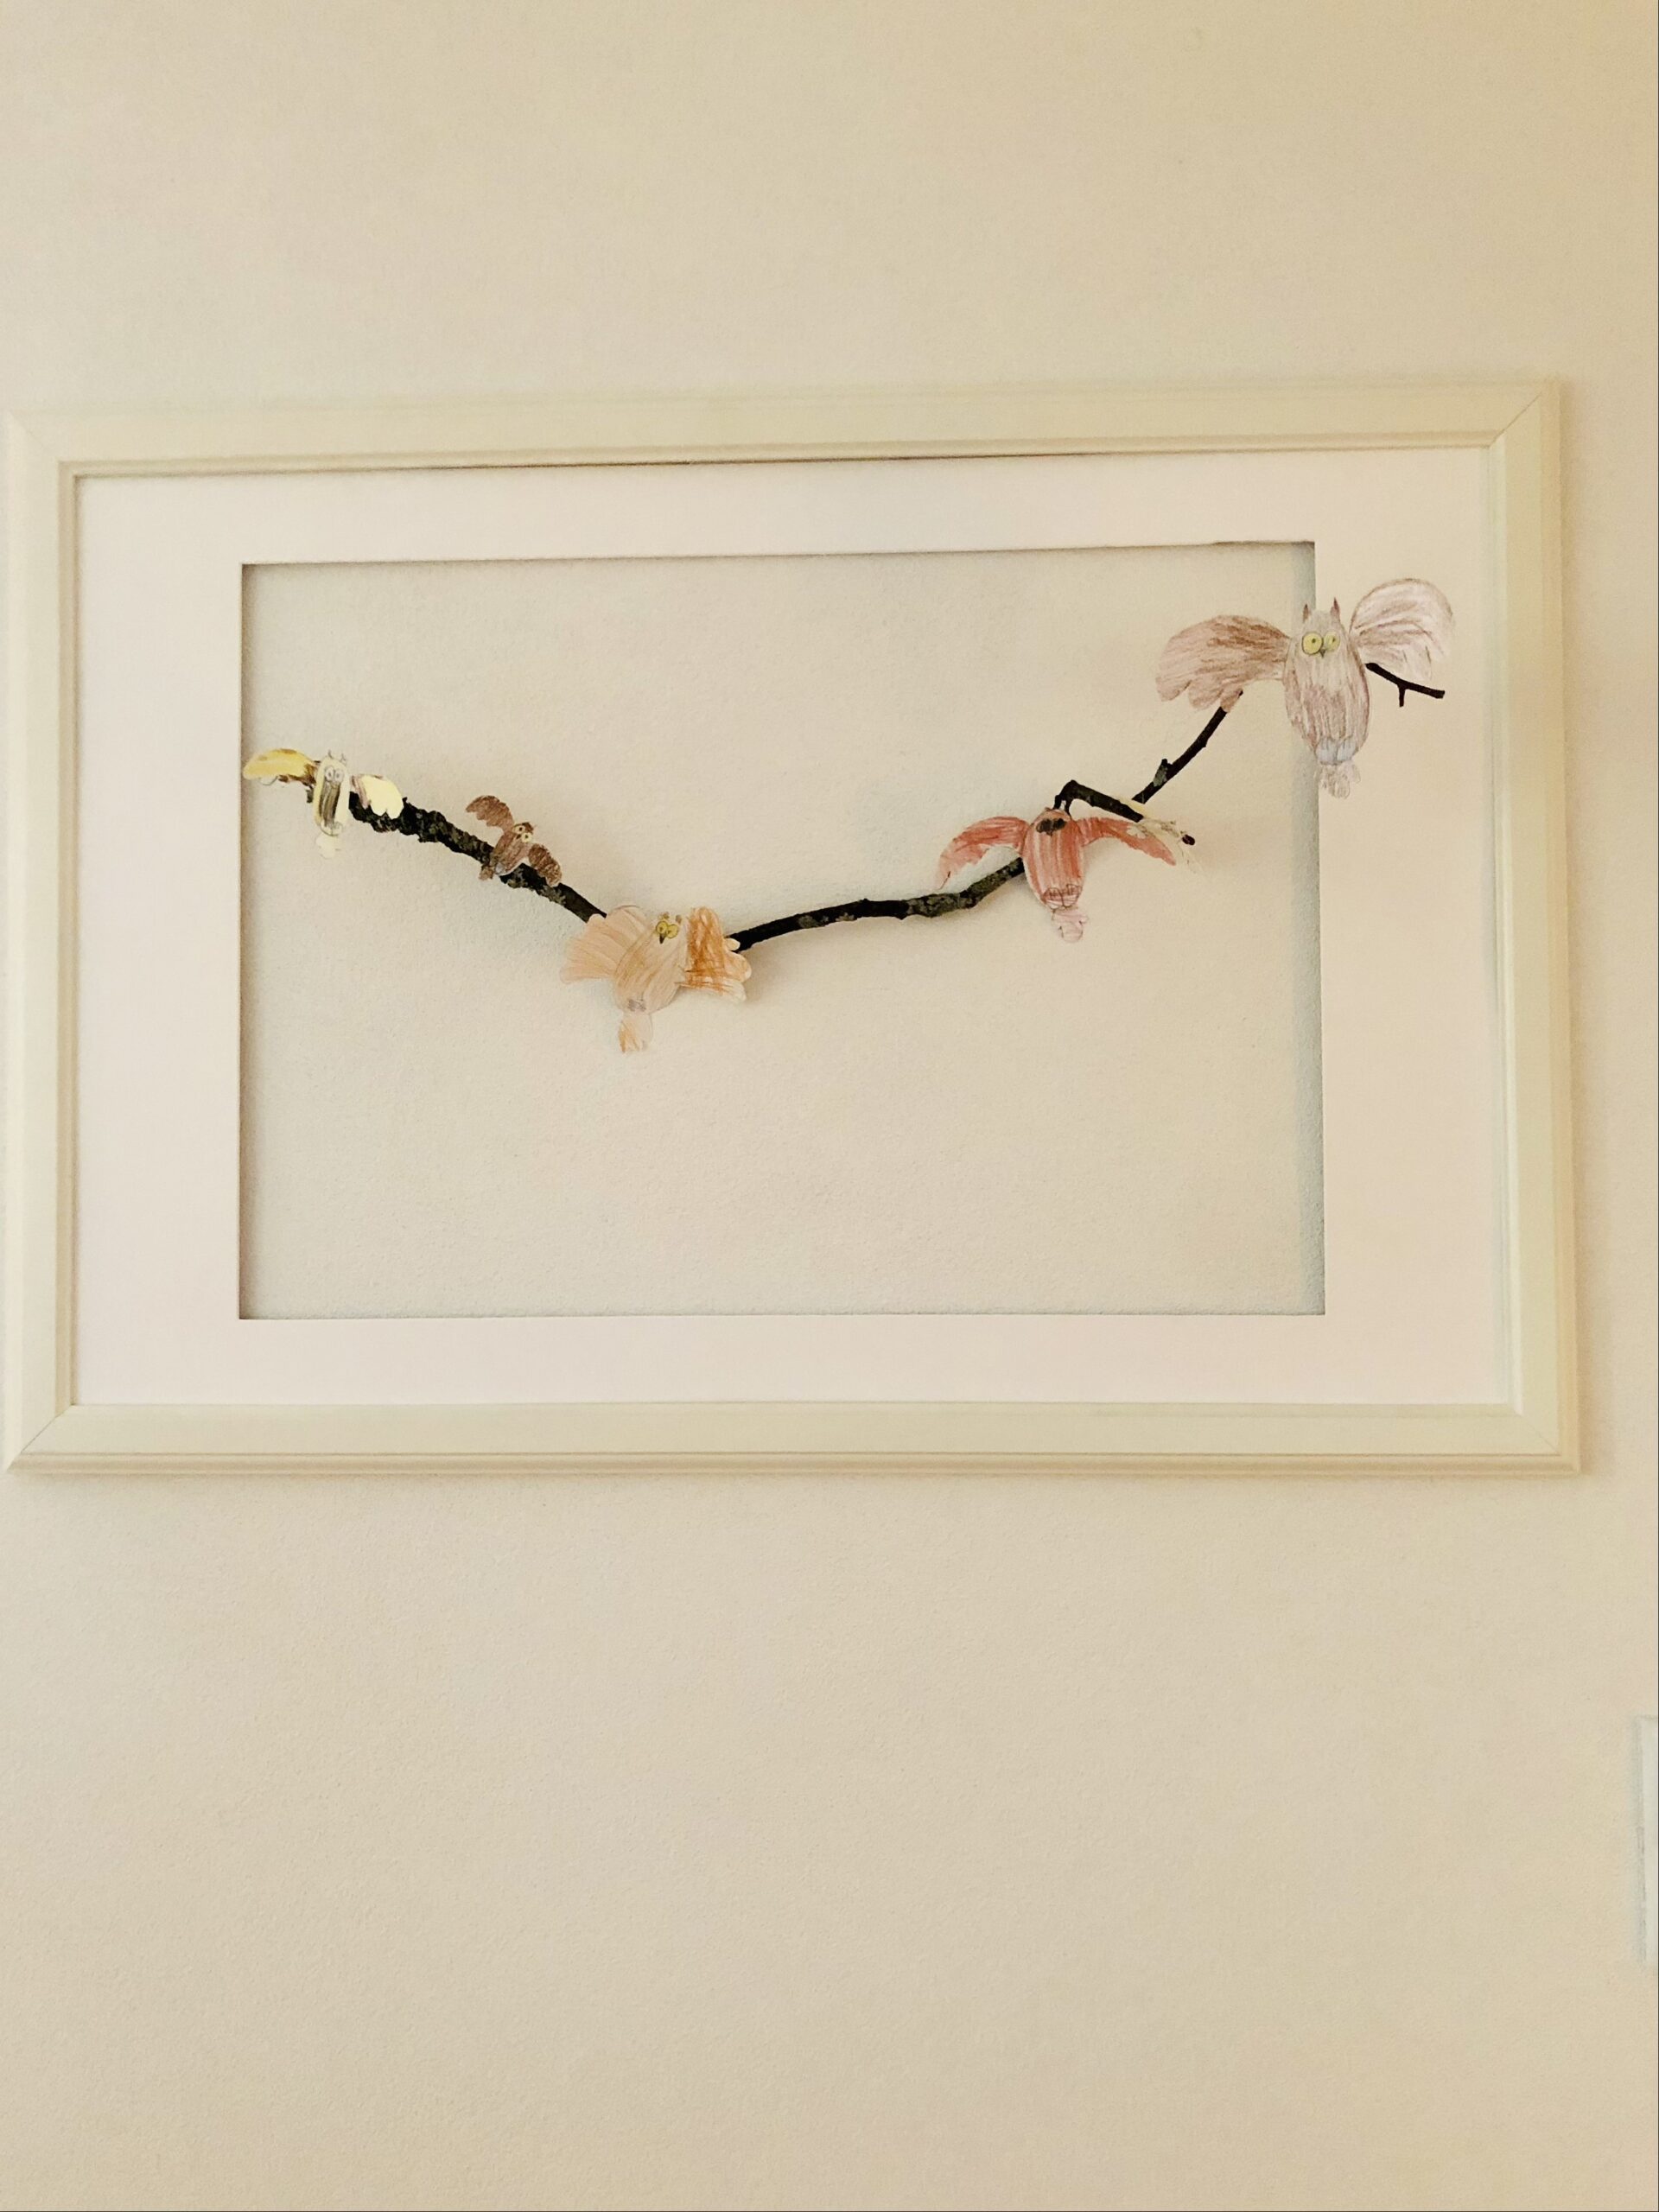
We have placed the branch with the owls in an empty picture frame.


Alternatively, you can put the branch in a vase or create a garlands with the owls. For this you stick the owls with adhesive film to a tape or a thicker wool thread.
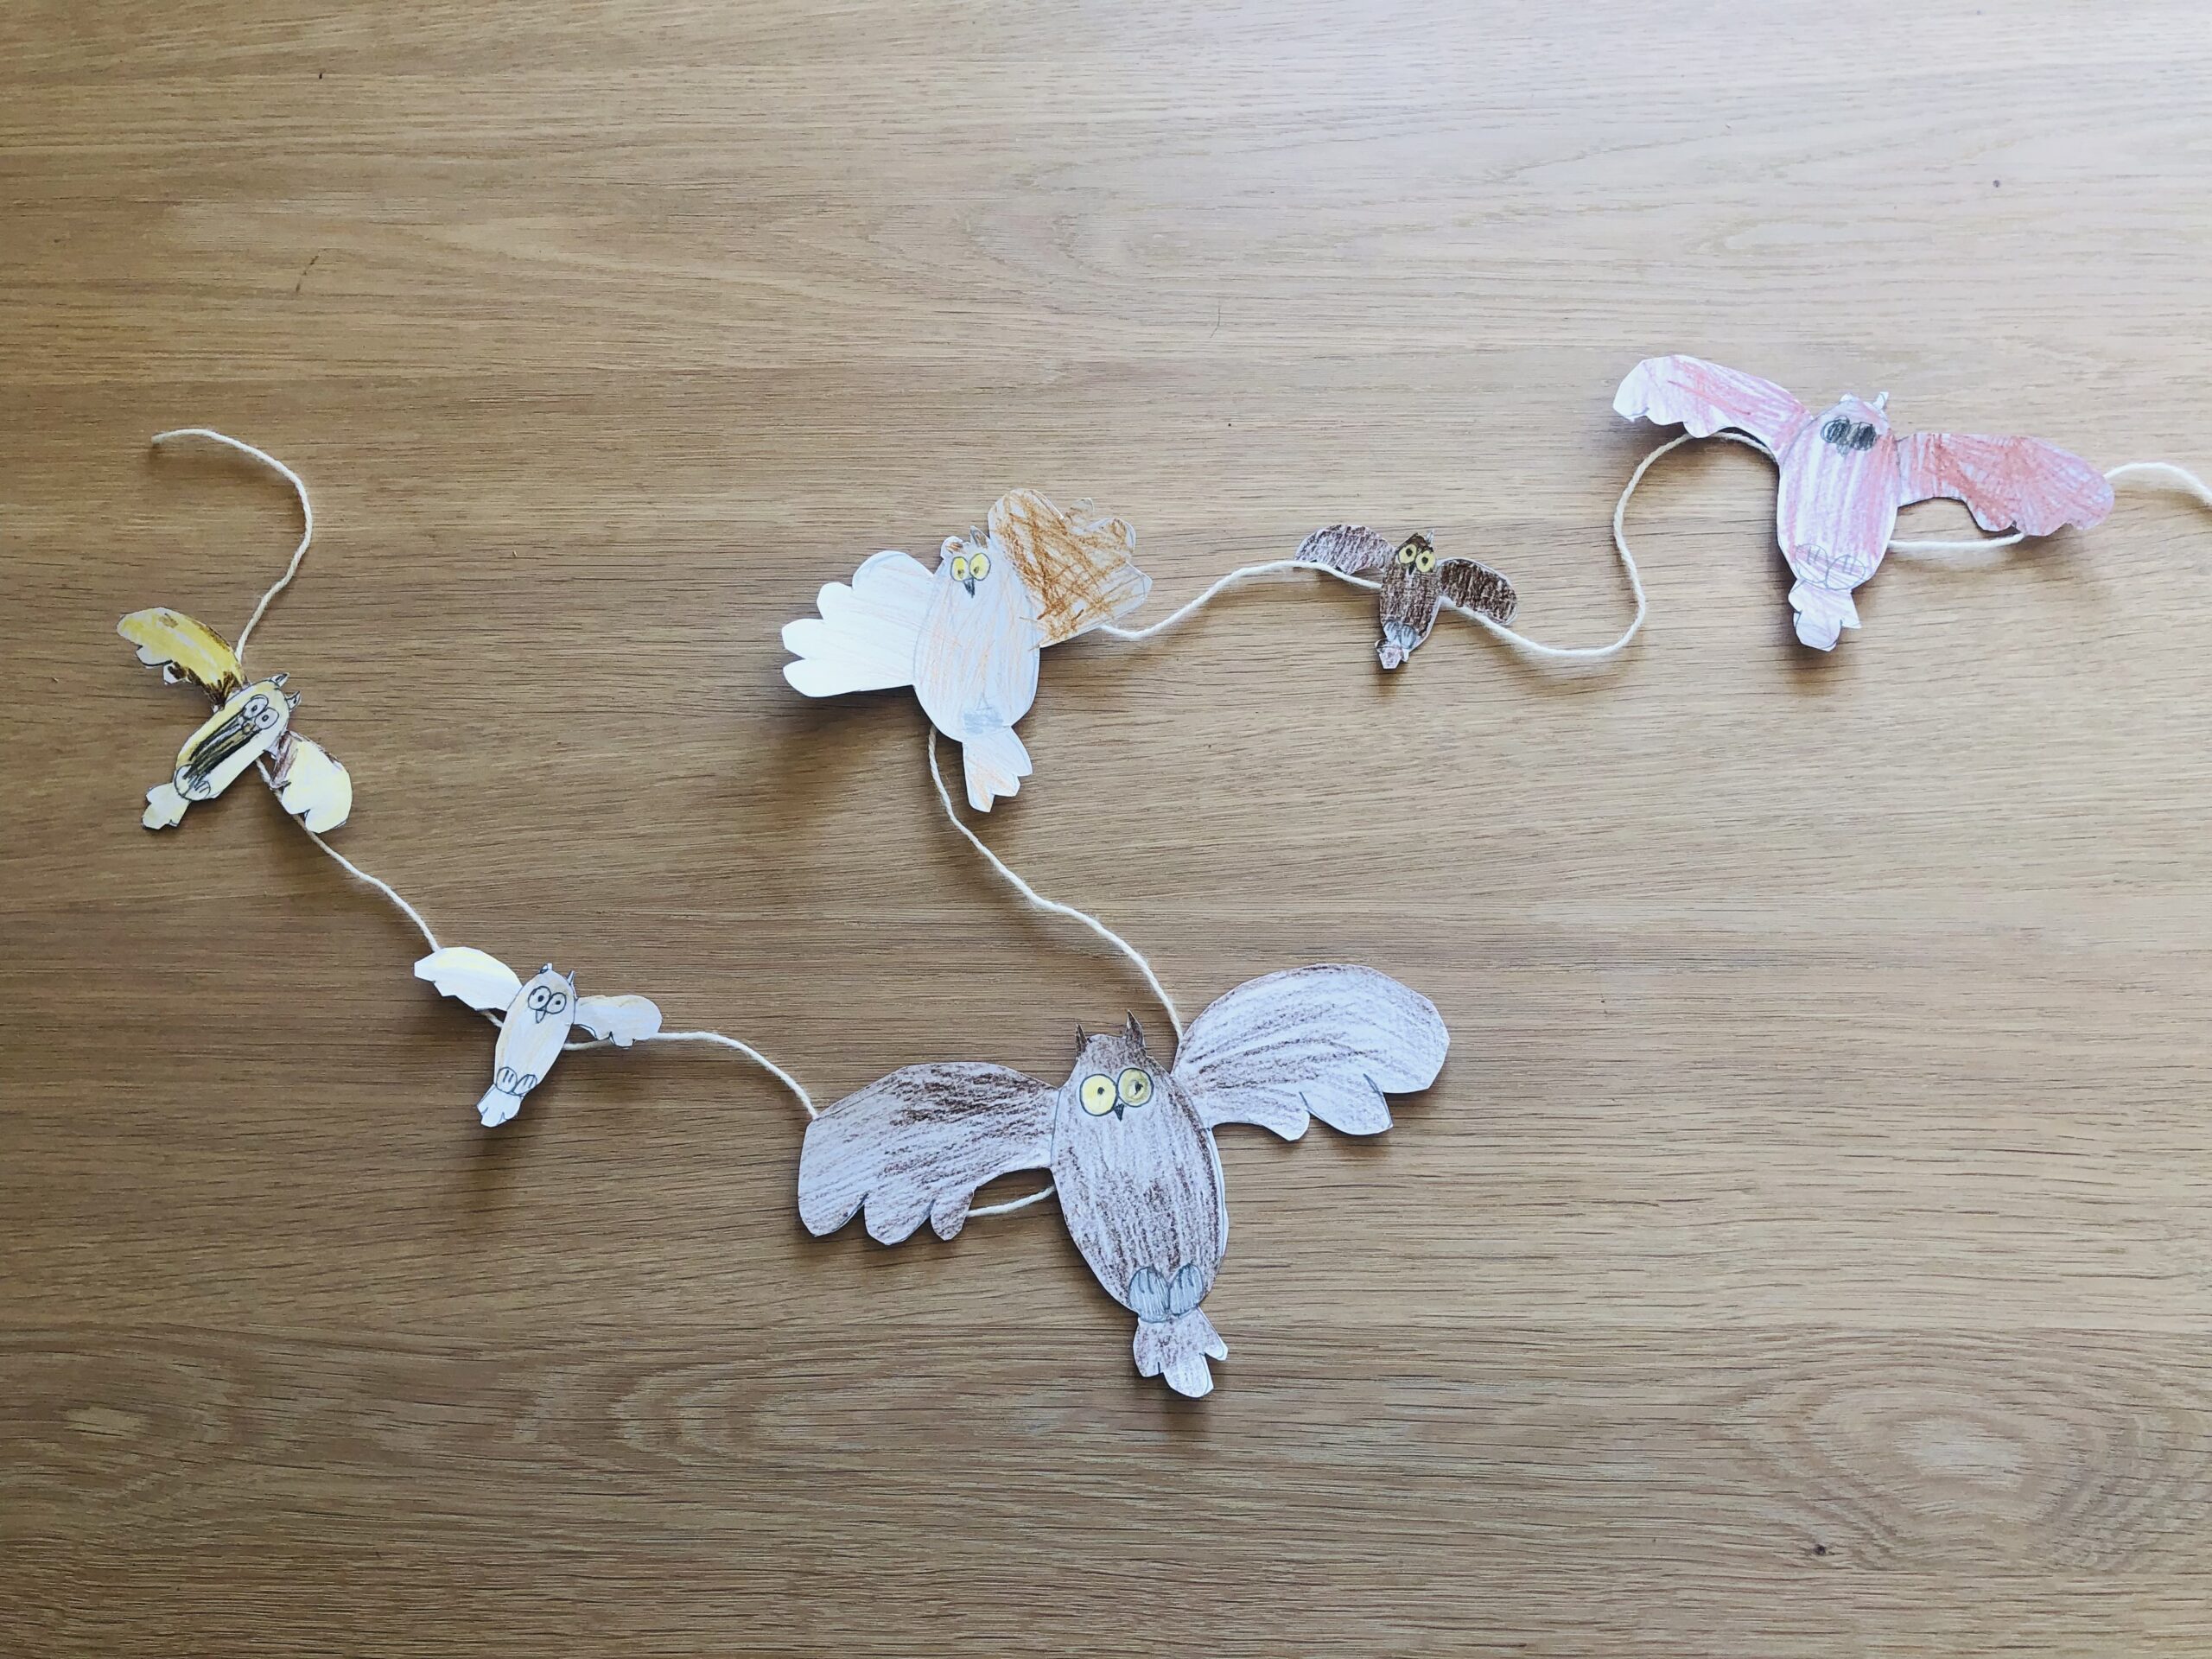


Have fun painting, learning and designing!
Materials
Directions
First you pick up your material and lay out the craft file.


Then you begin to paint the body of the owl. The body looks like an egg.


Then you paint a large bow to the left and right in the upper third of the egg.


Now you paint two small circles in the body of the owl. Paint the circles together. These are the eyes.


Then you also paint two circles in the lower end of the body. You paint a few strokes in the circles. These are the claws.


Now you paint the beak. For this you paint a small triangle in the middle under the eyes.


Then paint a dot in the eyes for the pupil and two small ears on the body of the owl. The ears look like two small curved triangles.


Now you paint the wings. For this you paint three arches (like roof tiles) under the at first painted large arch right and left next to the body.


Then you also paint three bows under the body. These form the tail. Make sure that the middle bow is a little longer than the two outer bows.
Now you paint the owl with crayons.
Alternatively, it paints with water paints or crayons.


Then cut out the owl.


Now paint several owls and cut them out.
Then choose a branch. Make sure it's dry.


Now you stick the owls with a point hot glue on the branch. Attention when handling the hot glue - risk of injury!


Then you can hang the branch with a nylon thread, for example.


We have placed the branch with the owls in an empty picture frame.


Alternatively, you can put the branch in a vase or create a garlands with the owls. For this you stick the owls with adhesive film to a tape or a thicker wool thread.


Have fun painting, learning and designing!
Follow us on Facebook , Instagram and Pinterest
Don't miss any more adventures: Our bottle mail


