Make Christmas tree jewelry from the lids of canned cans! This is not difficult, and a suspension is also included.
Removes the lid of the can with a can opener that rounds off the edges of the can. By carefully bending and turning the tab you can use it as a hanger!
Then it's time to design the lid with newspaper. It's available in almost every household and is perfect for this upcycle project!
Media Education for Kindergarten and Hort

Relief in everyday life, targeted promotion of individual children, independent learning and - without any pre-knowledge already usable by the youngest!
Open the can lids with a can opener. To do this, you need an opener that rounds off the edges when removing them.
Attention: You cannot use the flaps to open the can for opening!!!
Then clean the lids.
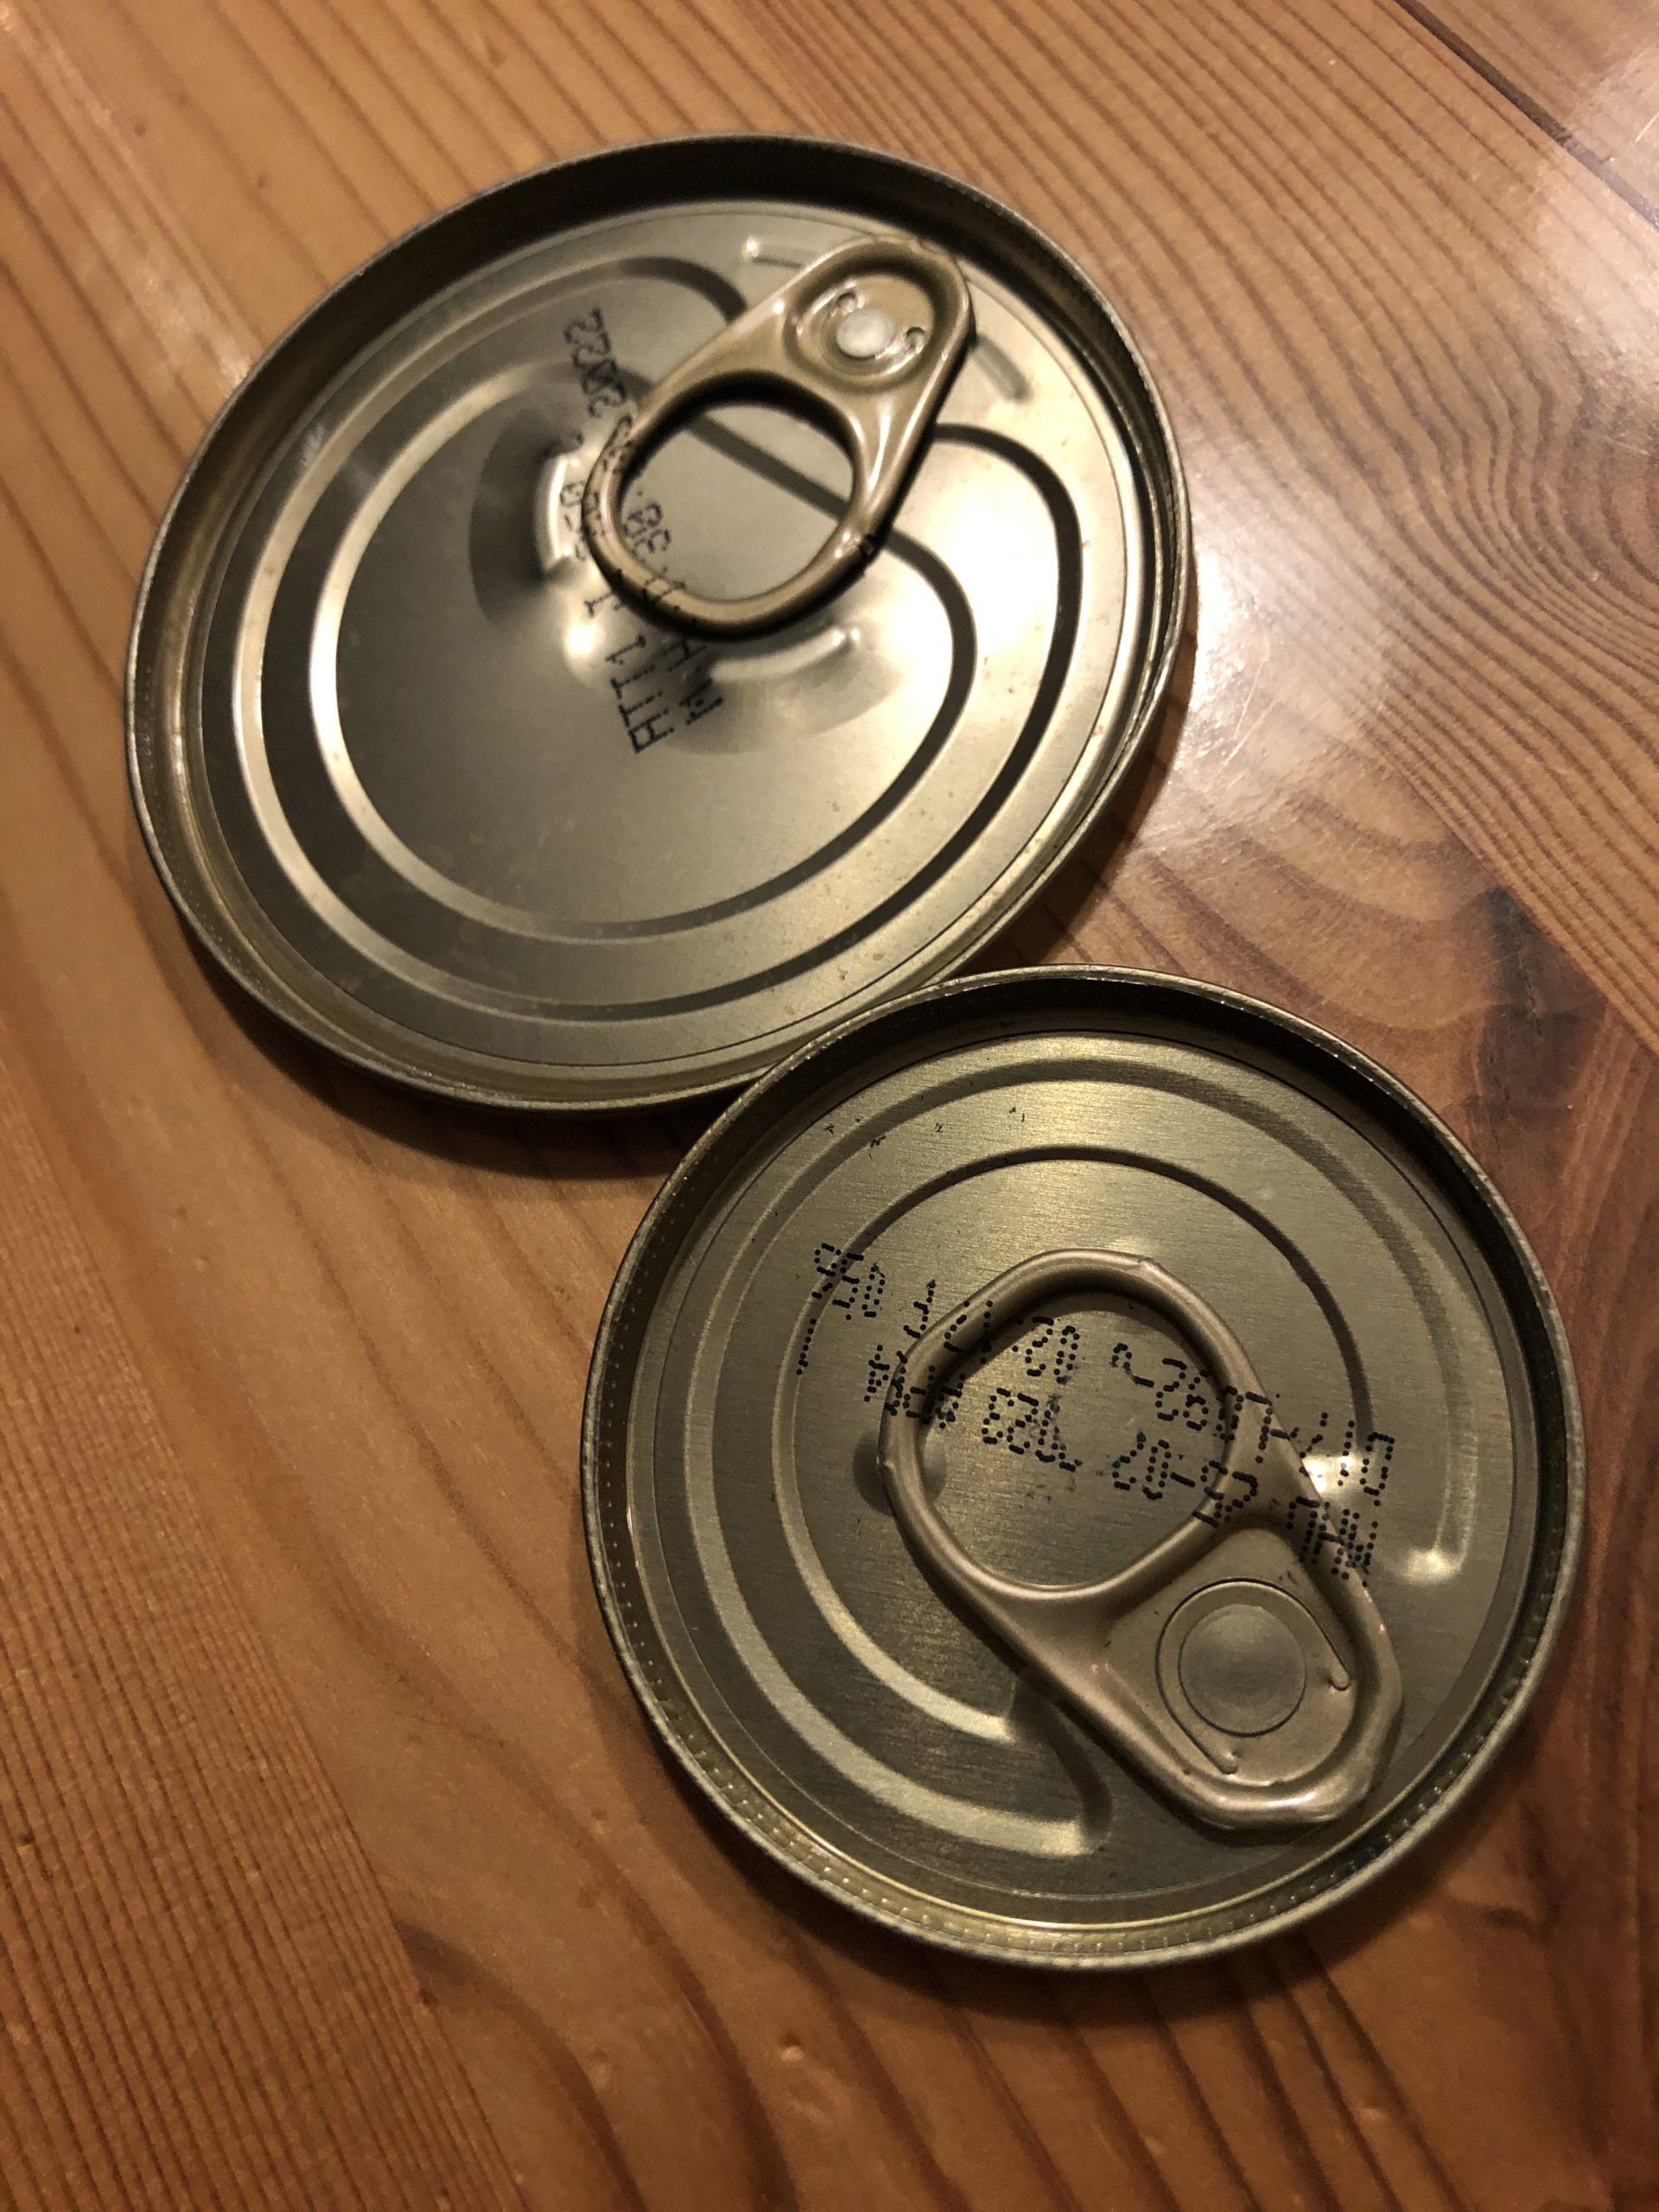
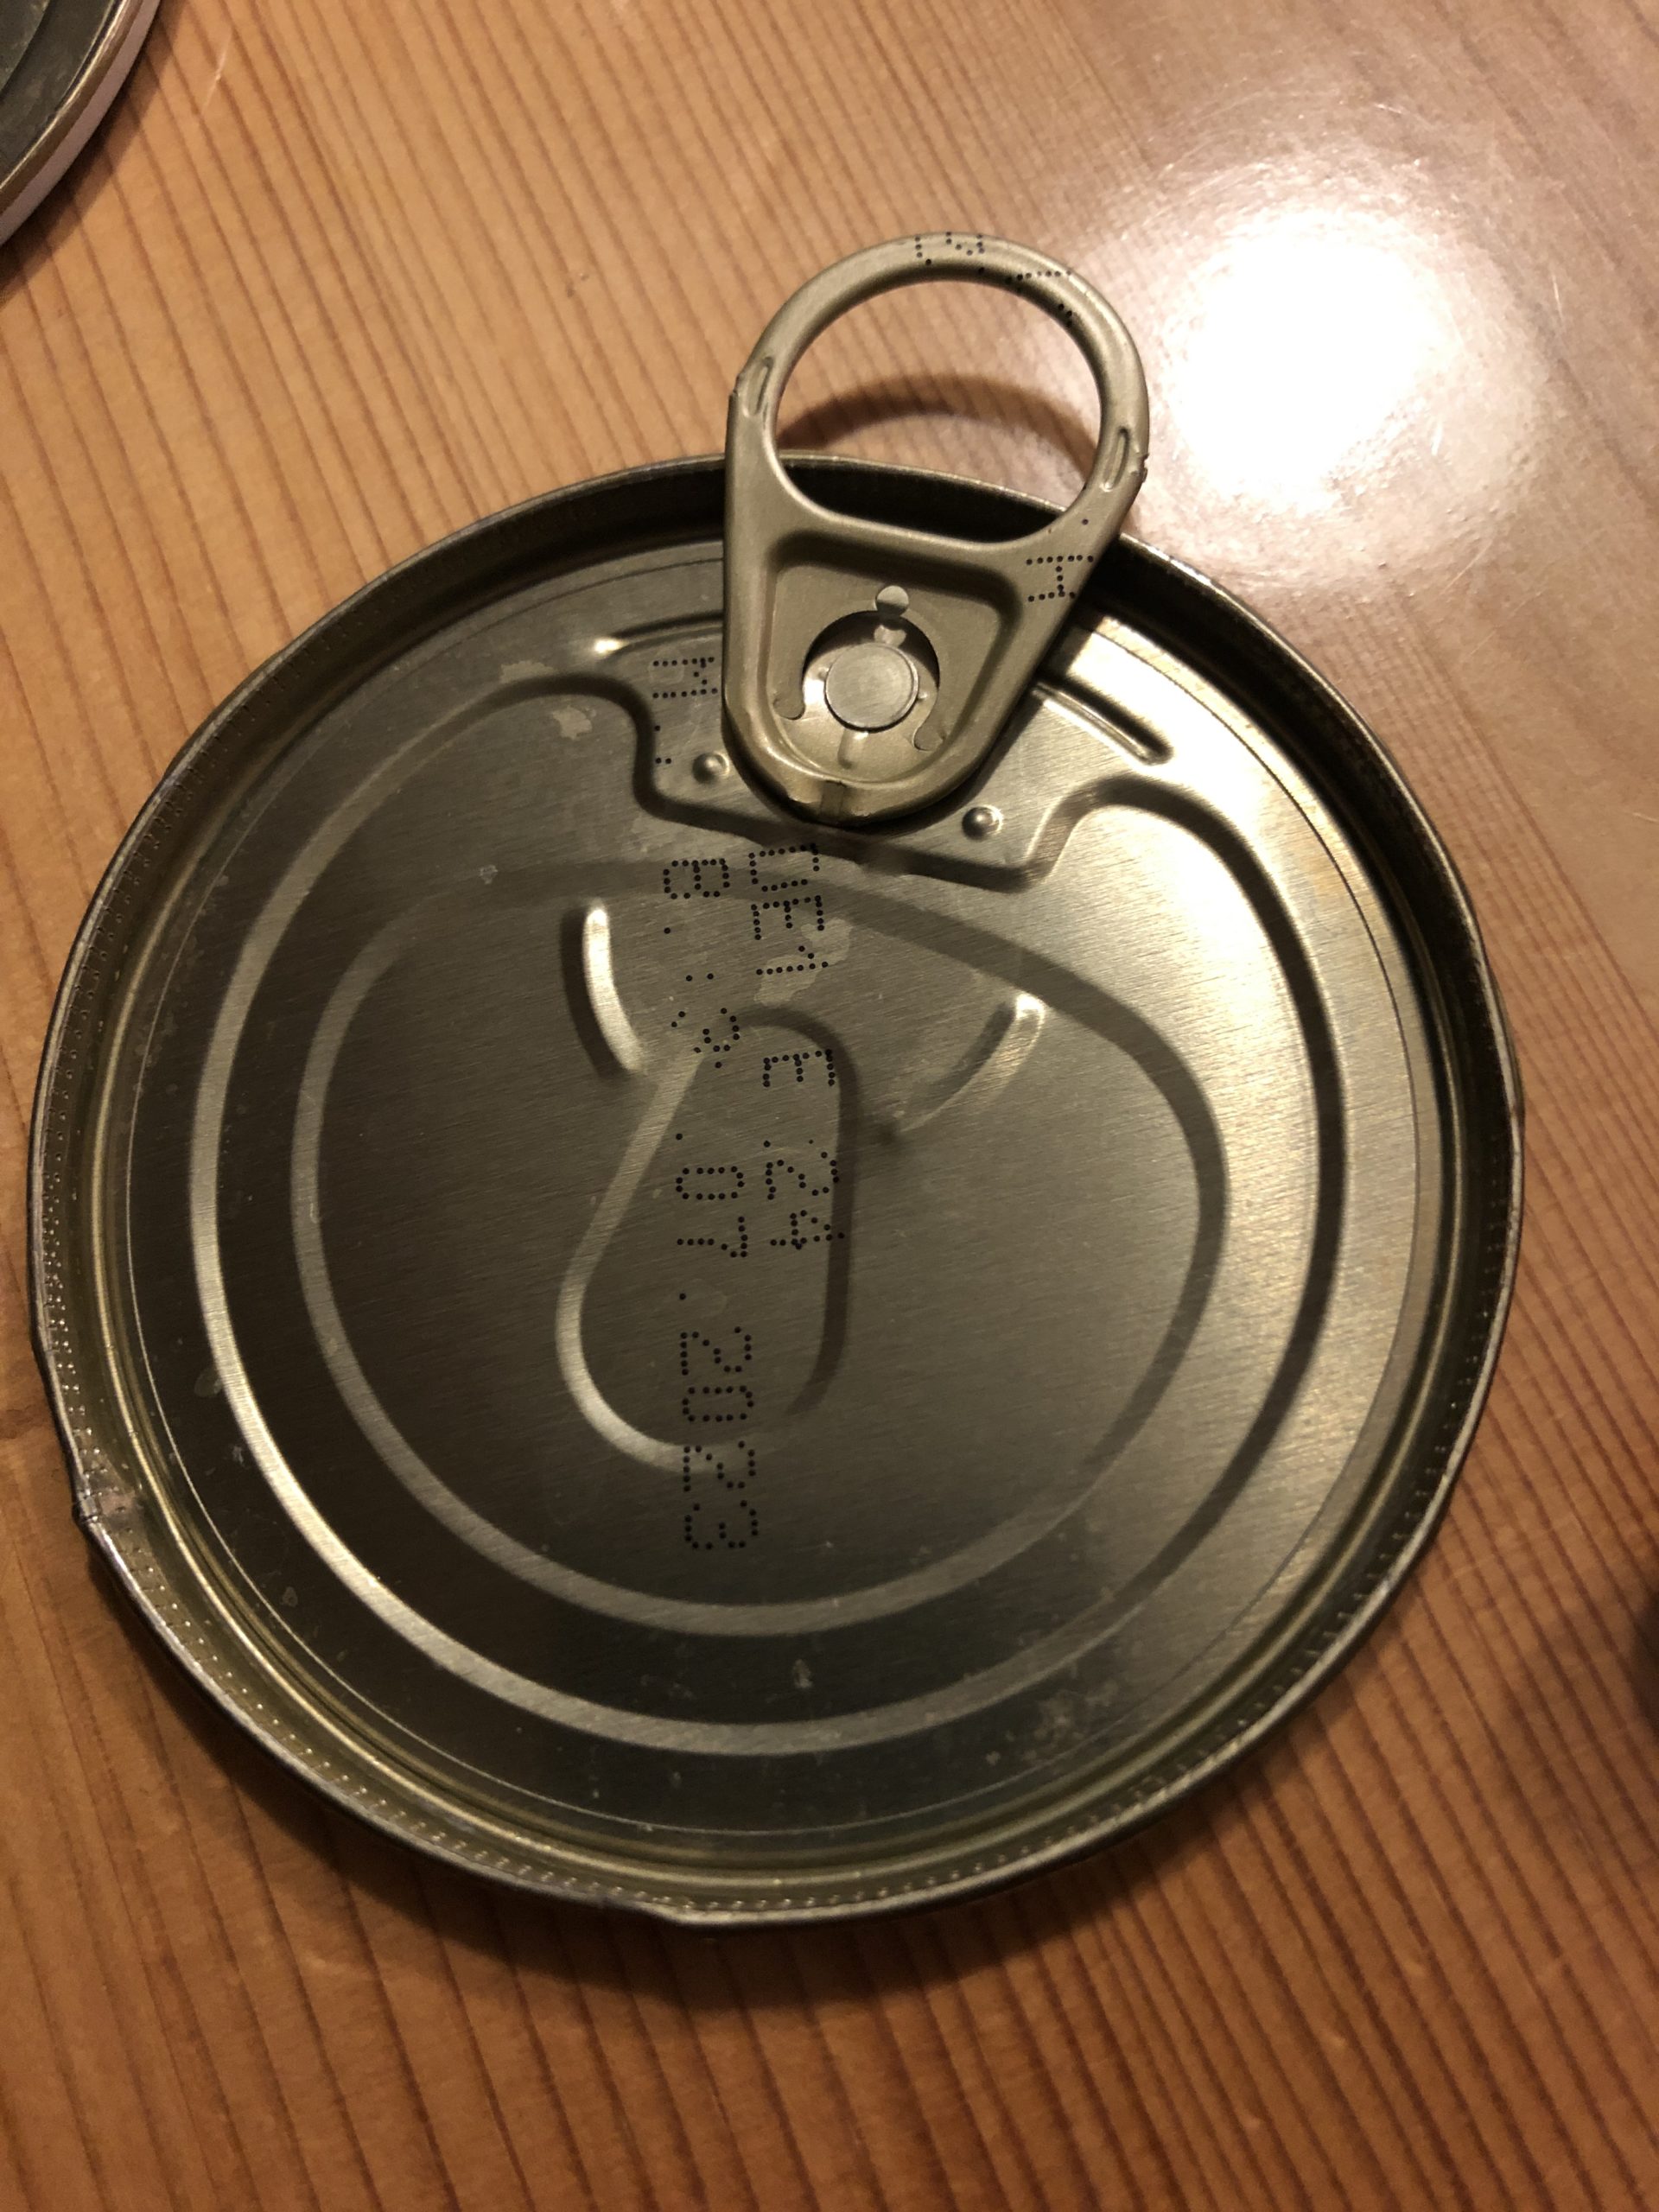
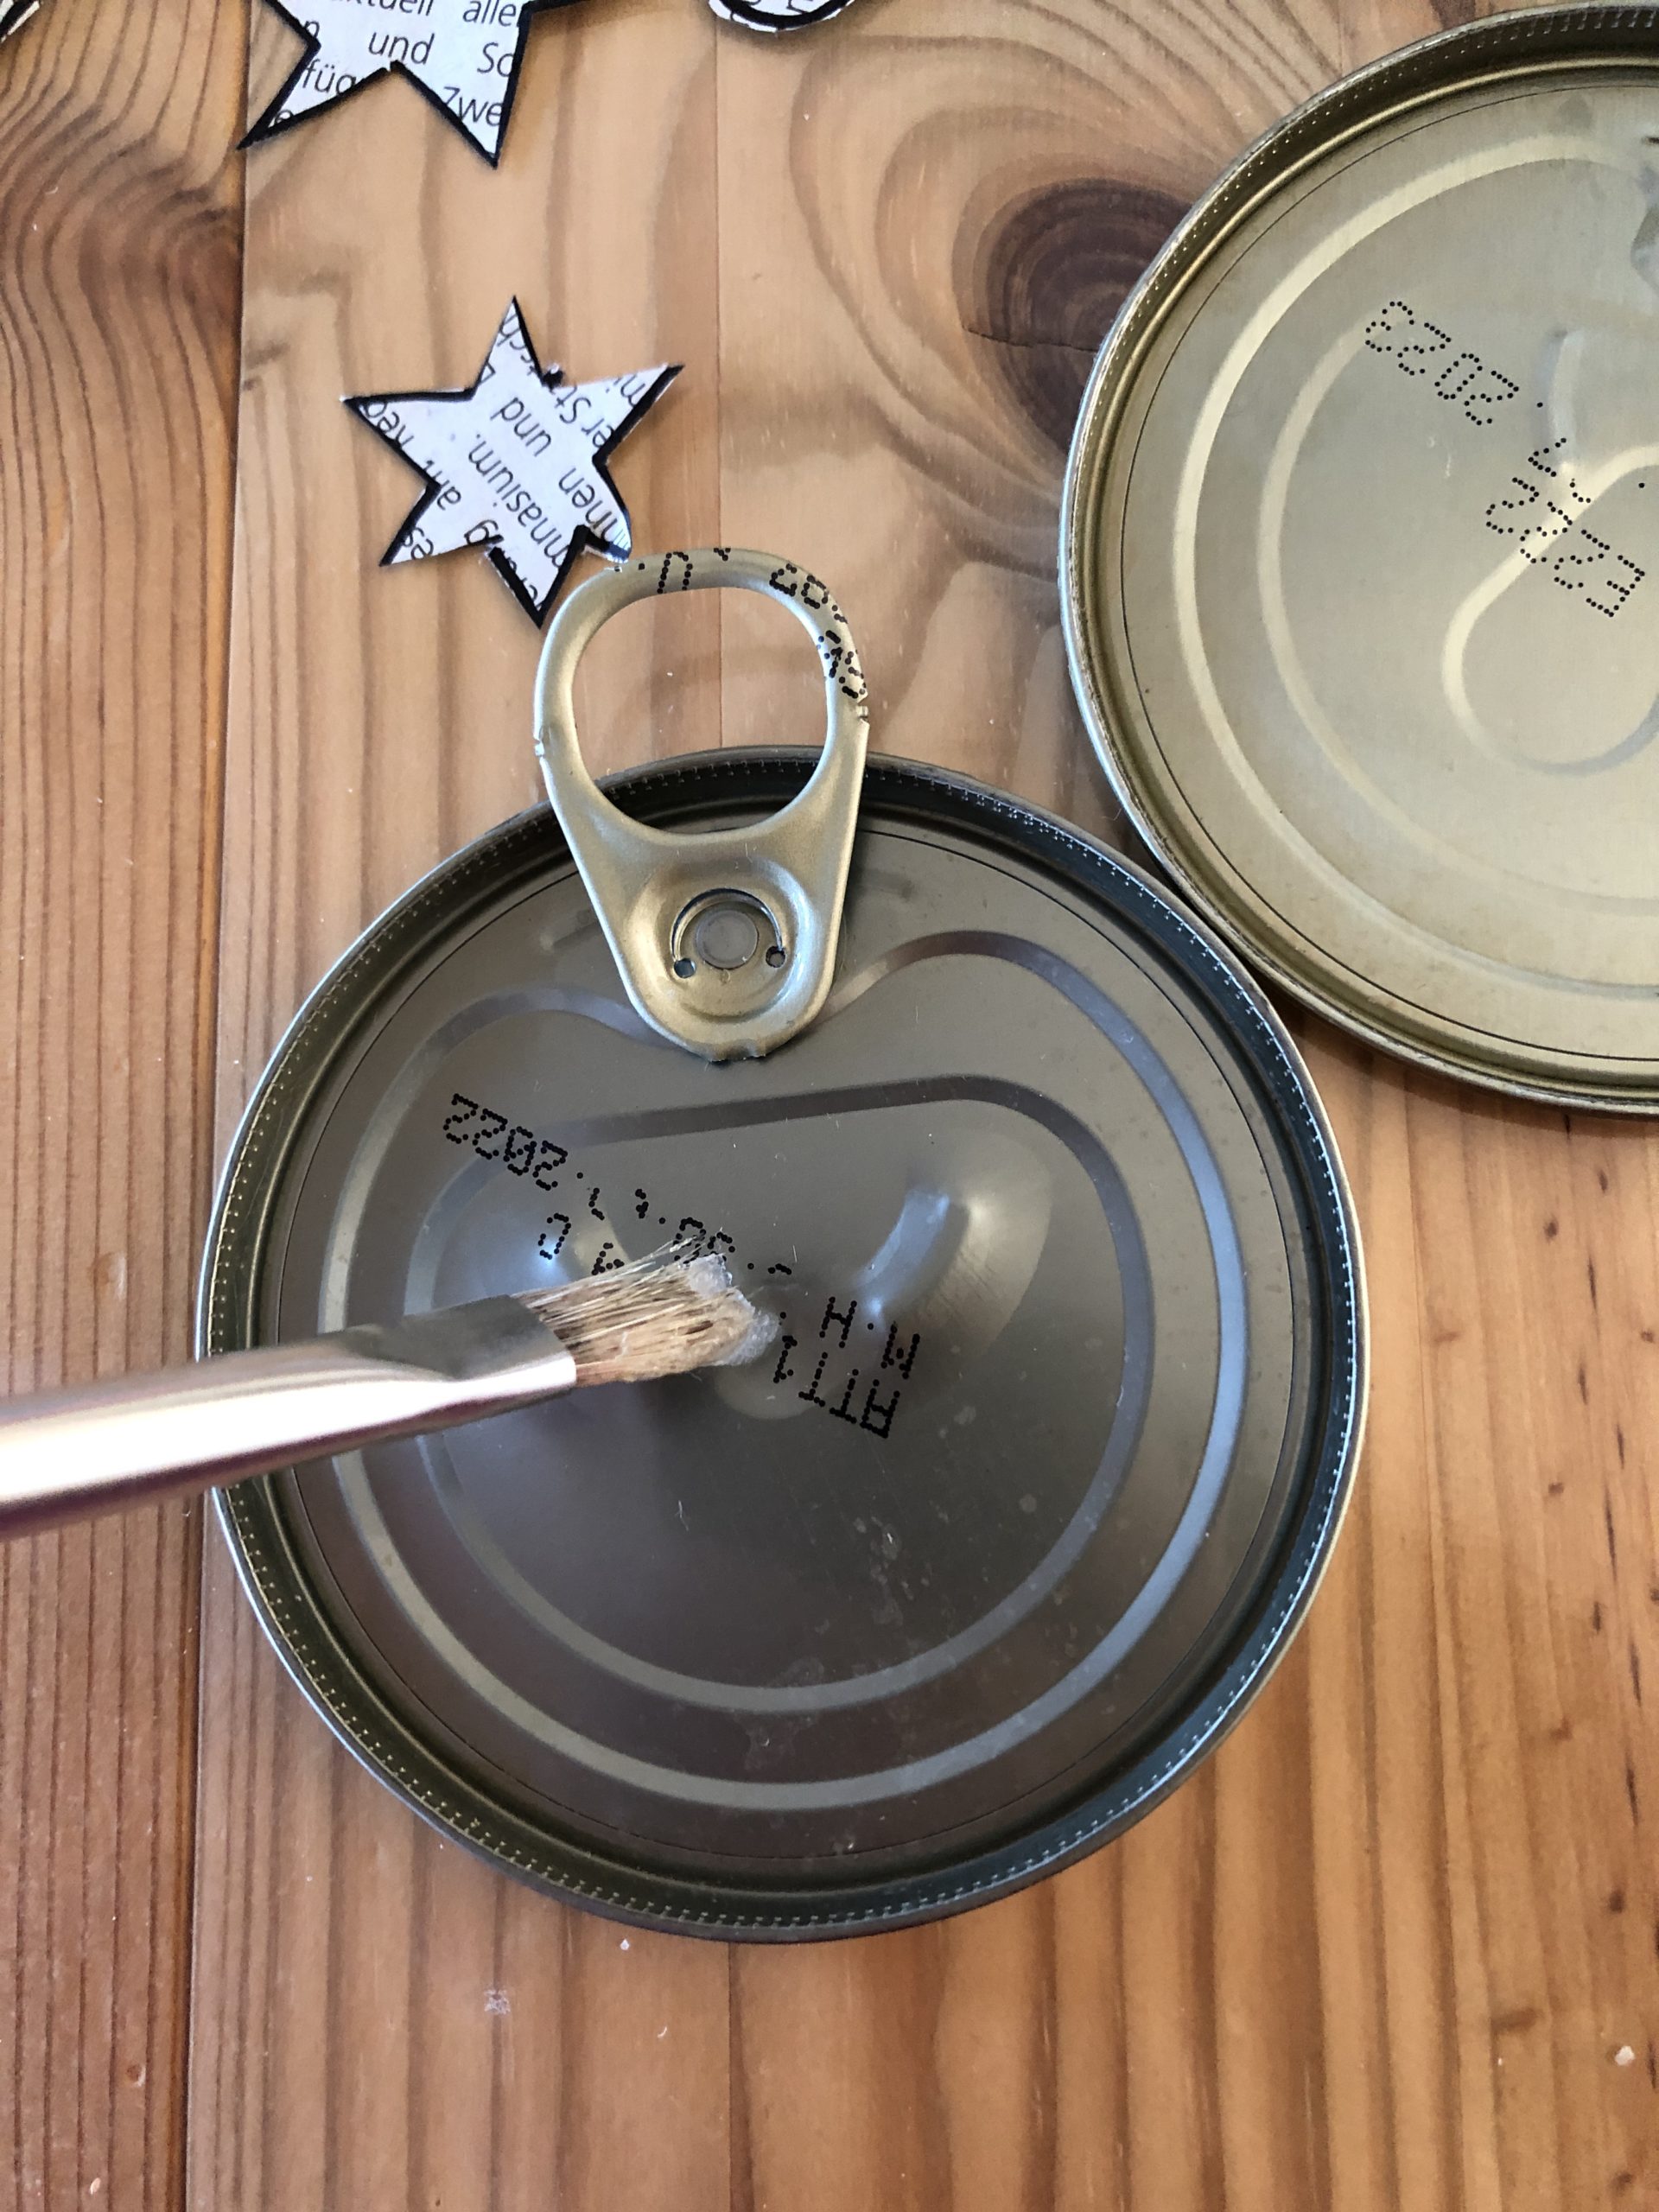
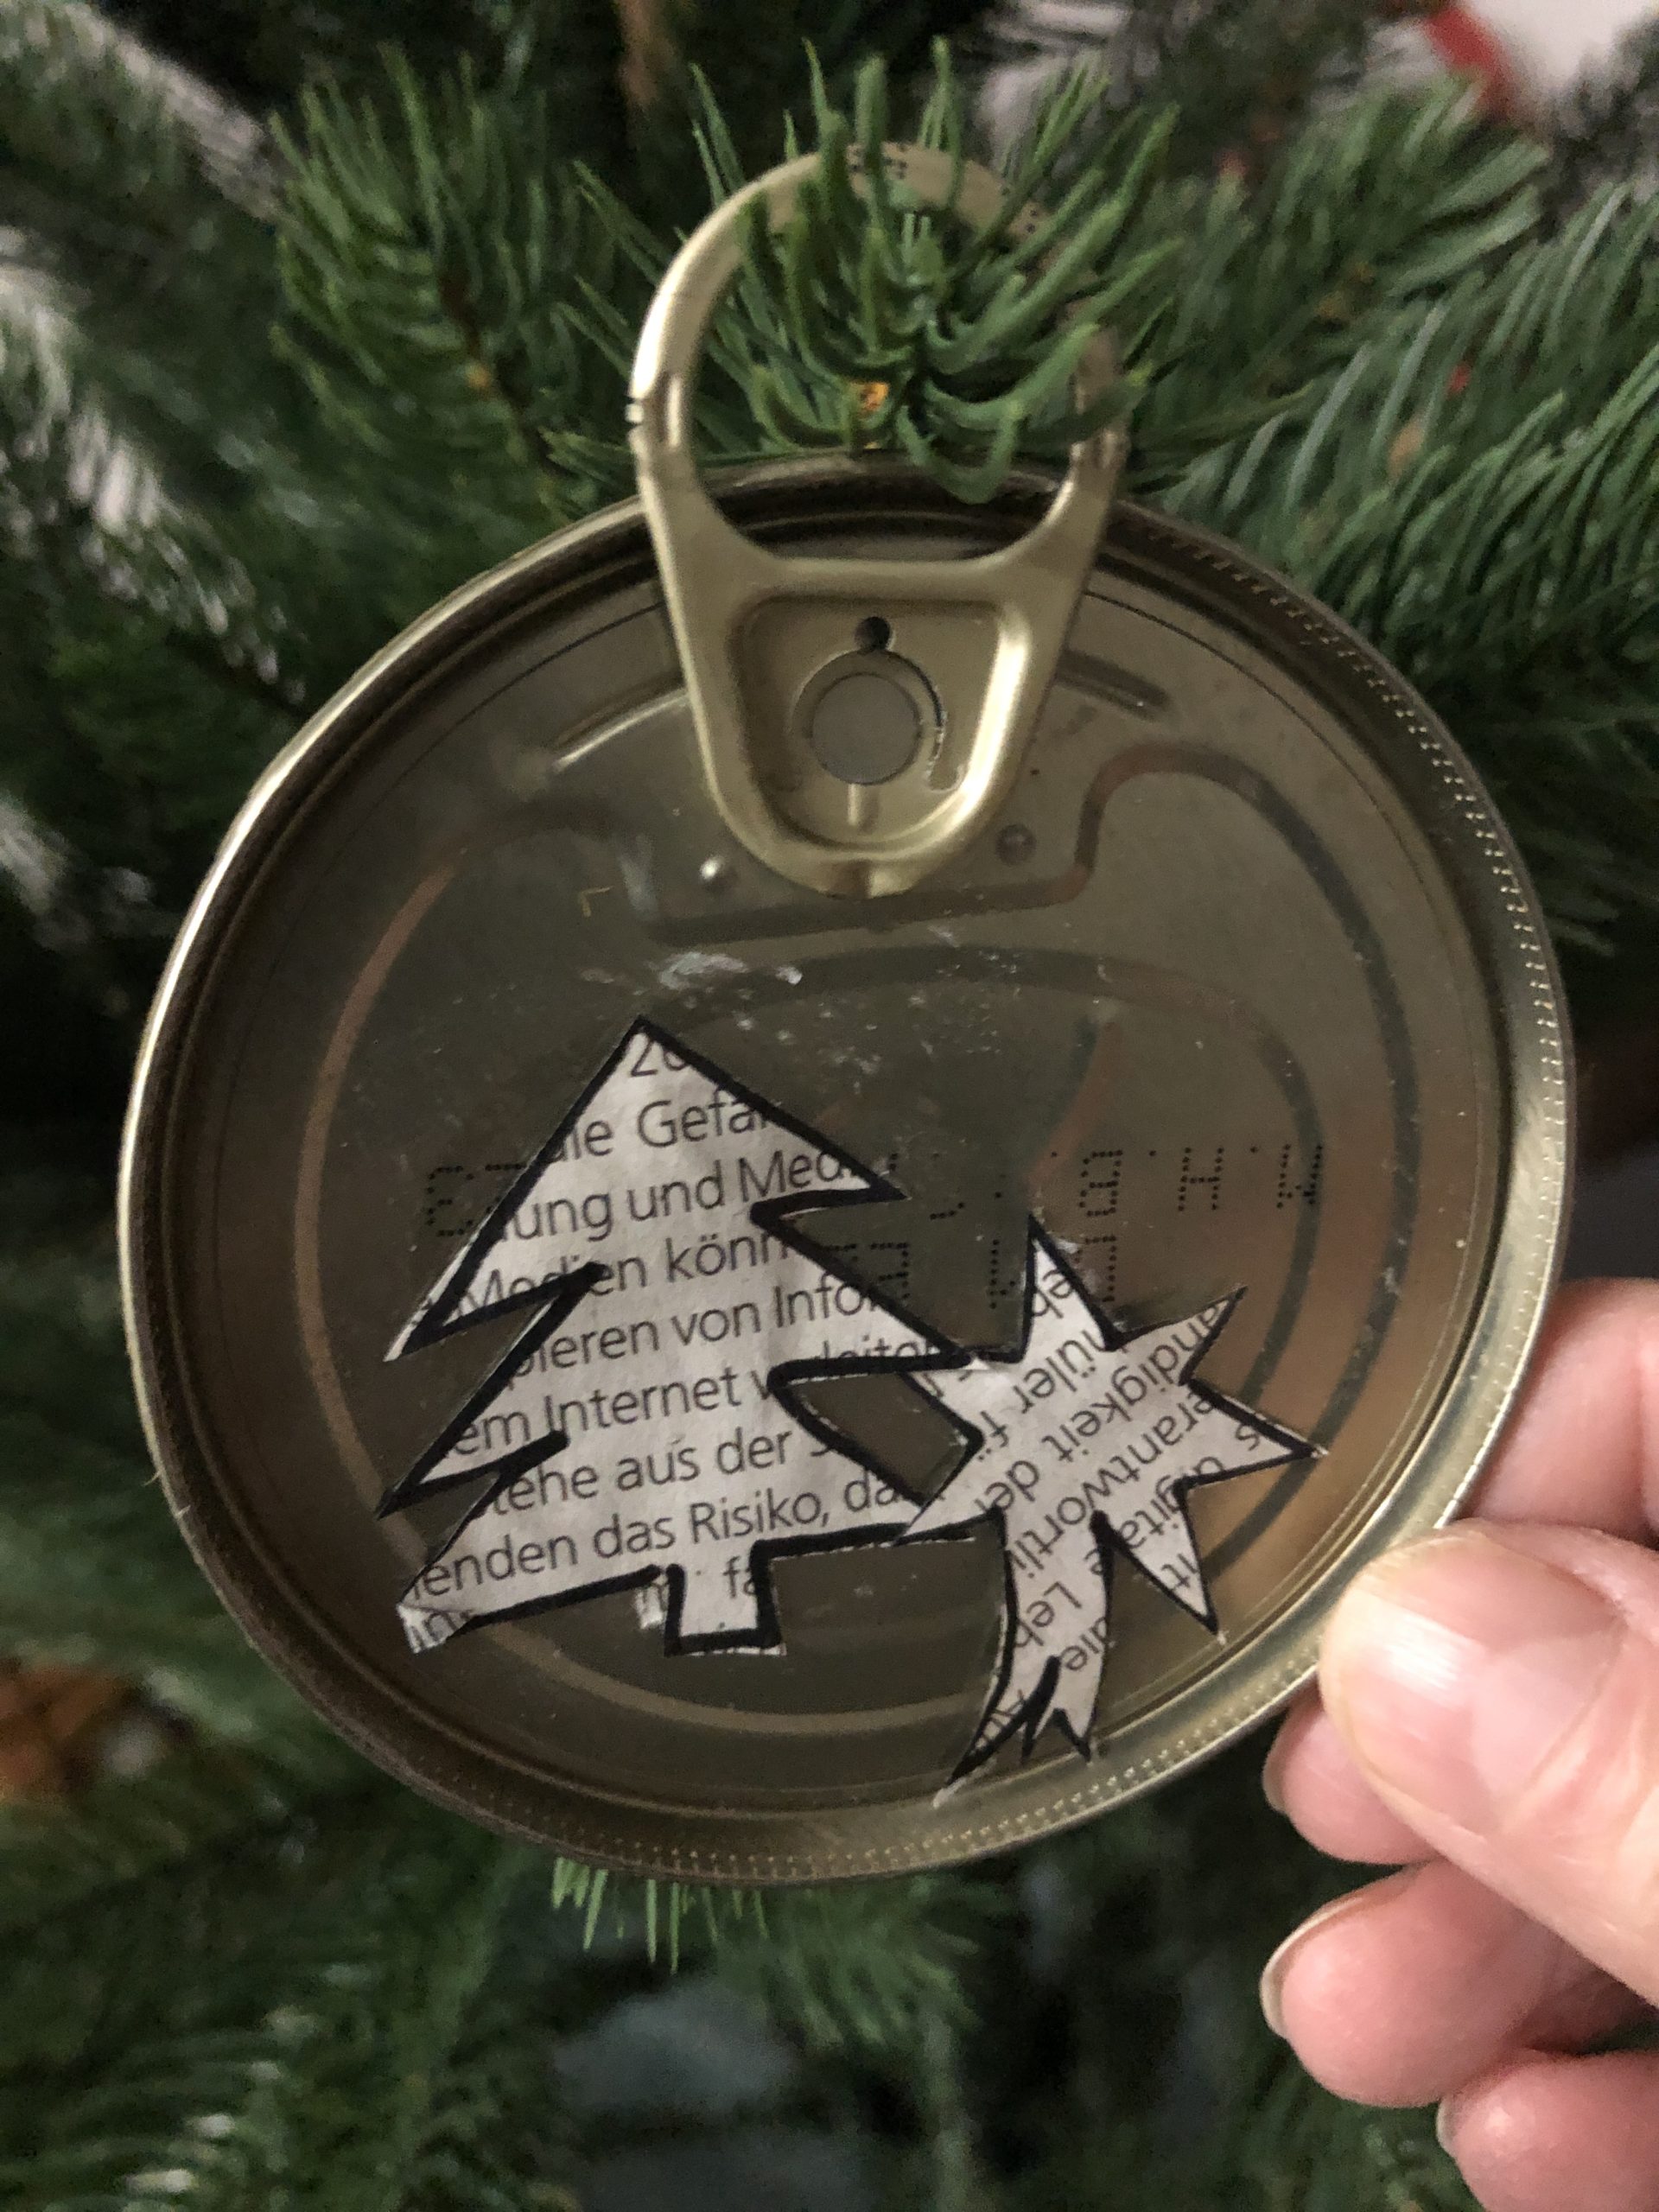
After cleaning, pick up the tab and bend it up by gently turning back and forth.
So you get the tab to hang up!
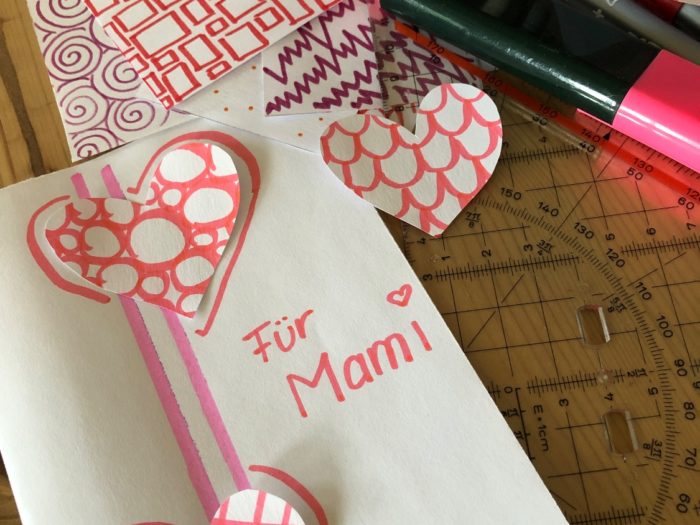
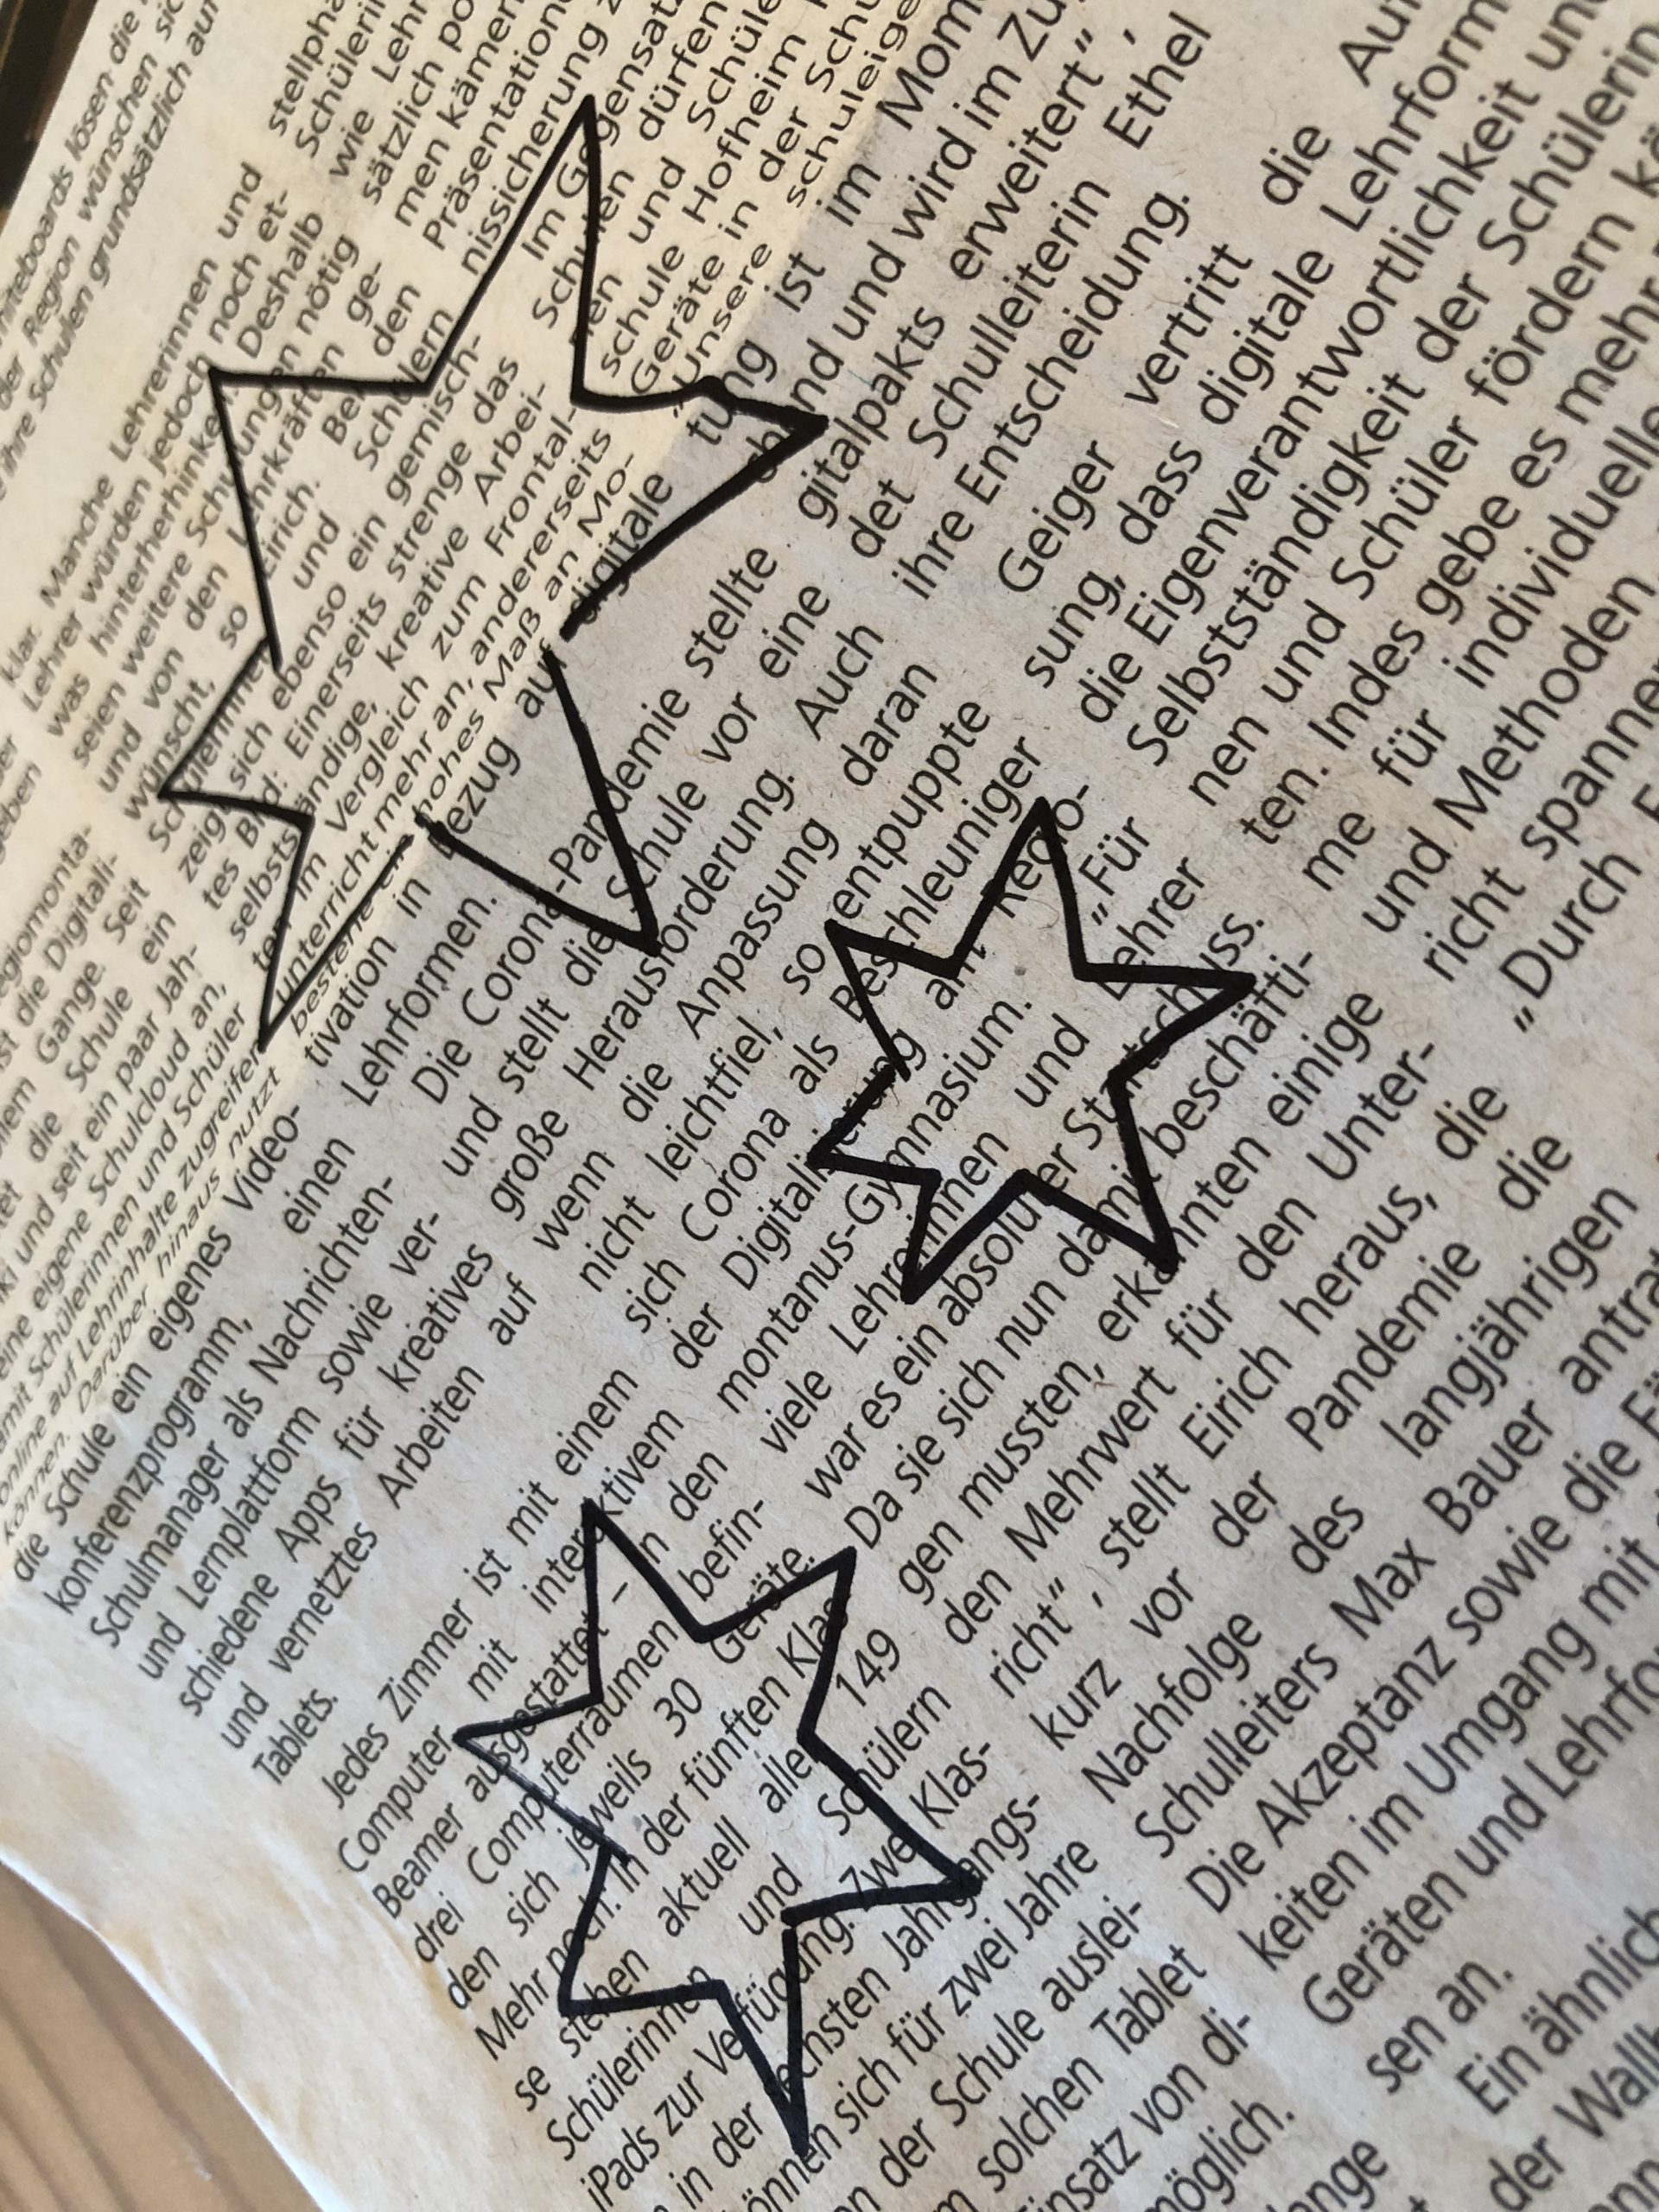
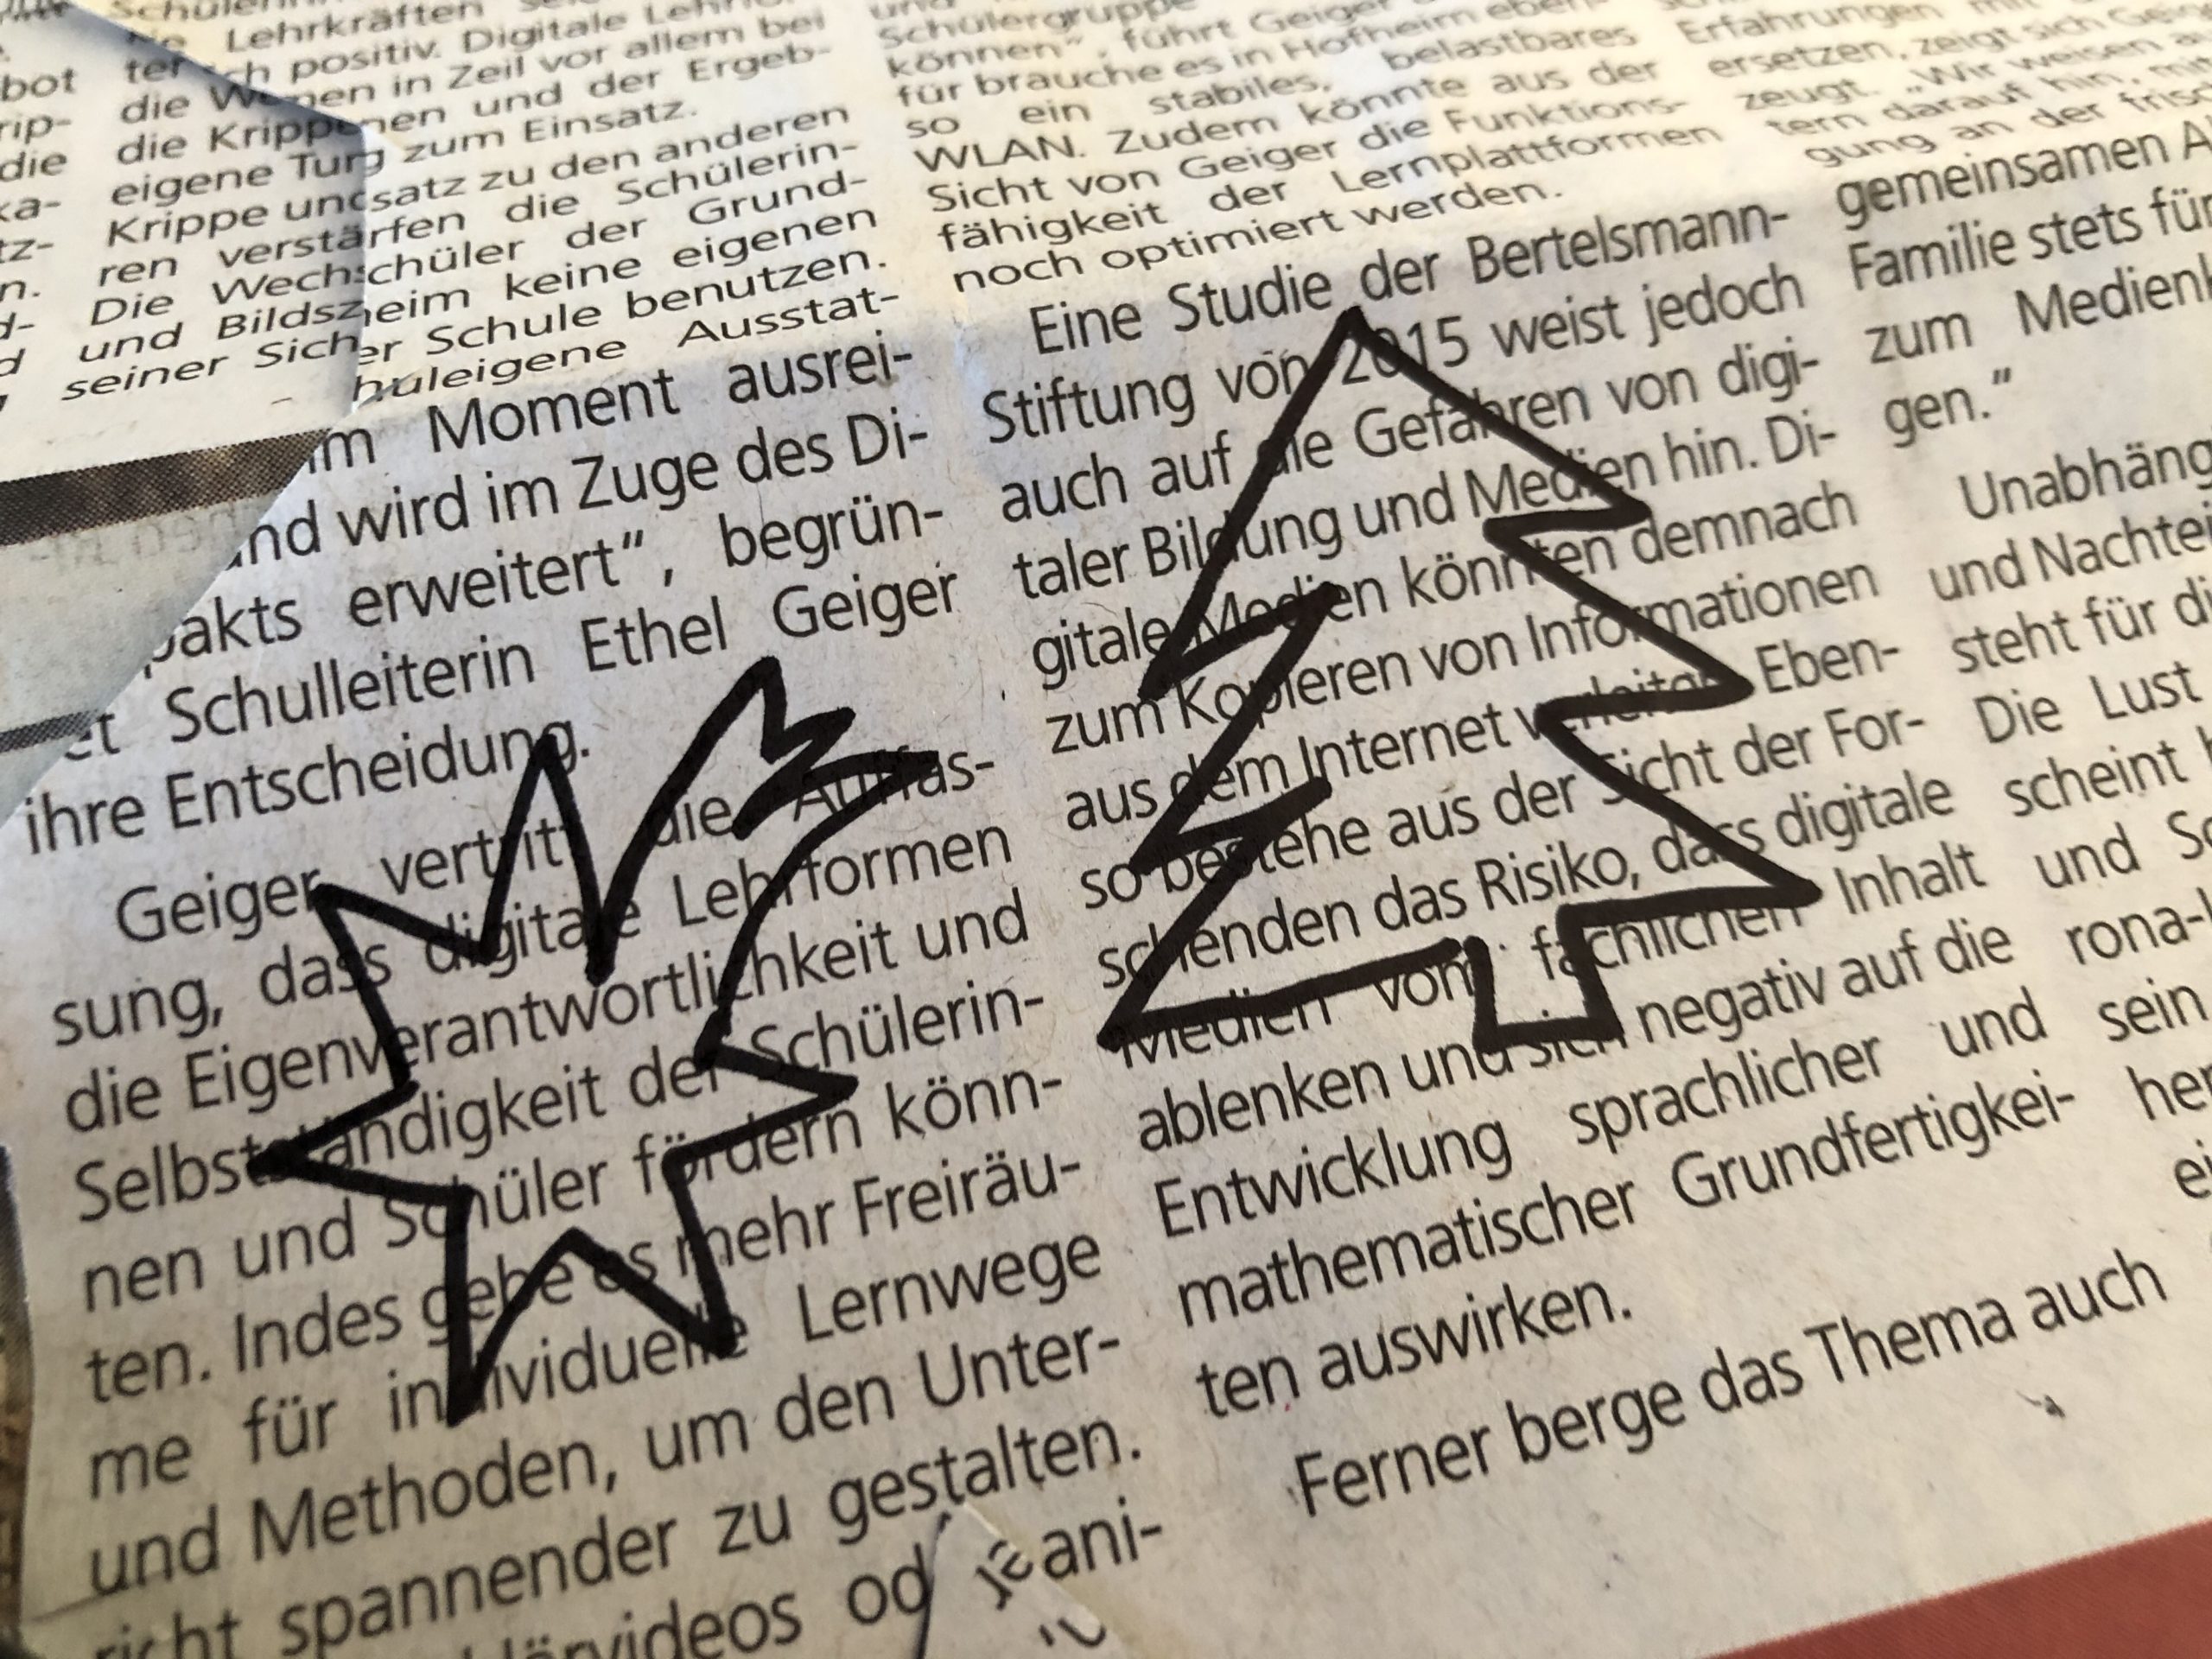
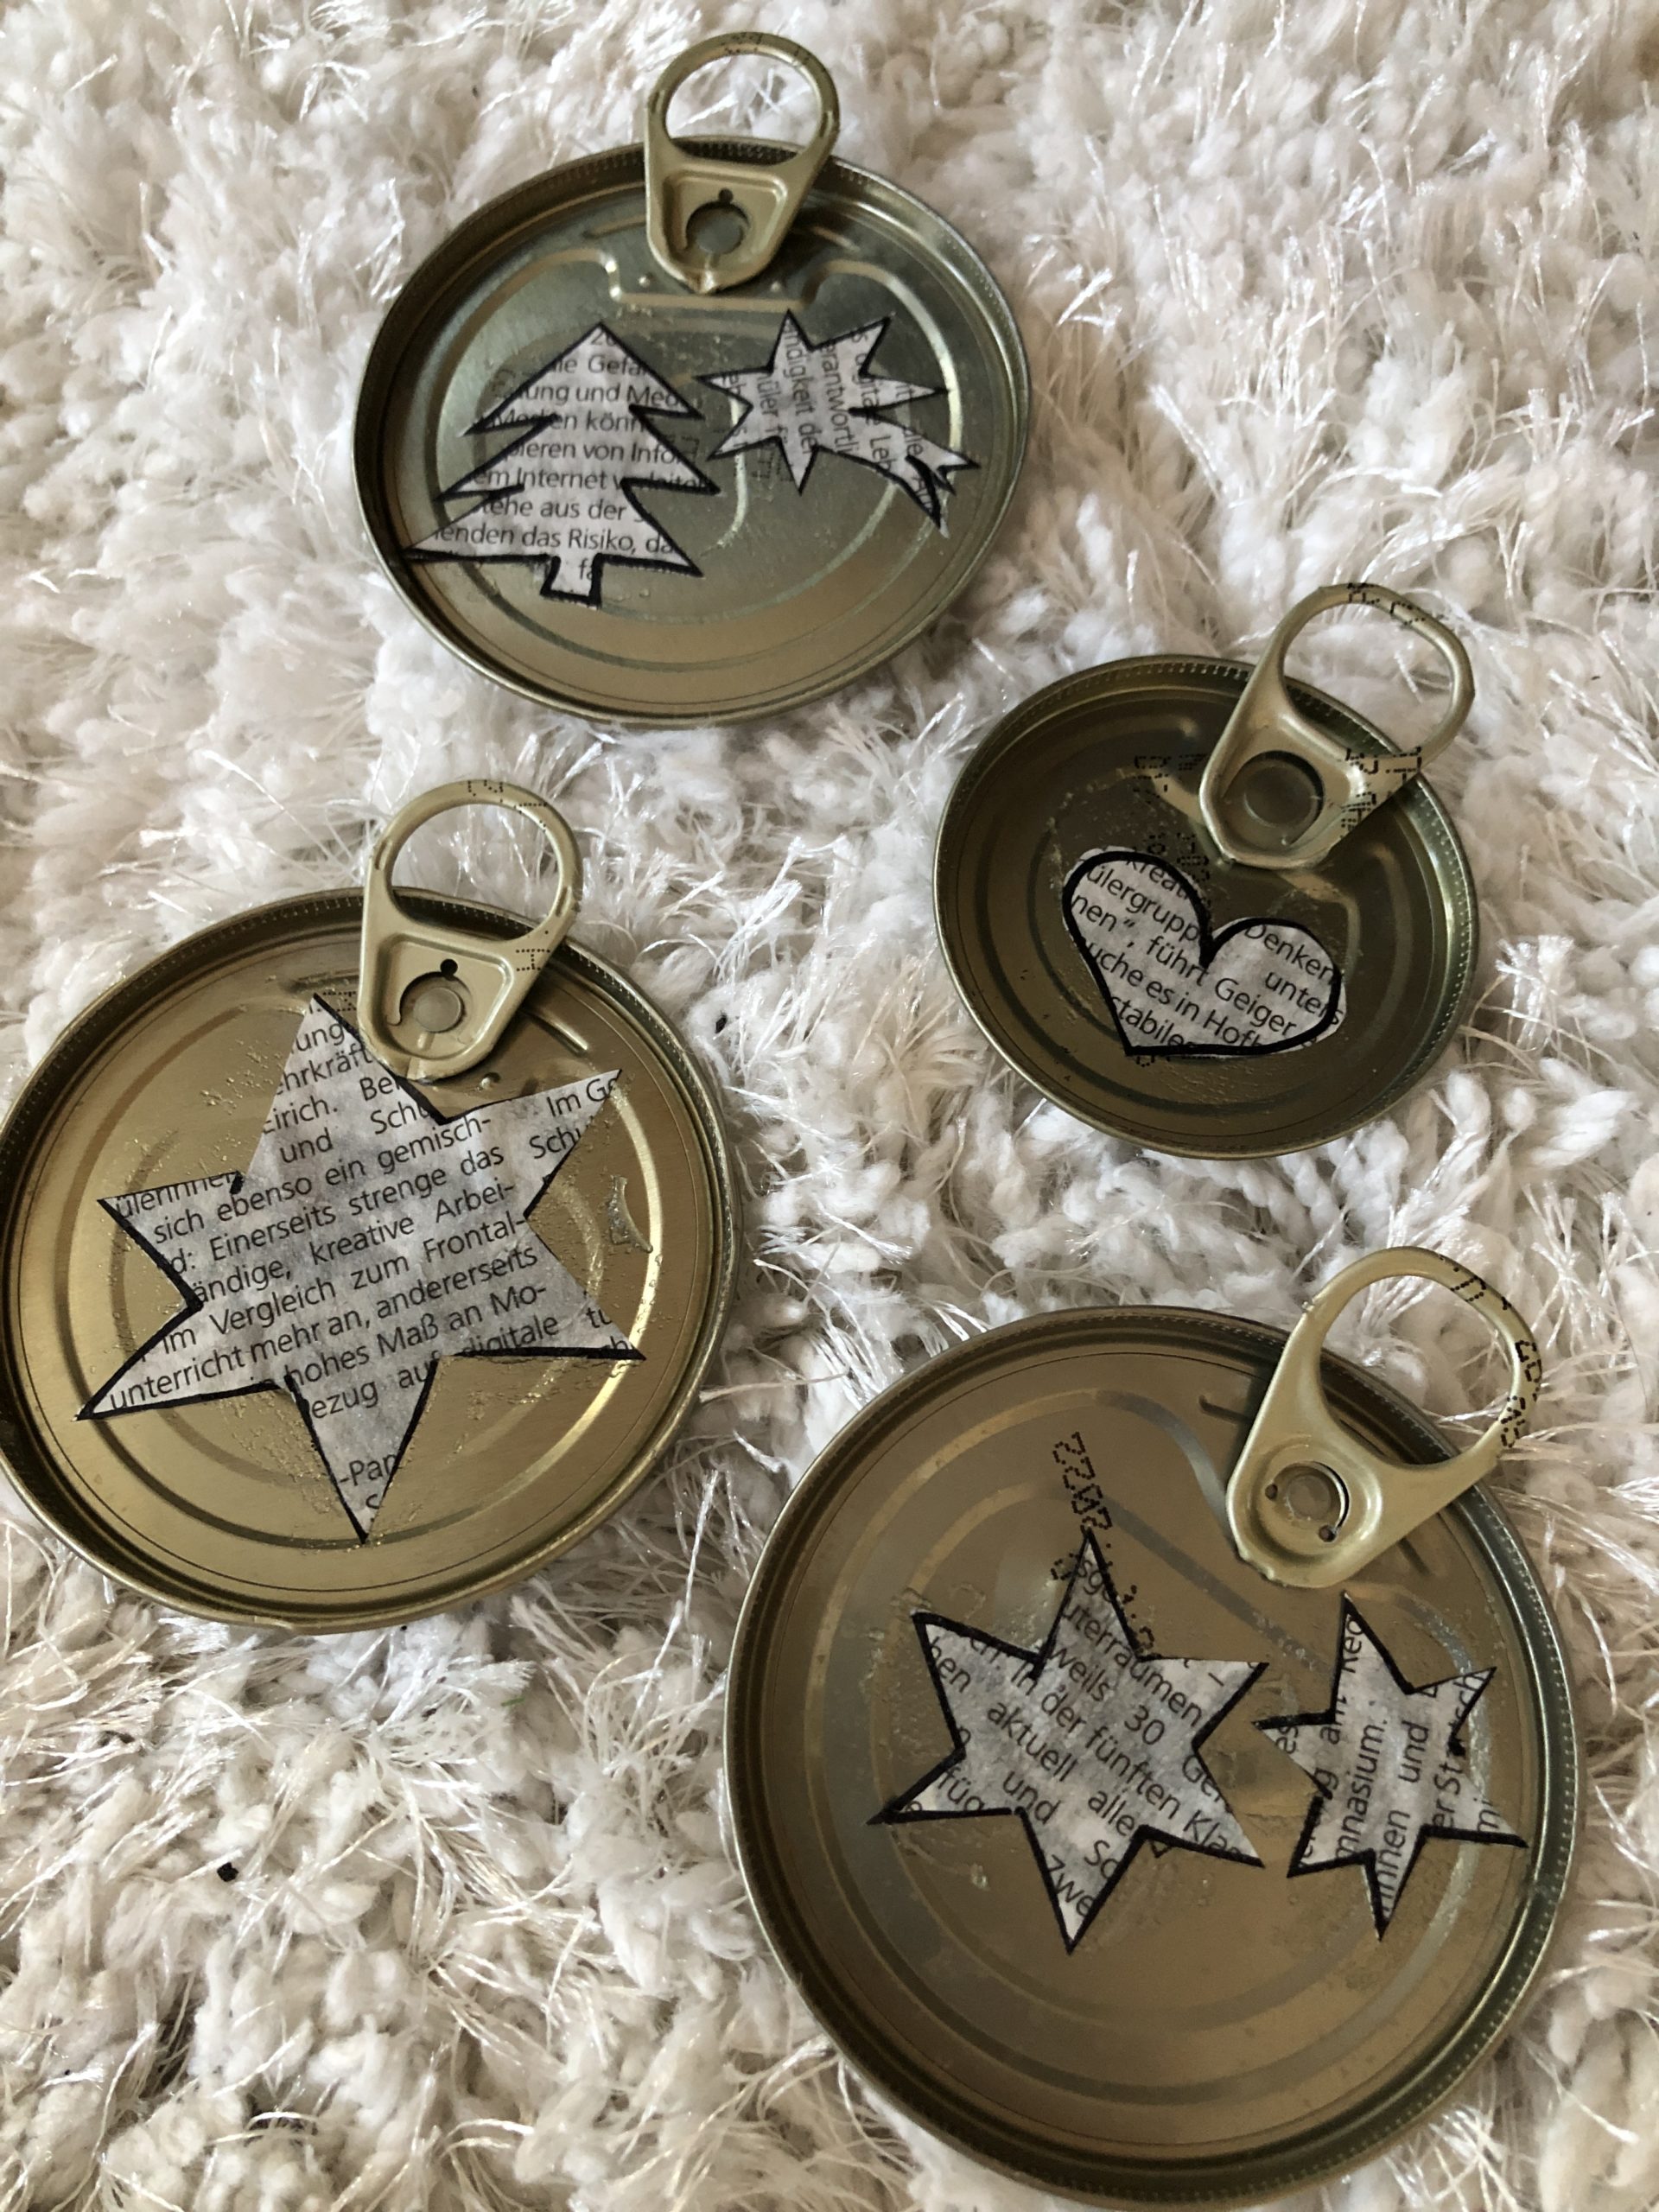
Paints stars with a pen or other Christmas motifs on a newspaper.
Tip: Paint the motifs freely, which trains the feeling of size and shape and underlines the uniqueness of your followers.
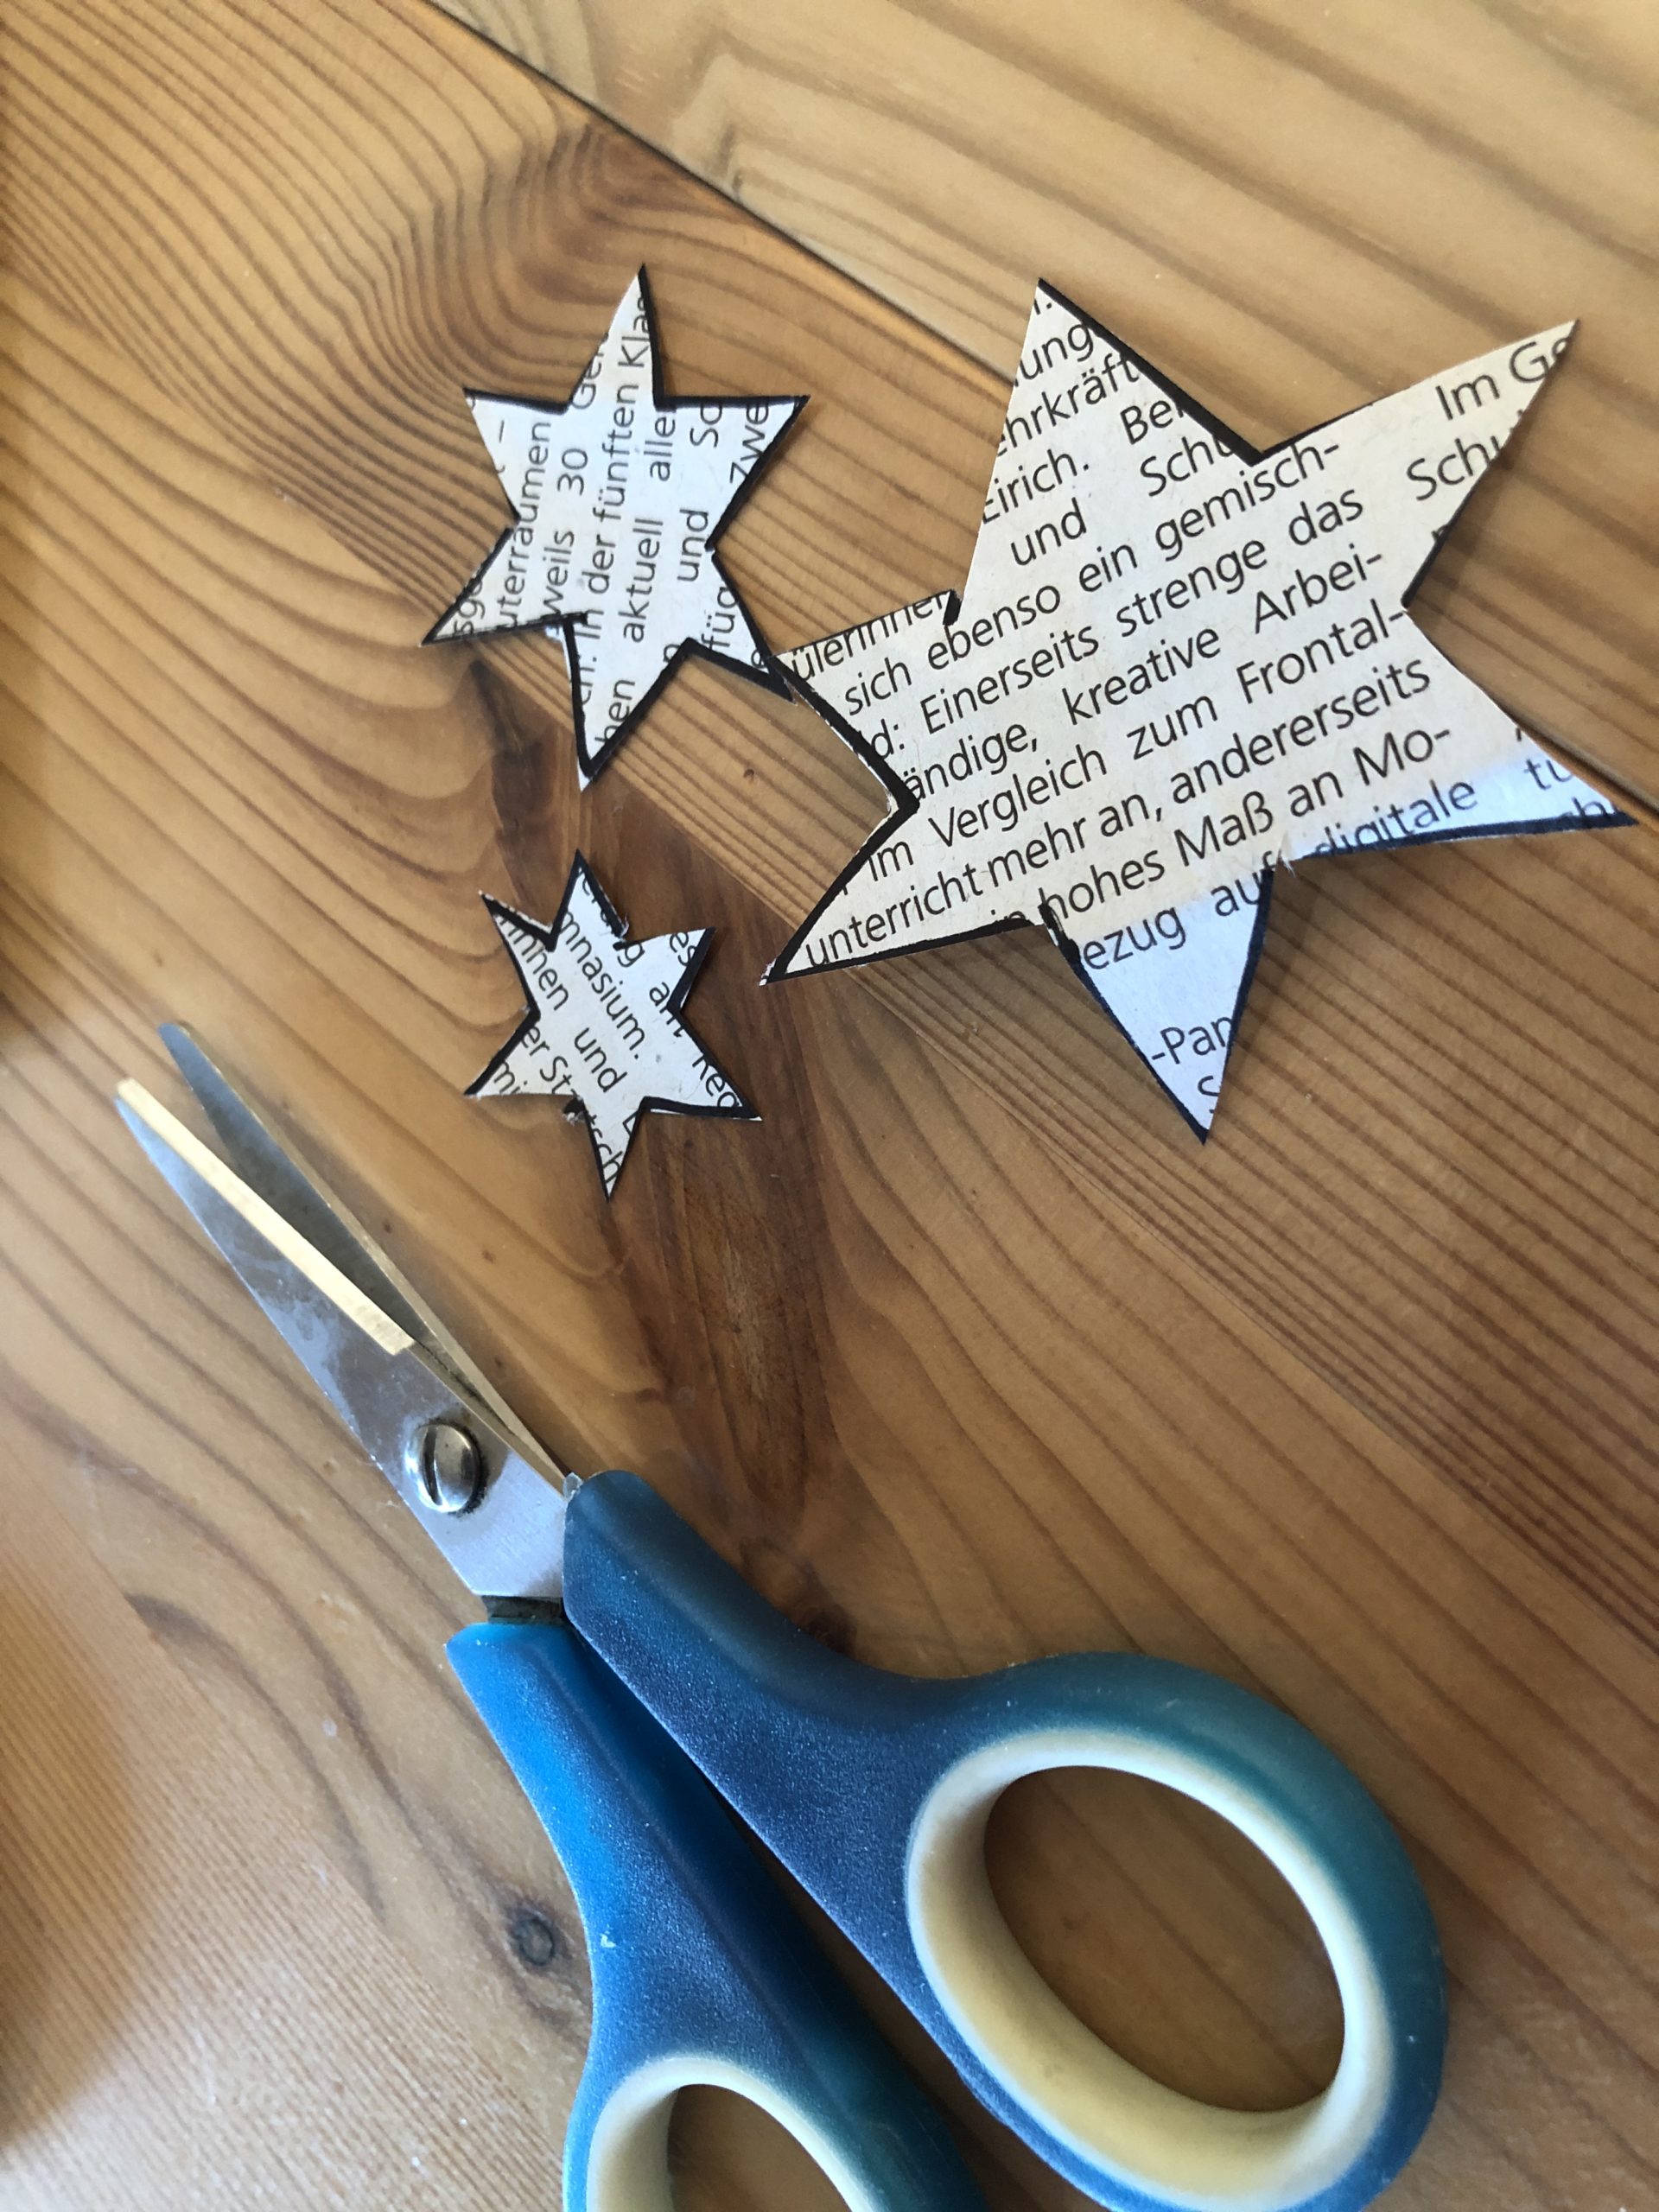
Cuts out the motifs with the scissors.
Who can cut already very accurately, can possibly leave the felt pen edge standing. (see photo!)
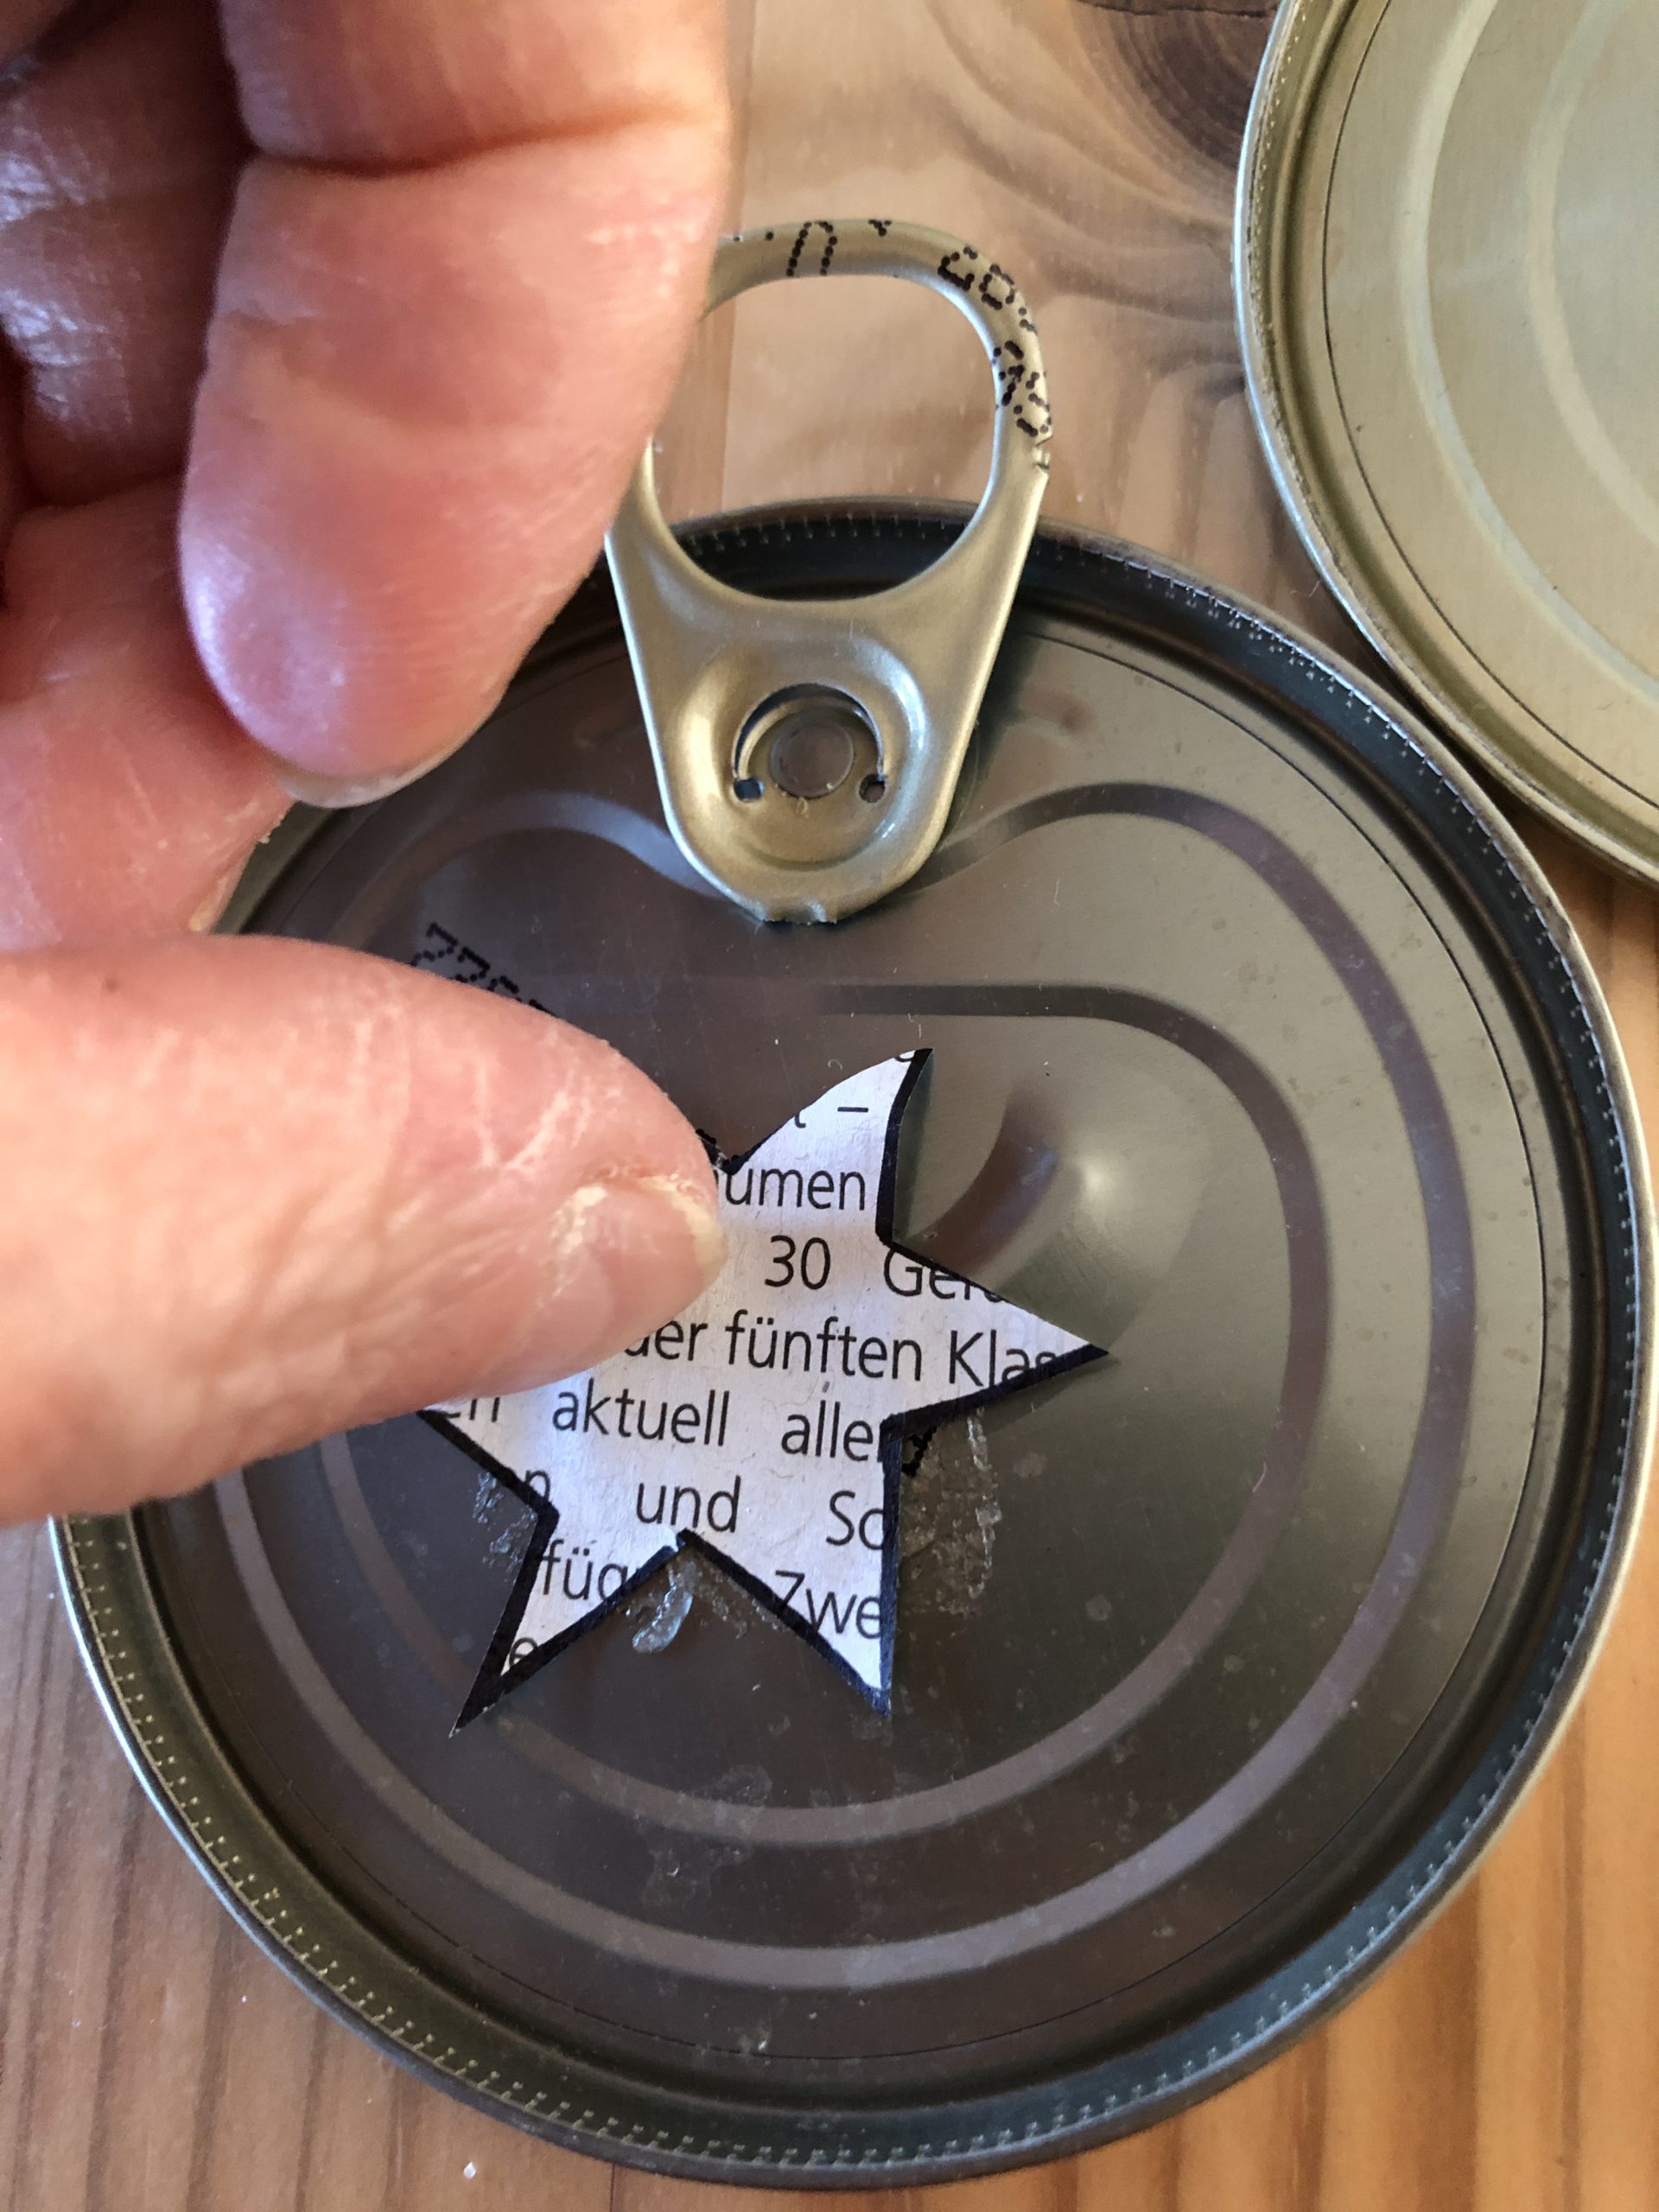
Then place your motives on the lids.
How do you like them? Try out what you like.
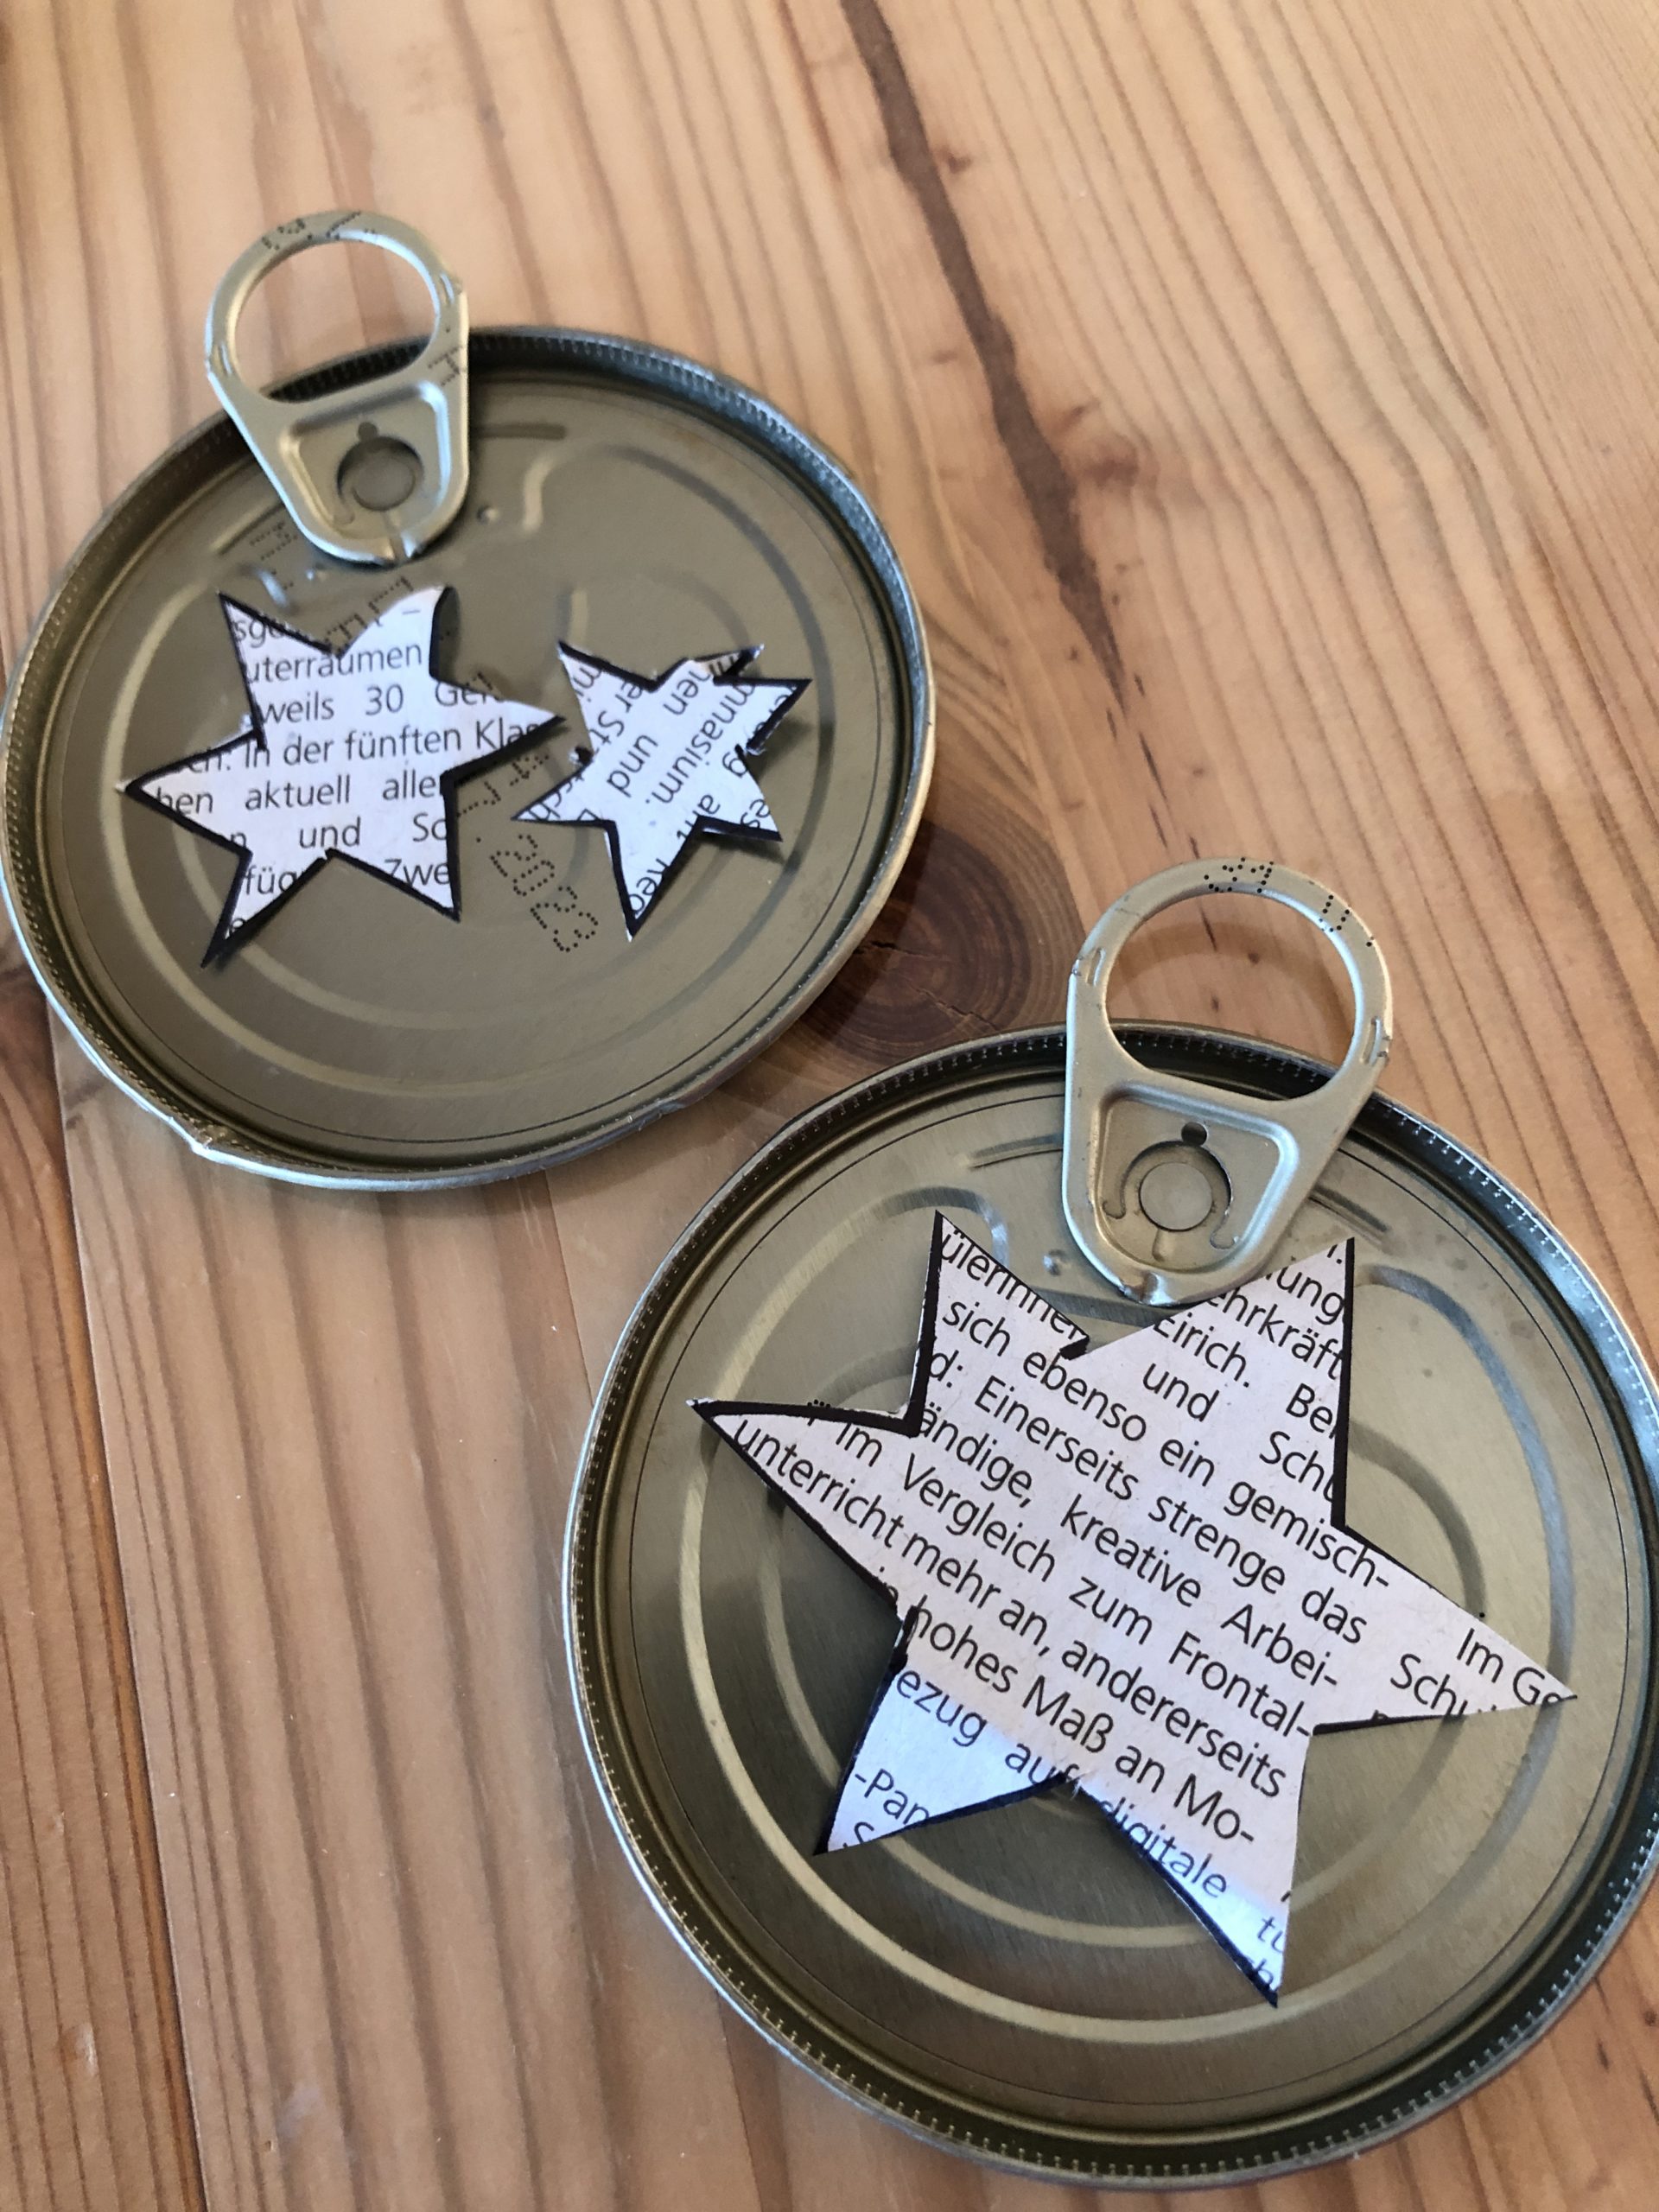
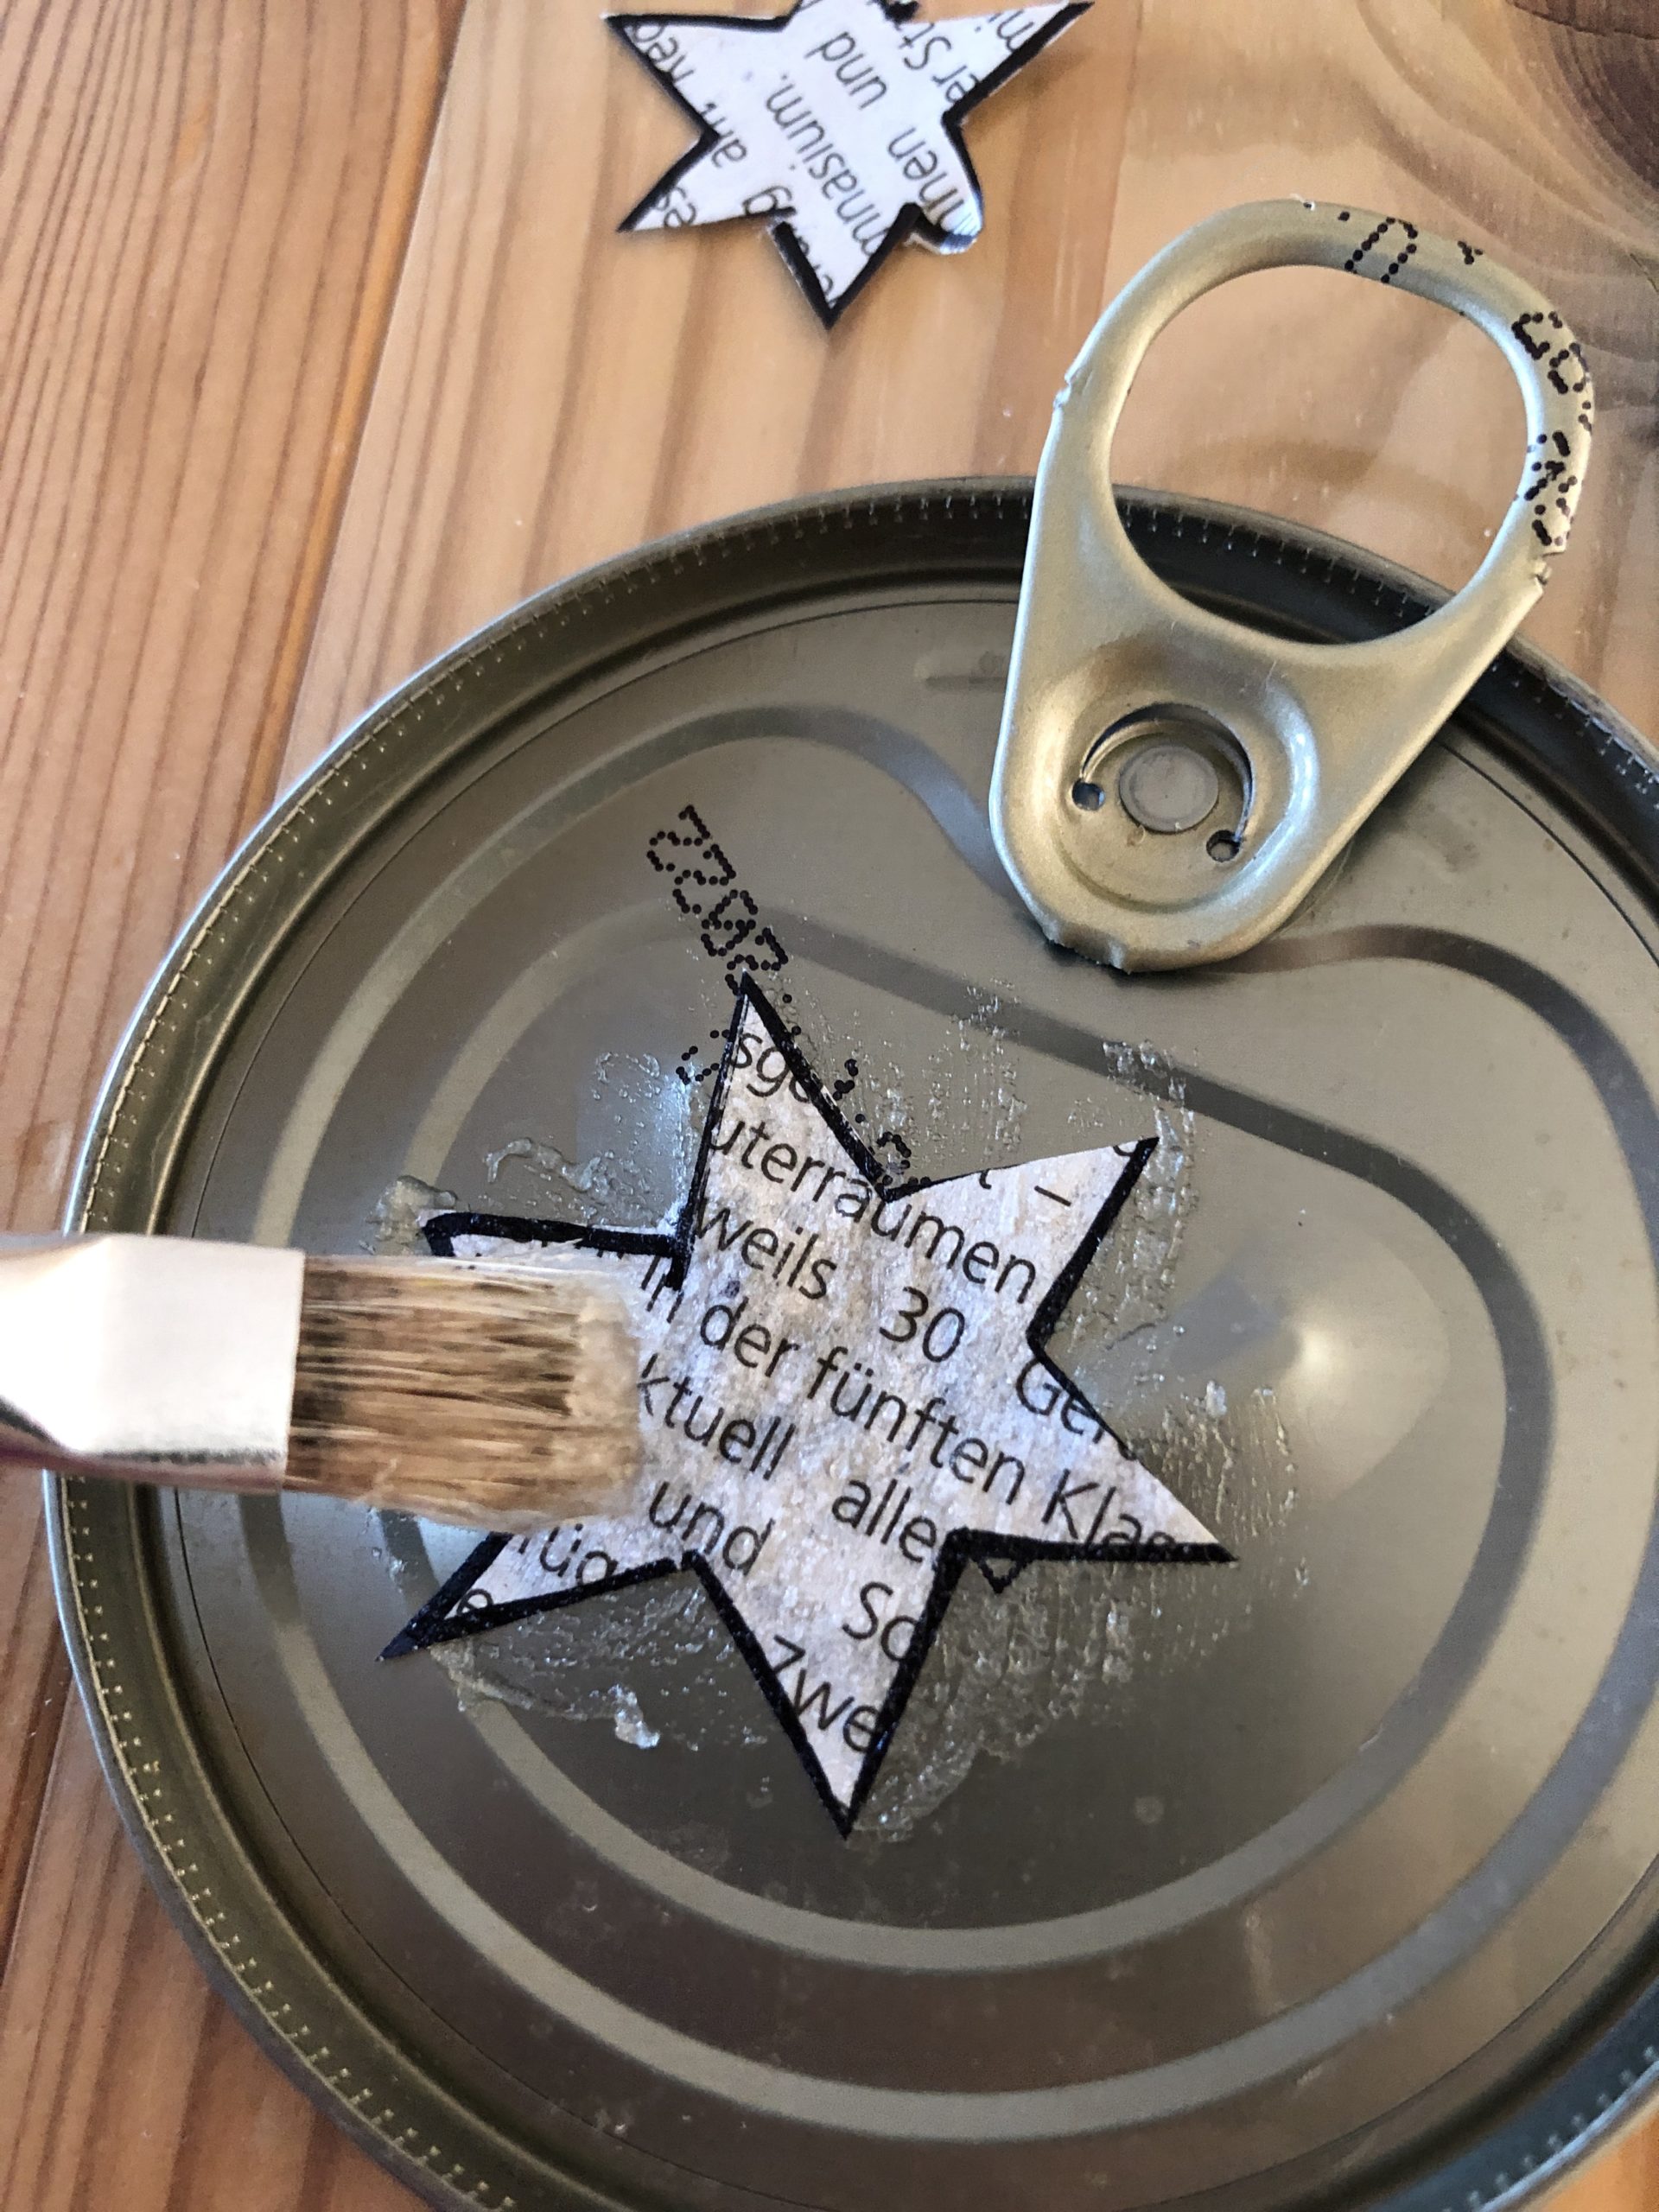
Then apply wallpaper paste with a brush and stick the stars on.
Alternatively, you can also glue the motifs with a glue stick or liquid glue.
Press the newspaper motives.
Then you brush over the complete motif paste again.
Repeats the process with all lids.

Then put it to dry.
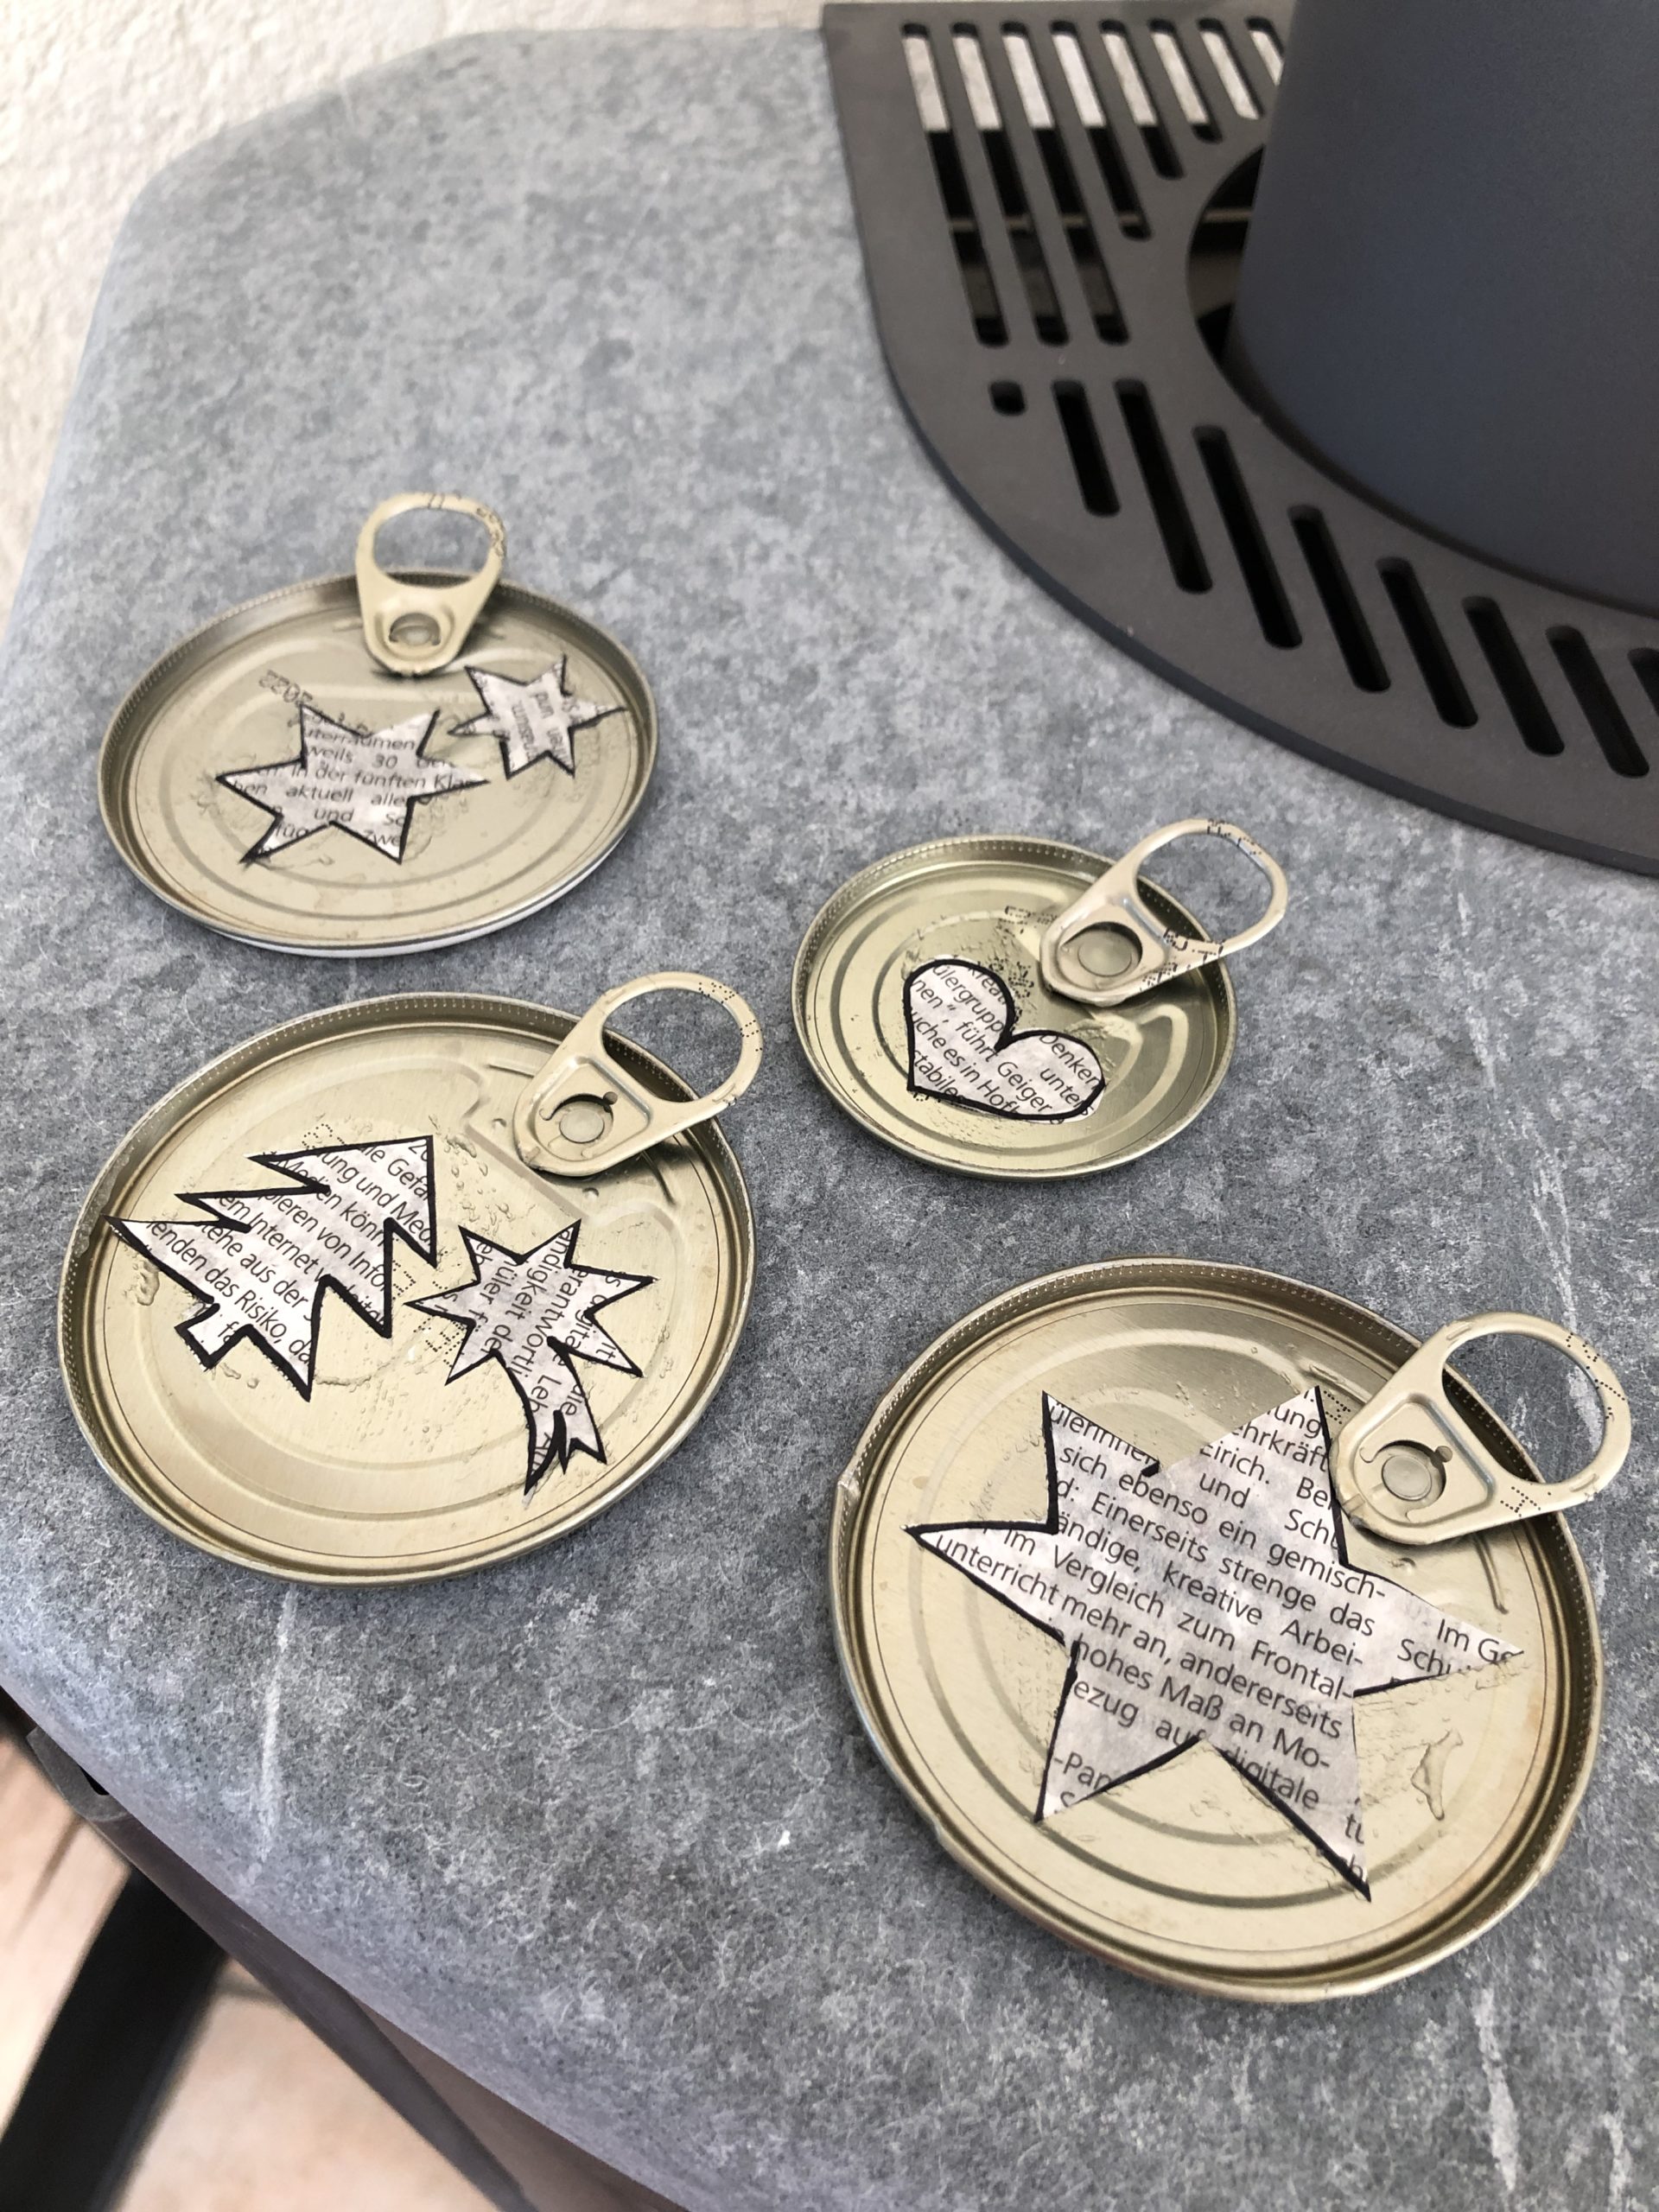
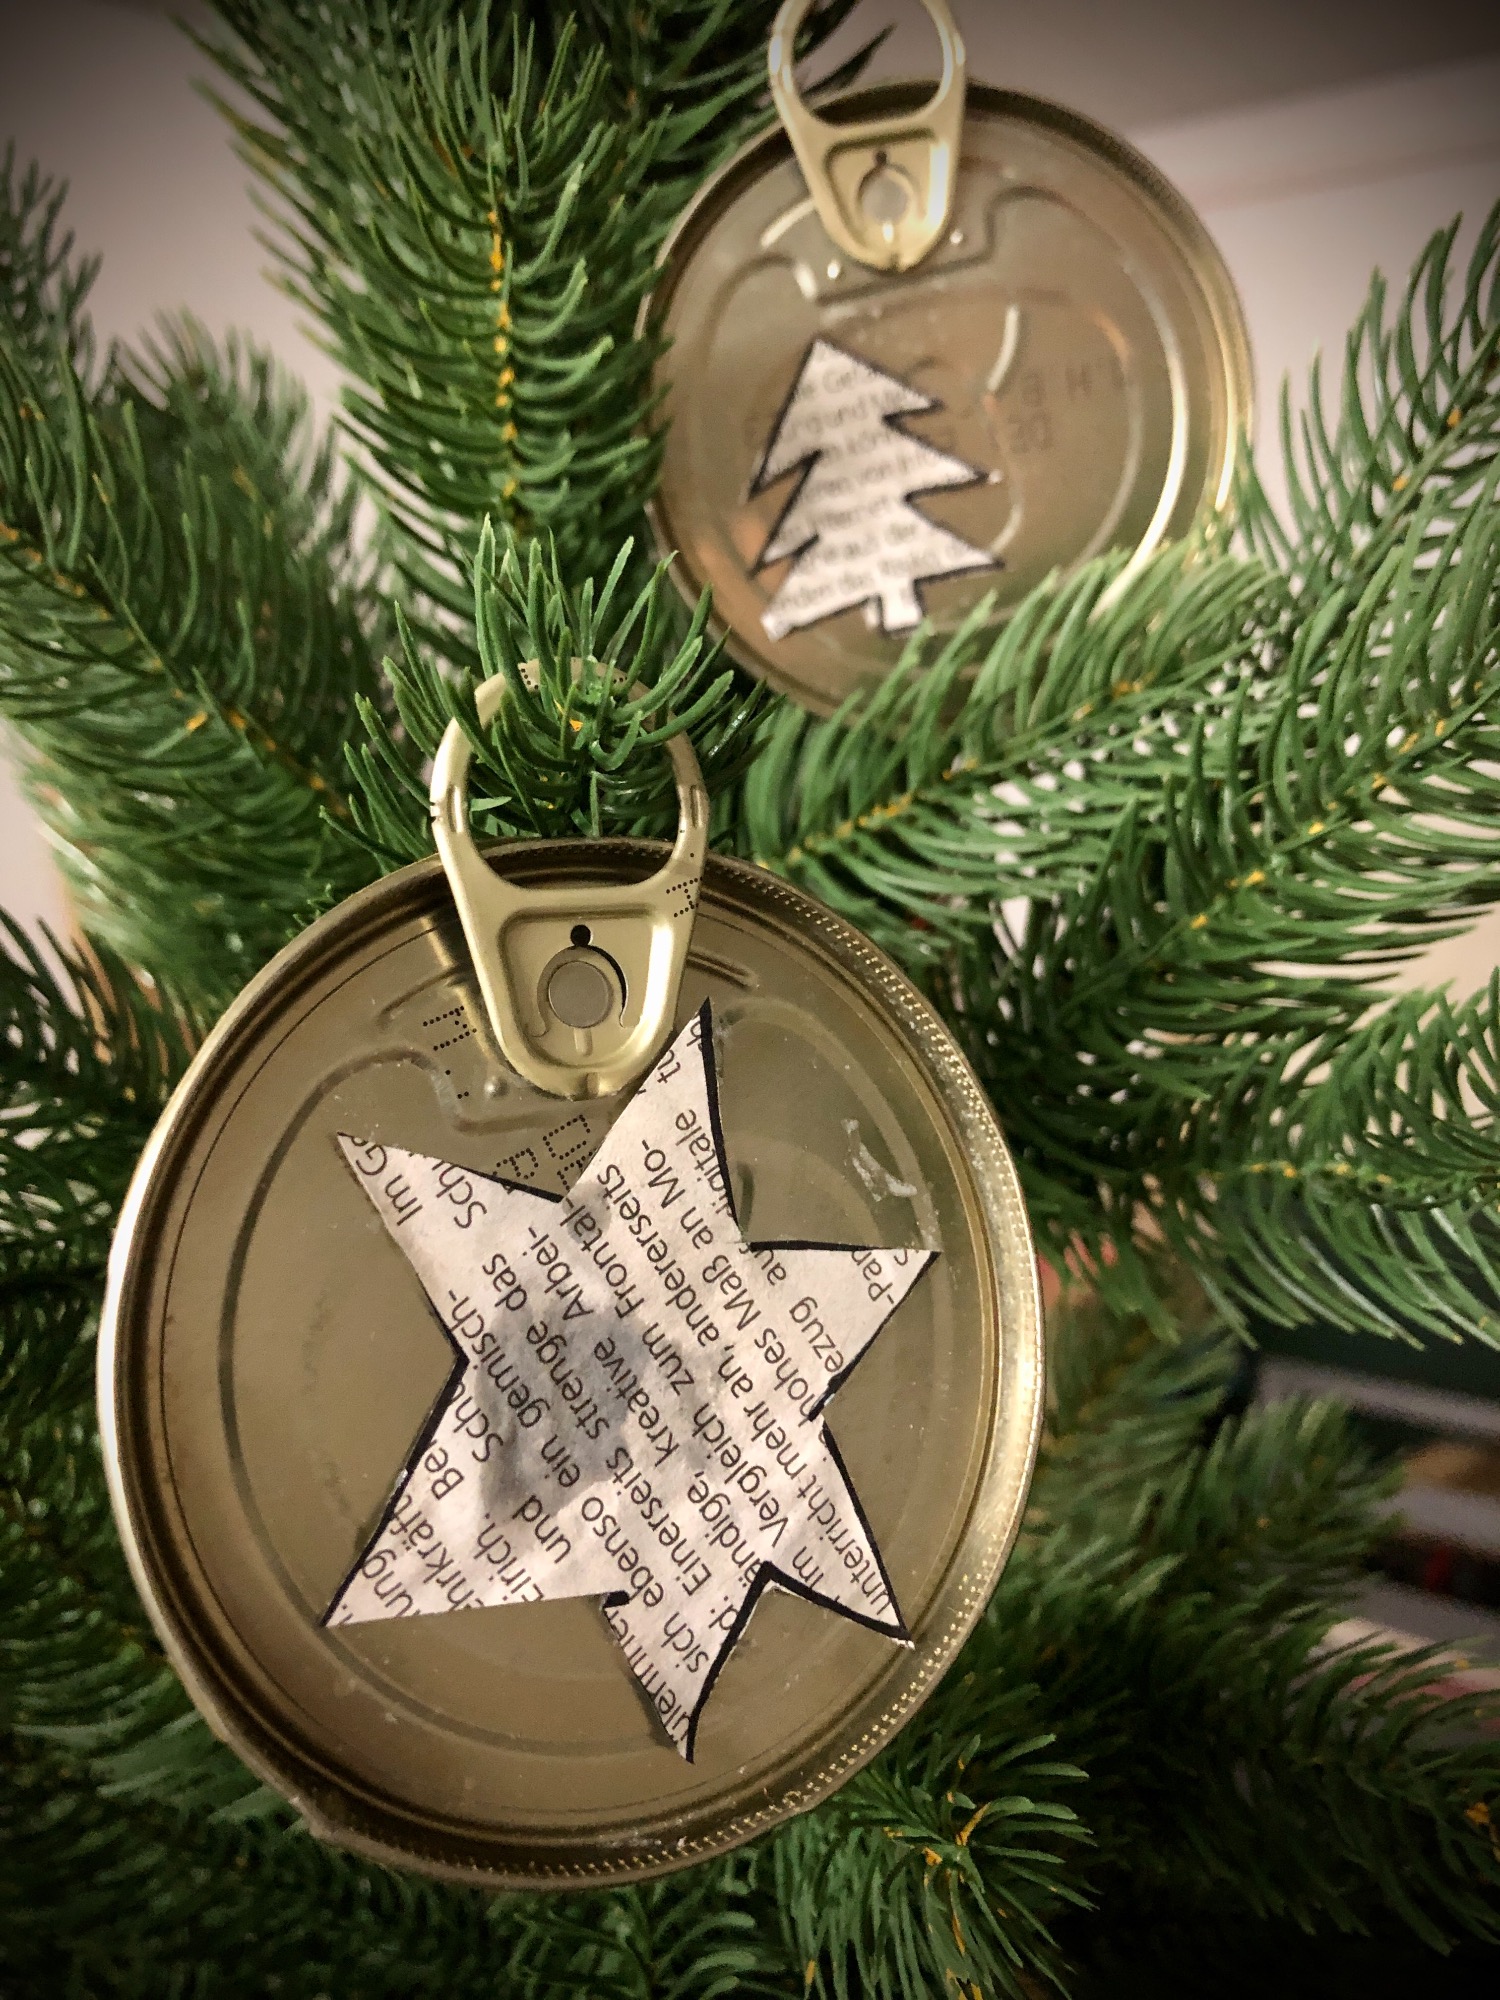
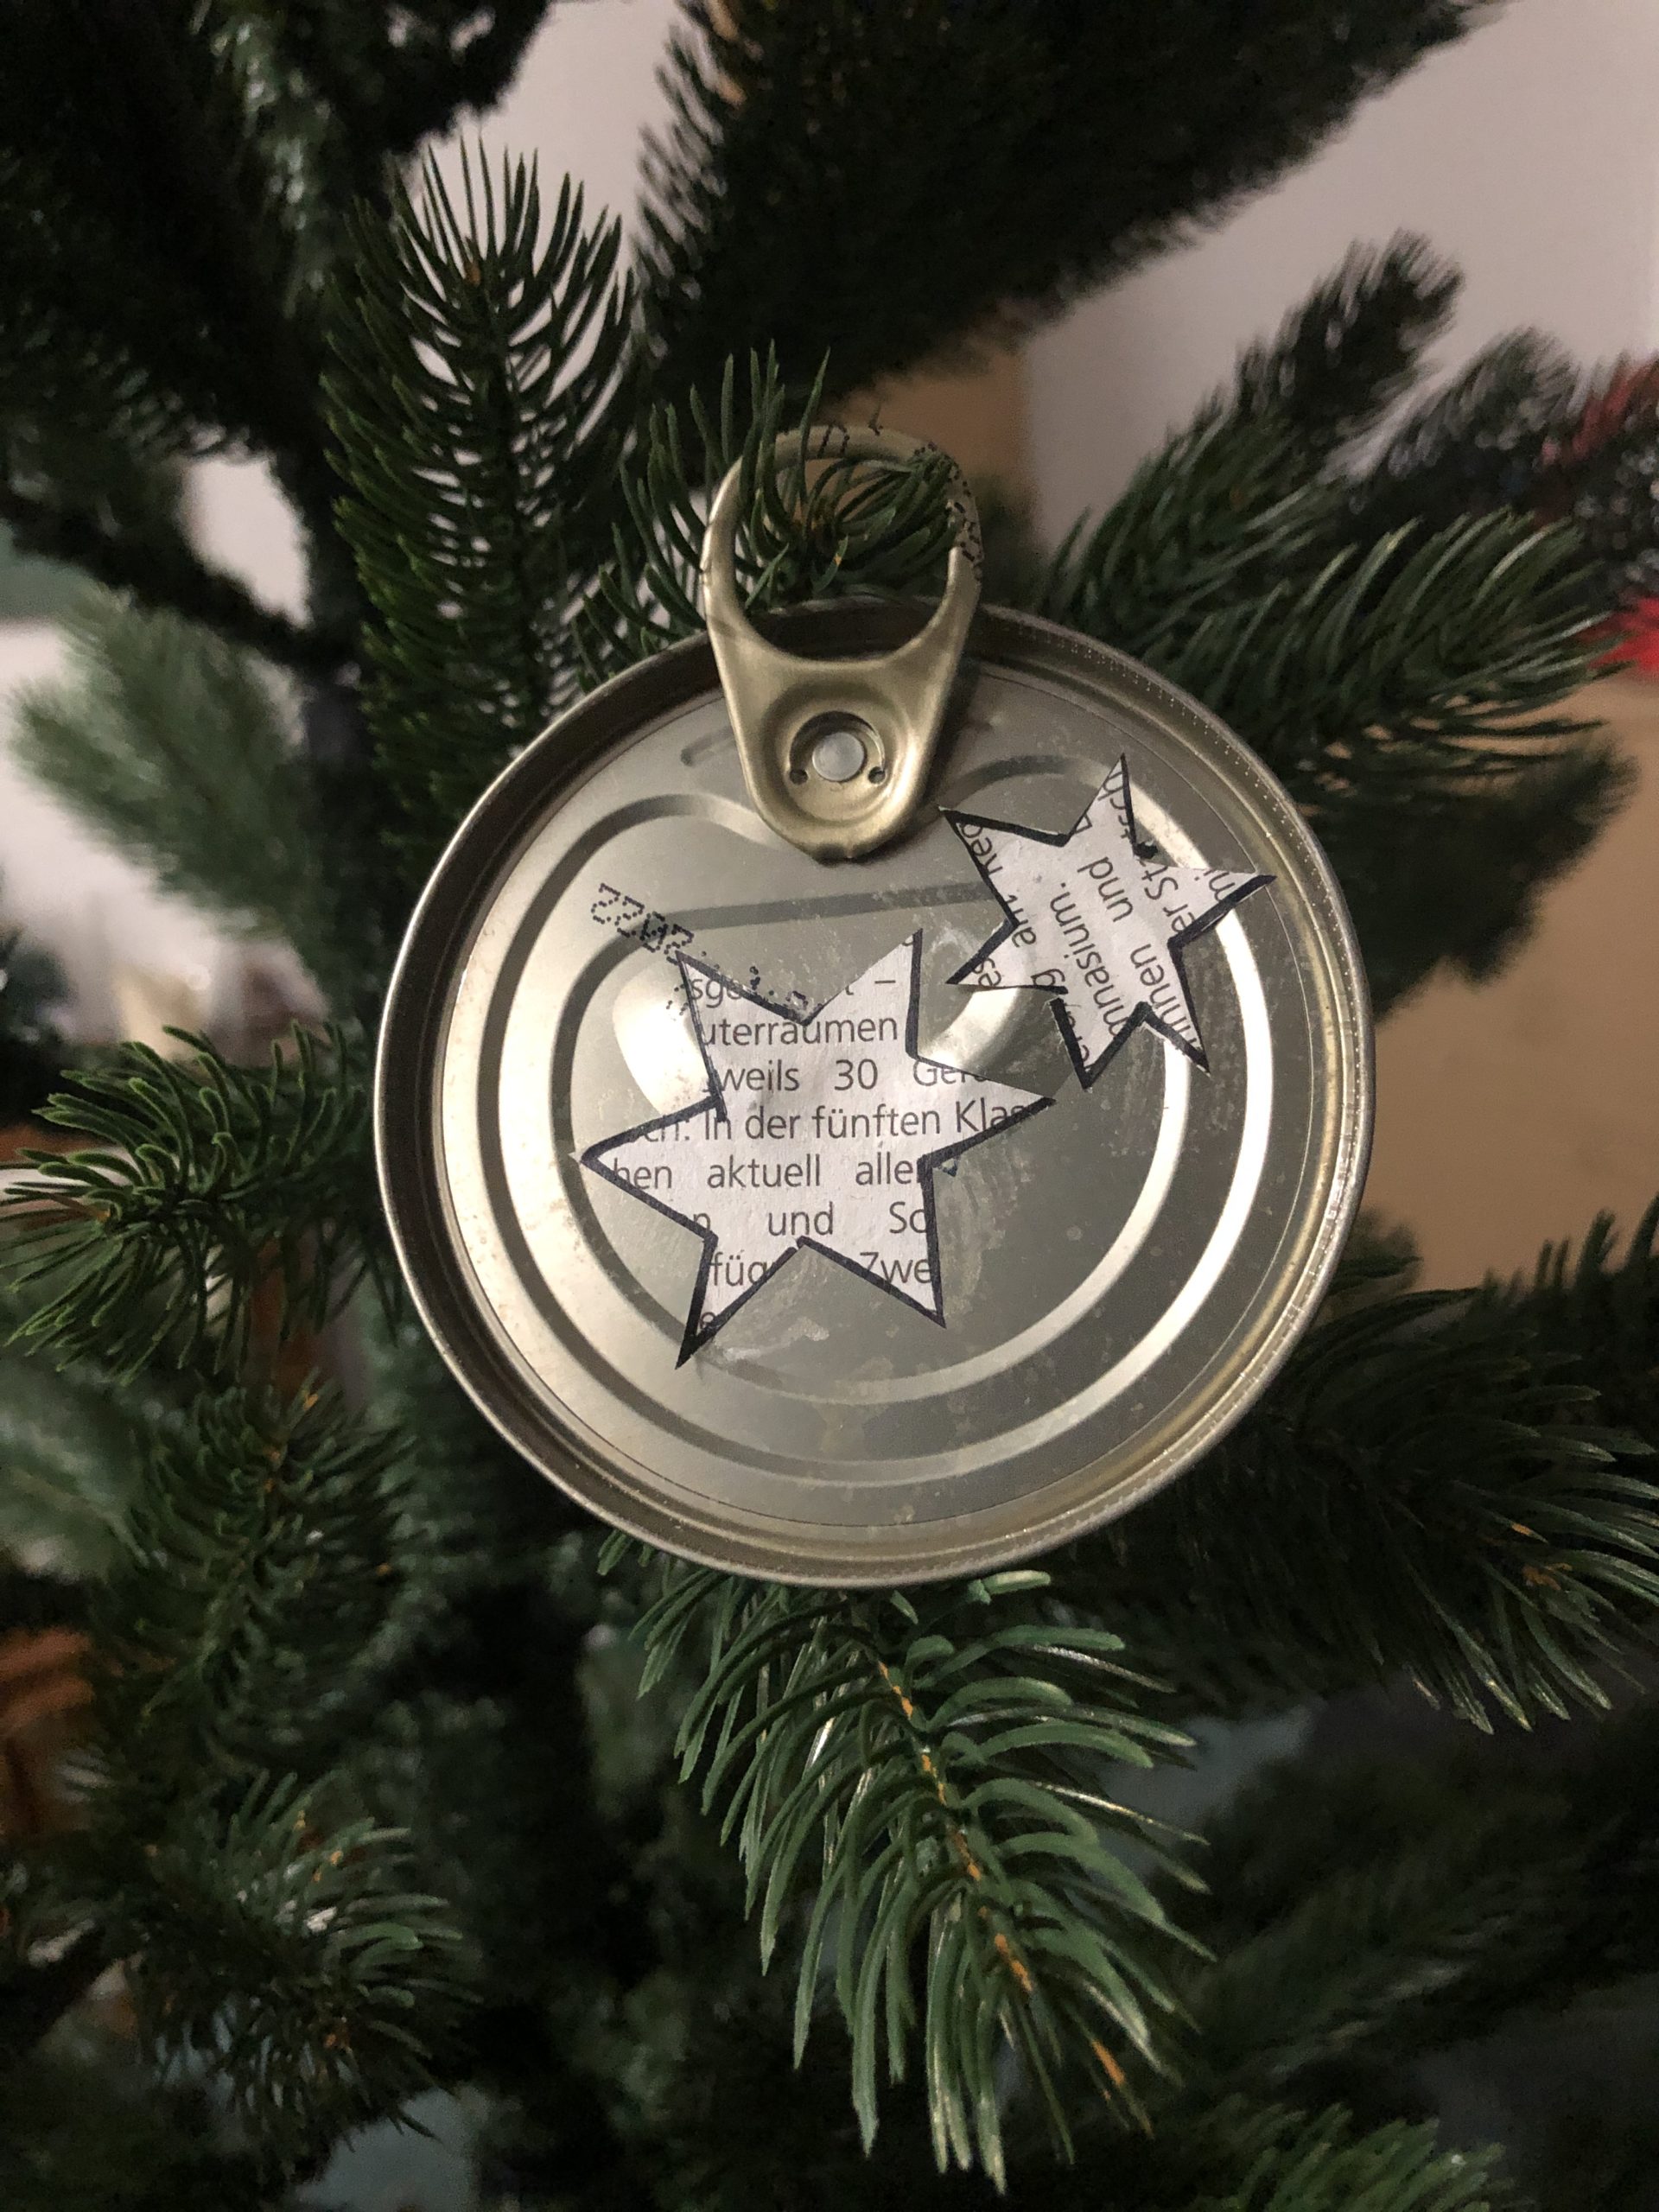
You can now hang your lids on a bouquet of fir branches or on the Christmas tree. Just thread the fir branches through the tab.
Enjoy upcycling!
Materials
Directions
Open the can lids with a can opener. To do this, you need an opener that rounds off the edges when removing them.
Attention: You cannot use the flaps to open the can for opening!!!
Then clean the lids.
After cleaning, pick up the tab and bend it up by gently turning back and forth.
So you get the tab to hang up!
Paints stars with a pen or other Christmas motifs on a newspaper.
Tip: Paint the motifs freely, which trains the feeling of size and shape and underlines the uniqueness of your followers.
Cuts out the motifs with the scissors.
Who can cut already very accurately, can possibly leave the felt pen edge standing. (see photo!)
Then place your motives on the lids.
How do you like them? Try out what you like.
Then apply wallpaper paste with a brush and stick the stars on.
Alternatively, you can also glue the motifs with a glue stick or liquid glue.
Press the newspaper motives.
Then you brush over the complete motif paste again.
Repeats the process with all lids.
Then put it to dry.
You can now hang your lids on a bouquet of fir branches or on the Christmas tree. Just thread the fir branches through the tab.
Enjoy upcycling!
Follow us on Facebook , Instagram and Pinterest
Don't miss any more adventures: Our bottle mail