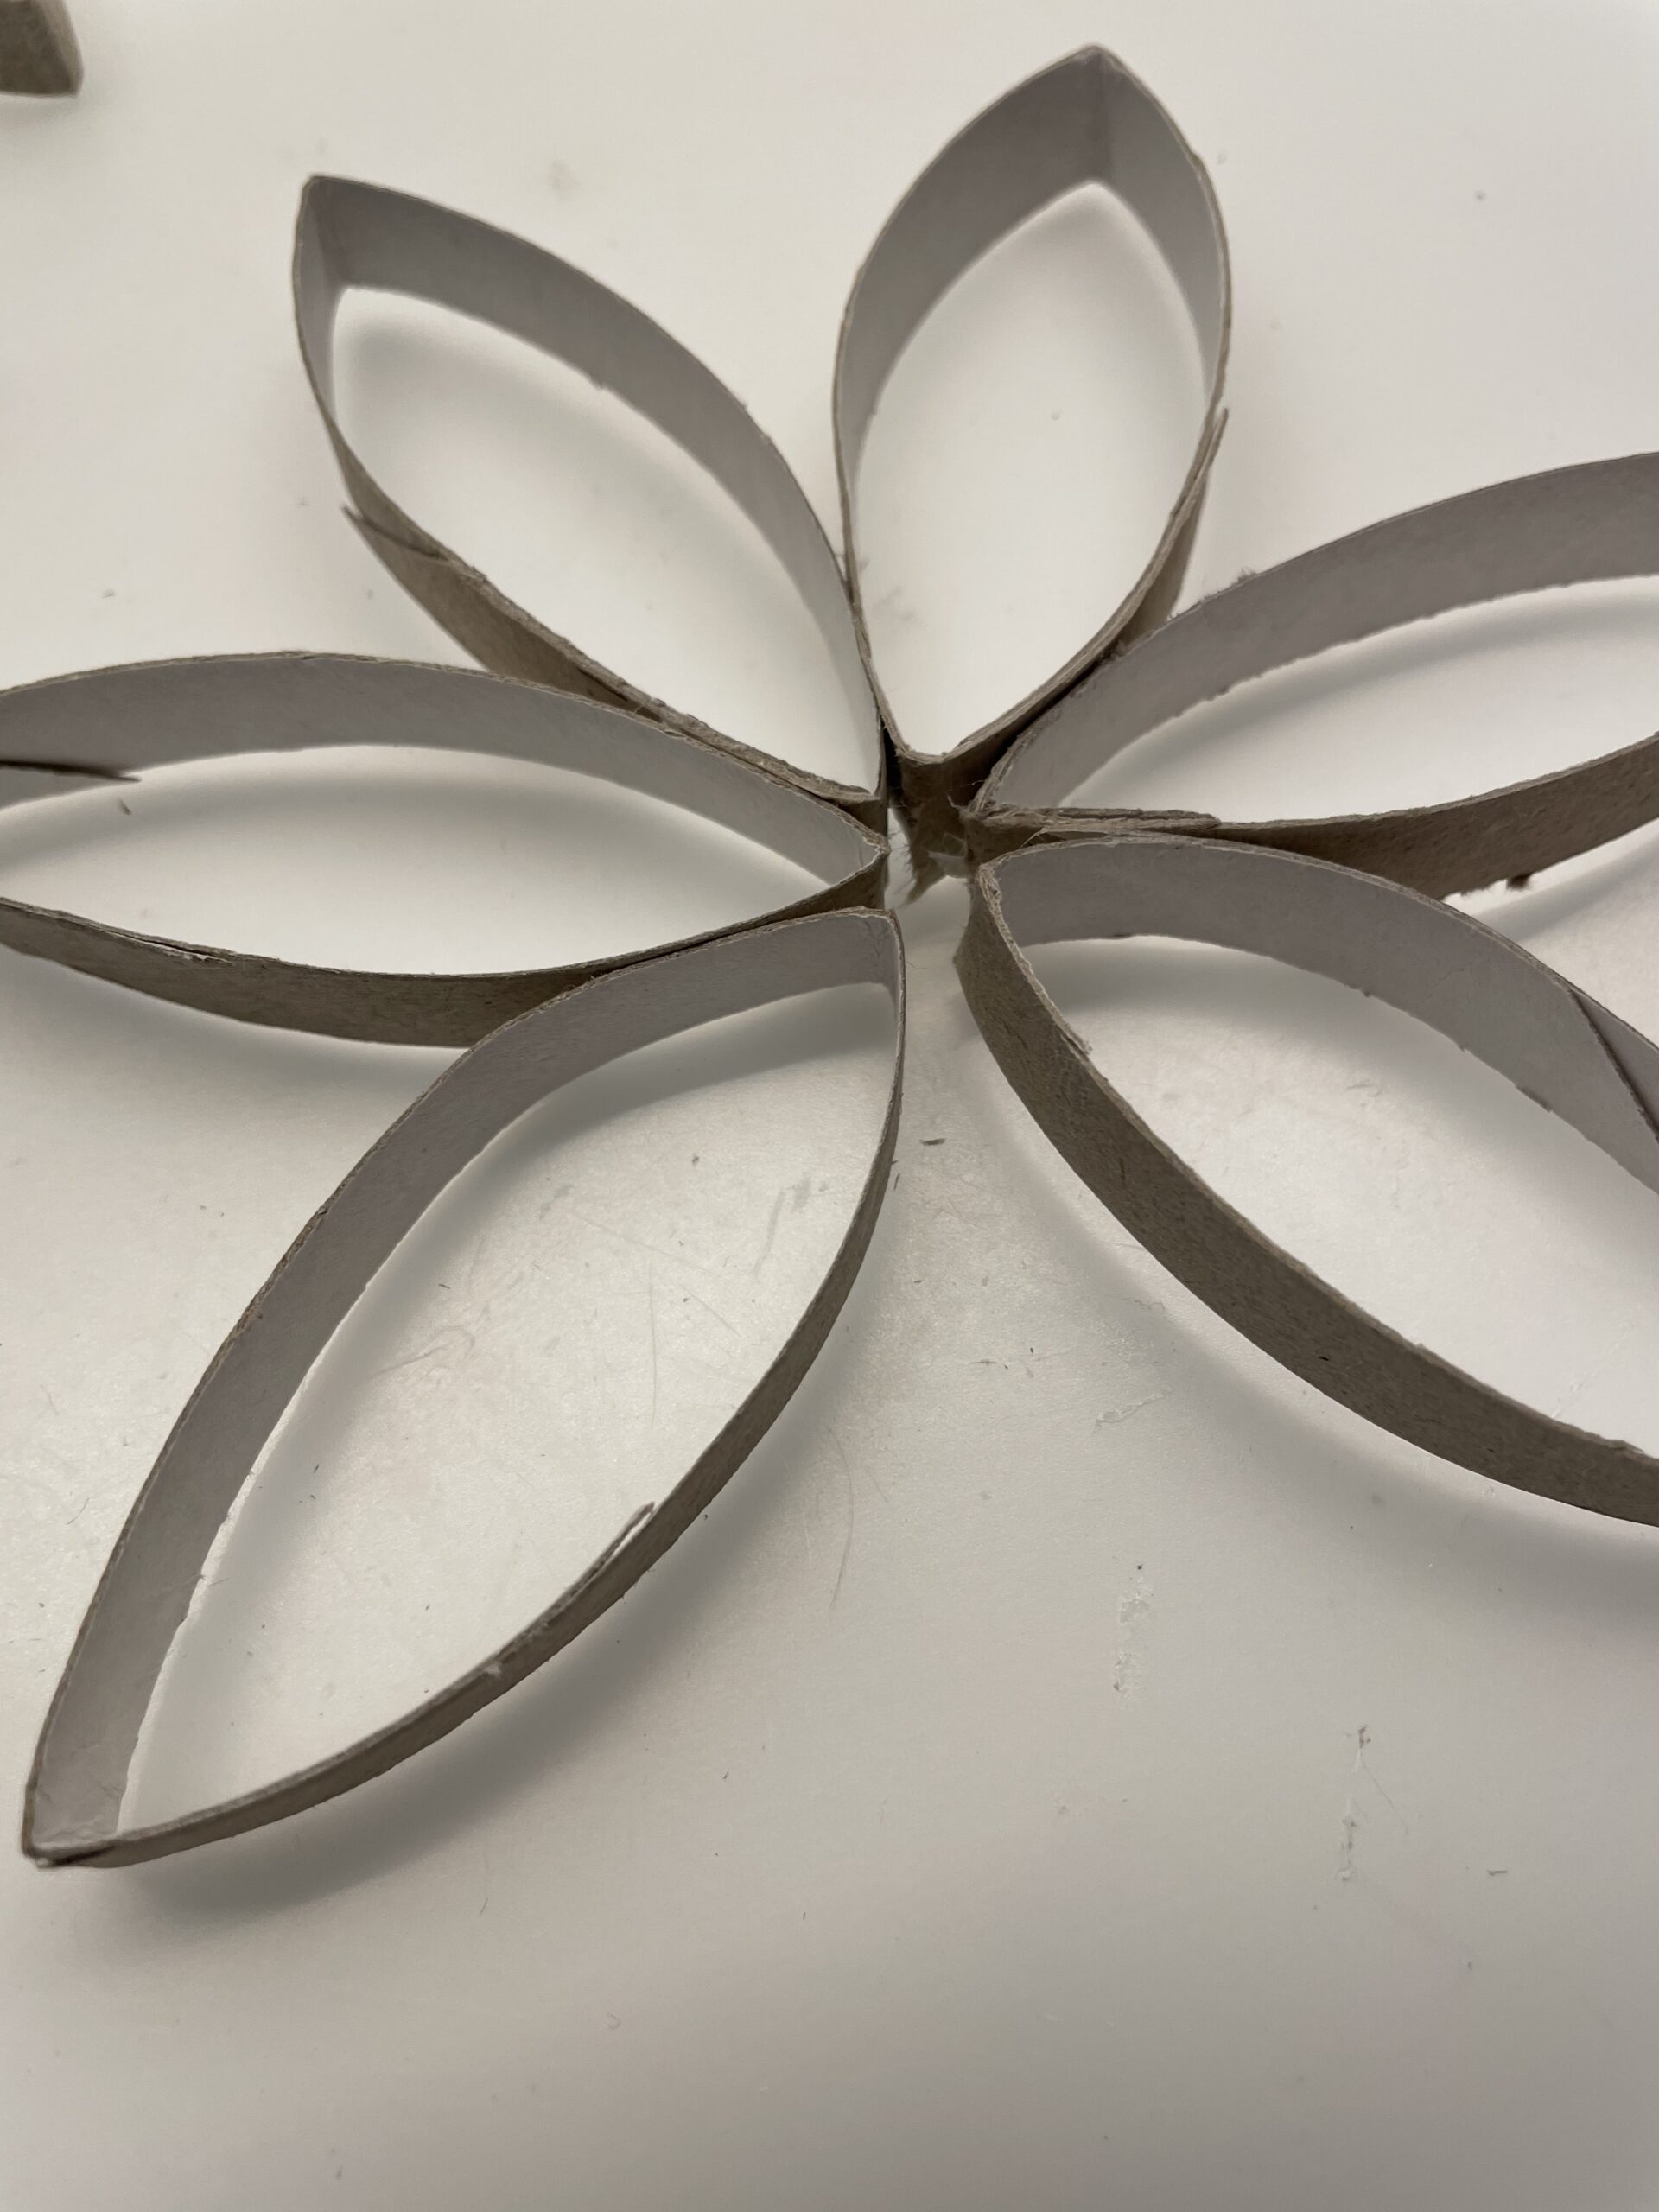
Make a flower of cardboard roll

AdventurerKatzi
Rating5.04.4 thousand times & (2) DifficultyIntermediate

For this flower you cut a cardboard roll (cloroll) into thin strips. If you press the cardboard roll first, then you can even double cut the cardboard. From each strip a petal is created. These individual petals then stick together on one side leaf by leaf to form a circle. The flower wreath is finished. You can now paint it or decorate it as you like. Try it out, it's not difficult!

Media Education for Kindergarten and Hort

Kind bastelt eine Rassel mit dem Navi
The Adventure Navi, the app for DIY projects, enables media education for the youngest.

Relief in everyday life, targeted promotion of individual children, independent learning and - without any pre-knowledge already usable by the youngest!
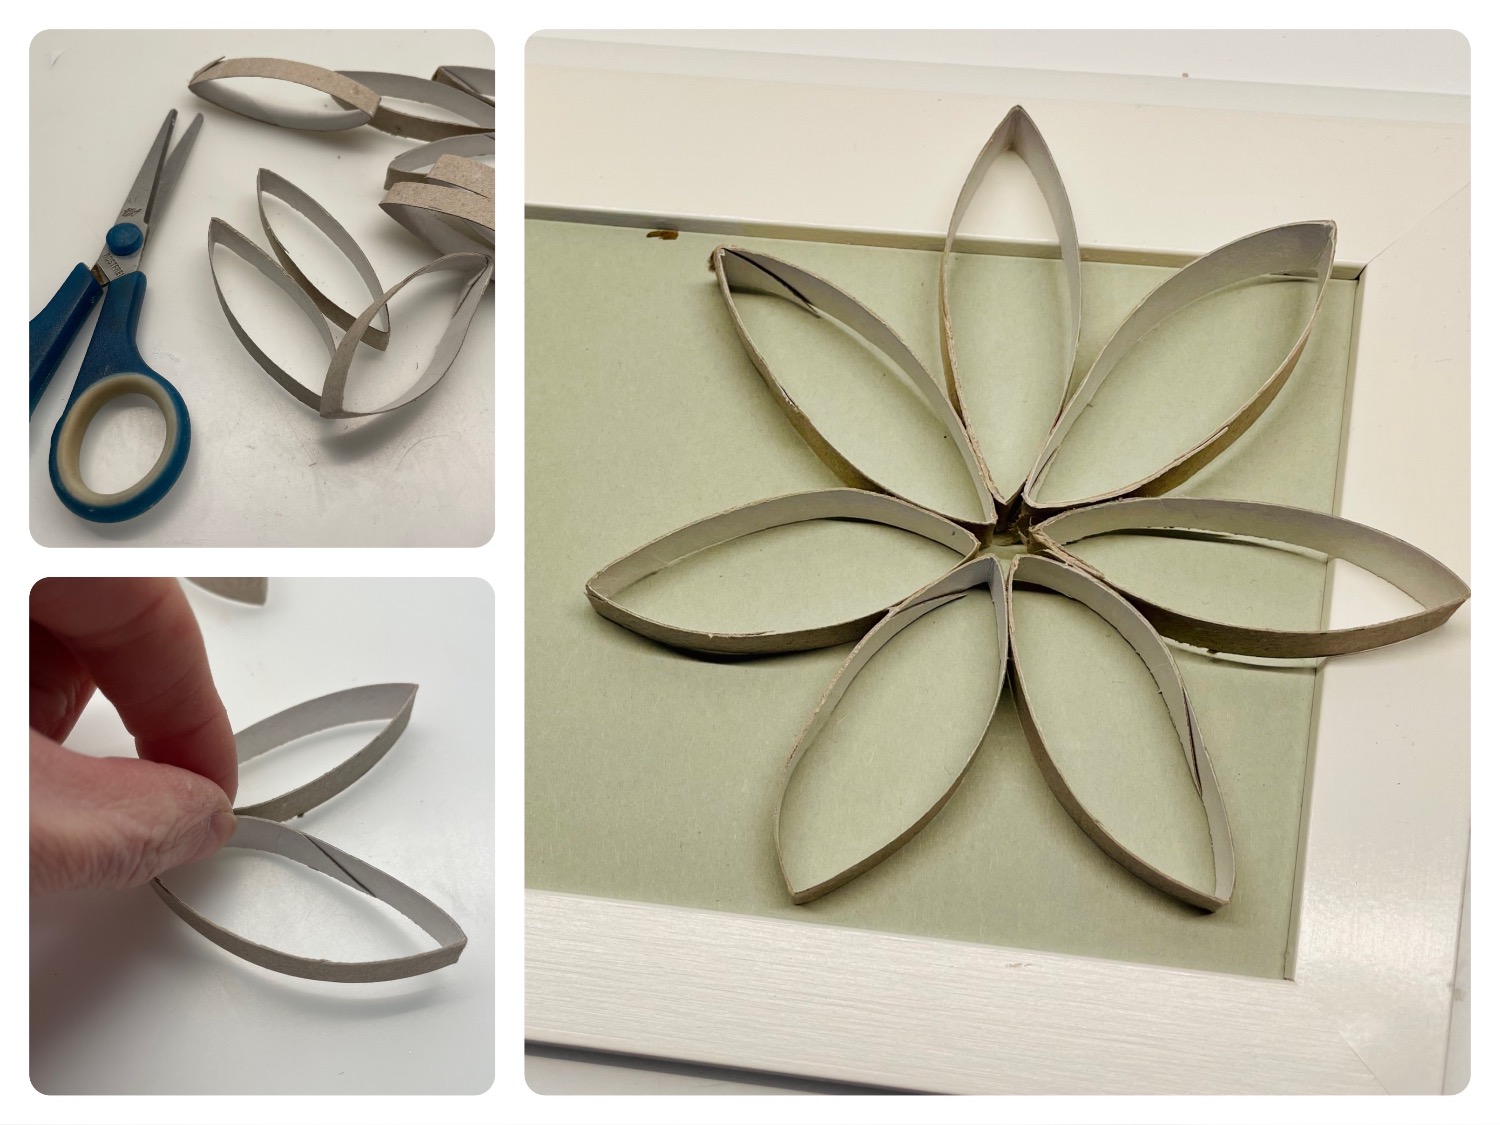


Titelbild zur Bastel- und DIY-Idee für Kinder '(1025) Blume aus Papprolle basteln'
Material for1 Child
Prep Time5 min.Adv. Time20 min.Total Time25 min.
 1 Rolled paper
 1 Ruler
 1 Pencil
 1 Builder's pad
 Thread for hanging
All links marked with a shopping cart lead to Amazon - here we have selected products that we would order ourselves and in part also ordered. In a qualified purchase via the advertising link, we as Amazon partner receive a commission, for you there are no costs. You thus support our cost- and advertising banner-free, educational offer.
1

First, put the cardboard roll on the table and squeeze it with the flat hand.
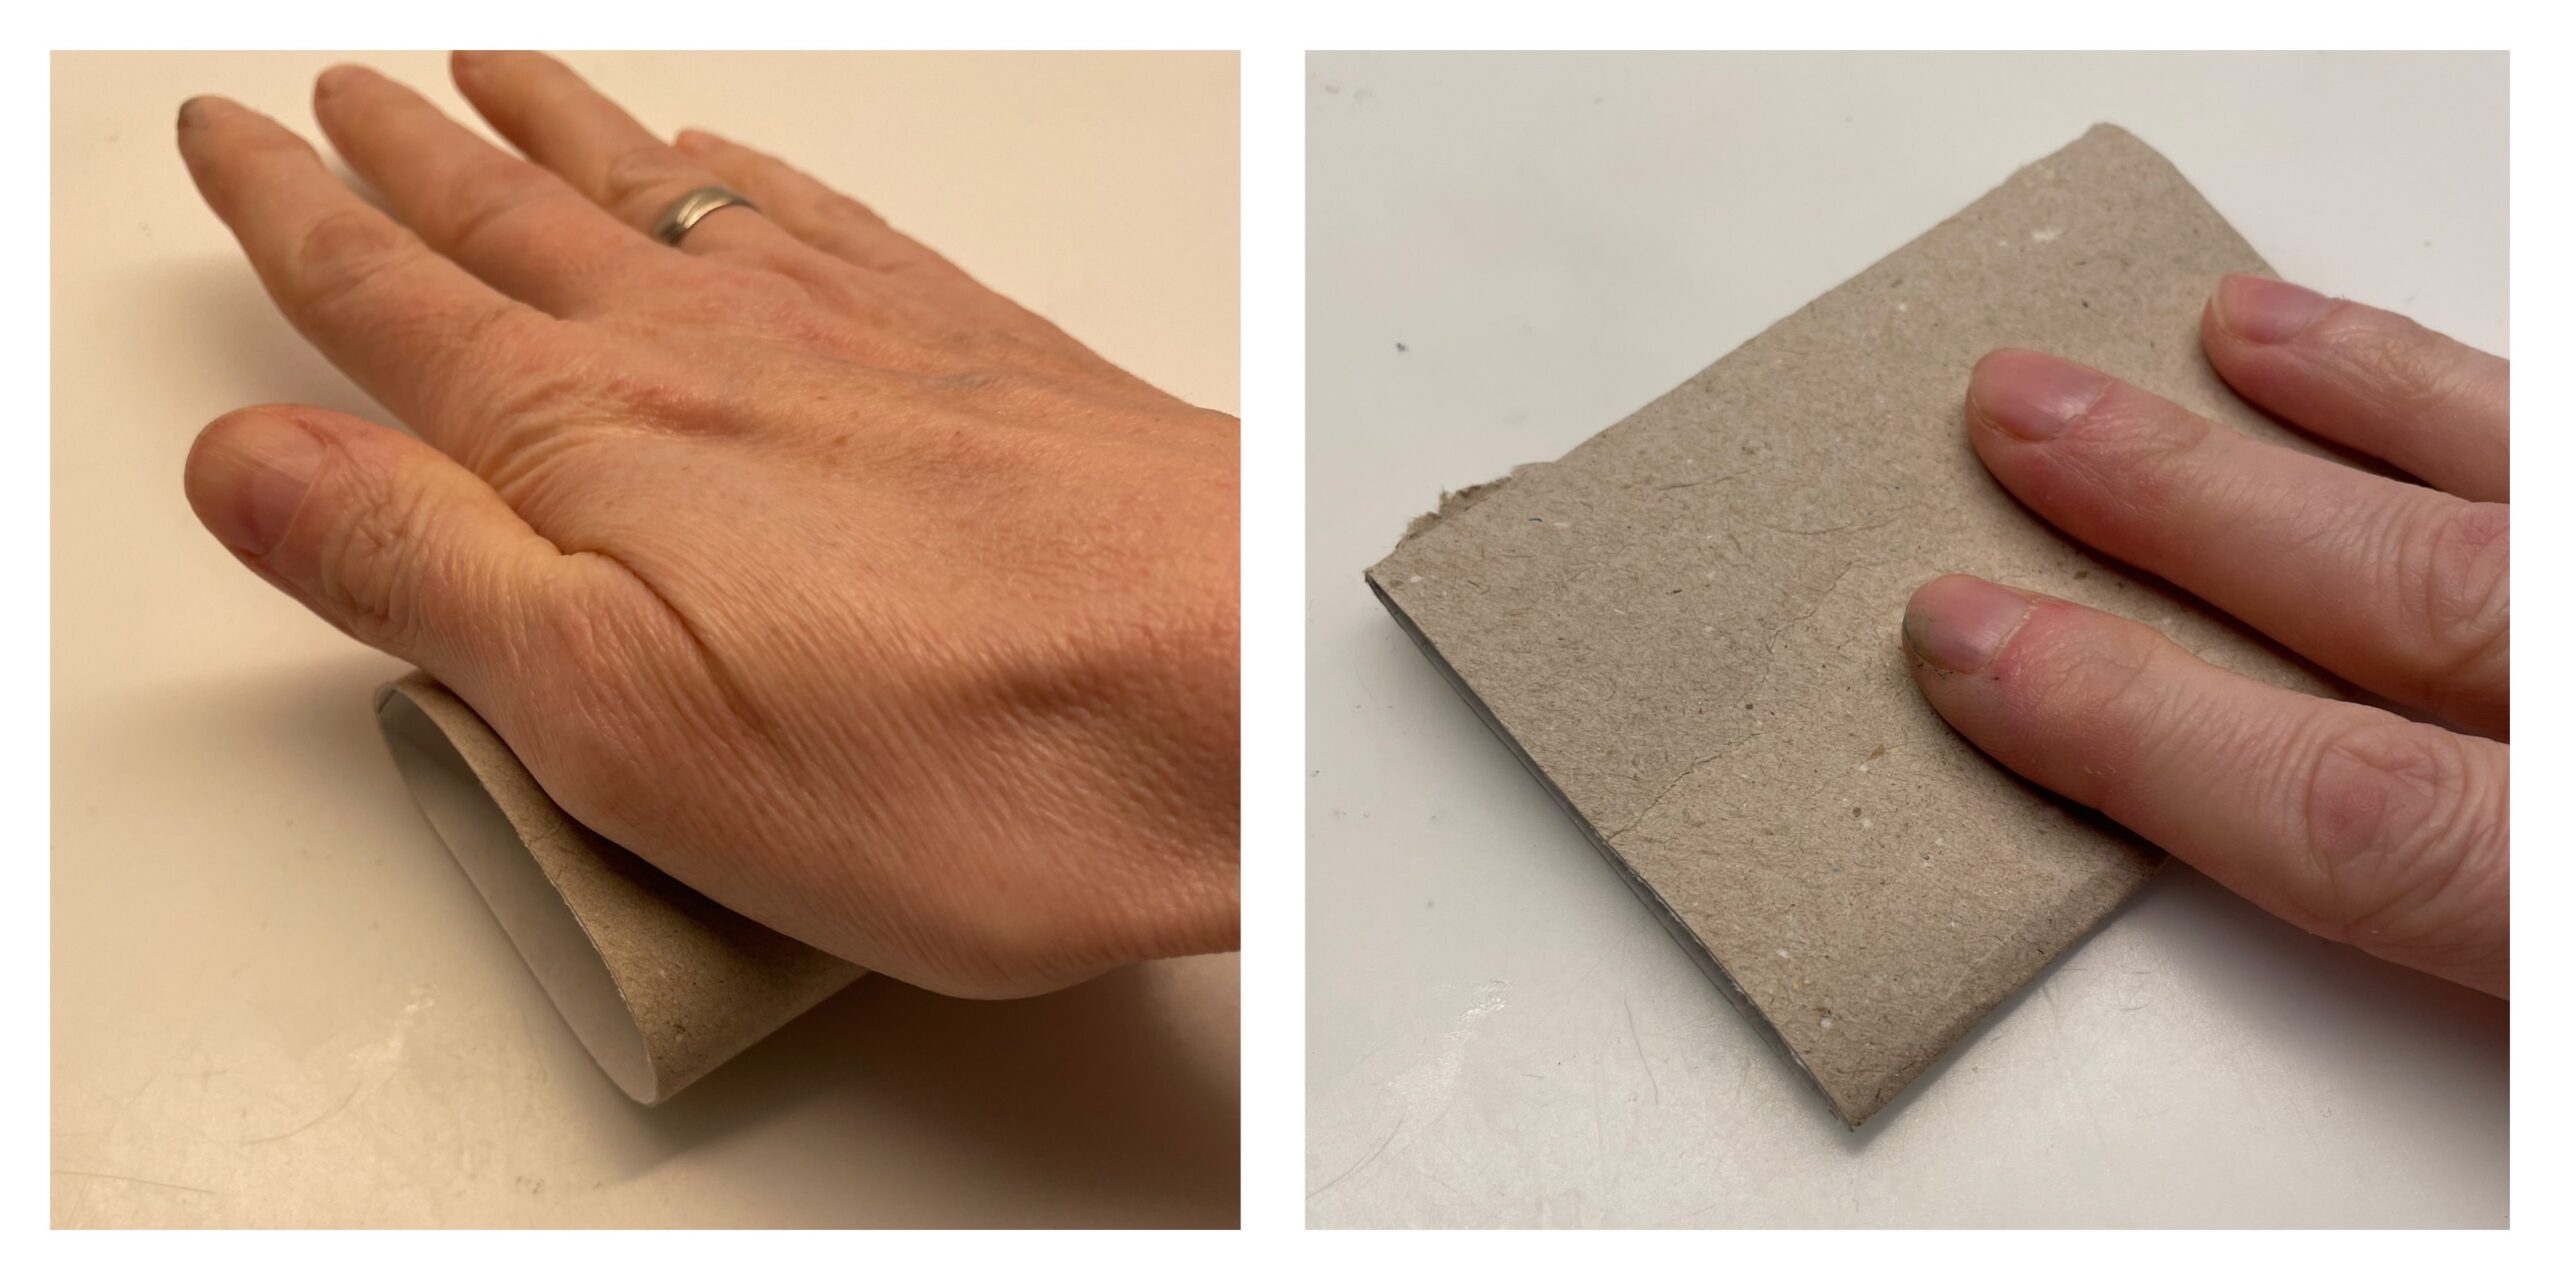
Bild zum Schritt 1 für das Bastel- und DIY-Abenteuer für Kinder: 'Zuerst legt ihr die Papprolle auf den Tisch und drückt...'

2

Then put a ruler on the cardboard roll and mark each centimeter with a pencil.
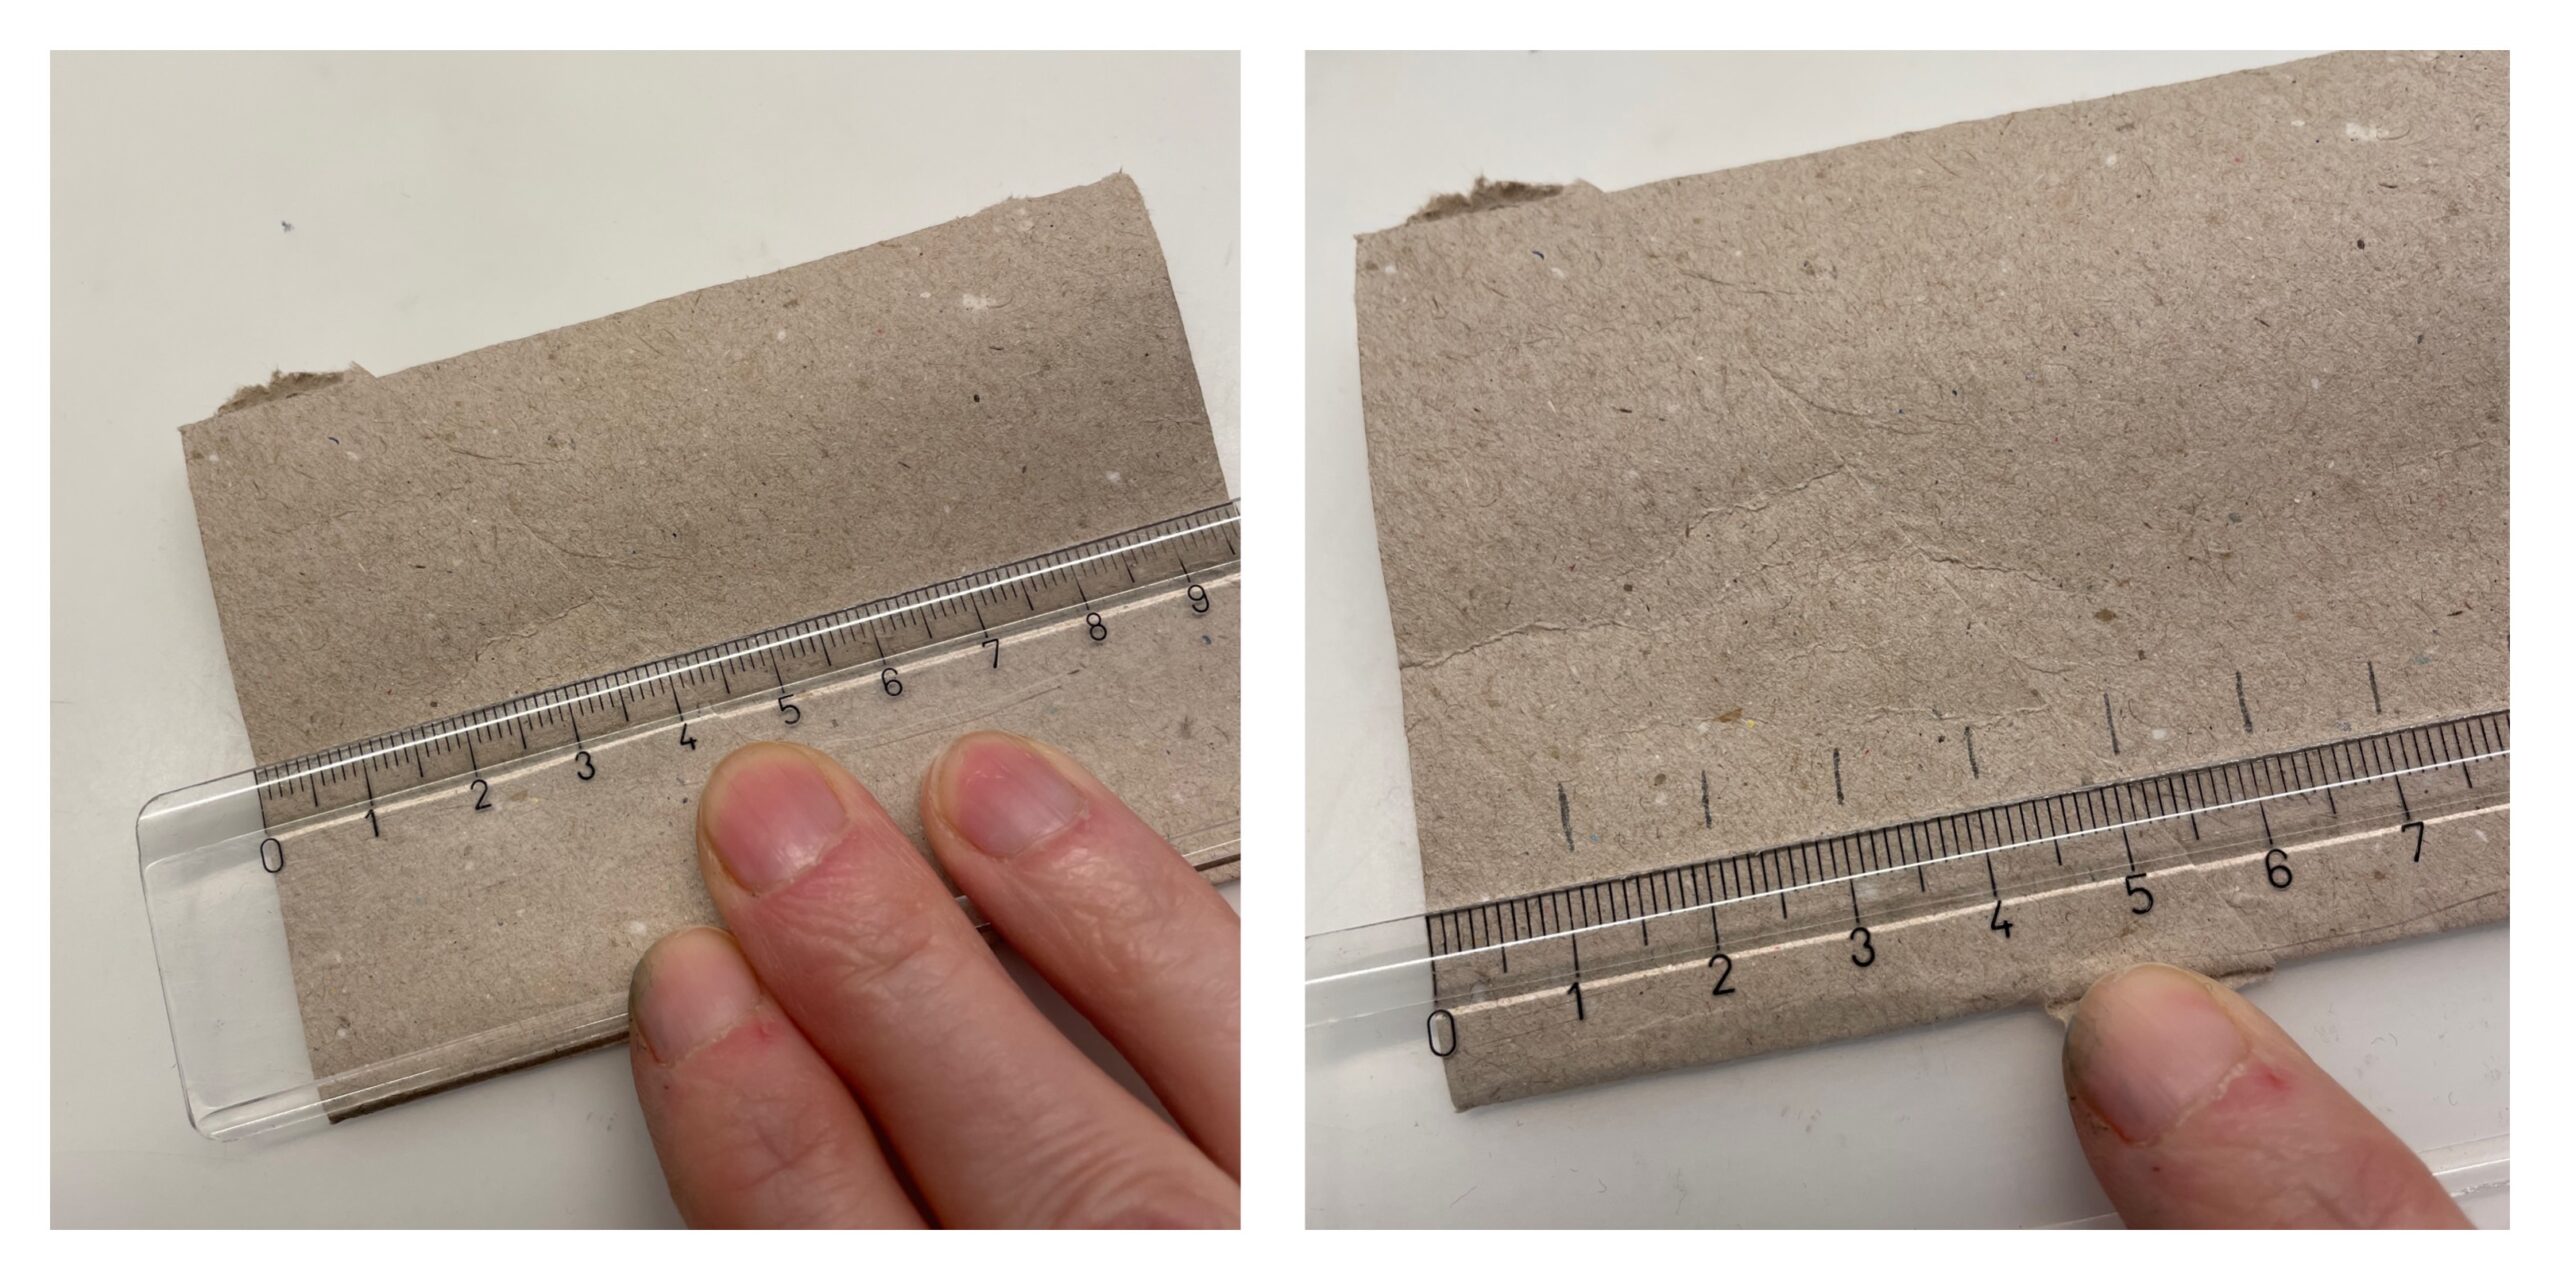
Bild zum Schritt 2 für das Bastel- und DIY-Abenteuer für Kinder: 'Anschließend legt ihr ein Lineal auf die Papprolle und markiert...'

3

Then you cut the roll along each marking into narrow strips.

Bild zum Schritt 3 für das Bastel- und DIY-Abenteuer für Kinder: 'Anschließend schneidet ihr die Rolle entlang jeder Markierung in schmale...'

4

This creates the individual cardboard rolls in the form of a petal.

Bild zum Schritt 4 für das Bastel- und DIY-Abenteuer für Kinder: 'So entstehen die einzelnen Papprollen-Streifen in Form eines Blütenblatts.'

5

Put the petals together to form a circle at each point.

Bild zum Schritt 5 für das Bastel- und DIY-Abenteuer für Kinder: 'Legt die Blütenblätter an jeweils einer Spitze zu einem Kreis...'

6

Then glue the first two petals together with glue. Place an adhesive point on the side of the tip and press a second strip on it.

Bild zum Schritt 6 für das Bastel- und DIY-Abenteuer für Kinder: 'Anschließend klebt ihr die ersten zwei Blütenblätter mit Kleber zusammen....'

7

So each additional petal sticks to it.

Bild zum Schritt 7 für das Bastel- und DIY-Abenteuer für Kinder: 'Klebt so jedes weitere Blütenblatt daran.'

8

2. Bild zum Schritt 7 für das Bastel- und DIY-Abenteuer für Kinder: 'Klebt so jedes weitere Blütenblatt daran.'

9

The last petal on both sides is covered with glue.

Bild zum Schritt 9 für das Bastel- und DIY-Abenteuer für Kinder: 'Das letzte Blütenblatt bestreicht ihr auf beiden Seiten mit Kleber.'

10

Then gently push the petal to the still open place.

Bild zum Schritt 10 für das Bastel- und DIY-Abenteuer für Kinder: 'Schiebt dann das Blütenblatt vorsichtig an die noch offene Stelle.'

11

Now you're pushing both sides together.

Bild zum Schritt 11 für das Bastel- und DIY-Abenteuer für Kinder: 'Jetzt drückt ihr beide Seiten zusammen.'

12

The flower is ready.
Take it up carefully, thread a thread through, knot it and find a place to hang up.

Bild zum Schritt 12 für das Bastel- und DIY-Abenteuer für Kinder: 'Fertig ist die Blume.   Nehmt sie vorsichtig hoch,...'

13

Maybe you'll paint the flower or design it.

Bild zum Schritt 13 für das Bastel- und DIY-Abenteuer für Kinder: 'Vielleicht malt ihr die Blume noch an oder gestaltet sie...'

14

Or you can create a beautiful picture frame with the cardboard roll flower.

Bild zum Schritt 14 für das Bastel- und DIY-Abenteuer für Kinder: 'Oder ihr gestaltet einen schönen Bilderrahmen mit der Papprollen-Blume.'

15

Stay creative!

Materials

 1 Rolled paper
 1 Ruler
 1 Pencil
 1 Builder's pad
 Thread for hanging
All links marked with a shopping cart lead to Amazon - here we have selected products that we would order ourselves and in part also ordered. In a qualified purchase via the advertising link, we as Amazon partner receive a commission, for you there are no costs. You thus support our cost- and advertising banner-free, educational offer.

Directions

1

First, put the cardboard roll on the table and squeeze it with the flat hand.

Bild zum Schritt 1 für das Bastel- und DIY-Abenteuer für Kinder: 'Zuerst legt ihr die Papprolle auf den Tisch und drückt...'

2

Then put a ruler on the cardboard roll and mark each centimeter with a pencil.

Bild zum Schritt 2 für das Bastel- und DIY-Abenteuer für Kinder: 'Anschließend legt ihr ein Lineal auf die Papprolle und markiert...'

3

Then you cut the roll along each marking into narrow strips.

Bild zum Schritt 3 für das Bastel- und DIY-Abenteuer für Kinder: 'Anschließend schneidet ihr die Rolle entlang jeder Markierung in schmale...'

4

This creates the individual cardboard rolls in the form of a petal.

Bild zum Schritt 4 für das Bastel- und DIY-Abenteuer für Kinder: 'So entstehen die einzelnen Papprollen-Streifen in Form eines Blütenblatts.'

5

Put the petals together to form a circle at each point.
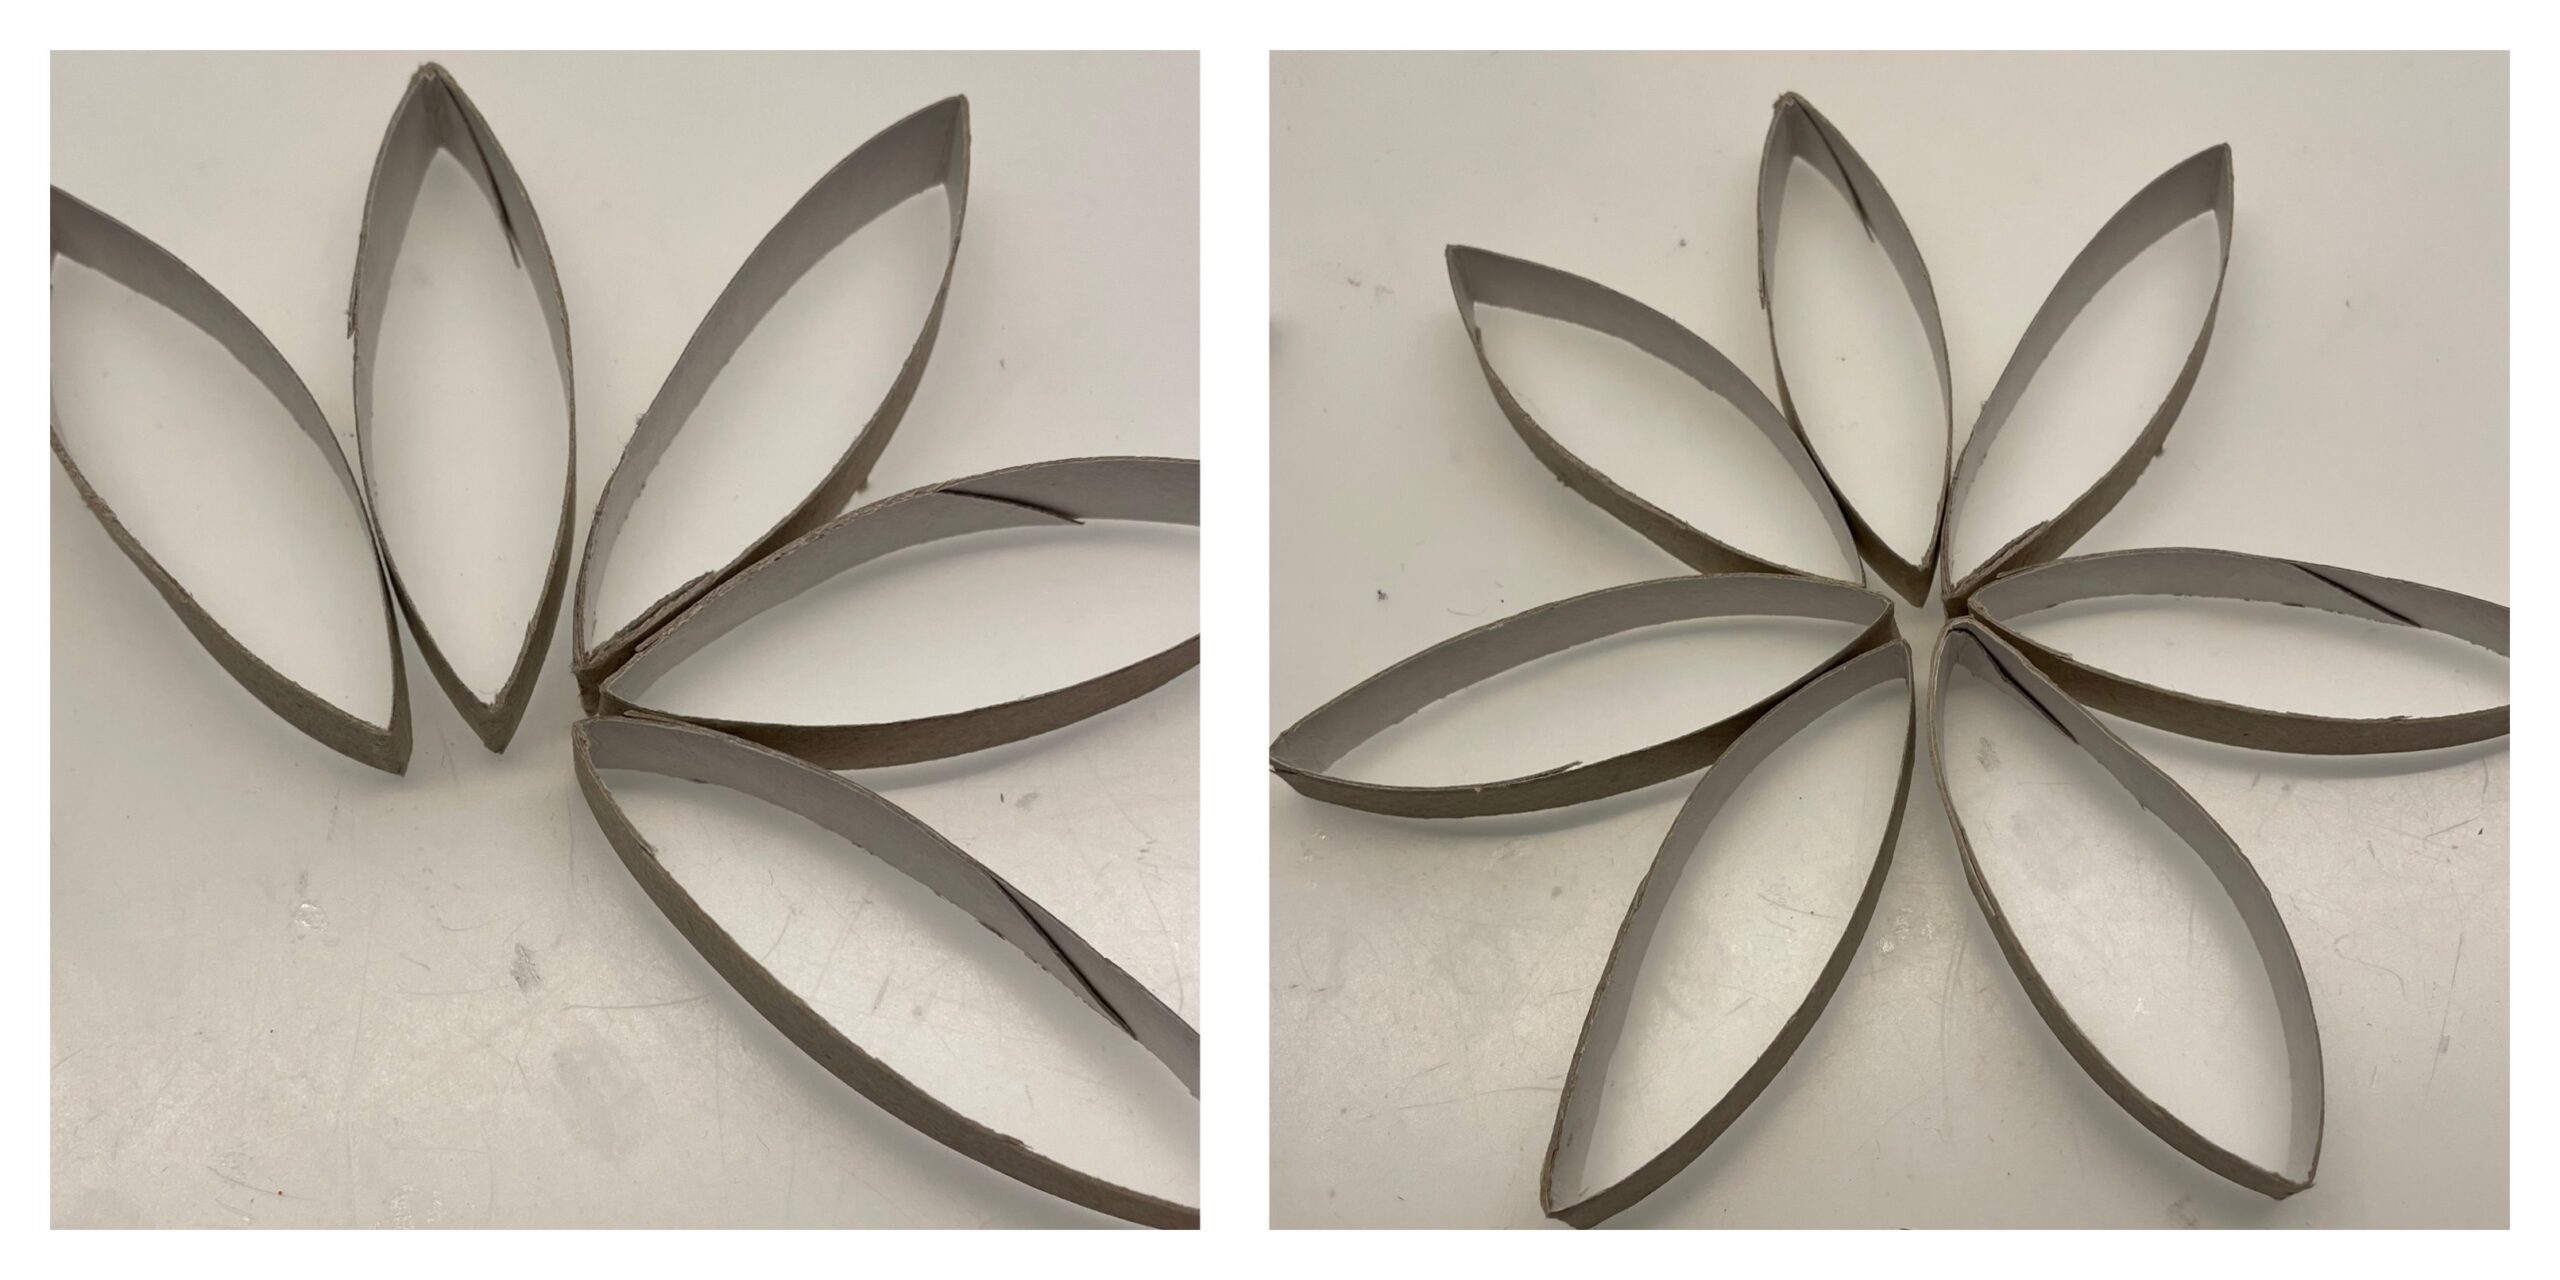
Bild zum Schritt 5 für das Bastel- und DIY-Abenteuer für Kinder: 'Legt die Blütenblätter an jeweils einer Spitze zu einem Kreis...'

6

Then glue the first two petals together with glue. Place an adhesive point on the side of the tip and press a second strip on it.
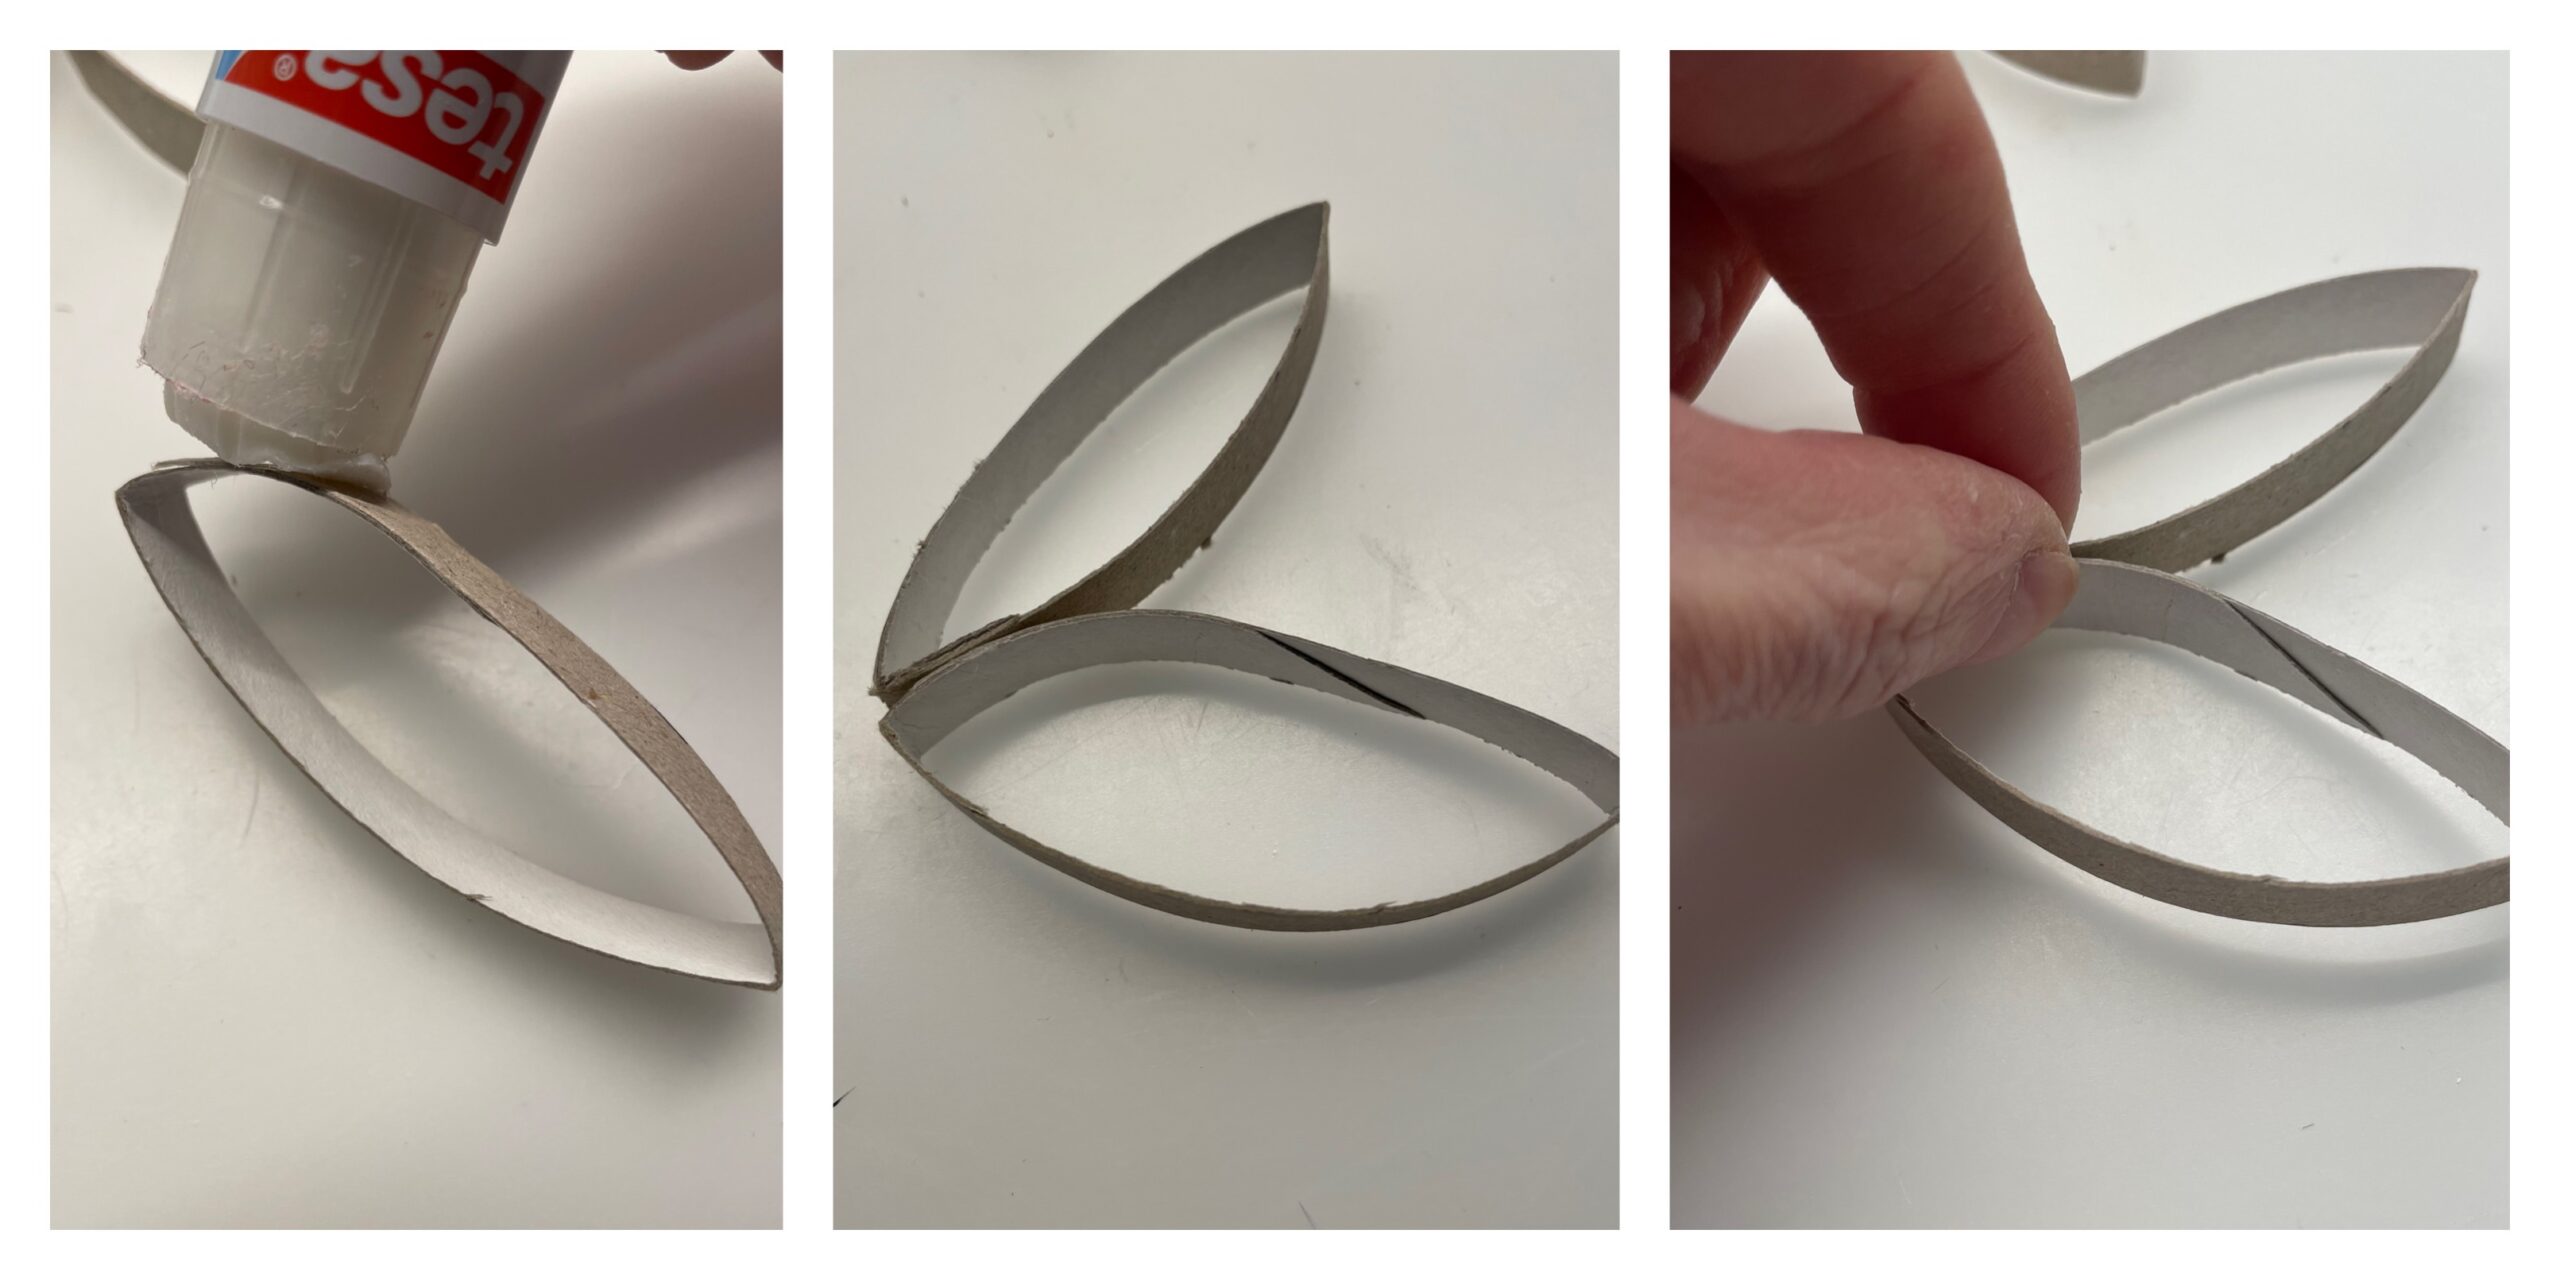
Bild zum Schritt 6 für das Bastel- und DIY-Abenteuer für Kinder: 'Anschließend klebt ihr die ersten zwei Blütenblätter mit Kleber zusammen....'

7

So each additional petal sticks to it.
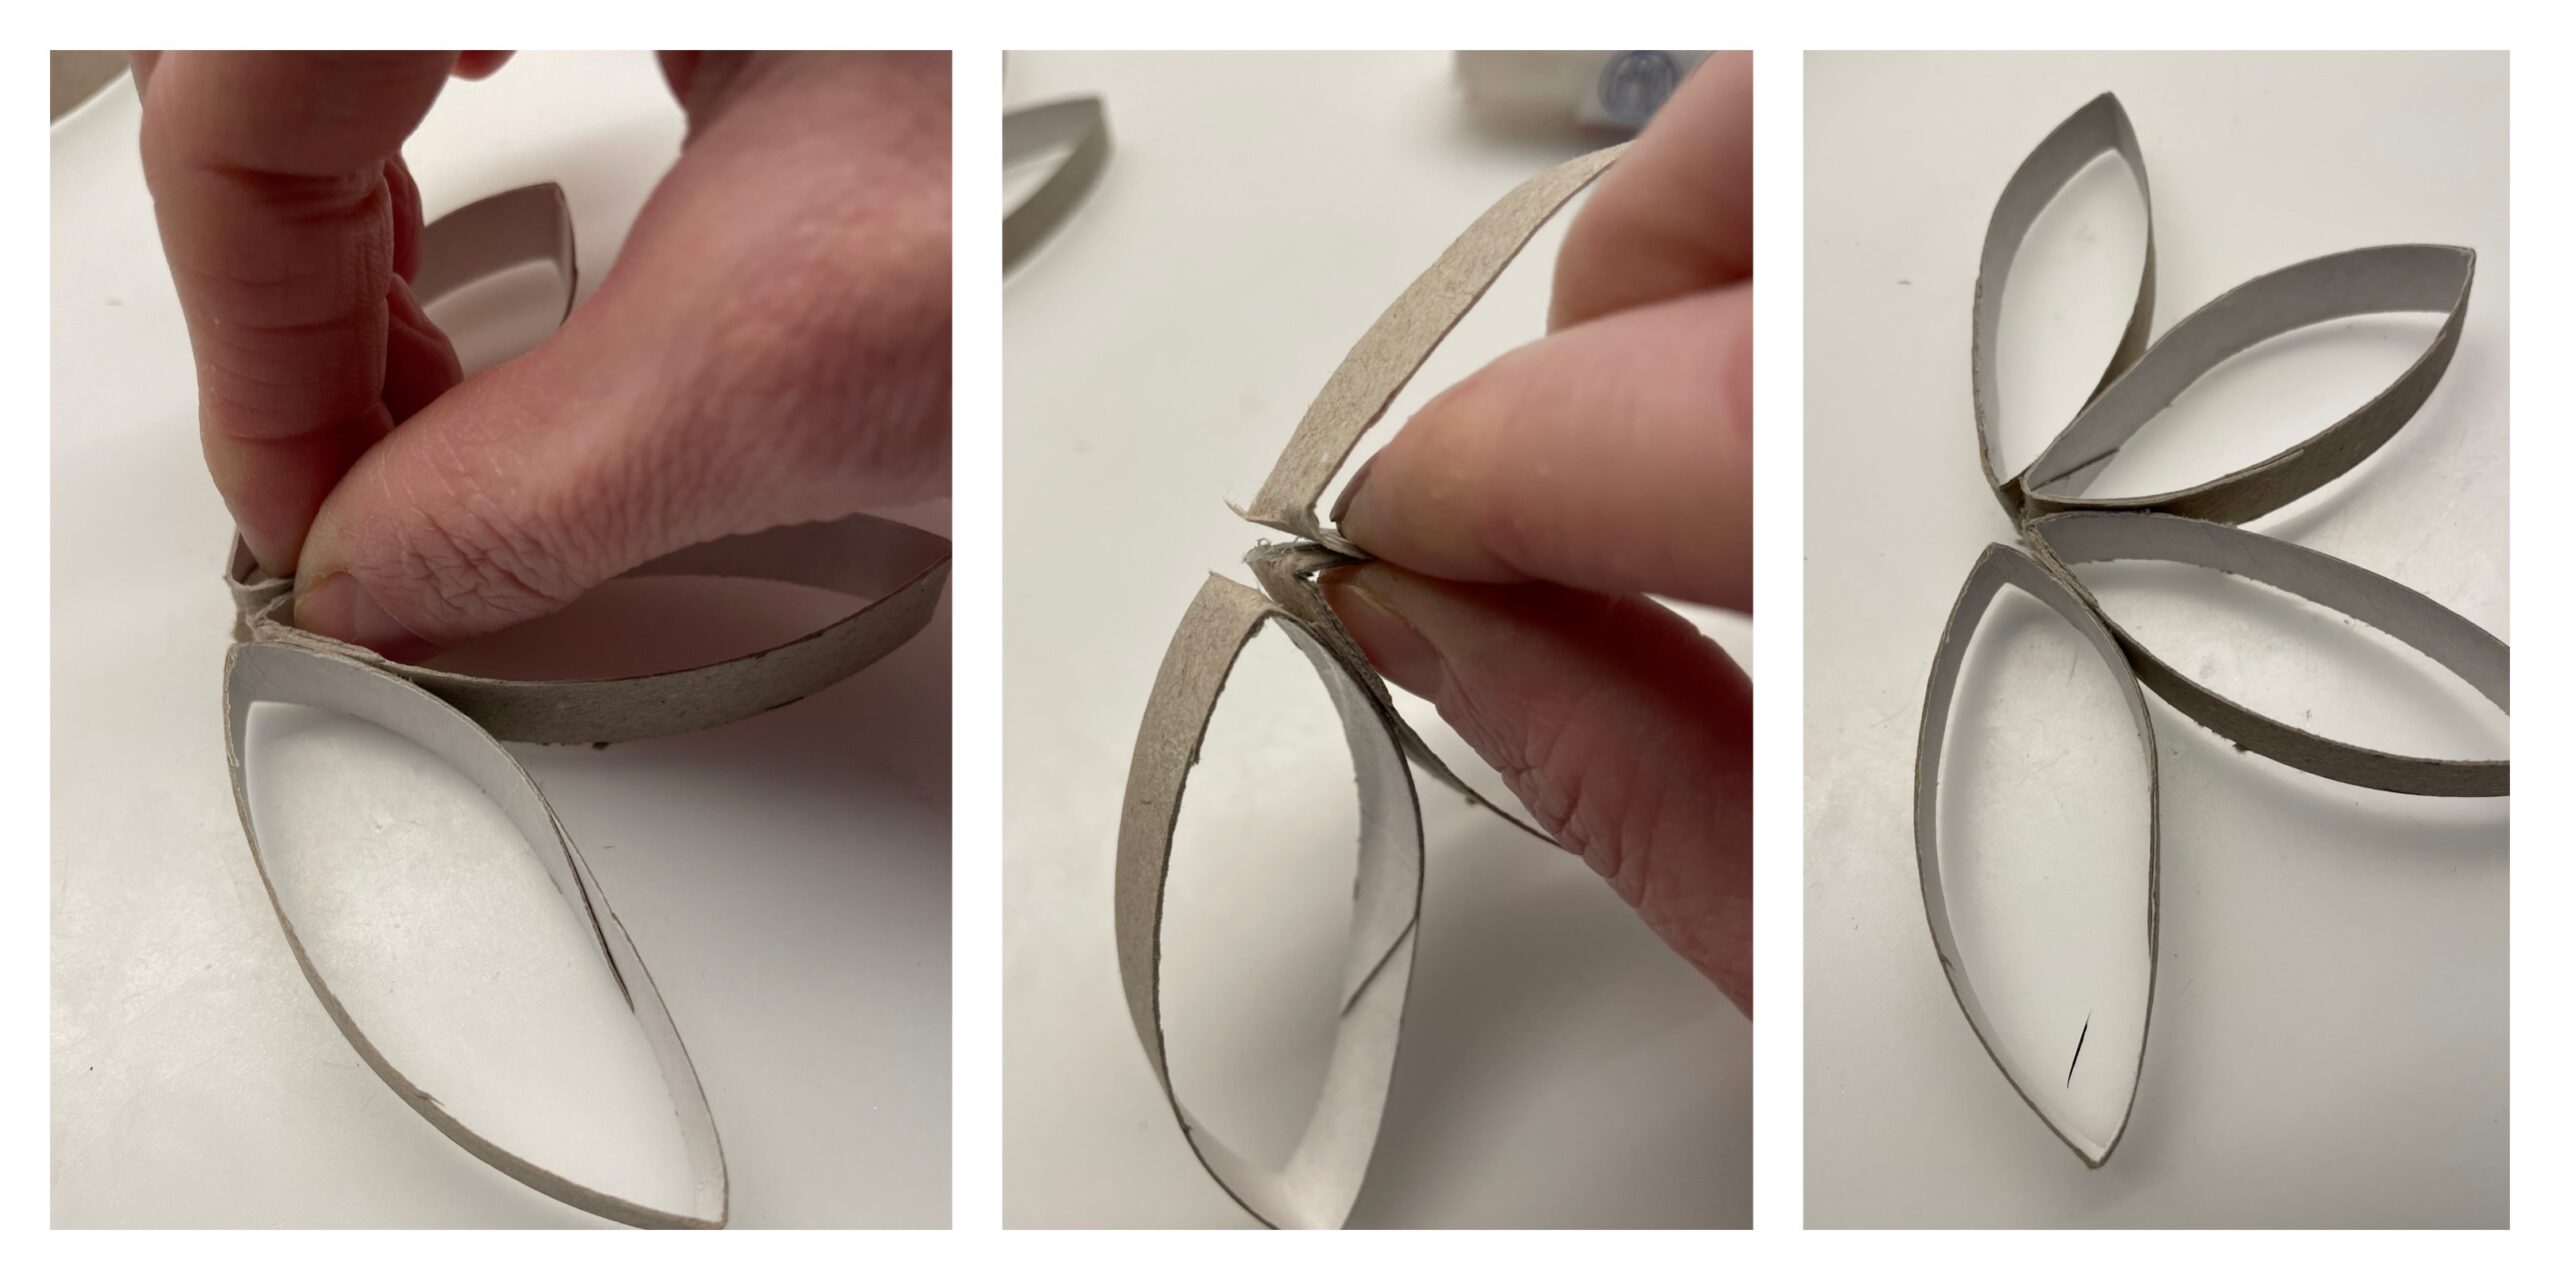
Bild zum Schritt 7 für das Bastel- und DIY-Abenteuer für Kinder: 'Klebt so jedes weitere Blütenblatt daran.'

8

2. Bild zum Schritt 7 für das Bastel- und DIY-Abenteuer für Kinder: 'Klebt so jedes weitere Blütenblatt daran.'

9

The last petal on both sides is covered with glue.

Bild zum Schritt 9 für das Bastel- und DIY-Abenteuer für Kinder: 'Das letzte Blütenblatt bestreicht ihr auf beiden Seiten mit Kleber.'

10

Then gently push the petal to the still open place.
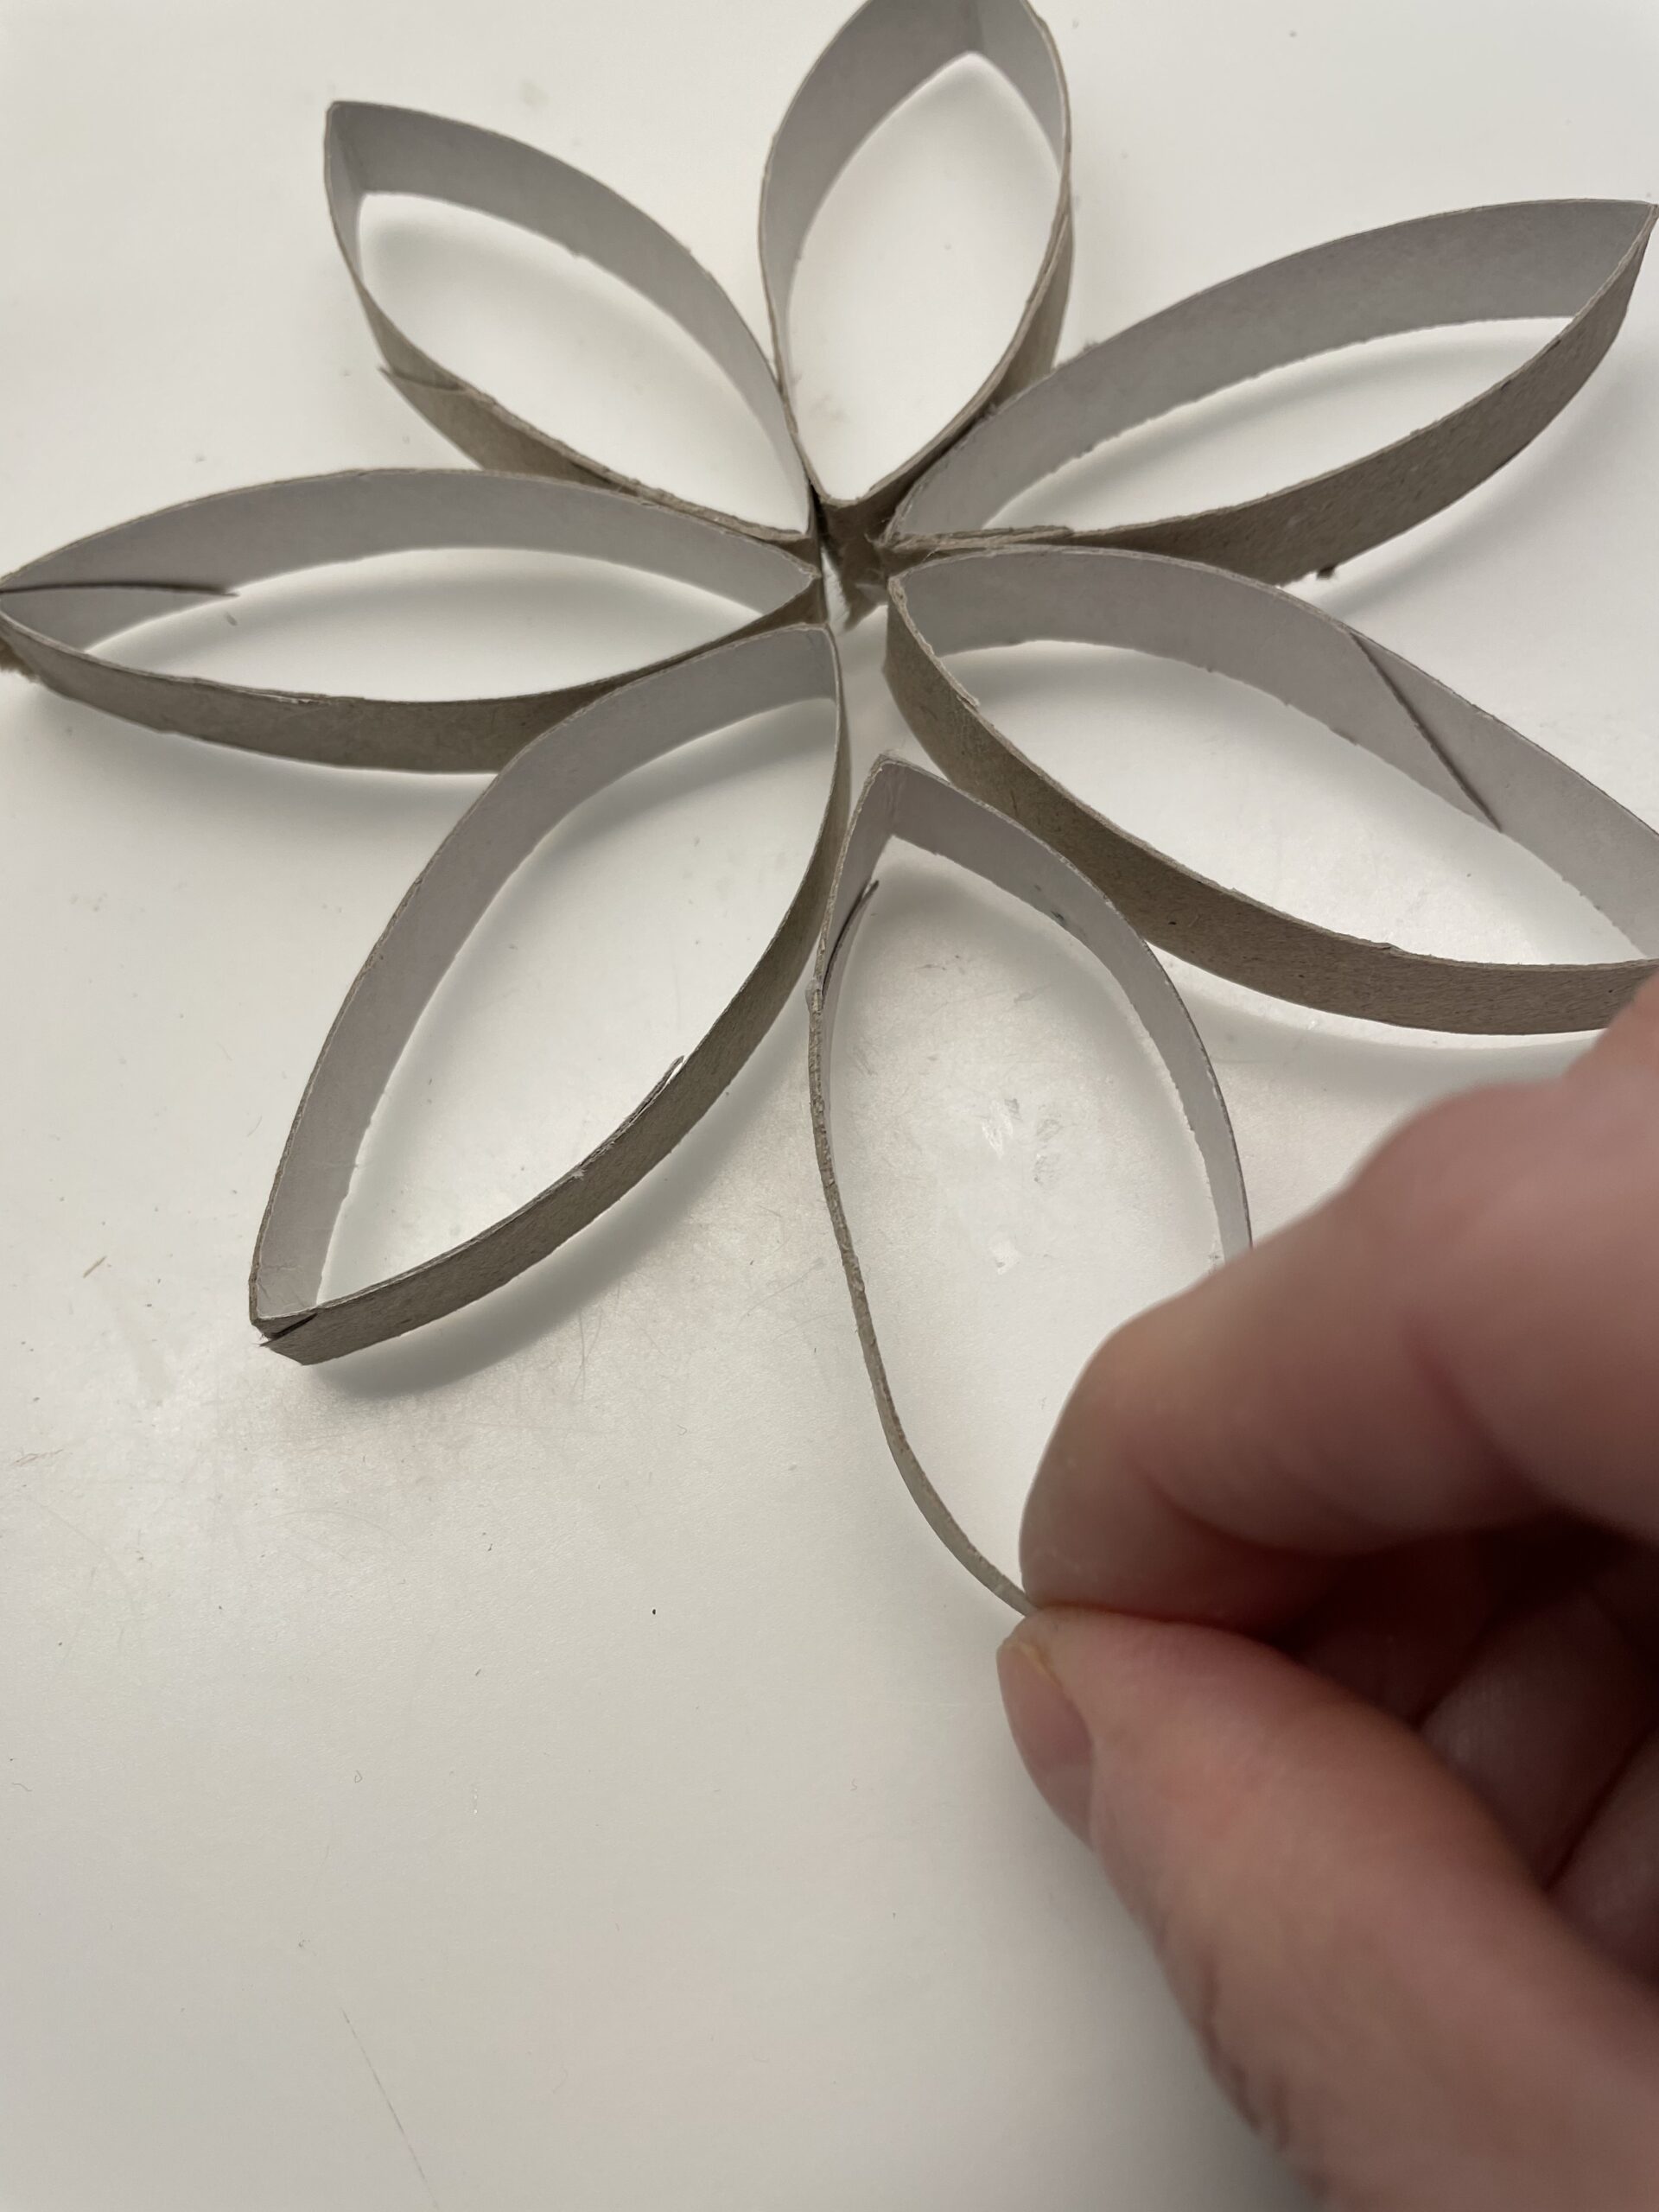
Bild zum Schritt 10 für das Bastel- und DIY-Abenteuer für Kinder: 'Schiebt dann das Blütenblatt vorsichtig an die noch offene Stelle.'

11

Now you're pushing both sides together.
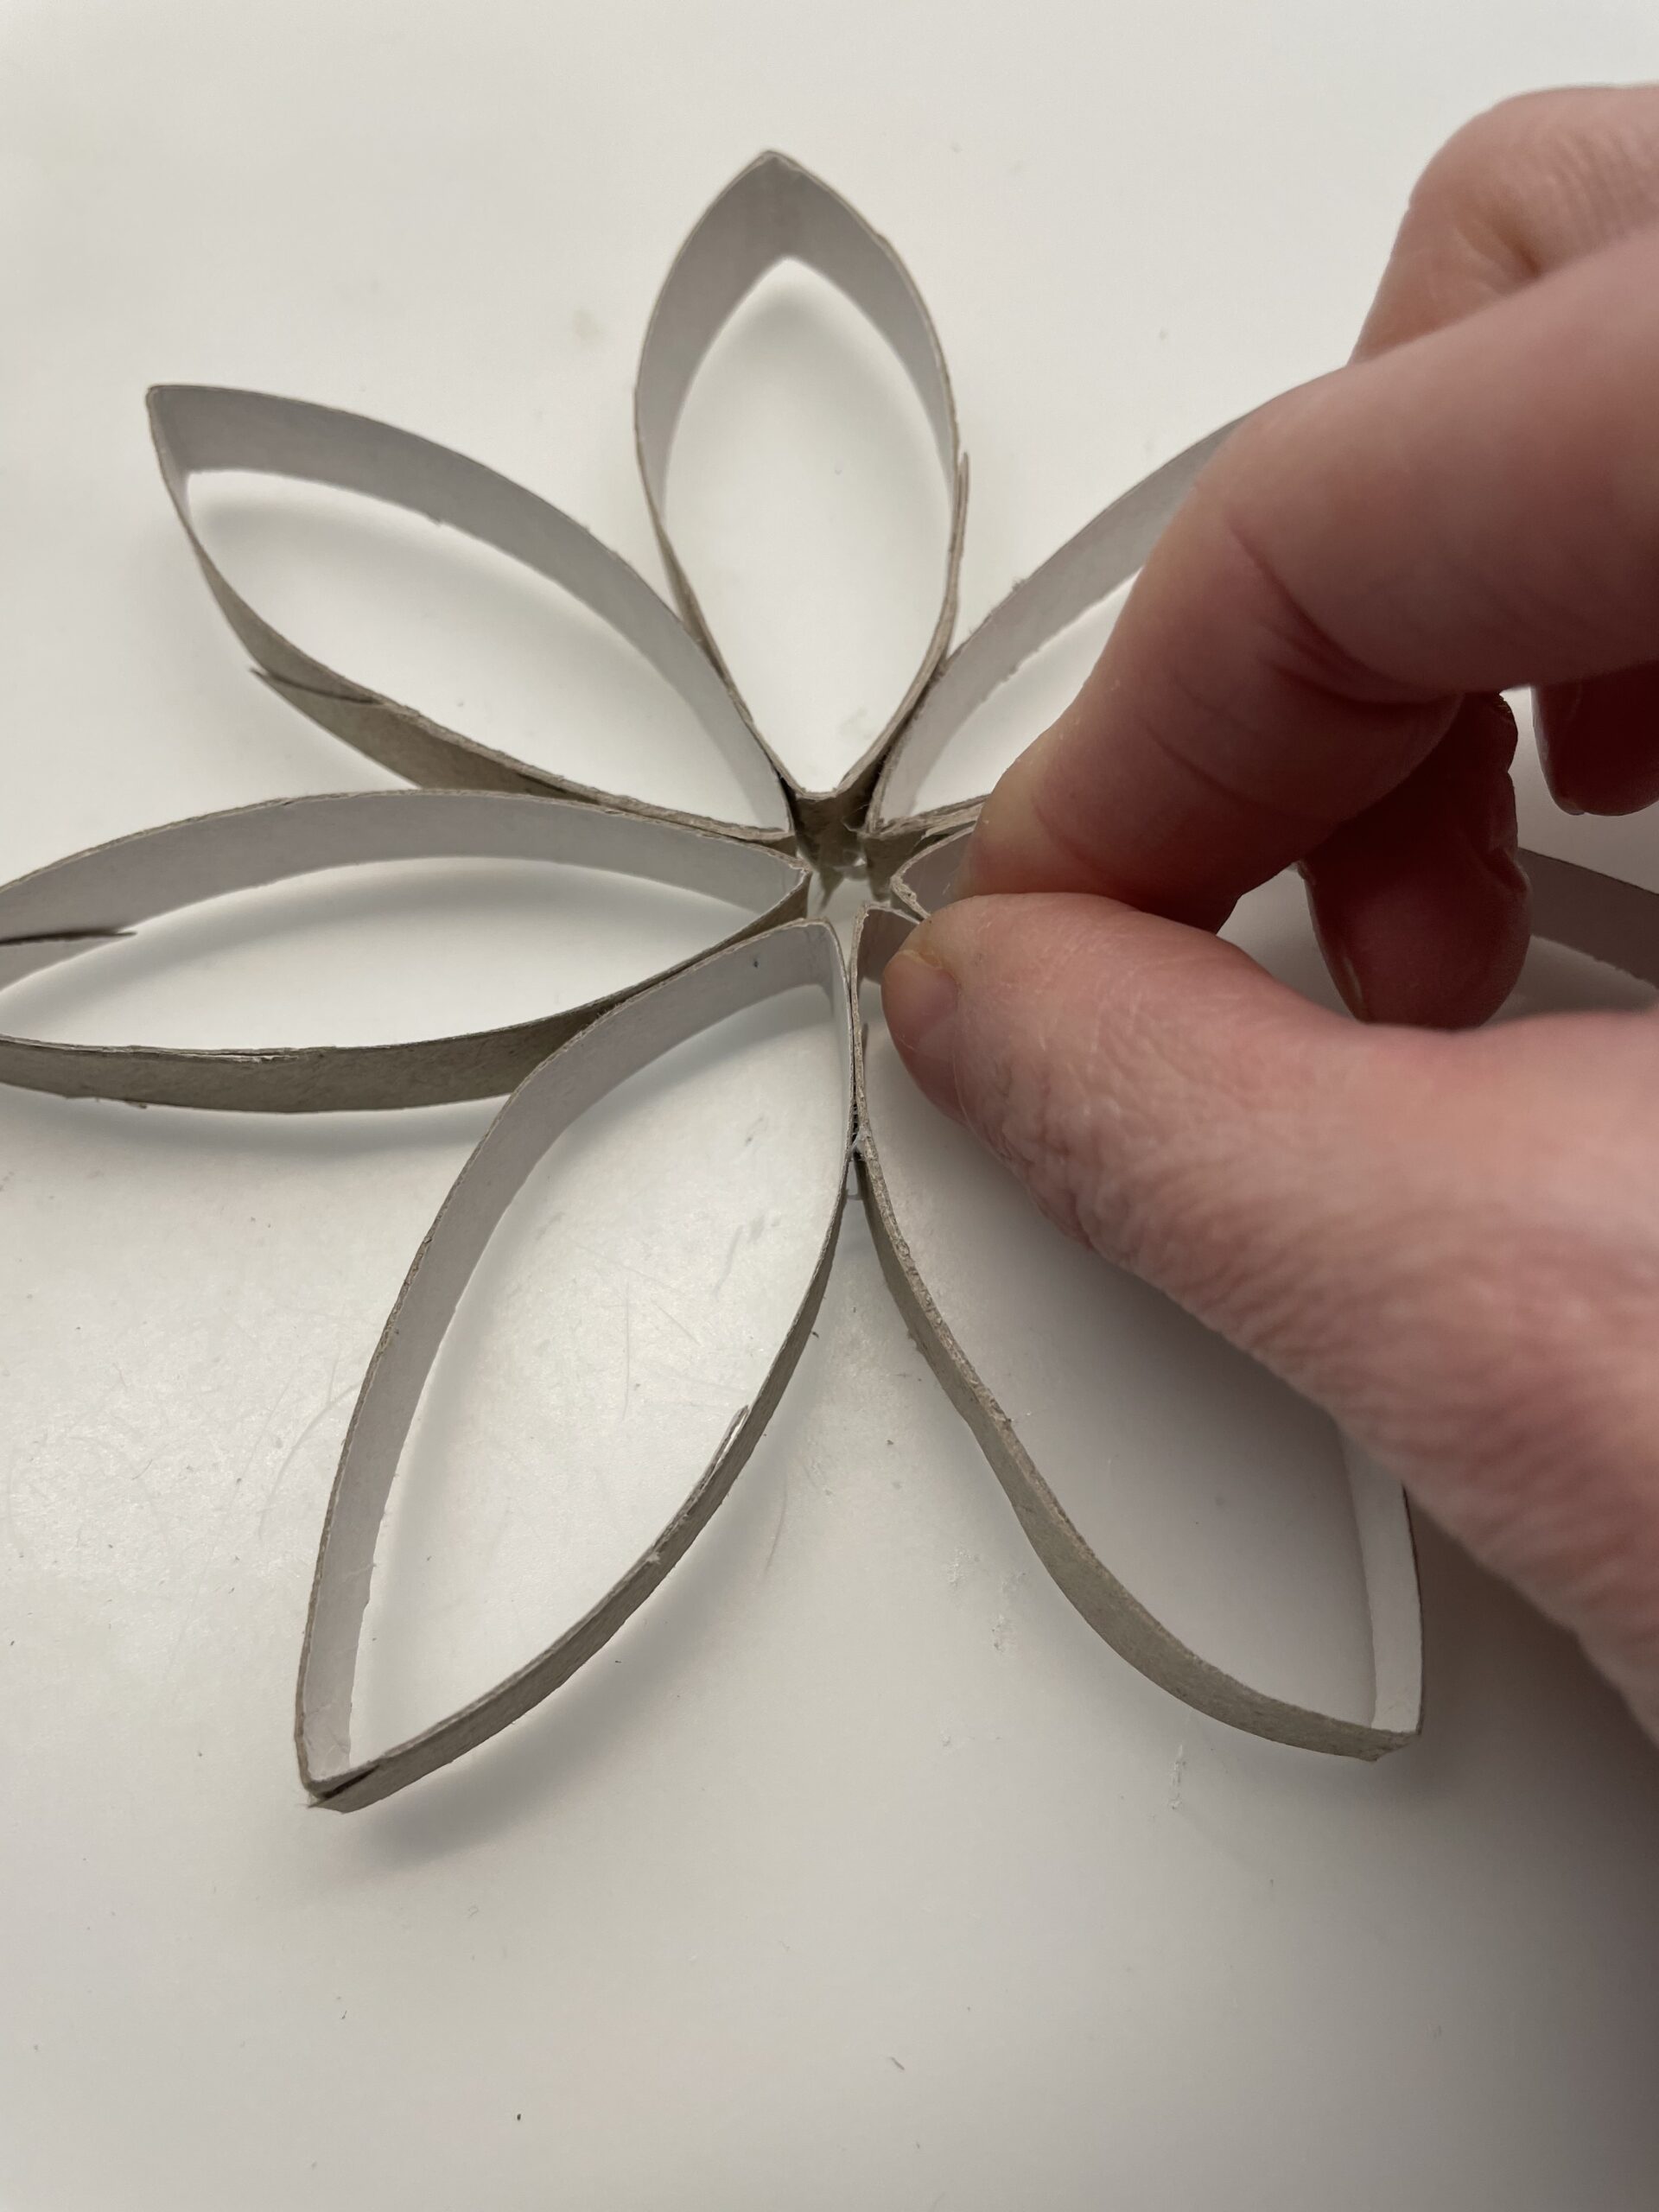
Bild zum Schritt 11 für das Bastel- und DIY-Abenteuer für Kinder: 'Jetzt drückt ihr beide Seiten zusammen.'

12

The flower is ready.
Take it up carefully, thread a thread through, knot it and find a place to hang up.
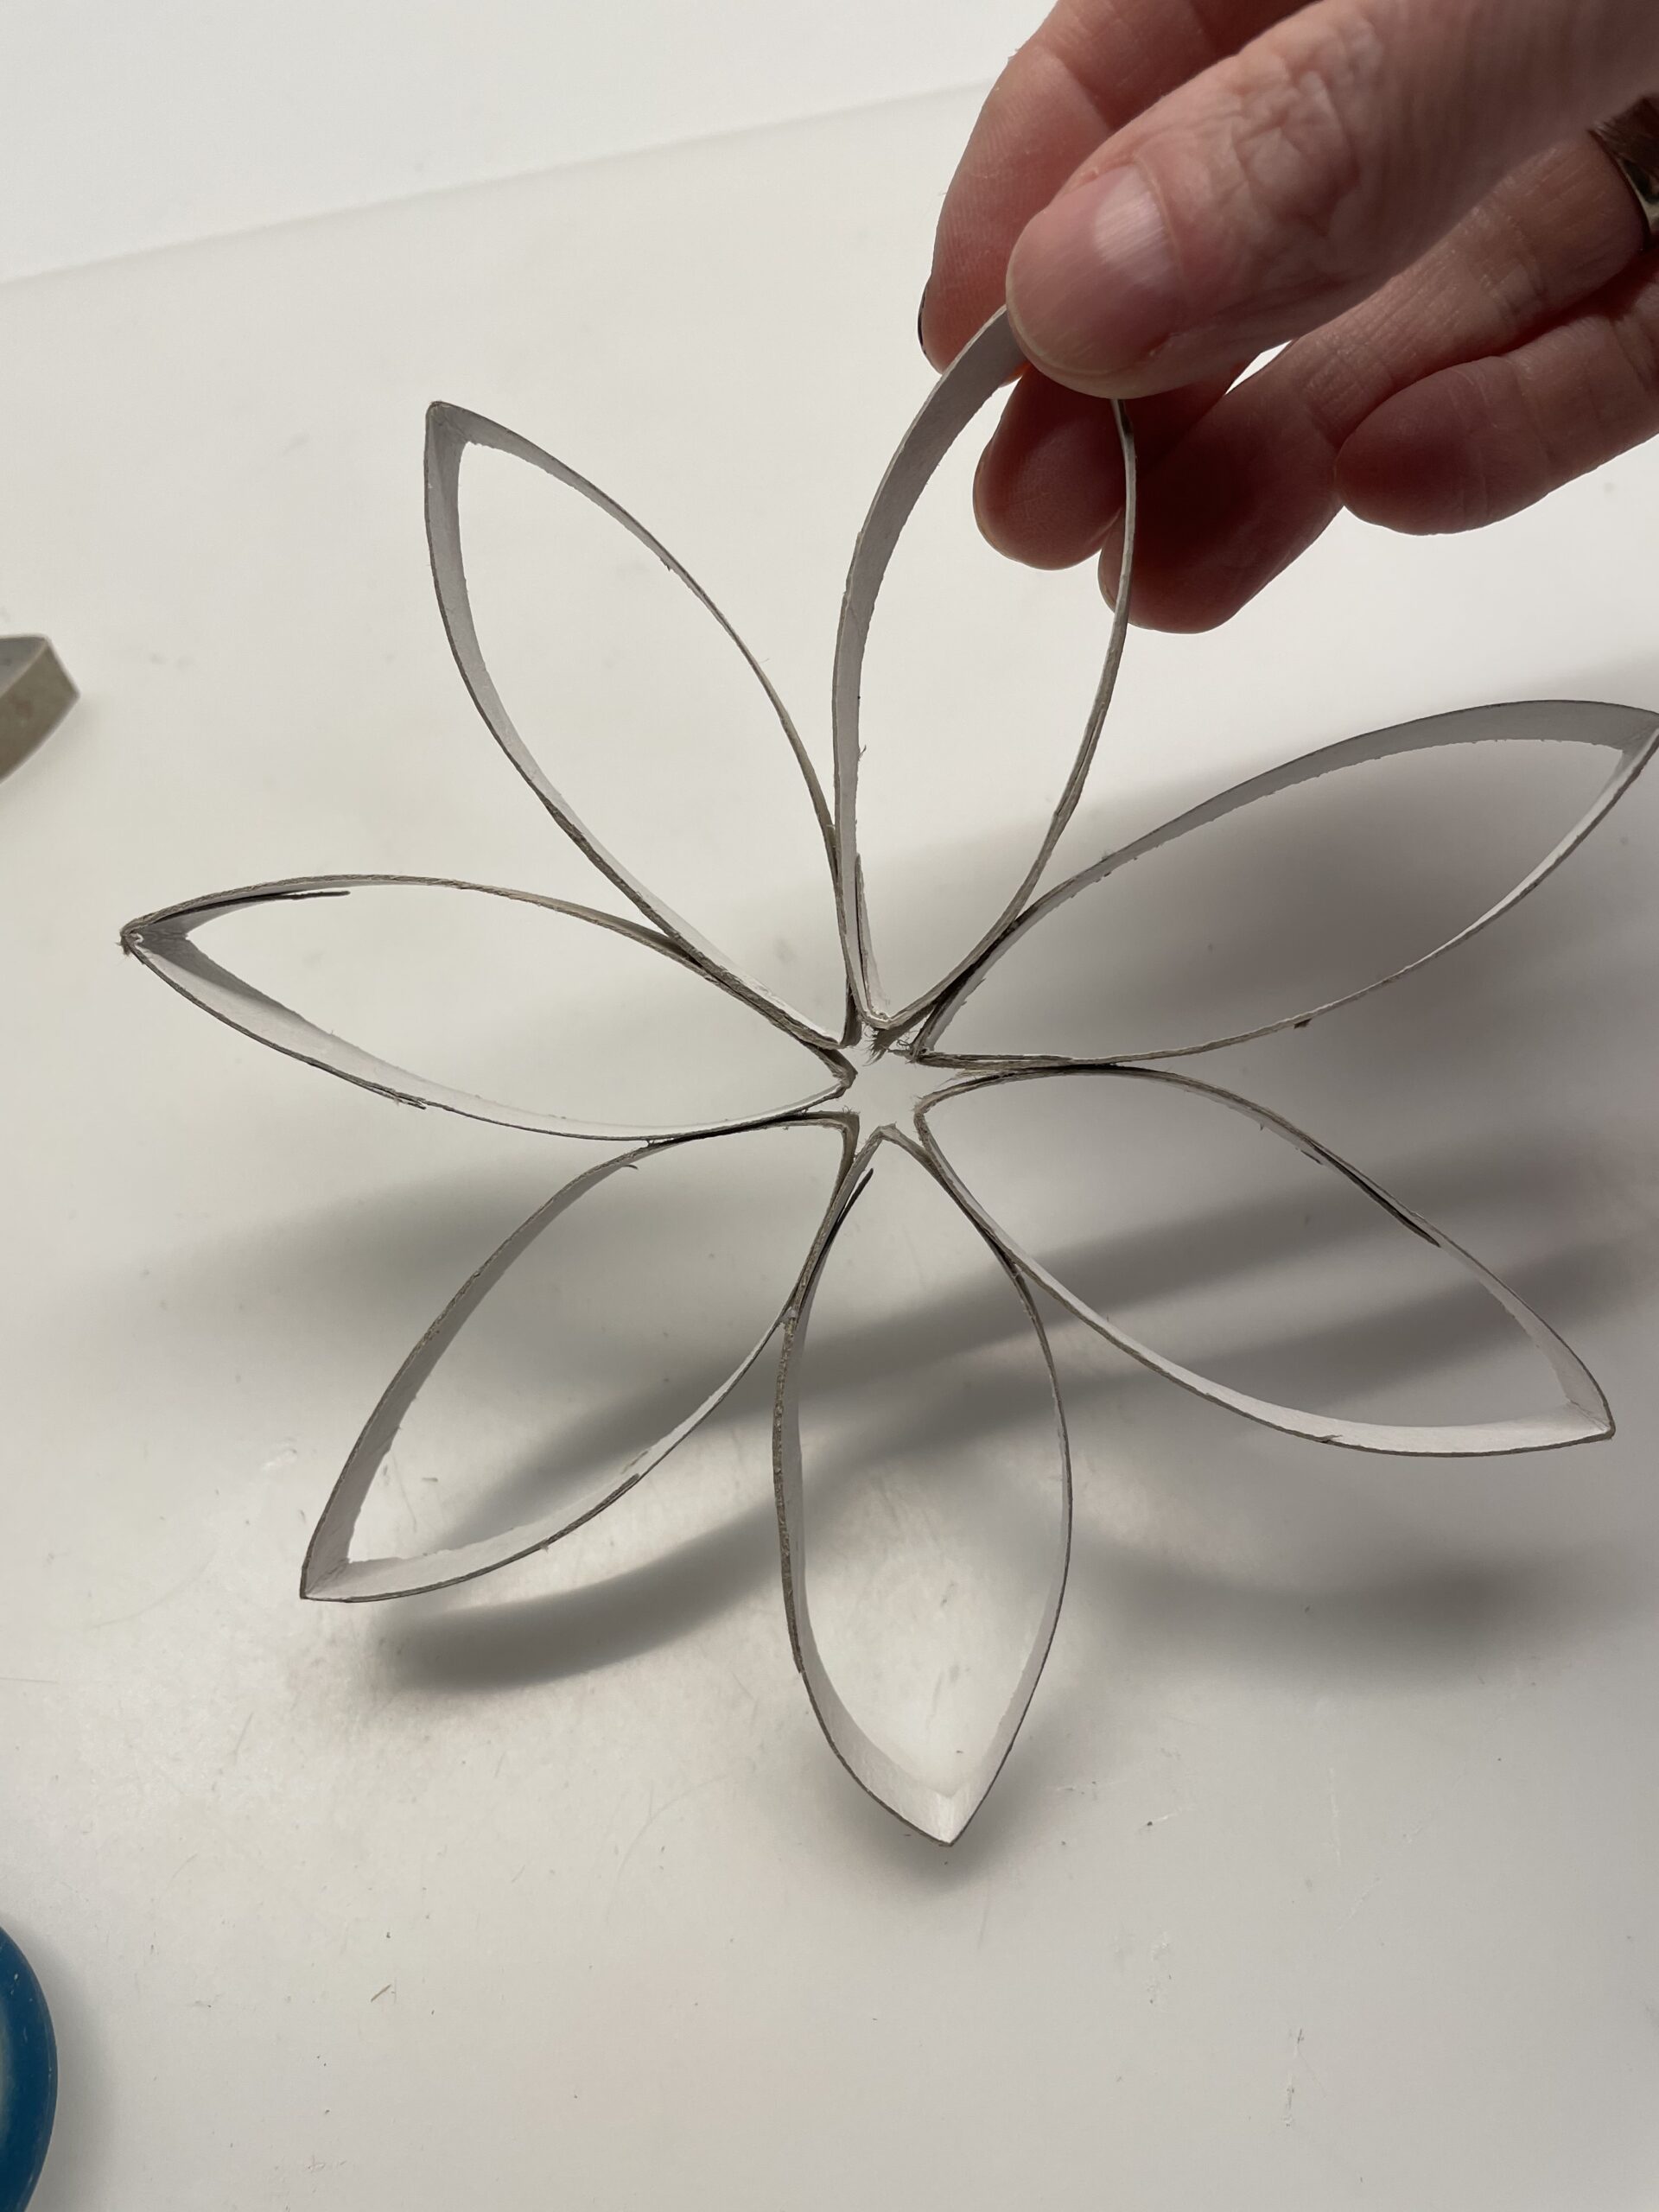
Bild zum Schritt 12 für das Bastel- und DIY-Abenteuer für Kinder: 'Fertig ist die Blume.   Nehmt sie vorsichtig hoch,...'

13

Maybe you'll paint the flower or design it.

Bild zum Schritt 13 für das Bastel- und DIY-Abenteuer für Kinder: 'Vielleicht malt ihr die Blume noch an oder gestaltet sie...'

14

Or you can create a beautiful picture frame with the cardboard roll flower.
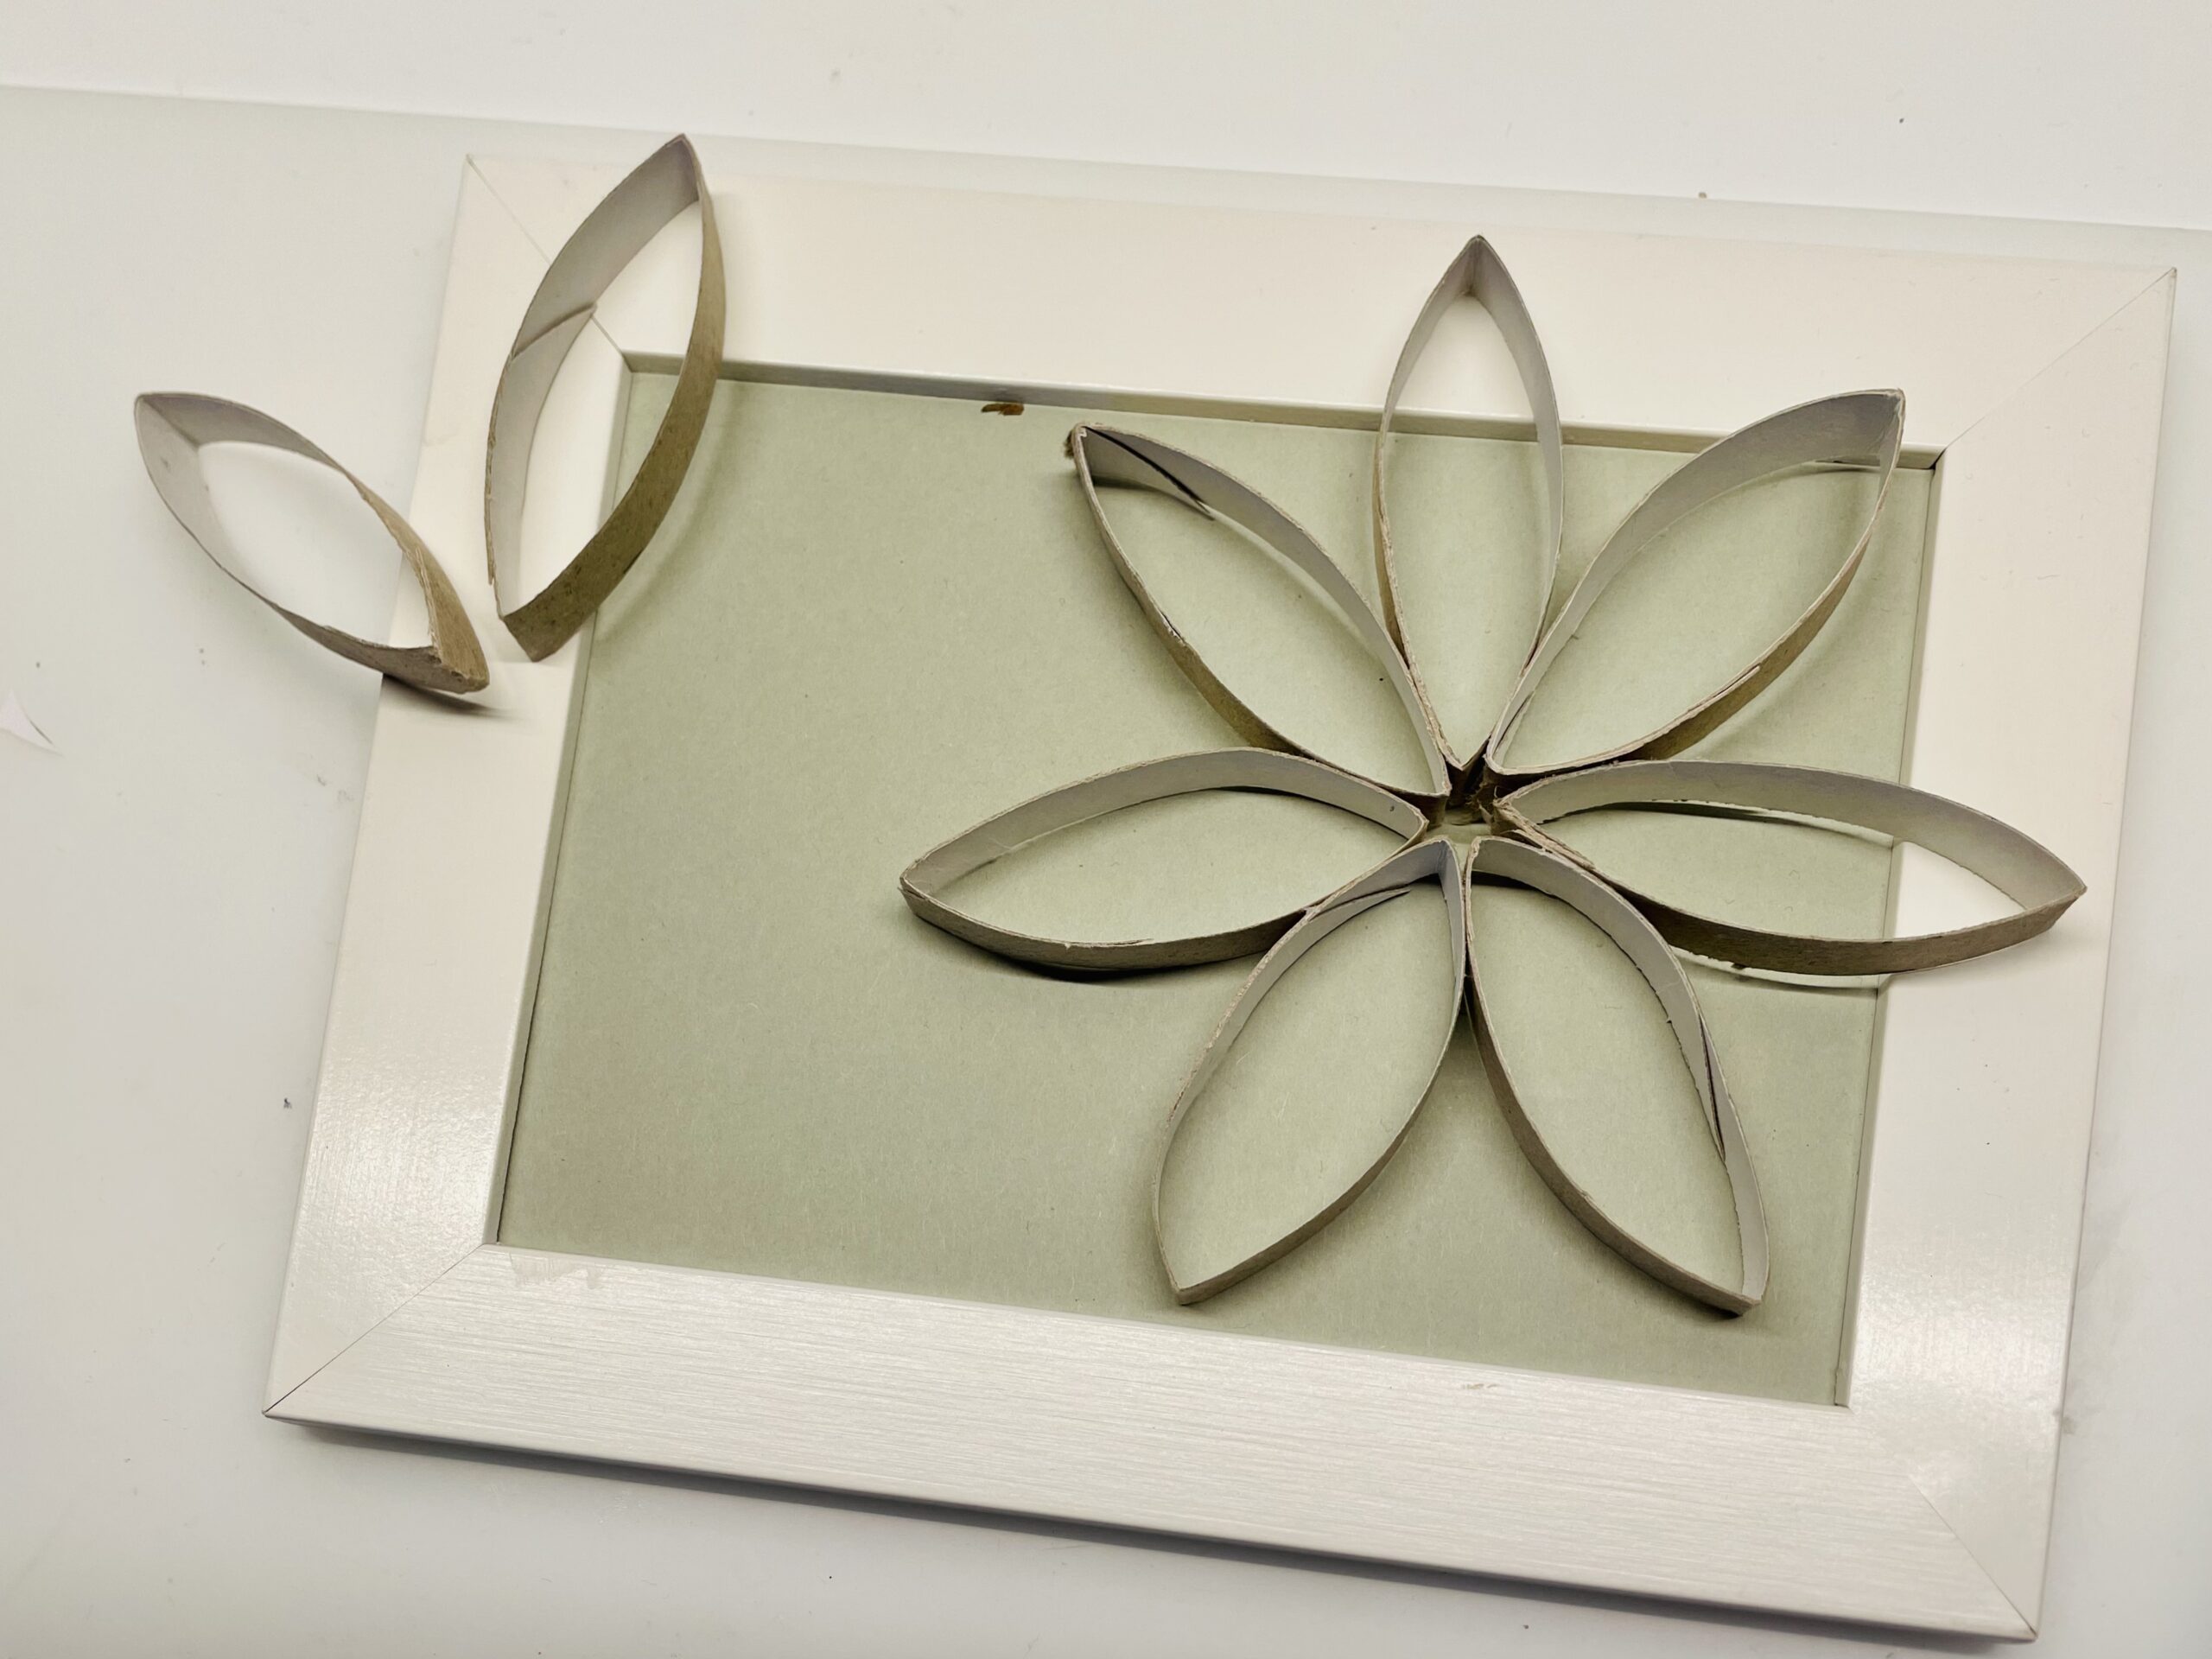
Bild zum Schritt 14 für das Bastel- und DIY-Abenteuer für Kinder: 'Oder ihr gestaltet einen schönen Bilderrahmen mit der Papprollen-Blume.'

15

Stay creative!

Make a flower of cardboard roll

Follow us on Facebook , Instagram and Pinterest
Don't miss any more adventures: Our bottle mail

Leave a Reply

Your email address will not be published.

The maximum upload file size: 5 MB. You can upload: image, document. Drop file here