Snow crystals have certainly already been made by everyone once in his childhood. Actually, the procedure is also very simple. However, it often fails because you no longer know exactly where the cutting line is painted and what it looks like in detail. Therefore, there are four different crystal templates here, which you can print, fold and cut.
Copy the templates in different sizes to get a variety of different snow crystals.
Have a lot of joy and patience while trying!
Media Education for Kindergarten and Hort

Relief in everyday life, targeted promotion of individual children, independent learning and - without any pre-knowledge already usable by the youngest!
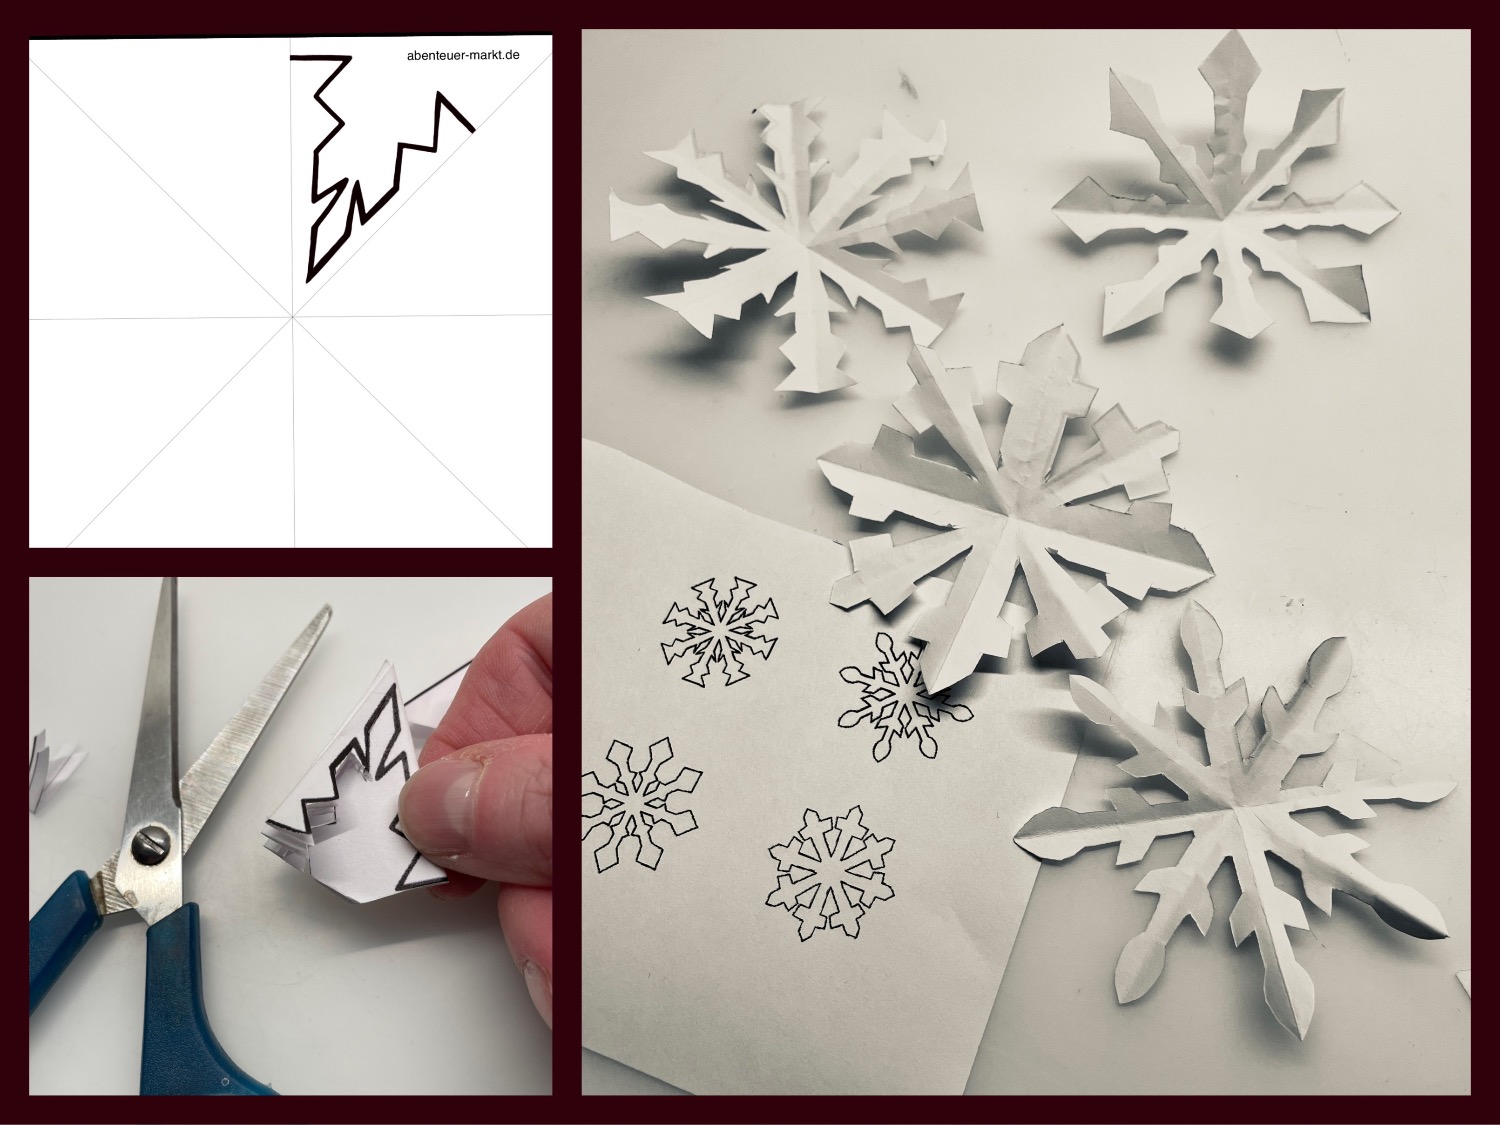
Print out any template.
For each large crystal template you need a separate sheet.
You will find the procedure in the following.
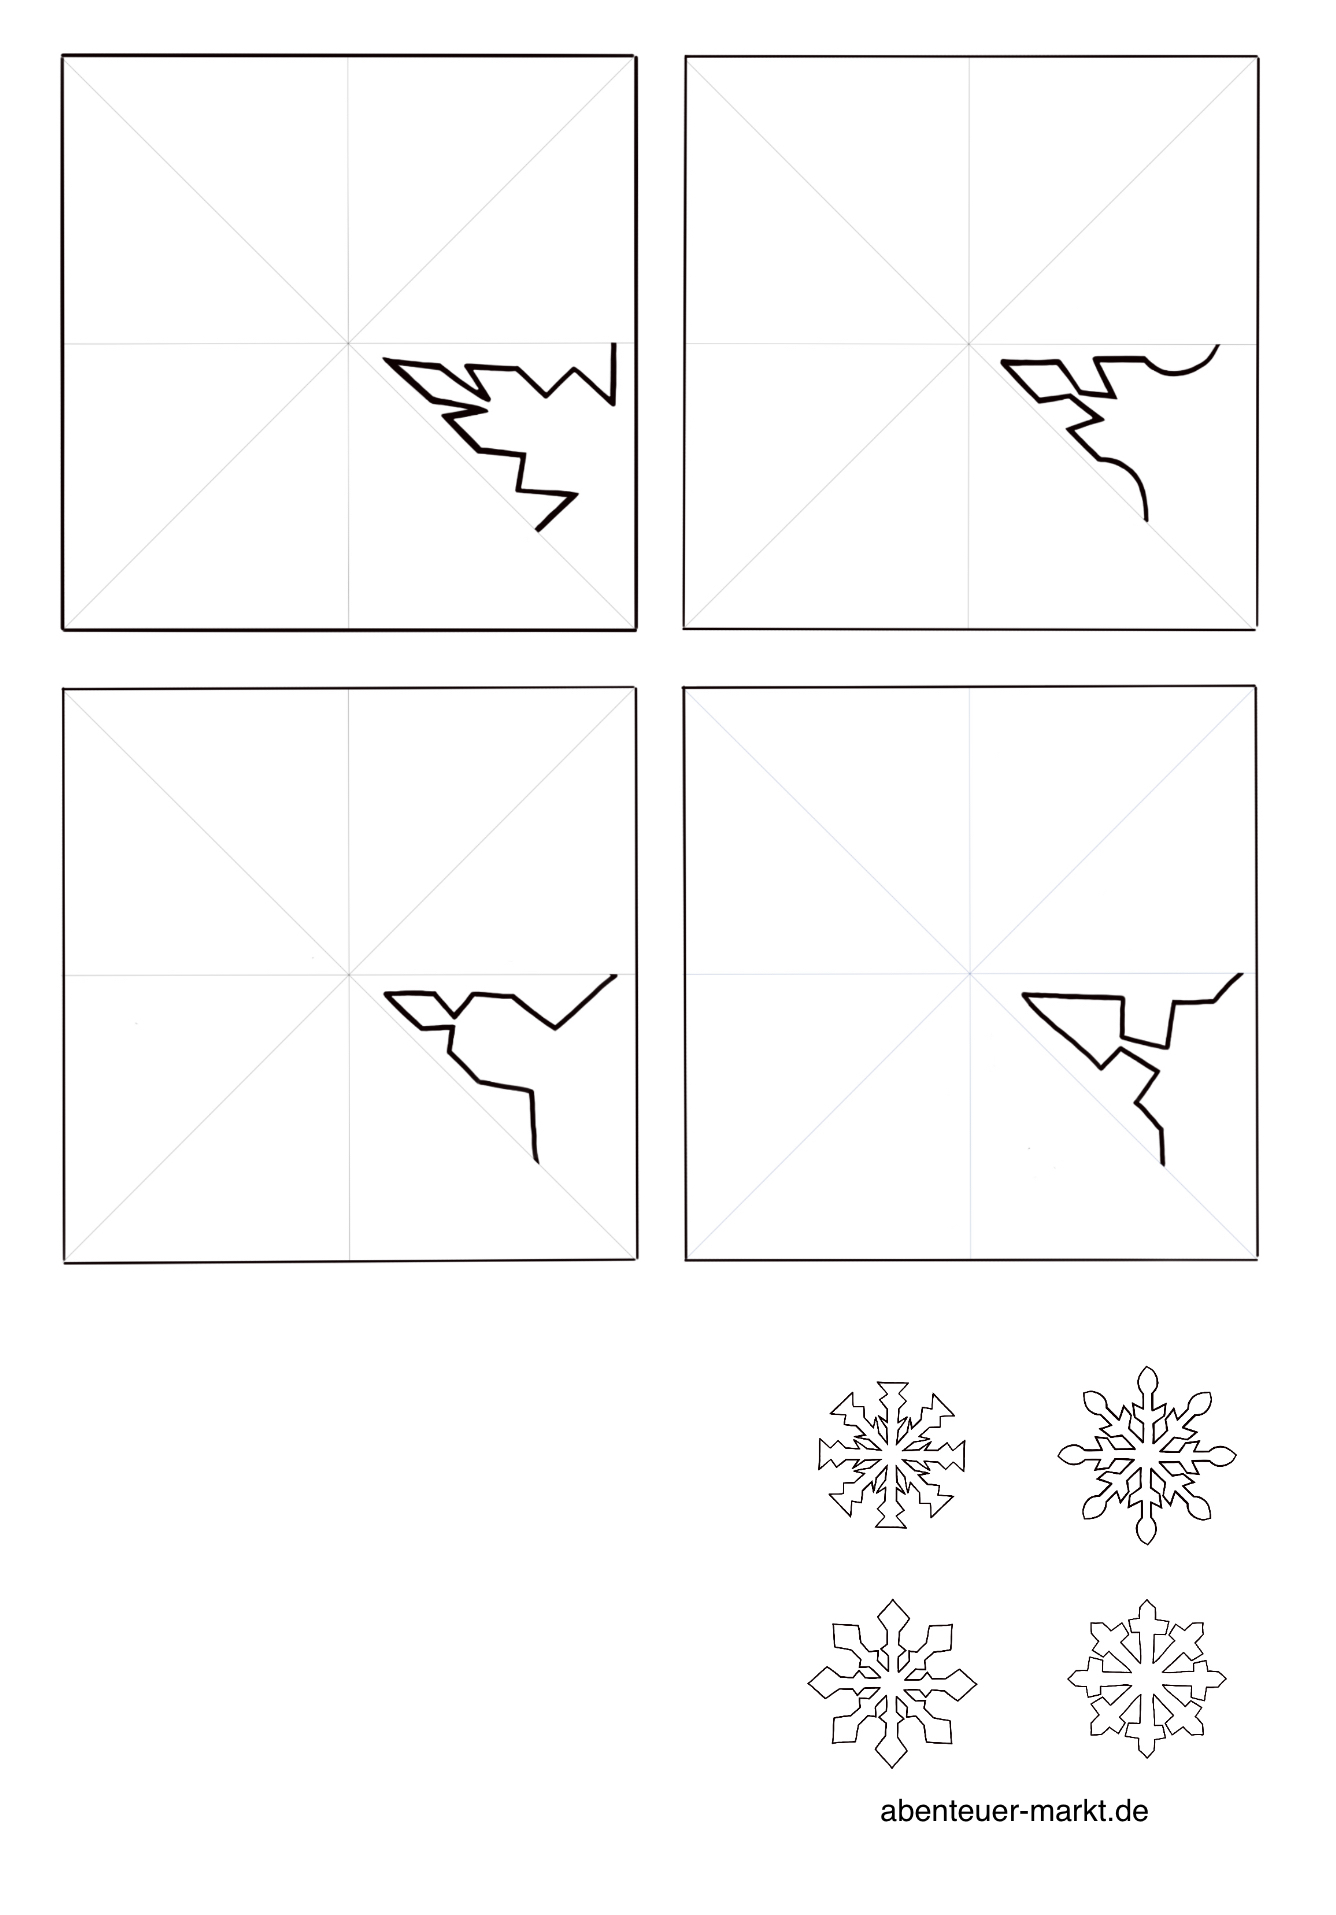
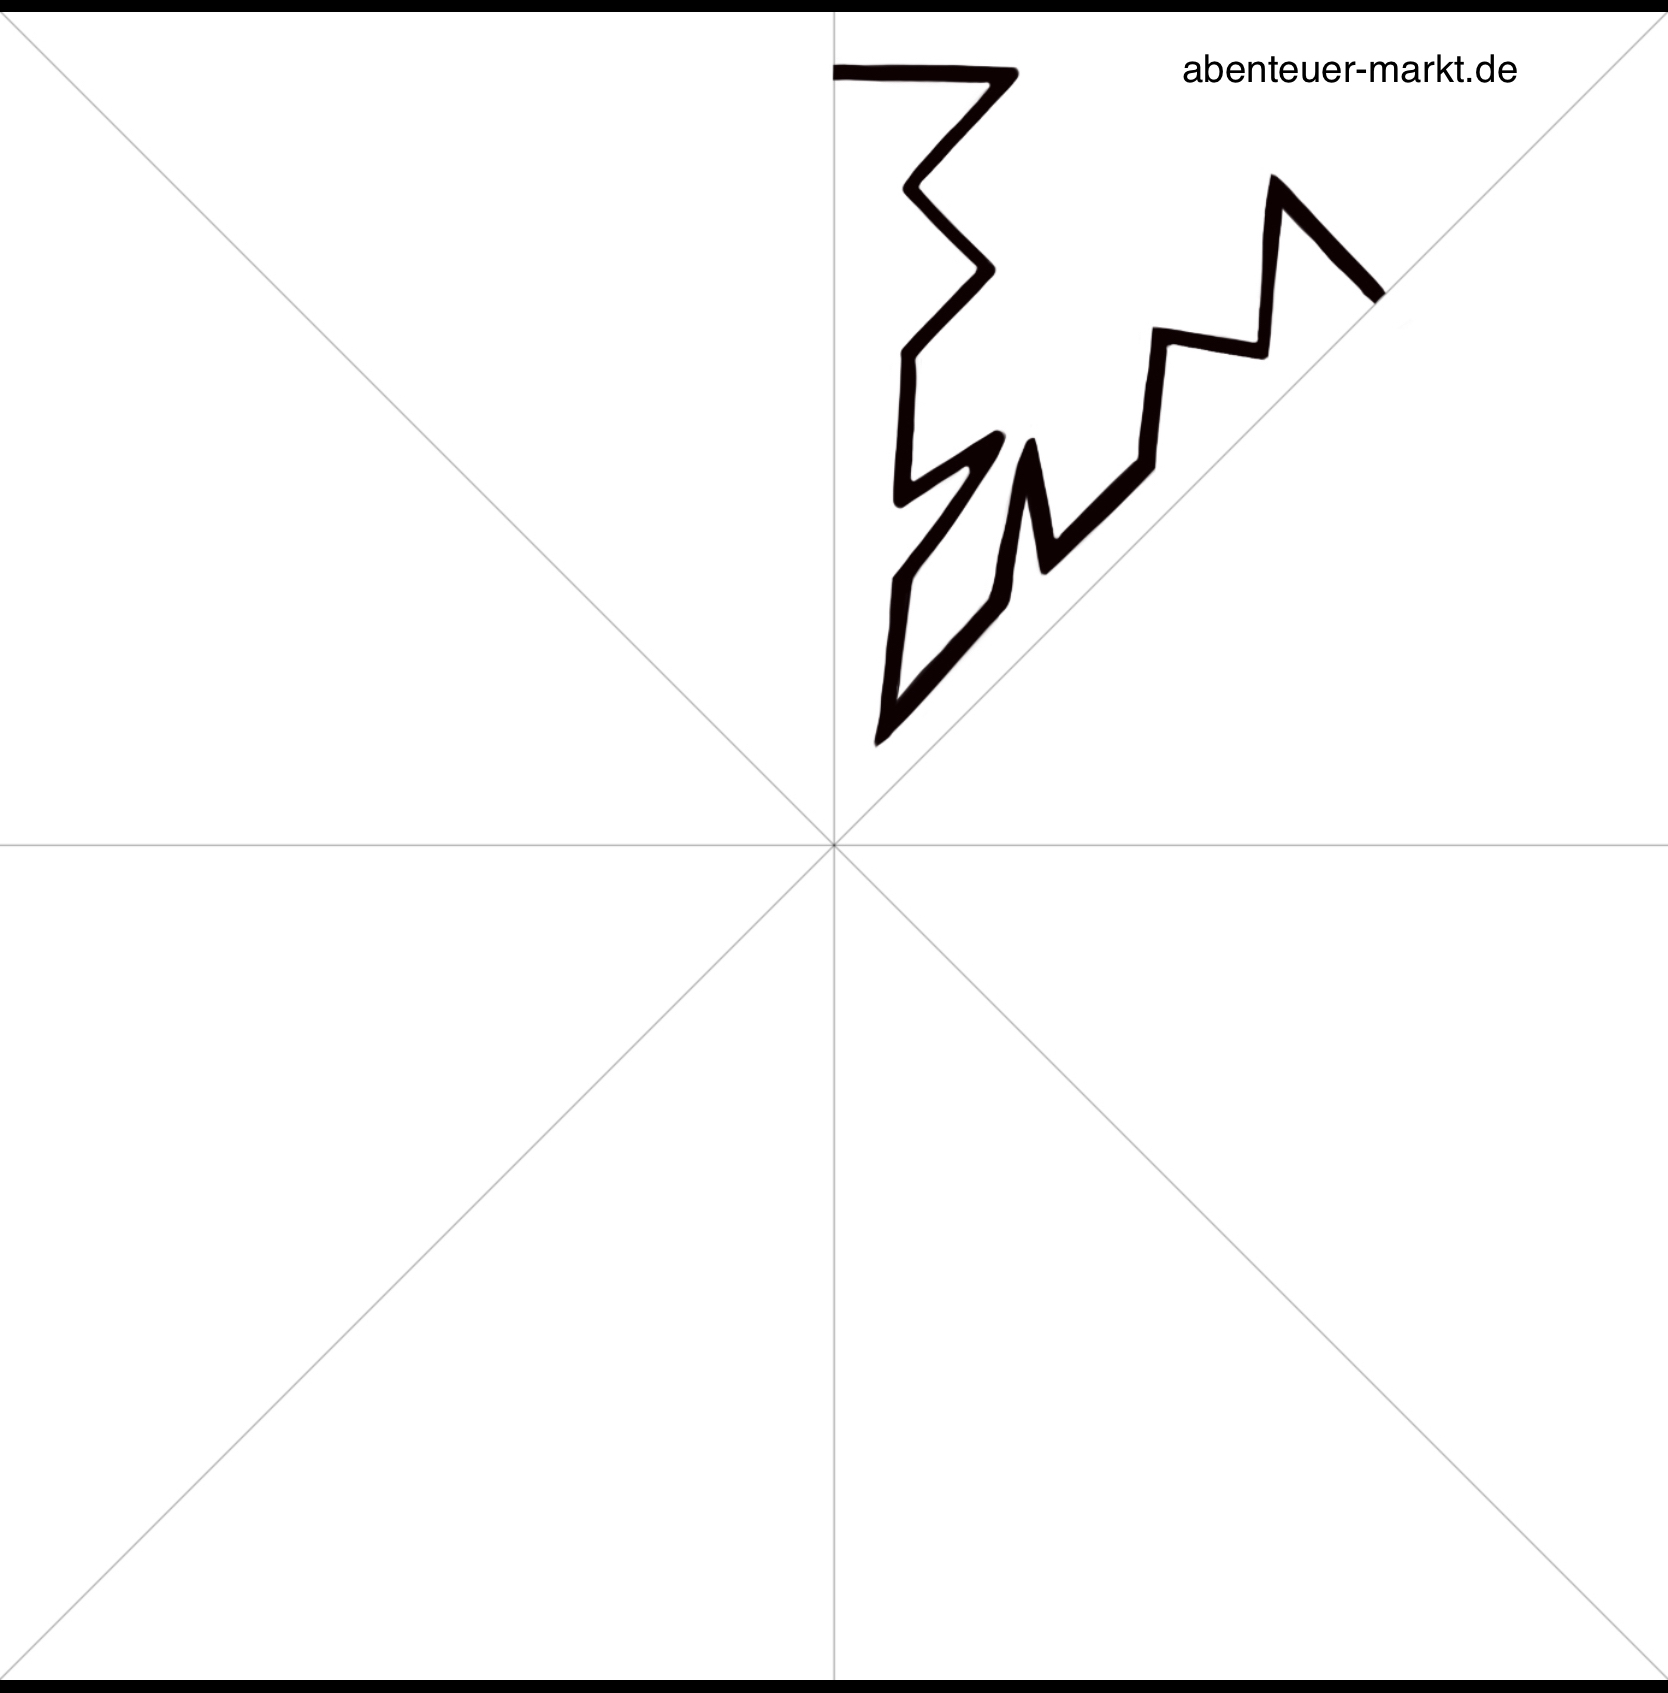


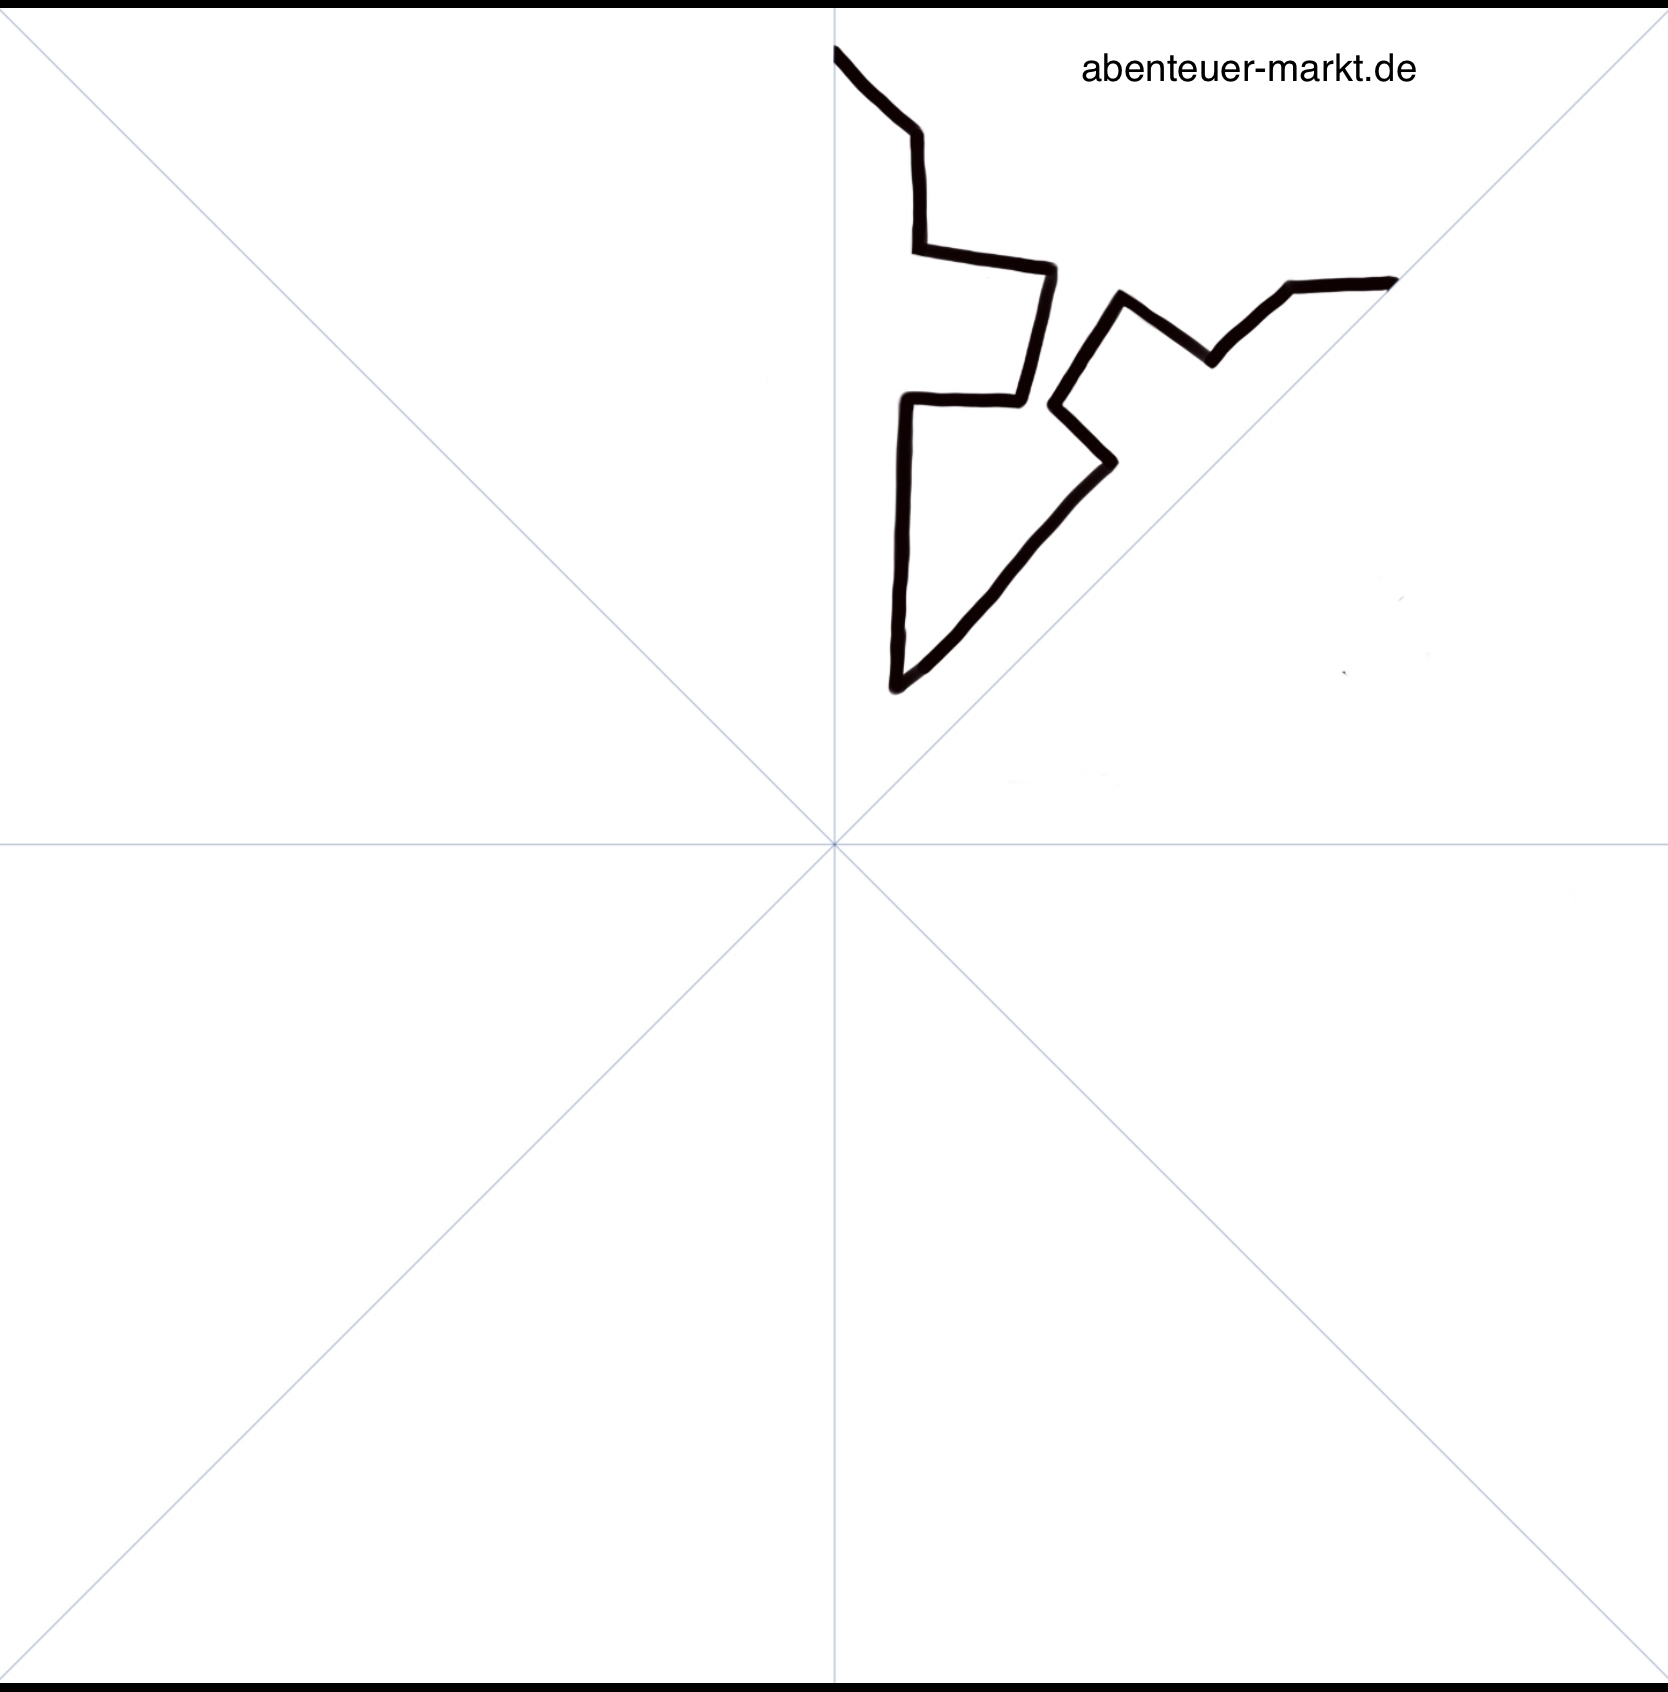


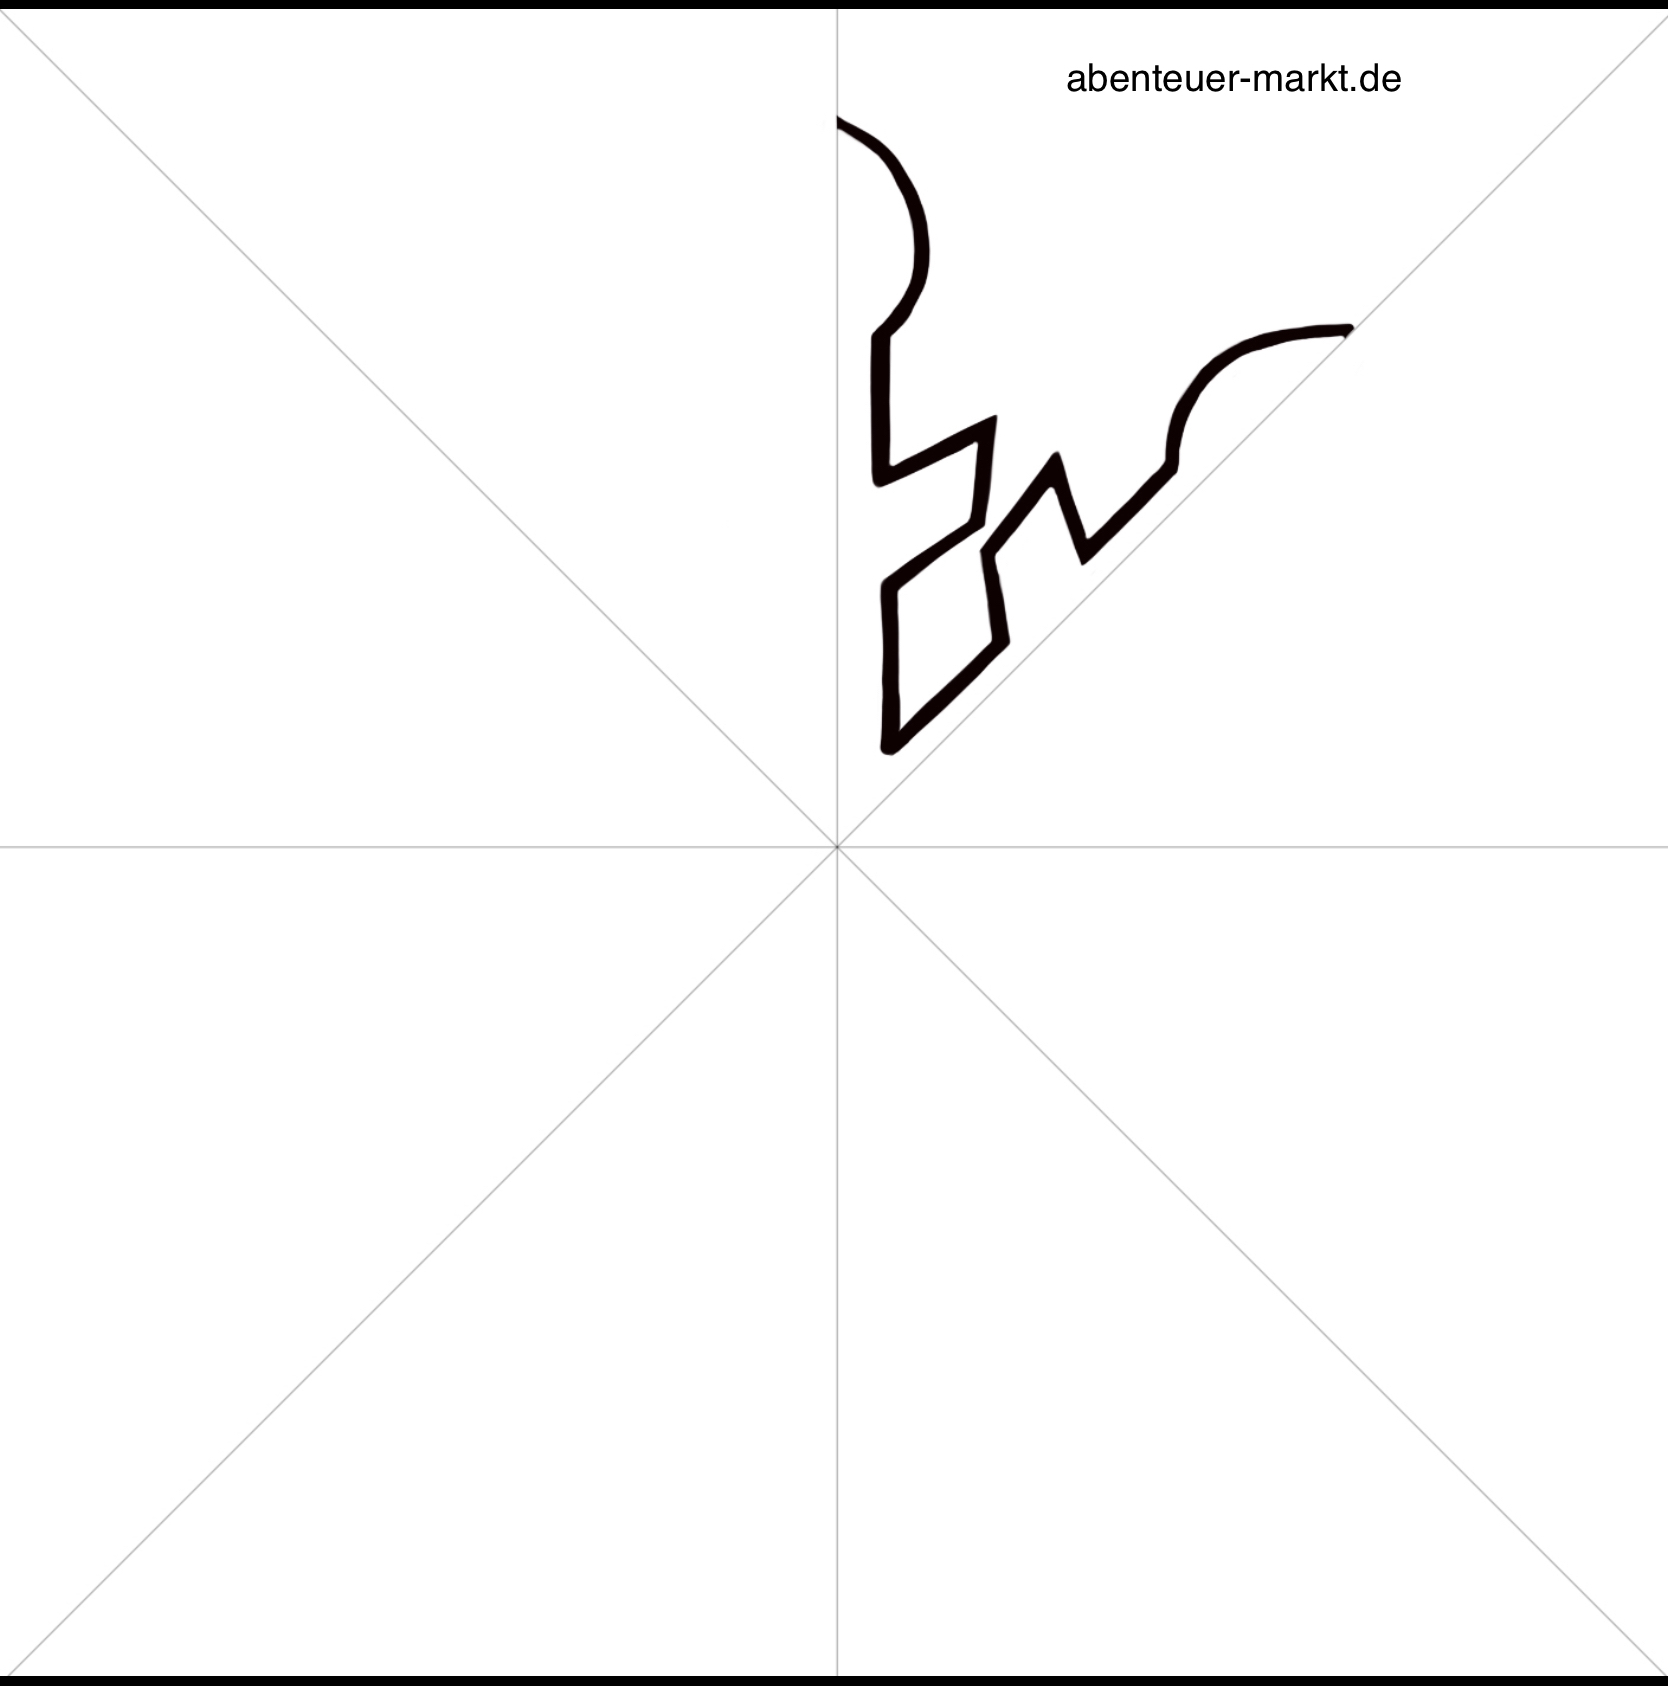


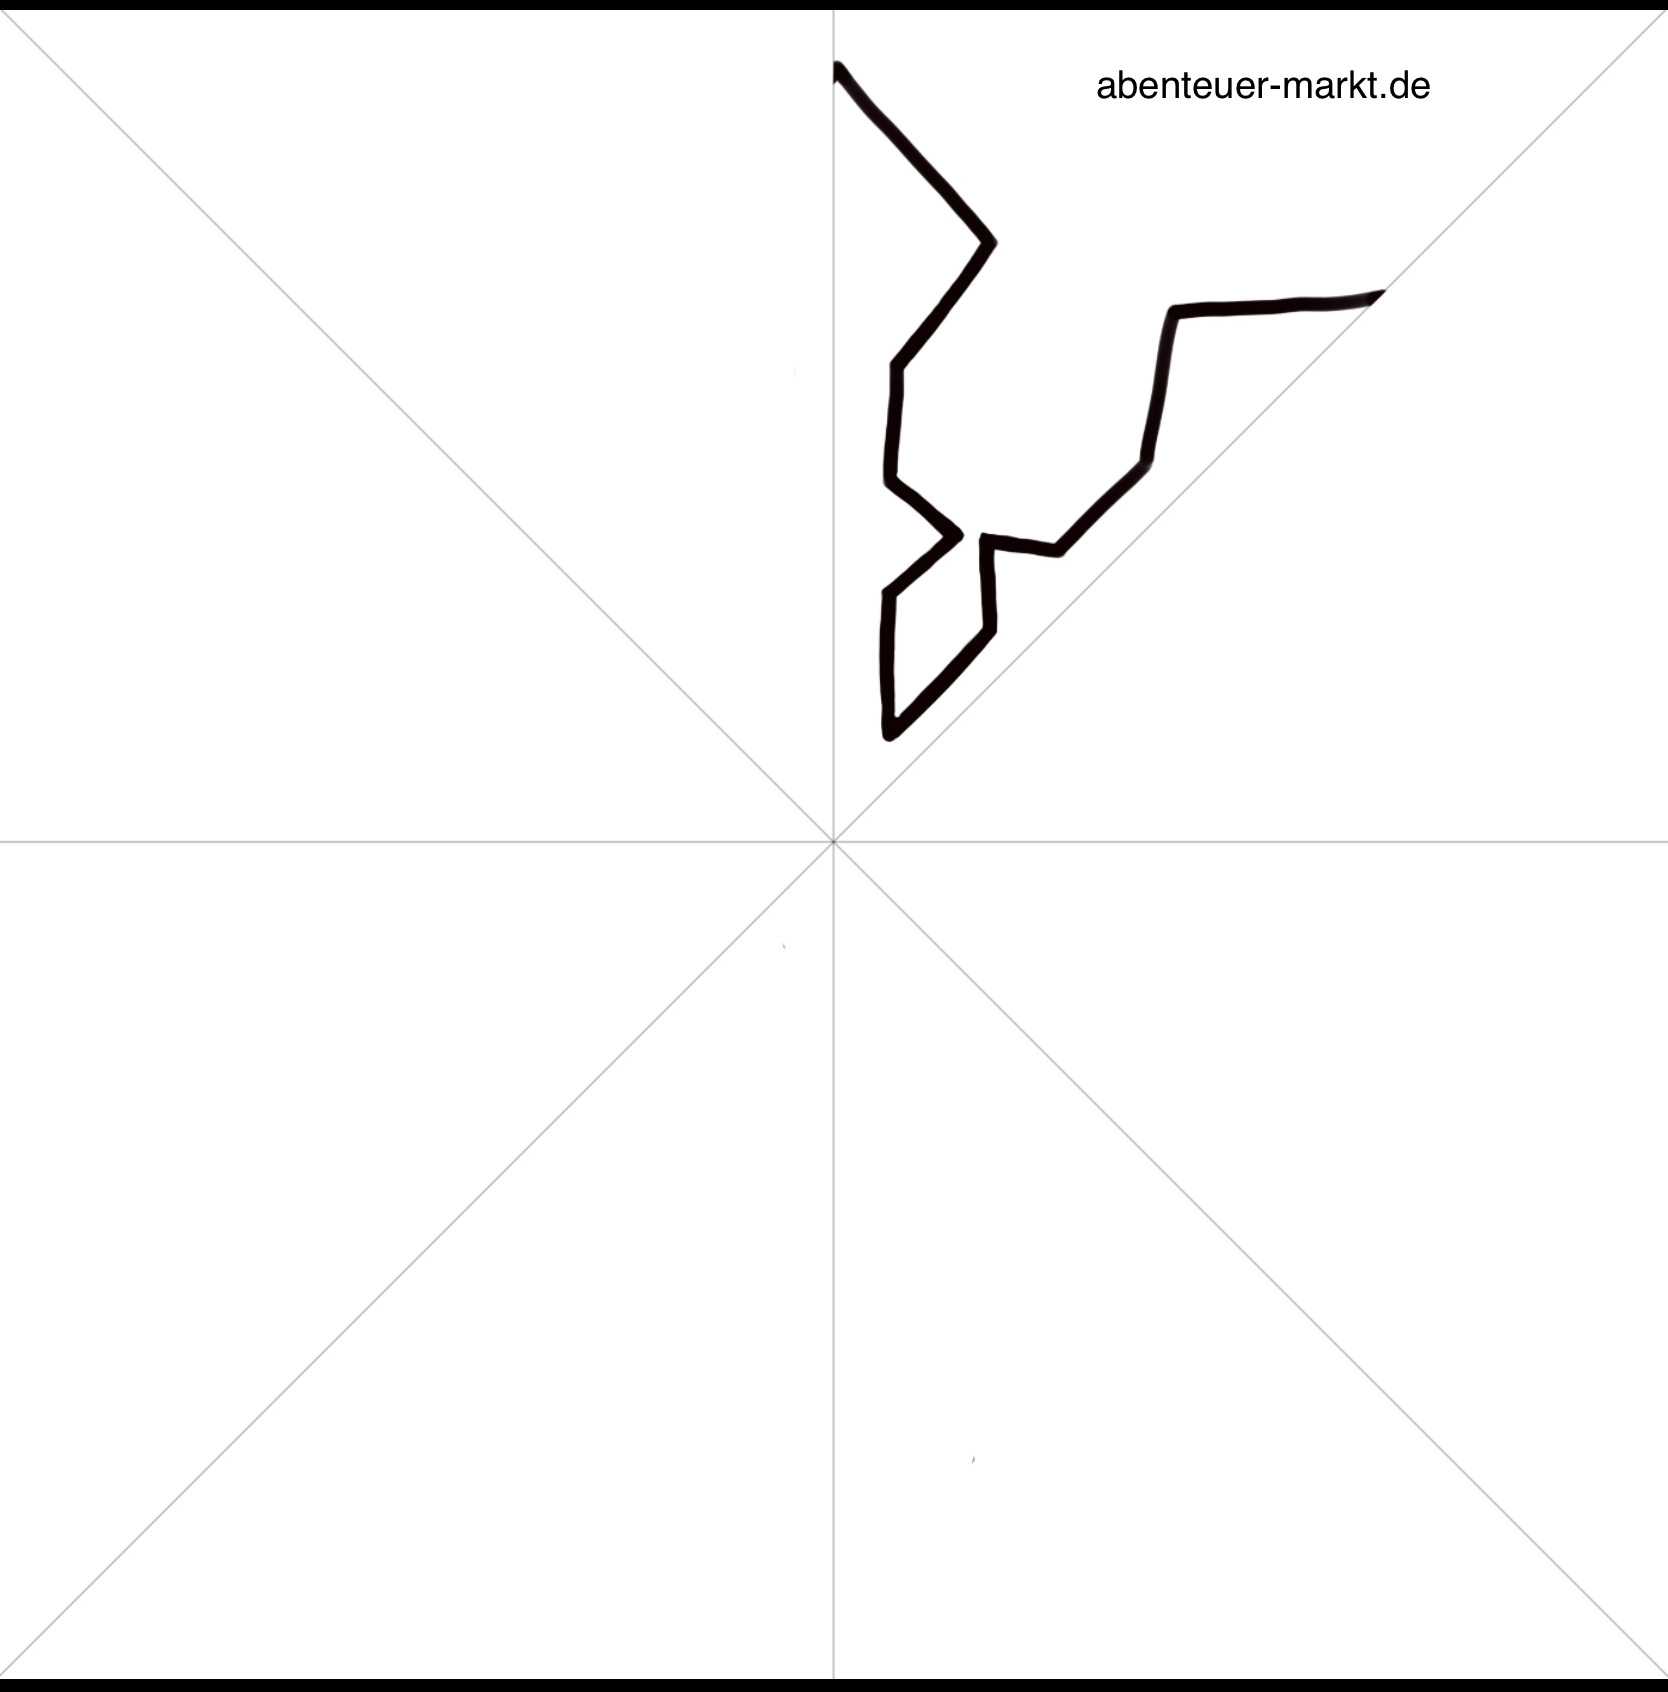


Print a template first.
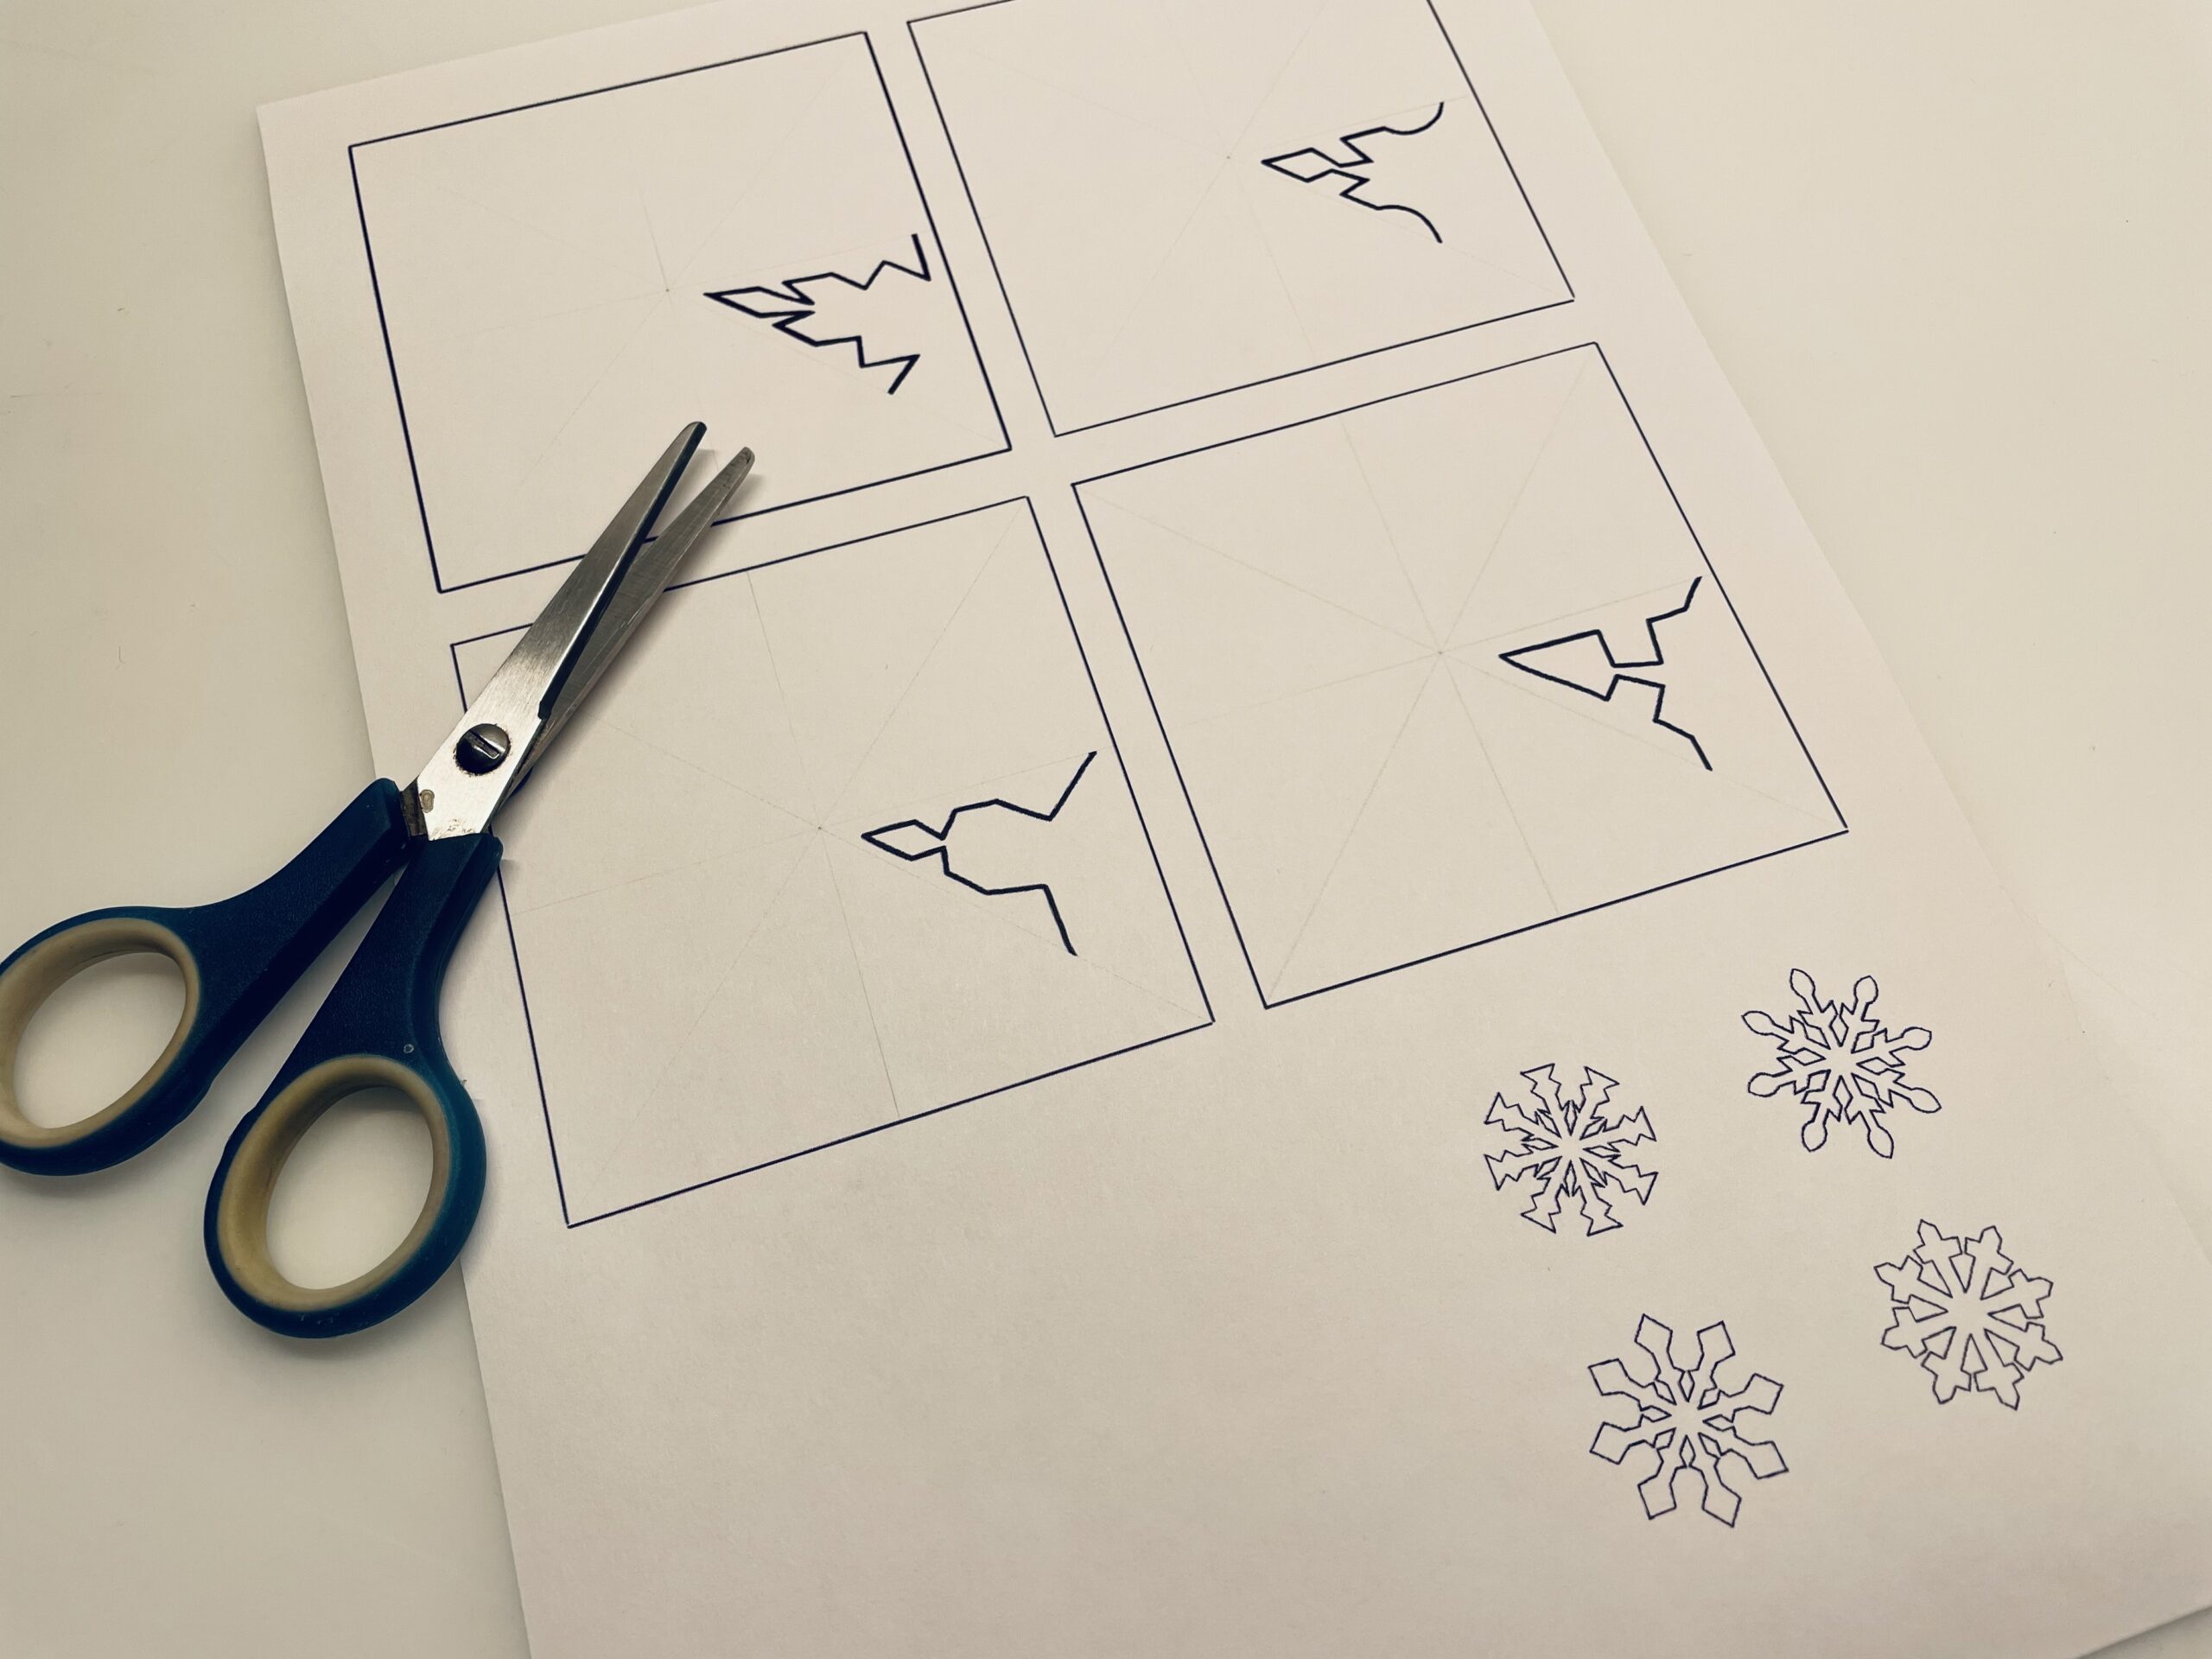


Then cut out the square of your chosen template.
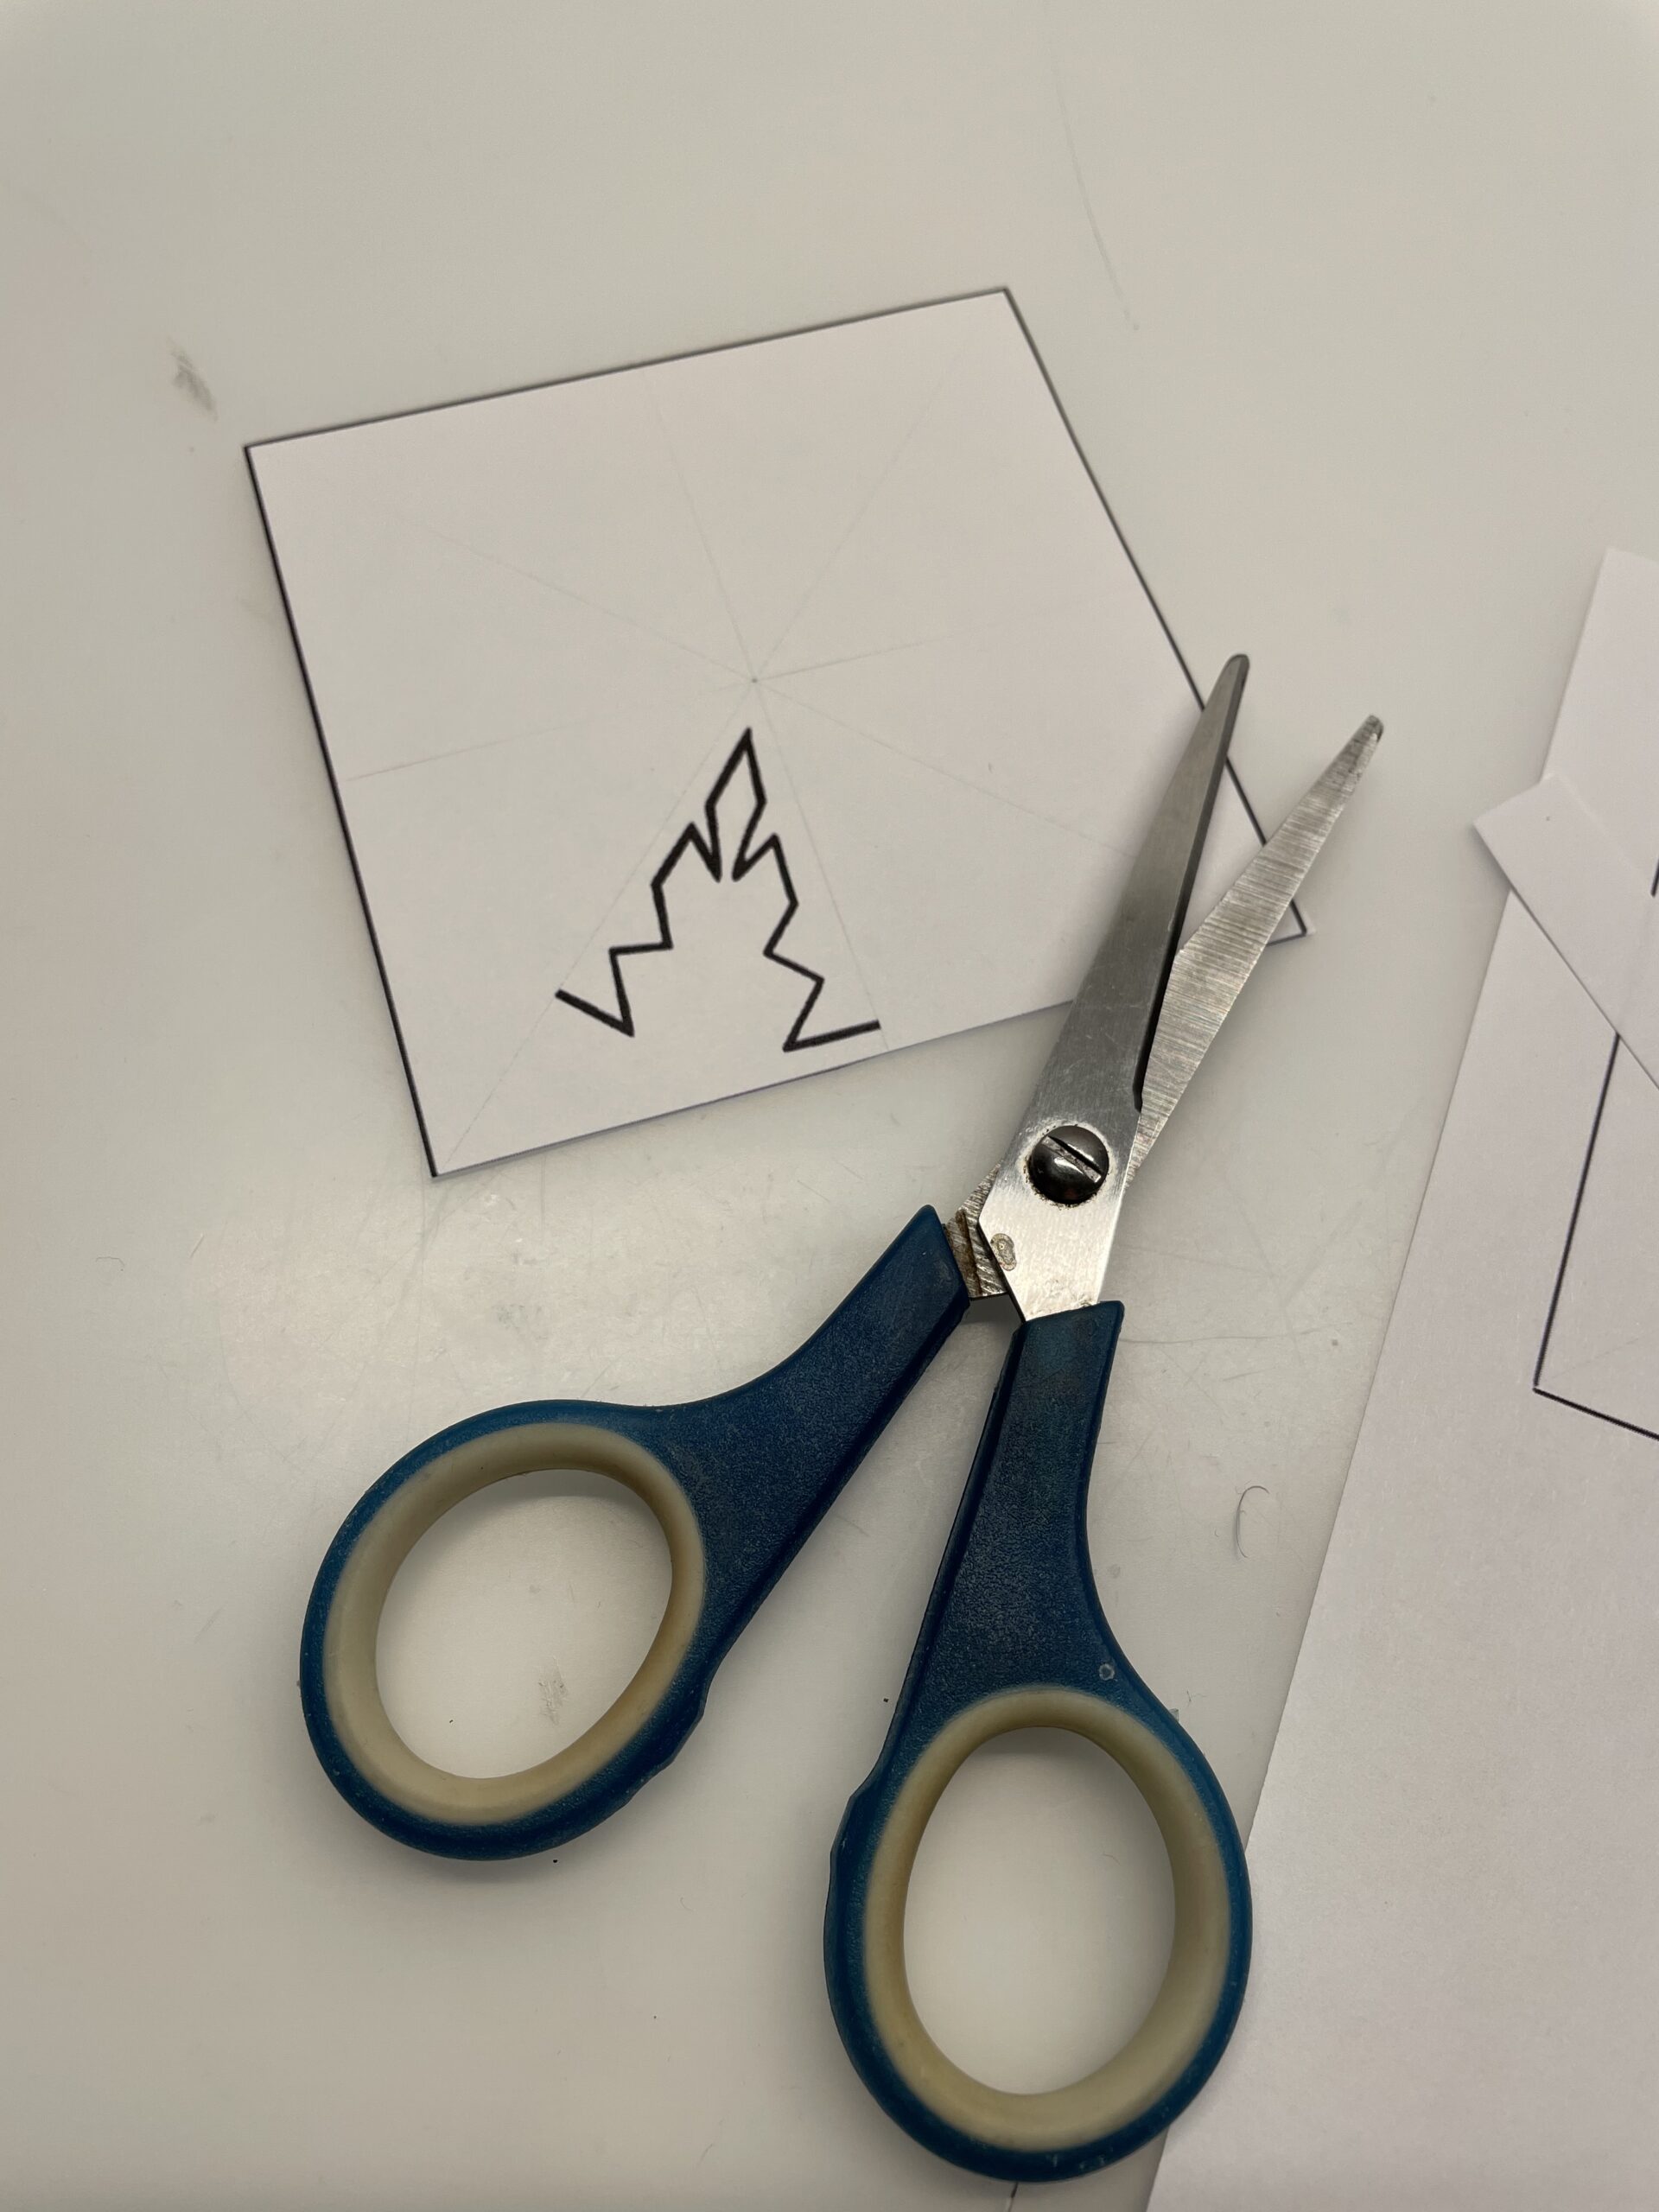


The folding lines are slightly marked. You can recognize them in the squares. Now fold the square into a triangle. Make sure that the pre-drawn cutting line is at the top.
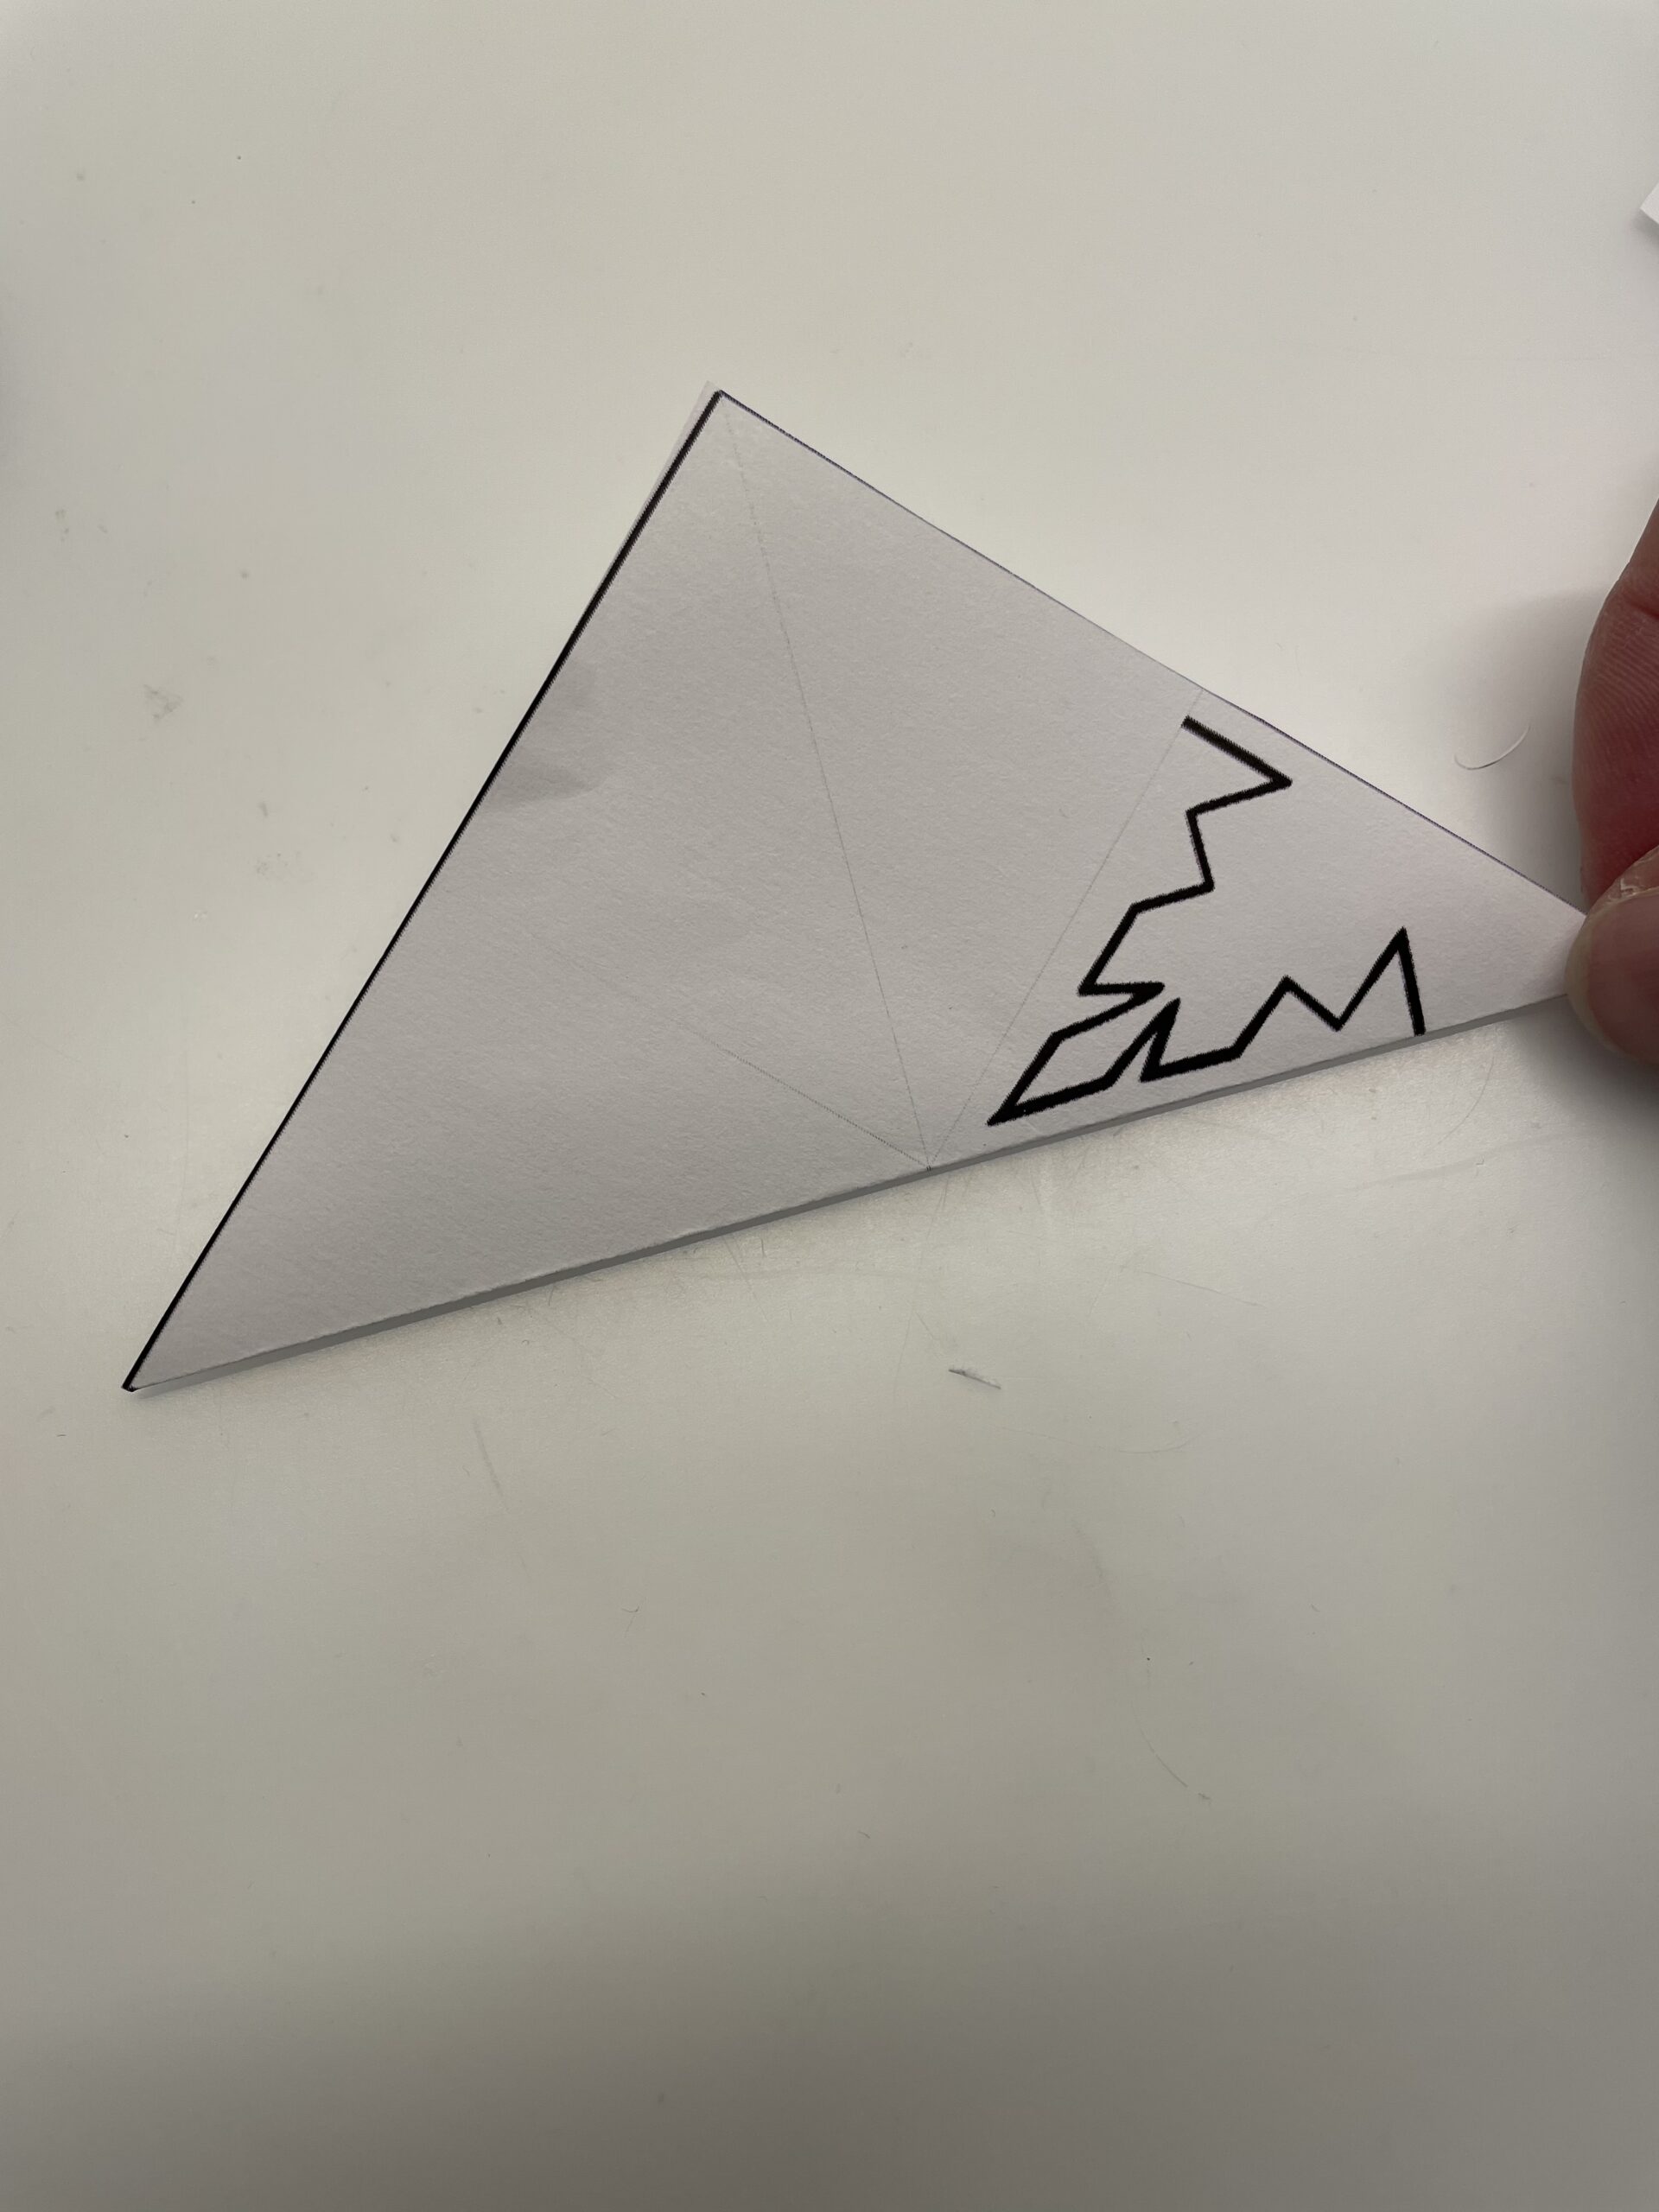


Then fold the triangle in half. Again, the cut template is on top.
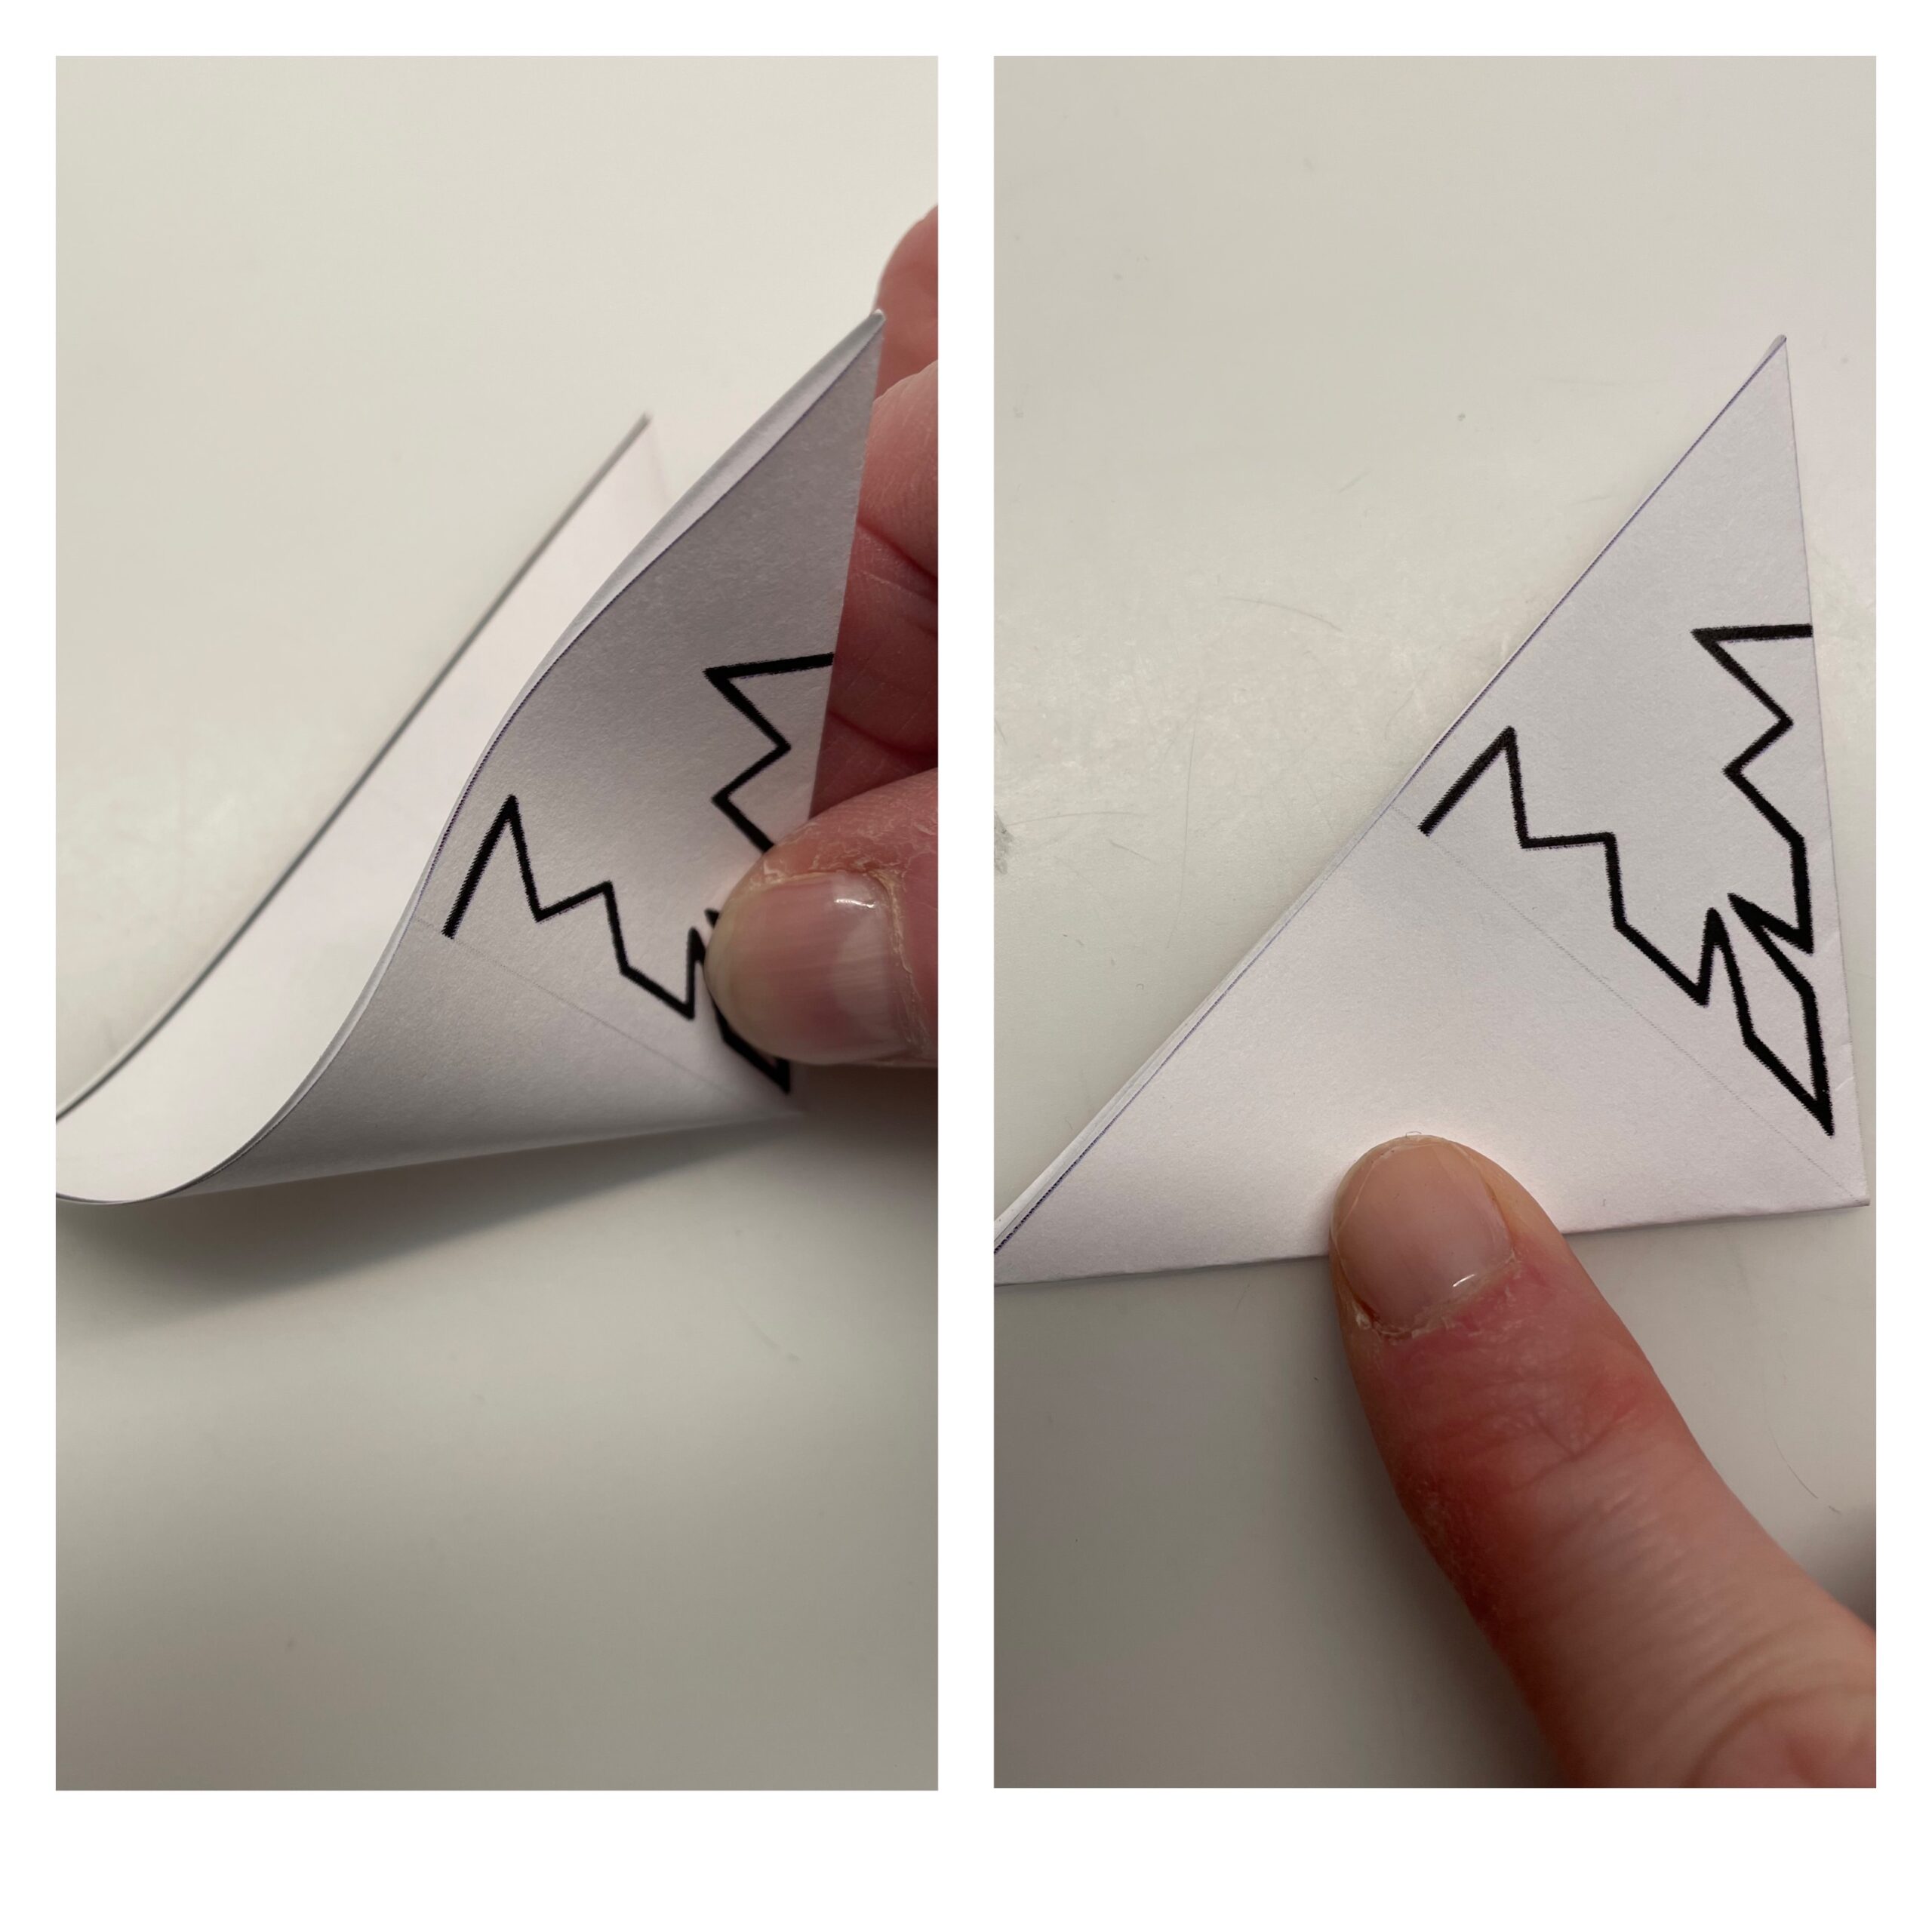


Then you fold the triangle again. Now you only see the cut template.
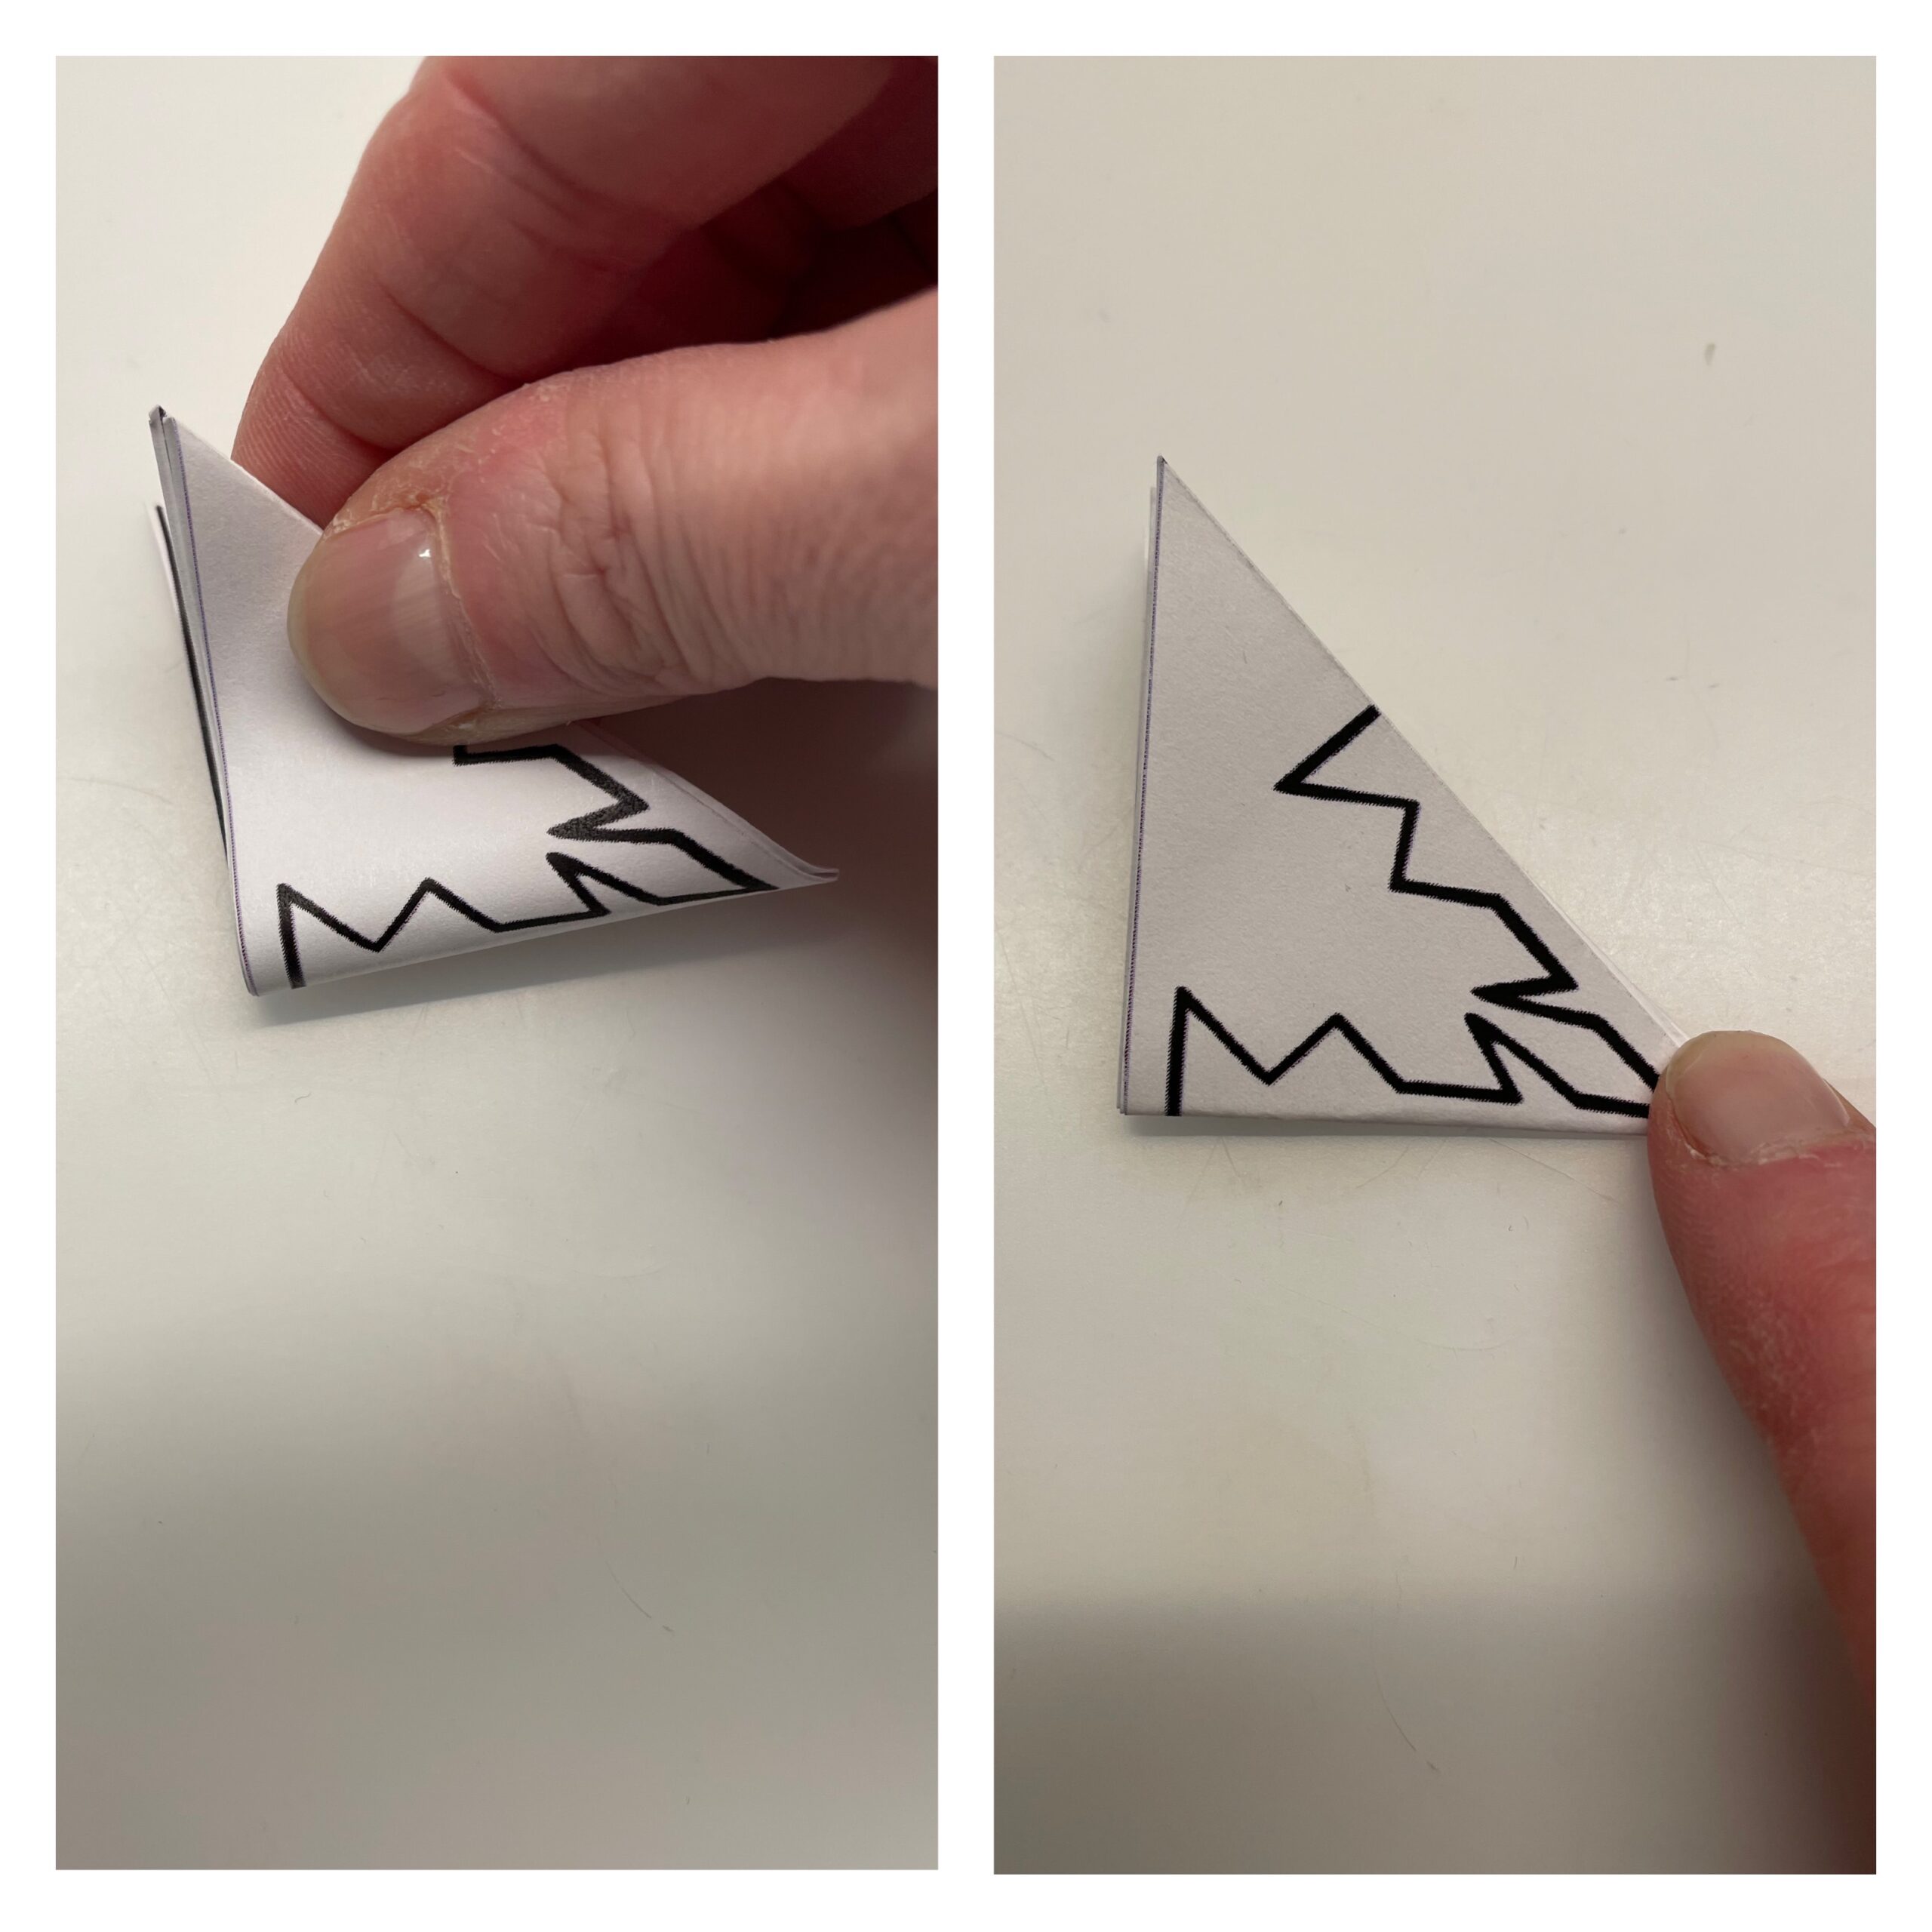


When folding, make sure to fold carefully and to stiffen the edges vigorously.
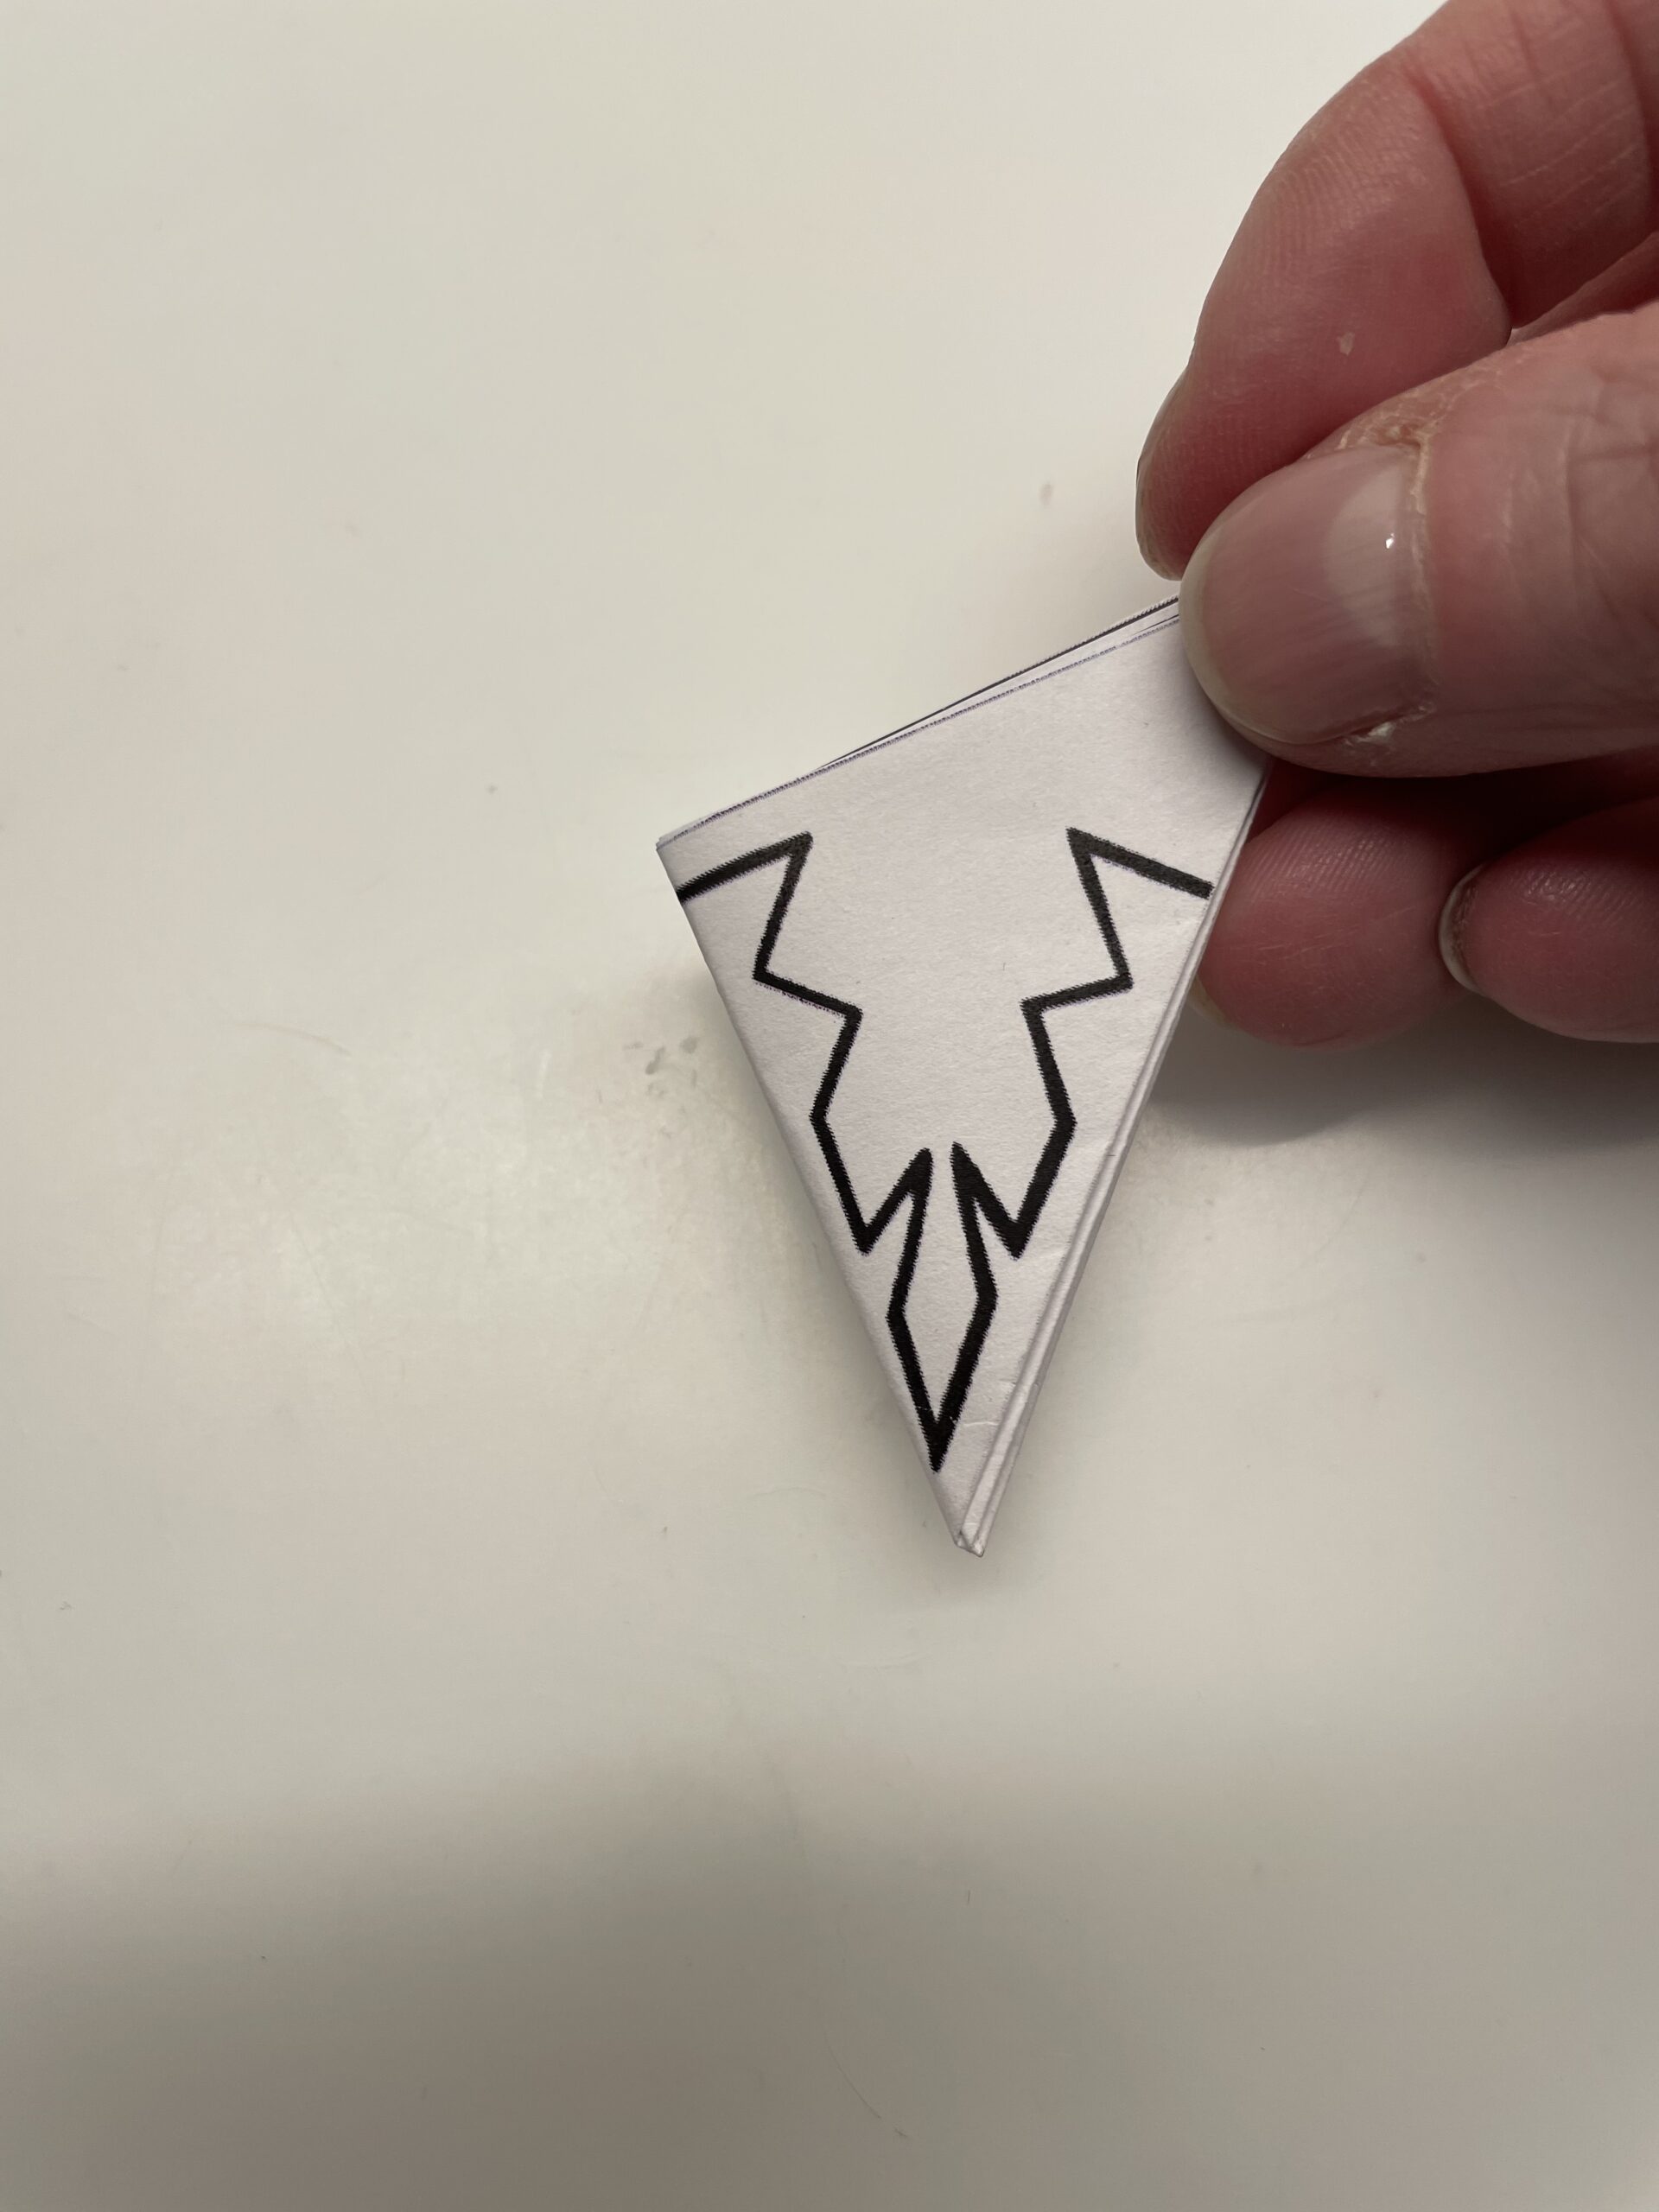


Now you cut the snow crystal from the open side. Make sure that you do not cut completely to the edge on the thin sides, otherwise the snow crystal falls apart. Leave something of the line.
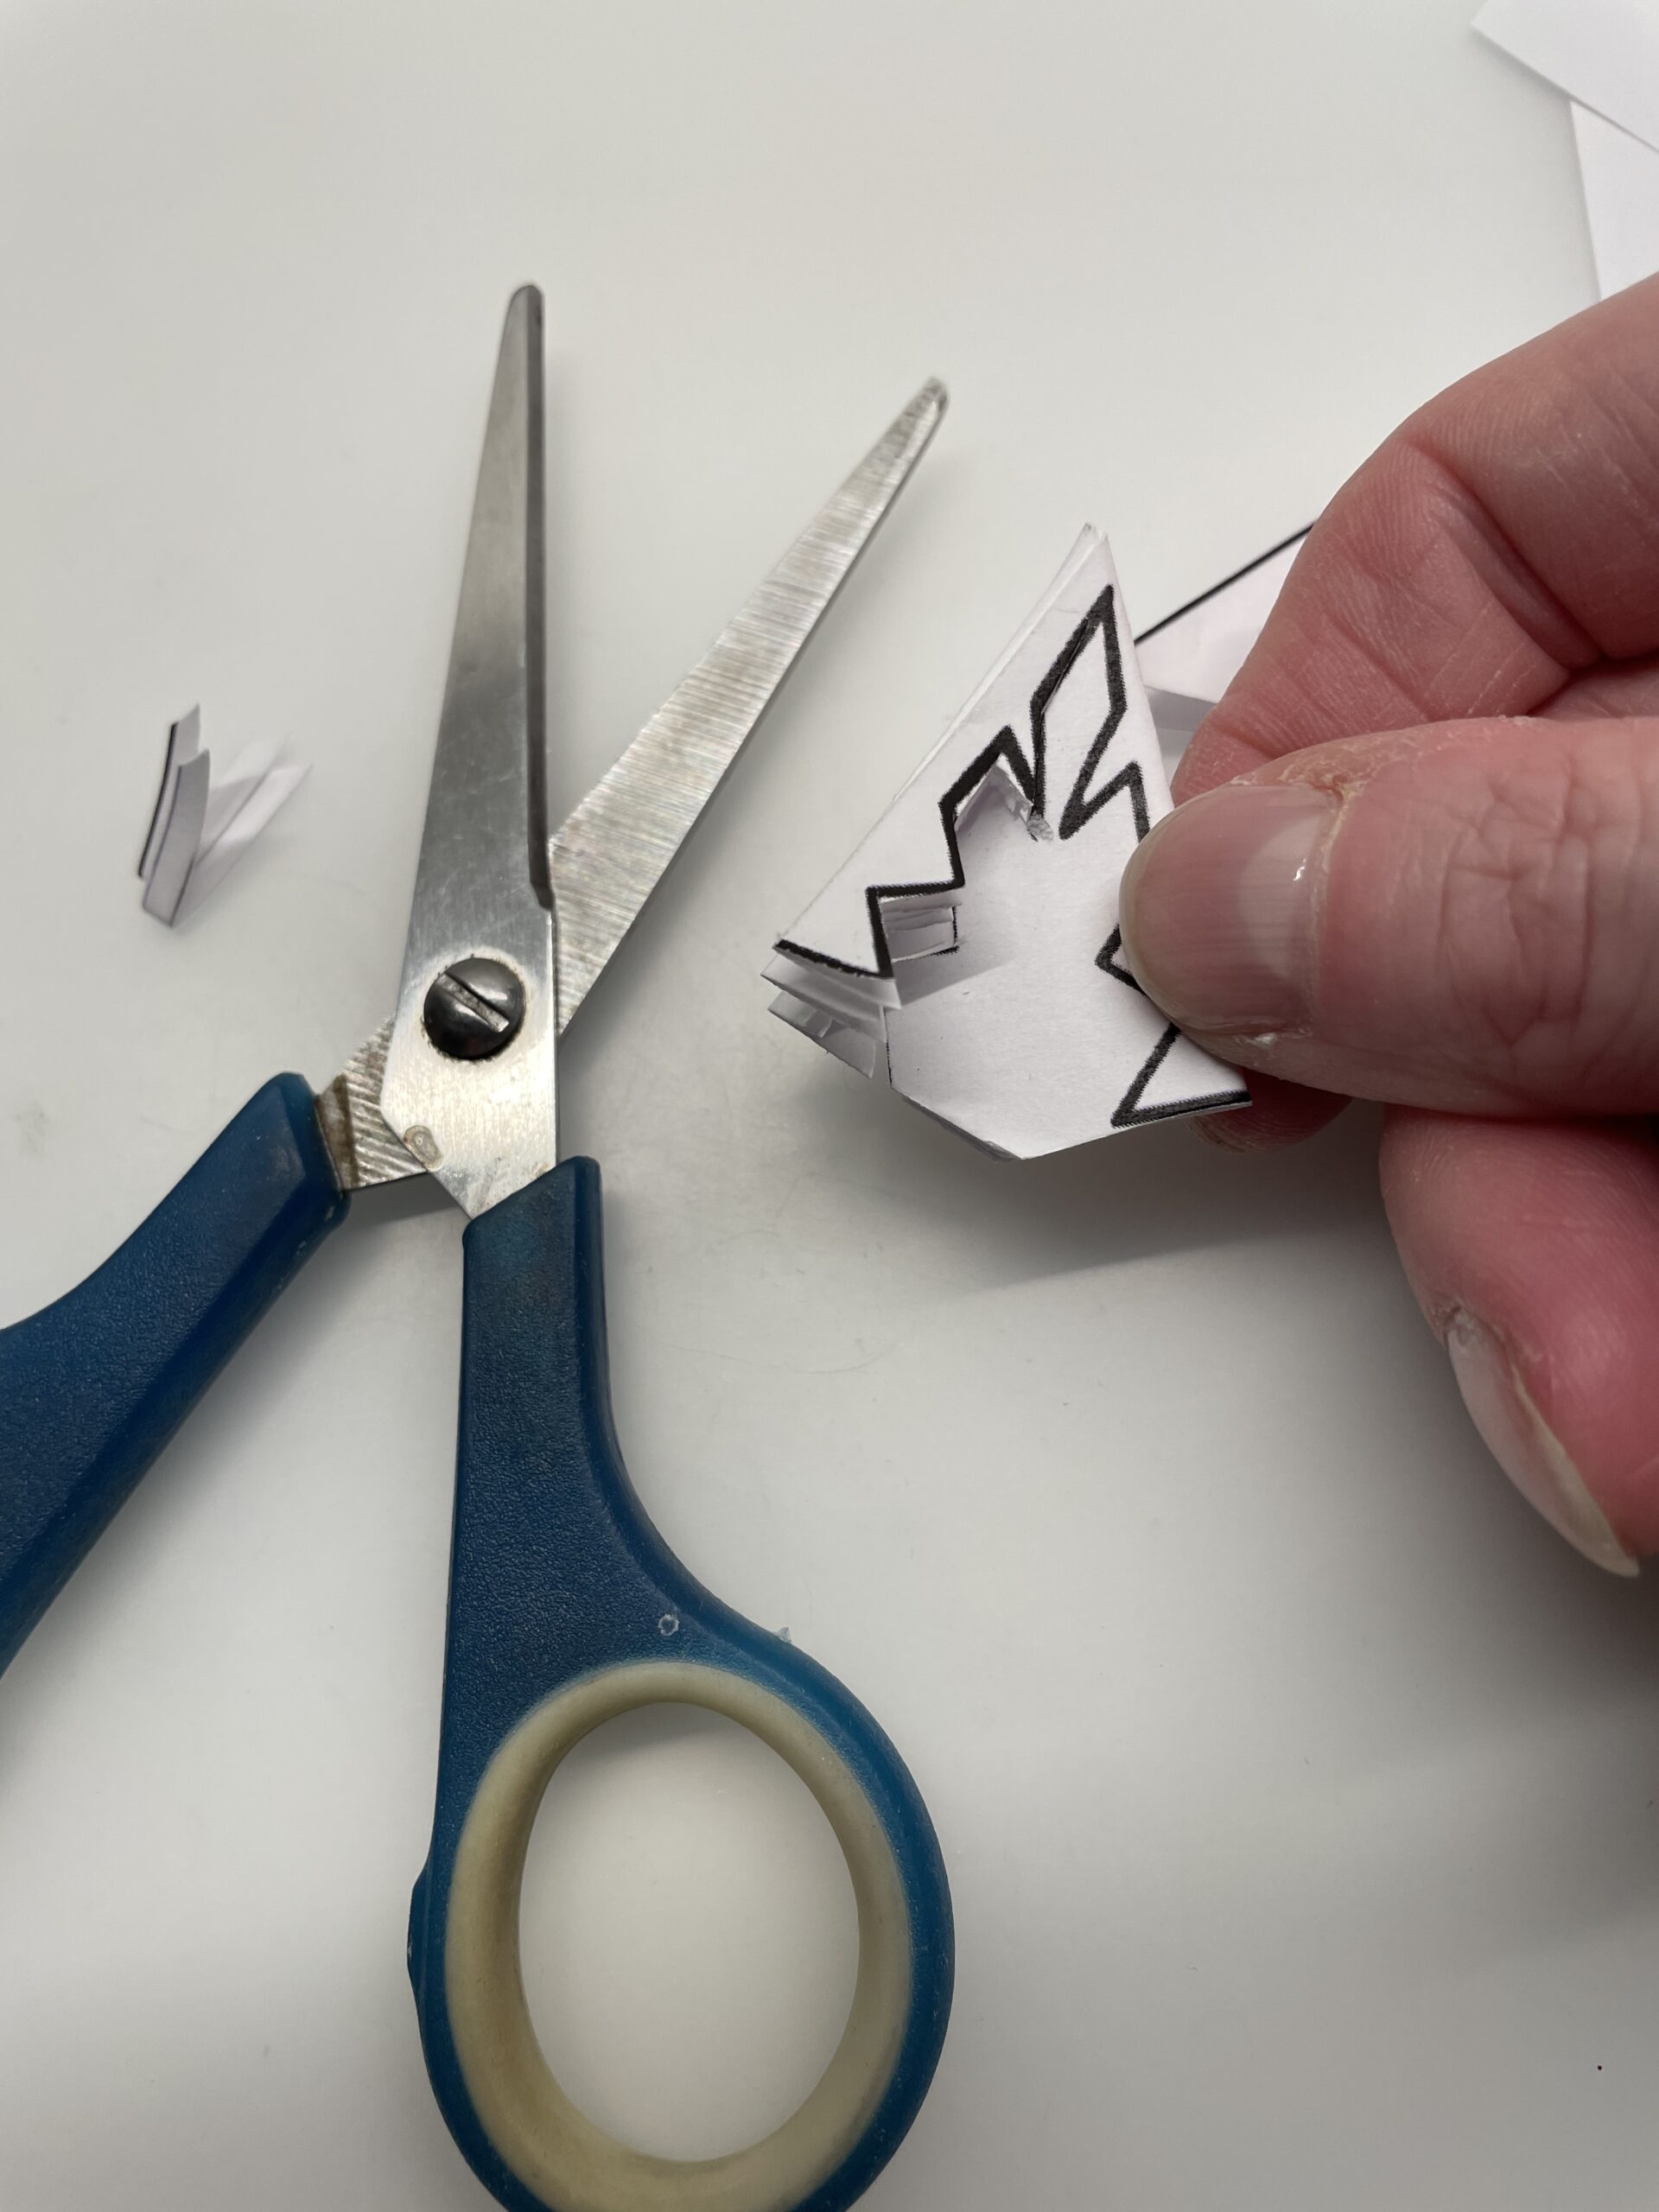


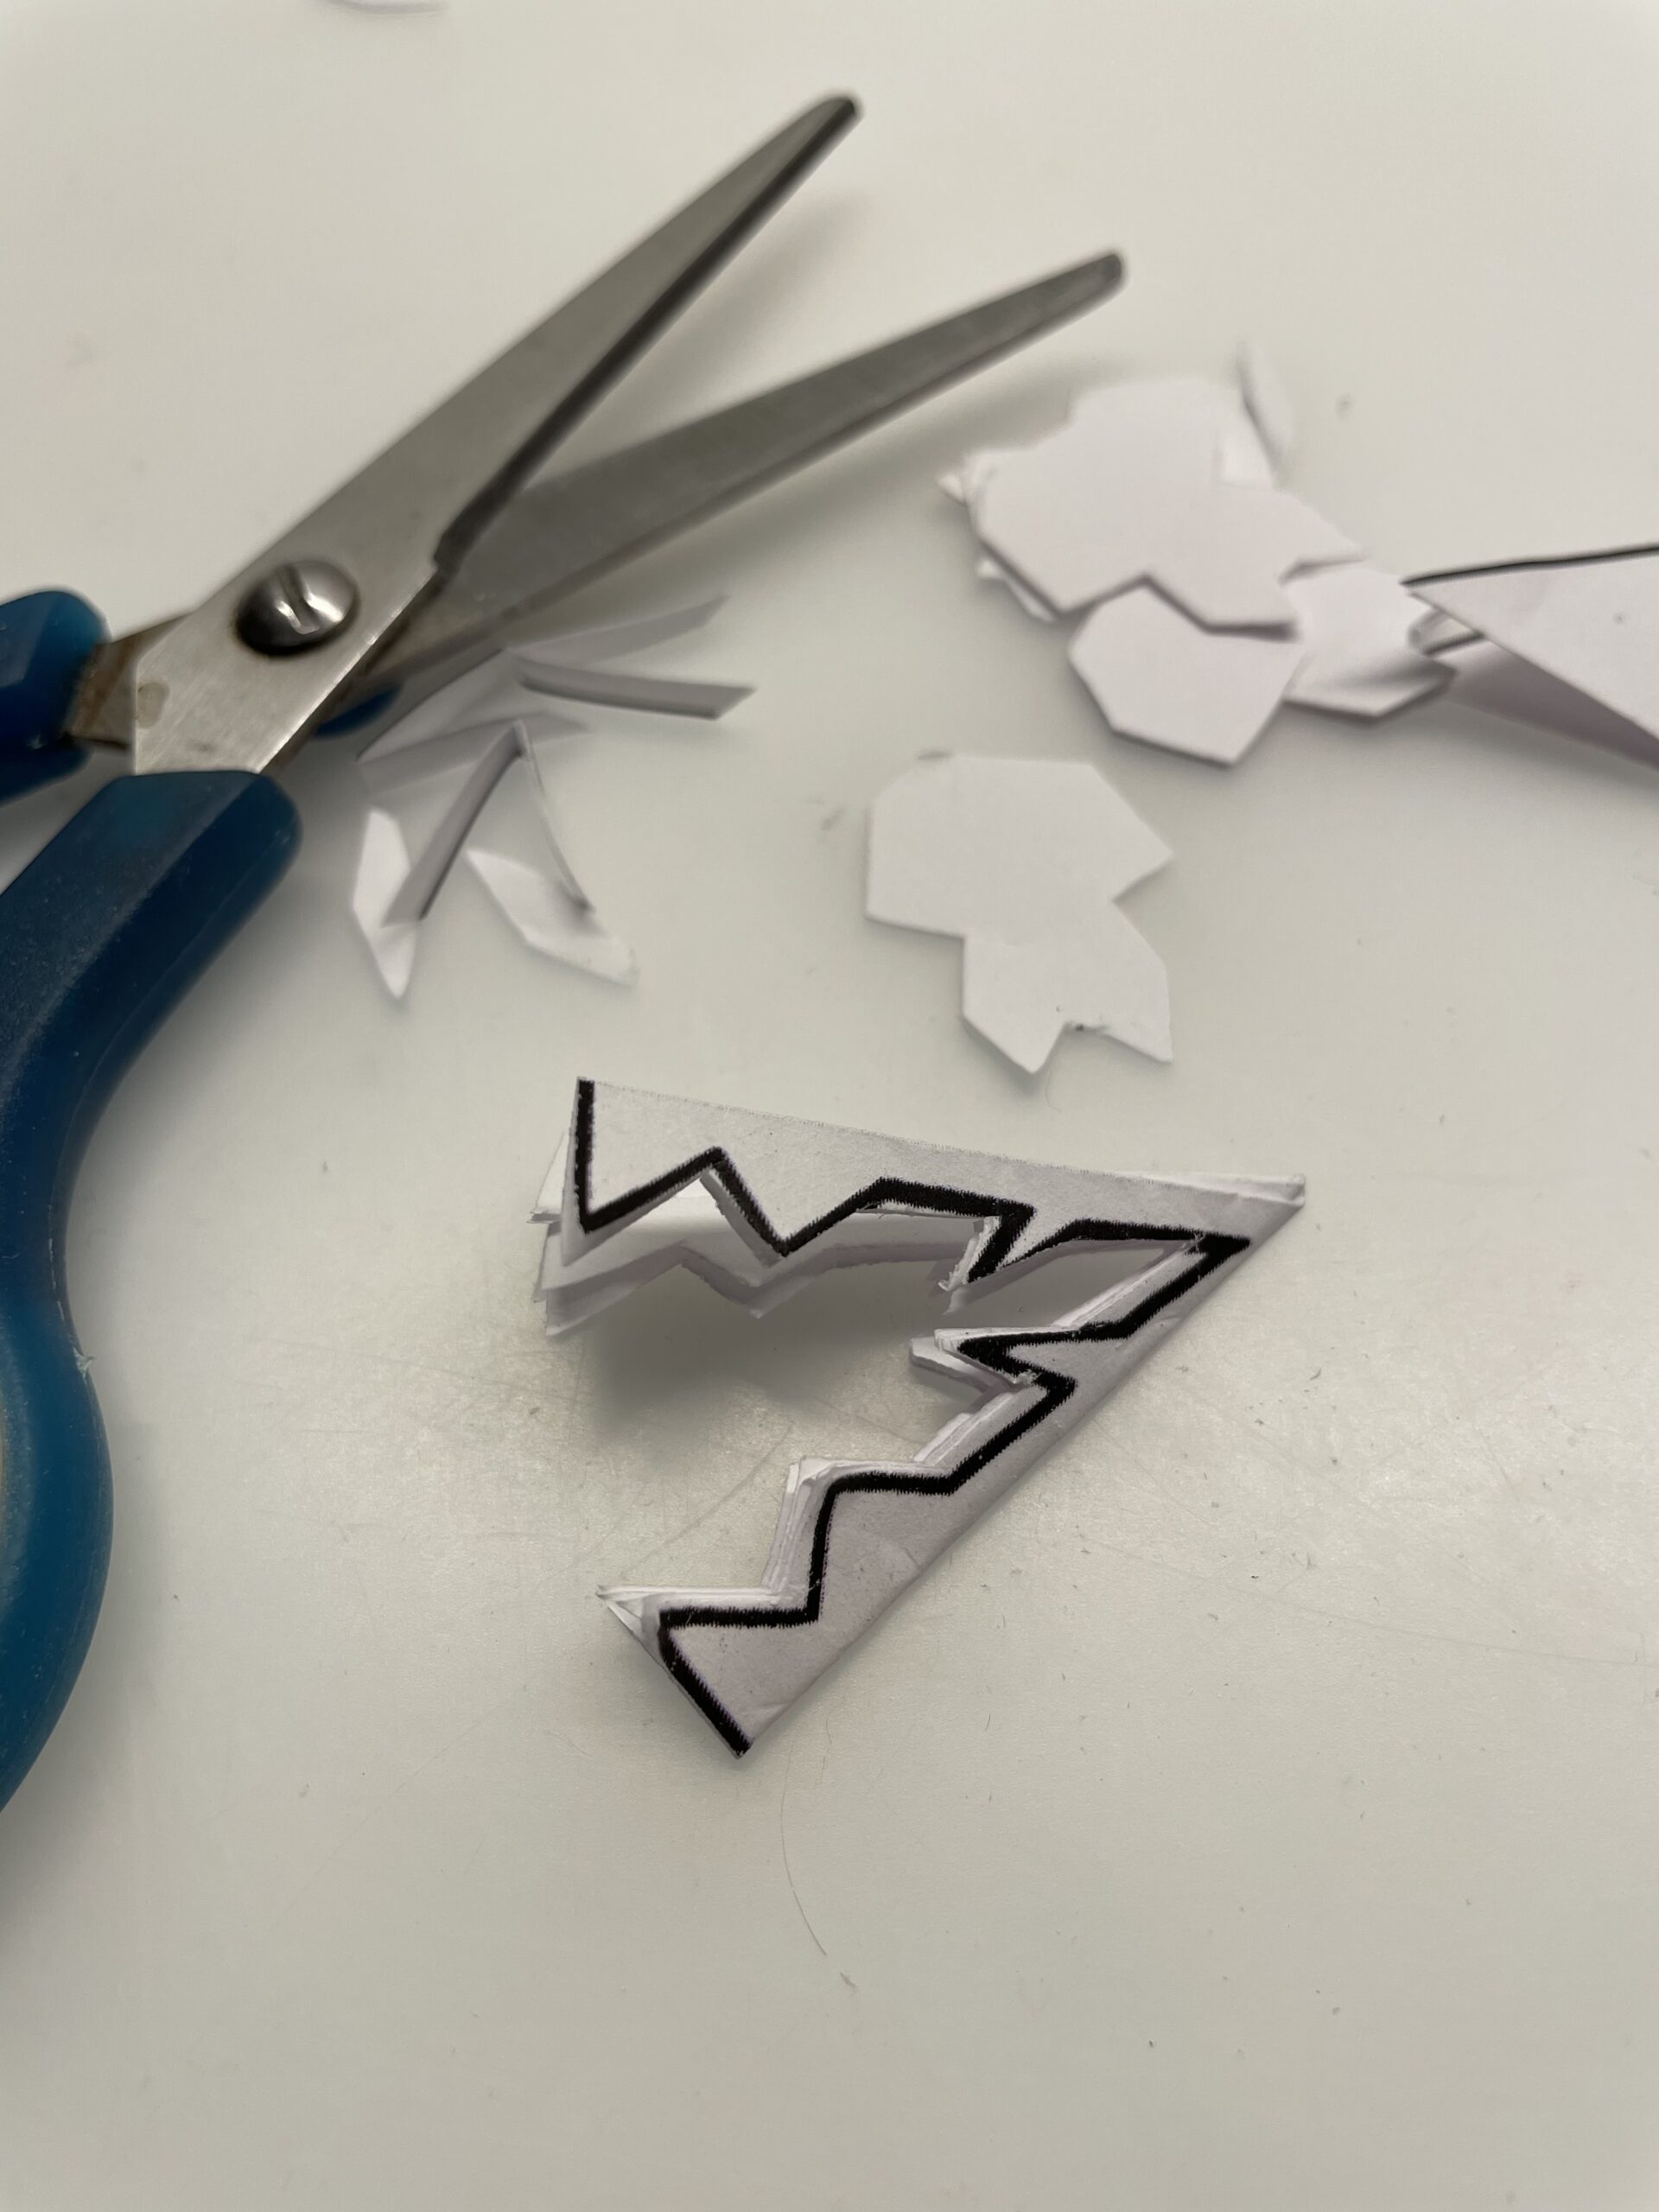


Now start folding the crystal very carefully.
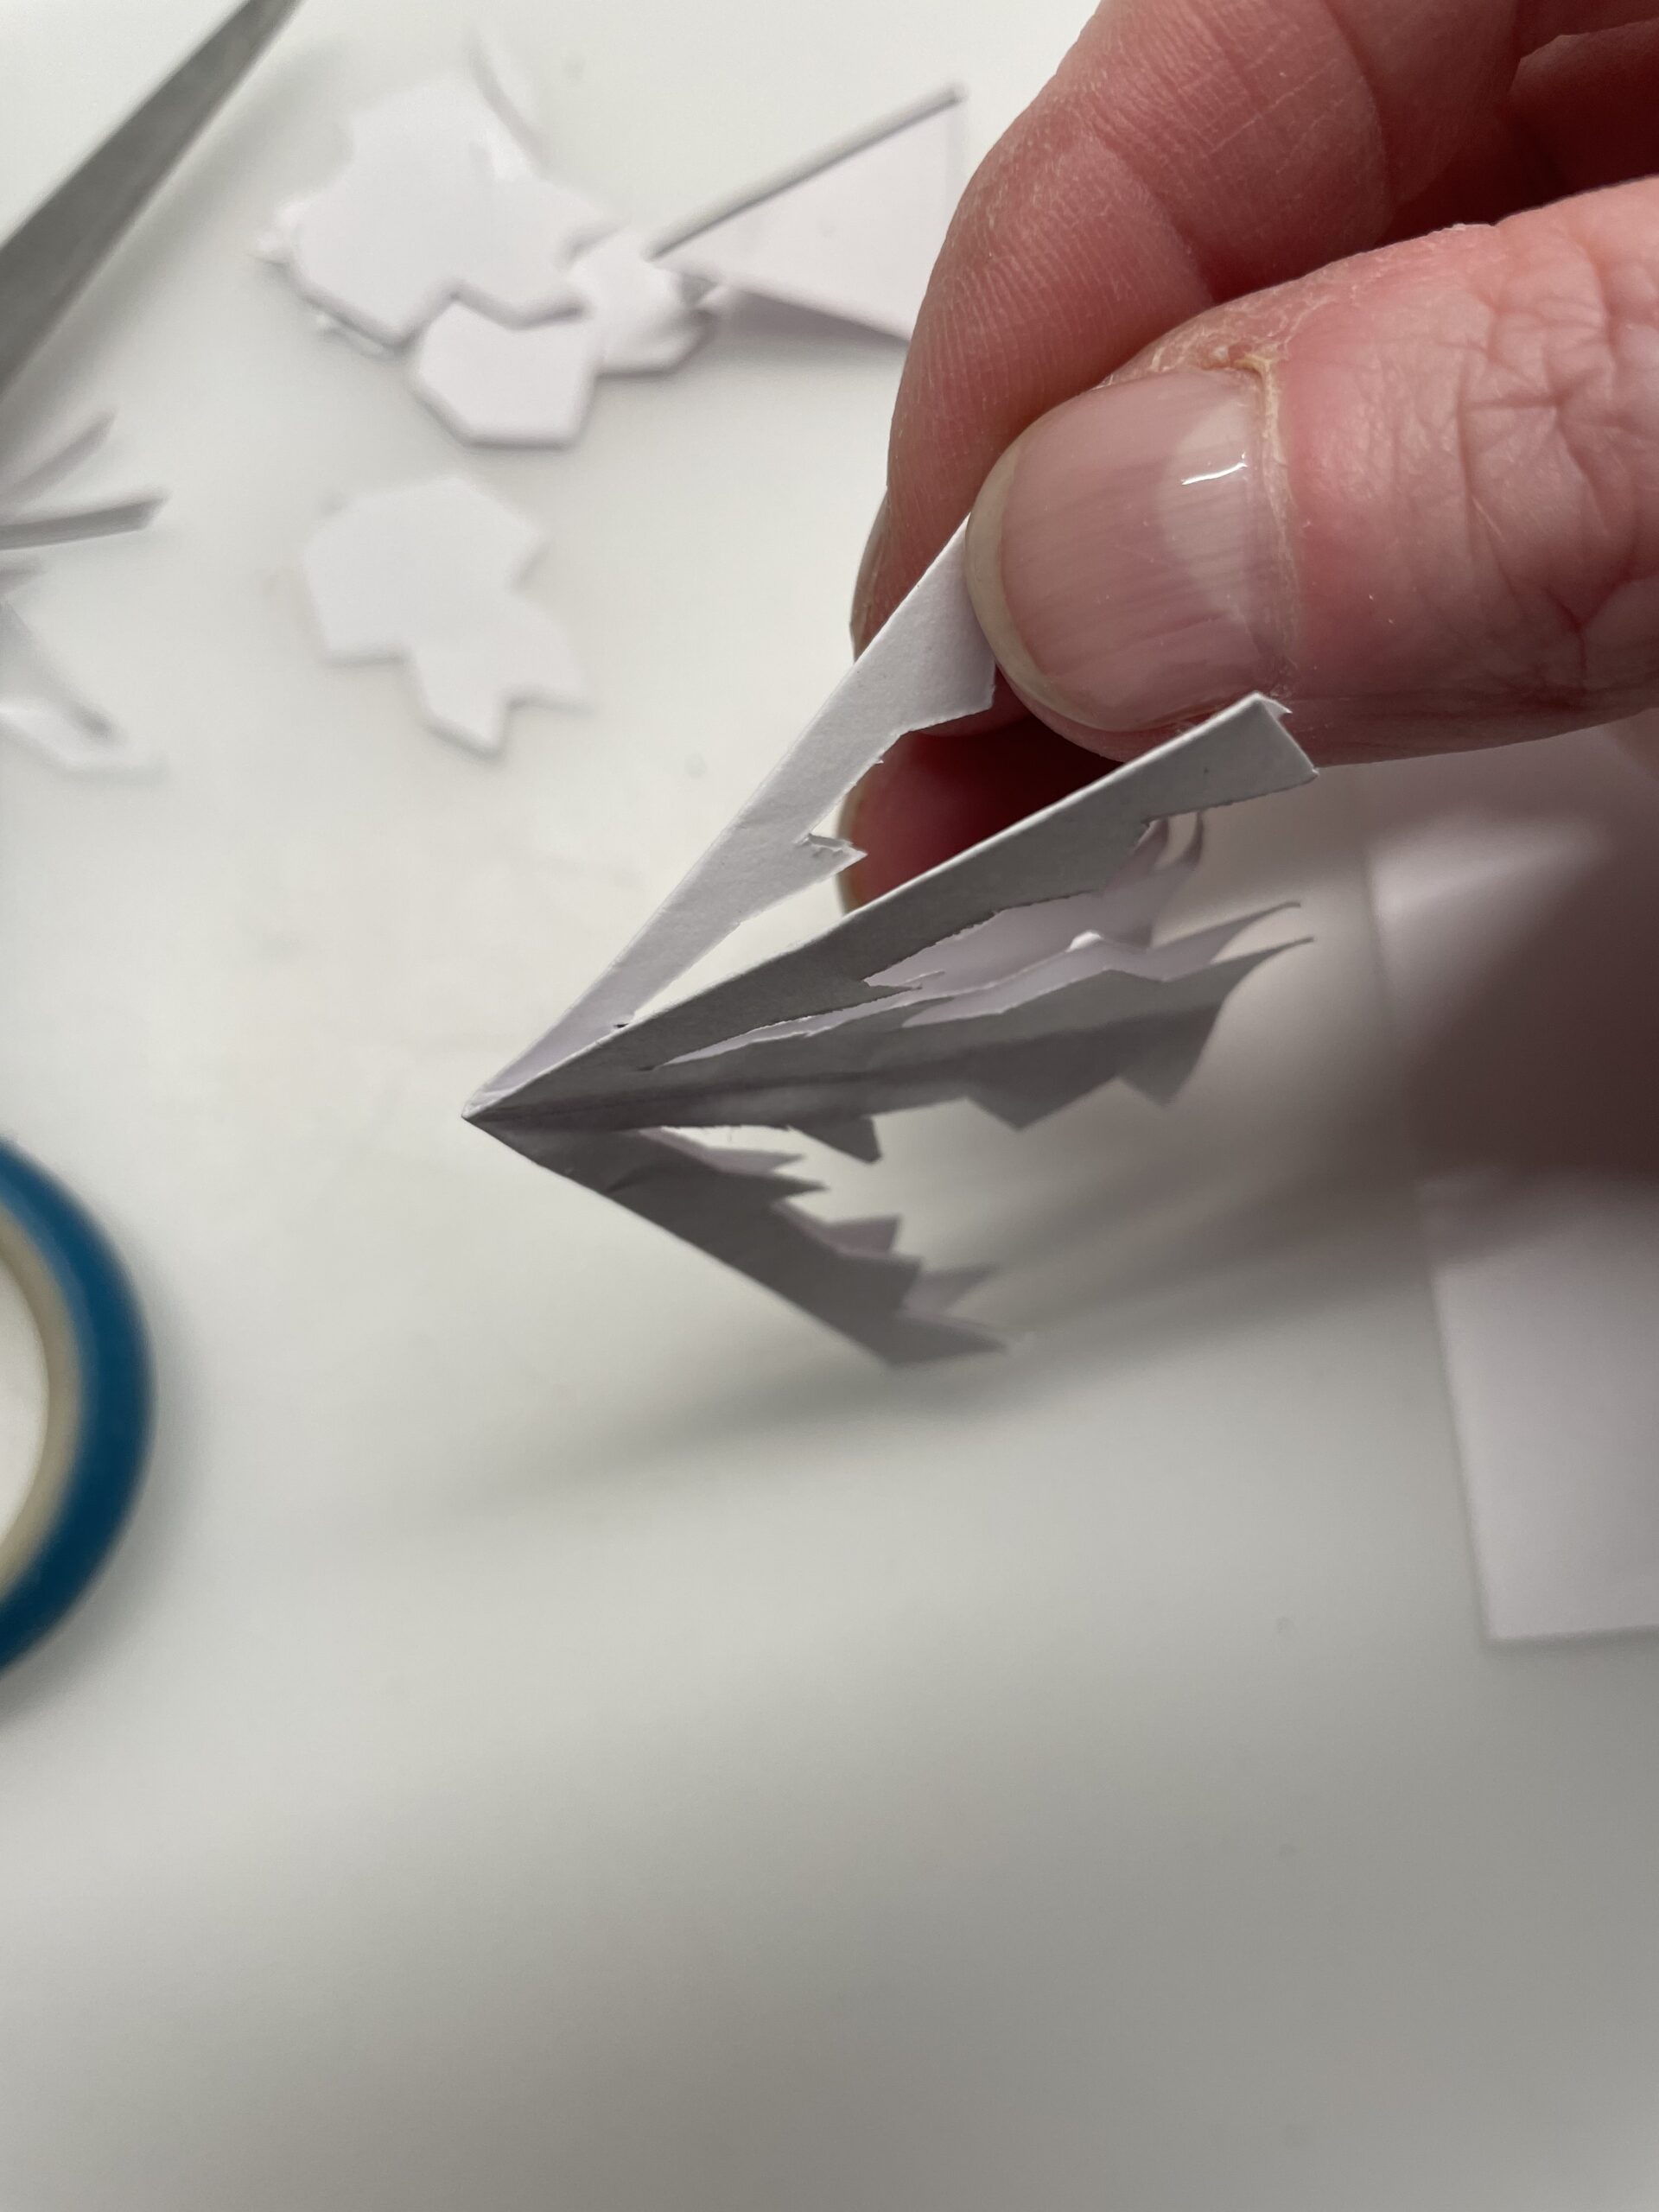


For this, you start on a folded side and fold the crystal step by step apart.
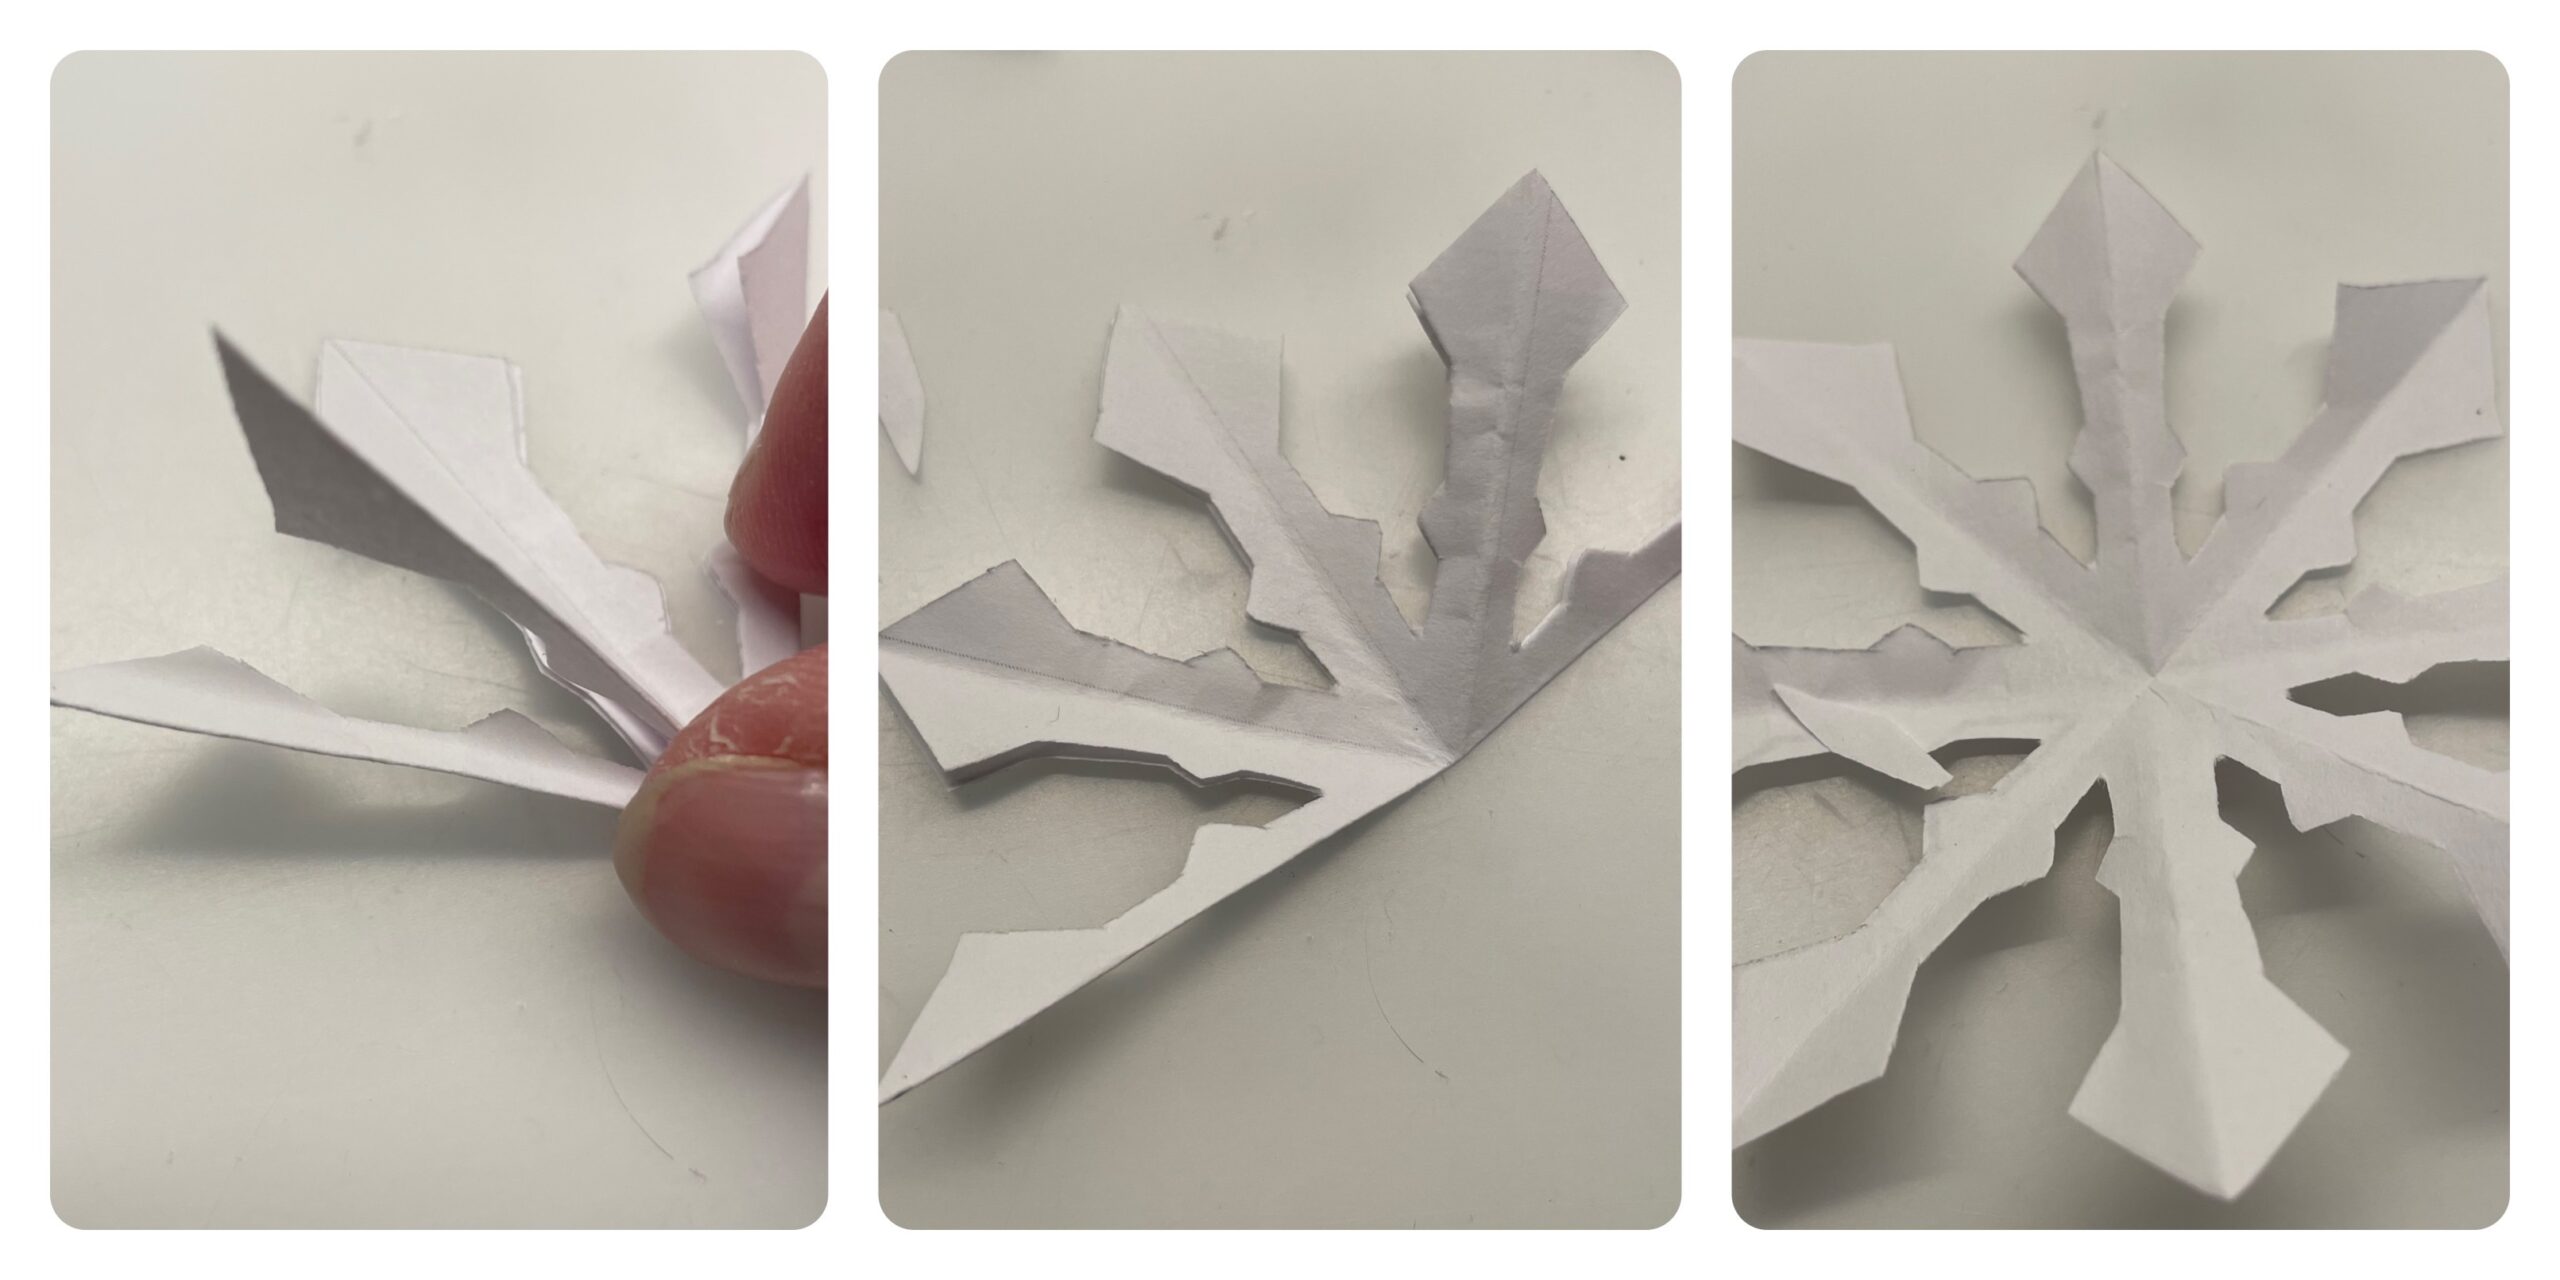


The snow crystal is ready.
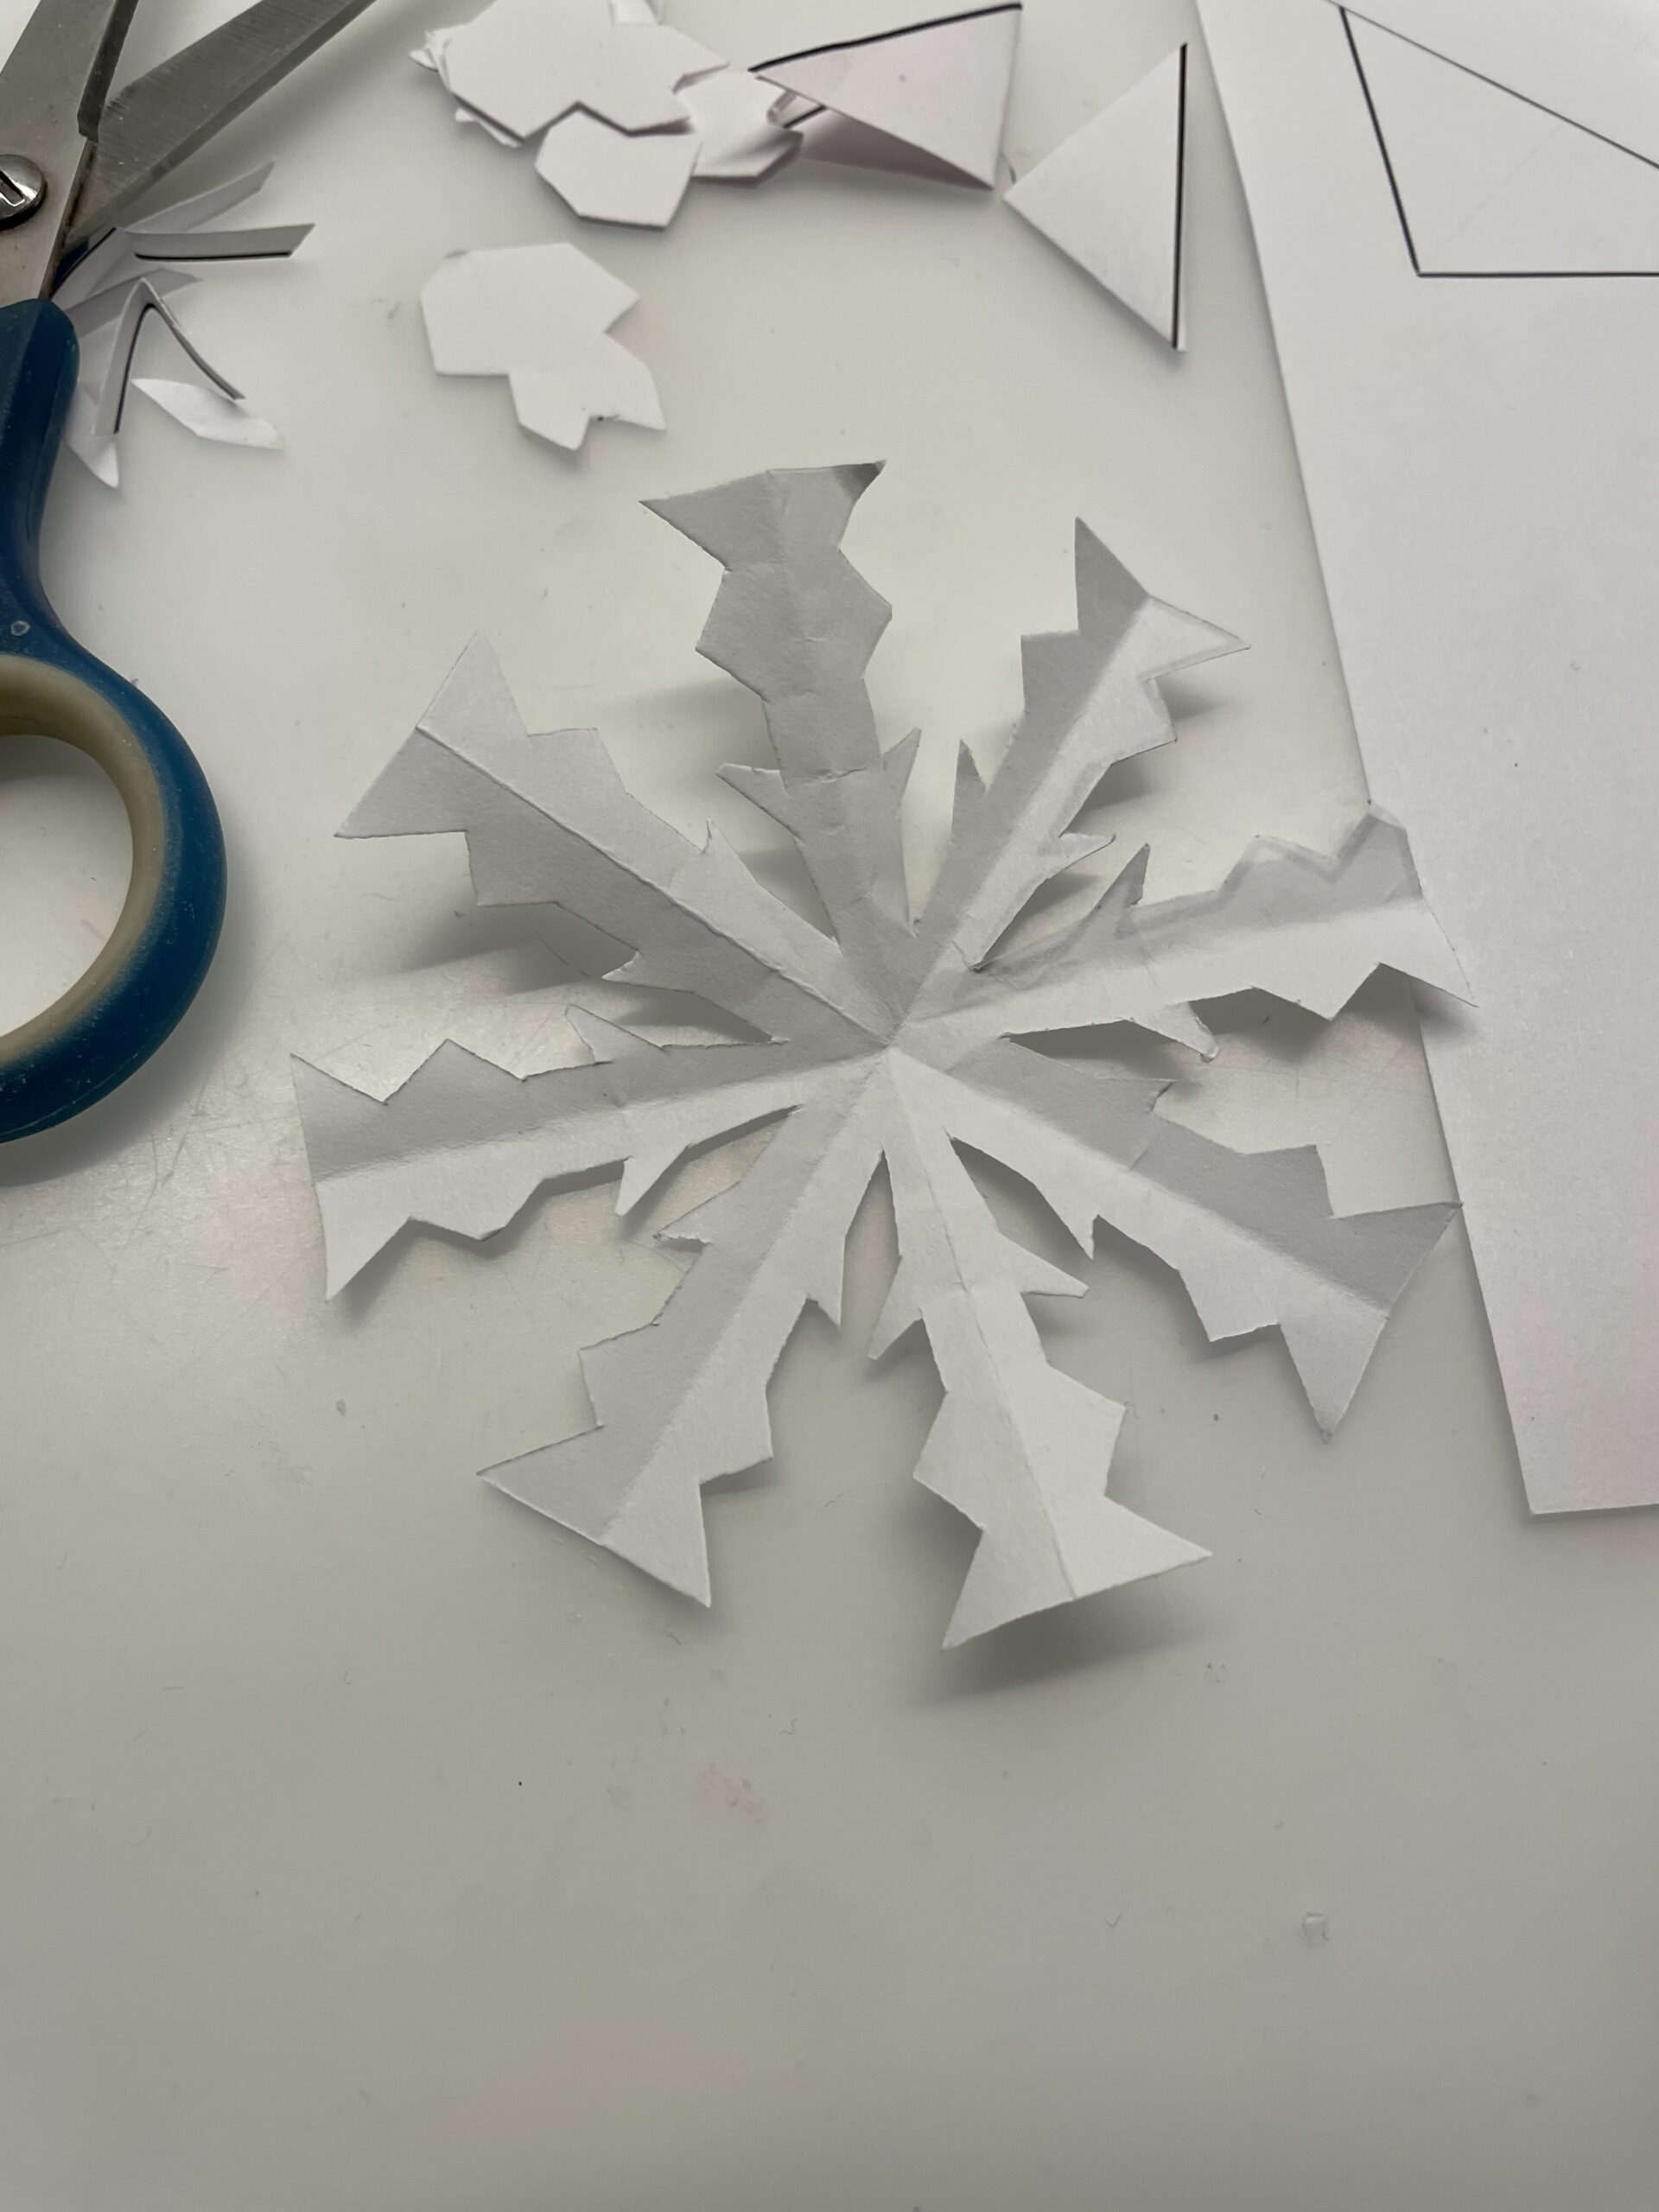


In this way you can make snow crystals from all cutting templates.
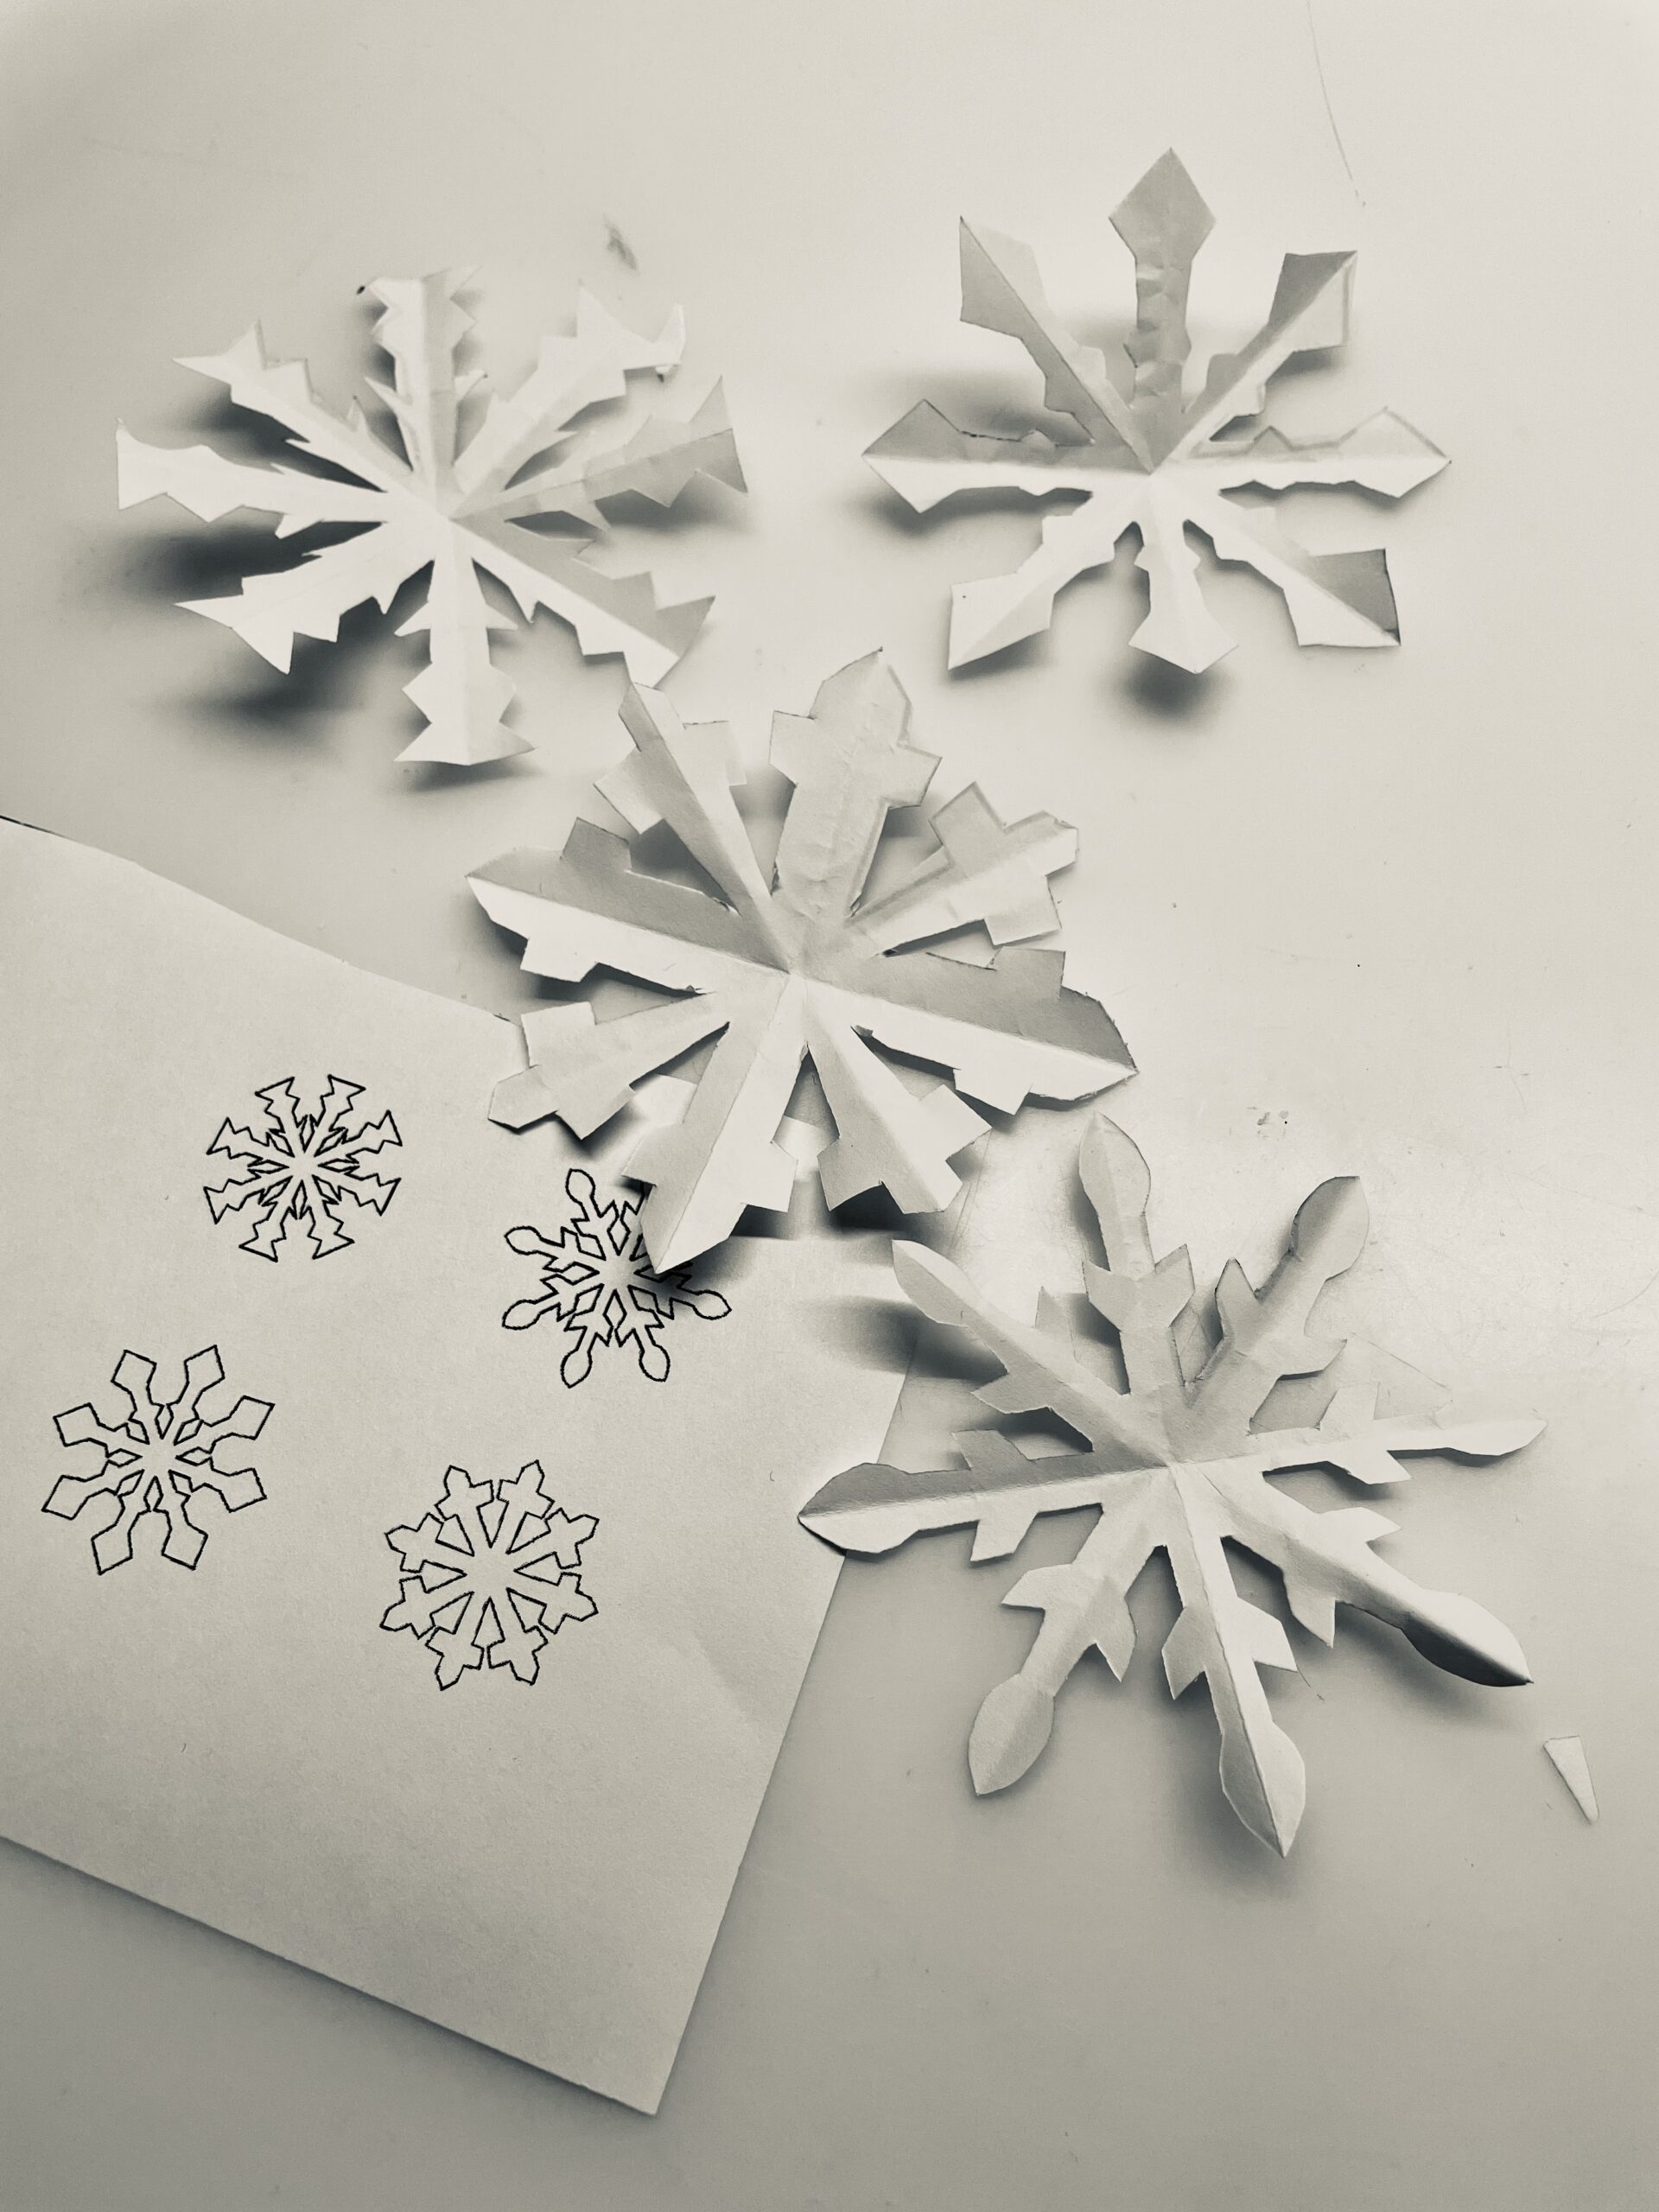


The larger the crystal is to be, the easier the crafting process.
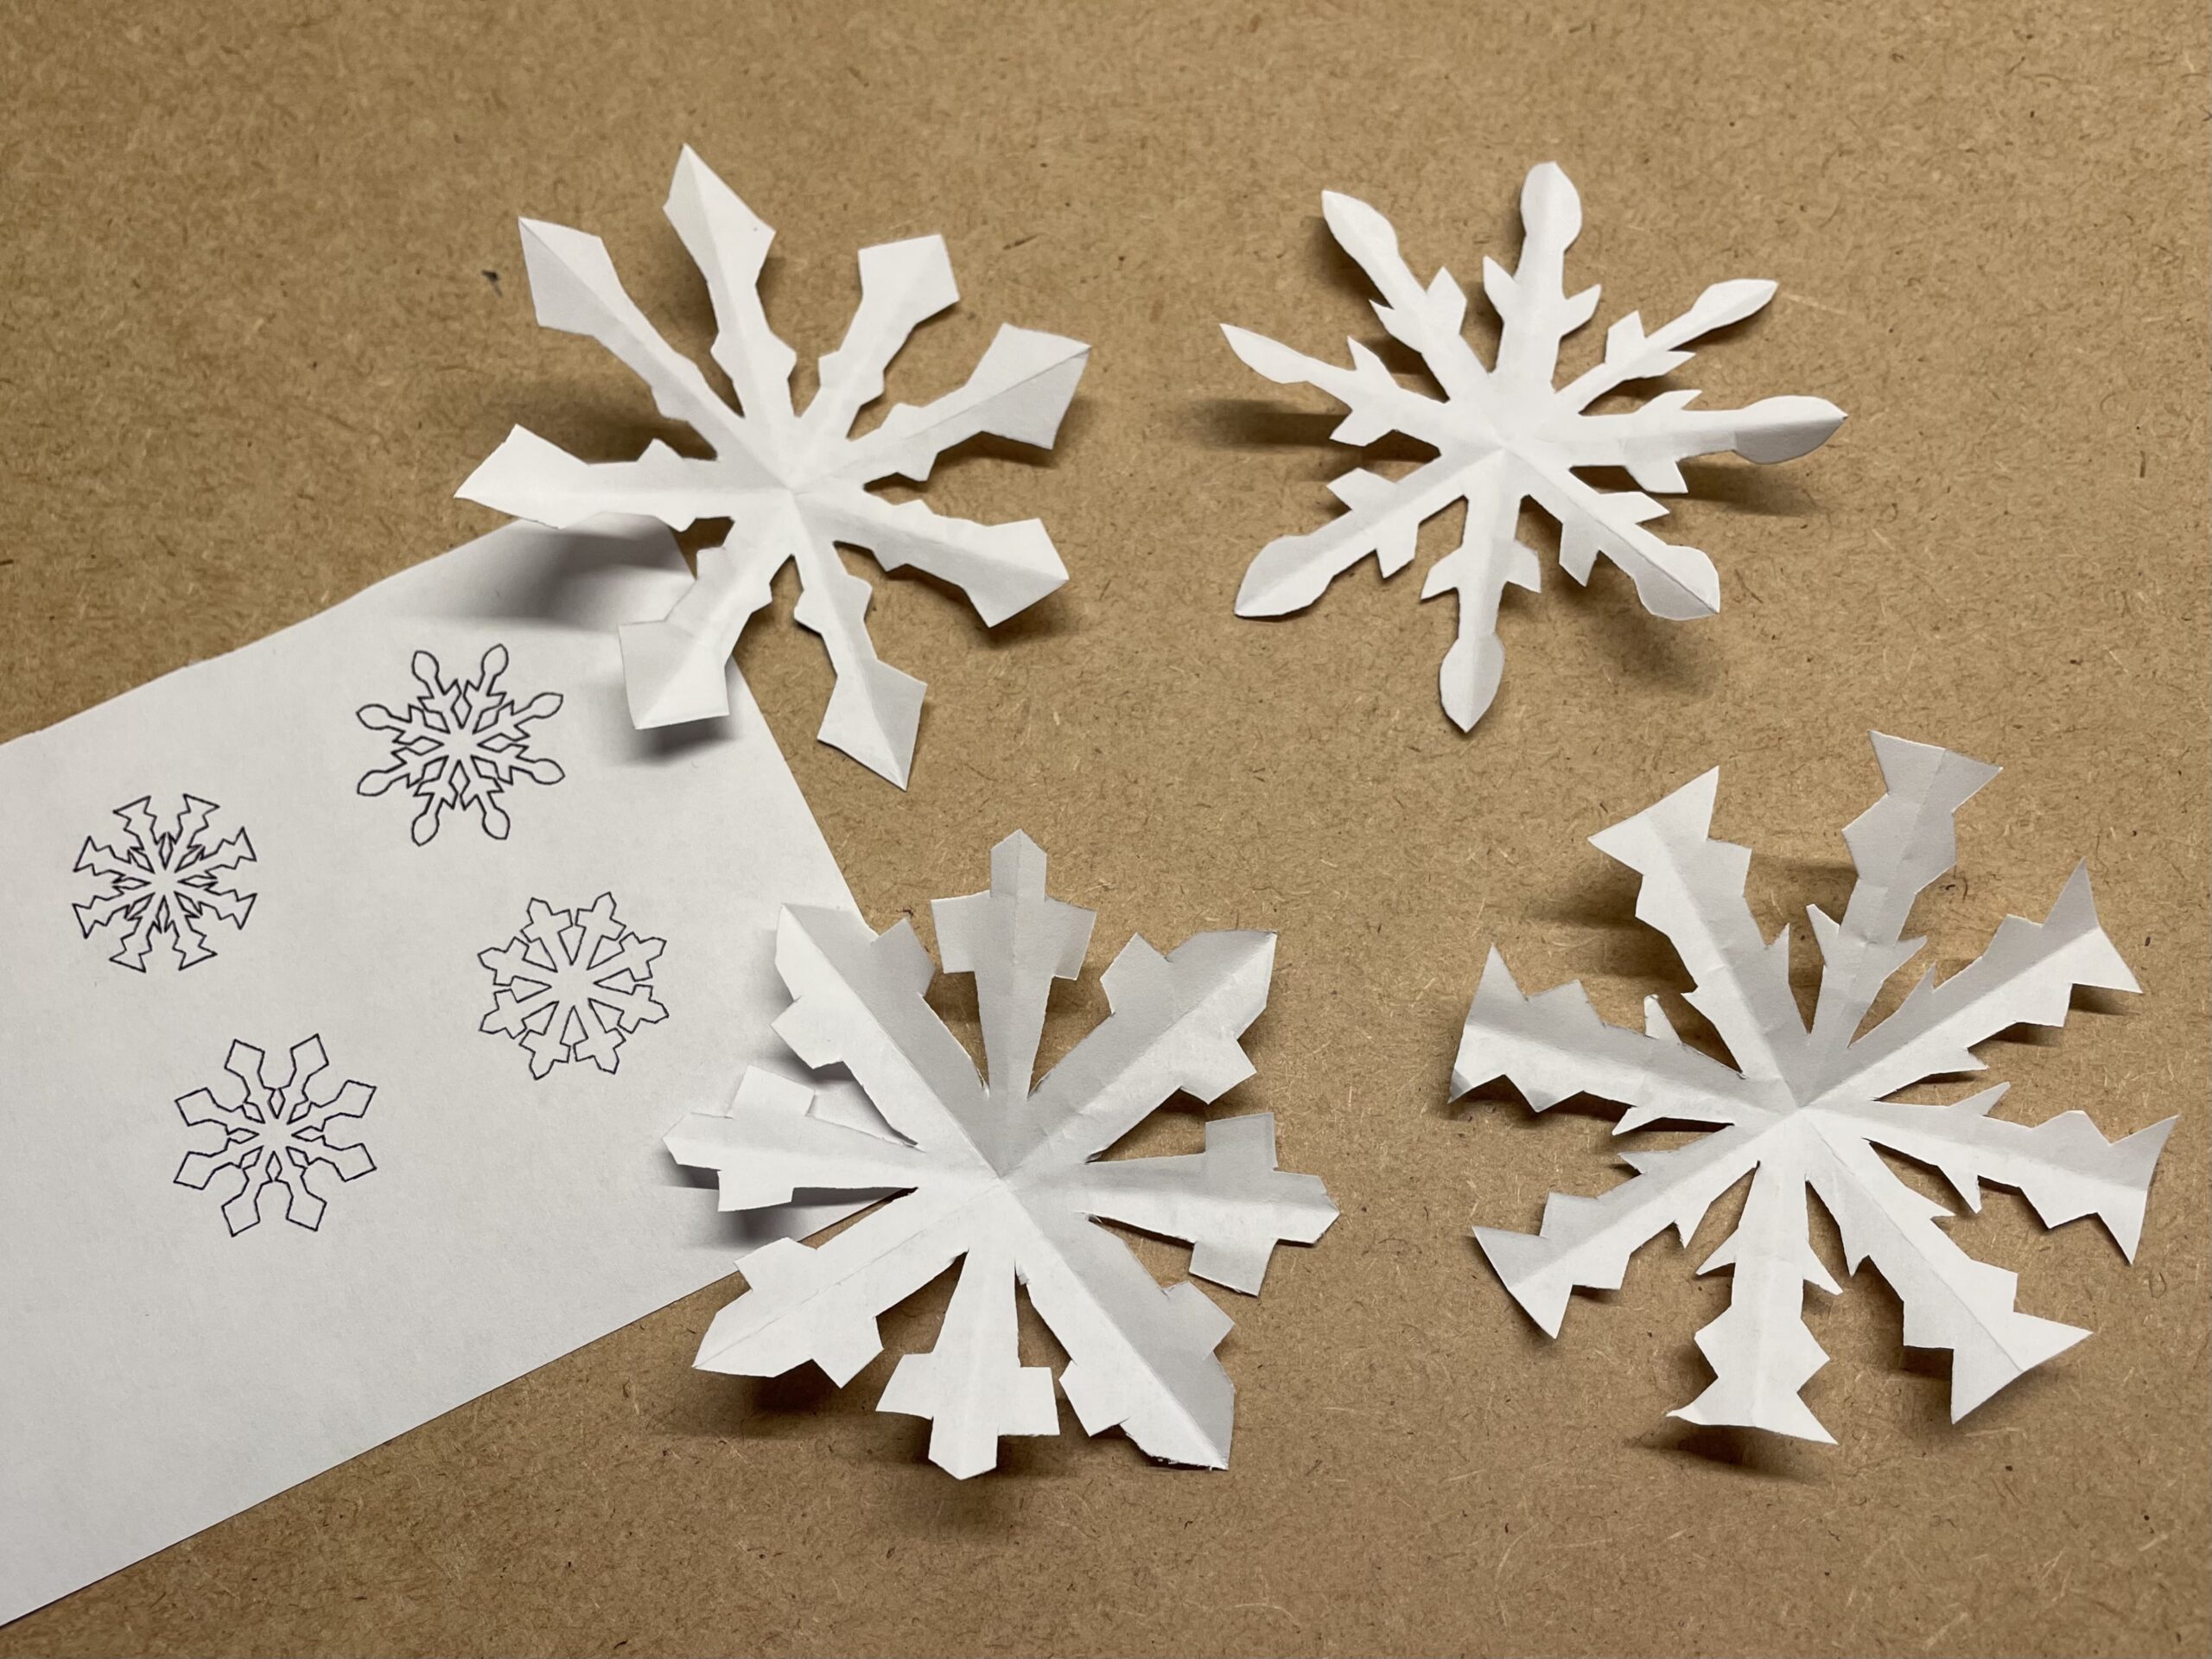


Try it yourself and conjure up the winter in your house. Have fun!
Materials
Directions
Print out any template.
For each large crystal template you need a separate sheet.
You will find the procedure in the following.


Print a template first.


Then cut out the square of your chosen template.


The folding lines are slightly marked. You can recognize them in the squares. Now fold the square into a triangle. Make sure that the pre-drawn cutting line is at the top.


Then fold the triangle in half. Again, the cut template is on top.


Then you fold the triangle again. Now you only see the cut template.


When folding, make sure to fold carefully and to stiffen the edges vigorously.


Now you cut the snow crystal from the open side. Make sure that you do not cut completely to the edge on the thin sides, otherwise the snow crystal falls apart. Leave something of the line.


Now start folding the crystal very carefully.


For this, you start on a folded side and fold the crystal step by step apart.


The snow crystal is ready.


In this way you can make snow crystals from all cutting templates.


The larger the crystal is to be, the easier the crafting process.


Try it yourself and conjure up the winter in your house. Have fun!
Follow us on Facebook , Instagram and Pinterest
Don't miss any more adventures: Our bottle mail


