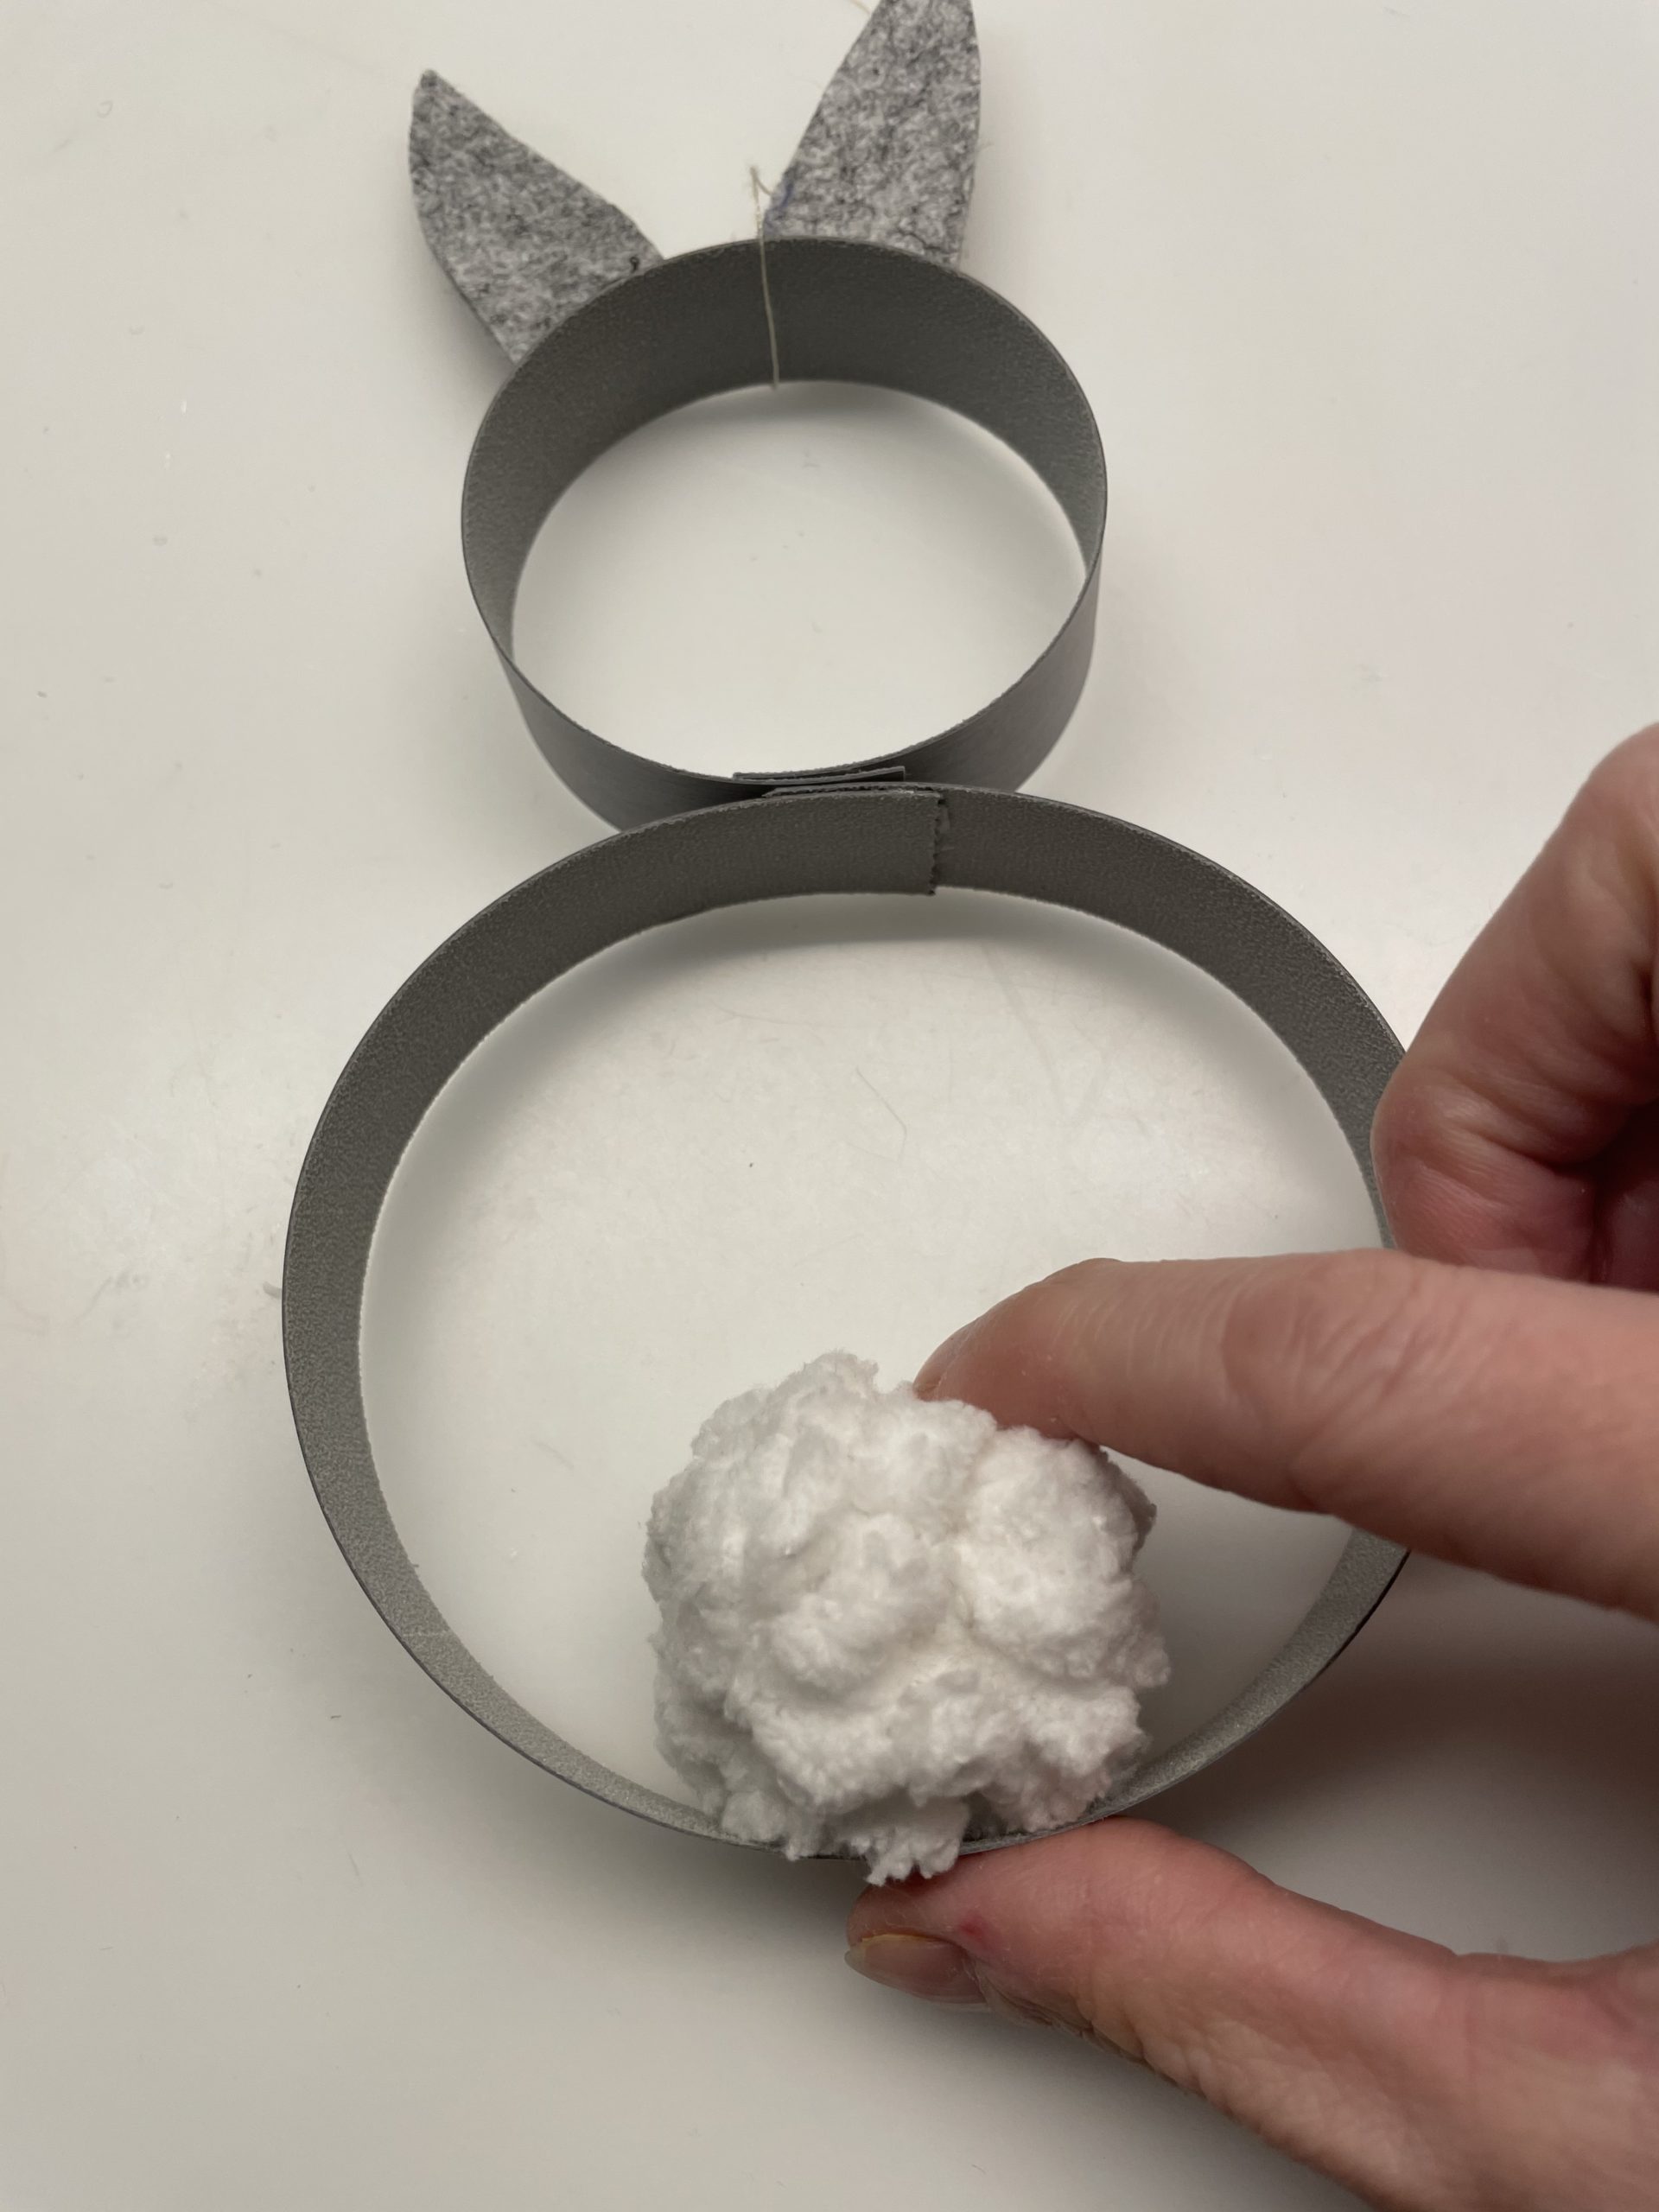
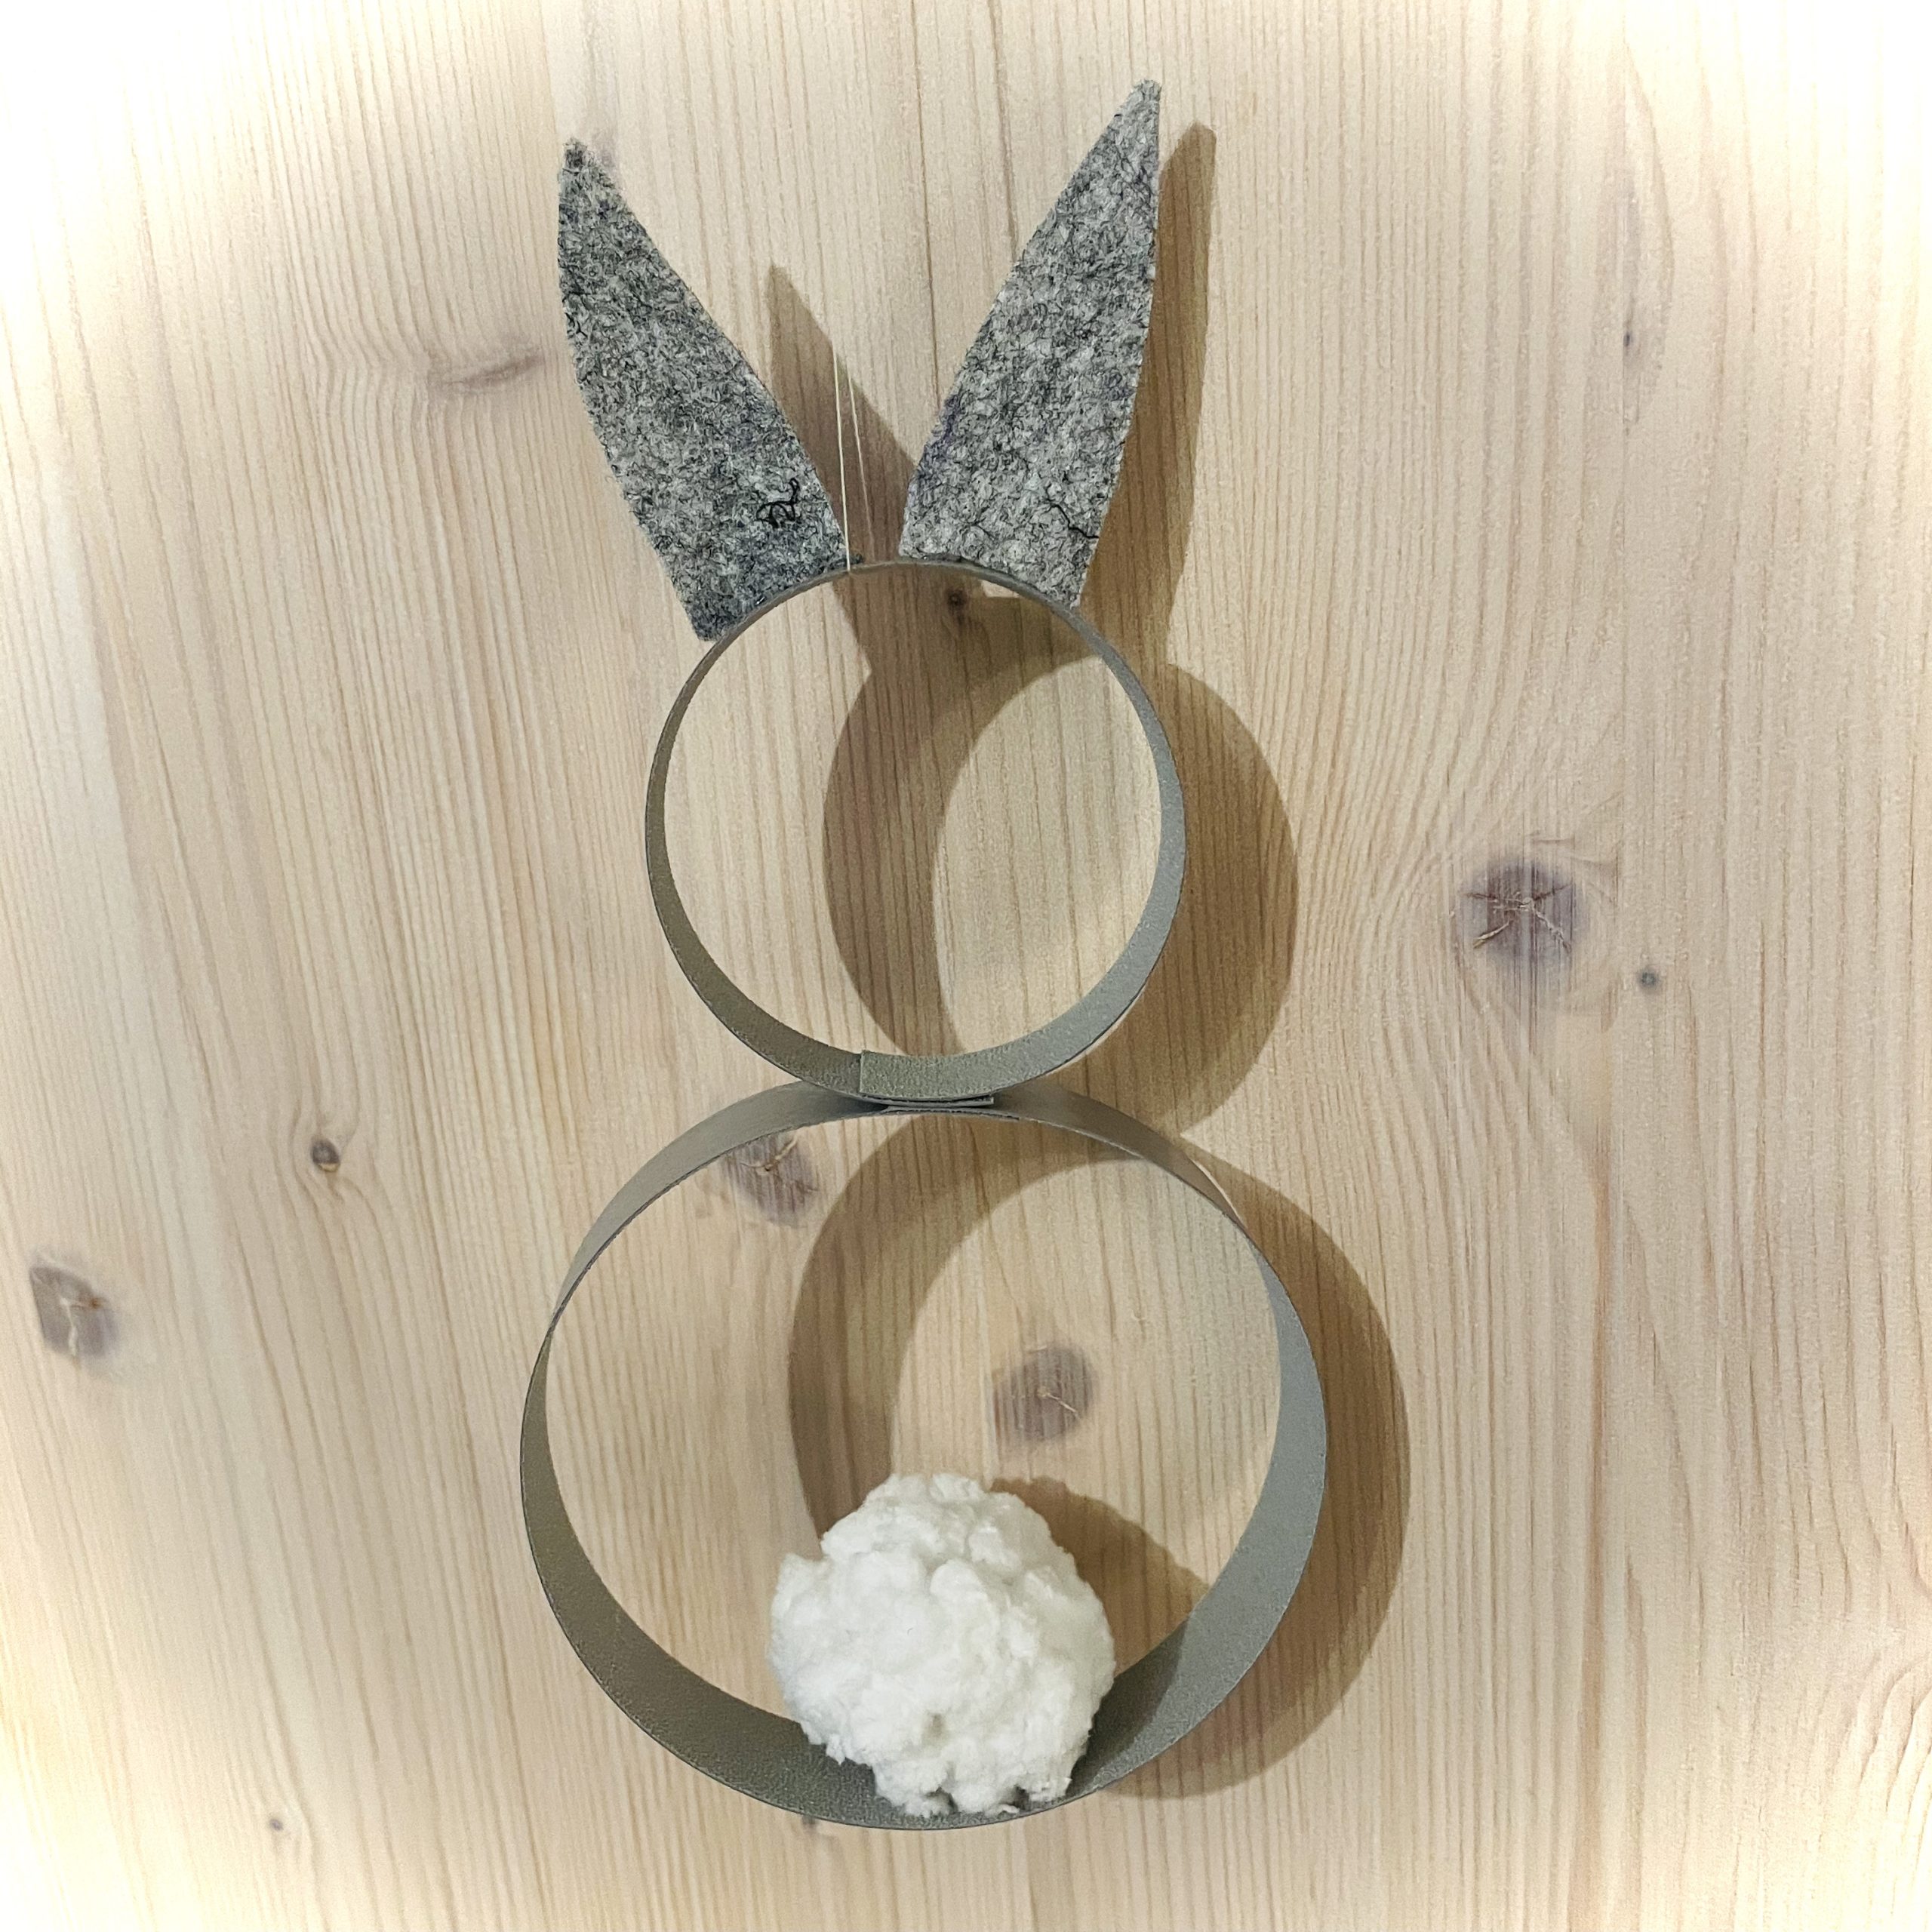
This rabbit is made of only three materials. With two narrow strips of cardboard, two felt ears and a tuft of wool, a beautiful spring gift or a simple decoration for door or window is made from a few simple handles. Check out how easy it is to make.
Media Education for Kindergarten and Hort

Relief in everyday life, targeted promotion of individual children, independent learning and - without any pre-knowledge already usable by the youngest!
Get a craft file ready.
You can also find all the materials together. Use either handicraft chip, wood chip or leftover pieces of ironing edges, edge wrappers (for example worktops). Also, strips of cardboard, corrugated board or photo board would be possible to use. These should then be approx. 2.5cm wide.
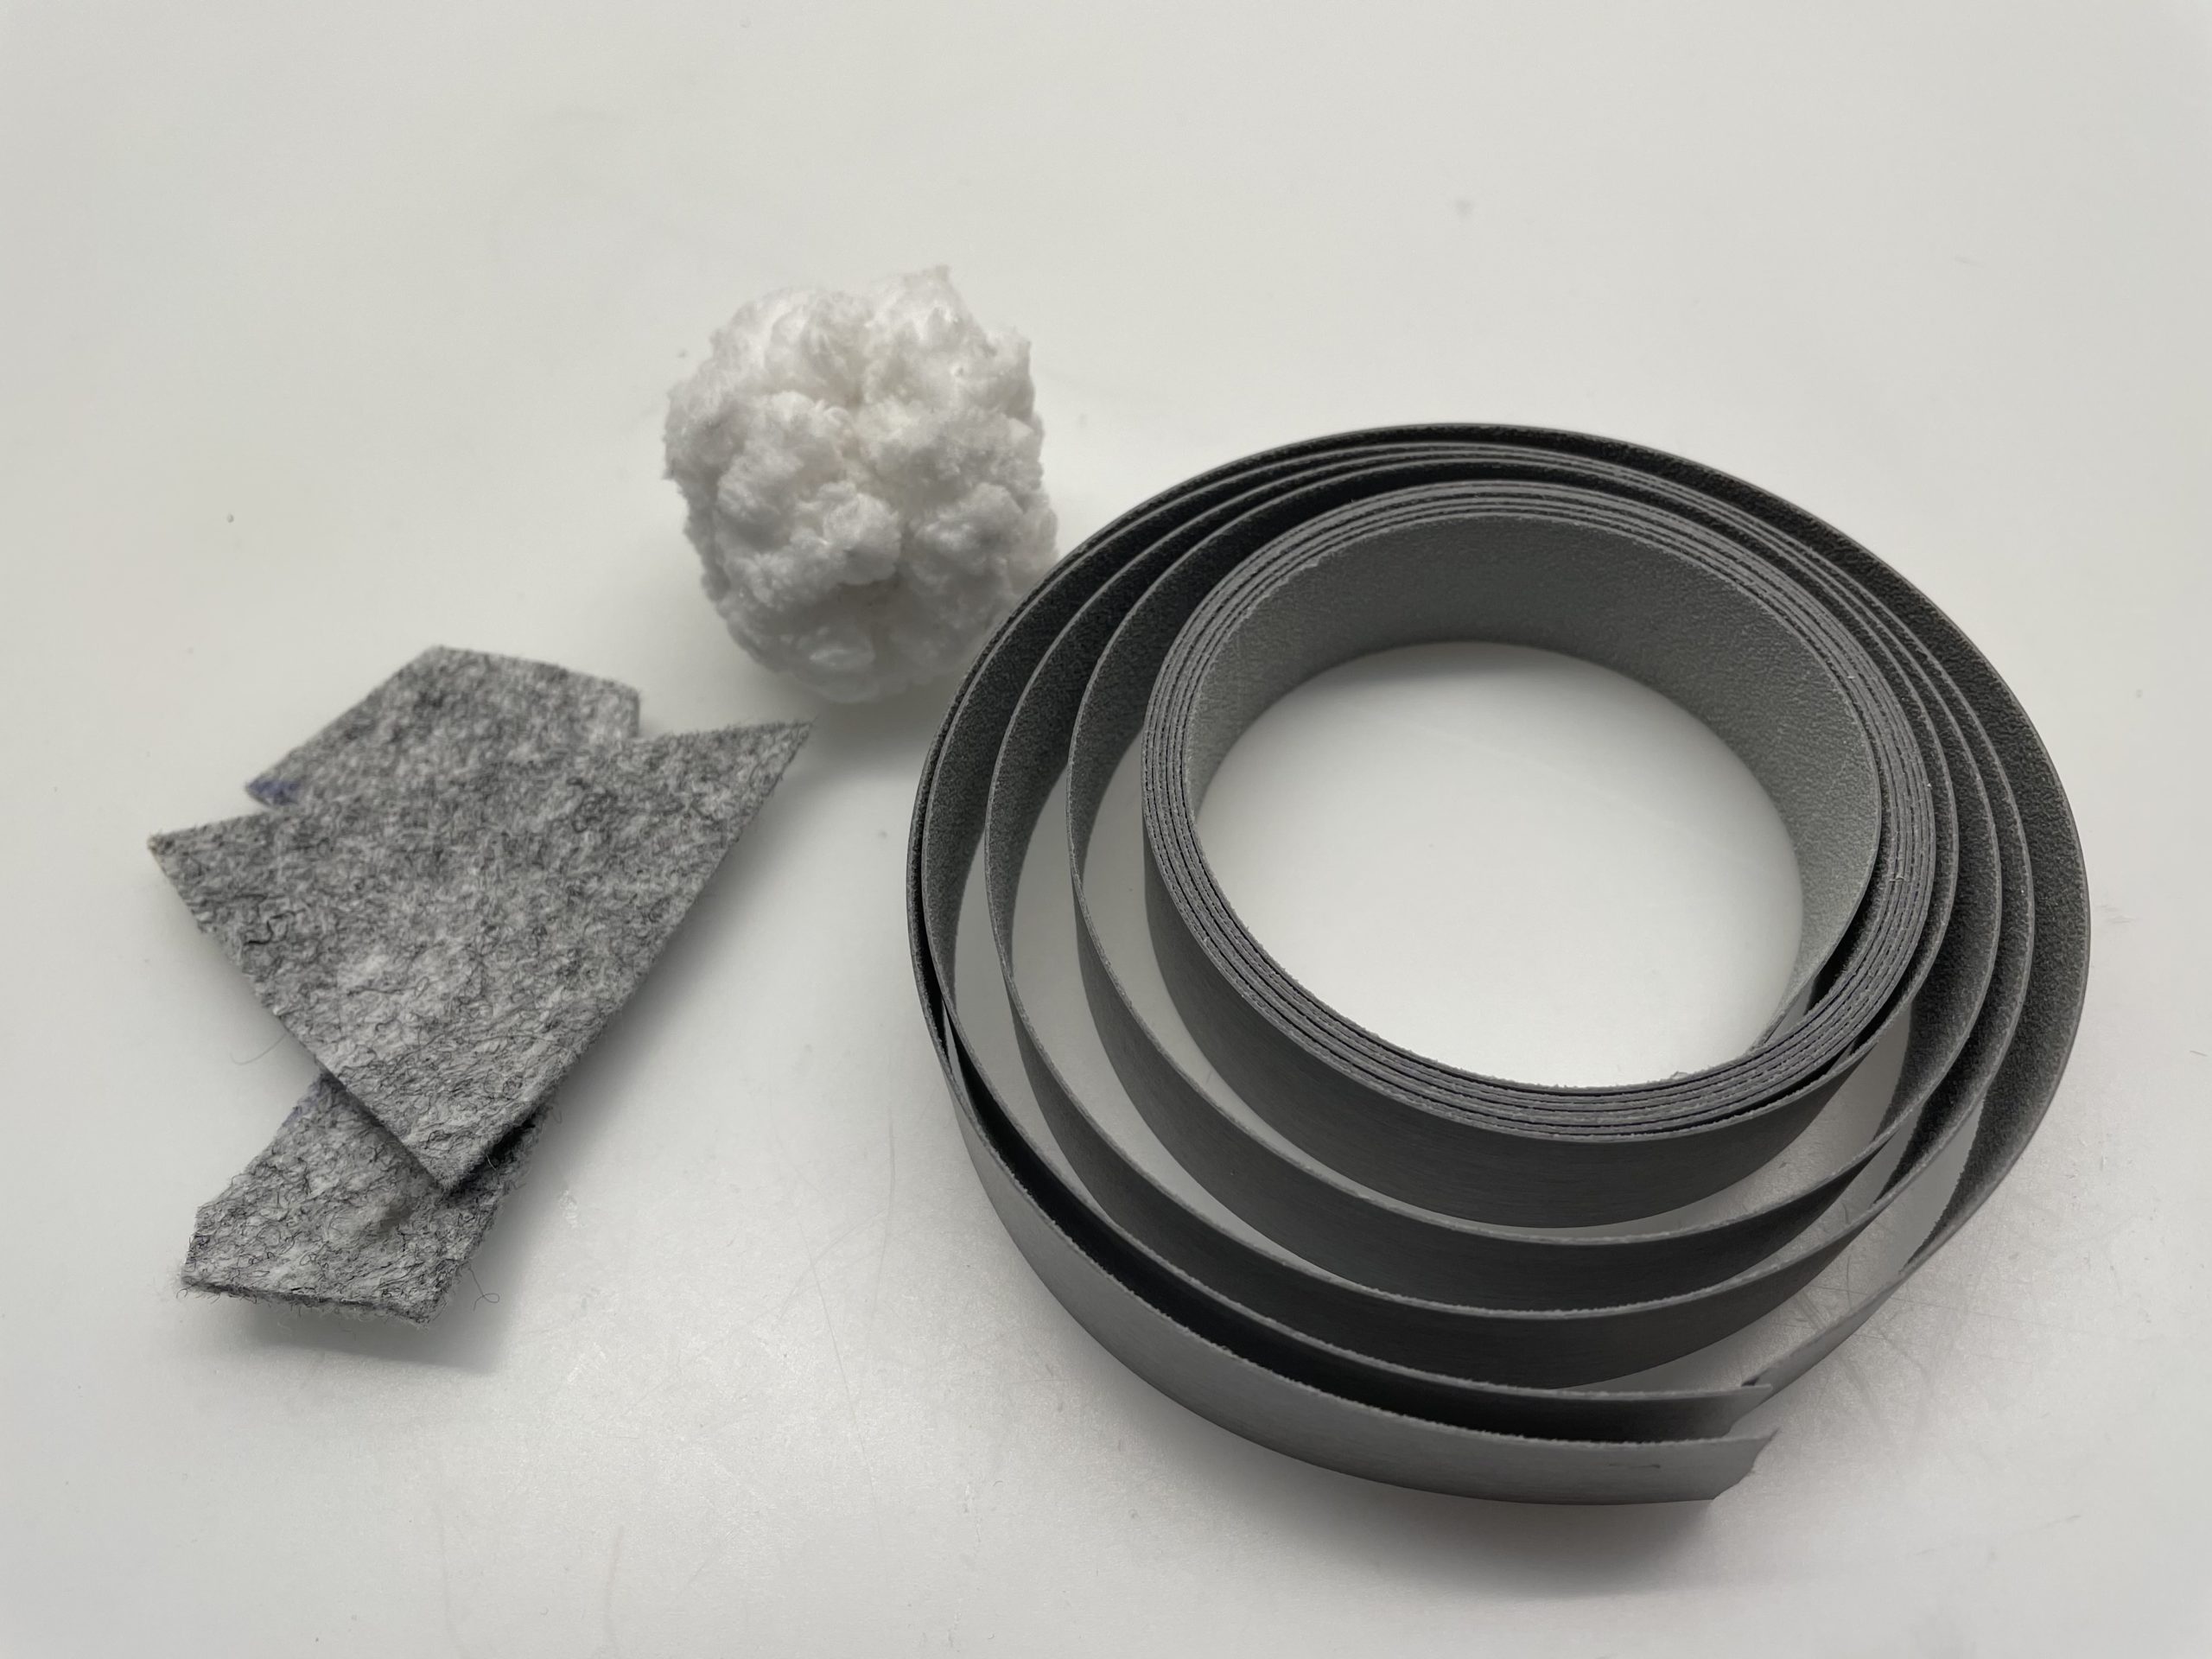
Cut the strips first. Cut off a strip 30cm long and cut the second 20cm.
Tip: With thinner paper you shorten the lengths. Note that you cut two different lengths.
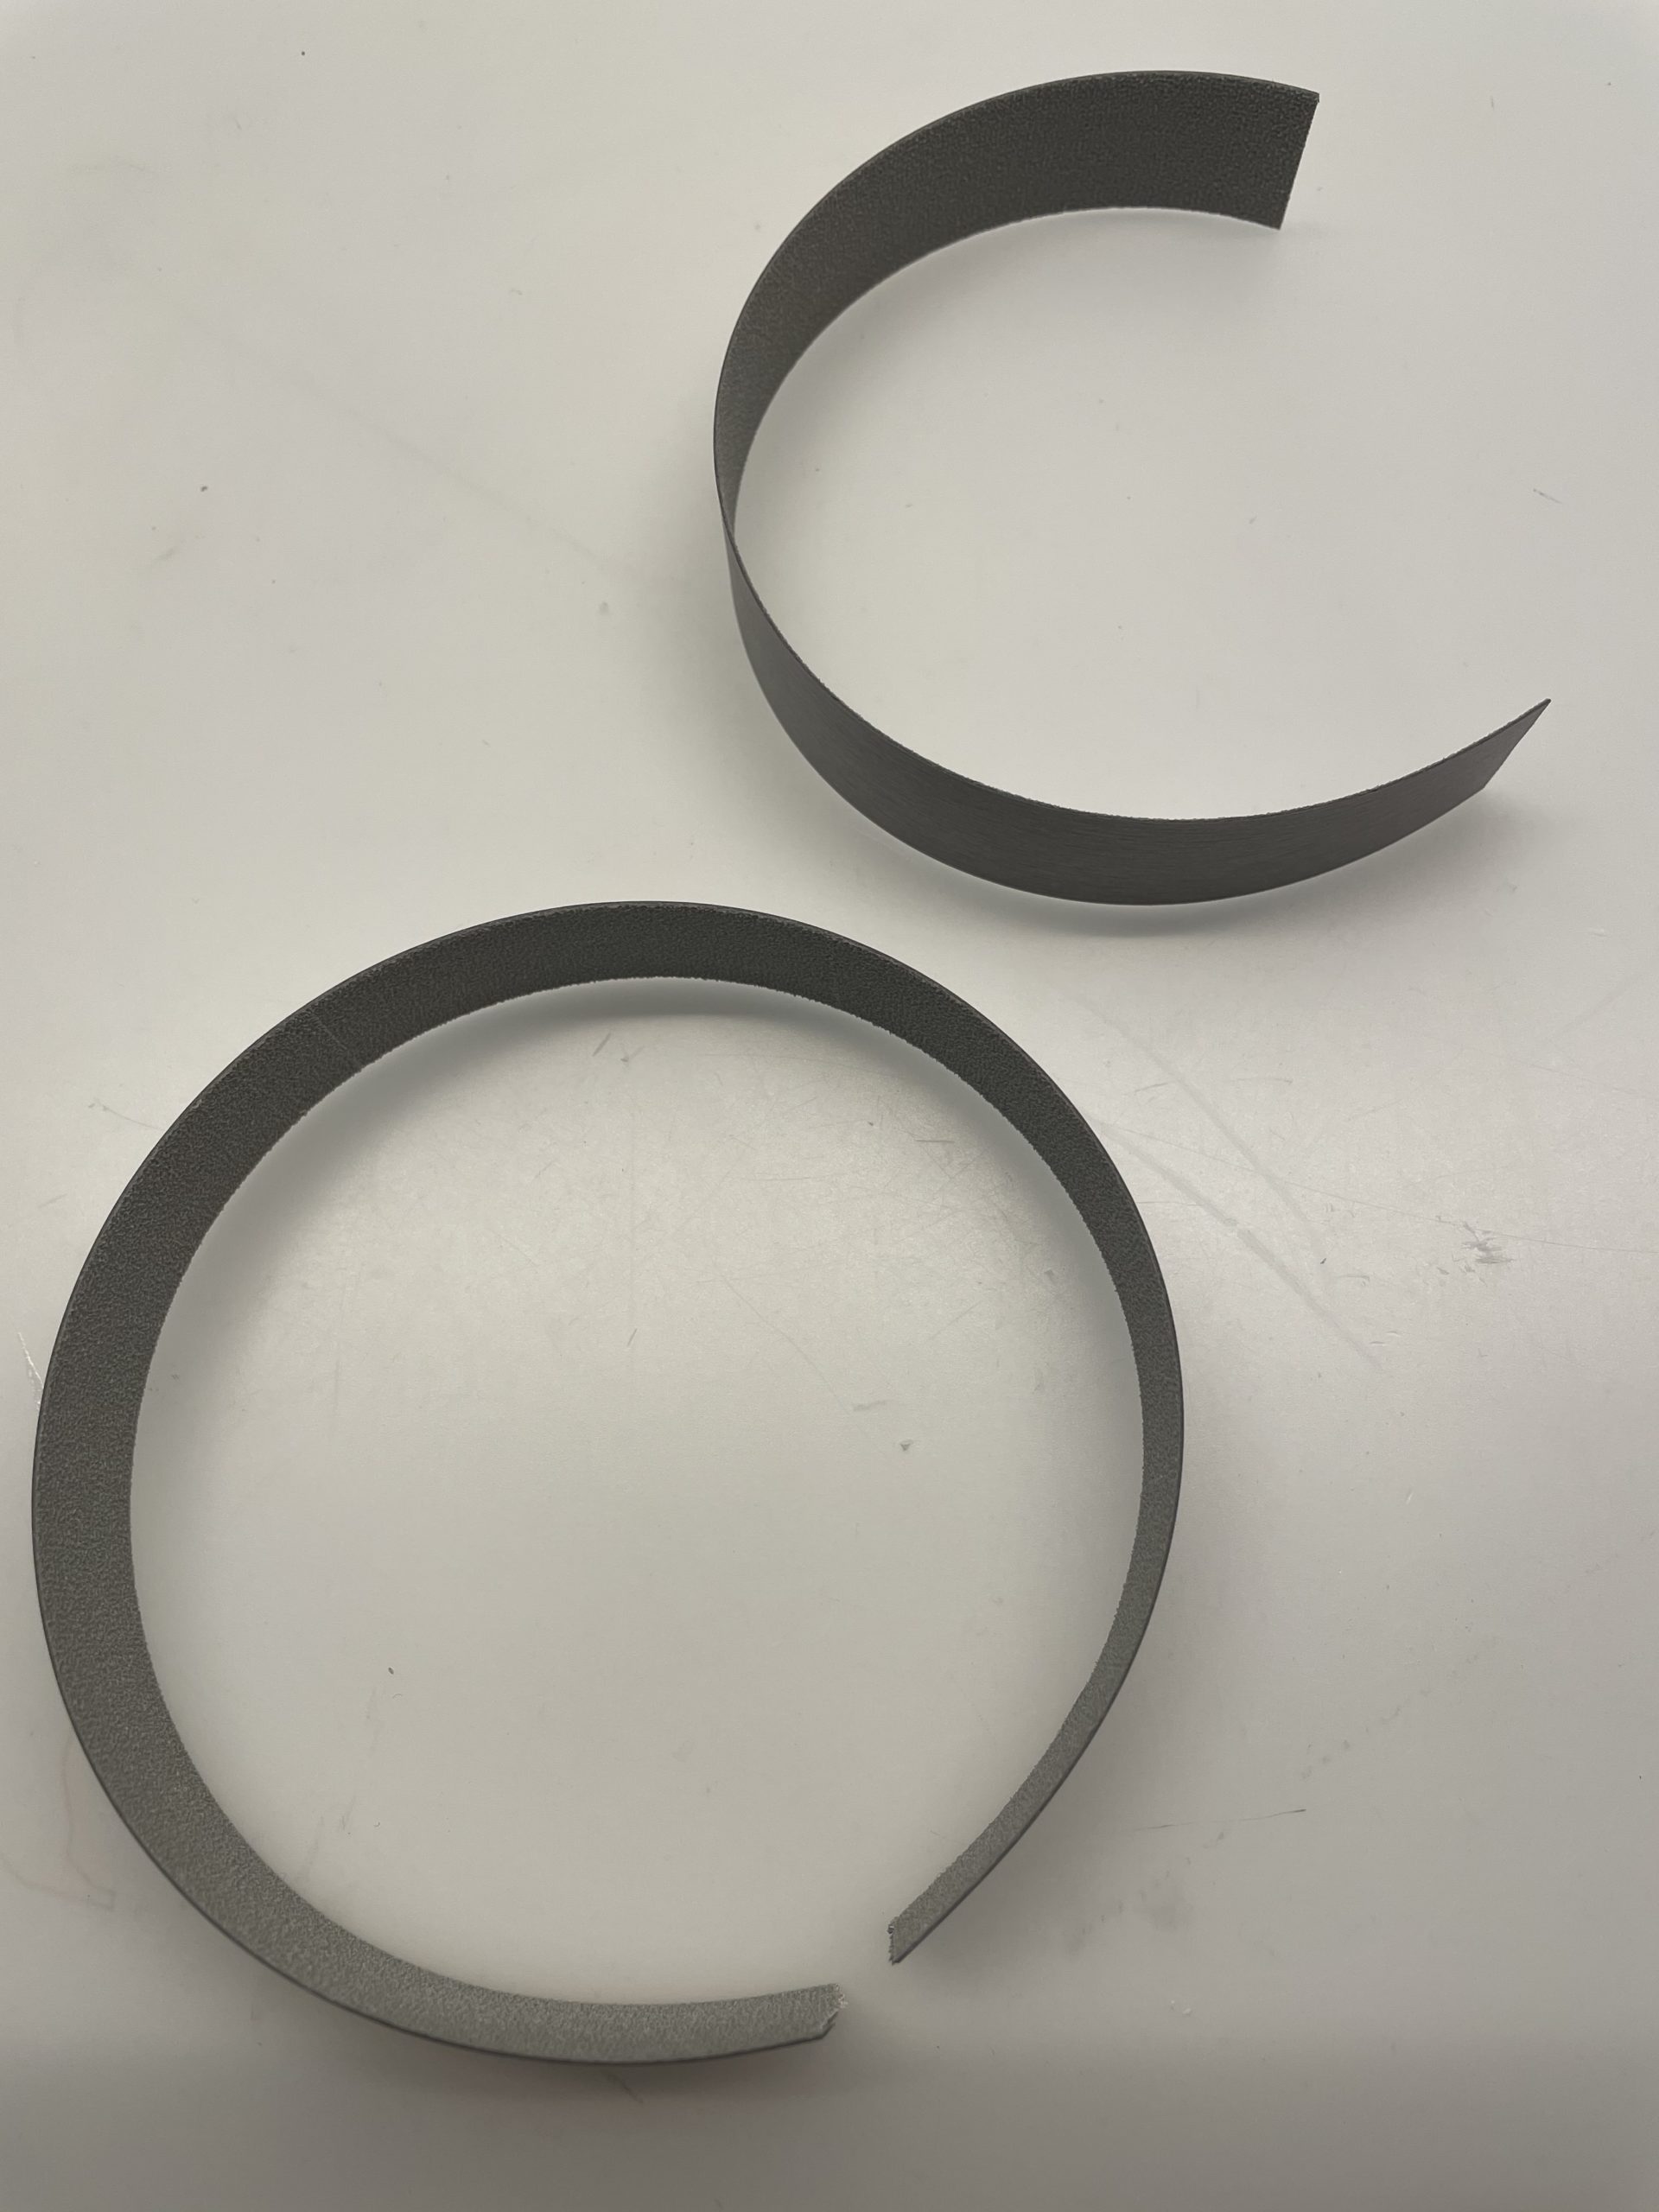


Put together the large strip as a ring, in which the ends overlap about one centimetre.


Stick the ring together at this point.
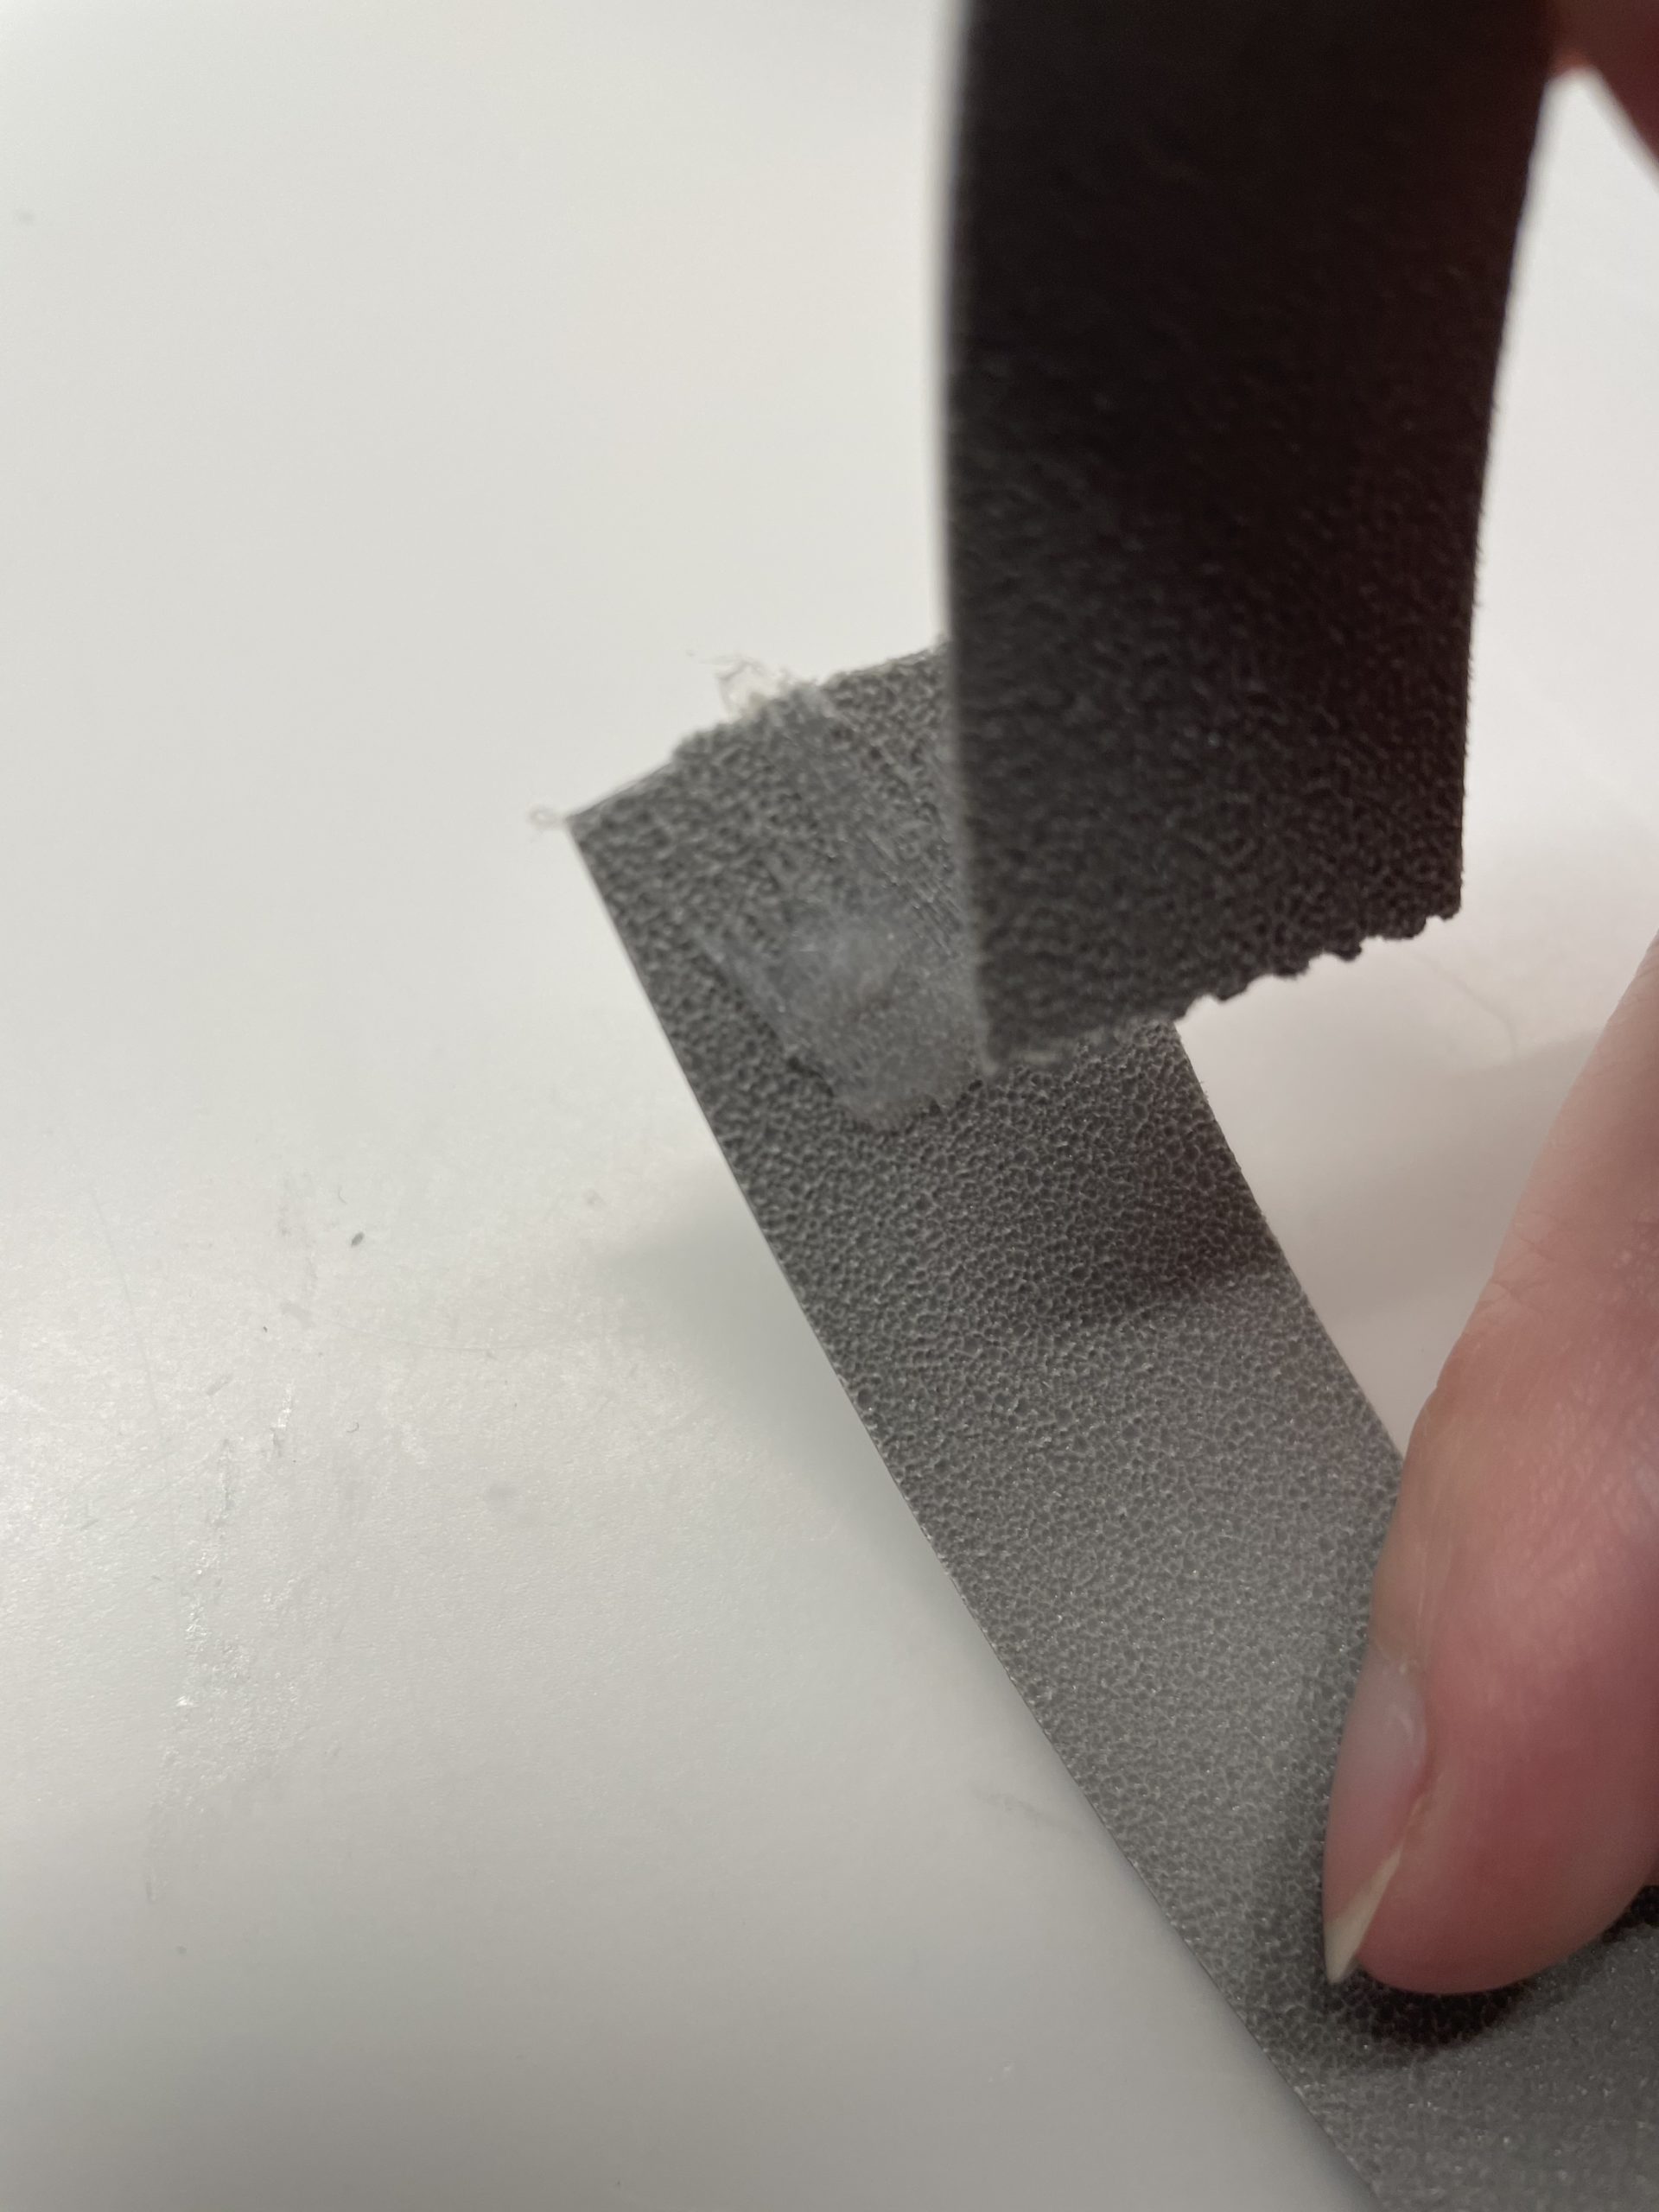


Hold the sticky spot briefly.


Now you put a ring out of the smaller strip and glue the ends together.
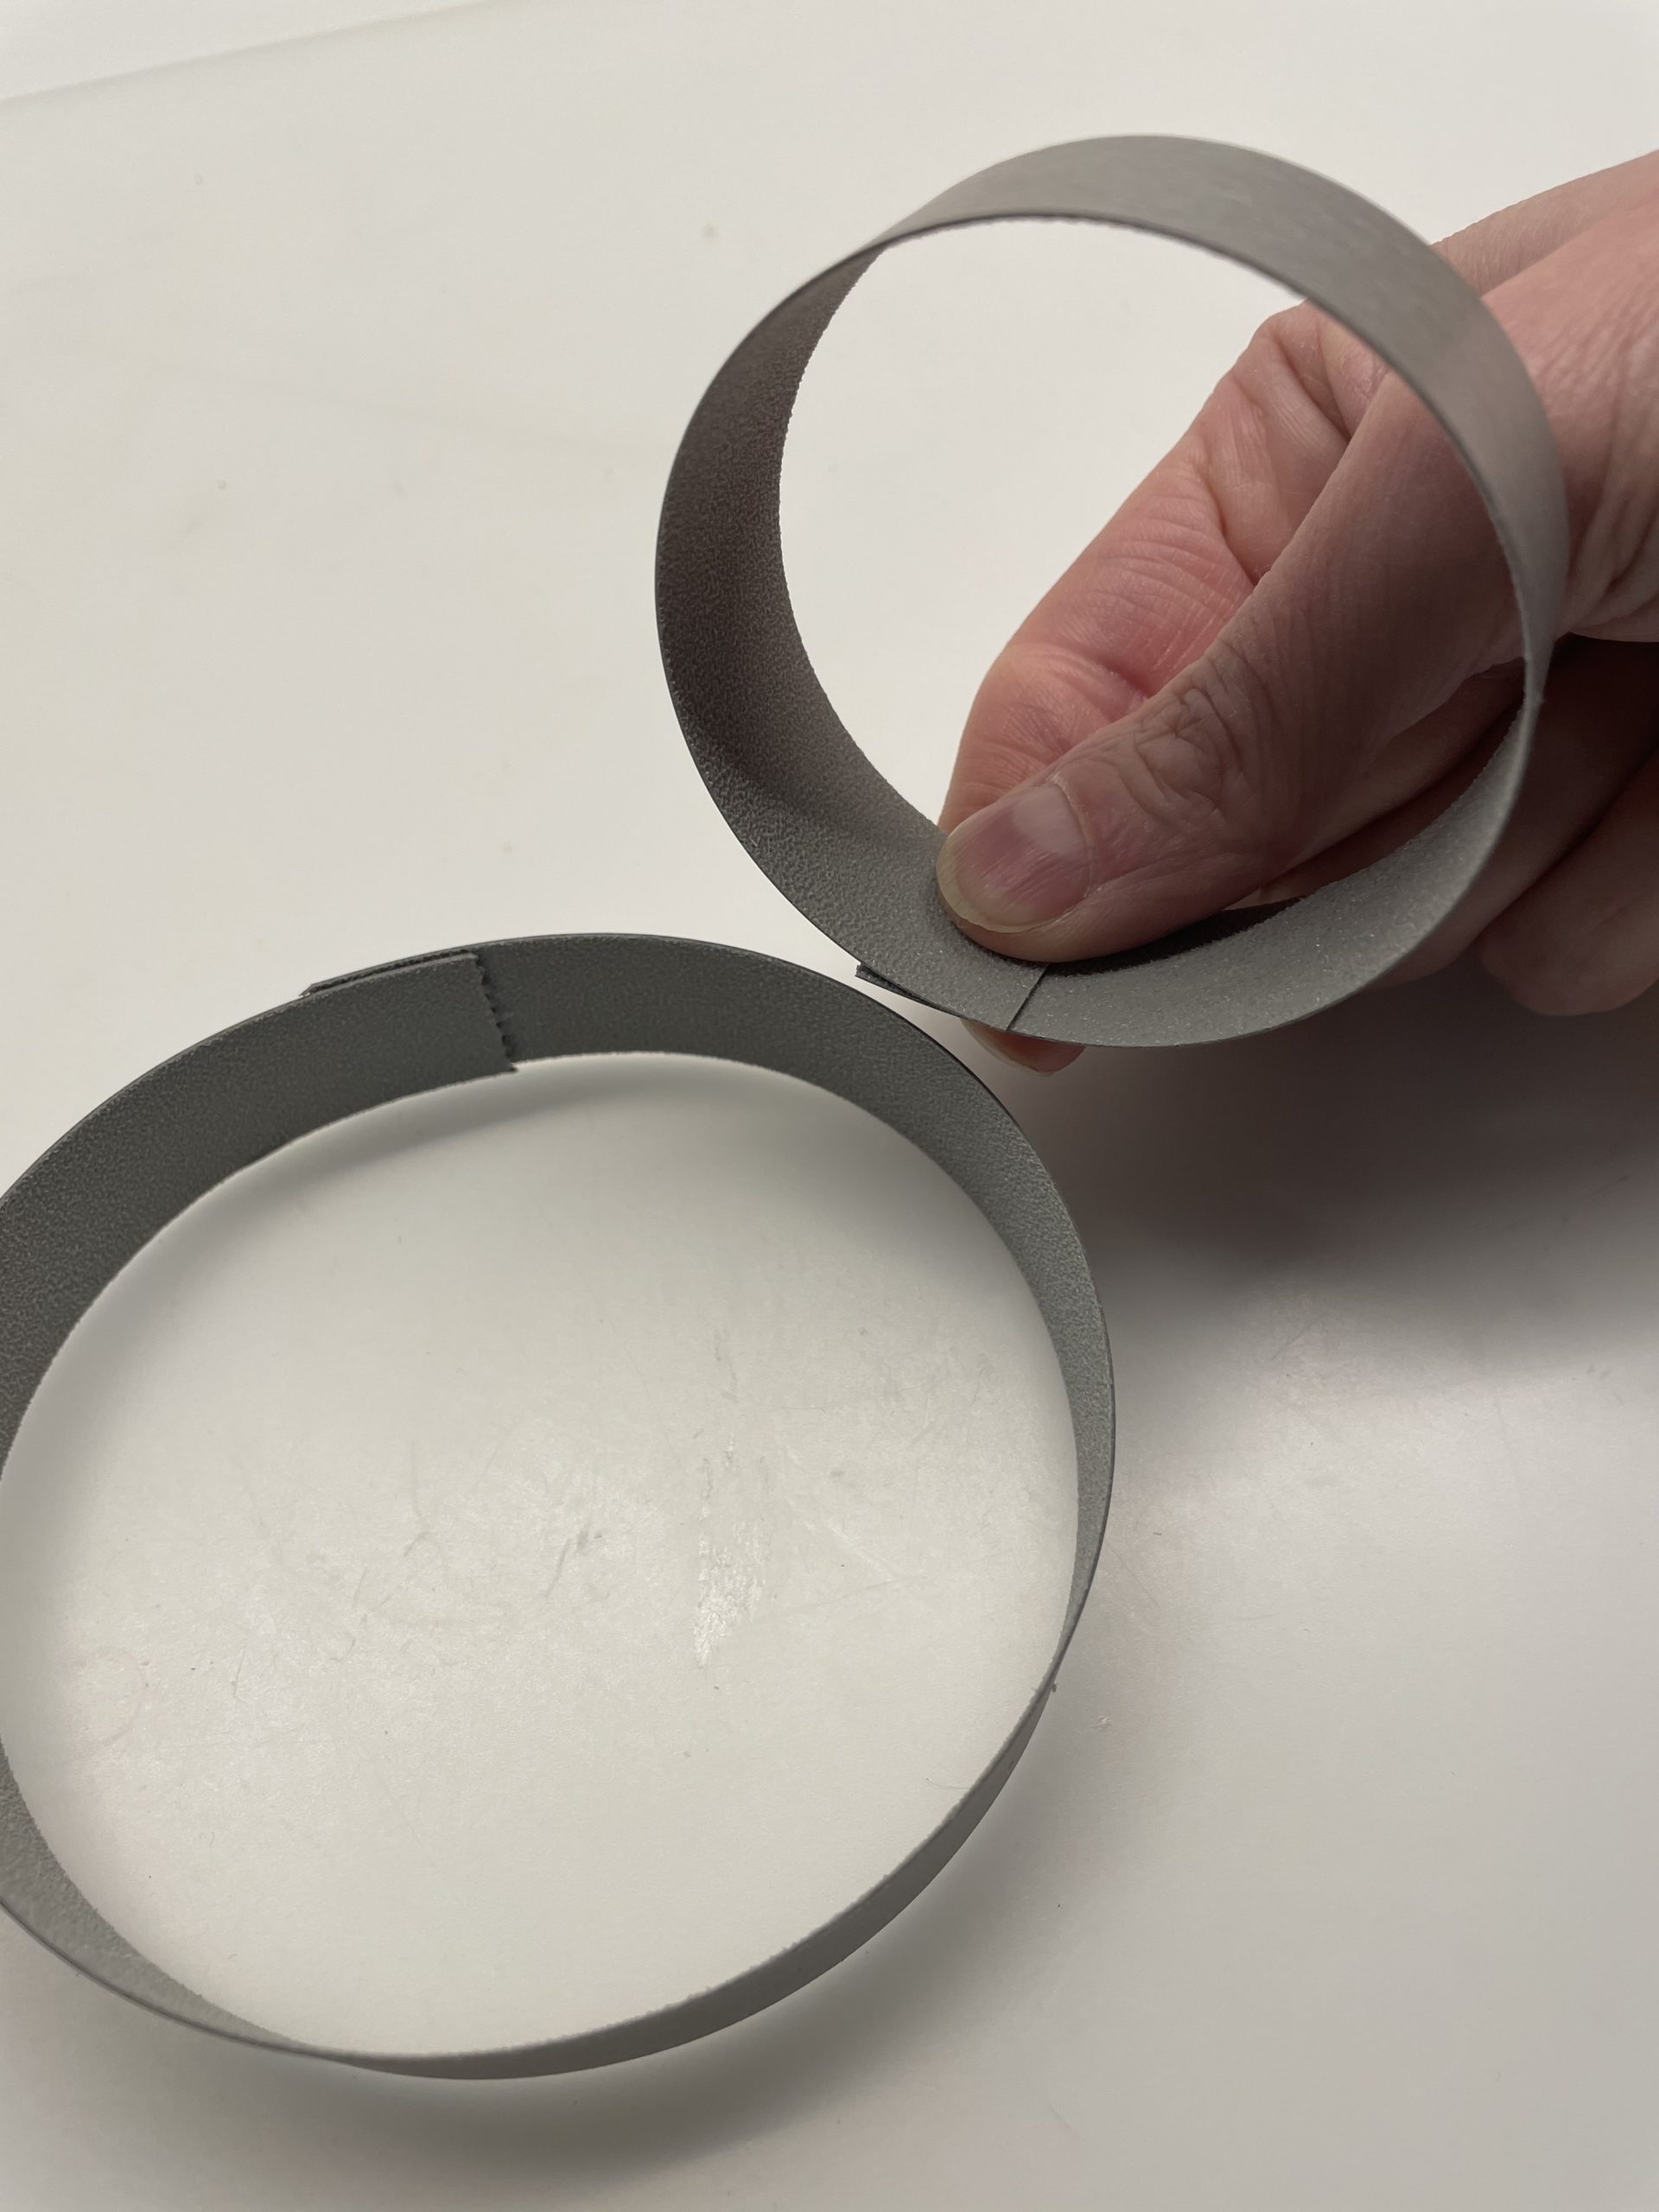


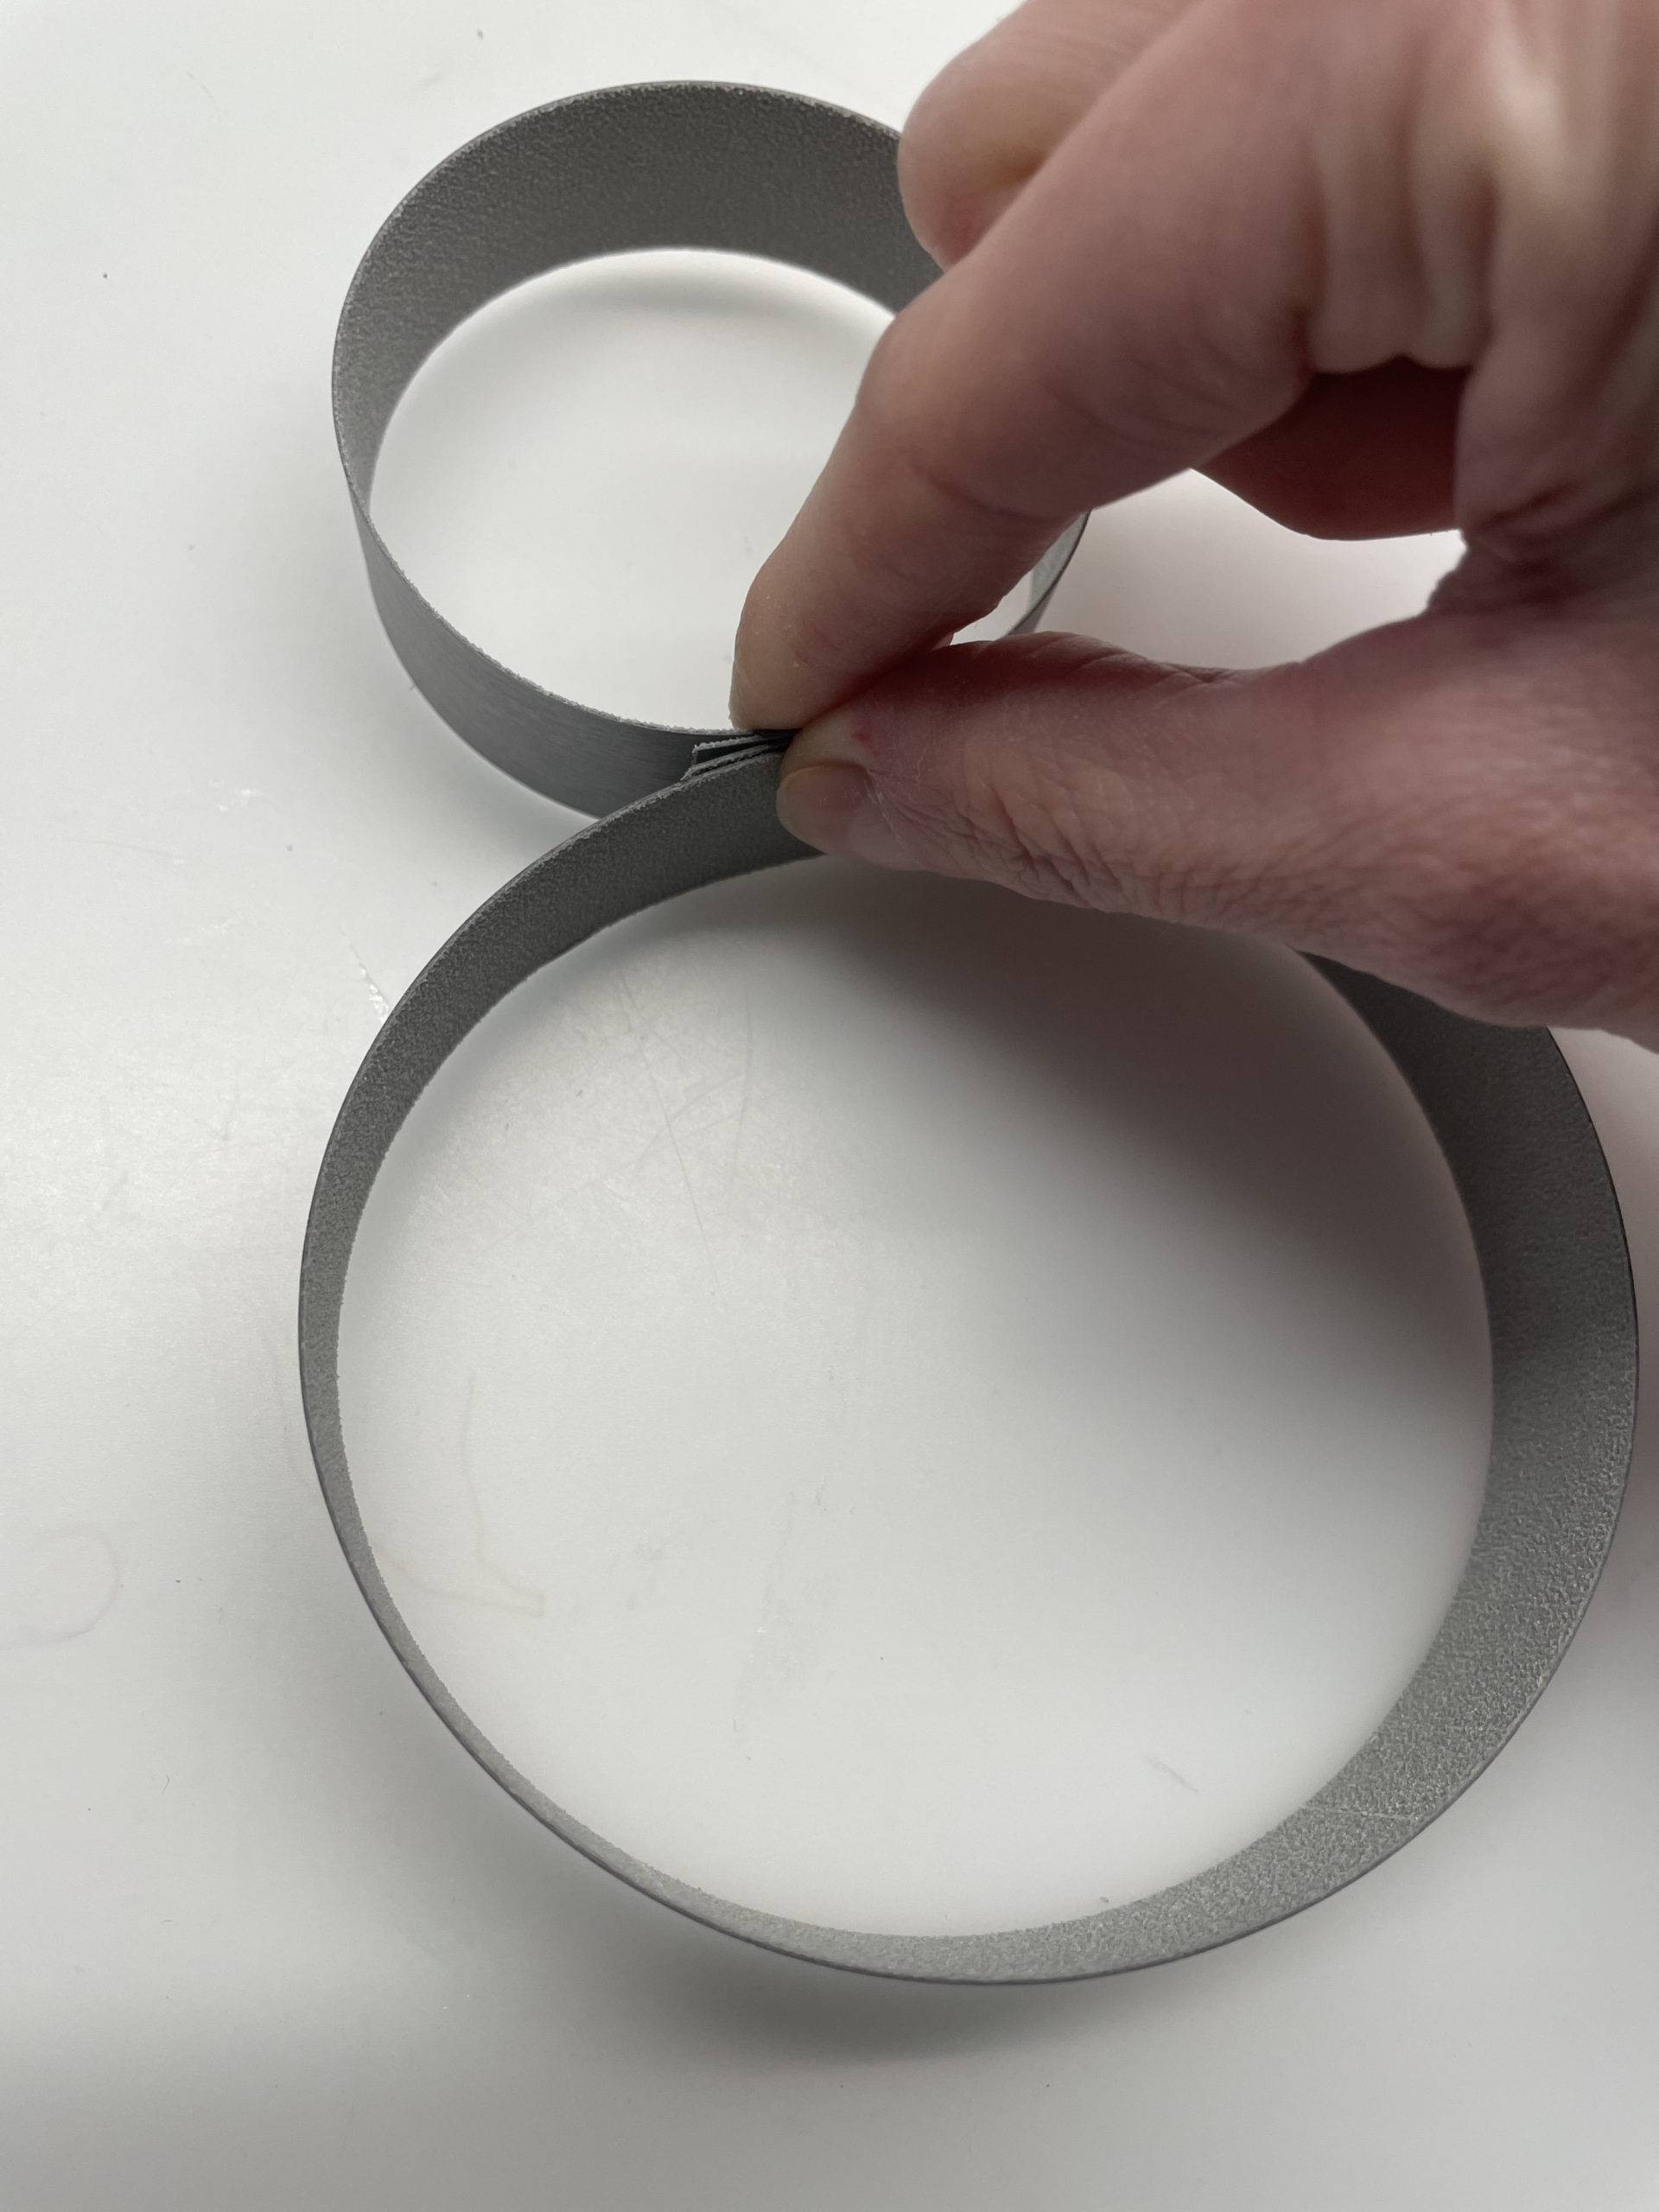
Both rings are now connected to each other at the glue points. For this you stick the two circles together. Here you can also use the hot glue, but let you possibly help by an adult - risk of injury!


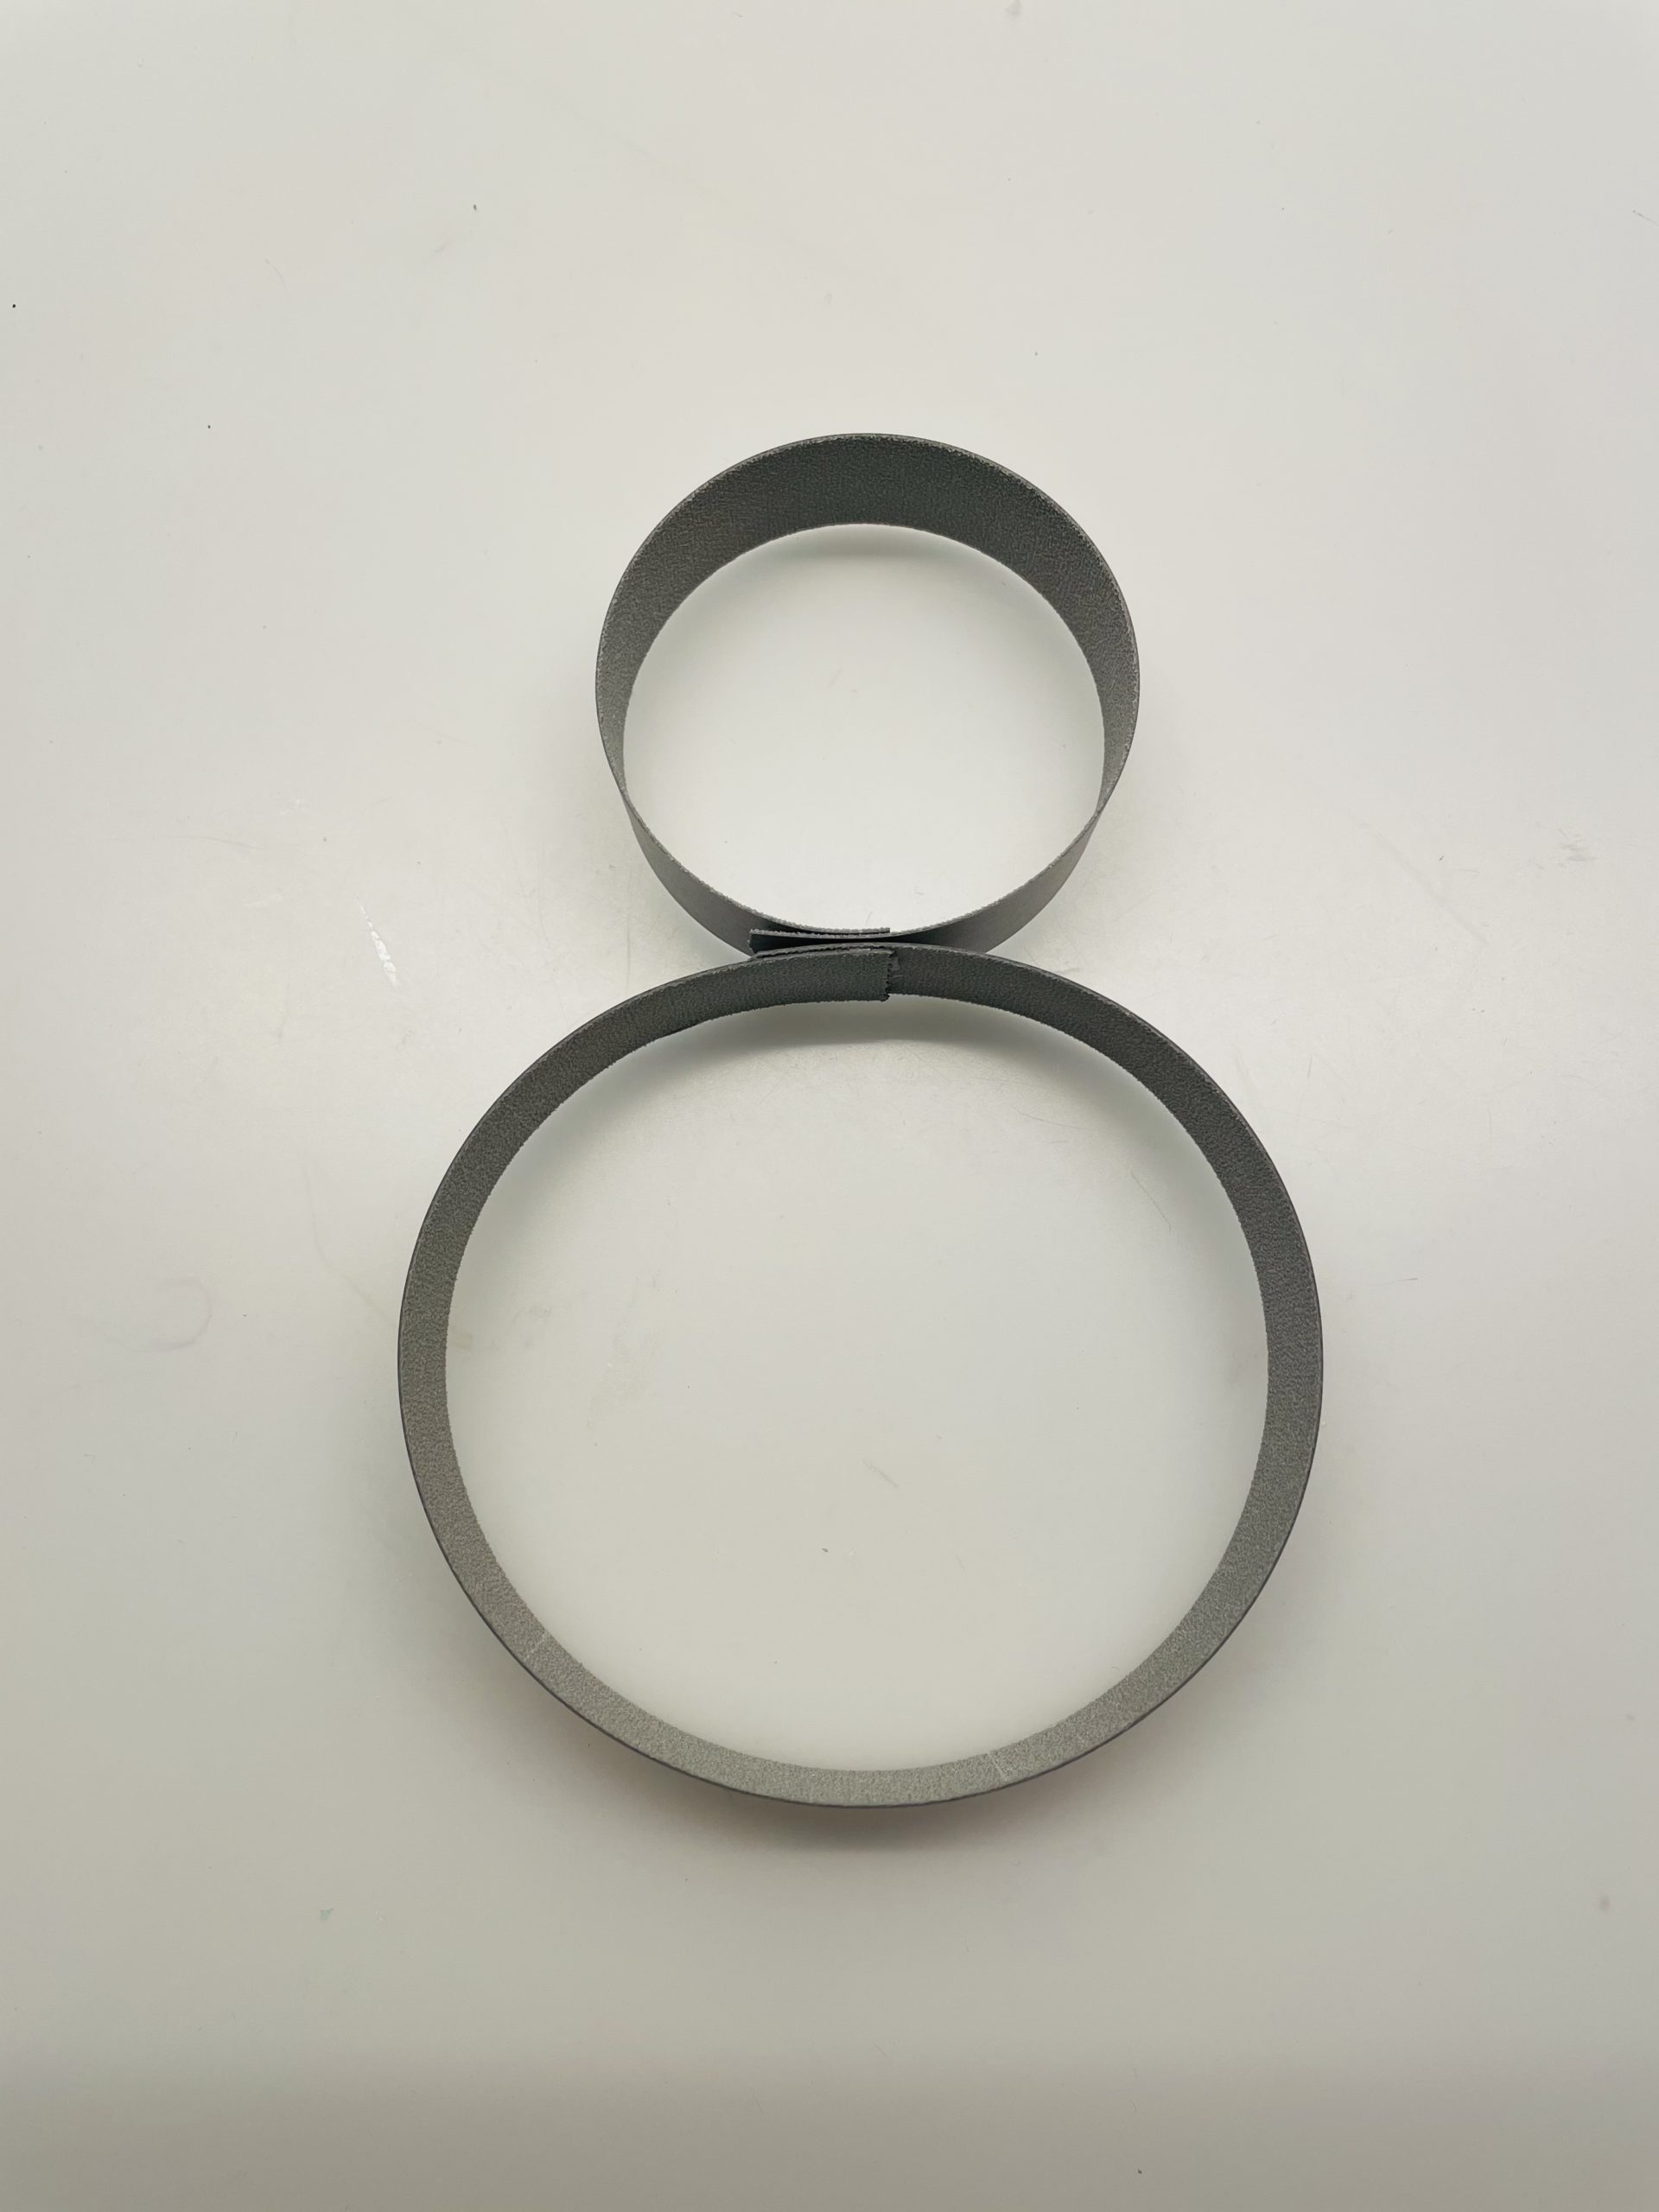
This is what the body of the rabbit looks like now.


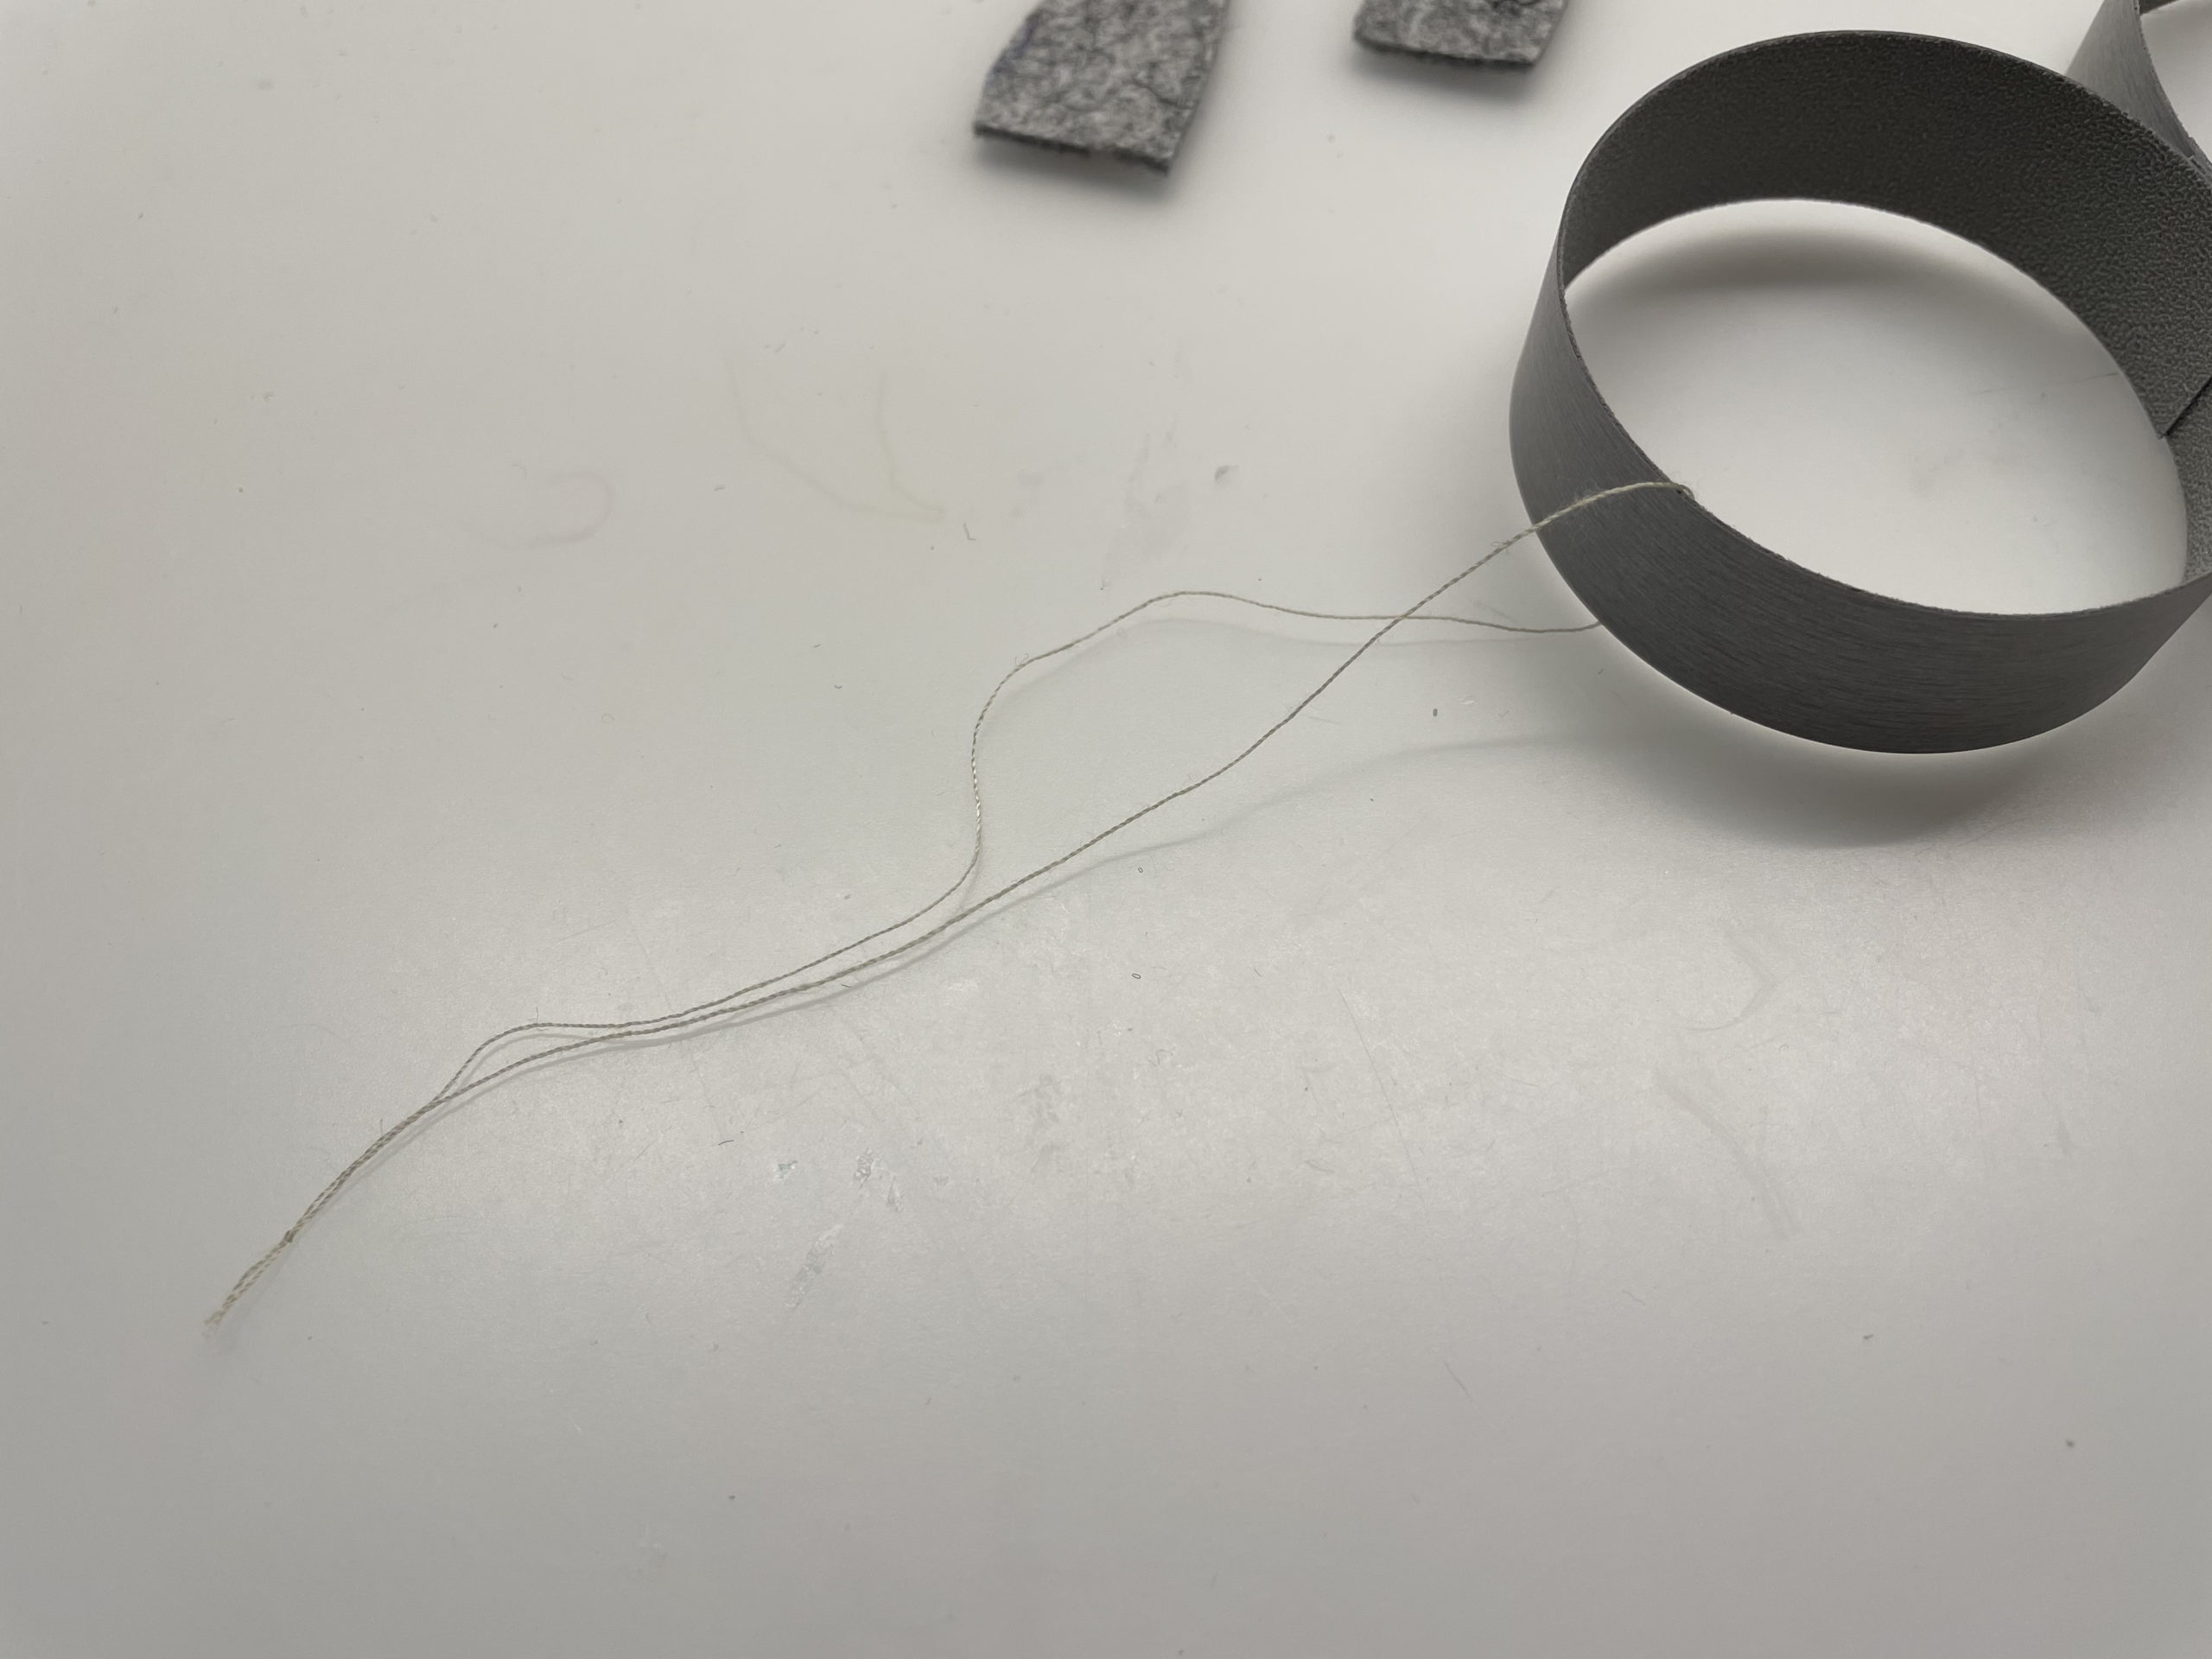
Now you put a thread around the smaller ring (the hare's head) and knot it. You need this cord later to hang it.


Then you cut out of thick felt two ears with 2.5cm width and 5cm length each.
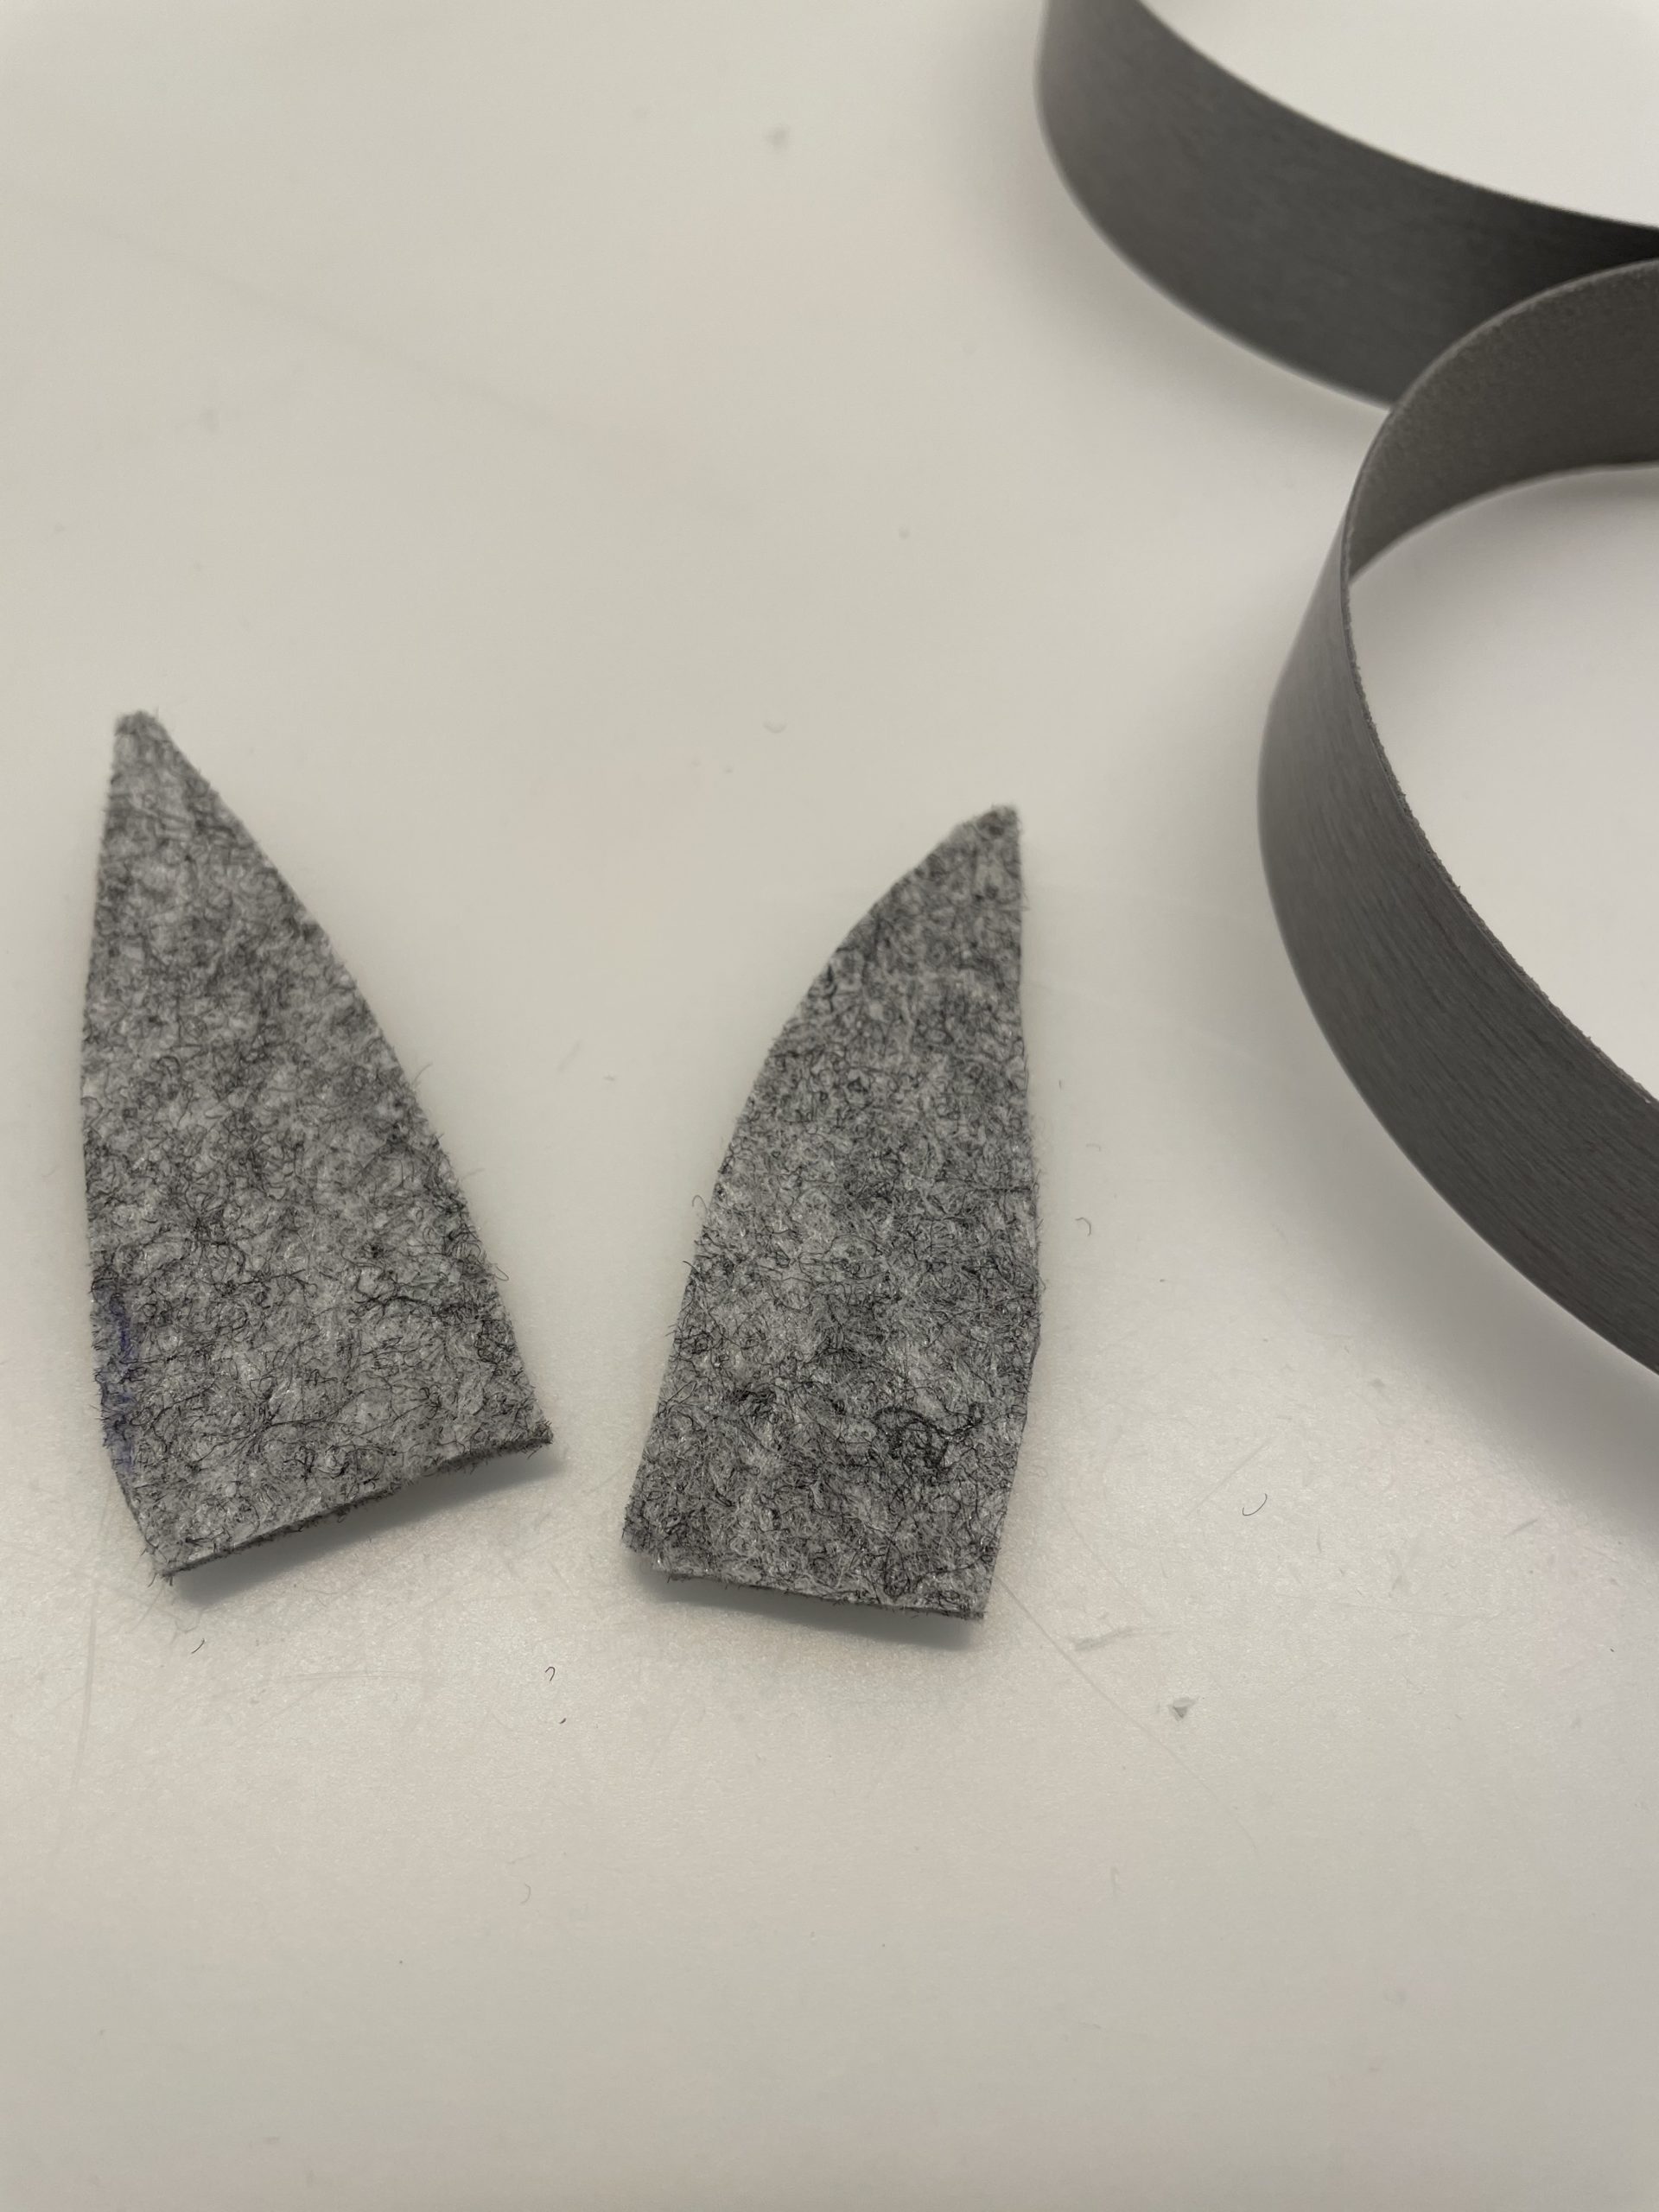


Round the ears at the straight underside slightly arched. So they lie better on the rabbit head.


Now glue the ears with hot glue to the flat outside of the ring. Spread the lower edge of the felt with hot glue (attention: hot!) and press it to the upper outer edge of the rabbit head.
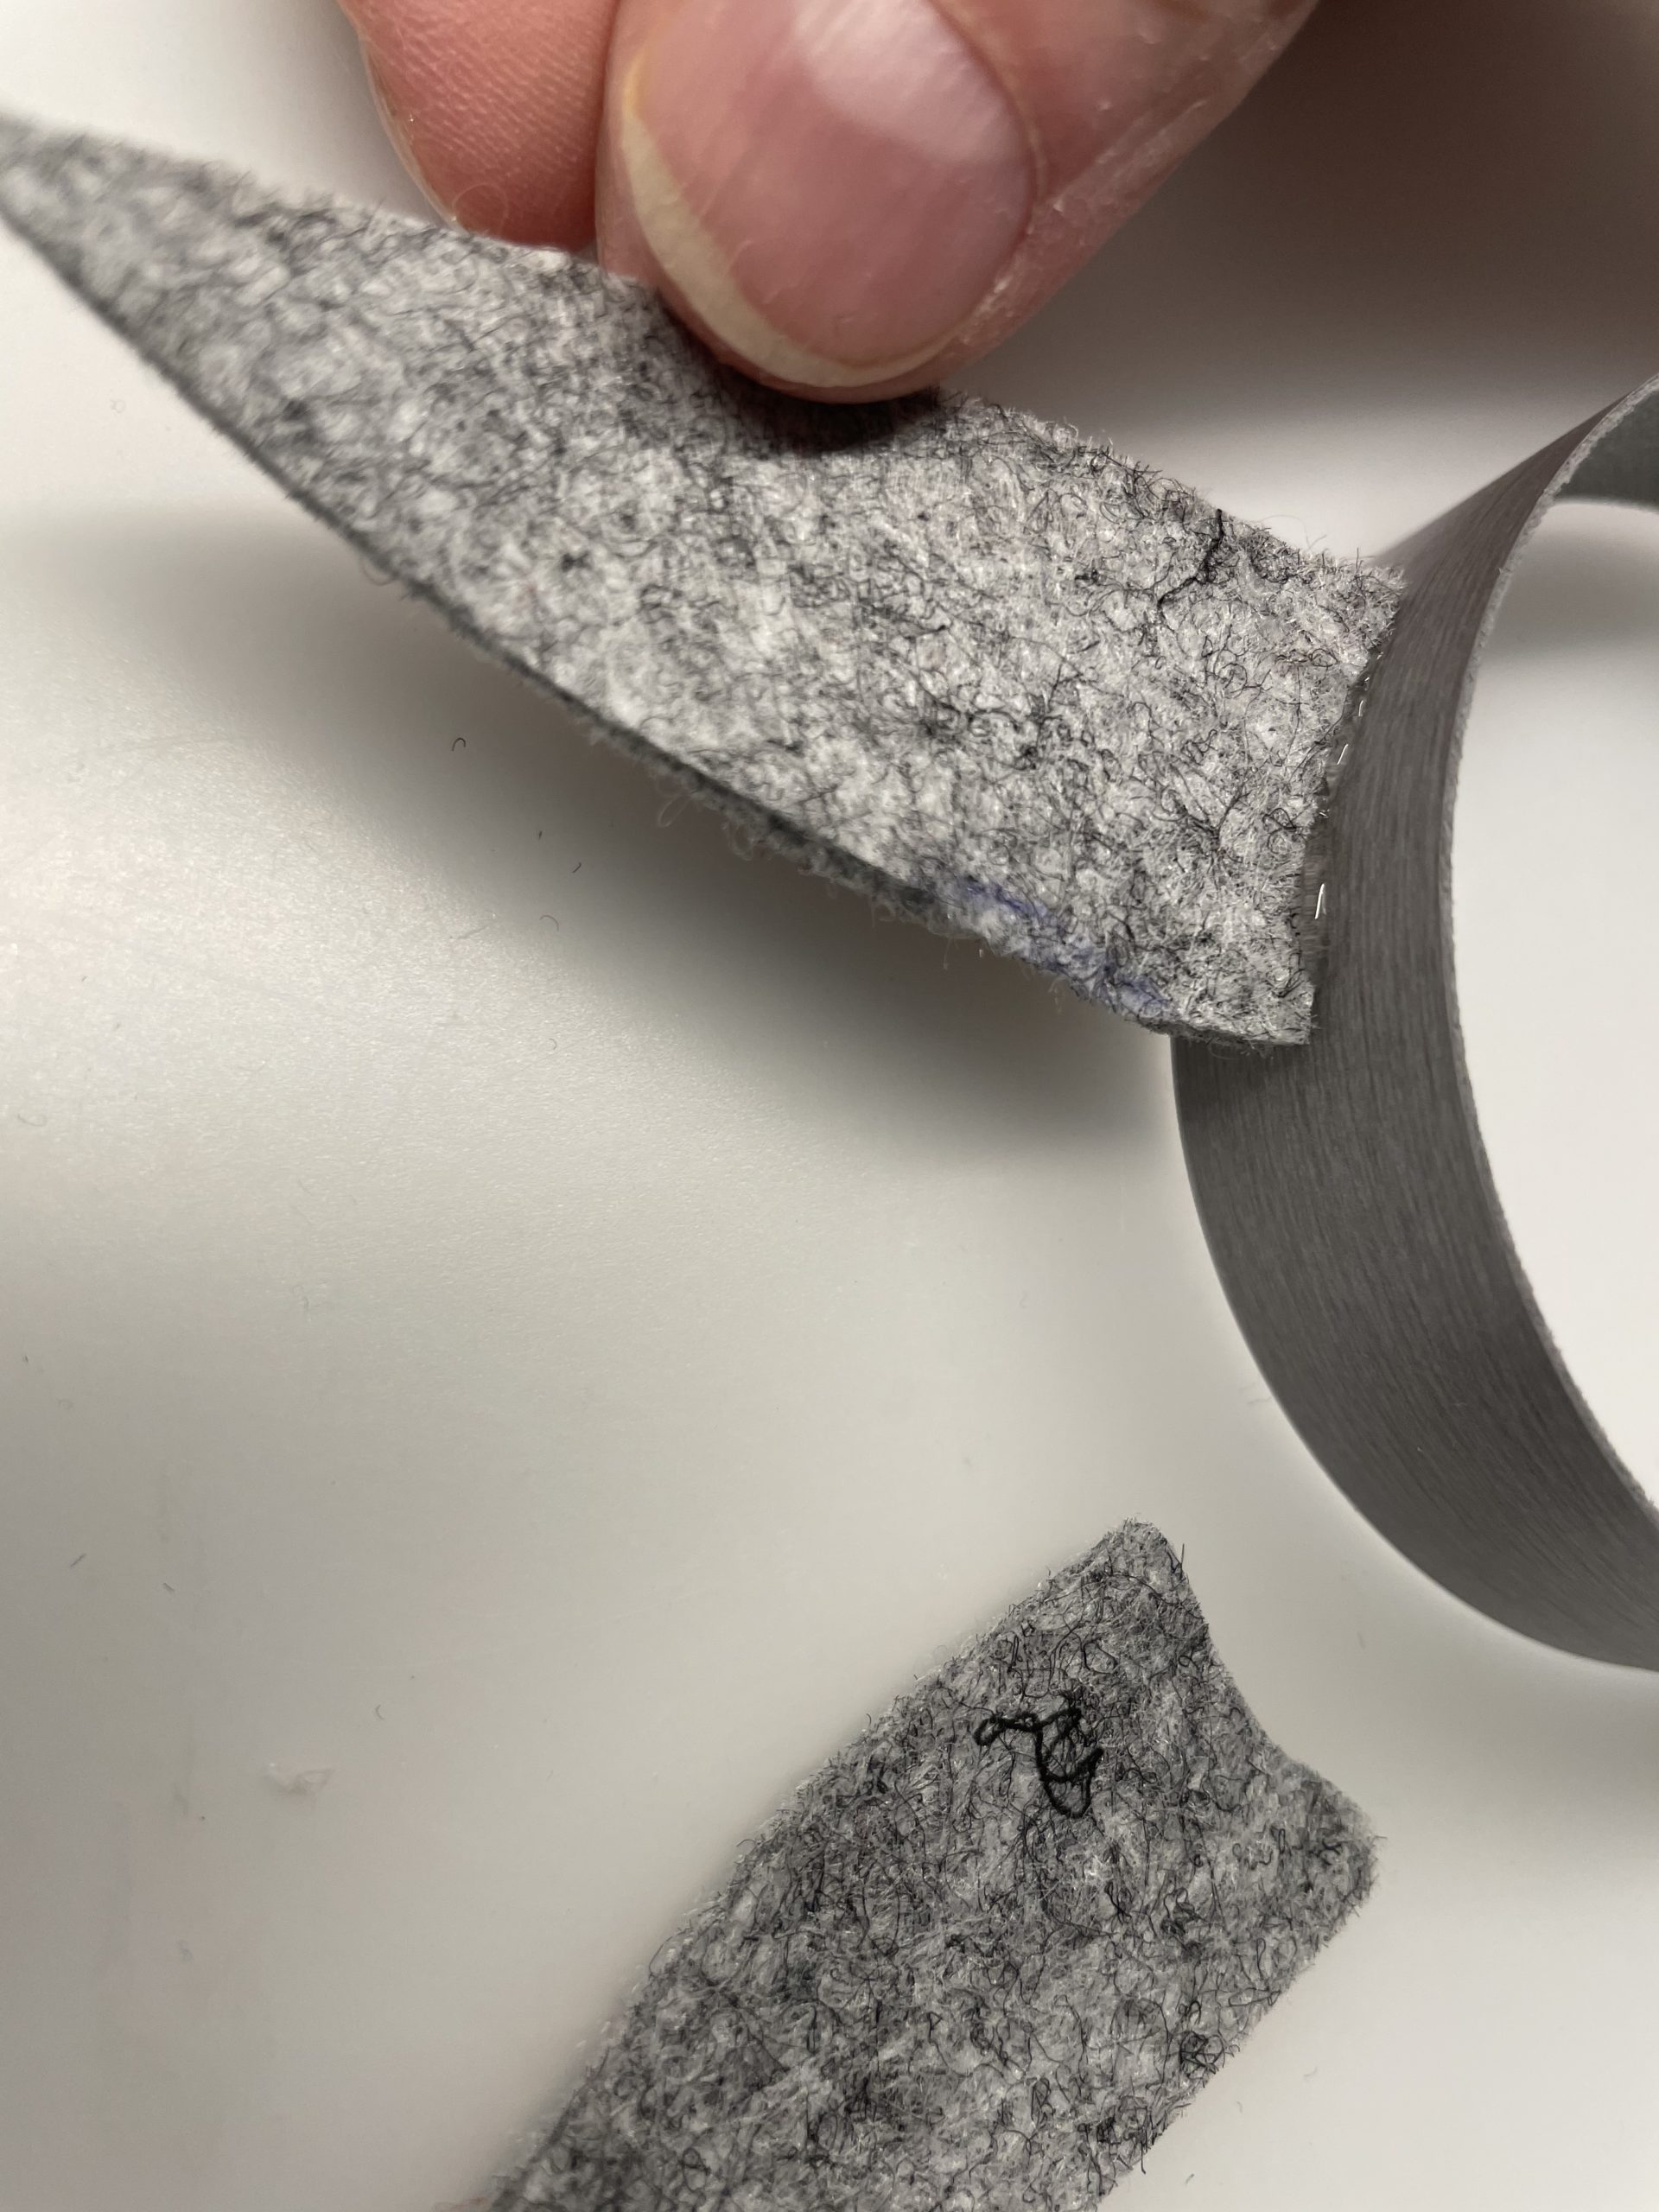


Fix both ears in this way.
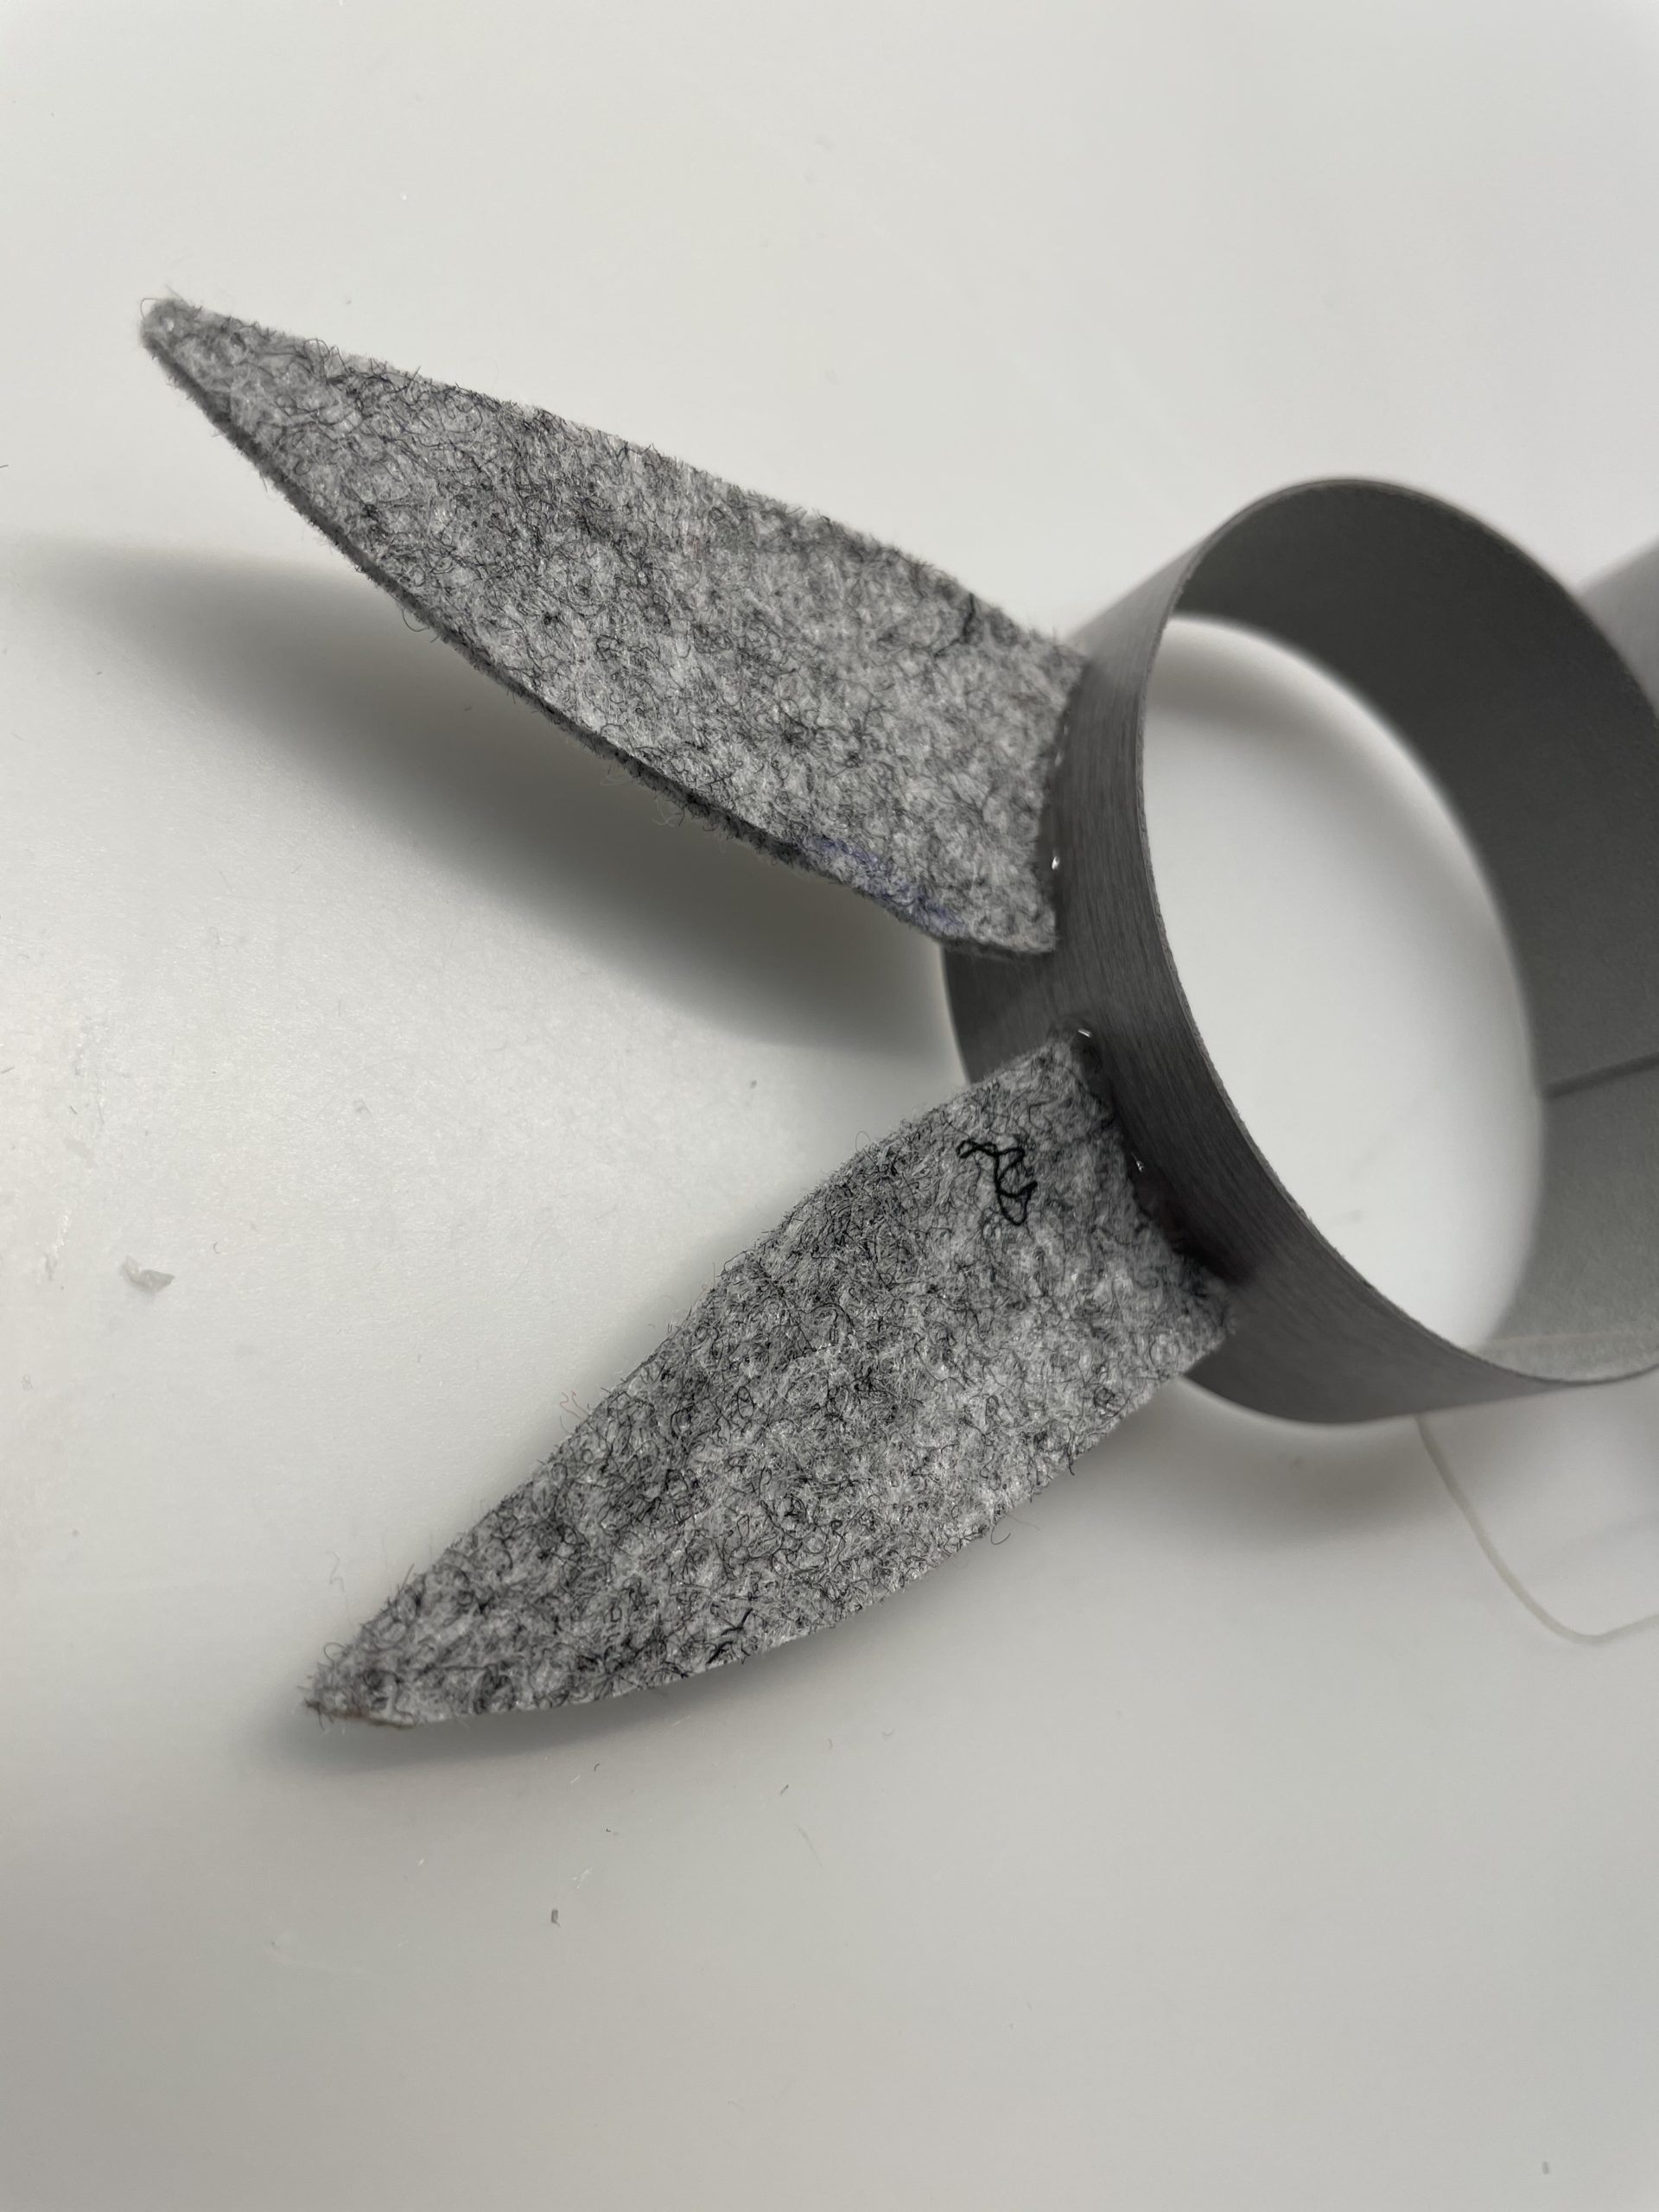


Now put the hanging thread between the rabbit ears.
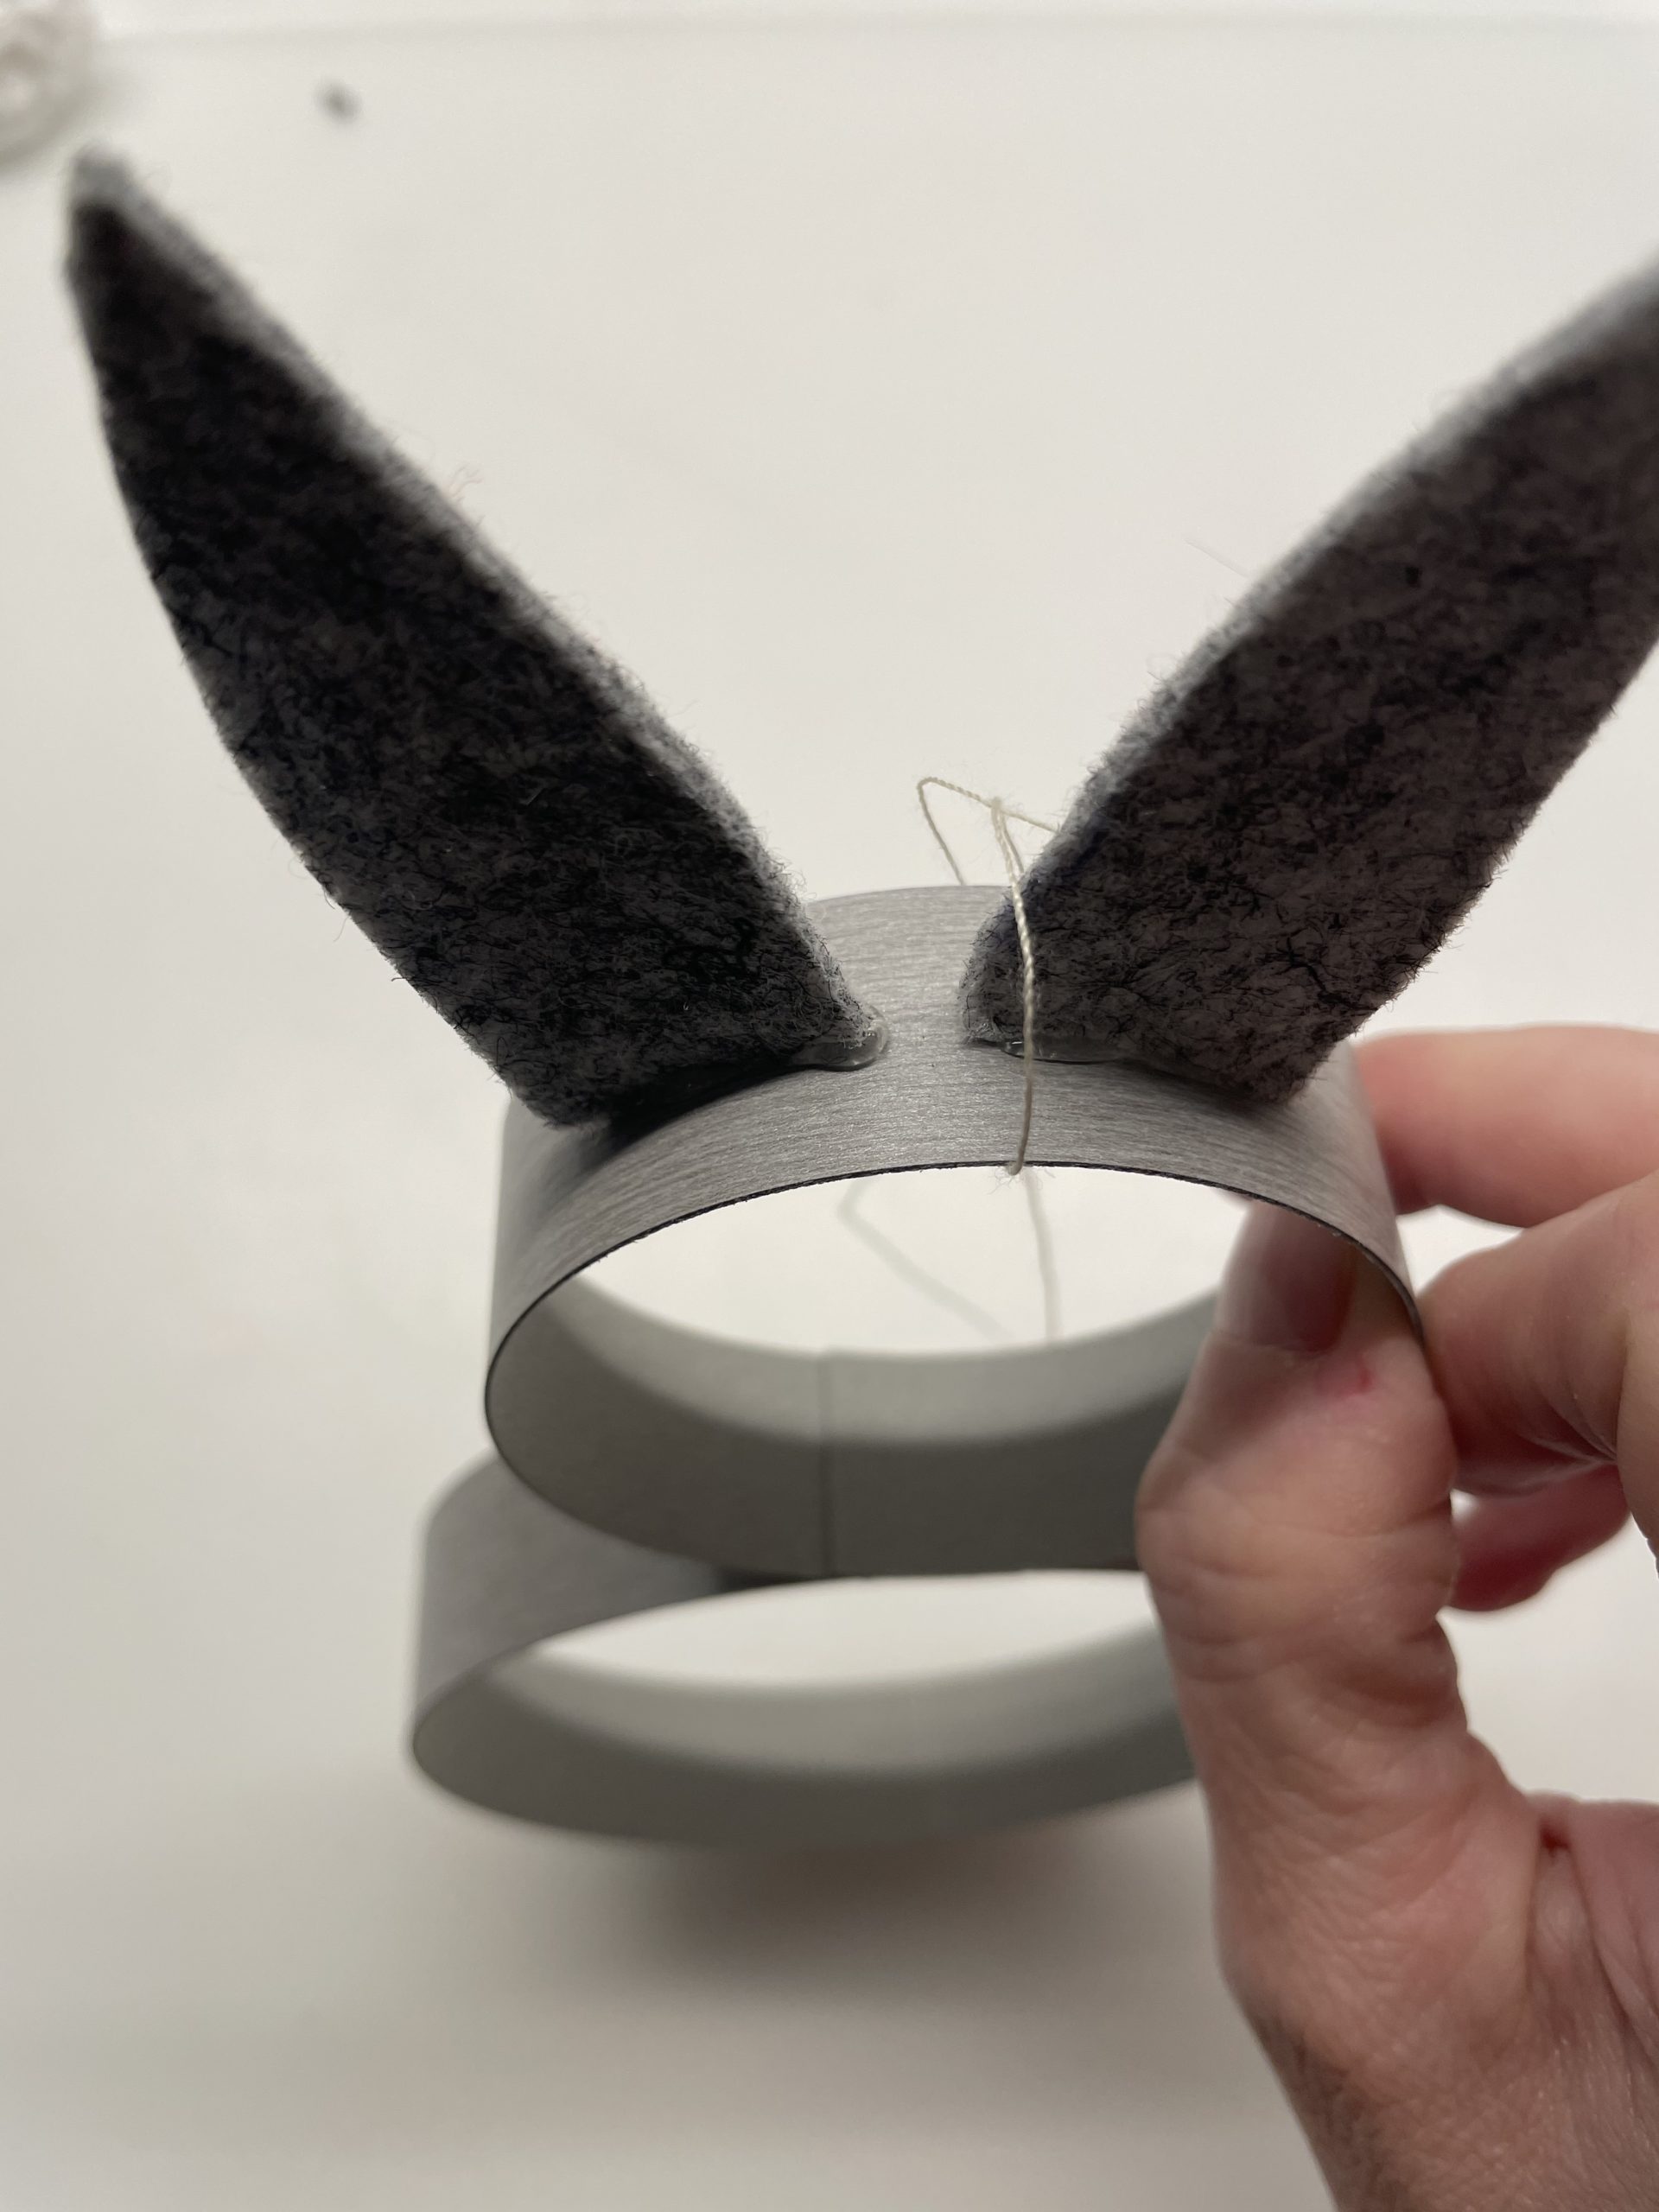


That's what the rabbit looks like now.


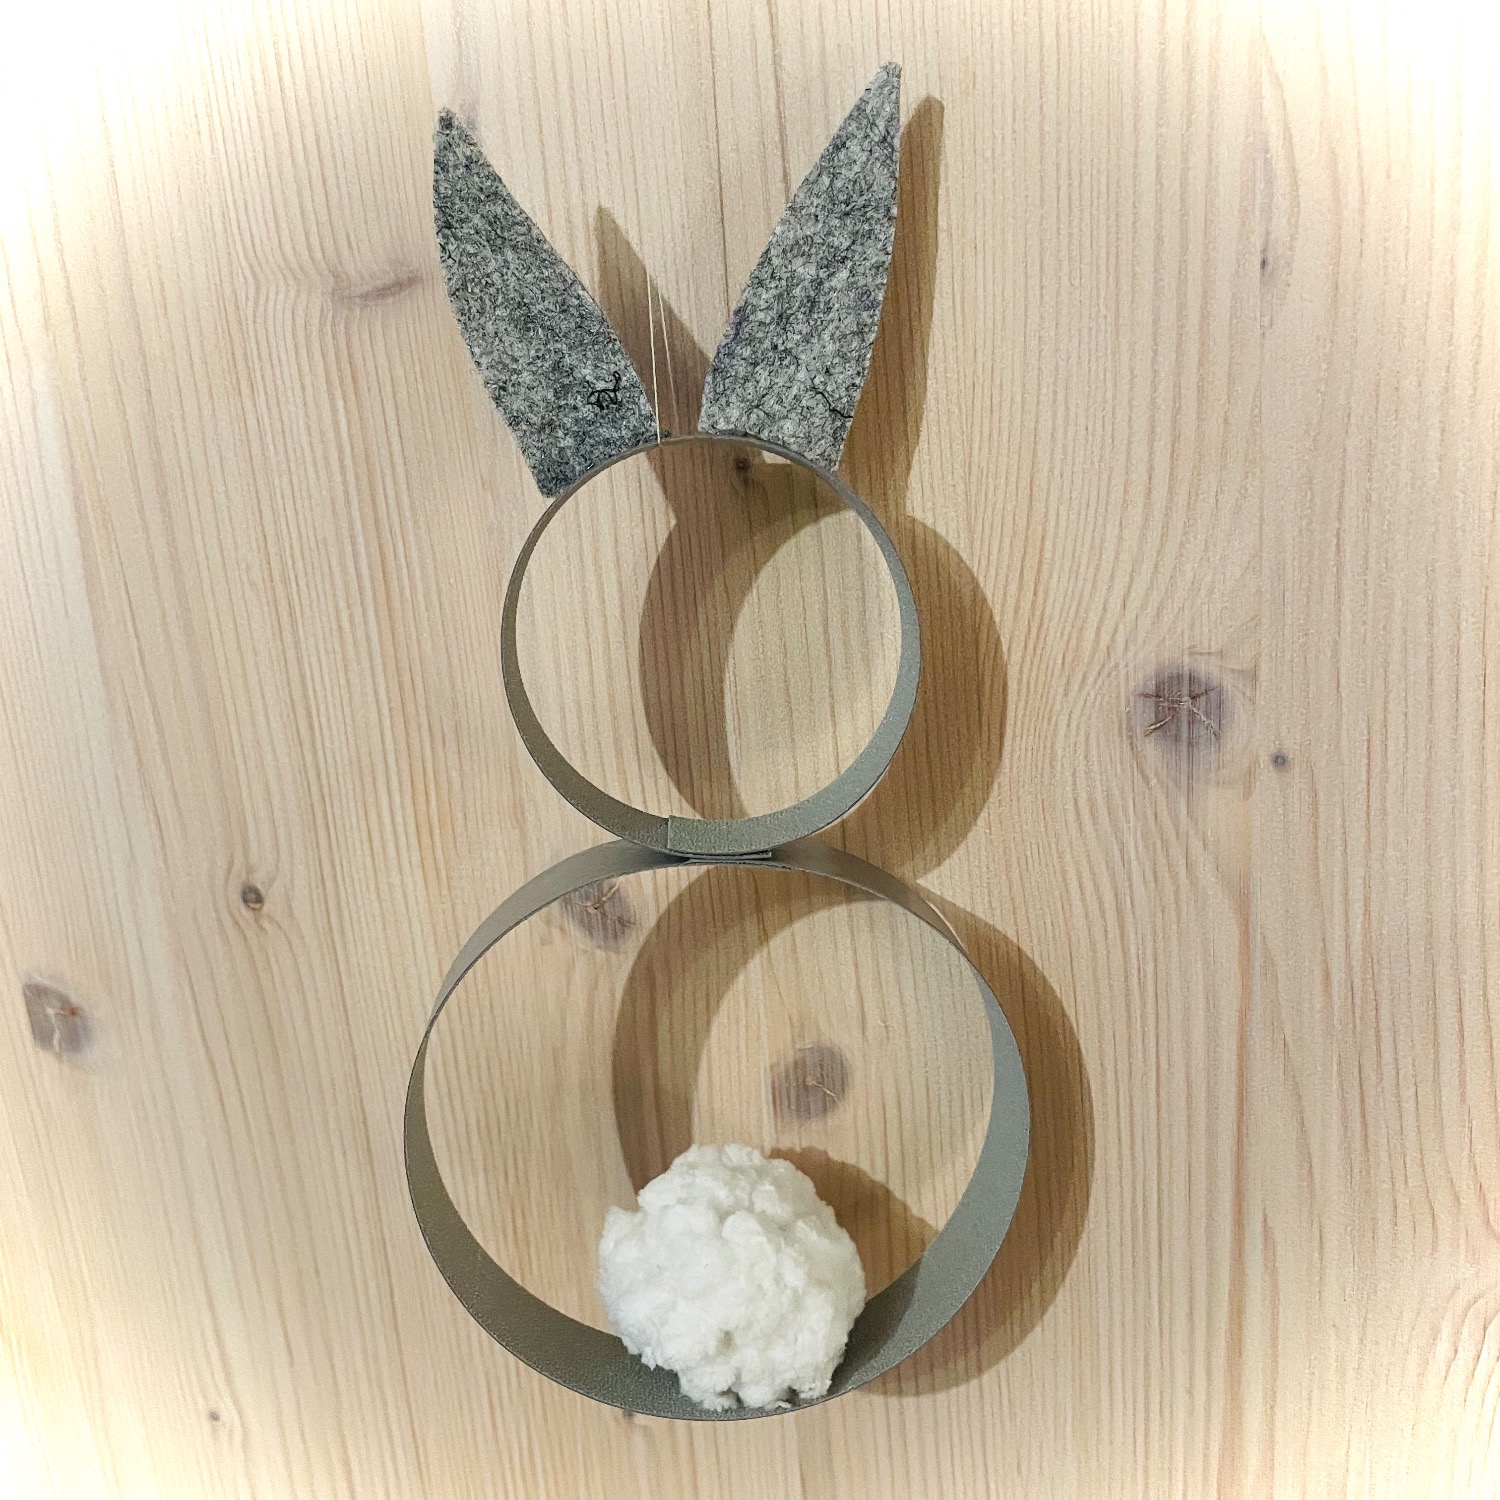
Finished is your rabbit. Hang it up and see for yourself how beautiful it turns in the air.


Enjoy your crafting!


Materials
Directions
Get a craft file ready.
You can also find all the materials together. Use either handicraft chip, wood chip or leftover pieces of ironing edges, edge wrappers (for example worktops). Also, strips of cardboard, corrugated board or photo board would be possible to use. These should then be approx. 2.5cm wide.


Cut the strips first. Cut off a strip 30cm long and cut the second 20cm.
Tip: With thinner paper you shorten the lengths. Note that you cut two different lengths.


Put together the large strip as a ring, in which the ends overlap about one centimetre.


Stick the ring together at this point.


Hold the sticky spot briefly.


Now you put a ring out of the smaller strip and glue the ends together.


Both rings are now connected to each other at the glue points. For this you stick the two circles together. Here you can also use the hot glue, but let you possibly help by an adult - risk of injury!


This is what the body of the rabbit looks like now.


Now you put a thread around the smaller ring (the hare's head) and knot it. You need this cord later to hang it.


Then you cut out of thick felt two ears with 2.5cm width and 5cm length each.


Round the ears at the straight underside slightly arched. So they lie better on the rabbit head.


Now glue the ears with hot glue to the flat outside of the ring. Spread the lower edge of the felt with hot glue (attention: hot!) and press it to the upper outer edge of the rabbit head.


Fix both ears in this way.


Now put the hanging thread between the rabbit ears.


That's what the rabbit looks like now.


Finished is your rabbit. Hang it up and see for yourself how beautiful it turns in the air.


Enjoy your crafting!


Follow us on Facebook , Instagram and Pinterest
Don't miss any more adventures: Our bottle mail

