Leave lanterns (2 variants)

AdventurerKatzi
Rating5.015.0 thousand times (2) DifficultyAdvanced

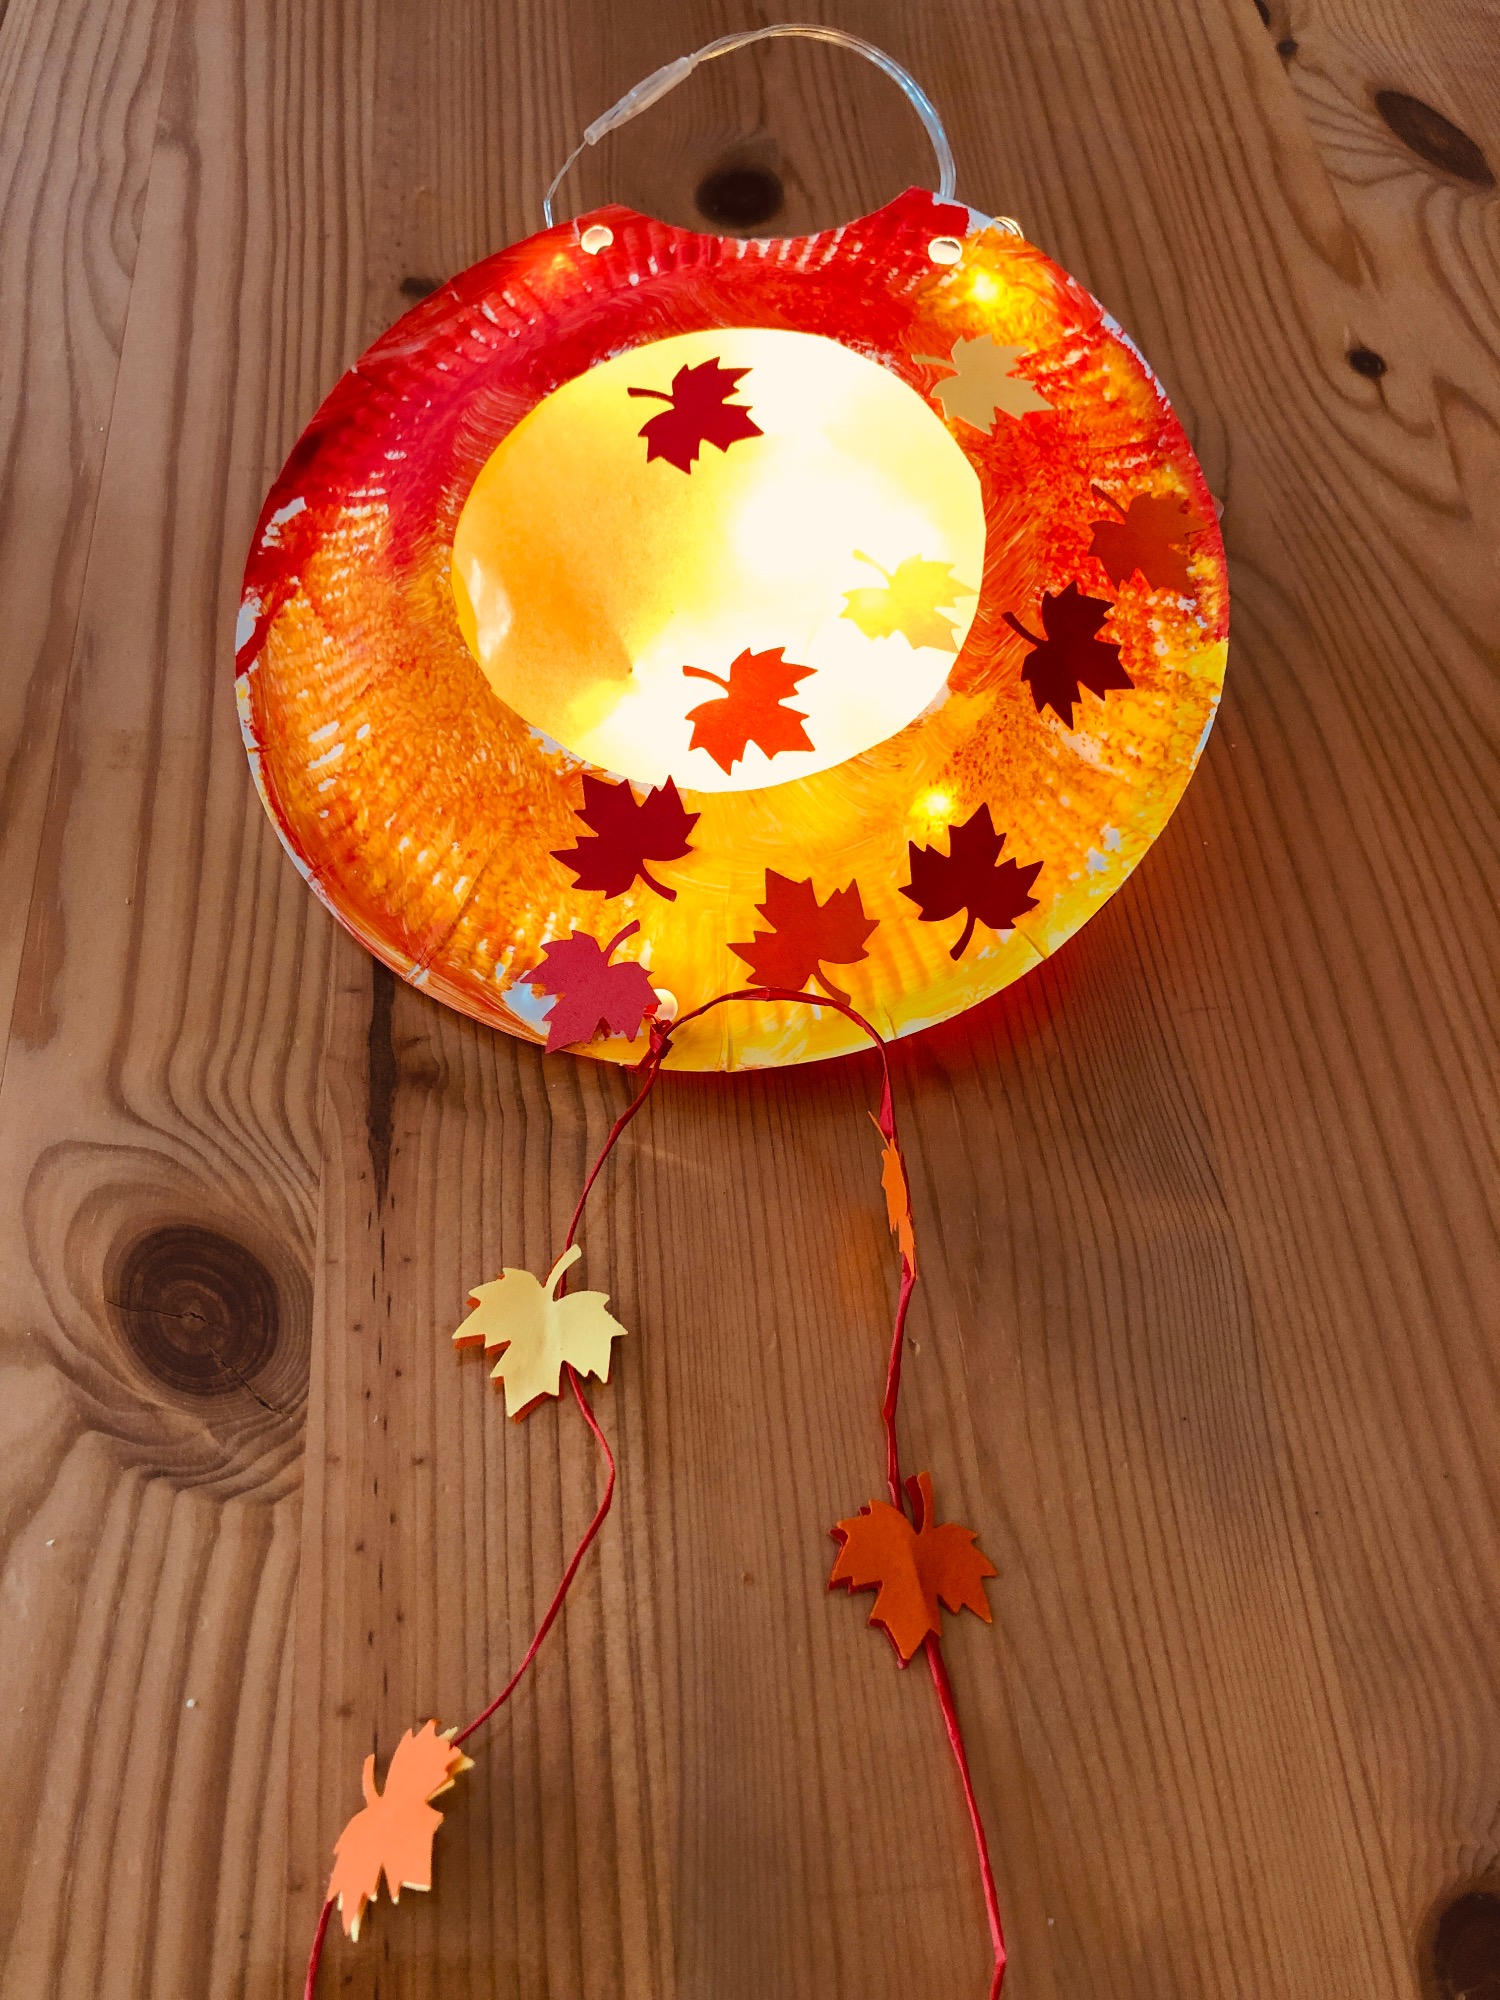
Autumn time is lantern time.
Crafting with a cardboard plate and punched leaves is also possible for crib children. The little ones are happy to paint and glue the lantern and can do a lot of things themselves and help everywhere.

Media Education for Kindergarten and Hort

Kind bastelt eine Rassel mit dem Navi
The Adventure Navi, the app for DIY projects, enables media education for the youngest.

Relief in everyday life, targeted promotion of individual children, independent learning and - without any pre-knowledge already usable by the youngest!


Titelbild zur Bastel- und DIY-Idee für Kinder '(437) Blätterlaternen (2 Varianten)'
Material for1 Child
Prep Time10 min.Adv. Time20 min.Total Time30 min.
 2 Cardboard plates with 15.5 cm diameter
 2 Pieces of transparent paper 10 cm x 10 cmorange, red or yellow
 Maple leaf danceror you take snippets of transparent paper
 colorful paper for punchingFolding paper or coloured advertising brochures
 Wire or lantern rod with batteryor a small battery-powered light chain
 Perforator
 Basted cord
 Rinse sponge
 Finger or watercoloursyou may need red and yellow orange (but it can also be mixed)
All links marked with a shopping cart lead to Amazon - here we have selected products that we would order ourselves and in part also ordered. In a qualified purchase via the advertising link, we as Amazon partner receive a commission, for you there are no costs. You thus support our cost- and advertising banner-free, educational offer.
1

Cuts out a large circle from the two cardboard plates in the middle.
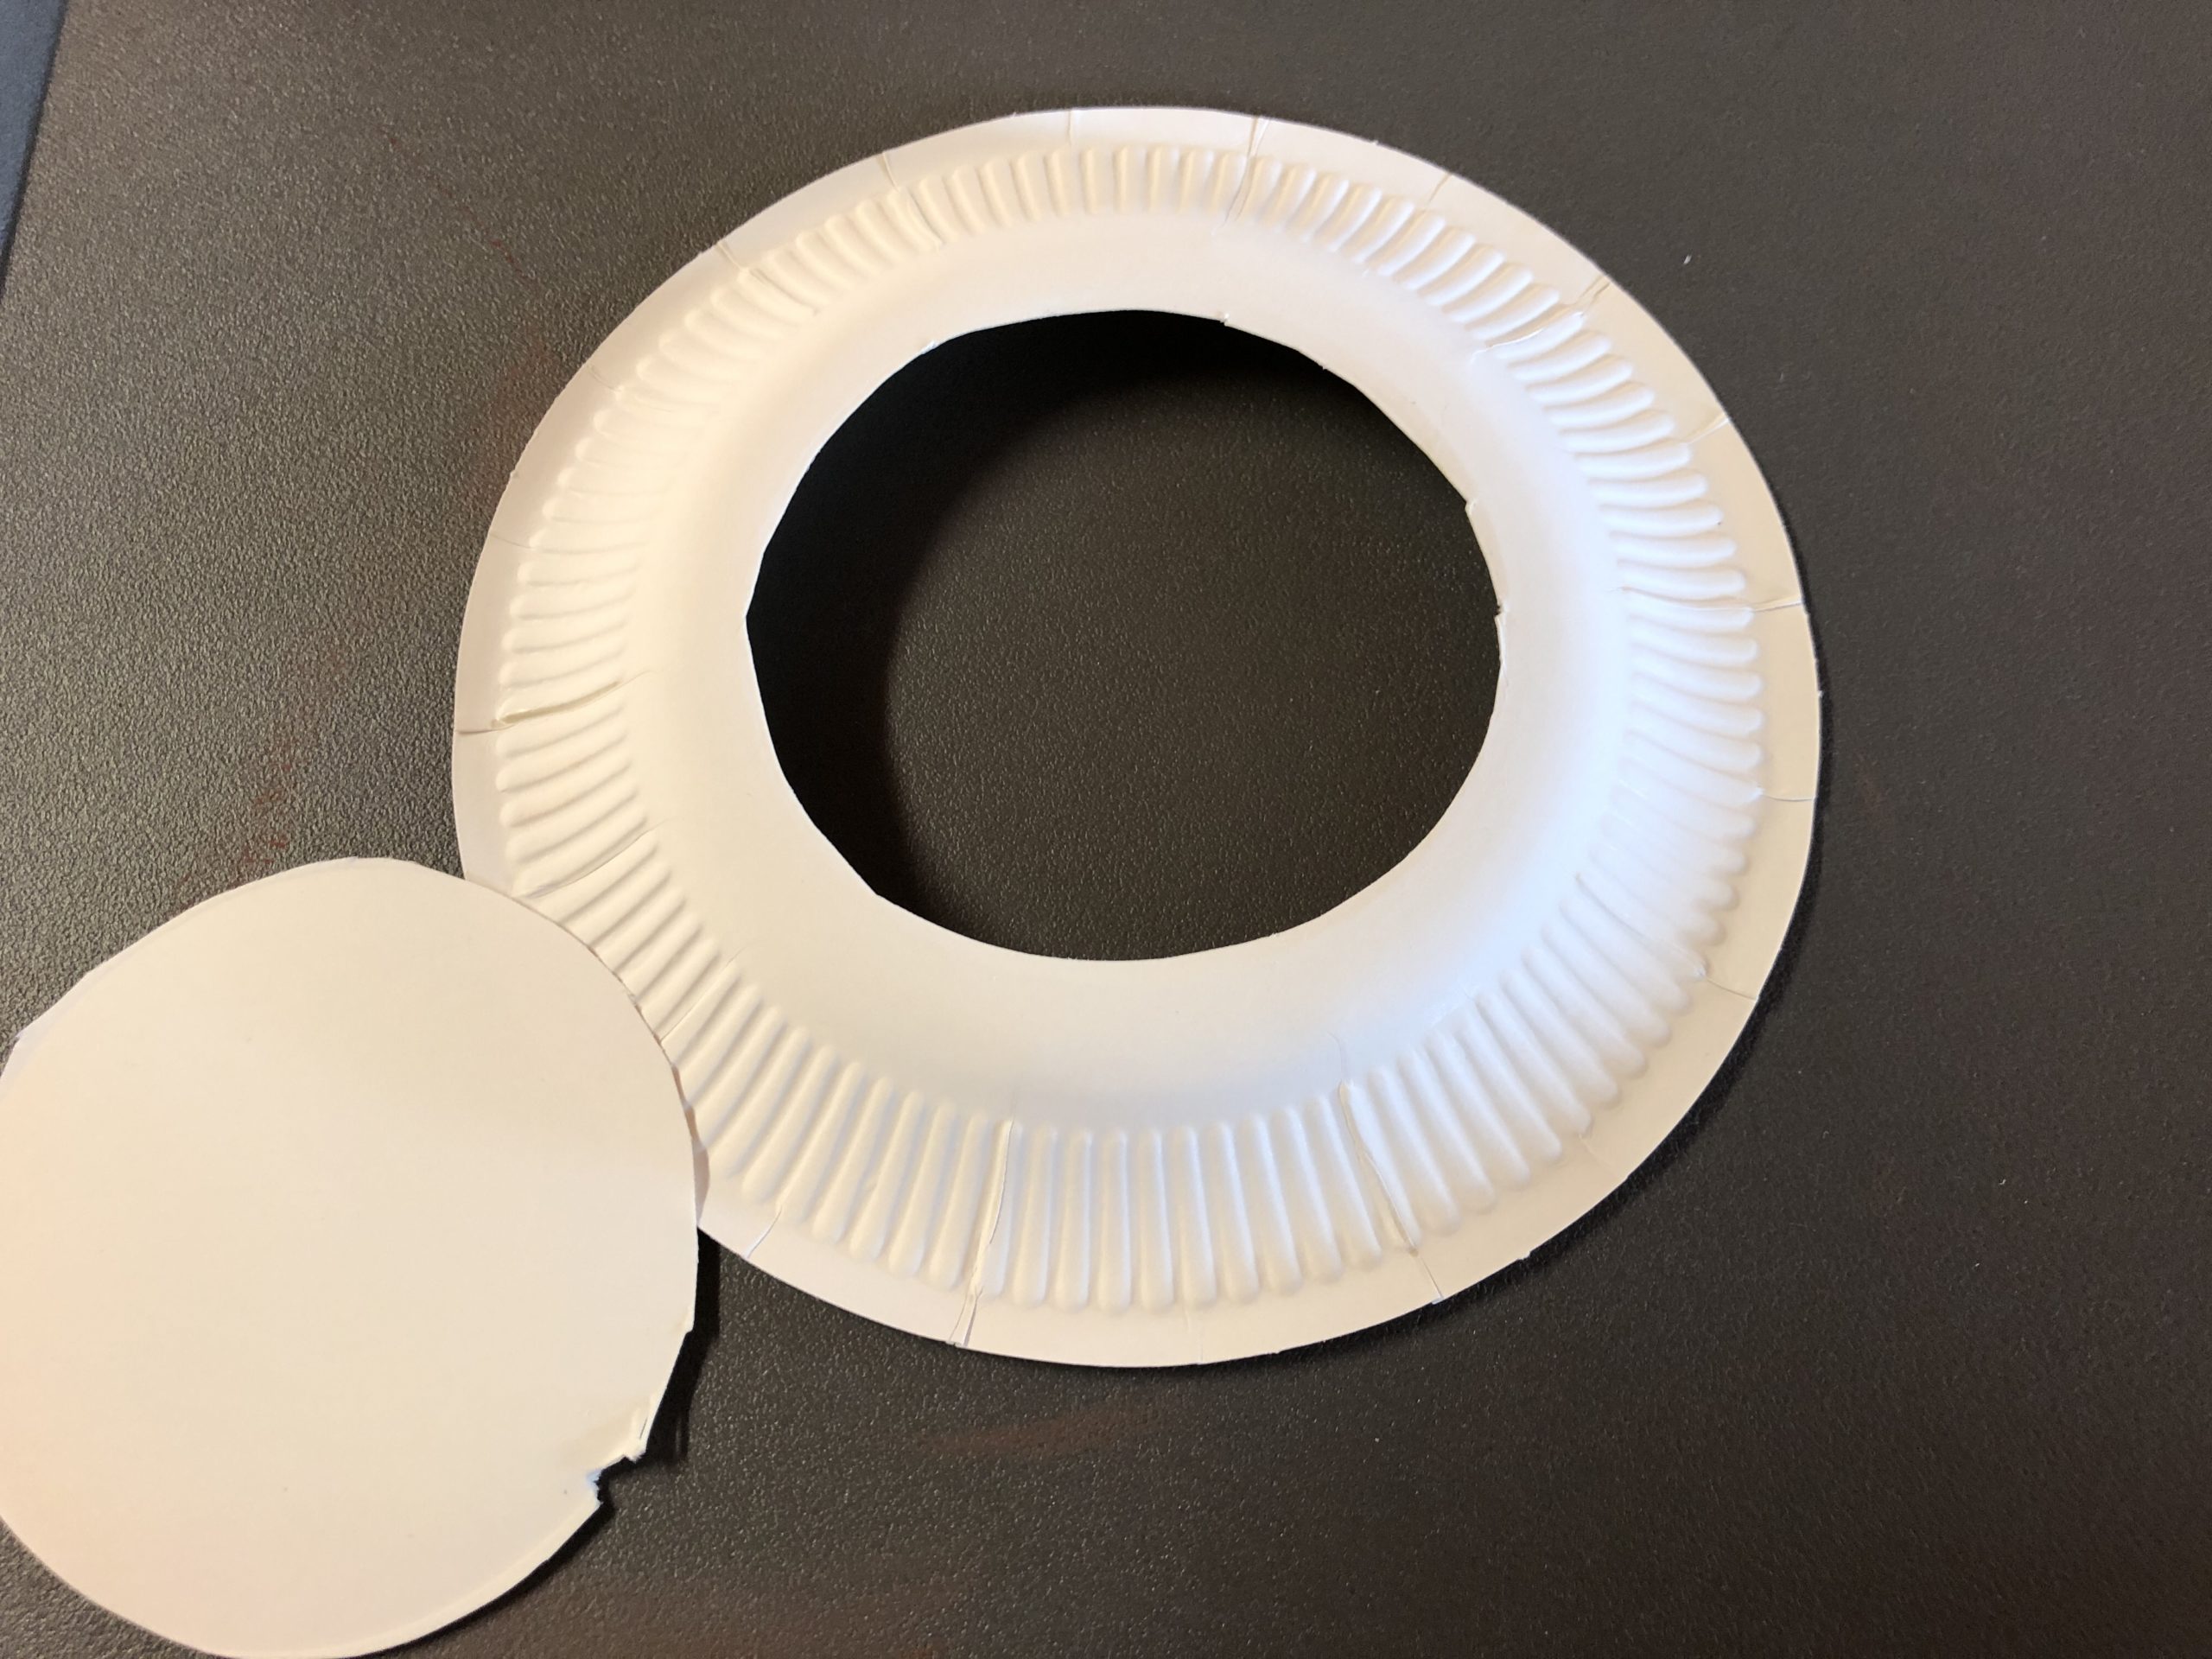
Bild zum Schritt 1 für das Bastel- und DIY-Abenteuer für Kinder: 'Schneidet aus den beiden Papptellern in der Mitte ein großer...'

2

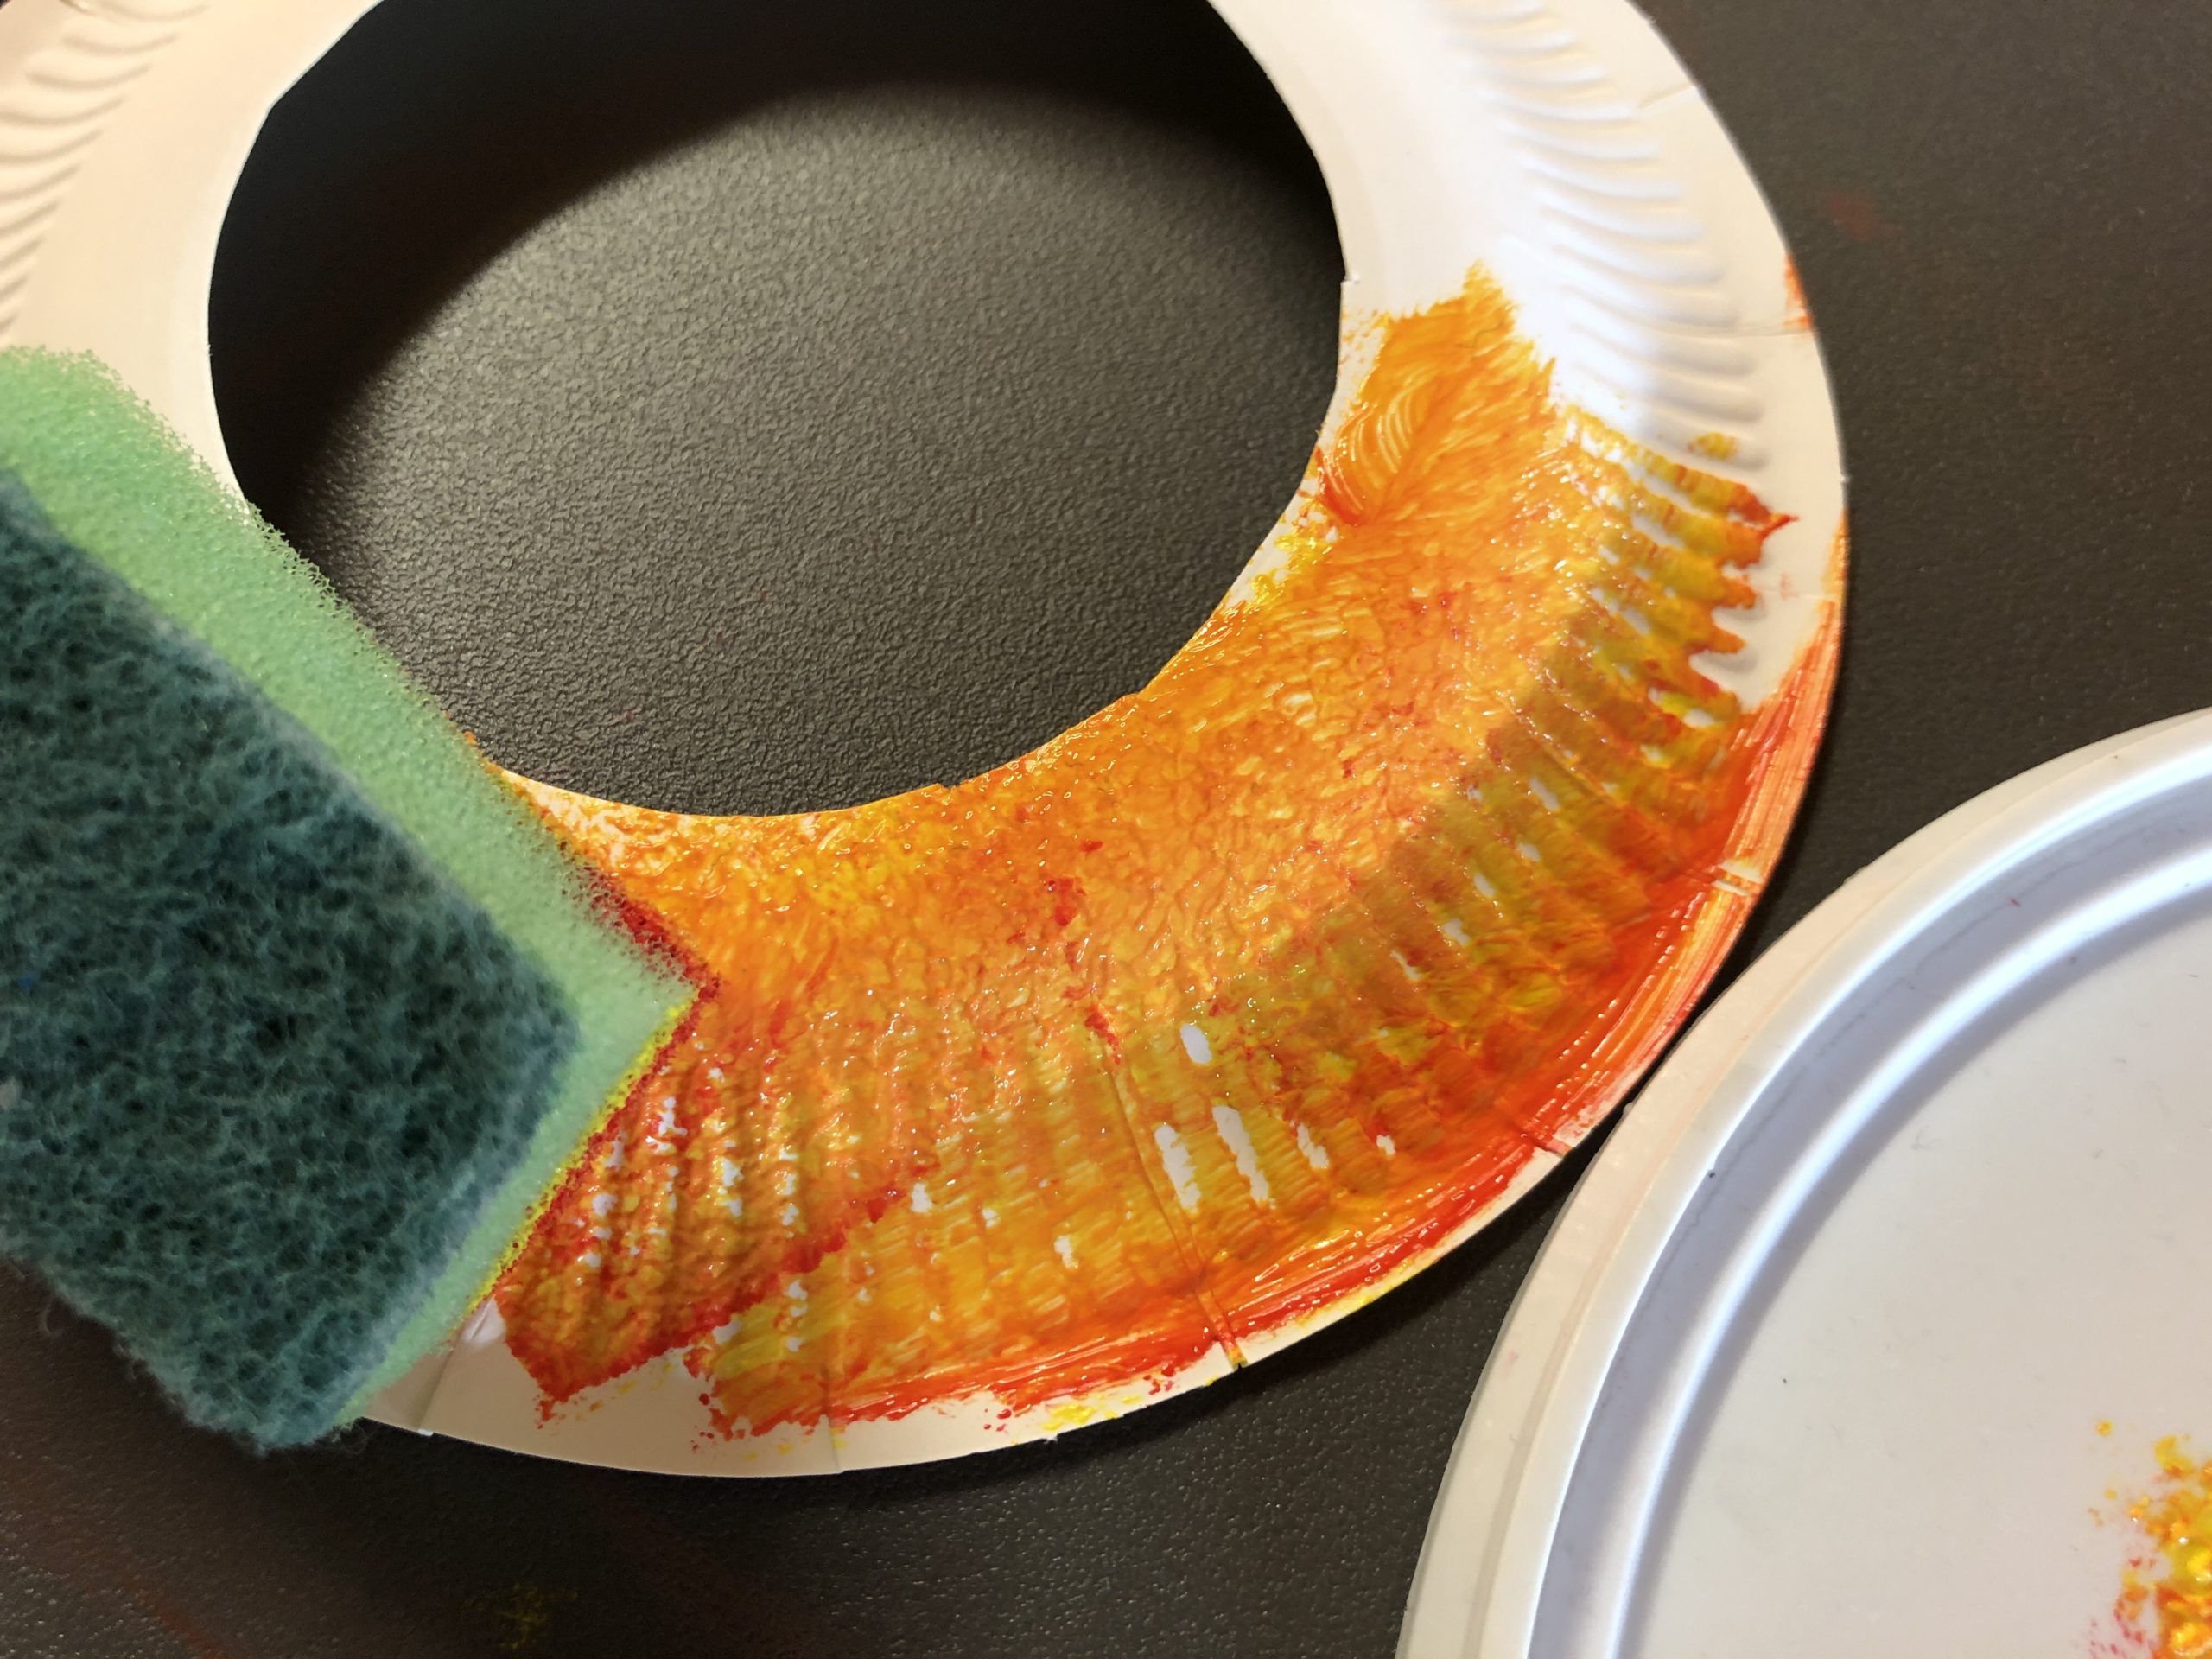
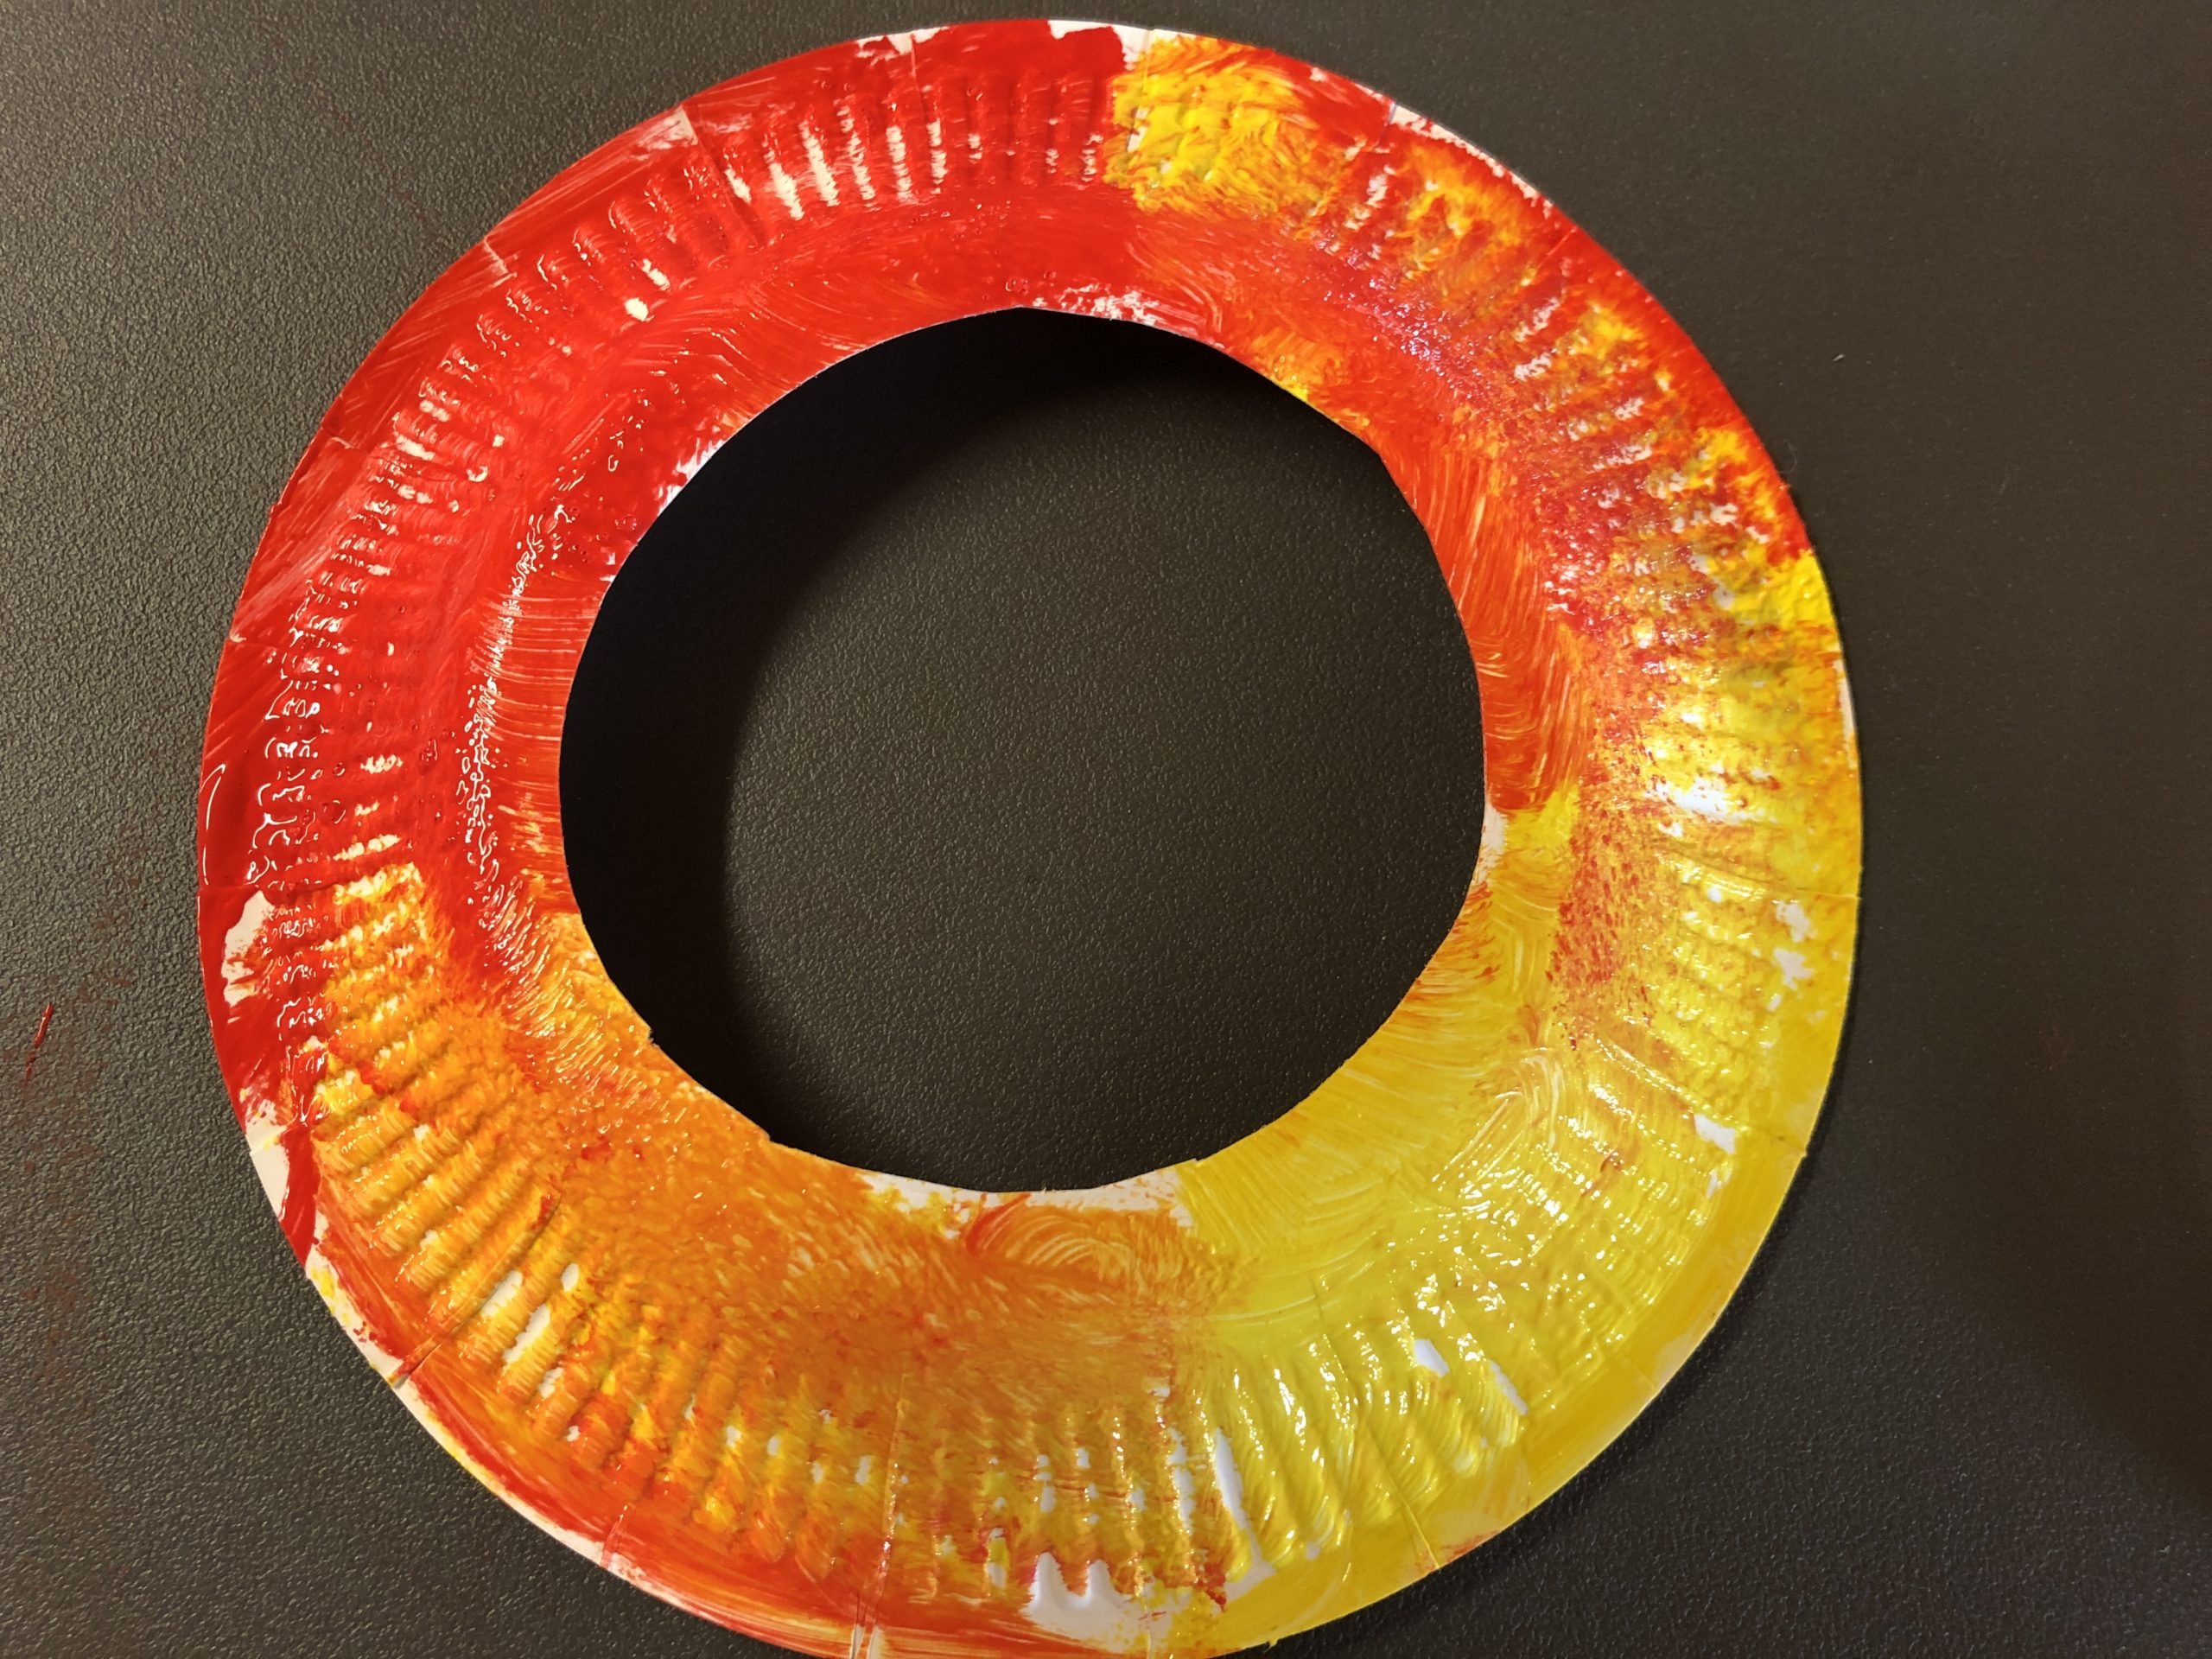
Take red and yellow paint and a sponge (e.g. a sponge). Now swab or wipe the paint with the sponge on the outside curved side of the cardboard plates. (bottom side of the plate)
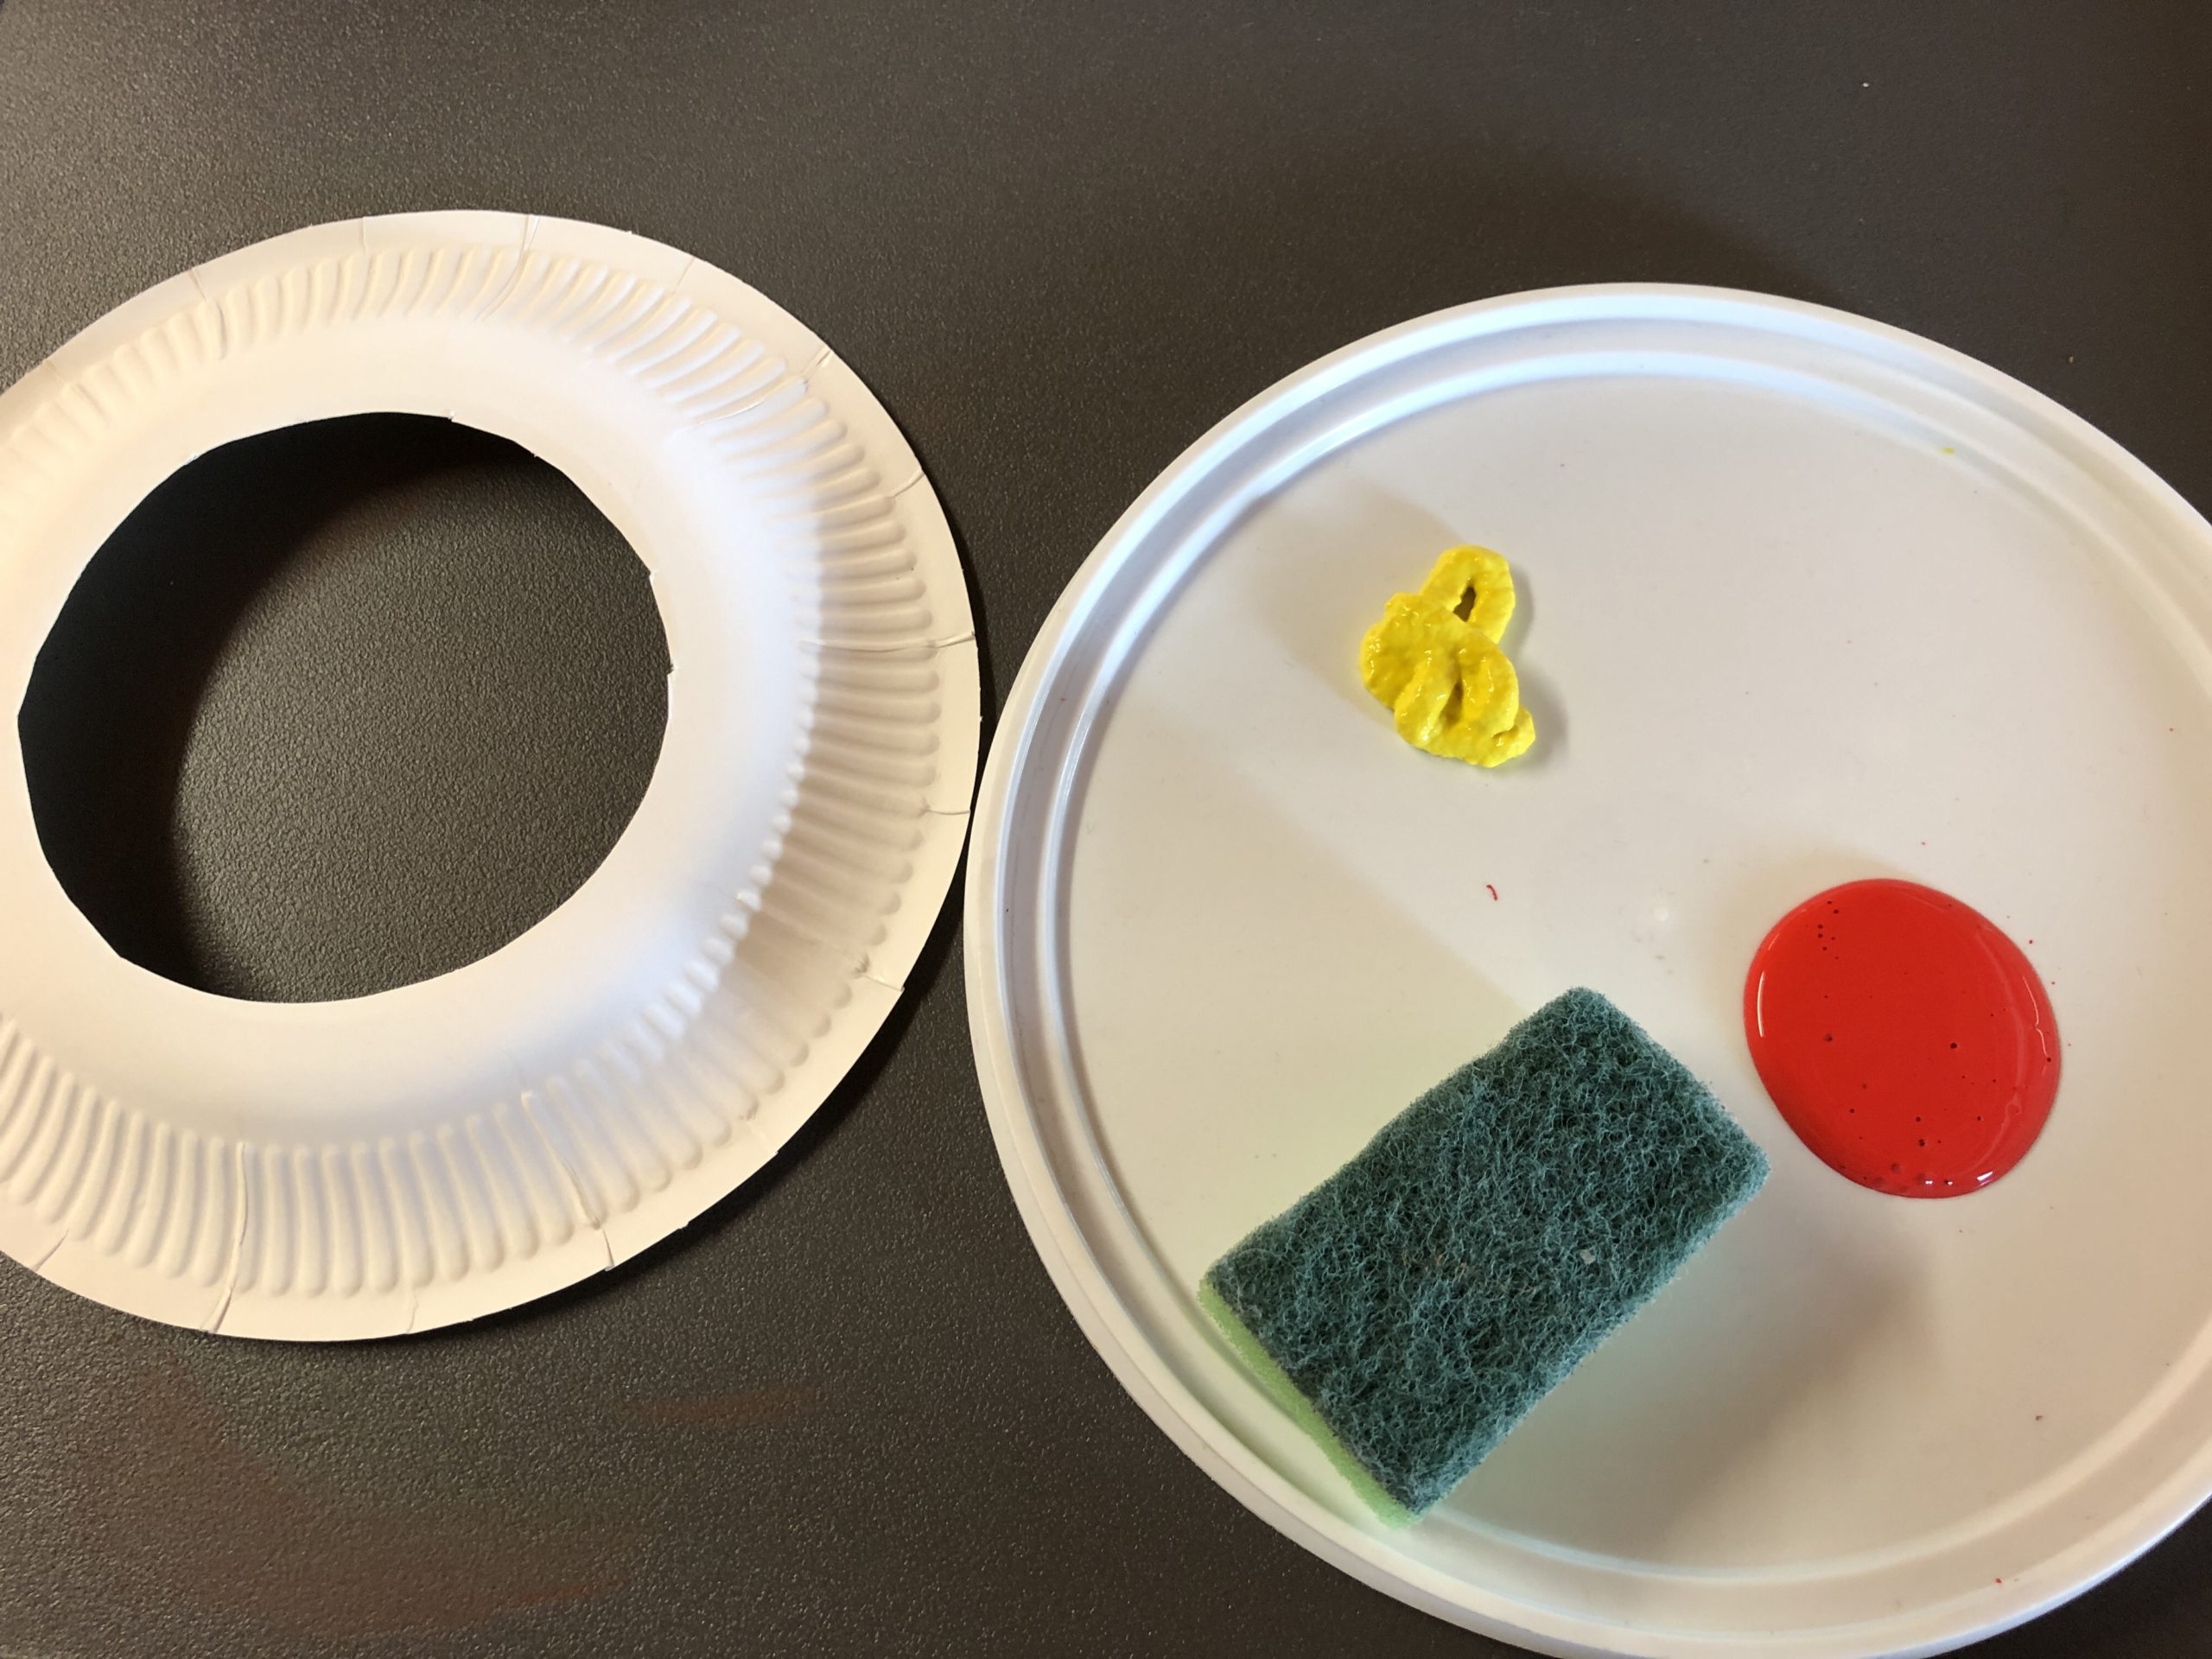
Bild zum Schritt 2 für das Bastel- und DIY-Abenteuer für Kinder: 'Nehmt rote und gelbe Farbe und einen Schwamm (z.B. einen...'

3

2. Bild zum Schritt 2 für das Bastel- und DIY-Abenteuer für Kinder: 'Nehmt rote und gelbe Farbe und einen Schwamm (z.B. einen...'

4

3. Bild zum Schritt 3 für das Bastel- und DIY-Abenteuer für Kinder: 'Nehmt rote und gelbe Farbe und einen Schwamm (z.B. einen...'

5

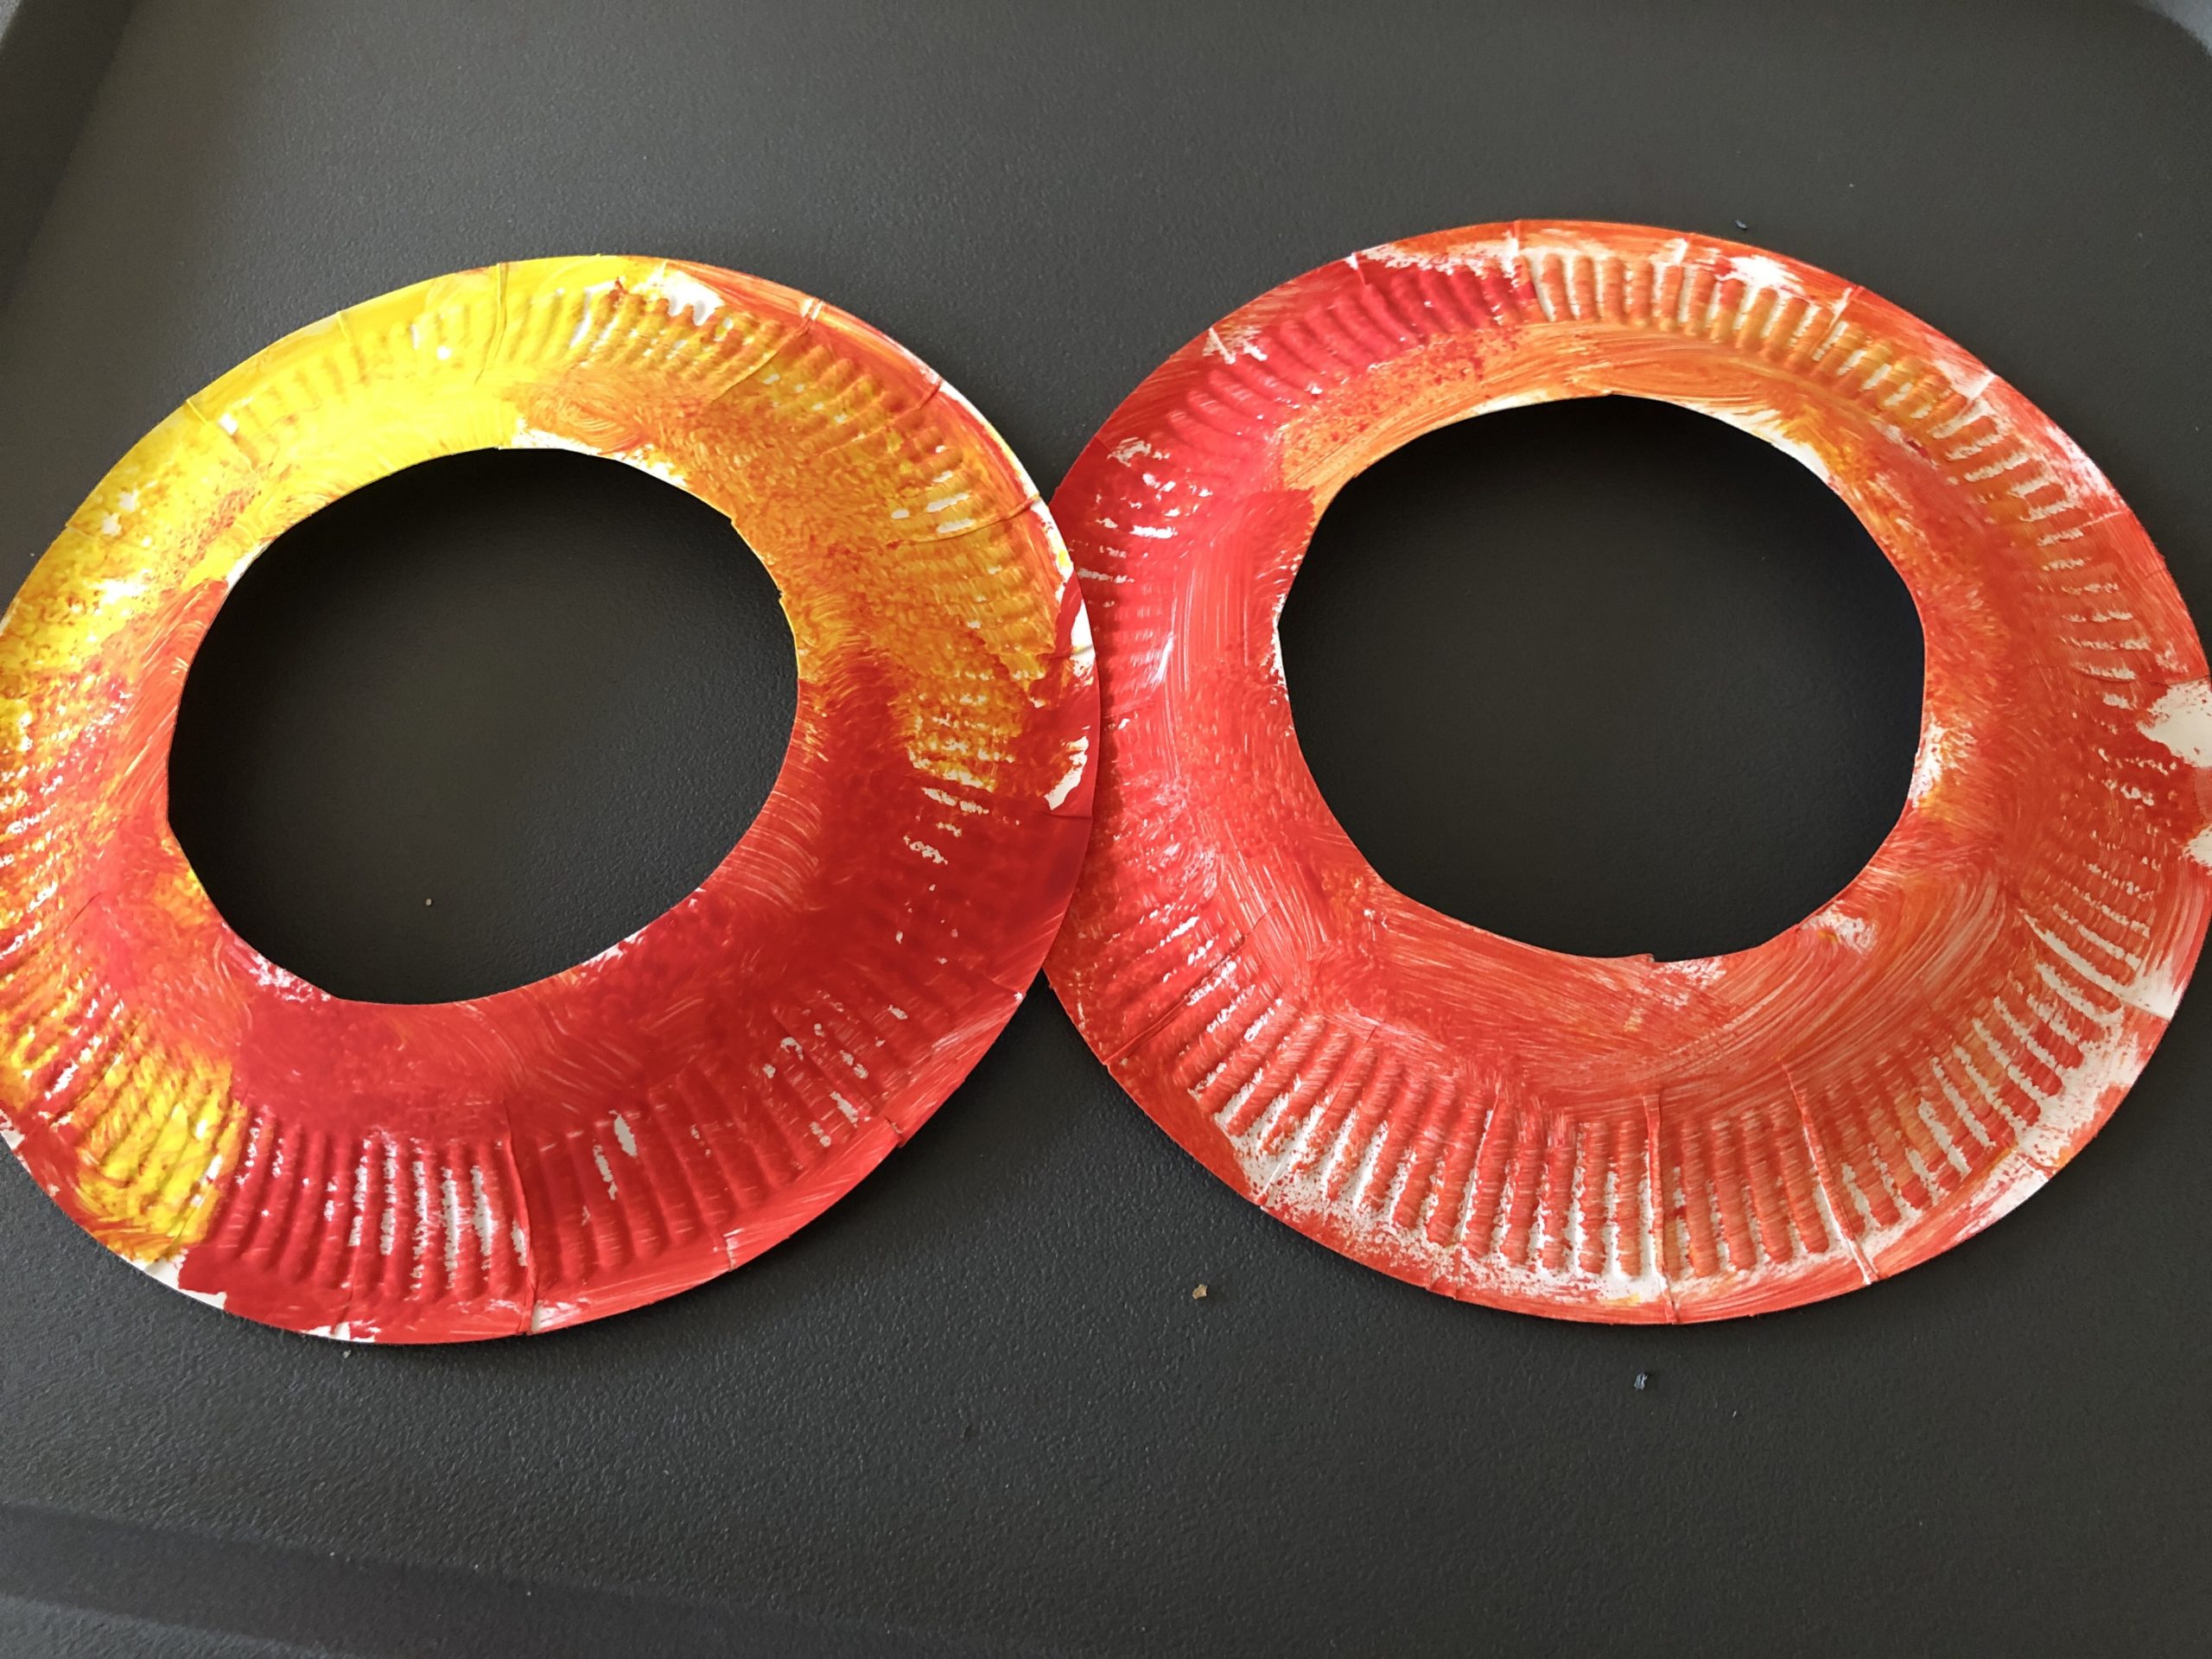
Put both plates to dry.

Bild zum Schritt 5 für das Bastel- und DIY-Abenteuer für Kinder: 'Legt beide Teller zum Trocknen.'

6

Cut the transparent paper to about 10cm x 10 cm.

Bild zum Schritt 6 für das Bastel- und DIY-Abenteuer für Kinder: 'Schneidet nun das Transparentpapier auf circa 10cm x 10 cm...'

7

Then it sticks to the back of the painted plates over the cut out holes.

Bild zum Schritt 7 für das Bastel- und DIY-Abenteuer für Kinder: 'Anschließend klebt es auf die Rückseite der bemalten Teller über...'

8

The plates are ready. Now you can think about how you want to punch your leaves, look at my ideas:

Bild zum Schritt 8 für das Bastel- und DIY-Abenteuer für Kinder: 'Fertig sind die Teller. Jetzt könnt ihr überlegen, wie ihr...'

Variant 1: with folding paper
9

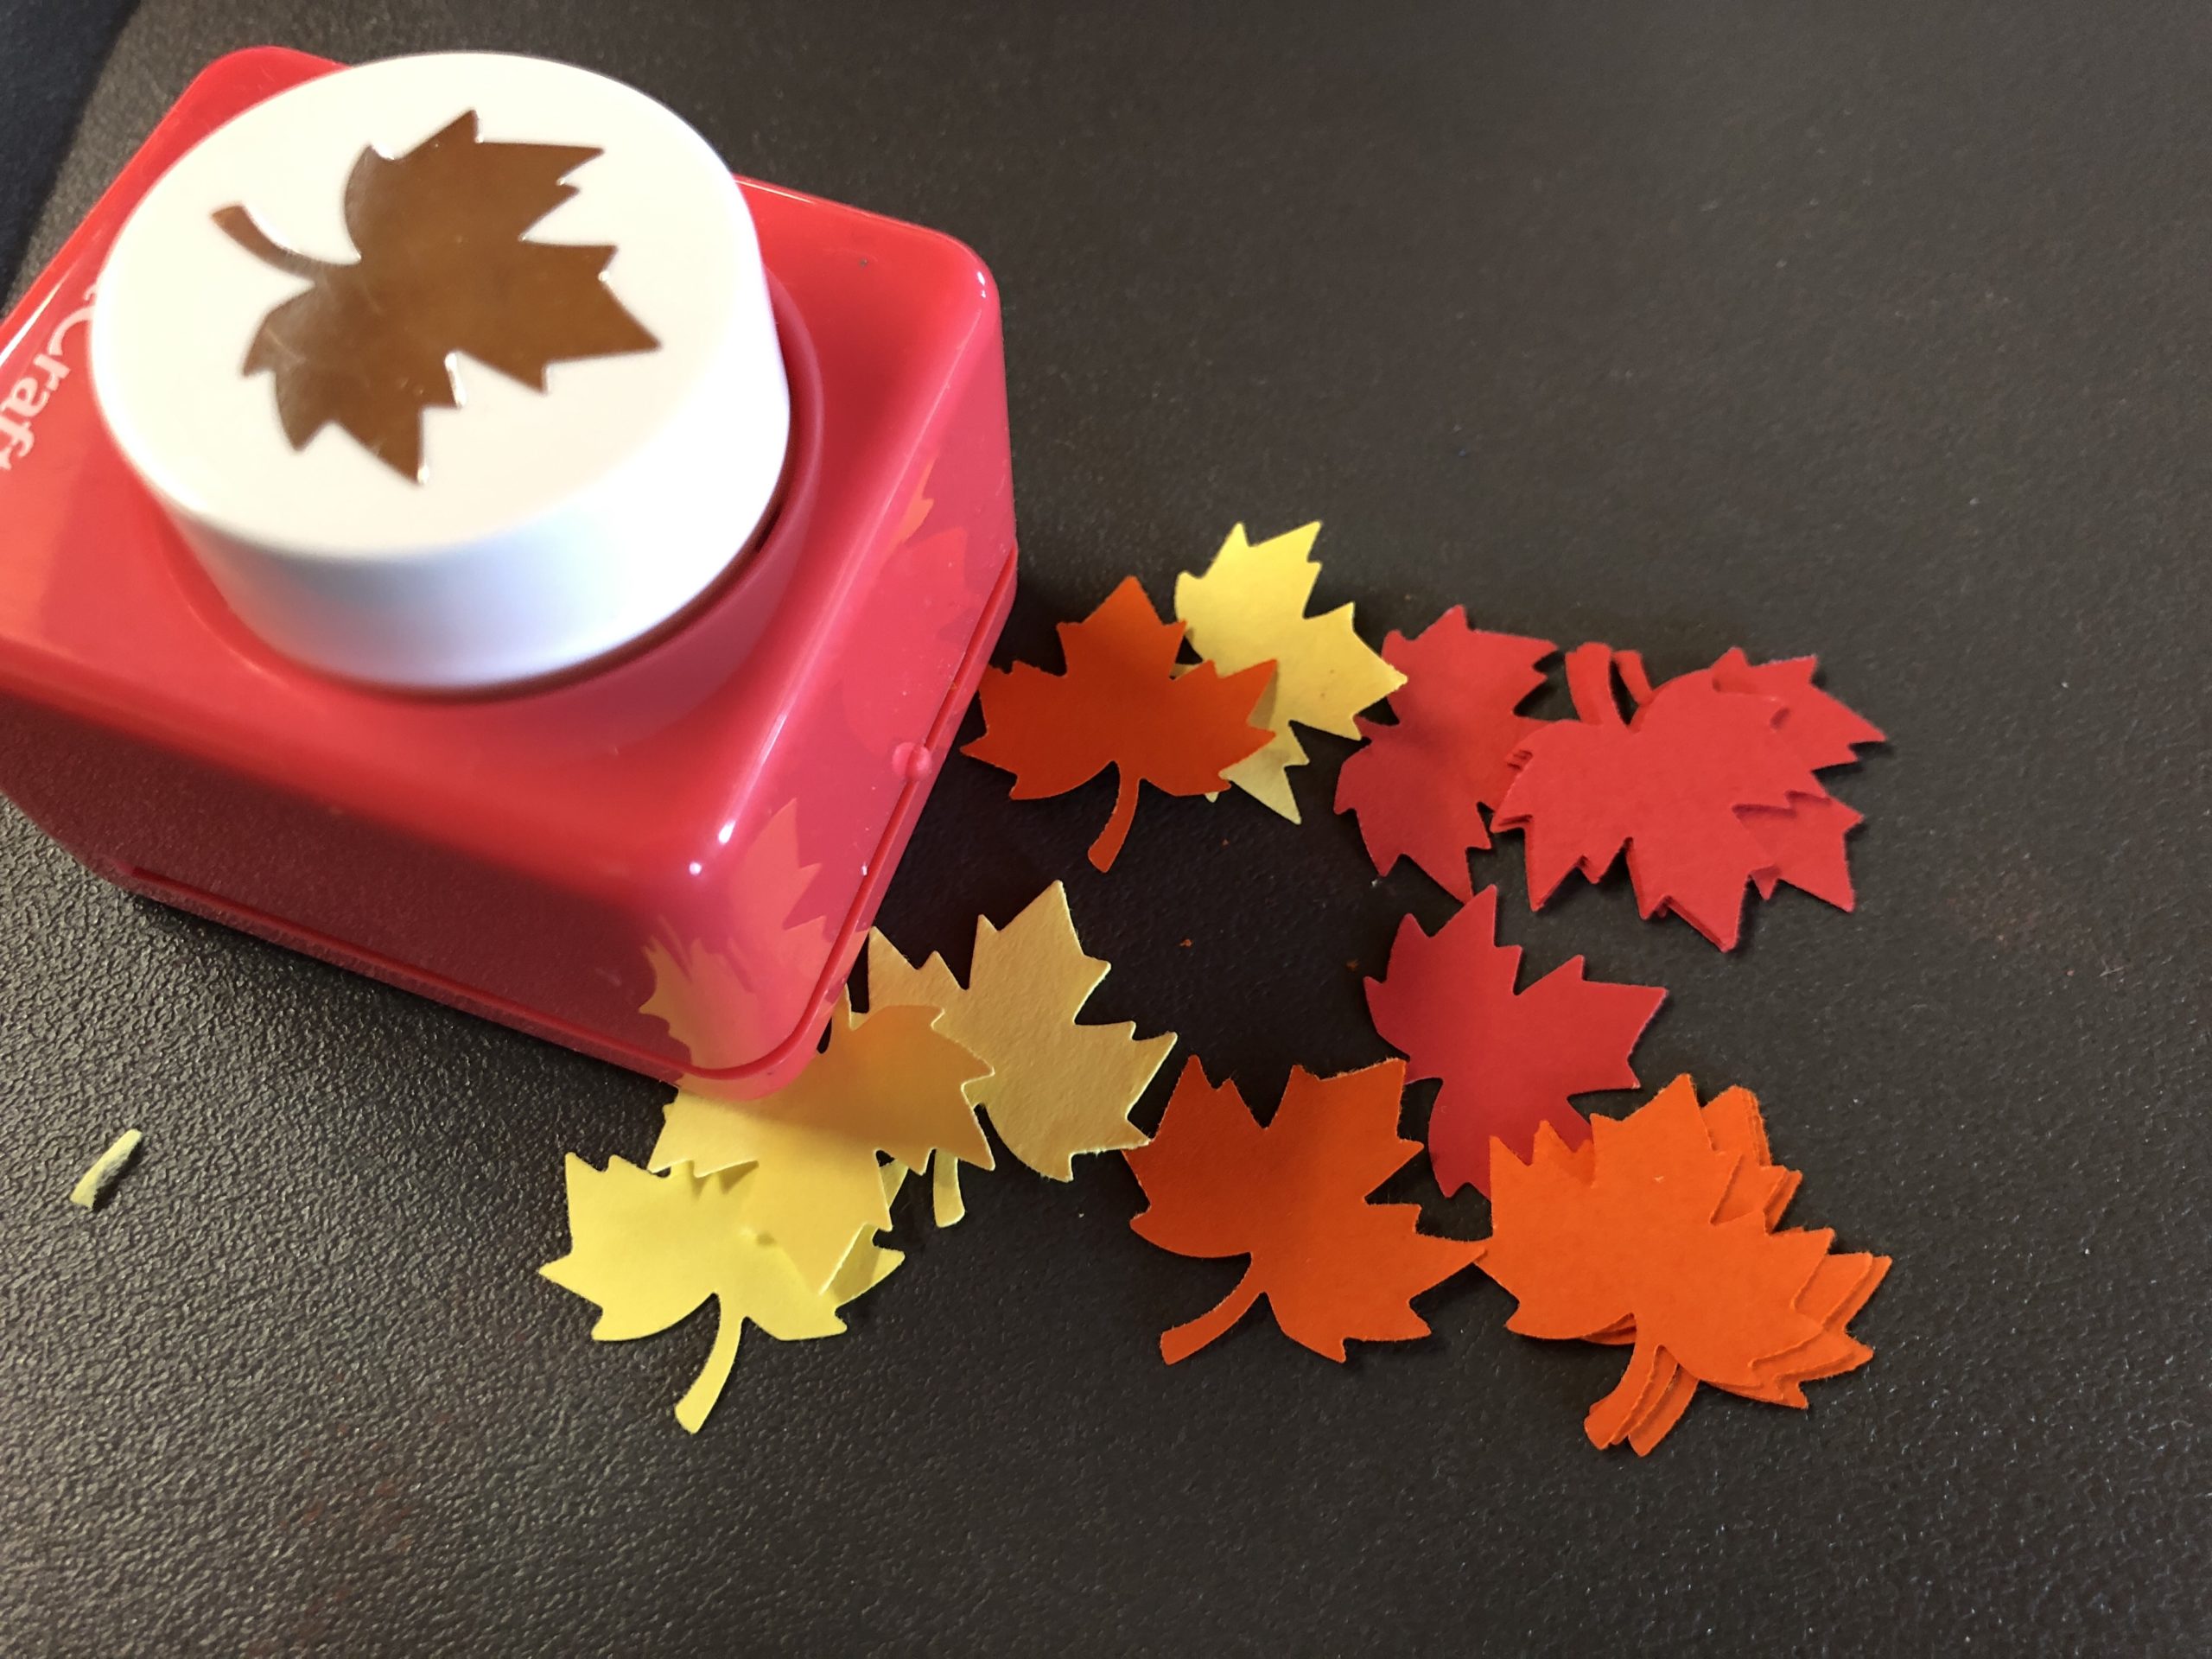
Punched with the maple leaf dancer red, yellow and orange leaves from the folding paper.
The folding paper is very well suited for punching out, because it is very thin and thus also small children succeed in punching out.

Bild zum Schritt 10 für das Bastel- und DIY-Abenteuer für Kinder: 'Stanzt mit dem Ahornblatt-Stanzer rote, gelbe und orange Blätter aus...'

10

2. Bild zum Schritt 10 für das Bastel- und DIY-Abenteuer für Kinder: 'Stanzt mit dem Ahornblatt-Stanzer rote, gelbe und orange Blätter aus...'

11

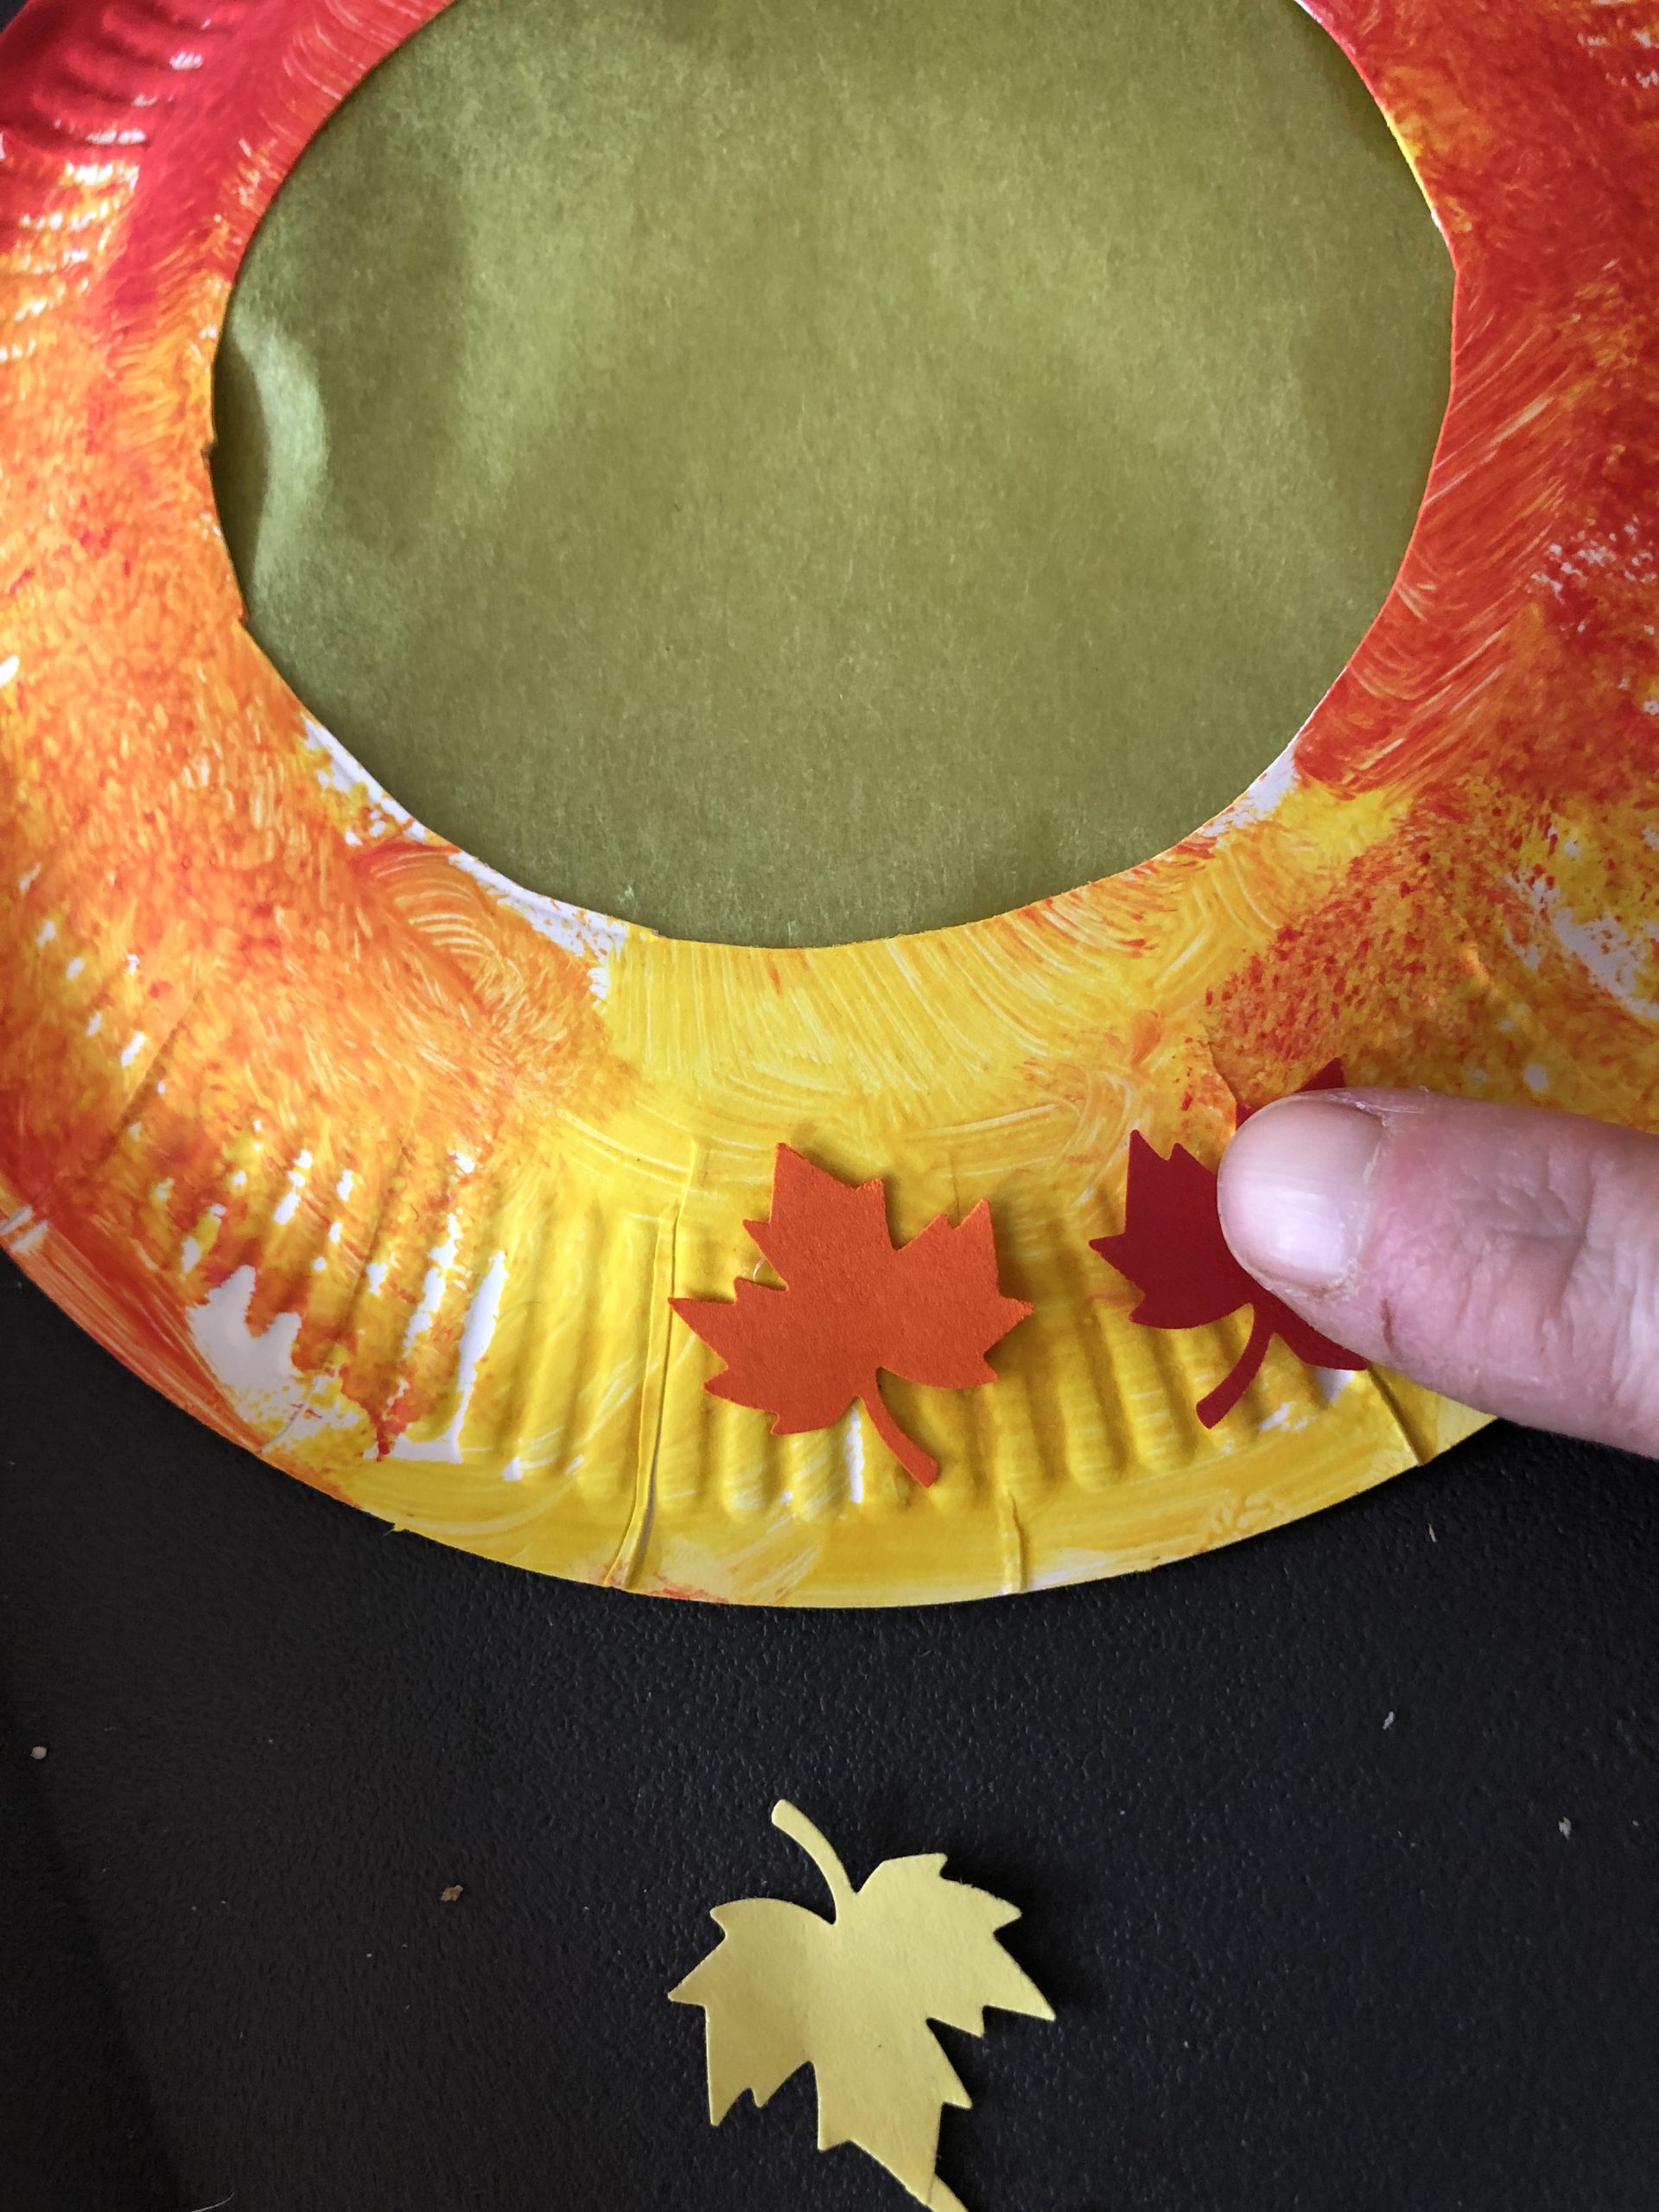
Take the glue stick and put some glue dots on your cardboard plates. Now you can attach the maple leaves individually.

Bild zum Schritt 12 für das Bastel- und DIY-Abenteuer für Kinder: 'Nehmt euch den Klebestift und tupft einige Klebepunkte auf eure...'

12

2. Bild zum Schritt 12 für das Bastel- und DIY-Abenteuer für Kinder: 'Nehmt euch den Klebestift und tupft einige Klebepunkte auf eure...'

13

Spread the leaves as you like!

Bild zum Schritt 14 für das Bastel- und DIY-Abenteuer für Kinder: 'Verteilt die Blätter so, wie es euch gefällt!'

14

Now punch a hole in a plate at the bottom of your lantern. I used a holer for this!

Bild zum Schritt 15 für das Bastel- und DIY-Abenteuer für Kinder: 'Jetzt locht am unteren Rand eurer Laterne ein Loch in...'

15

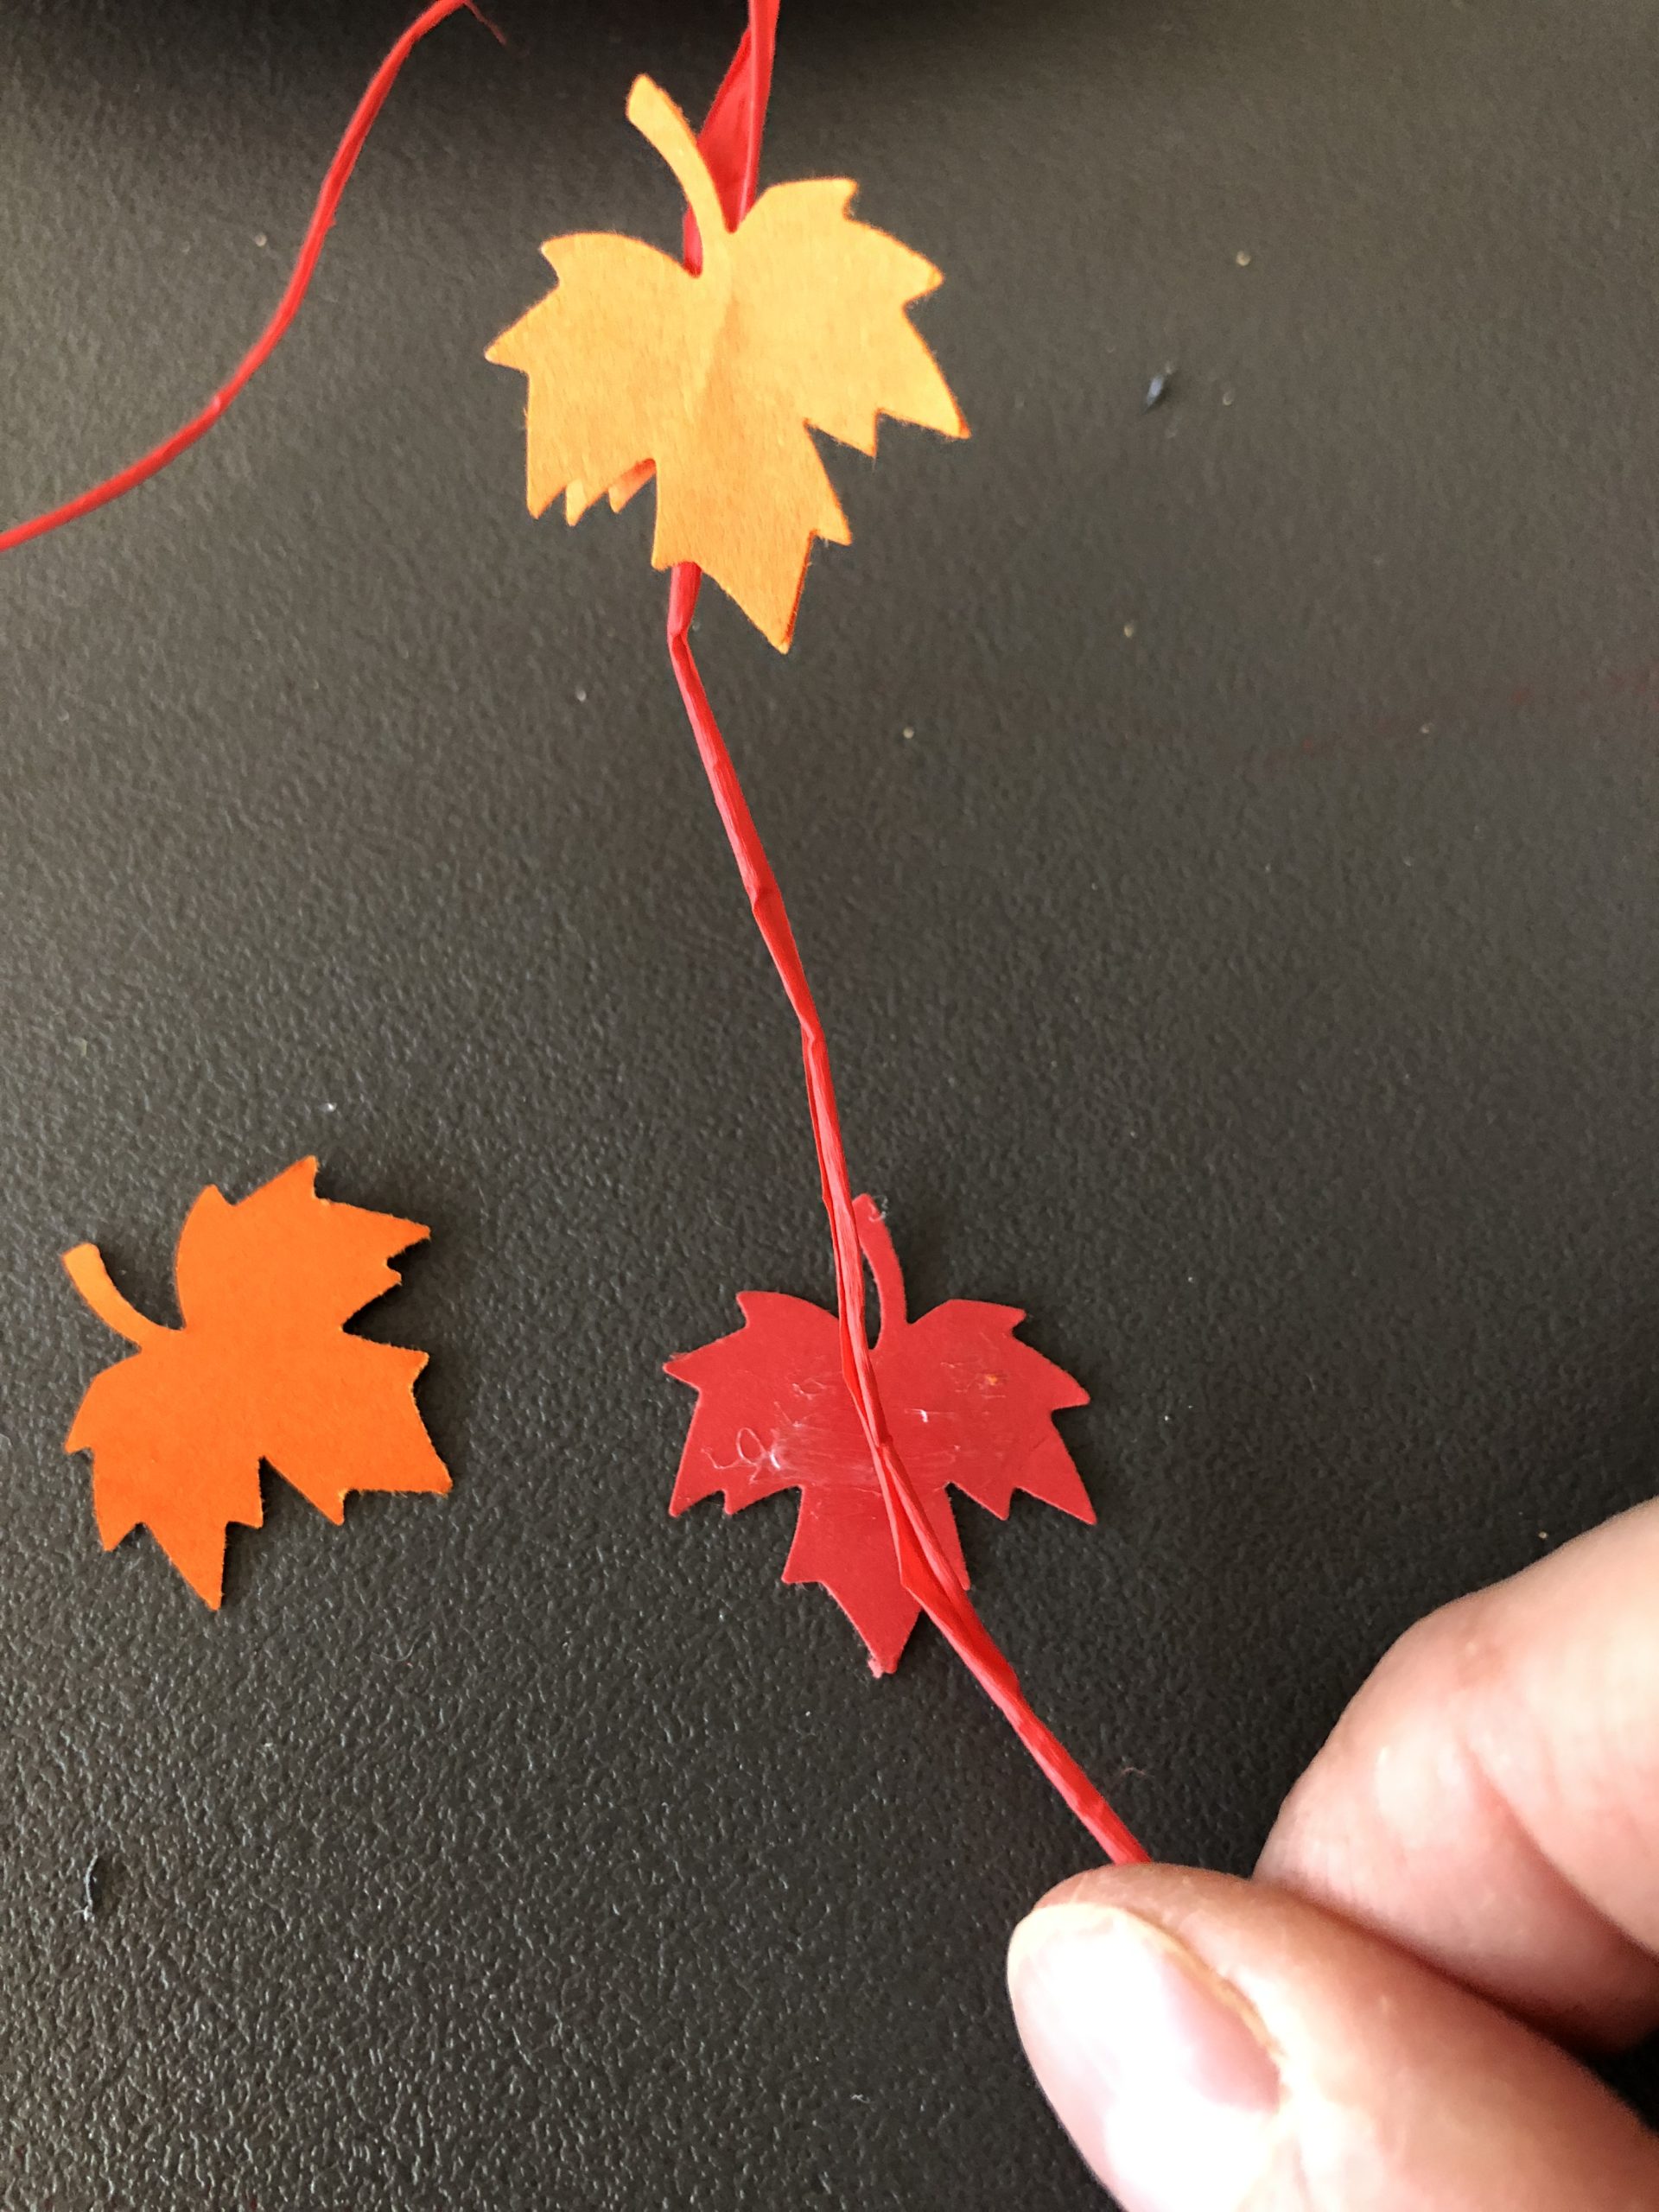
Through the hole you now thread a bast cord. Knot it firmly, so that you have two approximately equal long ends. On the two bast strands you can now also stick cut out leaves.

Bild zum Schritt 16 für das Bastel- und DIY-Abenteuer für Kinder: 'Durch das Loch fädelt ihr nun eine Bastschnur. Knotet diese...'

16

2. Bild zum Schritt 16 für das Bastel- und DIY-Abenteuer für Kinder: 'Durch das Loch fädelt ihr nun eine Bastschnur. Knotet diese...'

17

Now put both plates together (the painted and glued sides are on the outside). Then glue the plates together with hot glue on the edge. Important: leave 10cm of edge open above!
Attention when handling the hot glue gun: Injury risk!
Now cut out the open upper edge a piece.

Bild zum Schritt 18 für das Bastel- und DIY-Abenteuer für Kinder: 'Legt nun beide Teller aufeinander (die bemalten und beklebten Seiten...'

18

Now punch with the holer to the left and right into this upper, open piece from the edge. Through the holes you put a short wire. Rotate it at the ends and hang the lantern on it. Alternatively, you can also attach a battery-powered lantern rod or...

Bild zum Schritt 19 für das Bastel- und DIY-Abenteuer für Kinder: 'Jetzt locht mit dem Locher links und rechts in dieses...'

19

...you use a mini-light chain that pushes you into the inside of the lantern.

Bild zum Schritt 20 für das Bastel- und DIY-Abenteuer für Kinder: '...ihr verwendet eine Mini-Lichterkette, die ihr in das Innere der...'

Variant 2: with coloured advertising brochures
20

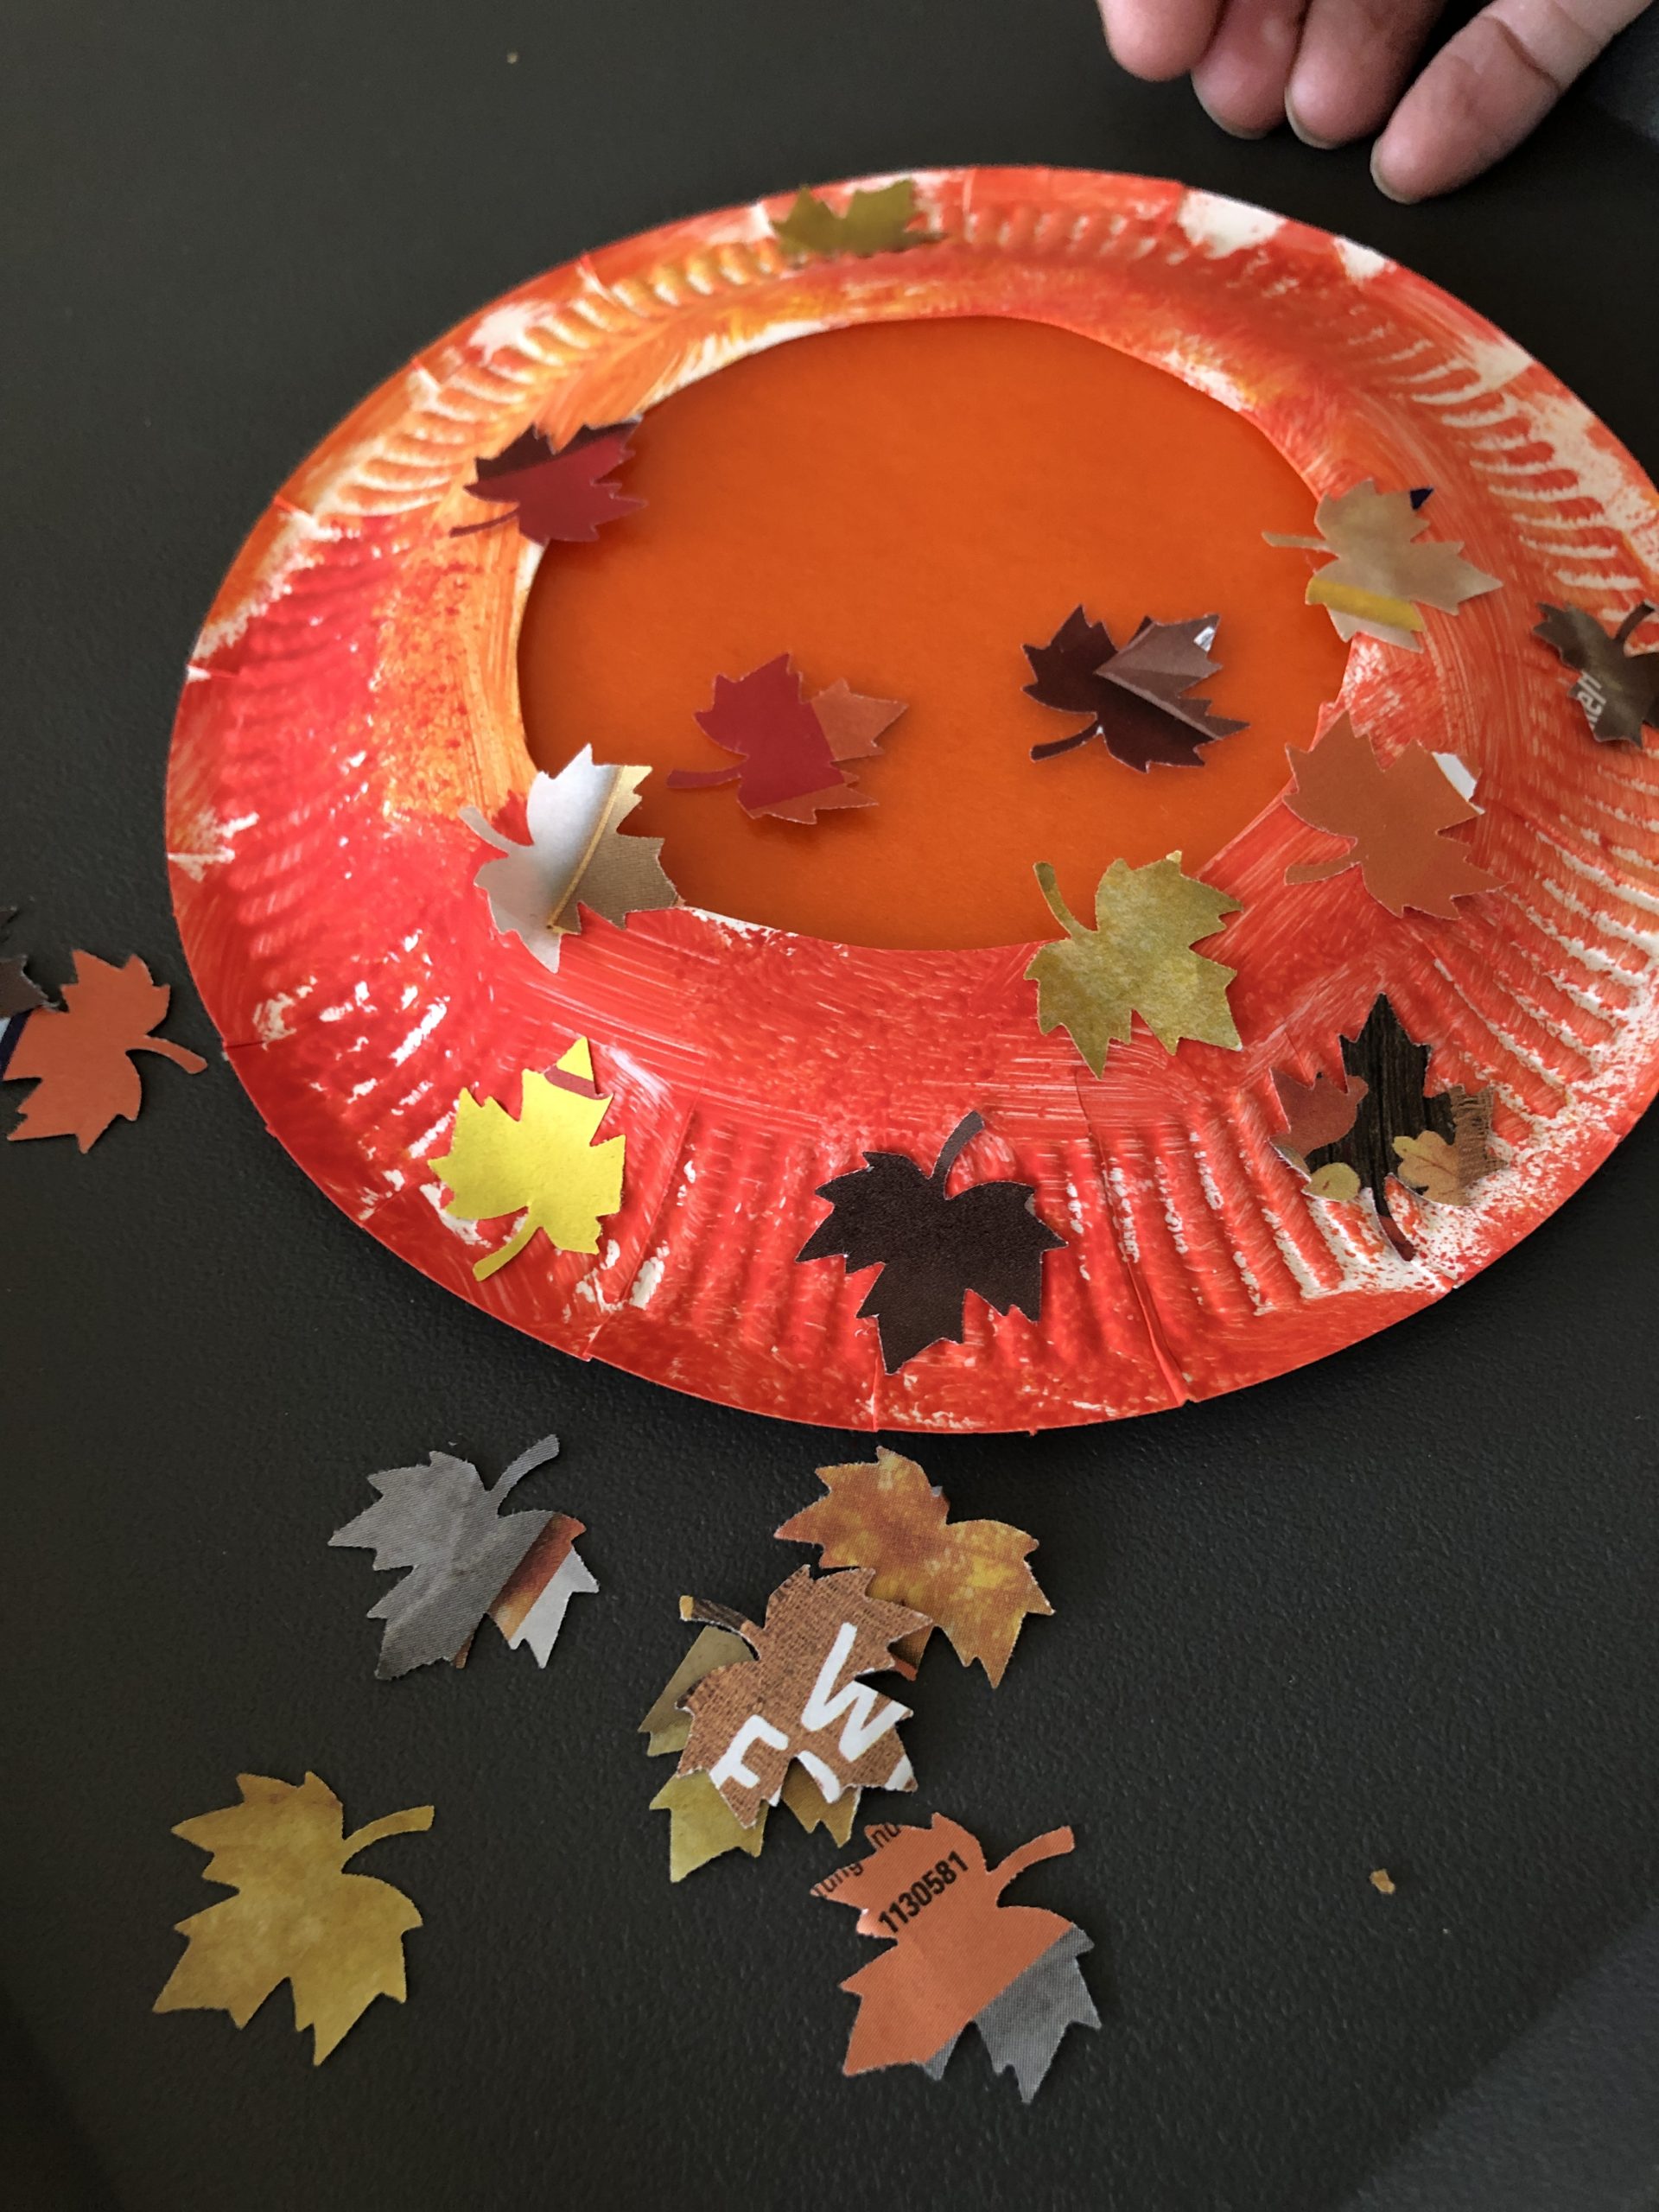
Punched out of advertising brochures colored leaves in the autumn colors!

Bild zum Schritt 22 für das Bastel- und DIY-Abenteuer für Kinder: 'Stanzt aus Werbeprospekten farbige Blätter in den Herbstfarben aus!'

21

Glue your cardboard plates with it.

Bild zum Schritt 23 für das Bastel- und DIY-Abenteuer für Kinder: 'Beklebt damit eure Pappteller.'

22

2. Bild zum Schritt 23 für das Bastel- und DIY-Abenteuer für Kinder: 'Beklebt damit eure Pappteller.'

23

This variant is suitable if you don't have any coloured paper at home and/or if you want to make resource-saving. Alternatively, butterbread paper can also be used for pasting instead of transparent paper.

24

Take what you have and take care of what you use!
Have fun trying it out!

Materials

 2 Cardboard plates with 15.5 cm diameter
 2 Pieces of transparent paper 10 cm x 10 cmorange, red or yellow
 Maple leaf danceror you take snippets of transparent paper
 colorful paper for punchingFolding paper or coloured advertising brochures
 Wire or lantern rod with batteryor a small battery-powered light chain
 Perforator
 Basted cord
 Rinse sponge
 Finger or watercoloursyou may need red and yellow orange (but it can also be mixed)
All links marked with a shopping cart lead to Amazon - here we have selected products that we would order ourselves and in part also ordered. In a qualified purchase via the advertising link, we as Amazon partner receive a commission, for you there are no costs. You thus support our cost- and advertising banner-free, educational offer.

Directions

1

Cuts out a large circle from the two cardboard plates in the middle.

Bild zum Schritt 1 für das Bastel- und DIY-Abenteuer für Kinder: 'Schneidet aus den beiden Papptellern in der Mitte ein großer...'

2

Take red and yellow paint and a sponge (e.g. a sponge). Now swab or wipe the paint with the sponge on the outside curved side of the cardboard plates. (bottom side of the plate)

Bild zum Schritt 2 für das Bastel- und DIY-Abenteuer für Kinder: 'Nehmt rote und gelbe Farbe und einen Schwamm (z.B. einen...'

3

2. Bild zum Schritt 2 für das Bastel- und DIY-Abenteuer für Kinder: 'Nehmt rote und gelbe Farbe und einen Schwamm (z.B. einen...'

4

3. Bild zum Schritt 3 für das Bastel- und DIY-Abenteuer für Kinder: 'Nehmt rote und gelbe Farbe und einen Schwamm (z.B. einen...'

5

Put both plates to dry.

Bild zum Schritt 5 für das Bastel- und DIY-Abenteuer für Kinder: 'Legt beide Teller zum Trocknen.'

6

Cut the transparent paper to about 10cm x 10 cm.
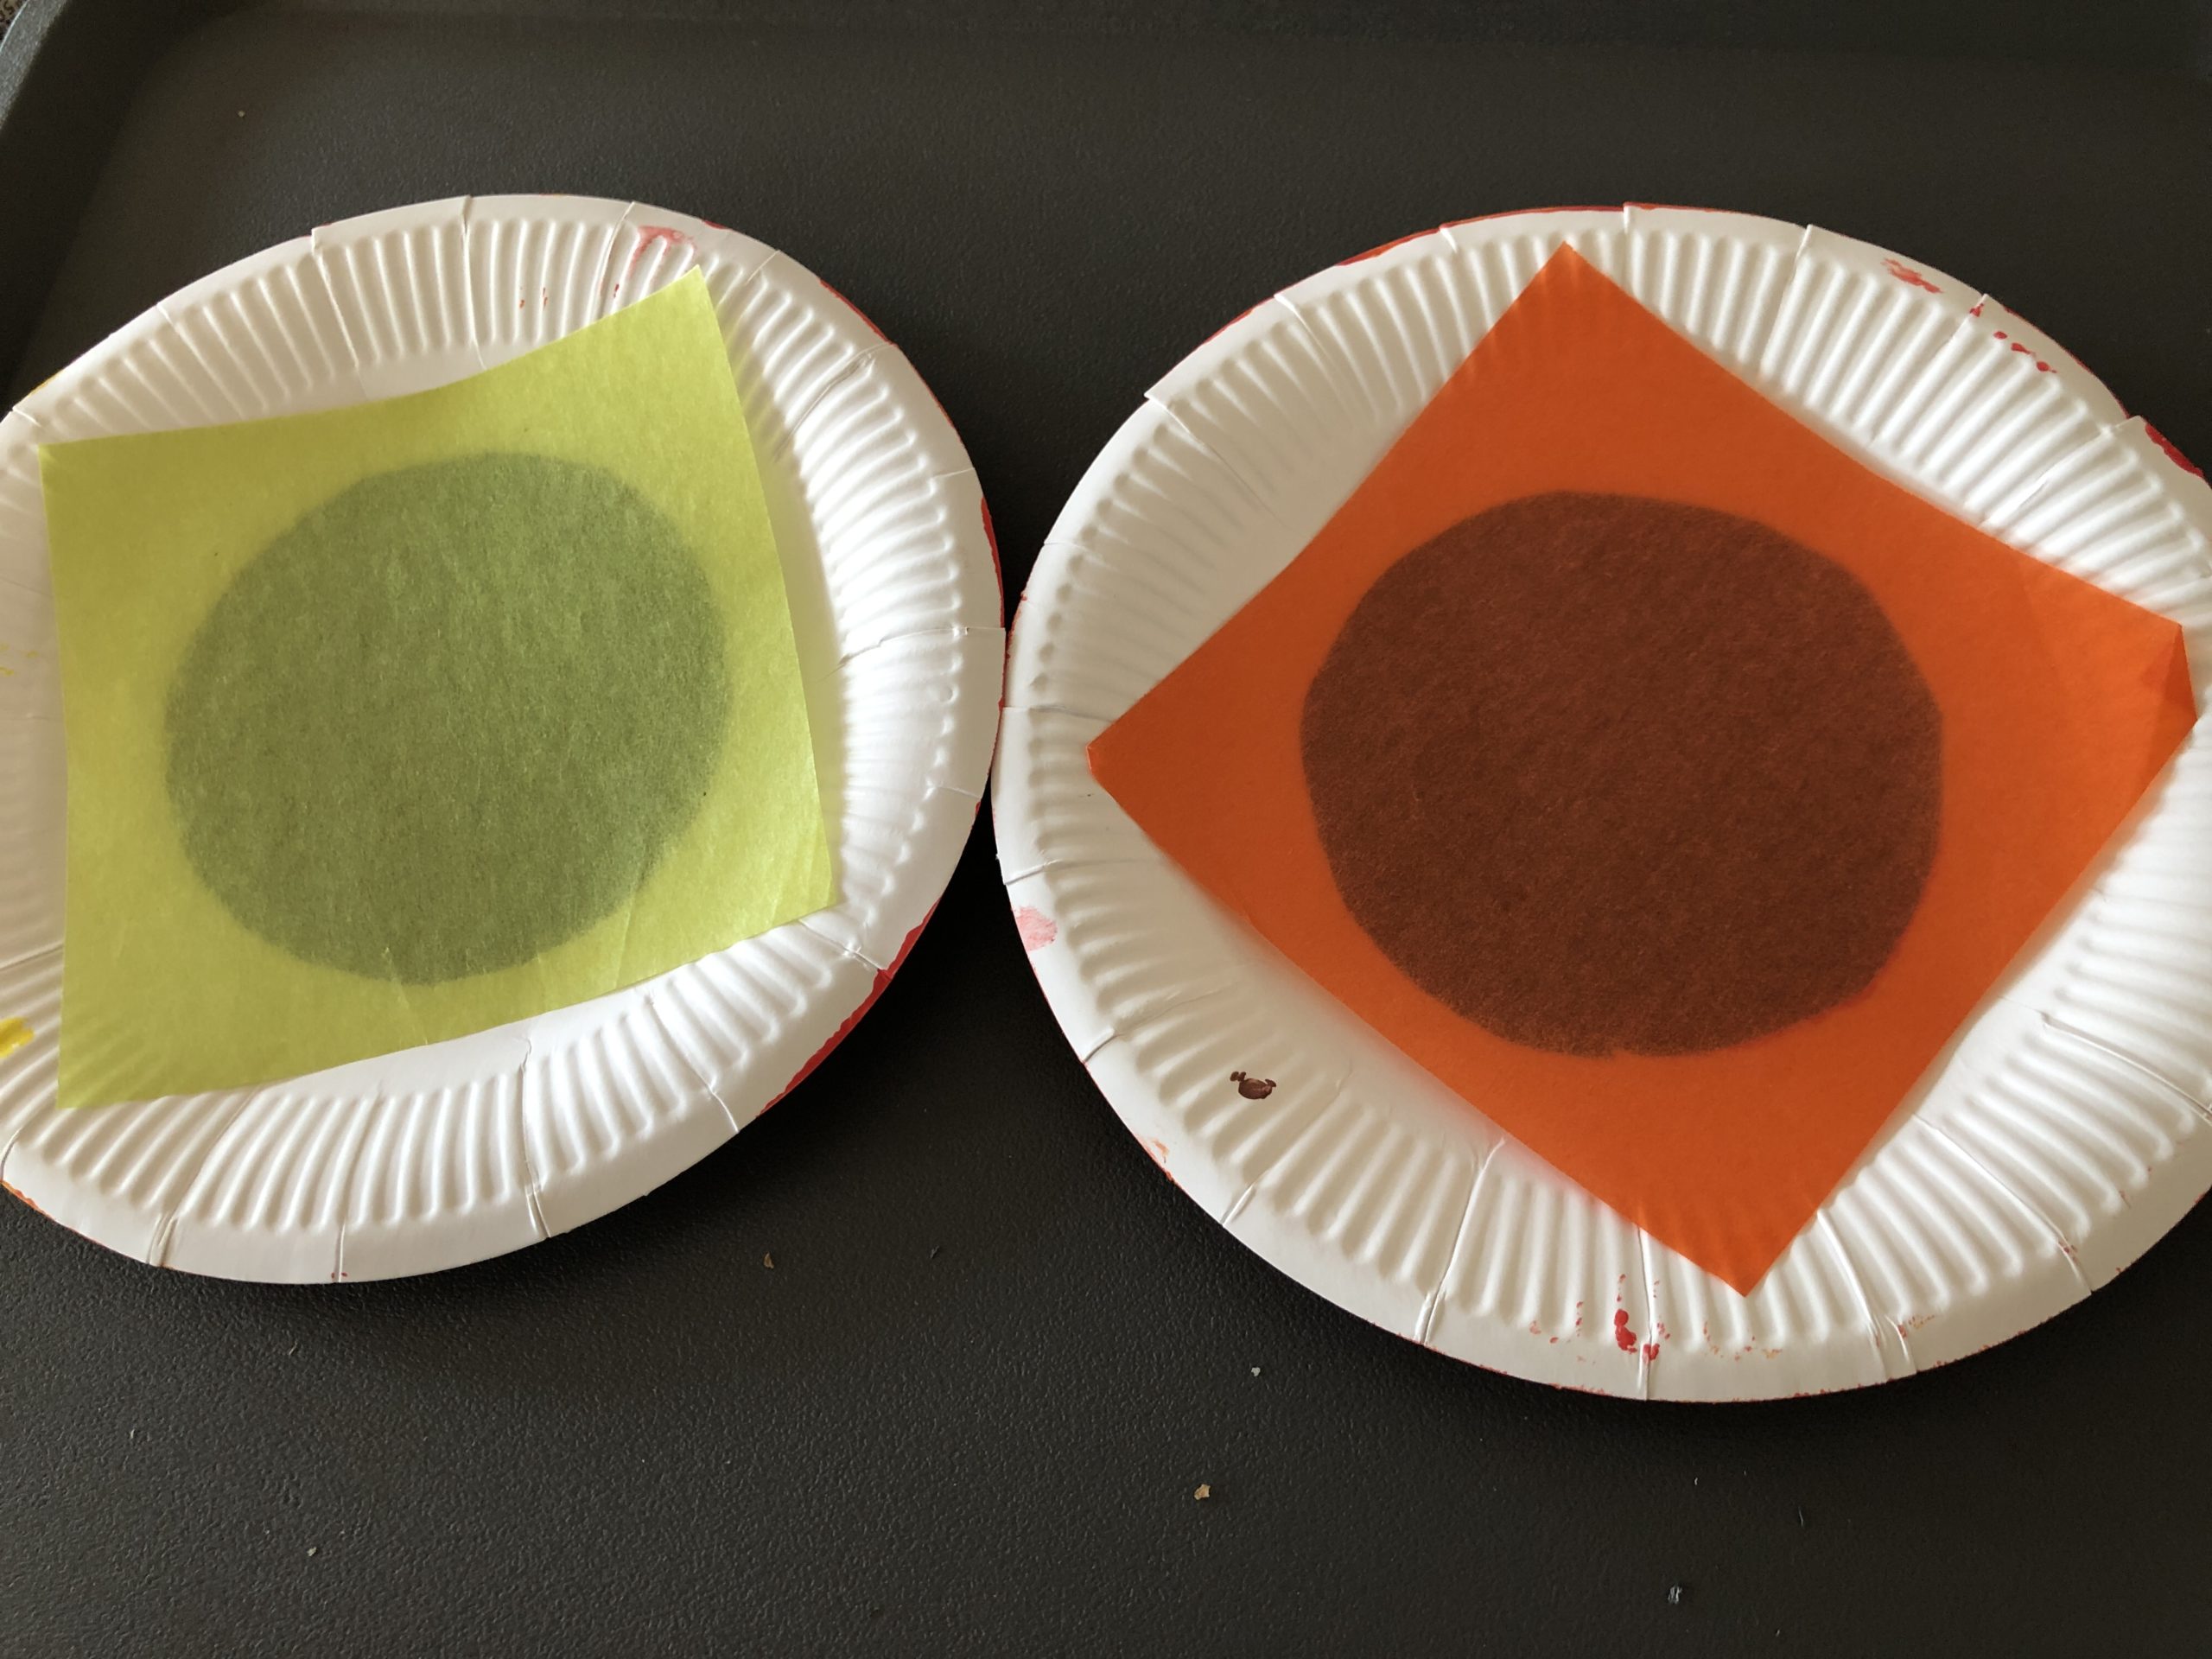
Bild zum Schritt 6 für das Bastel- und DIY-Abenteuer für Kinder: 'Schneidet nun das Transparentpapier auf circa 10cm x 10 cm...'

7

Then it sticks to the back of the painted plates over the cut out holes.
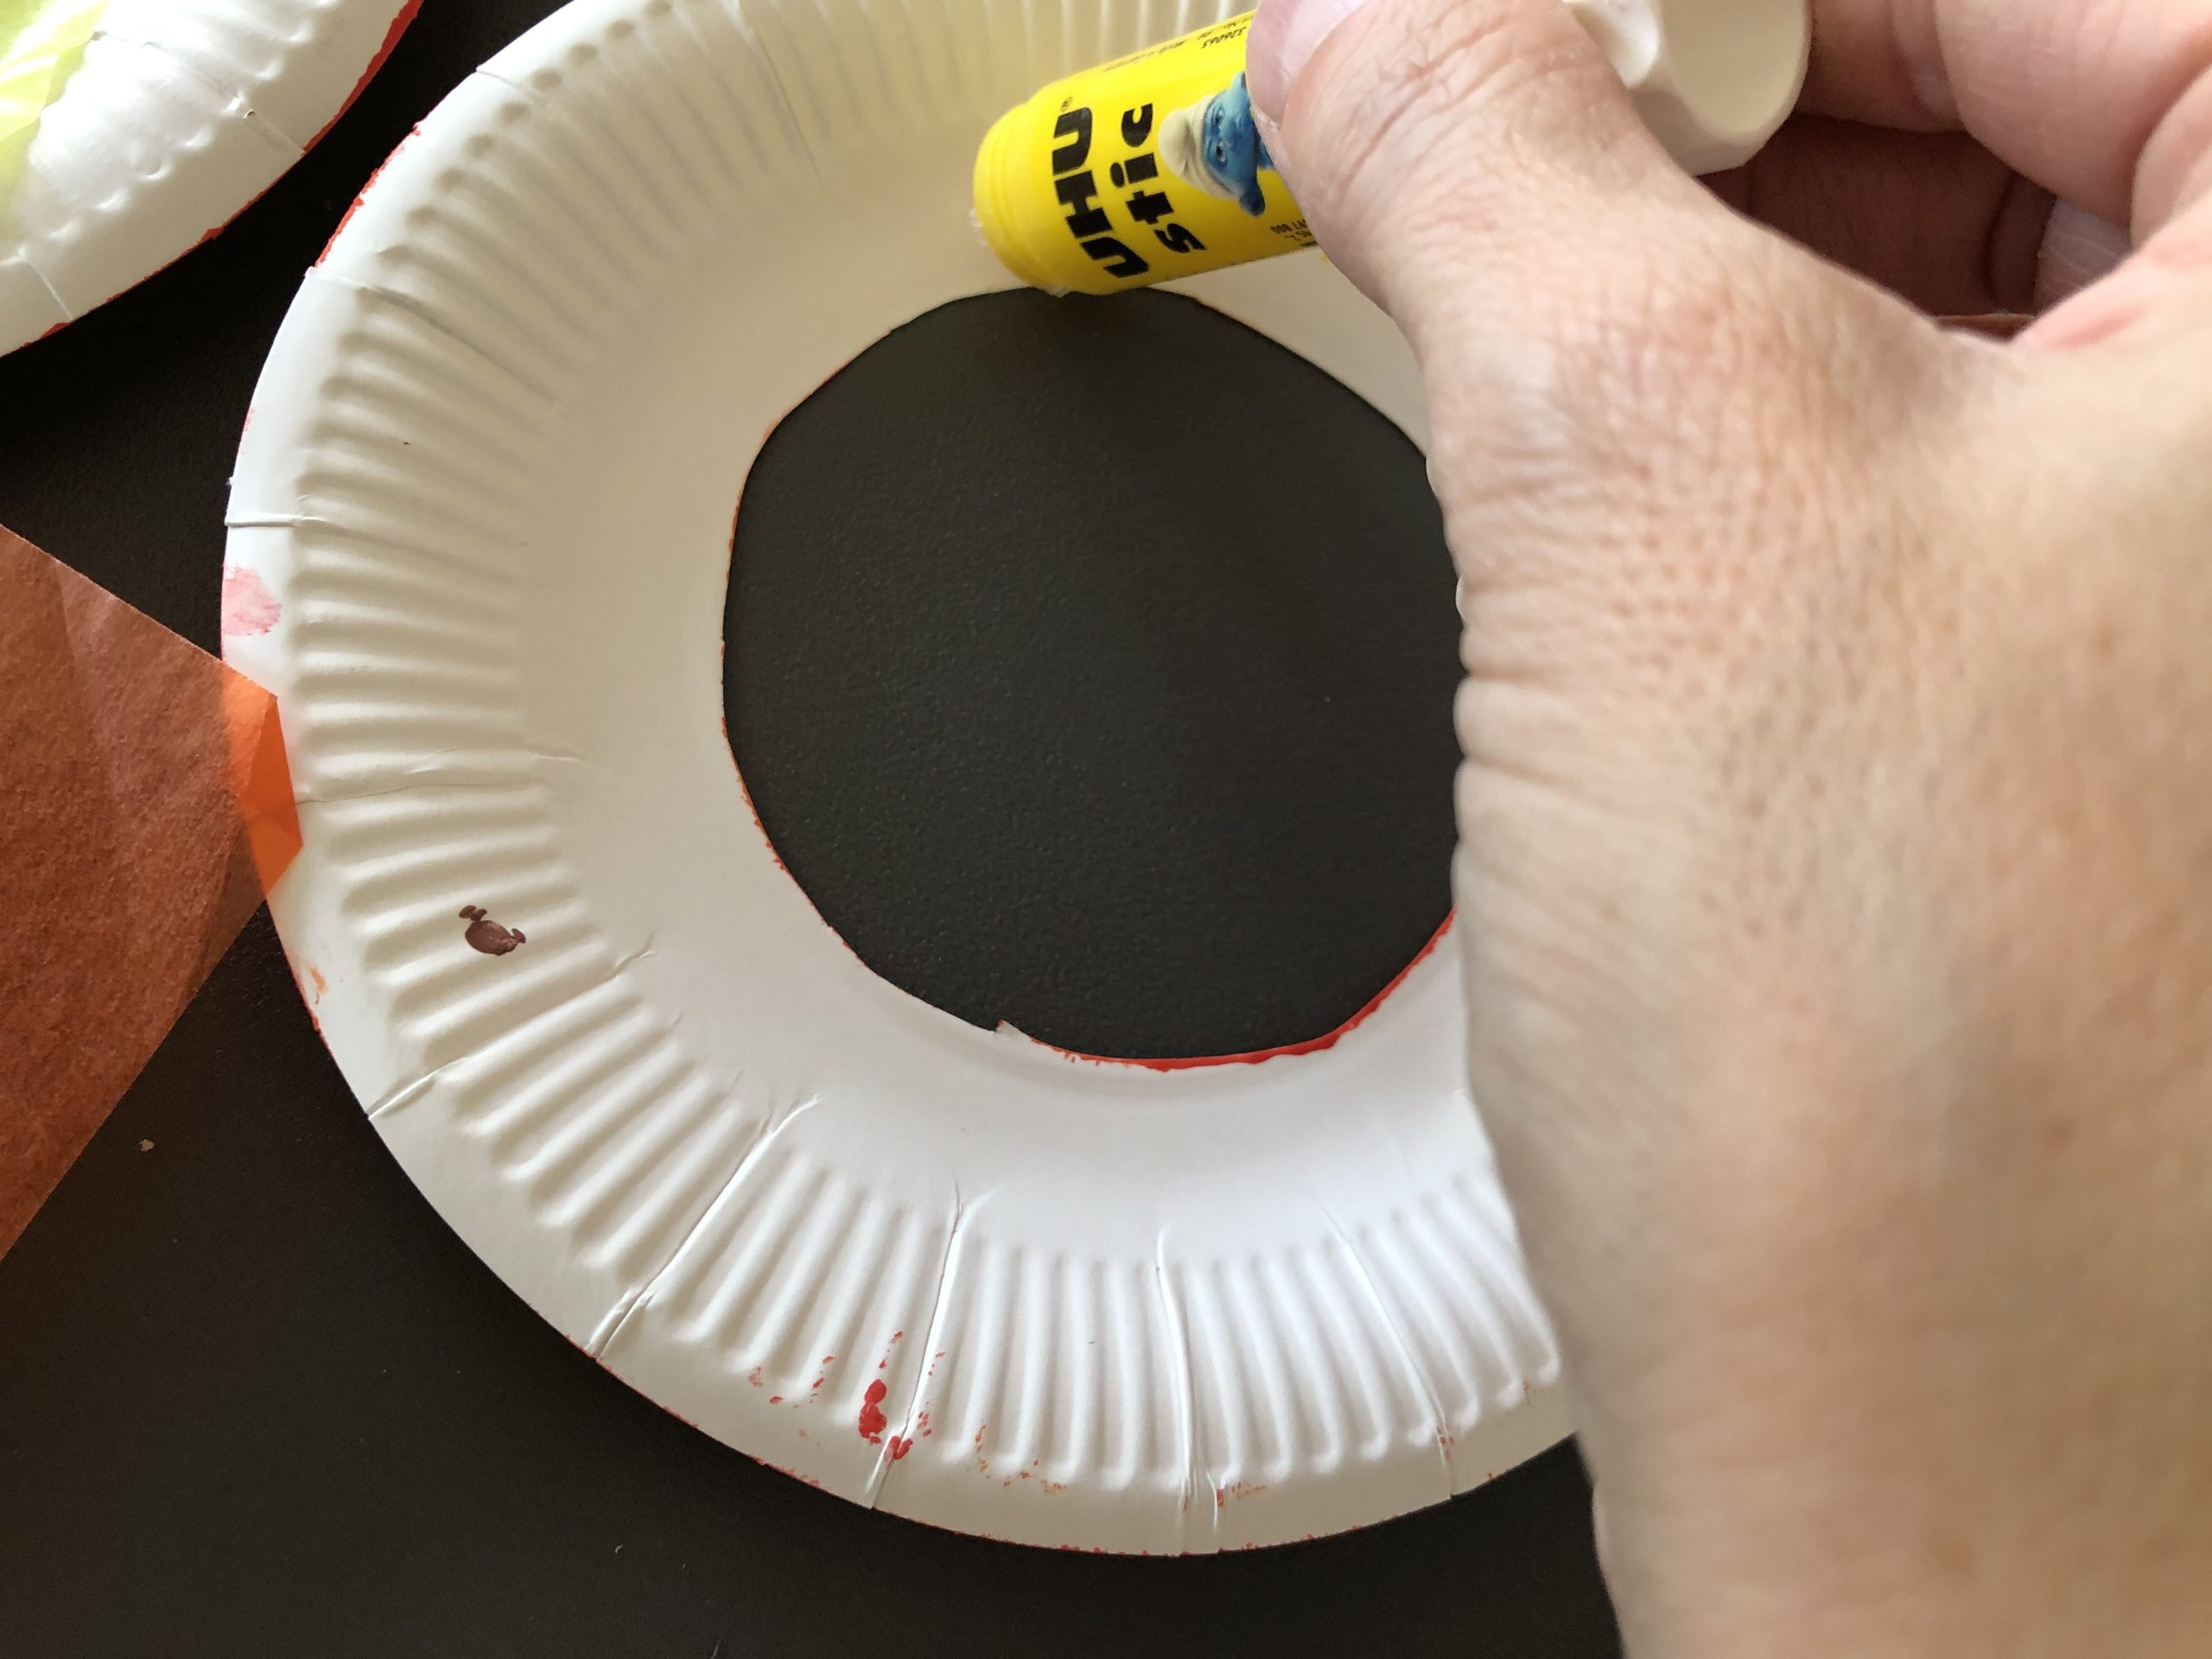
Bild zum Schritt 7 für das Bastel- und DIY-Abenteuer für Kinder: 'Anschließend klebt es auf die Rückseite der bemalten Teller über...'

8

The plates are ready. Now you can think about how you want to punch your leaves, look at my ideas:
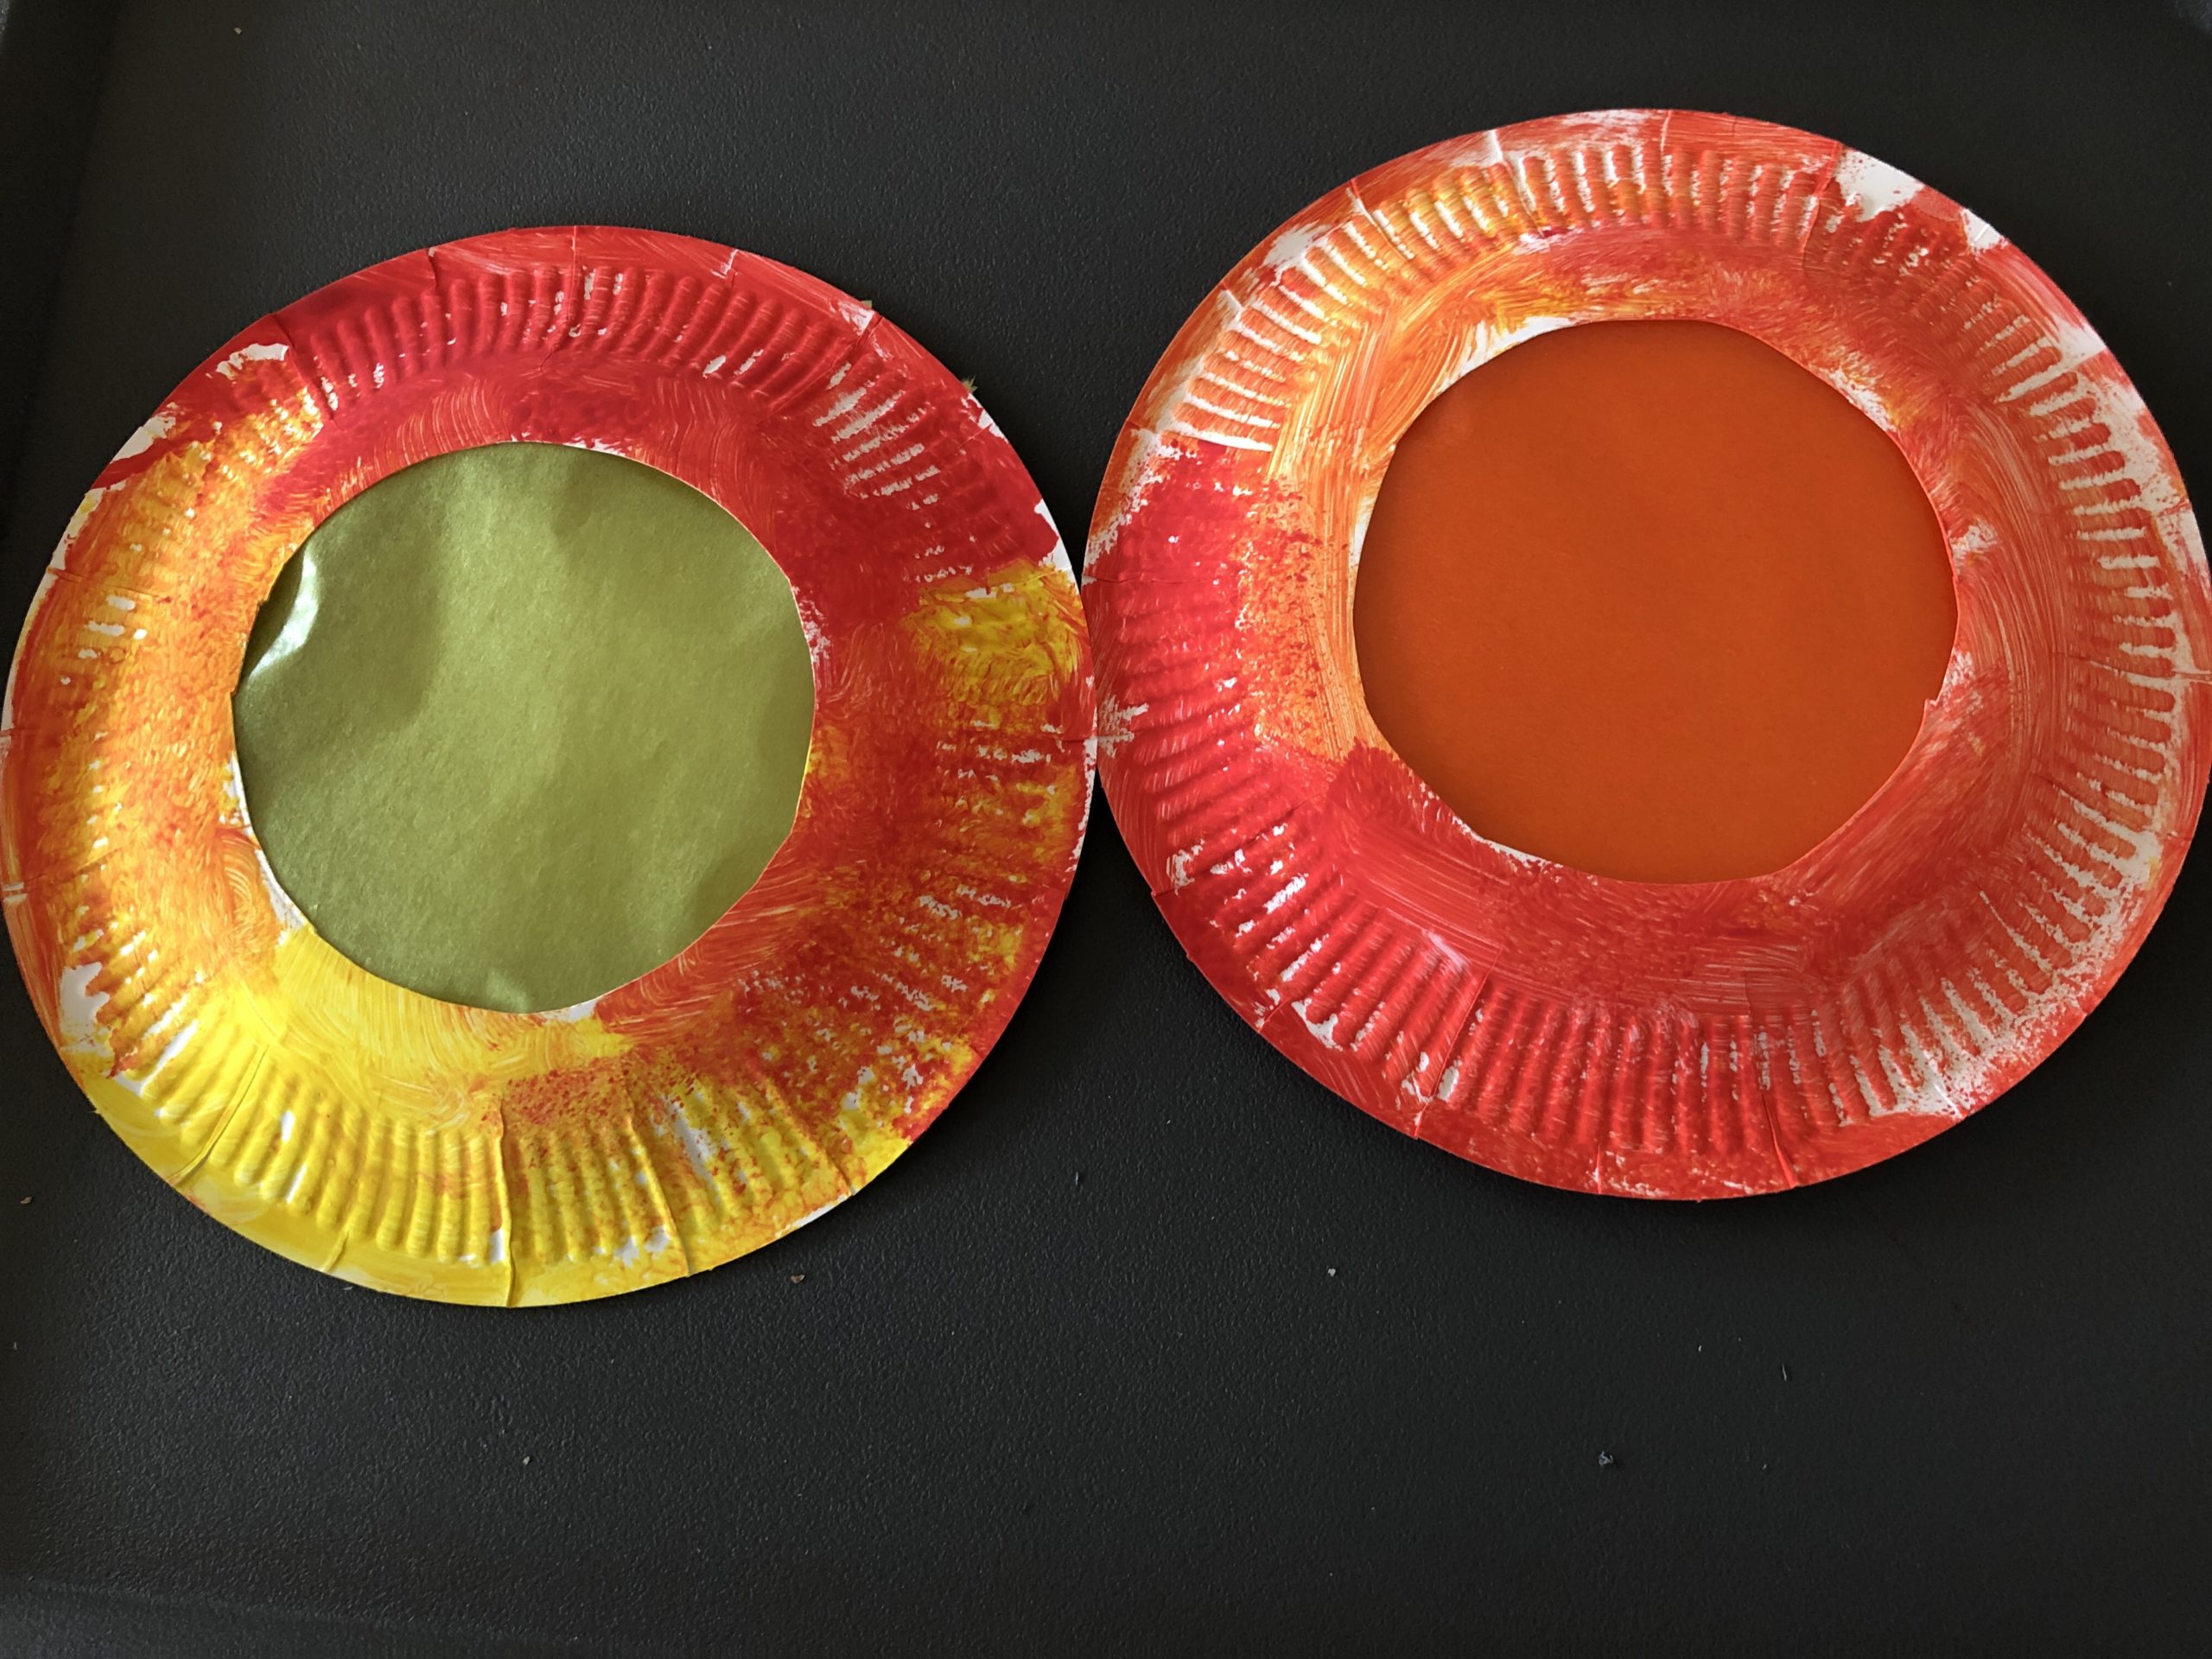
Bild zum Schritt 8 für das Bastel- und DIY-Abenteuer für Kinder: 'Fertig sind die Teller. Jetzt könnt ihr überlegen, wie ihr...'

Variant 1: with folding paper
9

Punched with the maple leaf dancer red, yellow and orange leaves from the folding paper.
The folding paper is very well suited for punching out, because it is very thin and thus also small children succeed in punching out.
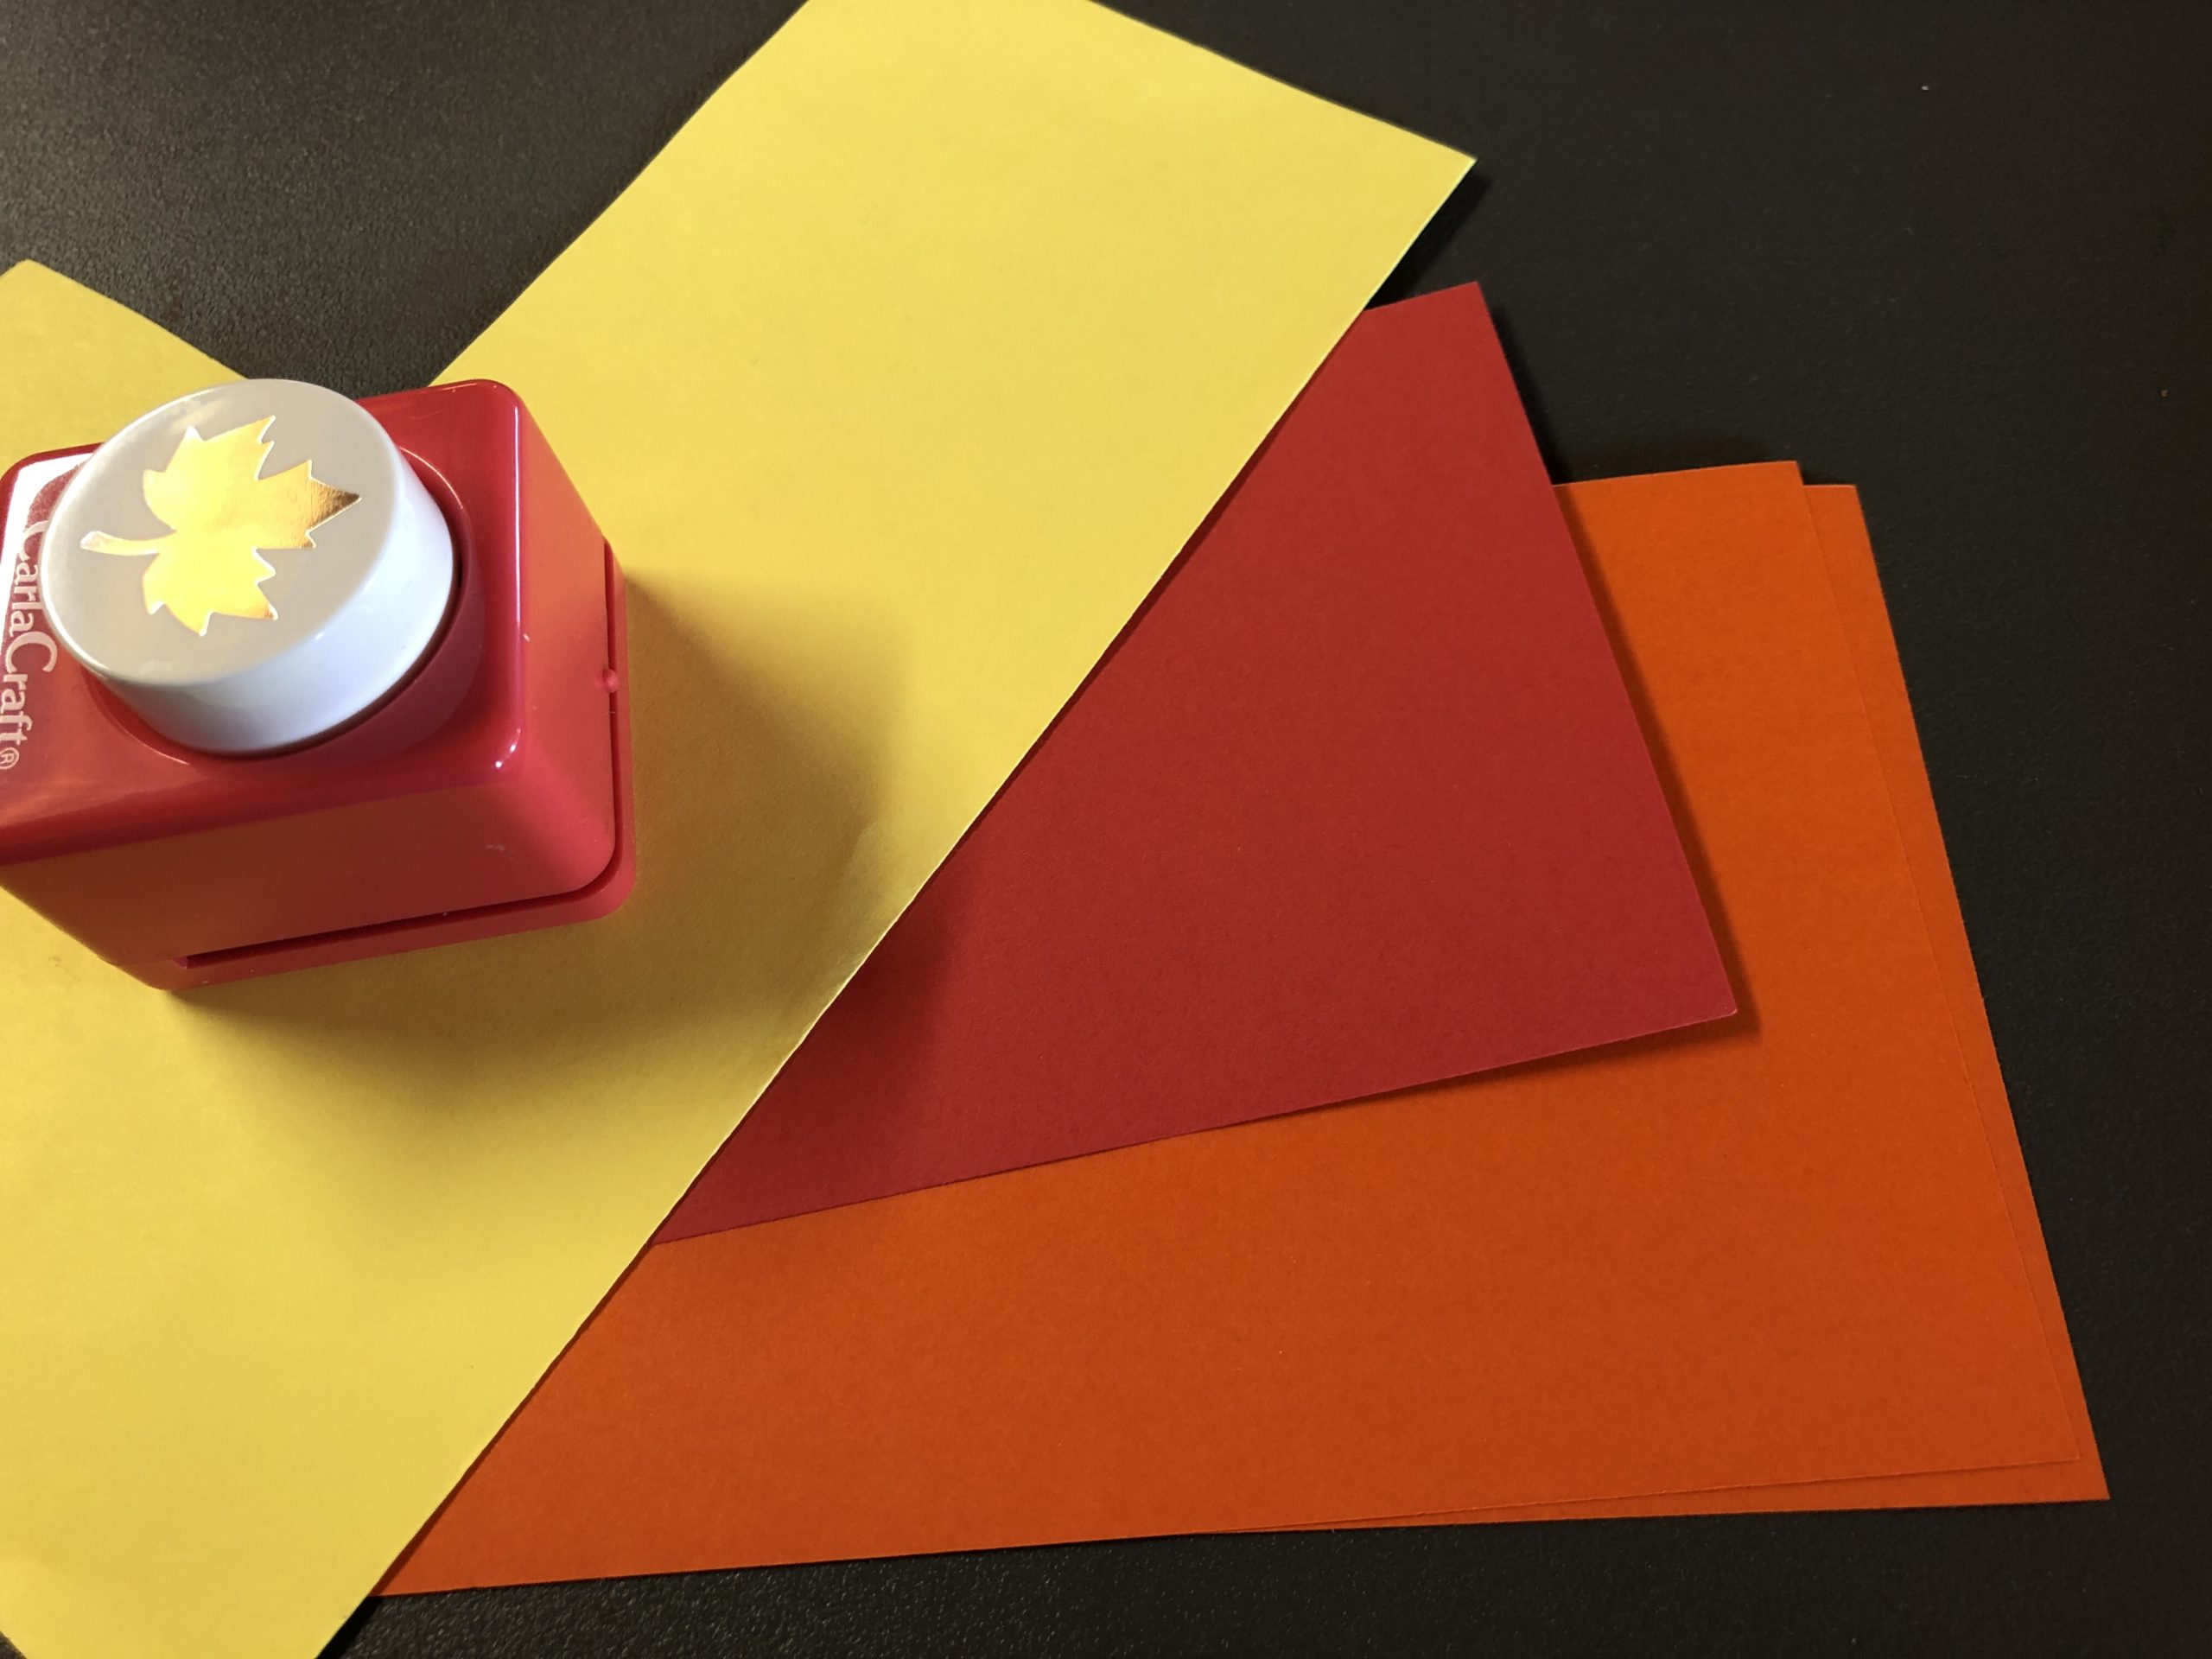
Bild zum Schritt 10 für das Bastel- und DIY-Abenteuer für Kinder: 'Stanzt mit dem Ahornblatt-Stanzer rote, gelbe und orange Blätter aus...'

10

2. Bild zum Schritt 10 für das Bastel- und DIY-Abenteuer für Kinder: 'Stanzt mit dem Ahornblatt-Stanzer rote, gelbe und orange Blätter aus...'

11

Take the glue stick and put some glue dots on your cardboard plates. Now you can attach the maple leaves individually.
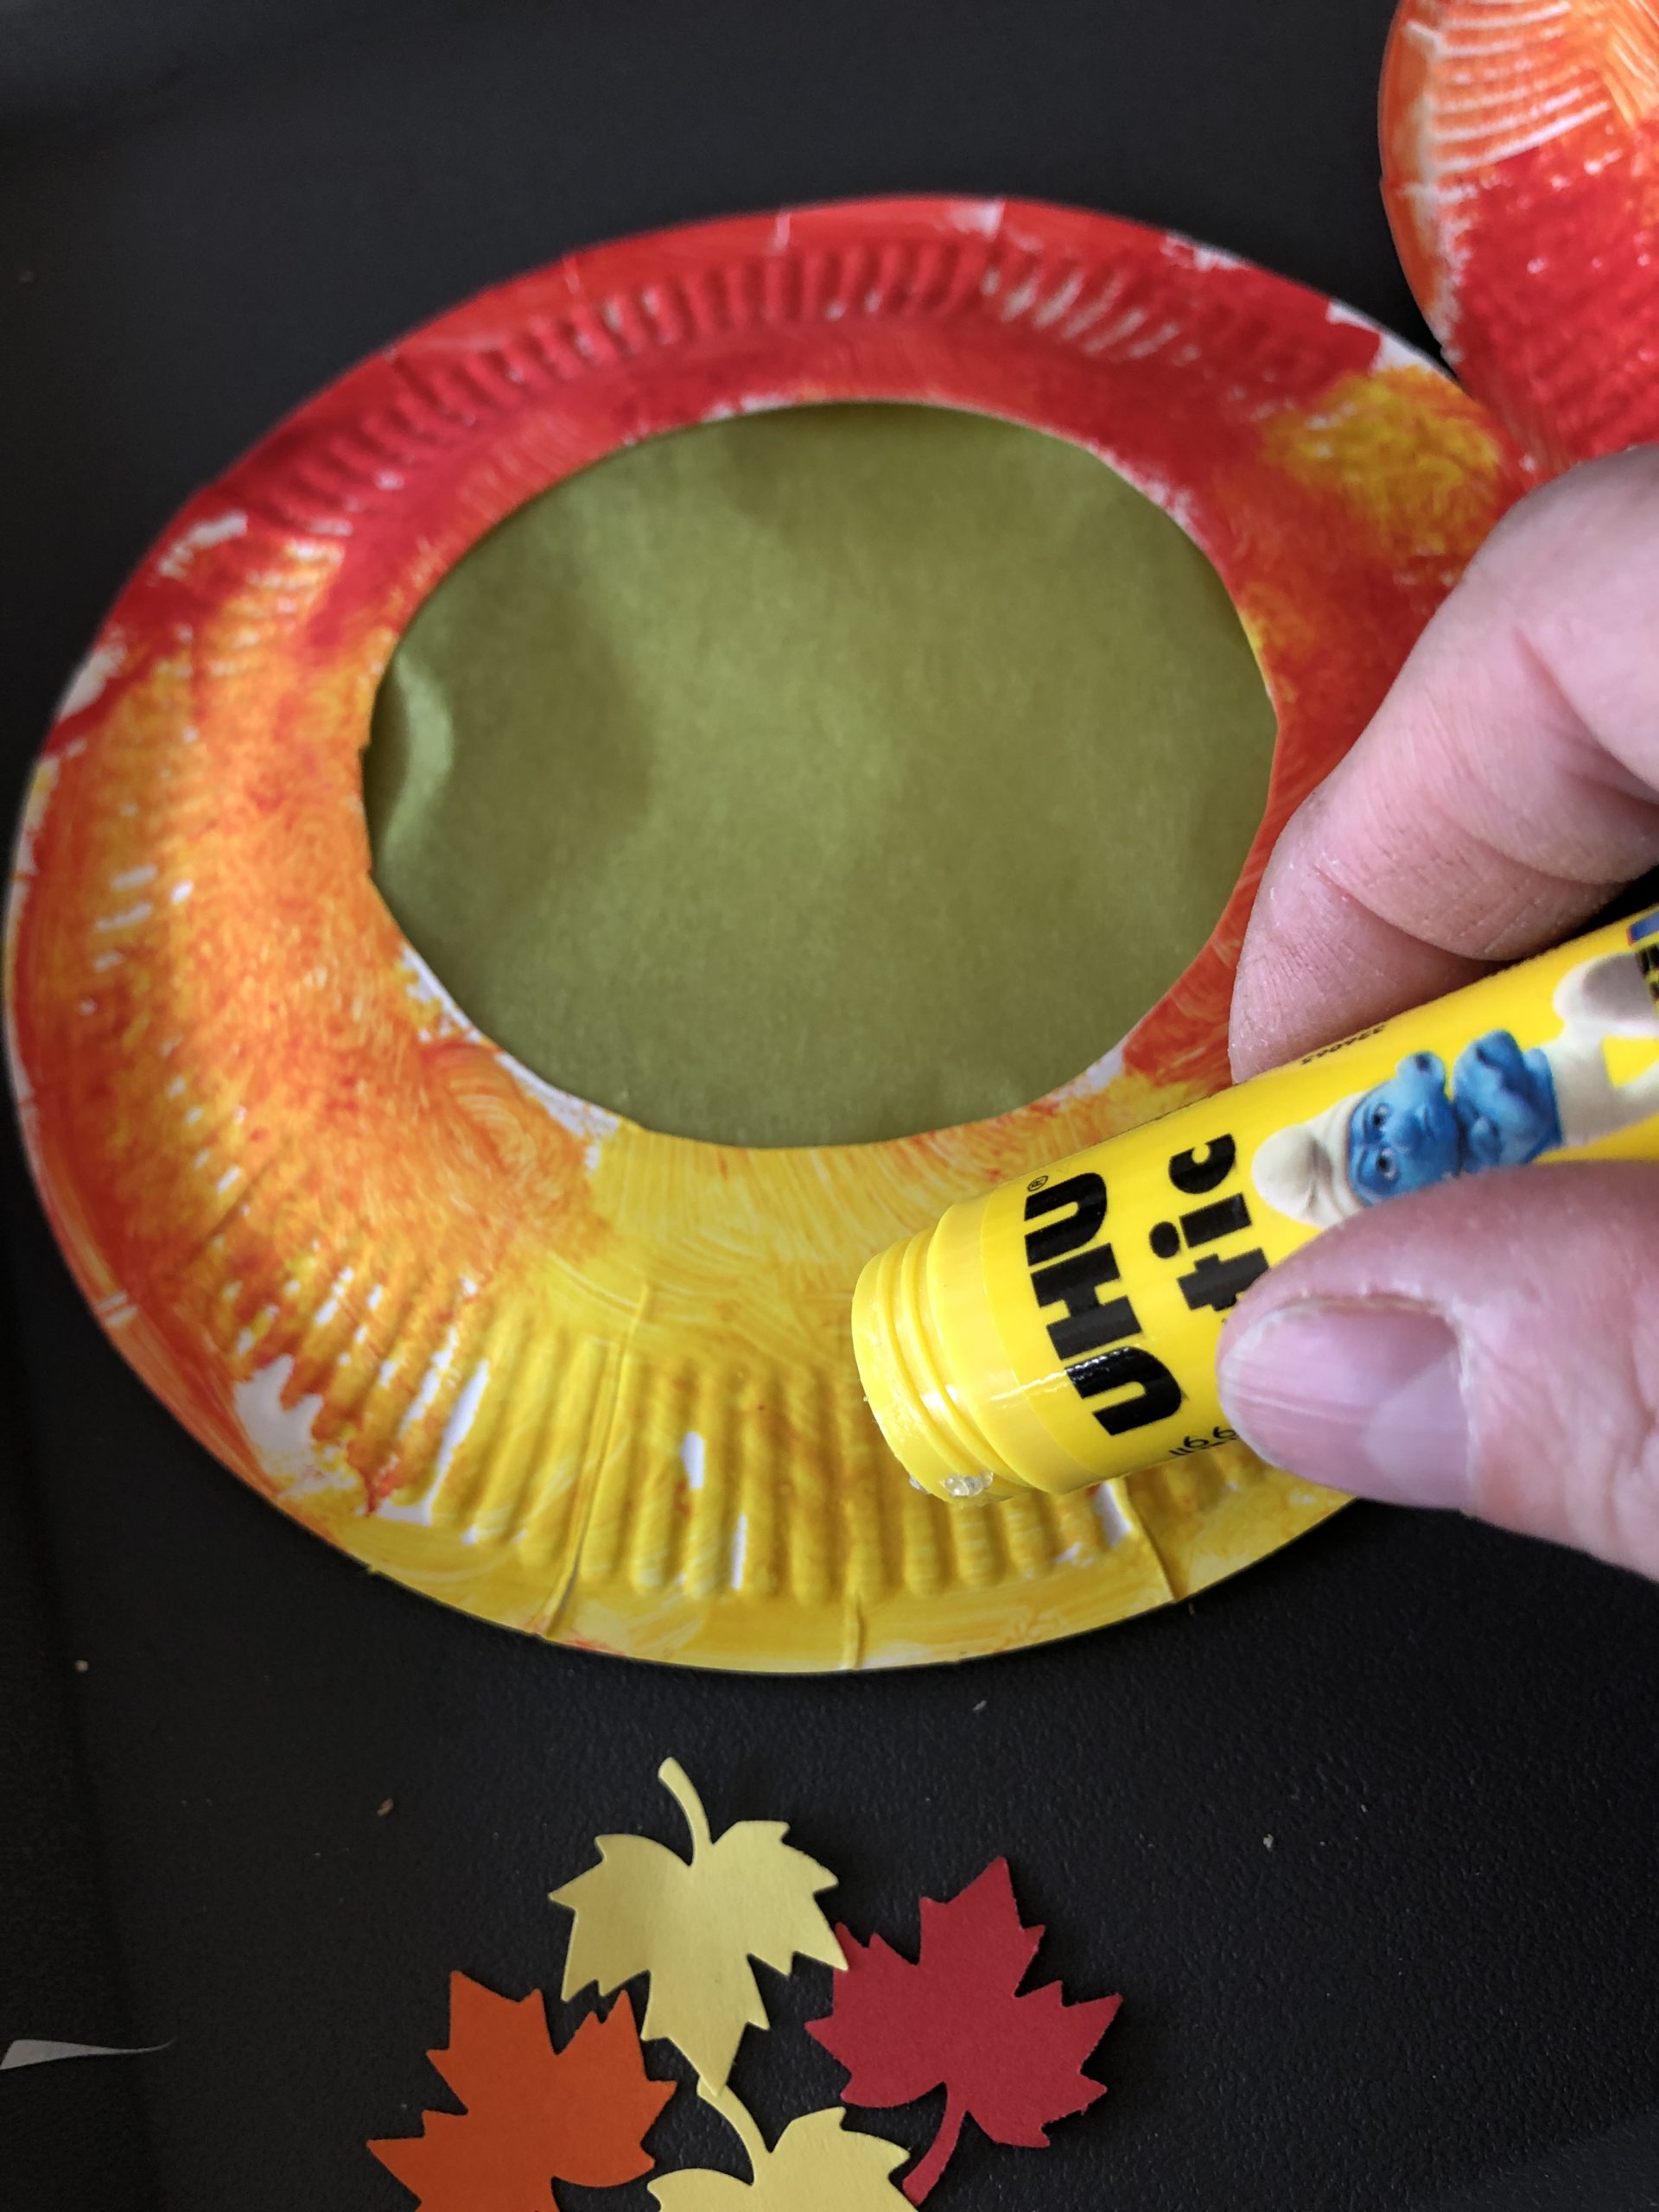
Bild zum Schritt 12 für das Bastel- und DIY-Abenteuer für Kinder: 'Nehmt euch den Klebestift und tupft einige Klebepunkte auf eure...'

12

2. Bild zum Schritt 12 für das Bastel- und DIY-Abenteuer für Kinder: 'Nehmt euch den Klebestift und tupft einige Klebepunkte auf eure...'

13

Spread the leaves as you like!
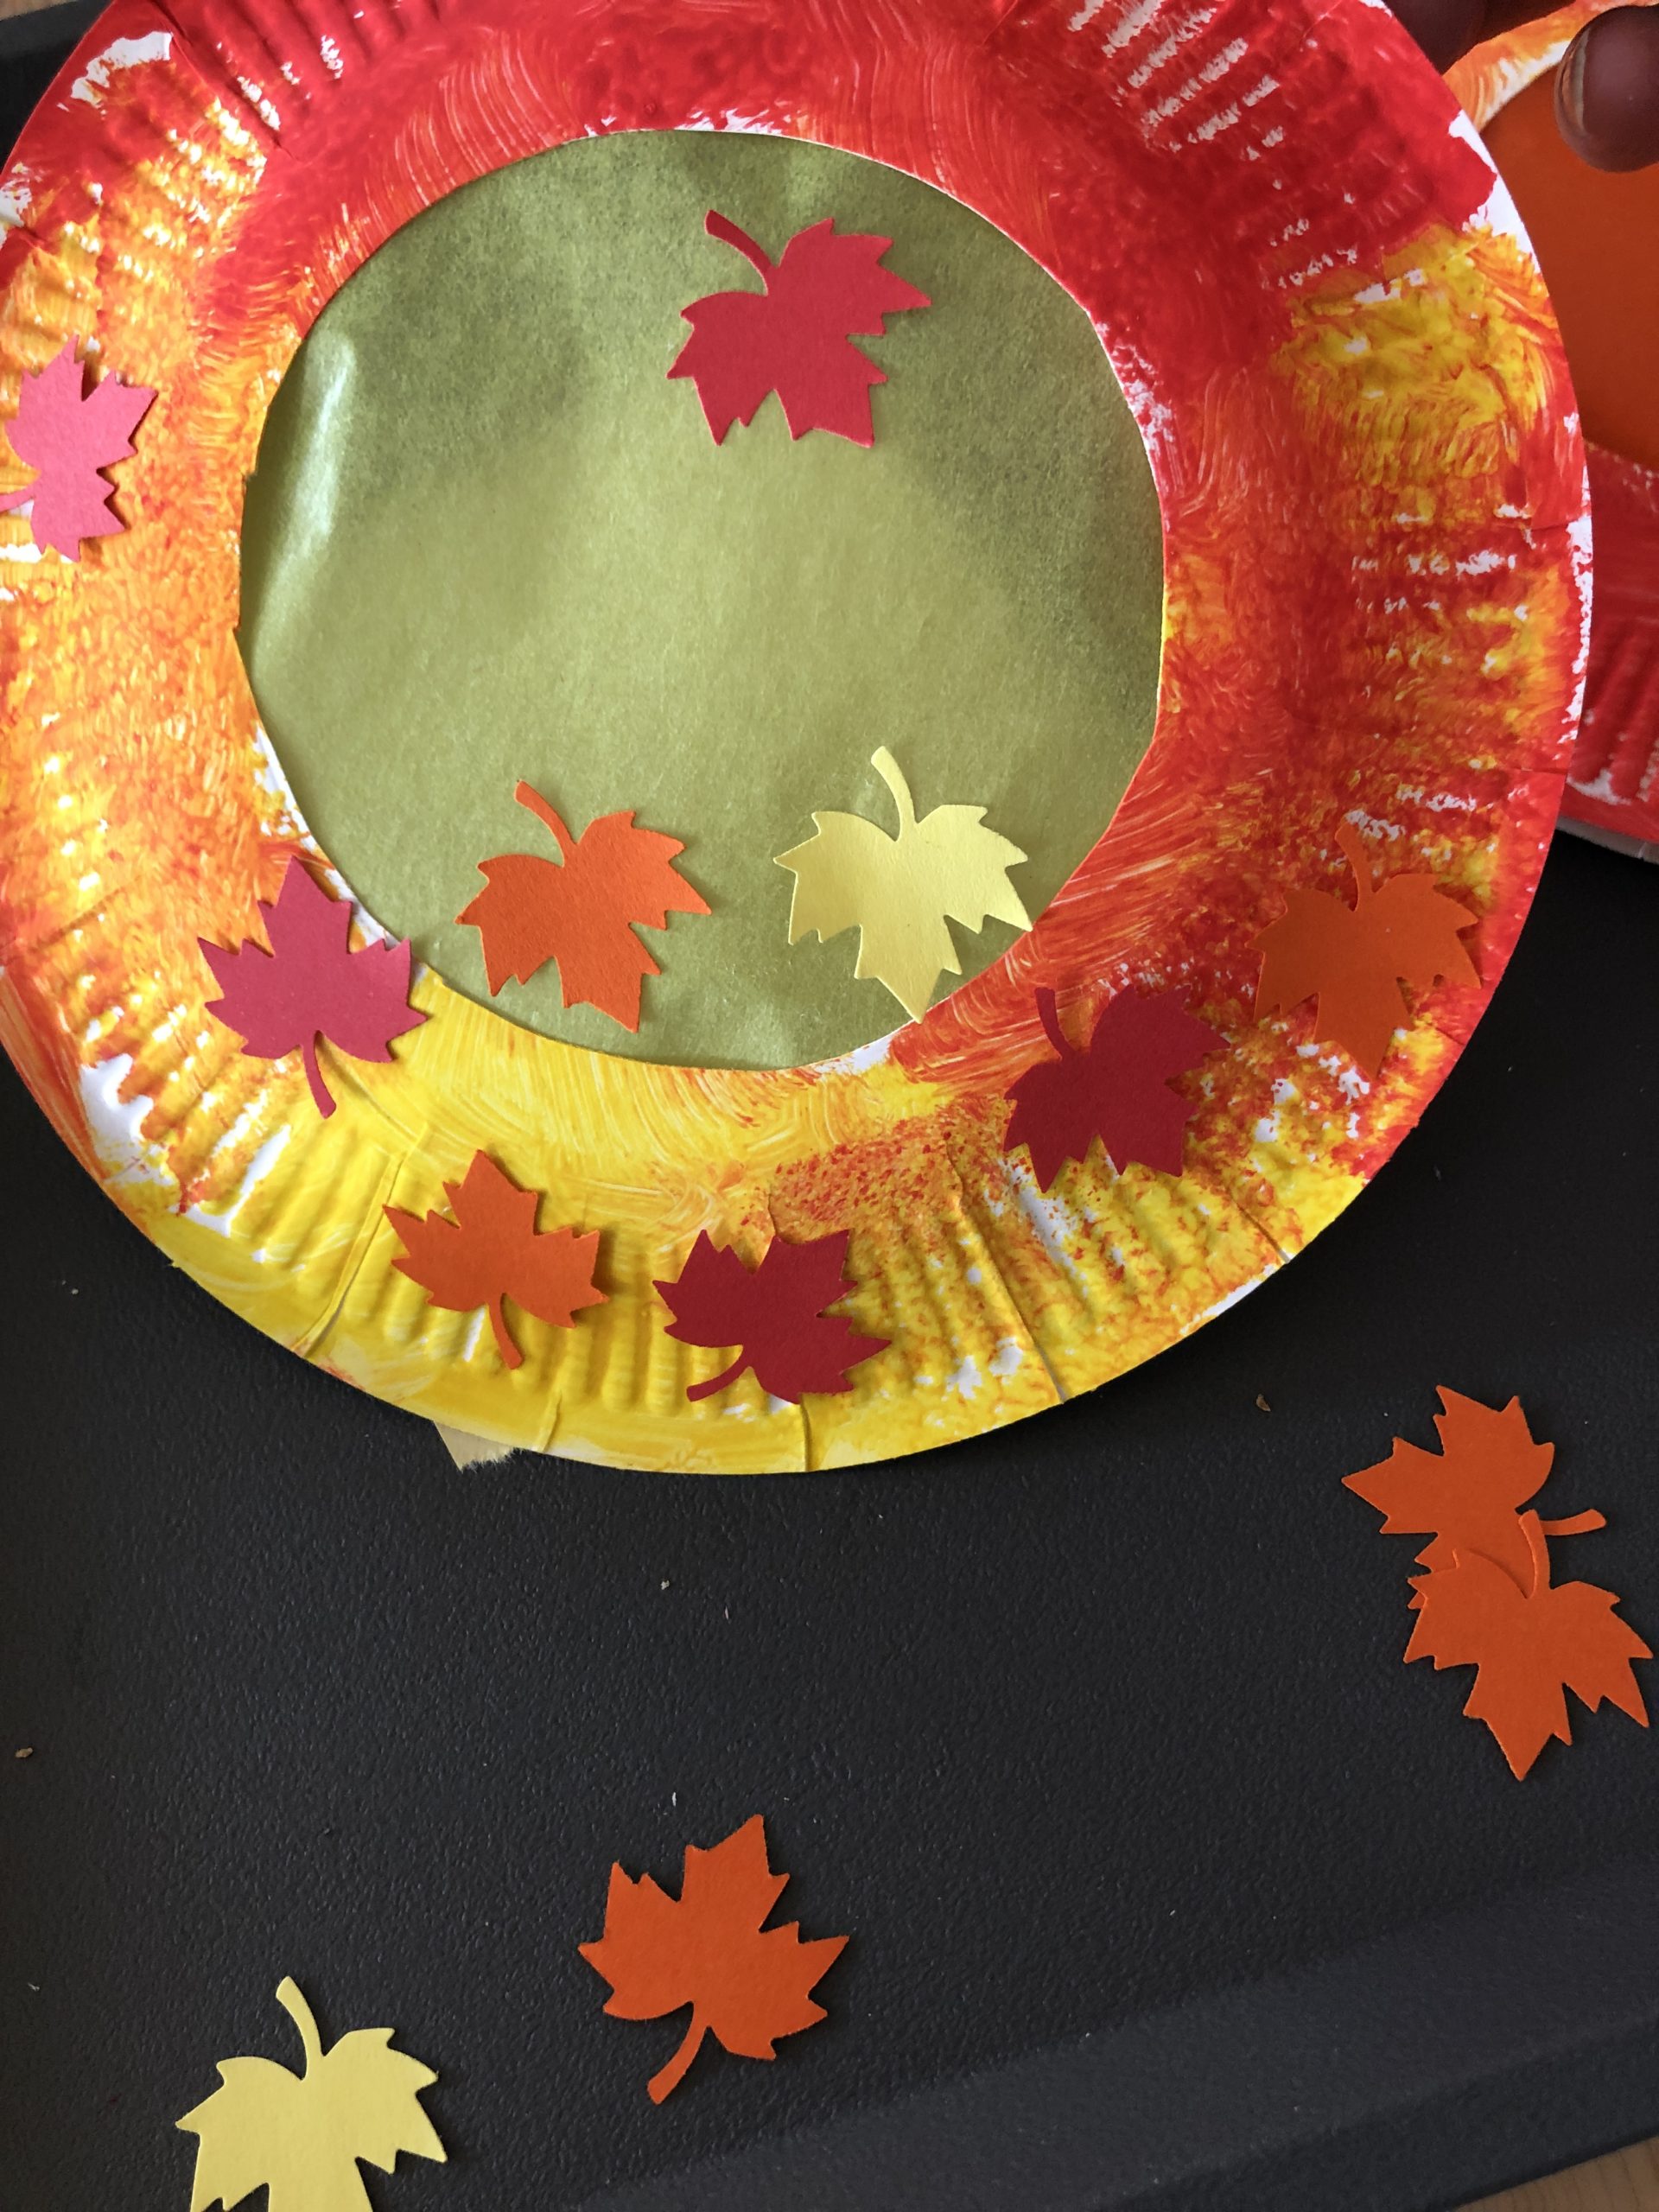
Bild zum Schritt 14 für das Bastel- und DIY-Abenteuer für Kinder: 'Verteilt die Blätter so, wie es euch gefällt!'

14

Now punch a hole in a plate at the bottom of your lantern. I used a holer for this!
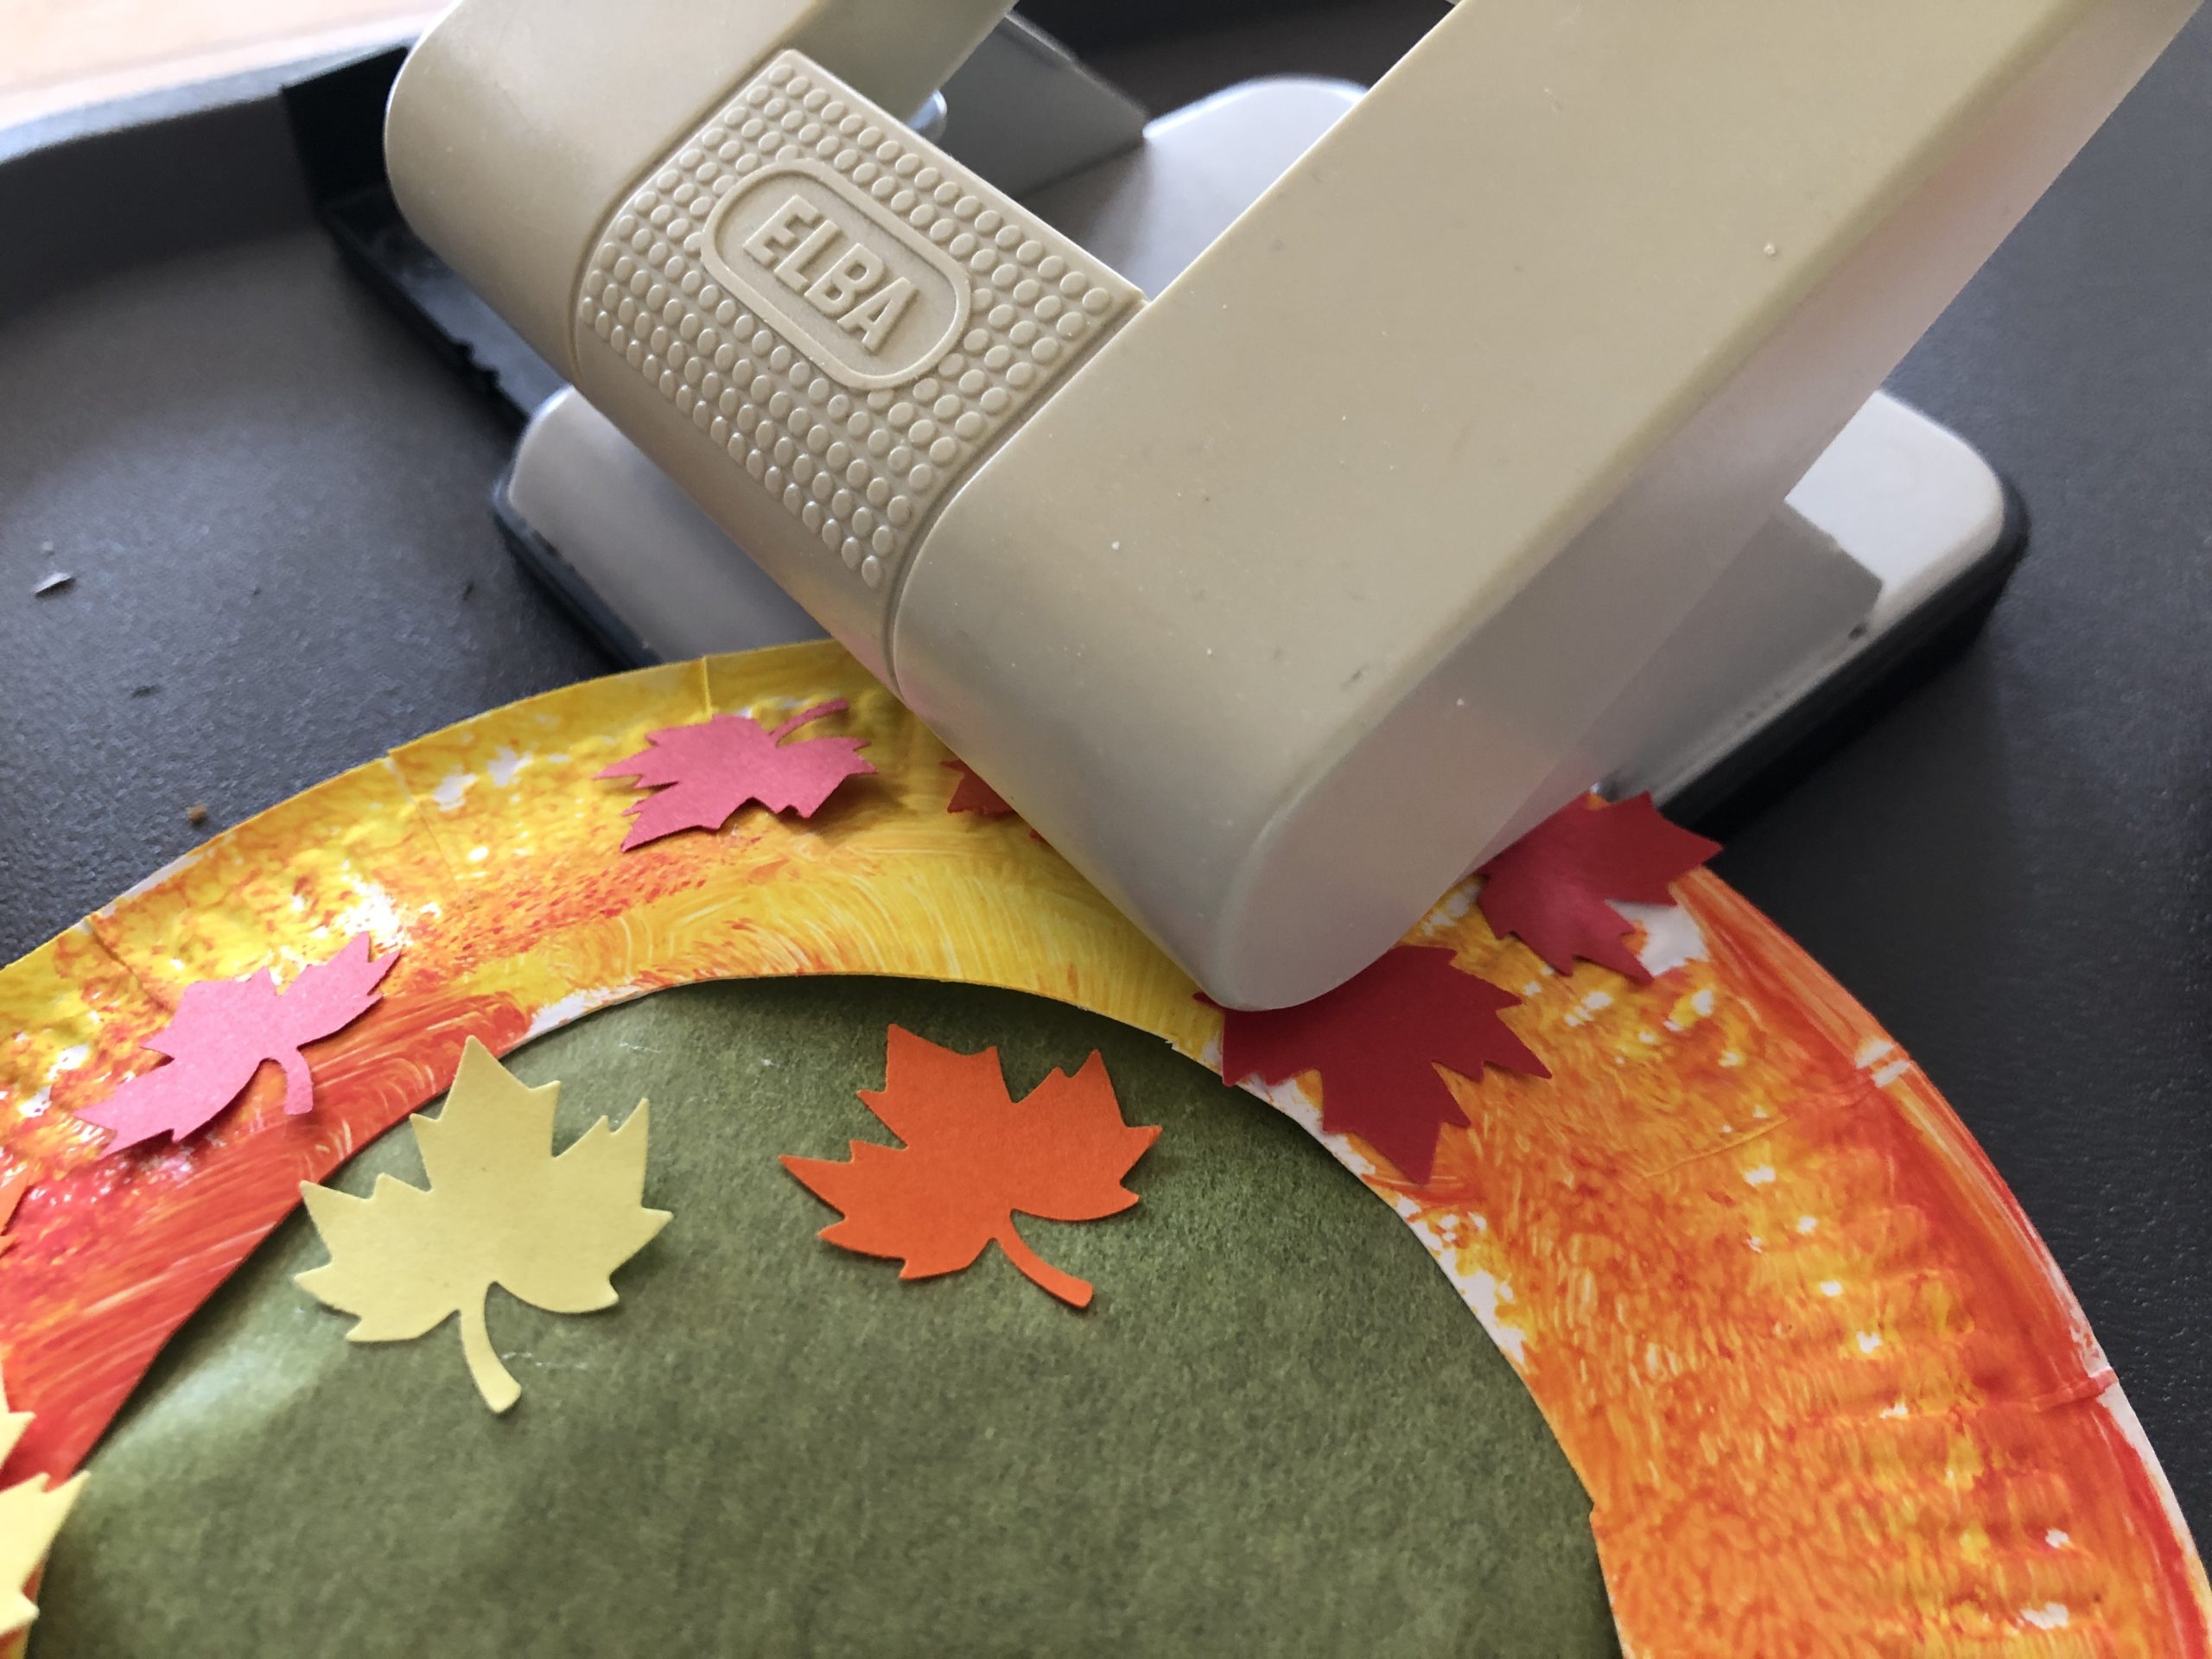
Bild zum Schritt 15 für das Bastel- und DIY-Abenteuer für Kinder: 'Jetzt locht am unteren Rand eurer Laterne ein Loch in...'

15

Through the hole you now thread a bast cord. Knot it firmly, so that you have two approximately equal long ends. On the two bast strands you can now also stick cut out leaves.
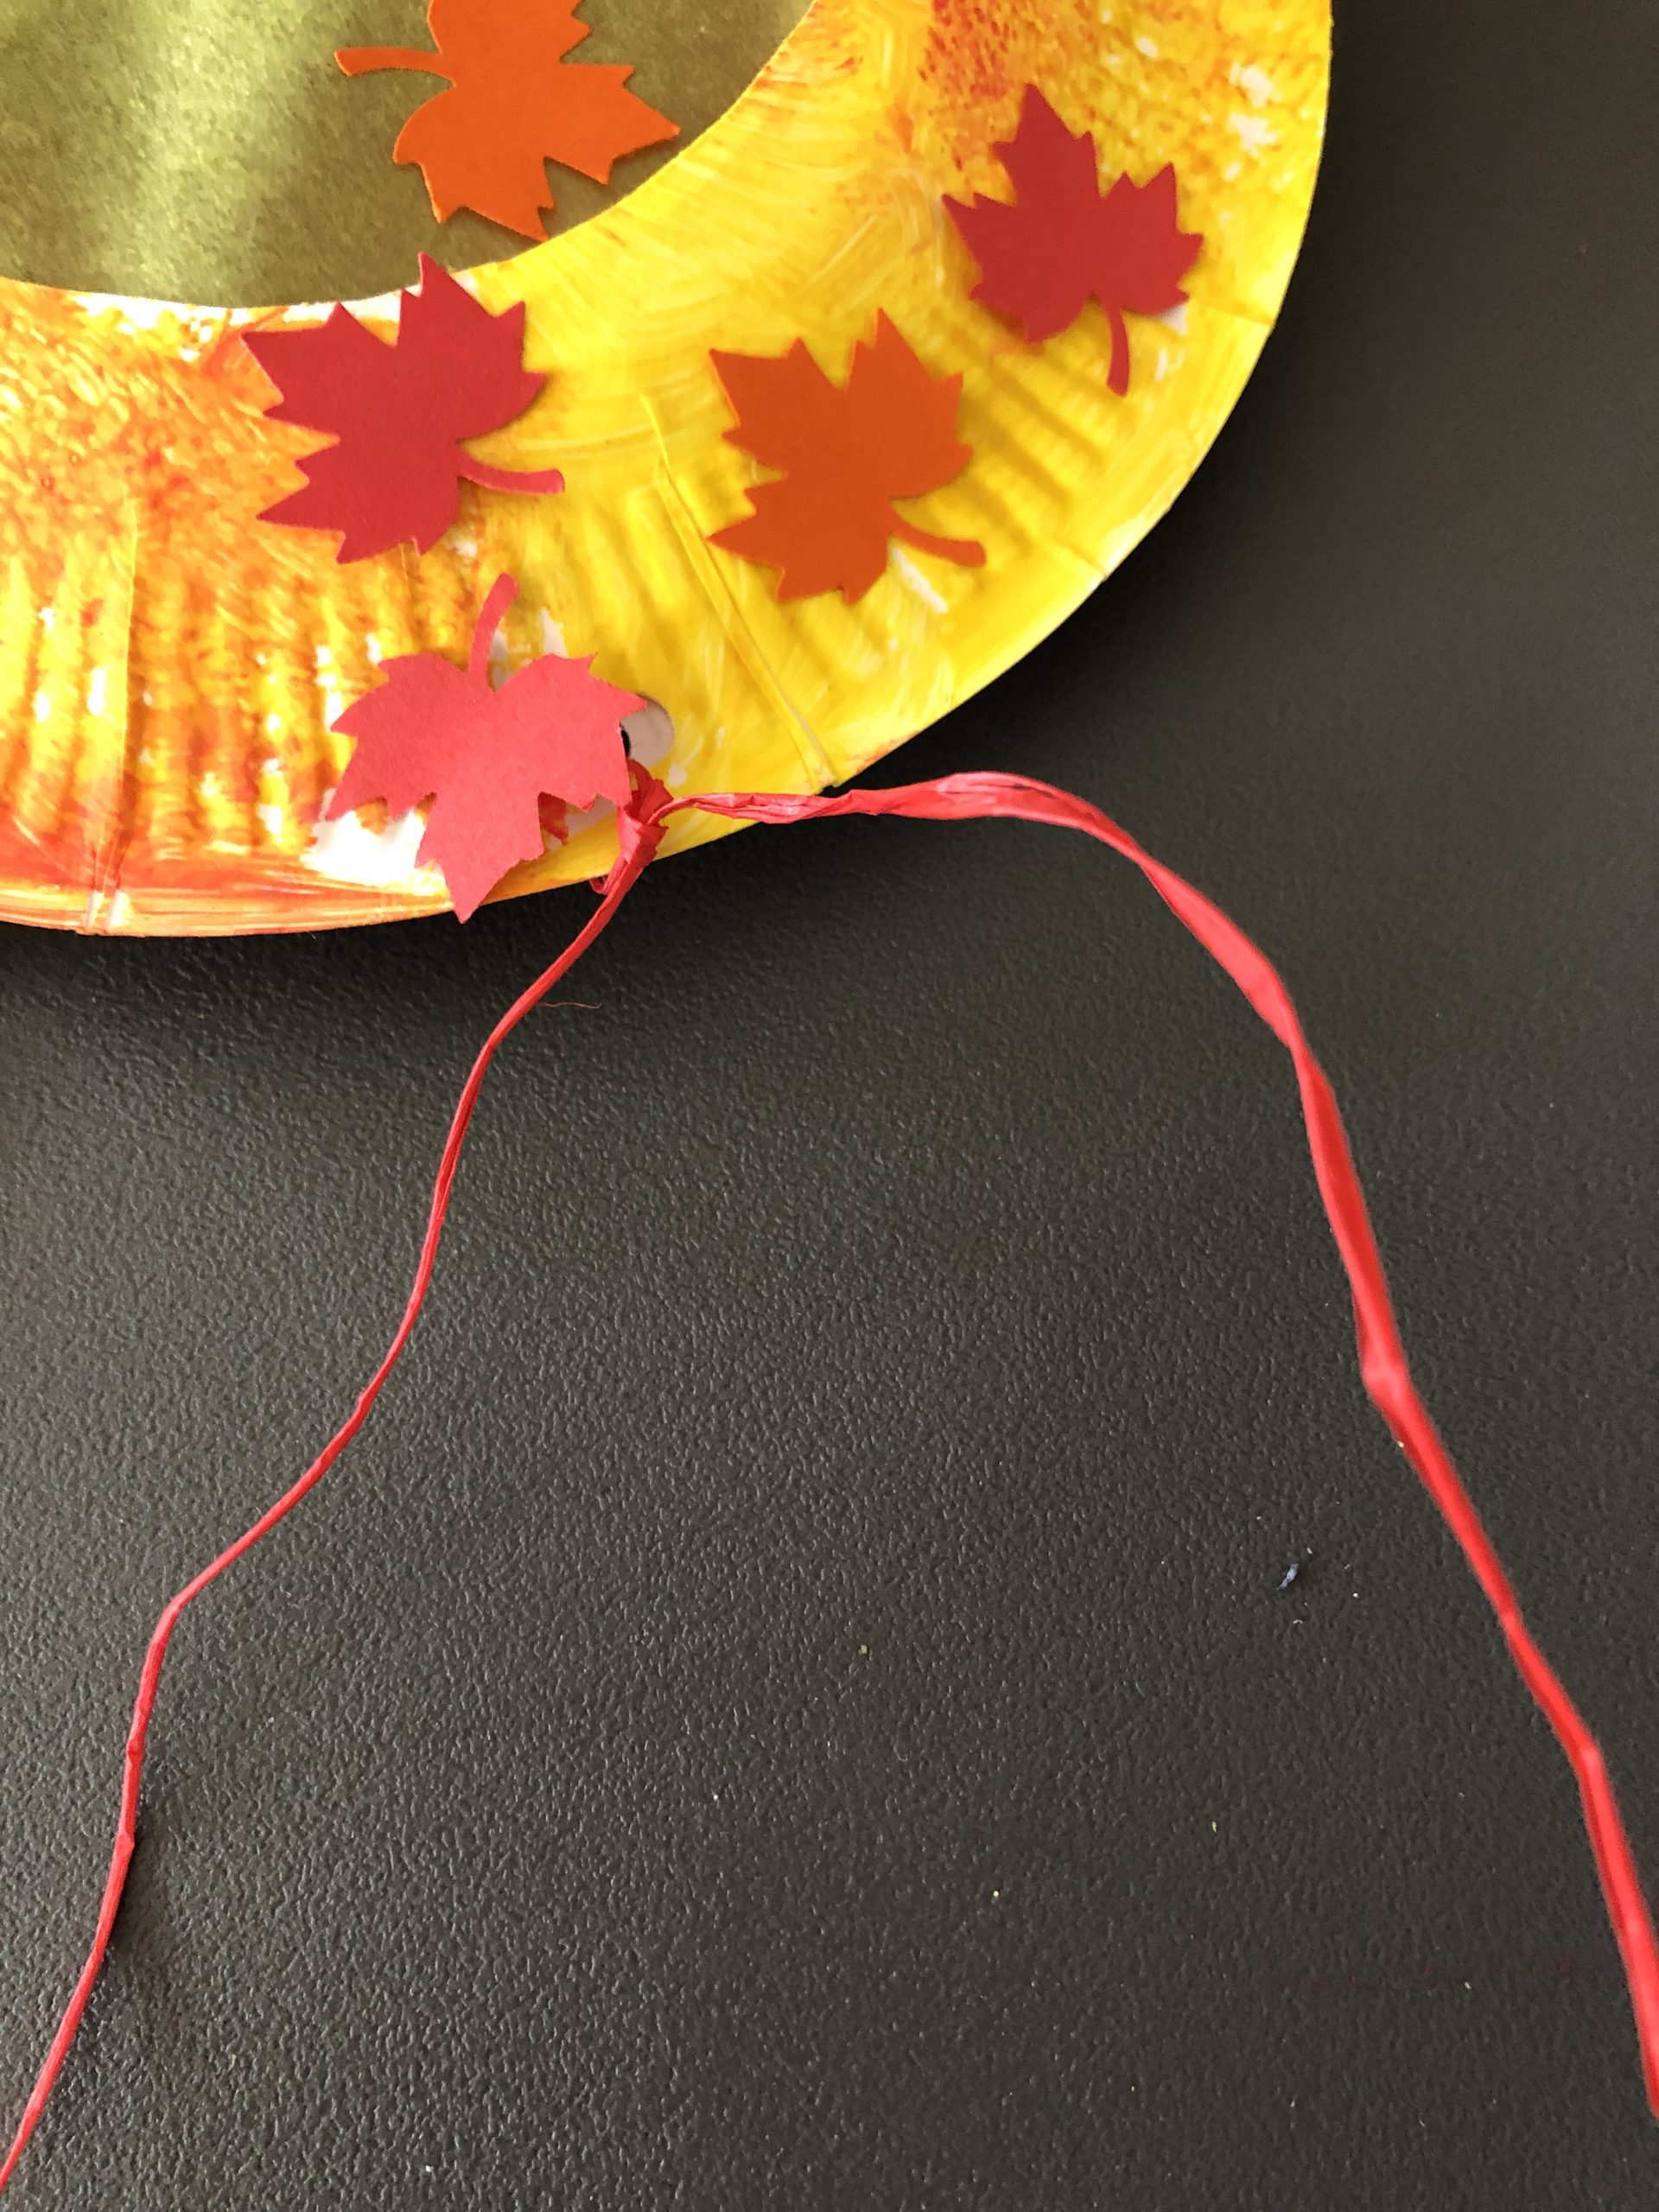
Bild zum Schritt 16 für das Bastel- und DIY-Abenteuer für Kinder: 'Durch das Loch fädelt ihr nun eine Bastschnur. Knotet diese...'

16

2. Bild zum Schritt 16 für das Bastel- und DIY-Abenteuer für Kinder: 'Durch das Loch fädelt ihr nun eine Bastschnur. Knotet diese...'

17

Now put both plates together (the painted and glued sides are on the outside). Then glue the plates together with hot glue on the edge. Important: leave 10cm of edge open above!
Attention when handling the hot glue gun: Injury risk!
Now cut out the open upper edge a piece.
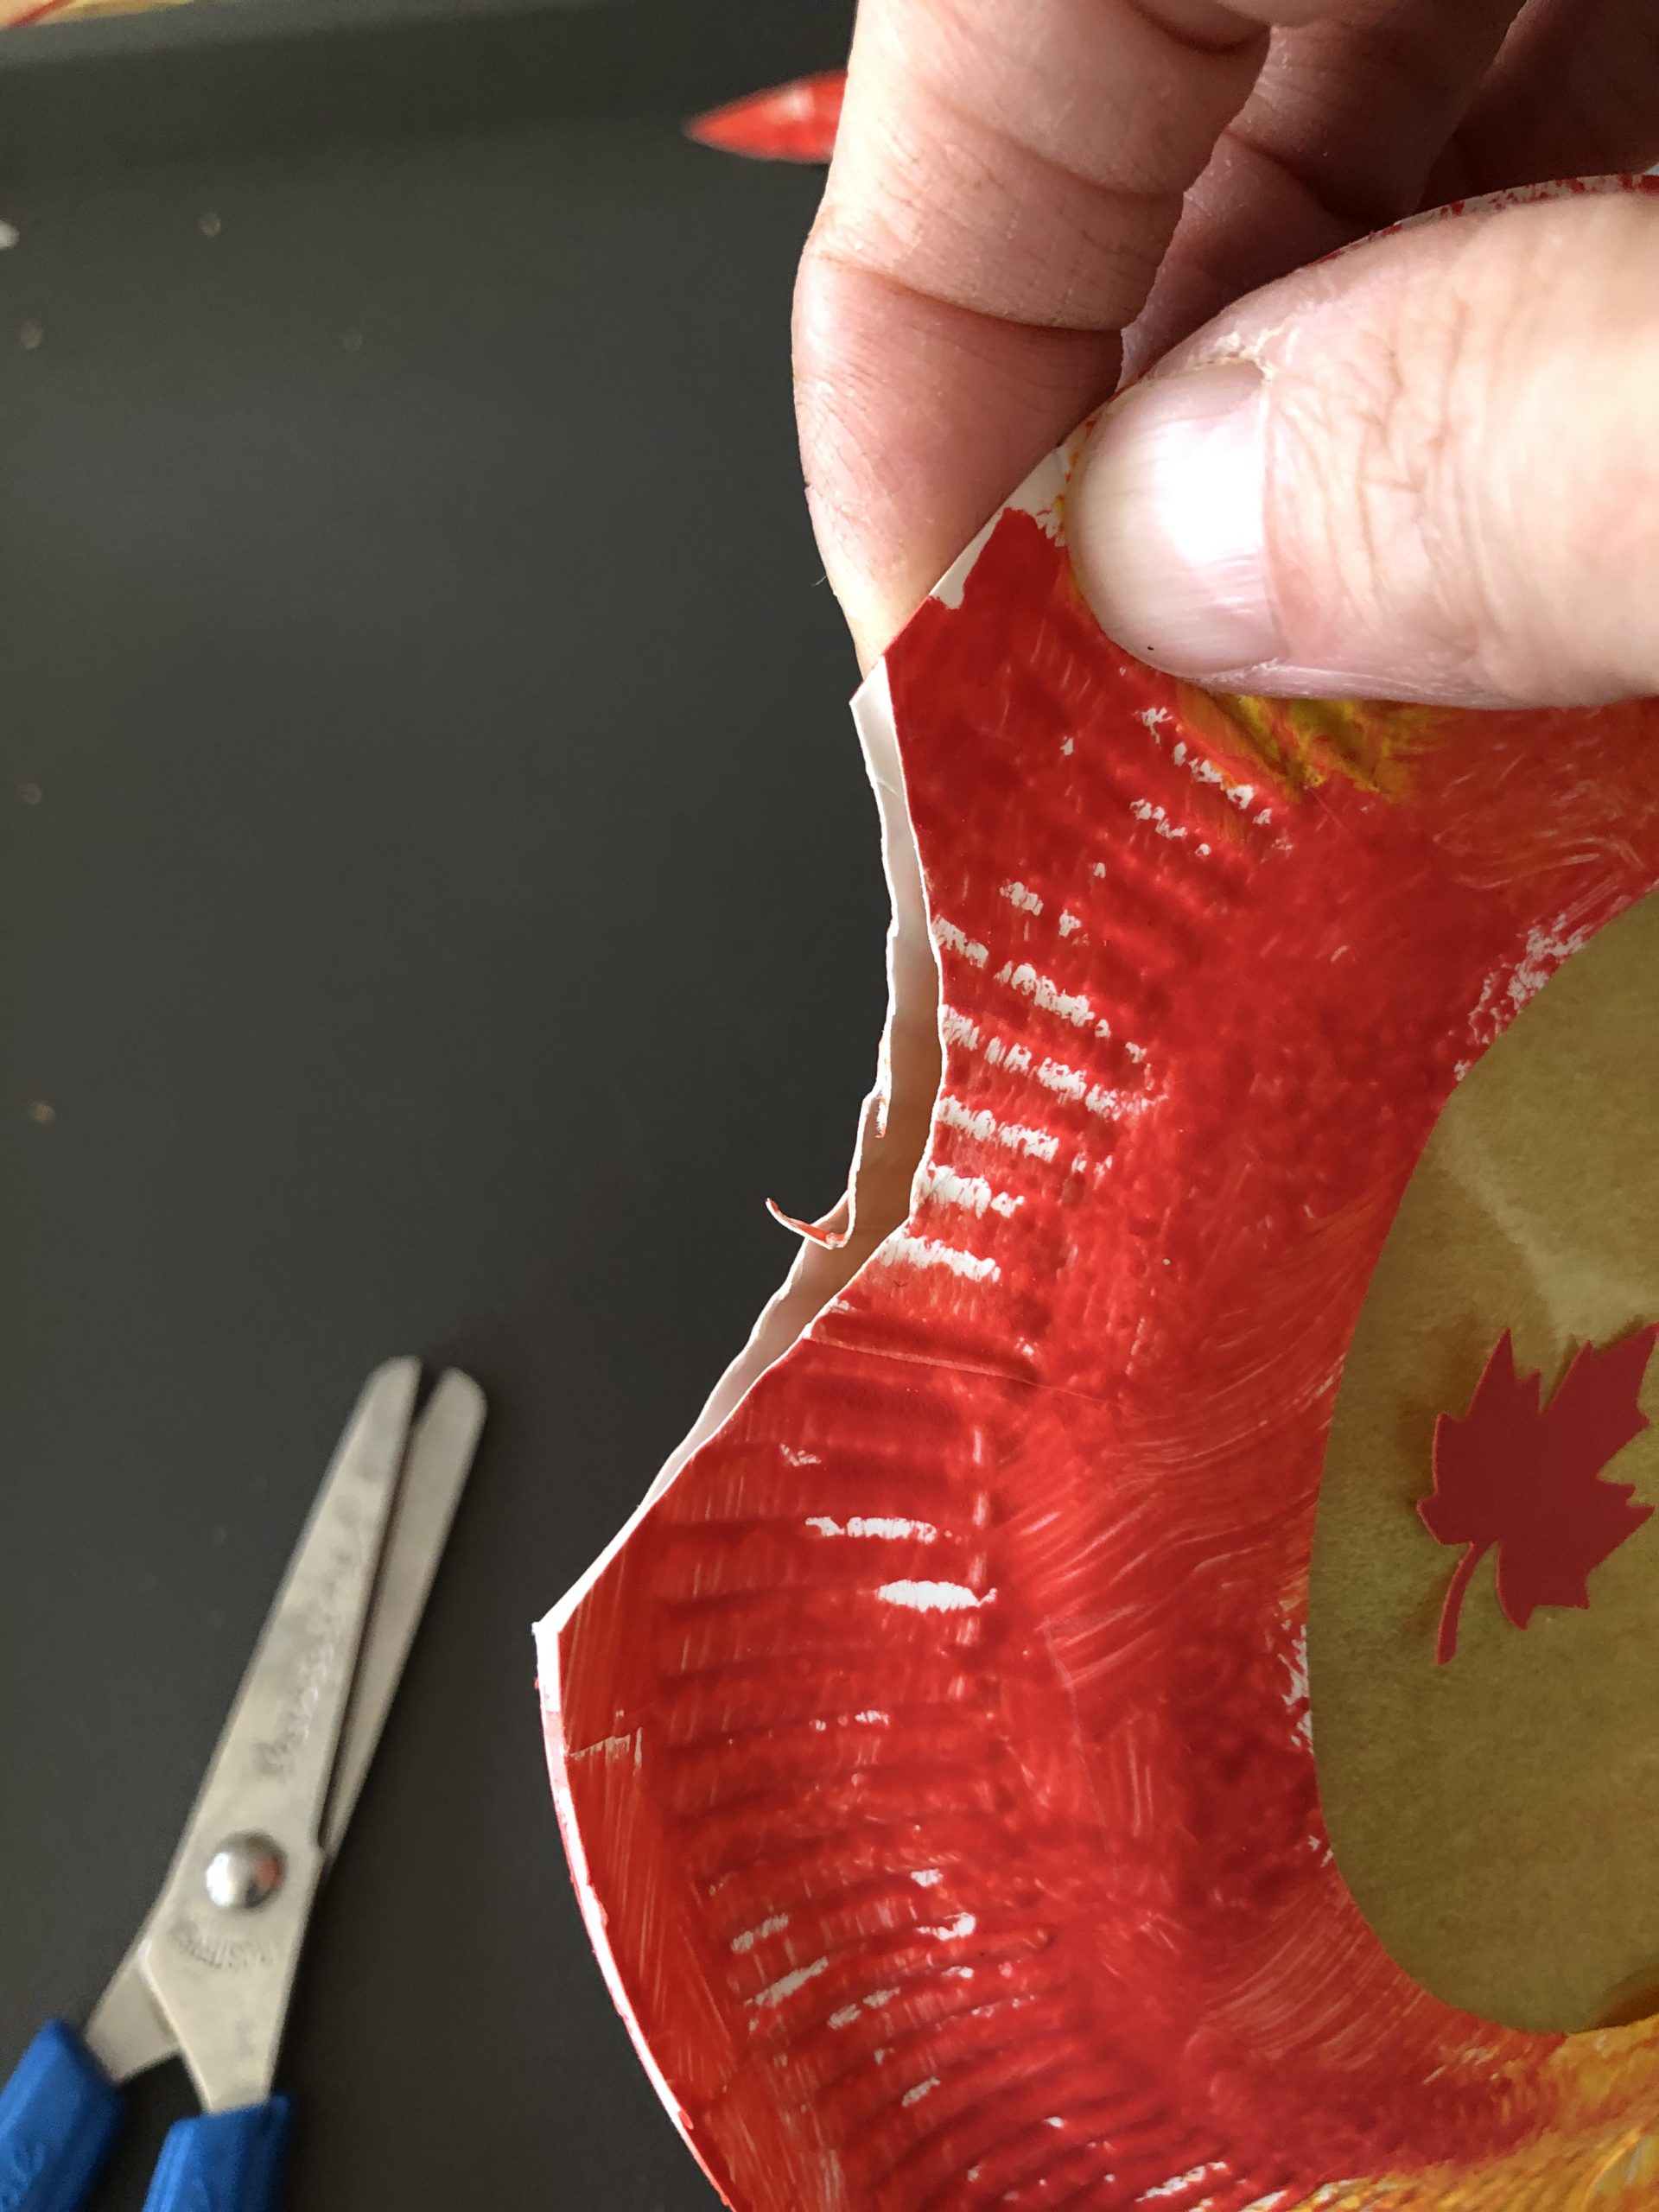
Bild zum Schritt 18 für das Bastel- und DIY-Abenteuer für Kinder: 'Legt nun beide Teller aufeinander (die bemalten und beklebten Seiten...'

18

Now punch with the holer to the left and right into this upper, open piece from the edge. Through the holes you put a short wire. Rotate it at the ends and hang the lantern on it. Alternatively, you can also attach a battery-powered lantern rod or...
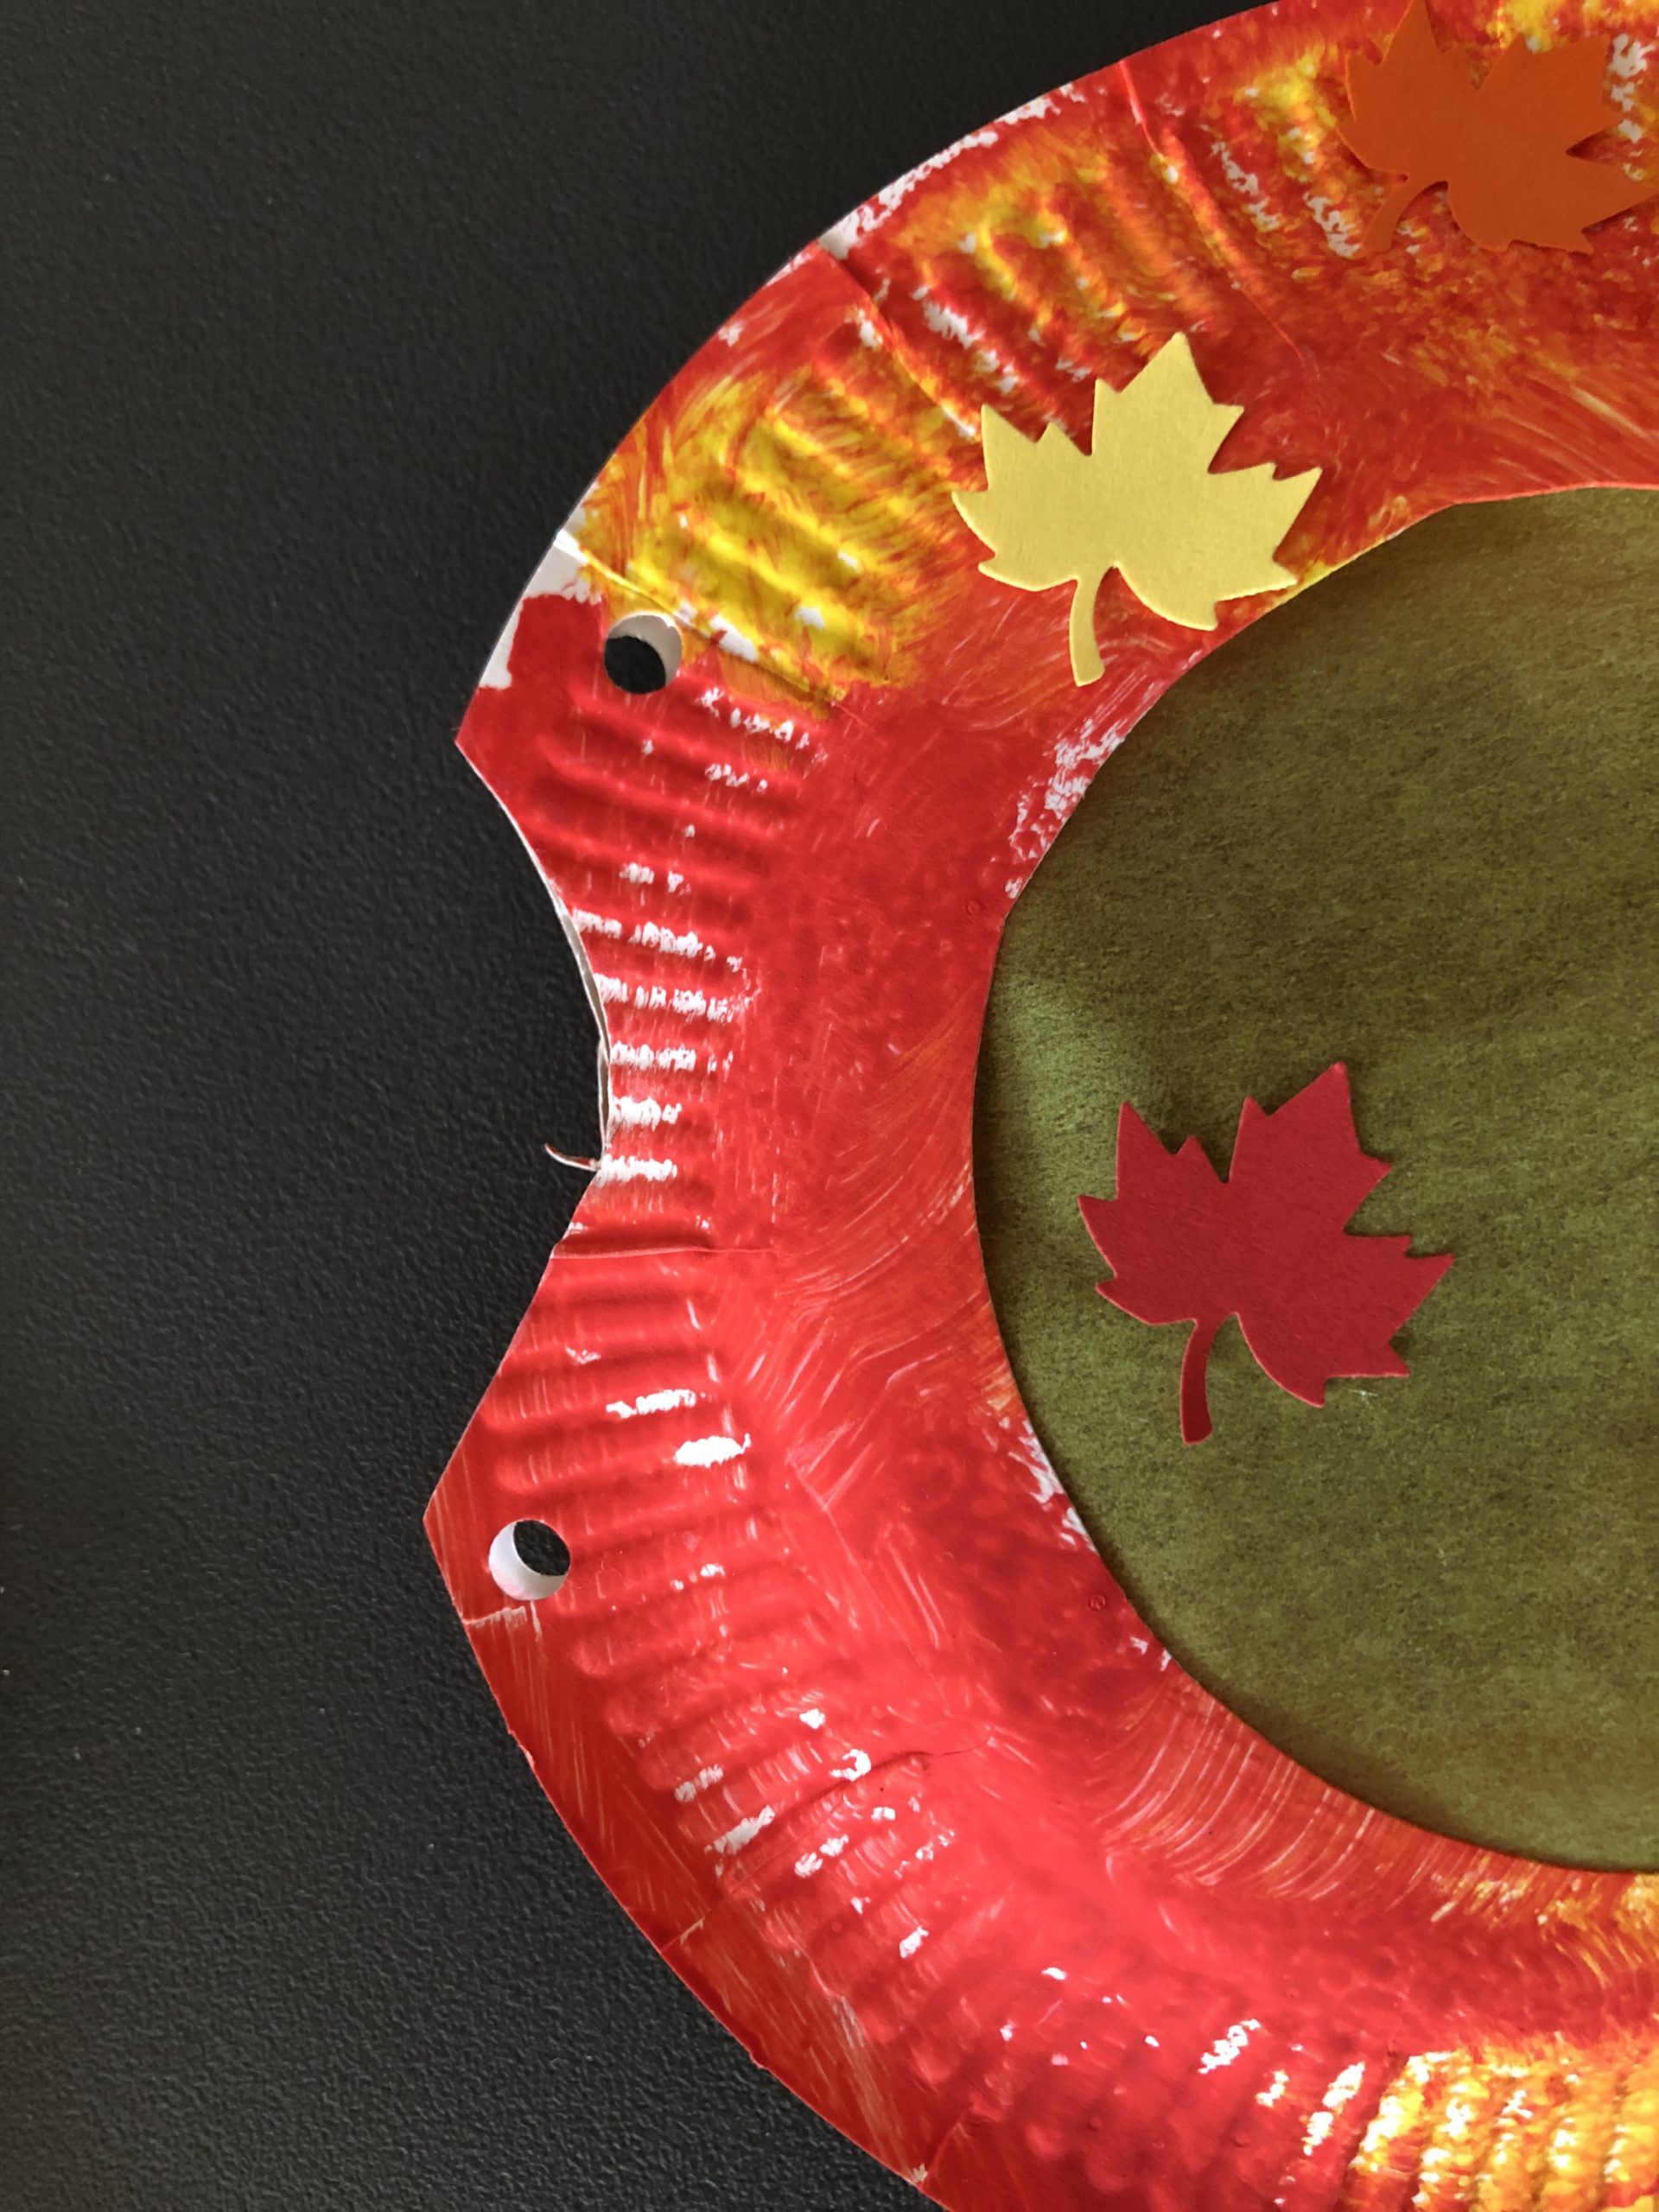
Bild zum Schritt 19 für das Bastel- und DIY-Abenteuer für Kinder: 'Jetzt locht mit dem Locher links und rechts in dieses...'

19

...you use a mini-light chain that pushes you into the inside of the lantern.
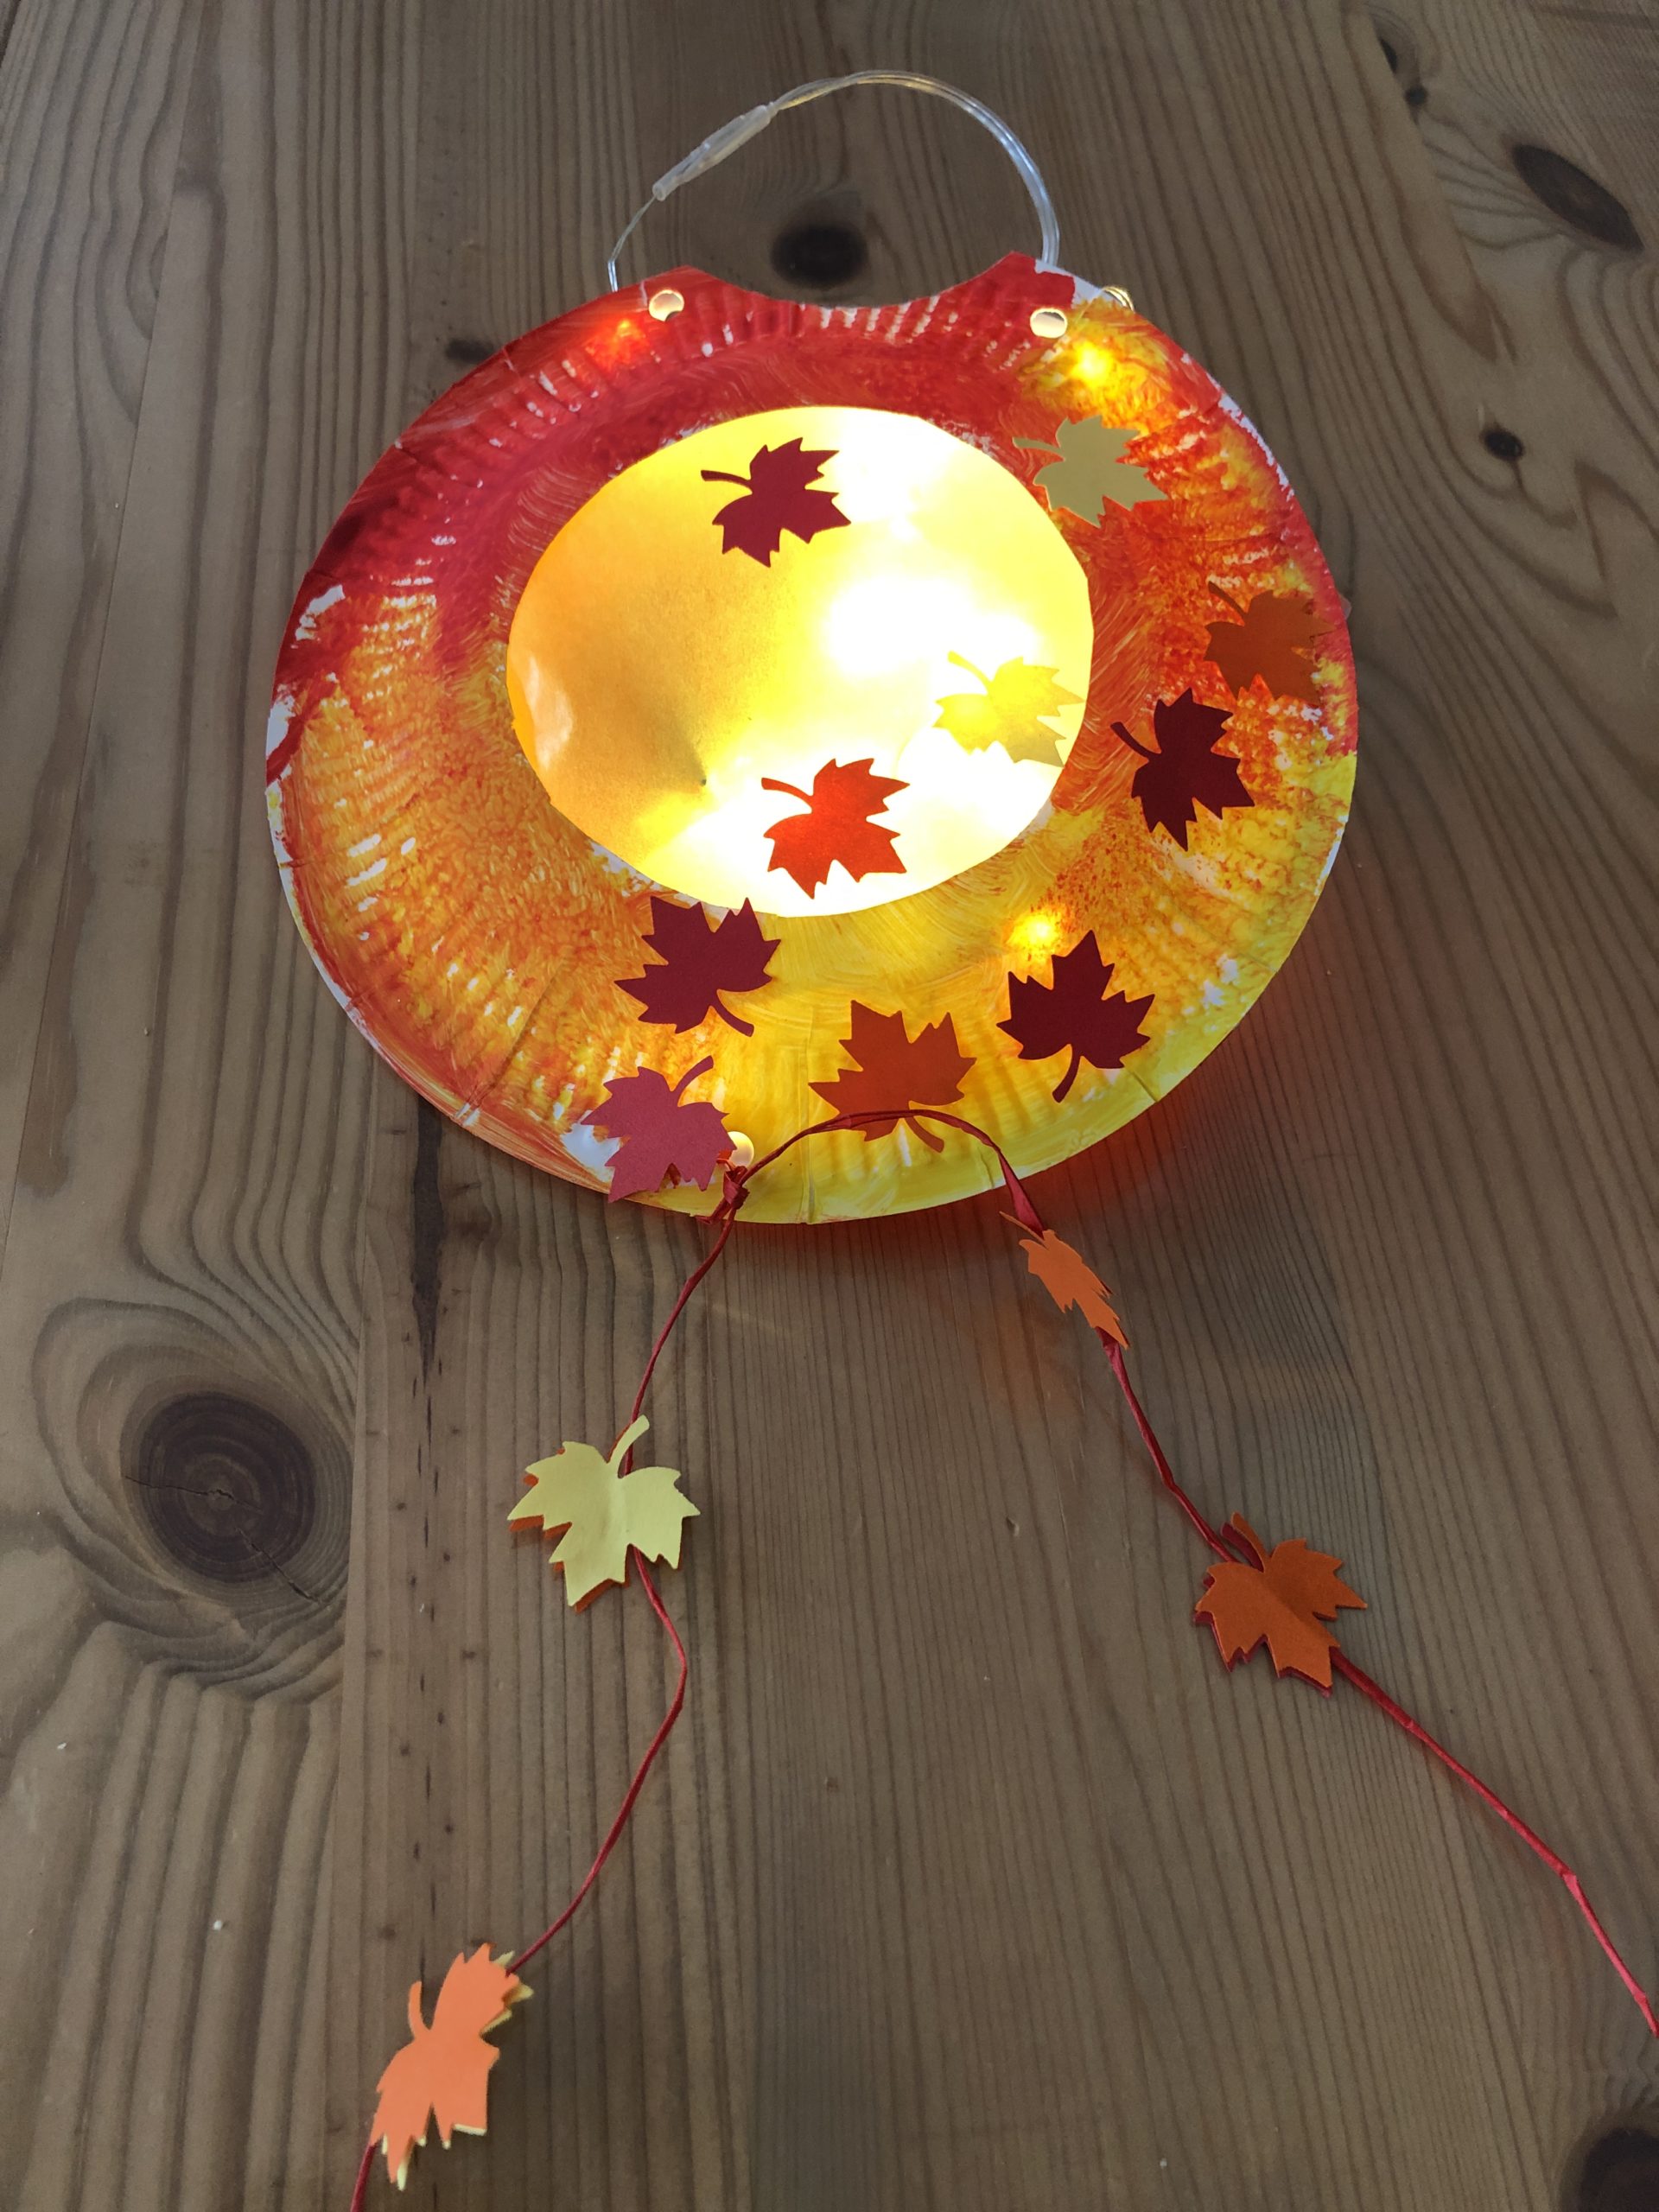
Bild zum Schritt 20 für das Bastel- und DIY-Abenteuer für Kinder: '...ihr verwendet eine Mini-Lichterkette, die ihr in das Innere der...'

Variant 2: with coloured advertising brochures
20

Punched out of advertising brochures colored leaves in the autumn colors!
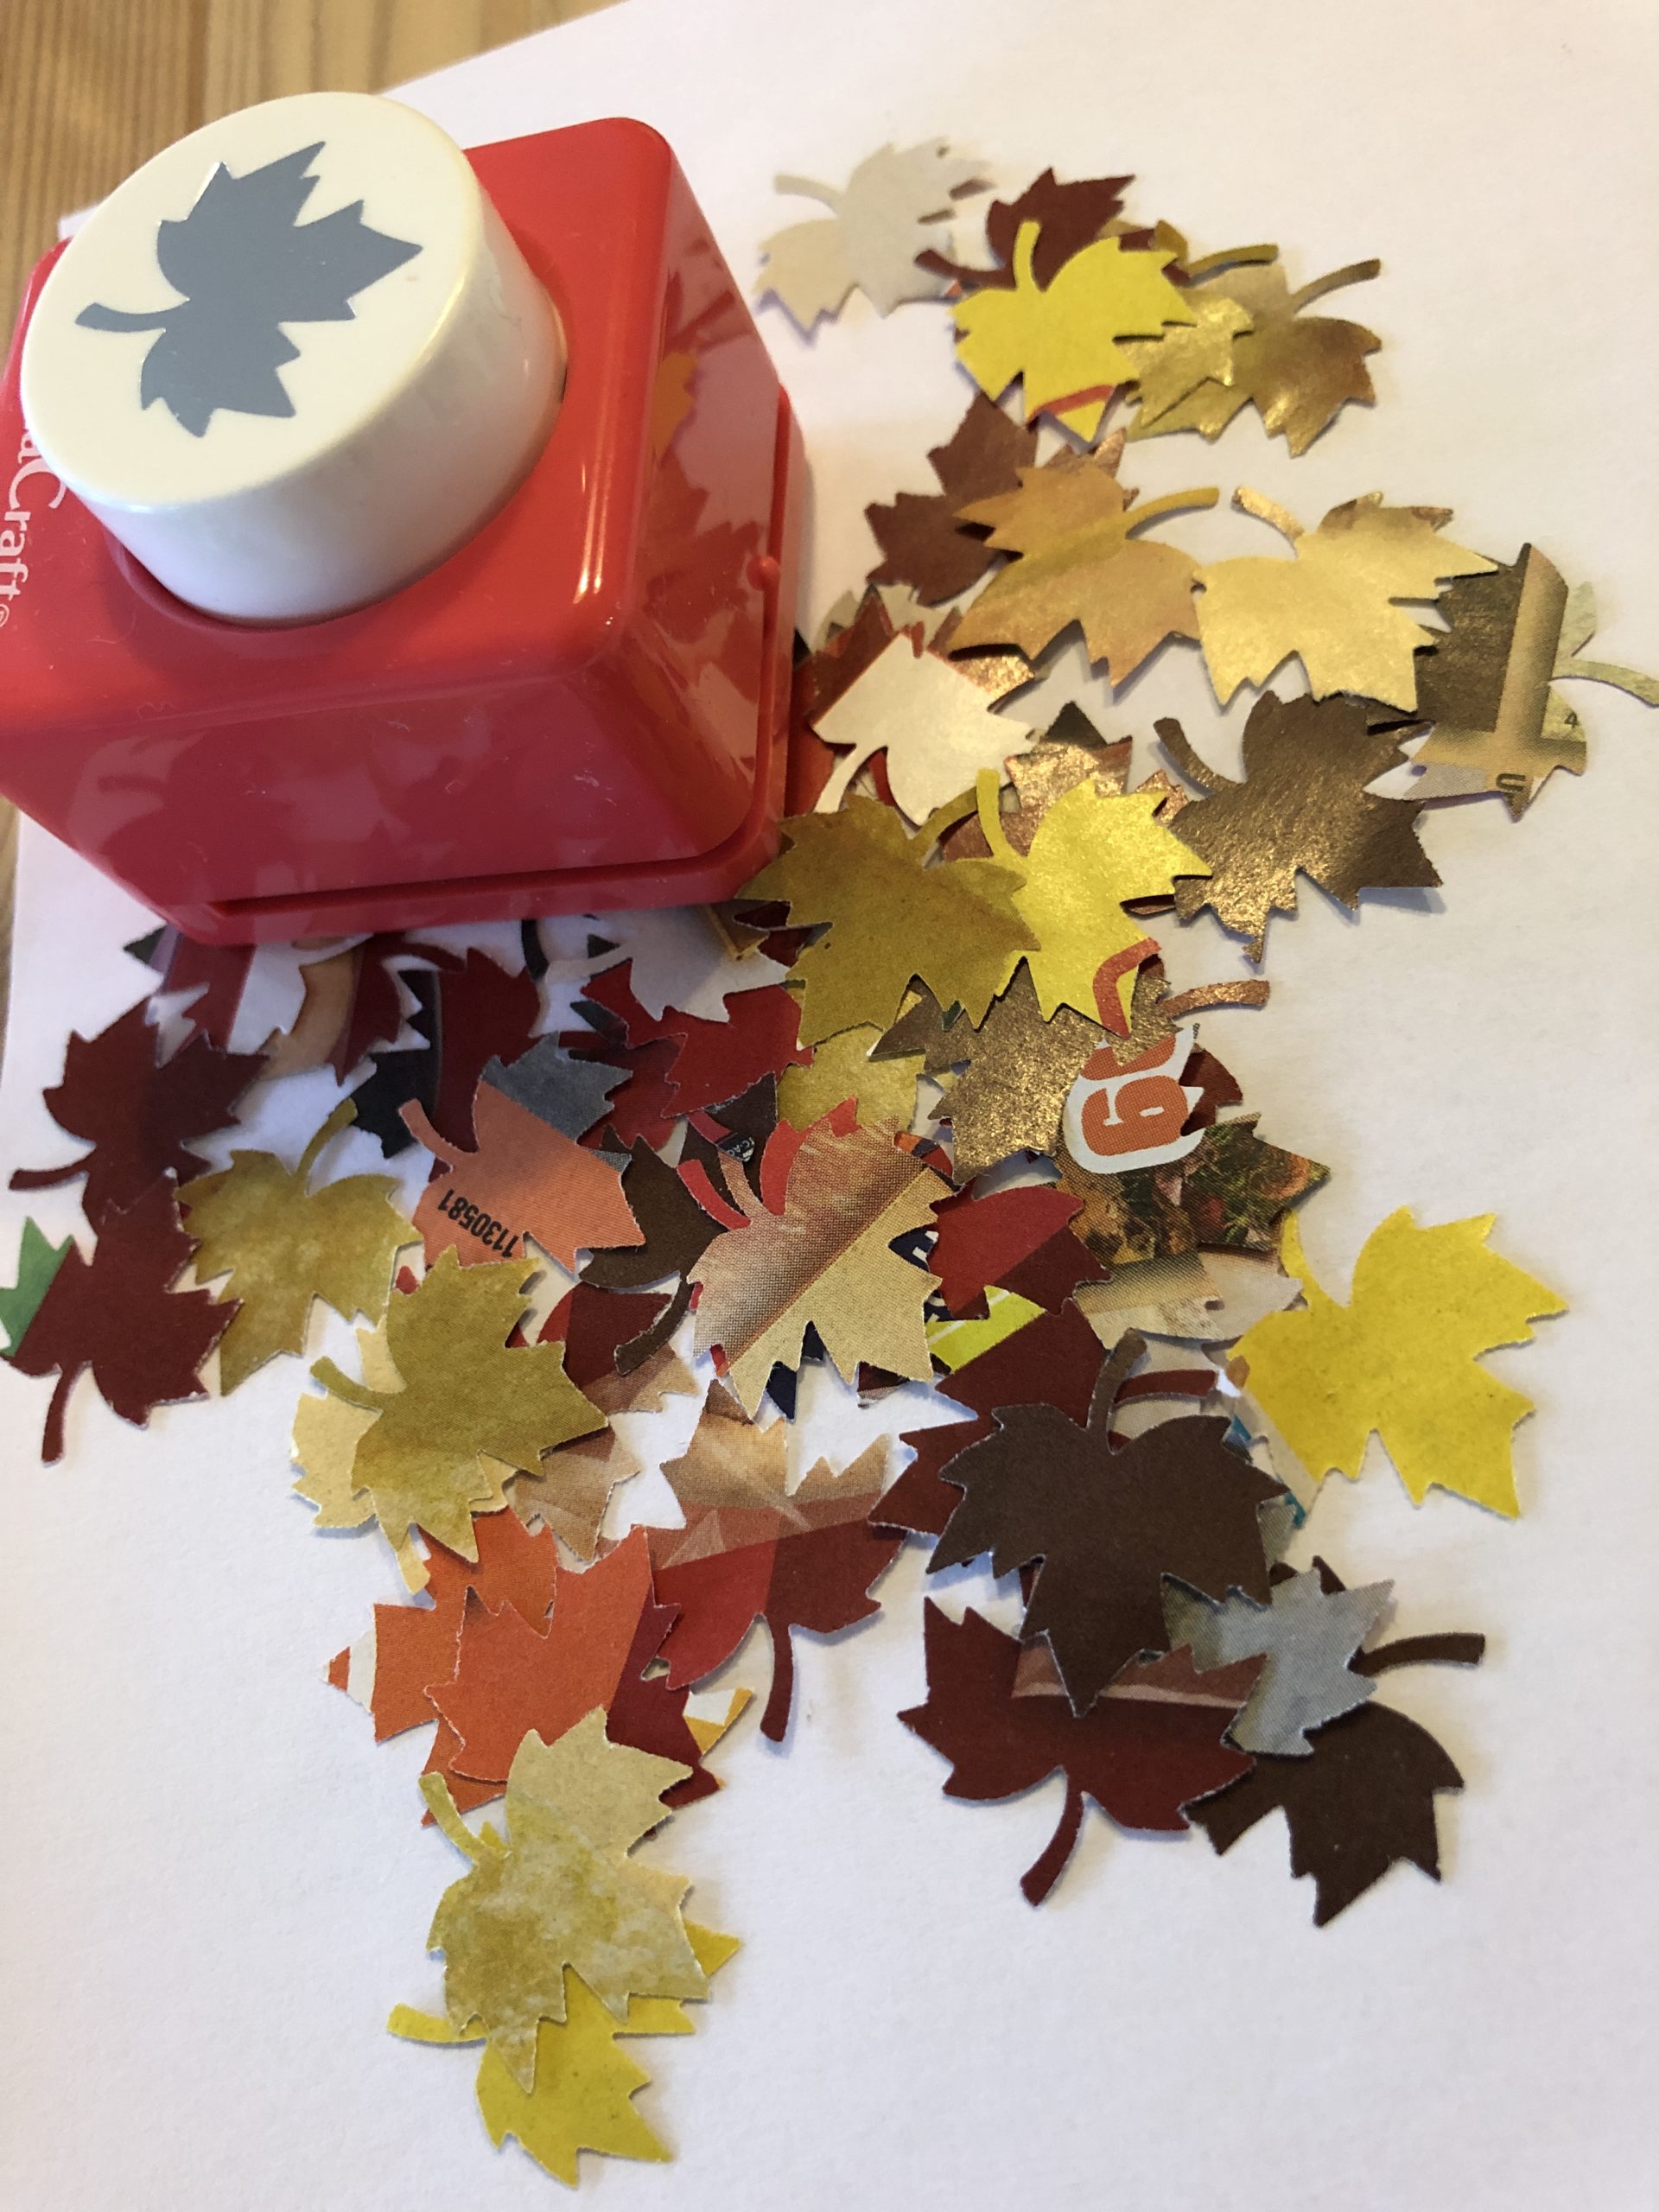
Bild zum Schritt 22 für das Bastel- und DIY-Abenteuer für Kinder: 'Stanzt aus Werbeprospekten farbige Blätter in den Herbstfarben aus!'

21

Glue your cardboard plates with it.
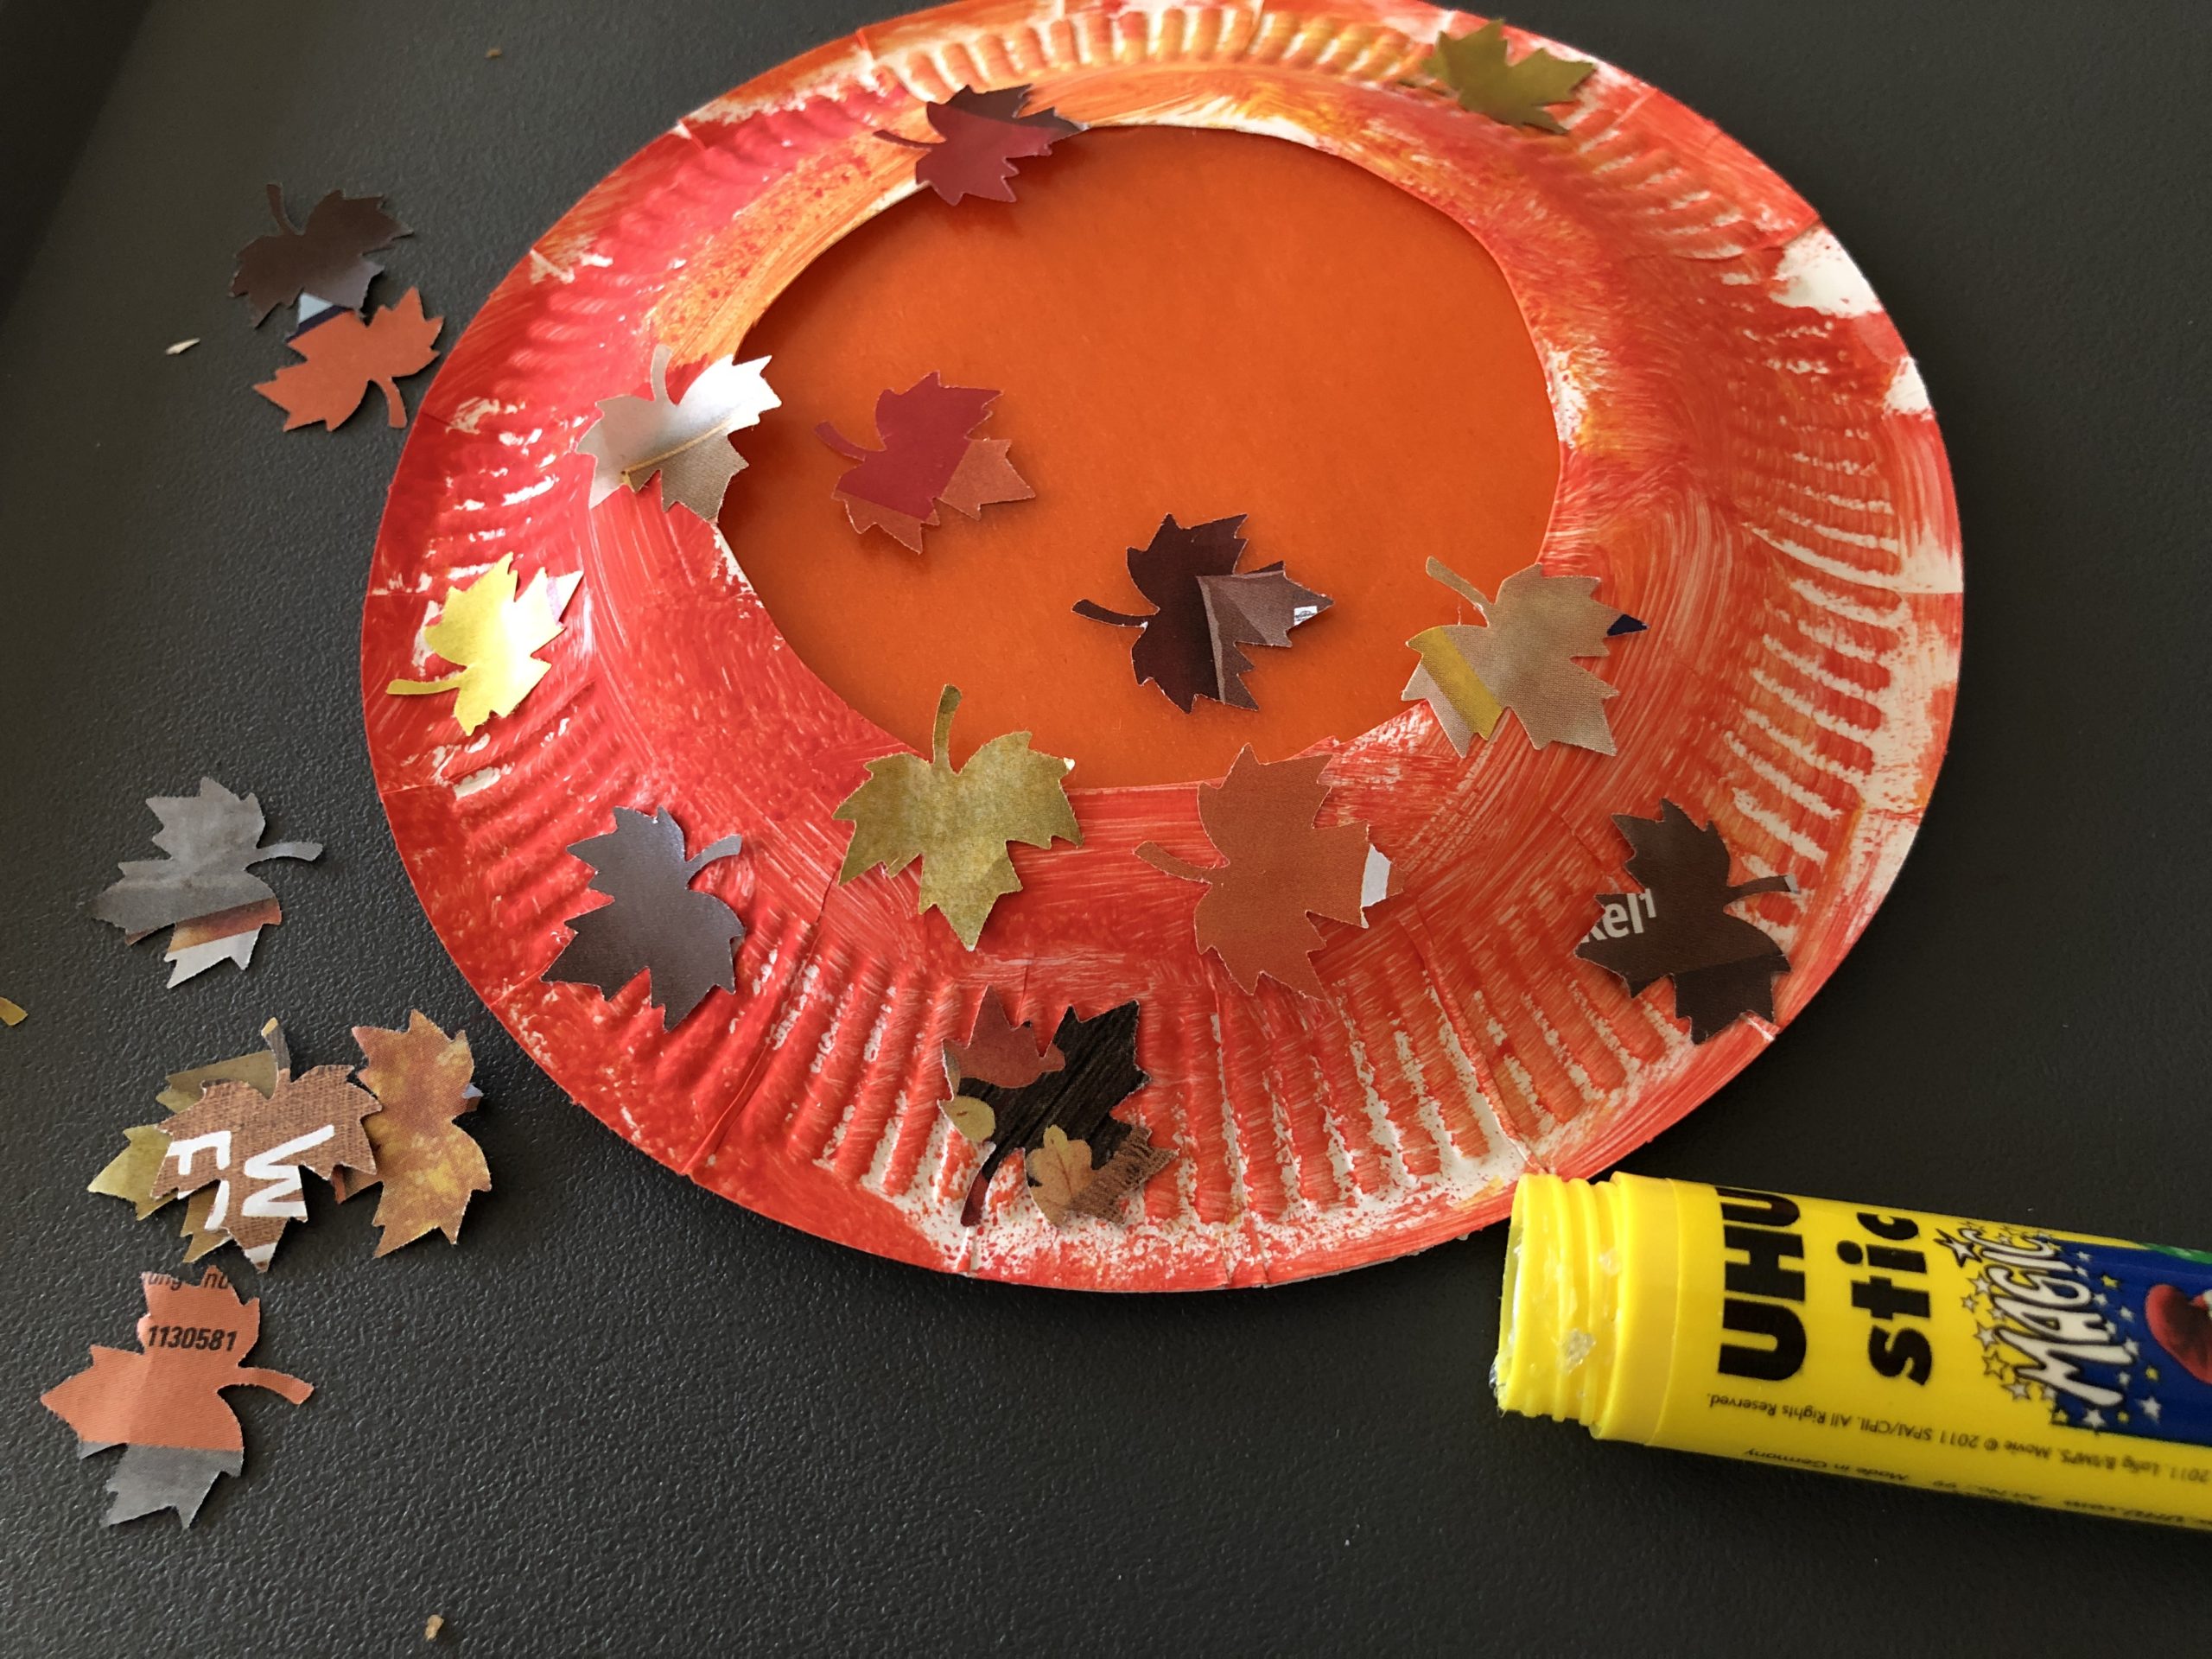
Bild zum Schritt 23 für das Bastel- und DIY-Abenteuer für Kinder: 'Beklebt damit eure Pappteller.'

22

2. Bild zum Schritt 23 für das Bastel- und DIY-Abenteuer für Kinder: 'Beklebt damit eure Pappteller.'

23

This variant is suitable if you don't have any coloured paper at home and/or if you want to make resource-saving. Alternatively, butterbread paper can also be used for pasting instead of transparent paper.

24

Take what you have and take care of what you use!
Have fun trying it out!

Leave lanterns (2 variants)

Follow us on Facebook , Instagram and Pinterest
Don't miss any more adventures: Our bottle mail

Leave a Reply

Your email address will not be published.

The maximum upload file size: 5 MB. You can upload: image, document. Drop file here