Picture frames on the topic of bees design - bee honeycombs

AdventurerKatzi
Rating0.03.9 Thousand times & (0) DifficultyIntermediate

Make honeycombs or honeycombs and put them in a picture frame is a wonderful craft action to deepen the topic bees. The crafting of honeycombs impresses with the bright colors. This craft action is also suitable as a gift in combination with a glass of honey. The shape of honeycombs is a hexagon. This is not at all easy to paint. One honeycomb fits into the other and everything then becomes a perfect whole. As you create a honeycomb picture, we show you here.
Have fun trying out.

Media Education for Kindergarten and Hort

Kind bastelt eine Rassel mit dem Navi
The Adventure Navi, the app for DIY projects, enables media education for the youngest.

Relief in everyday life, targeted promotion of individual children, independent learning and - without any pre-knowledge already usable by the youngest!


Titelbild zur Bastel- und DIY-Idee für Kinder '(1126) Bilderrahmen zum Thema Bienen gestalten – Bienenwaben basteln'
Material for1 Child
Prep Time5 min.Adv. Time25 min.Total Time30 min.
 1 Air-cushion film
 1 Sheet of paper white
 Color yellow
 1 Brushes
 Yellow clay paper
 1 Template for the honeycombs
 1 Picture frame small
 Builder's pad
All links marked with a shopping cart lead to Amazon - here we have selected products that we would order ourselves and in part also ordered. In a qualified purchase via the advertising link, we as Amazon partner receive a commission, for you there are no costs. You thus support our cost- and advertising banner-free, educational offer.
1

First you put out the craft pad and prepare paper, foil, brush and paint.
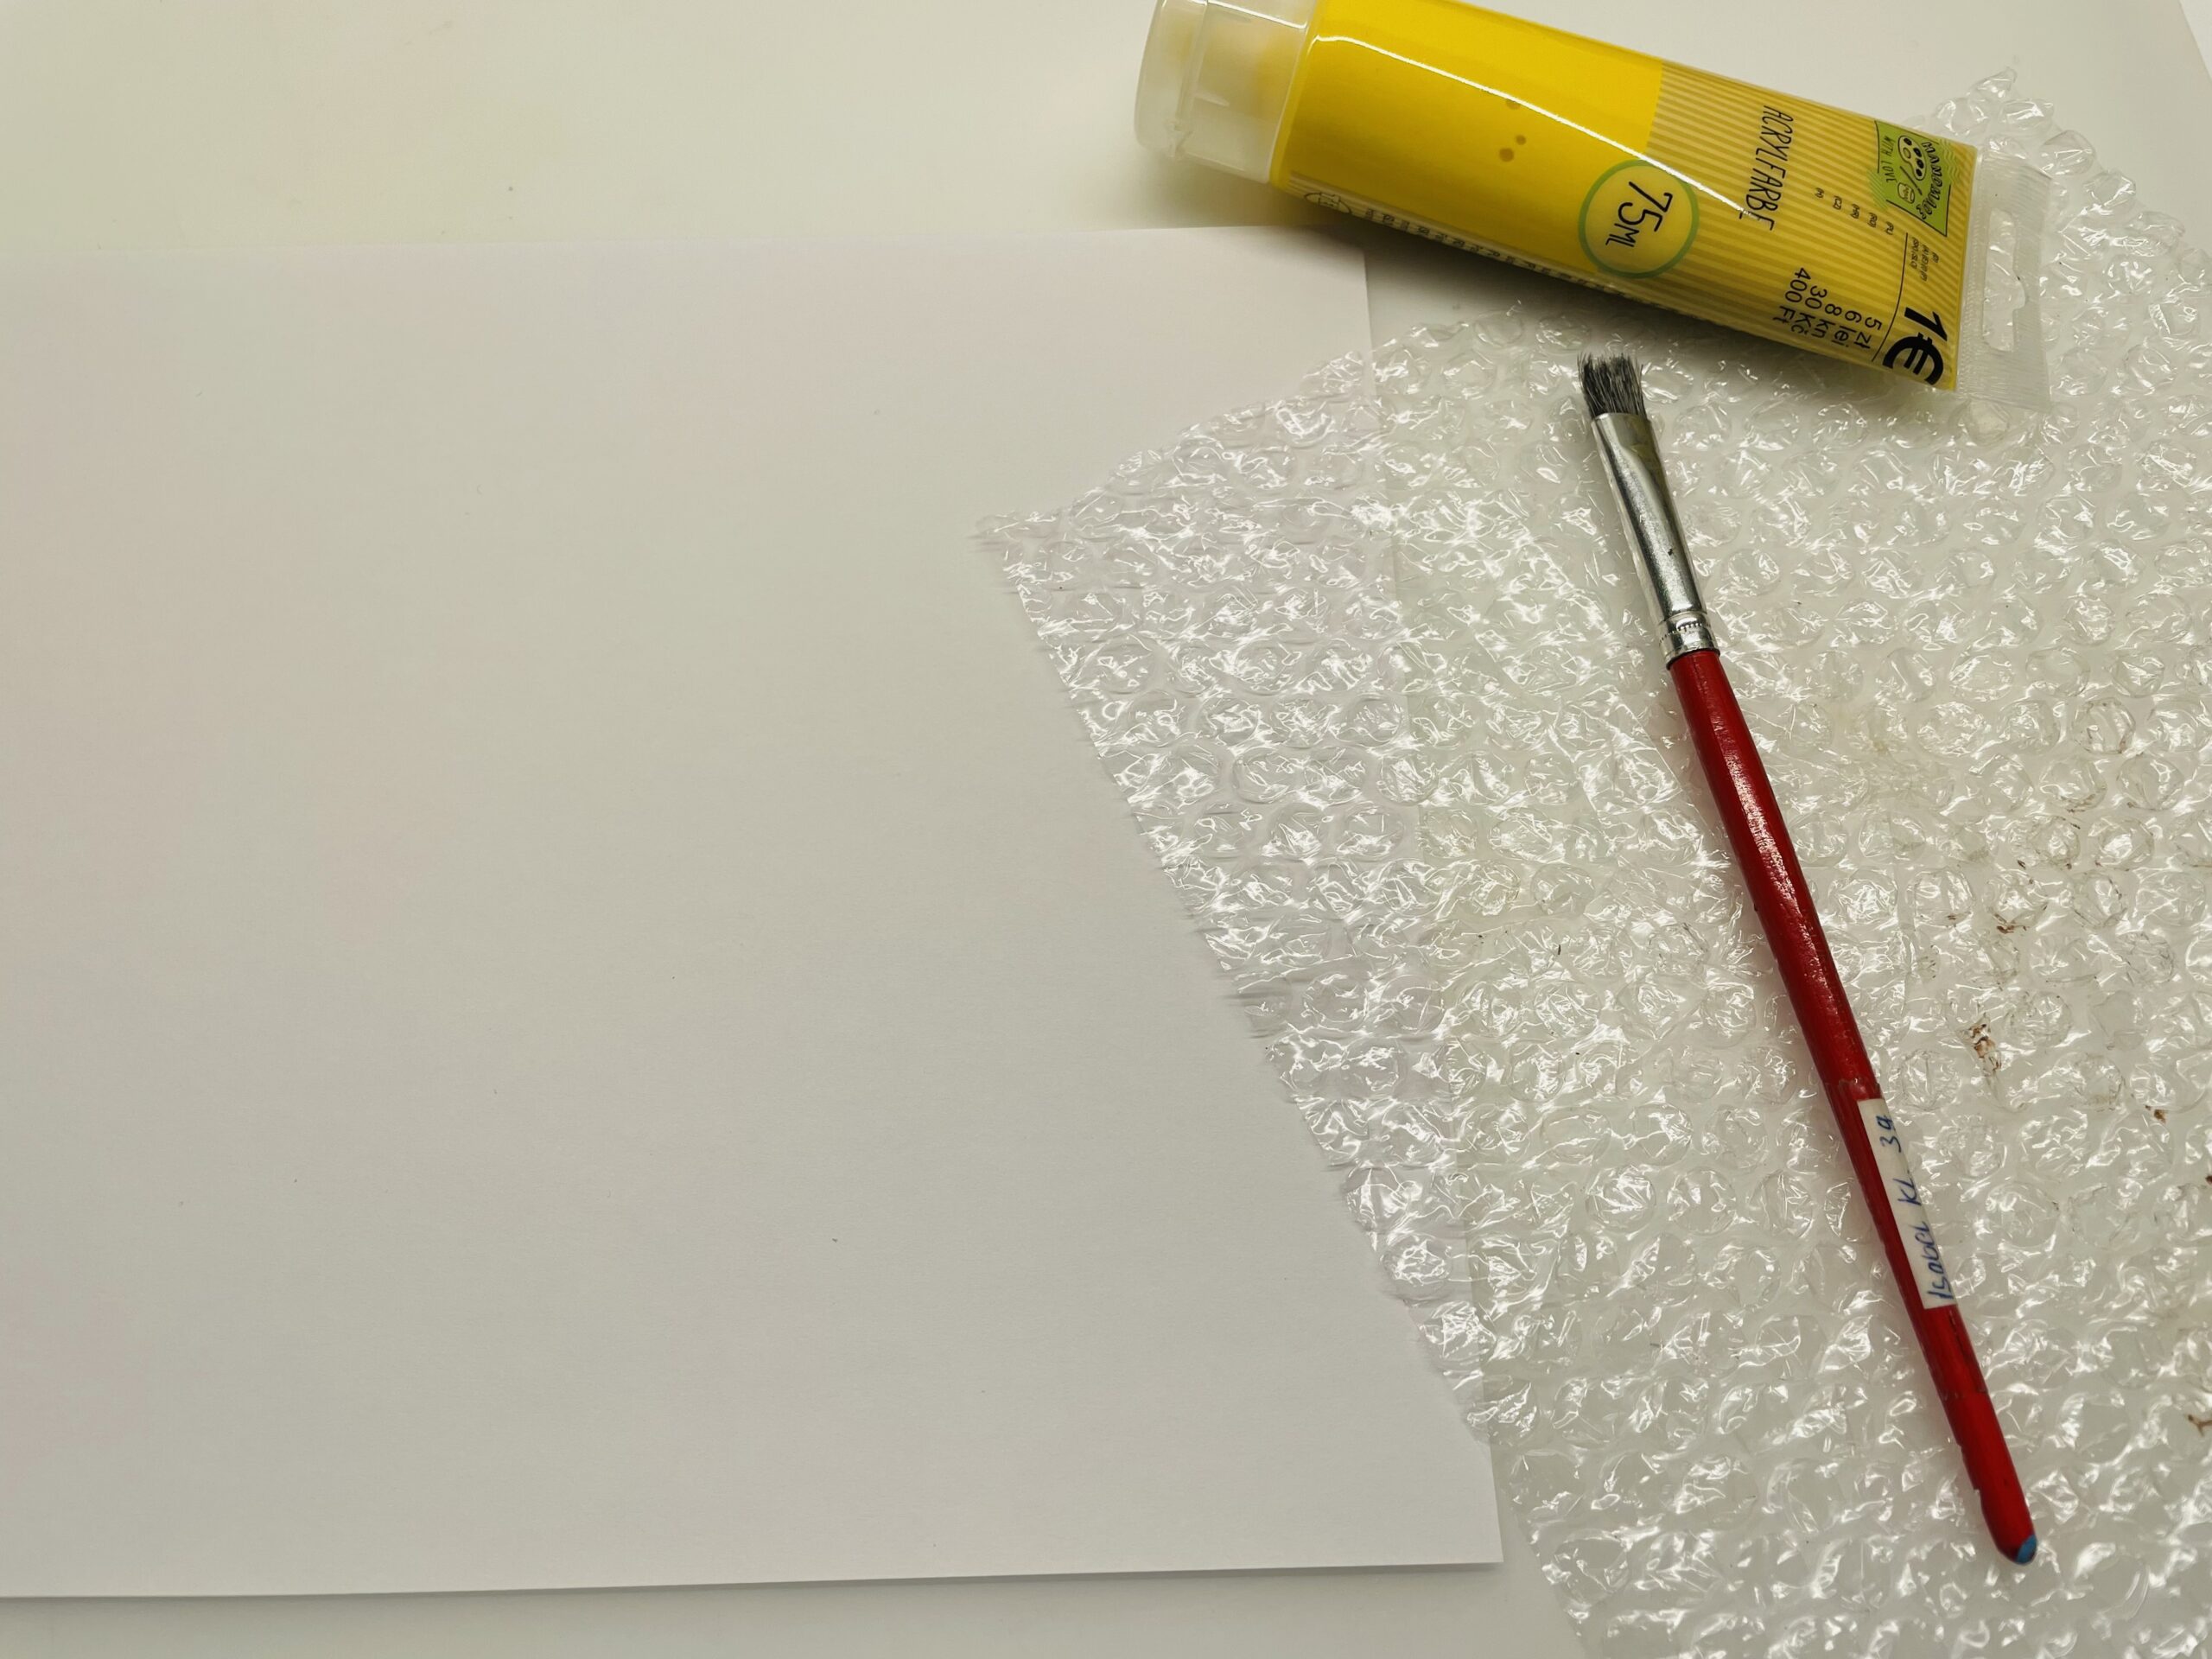
Bild zum Schritt 1 für das Bastel- und DIY-Abenteuer für Kinder: 'Zuerst legt ihr euch die Bastelunterlage aus und Papier, Folie,...'

2

Then paint a piece of foil with the yellow paint. Make sure that the paint does not dry!

Bild zum Schritt 2 für das Bastel- und DIY-Abenteuer für Kinder: 'Dann malt ihr ein Stück Folie mit der gelben Farbe...'

3

Now you immediately press the foil with the still moist paint on the paper.

Bild zum Schritt 3 für das Bastel- und DIY-Abenteuer für Kinder: 'Jetzt drückt ihr sofort die Folie mit der noch feuchten...'

4

Press the foil slightly on the paper with the flat hand.
Attention: does not rub, otherwise the color blurs and the pattern of a honeycomb does not emerge.

Bild zum Schritt 4 für das Bastel- und DIY-Abenteuer für Kinder: 'Drückt die Folie mit der flachen Hand leicht auf das...'

5

Then gently pull off the foil again. With the paint, it sticks a bit to the paper, but also dissolves well.

Bild zum Schritt 5 für das Bastel- und DIY-Abenteuer für Kinder: 'Anschließend zieht ihr die Folie wieder vorsichtig ab. Sie klebt...'

6

Tip: Don't wait too long to pull it off!

Bild zum Schritt 6 für das Bastel- und DIY-Abenteuer für Kinder: 'Tipp: Wartet nicht zu lange mit dem Abziehen!'

7

Repeat the printing process until you have enough patterns on the paper. Don't print over the same spot several times, otherwise you won't recognize the pattern of the honeycombs.
Then place the paper to dry.

Bild zum Schritt 7 für das Bastel- und DIY-Abenteuer für Kinder: 'Wiederholt den Druckvorgang so lange bis ihr genügend Muster auf...'

8

Now remove the insert sheet or disk from your picture frame. Then try out in the empty frame which section of your picture you like best.

Bild zum Schritt 8 für das Bastel- und DIY-Abenteuer für Kinder: 'Jetzt entfernt ihr das Einlegeblatt oder die Scheibe aus eurem...'

9

Transfers the frame size to the printed image and cuts the paper.

Bild zum Schritt 9 für das Bastel- und DIY-Abenteuer für Kinder: 'Übertragt die Rahmengröße auf das gedruckte Bild und schneidet das...'

10

Then put the picture in the frame.

Bild zum Schritt 10 für das Bastel- und DIY-Abenteuer für Kinder: 'Dann legt ihr das Bild in den Rahmen.'

11

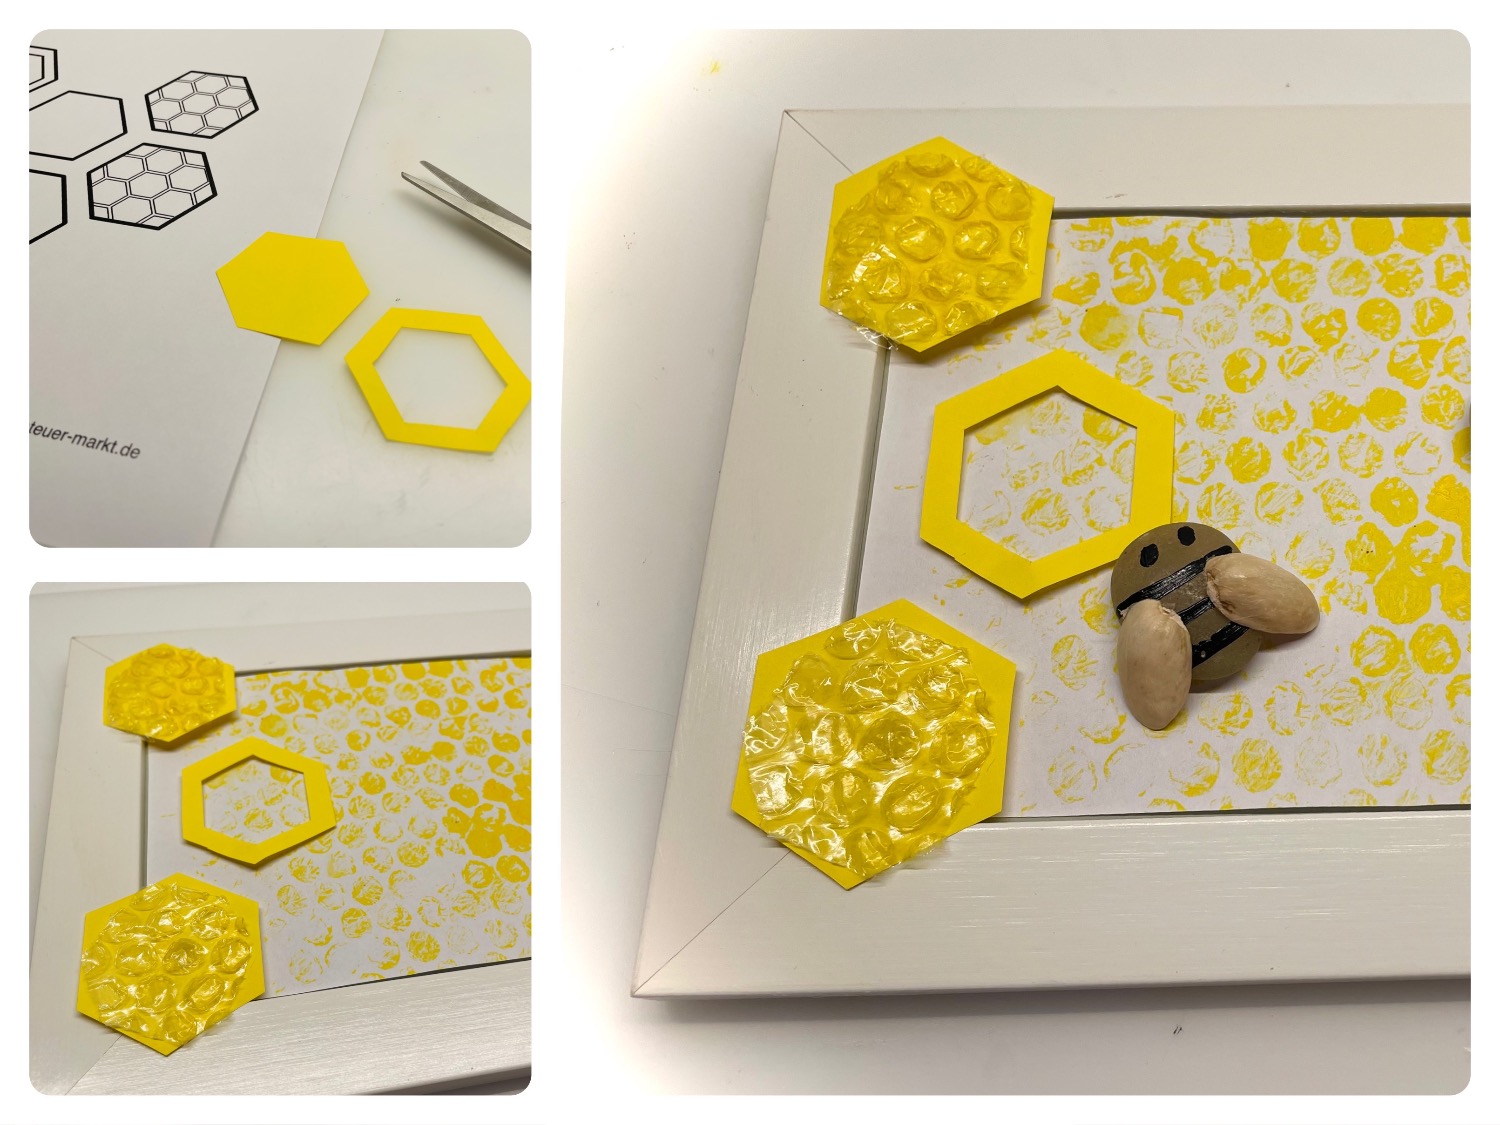
Now you print out the template for the honeycombs.
You can print the template on white paper or on yellow copy paper.

Bild zum Schritt 11 für das Bastel- und DIY-Abenteuer für Kinder: 'Jetzt druckt ihr euch die Vorlage für die Waben aus....'

12

Print it on white paper, then use the template as a copy and paste it on yellow copy paper.

Bild zum Schritt 12 für das Bastel- und DIY-Abenteuer für Kinder: 'Druck ihr auf weißem Papier, dann verwendet die Vorlage als...'

13

For that you paint the translucent combs with a pencil.

Bild zum Schritt 13 für das Bastel- und DIY-Abenteuer für Kinder: 'Dafür malt ihr die durchscheinenden Waben mit einem Bleistift nach.'

14

Then cut out the honeycombs with the scissors.

Bild zum Schritt 14 für das Bastel- und DIY-Abenteuer für Kinder: 'Schneidet die Waben anschließend mit der Schere aus.'

15

Decide how many honeycombs you make. Tip: use different motifs.

Bild zum Schritt 15 für das Bastel- und DIY-Abenteuer für Kinder: 'Entscheidet selbst wie viele Waben ihr bastelt. Tipp: verwendet unterschiedliche...'

16

Now you stick on individual honeycombs remains of the bubble wrap. That's how the honeycombs look plastic.

Bild zum Schritt 16 für das Bastel- und DIY-Abenteuer für Kinder: 'Jetzt klebt ihr auf einzelne Waben Reste der Luftpolsterfolie. ...'

17

There are no limits to your imagination.

Bild zum Schritt 17 für das Bastel- und DIY-Abenteuer für Kinder: 'Hier sind eurer Fantasie keine Grenzen gesetzt.'

18

Arrange the honeycombs on the picture frame as desired.

Bild zum Schritt 18 für das Bastel- und DIY-Abenteuer für Kinder: 'Ordnet jetzt die Waben auf dem Bilderrahmen beliebig an.'

19

Maybe you want to put the honeycombs beyond the edge?

Bild zum Schritt 19 für das Bastel- und DIY-Abenteuer für Kinder: 'Vielleicht wollt ihr die Waben auch über dem Rand hinaus...'

20

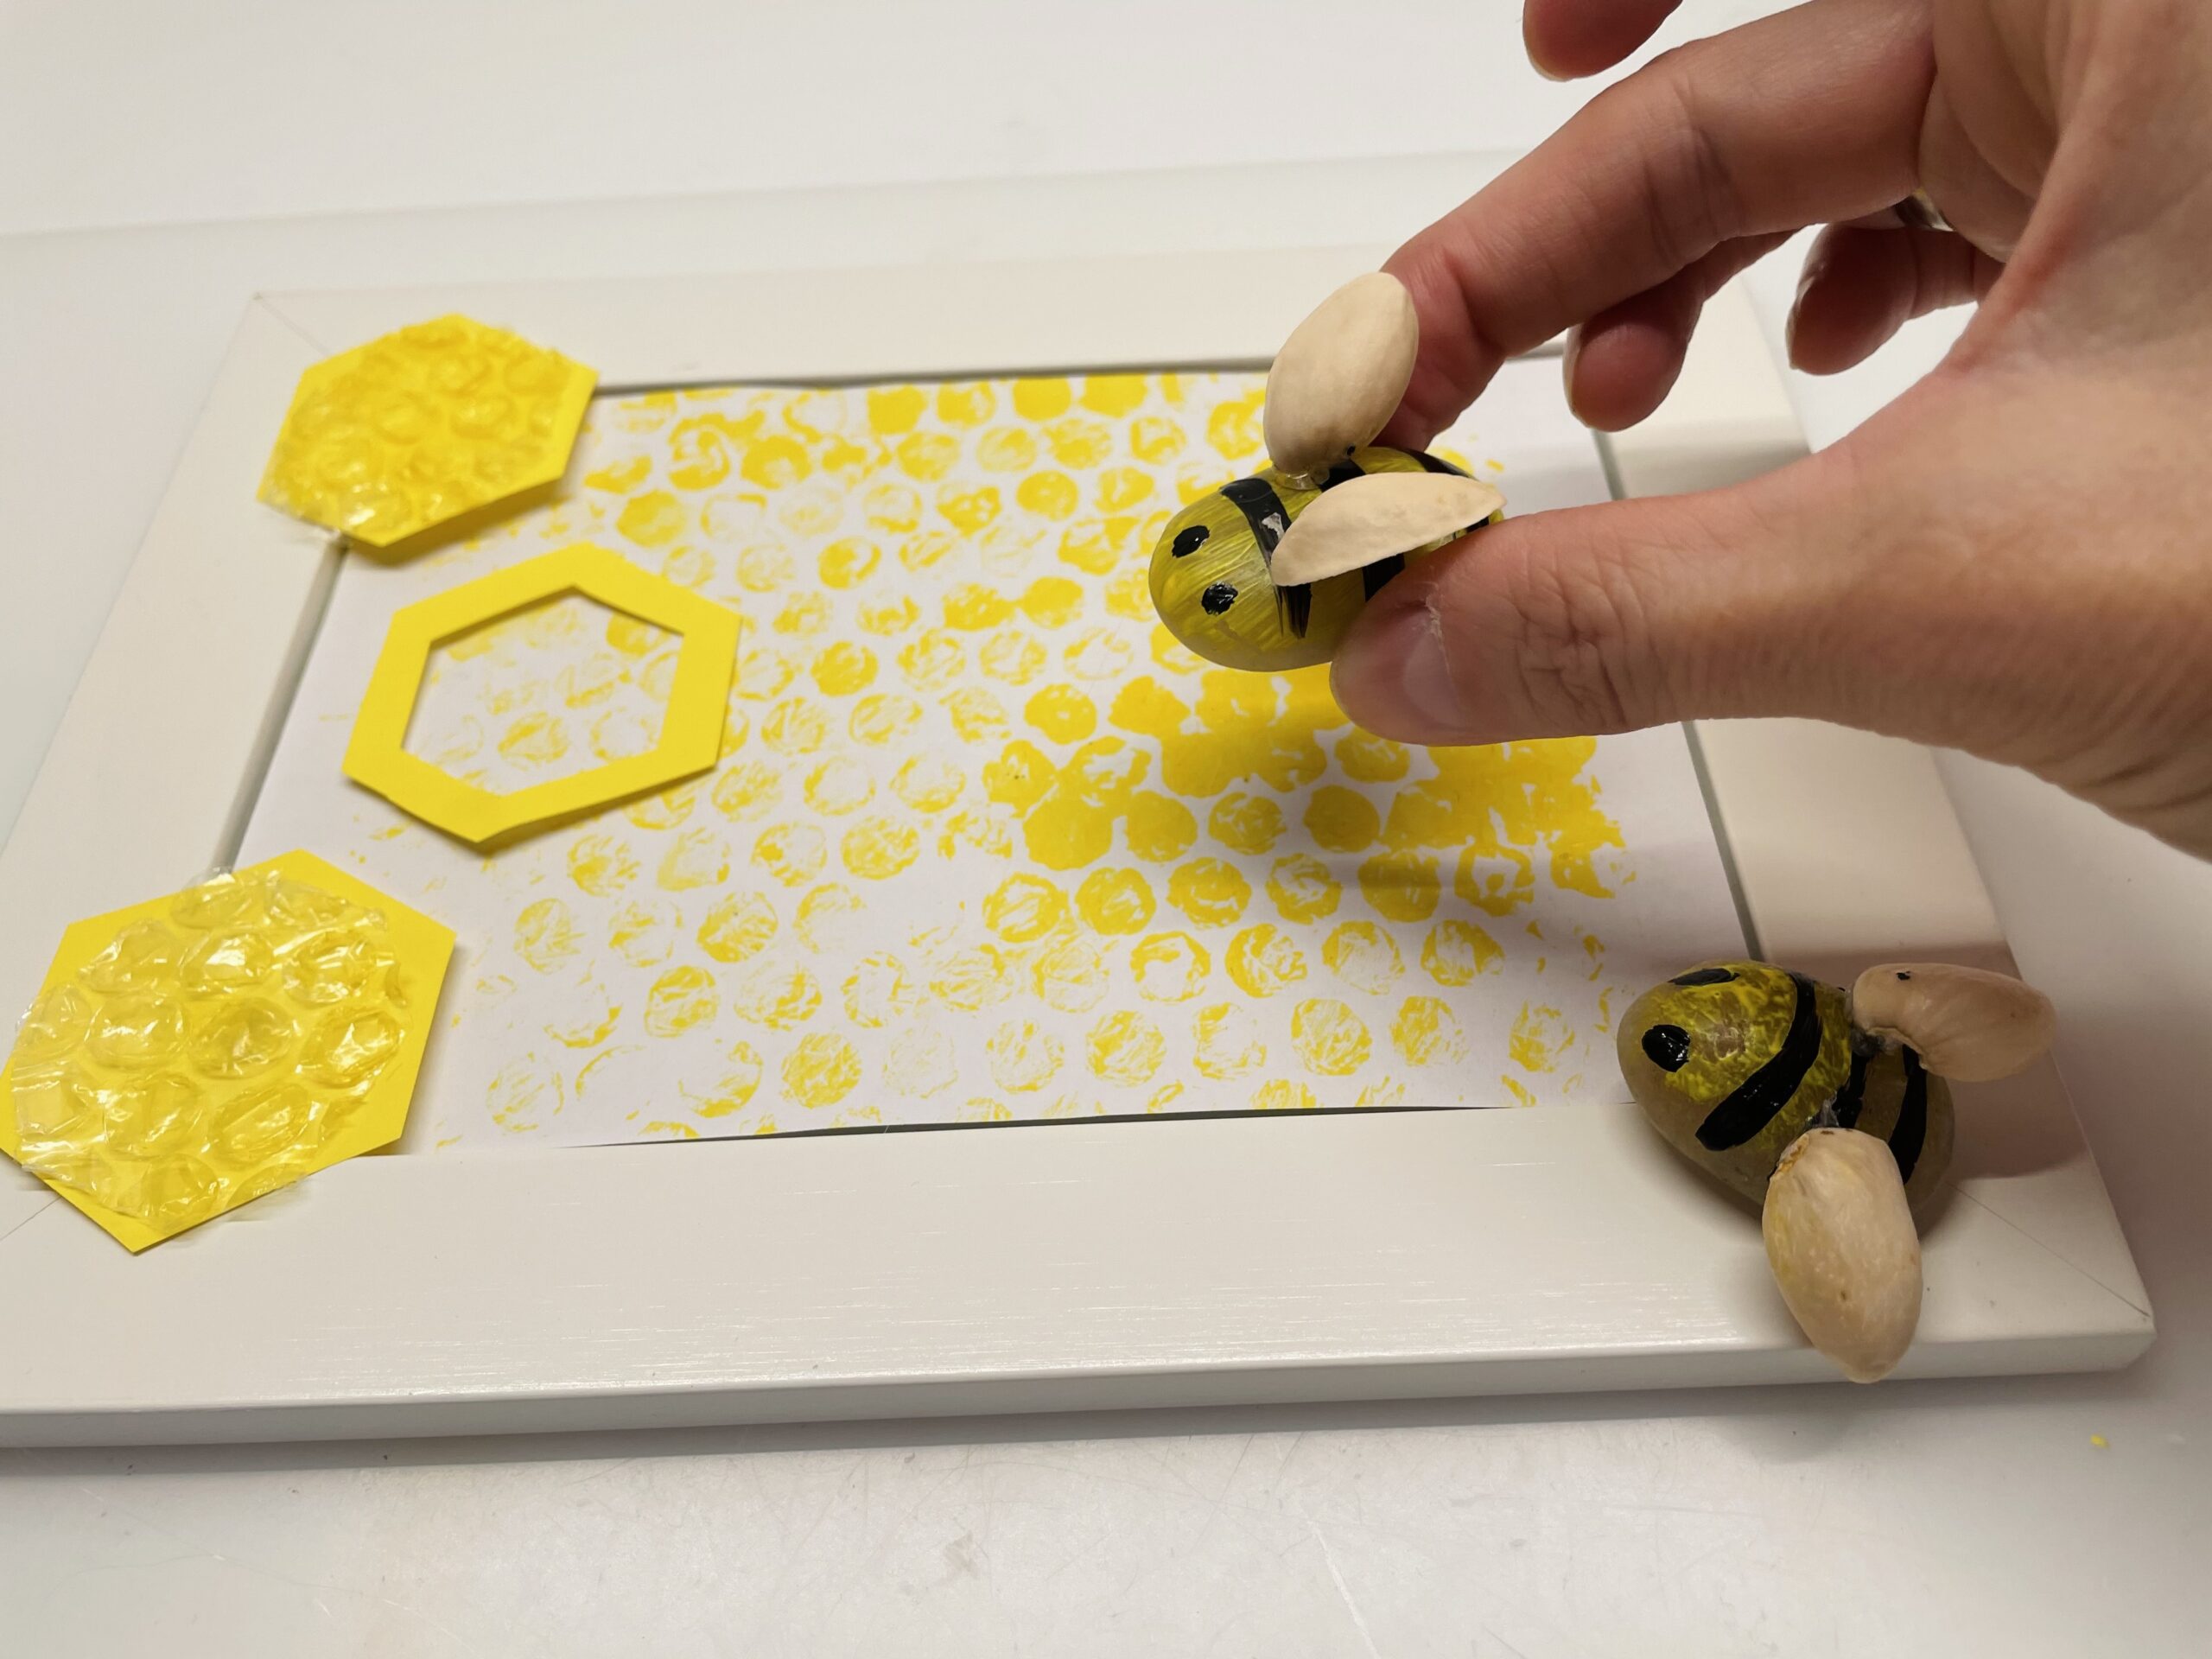
After that you bring still small bees e.g. made from nutshells or made from Stones and glues it to the honeycomb image.

Bild zum Schritt 20 für das Bastel- und DIY-Abenteuer für Kinder: 'Danach bringt ihr noch kleine Bienen z.B. aus Nussschalen gebastelt...'

21

2. Bild zum Schritt 20 für das Bastel- und DIY-Abenteuer für Kinder: 'Danach bringt ihr noch kleine Bienen z.B. aus Nussschalen gebastelt...'

22

3. Bild zum Schritt 21 für das Bastel- und DIY-Abenteuer für Kinder: 'Danach bringt ihr noch kleine Bienen z.B. aus Nussschalen gebastelt...'

23

The picture frame on the topic bees is finished.

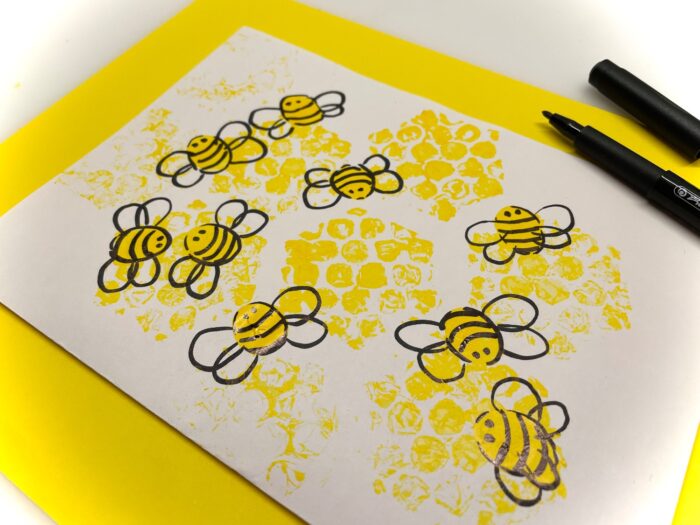
Tip: This technique is also suitable as a card, e.g. as a gift for a honey lover.

Bild zum Schritt 23 für das Bastel- und DIY-Abenteuer für Kinder: 'Fertig ist der Bilderrahmen zum Thema Bienen.   ...'

24

Enjoy crafting and stay creative!

Materials

 1 Air-cushion film
 1 Sheet of paper white
 Color yellow
 1 Brushes
 Yellow clay paper
 1 Template for the honeycombs
 1 Picture frame small
 Builder's pad
All links marked with a shopping cart lead to Amazon - here we have selected products that we would order ourselves and in part also ordered. In a qualified purchase via the advertising link, we as Amazon partner receive a commission, for you there are no costs. You thus support our cost- and advertising banner-free, educational offer.

Directions

1

First you put out the craft pad and prepare paper, foil, brush and paint.

Bild zum Schritt 1 für das Bastel- und DIY-Abenteuer für Kinder: 'Zuerst legt ihr euch die Bastelunterlage aus und Papier, Folie,...'

2

Then paint a piece of foil with the yellow paint. Make sure that the paint does not dry!

Bild zum Schritt 2 für das Bastel- und DIY-Abenteuer für Kinder: 'Dann malt ihr ein Stück Folie mit der gelben Farbe...'

3

Now you immediately press the foil with the still moist paint on the paper.
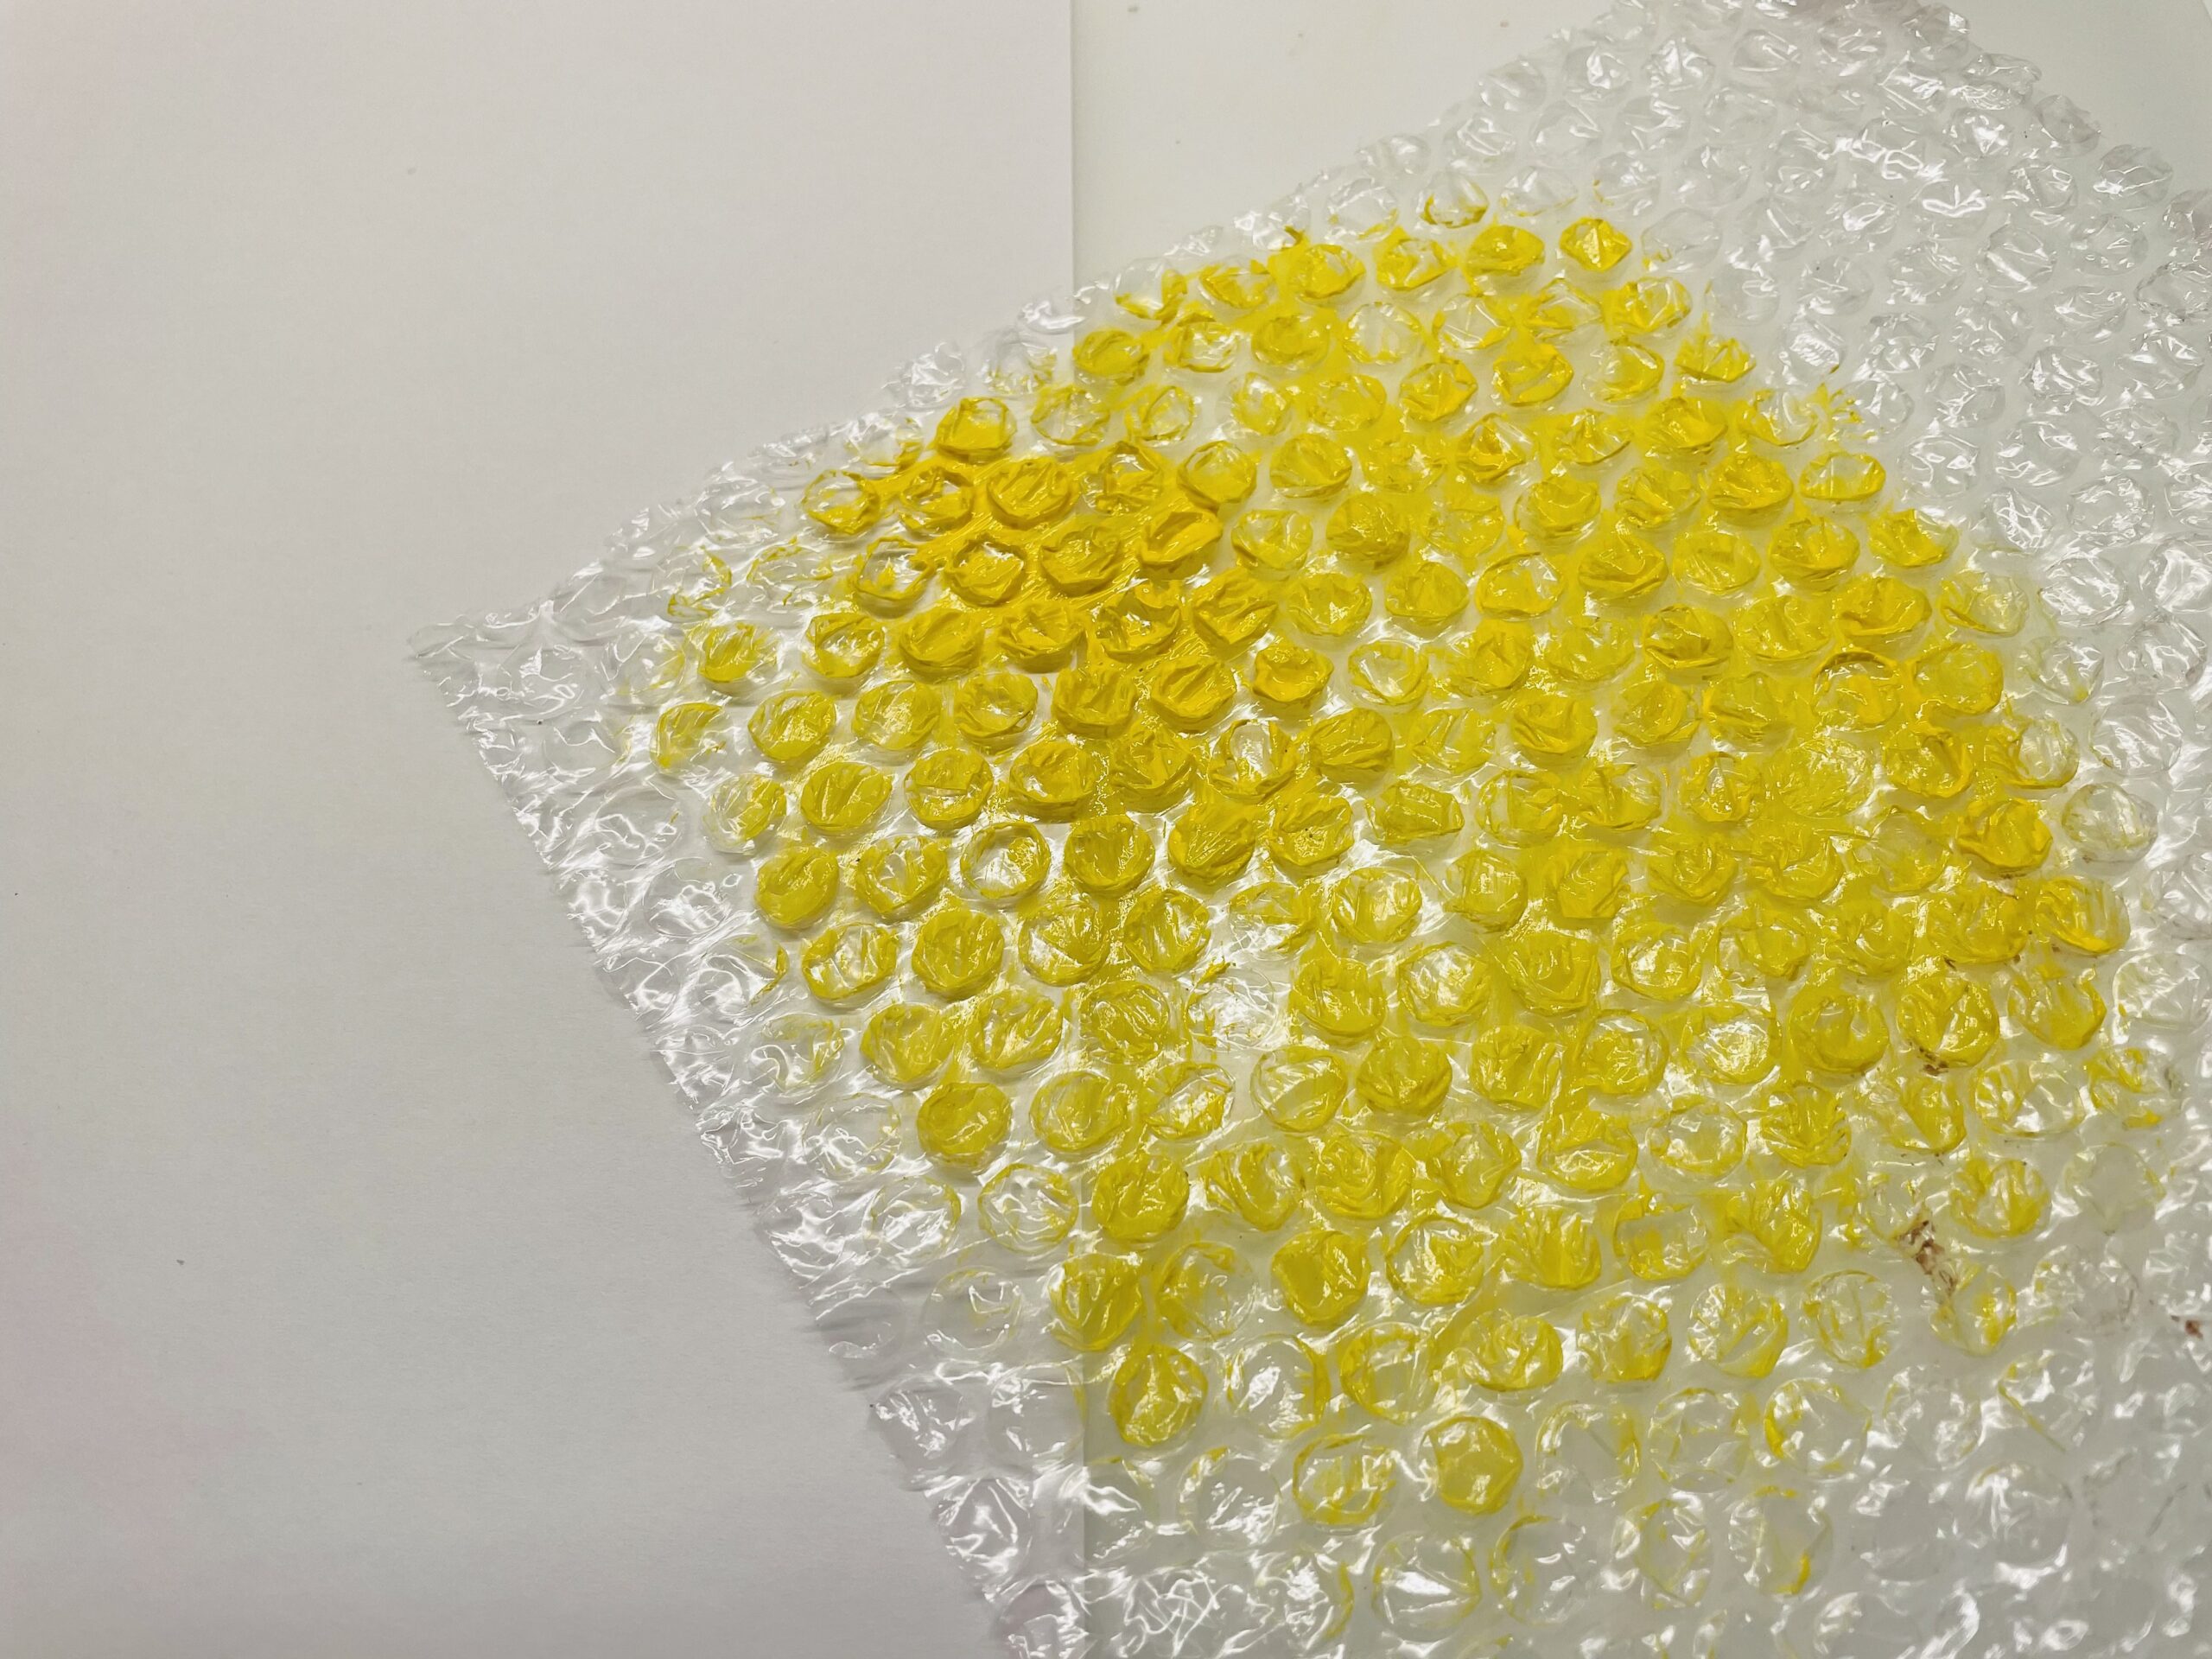
Bild zum Schritt 3 für das Bastel- und DIY-Abenteuer für Kinder: 'Jetzt drückt ihr sofort die Folie mit der noch feuchten...'

4

Press the foil slightly on the paper with the flat hand.
Attention: does not rub, otherwise the color blurs and the pattern of a honeycomb does not emerge.
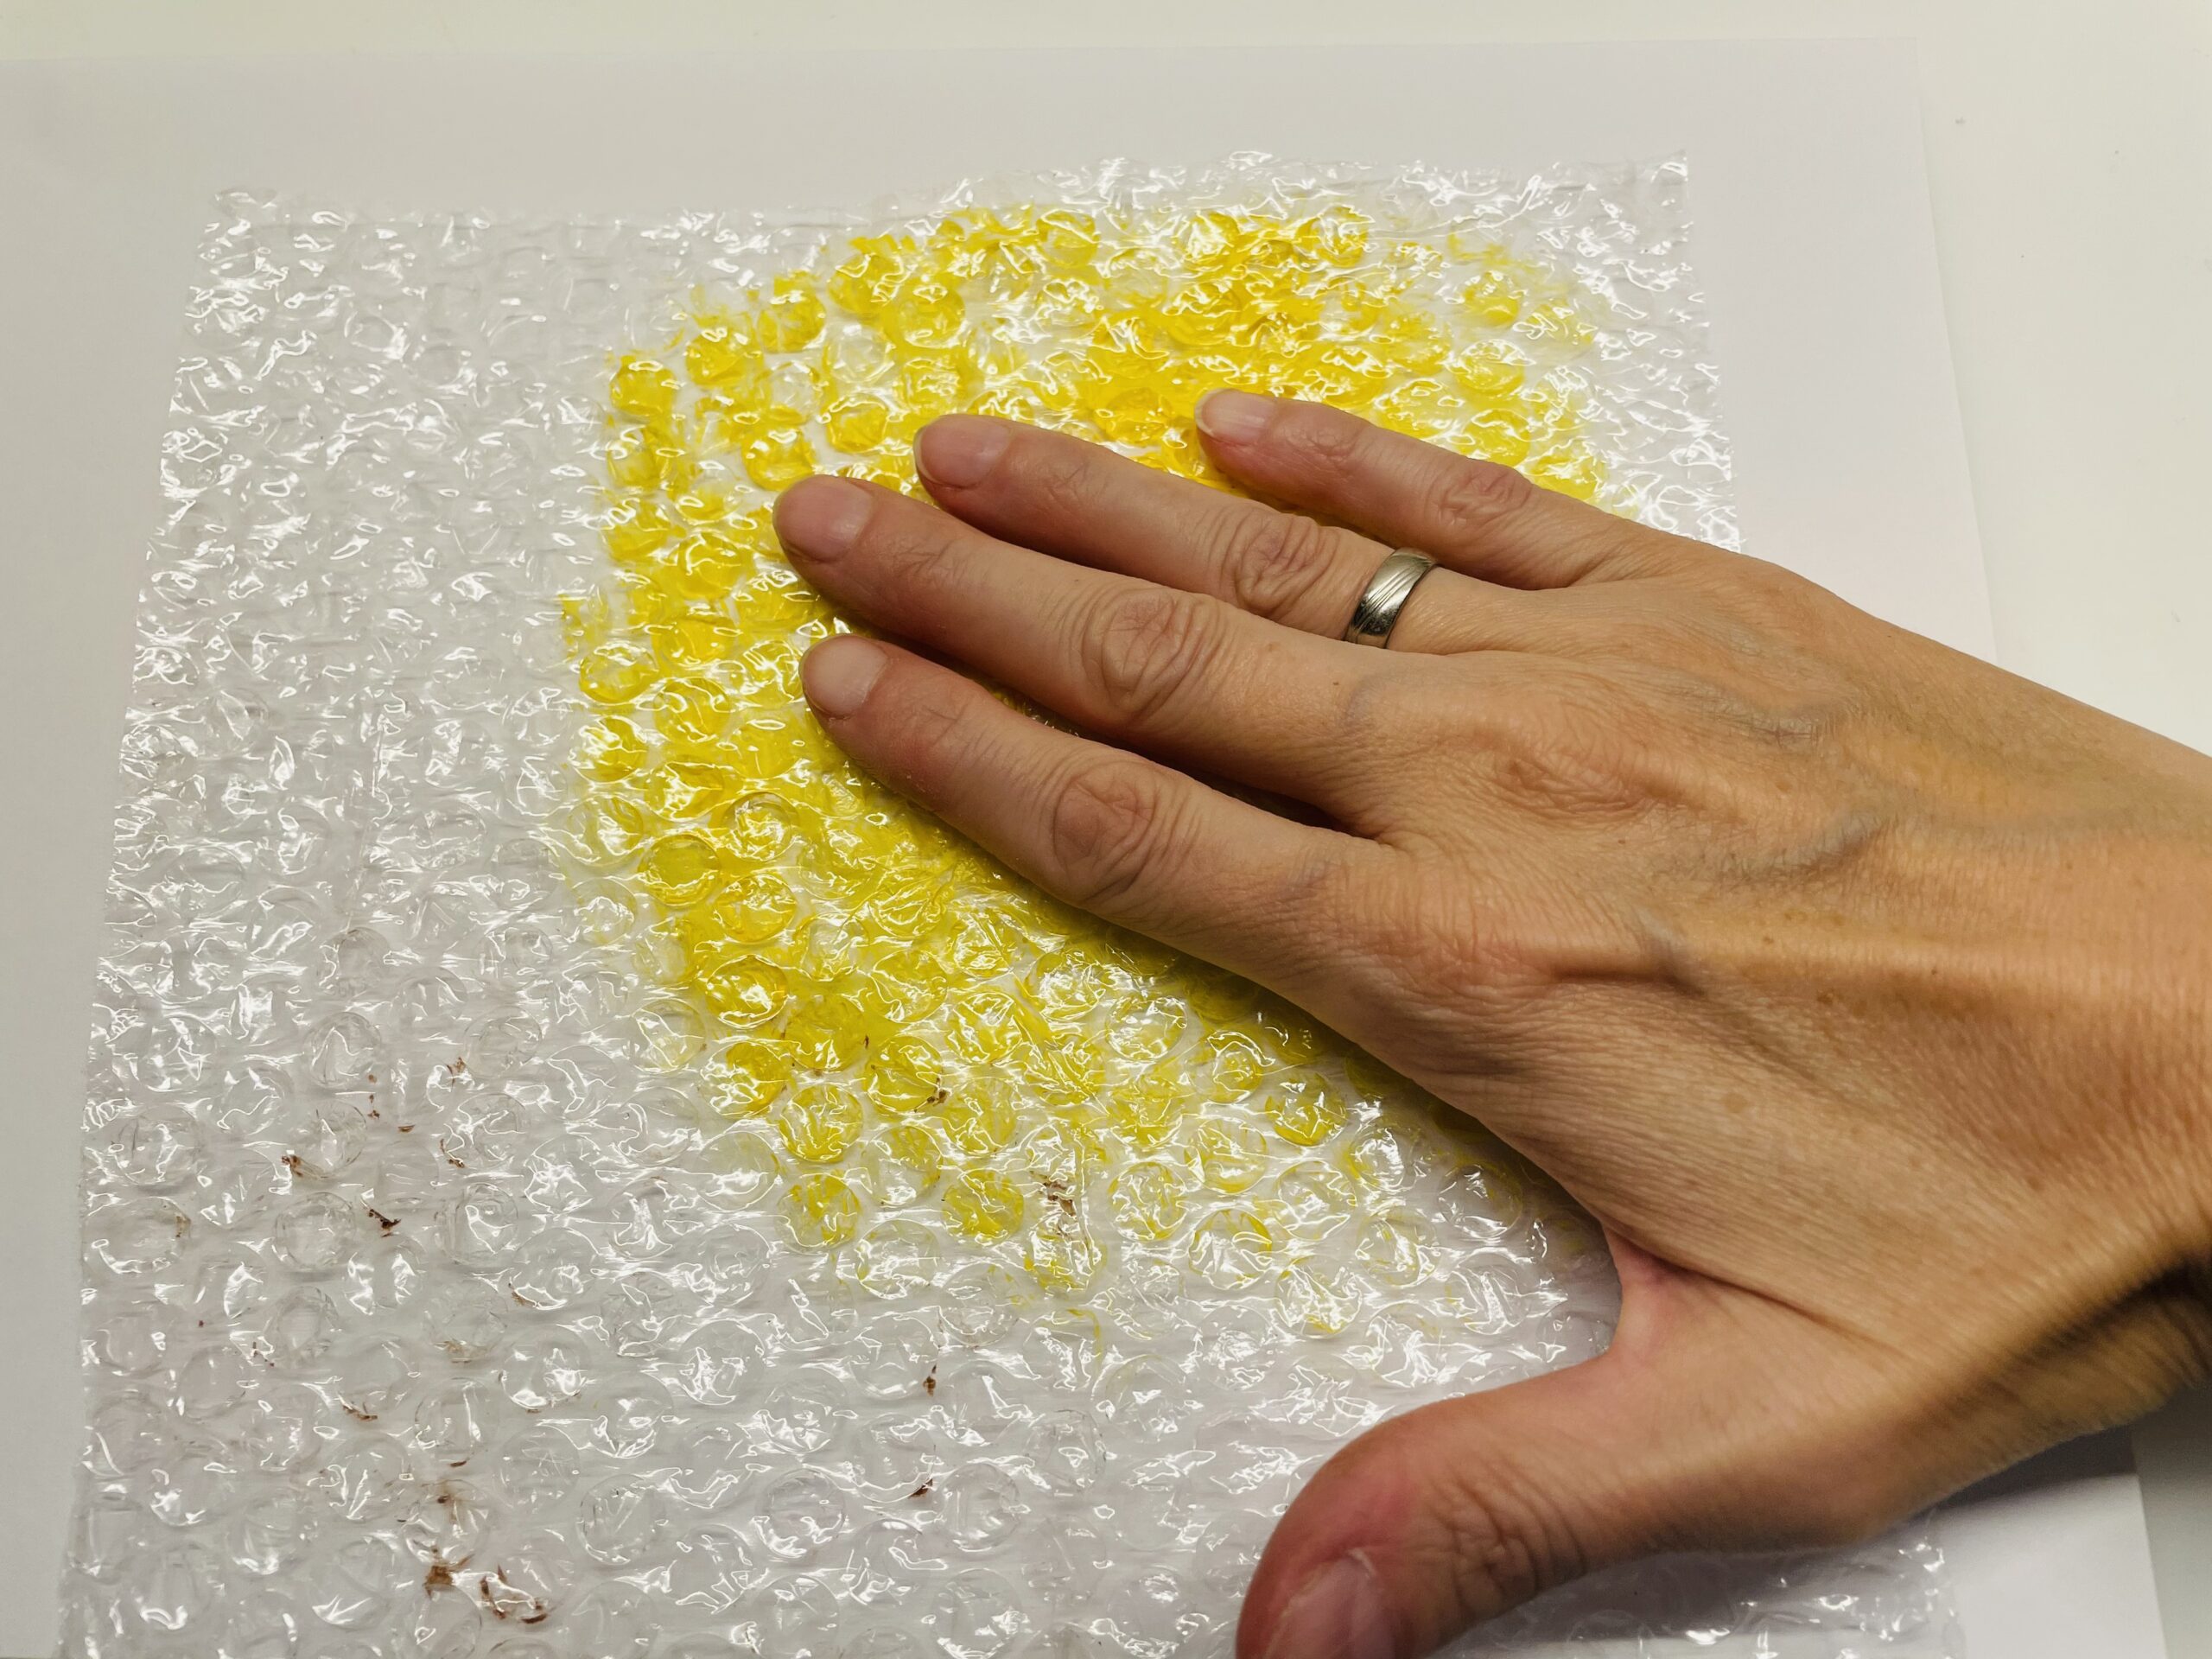
Bild zum Schritt 4 für das Bastel- und DIY-Abenteuer für Kinder: 'Drückt die Folie mit der flachen Hand leicht auf das...'

5

Then gently pull off the foil again. With the paint, it sticks a bit to the paper, but also dissolves well.
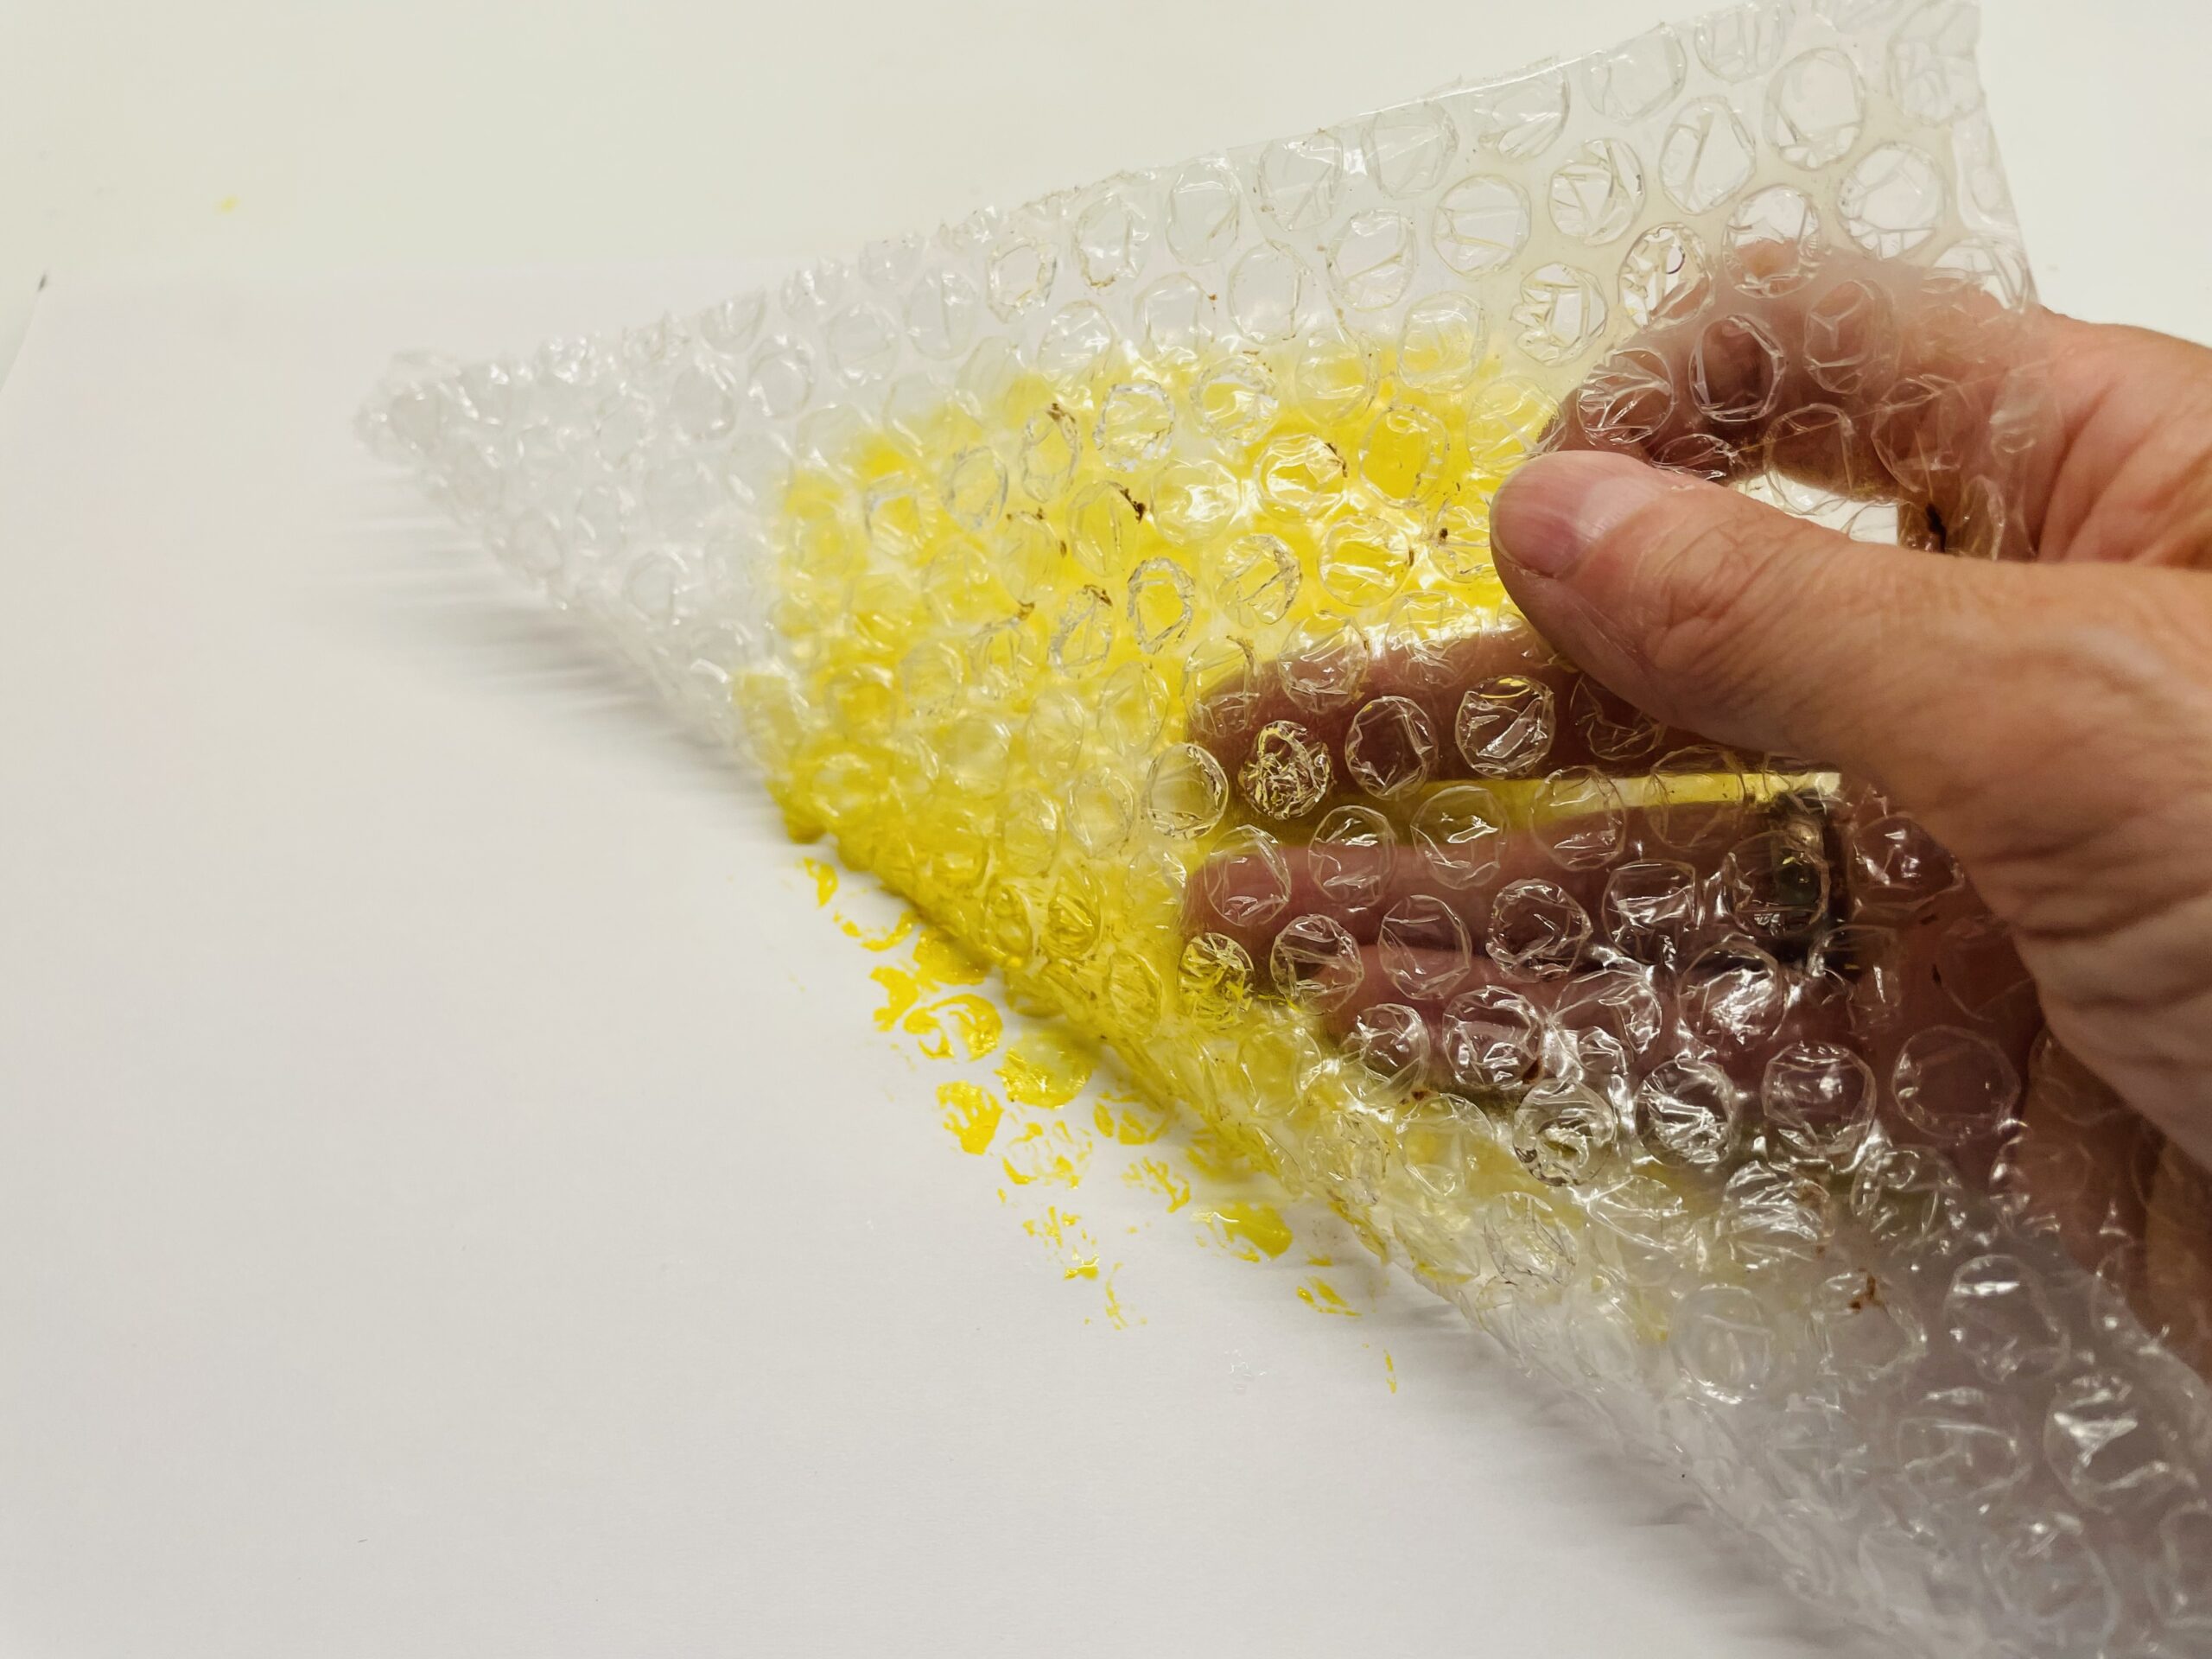
Bild zum Schritt 5 für das Bastel- und DIY-Abenteuer für Kinder: 'Anschließend zieht ihr die Folie wieder vorsichtig ab. Sie klebt...'

6

Tip: Don't wait too long to pull it off!
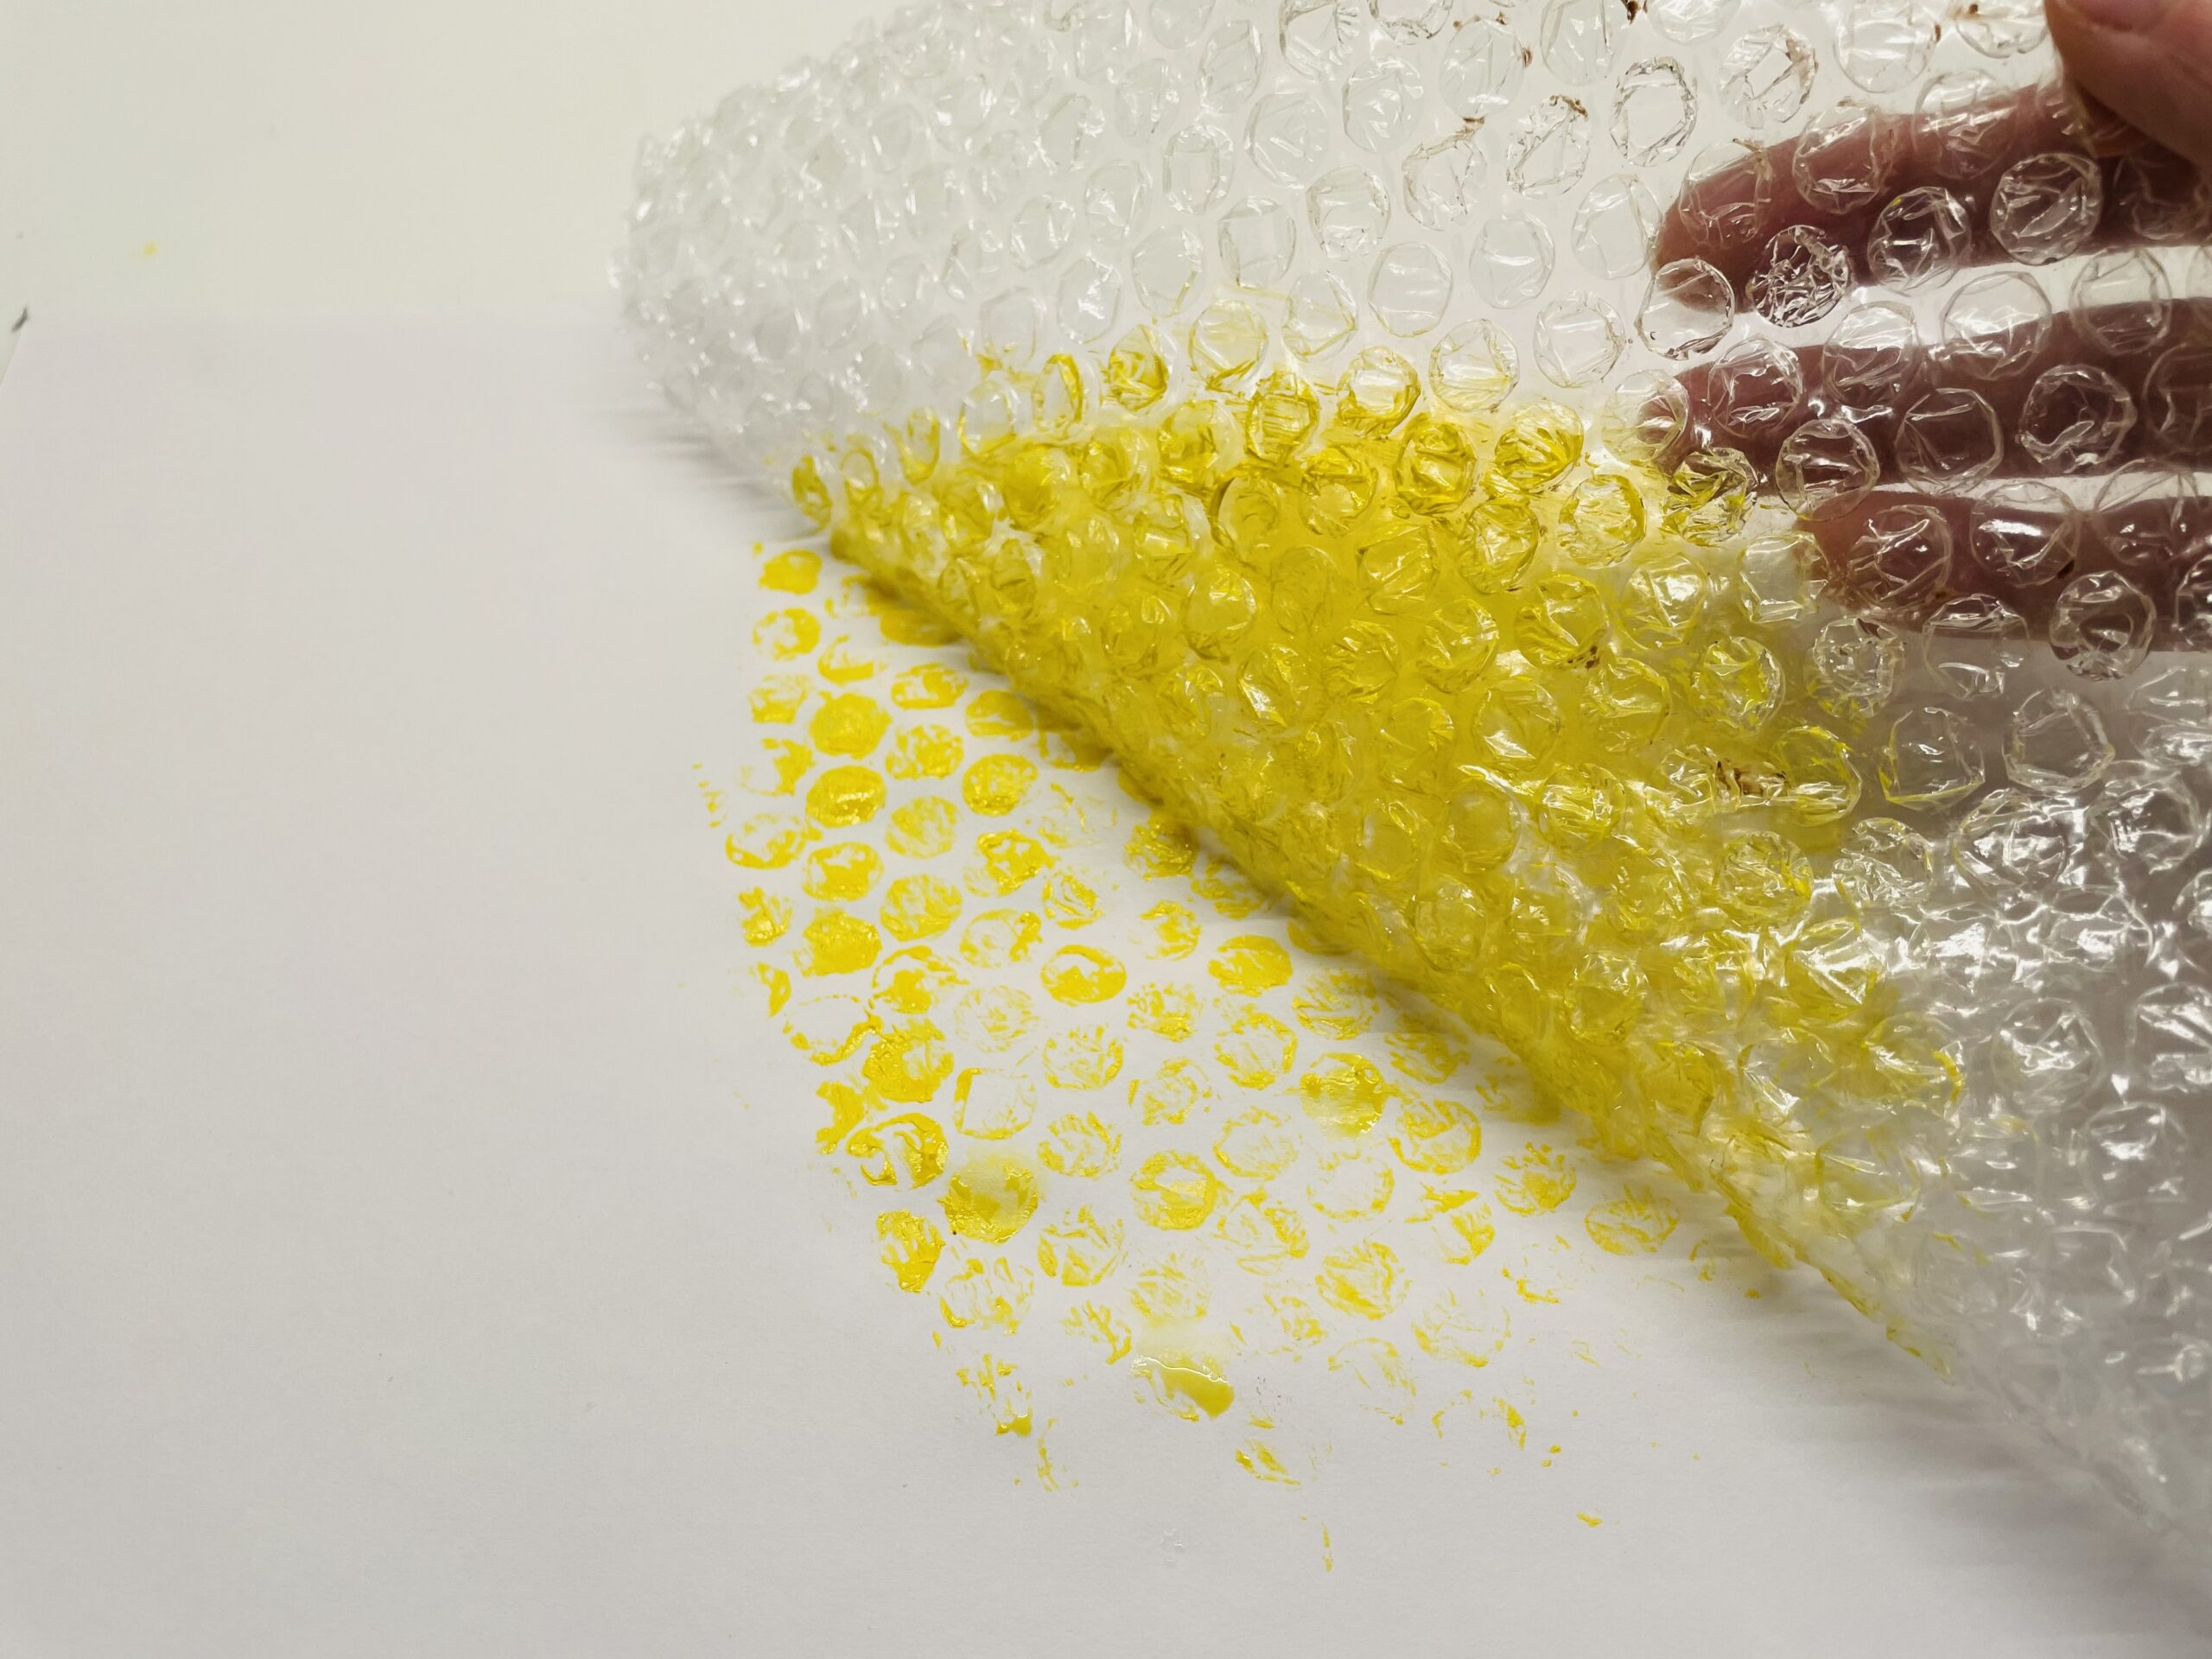
Bild zum Schritt 6 für das Bastel- und DIY-Abenteuer für Kinder: 'Tipp: Wartet nicht zu lange mit dem Abziehen!'

7

Repeat the printing process until you have enough patterns on the paper. Don't print over the same spot several times, otherwise you won't recognize the pattern of the honeycombs.
Then place the paper to dry.
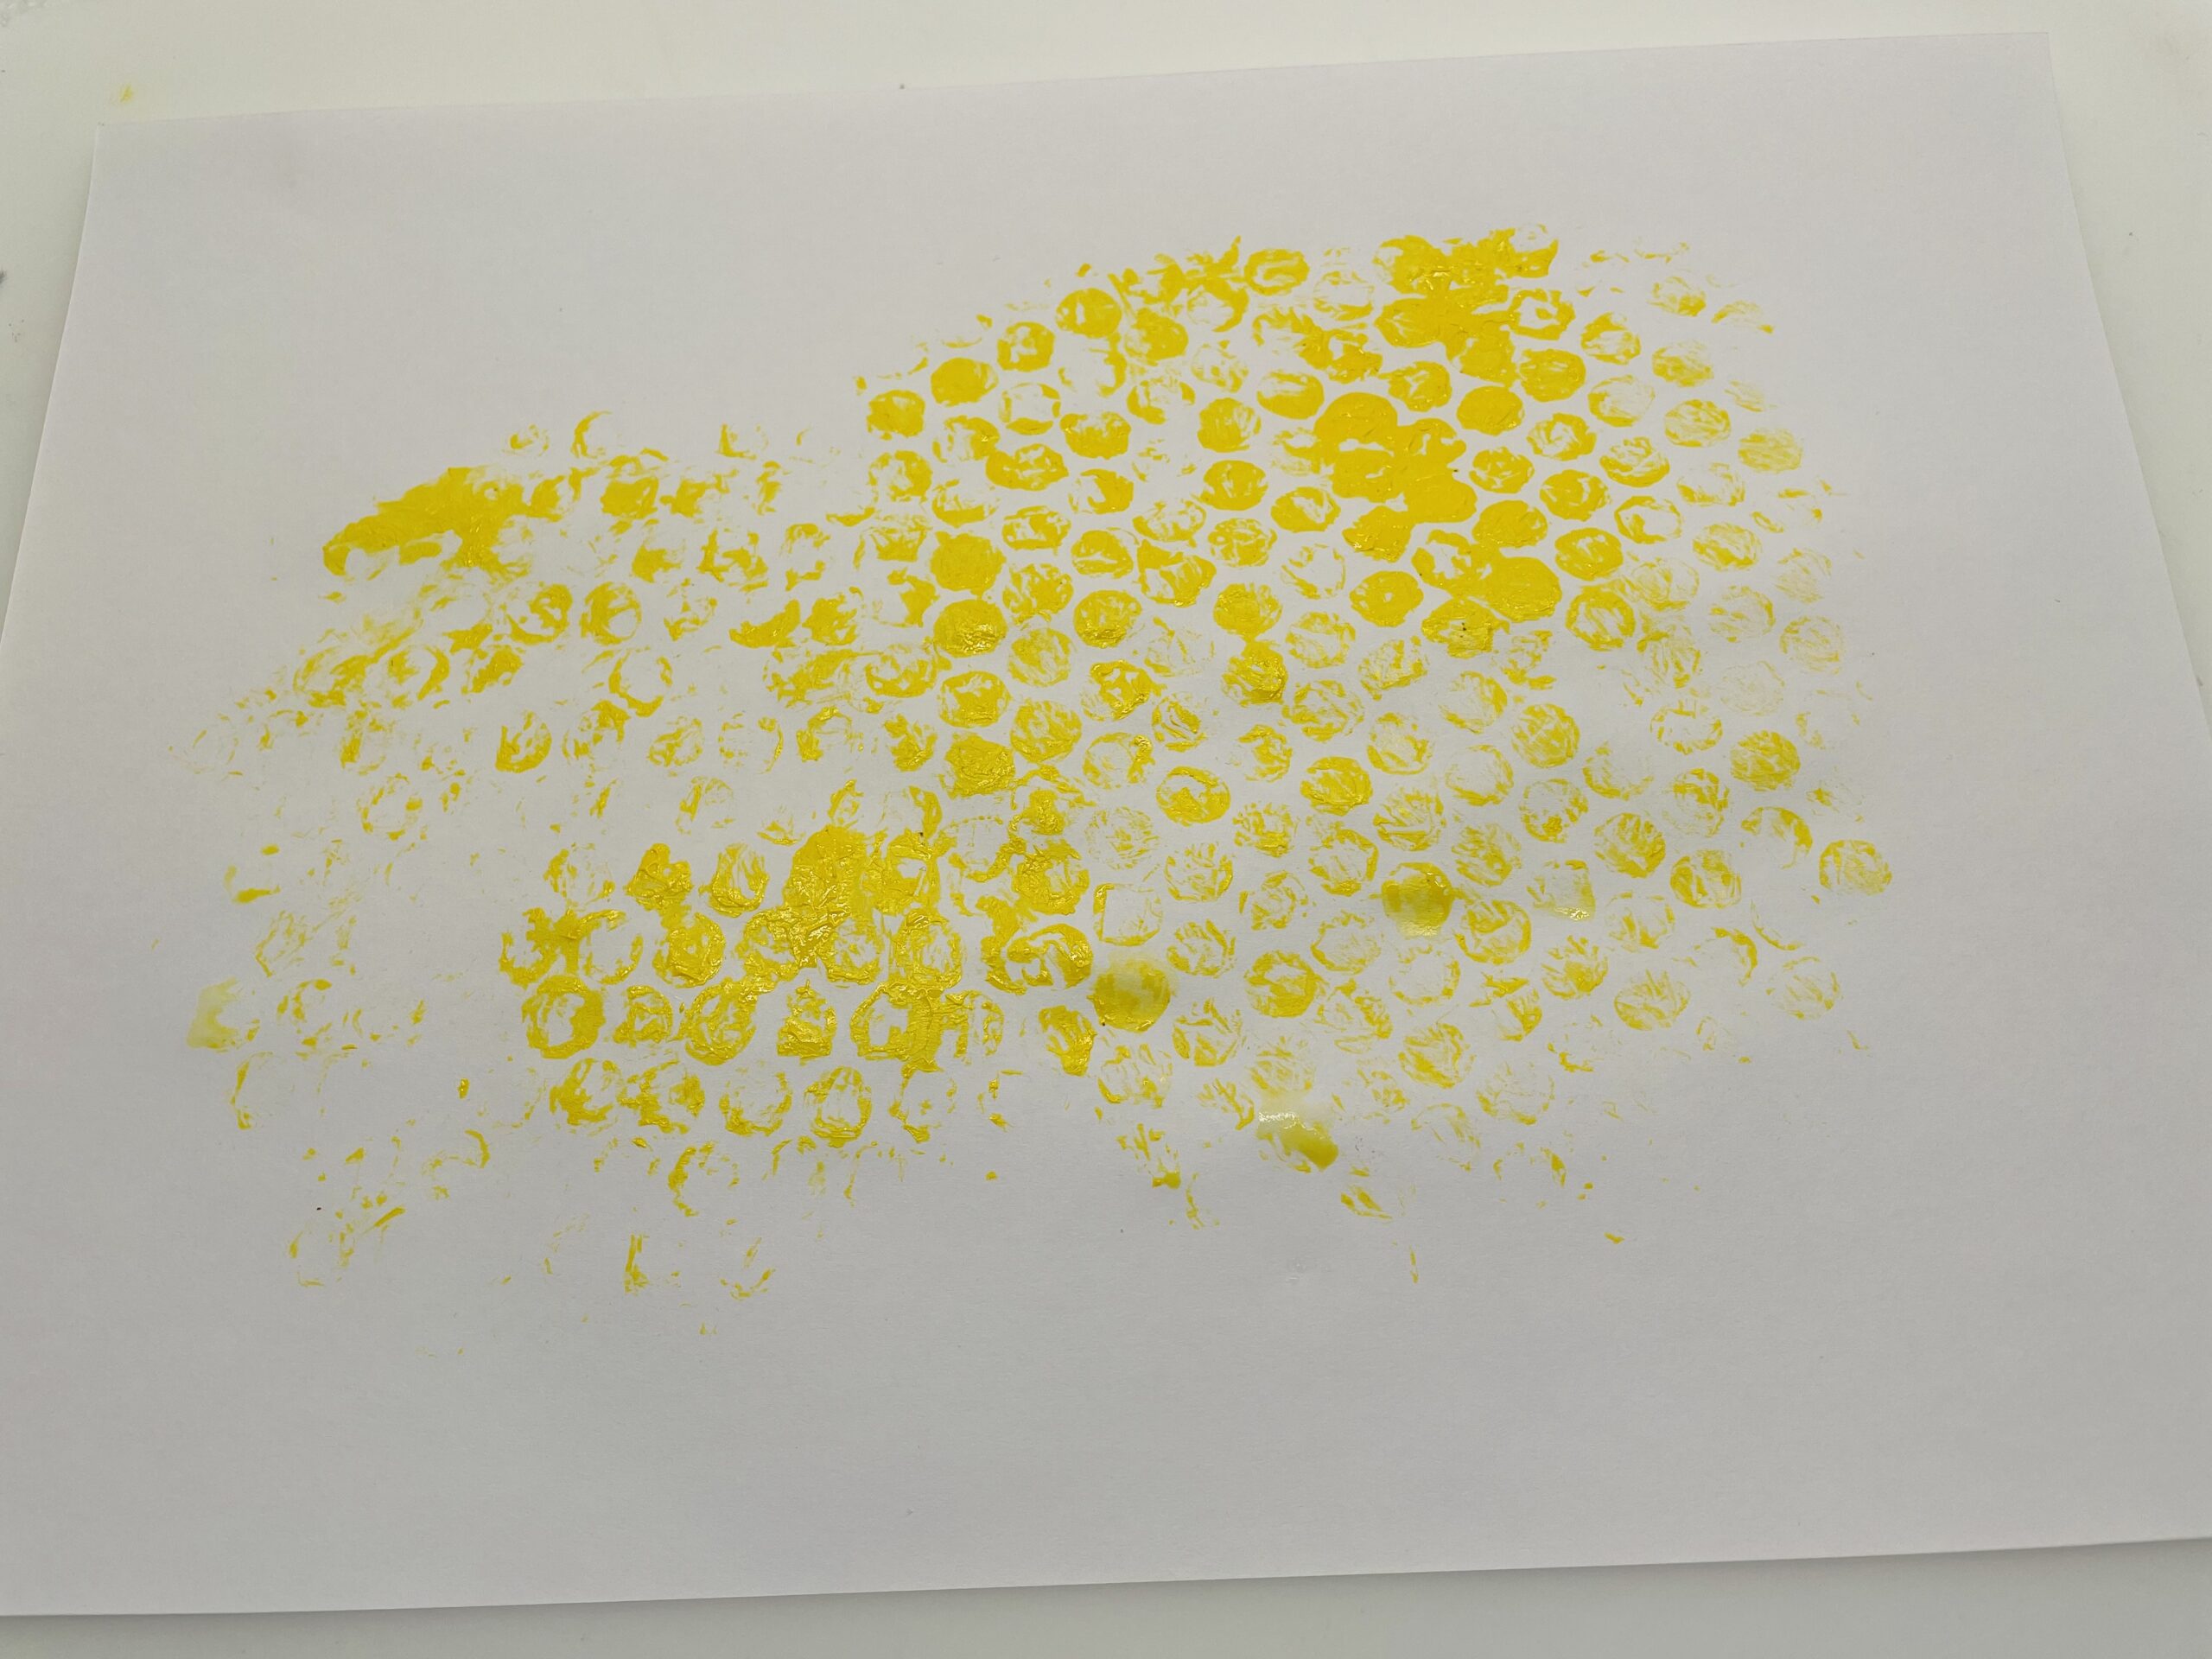
Bild zum Schritt 7 für das Bastel- und DIY-Abenteuer für Kinder: 'Wiederholt den Druckvorgang so lange bis ihr genügend Muster auf...'

8

Now remove the insert sheet or disk from your picture frame. Then try out in the empty frame which section of your picture you like best.
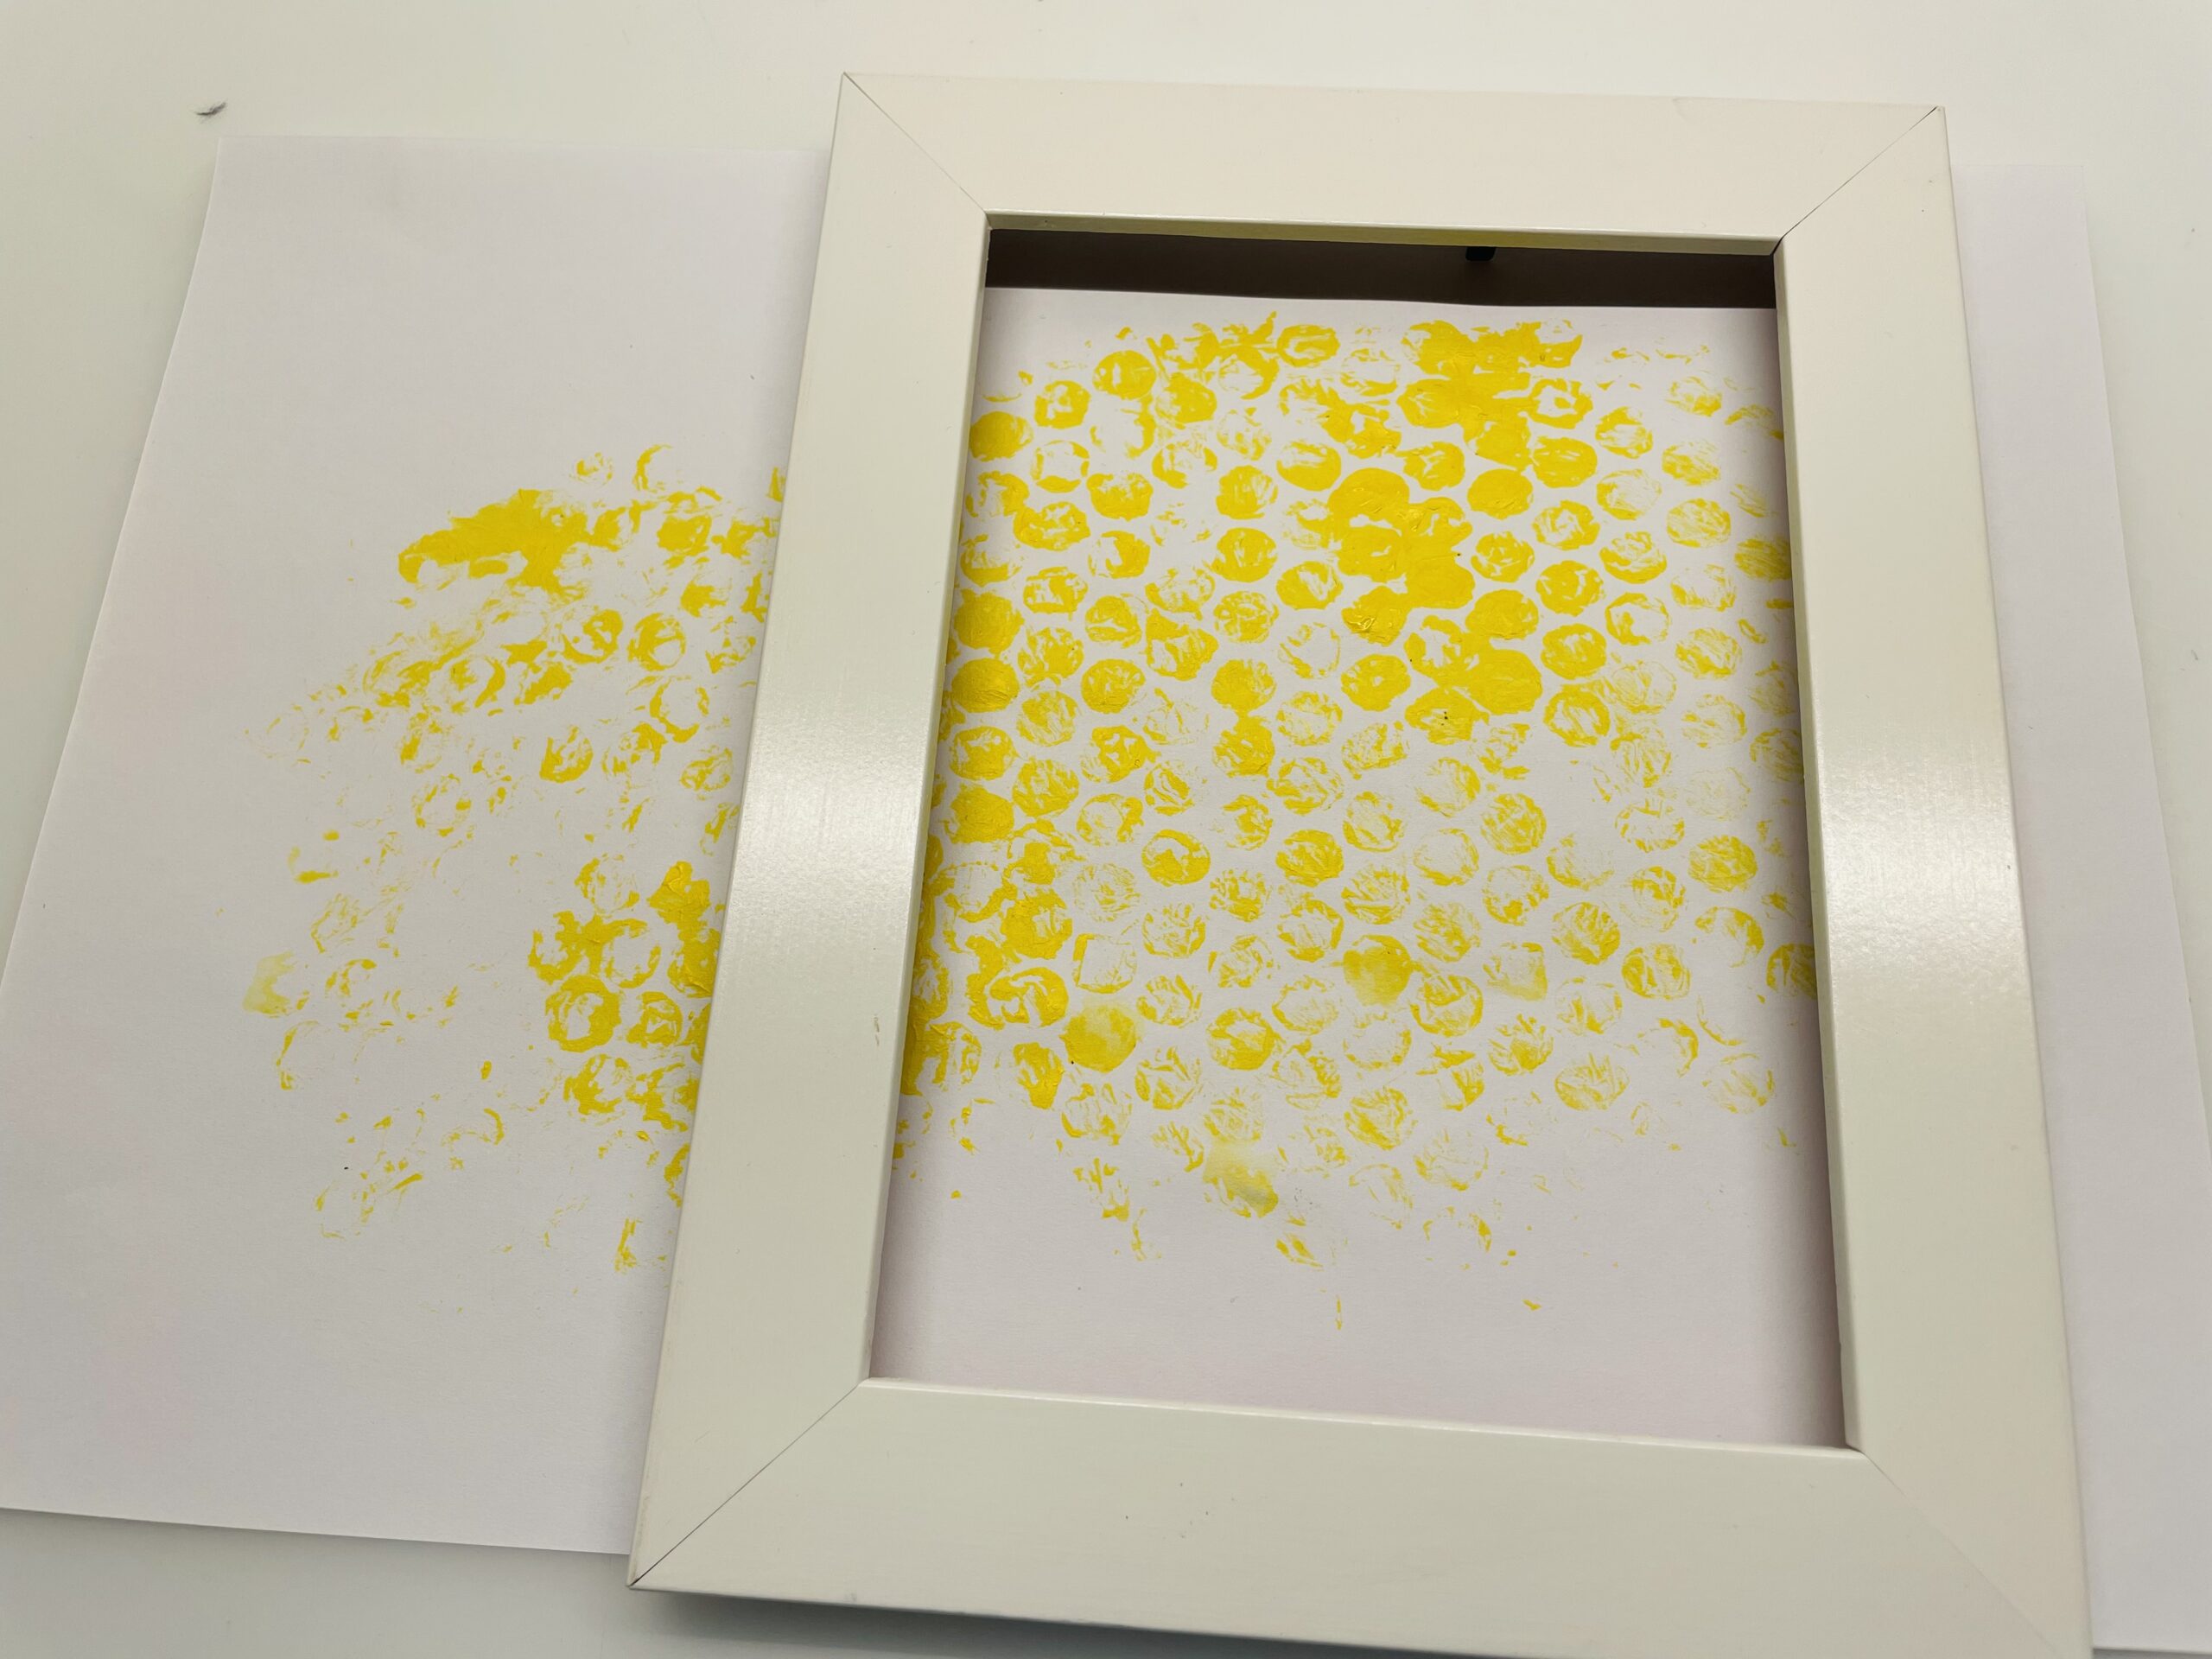
Bild zum Schritt 8 für das Bastel- und DIY-Abenteuer für Kinder: 'Jetzt entfernt ihr das Einlegeblatt oder die Scheibe aus eurem...'

9

Transfers the frame size to the printed image and cuts the paper.

Bild zum Schritt 9 für das Bastel- und DIY-Abenteuer für Kinder: 'Übertragt die Rahmengröße auf das gedruckte Bild und schneidet das...'

10

Then put the picture in the frame.
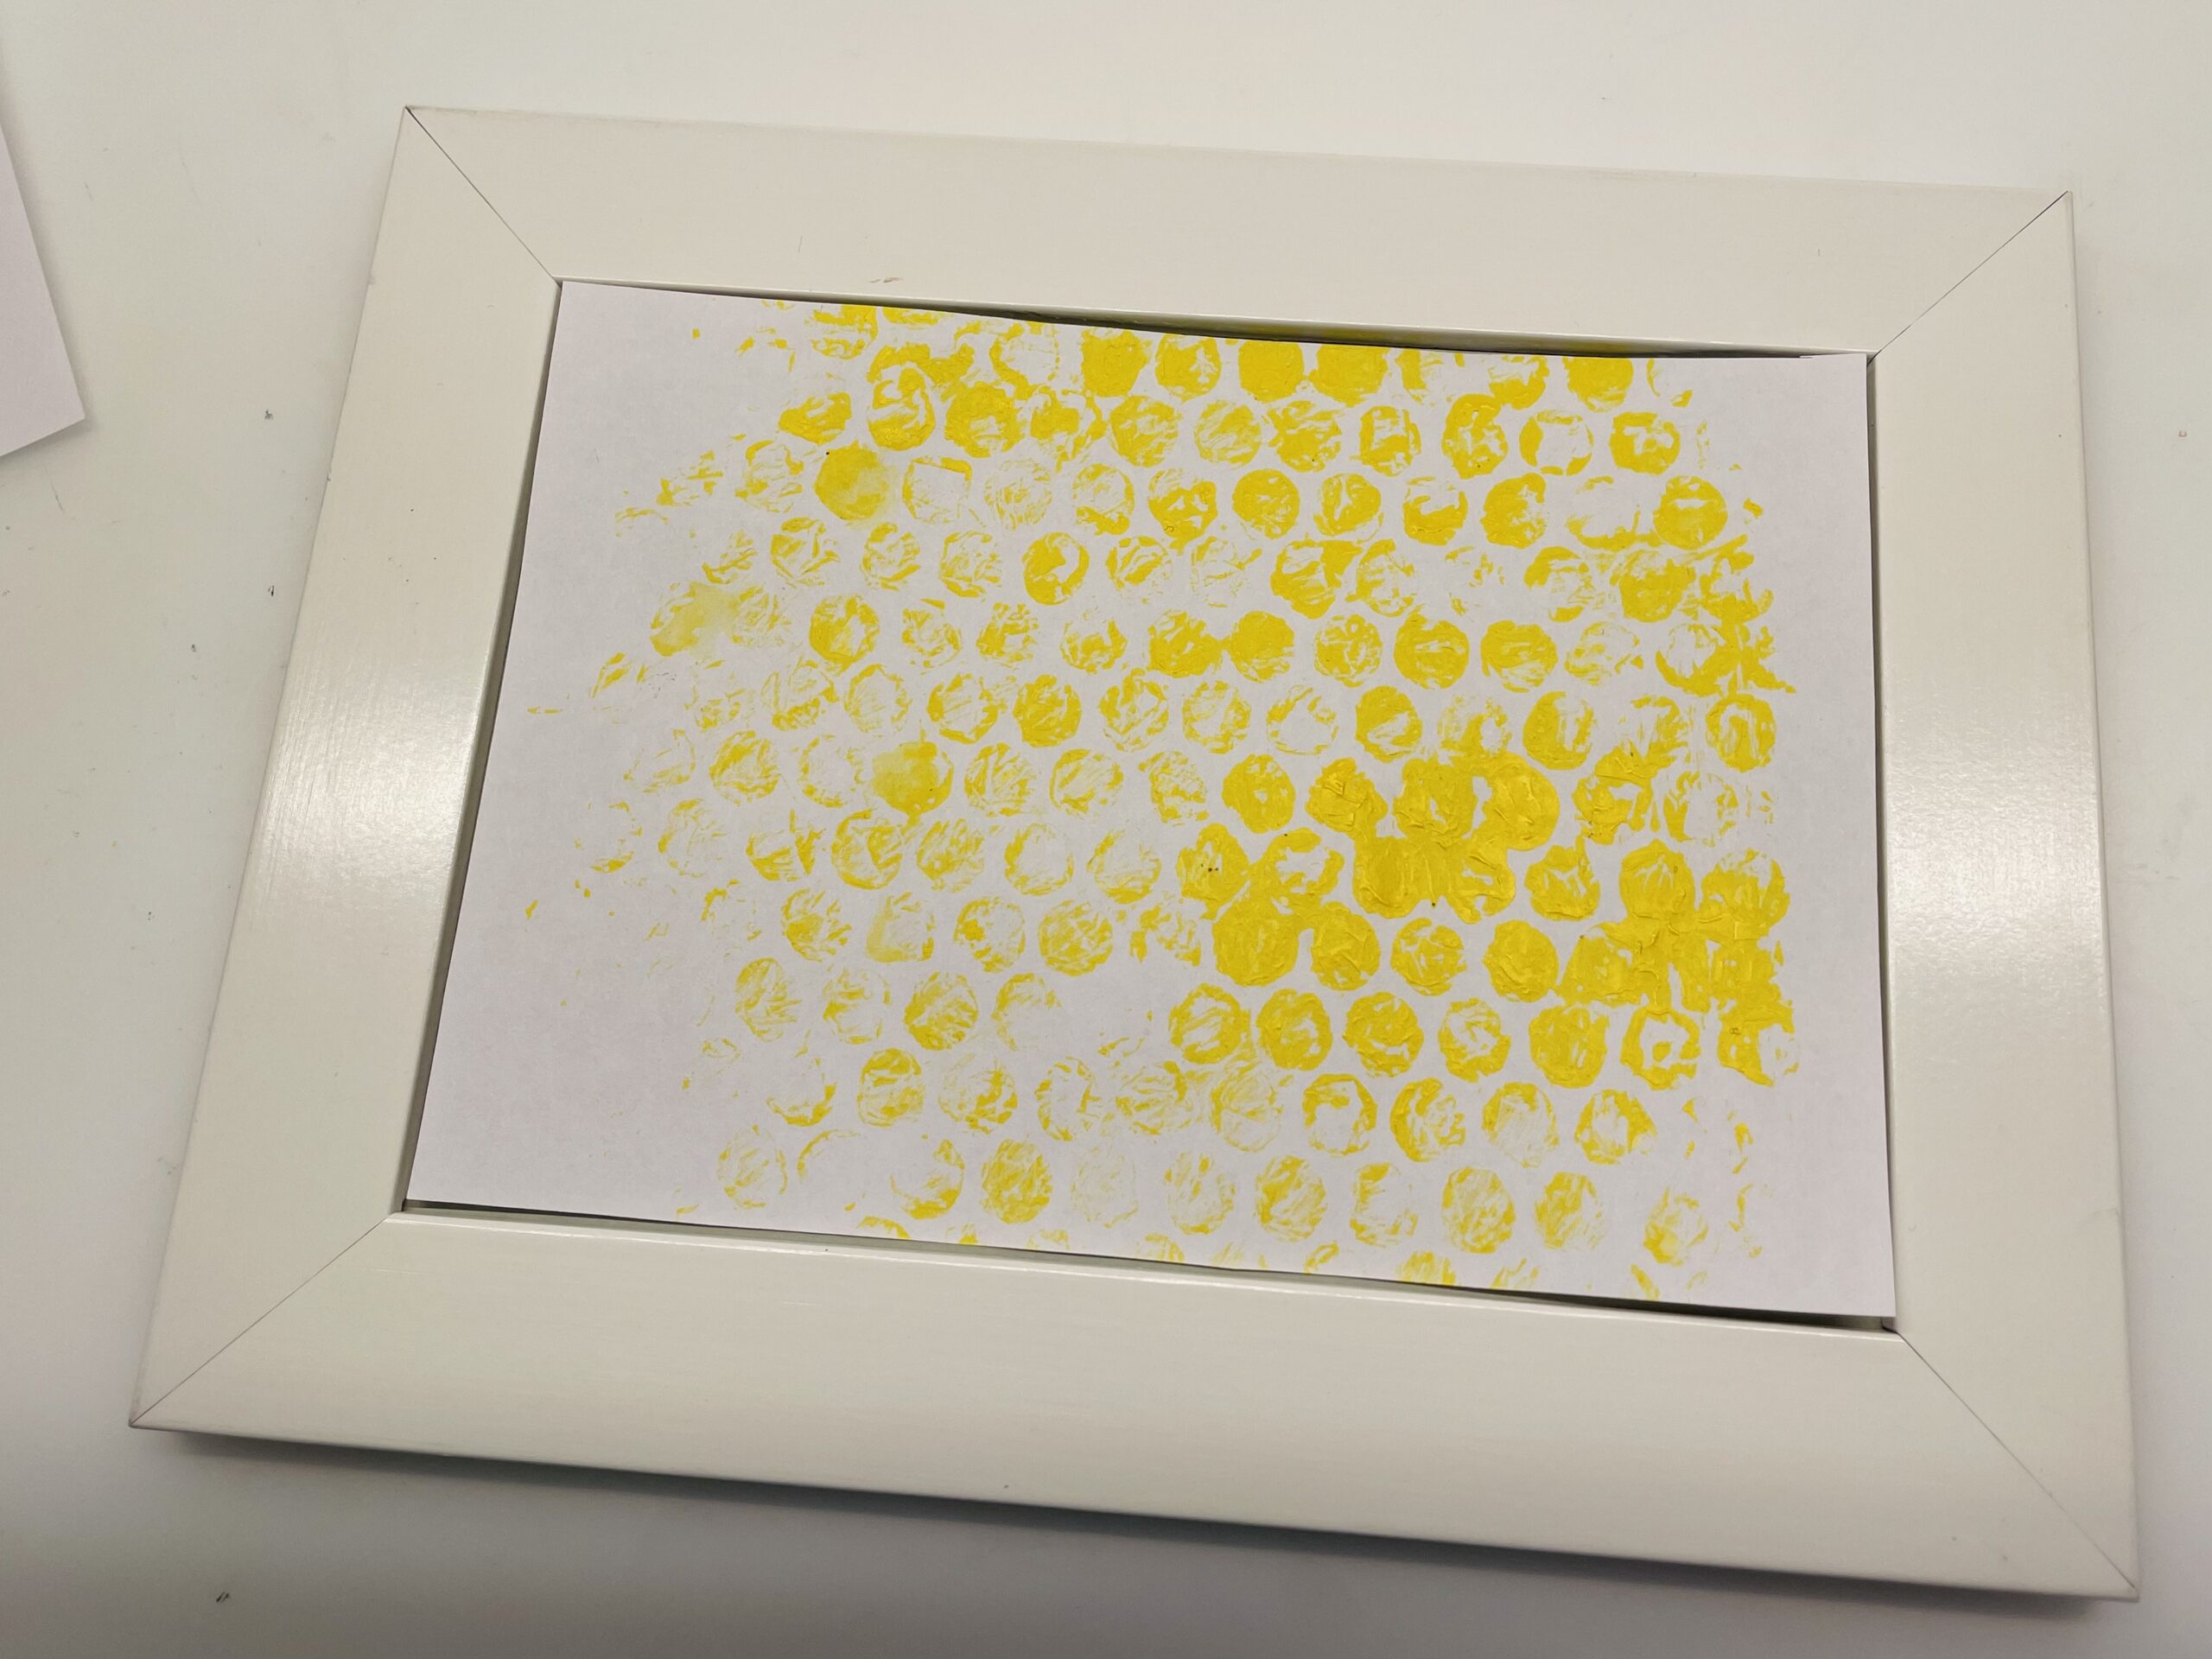
Bild zum Schritt 10 für das Bastel- und DIY-Abenteuer für Kinder: 'Dann legt ihr das Bild in den Rahmen.'

11

Now you print out the template for the honeycombs.
You can print the template on white paper or on yellow copy paper.
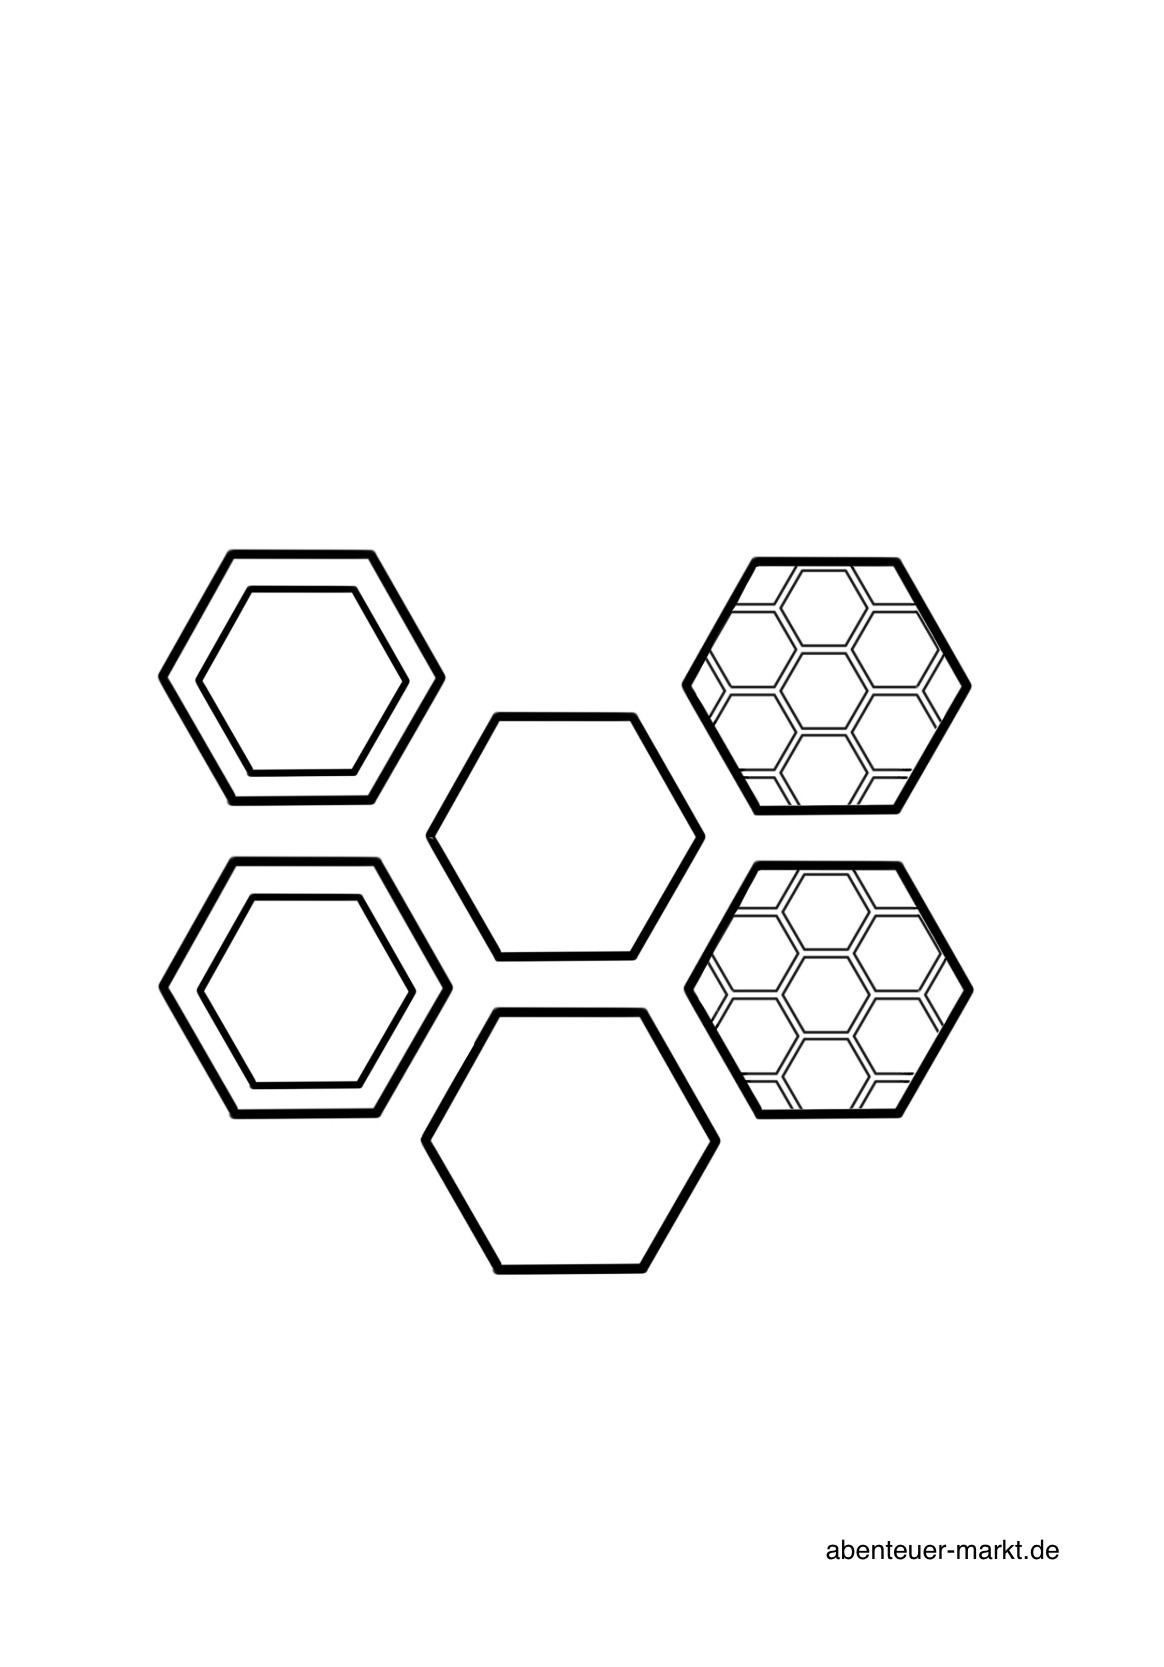
Bild zum Schritt 11 für das Bastel- und DIY-Abenteuer für Kinder: 'Jetzt druckt ihr euch die Vorlage für die Waben aus....'

12

Print it on white paper, then use the template as a copy and paste it on yellow copy paper.
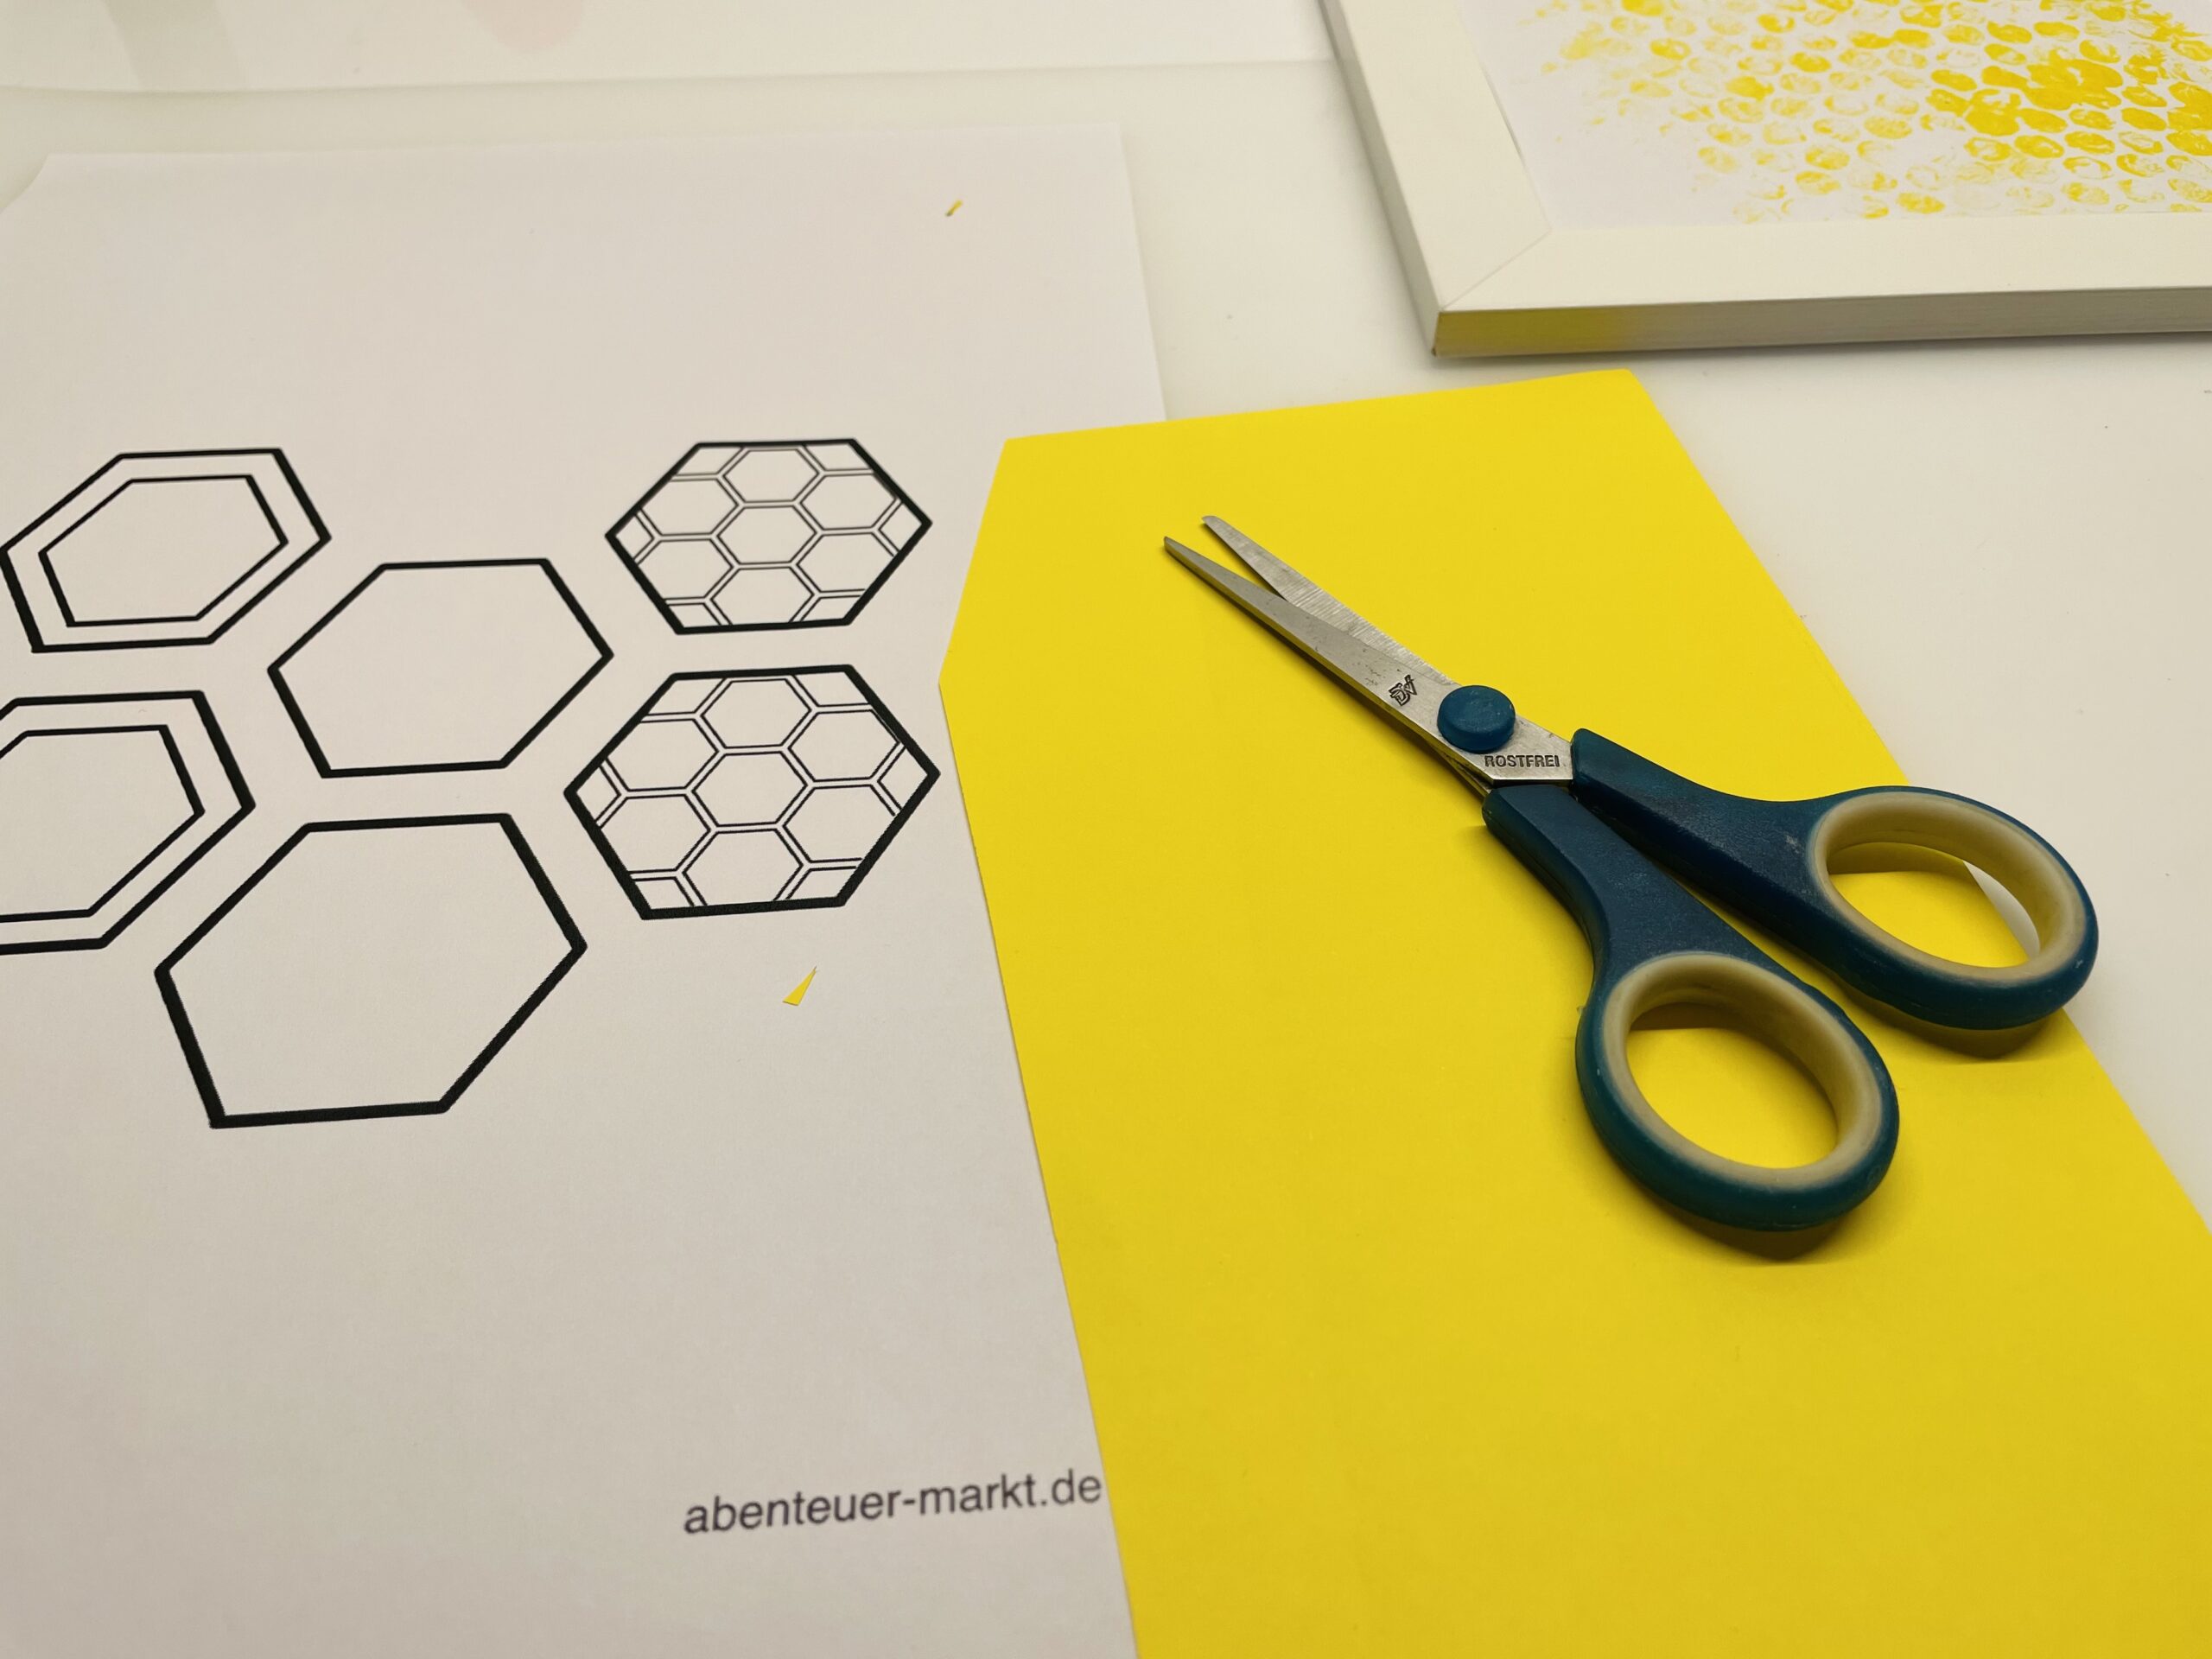
Bild zum Schritt 12 für das Bastel- und DIY-Abenteuer für Kinder: 'Druck ihr auf weißem Papier, dann verwendet die Vorlage als...'

13

For that you paint the translucent combs with a pencil.
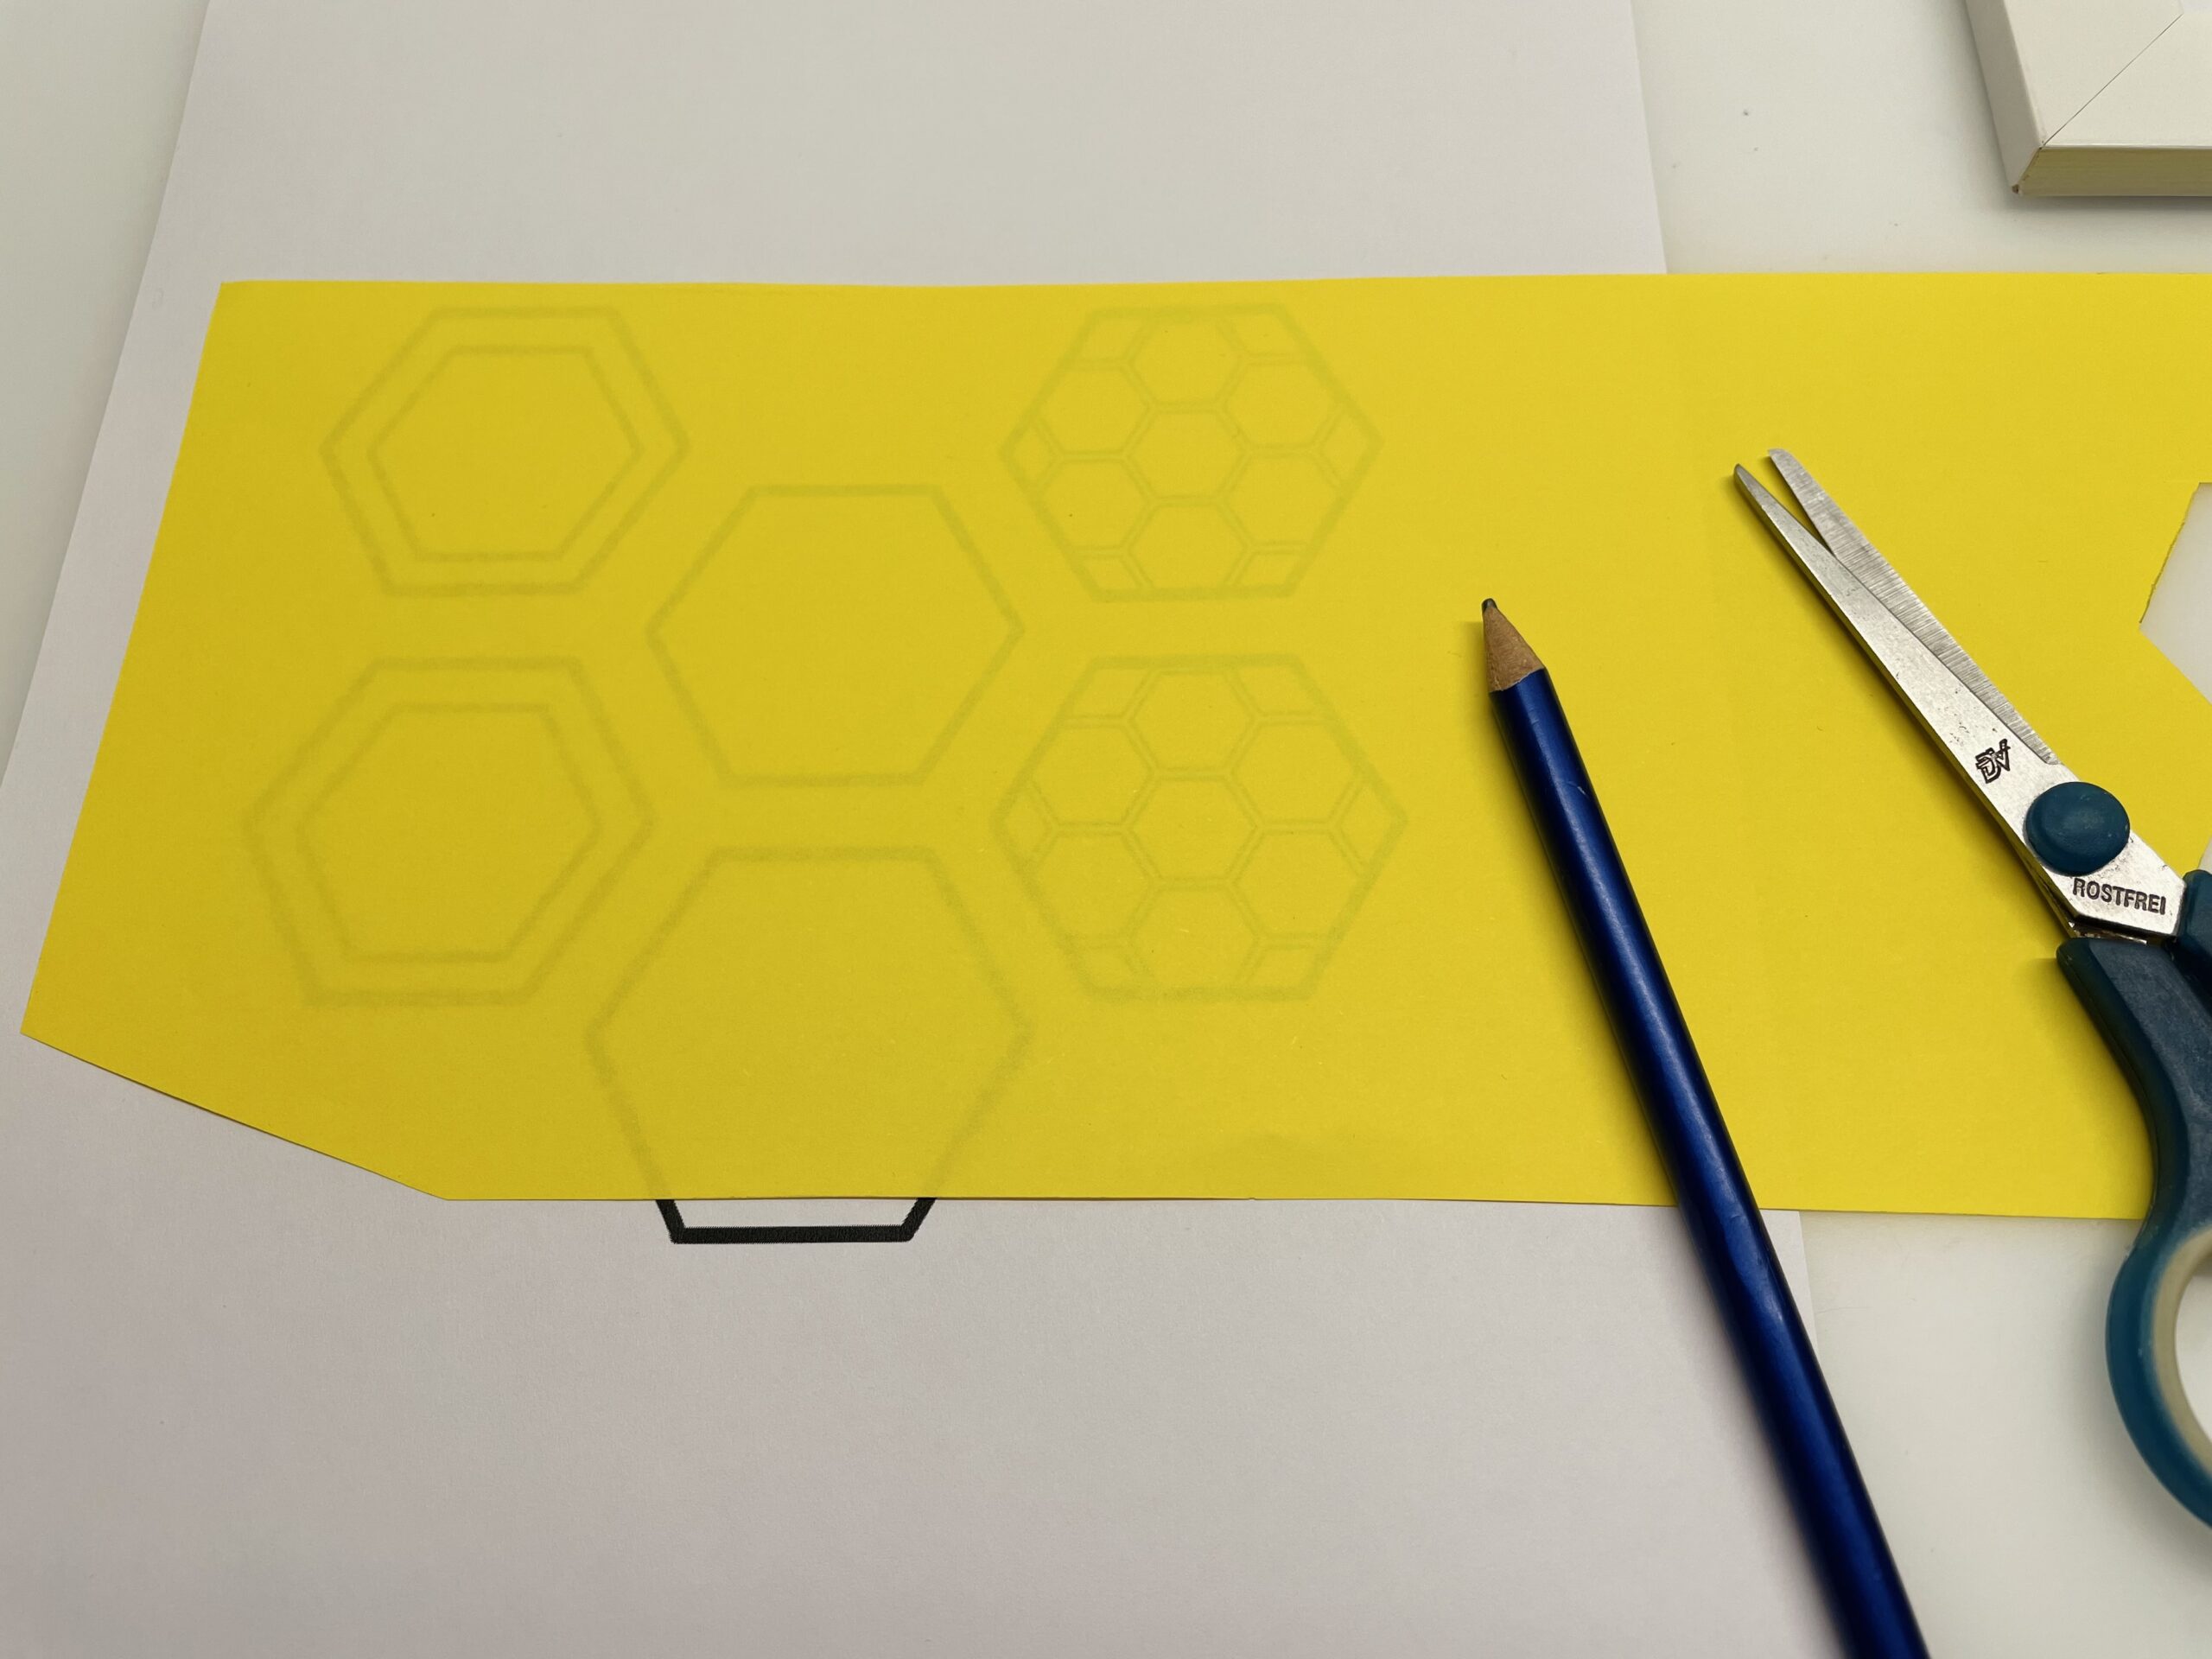
Bild zum Schritt 13 für das Bastel- und DIY-Abenteuer für Kinder: 'Dafür malt ihr die durchscheinenden Waben mit einem Bleistift nach.'

14

Then cut out the honeycombs with the scissors.
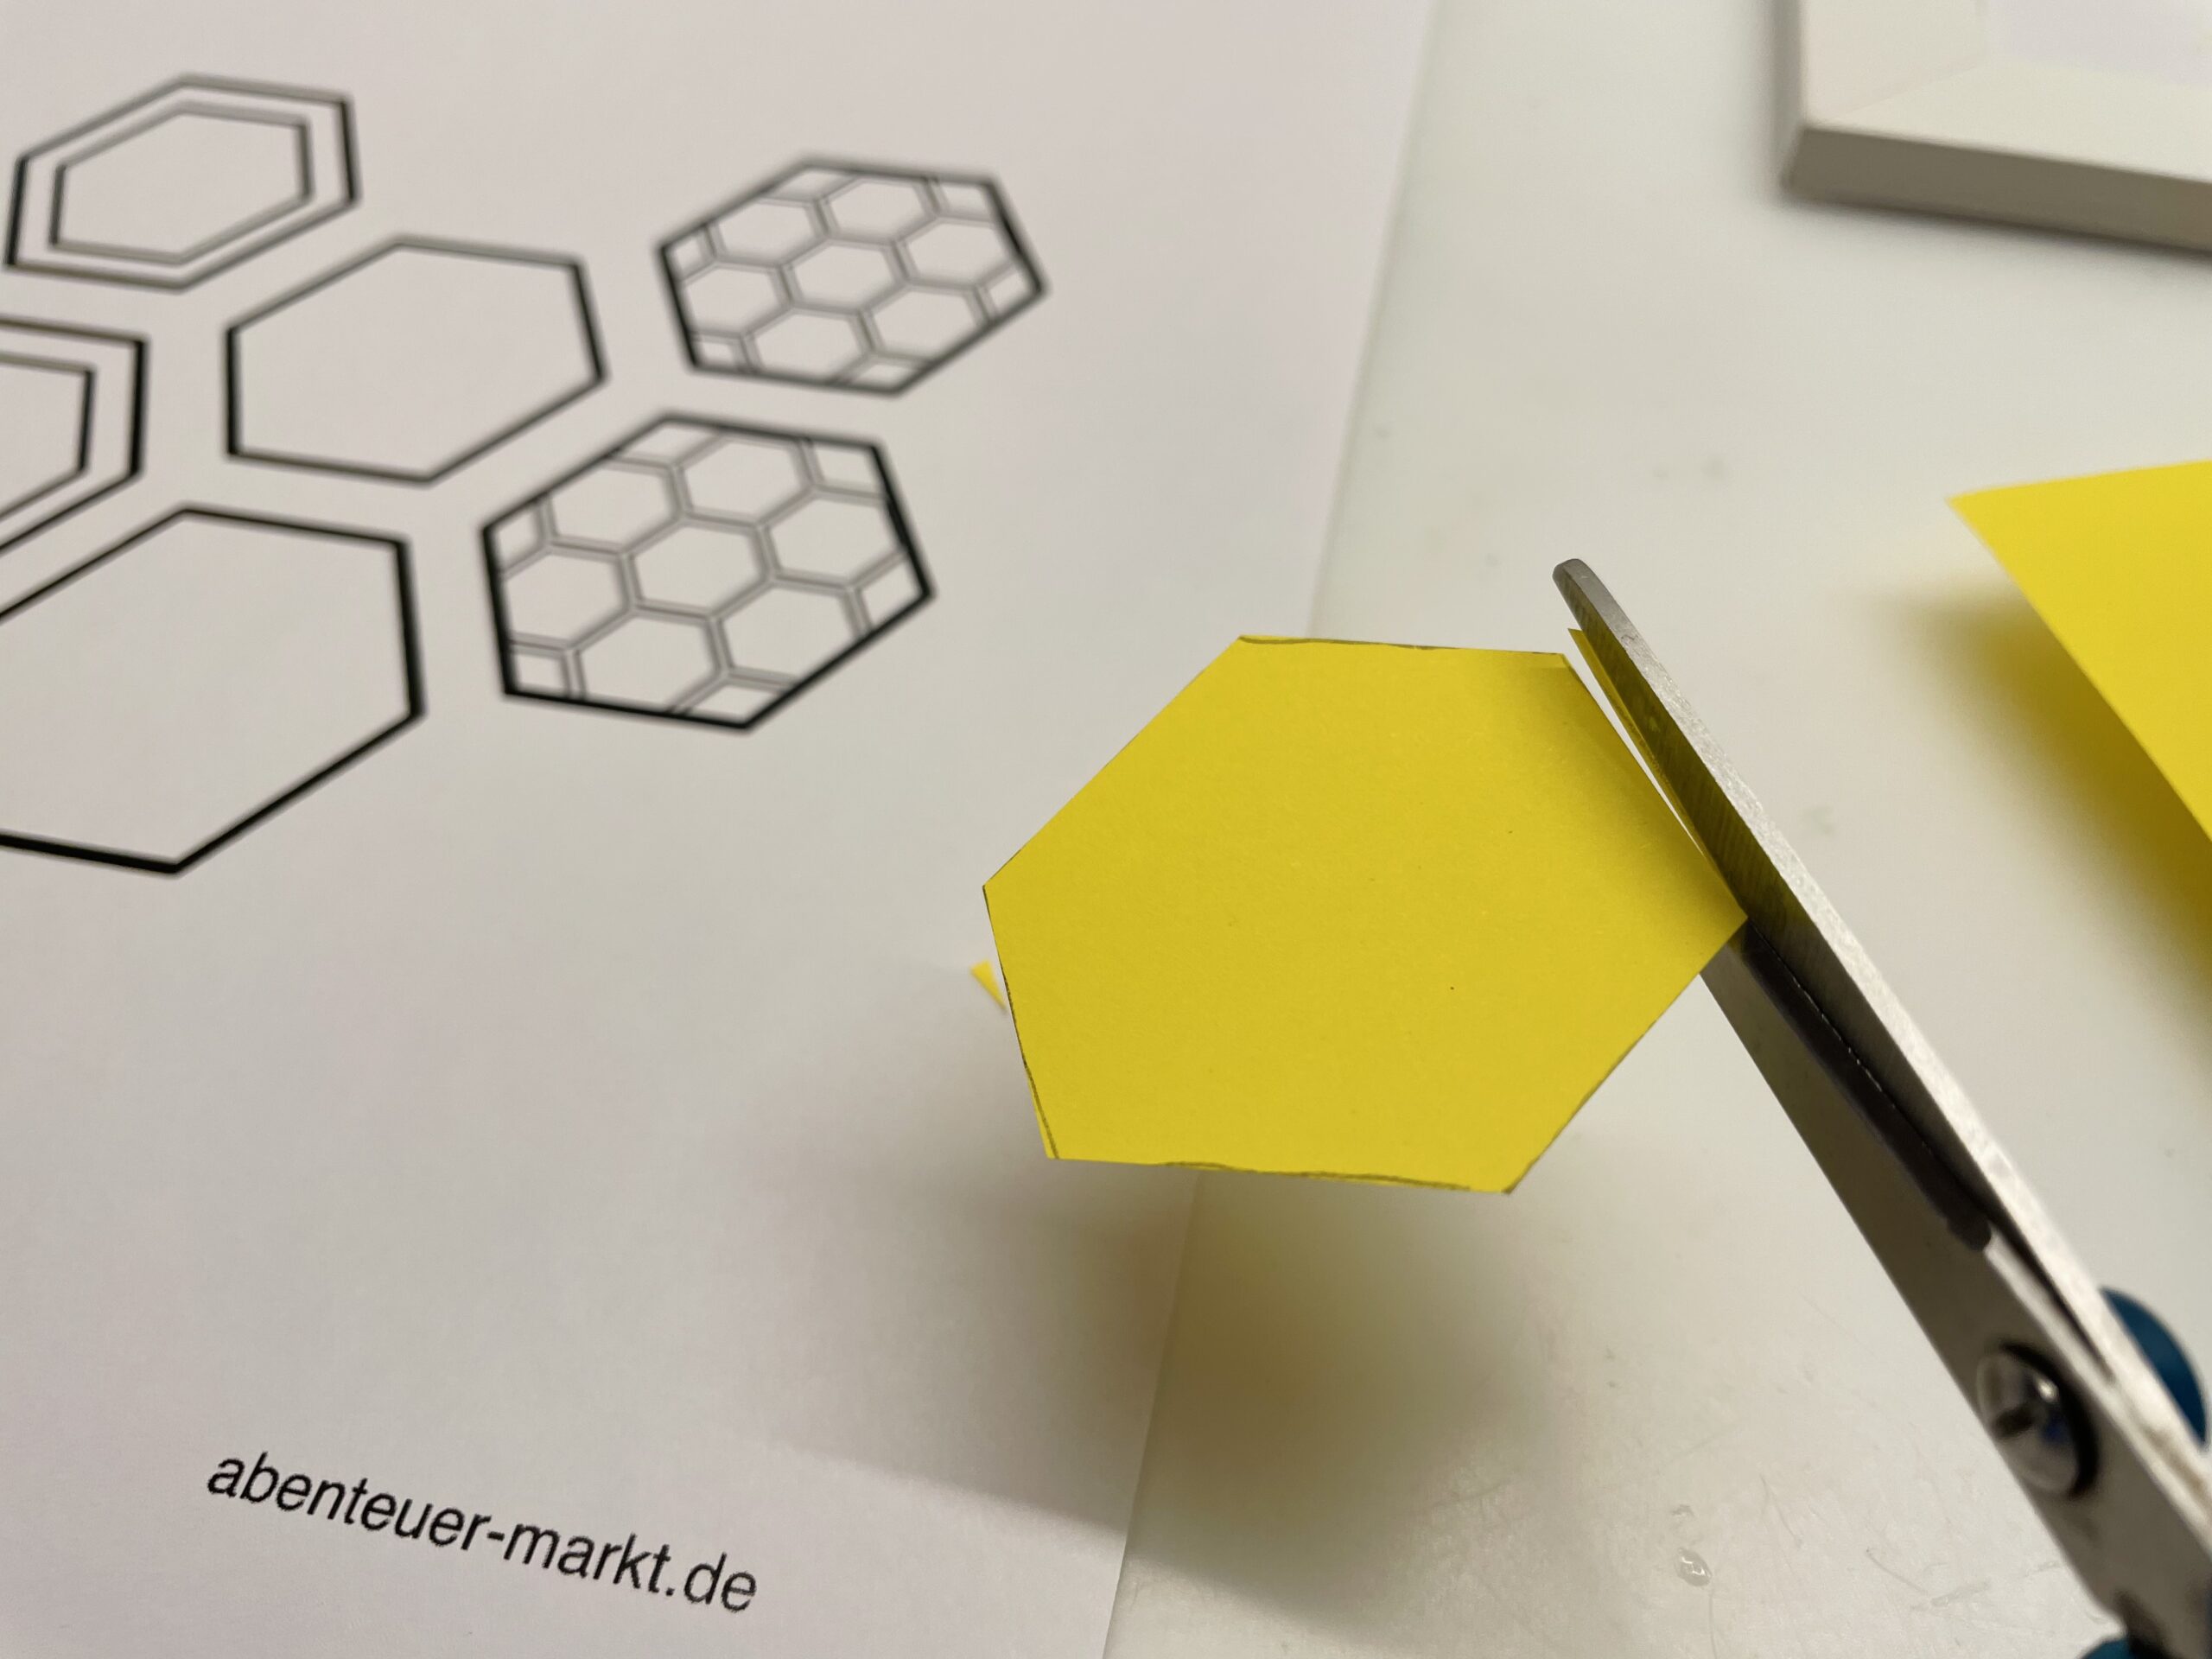
Bild zum Schritt 14 für das Bastel- und DIY-Abenteuer für Kinder: 'Schneidet die Waben anschließend mit der Schere aus.'

15

Decide how many honeycombs you make. Tip: use different motifs.
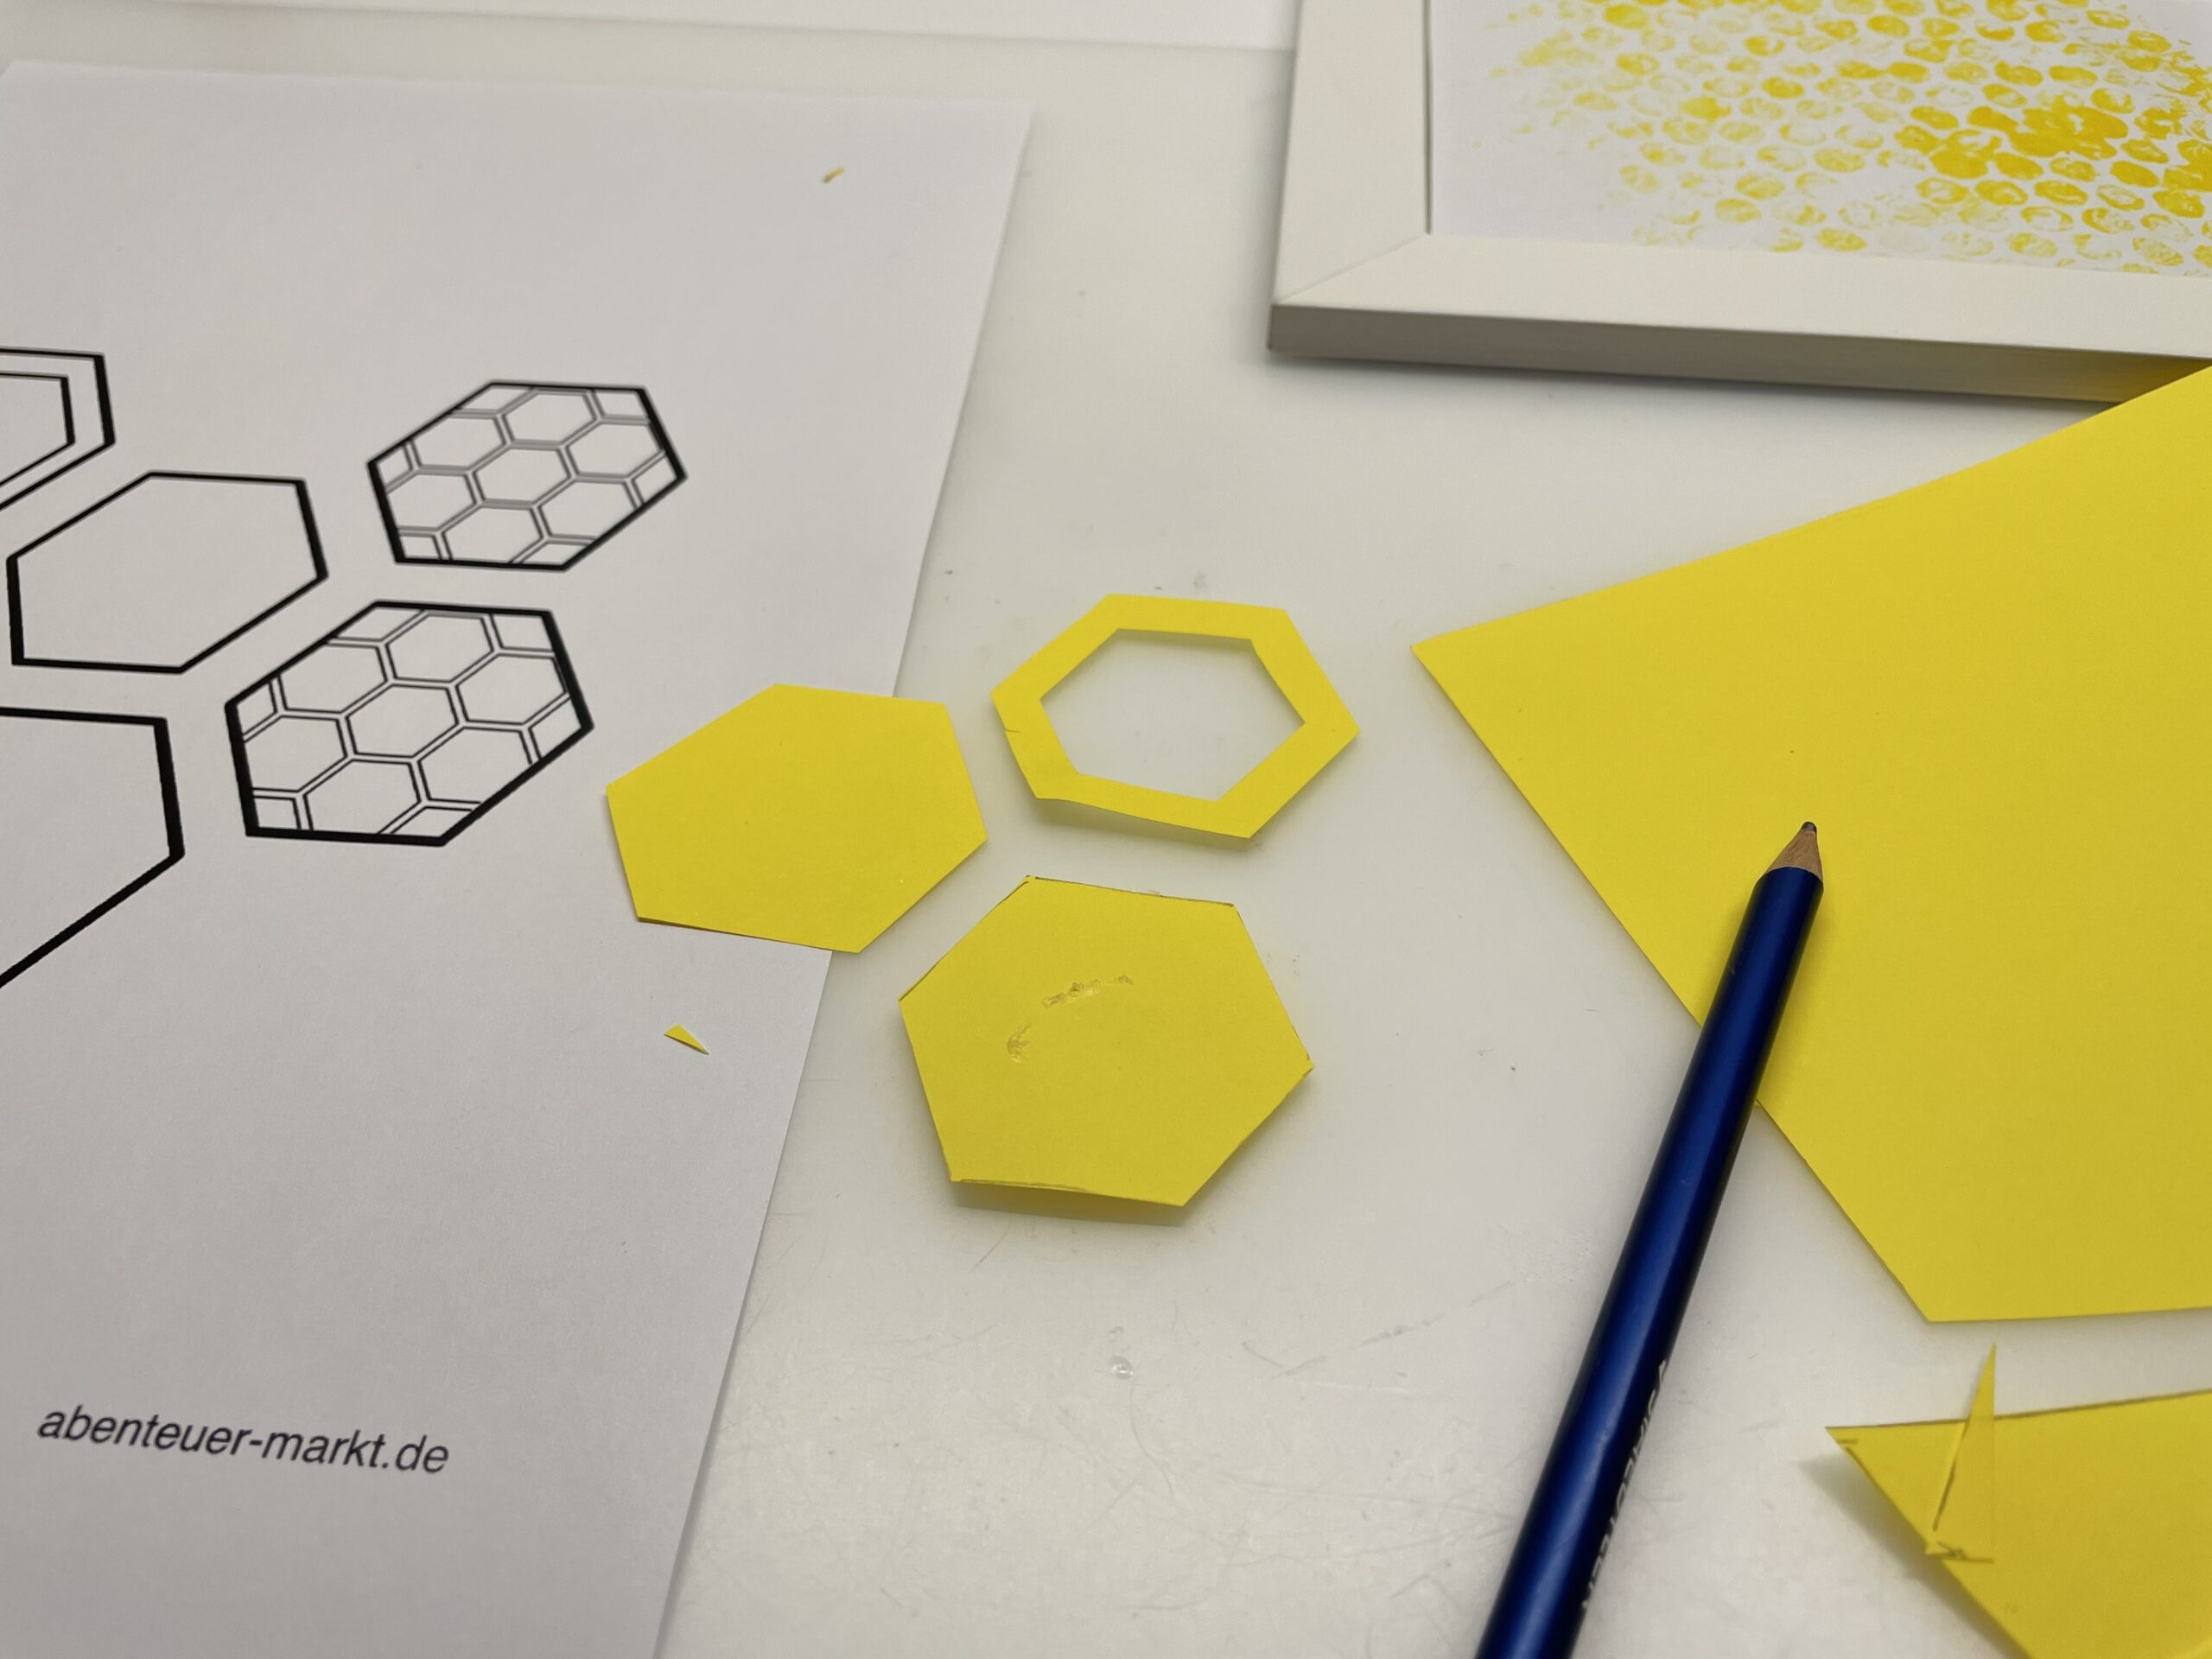
Bild zum Schritt 15 für das Bastel- und DIY-Abenteuer für Kinder: 'Entscheidet selbst wie viele Waben ihr bastelt. Tipp: verwendet unterschiedliche...'

16

Now you stick on individual honeycombs remains of the bubble wrap. That's how the honeycombs look plastic.
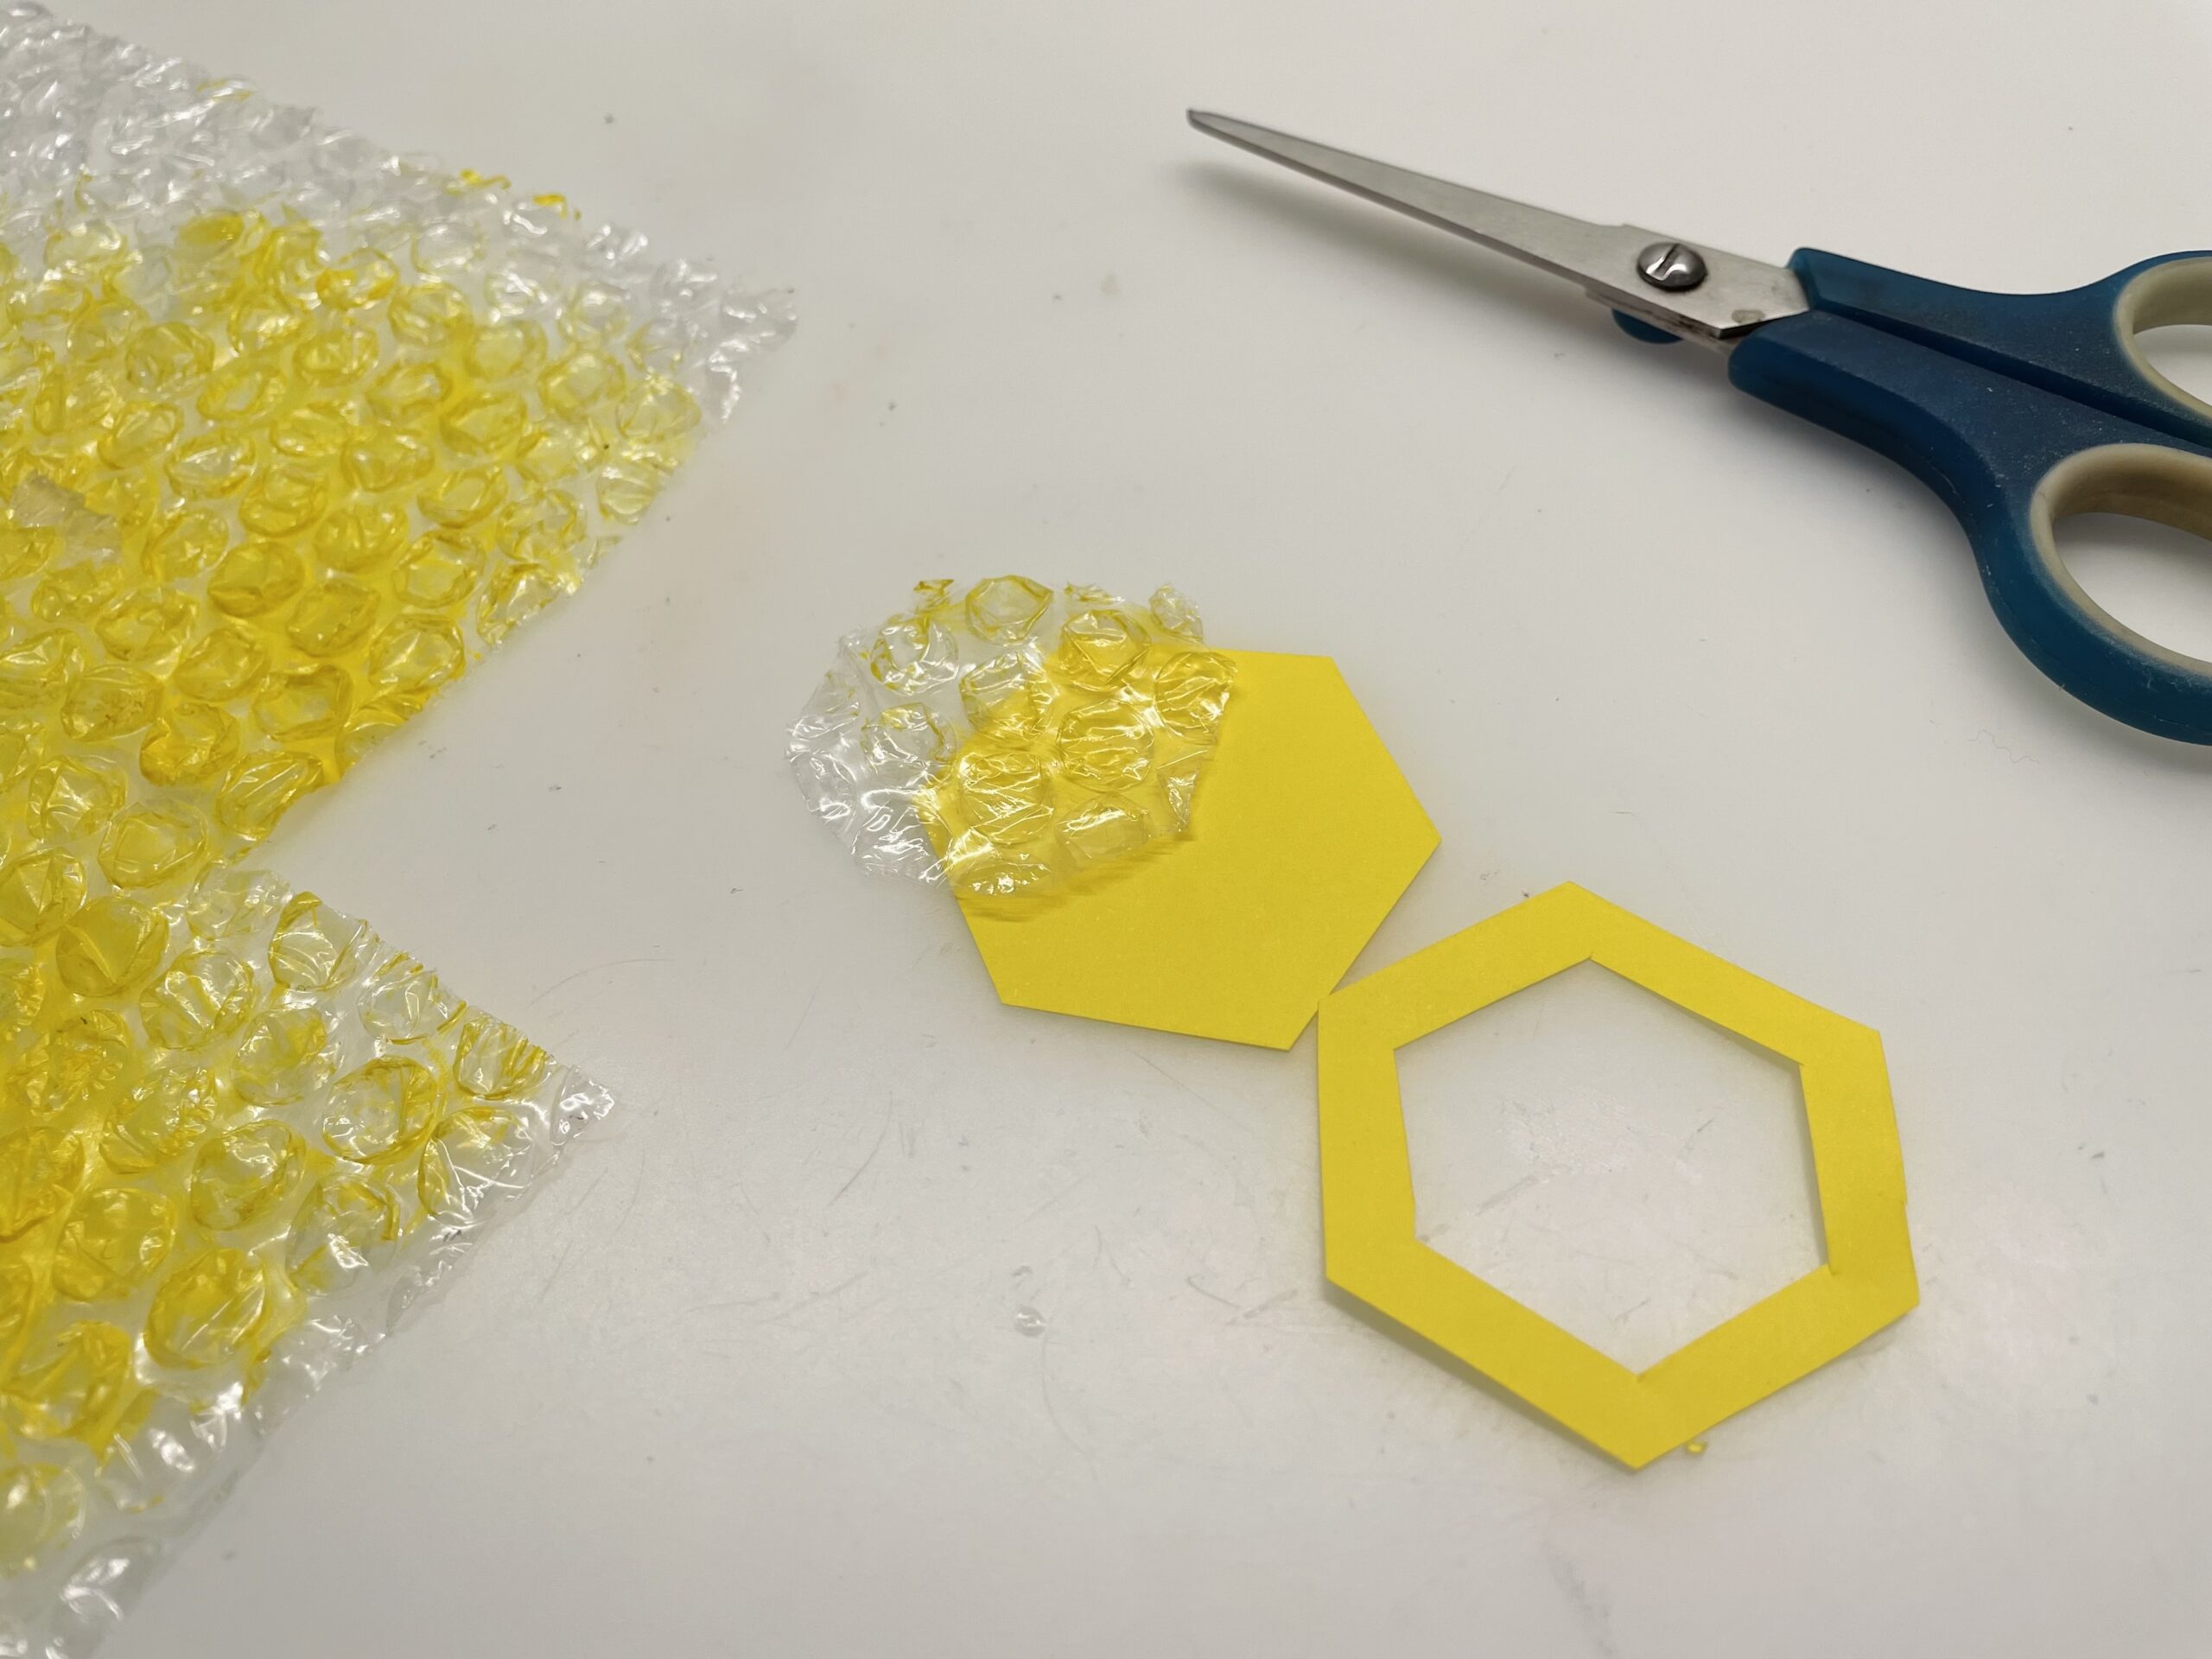
Bild zum Schritt 16 für das Bastel- und DIY-Abenteuer für Kinder: 'Jetzt klebt ihr auf einzelne Waben Reste der Luftpolsterfolie. ...'

17

There are no limits to your imagination.
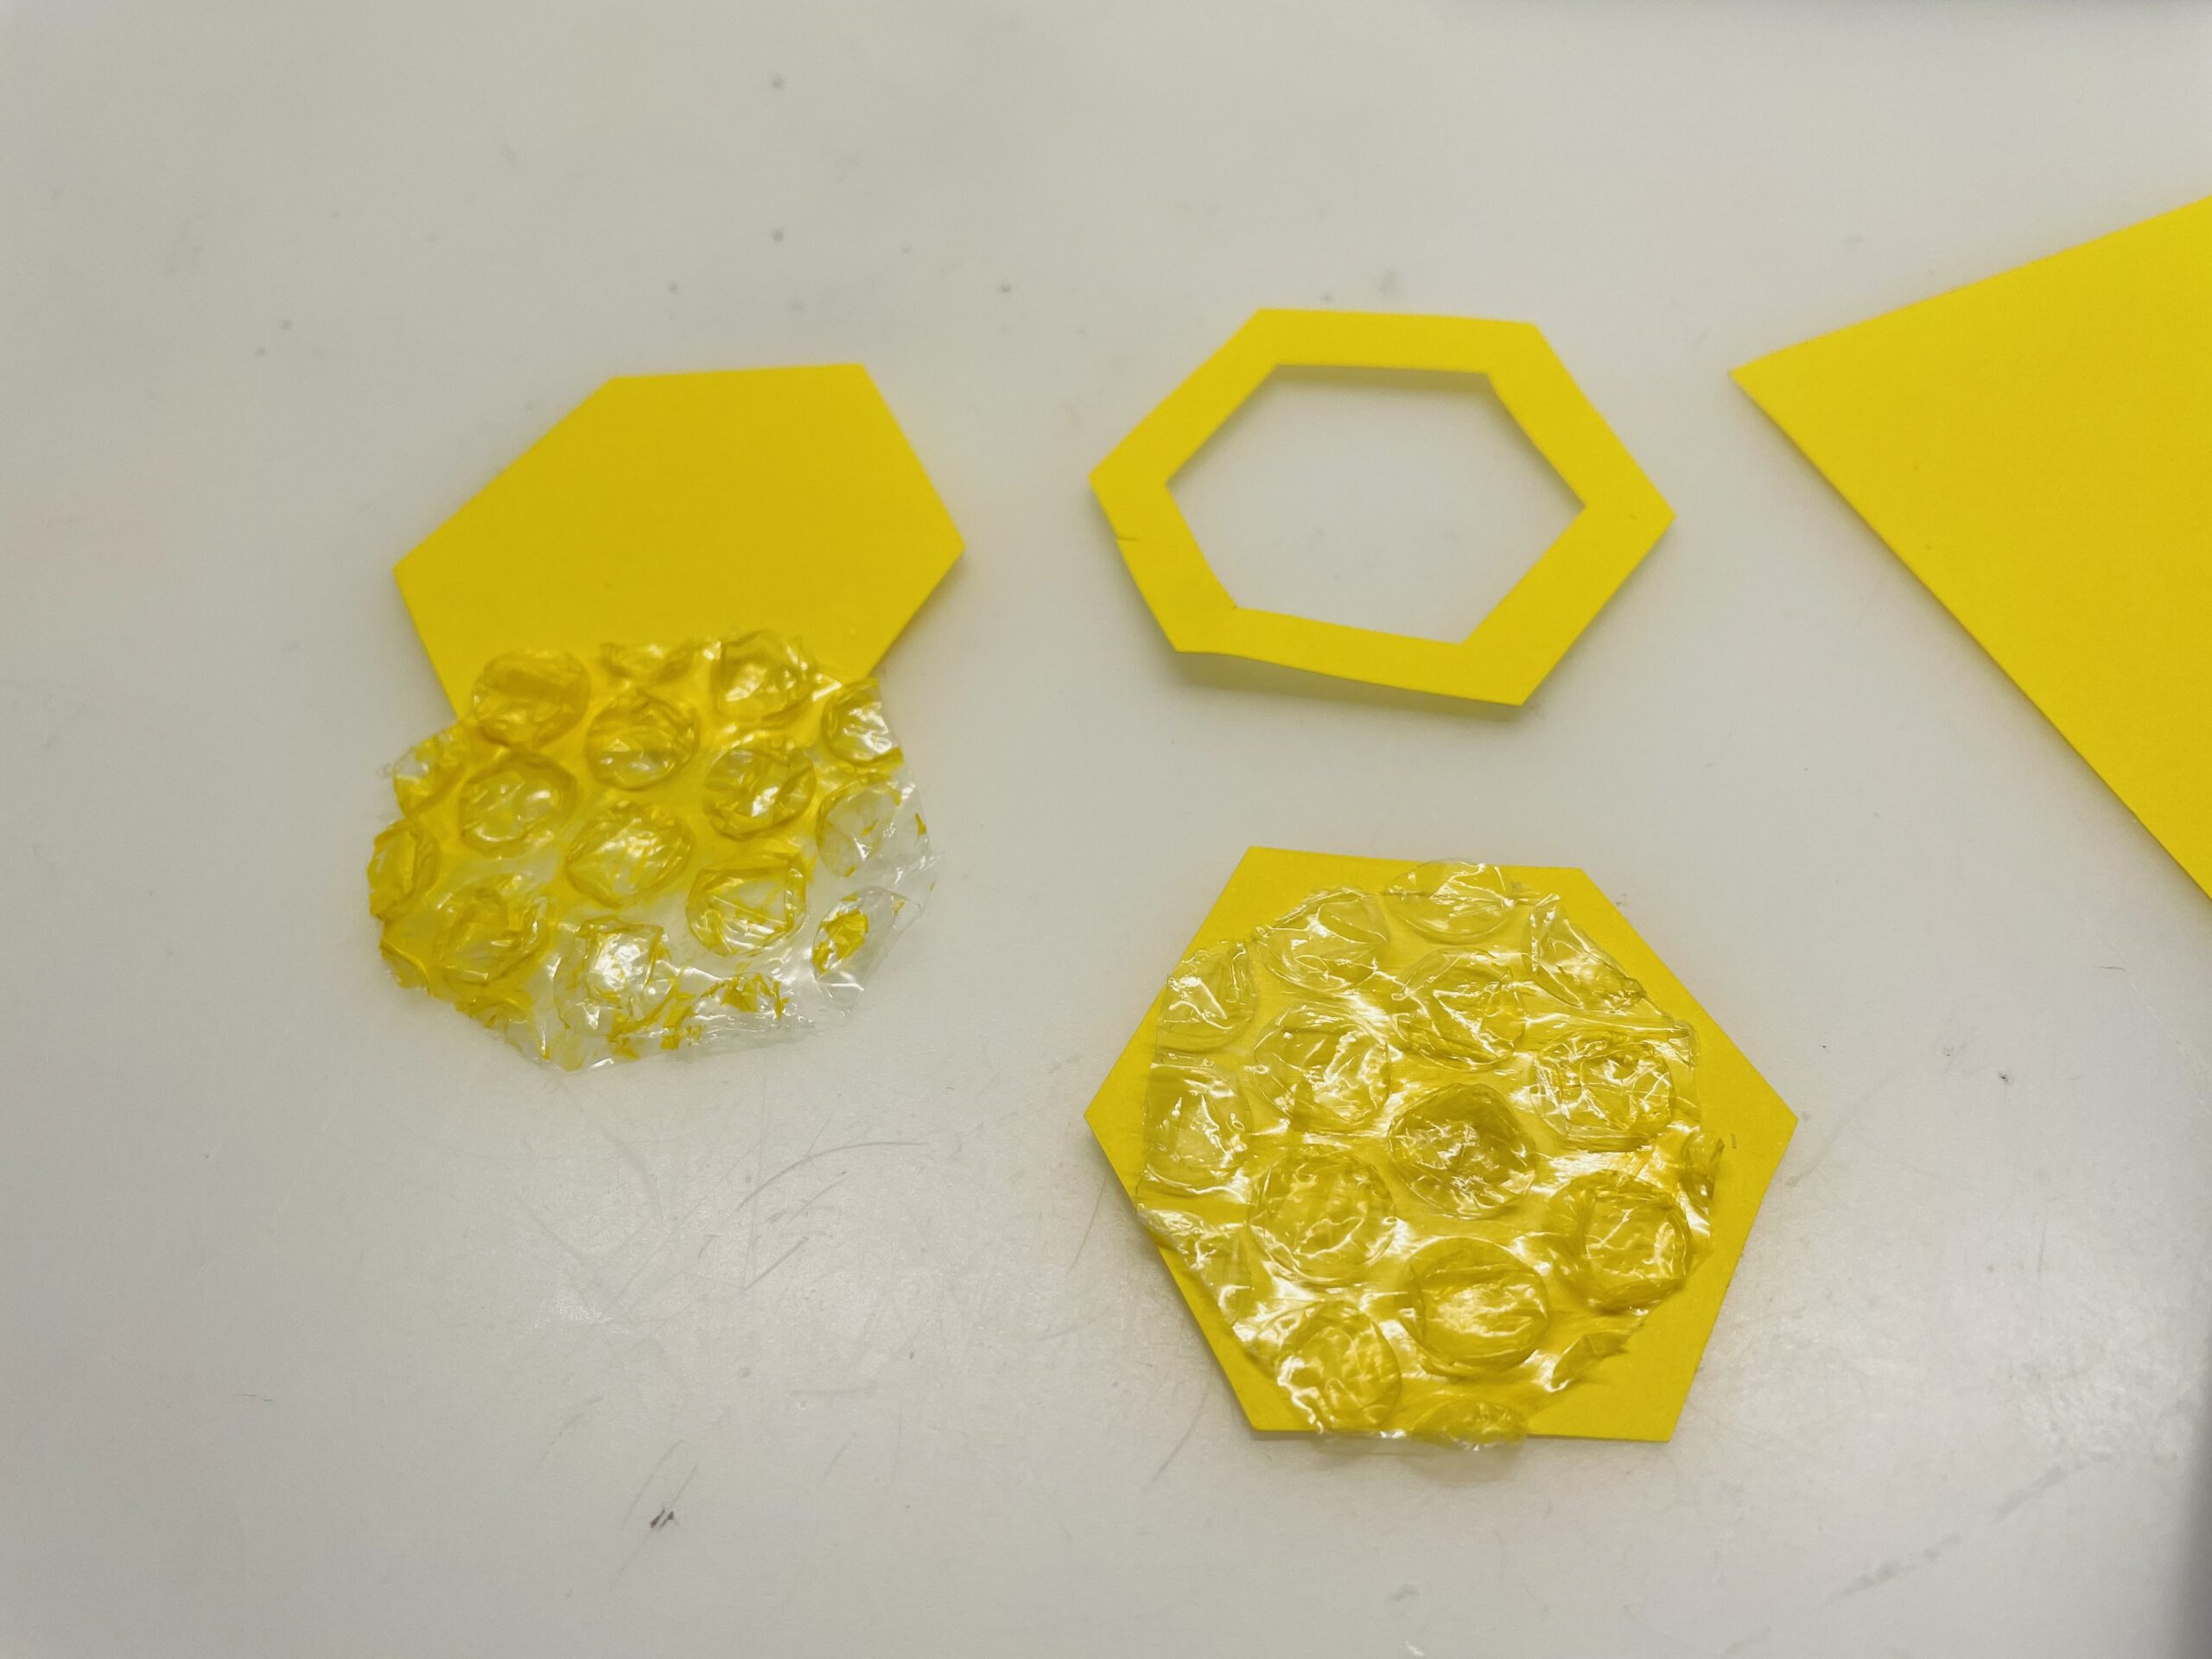
Bild zum Schritt 17 für das Bastel- und DIY-Abenteuer für Kinder: 'Hier sind eurer Fantasie keine Grenzen gesetzt.'

18

Arrange the honeycombs on the picture frame as desired.
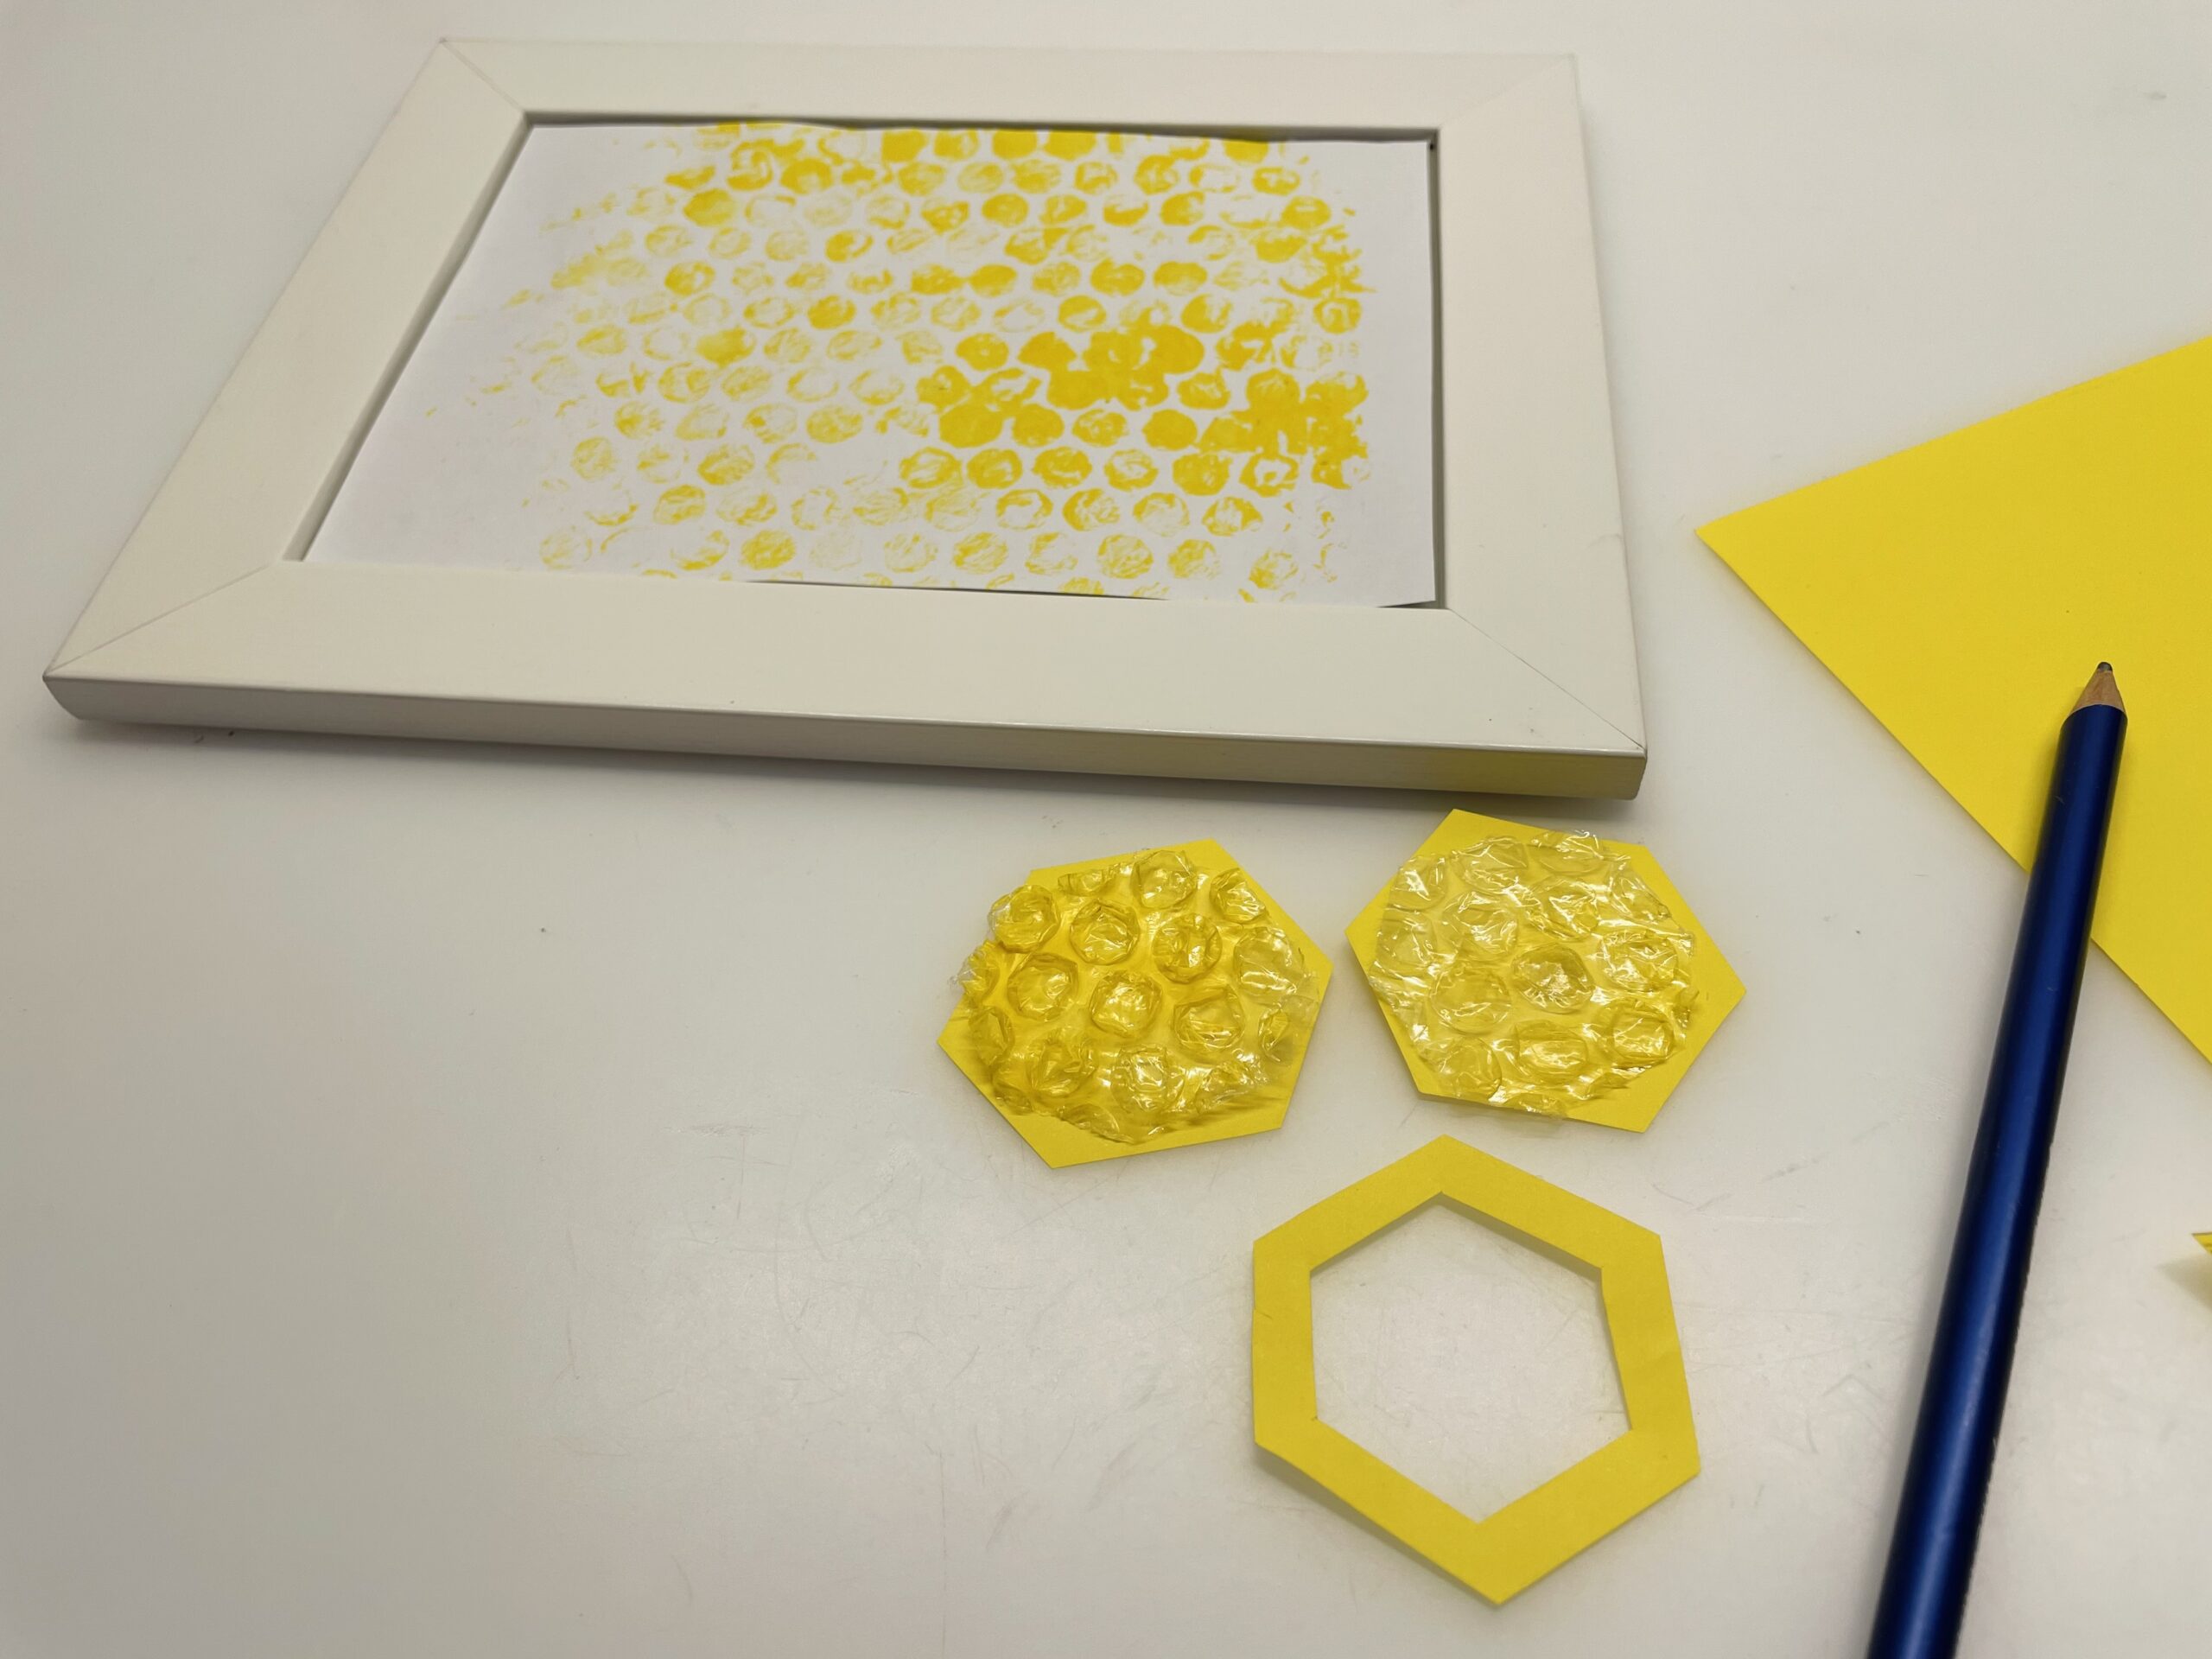
Bild zum Schritt 18 für das Bastel- und DIY-Abenteuer für Kinder: 'Ordnet jetzt die Waben auf dem Bilderrahmen beliebig an.'

19

Maybe you want to put the honeycombs beyond the edge?
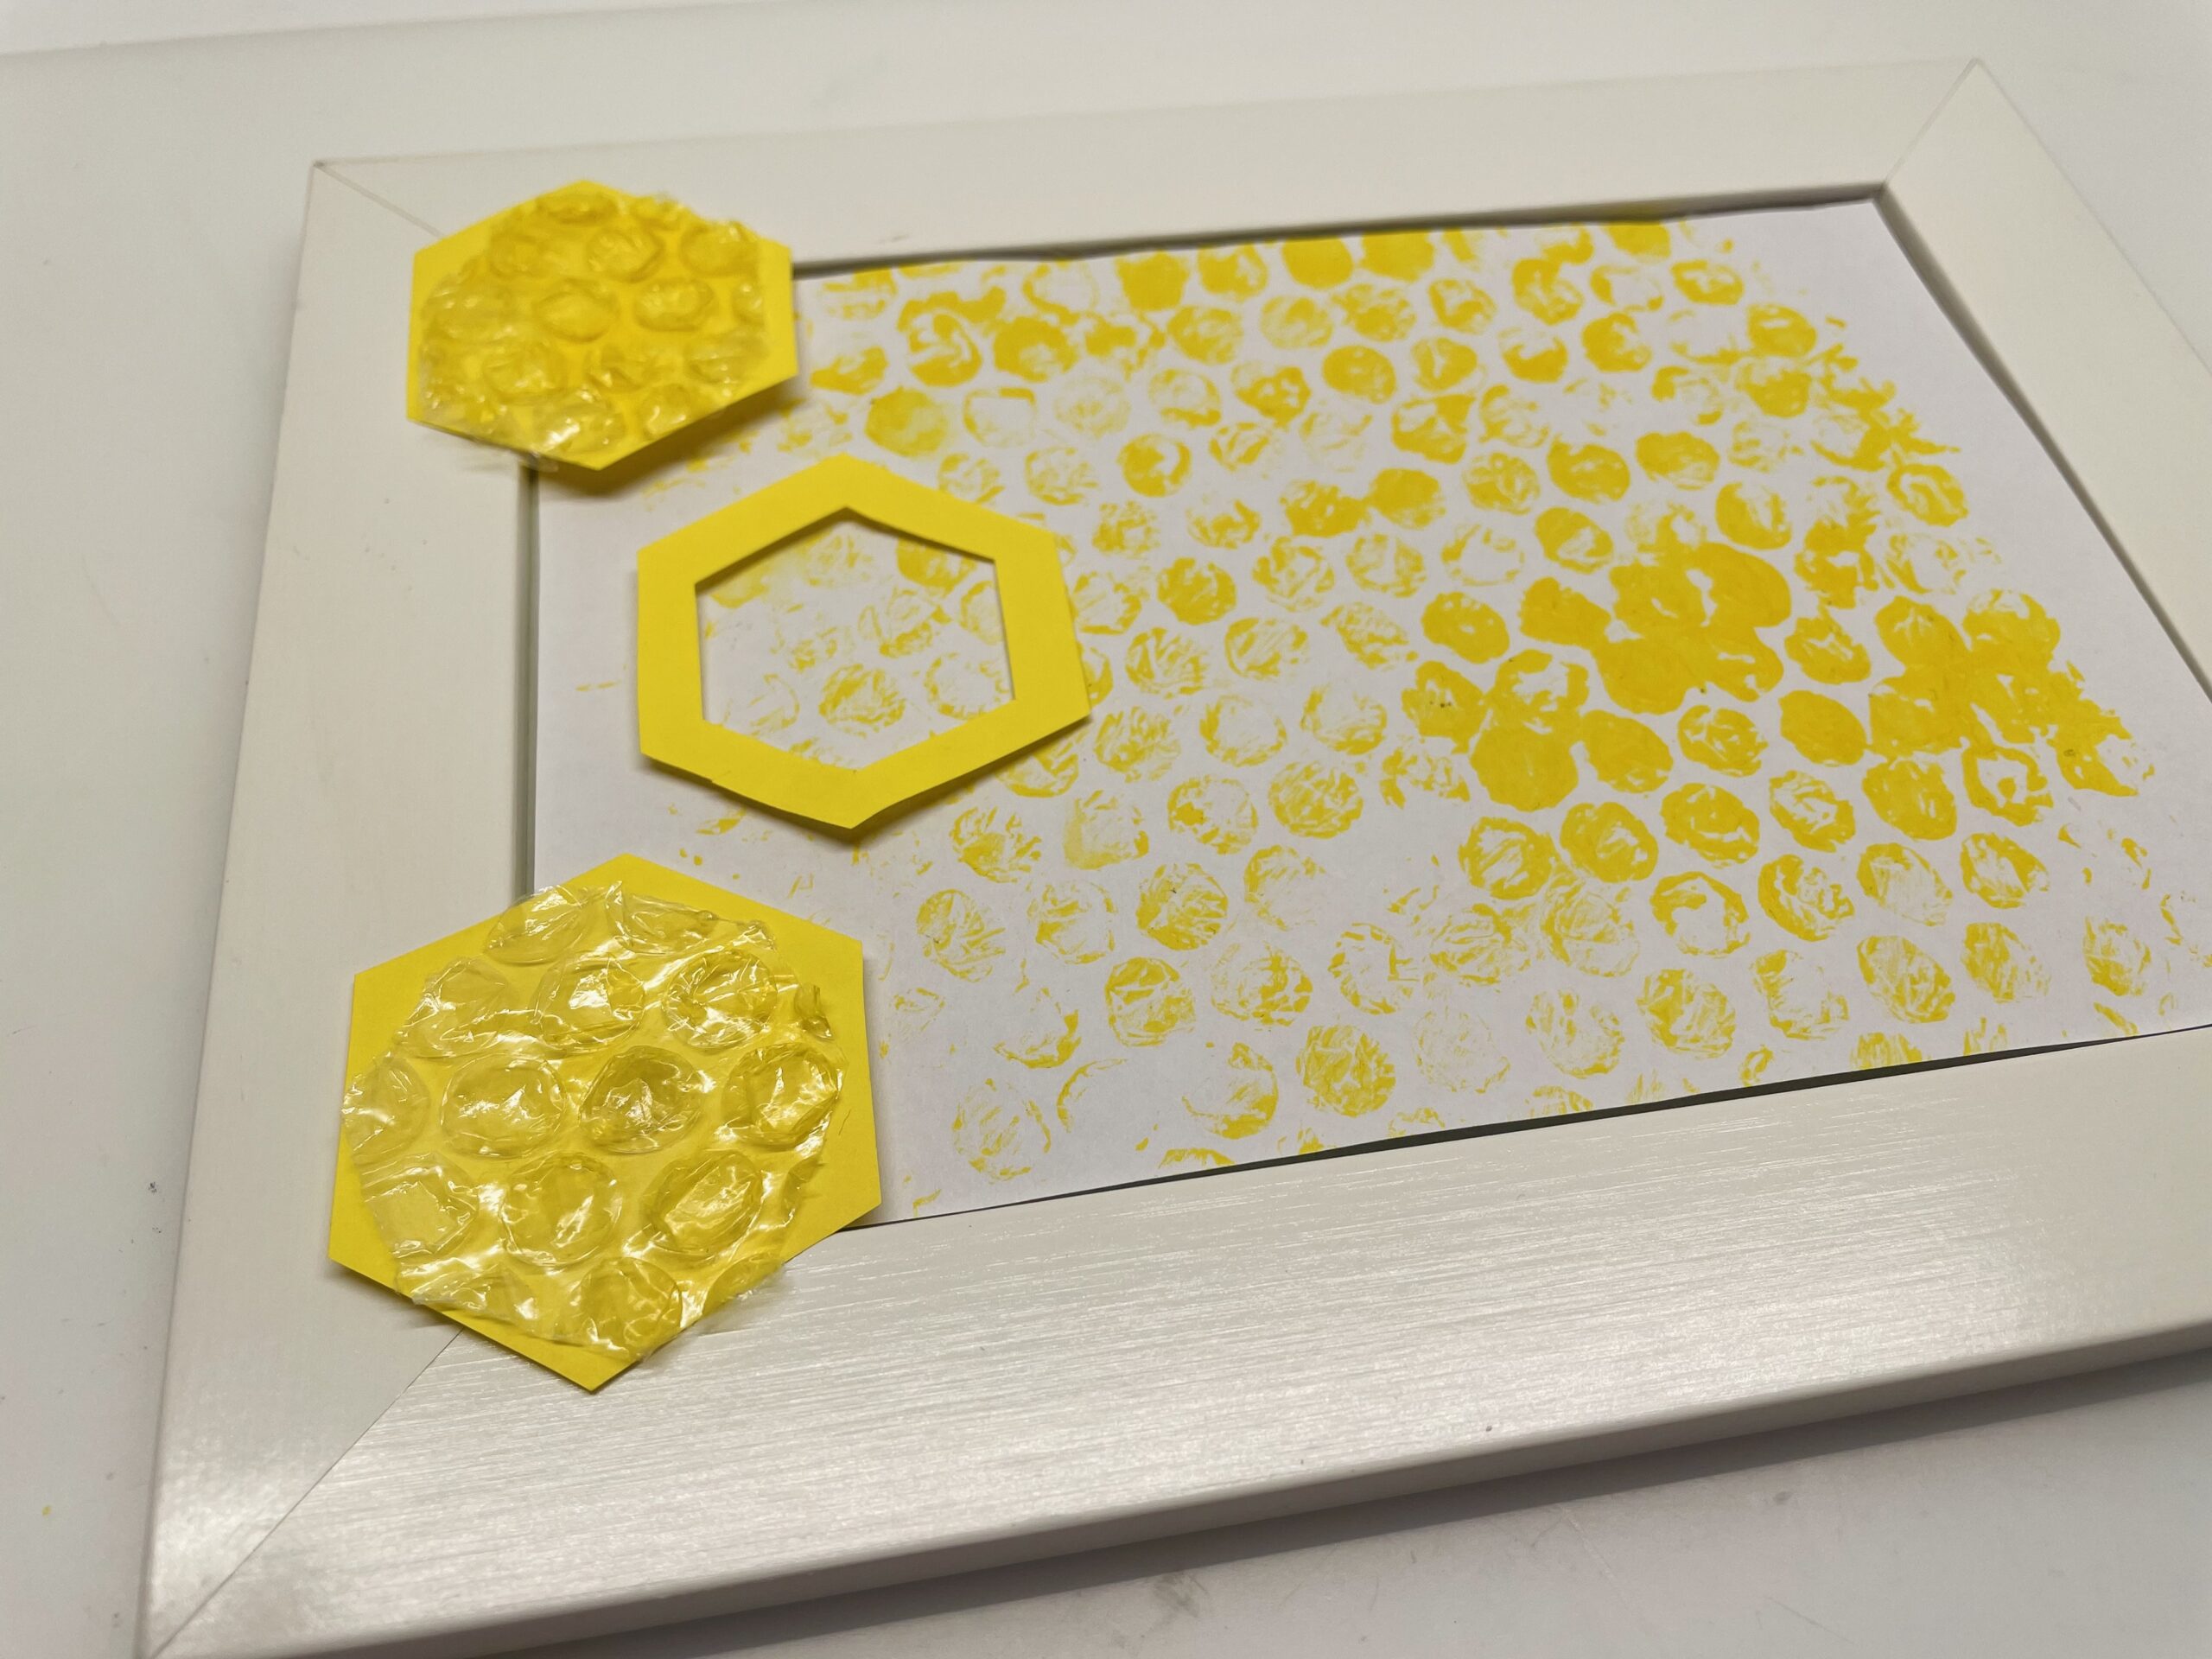
Bild zum Schritt 19 für das Bastel- und DIY-Abenteuer für Kinder: 'Vielleicht wollt ihr die Waben auch über dem Rand hinaus...'

20

After that you bring still small bees e.g. made from nutshells or made from Stones and glues it to the honeycomb image.

Bild zum Schritt 20 für das Bastel- und DIY-Abenteuer für Kinder: 'Danach bringt ihr noch kleine Bienen z.B. aus Nussschalen gebastelt...'

21

2. Bild zum Schritt 20 für das Bastel- und DIY-Abenteuer für Kinder: 'Danach bringt ihr noch kleine Bienen z.B. aus Nussschalen gebastelt...'

22

3. Bild zum Schritt 21 für das Bastel- und DIY-Abenteuer für Kinder: 'Danach bringt ihr noch kleine Bienen z.B. aus Nussschalen gebastelt...'

23

The picture frame on the topic bees is finished.

Tip: This technique is also suitable as a card, e.g. as a gift for a honey lover.

Bild zum Schritt 23 für das Bastel- und DIY-Abenteuer für Kinder: 'Fertig ist der Bilderrahmen zum Thema Bienen.   ...'

24

Enjoy crafting and stay creative!

Picture frames on the topic of bees design - bee honeycombs

Follow us on Facebook , Instagram and Pinterest
Don't miss any more adventures: Our bottle mail

Leave a Reply

Your email address will not be published.

The maximum upload file size: 5 MB. You can upload: image, document. Drop file here