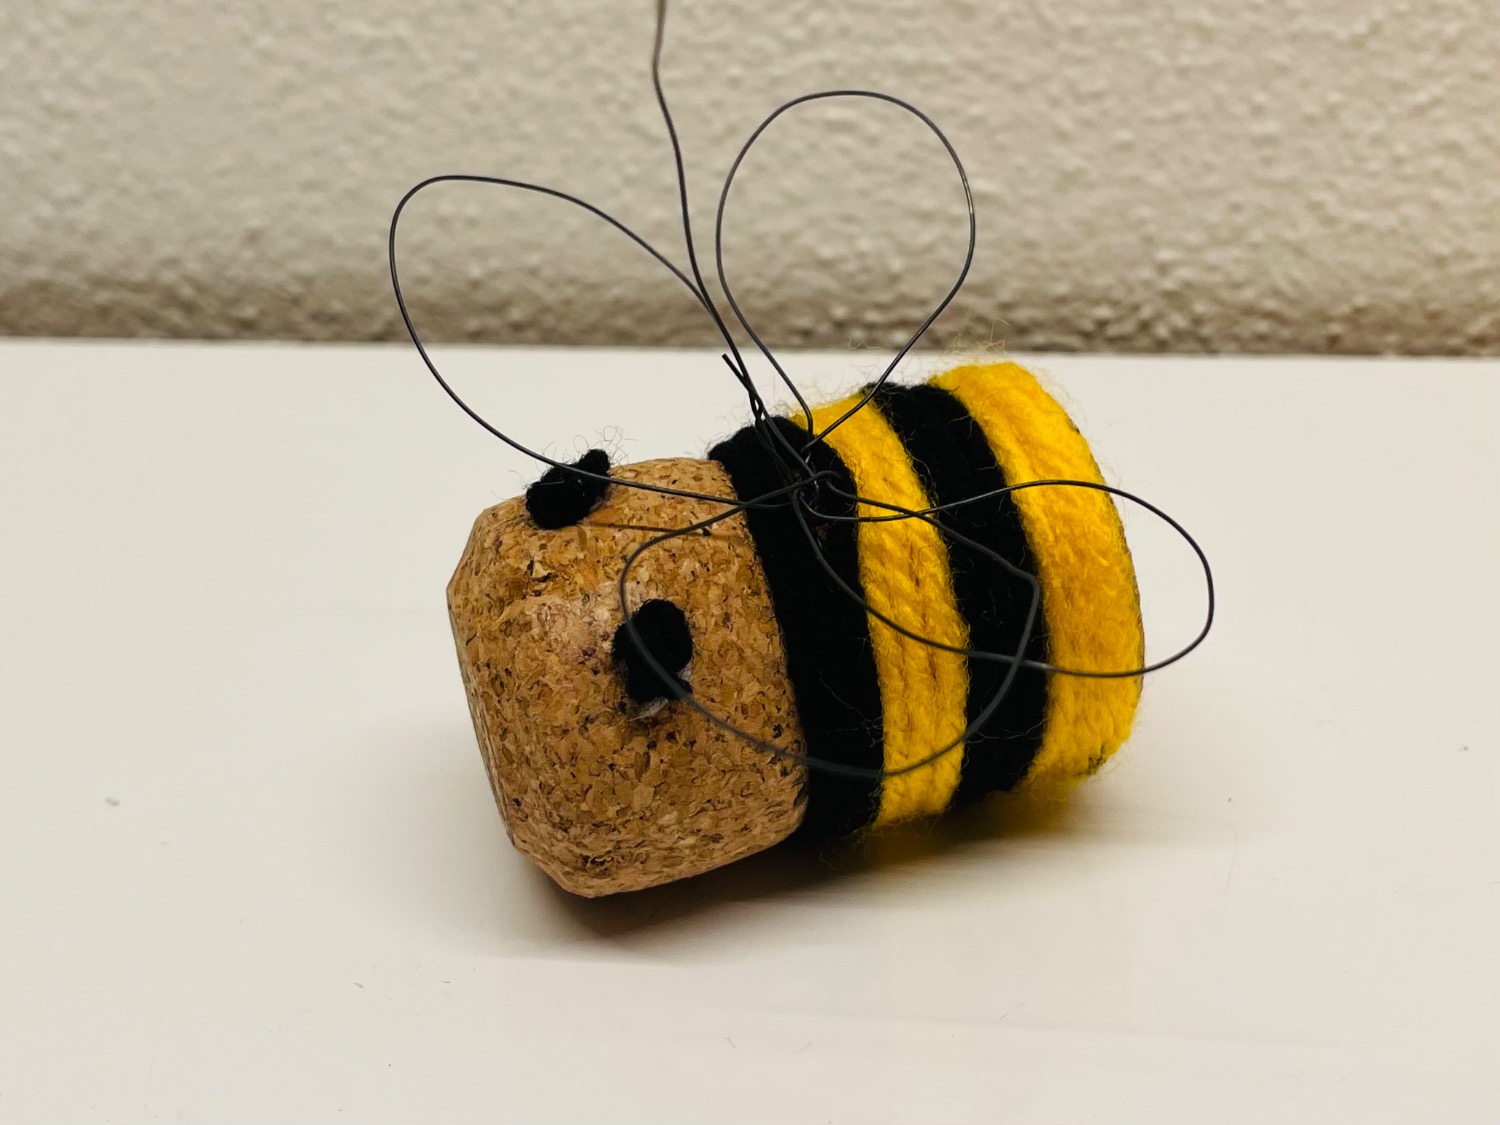
You make this bee from a thick bottle cork. The wings are something for trained craft freaks. For this you bend each wing individually from thin flower wire. A lot of patience and sensitivity is required. But the step-by-step instruction guides you well. Then look for a nice place for your work of art. Have fun crafting.
Media Education for Kindergarten and Hort

Relief in everyday life, targeted promotion of individual children, independent learning and - without any pre-knowledge already usable by the youngest!
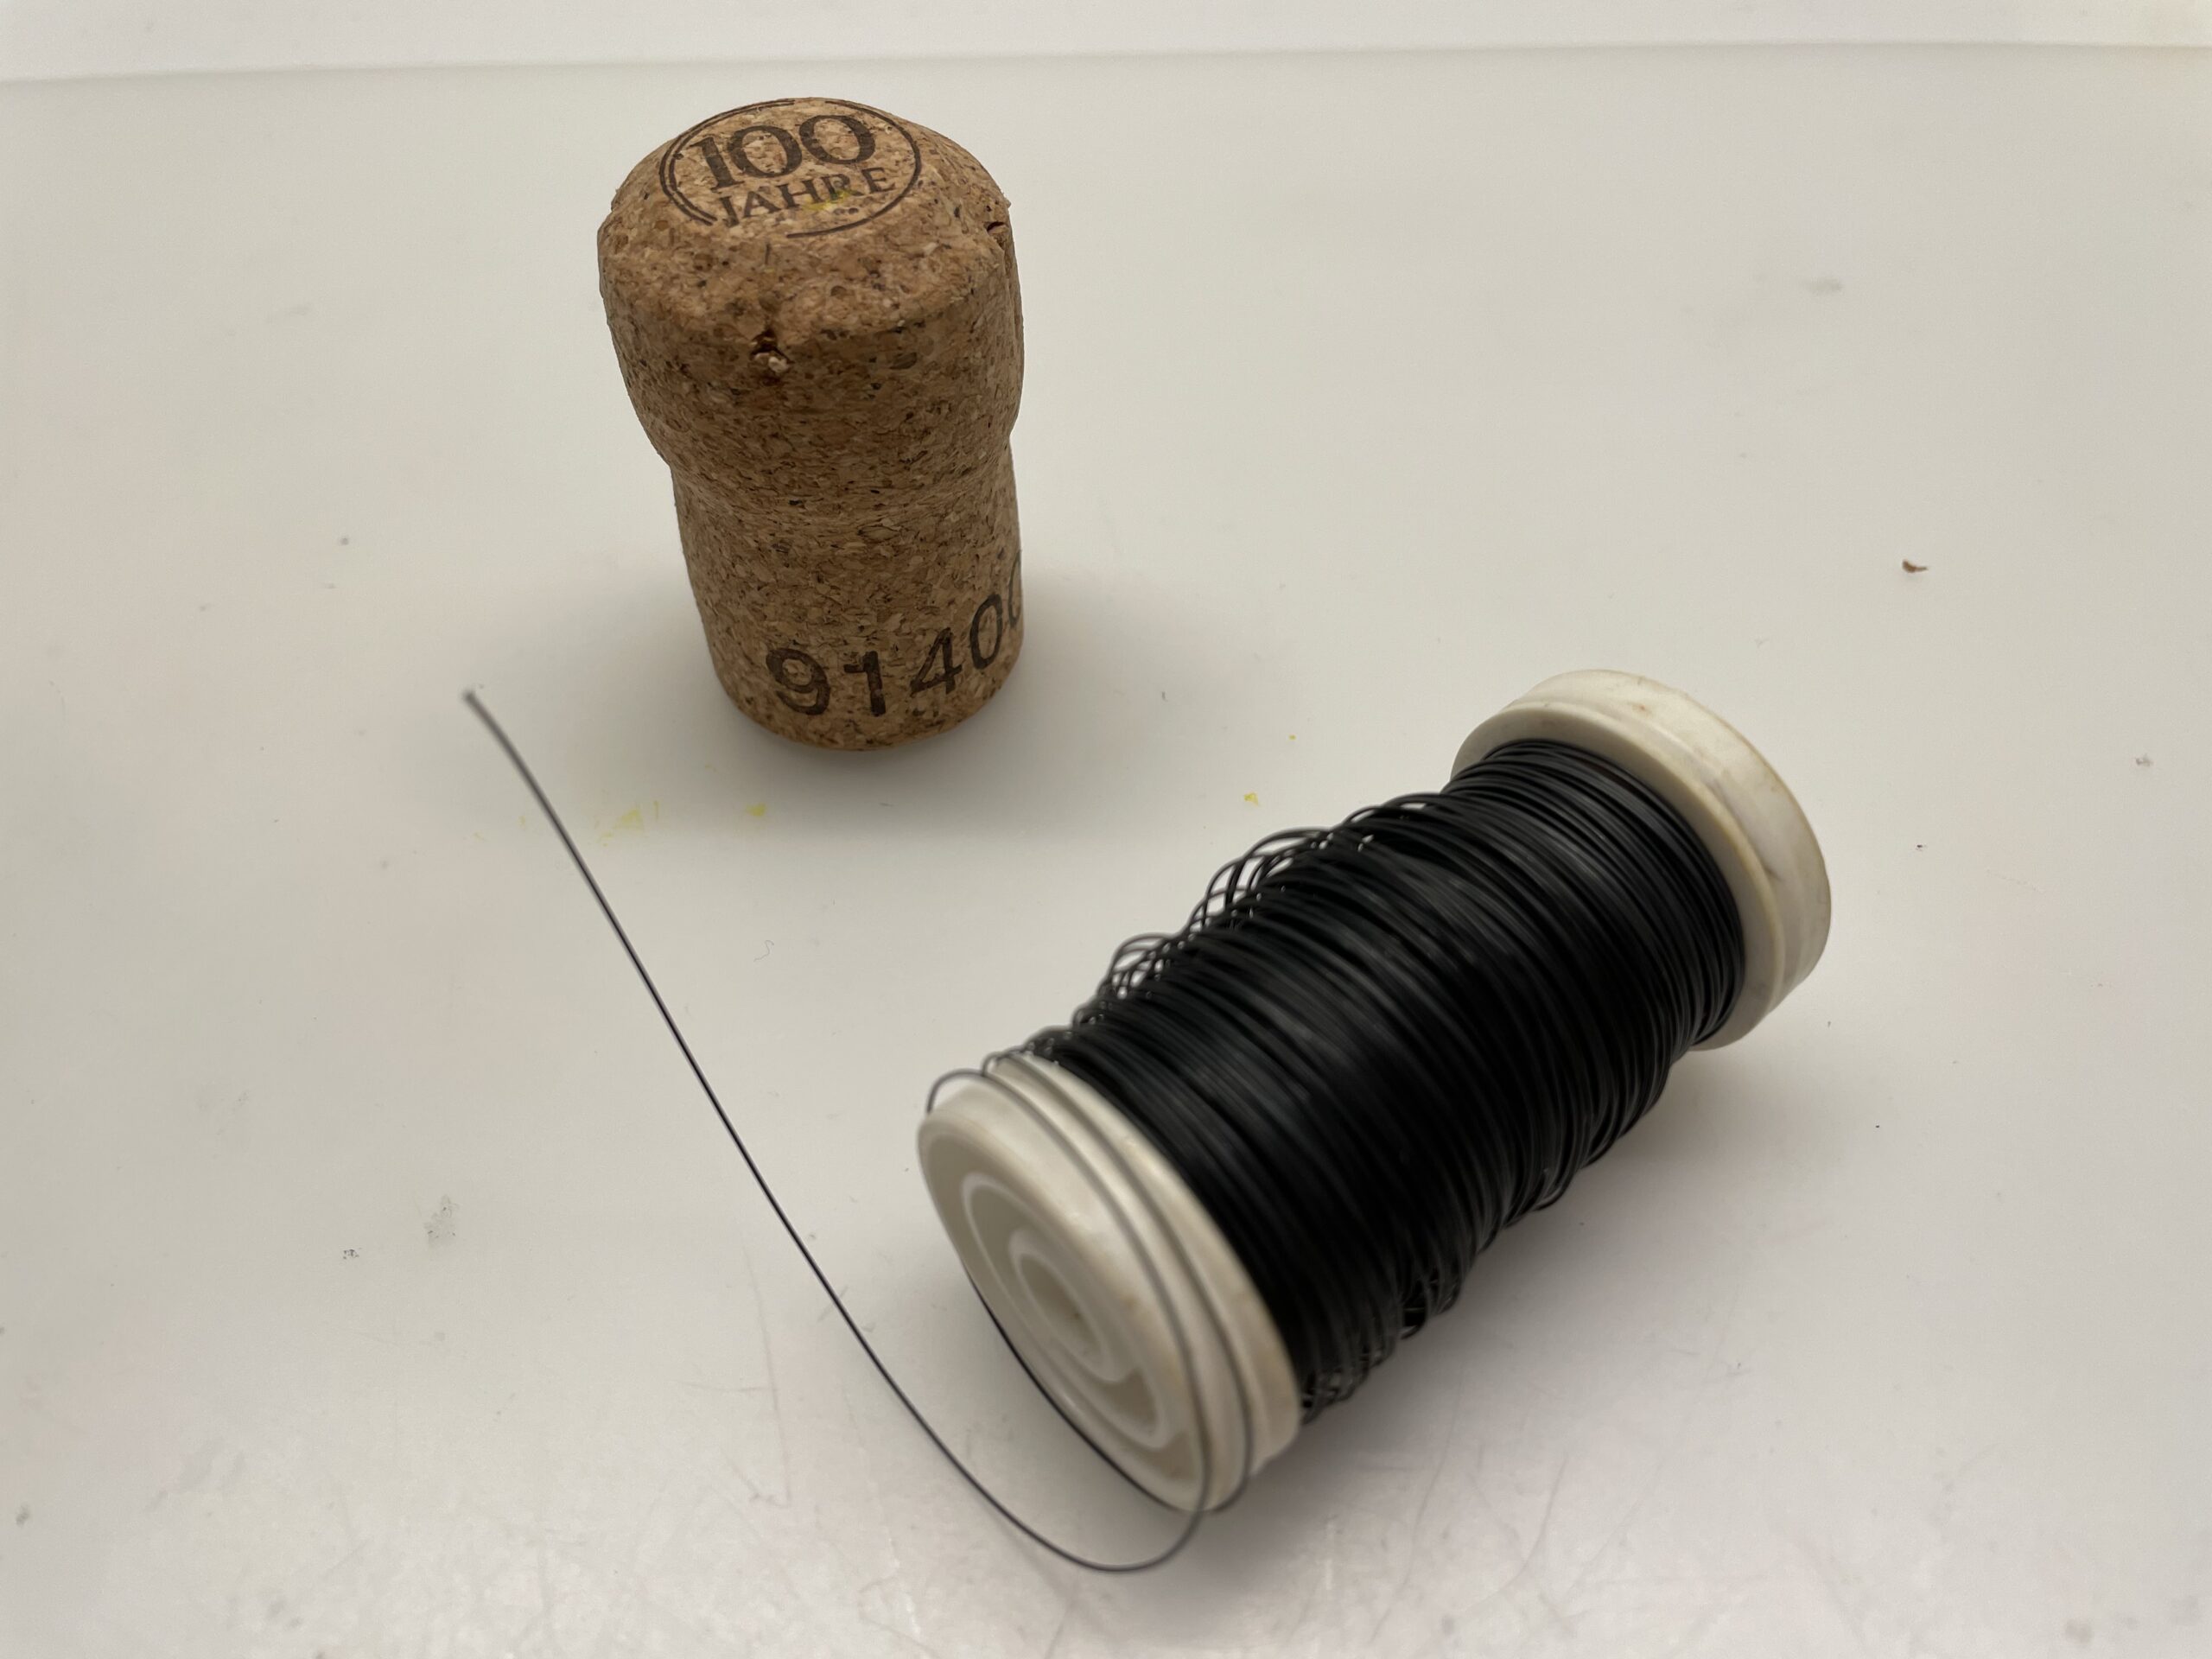
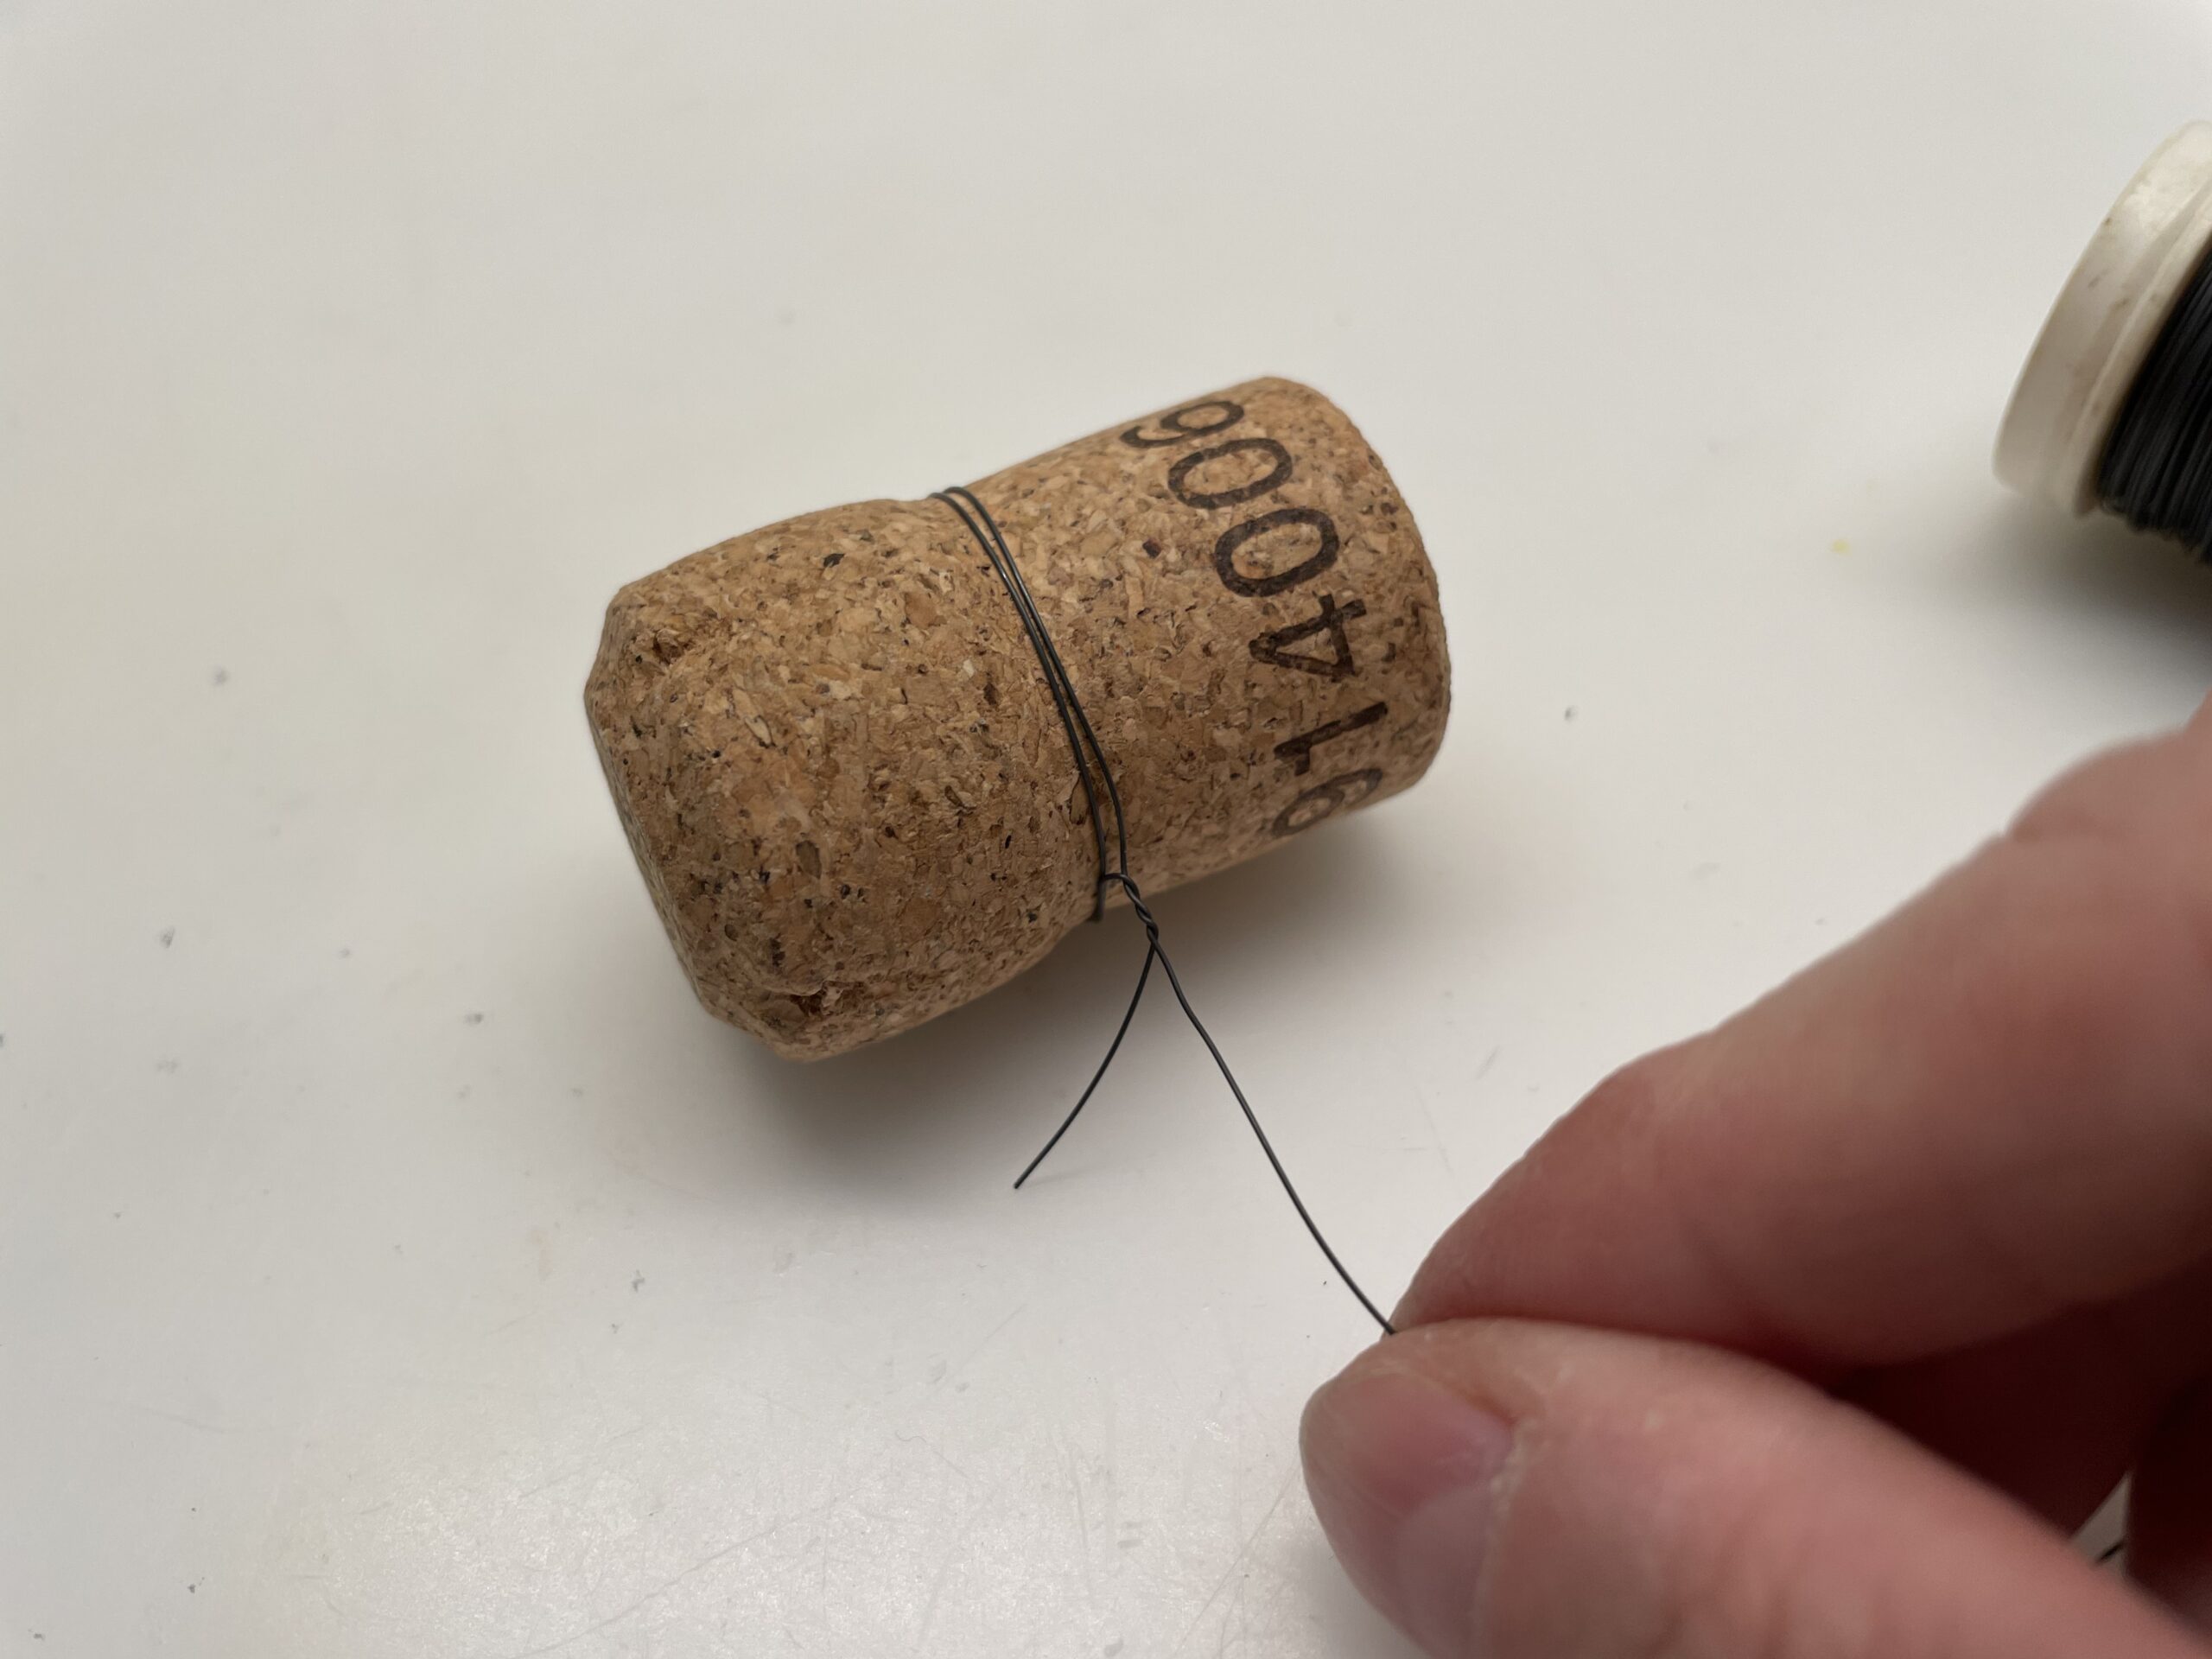
For a bee you need first a thick cork and a thin flower wire. Leave the wire on the roll and cut it off only after you have finished the wings.
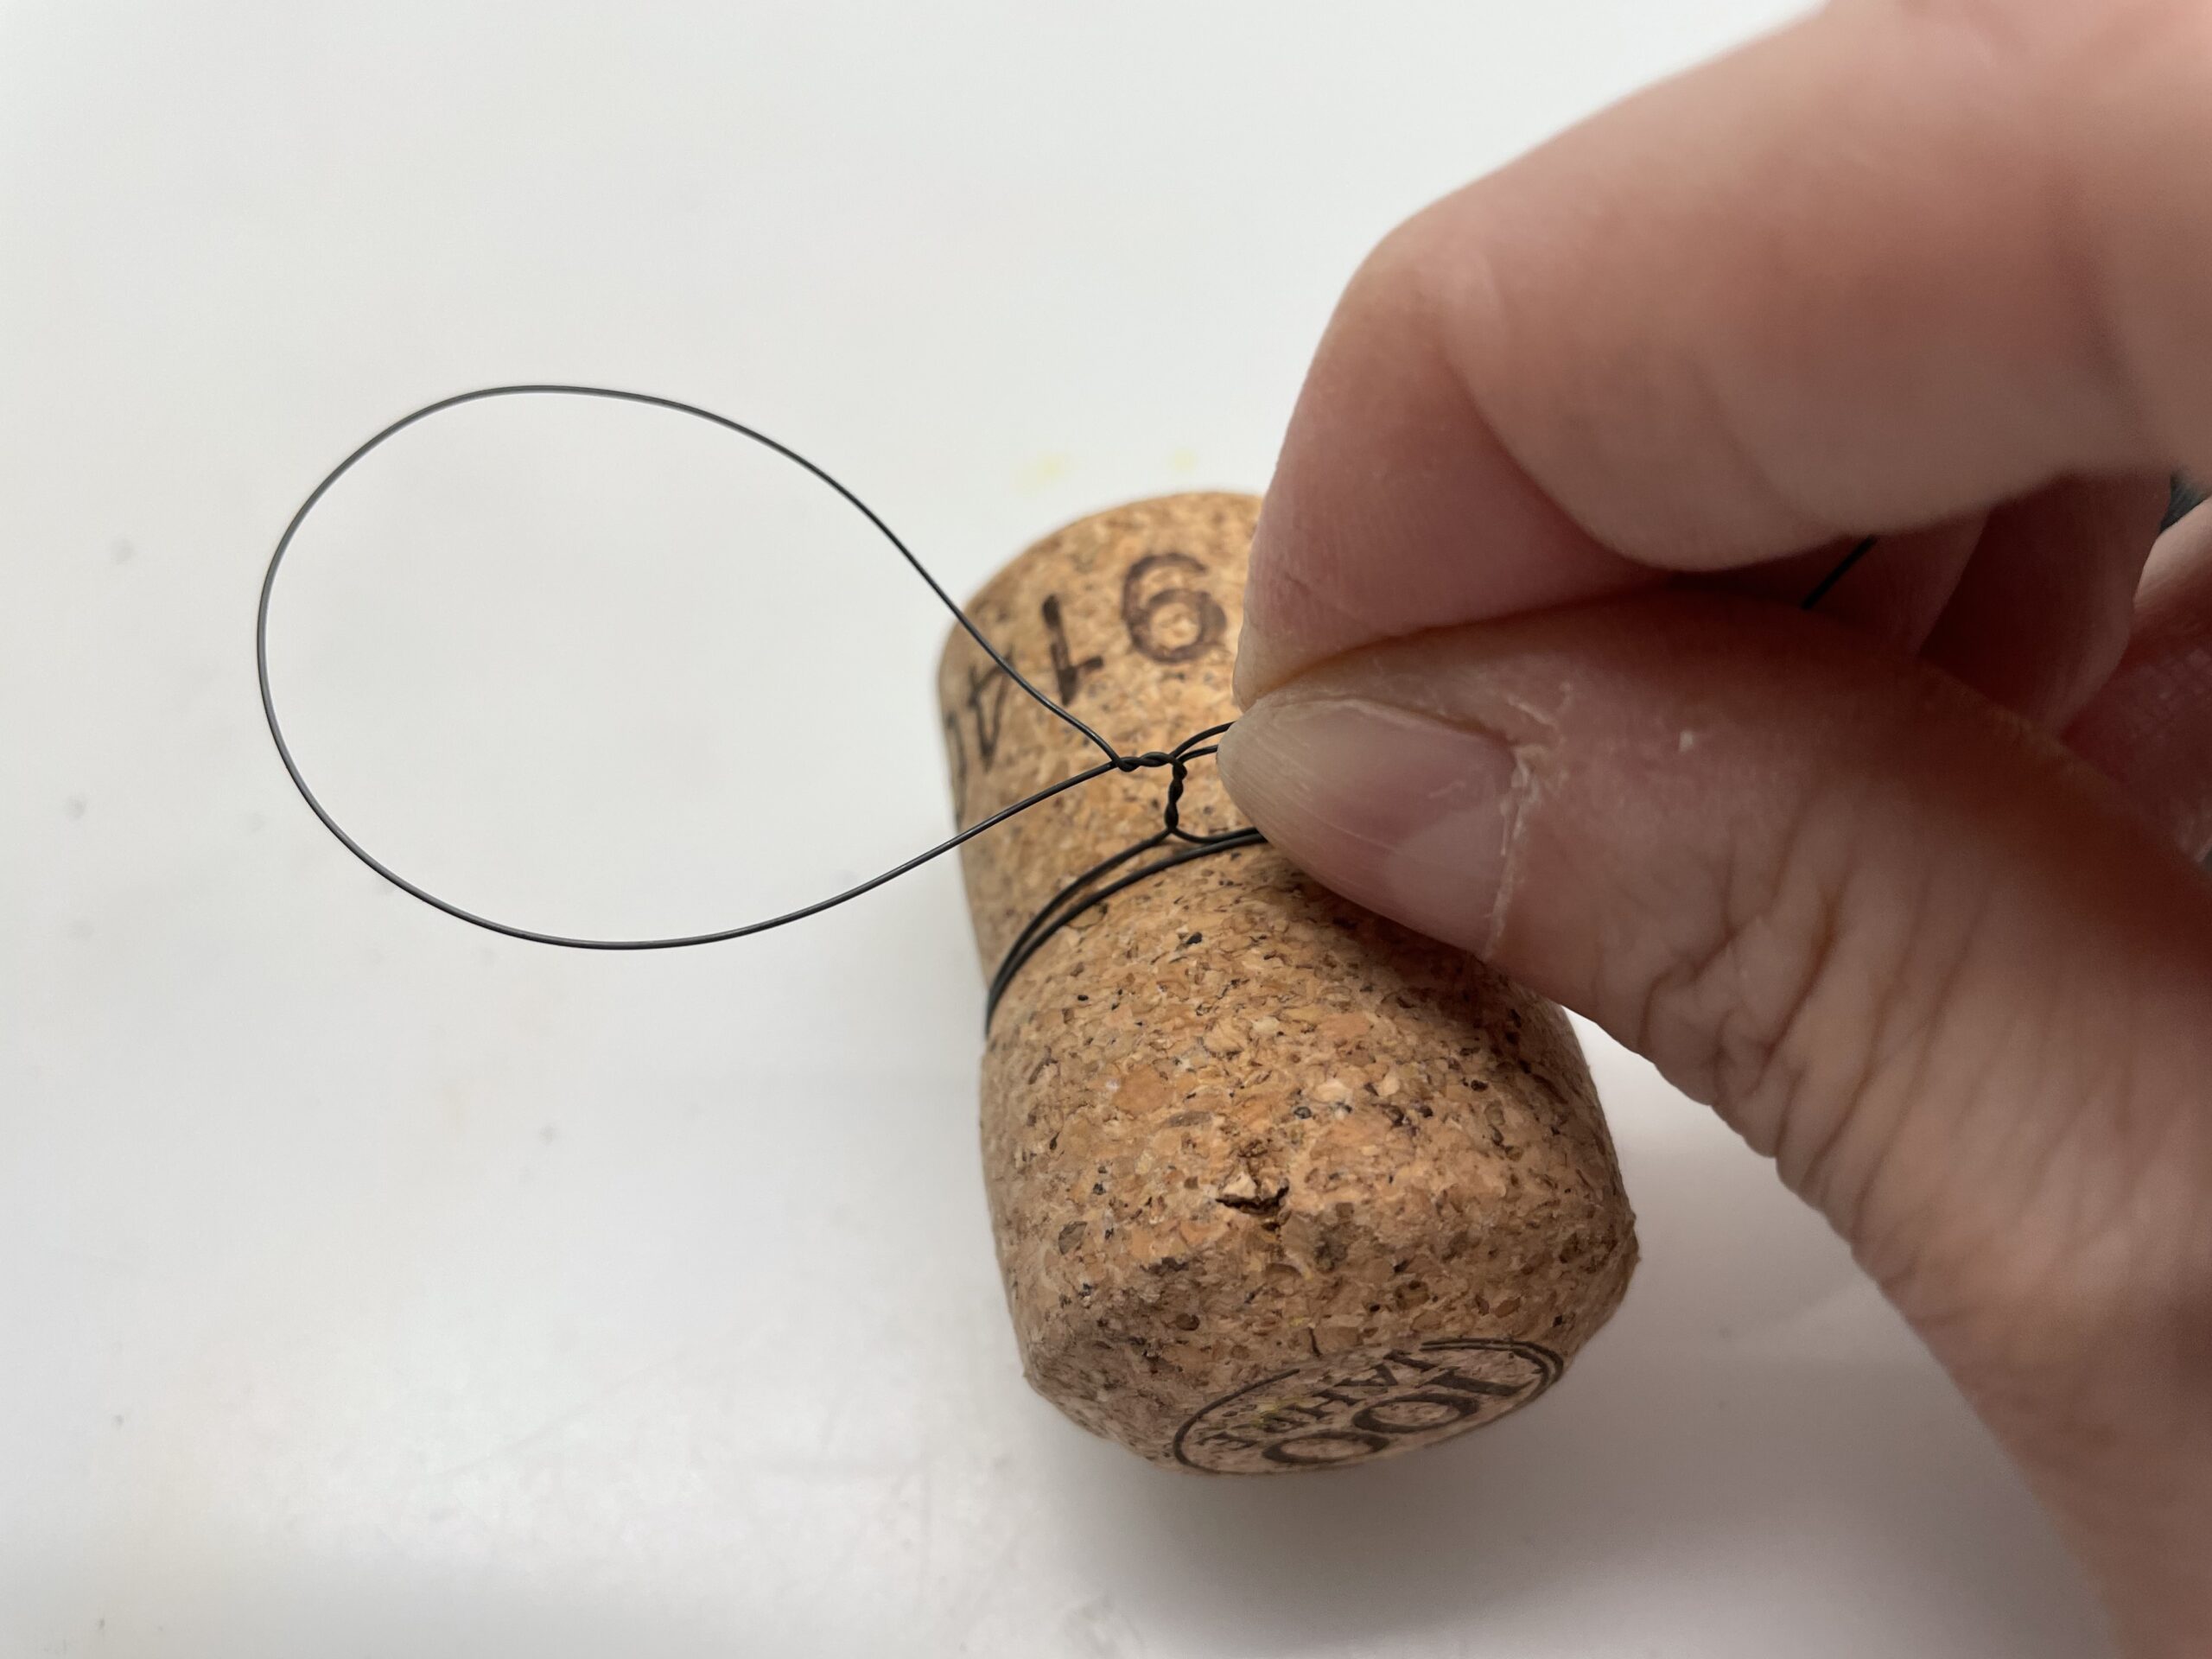
Wrap the wire around your corks first twice.

Places the wire below the thicker part of the cork.
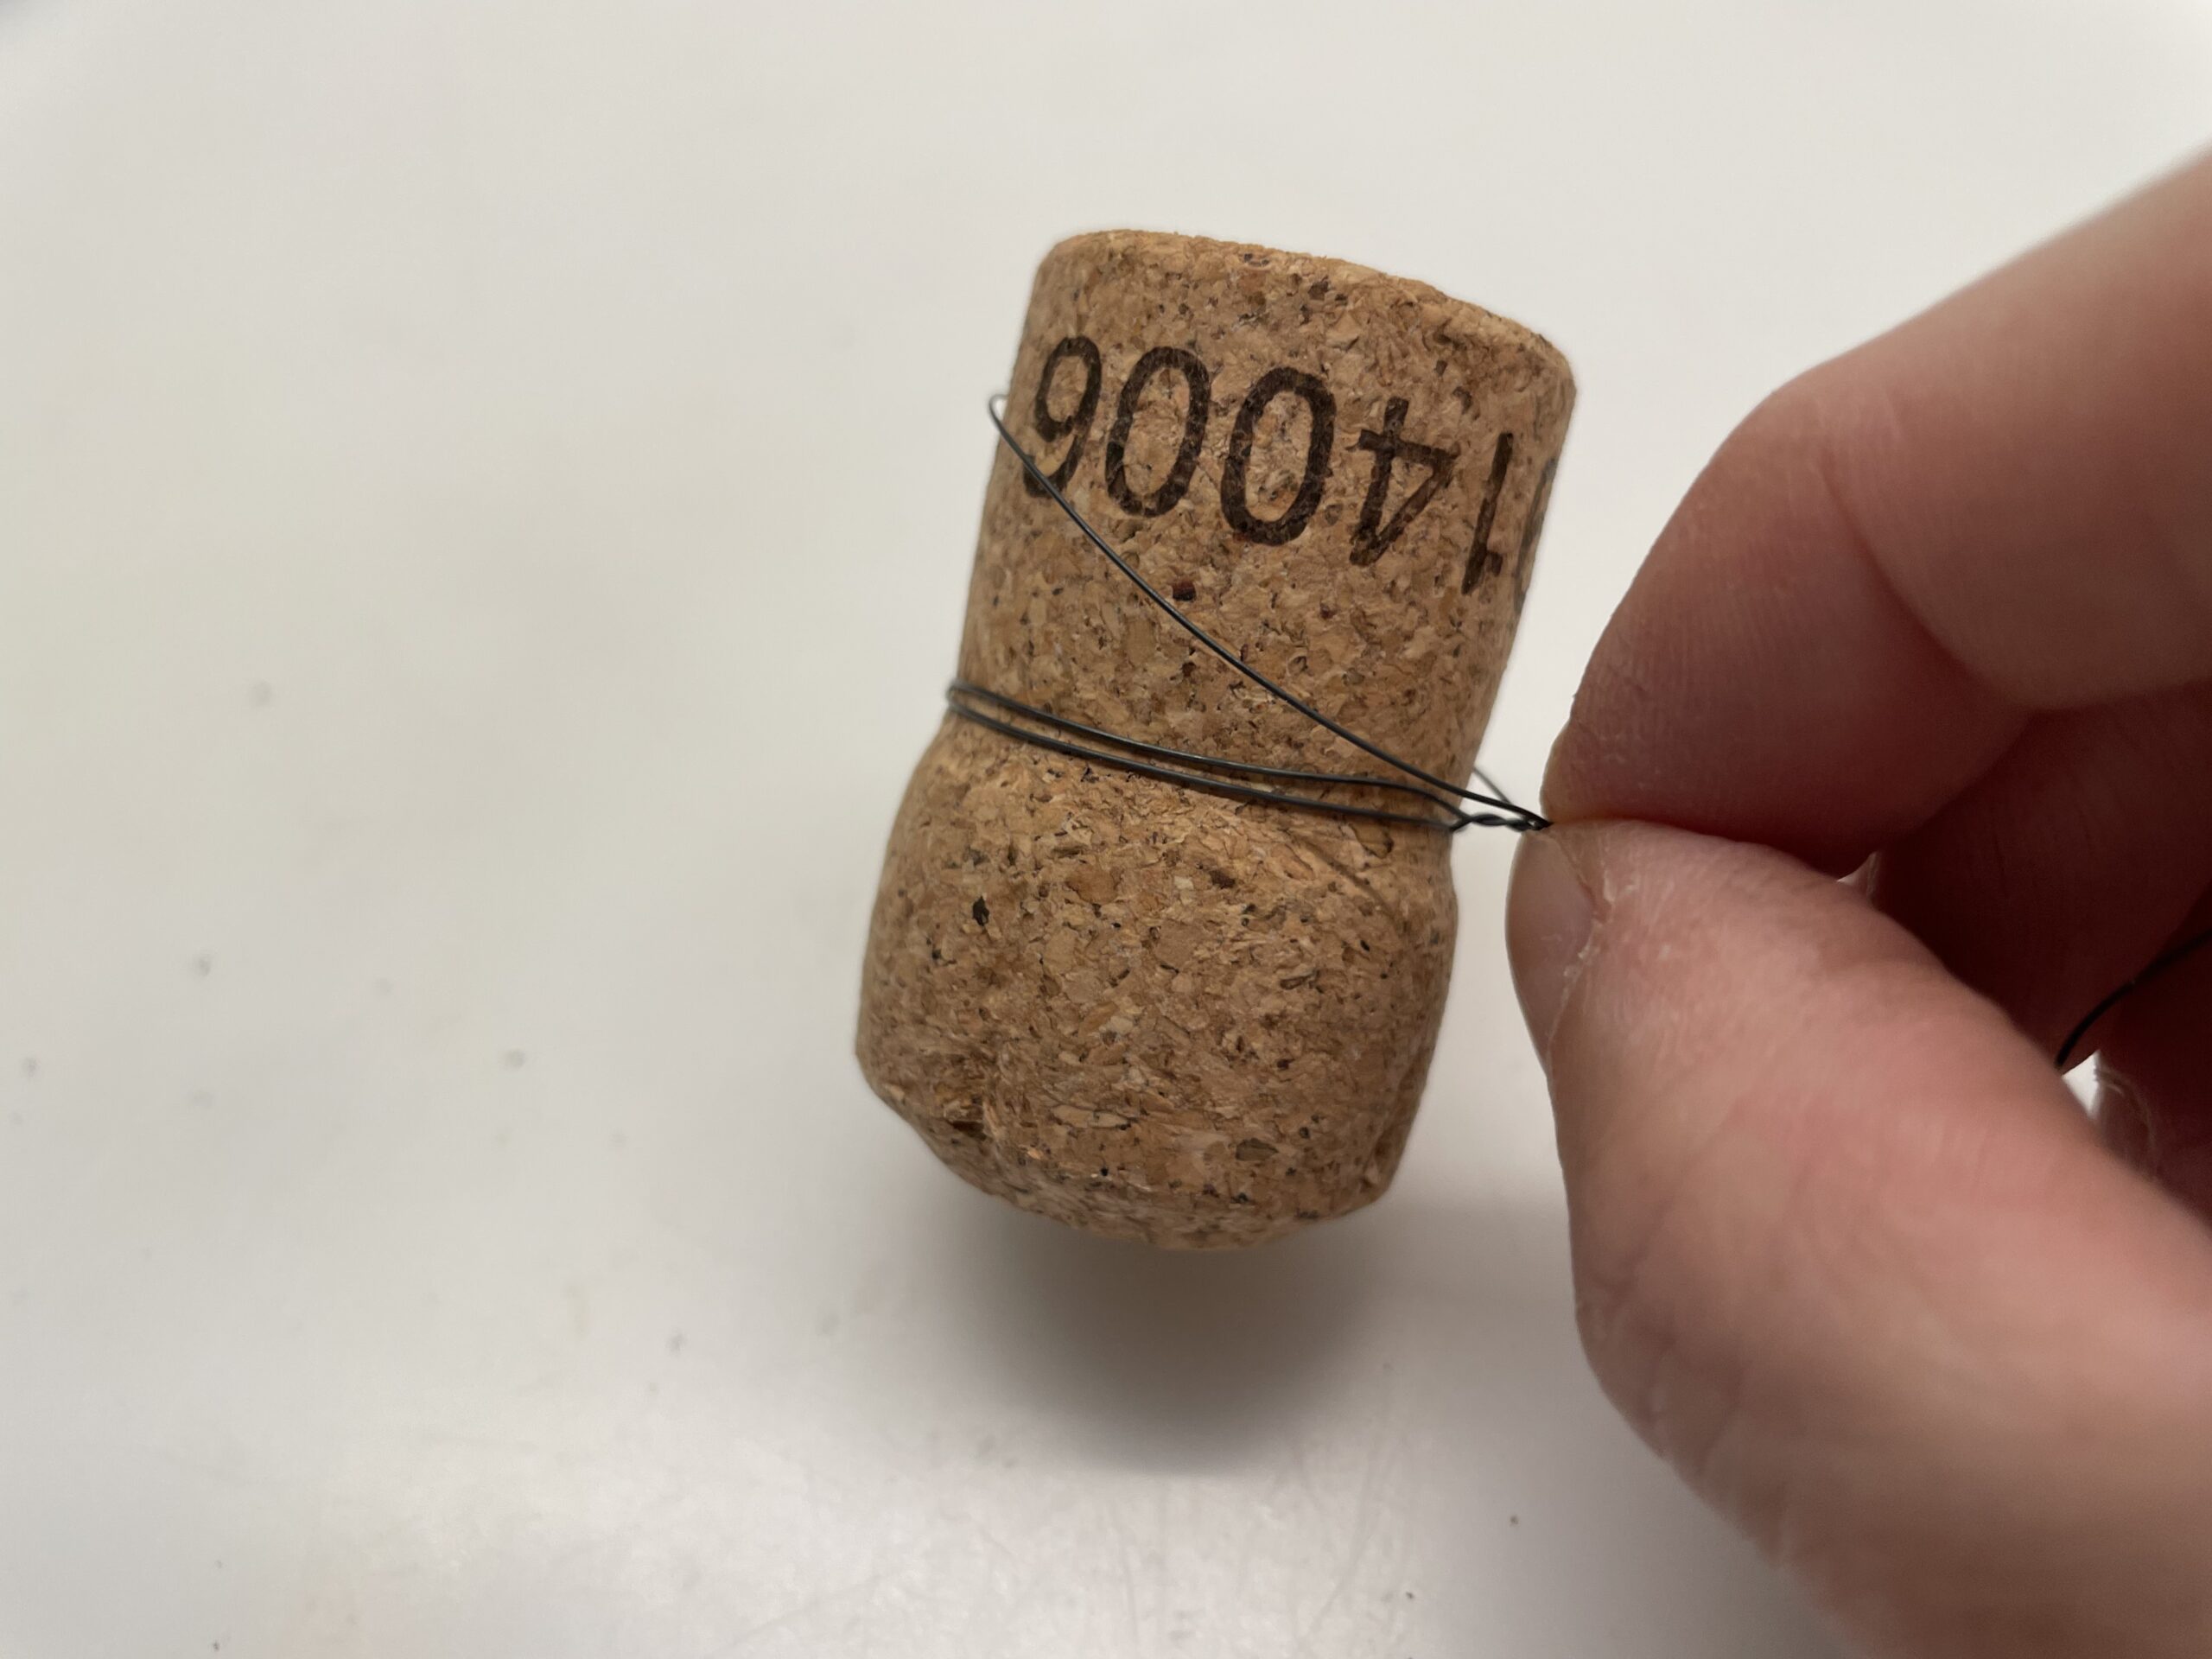
Let the end of the wire survive a bit and bend it around the long end of the wire to attach it firmly to the corks.
Now you press both wires firmly together with two fingers and turn the cork with the other hand several times in one direction. Thus the wire twists and sits firmly on the cork.
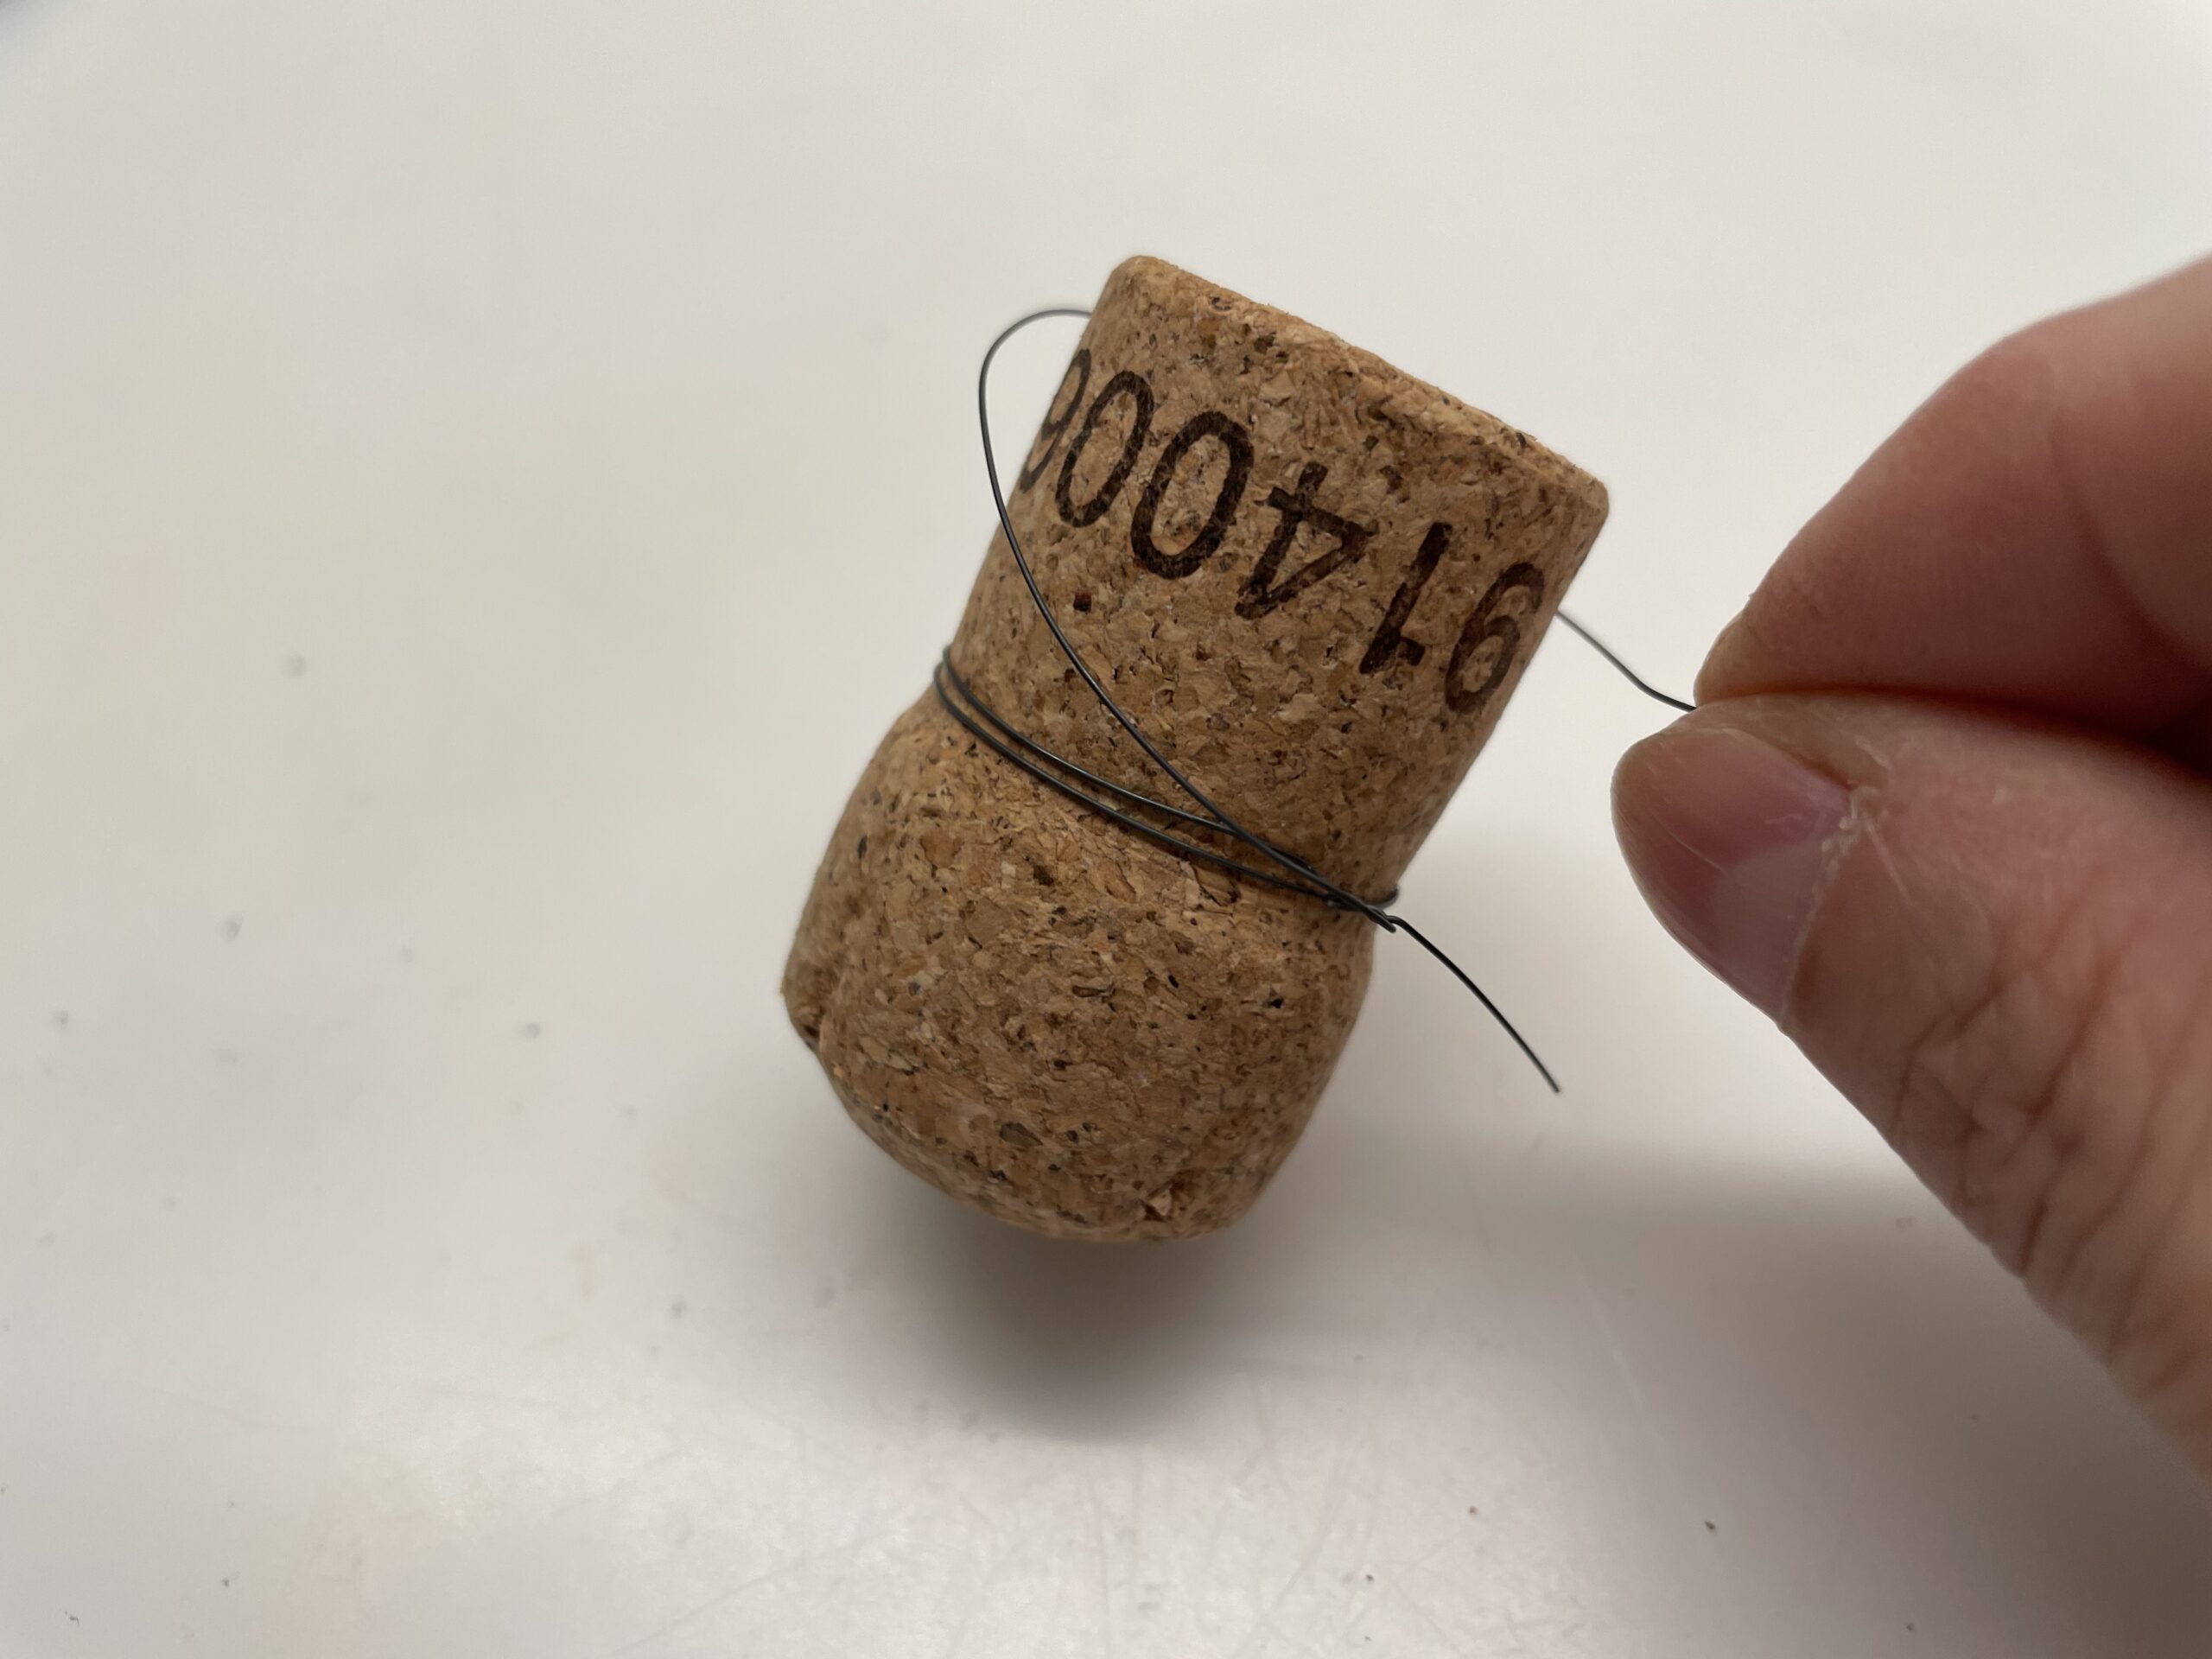
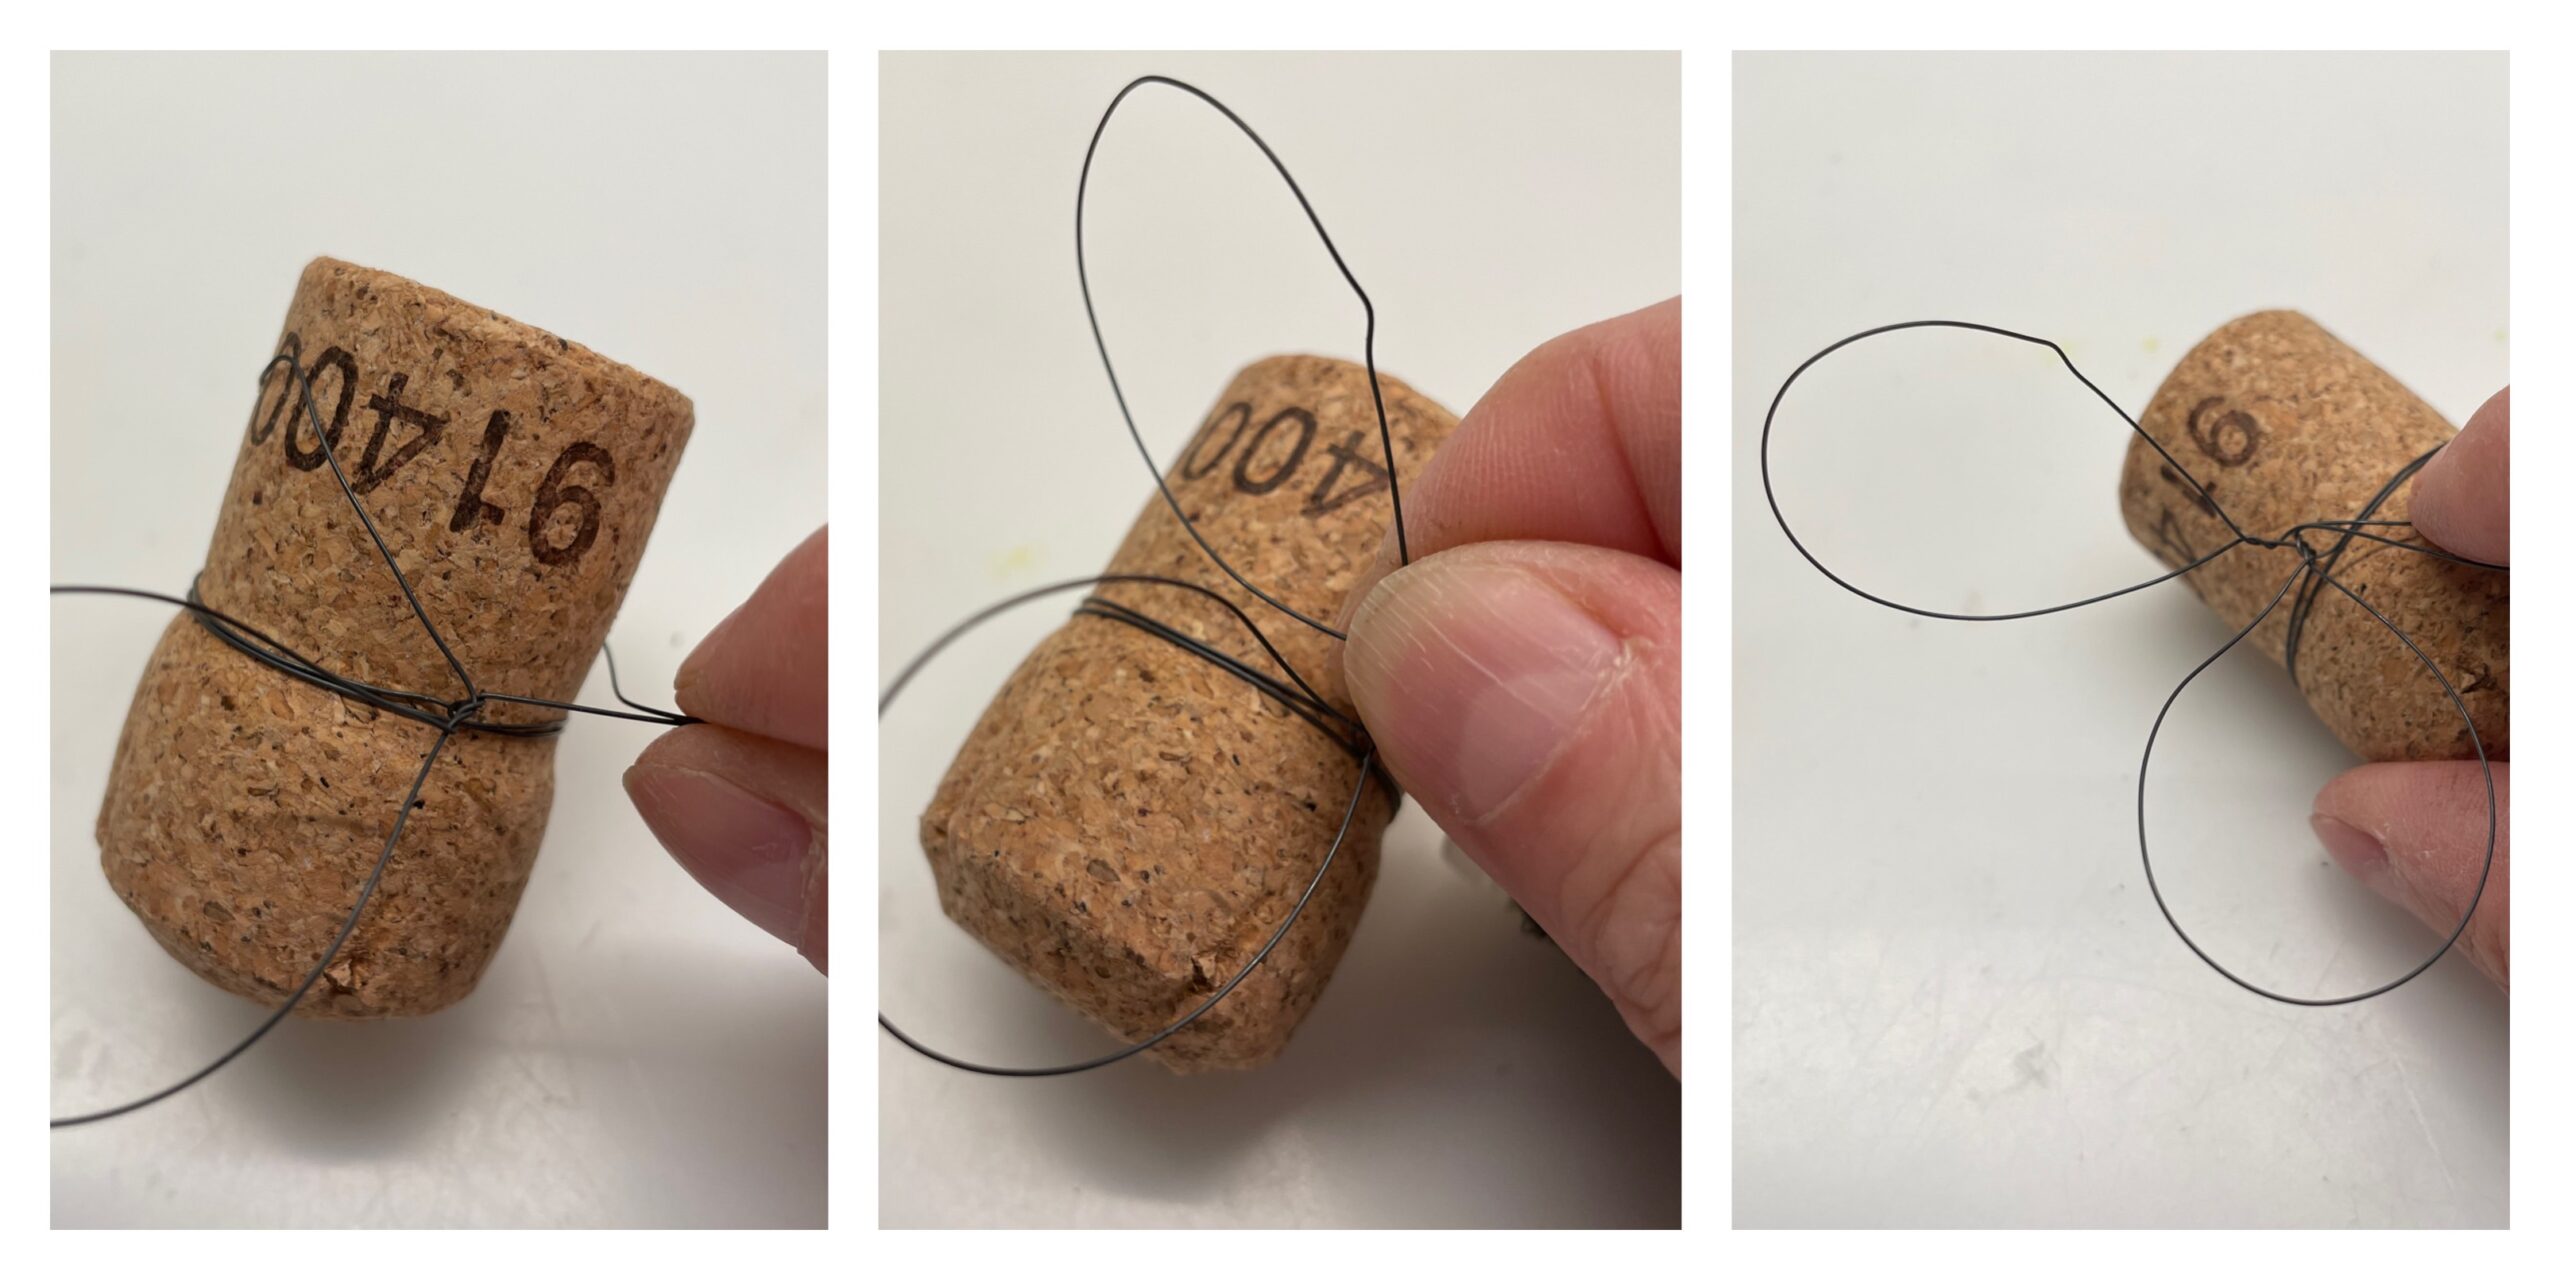
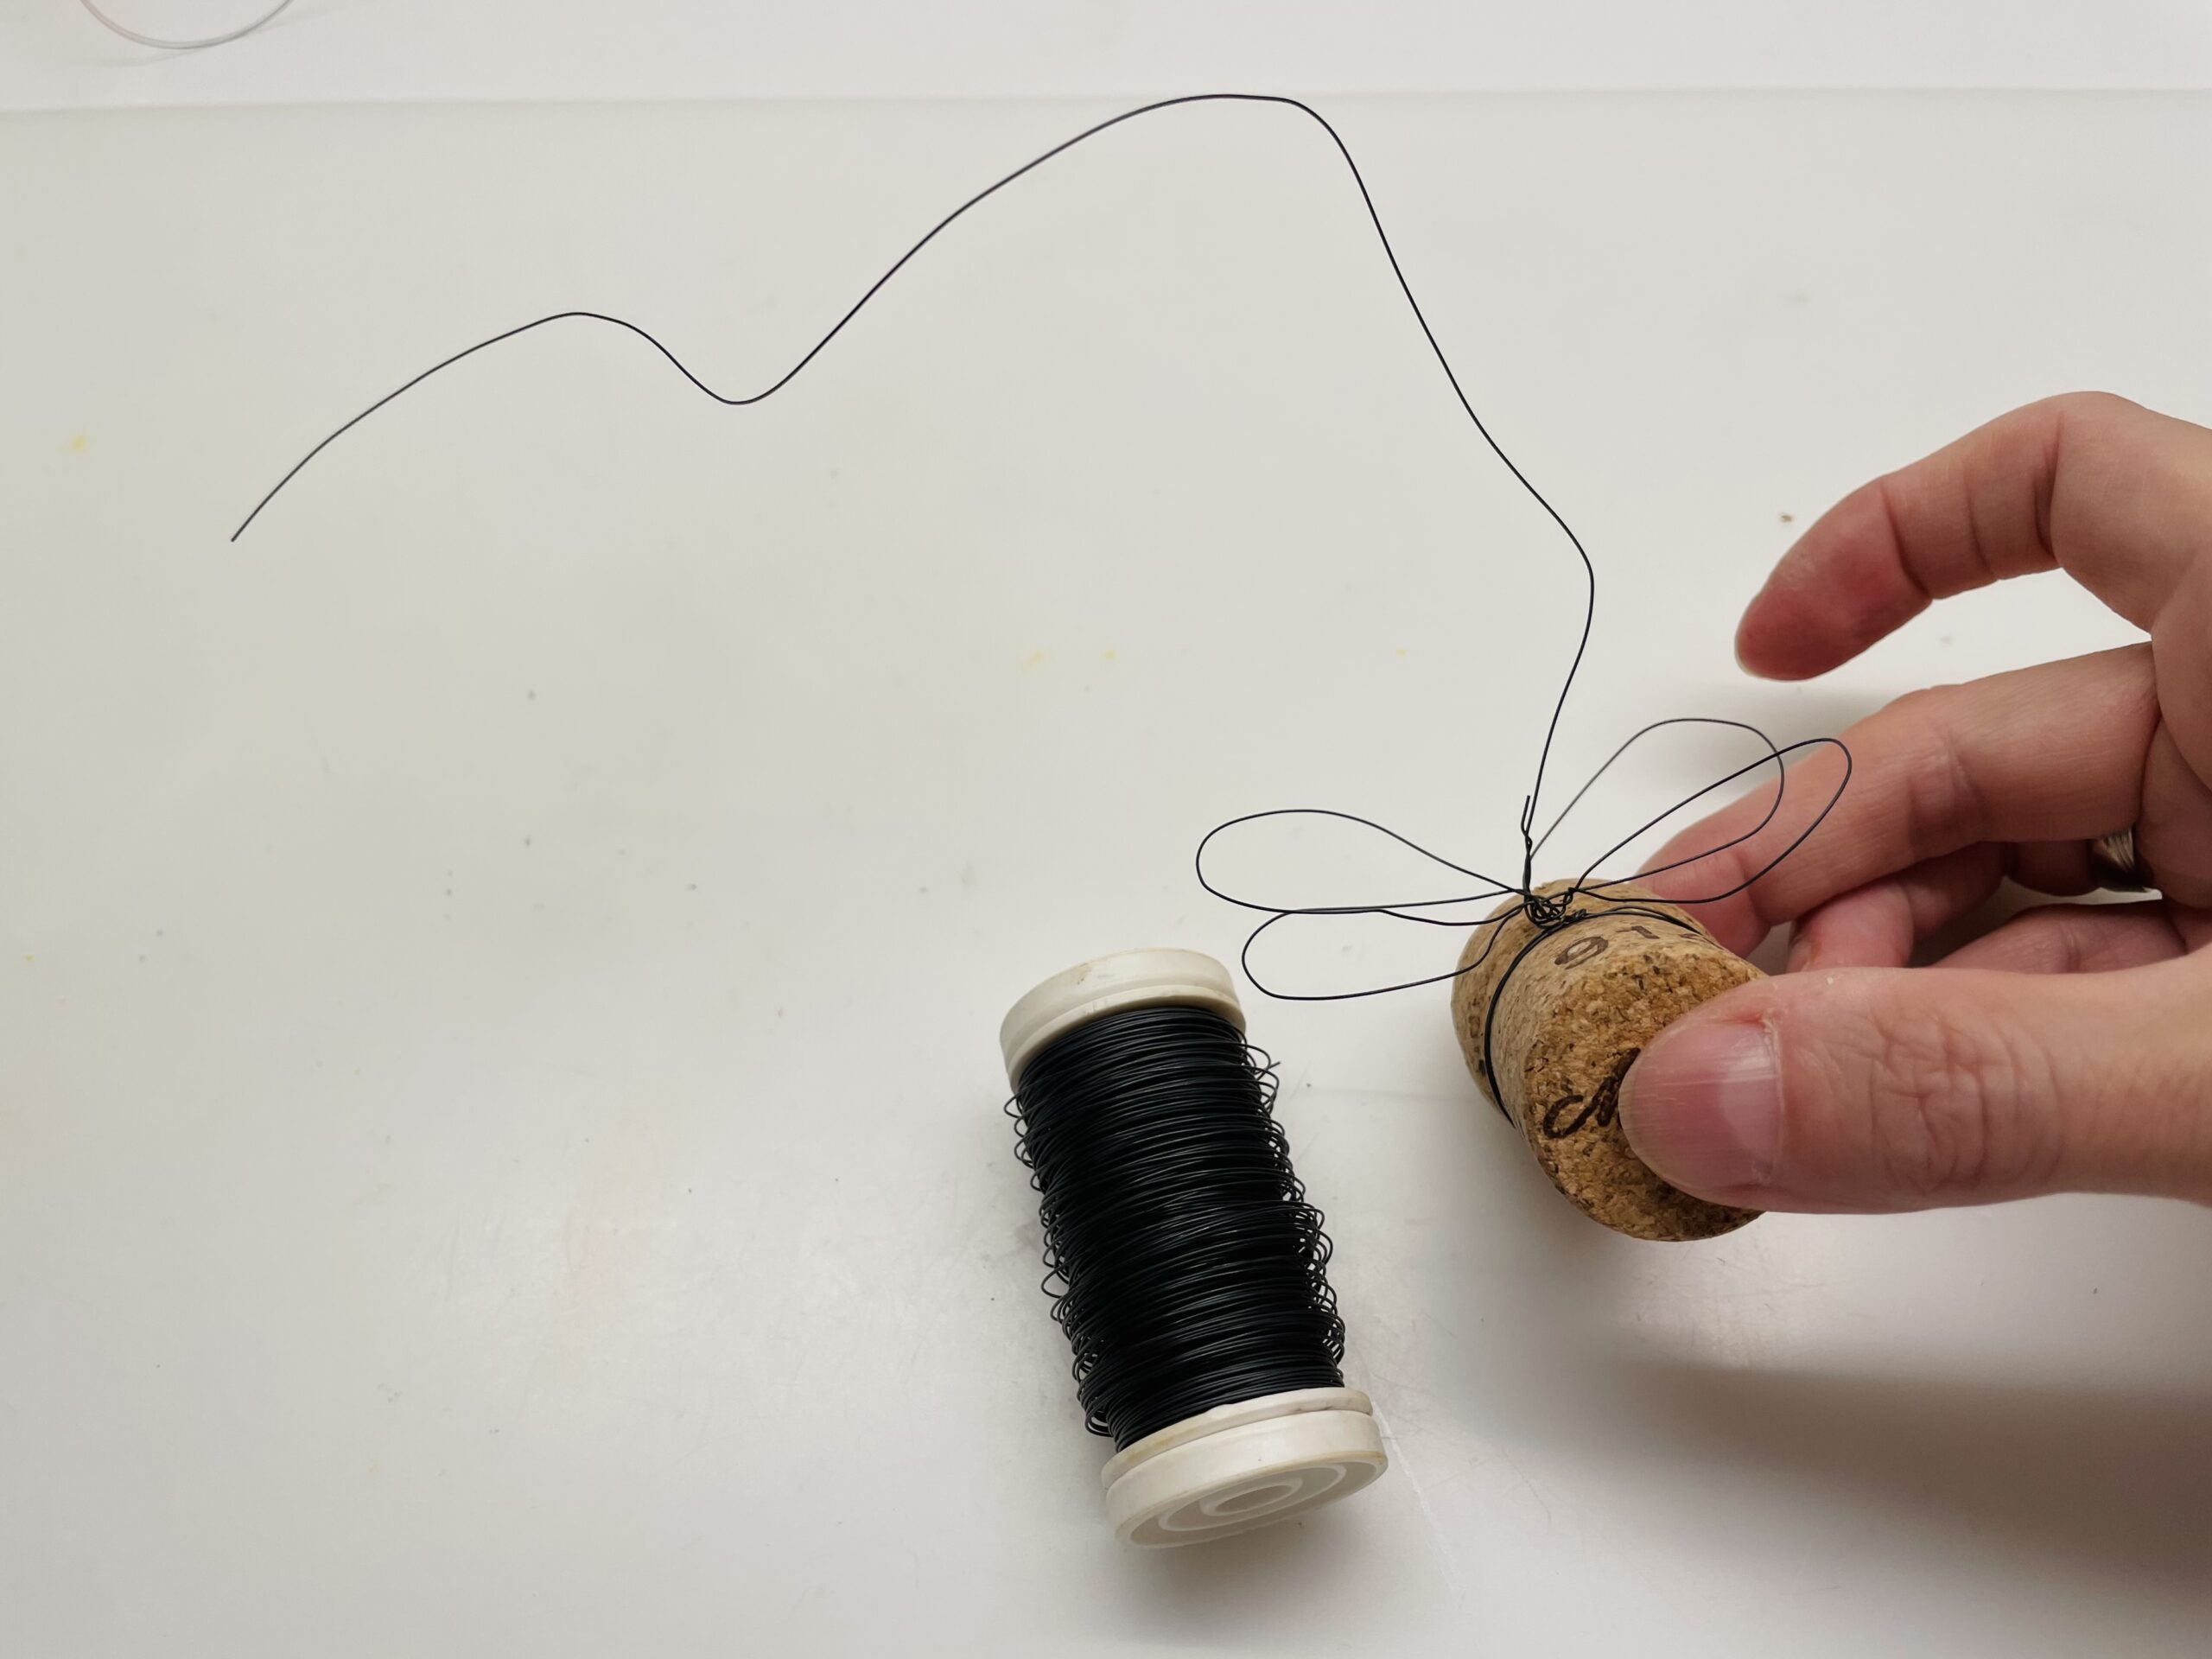
Now you bend the wings. For this you need four loops, which you make one after the other. First you measure the length for the wire for one loop. Now place the wire loosely around the cork. Then you have the length measure for the first loop.
Put the loop on the cork and hold it with two fingers.
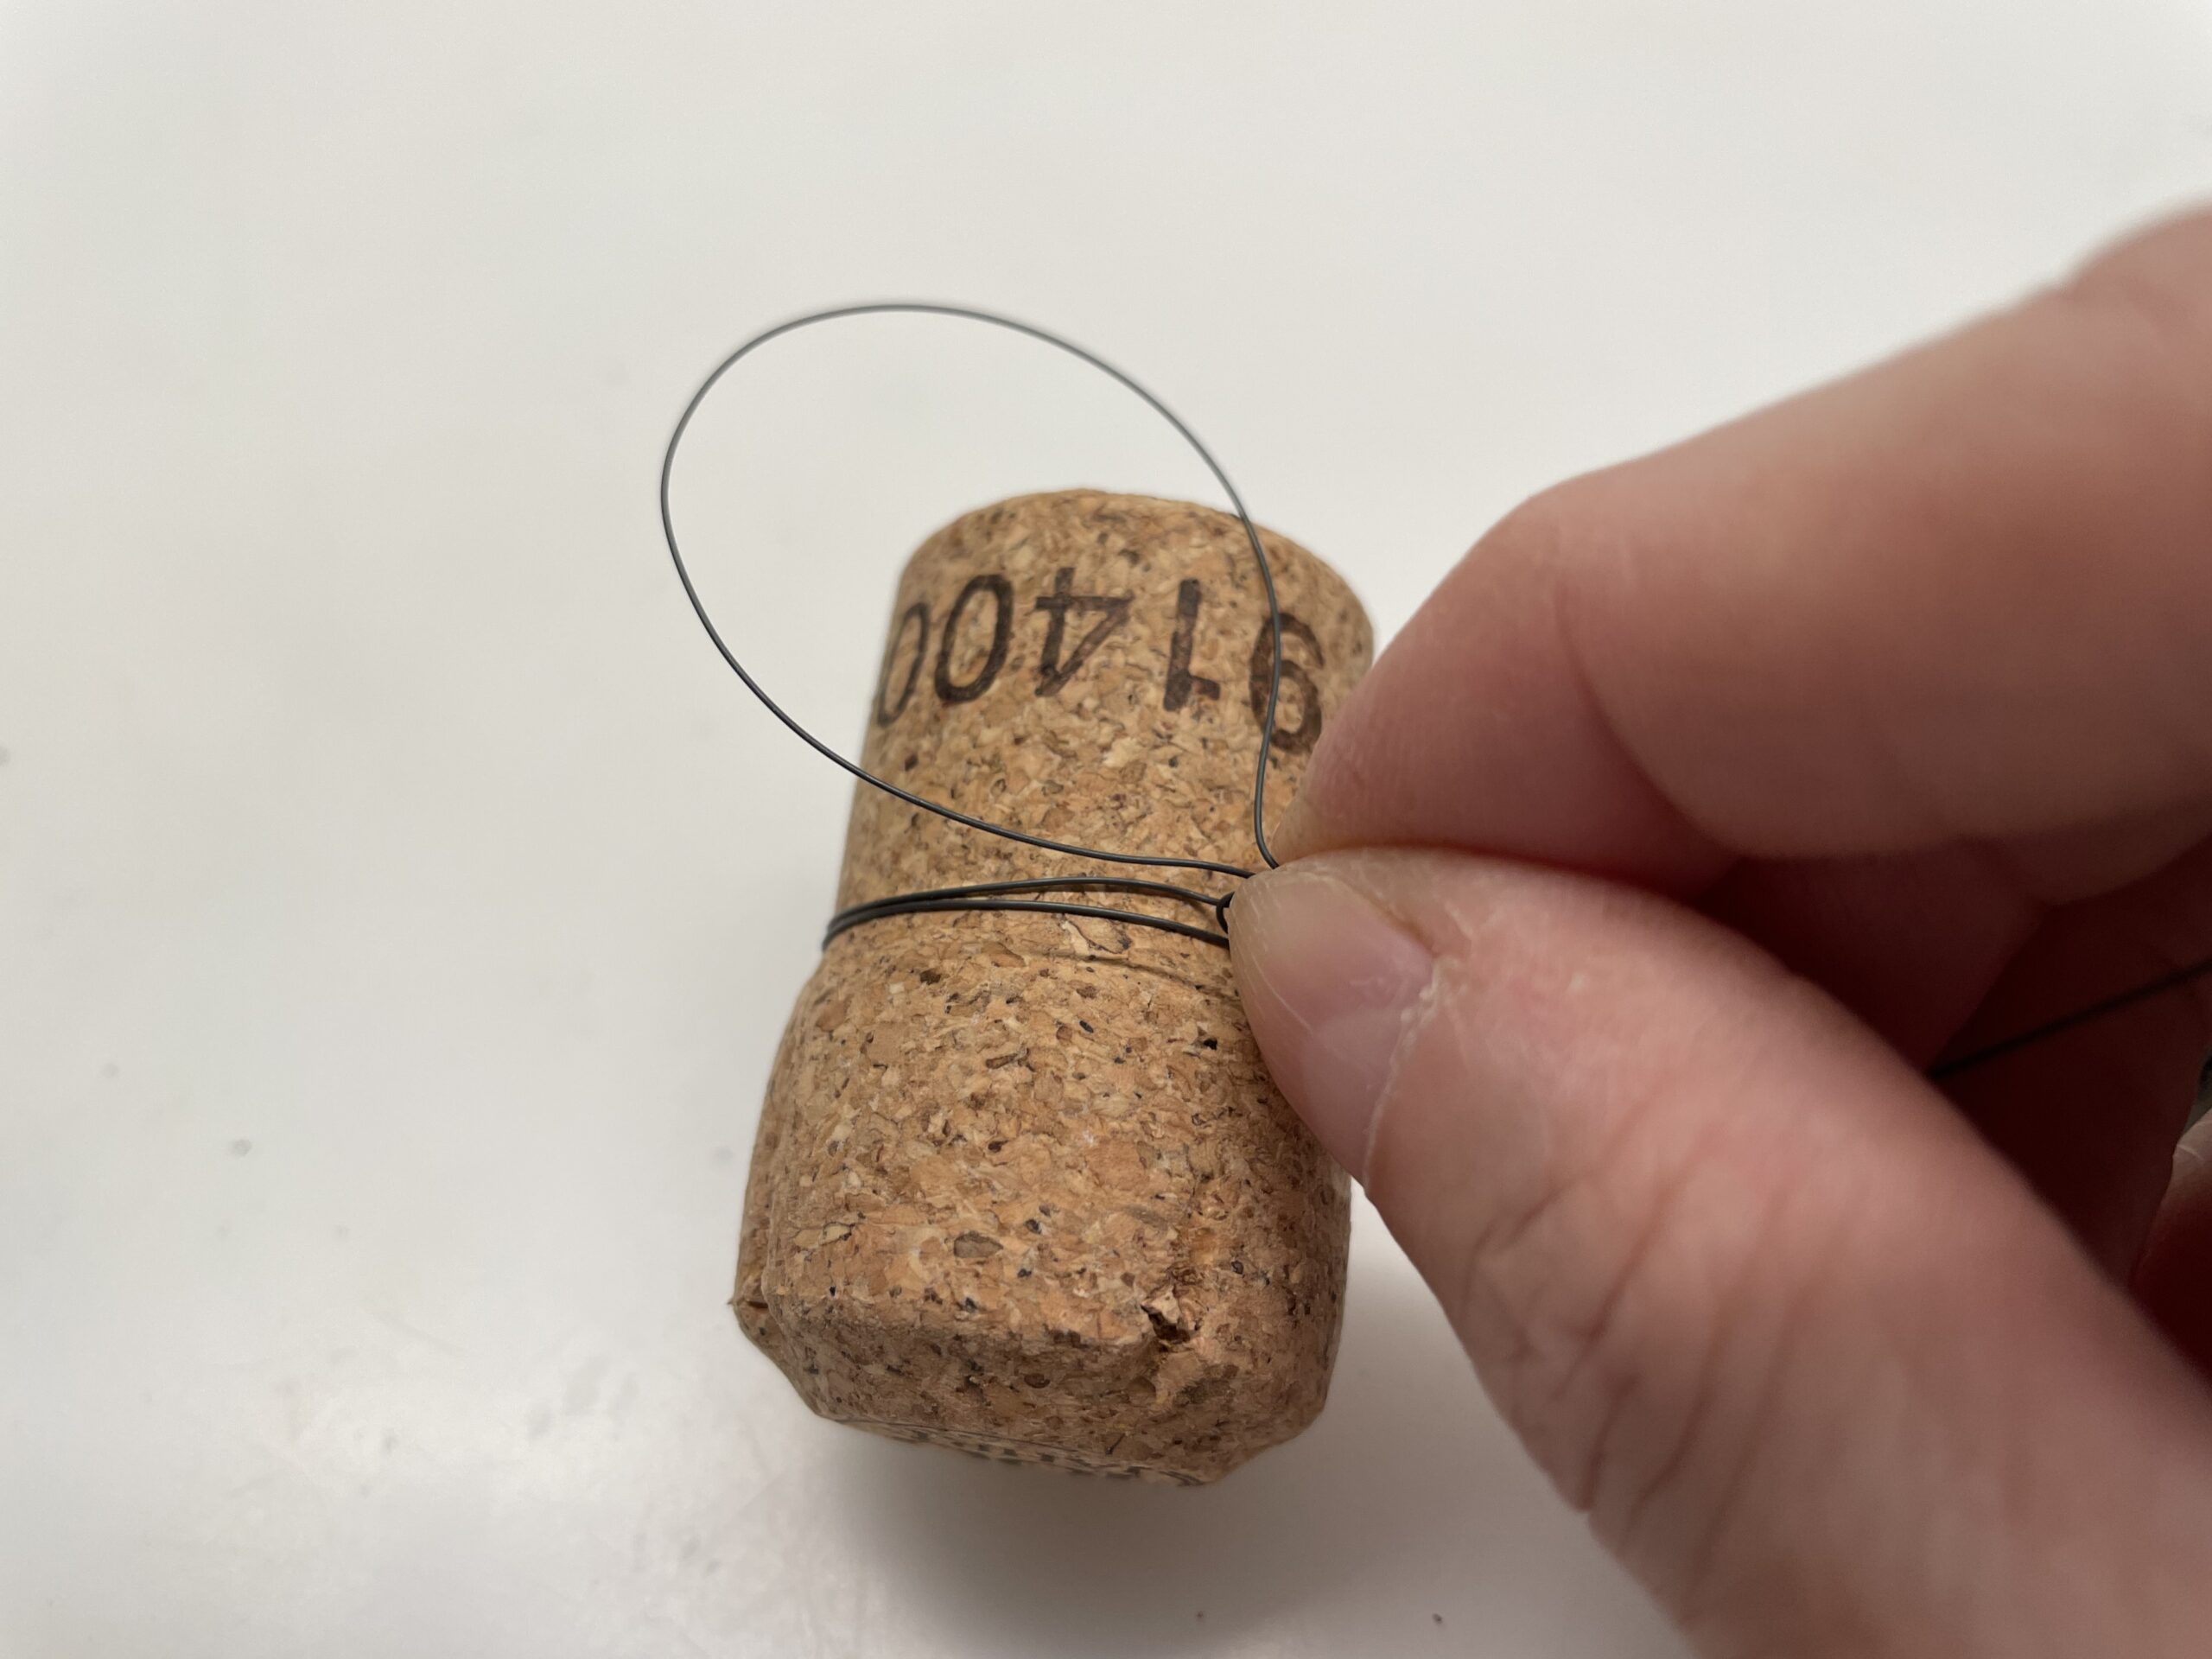
With the other hand you now rotate the loop several times around yourself. So you fix it and it sits directly on the cork. The first wing is finished.
Now you repeat the measuring and bending of the loops with the other three loops. Just measure and bend one loop after the other. Then hold the end threads together and twist the wings several times together. Make sure that the wings sit closely together.
The positions of the individual wings bend her at the end.
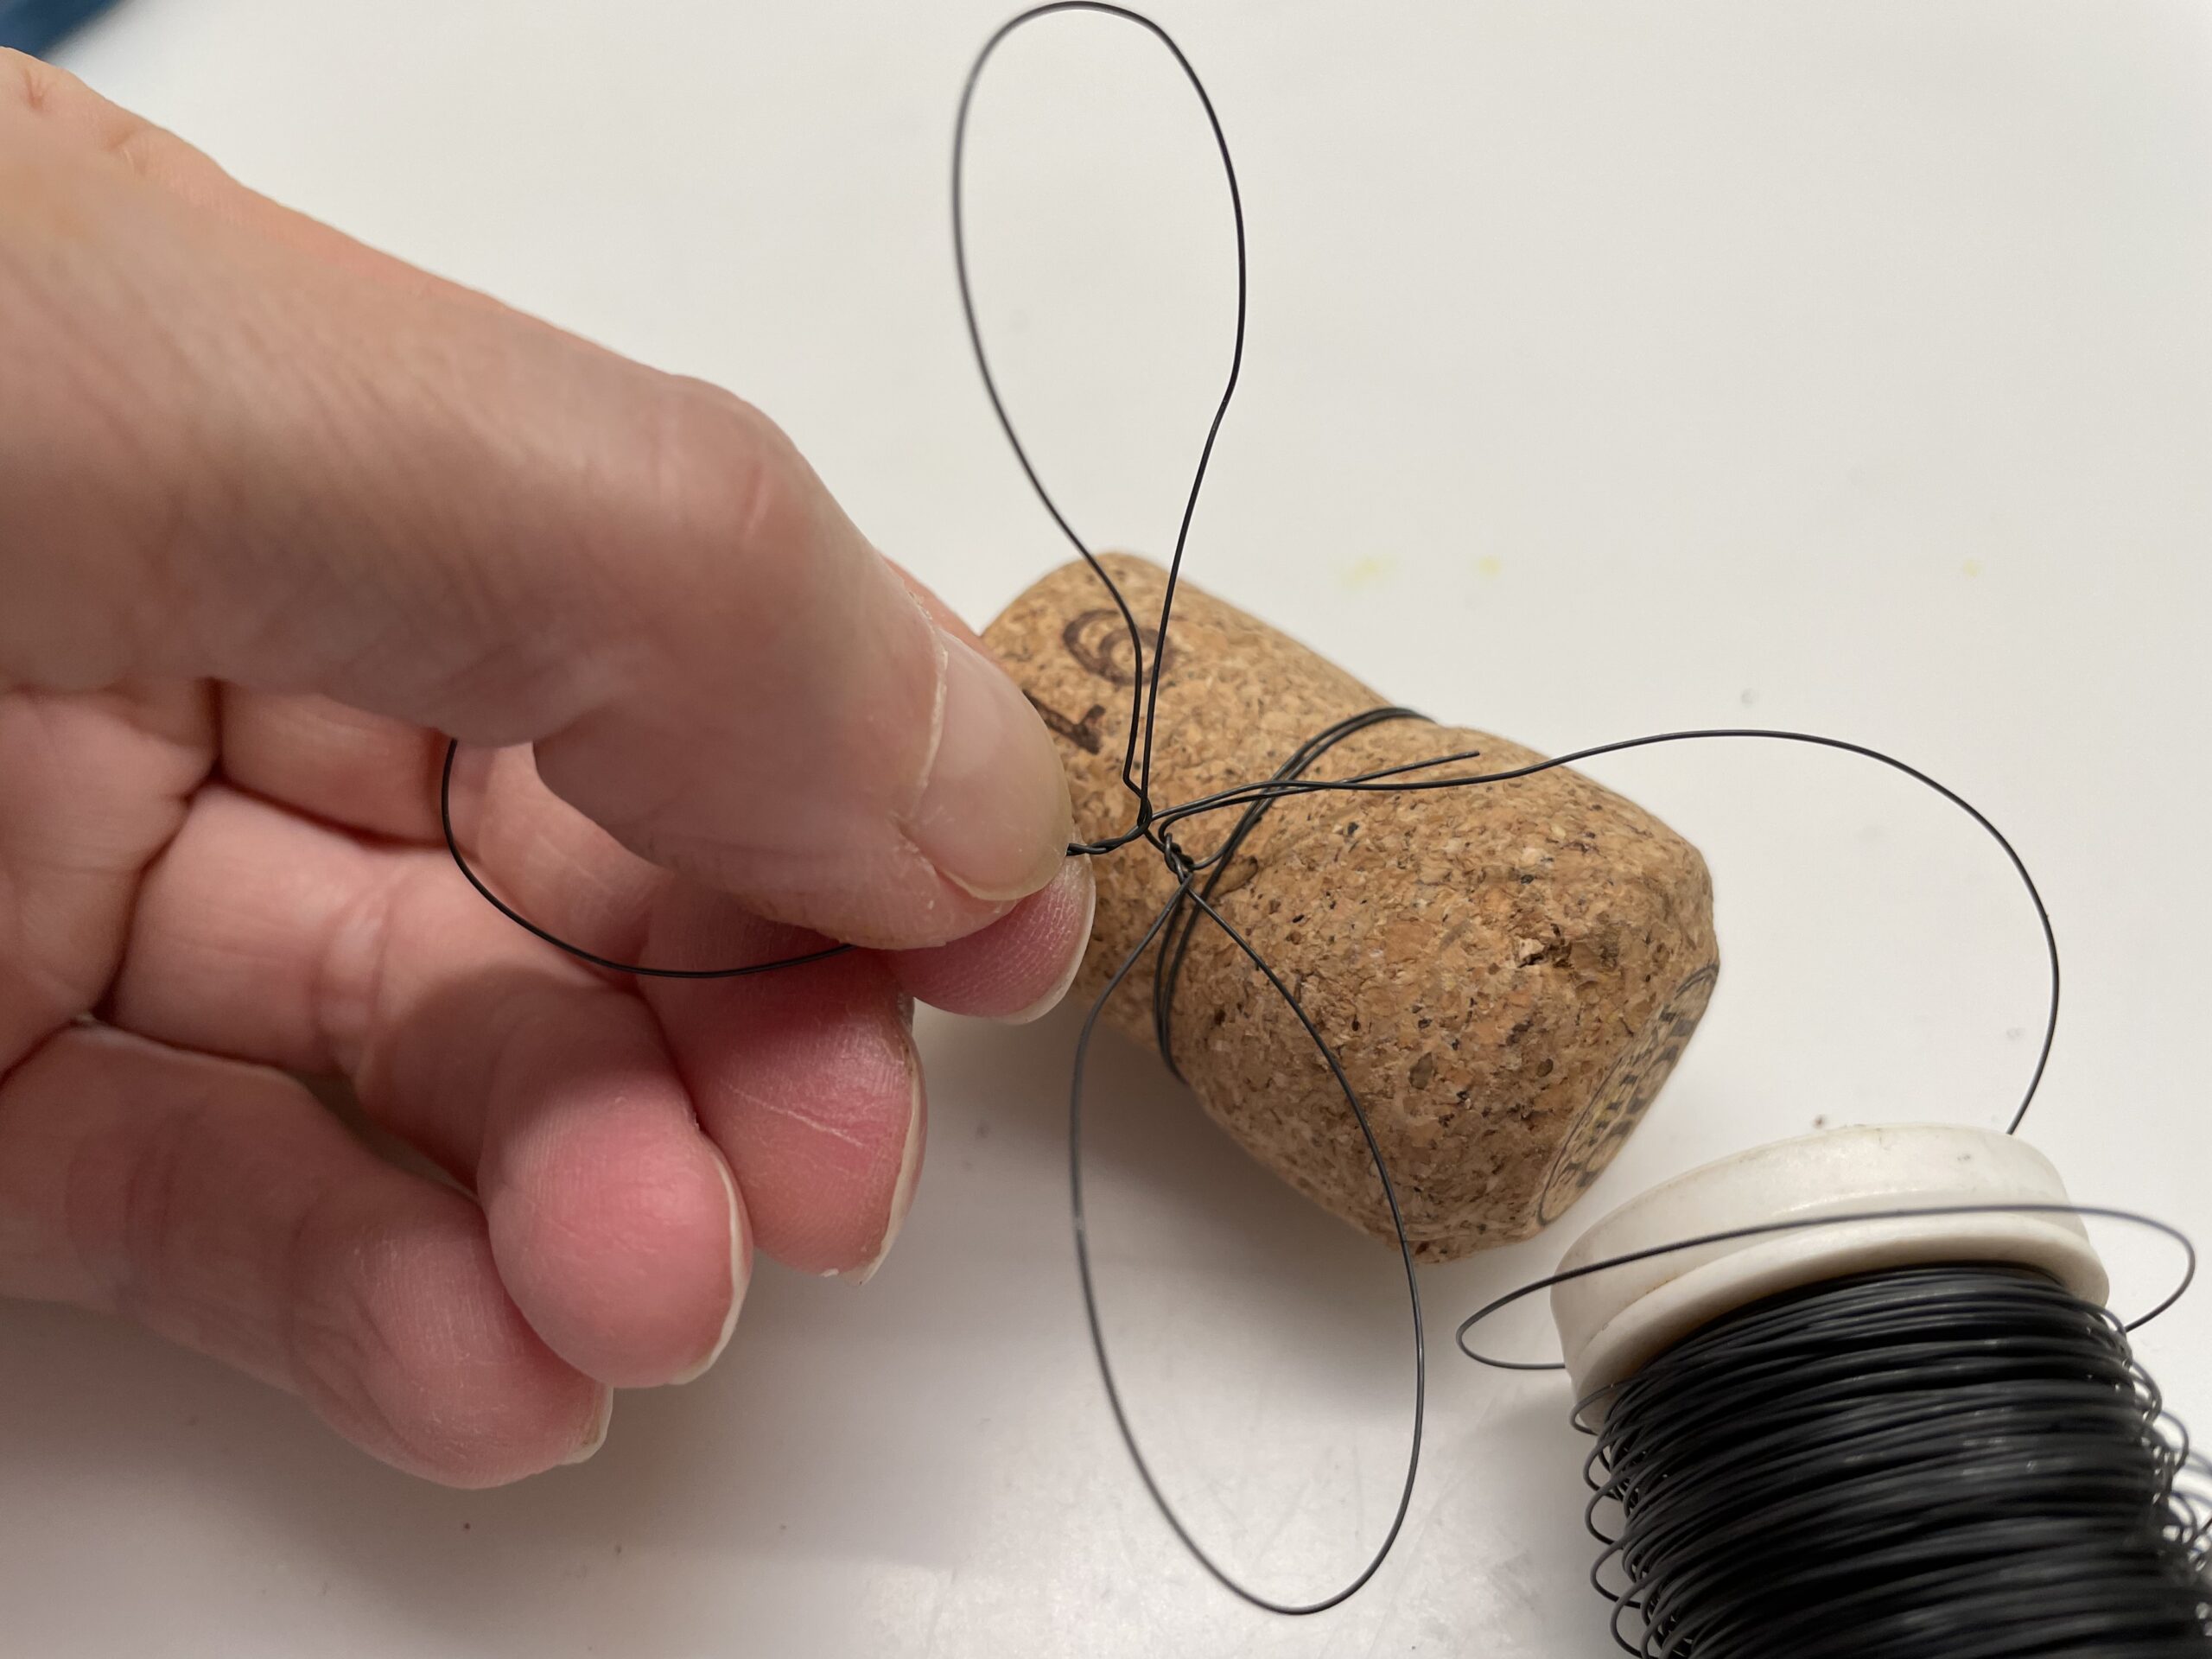
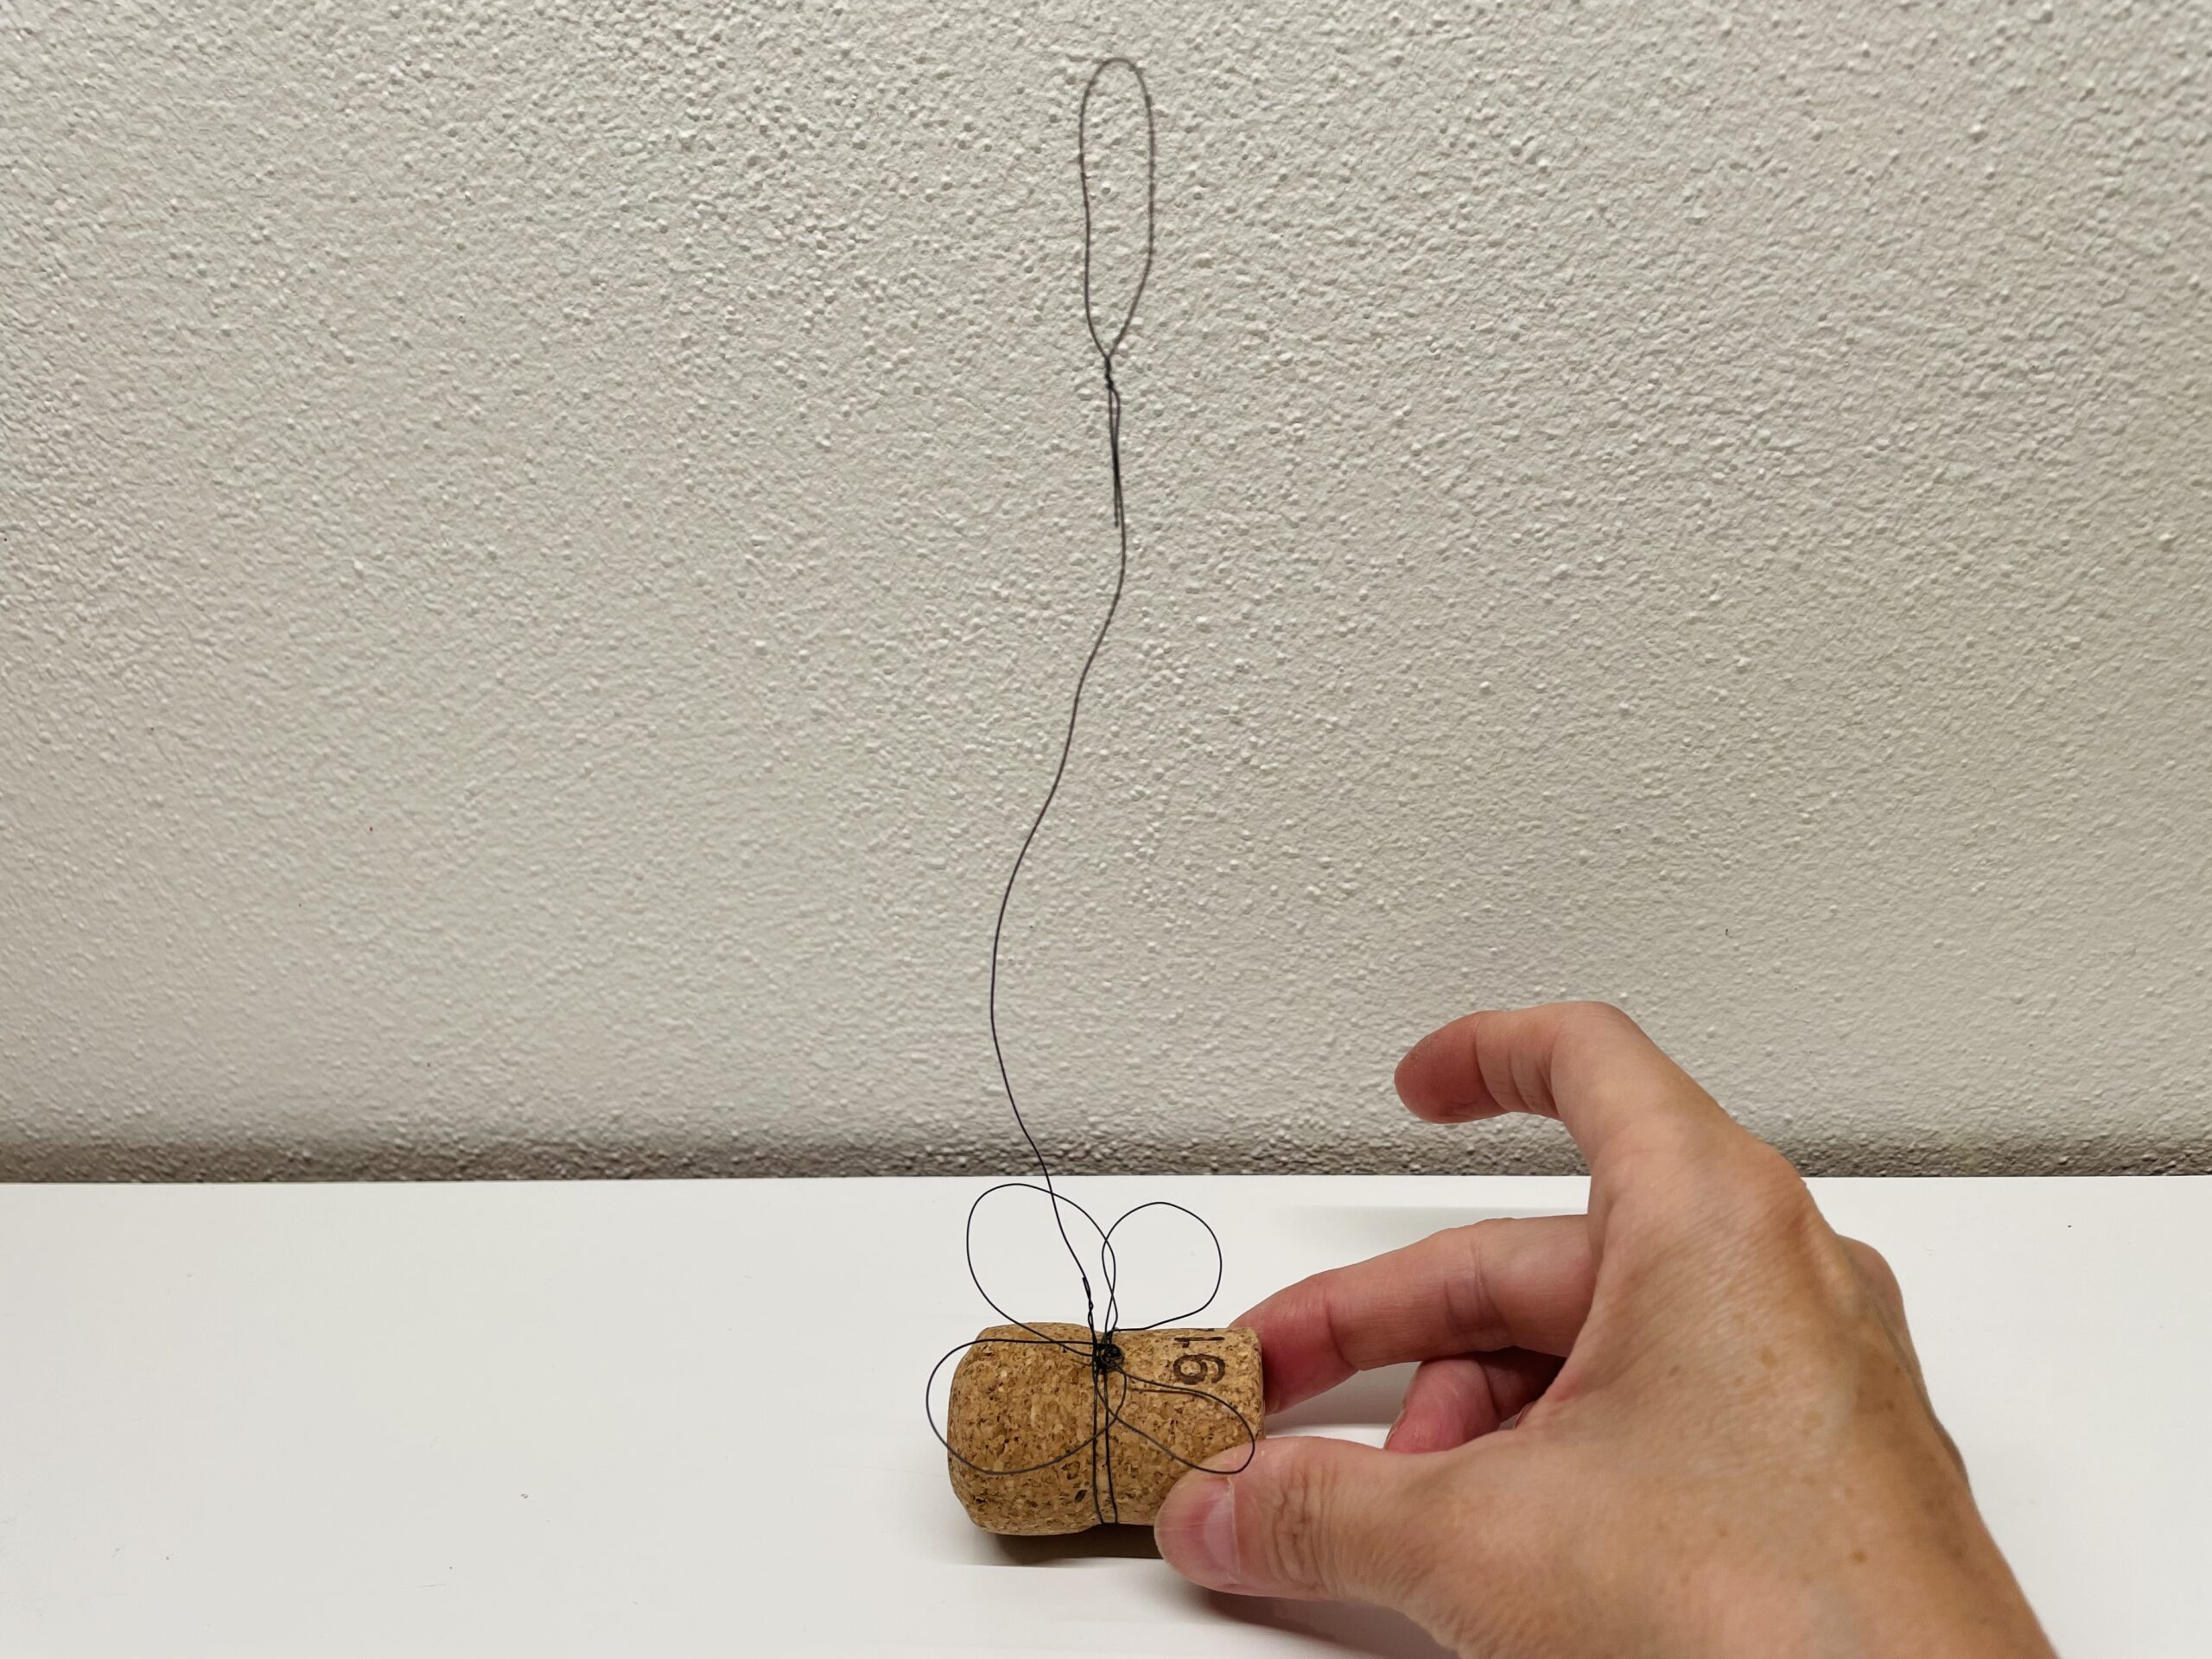
You have now bent four wire loops into wings. Now bend the individual wings in such a way that there are two to the left and two to the right of the bee body.
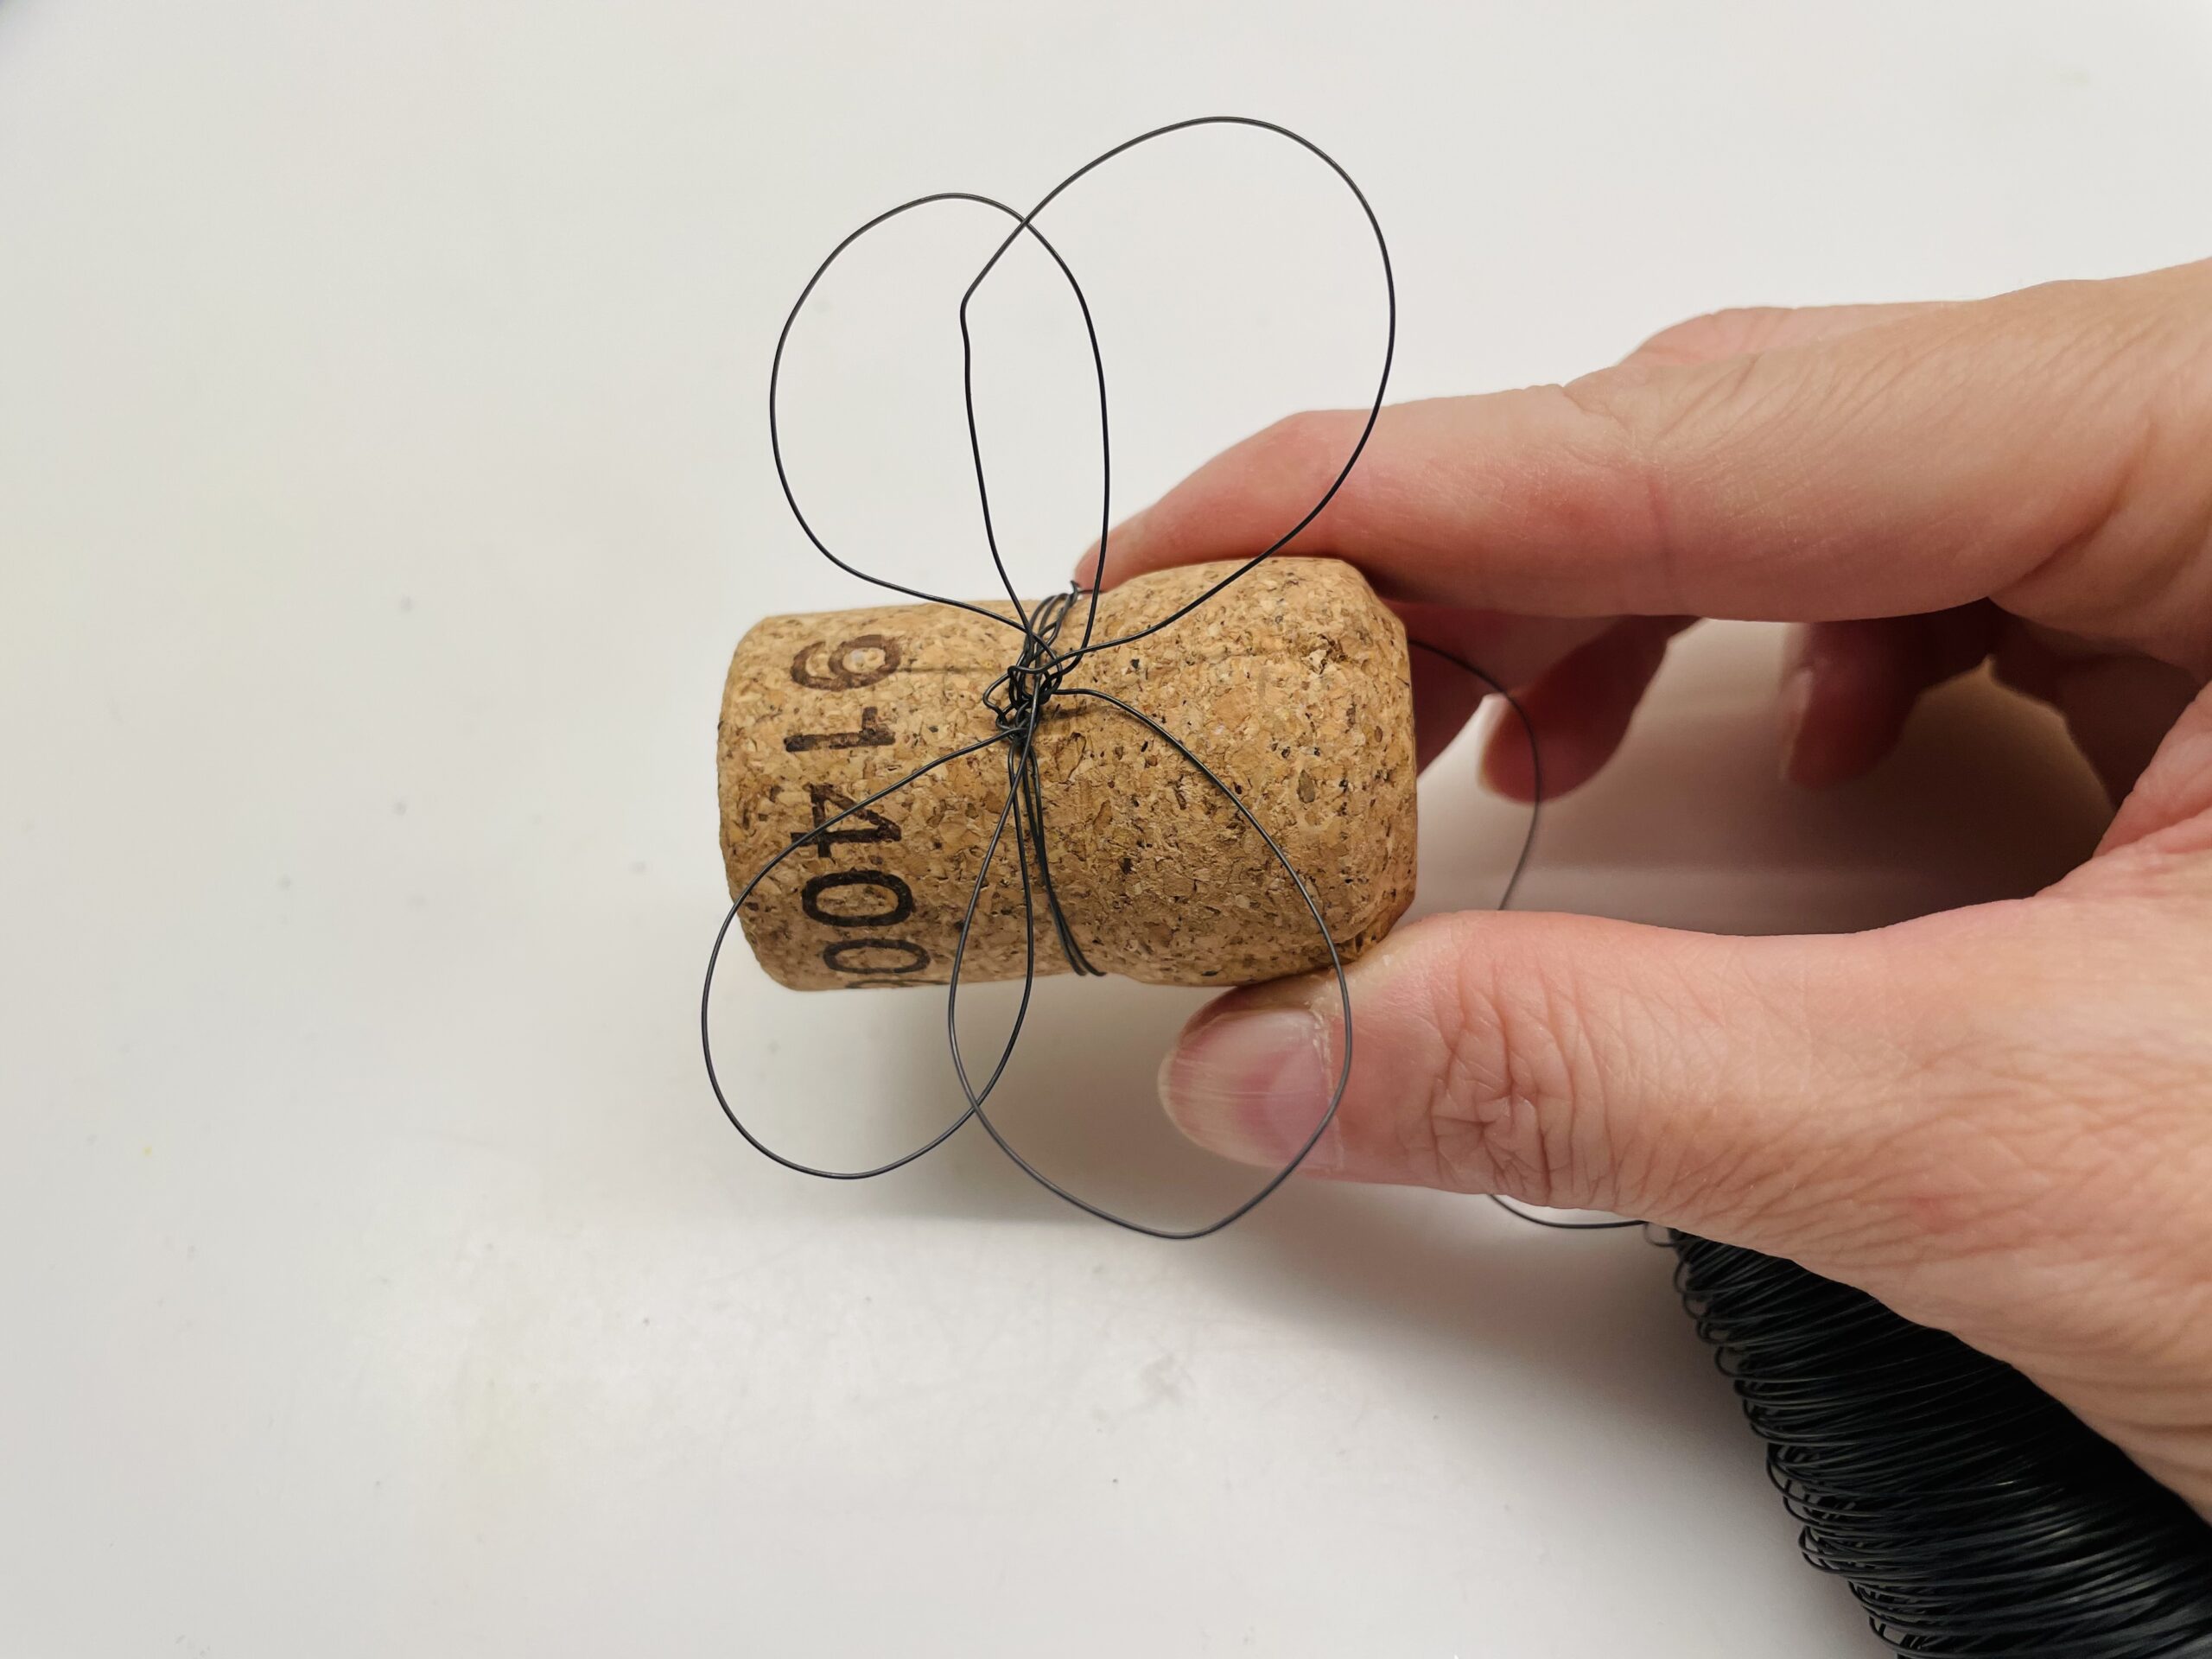
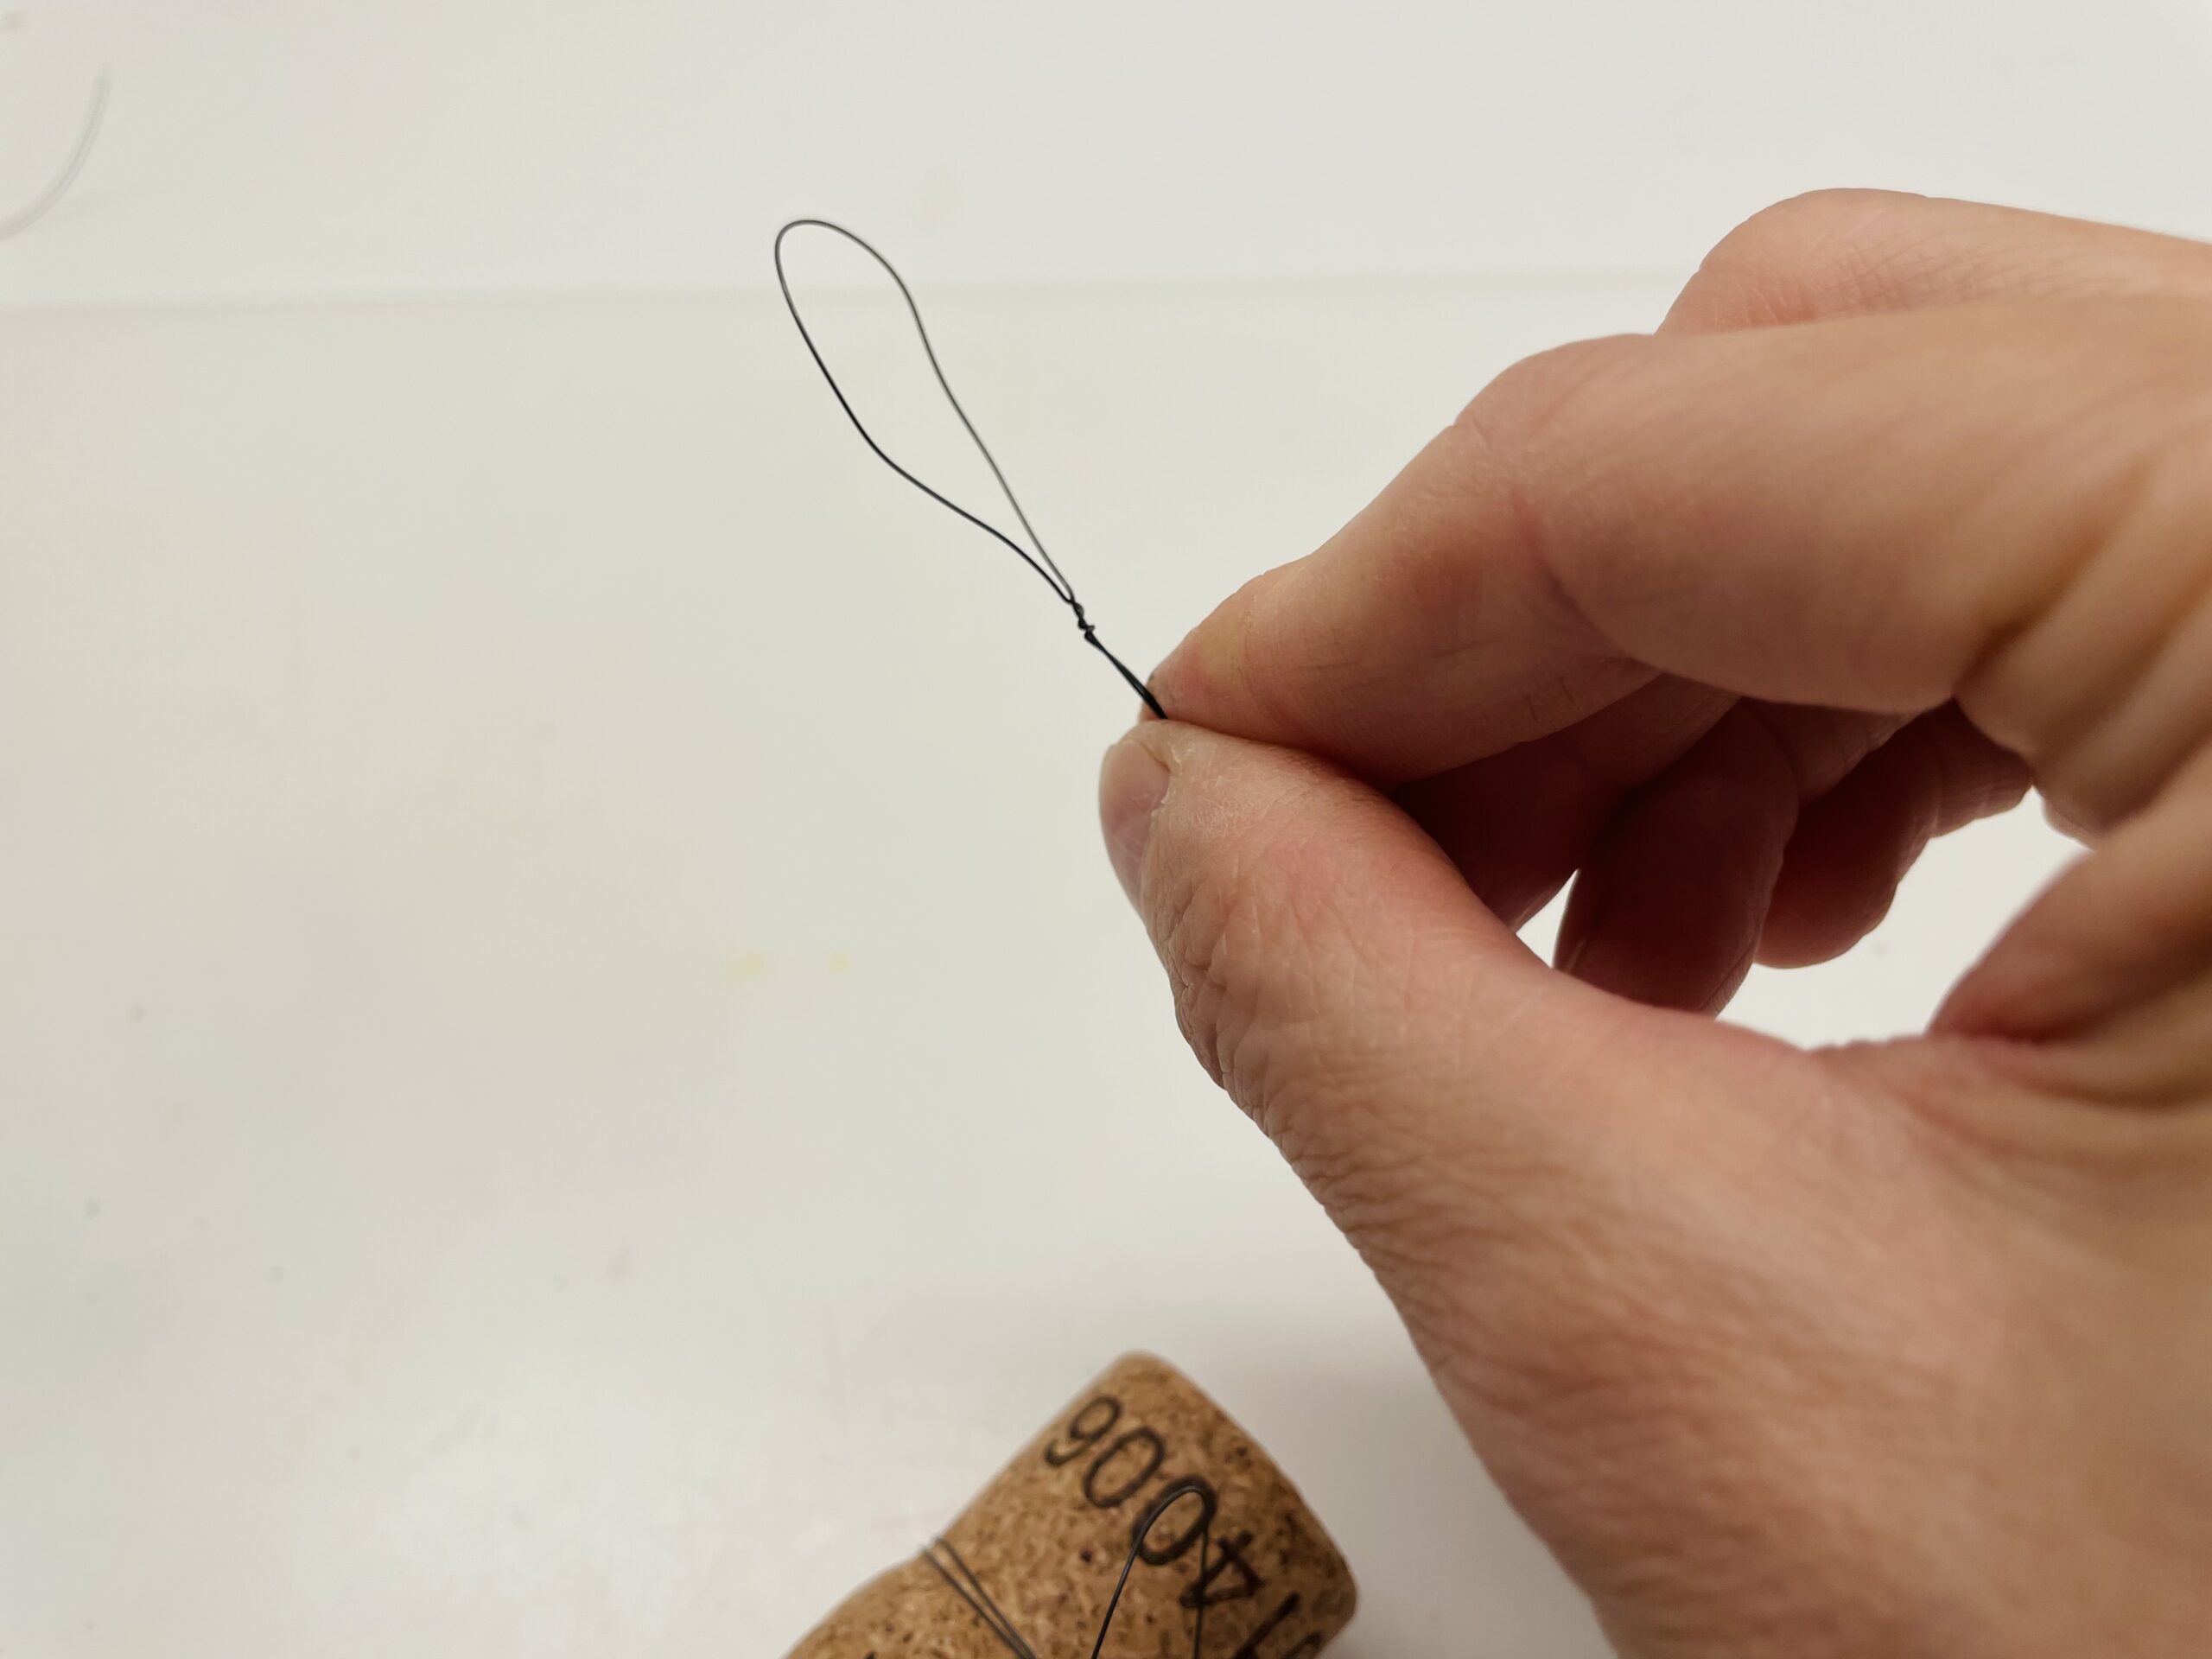
Then let the wire survive for about 20cm. Cut it off with a wire scissors or a small pliers. Then you can hang the bee.
For this you turn the ends of the wire to a loop. So you can hang the bee better.
Now you can paint the cork with yellow and black felt pins or wrap it around with wool. The instructions for wrapping with wool now follow.
Uses a thick black wool.
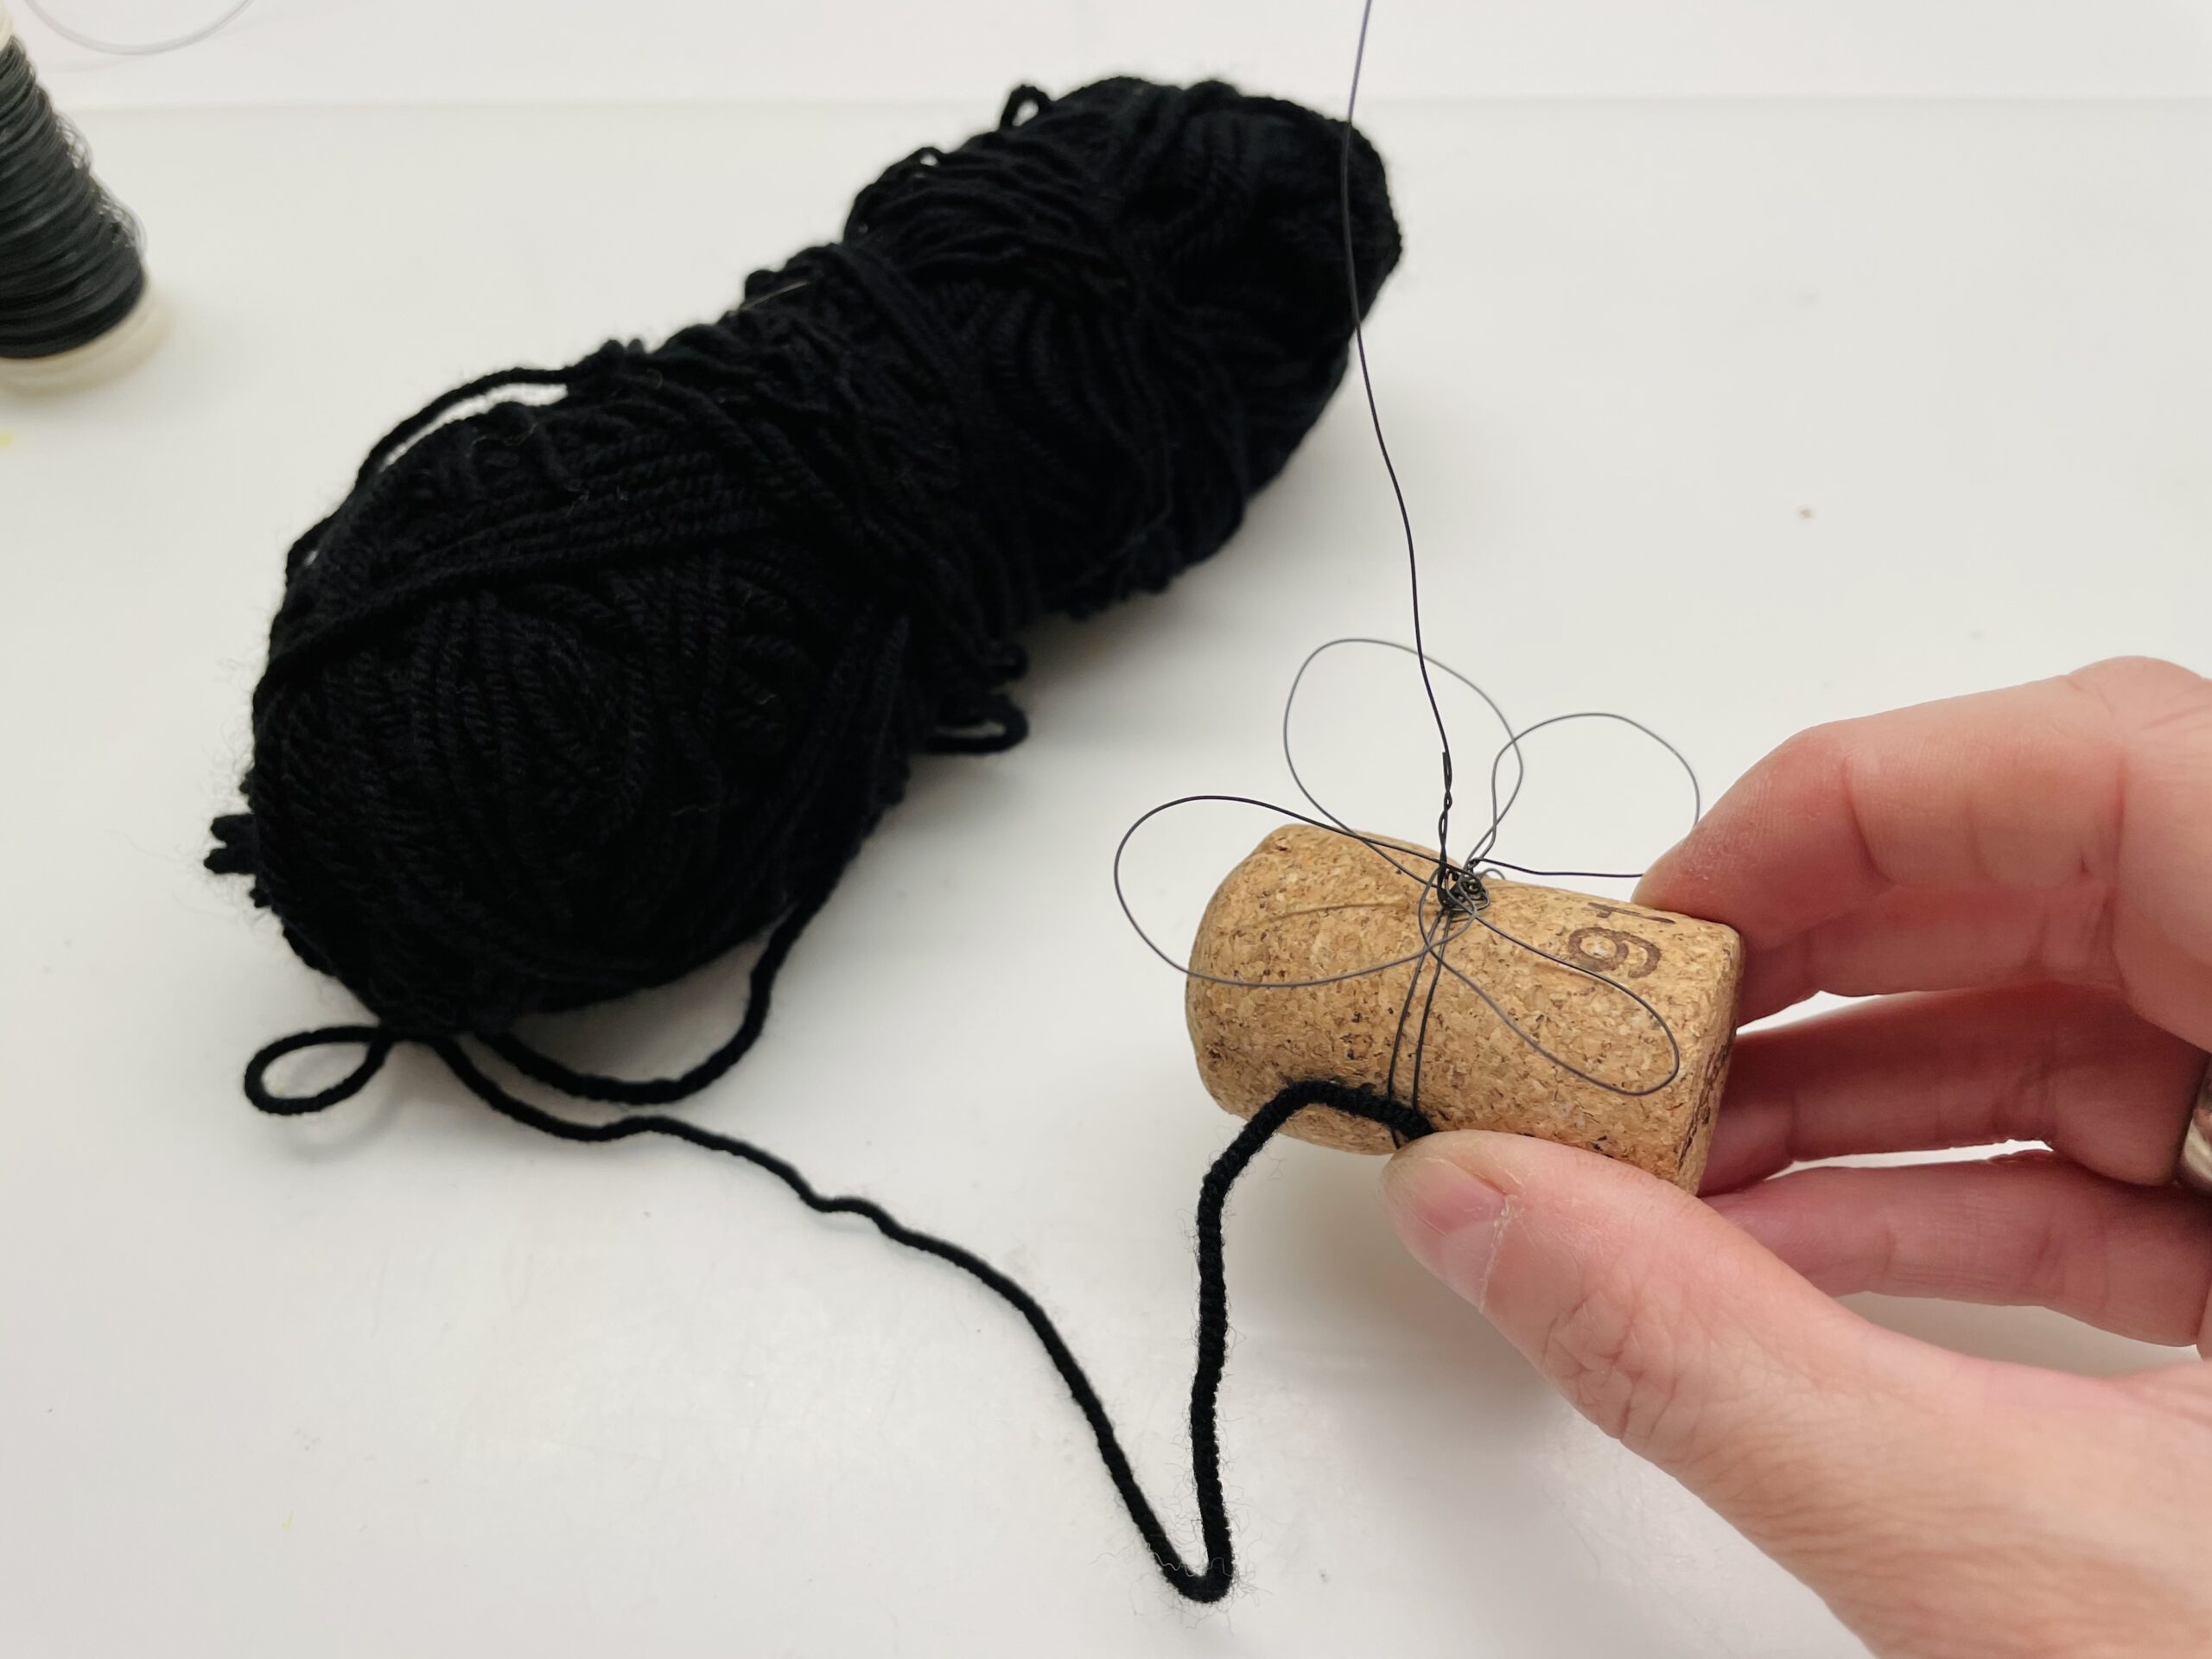
Then you stick the beginning of the wool thread to the bottom of the cork, the bee.
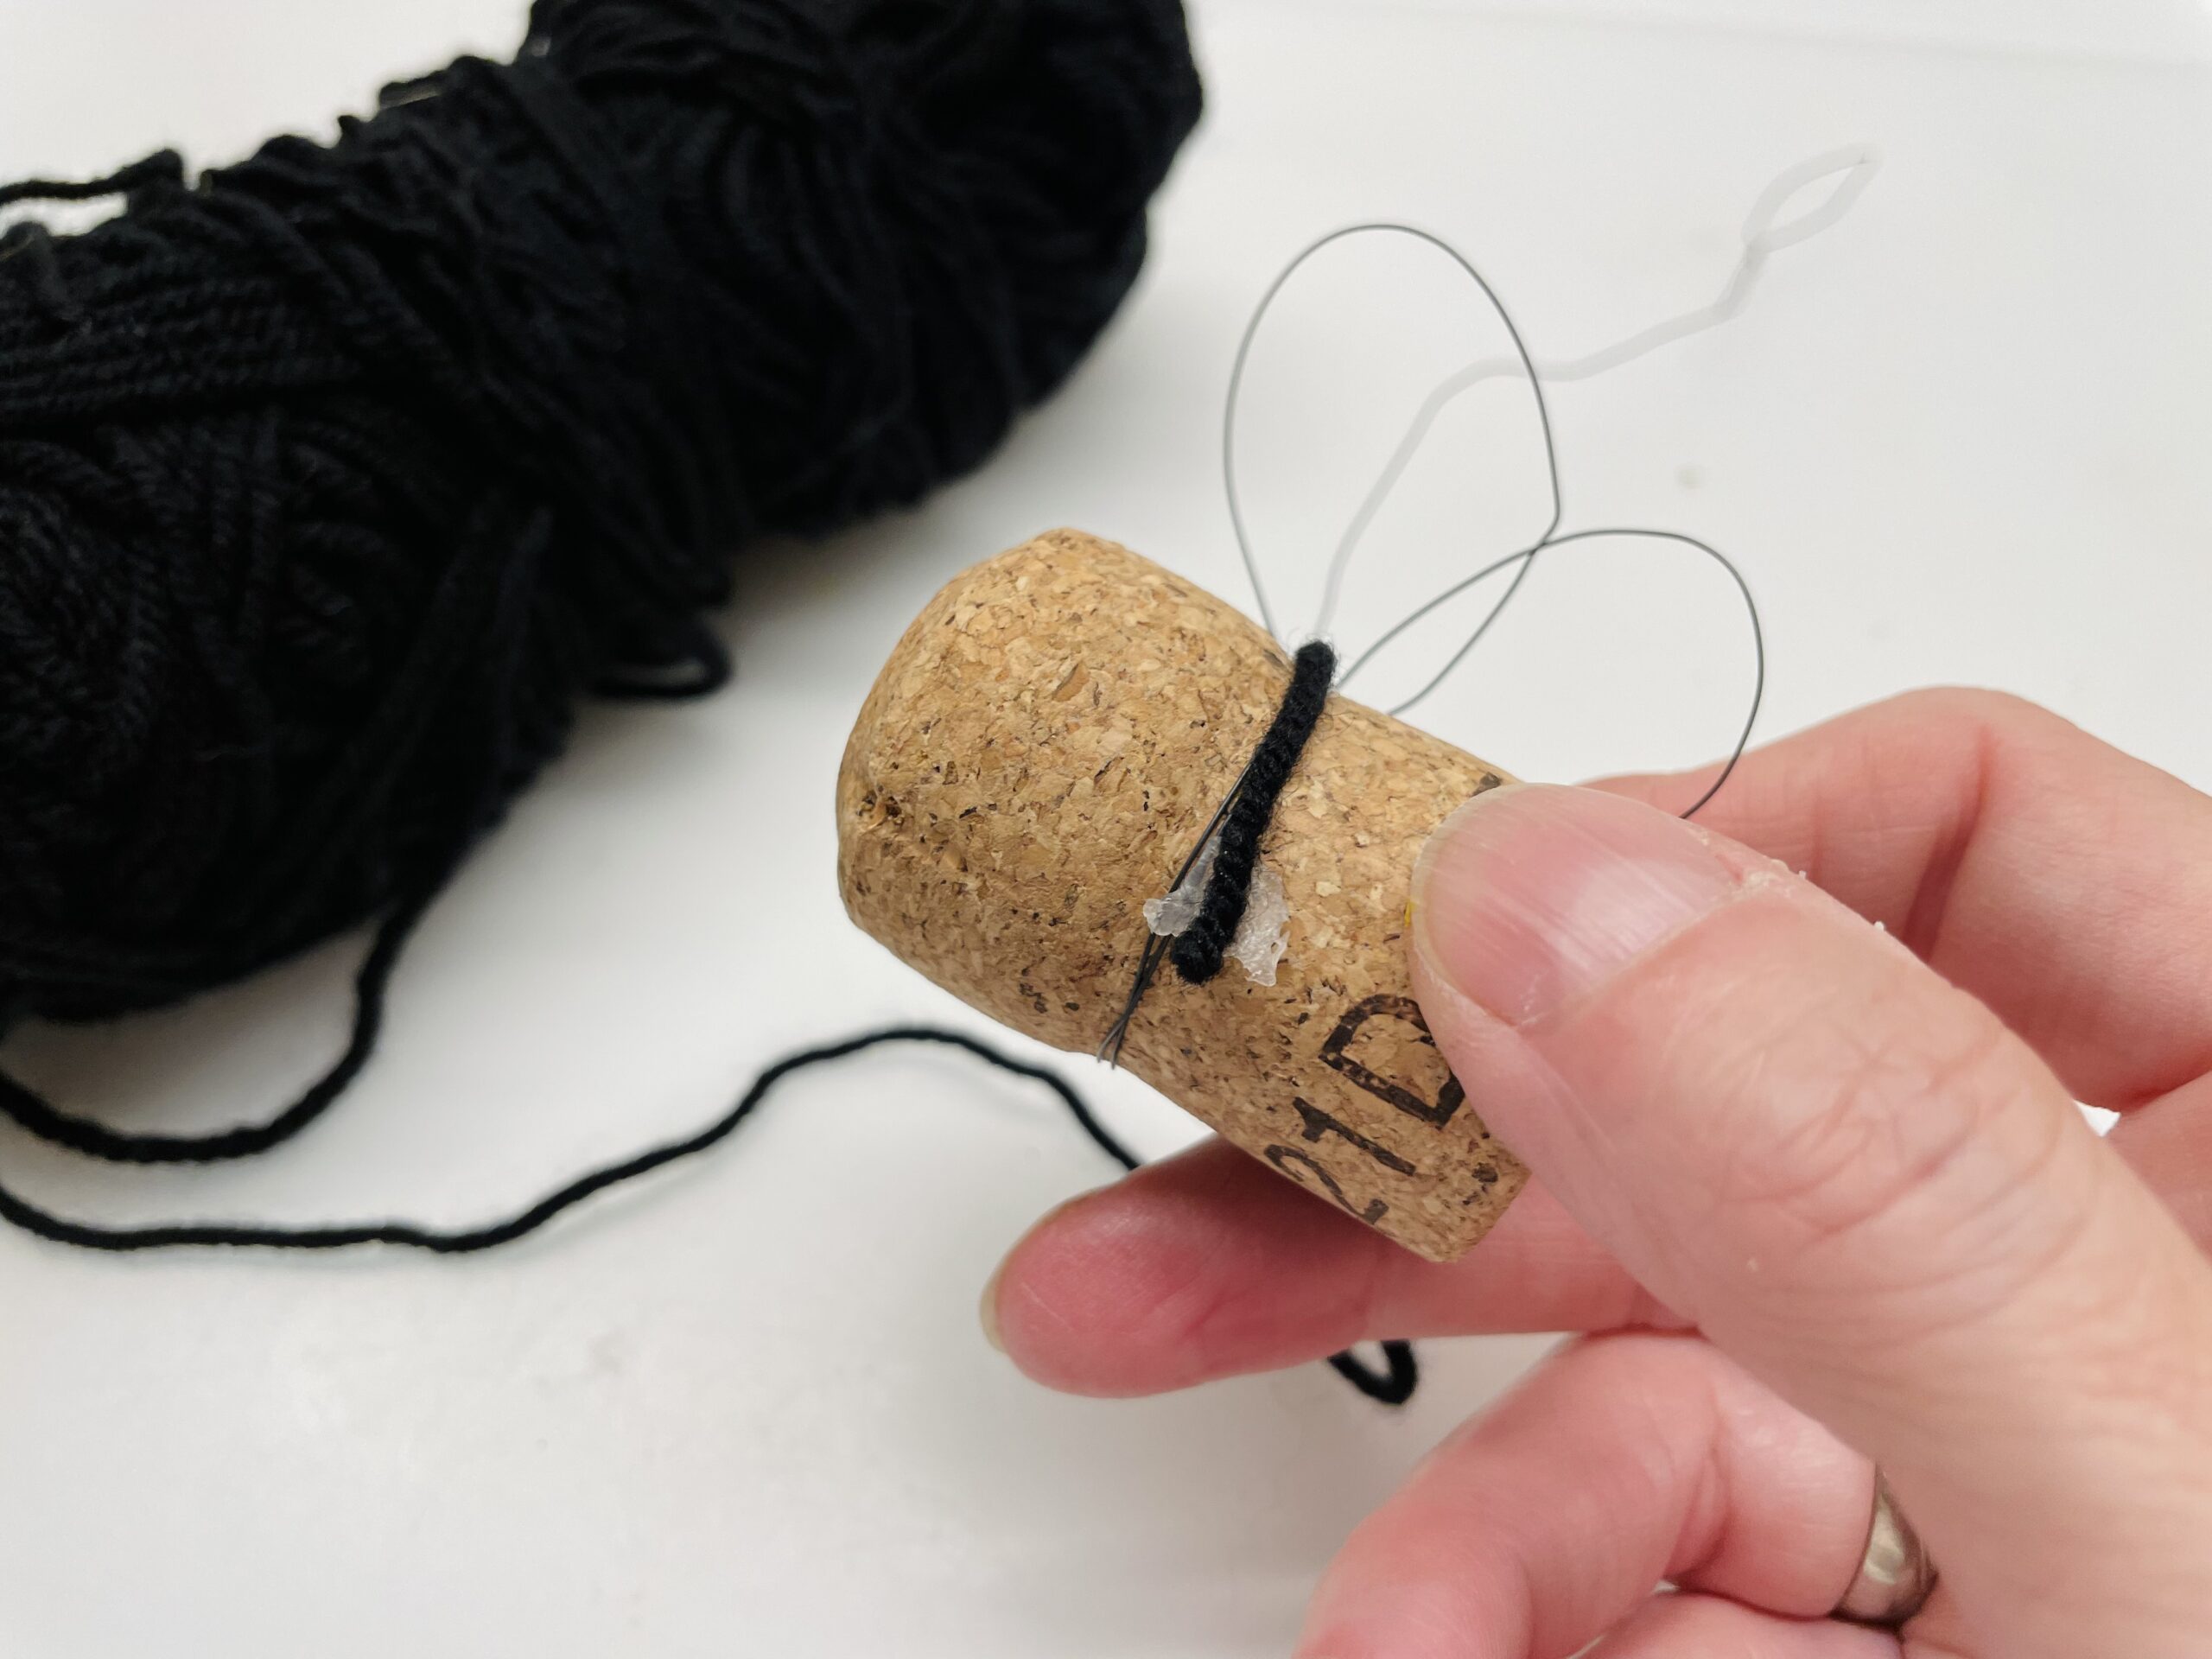
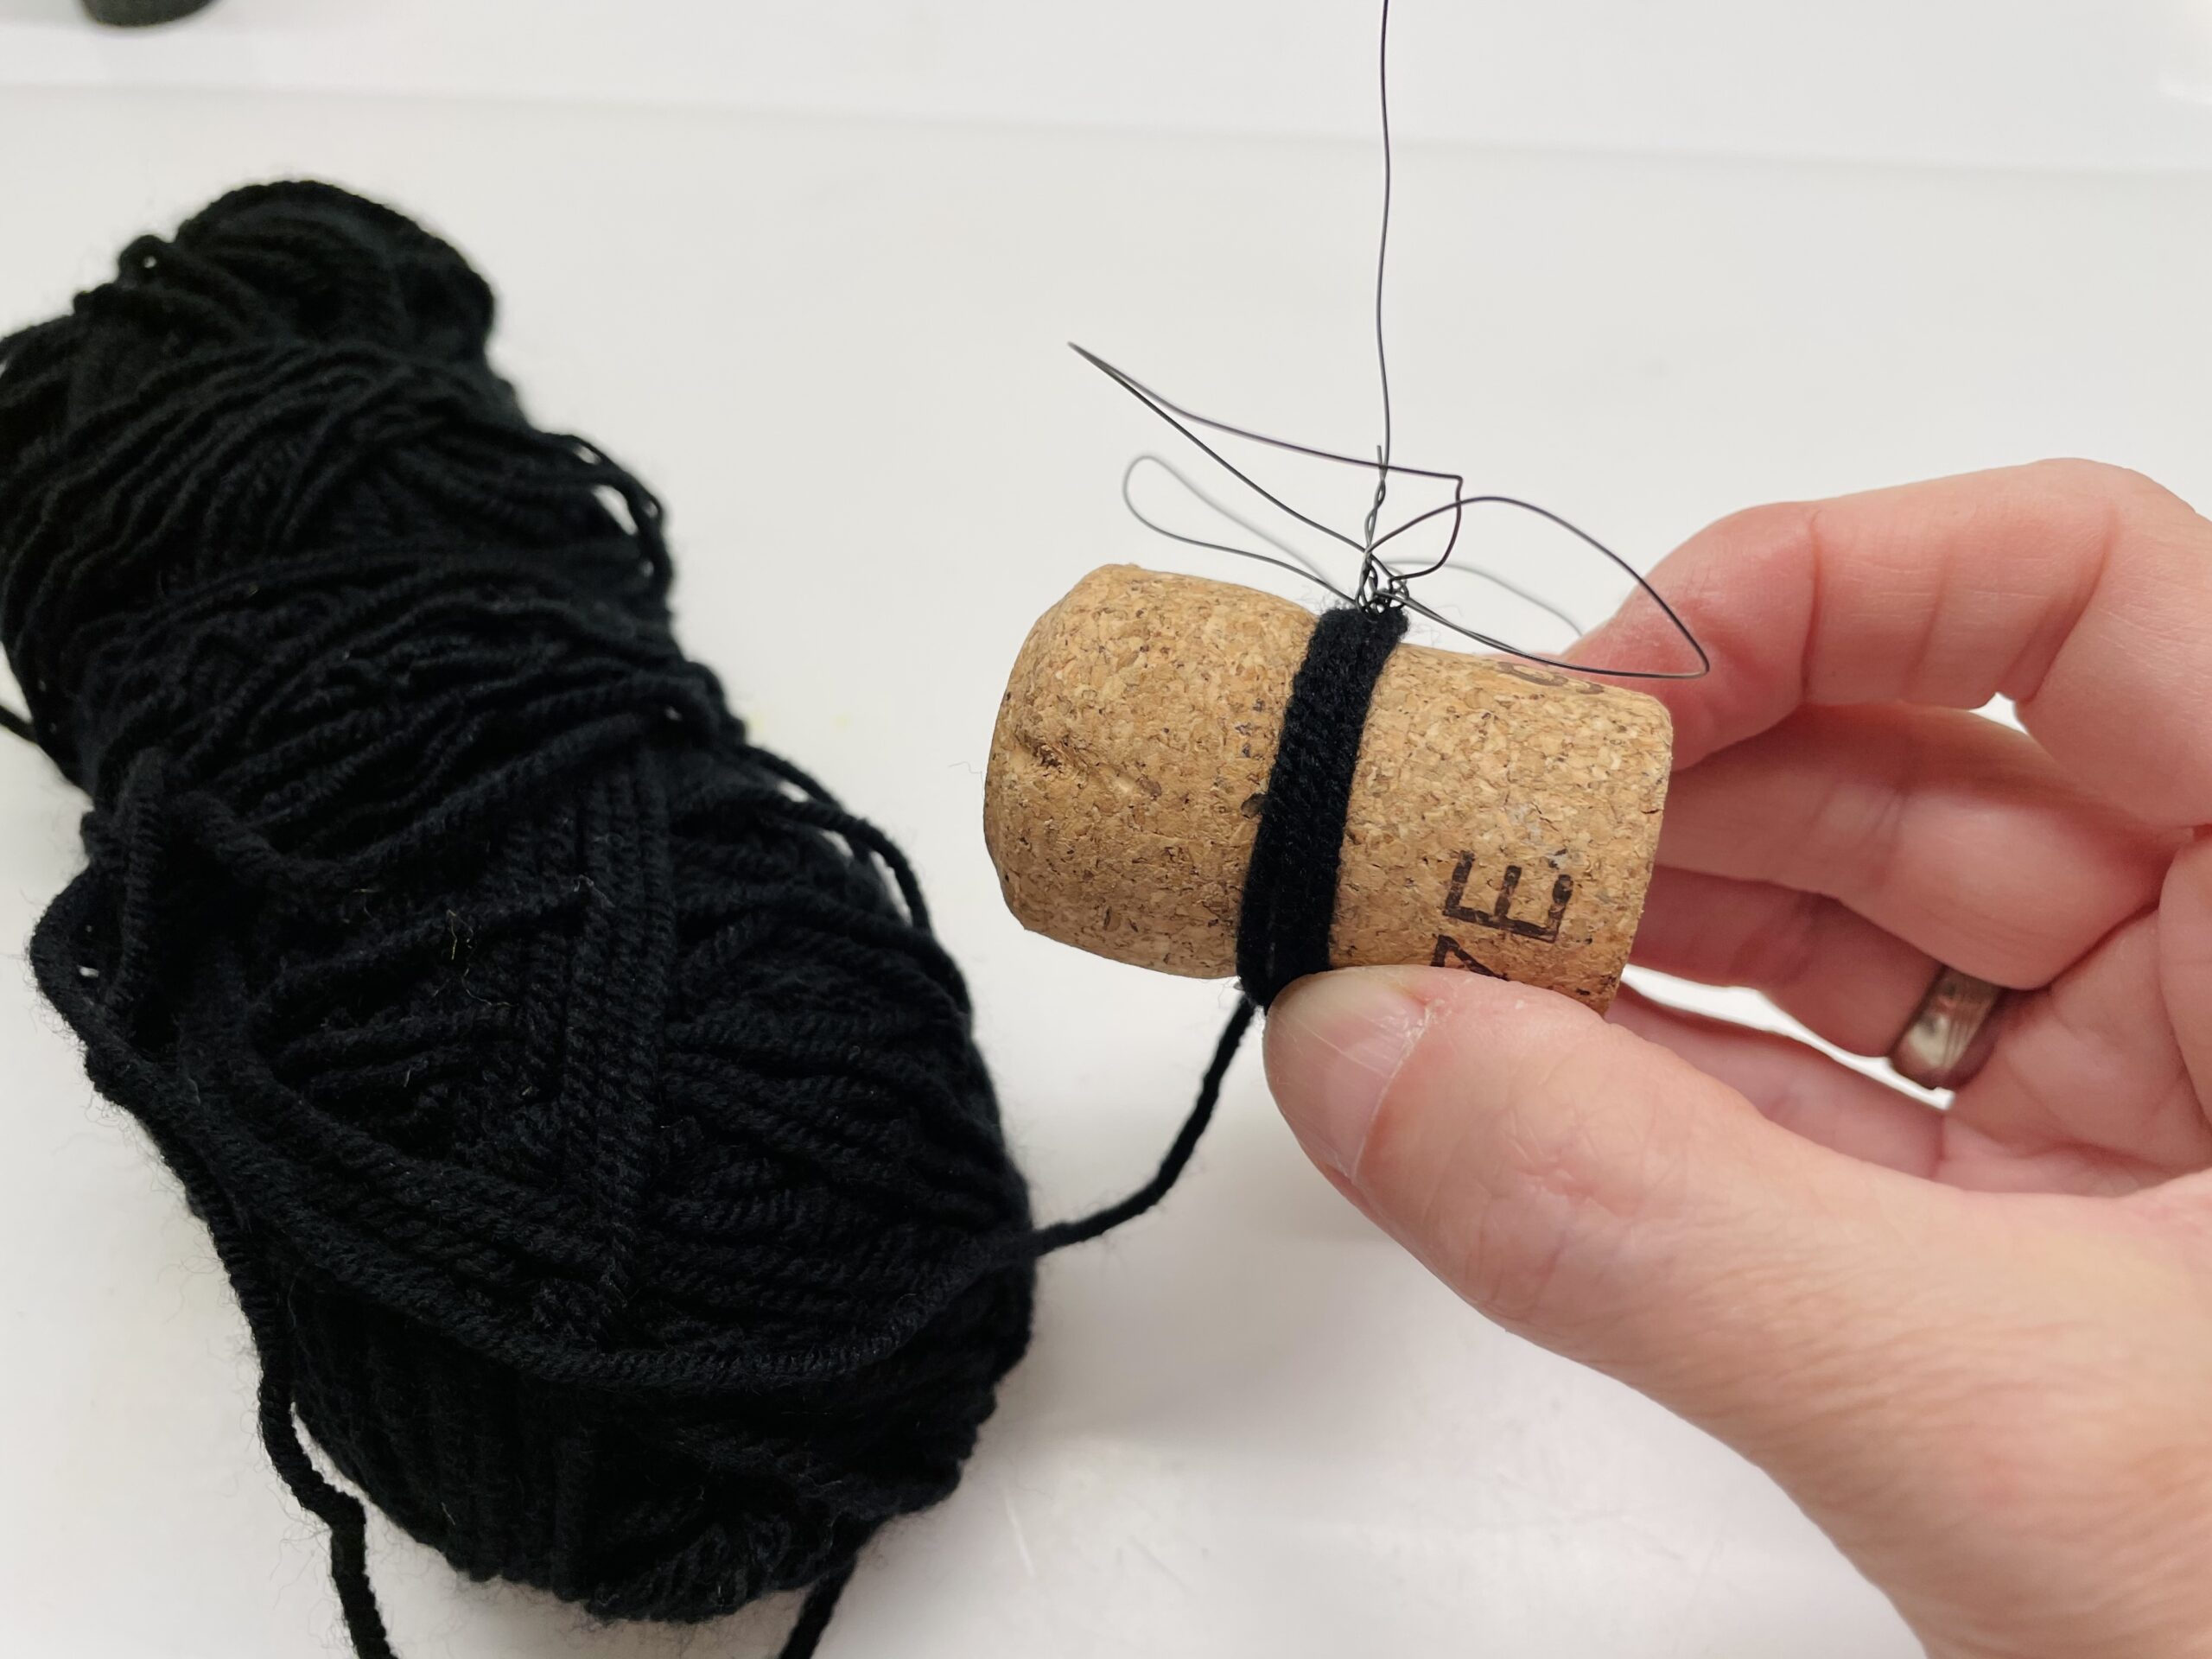
Wrap the wool thread 2-3 times very close to the cork.
Tip: If your wool is not quite as thick, then wrap it around the cork more often.
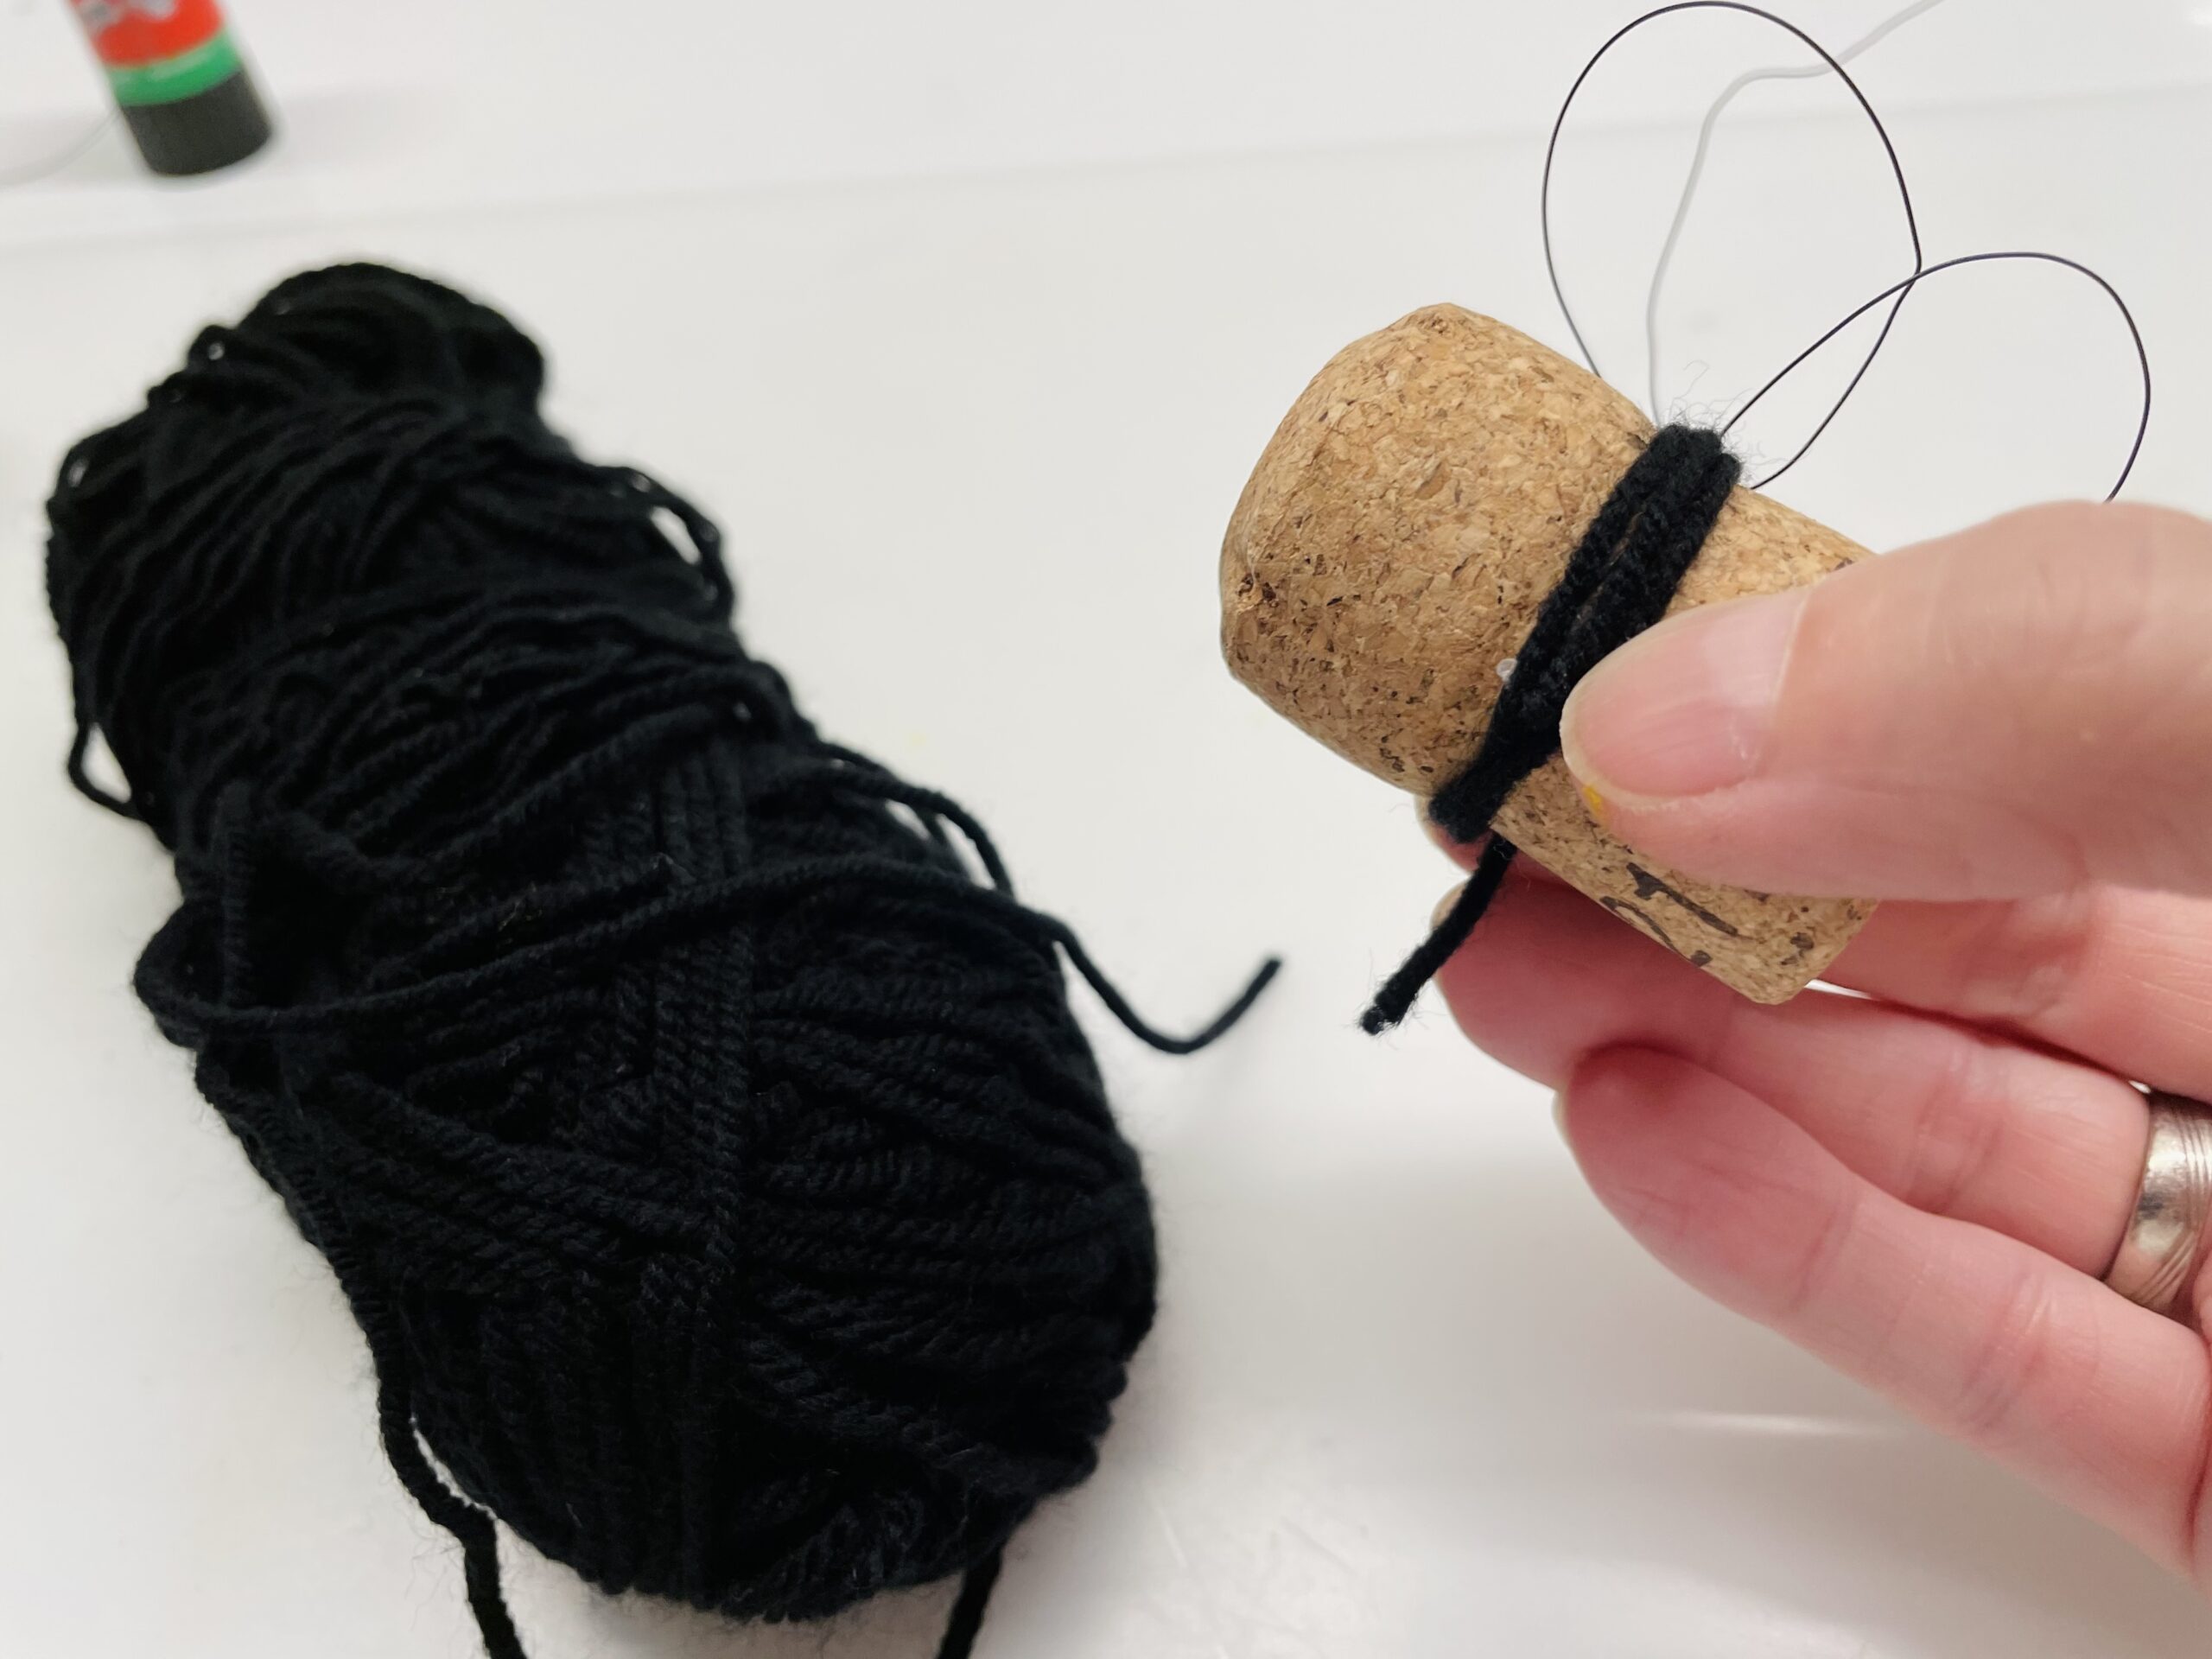
Then cut off the thread and stick the end again to the bottom of the bee.
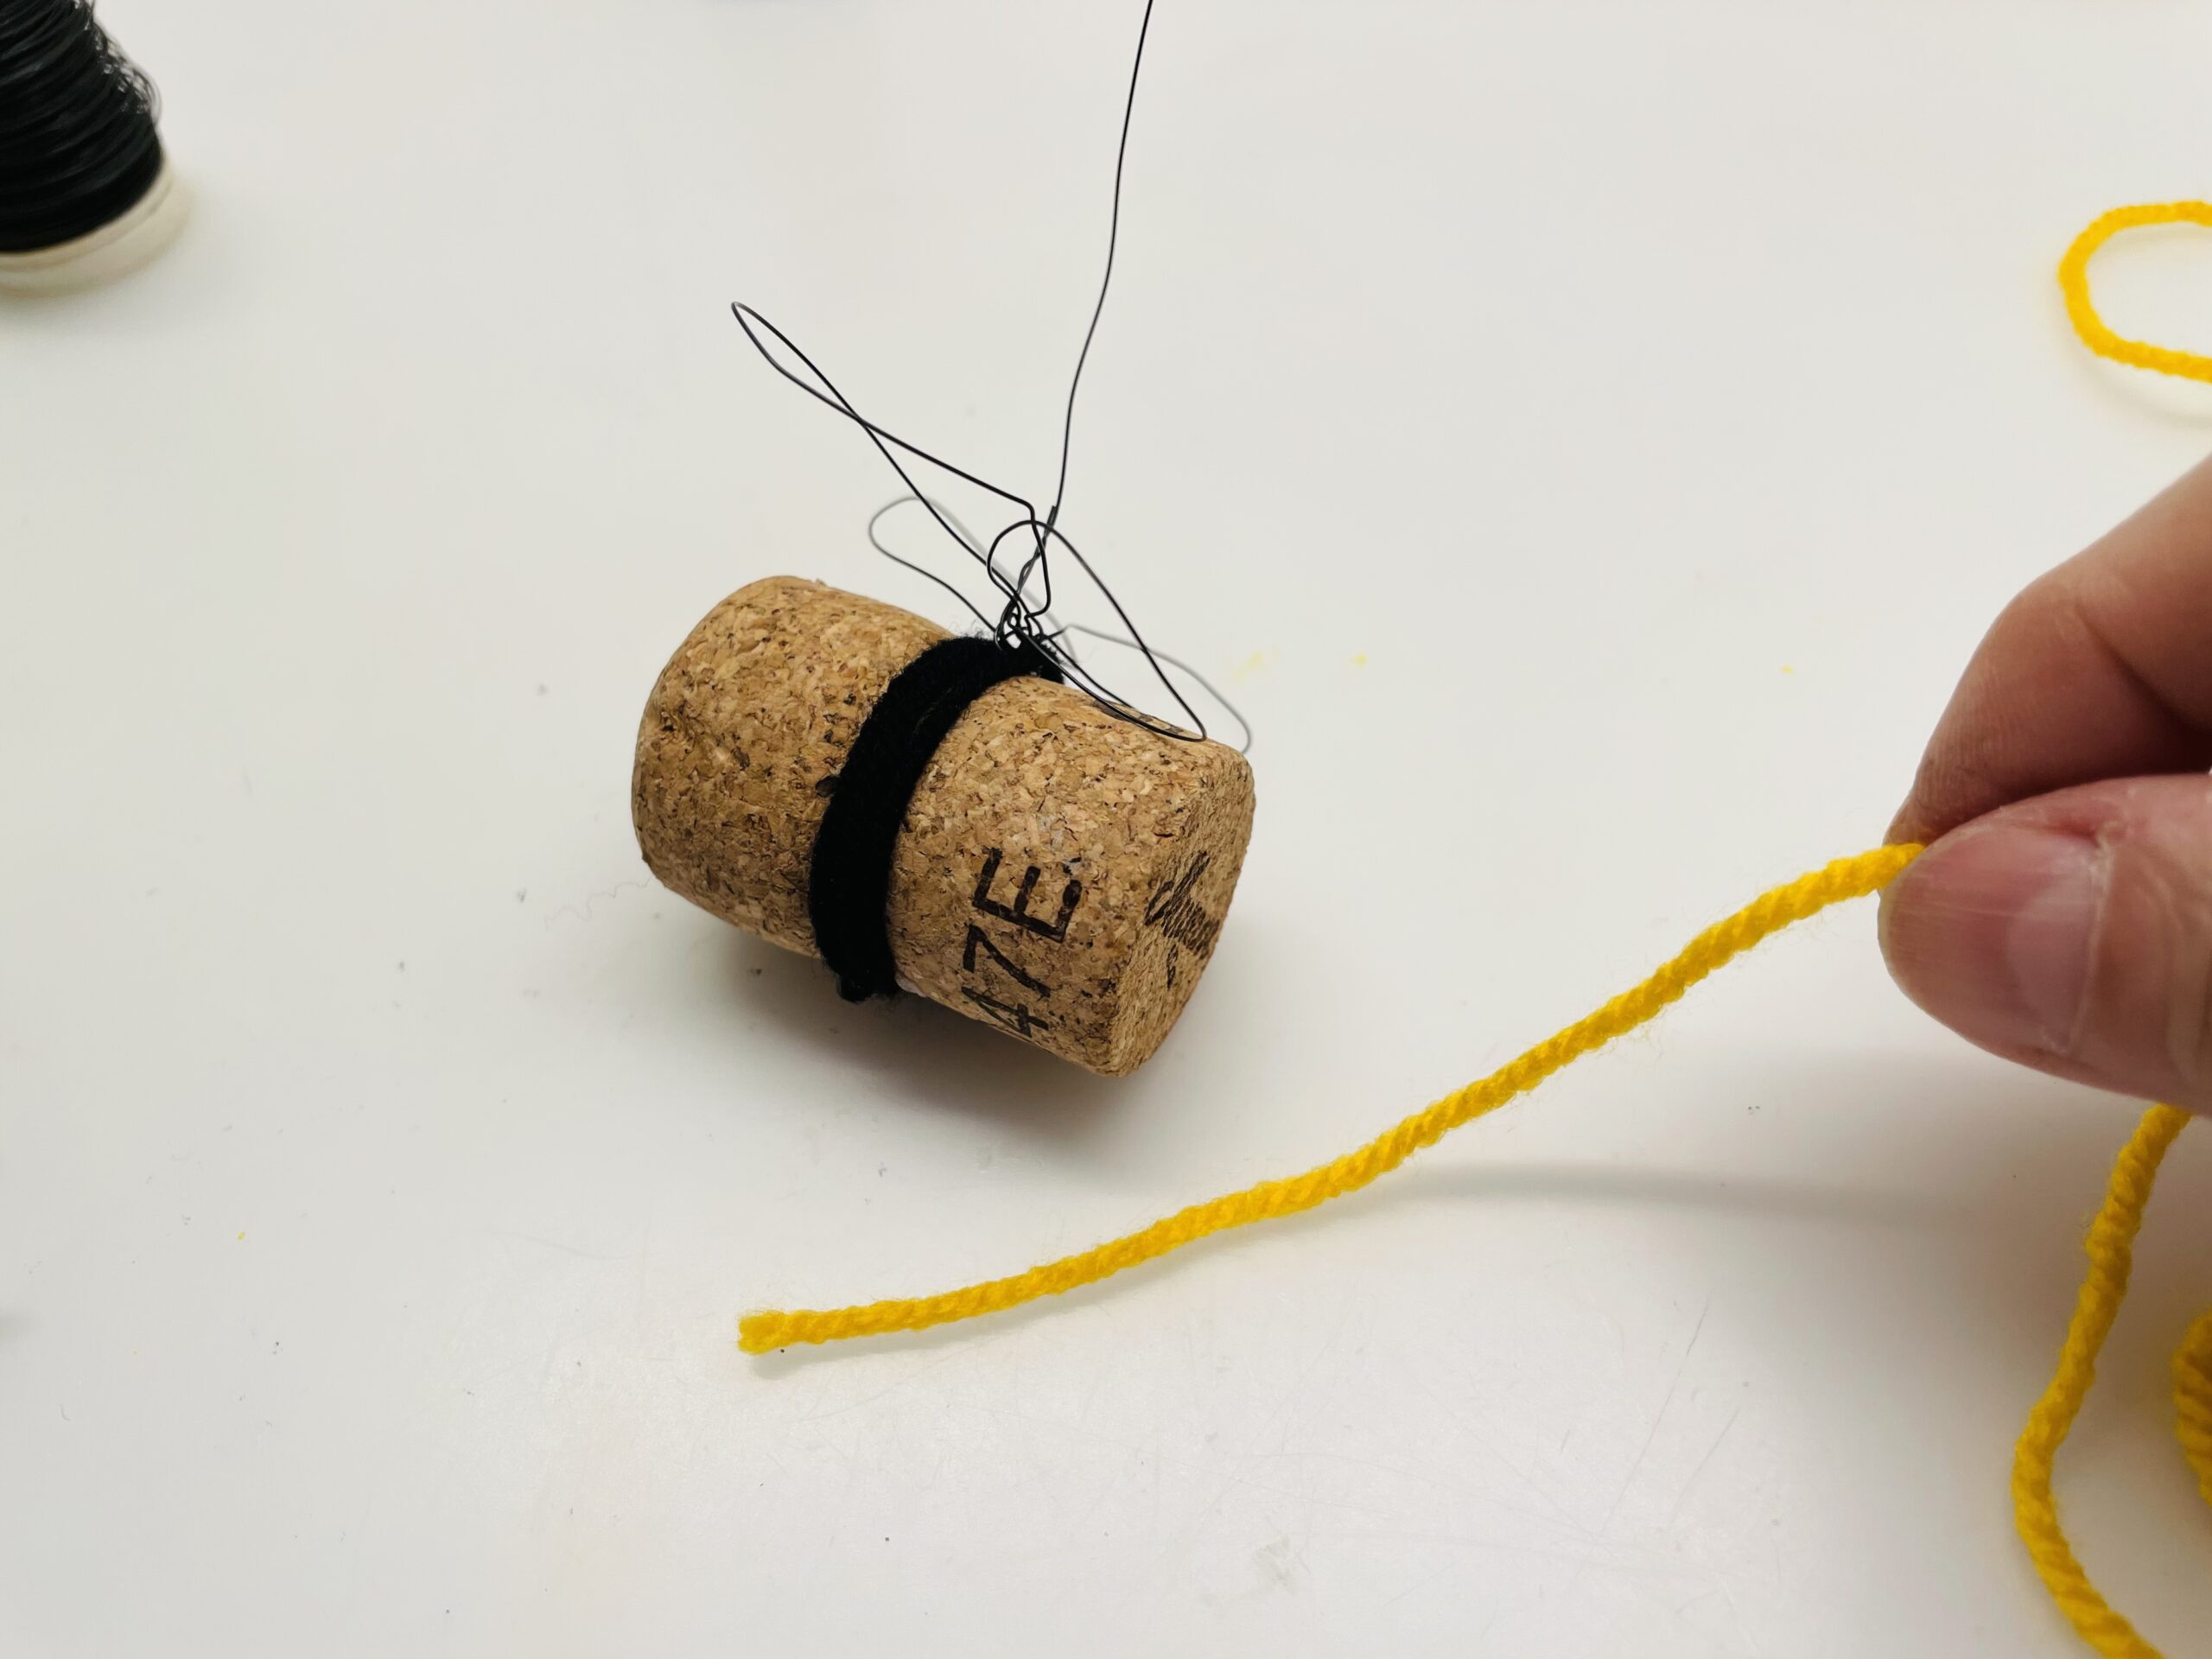
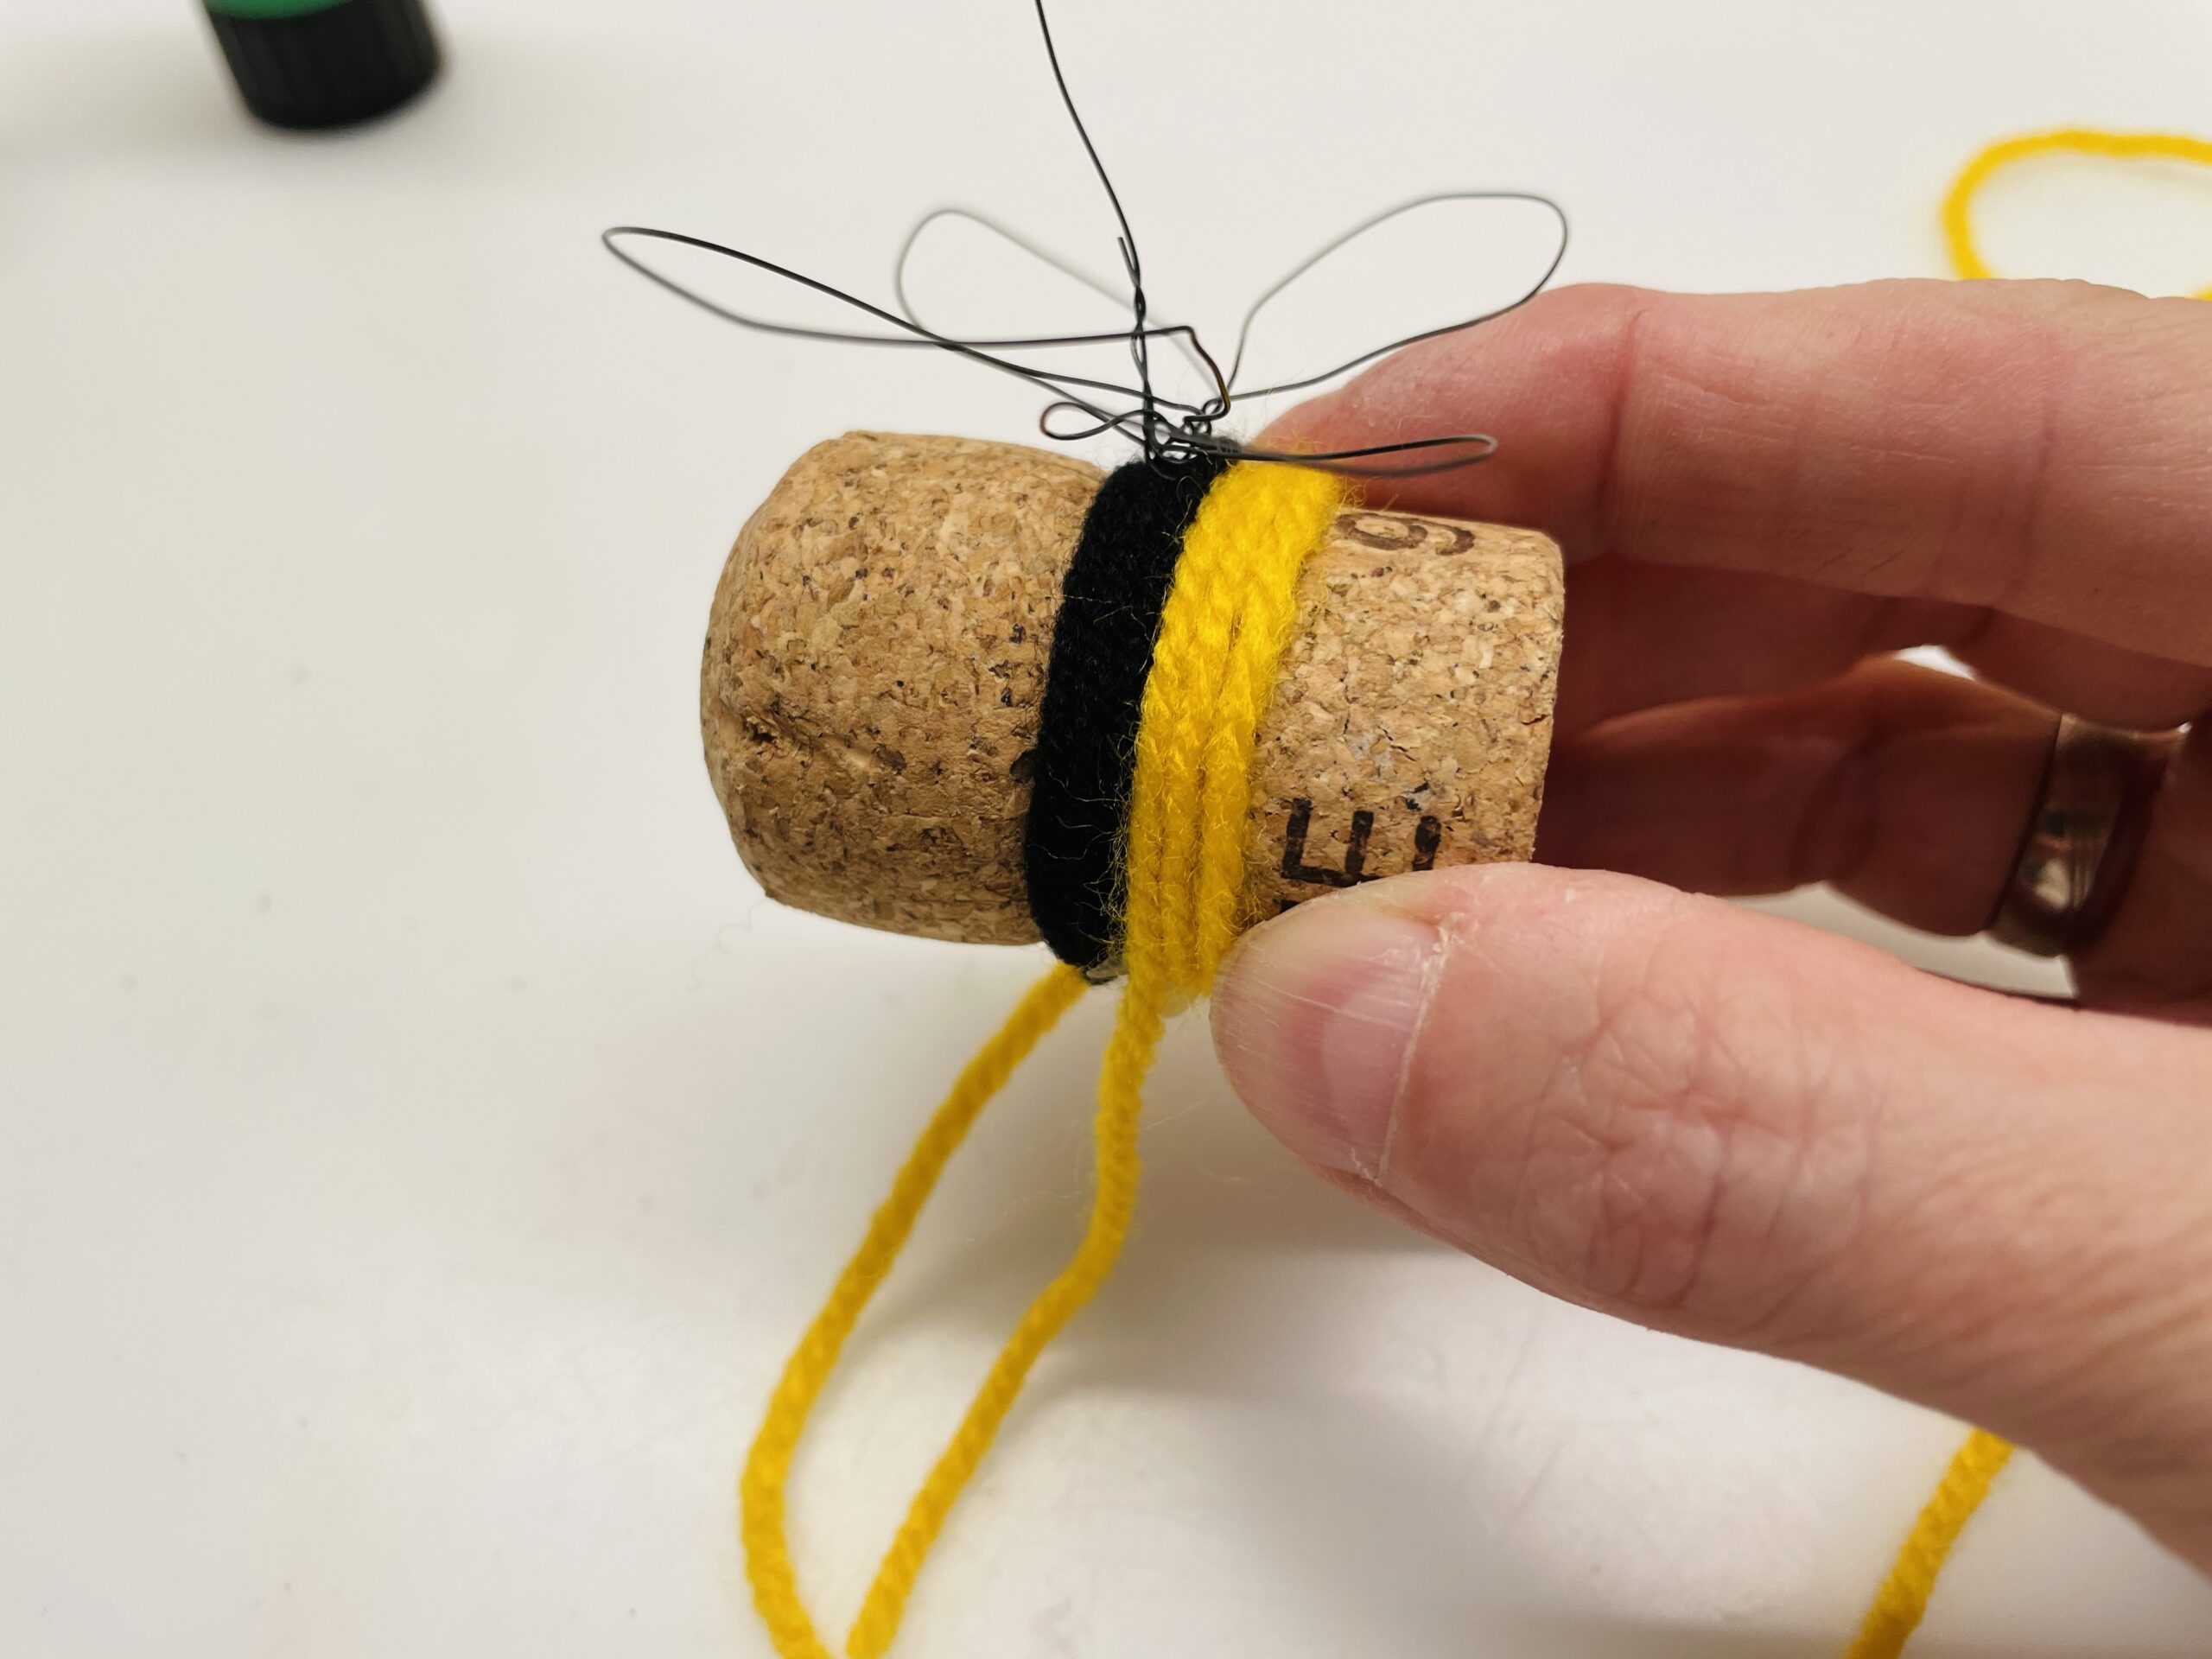
Now stick the thick yellow wool to the bottom and wrap this 2-3 times around the body.
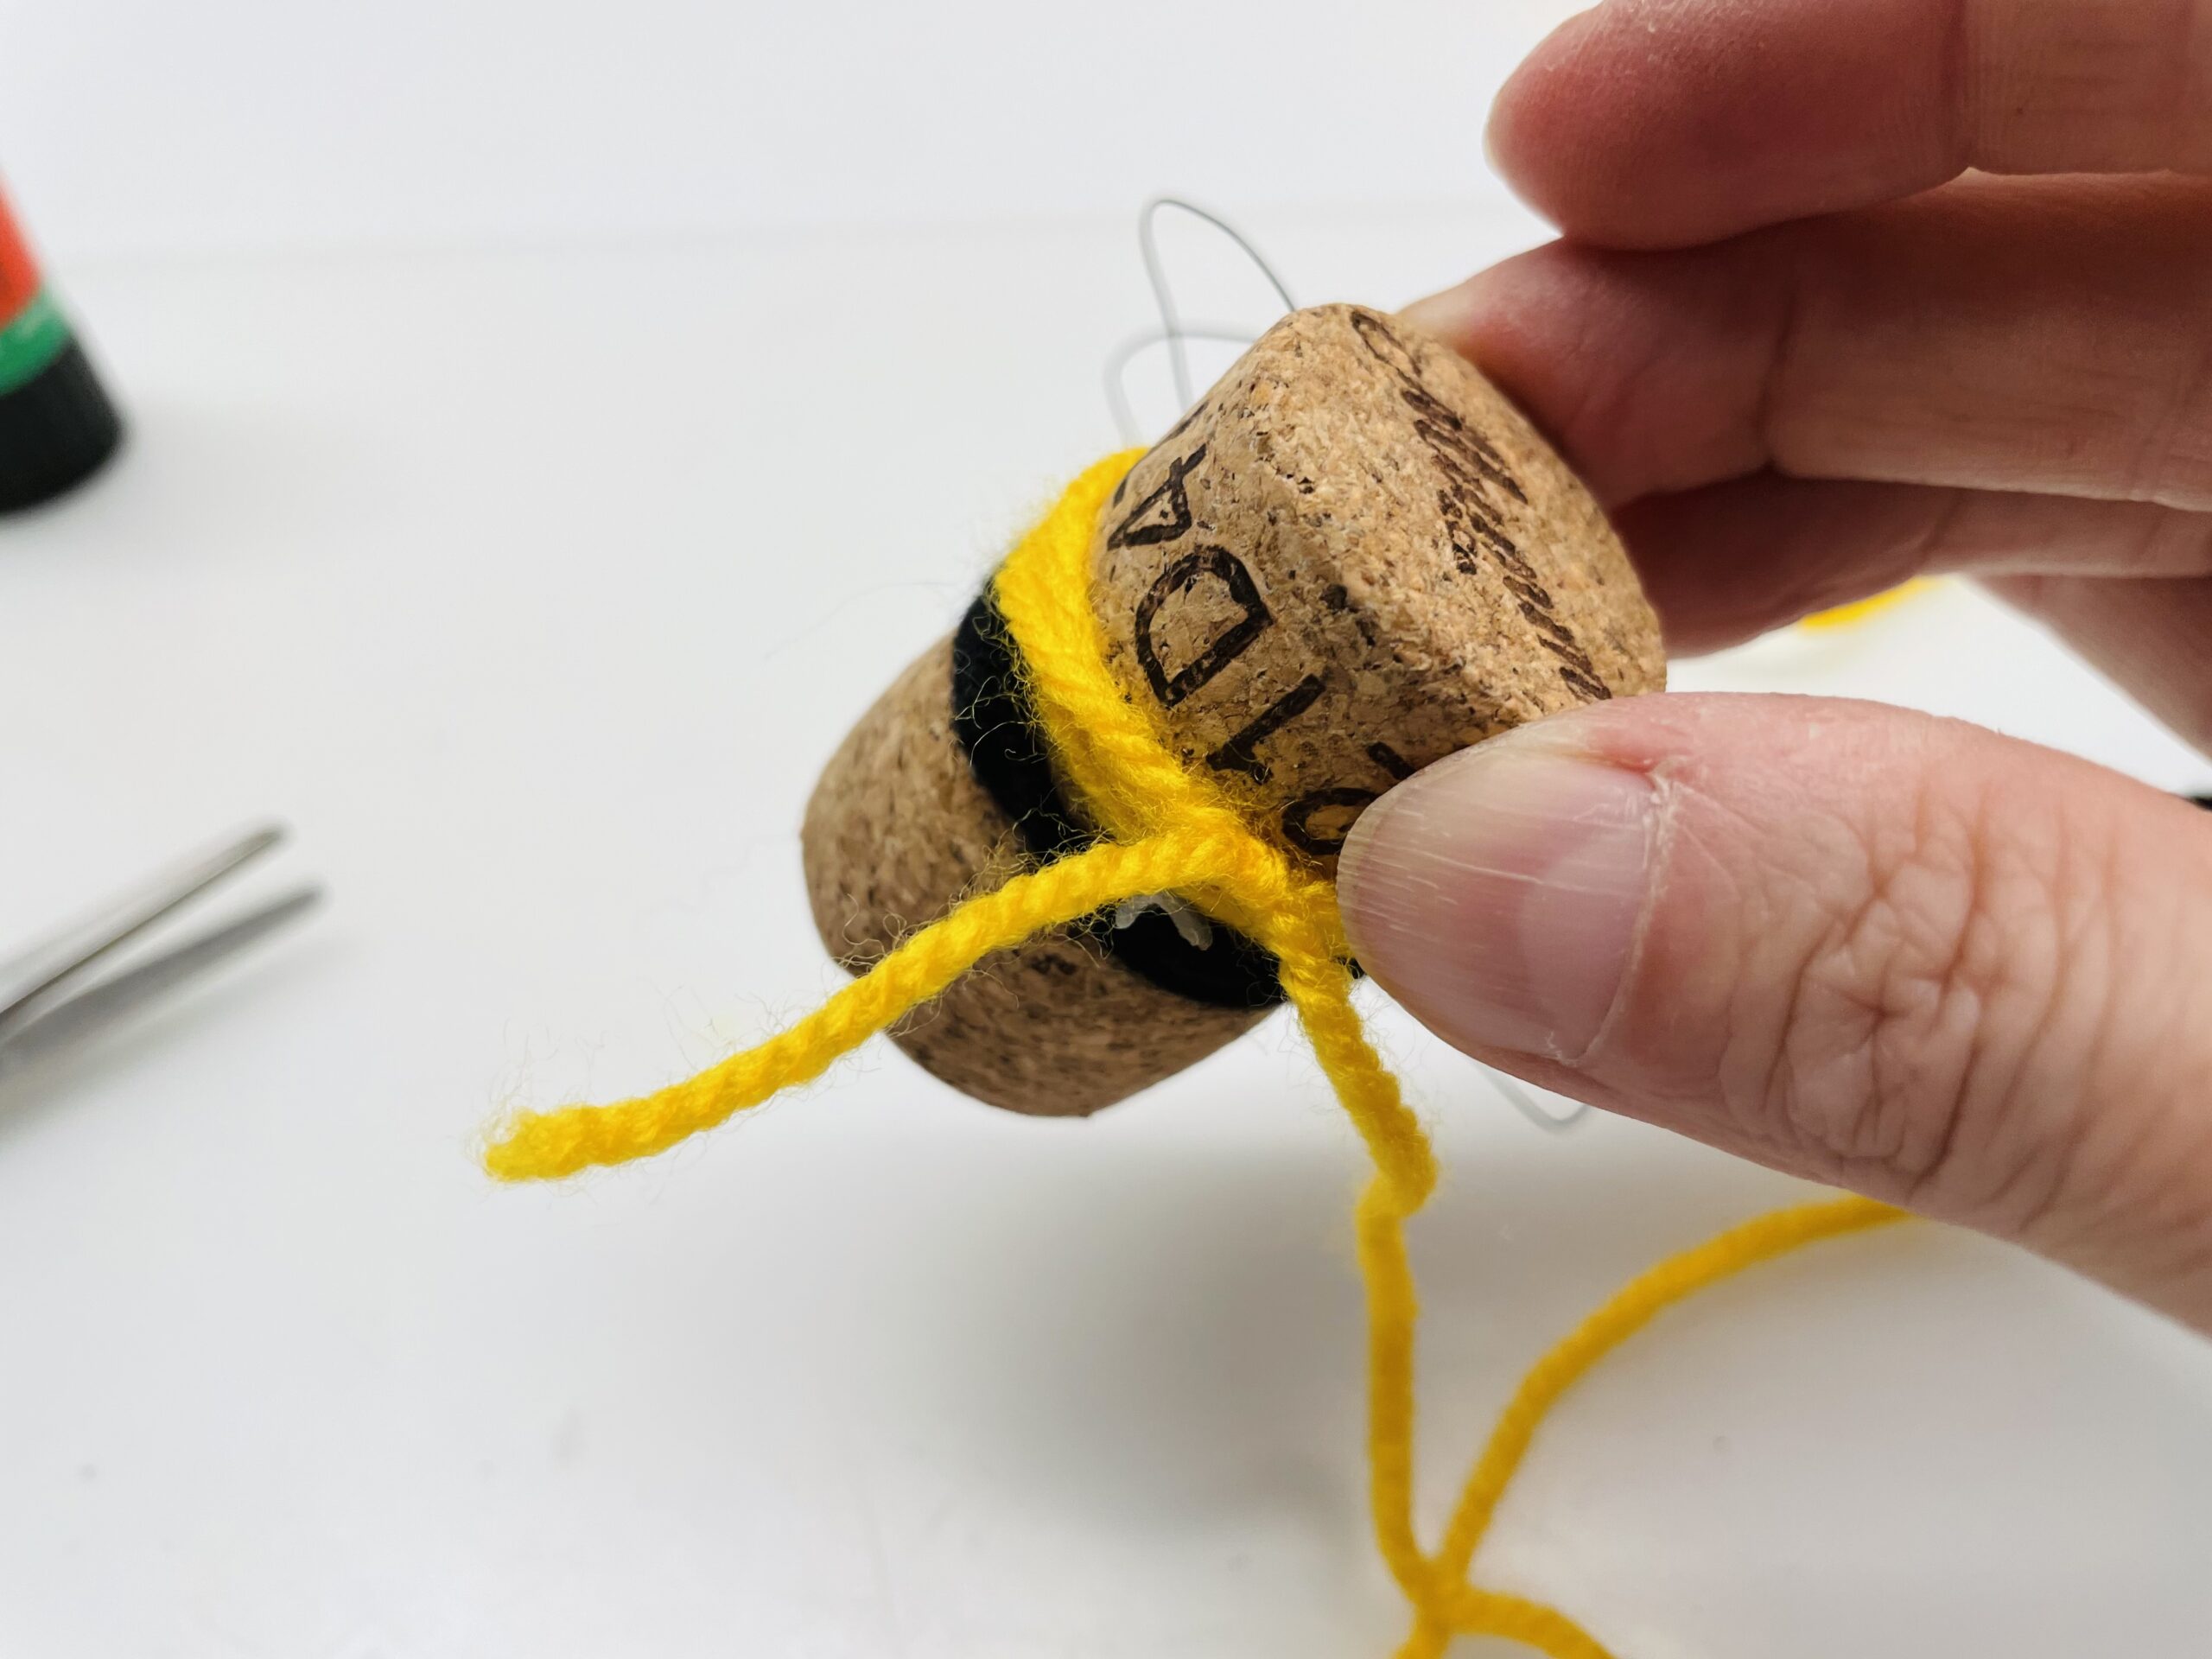
Alternatively, you knot the wool threads of a color together. To do this, let the beginning of the thread survive. Then wrap 2-3 times (depending on how thick your wool is!) the cork and let the end thread survive a bit.
Then you knot both threads together and cut off the protruding ends with scissors.
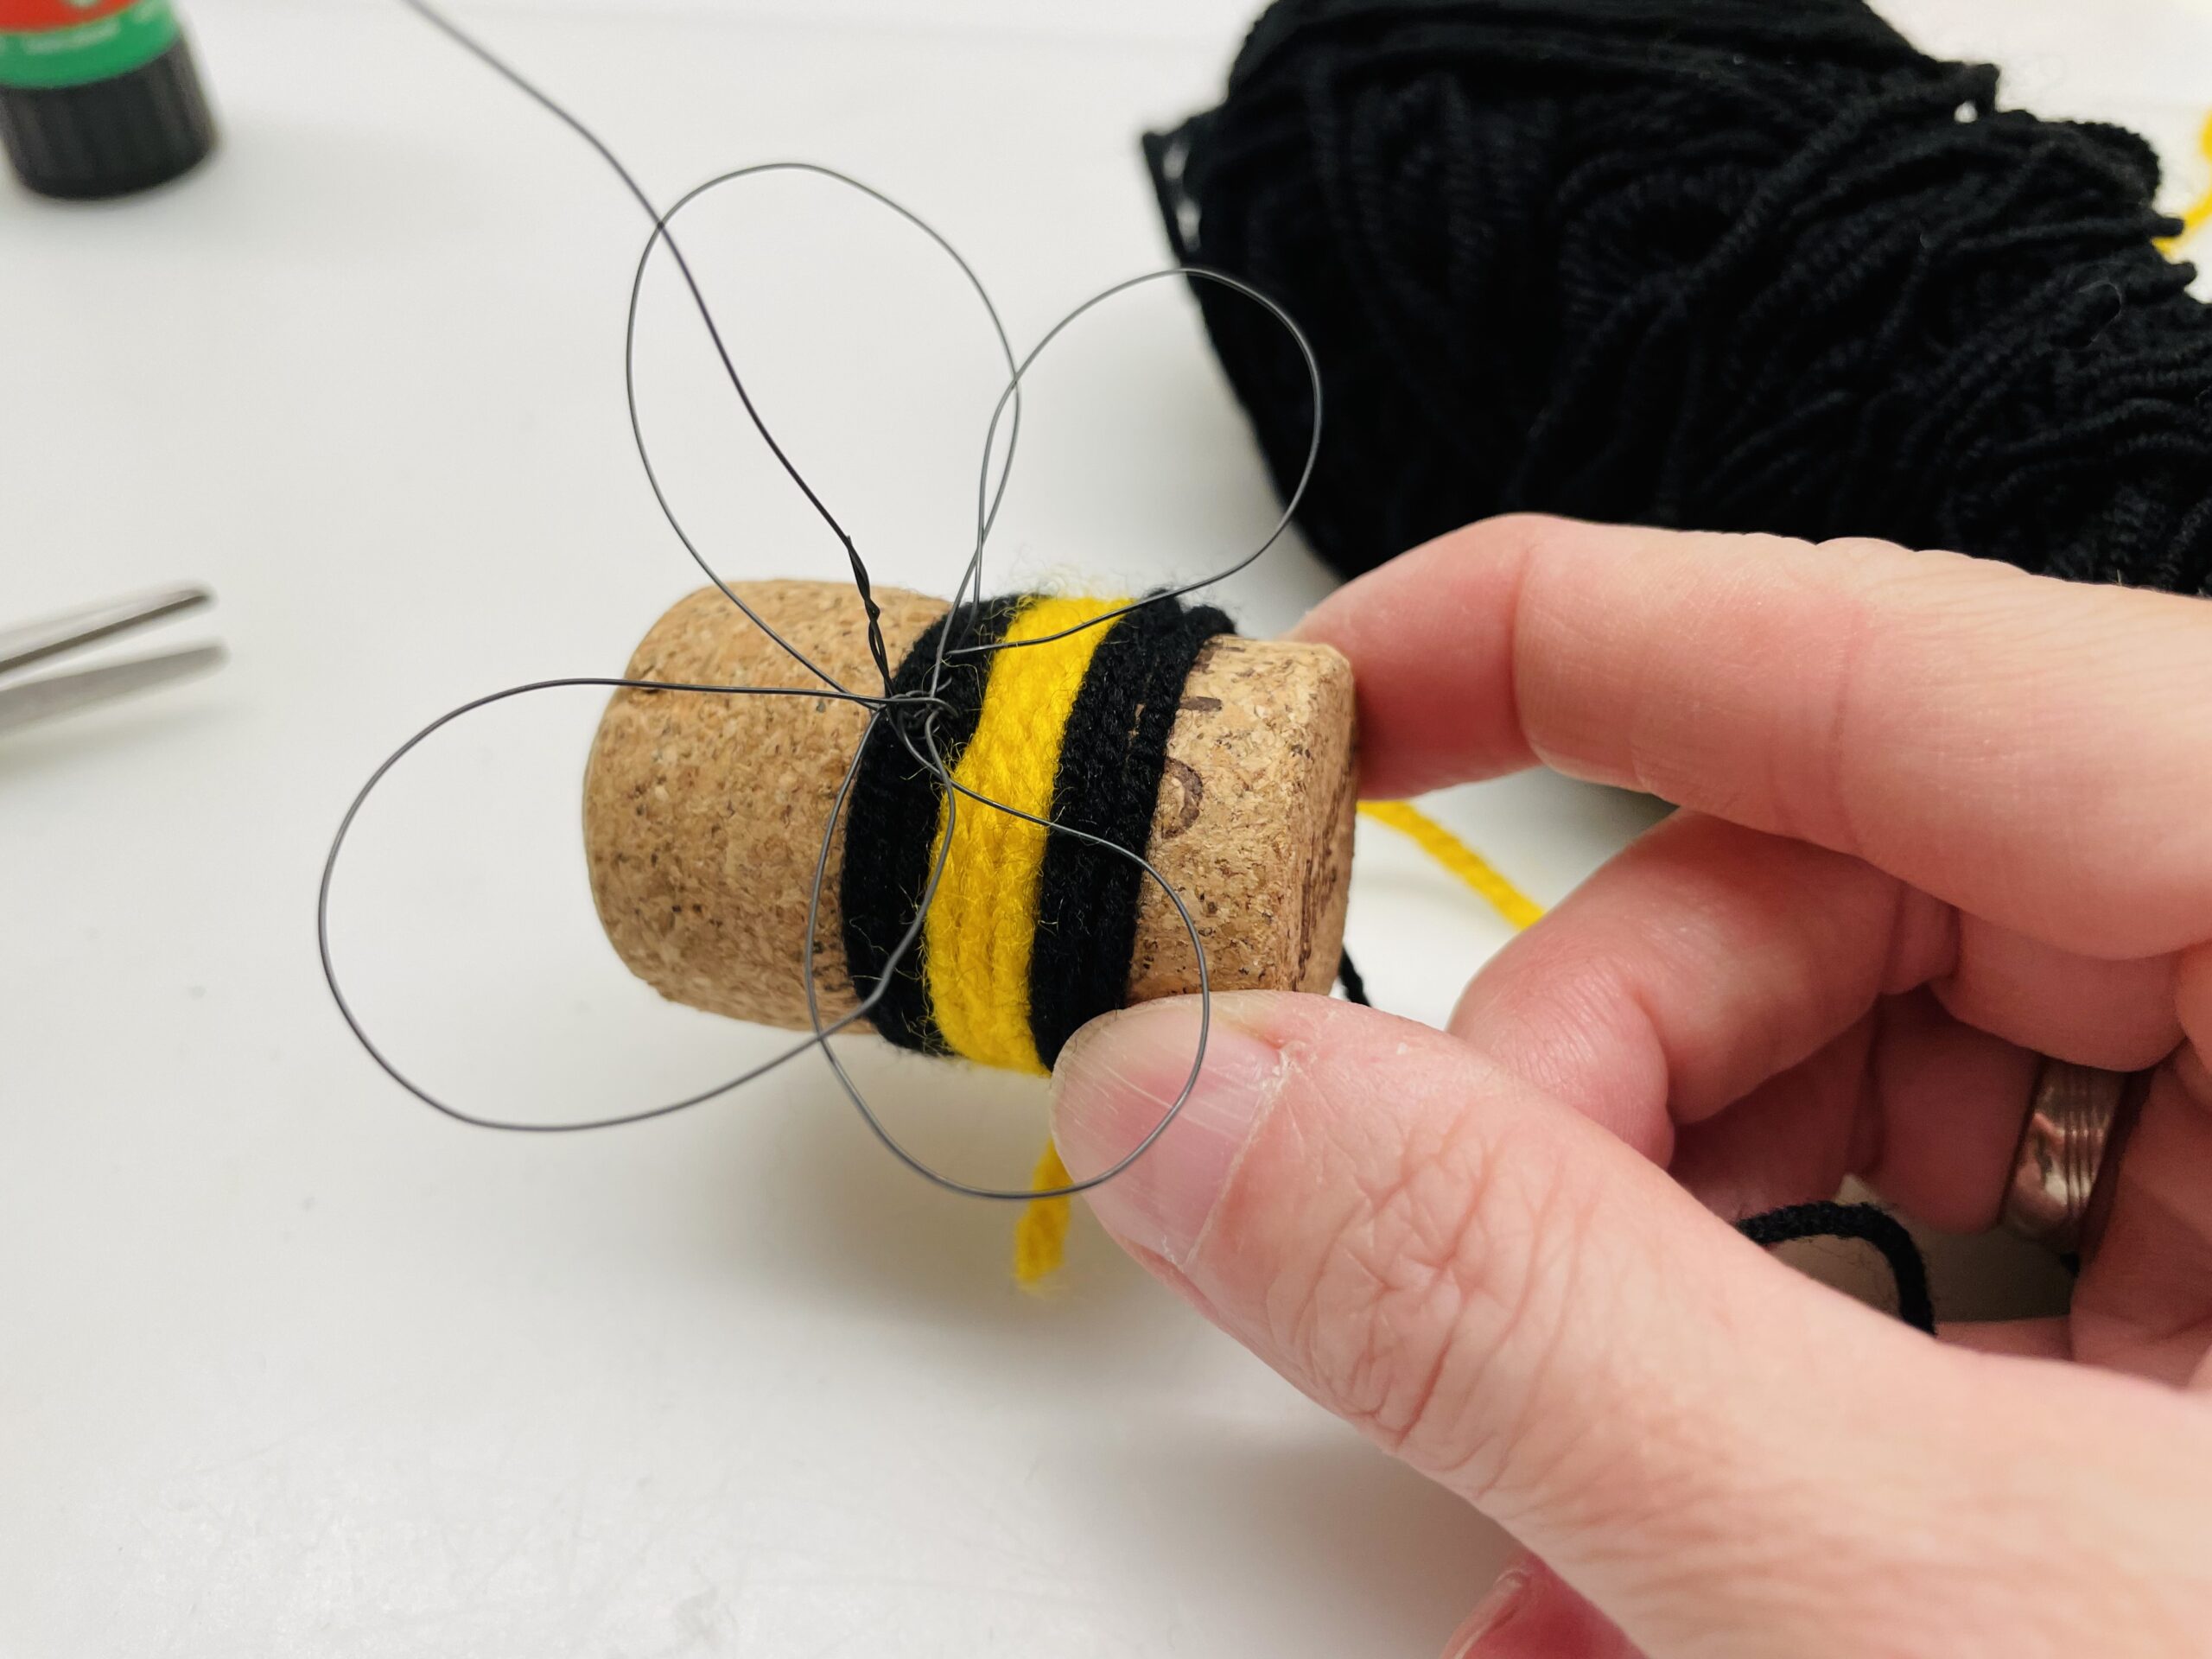
If the wrapping of the wool is repeated alternately with yellow and black wool, the typical strips of bees are formed.
Whether you stick or knott is up to you. It works both variants.
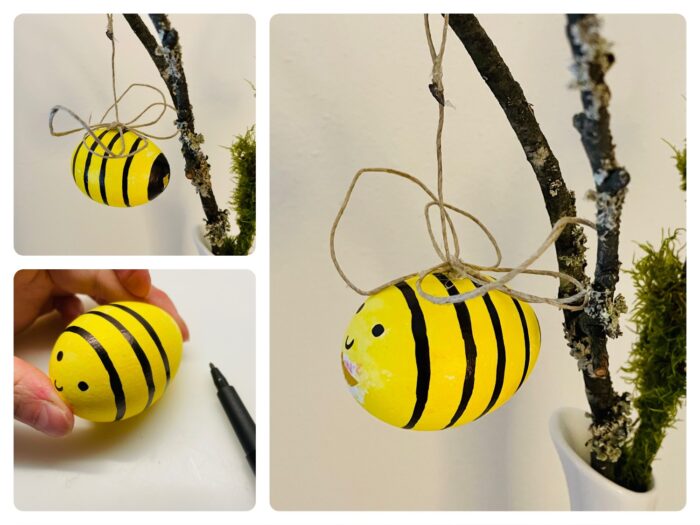
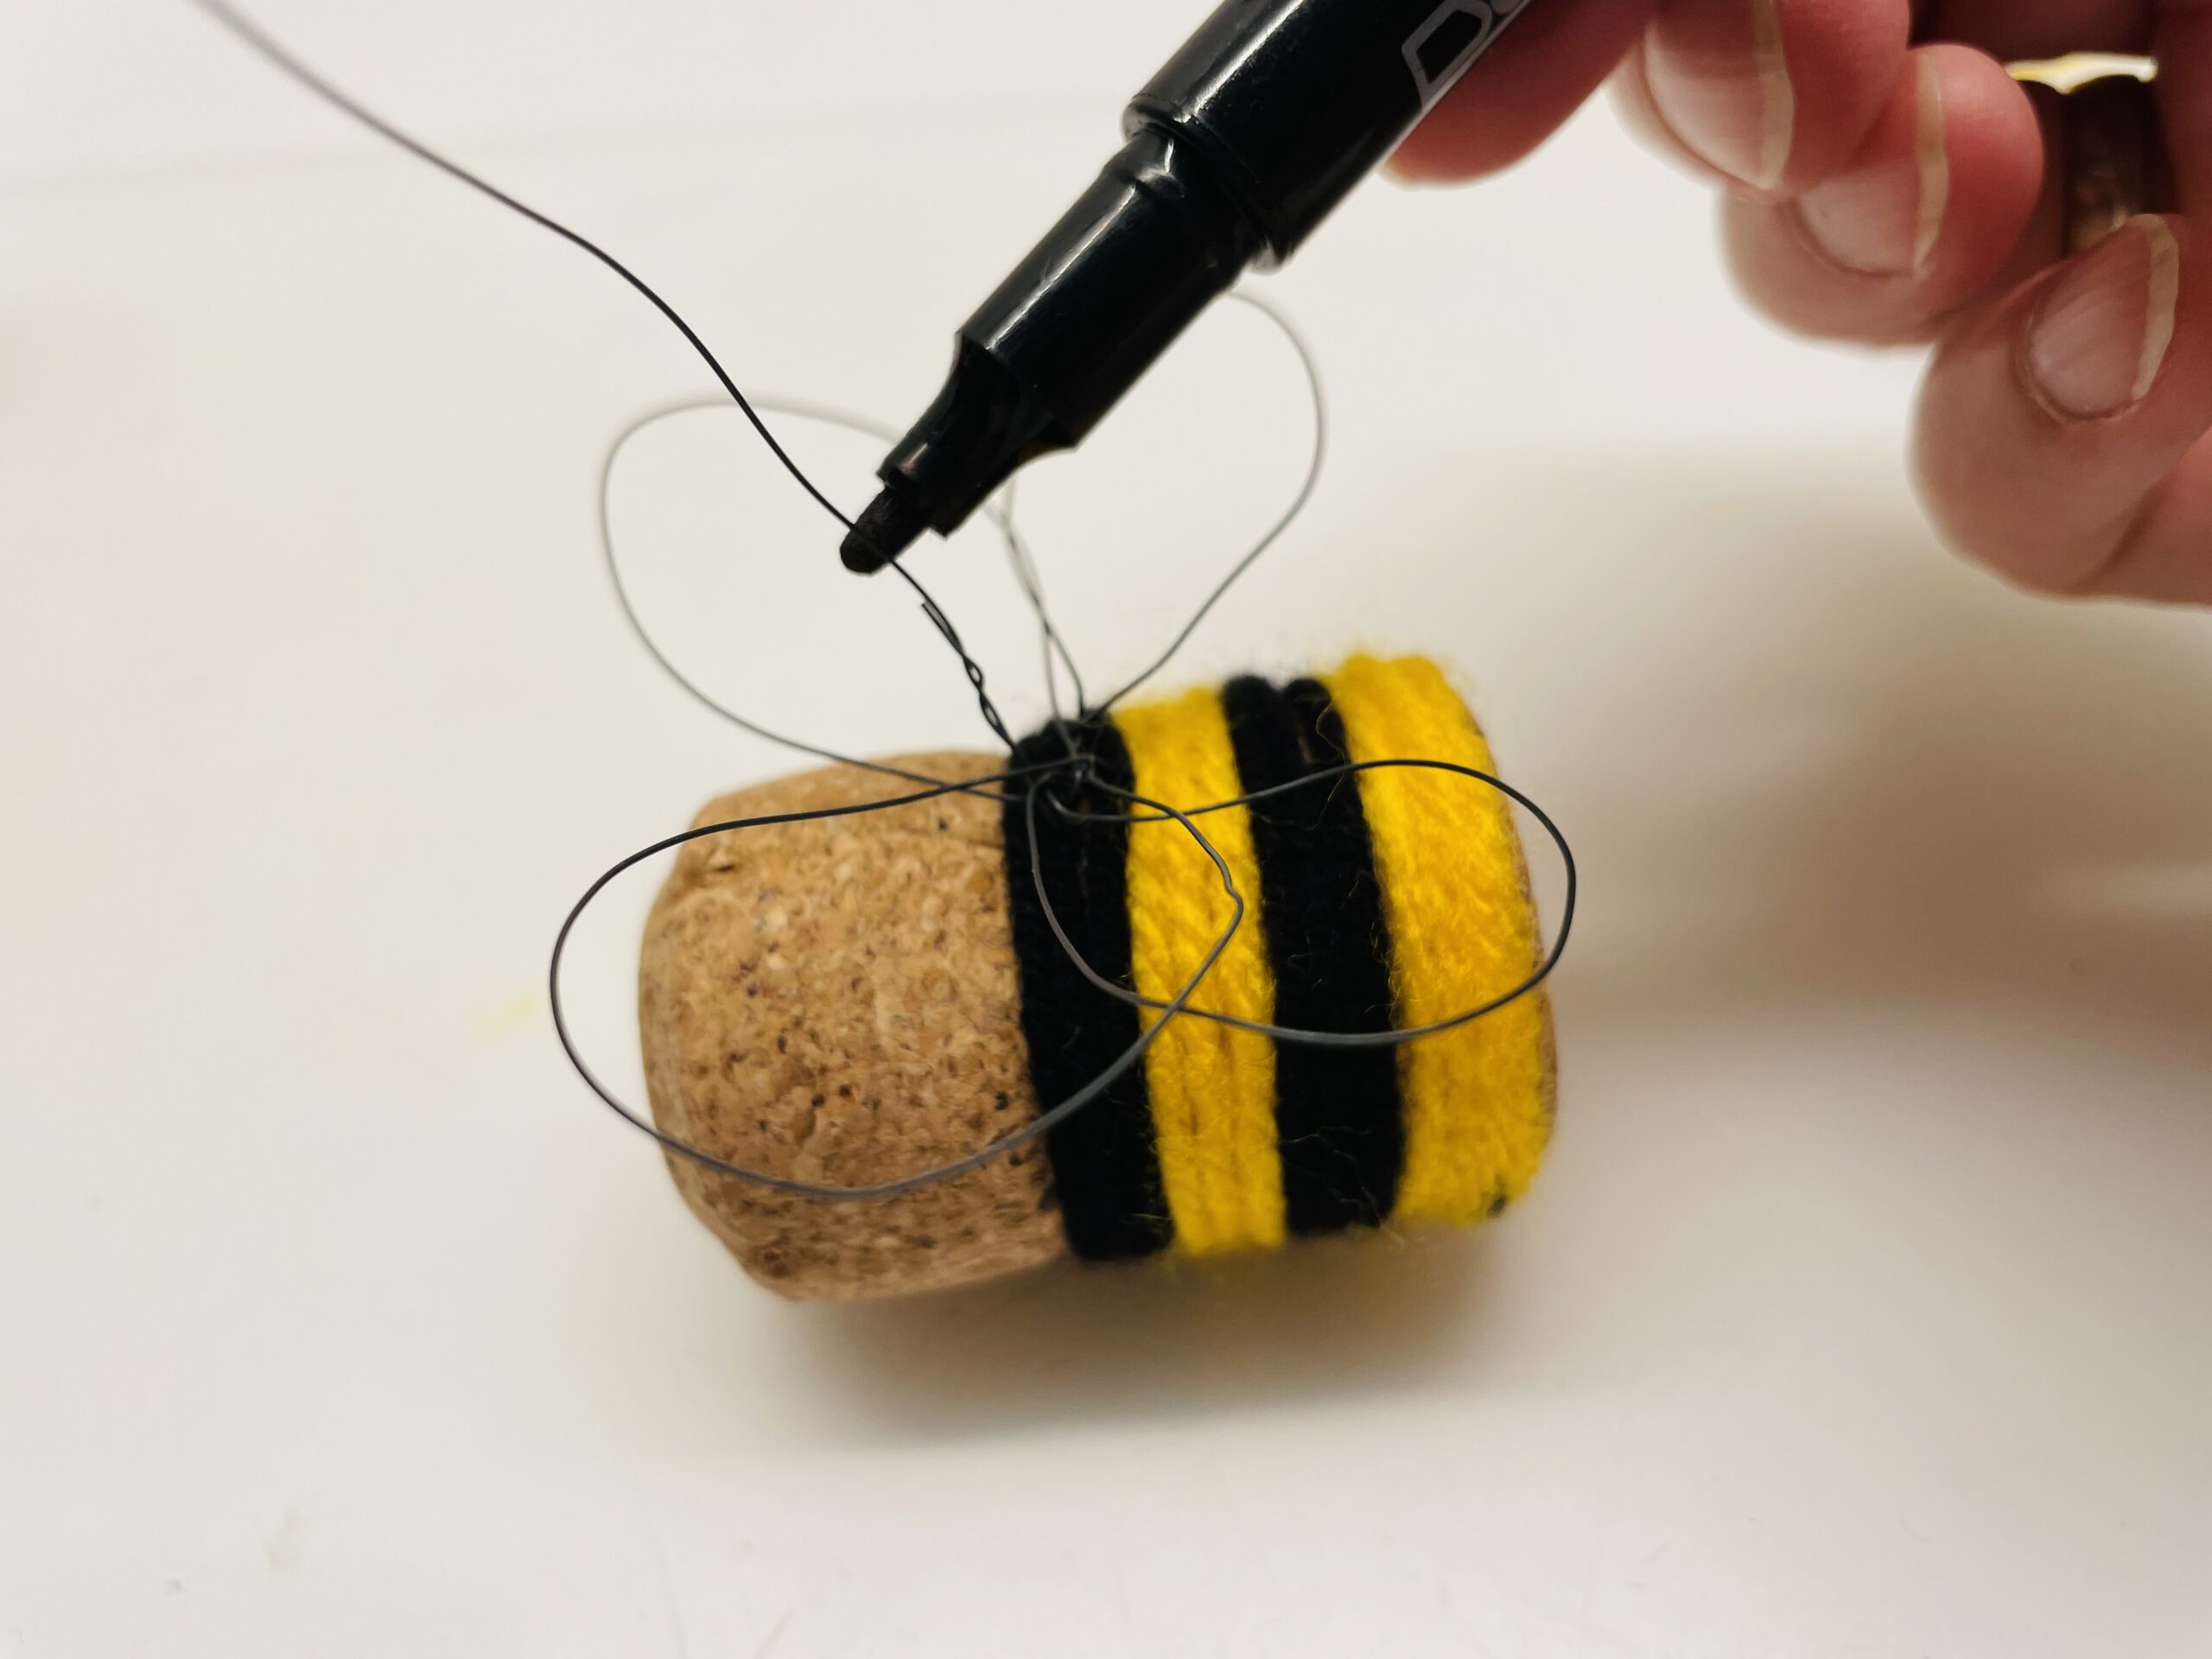
Now you paint your eyes with a black felt pen.
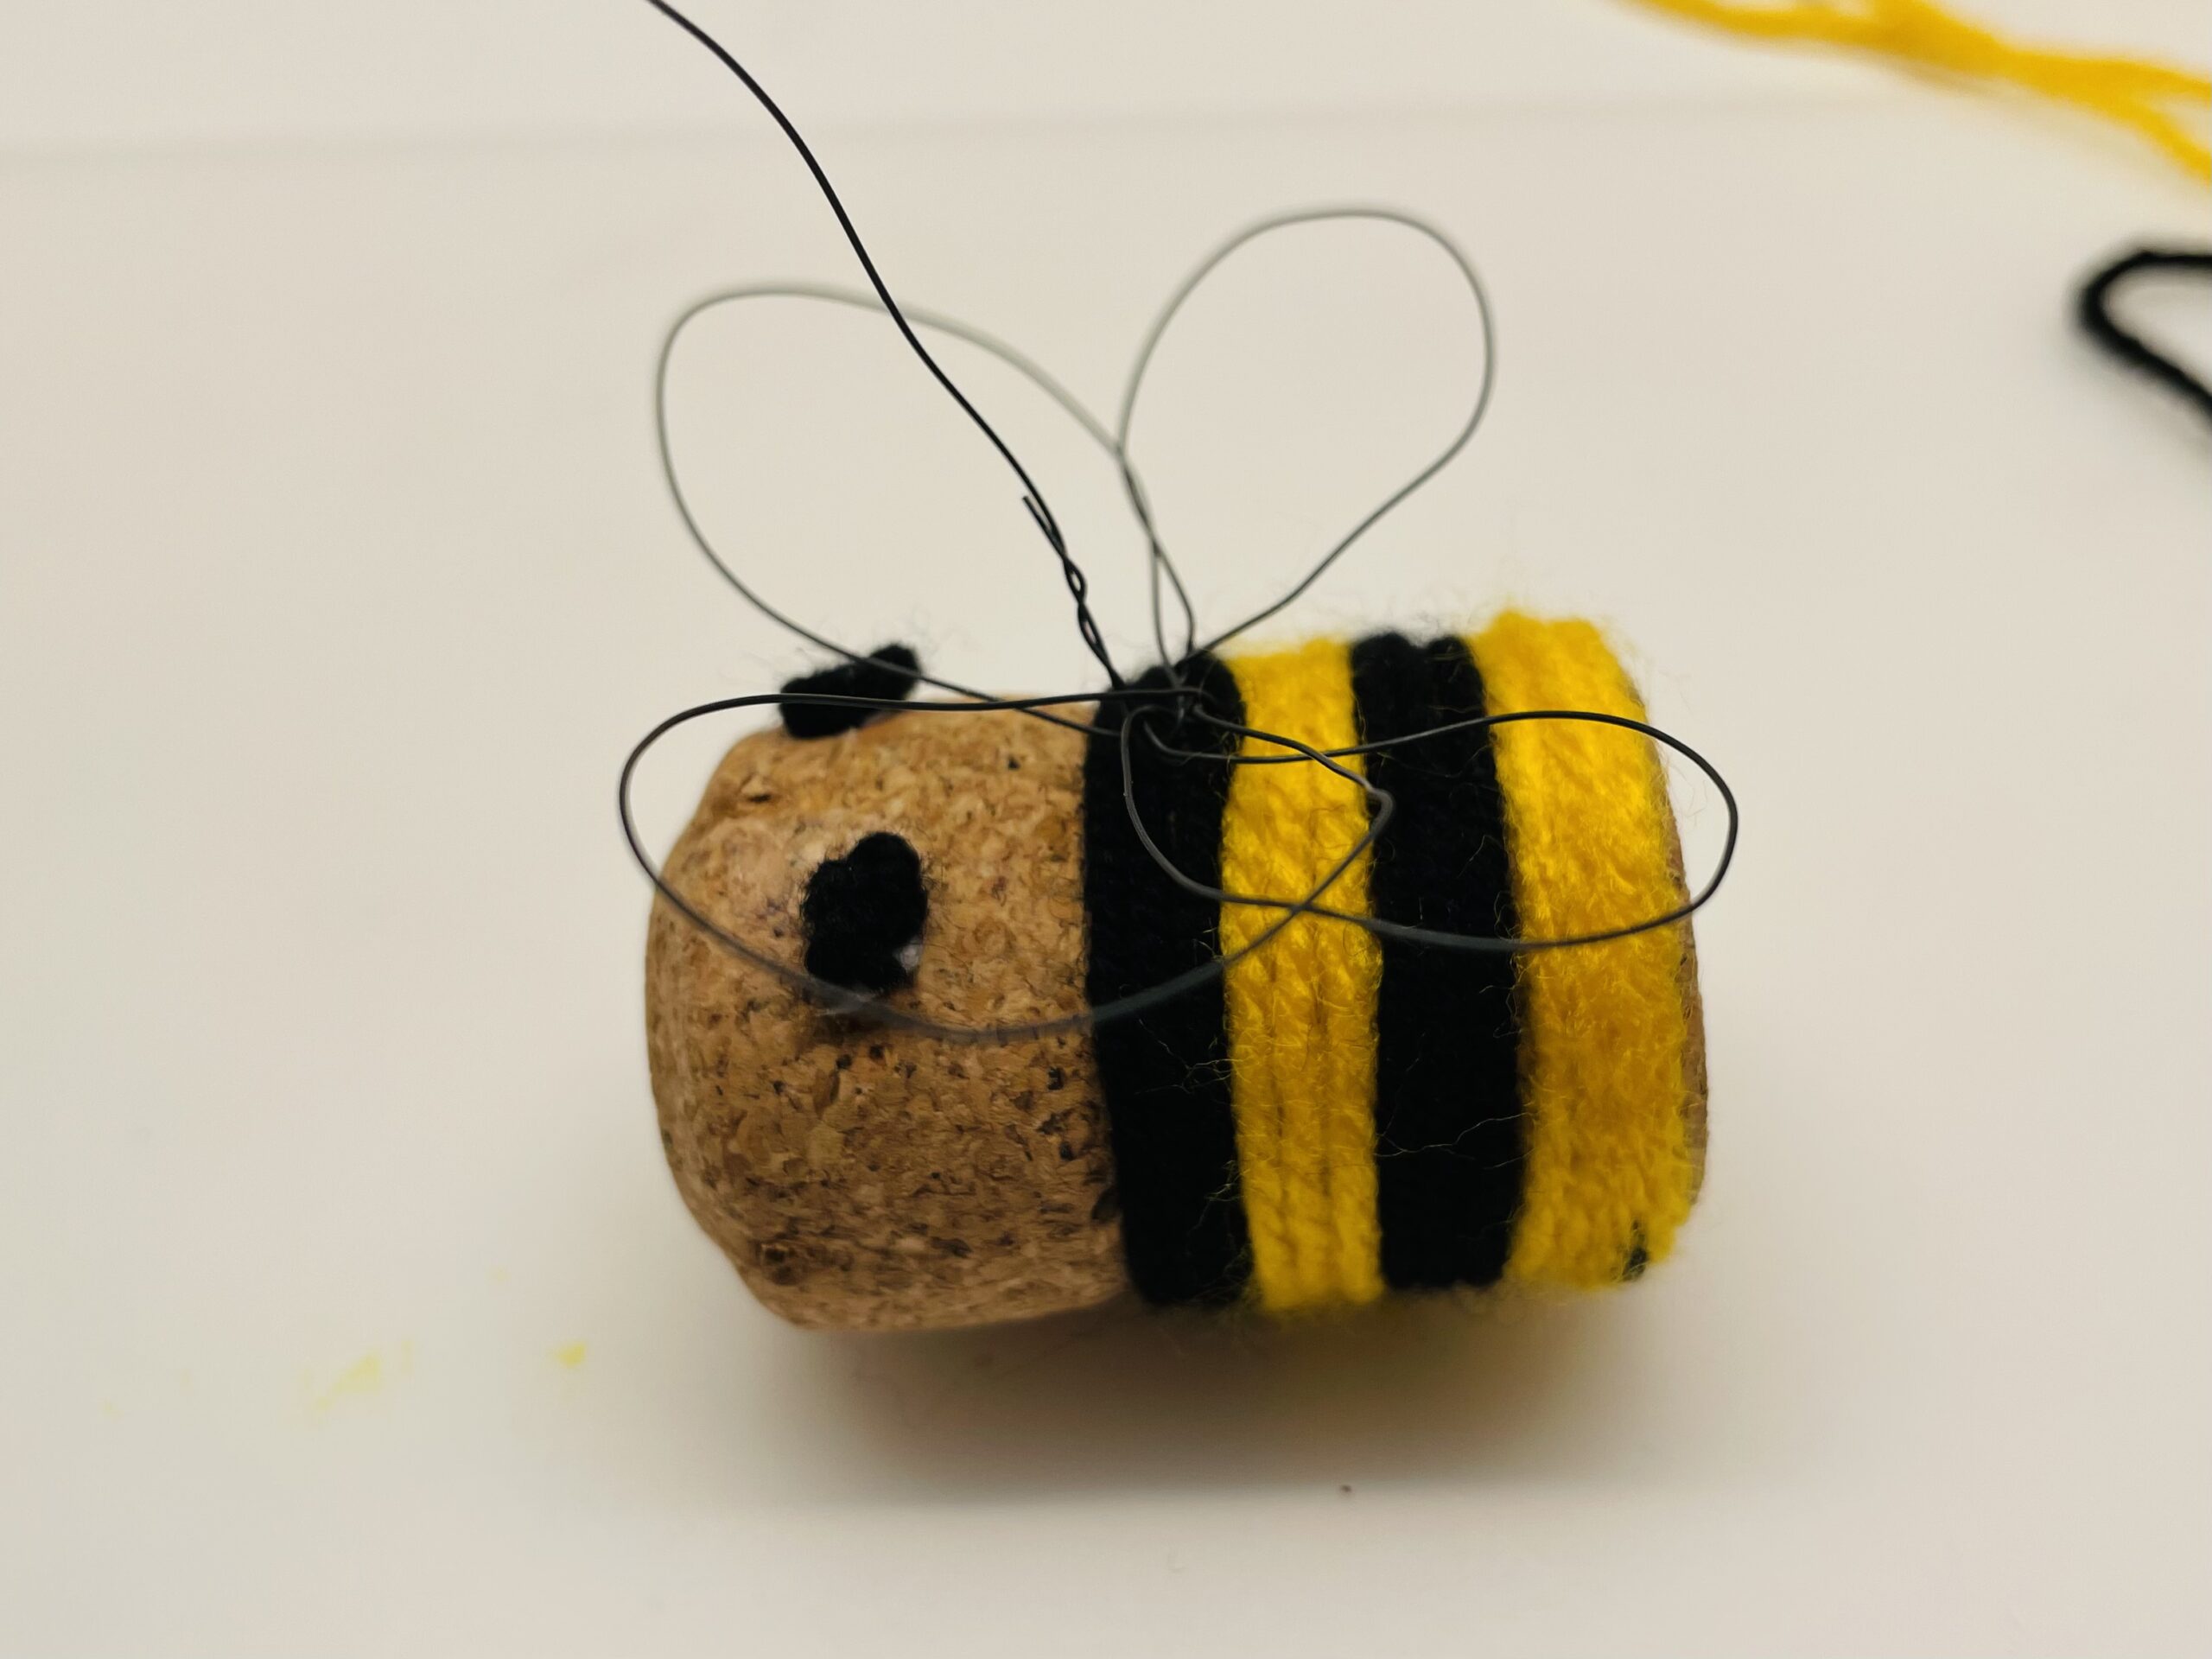
Tip: You can knot two knots out of black wool and cut off the overhanging threads. You can also stick these small knots on as eyes.
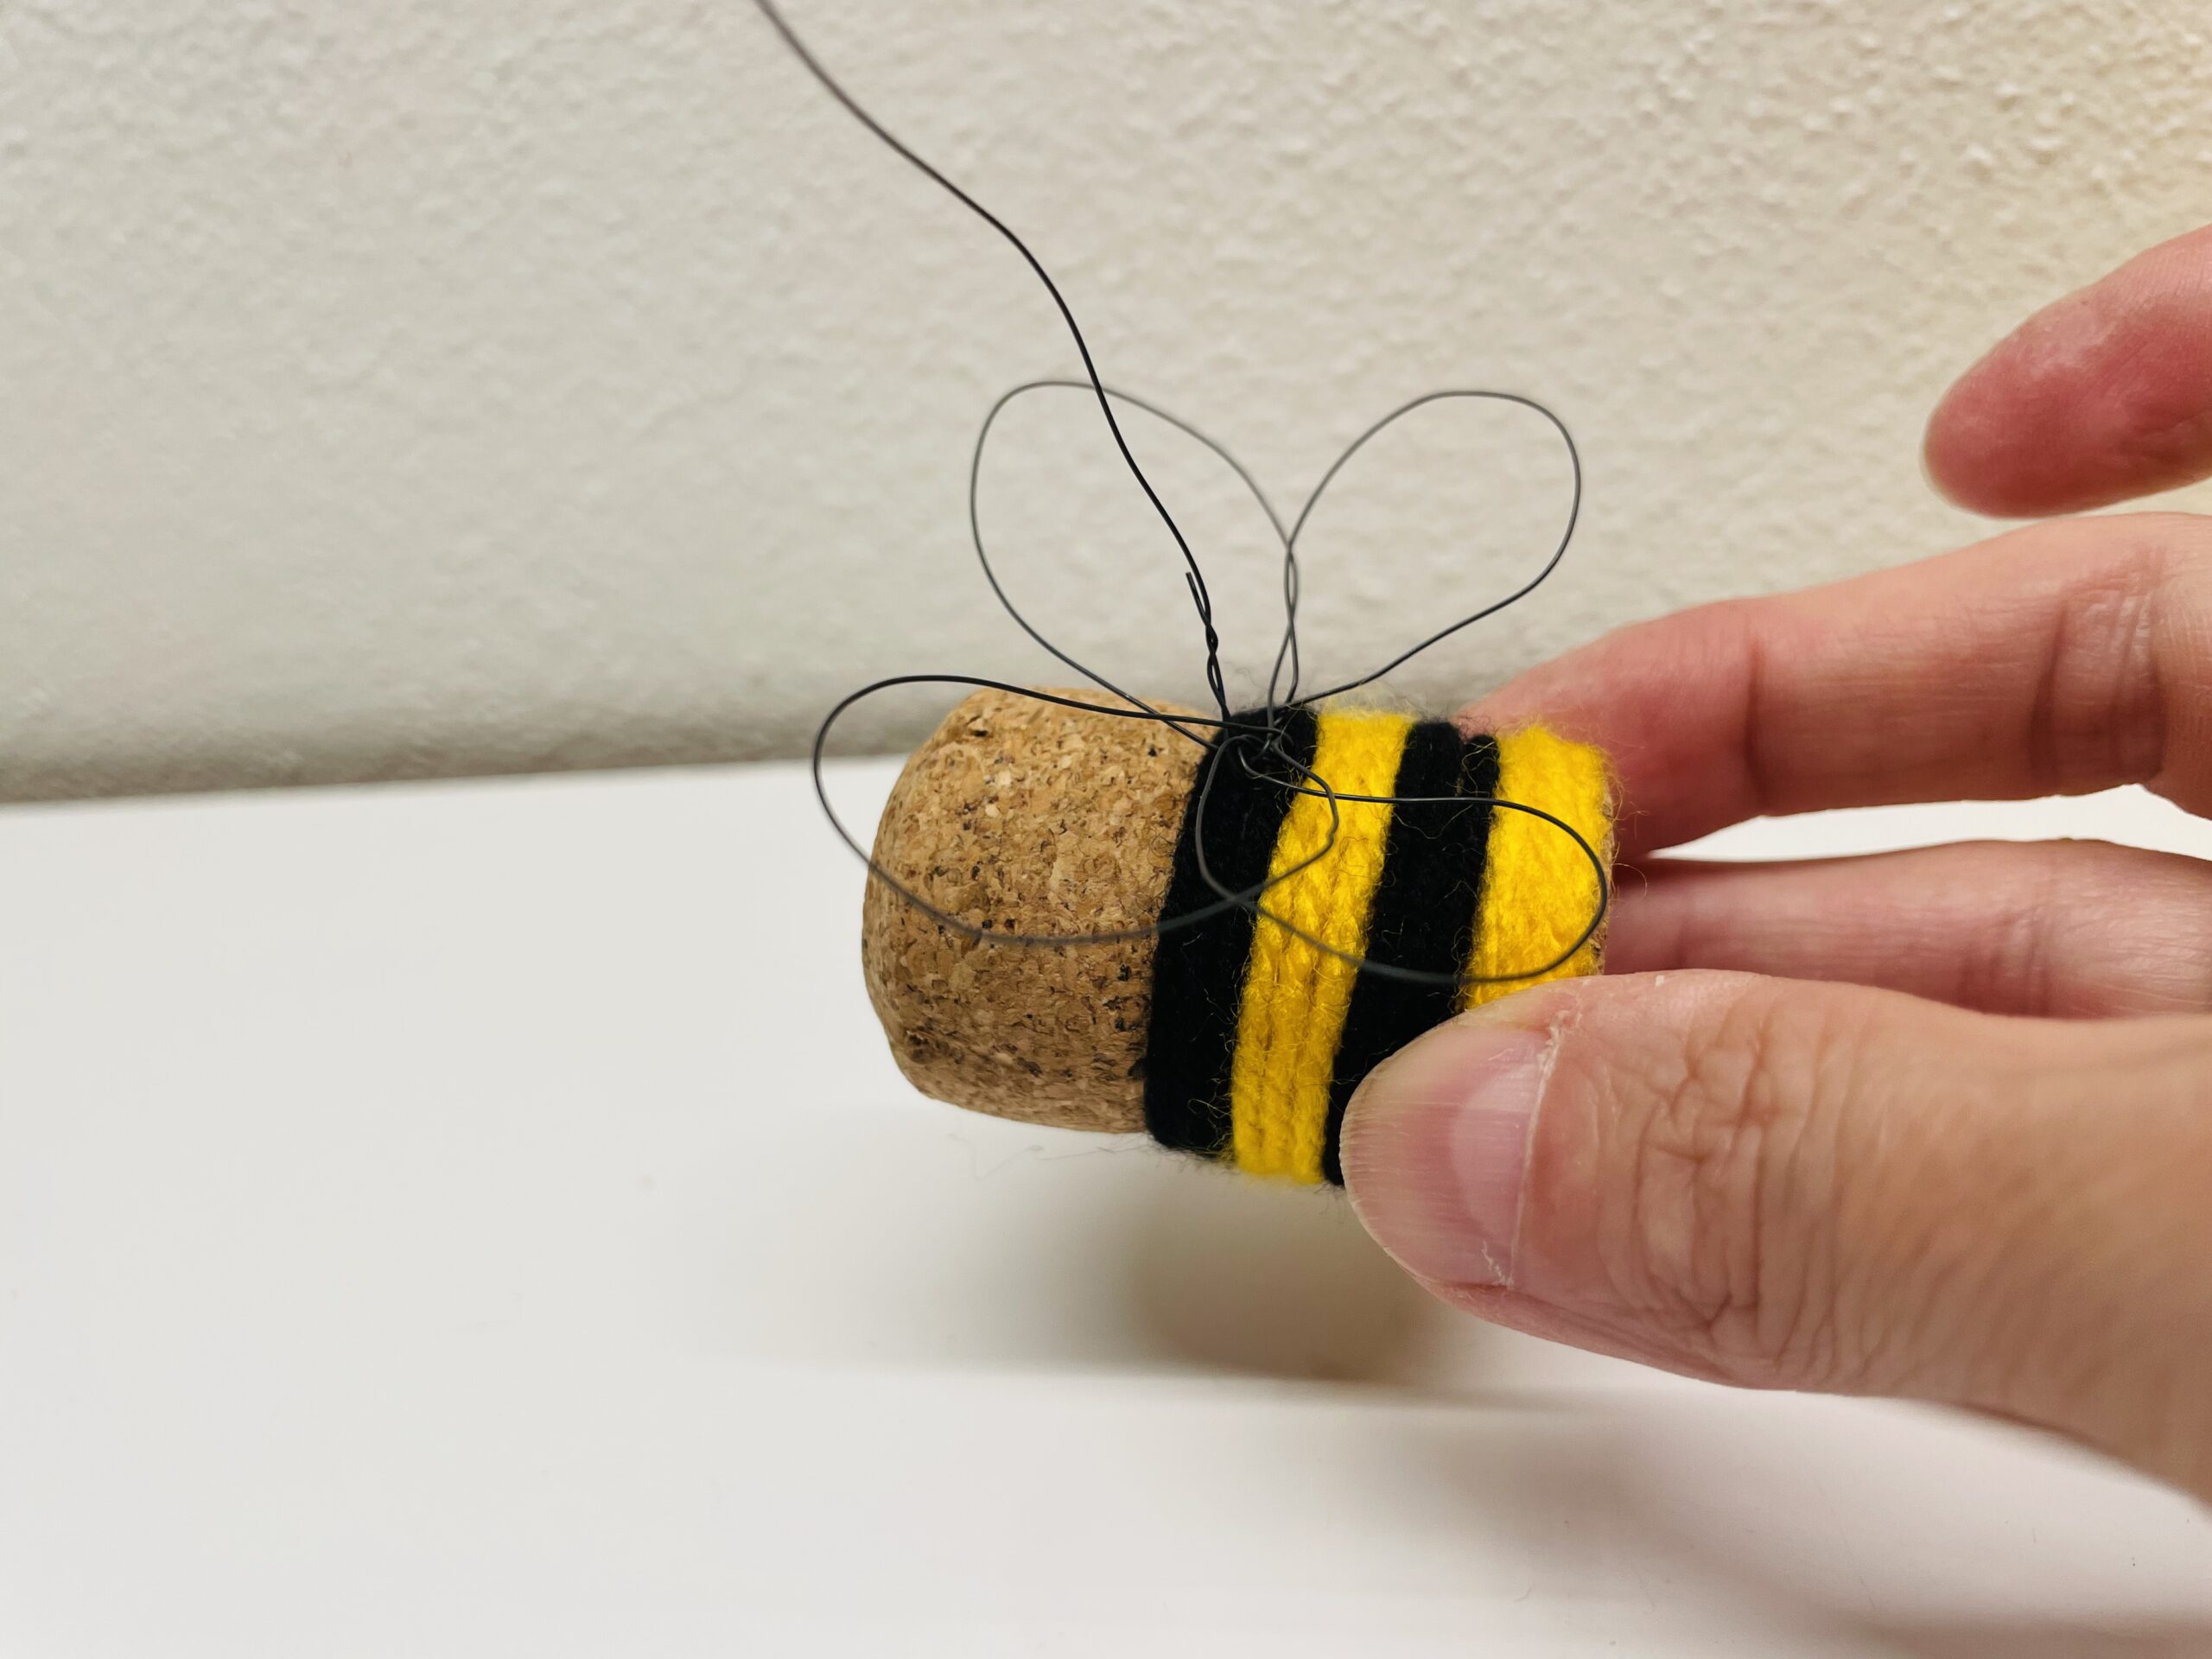
The self-made bee is finished from a cork.
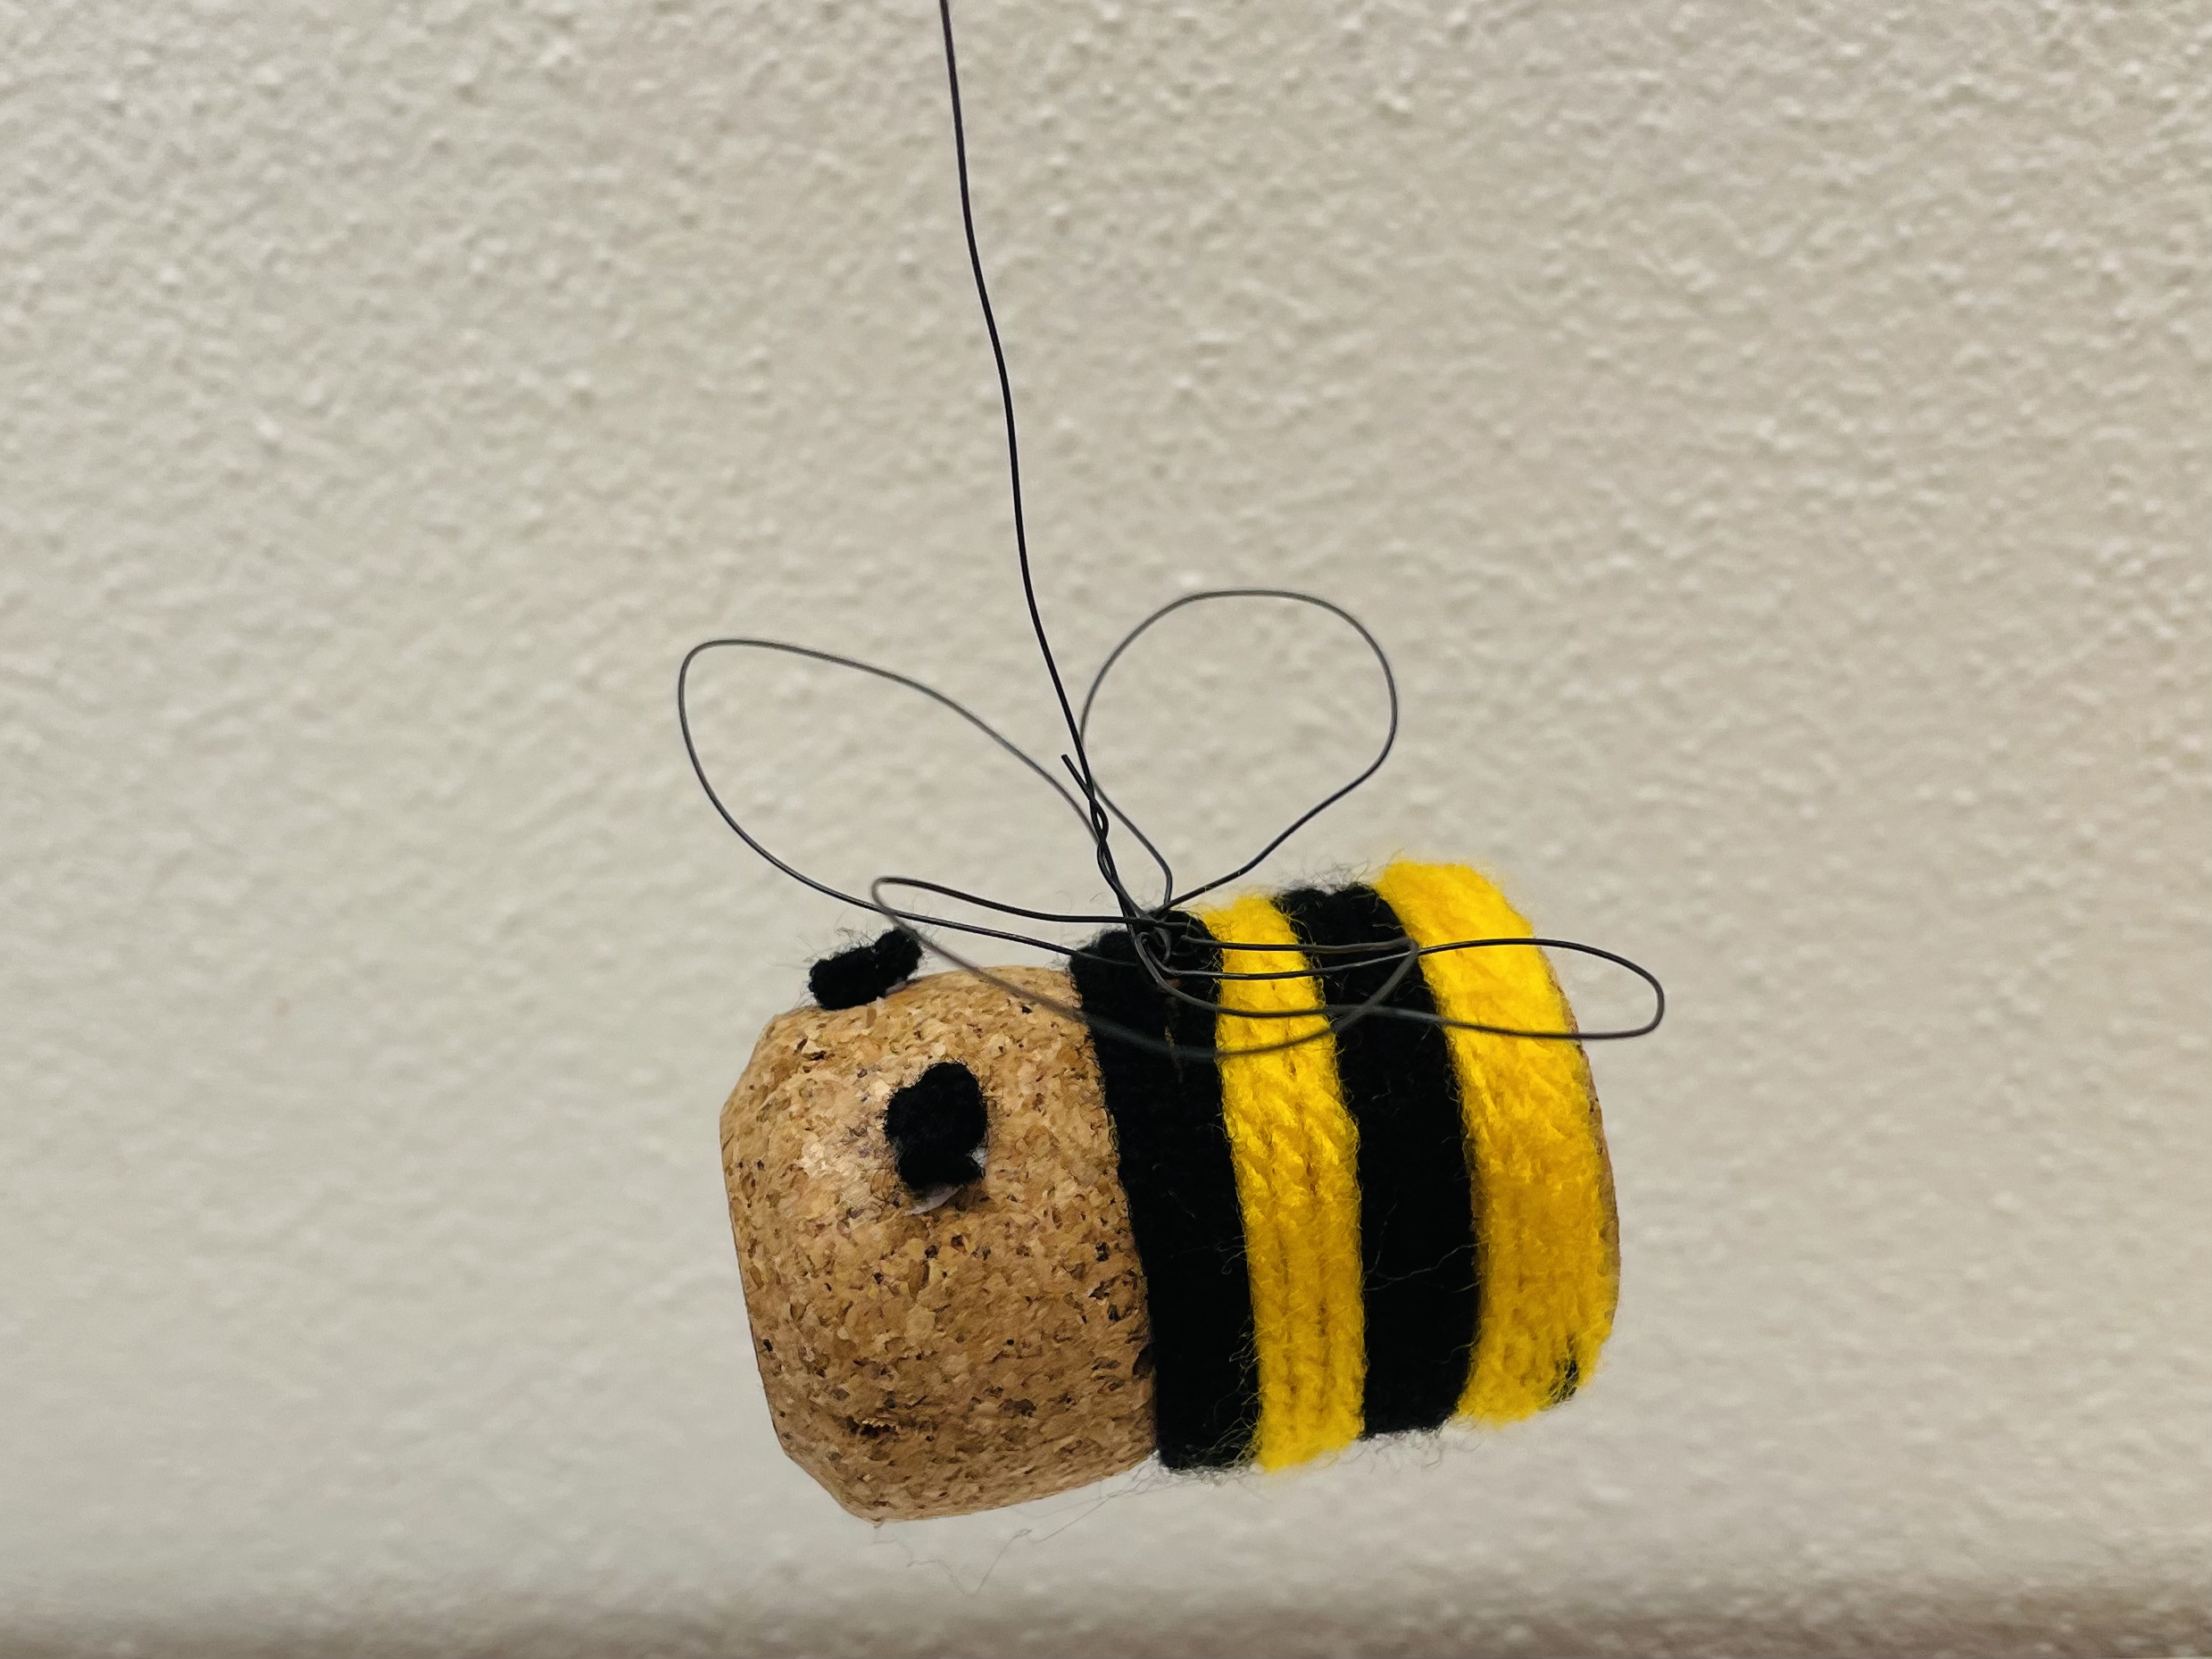
Have fun crafting the bee.

Materials
Directions
For a bee you need first a thick cork and a thin flower wire. Leave the wire on the roll and cut it off only after you have finished the wings.
Wrap the wire around your corks first twice.
Places the wire below the thicker part of the cork.
Let the end of the wire survive a bit and bend it around the long end of the wire to attach it firmly to the corks.
Now you press both wires firmly together with two fingers and turn the cork with the other hand several times in one direction. Thus the wire twists and sits firmly on the cork.
Now you bend the wings. For this you need four loops, which you make one after the other. First you measure the length for the wire for one loop. Now place the wire loosely around the cork. Then you have the length measure for the first loop.
Put the loop on the cork and hold it with two fingers.
With the other hand you now rotate the loop several times around yourself. So you fix it and it sits directly on the cork. The first wing is finished.
Now you repeat the measuring and bending of the loops with the other three loops. Just measure and bend one loop after the other. Then hold the end threads together and twist the wings several times together. Make sure that the wings sit closely together.
The positions of the individual wings bend her at the end.
You have now bent four wire loops into wings. Now bend the individual wings in such a way that there are two to the left and two to the right of the bee body.
Then let the wire survive for about 20cm. Cut it off with a wire scissors or a small pliers. Then you can hang the bee.
For this you turn the ends of the wire to a loop. So you can hang the bee better.
Now you can paint the cork with yellow and black felt pins or wrap it around with wool. The instructions for wrapping with wool now follow.
Uses a thick black wool.
Then you stick the beginning of the wool thread to the bottom of the cork, the bee.
Wrap the wool thread 2-3 times very close to the cork.
Tip: If your wool is not quite as thick, then wrap it around the cork more often.
Then cut off the thread and stick the end again to the bottom of the bee.
Now stick the thick yellow wool to the bottom and wrap this 2-3 times around the body.
Alternatively, you knot the wool threads of a color together. To do this, let the beginning of the thread survive. Then wrap 2-3 times (depending on how thick your wool is!) the cork and let the end thread survive a bit.
Then you knot both threads together and cut off the protruding ends with scissors.
If the wrapping of the wool is repeated alternately with yellow and black wool, the typical strips of bees are formed.
Whether you stick or knott is up to you. It works both variants.
Now you paint your eyes with a black felt pen.
Tip: You can knot two knots out of black wool and cut off the overhanging threads. You can also stick these small knots on as eyes.
The self-made bee is finished from a cork.
Have fun crafting the bee.
Follow us on Facebook , Instagram and Pinterest
Don't miss any more adventures: Our bottle mail