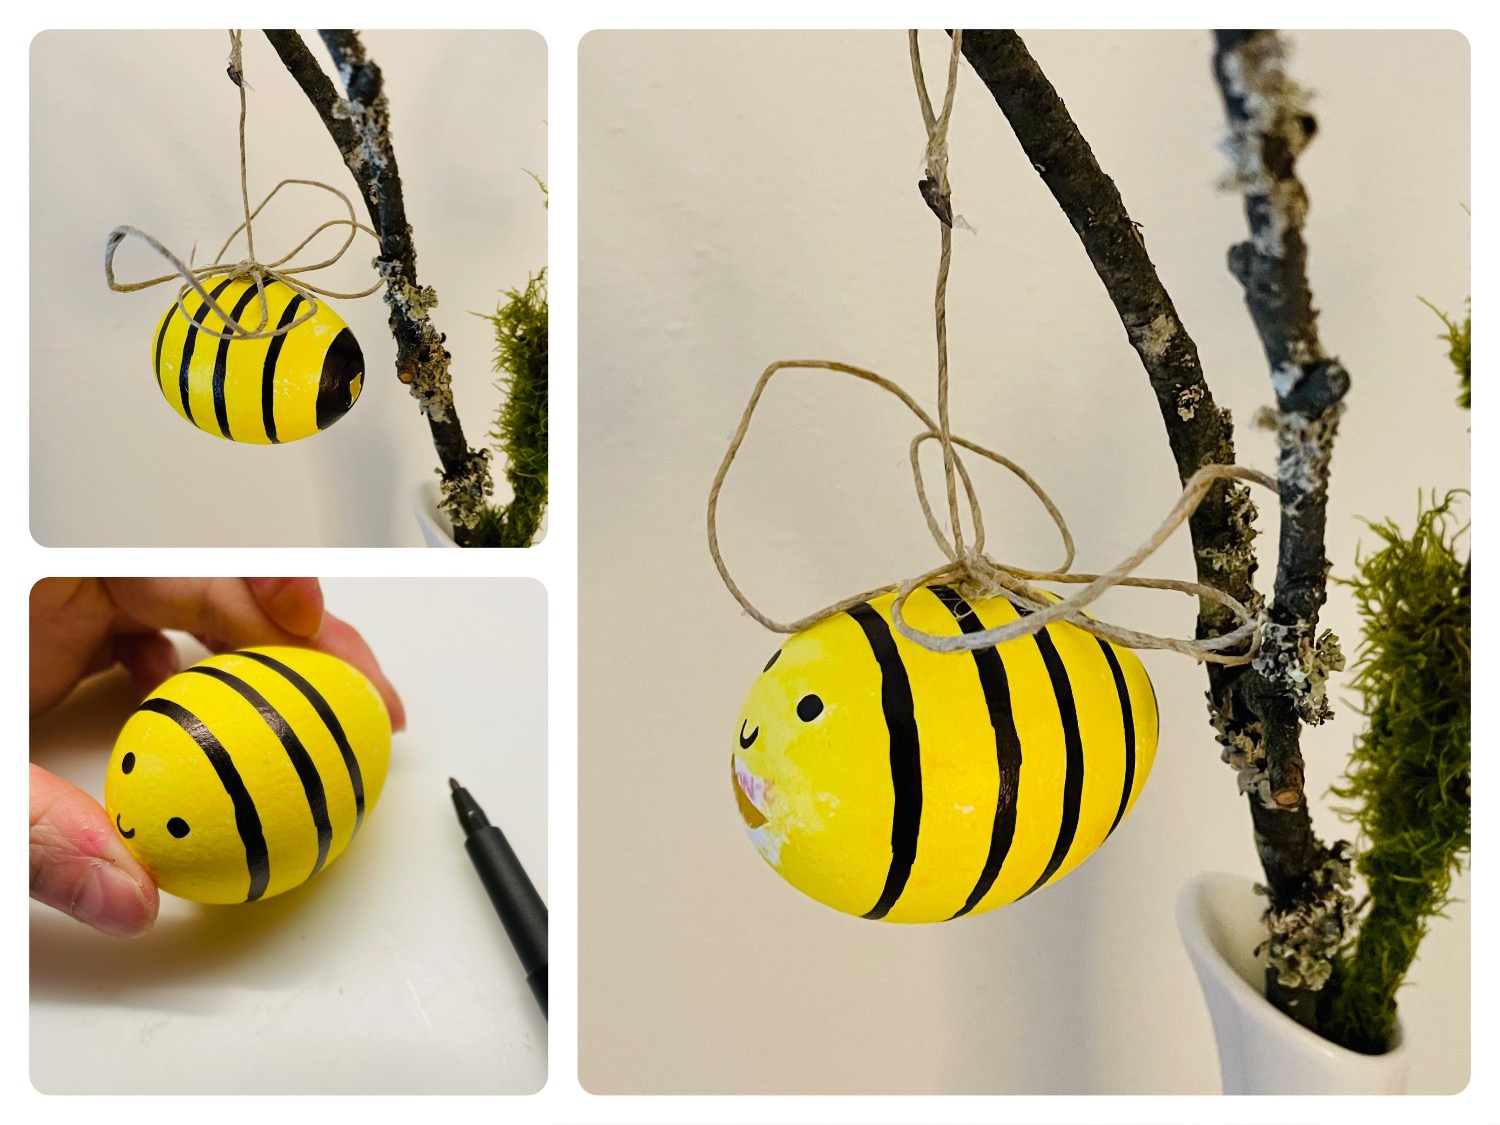
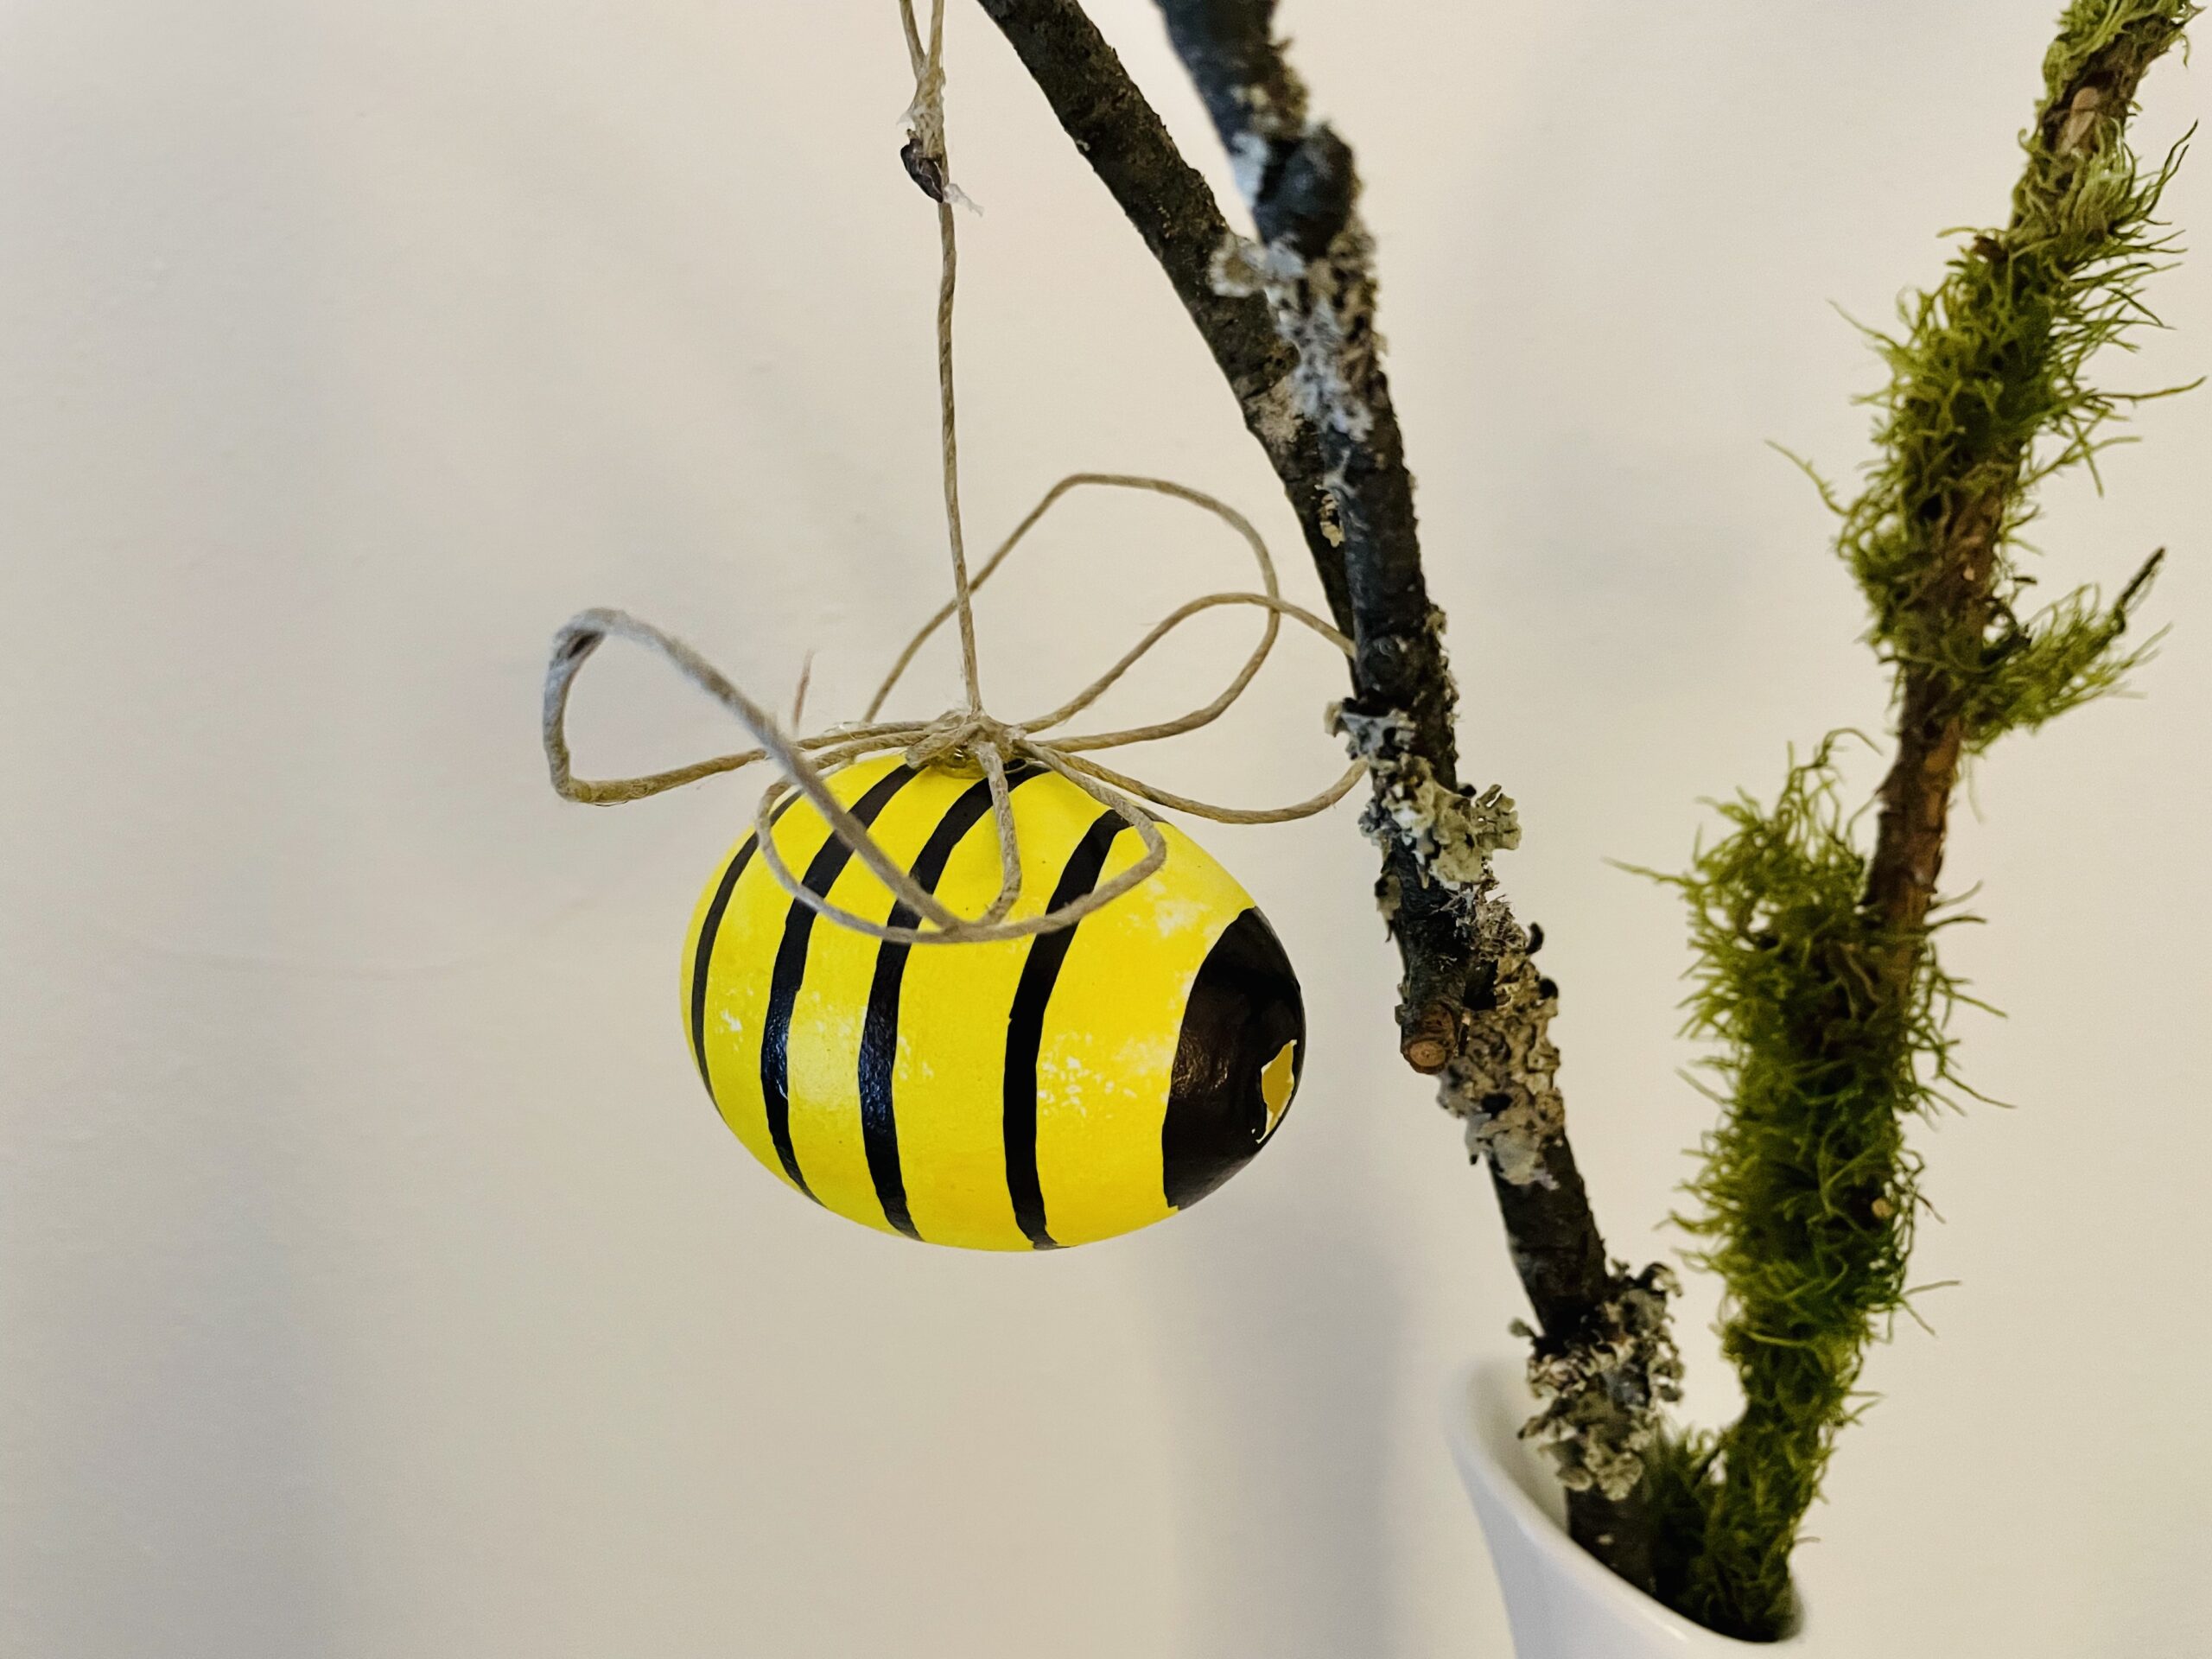
This bright bee can be crafted from a blown-out egg. The most beautiful thing to do is light up the bee when you use a white egg. Cover the egg with yellow paint and paint black cross stripes and a face after drying. Make the wings out of the package cord. You can find a detailed instruction for crafting the bee here. Let's go! This bee is a creative project not only during Easter, but also in summer. Stay creative!
Media Education for Kindergarten and Hort

Relief in everyday life, targeted promotion of individual children, independent learning and - without any pre-knowledge already usable by the youngest!
First, prepare everything. The blown egg should be rinsed out and dry. Then you can go. Now fill a little yellow paint in the screw glass lid.
Then paint the egg yellow. Use a brush or a small sponge or a cotton pad.
Tip: With the sponge or cotton pad the color can be applied more evenly.
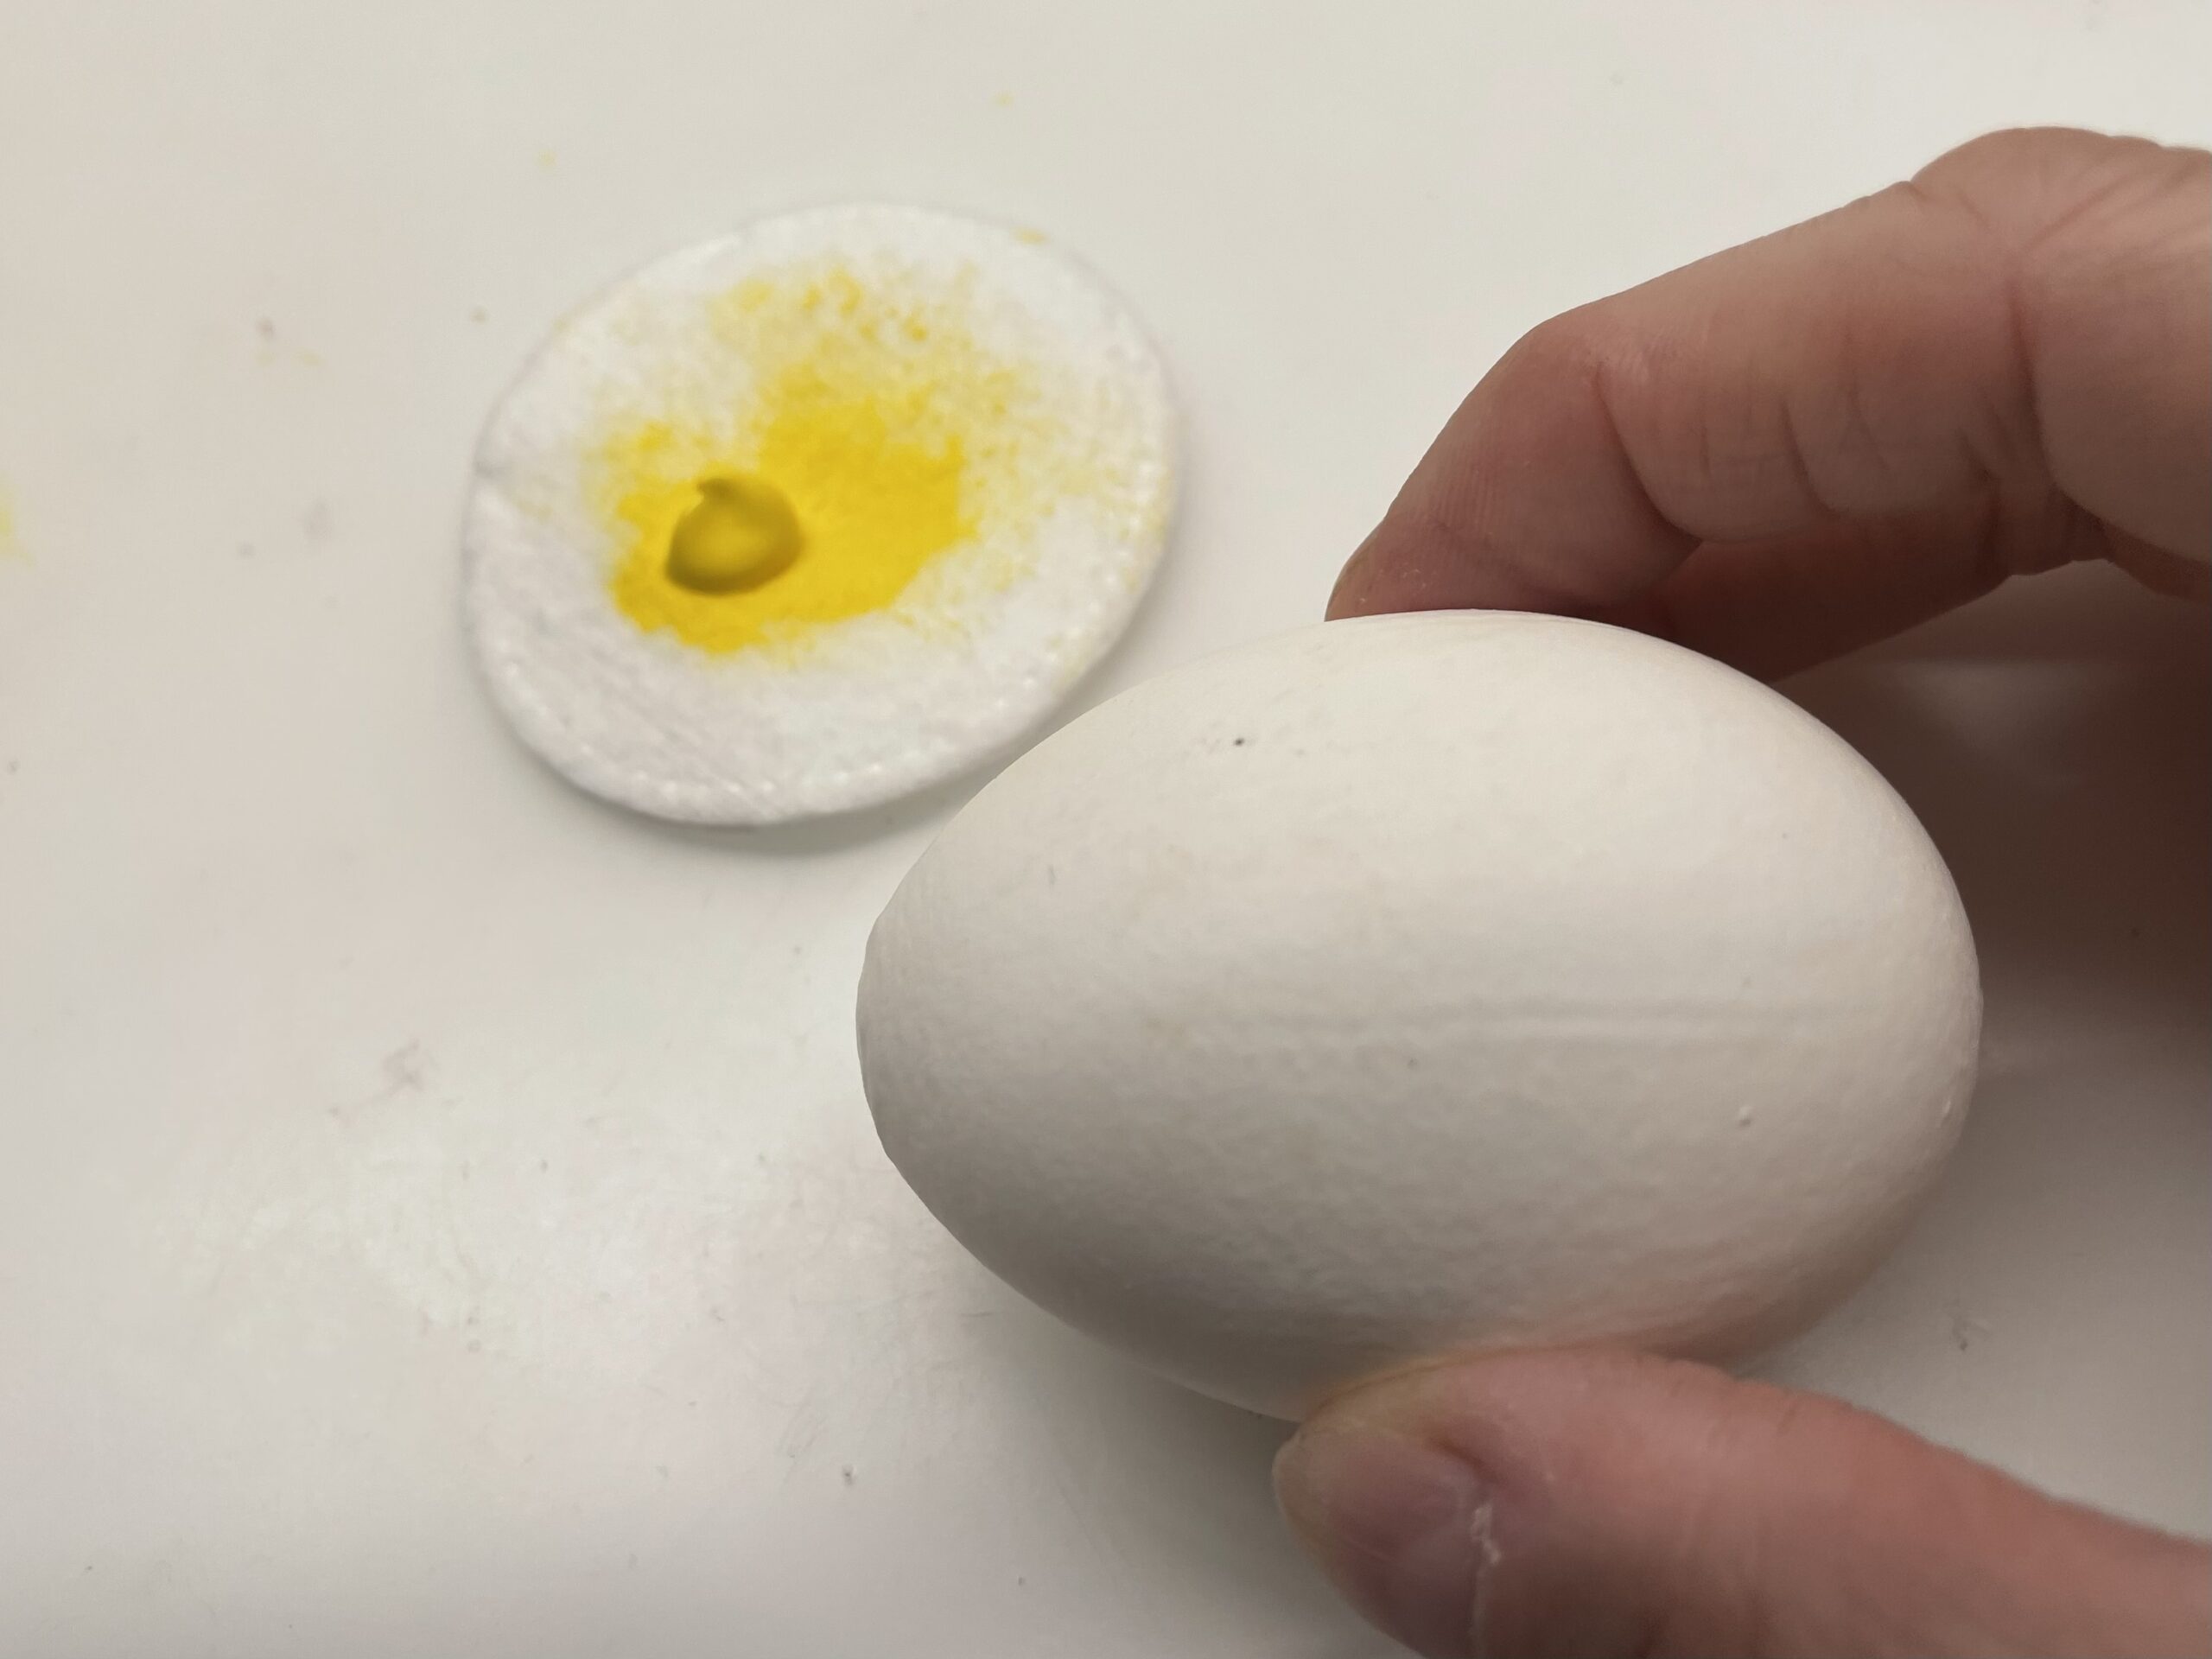
Make sure not to crush the egg. The egg is easily broken.
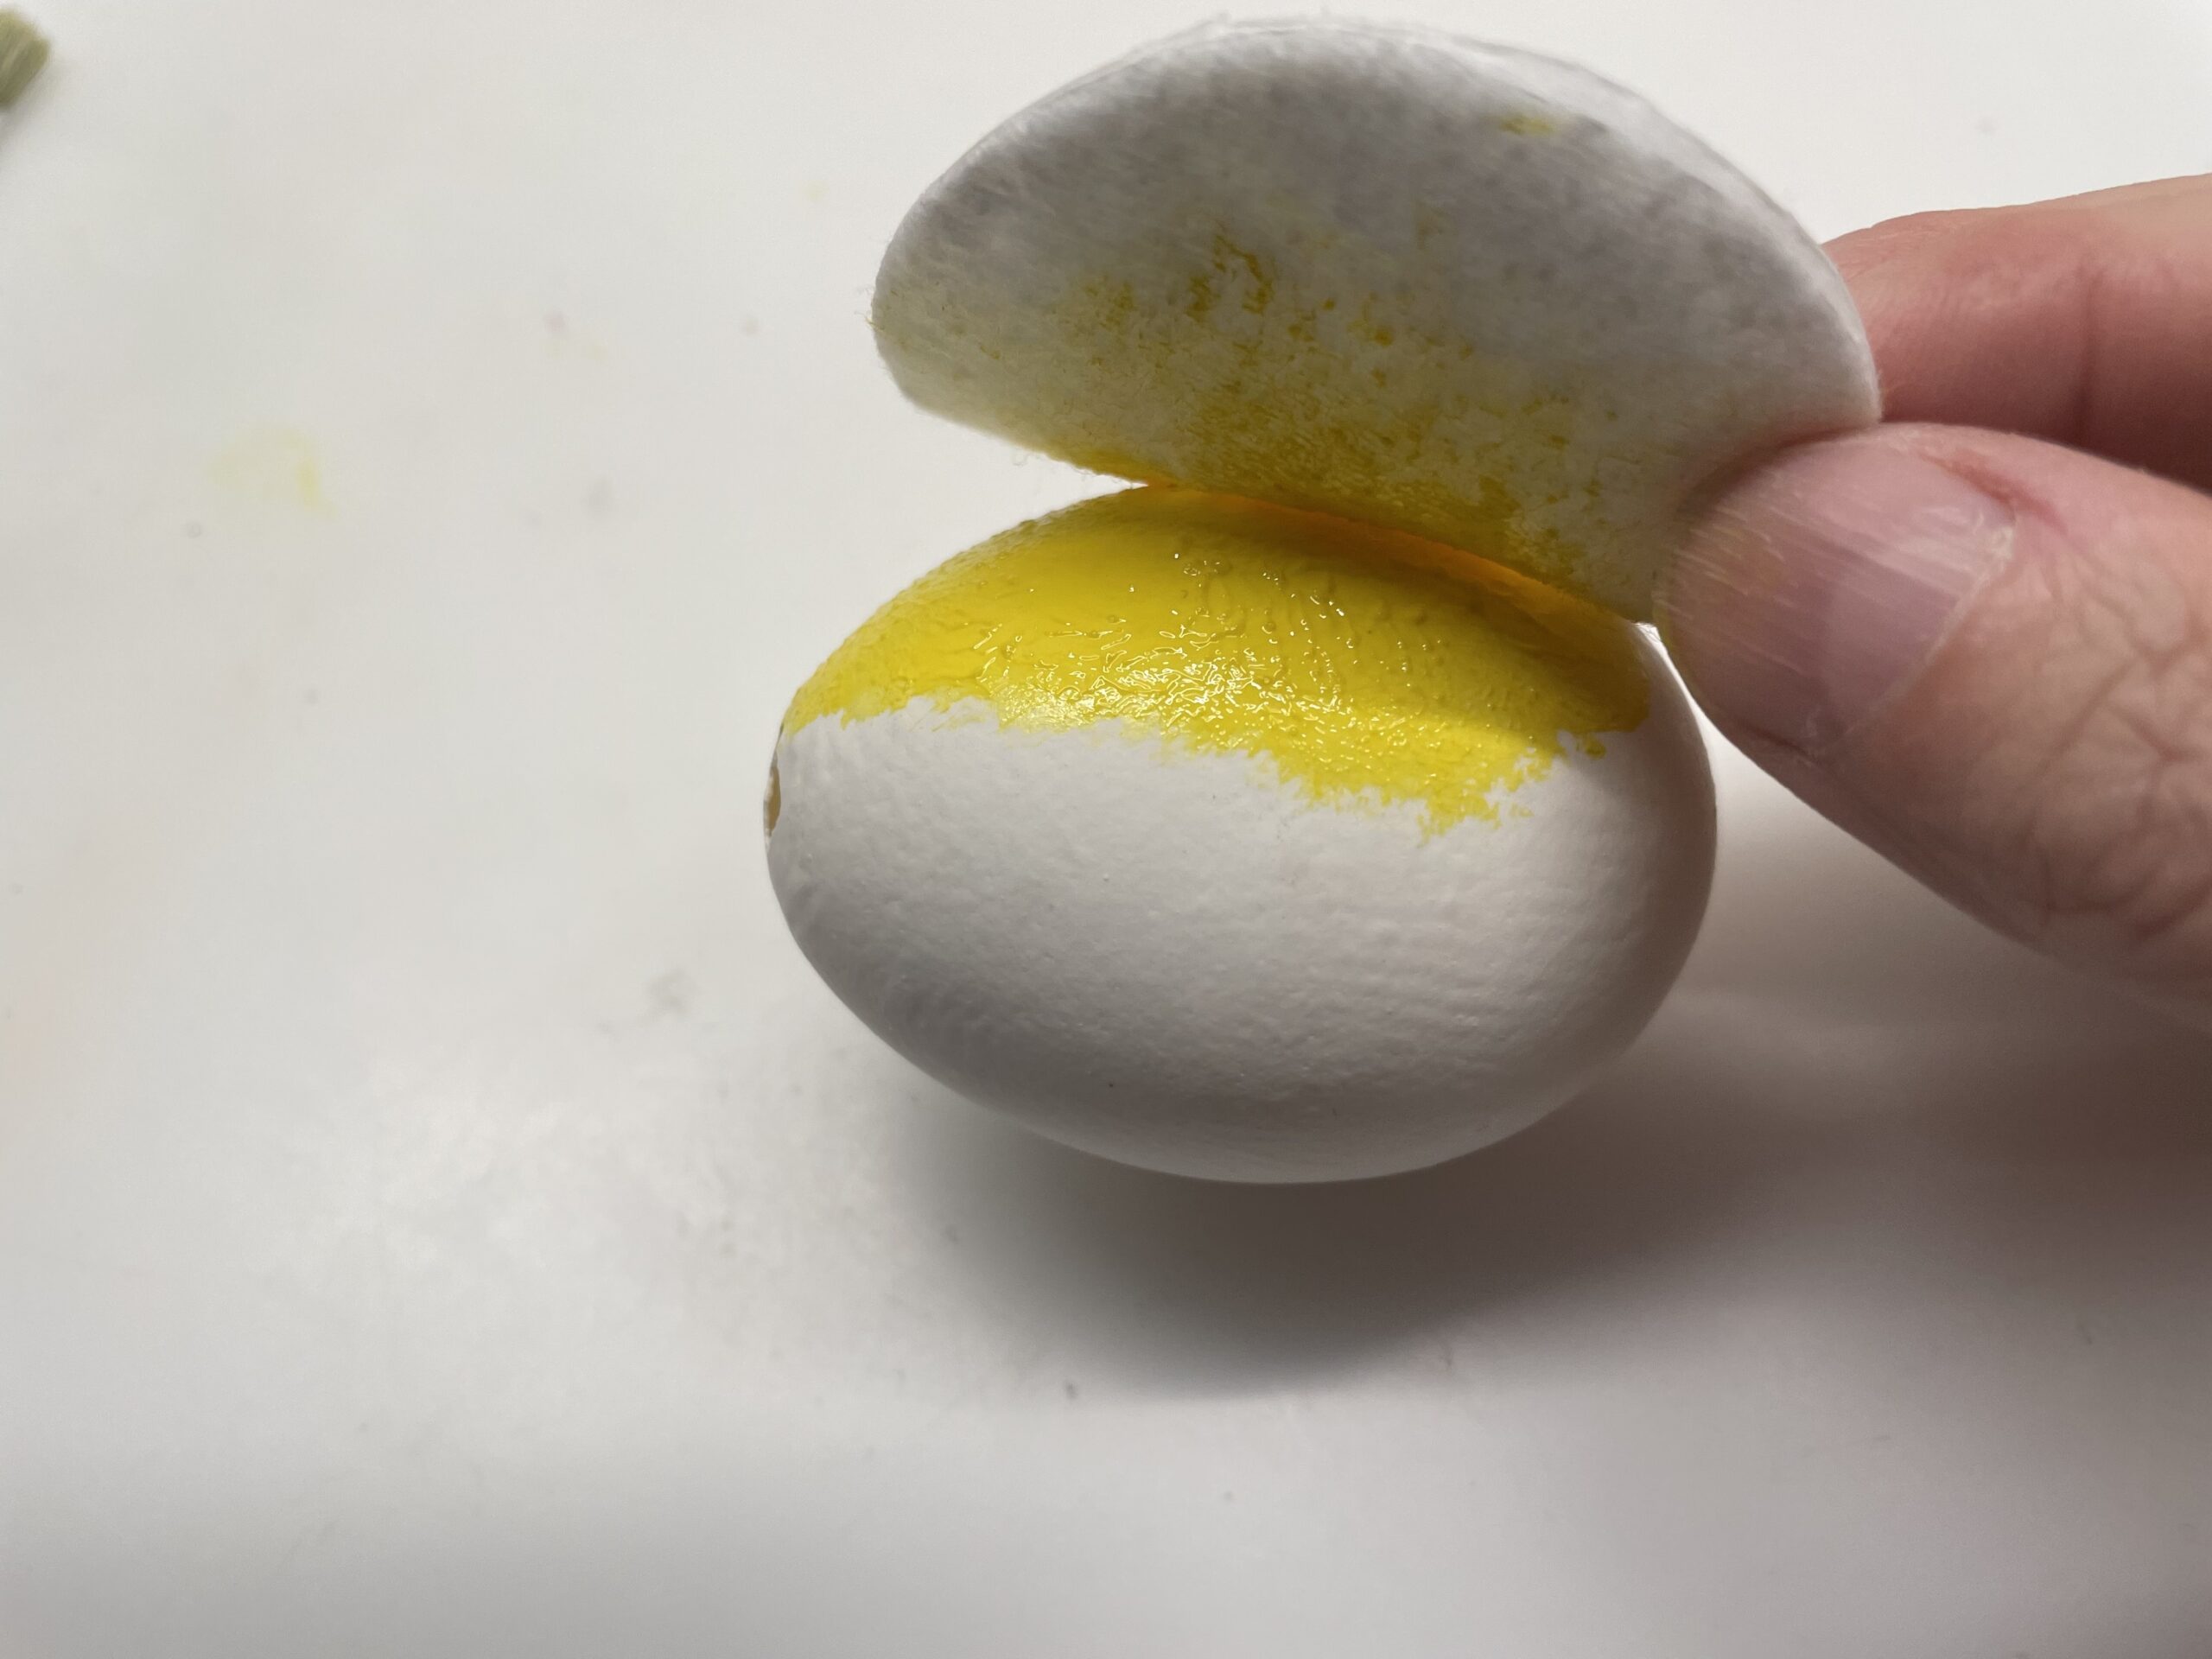


Spread the paint by timpling the paint on it and then gently rub it. The paint is very productive and easily reaches for the whole egg.
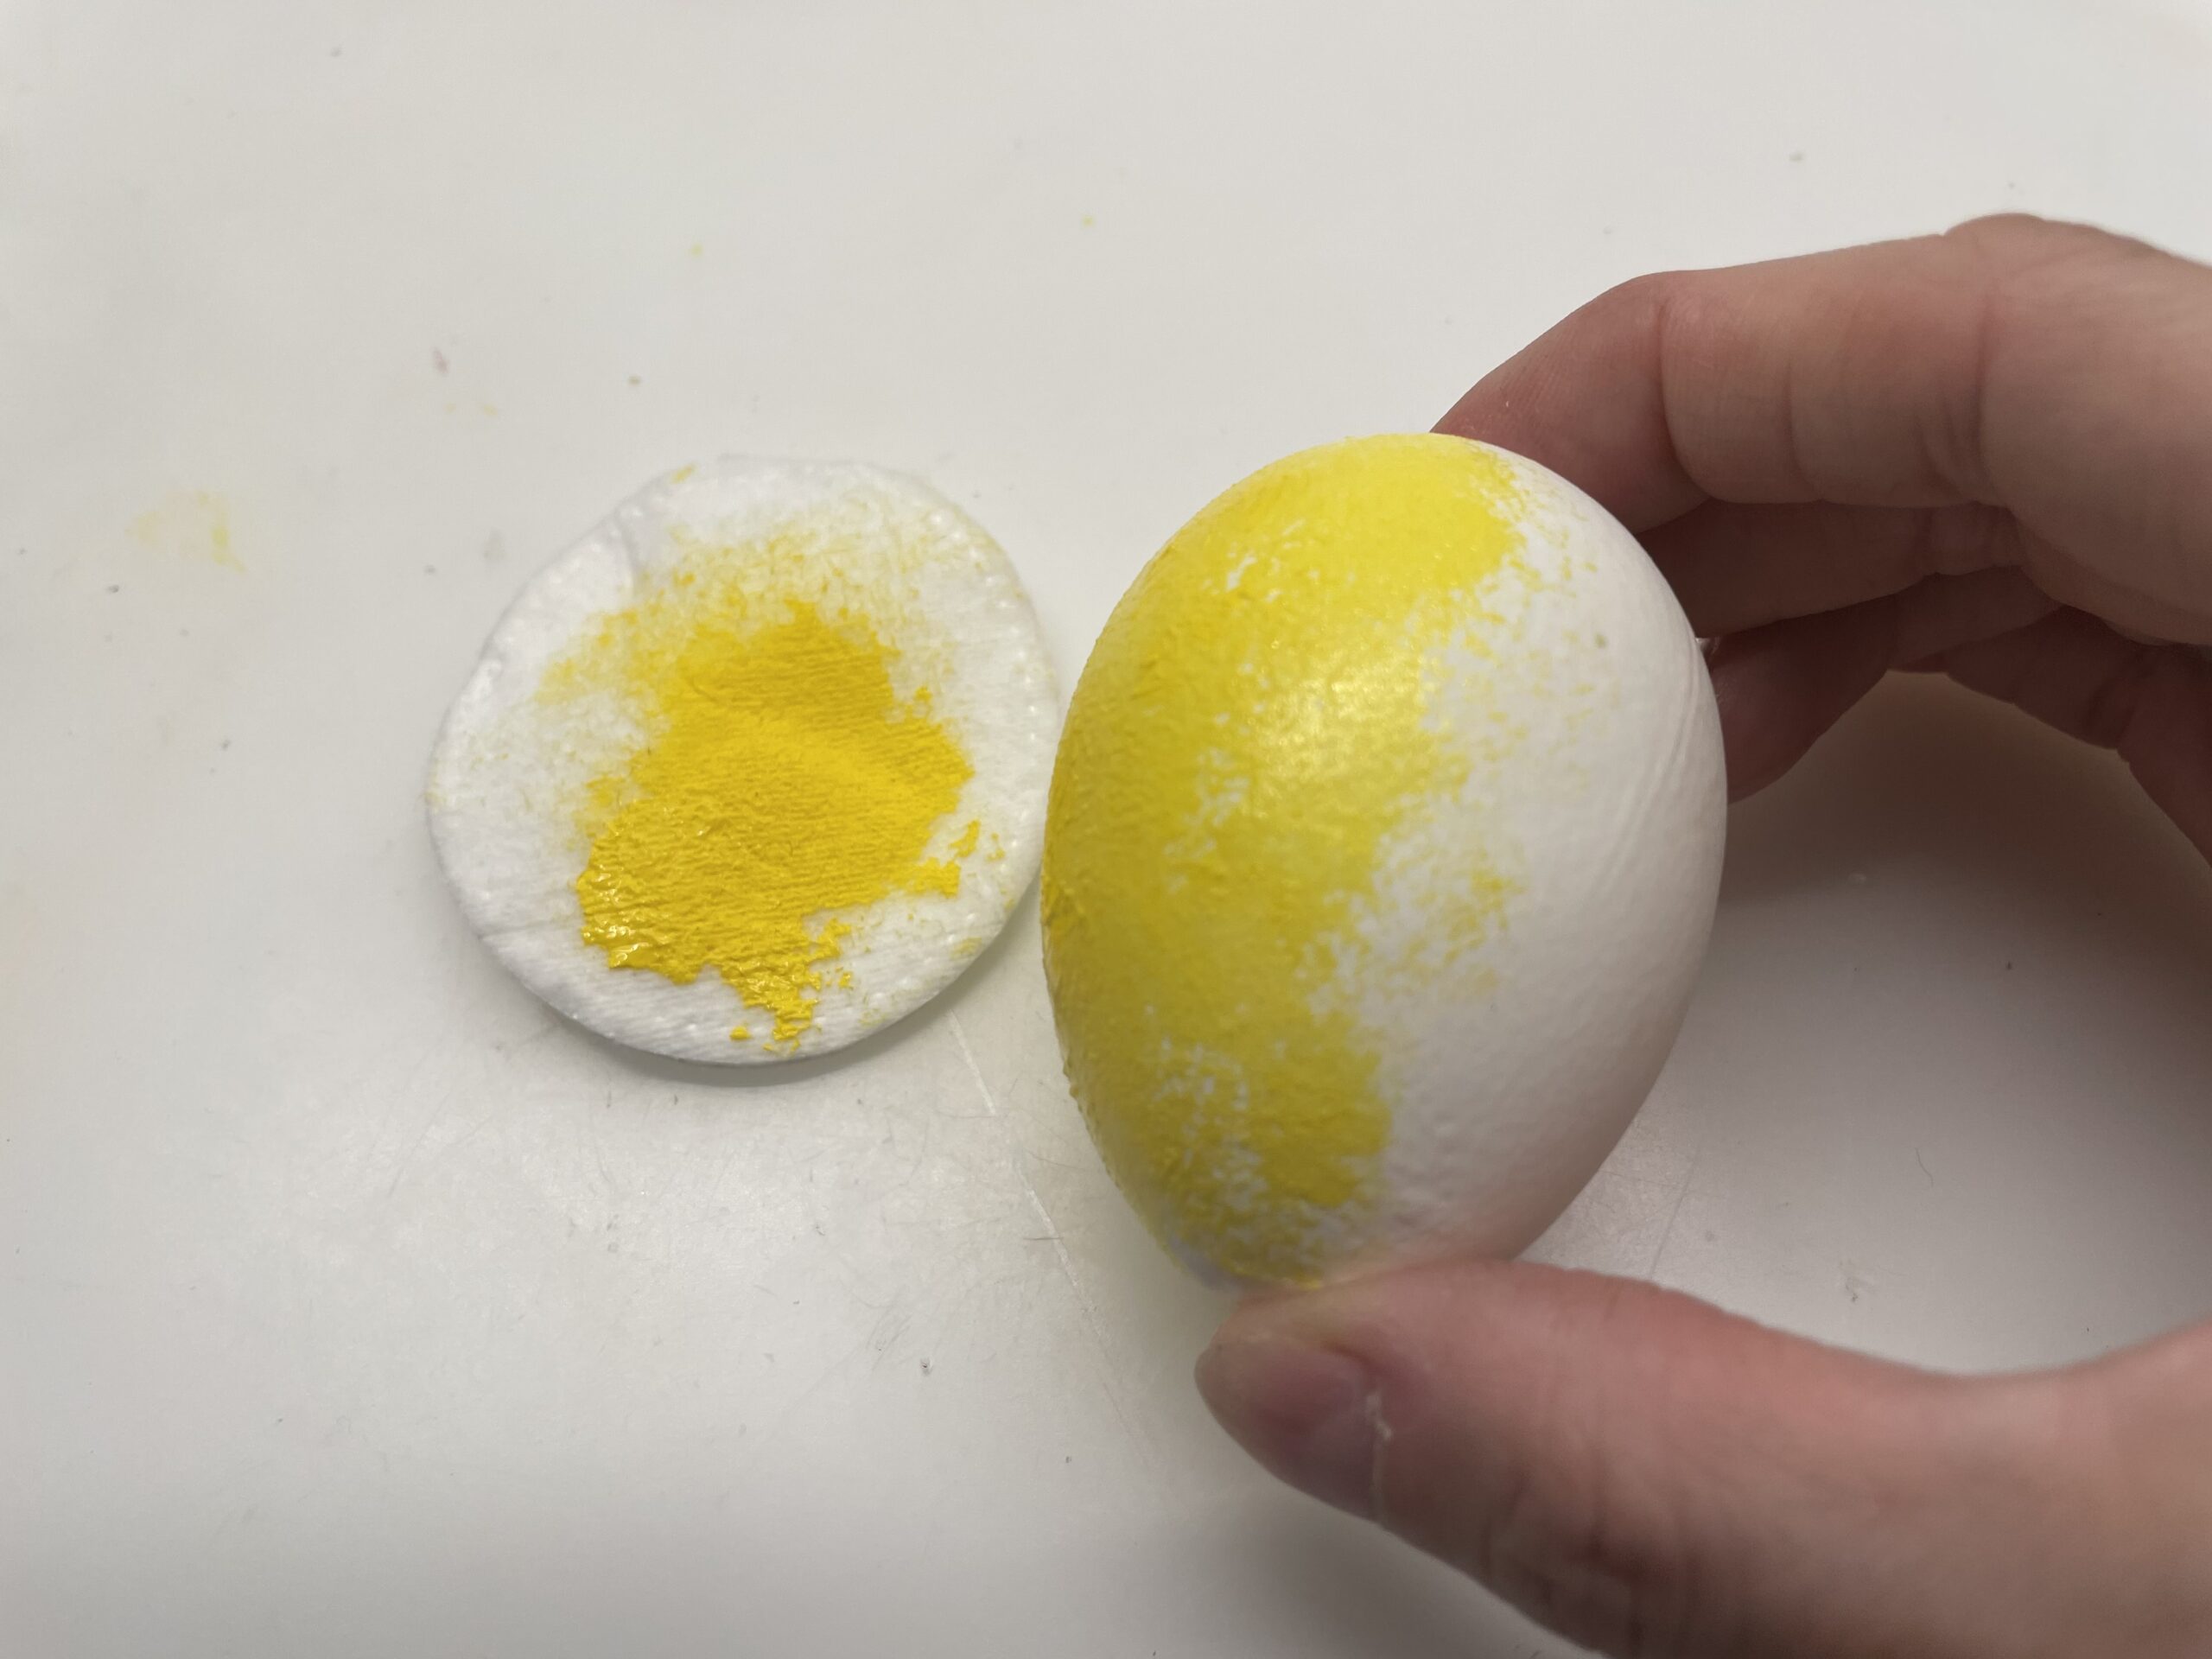


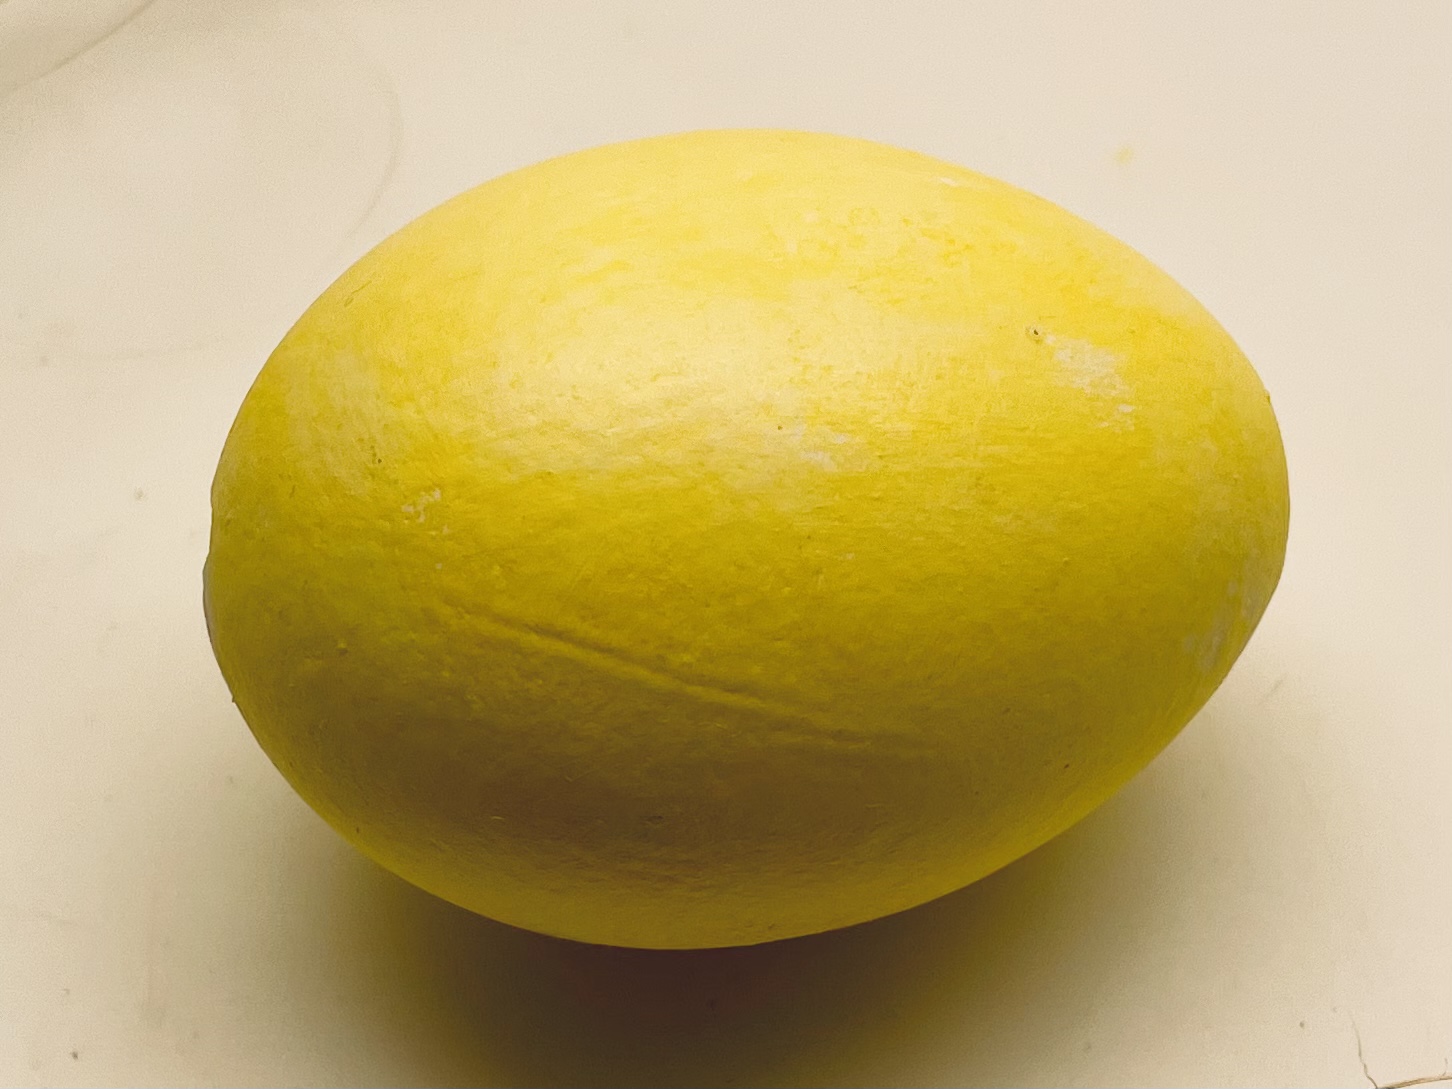
The egg should be covered with yellow colour all around.
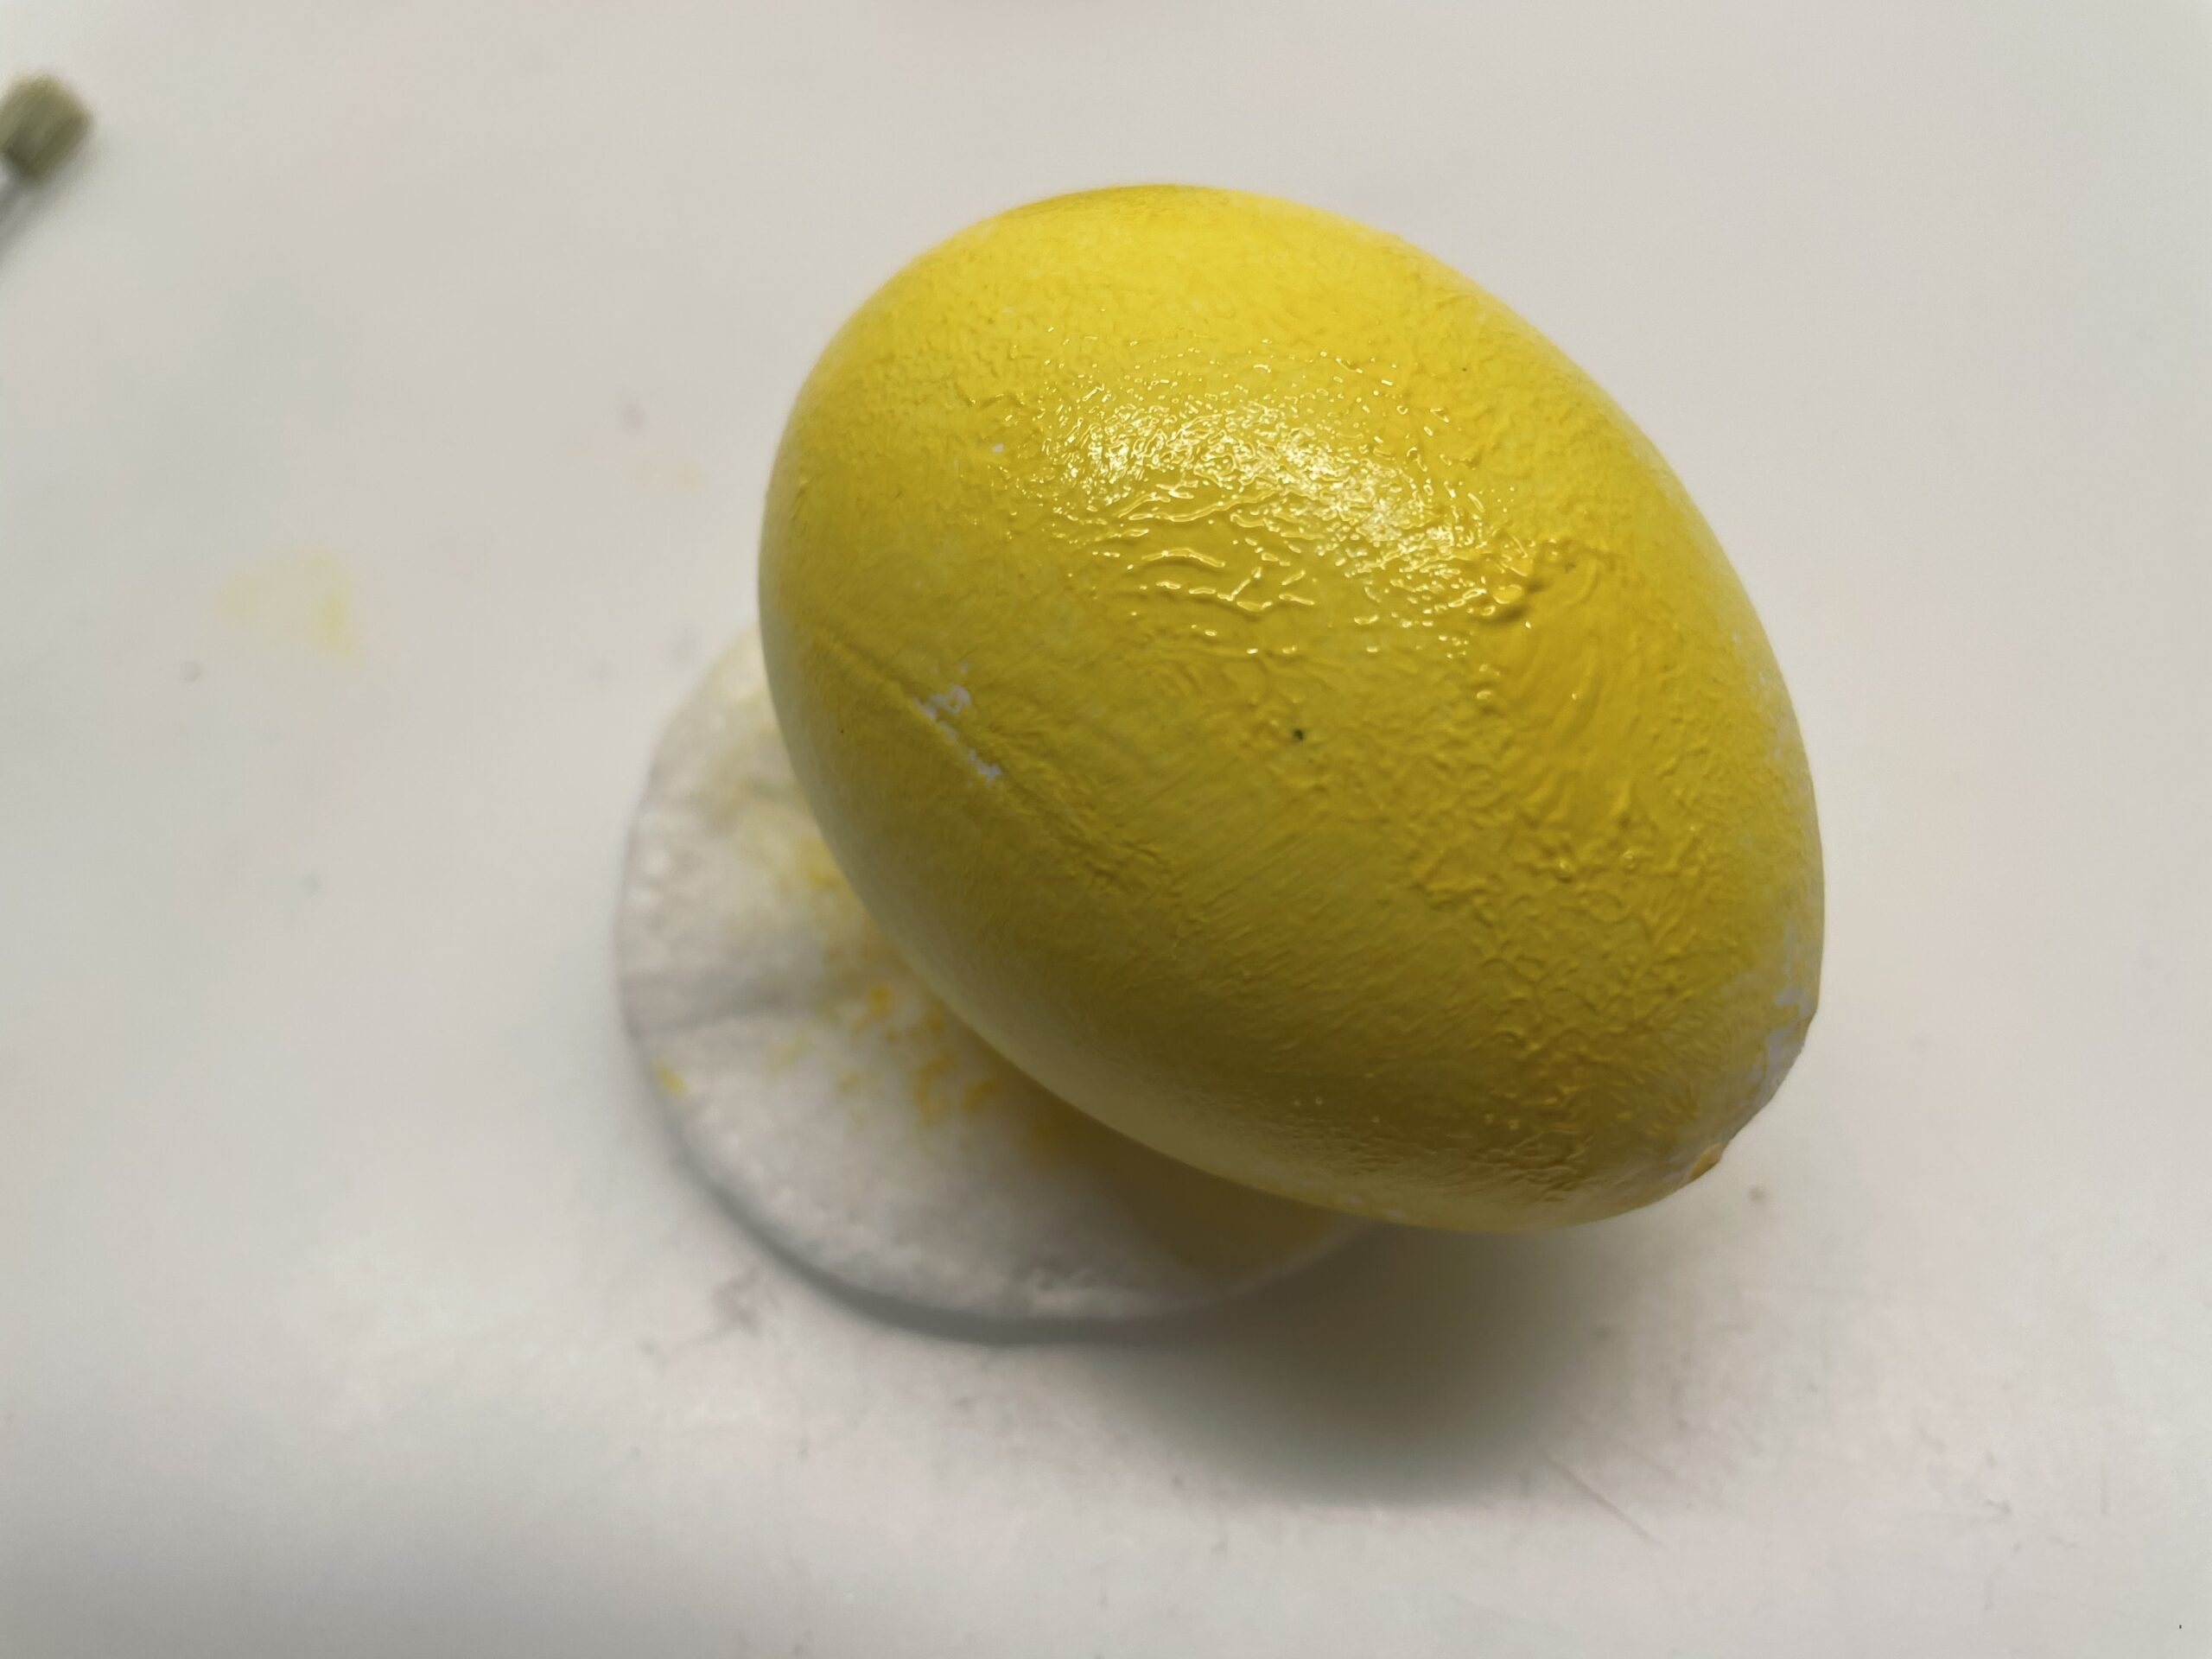


Put the egg on a paper to dry. Do not let it dry on the cotton pad, because the egg can stick to it.
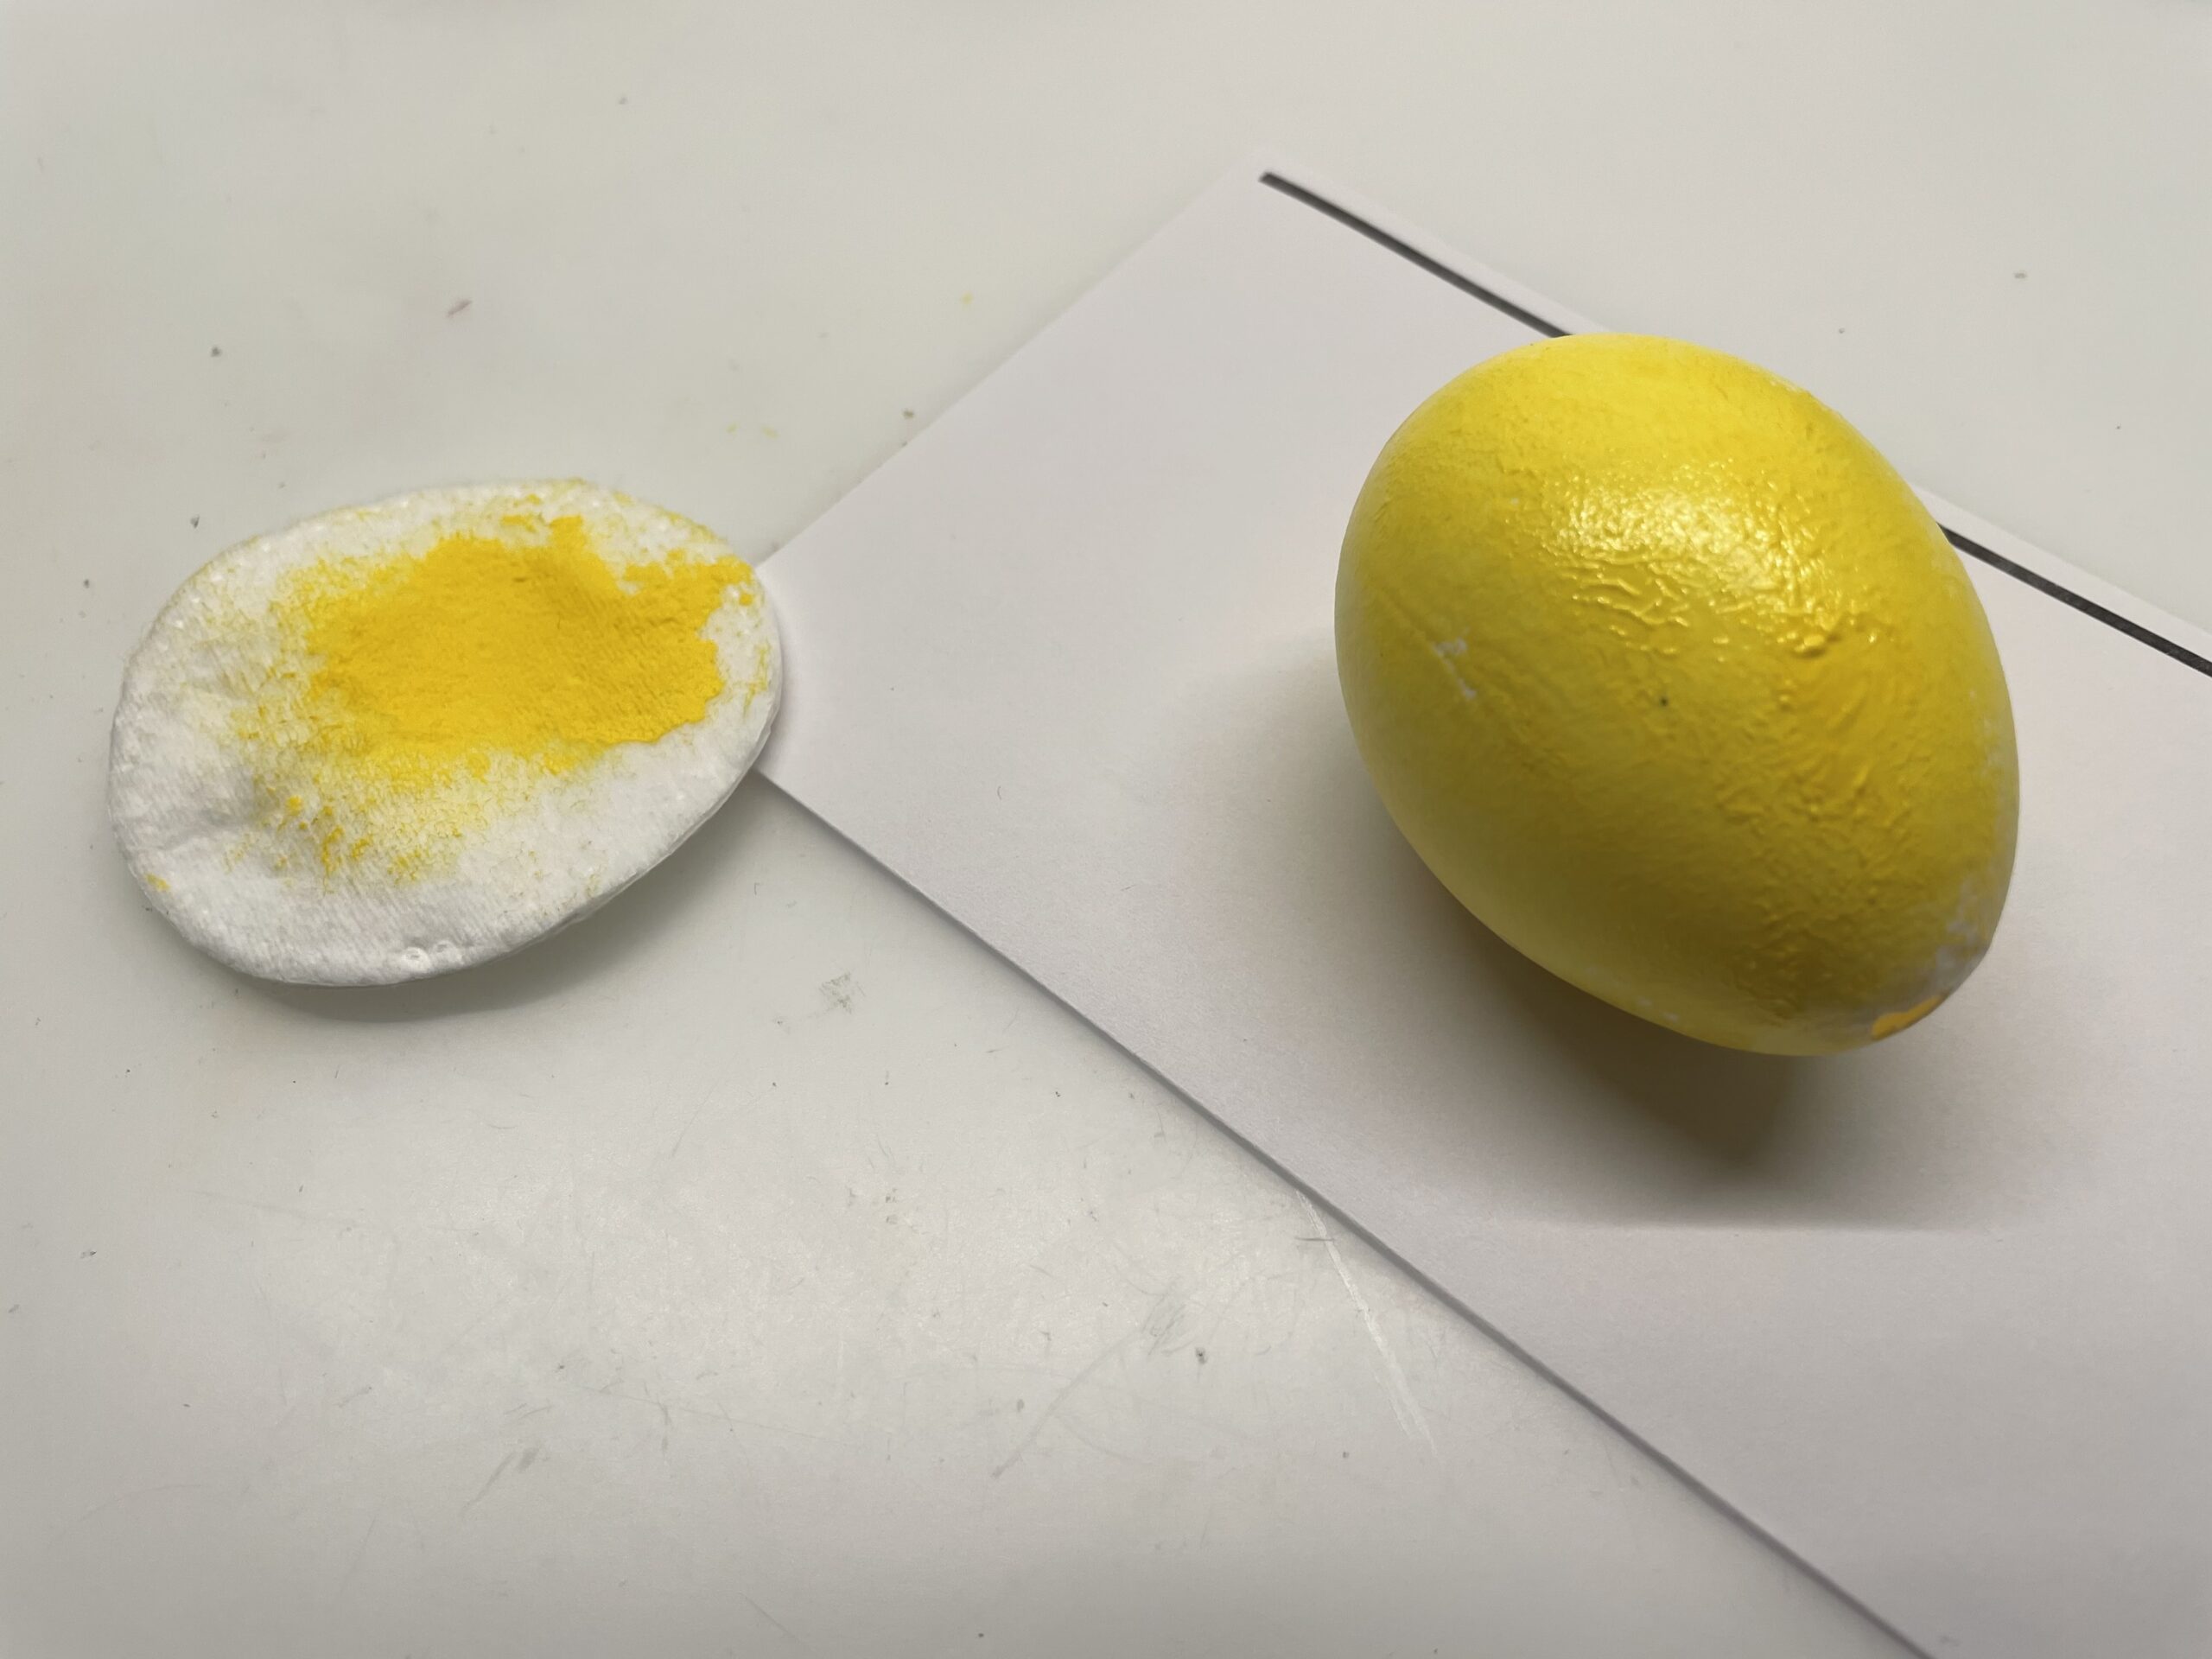


While the egg dries, you make your wings.


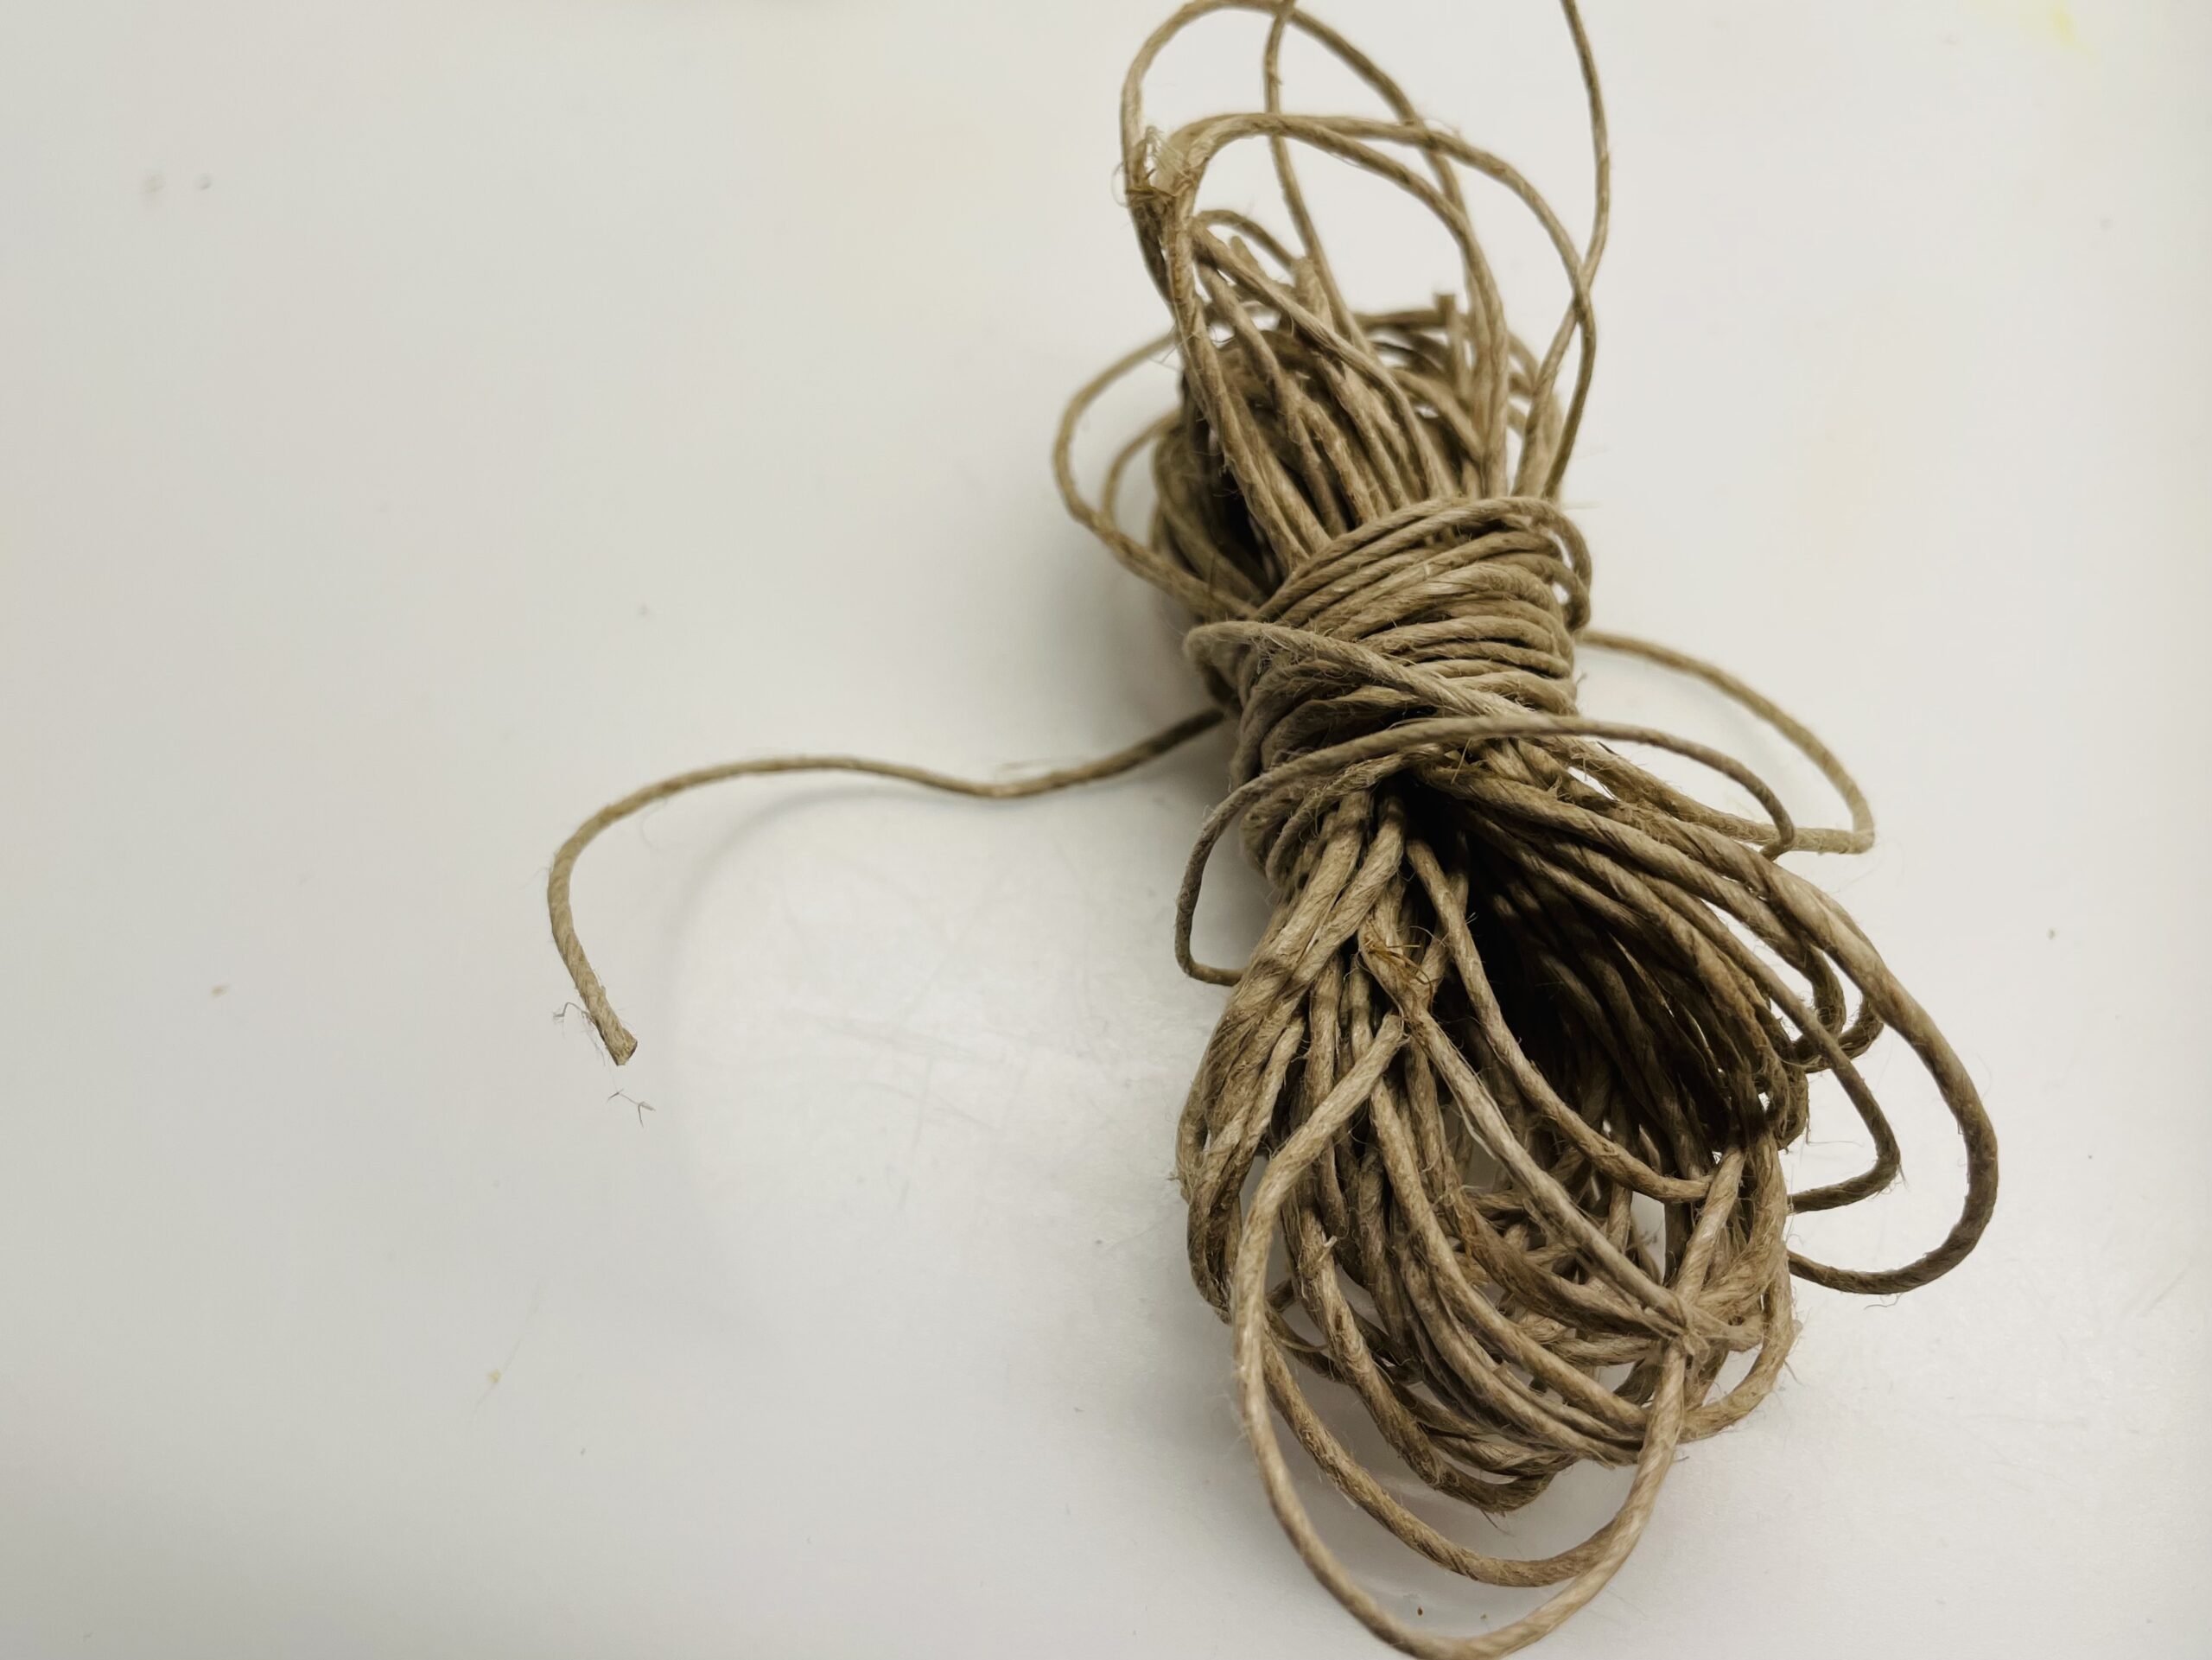
You need a package cord for the wings. Do not cut off the cord. It is cut at the very end.


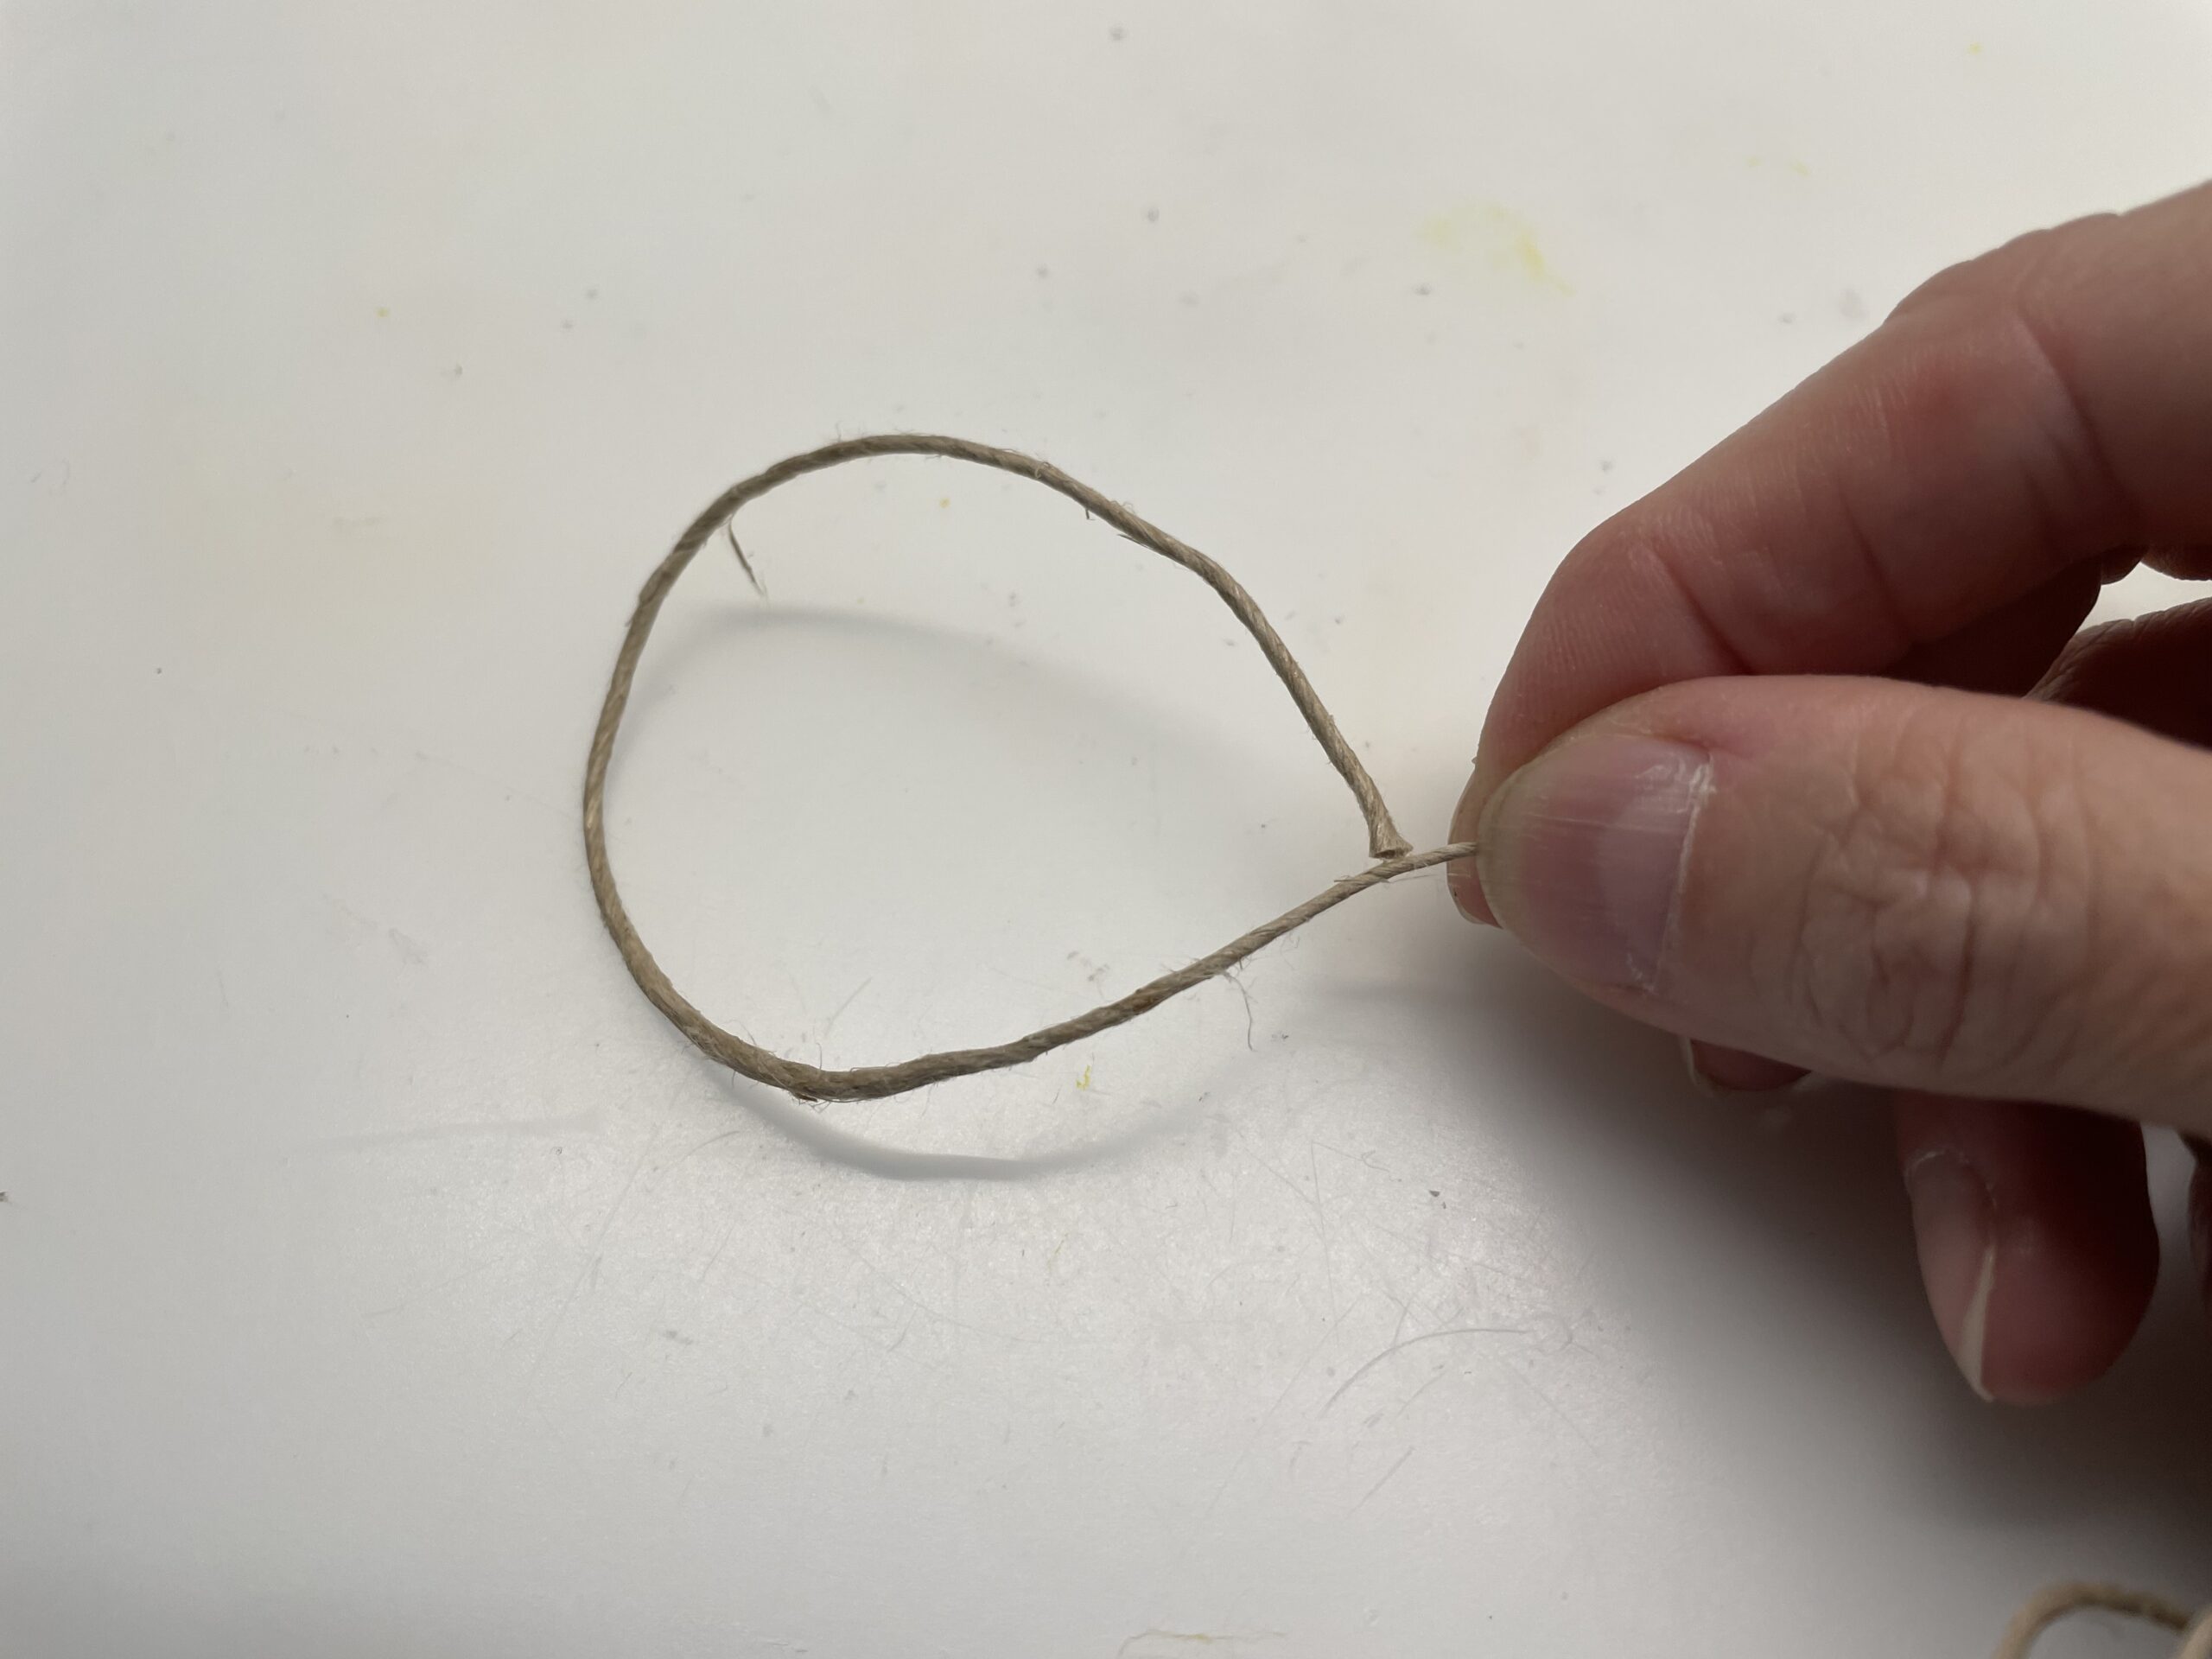
Now you put a loop. This is the first wing. Stick the end of the cord to the long piece of the package cord.
Tip: An adhesive point is sufficient here.


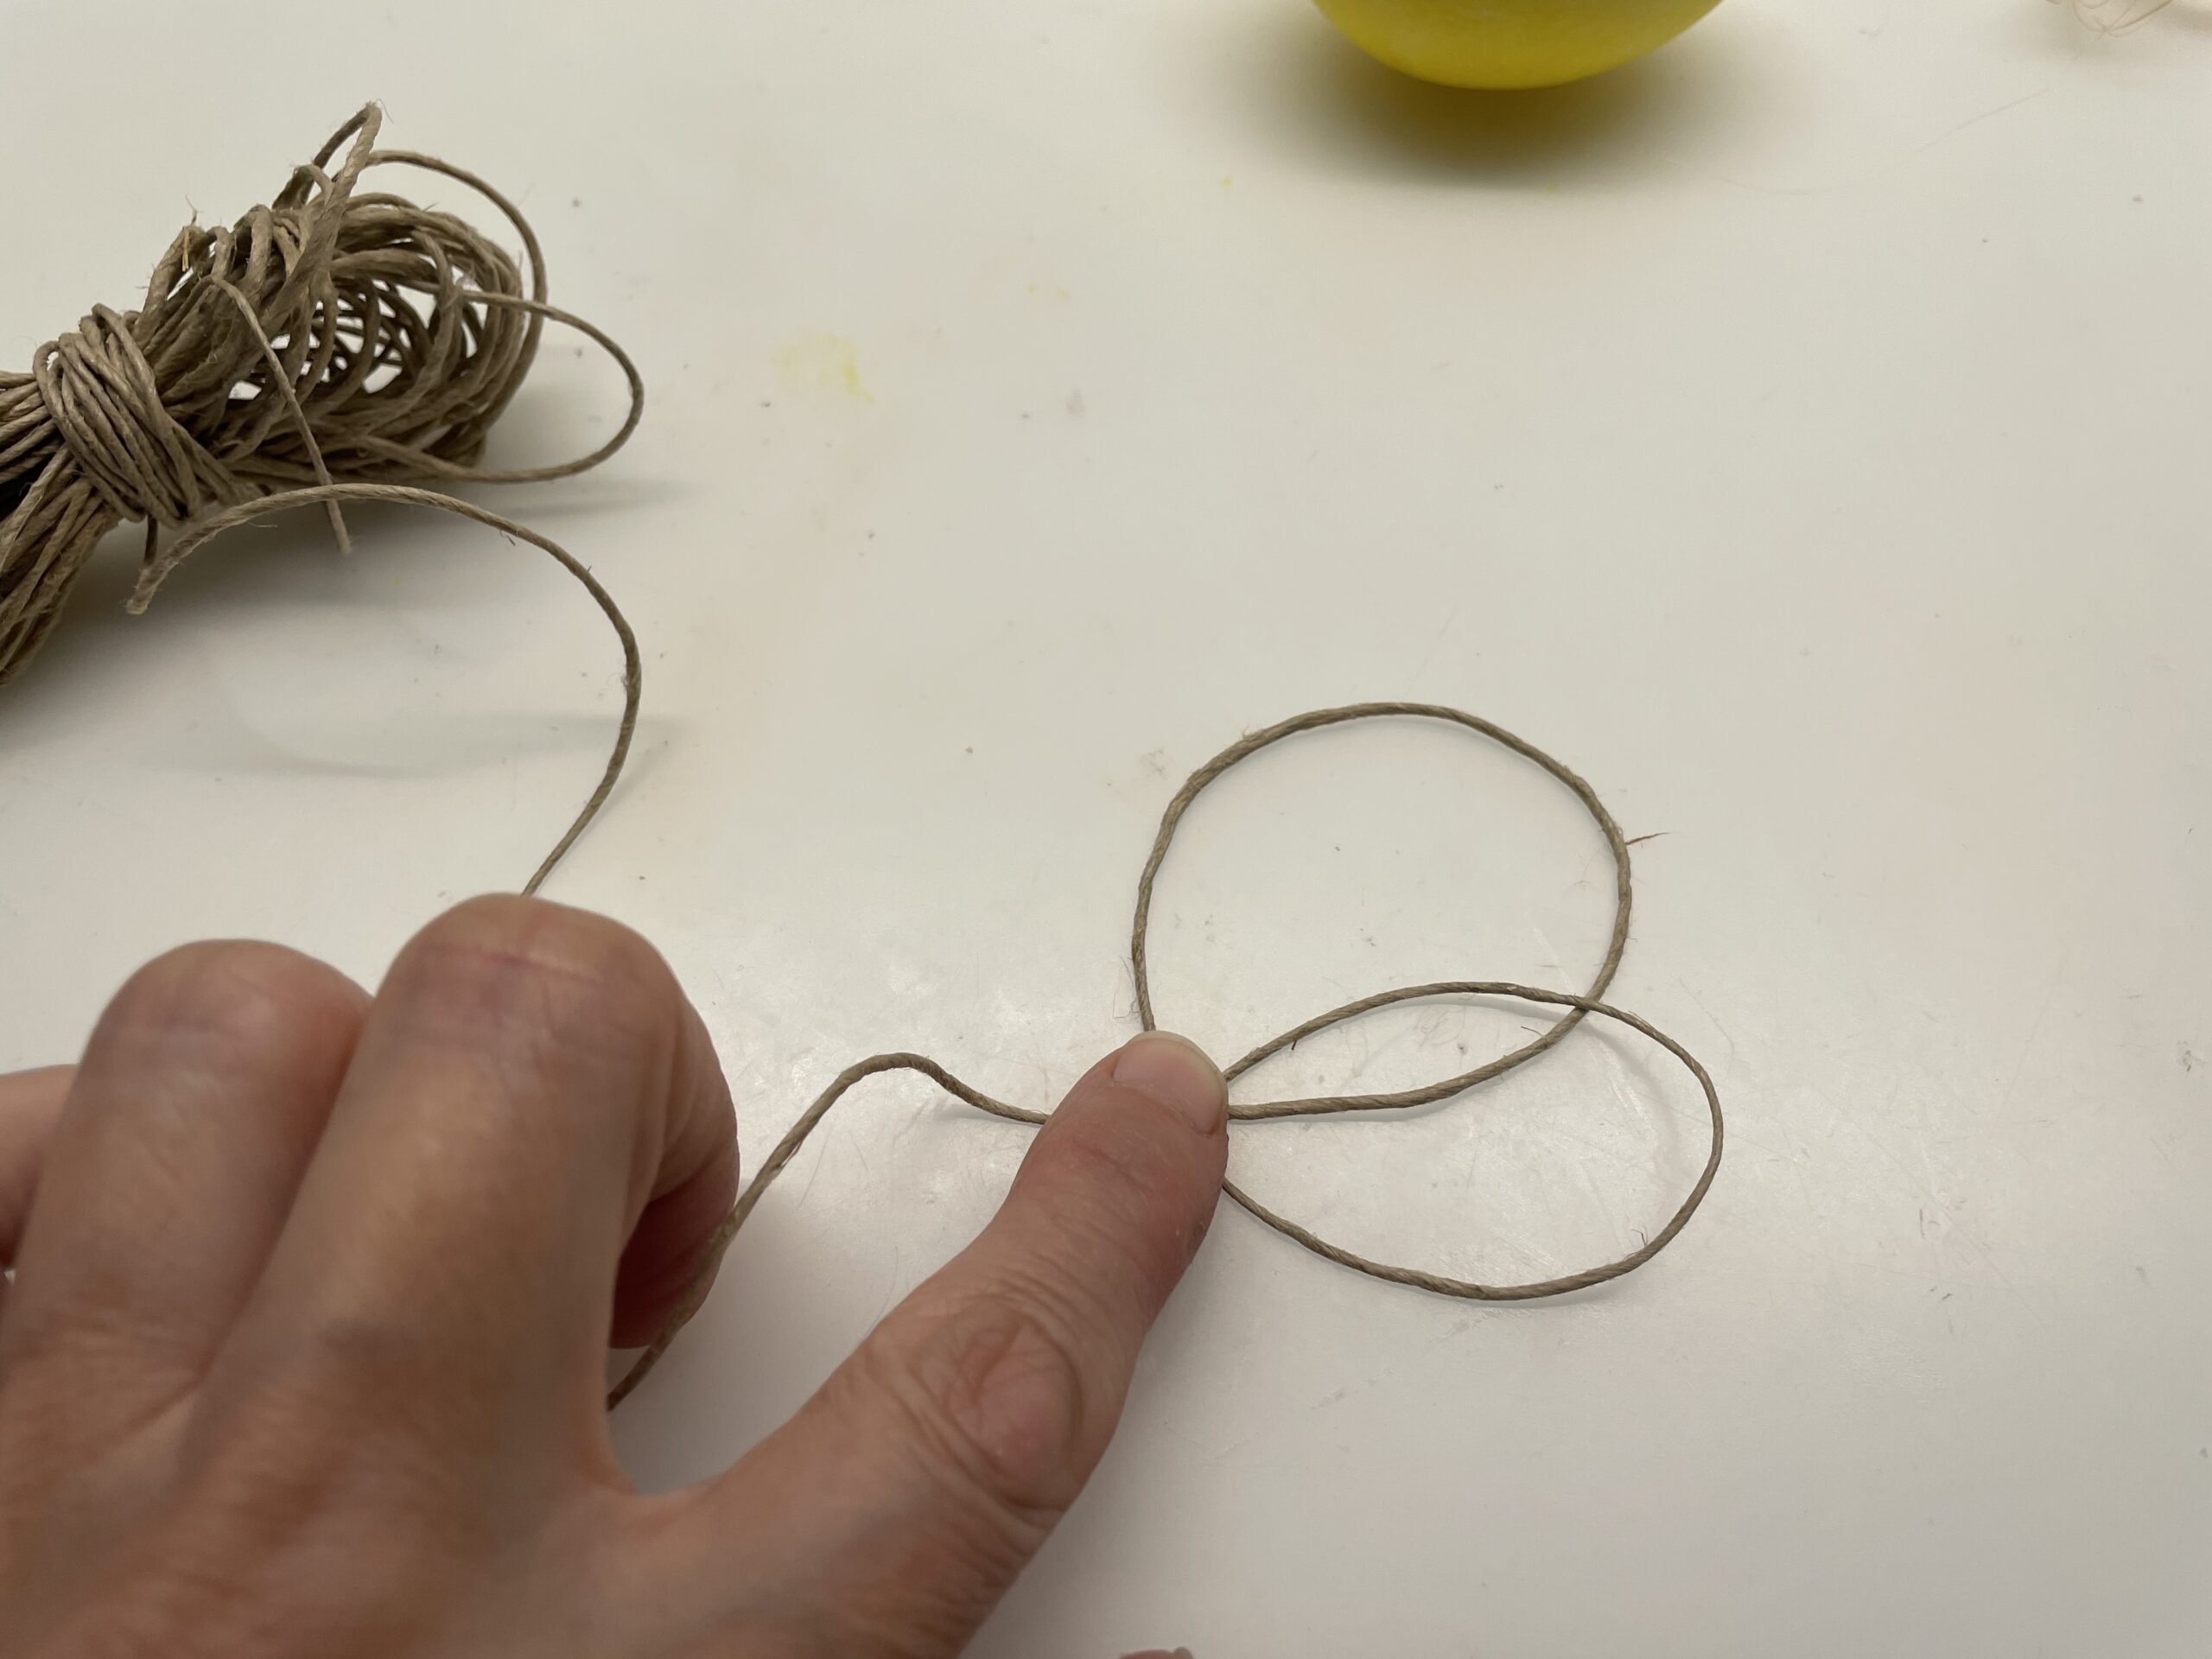
Then you lay a second loop.


Now dips on the first adhesive spot a little glue and glues the second loop on it.
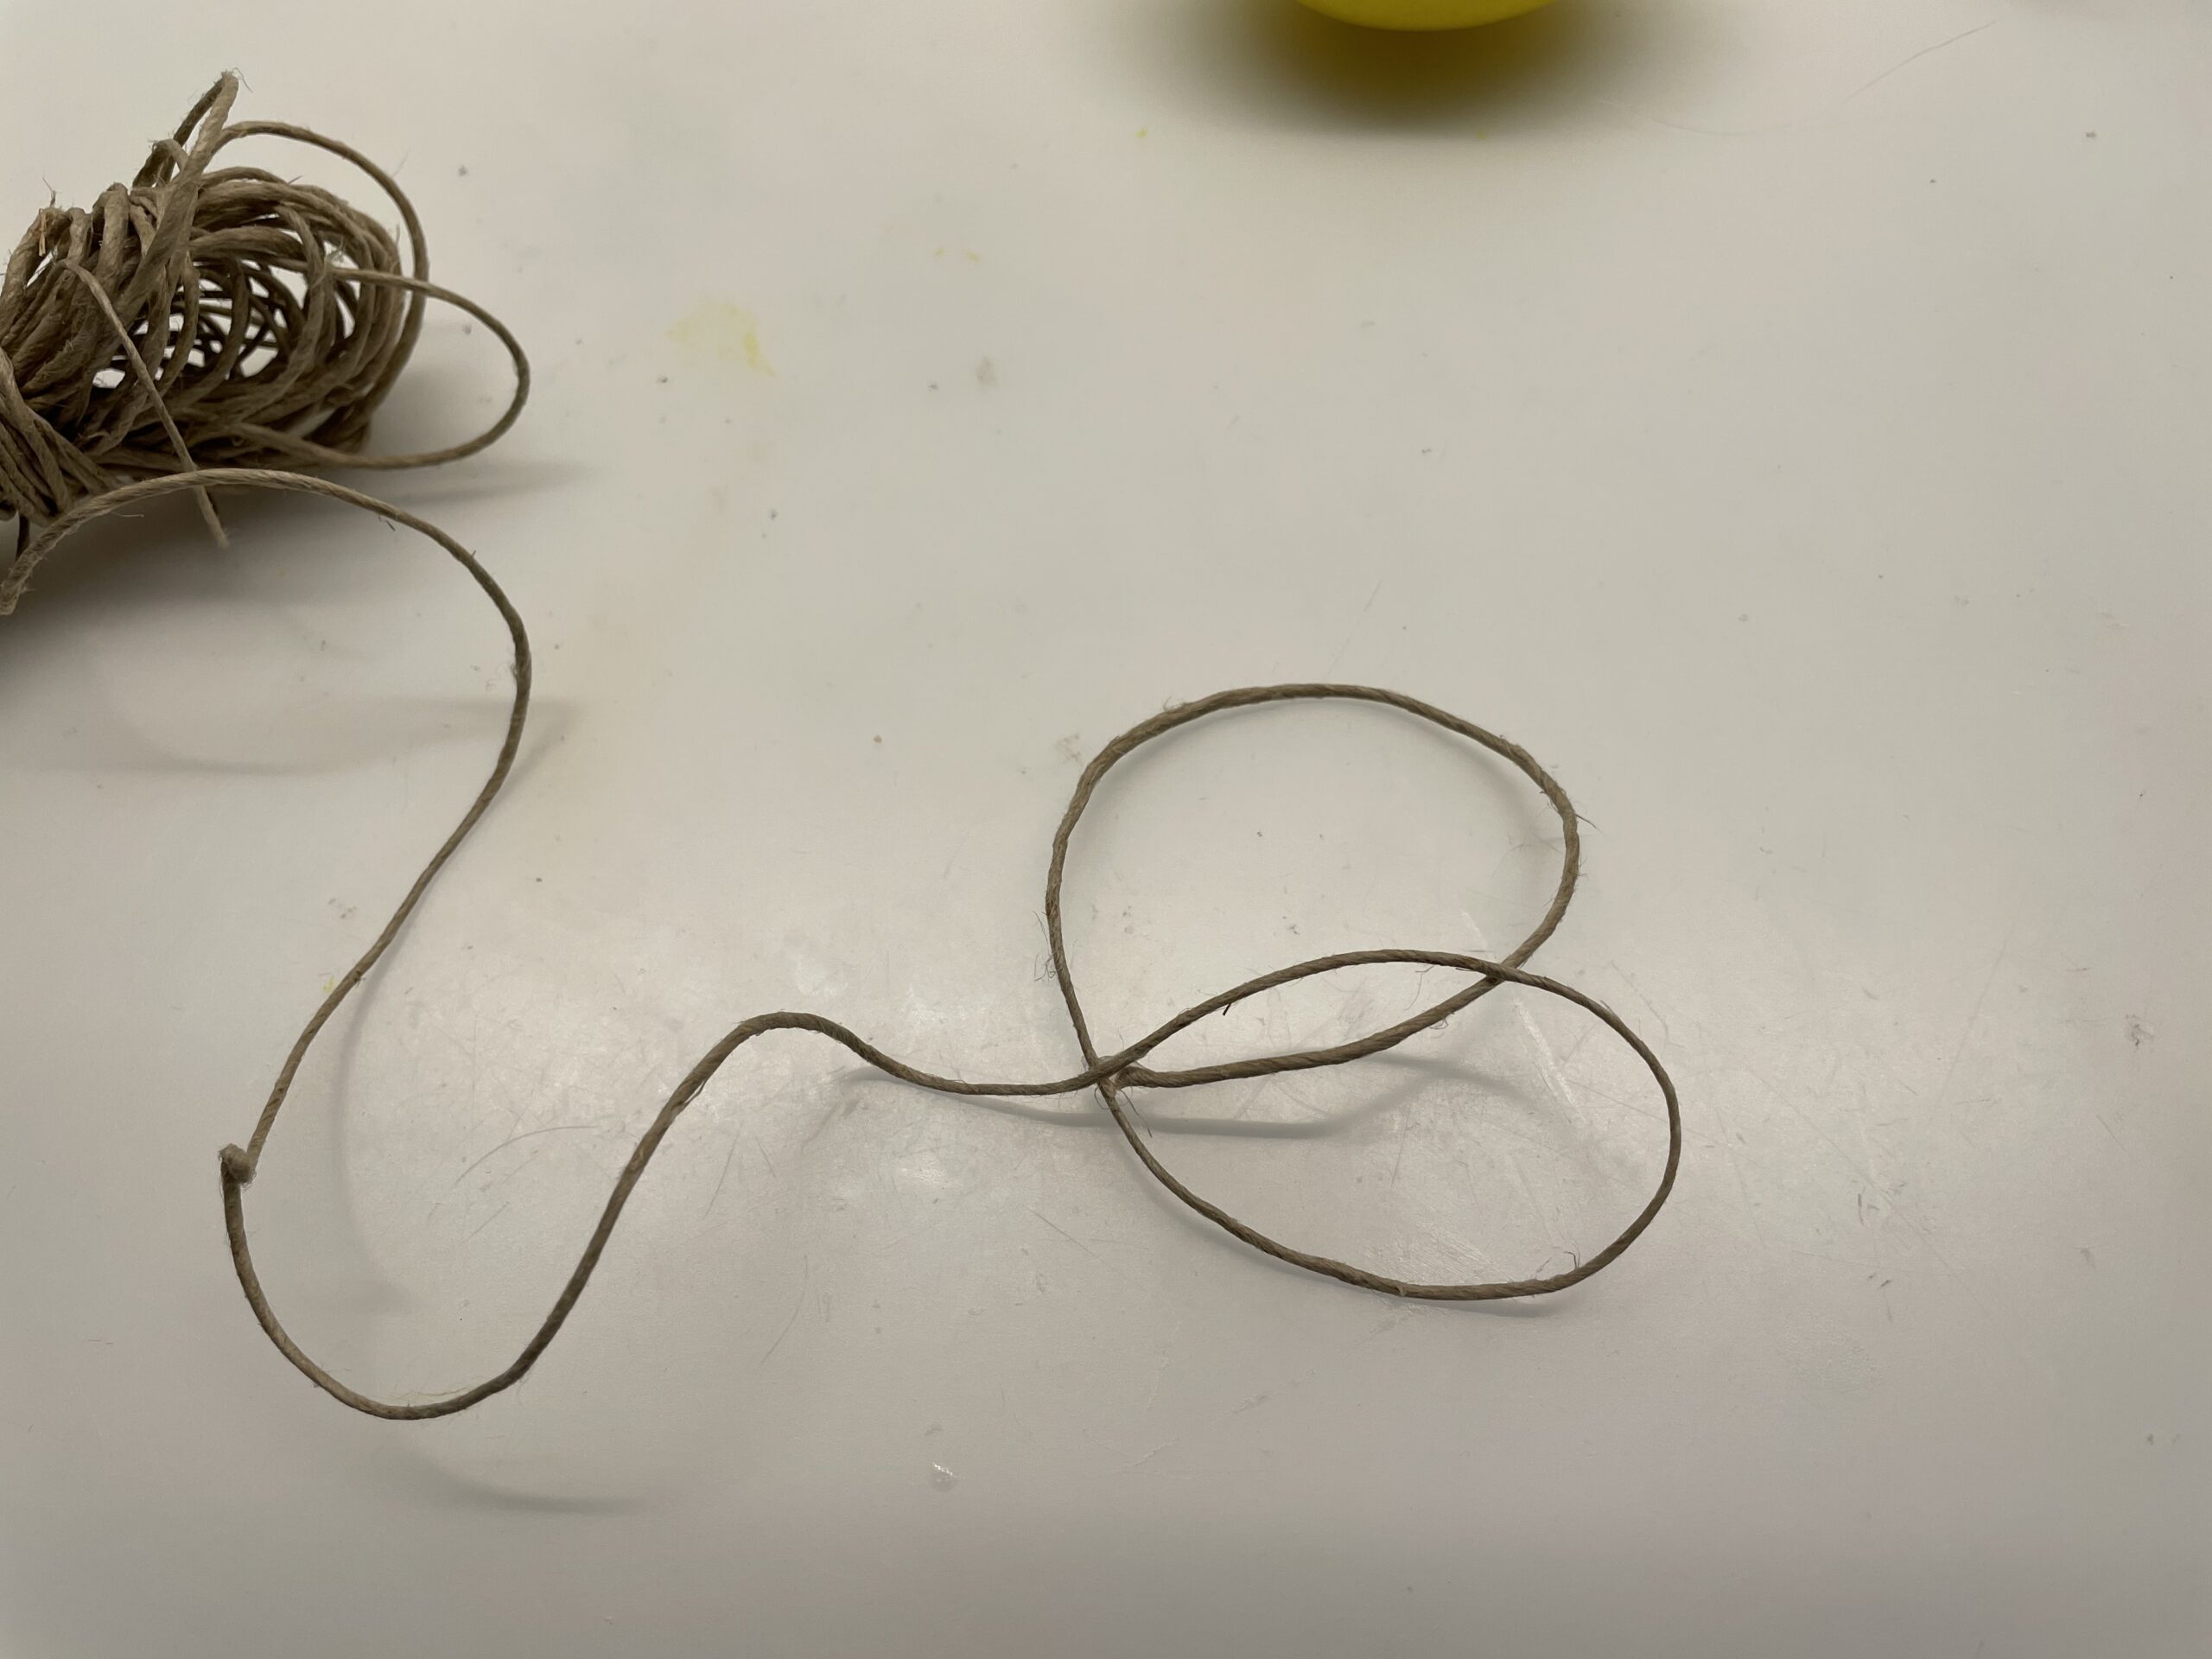


Then press the stick with a scissors or a pen until it holds tight.
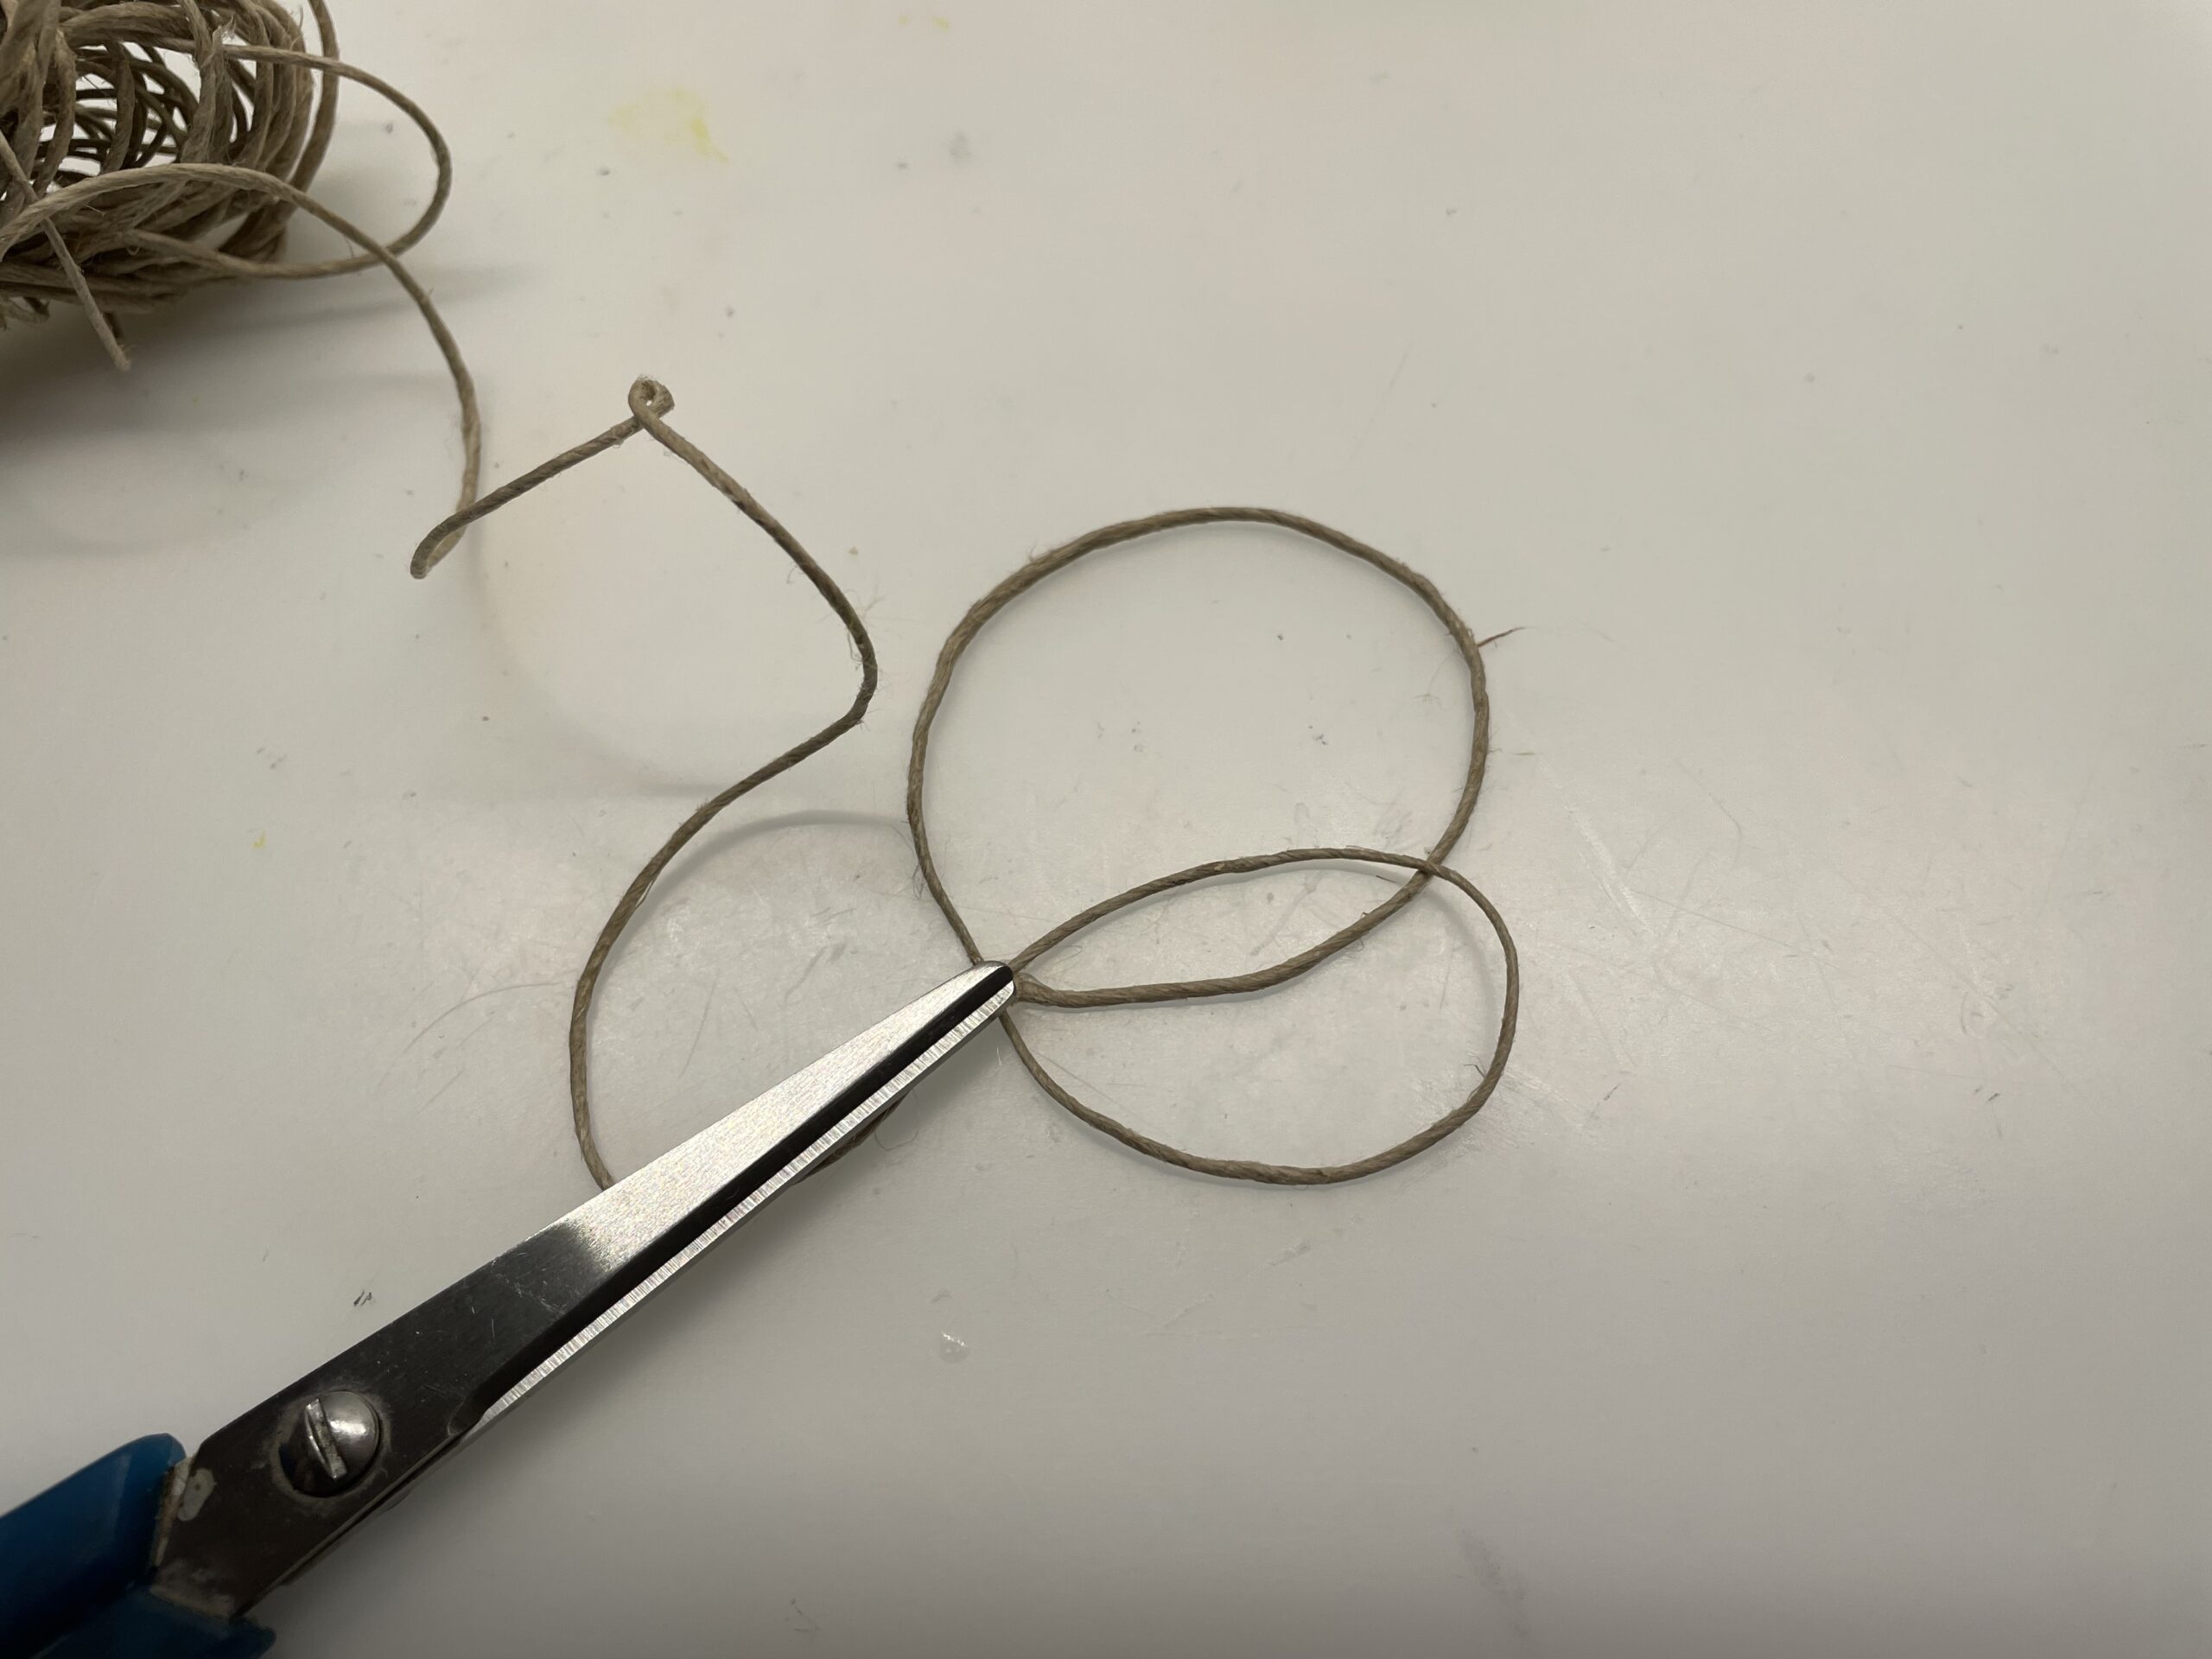


Lift the wings up from the base for a short time and ensure that they do not stick to the table.
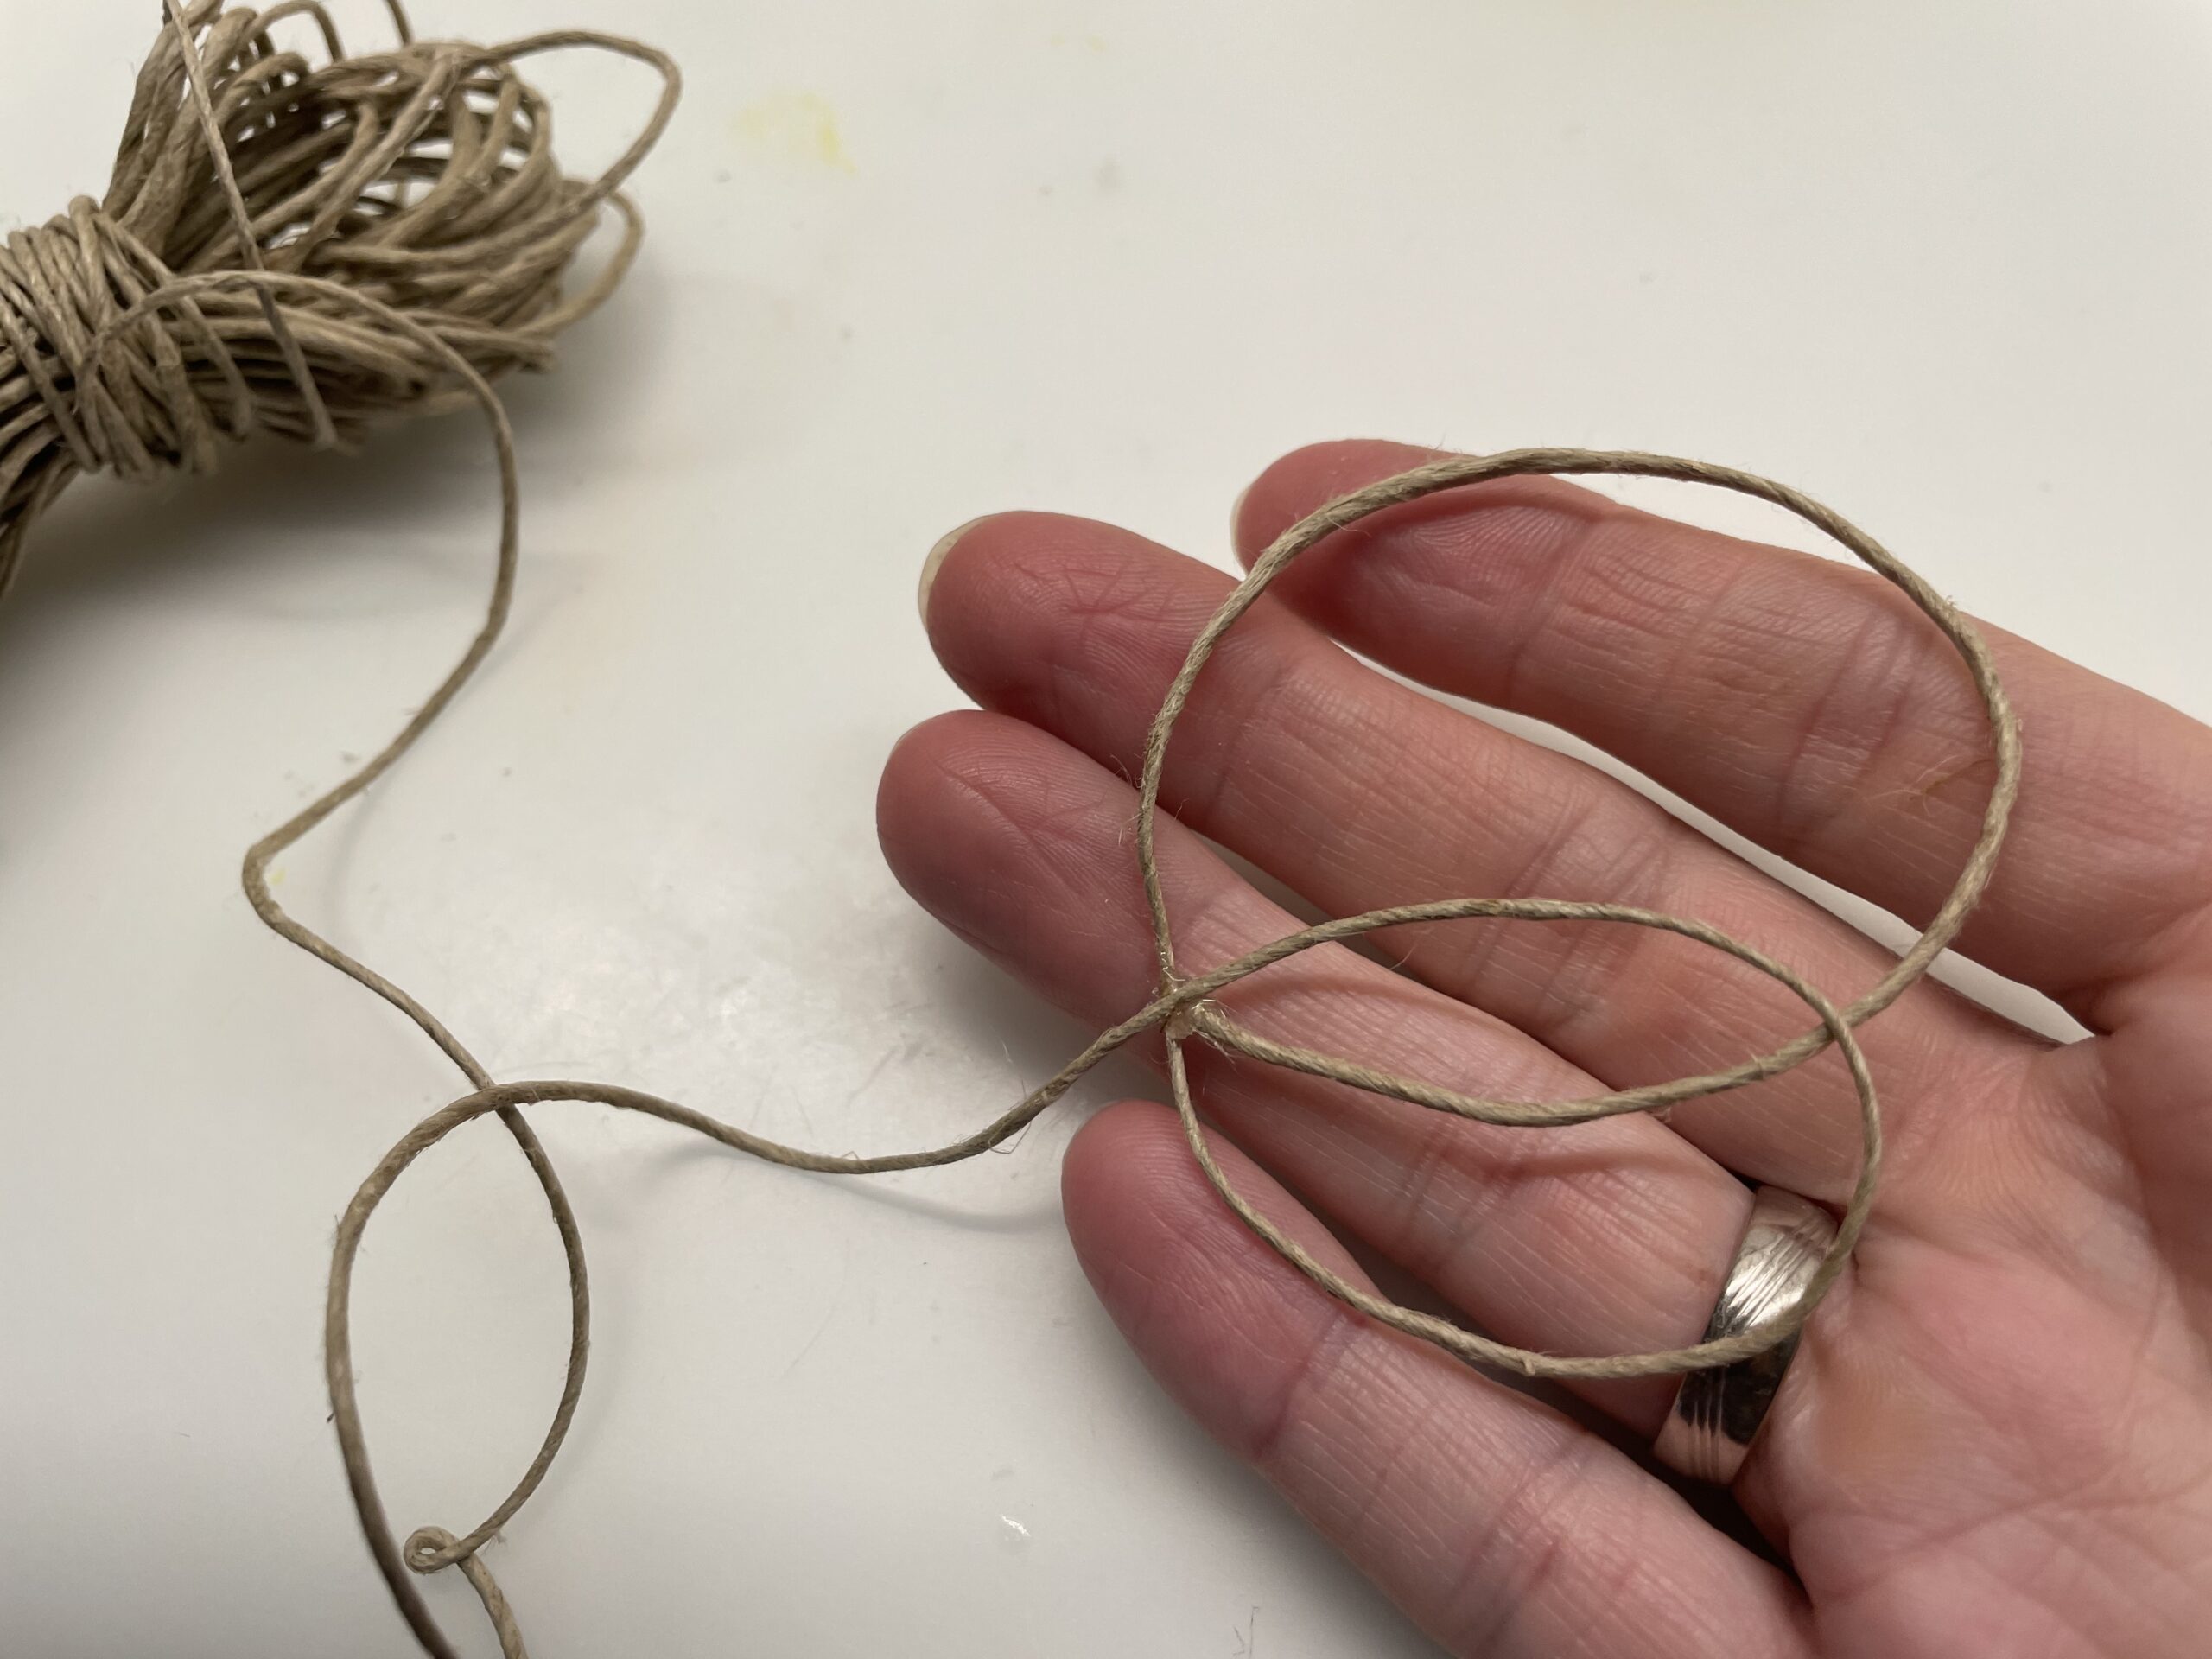


Now you lay a third wing. 2 wings you need for right and 2 wings for left.
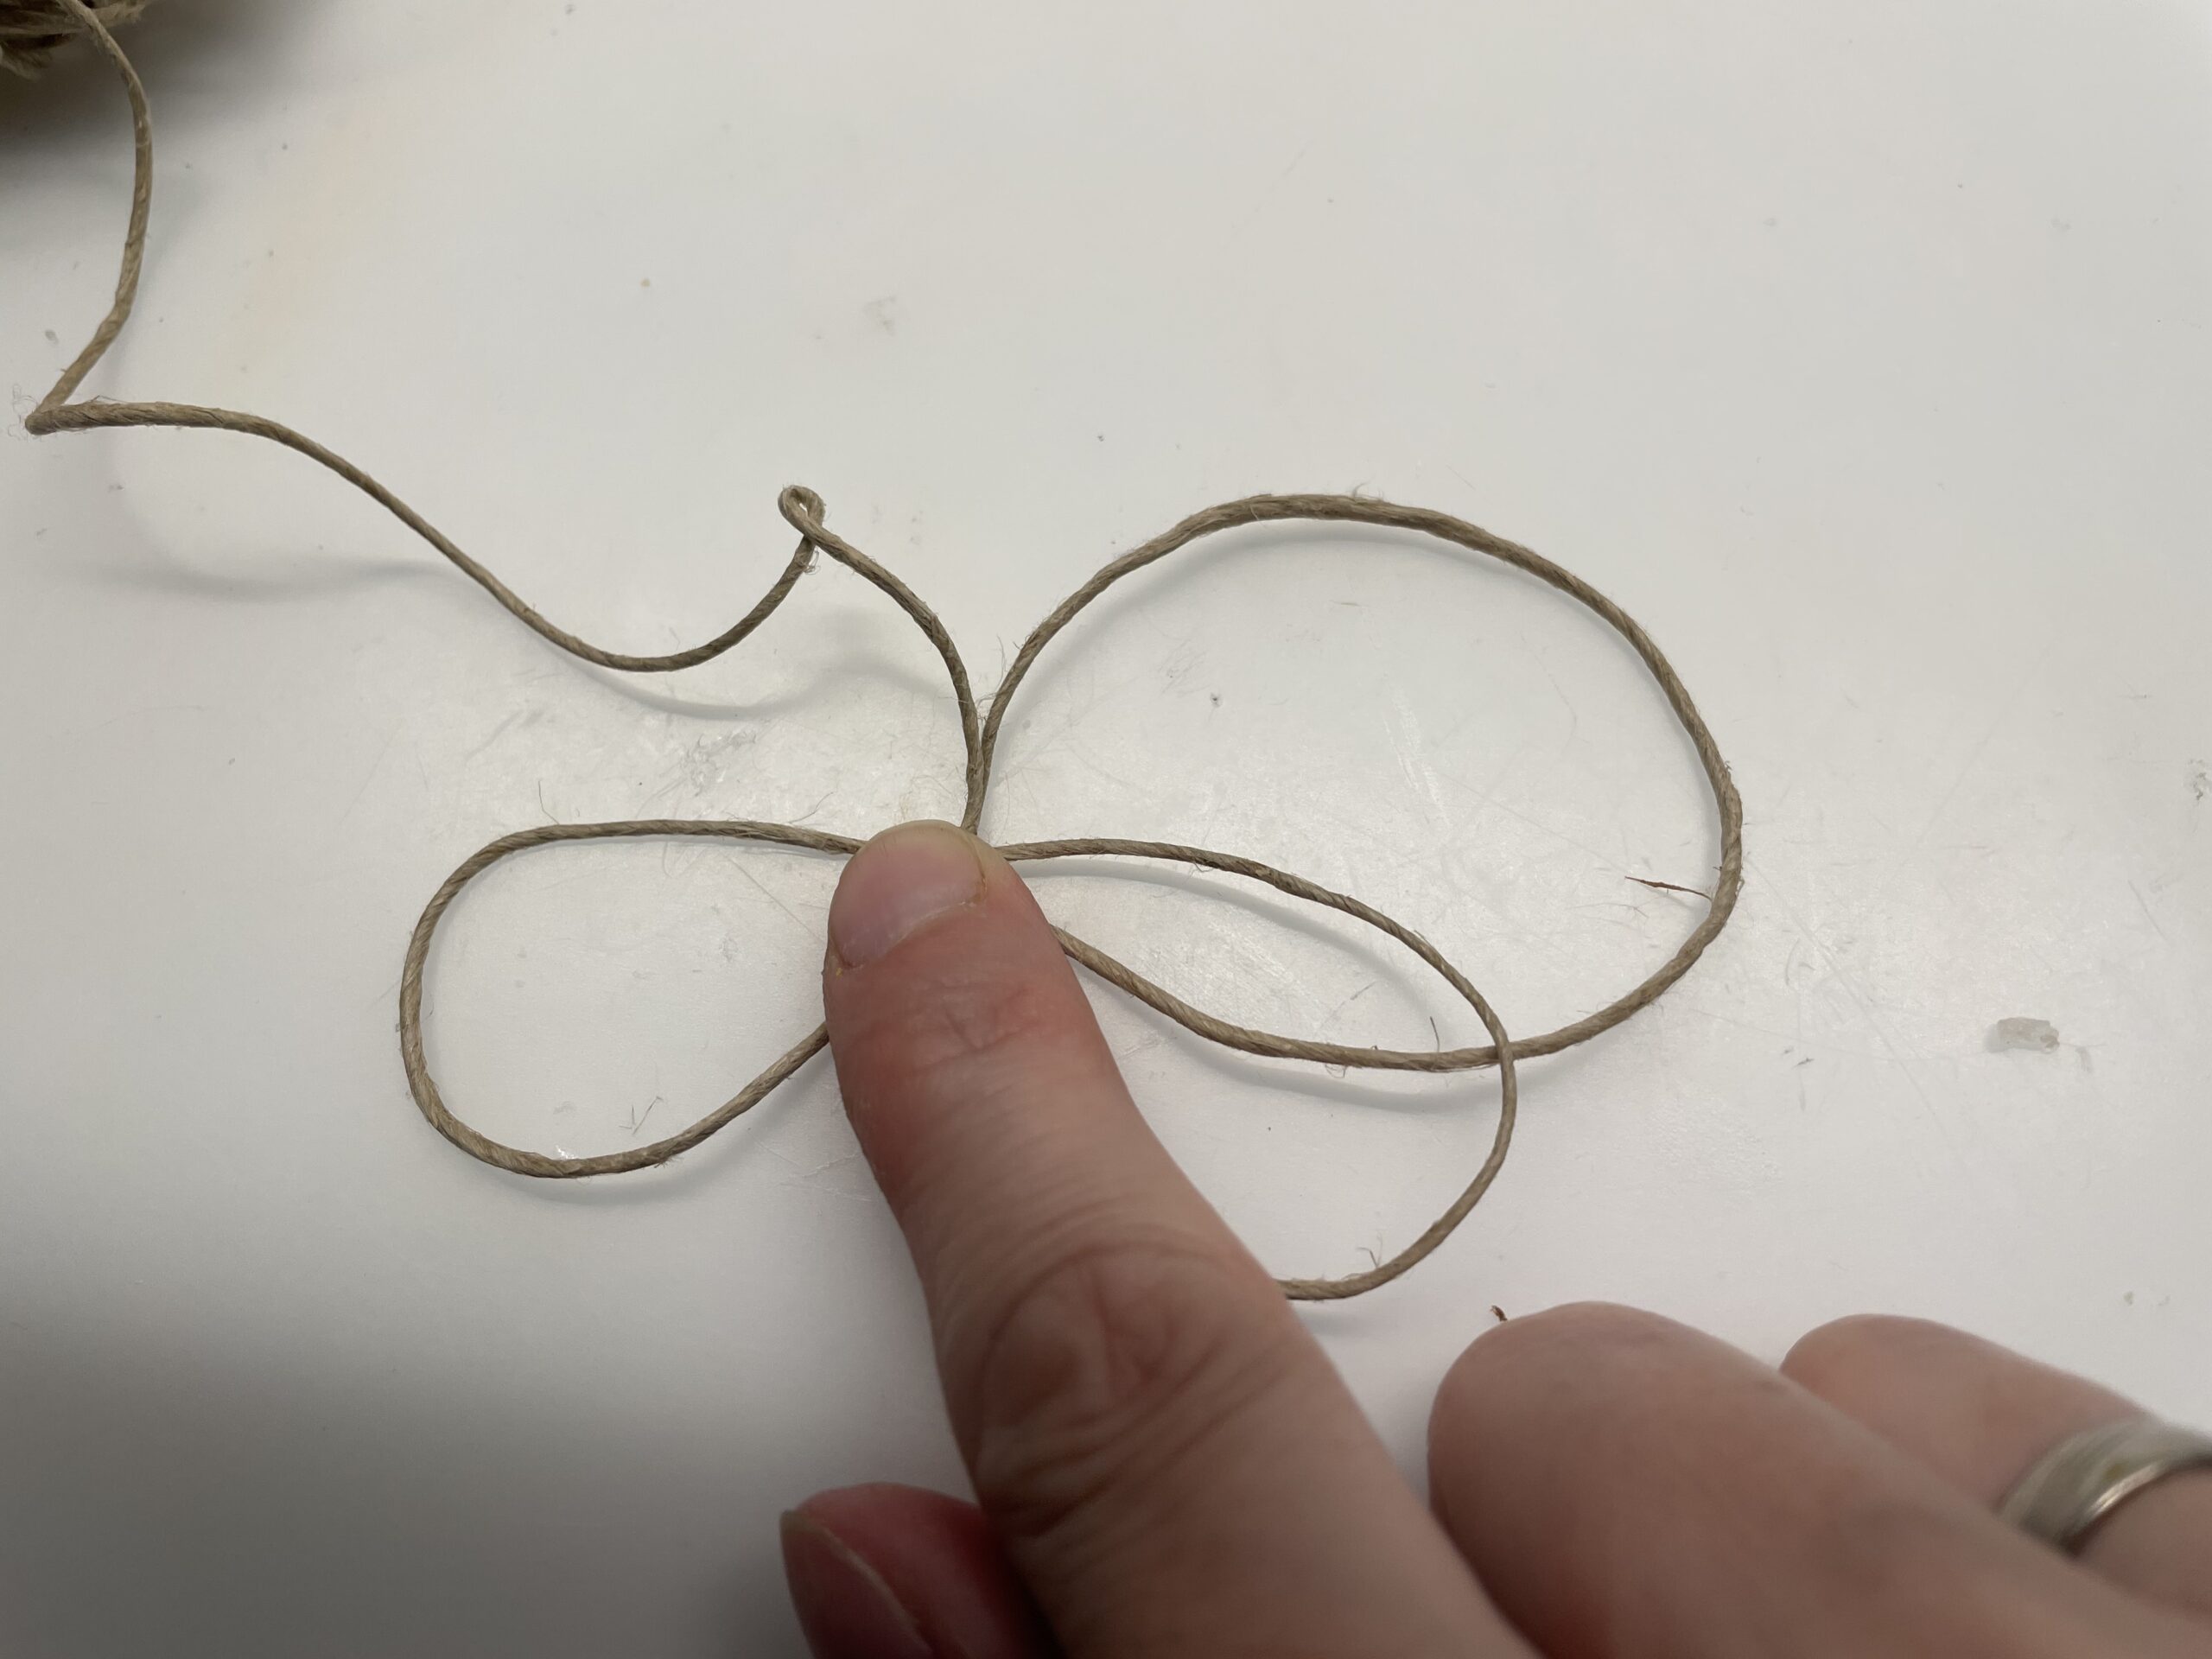


Once again, place an adhesive point on the existing adhesive point. If the loop is pressed, a fourth loop is placed and adheres to it as well.
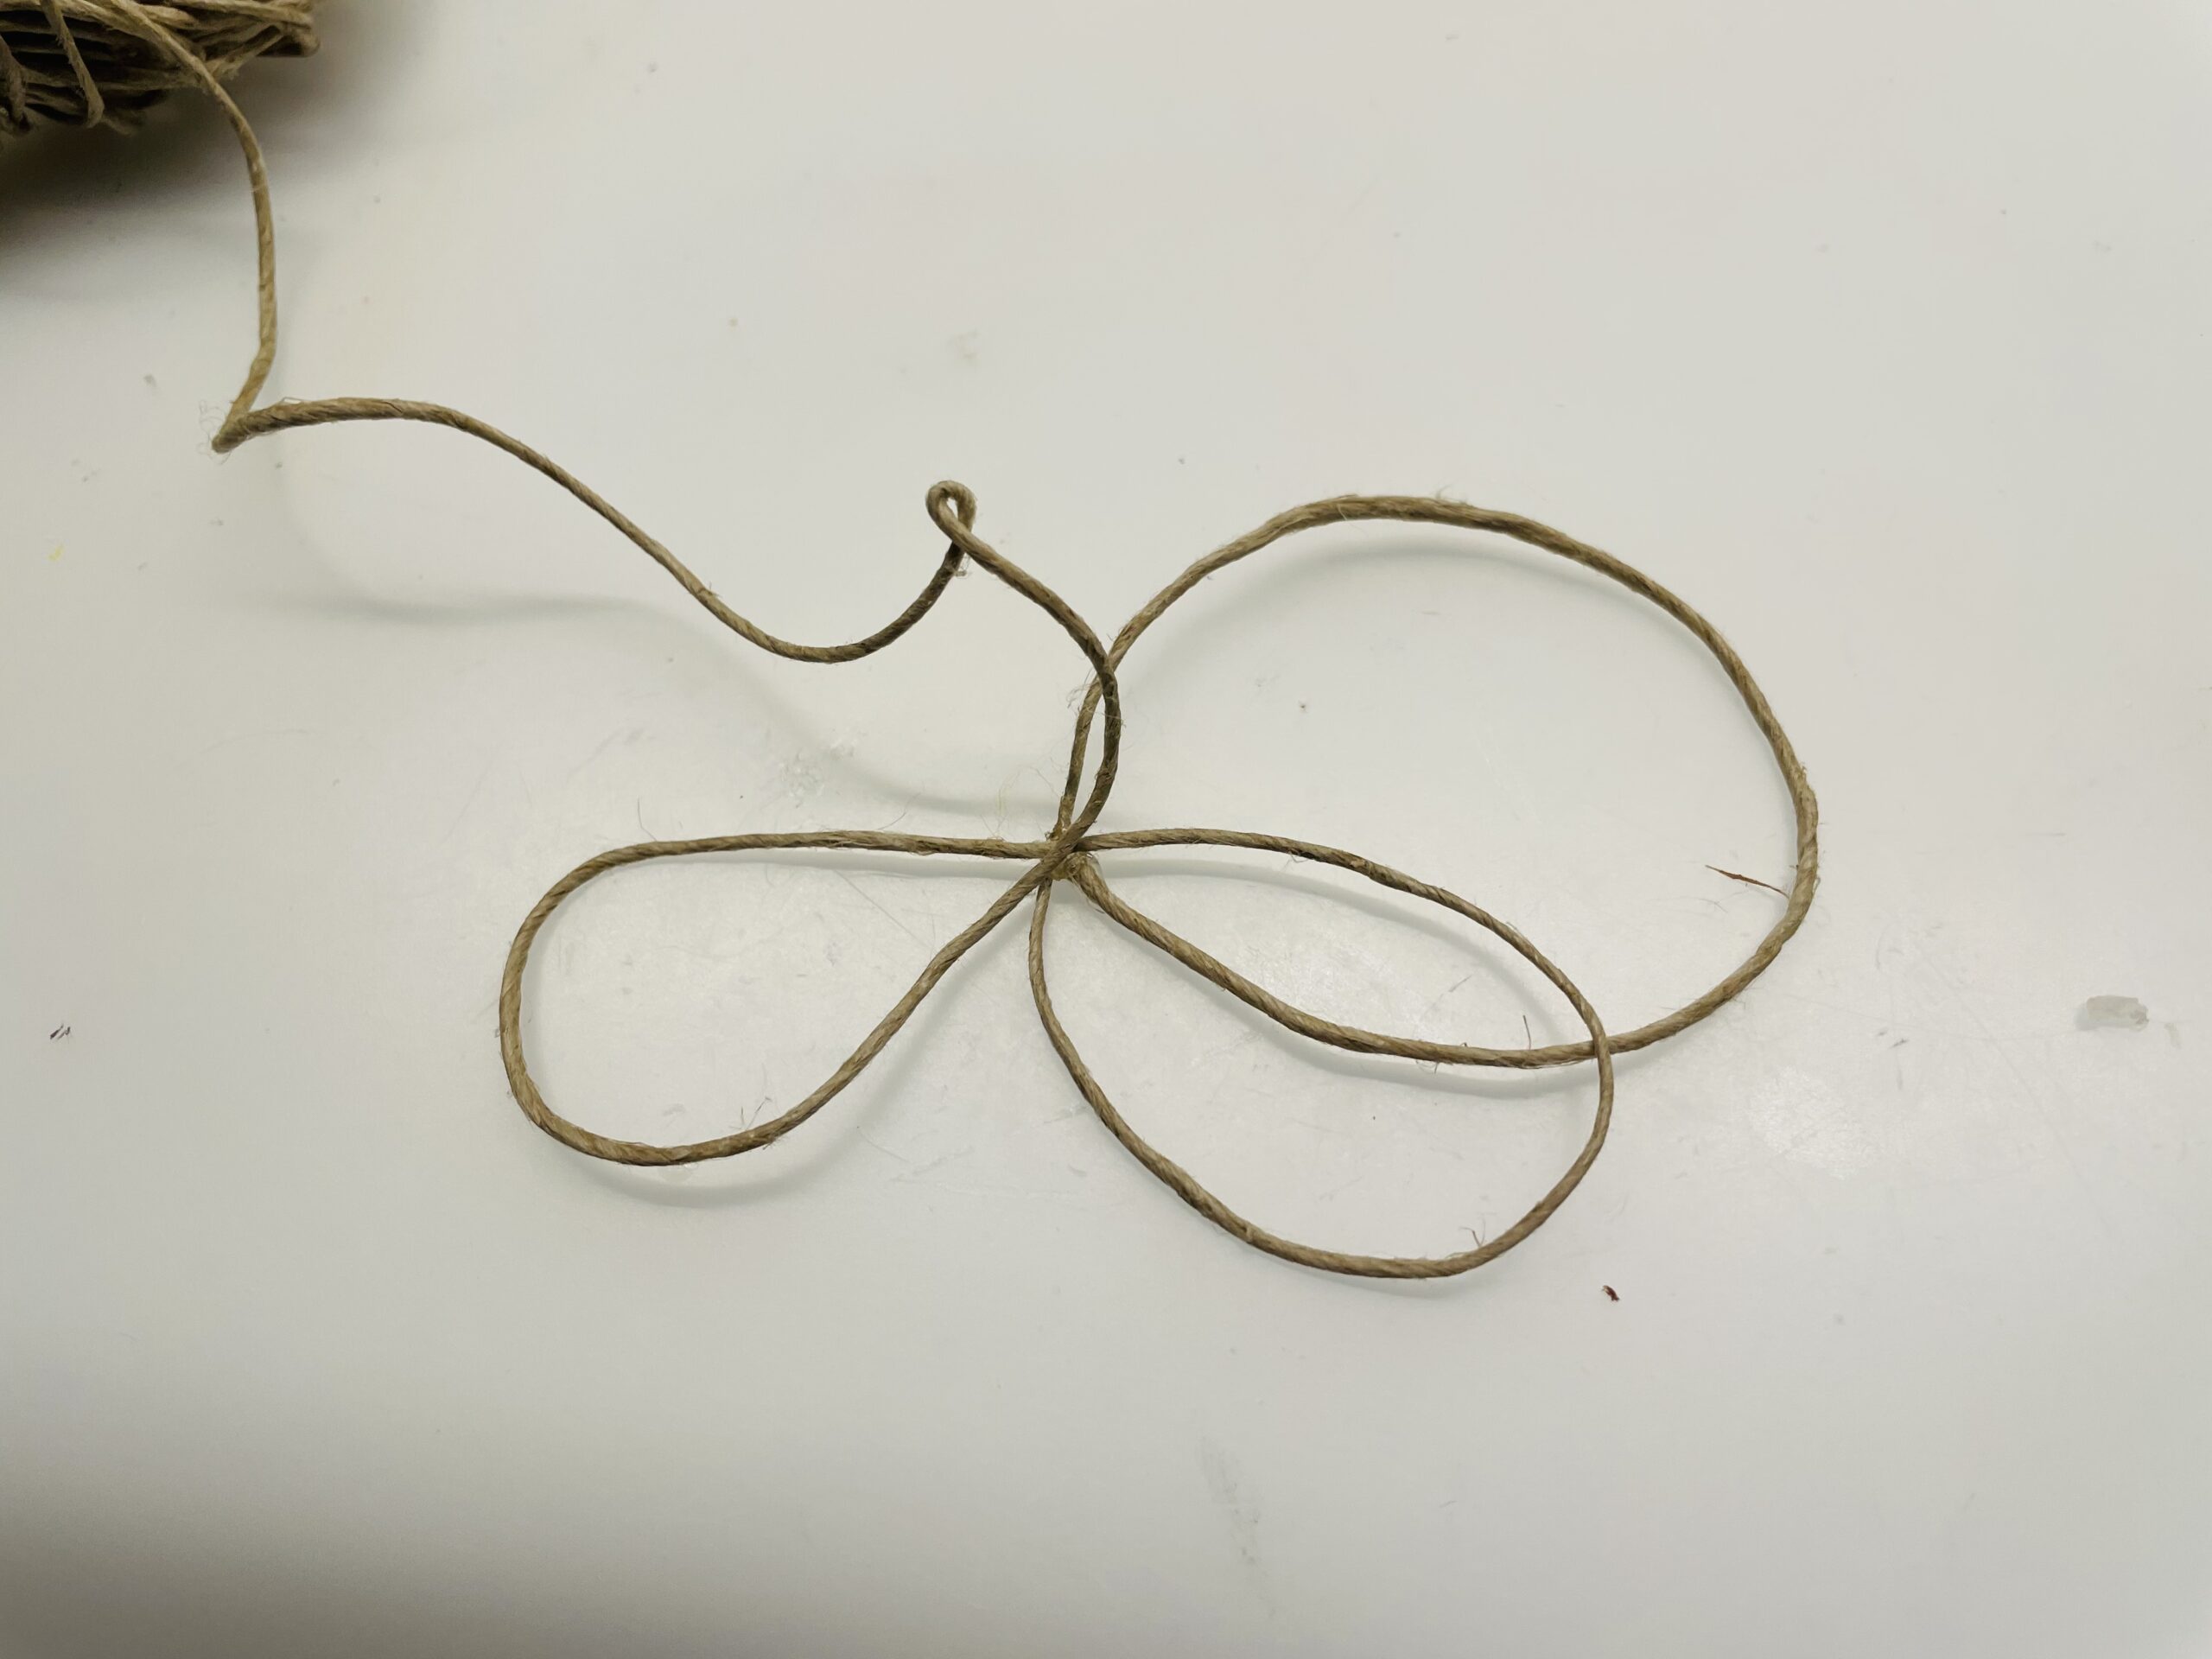


Then cut off the cord with a length of 20cm.
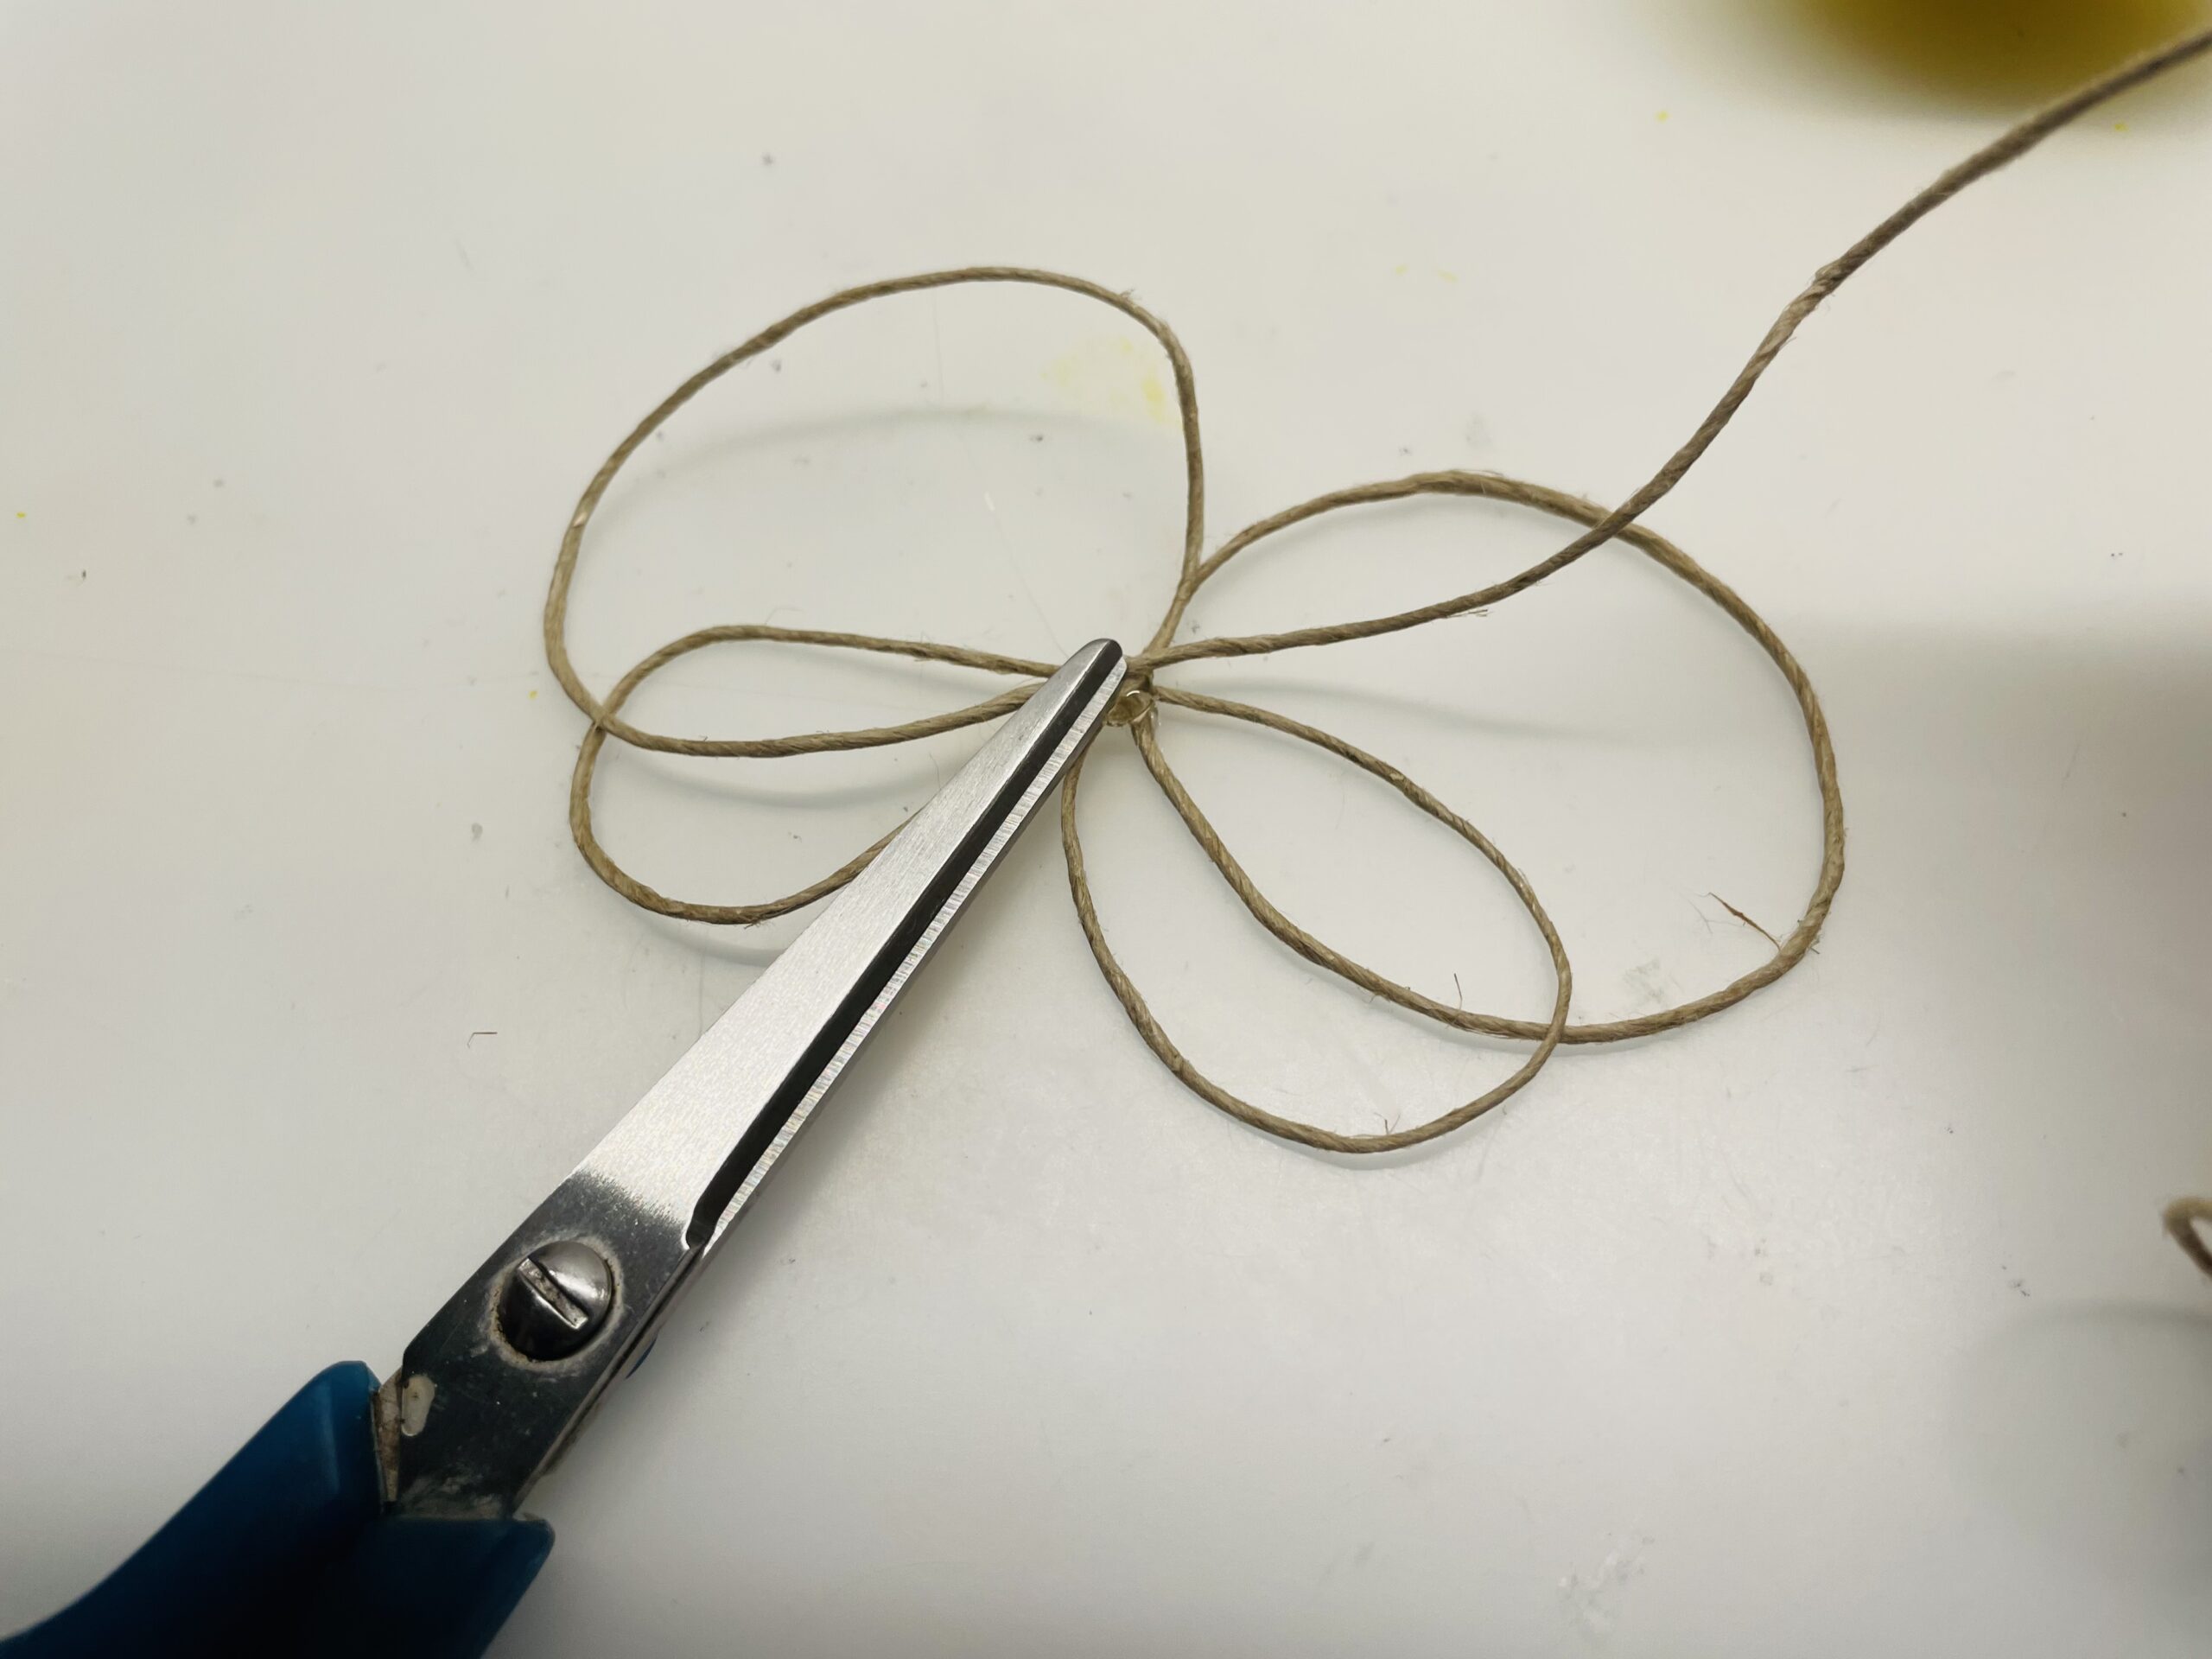


Check what the wings look like later on the egg. That's what you think of them.
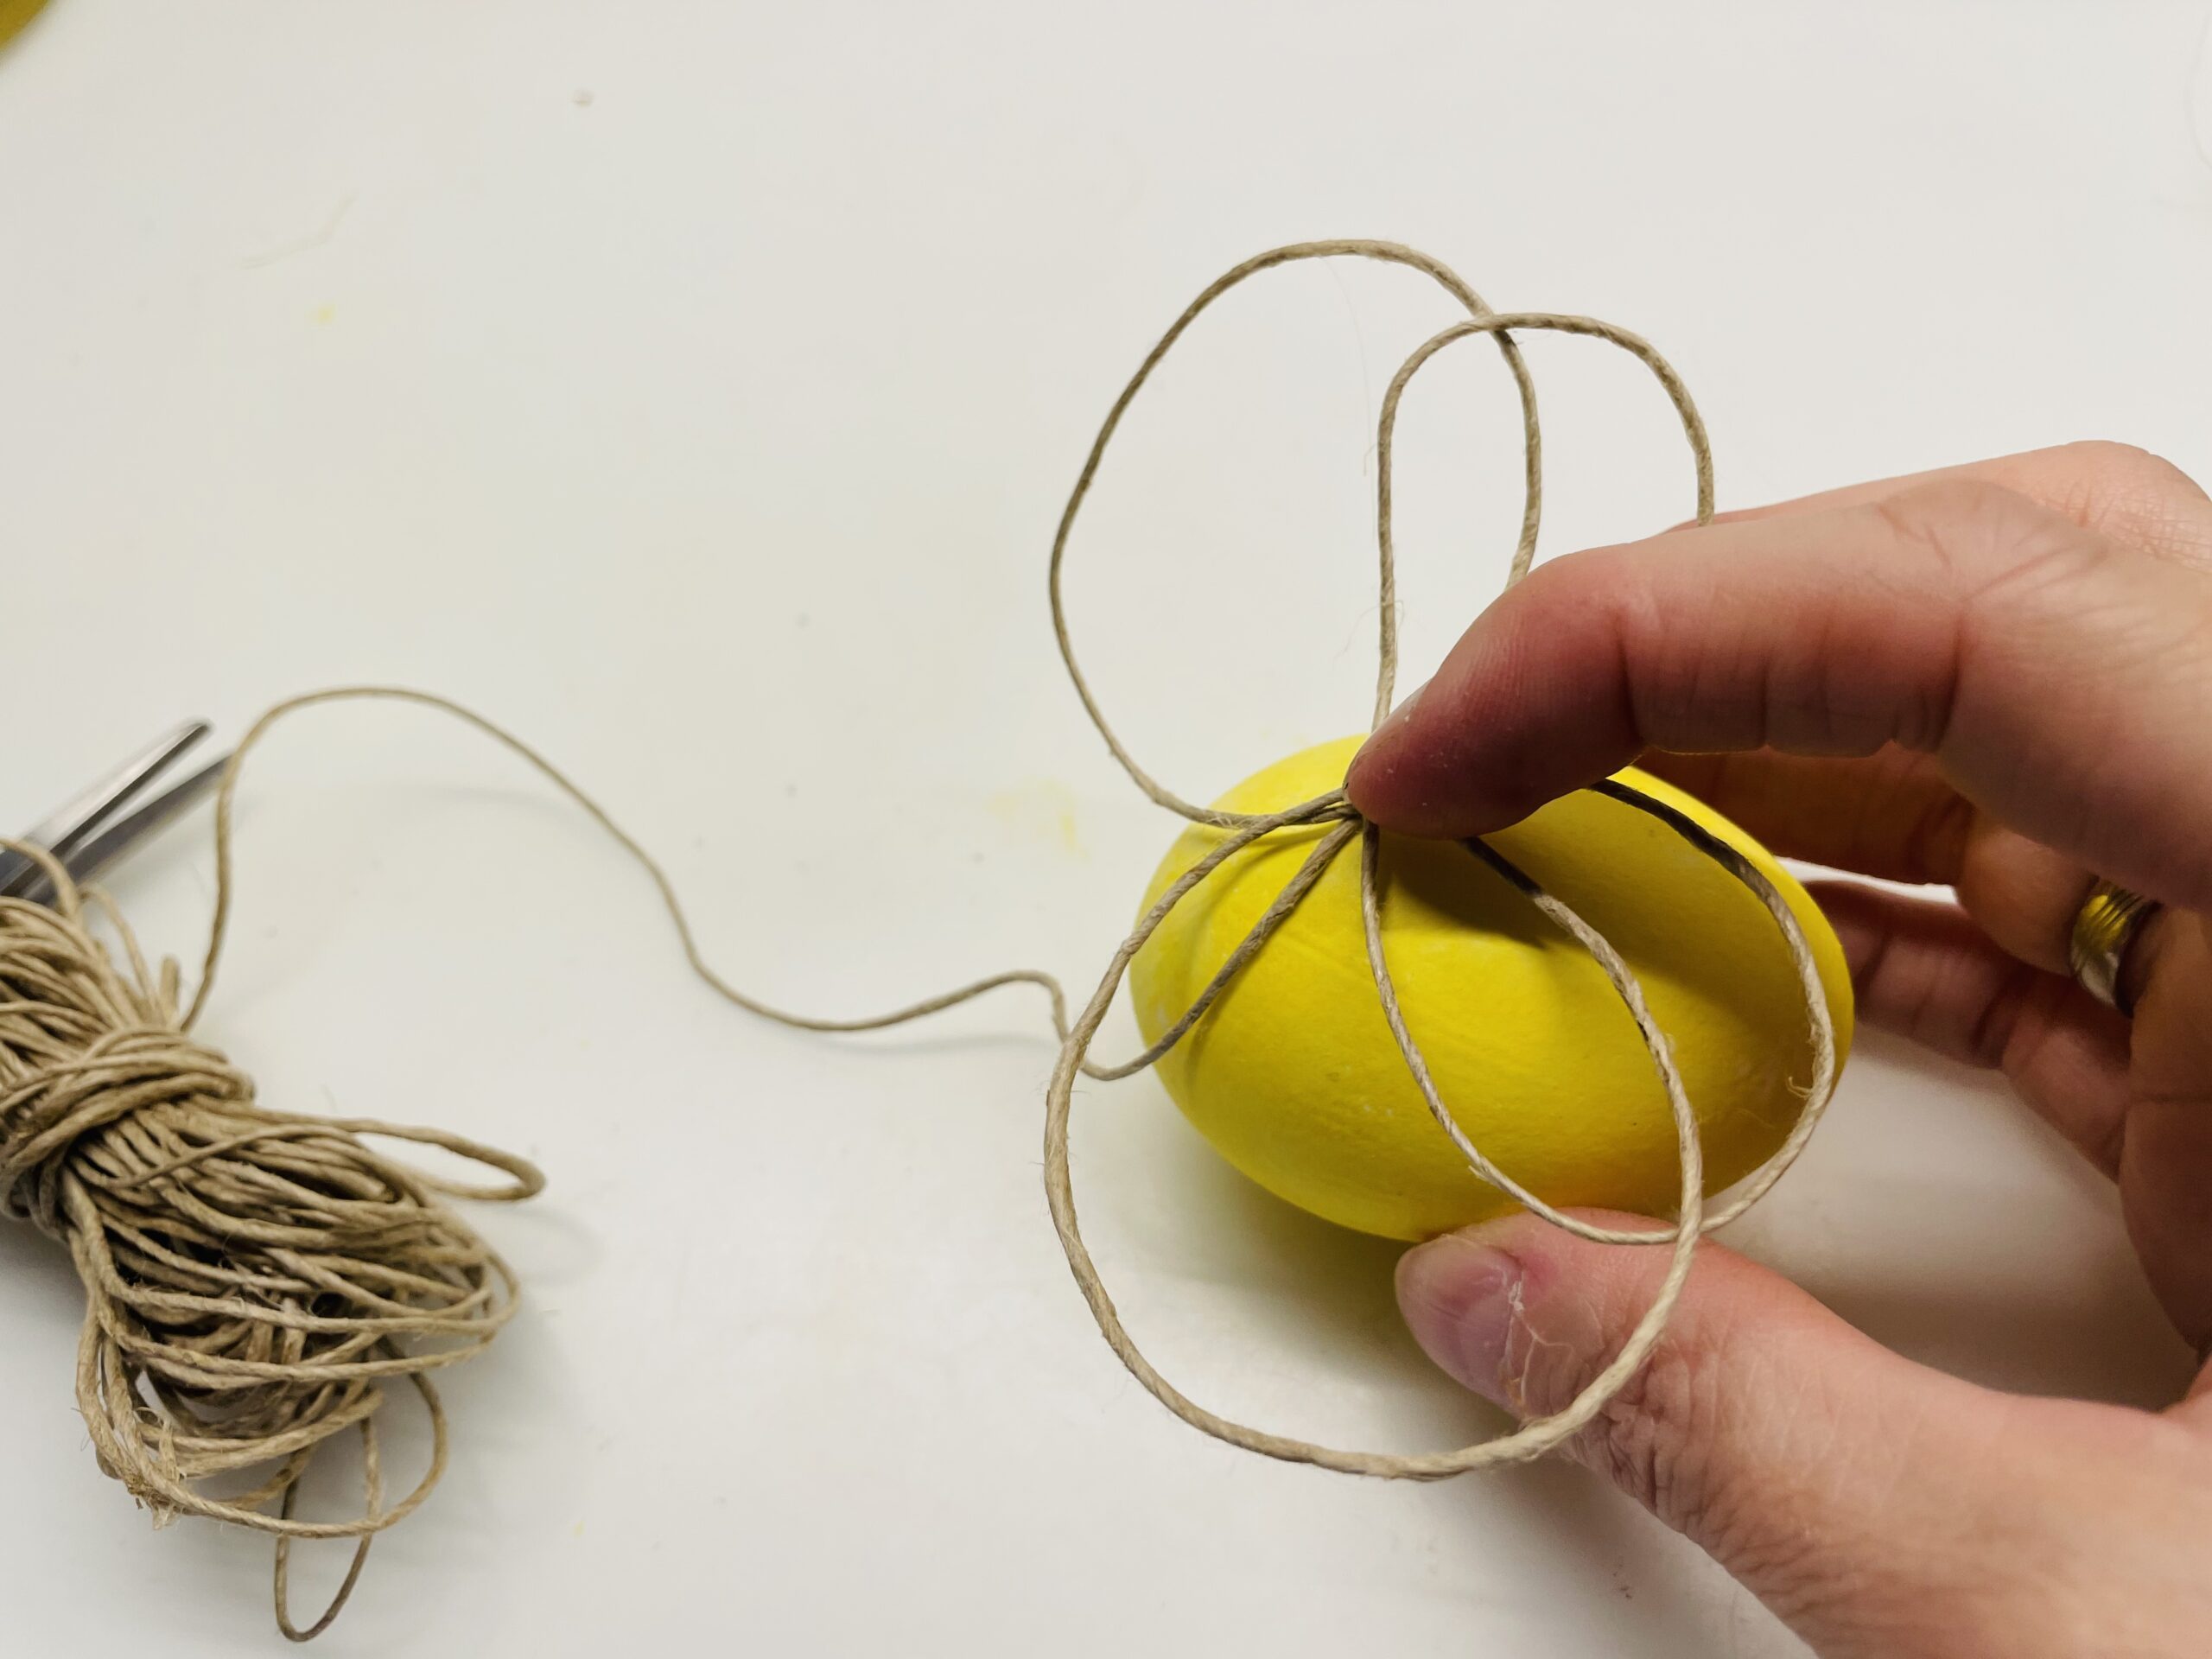


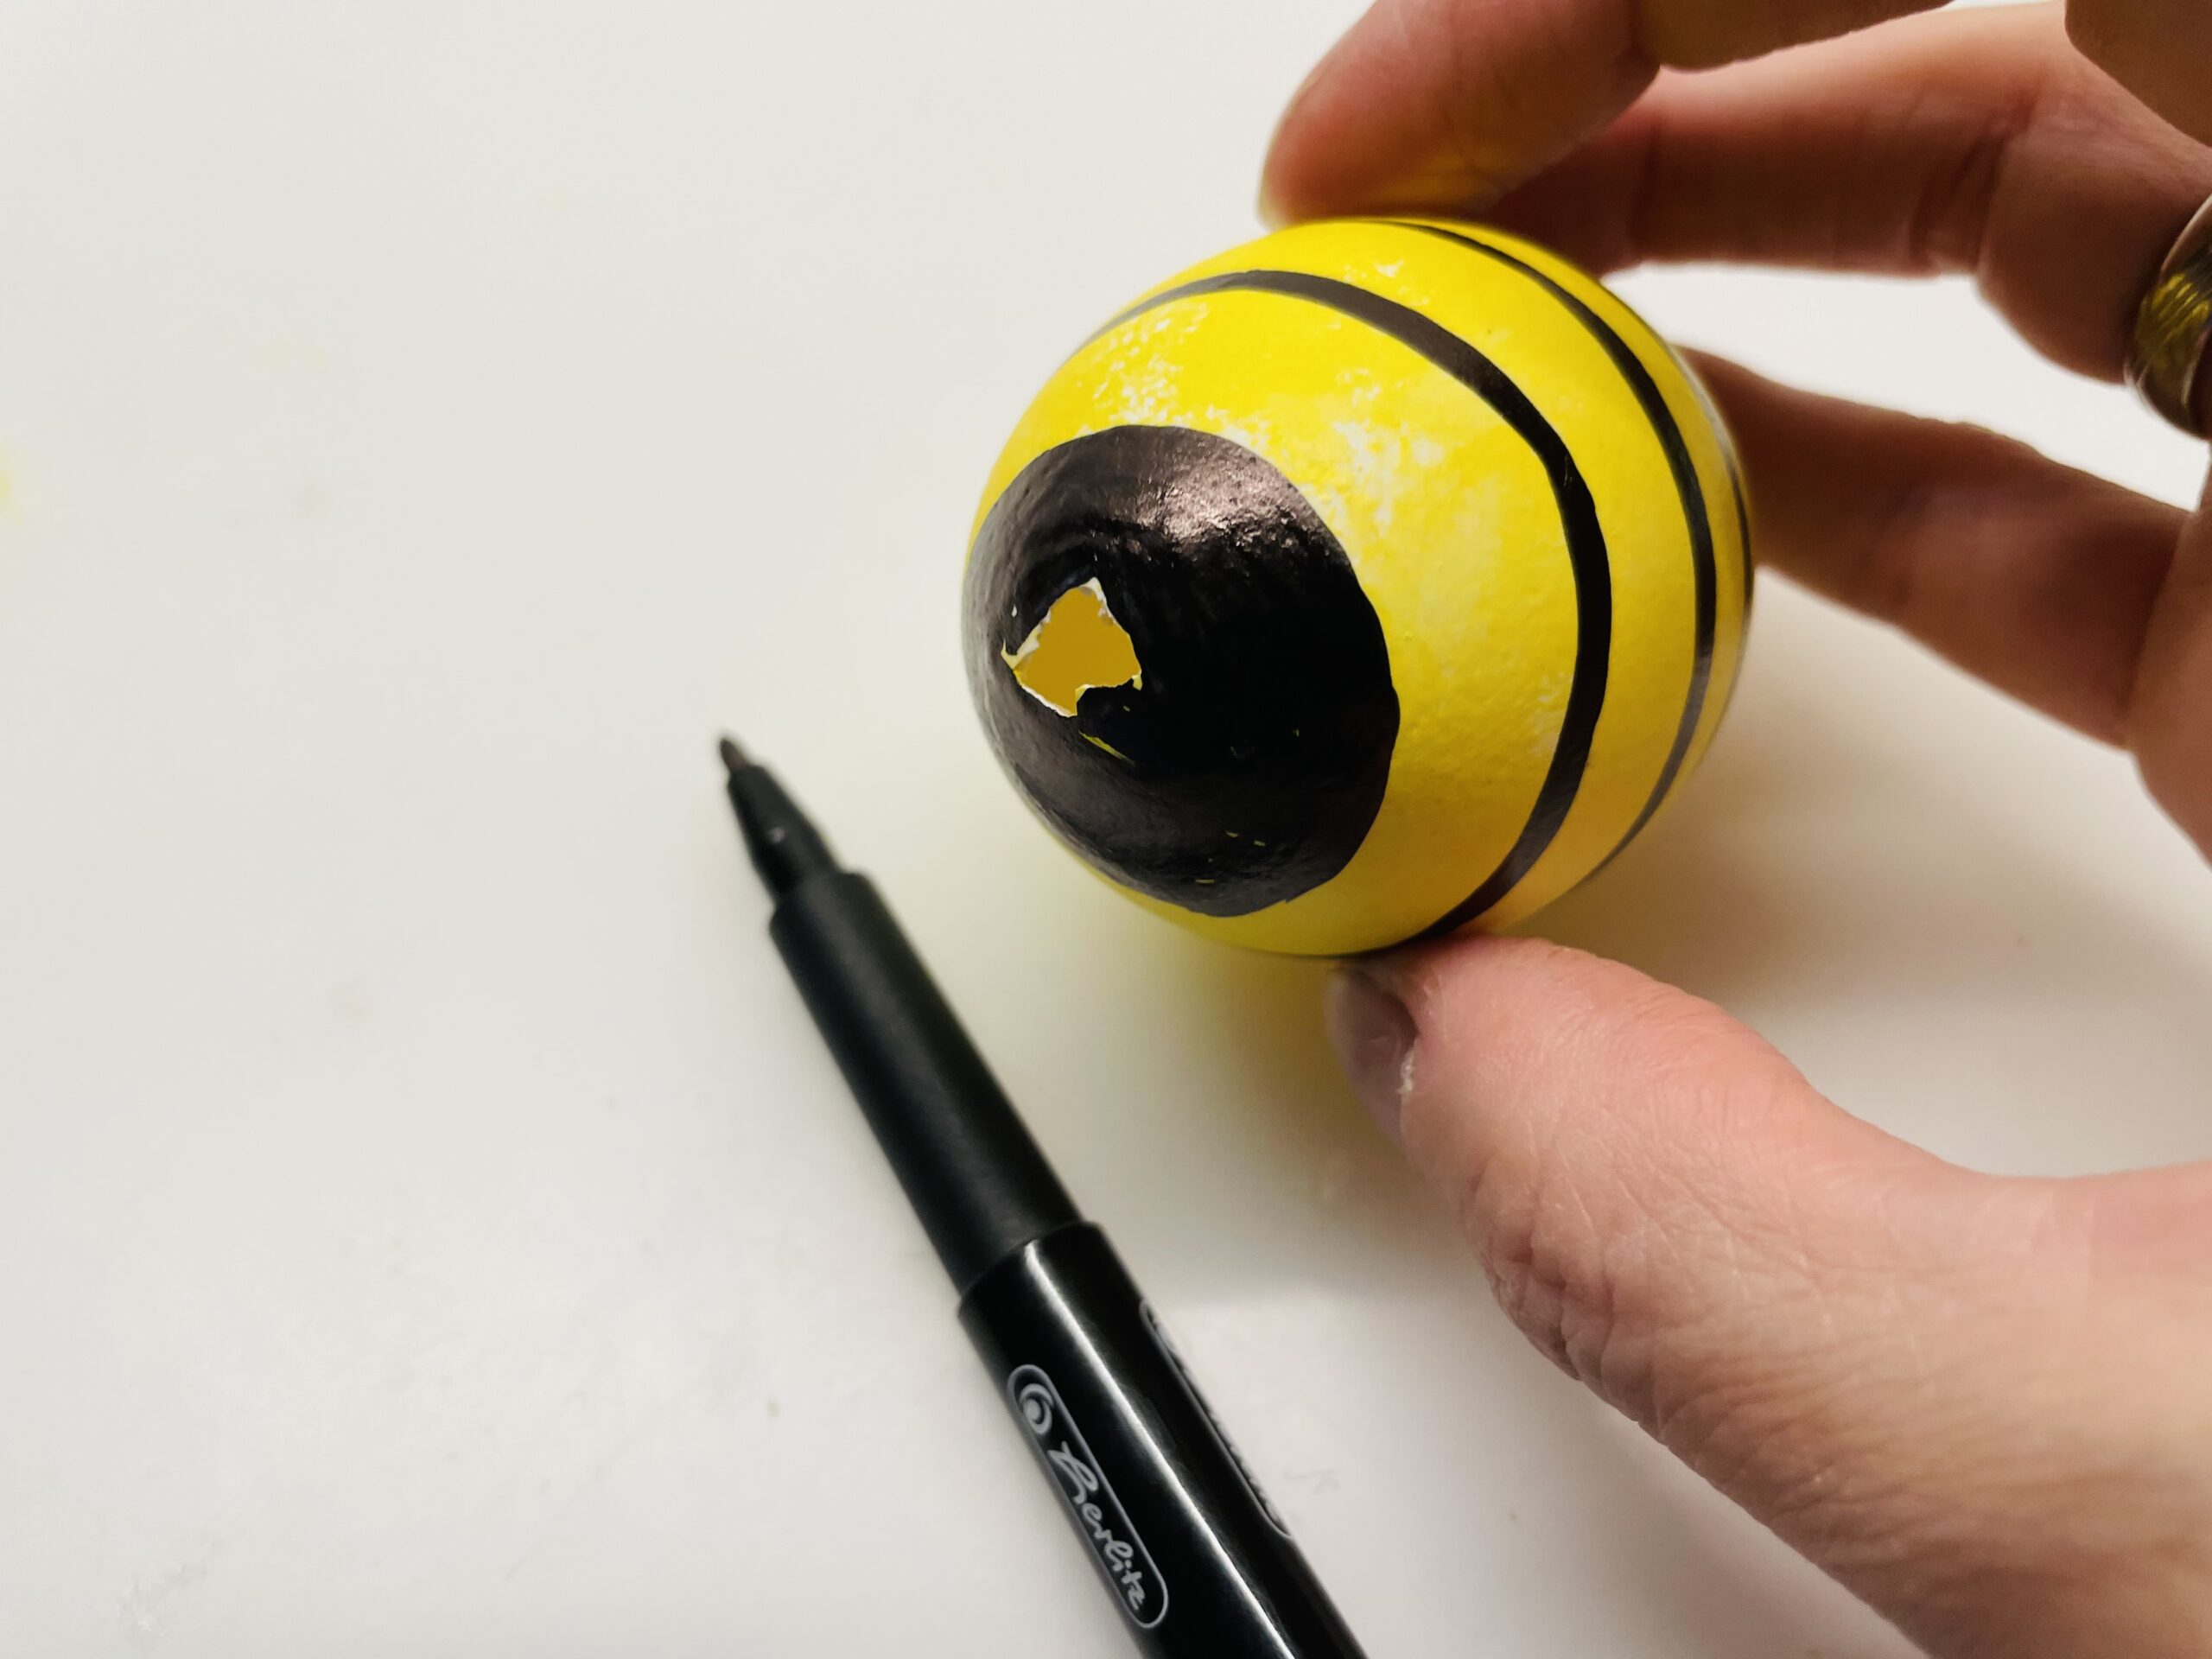
Now you paint with a black marker stripes and a face on the egg. From the egg becomes such a bee.
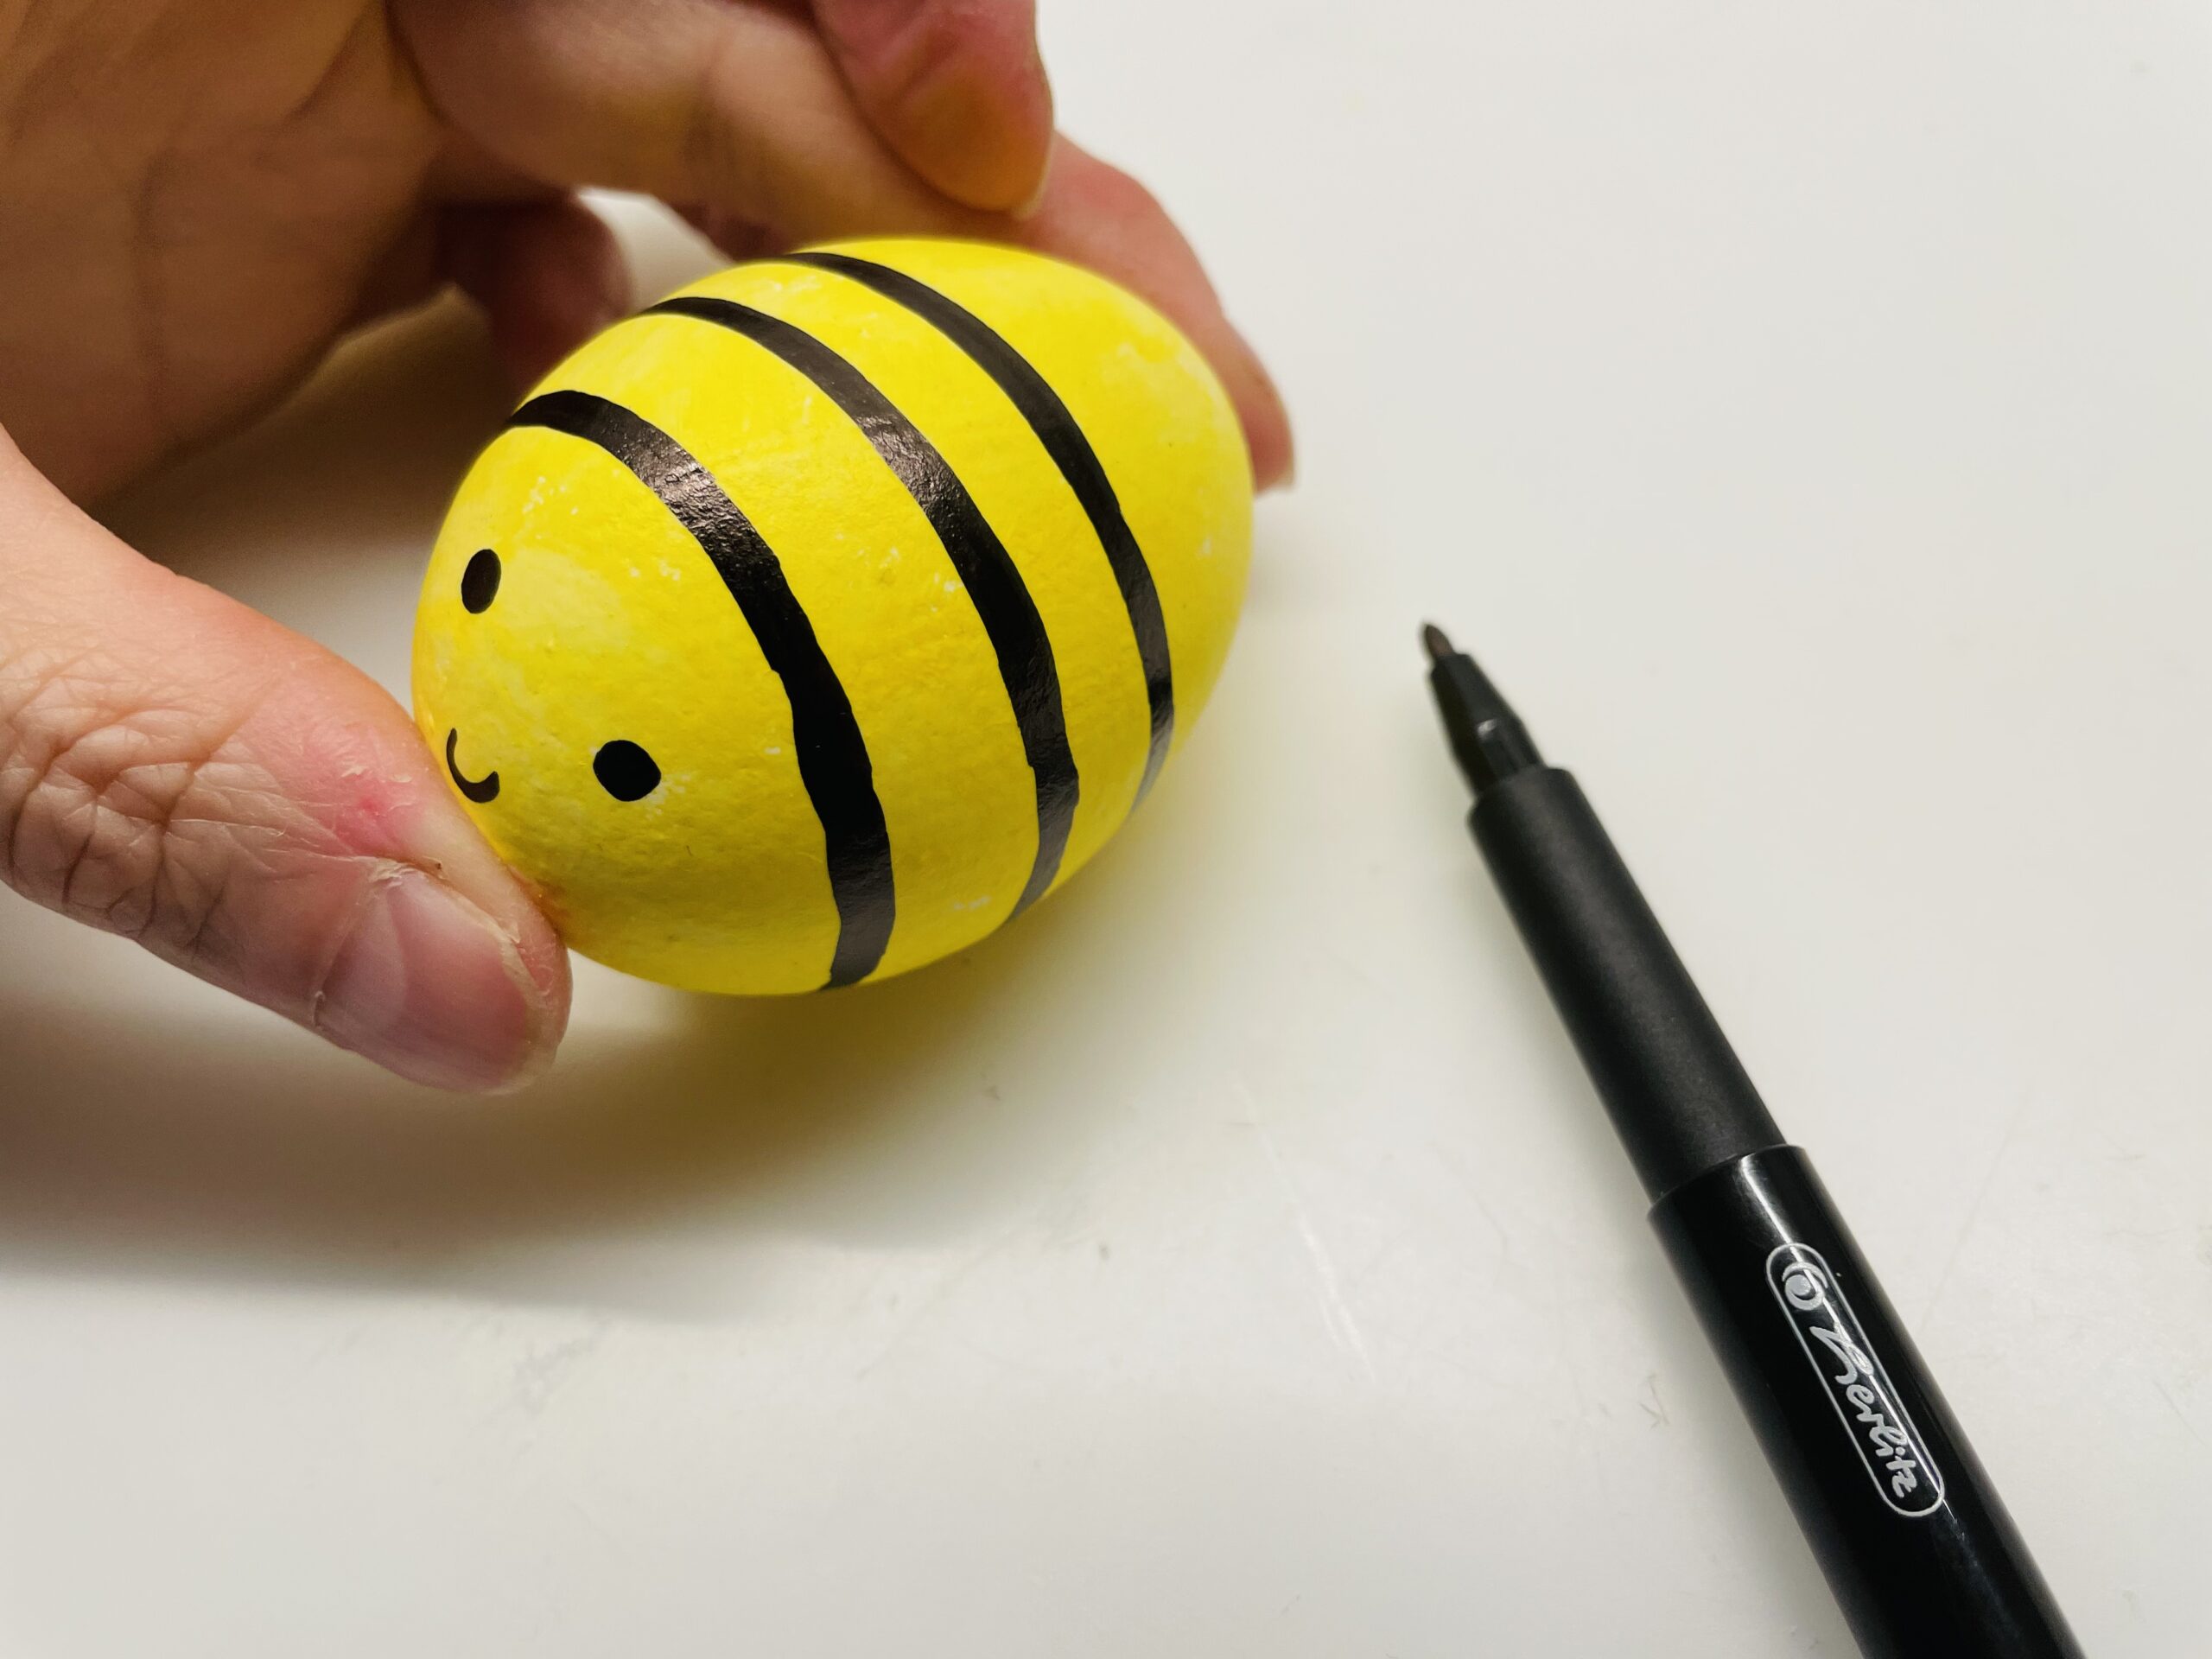


Idea: who likes to paint the back of the bee black and who wants to stick a spine in the hole of the blowout, e.g. from a piece of a pipe cleaner.


If the paint is dry, the wings stick to it on the bee body.
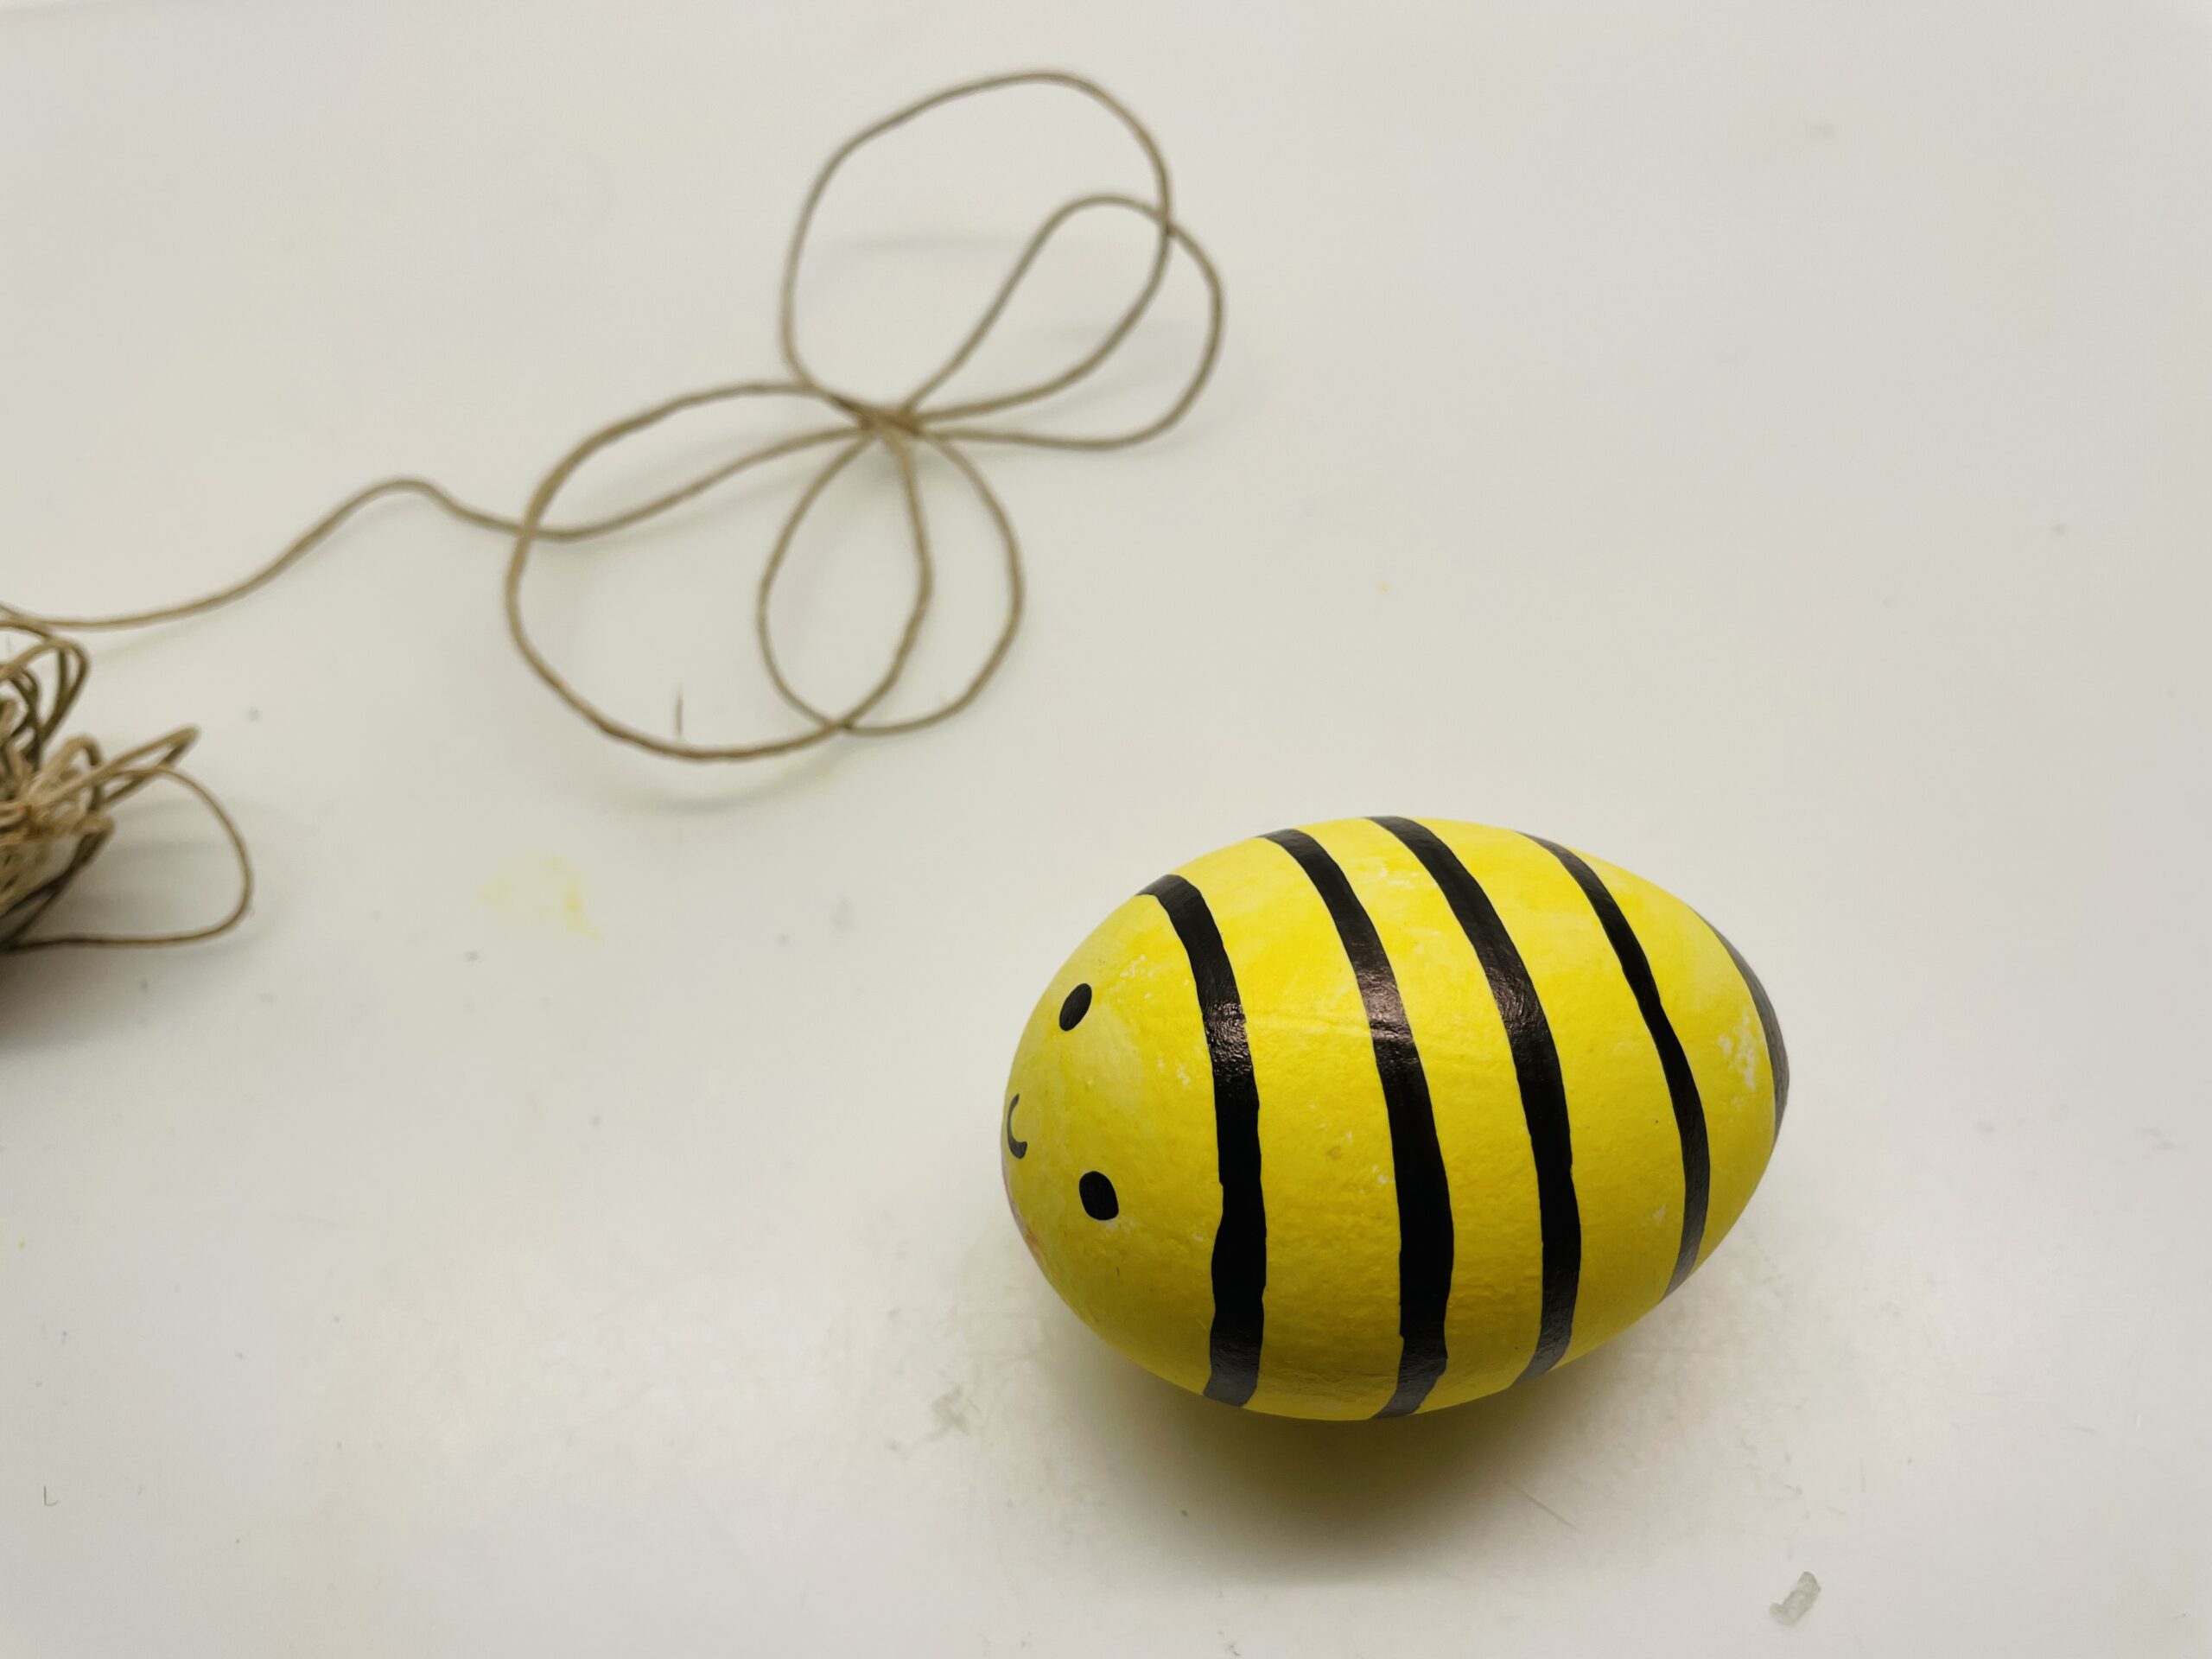


This is best done with the hot glue gun. For this a swab glue is enough. Be careful when handling the hot glue - danger of injury! Make sure that the overstanding cord points upwards, because then you can hang the bee on it. To press the wings a scissors or a pen is suitable again. Press only very carefully, because the egg is fragile!
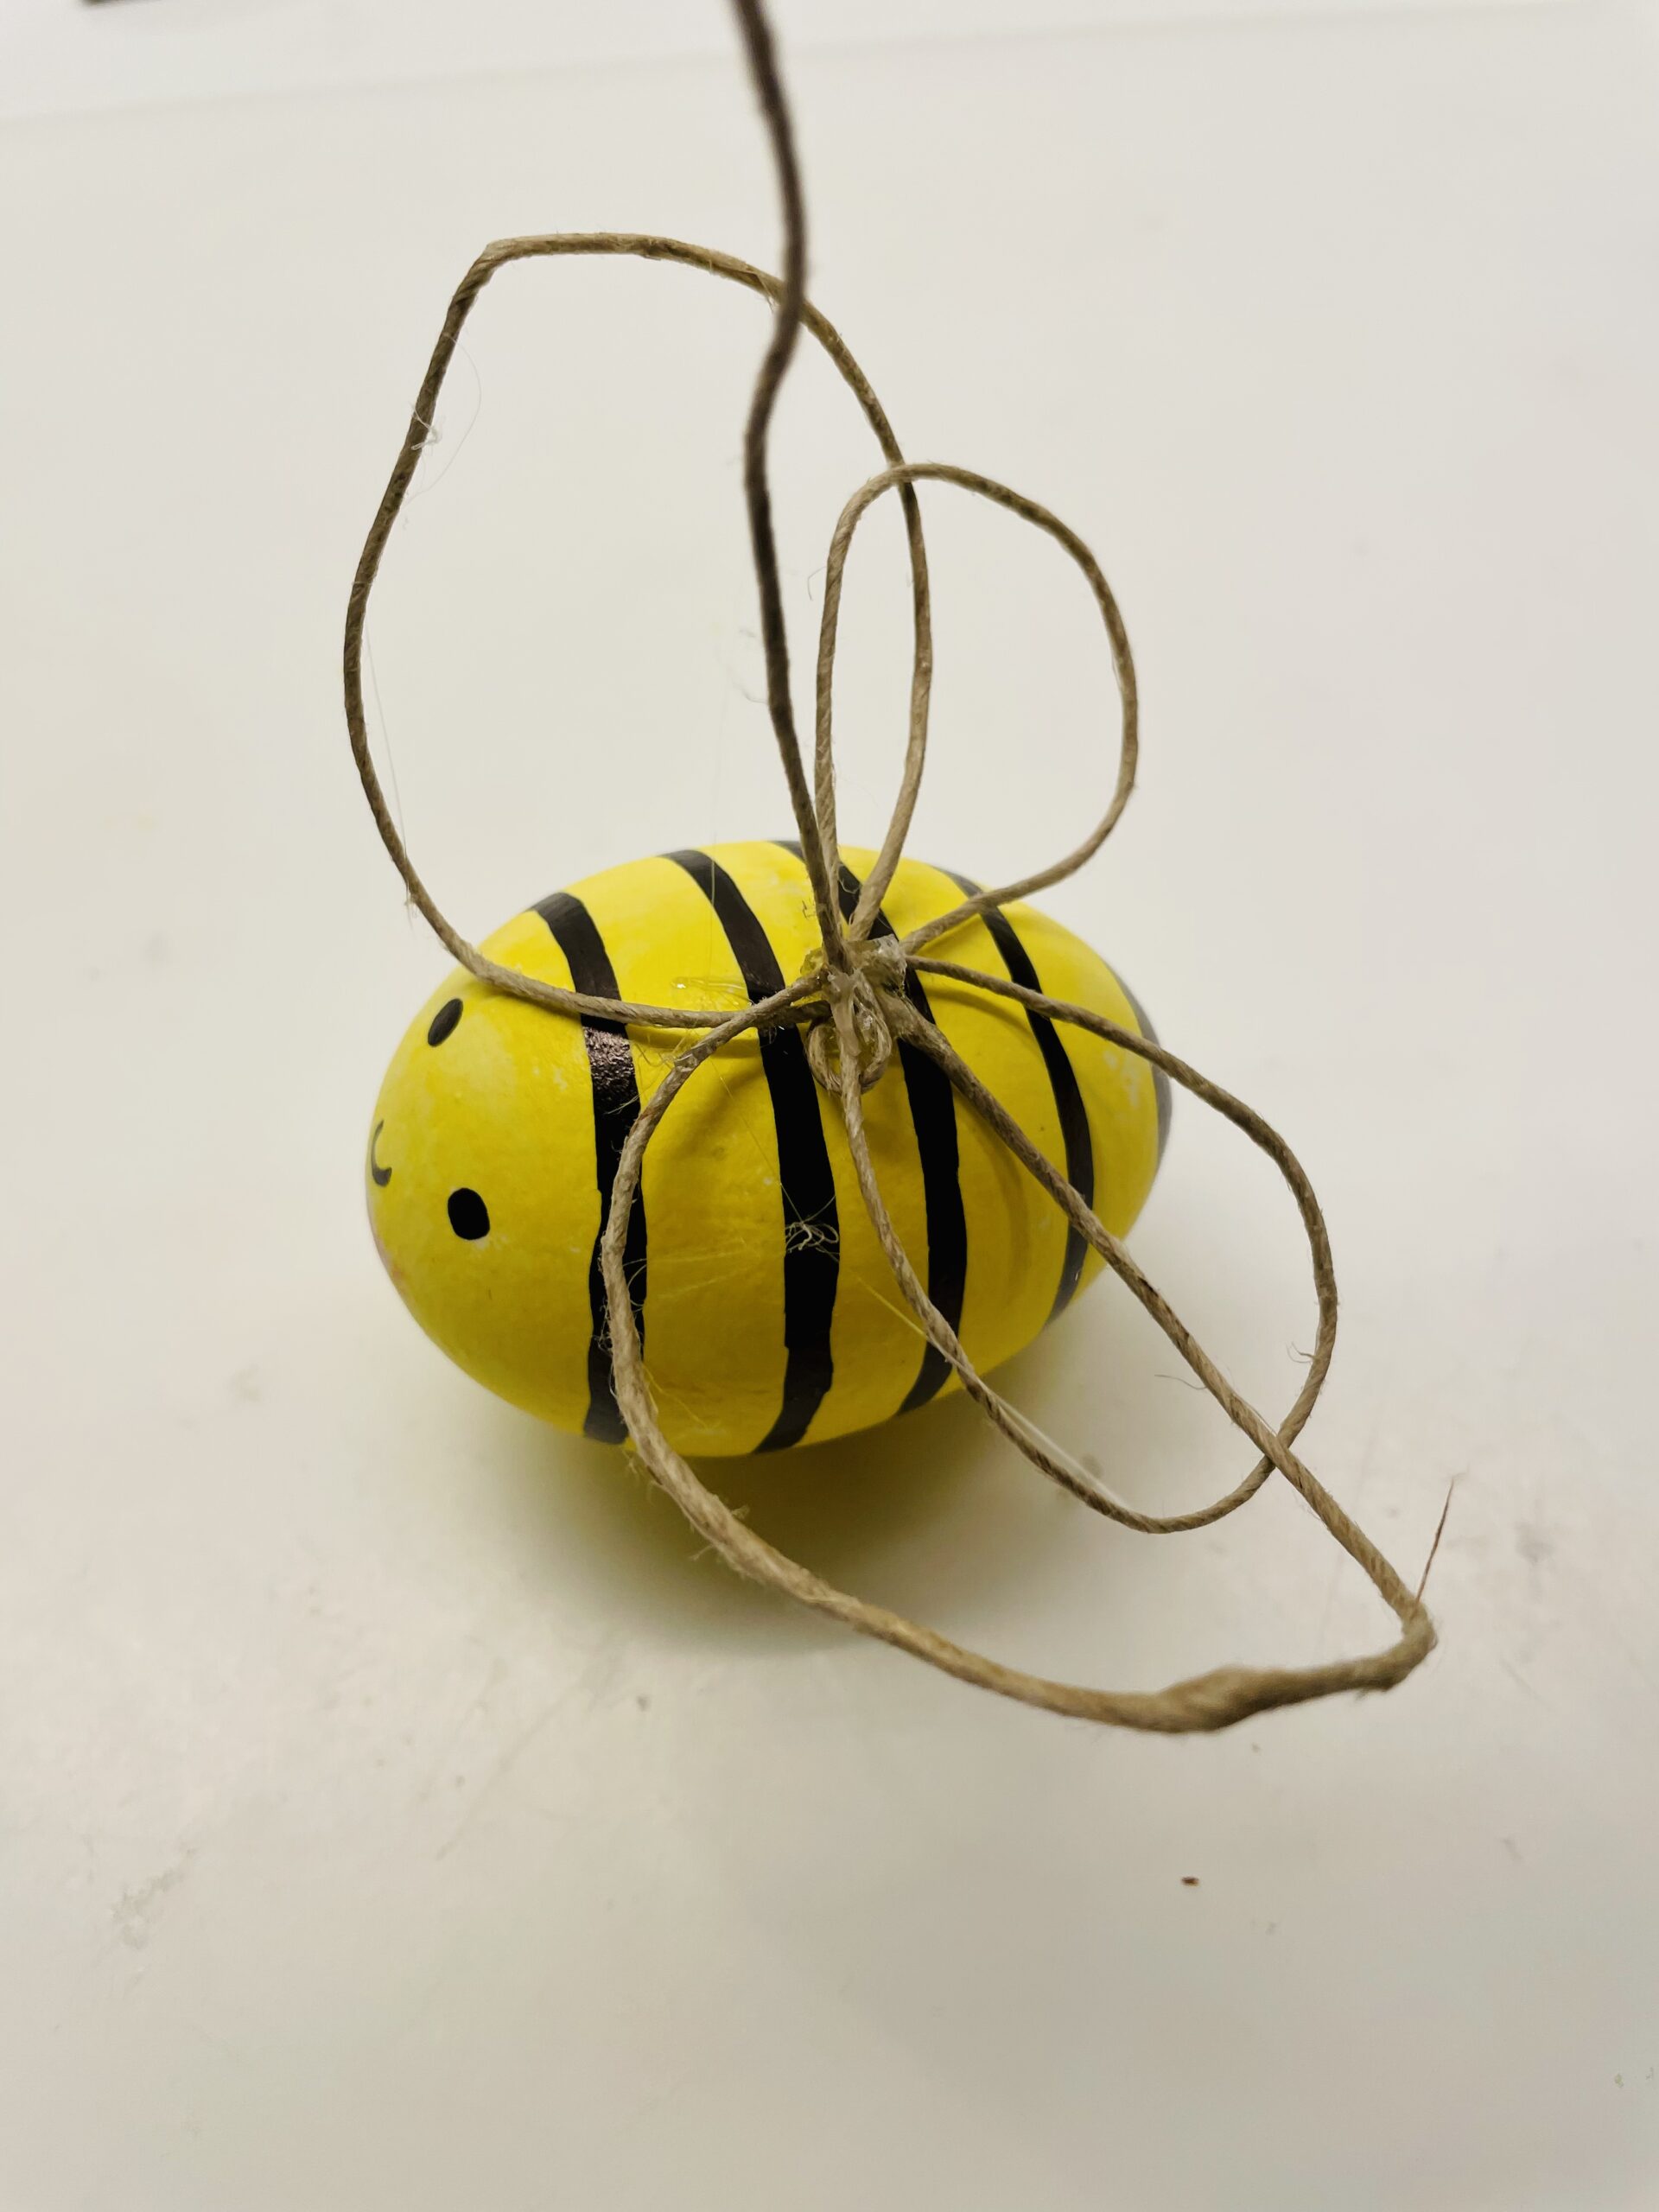


Your self-made bee is ready.


Find a place for the bee.
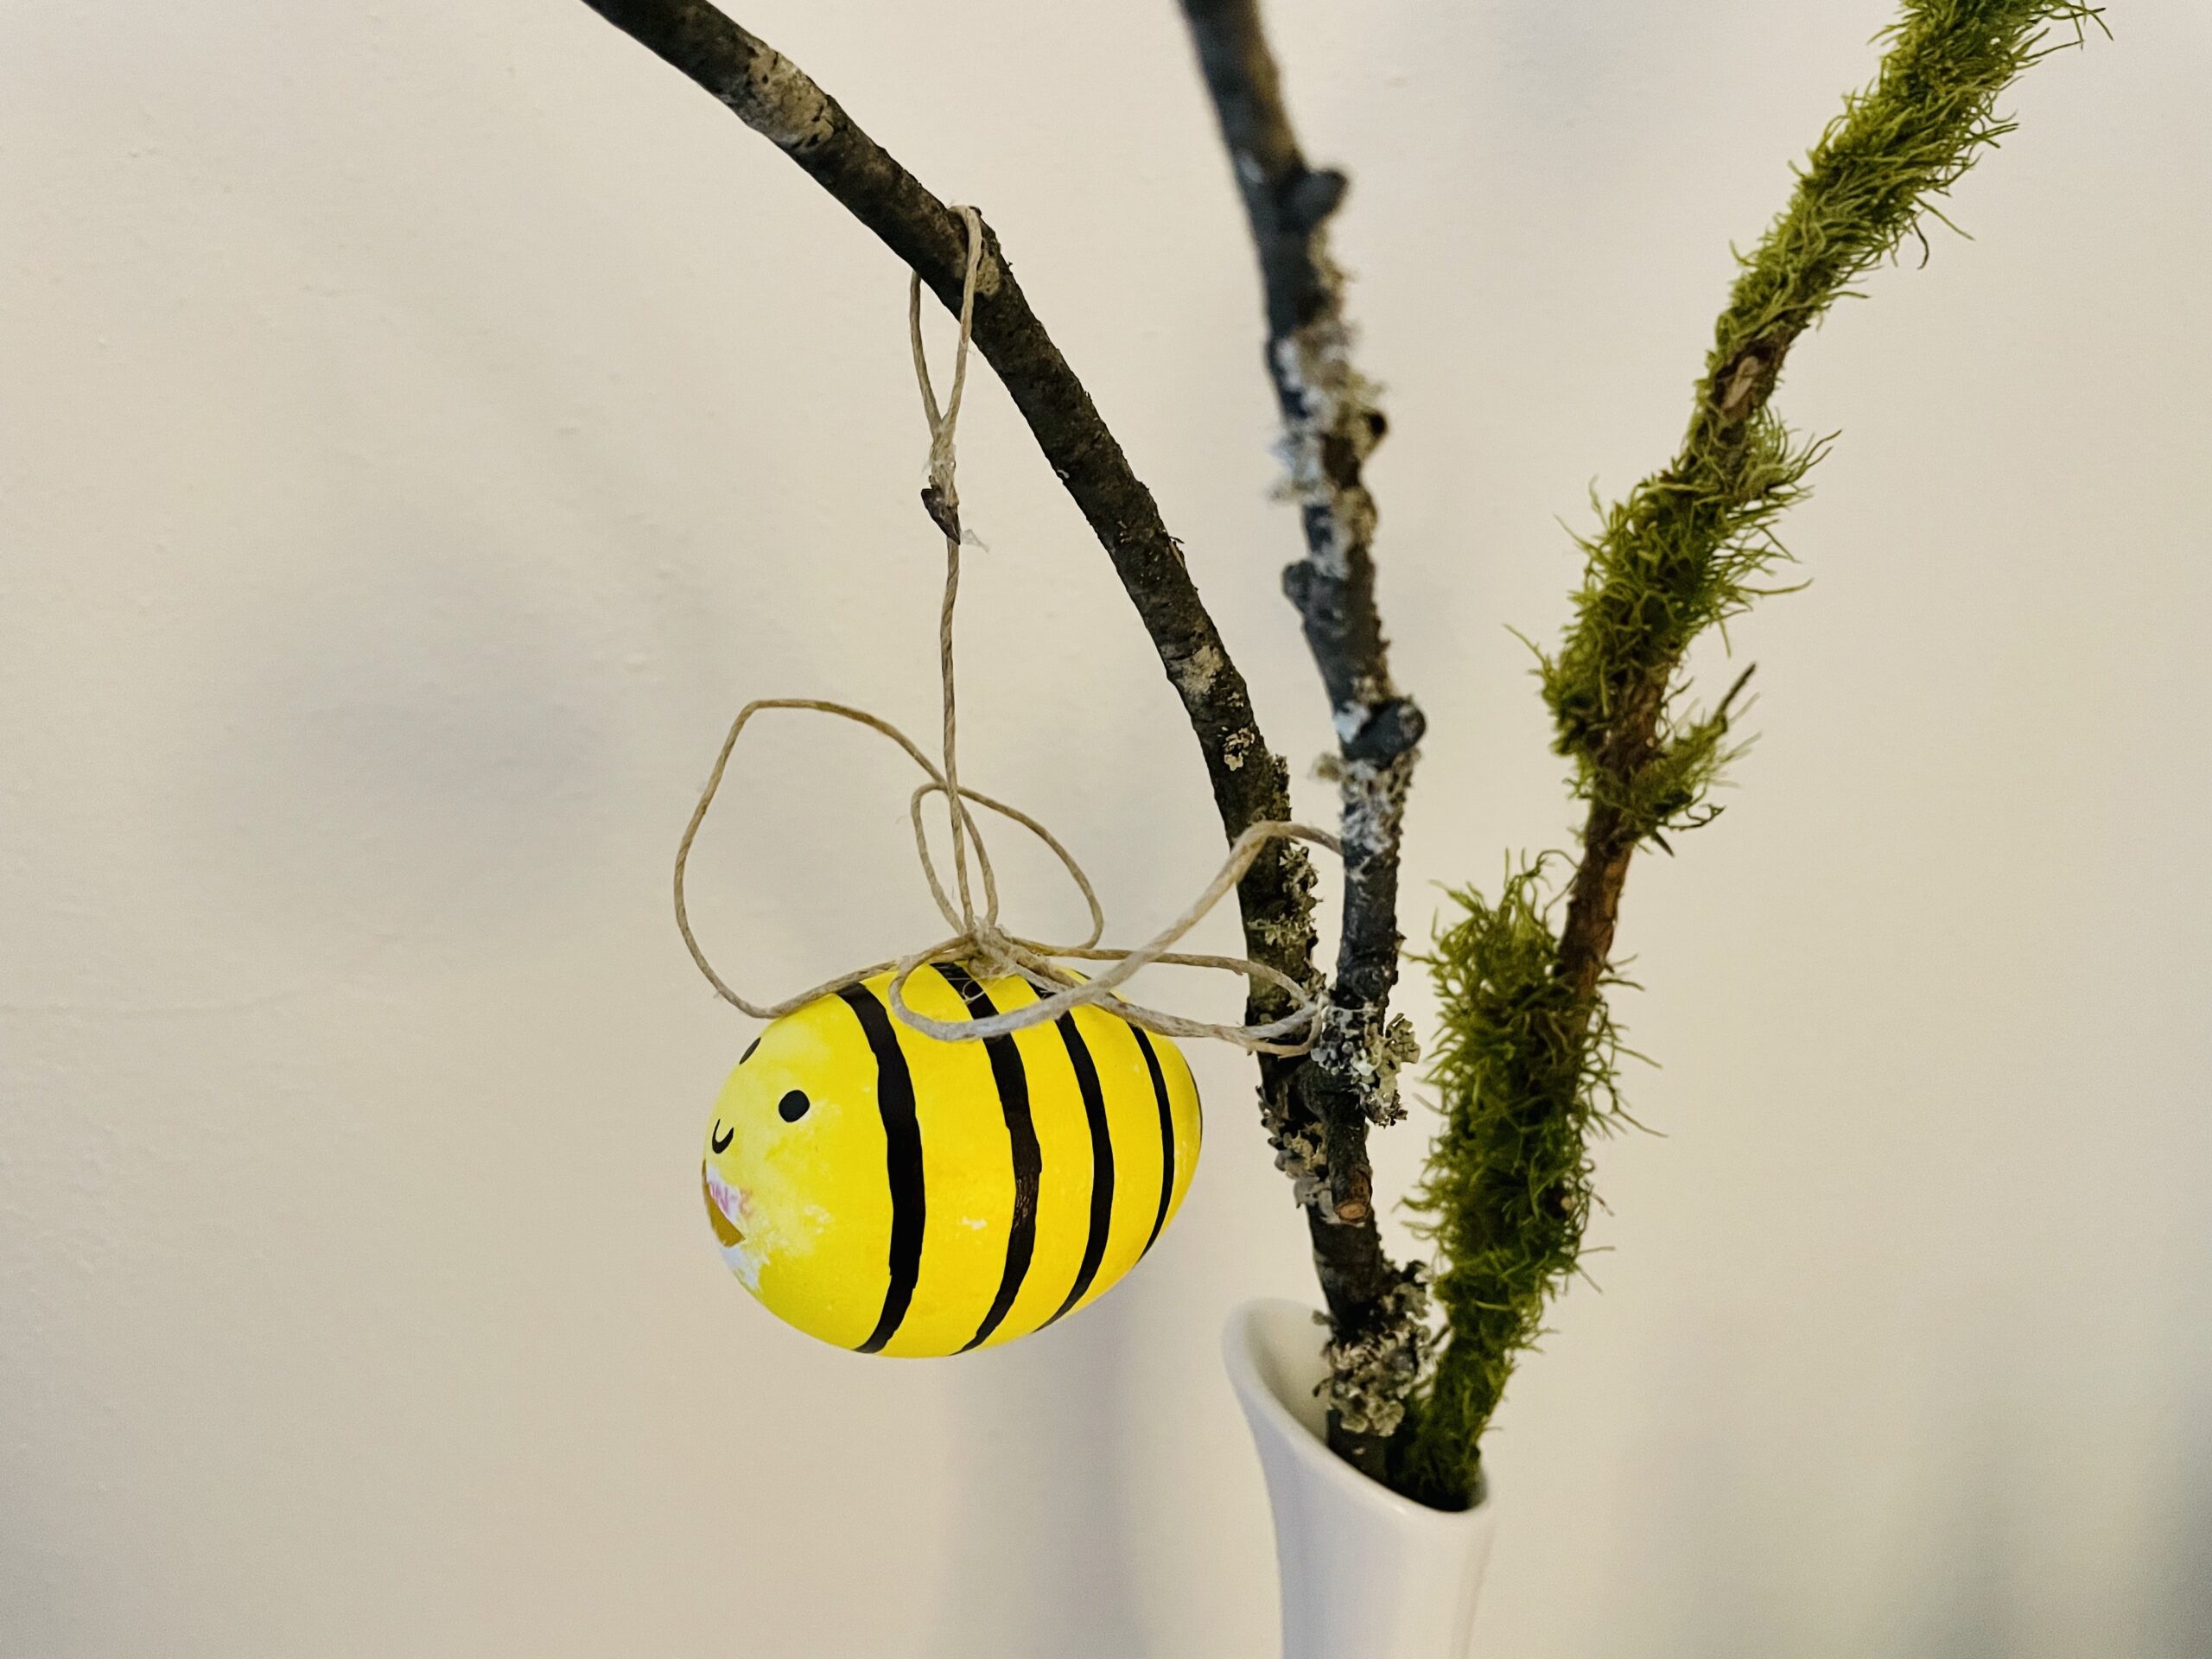




Have fun doing crafts.
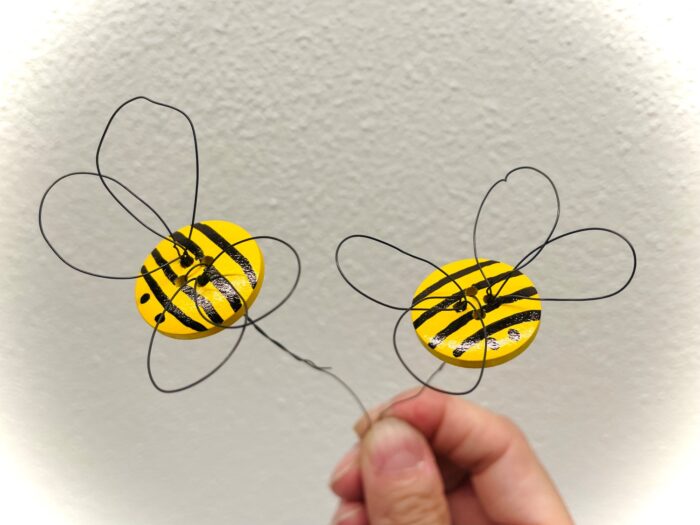
Tip: You can also make other wings of paper, sisal or wire for your bee. Stay creative!
Materials
Directions
First, prepare everything. The blown egg should be rinsed out and dry. Then you can go. Now fill a little yellow paint in the screw glass lid.
Then paint the egg yellow. Use a brush or a small sponge or a cotton pad.
Tip: With the sponge or cotton pad the color can be applied more evenly.


Make sure not to crush the egg. The egg is easily broken.


Spread the paint by timpling the paint on it and then gently rub it. The paint is very productive and easily reaches for the whole egg.


The egg should be covered with yellow colour all around.


Put the egg on a paper to dry. Do not let it dry on the cotton pad, because the egg can stick to it.


While the egg dries, you make your wings.


You need a package cord for the wings. Do not cut off the cord. It is cut at the very end.


Now you put a loop. This is the first wing. Stick the end of the cord to the long piece of the package cord.
Tip: An adhesive point is sufficient here.


Then you lay a second loop.


Now dips on the first adhesive spot a little glue and glues the second loop on it.


Then press the stick with a scissors or a pen until it holds tight.


Lift the wings up from the base for a short time and ensure that they do not stick to the table.


Now you lay a third wing. 2 wings you need for right and 2 wings for left.


Once again, place an adhesive point on the existing adhesive point. If the loop is pressed, a fourth loop is placed and adheres to it as well.


Then cut off the cord with a length of 20cm.


Check what the wings look like later on the egg. That's what you think of them.


Now you paint with a black marker stripes and a face on the egg. From the egg becomes such a bee.


Idea: who likes to paint the back of the bee black and who wants to stick a spine in the hole of the blowout, e.g. from a piece of a pipe cleaner.


If the paint is dry, the wings stick to it on the bee body.


This is best done with the hot glue gun. For this a swab glue is enough. Be careful when handling the hot glue - danger of injury! Make sure that the overstanding cord points upwards, because then you can hang the bee on it. To press the wings a scissors or a pen is suitable again. Press only very carefully, because the egg is fragile!


Your self-made bee is ready.


Find a place for the bee.


Have fun doing crafts.
Tip: You can also make other wings of paper, sisal or wire for your bee. Stay creative!
Follow us on Facebook , Instagram and Pinterest
Don't miss any more adventures: Our bottle mail


