Wuschel are quickly made and versatile....
Media Education for Kindergarten and Hort

Relief in everyday life, targeted promotion of individual children, independent learning and - without any pre-knowledge already usable by the youngest!
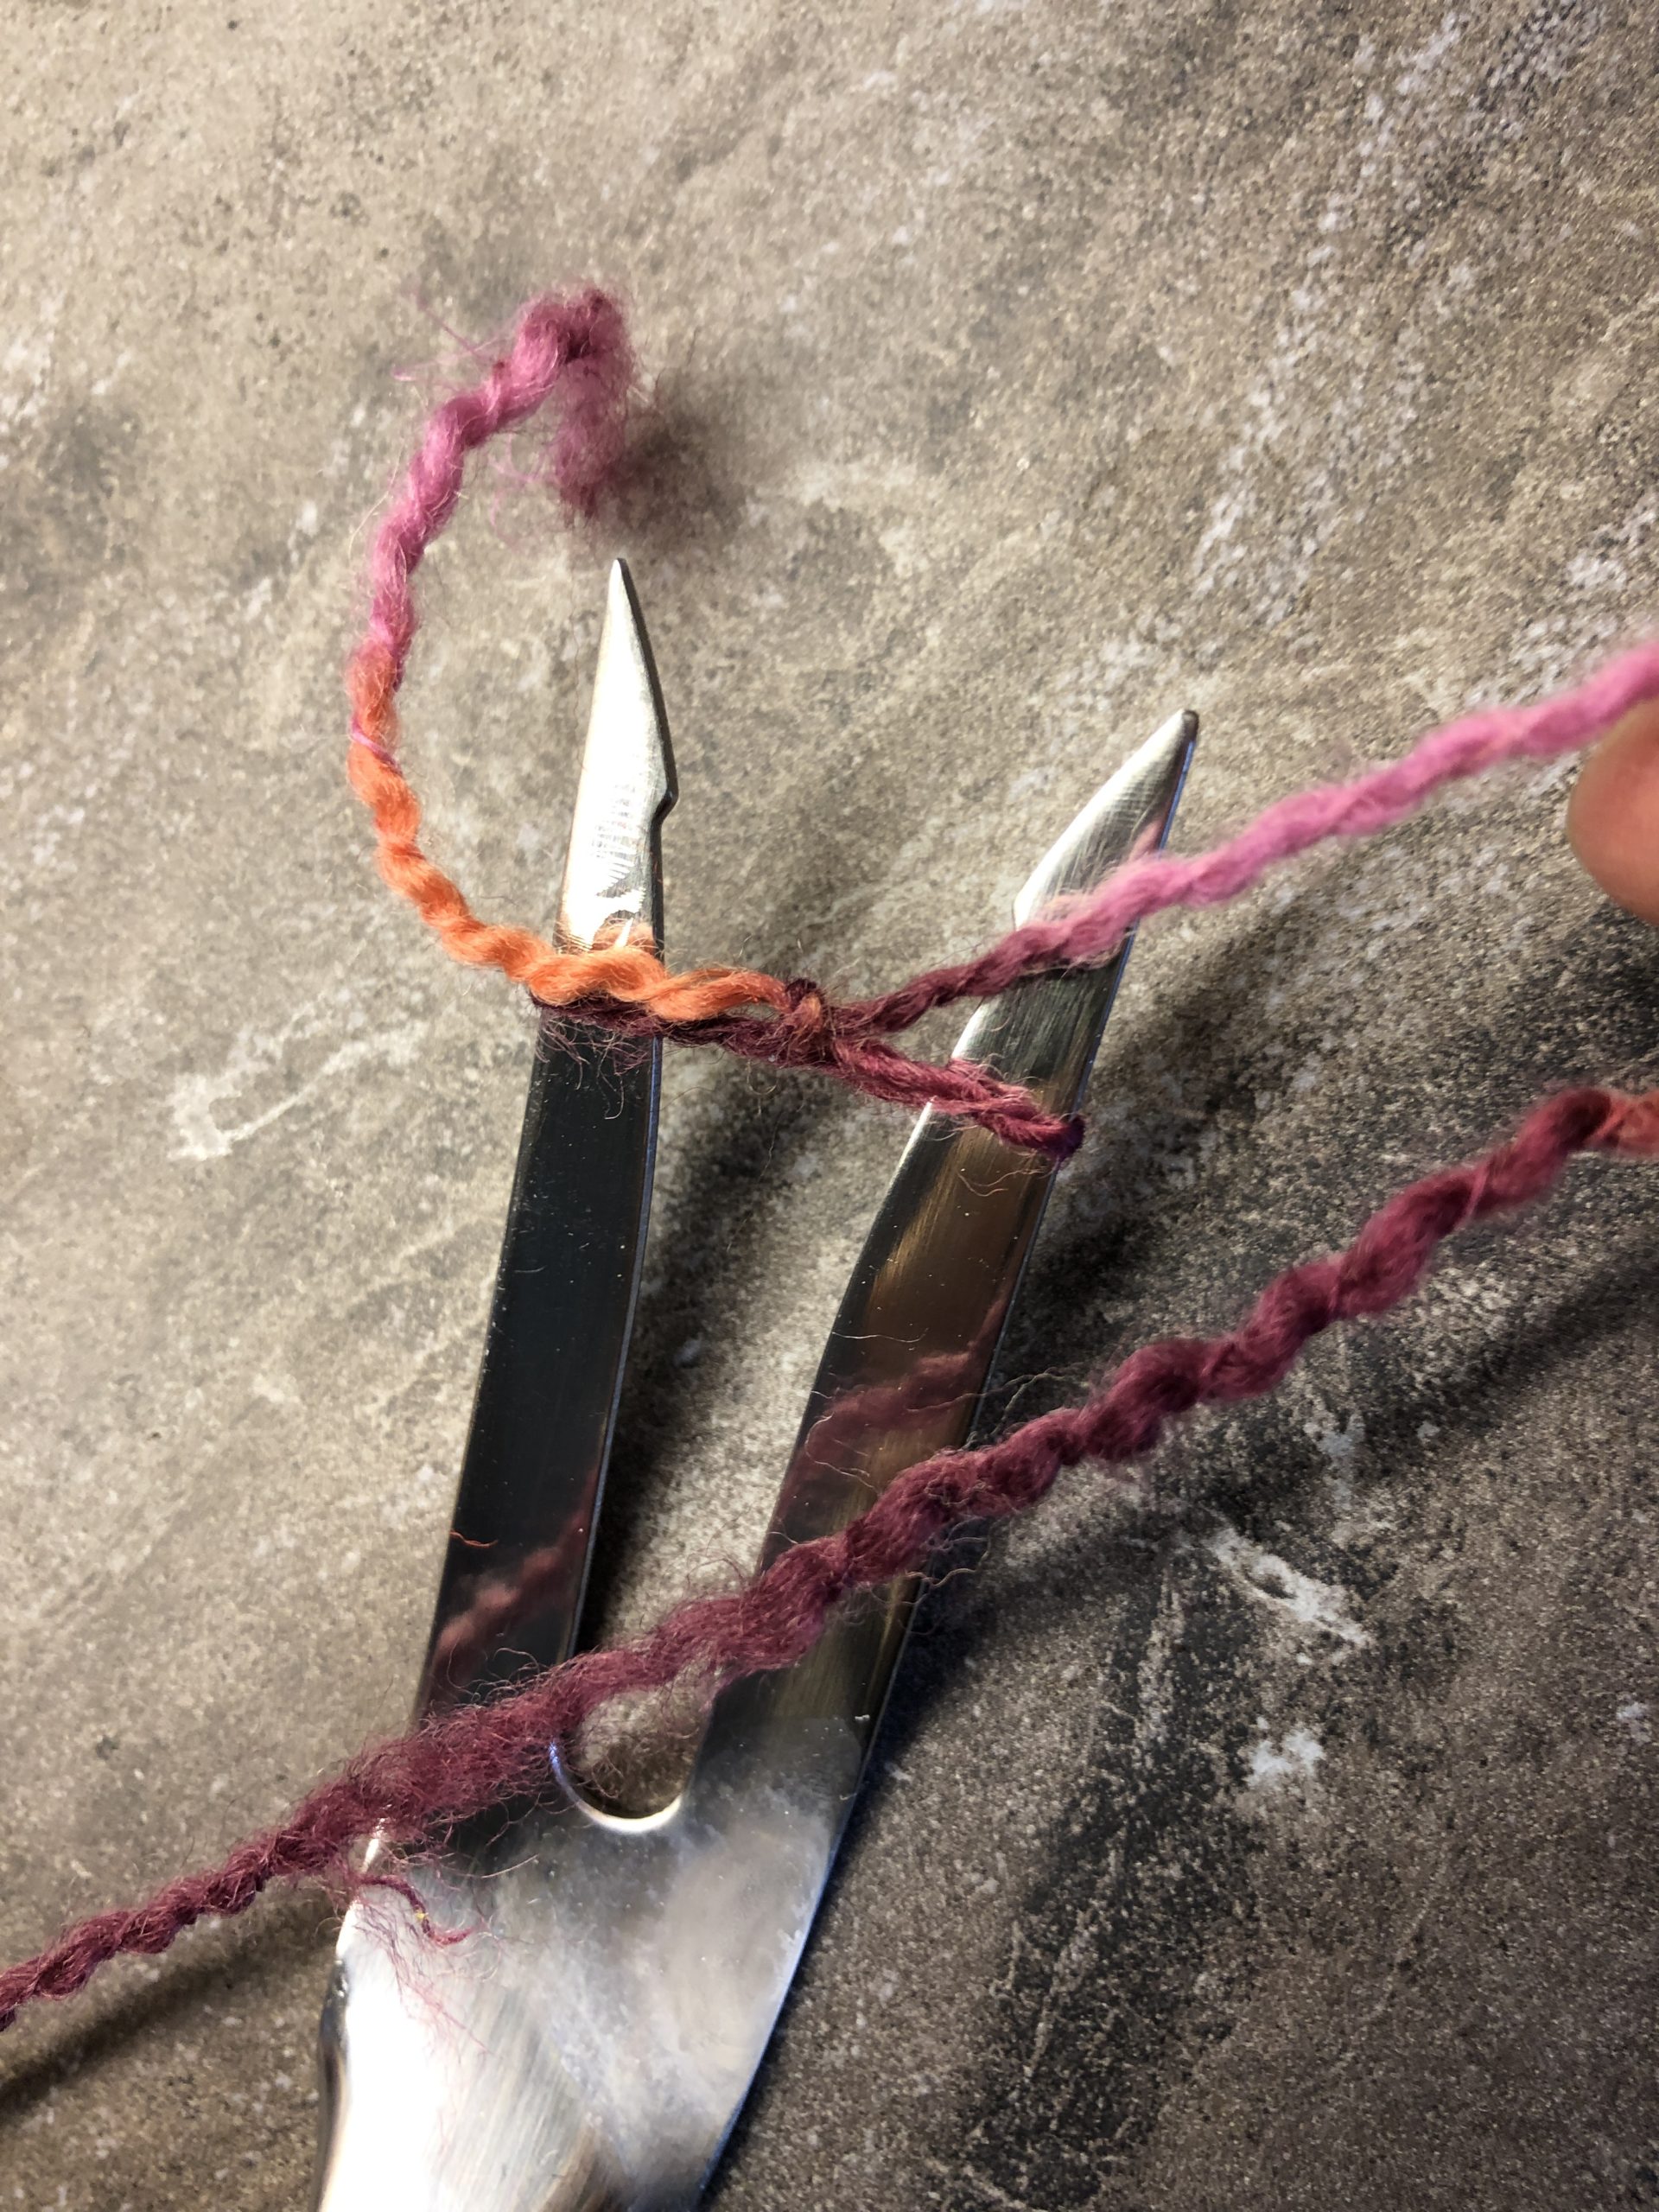
Pick wool, put the fork in place.

Thread around the fork and fasten.
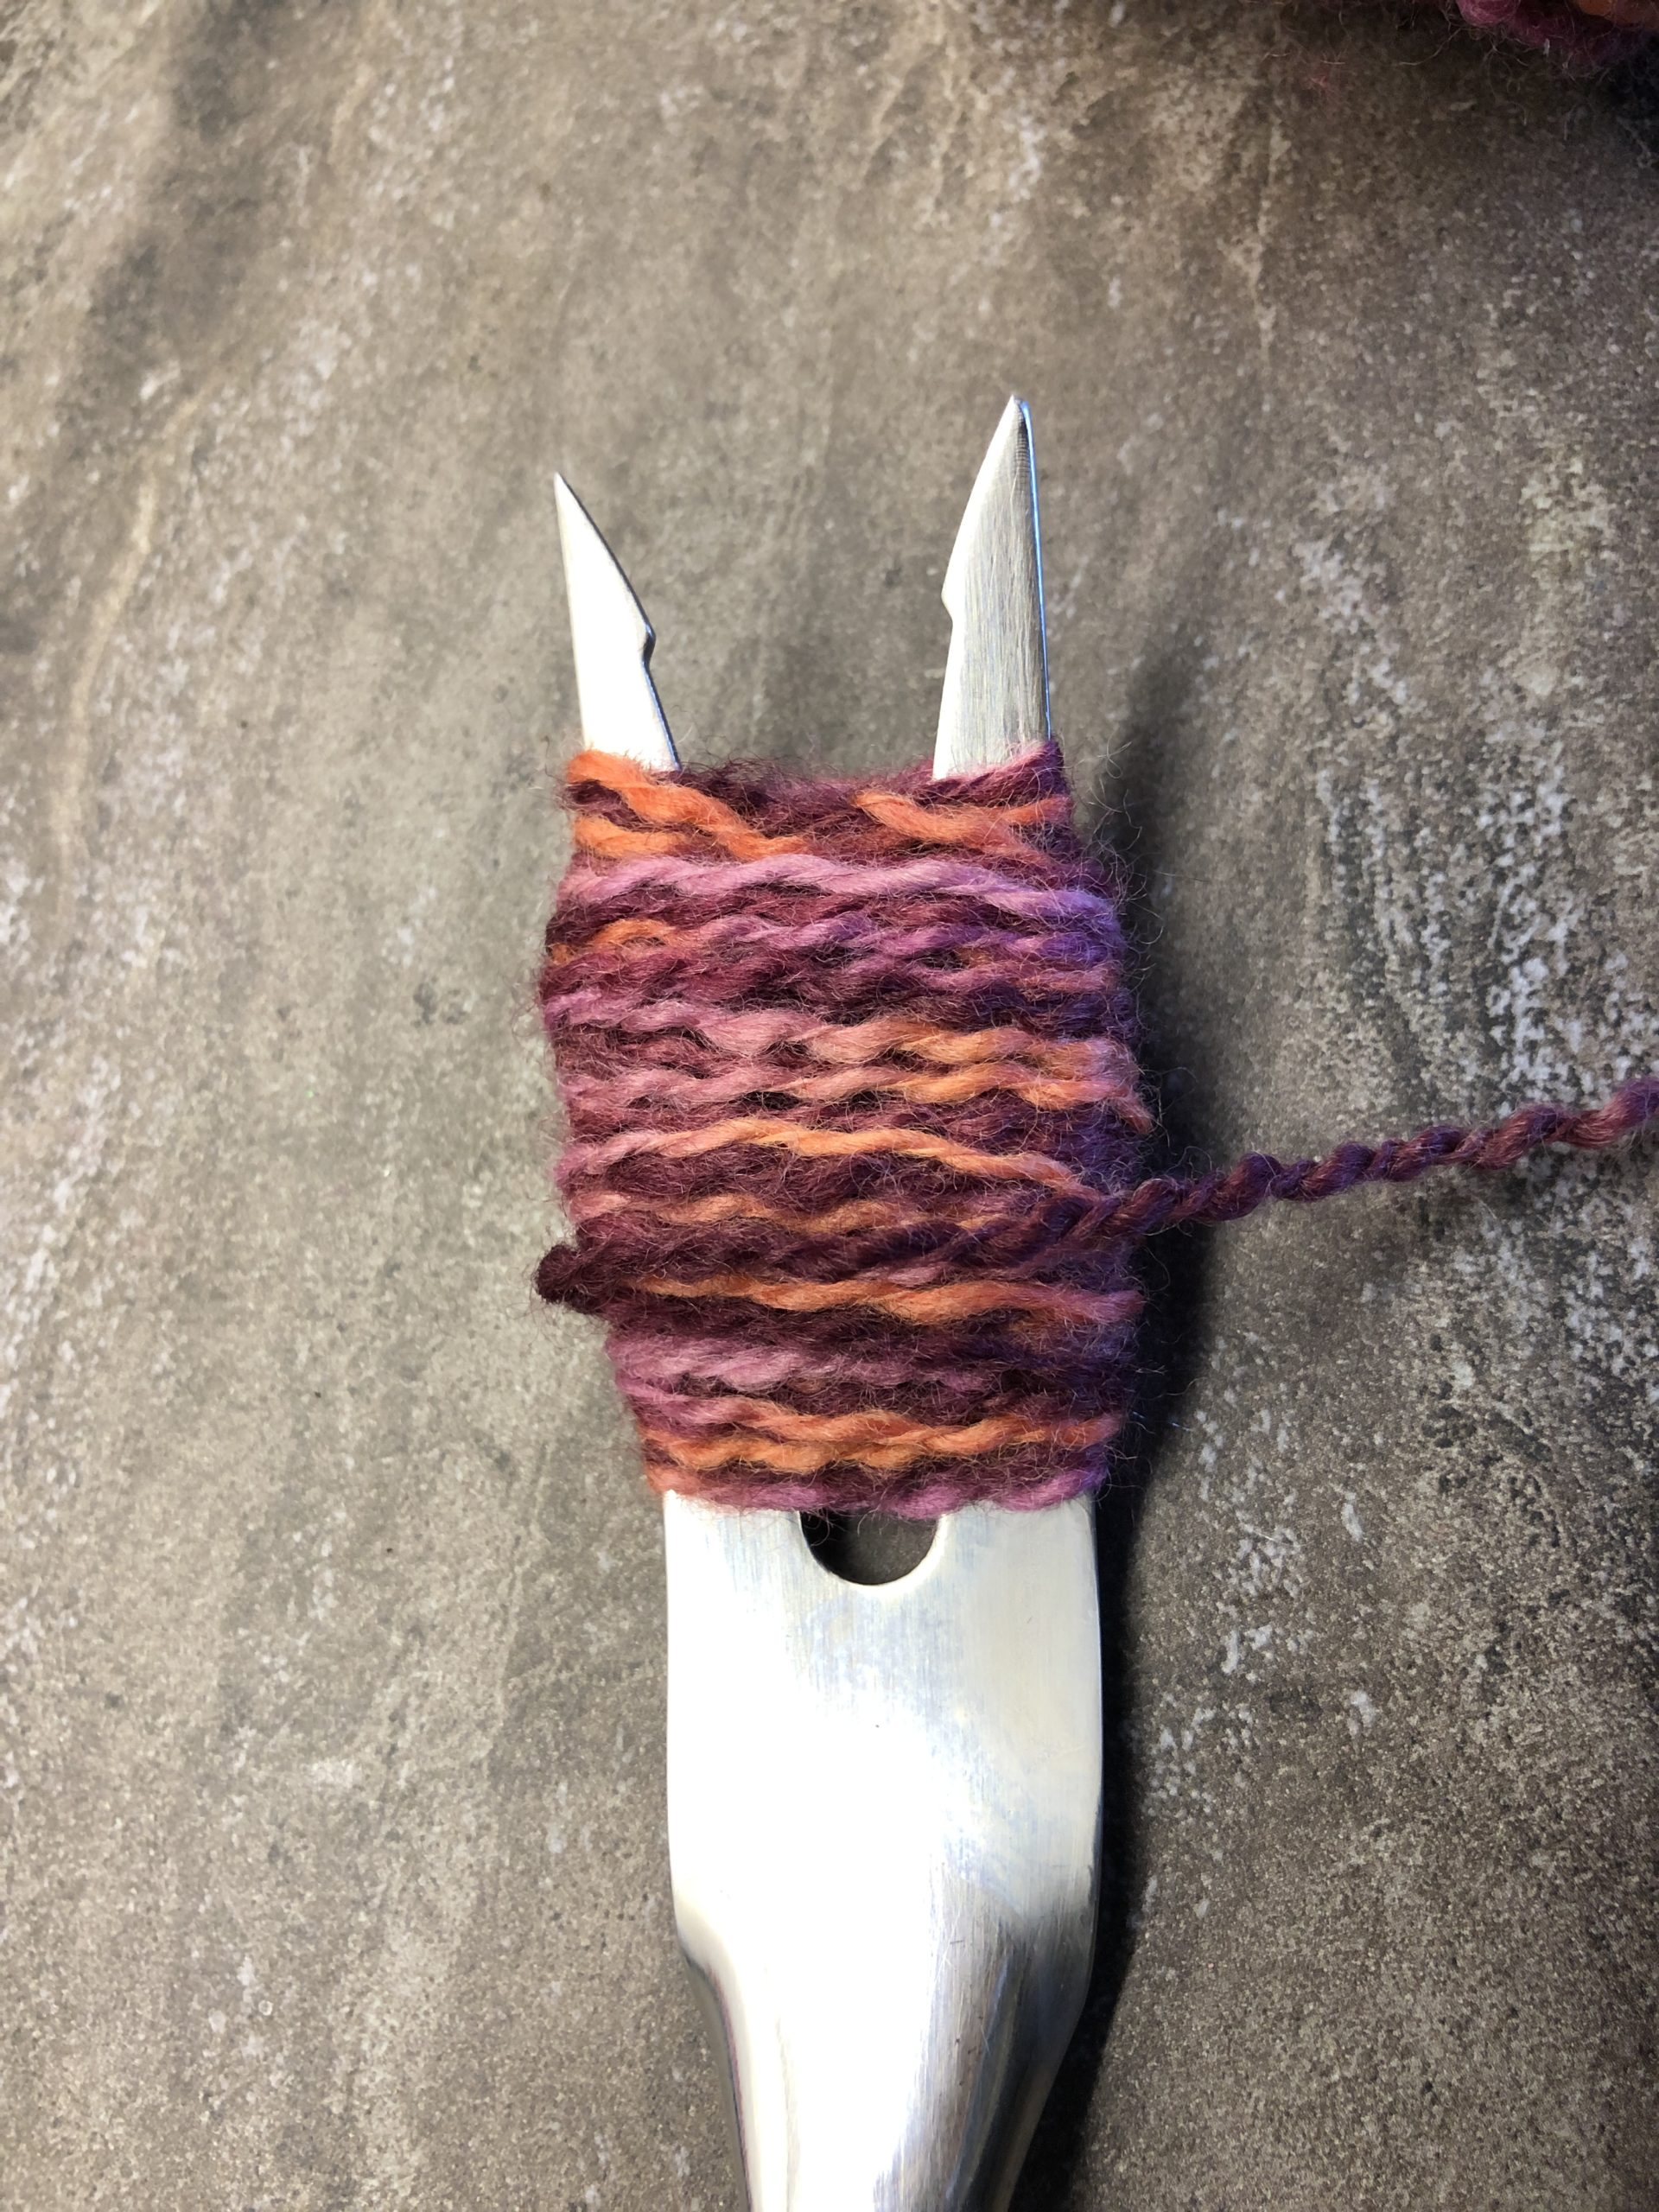
Wrap wool around the fork (not too tight!)
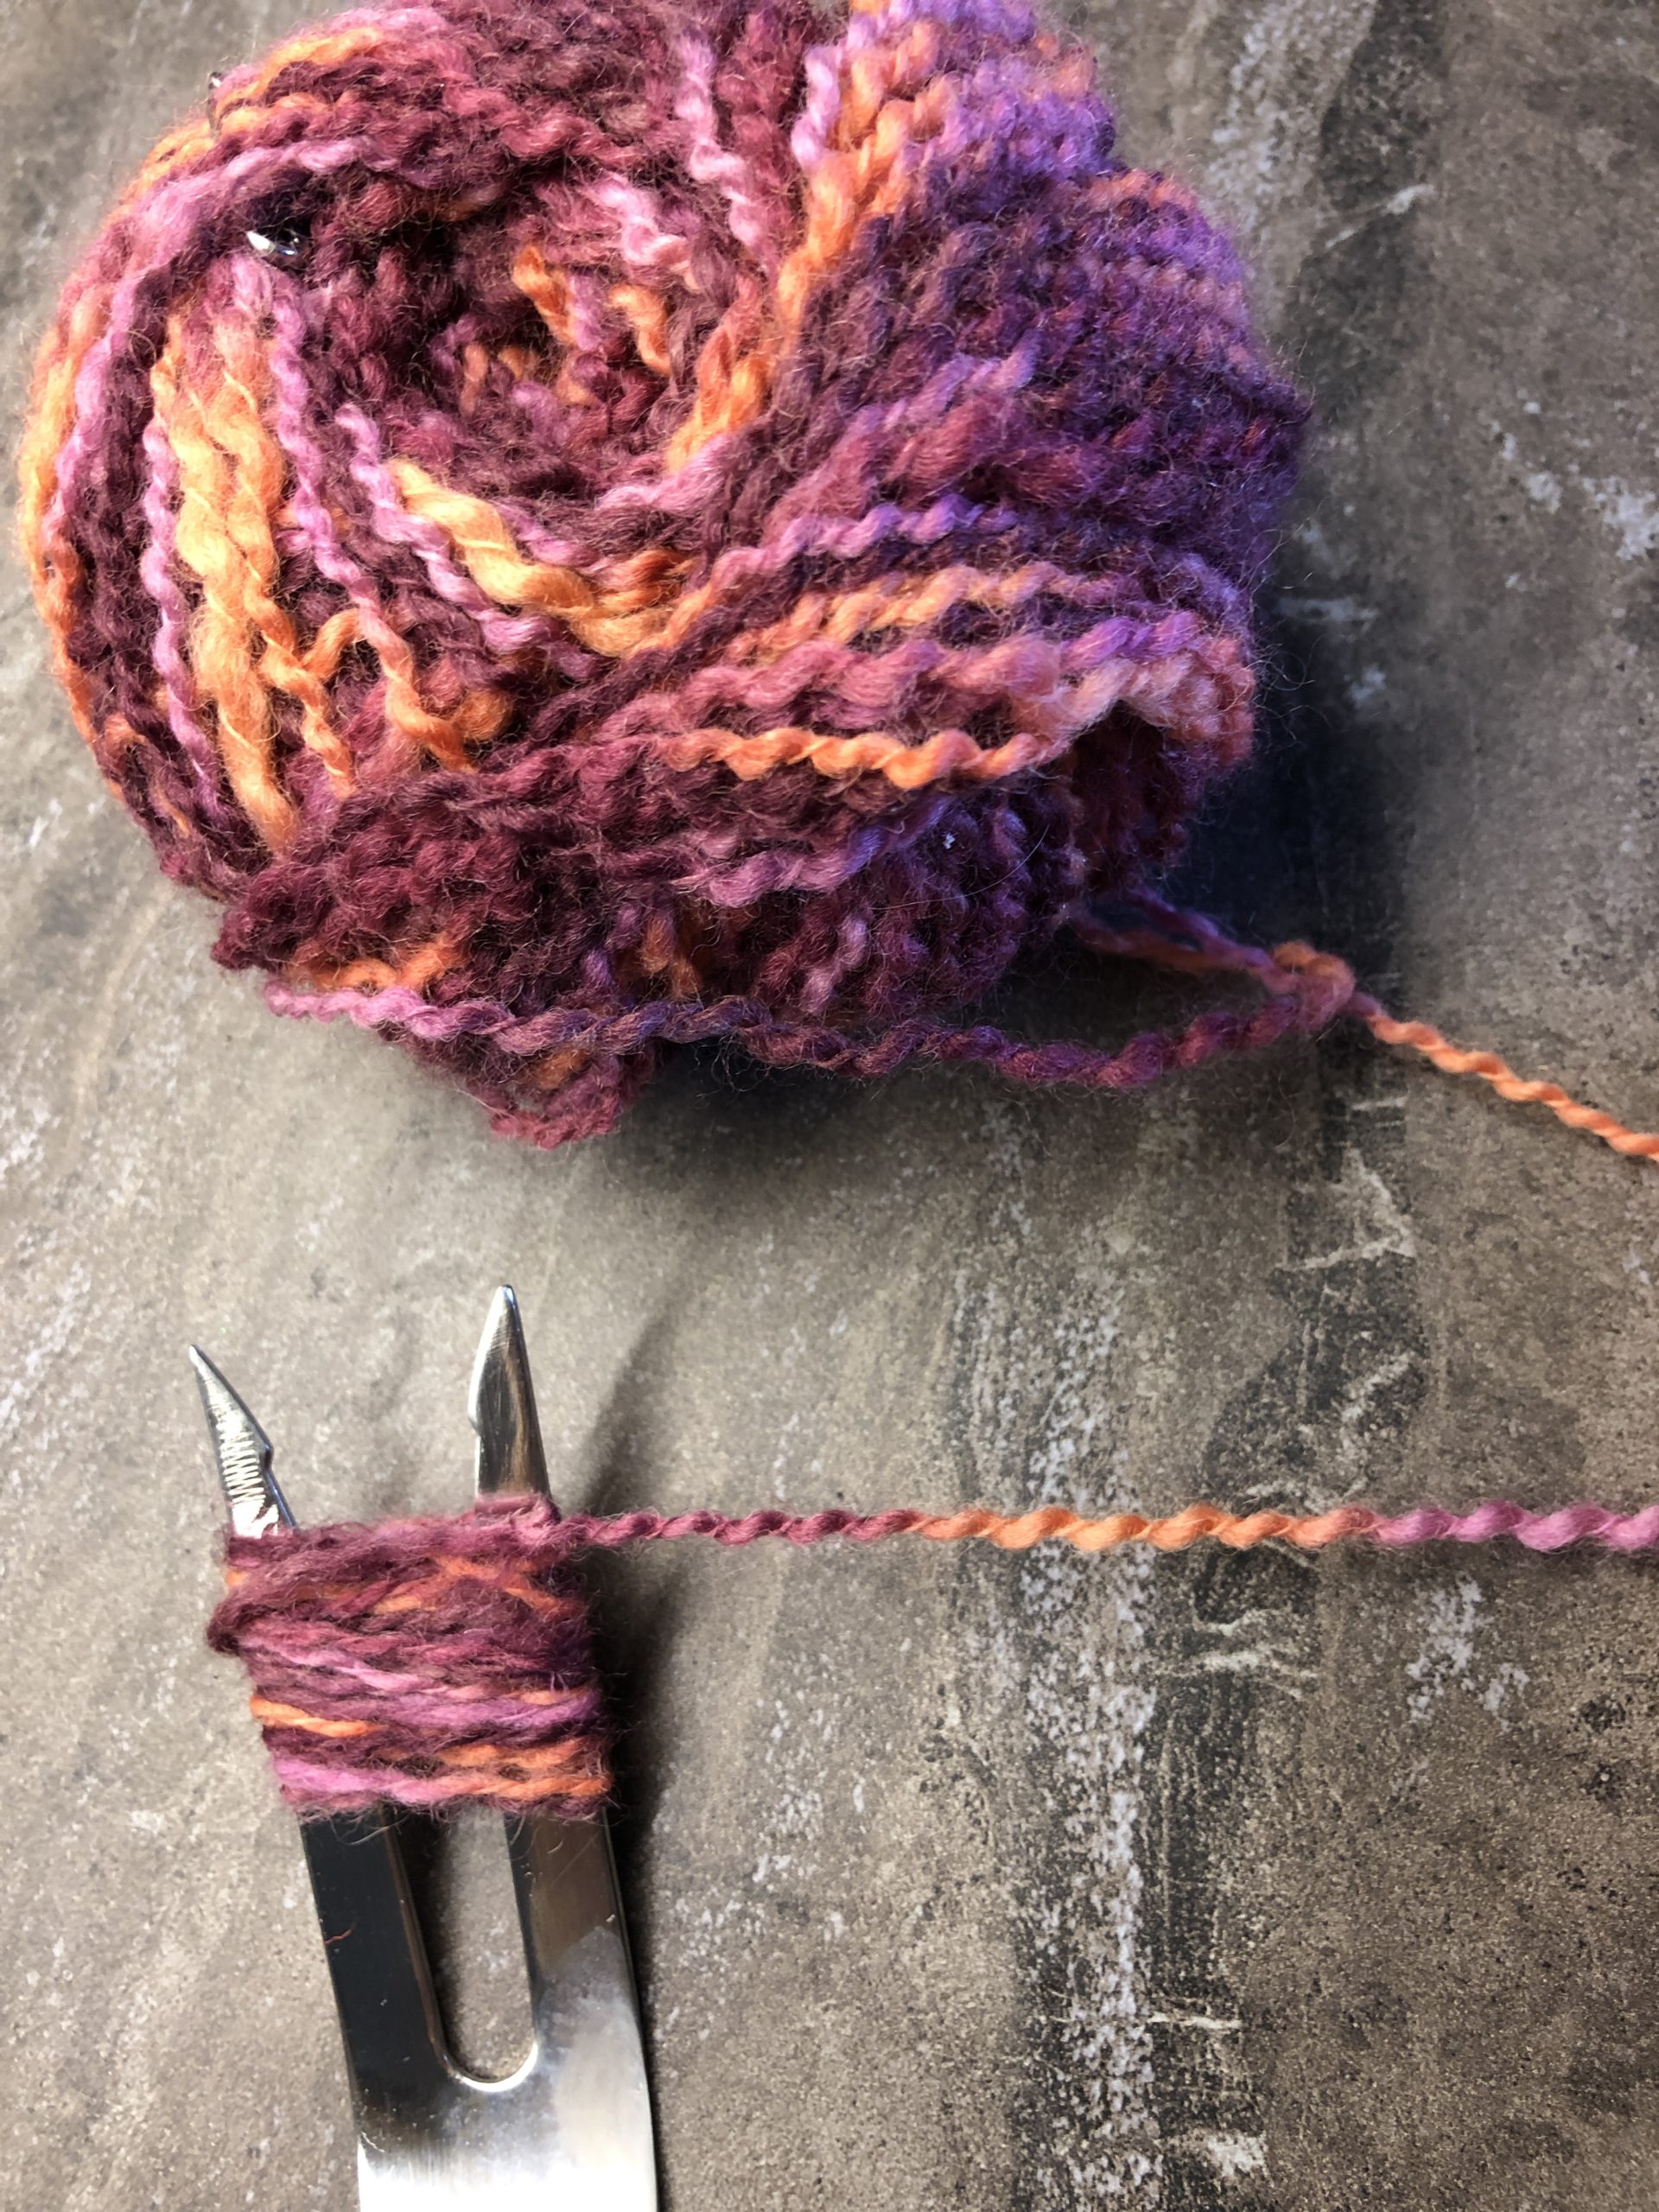
Until a thick fret is formed.
Cut thread and let it hang. Tie a thread around the middle. Possibly double knot.

Use a pair of scissors to thread into the sides and cut open.
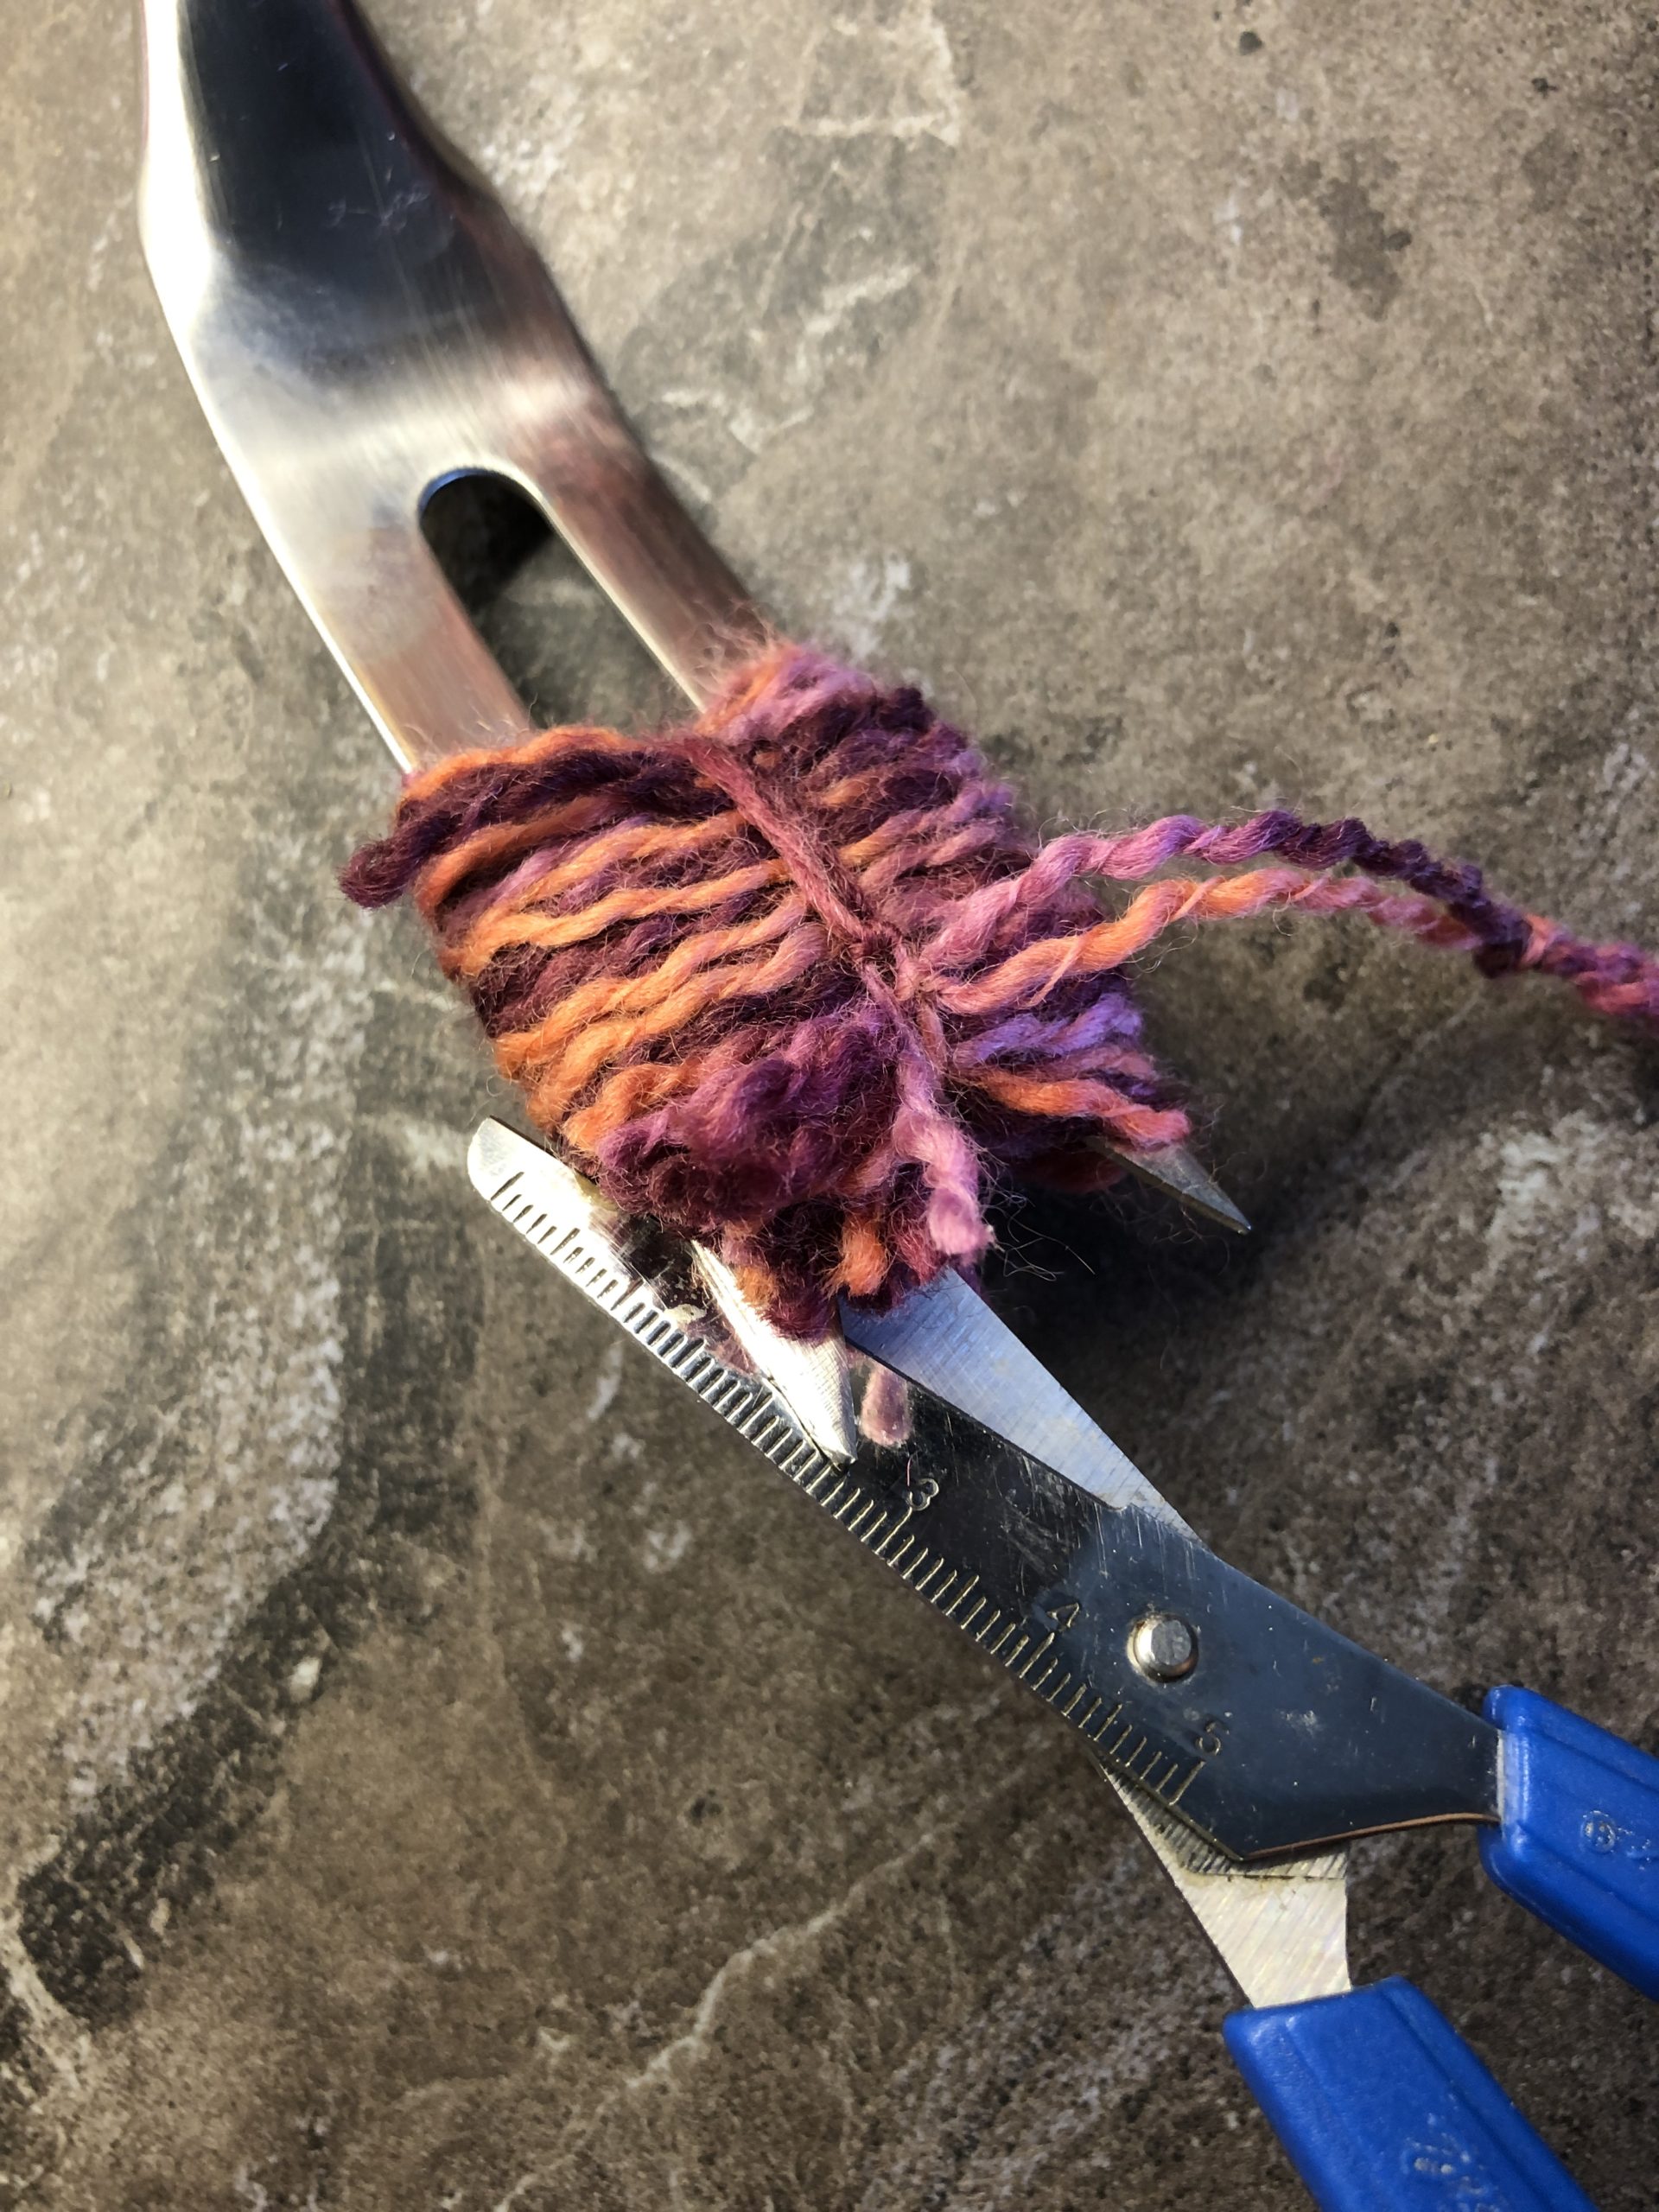
Cut both sides.
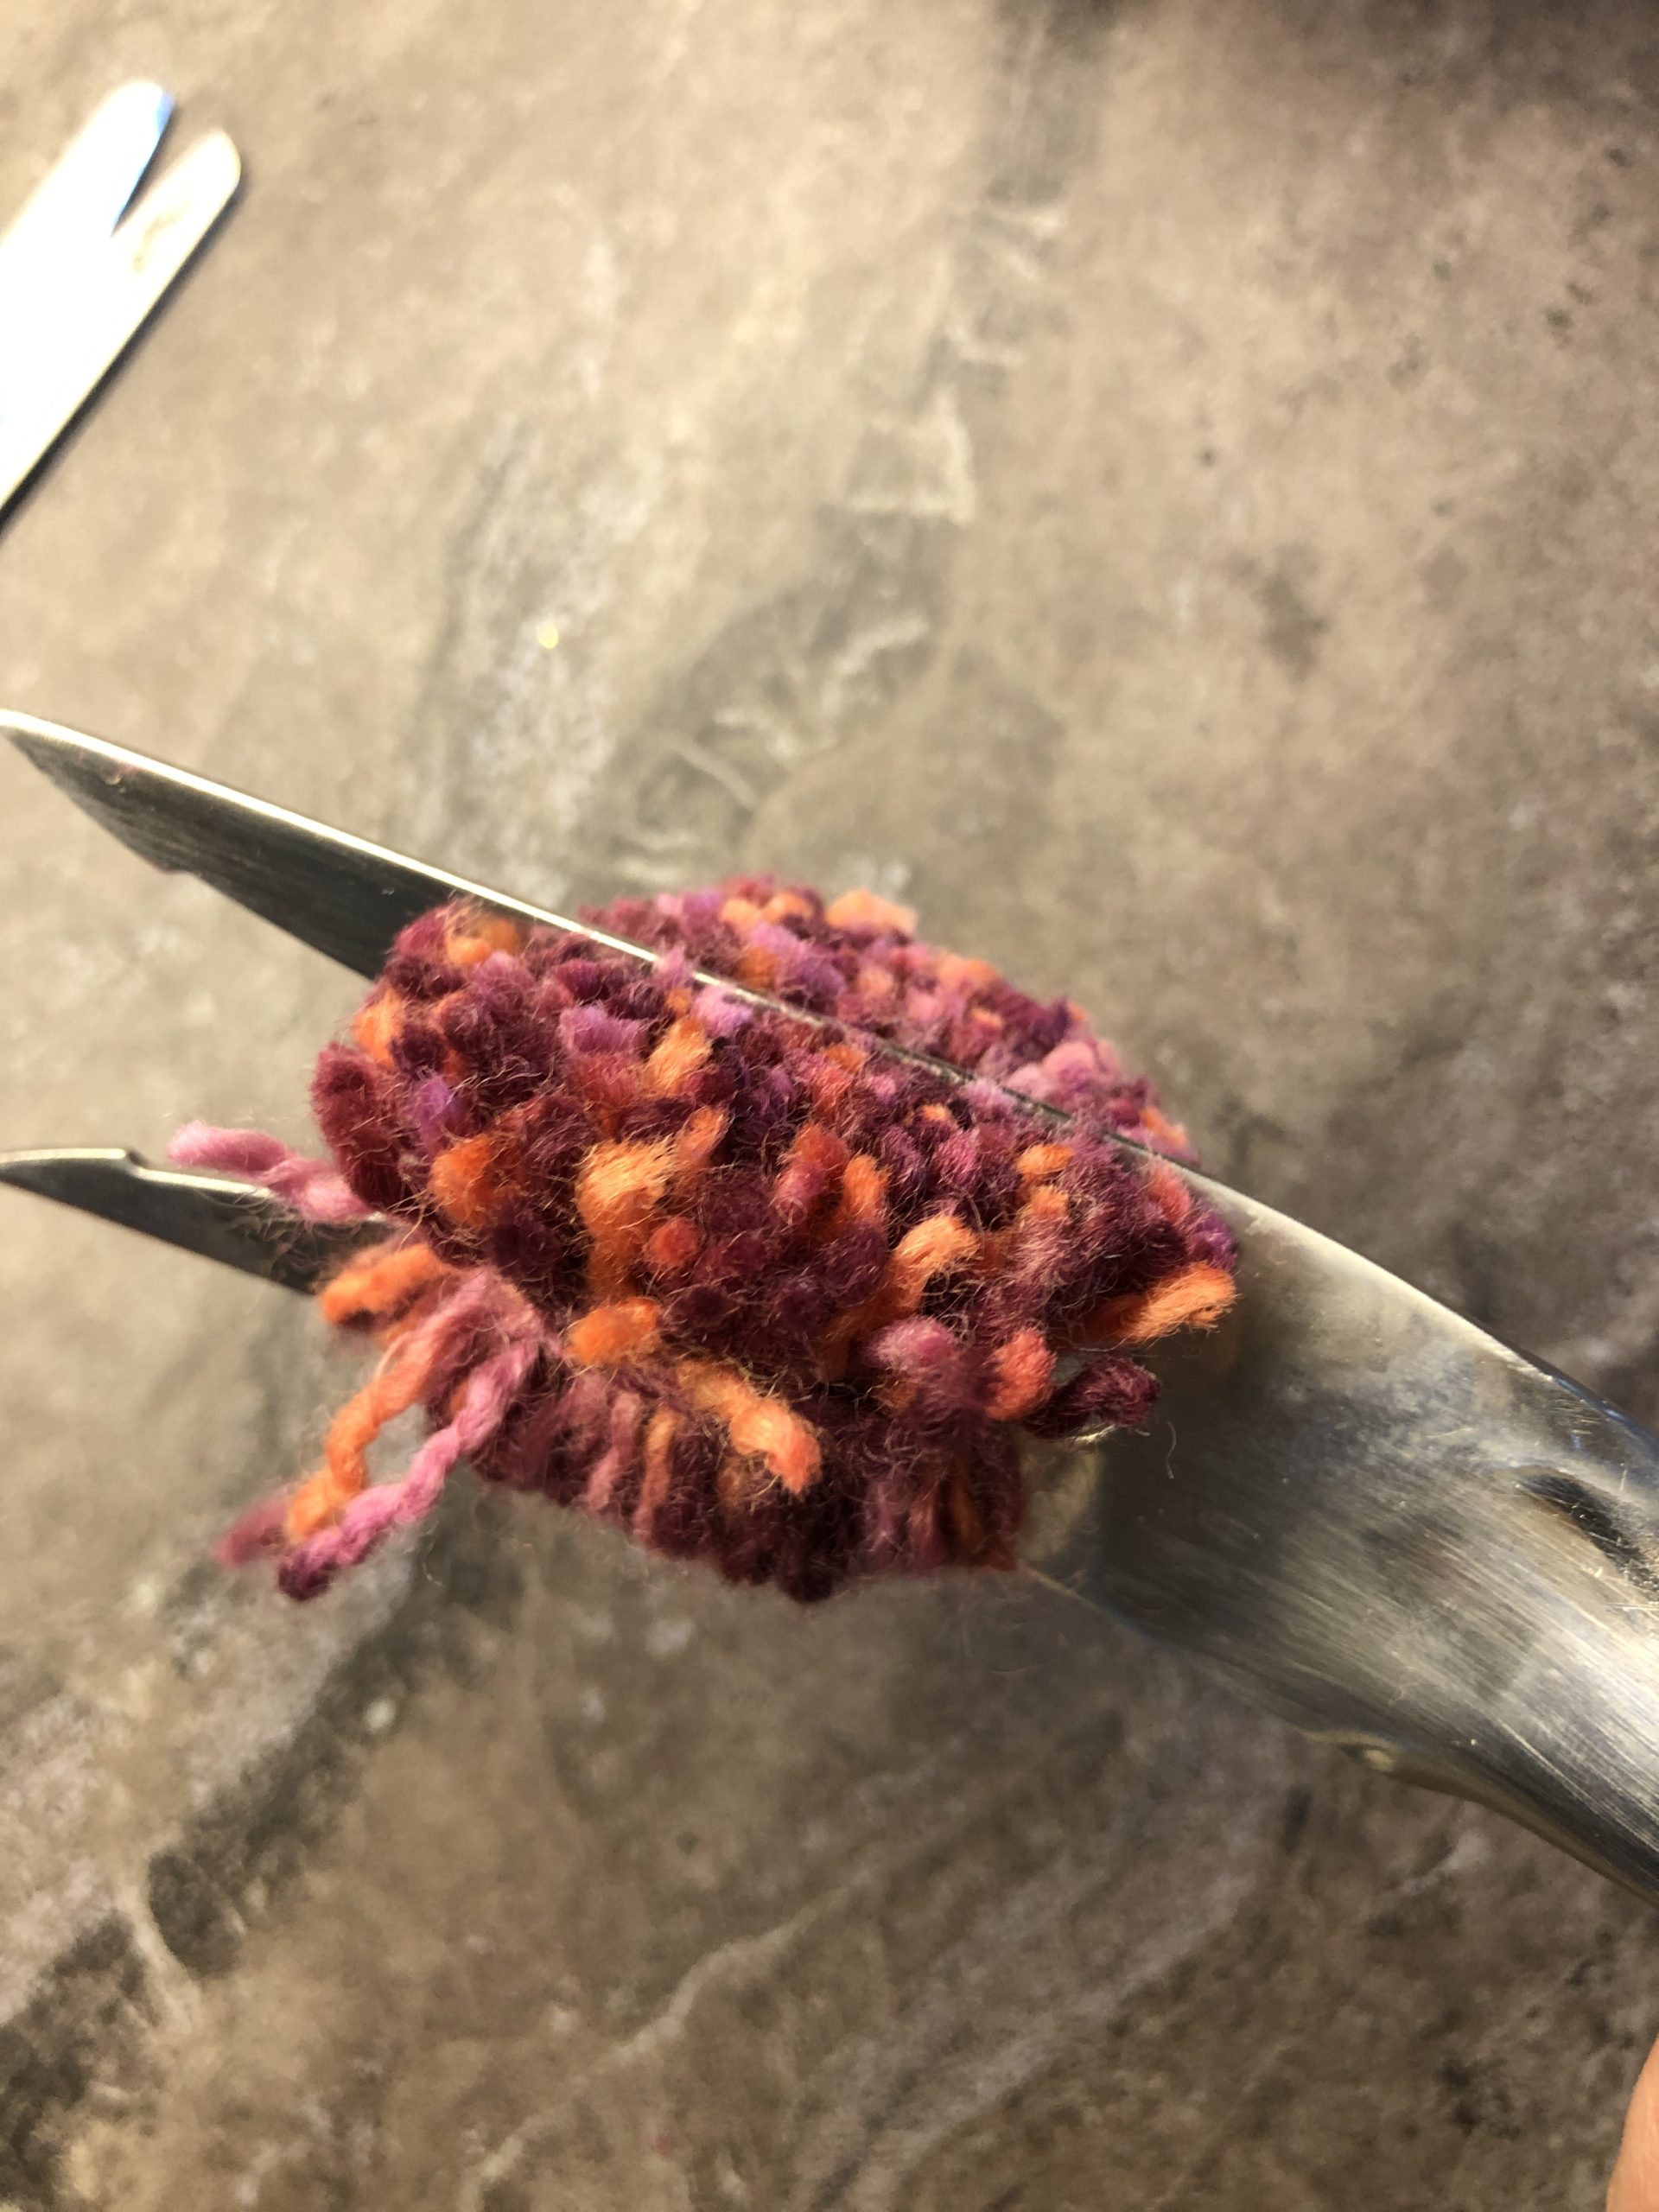
Punch wuschel straight and cut with scissors in shape.
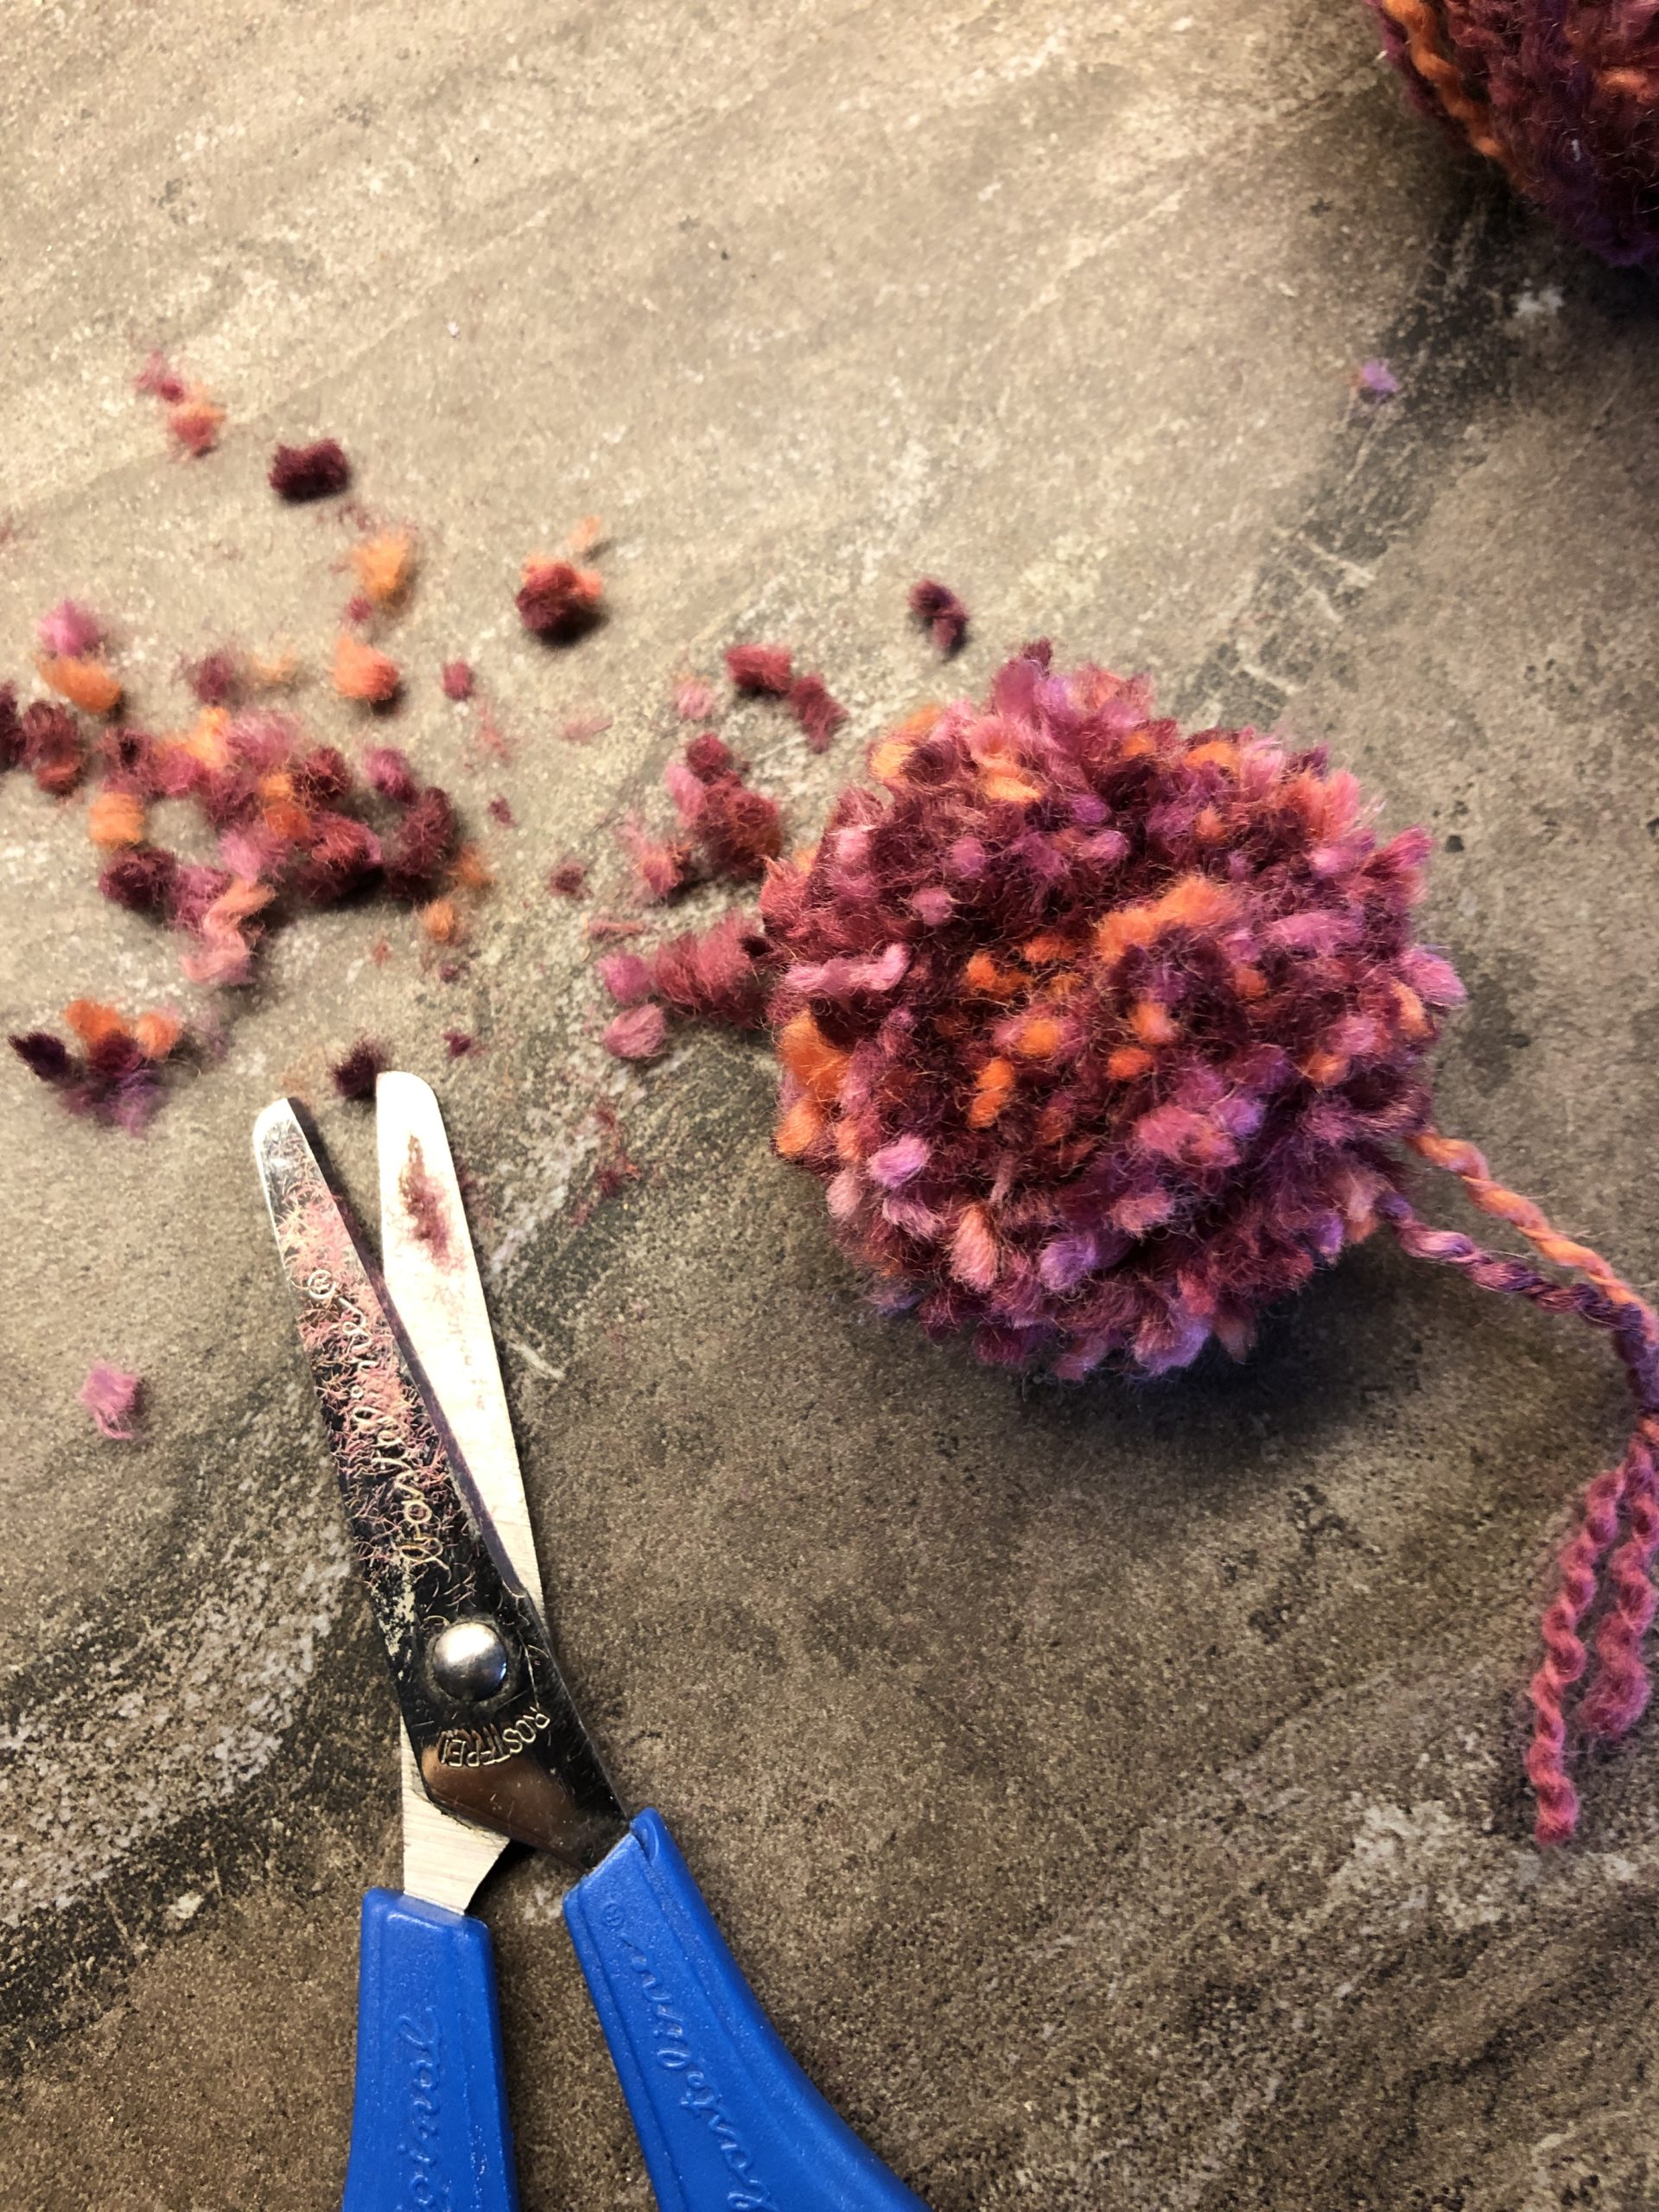
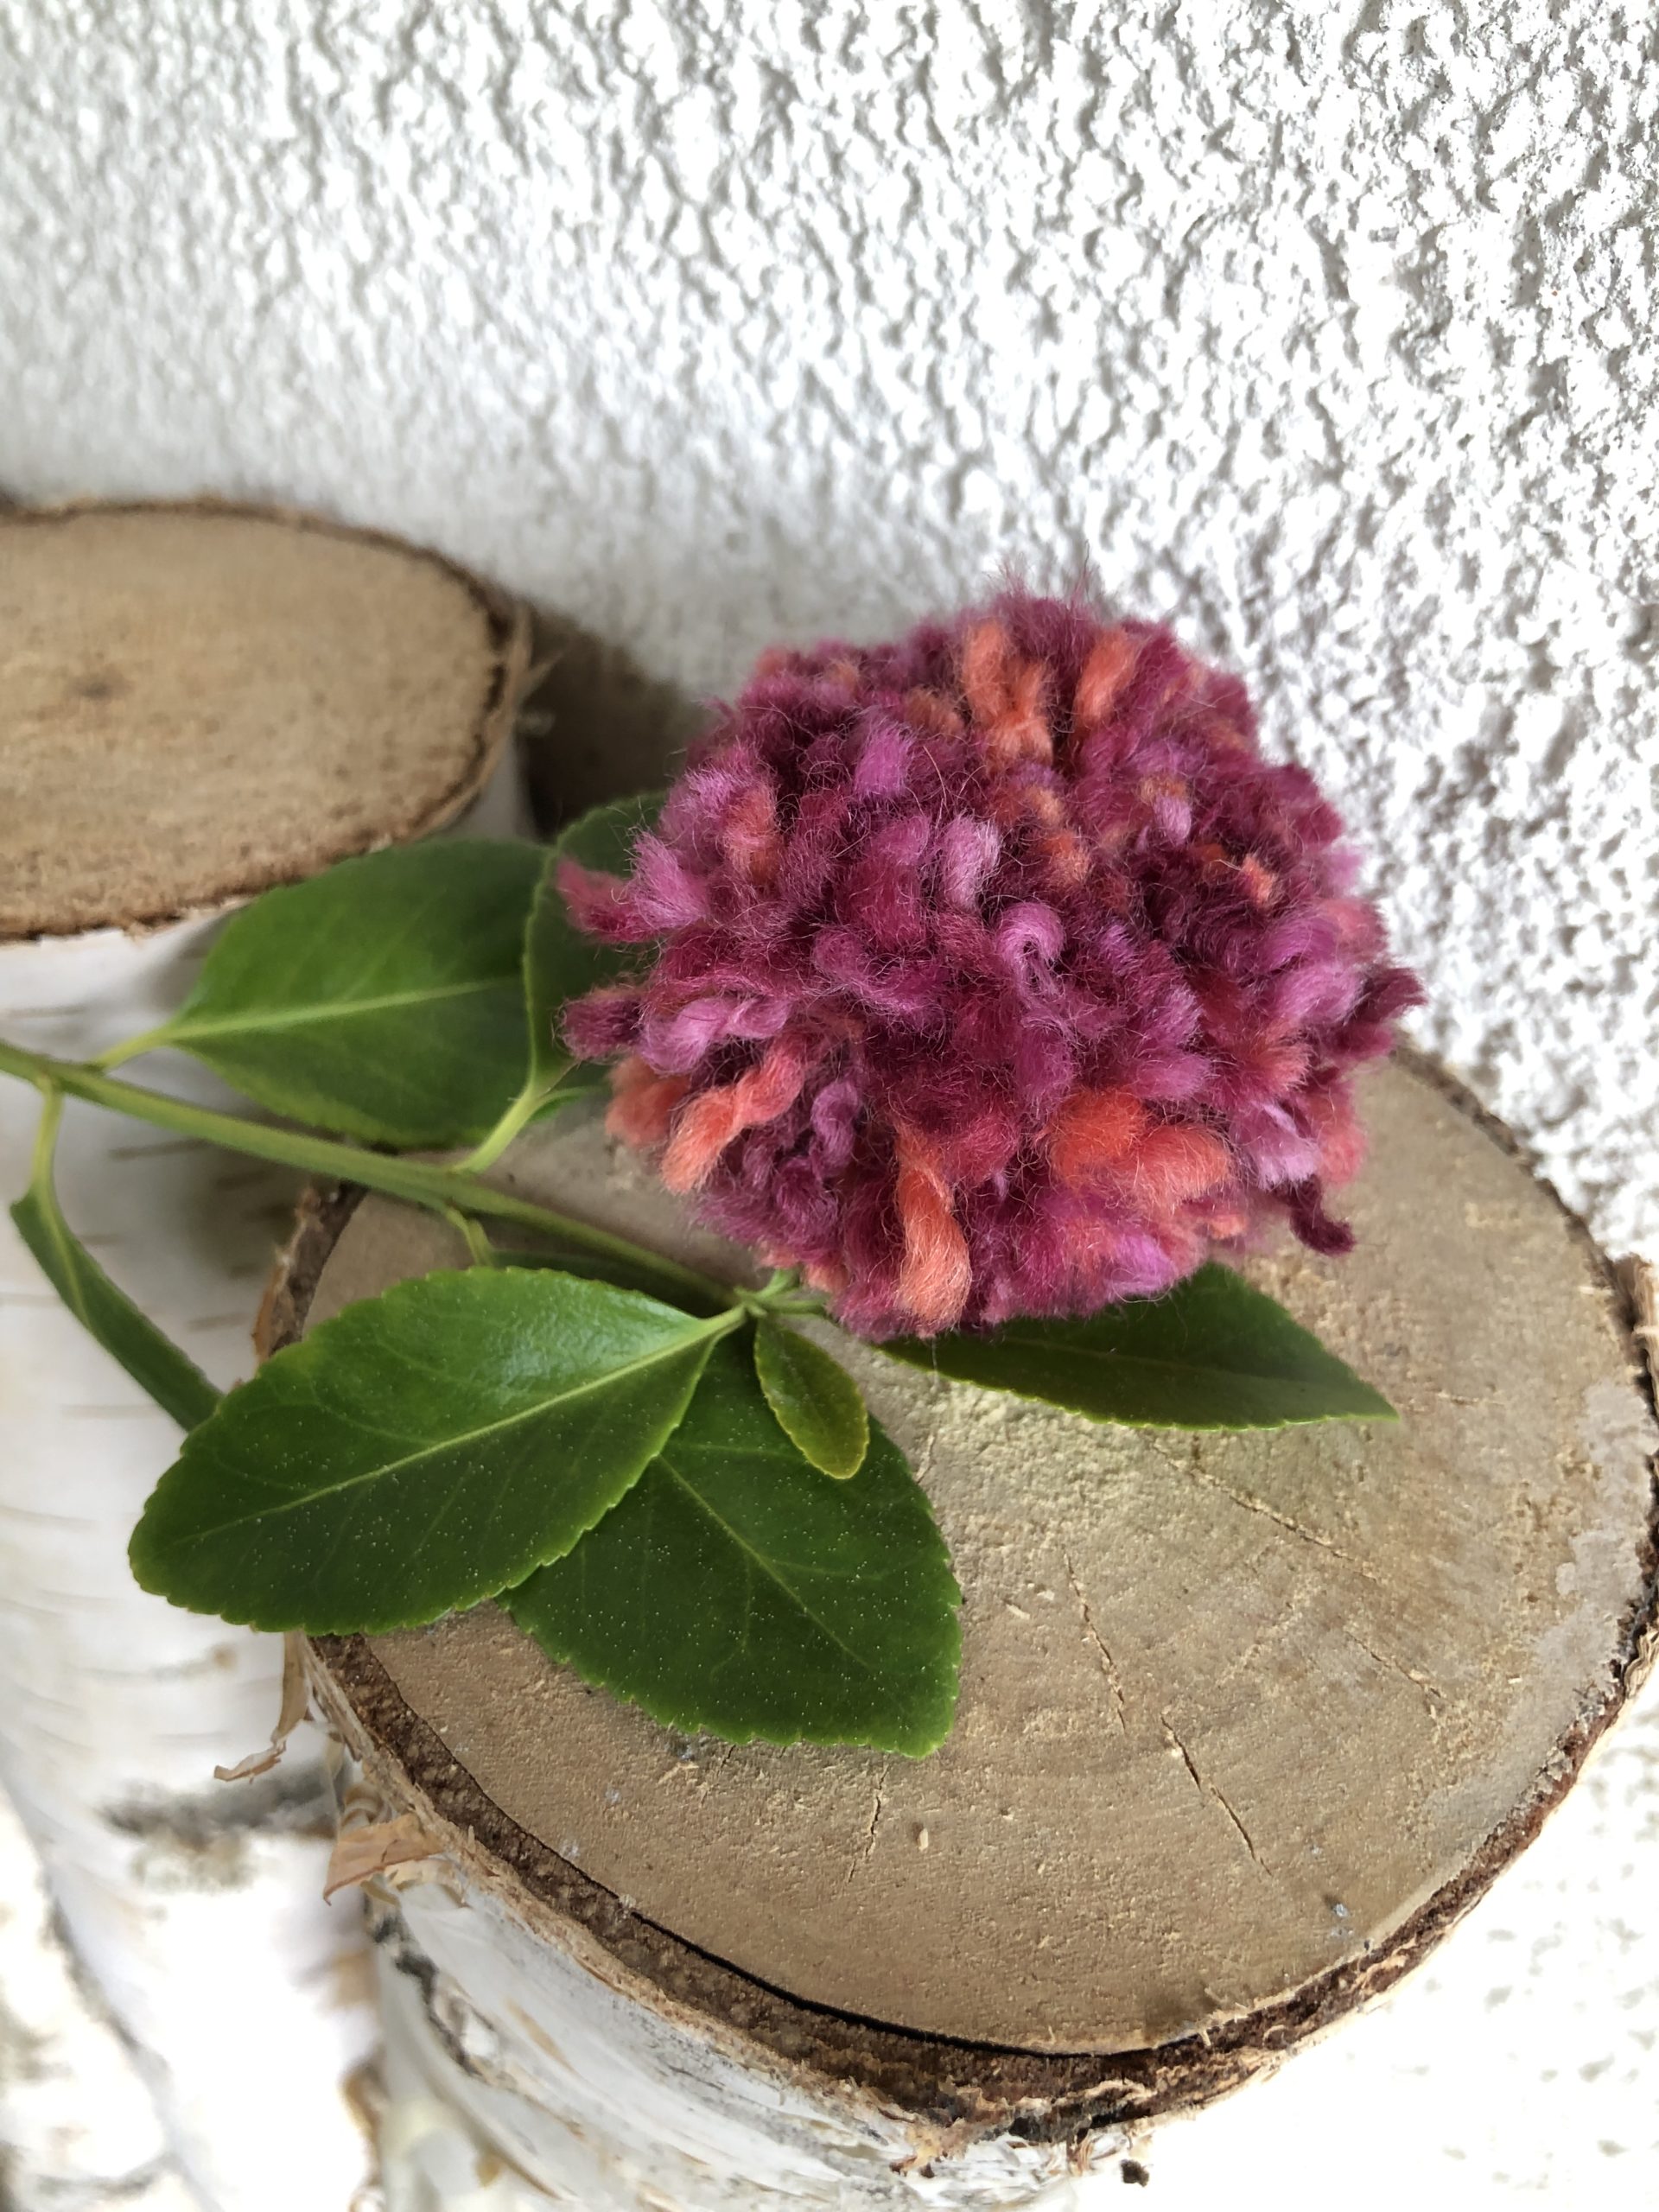
The wuschel is ready.

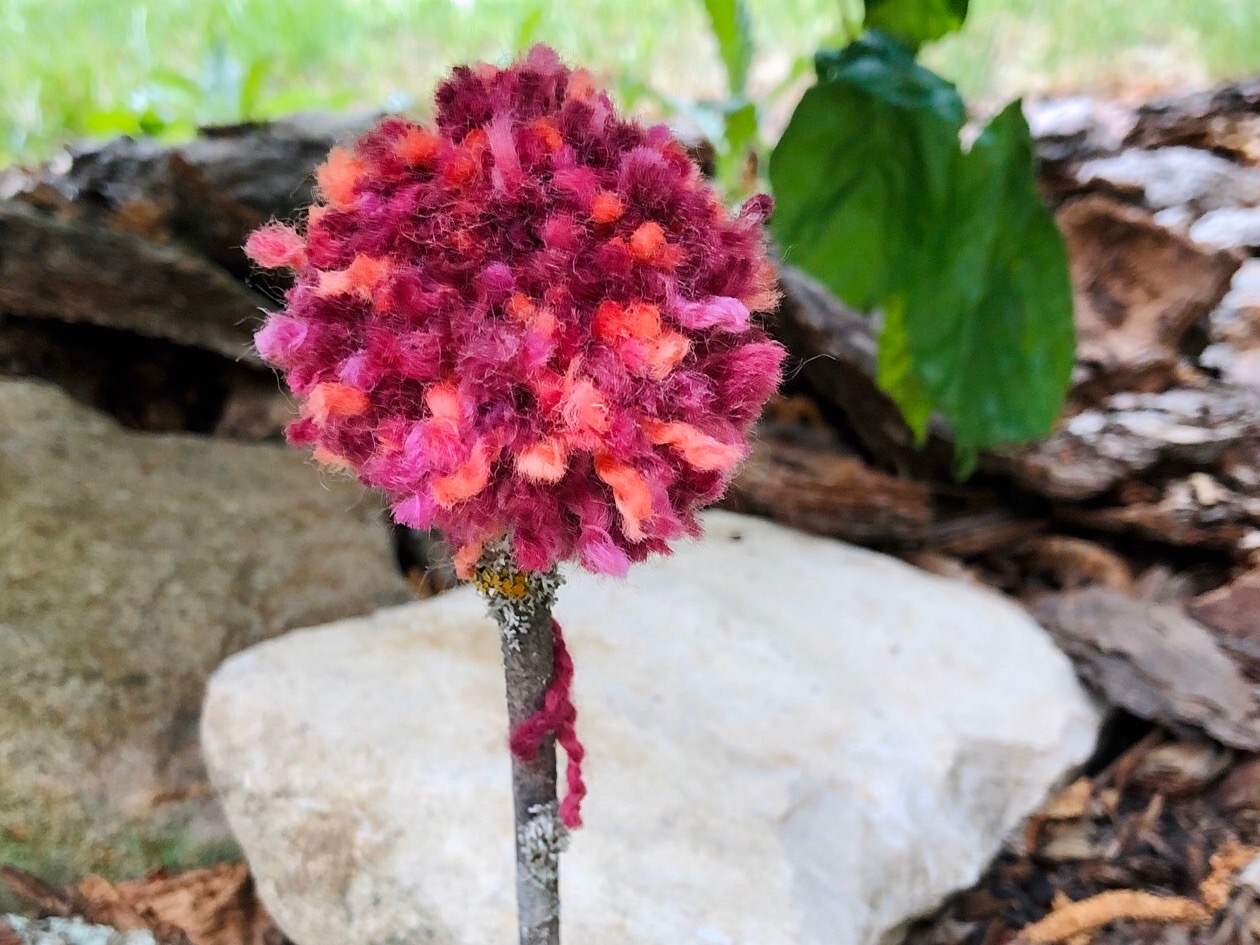
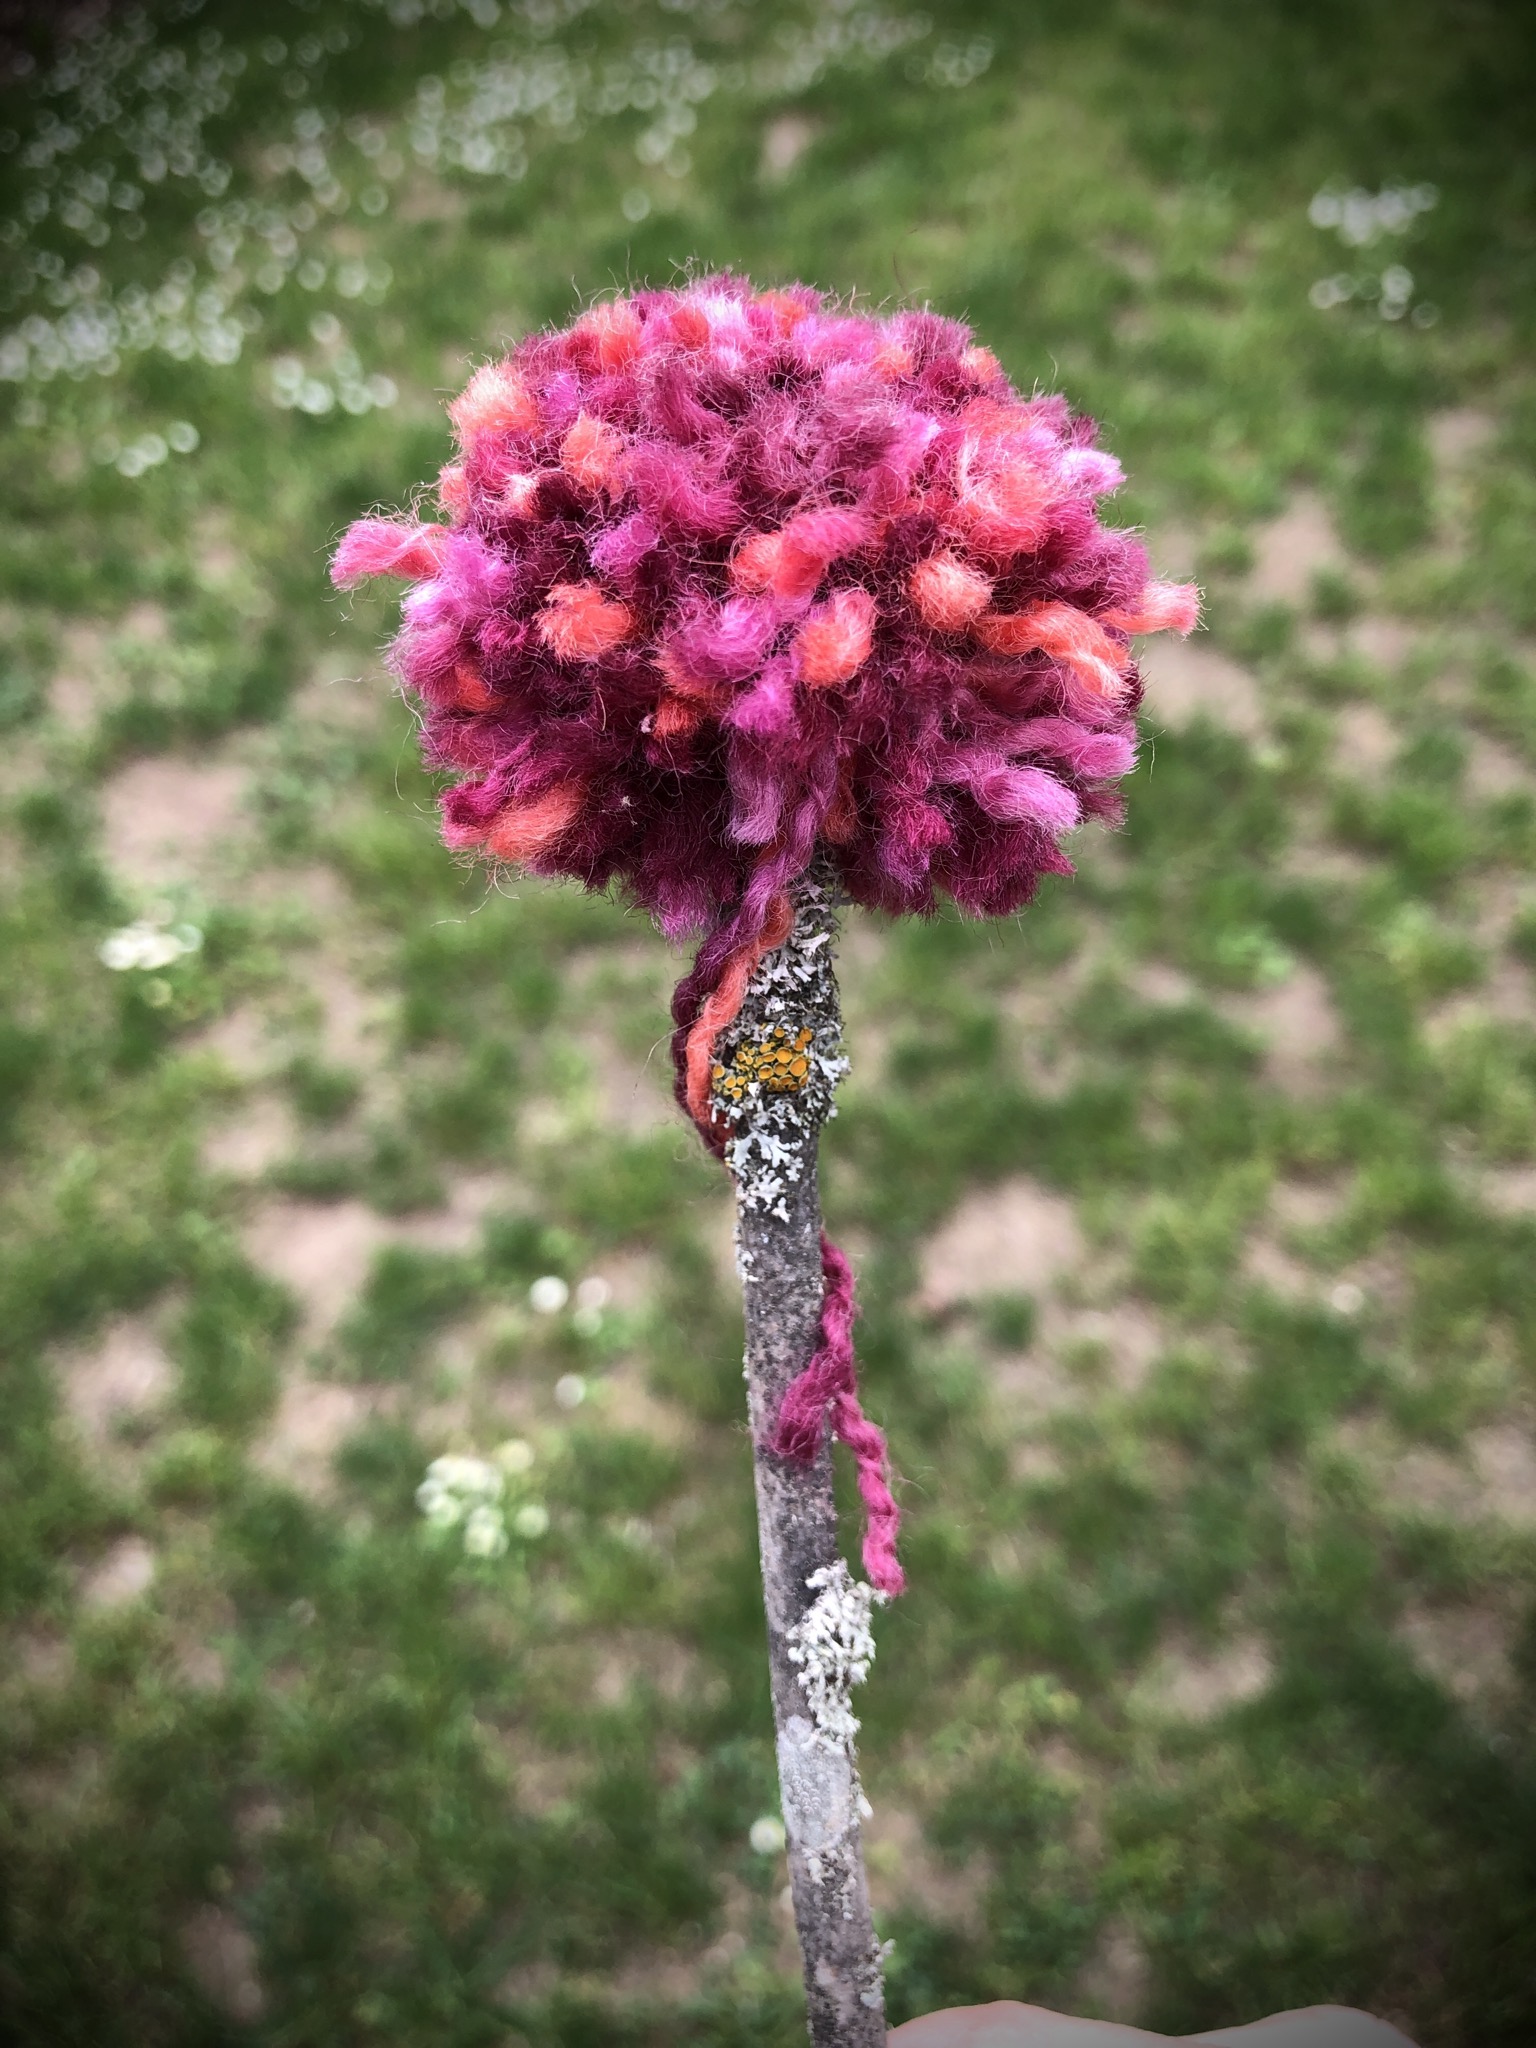
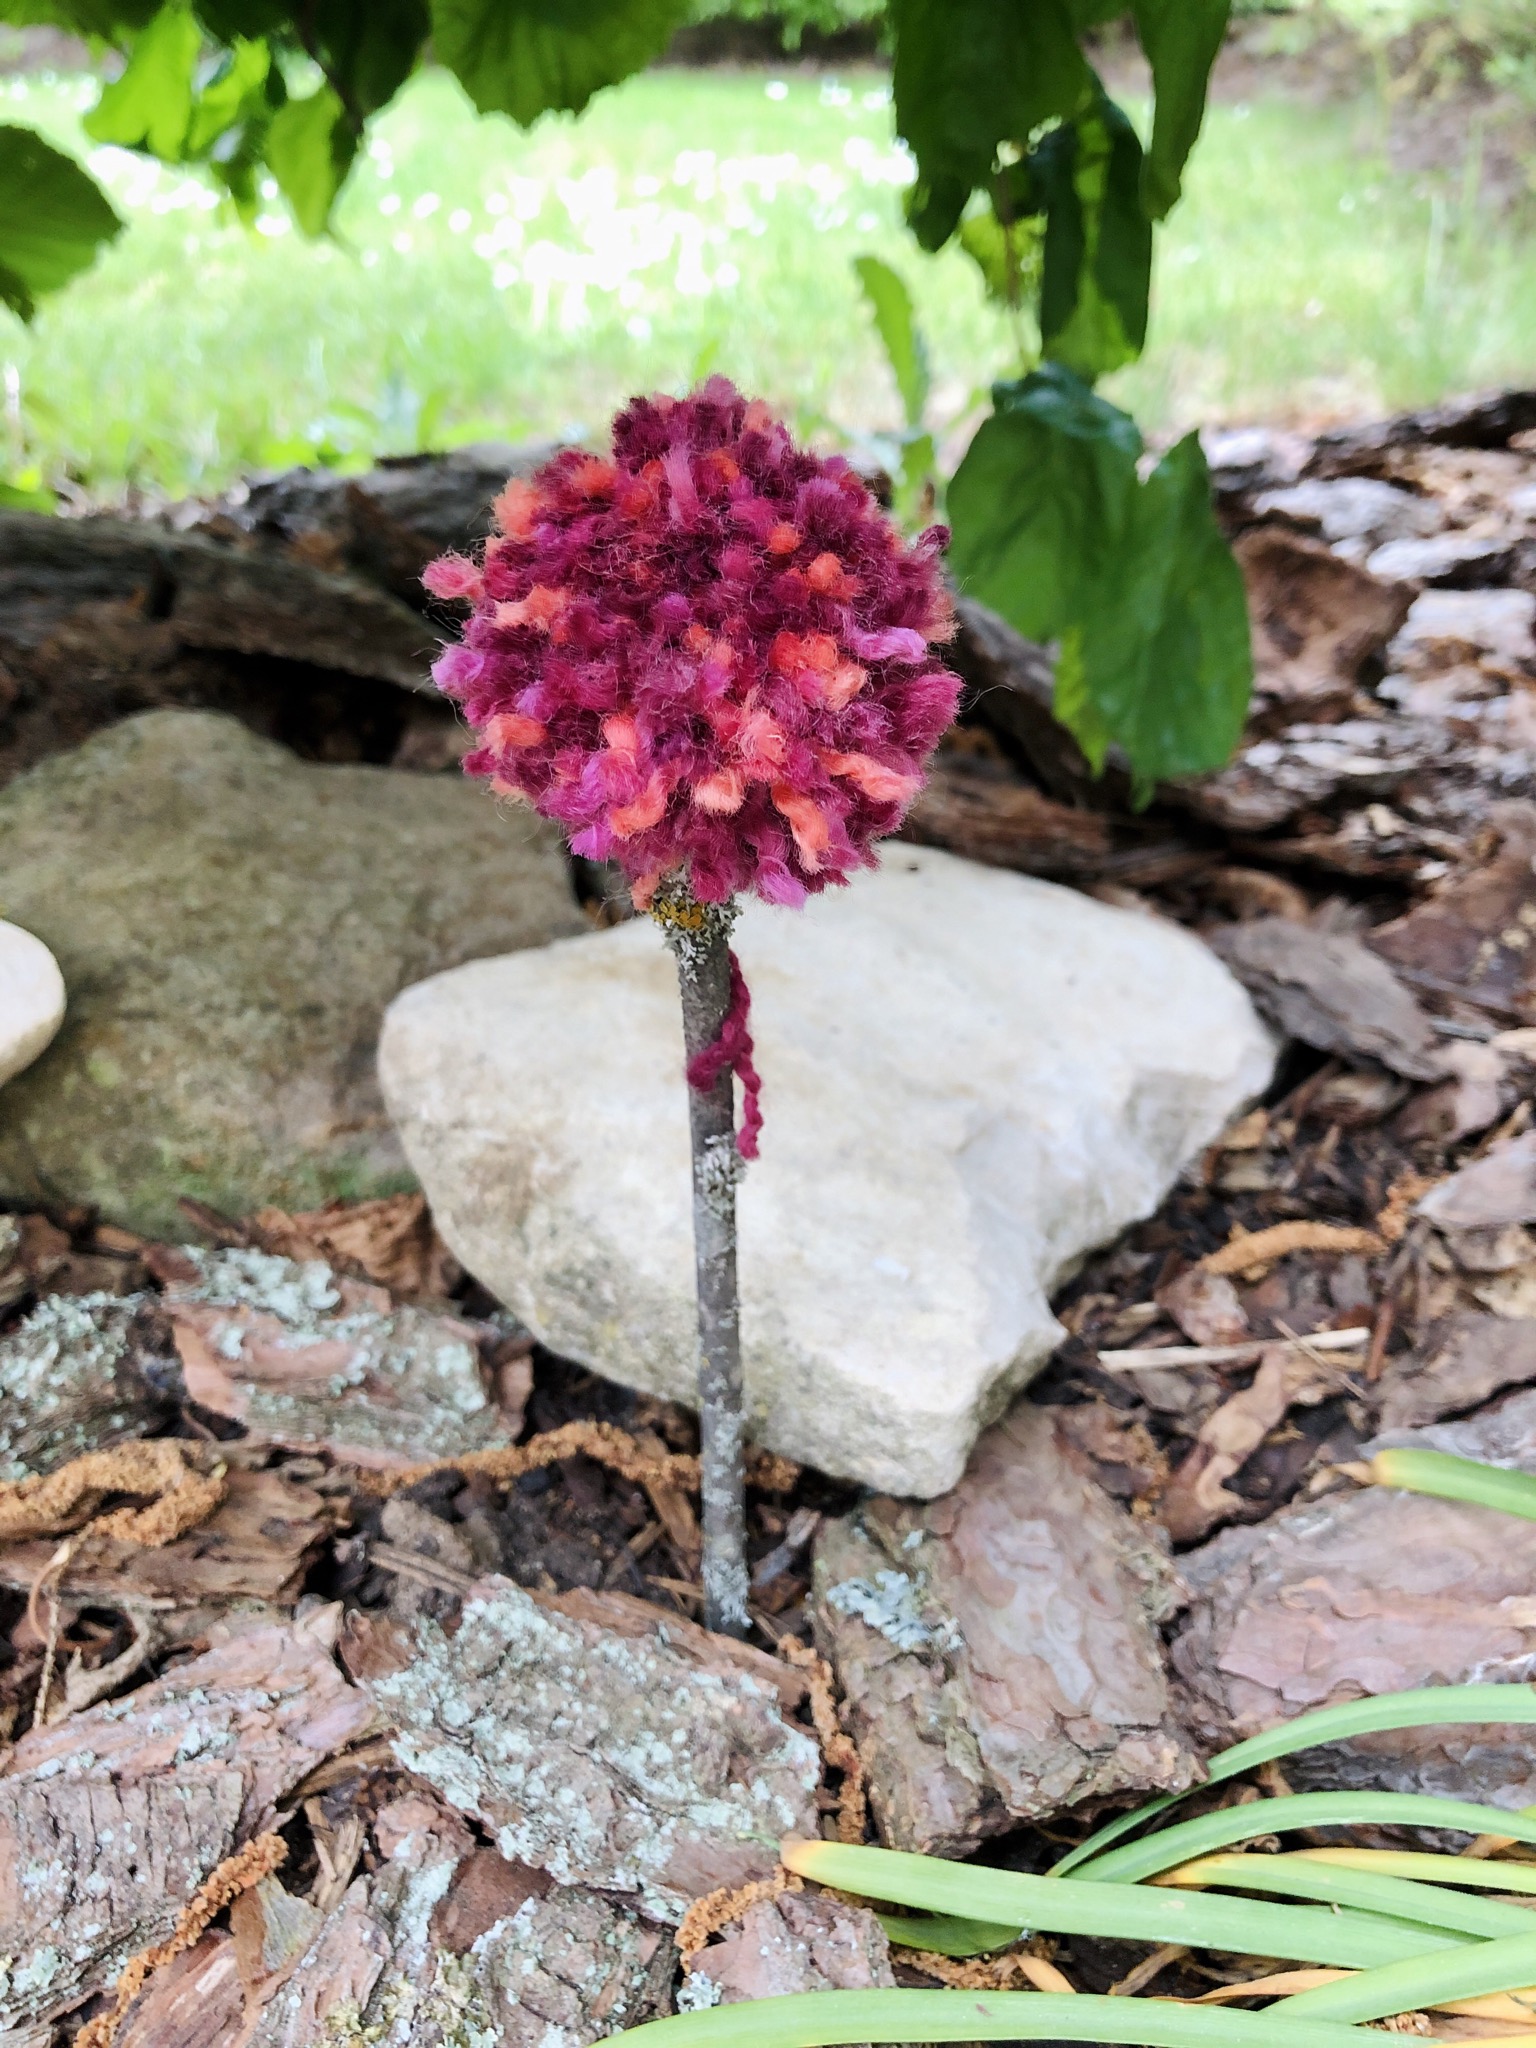
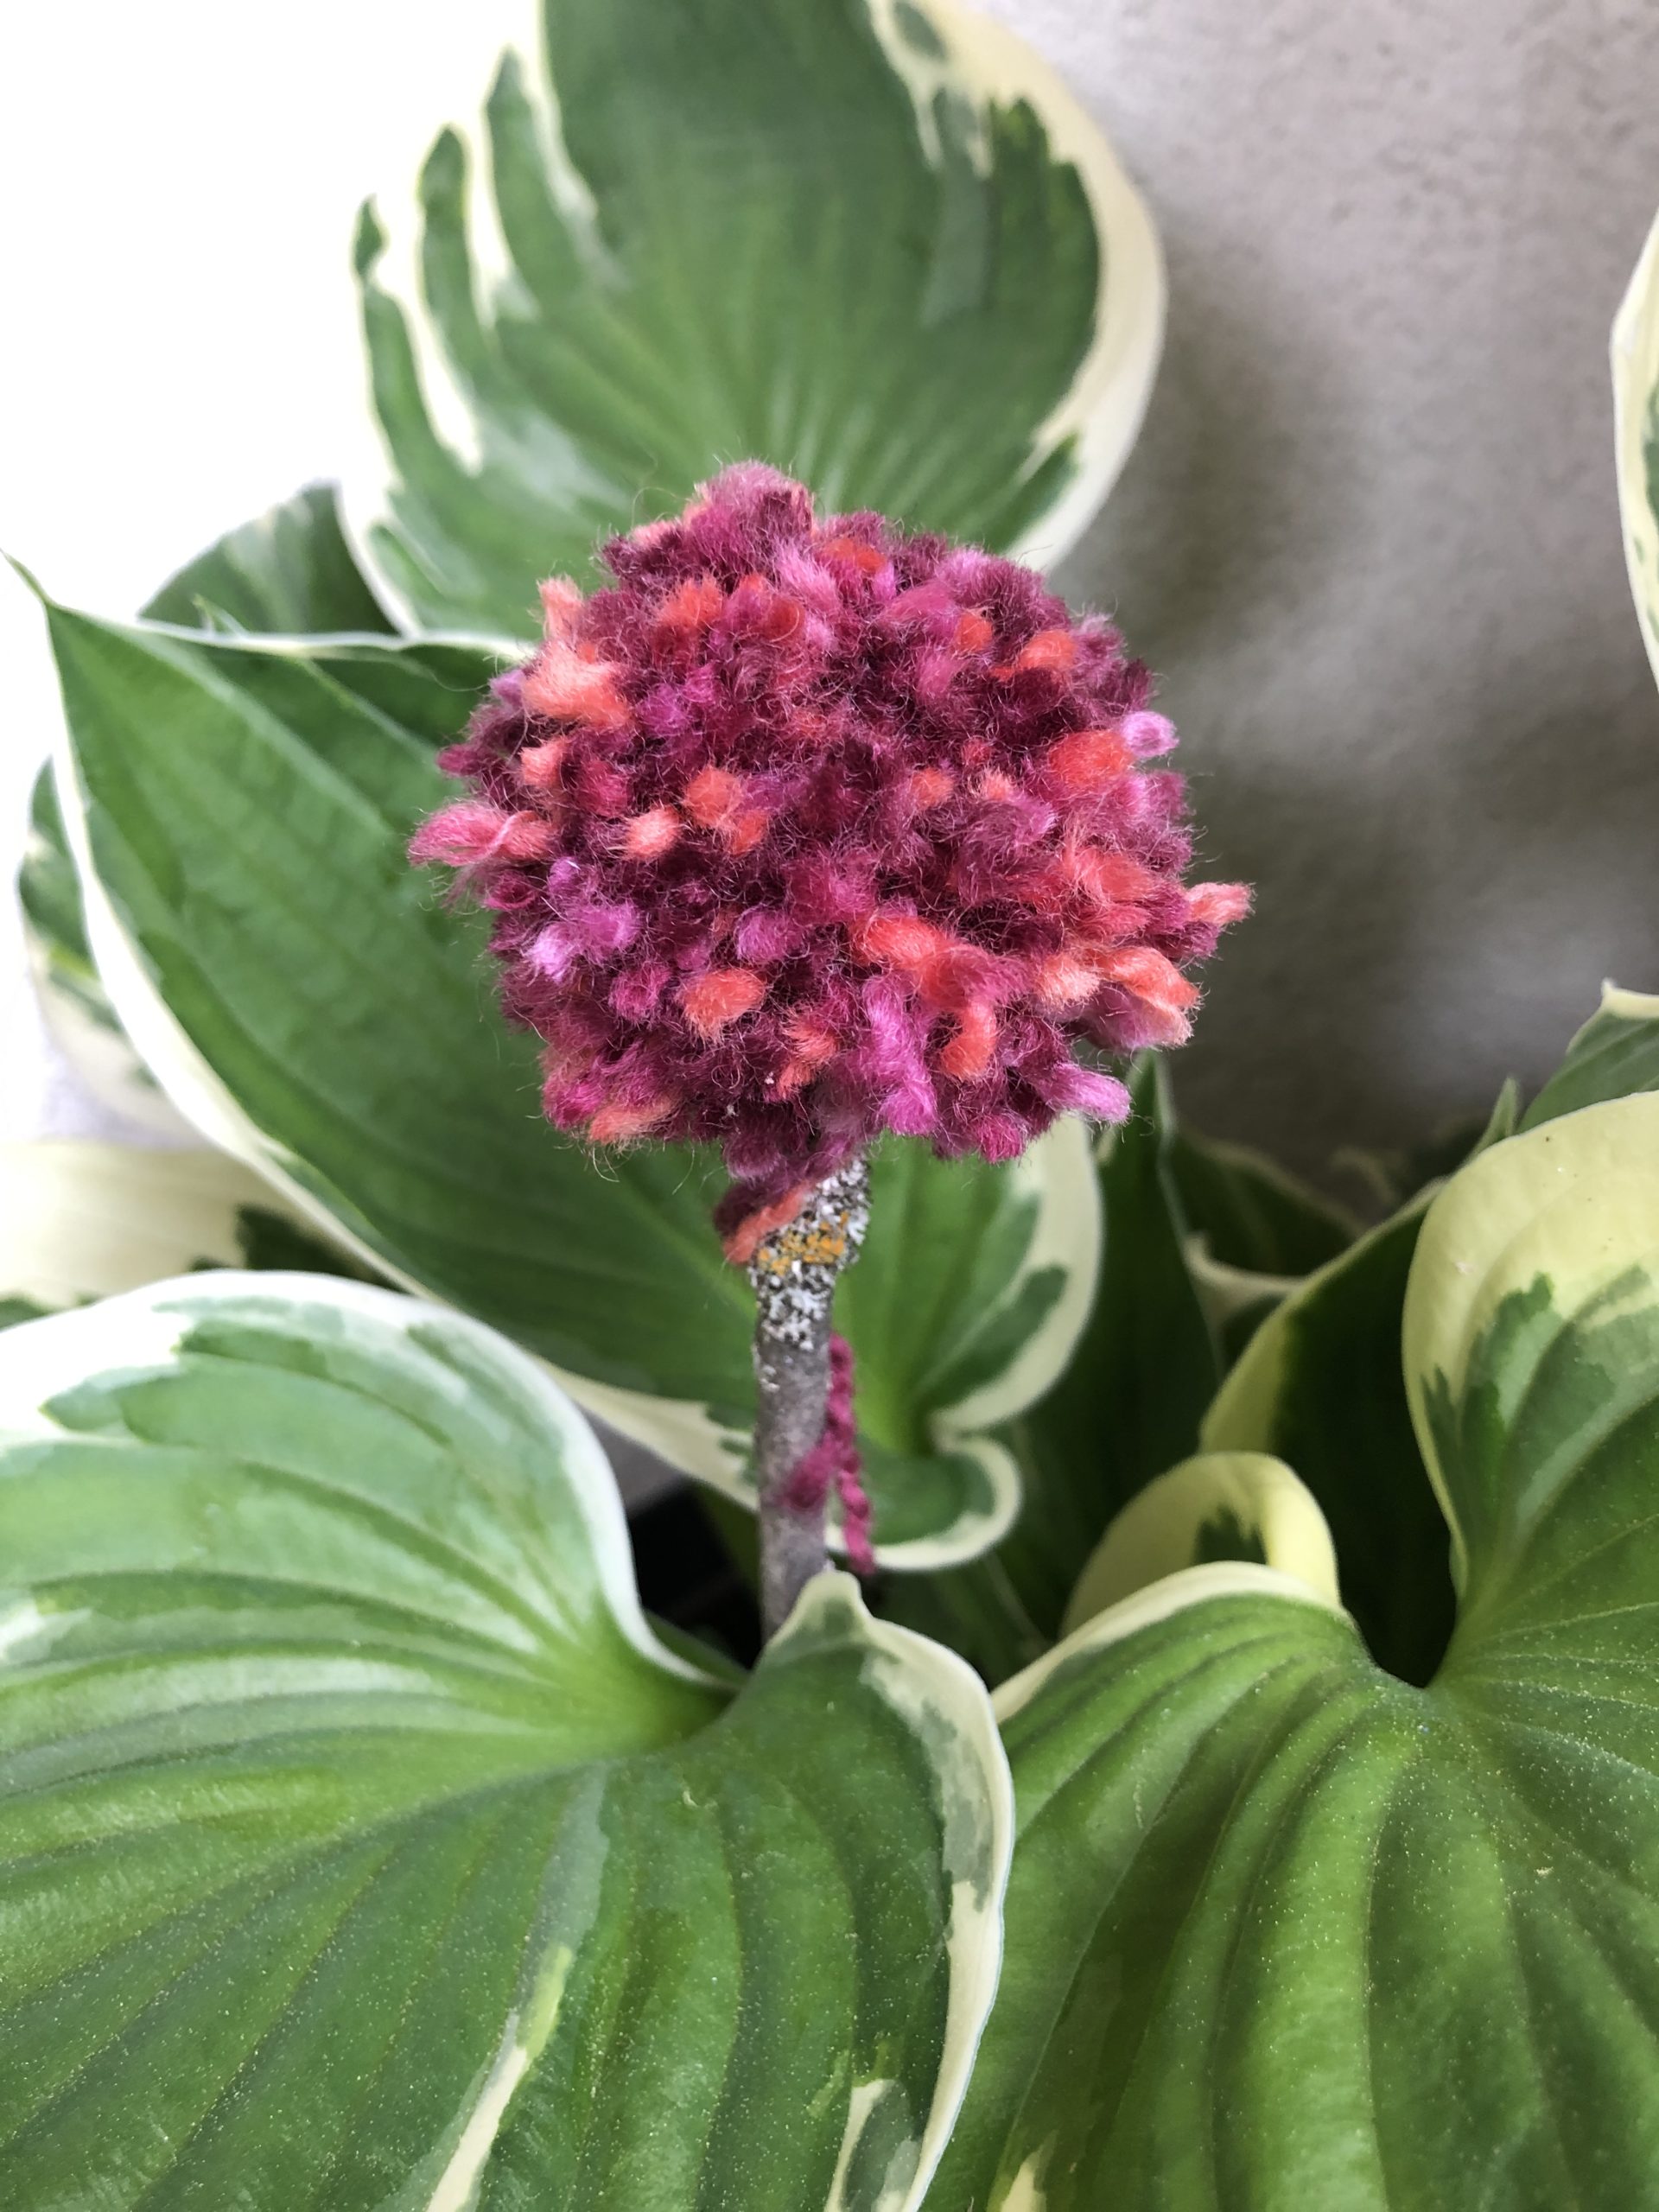
Deco idea:
Glue on a stick and stick in the garden or flower pot.
Materials
Directions
Pick wool, put the fork in place.
Thread around the fork and fasten.
Wrap wool around the fork (not too tight!)
Until a thick fret is formed.
Cut thread and let it hang. Tie a thread around the middle. Possibly double knot.
Use a pair of scissors to thread into the sides and cut open.
Cut both sides.
Punch wuschel straight and cut with scissors in shape.
The wuschel is ready.
Deco idea:
Glue on a stick and stick in the garden or flower pot.
Follow us on Facebook , Instagram and Pinterest
Don't miss any more adventures: Our bottle mail


I glued a yellow wuschel to a thicker branch and put it in the garden. Looks almost like a big dandelion blossom.