AdventurerThe
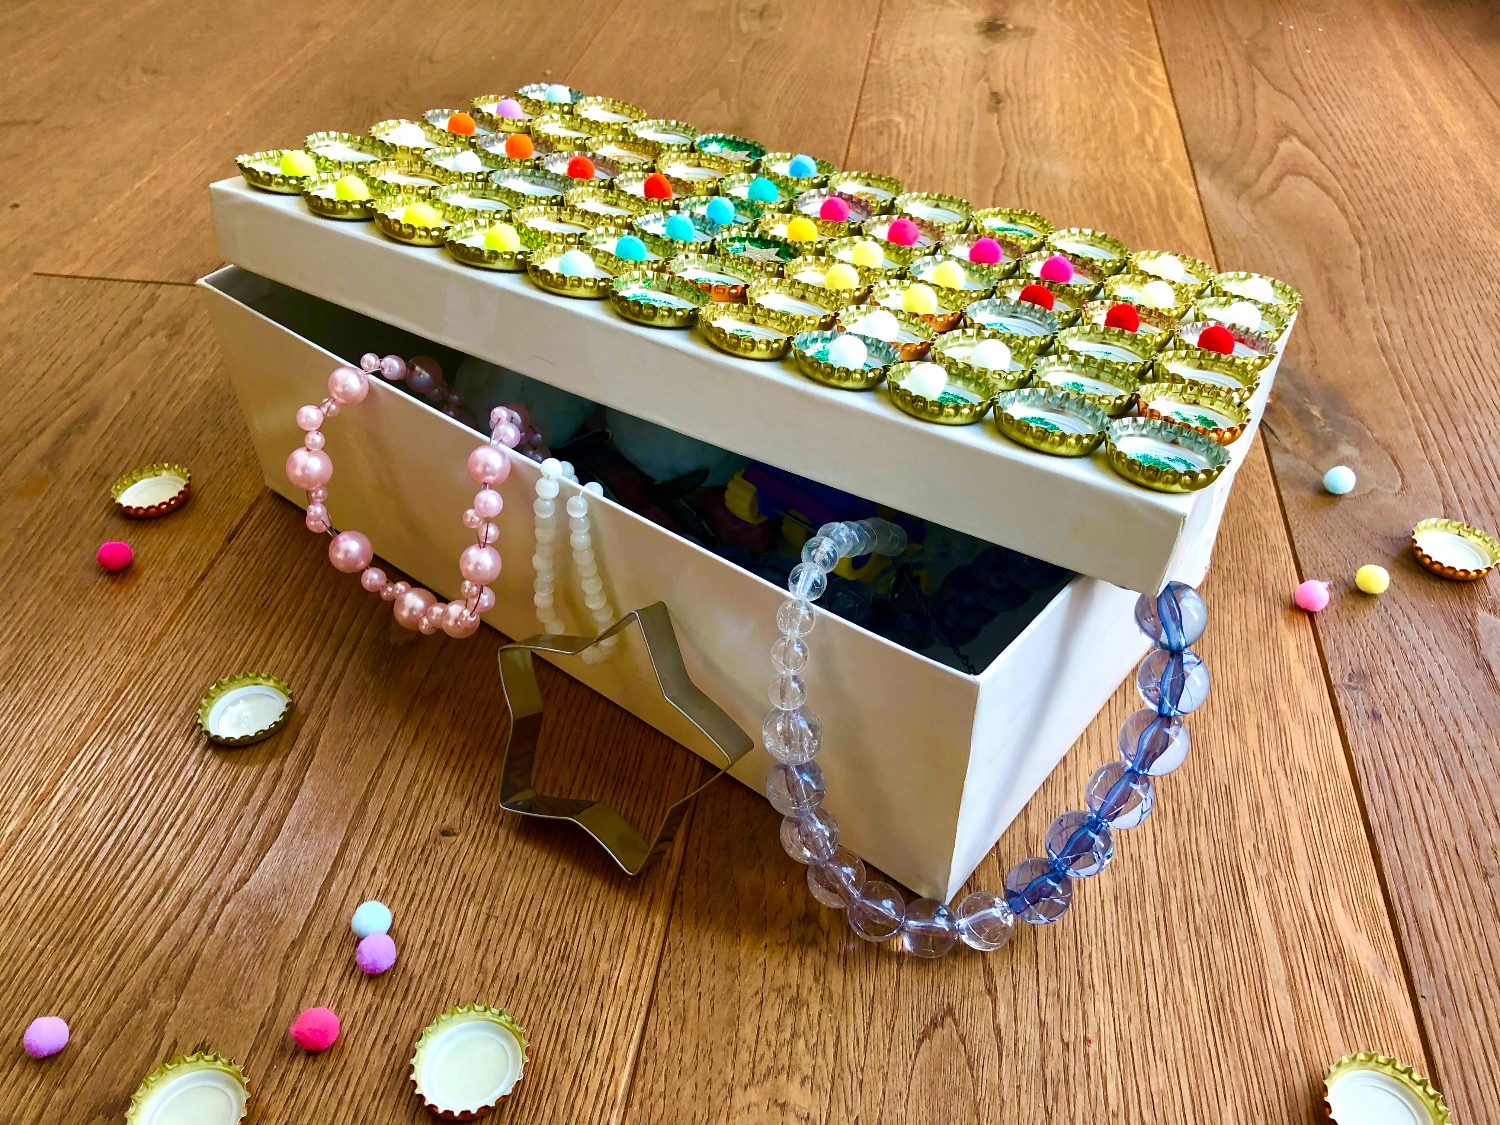
Children love to collect treasures and they like treasure chests. I'll show you today how to make a treasure chest out of a shoe box and crown caps. With glitter, stars and pompons you can make a little work of art out of it in no time. Look for yourself!
Media Education for Kindergarten and Hort

Relief in everyday life, targeted promotion of individual children, independent learning and - without any pre-knowledge already usable by the youngest!
Find all the materials together and lay out the craft document.

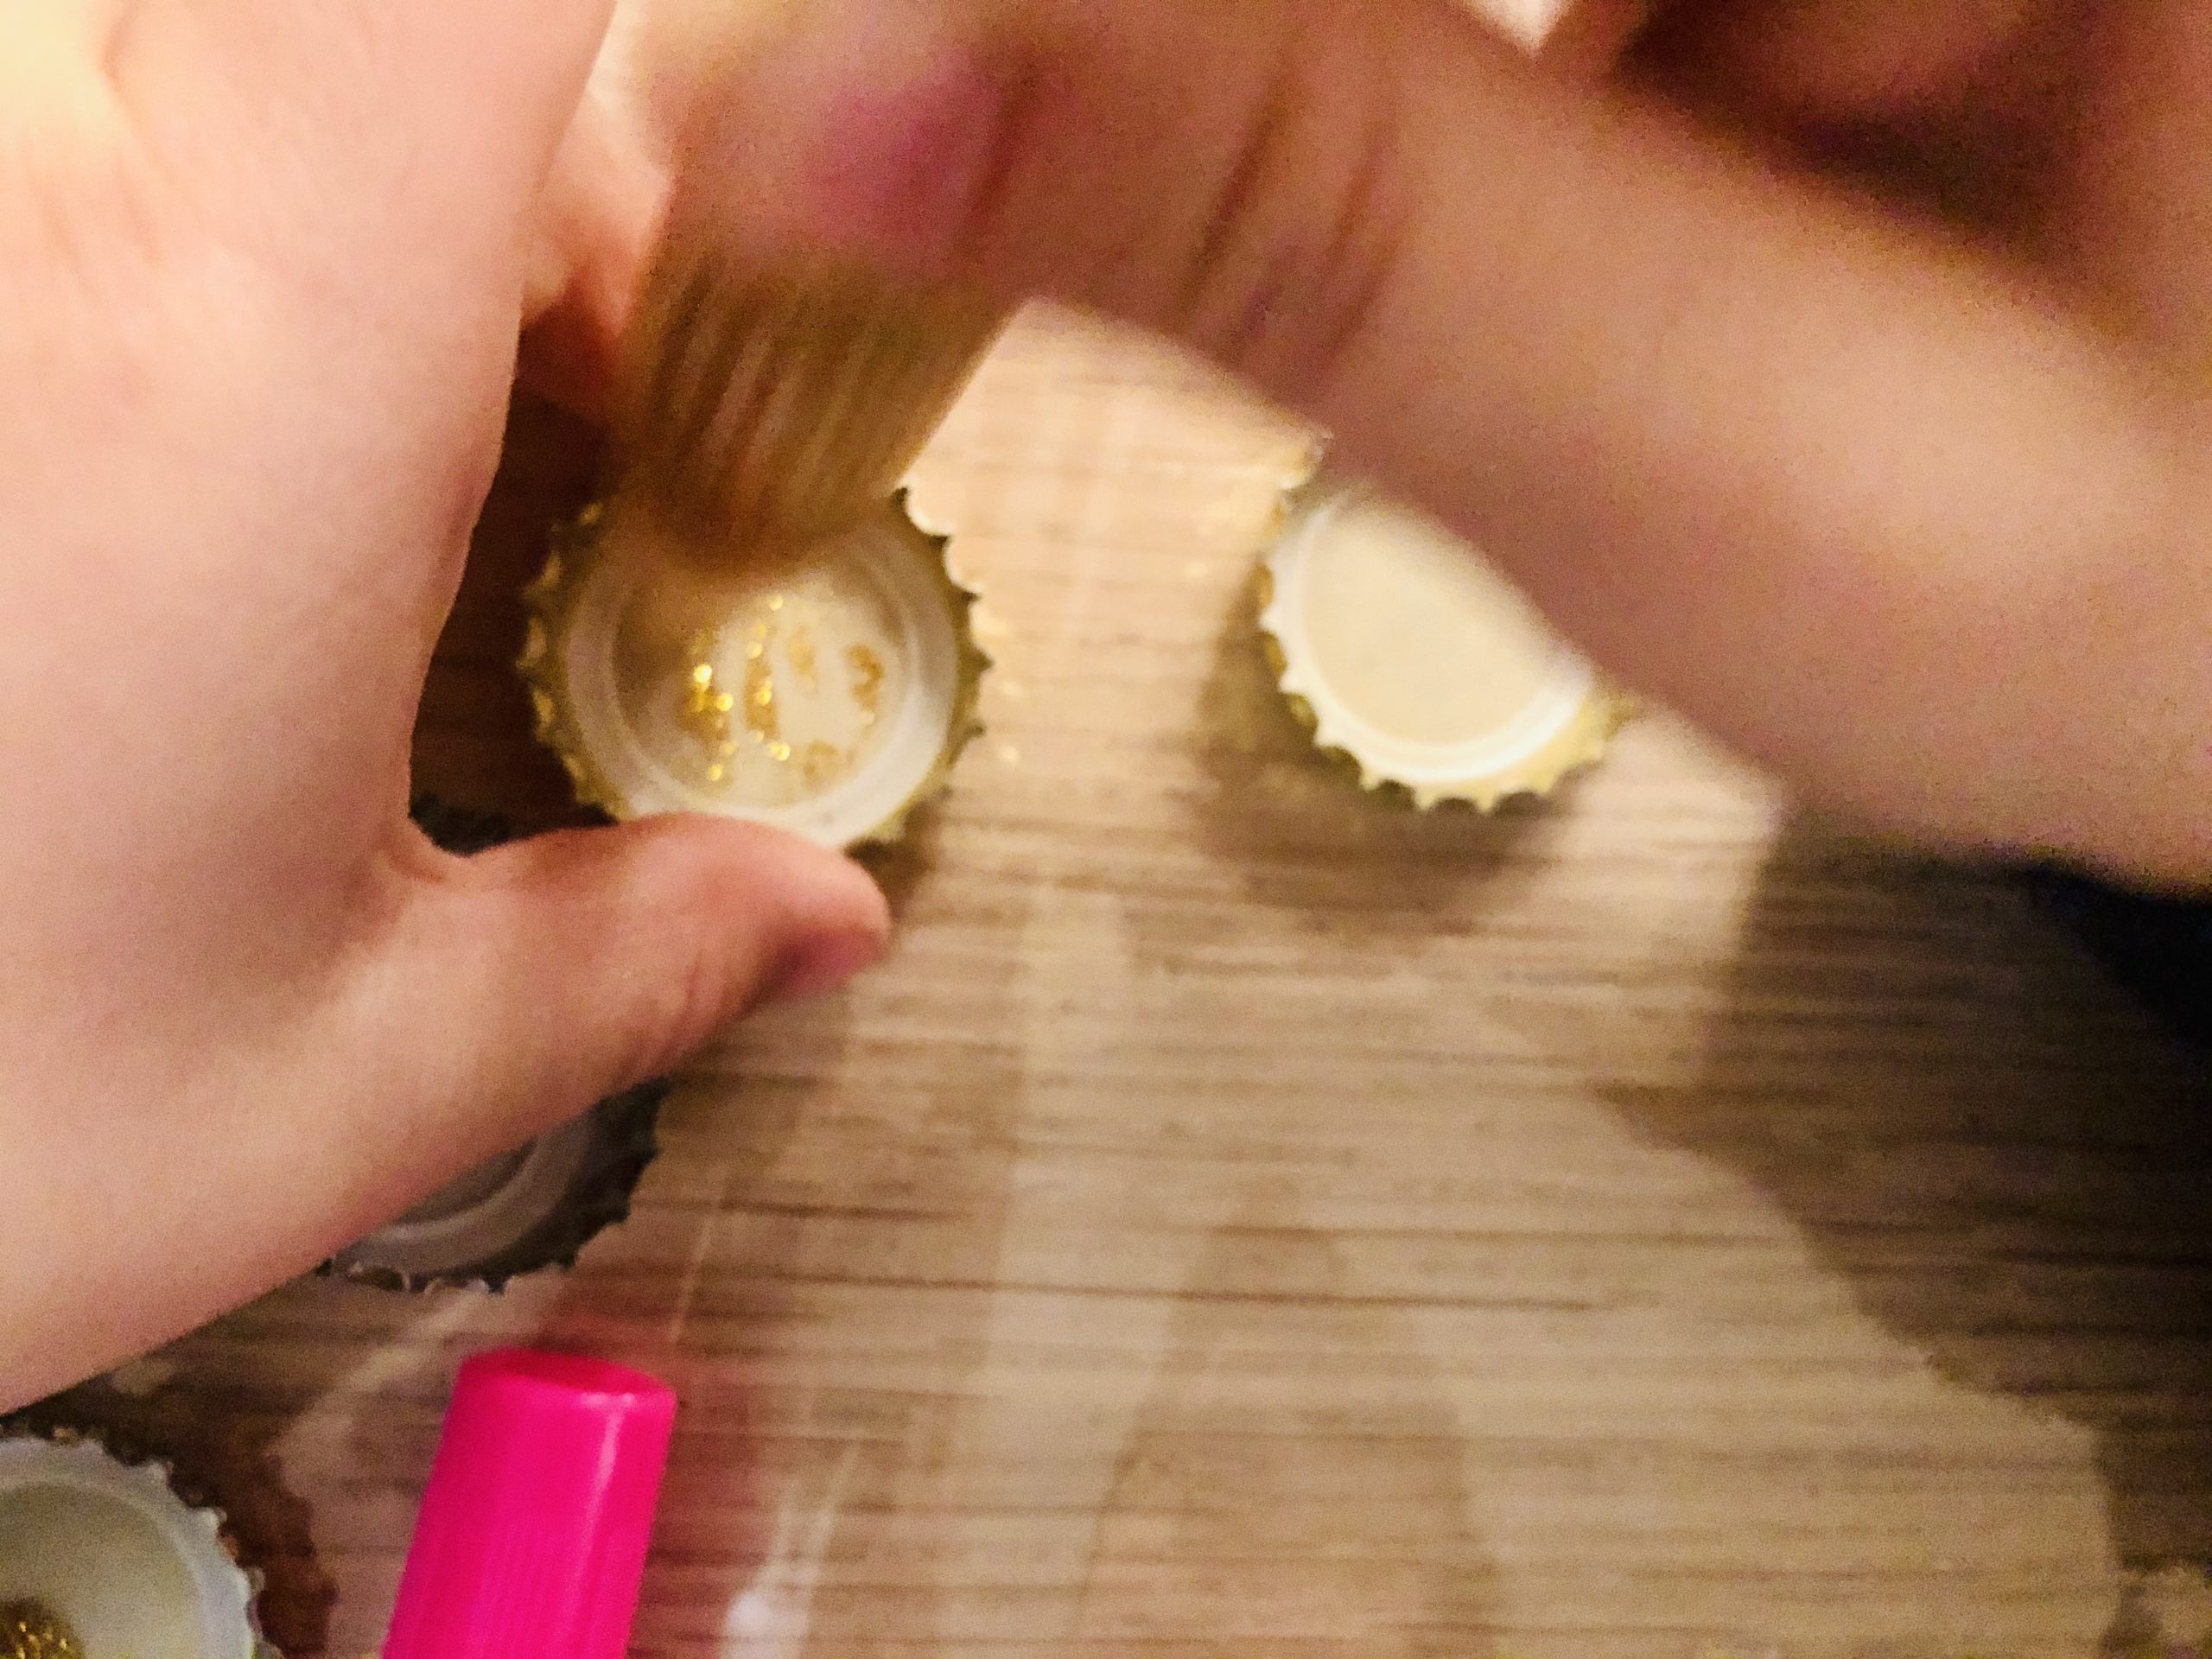
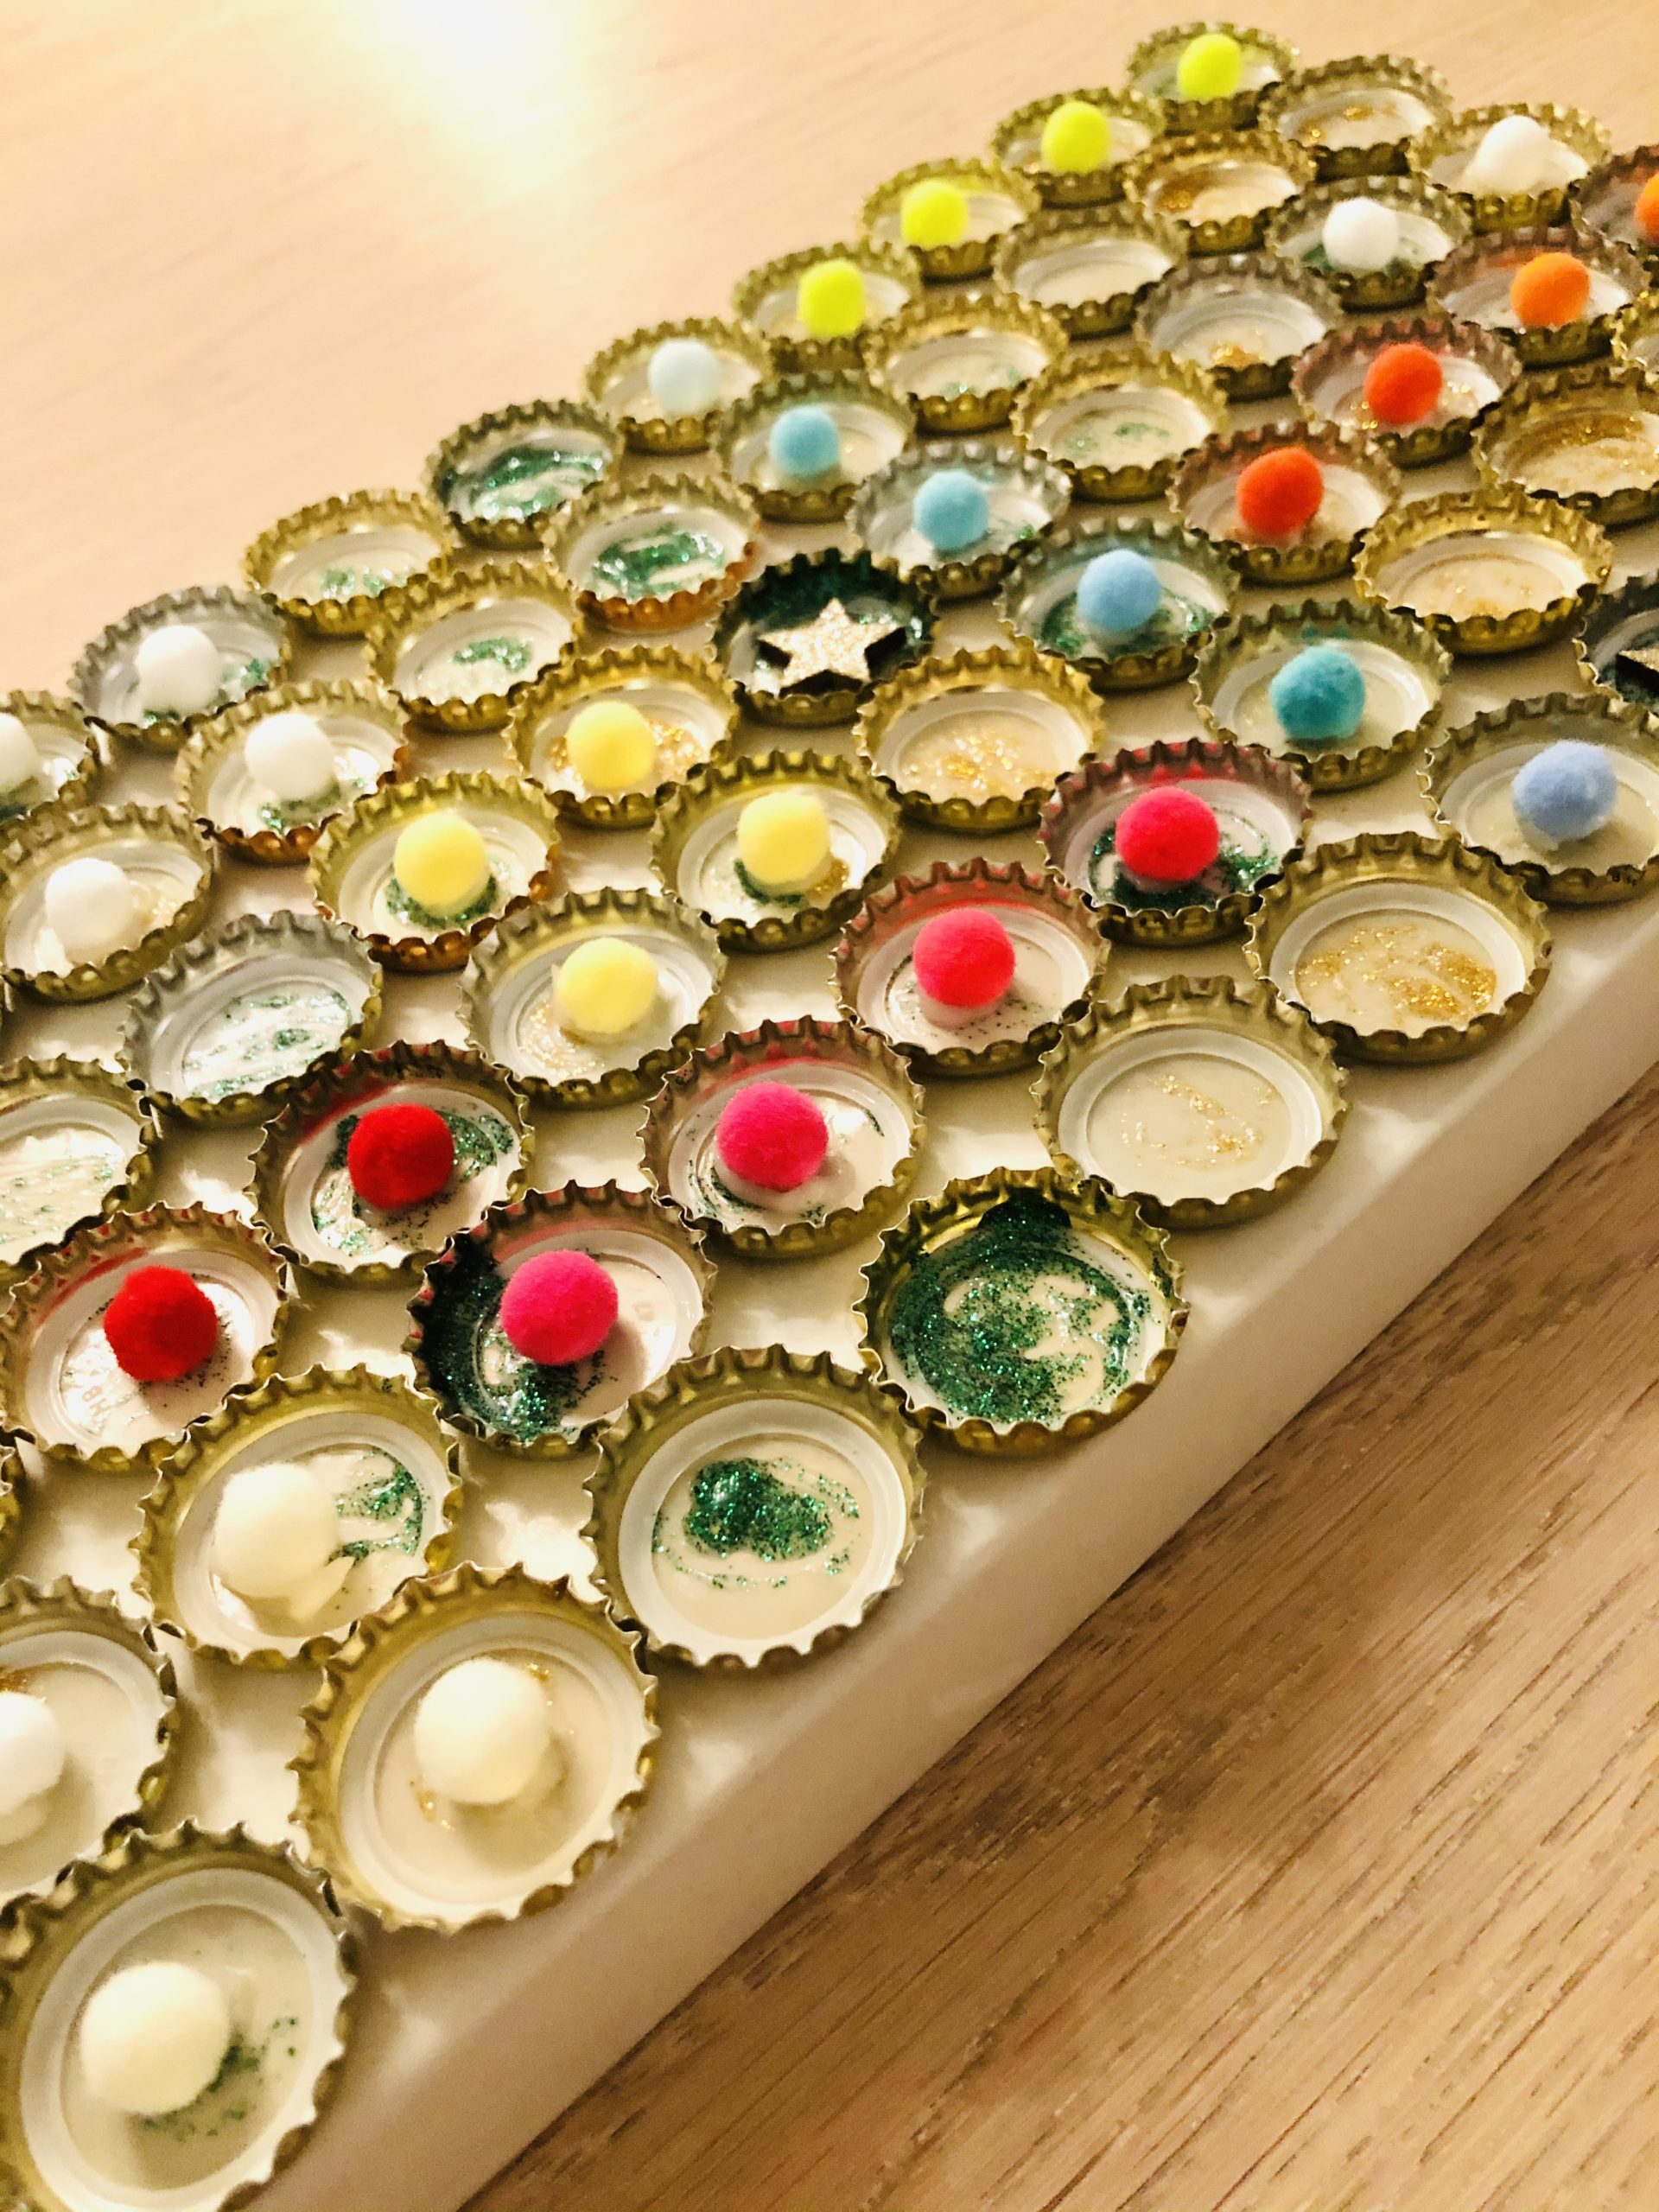
Then you paint the inside of the crown caps with the glitter pen.
We used a gold and a green glitter pen.
Then stick the crown crocs on top of the lid of the shoe box.
To do this, insert the straight side of the crown cap with paste. Use a brush. Then stick the crown cap on top of the lid.
Tip: We have glued the whole lid, but you can also apply a pattern, e.g. a star or a circle.
Tip: Apply the paste thickly because when the bottles are opened, a small bend often occurs in the middle of the crown caps, which is balanced with a little more paste.
With hot glue the crown caps stick perfectly! But beware when handling the hot glue - risk of injury!

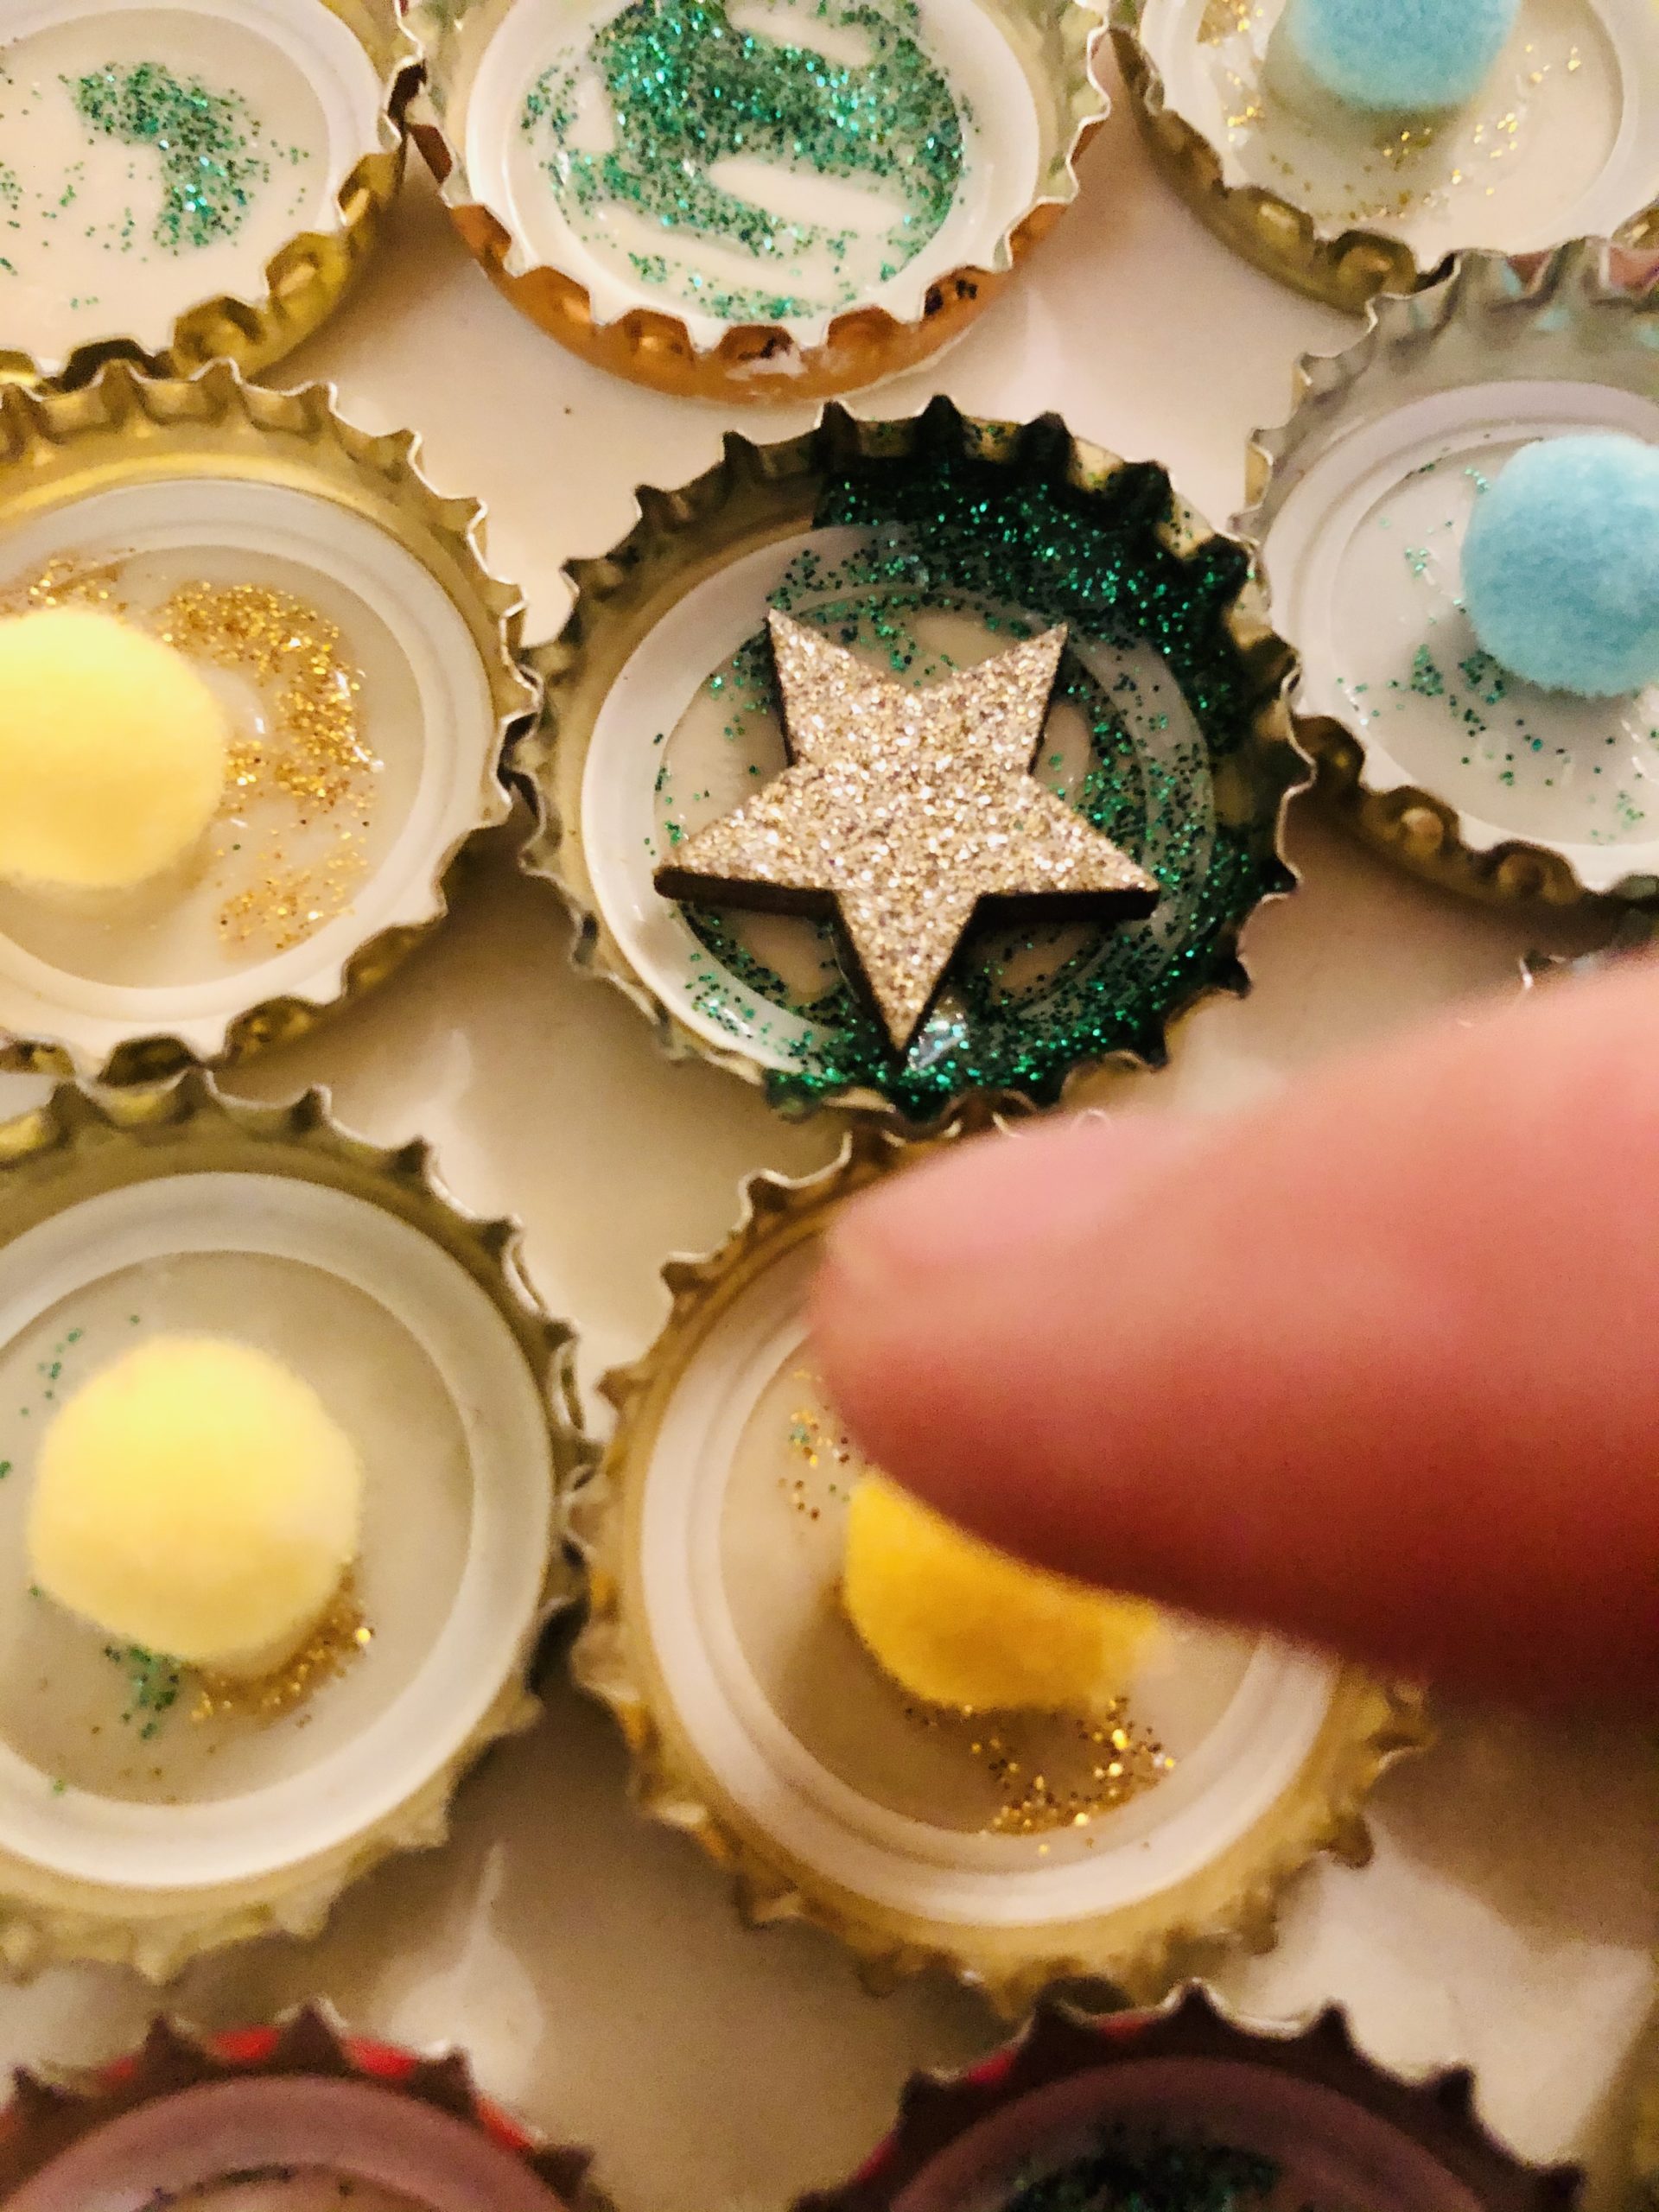
Then you put the pompons on one side and put them in the middle of the crown caps.
You can put patterns or combine the same colors. You can alternate with other decorative items such as stars or shells. Design the crown caps as you like and use the materials you have at home.
Tip: Also natural materials such as hazelnuts, acorns, moss etc. own. But instead of the paste prefer wood glue.
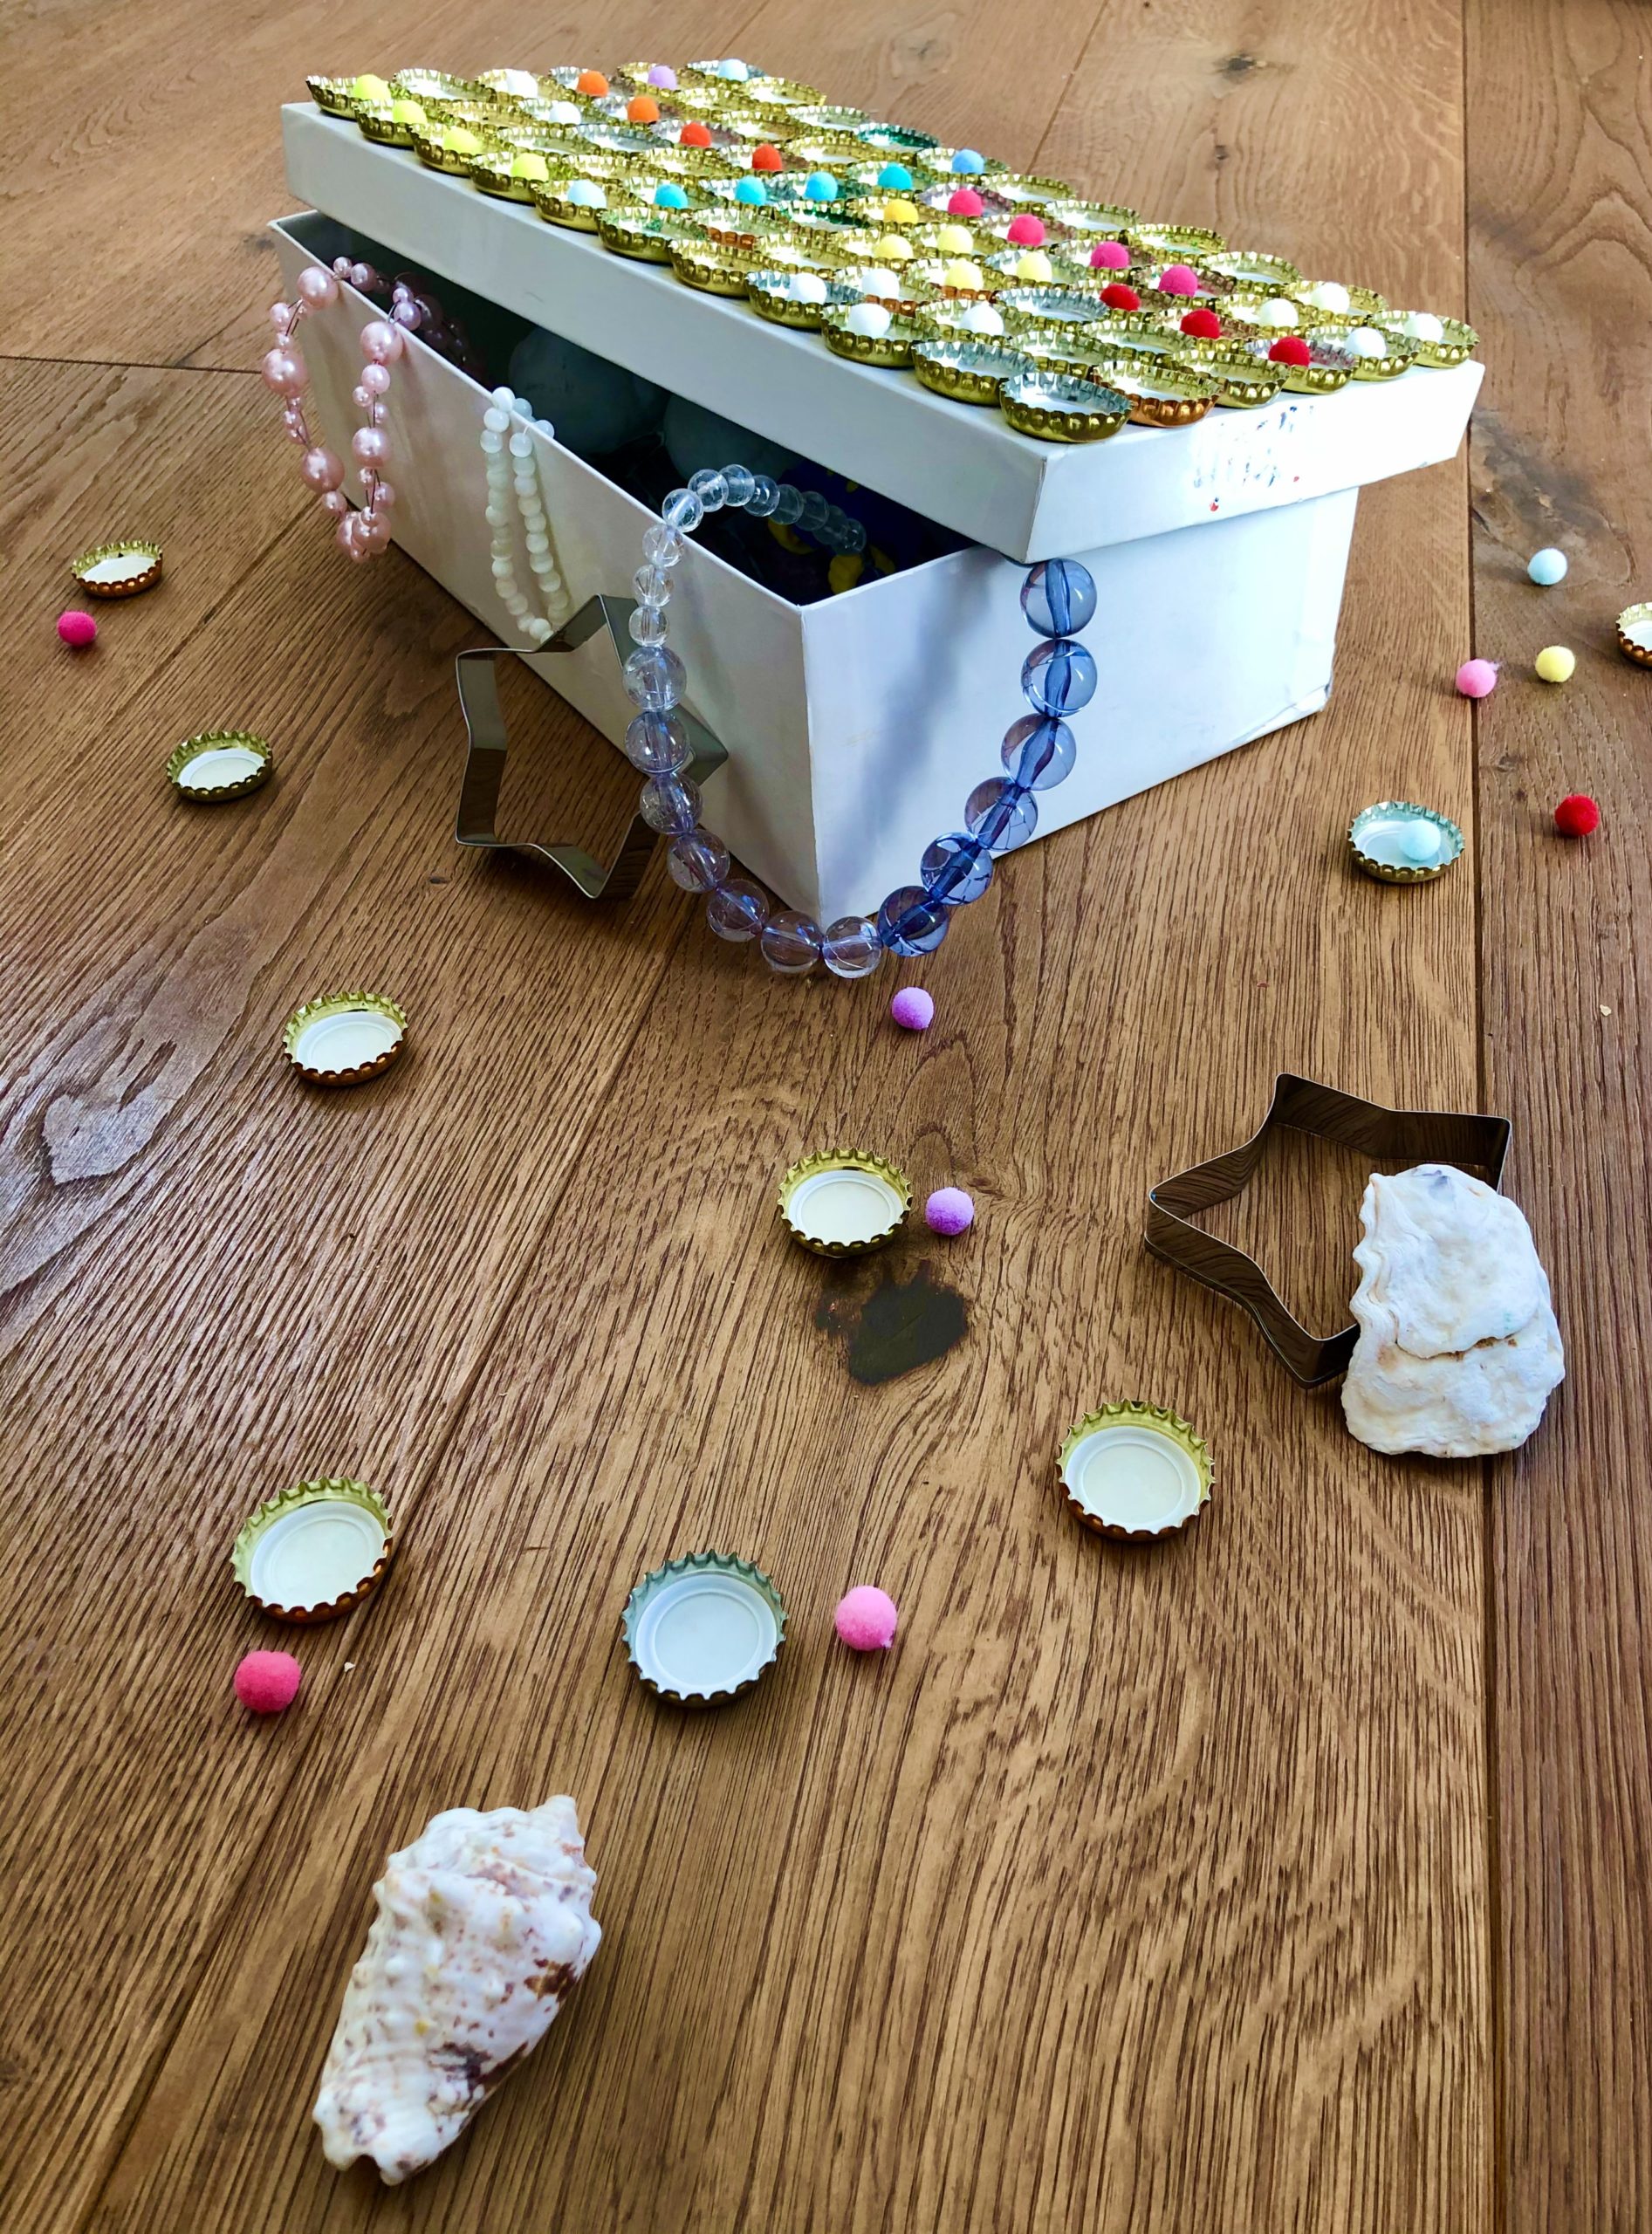
Your treasure chest is ready!
Now you can go and collect treasures or put your collection in it.
Have fun!
Materials
Directions
Find all the materials together and lay out the craft document.
Then you paint the inside of the crown caps with the glitter pen.
We used a gold and a green glitter pen.
Then stick the crown crocs on top of the lid of the shoe box.
To do this, insert the straight side of the crown cap with paste. Use a brush. Then stick the crown cap on top of the lid.
Tip: We have glued the whole lid, but you can also apply a pattern, e.g. a star or a circle.
Tip: Apply the paste thickly because when the bottles are opened, a small bend often occurs in the middle of the crown caps, which is balanced with a little more paste.
With hot glue the crown caps stick perfectly! But beware when handling the hot glue - risk of injury!
Then you put the pompons on one side and put them in the middle of the crown caps.
You can put patterns or combine the same colors. You can alternate with other decorative items such as stars or shells. Design the crown caps as you like and use the materials you have at home.
Tip: Also natural materials such as hazelnuts, acorns, moss etc. own. But instead of the paste prefer wood glue.
Your treasure chest is ready!
Now you can go and collect treasures or put your collection in it.
Have fun!
Follow us on Facebook , Instagram and Pinterest
Don't miss any more adventures: Our bottle mail