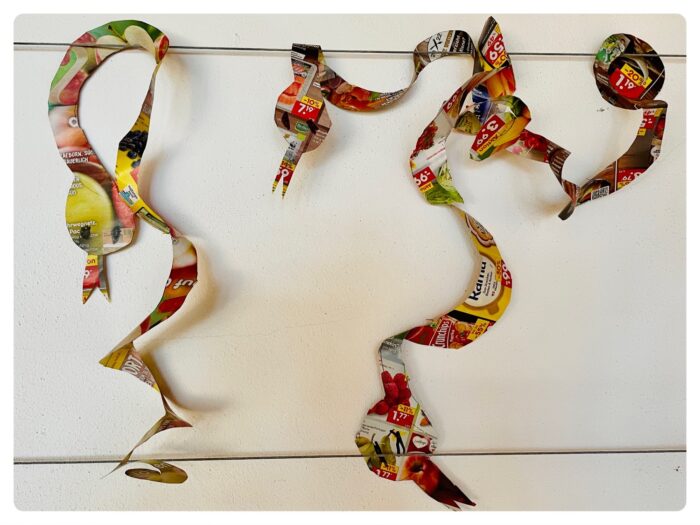
Makes a snake of wool leftovers, carnivals, birthdays or simply to play with them. It fascinates children to see how a thick cord emerges from the individual wool threads. Also the change of color in different wools is always wonderful. See how easy the implementation is. It doesn't need much tools either.
Media Education for Kindergarten and Hort

Relief in everyday life, targeted promotion of individual children, independent learning and - without any pre-knowledge already usable by the youngest!

Take off colorful wool as thick as possible and take off a thread. At least three times as long as your snake is about to become!
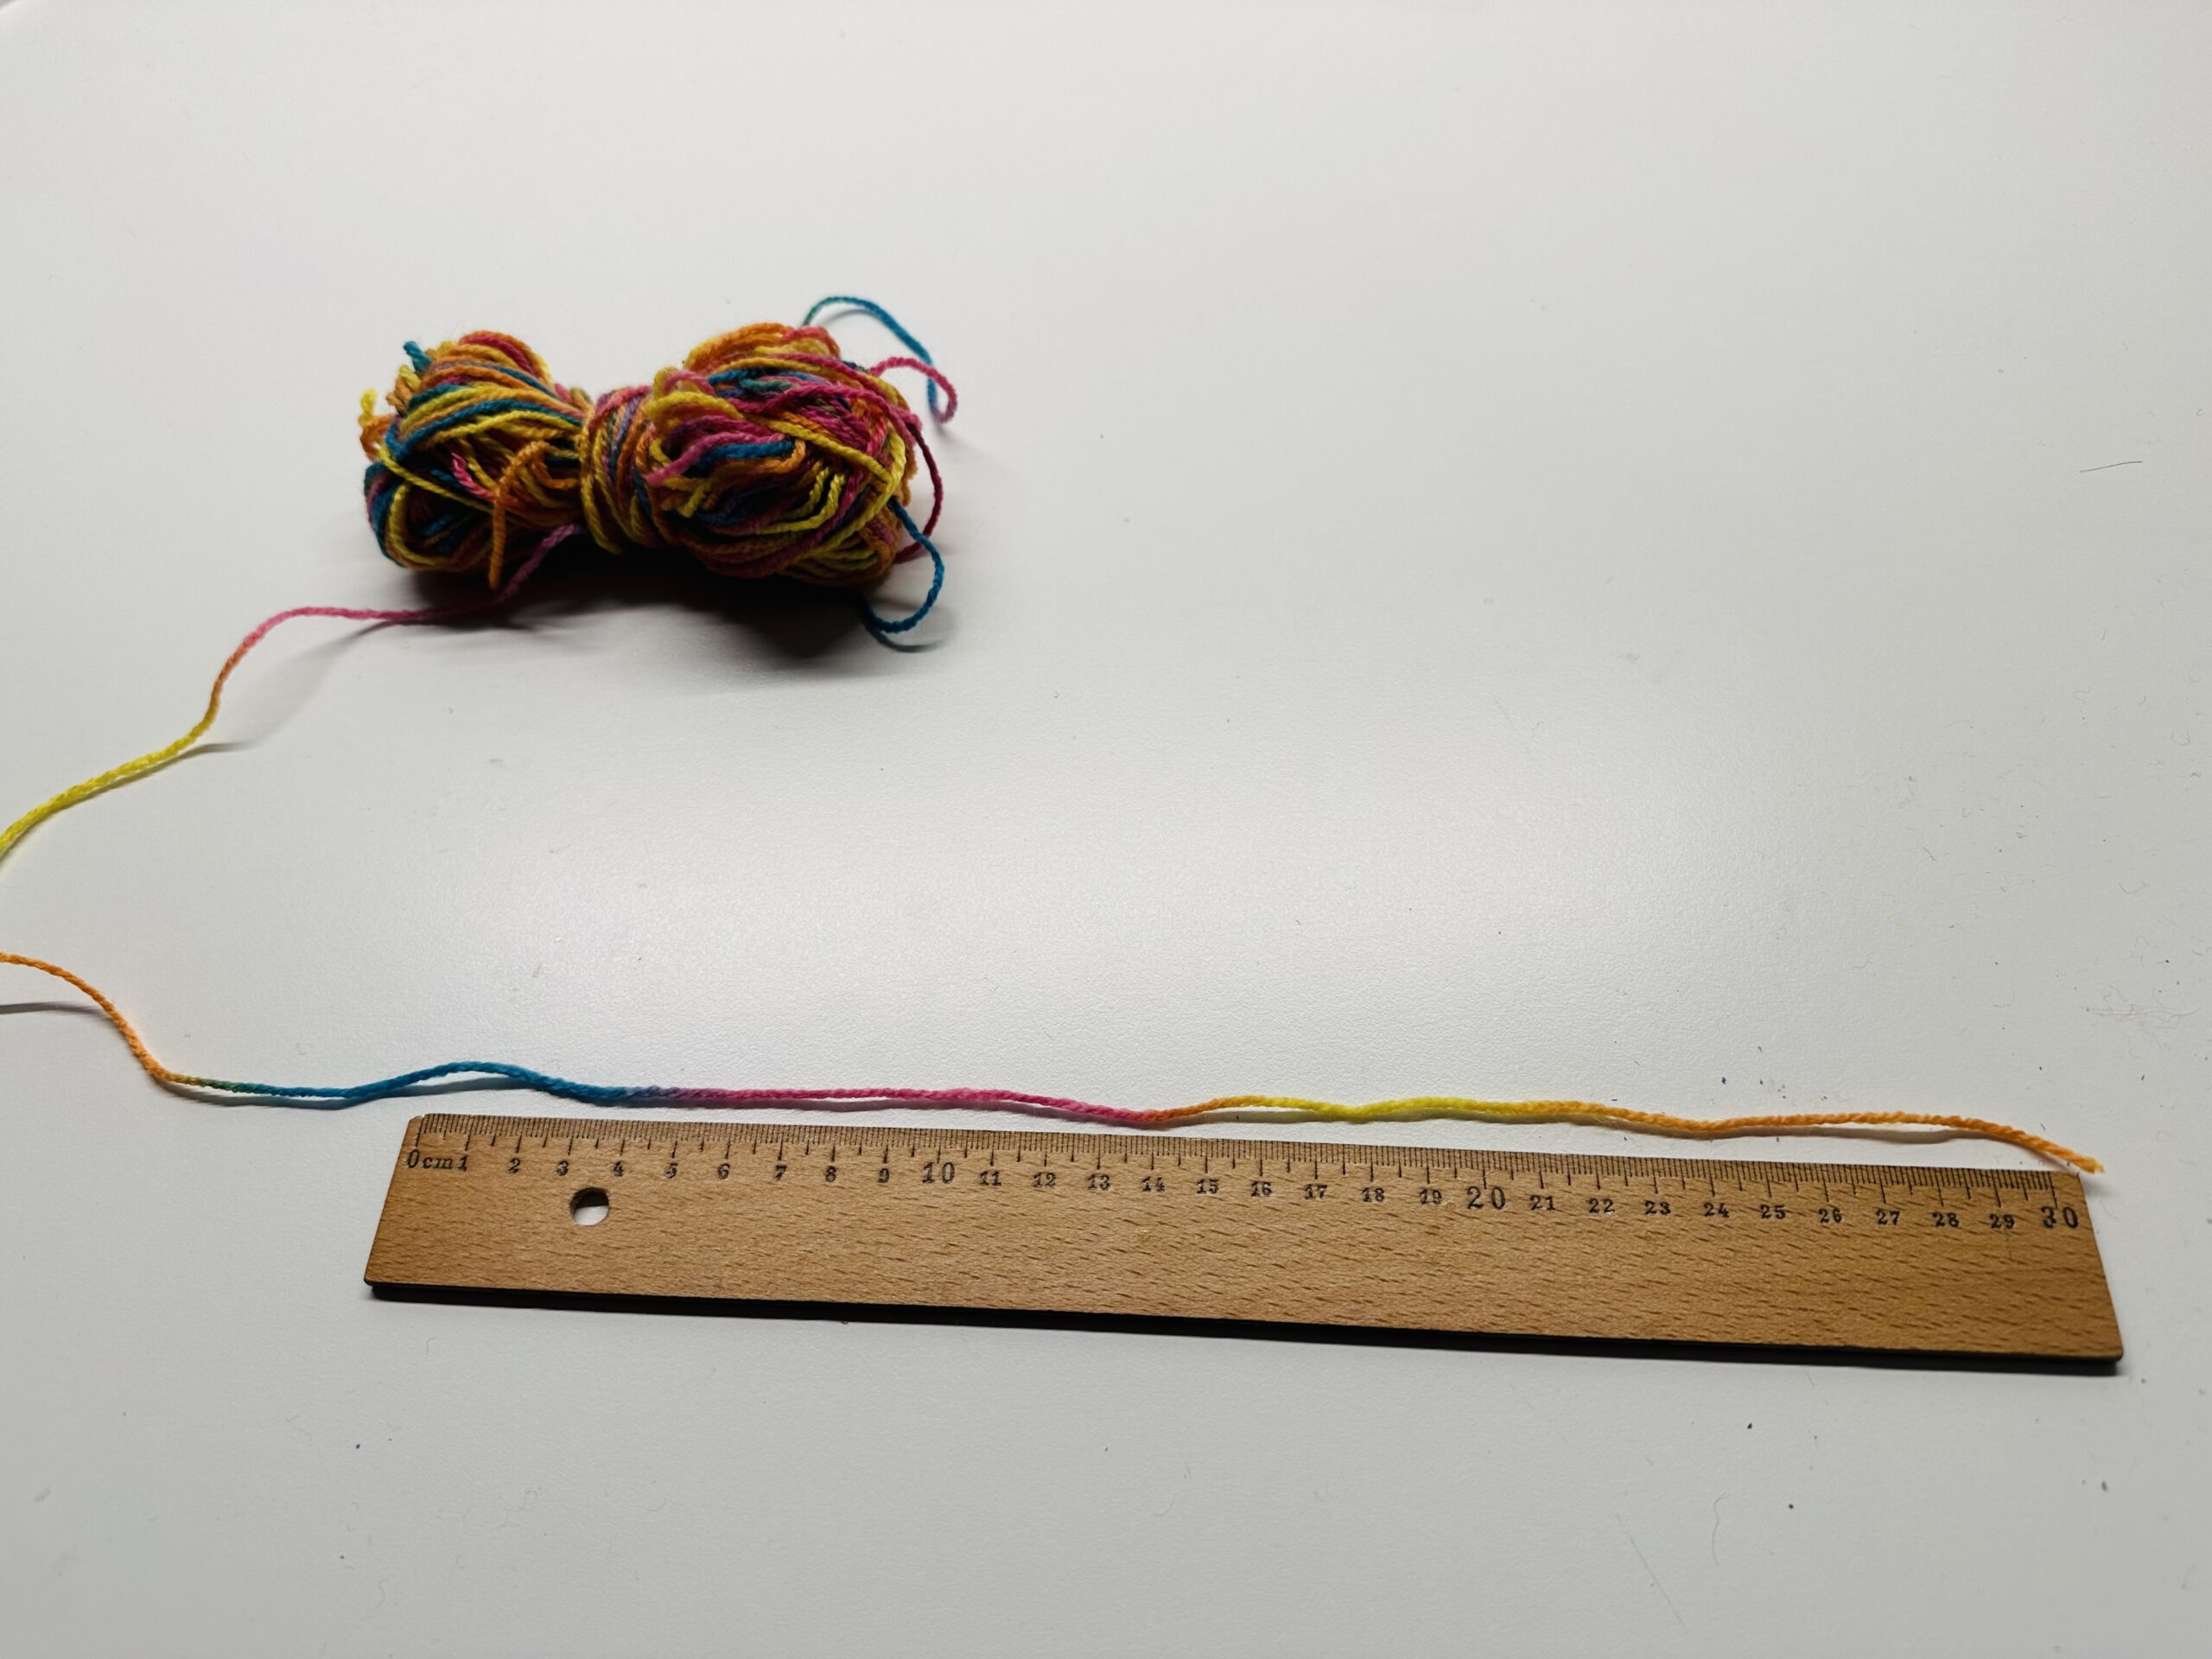
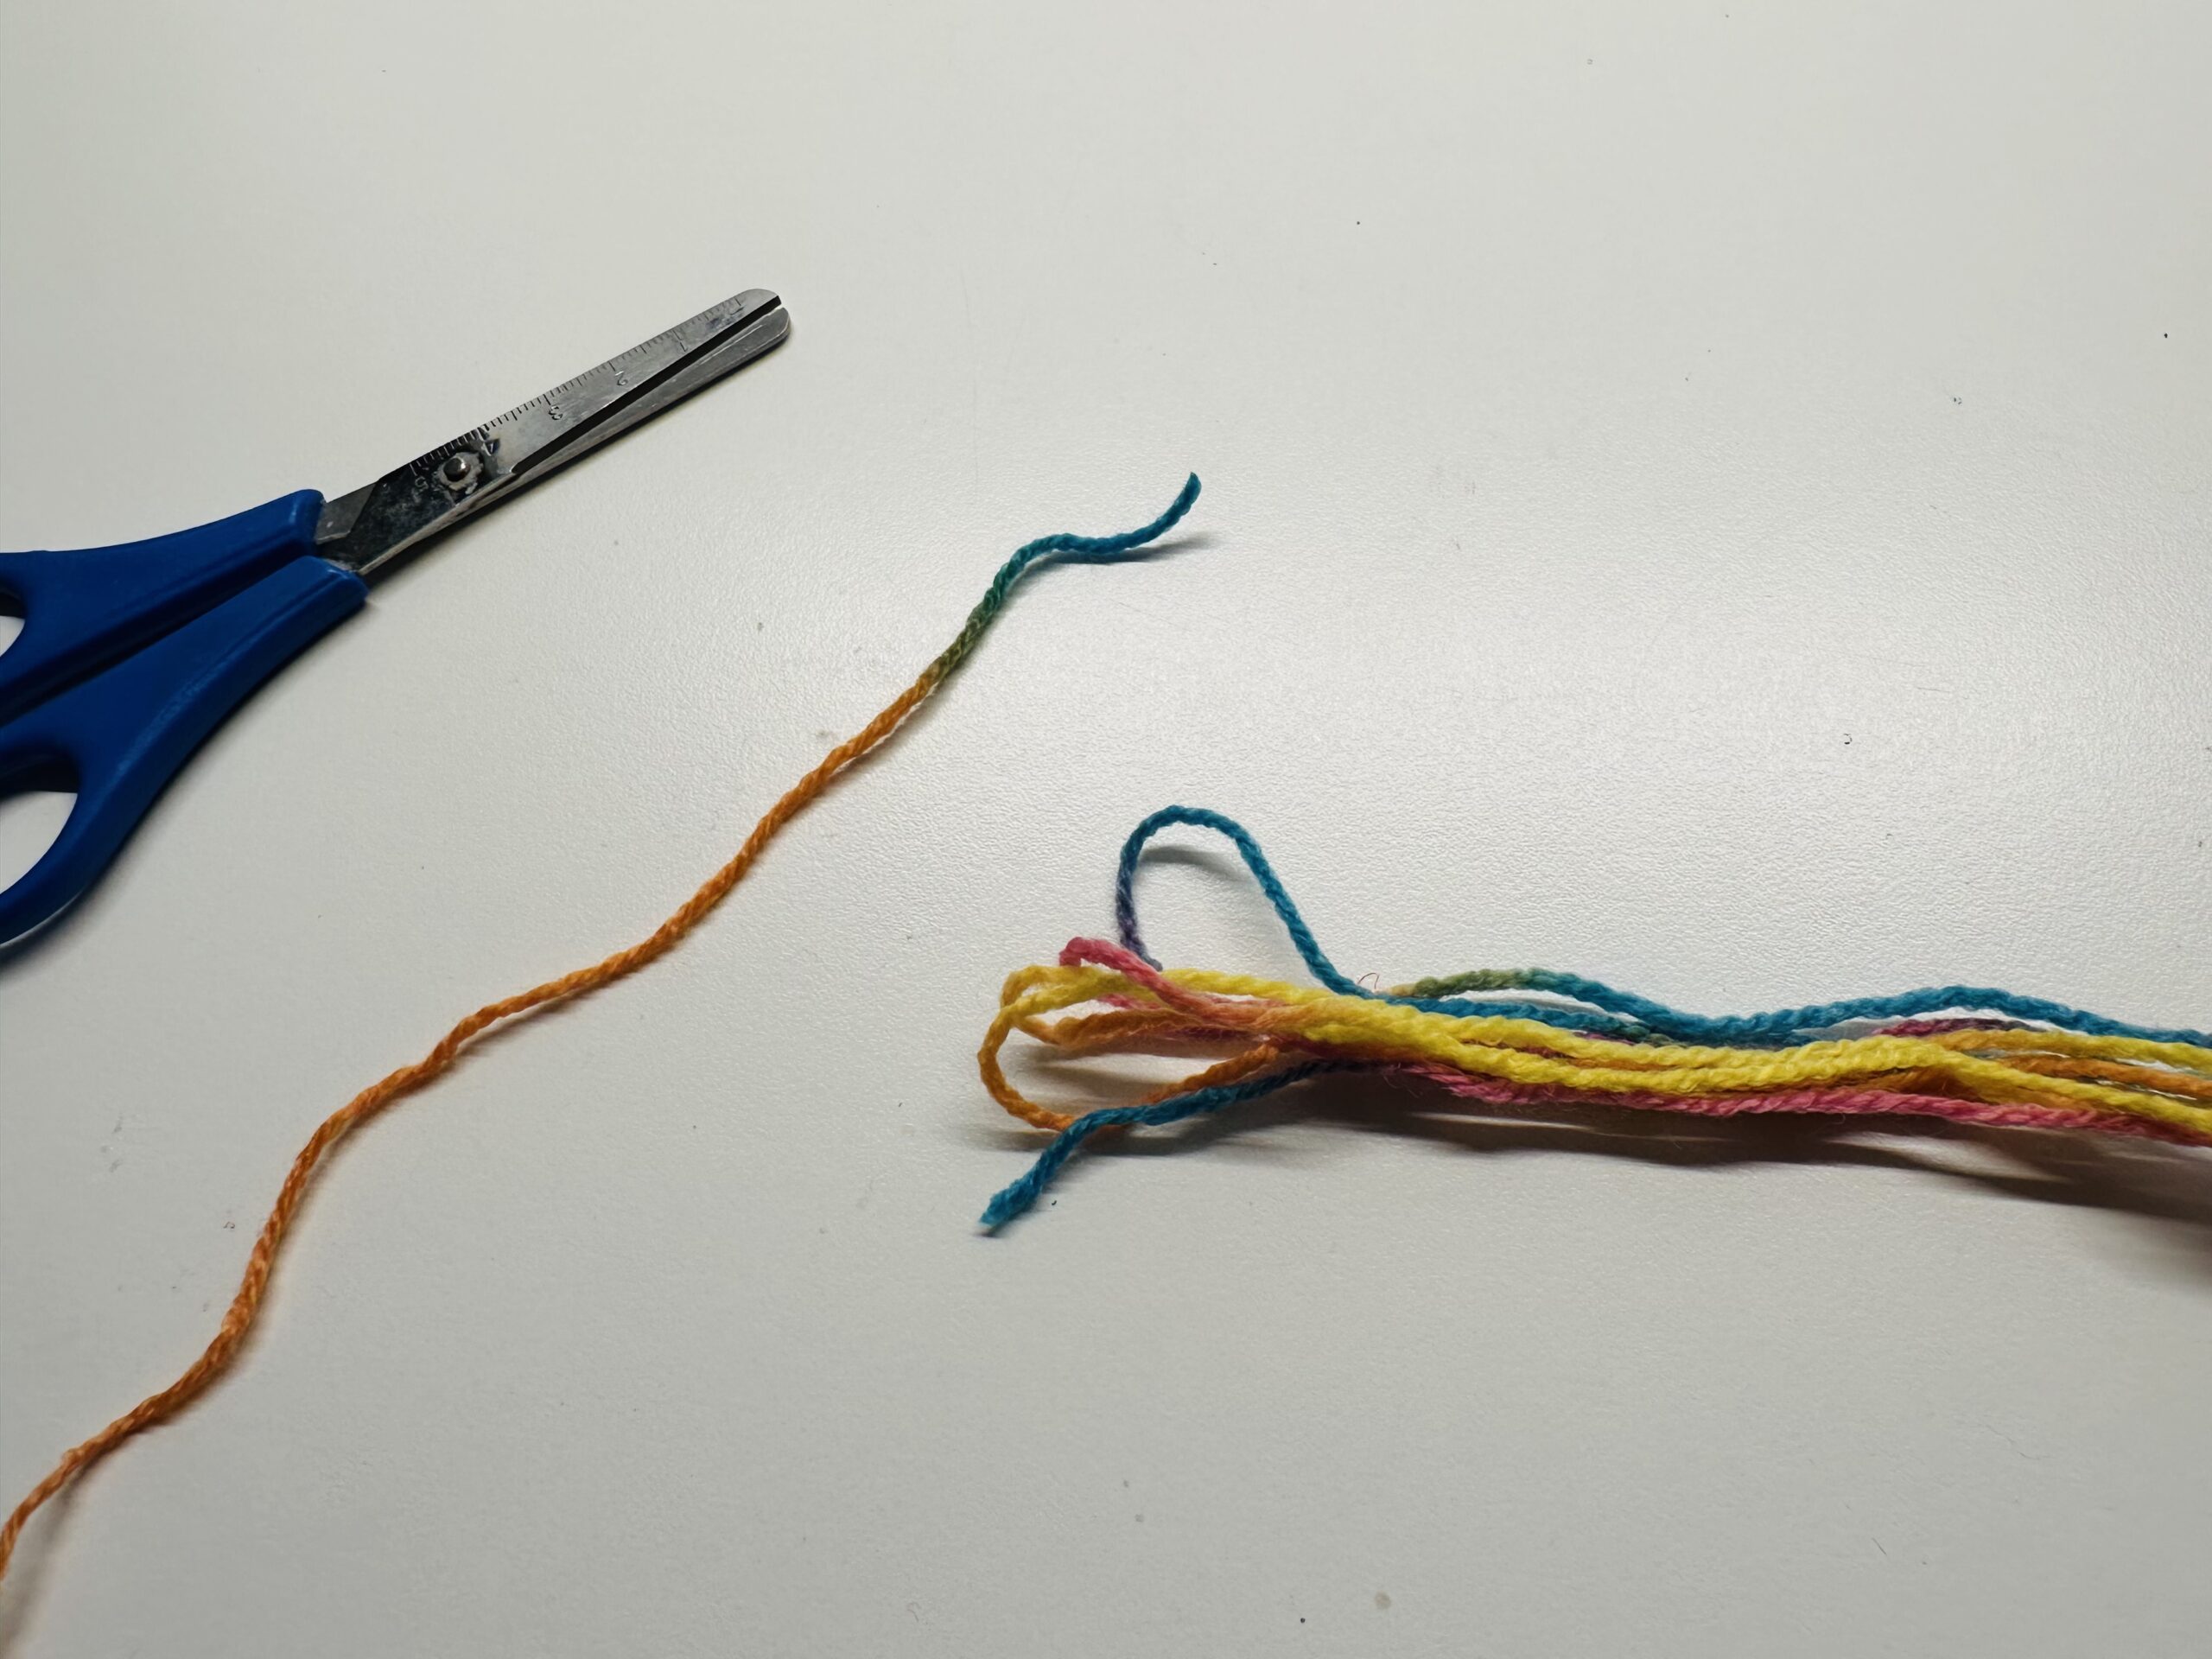
Measure at least 8-10 threads. If the wool is very thin you need more threads.
The more threads, the thicker the snake.
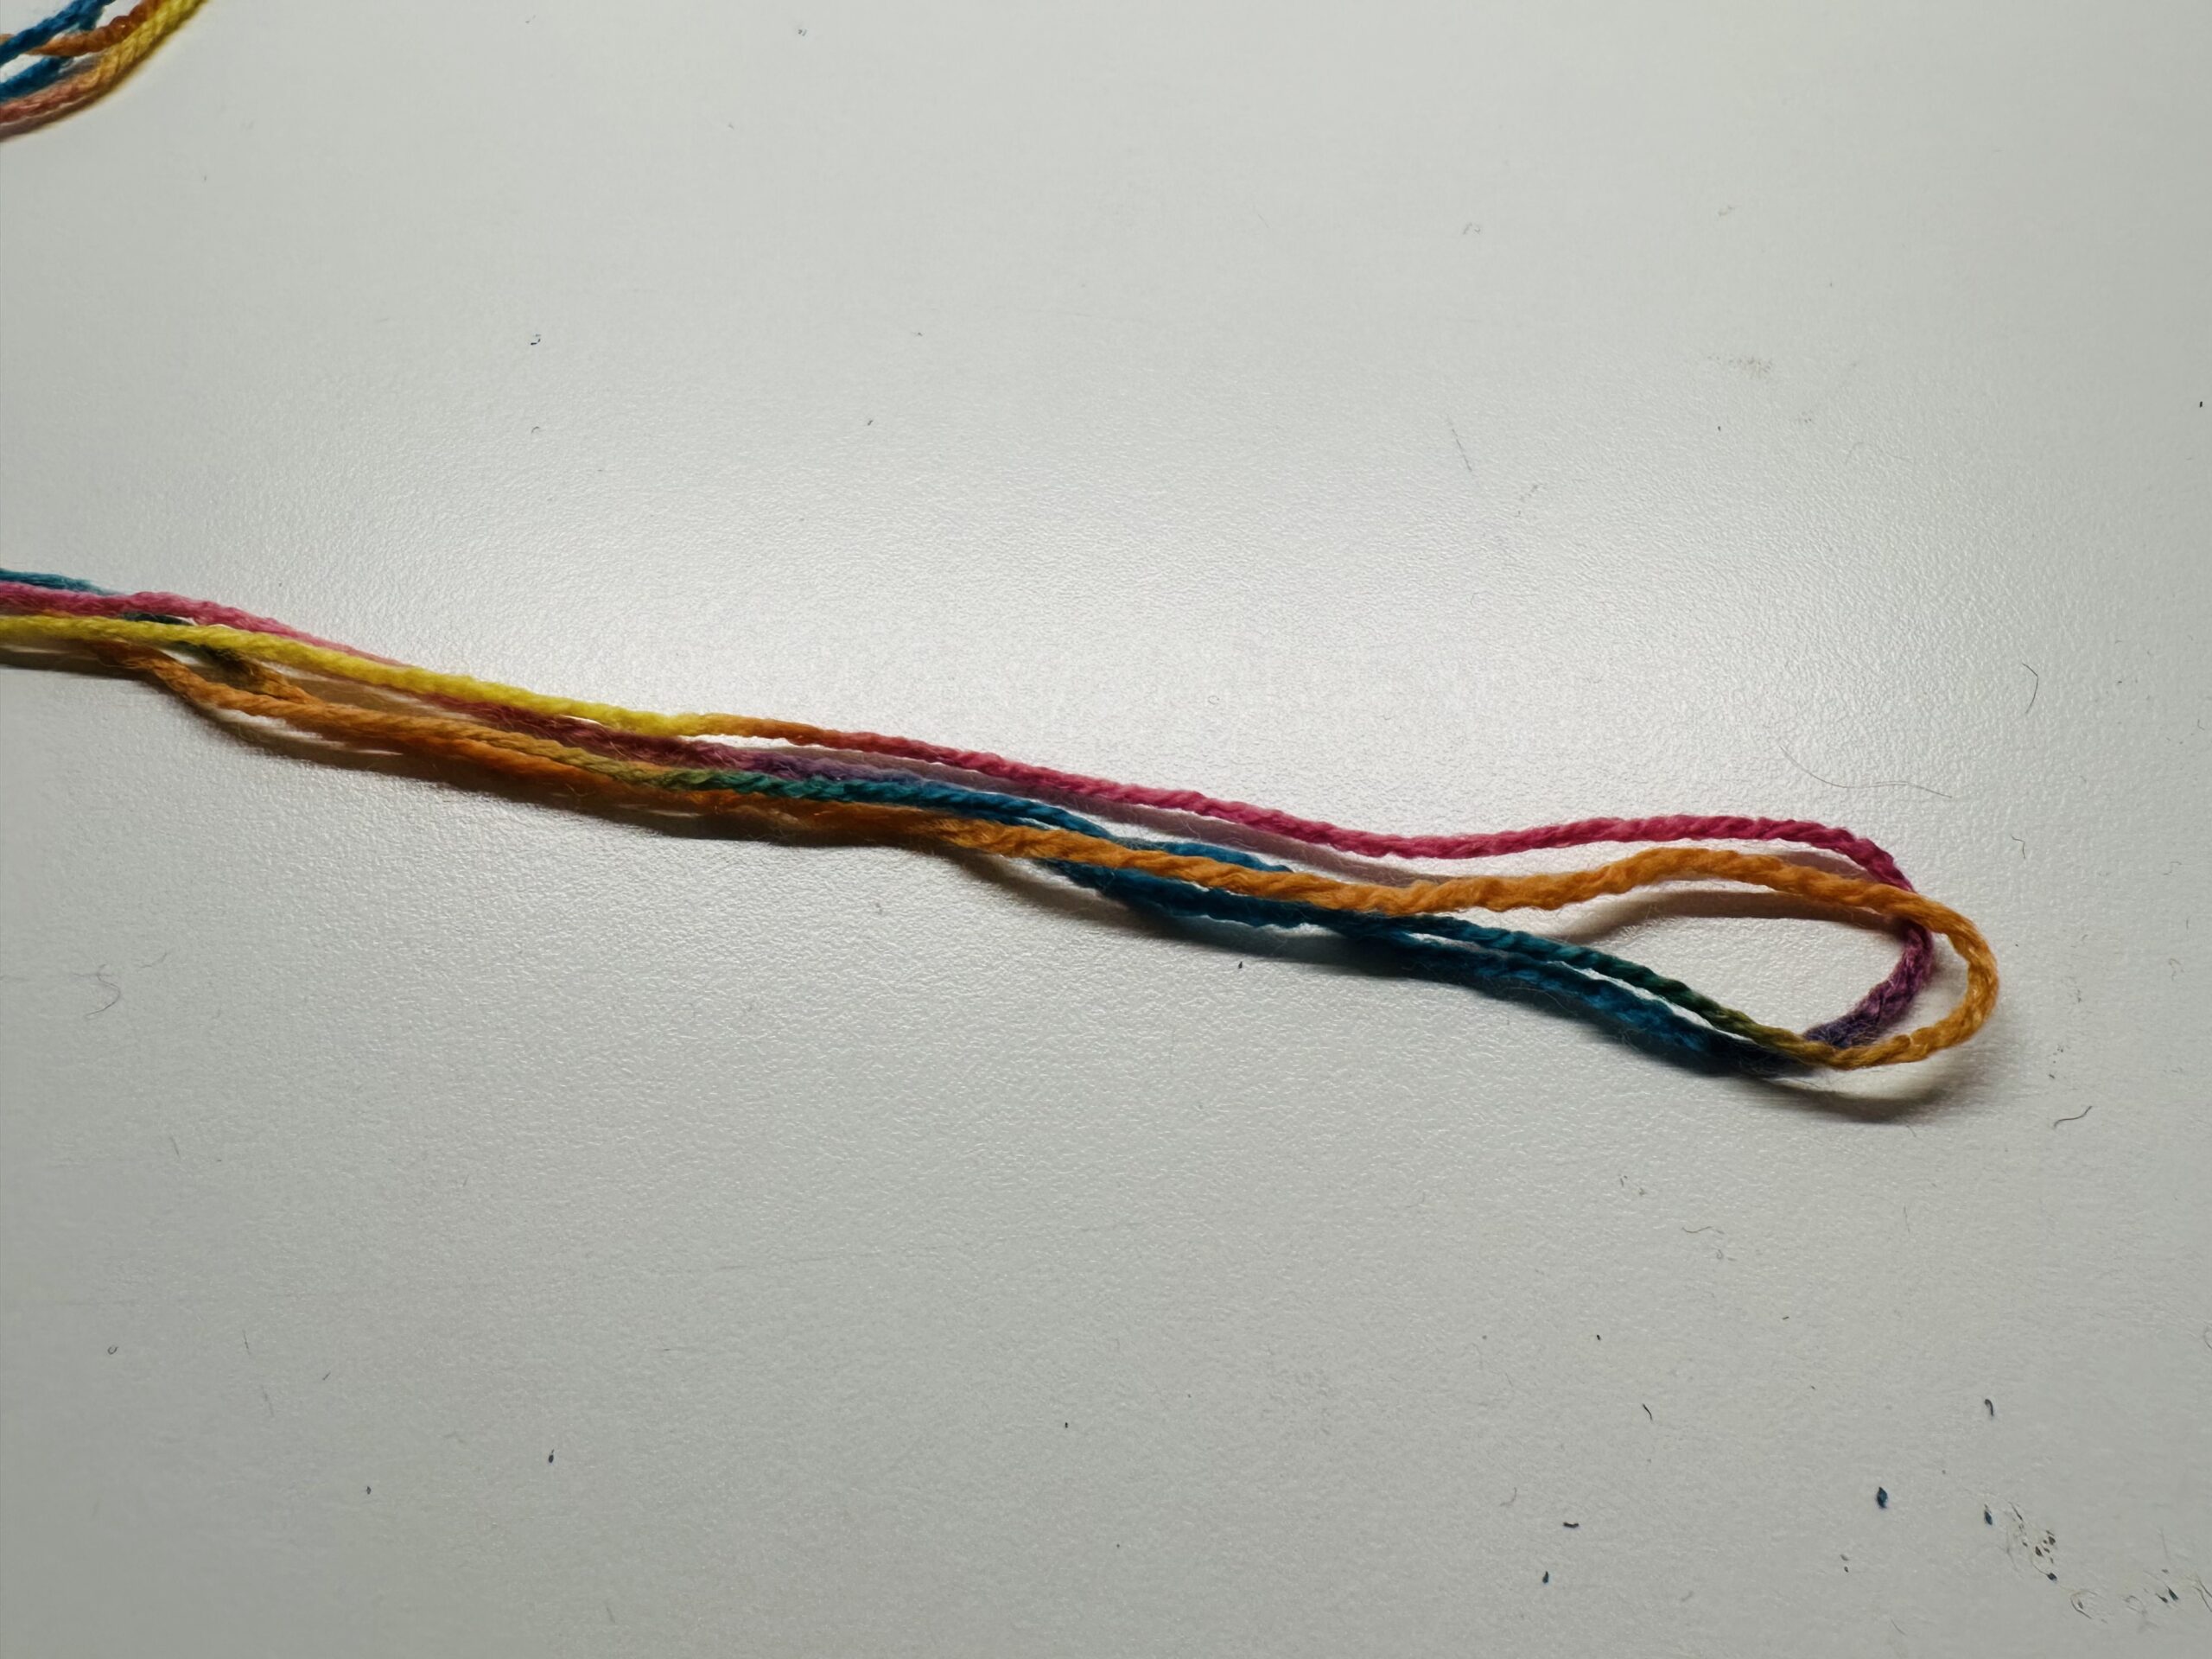
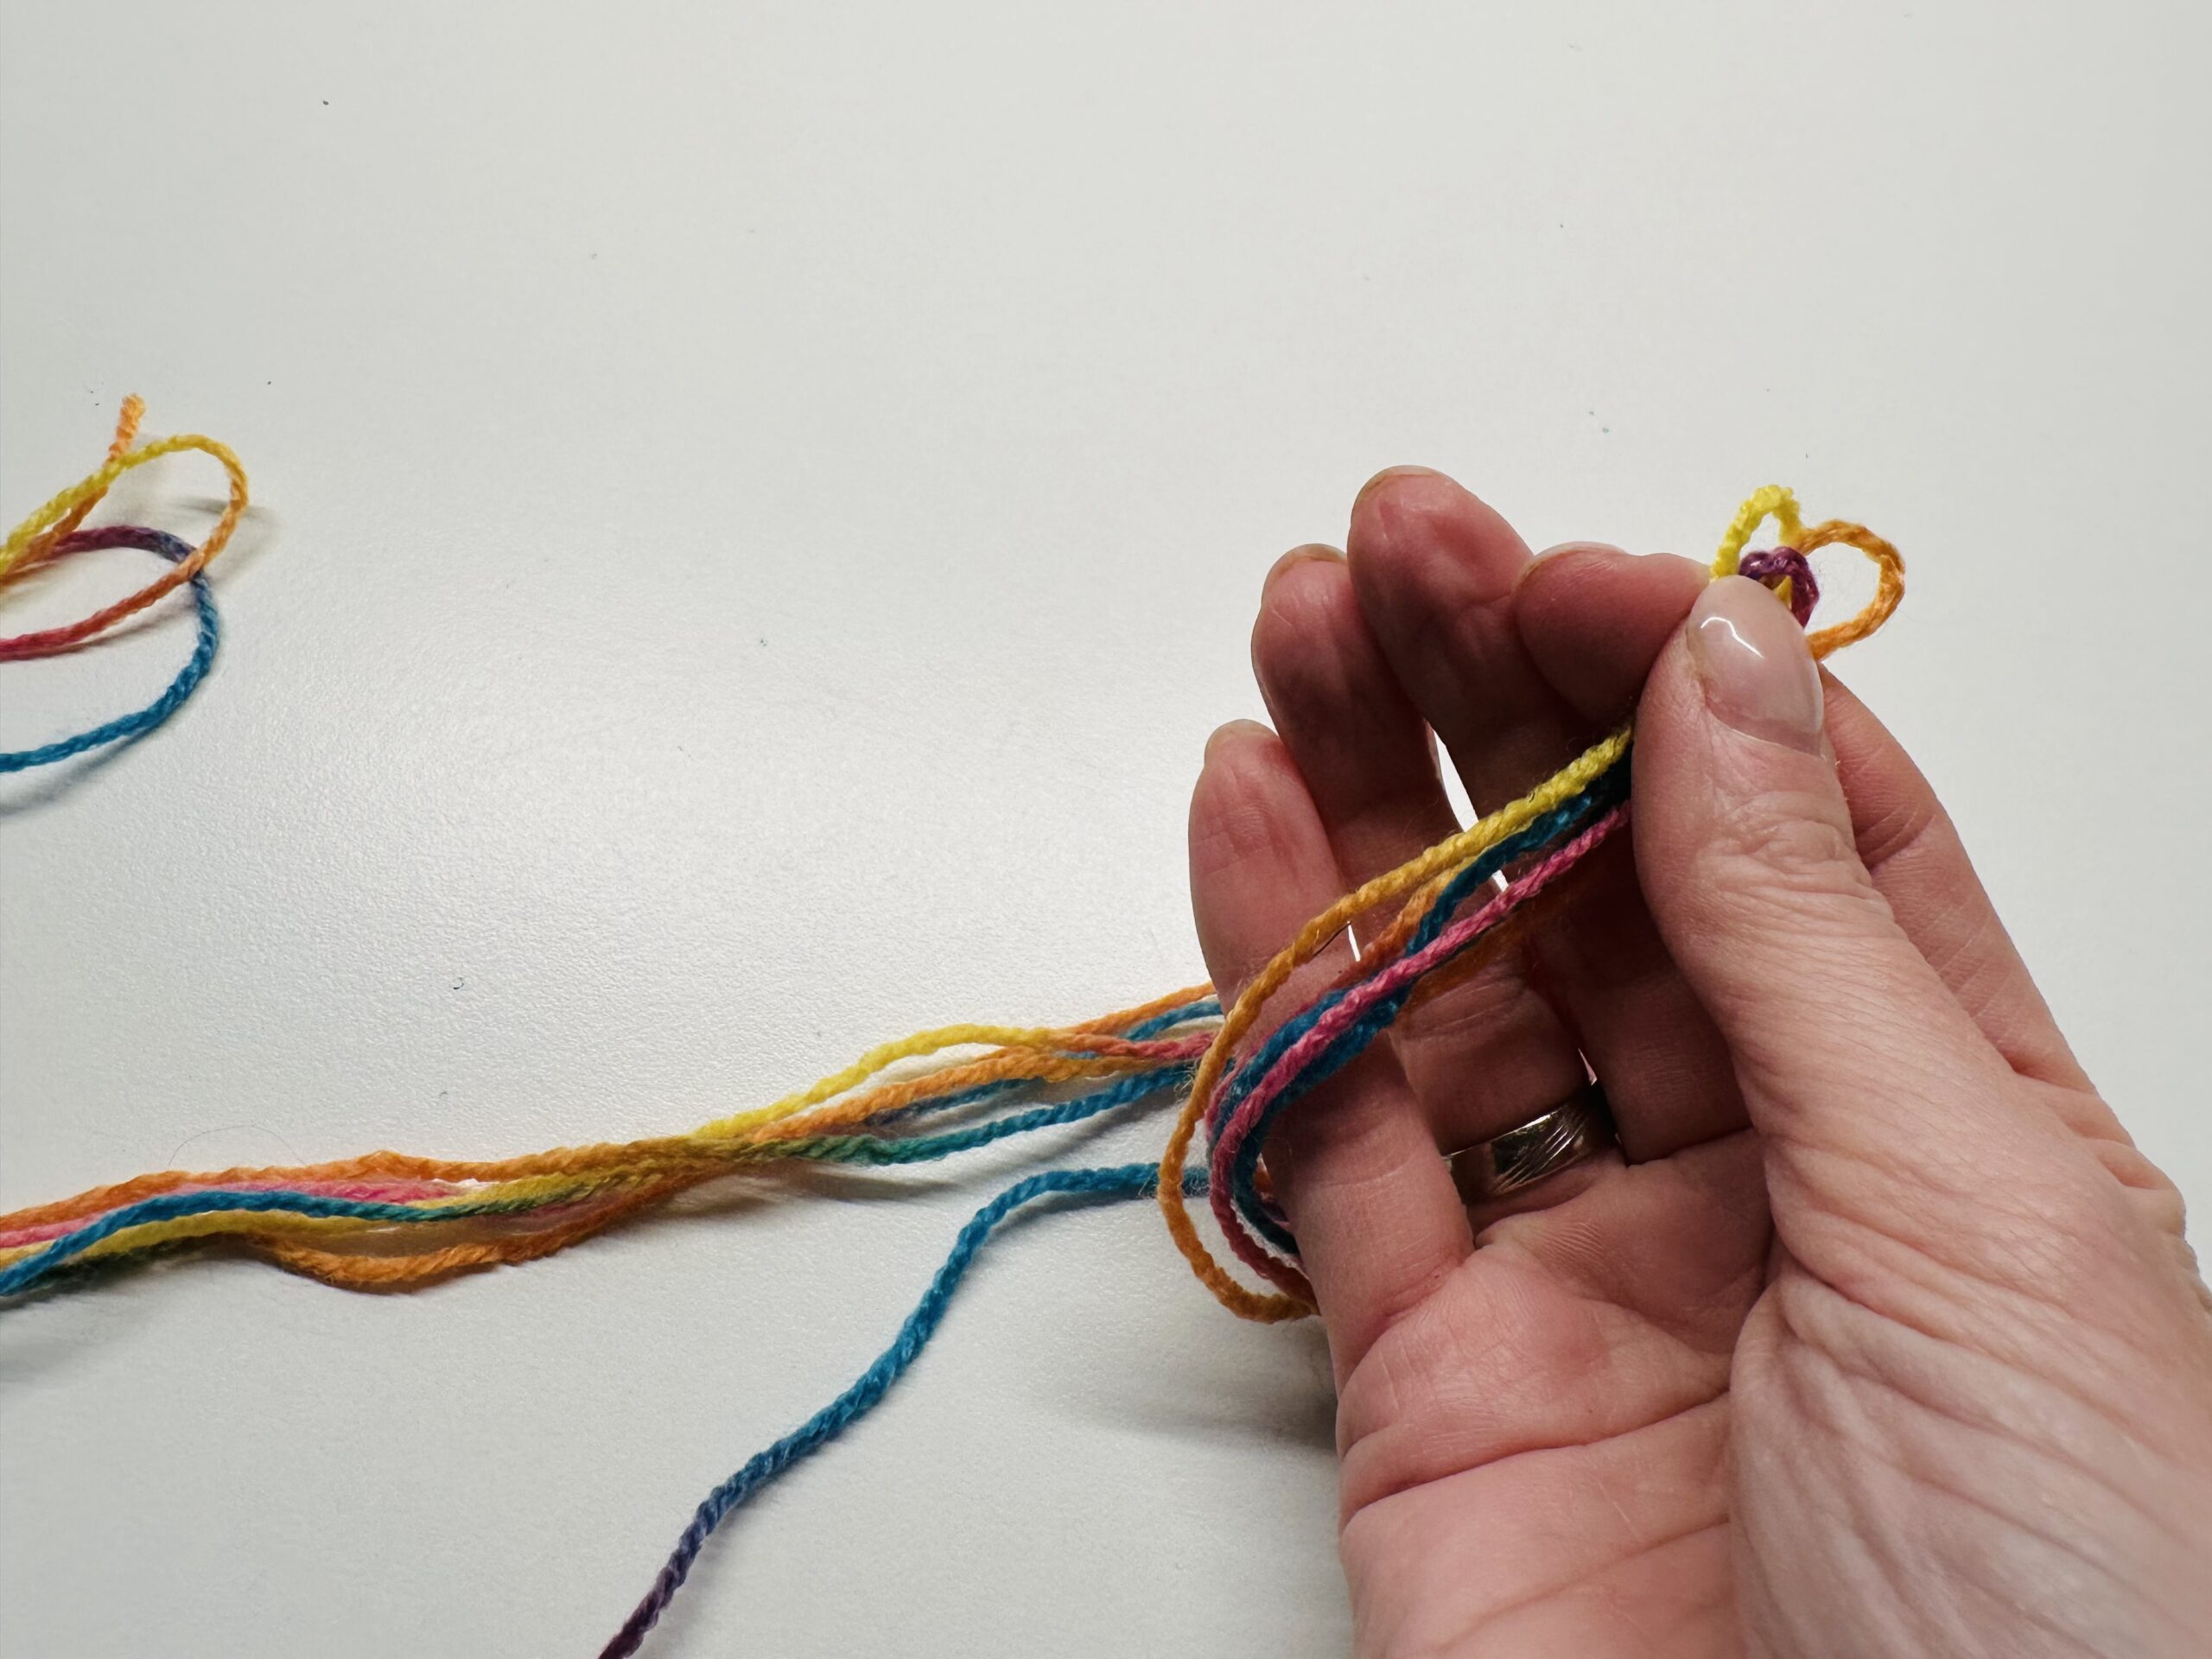
All the ends of the thread now lie on each other.
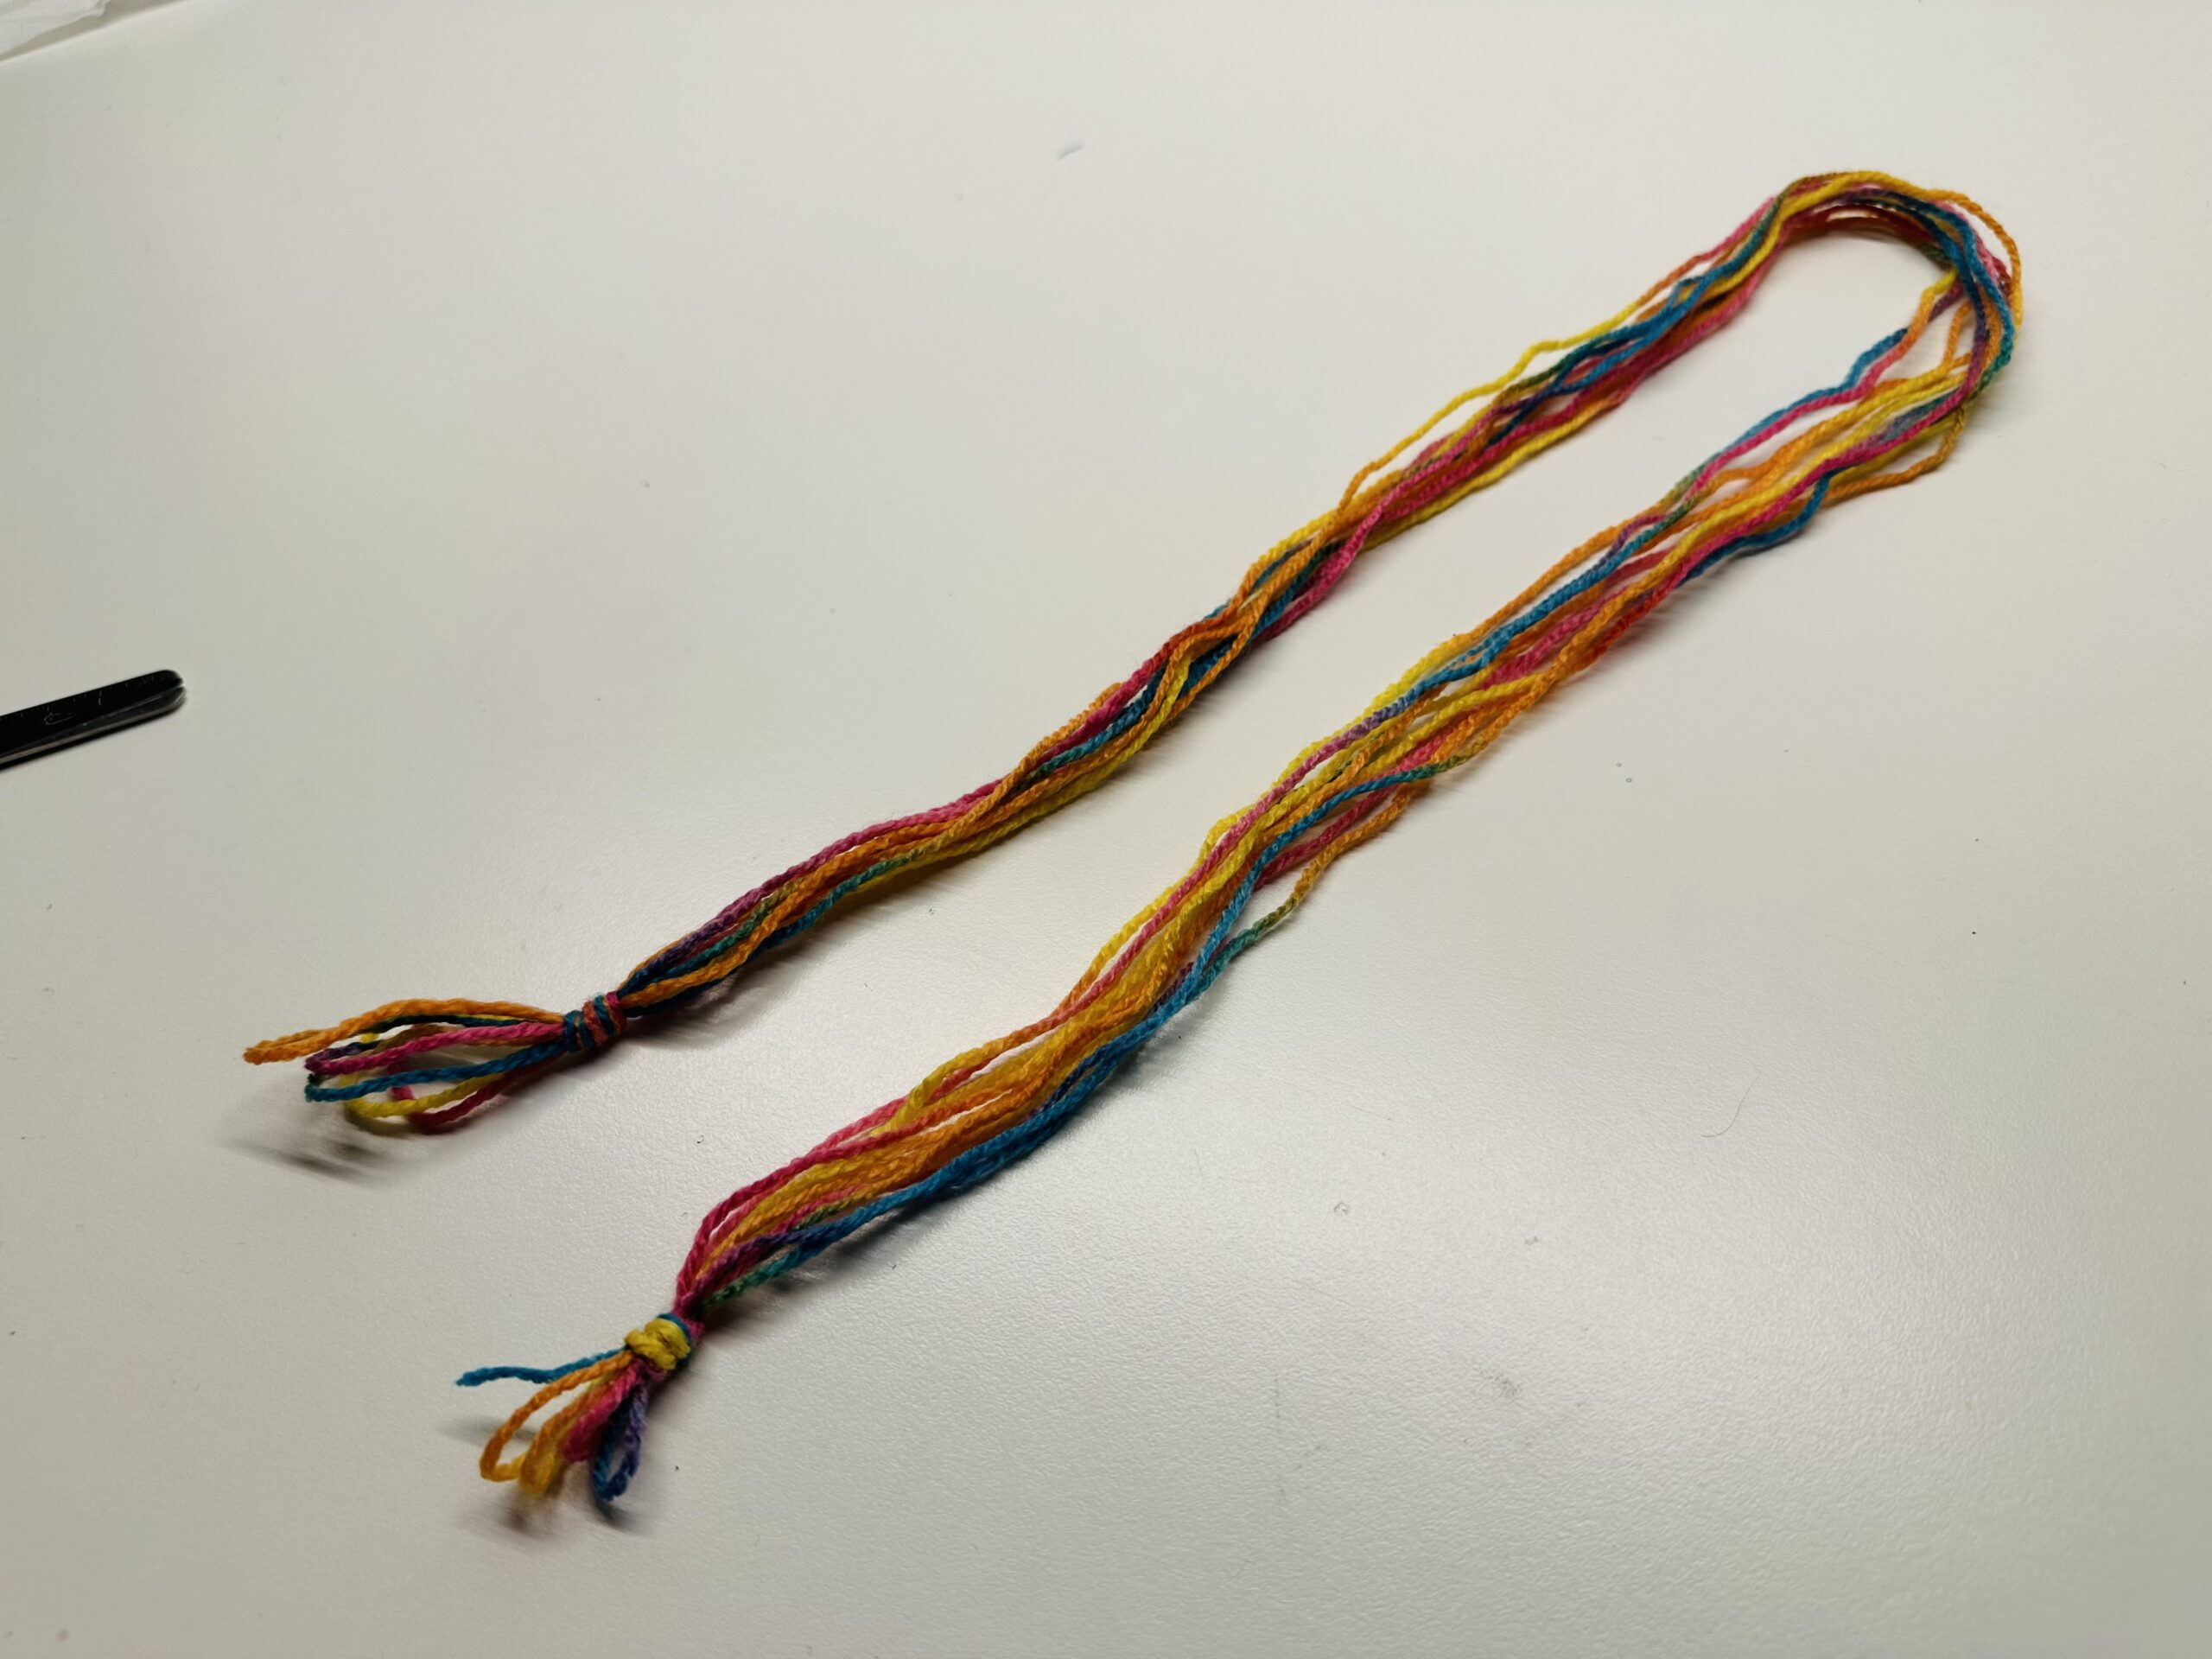
Make a knot at the end of all threads.
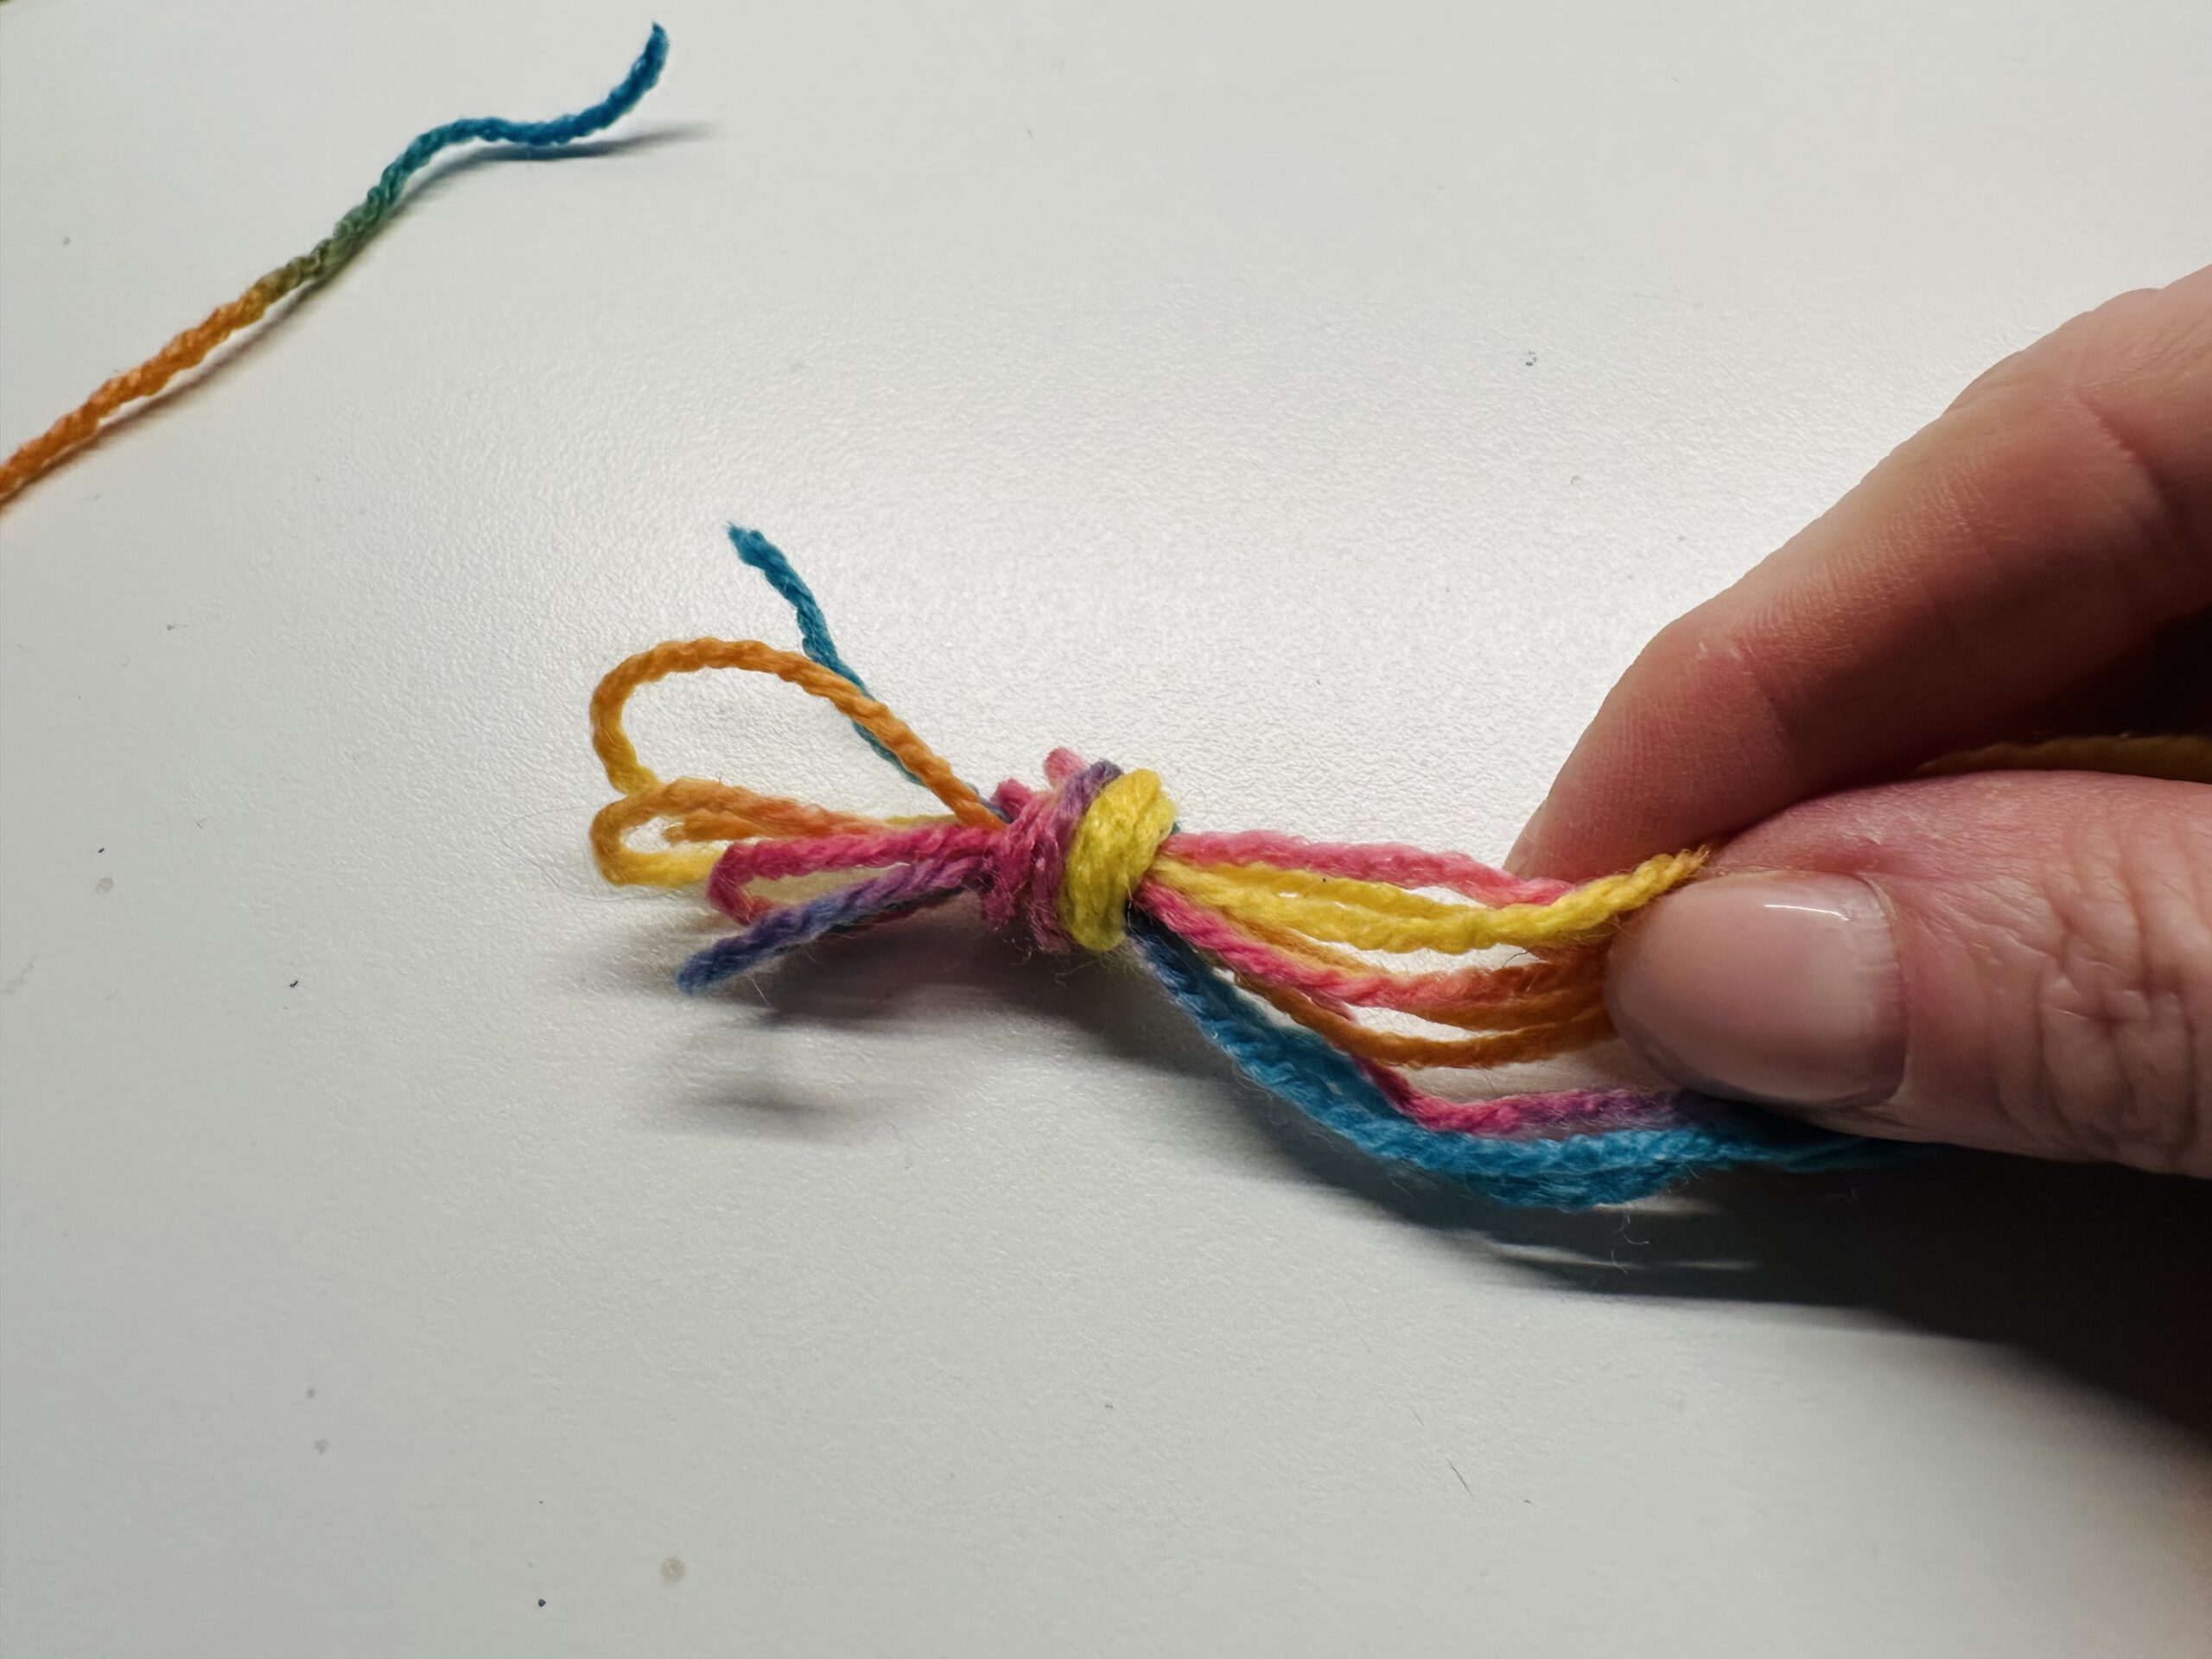
At the other end, too, you have to make a knot.
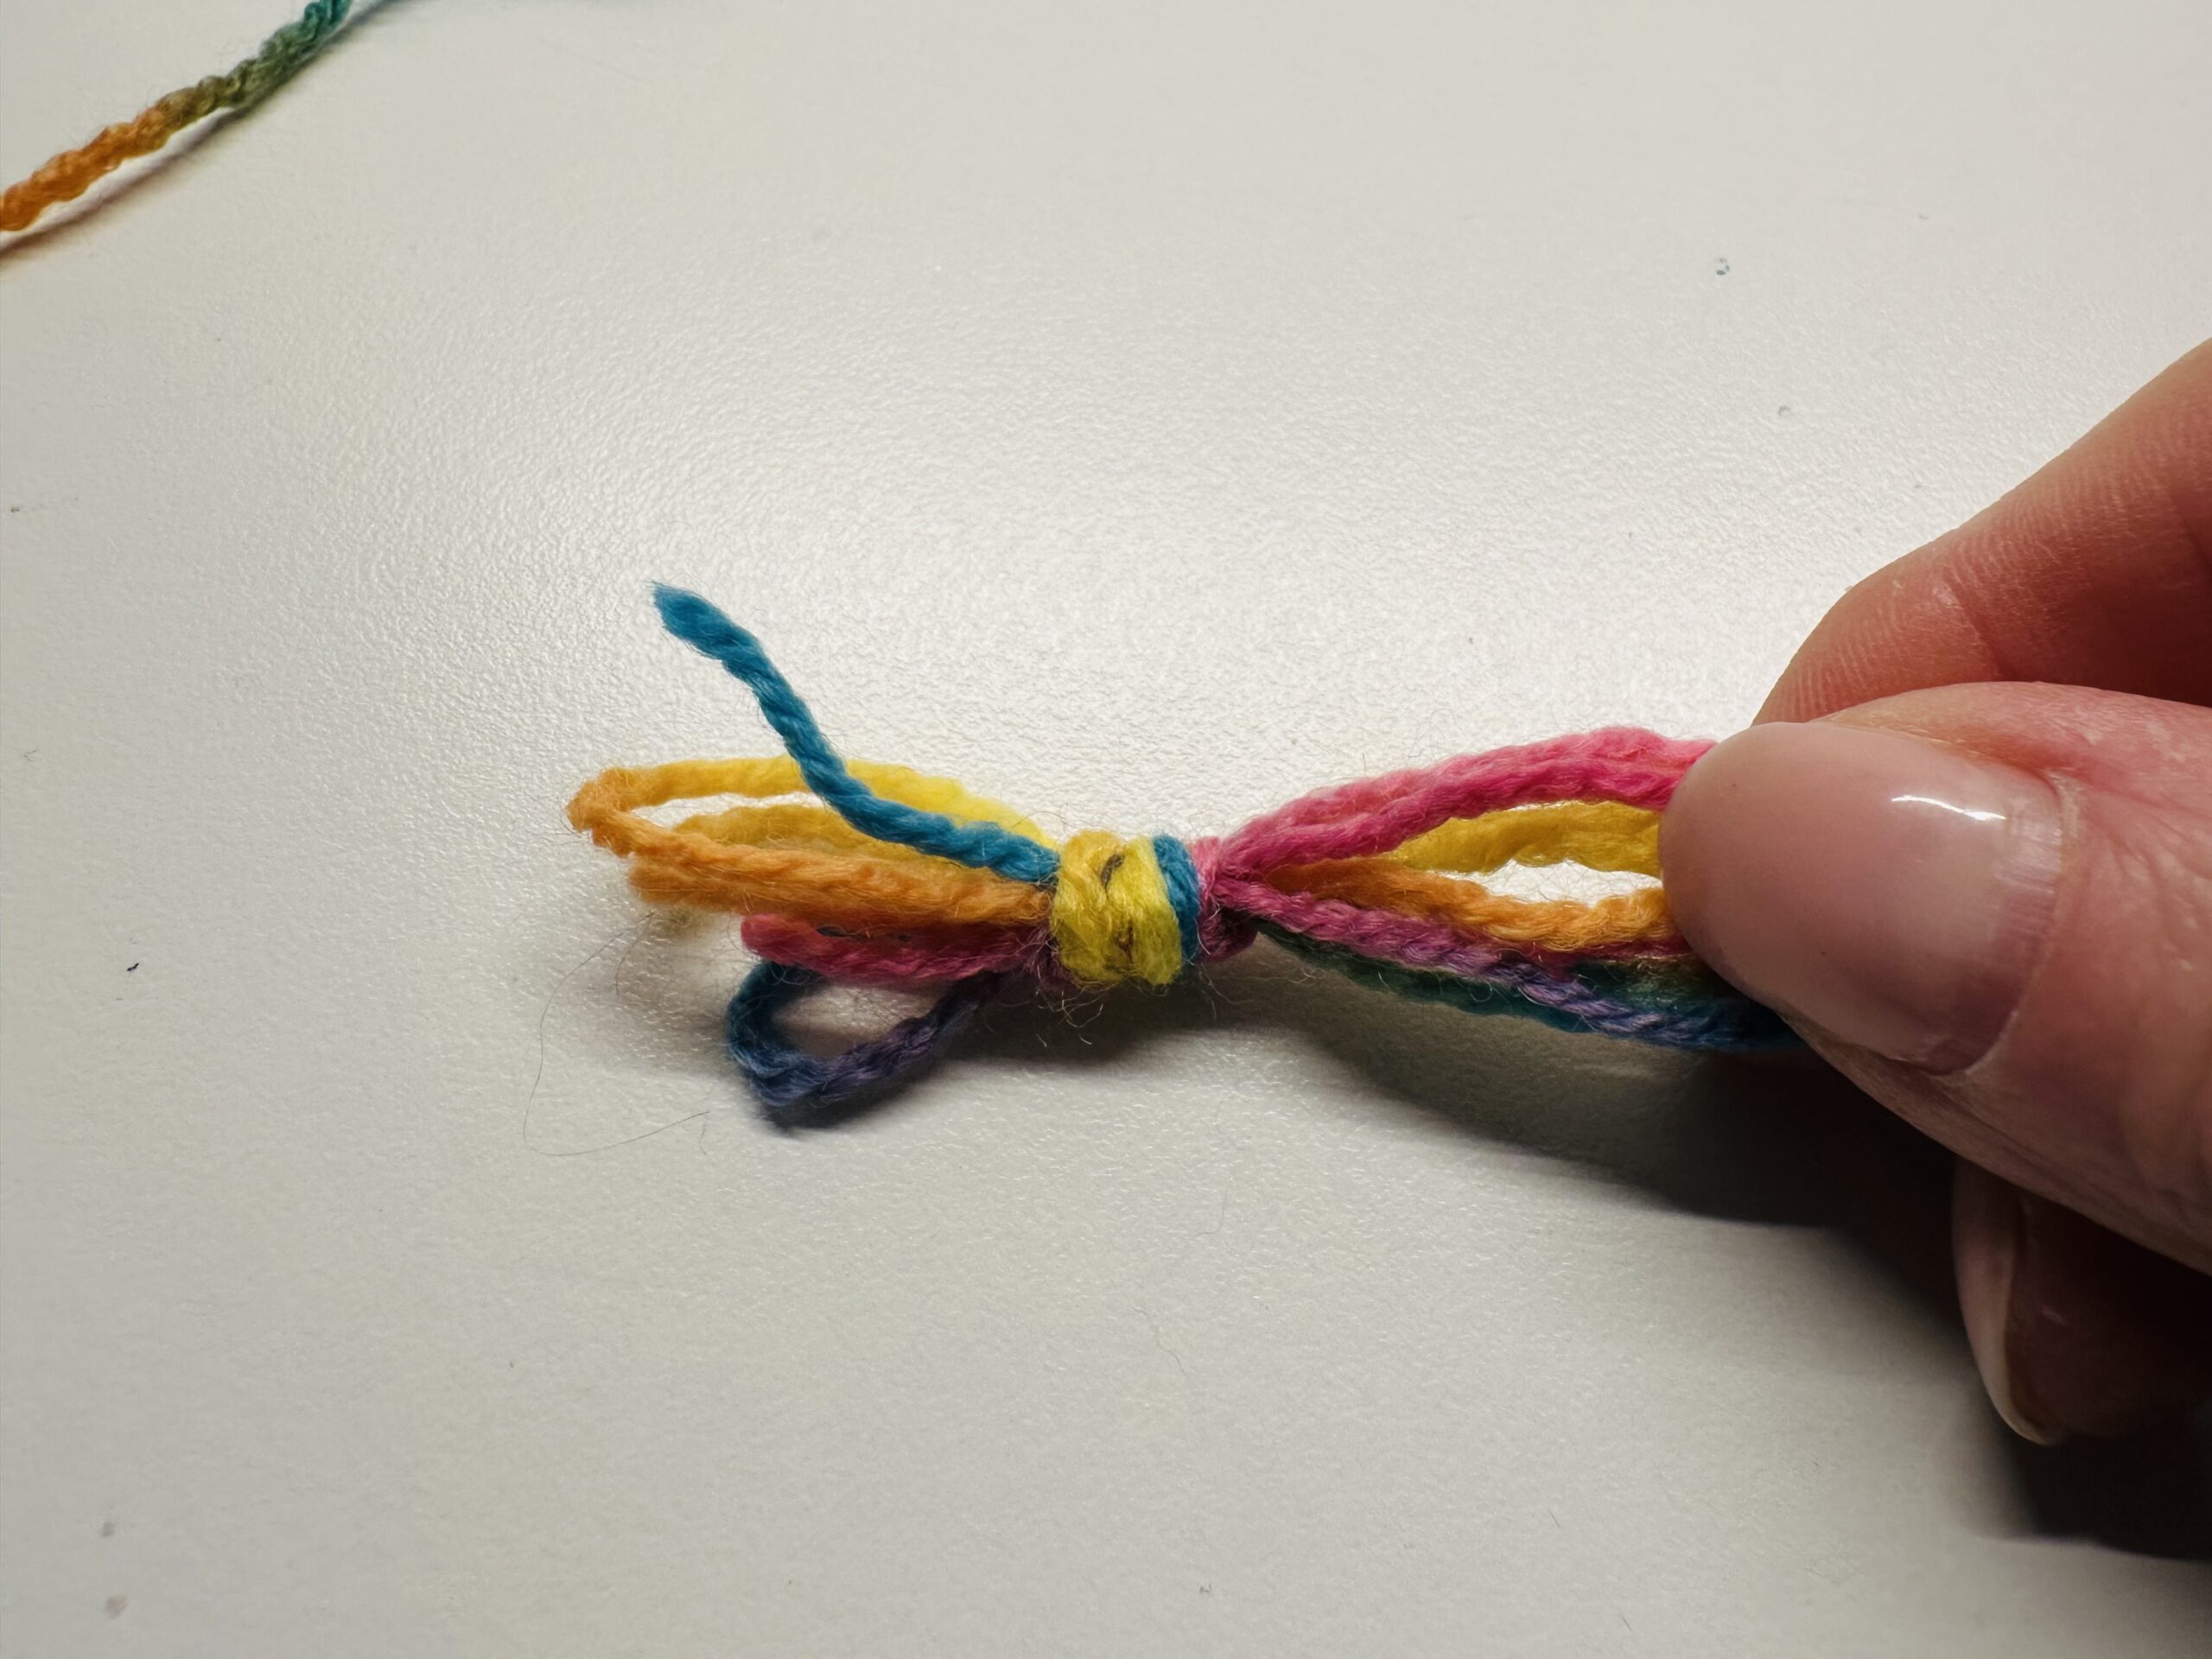
That's what it looks like.
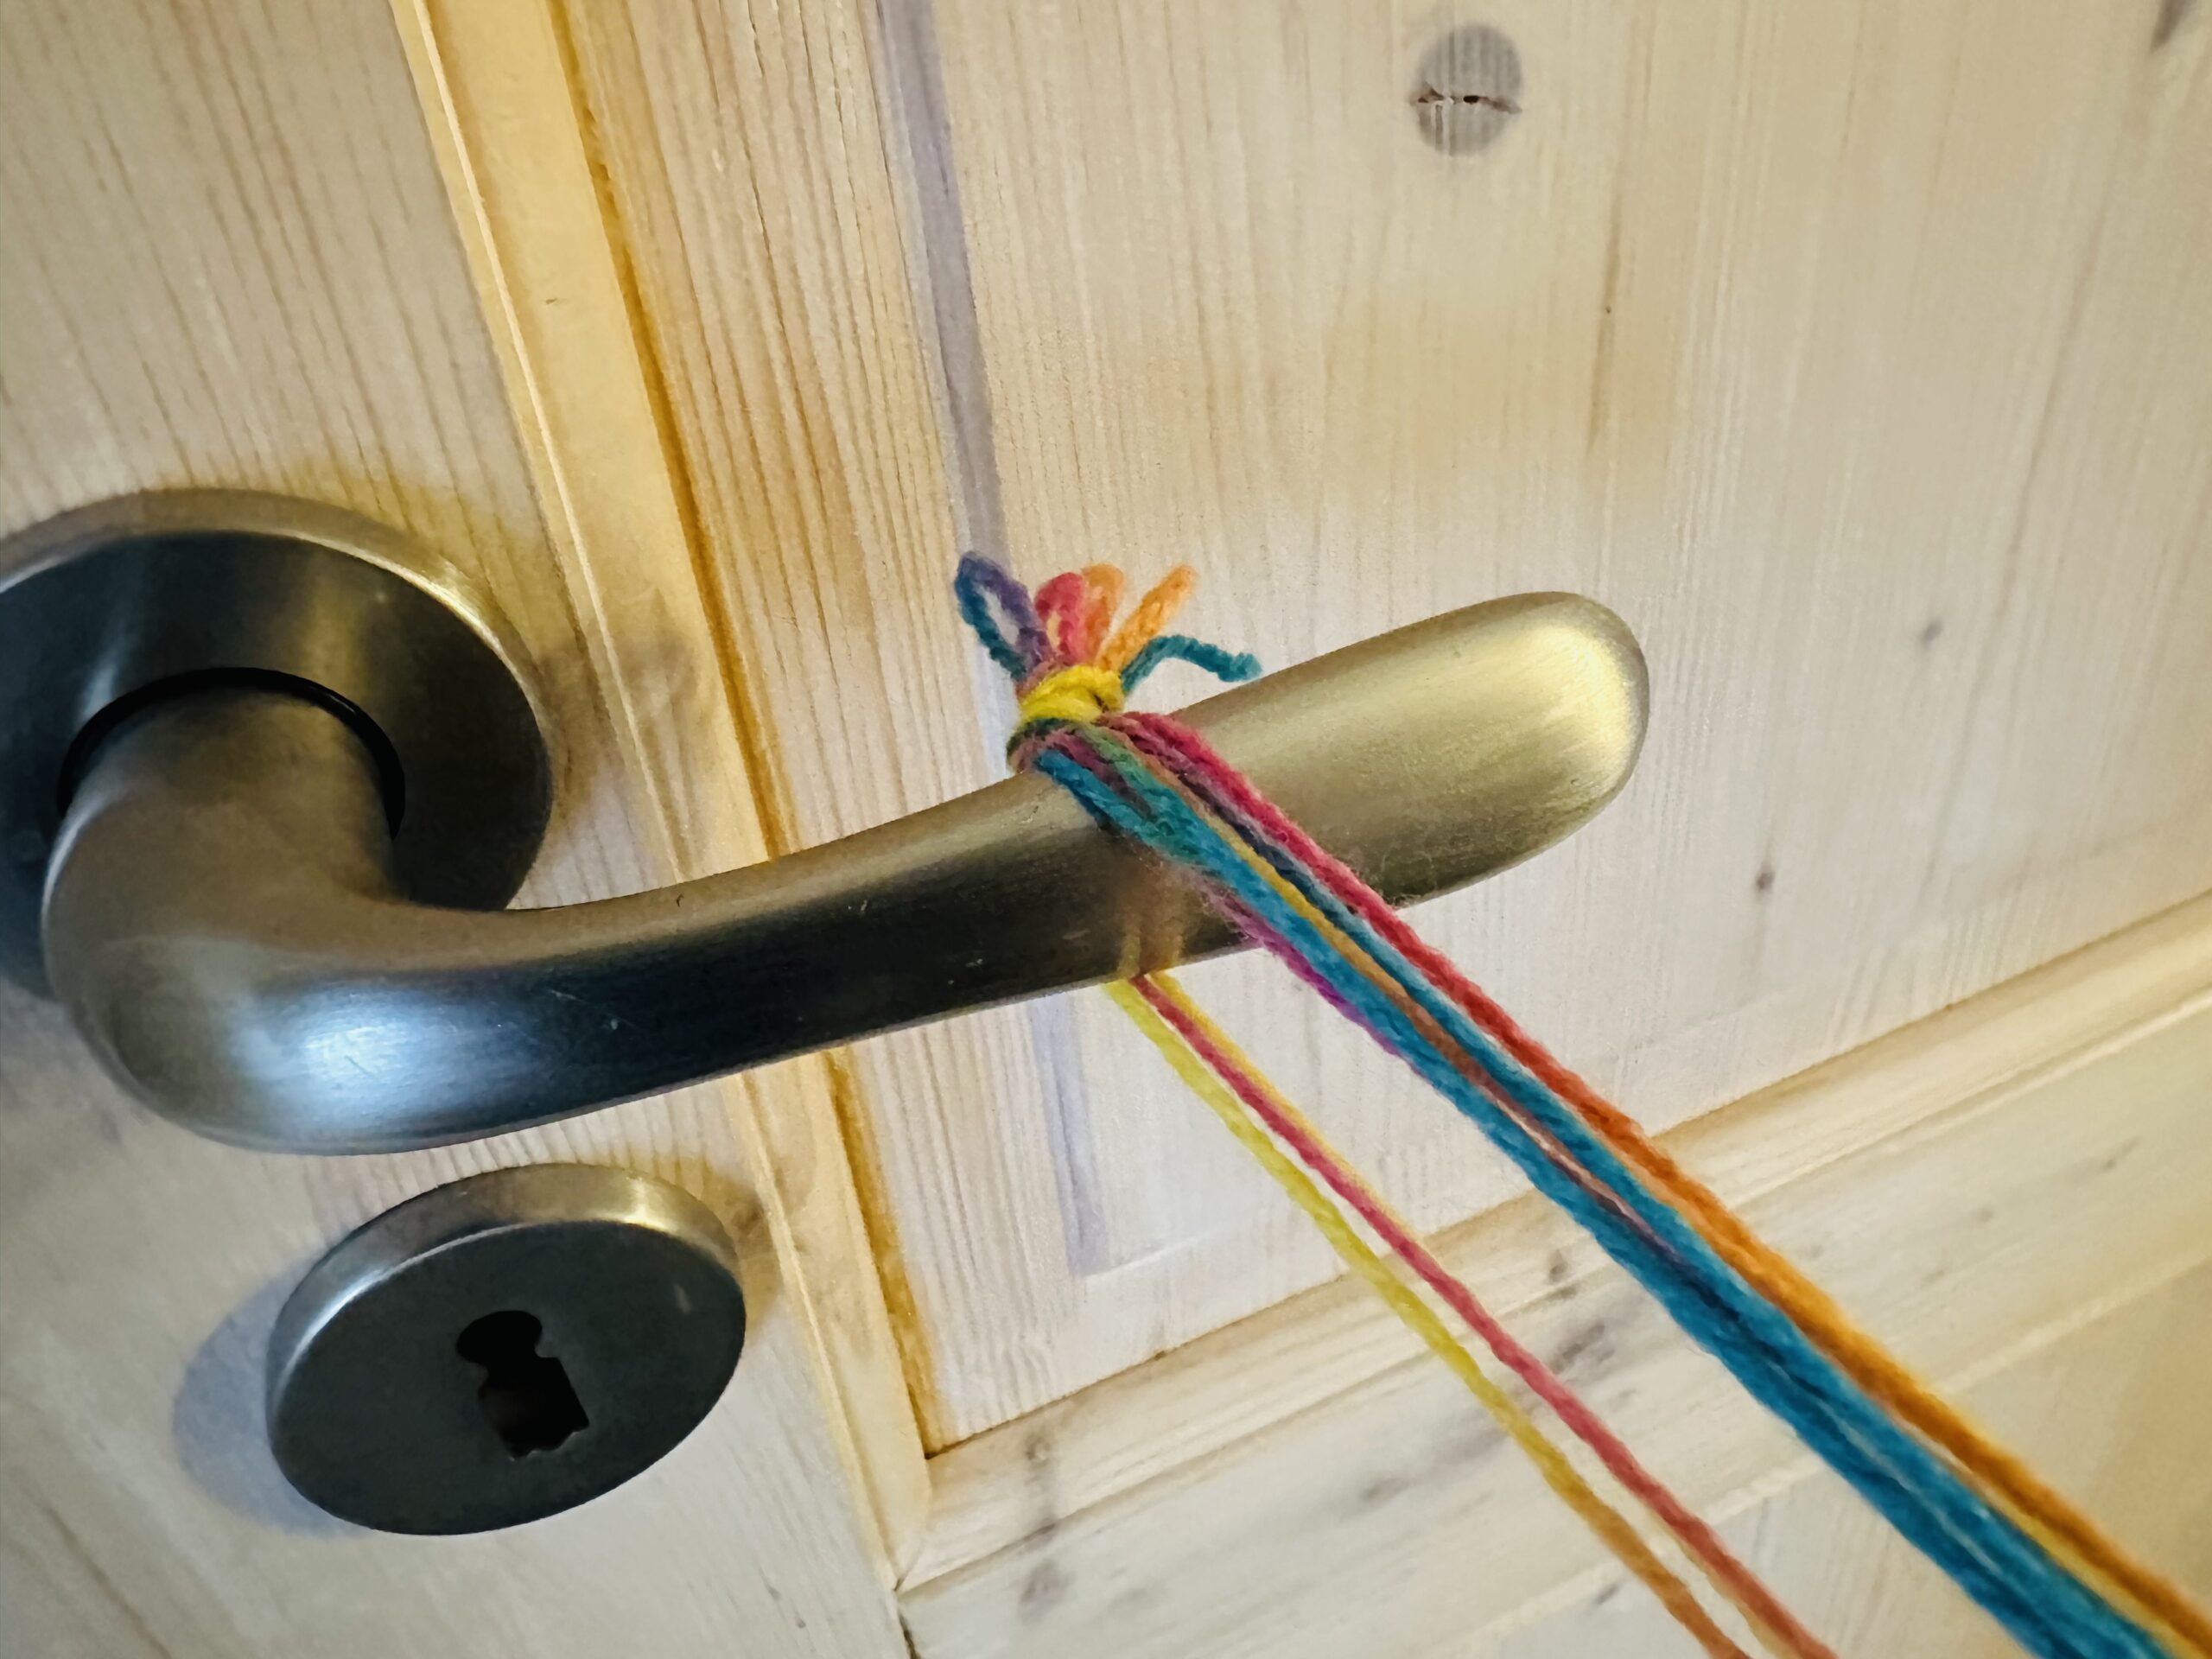
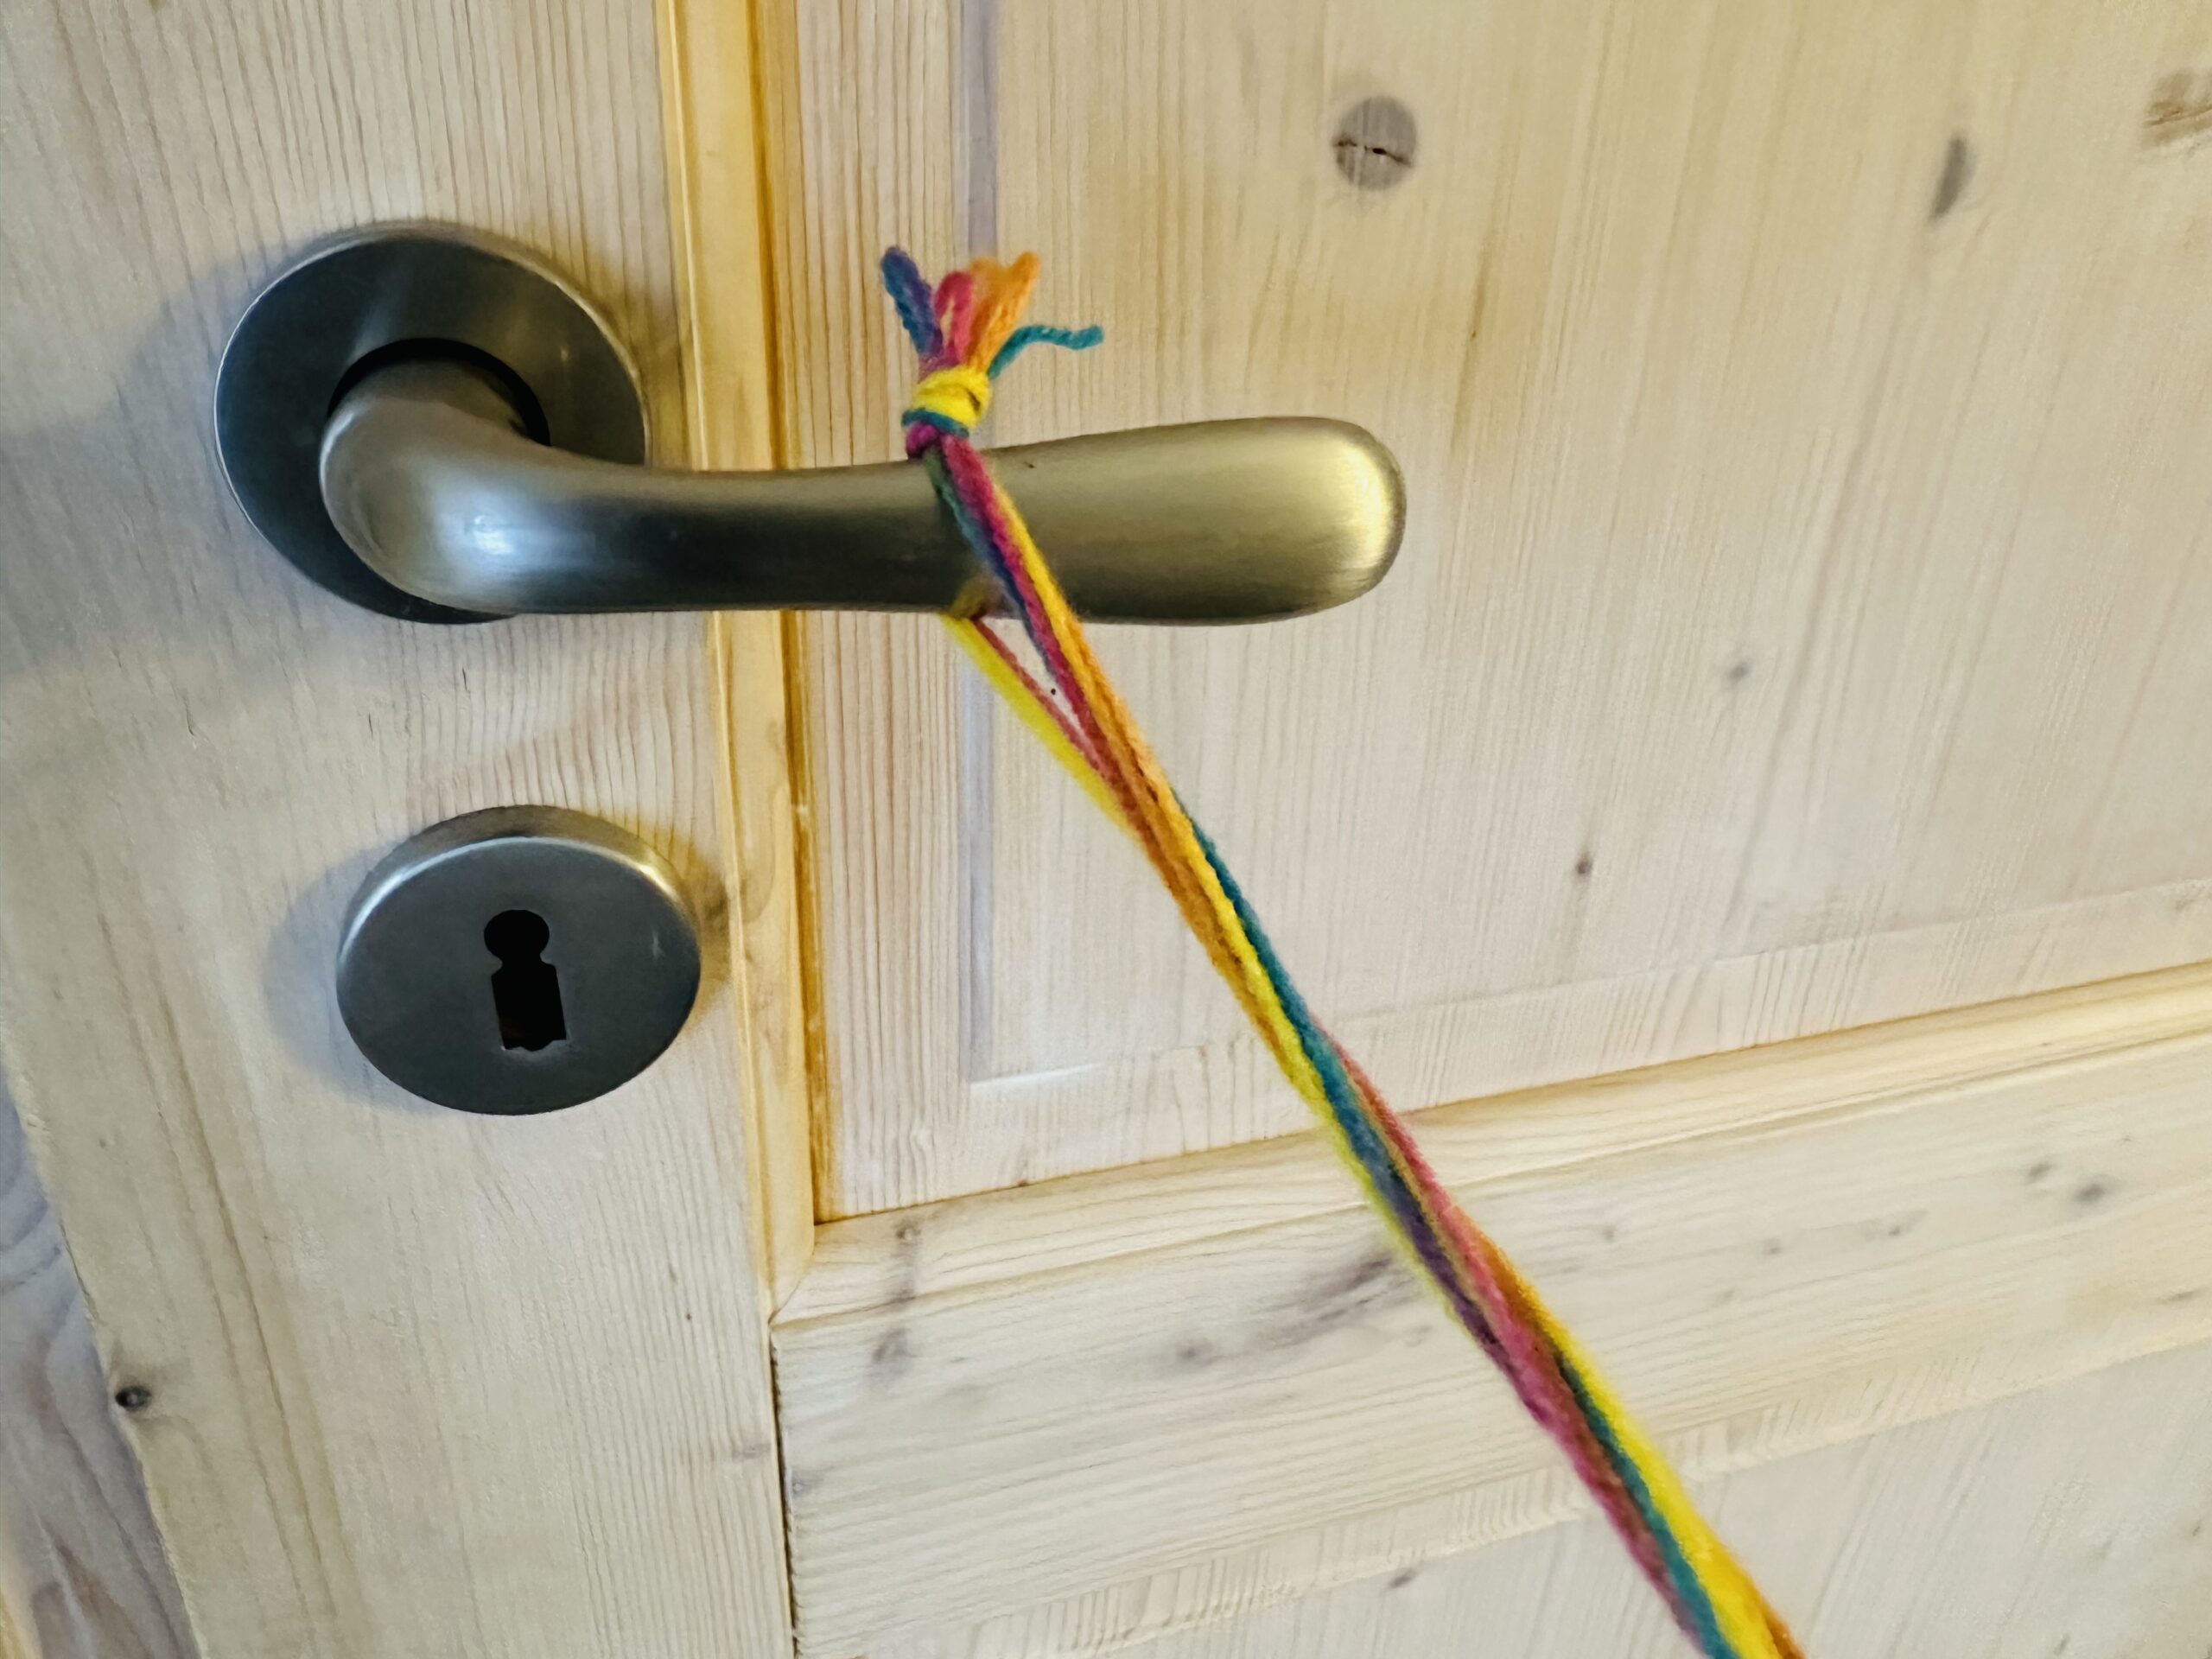
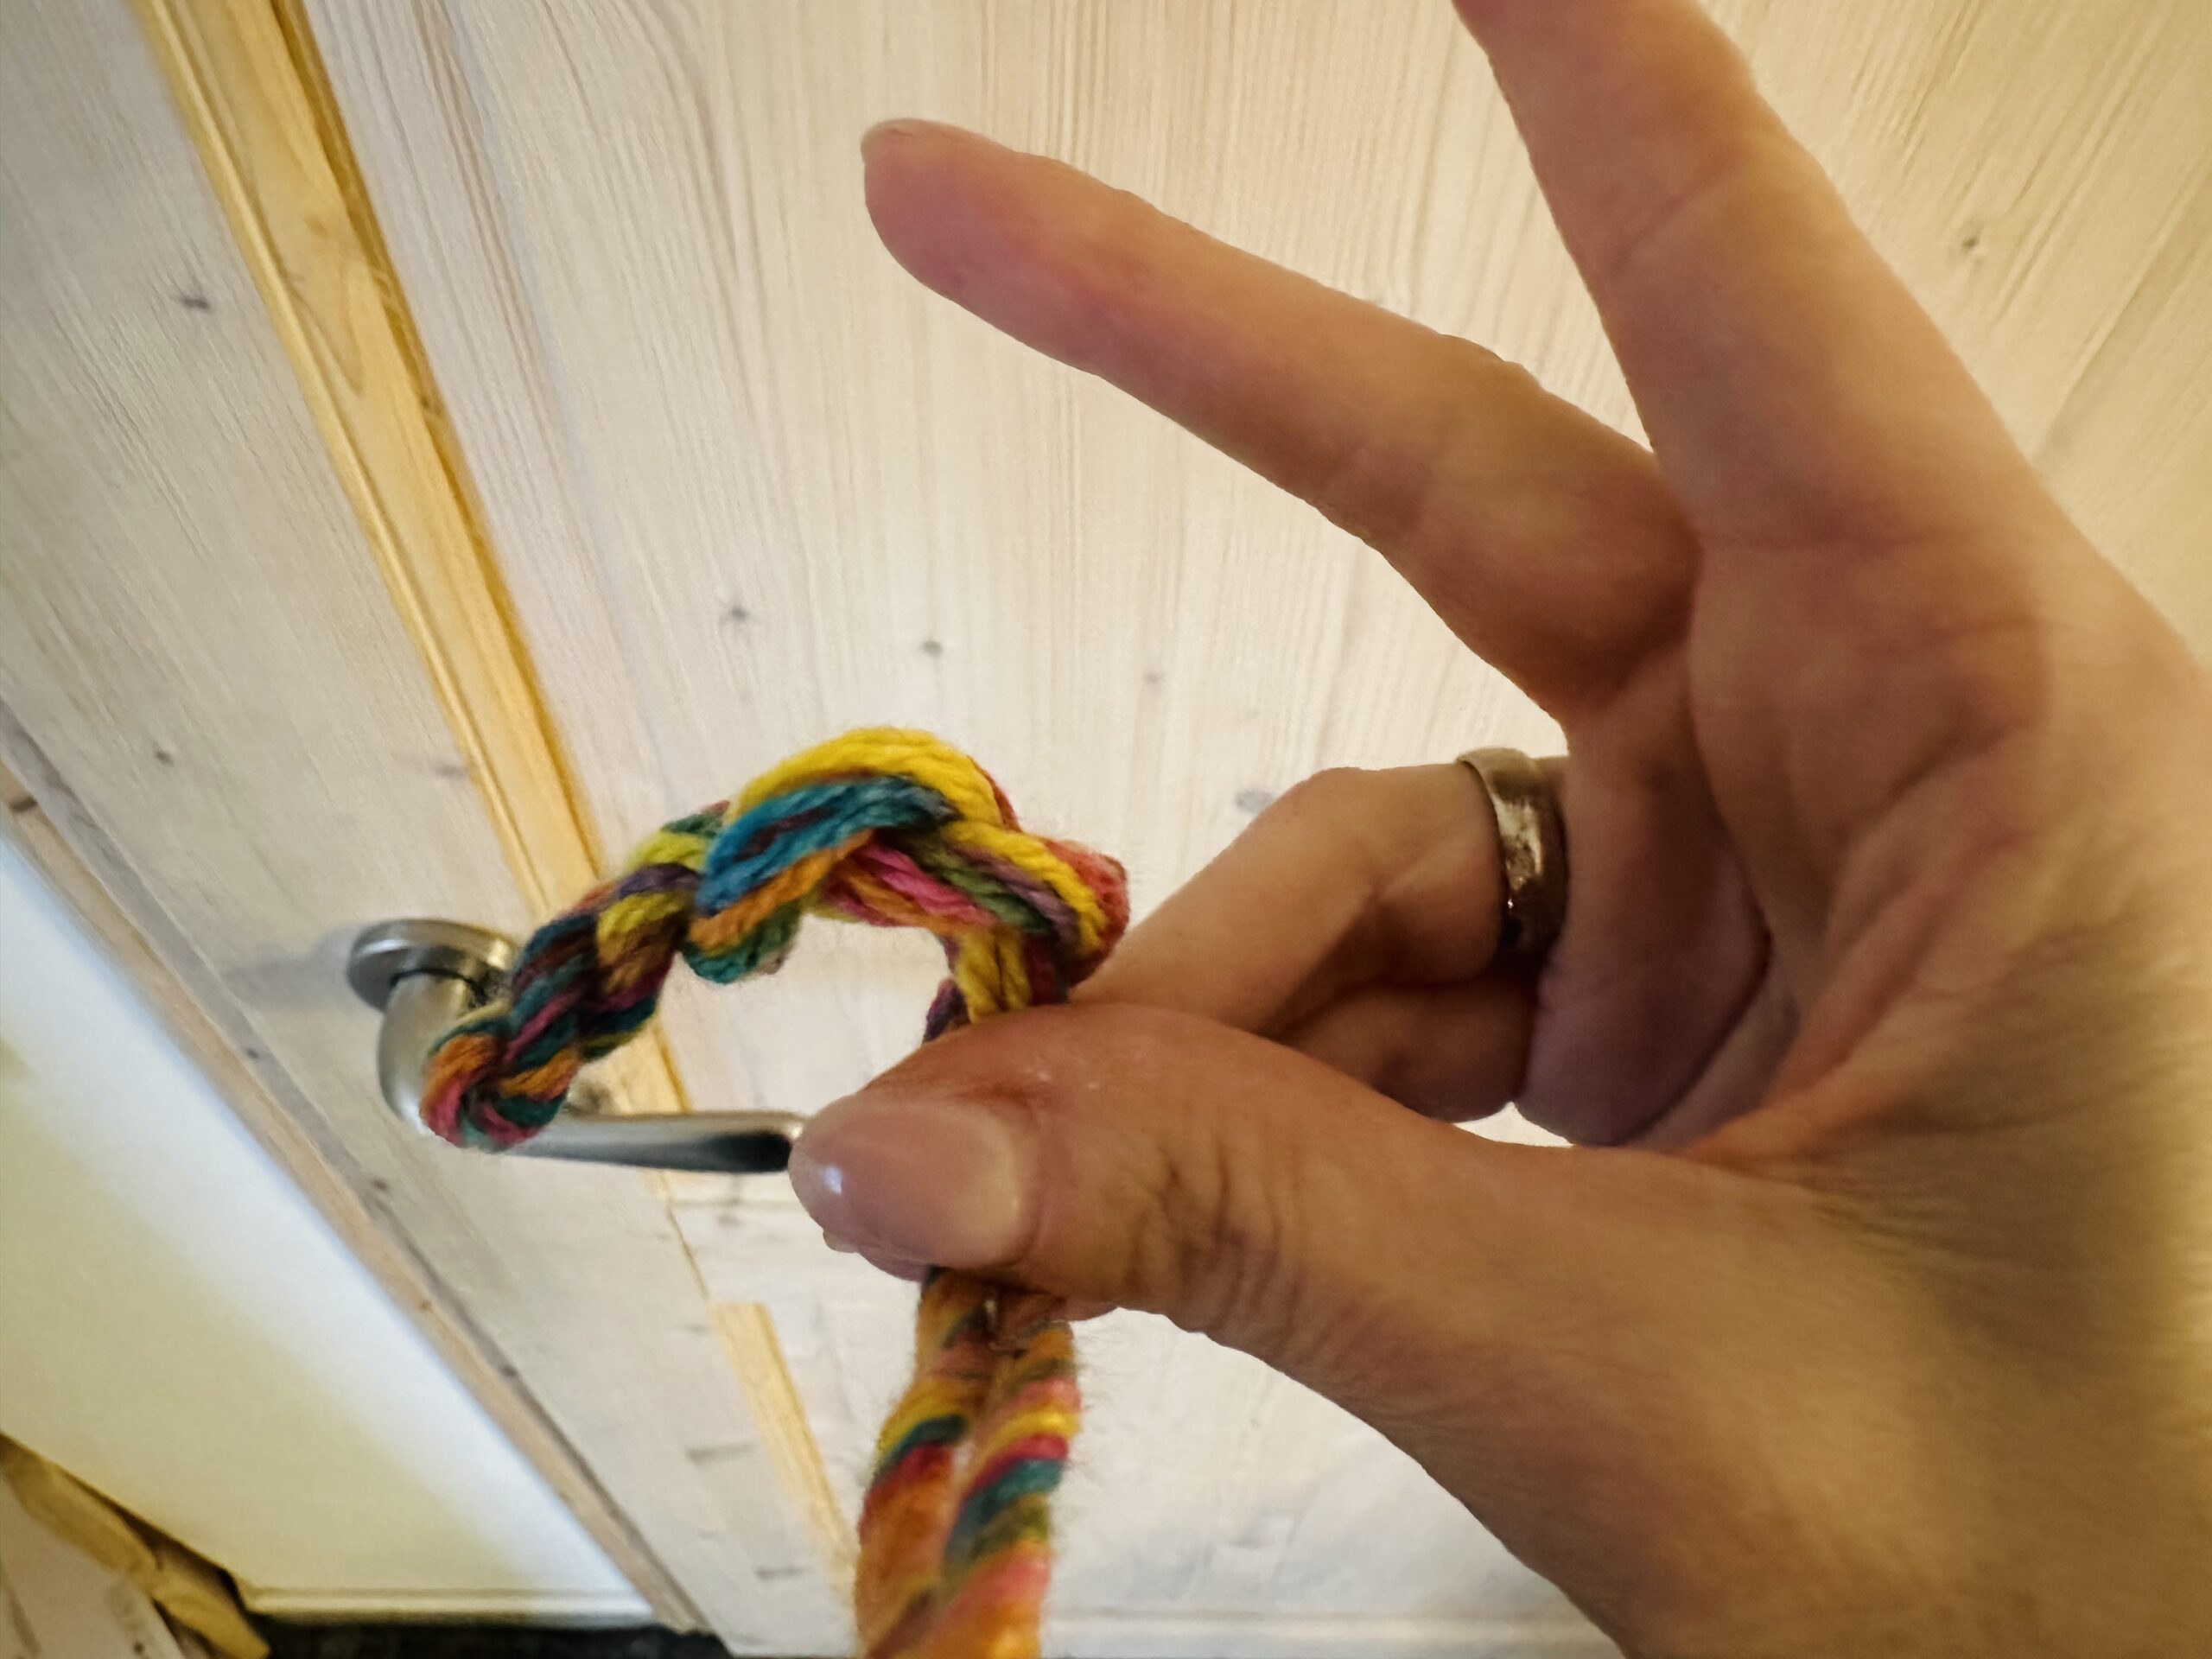
Hangs a thread end over a door handle or a hacking / cabinet button.
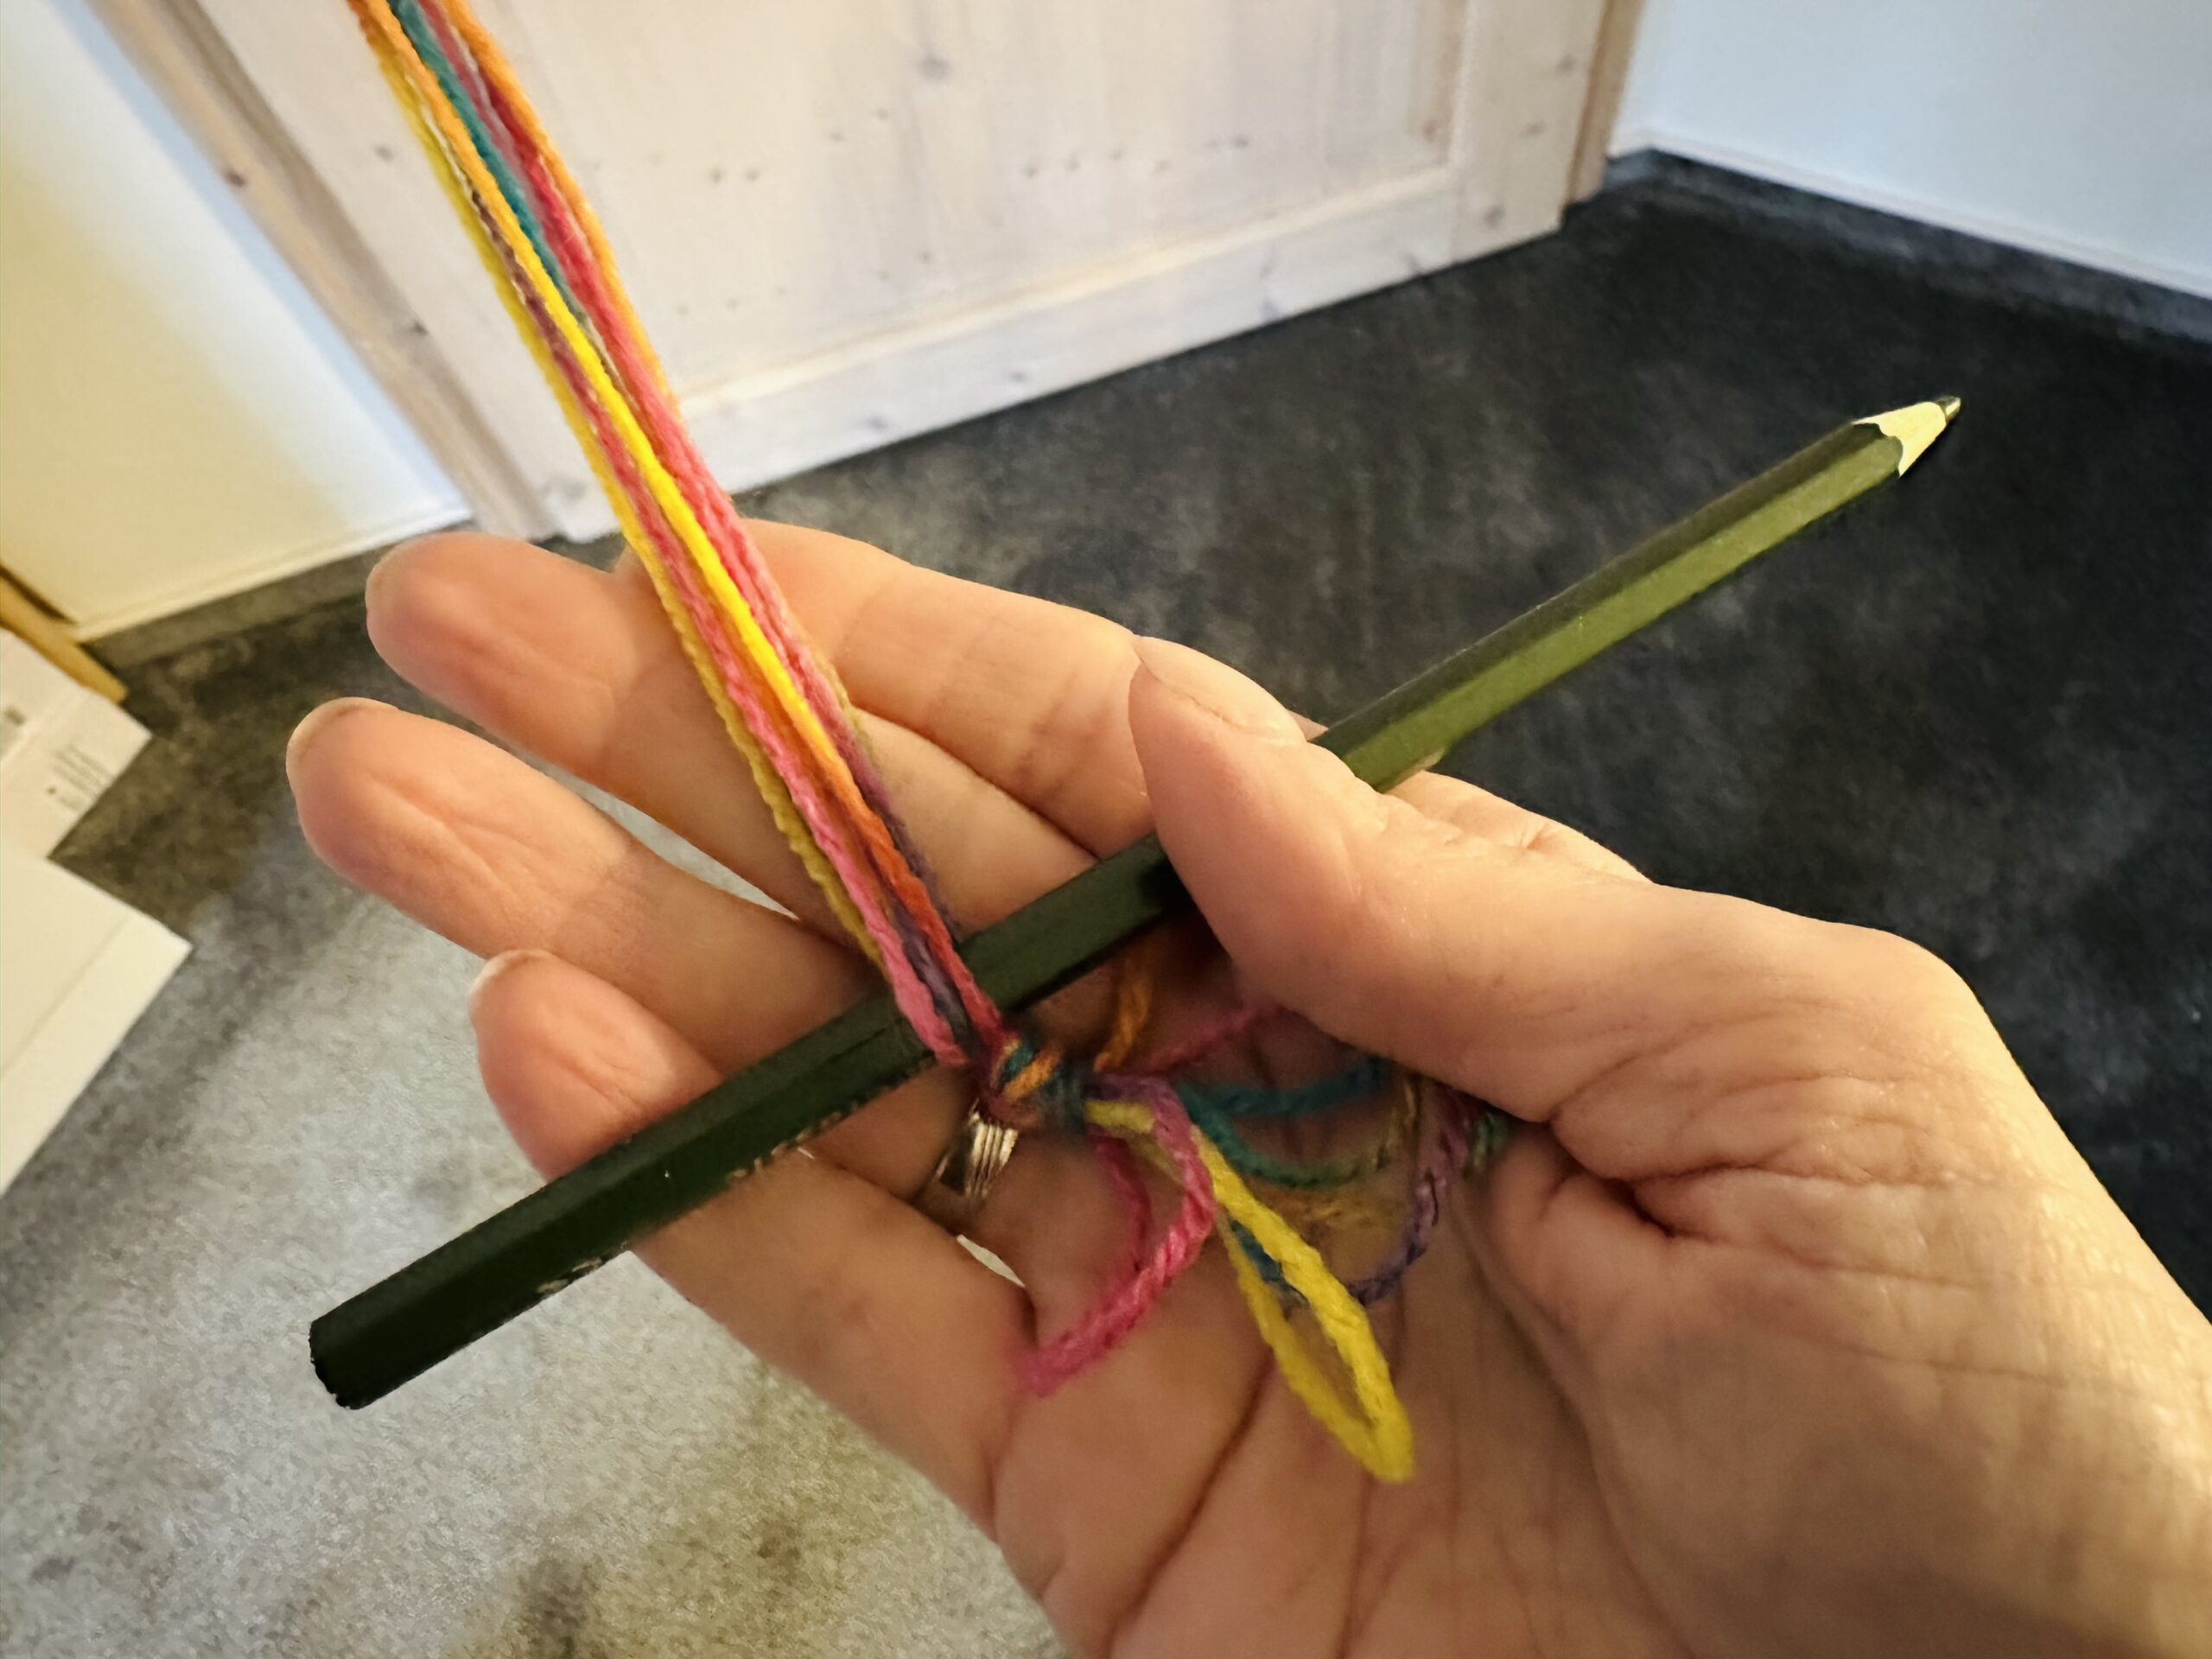
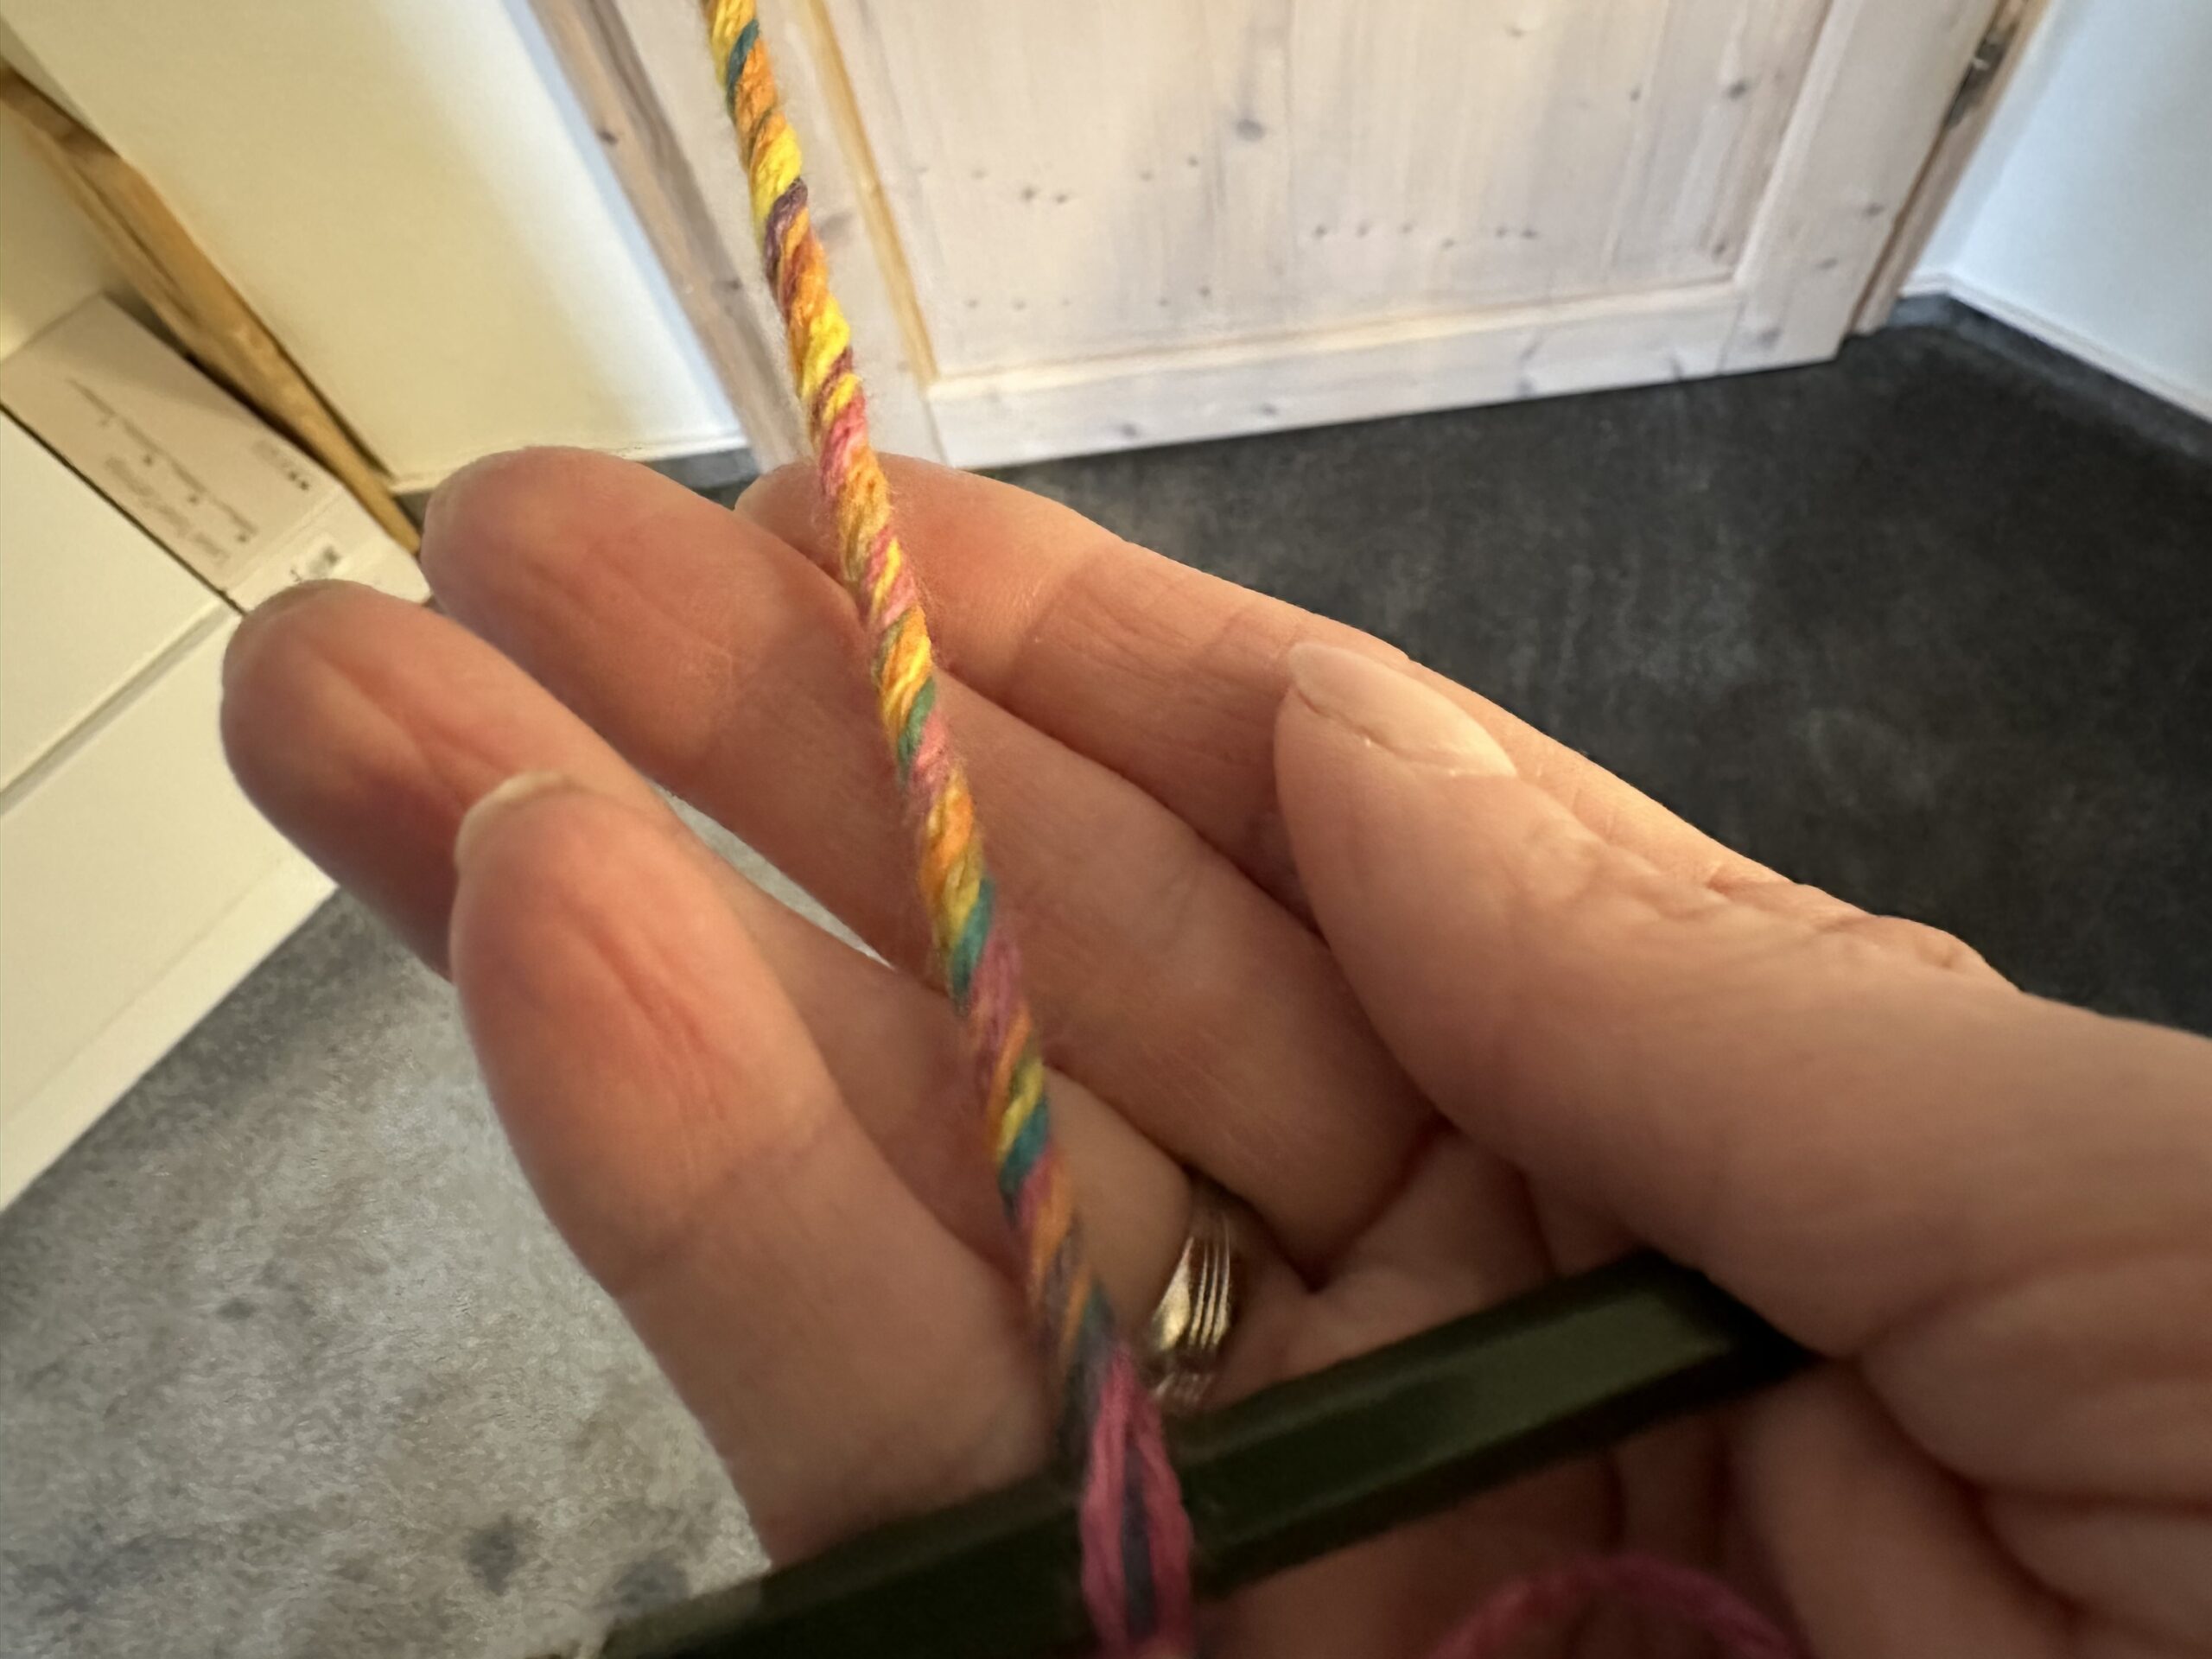
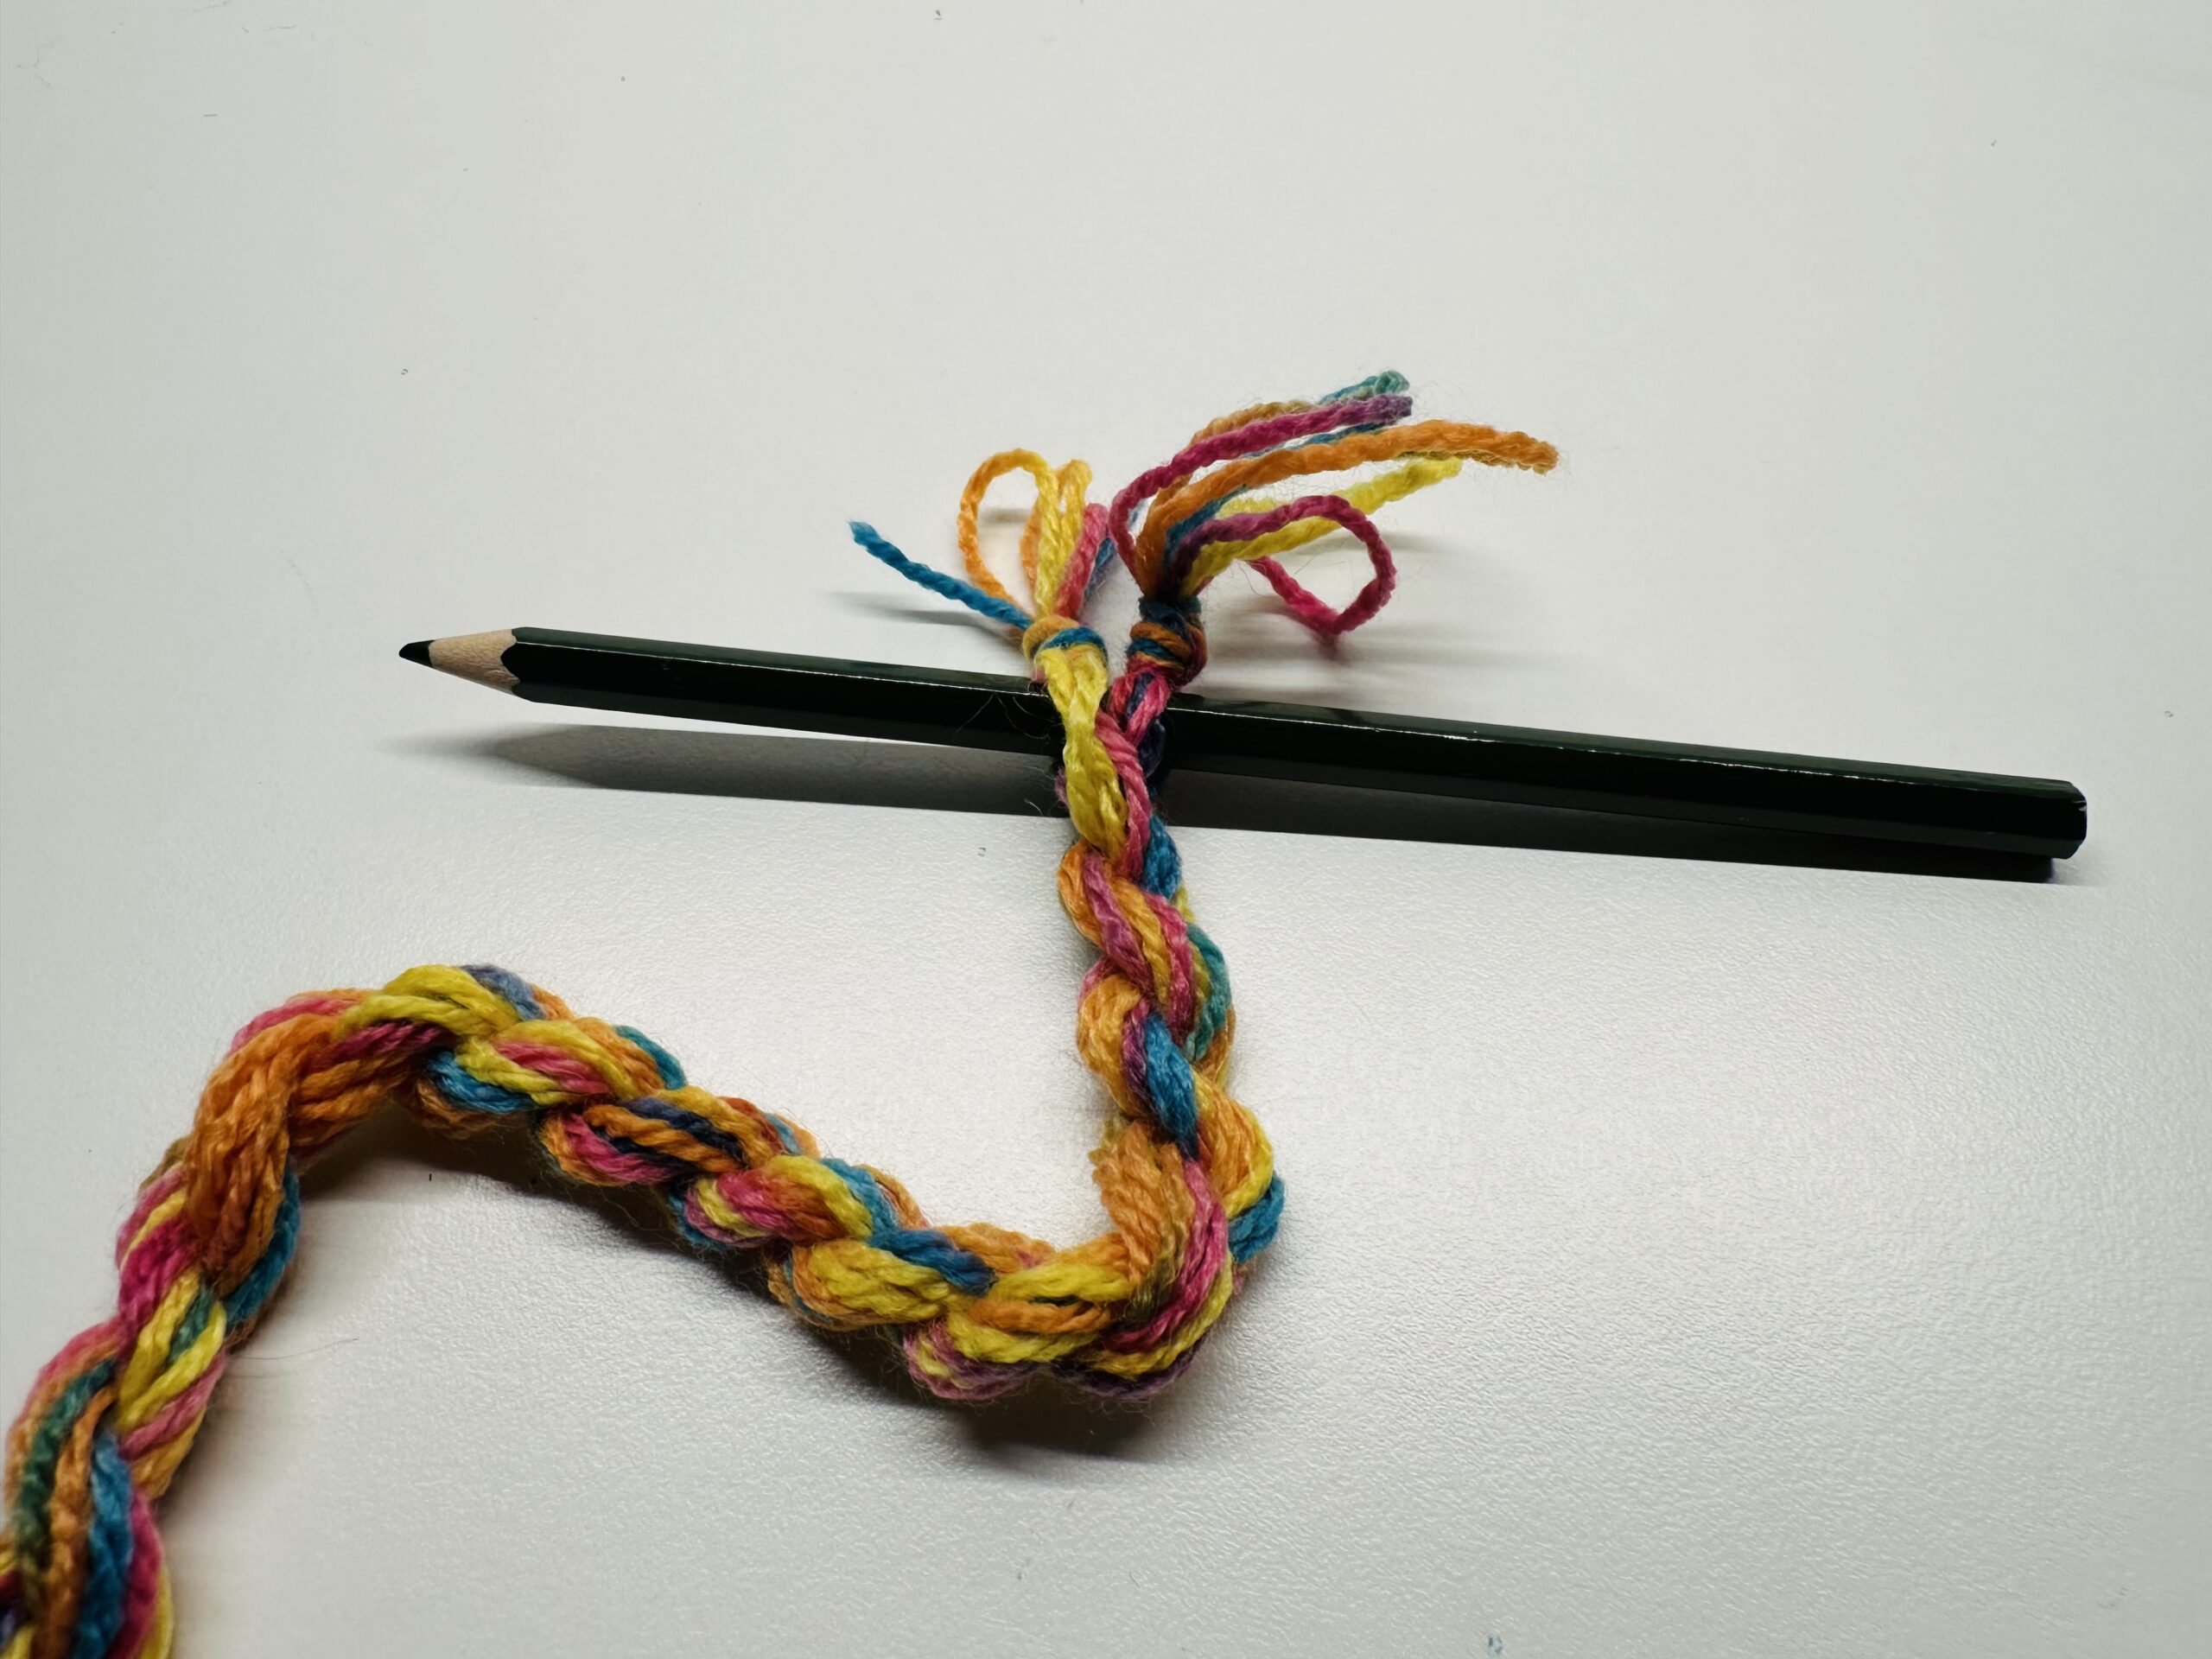
At the other end of the thread you have to keep the cords tight. Possibly put a pen through the loop.
Now the cord always turns in one direction, so a cord is created. Always hold the cord on tension.
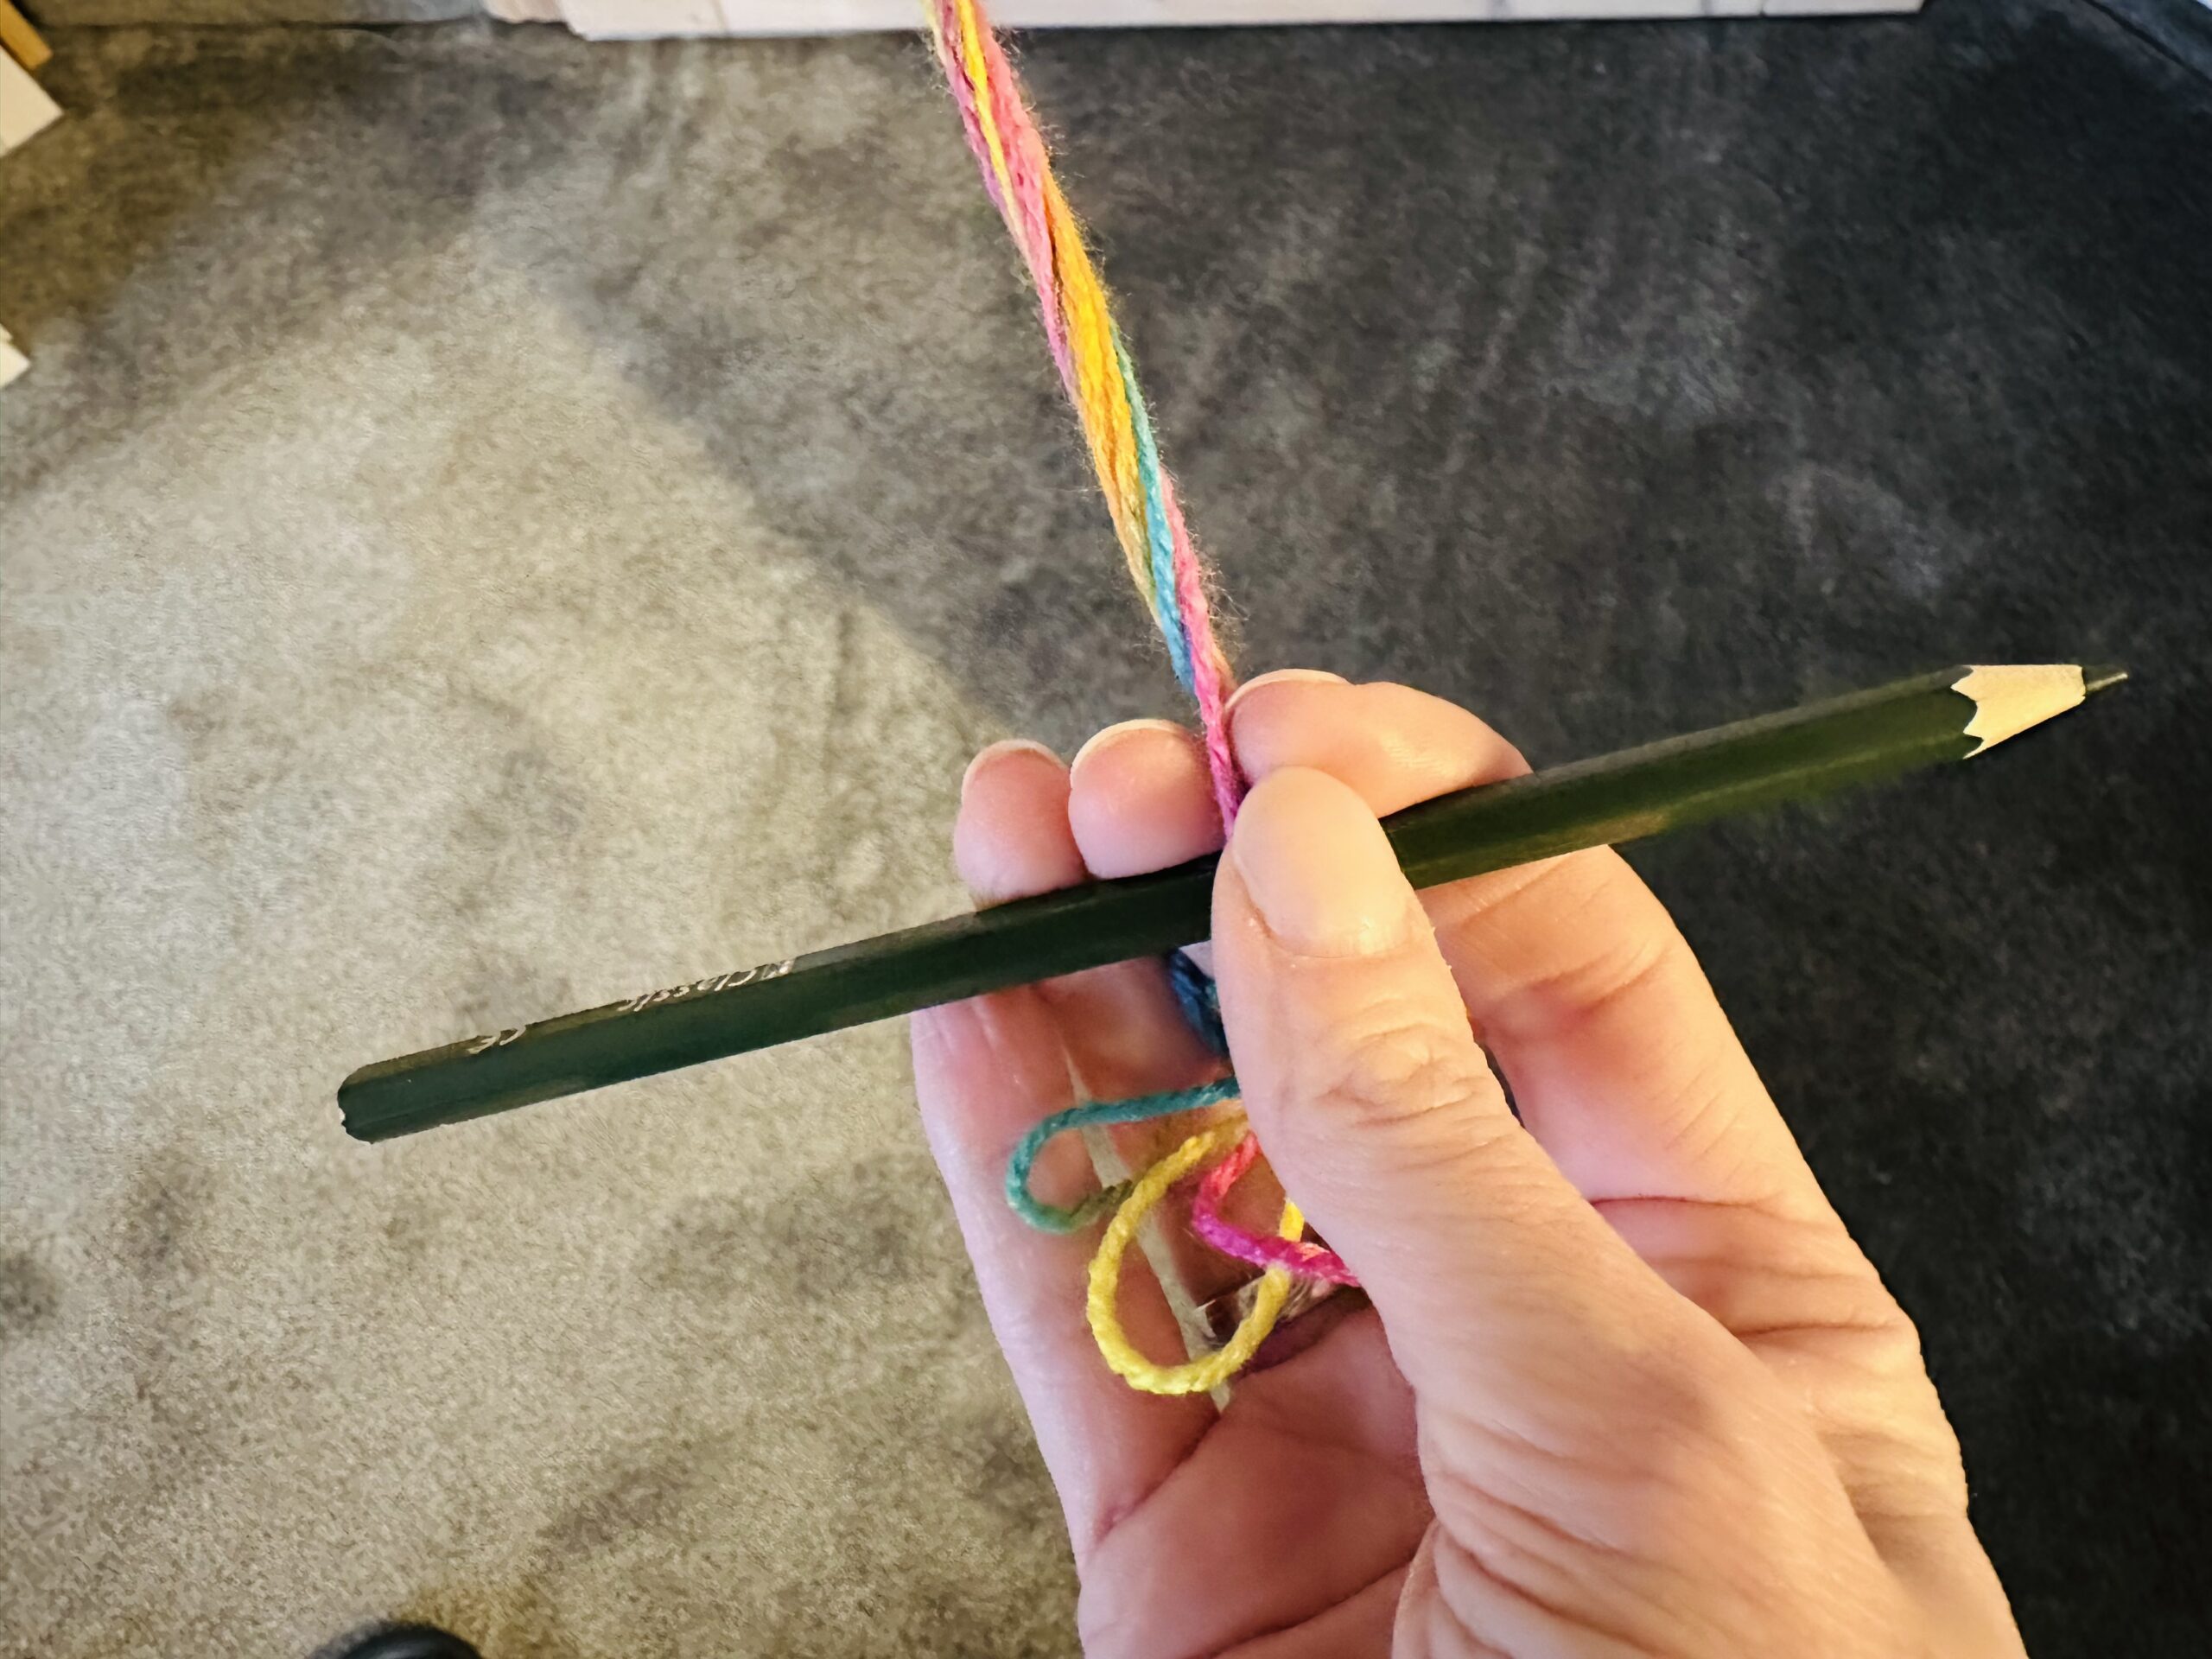
Rotate the apron until they are well twisted.
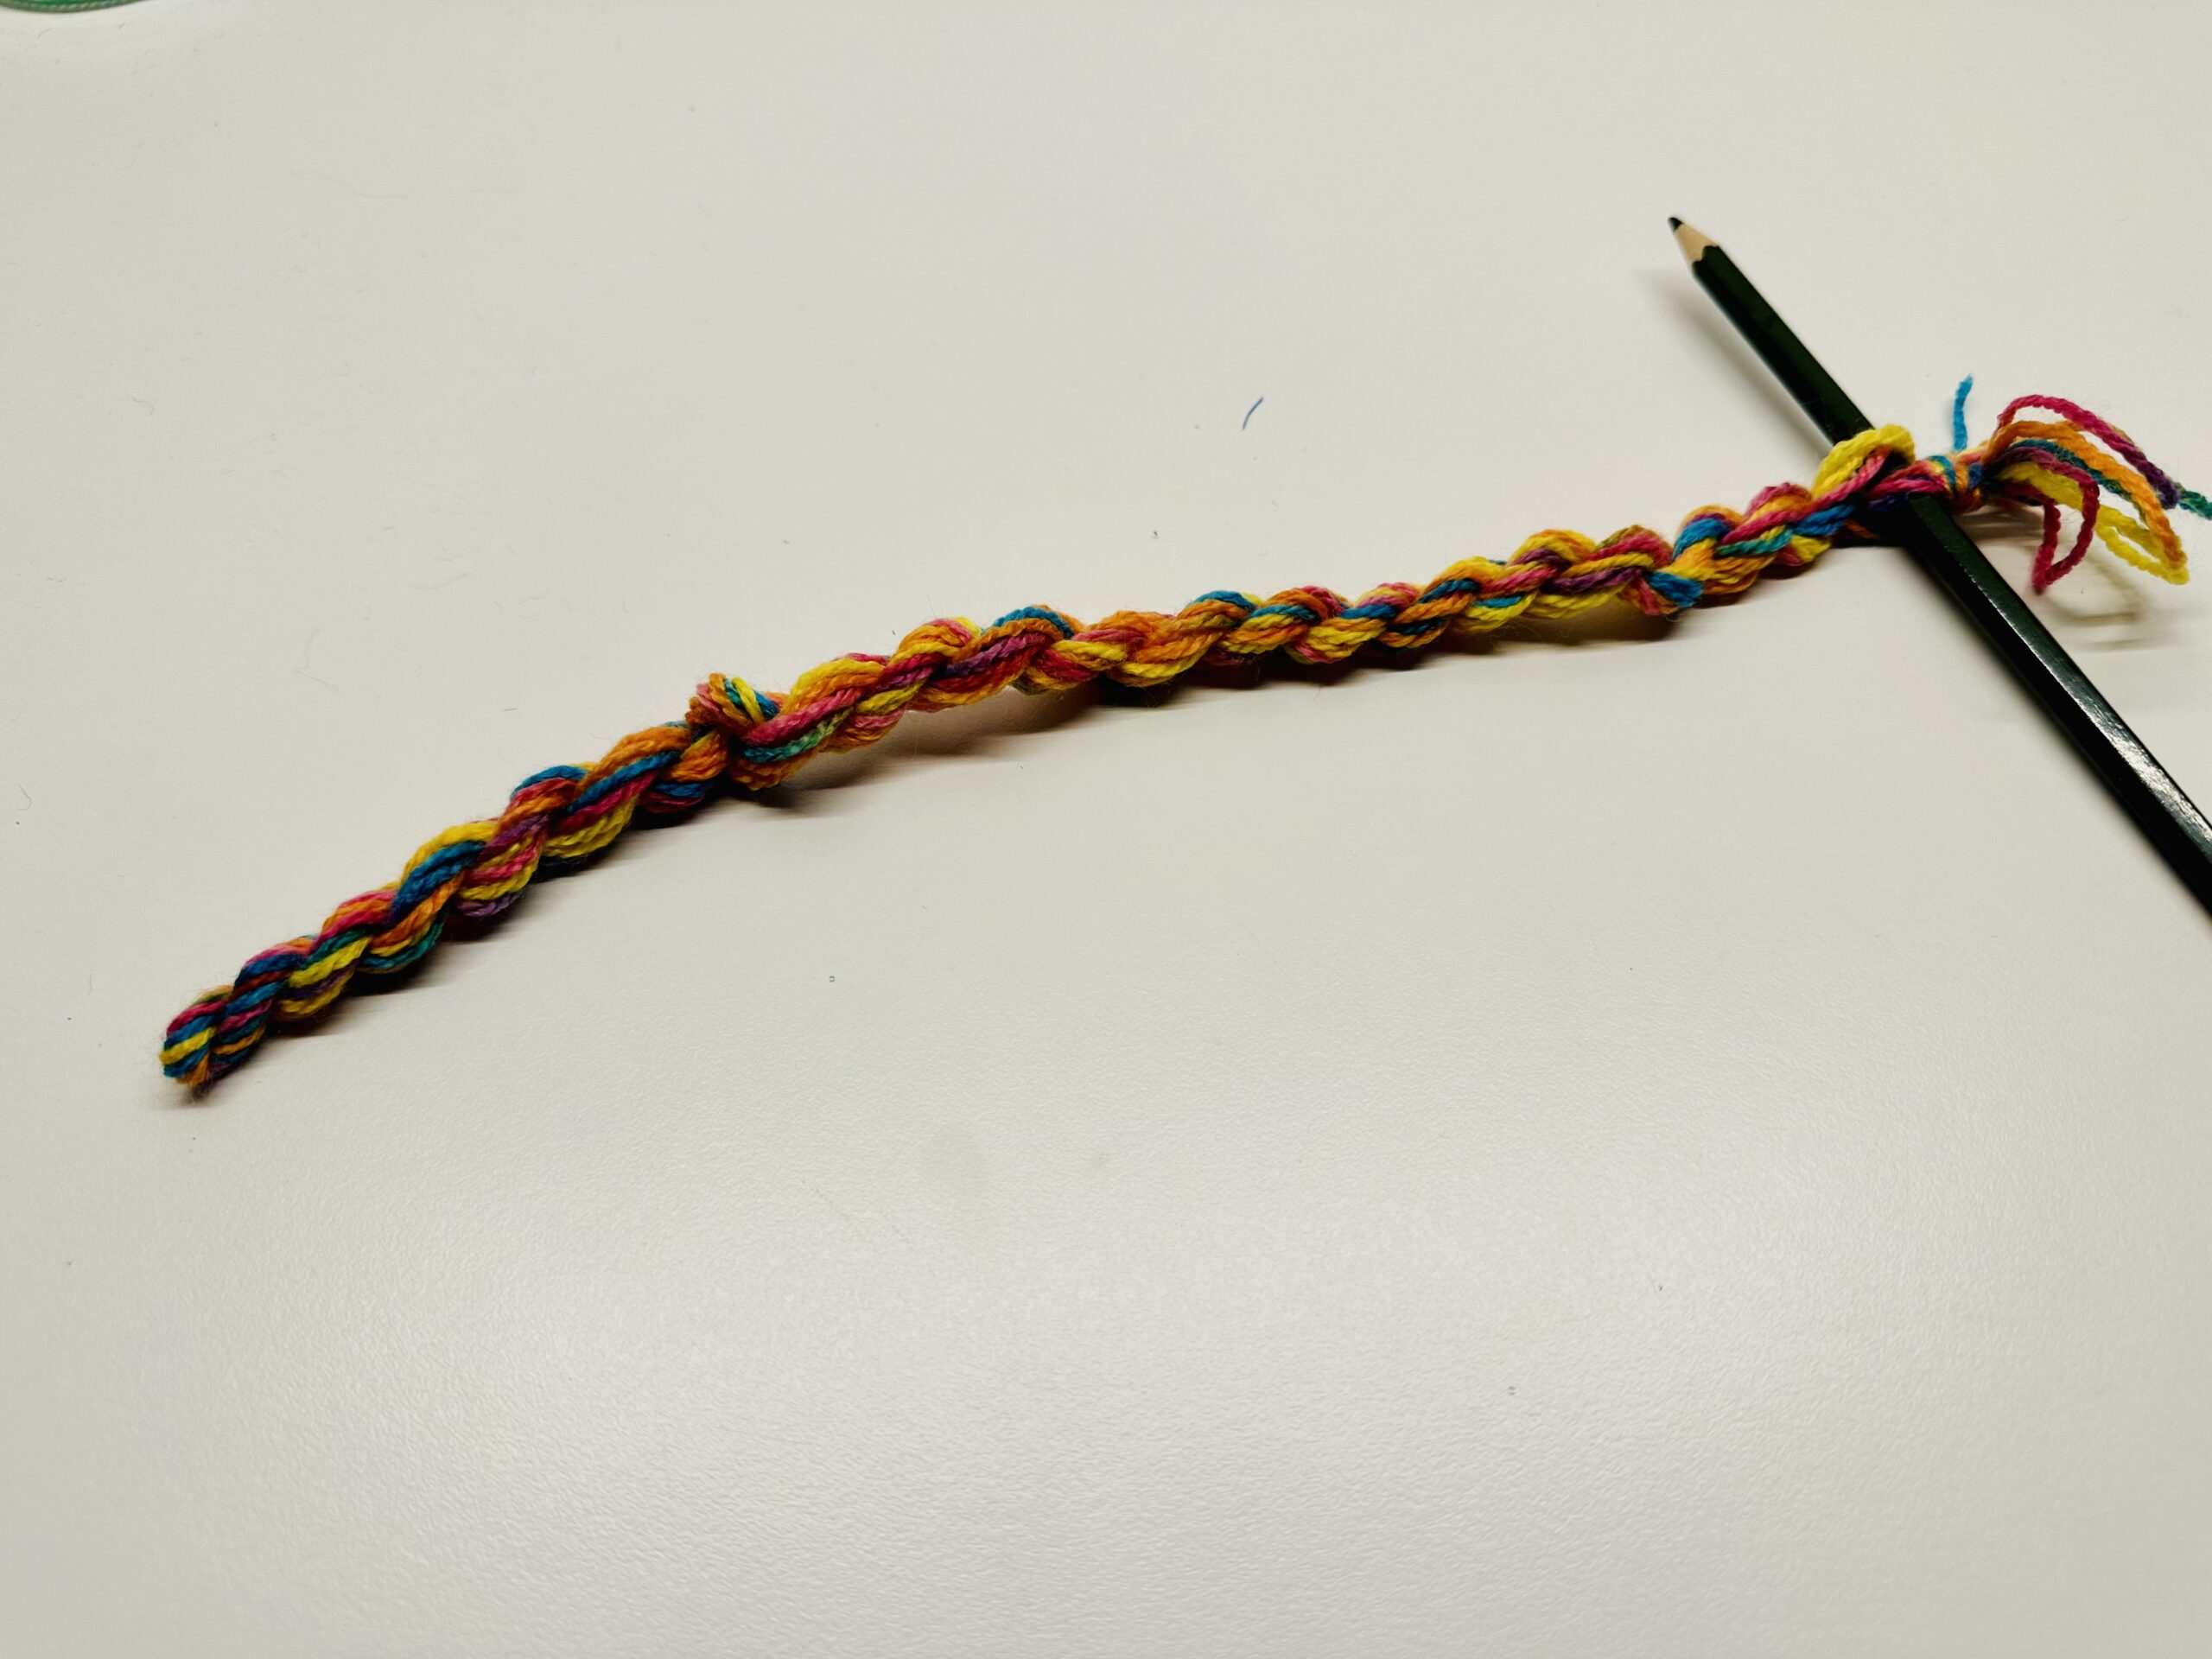
That's how tight the cord should be.
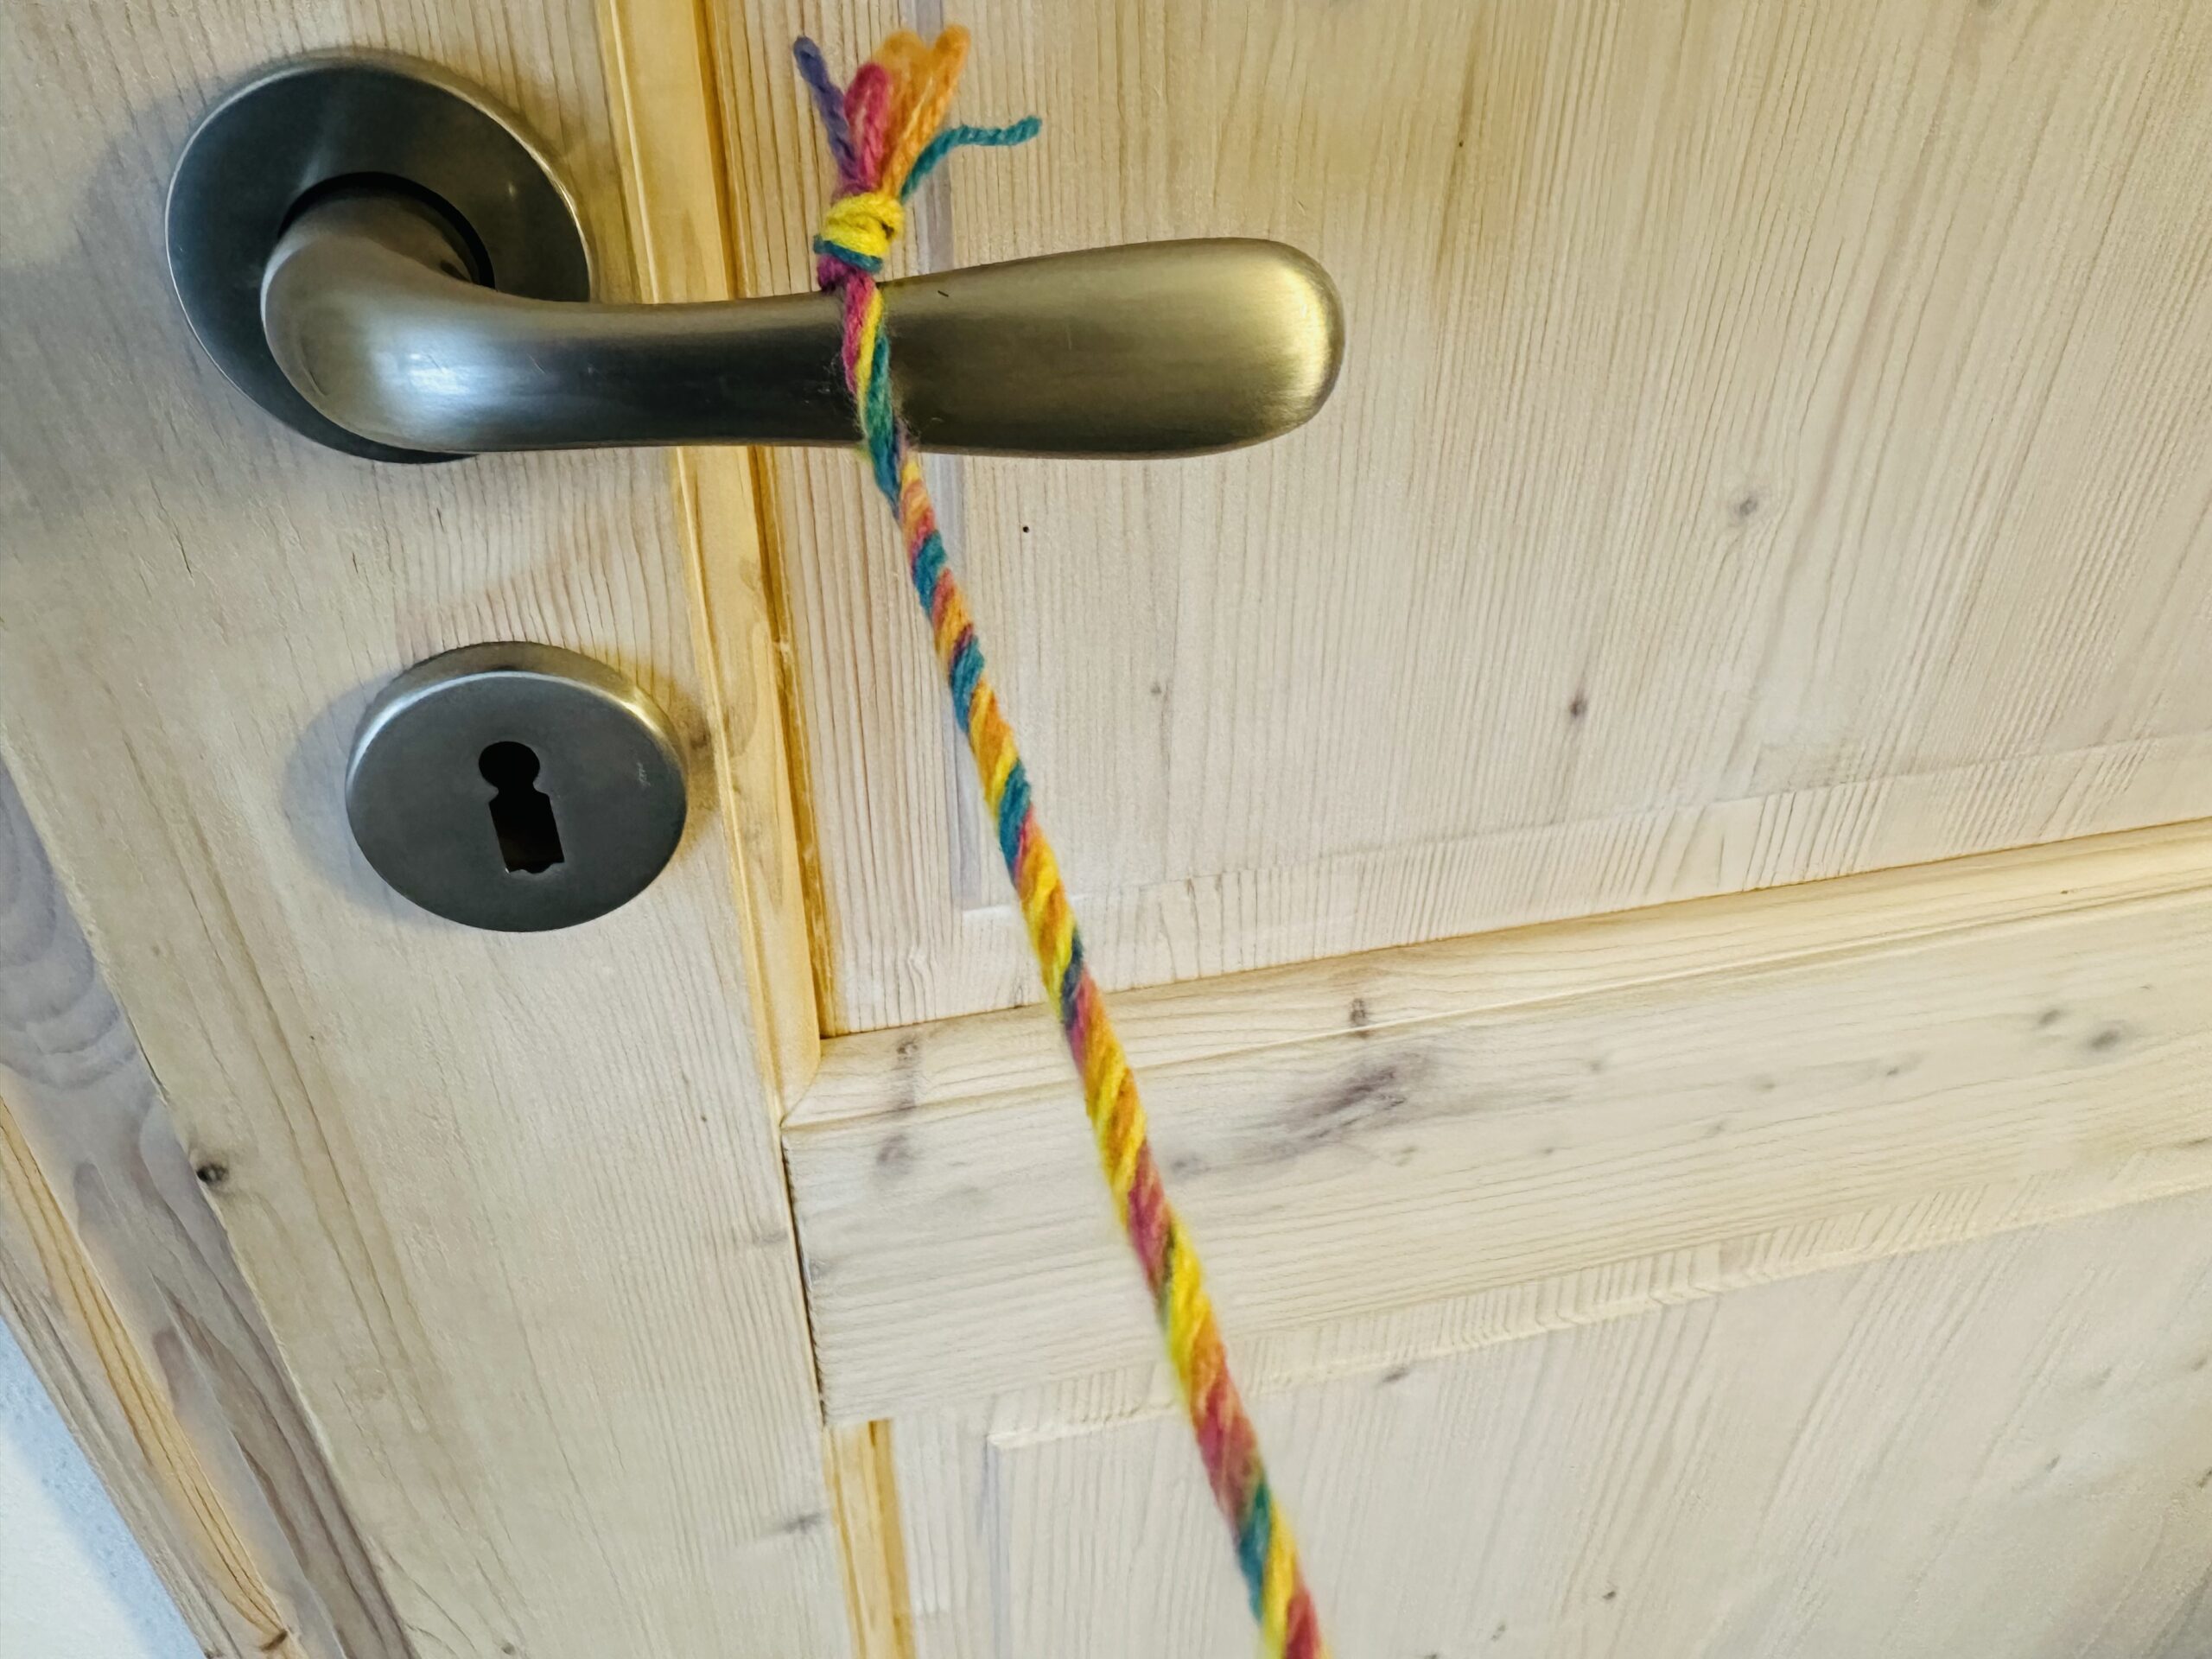
The cord looks like this.
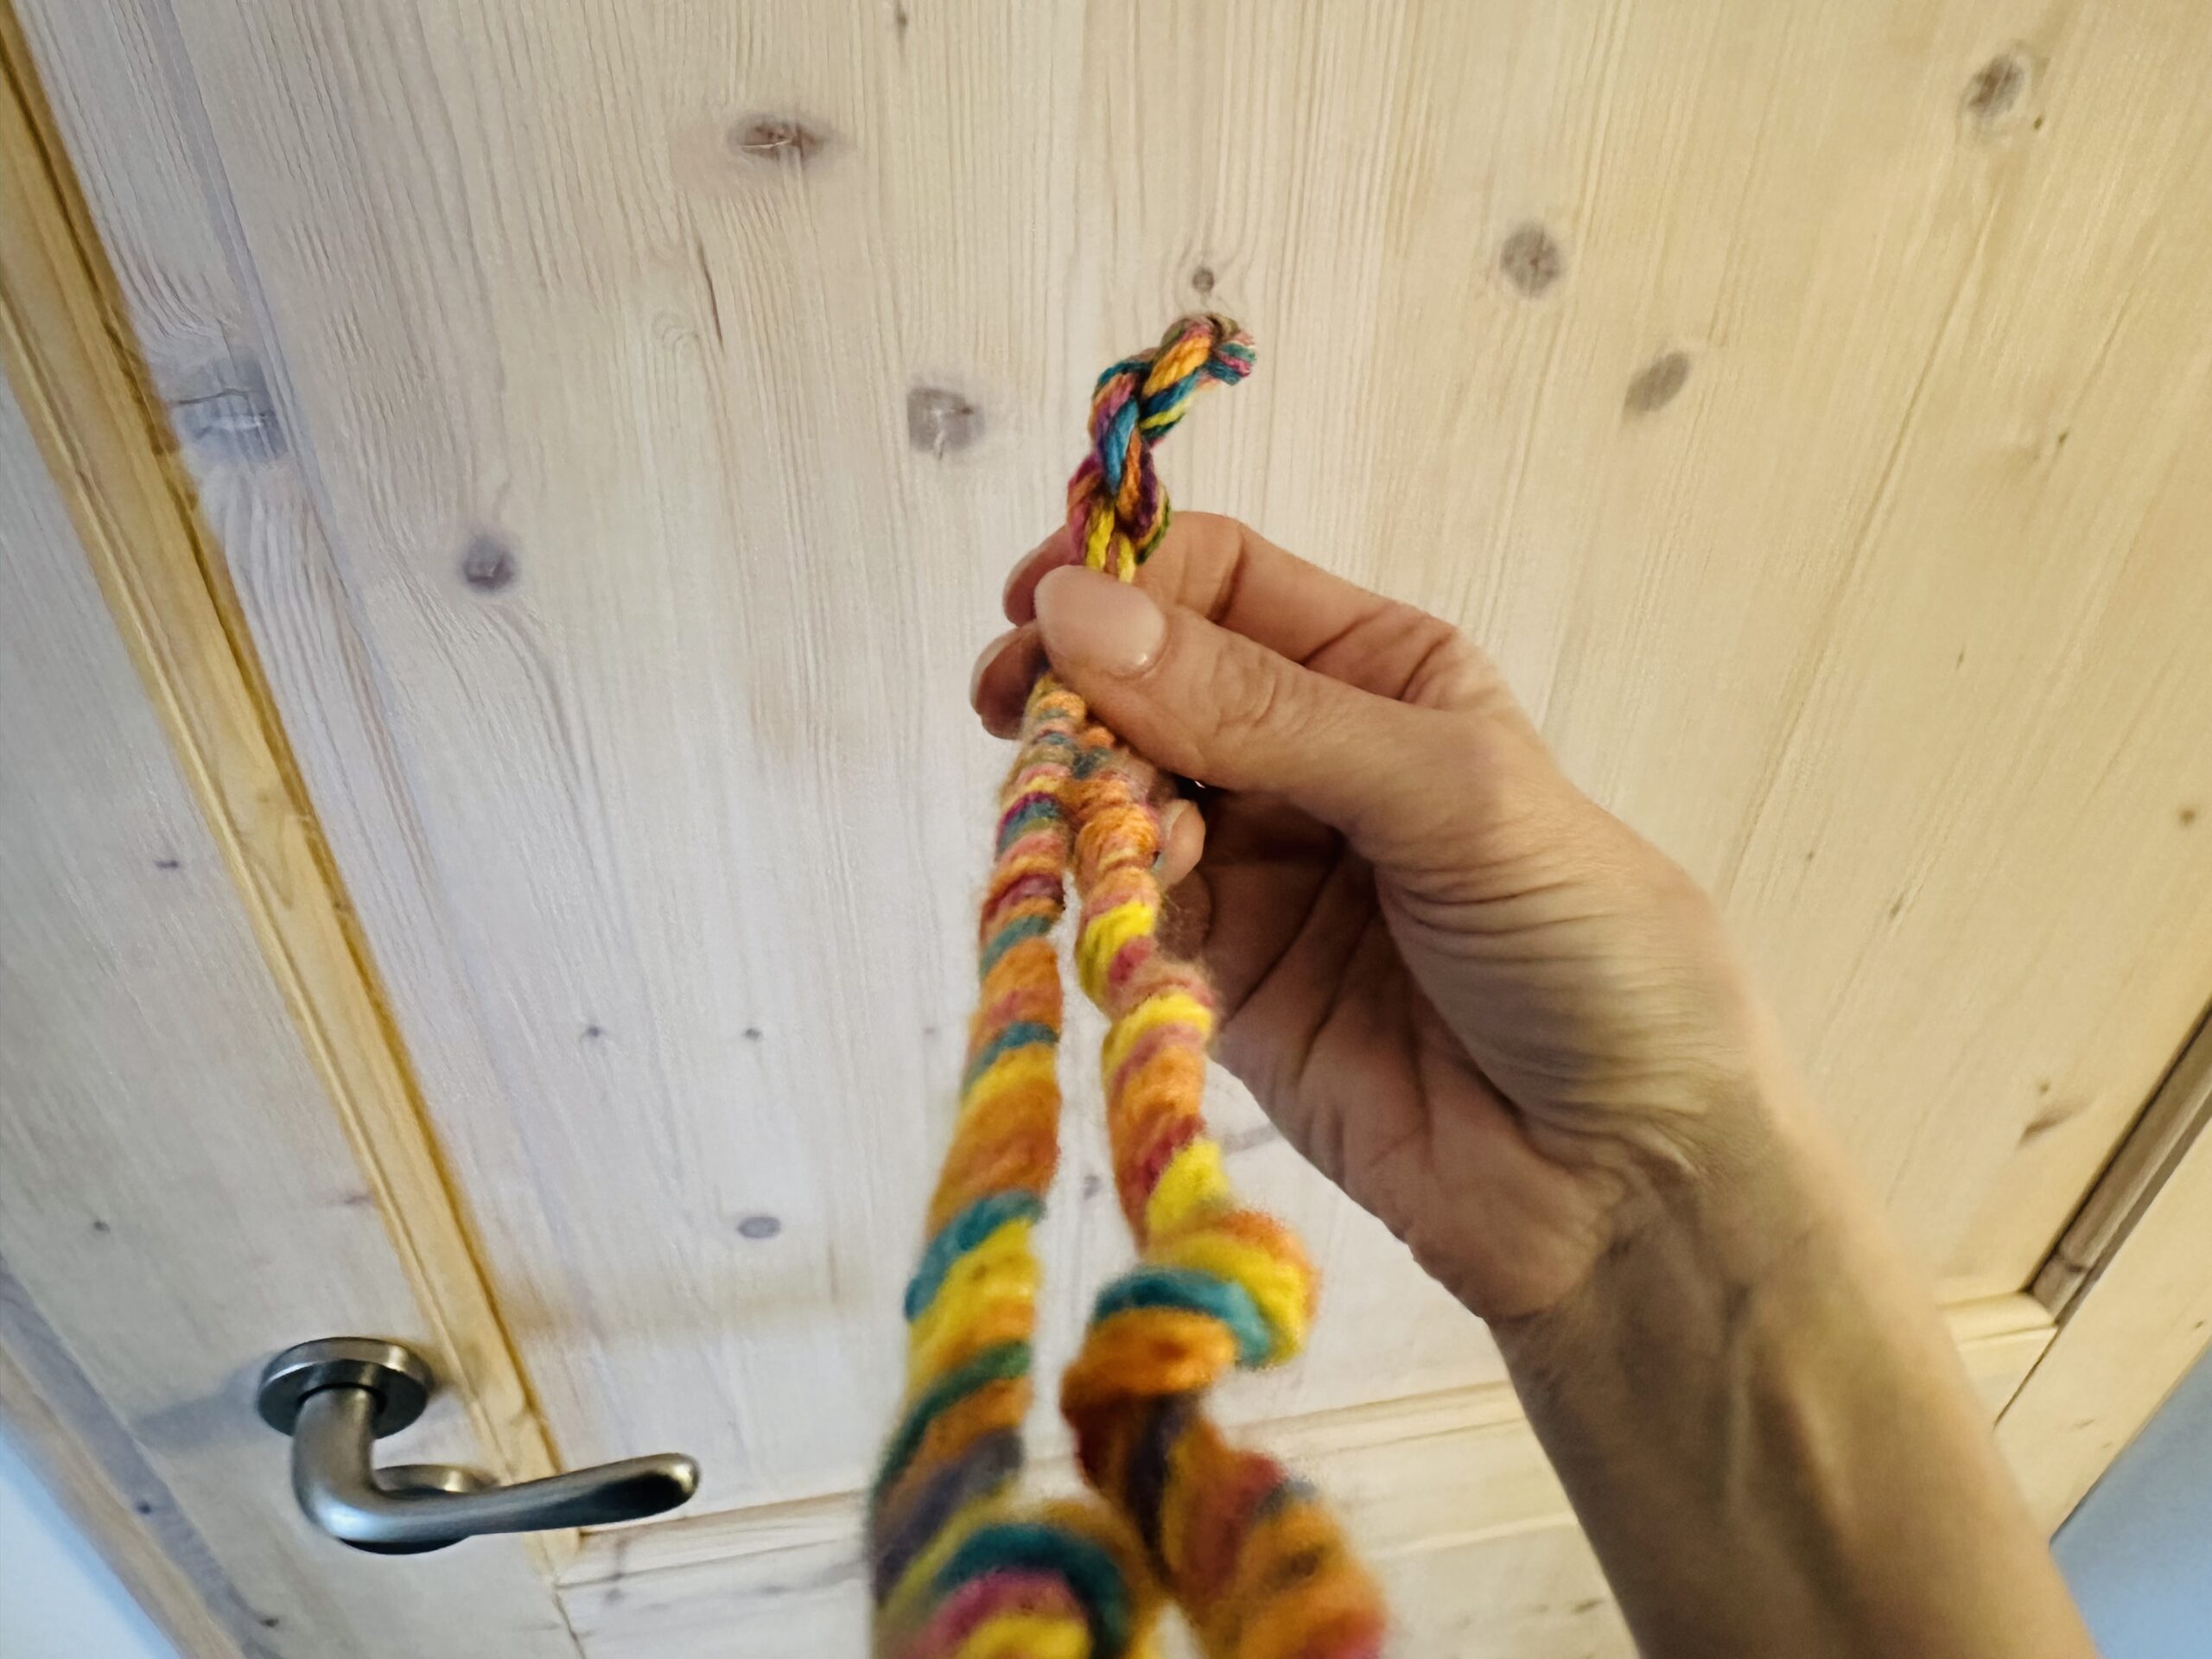
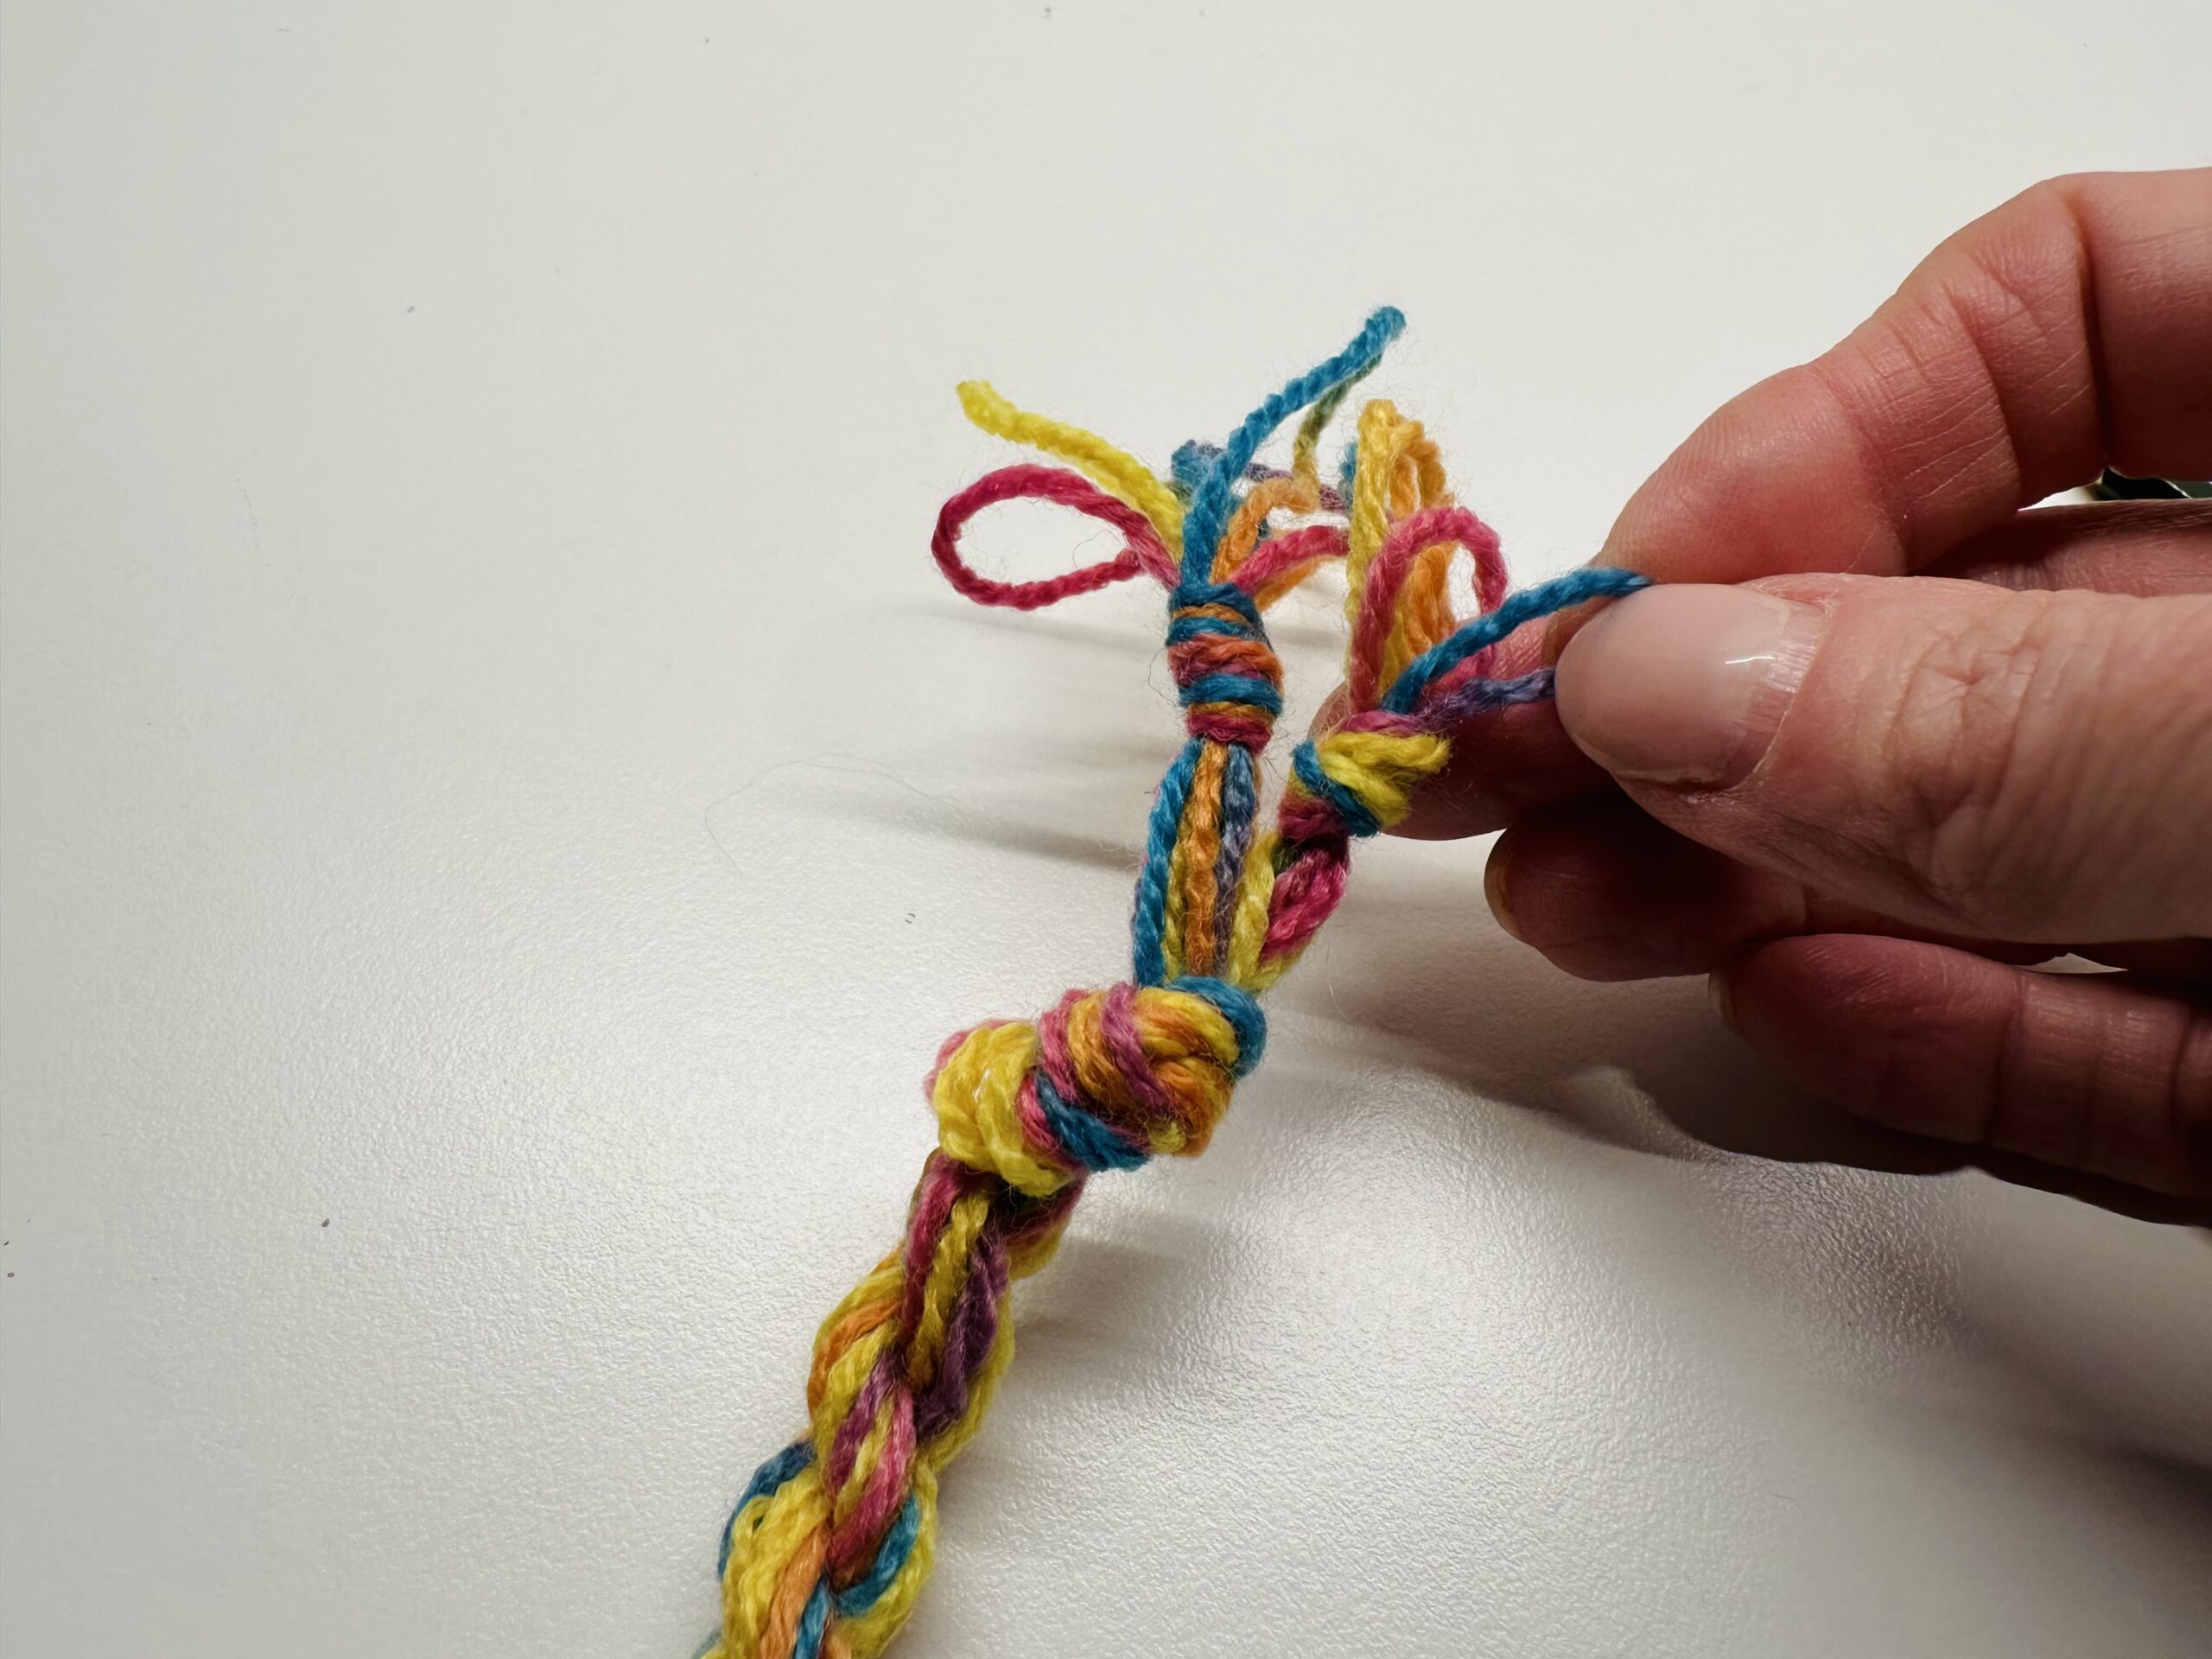
Keep the ends still on tension! Let us help you with this! For two it's easier. Hold the middle of the scoundrel and place both ends on each other. All the aprons are still tense!
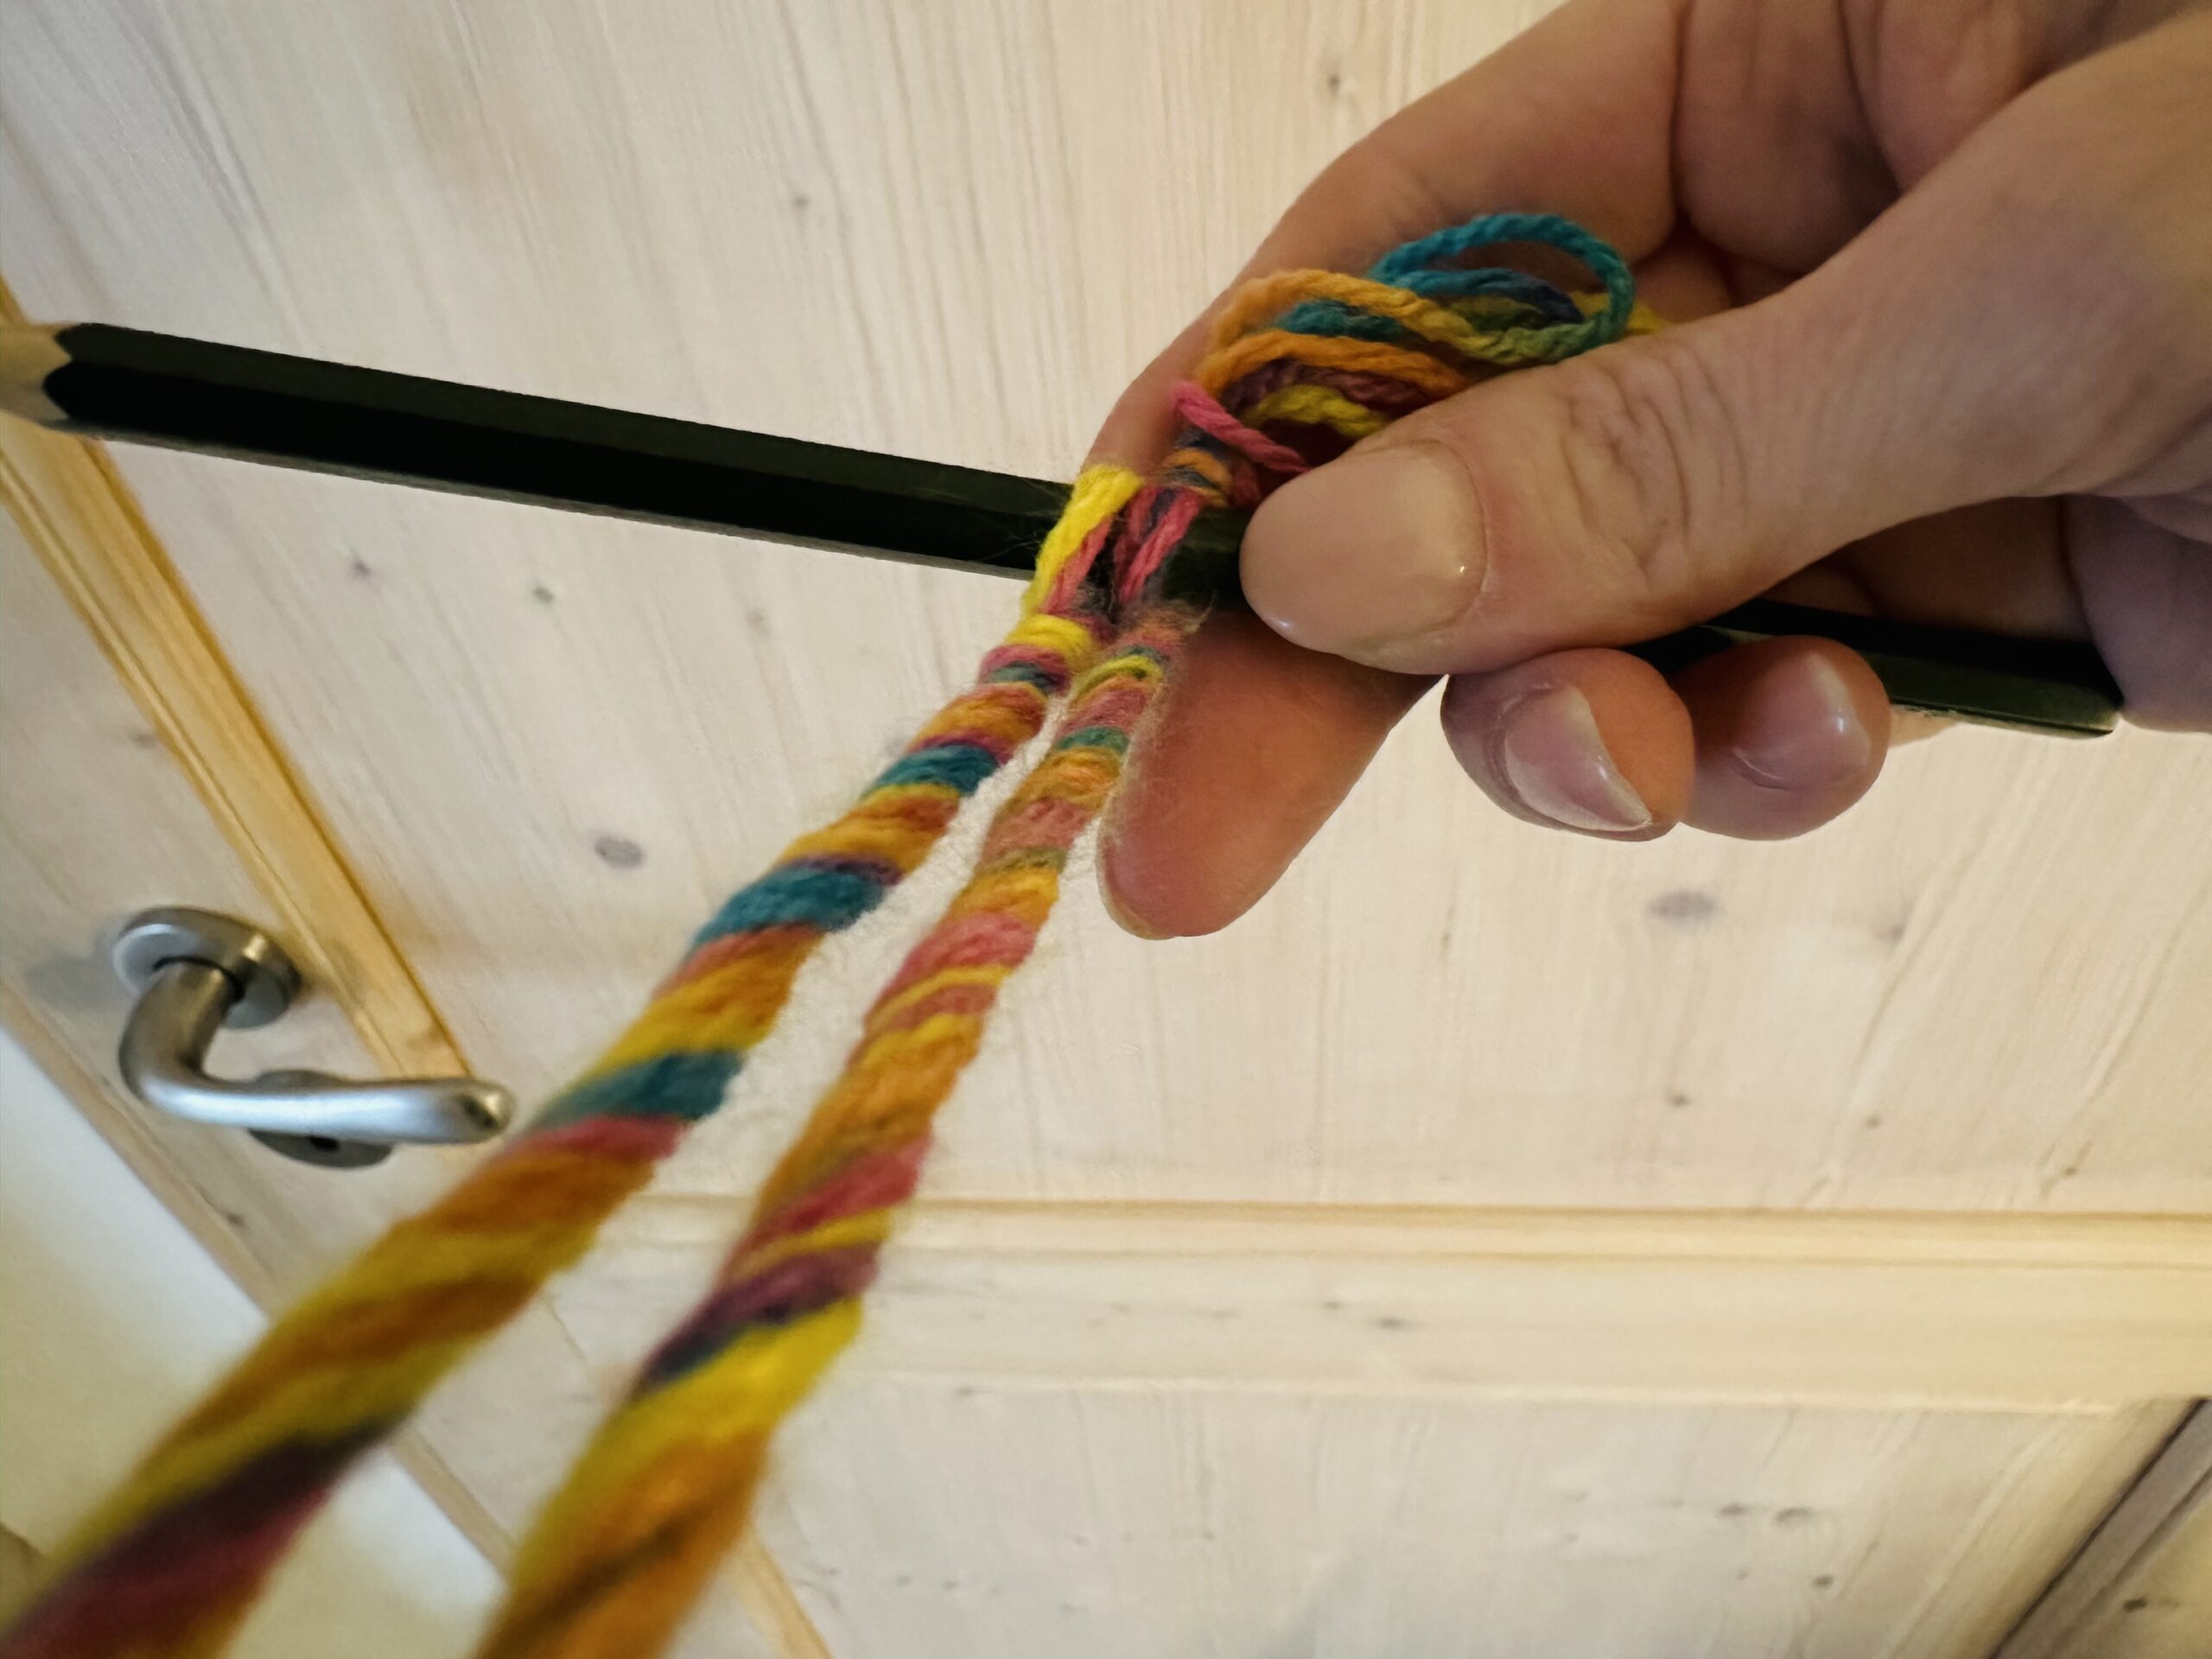
Now let go of the middle. Both threads roll together and twist together.
The two aprons twist to a thick cord. Hold both ends still well! Strip the cord that it is evenly twisted.
Then tie both ends together again with a common knot. Only then can you let go of the ends. Now the cord is finished.
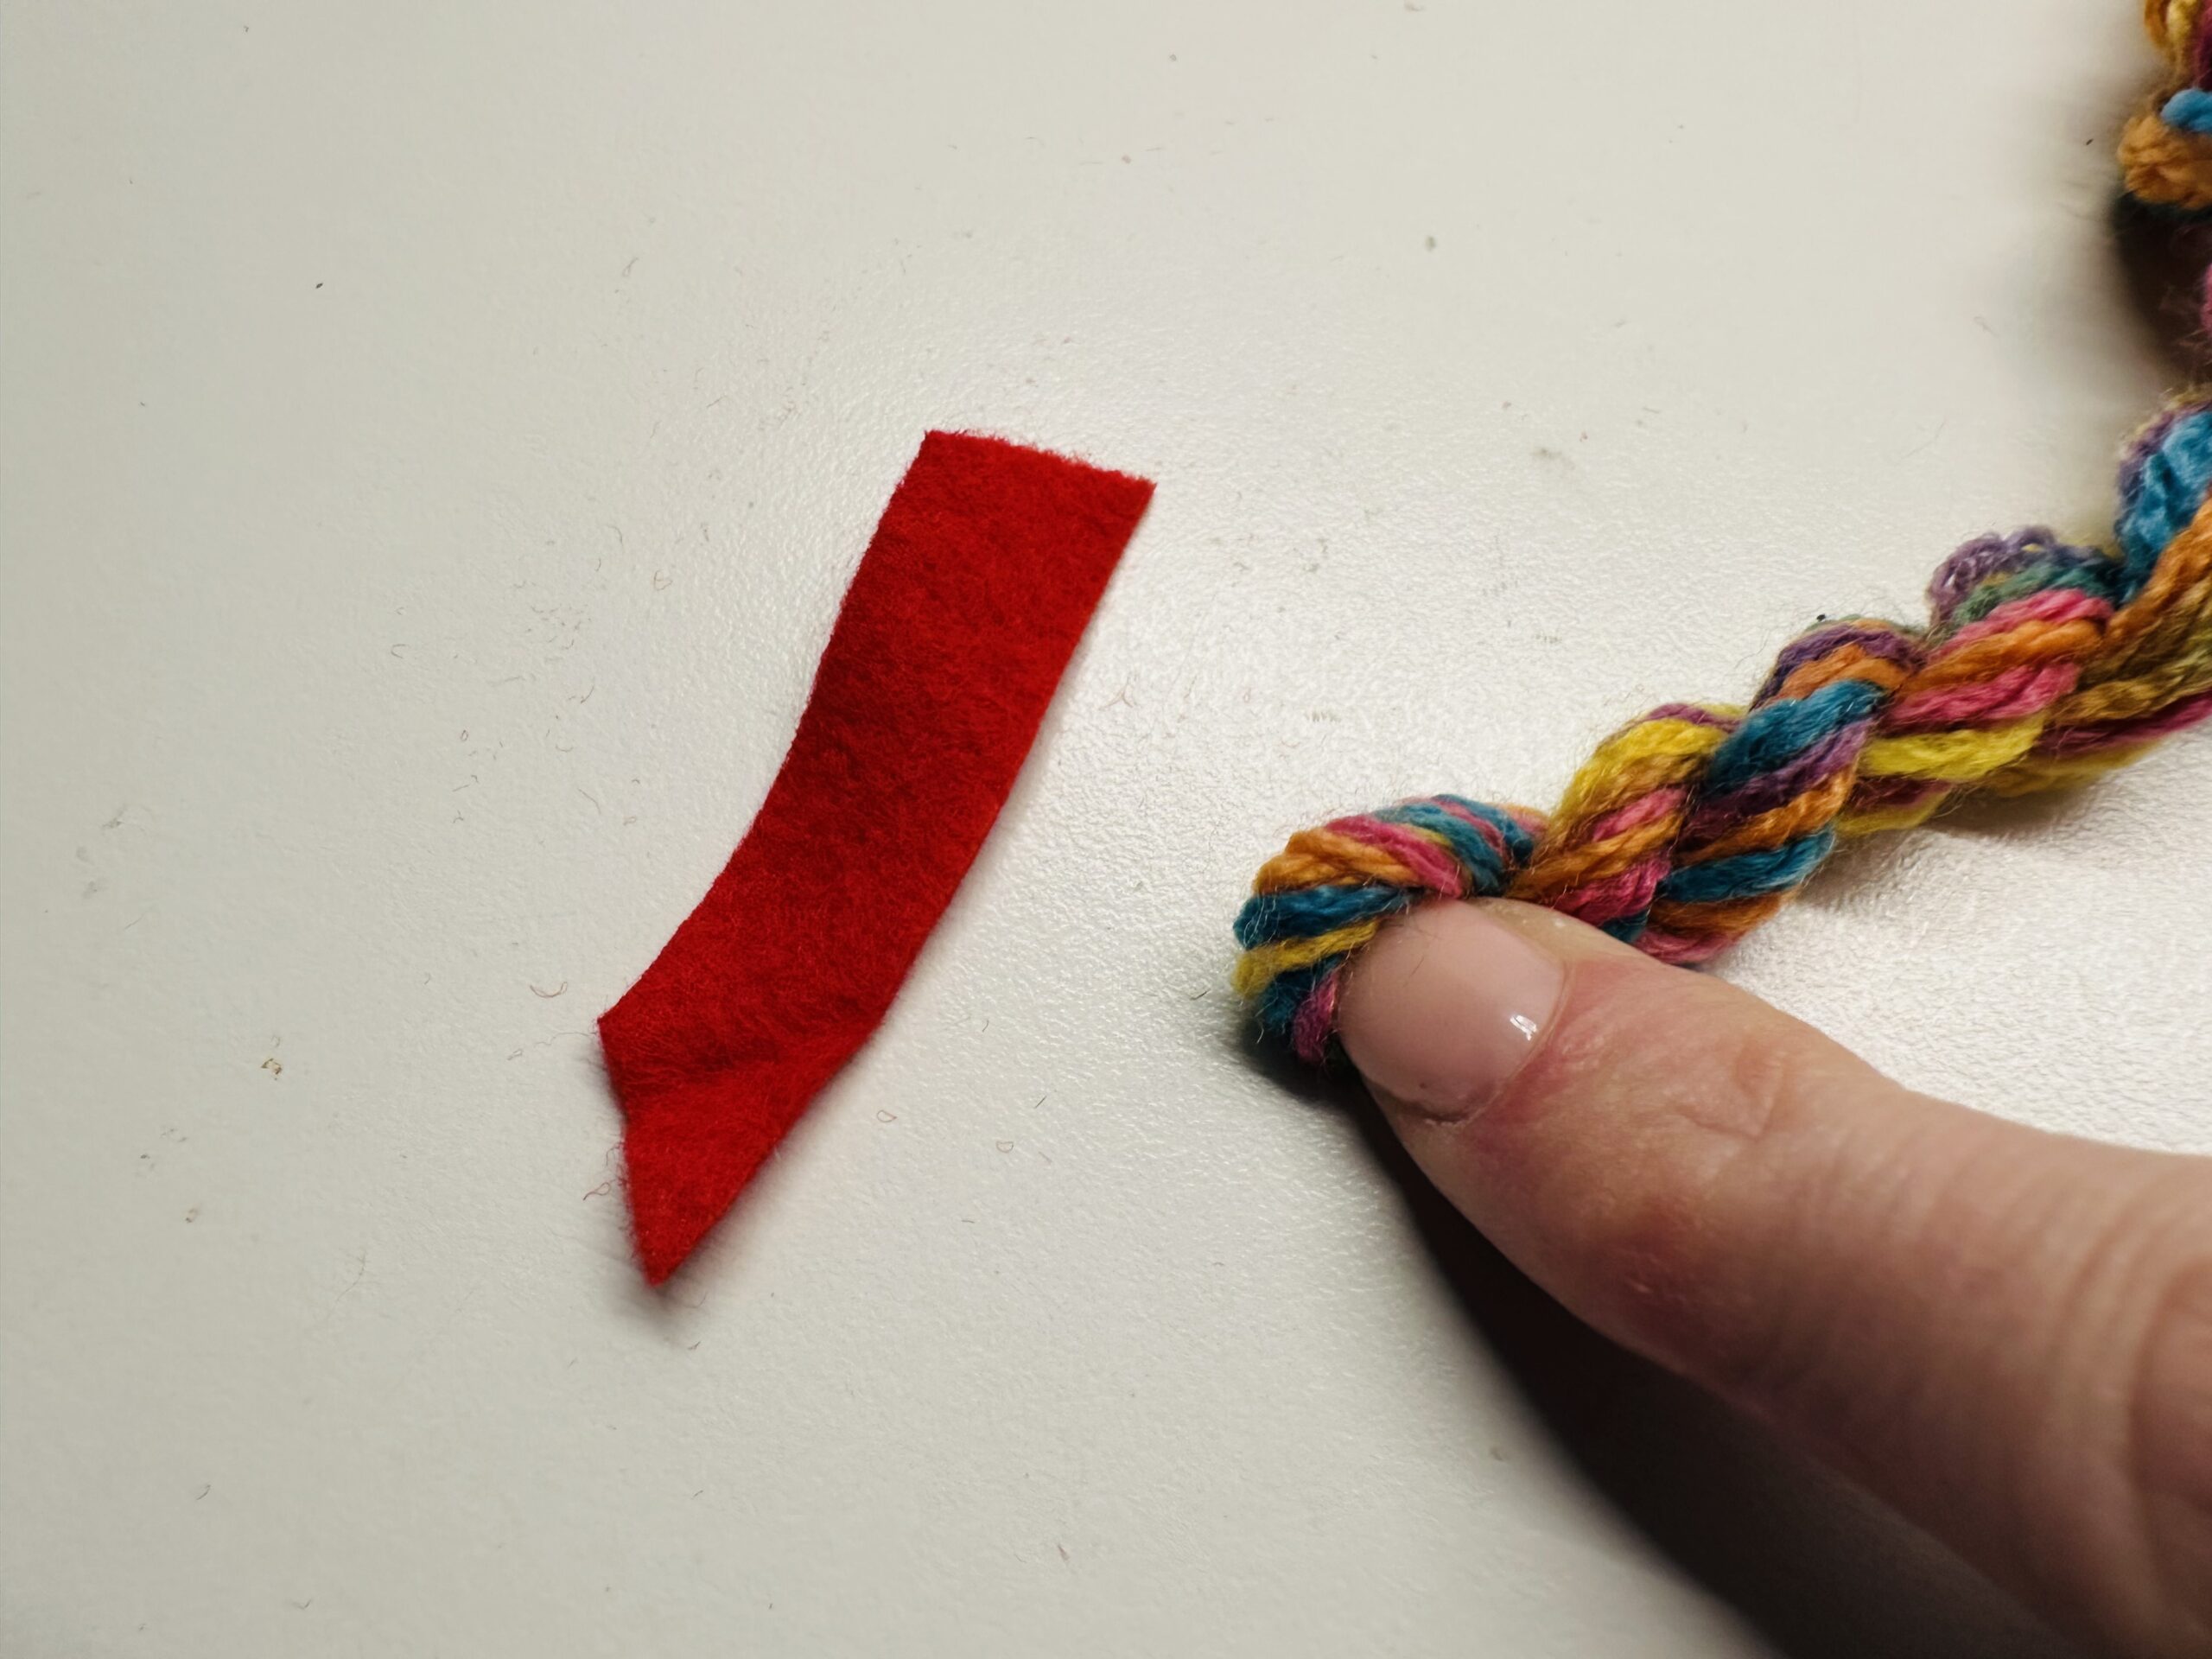
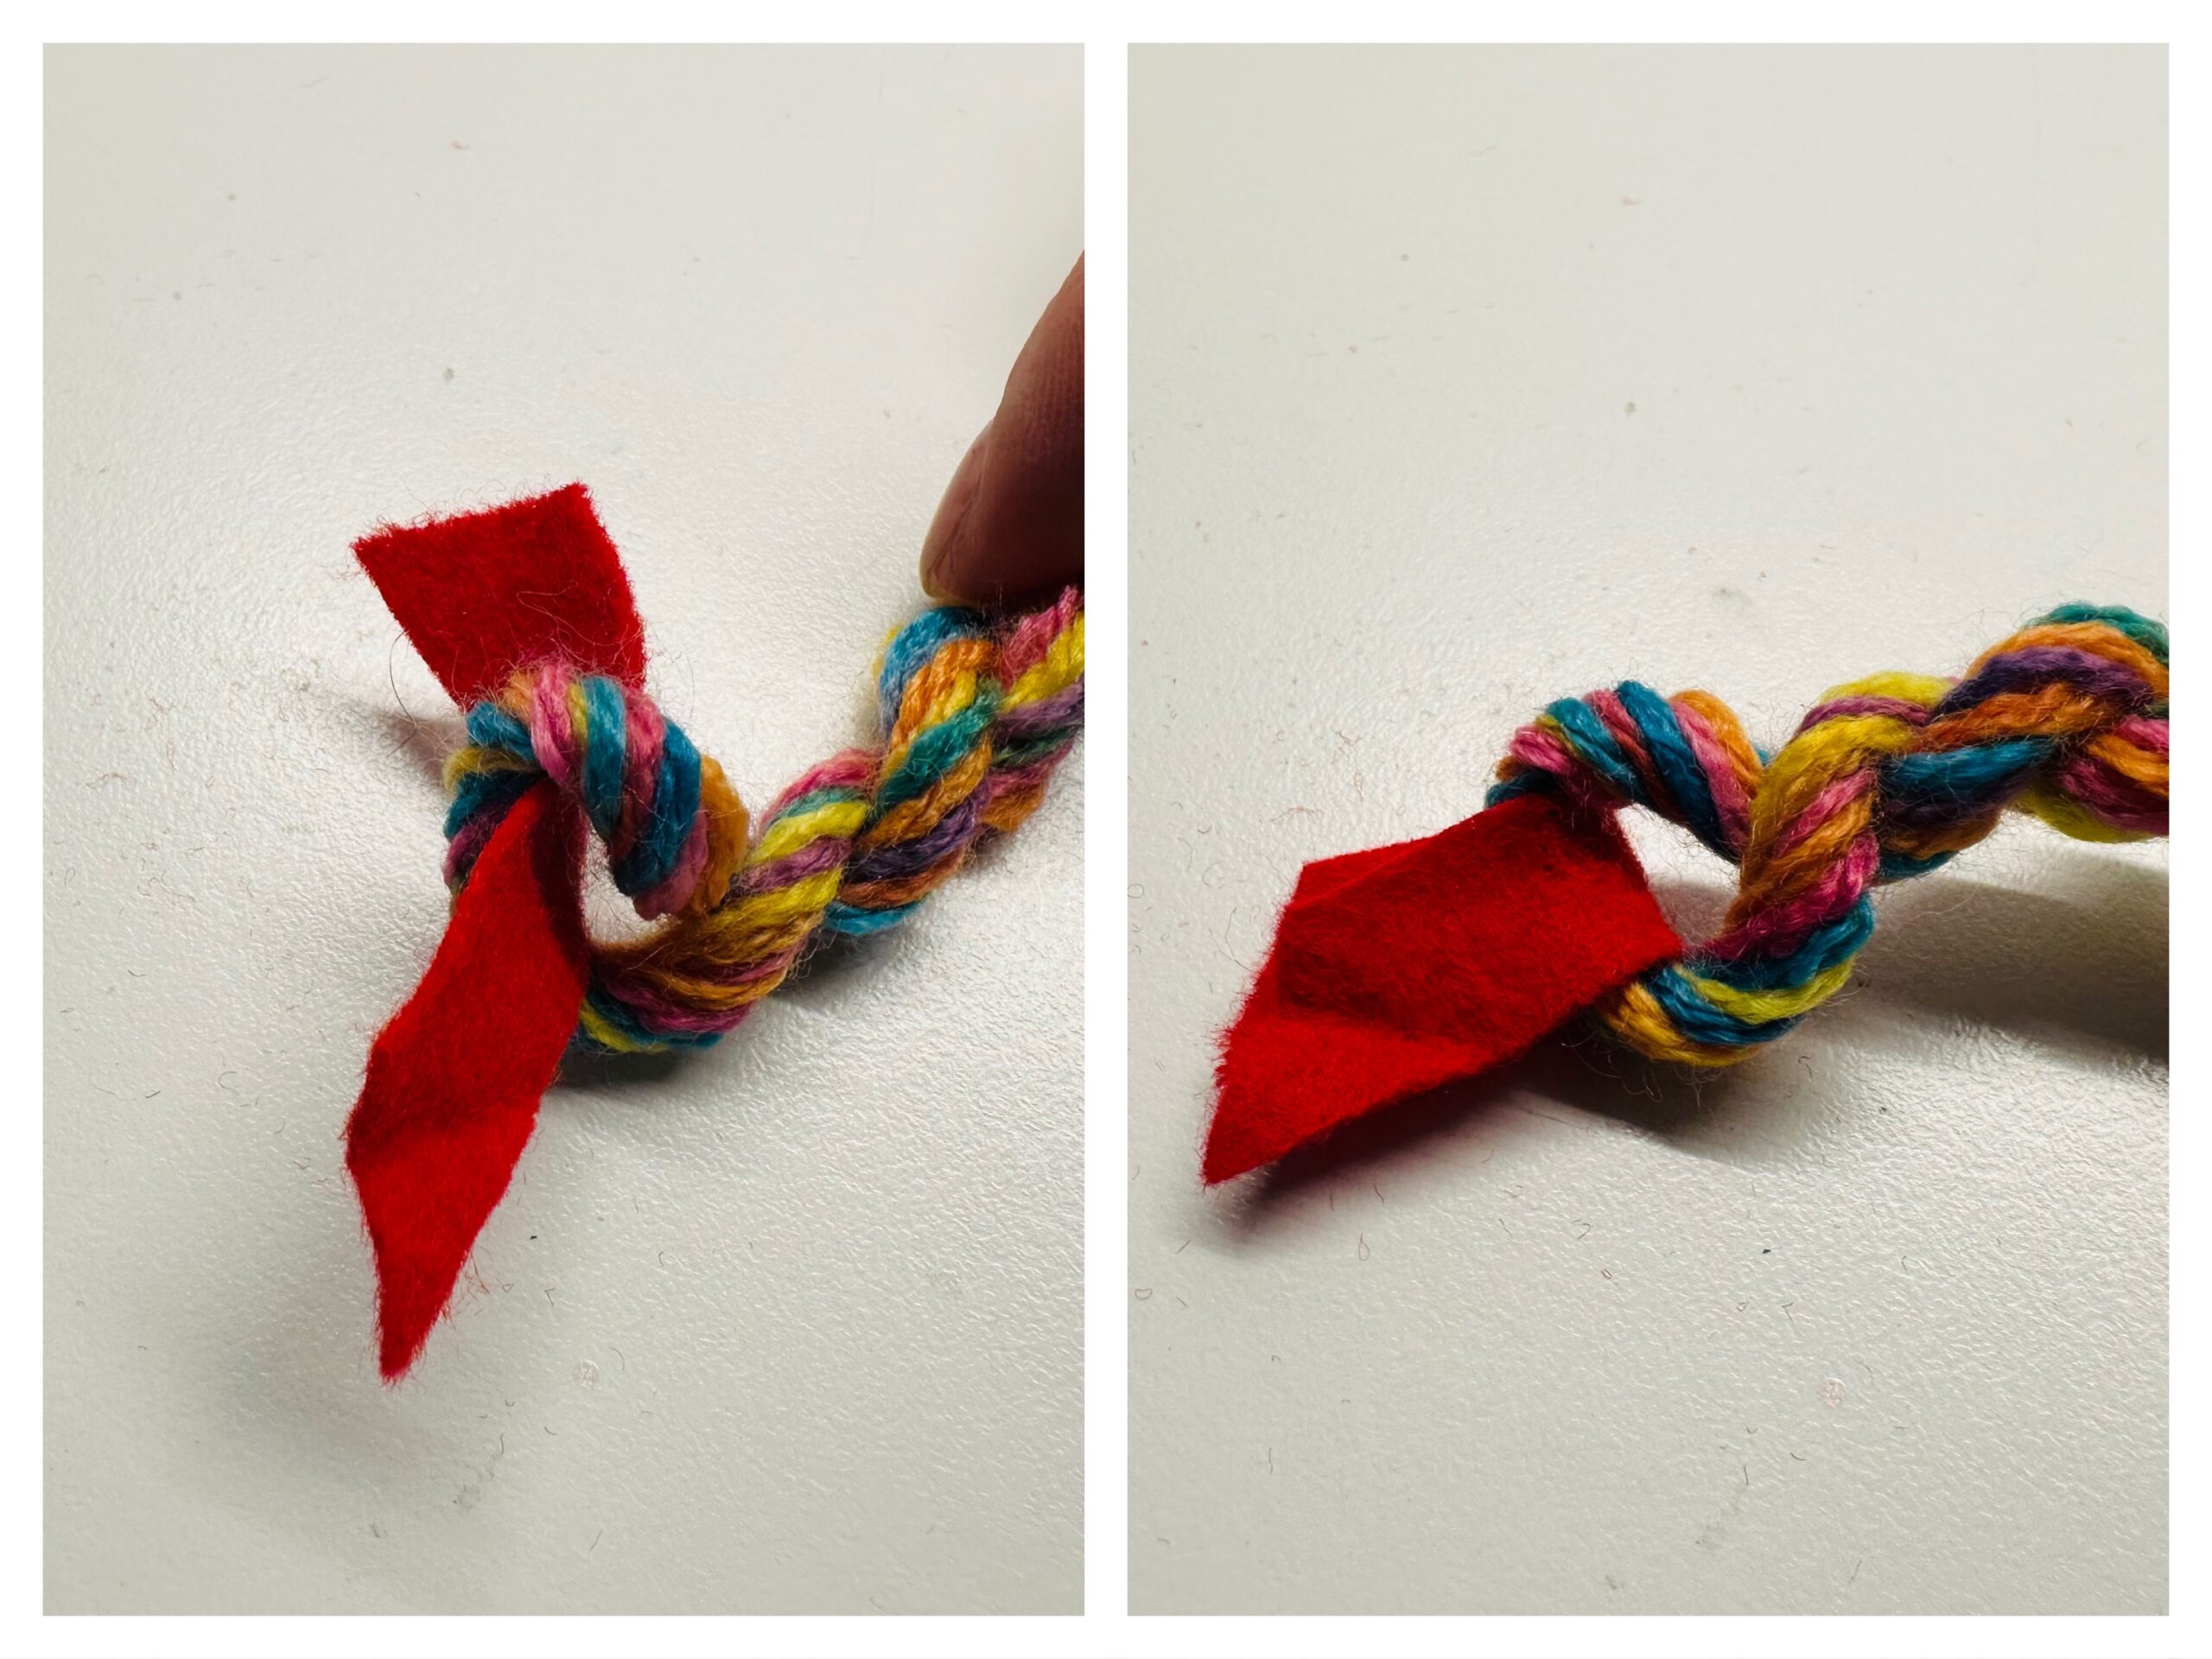
For the head of the snake a tongue and eyes are missing. Cut off a strip of felt as a tongue. It should have a little more than twice the length of your finished tongue.
Put the strip through the front part of your snake (where the thread has been placed in half!) Push it halfway through and glue the felt ends to each other.
Cut the tongue with the scissors, for example, to Spitz or a tatter in it, so you get a split tongue.
Stick two wobble eyes on the head of the snake.

You can cut off the cock of the snake in French or...
You can also leave the nodules.
Your snake is ready.

Materials
Directions
Take off colorful wool as thick as possible and take off a thread. At least three times as long as your snake is about to become!
Measure at least 8-10 threads. If the wool is very thin you need more threads.
The more threads, the thicker the snake.
All the ends of the thread now lie on each other.
Make a knot at the end of all threads.
At the other end, too, you have to make a knot.
That's what it looks like.
Hangs a thread end over a door handle or a hacking / cabinet button.
At the other end of the thread you have to keep the cords tight. Possibly put a pen through the loop.
Now the cord always turns in one direction, so a cord is created. Always hold the cord on tension.
Rotate the apron until they are well twisted.
That's how tight the cord should be.
The cord looks like this.
Keep the ends still on tension! Let us help you with this! For two it's easier. Hold the middle of the scoundrel and place both ends on each other. All the aprons are still tense!
Now let go of the middle. Both threads roll together and twist together.
The two aprons twist to a thick cord. Hold both ends still well! Strip the cord that it is evenly twisted.
Then tie both ends together again with a common knot. Only then can you let go of the ends. Now the cord is finished.
For the head of the snake a tongue and eyes are missing. Cut off a strip of felt as a tongue. It should have a little more than twice the length of your finished tongue.
Put the strip through the front part of your snake (where the thread has been placed in half!) Push it halfway through and glue the felt ends to each other.
Cut the tongue with the scissors, for example, to Spitz or a tatter in it, so you get a split tongue.
Stick two wobble eyes on the head of the snake.
You can cut off the cock of the snake in French or...
You can also leave the nodules.
Your snake is ready.
Follow us on Facebook , Instagram and Pinterest
Don't miss any more adventures: Our bottle mail