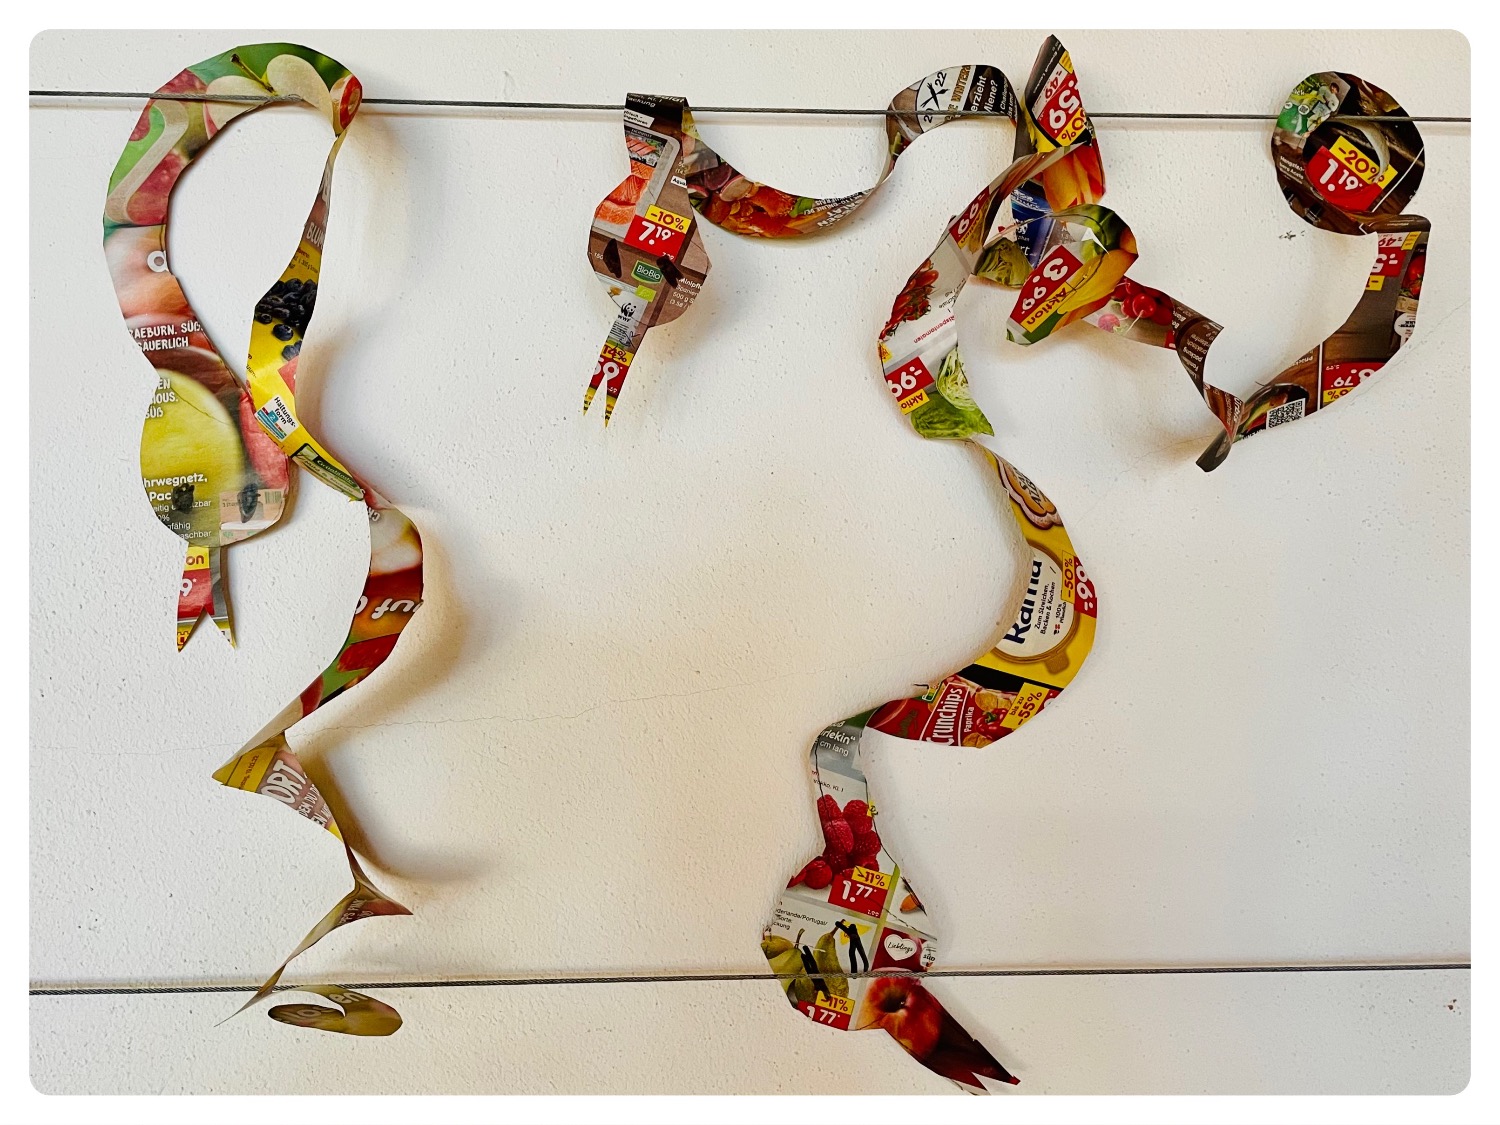
Carnival, carnival, crazy time! All of this we connect with snakes. We can buy snakes in shops, but making them ourselves is much more fun. It gives us a completely different relationship to decorating and gives us pleasure. It makes the children proud and lets them gain experience in the handling of scissors and paper. In addition, we can avoid garbage if we make with waste paper or advertising brochures. We act resource-saving and live that up to the children.
See here step by step how you can make a sustainable air snake. Have fun re-creating!
Media Education for Kindergarten and Hort

Relief in everyday life, targeted promotion of individual children, independent learning and - without any pre-knowledge already usable by the youngest!
You need two sheets of an advertising brochure. These are first glued together. Thus, the snake becomes more stable and does not tear so fast.
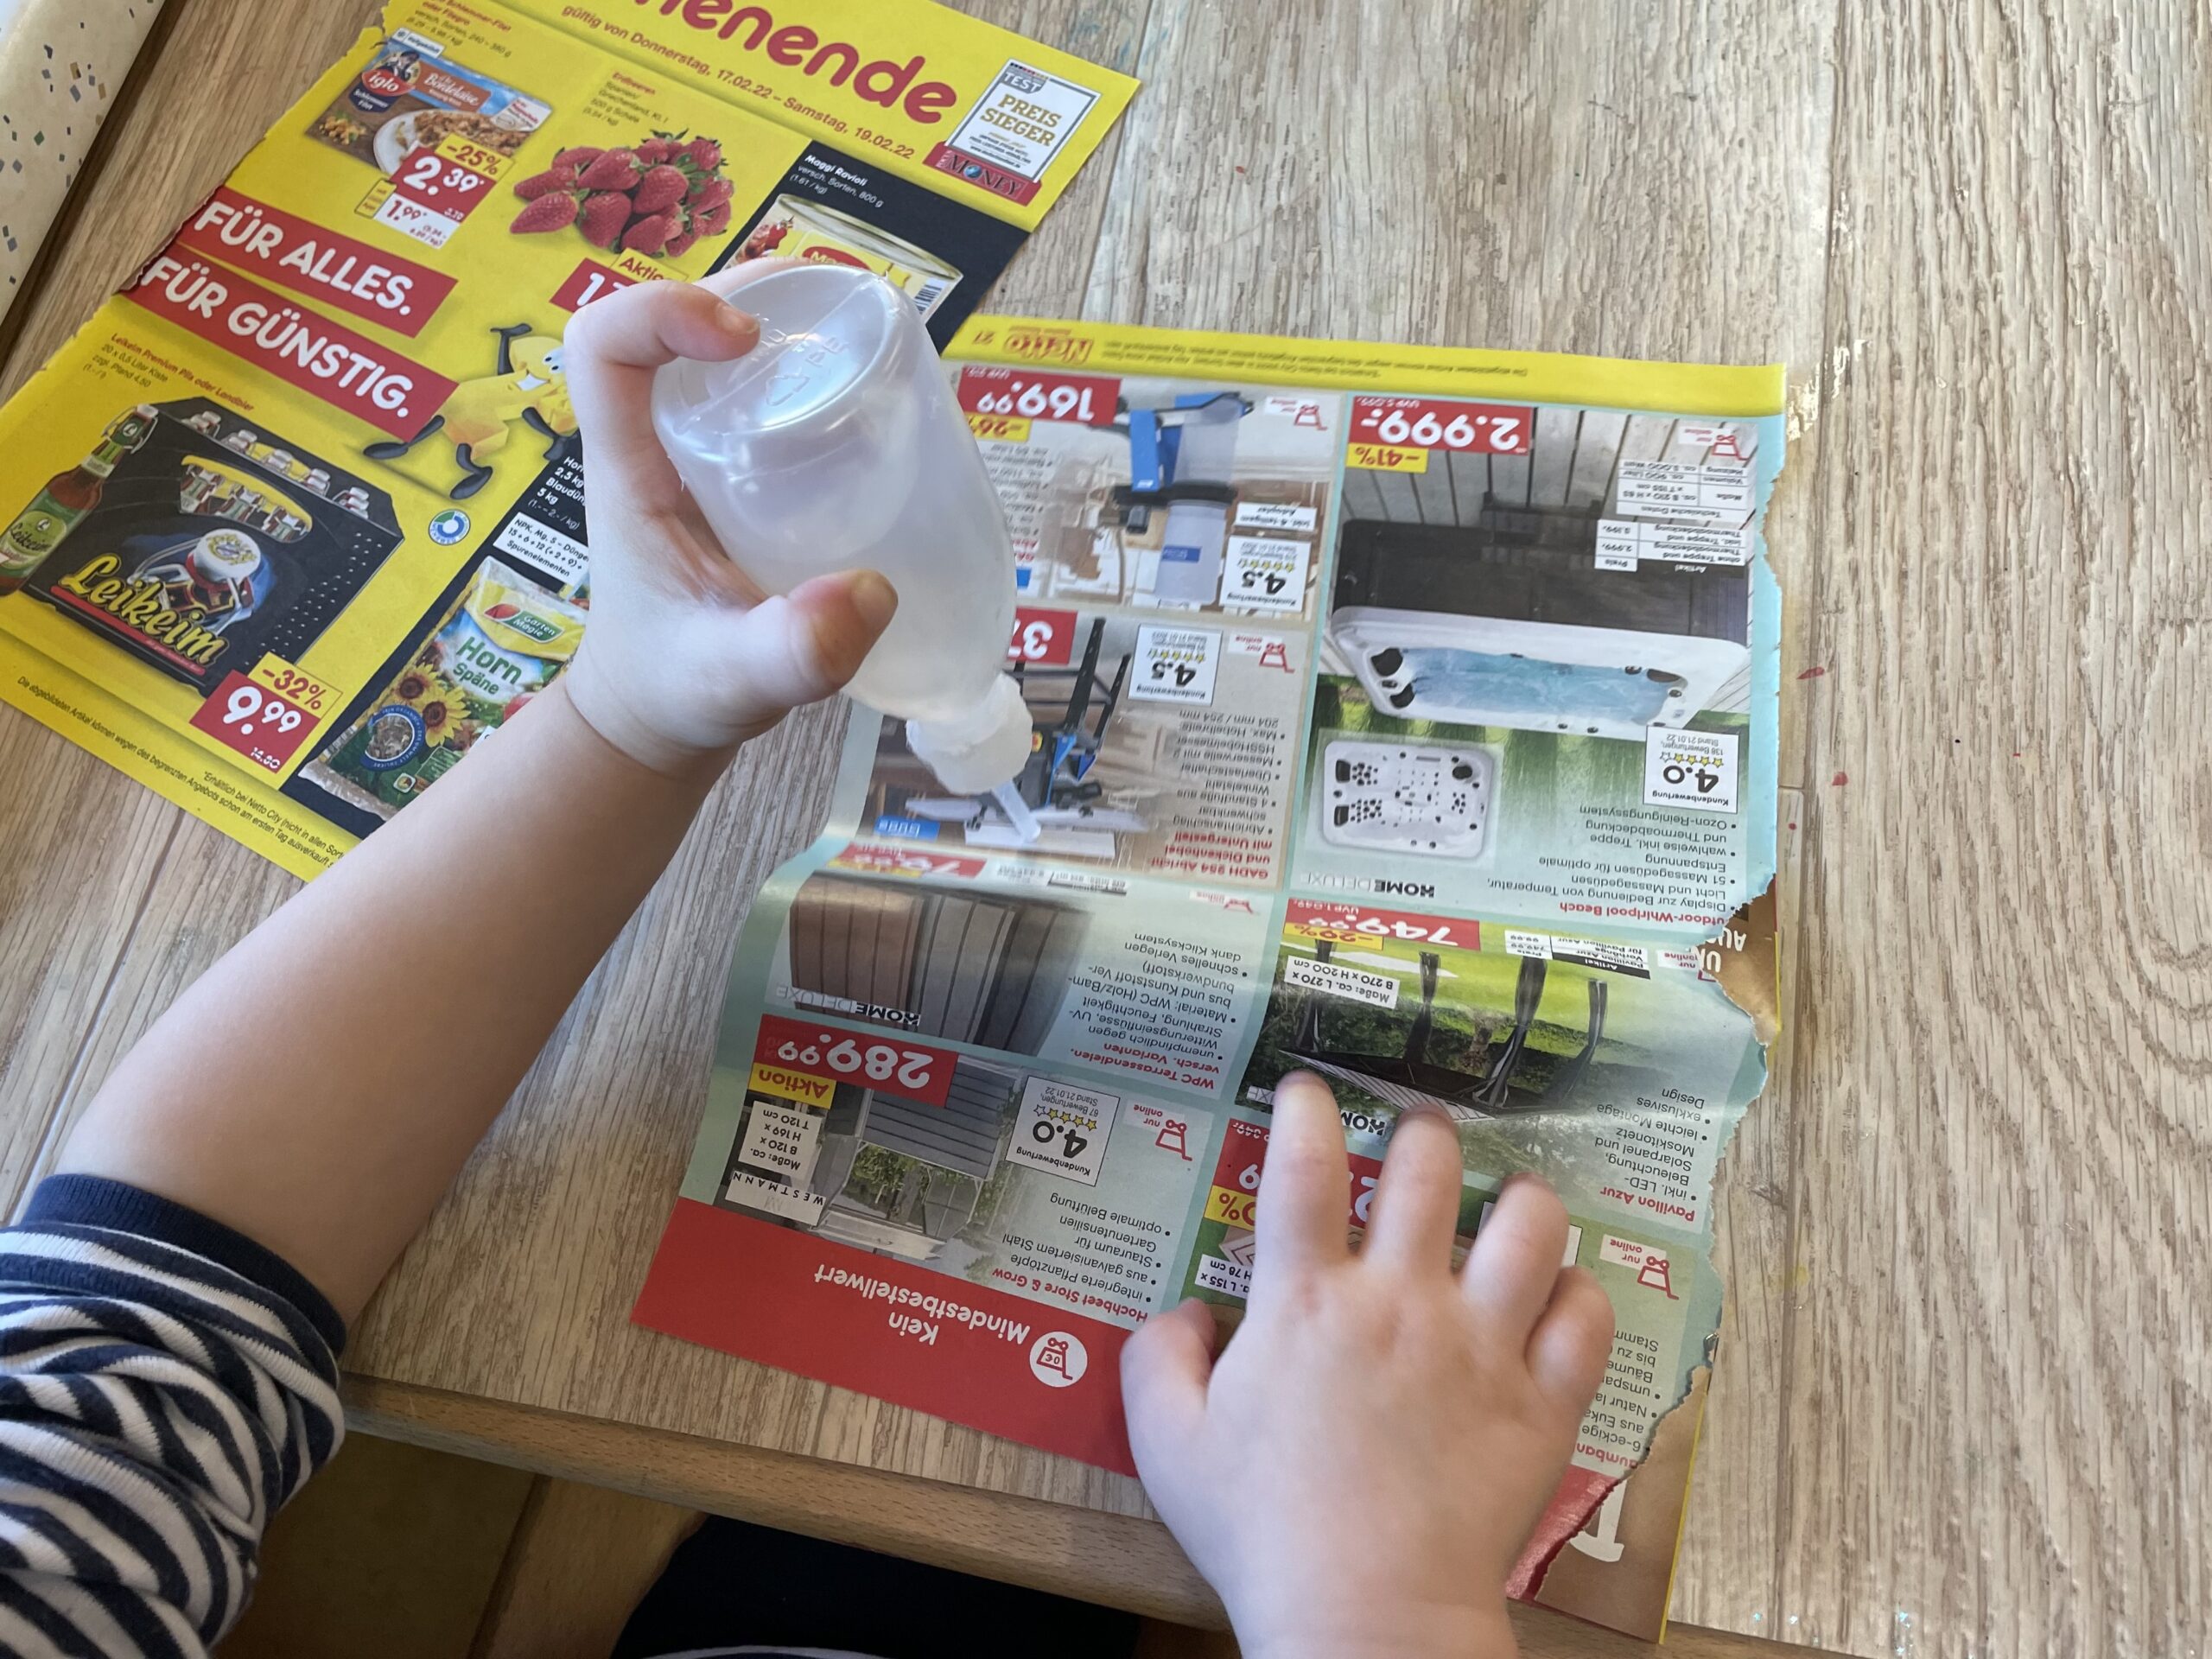
Apply the glue to the first sheet.
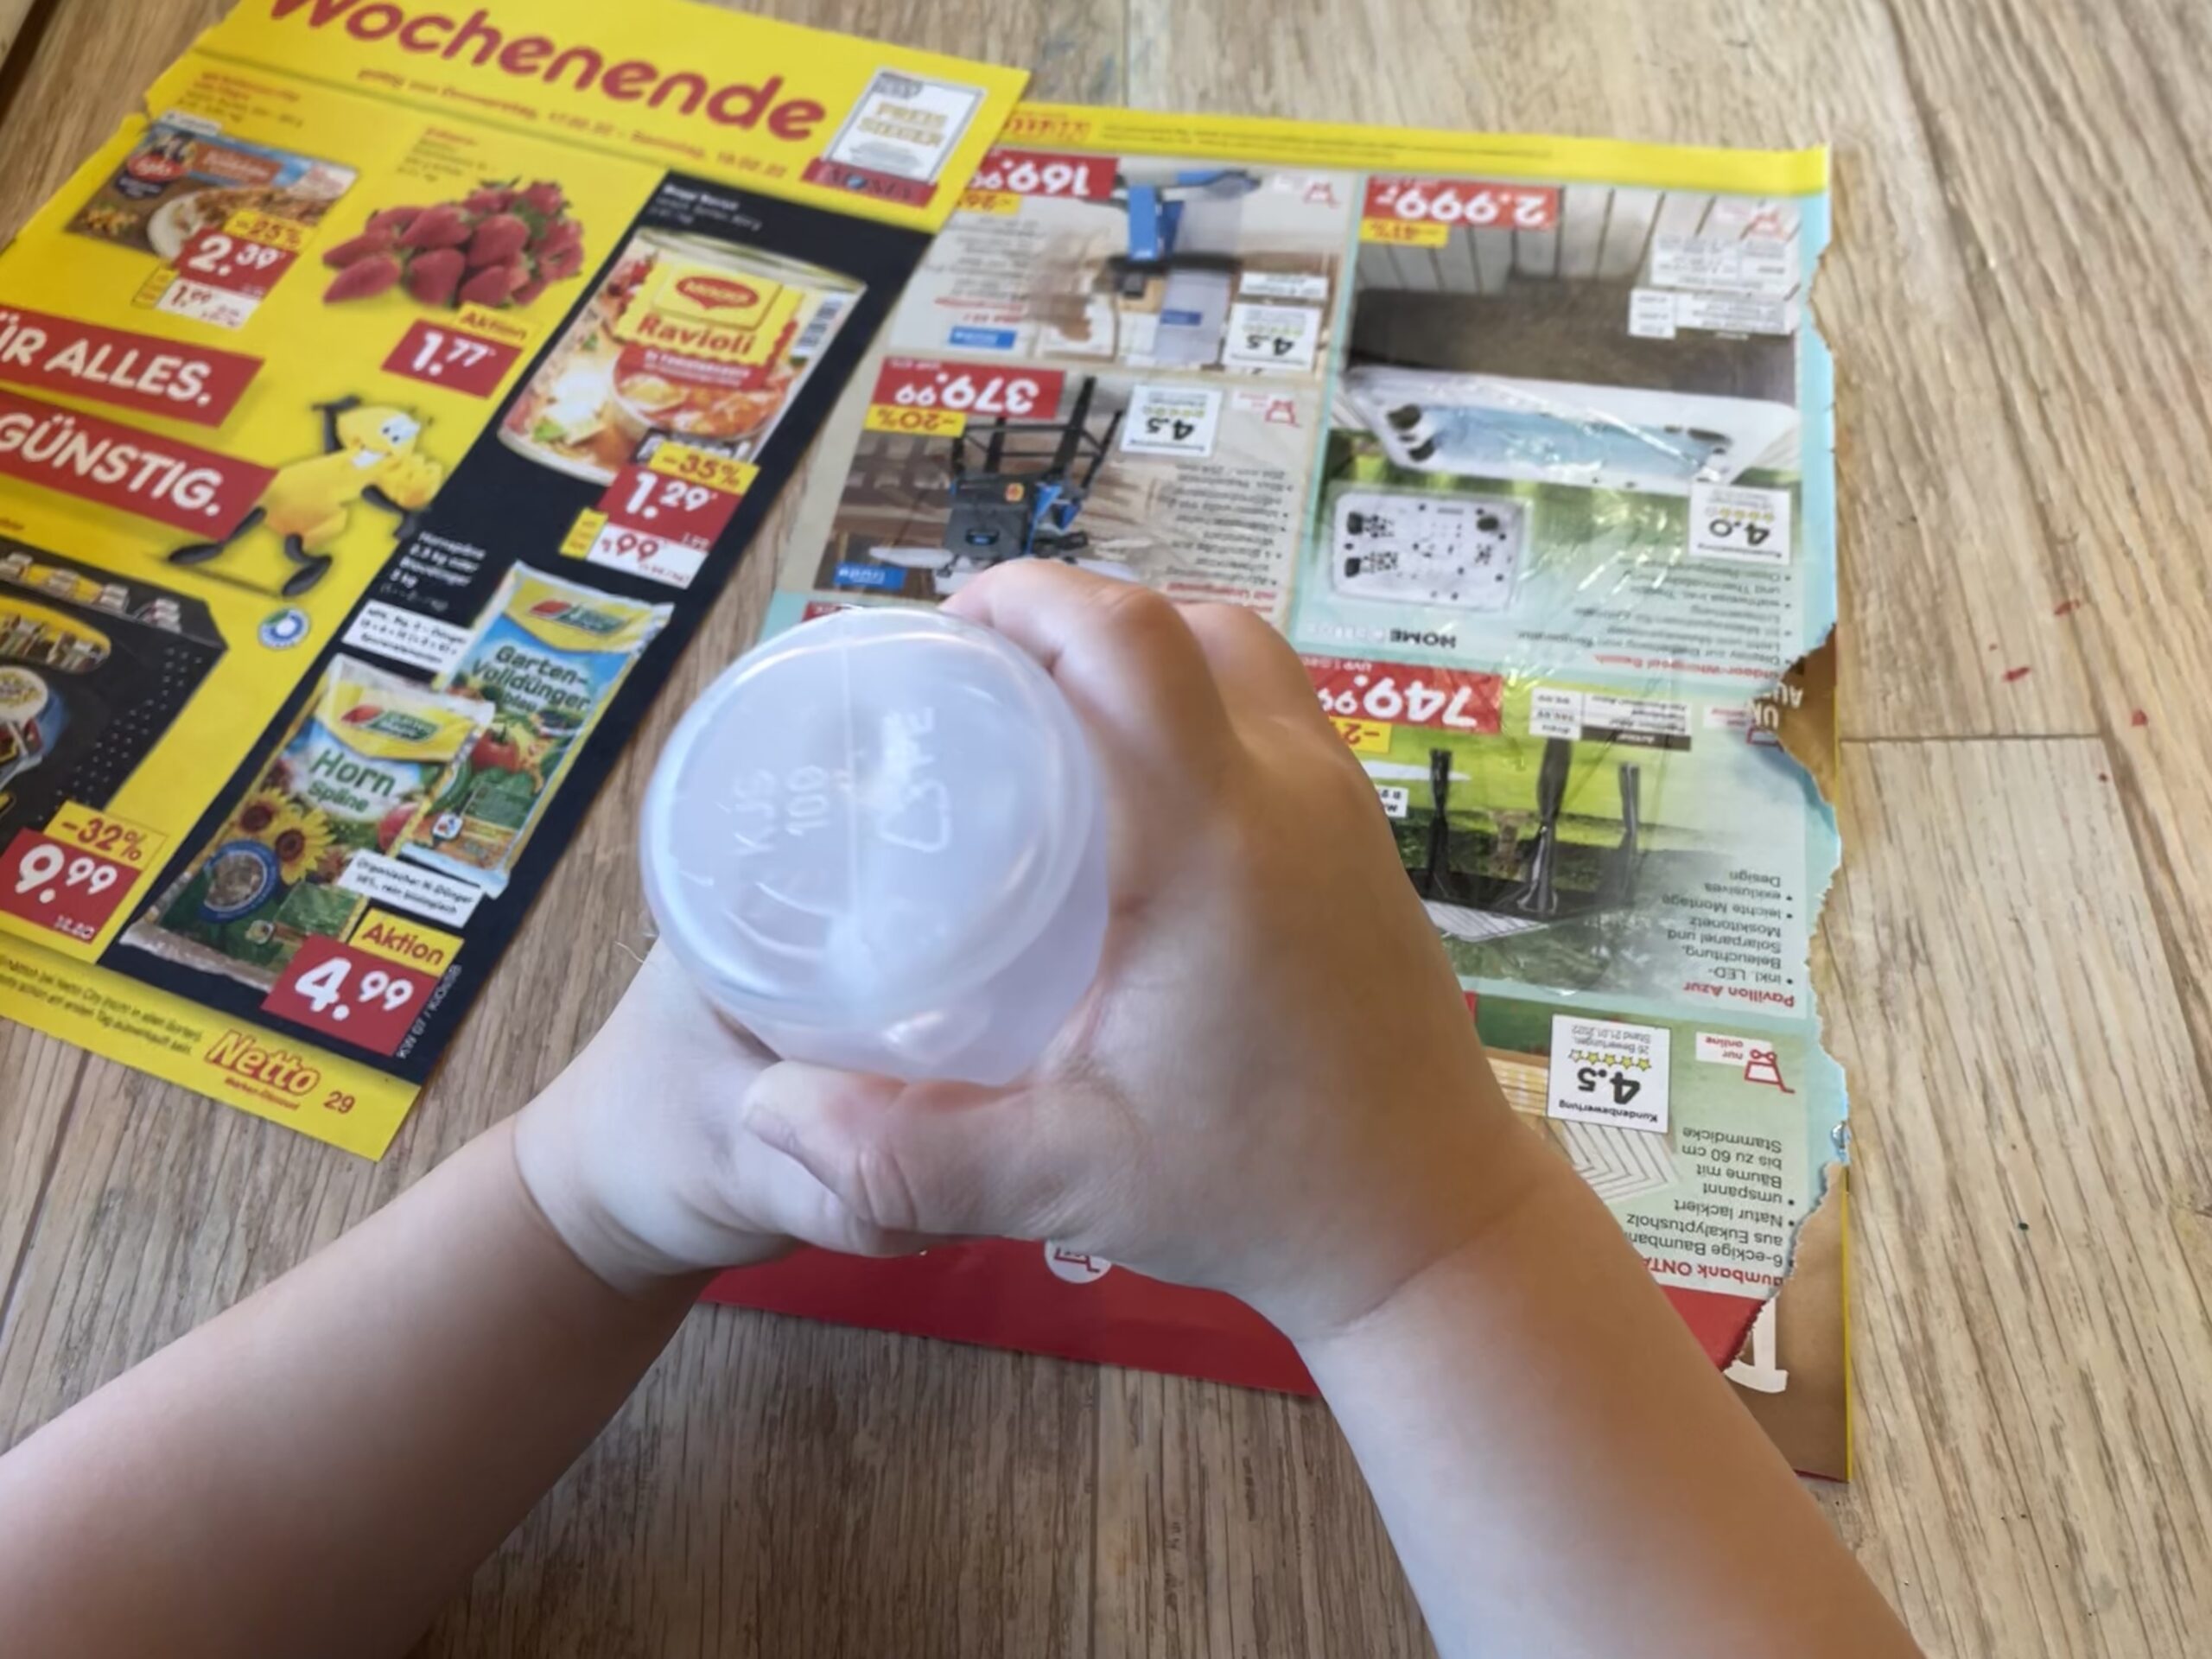


Next you put the second leaf on it and brush it smoothly. So both leaves stick well together.
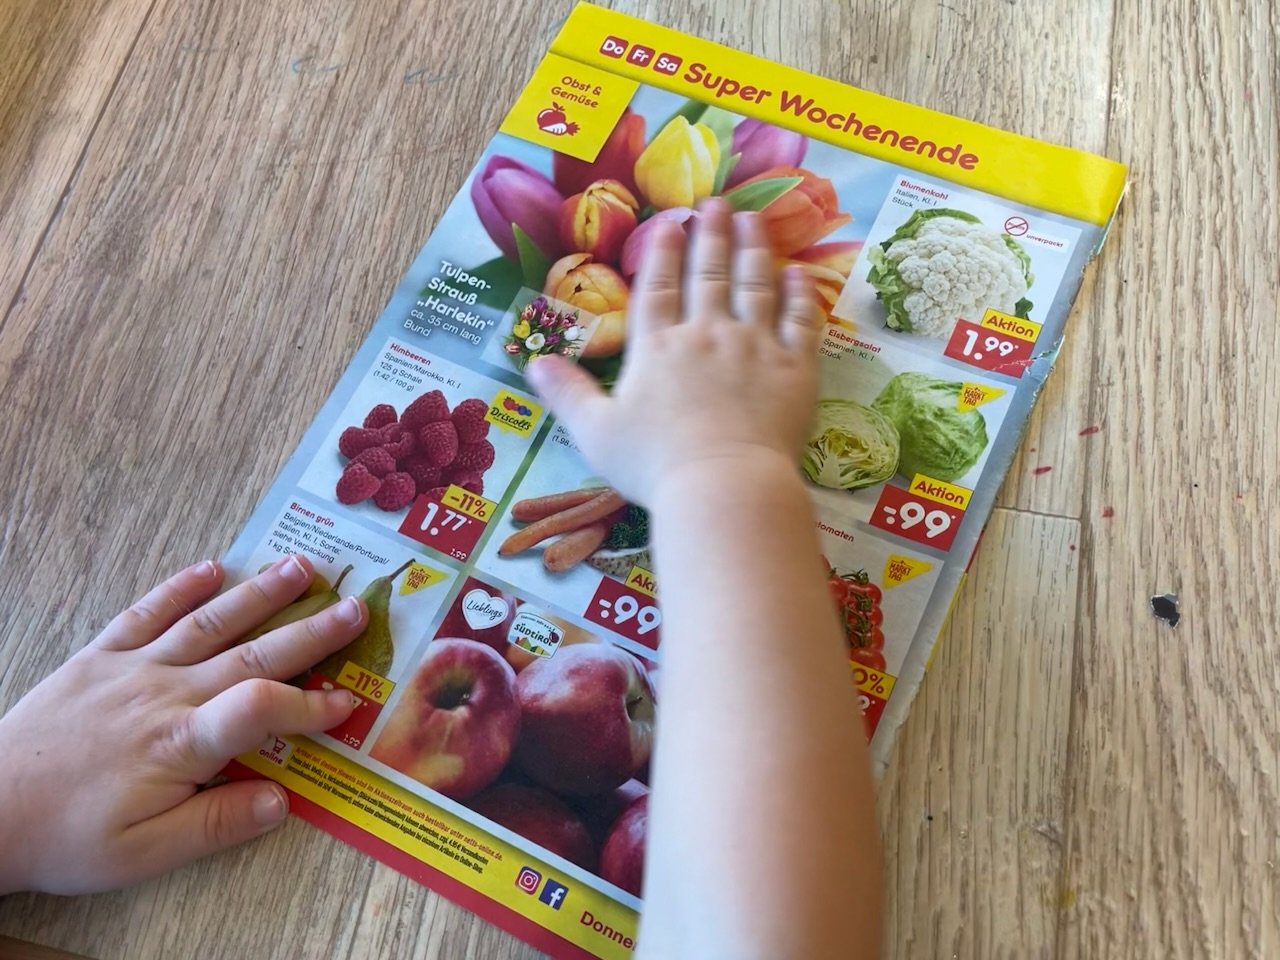


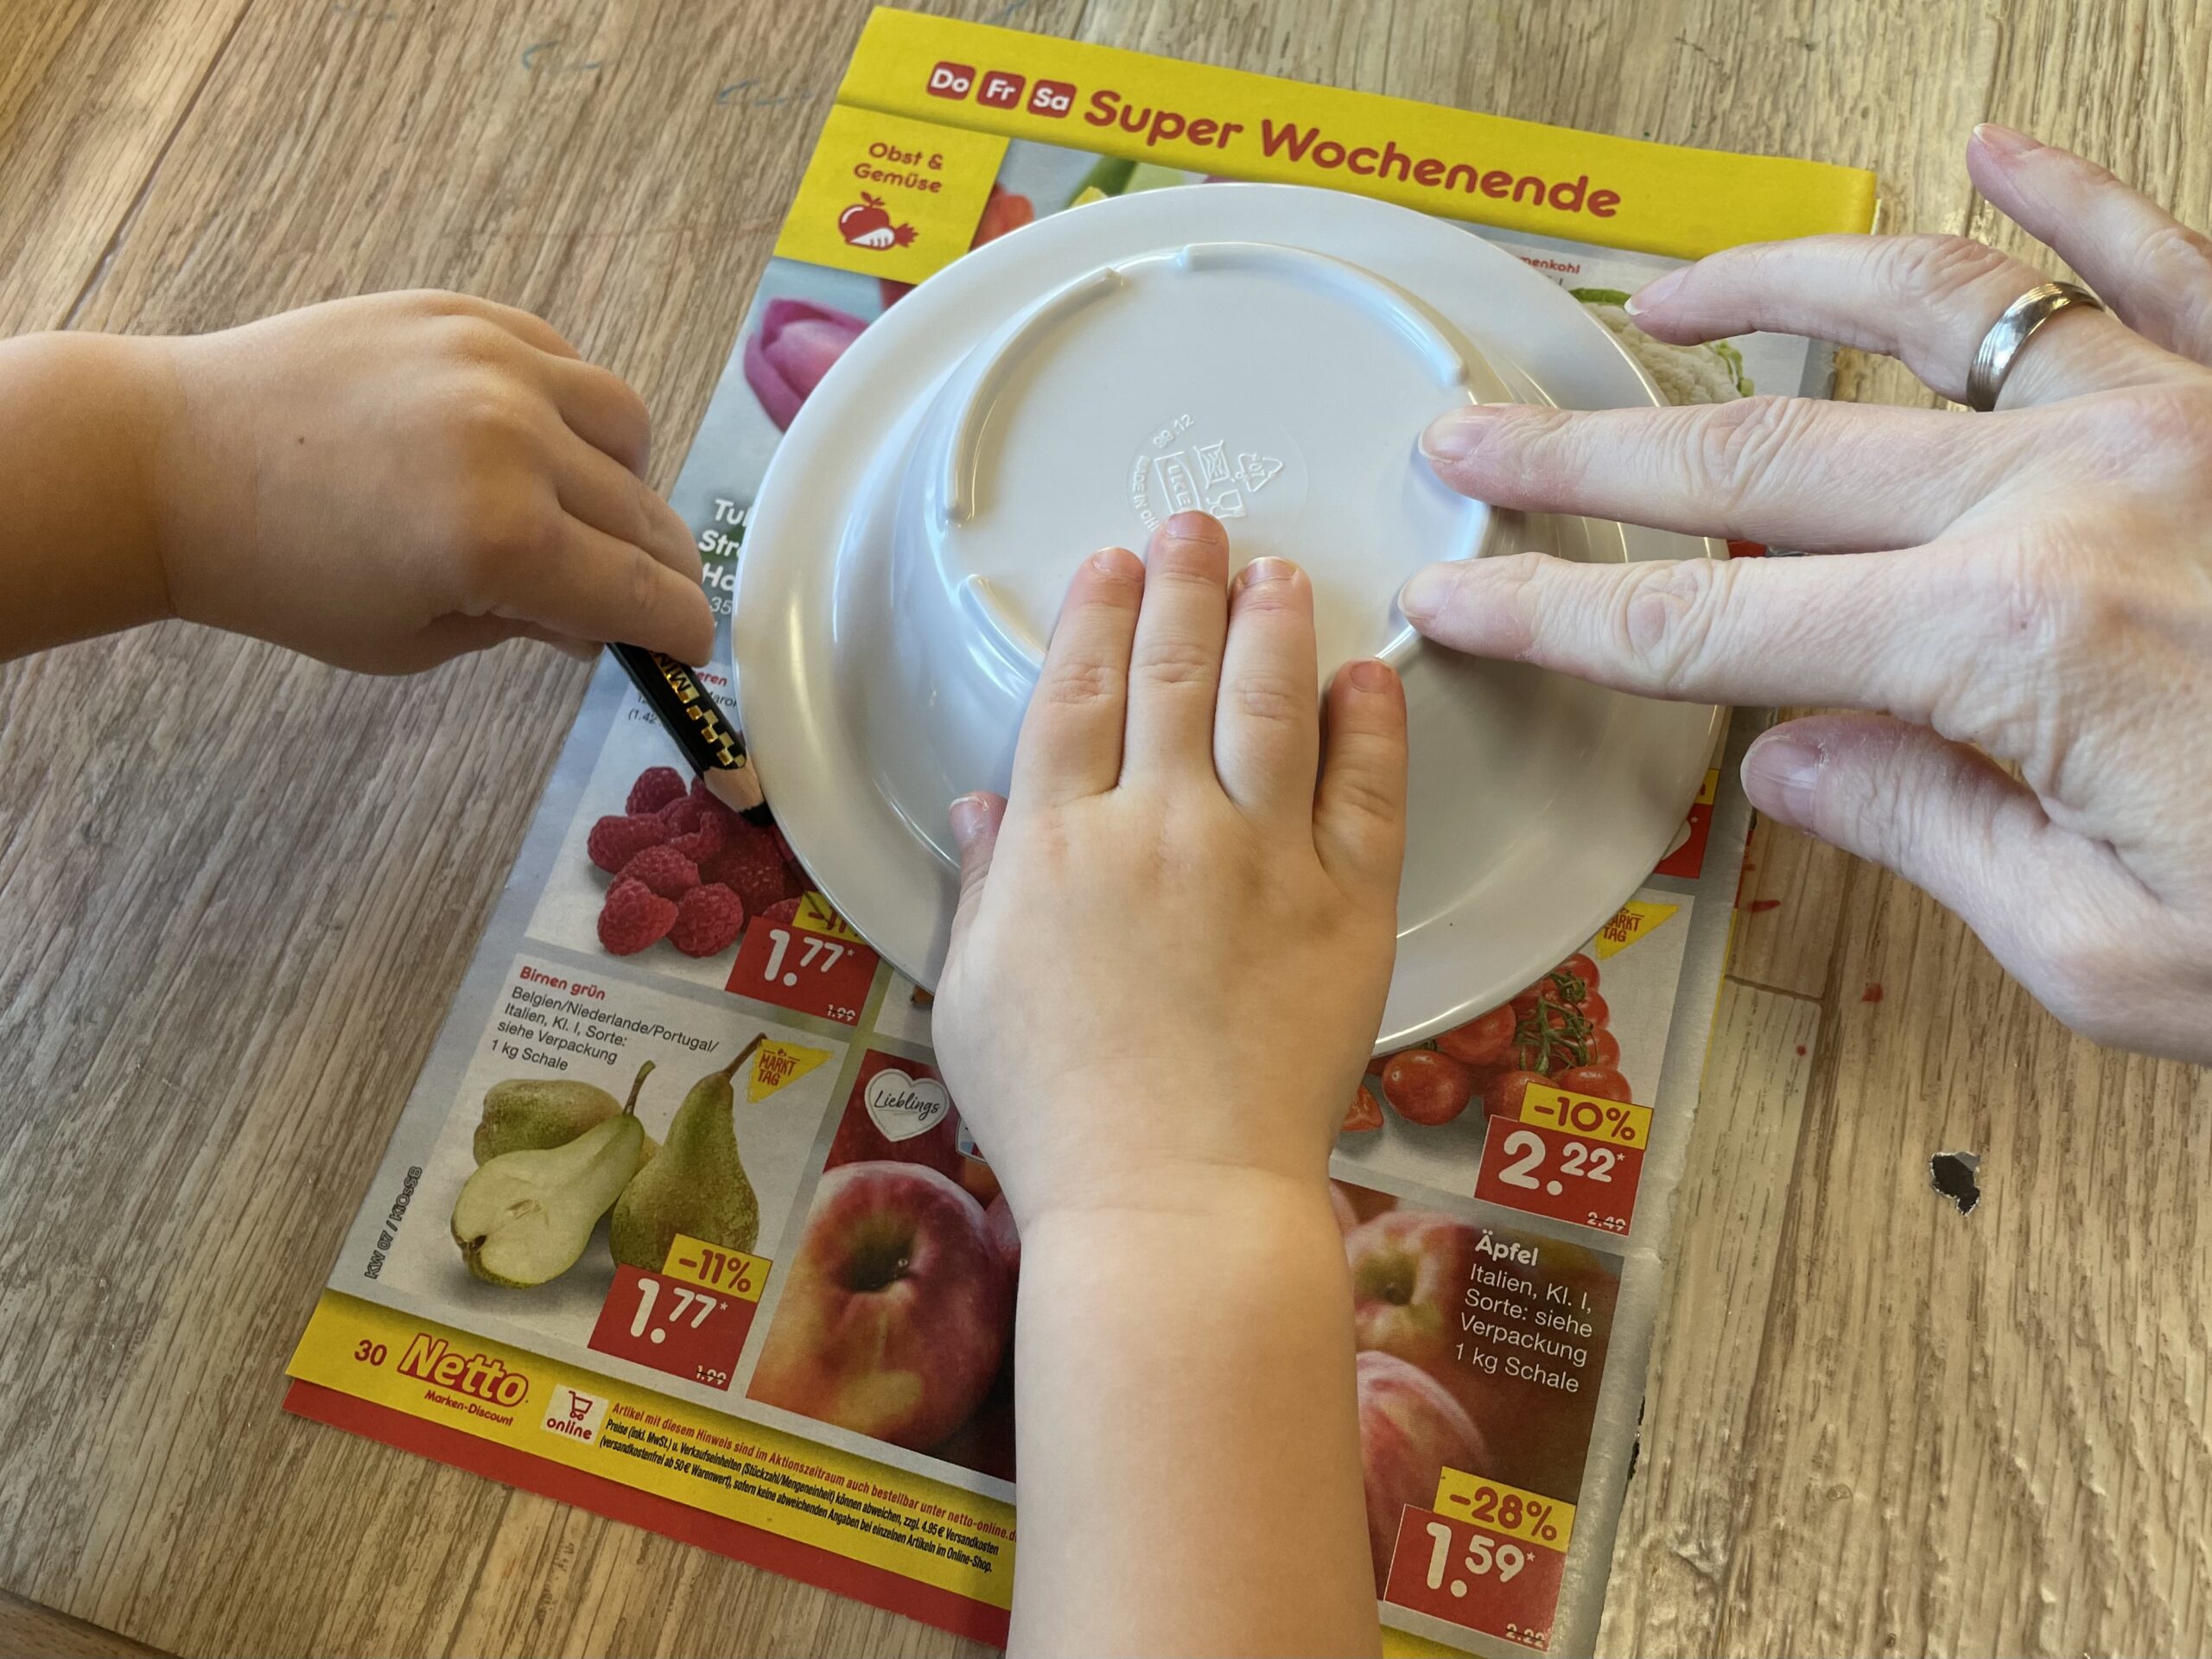
Now take a round small bowl or a round plate. Place it centrally on the paper glued together. Hold it well and paint it around with a pen.


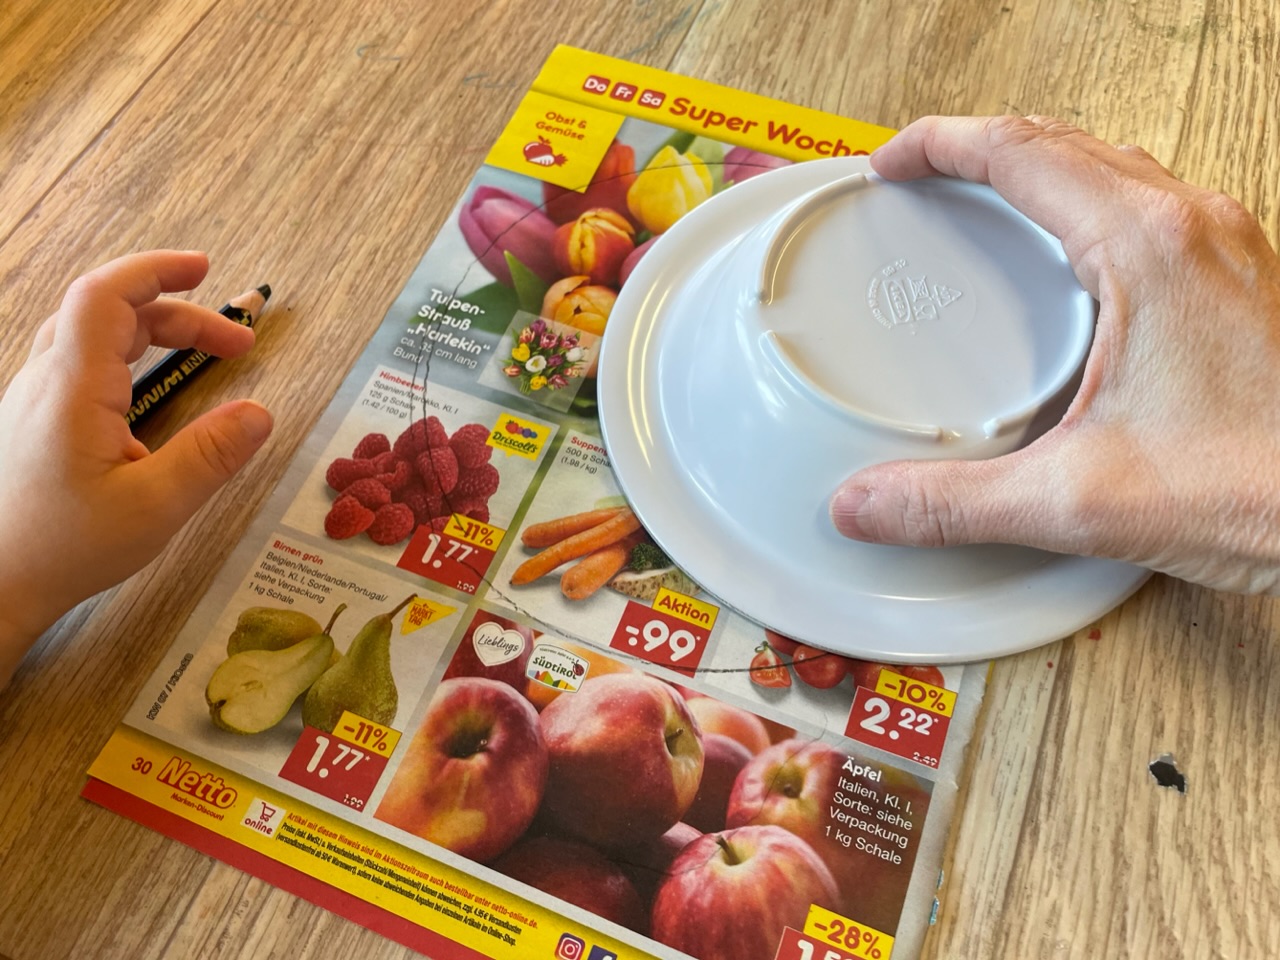
Take the bowl aside. Now you see the painted circle. This is the body of our air snake.


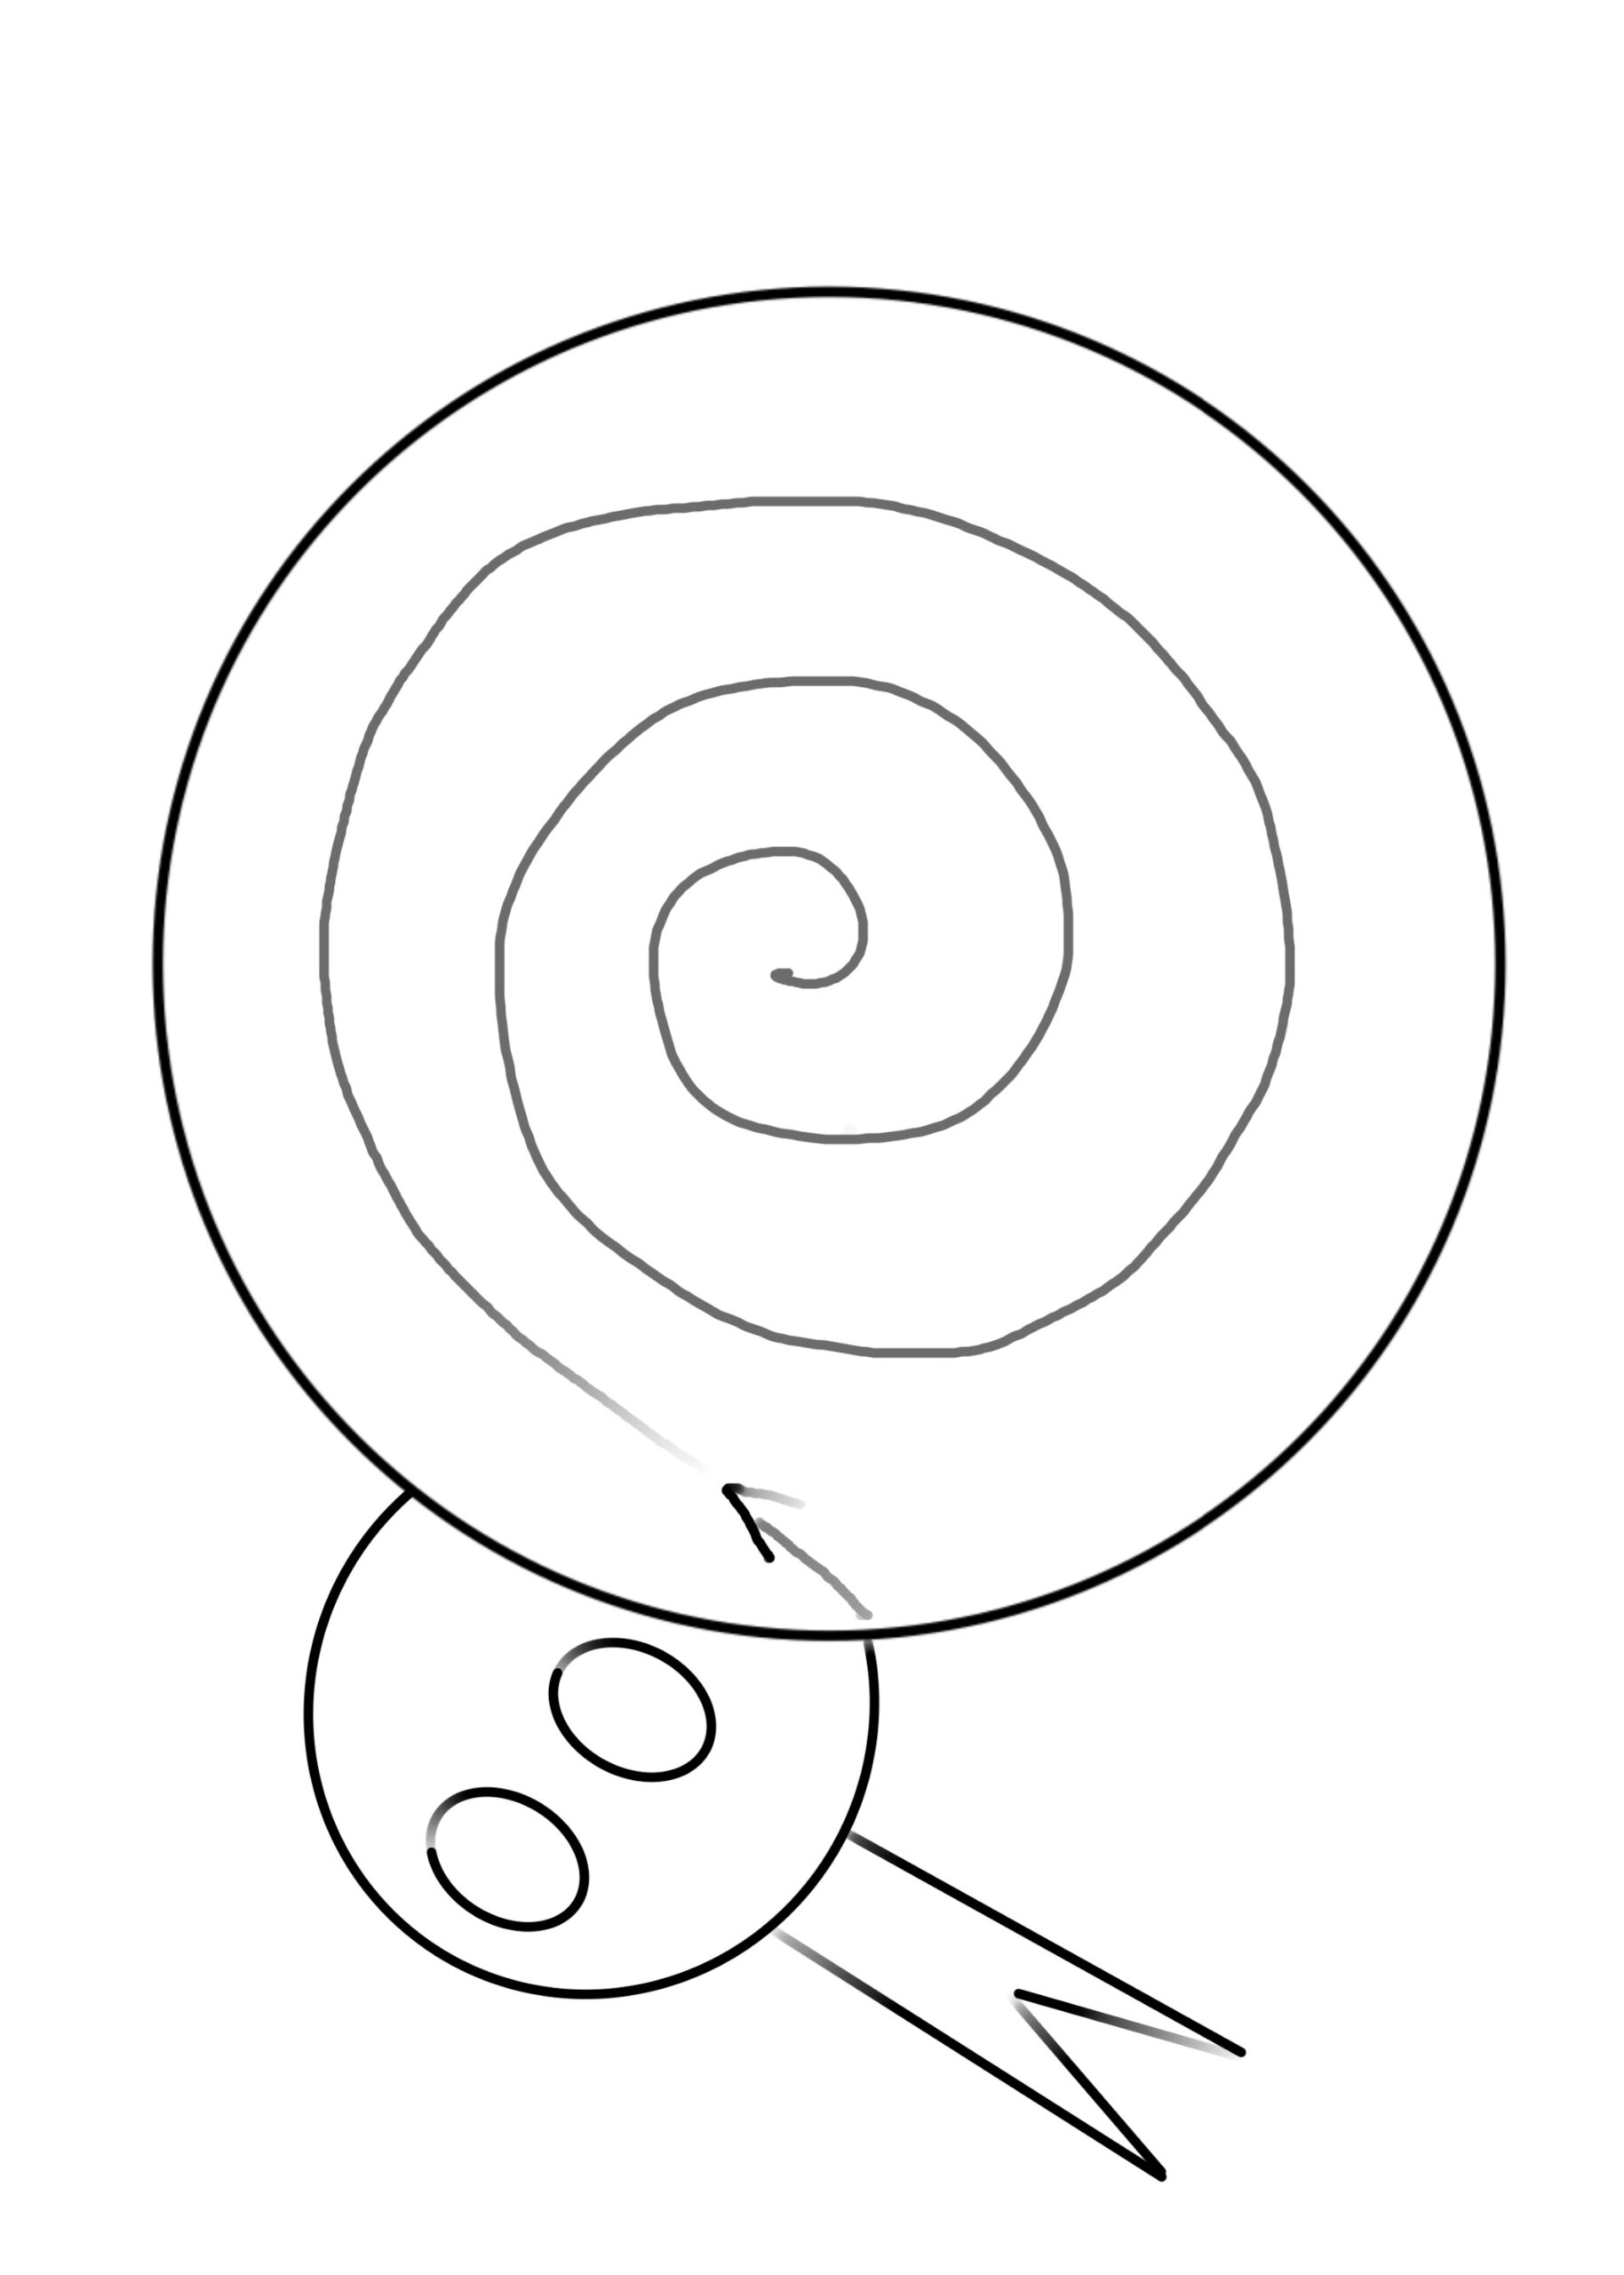
Now you shape your head. To do this, you paint a small "head" to the large circle on one side where there is enough space (see sketch below).
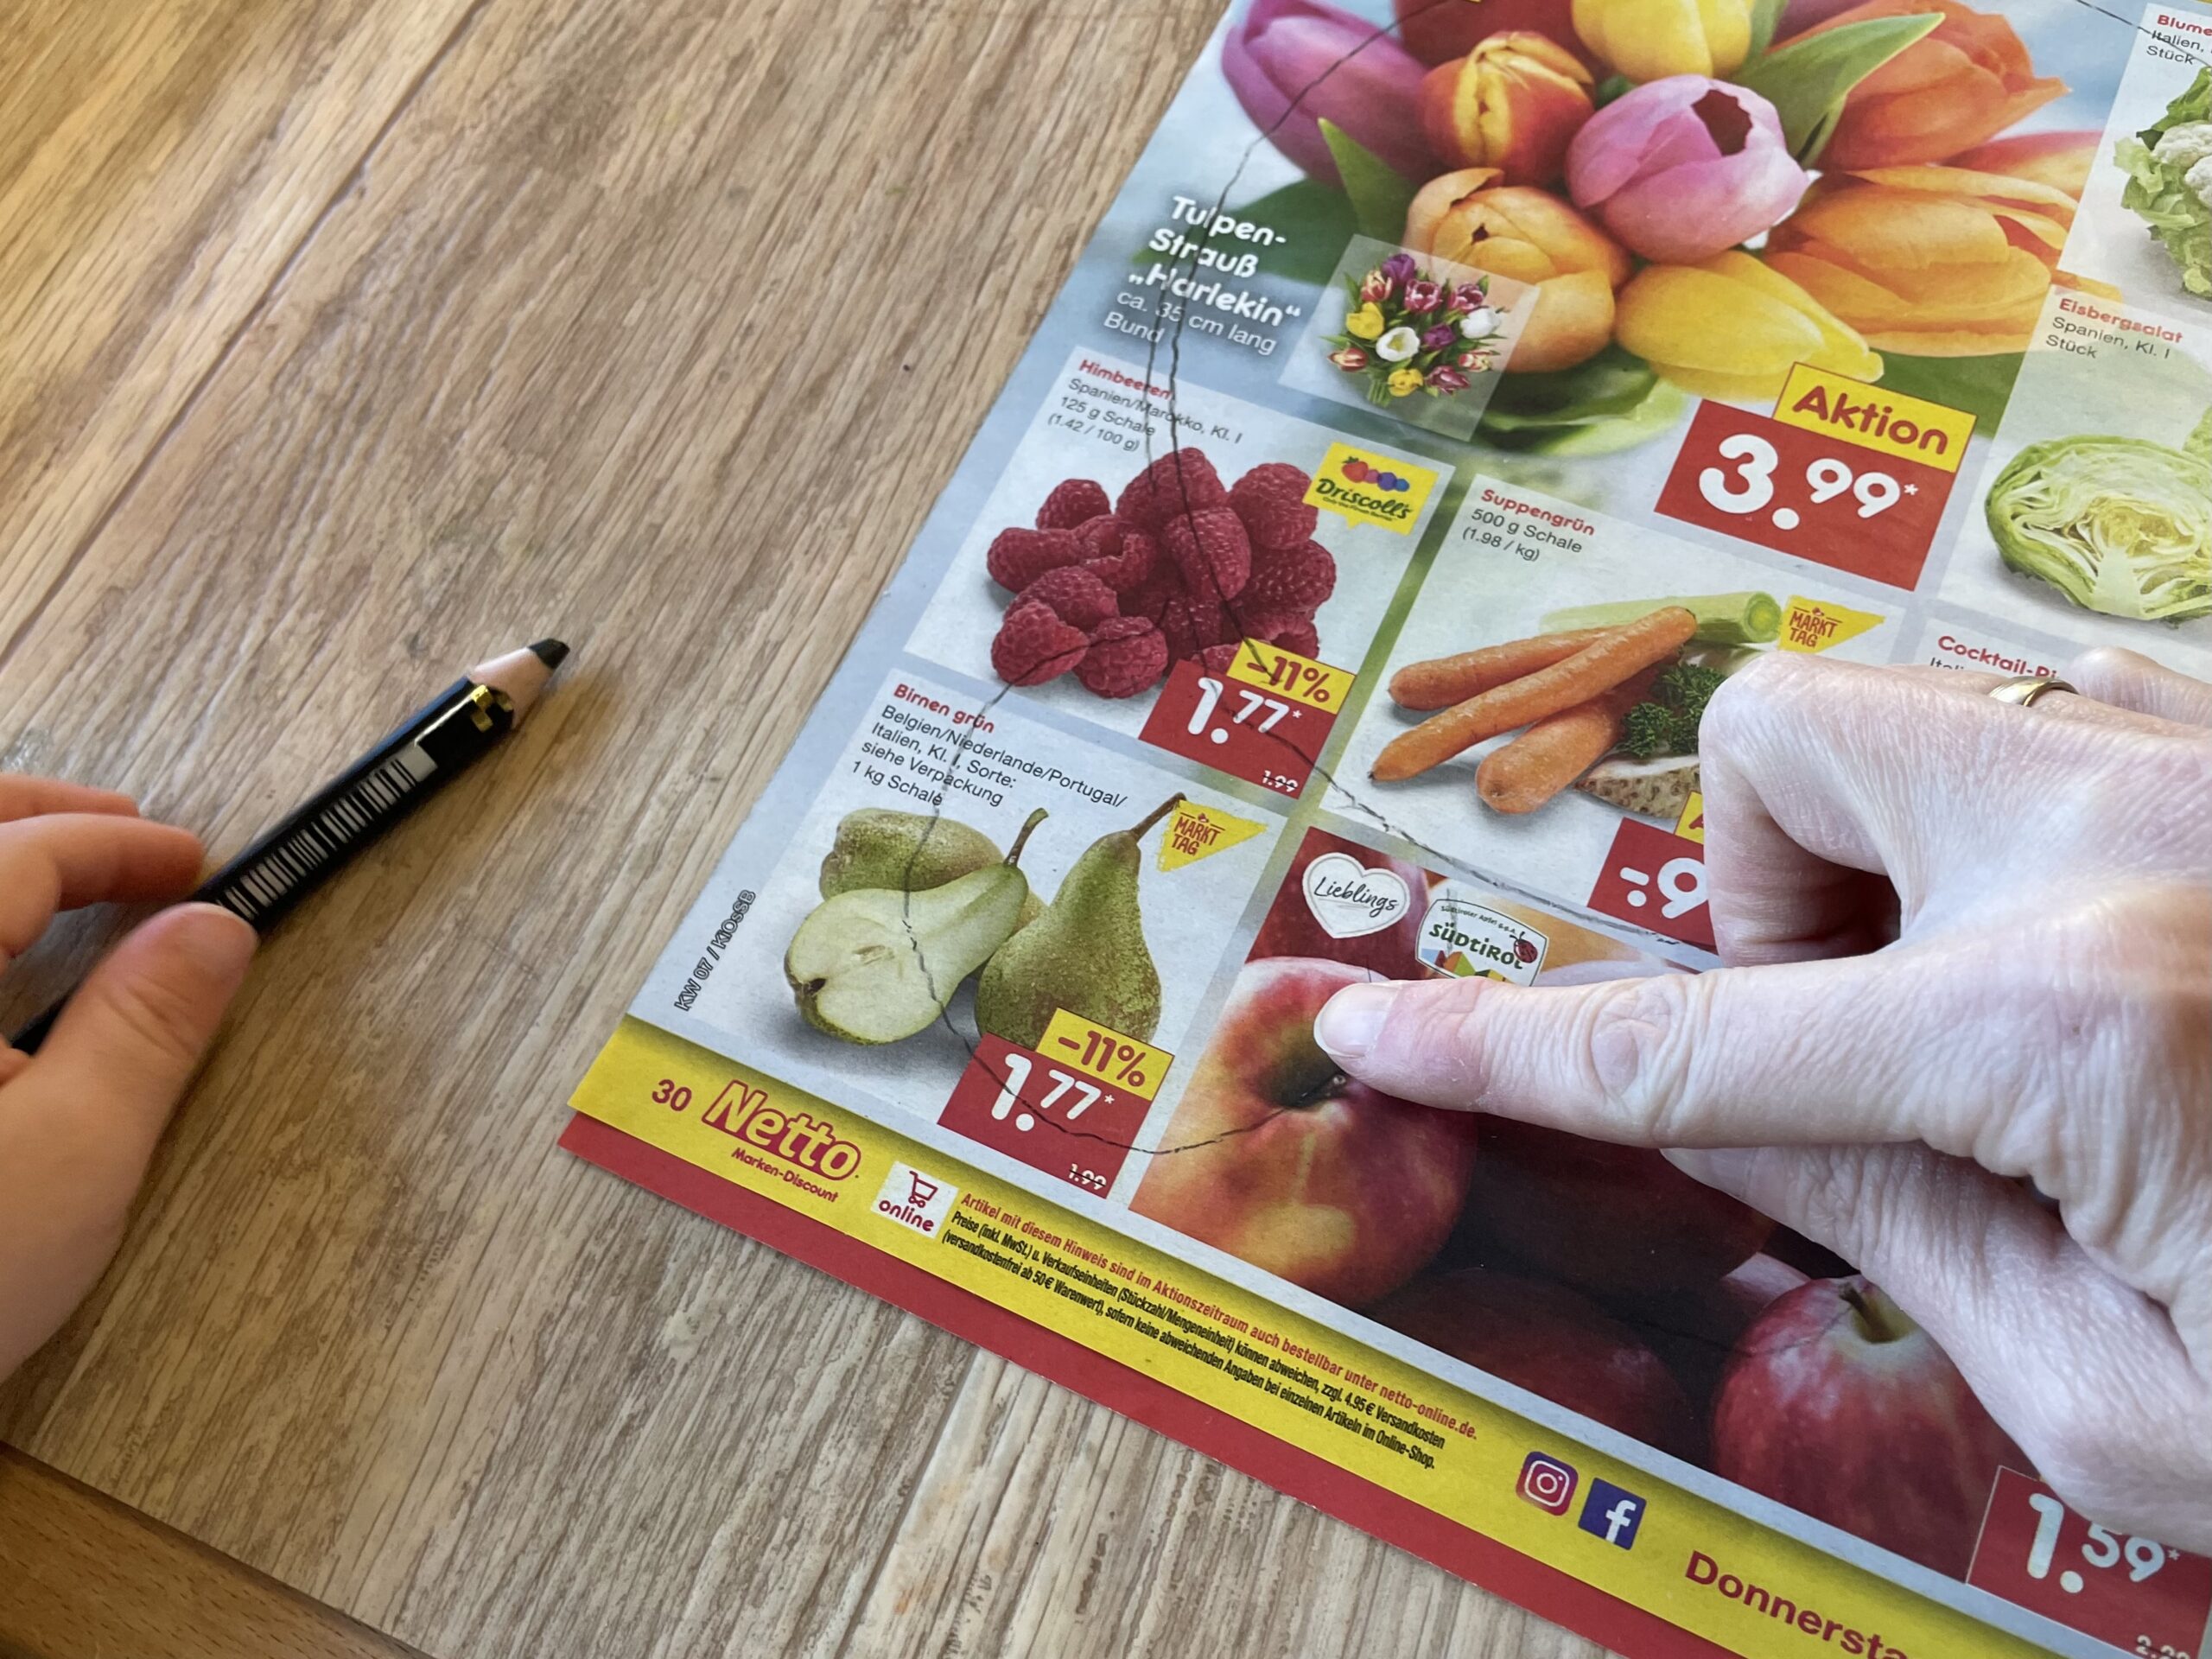


Paints an additional "tongue". (See sketch)
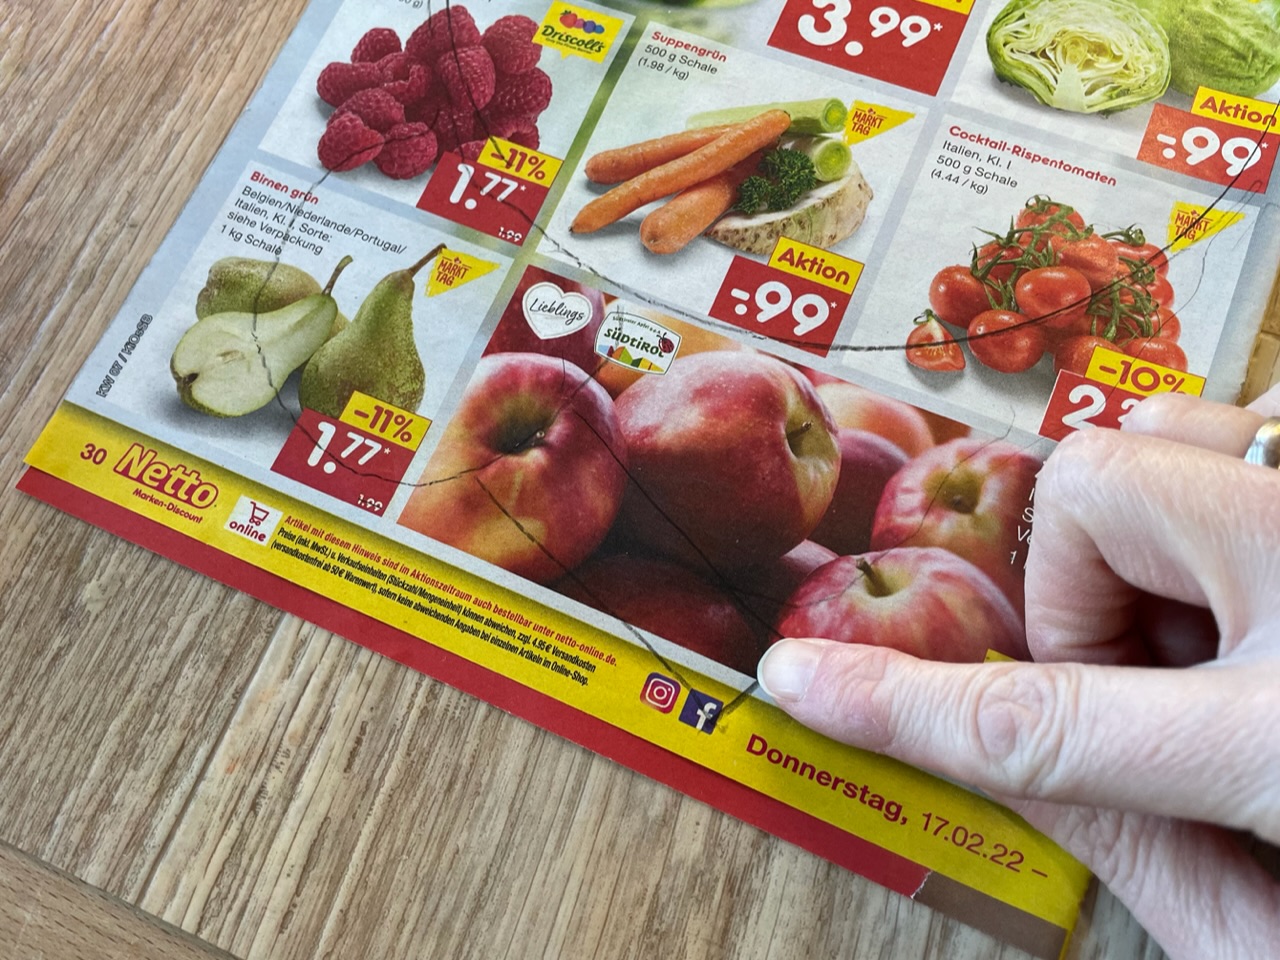


Sketch: the big circle is the body of the snake. Here you see the head of the snake with the tongue and the two eyes.


Now you're going to cut it out. First cut out the complete outline with the scissors.
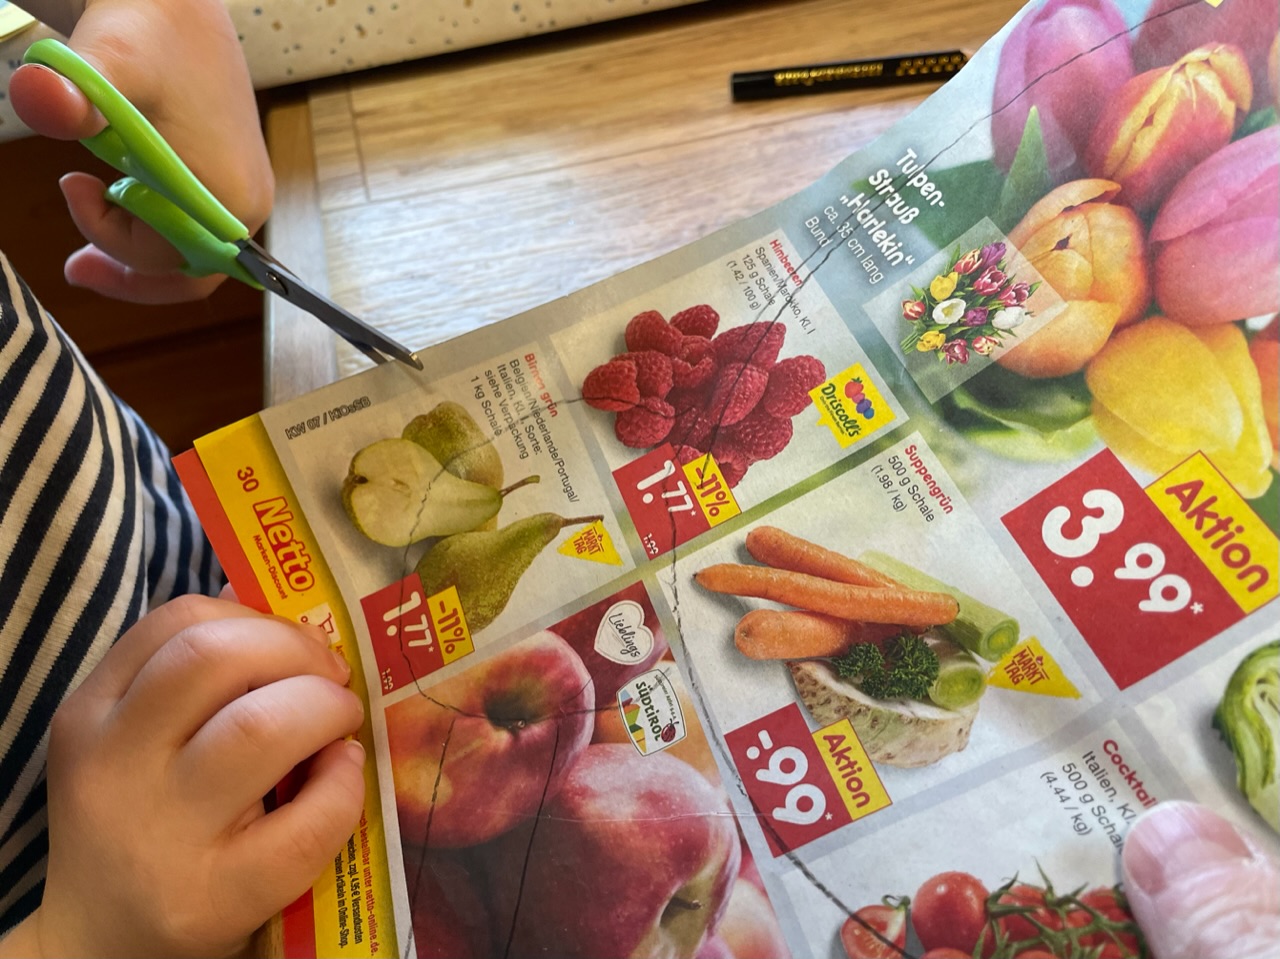


In younger children, an adult can provide assistance and hold the waste paper aside or assist in turning the sheet.


Now paint your eyes with a marker on the head of the snake.
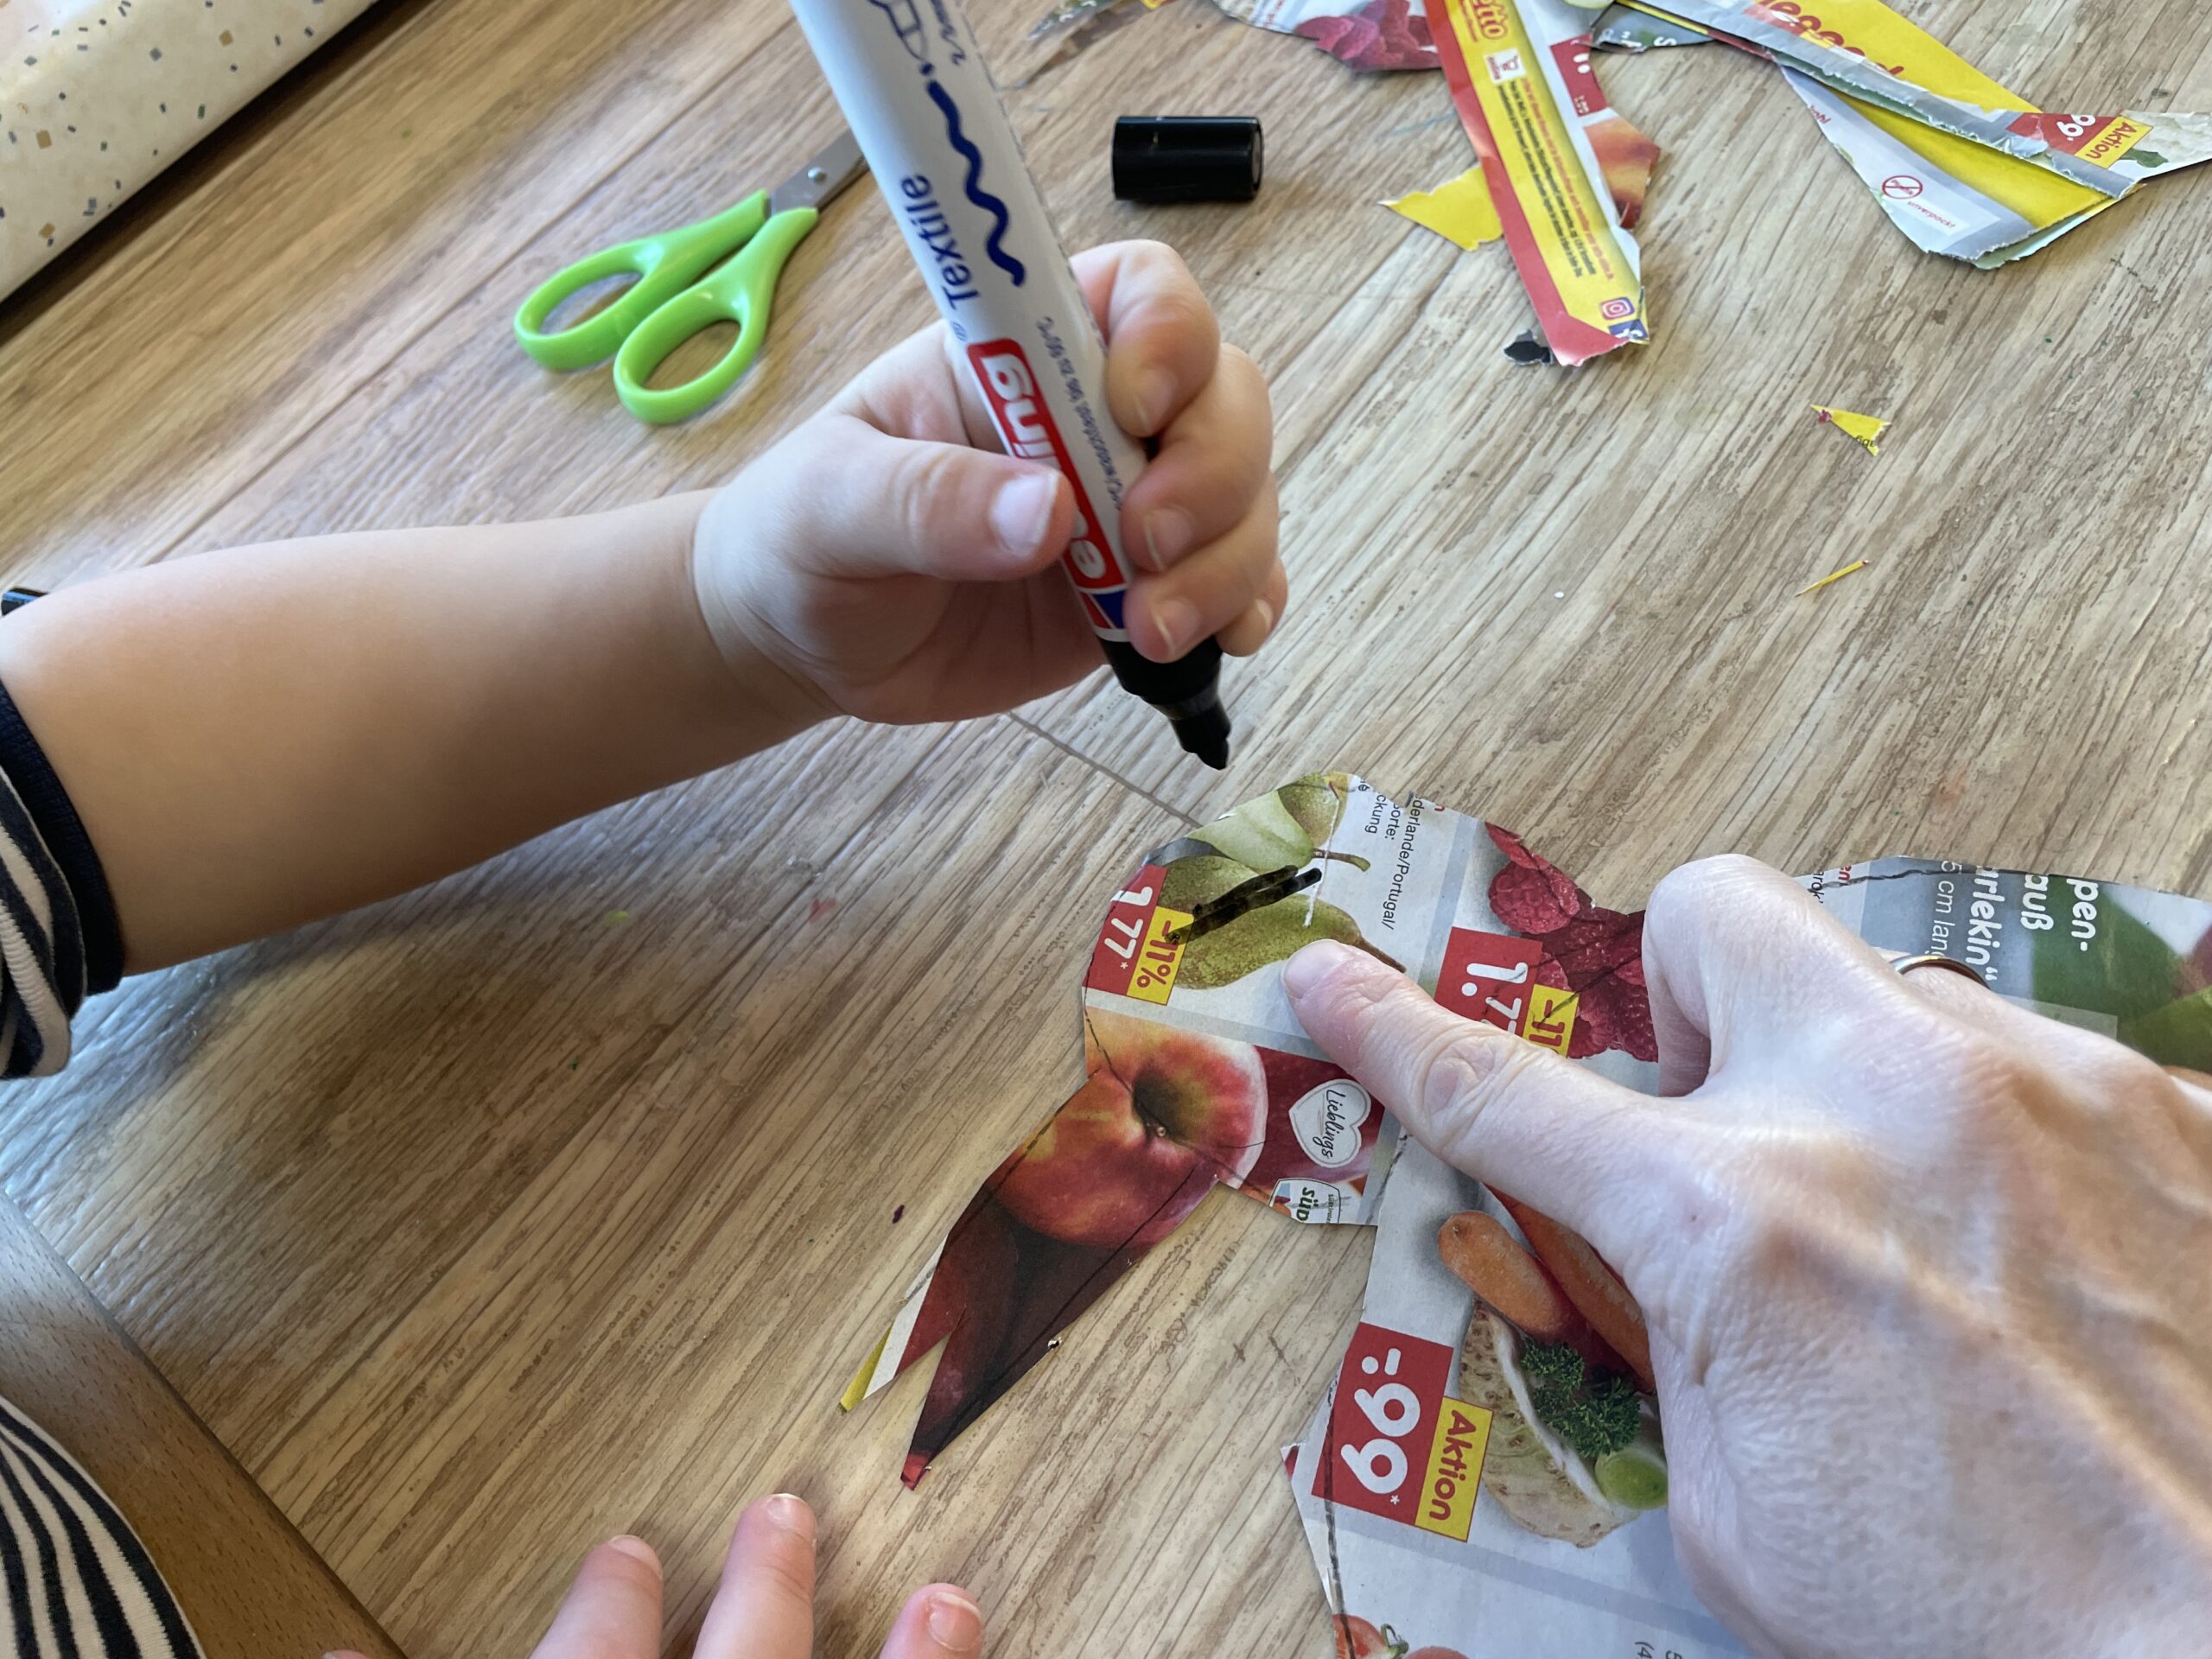


Then the snake body is painted spirally. Begins at the edge of the head (see arrow) and paints the spiral from the outside to the inside.


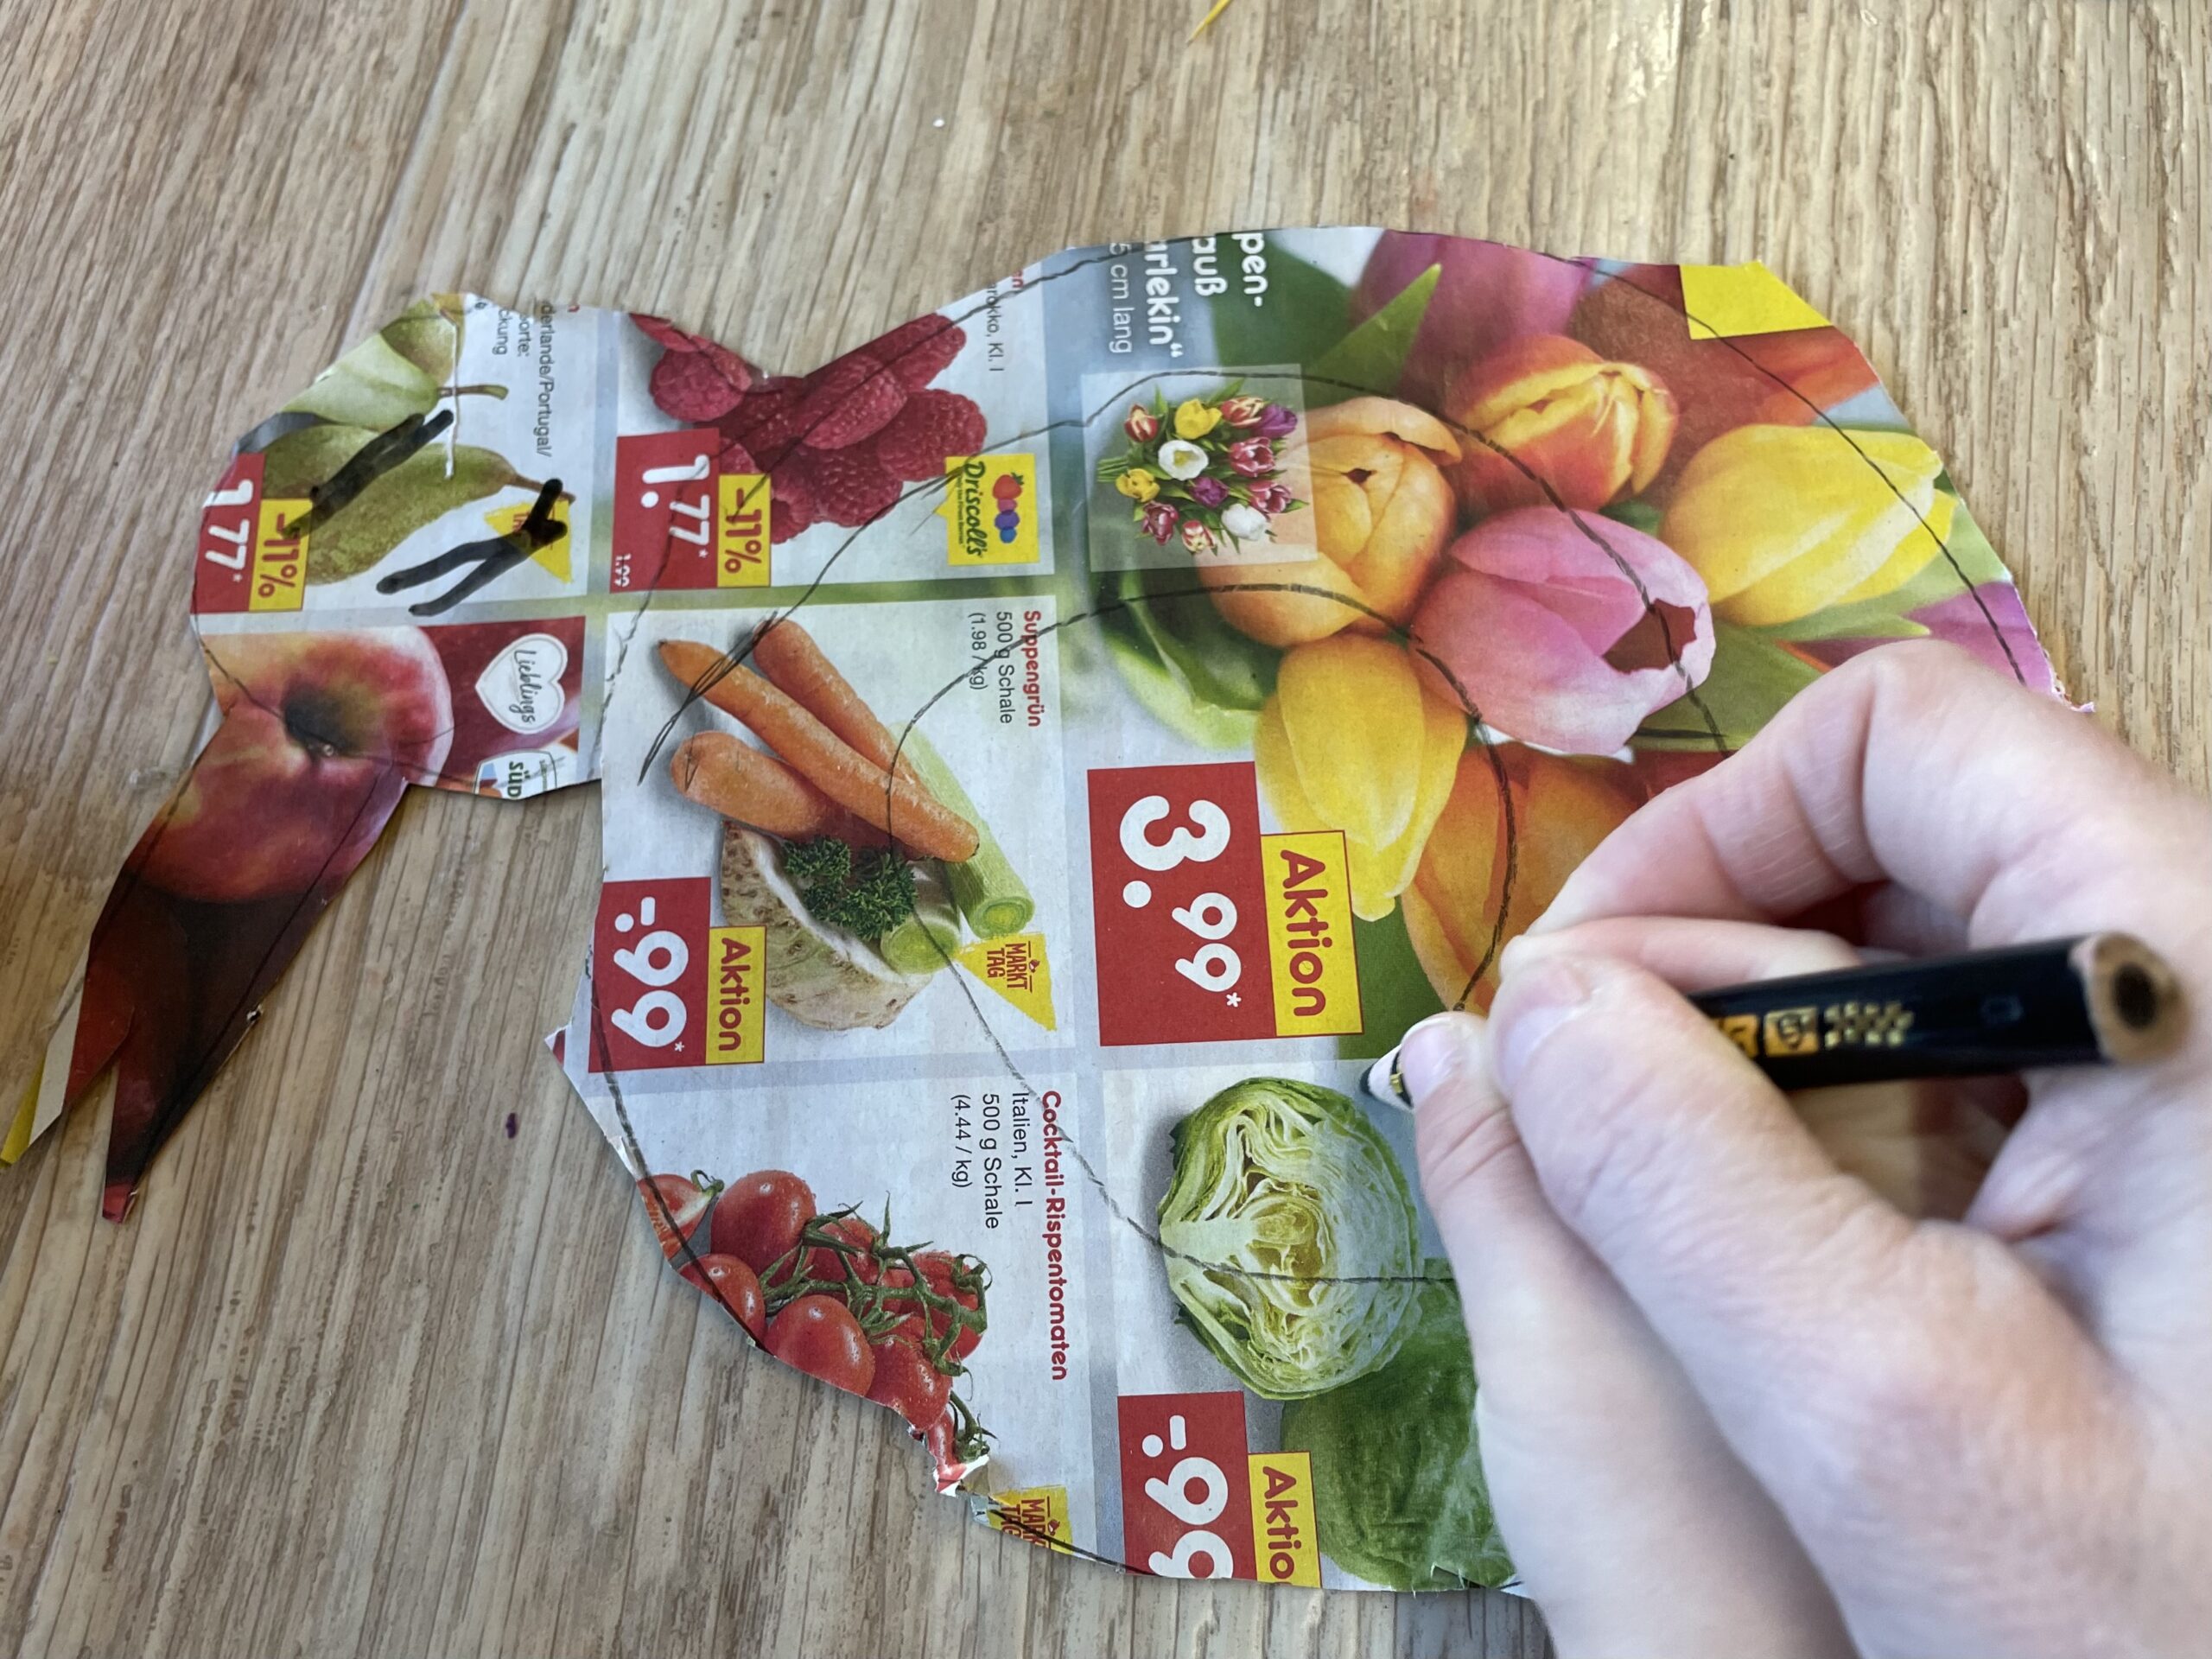
In this case, an adult must provide assistance with the pen guidance if necessary.


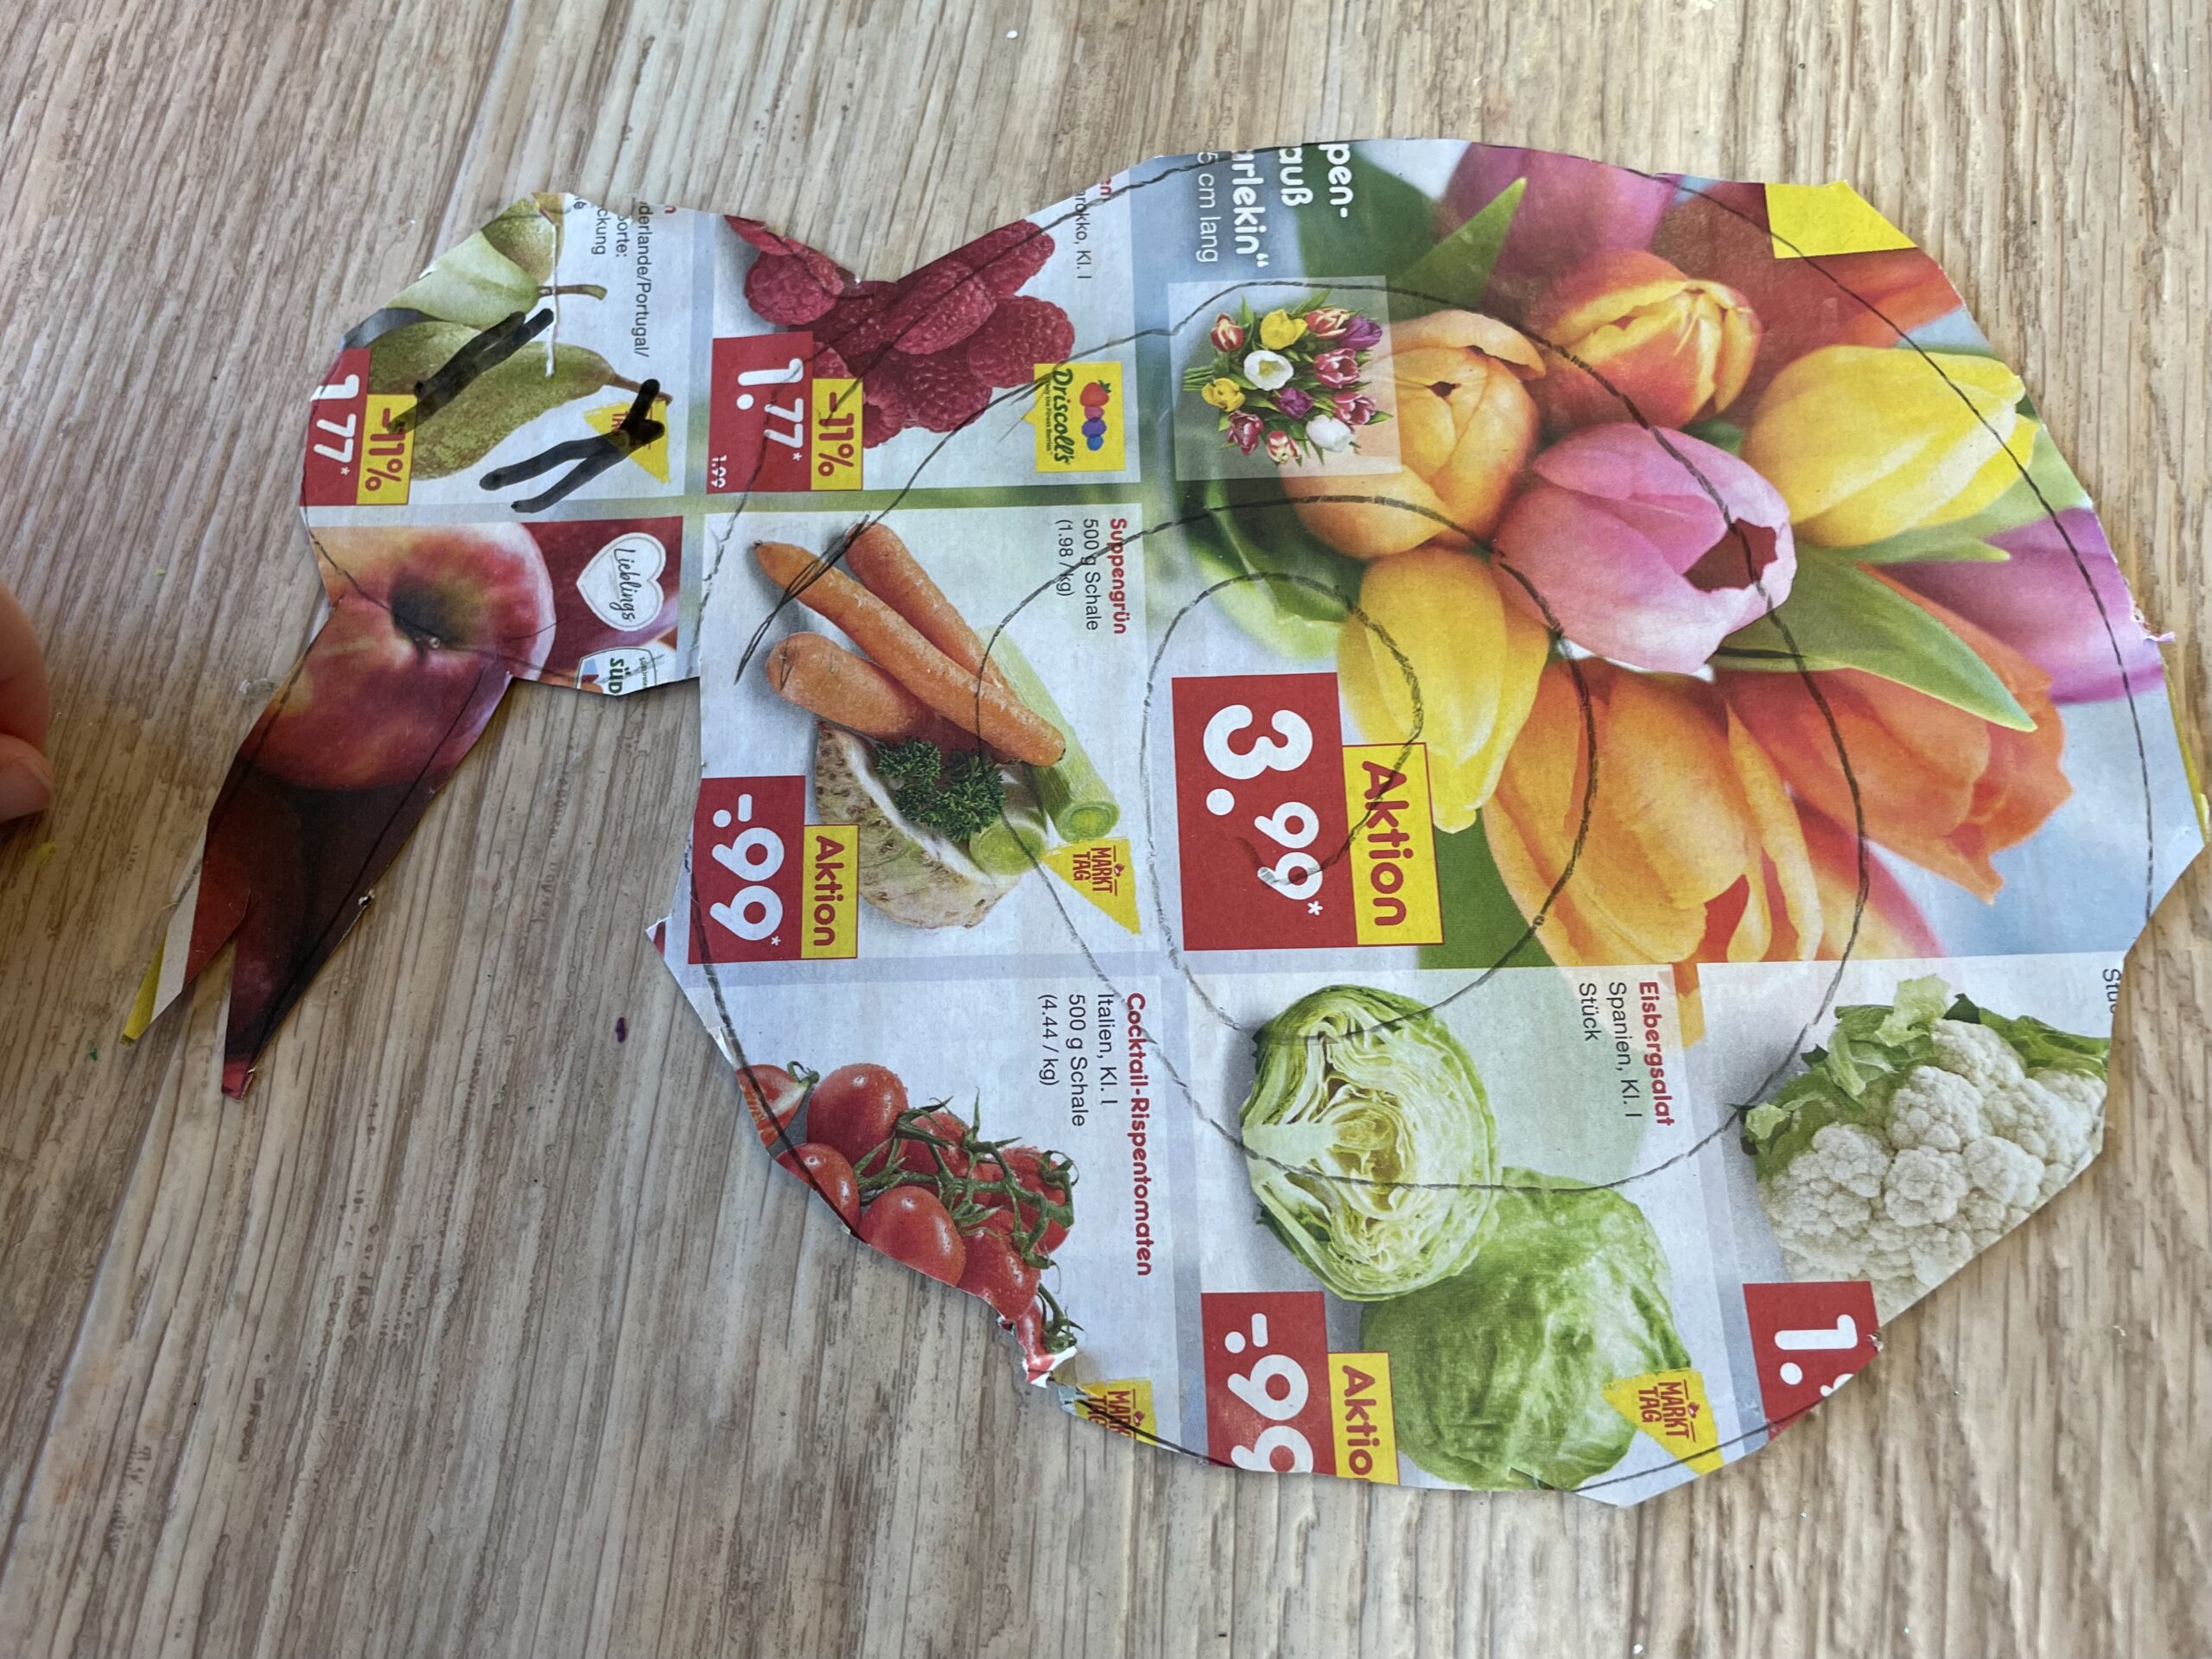
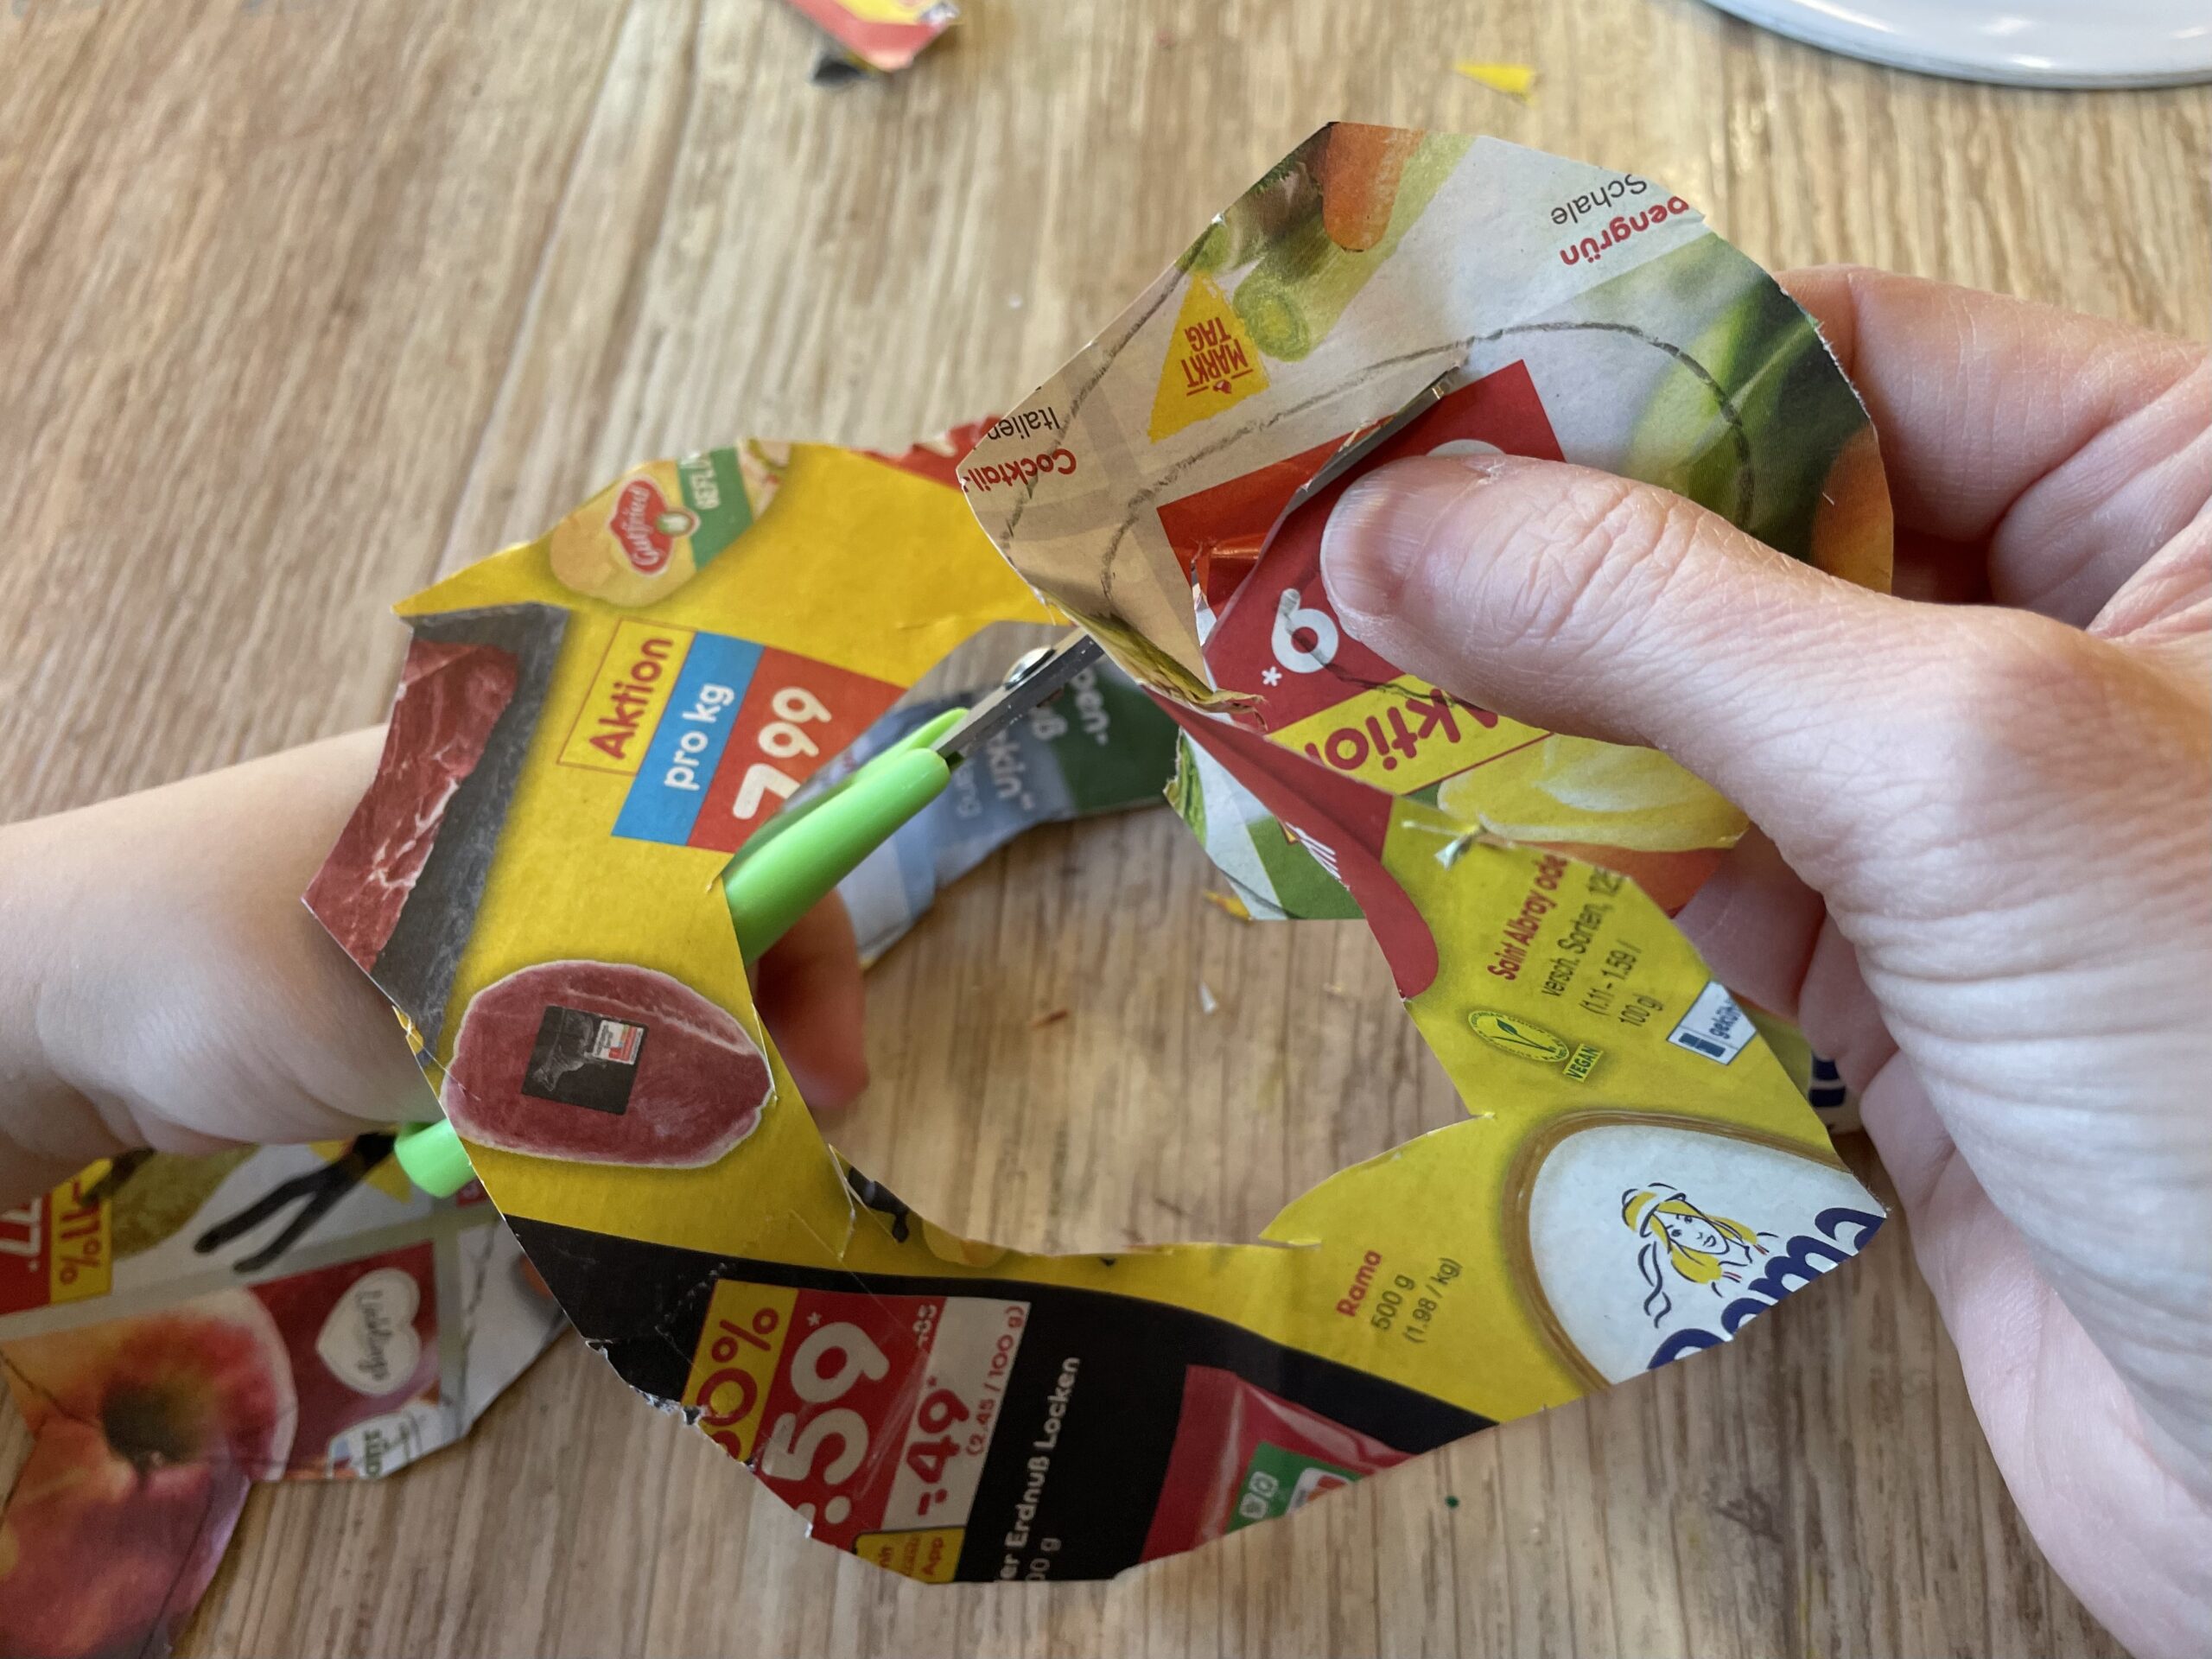
If the spiral is painted, you can cut the line from the outside to the inside.


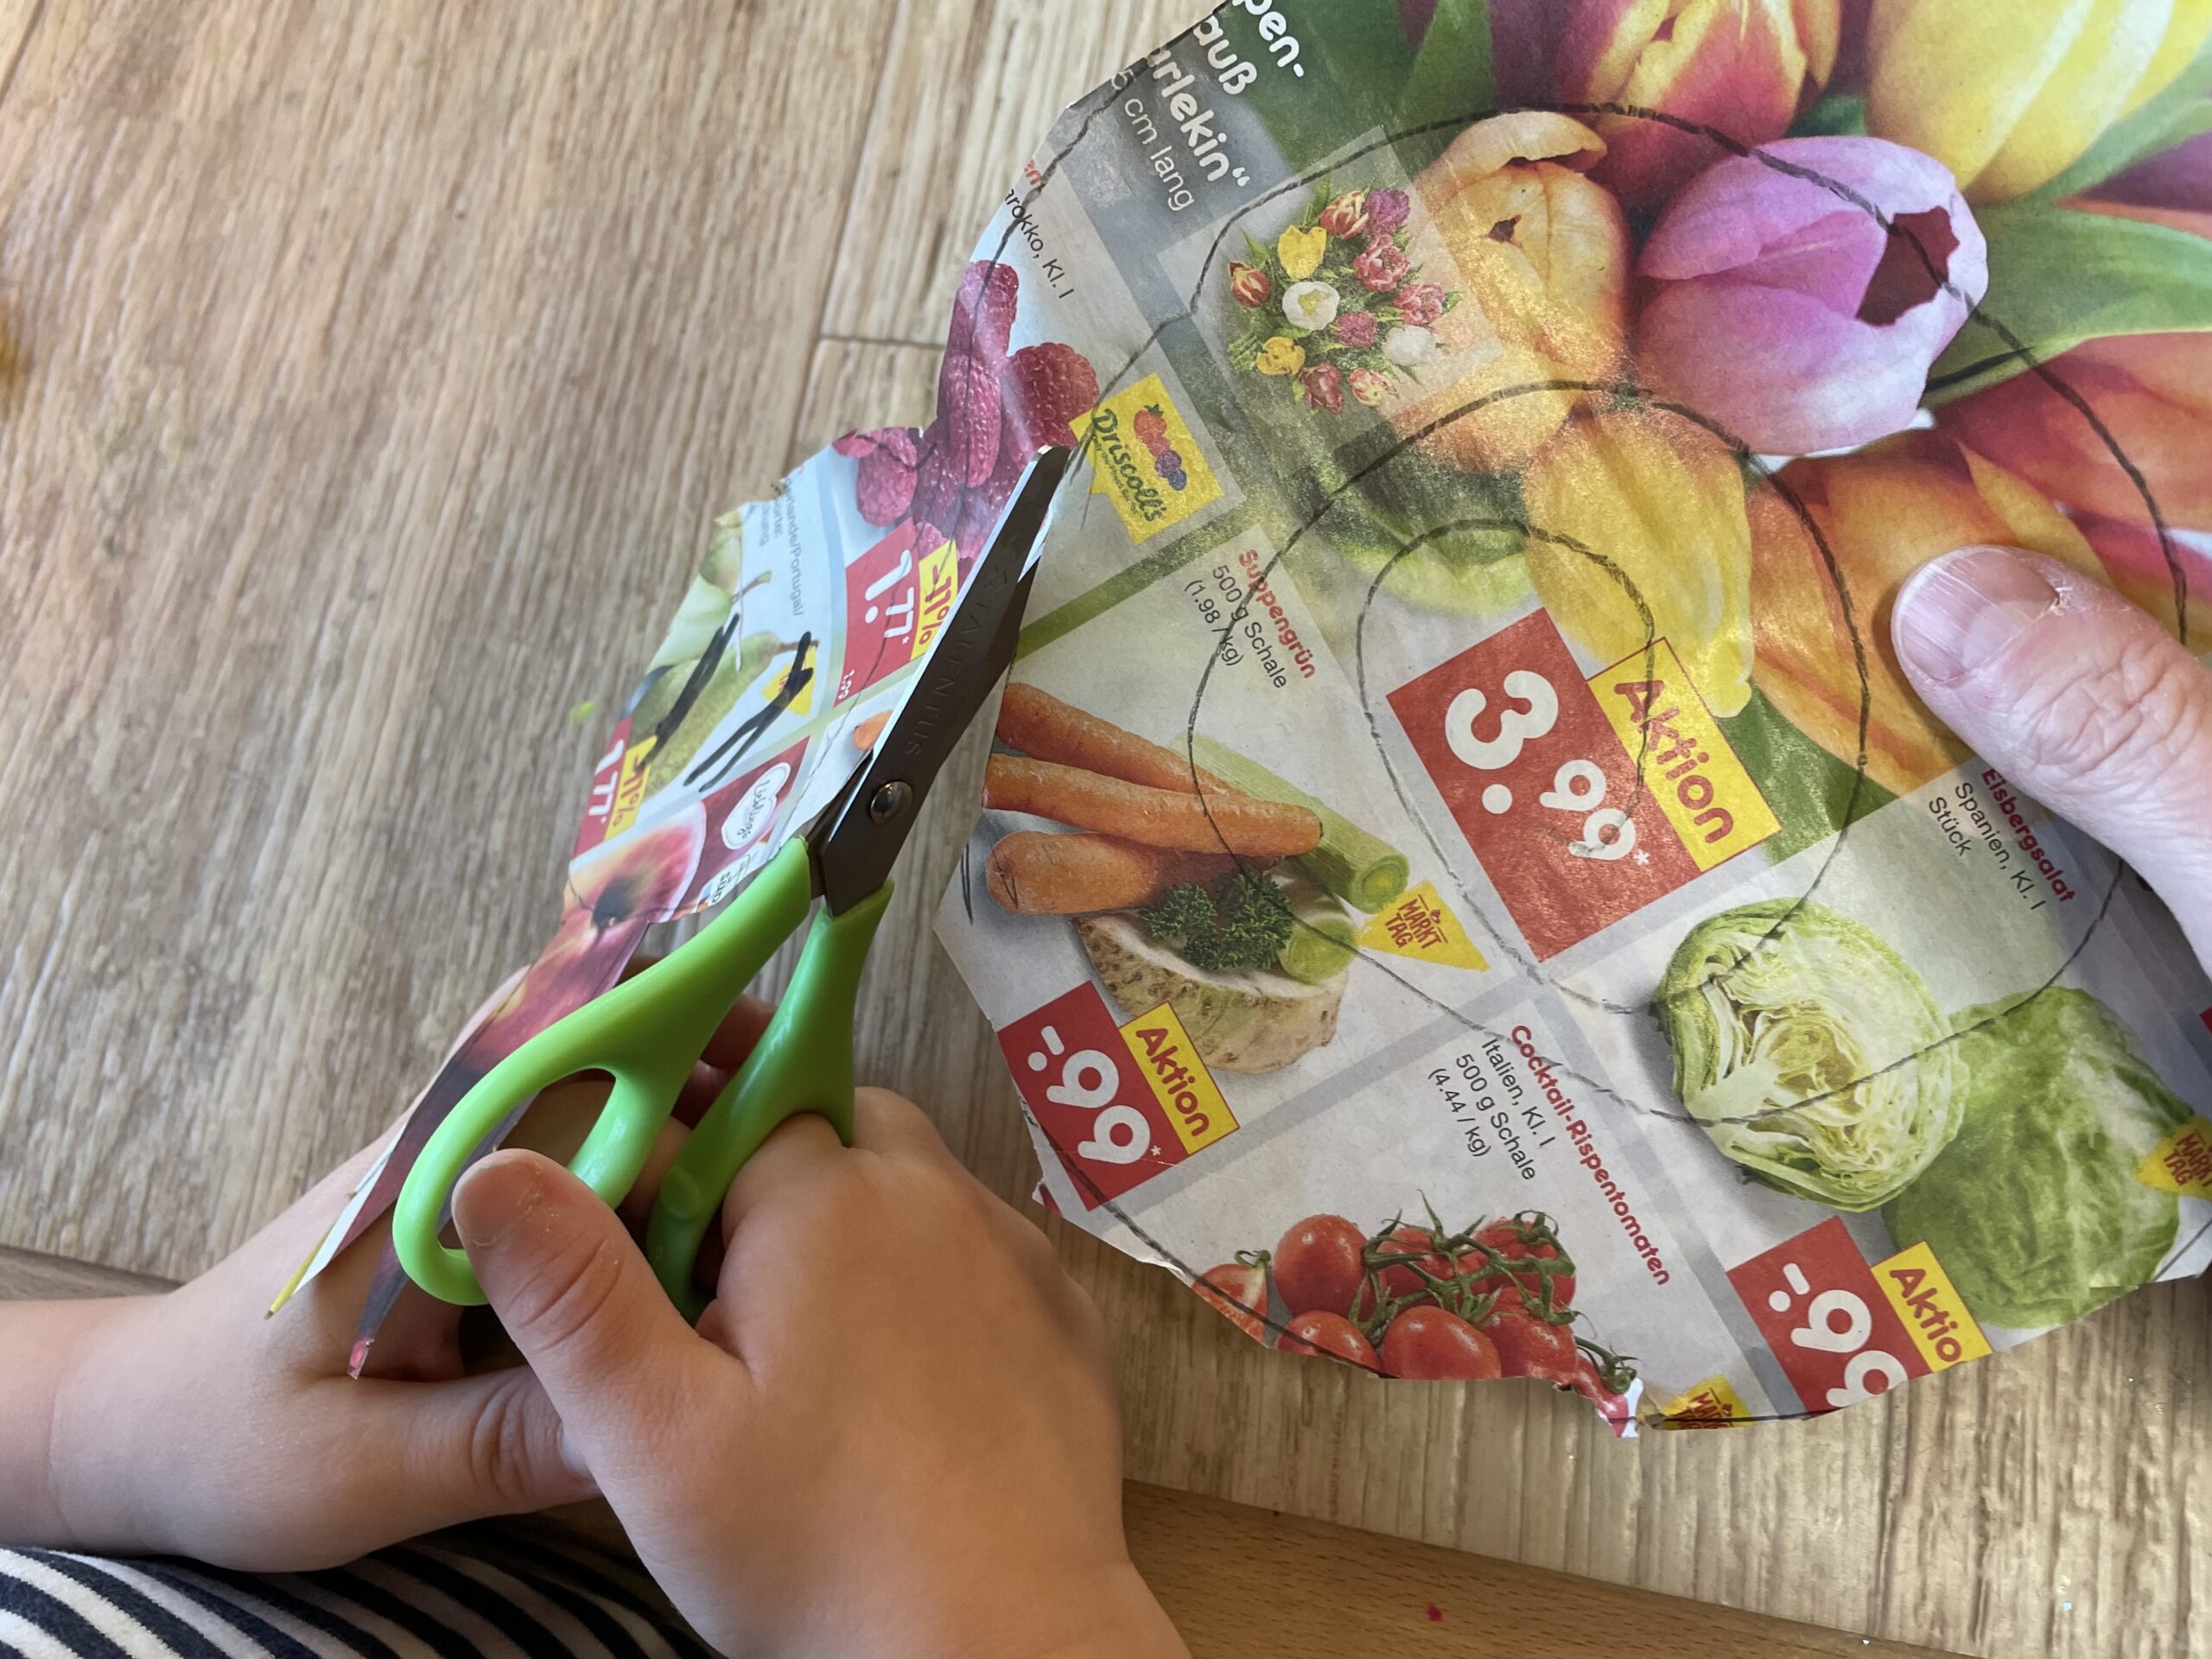
Here the adult (in younger children) can help with turning the leaf. Thus the child cuts almost always straight.


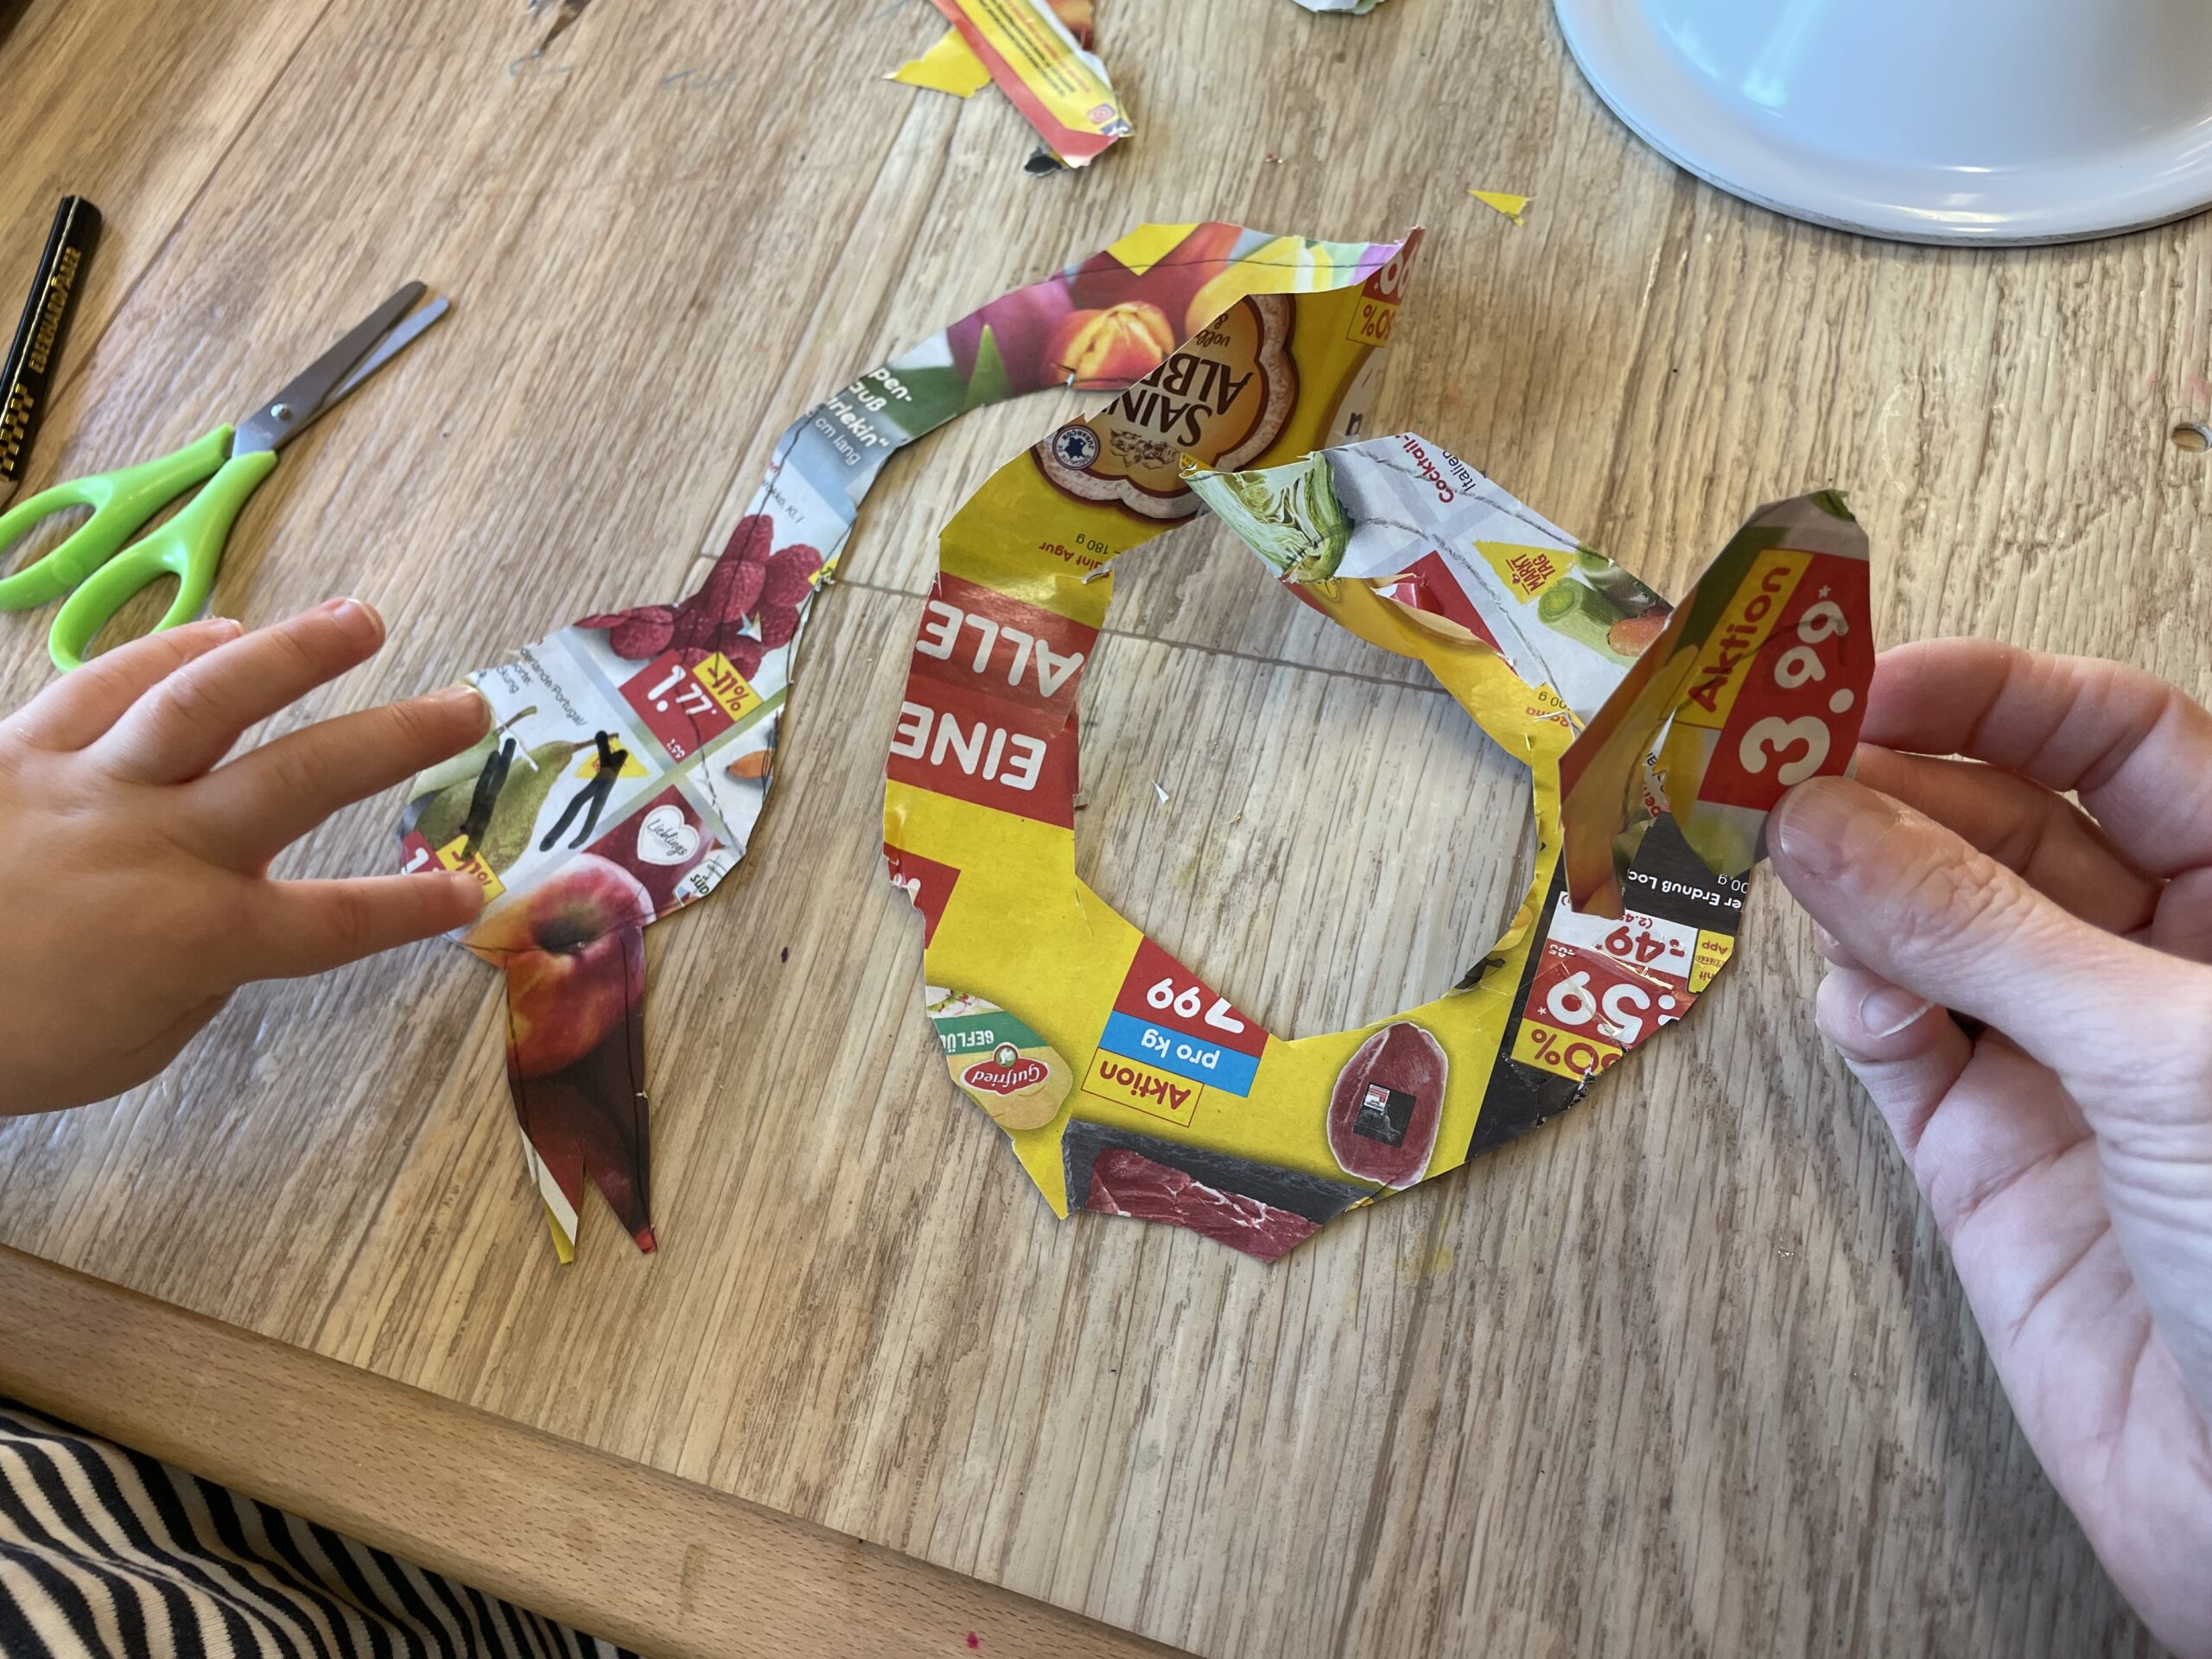
Once you have arrived in the middle, the snake is already finished.


Raise it carefully, it is very sensitive and can easily tear.
Tip: should this happen, stick it back together with a tape. This is not noticeable by the coloured paper!


Think about where you want to decorate with the snake. For example, you can hang it up or use it as a table decoration.
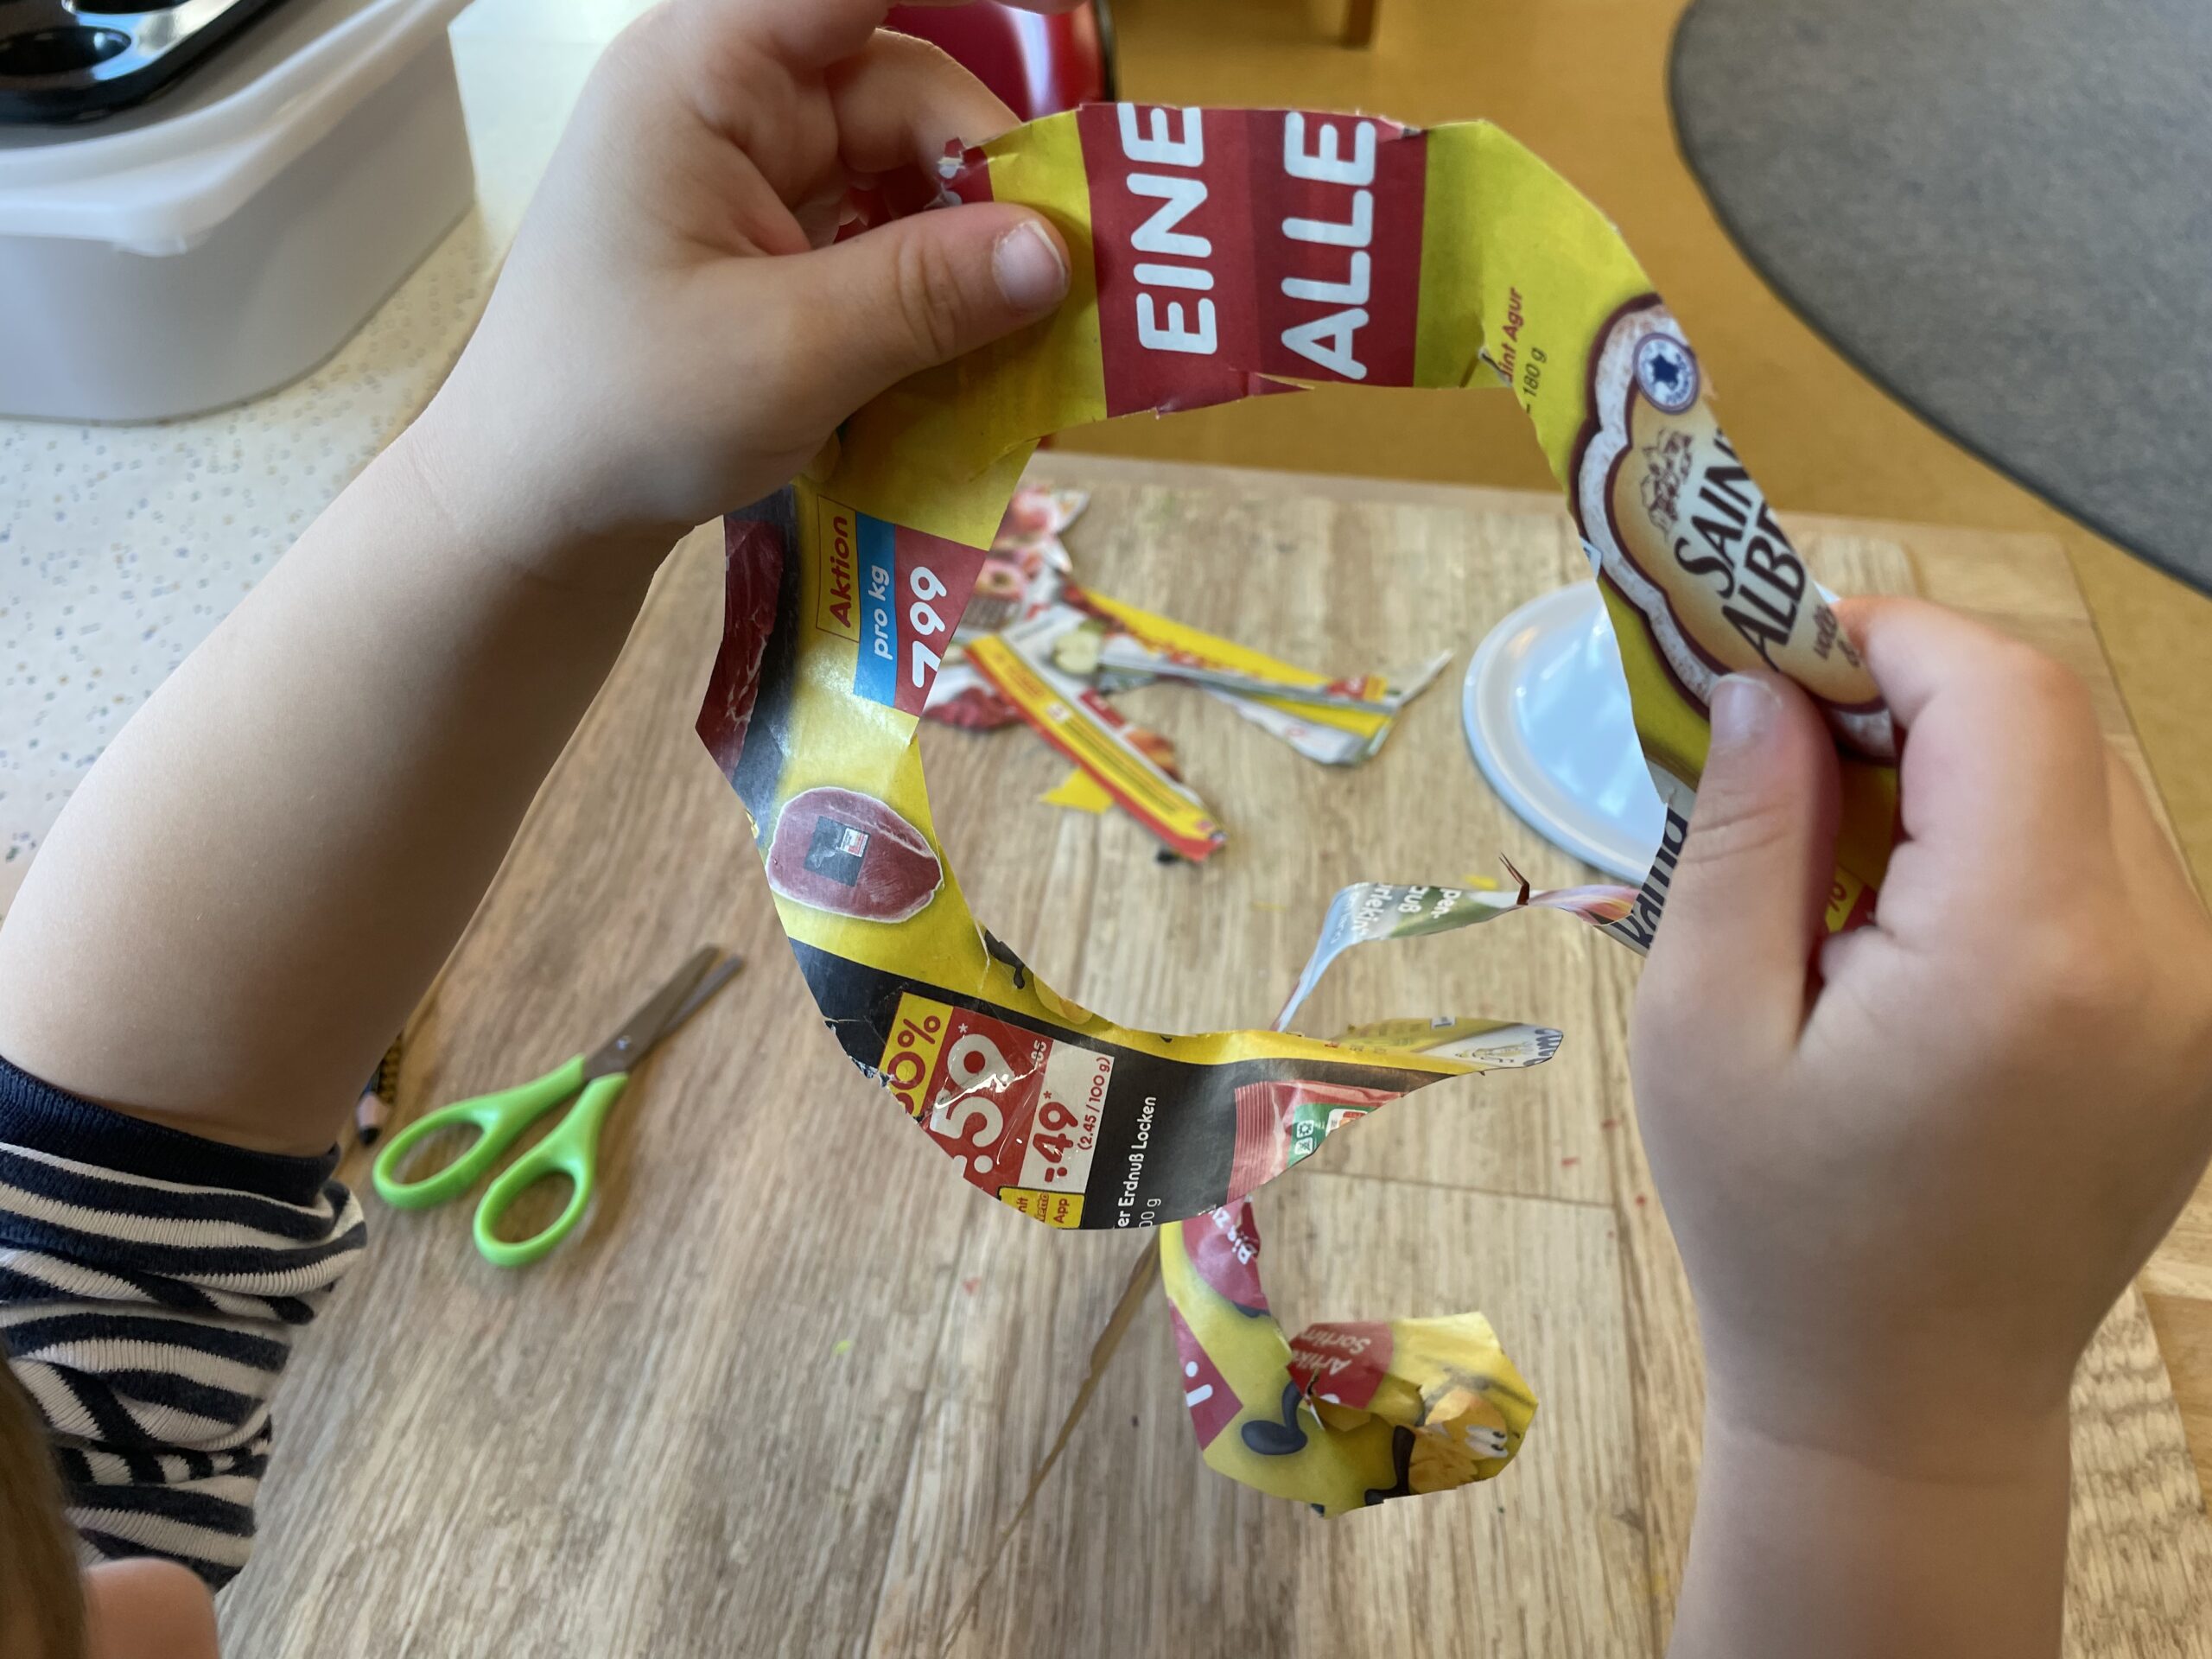


Maybe you'd like to make more snakes.
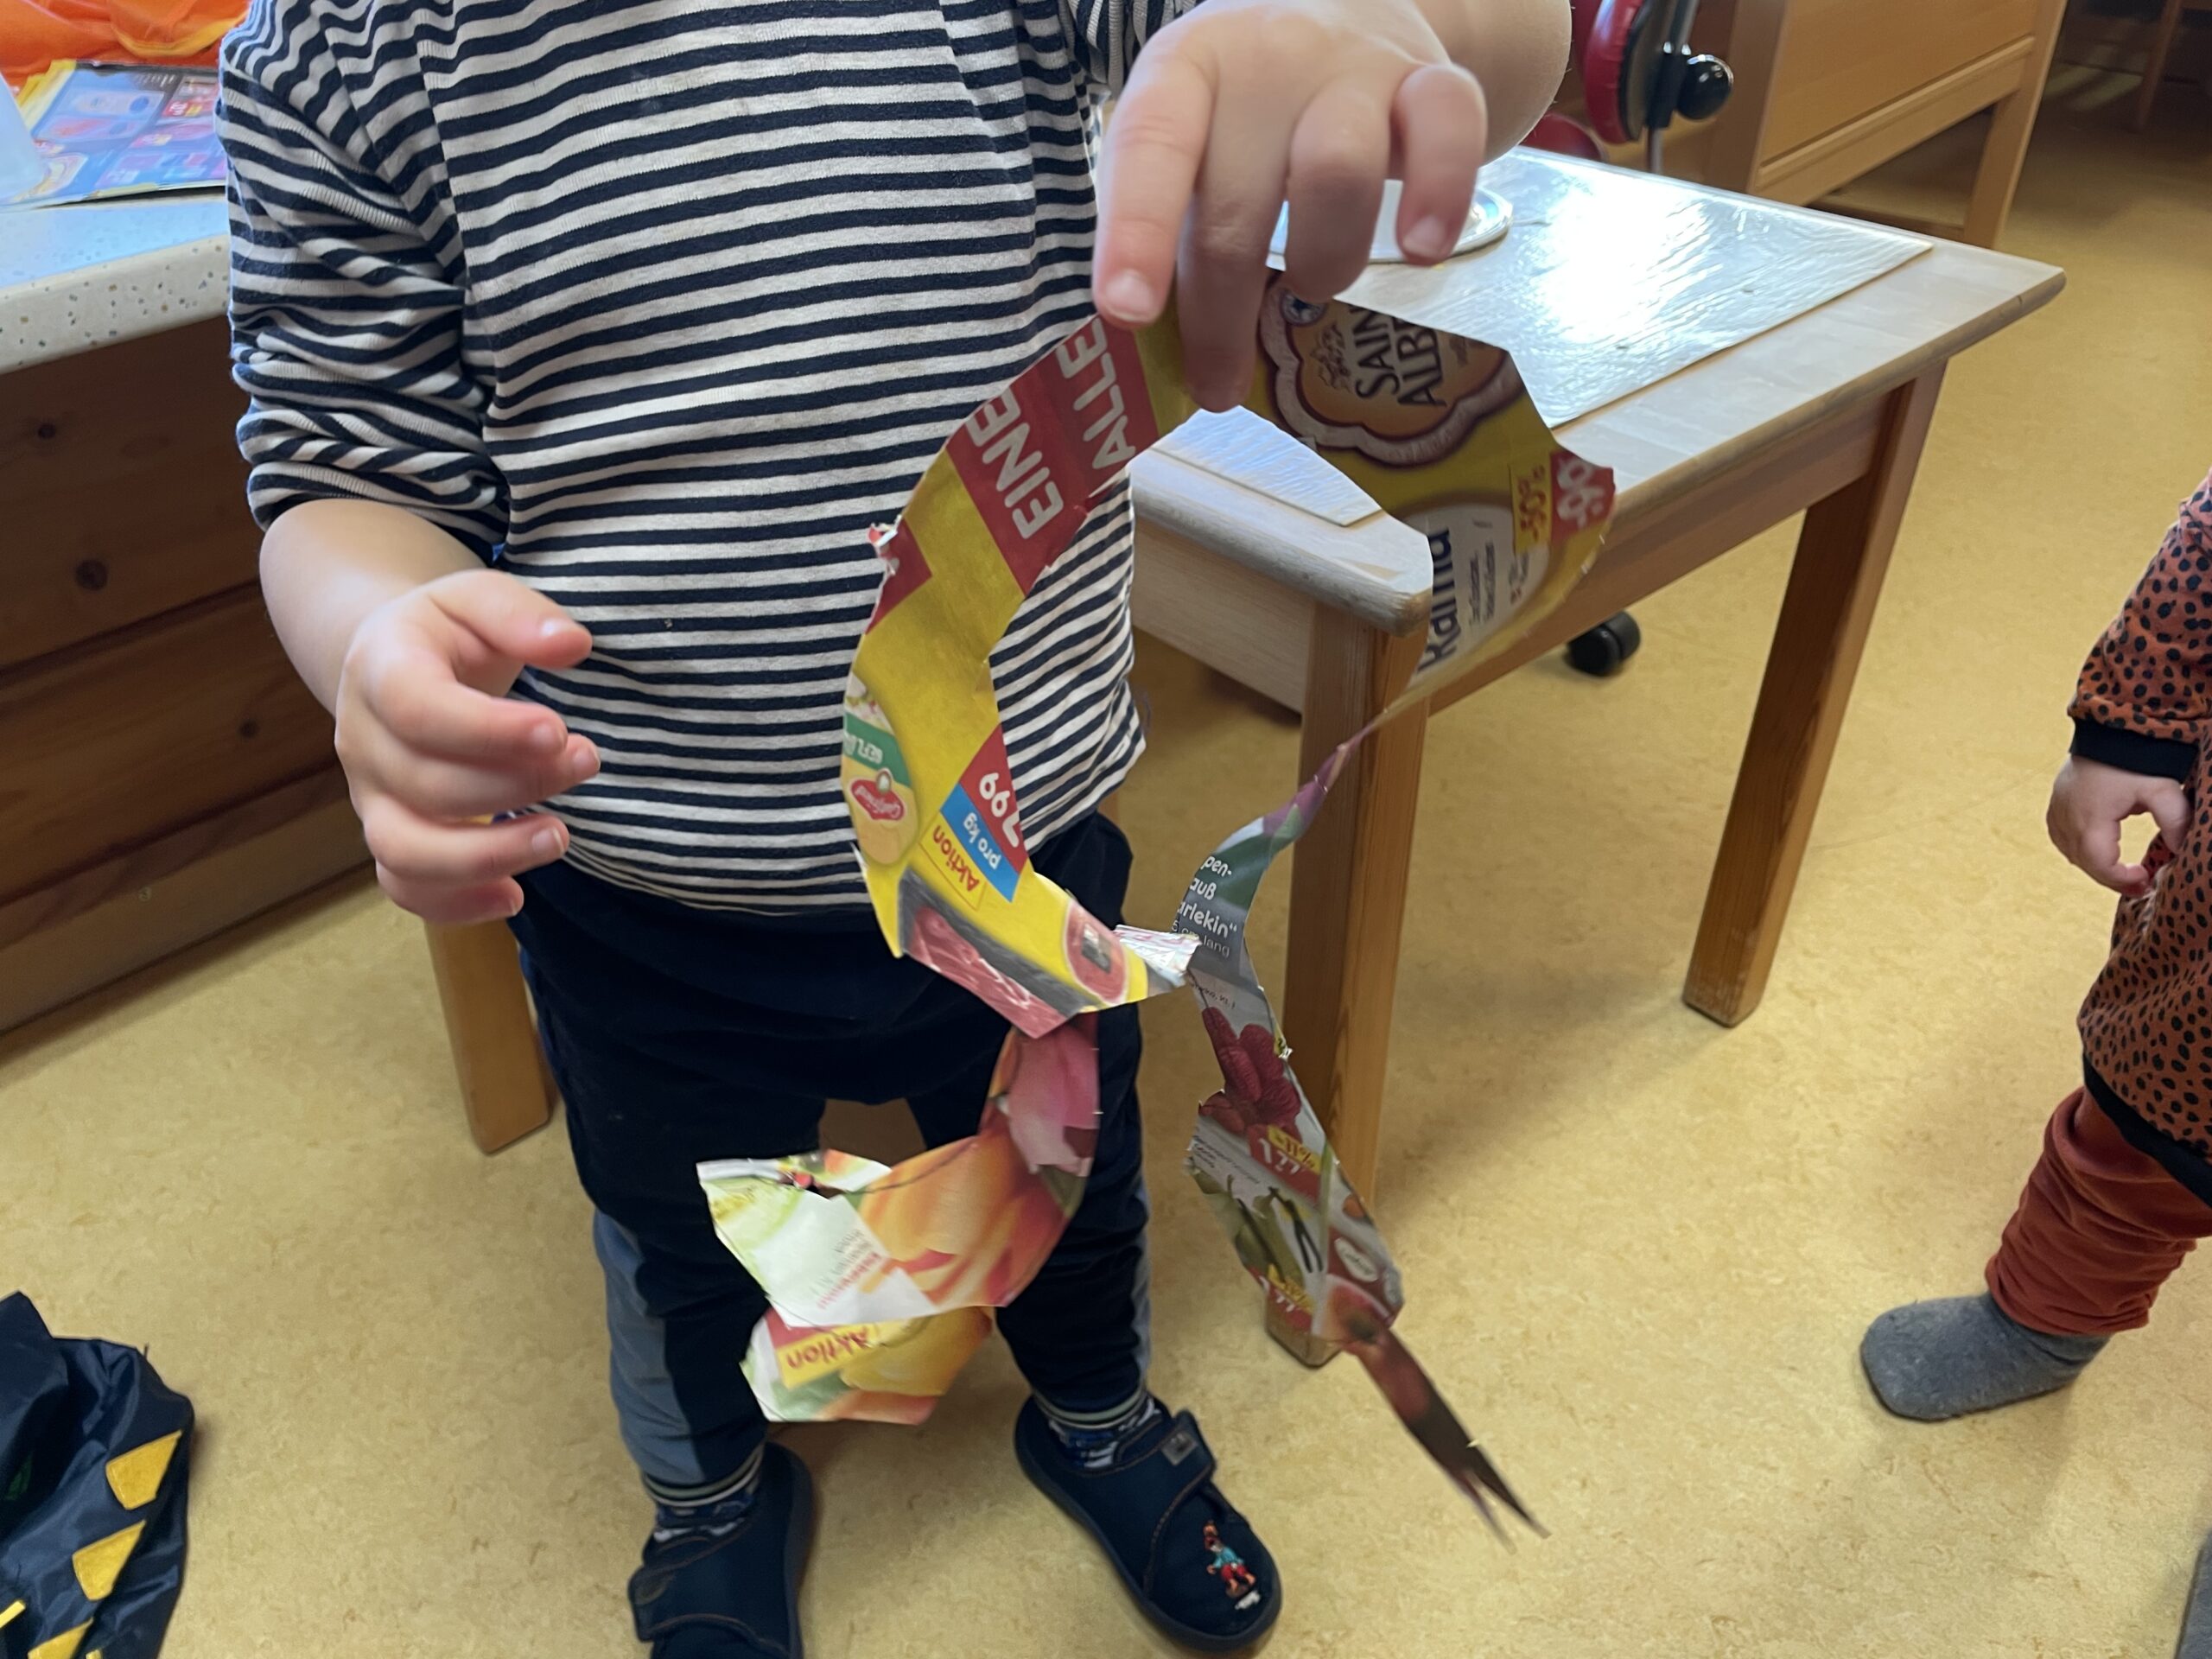


If you want to hang up the air snake, you can hang it on a woolen thread. Put the wool as a loop around a spot on the snake body and make a knot.
Tip: Wool is particularly good because a thin thread easily cuts into the paper and makes it tear faster!
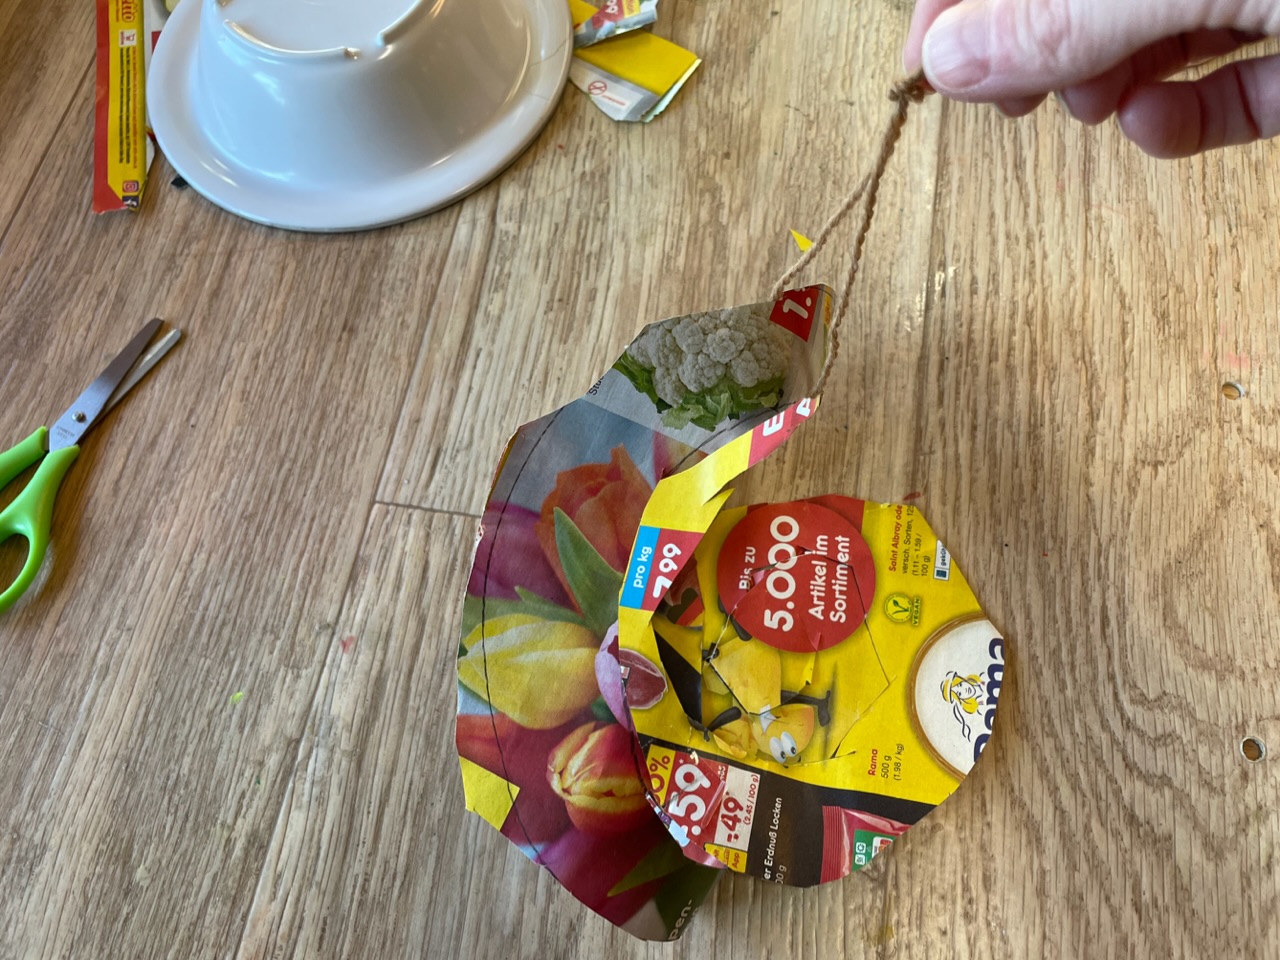


Decorate your room with snakes, by the way, you look very nice on the table.
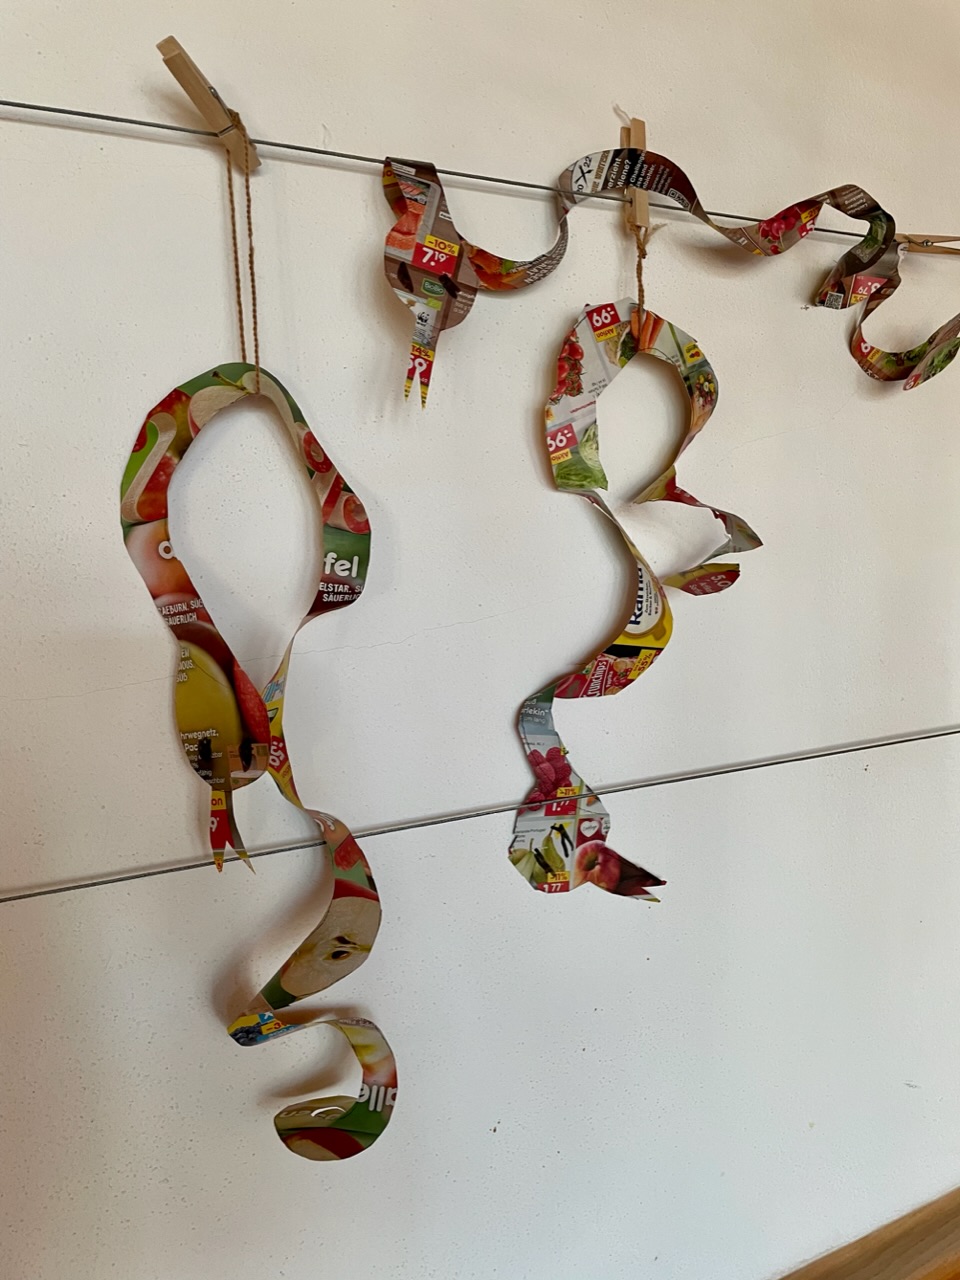


Have fun doing crafts!
Materials
Directions
You need two sheets of an advertising brochure. These are first glued together. Thus, the snake becomes more stable and does not tear so fast.


Apply the glue to the first sheet.


Next you put the second leaf on it and brush it smoothly. So both leaves stick well together.


Now take a round small bowl or a round plate. Place it centrally on the paper glued together. Hold it well and paint it around with a pen.


Take the bowl aside. Now you see the painted circle. This is the body of our air snake.


Now you shape your head. To do this, you paint a small "head" to the large circle on one side where there is enough space (see sketch below).


Paints an additional "tongue". (See sketch)


Sketch: the big circle is the body of the snake. Here you see the head of the snake with the tongue and the two eyes.


Now you're going to cut it out. First cut out the complete outline with the scissors.


In younger children, an adult can provide assistance and hold the waste paper aside or assist in turning the sheet.


Now paint your eyes with a marker on the head of the snake.


Then the snake body is painted spirally. Begins at the edge of the head (see arrow) and paints the spiral from the outside to the inside.


In this case, an adult must provide assistance with the pen guidance if necessary.


If the spiral is painted, you can cut the line from the outside to the inside.


Here the adult (in younger children) can help with turning the leaf. Thus the child cuts almost always straight.


Once you have arrived in the middle, the snake is already finished.


Raise it carefully, it is very sensitive and can easily tear.
Tip: should this happen, stick it back together with a tape. This is not noticeable by the coloured paper!


Think about where you want to decorate with the snake. For example, you can hang it up or use it as a table decoration.


Maybe you'd like to make more snakes.


If you want to hang up the air snake, you can hang it on a woolen thread. Put the wool as a loop around a spot on the snake body and make a knot.
Tip: Wool is particularly good because a thin thread easily cuts into the paper and makes it tear faster!


Decorate your room with snakes, by the way, you look very nice on the table.


Have fun doing crafts!
Follow us on Facebook , Instagram and Pinterest
Don't miss any more adventures: Our bottle mail


