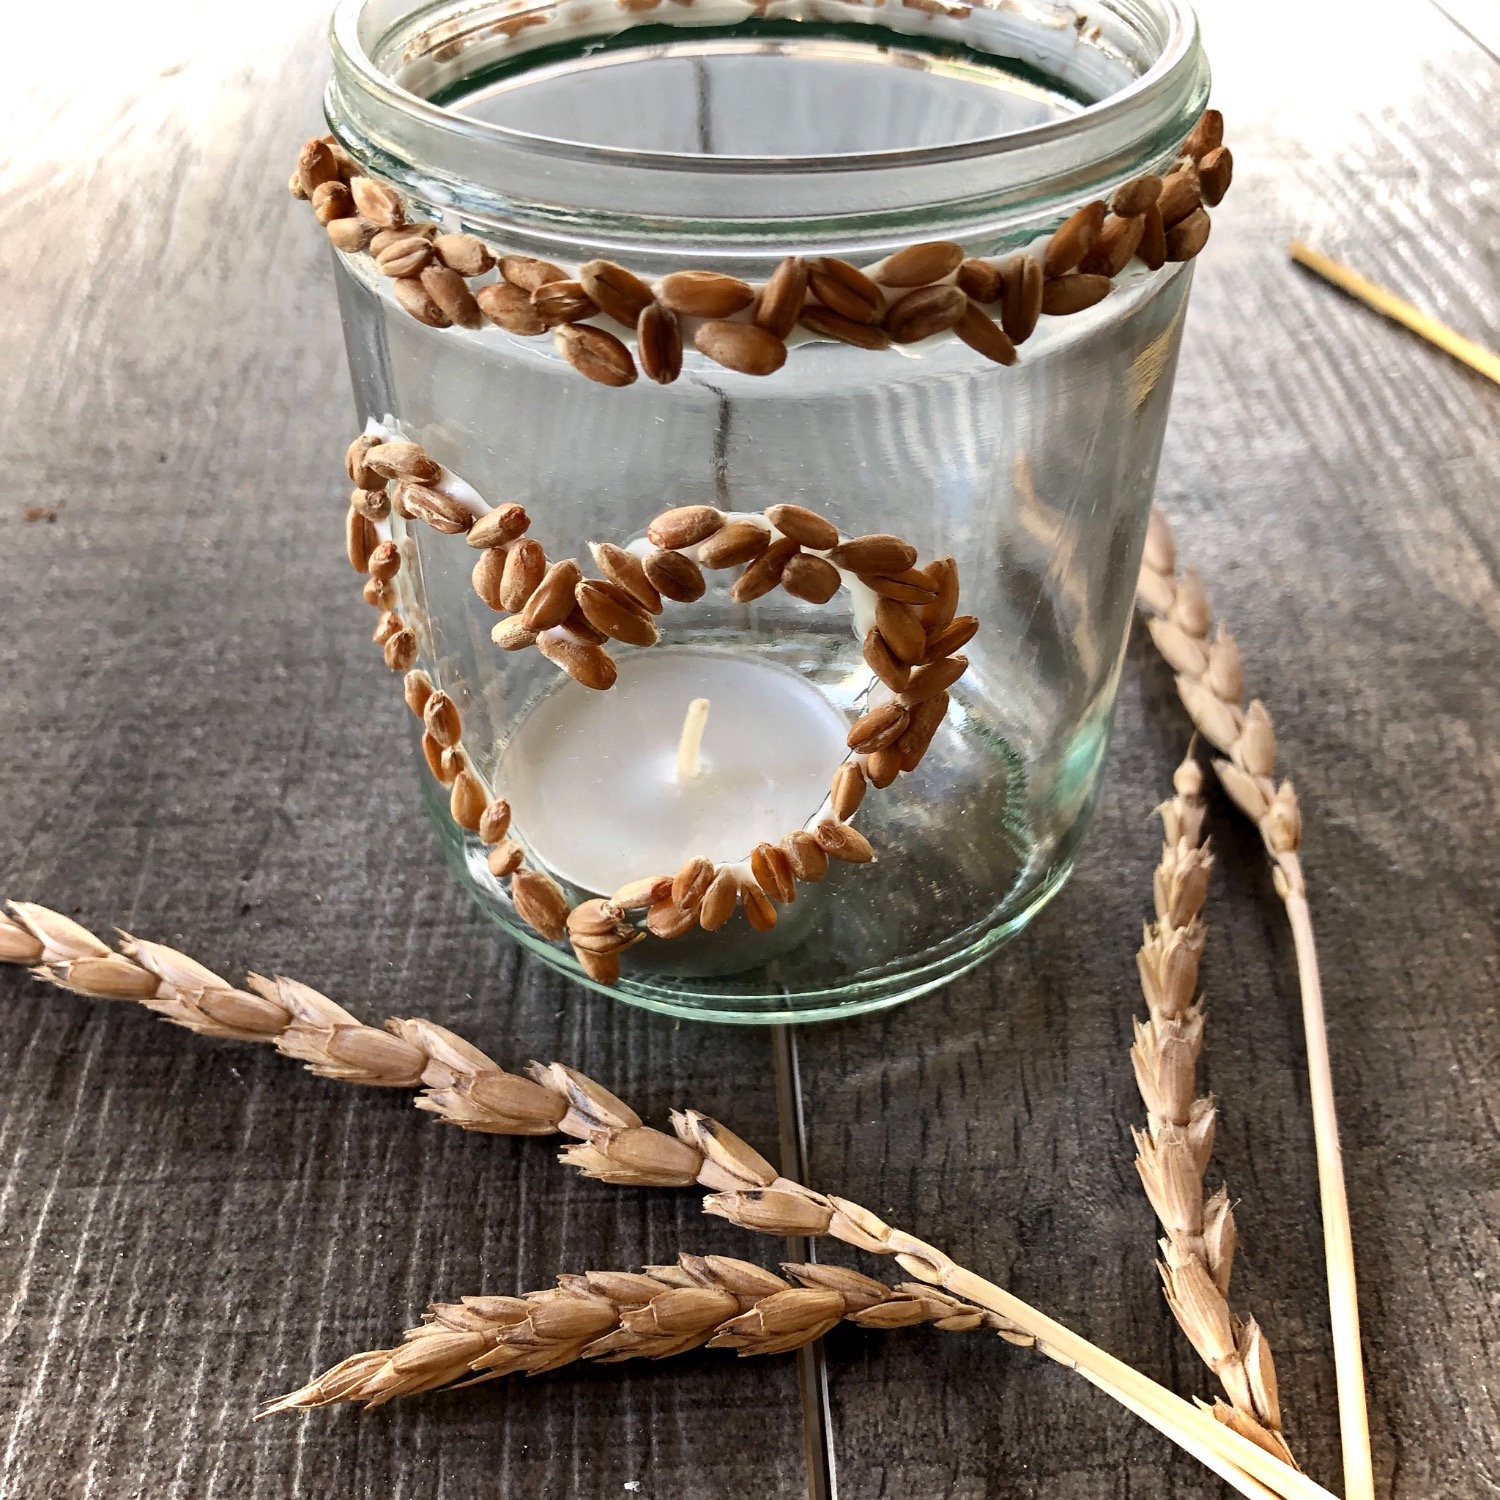
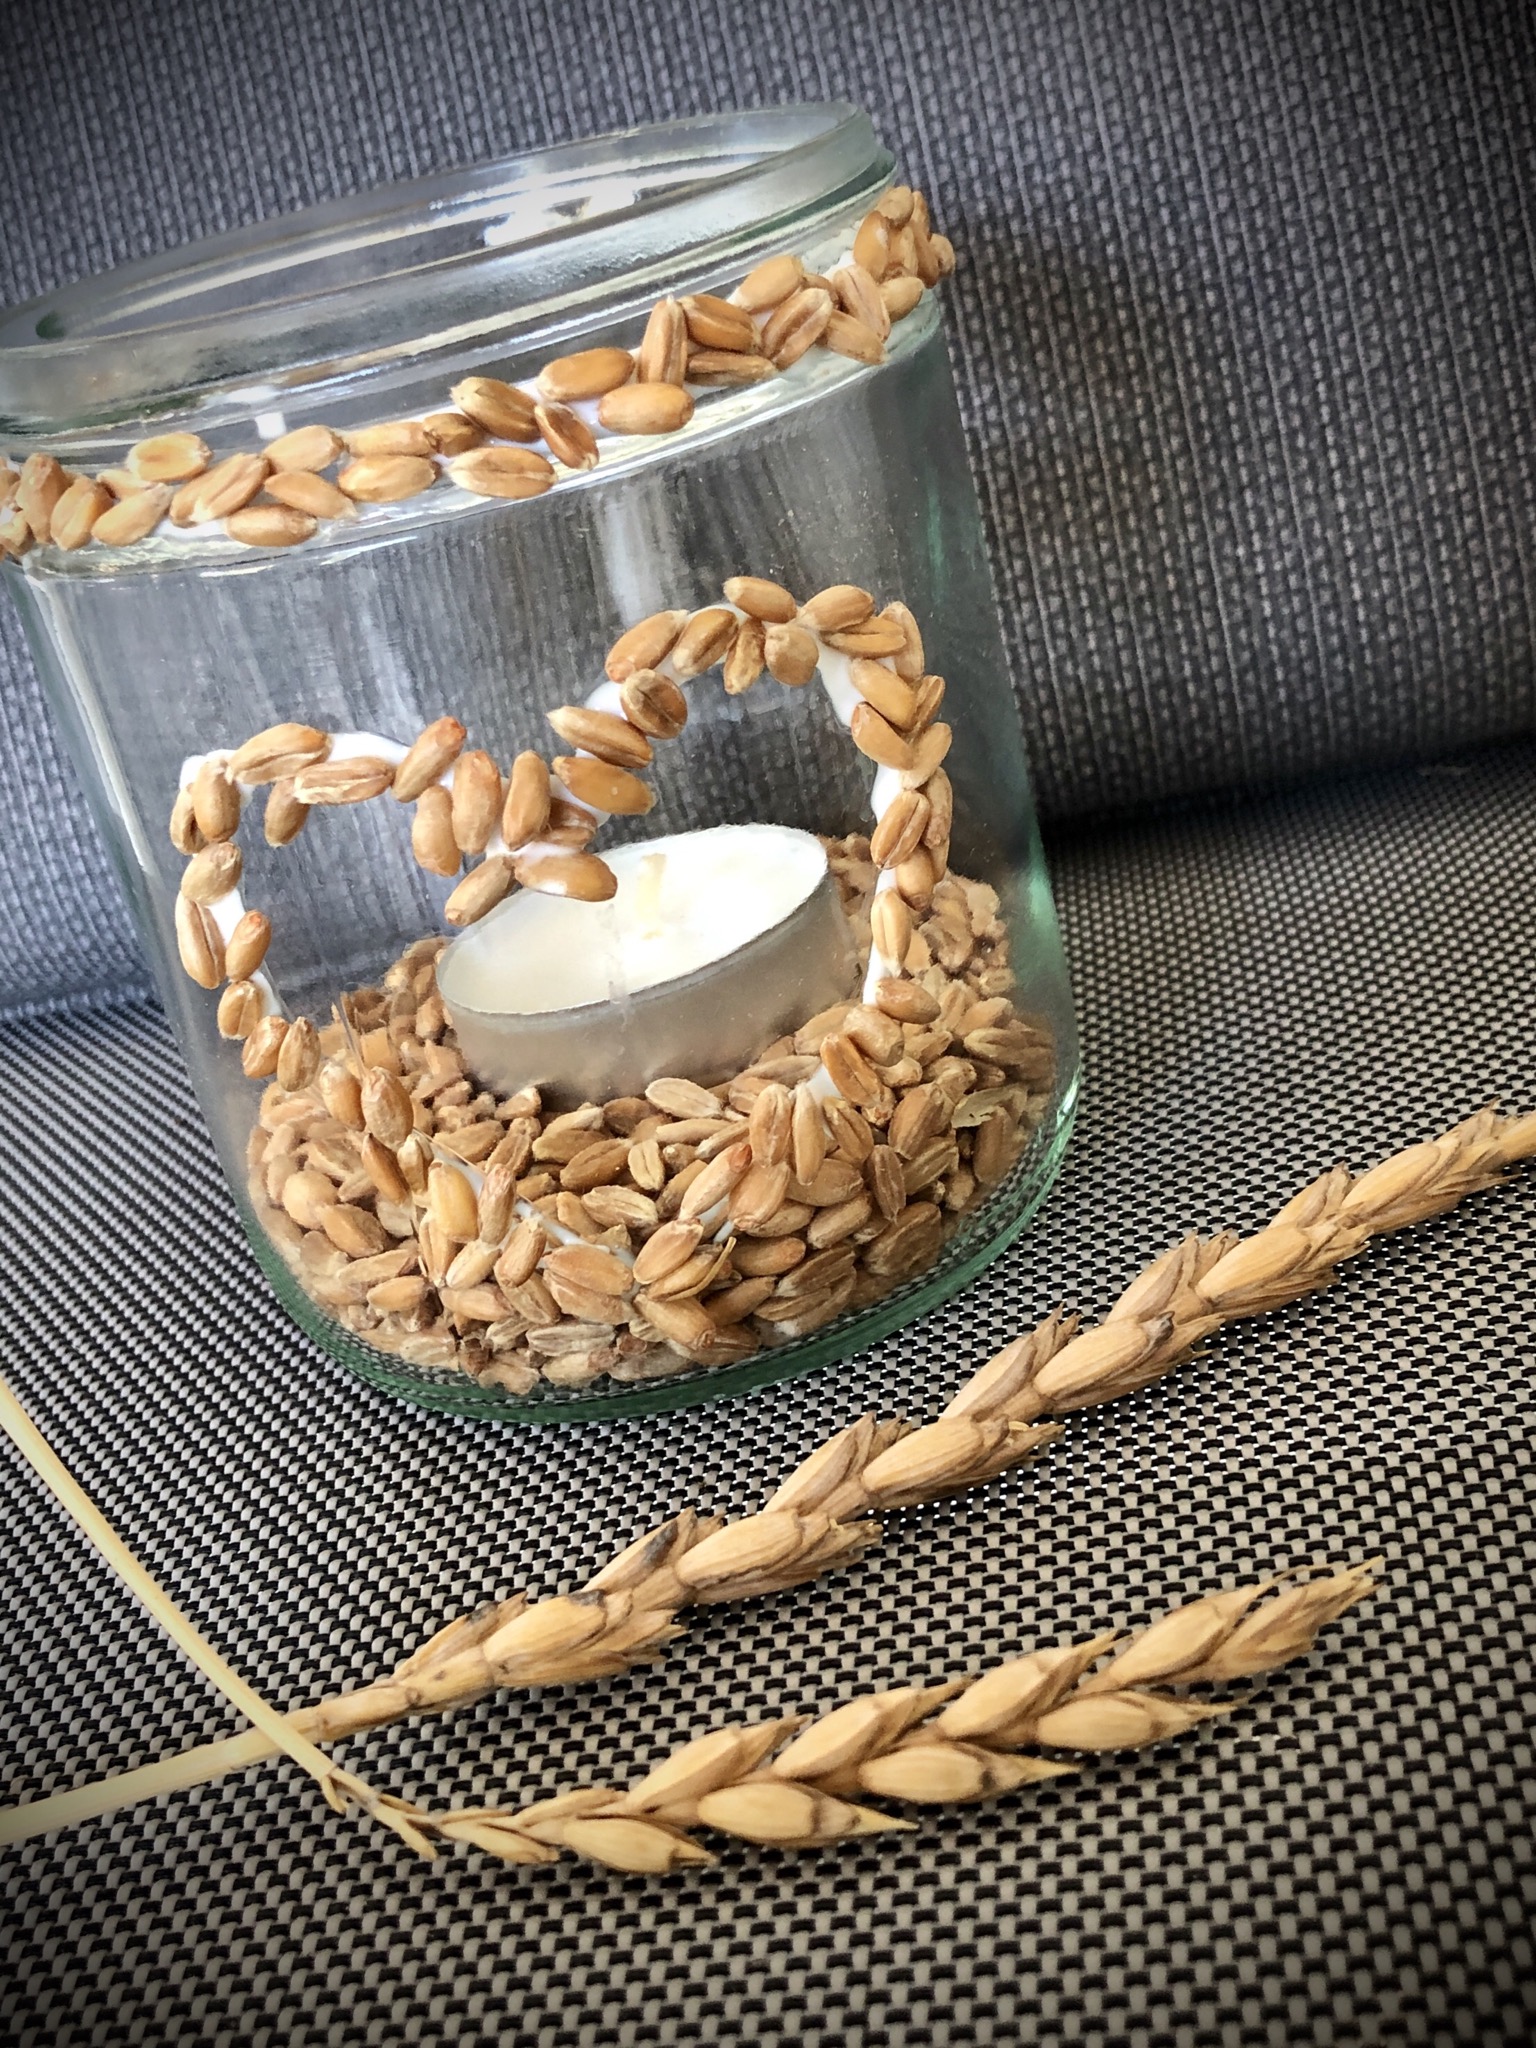
Grain grains can be easily attached to glass with wood glue. A slightly different decoration idea is a grain-grain windlight. For this purpose, paint your motif with wood glue on an empty honey glass and scatter the grains over it. This slightly press and is finished your grain motif! Now a tea light in the glass and ready is a table decoration for a summer party or a harvest party. By the way, you often find a few single grains at the edges.
Media Education for Kindergarten and Hort

Relief in everyday life, targeted promotion of individual children, independent learning and - without any pre-knowledge already usable by the youngest!
Take a clean empty honey glass (a straight glass)

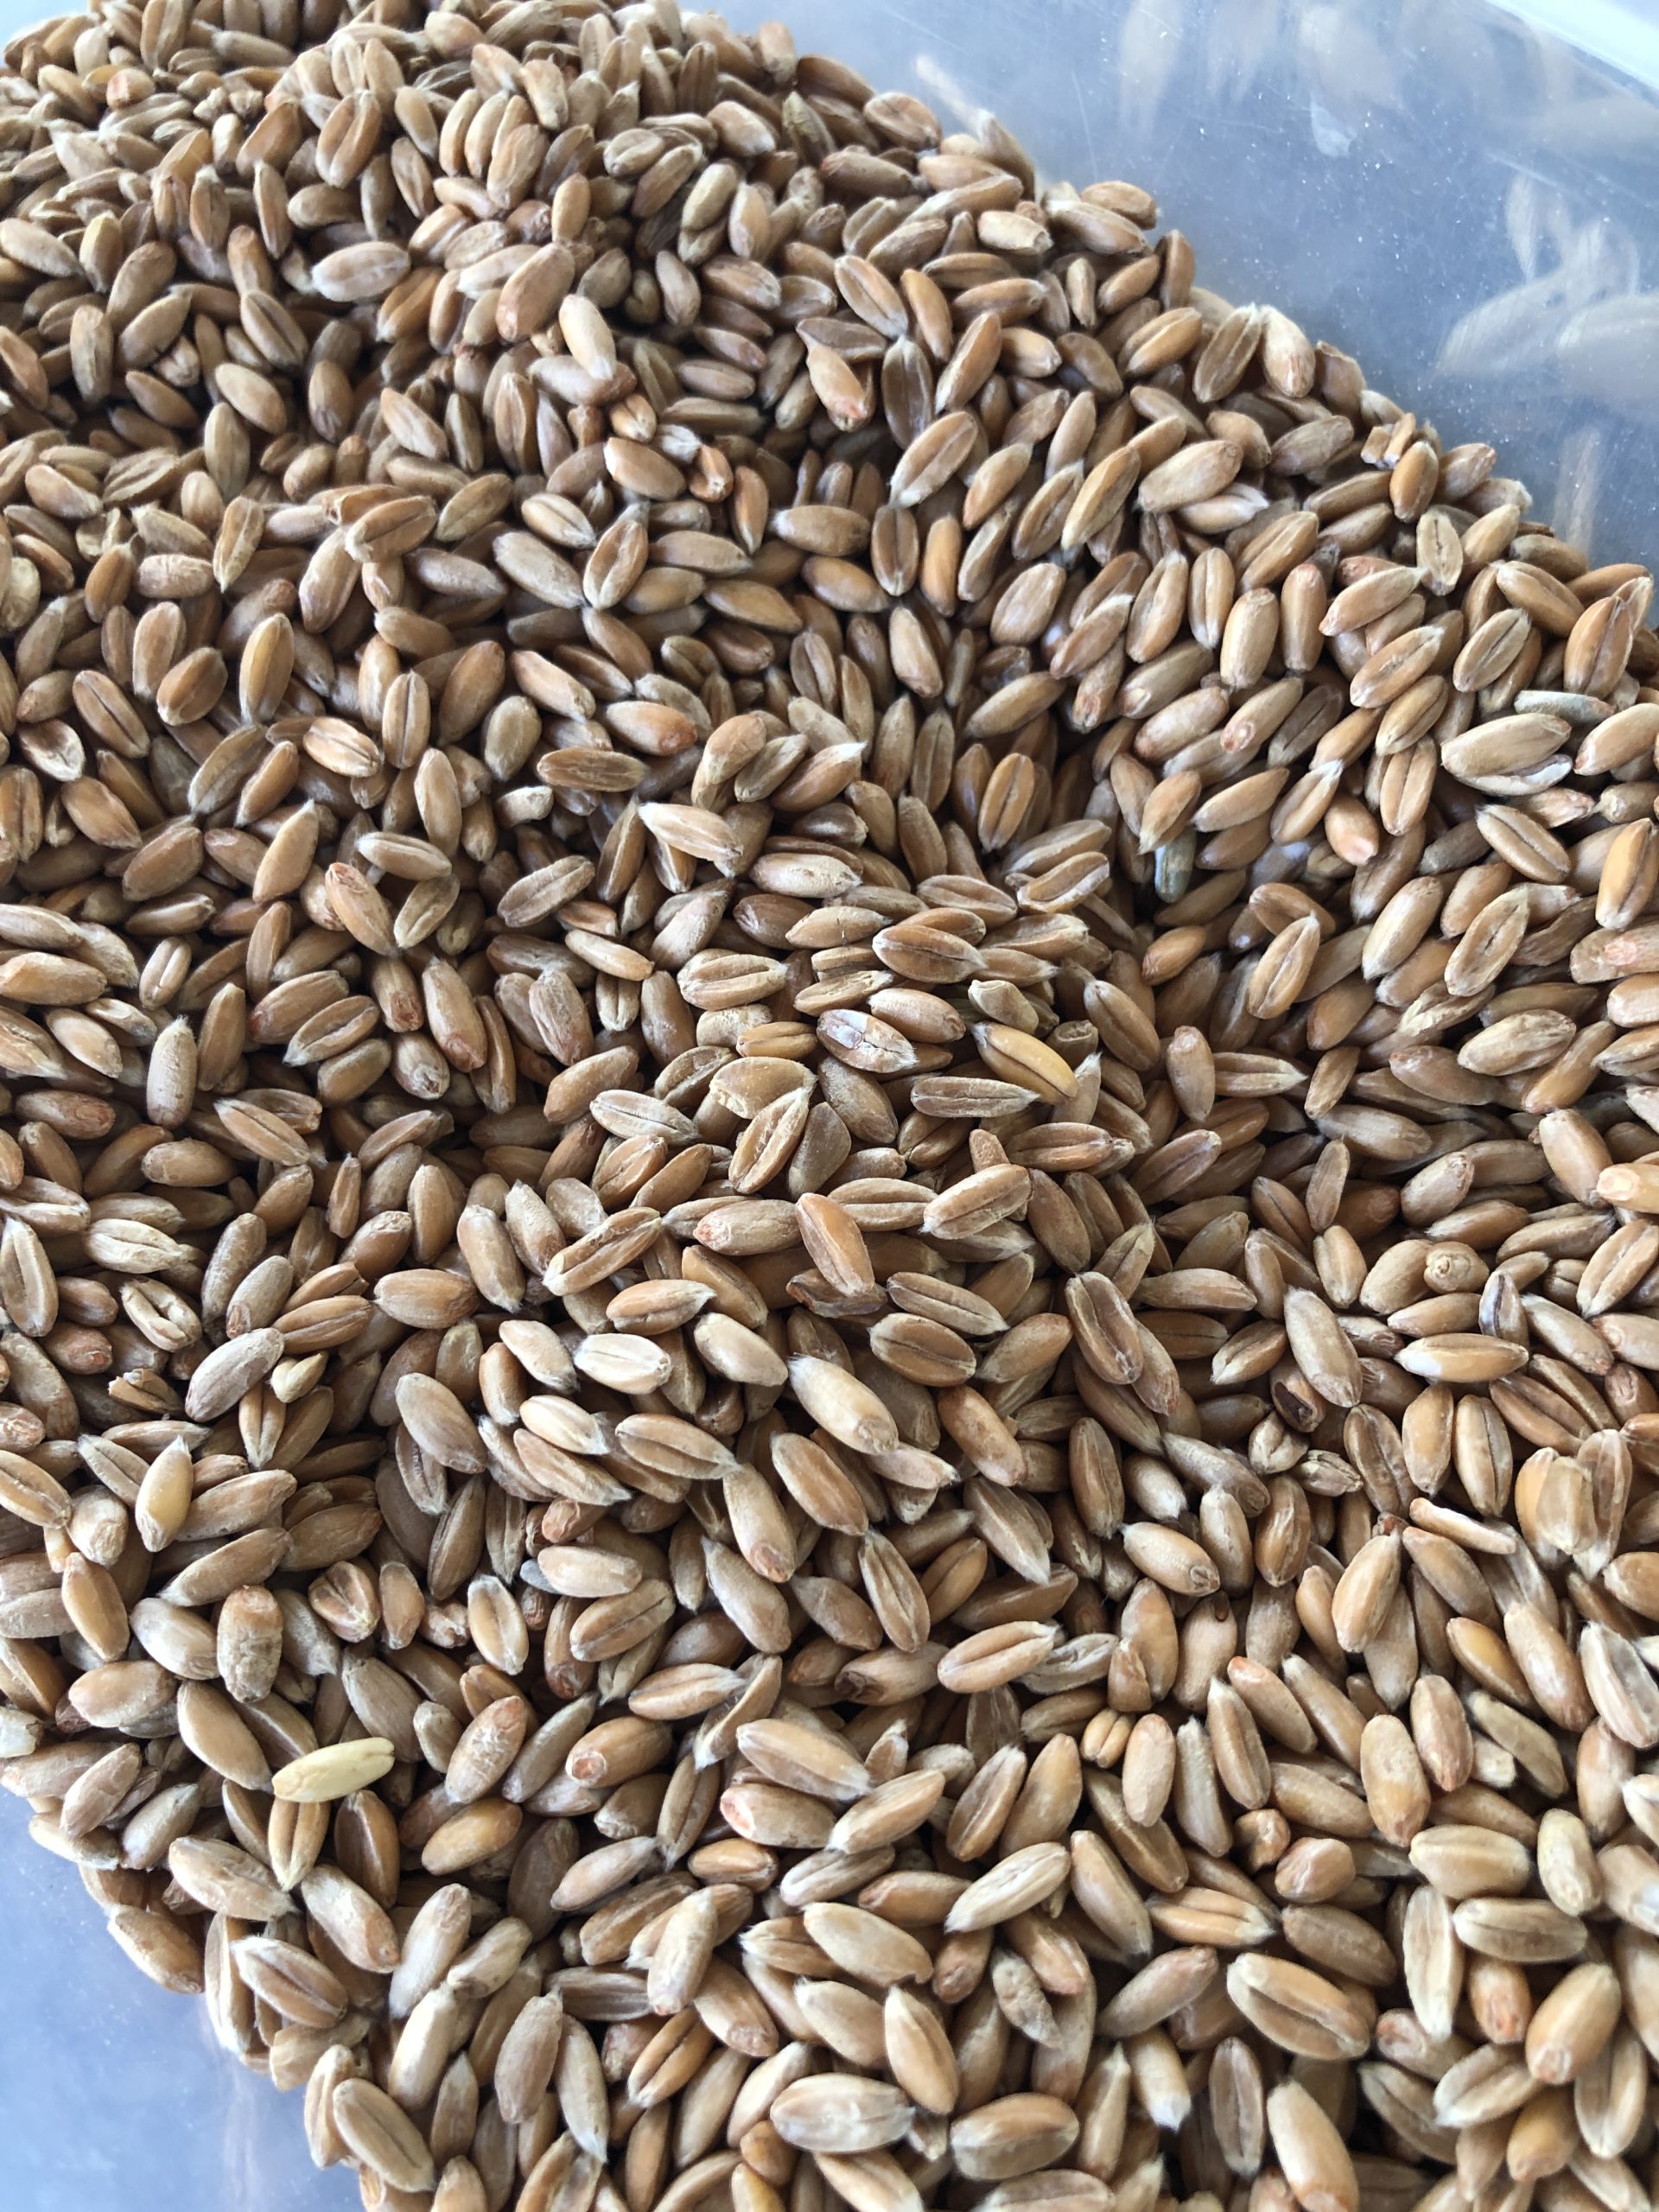
..and grains


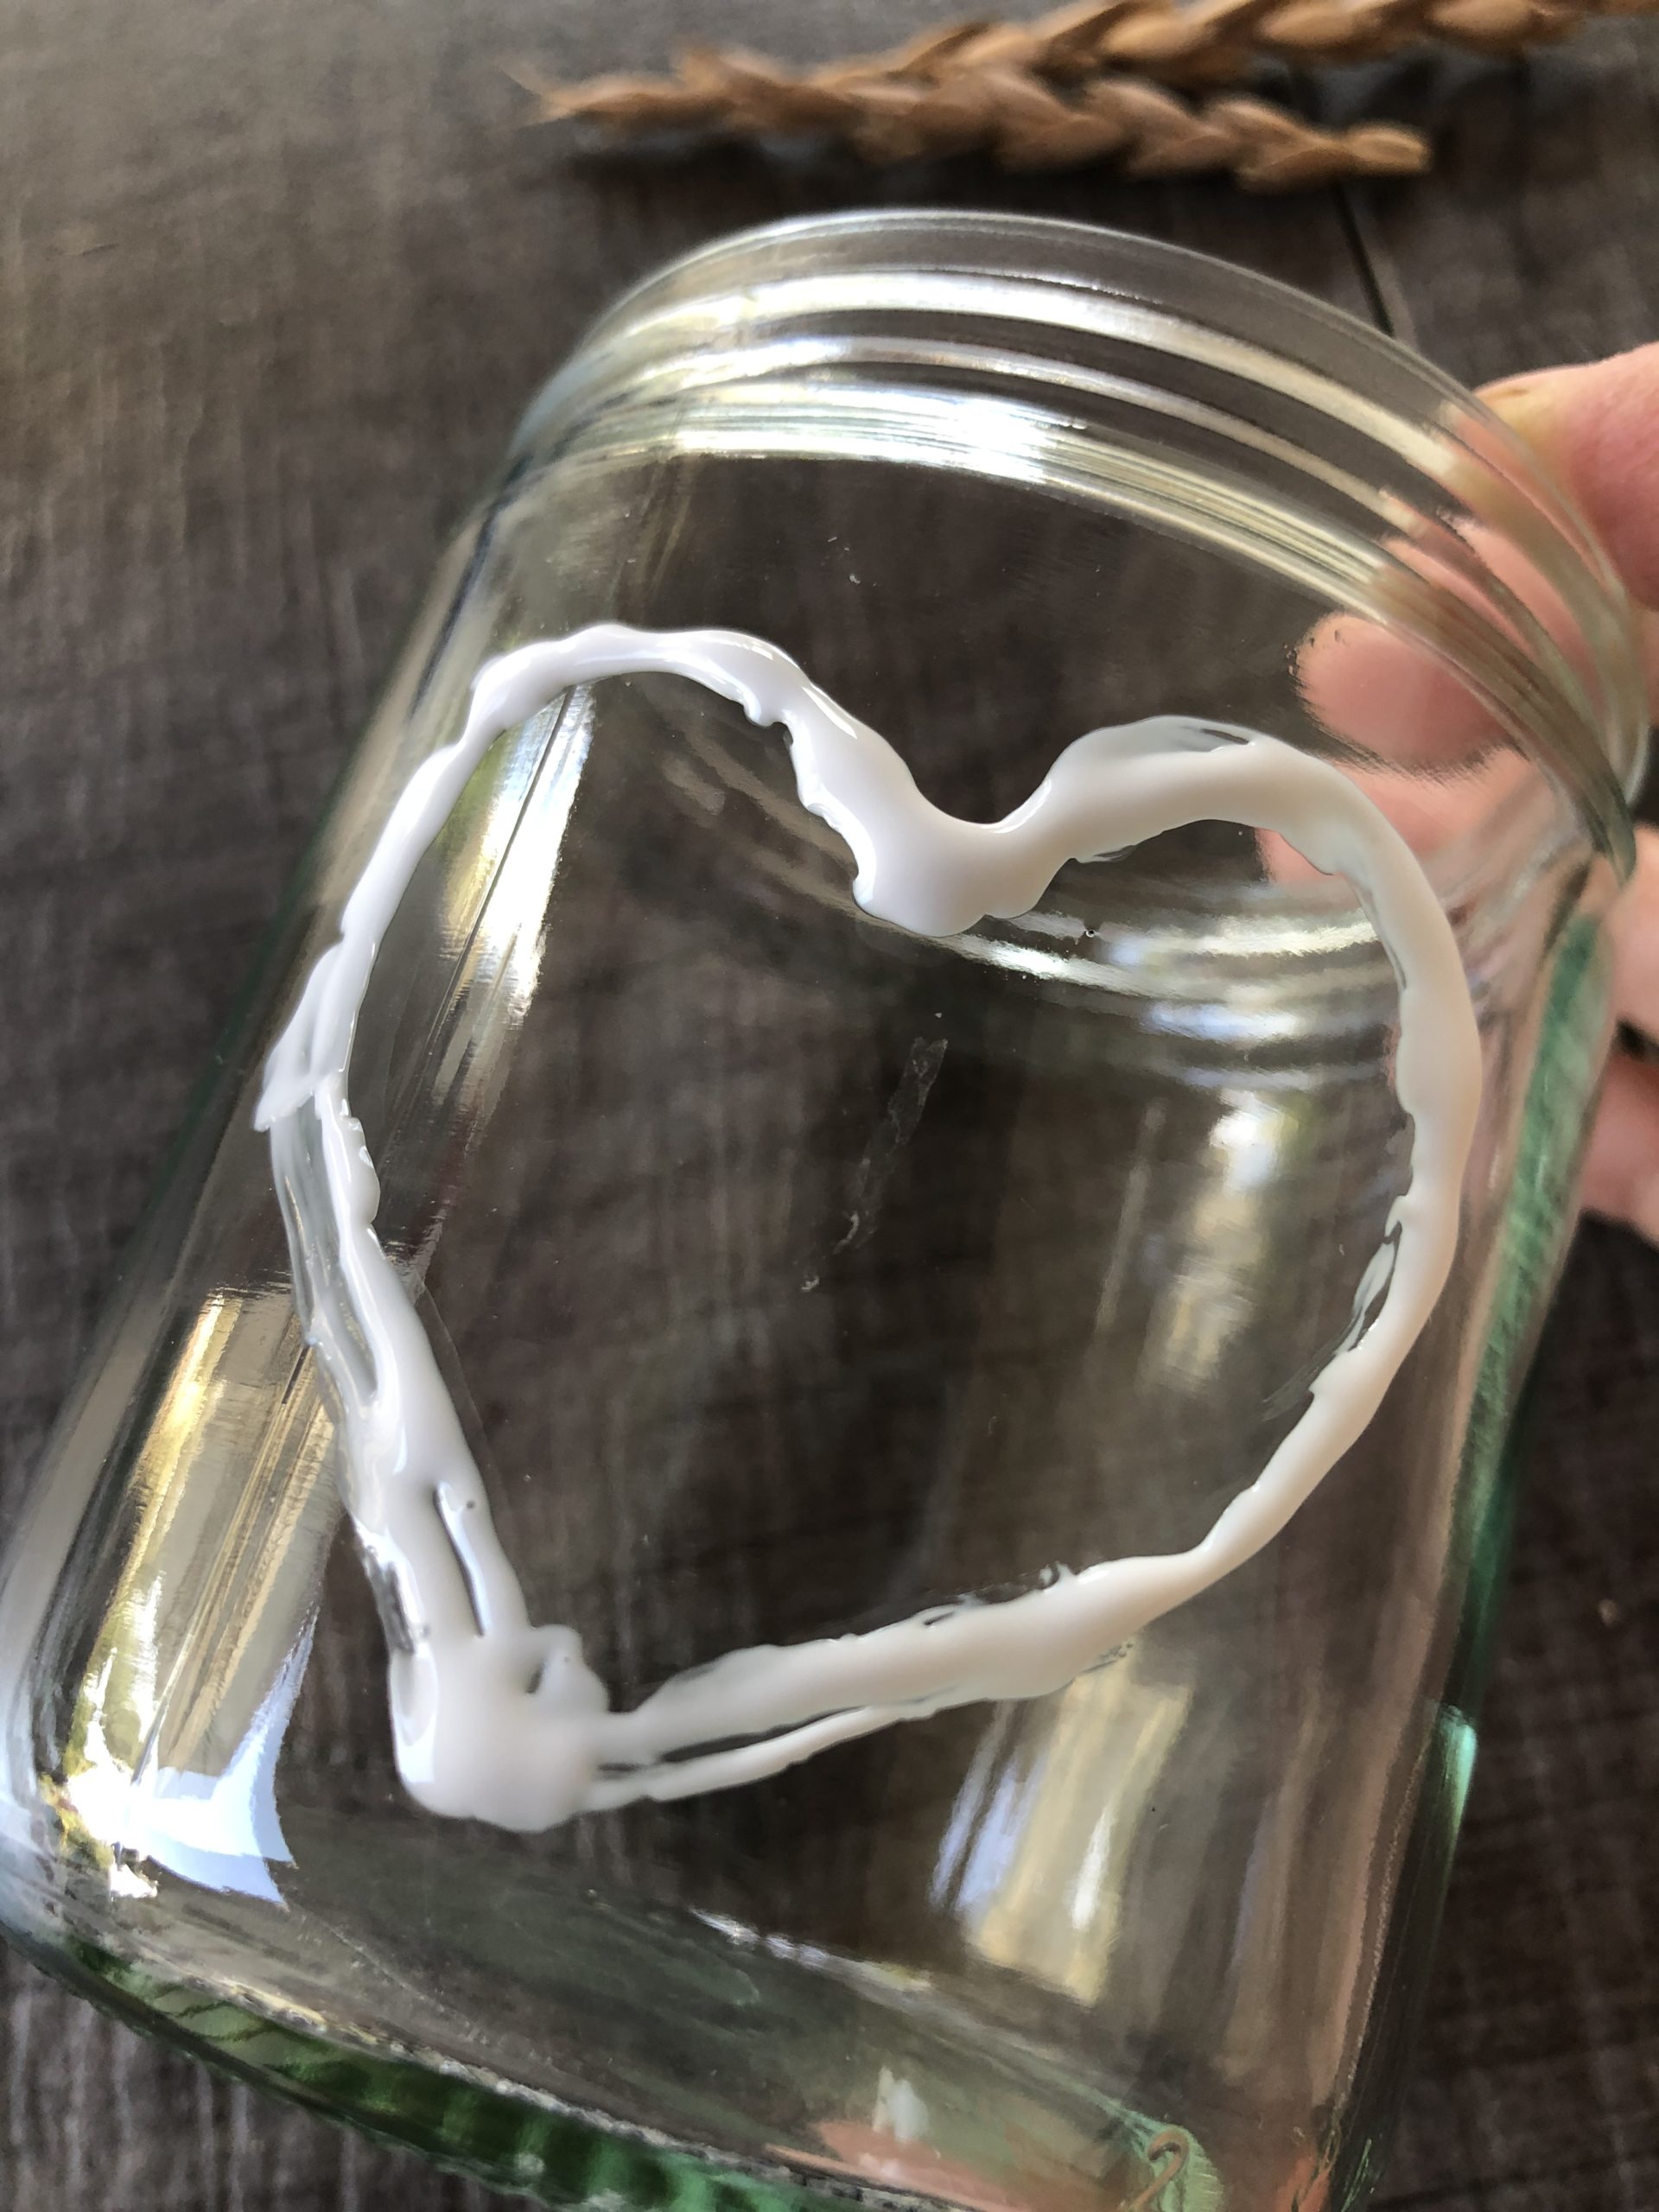
Now paint a heart on the glass with wood glue. I do it directly with the wood glue bottle/tube, but you can also use a paint brush.
Try out what works easier for the children.


Make sure that you do not use too little wood glue, otherwise it dries you too quickly and/or the grains have too little adhesive surface and do not hold on glue.
By the way: the wood glue simply goes to wash with water again!? So don't worry just get started, nothing can go wrong, you can wash everything again.


Immerse the glass with the glue side in the grains or scatter them over it.
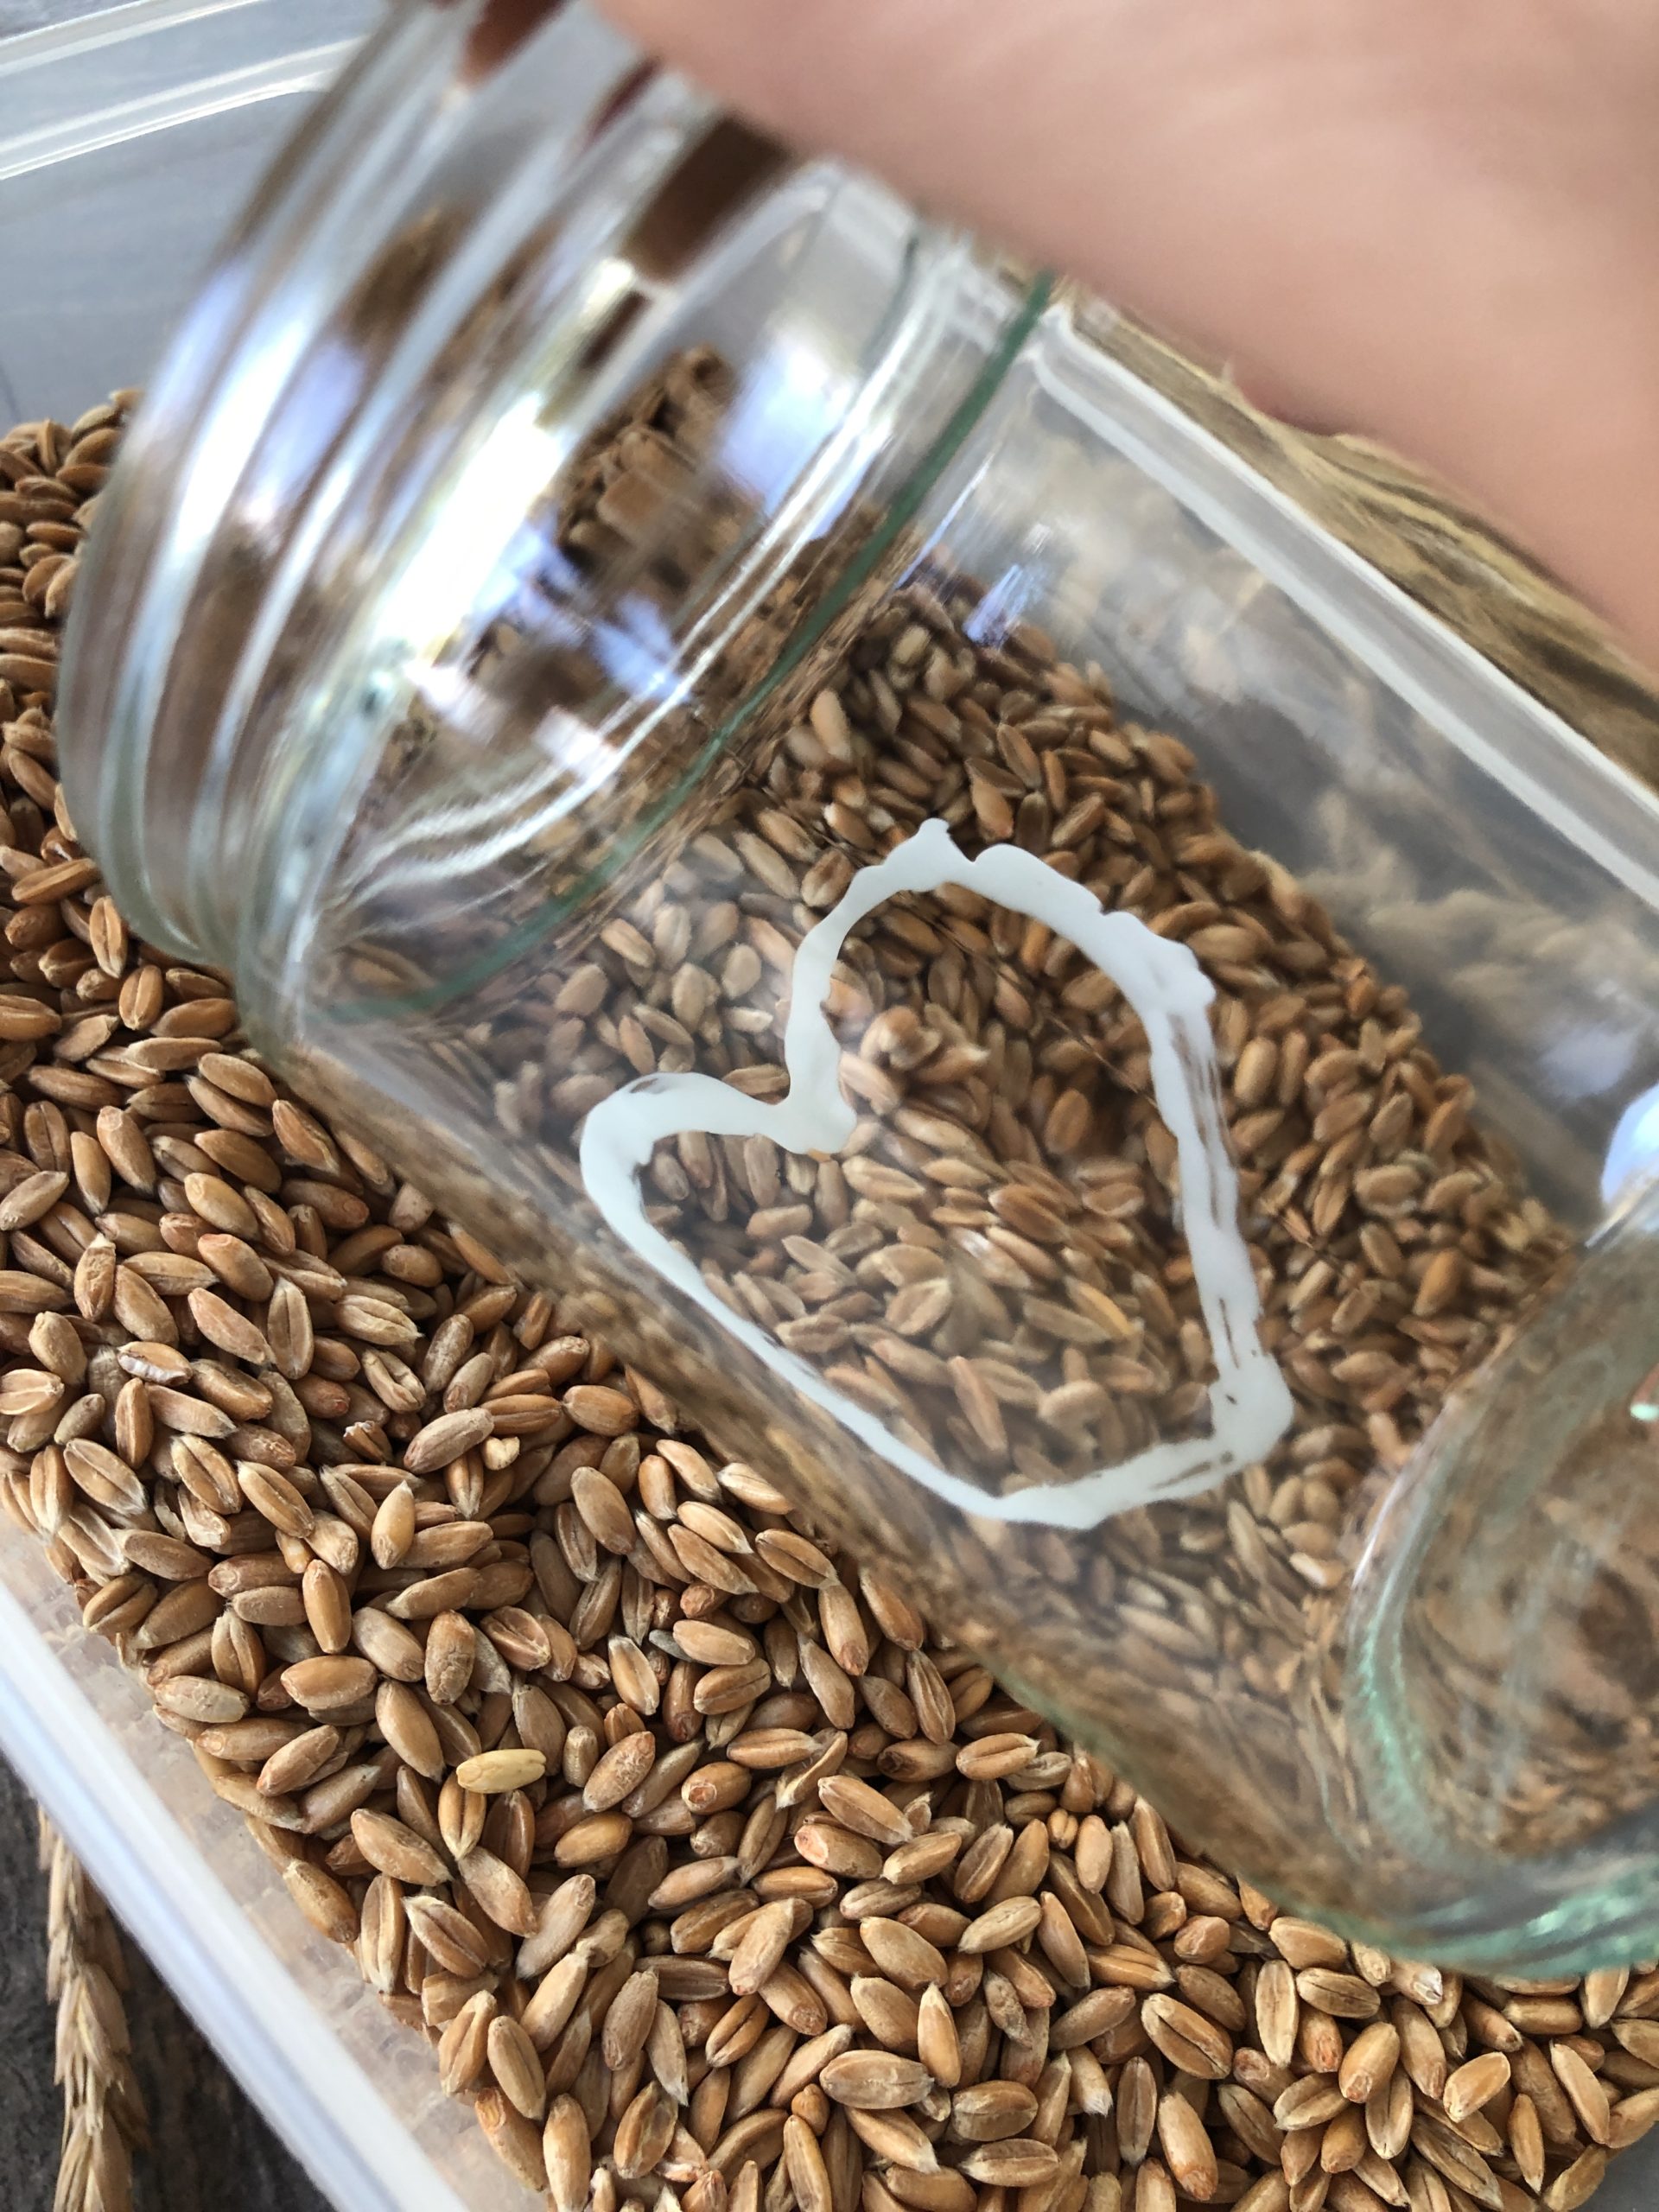


See that grains stick to the glass wherever you had glue.


With your finger you can now slip crooked hanging grains or grains that are out of shape.
This works quite well, because the glue does not dry immediately. It sticks great, gets tough and then dries out.
Incidentally, smeared glue can be removed with water (best if it is not yet dry!)
The dried glue, by the way, becomes transparent!
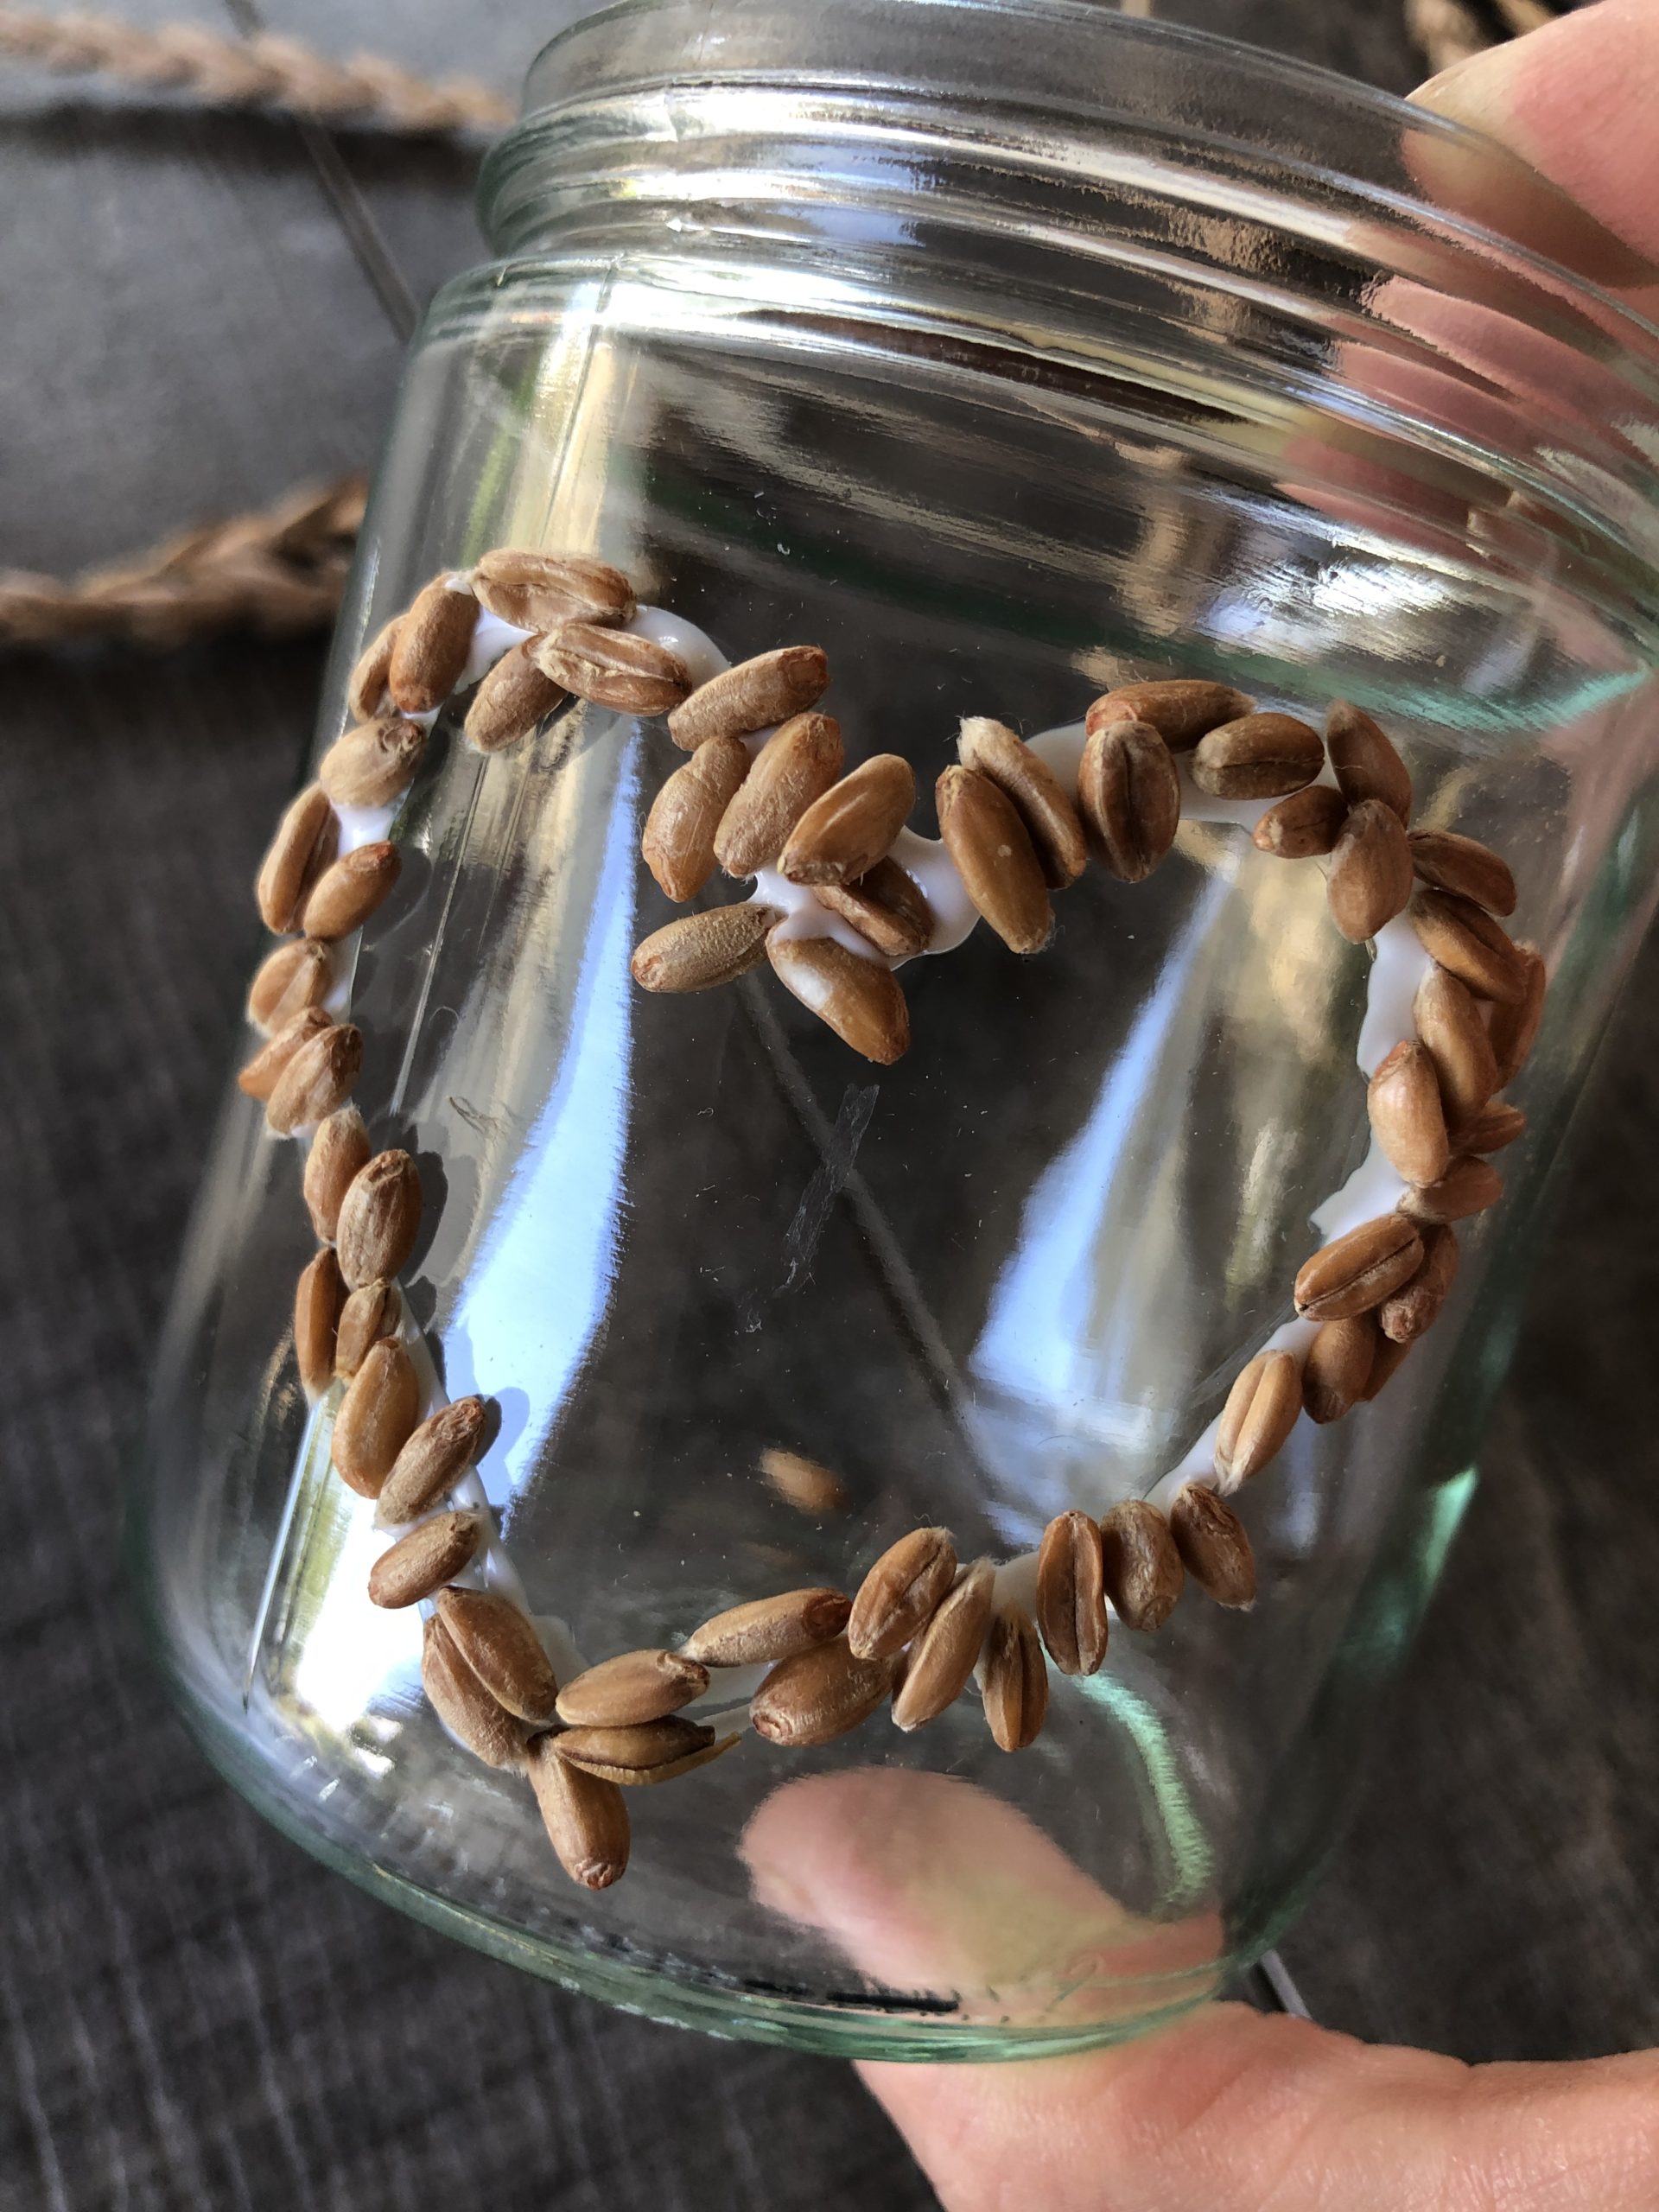


Paints a trace of wood glue around the screw edge of the glass. Do not take too little glue!
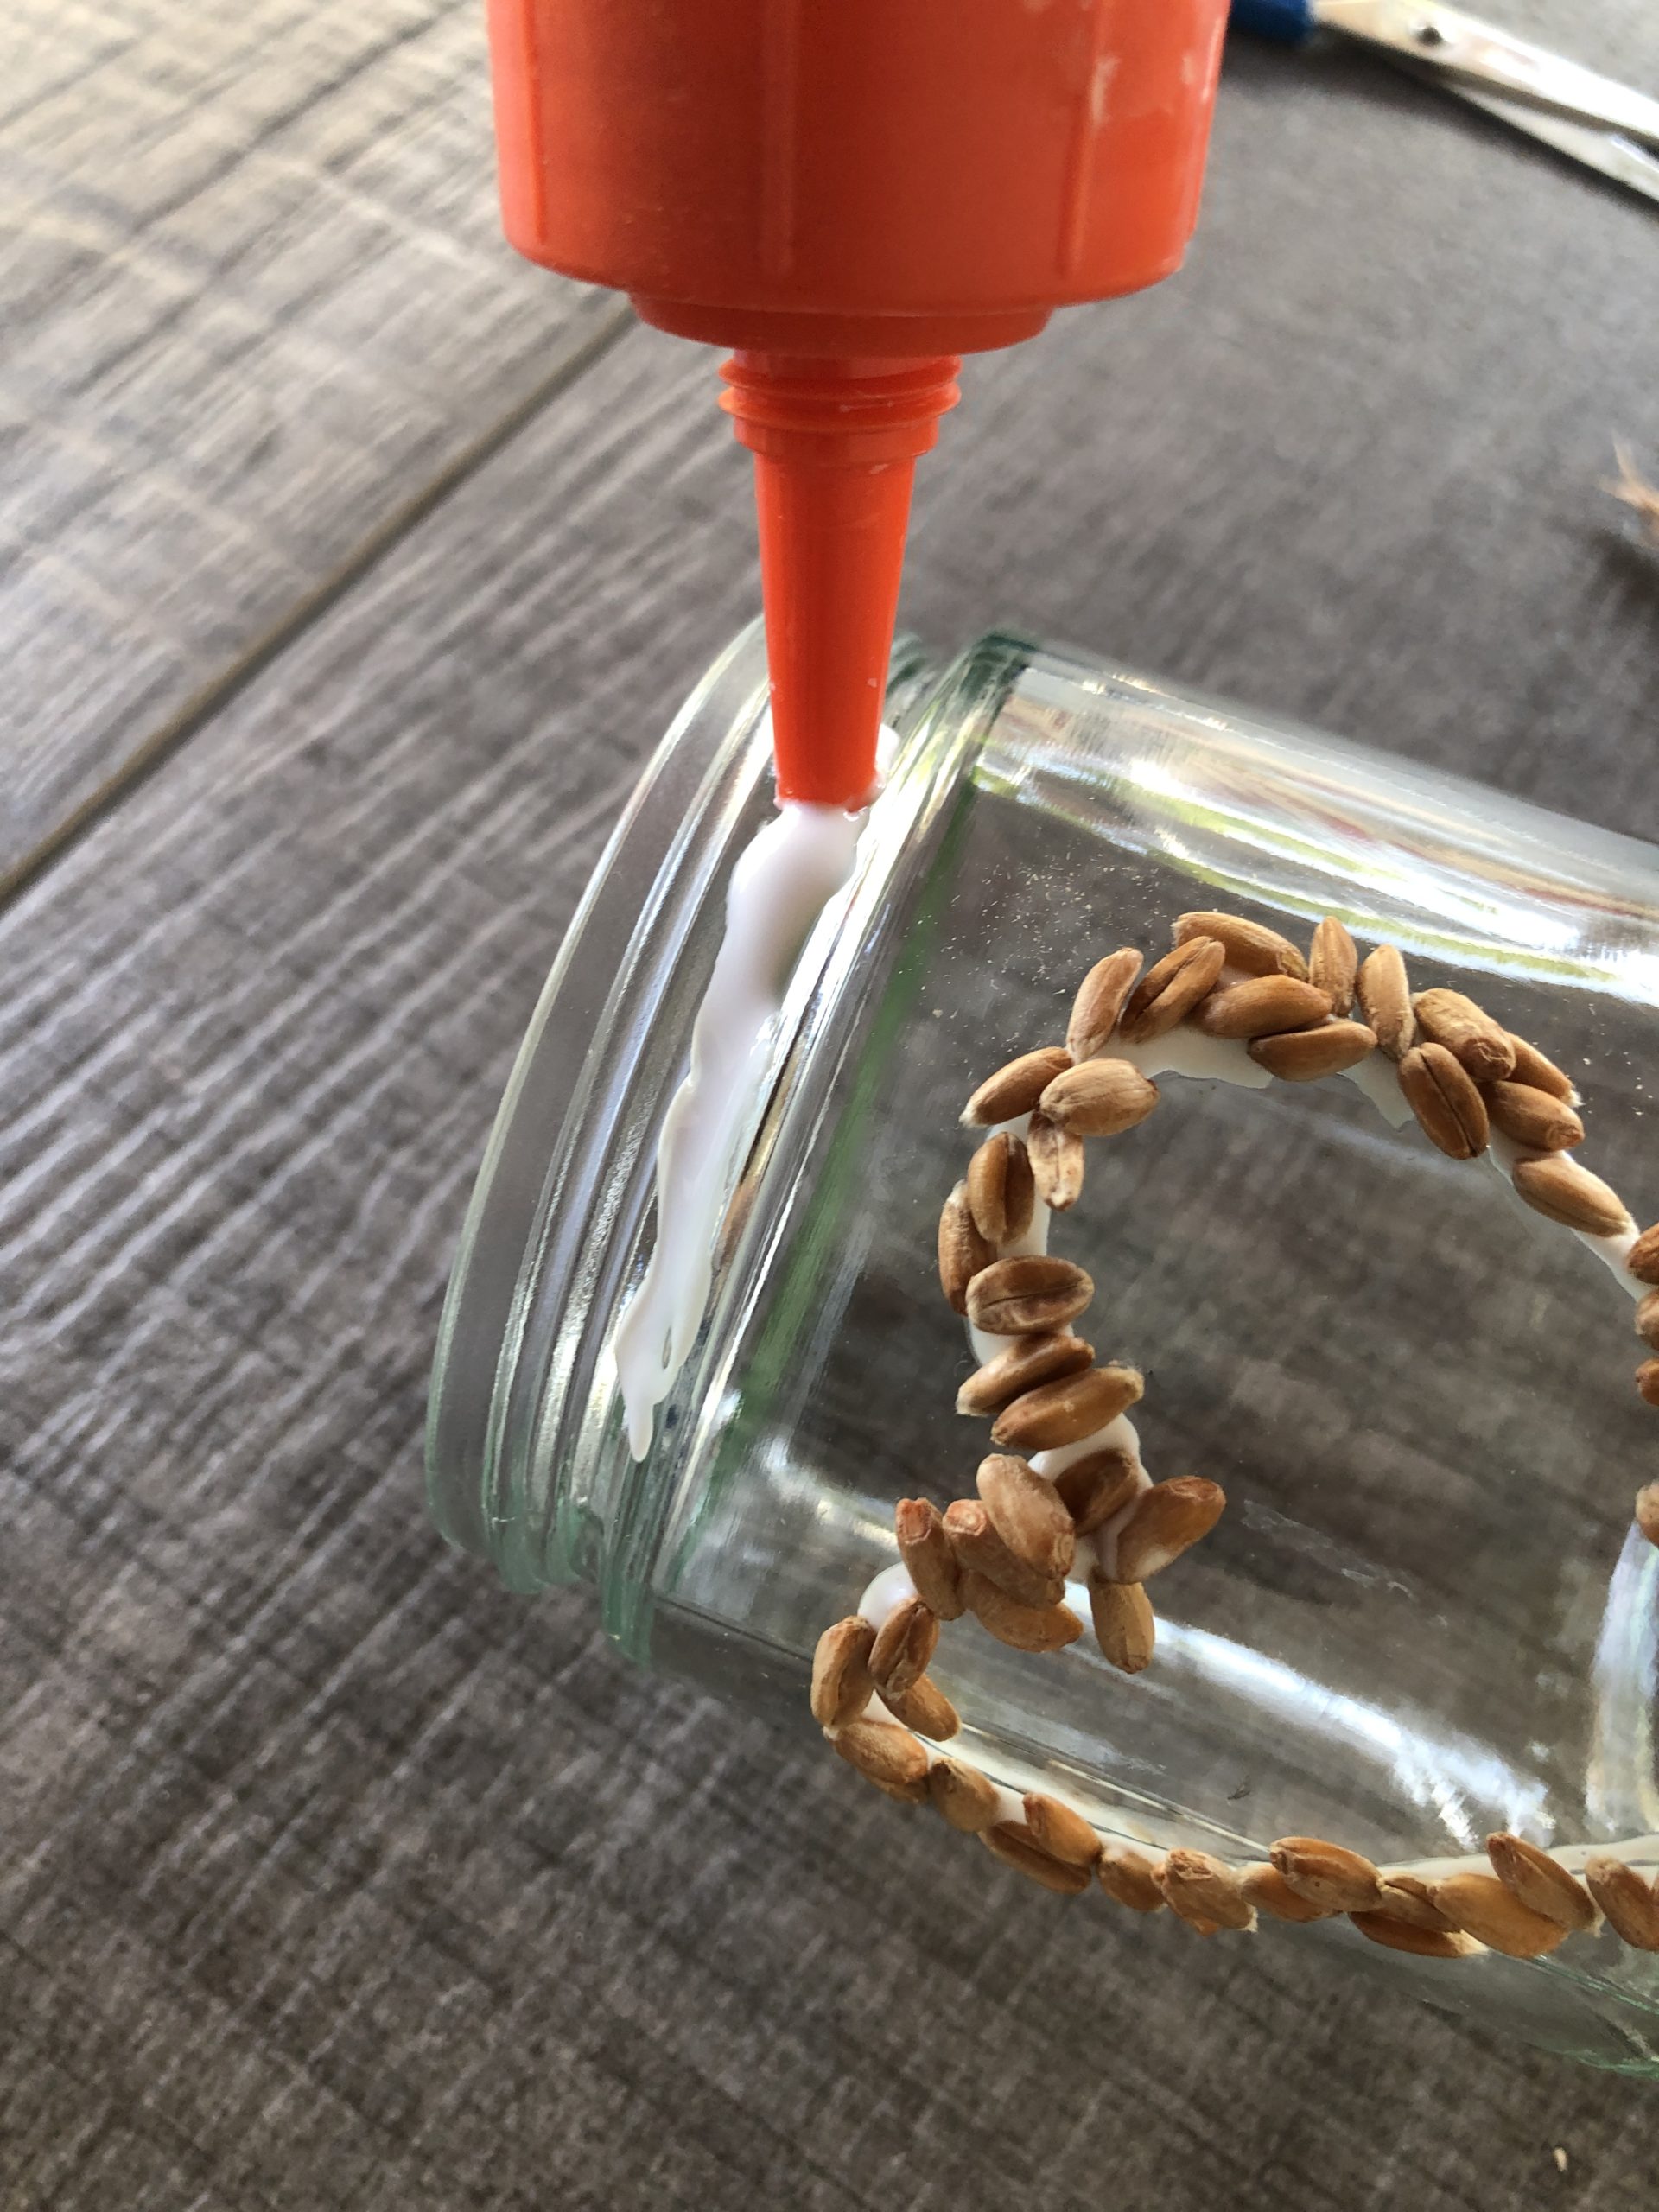


Now you spread grains over the glue immediately again. Push them slightly with your fingers and see that they sit appropriately.
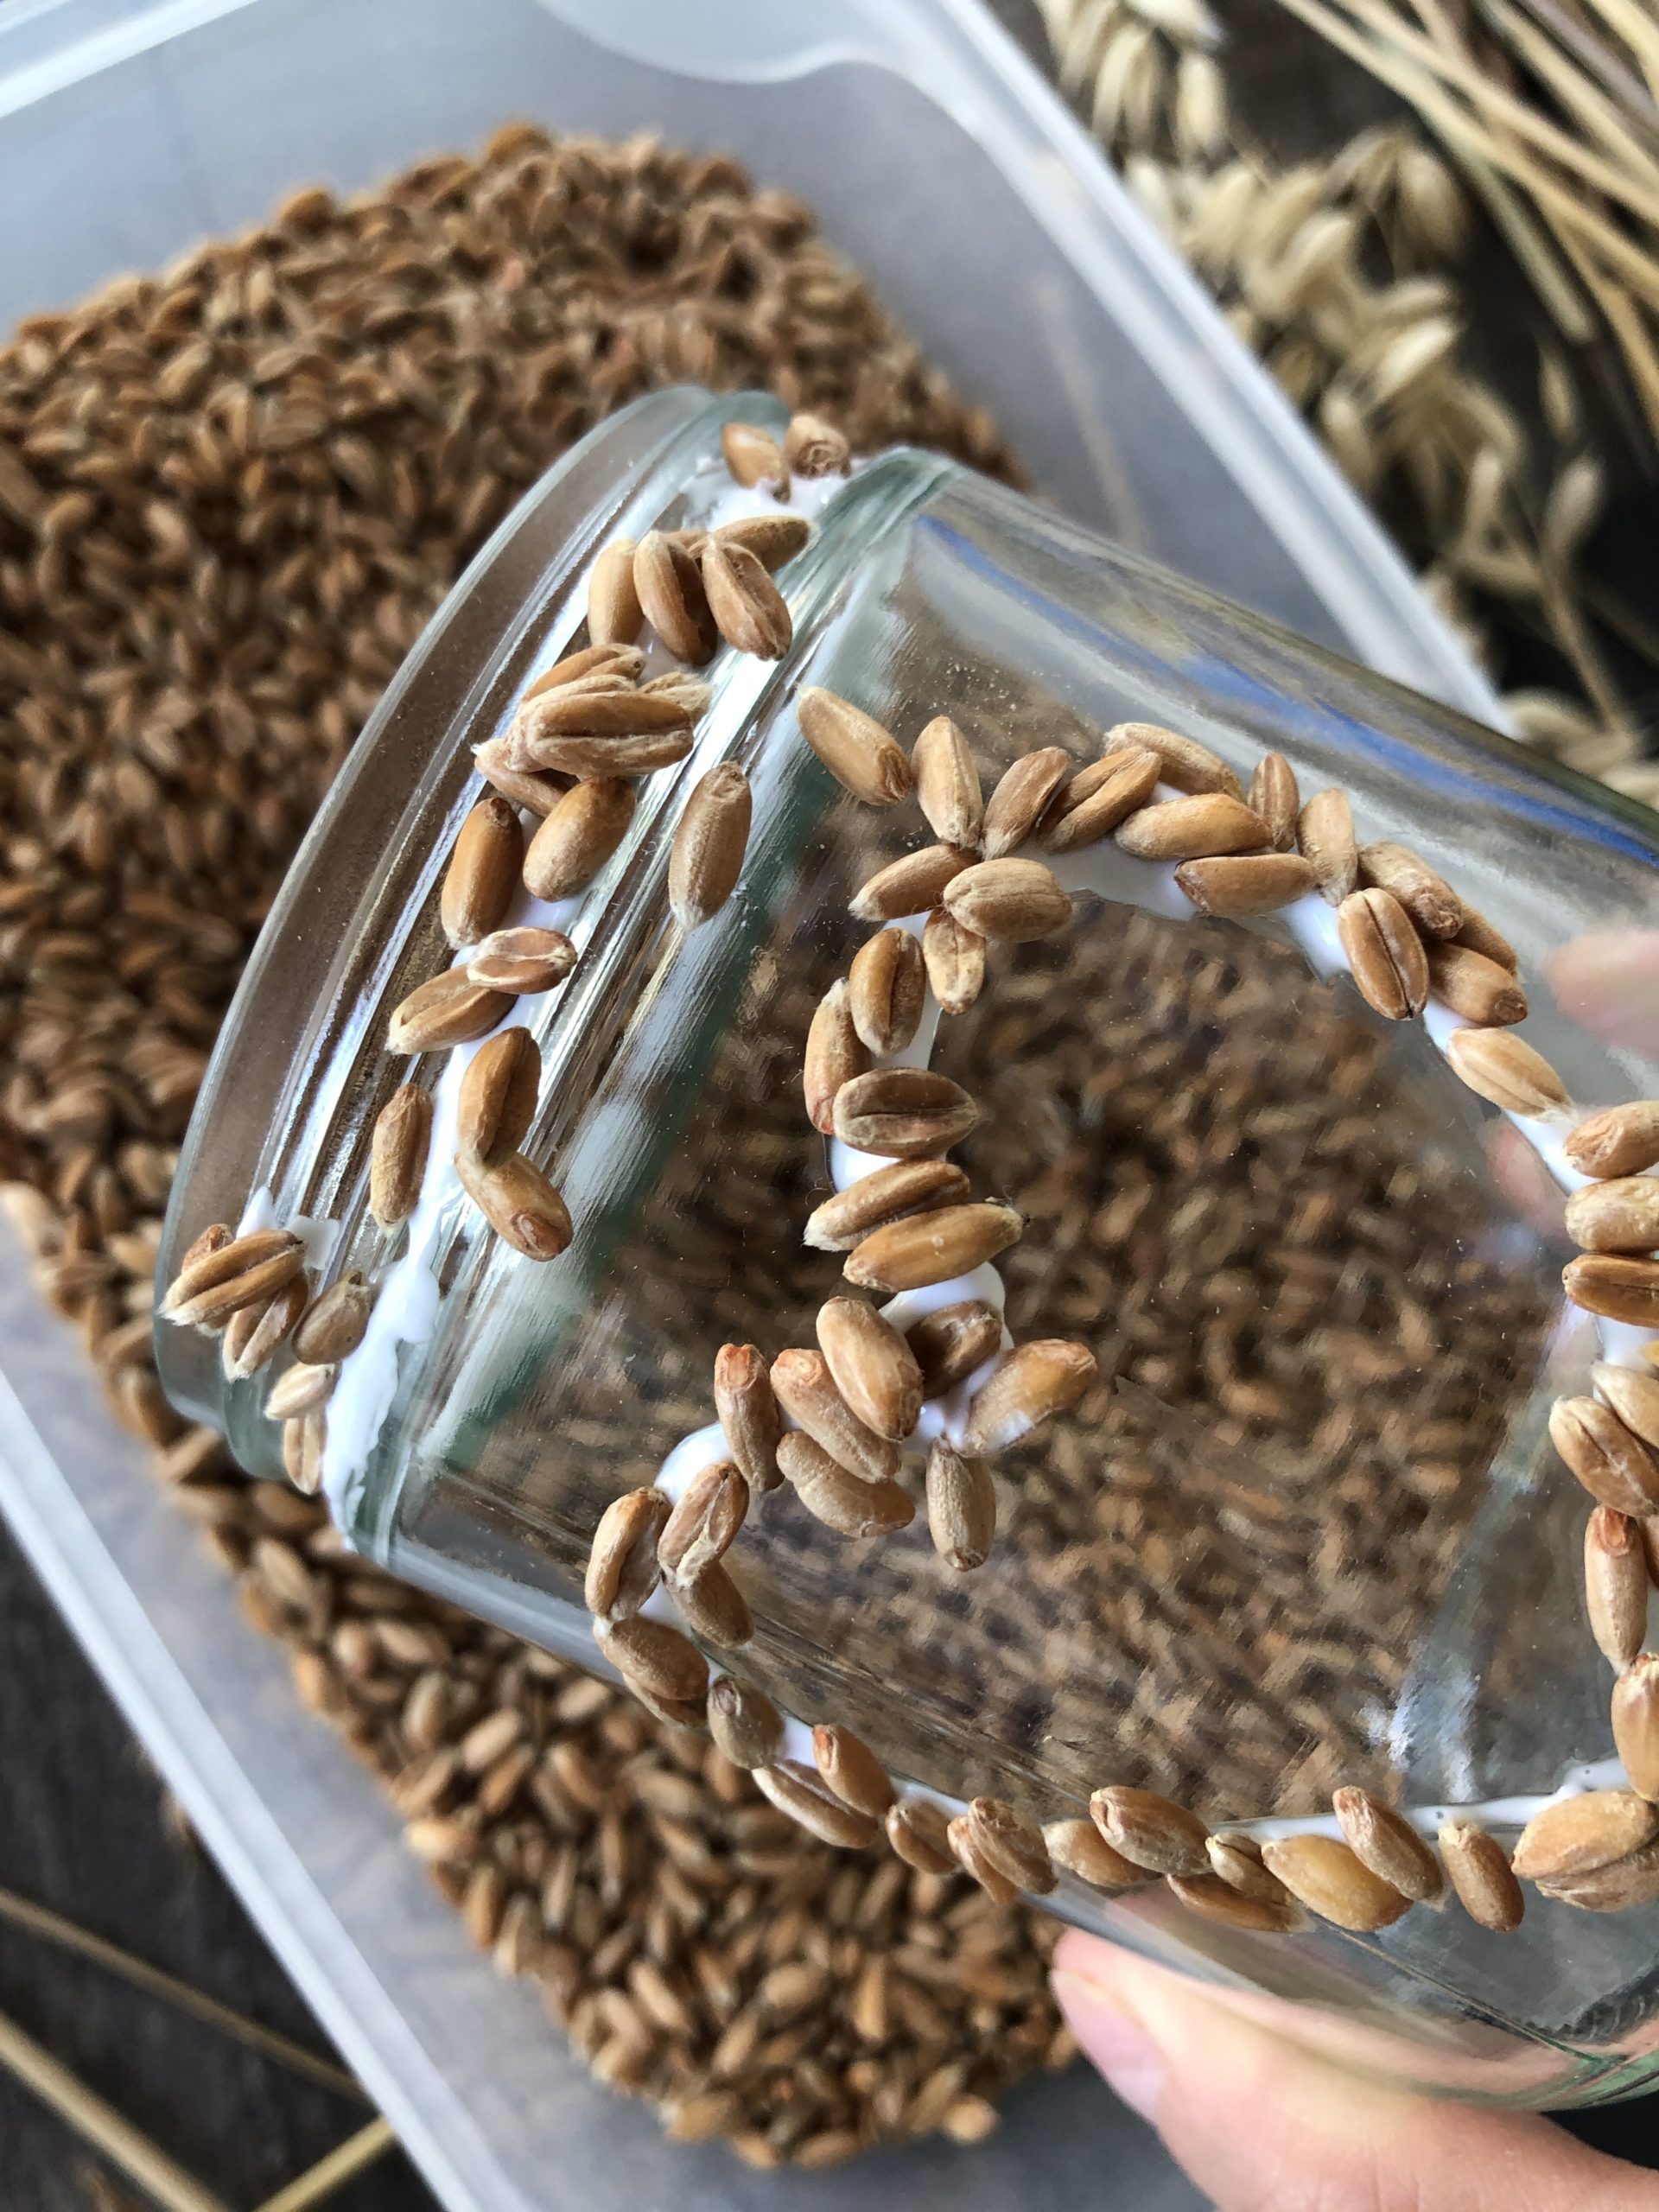


The grain art is ready!
If you want to have a heart on the opposite side, let your wood glue dry first. Not that you destroy your artwork again by accidentally reaching!
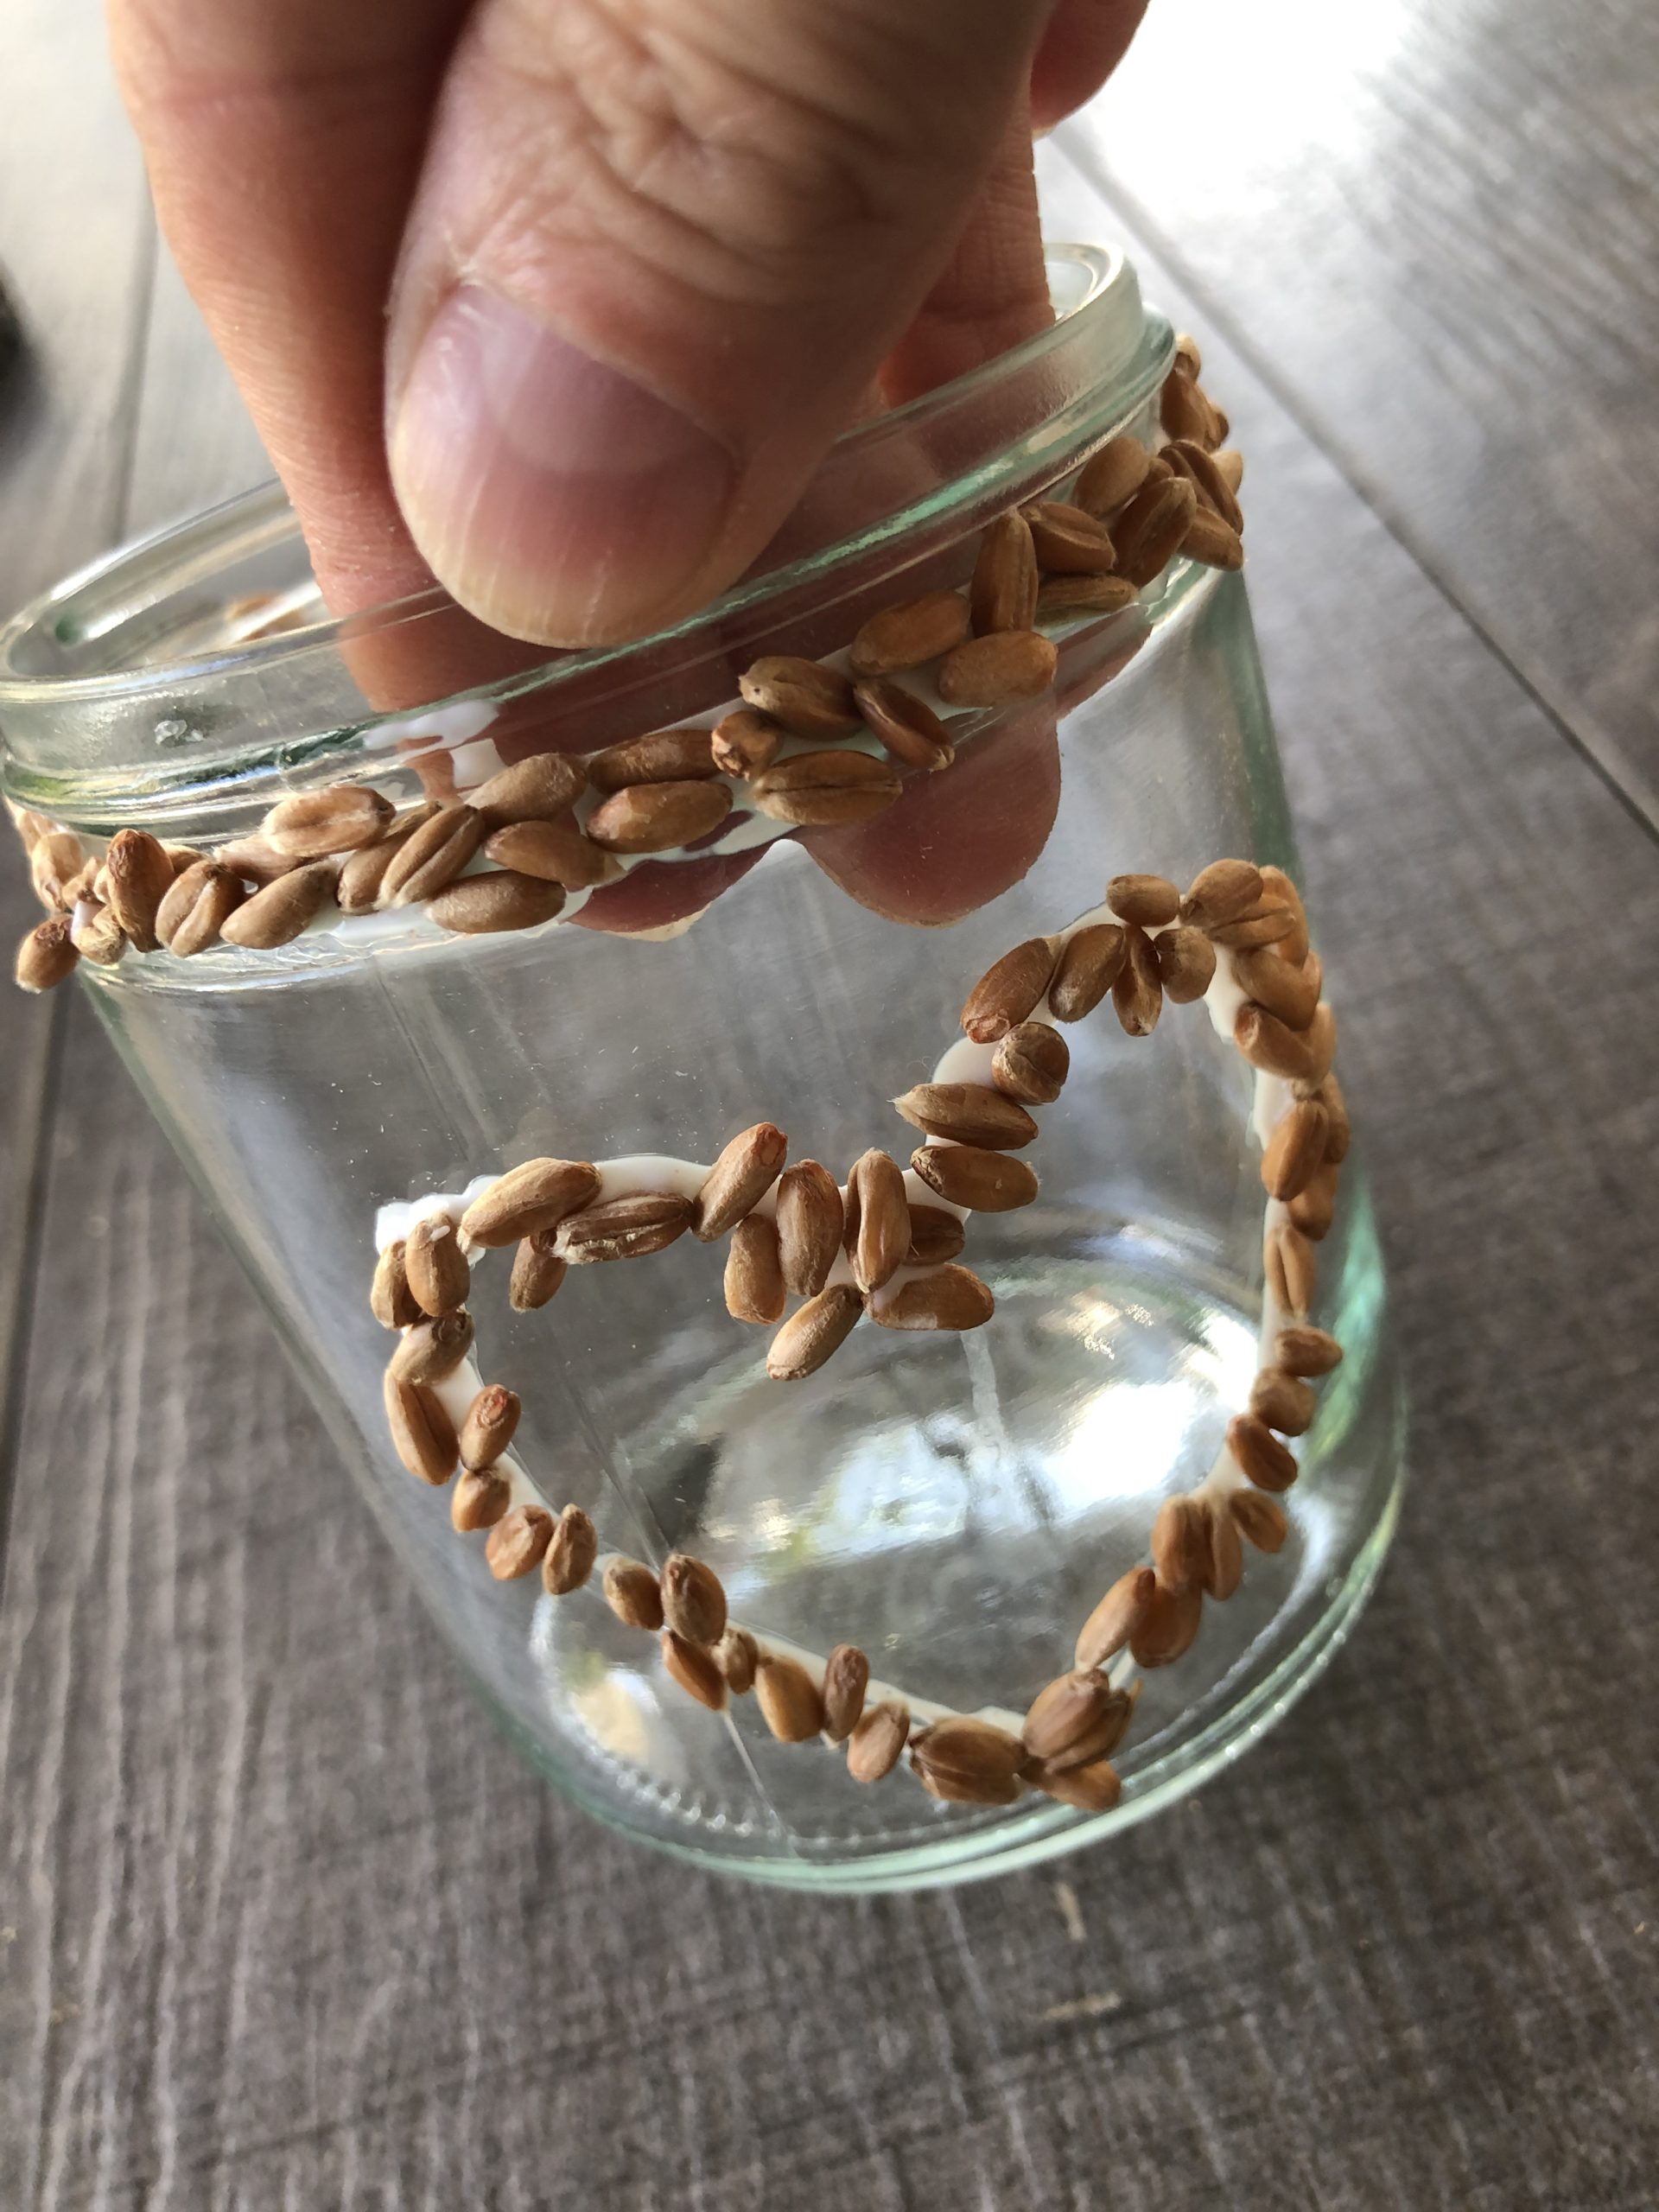


All we need now is a tealight...
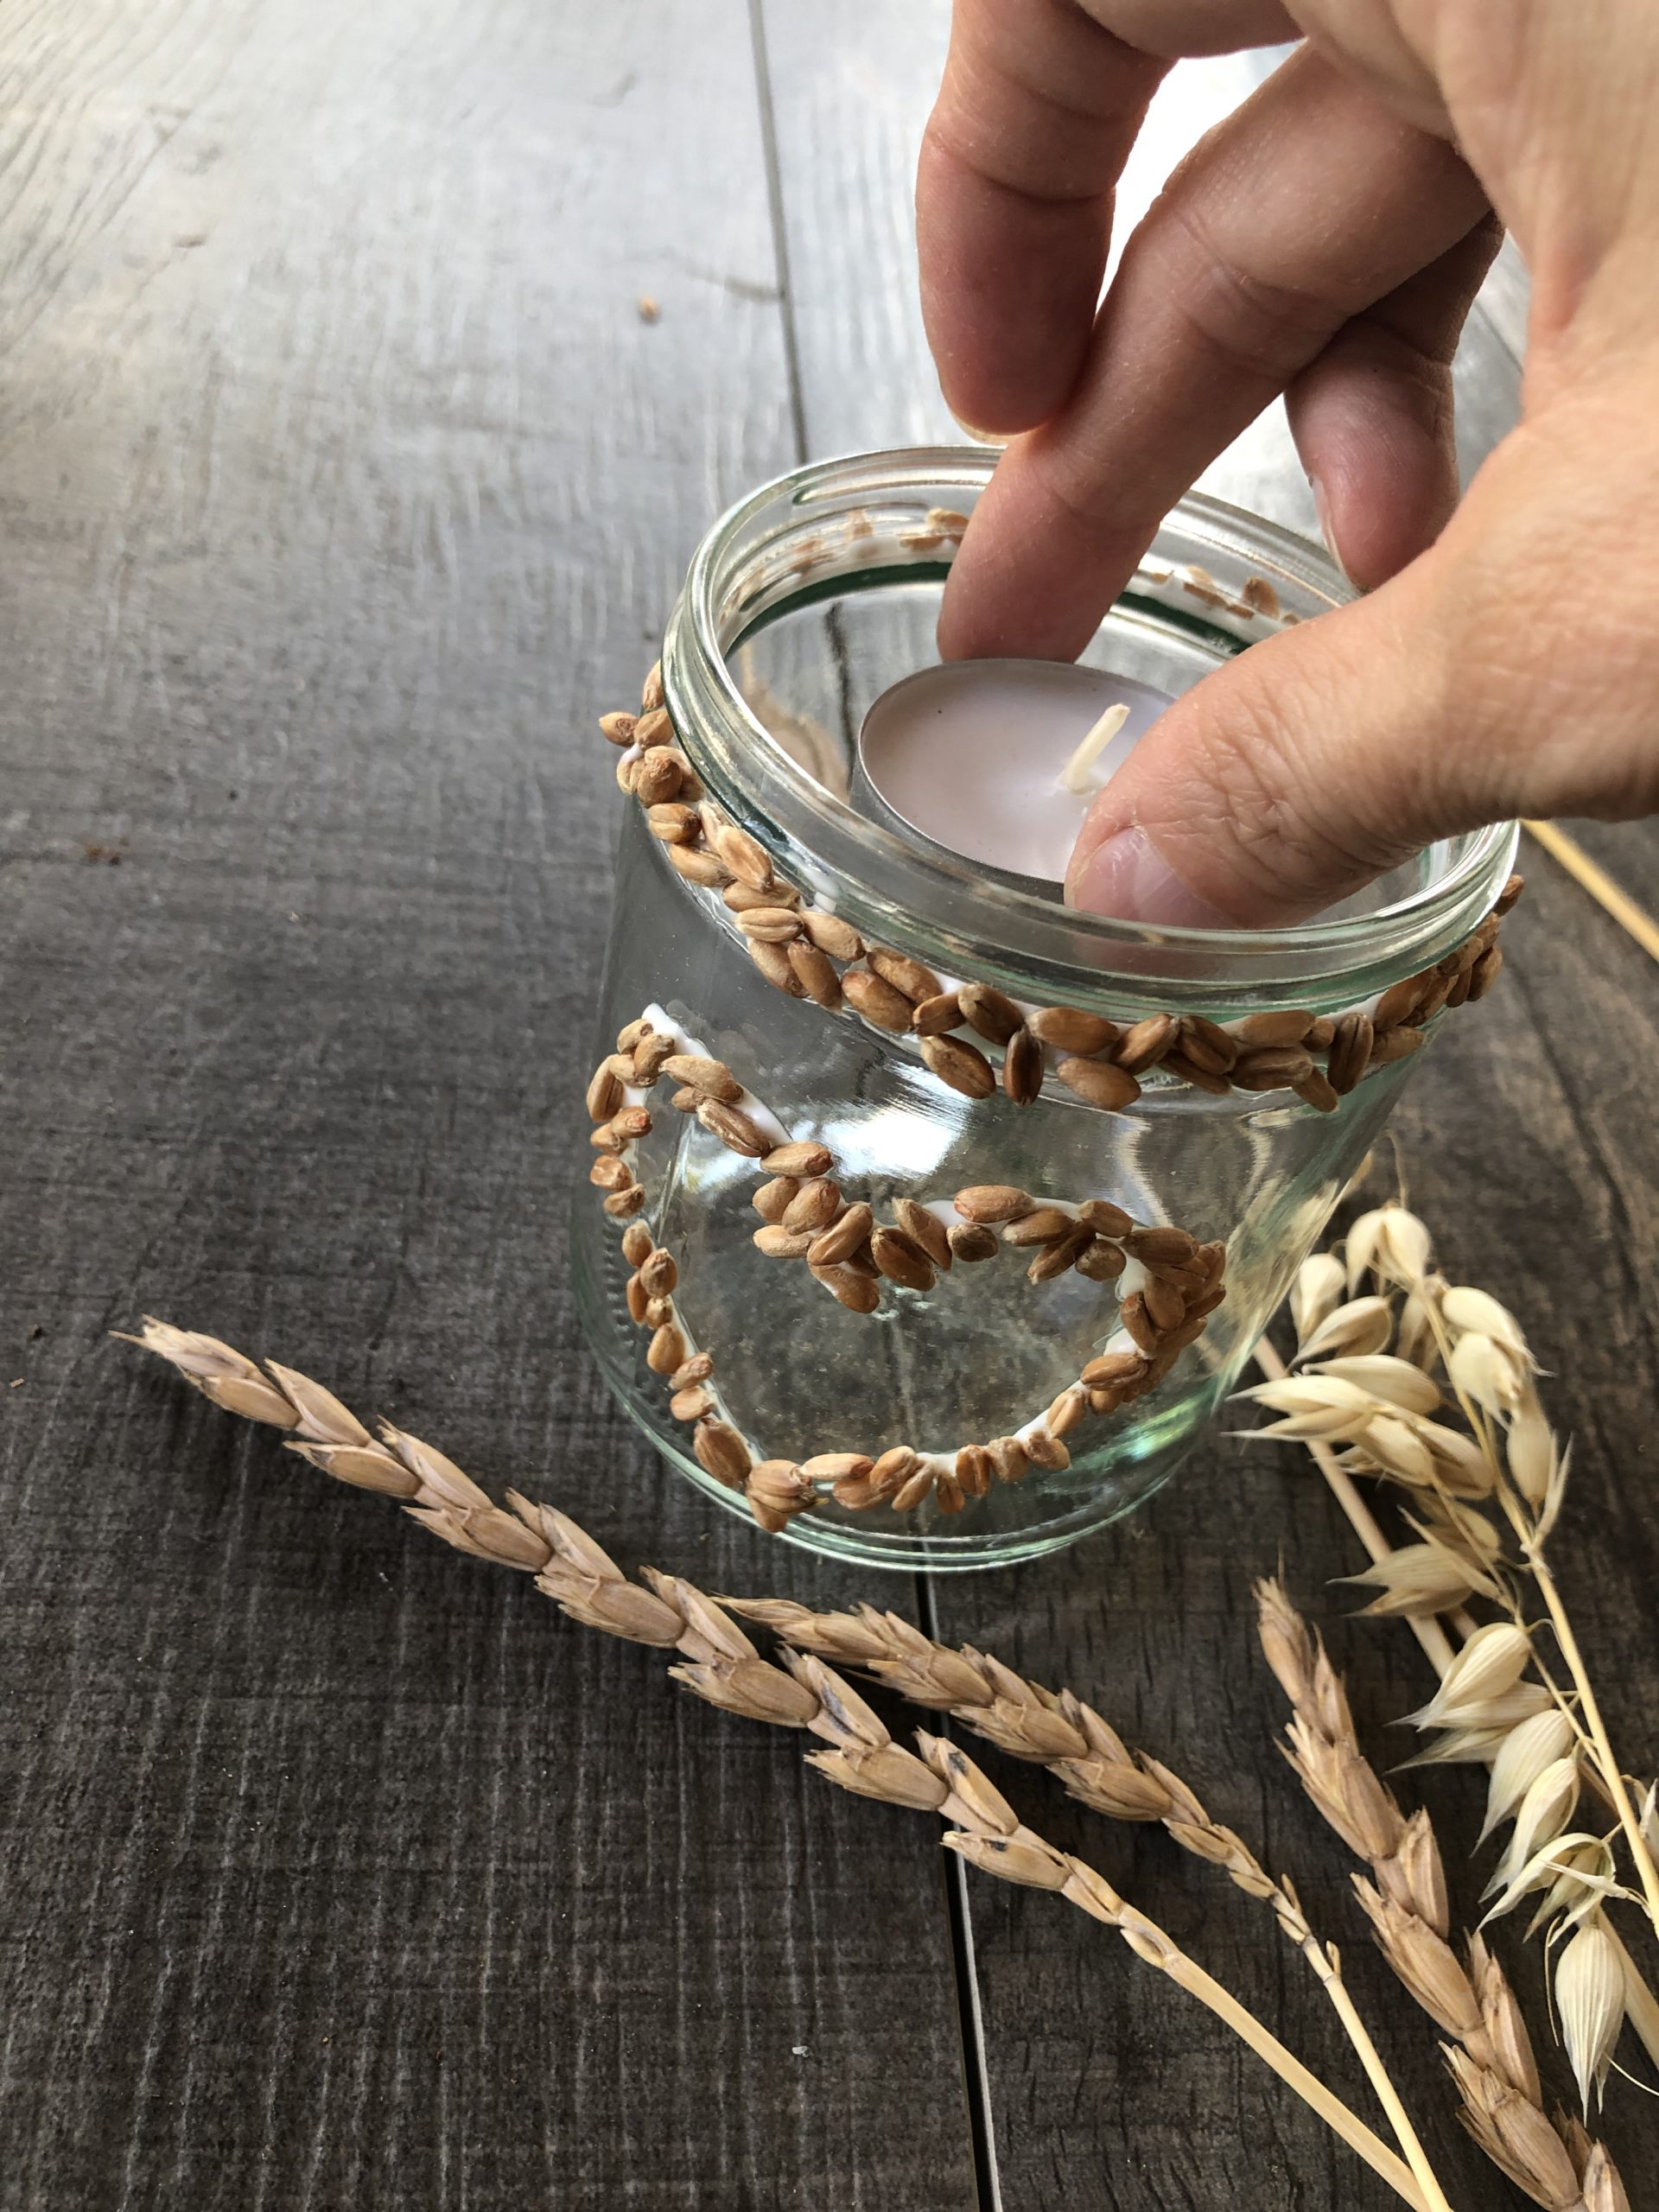


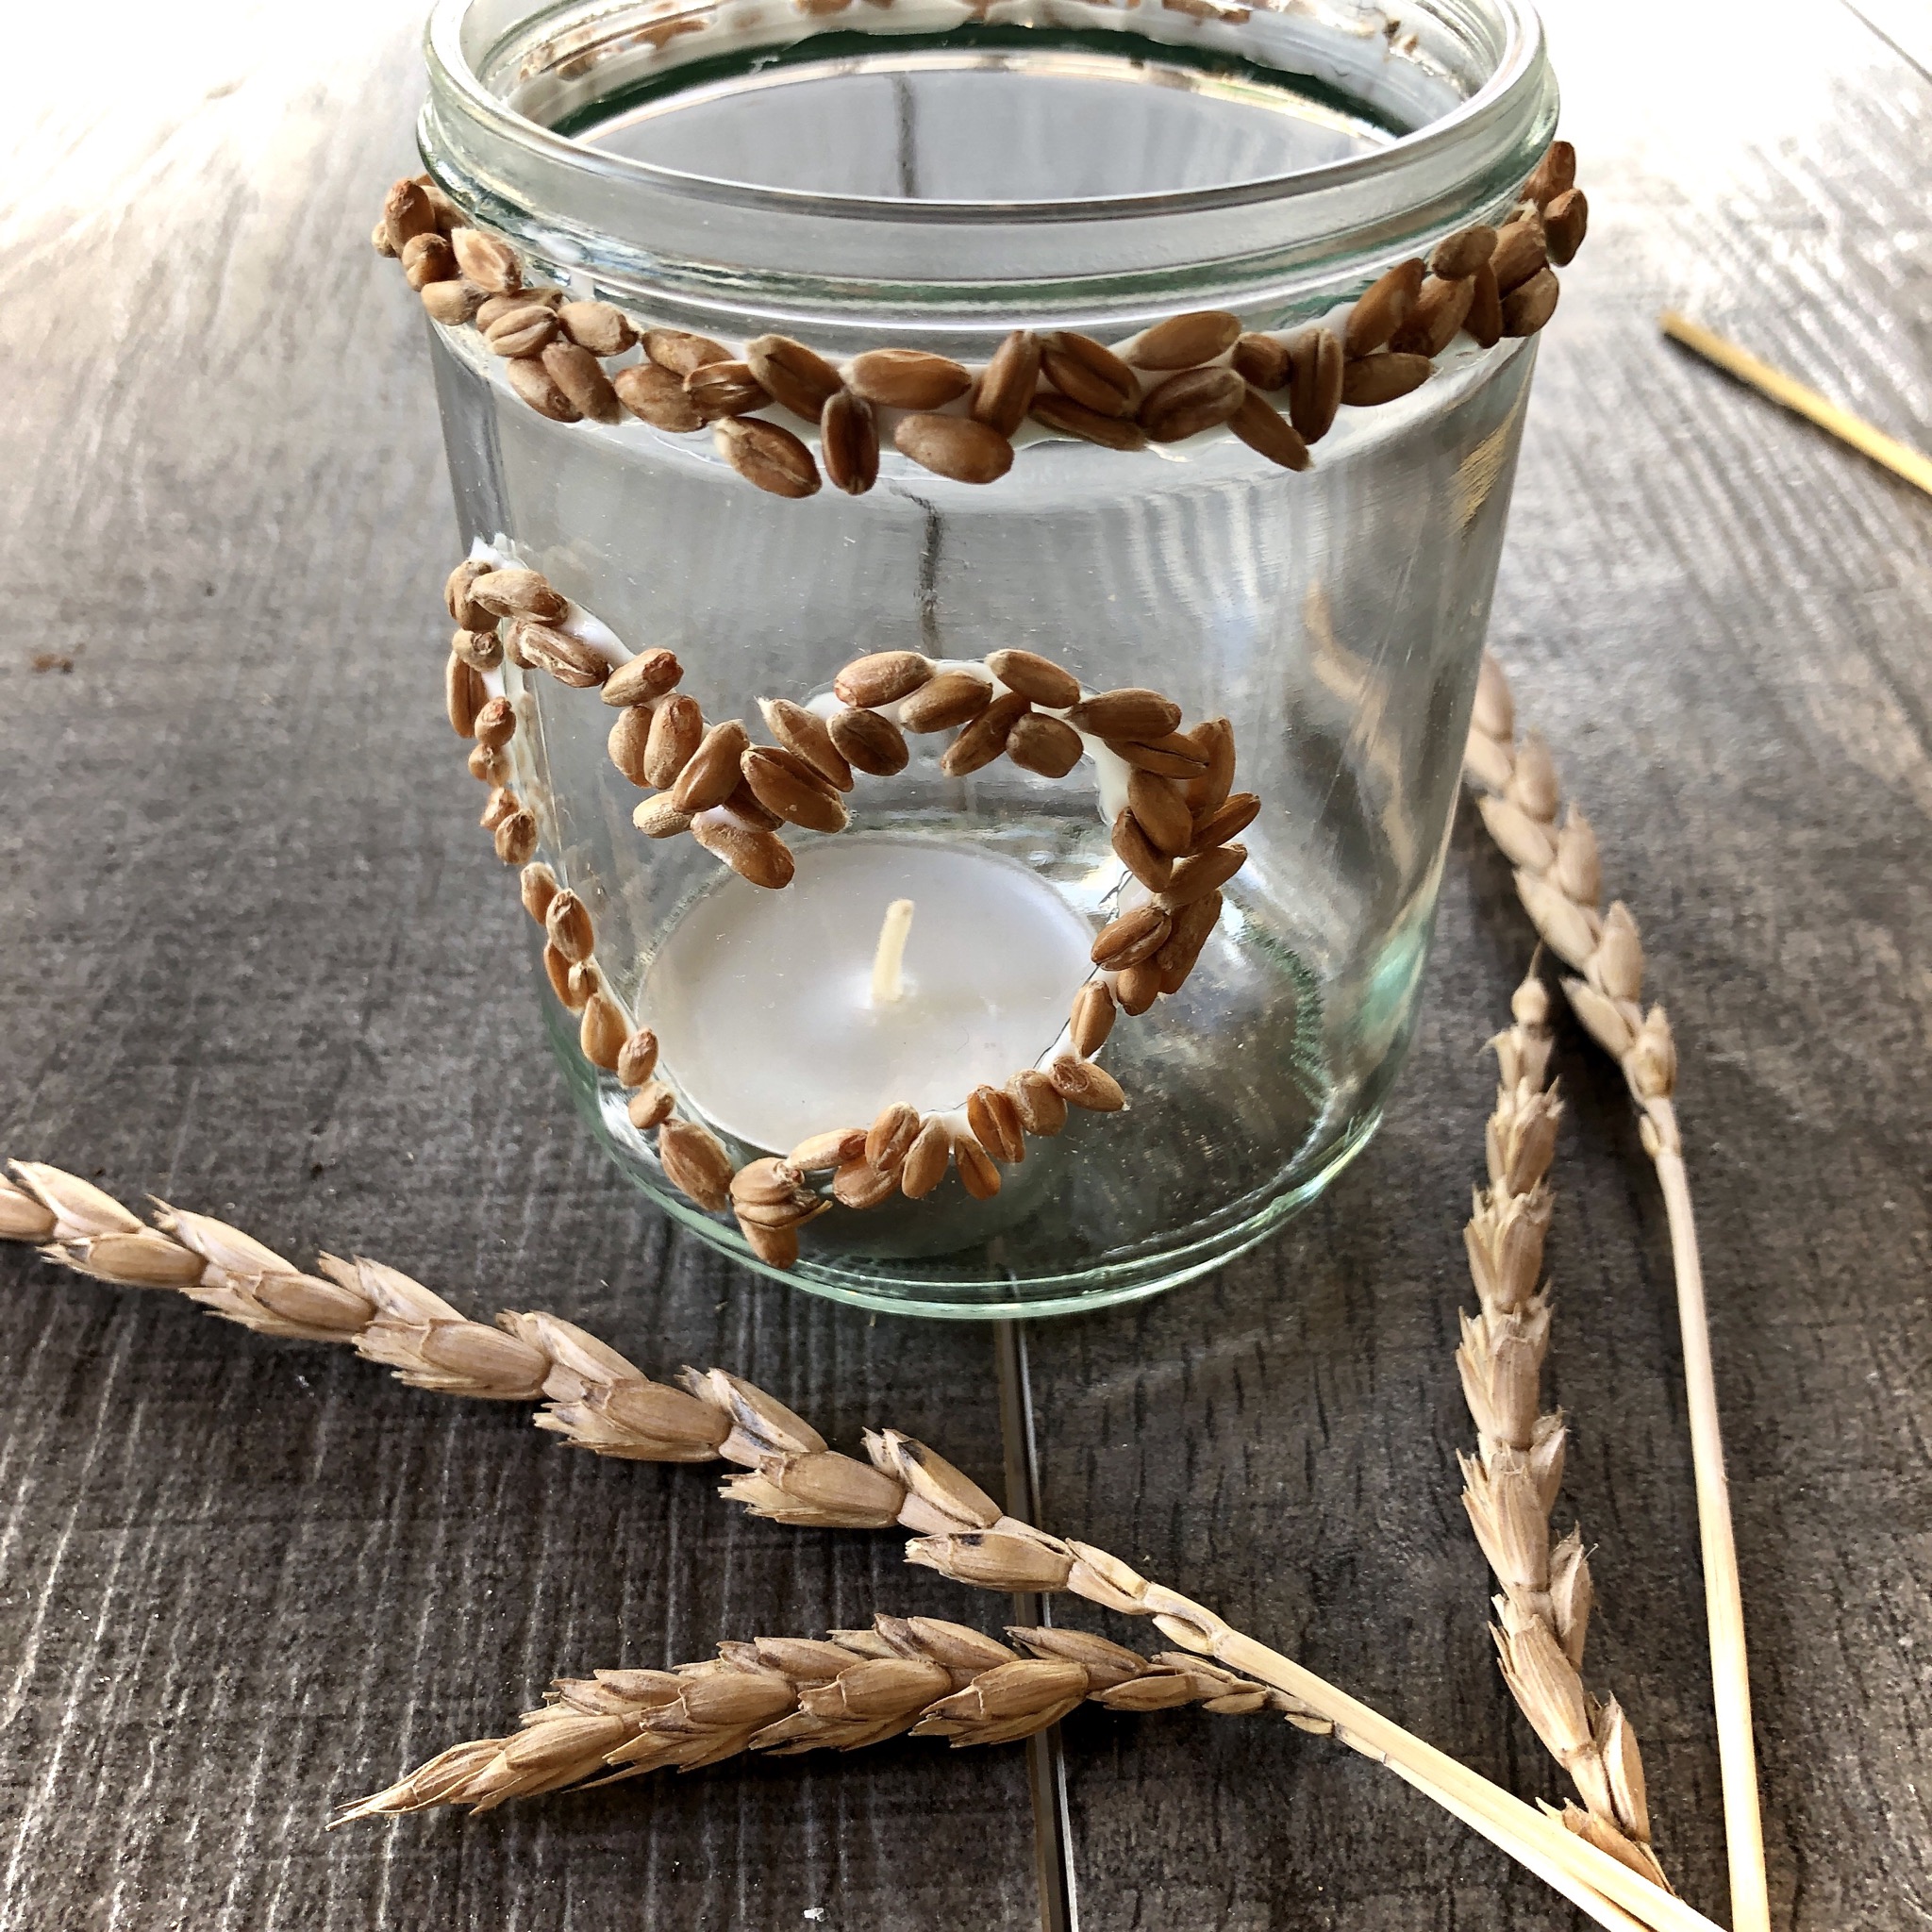
...and finished is the windlight. With a few grains the decoration is perfect!


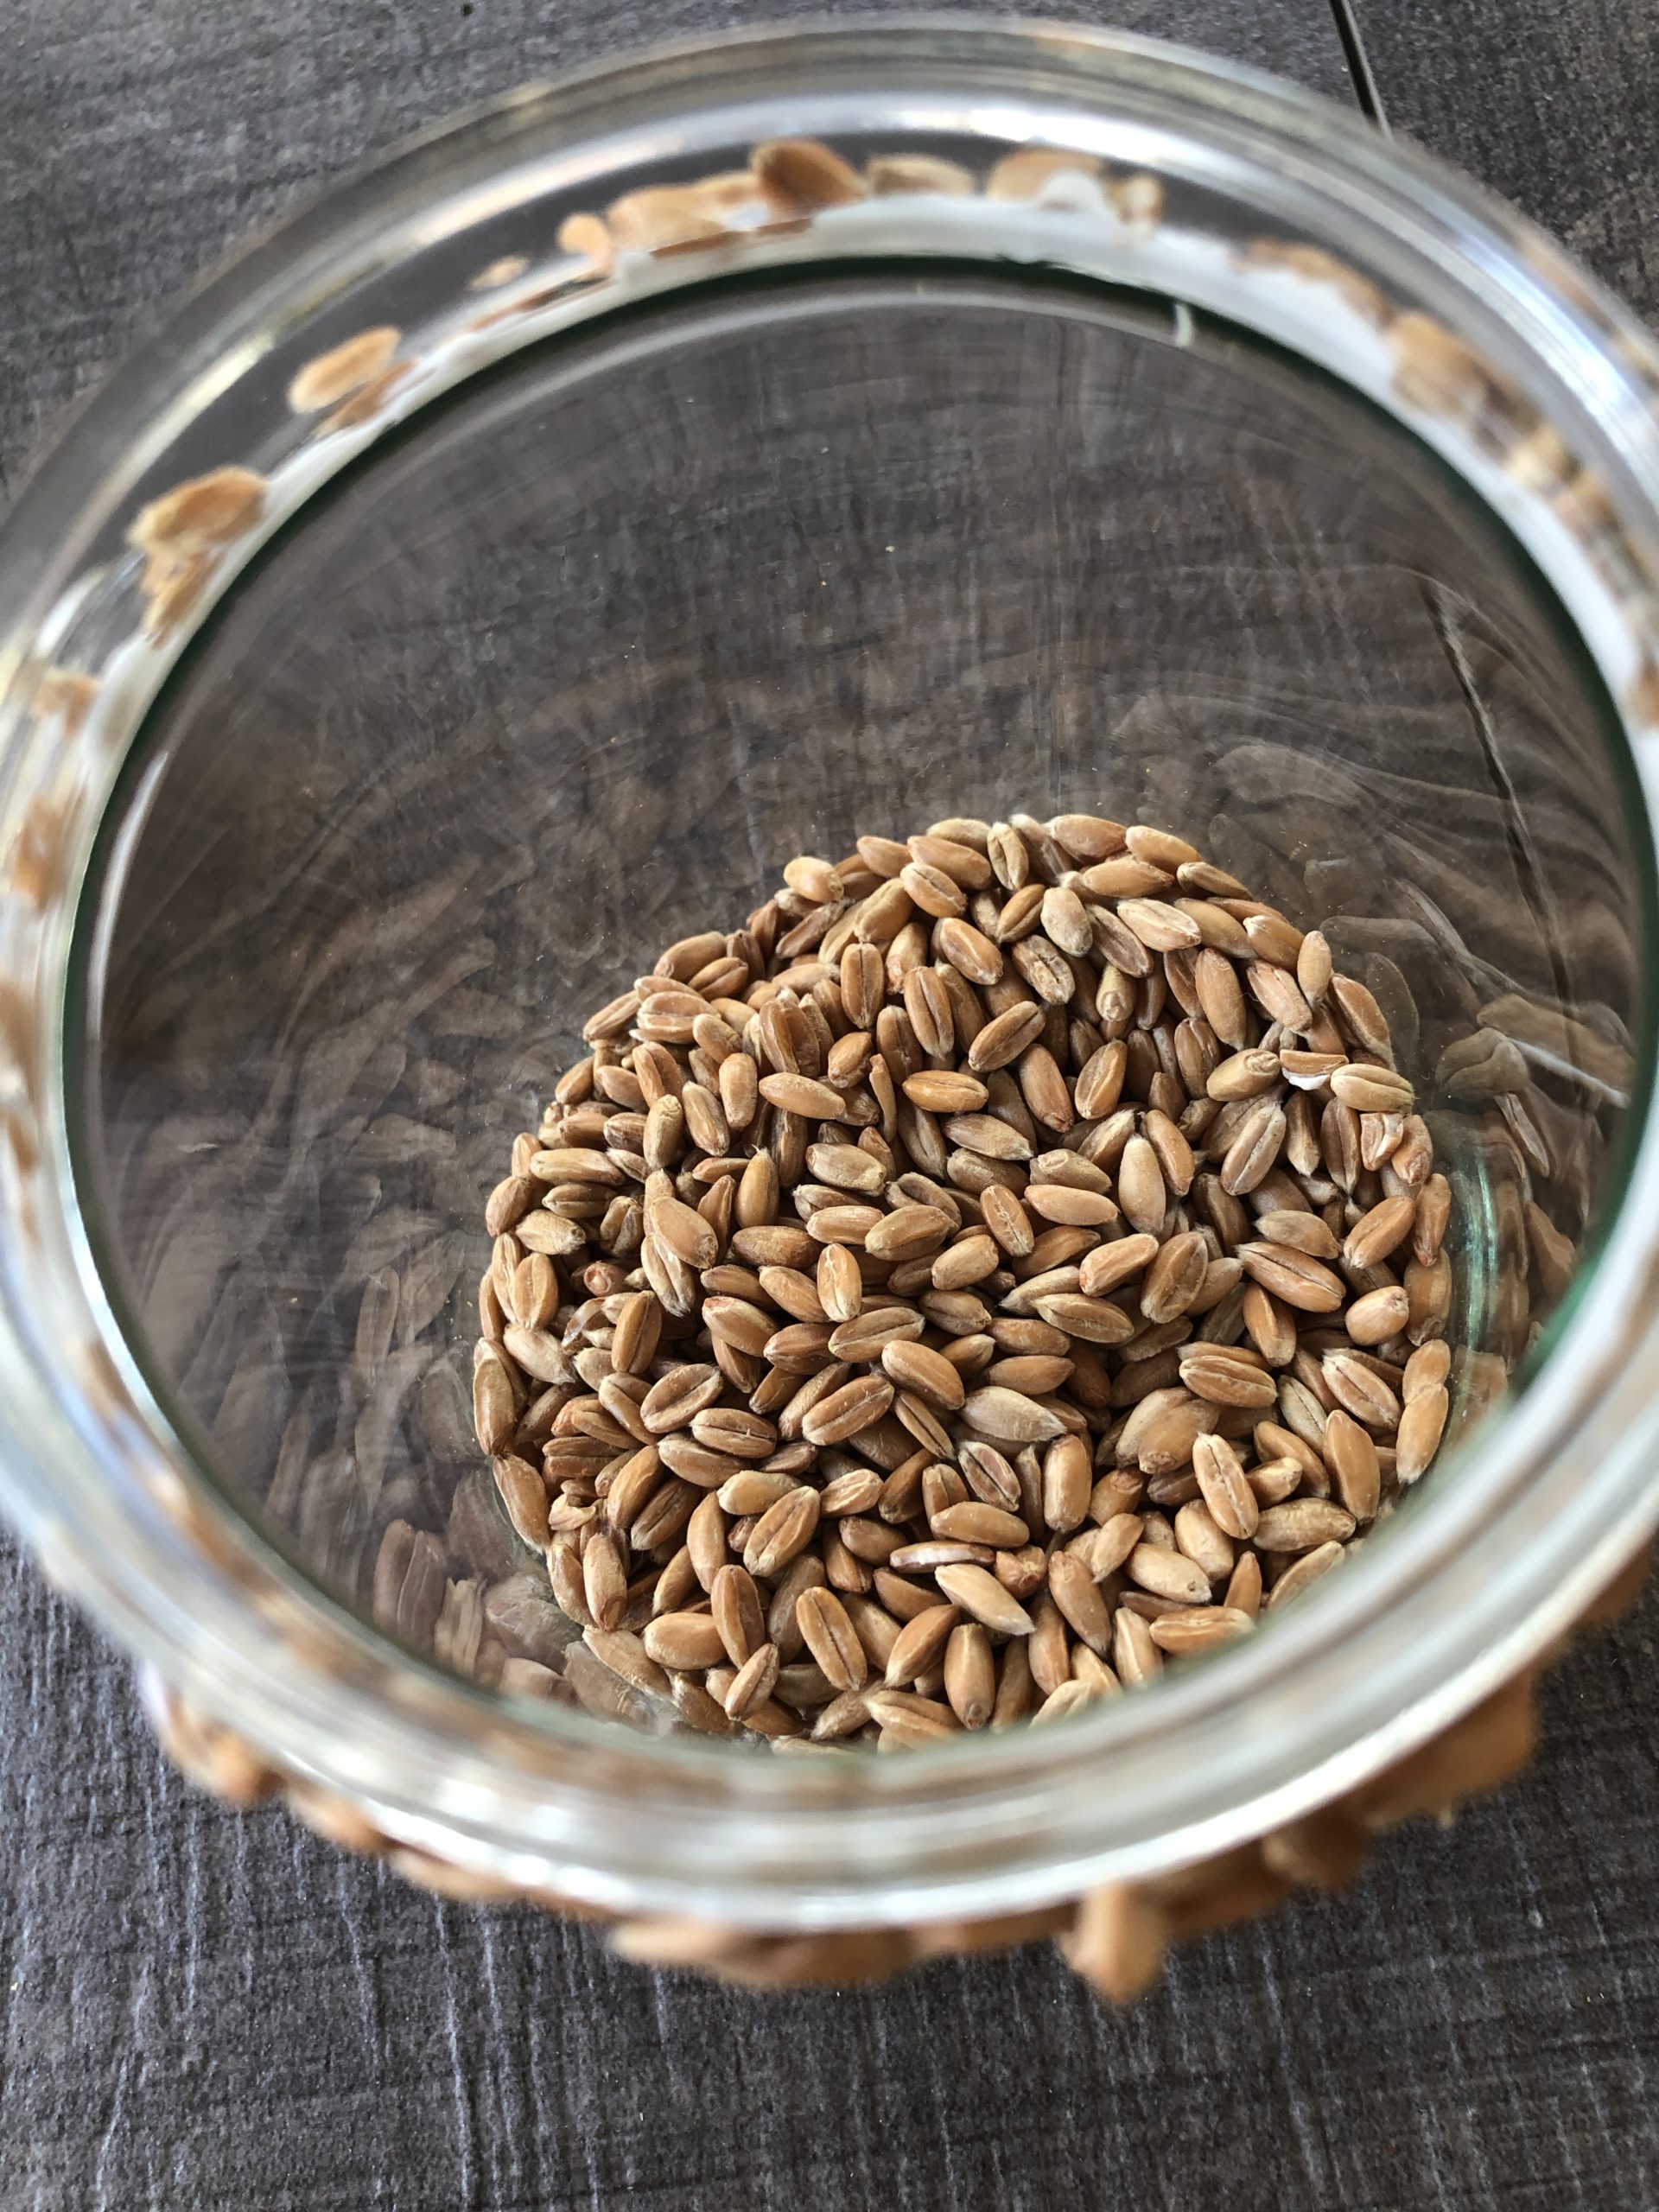
Pour into the finished glass a handful of grains (you certainly have some left!)
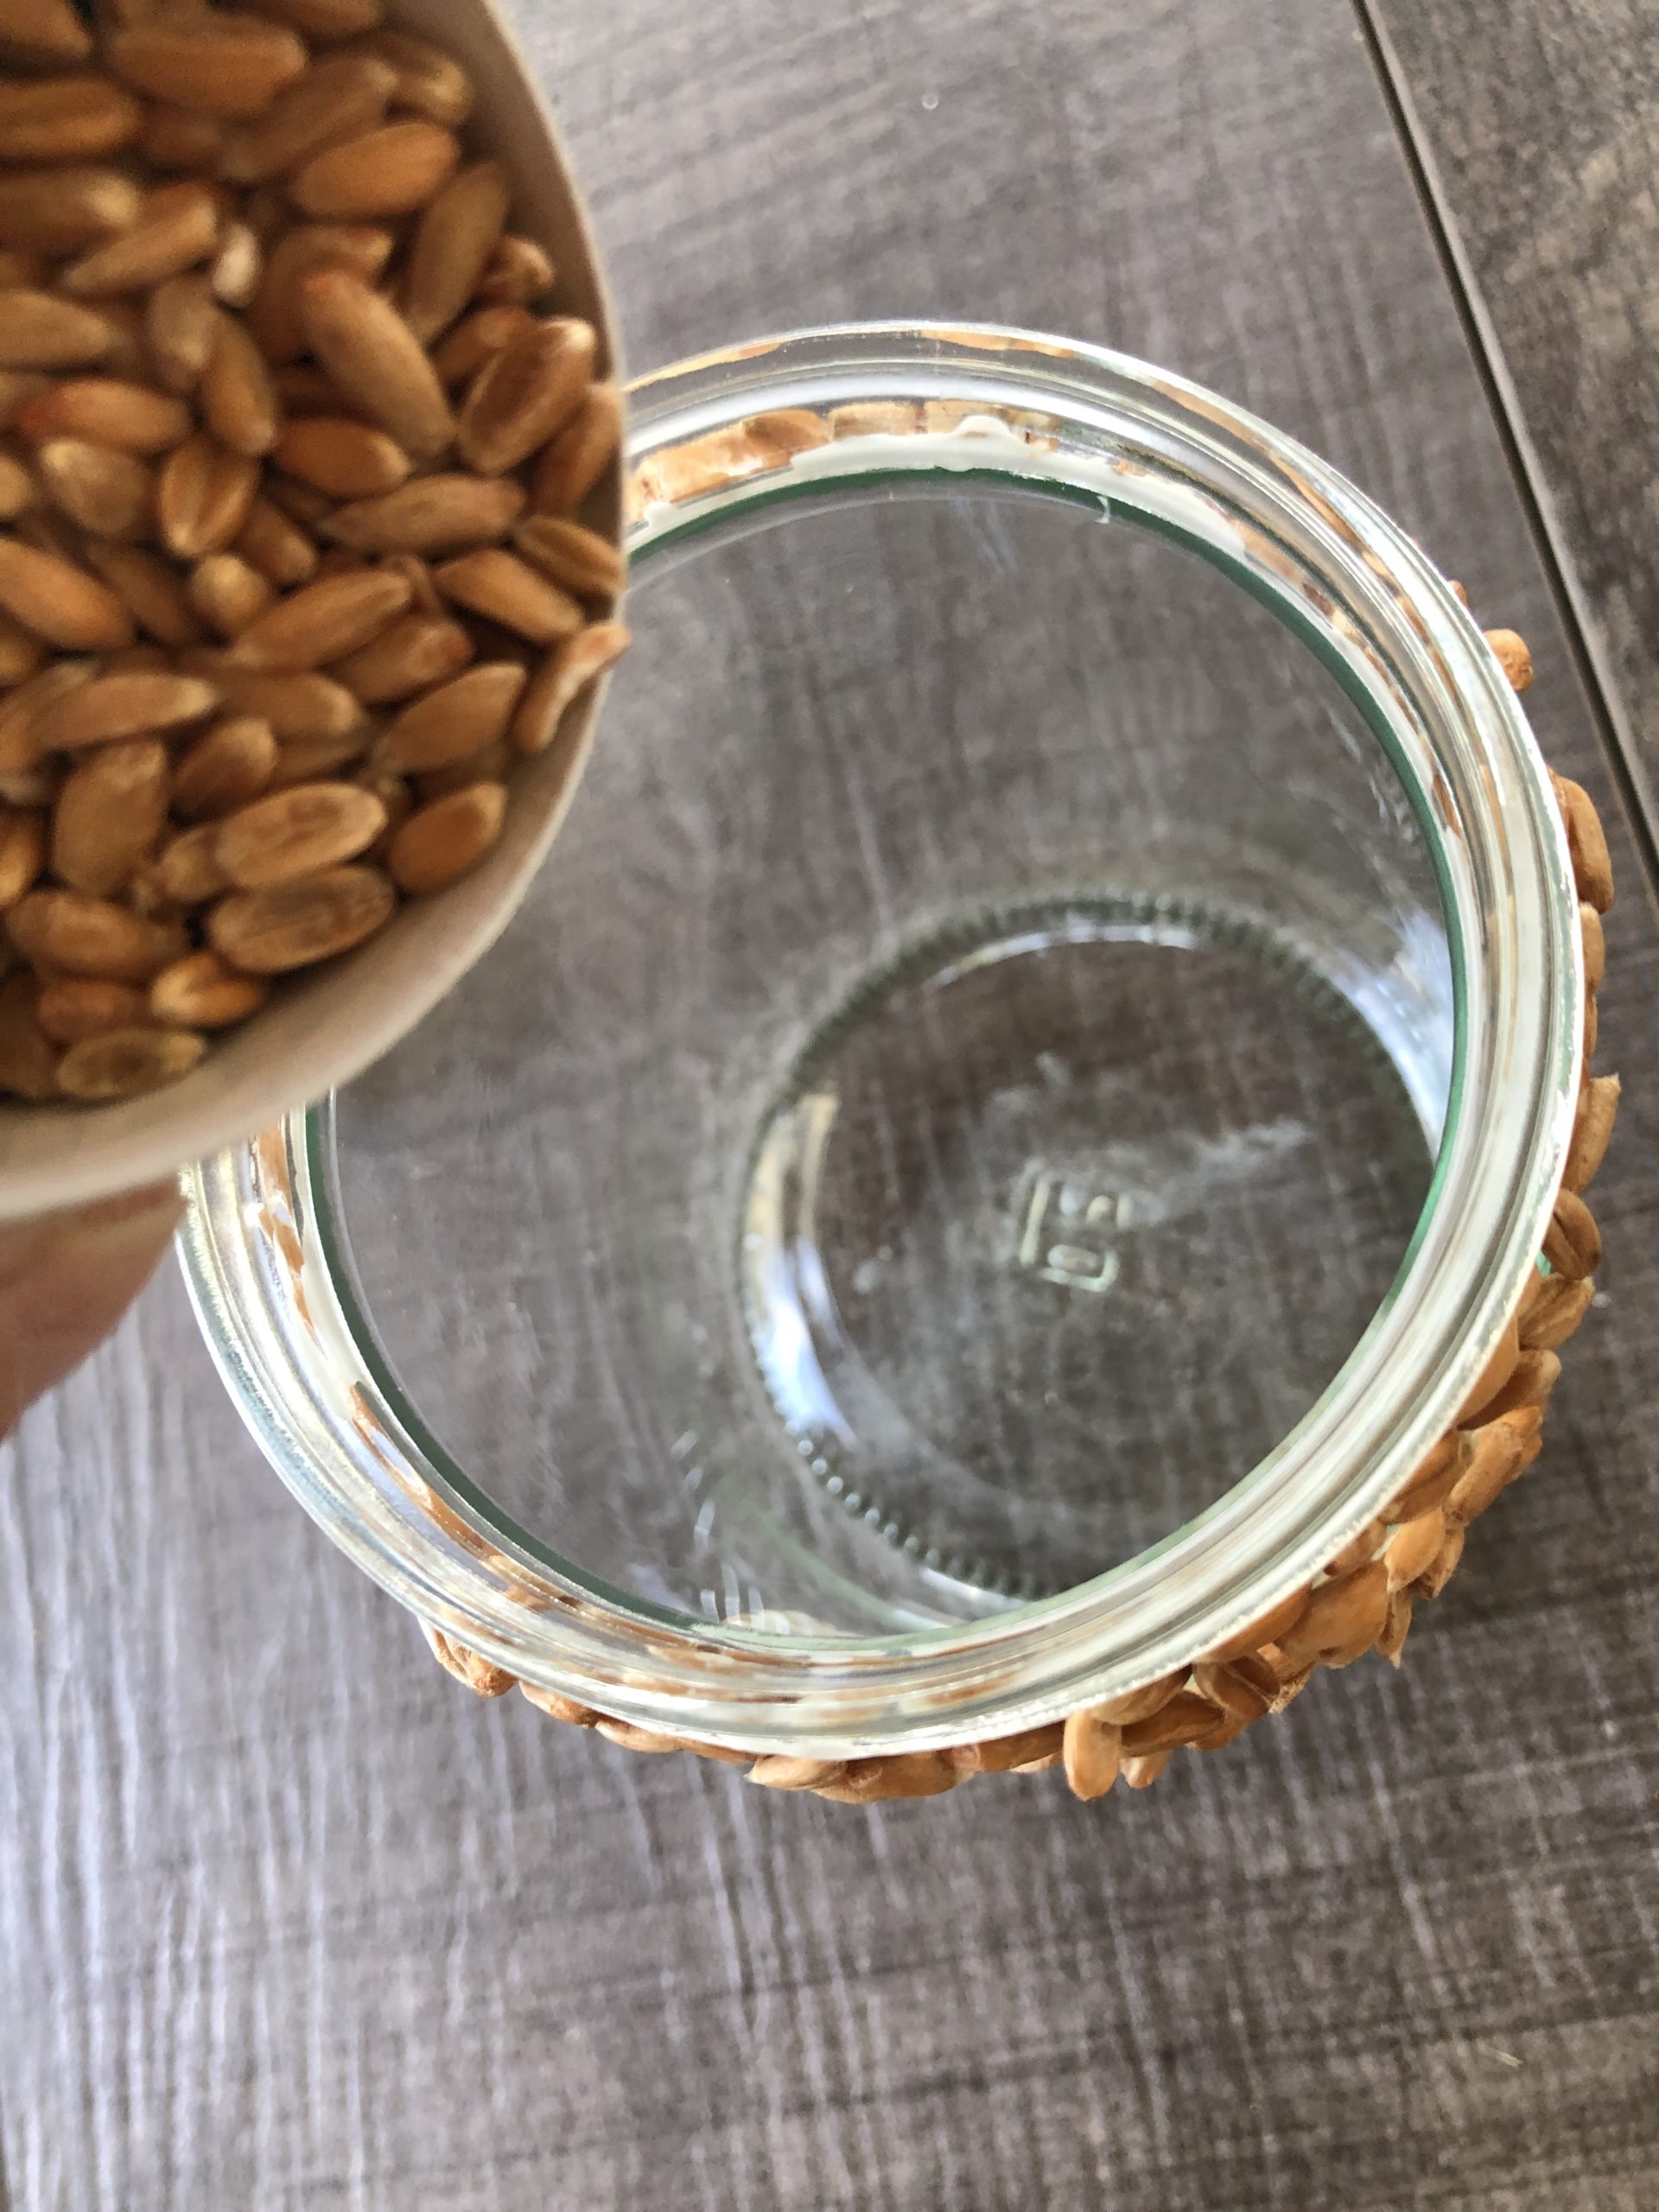


The grain soil should not be completely filled up to your heart.


Now put a tealight on it...
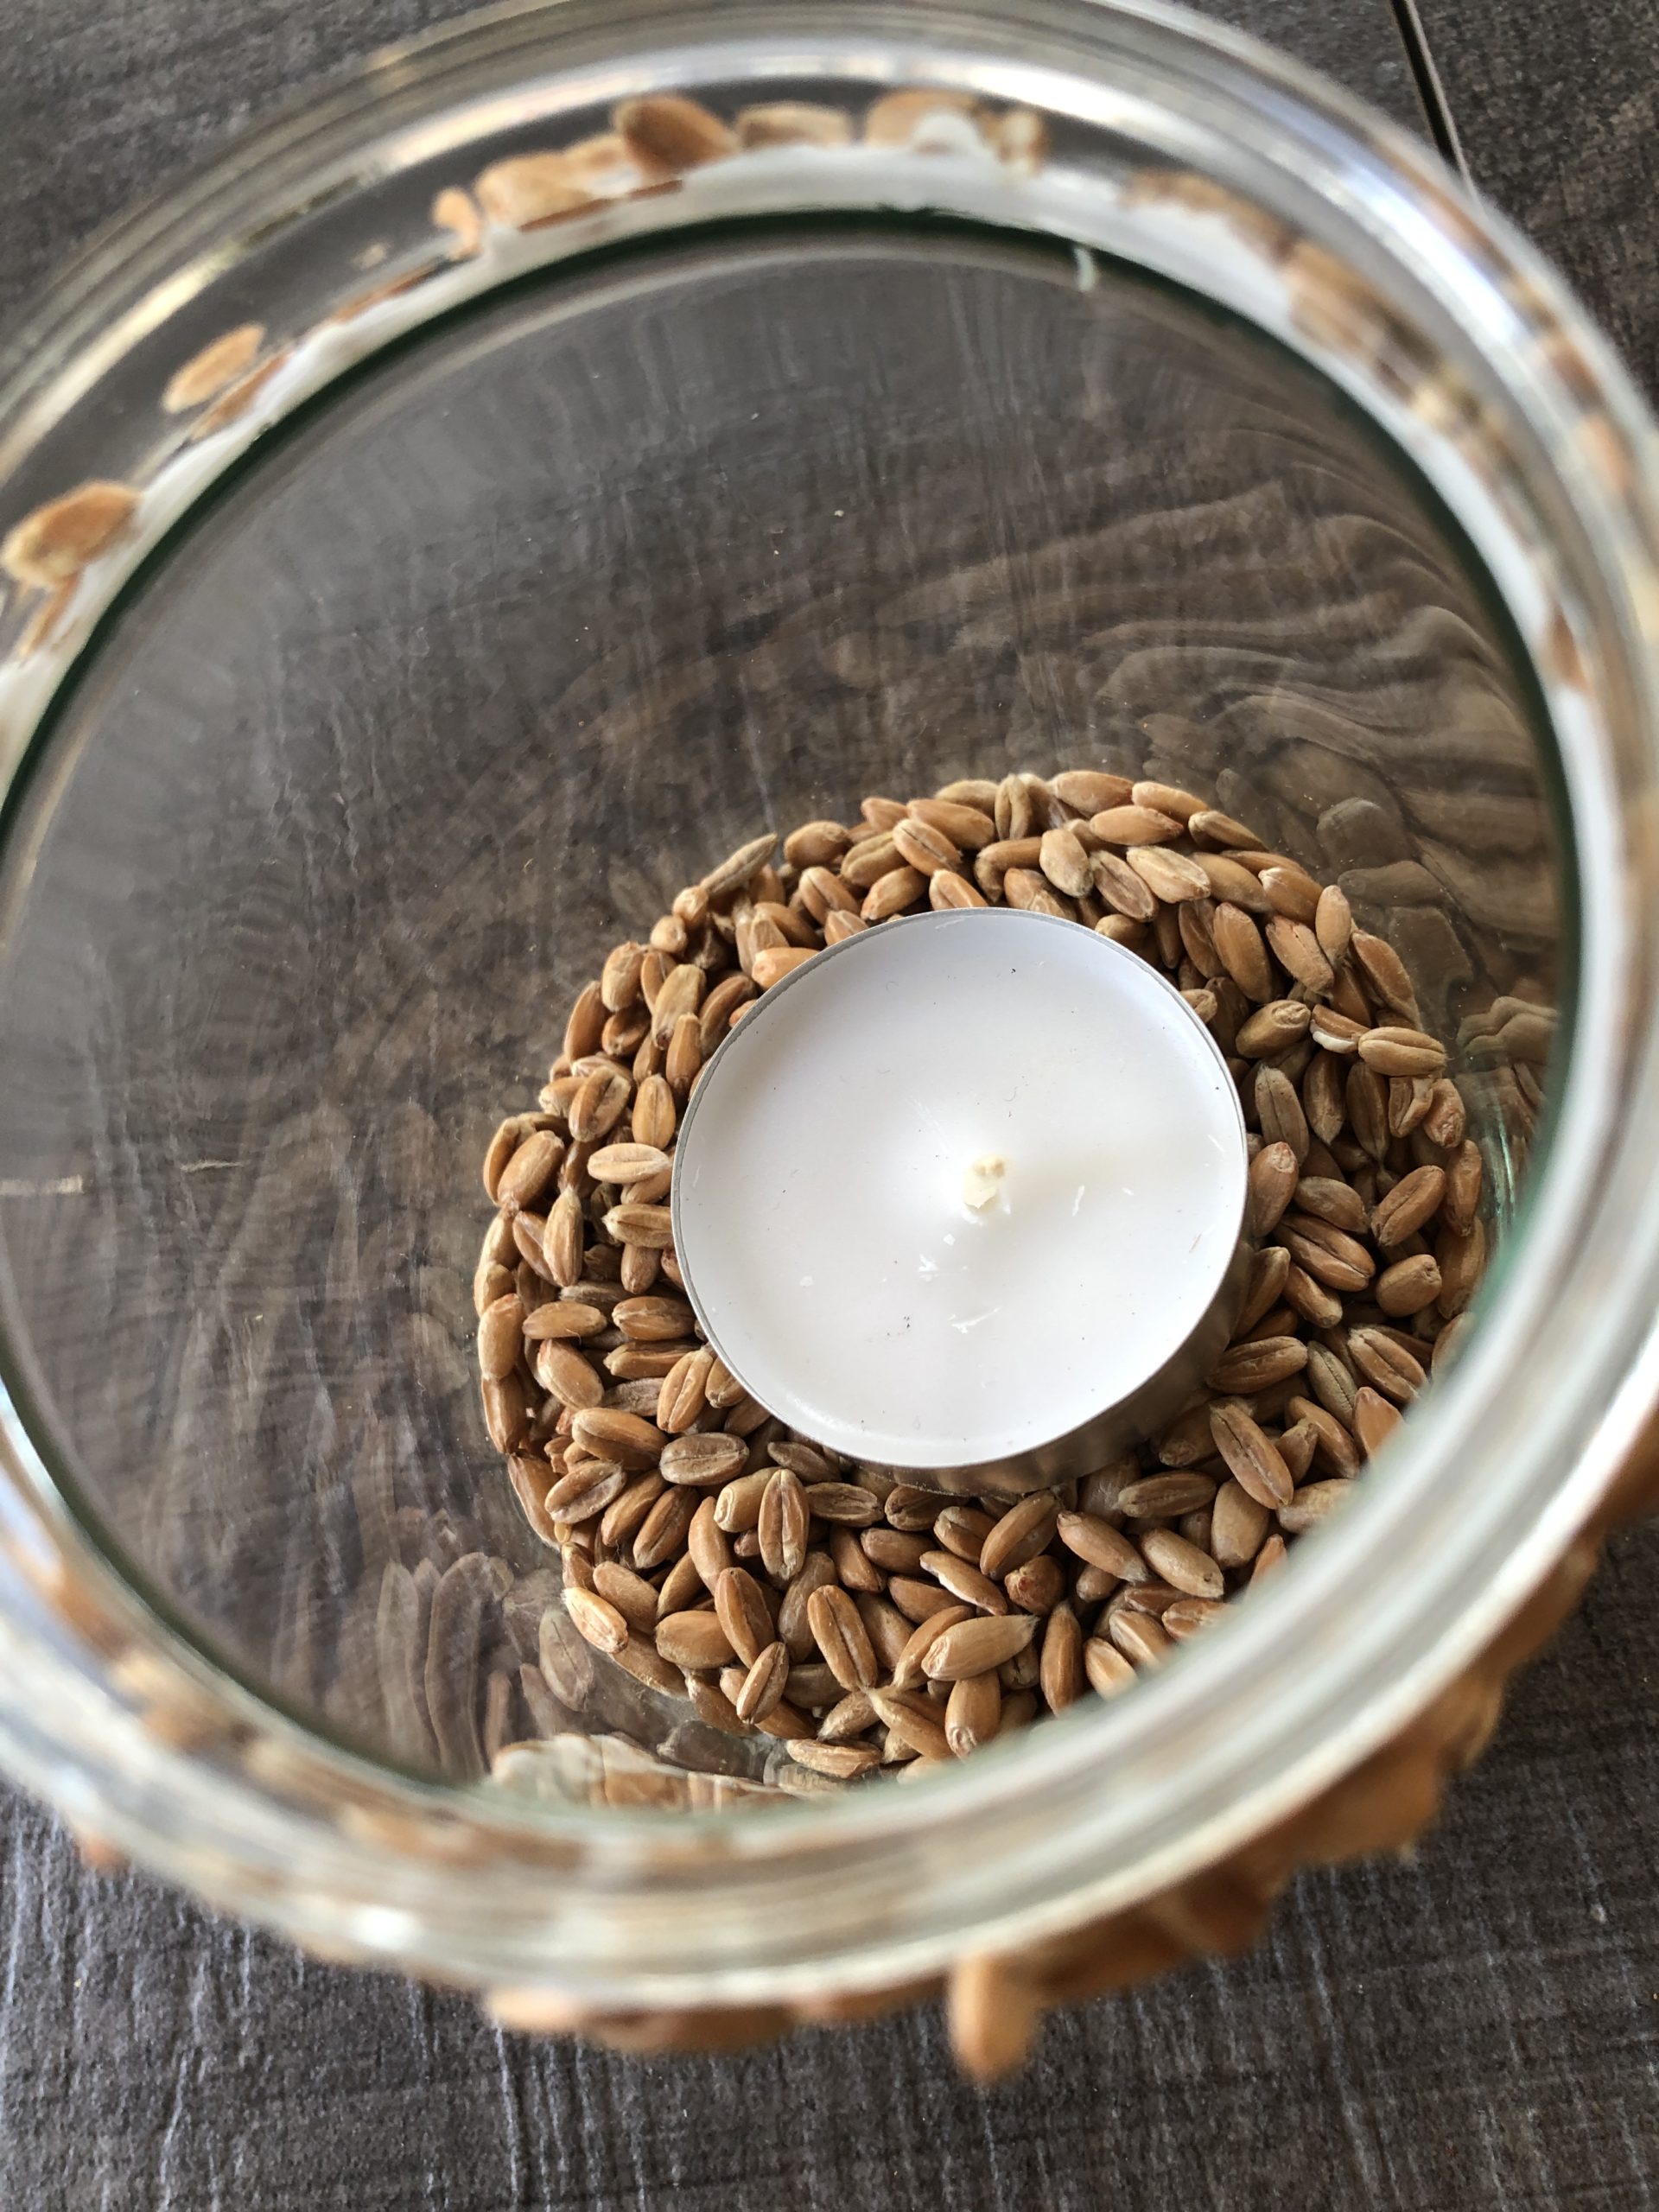


does a visual inspection?.
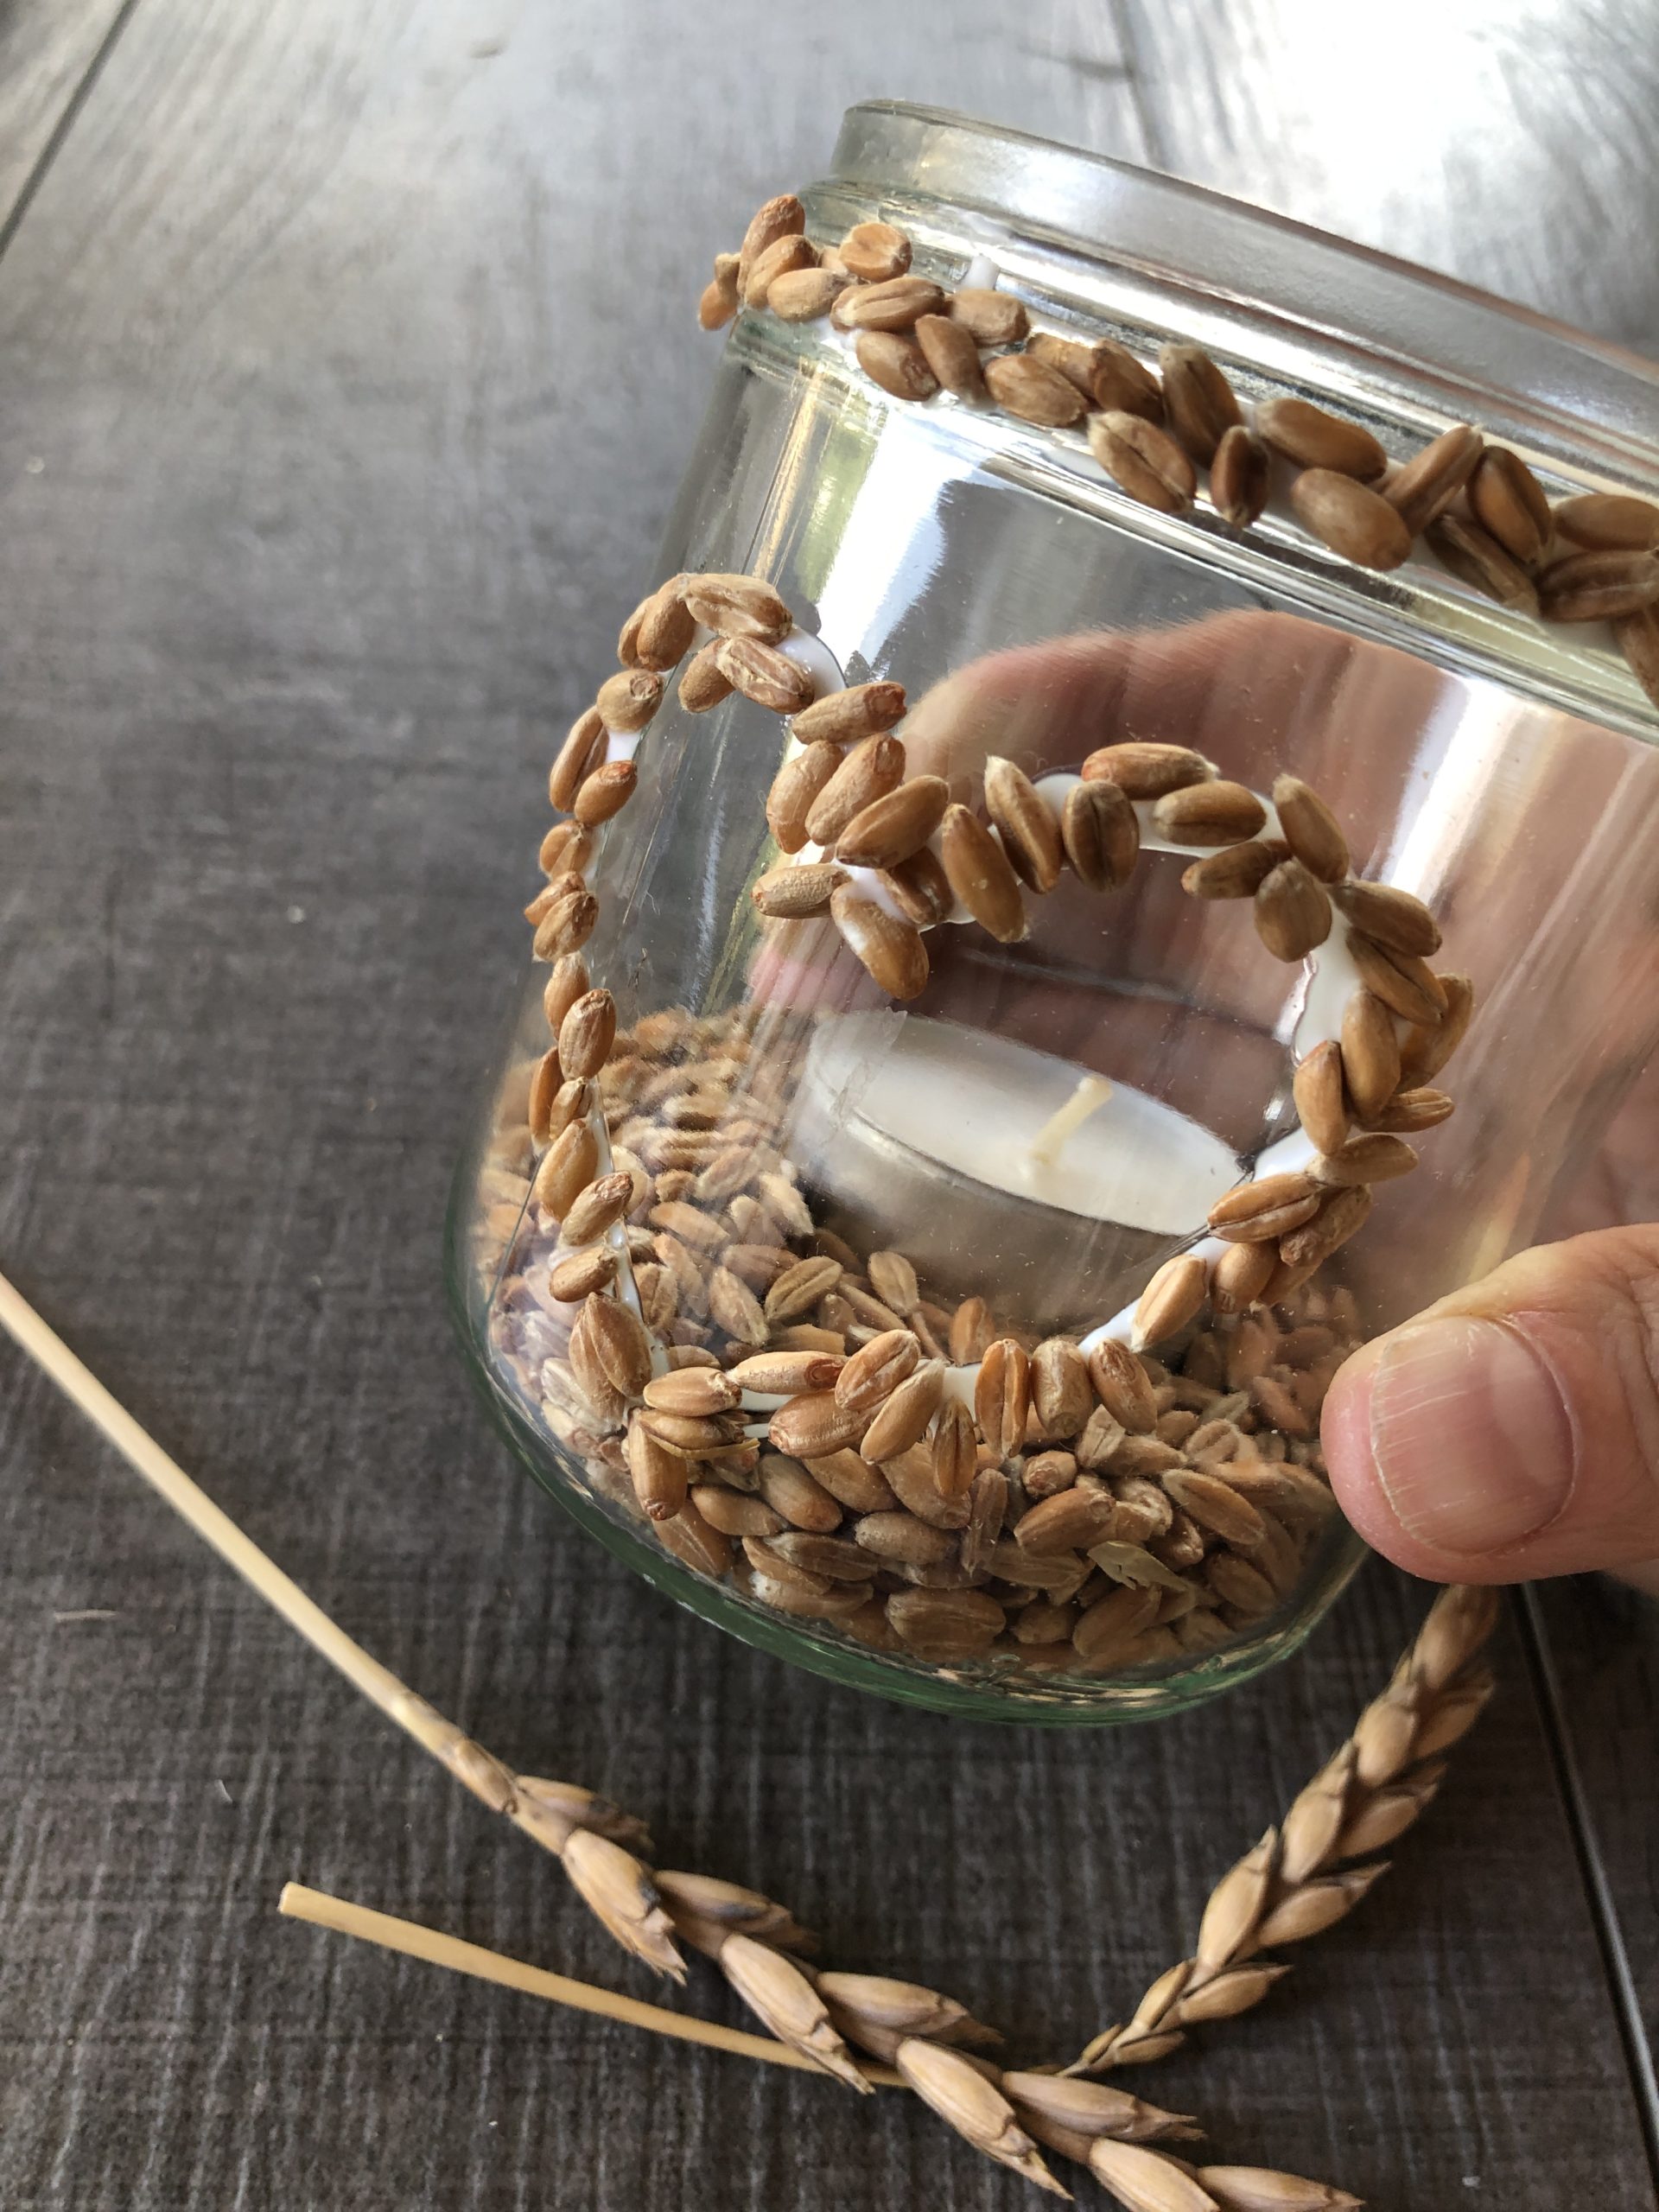


Perfect!
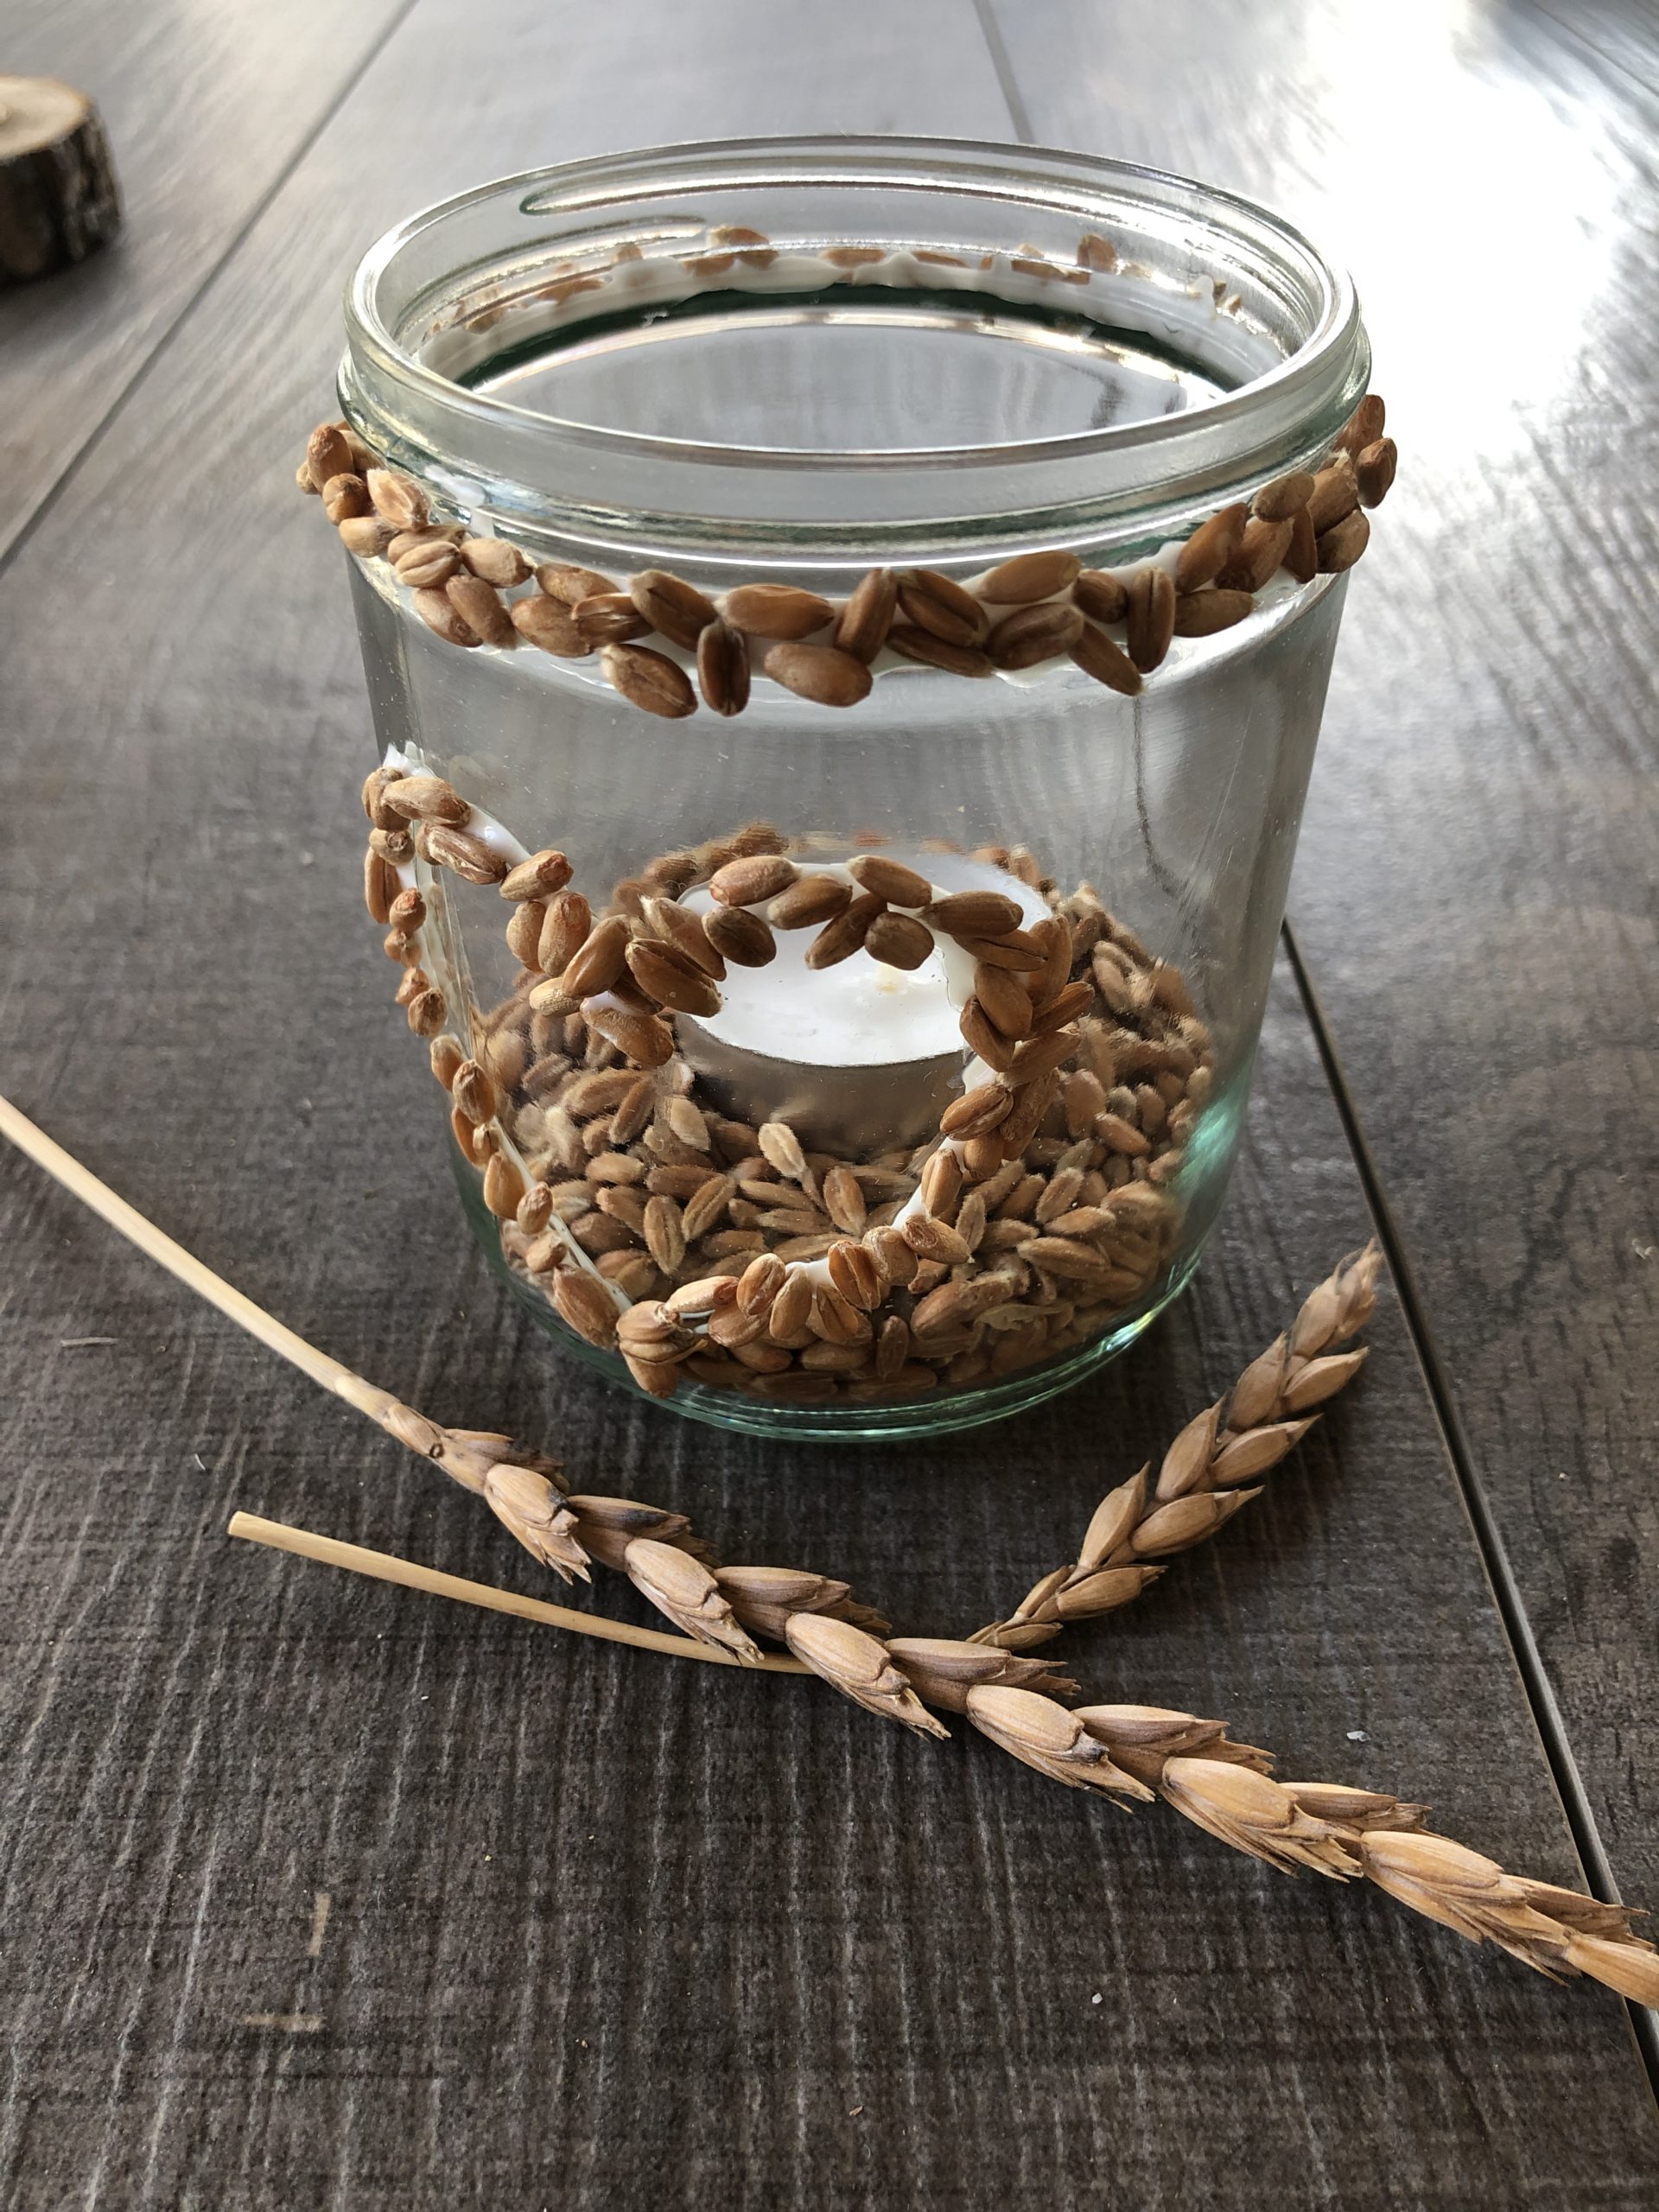


Decorate the lantern with a few grains. You will find them at the edges of the path or on the edge of throbbing fields. Please do not take from the fields.


Have fun with it!
Be an example to your children!
Learn to appreciate the way things are handled by nature!
And important: don't just take the ears off the fields!
I'm not picking flowers in my neighbor's garden.
Materials
Directions
Take a clean empty honey glass (a straight glass)


..and grains


Now paint a heart on the glass with wood glue. I do it directly with the wood glue bottle/tube, but you can also use a paint brush.
Try out what works easier for the children.


Make sure that you do not use too little wood glue, otherwise it dries you too quickly and/or the grains have too little adhesive surface and do not hold on glue.
By the way: the wood glue simply goes to wash with water again!? So don't worry just get started, nothing can go wrong, you can wash everything again.


Immerse the glass with the glue side in the grains or scatter them over it.


See that grains stick to the glass wherever you had glue.


With your finger you can now slip crooked hanging grains or grains that are out of shape.
This works quite well, because the glue does not dry immediately. It sticks great, gets tough and then dries out.
Incidentally, smeared glue can be removed with water (best if it is not yet dry!)
The dried glue, by the way, becomes transparent!


Paints a trace of wood glue around the screw edge of the glass. Do not take too little glue!


Now you spread grains over the glue immediately again. Push them slightly with your fingers and see that they sit appropriately.


The grain art is ready!
If you want to have a heart on the opposite side, let your wood glue dry first. Not that you destroy your artwork again by accidentally reaching!


All we need now is a tealight...


...and finished is the windlight. With a few grains the decoration is perfect!


Pour into the finished glass a handful of grains (you certainly have some left!)


The grain soil should not be completely filled up to your heart.


Now put a tealight on it...


does a visual inspection?.


Perfect!


Decorate the lantern with a few grains. You will find them at the edges of the path or on the edge of throbbing fields. Please do not take from the fields.


Have fun with it!
Be an example to your children!
Learn to appreciate the way things are handled by nature!
And important: don't just take the ears off the fields!
I'm not picking flowers in my neighbor's garden.
Follow us on Facebook , Instagram and Pinterest
Don't miss any more adventures: Our bottle mail


