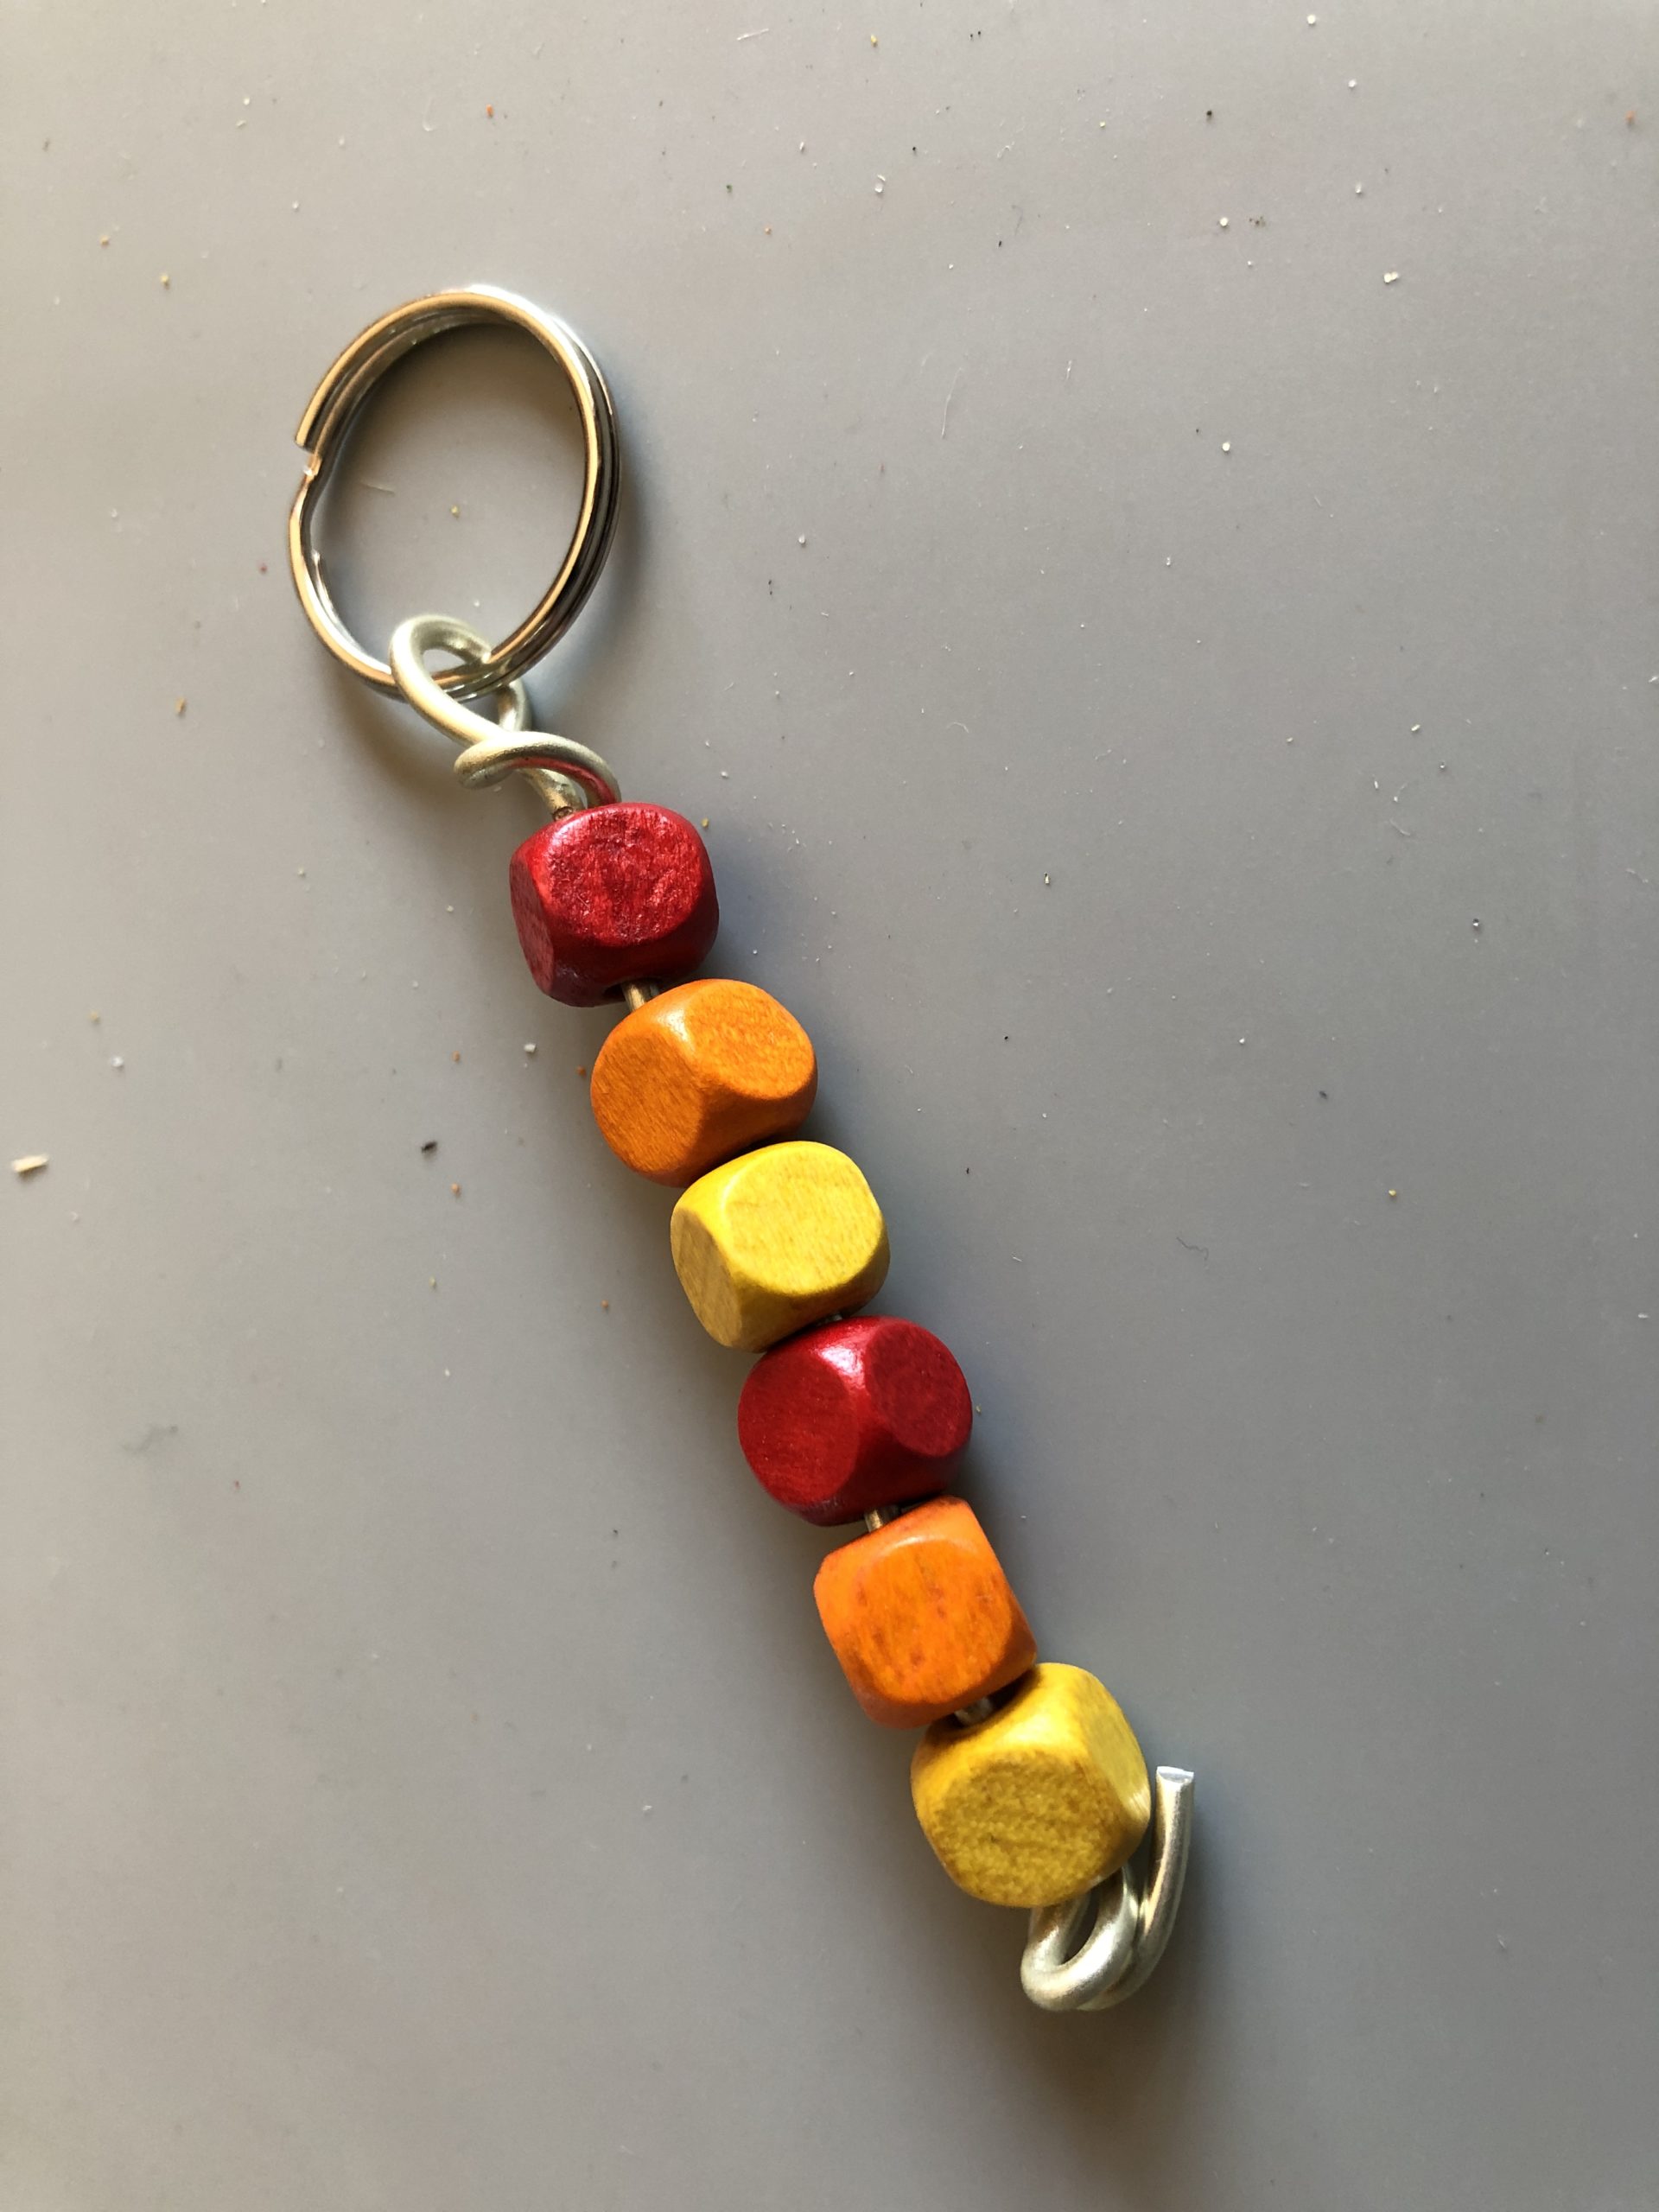
With colored beads you can make great keyrings.
Media Education for Kindergarten and Hort

Relief in everyday life, targeted promotion of individual children, independent learning and - without any pre-knowledge already usable by the youngest!
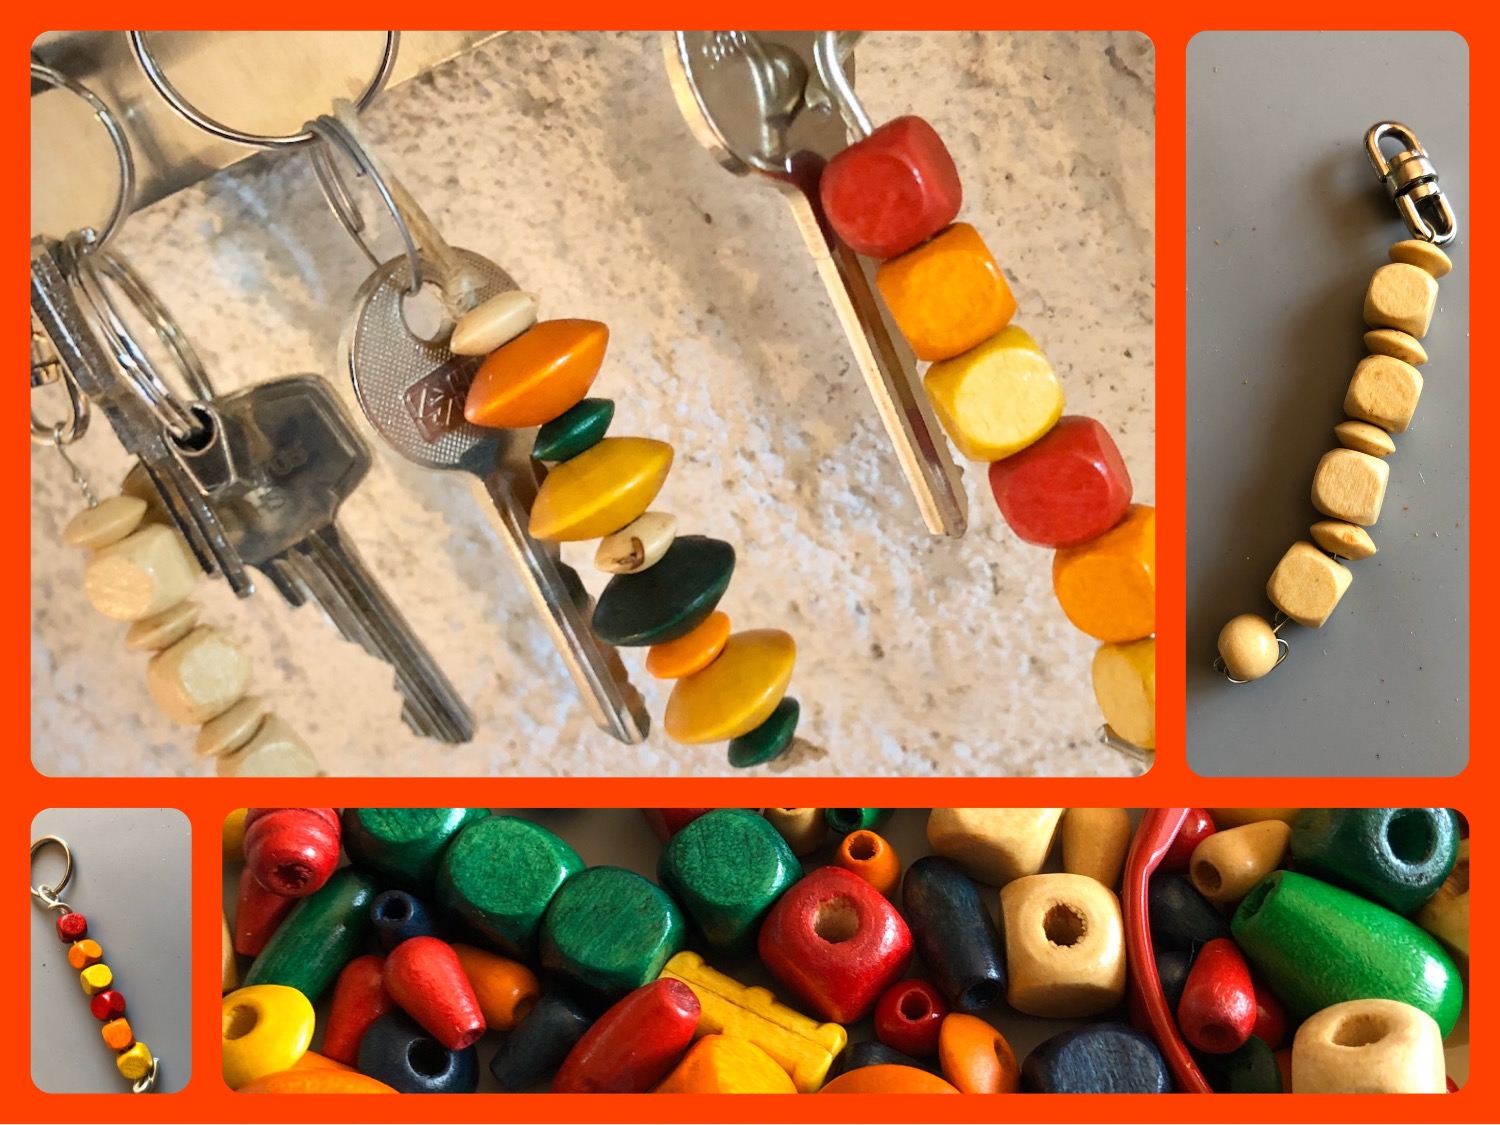
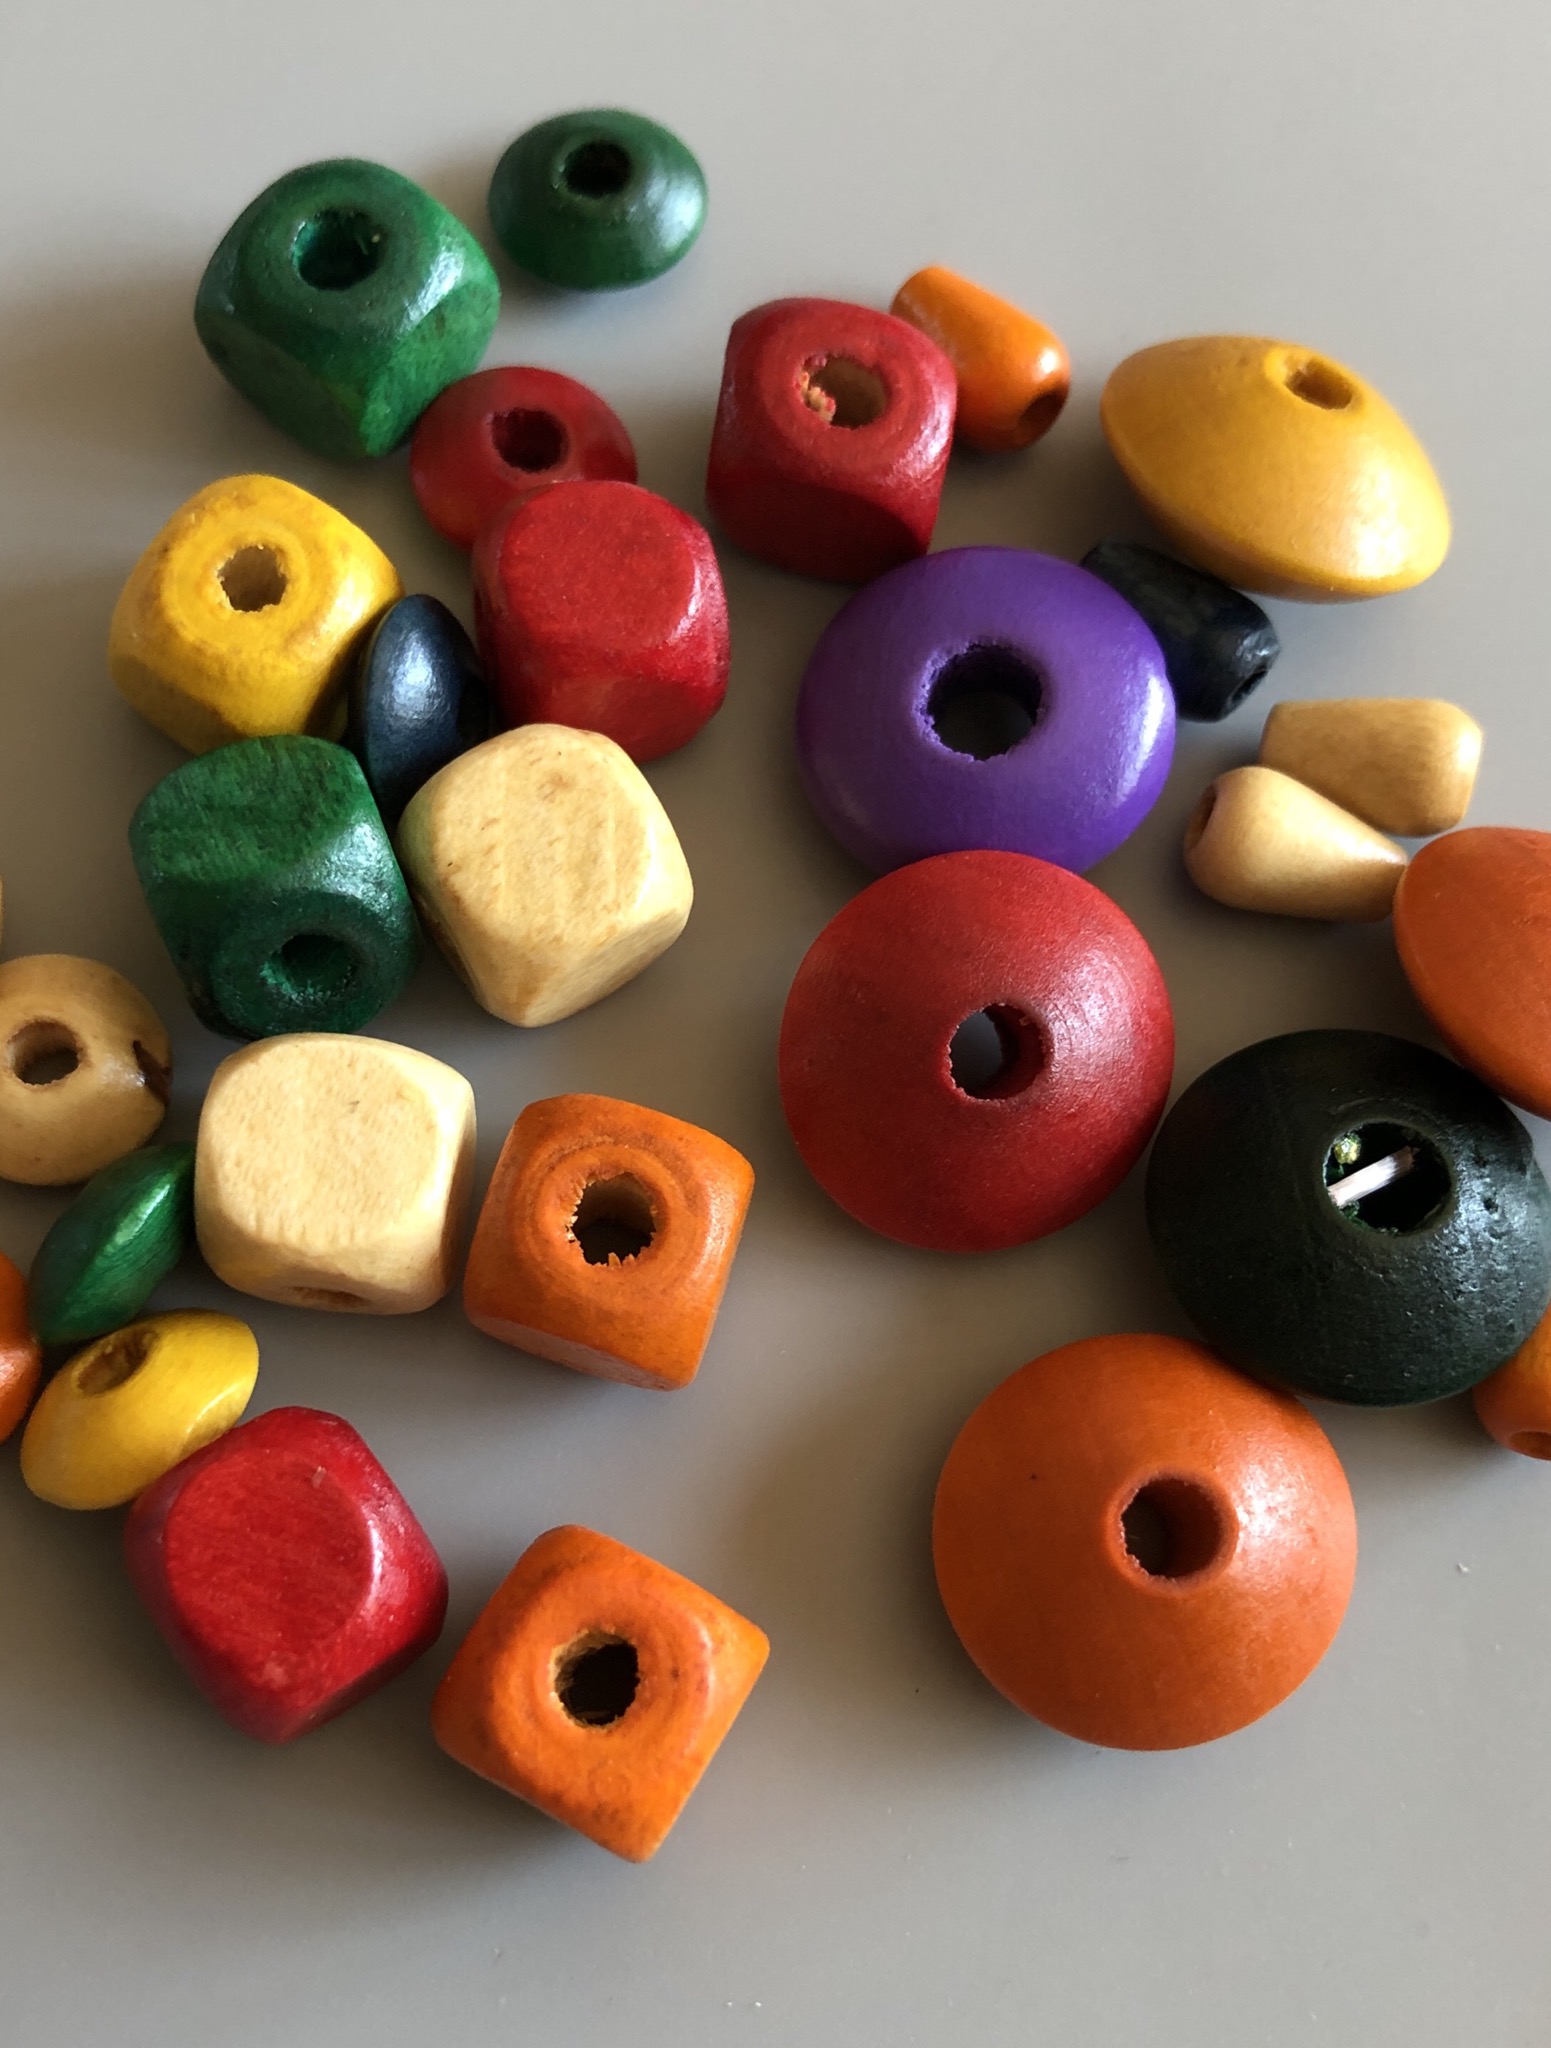
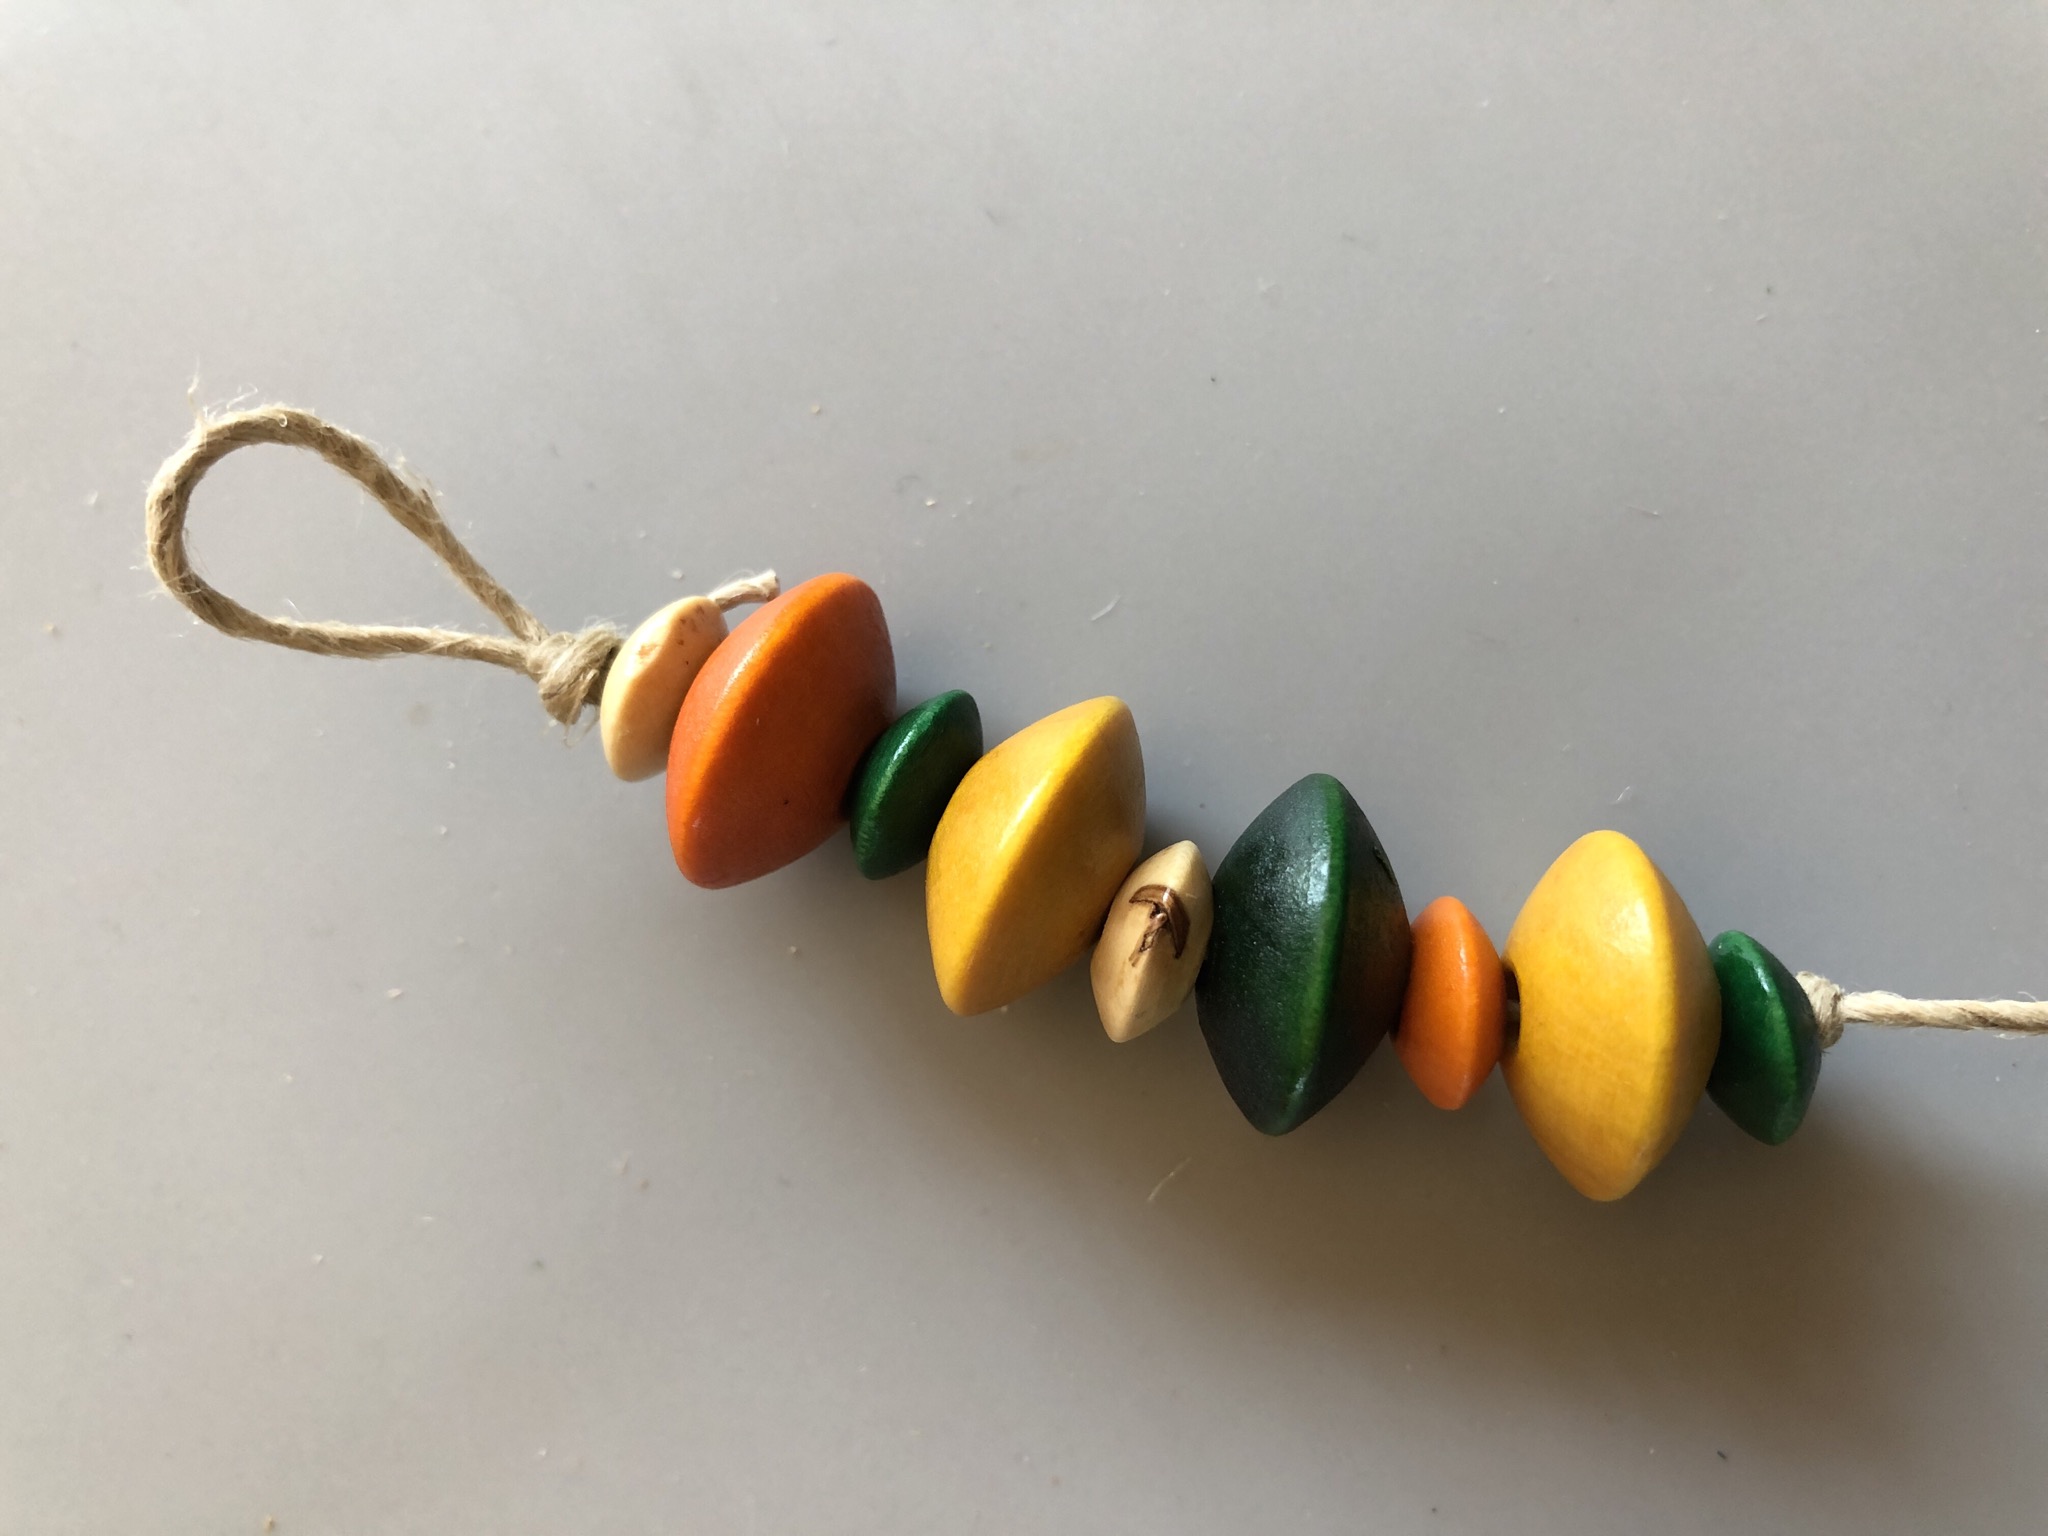
Select Colored Beads.
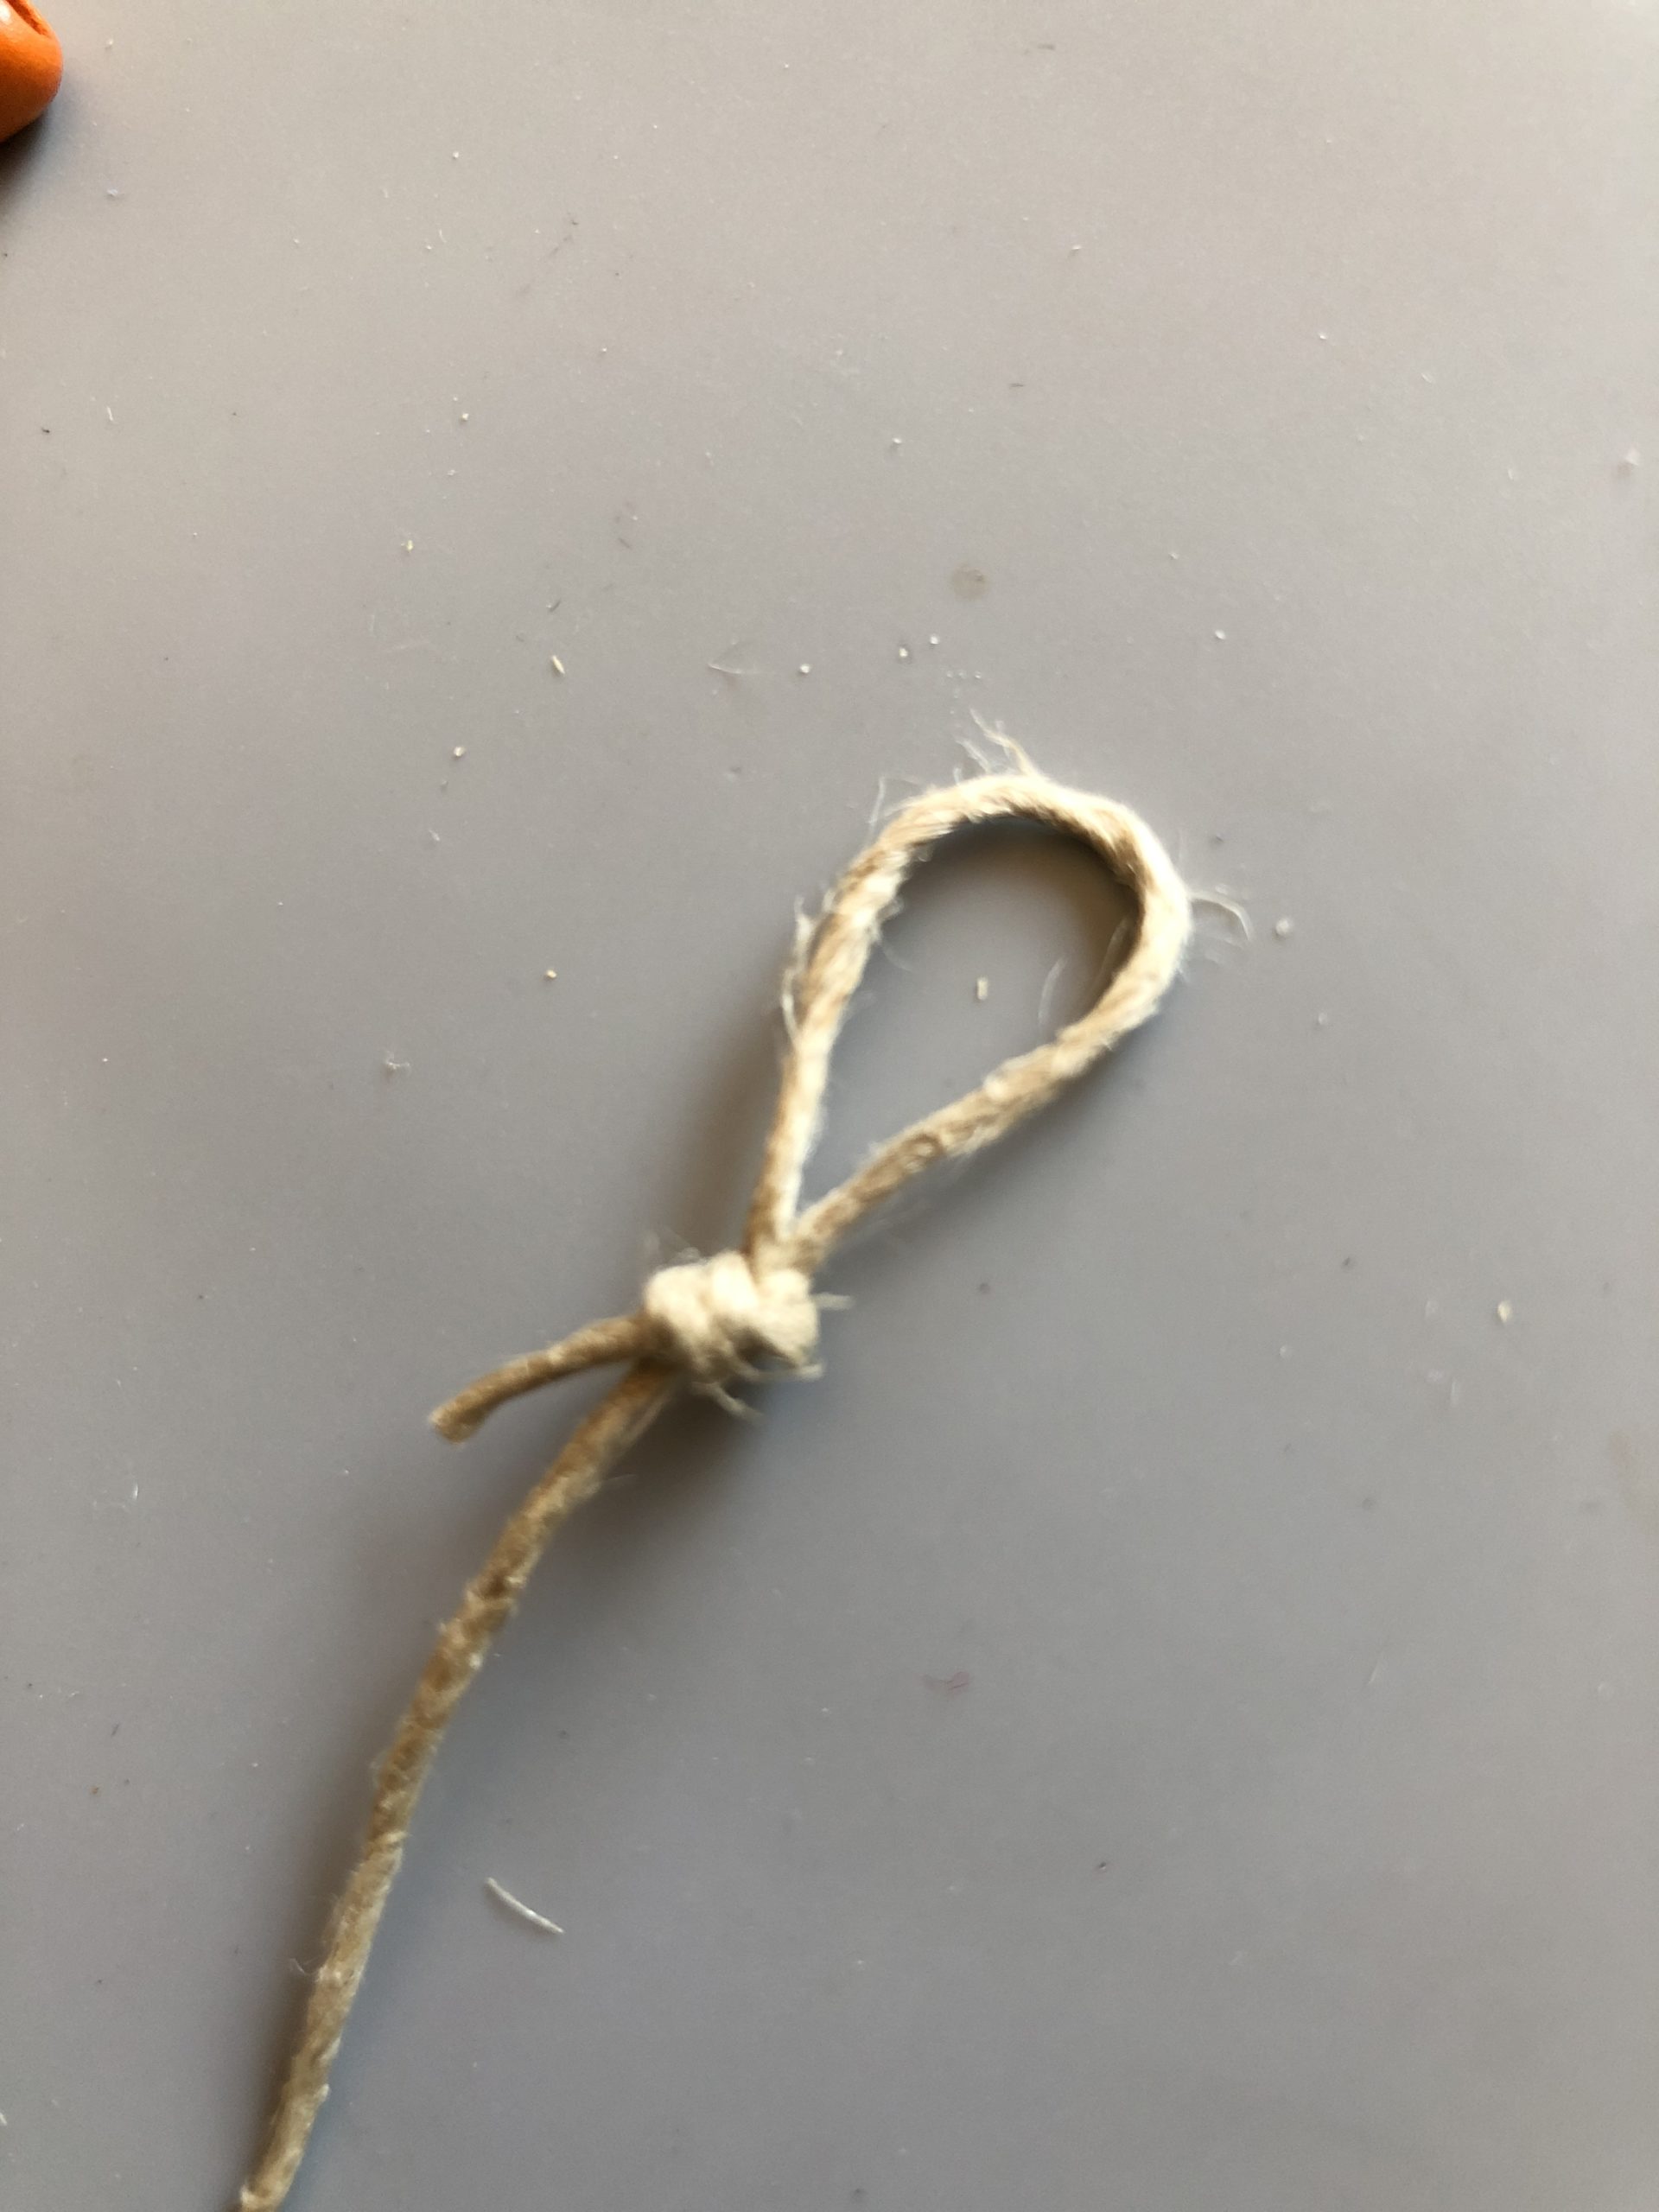
To the cord a loop knot to attach to the key ring.
threading beads to a length of about 6 cm

Make a thick knot to the lower end.
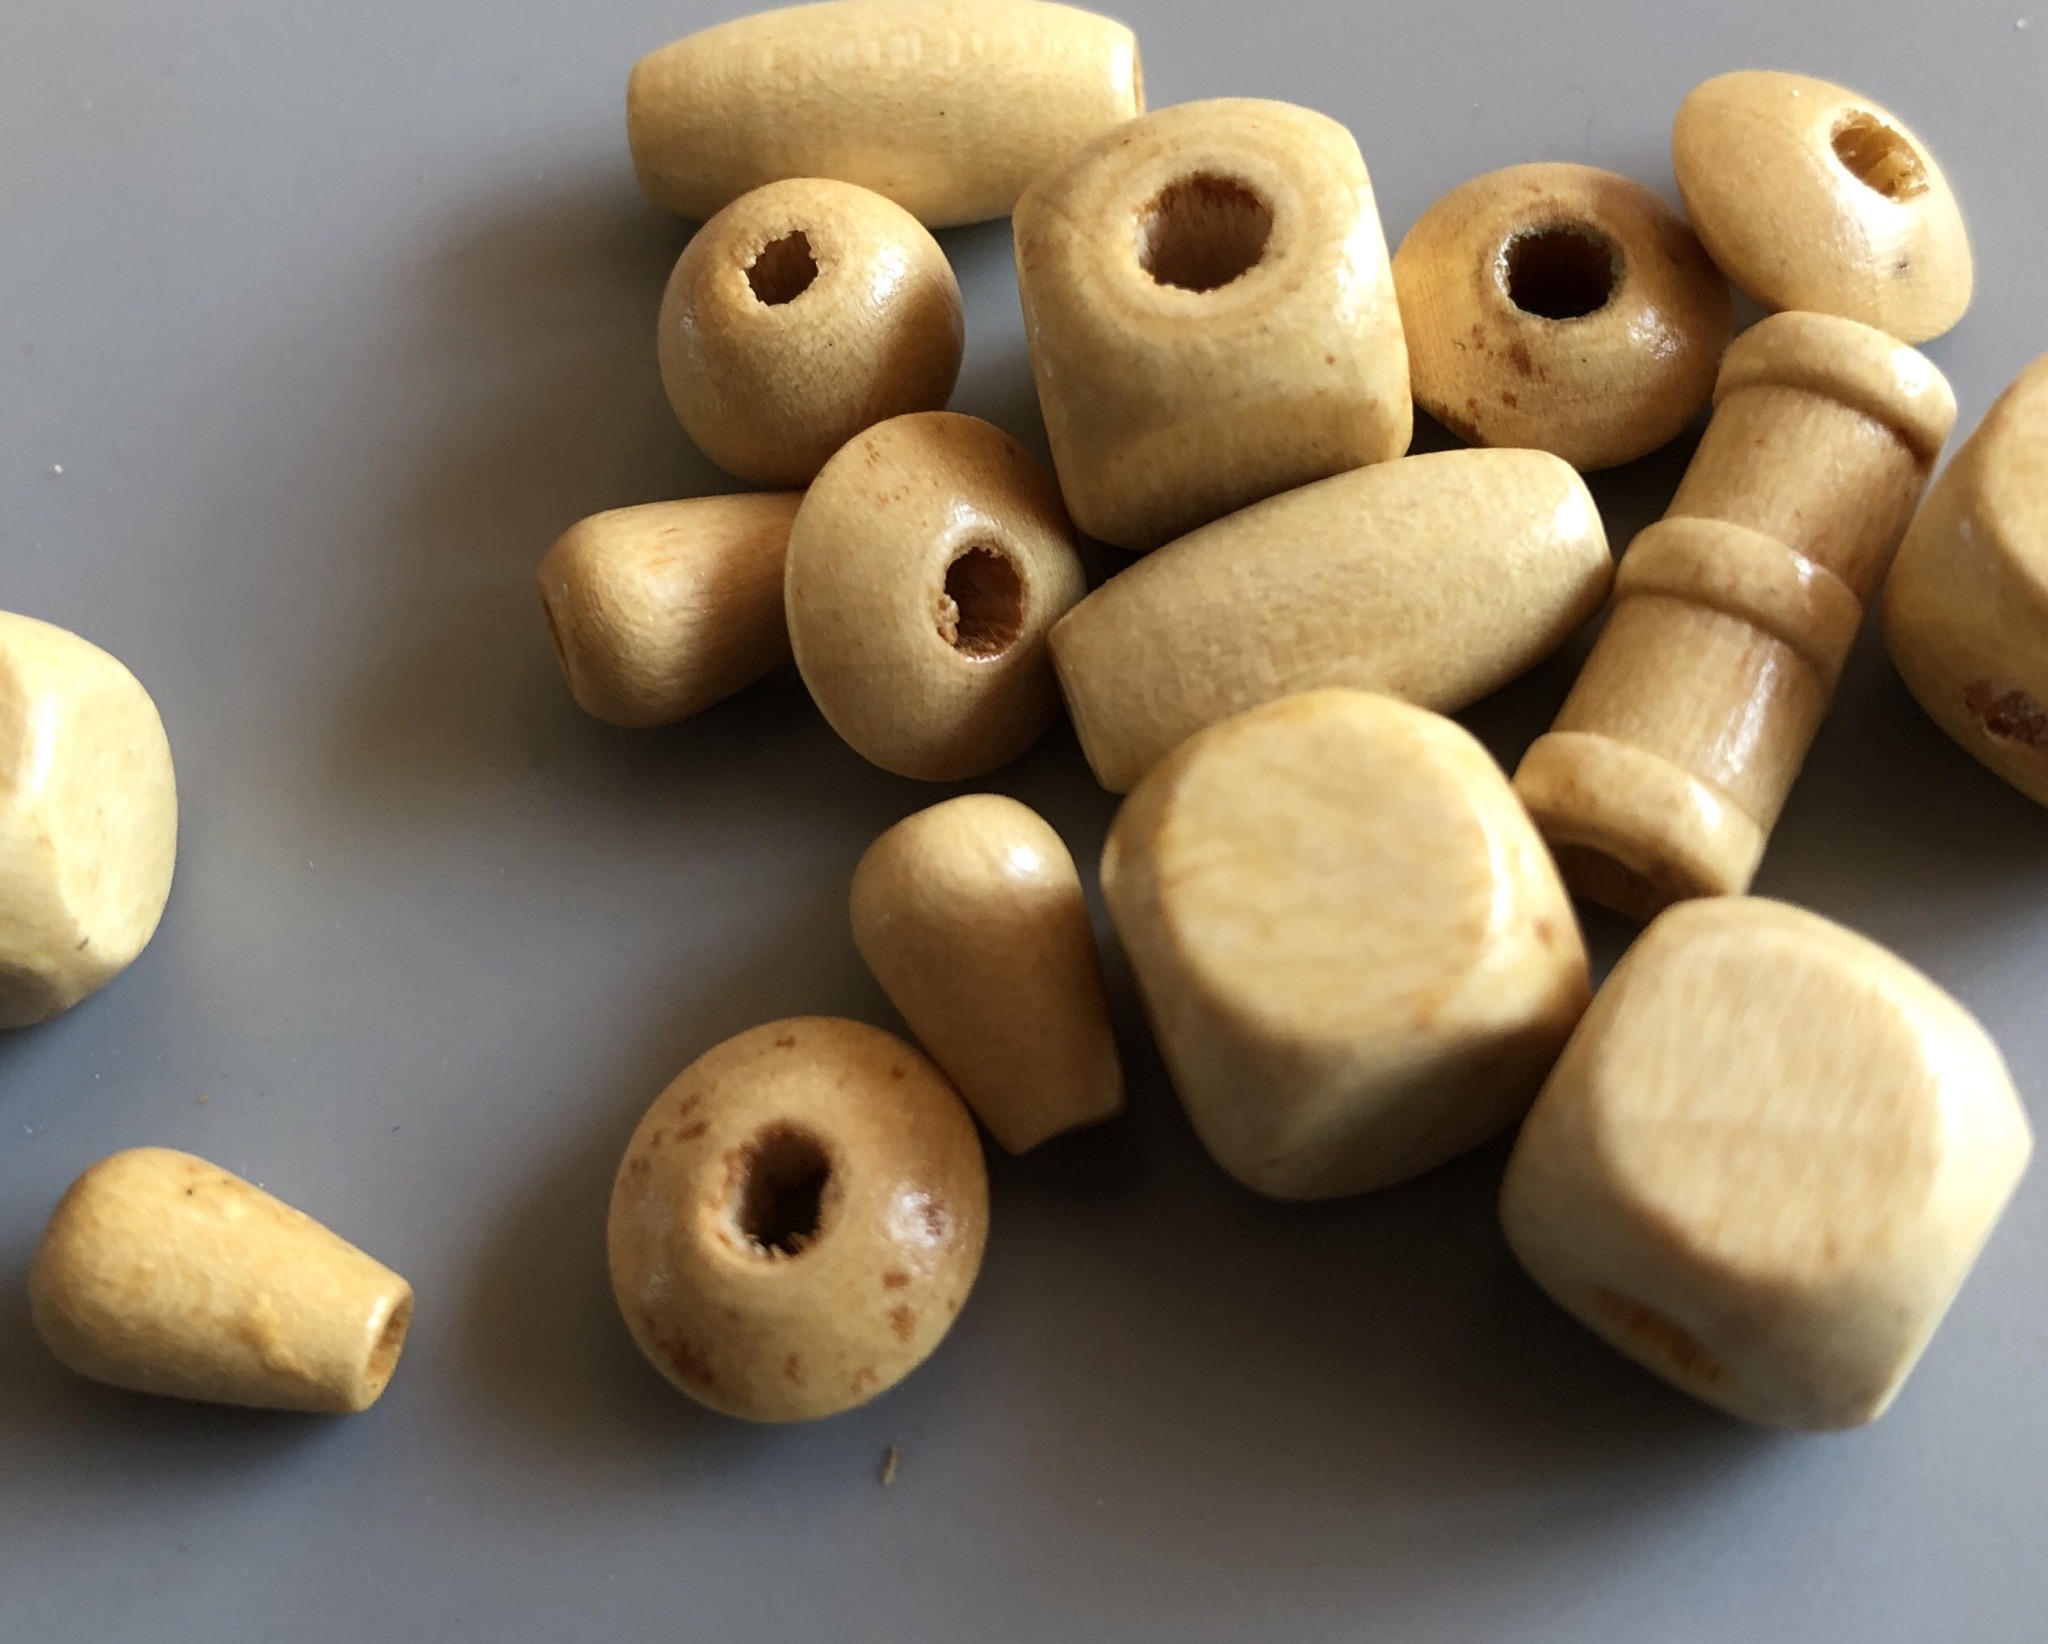
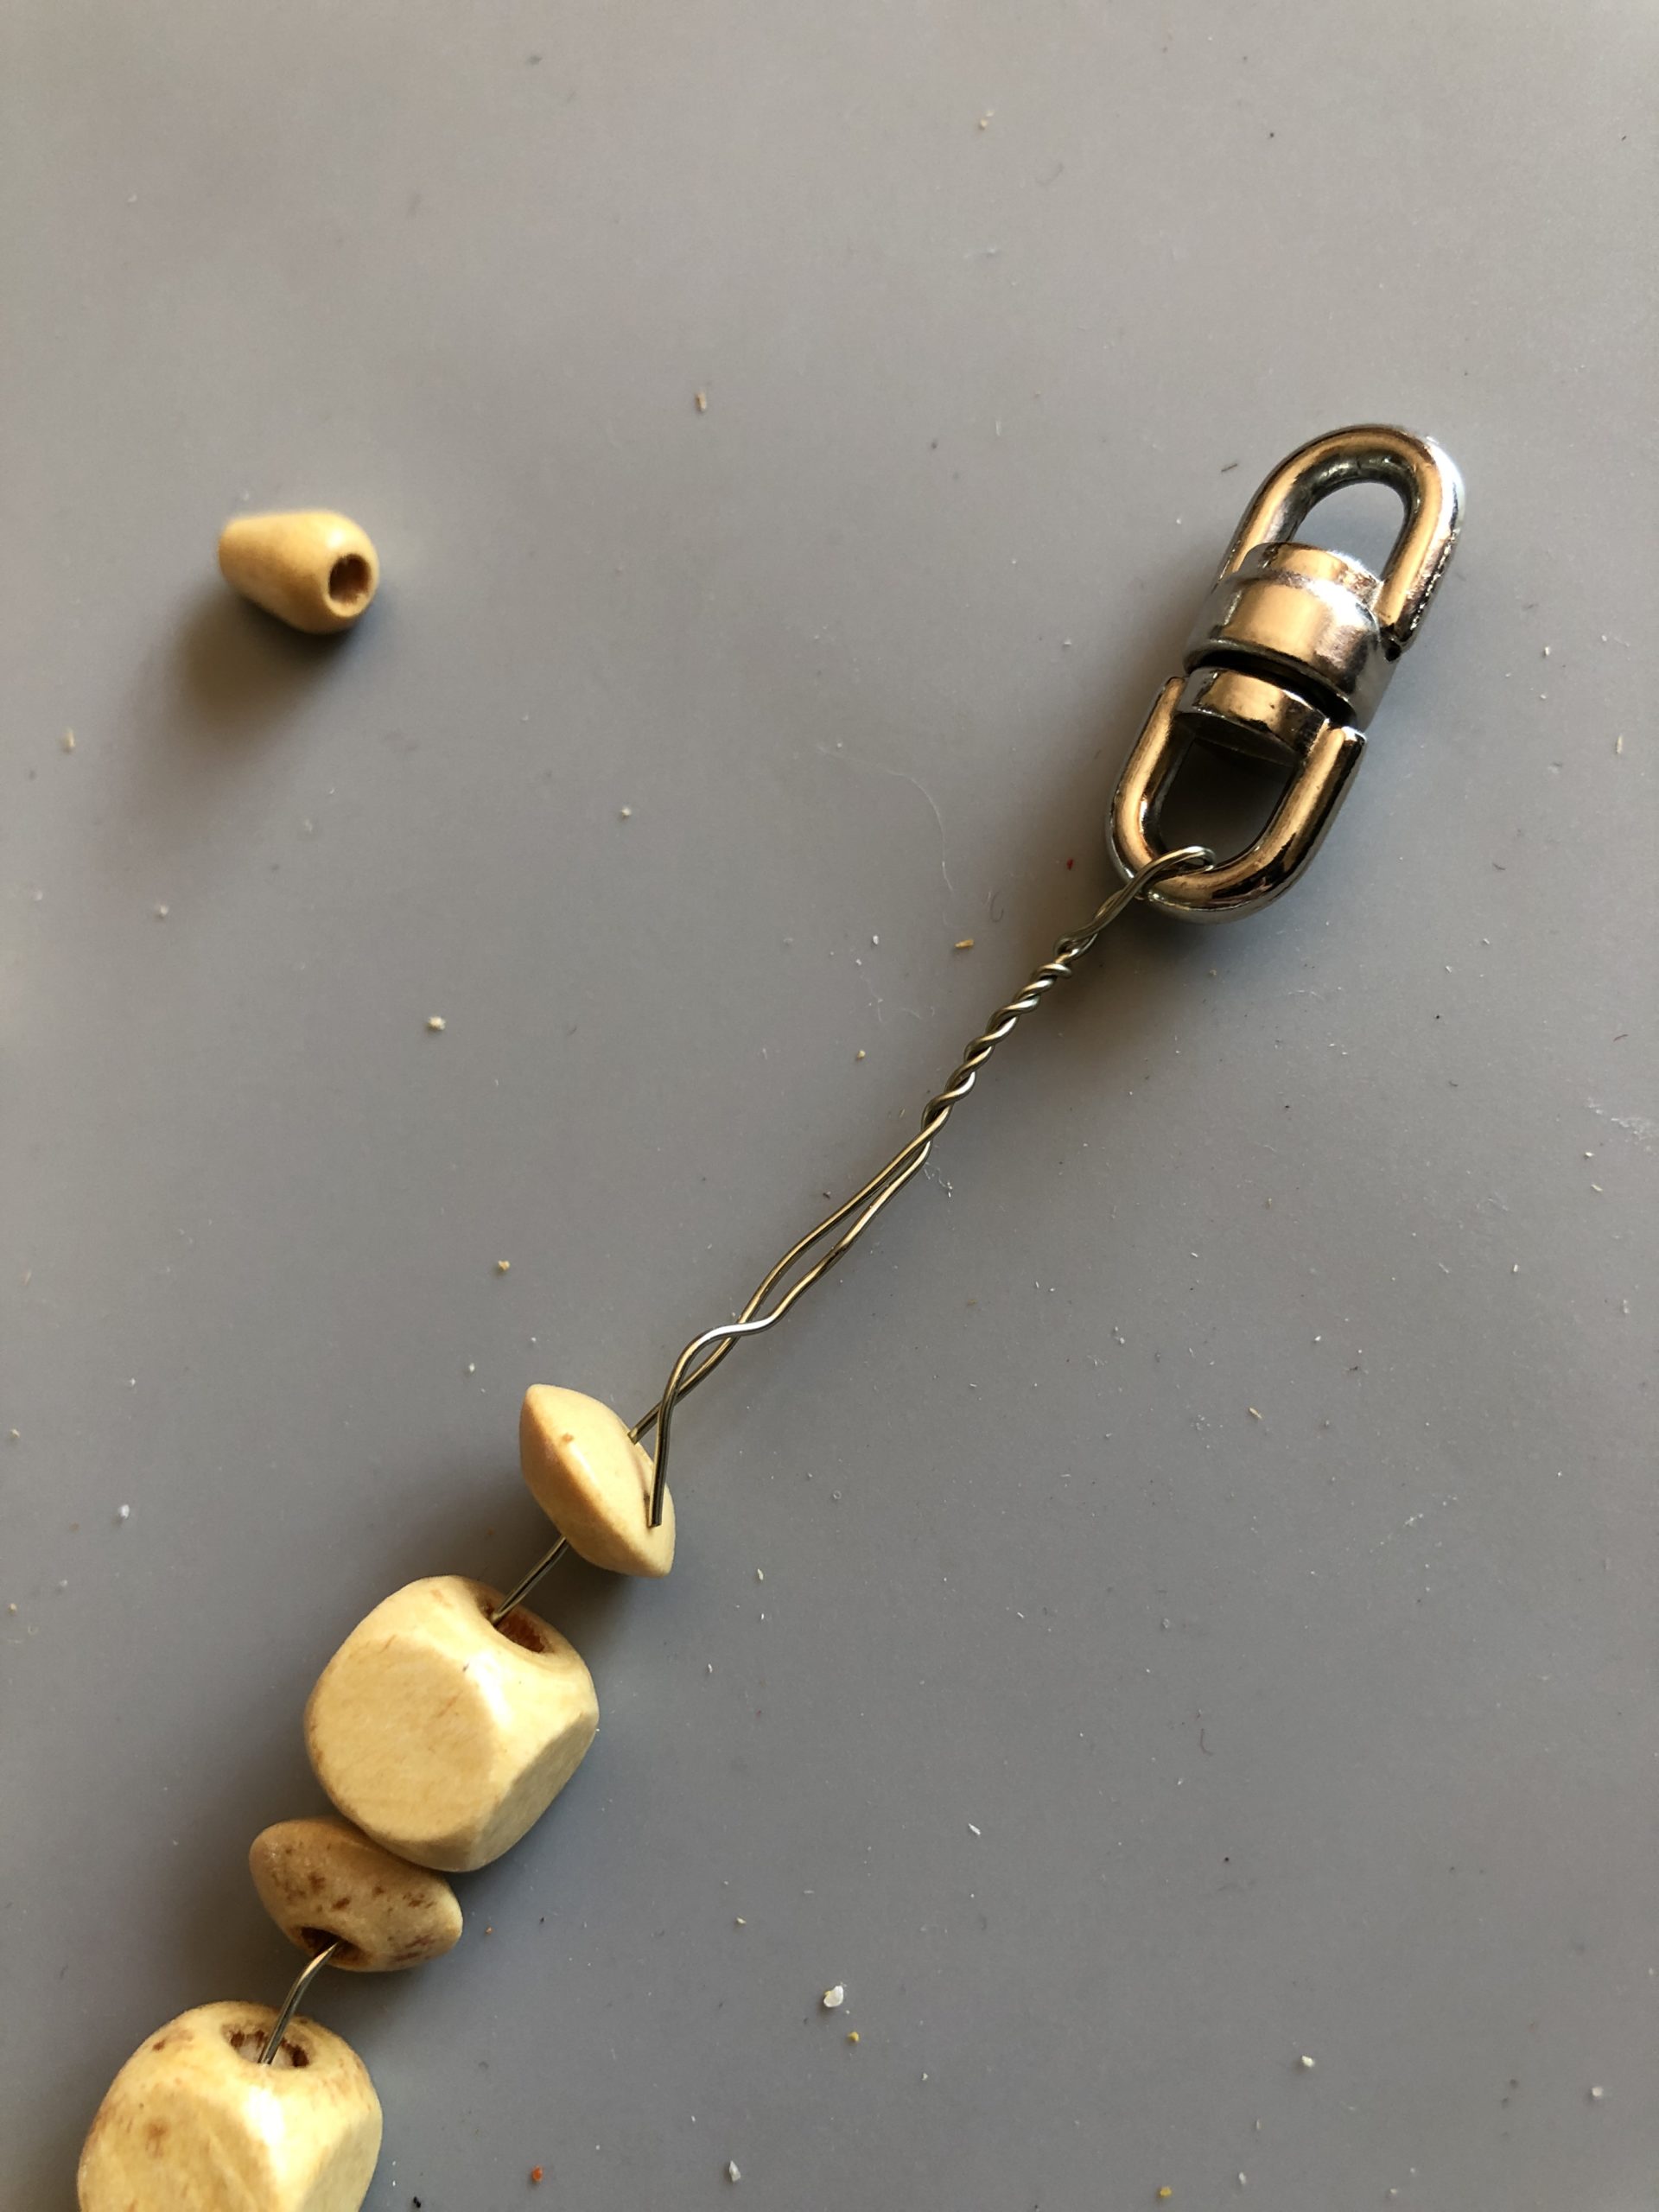
Another idea with monochrome wood beads and wire...
Cut wire also about 20 cm
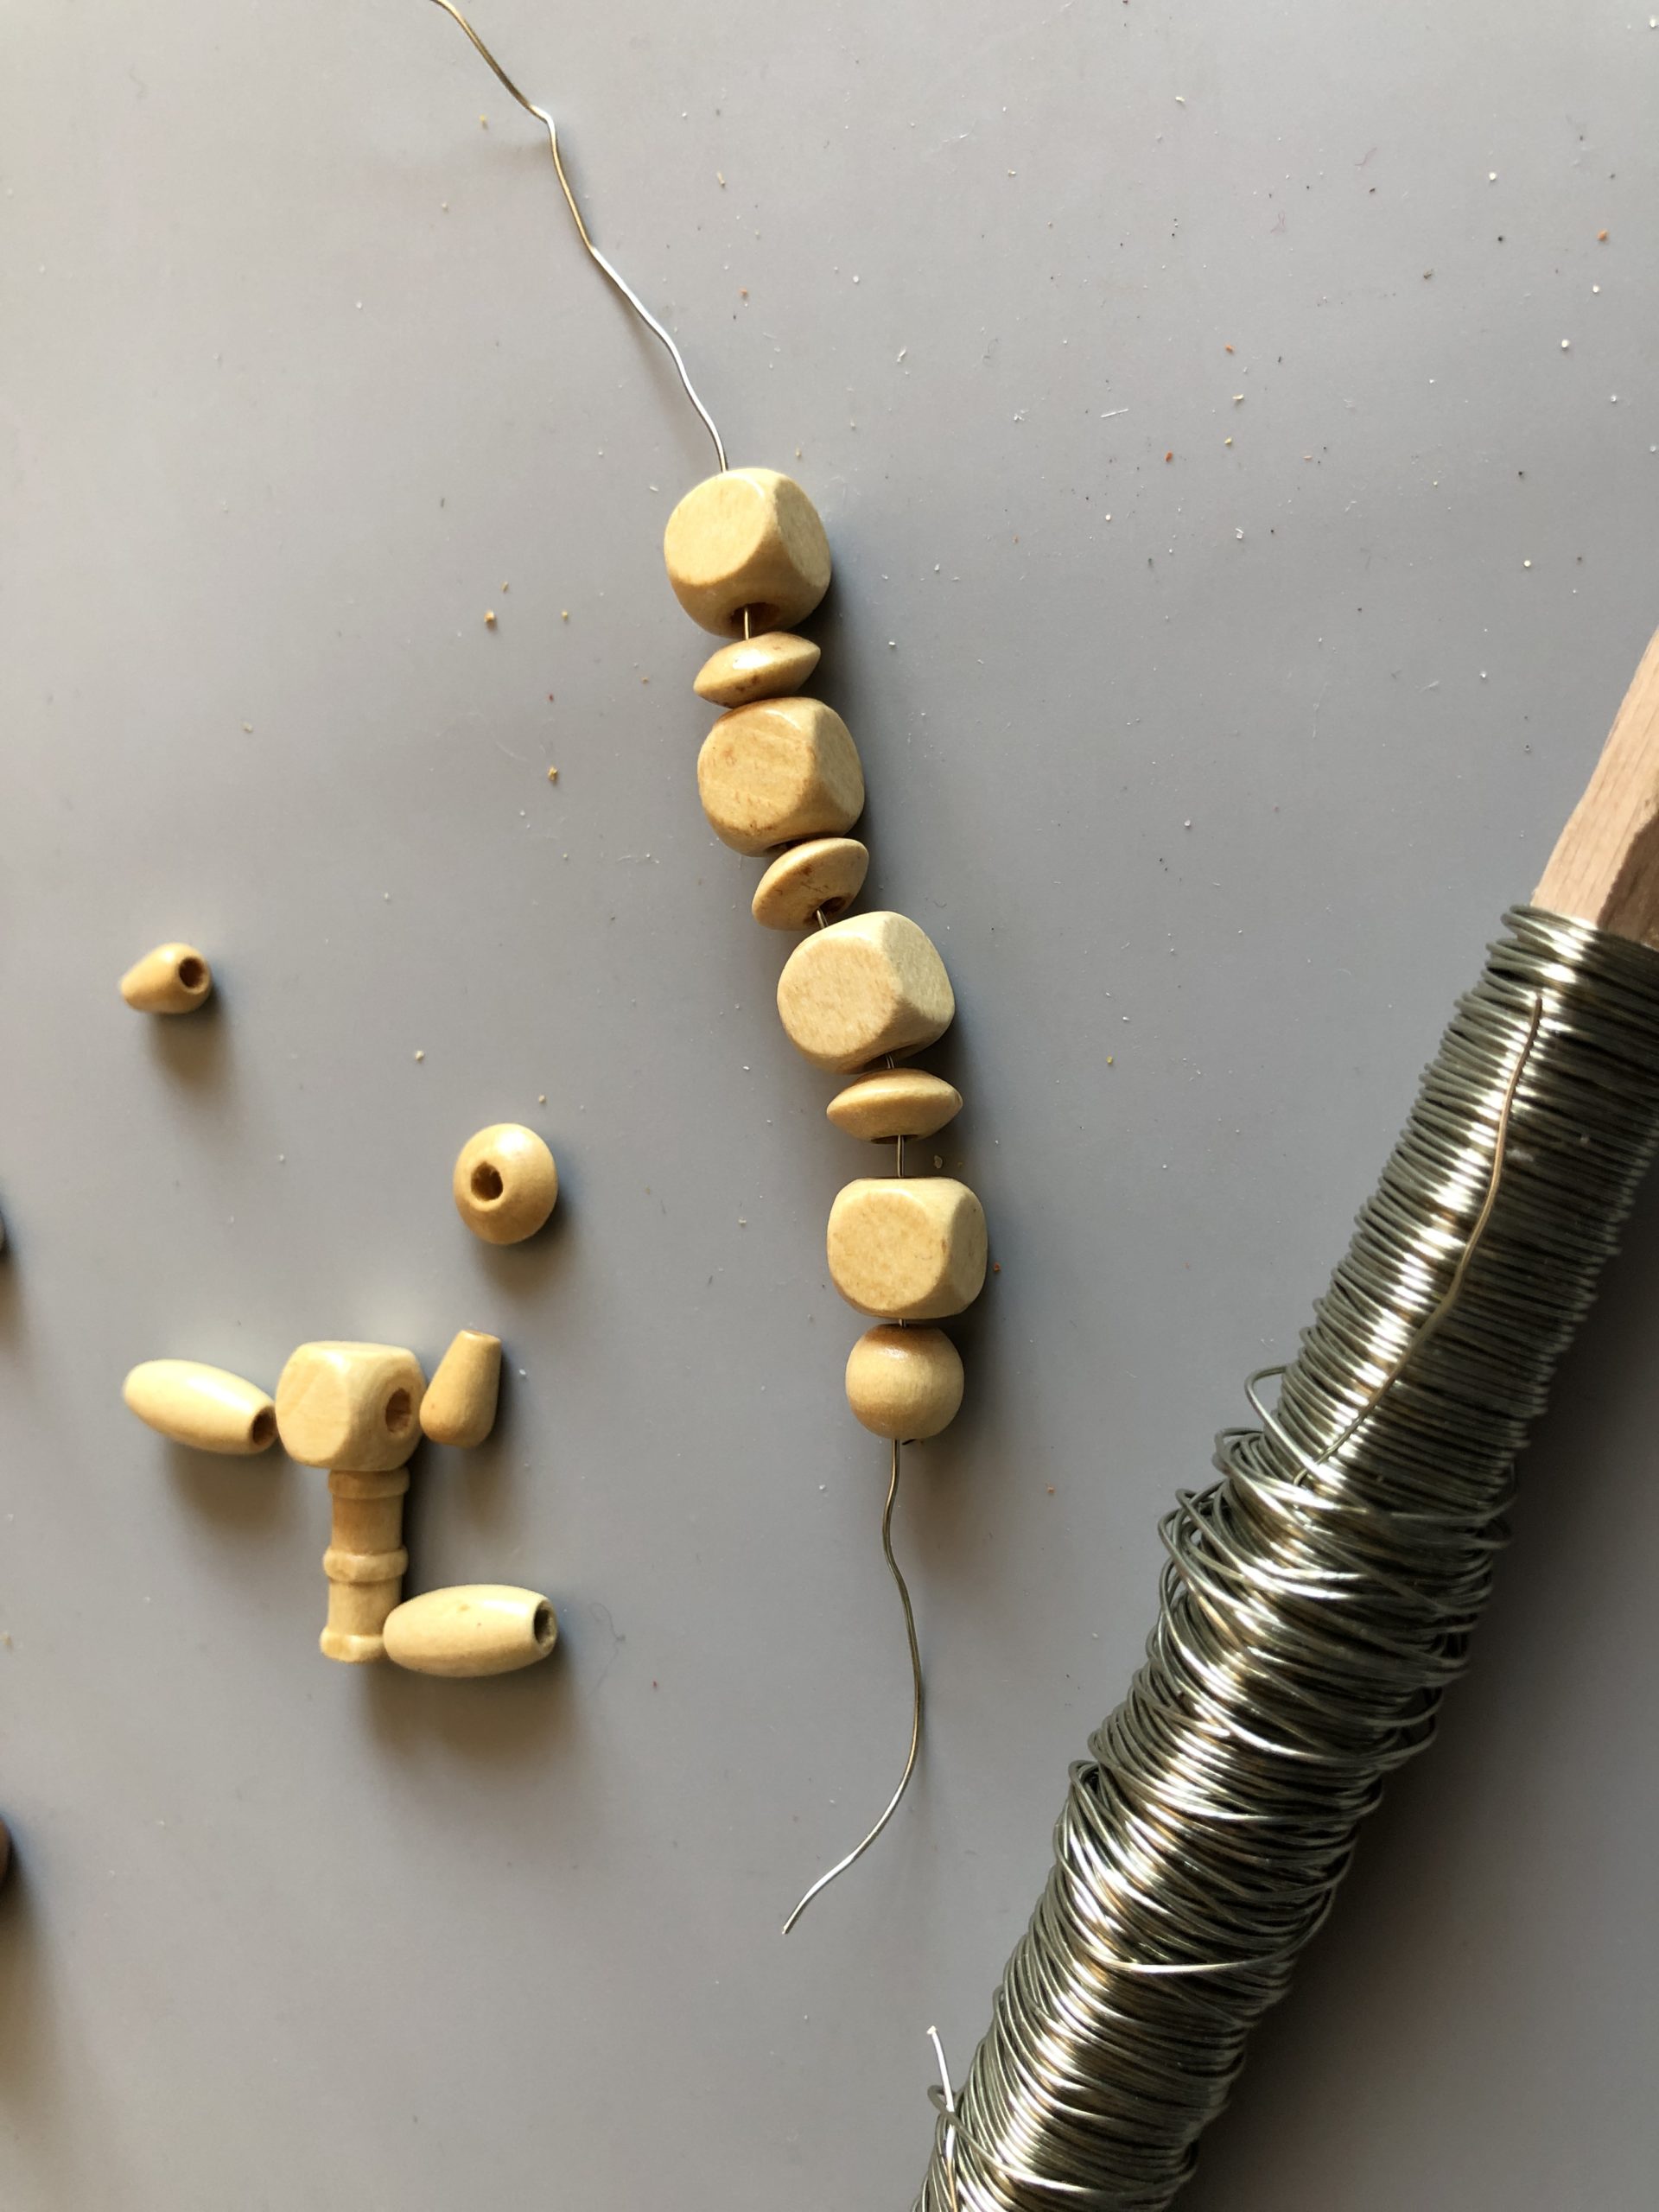
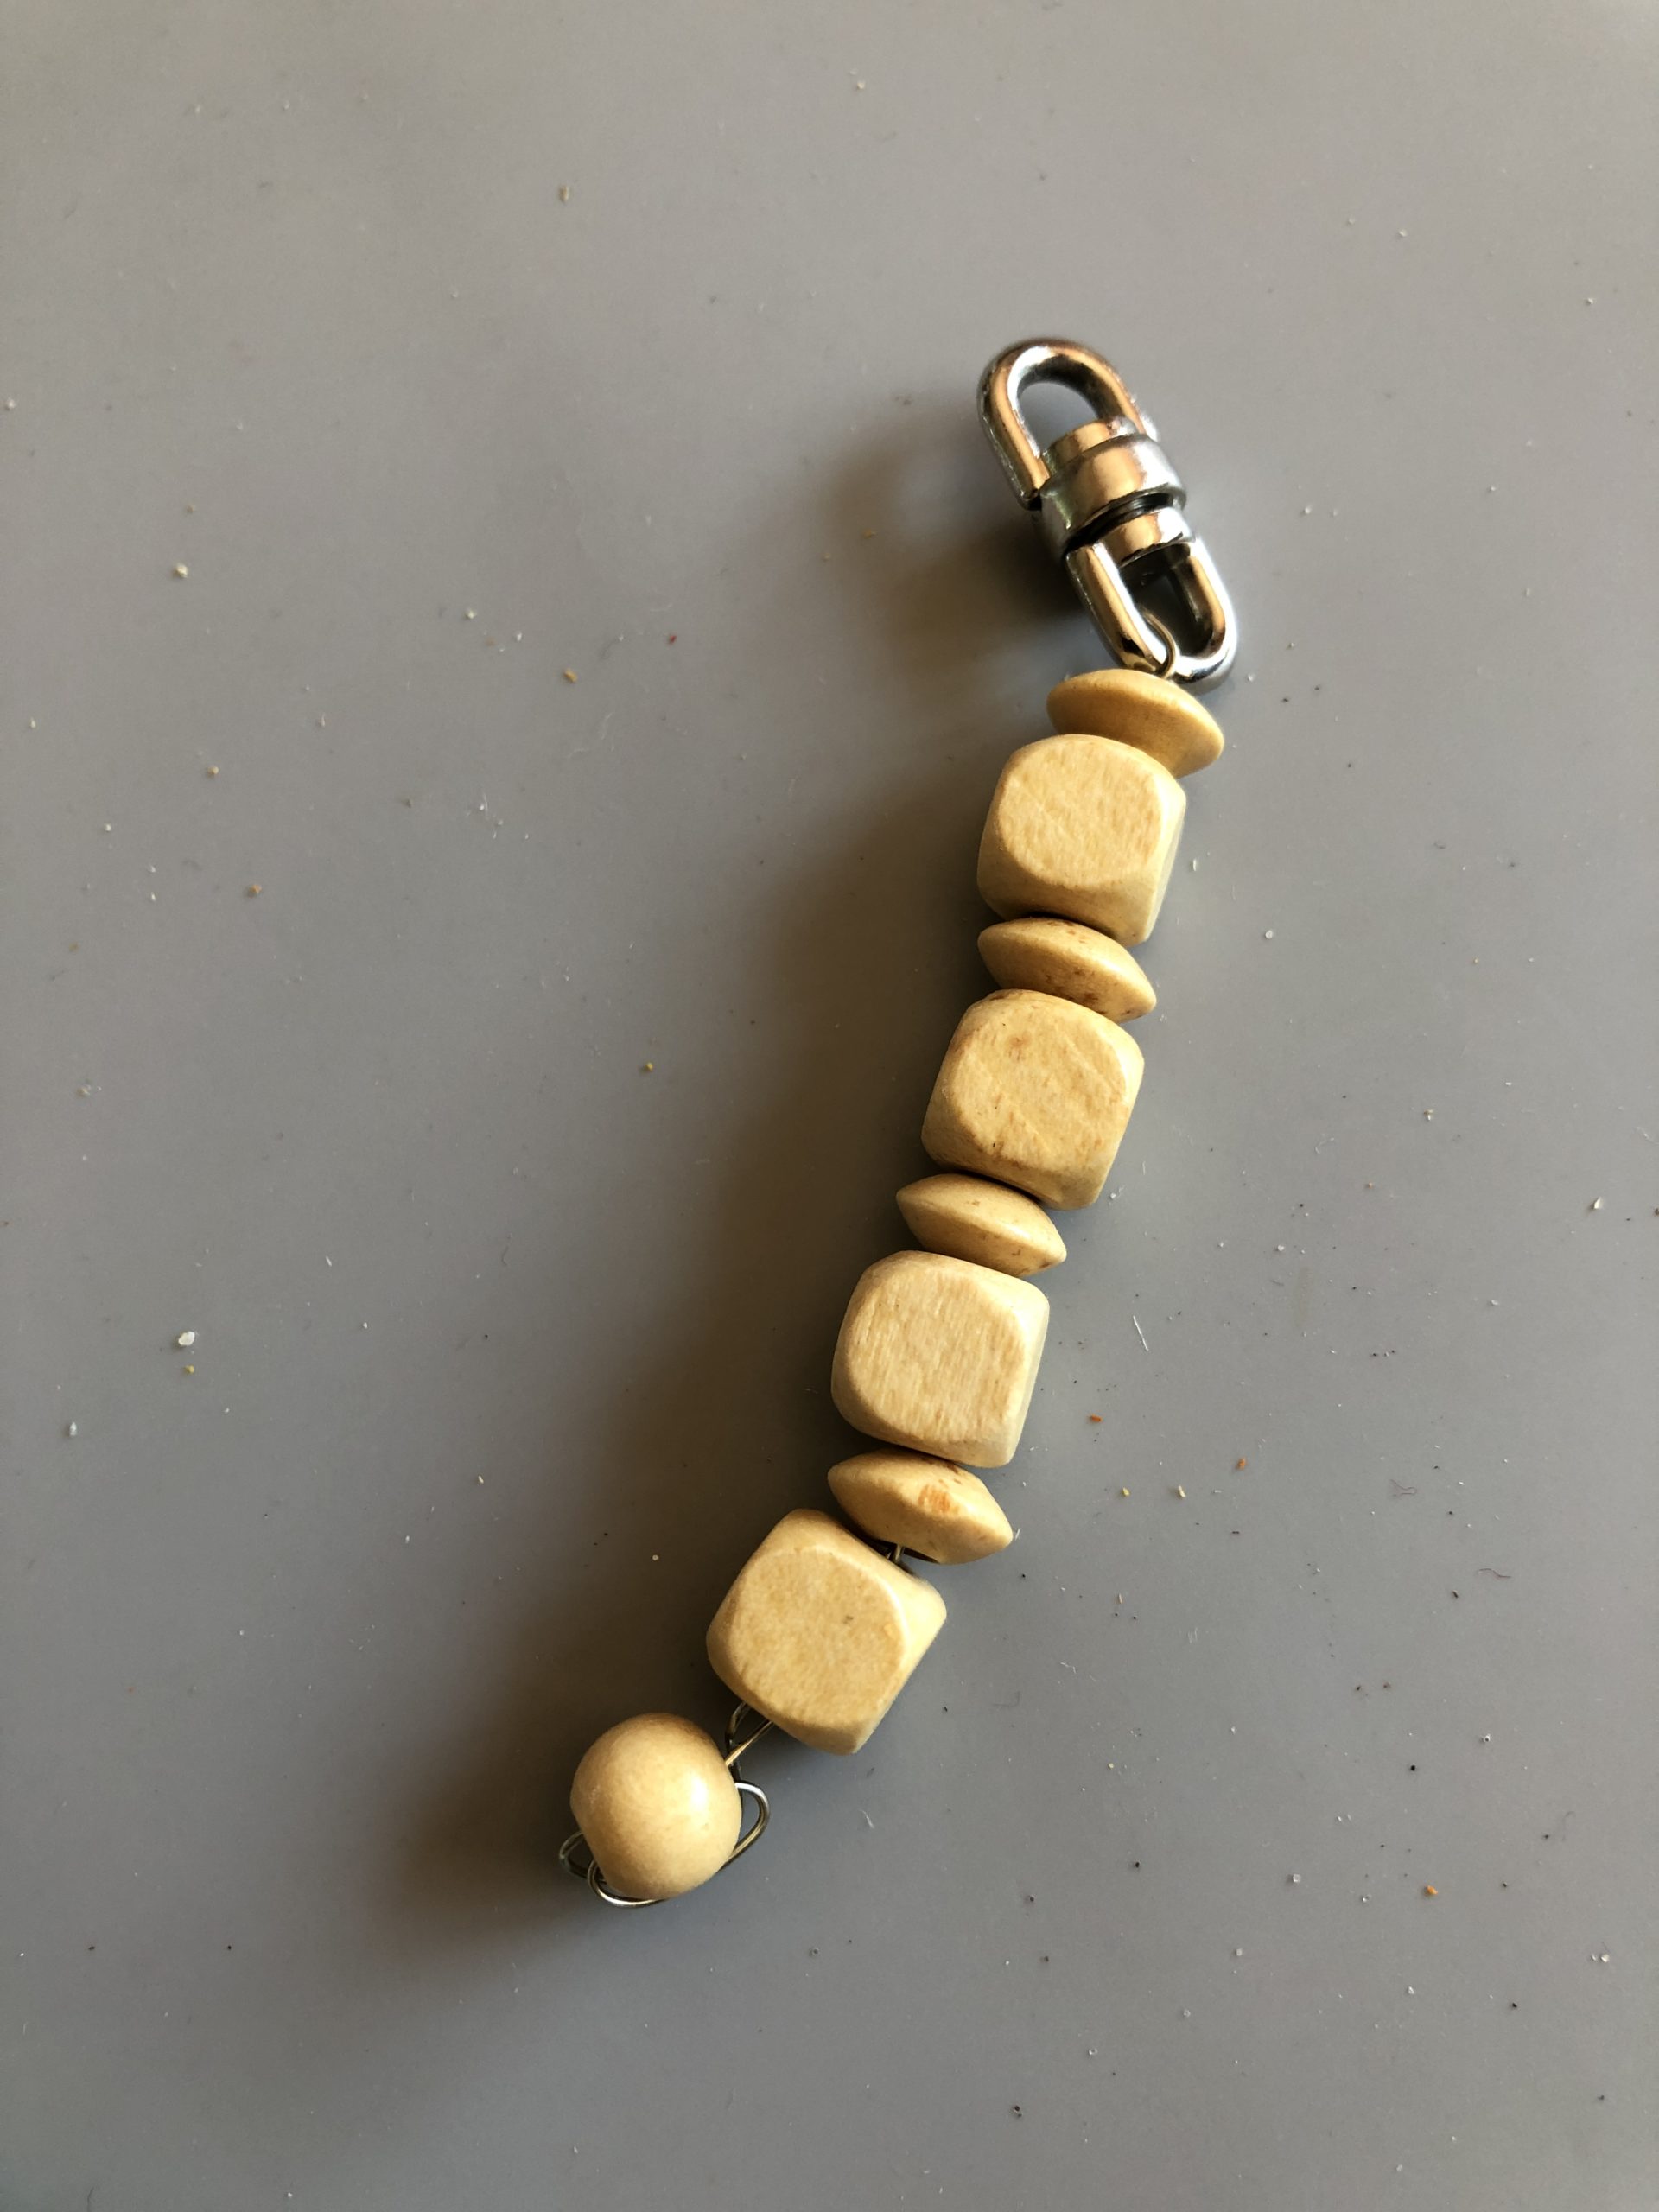
At the top, twist the wire and attach it to the key ring.
Retread the wire end through the threaded beads
Push beads high and thread back through the last bead at the bottom and twist so that it holds.

Cut the wire.
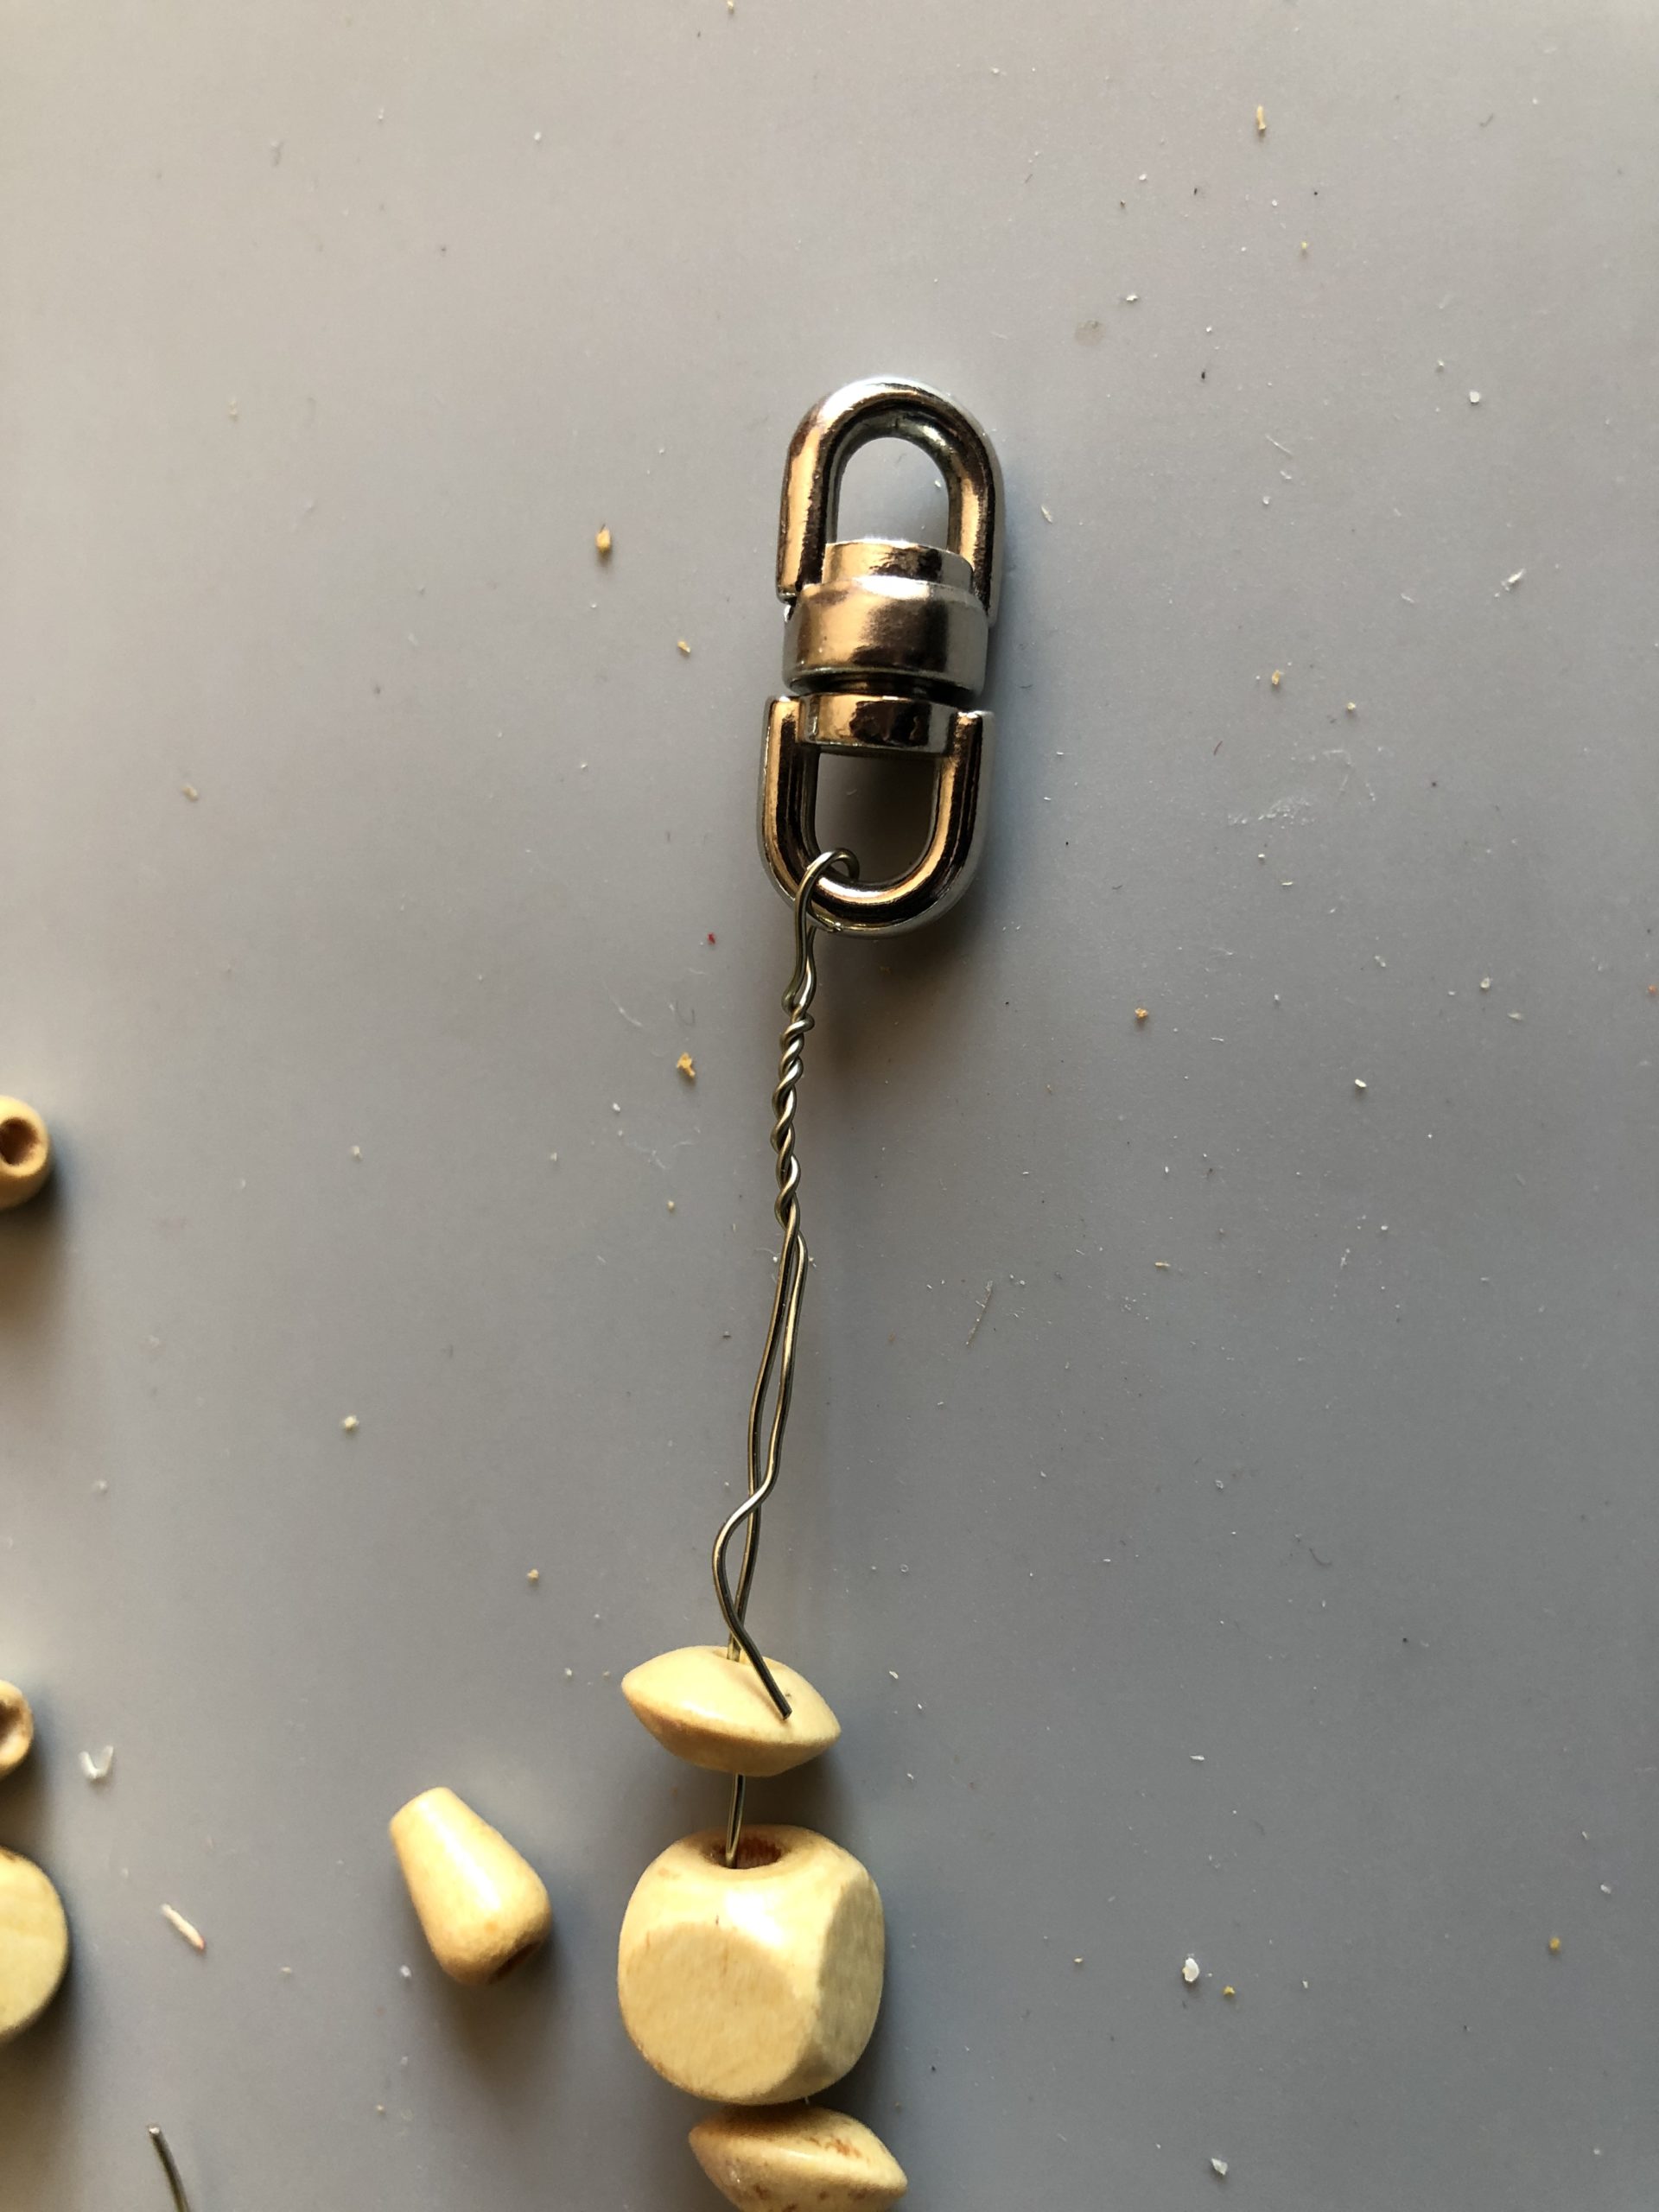
Further idea: with thicker craft wire, put a loop on top and twist, thread up beads and also twist and cut wire at the bottom end.


Think for yourself what your keychain should look like and experiment with the pearls!
Materials
Directions
Select Colored Beads.
To the cord a loop knot to attach to the key ring.
threading beads to a length of about 6 cm
Make a thick knot to the lower end.
Another idea with monochrome wood beads and wire...
Cut wire also about 20 cm
At the top, twist the wire and attach it to the key ring.
Retread the wire end through the threaded beads
Push beads high and thread back through the last bead at the bottom and twist so that it holds.
Cut the wire.
Further idea: with thicker craft wire, put a loop on top and twist, thread up beads and also twist and cut wire at the bottom end.
Think for yourself what your keychain should look like and experiment with the pearls!
Follow us on Facebook , Instagram and Pinterest
Don't miss any more adventures: Our bottle mail