AdventurerEagle
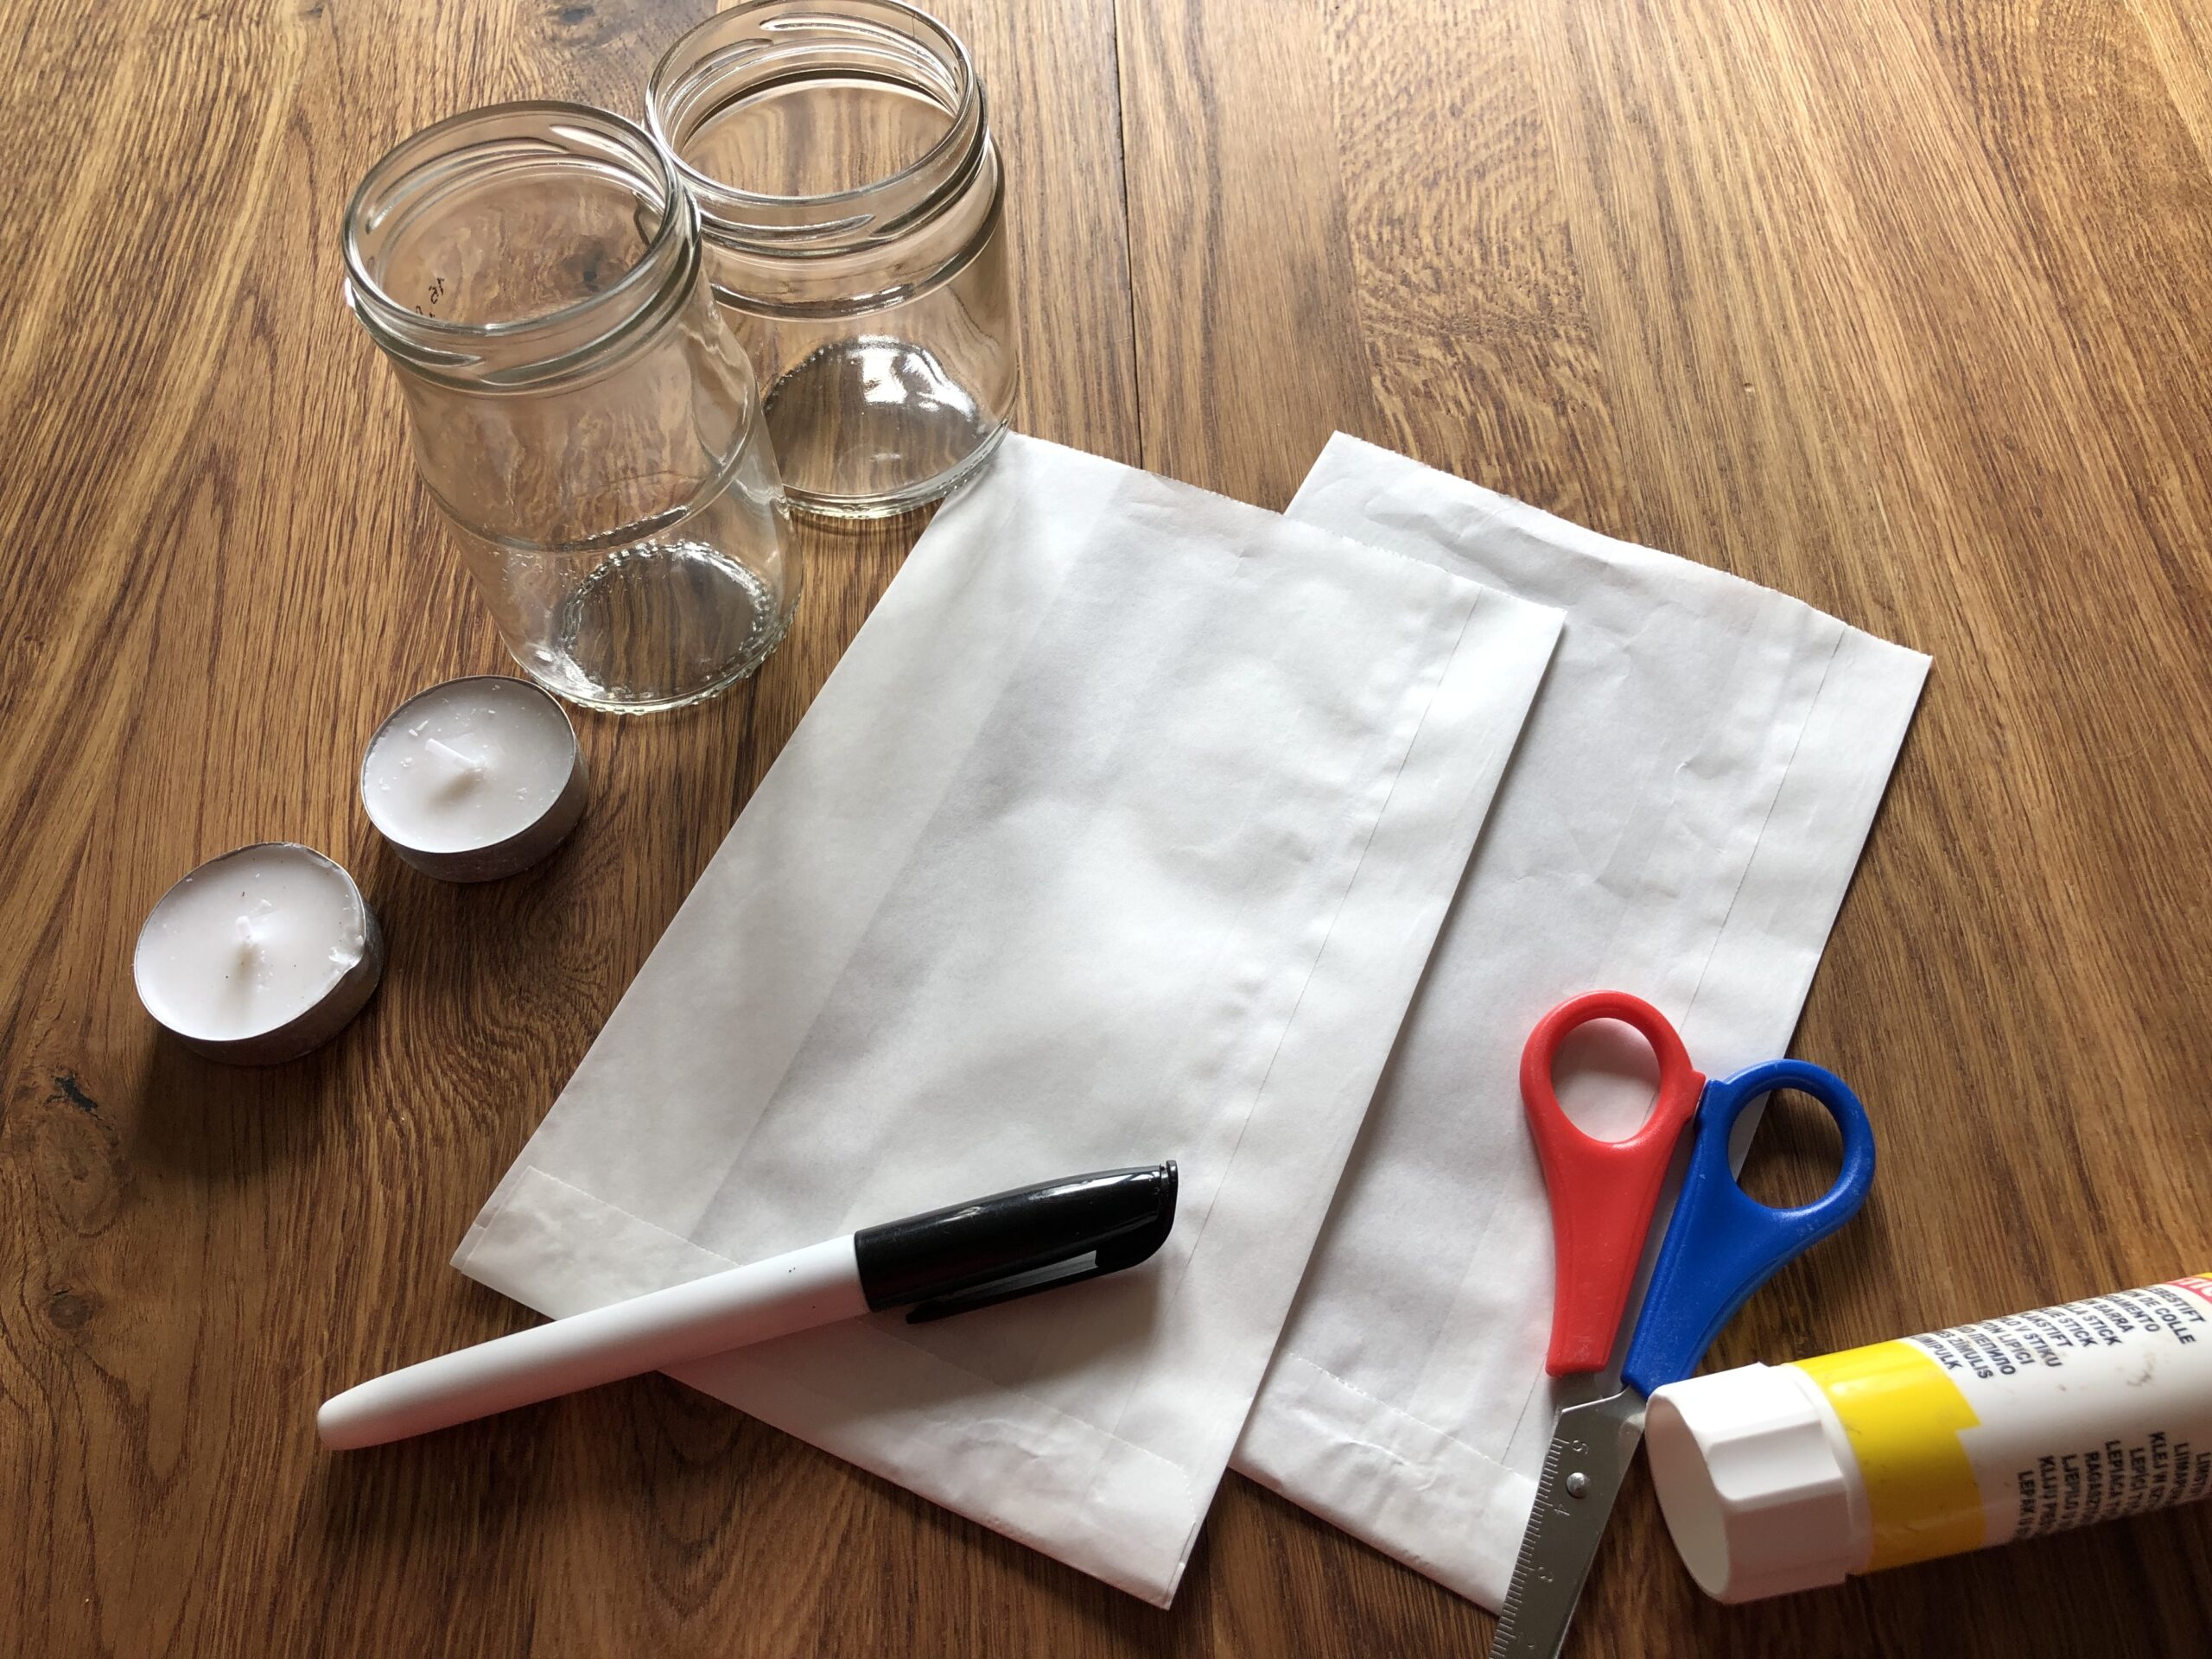
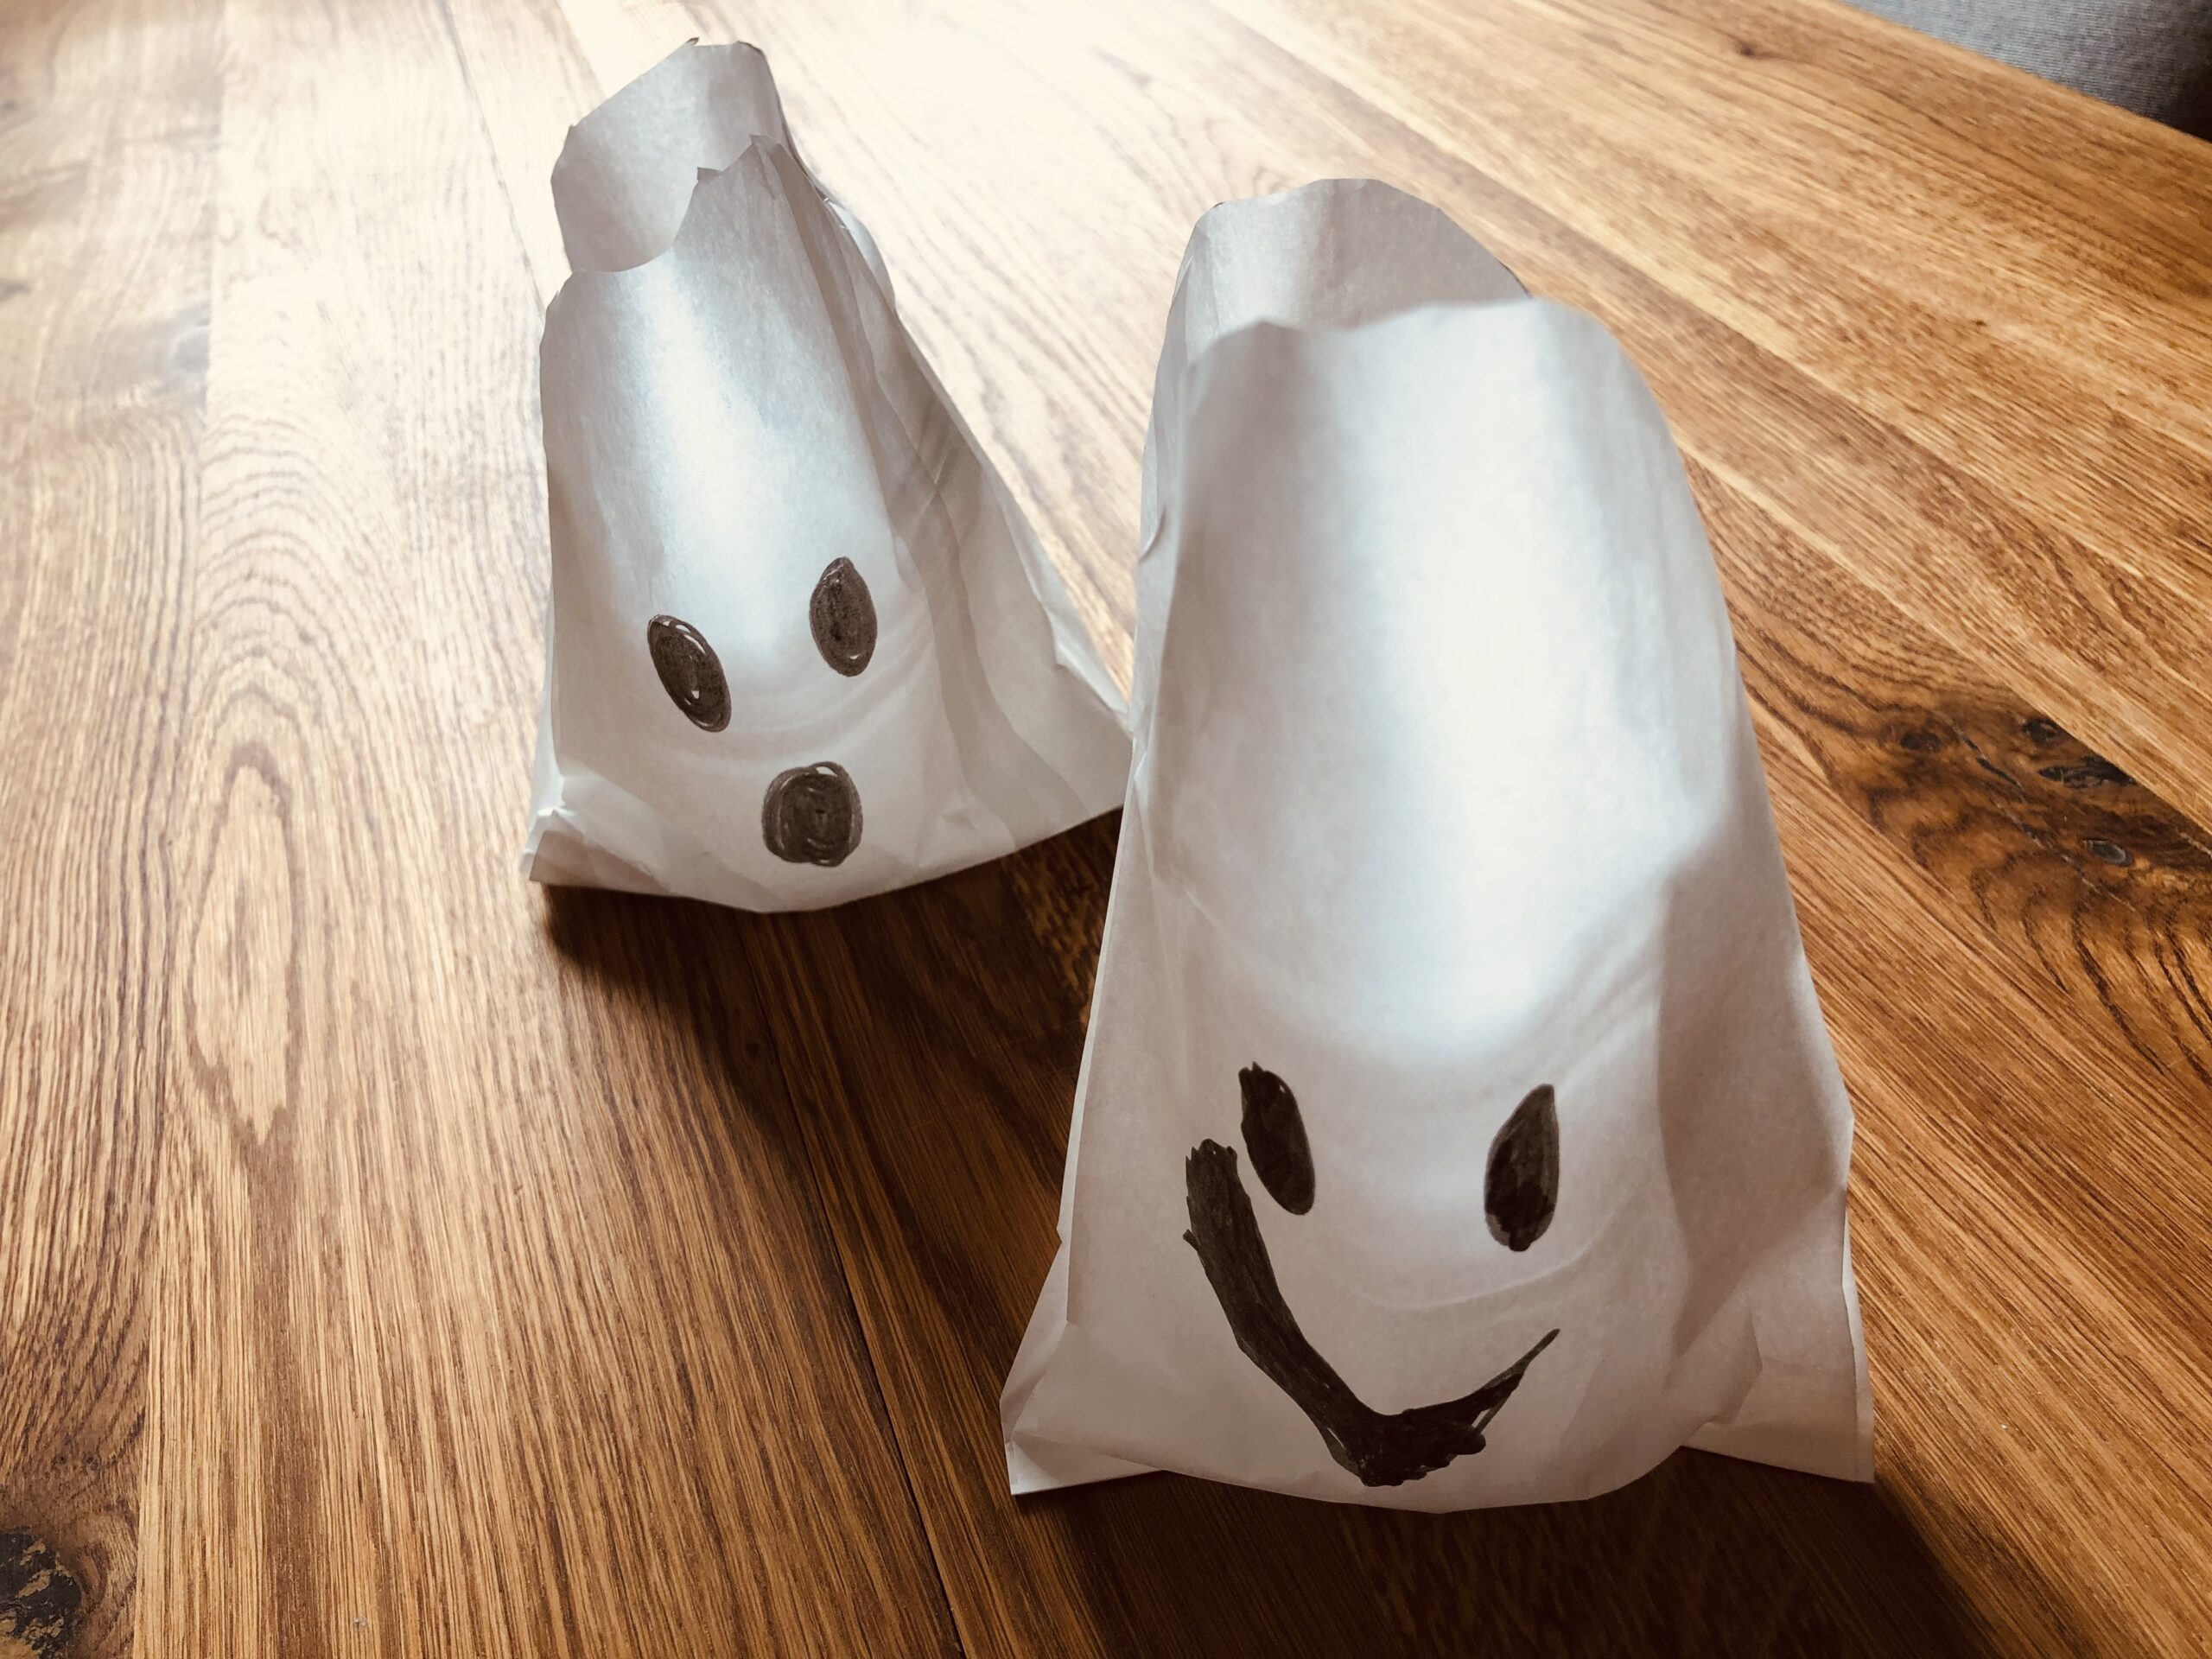
For these lanterns you only need a butterbread bag, an empty jam jar and a tea light. These ghosts are quickly crafted and a great table decoration for the autumn time around Halloween.
Have fun!
Media Education for Kindergarten and Hort

Relief in everyday life, targeted promotion of individual children, independent learning and - without any pre-knowledge already usable by the youngest!
First, look for the materials together.
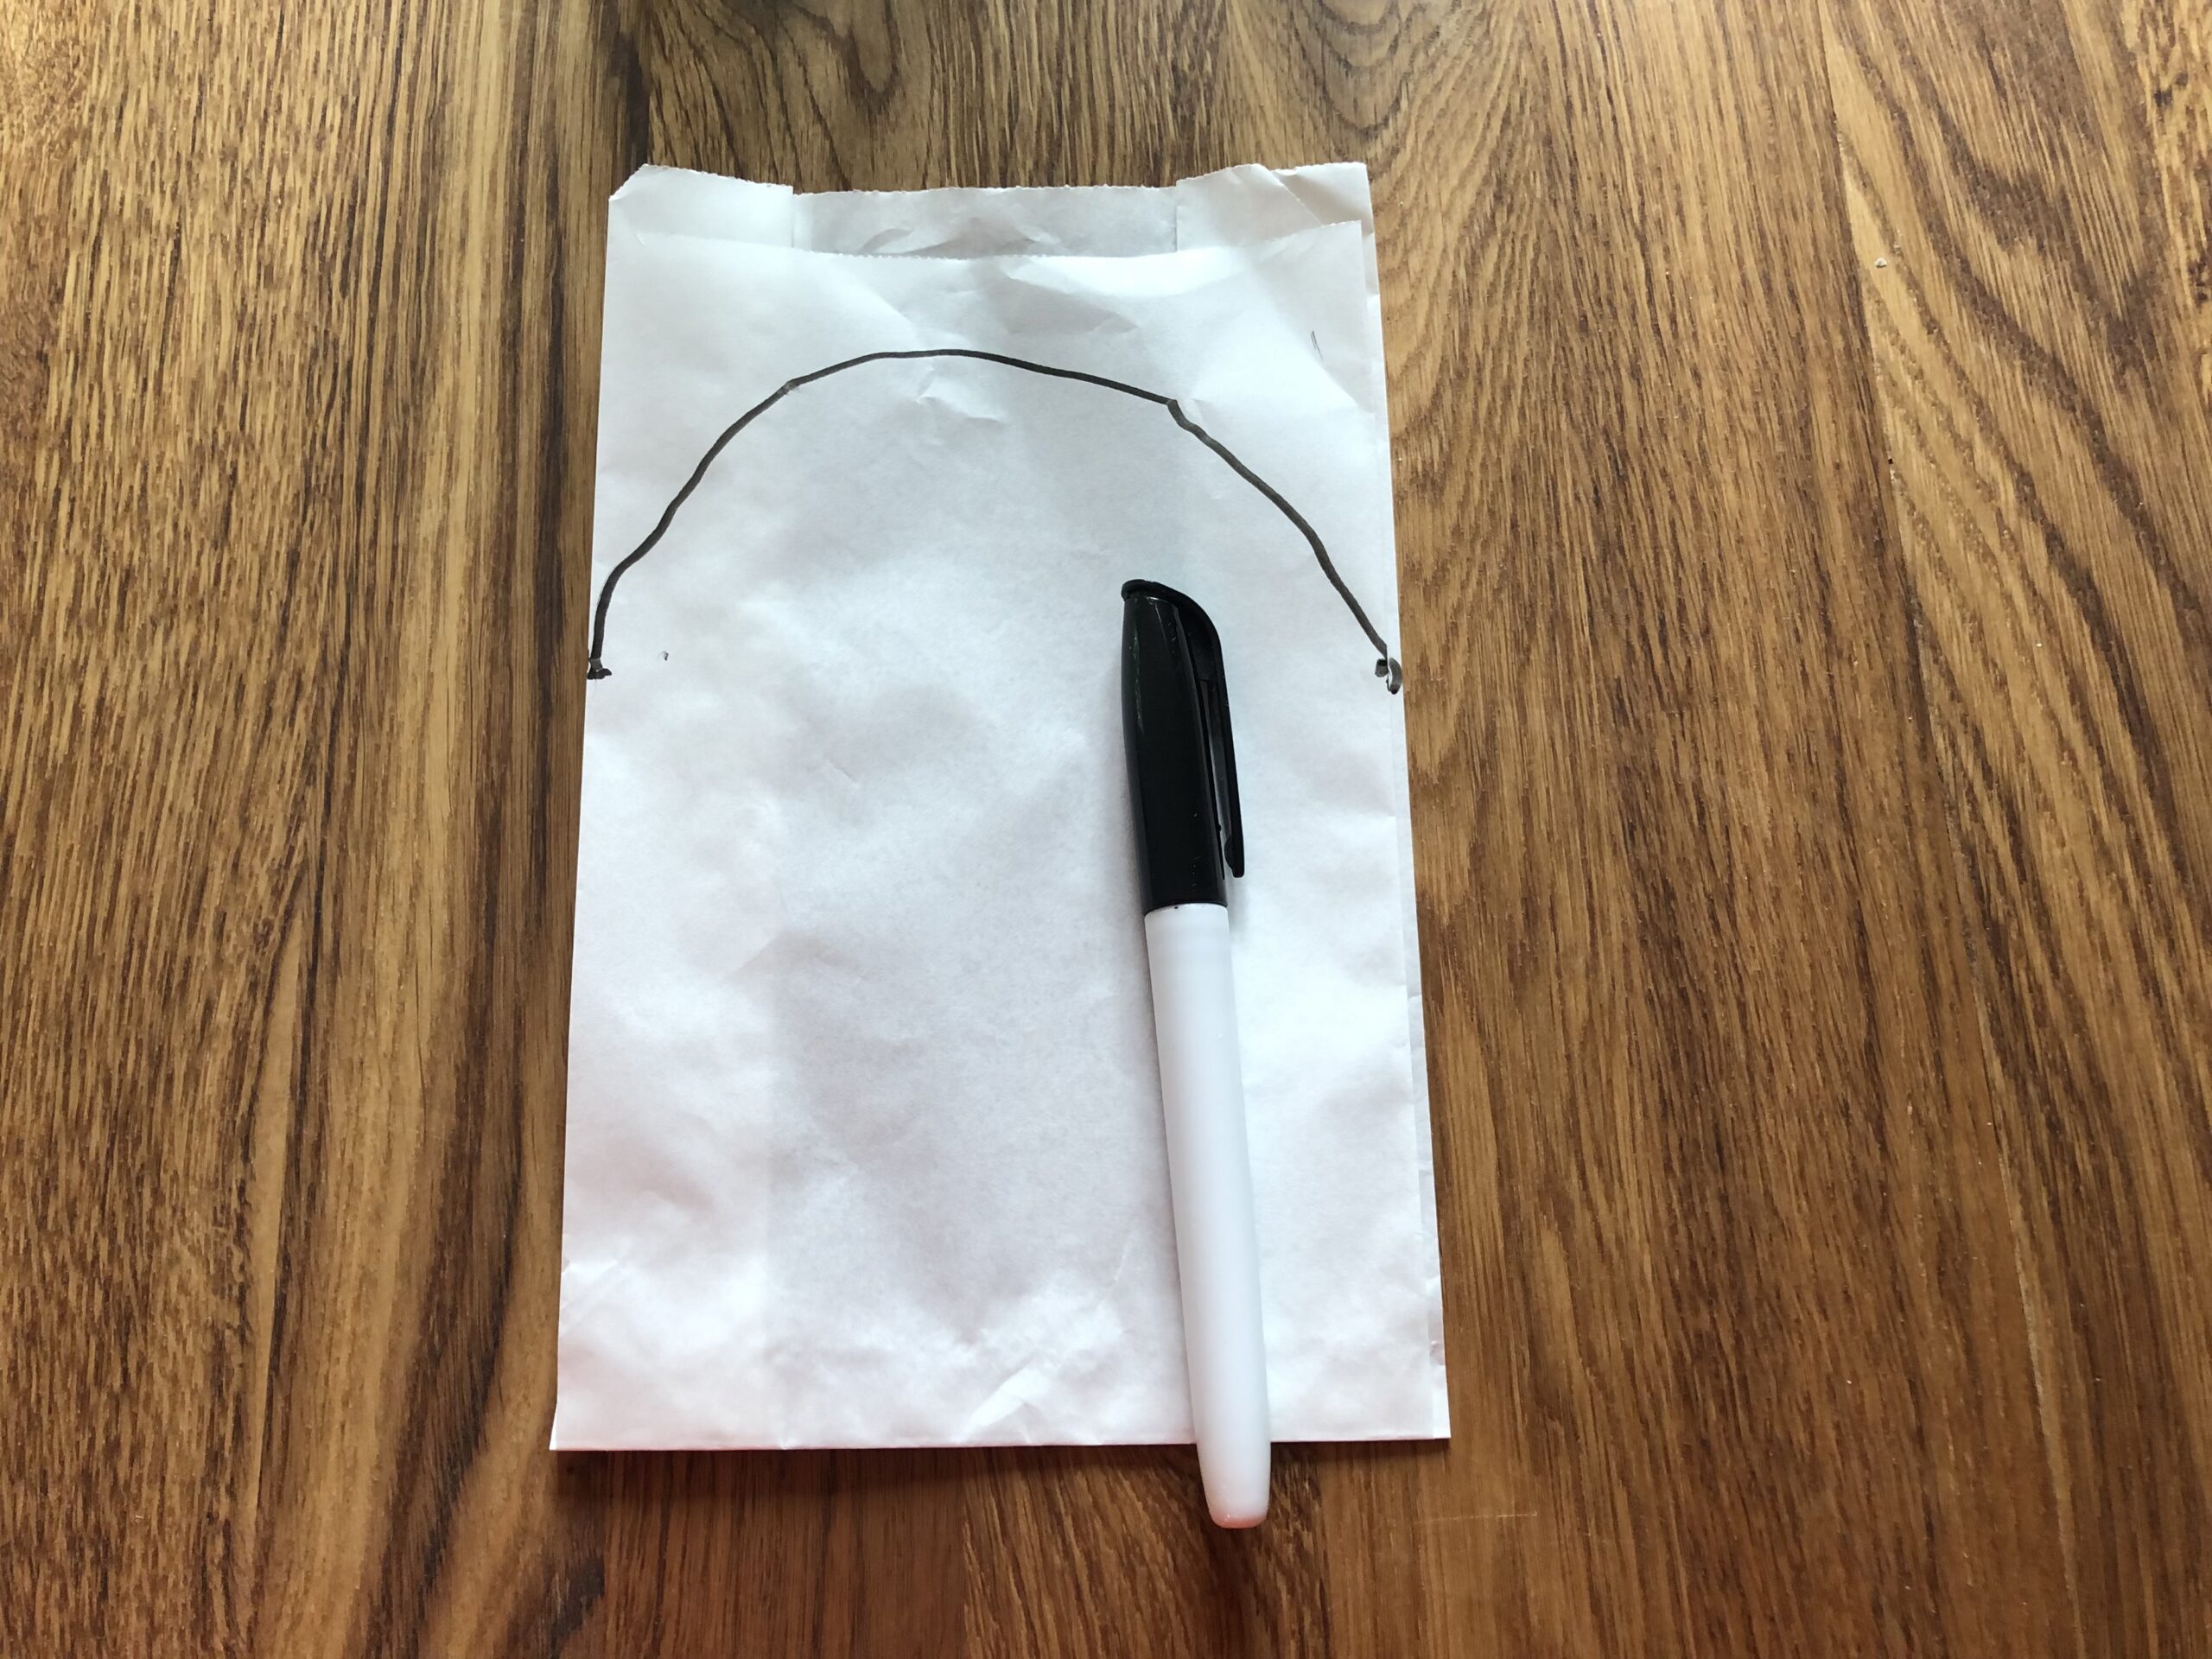
Then paint a bow at the opening of the butterbread bag.
Tip: Let the children paint two opposite points in the upper third of the bag to the left and right. Then connect these two points with a large bow. The points serve for orientation.
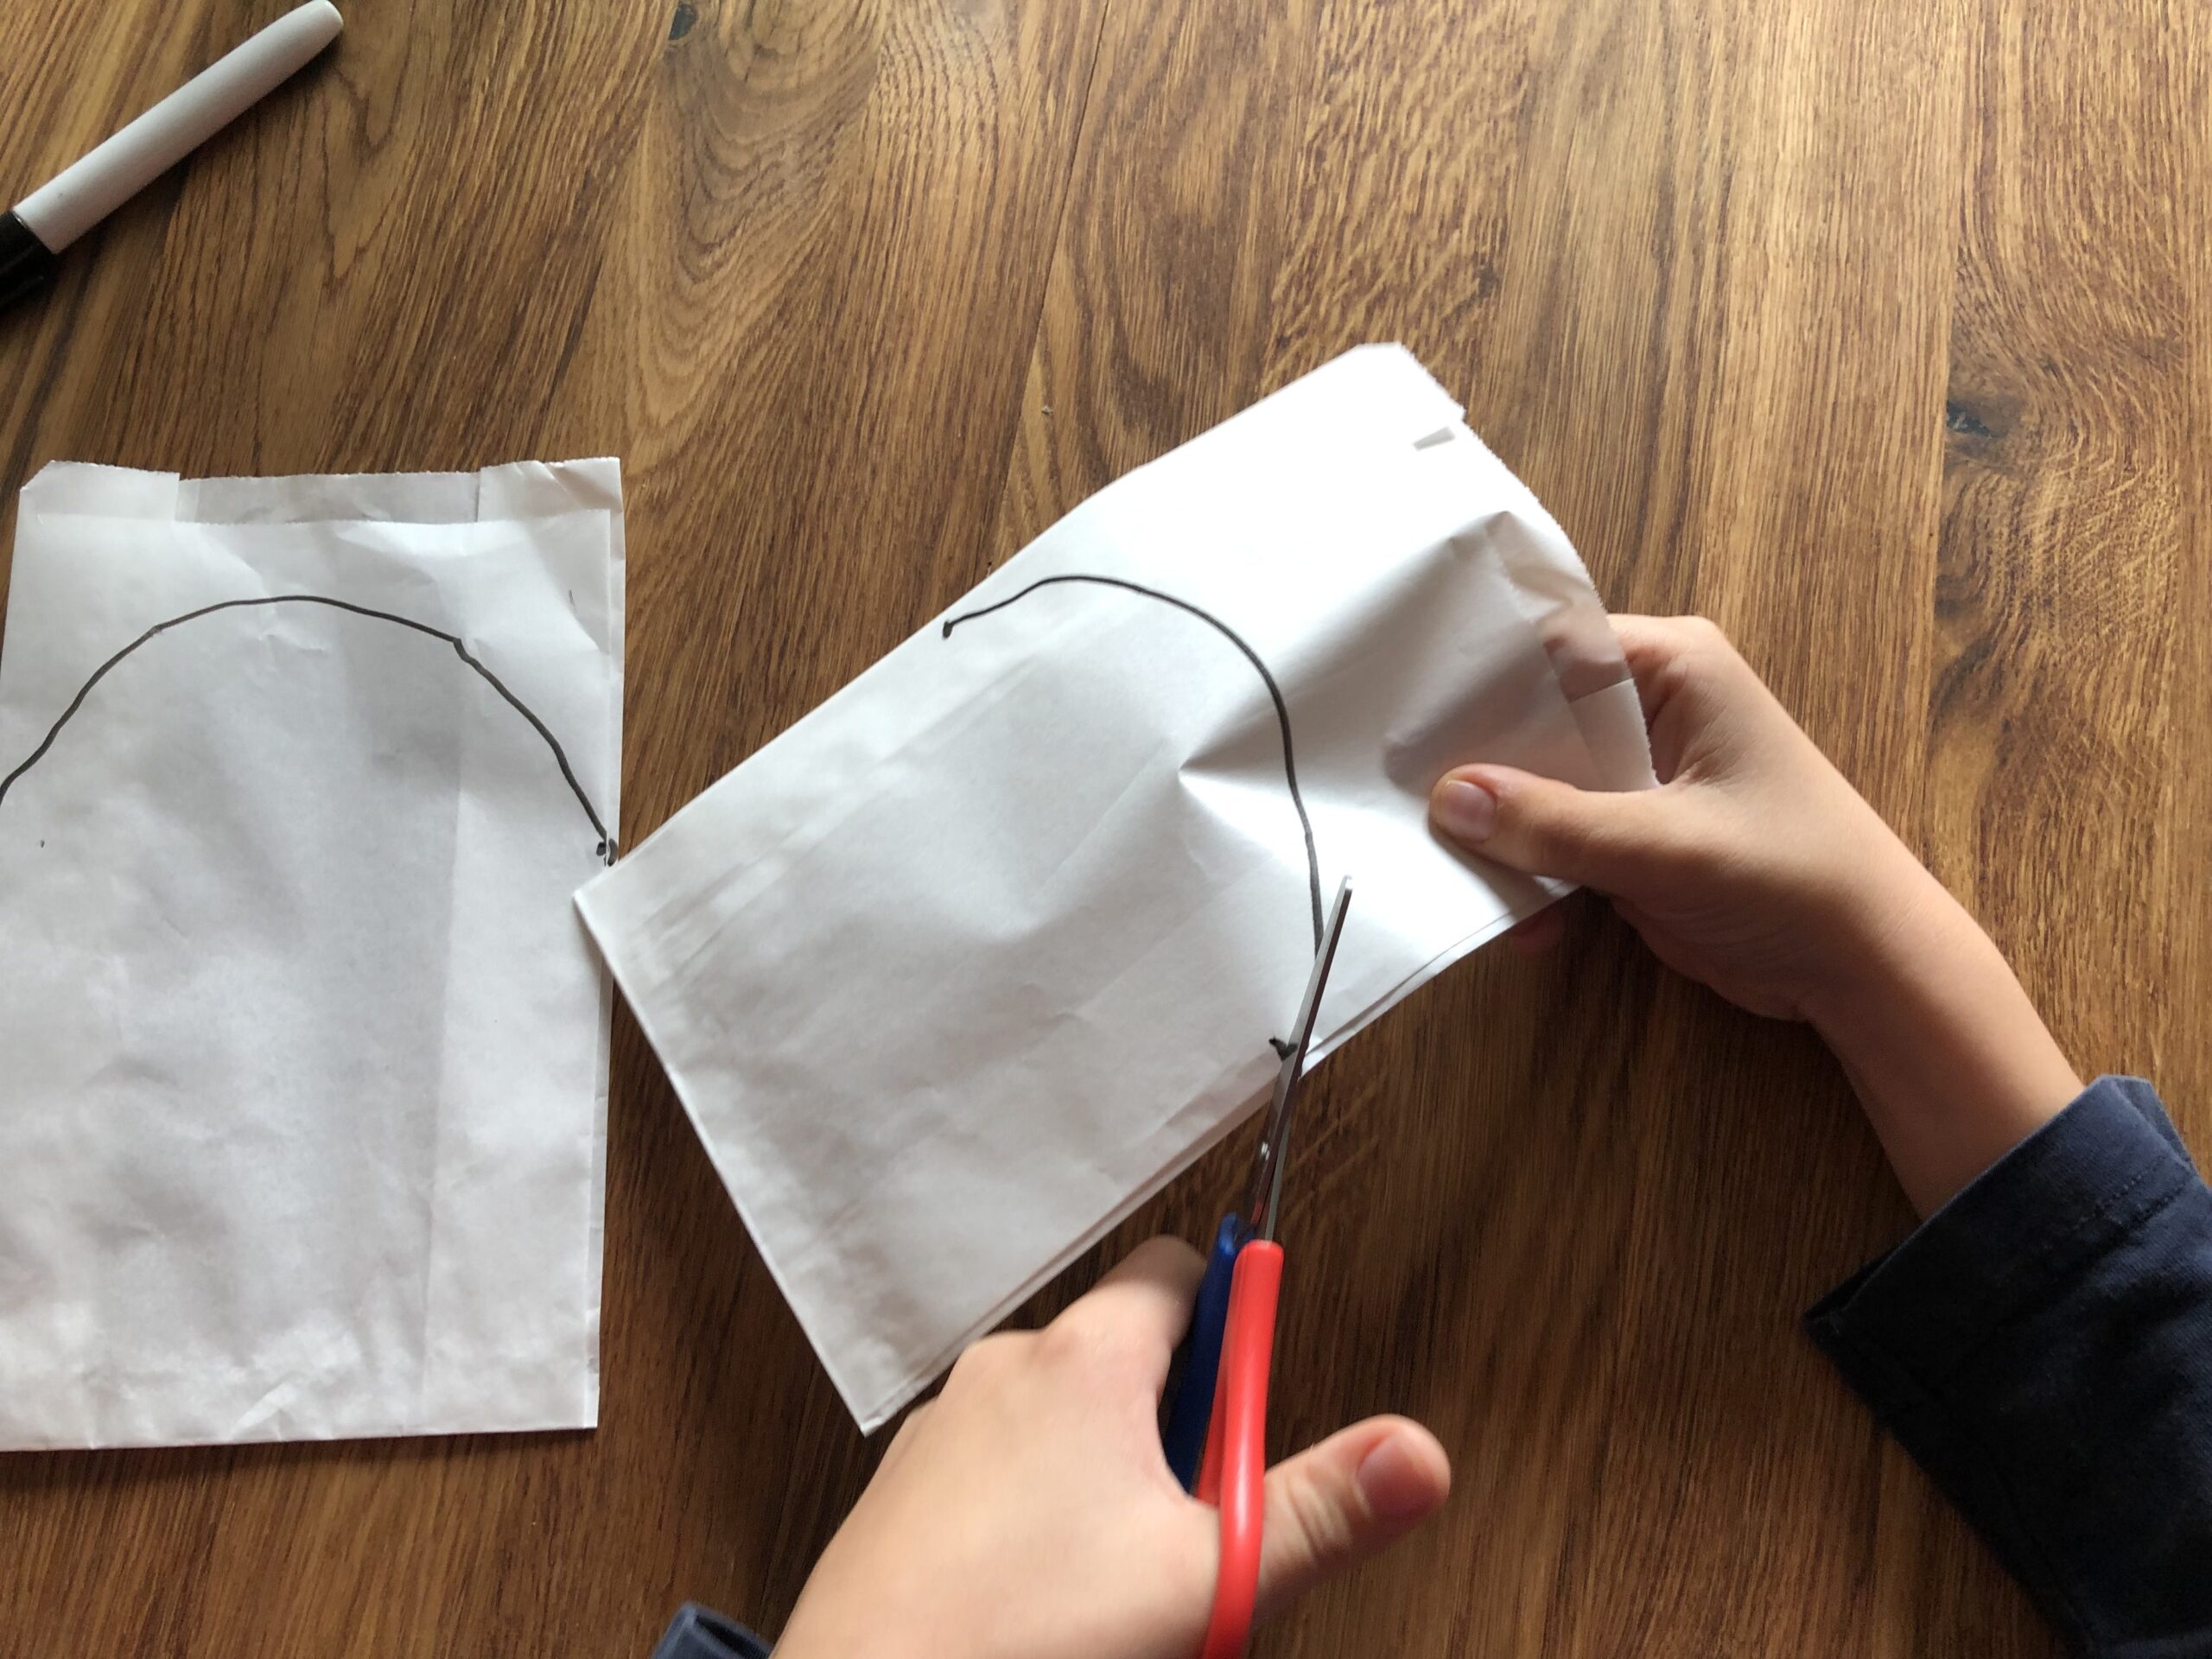
Then you cut the bag along the line.
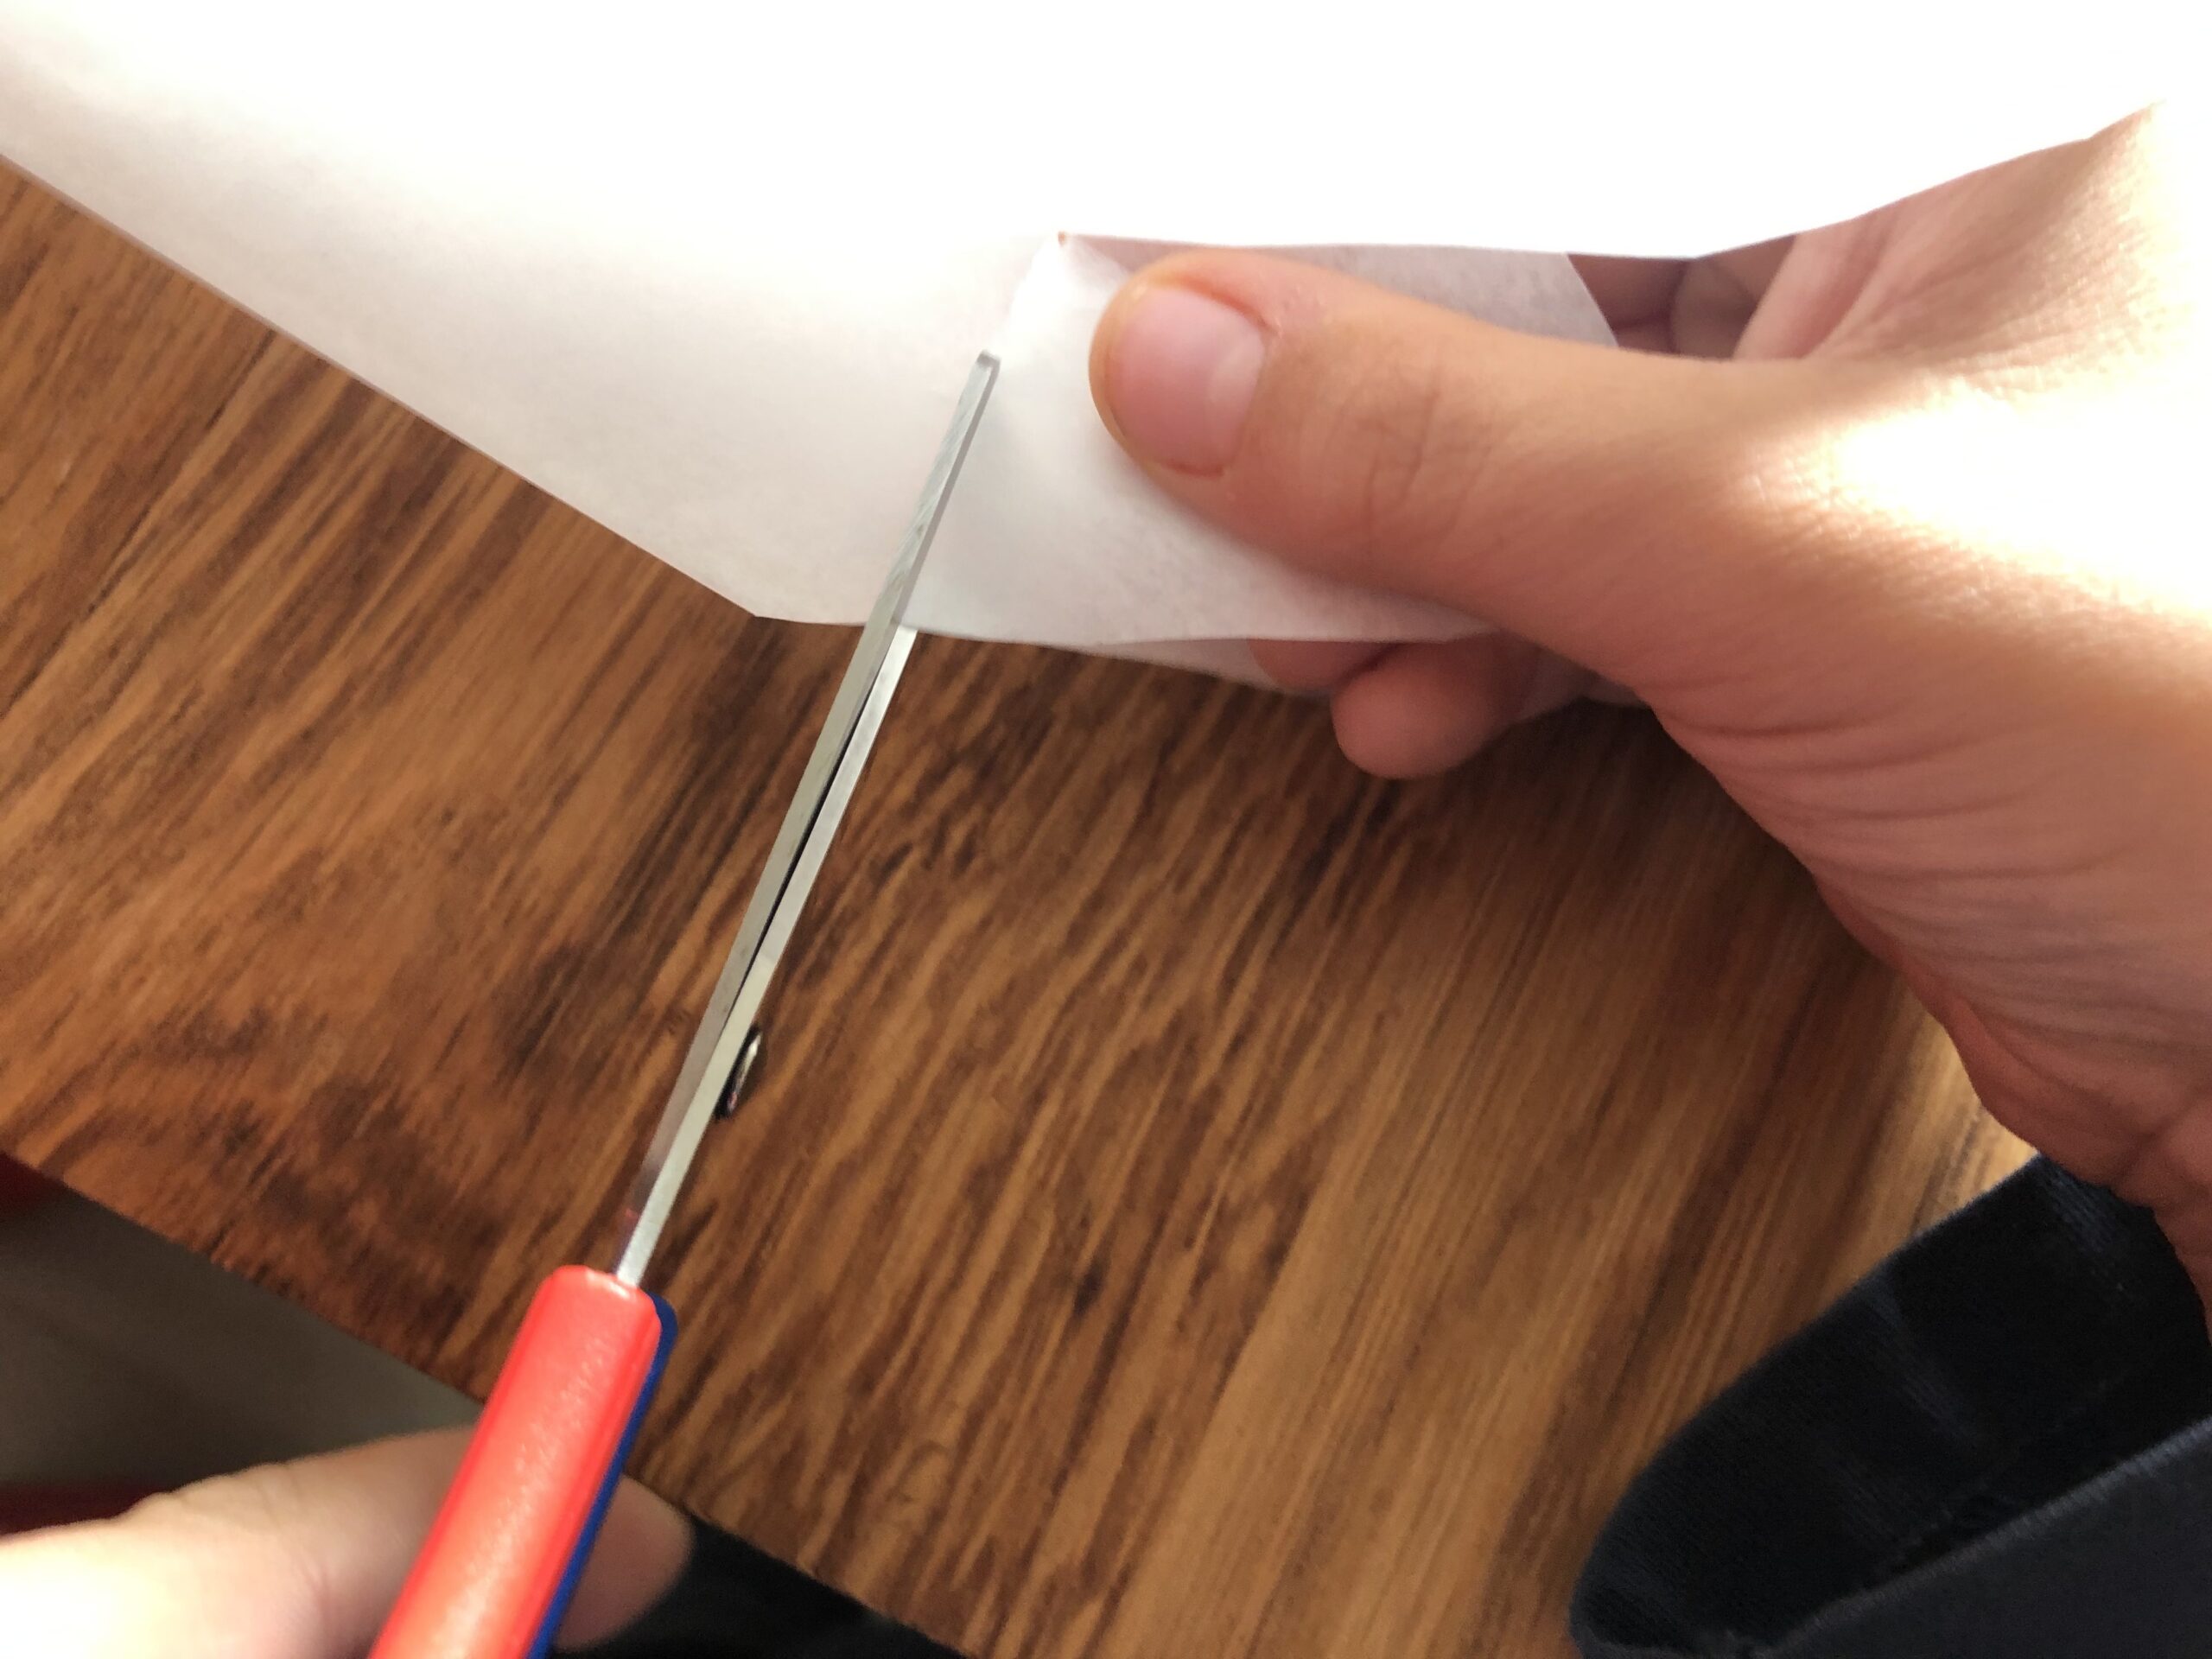
Now cut off the protruding corners on the inside of the bag.
Cut them off on both sides.
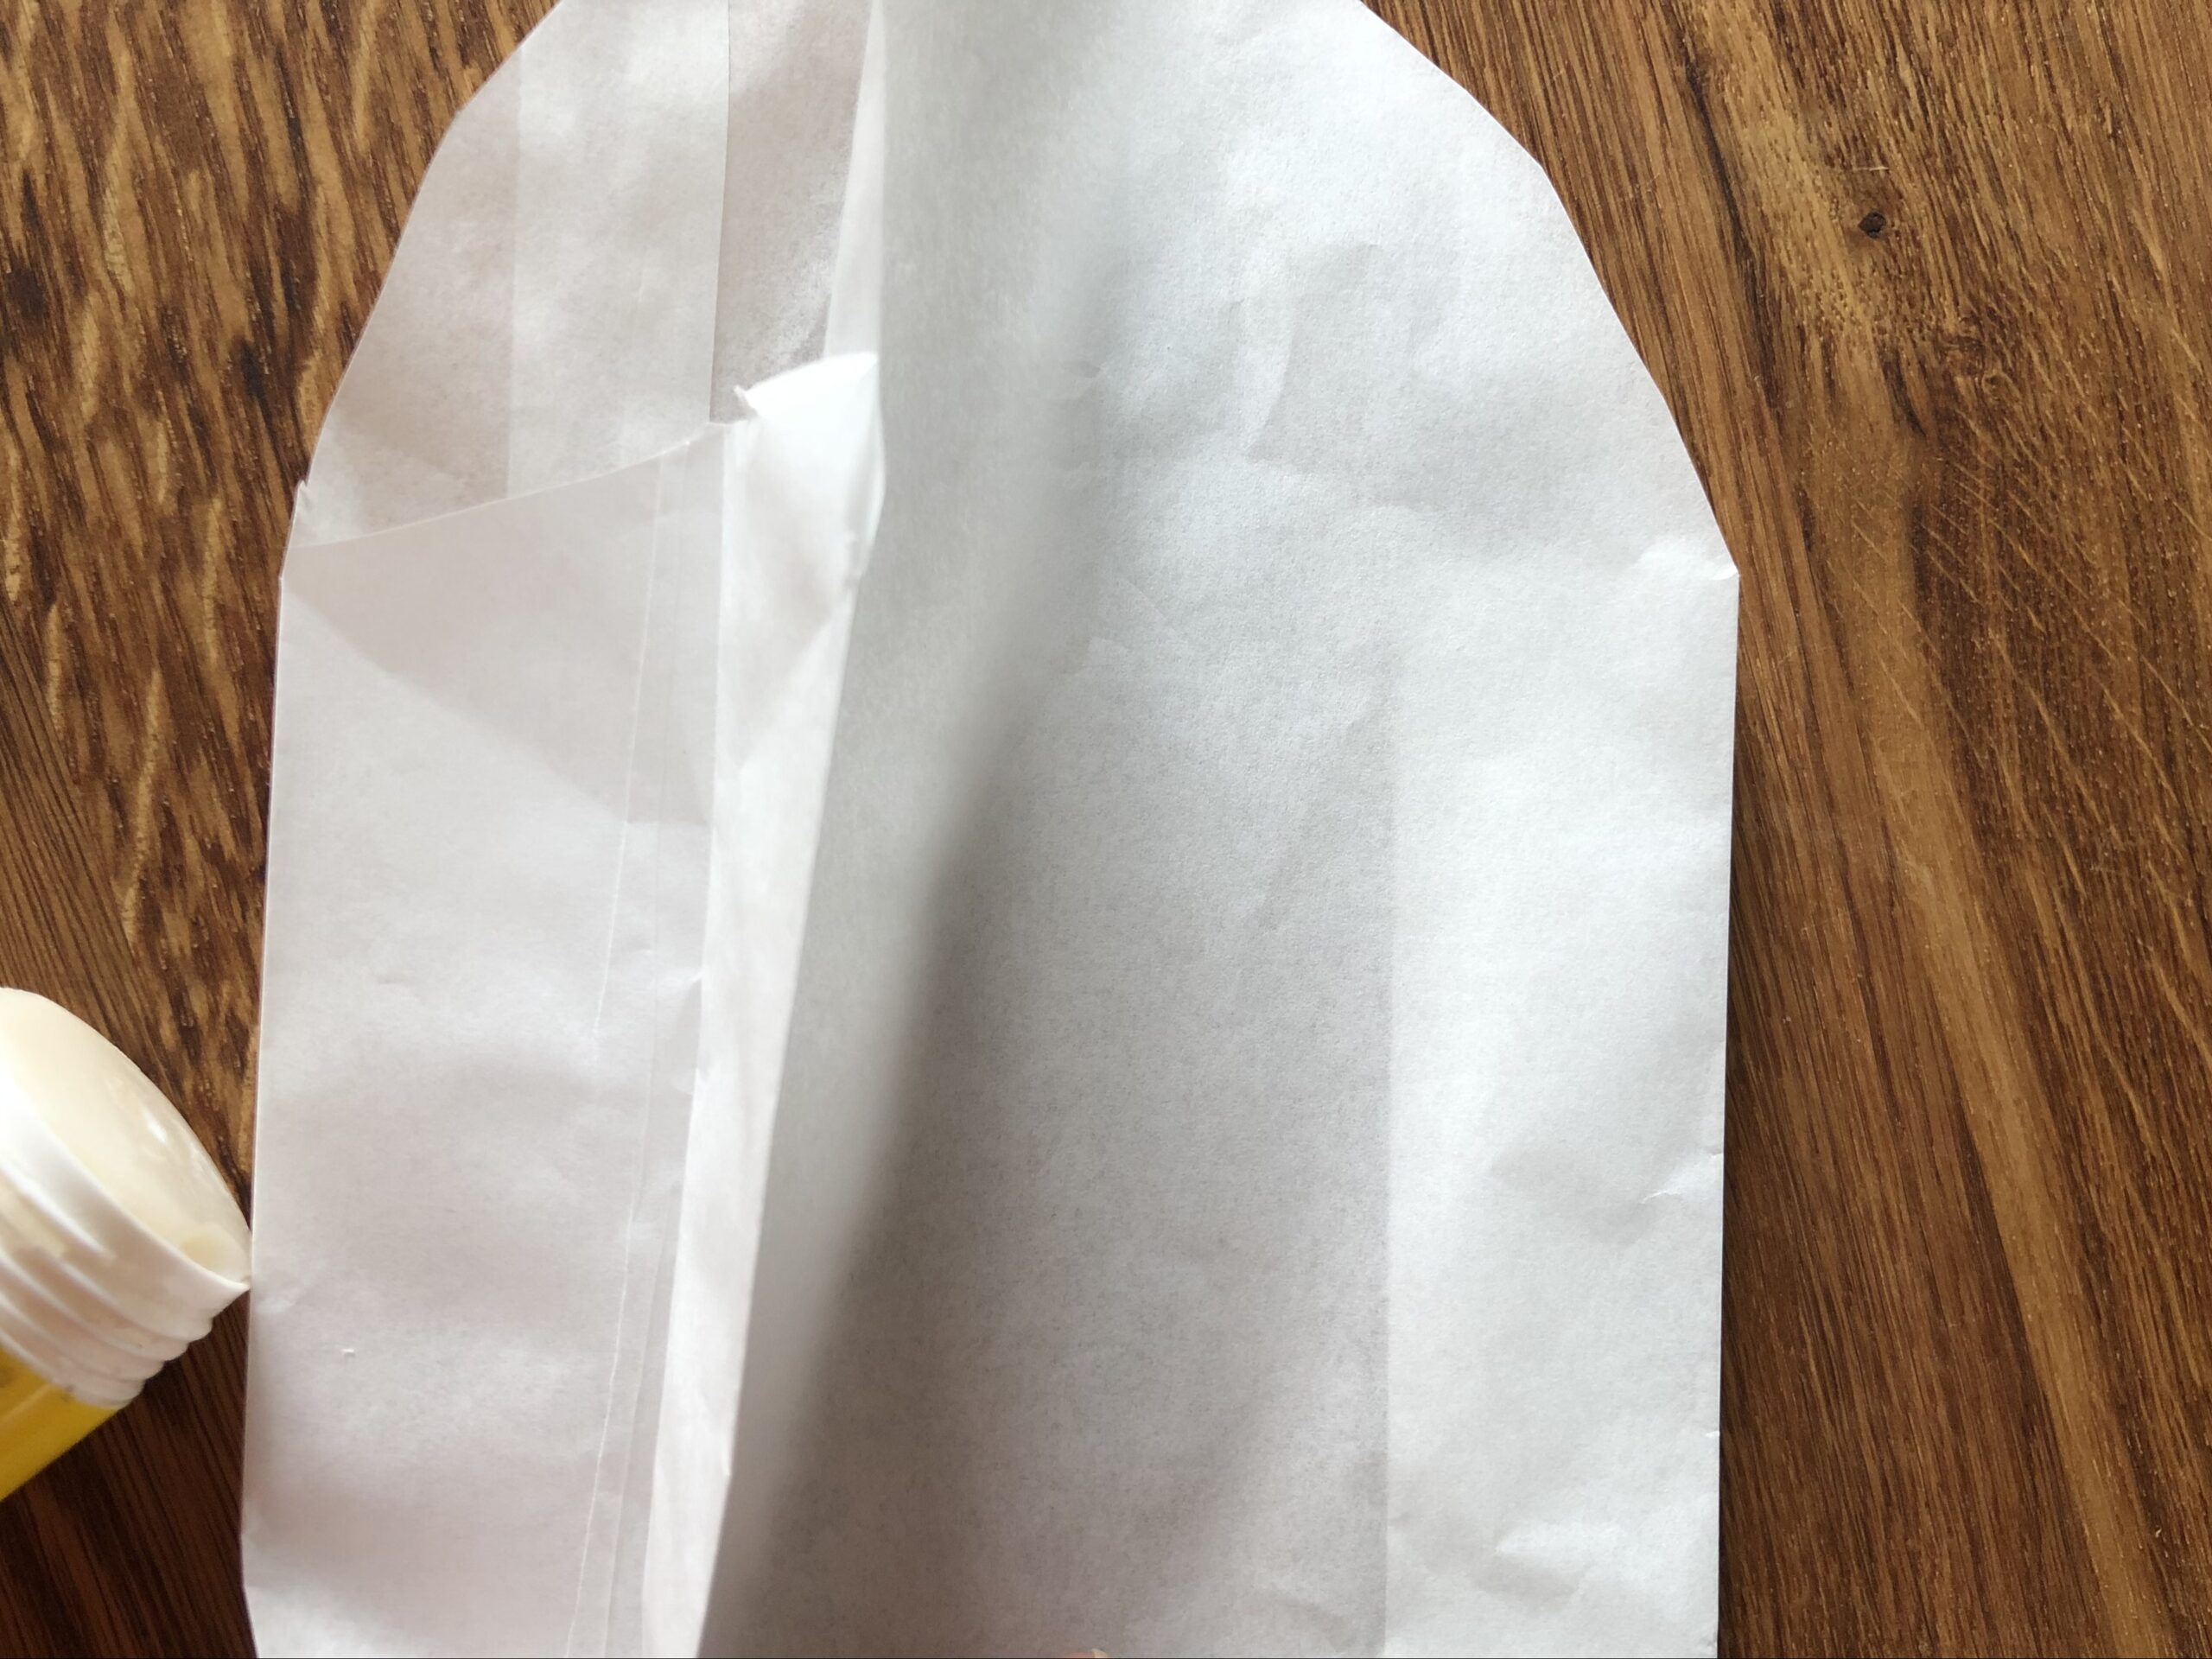
Then glue the loose sides to the left and right with a glue stick.
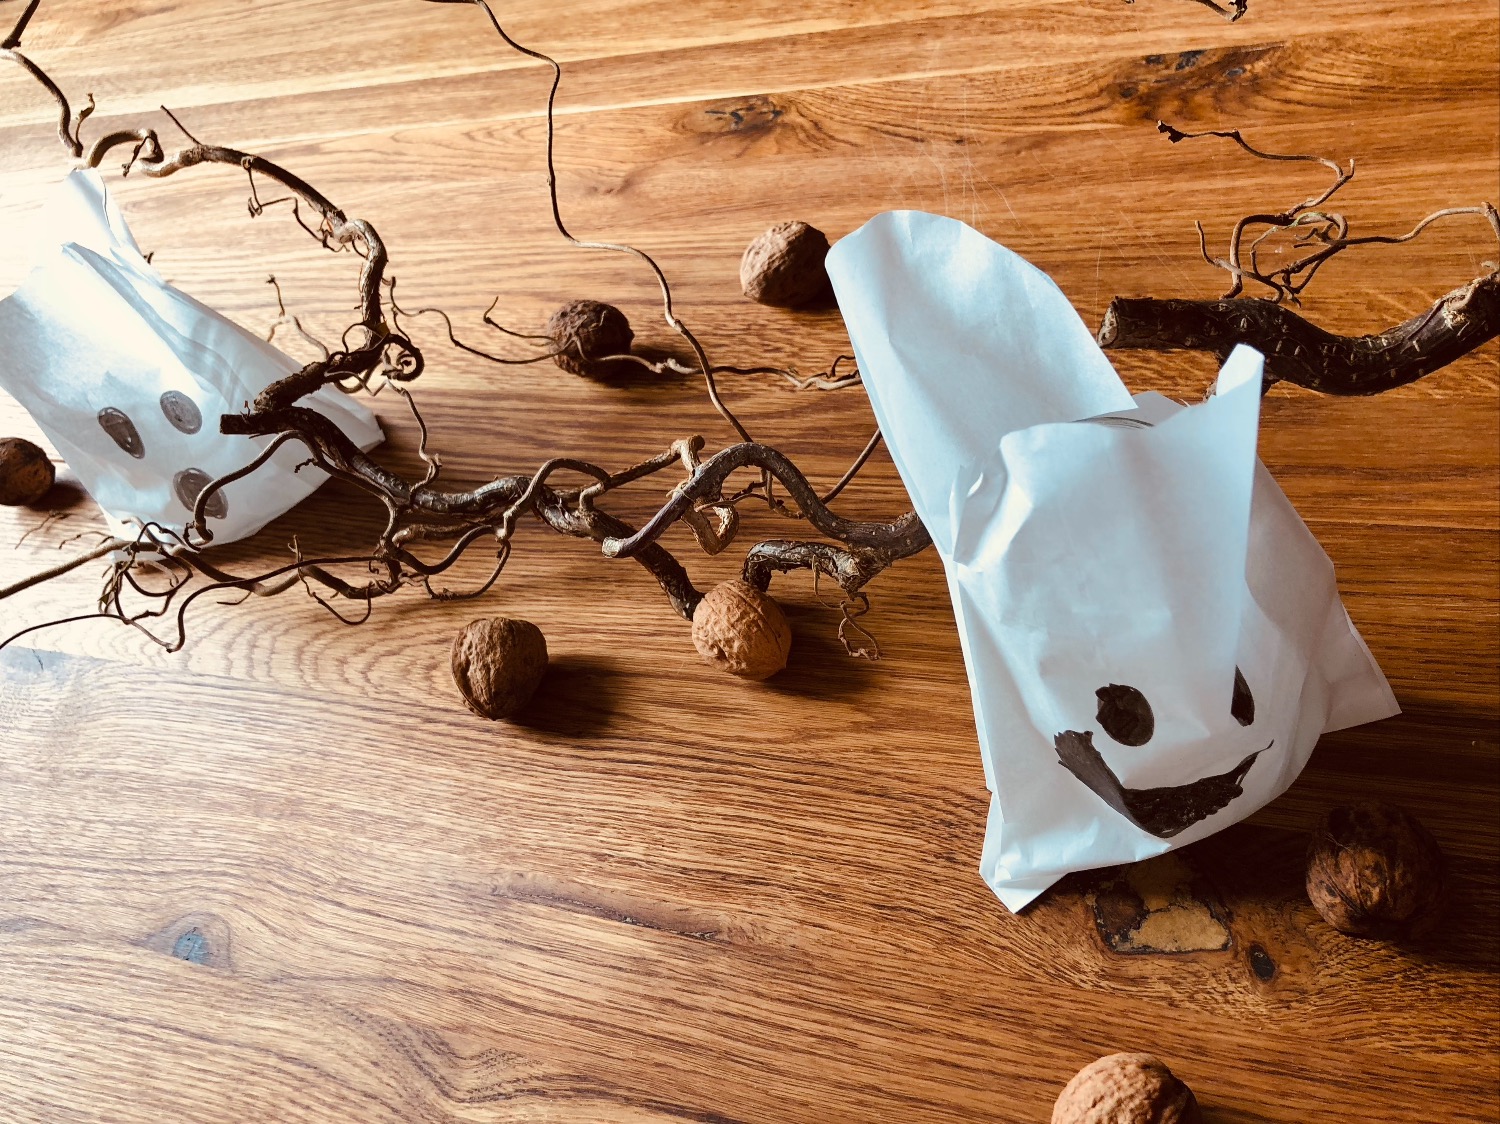
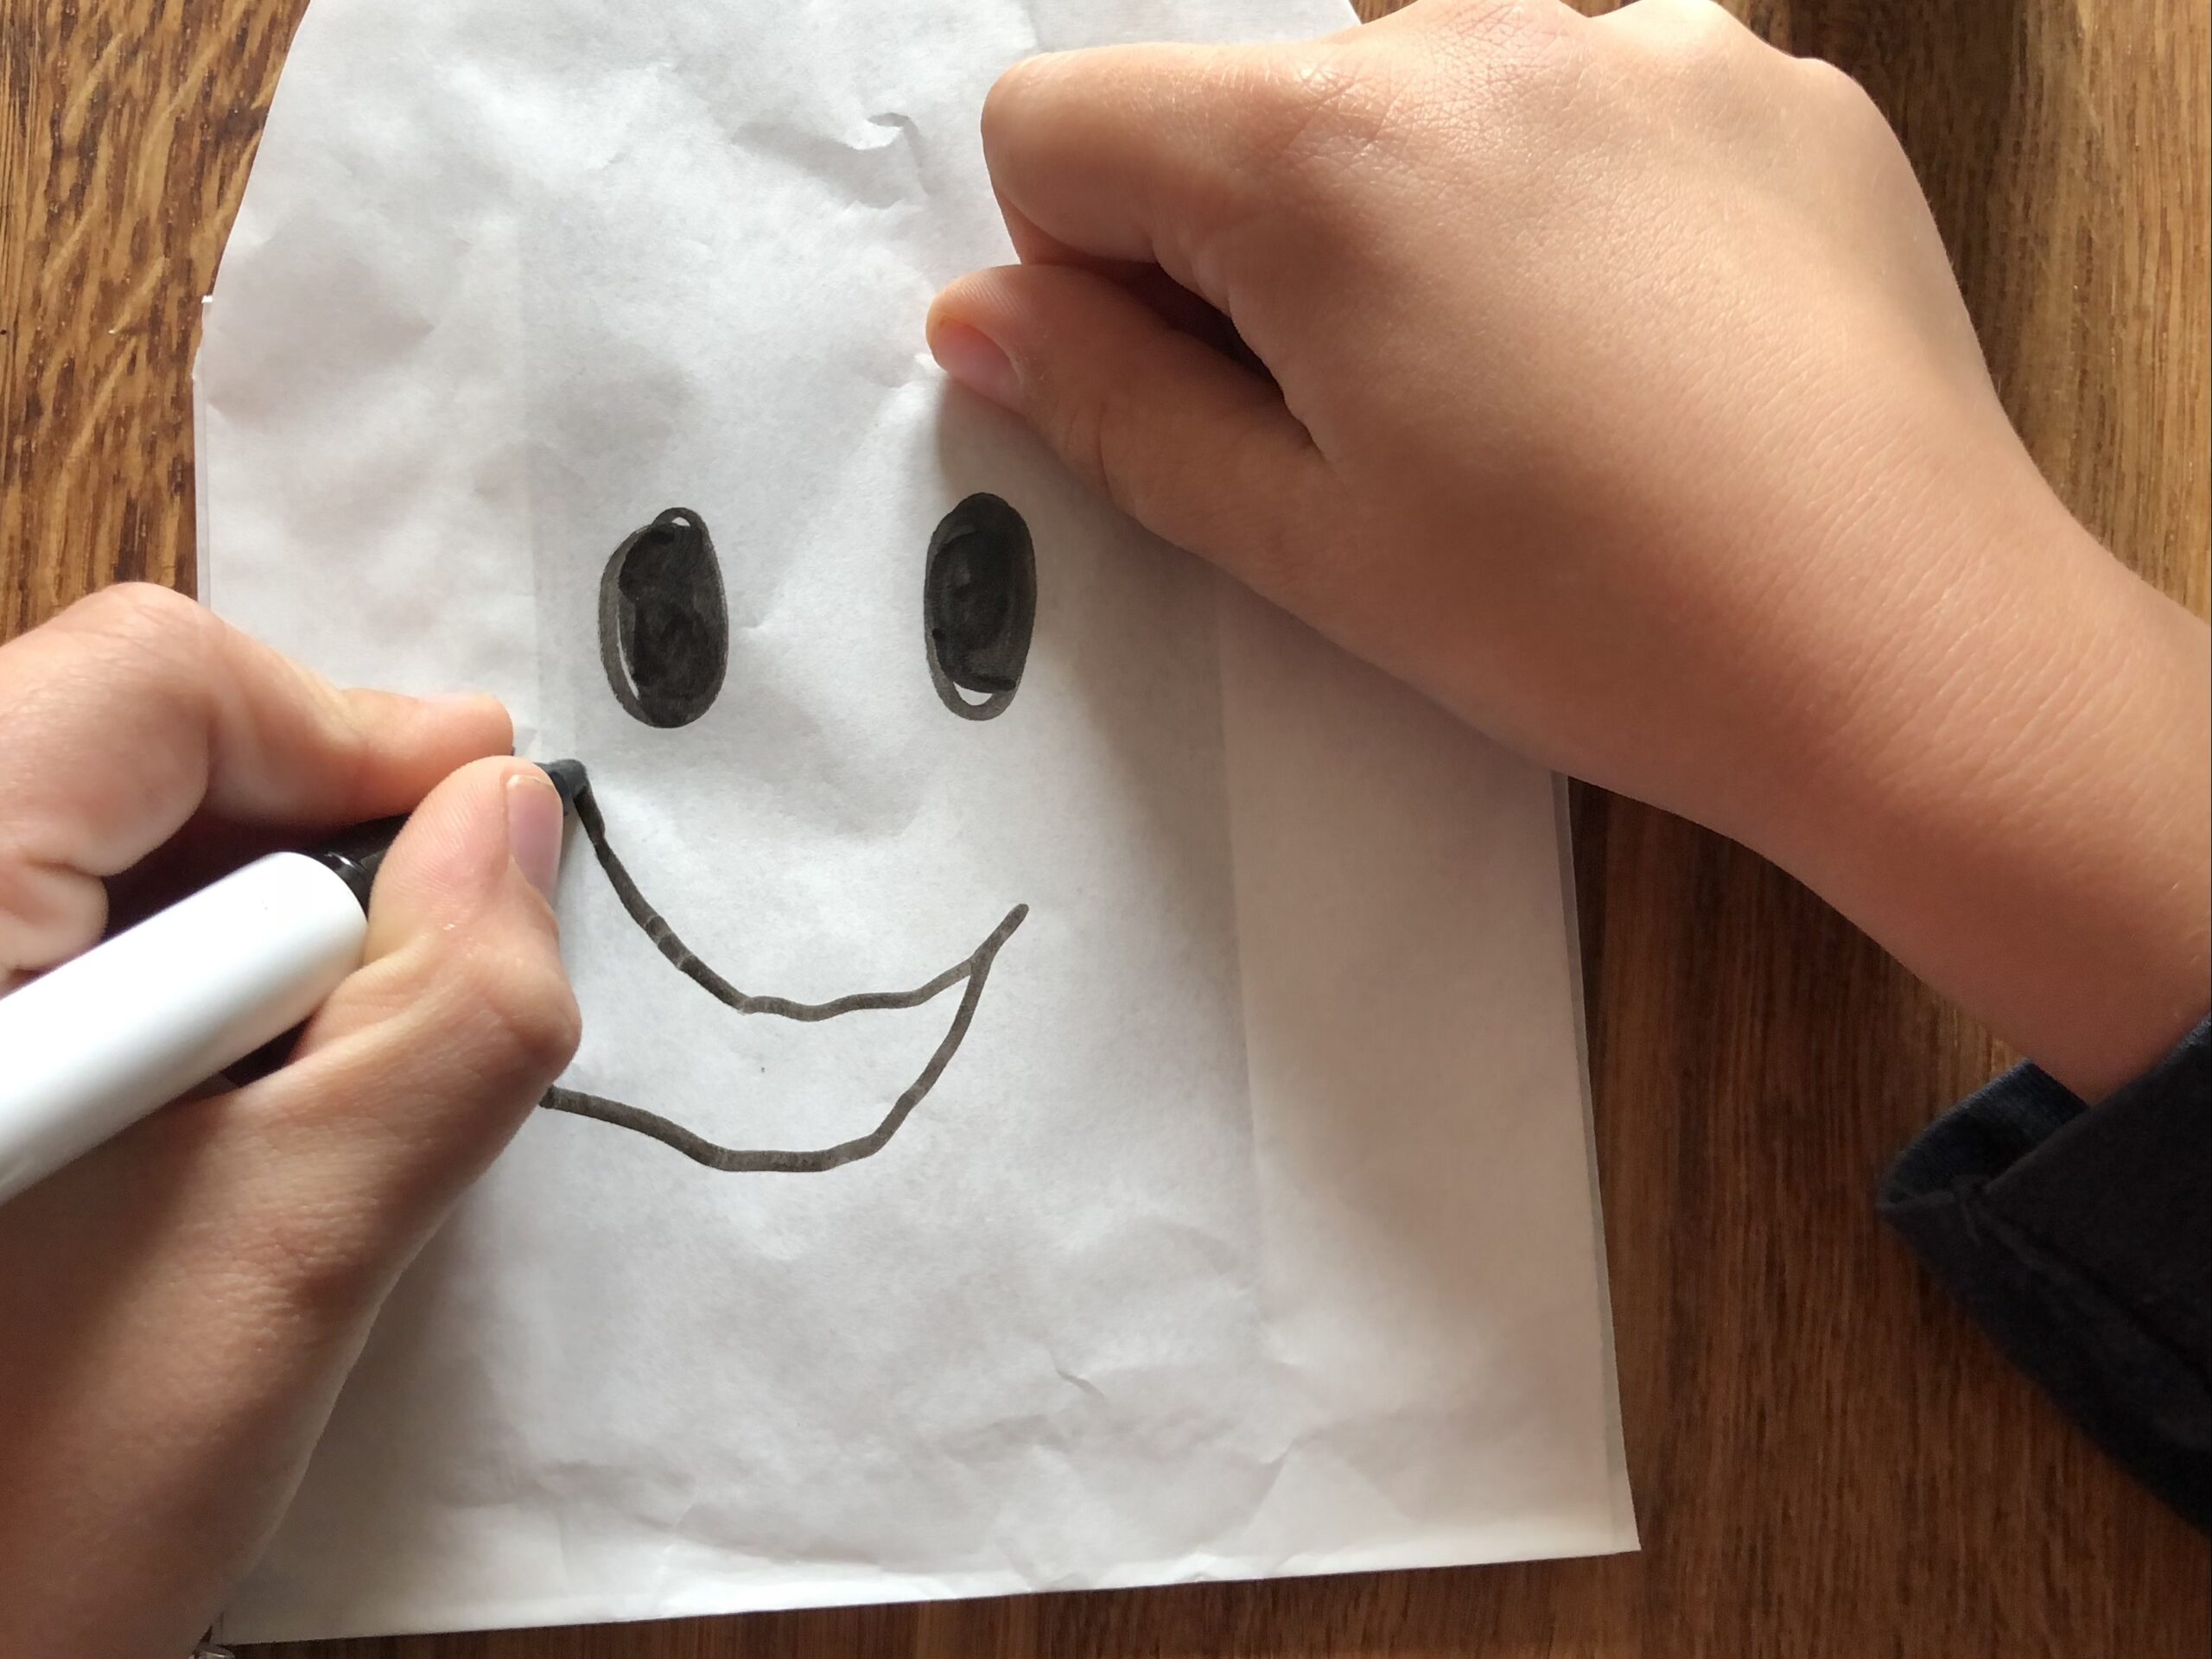
Now you paint a face on the bags, creating beautiful, creepy ghosts.
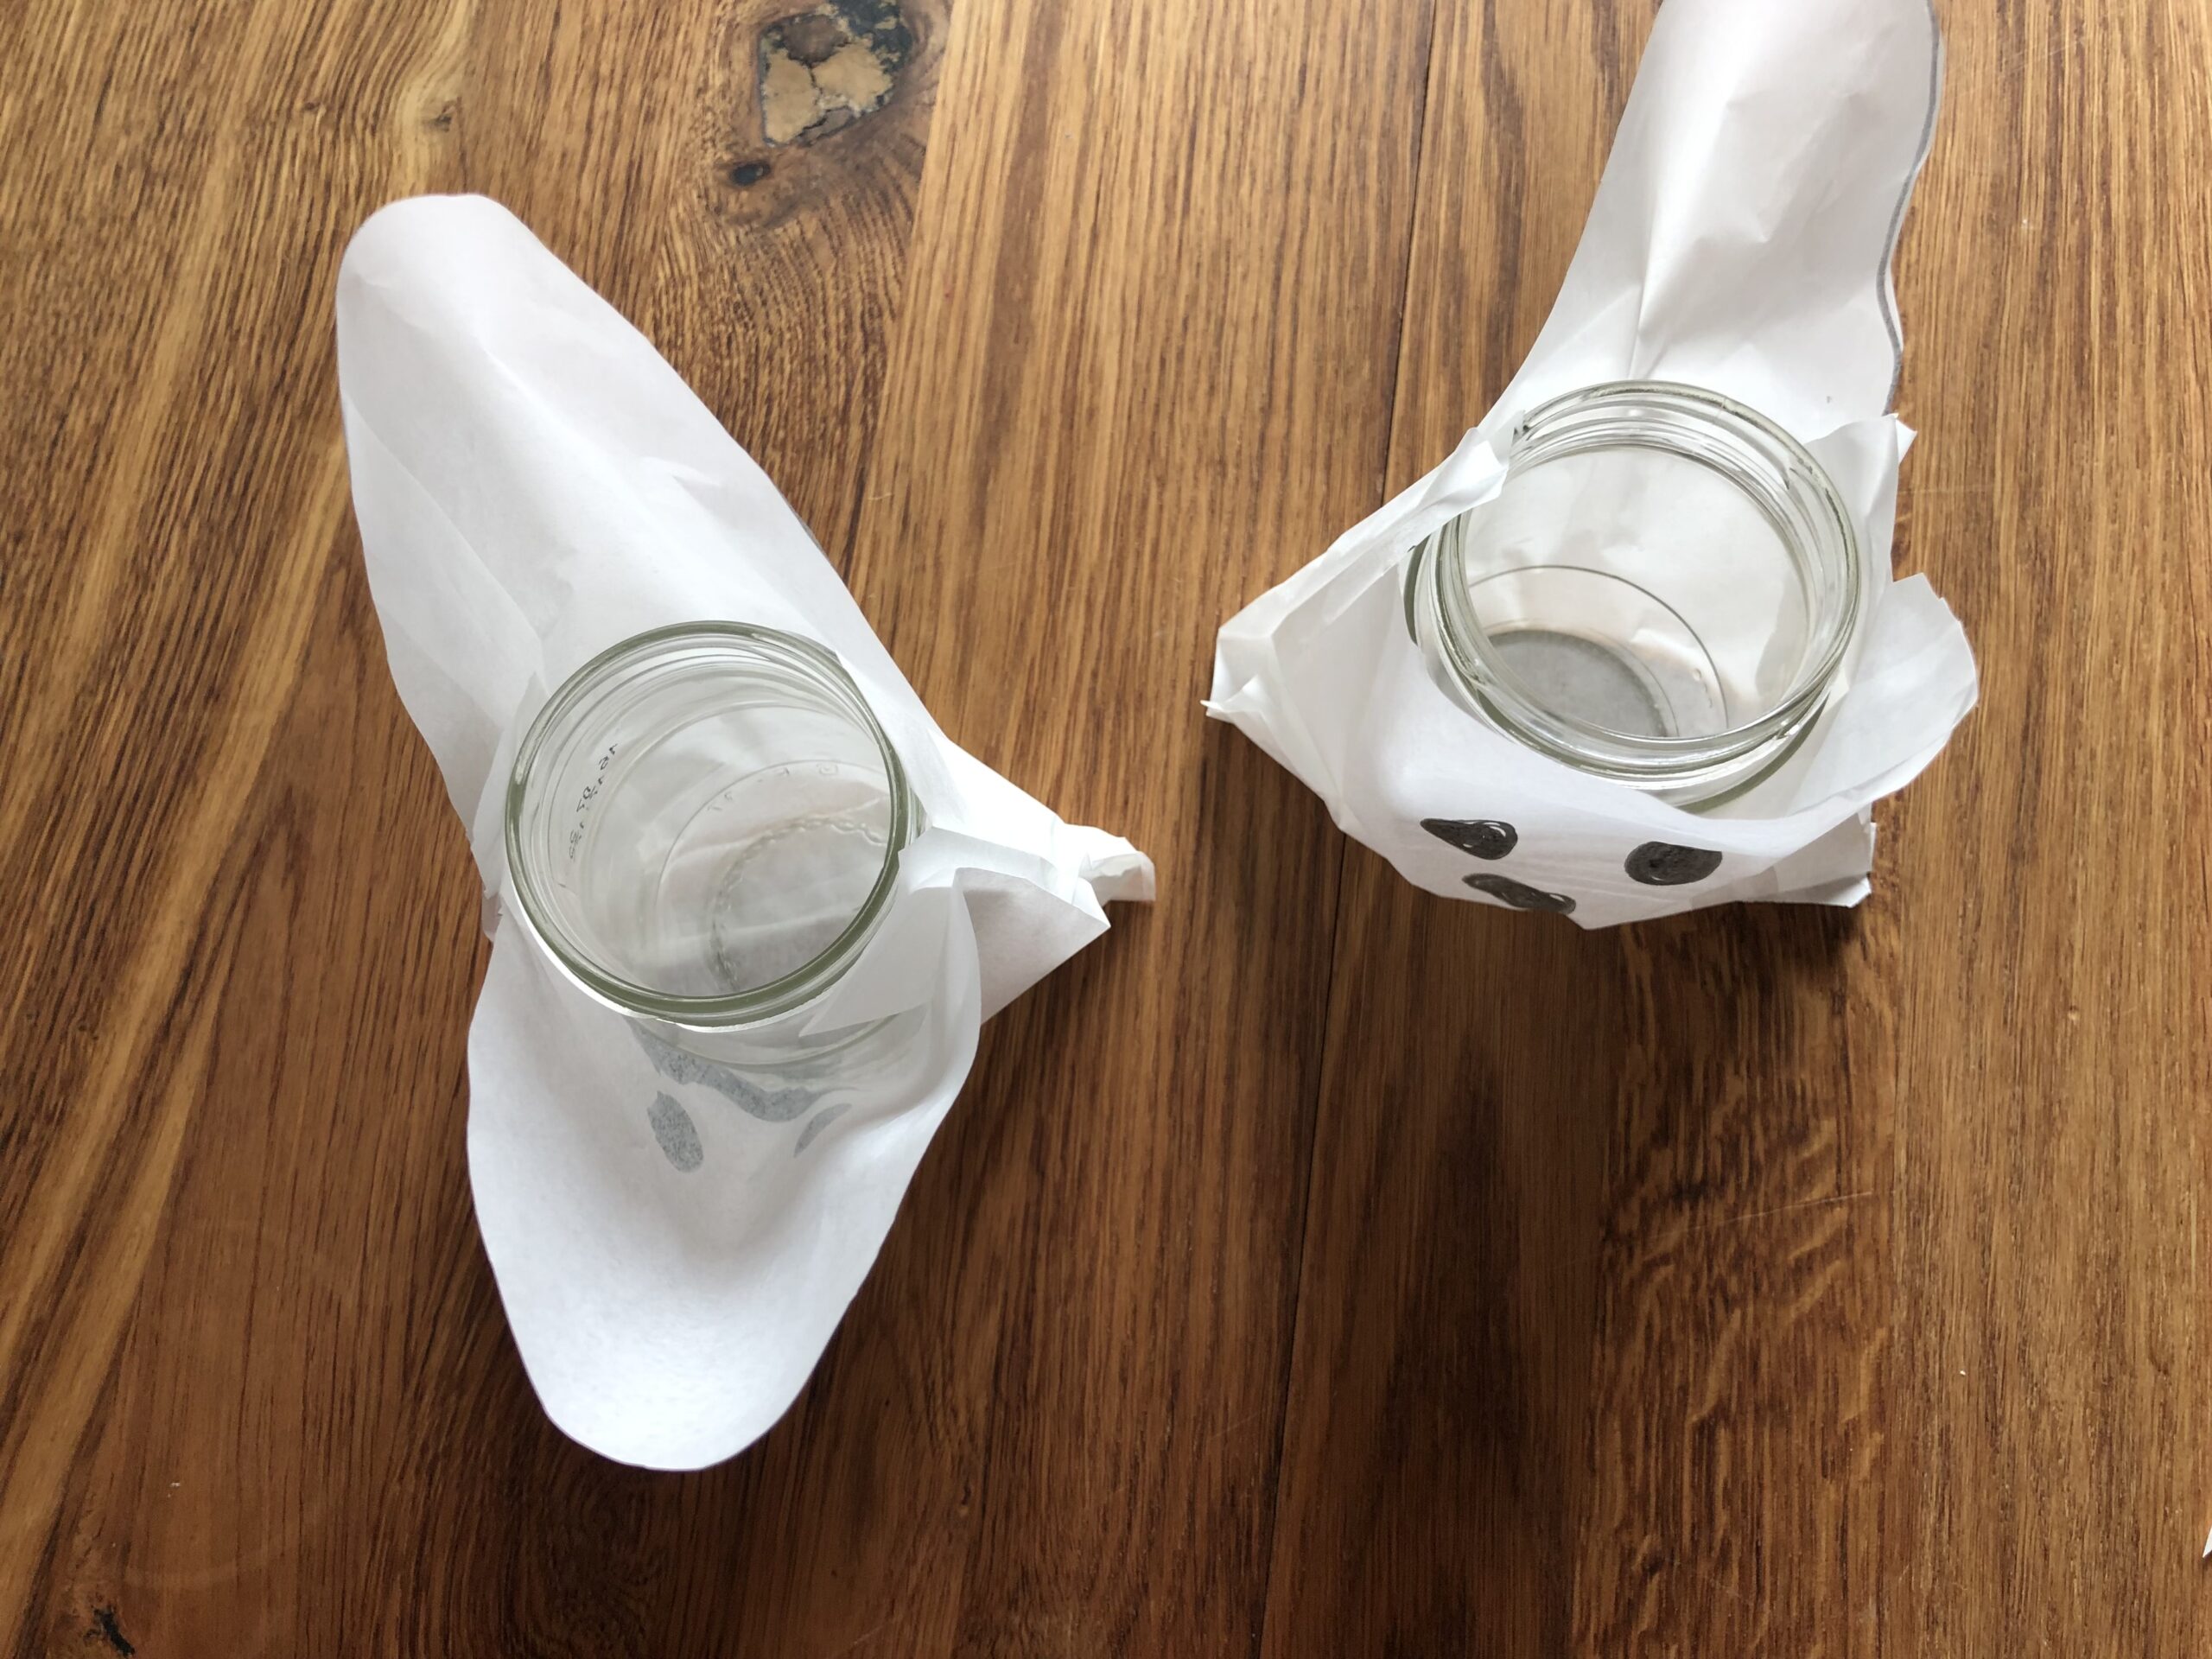
Then put the empty jam jar in the bag.
Then you put a tealight in it. Ready are the windlight ghosts.
Finally, the windlight decorates ghosts with a branch and nuts or with pumpkins. Use what you have at home.

Have fun!
Materials
Directions
First, look for the materials together.
Then paint a bow at the opening of the butterbread bag.
Tip: Let the children paint two opposite points in the upper third of the bag to the left and right. Then connect these two points with a large bow. The points serve for orientation.
Then you cut the bag along the line.
Now cut off the protruding corners on the inside of the bag.
Cut them off on both sides.
Then glue the loose sides to the left and right with a glue stick.
Now you paint a face on the bags, creating beautiful, creepy ghosts.
Then put the empty jam jar in the bag.
Then you put a tealight in it. Ready are the windlight ghosts.
Finally, the windlight decorates ghosts with a branch and nuts or with pumpkins. Use what you have at home.
Have fun!
Follow us on Facebook , Instagram and Pinterest
Don't miss any more adventures: Our bottle mail