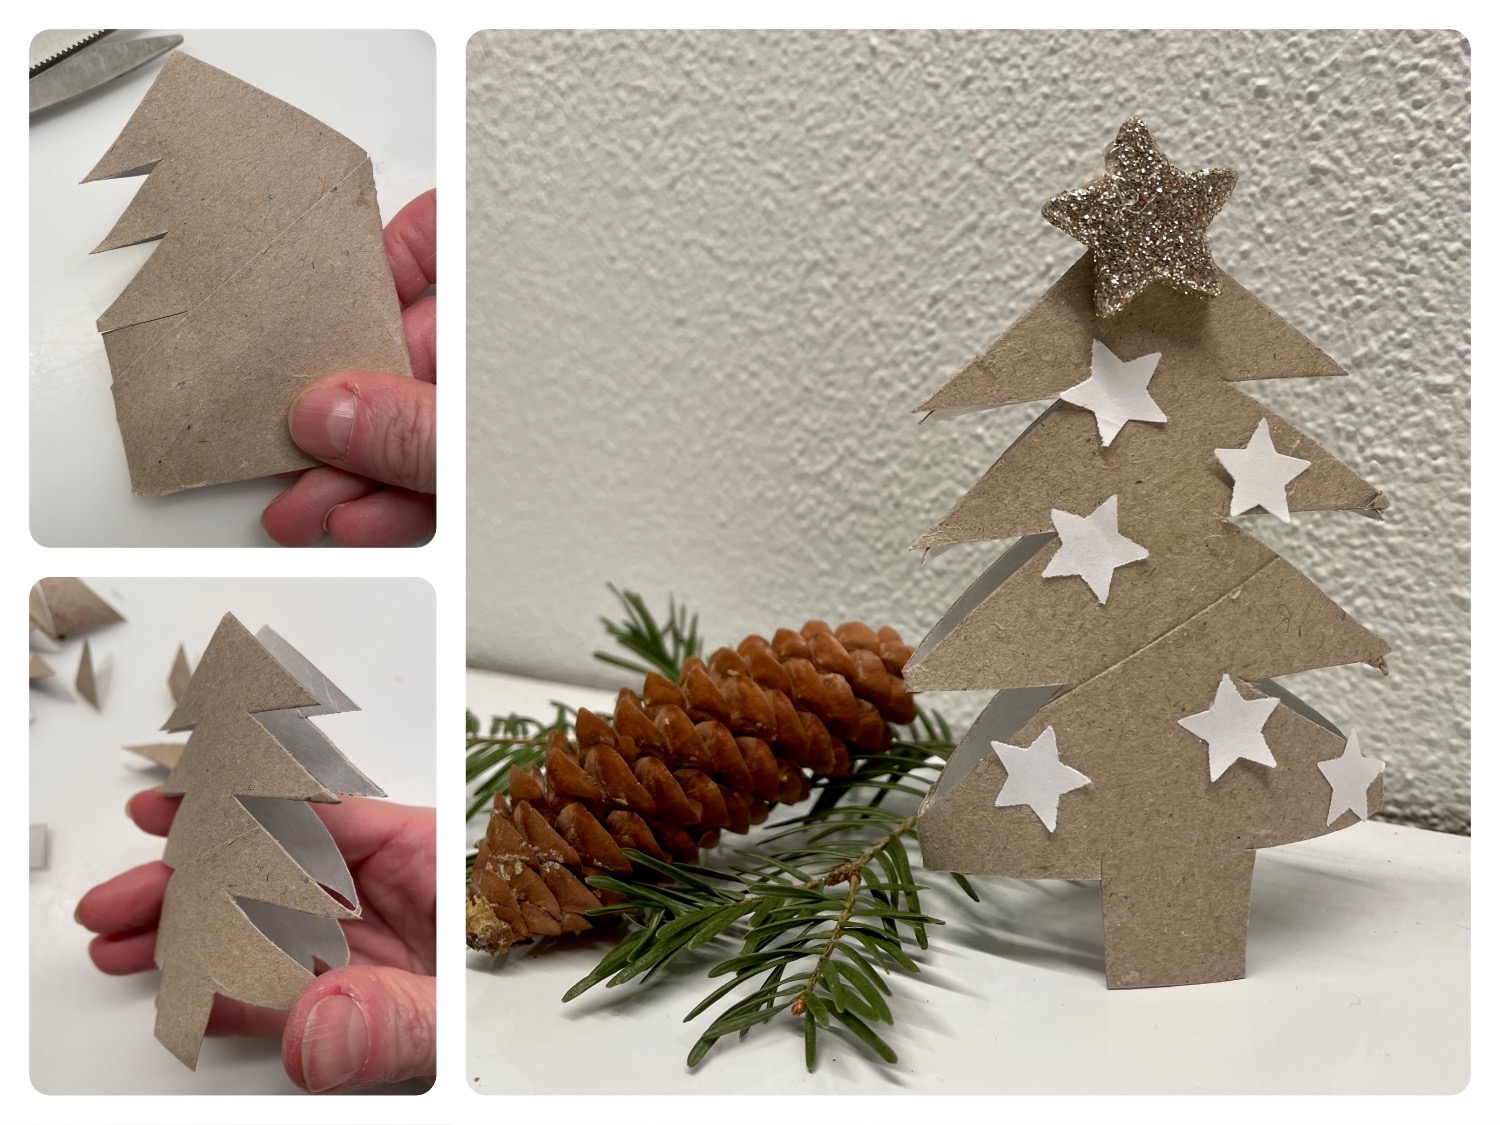
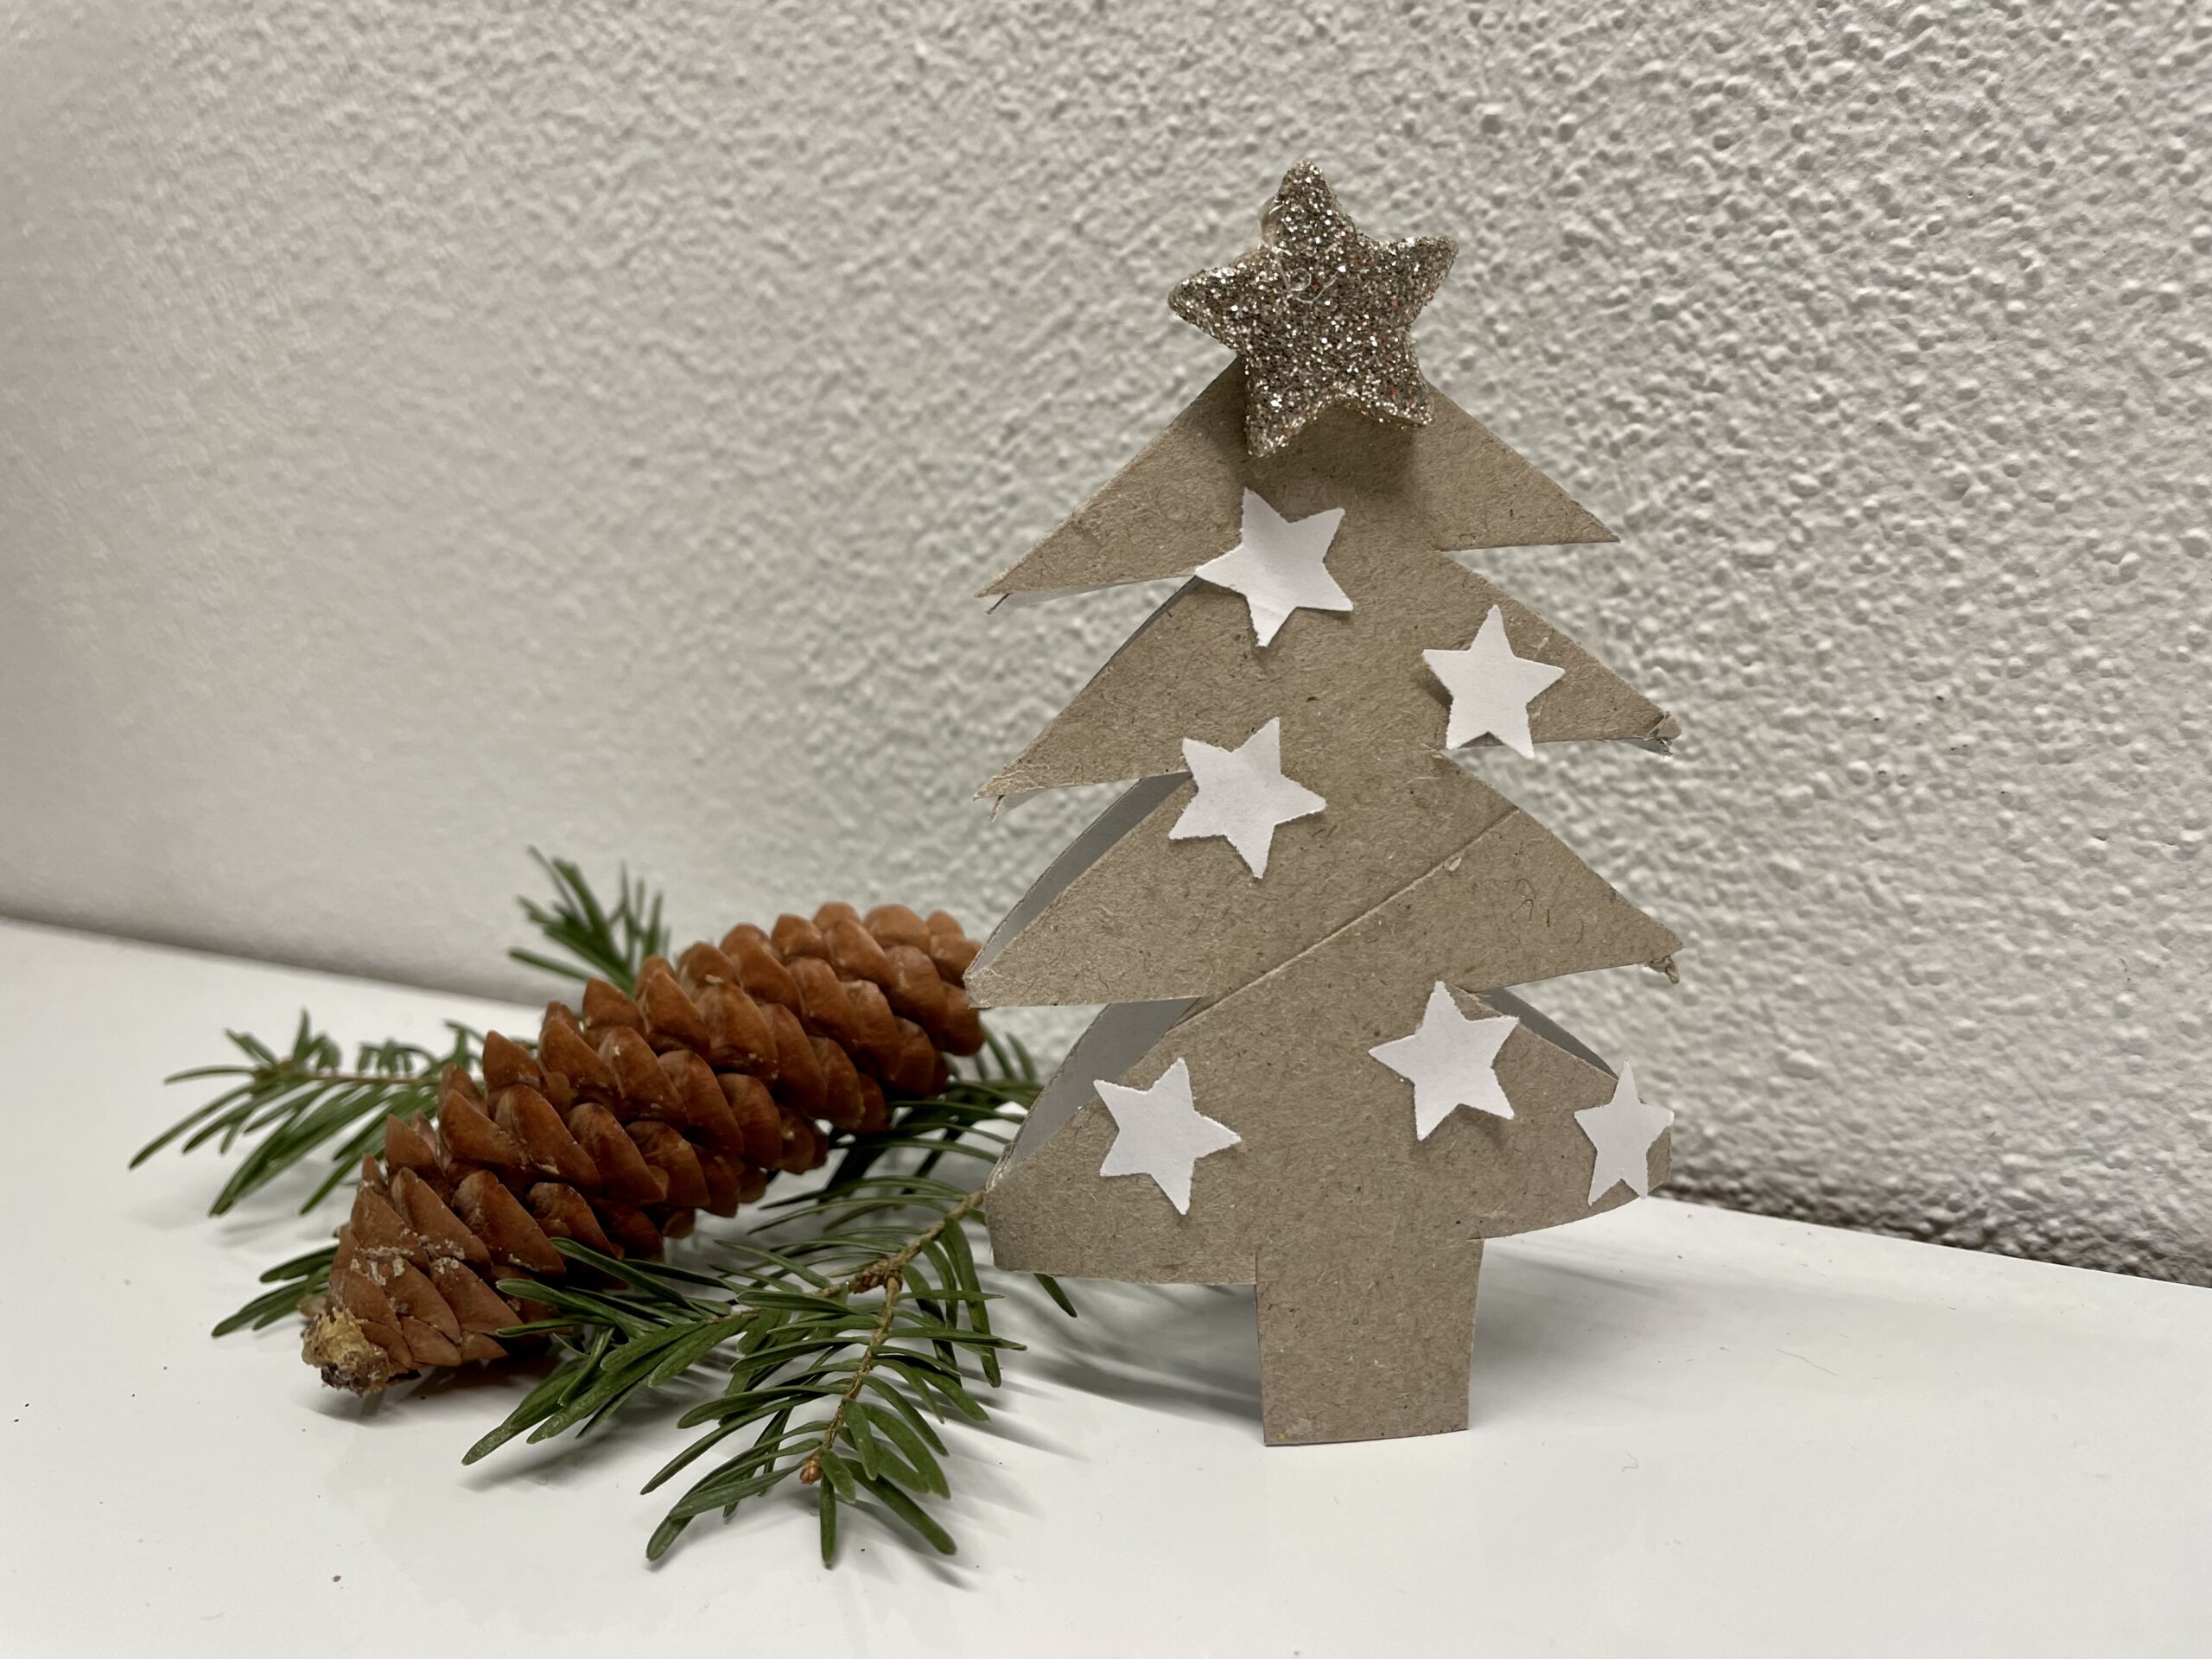
Looking for a quick table decoration for the winter time? This fir tree from a cardboard roll is made super fast and looks beautiful.
Press the cardboard roll flat and then cut in points in the shape of a fir tree. Make sure that the lower points are wider. Because this way the front and back hold together firmly. Then you decorate the small fir trees with e.g. punched out stars or you paint them with balls and stars. Get started immediately and have a lot of joy!
Media Education for Kindergarten and Hort

Relief in everyday life, targeted promotion of individual children, independent learning and - without any pre-knowledge already usable by the youngest!
First pick up the material, then start with the cardboard roll.
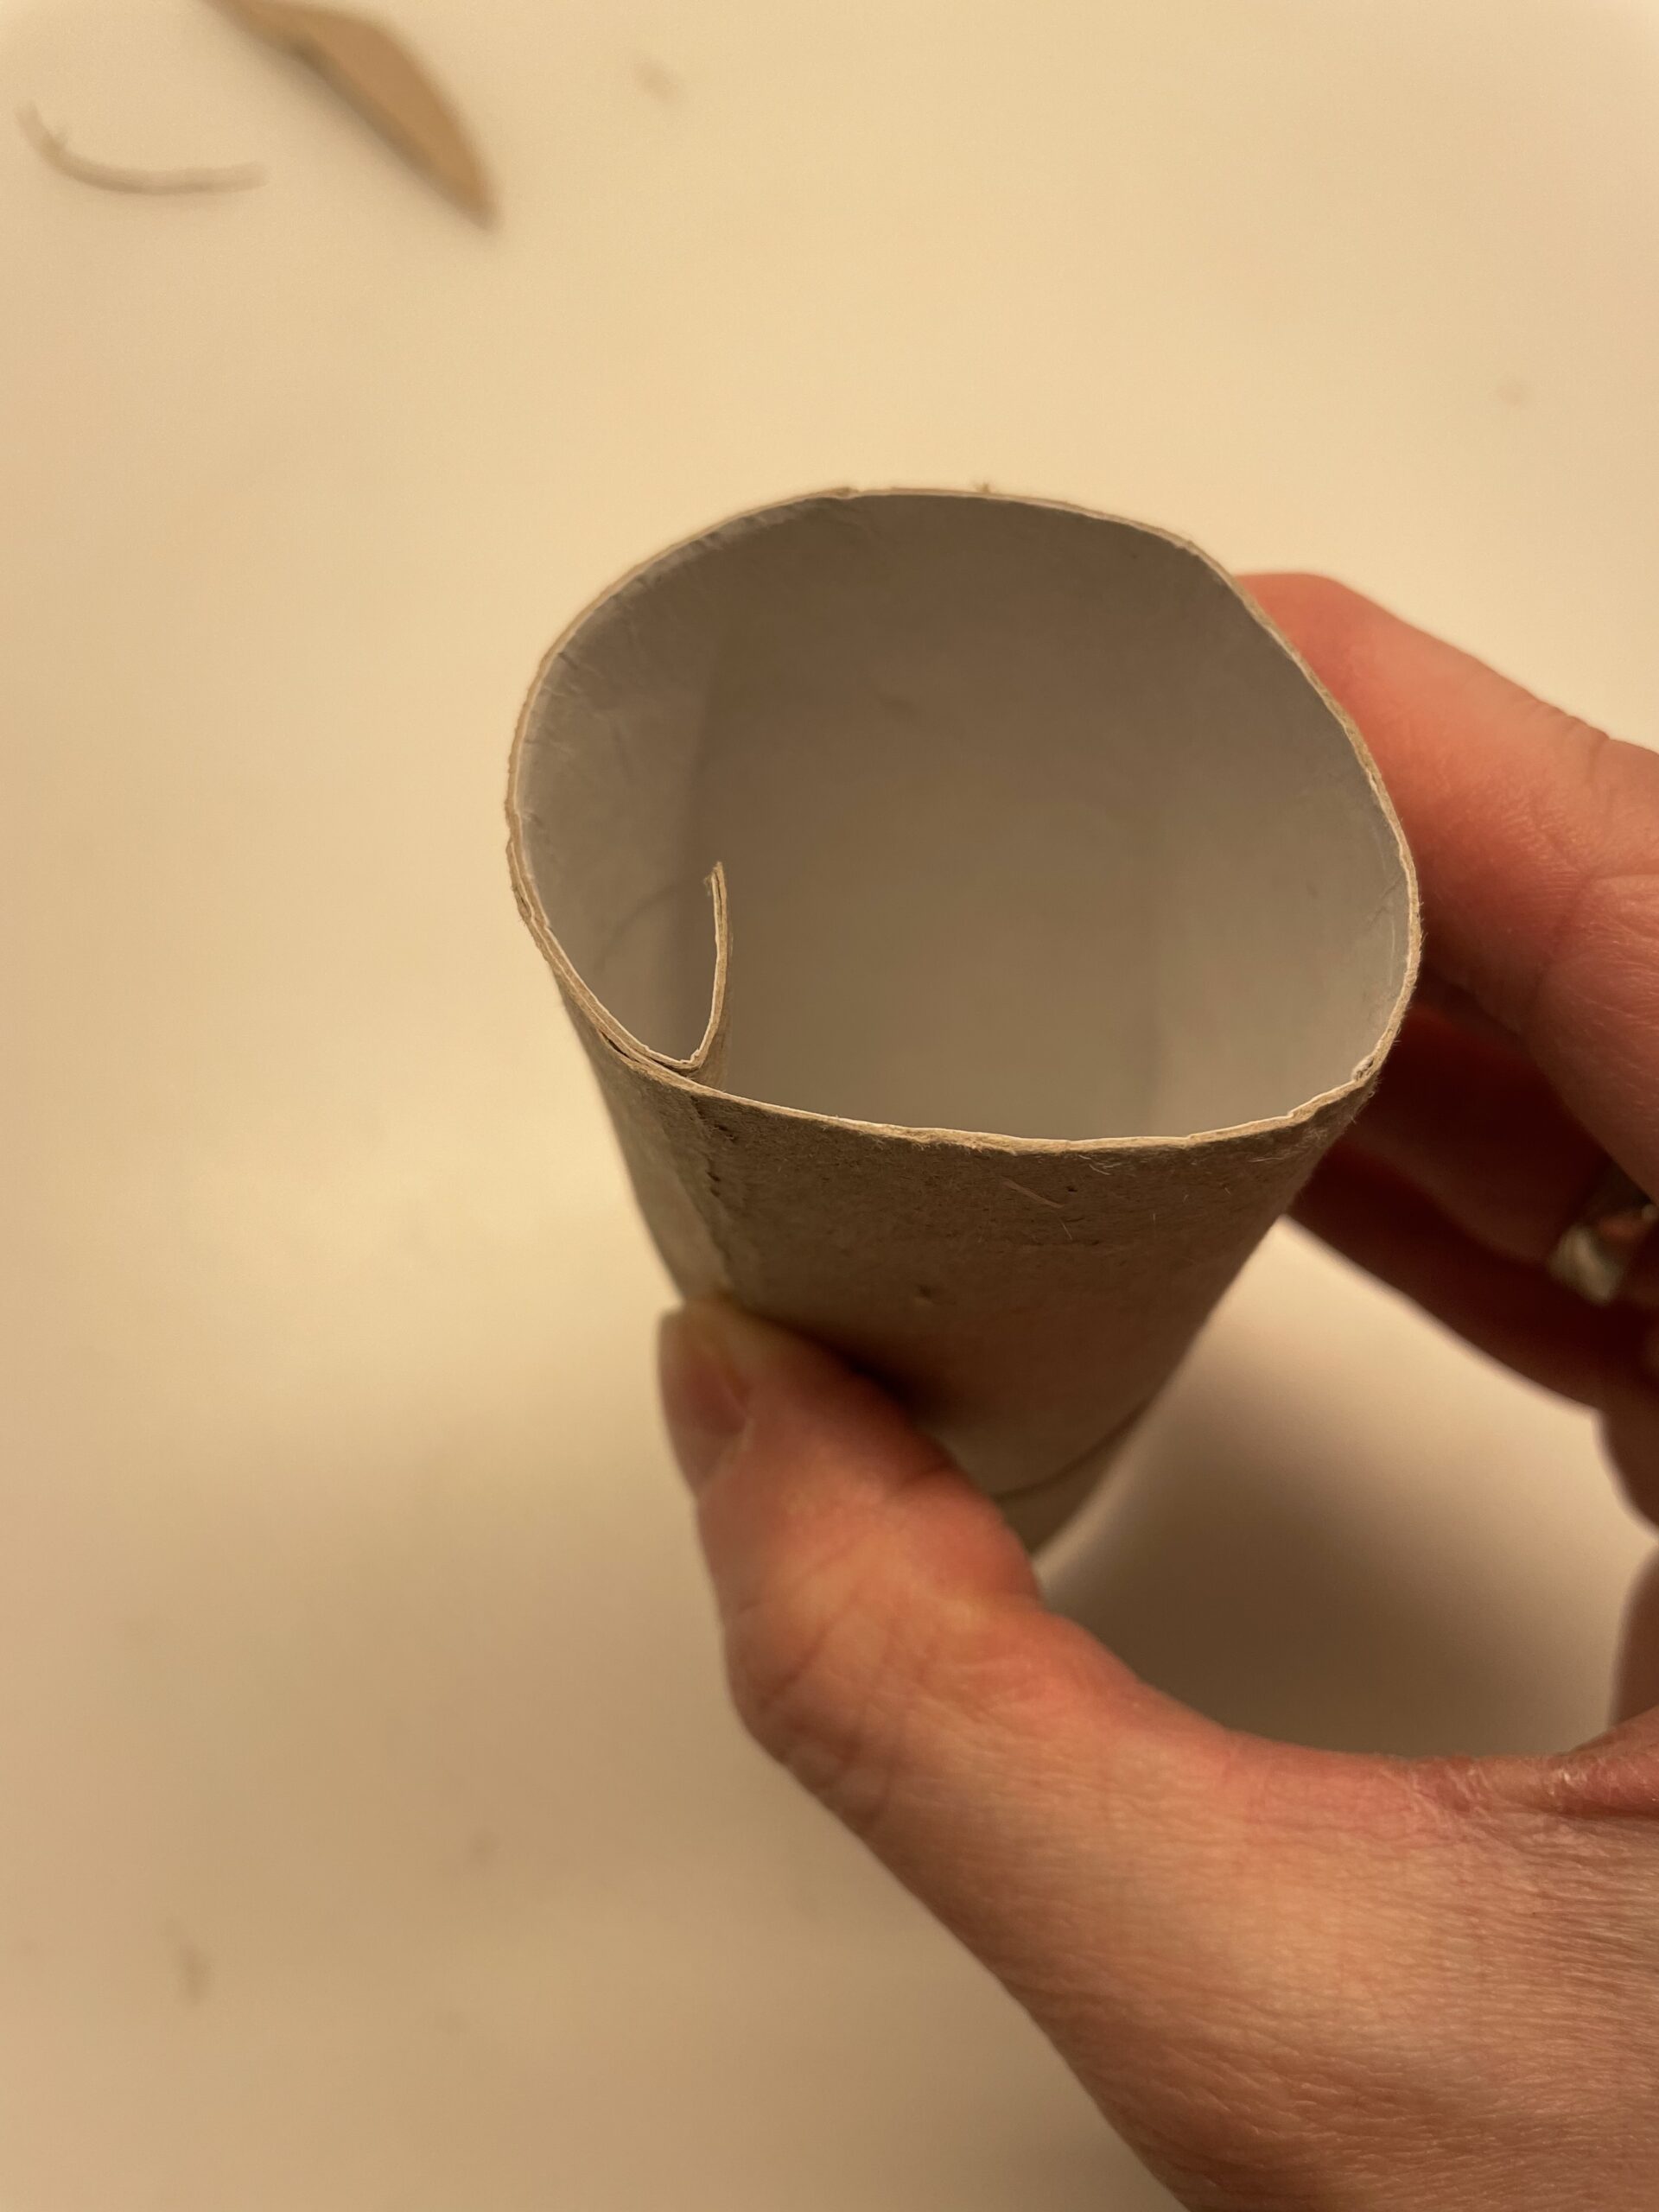
Press the cardboard roll flat on the table. Gently strike the folding break on both sides.
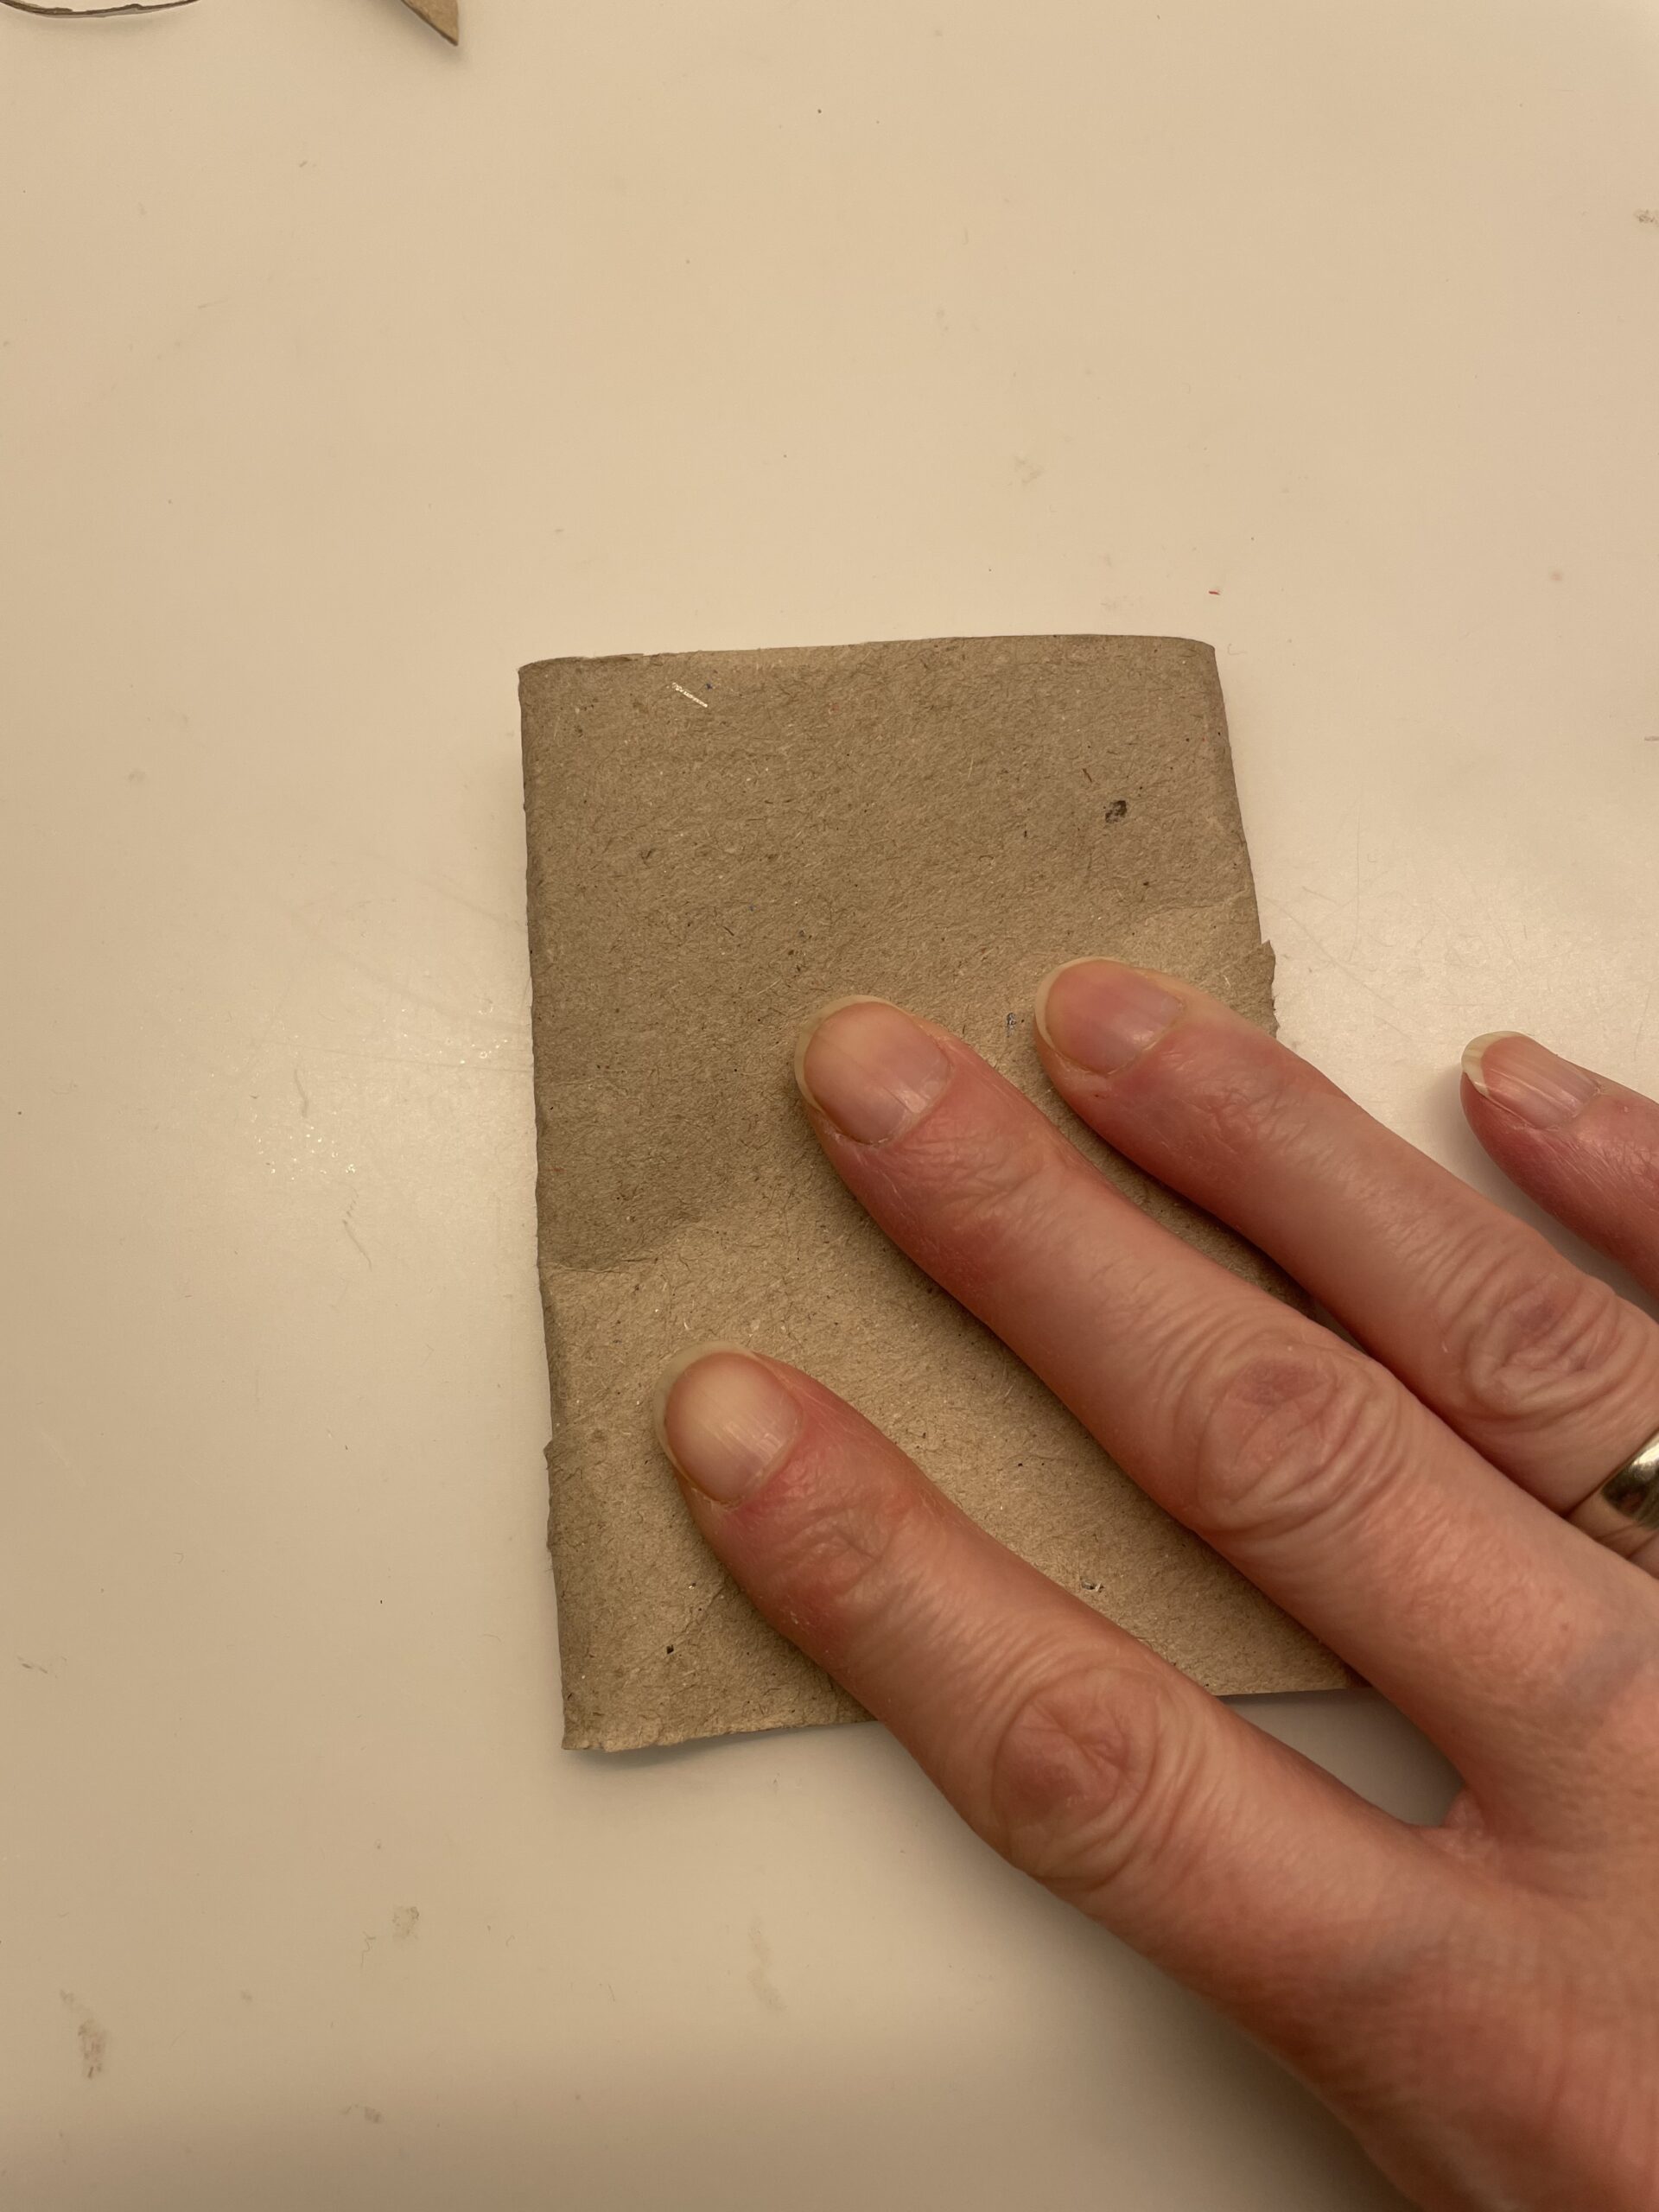


Cut the upper opening pointedly now.
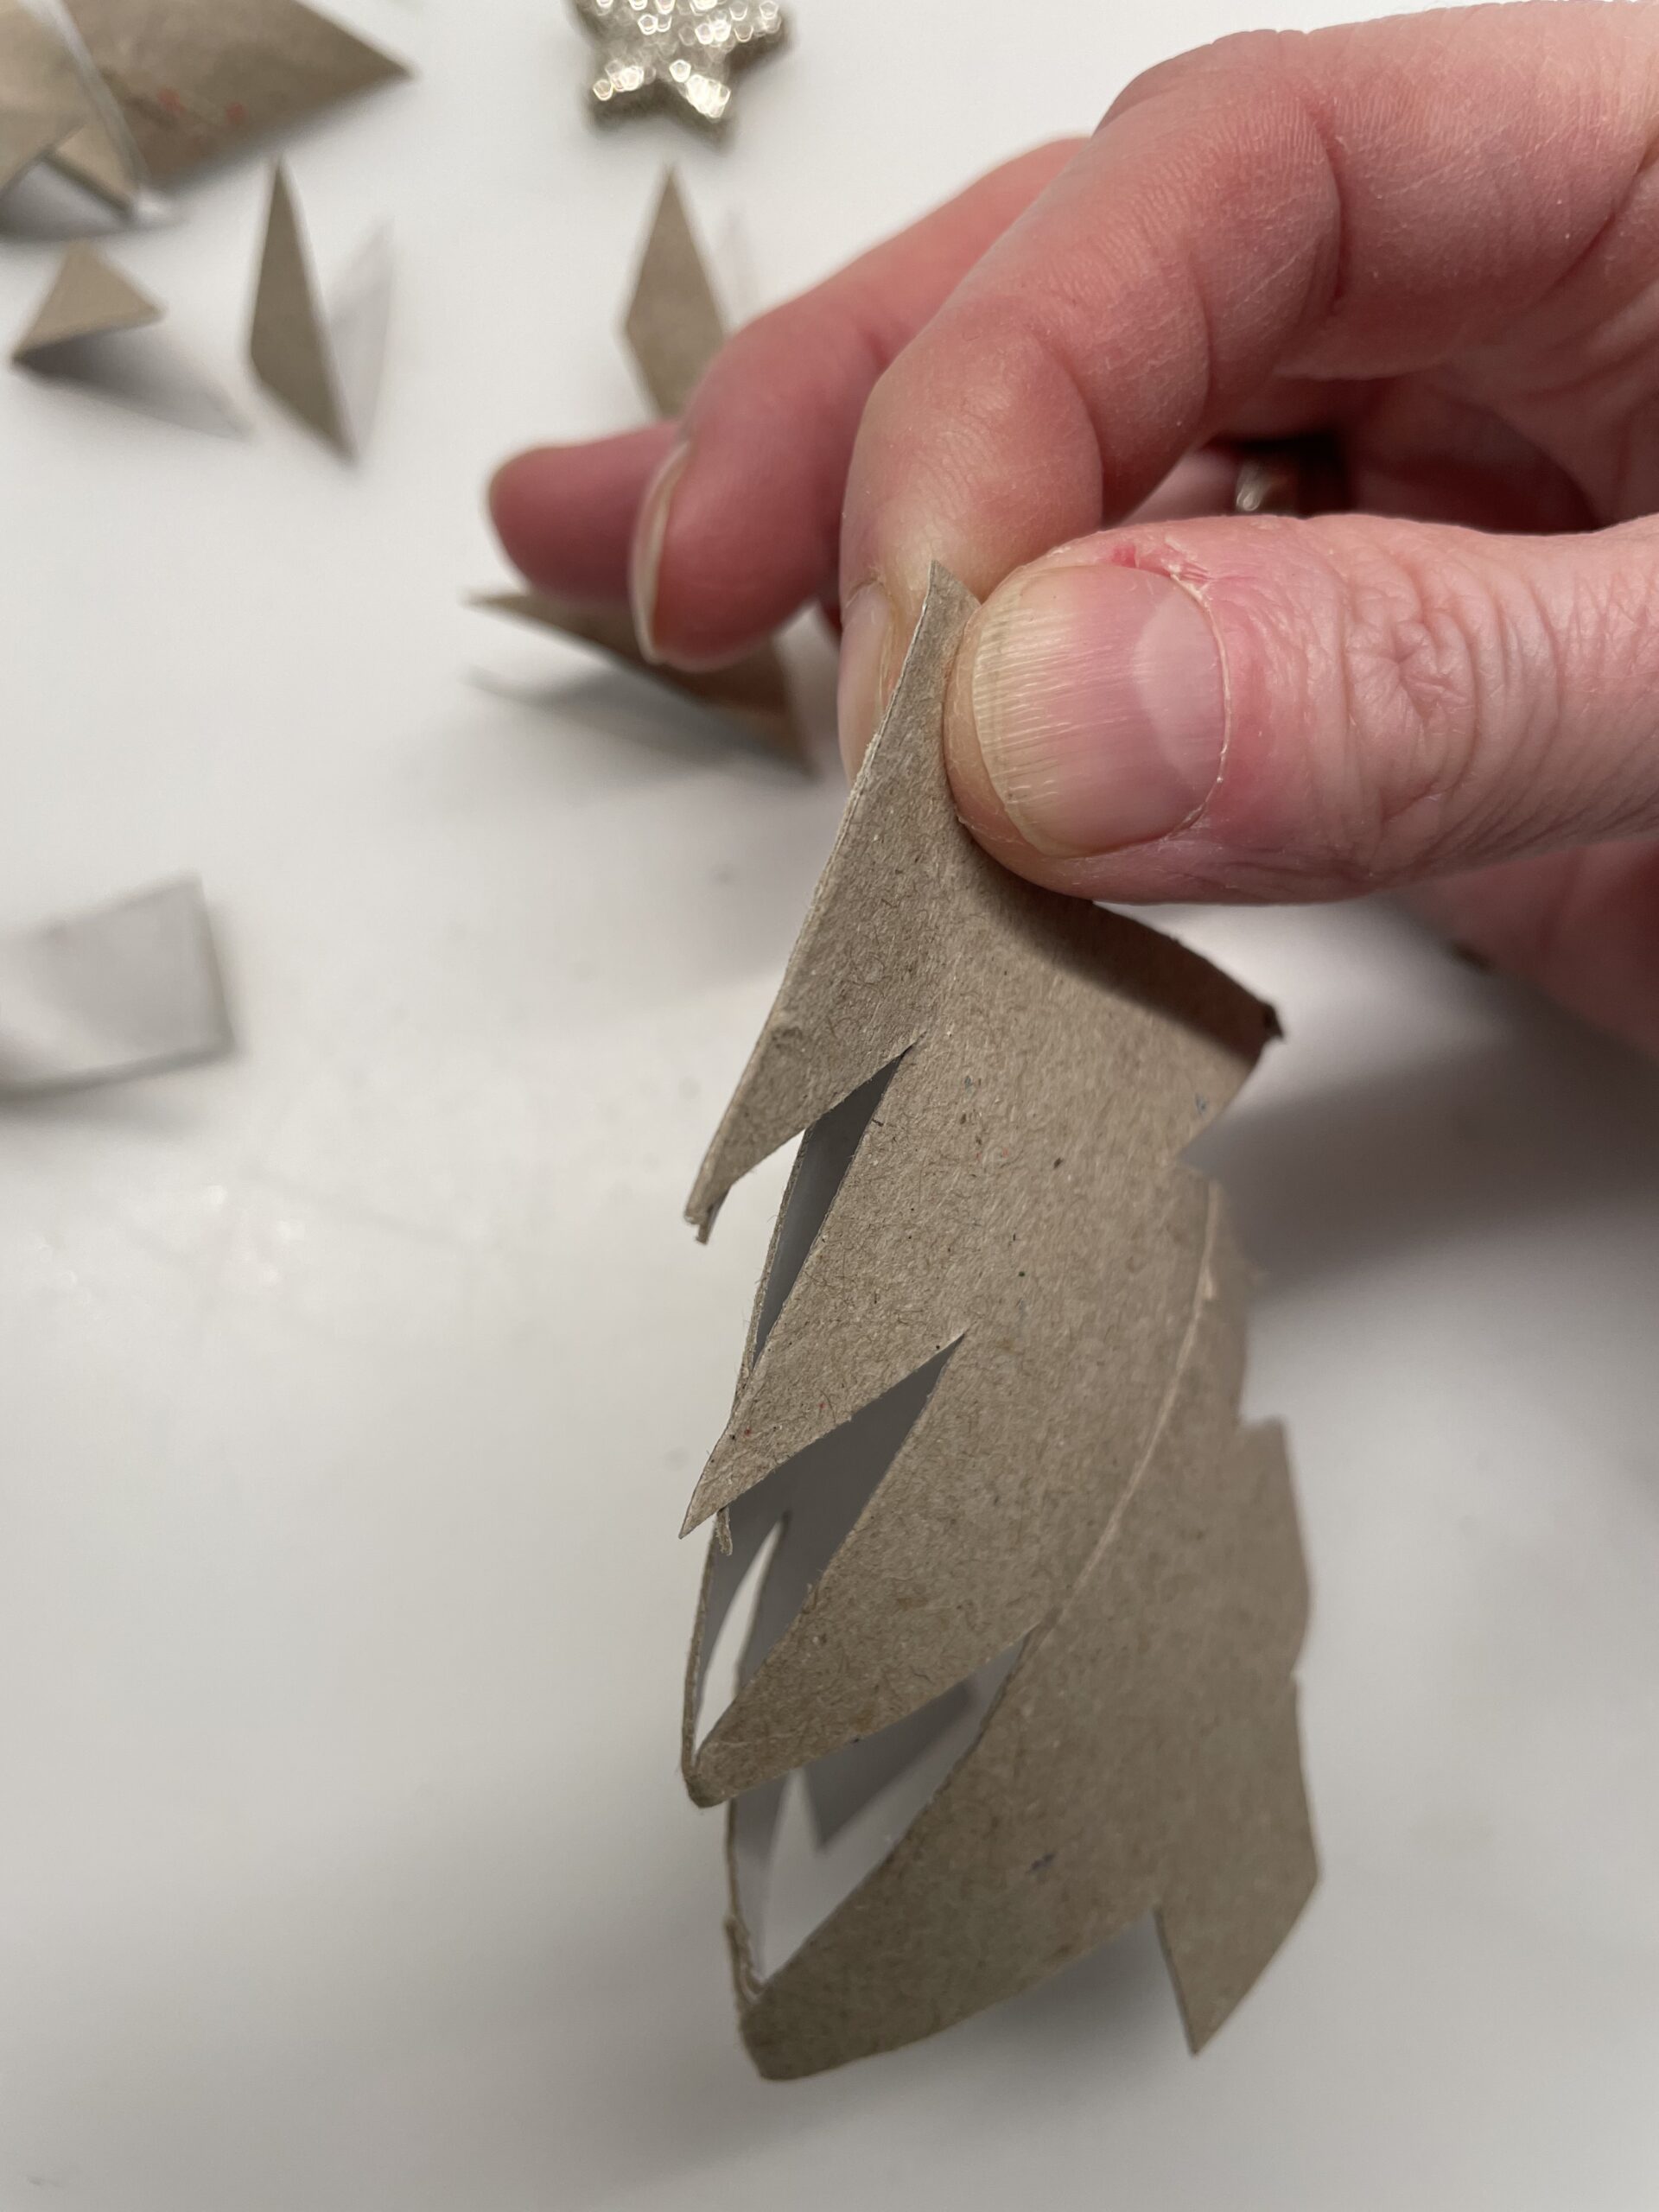
Then you cut the points. First you cut the one half jagged. Cut the lower points wider than the upper ones. Then you cut the second half.
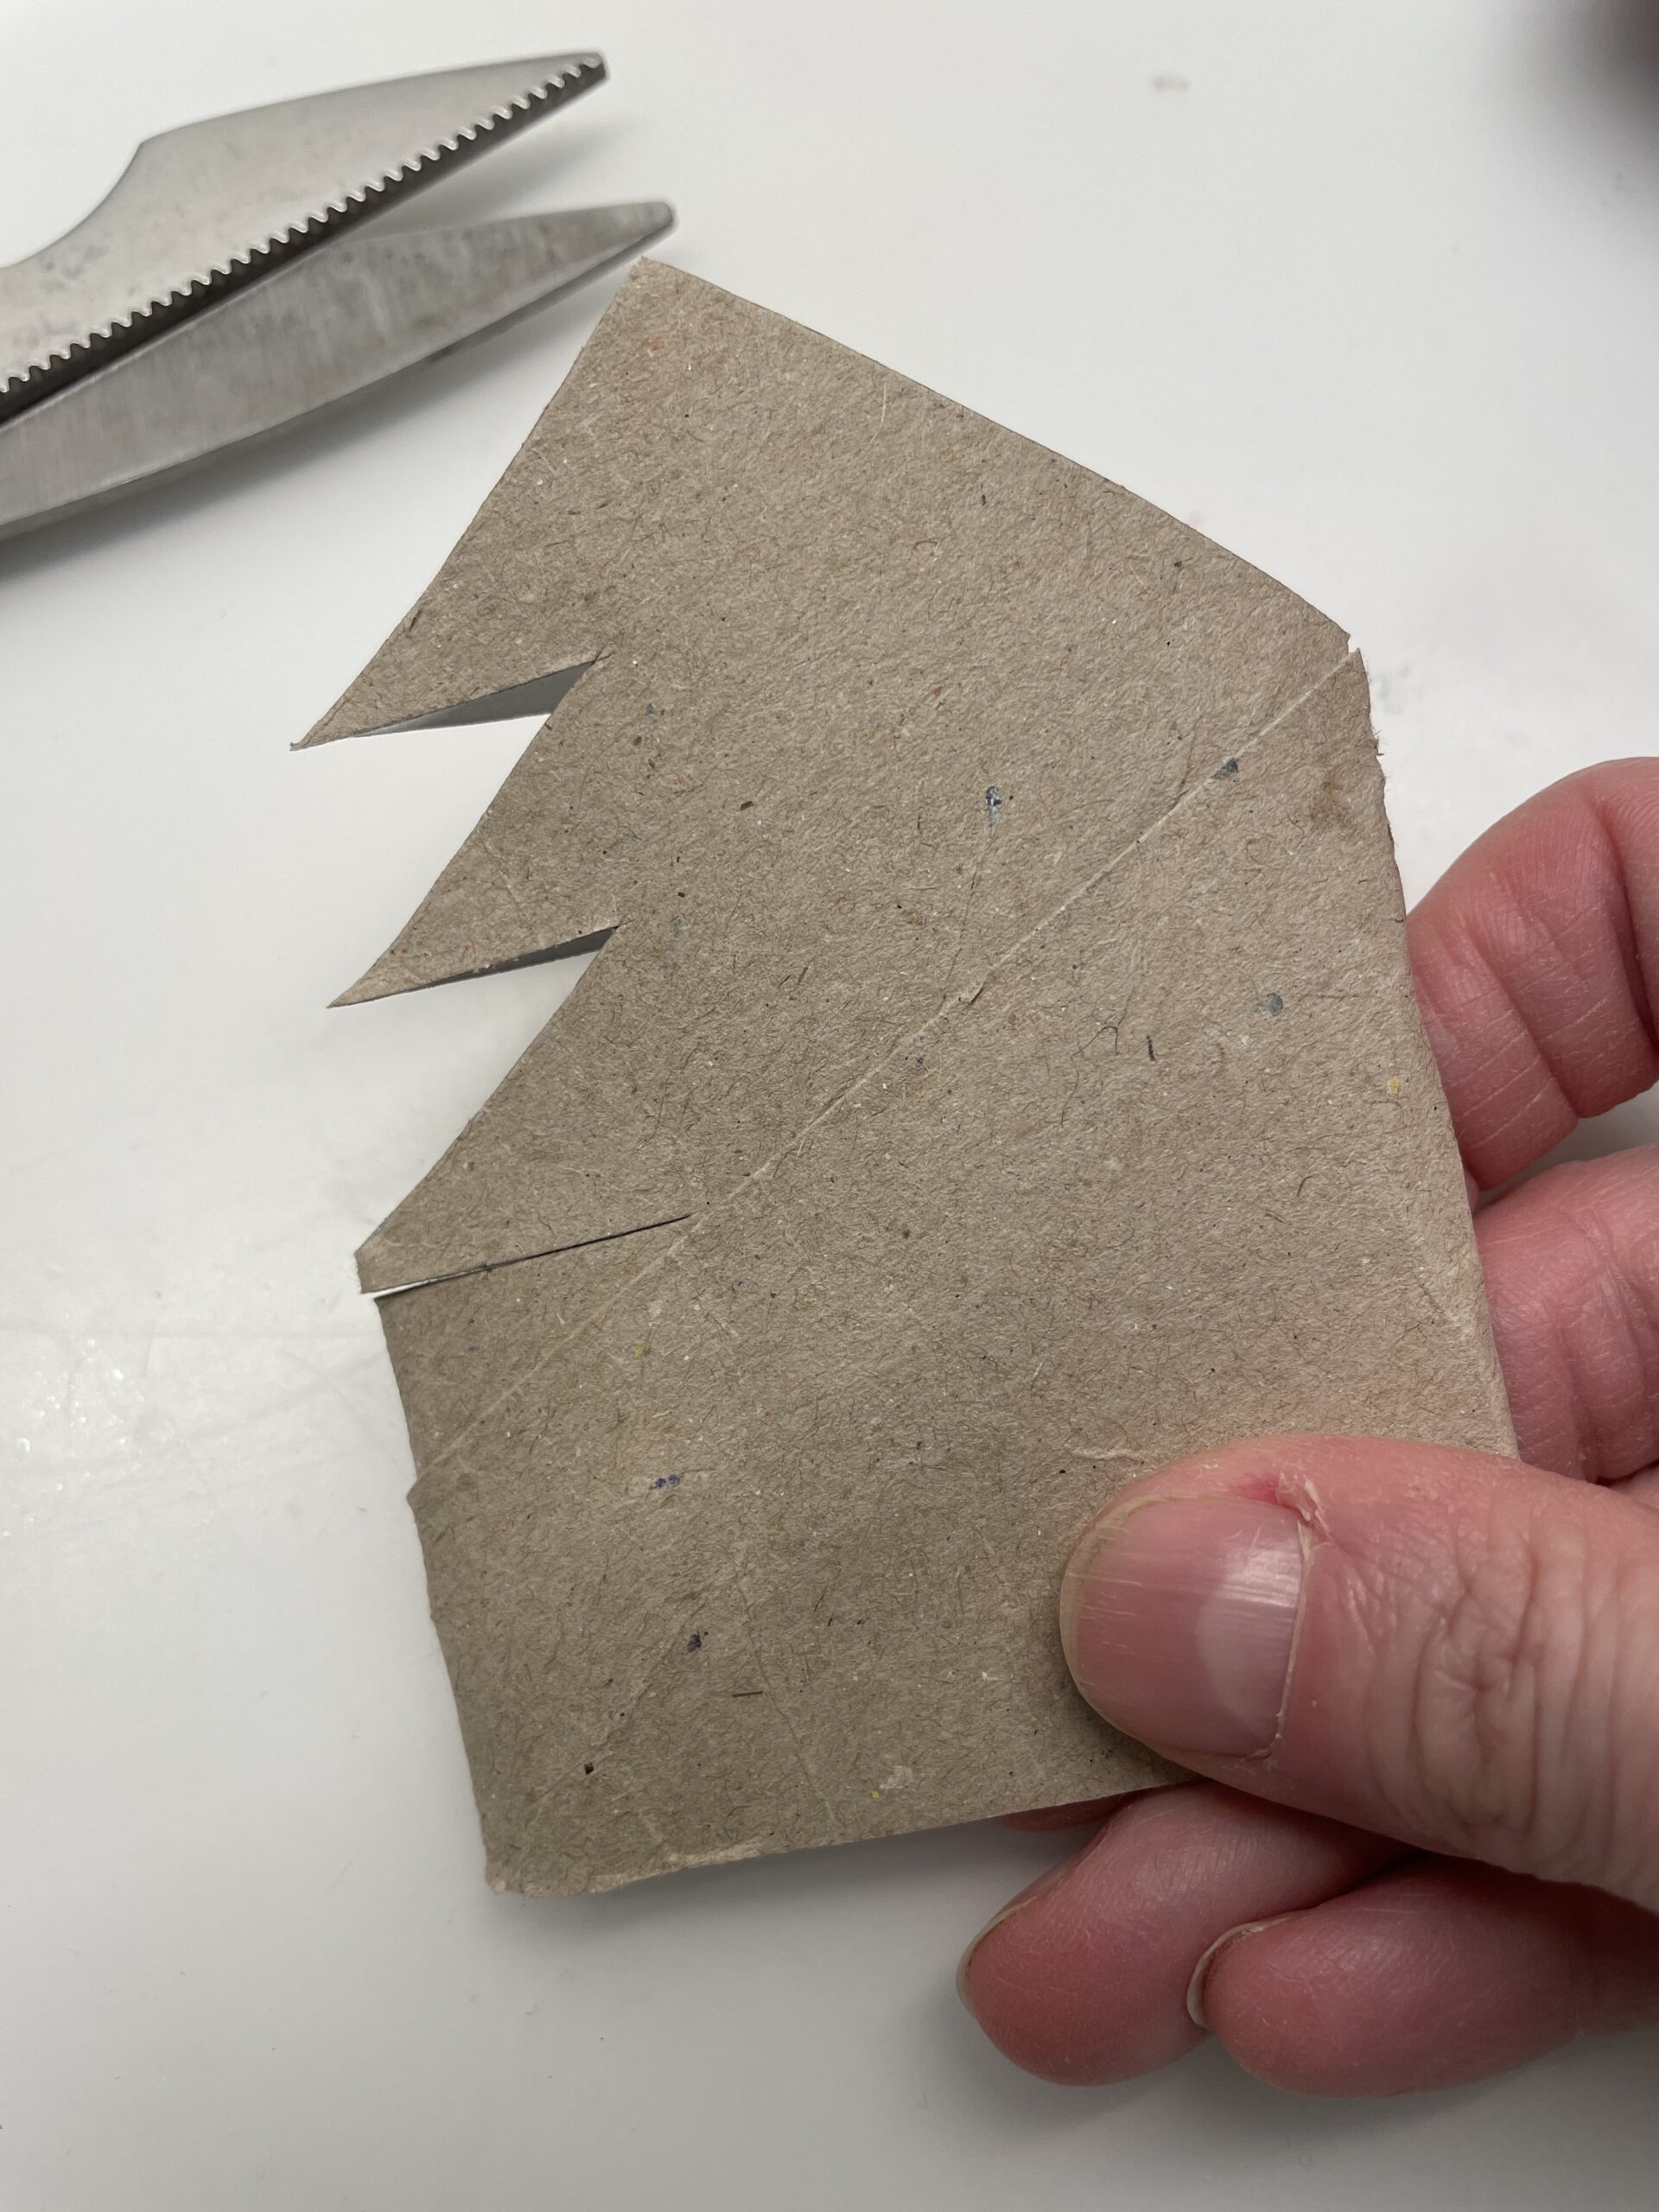


Now you cut the tree trunk. For this you cut the cardboard roll from the left and right, so that about 1 cm of cardboard roll remains in the middle.
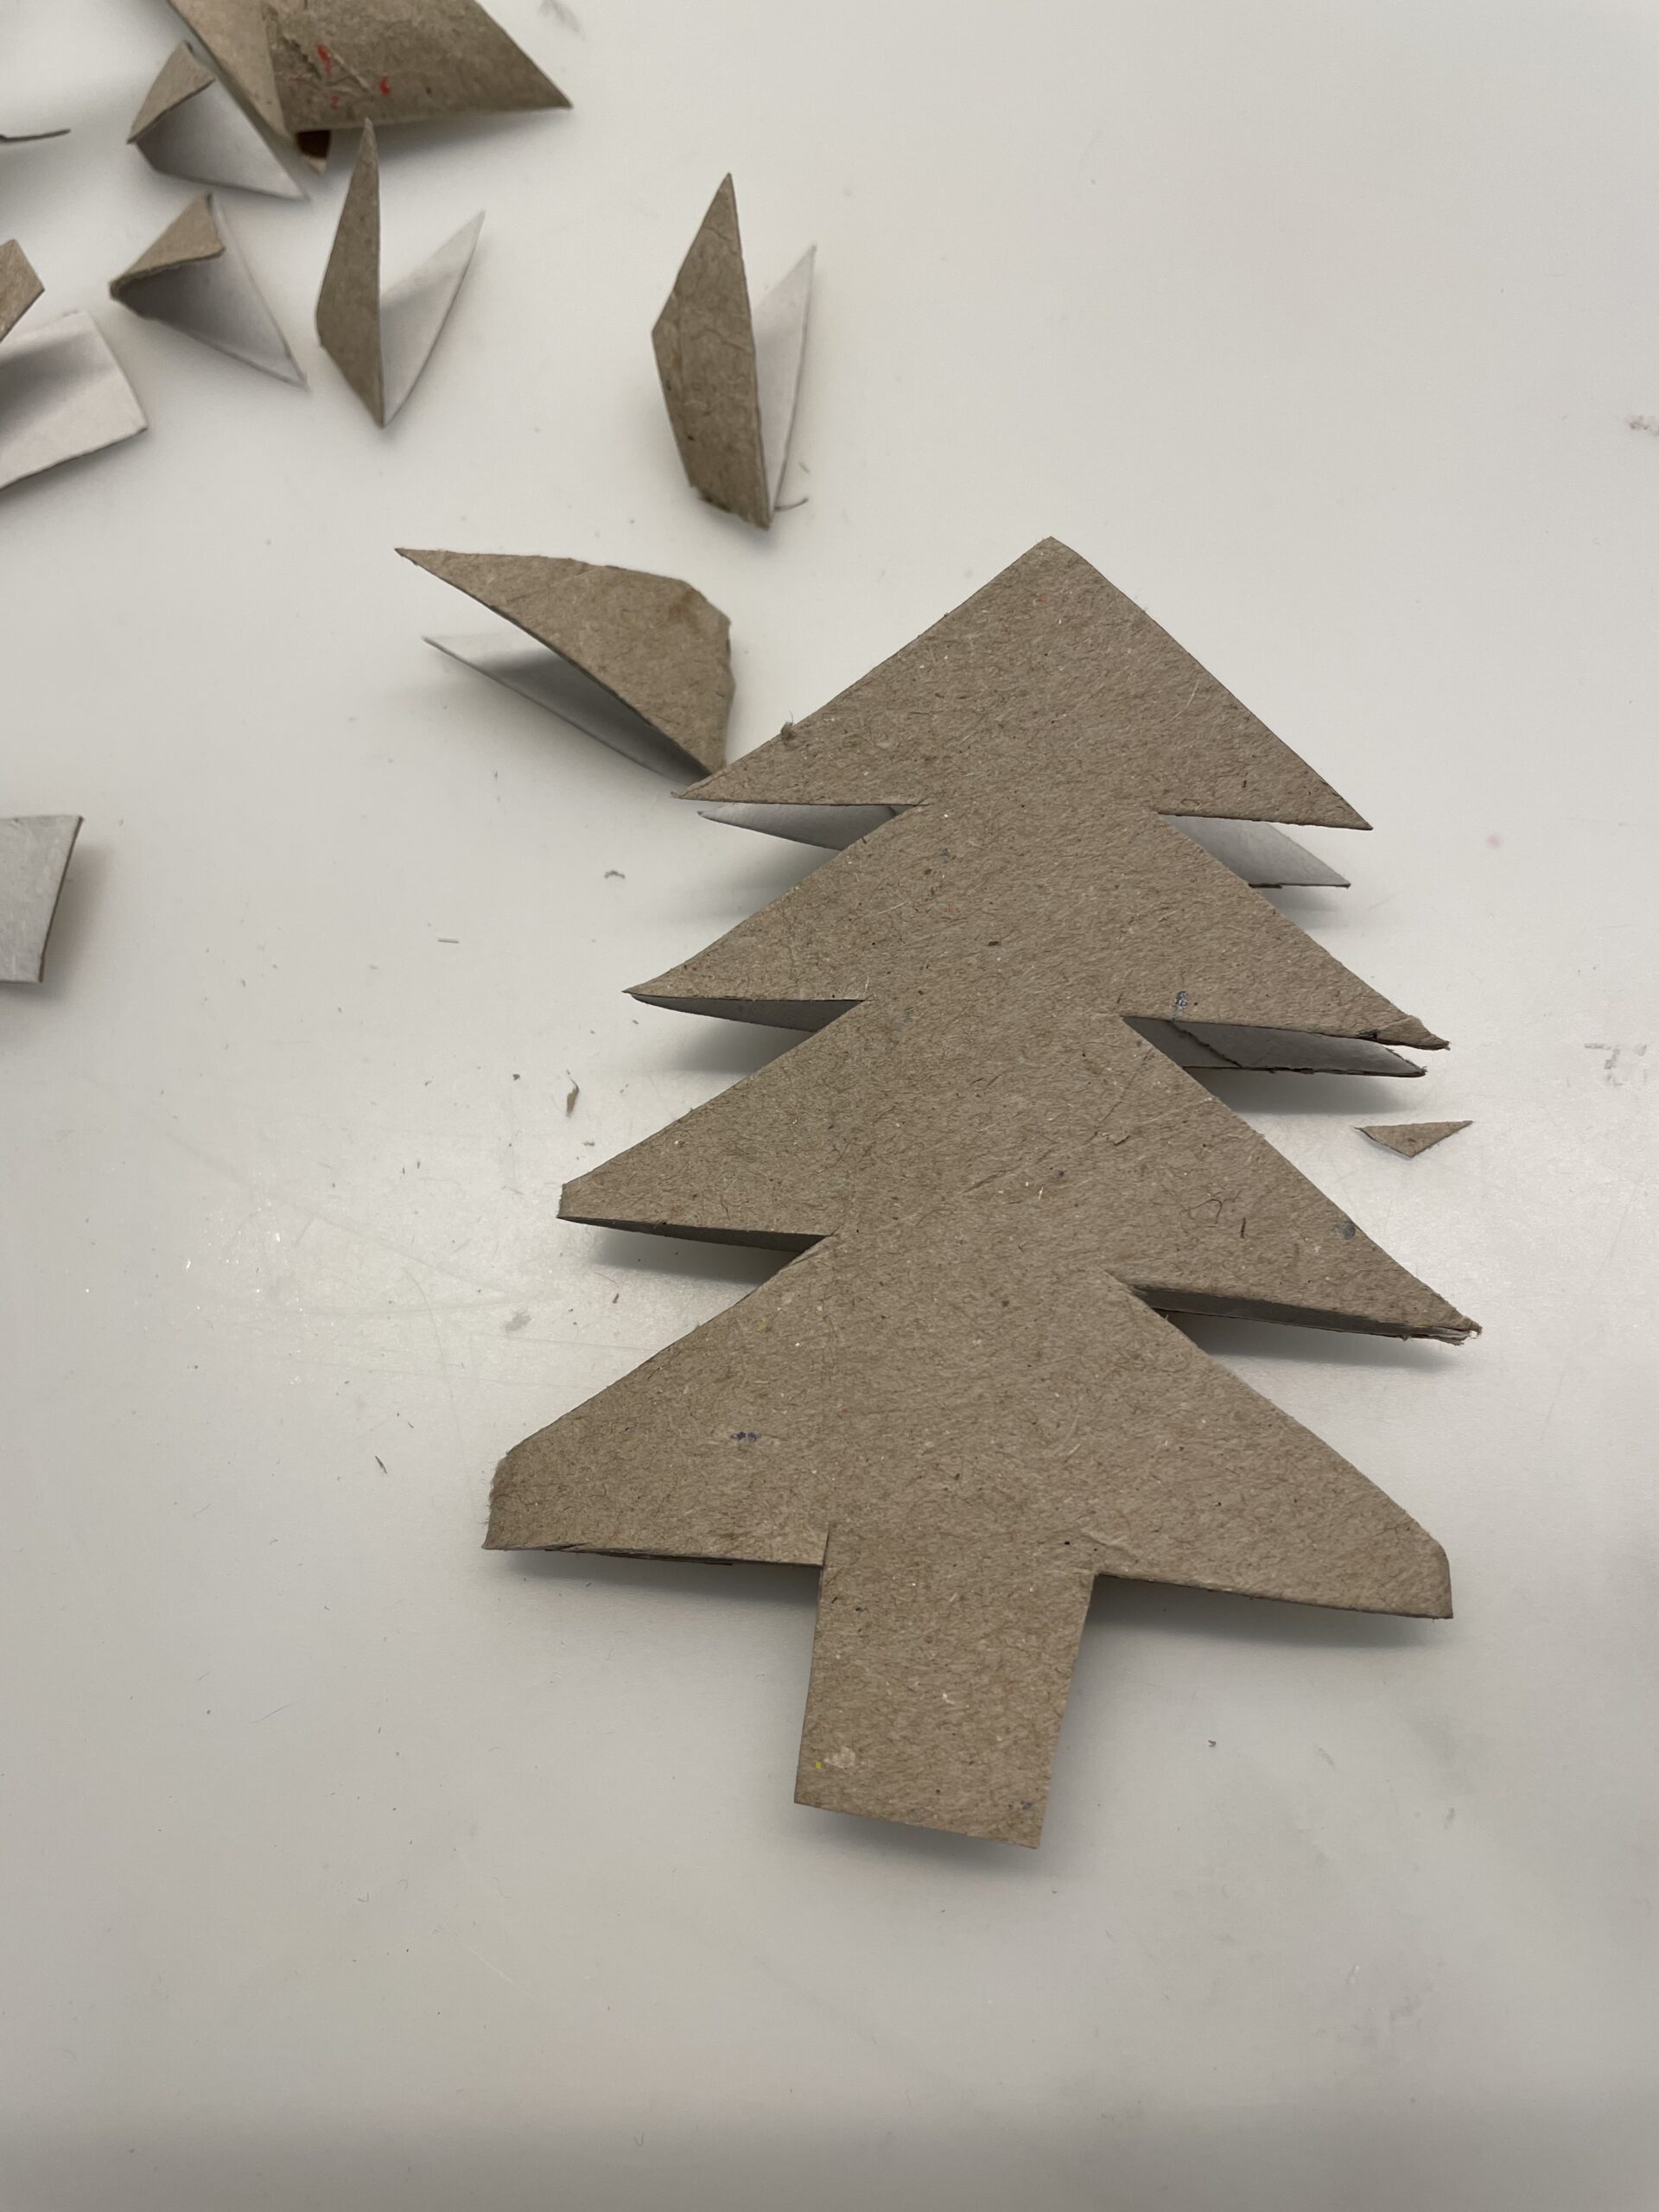


Due to the wide spikes at the lower side the fir tree gets stability and can stand.
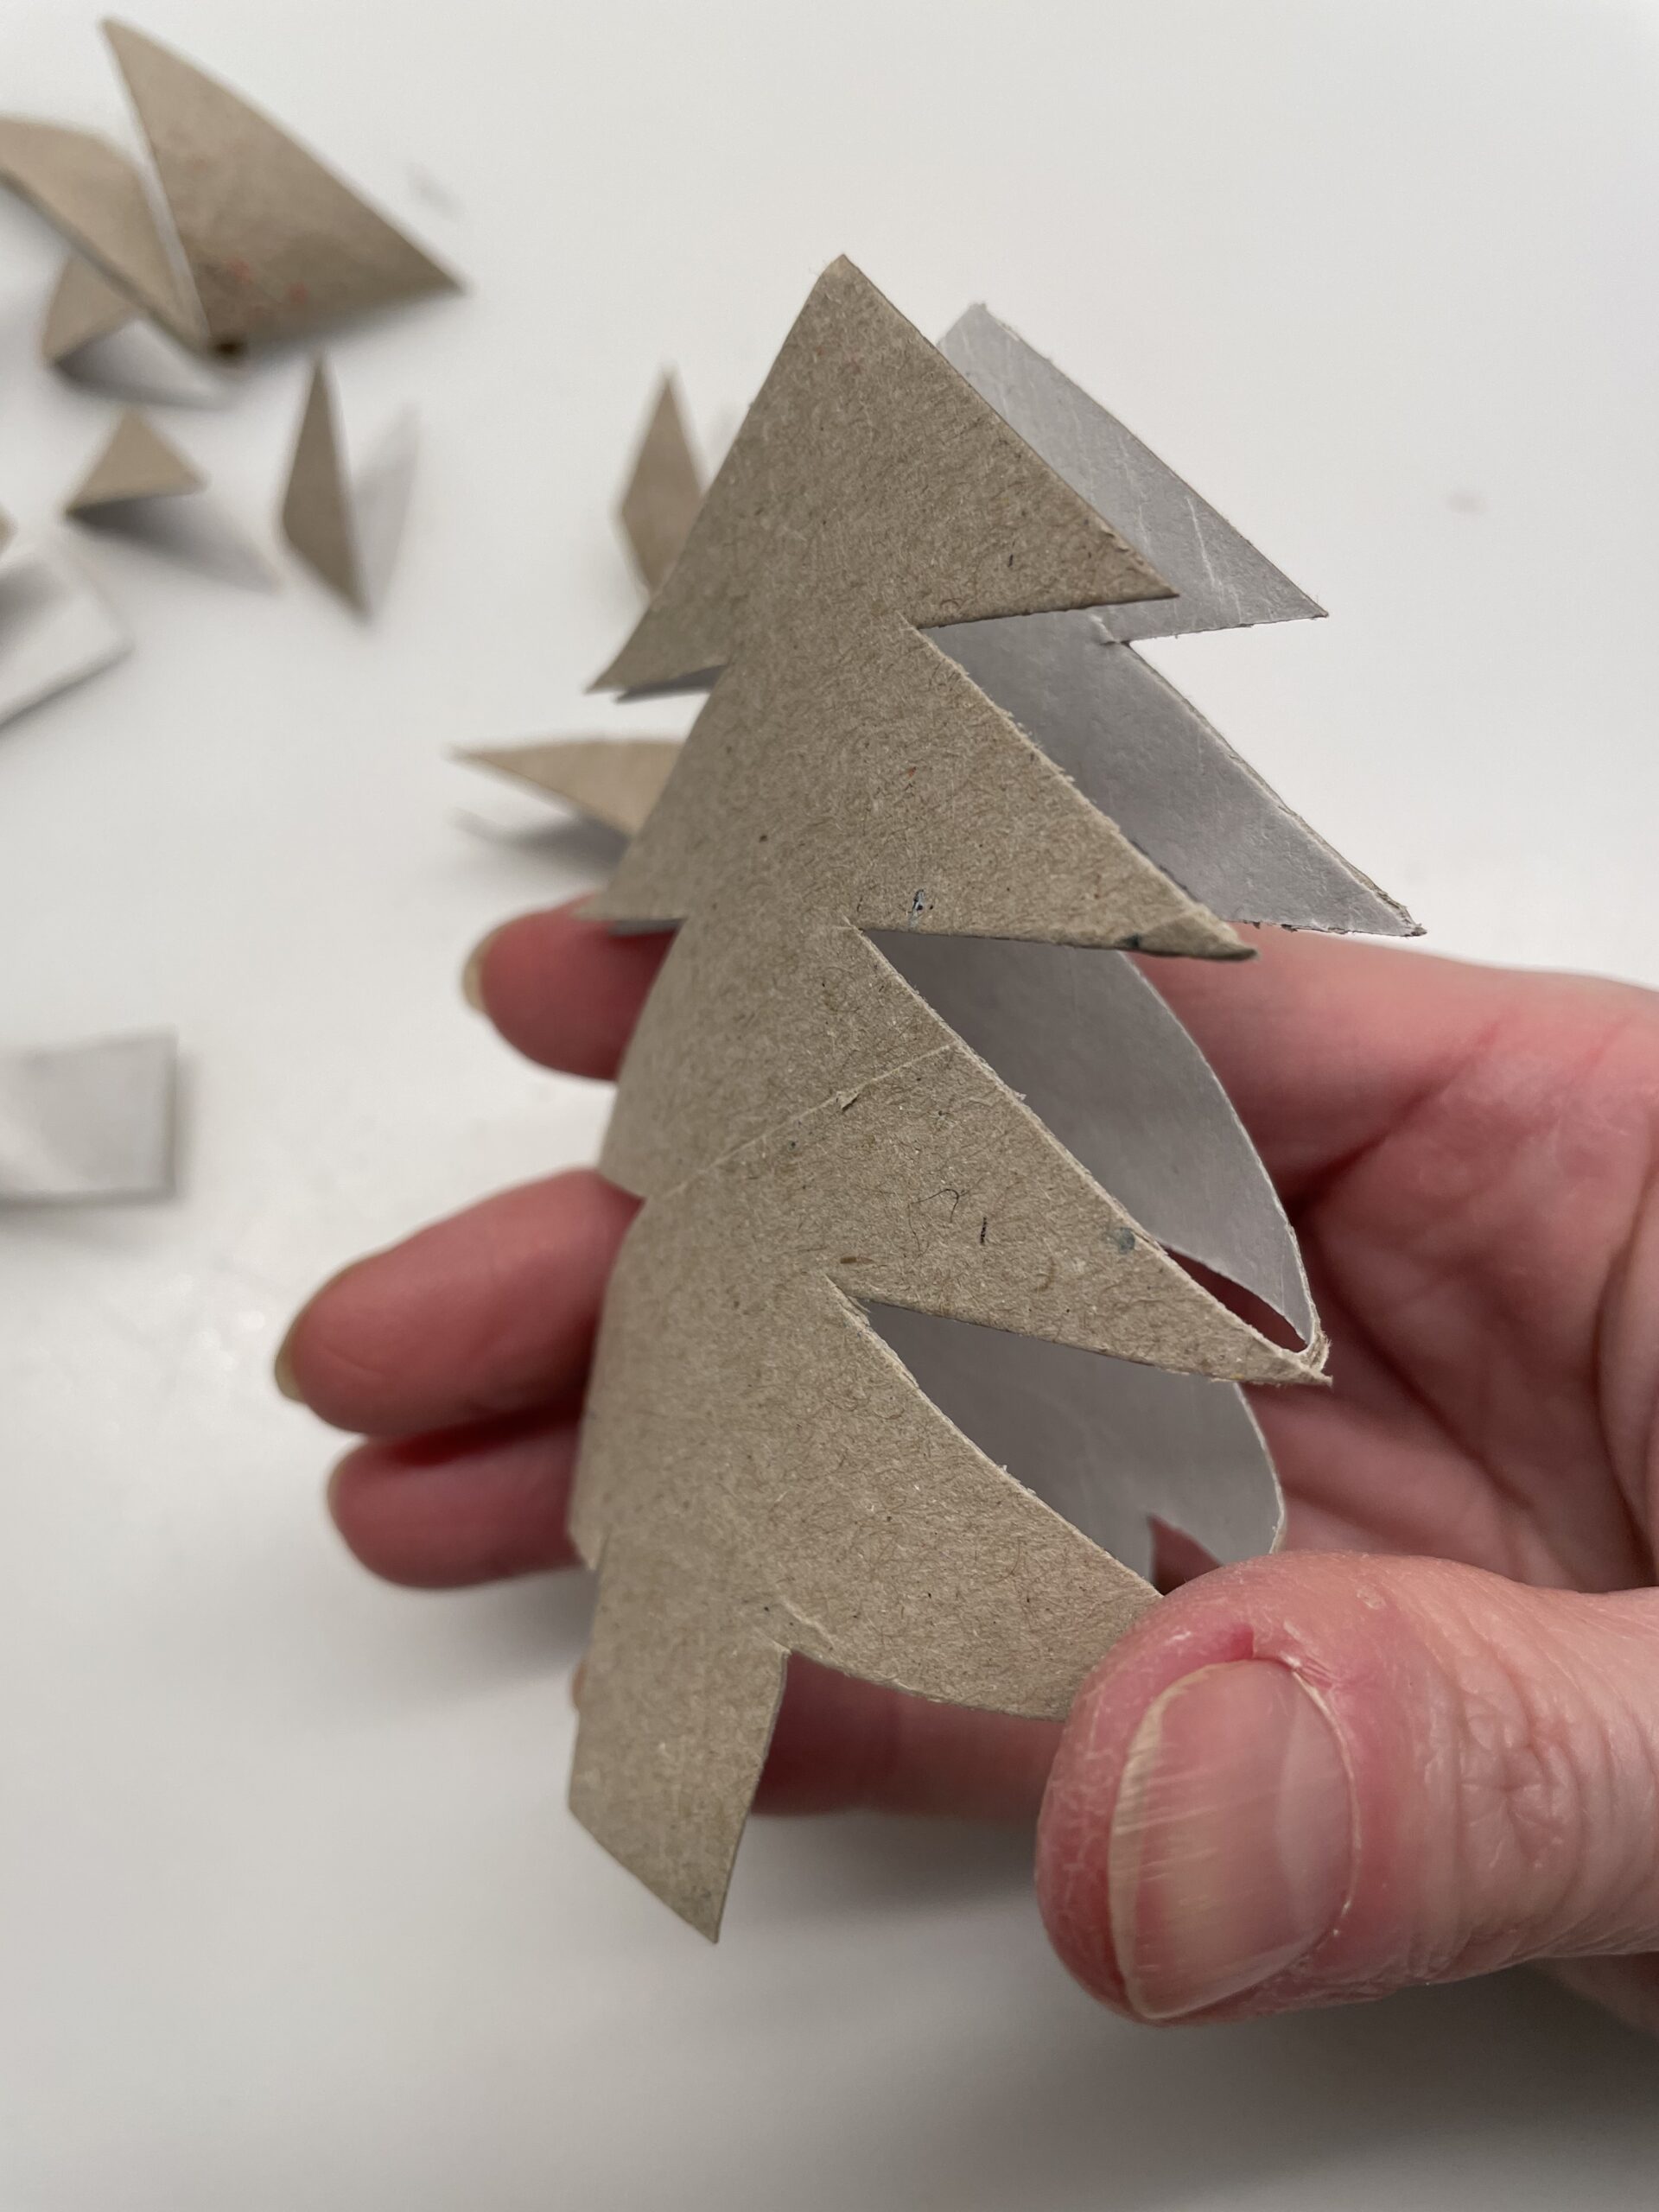


Now you stick the top of the fir tree together.


Now you decorate the fir tree. Stick a small star on the front of the top.
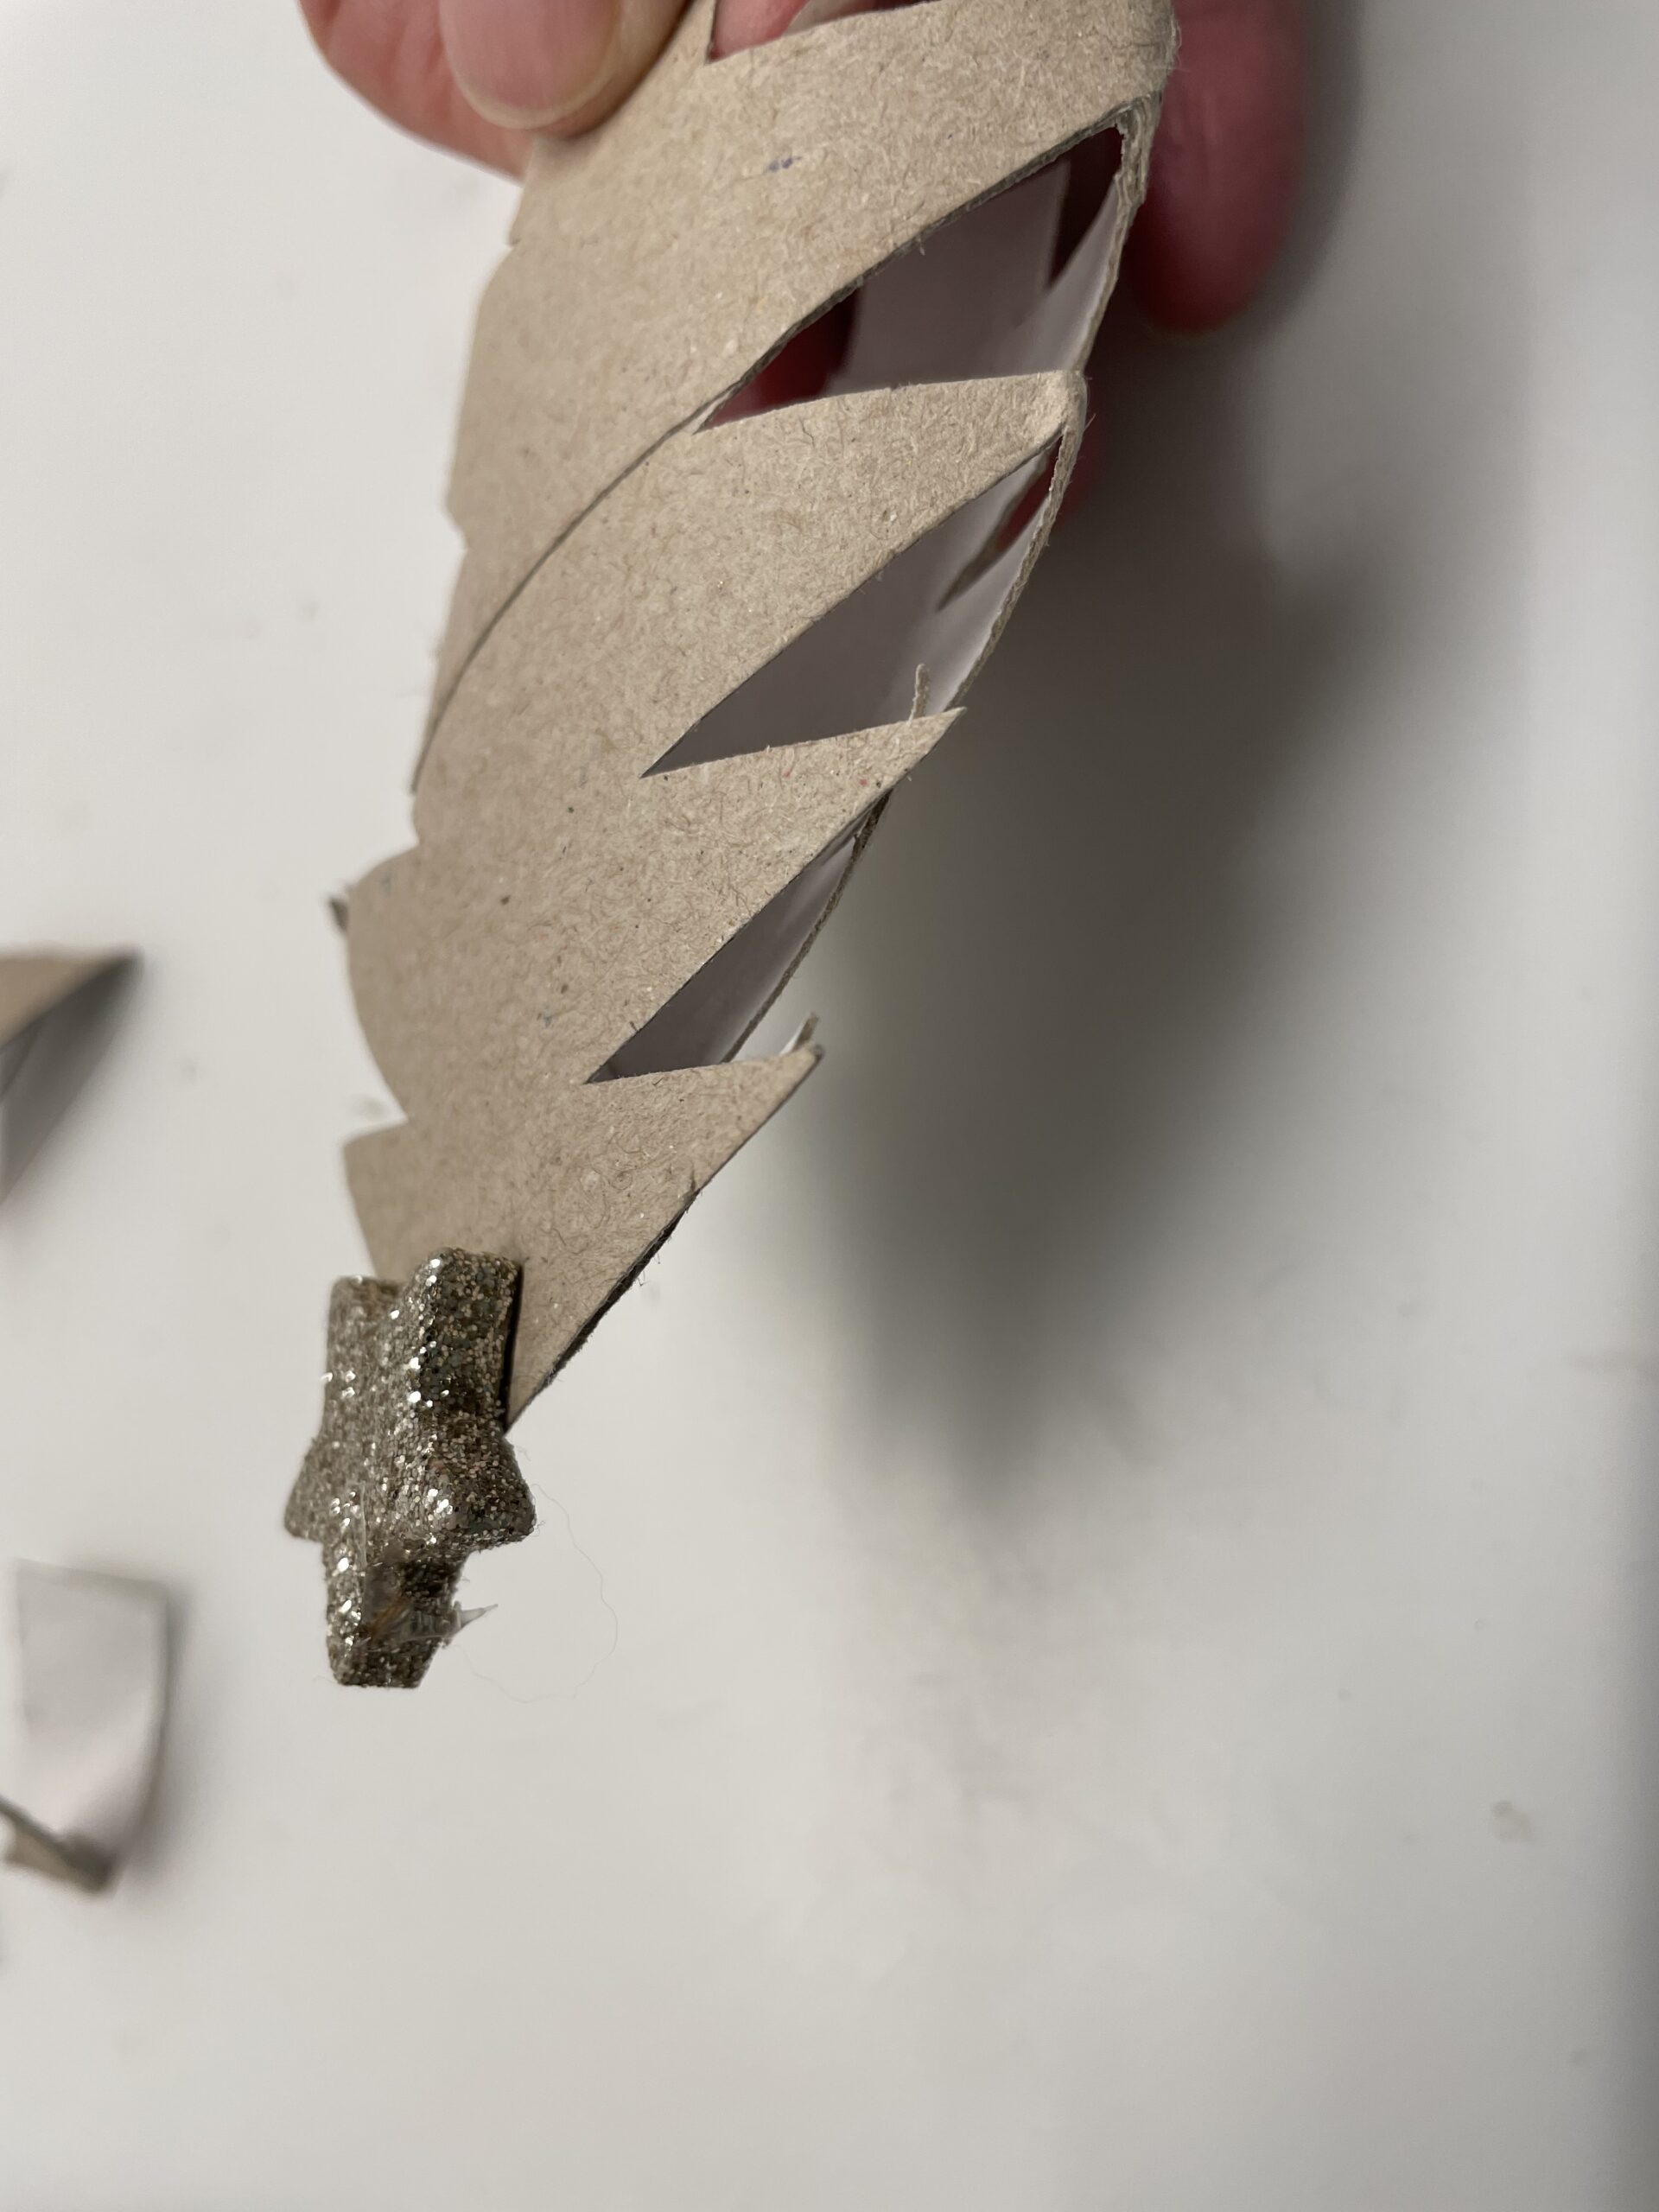


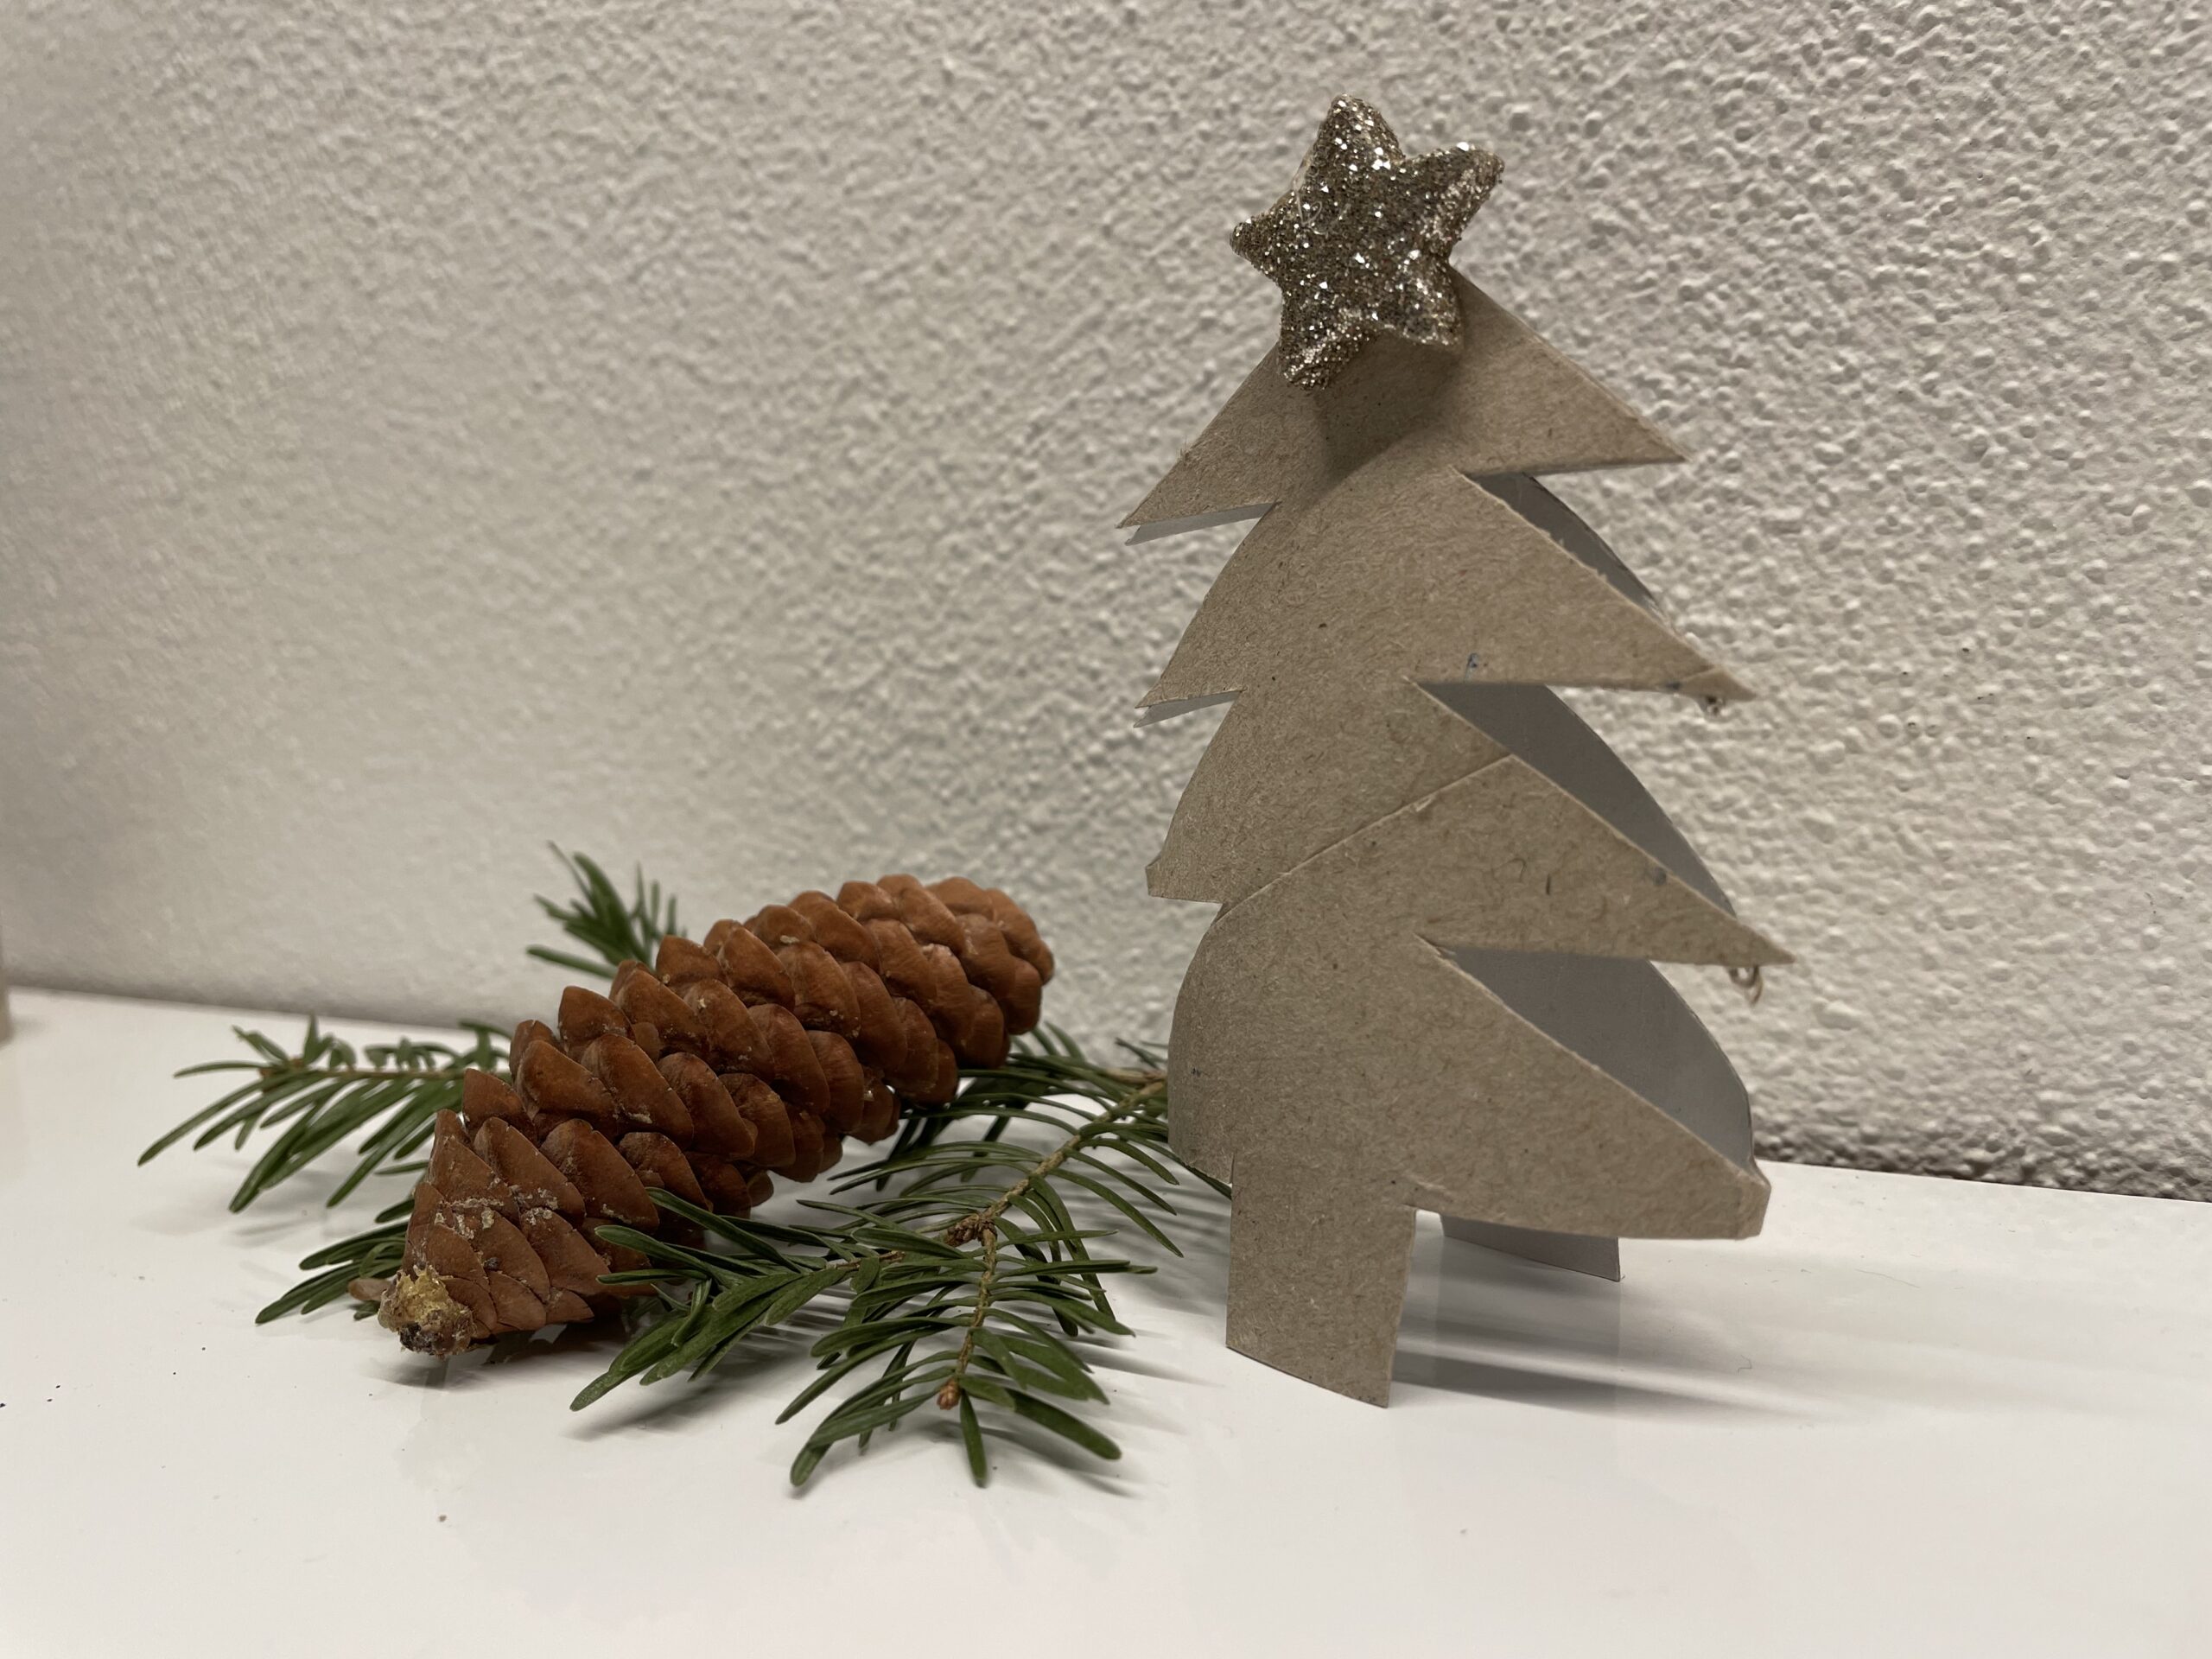
To set up, you push the fir tree a bit apart.


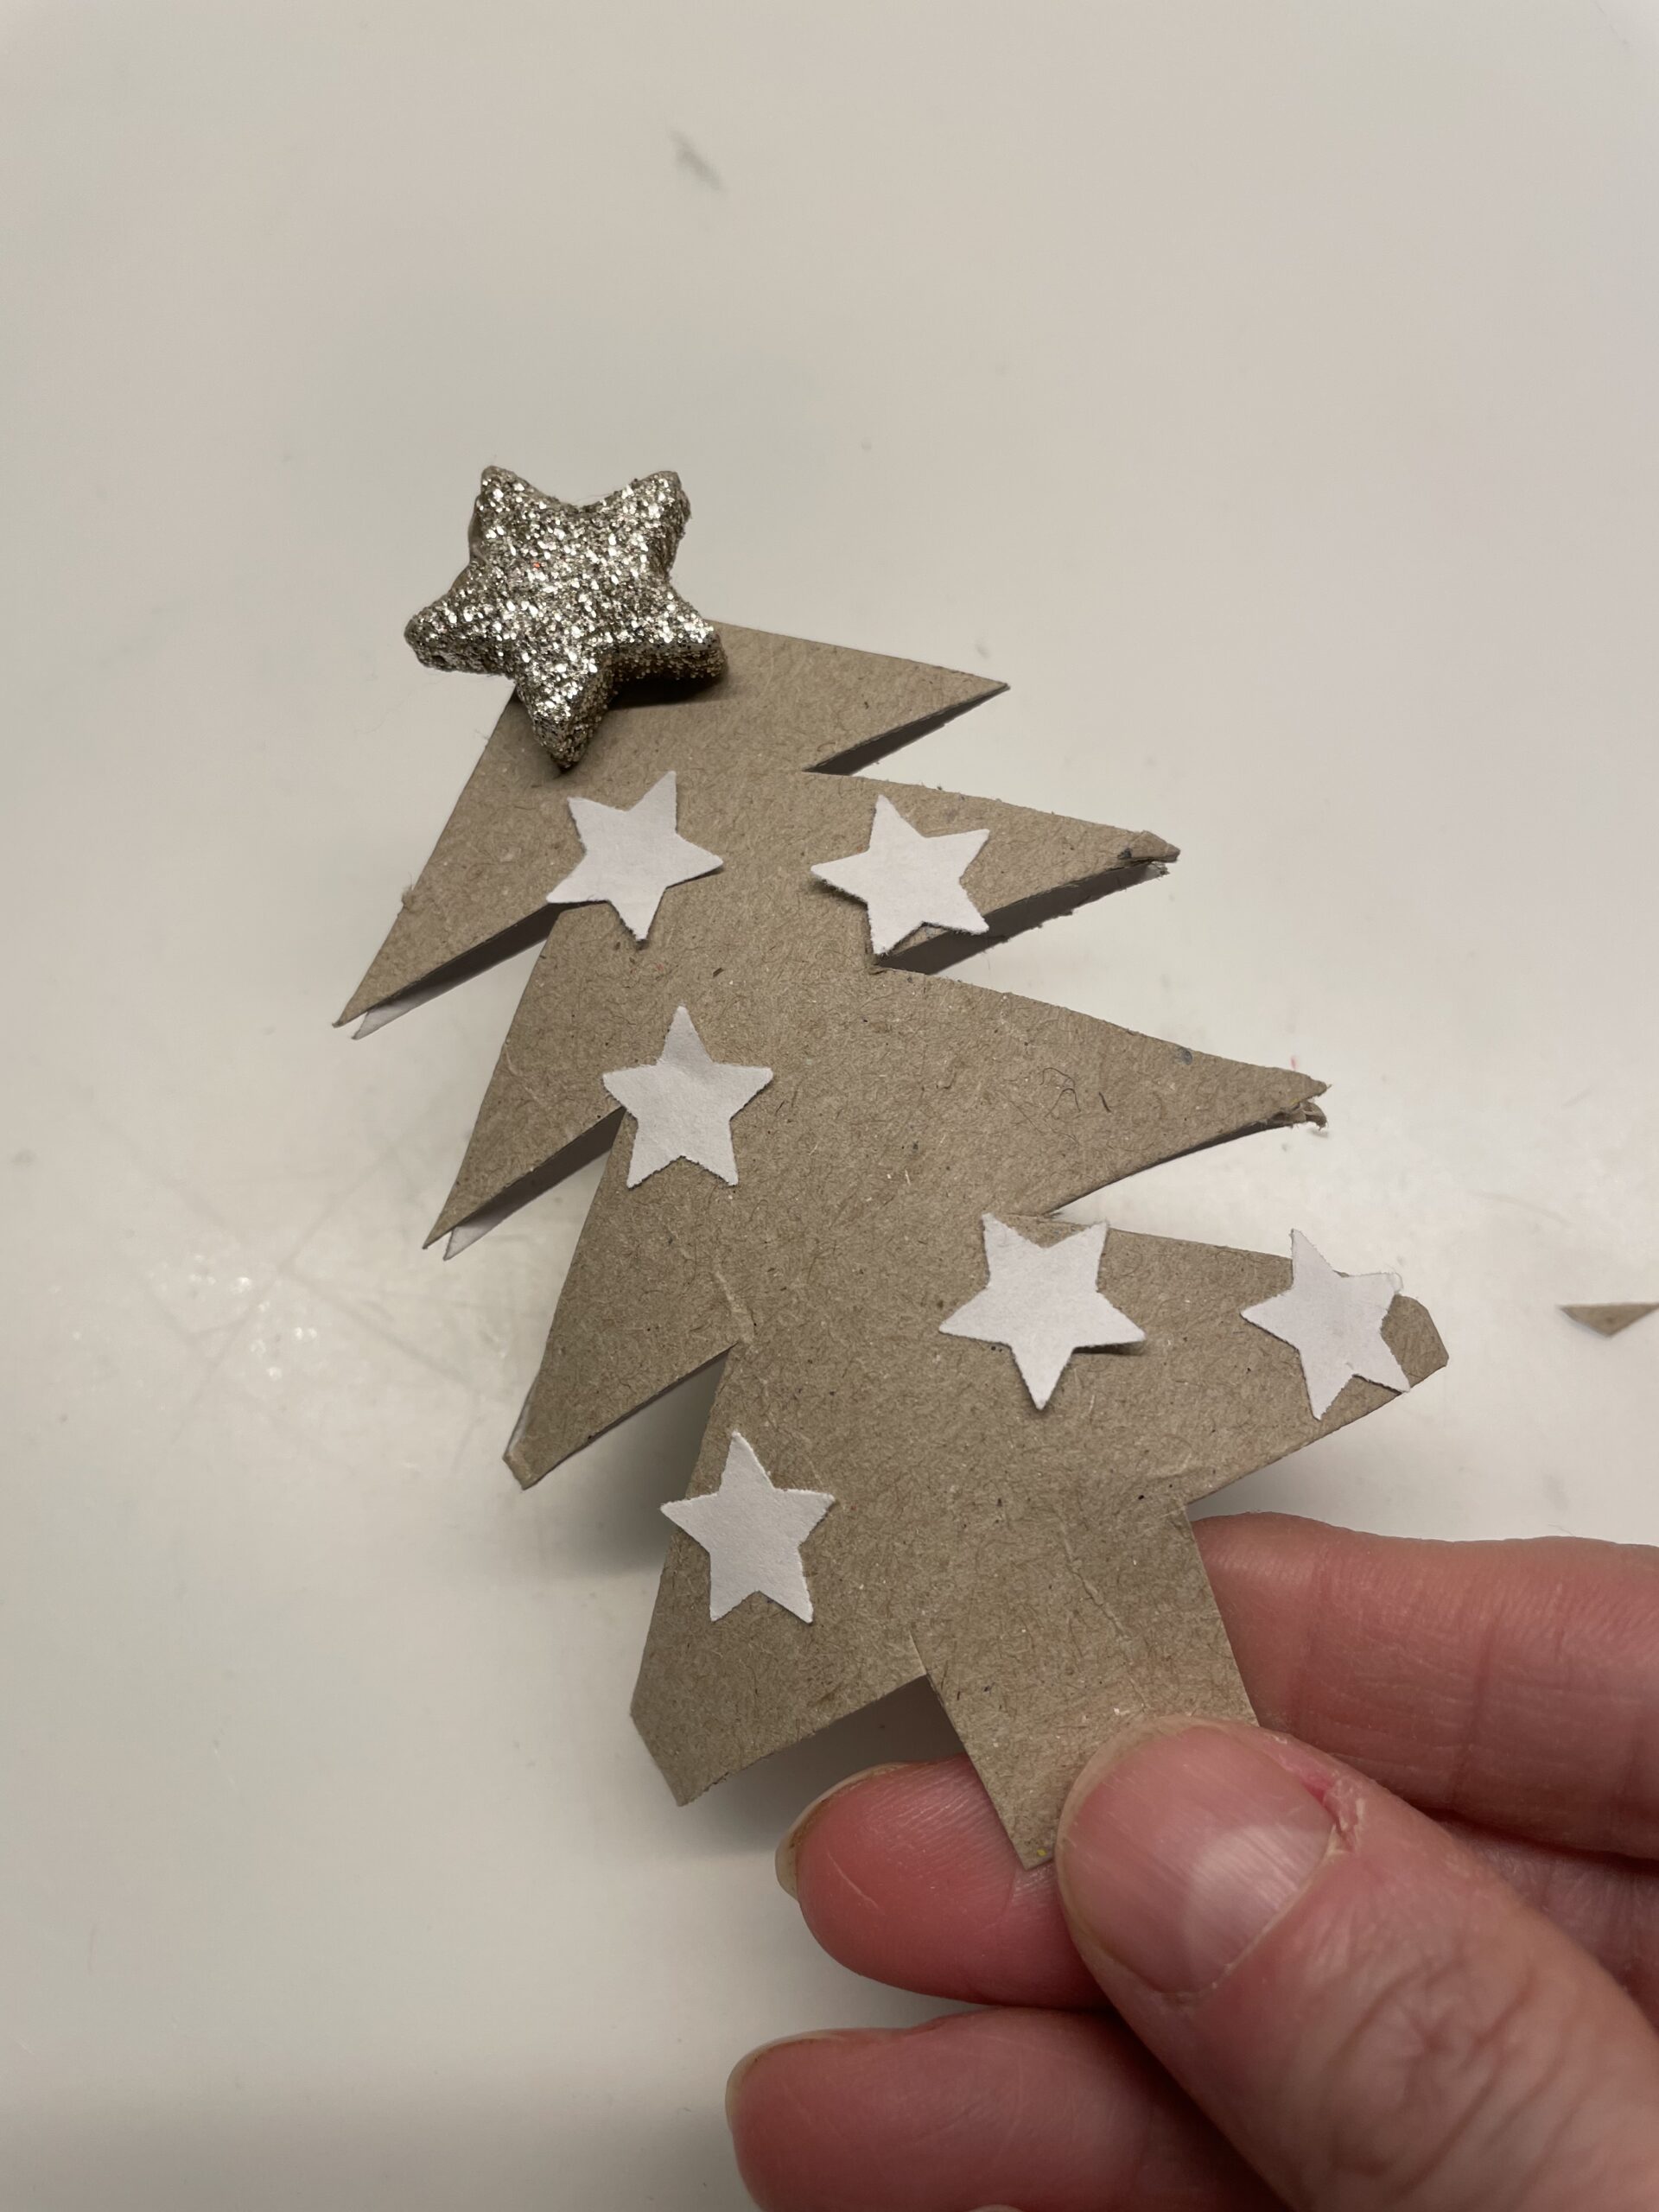
Still sticks some punched stars on the fir tree.
Tip: Sticking on stars is a popular task that involves young children for a long time. Fine motor skills are trained and endurance and concentration are required.


Enjoy crafting and designing!


Materials
Directions
First pick up the material, then start with the cardboard roll.


Press the cardboard roll flat on the table. Gently strike the folding break on both sides.


Cut the upper opening pointedly now.
Then you cut the points. First you cut the one half jagged. Cut the lower points wider than the upper ones. Then you cut the second half.


Now you cut the tree trunk. For this you cut the cardboard roll from the left and right, so that about 1 cm of cardboard roll remains in the middle.


Due to the wide spikes at the lower side the fir tree gets stability and can stand.


Now you stick the top of the fir tree together.


Now you decorate the fir tree. Stick a small star on the front of the top.


To set up, you push the fir tree a bit apart.


Still sticks some punched stars on the fir tree.
Tip: Sticking on stars is a popular task that involves young children for a long time. Fine motor skills are trained and endurance and concentration are required.


Enjoy crafting and designing!


Follow us on Facebook , Instagram and Pinterest
Don't miss any more adventures: Our bottle mail


