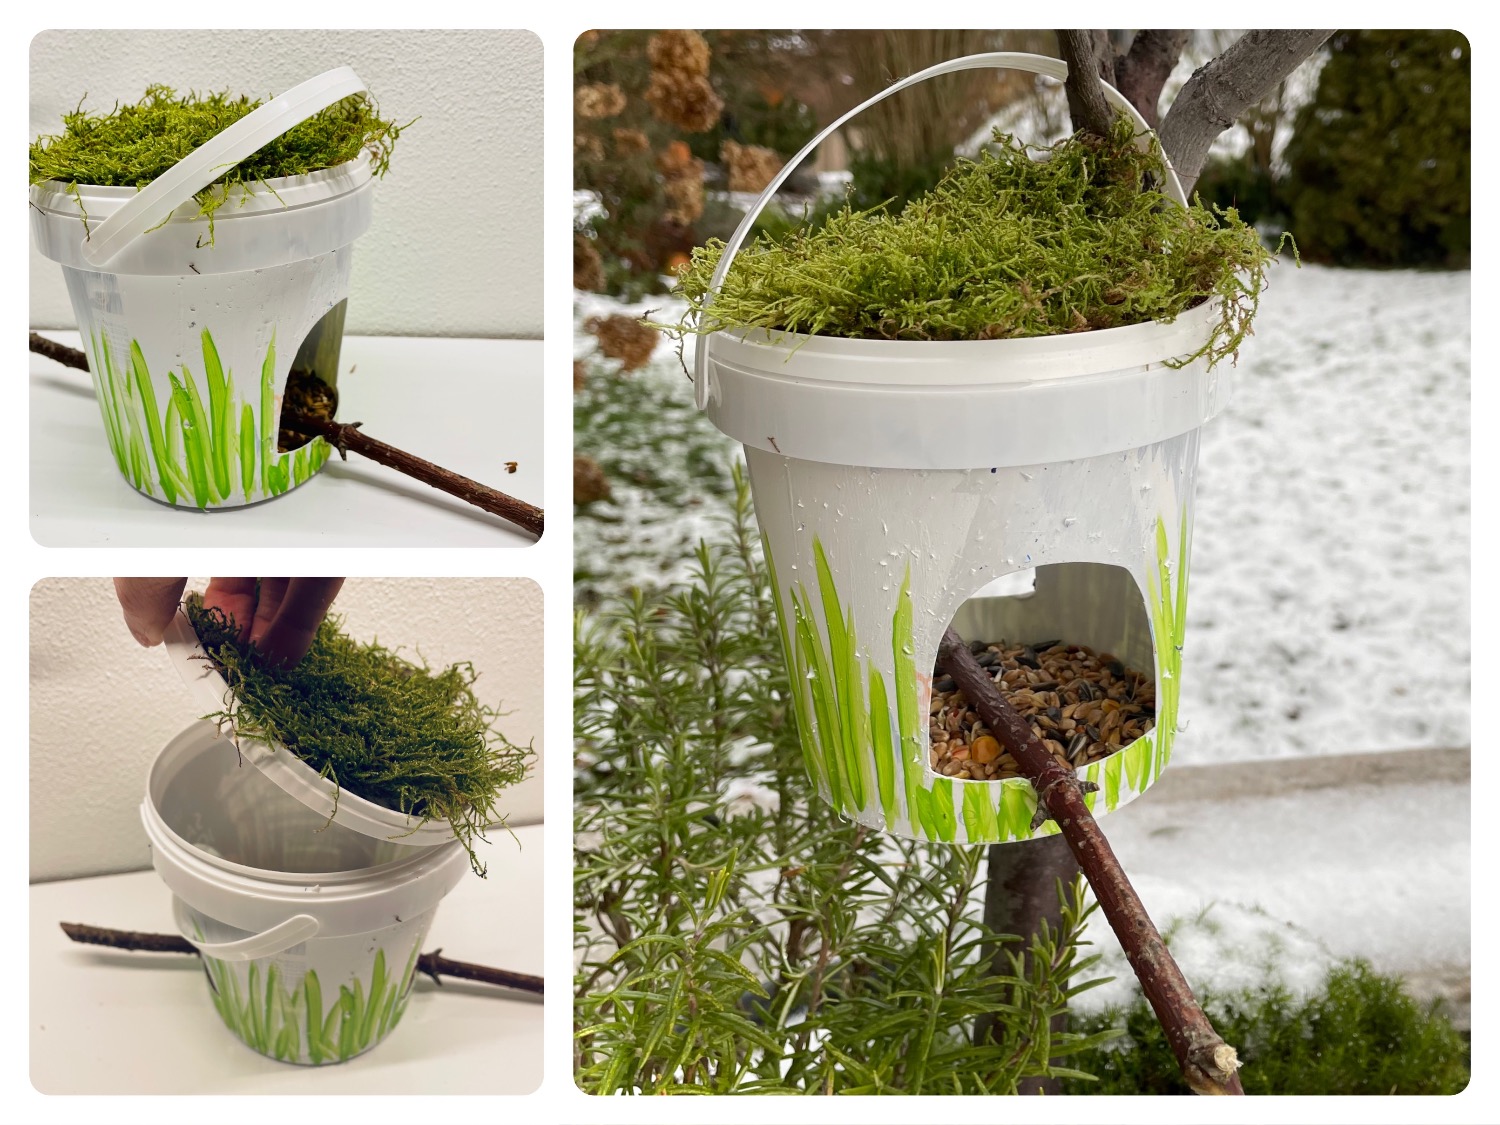
Build a bird food house from a yoghurt bucket (500g capacity). This unique bird food place is weatherproof, very robust and protects the food from rain weather. For this purpose, you paint the cup on two large windows, which allow the birds to access the food. A branch serves the birds as a landing place. It is glued to the cup. The lid protects the food from rain. You can decorate it with some moss. Finally, the self-built upcycling bird house hangs it with the handle of the bucket on a branch or in a place protected from cats.
Look at the instructions and have fun building!
Media Education for Kindergarten and Hort

Relief in everyday life, targeted promotion of individual children, independent learning and - without any pre-knowledge already usable by the youngest!
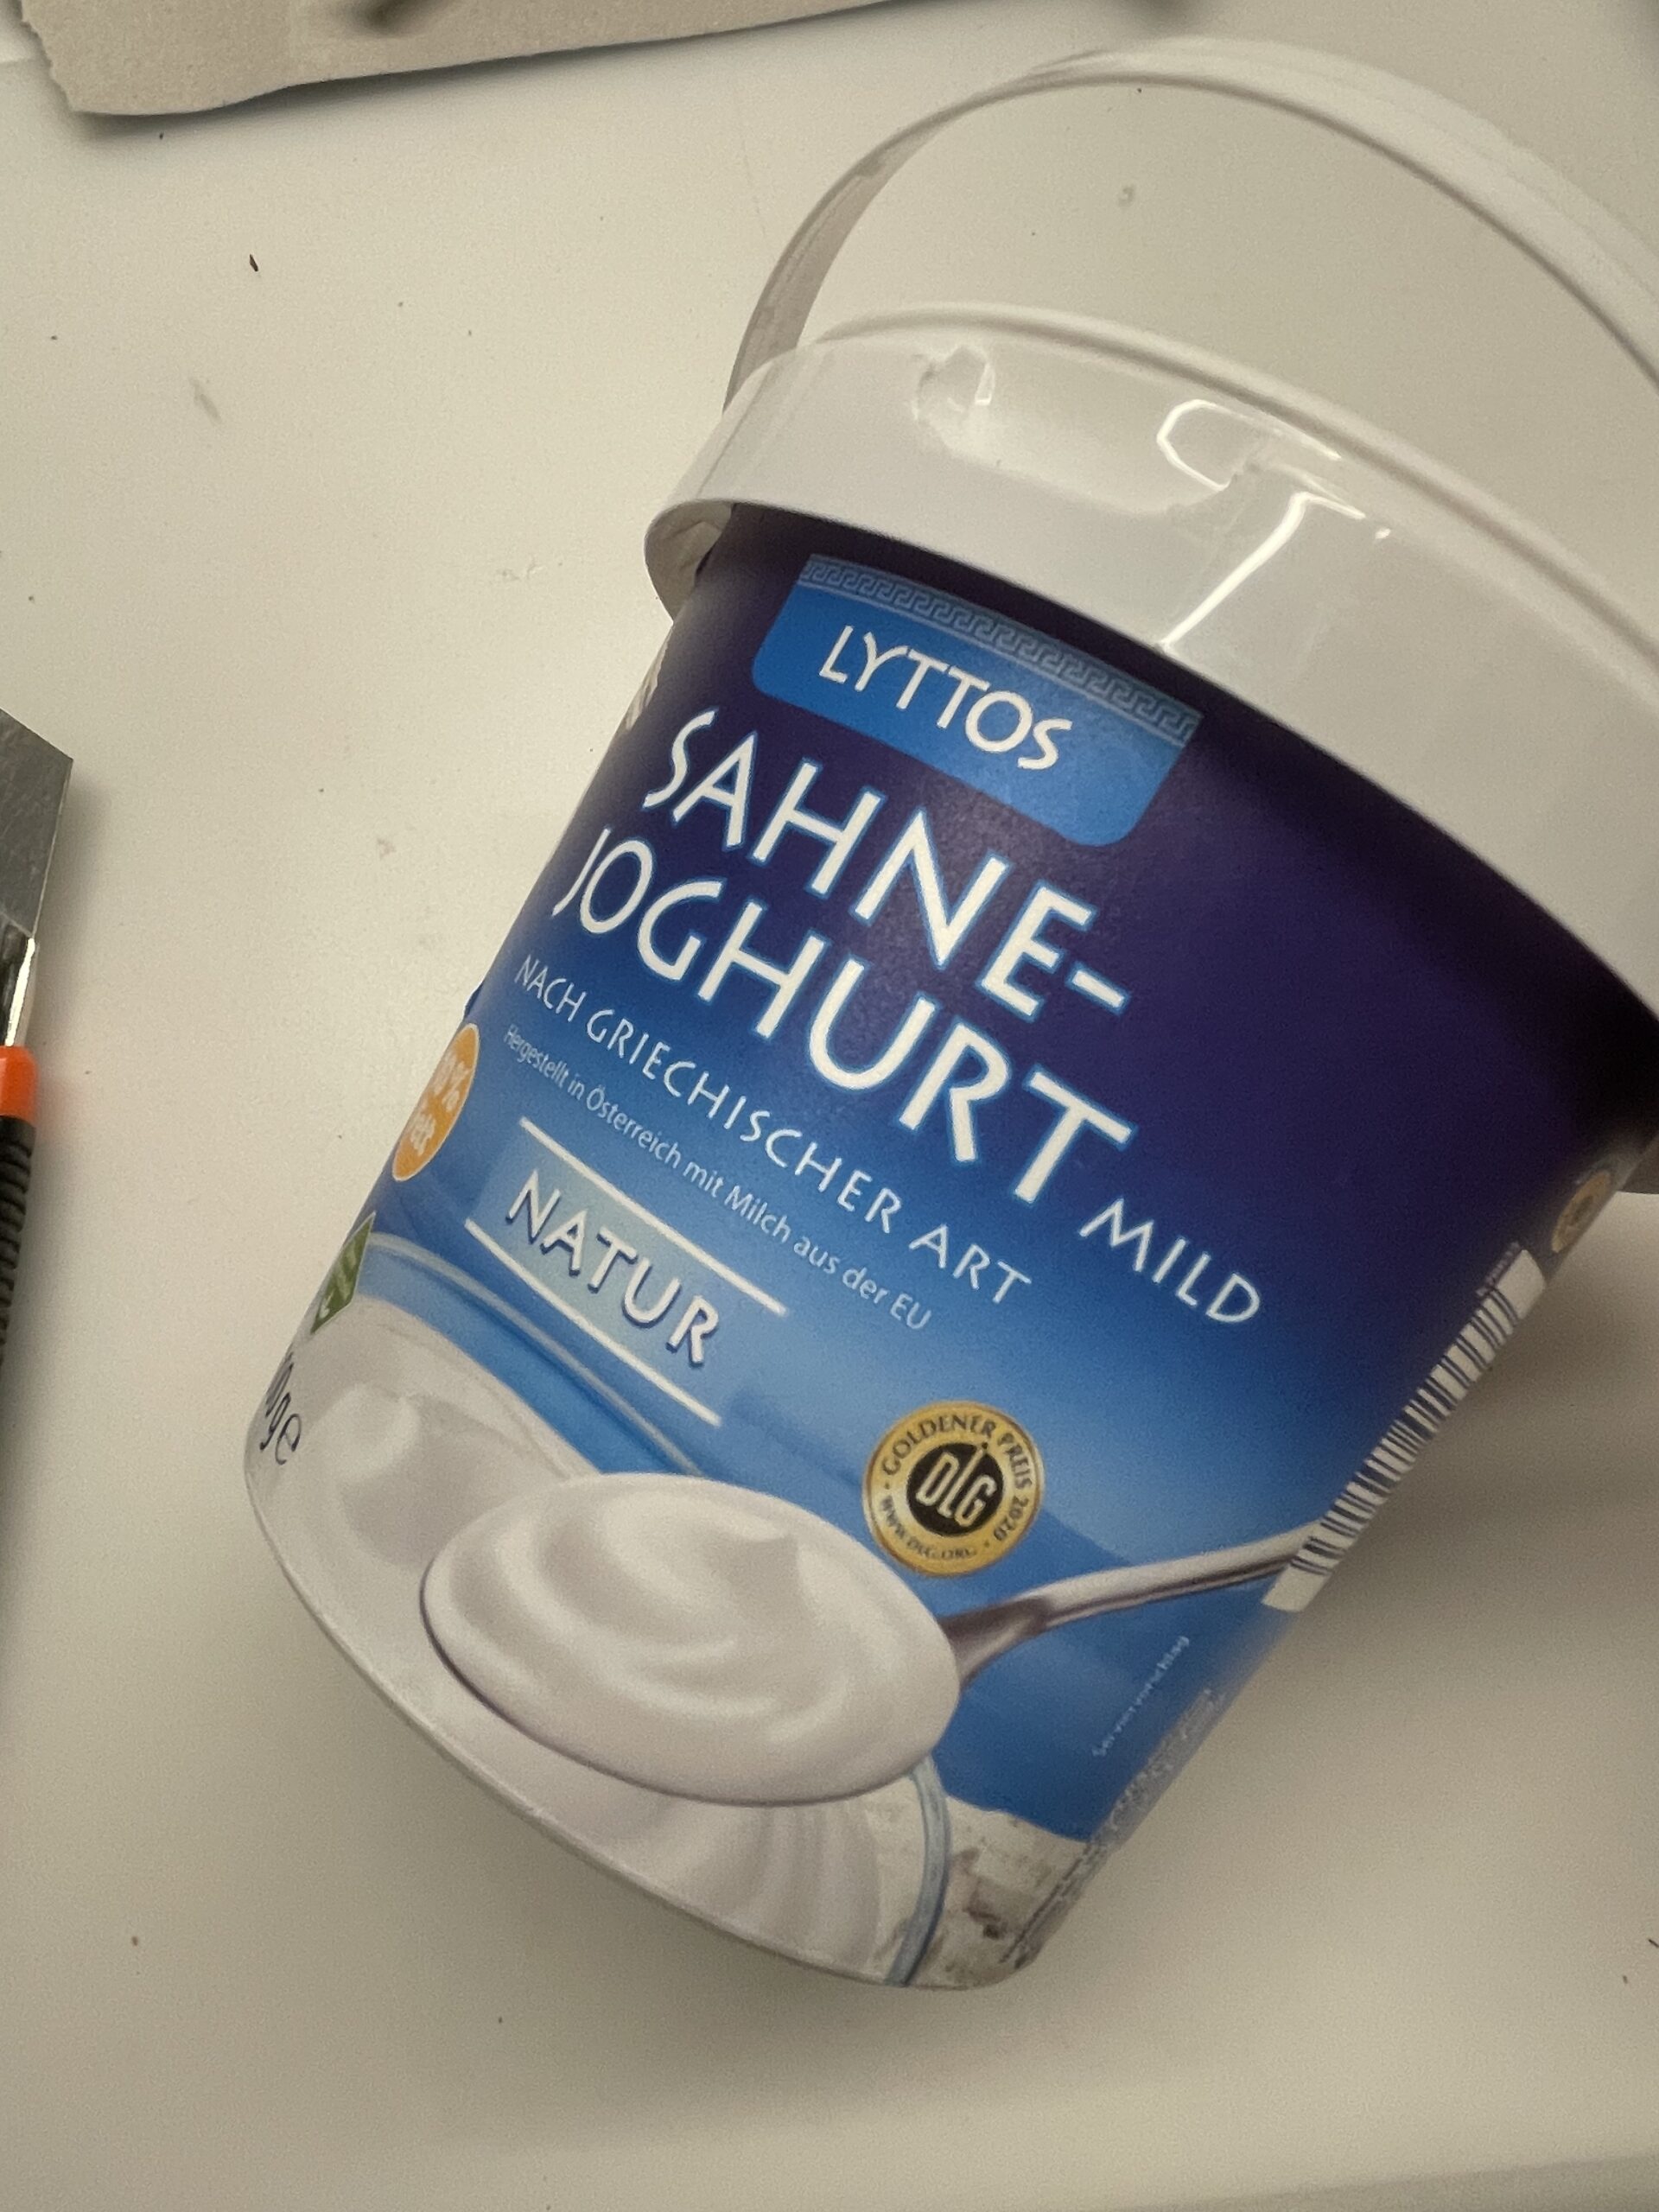
First, select your materials and put out the craft file. Use an empty and rinsed yoghurt bucket.
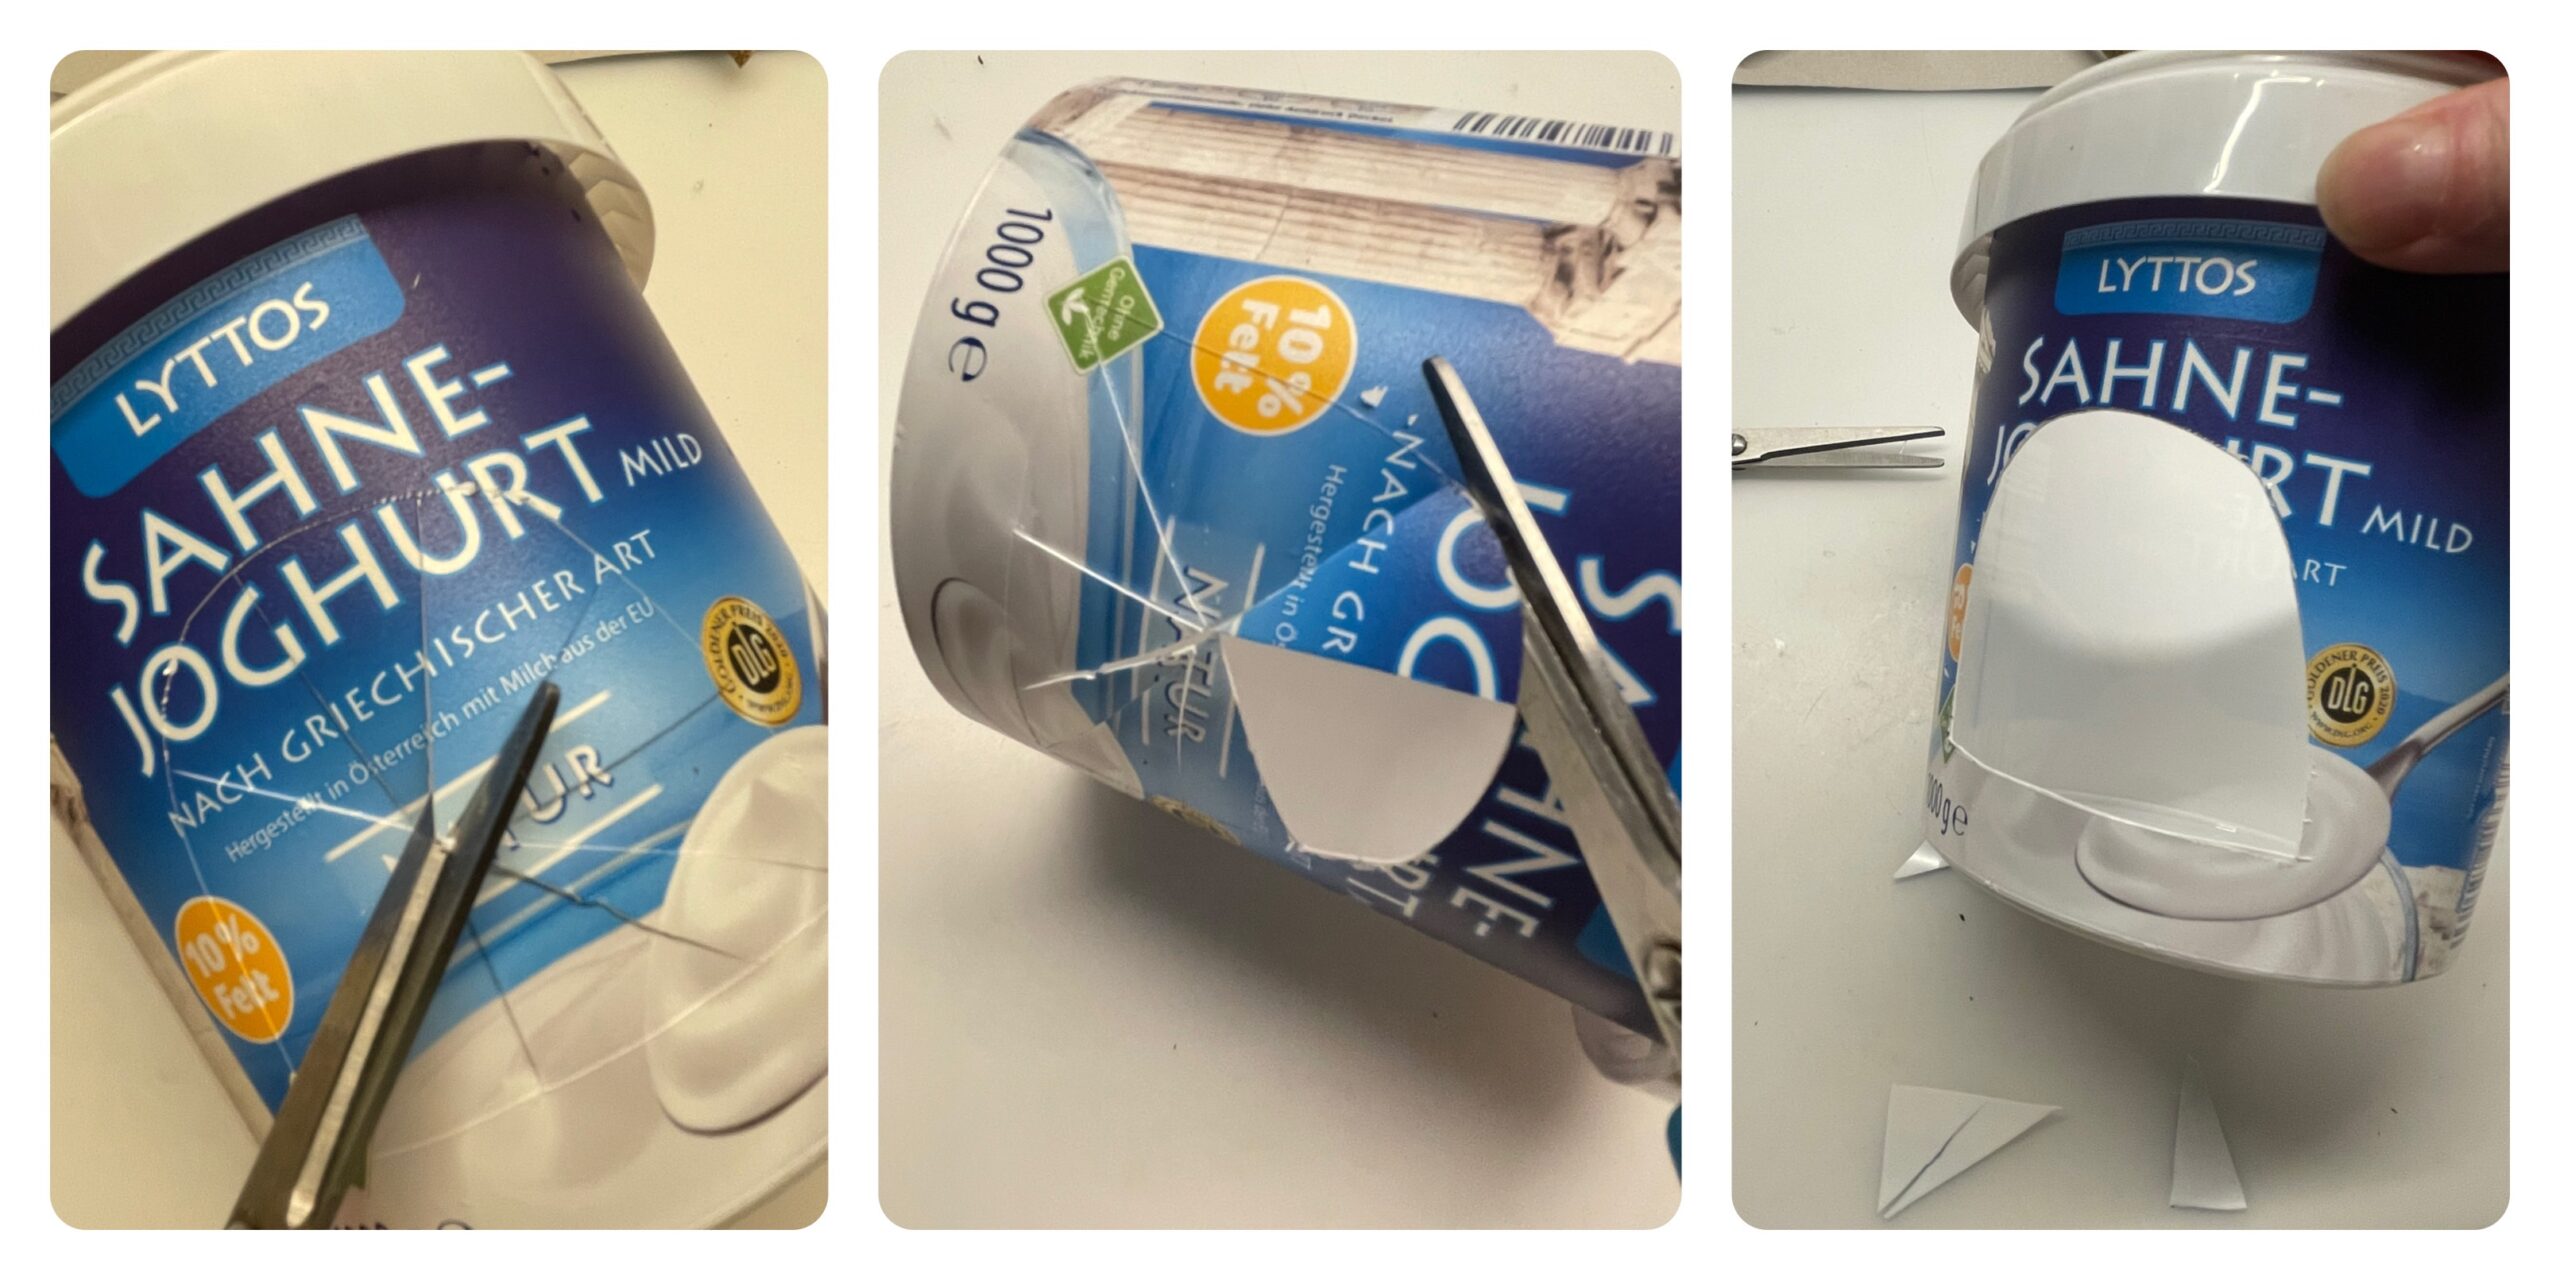
Then you cut two opposite windows out of the cup with a scissors or a cutter knife. For this you paint the cut-outs on the cup. Starting from the ground you stand at least 2cm edge. Then you slit into the inside of your painted window and cut from there star-shaped outwards. Thus the individual triangles can be easily cut out with the scissors.
Then you lay the branch across the openings.
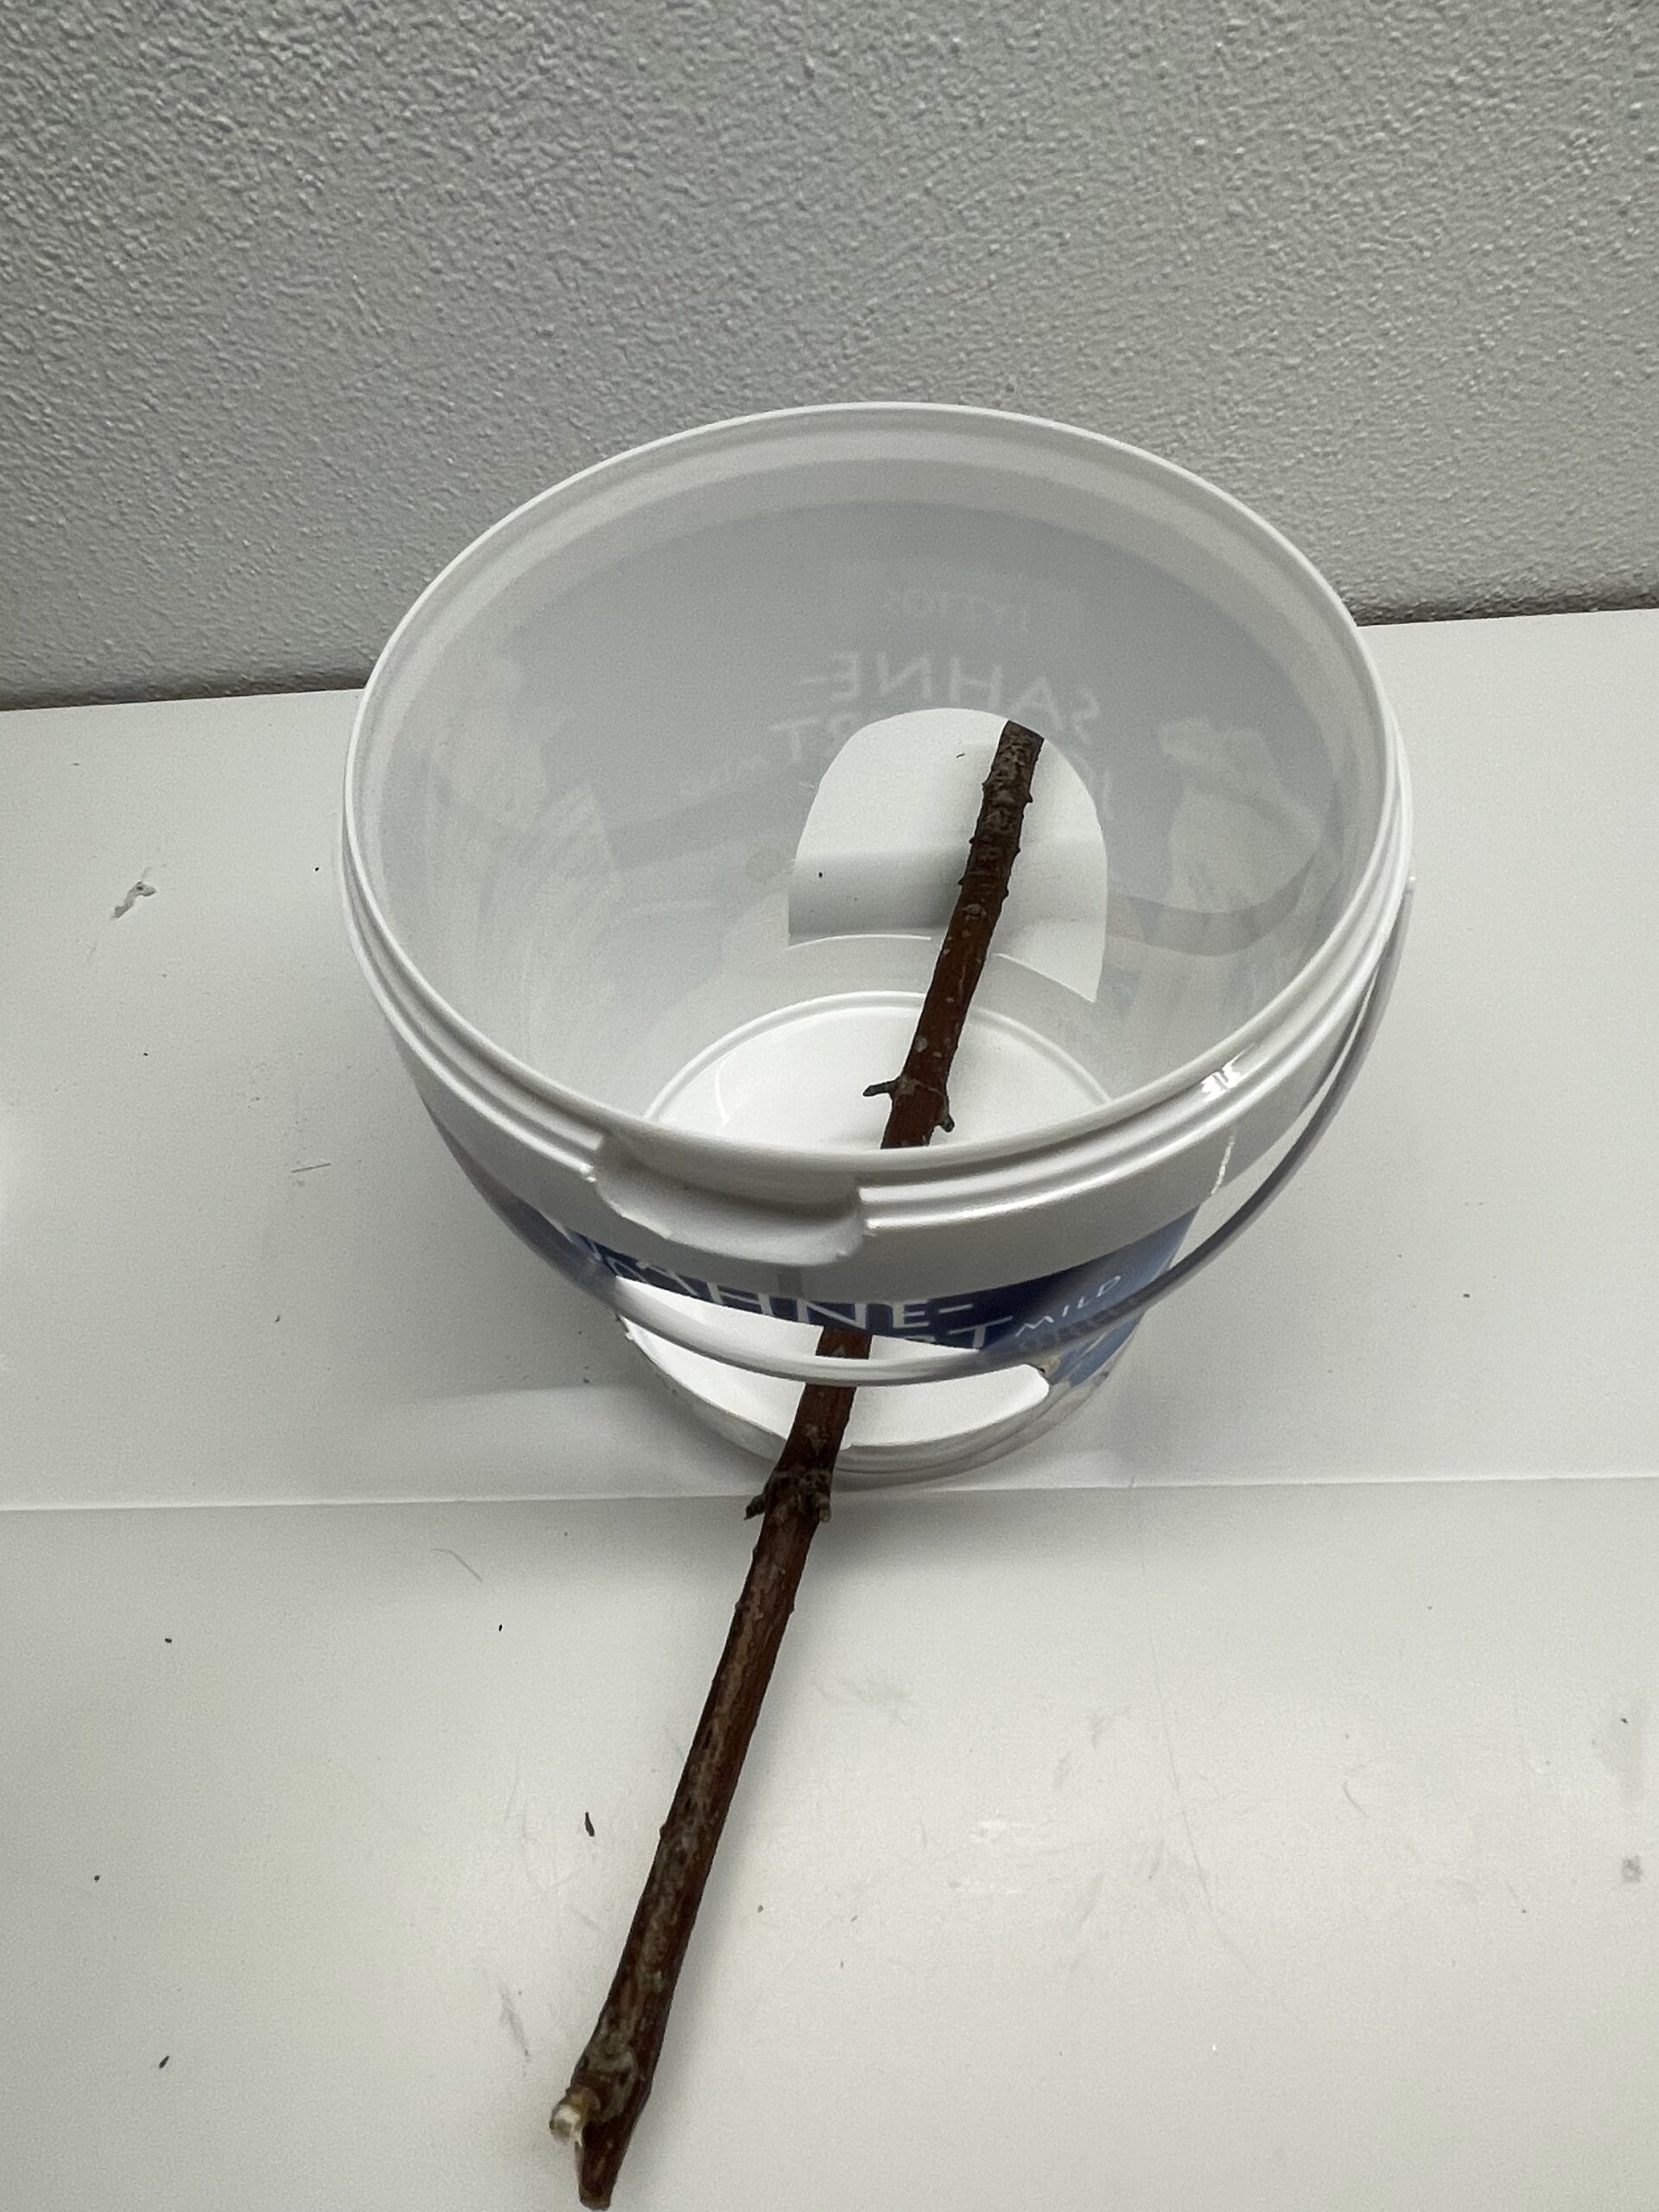
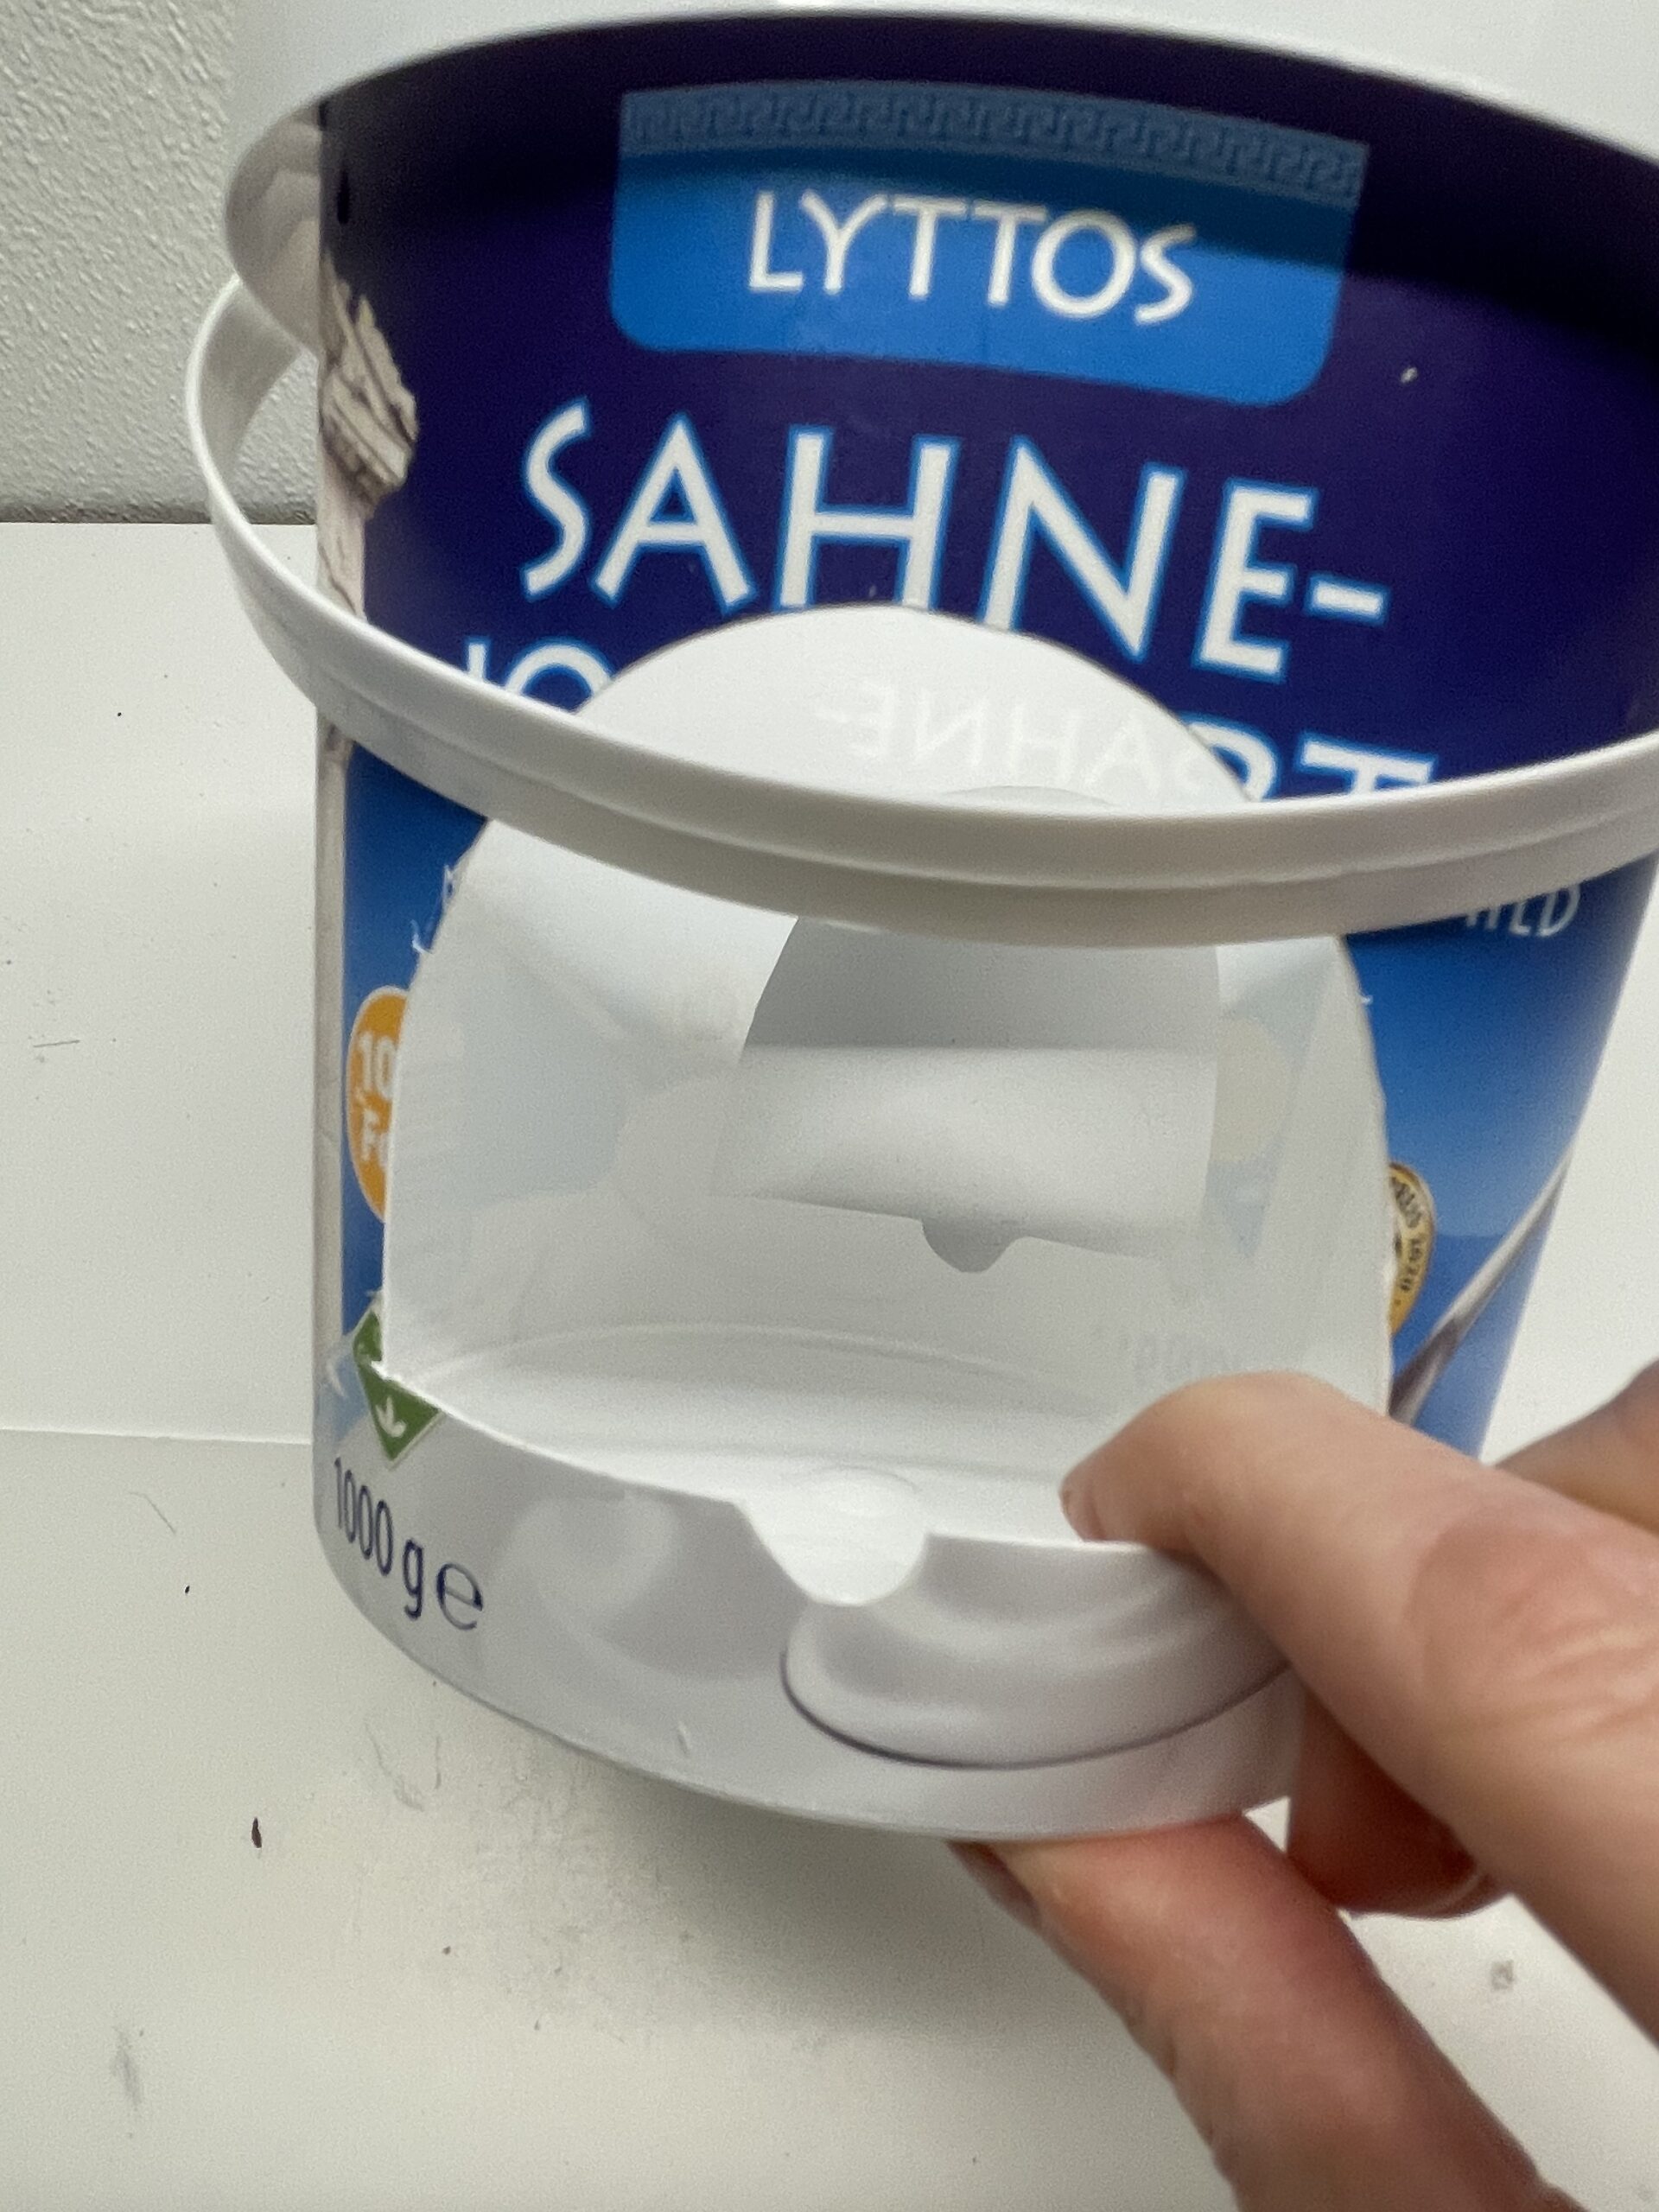
Now you cut a small hollow into the lower part of the frame, so that the branch lies in it and does not slip.
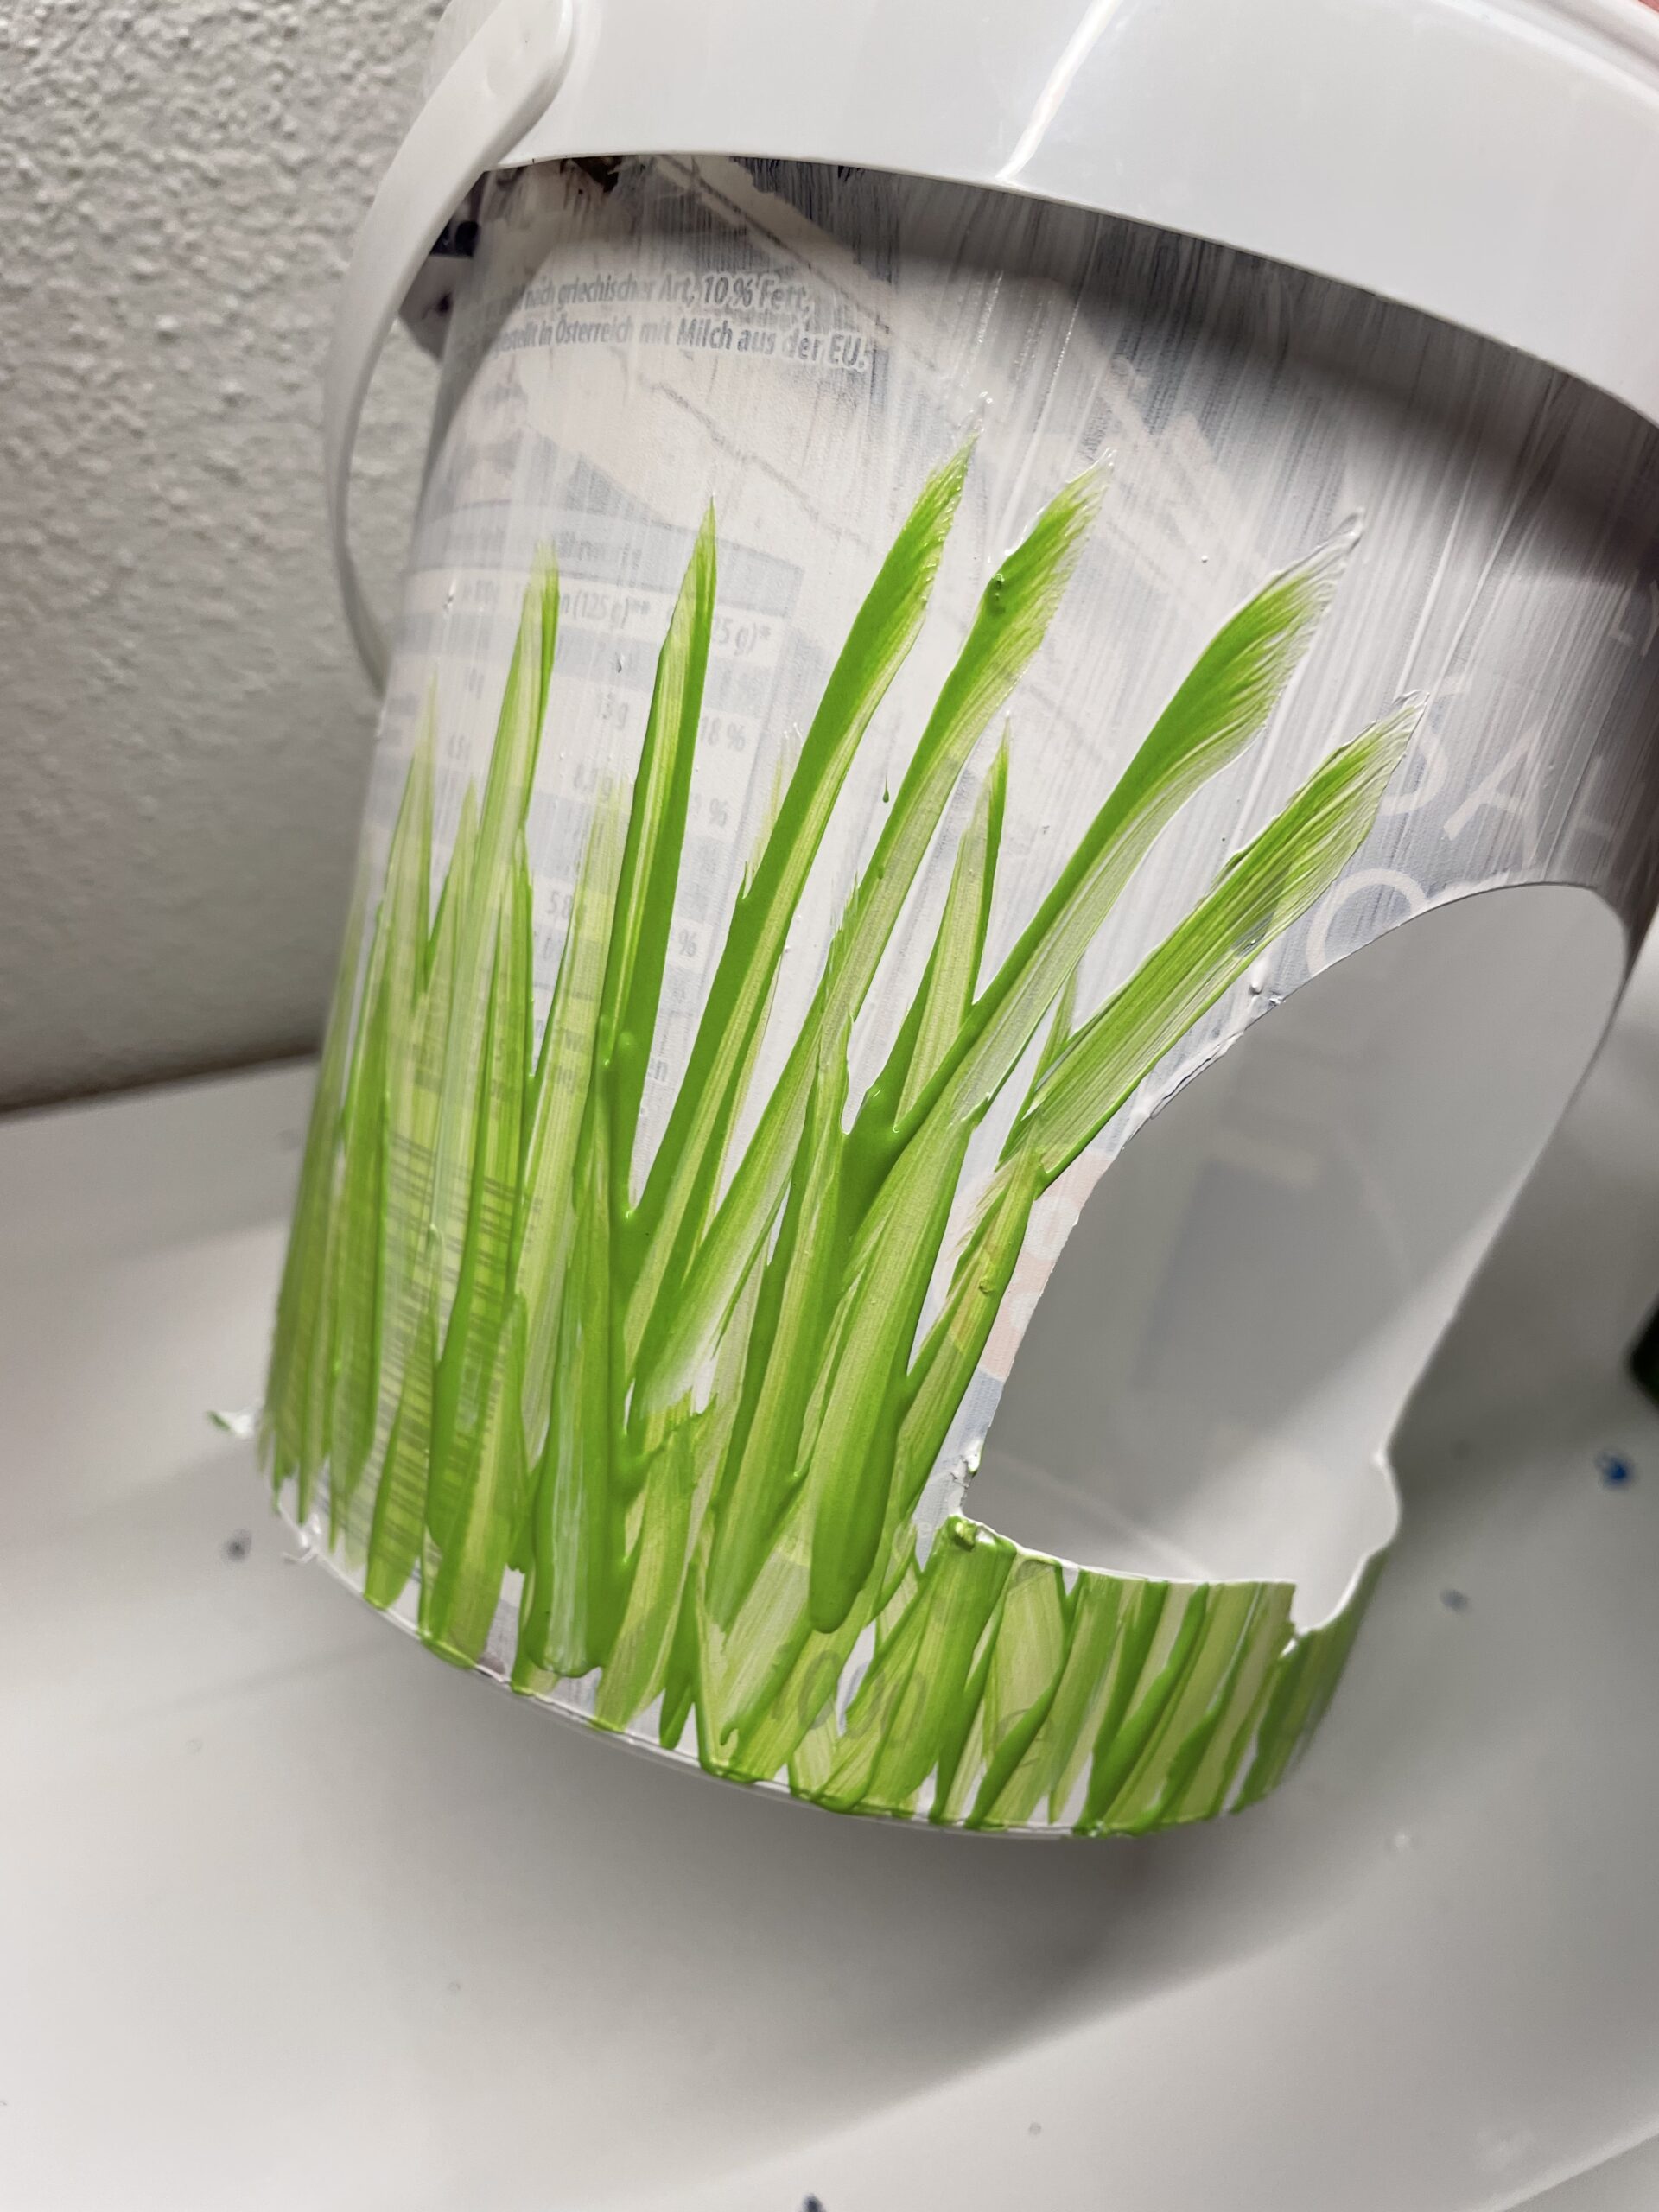
Now paint the bucket with weatherproof paint (no water color!). Paint patterns on it, for example, or grass stalks, flowers or snowmen. Then the paint must dry.
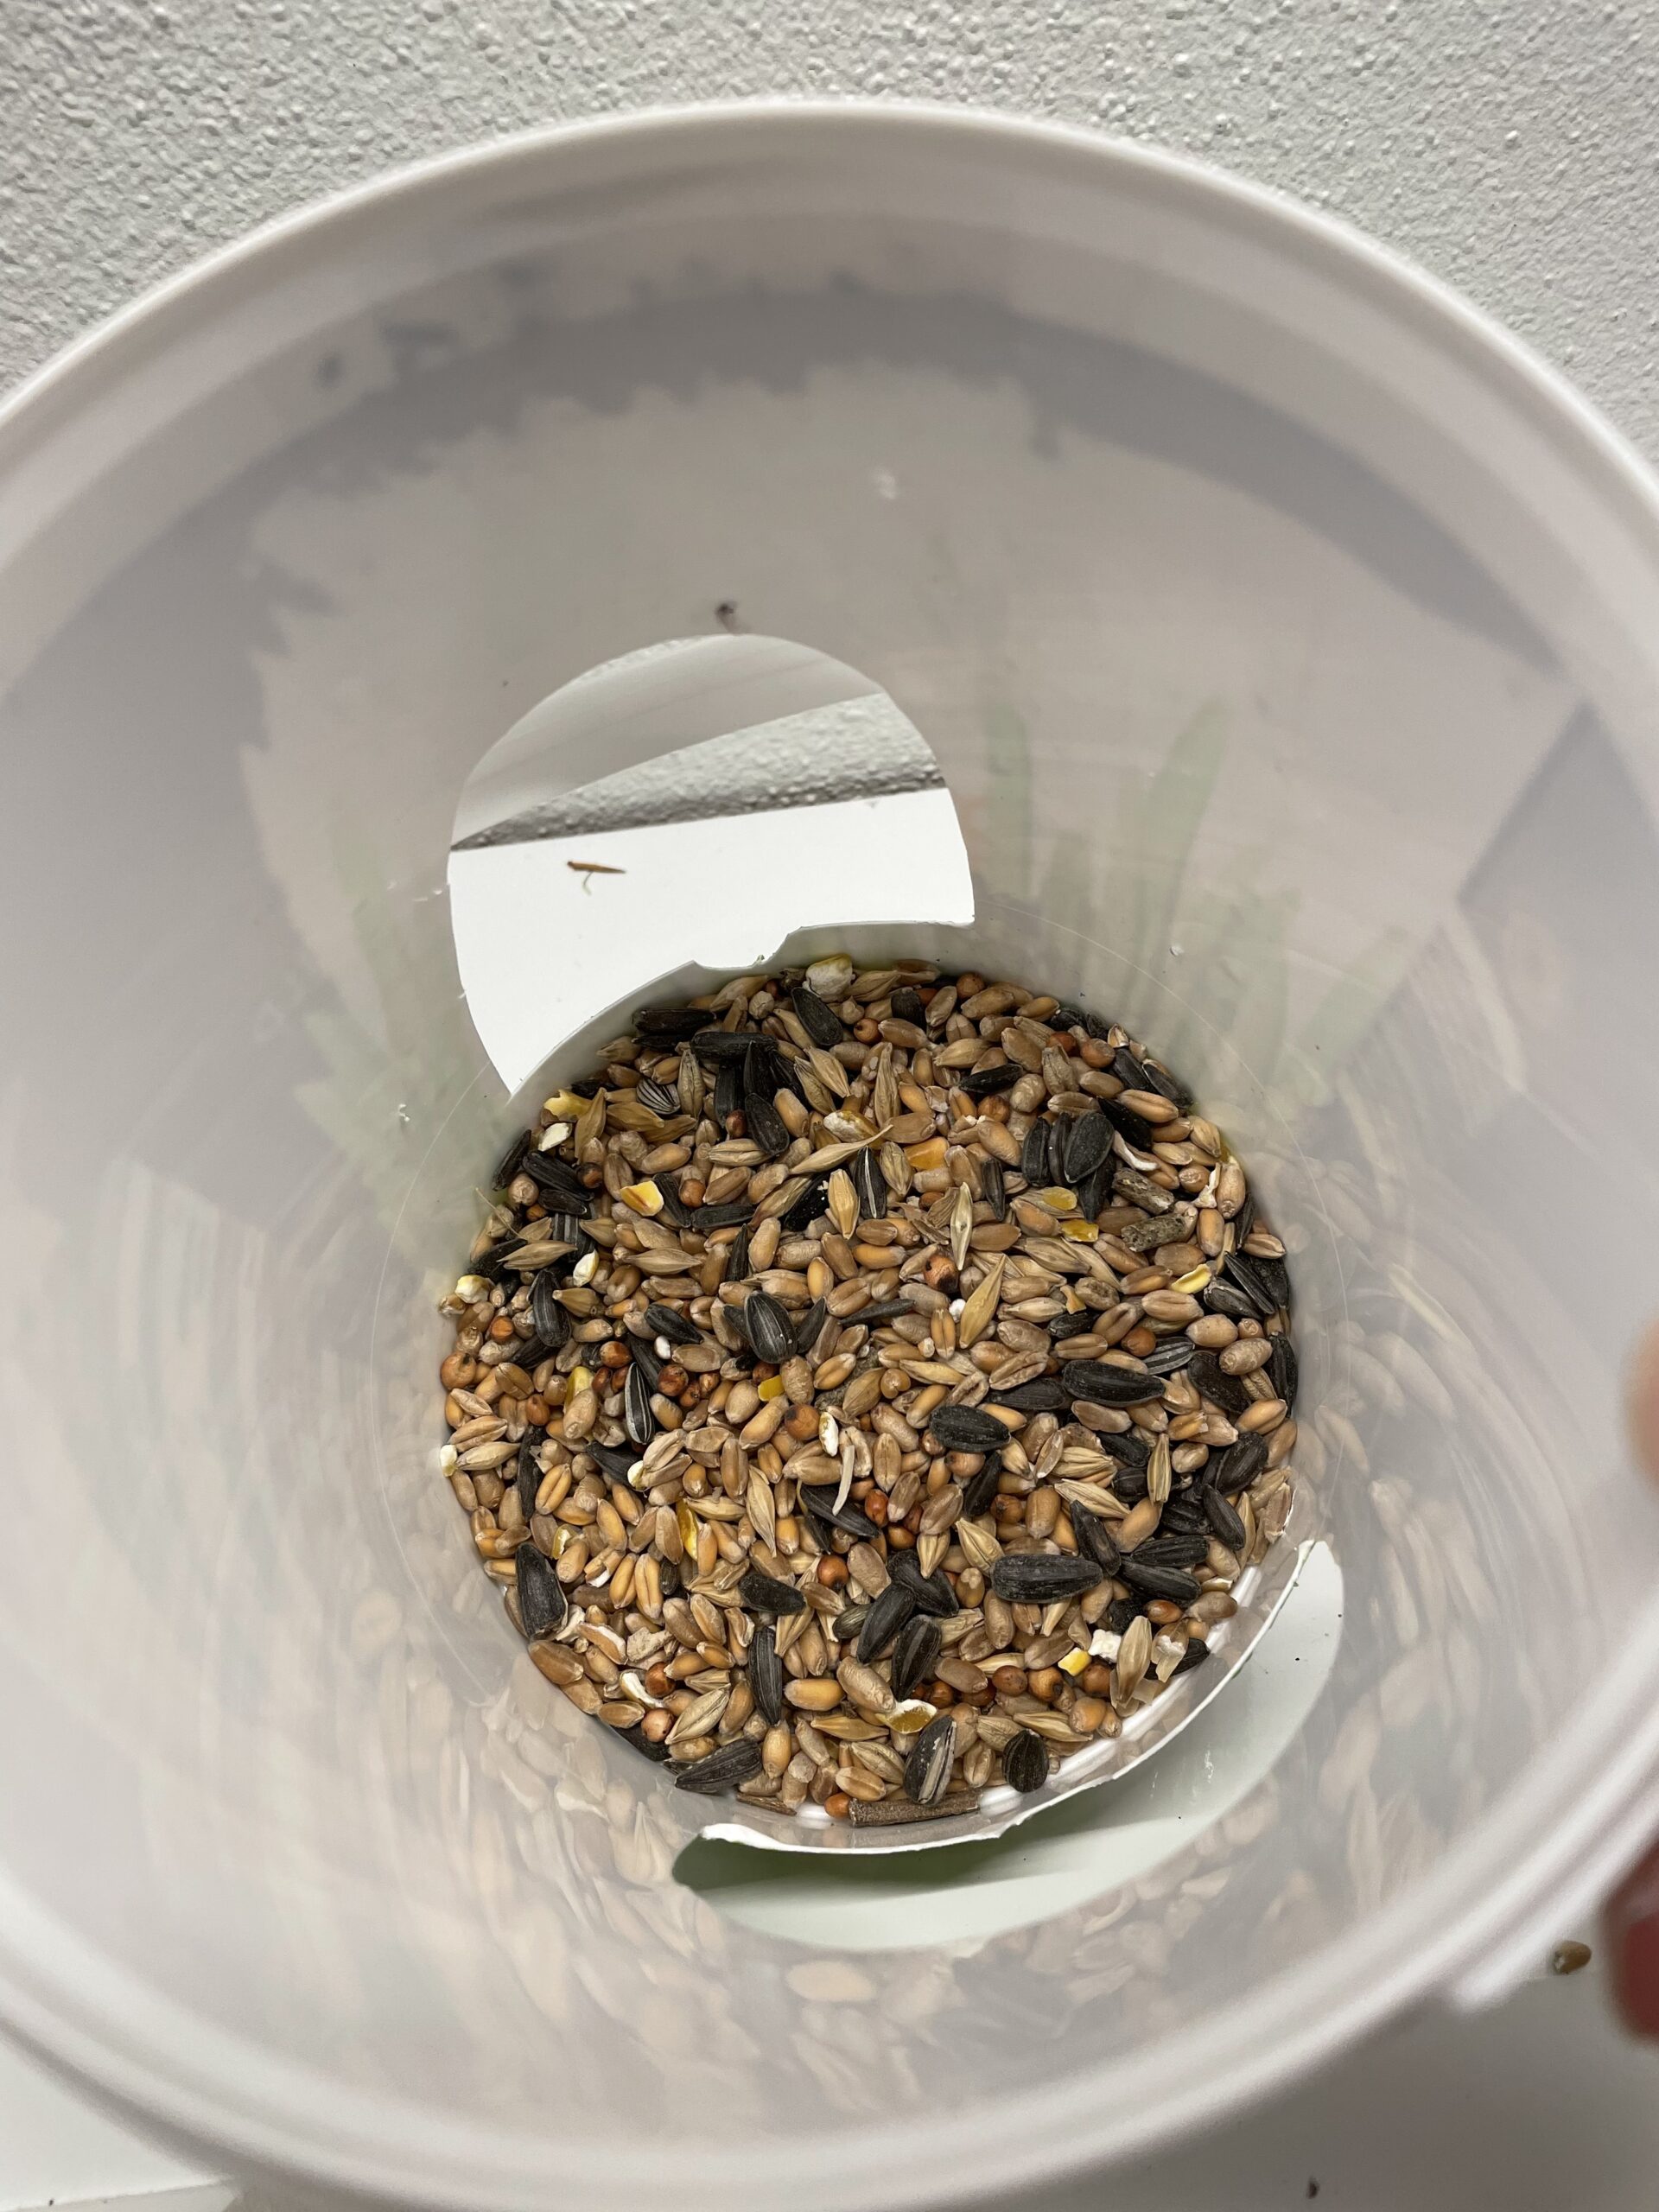
Then fill the bucket with bird food.
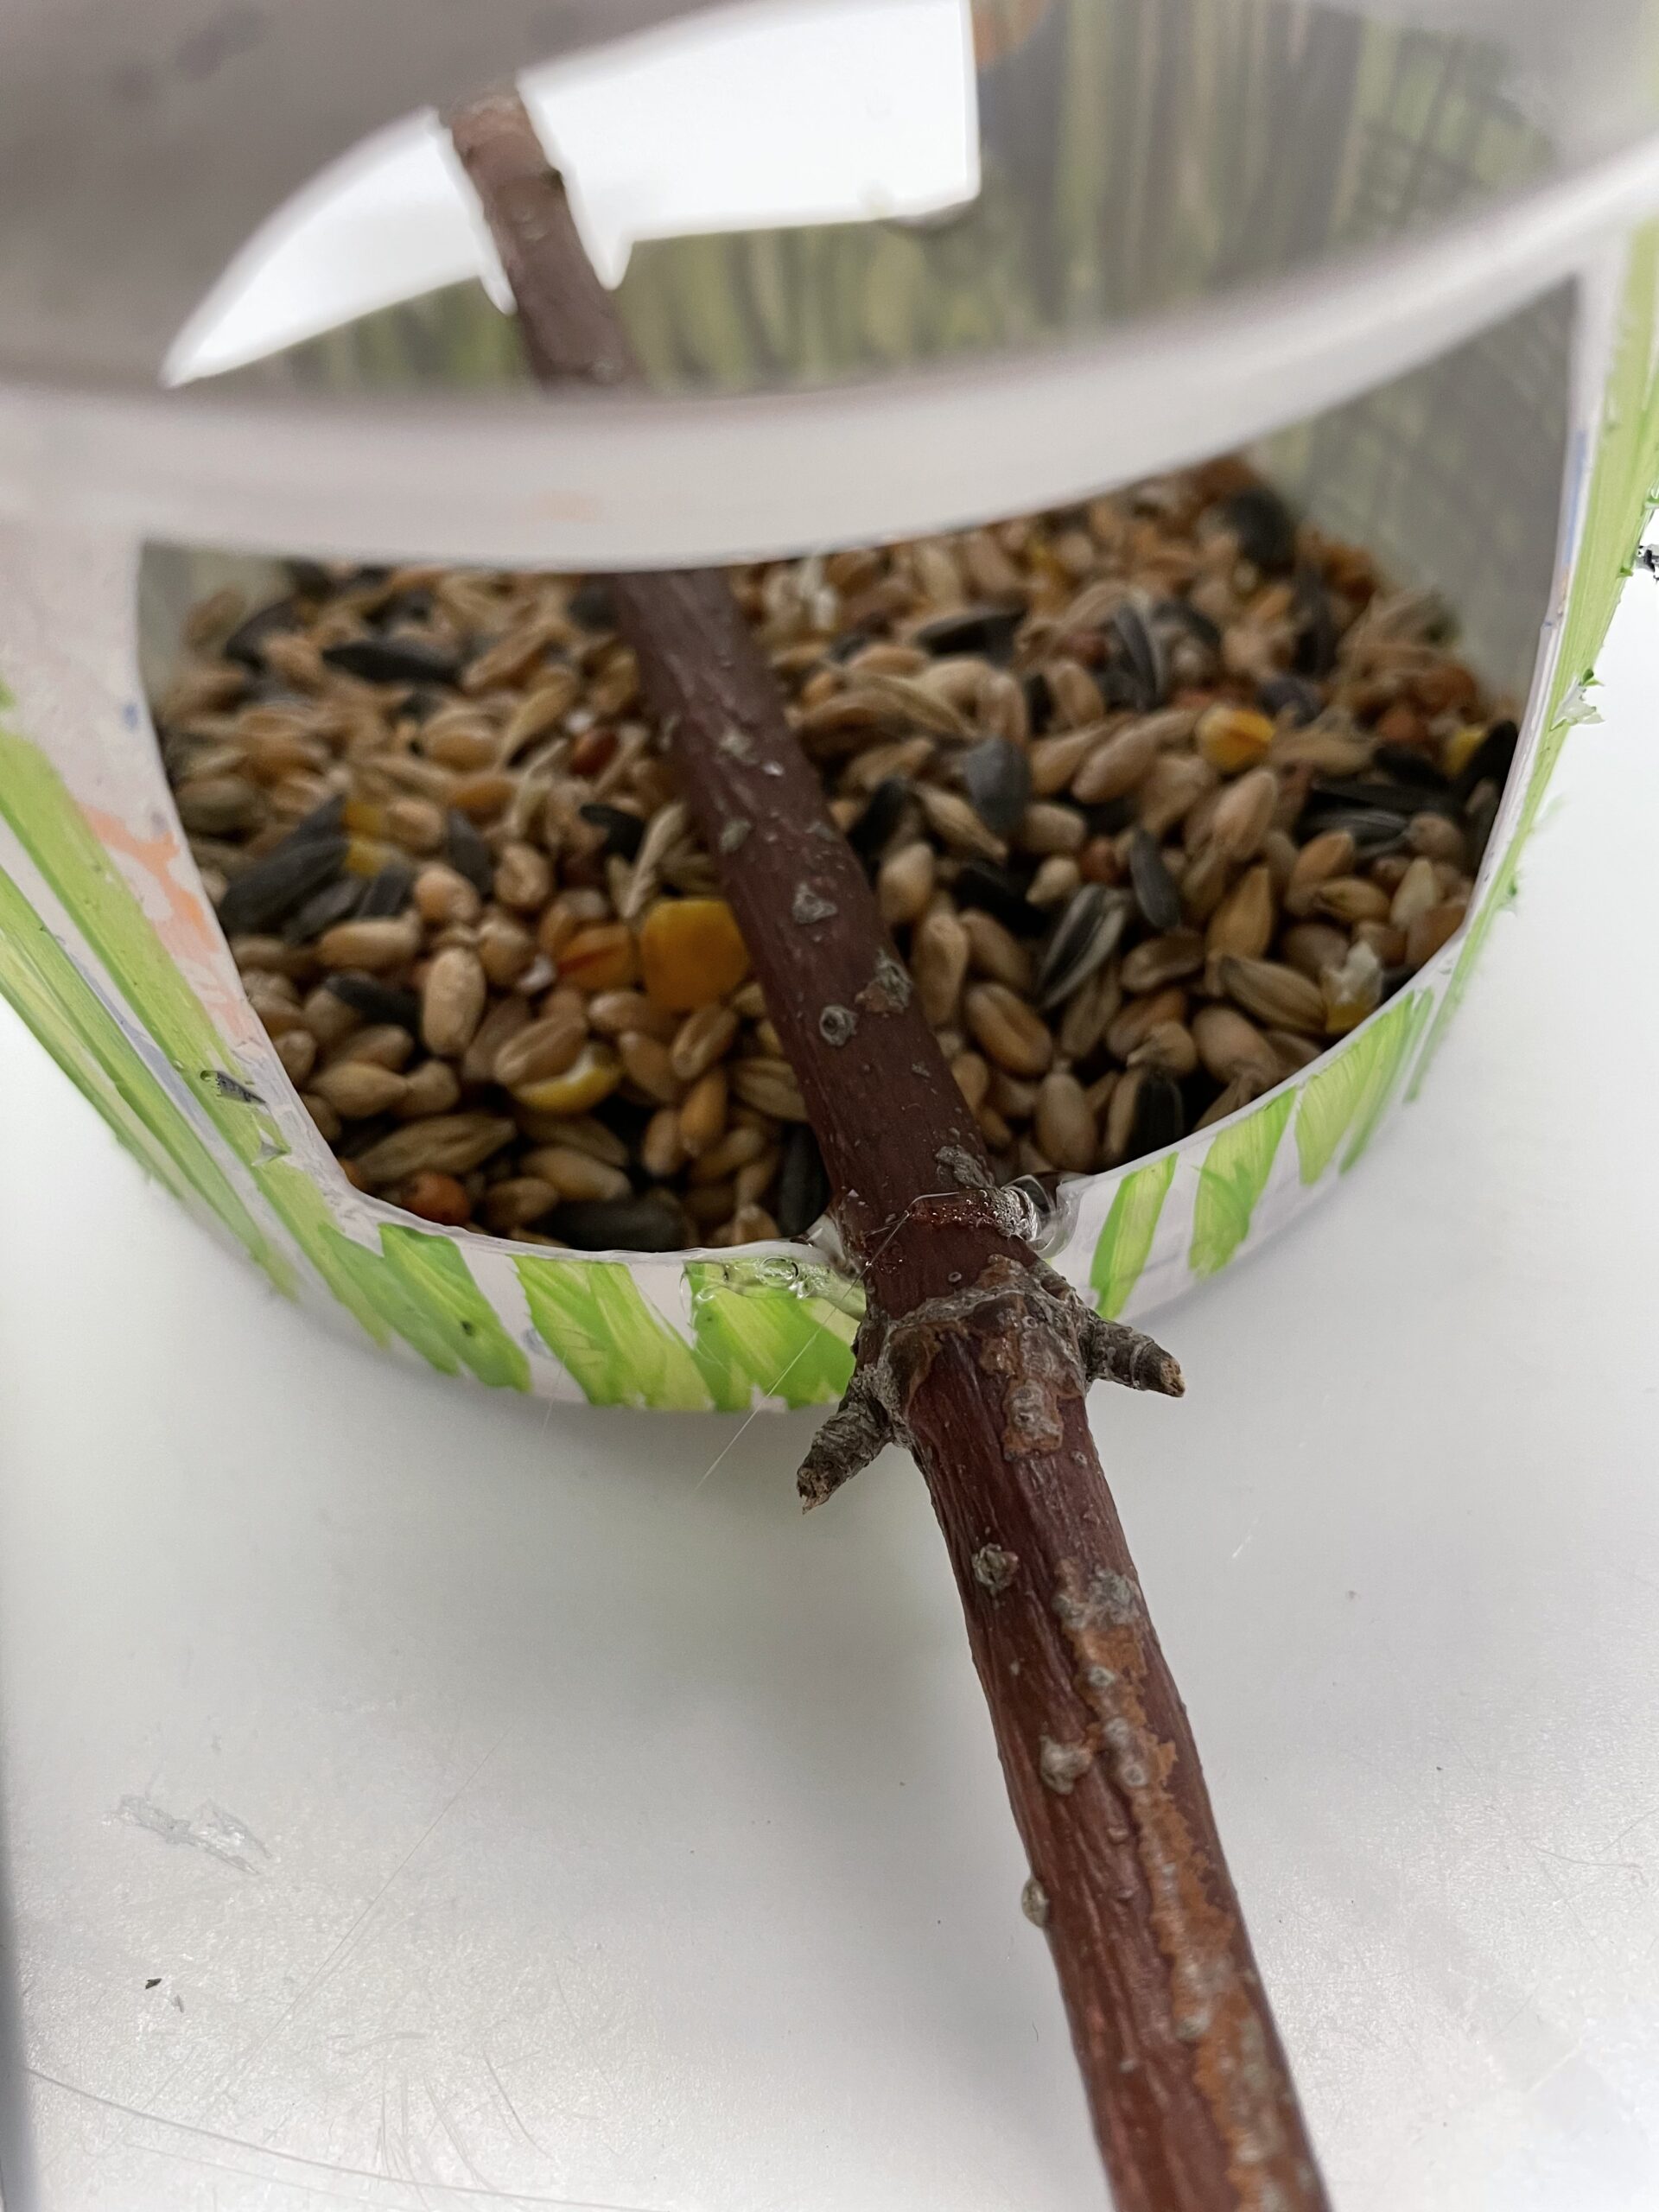
Then push the branch through both windows and fix it with a drop of hot glue at the edge. Attention when handling the hot glue - risk of injury!
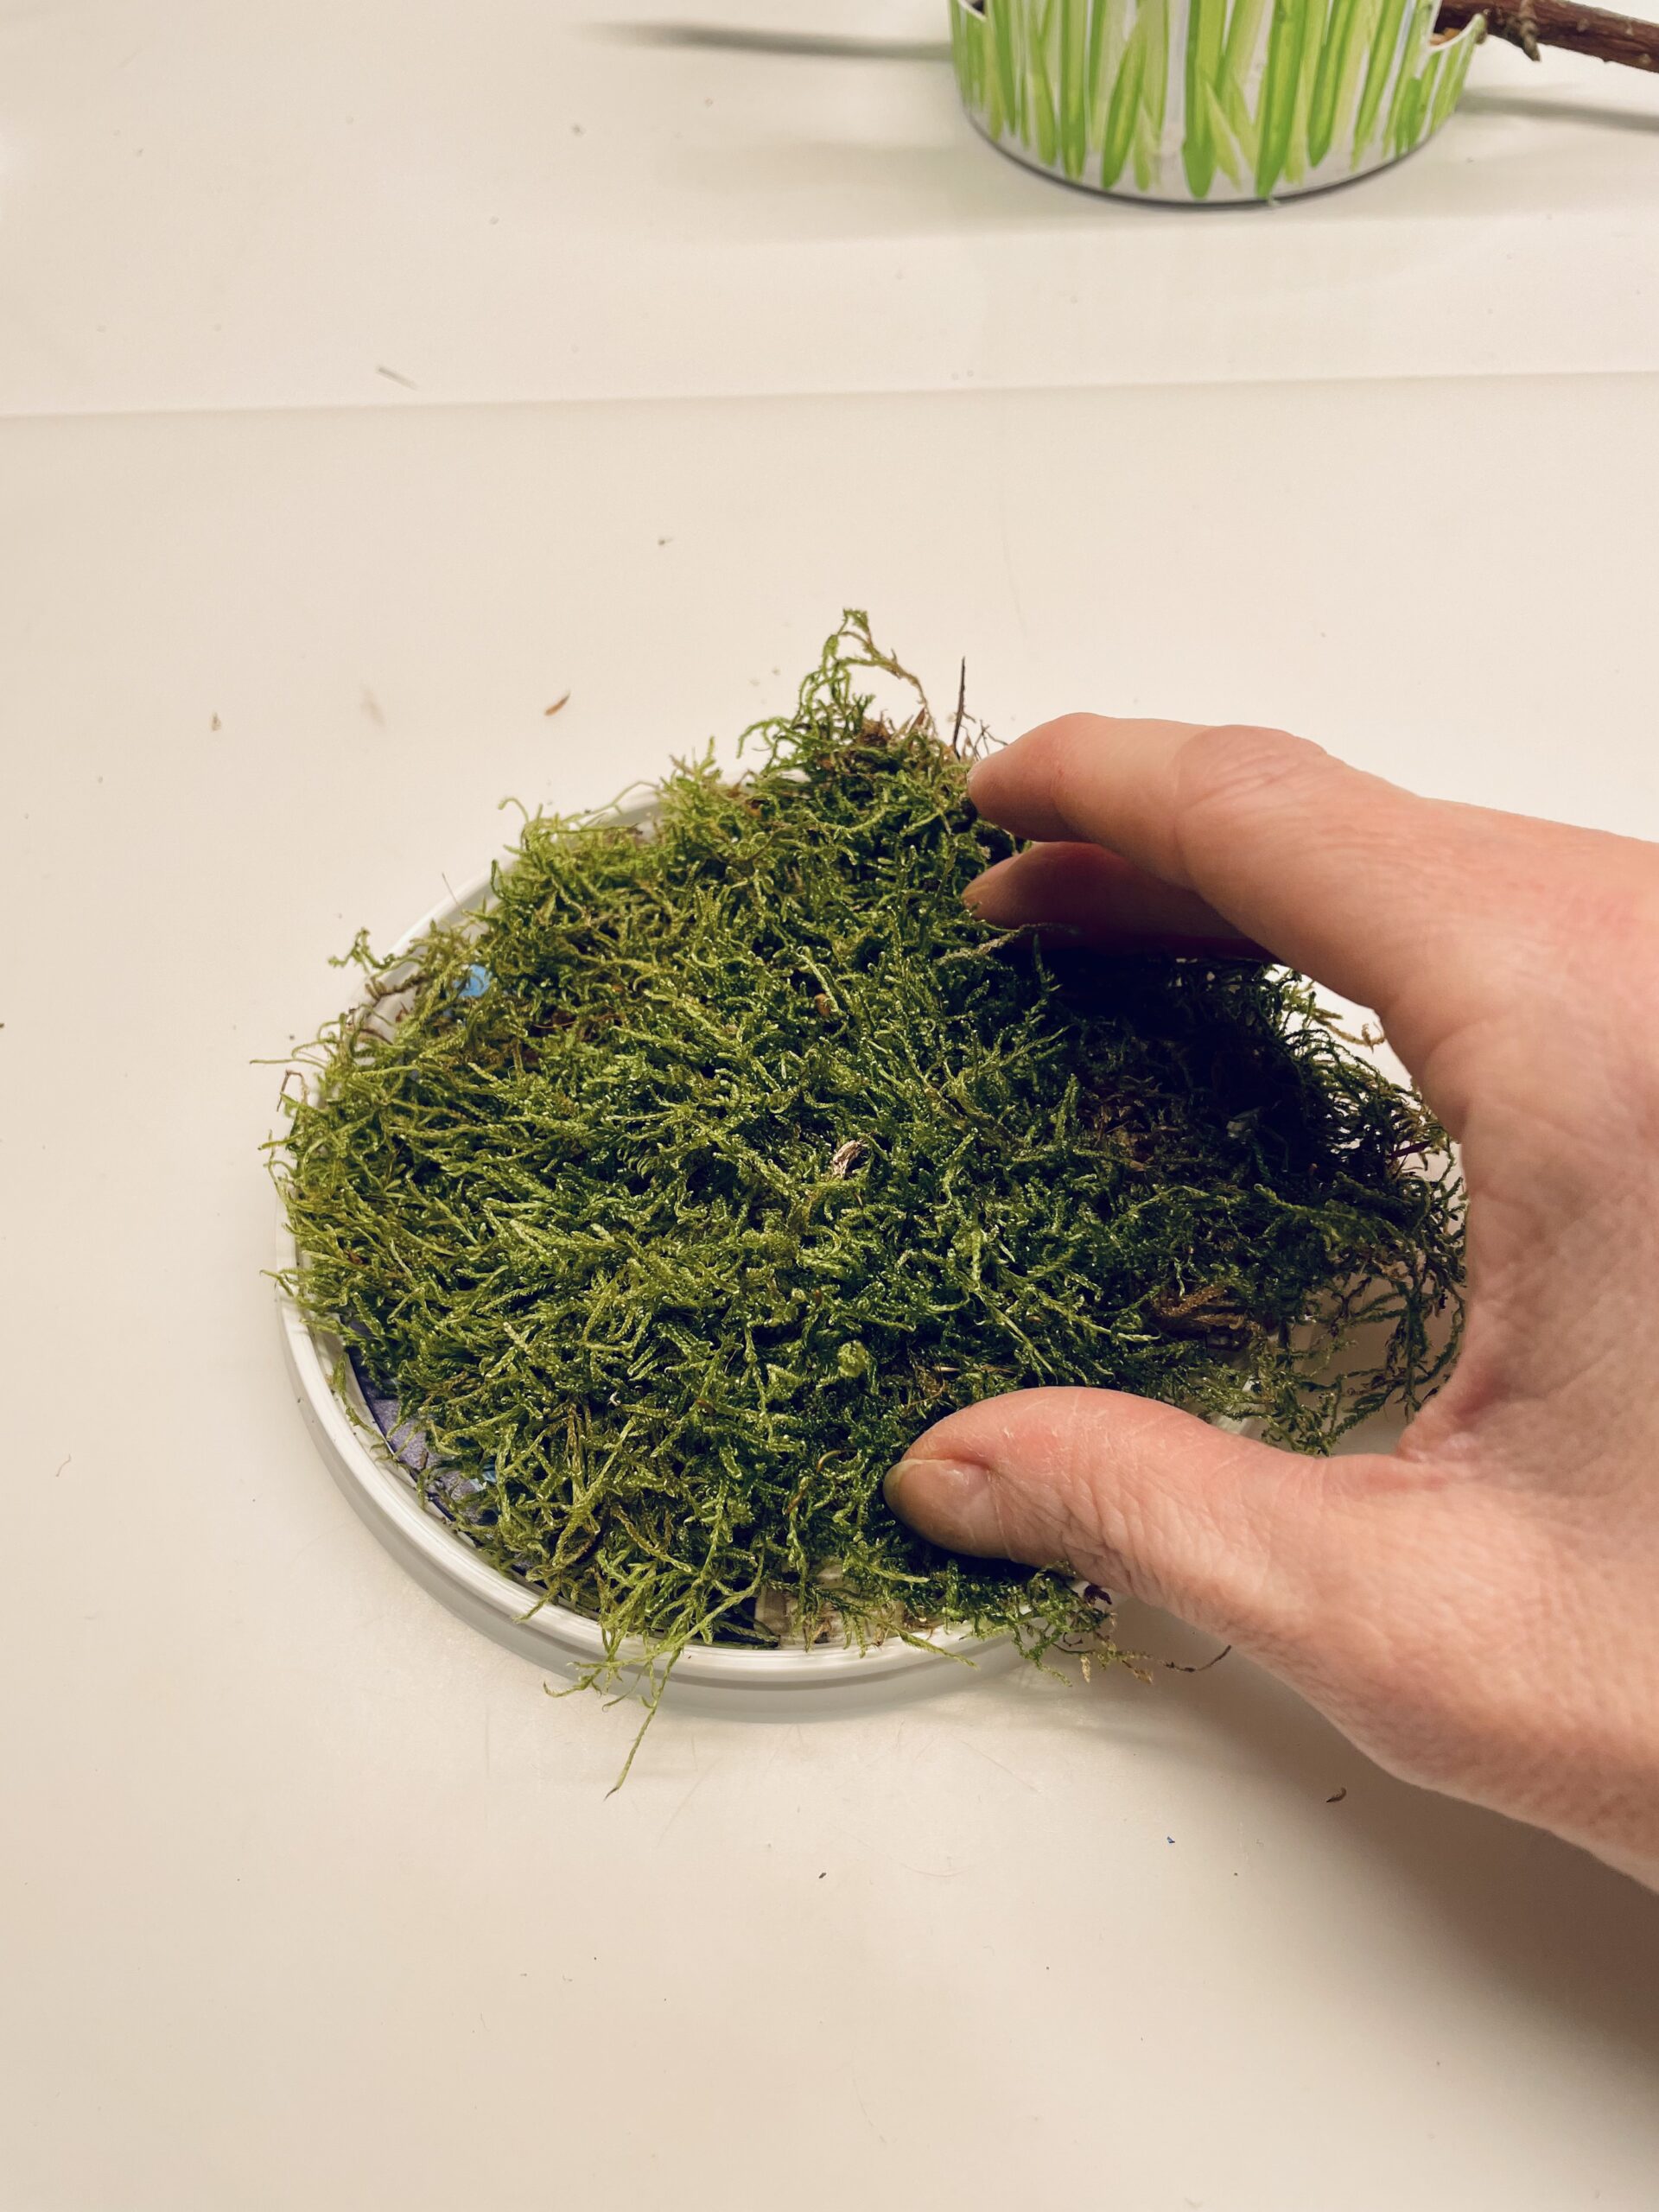
Then put a small cushion of moss on the lid of the yoghurt cup.
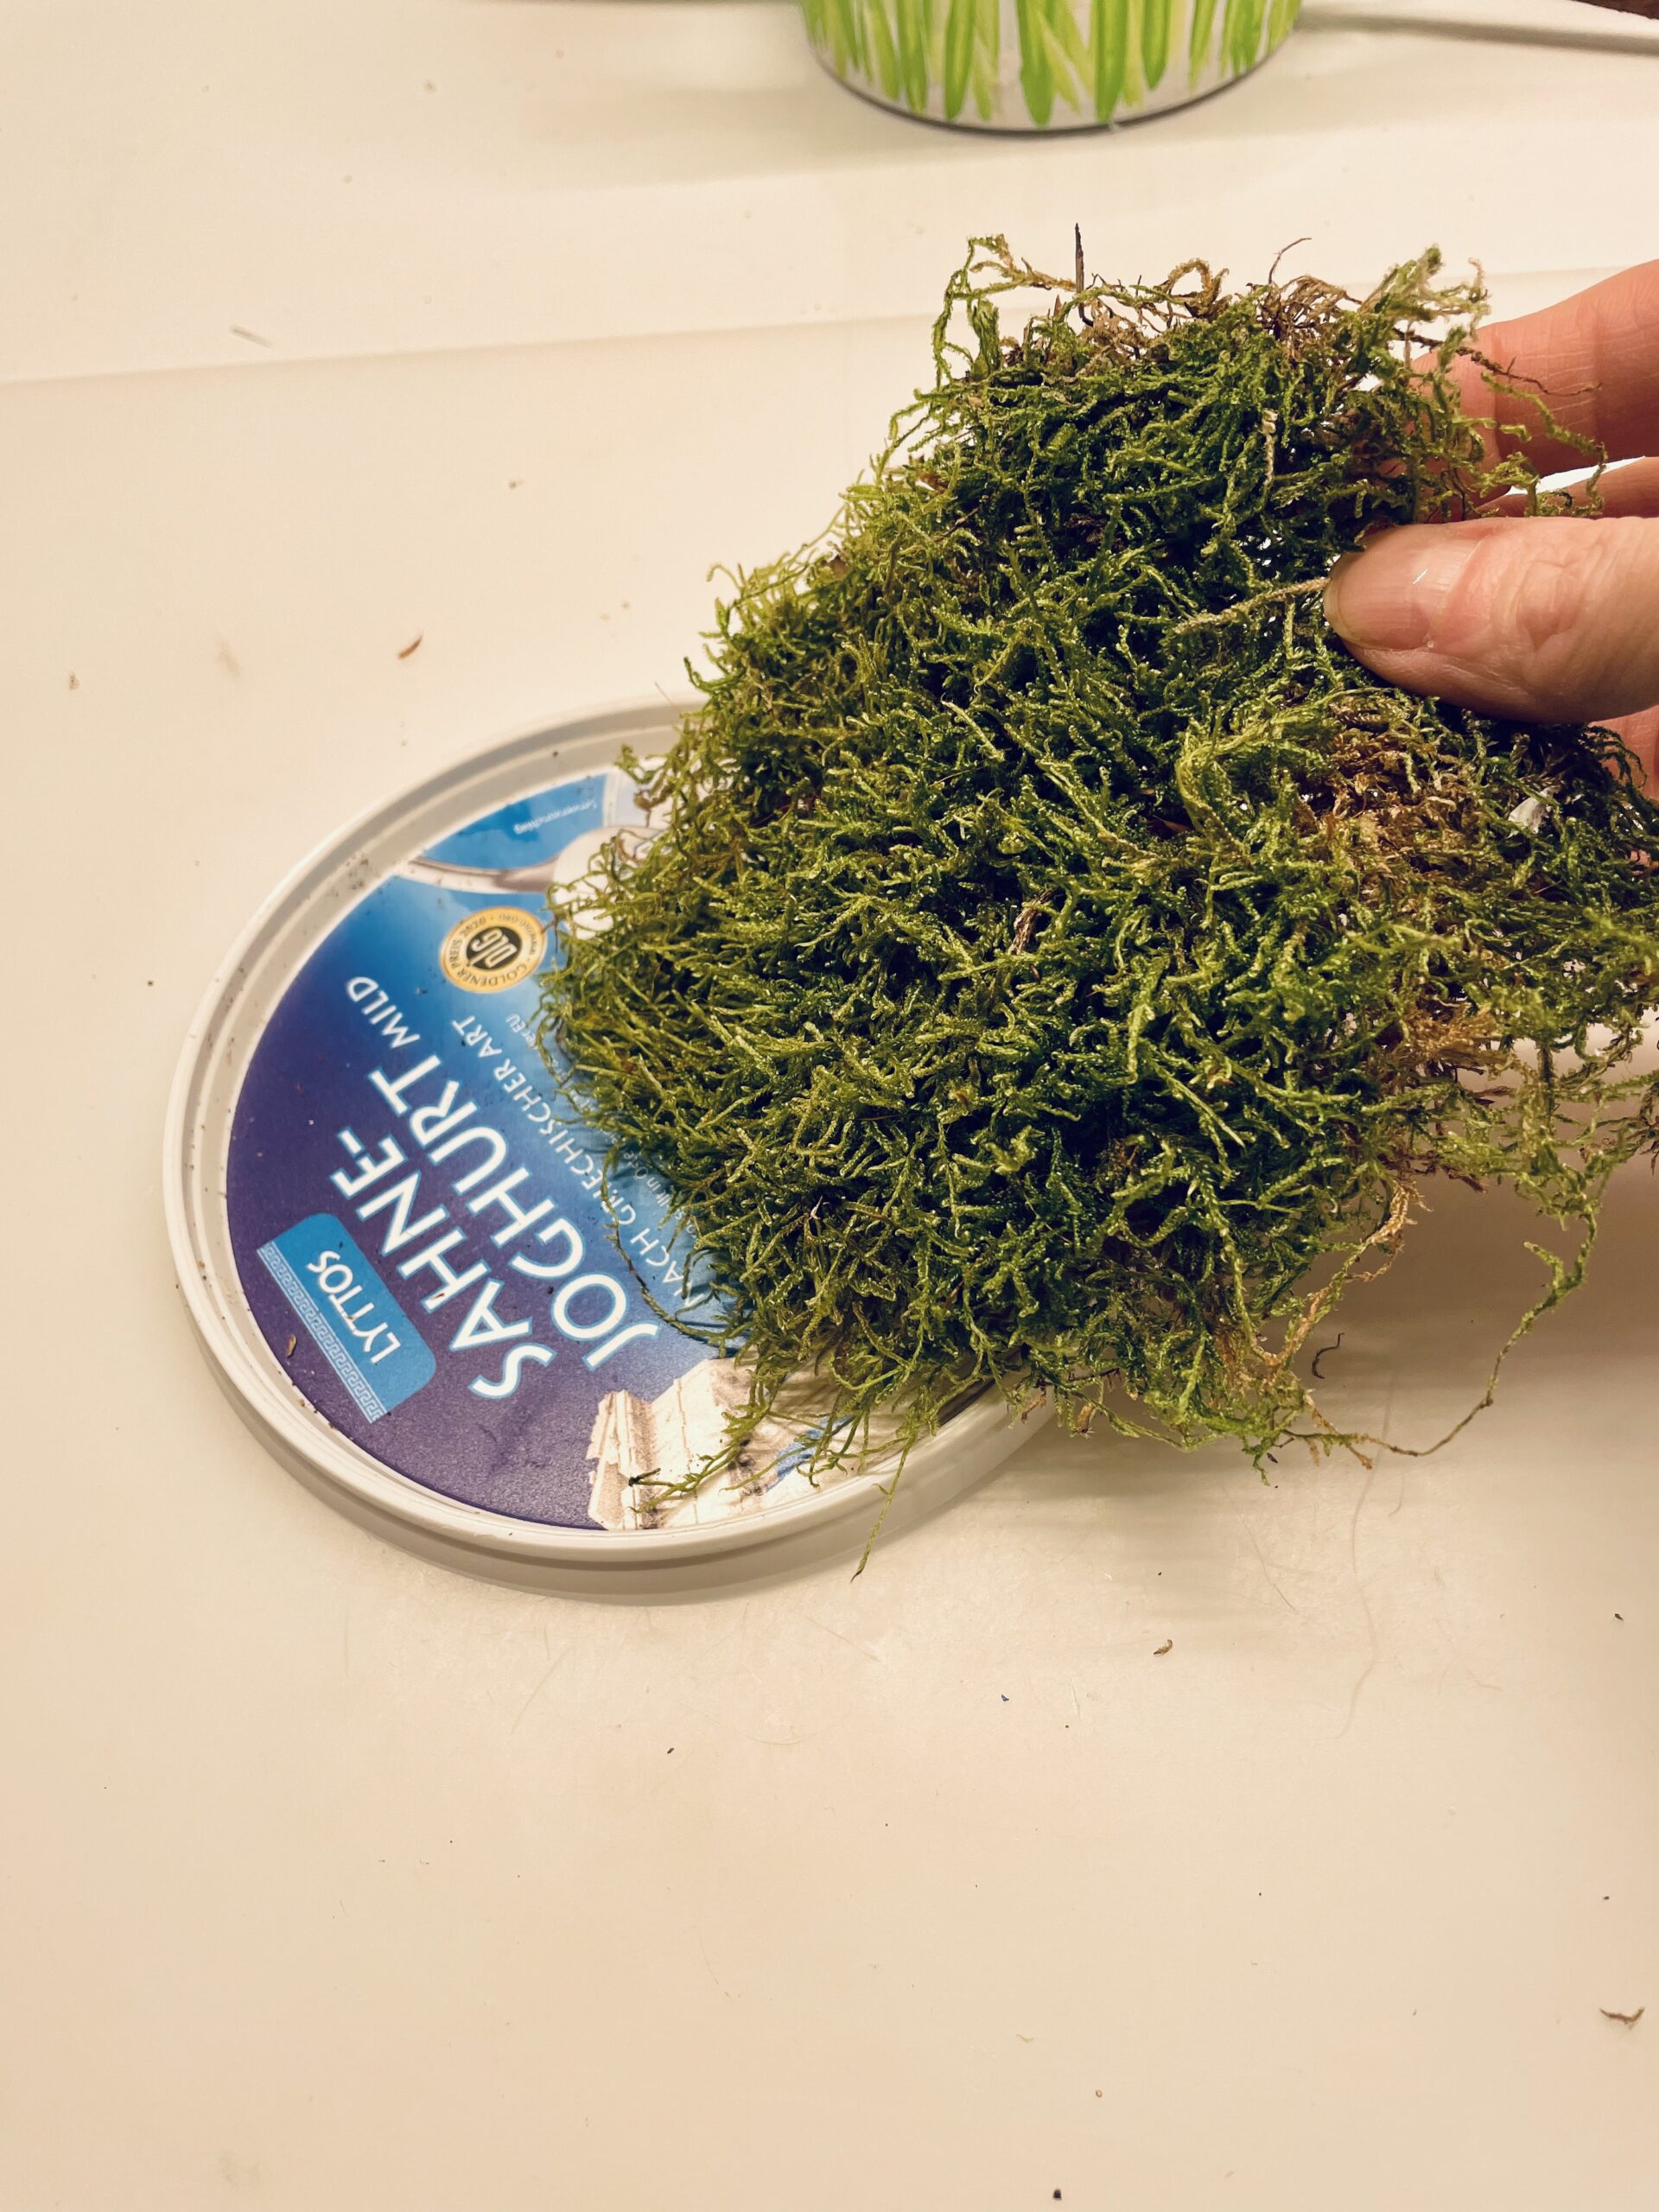
The moss is only loosely on the lid. So you can replace the moss with fresh moss at any time.
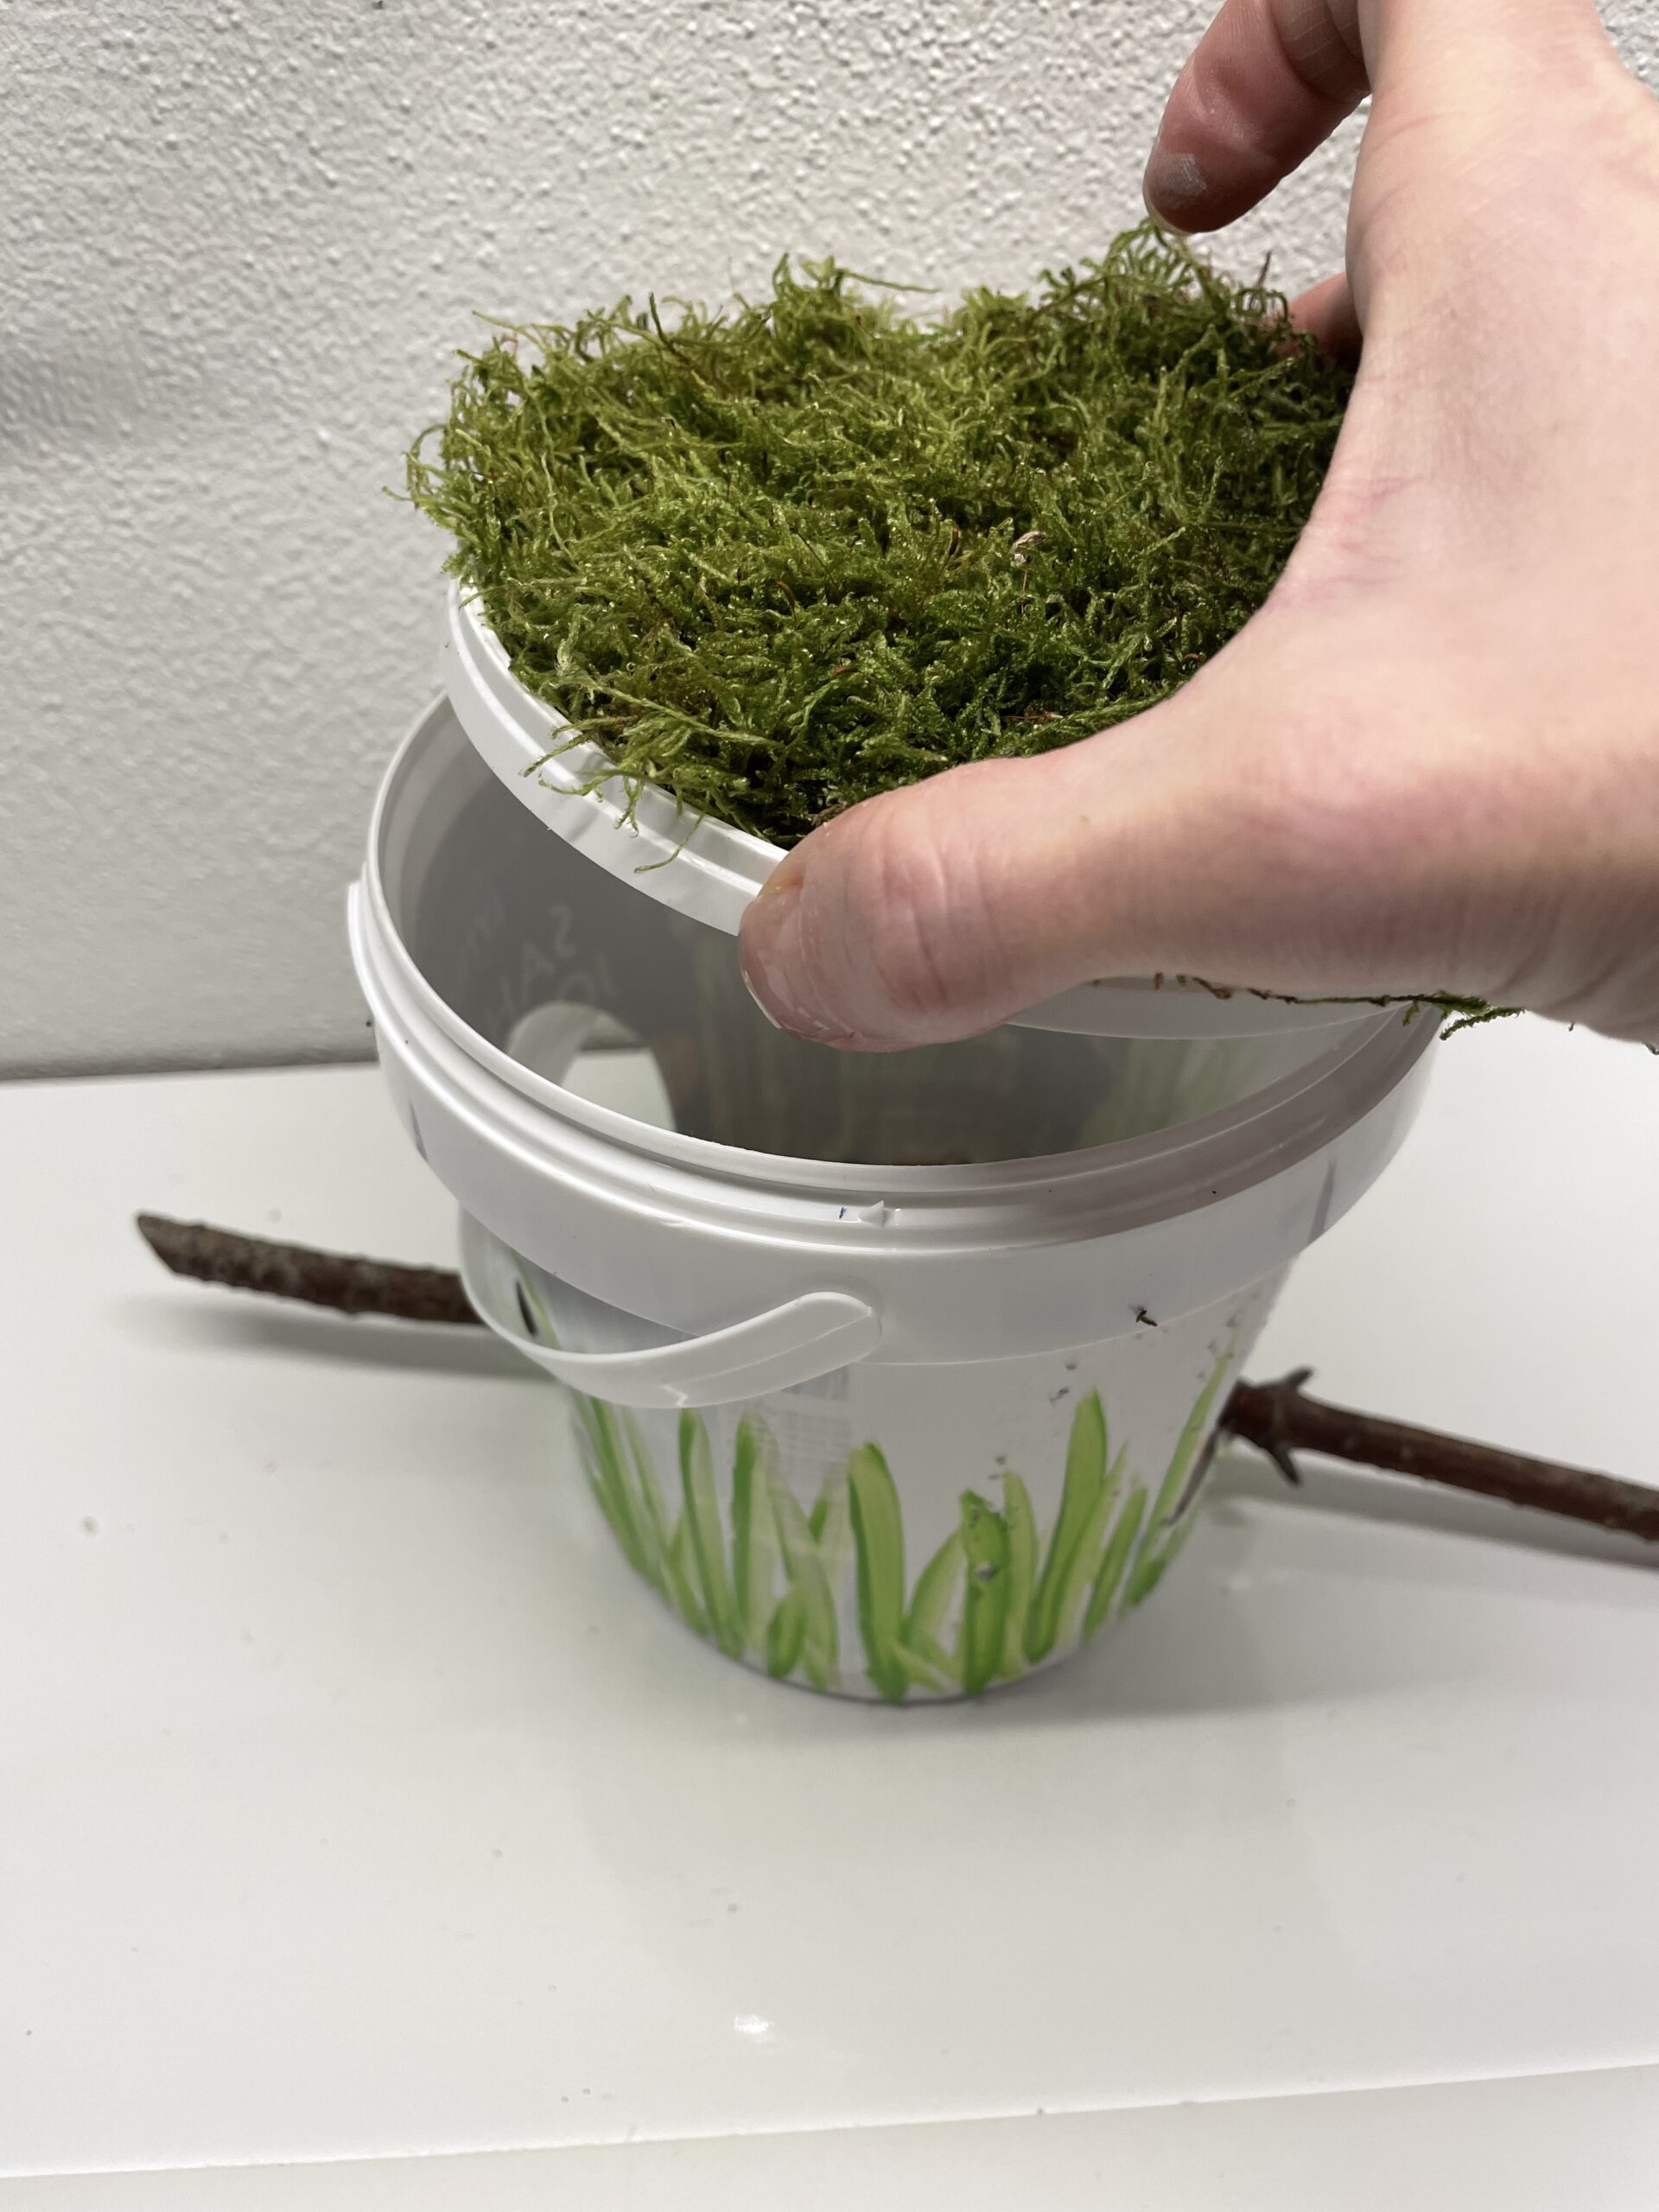
Now you put the mossy lid on the bucket.
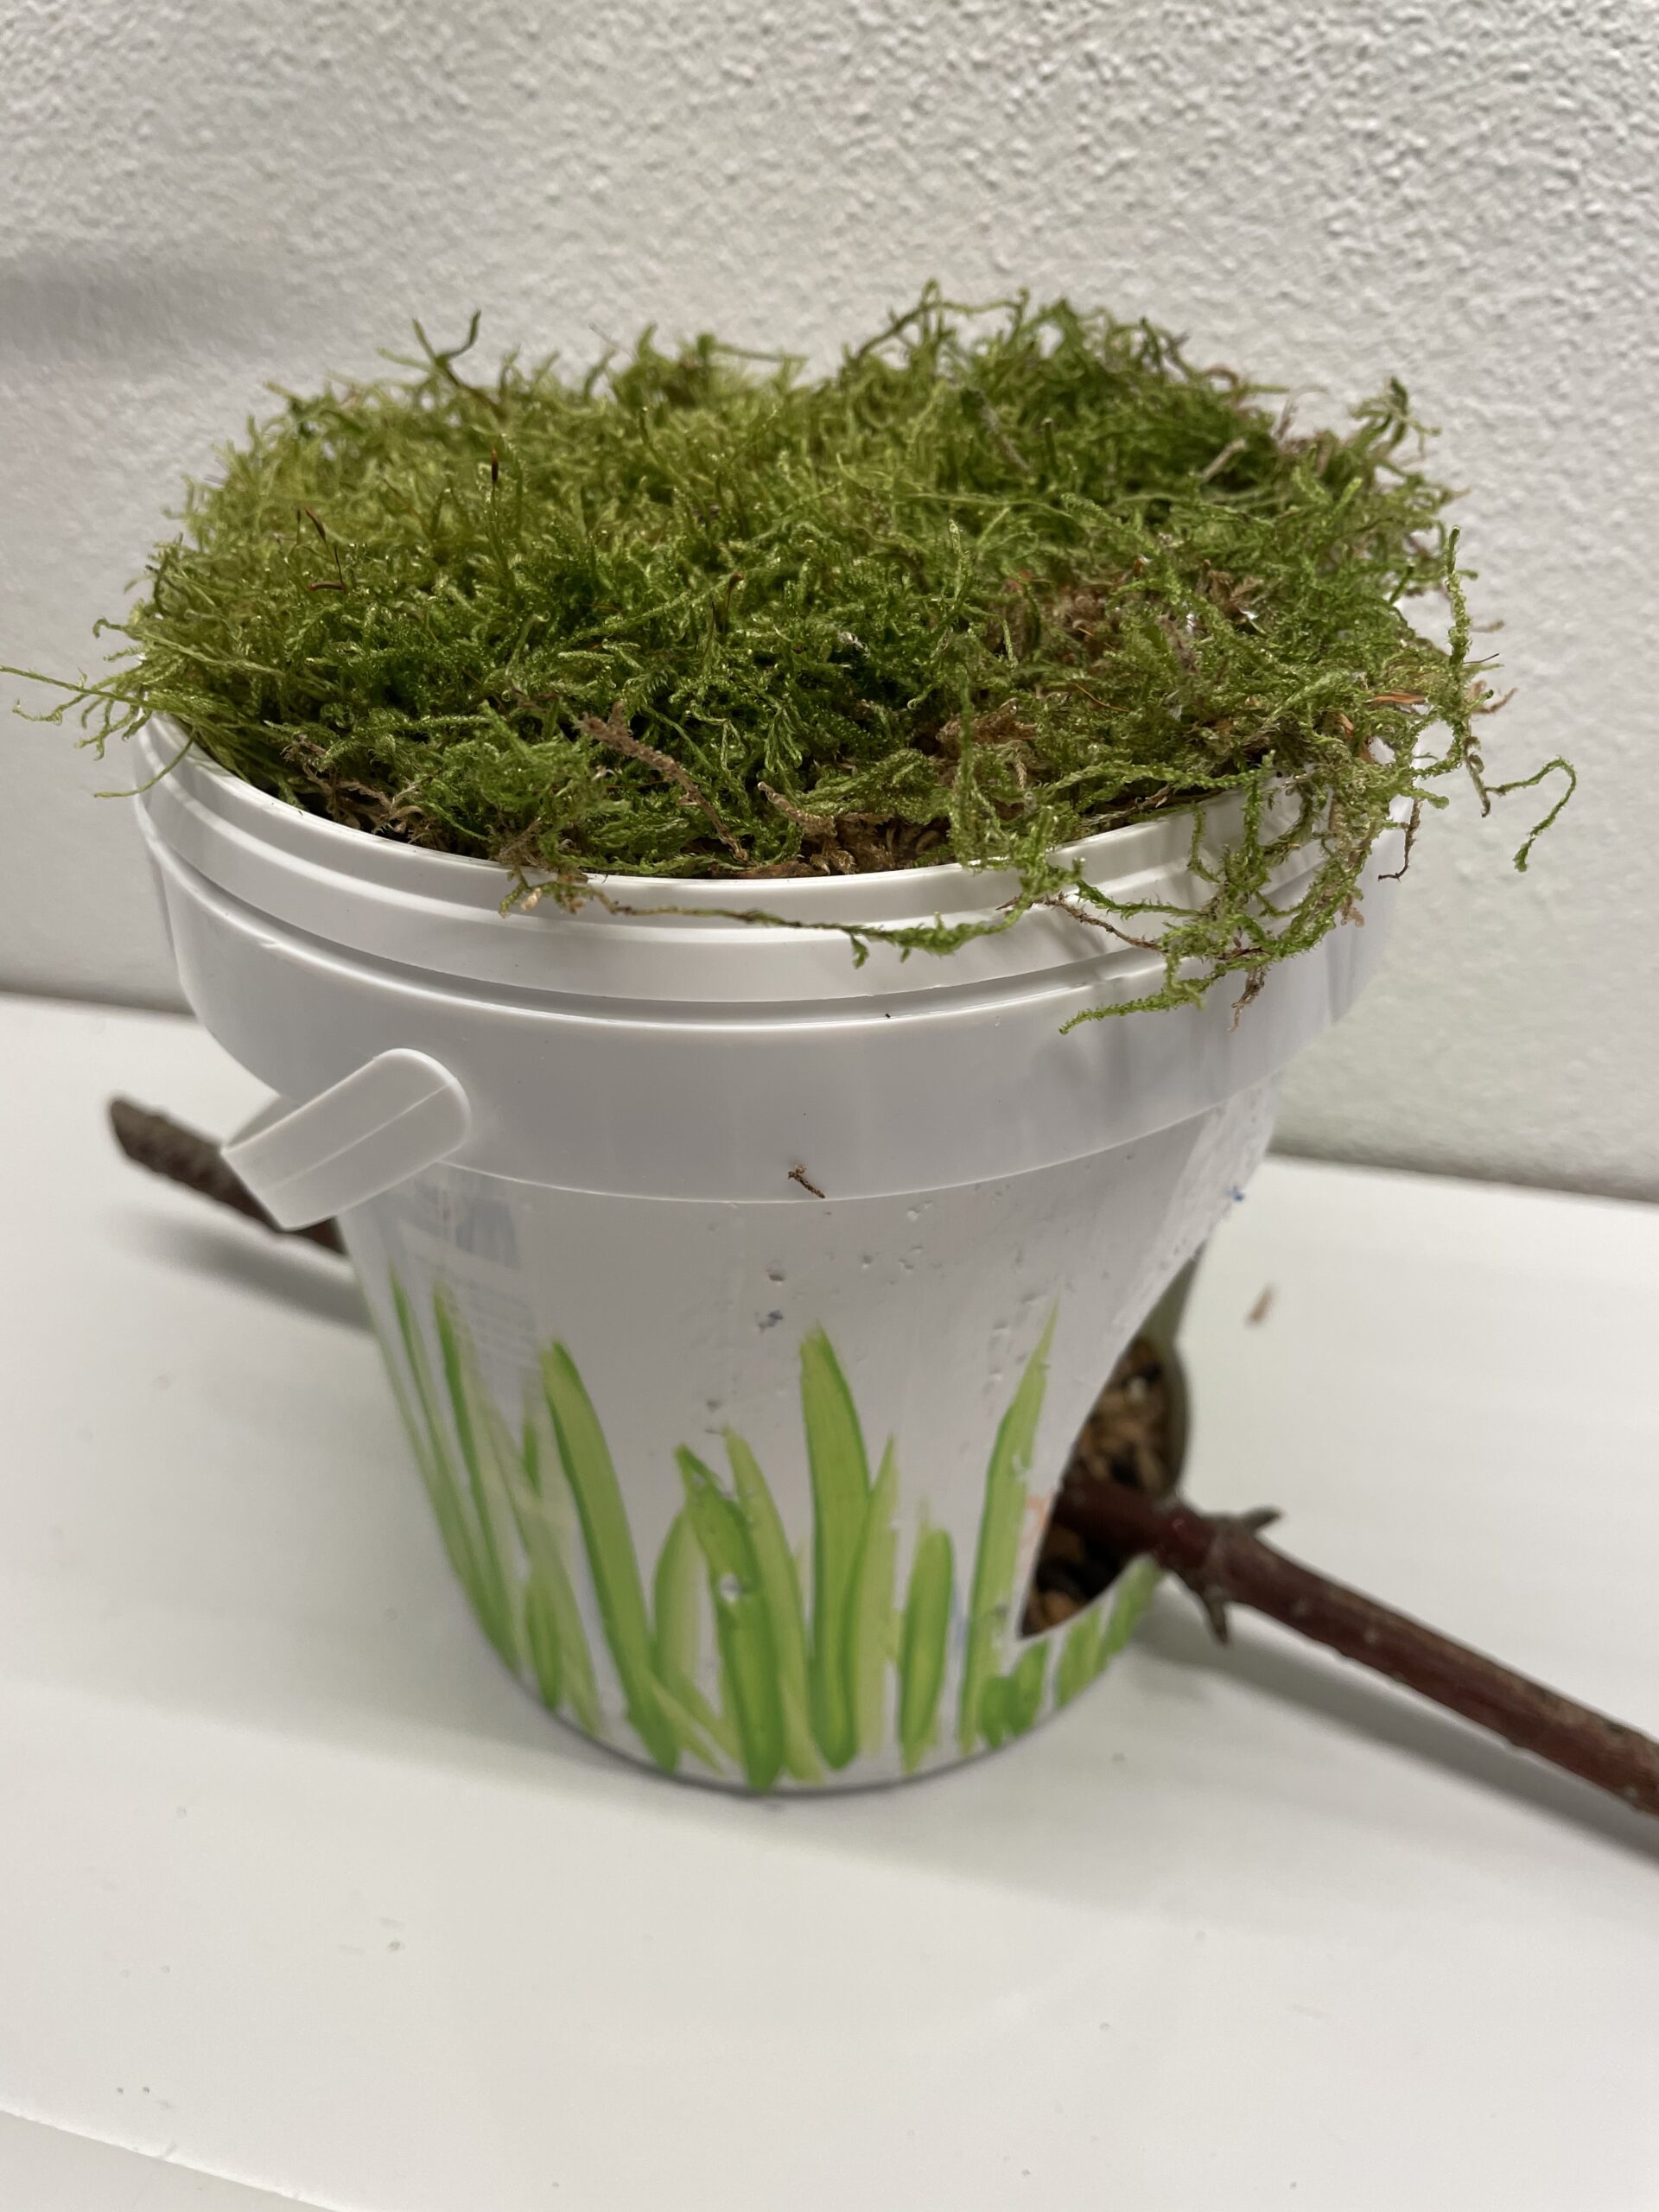
The self-built bird feeder house is ready.
Hang the small bucket at the handle on one branch of a tree or choose another place where the birds can fetch the food protected.
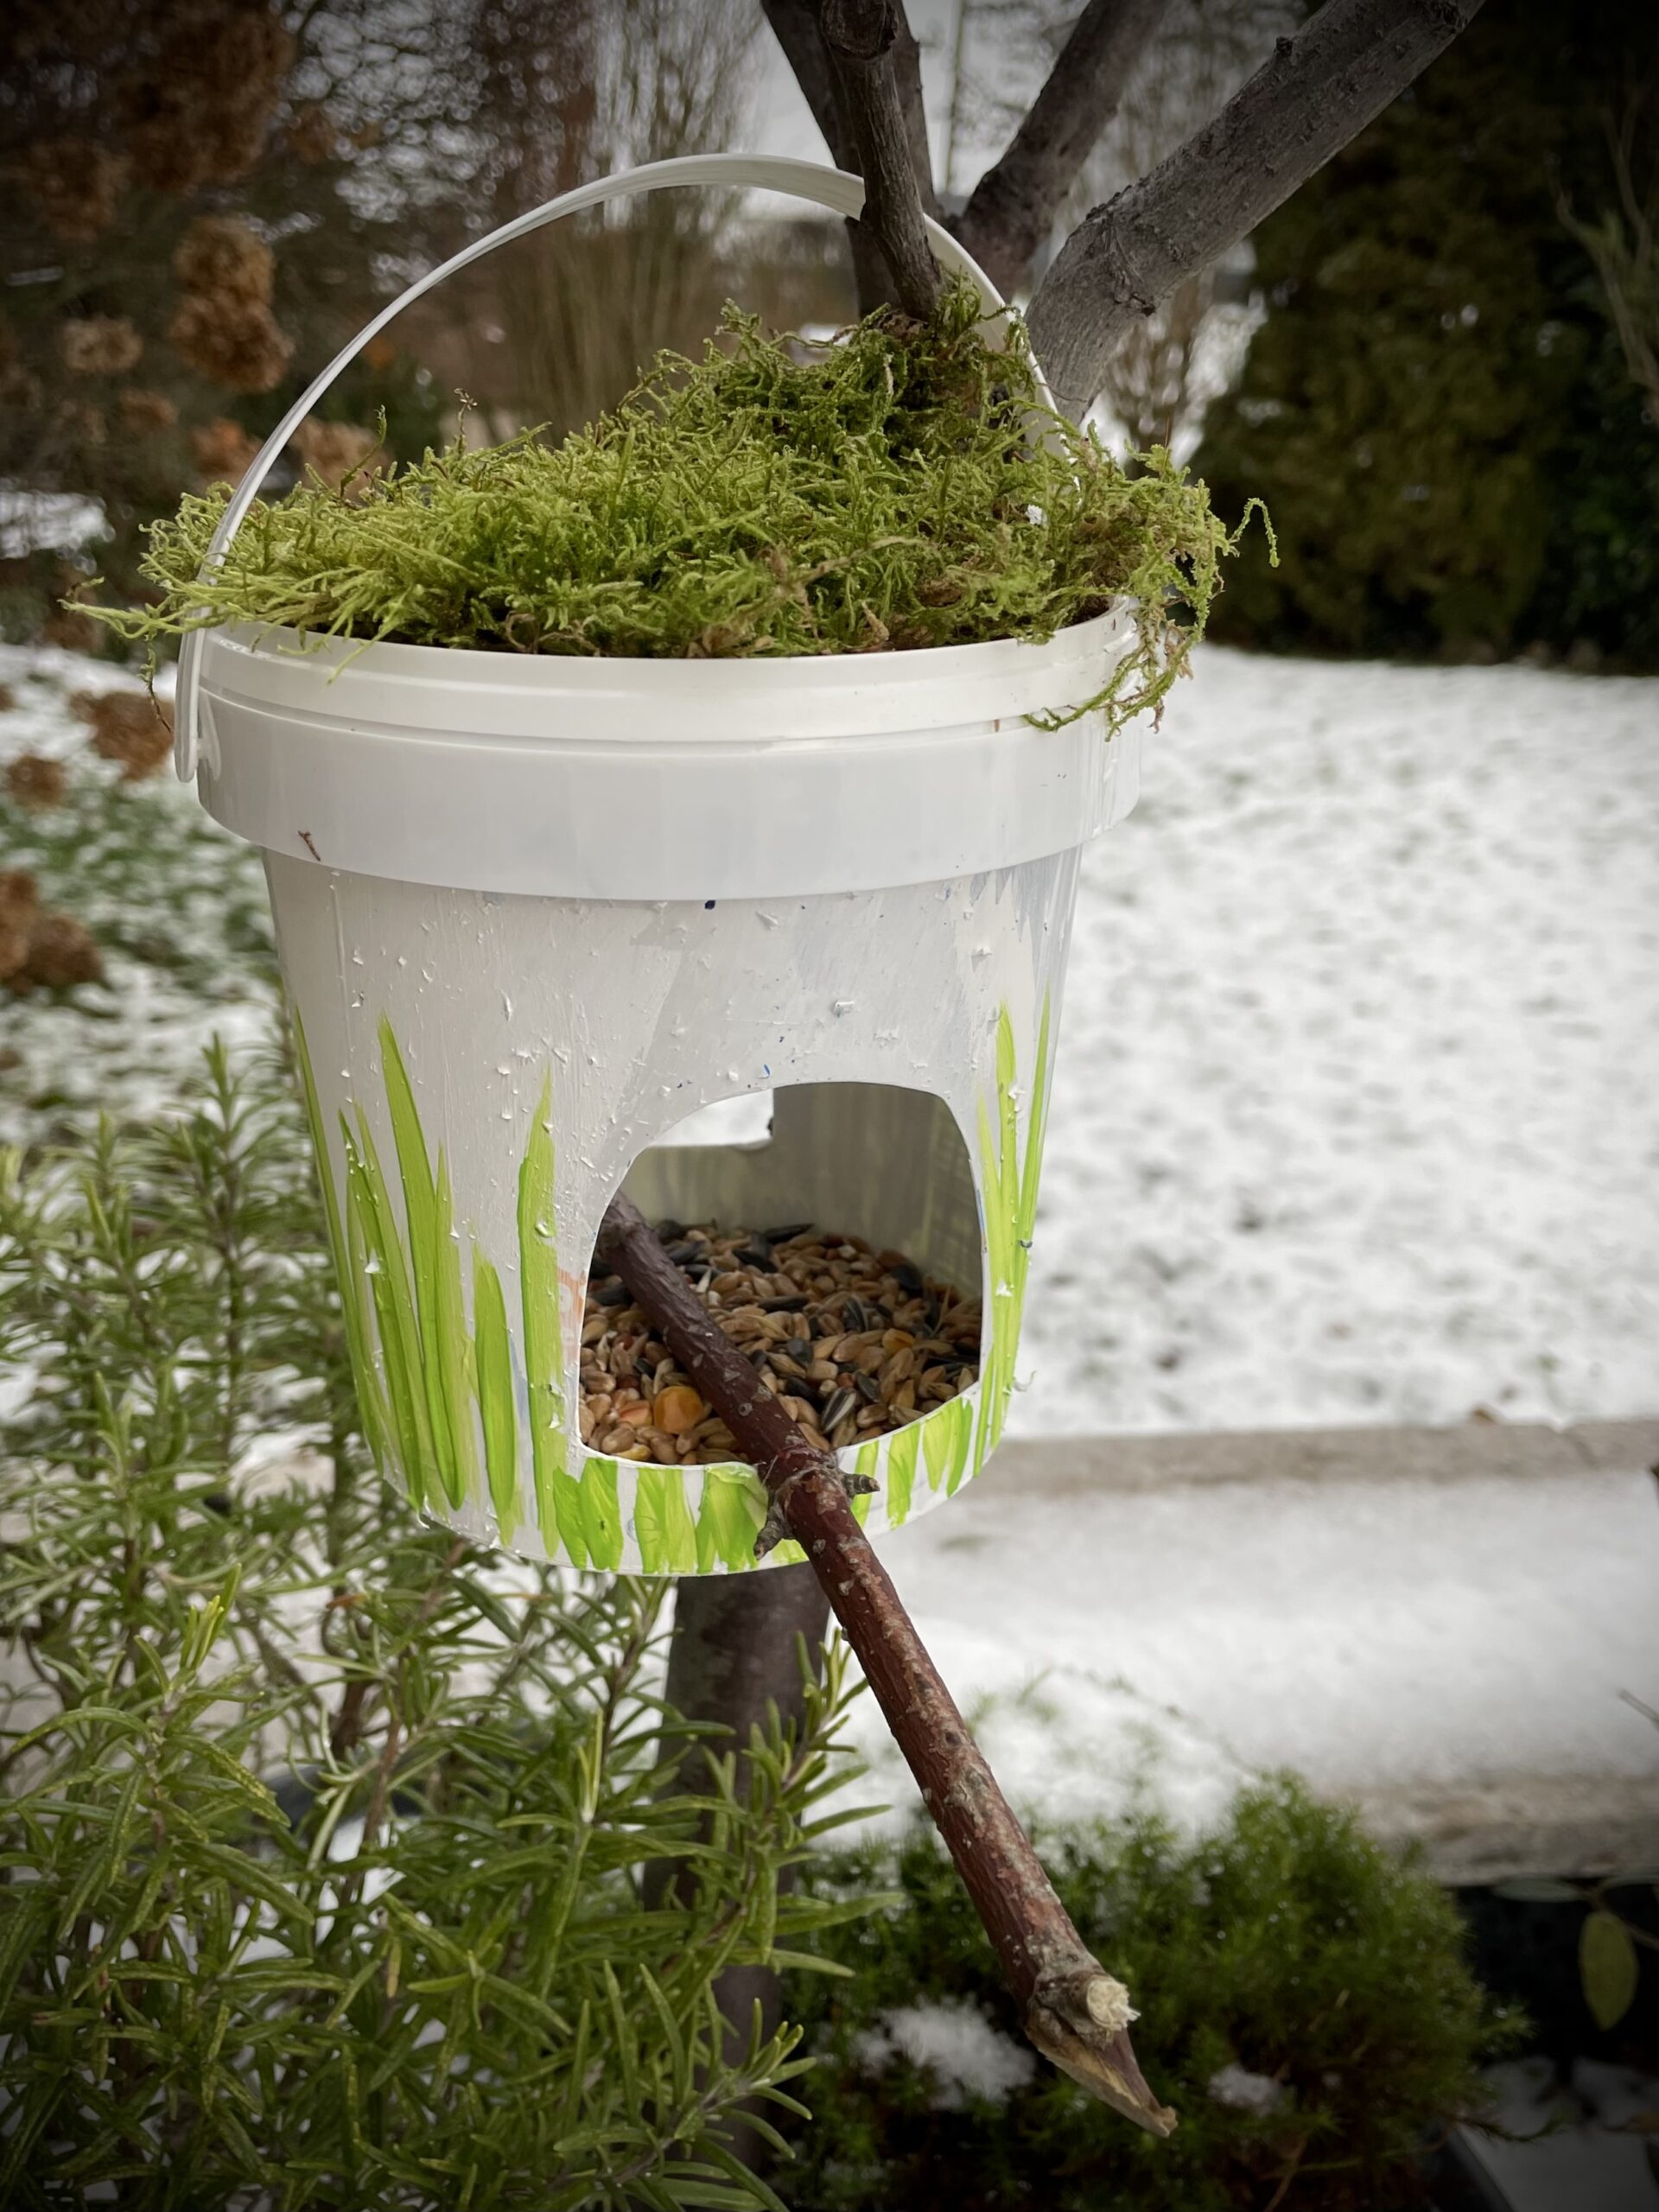
Have fun trying out and watching birds!

As soon as you no longer want to use the upcycling birdhouse, please dispose of it in plastic waste accordingly.
Materials
Directions
First, select your materials and put out the craft file. Use an empty and rinsed yoghurt bucket.
Then you cut two opposite windows out of the cup with a scissors or a cutter knife. For this you paint the cut-outs on the cup. Starting from the ground you stand at least 2cm edge. Then you slit into the inside of your painted window and cut from there star-shaped outwards. Thus the individual triangles can be easily cut out with the scissors.
Then you lay the branch across the openings.
Now you cut a small hollow into the lower part of the frame, so that the branch lies in it and does not slip.
Now paint the bucket with weatherproof paint (no water color!). Paint patterns on it, for example, or grass stalks, flowers or snowmen. Then the paint must dry.
Then fill the bucket with bird food.
Then push the branch through both windows and fix it with a drop of hot glue at the edge. Attention when handling the hot glue - risk of injury!
Then put a small cushion of moss on the lid of the yoghurt cup.
The moss is only loosely on the lid. So you can replace the moss with fresh moss at any time.
Now you put the mossy lid on the bucket.
The self-built bird feeder house is ready.
Hang the small bucket at the handle on one branch of a tree or choose another place where the birds can fetch the food protected.
Have fun trying out and watching birds!
As soon as you no longer want to use the upcycling birdhouse, please dispose of it in plastic waste accordingly.
Follow us on Facebook , Instagram and Pinterest
Don't miss any more adventures: Our bottle mail