Paper bird making

AdventurerKatzi
Rating5.06.1 Thousand times & (2) DifficultyAdvanced

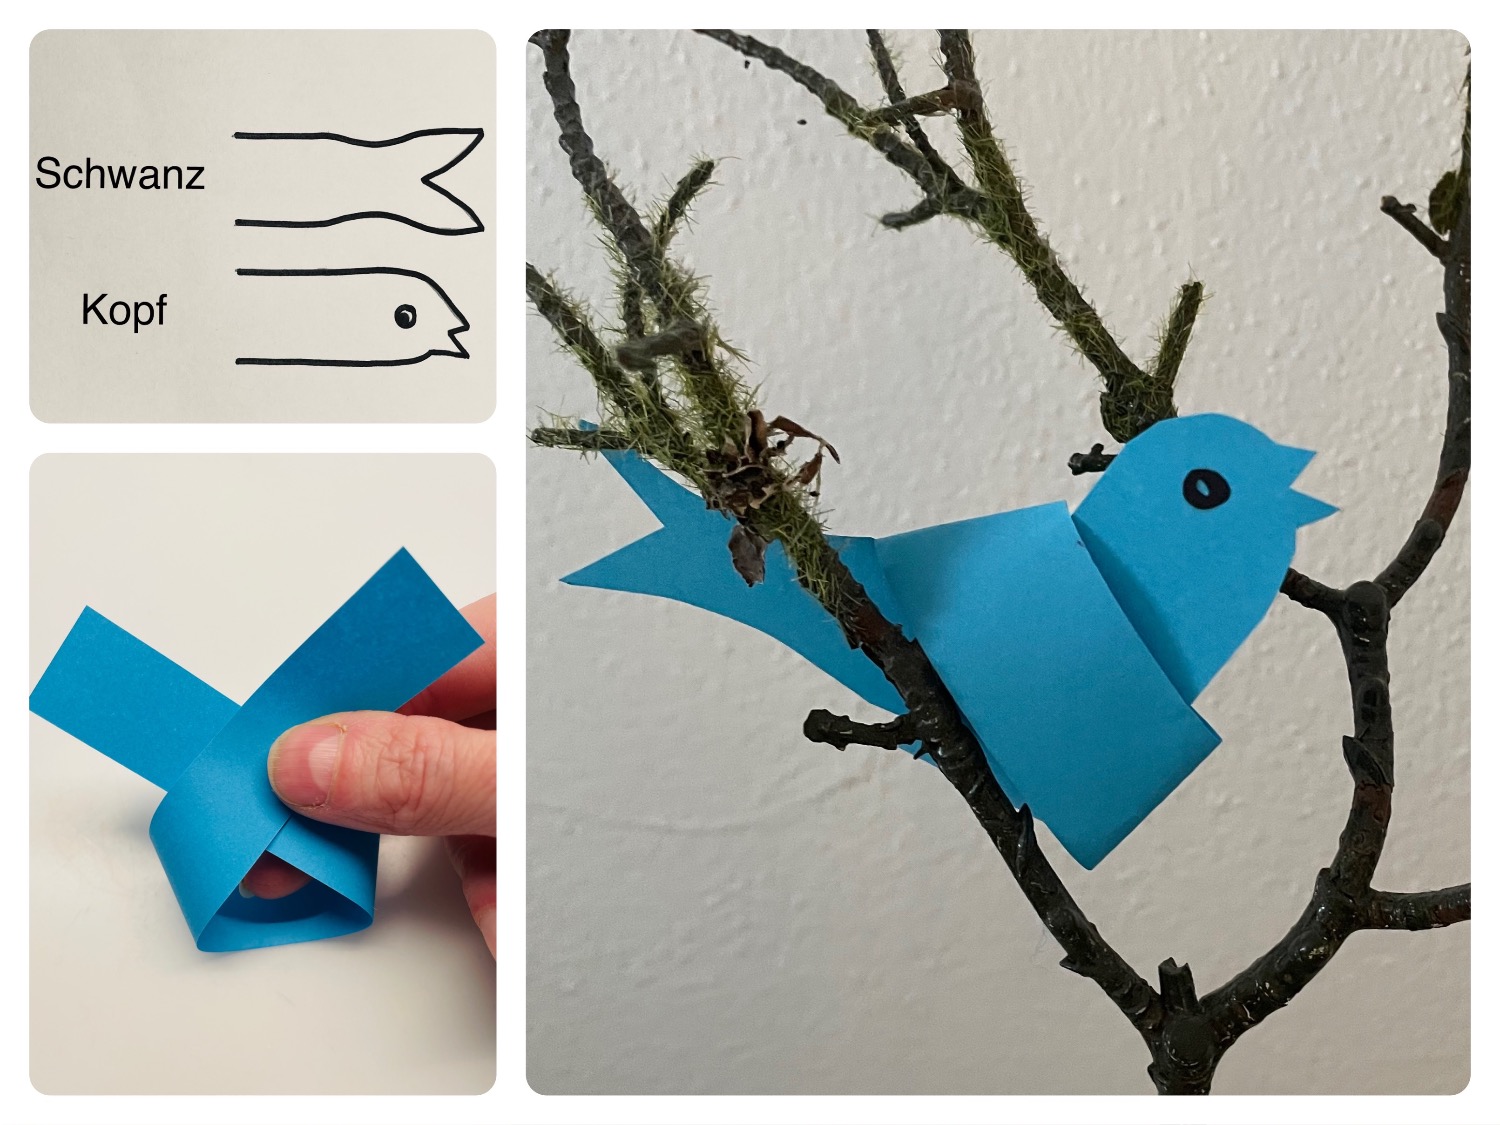
This folded bird is a small fine motor challenge for primary school children, where finger skills are required. It starts with measuring and painting a paper strip with the dimensions 20cm x 2cm. Use a copy paper for this, because this can be easily processed. Then follow the illustrated instructions. Only after the folding you cut the head with beak and the tail feathers.
You can simply put the little bird on a branch or branch without an additional thread for hanging. As an addition to a crafted birdhouse you can make many of these birds in different colors.
Enjoy crafting and decorating!

Media Education for Kindergarten and Hort

Kind bastelt eine Rassel mit dem Navi
The Adventure Navi, the app for DIY projects, enables media education for the youngest.

Relief in everyday life, targeted promotion of individual children, independent learning and - without any pre-knowledge already usable by the youngest!


Titelbild zur Bastel- und DIY-Idee für Kinder '(932) Papier-Vogel basteln'
Material for1 Child
Prep Time5 min.Adv. Time20 min.Total Time25 min.
 1 Paper strips20cm x 2cm
 1 Pencil
 1 Ruler
 1 Felt pen black
All links marked with a shopping cart lead to Amazon - here we have selected products that we would order ourselves and in part also ordered. In a qualified purchase via the advertising link, we as Amazon partner receive a commission, for you there are no costs. You thus support our cost- and advertising banner-free, educational offer.
1

Cut a paper strip in size 20cm x 2cm.
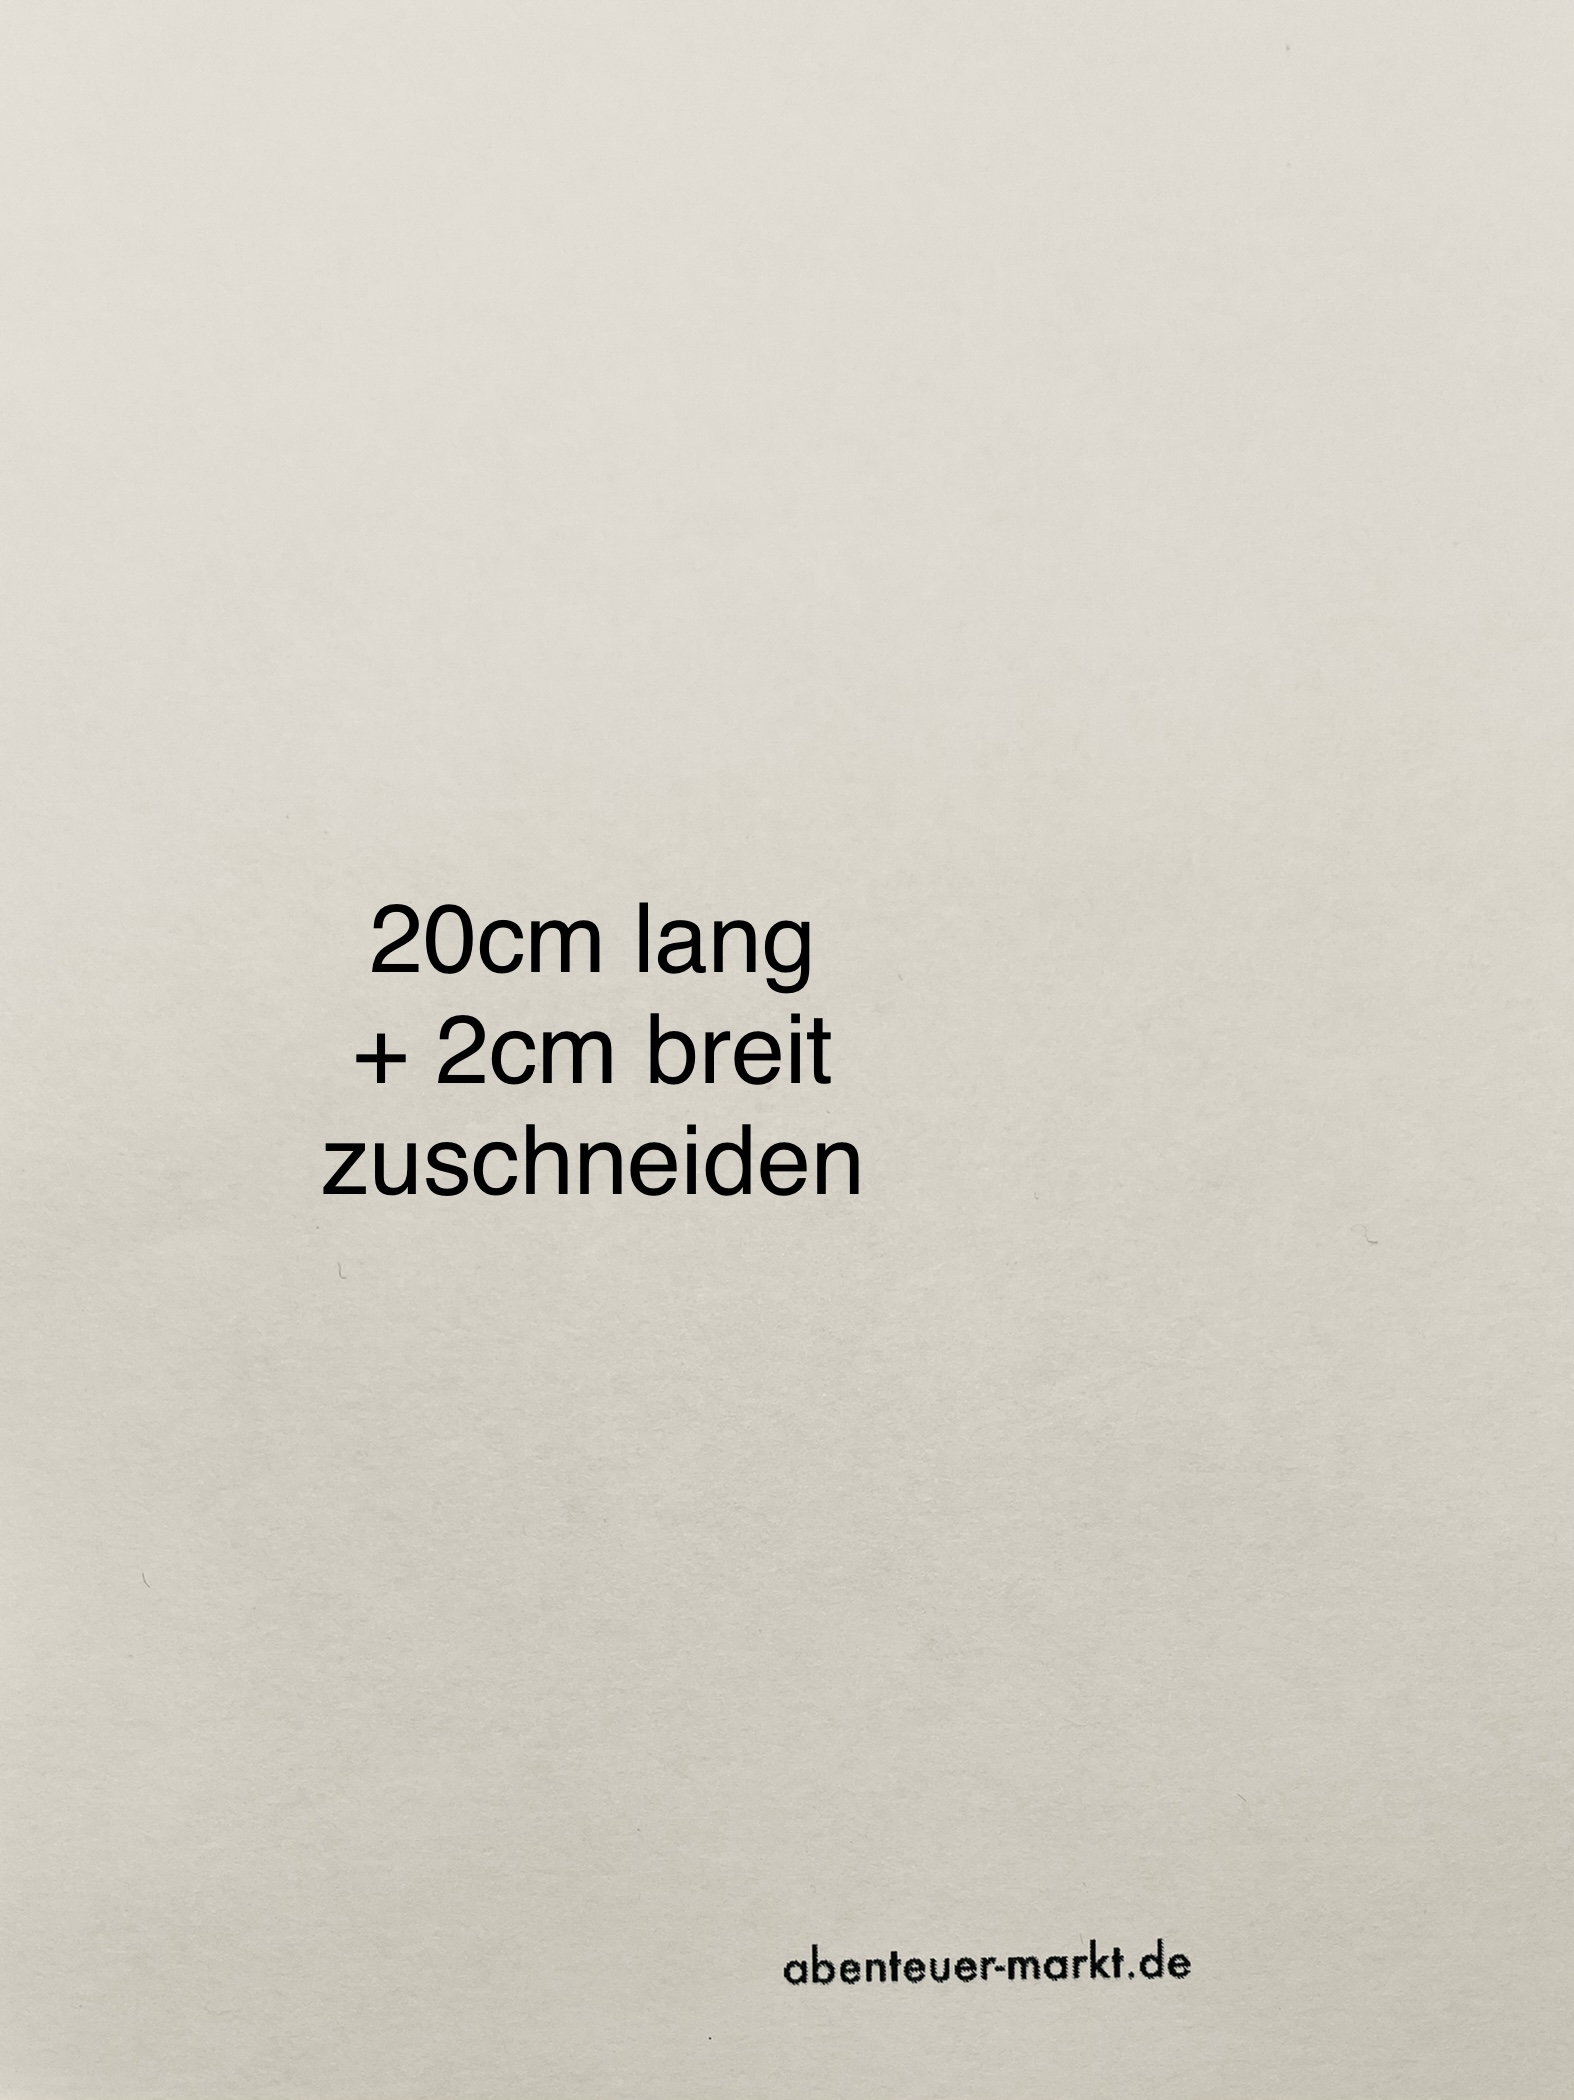
Bild zum Schritt 1 für das Bastel- und DIY-Abenteuer für Kinder: 'Schneidet euch einen Papierstreifen in der Größe 20cm x 2cm...'

2

First measure the size with a ruler and draw it with a pencil.
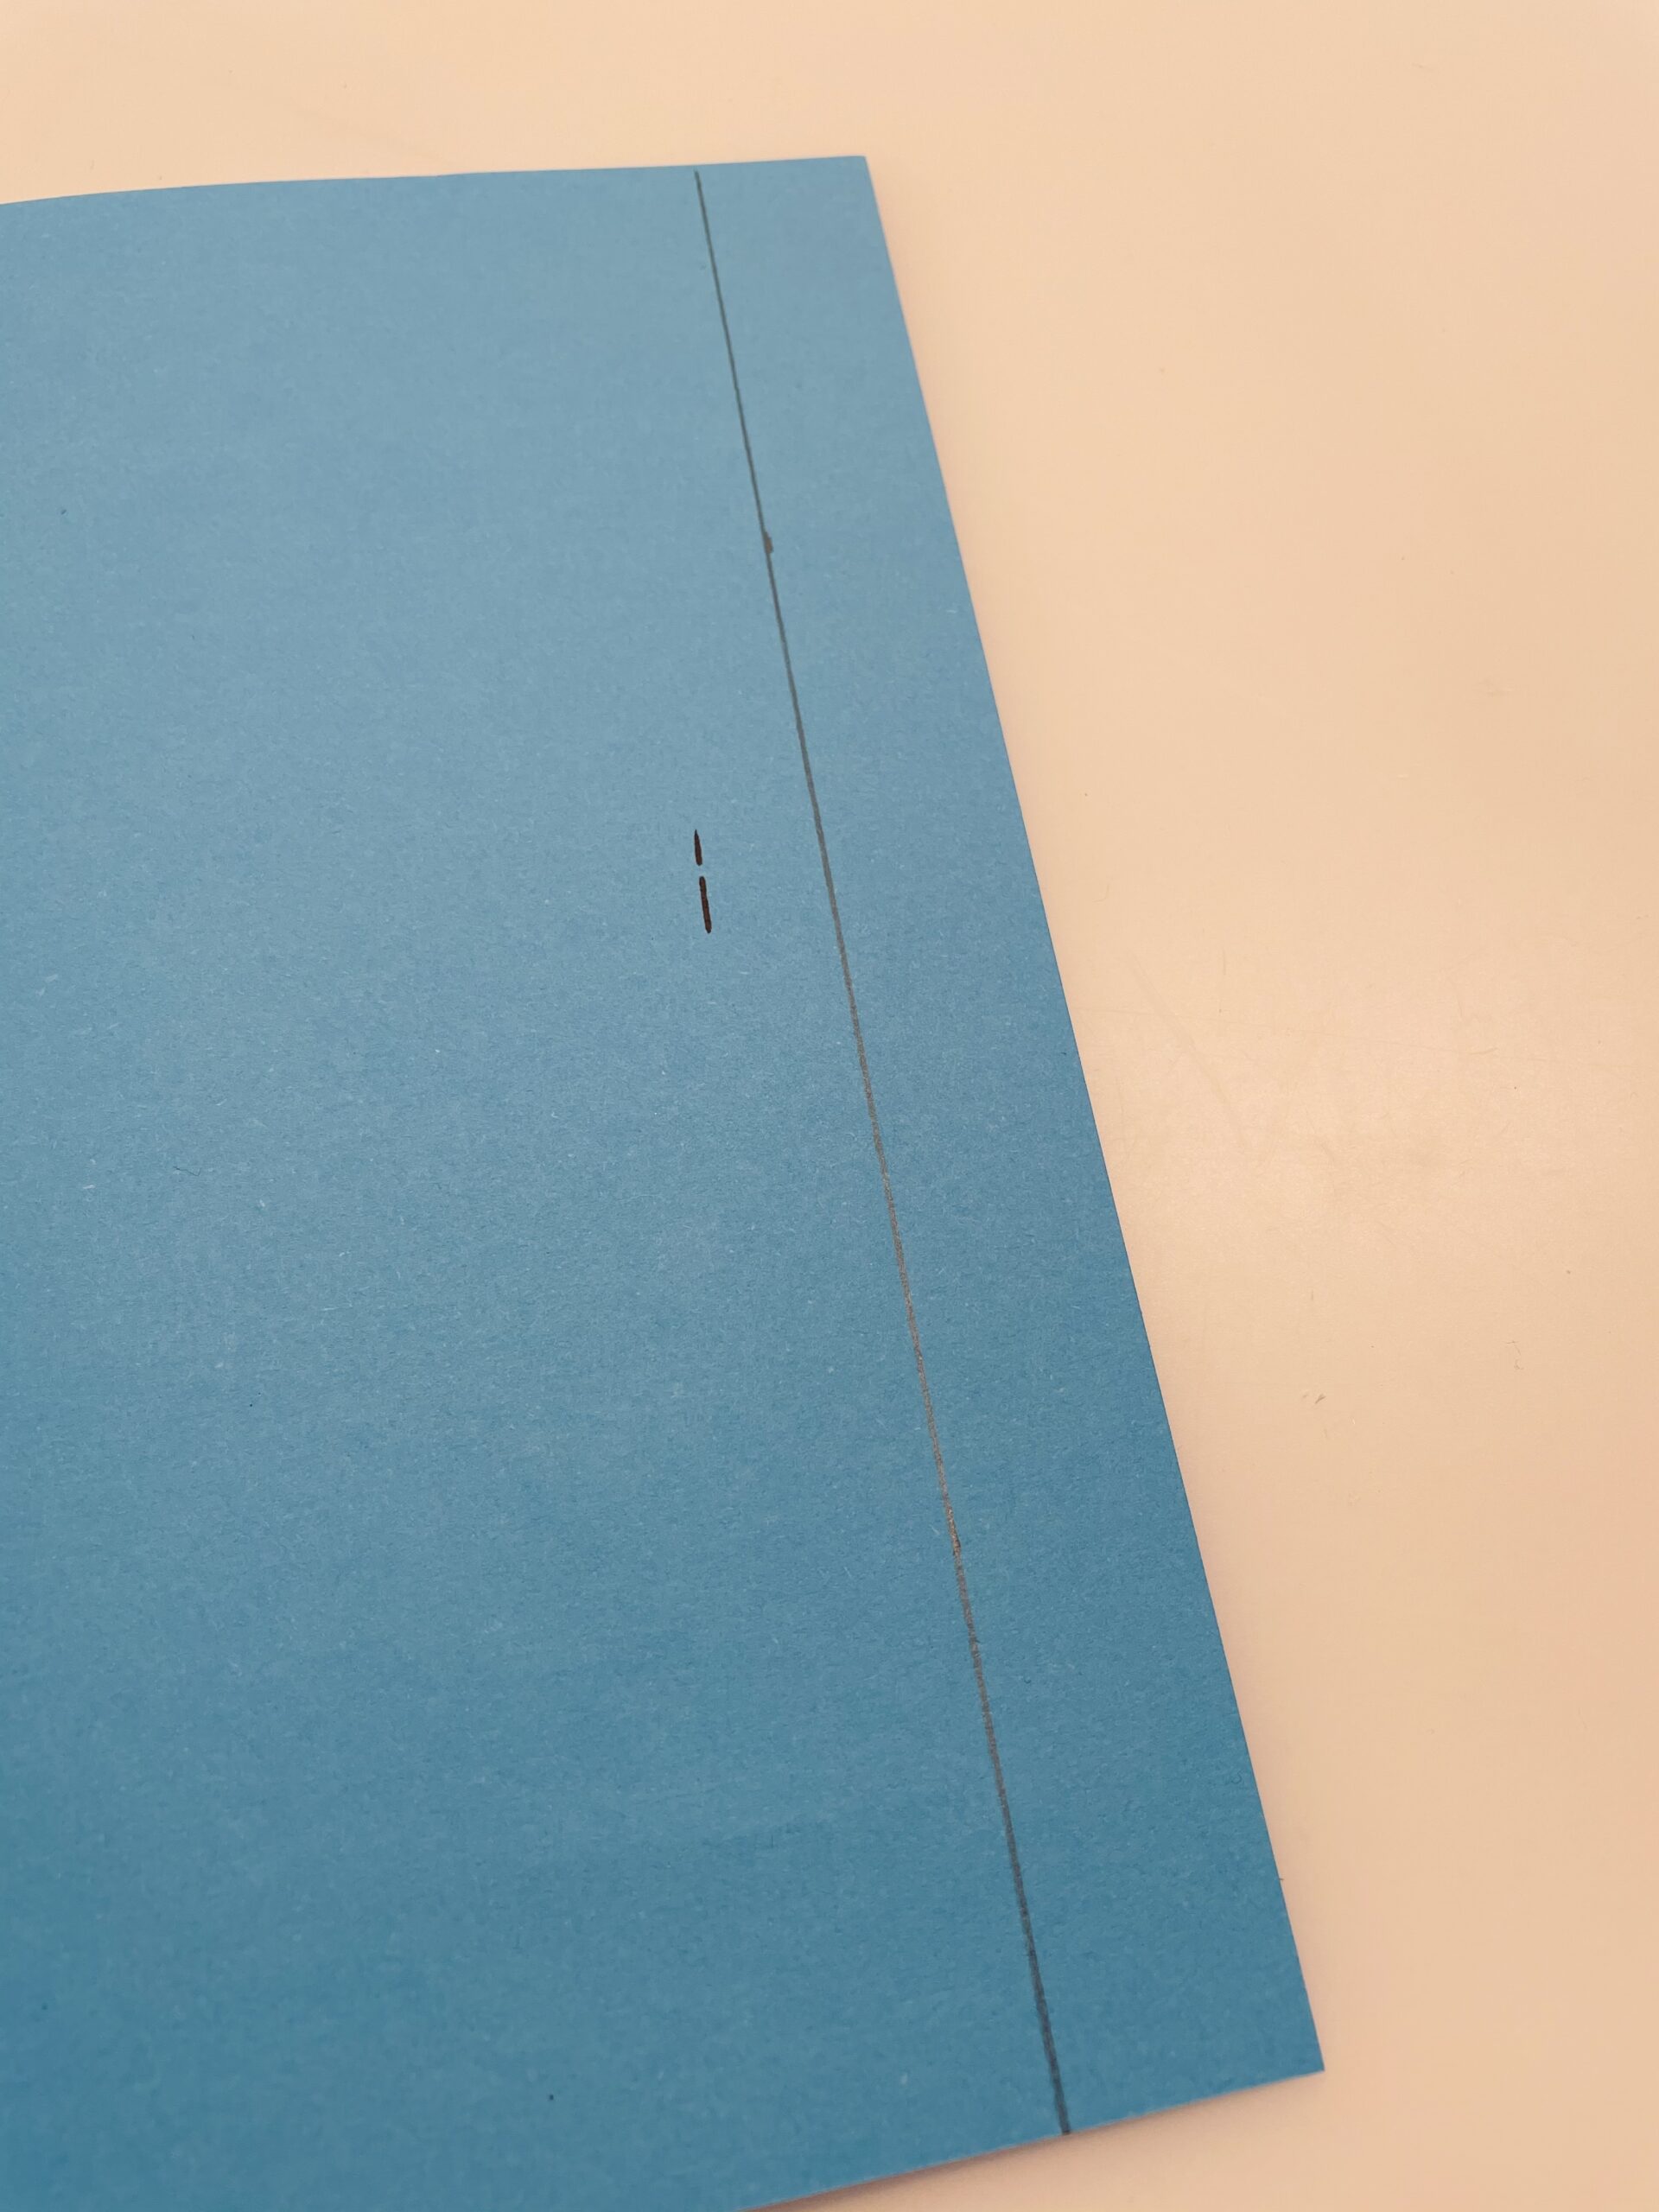
Bild zum Schritt 2 für das Bastel- und DIY-Abenteuer für Kinder: 'Messt euch dafür zuerst die Größe mit einem Lineal ab...'

3

Then cut off the strip.

Bild zum Schritt 3 für das Bastel- und DIY-Abenteuer für Kinder: 'Anschließend schneidet ihr den Streifen ab.'

4

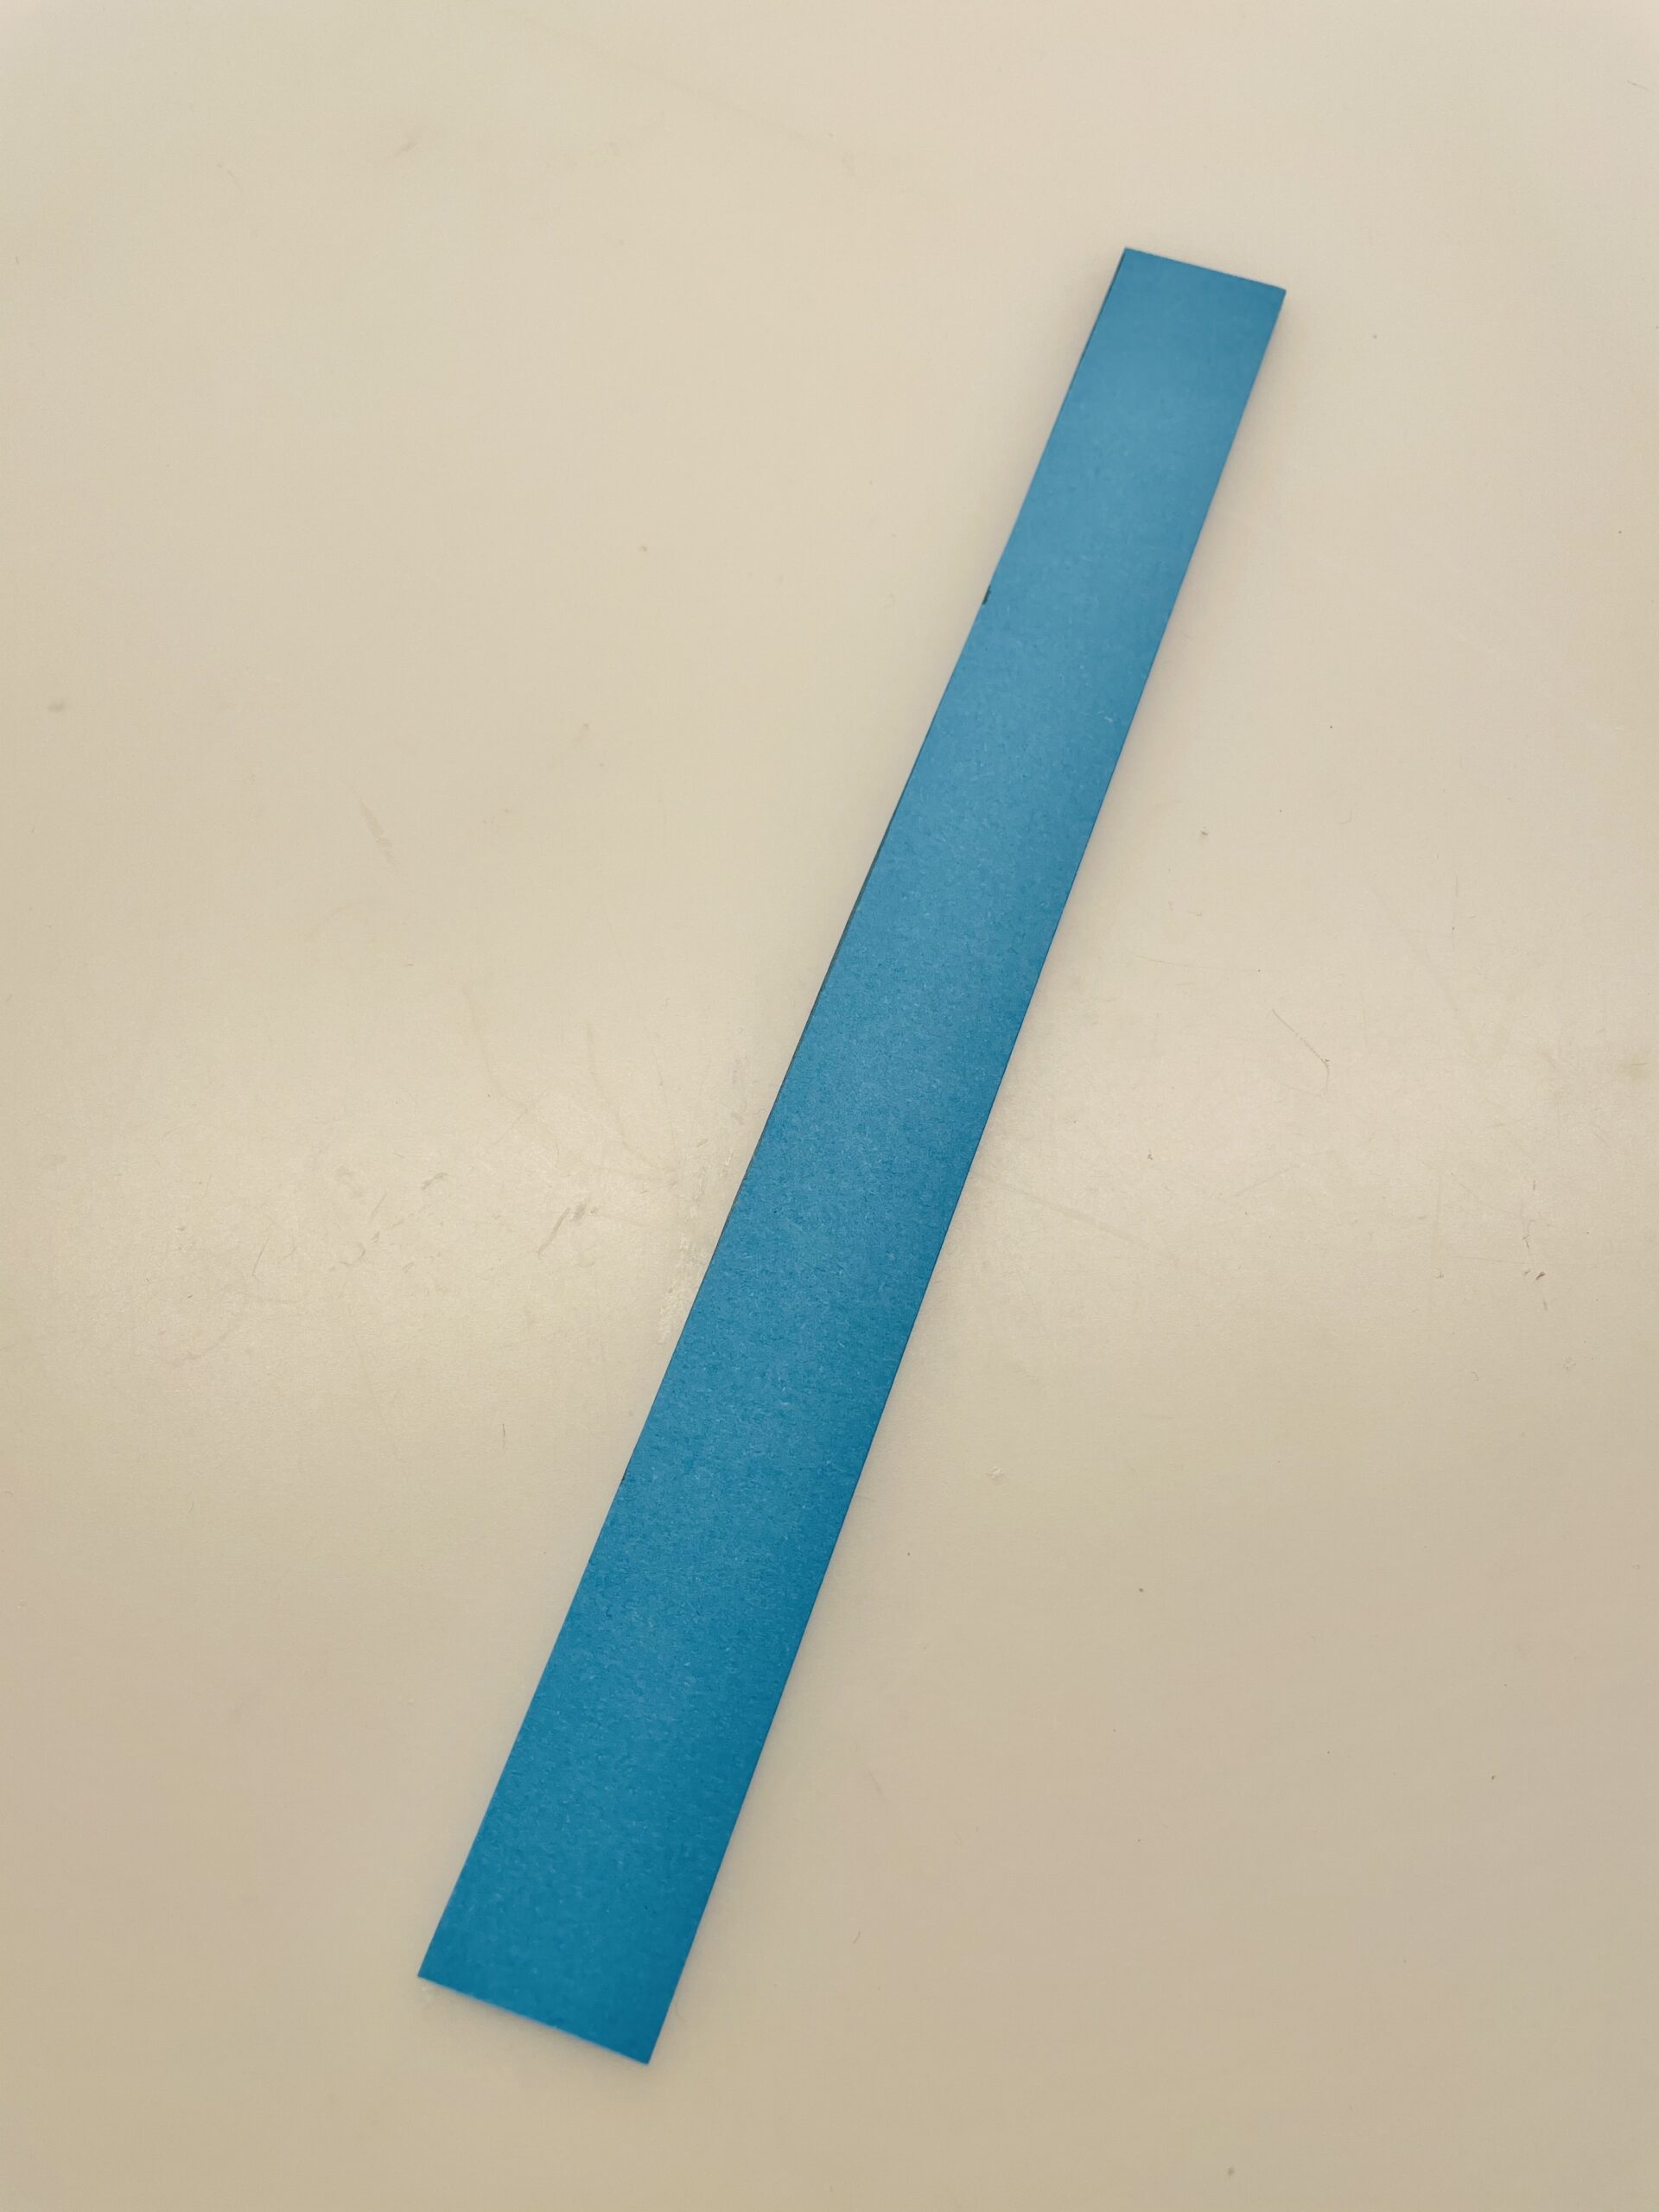
Now you put the strip of width before you on the table.

Bild zum Schritt 4 für das Bastel- und DIY-Abenteuer für Kinder: 'Jetzt legt ihr den Streifen der Breite nach vor euch...'

5

Place the left and right sides in the middle on top of each other.

Bild zum Schritt 5 für das Bastel- und DIY-Abenteuer für Kinder: 'Legt die linke und die rechte Seite in der Mitte...'

6

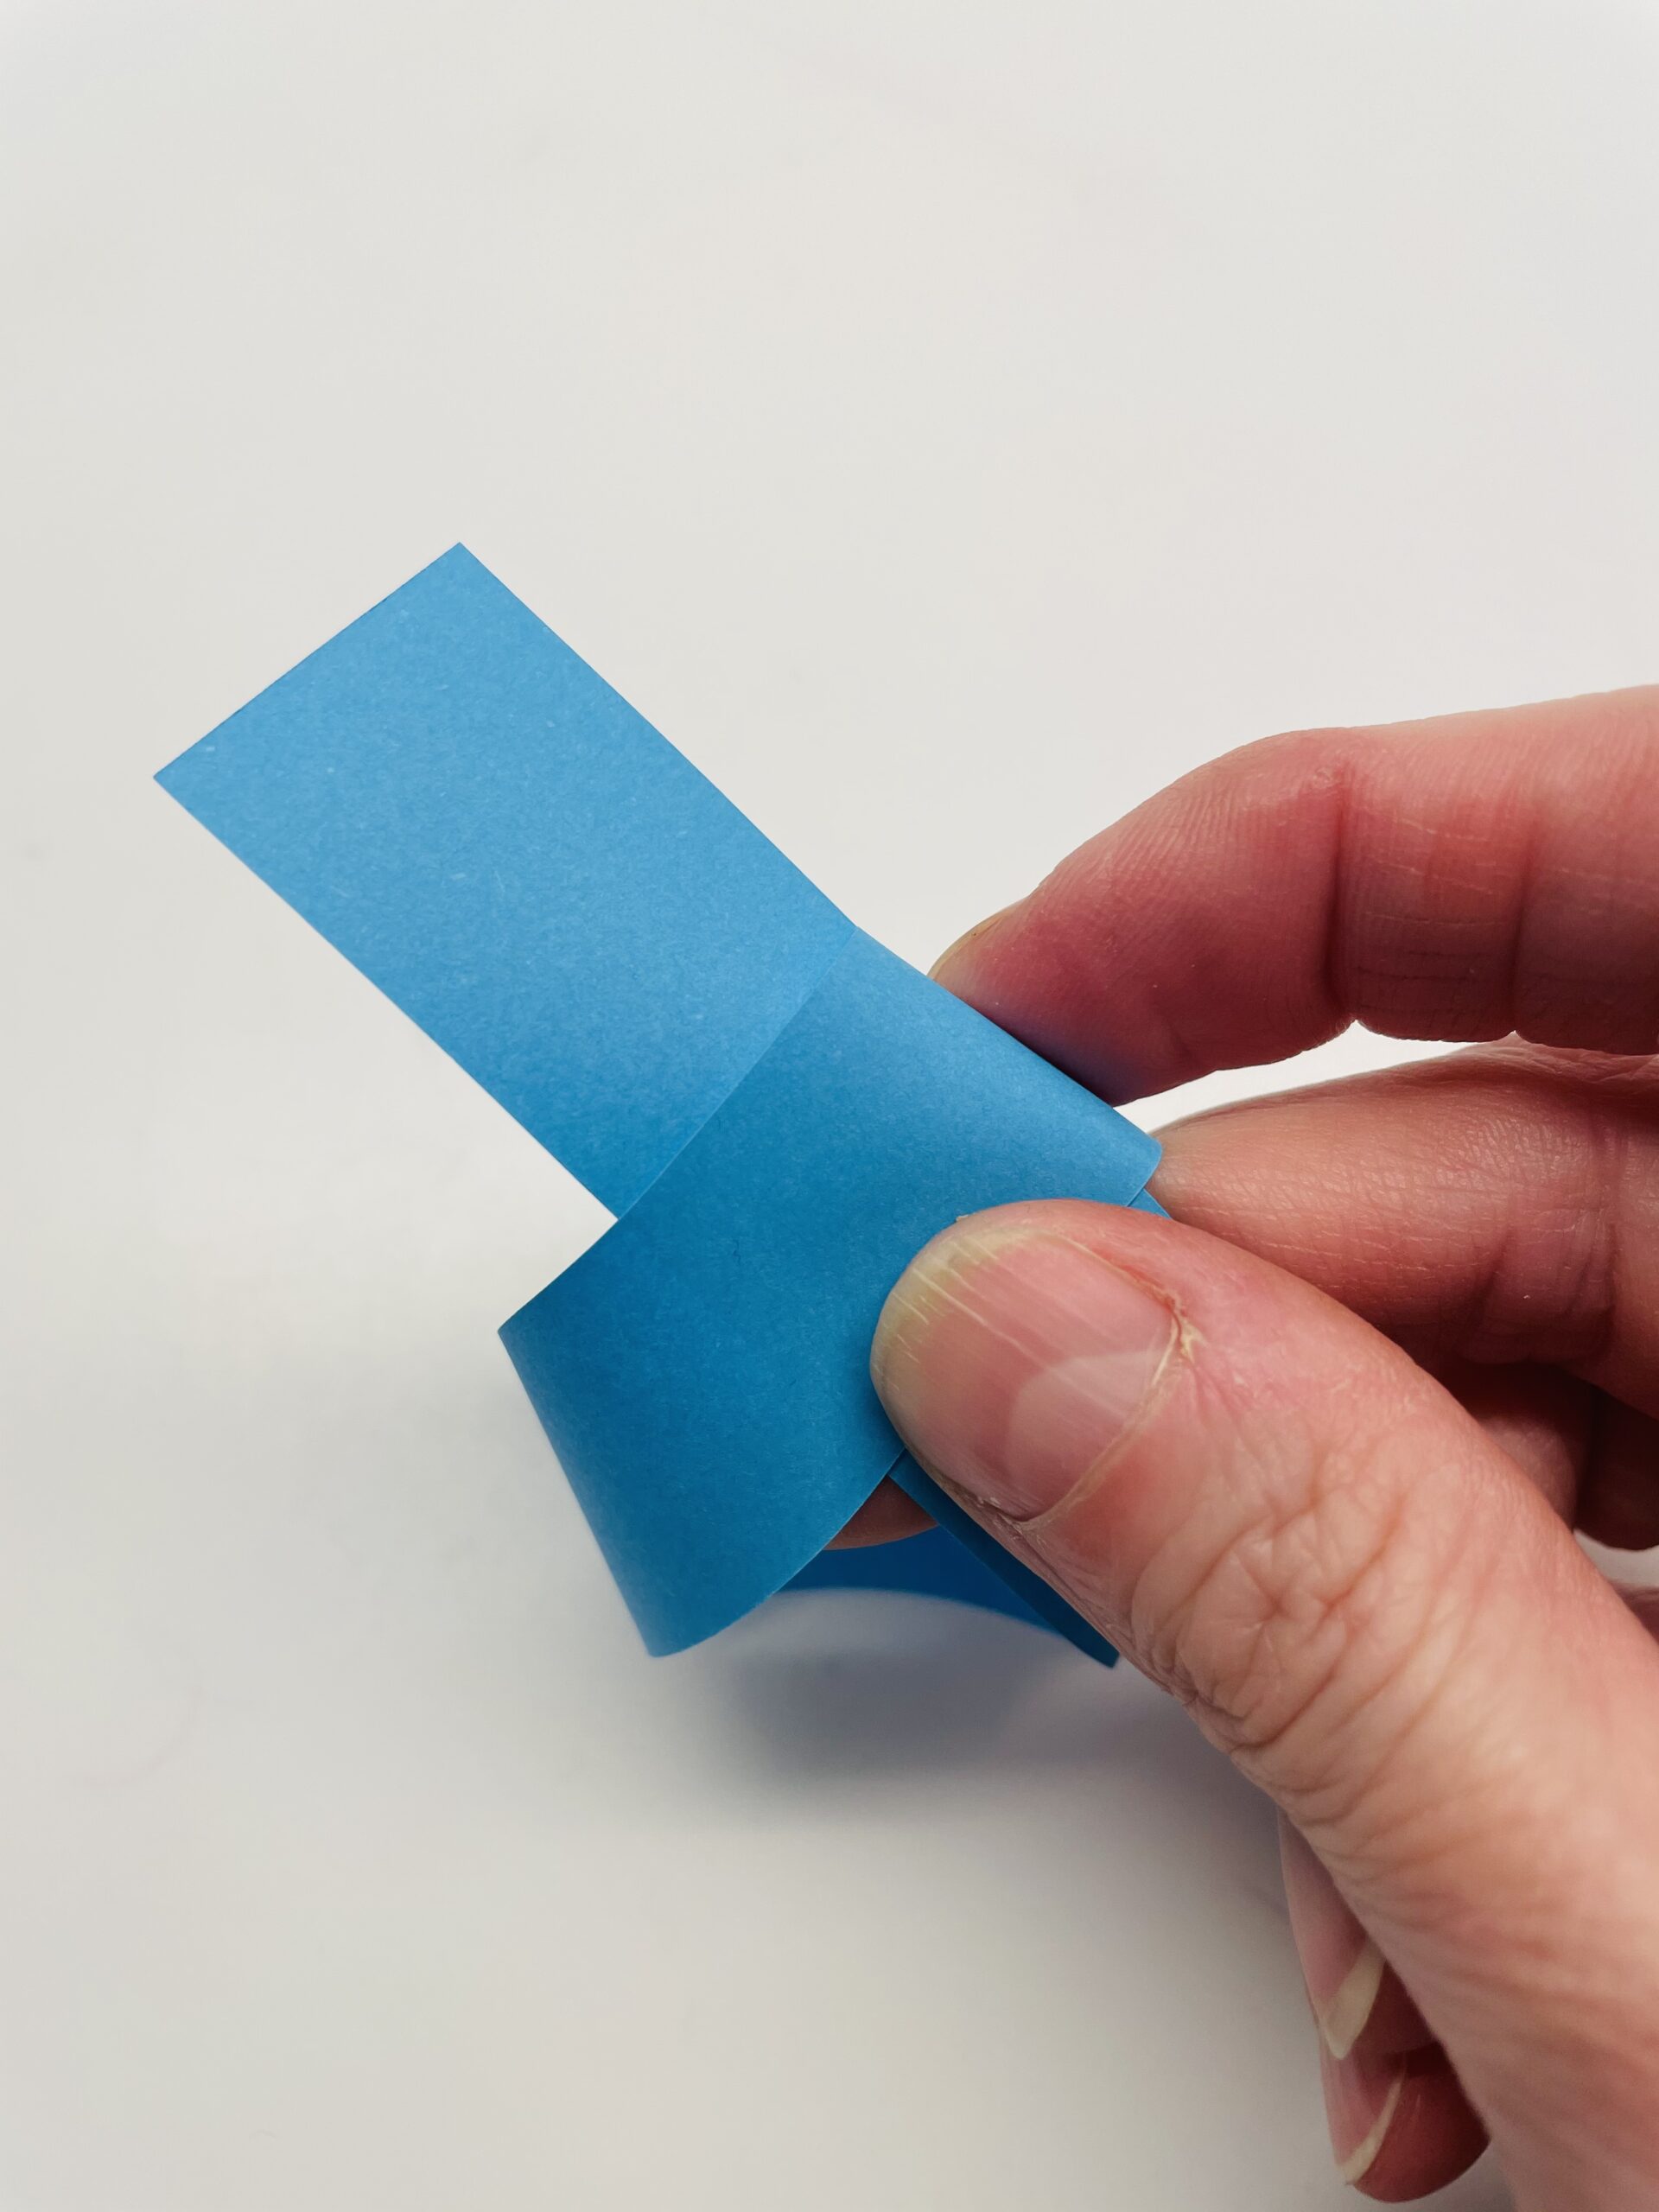
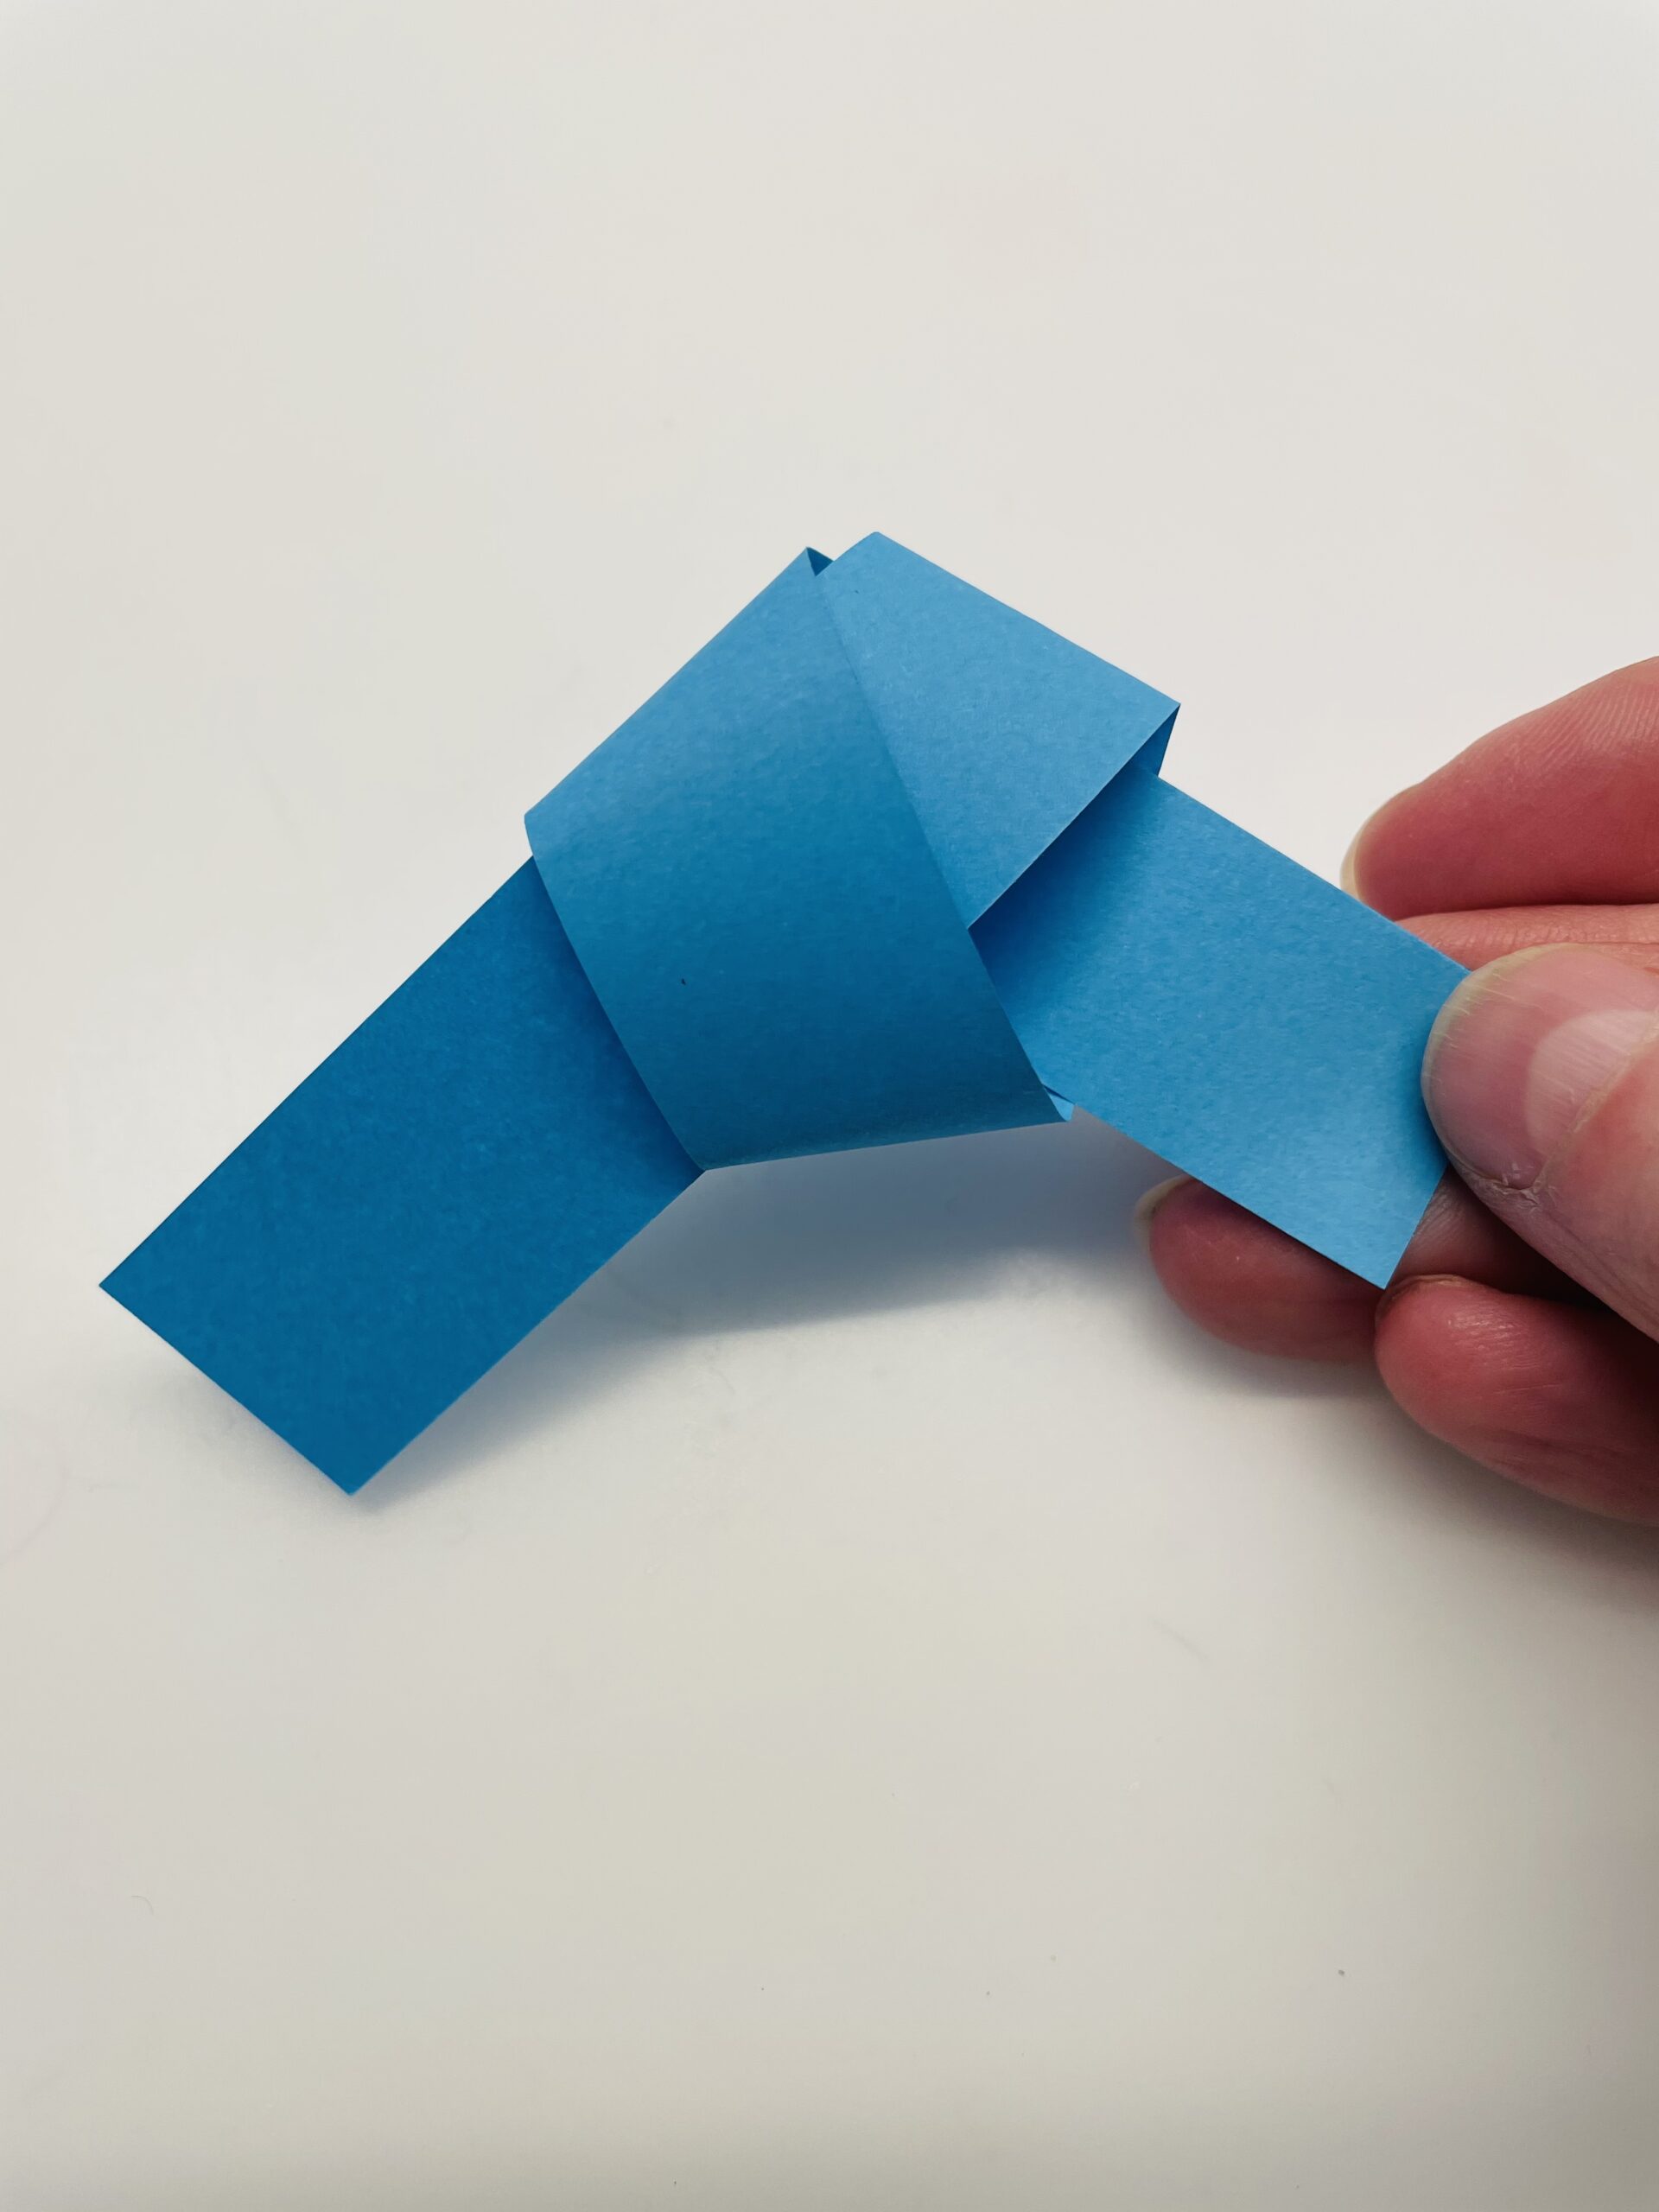
Then bend the left end of the strip to the back.

Bild zum Schritt 6 für das Bastel- und DIY-Abenteuer für Kinder: 'Dann biegt ihr das linke Ende des Streifens nach hinten.'

7

2. Bild zum Schritt 6 für das Bastel- und DIY-Abenteuer für Kinder: 'Dann biegt ihr das linke Ende des Streifens nach hinten.'

8

Then you push it out in the middle again.

Bild zum Schritt 8 für das Bastel- und DIY-Abenteuer für Kinder: 'Dann schiebt ihr es in der Mitte unten wieder heraus.'

9

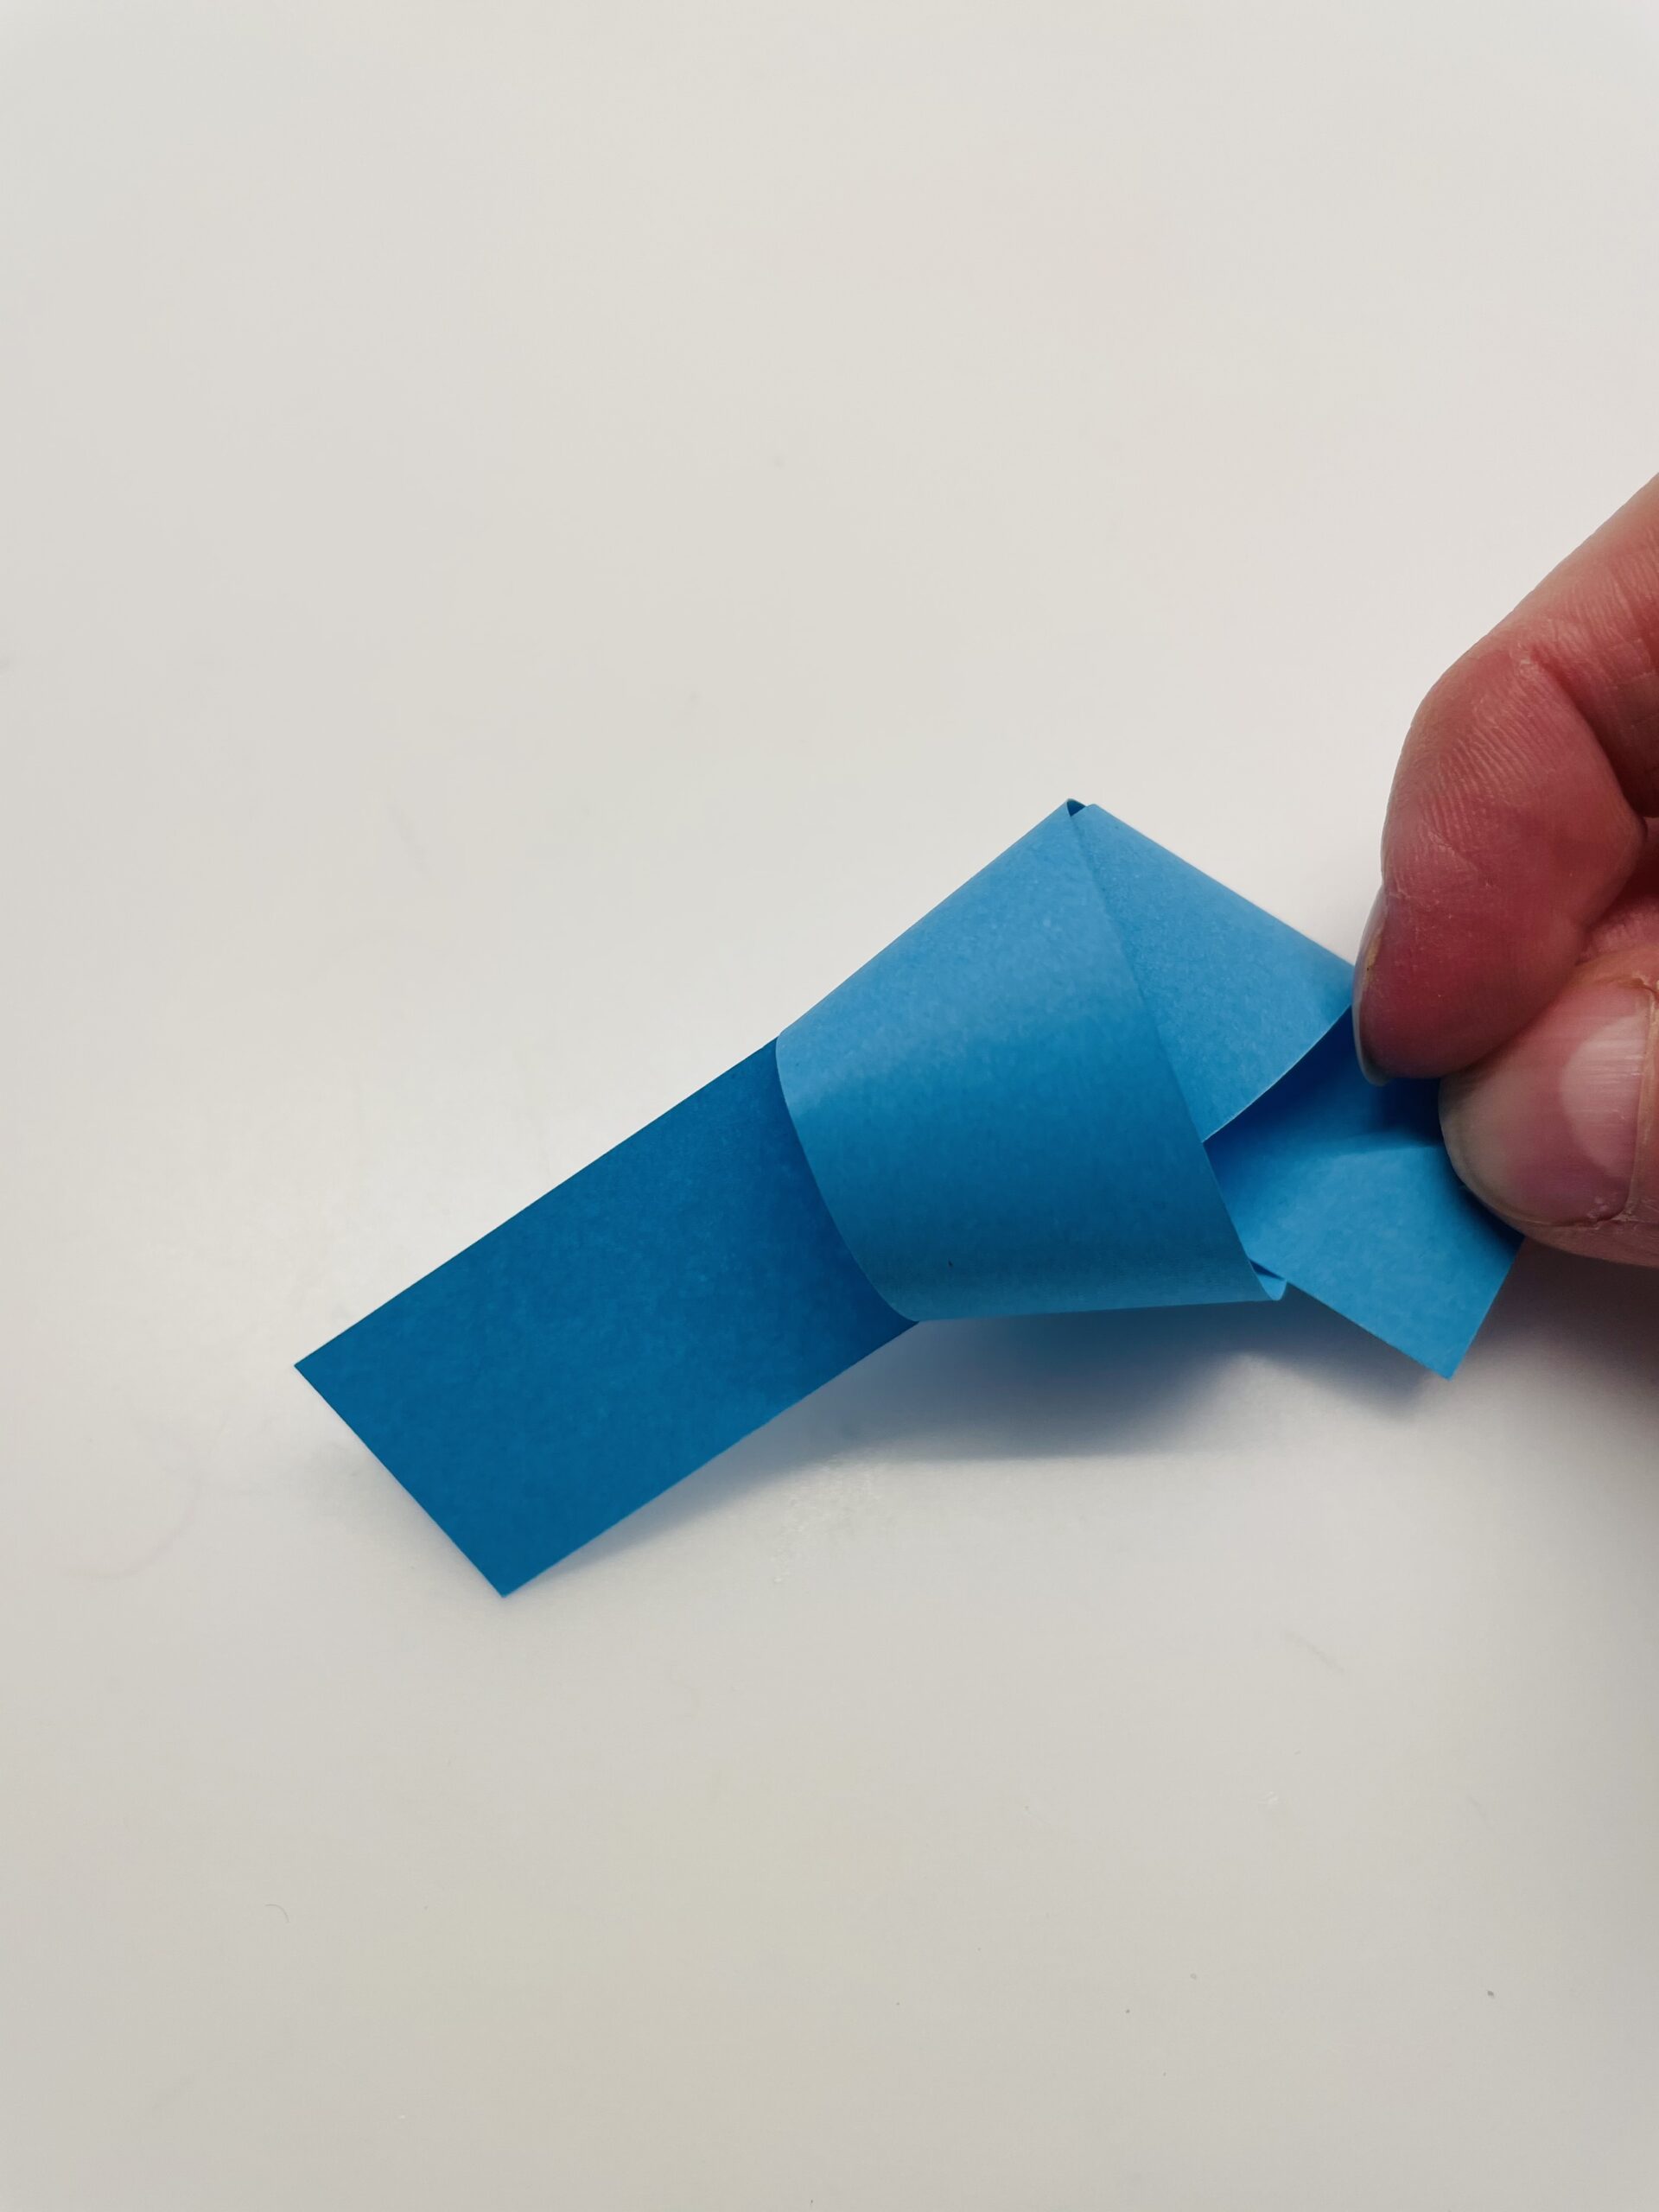
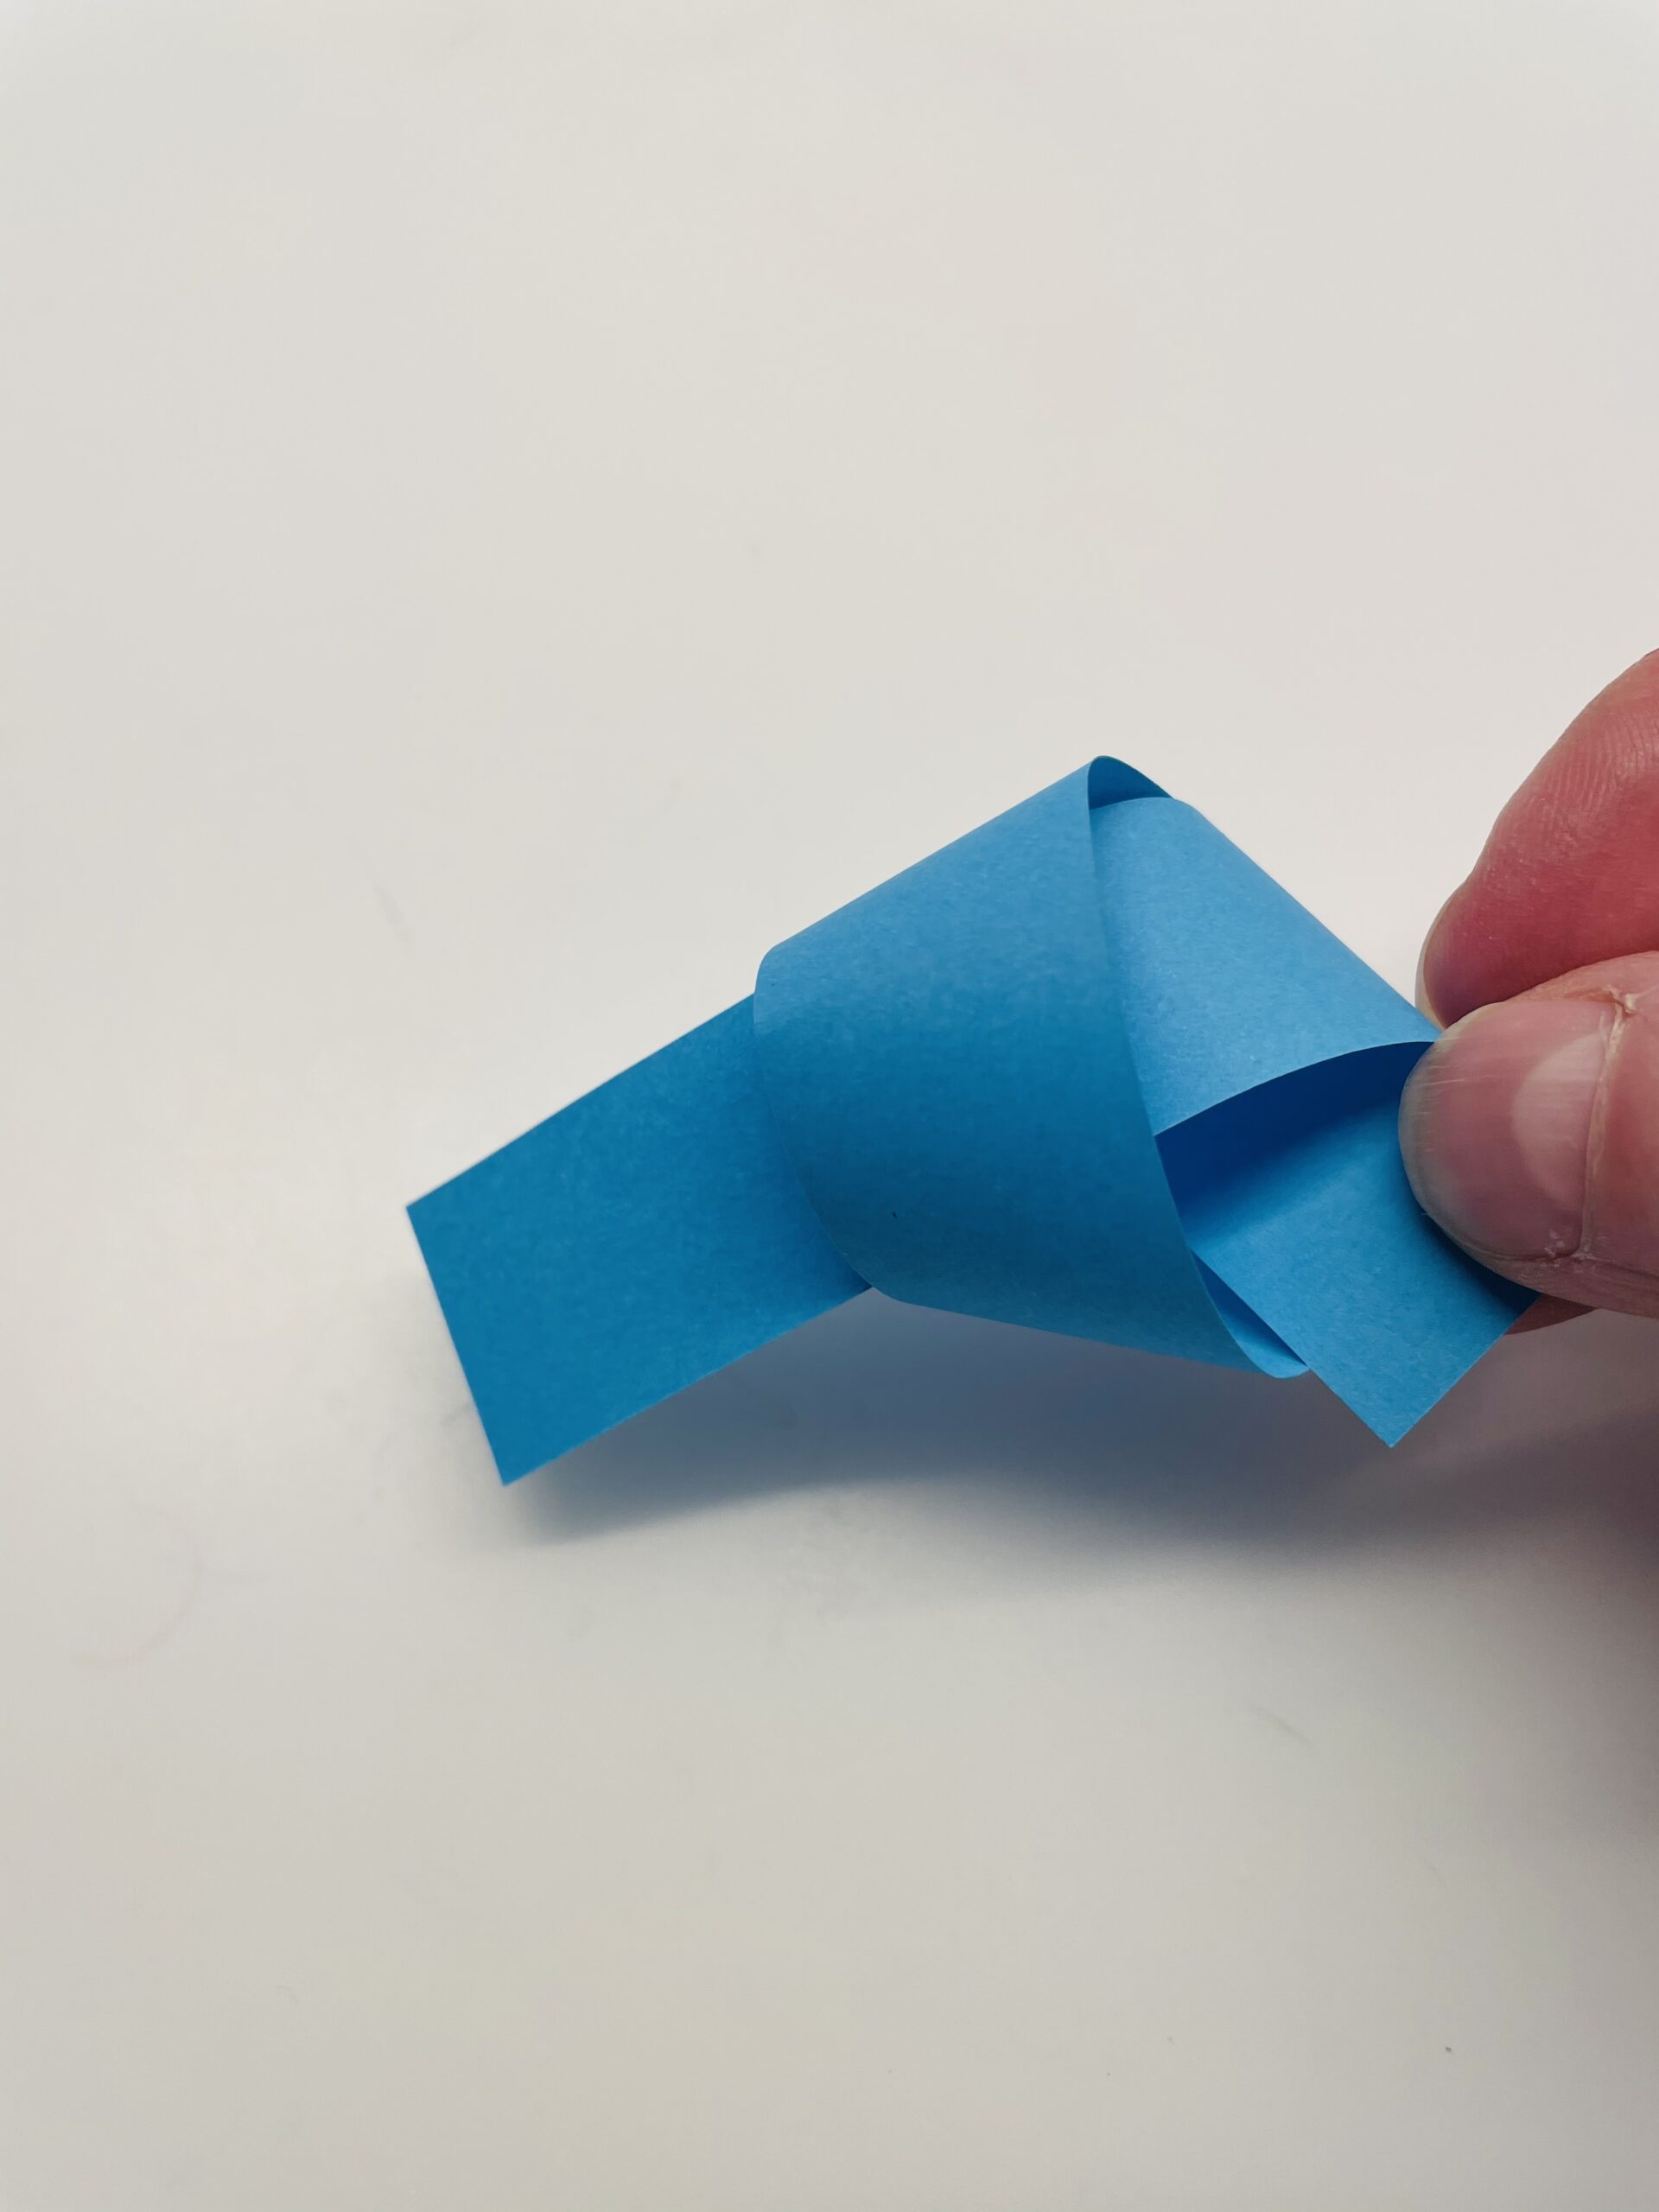
Gently pull out the strip.

Bild zum Schritt 9 für das Bastel- und DIY-Abenteuer für Kinder: 'Zieht den Streifen vorsichtig weiter heraus.'

10

2. Bild zum Schritt 9 für das Bastel- und DIY-Abenteuer für Kinder: 'Zieht den Streifen vorsichtig weiter heraus.'

11

3. Bild zum Schritt 10 für das Bastel- und DIY-Abenteuer für Kinder: 'Zieht den Streifen vorsichtig weiter heraus.'

12

Pull it until you've pulled it all through.

Bild zum Schritt 12 für das Bastel- und DIY-Abenteuer für Kinder: 'Zieht so lange, bis ihr diesen komplett hindurch gezogen habt.'

13

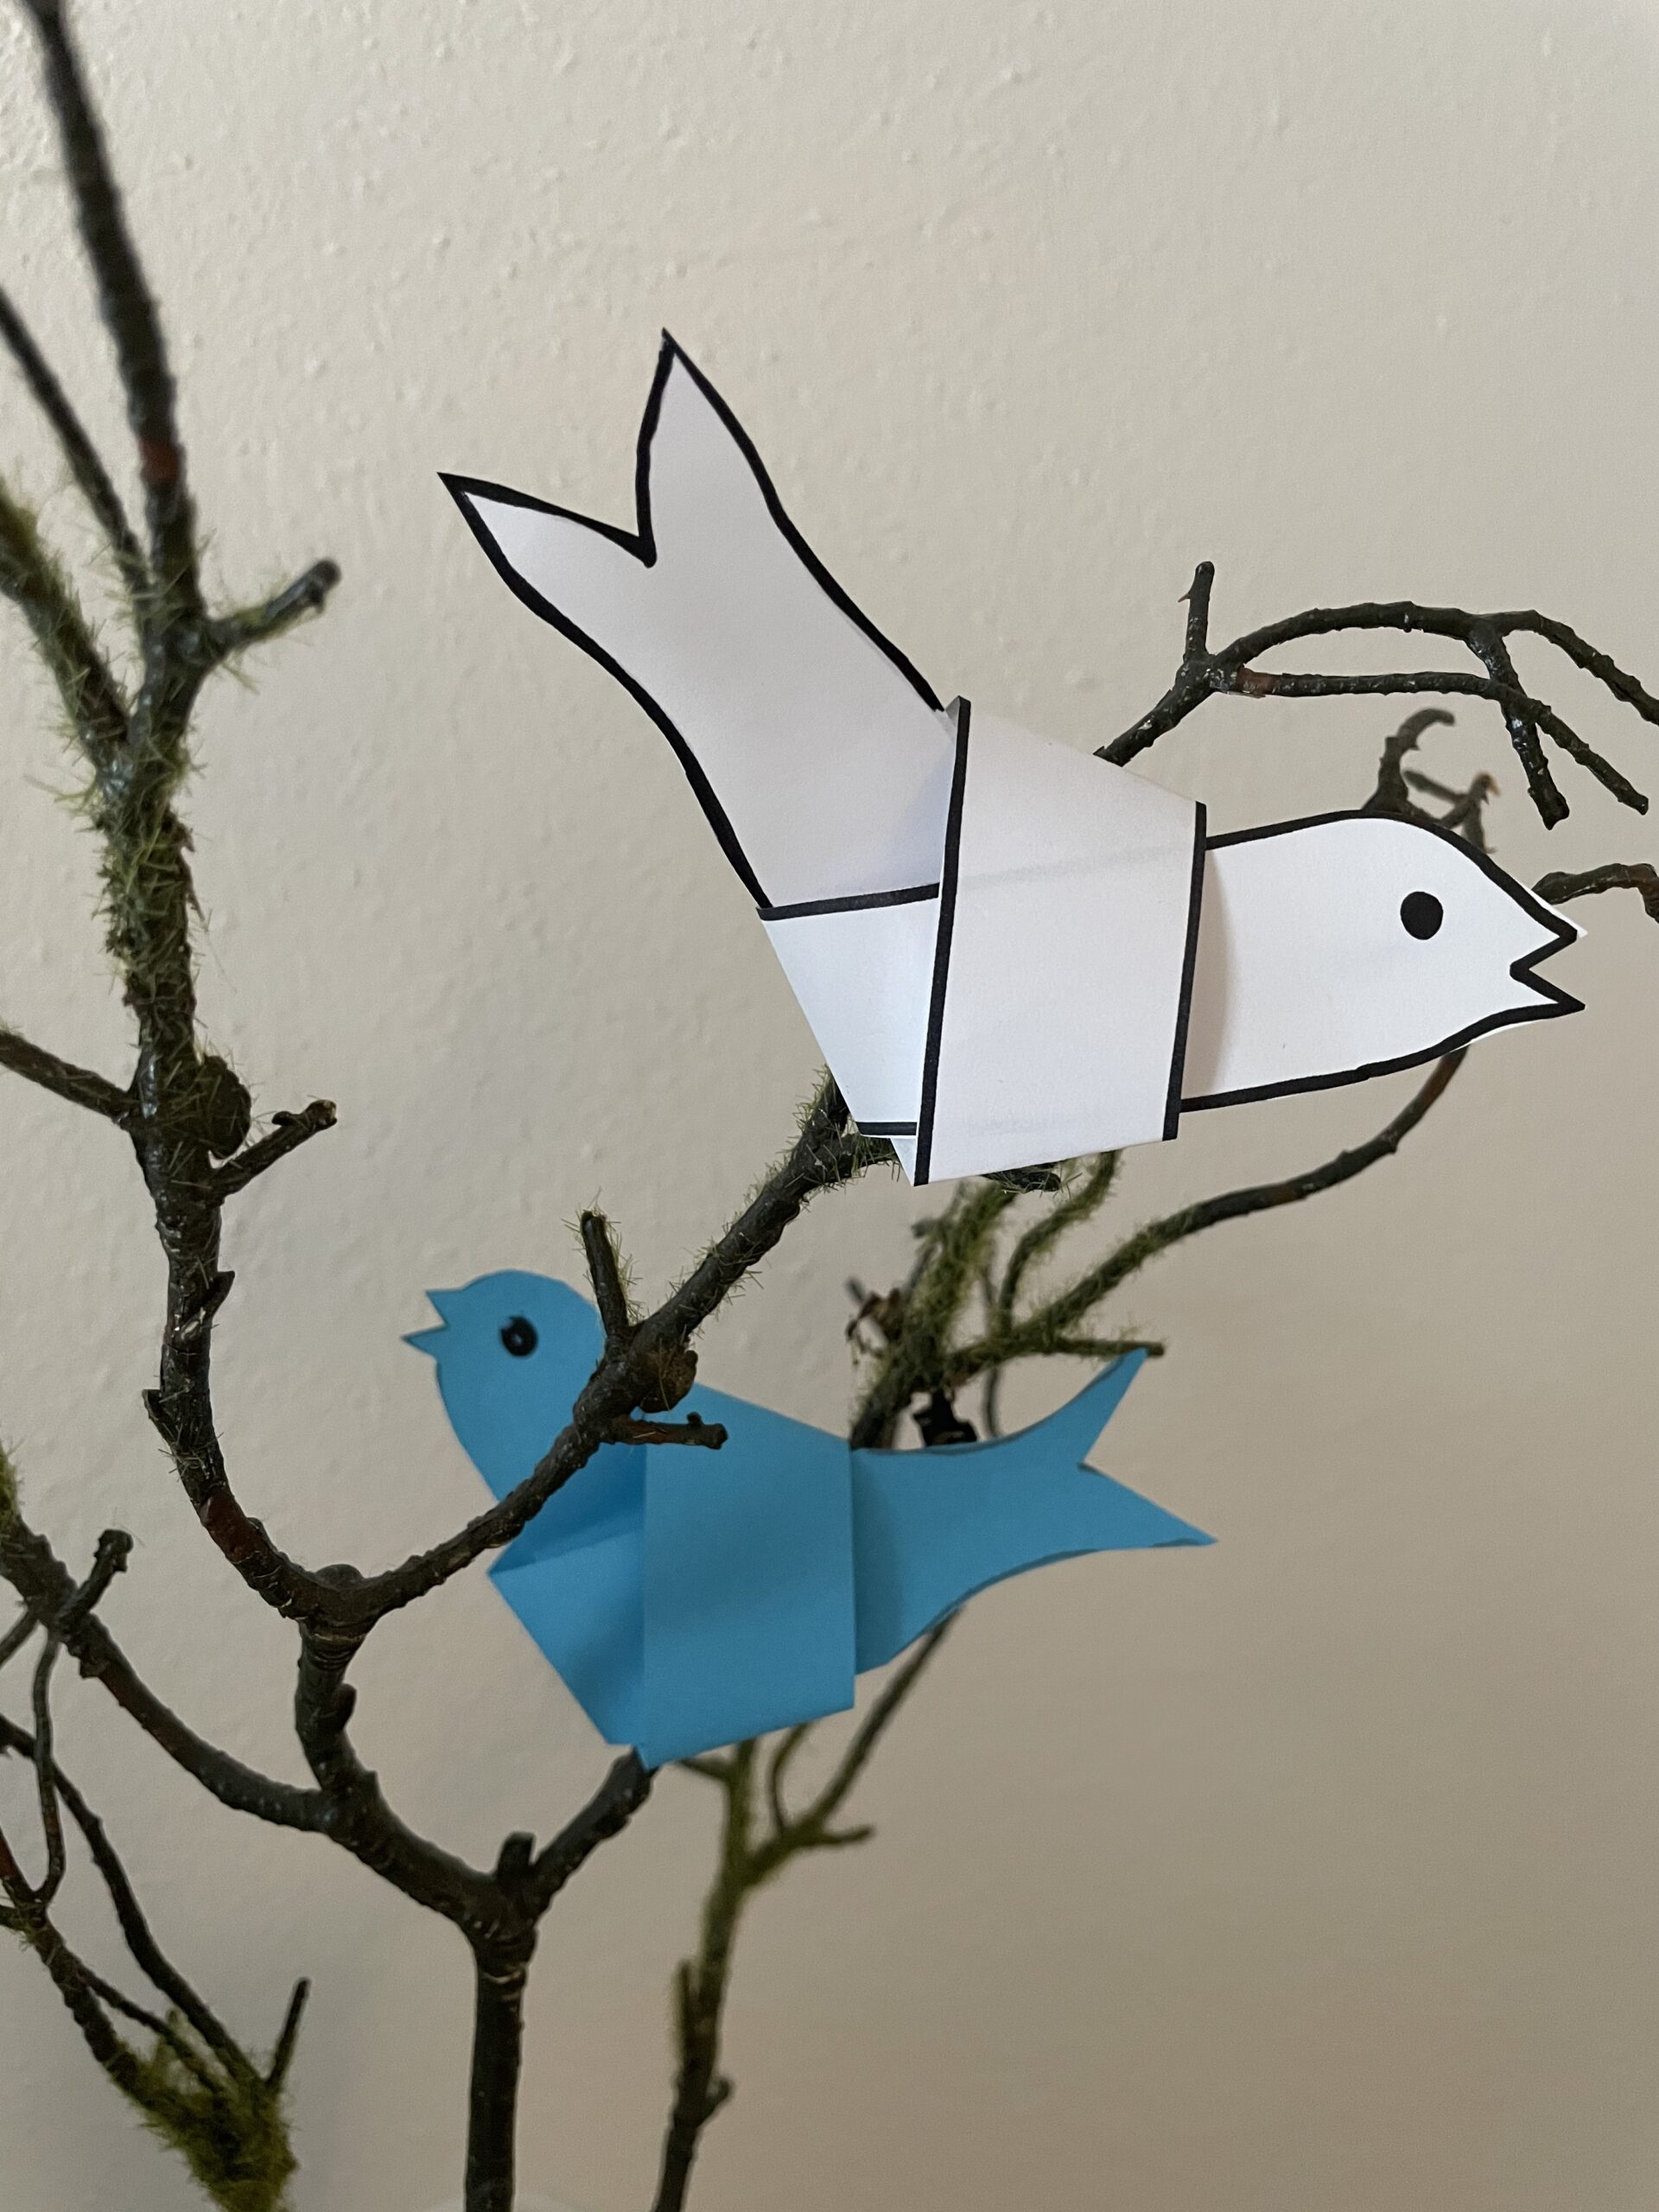
Now you paint the head with the beak and the tail feathers. Orient yourselves to the templates. You can also paint the head with the beak and the tail feathers freely and cut out.

Bild zum Schritt 13 für das Bastel- und DIY-Abenteuer für Kinder: 'Jetzt malt ihr den Kopf mit dem Schnabel auf und...'

14

Paints on one end of the strip the head and on the other the tail of the bird.

Bild zum Schritt 14 für das Bastel- und DIY-Abenteuer für Kinder: 'Malt auf ein Ende des Streifens den Kopf und auf...'

15

Then cut her head and tail.

Bild zum Schritt 15 für das Bastel- und DIY-Abenteuer für Kinder: 'Anschließend schneidet ihr den Kopf und den Schwanz zu.'

16

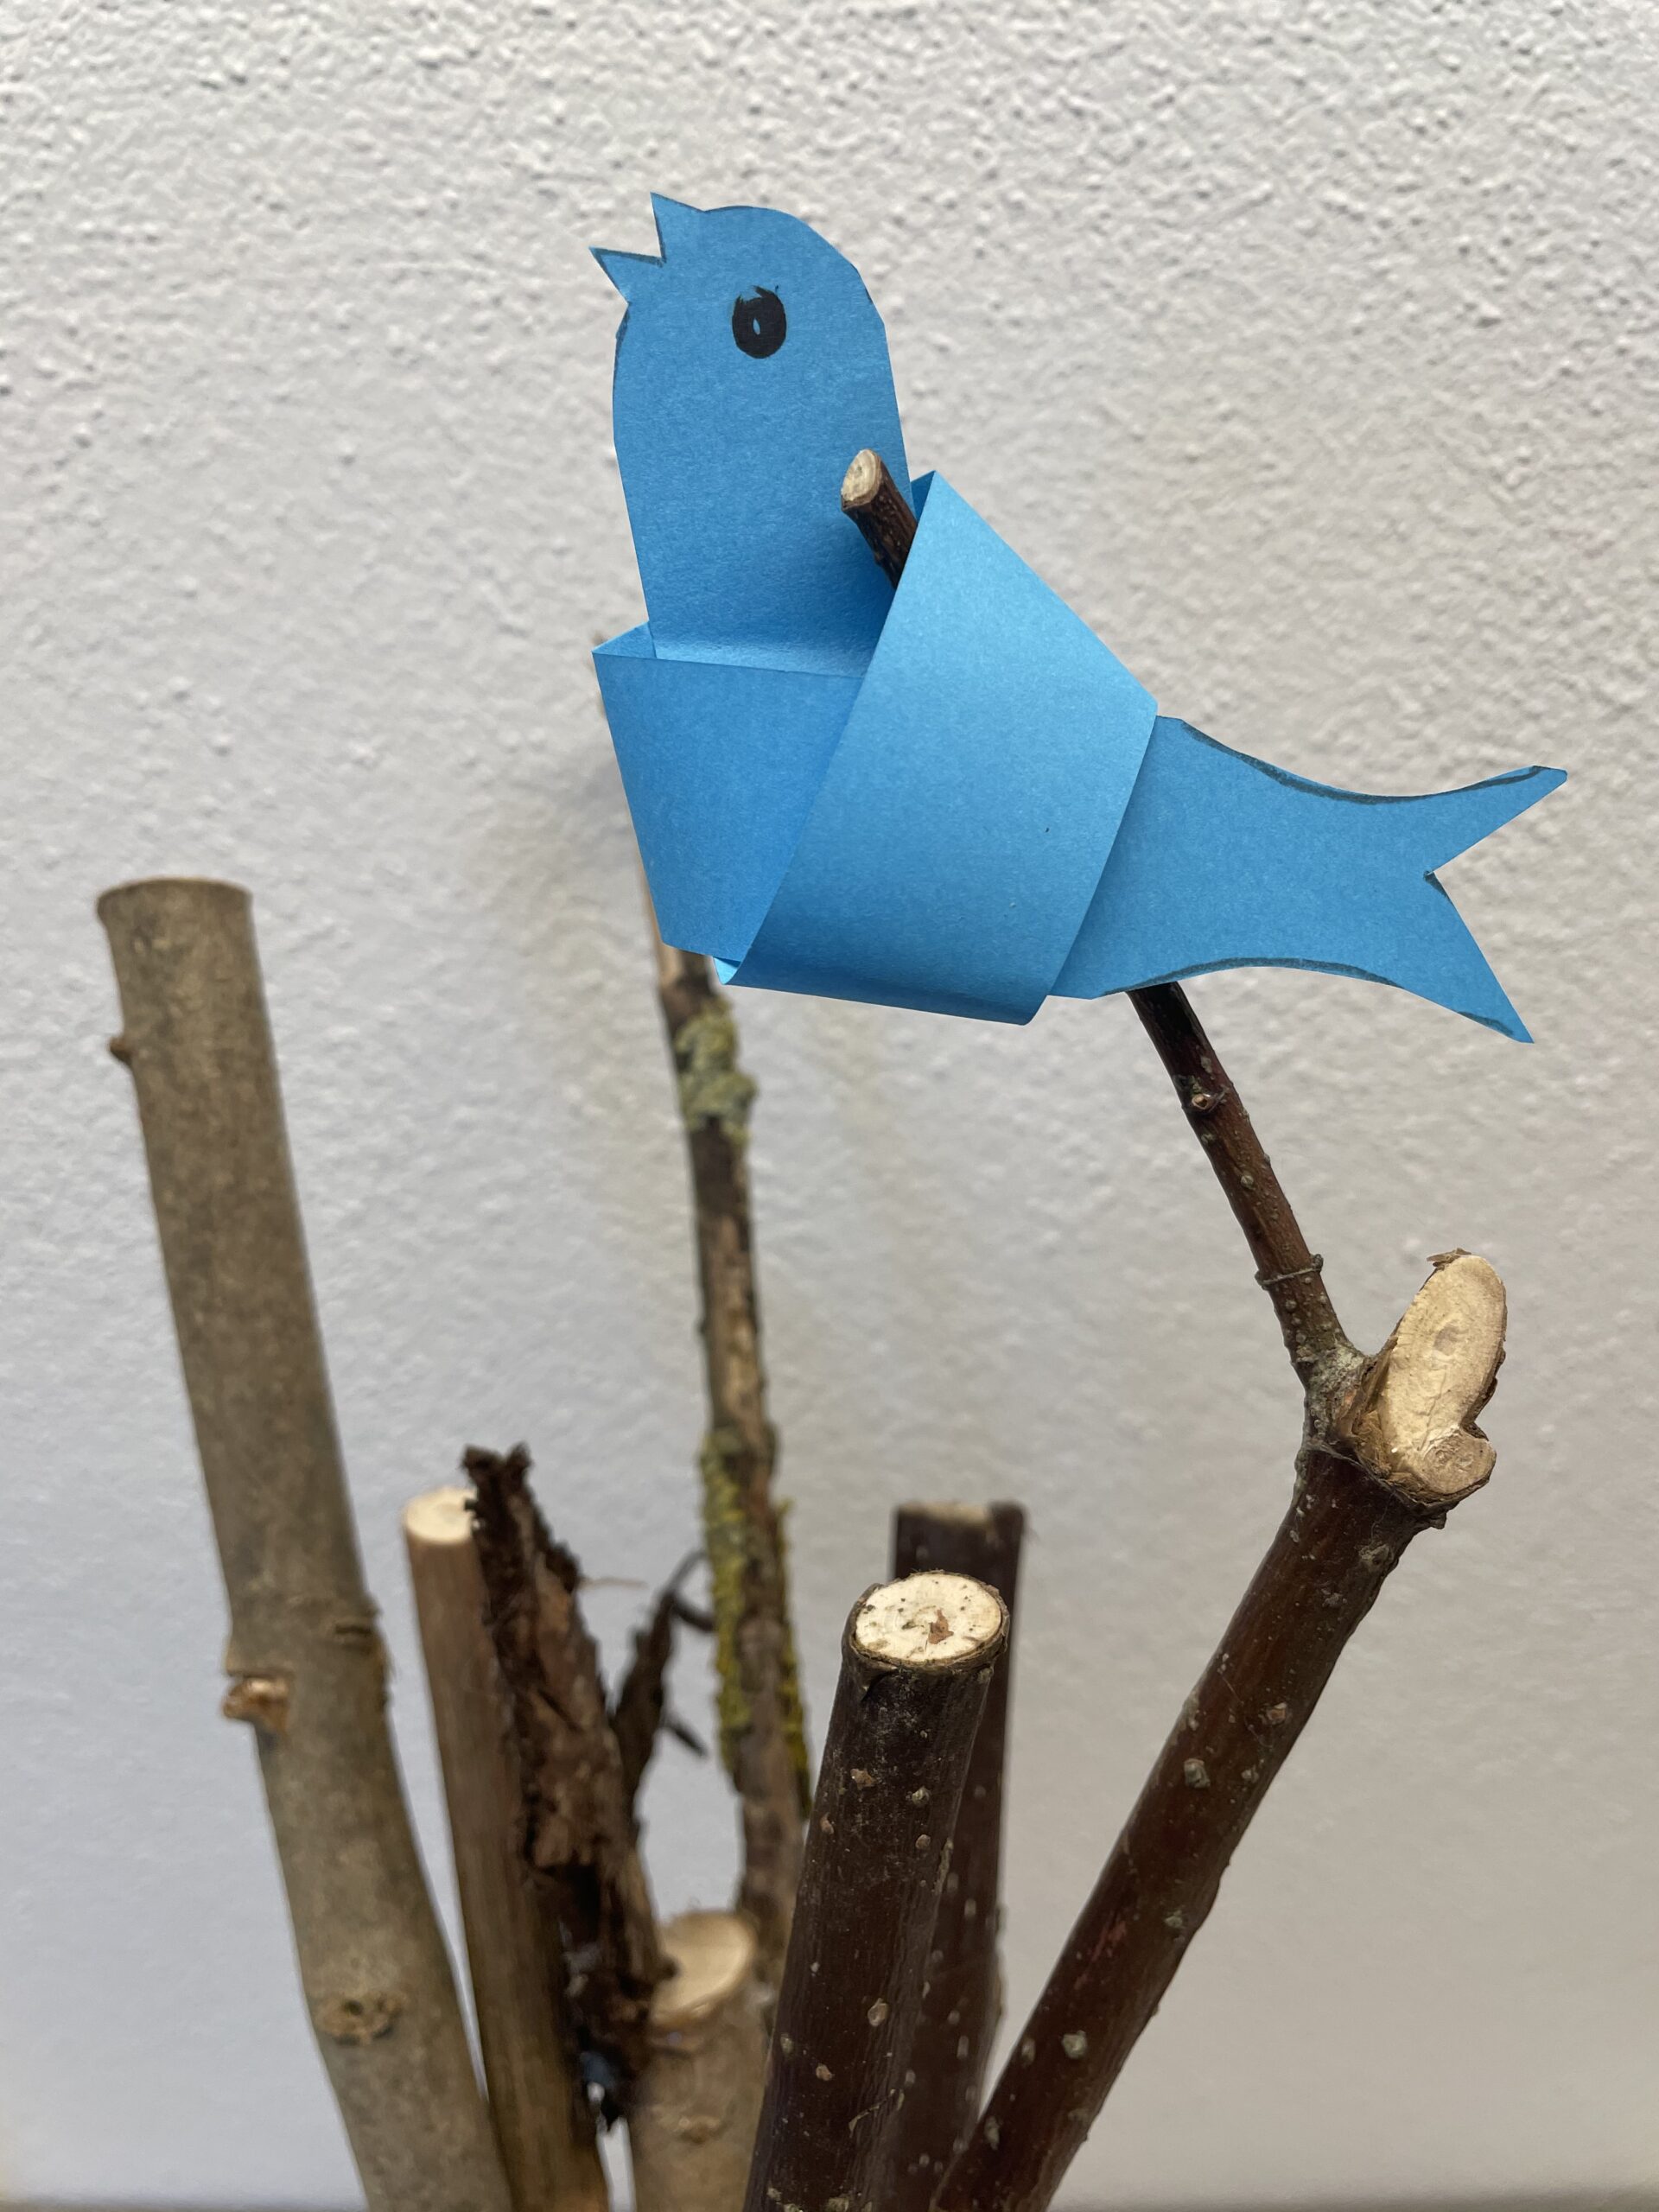
Finally, paint an eye on the front and back of the bird.
The bird is ready.

Bild zum Schritt 16 für das Bastel- und DIY-Abenteuer für Kinder: 'Malt abschließend je ein Auge auf Vorder- und Rückseite des...'

17

Now you can put the bird on a branch. Just look outside for some branches.

Bild zum Schritt 17 für das Bastel- und DIY-Abenteuer für Kinder: 'Jetzt könnt den Vogel auf einen Ast setzen. Sucht euch...'

18

2. Bild zum Schritt 17 für das Bastel- und DIY-Abenteuer für Kinder: 'Jetzt könnt den Vogel auf einen Ast setzen. Sucht euch...'

19

Another guide with a bird template can be found here? Paper bird making with template.

Bild zum Schritt 19 für das Bastel- und DIY-Abenteuer für Kinder: 'Eine weitere Anleitung mit einer Vogel-Vorlage findet ihr hier 👉...'

20

Have fun in being creative!

Materials

 1 Paper strips20cm x 2cm
 1 Pencil
 1 Ruler
 1 Felt pen black
All links marked with a shopping cart lead to Amazon - here we have selected products that we would order ourselves and in part also ordered. In a qualified purchase via the advertising link, we as Amazon partner receive a commission, for you there are no costs. You thus support our cost- and advertising banner-free, educational offer.

Directions

1

Cut a paper strip in size 20cm x 2cm.

Bild zum Schritt 1 für das Bastel- und DIY-Abenteuer für Kinder: 'Schneidet euch einen Papierstreifen in der Größe 20cm x 2cm...'

2

First measure the size with a ruler and draw it with a pencil.

Bild zum Schritt 2 für das Bastel- und DIY-Abenteuer für Kinder: 'Messt euch dafür zuerst die Größe mit einem Lineal ab...'

3

Then cut off the strip.

Bild zum Schritt 3 für das Bastel- und DIY-Abenteuer für Kinder: 'Anschließend schneidet ihr den Streifen ab.'

4

Now you put the strip of width before you on the table.
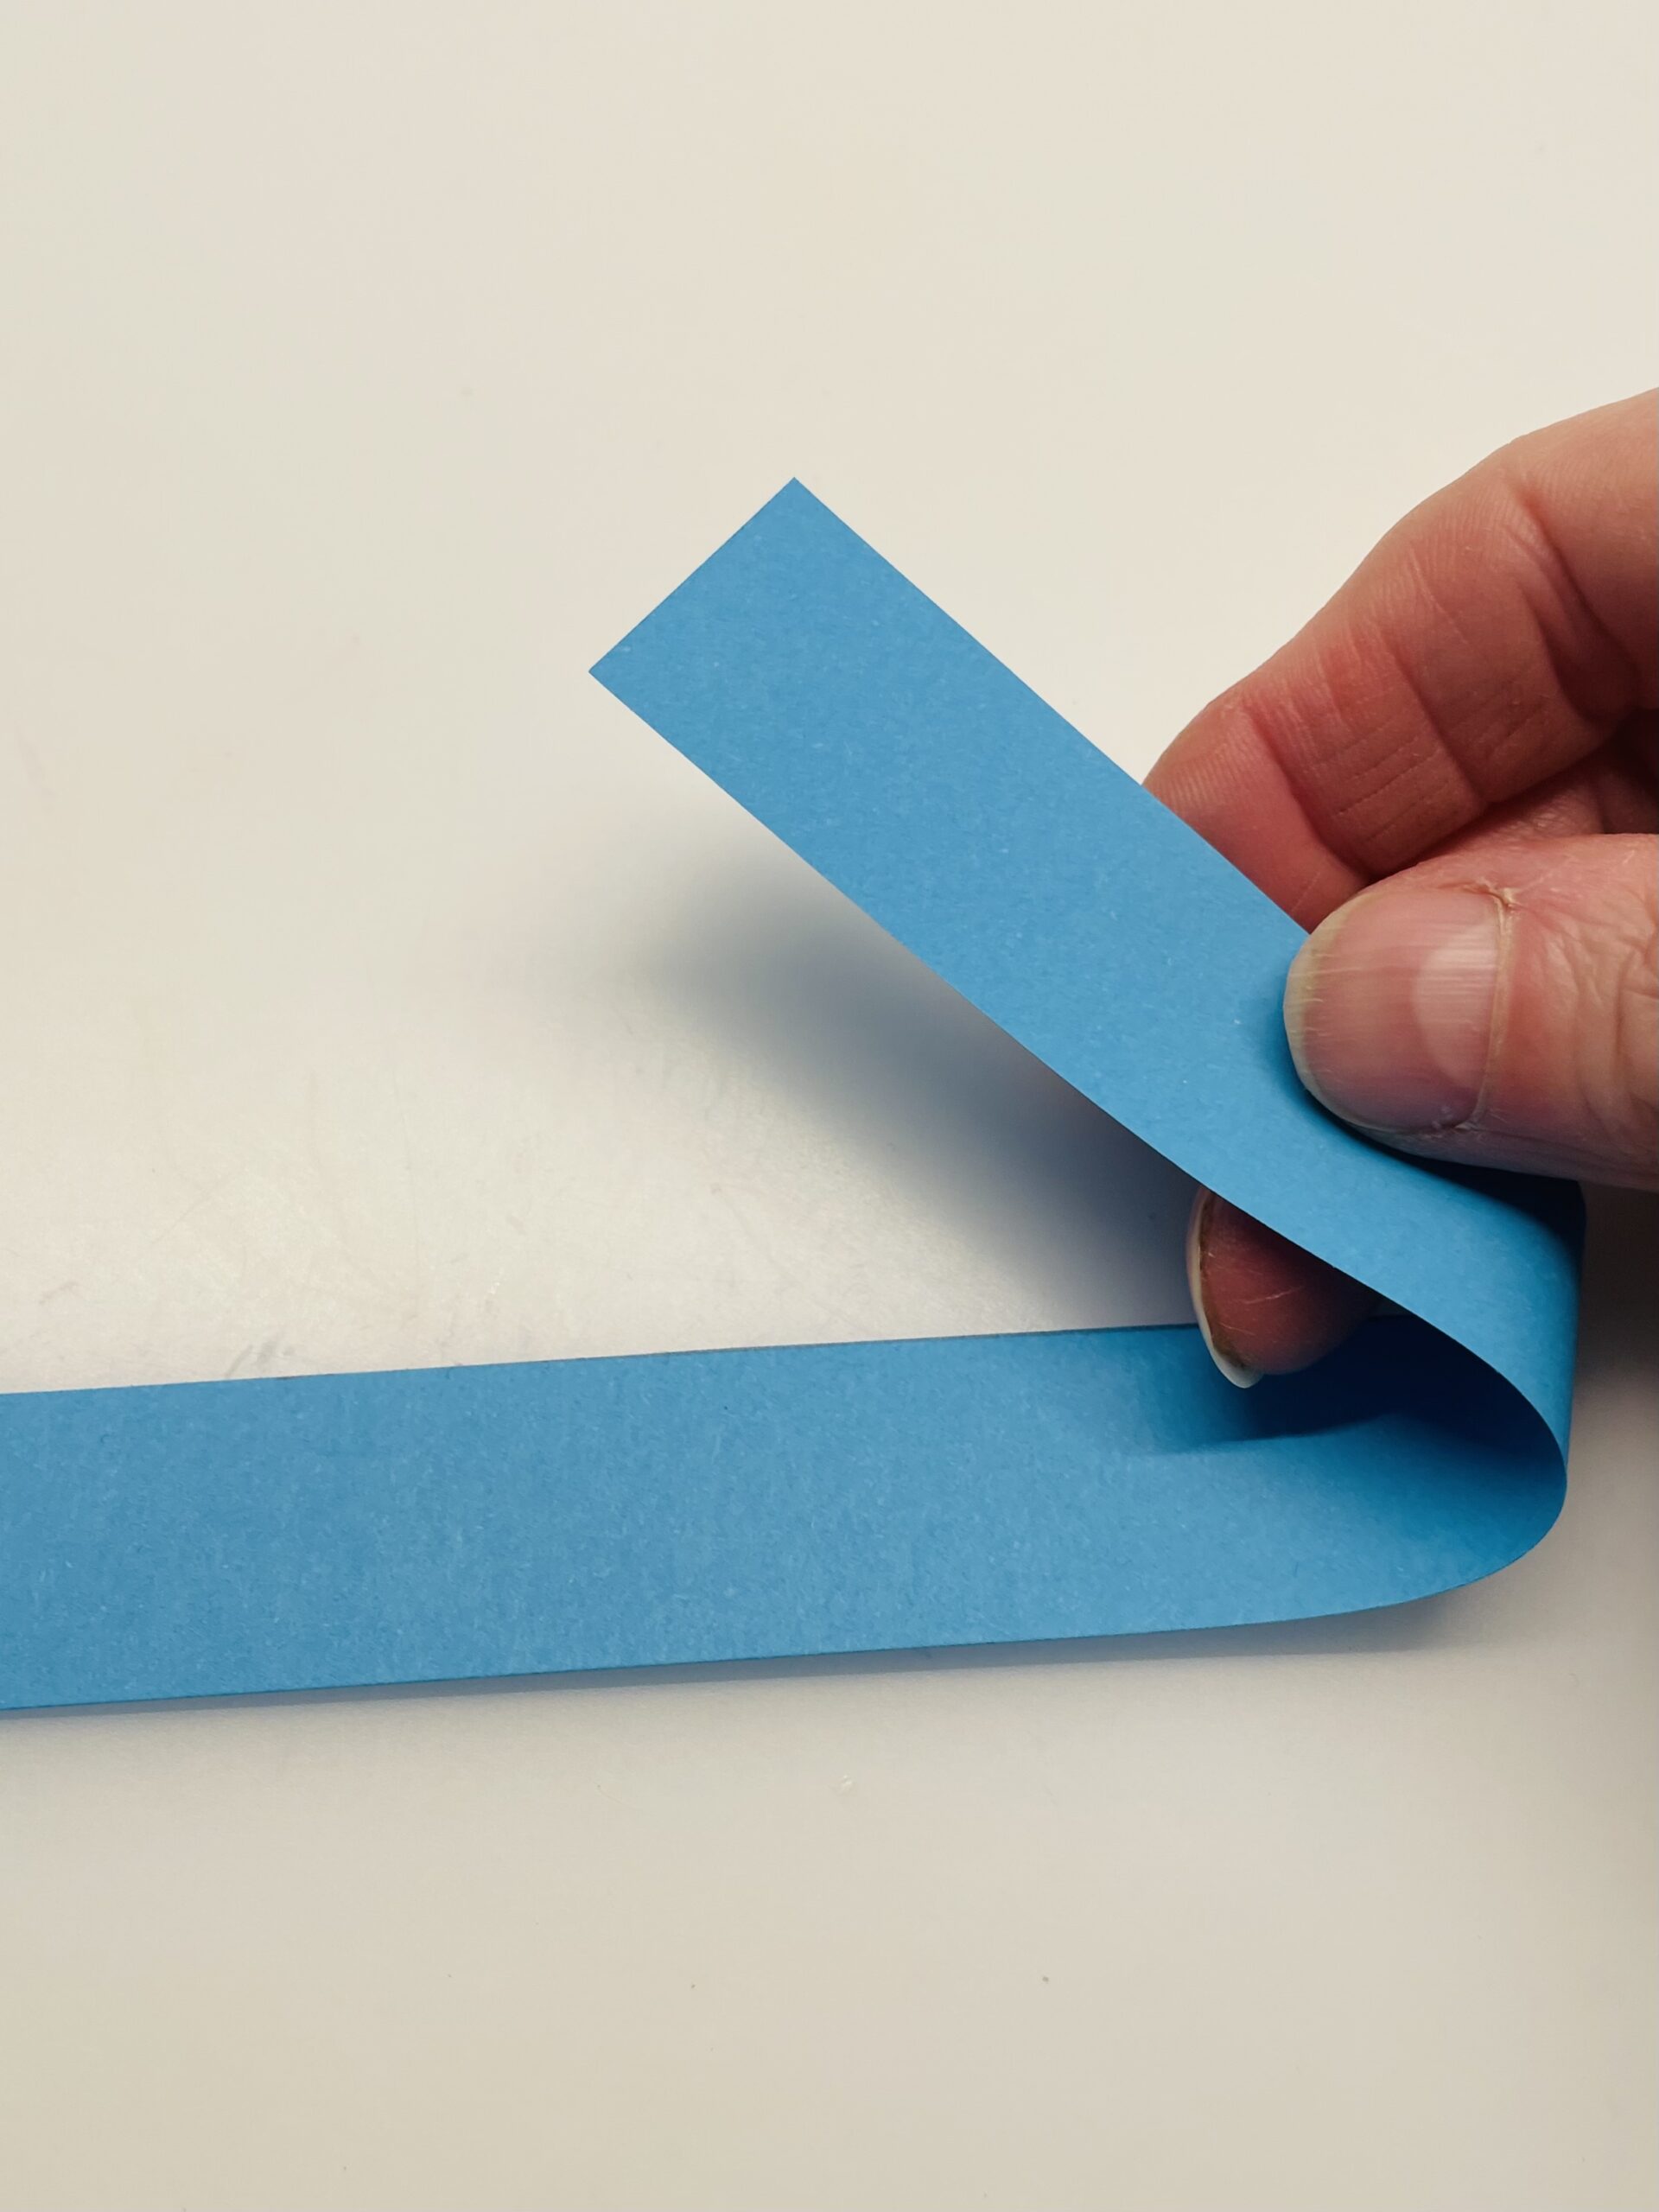
Bild zum Schritt 4 für das Bastel- und DIY-Abenteuer für Kinder: 'Jetzt legt ihr den Streifen der Breite nach vor euch...'

5

Place the left and right sides in the middle on top of each other.

Bild zum Schritt 5 für das Bastel- und DIY-Abenteuer für Kinder: 'Legt die linke und die rechte Seite in der Mitte...'

6

Then bend the left end of the strip to the back.
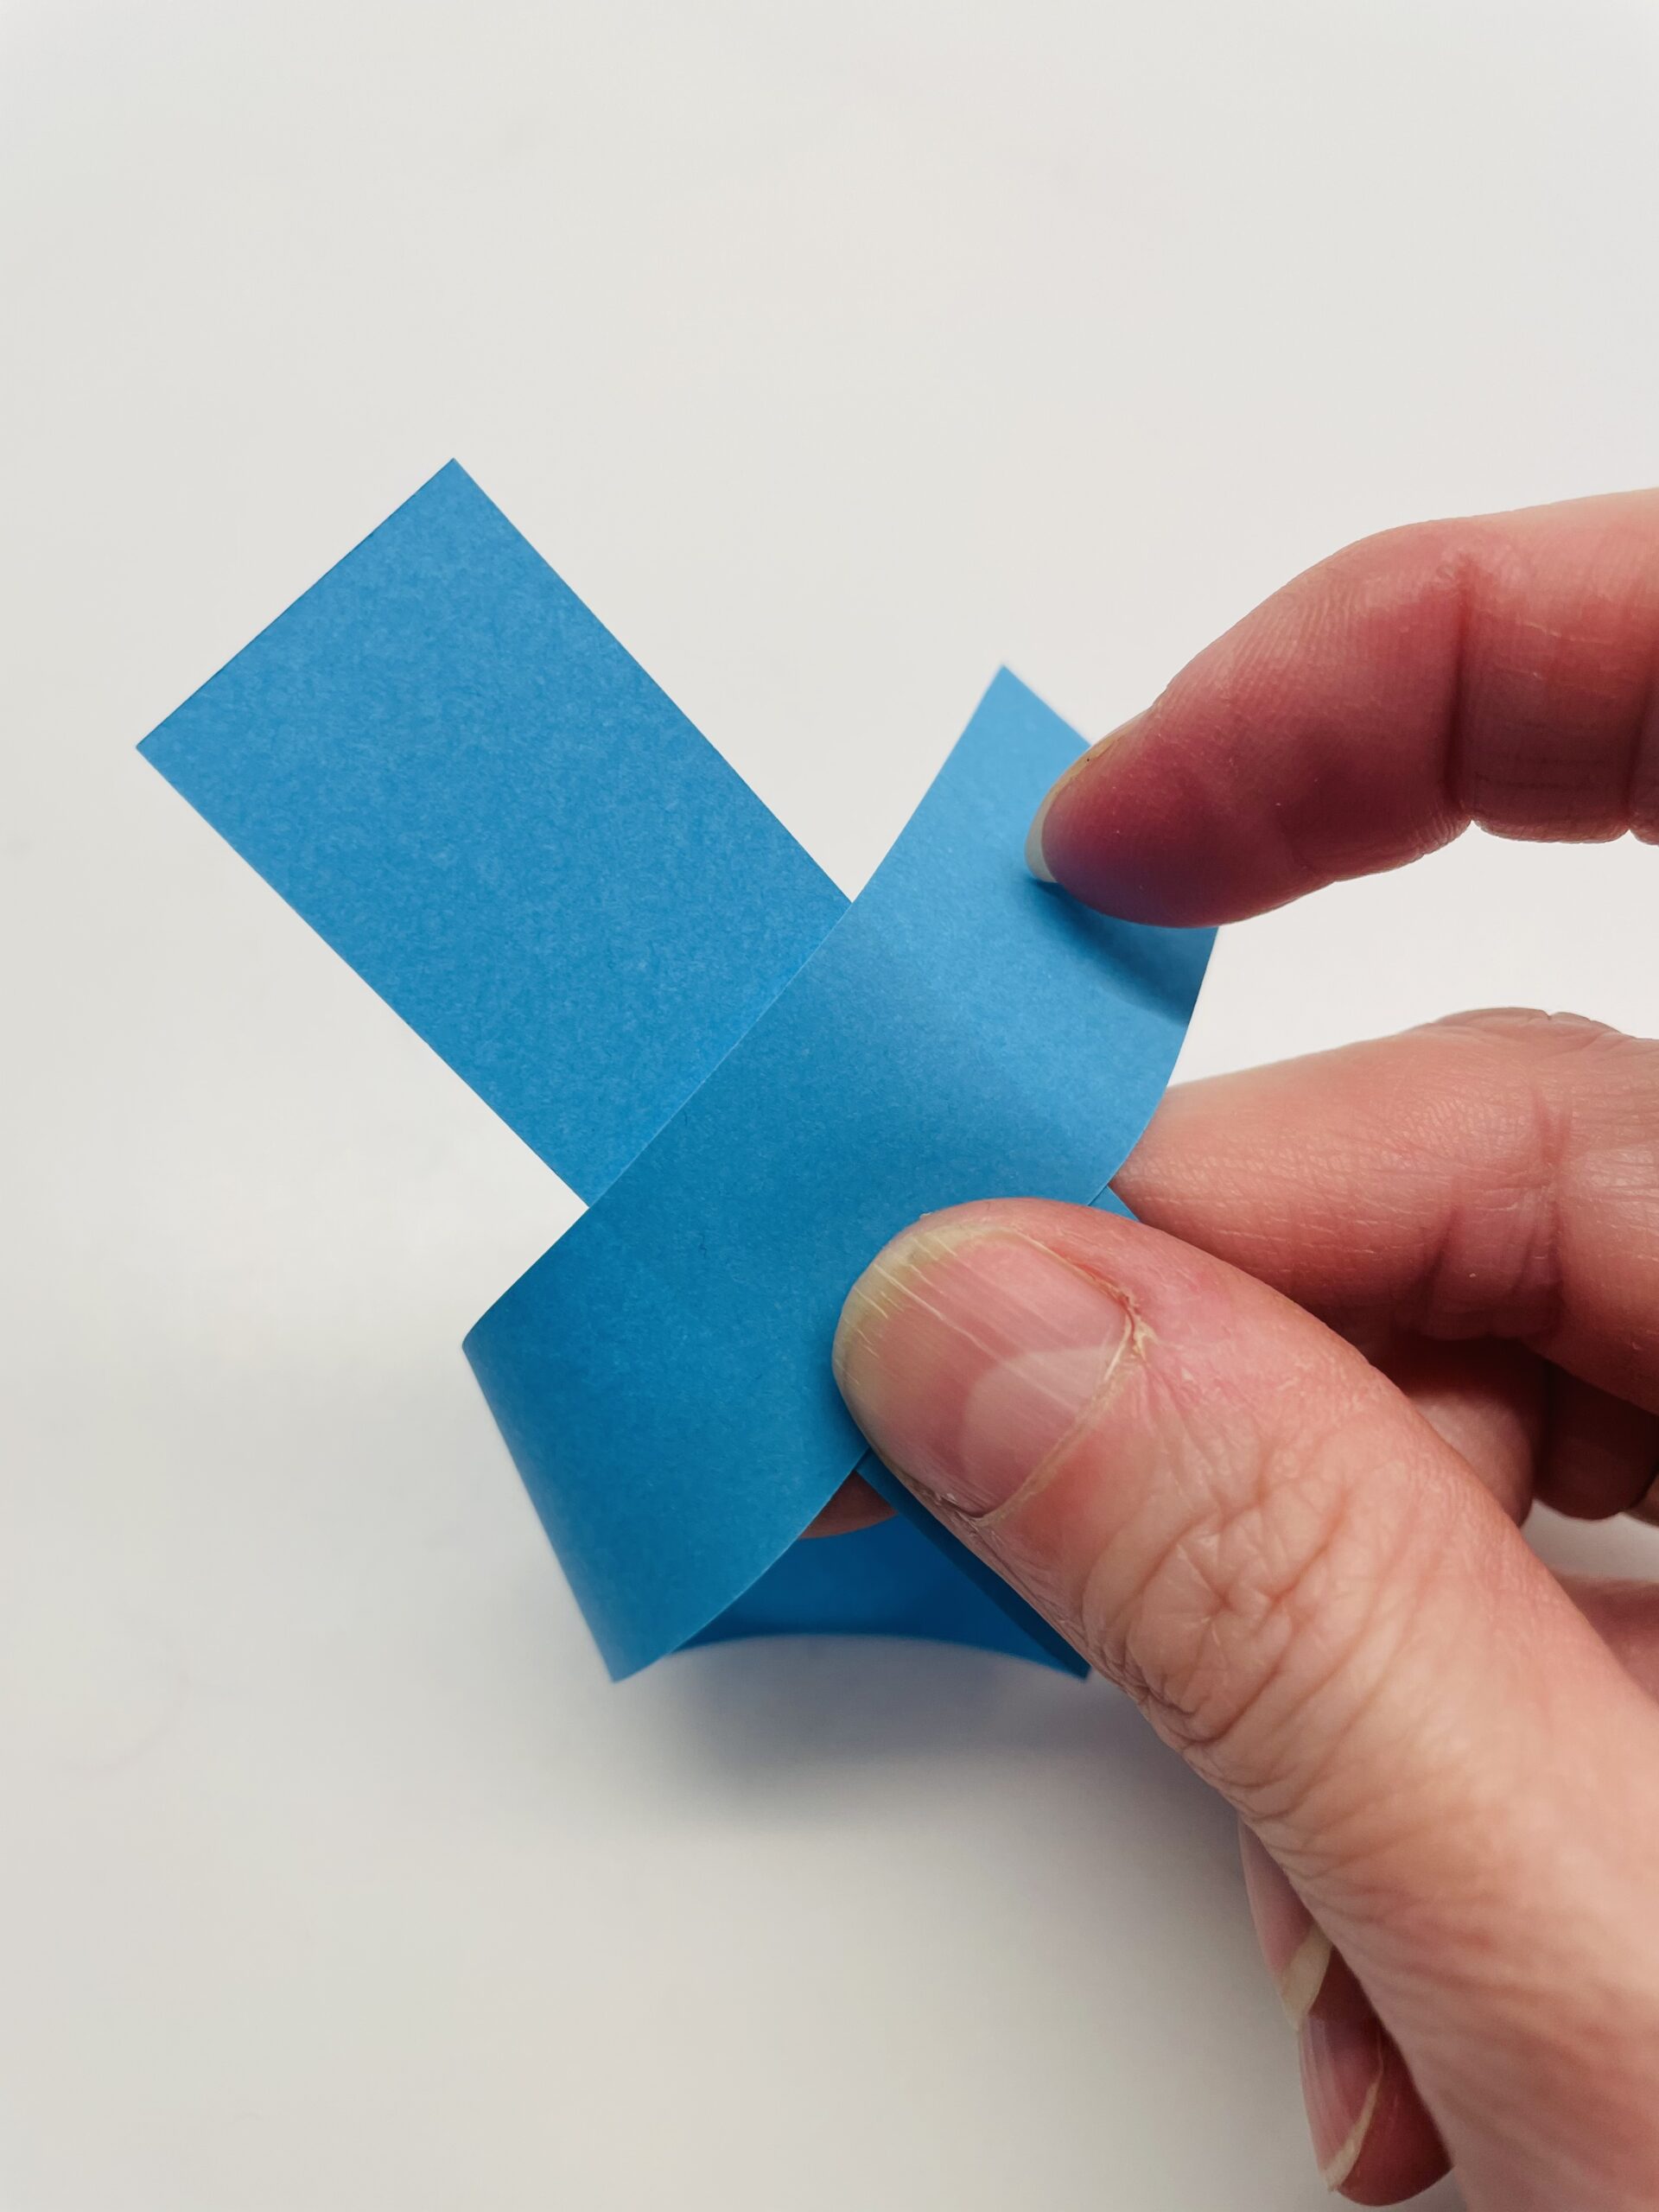
Bild zum Schritt 6 für das Bastel- und DIY-Abenteuer für Kinder: 'Dann biegt ihr das linke Ende des Streifens nach hinten.'

7

2. Bild zum Schritt 6 für das Bastel- und DIY-Abenteuer für Kinder: 'Dann biegt ihr das linke Ende des Streifens nach hinten.'

8

Then you push it out in the middle again.
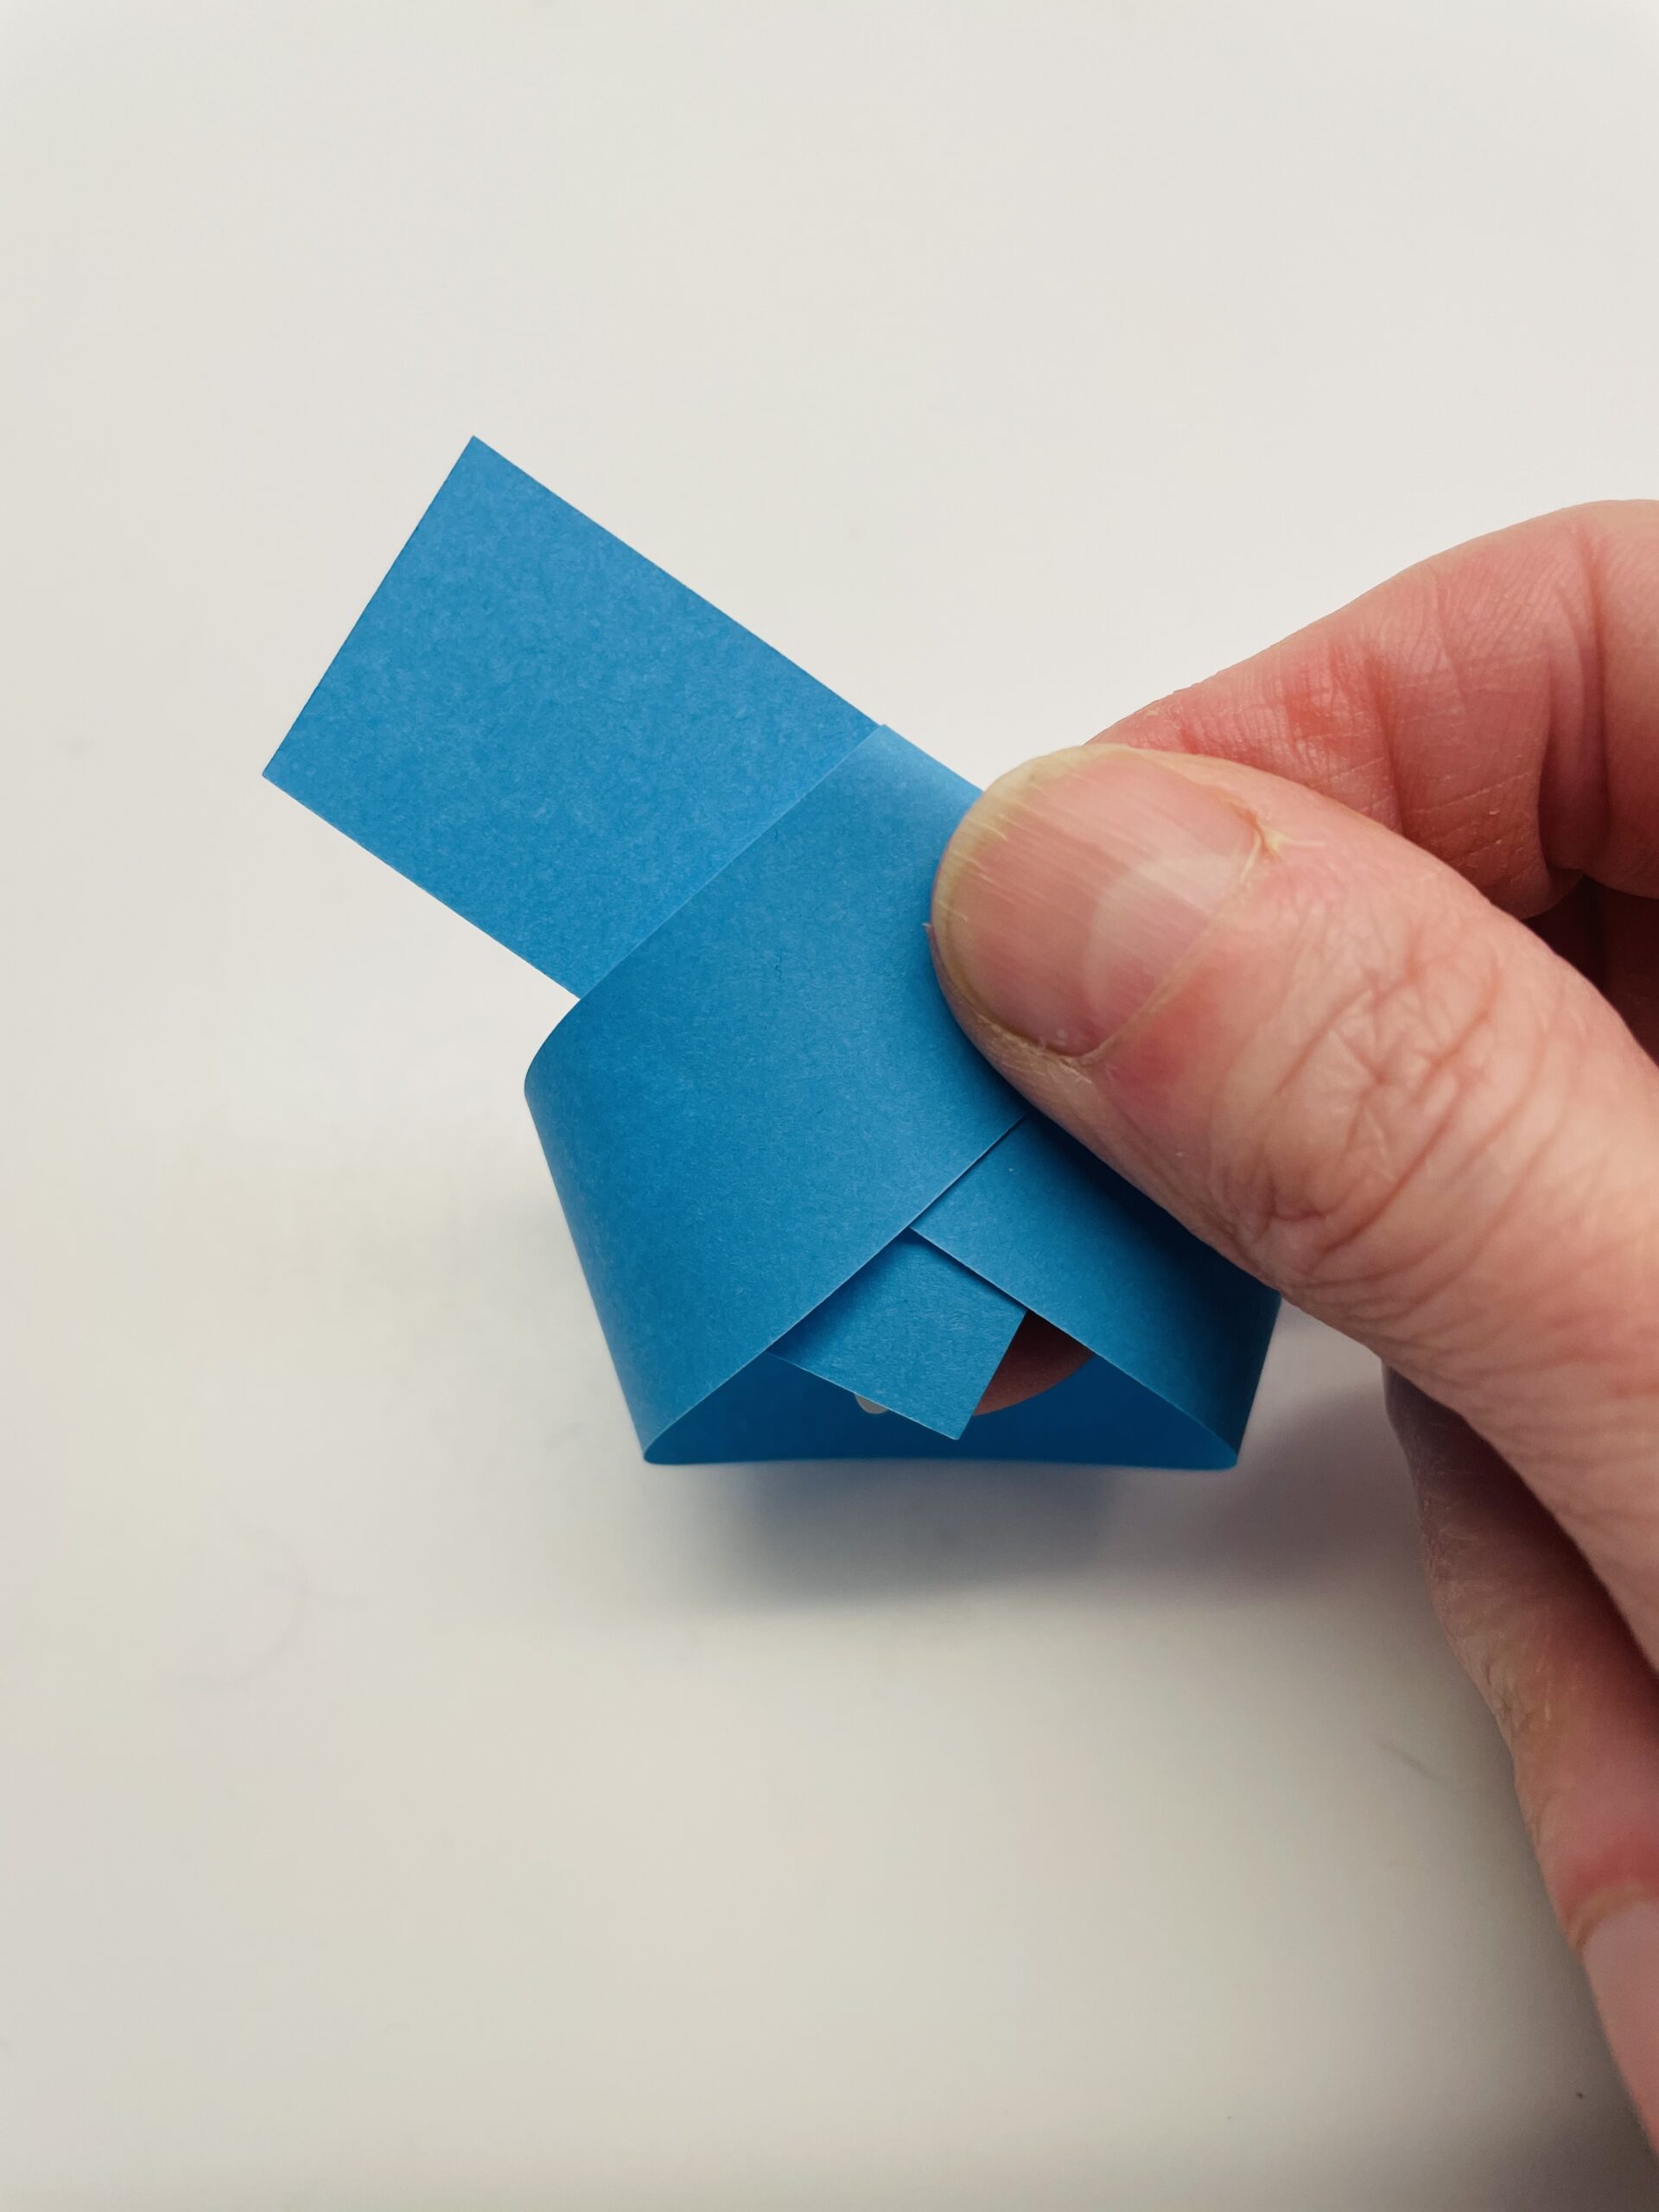
Bild zum Schritt 8 für das Bastel- und DIY-Abenteuer für Kinder: 'Dann schiebt ihr es in der Mitte unten wieder heraus.'

9

Gently pull out the strip.

Bild zum Schritt 9 für das Bastel- und DIY-Abenteuer für Kinder: 'Zieht den Streifen vorsichtig weiter heraus.'

10

2. Bild zum Schritt 9 für das Bastel- und DIY-Abenteuer für Kinder: 'Zieht den Streifen vorsichtig weiter heraus.'

11

3. Bild zum Schritt 10 für das Bastel- und DIY-Abenteuer für Kinder: 'Zieht den Streifen vorsichtig weiter heraus.'

12

Pull it until you've pulled it all through.
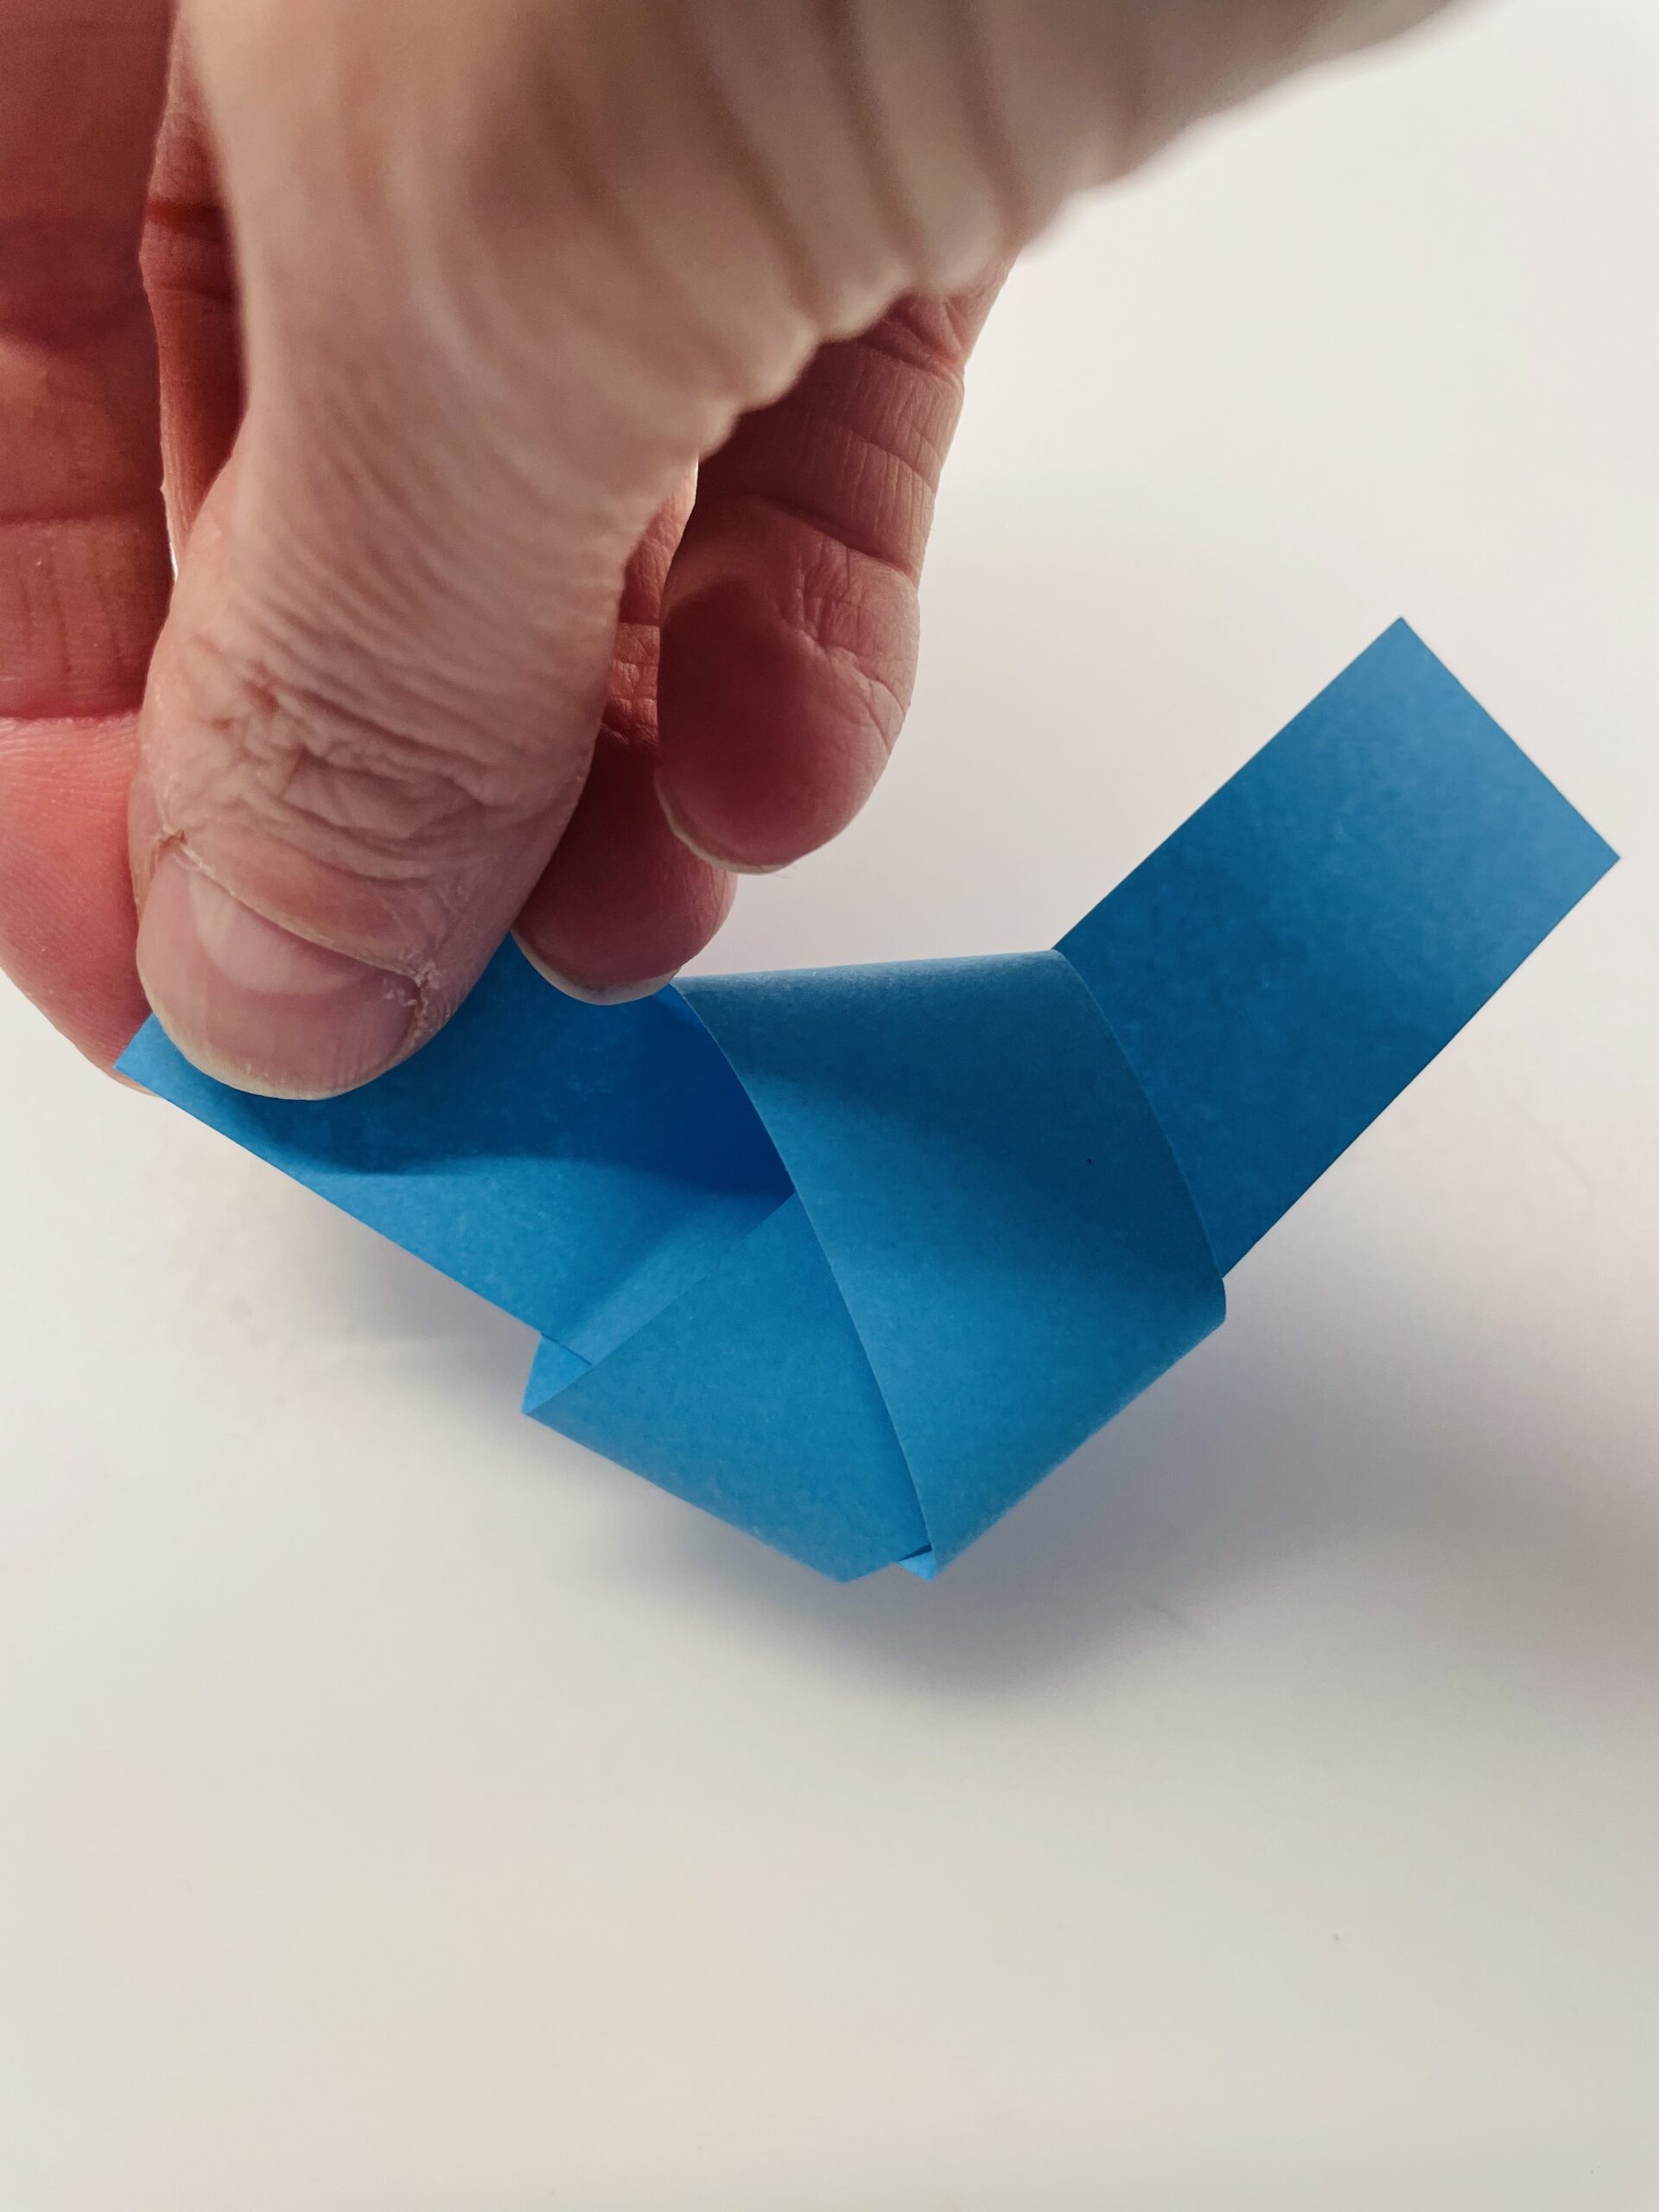
Bild zum Schritt 12 für das Bastel- und DIY-Abenteuer für Kinder: 'Zieht so lange, bis ihr diesen komplett hindurch gezogen habt.'

13

Now you paint the head with the beak and the tail feathers. Orient yourselves to the templates. You can also paint the head with the beak and the tail feathers freely and cut out.
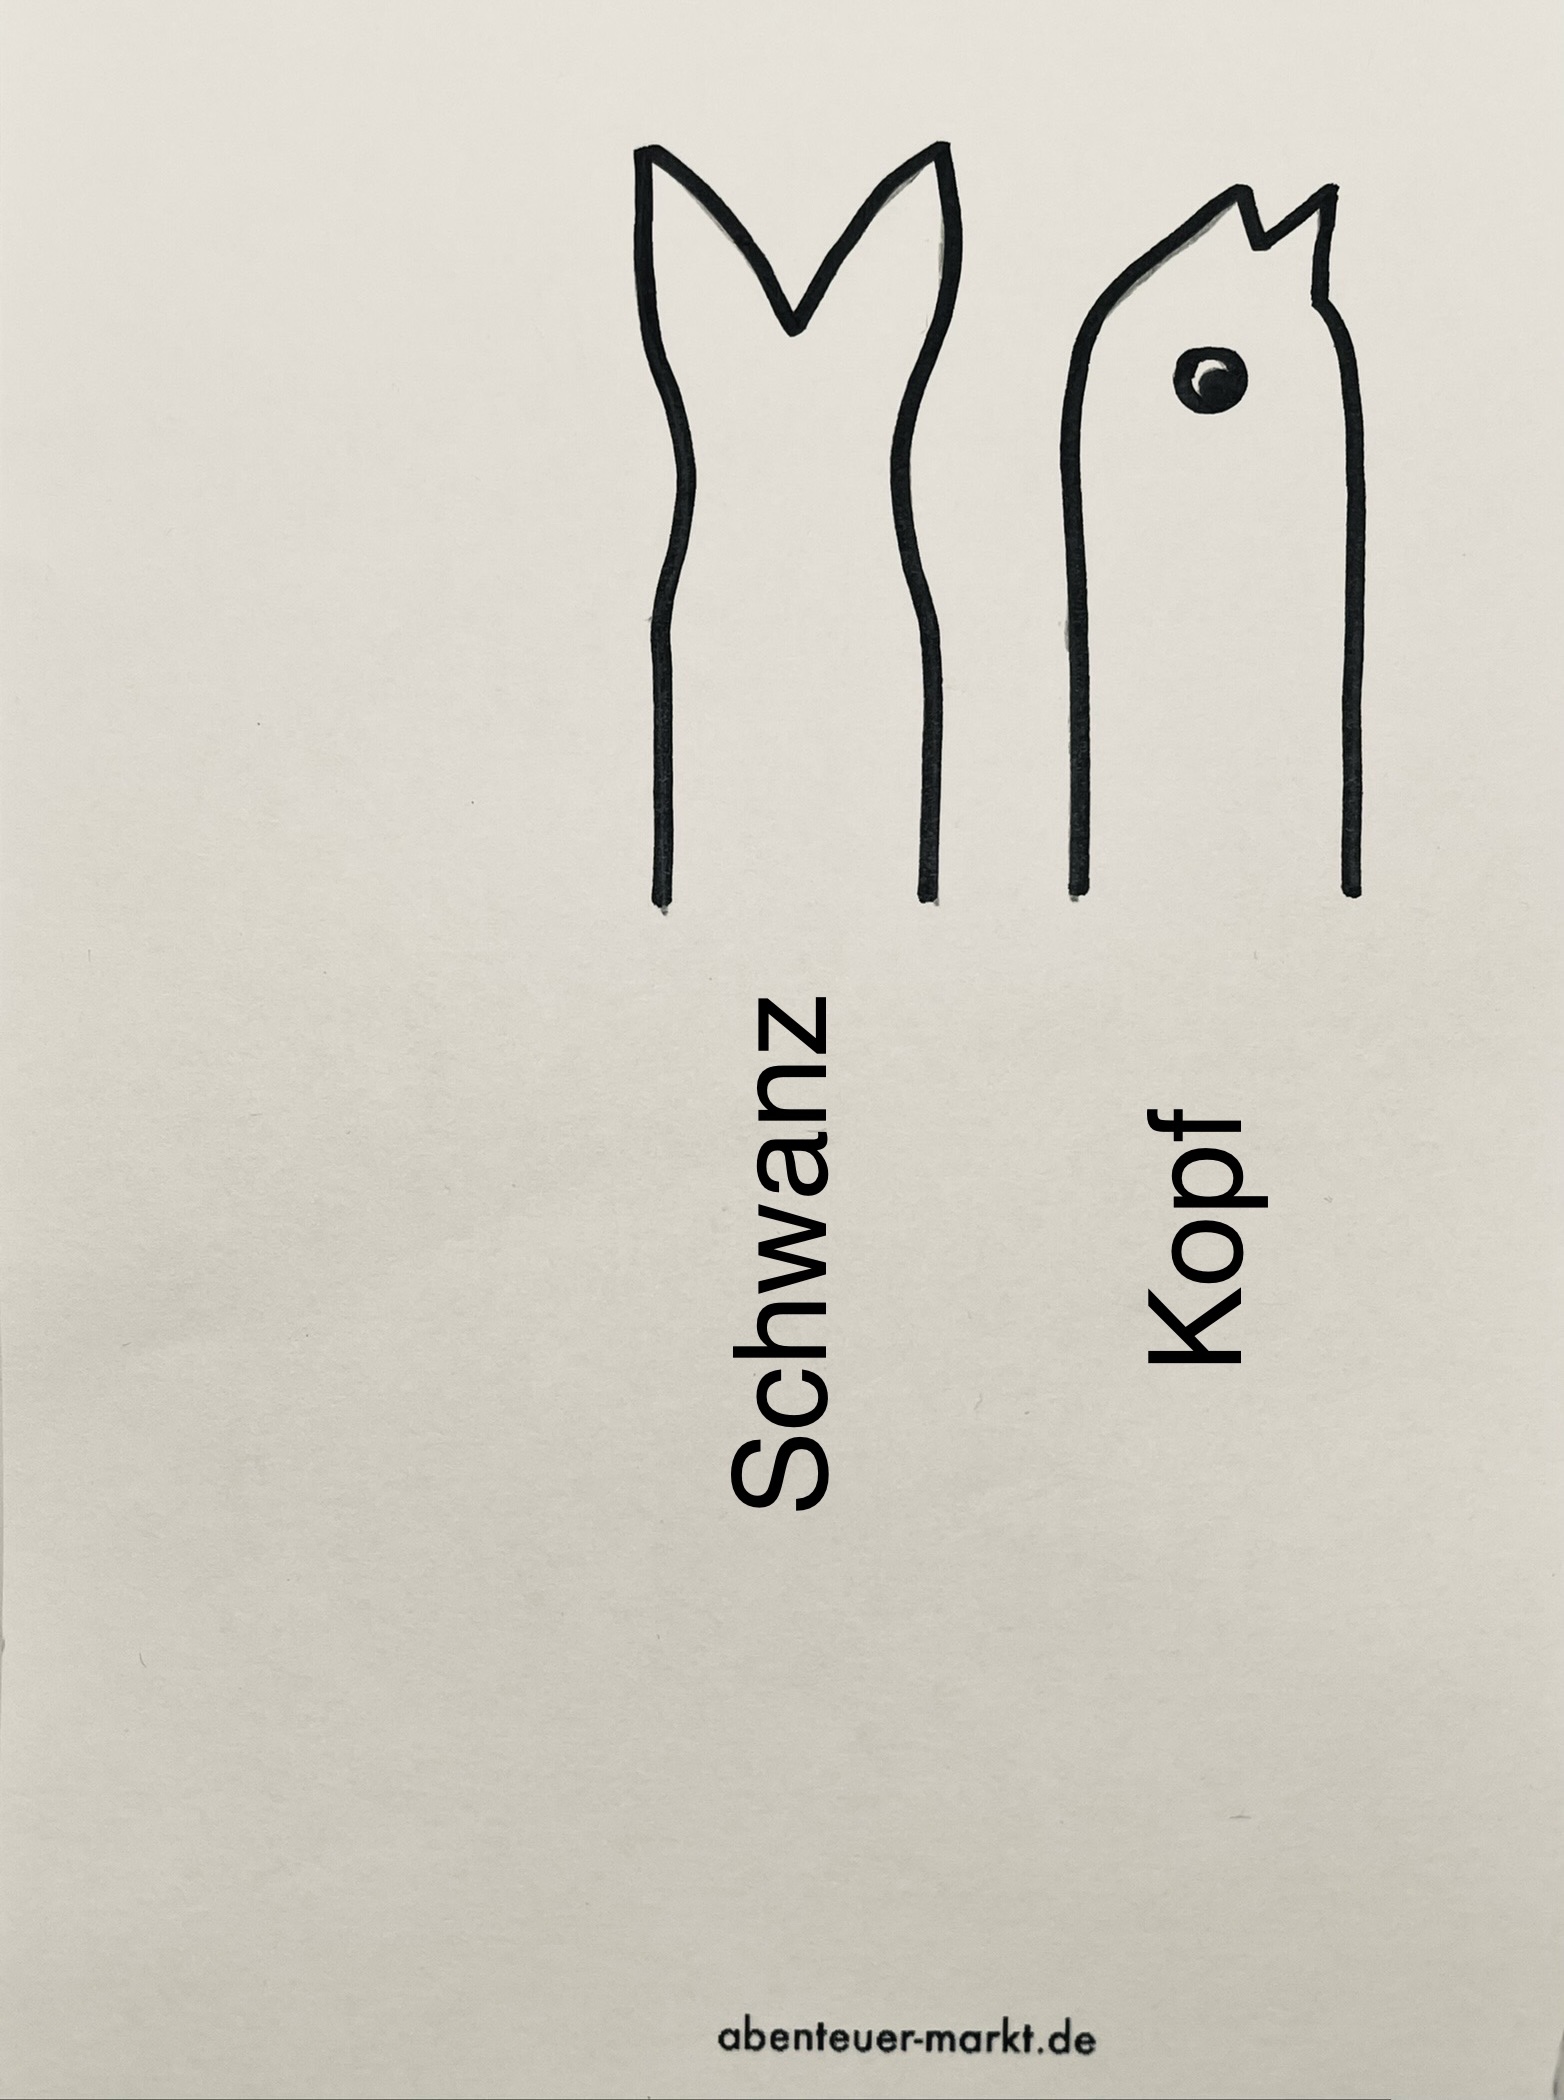
Bild zum Schritt 13 für das Bastel- und DIY-Abenteuer für Kinder: 'Jetzt malt ihr den Kopf mit dem Schnabel auf und...'

14

Paints on one end of the strip the head and on the other the tail of the bird.
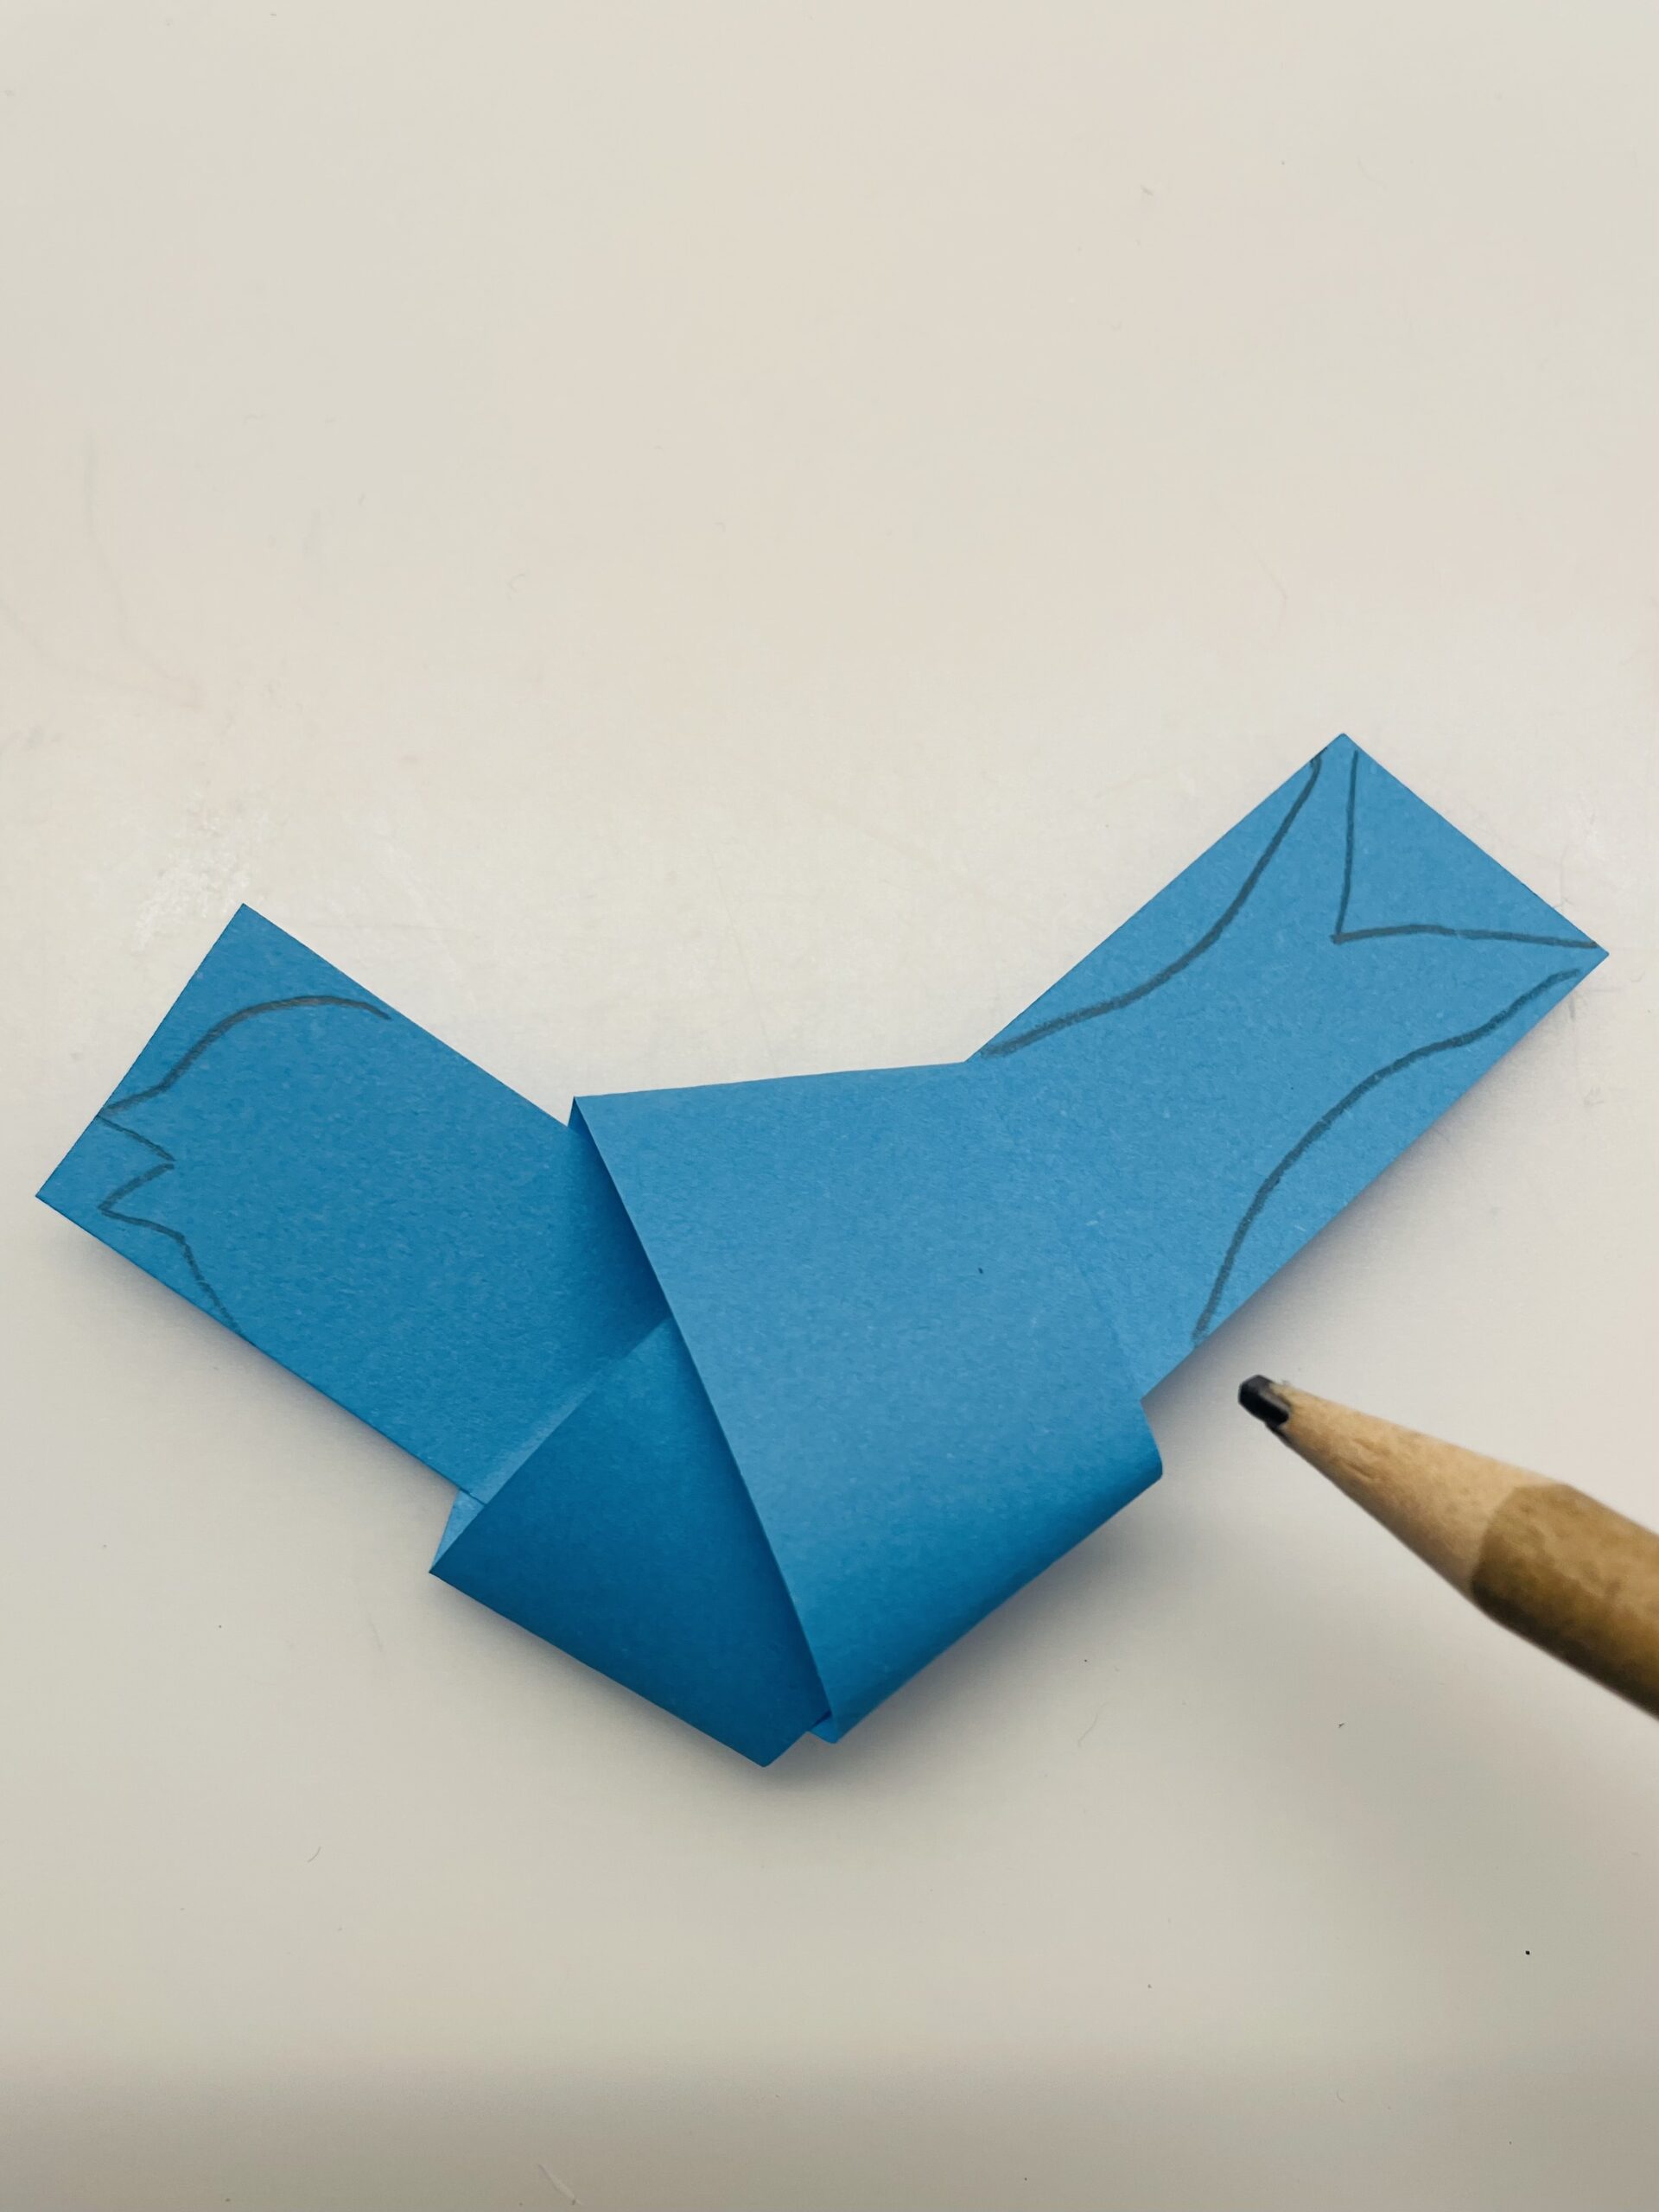
Bild zum Schritt 14 für das Bastel- und DIY-Abenteuer für Kinder: 'Malt auf ein Ende des Streifens den Kopf und auf...'

15

Then cut her head and tail.

Bild zum Schritt 15 für das Bastel- und DIY-Abenteuer für Kinder: 'Anschließend schneidet ihr den Kopf und den Schwanz zu.'

16

Finally, paint an eye on the front and back of the bird.
The bird is ready.
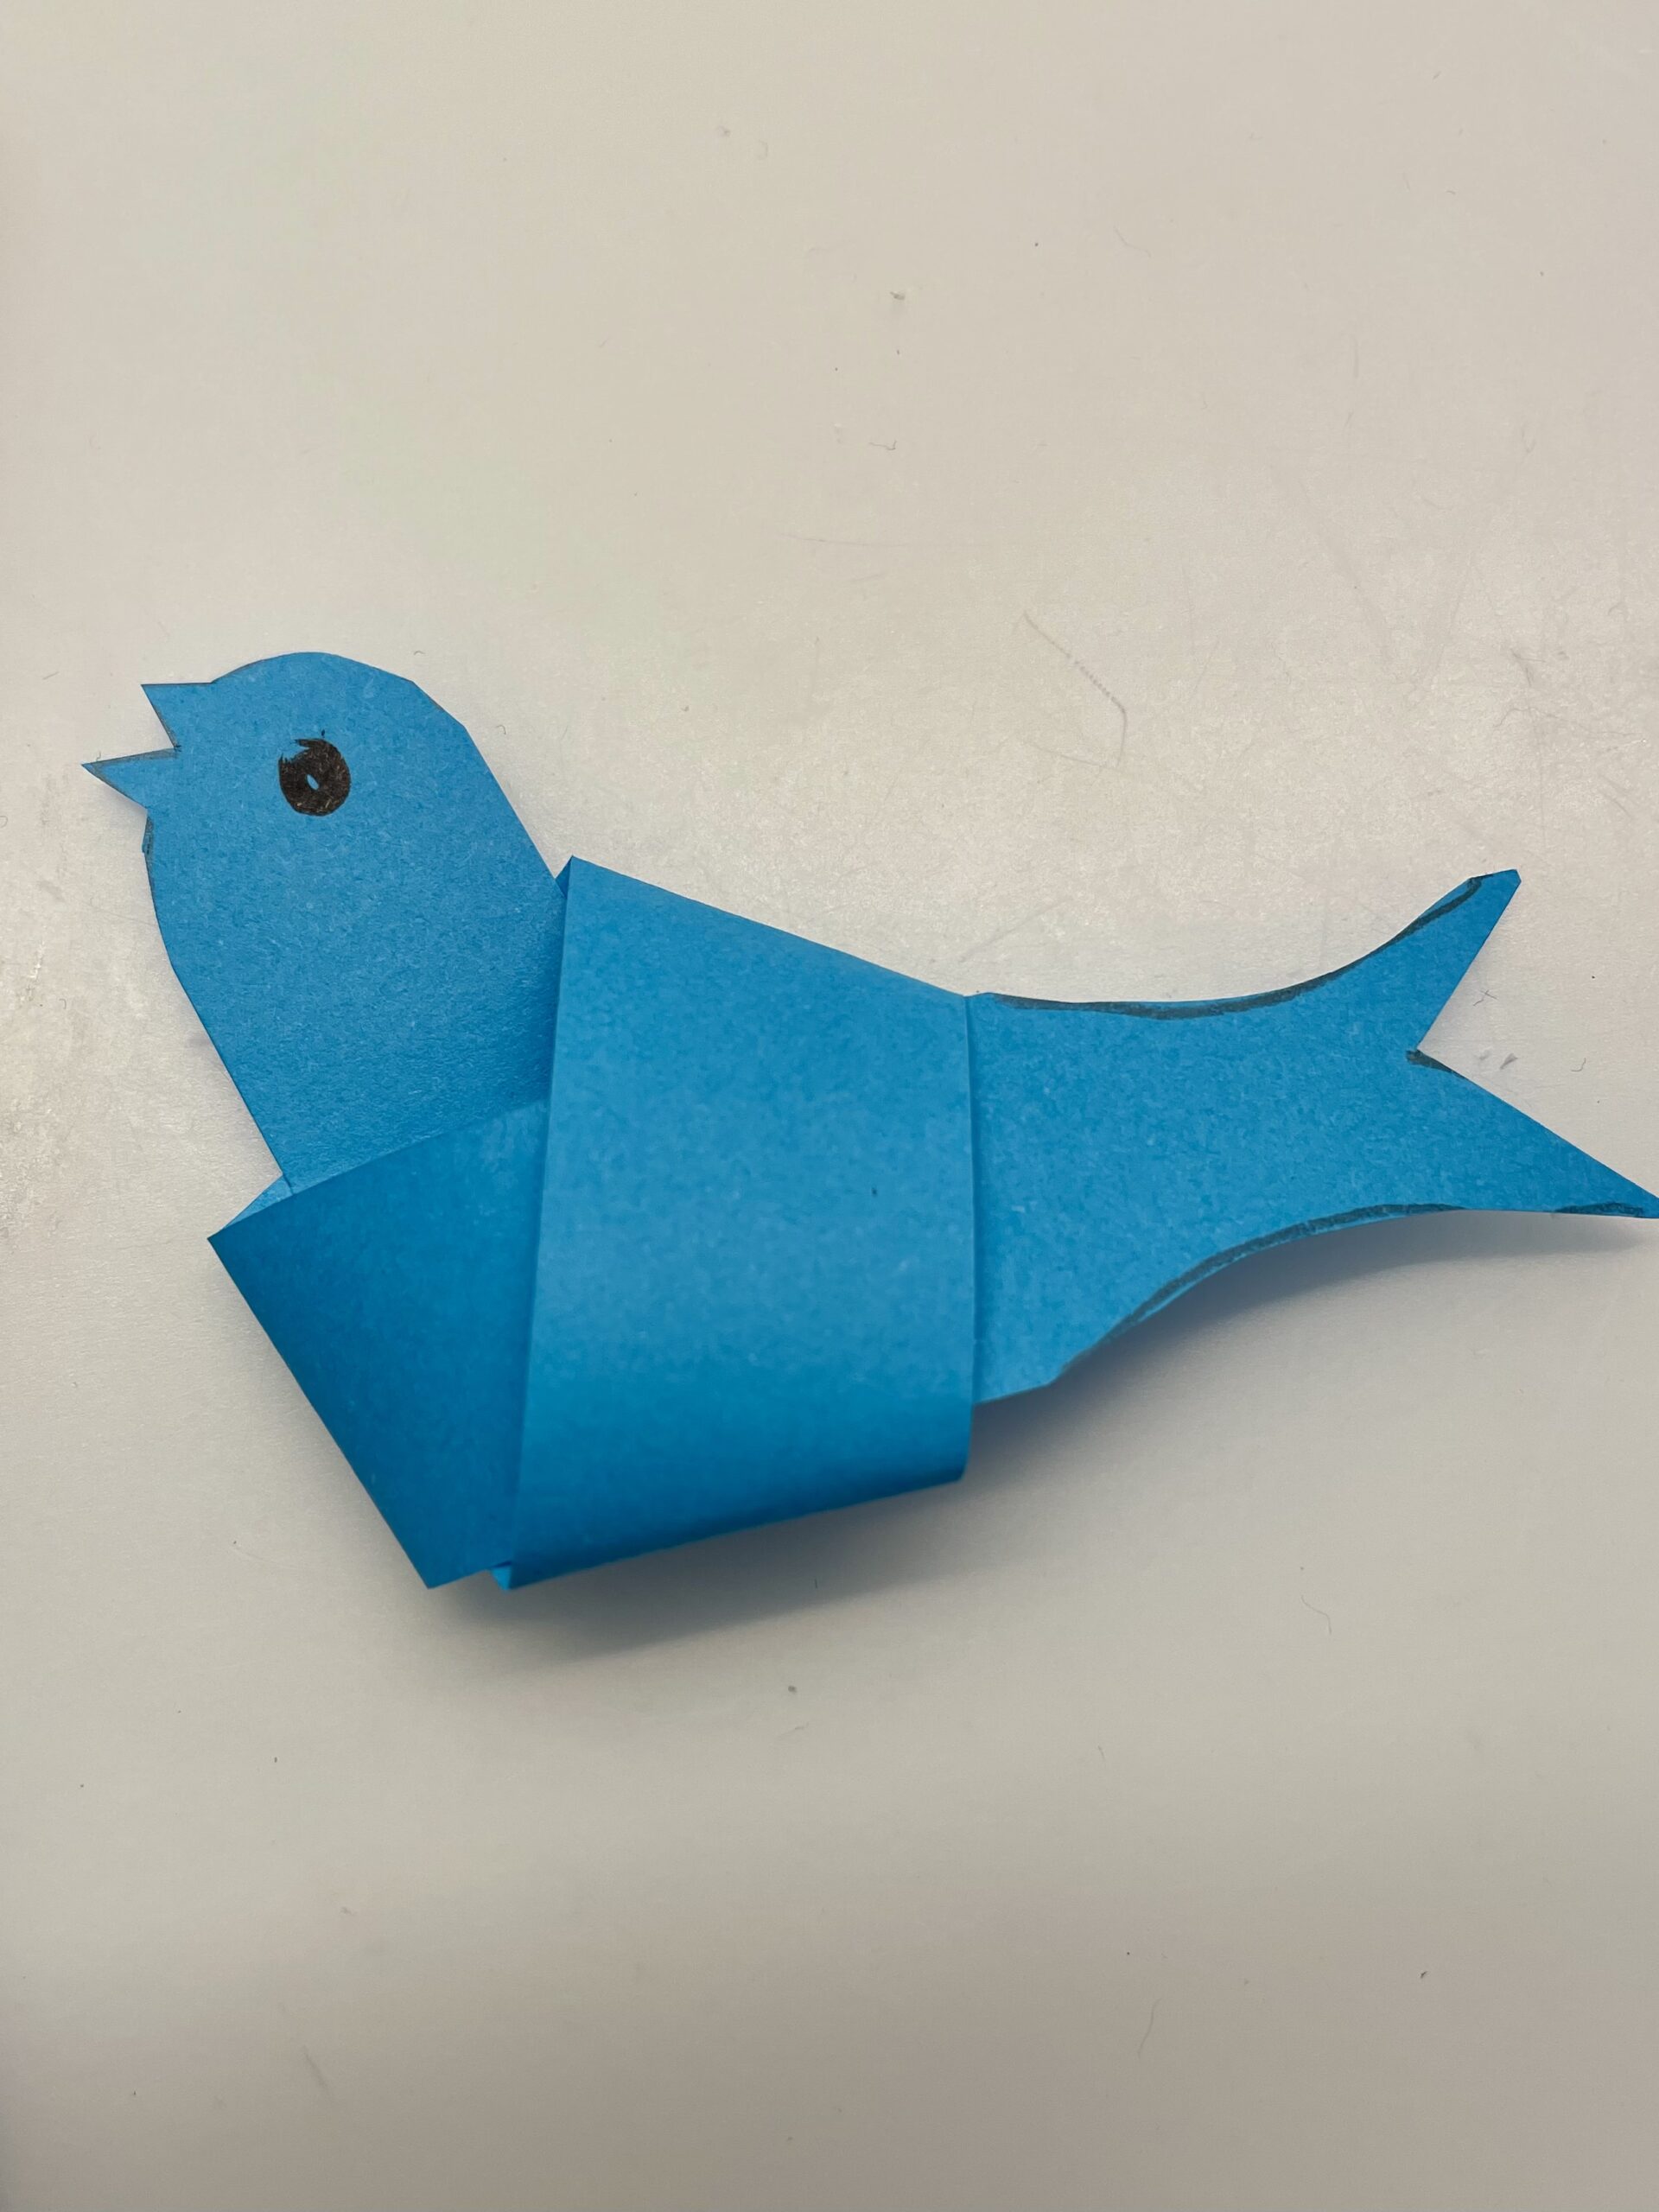
Bild zum Schritt 16 für das Bastel- und DIY-Abenteuer für Kinder: 'Malt abschließend je ein Auge auf Vorder- und Rückseite des...'

17

Now you can put the bird on a branch. Just look outside for some branches.
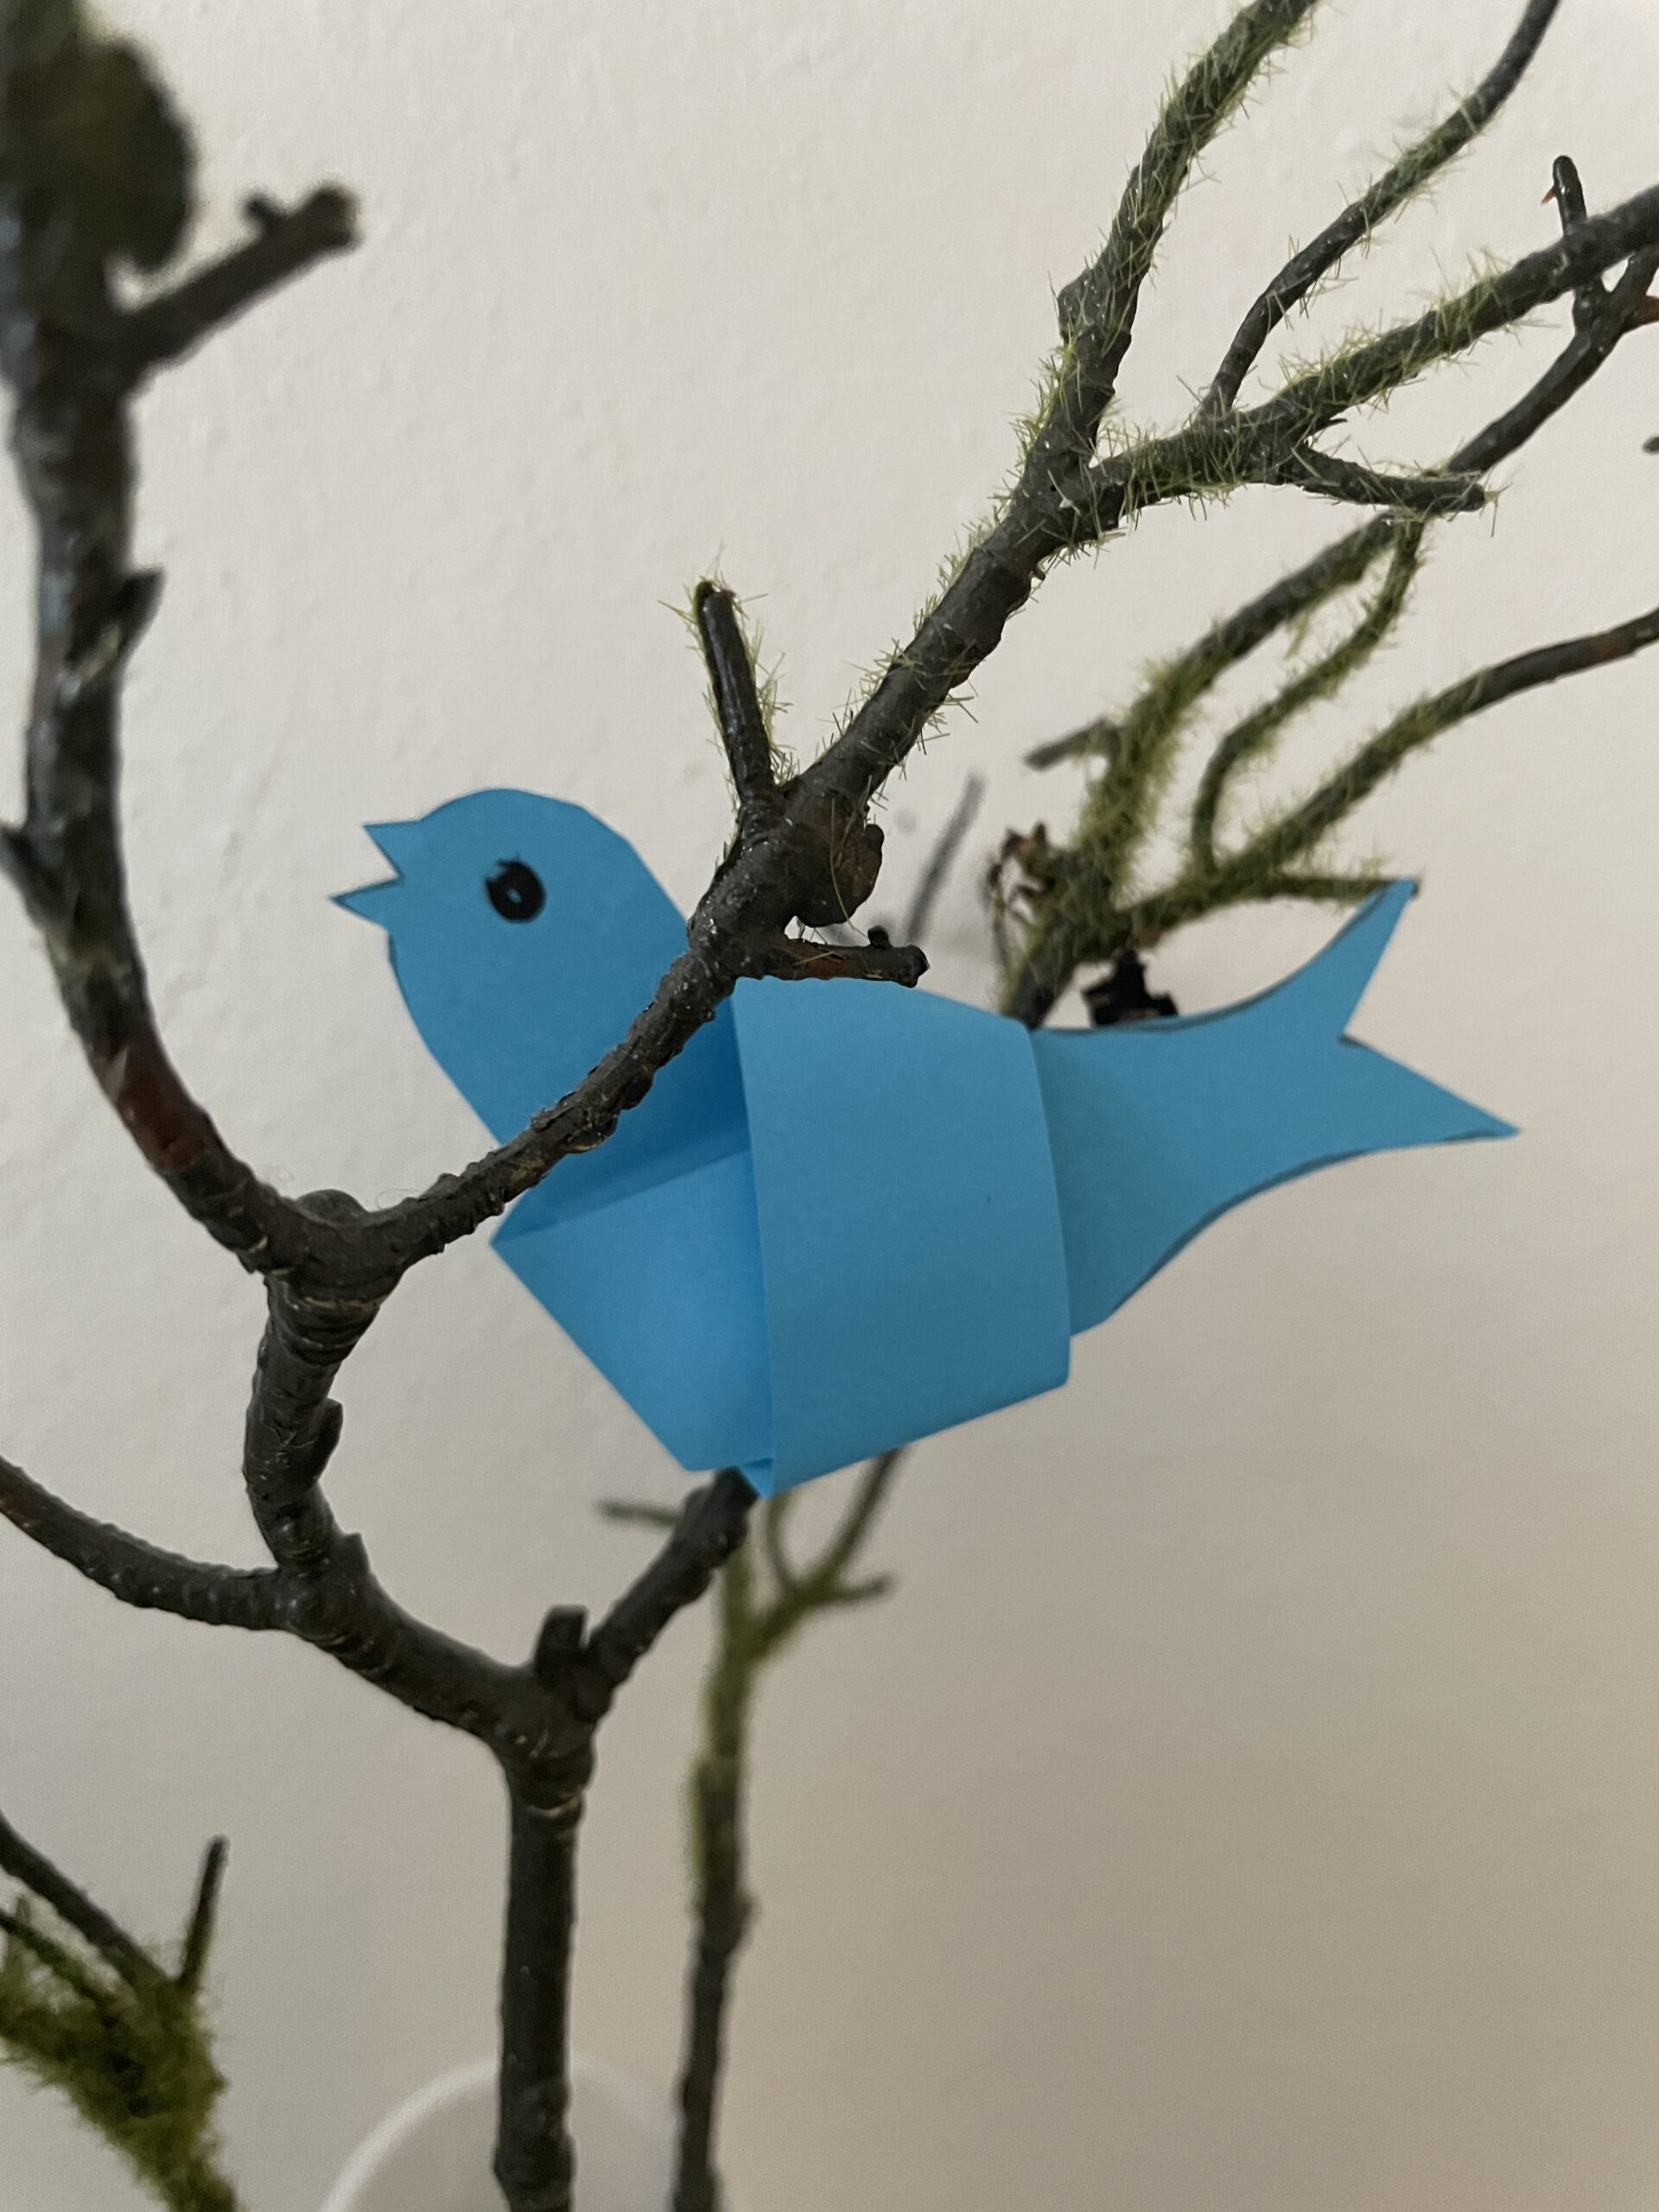
Bild zum Schritt 17 für das Bastel- und DIY-Abenteuer für Kinder: 'Jetzt könnt den Vogel auf einen Ast setzen. Sucht euch...'

18

2. Bild zum Schritt 17 für das Bastel- und DIY-Abenteuer für Kinder: 'Jetzt könnt den Vogel auf einen Ast setzen. Sucht euch...'

19

Another guide with a bird template can be found here? Paper bird making with template.

Bild zum Schritt 19 für das Bastel- und DIY-Abenteuer für Kinder: 'Eine weitere Anleitung mit einer Vogel-Vorlage findet ihr hier 👉...'

20

Have fun in being creative!

Paper bird making

Follow us on Facebook , Instagram and Pinterest
Don't miss any more adventures: Our bottle mail

Leave a Reply

Your email address will not be published.

The maximum upload file size: 5 MB. You can upload: image, document. Drop file here