A small bird from a large wooden bead is fast crafted with a few feathers. Whether you observe birds in winter and take this as an opportunity to craft, or hear the birds chirping in the tree in summer, that doesn't matter here.
You'll be made if you want to!
You get the inspiration with this offer. Enjoy the crafting.
Media Education for Kindergarten and Hort

Relief in everyday life, targeted promotion of individual children, independent learning and - without any pre-knowledge already usable by the youngest!
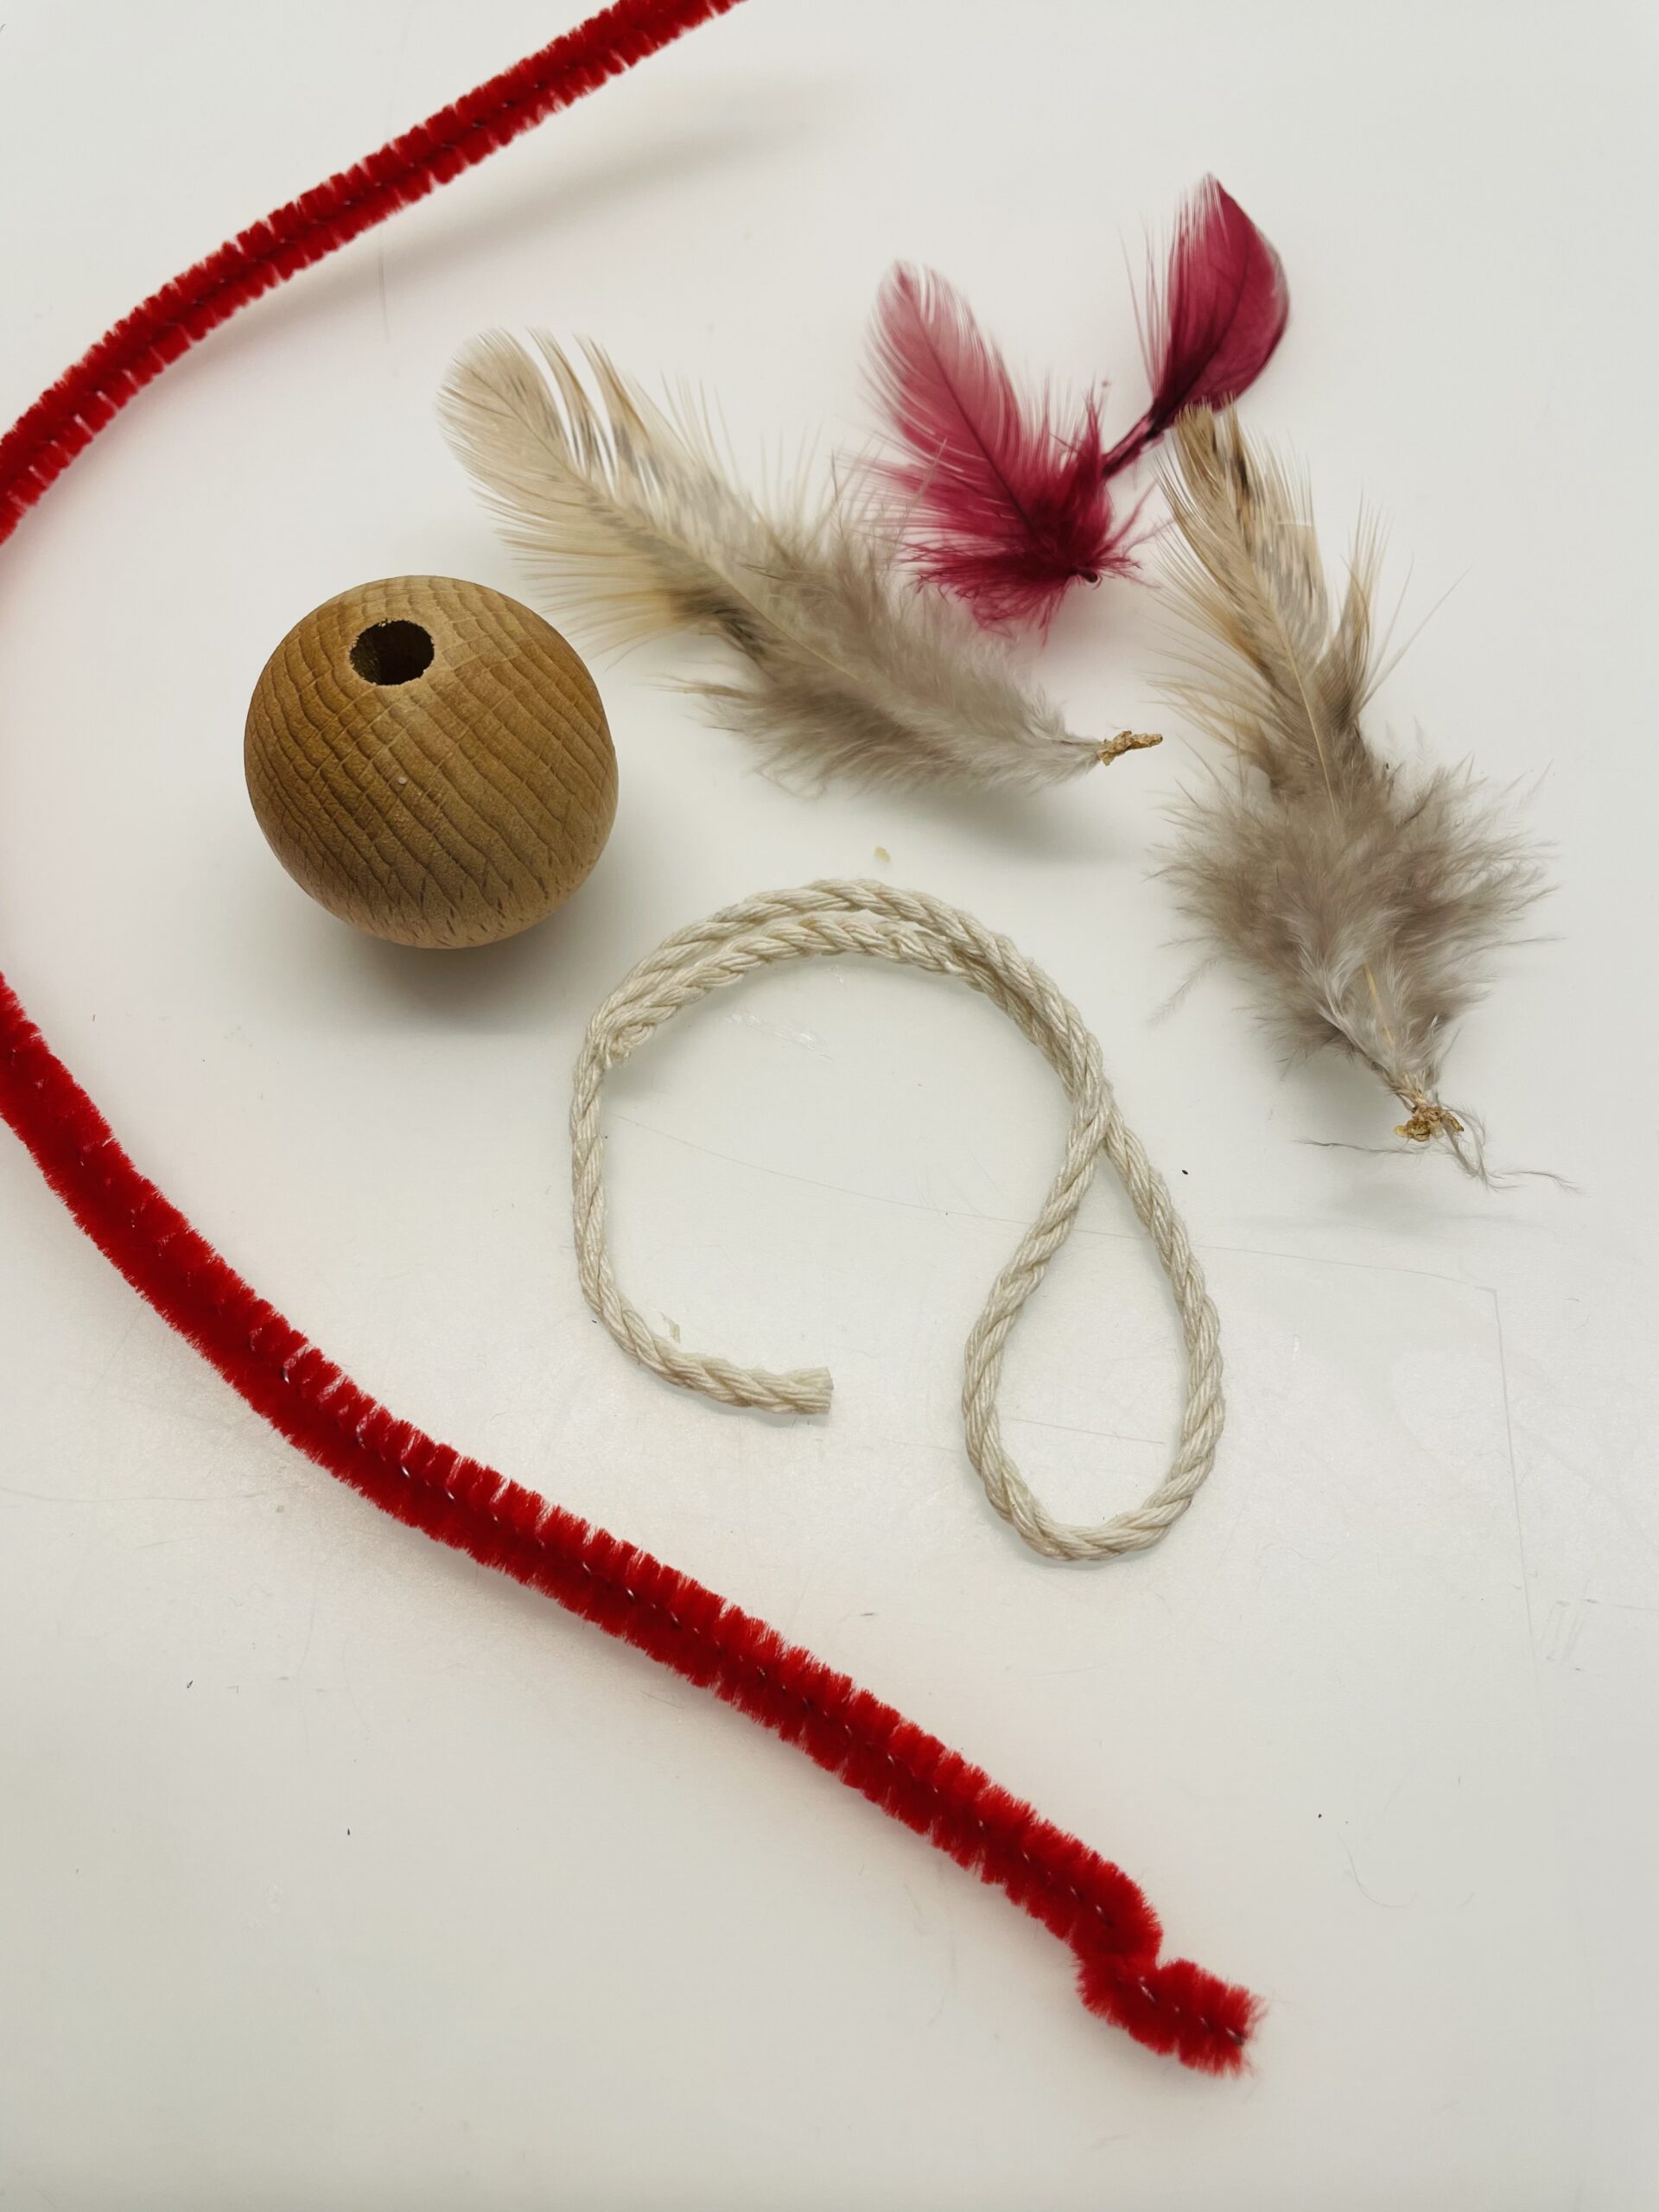
Get everything ready on your craft file.
The wooden bead is threaded onto a thin thread (e.g. sewing thread). Uses a blunt needle. Both ends of the thread are knotted together. This way the bead can be hung up.


Cuts off a 3cm long piece from the pipe cleaner.
Half the pipe cleaner, that's the bird's beak.
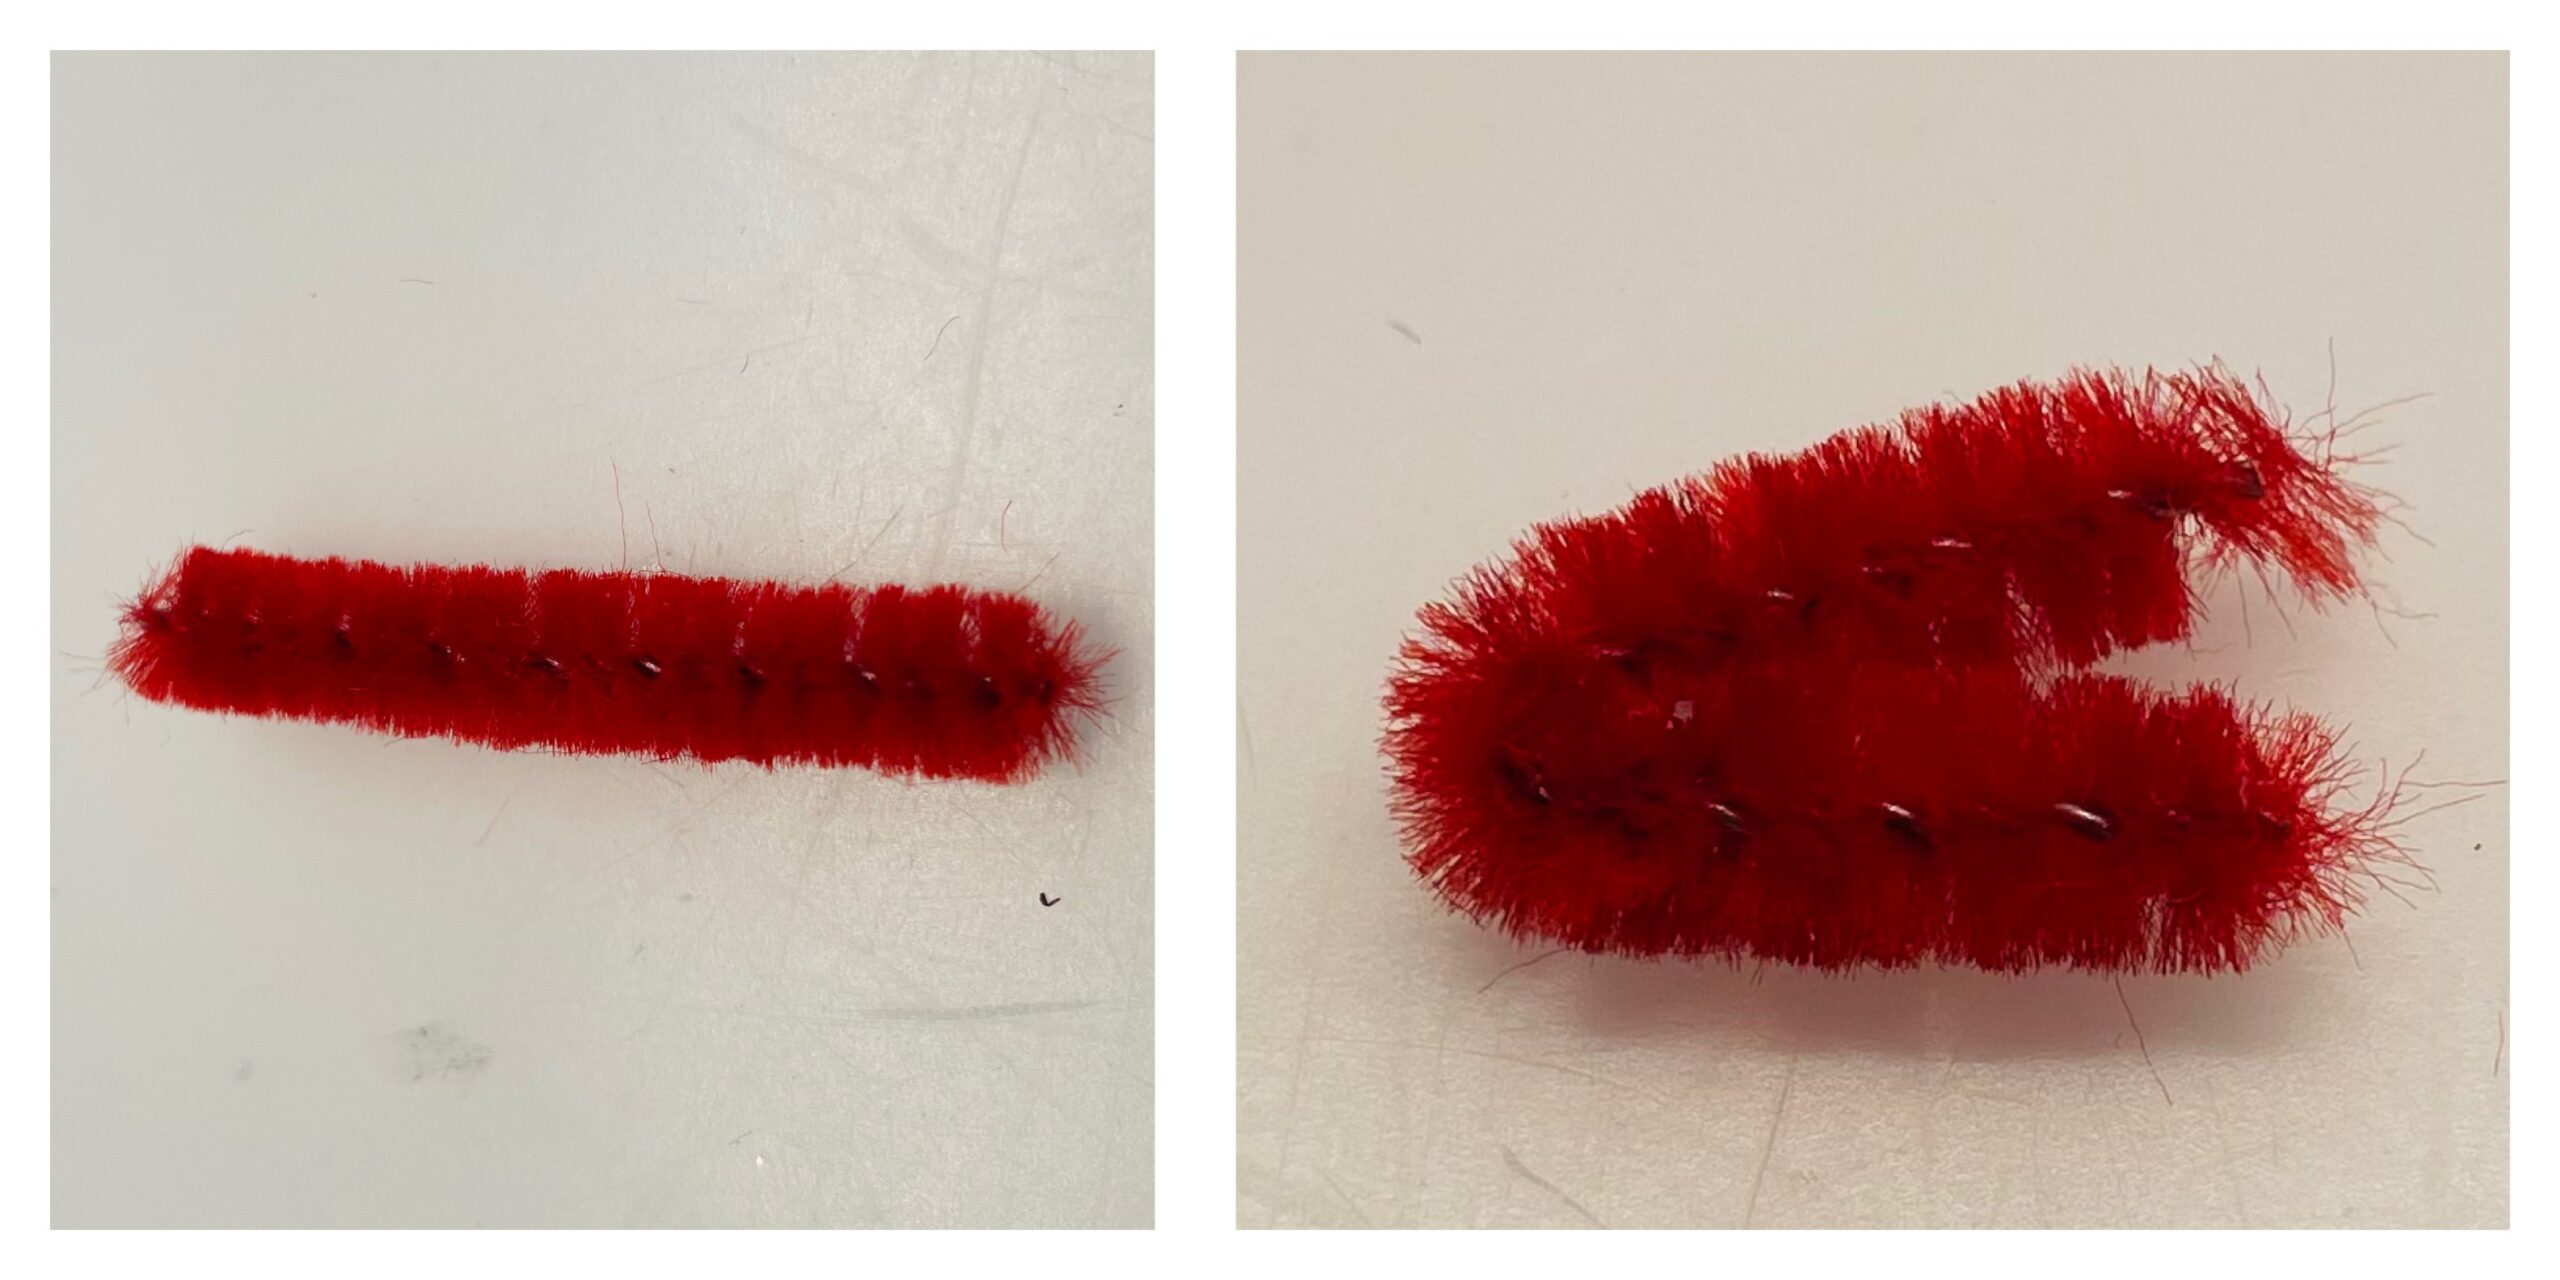


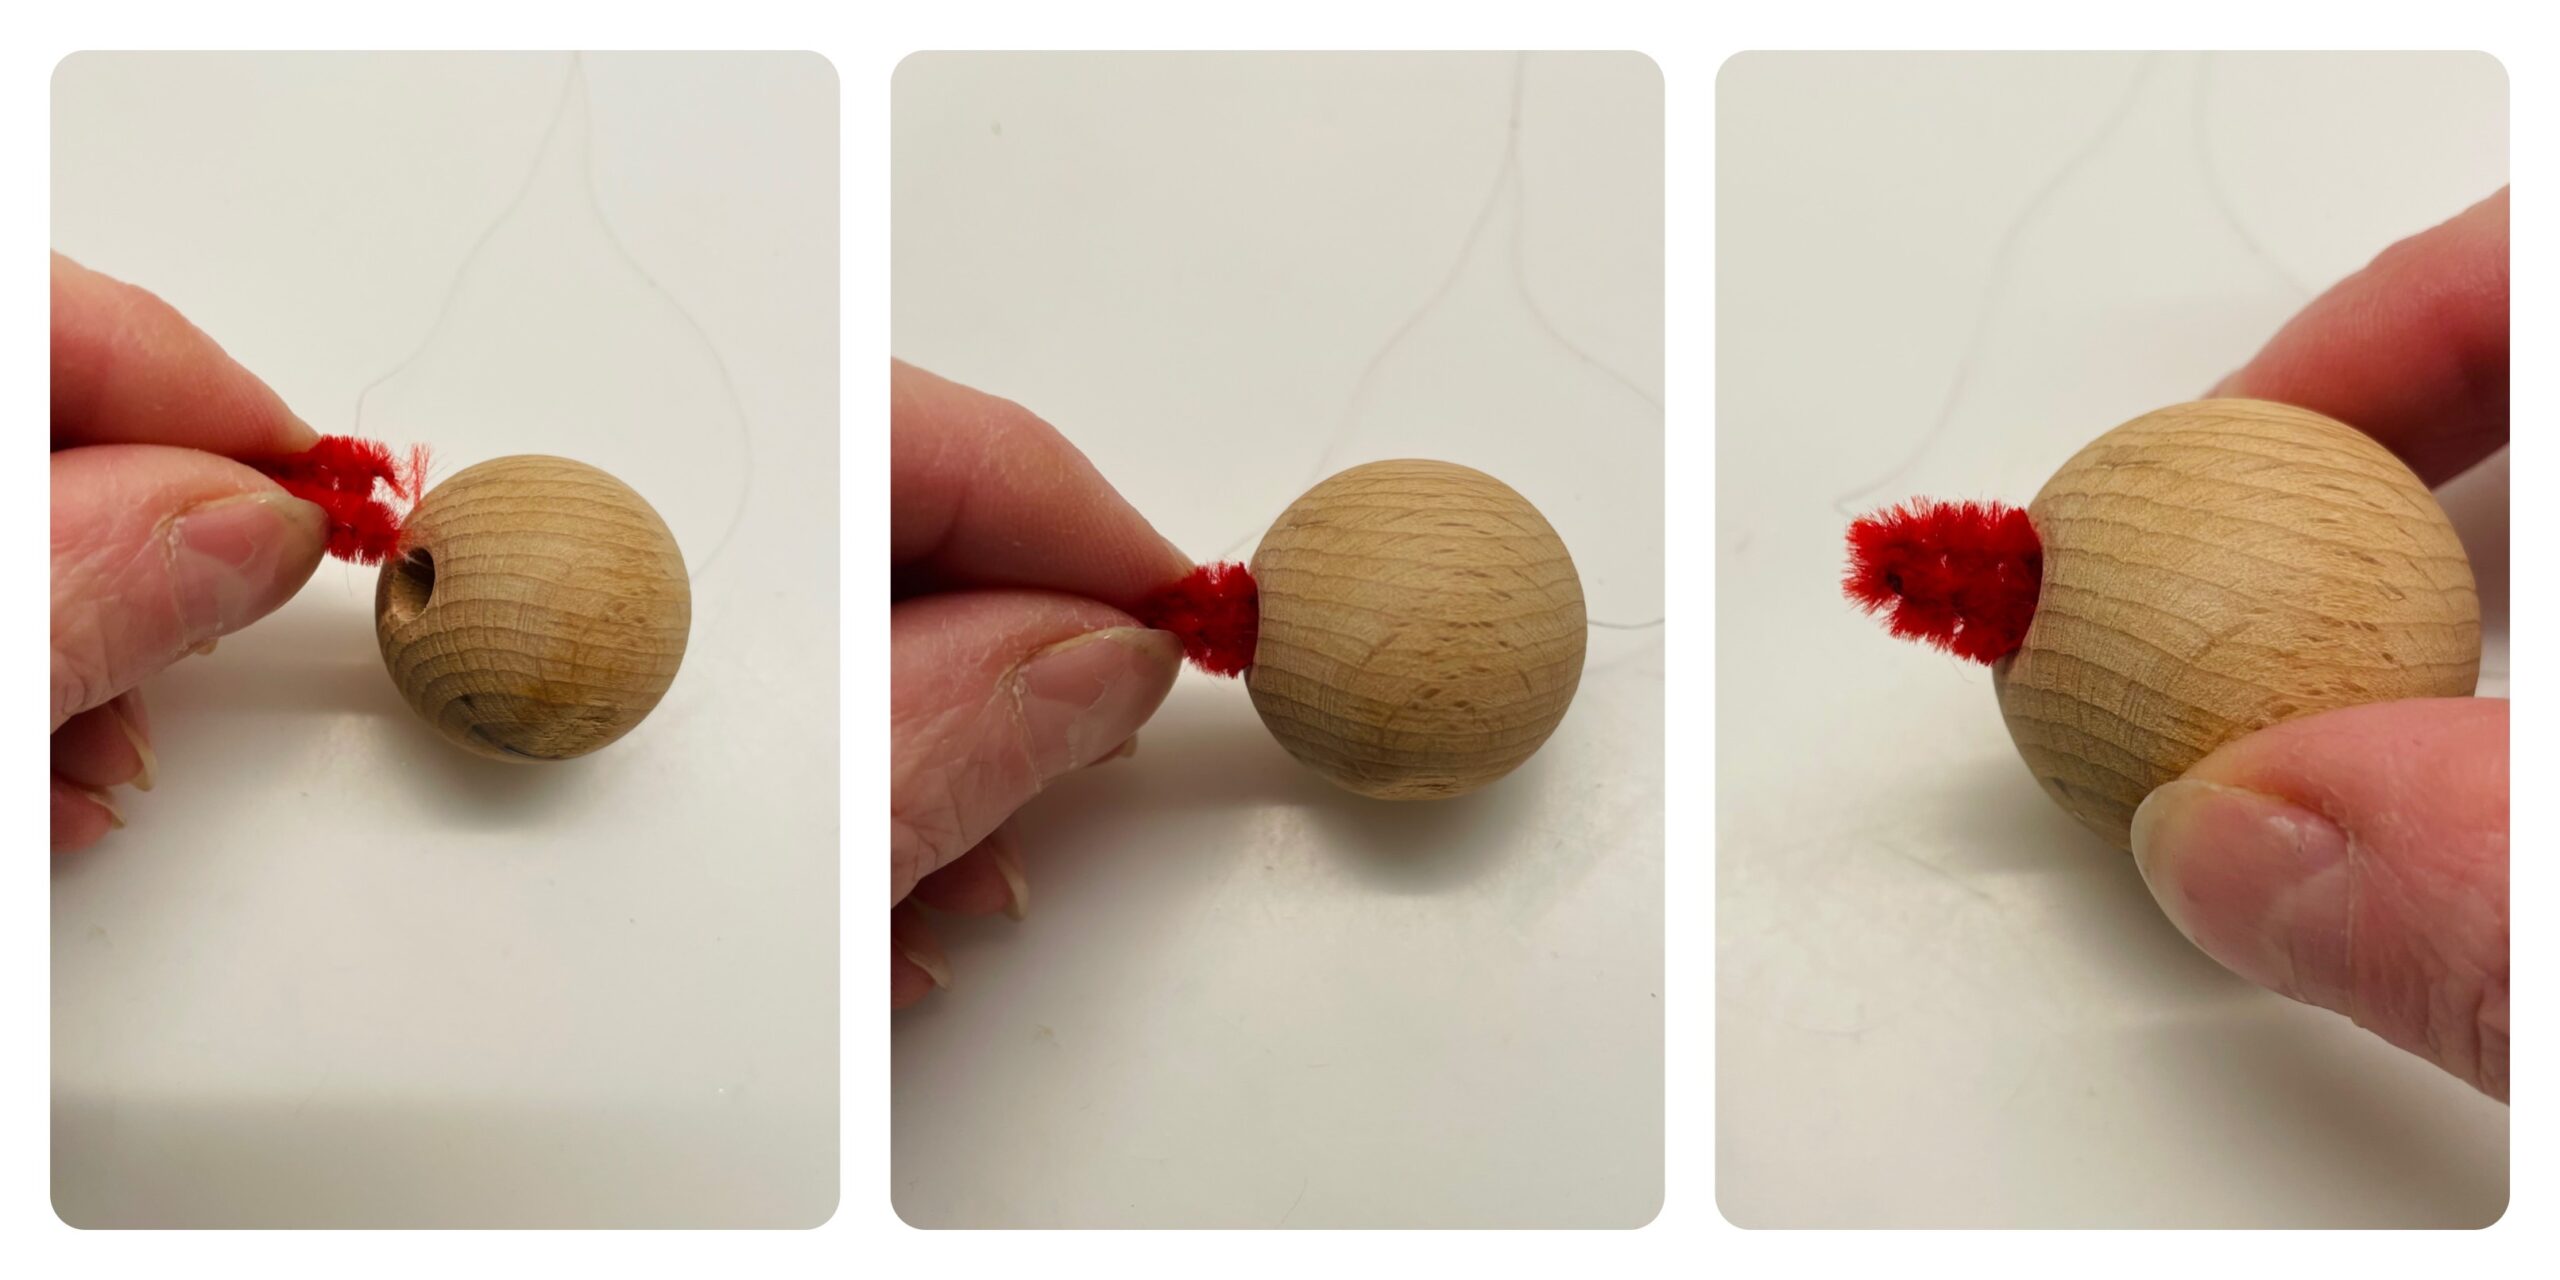
Put the beak with the open side in front of the one hole of the bead. Moves it into the hole so far that the beak still looks a bit out, but sits well tight.


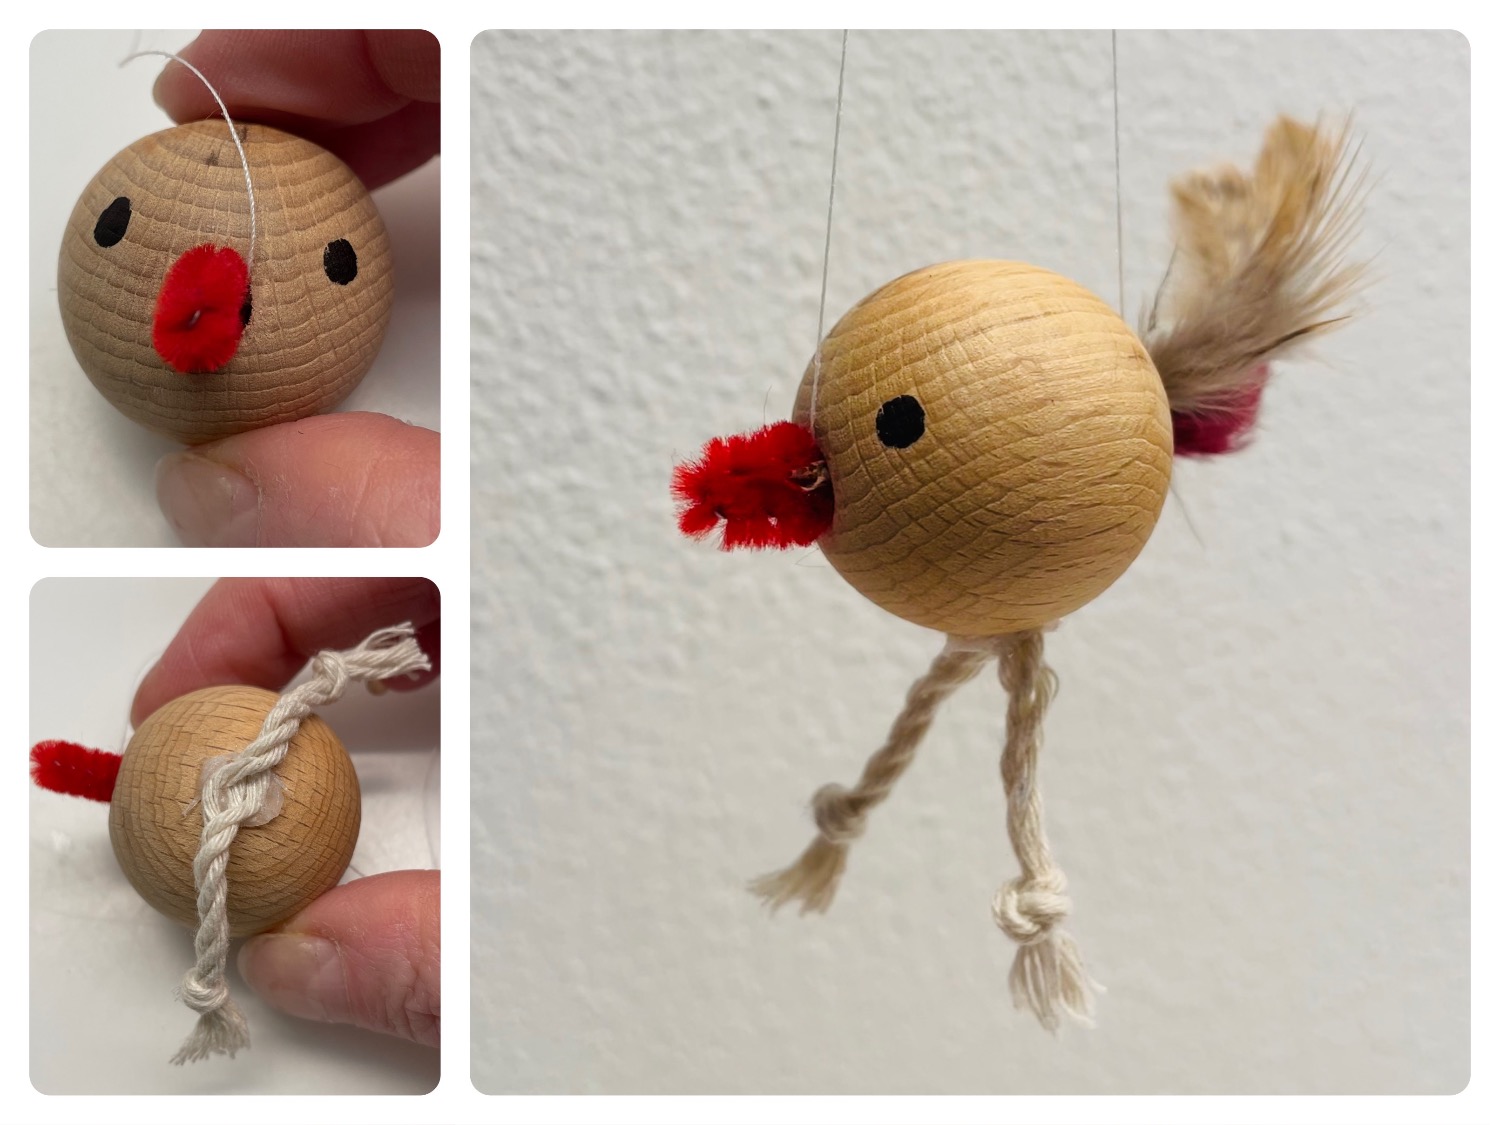
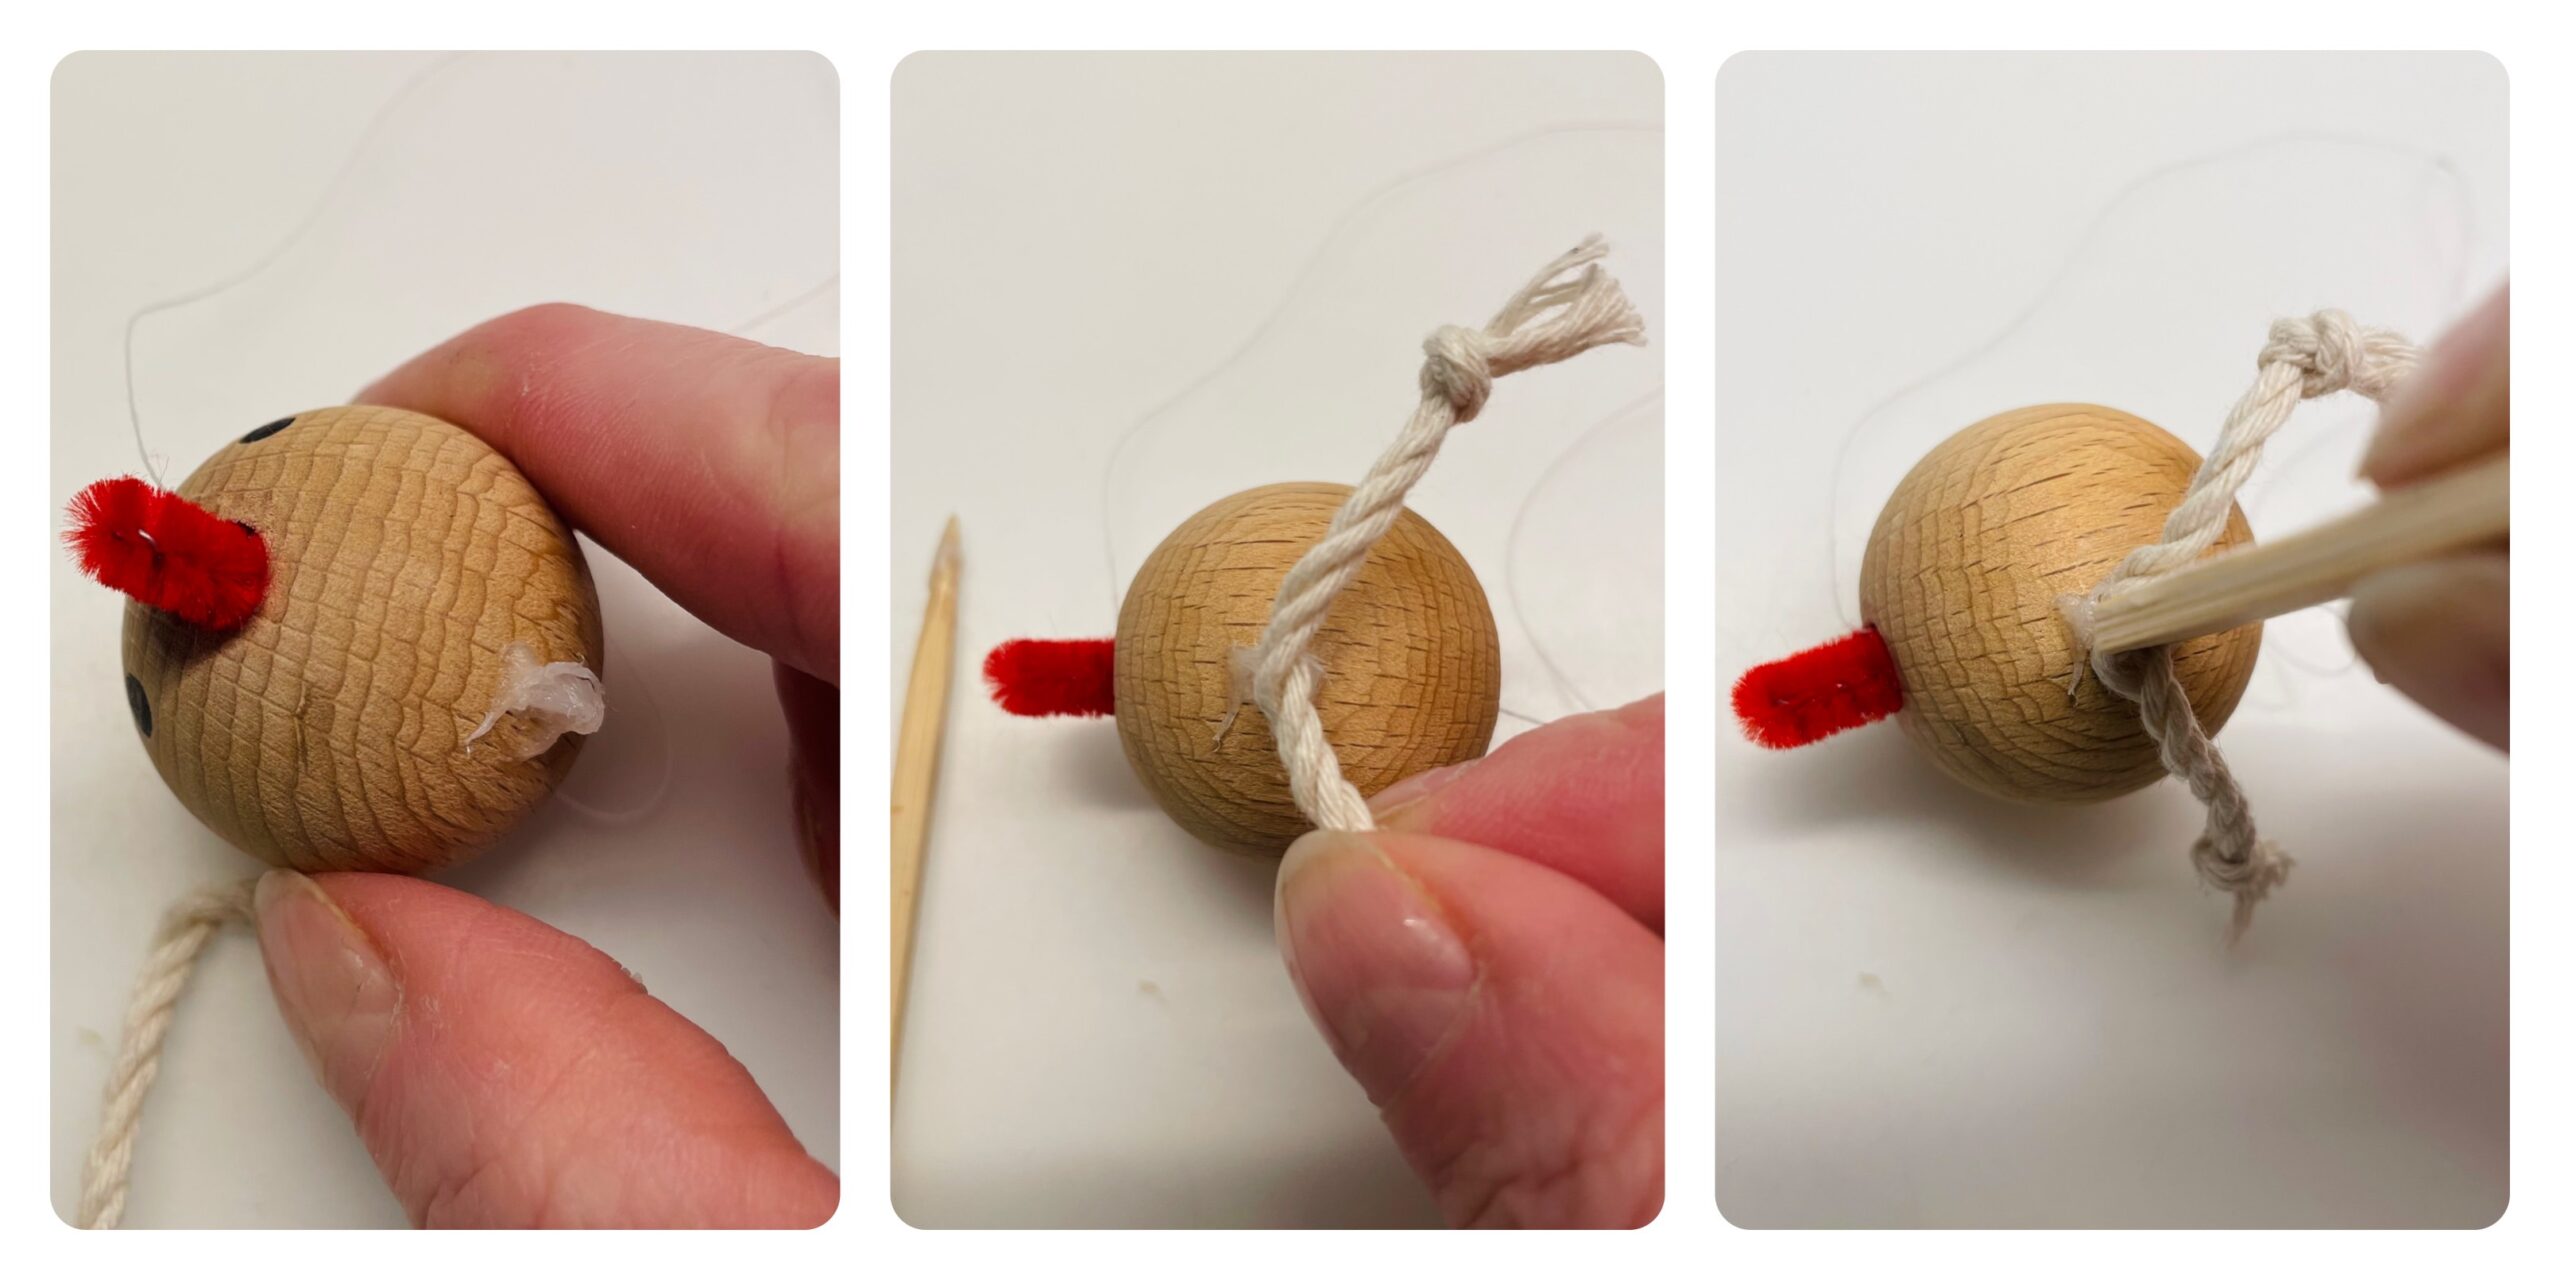
The legs of the bird are made of a thicker cord. A 10cm long cord is enough. Makes a knot at both ends. Possibly even a double knot when the first one is too small. If the overhanging thread ends bend apart, the bird gets its claws. Makes a kink in the middle of the cord.


With an adhesive point, the cord is attached centrally to the underside of the bead. Both legs stand off. Be careful if you use a hot glue gun to stick on, take a pen to press on the bead, otherwise there is a risk that you will burn yourself.


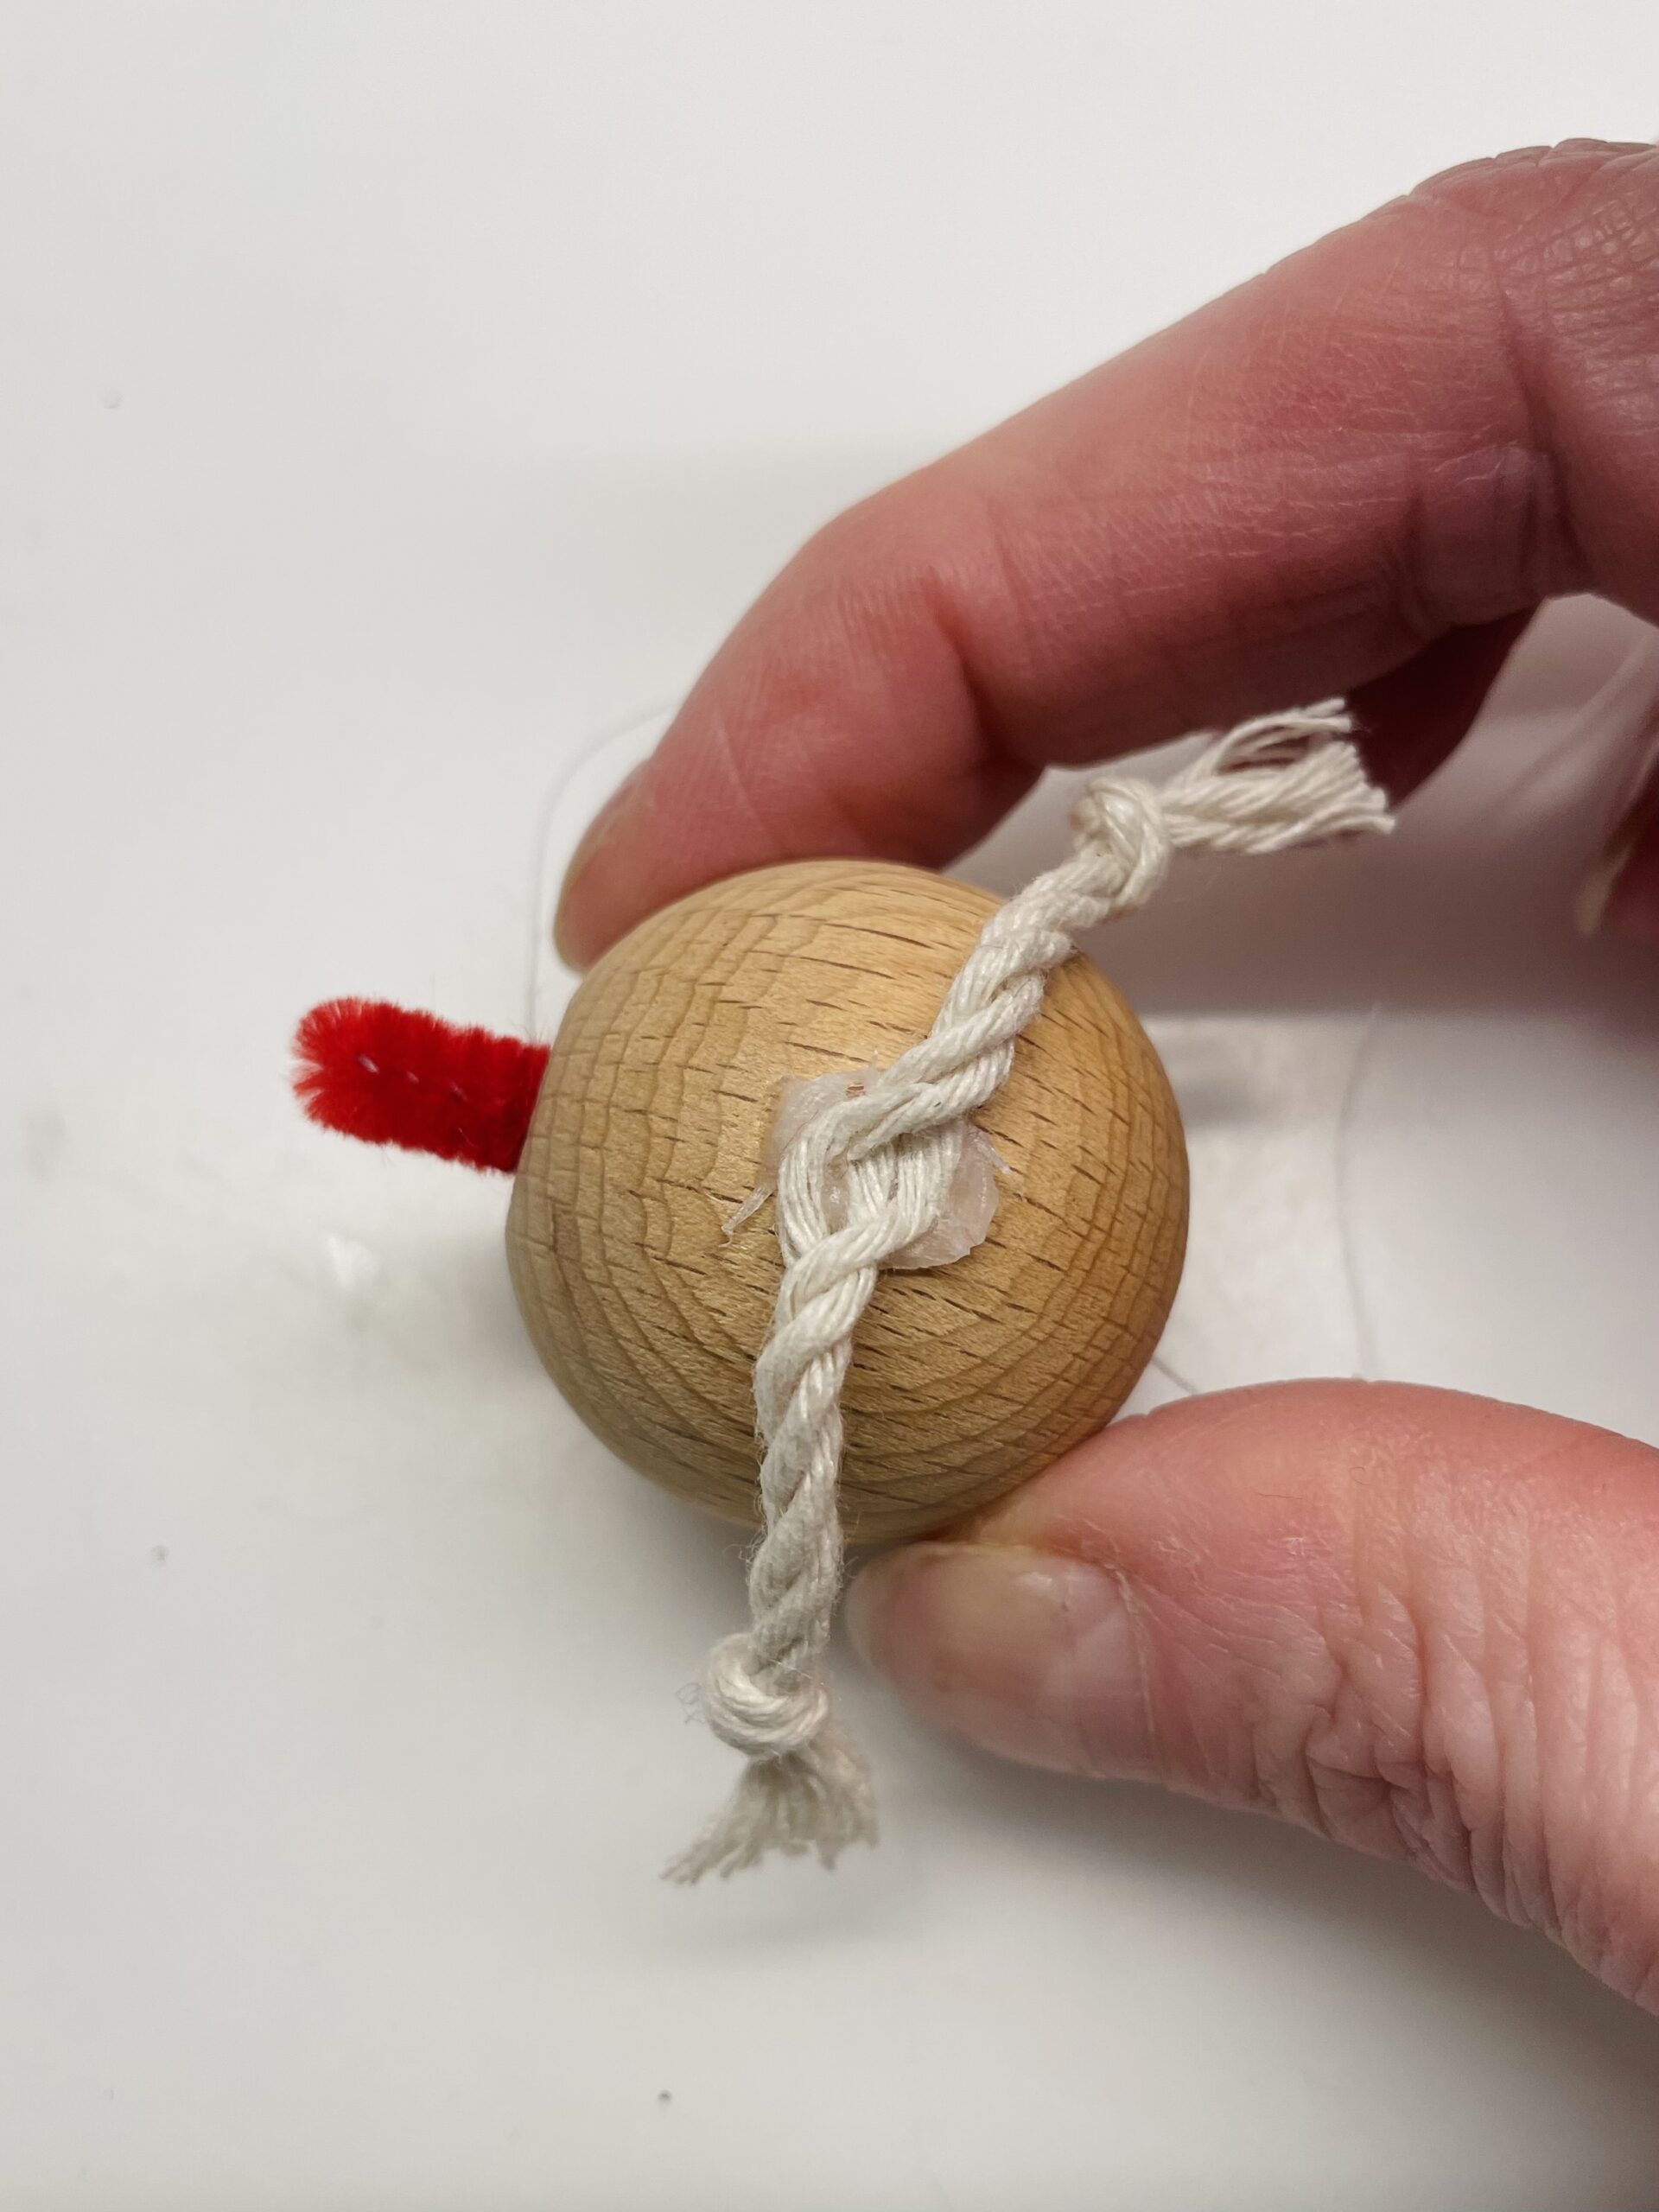
That's what it looks like.


Paints two black dots as eyes on the wooden bead.
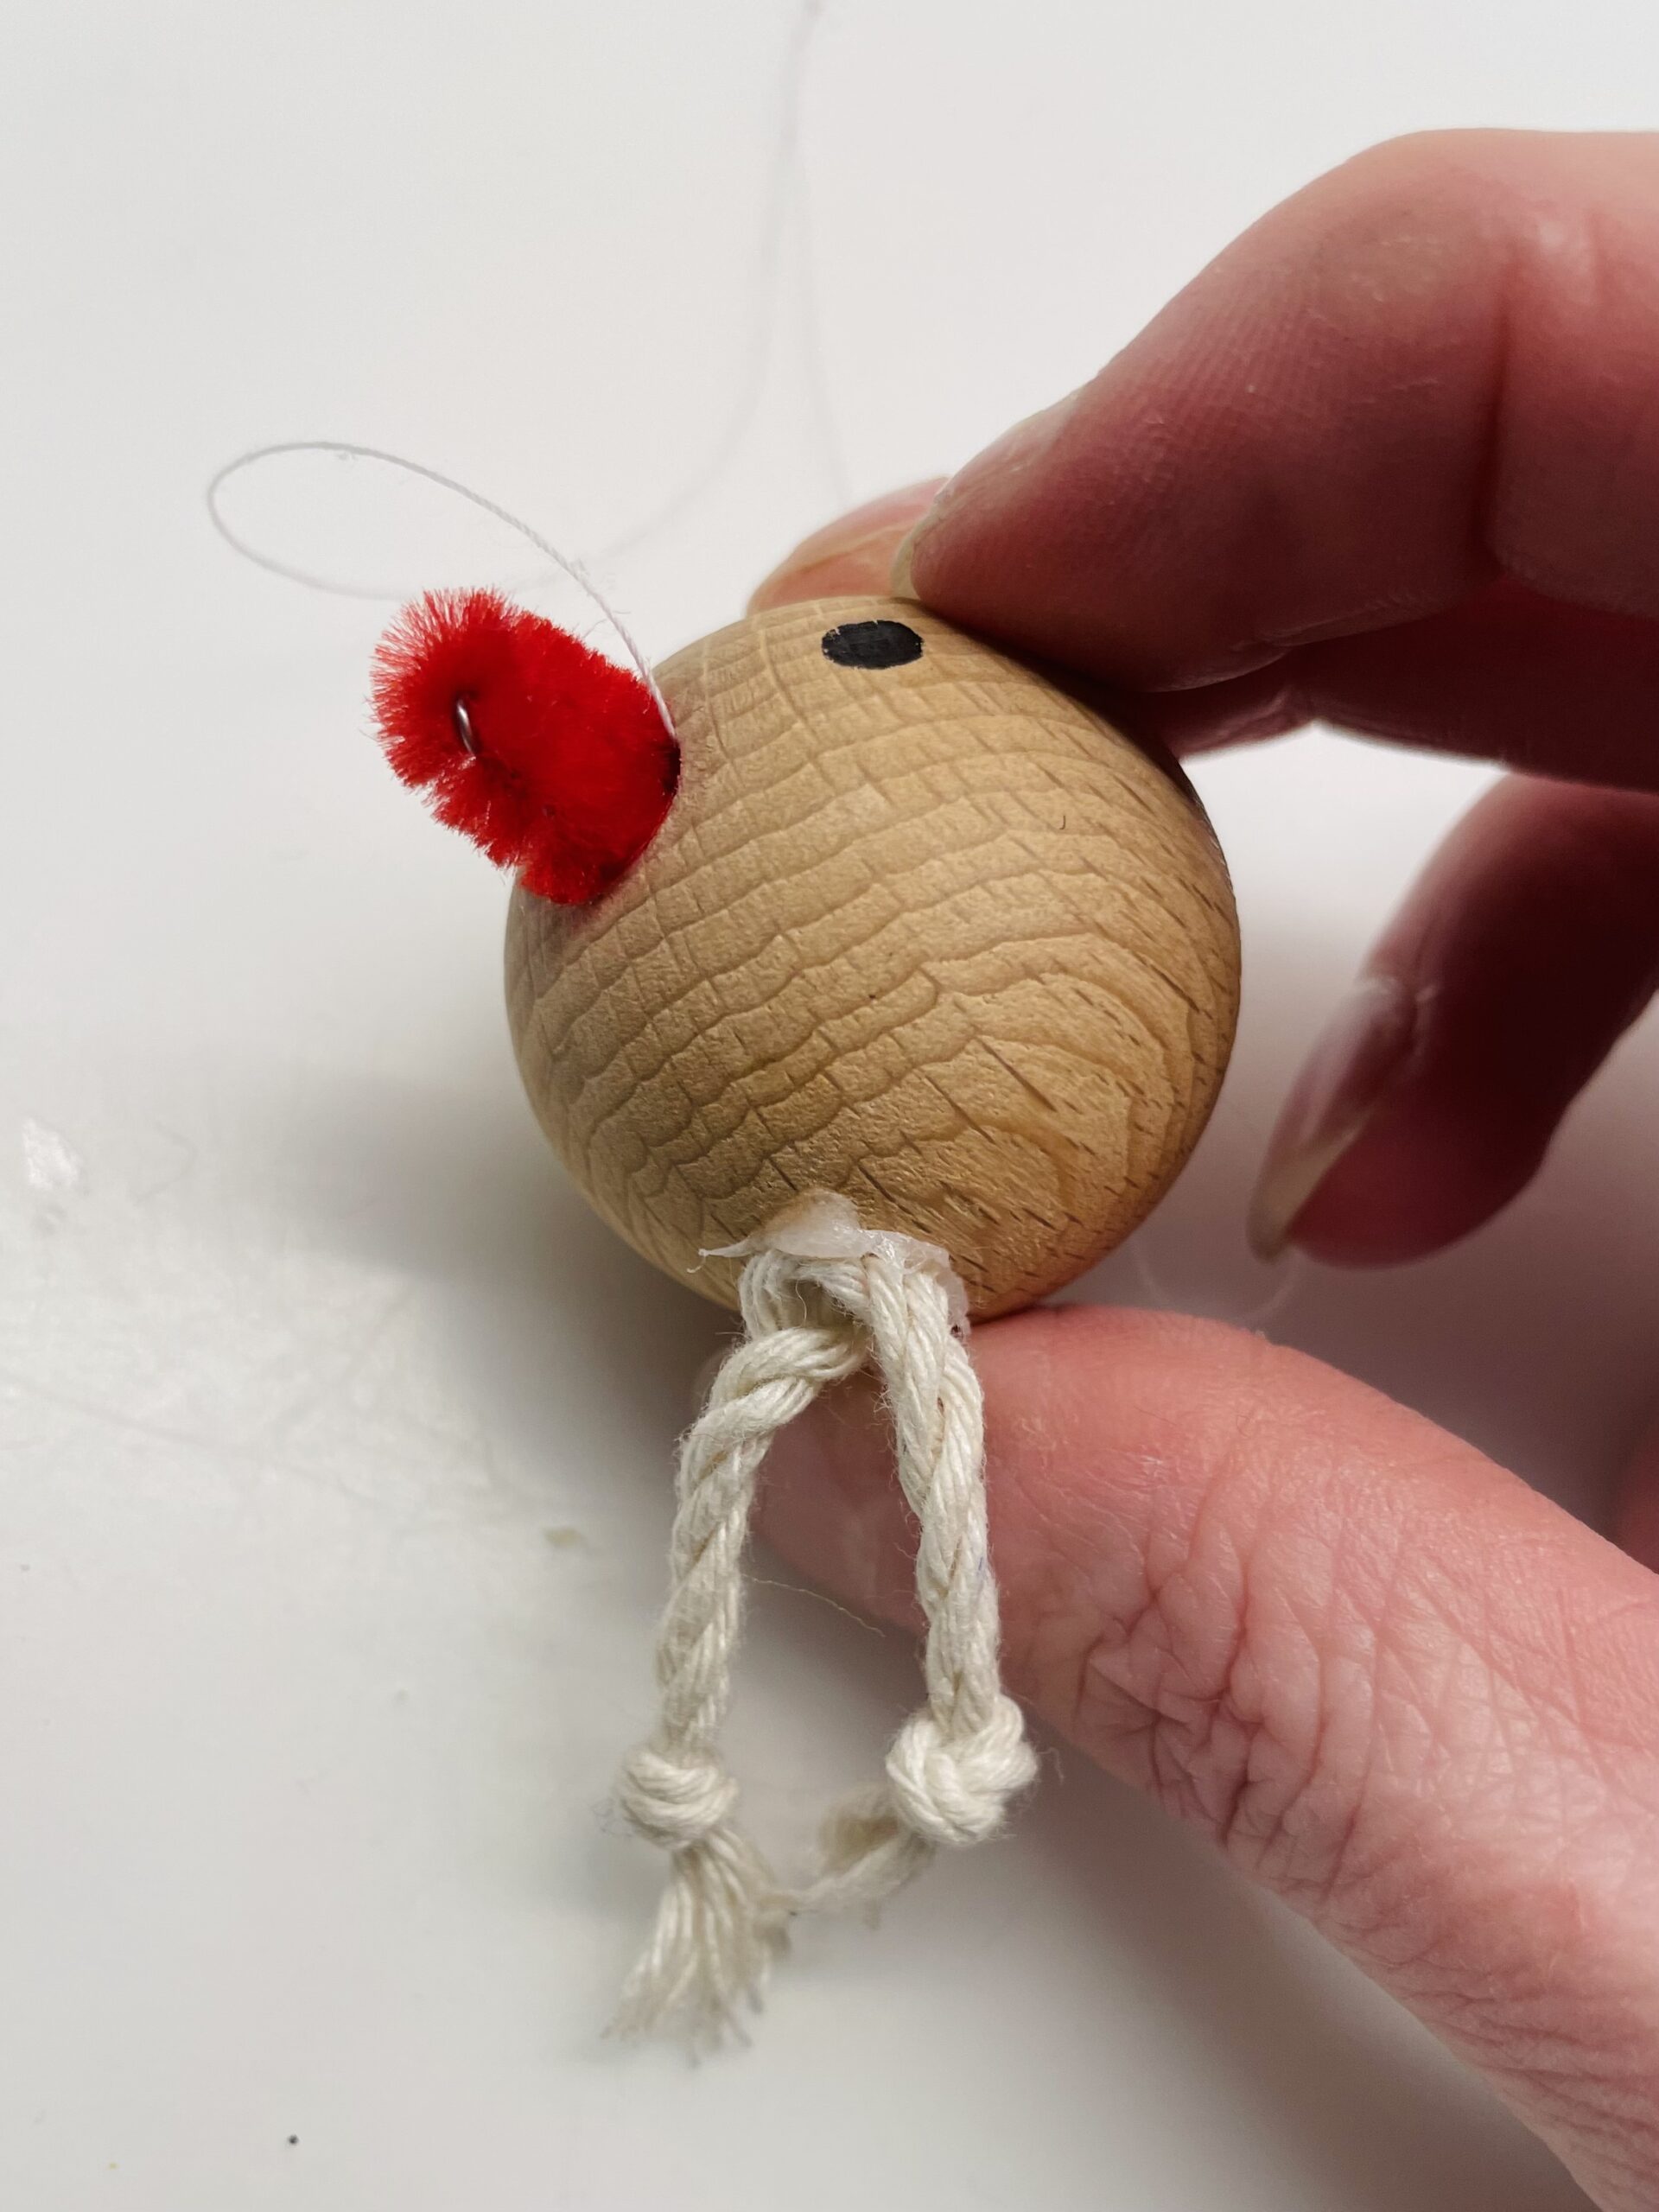


In the still free hole of the pearl feathers are put. These are the tail feathers of the bird.
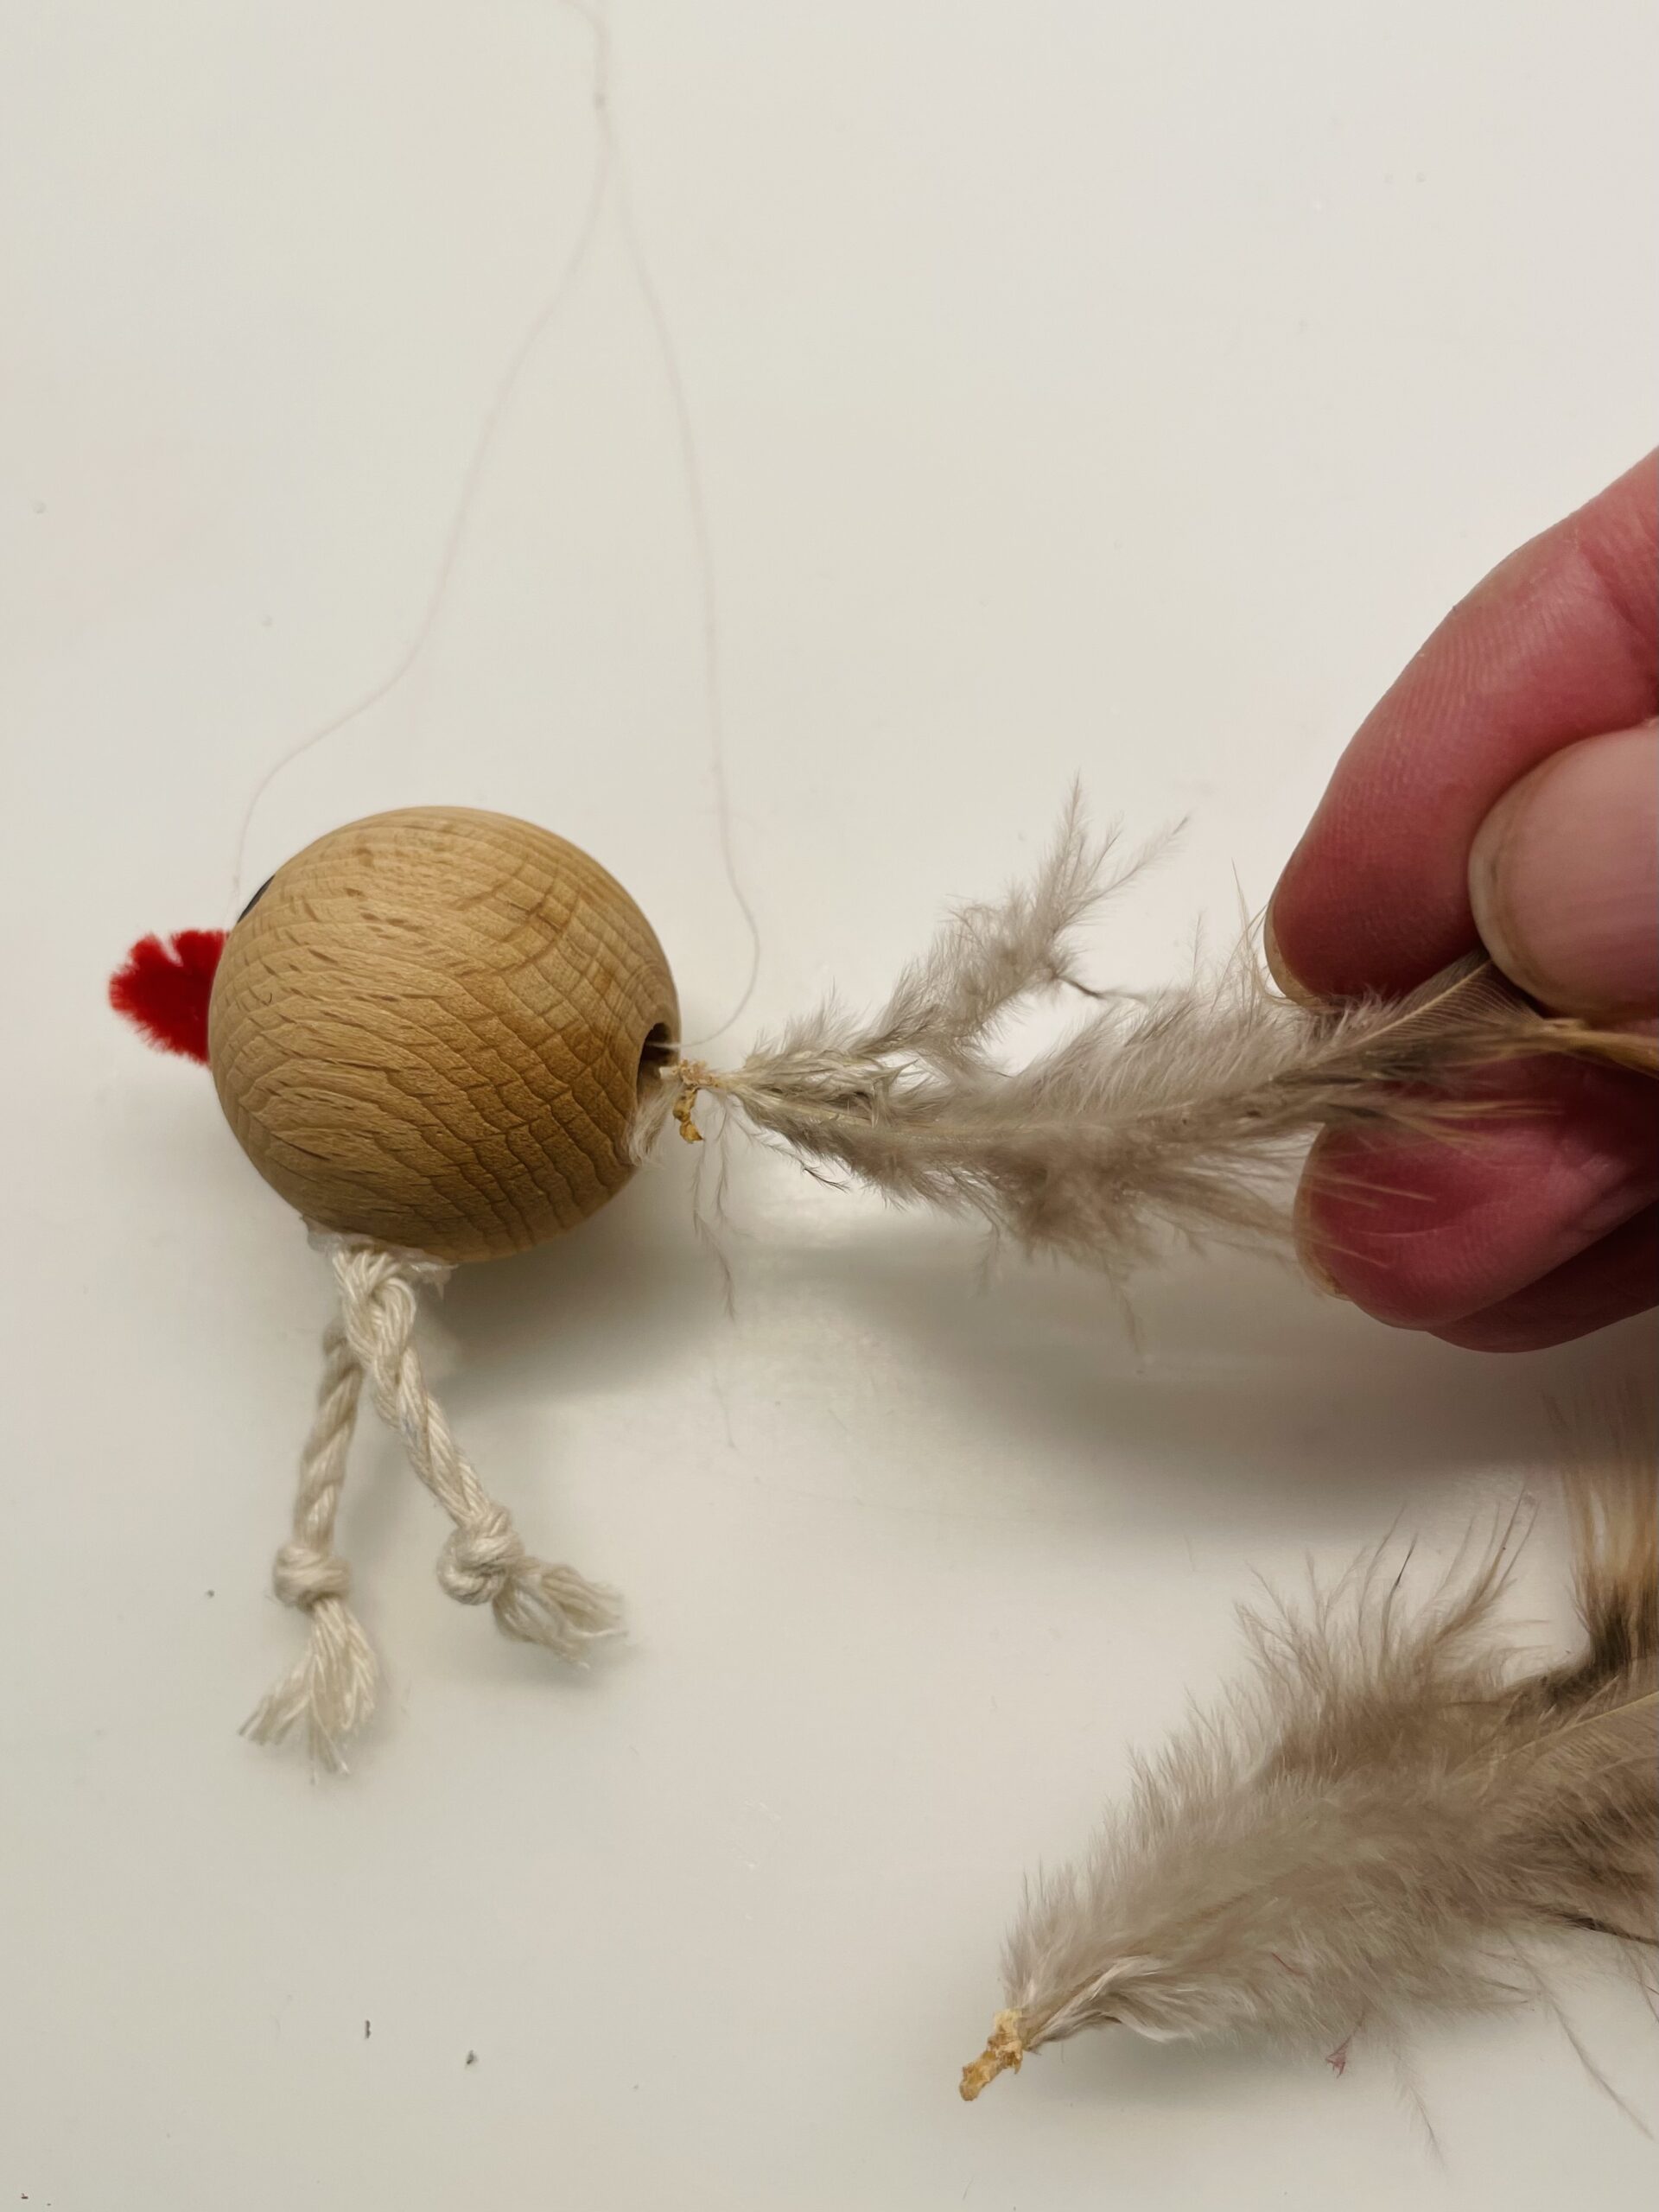


You can determine the amount and colors of the feathers yourself. As you like it. The feathers hold already when they stick a small piece in the hole. Hard glue is not necessarily necessary.
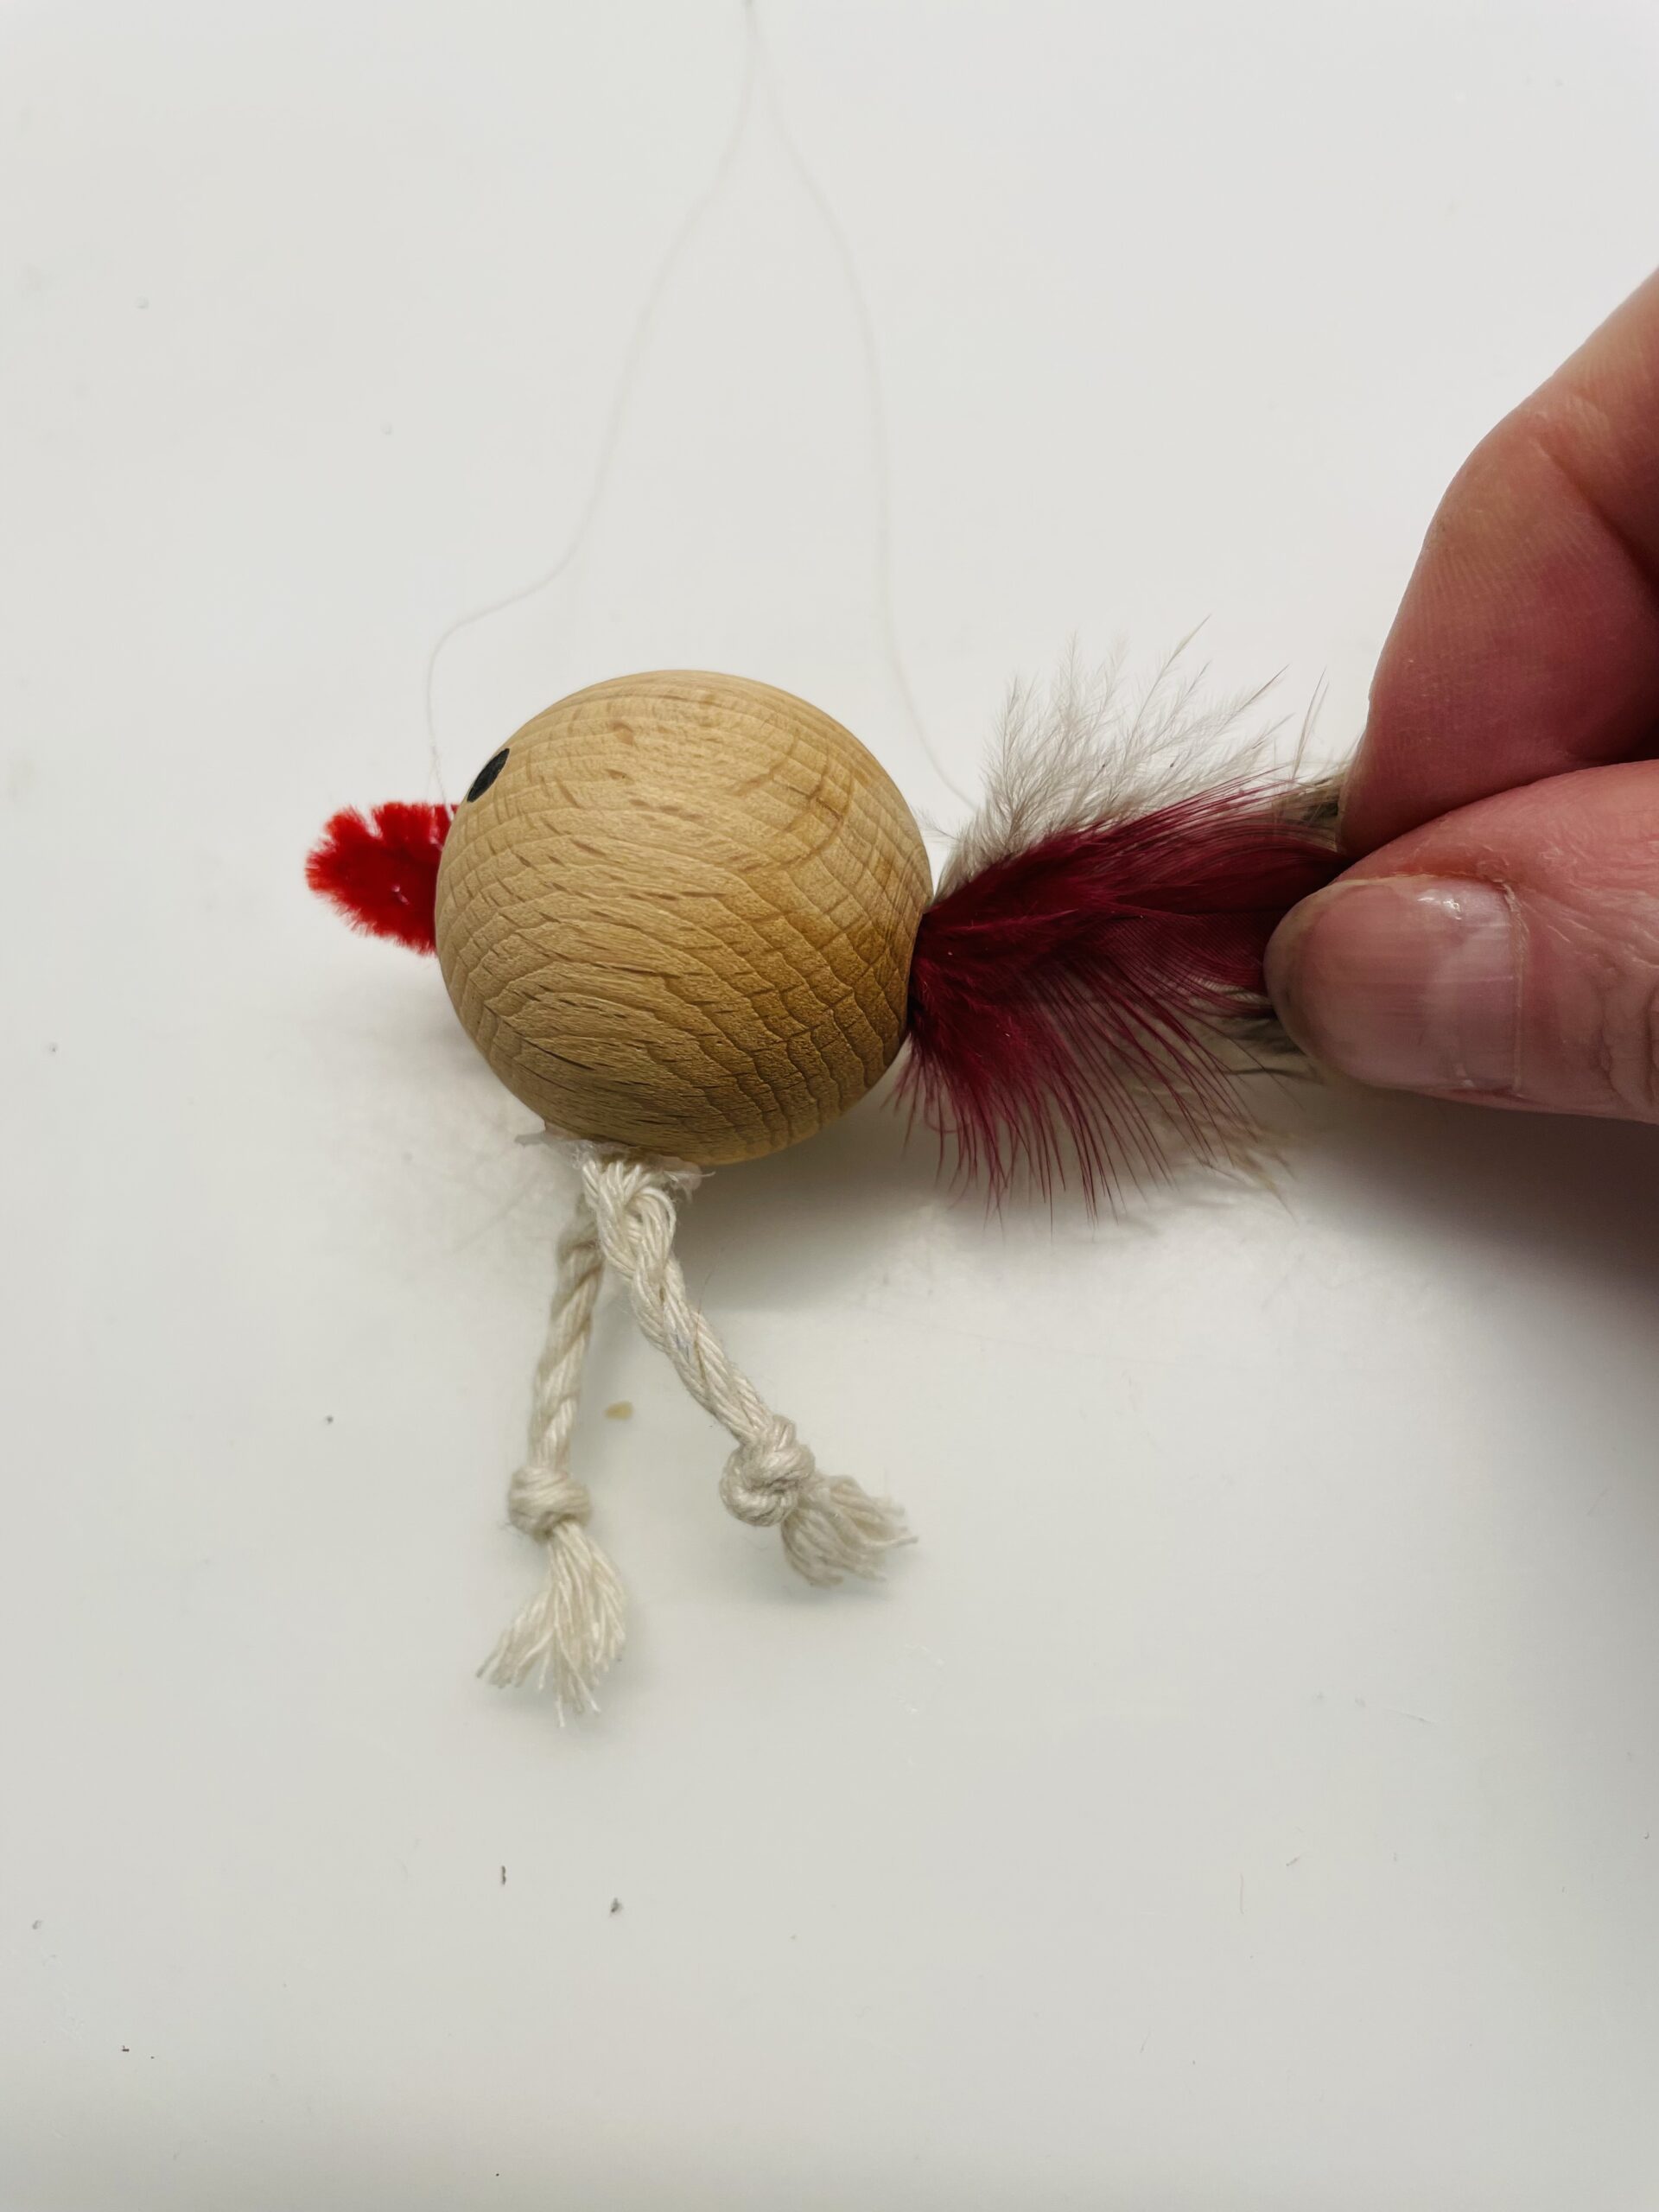


Your little bird is ready.
Hang him on a branch and make some friends for him.
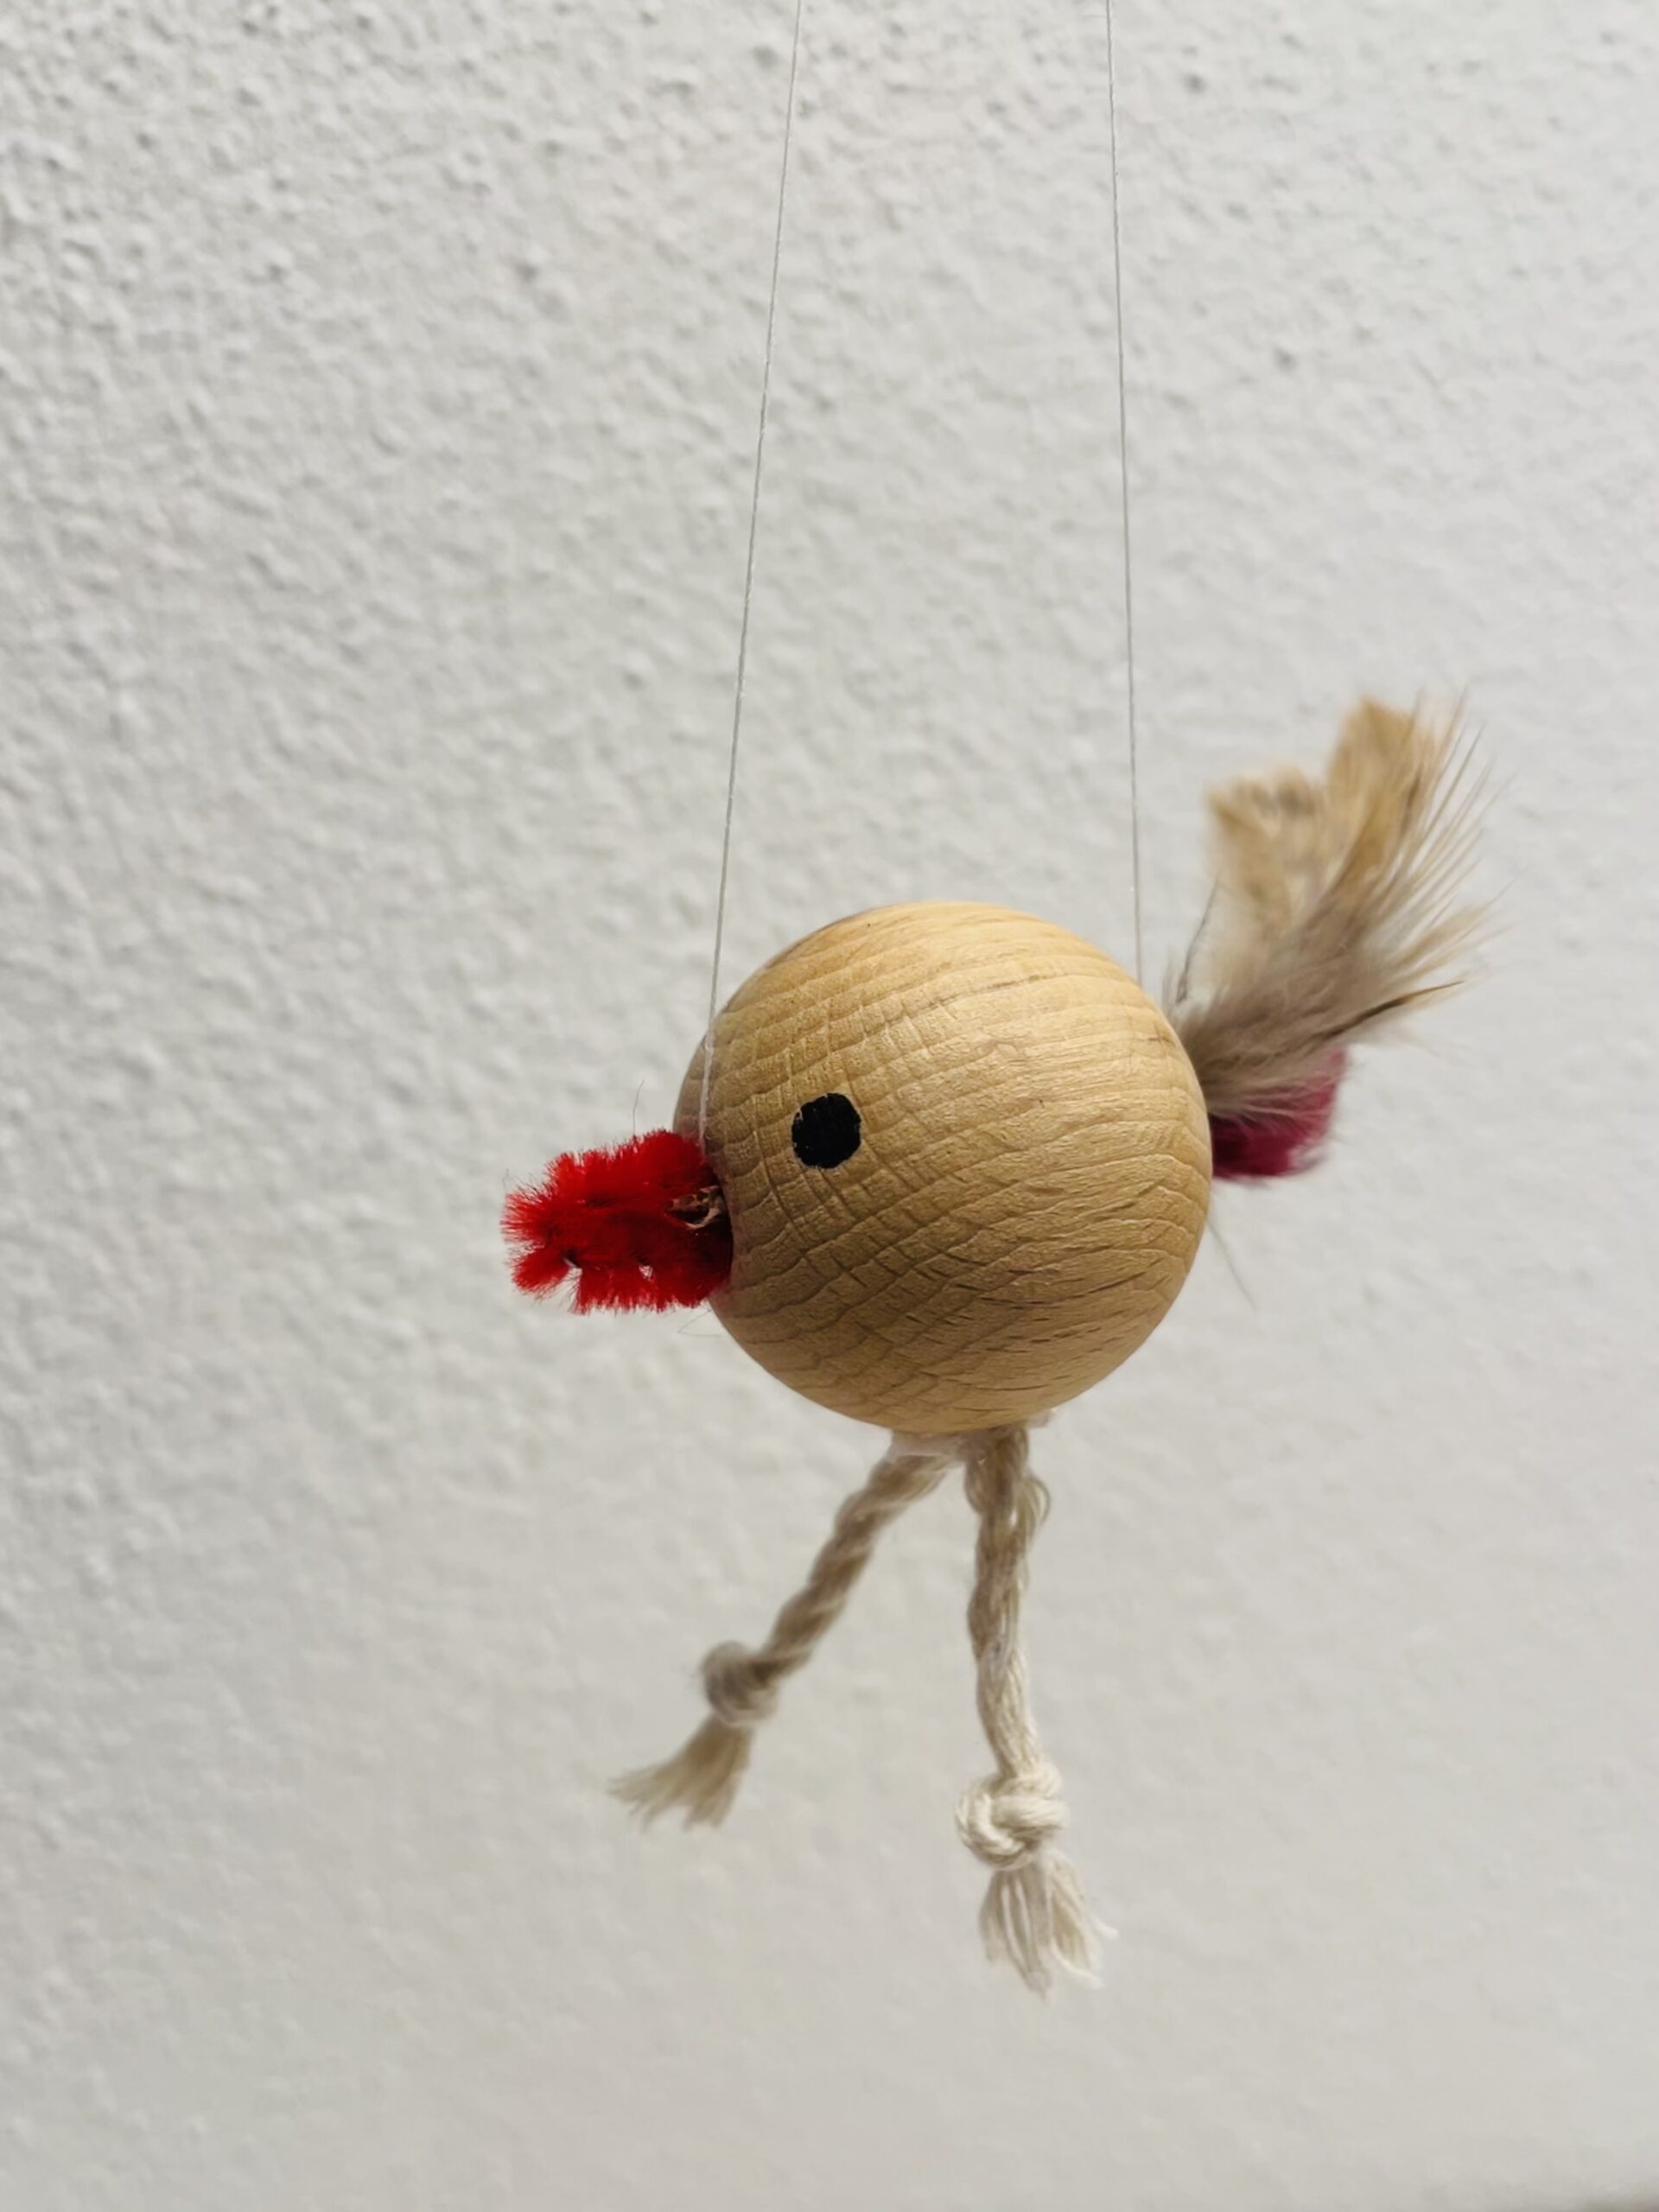


Have fun with it.
Materials
Directions
Get everything ready on your craft file.


The wooden bead is threaded onto a thin thread (e.g. sewing thread). Uses a blunt needle. Both ends of the thread are knotted together. This way the bead can be hung up.


Cuts off a 3cm long piece from the pipe cleaner.
Half the pipe cleaner, that's the bird's beak.


Put the beak with the open side in front of the one hole of the bead. Moves it into the hole so far that the beak still looks a bit out, but sits well tight.


The legs of the bird are made of a thicker cord. A 10cm long cord is enough. Makes a knot at both ends. Possibly even a double knot when the first one is too small. If the overhanging thread ends bend apart, the bird gets its claws. Makes a kink in the middle of the cord.


With an adhesive point, the cord is attached centrally to the underside of the bead. Both legs stand off. Be careful if you use a hot glue gun to stick on, take a pen to press on the bead, otherwise there is a risk that you will burn yourself.


That's what it looks like.


Paints two black dots as eyes on the wooden bead.


In the still free hole of the pearl feathers are put. These are the tail feathers of the bird.


You can determine the amount and colors of the feathers yourself. As you like it. The feathers hold already when they stick a small piece in the hole. Hard glue is not necessarily necessary.


Your little bird is ready.
Hang him on a branch and make some friends for him.


Have fun with it.
Follow us on Facebook , Instagram and Pinterest
Don't miss any more adventures: Our bottle mail


