AdventurerKitaForst
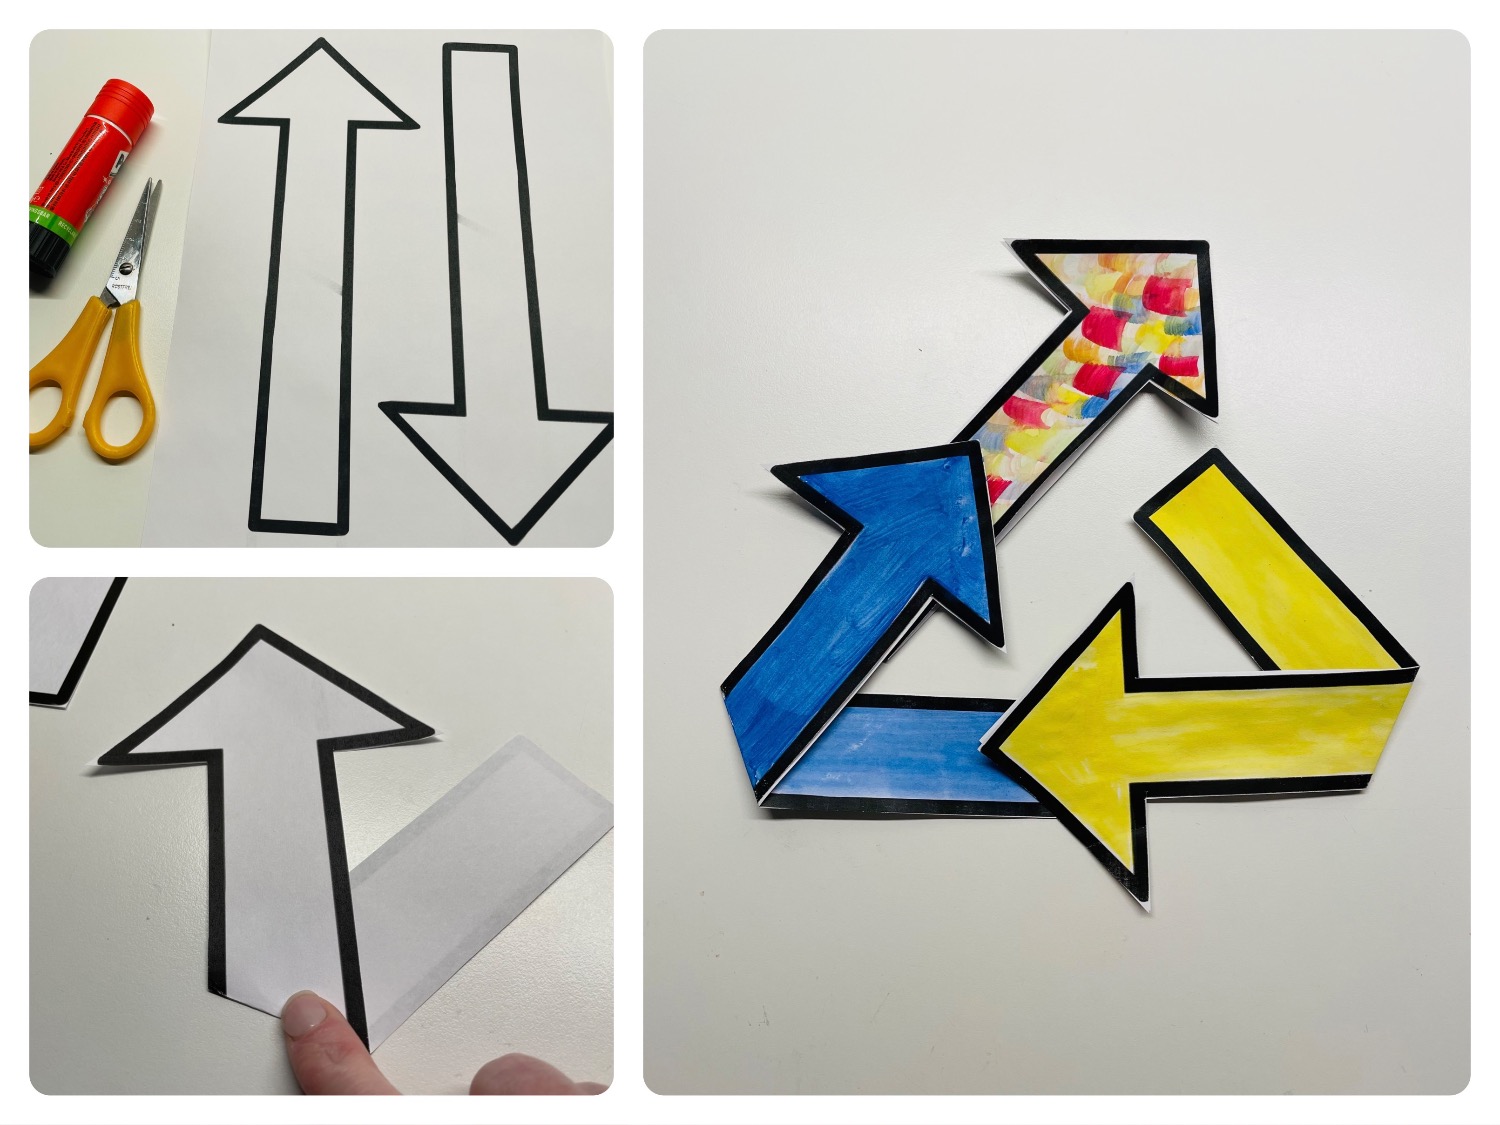
We have dealt with the term "upcycle". This resulted in this "logo-idea". Normally the sign consists of three arrows, which are only bordered and not colored. However, we have considered what it means for us and thus these color combinations arose. The thought of upcyclen consists of creating something new, beautiful, useful but also other from garbage, which gets such a new use and is not thrown away useless.
We sorted packaging material according to its original material and gave paper and cardboard the color blue (blue ton). Plastic, cans and tetrapack we find in the disposal waste in the yellow ton or in the yellow ton. Therefore the color yellow.
These two "areas" create the basis and are changed in their original function, therefore the bent arrows! The colorful arrow slanted upwards means the new and creative, the diversity that can arise from it.
Perhaps the one or the other can identify with it. For our project of sustainability and upcycle thoughts it has become "our logo". If you feel like it, try it out or make it up. Enjoy it.
Media Education for Kindergarten and Hort

Relief in everyday life, targeted promotion of individual children, independent learning and - without any pre-knowledge already usable by the youngest!
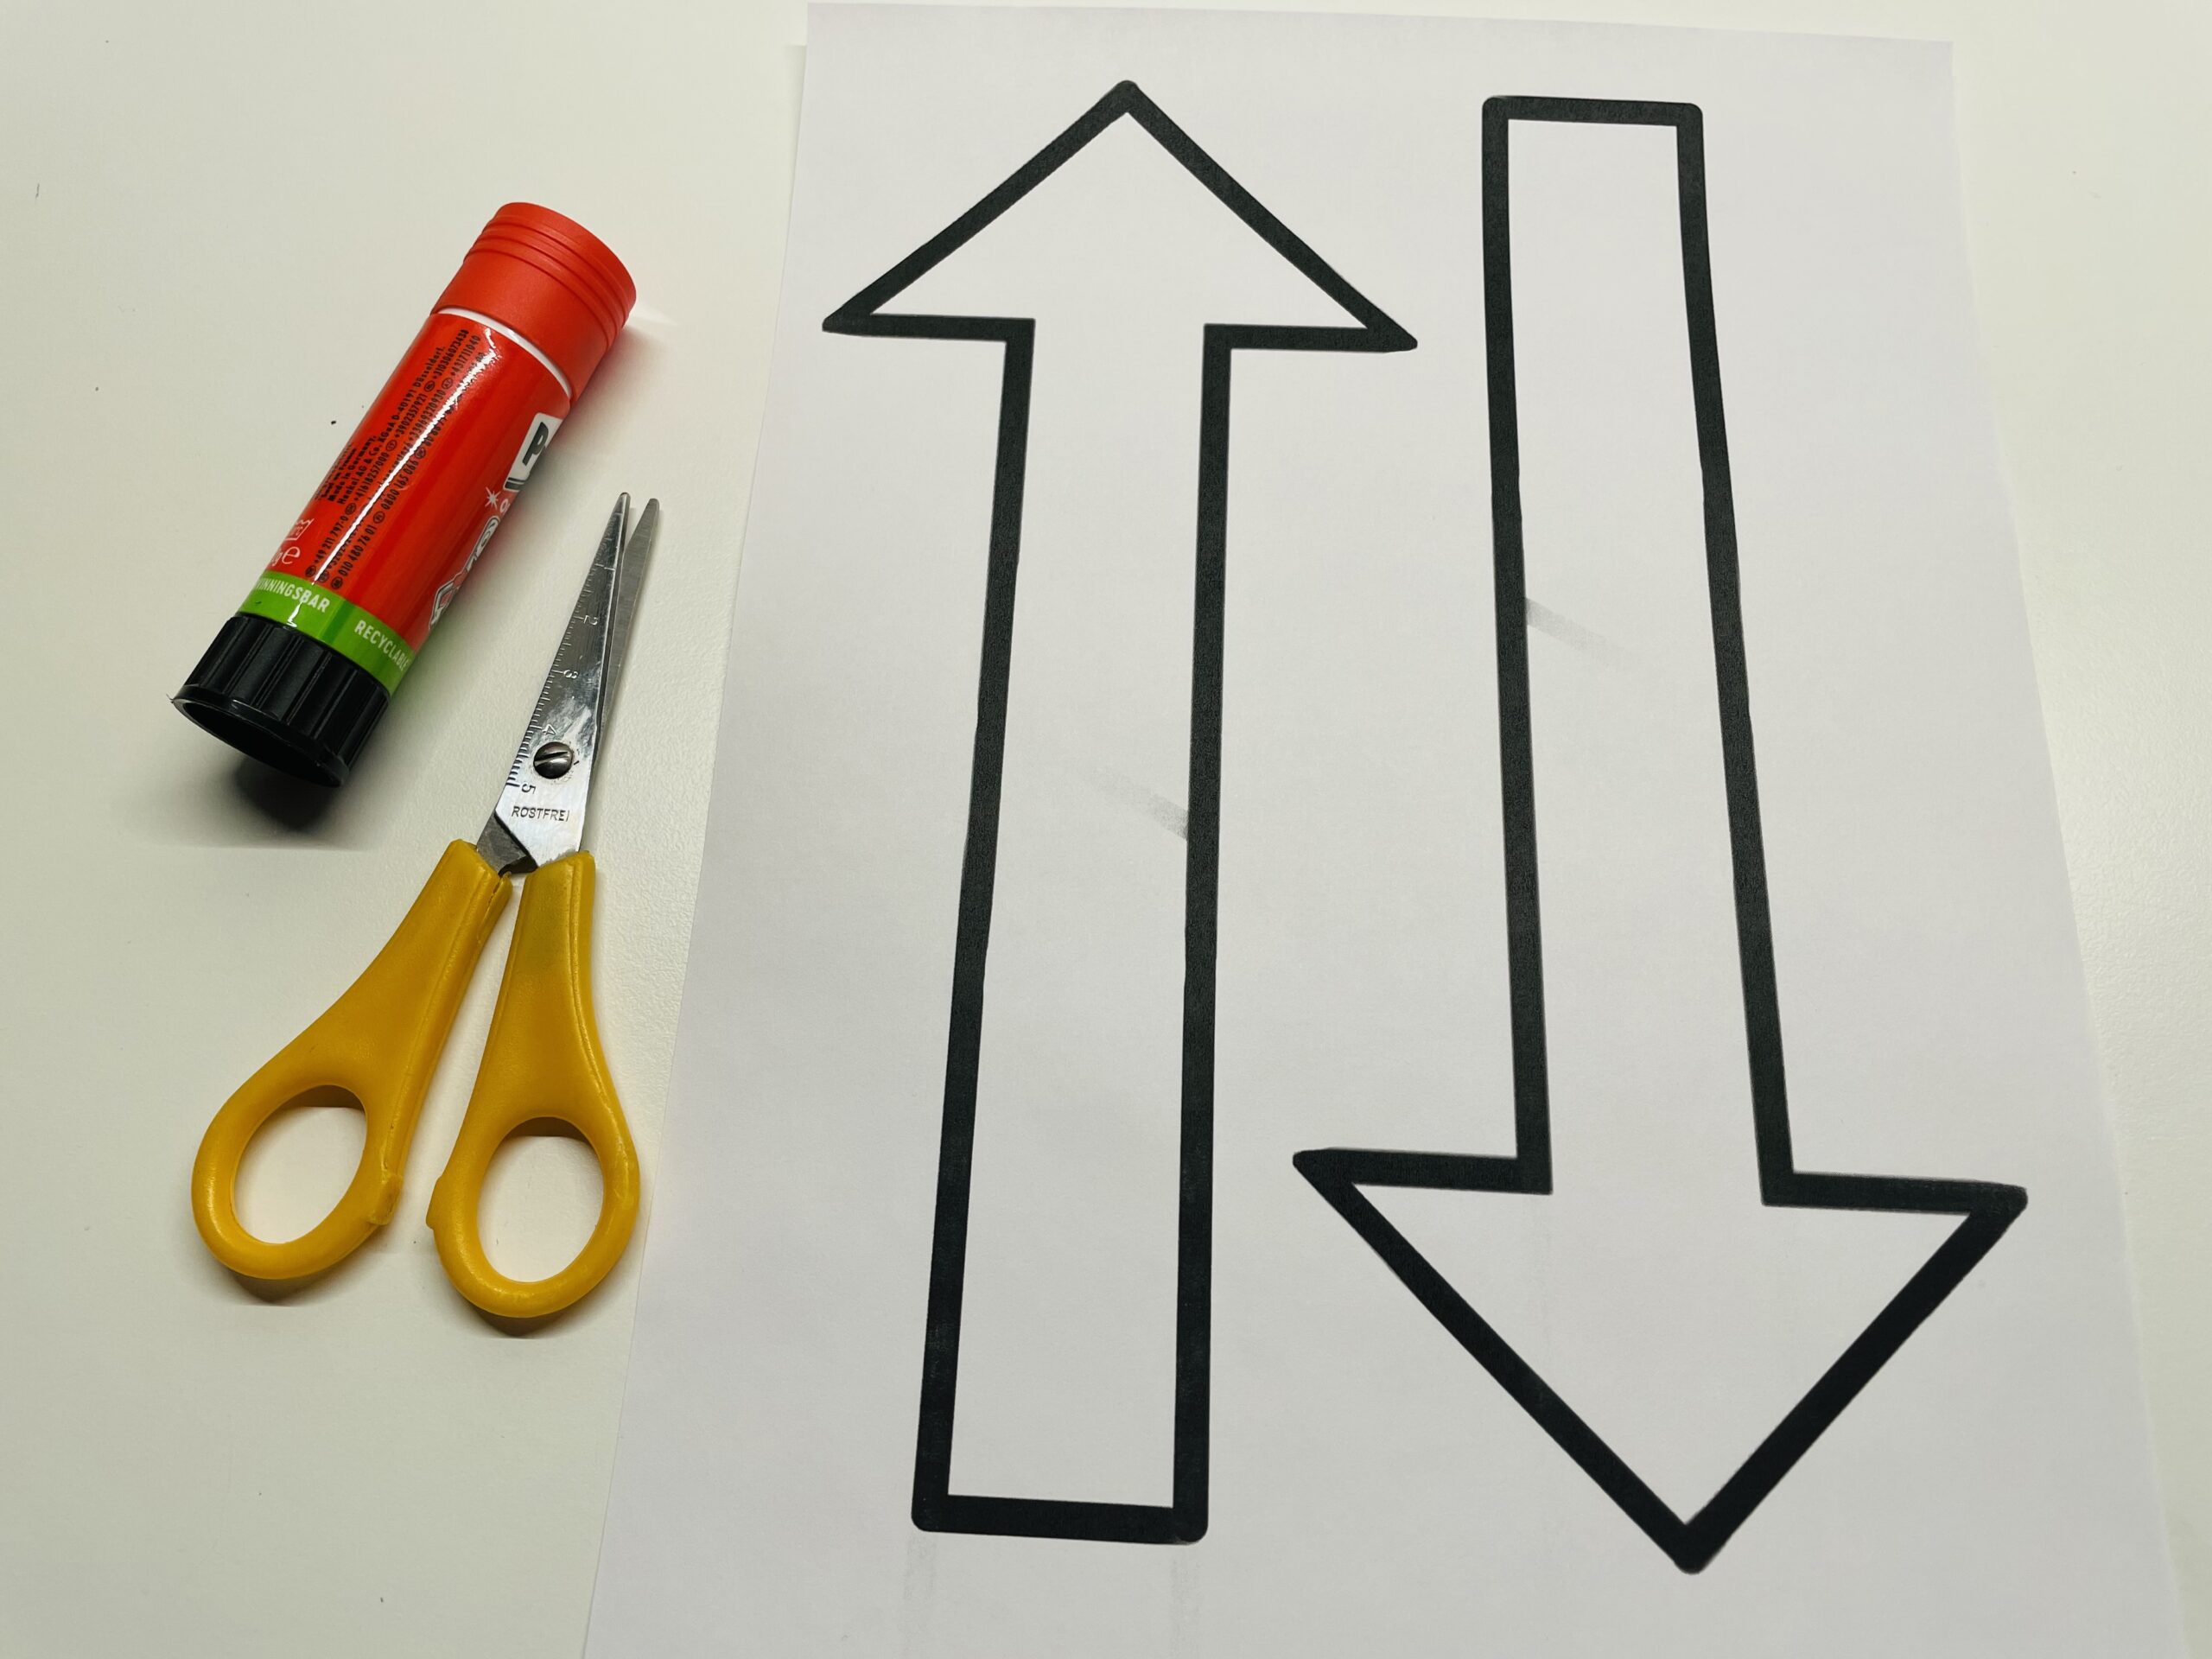
Spread out your craft material and search all craft materials together and prepare them.
First print out the arrow template three times. (For each finished arrow you need two printed arrows!)

Cut out the arrows neatly.
At the point shown, a transparent line is visible. This is the mark at which the arrow is snapped.
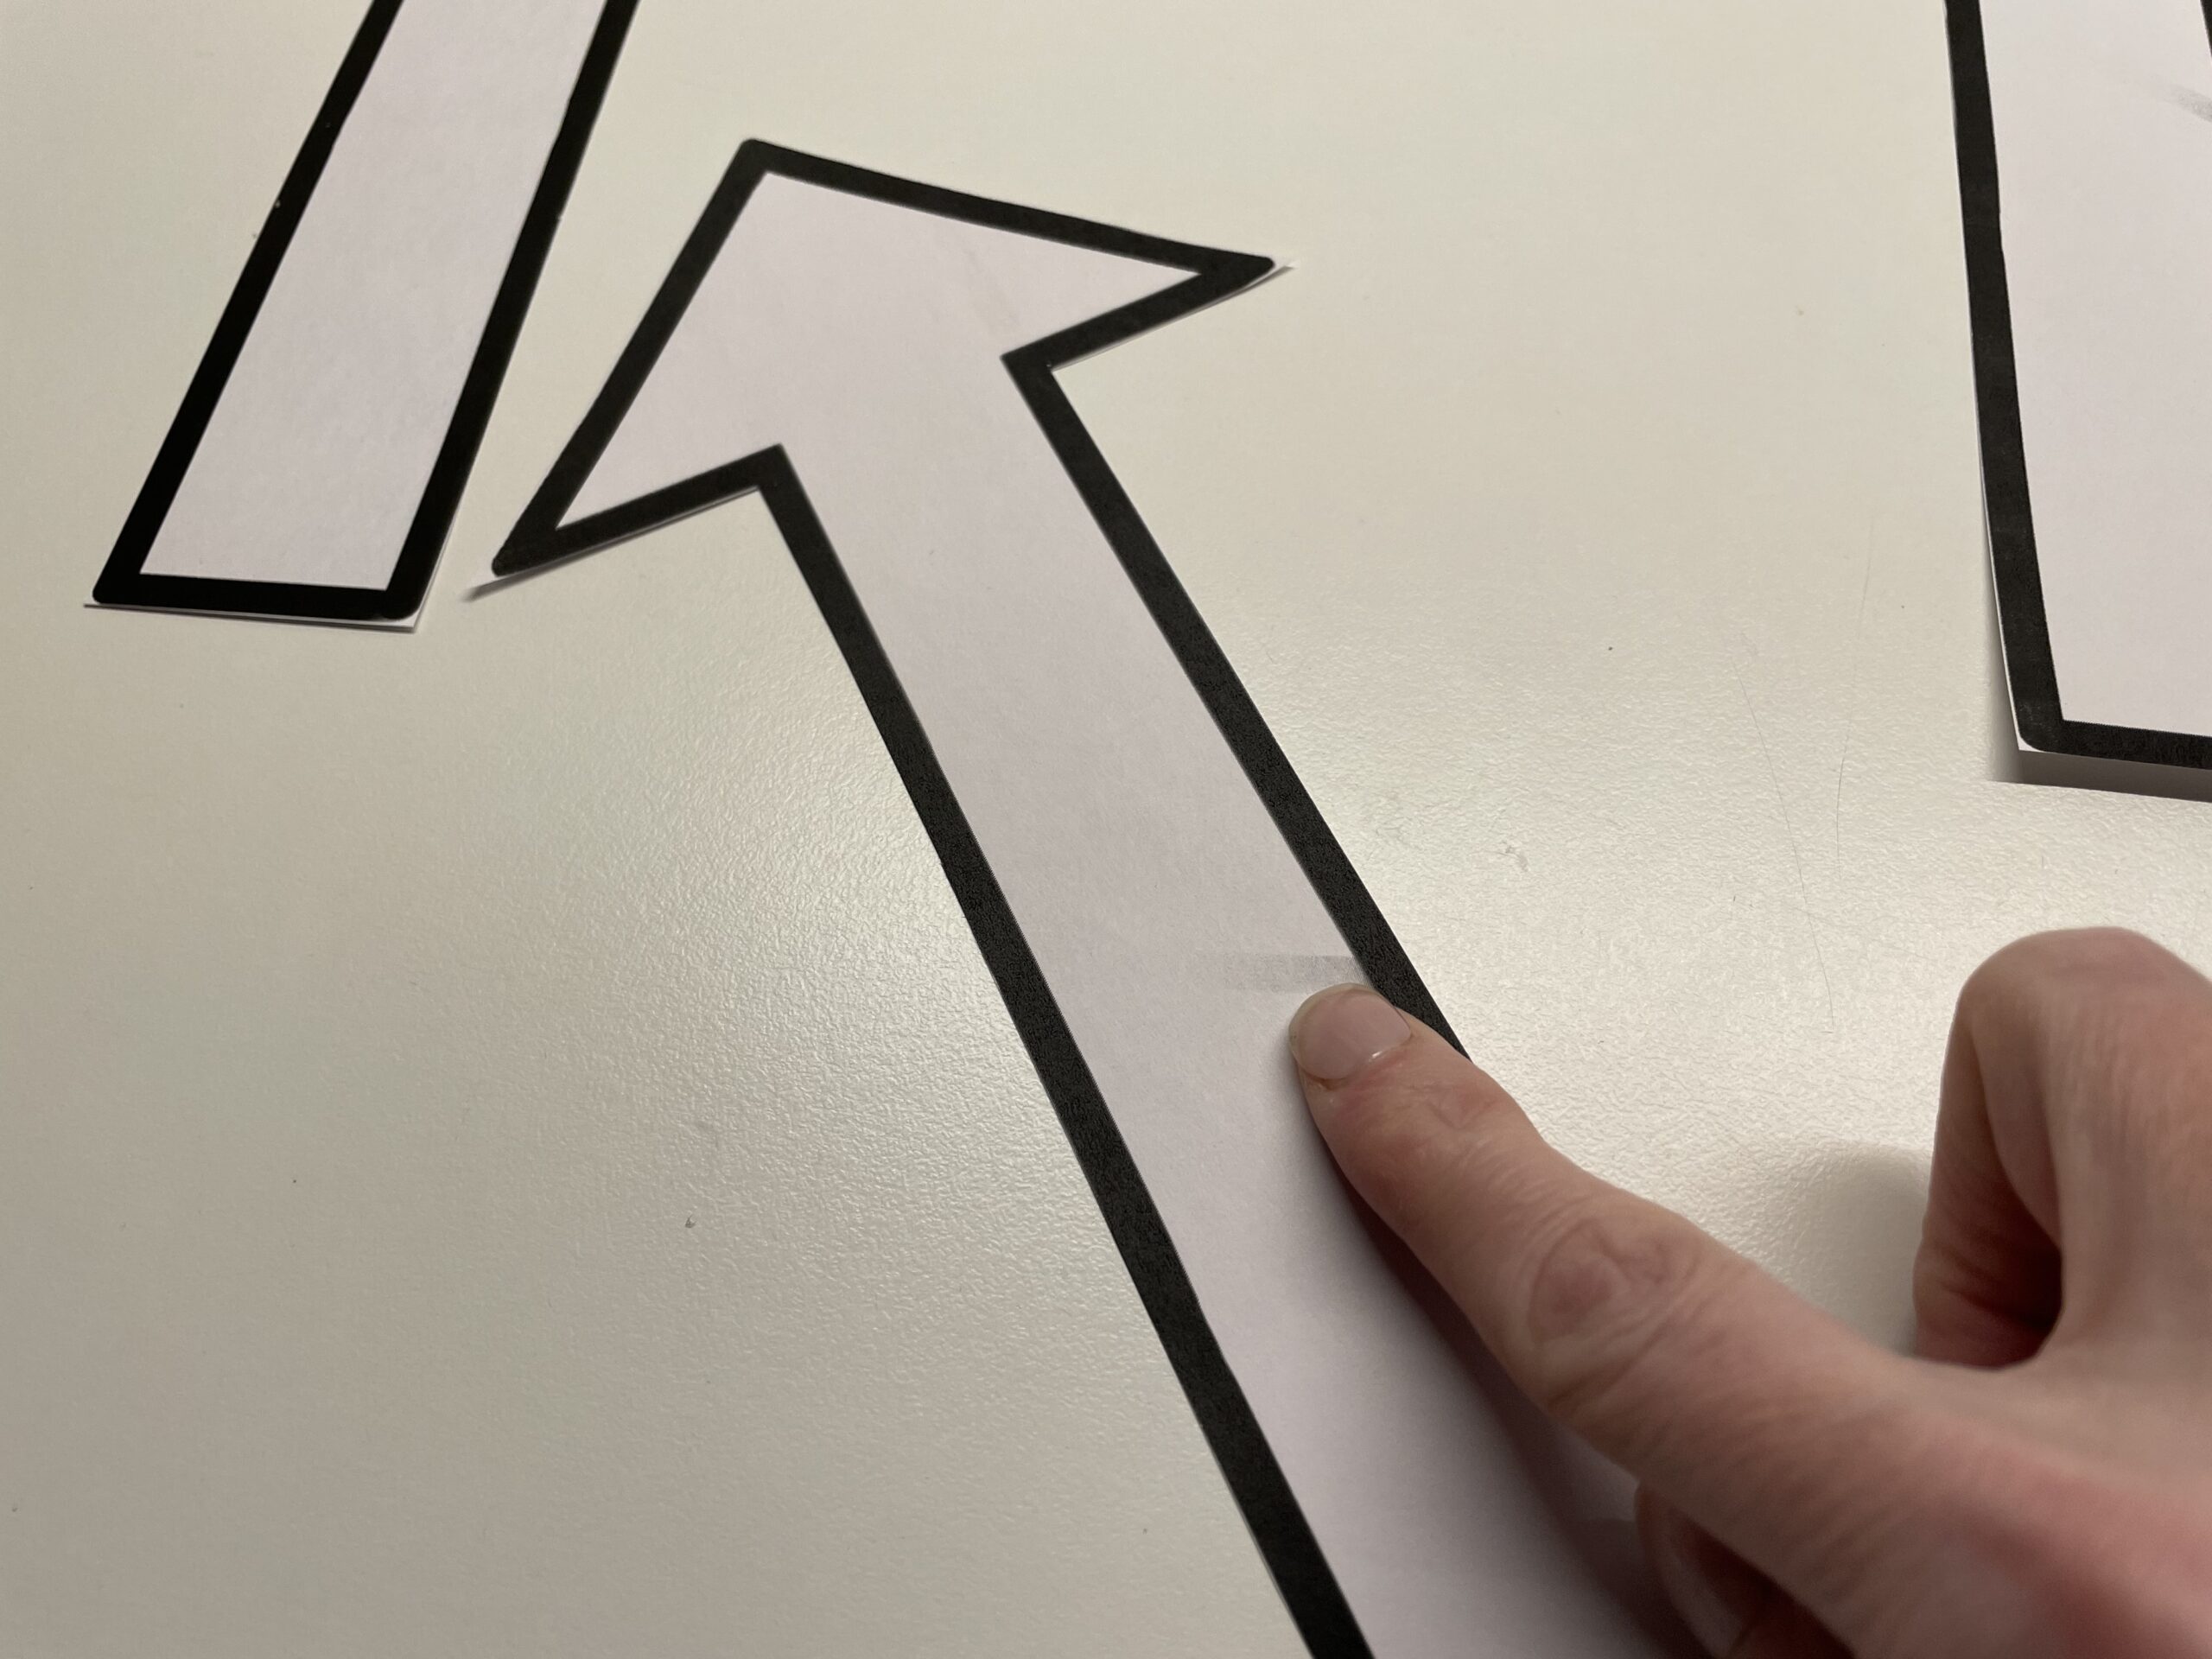
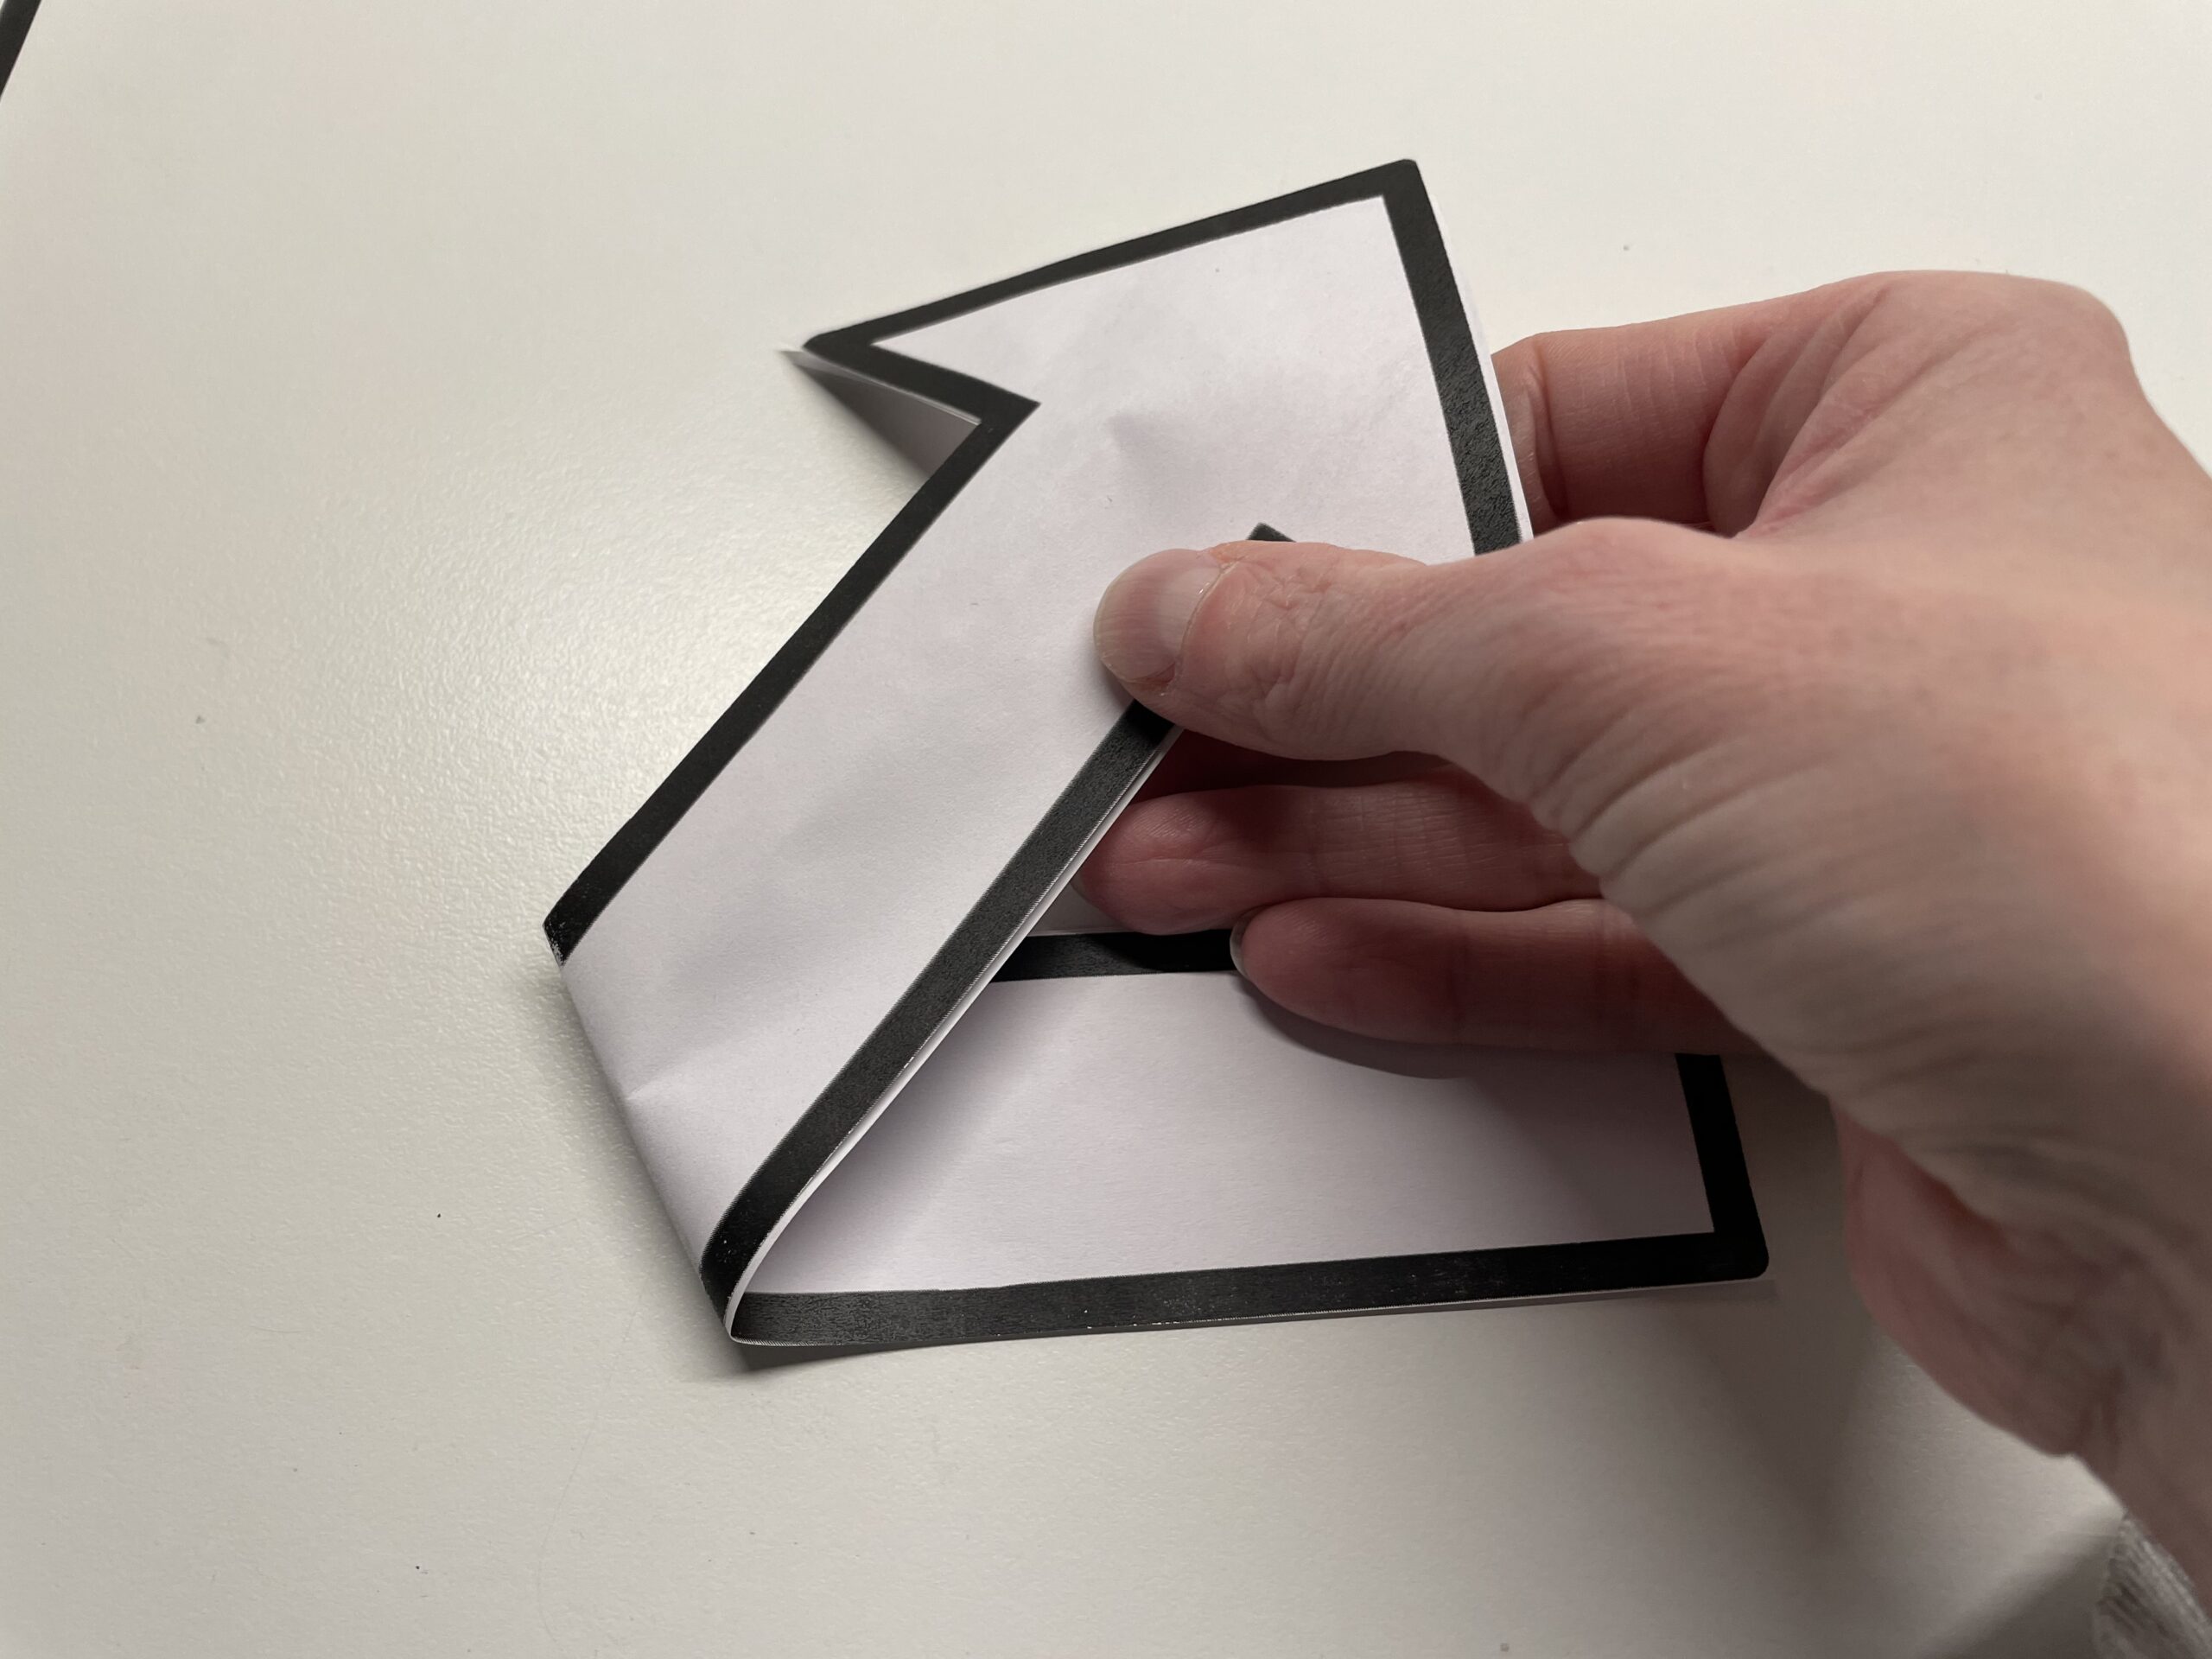
Place the arrow as seen in the picture and grab it at the arrow. Bend this arrow upwards.
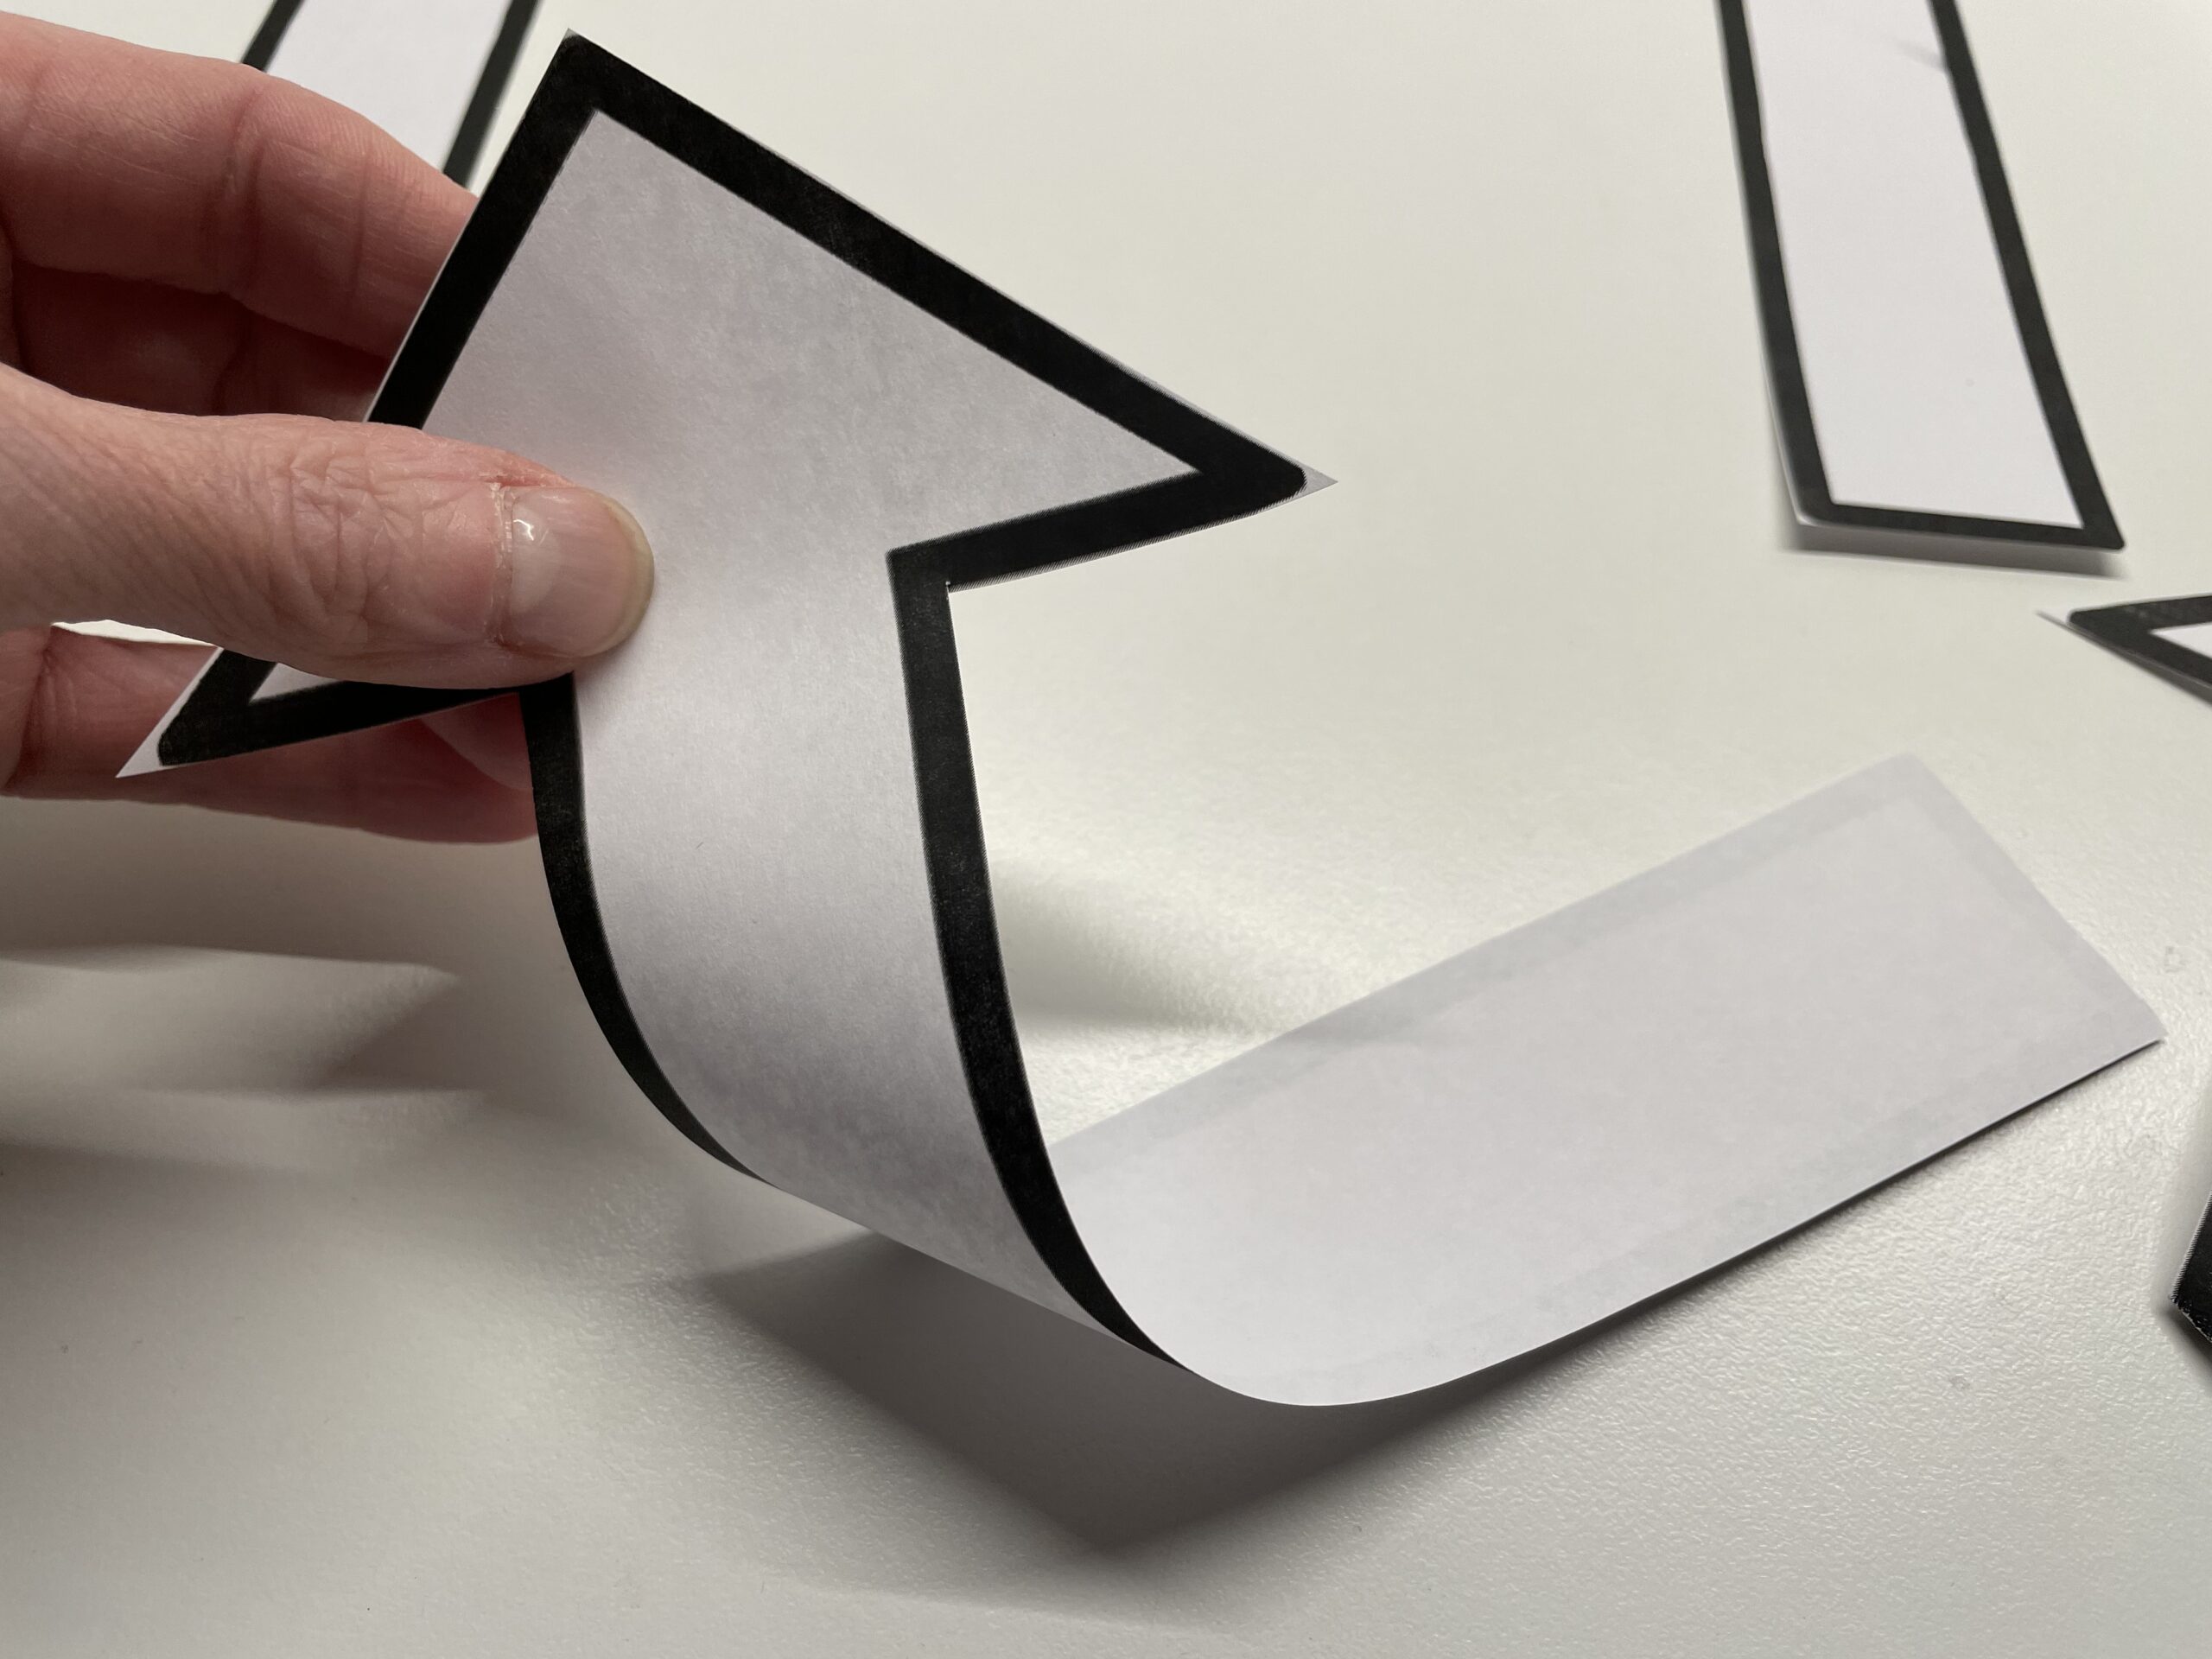
At the mark, the arrow is knotted and the fracture is smoothly striped.
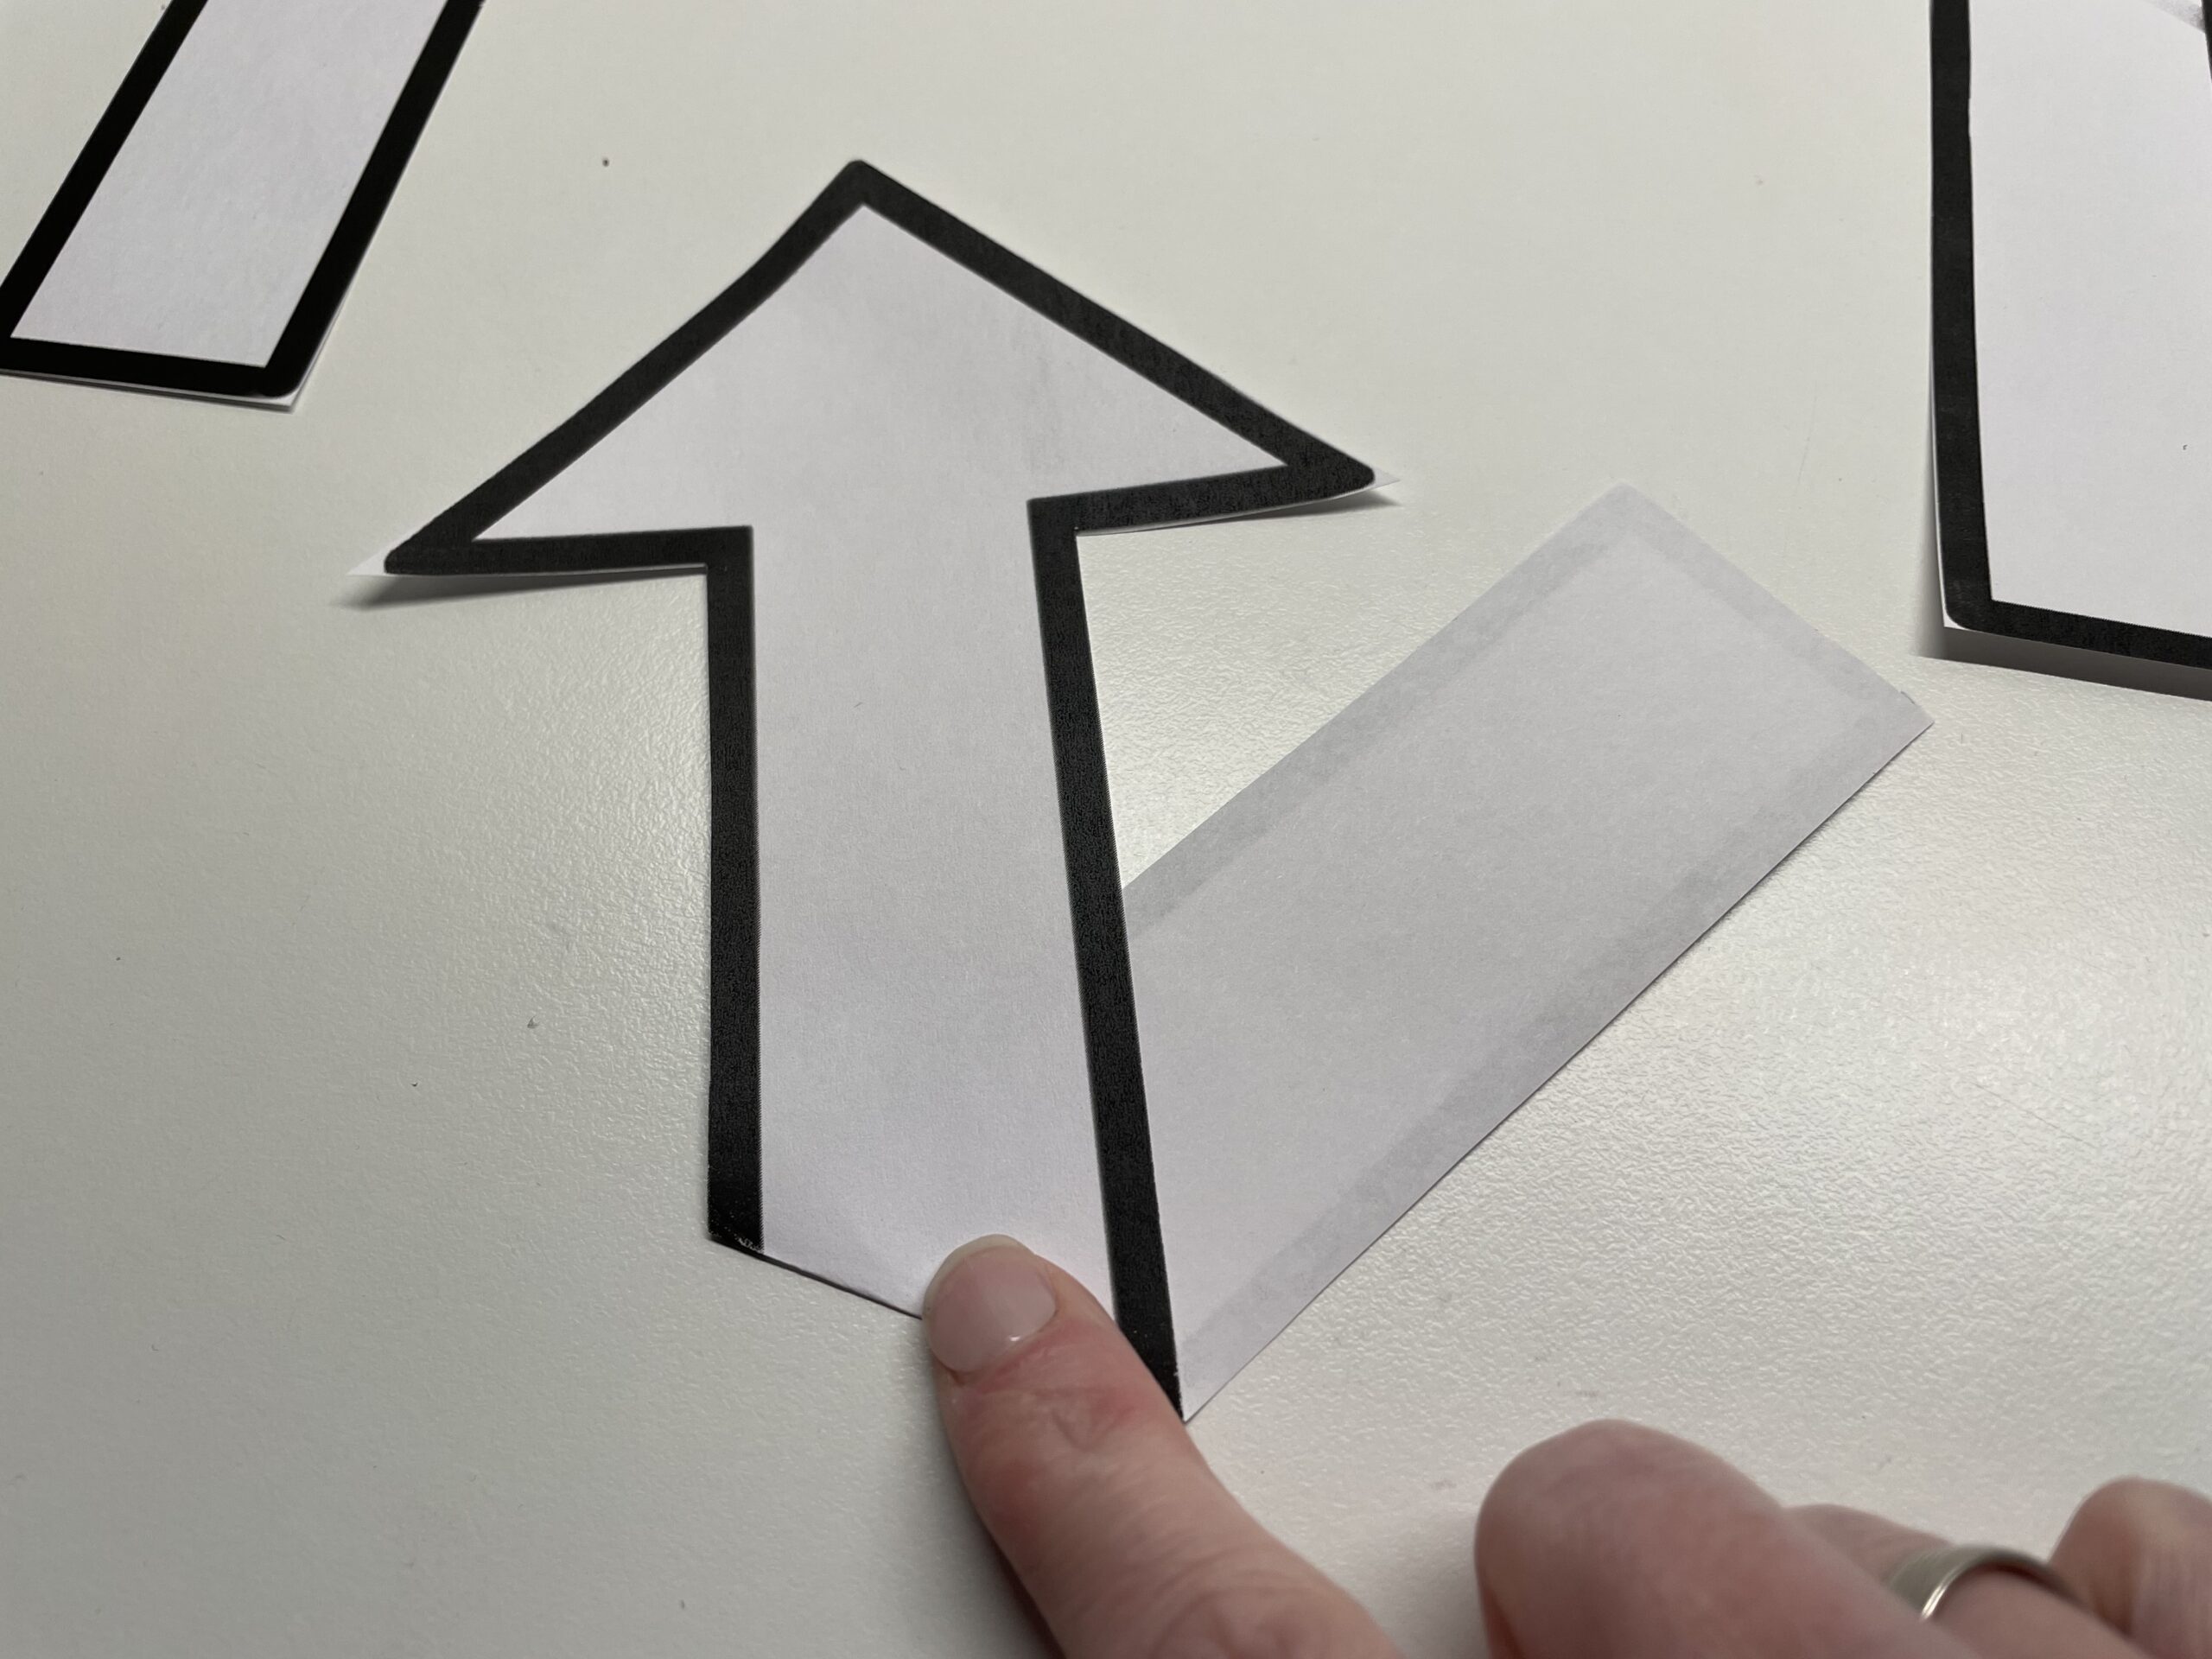
You need this arrow twice.

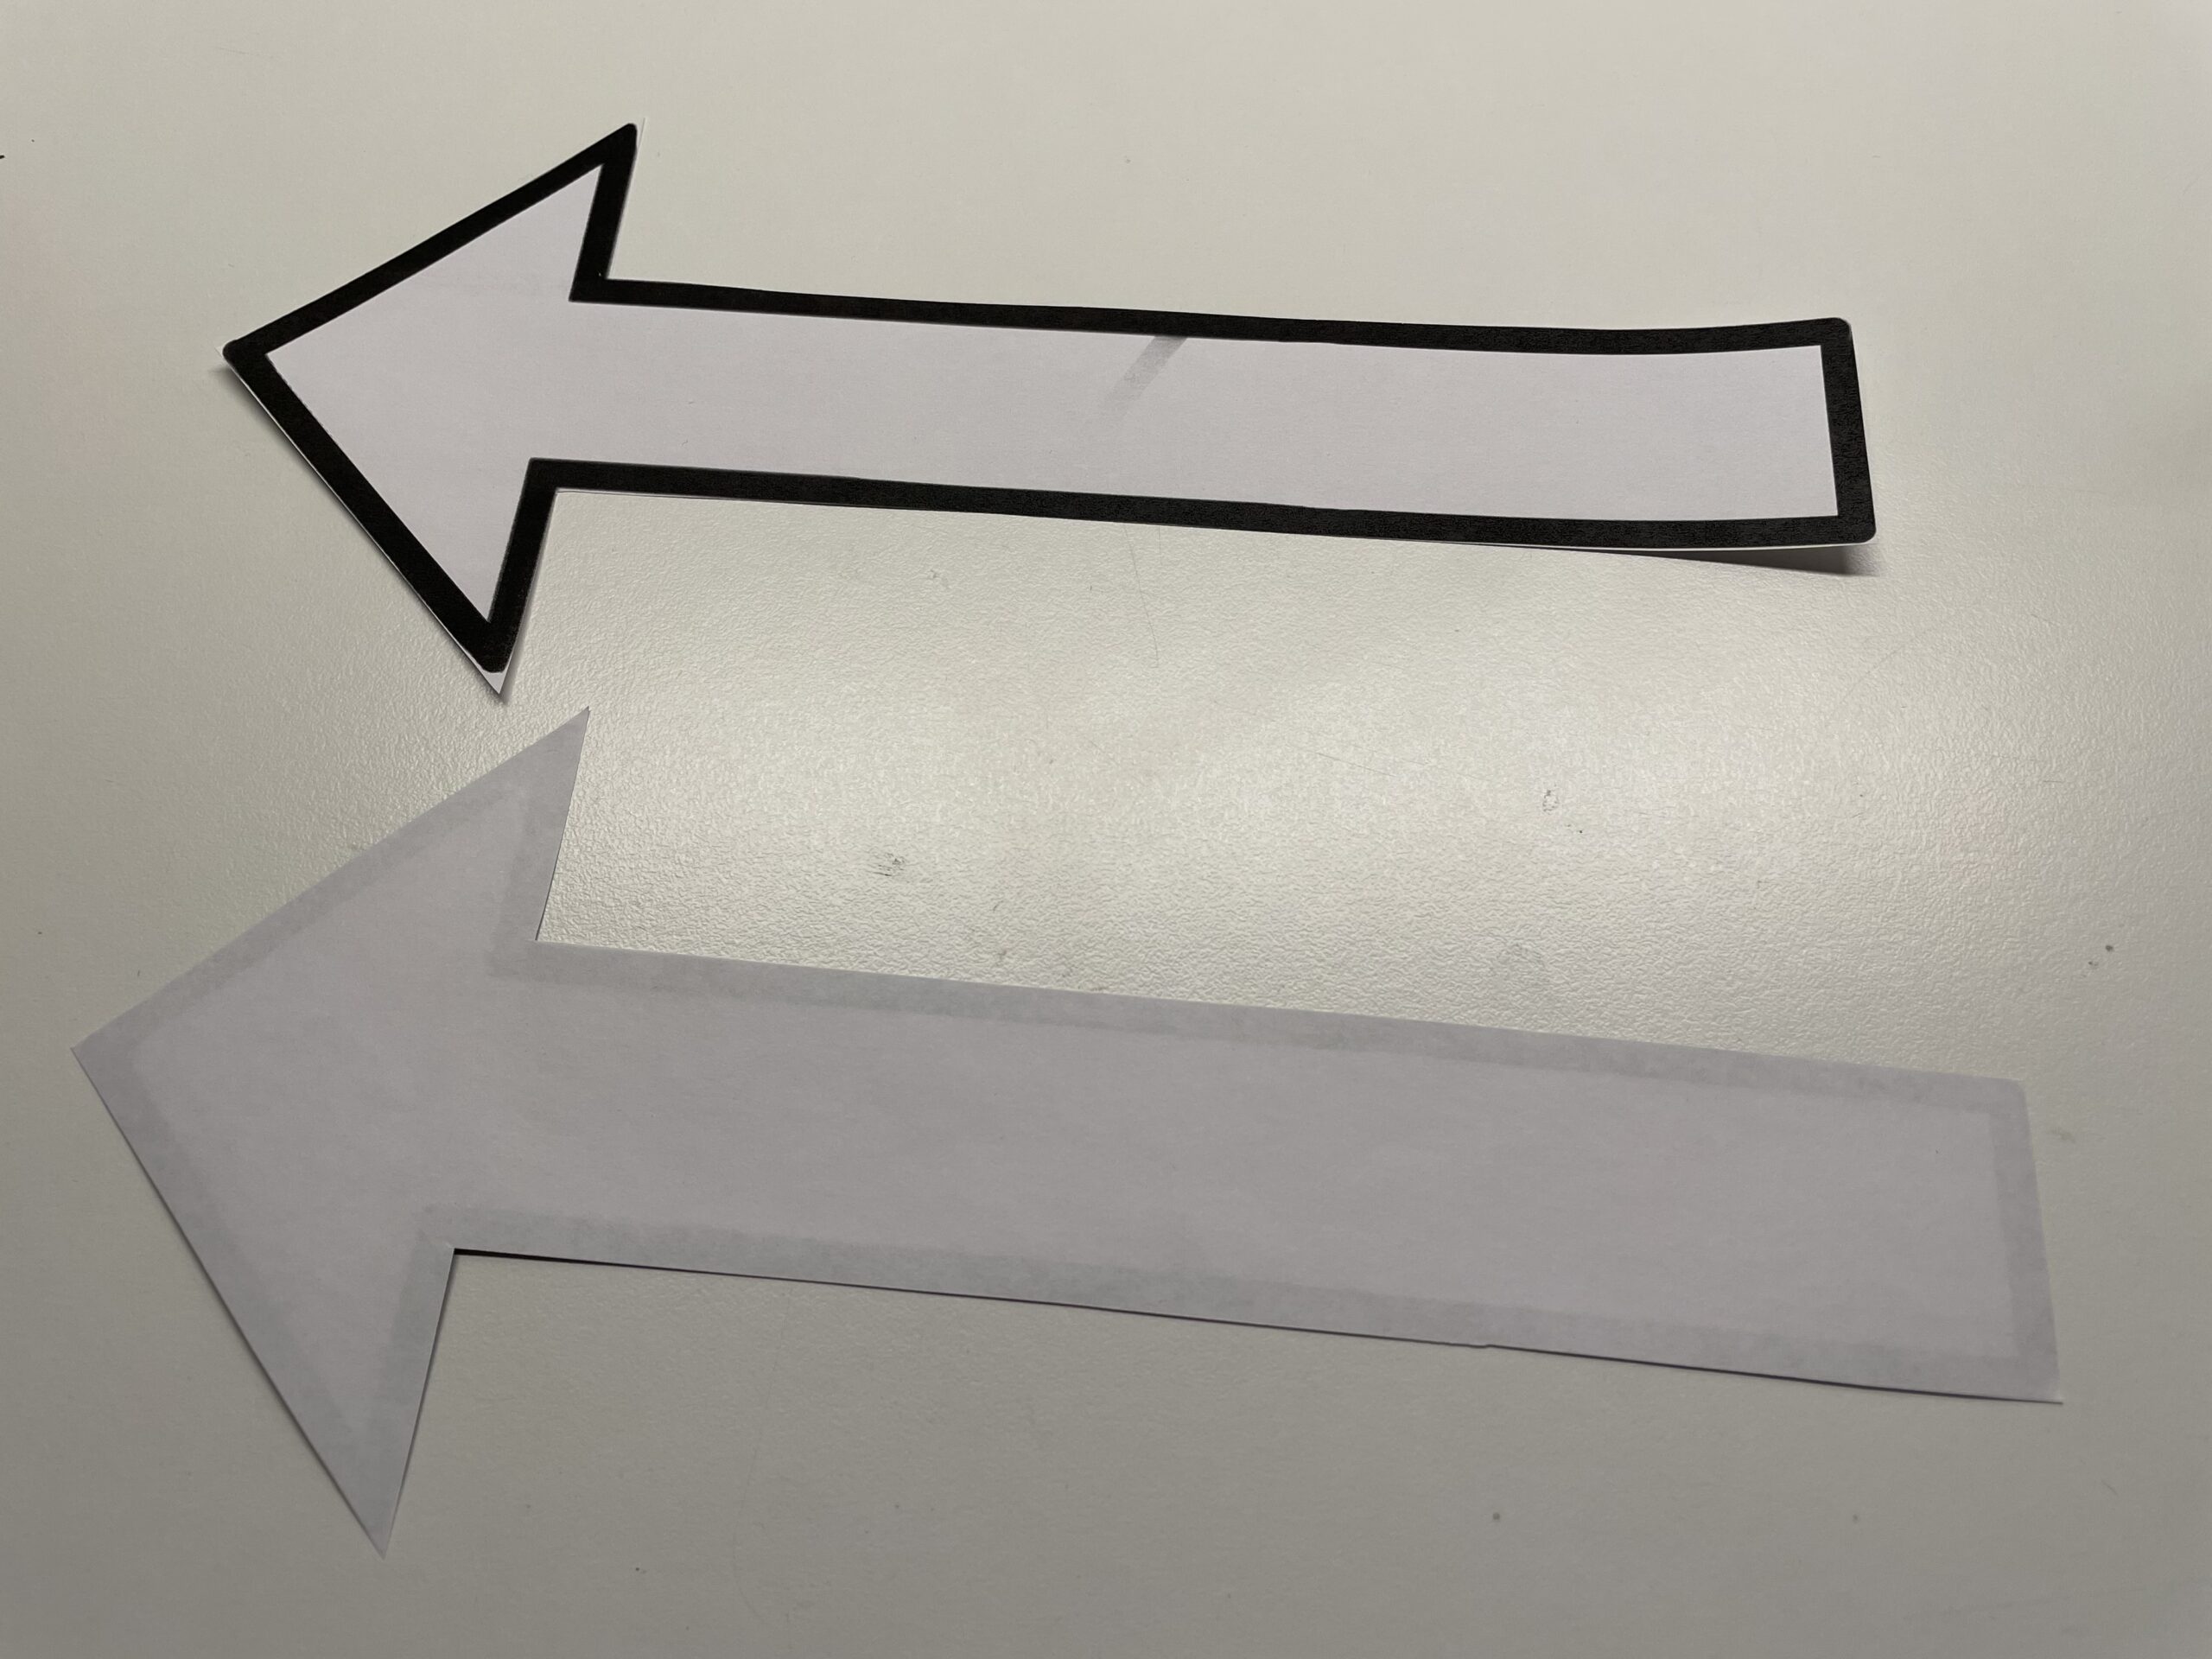
Fold up the arrow again and place it on the table. Place another unfolded arrow with the back up on the table.
These two arrows are now glued to each other. Add glue to the back of one arrow and place the other on it.
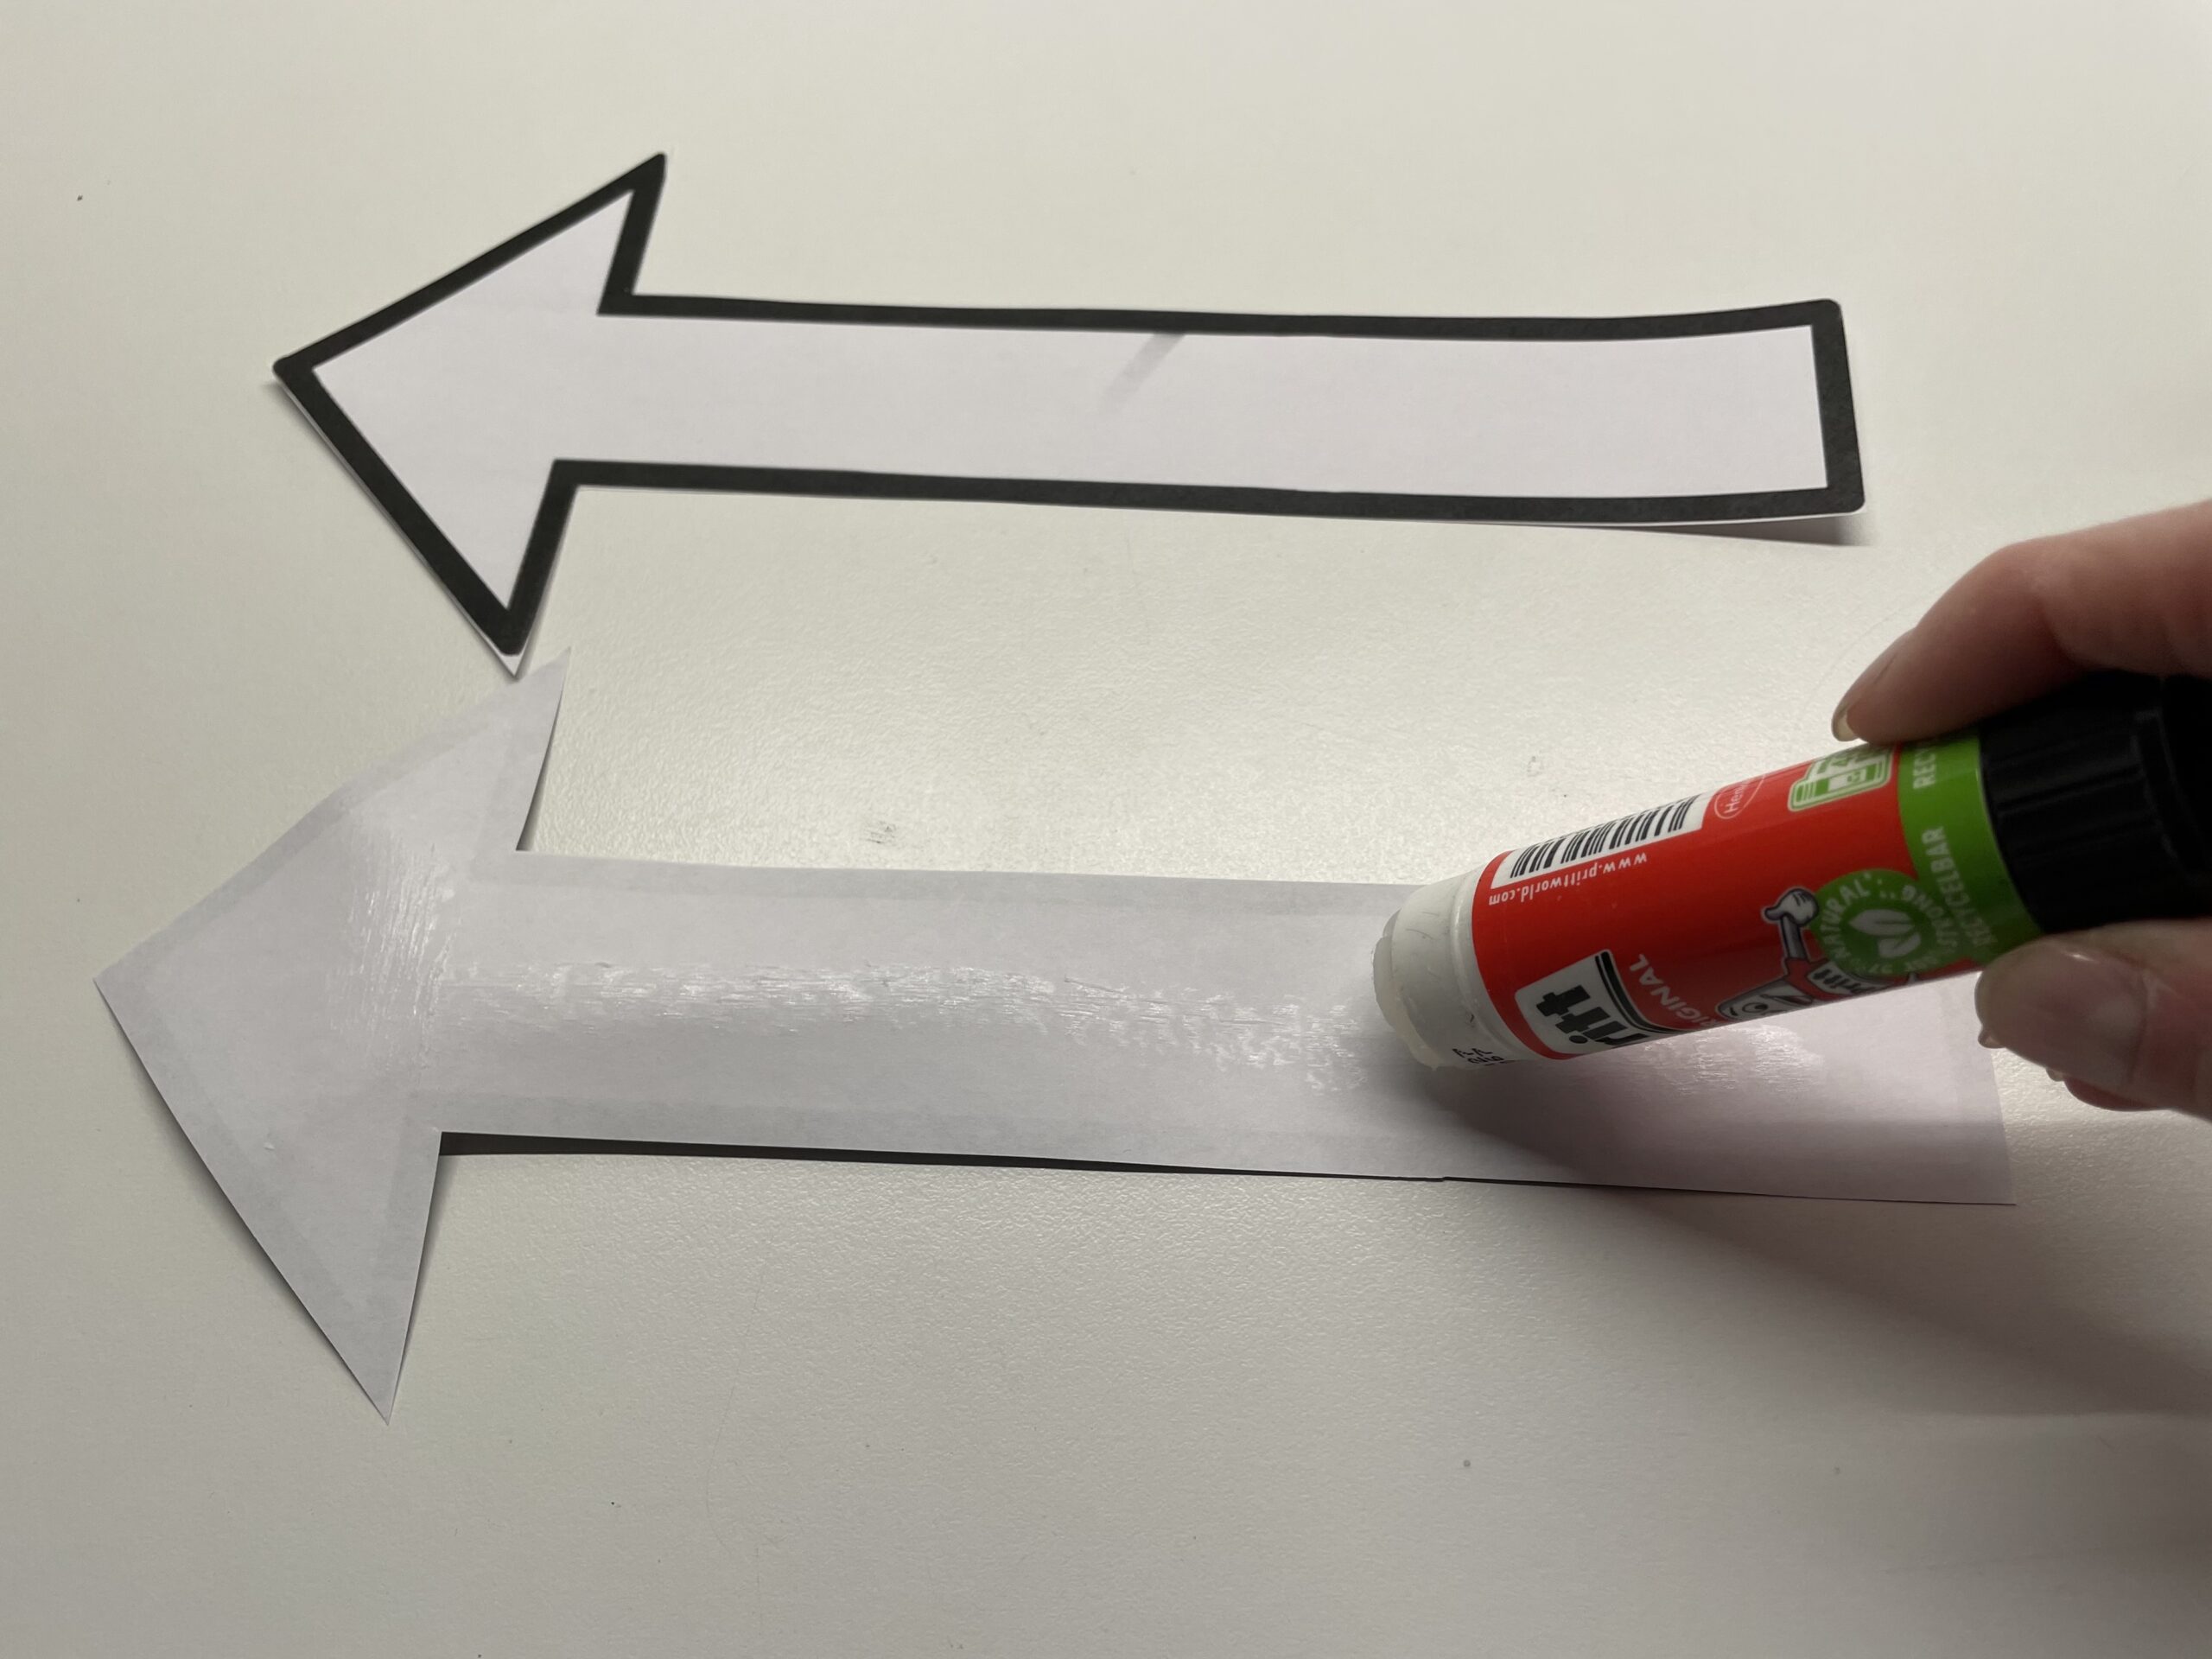
The one, previously folded, arrow thus allows a simpler buckling of the double lying paper.
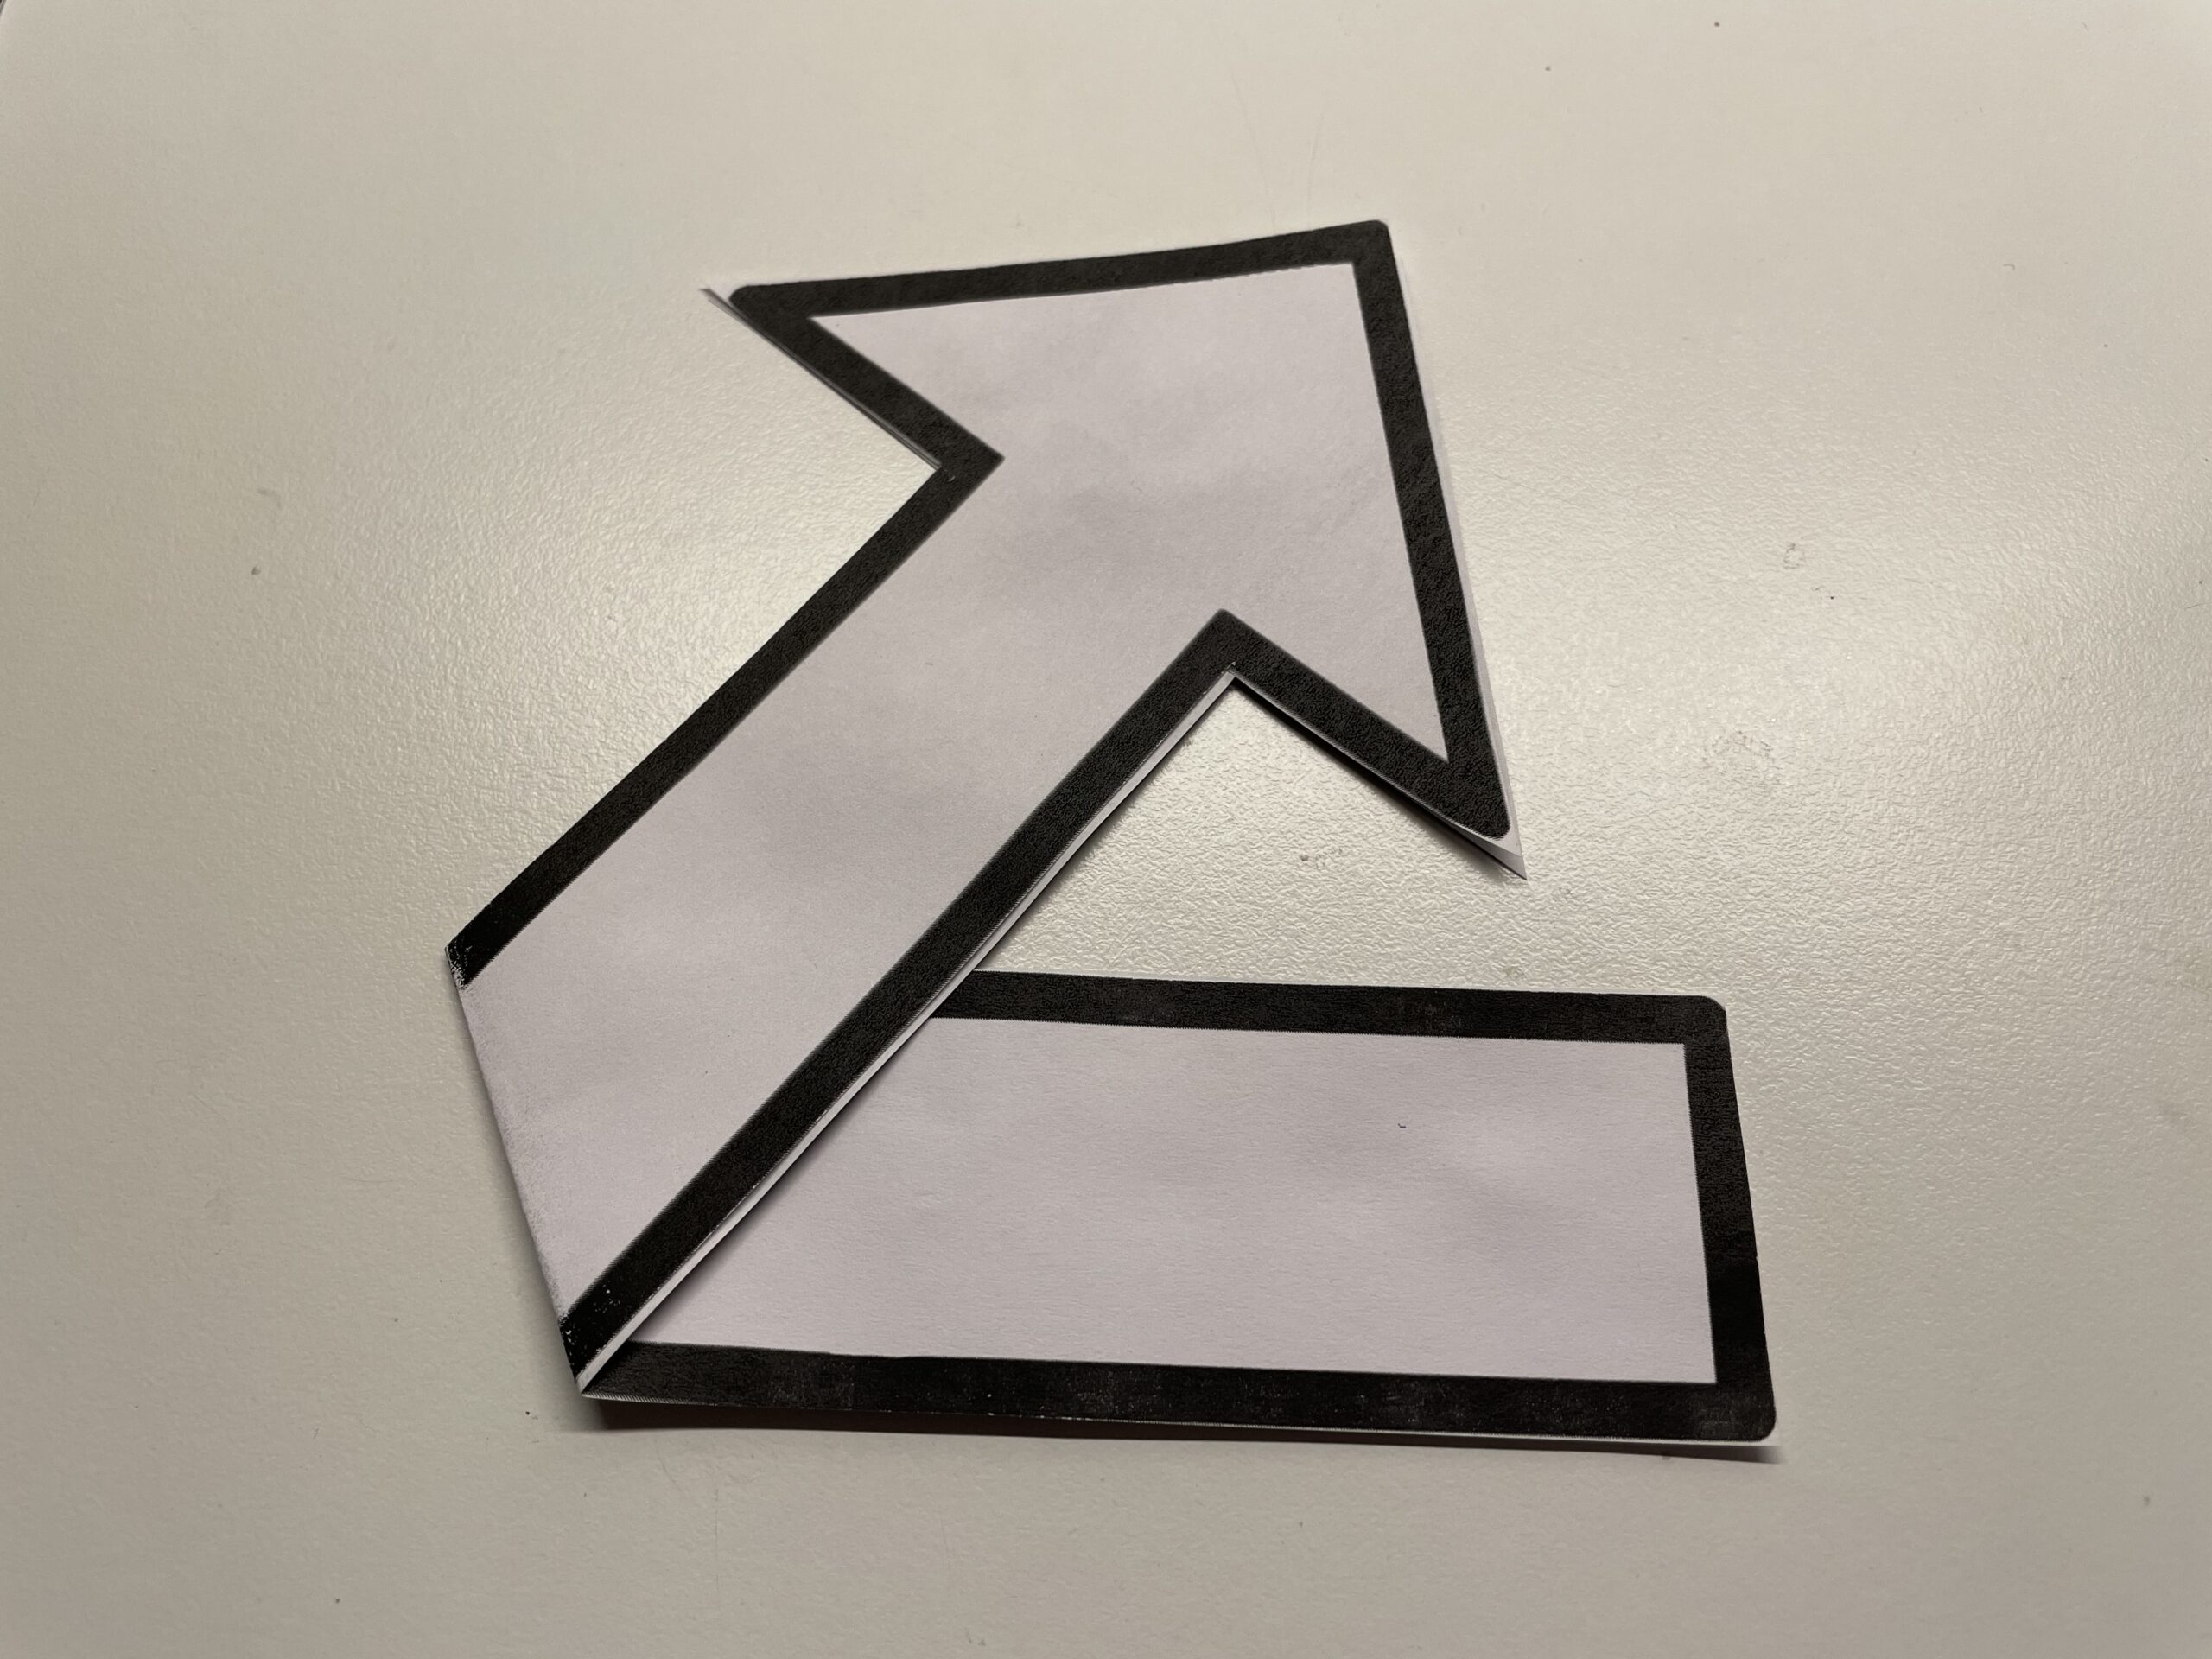
Now you can see the complete arrow with painted edges.
Repeats the process with another arrow.
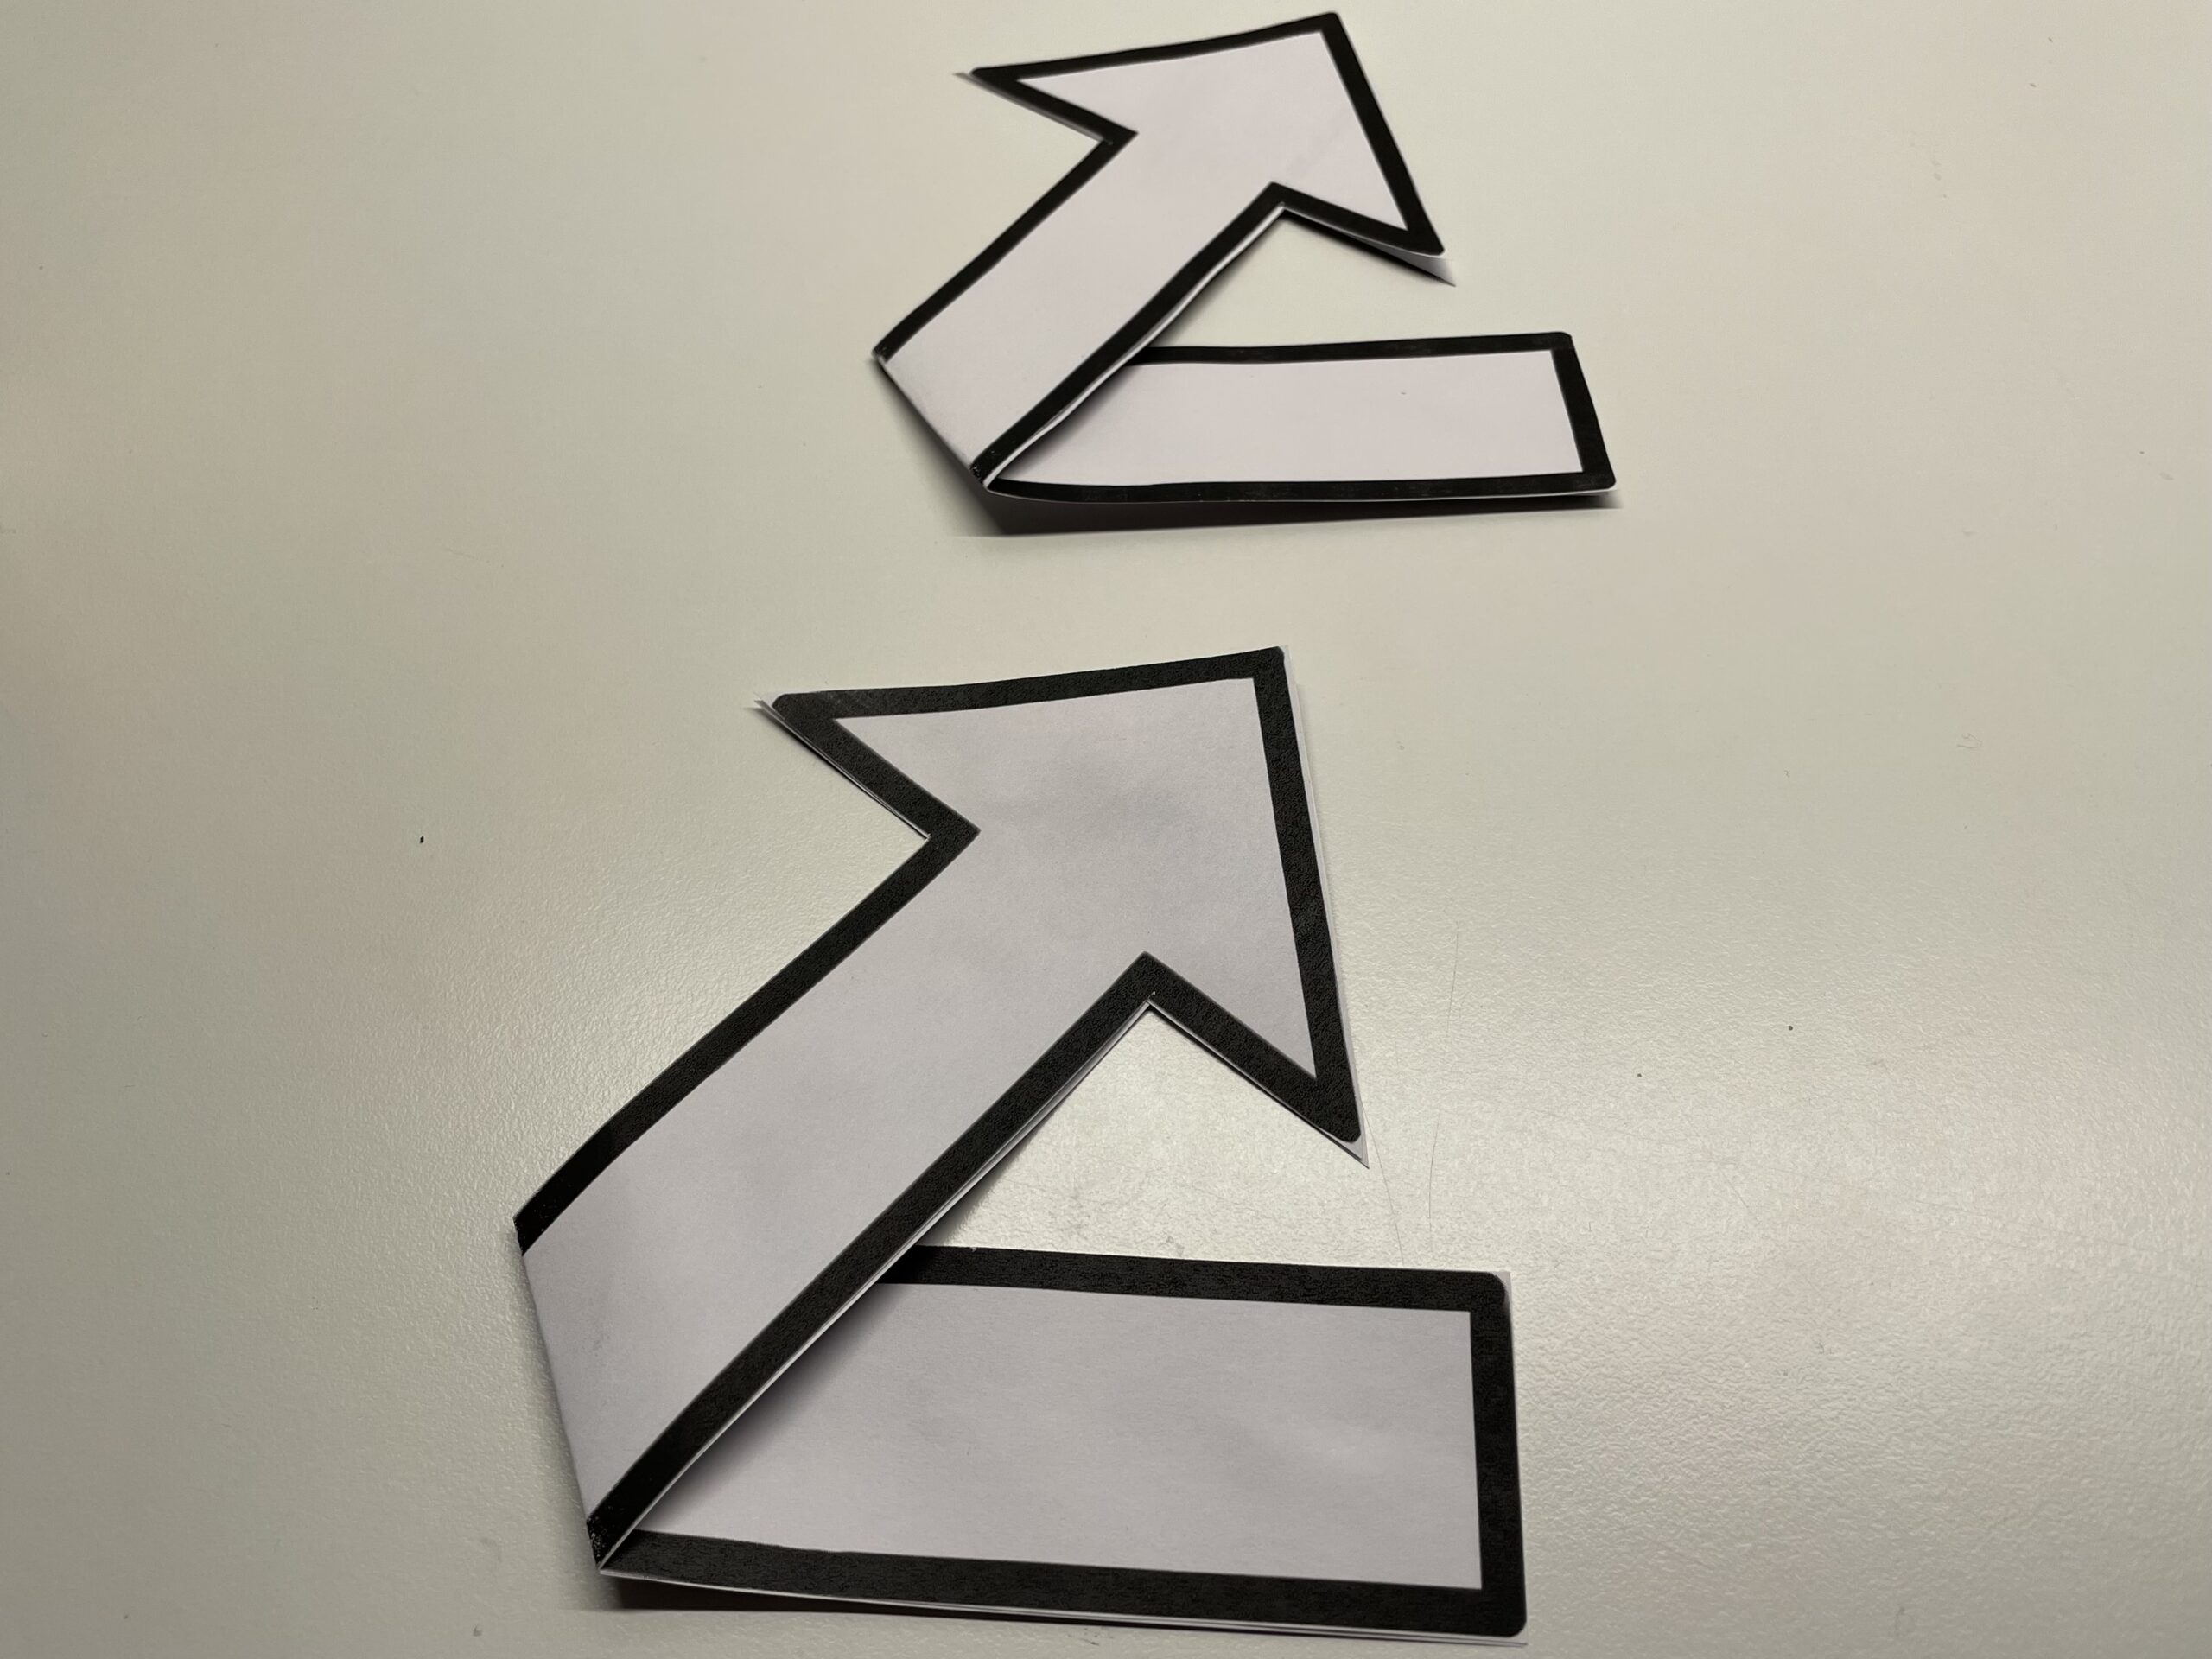
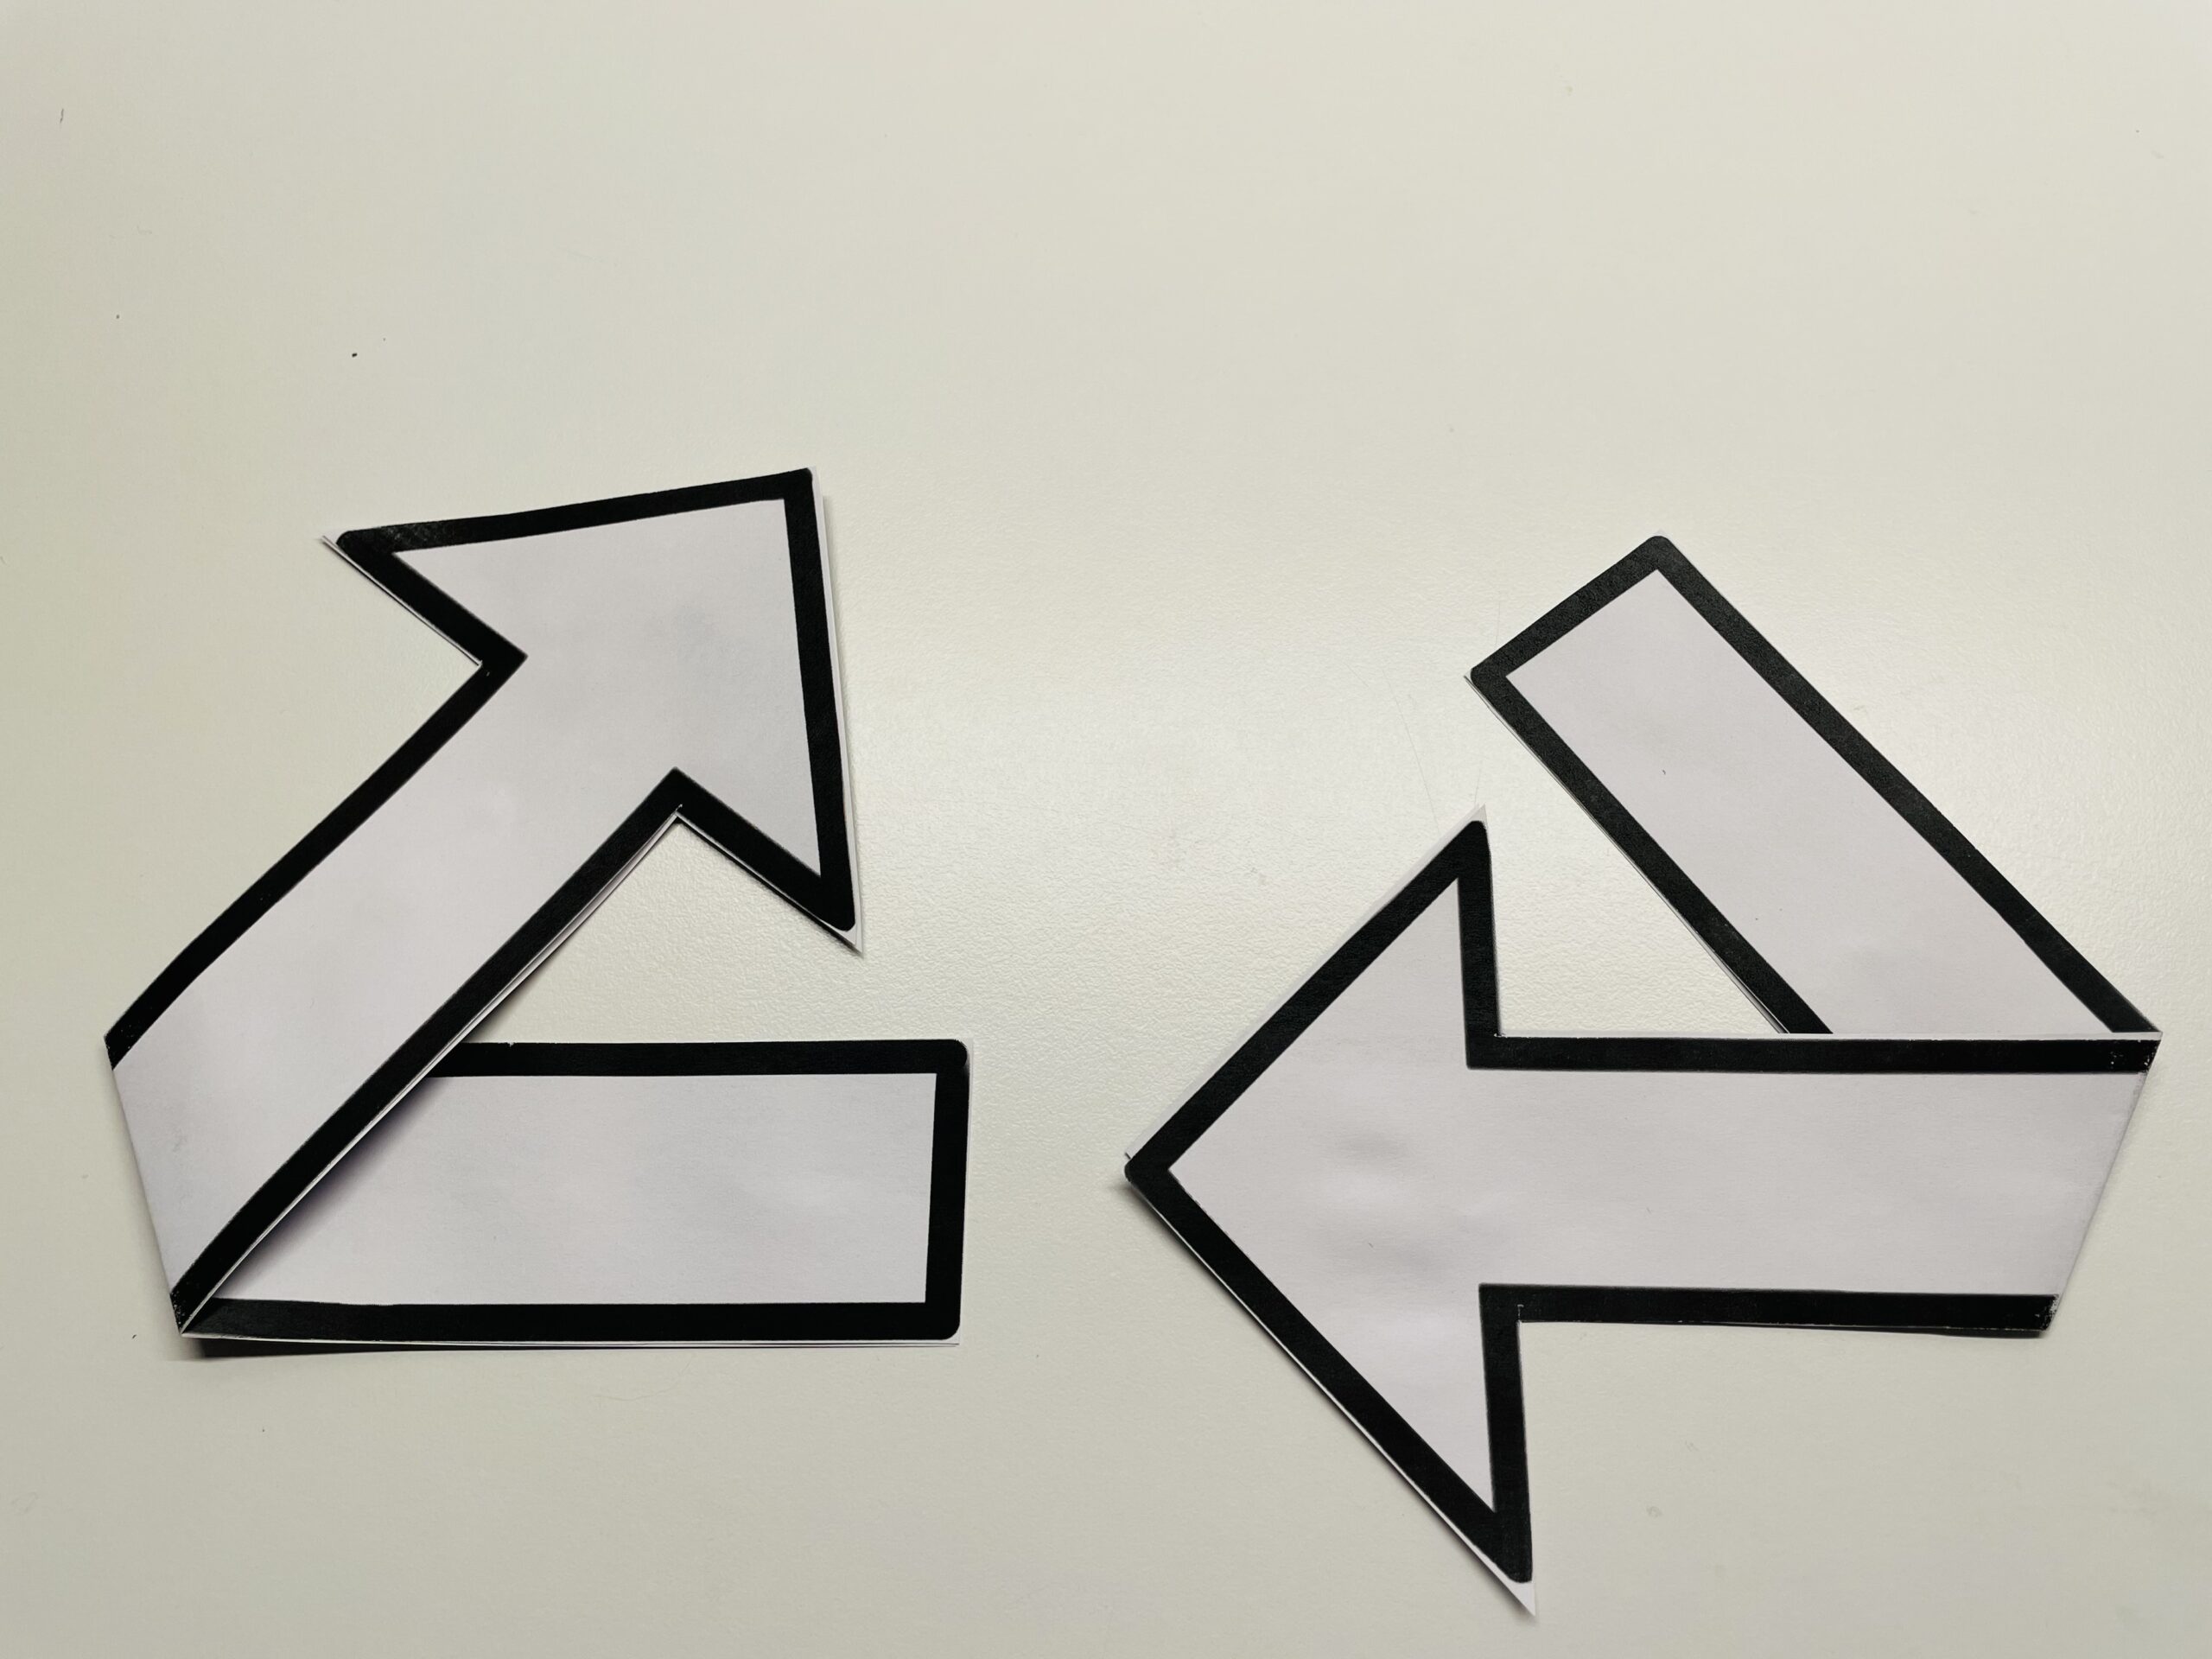
Both arrows are placed (as shown in the picture) as a base.
Another third arrow will not be knotted before. Glue both papers to each other and fold about 5cm from the bottom to the top. You can also shorten the arrow.
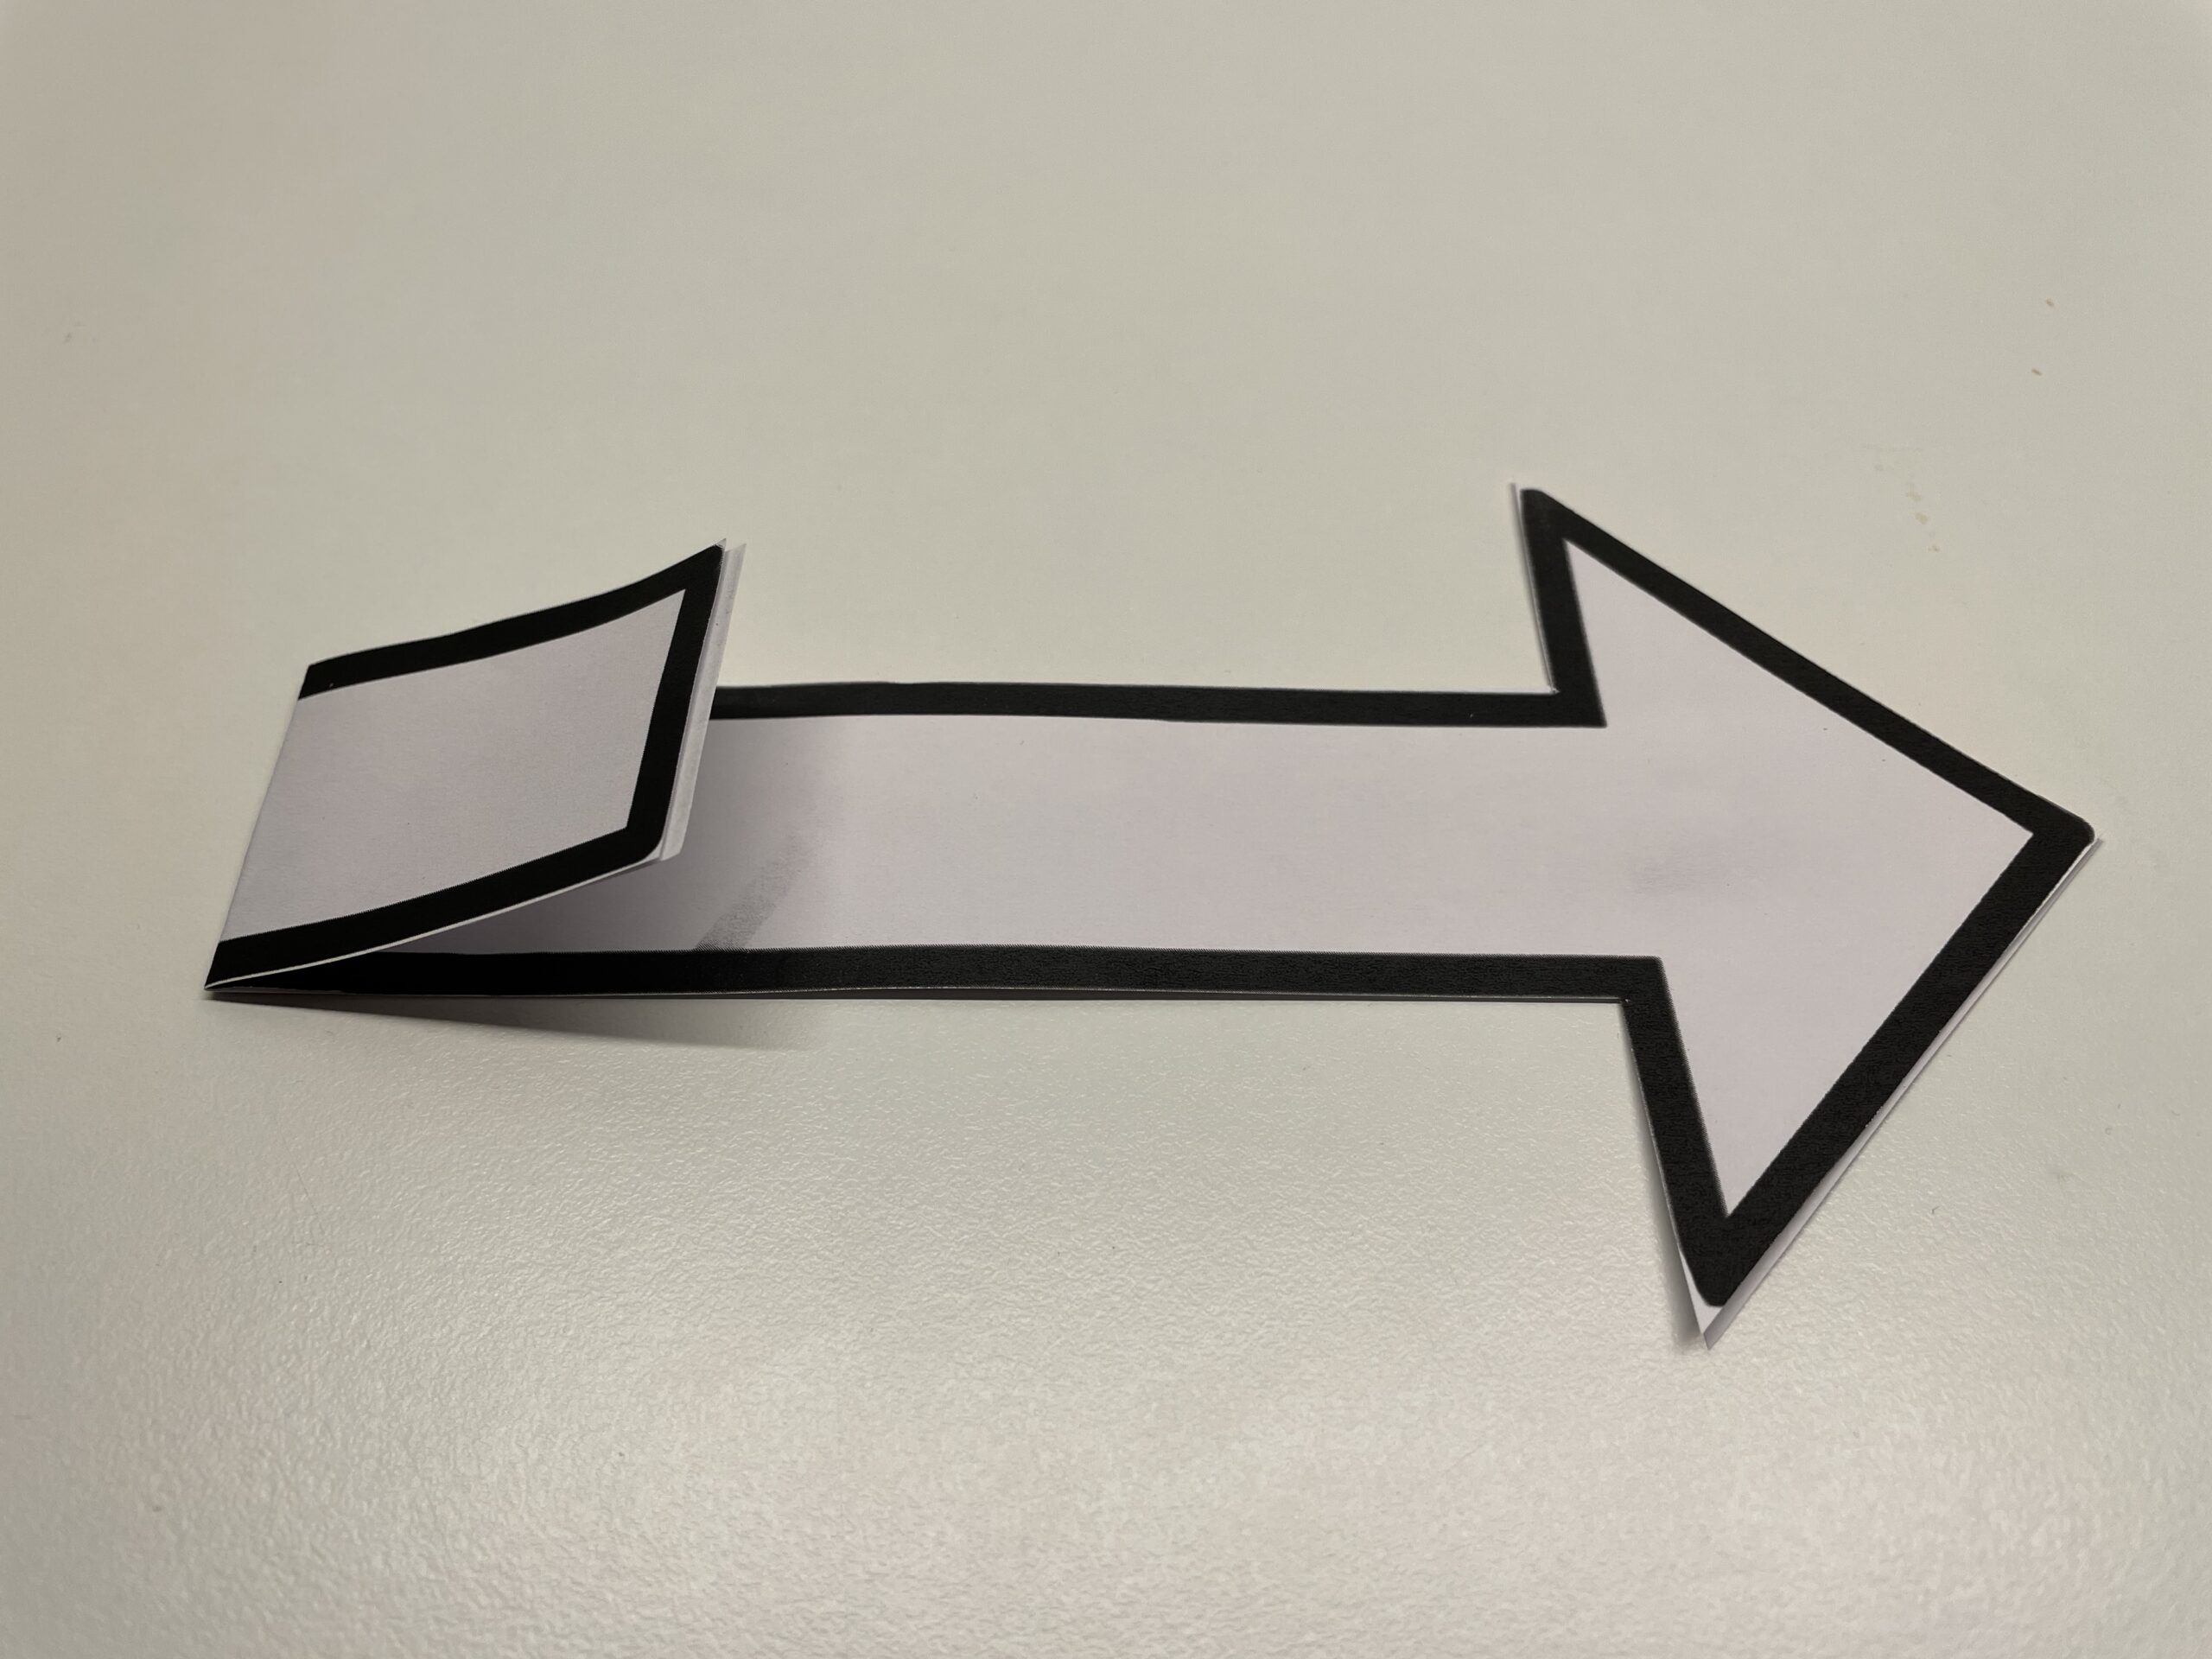
Place the straight arrow diagonally upwards to the other arrows. (See picture)
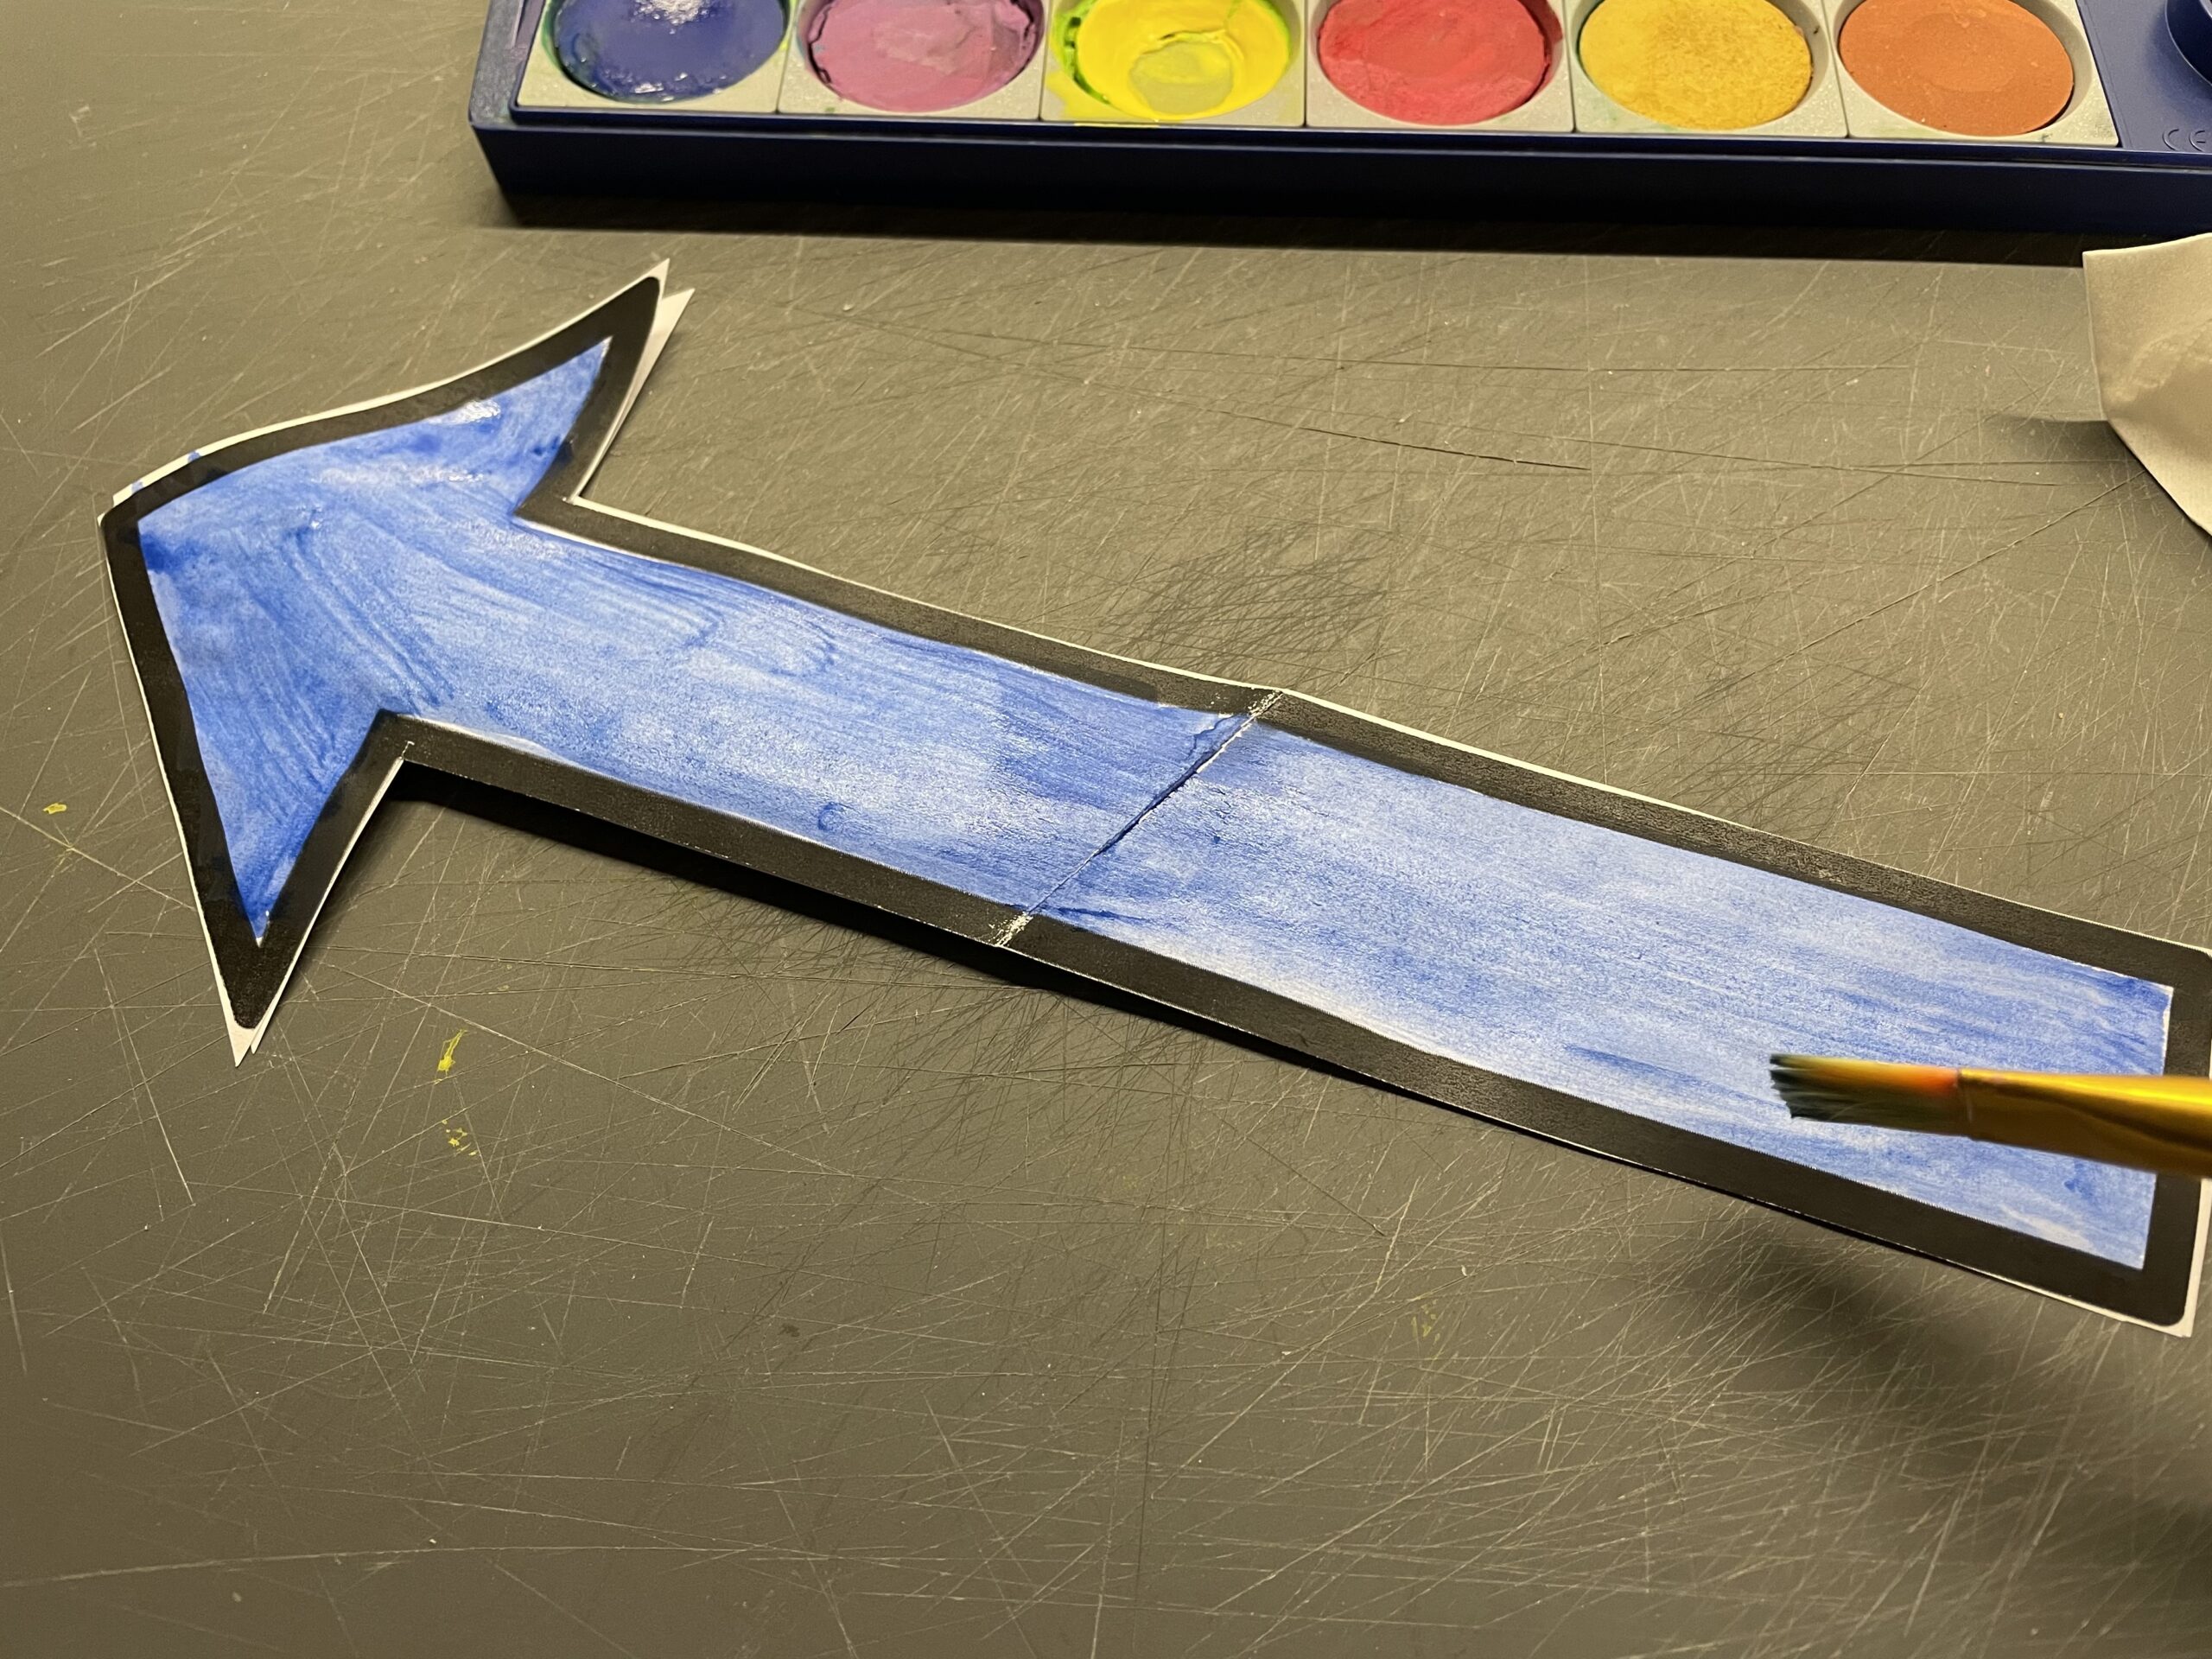
If you want to implement our idea, you need watercolours, crayons, crayons or crayons.

Painted a bent arrow from both sides with blue color.
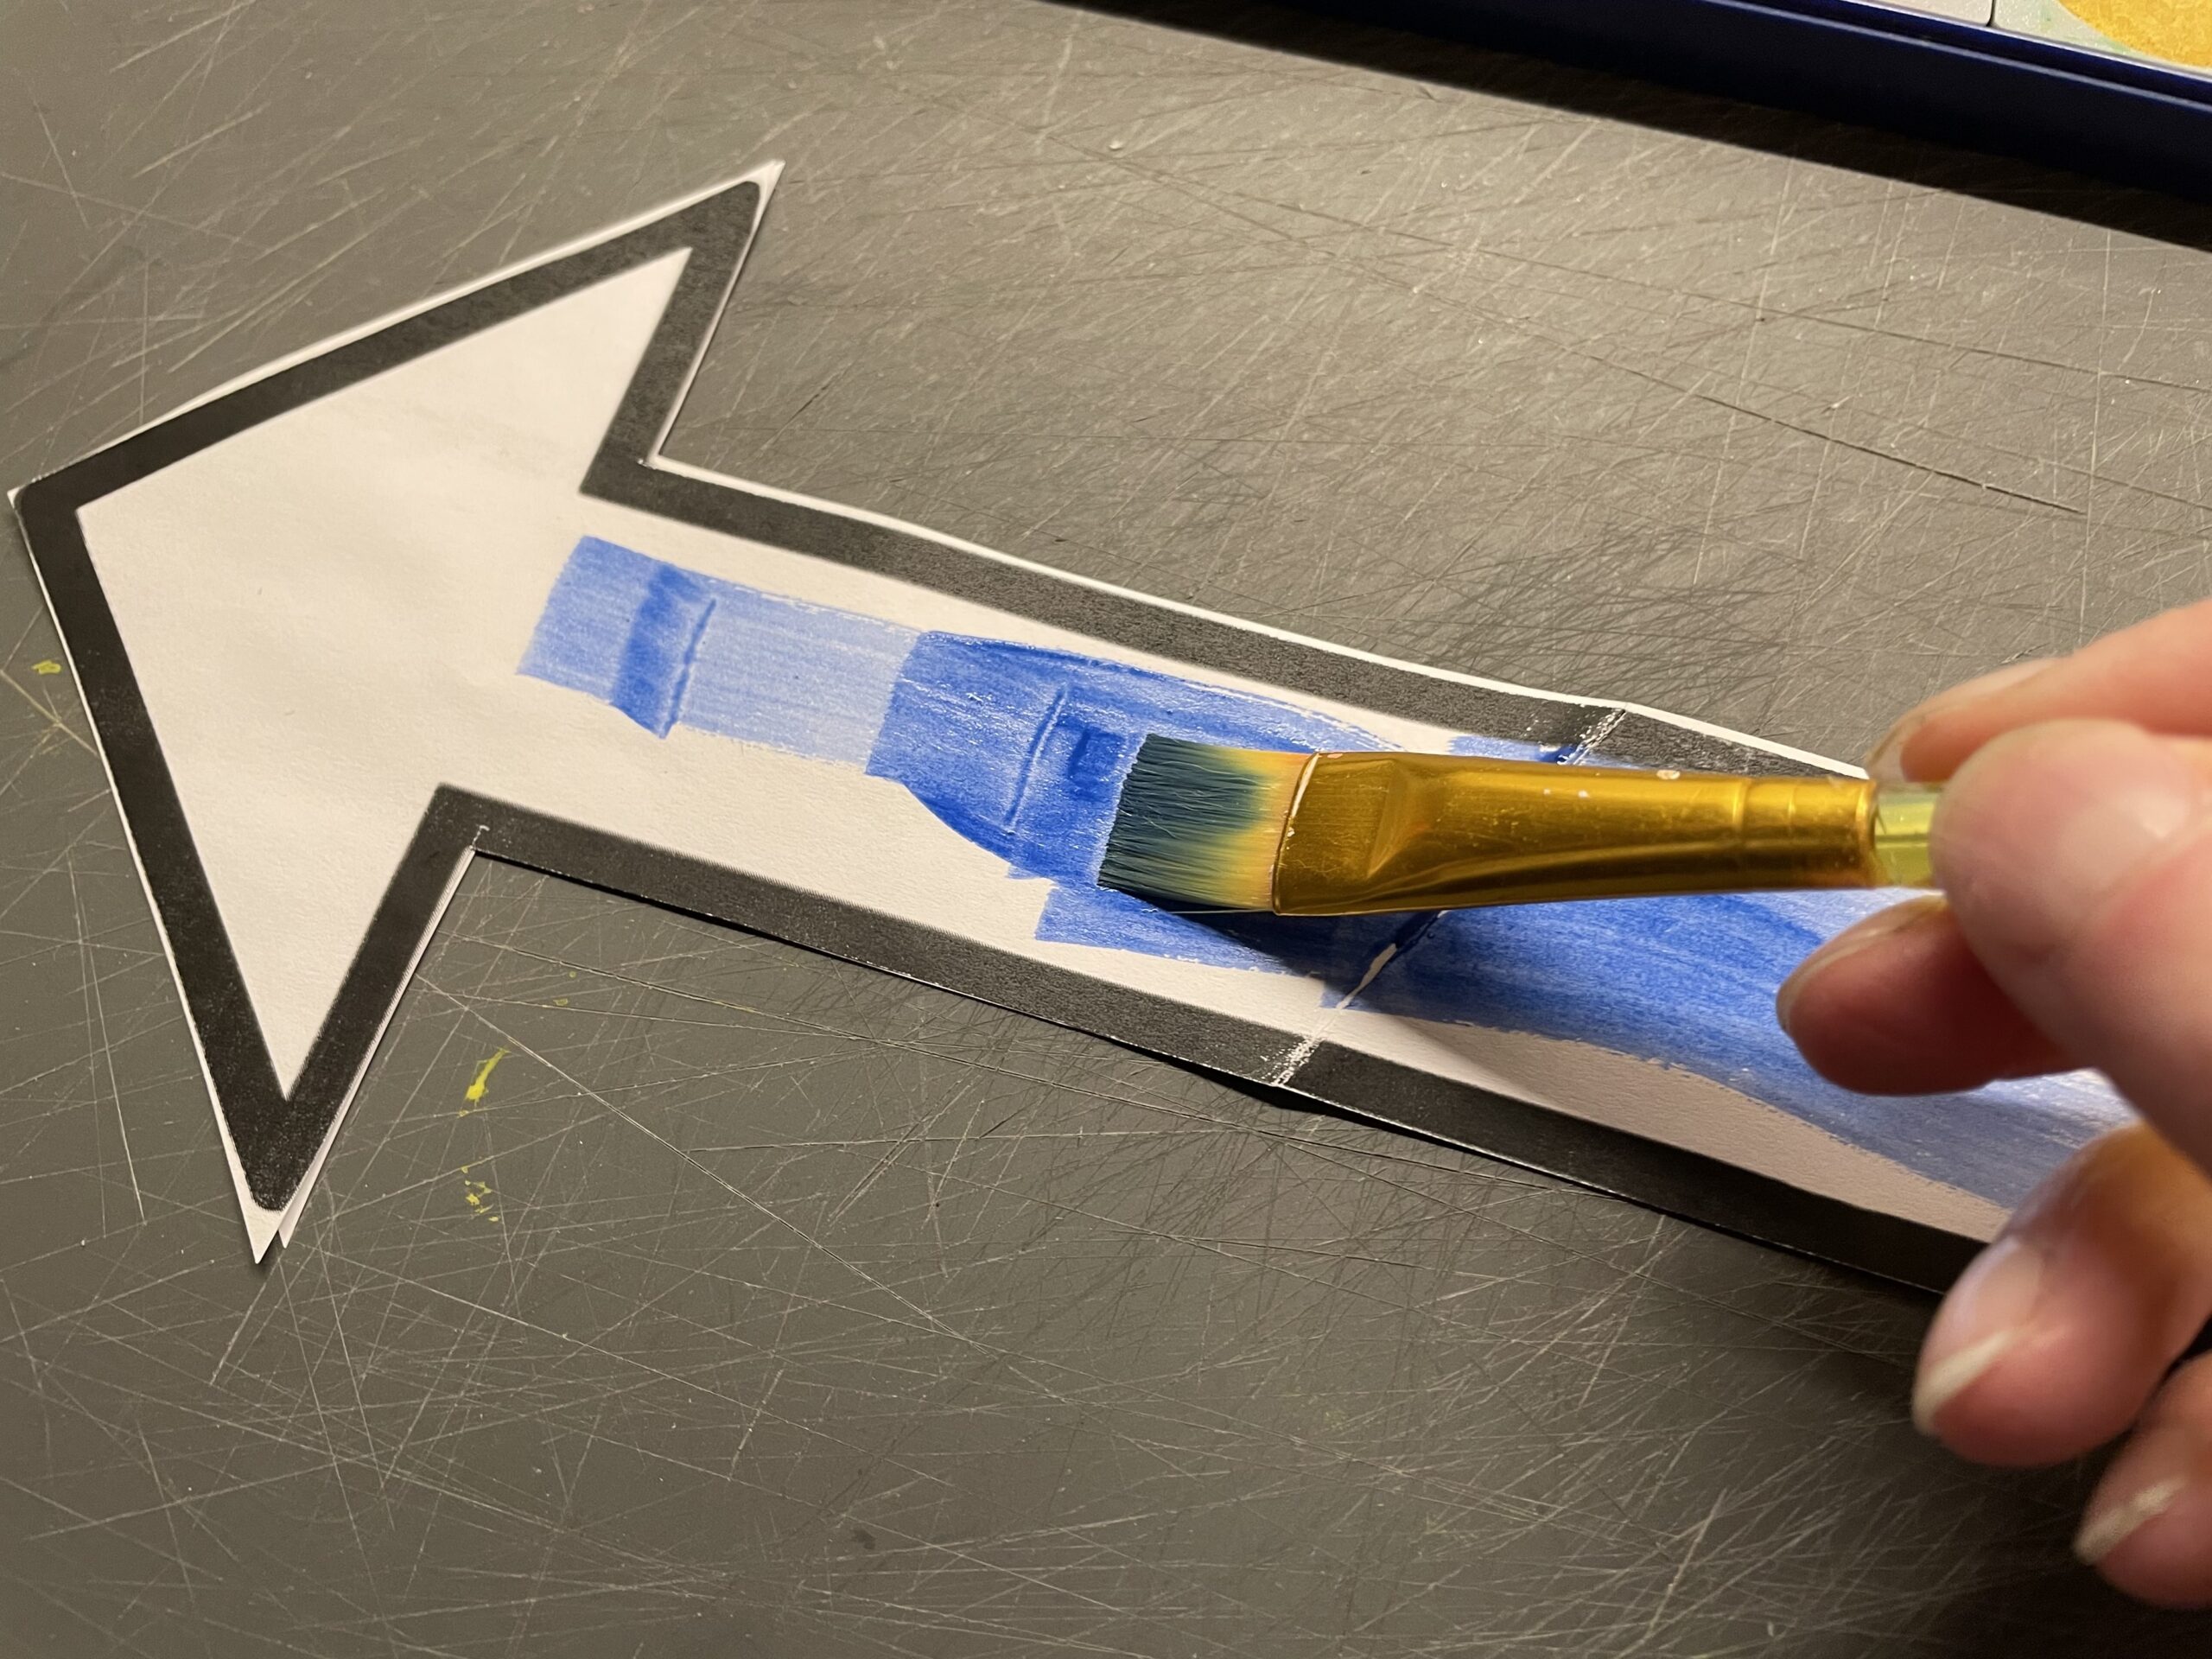
Let the front dry well before painting the back.
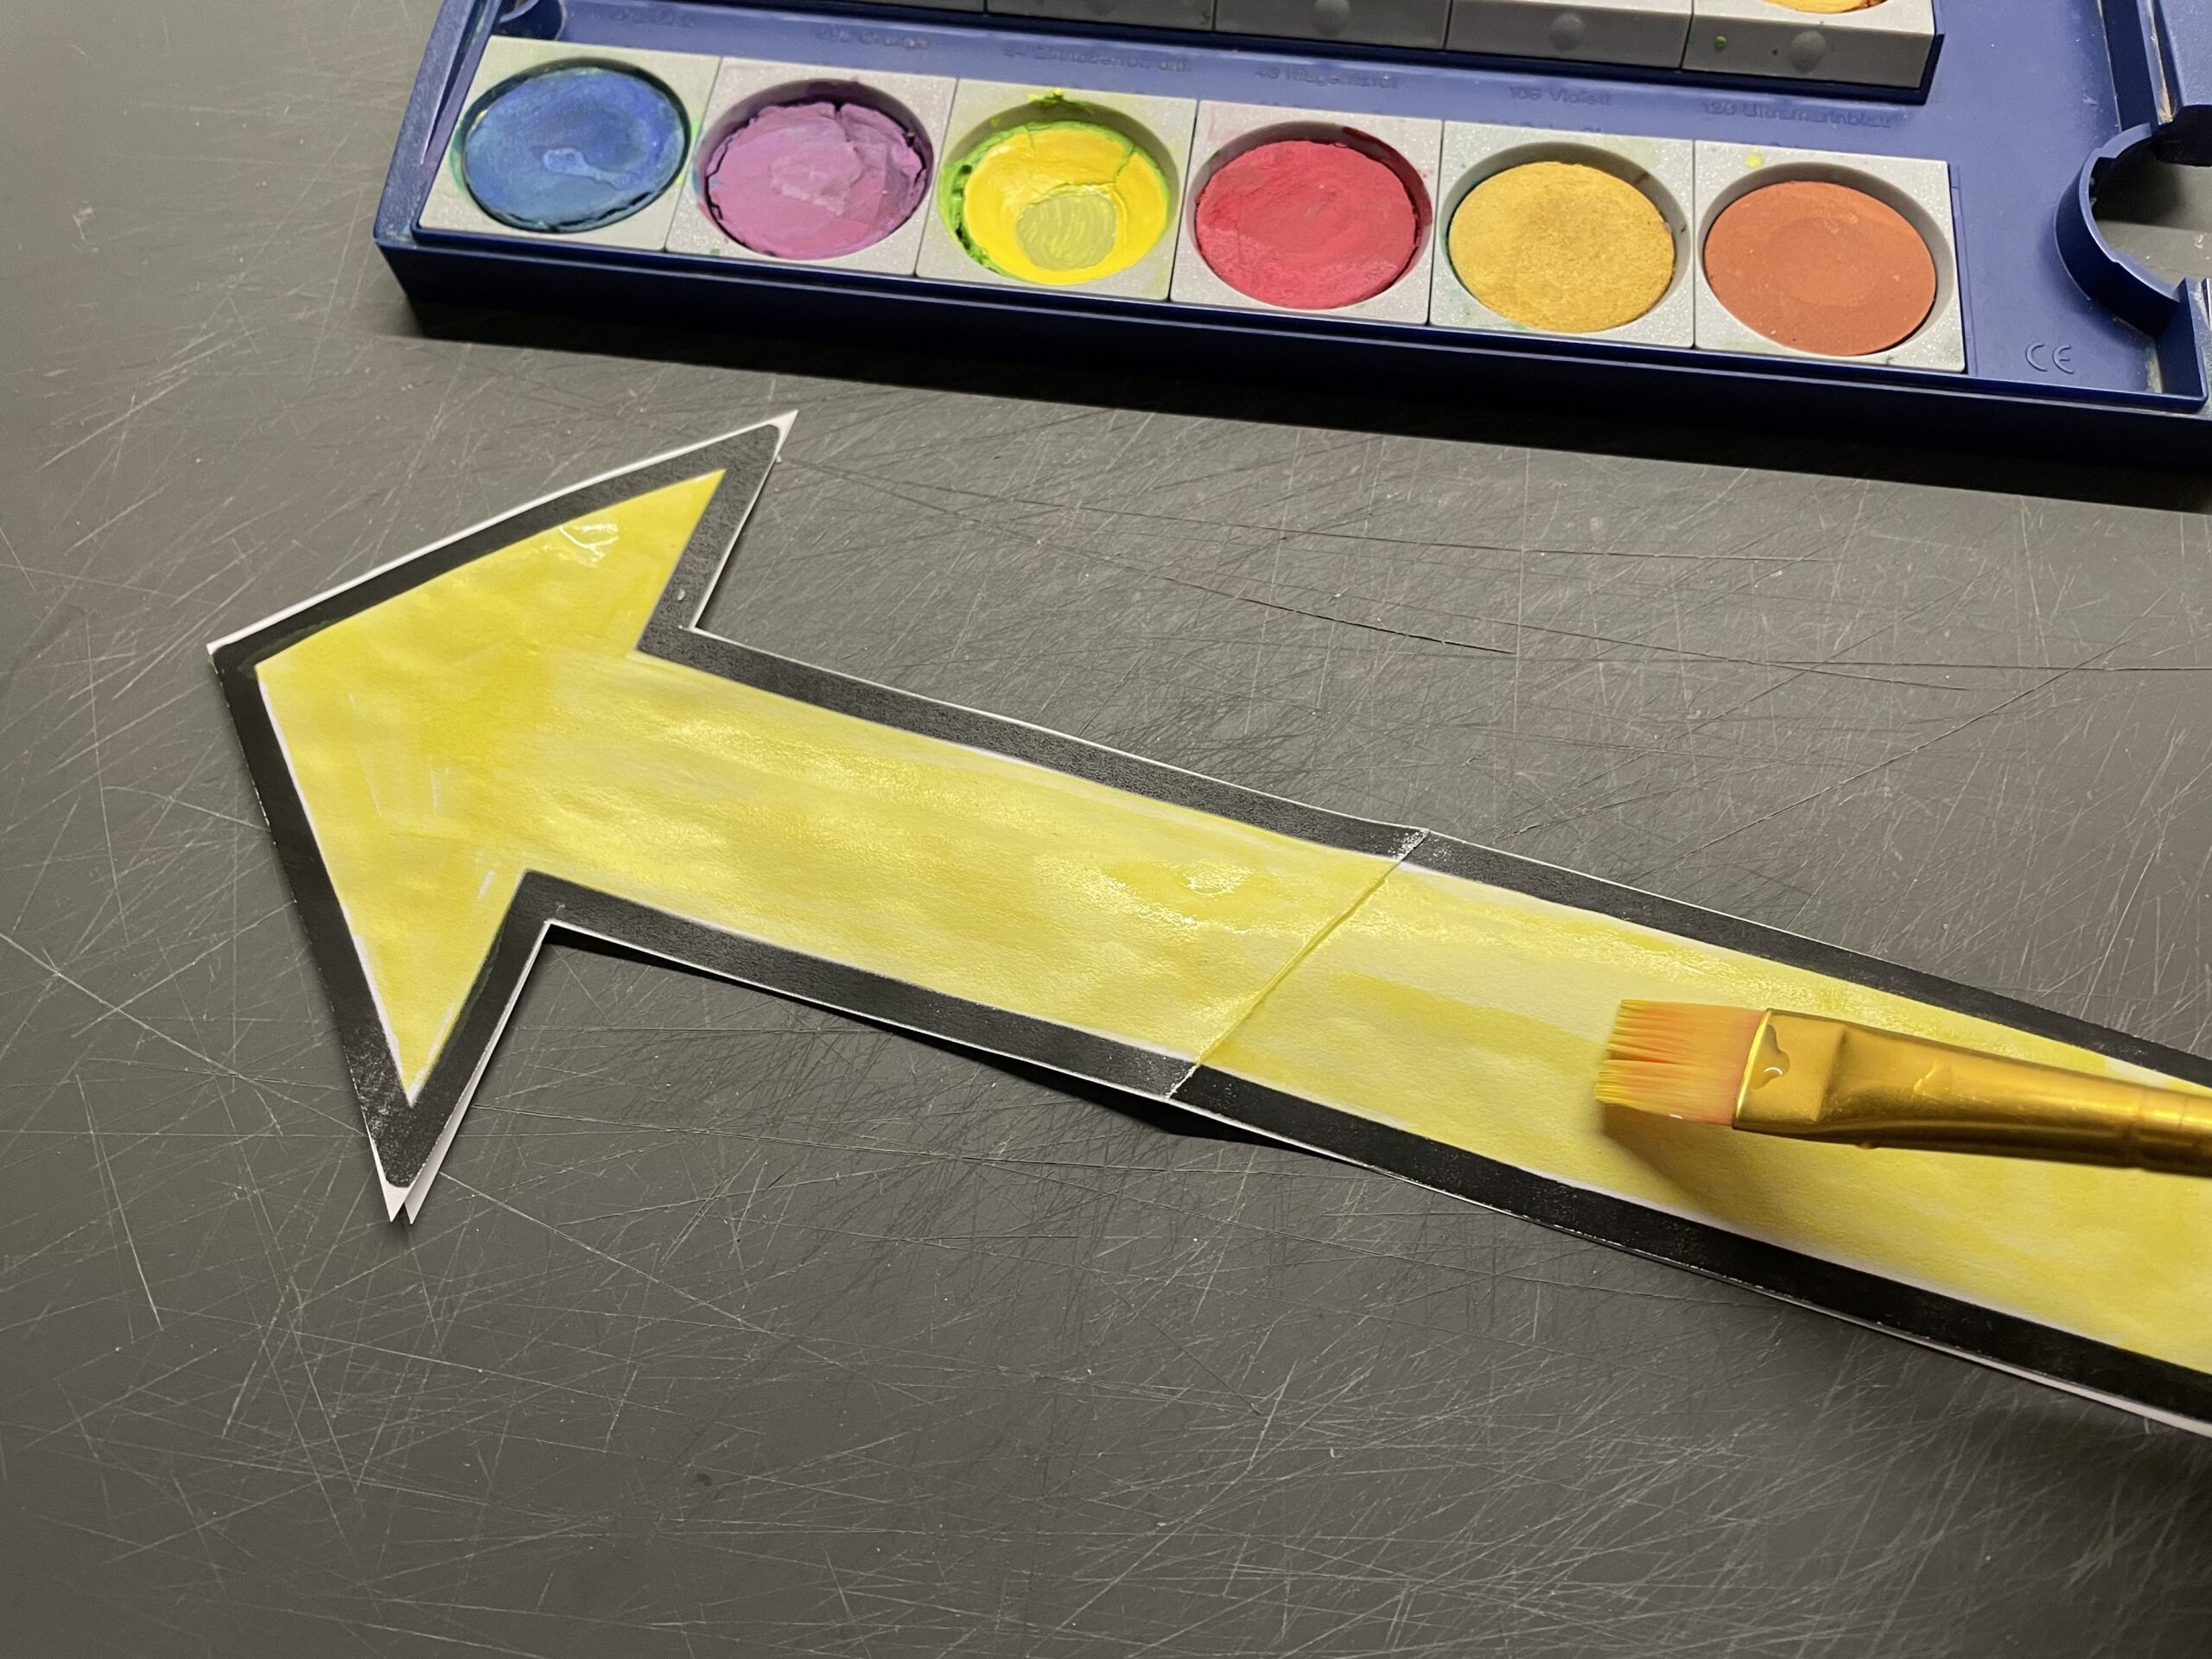
The second bent arrow is painted yellow. Here, too, the front and back are painted.
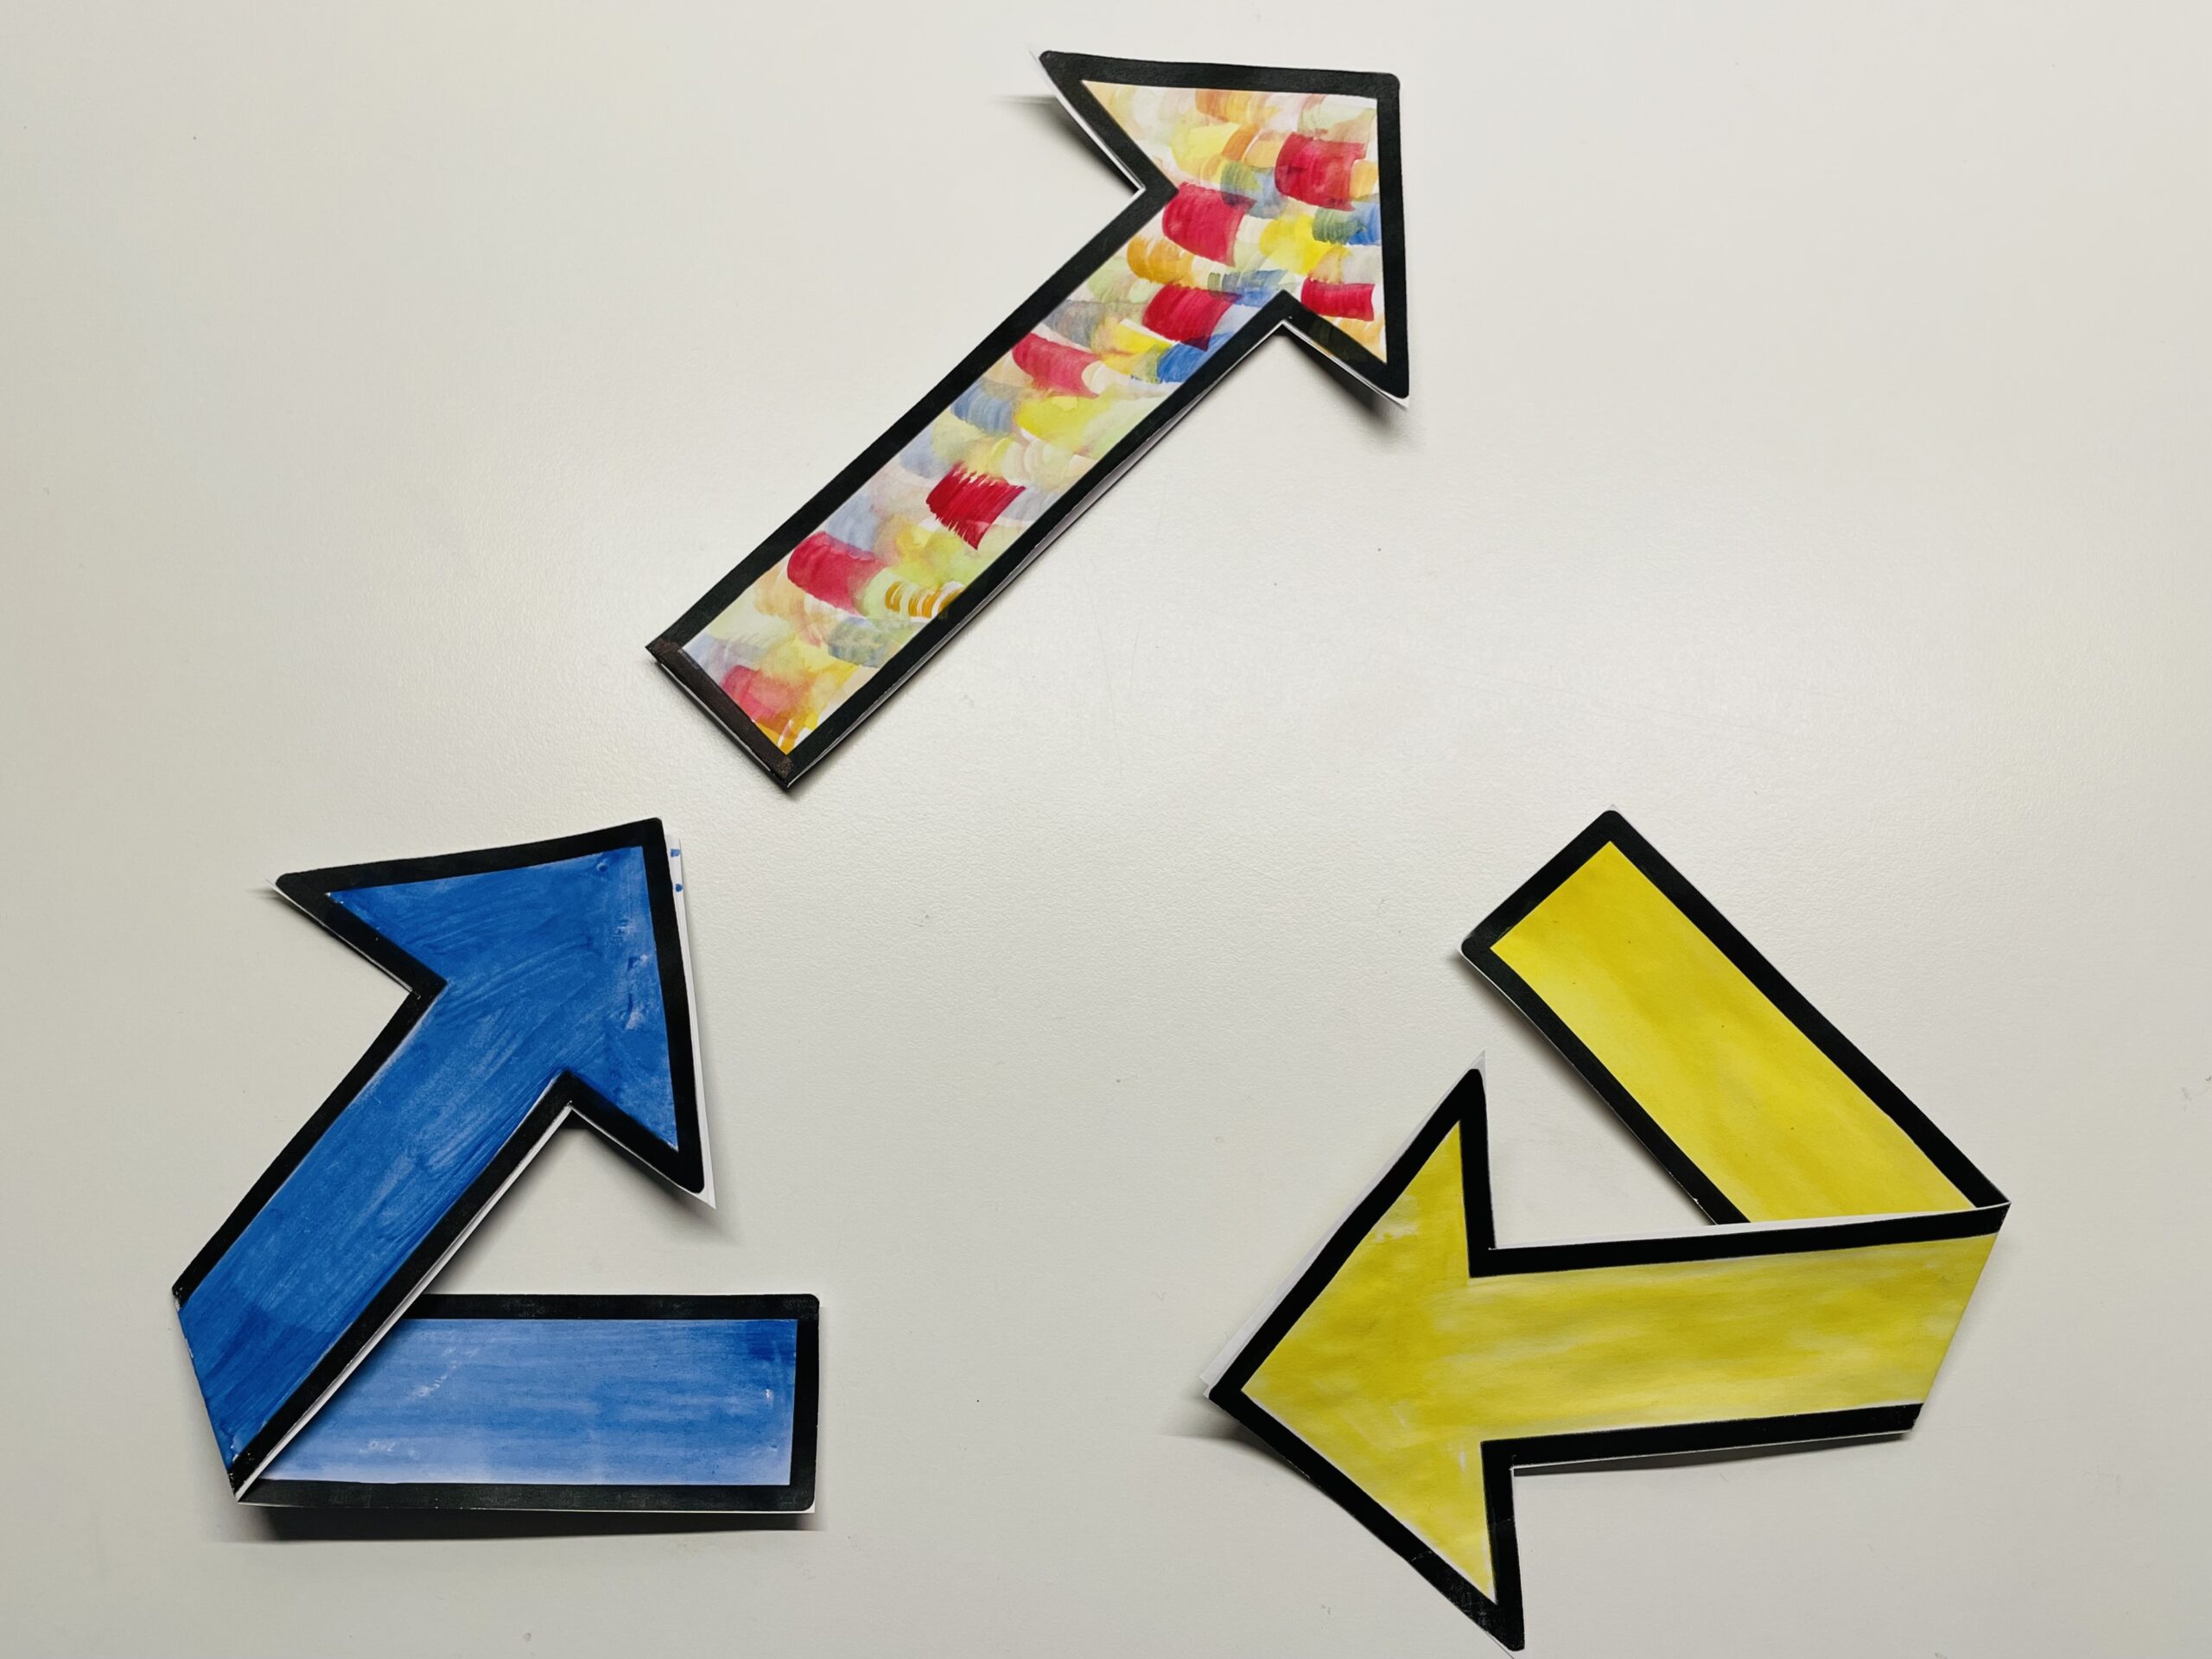
The straight arrow is painted as colorful as possible.
Here it is enough to paint the front, as the back will not be visible.

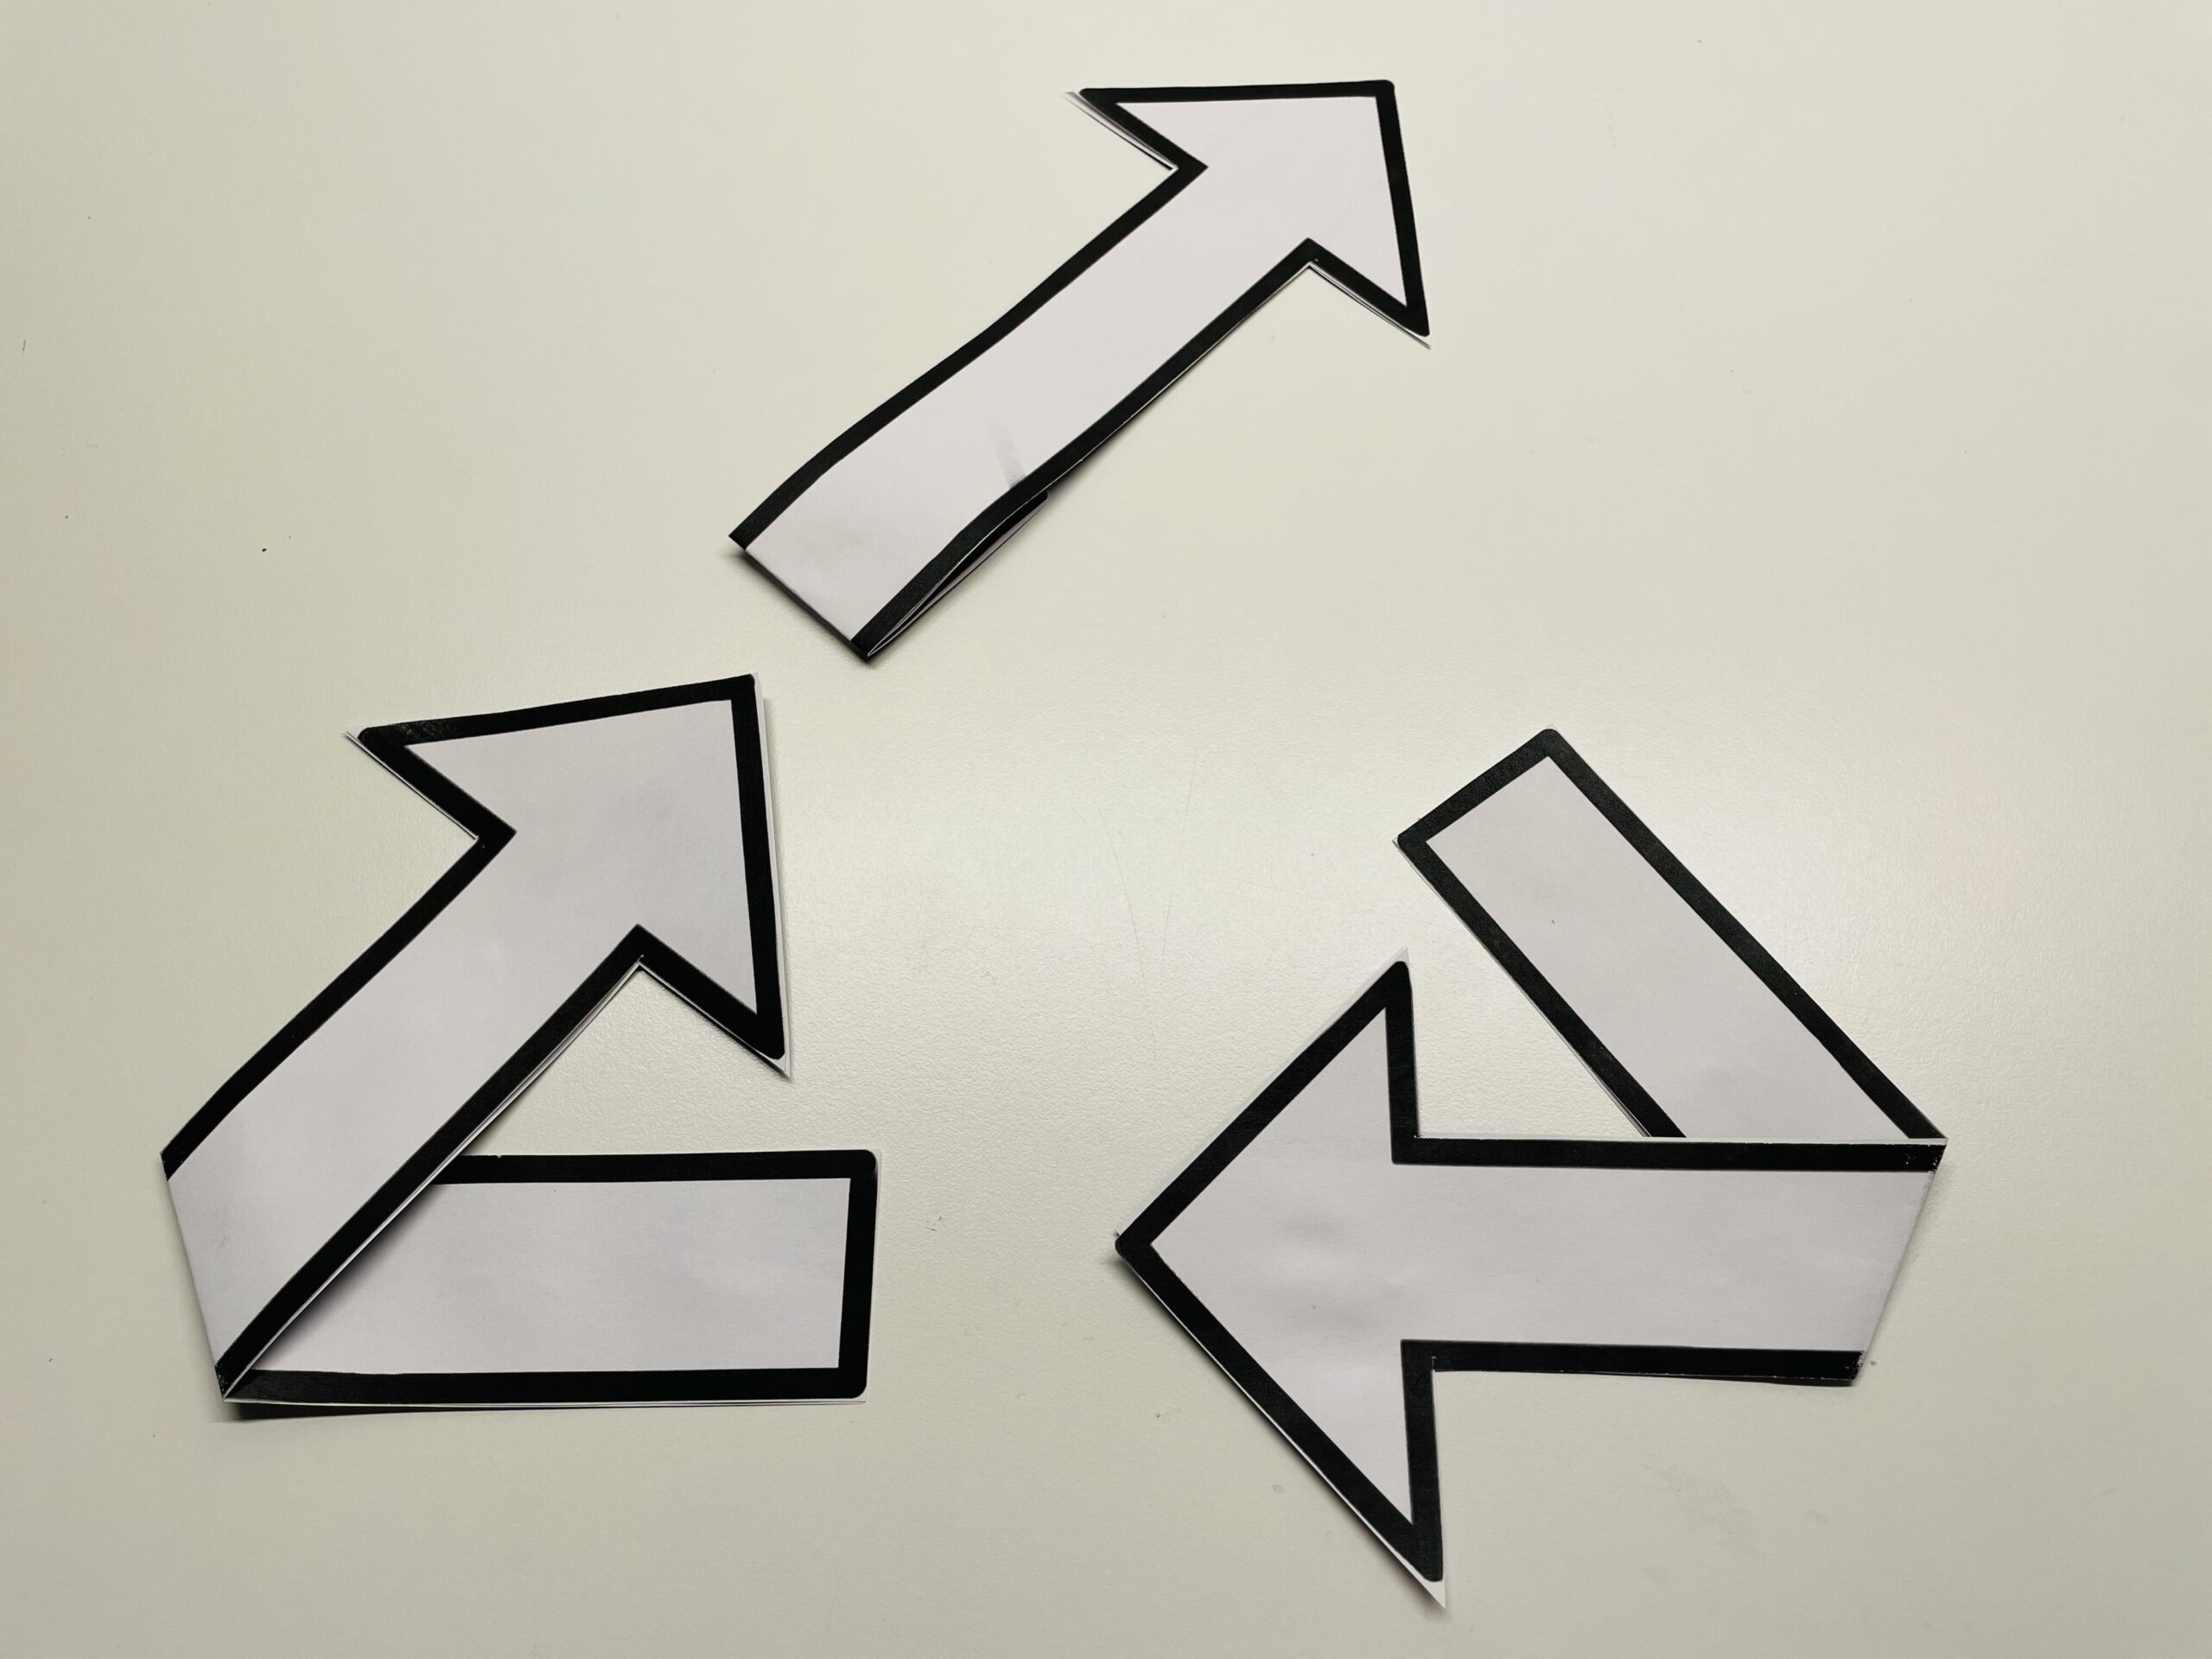
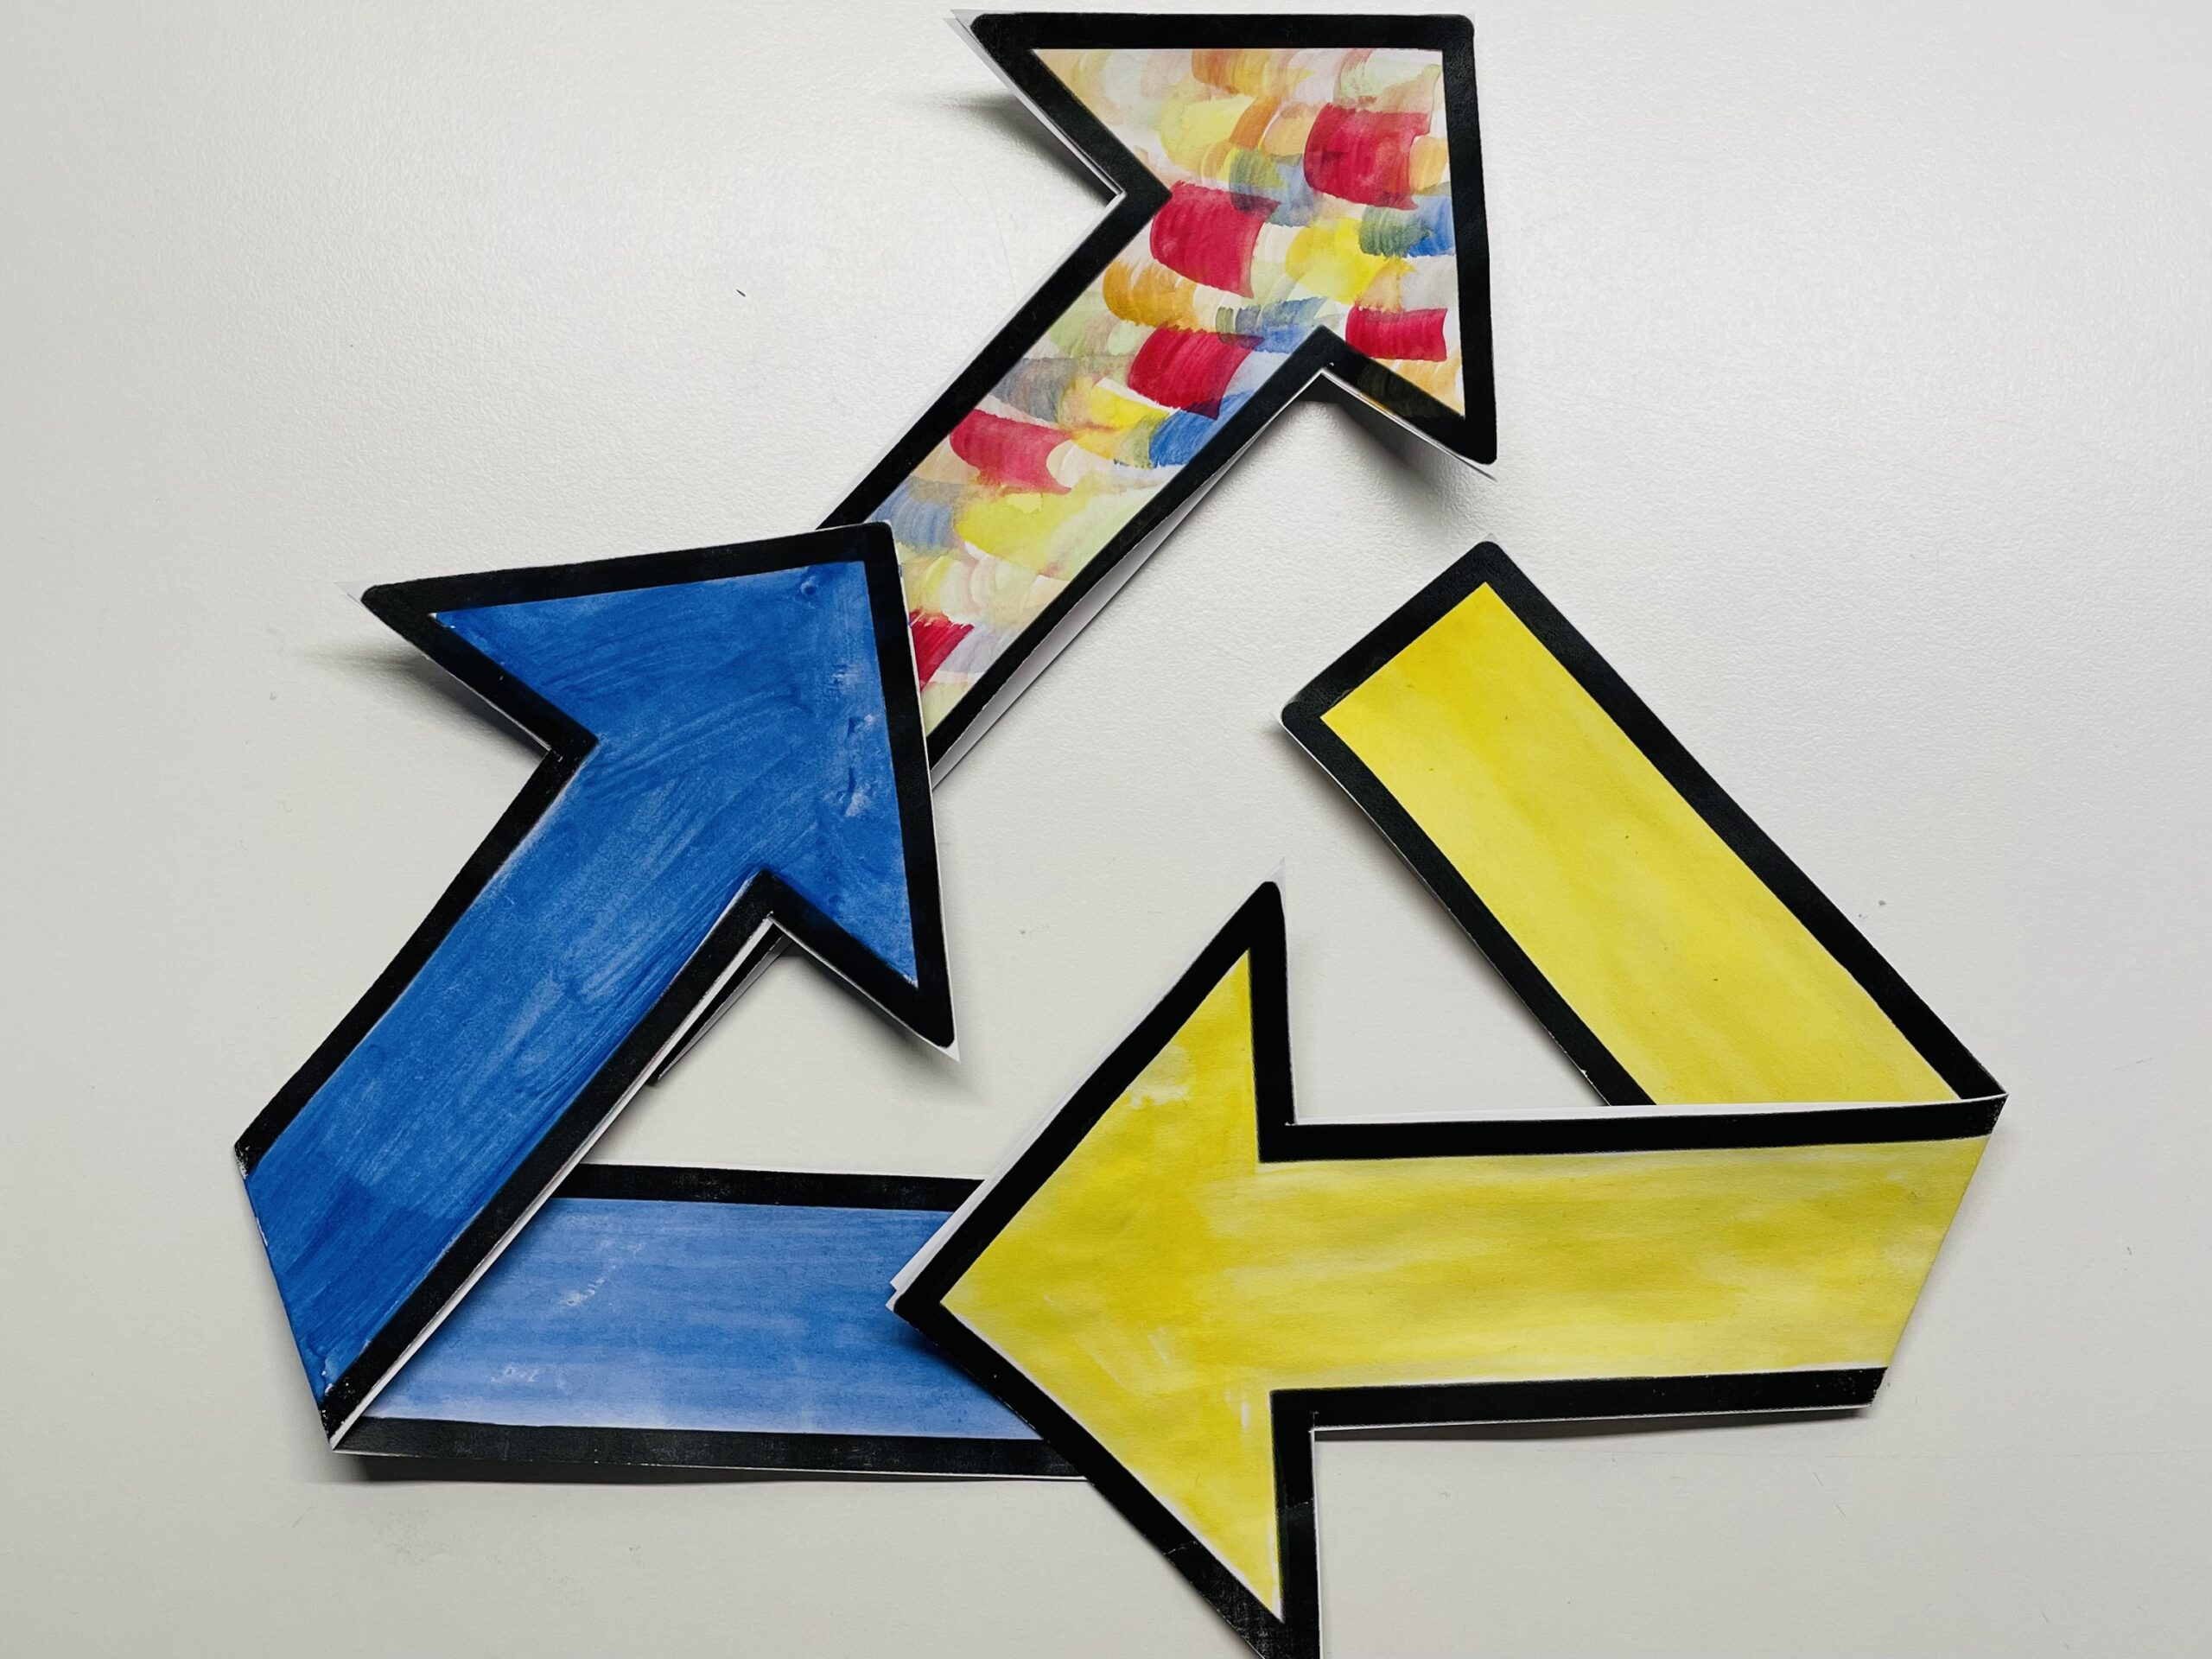
After drying, the arrows can be placed as shown in the picture.
Then push the arrows closely together and the upcycle logo is ready.
Stay creative and have fun doing crafts.
Materials
Directions
Spread out your craft material and search all craft materials together and prepare them.
First print out the arrow template three times. (For each finished arrow you need two printed arrows!)
Cut out the arrows neatly.
At the point shown, a transparent line is visible. This is the mark at which the arrow is snapped.
Place the arrow as seen in the picture and grab it at the arrow. Bend this arrow upwards.
At the mark, the arrow is knotted and the fracture is smoothly striped.
You need this arrow twice.
Fold up the arrow again and place it on the table. Place another unfolded arrow with the back up on the table.
These two arrows are now glued to each other. Add glue to the back of one arrow and place the other on it.
The one, previously folded, arrow thus allows a simpler buckling of the double lying paper.
Now you can see the complete arrow with painted edges.
Repeats the process with another arrow.
Both arrows are placed (as shown in the picture) as a base.
Another third arrow will not be knotted before. Glue both papers to each other and fold about 5cm from the bottom to the top. You can also shorten the arrow.
Place the straight arrow diagonally upwards to the other arrows. (See picture)
If you want to implement our idea, you need watercolours, crayons, crayons or crayons.
Painted a bent arrow from both sides with blue color.
Let the front dry well before painting the back.
The second bent arrow is painted yellow. Here, too, the front and back are painted.
The straight arrow is painted as colorful as possible.
Here it is enough to paint the front, as the back will not be visible.
After drying, the arrows can be placed as shown in the picture.
Then push the arrows closely together and the upcycle logo is ready.
Stay creative and have fun doing crafts.
Follow us on Facebook , Instagram and Pinterest
Don't miss any more adventures: Our bottle mail