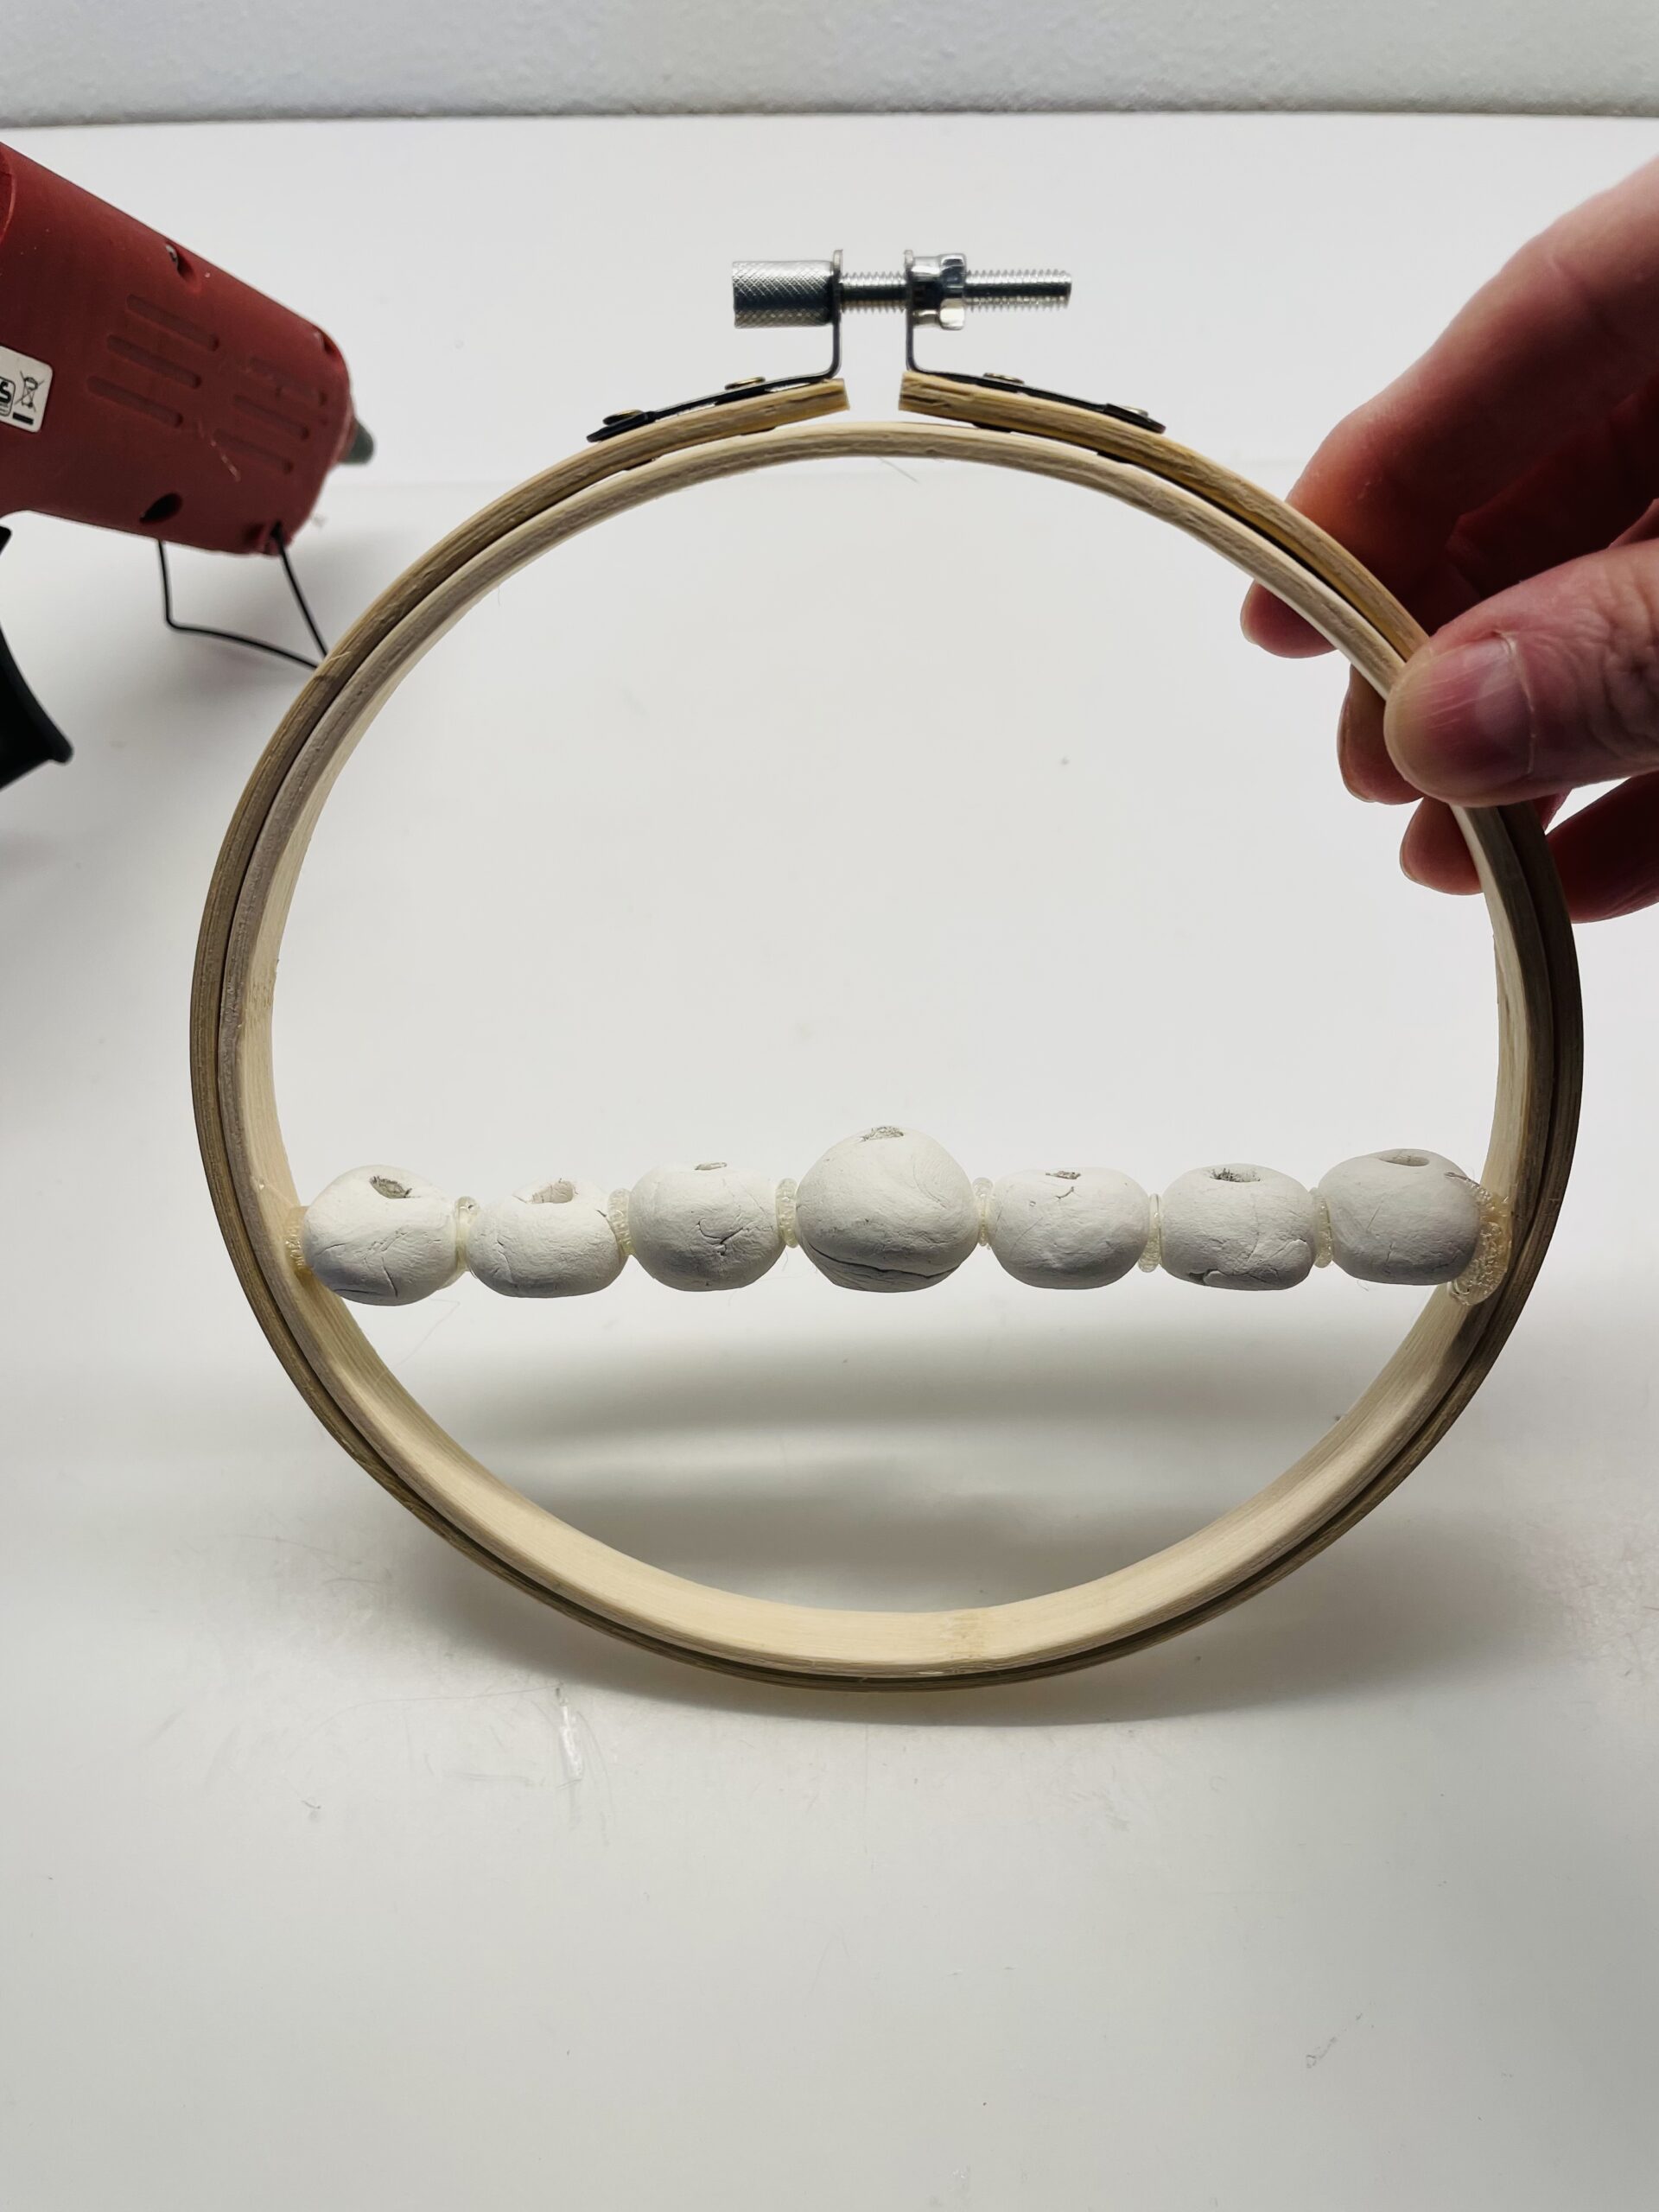
For this beautiful door wreath you use beads made of self-drying clay. As you do this, you see here. You place the beads side by side in the width of the ring and connect them with hot glue. Then you add the finished row of beads into the ring and stick them to it. The openings of the beads point upwards, because so you can put something into each bead opening. For this purpose, for example, individual dried grasses, leaves, feathers or twigs are suitable. Let yourself be inspired and shape your own door wreath.
Media Education for Kindergarten and Hort

Relief in everyday life, targeted promotion of individual children, independent learning and - without any pre-knowledge already usable by the youngest!
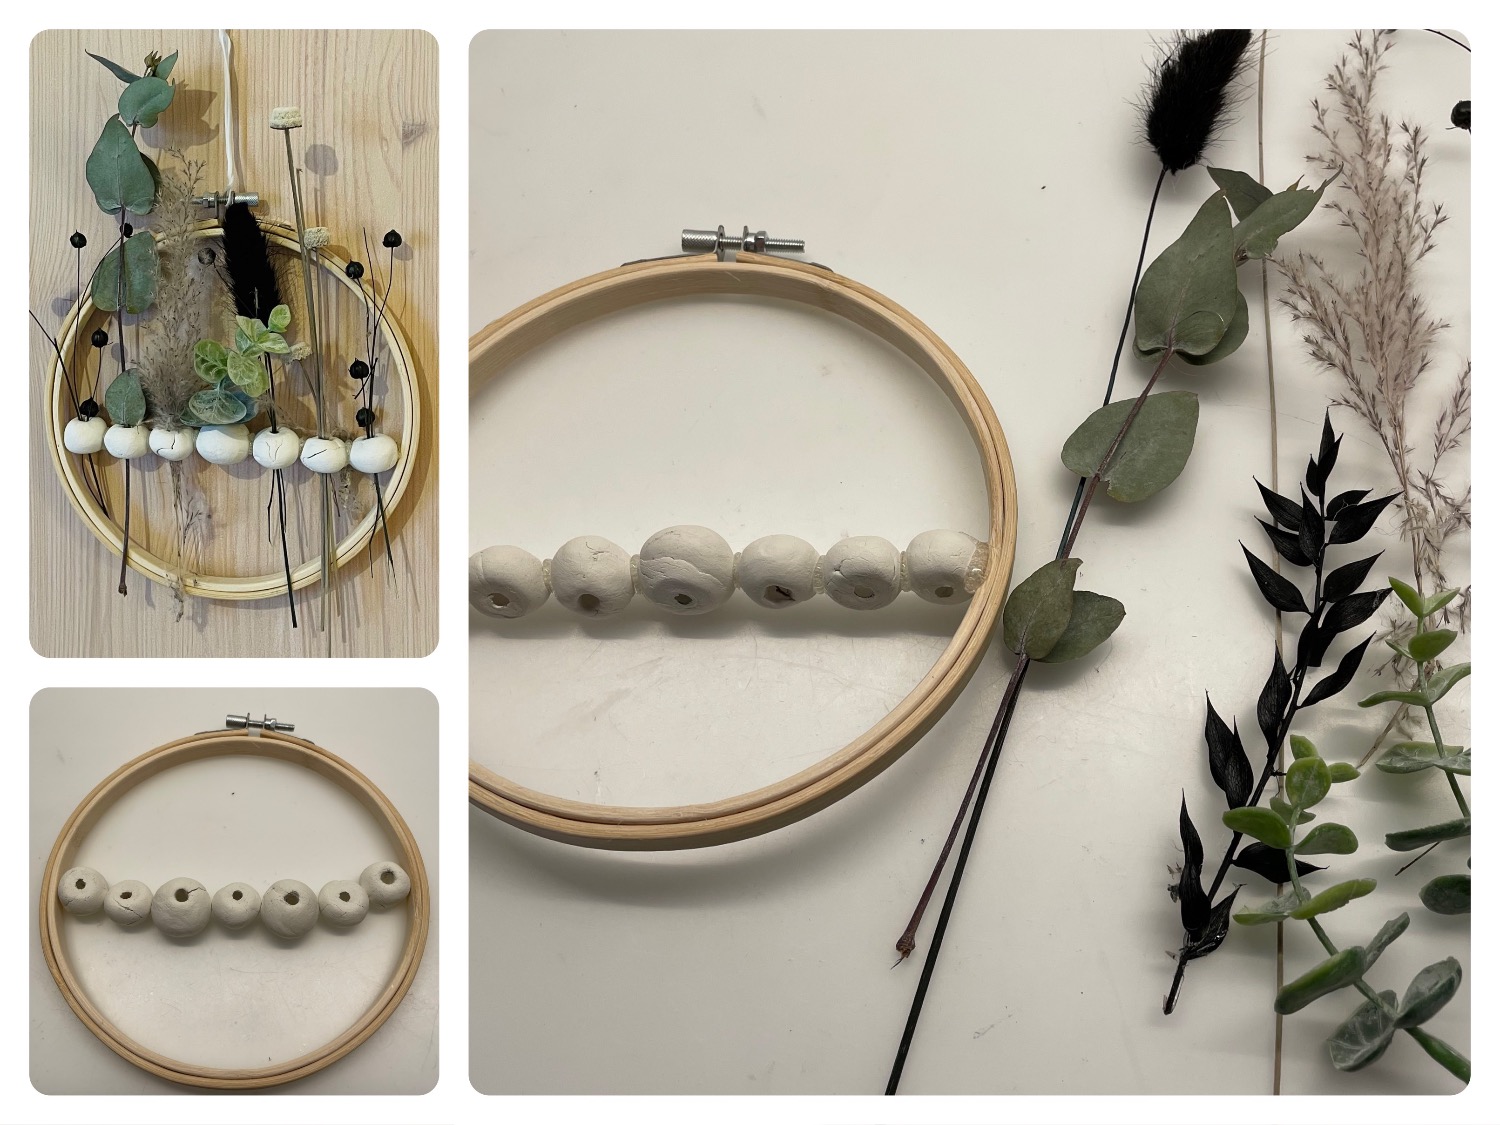
First, lay out all the materials and the craft material.
If you work with self-made beads made of clay, then you should prepare them a few days before, so that they can dry out.
Tip: You can also use wooden beads.
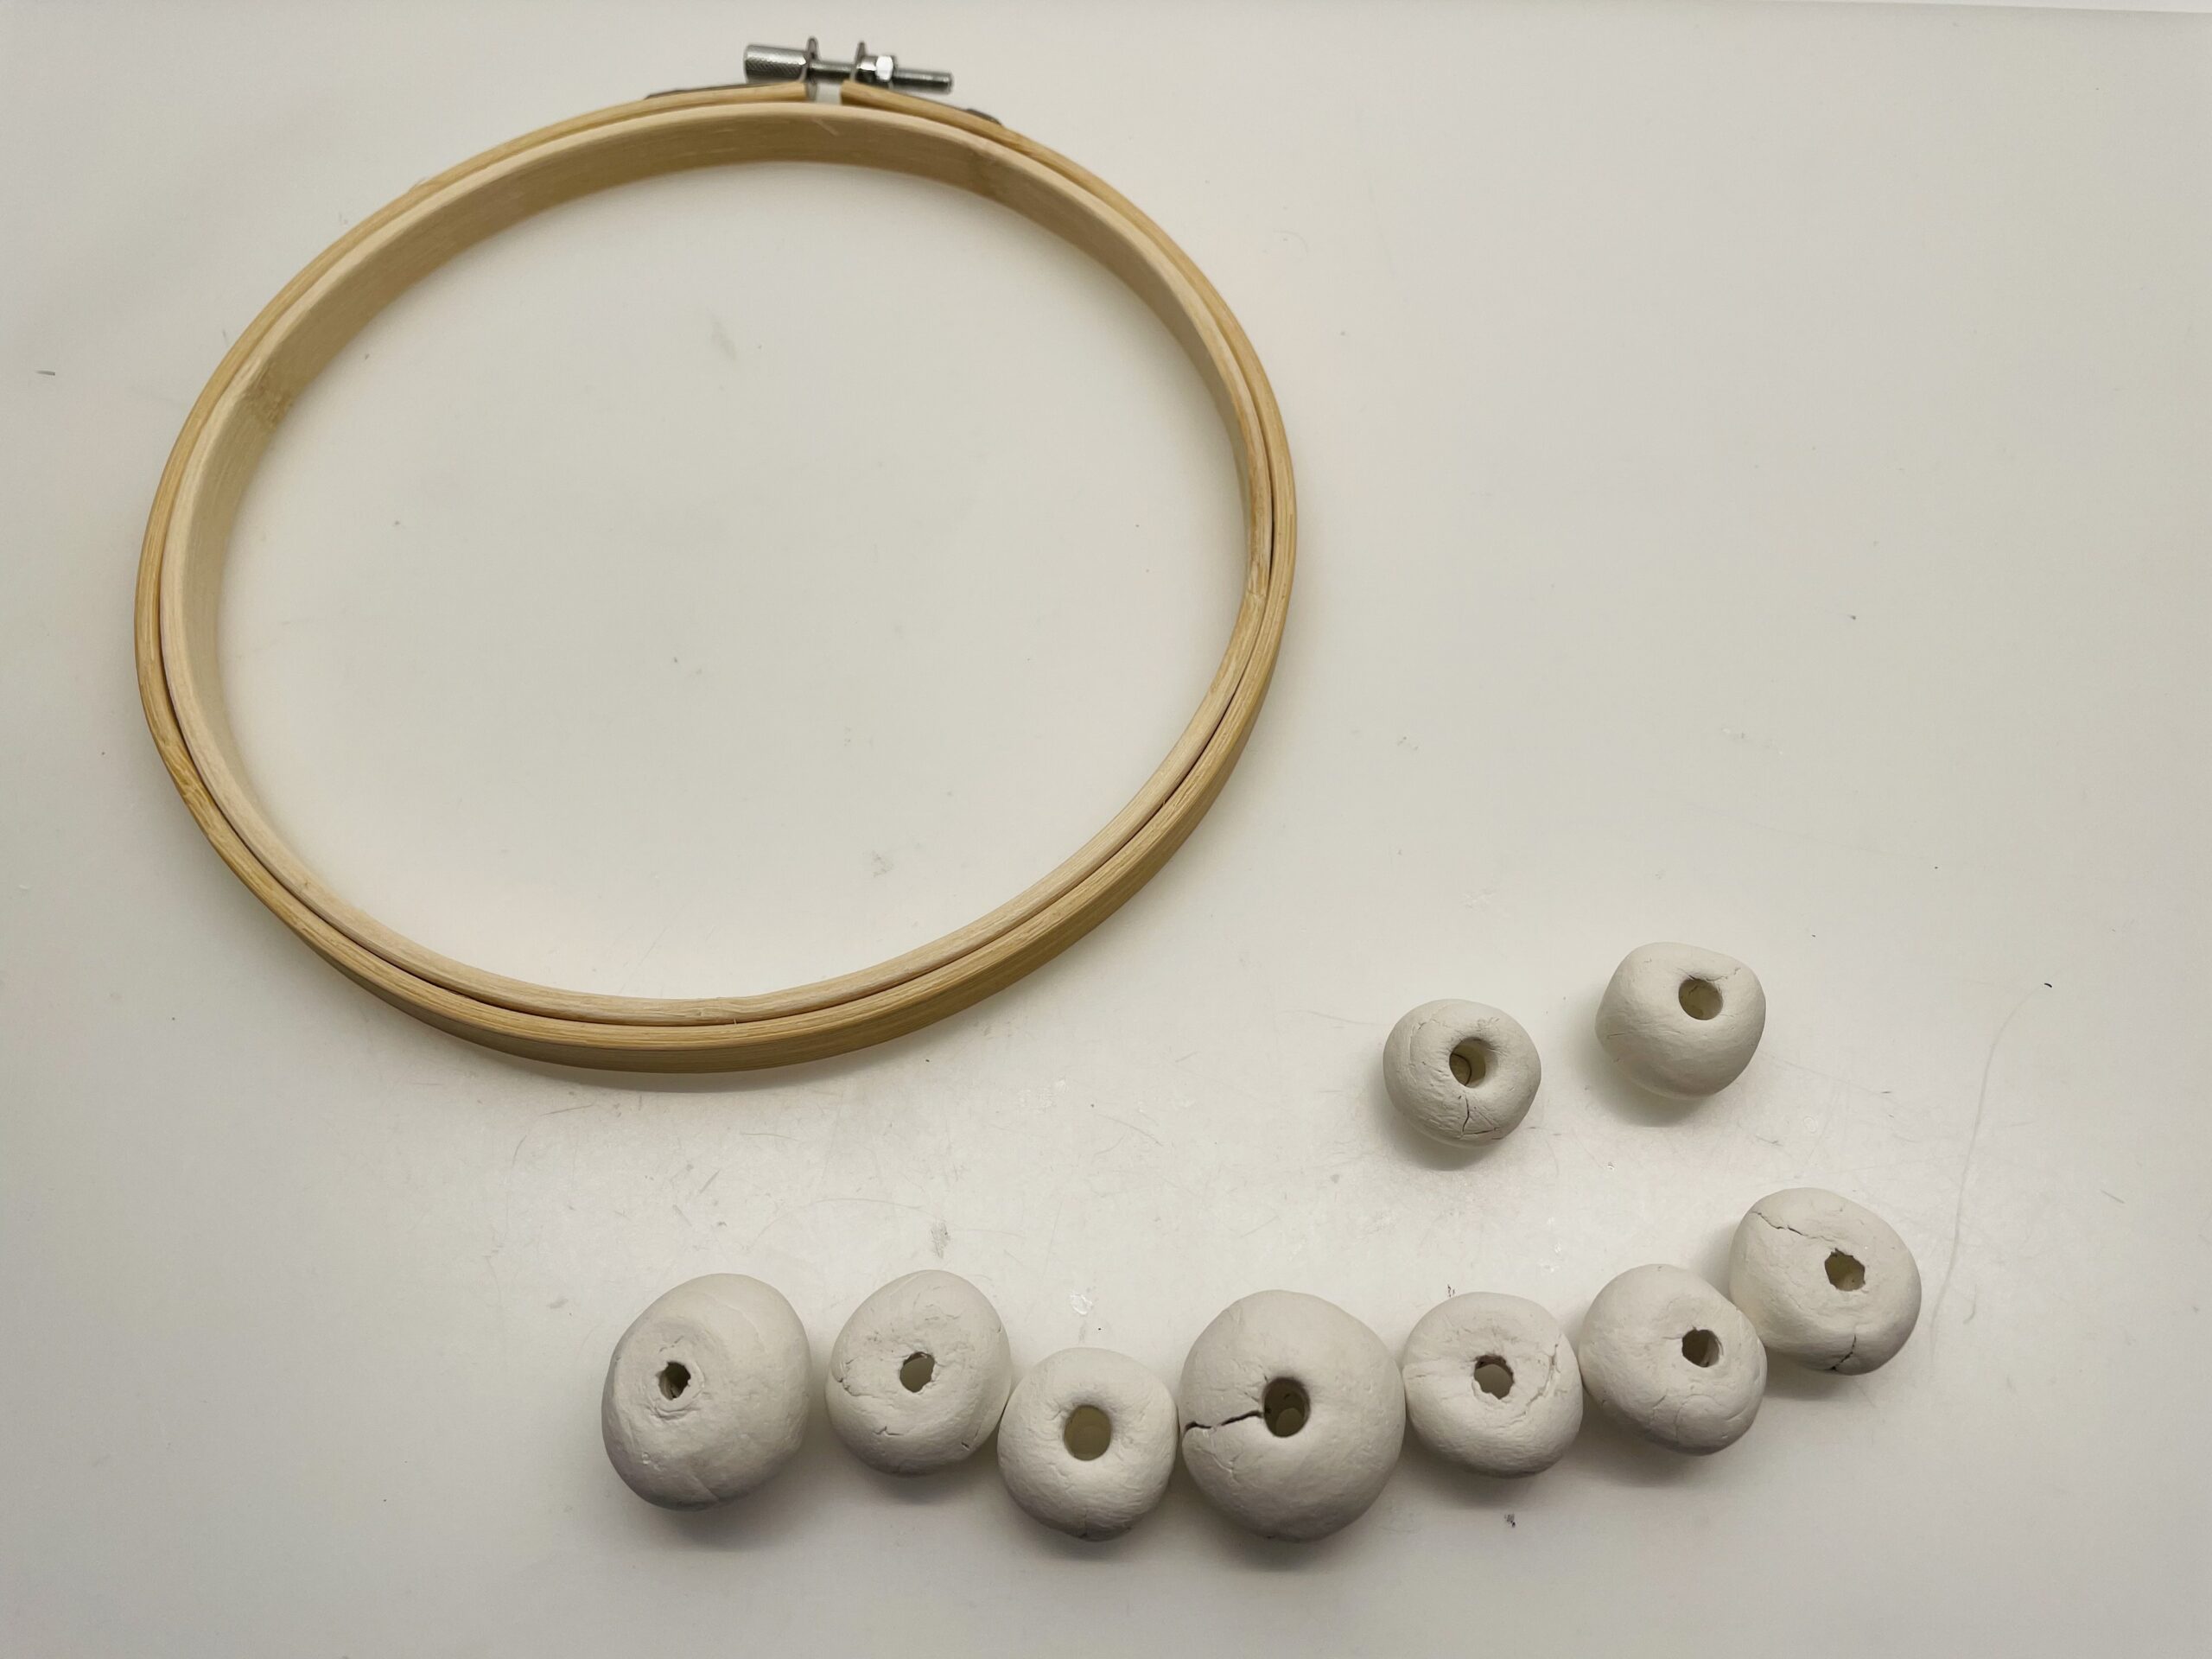
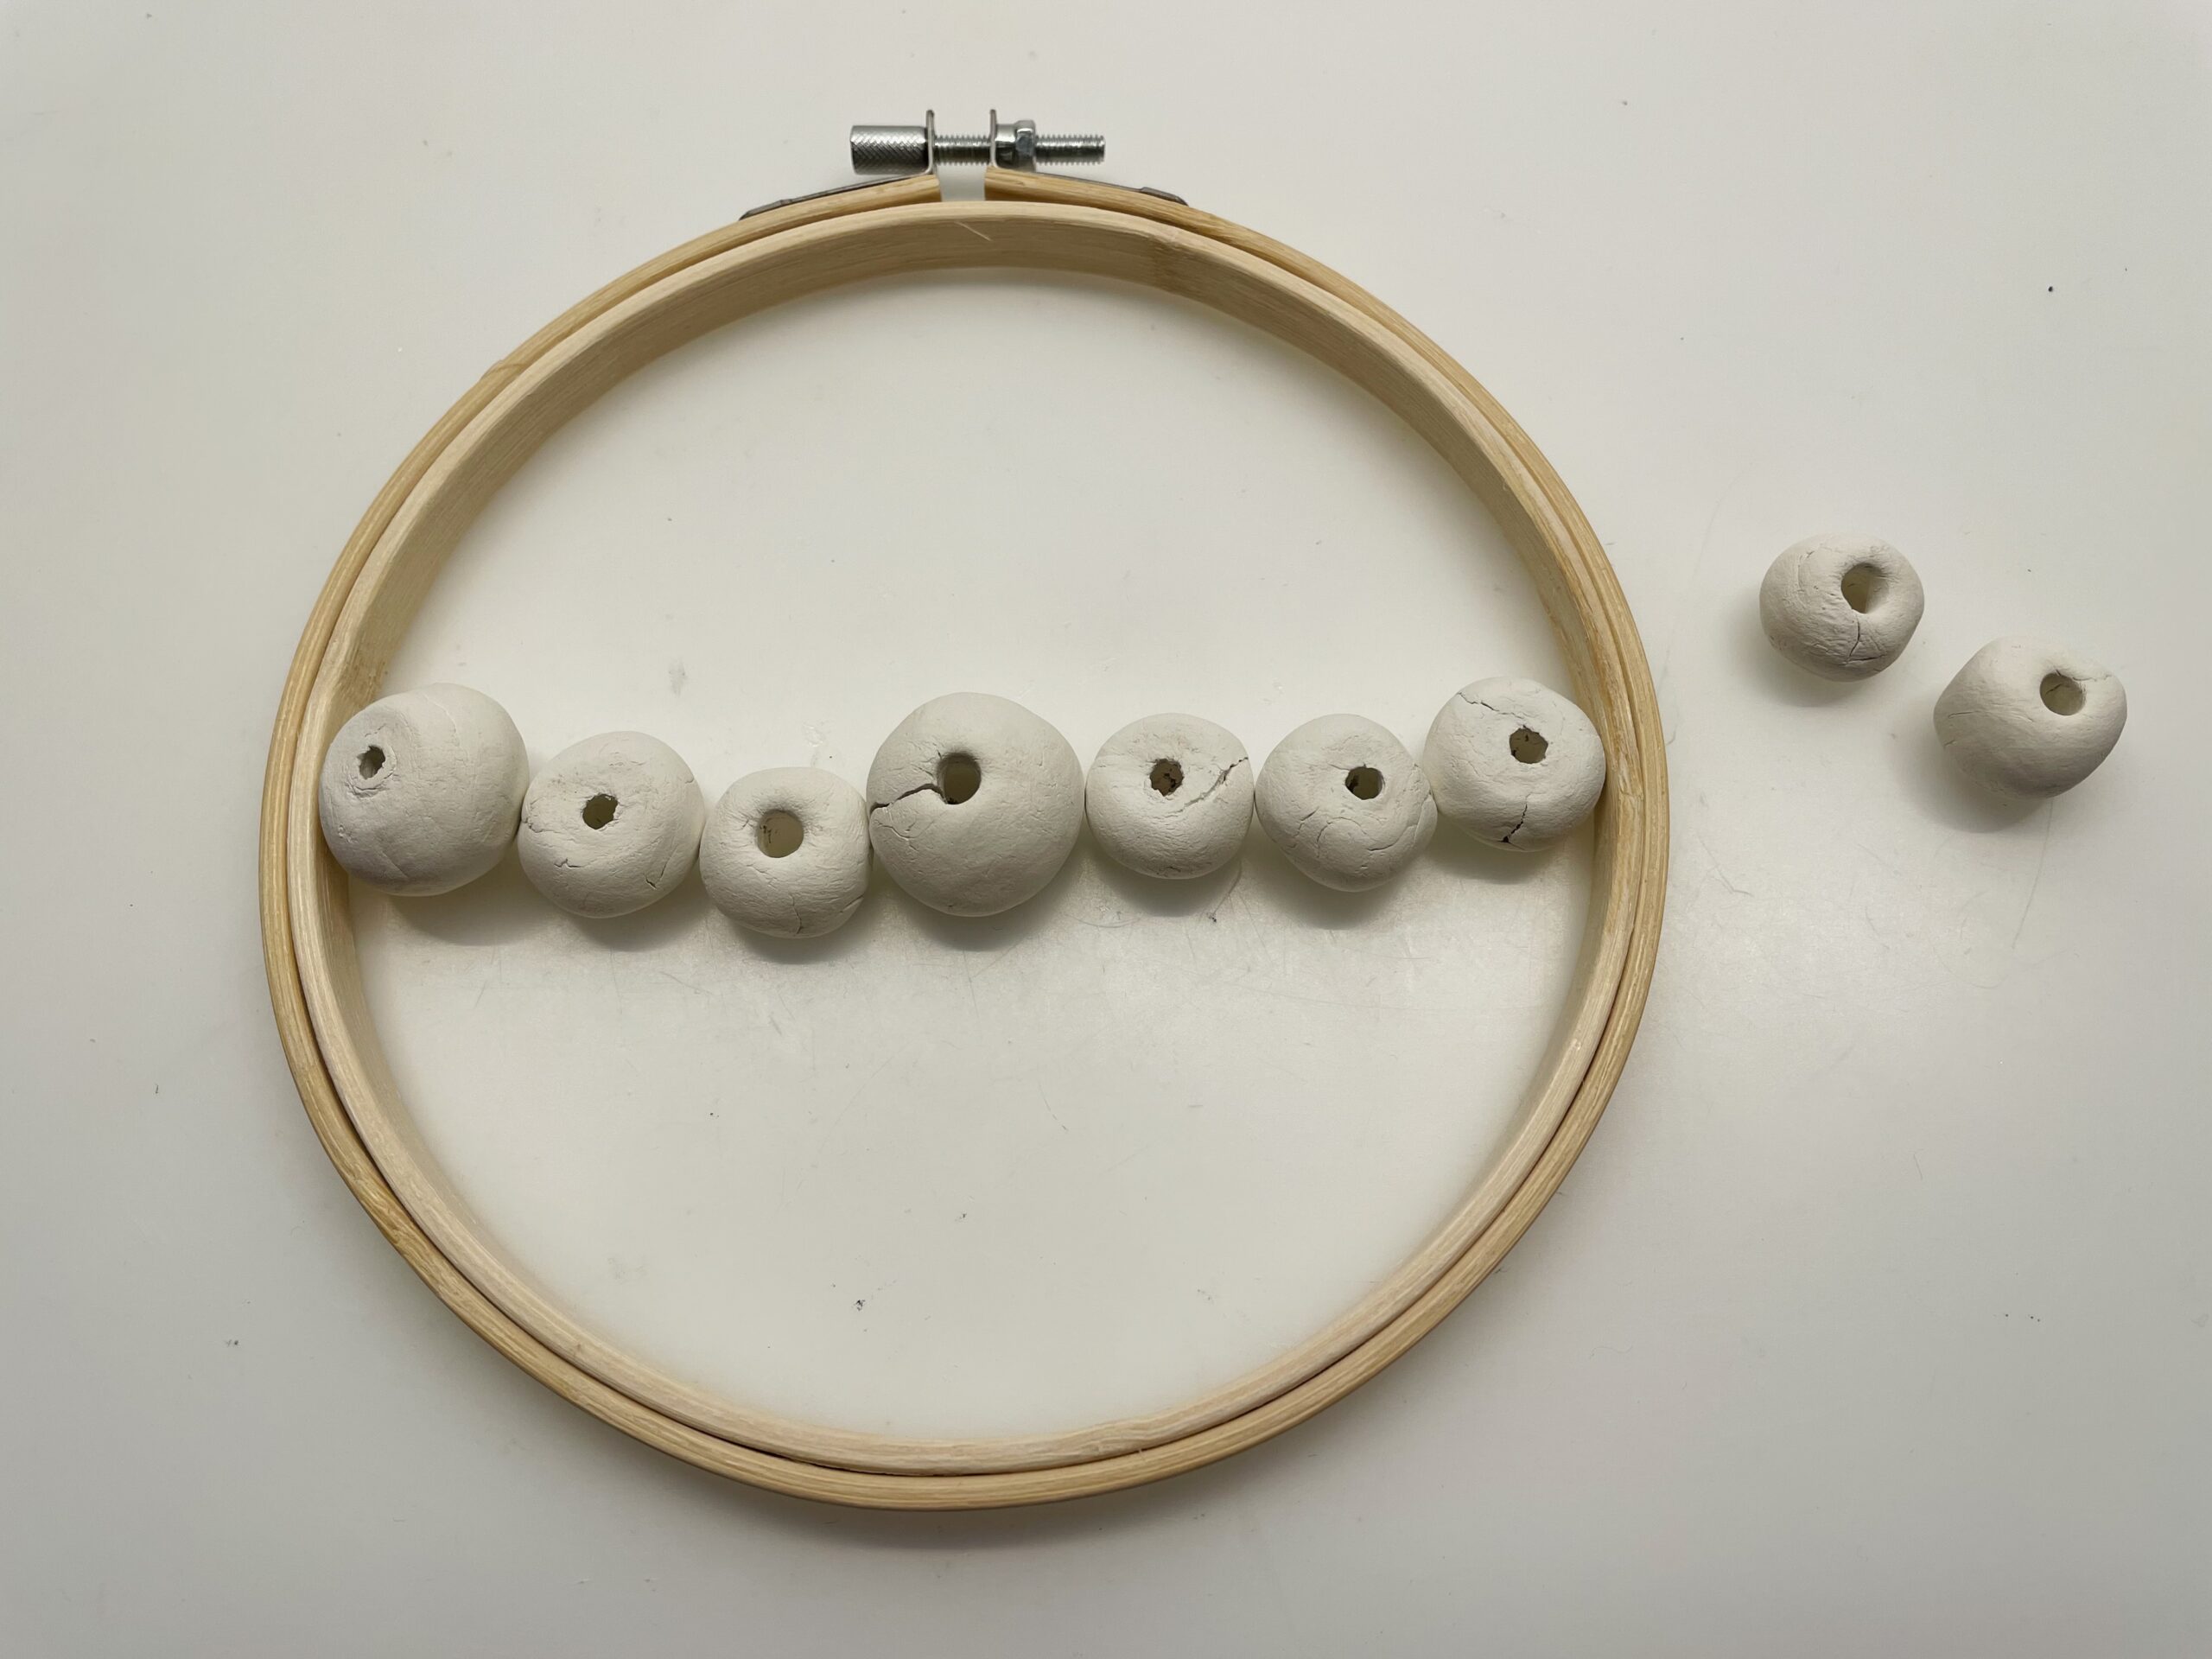
Now place with the beads a row that is slightly smaller the width of your ring and try to place the row in the ring. You may need different size beads until you can place a matching row. All holes in the beads point upwards.


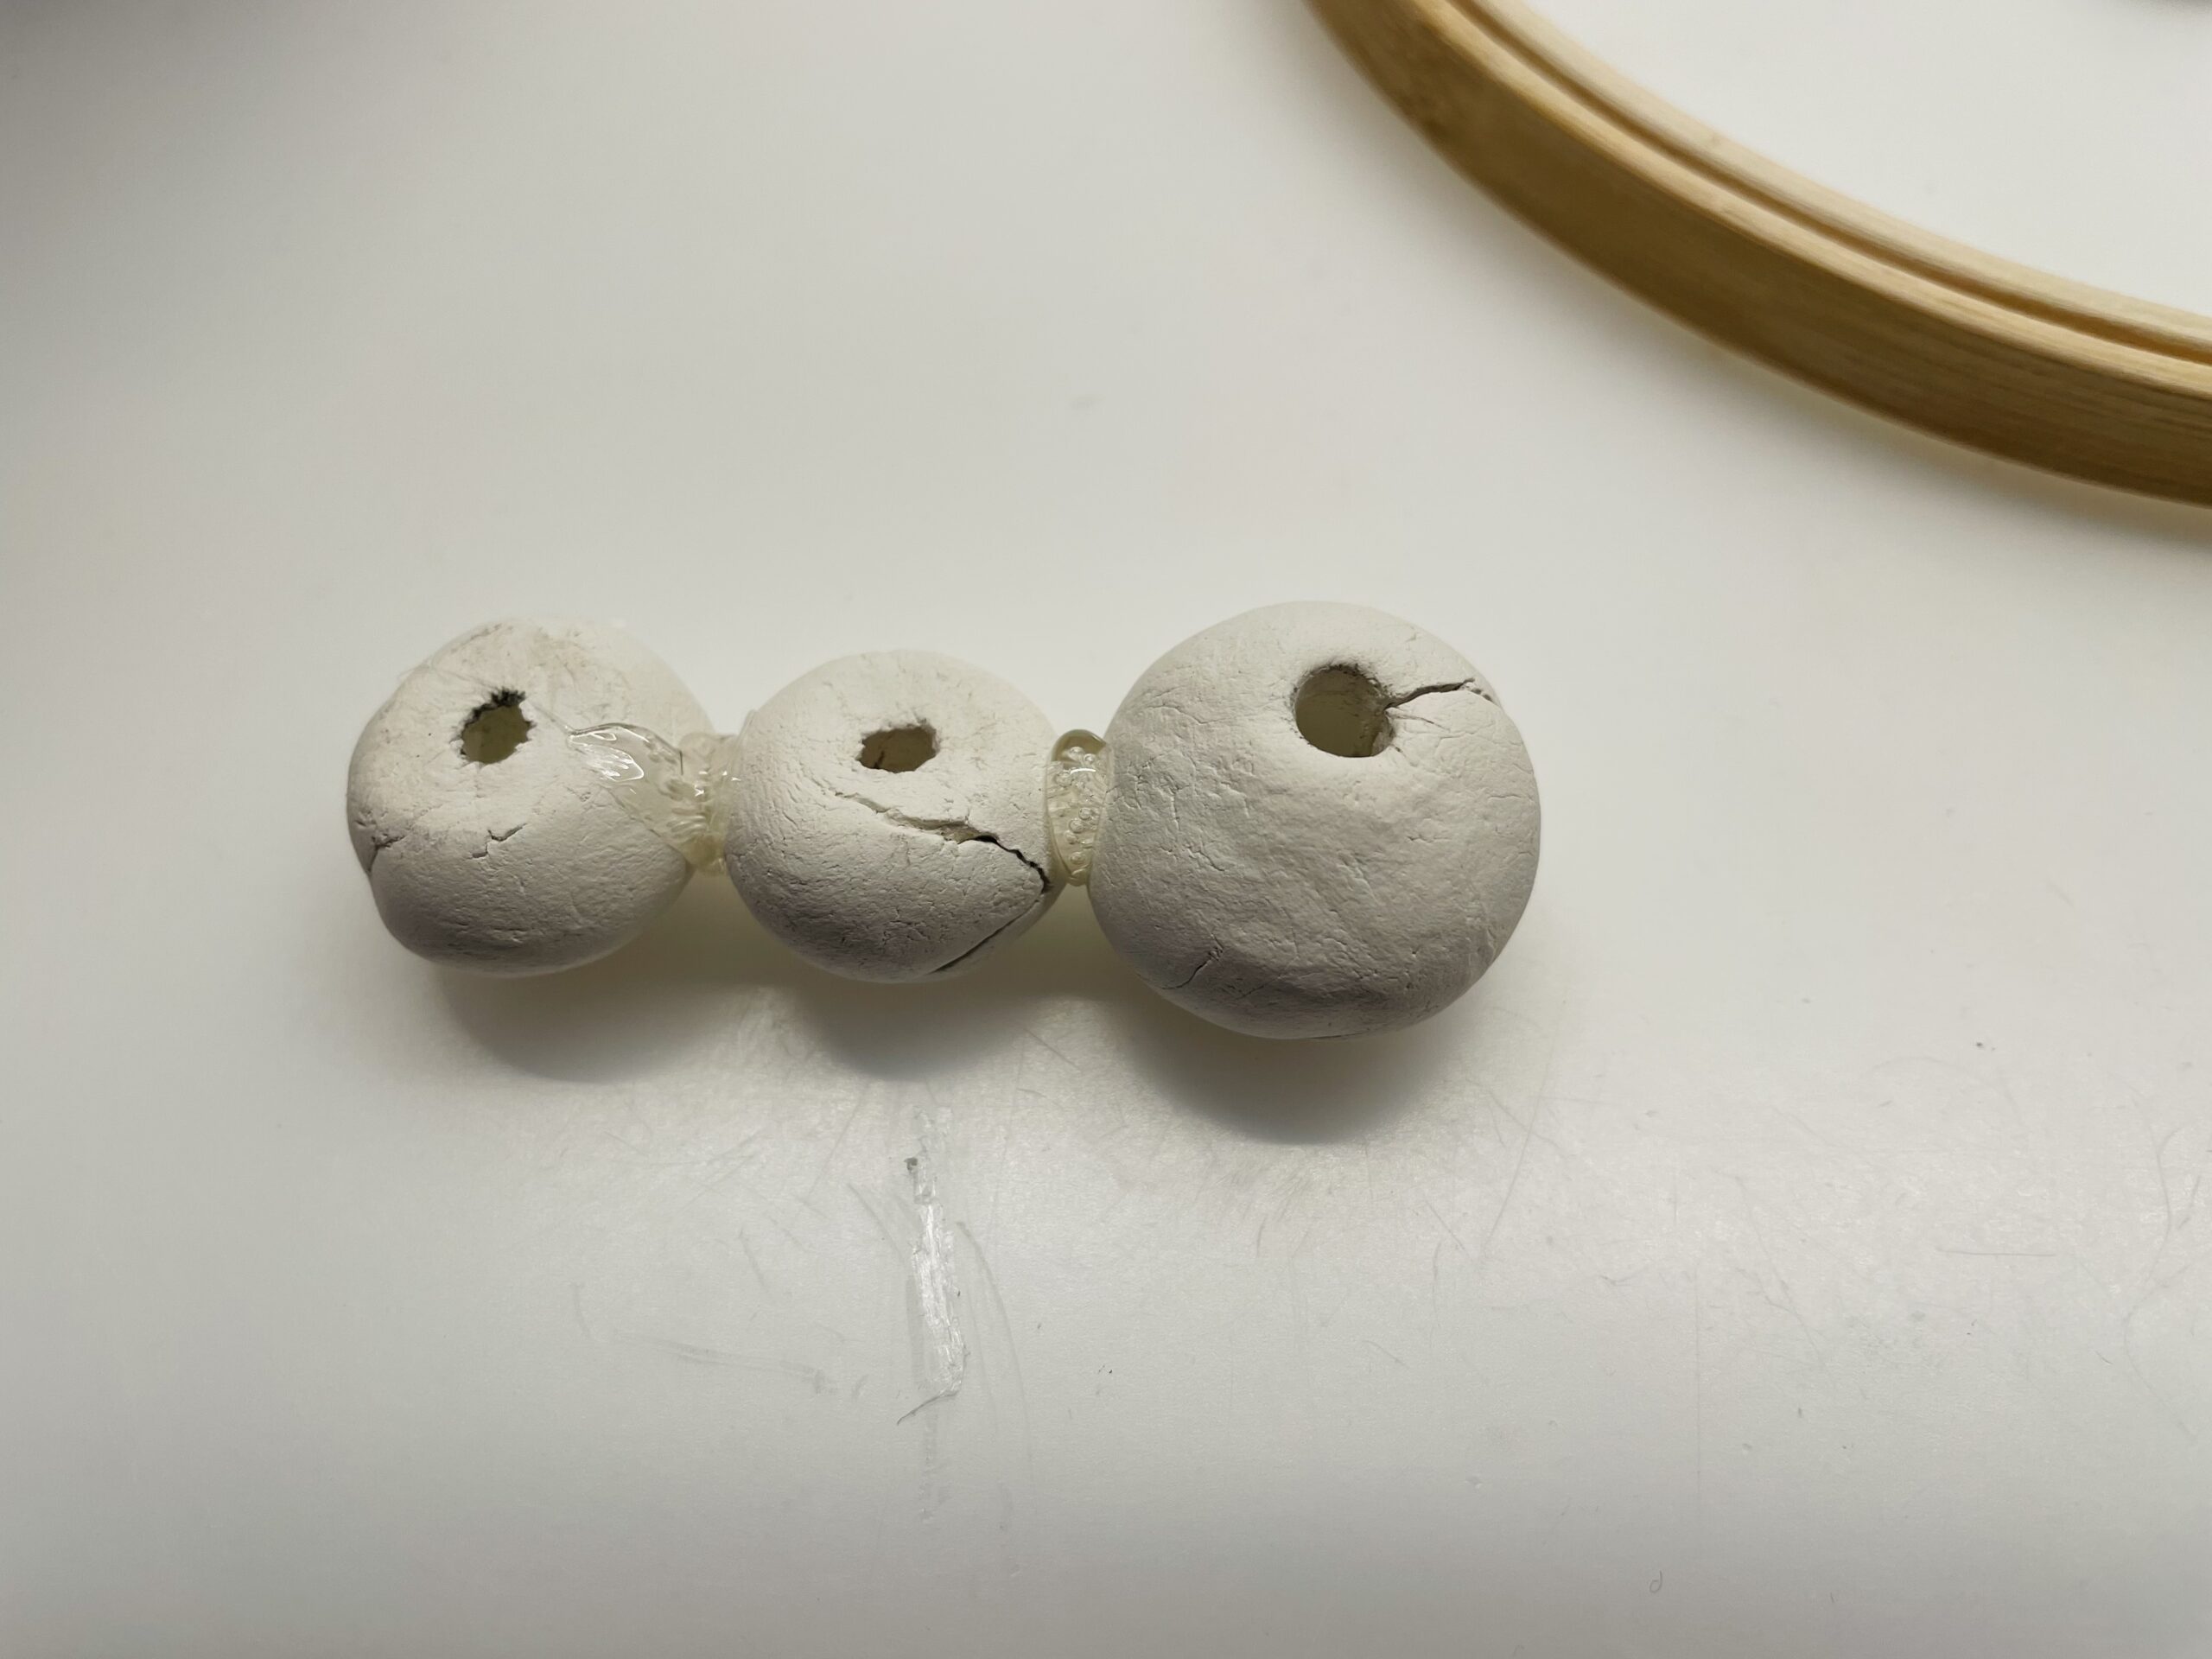
Now you stick one bead at a time to each other with hot glue. To do this, place the beads flat on the table and squeeze them together.
Attention when handling the hot glue - risk of injury!


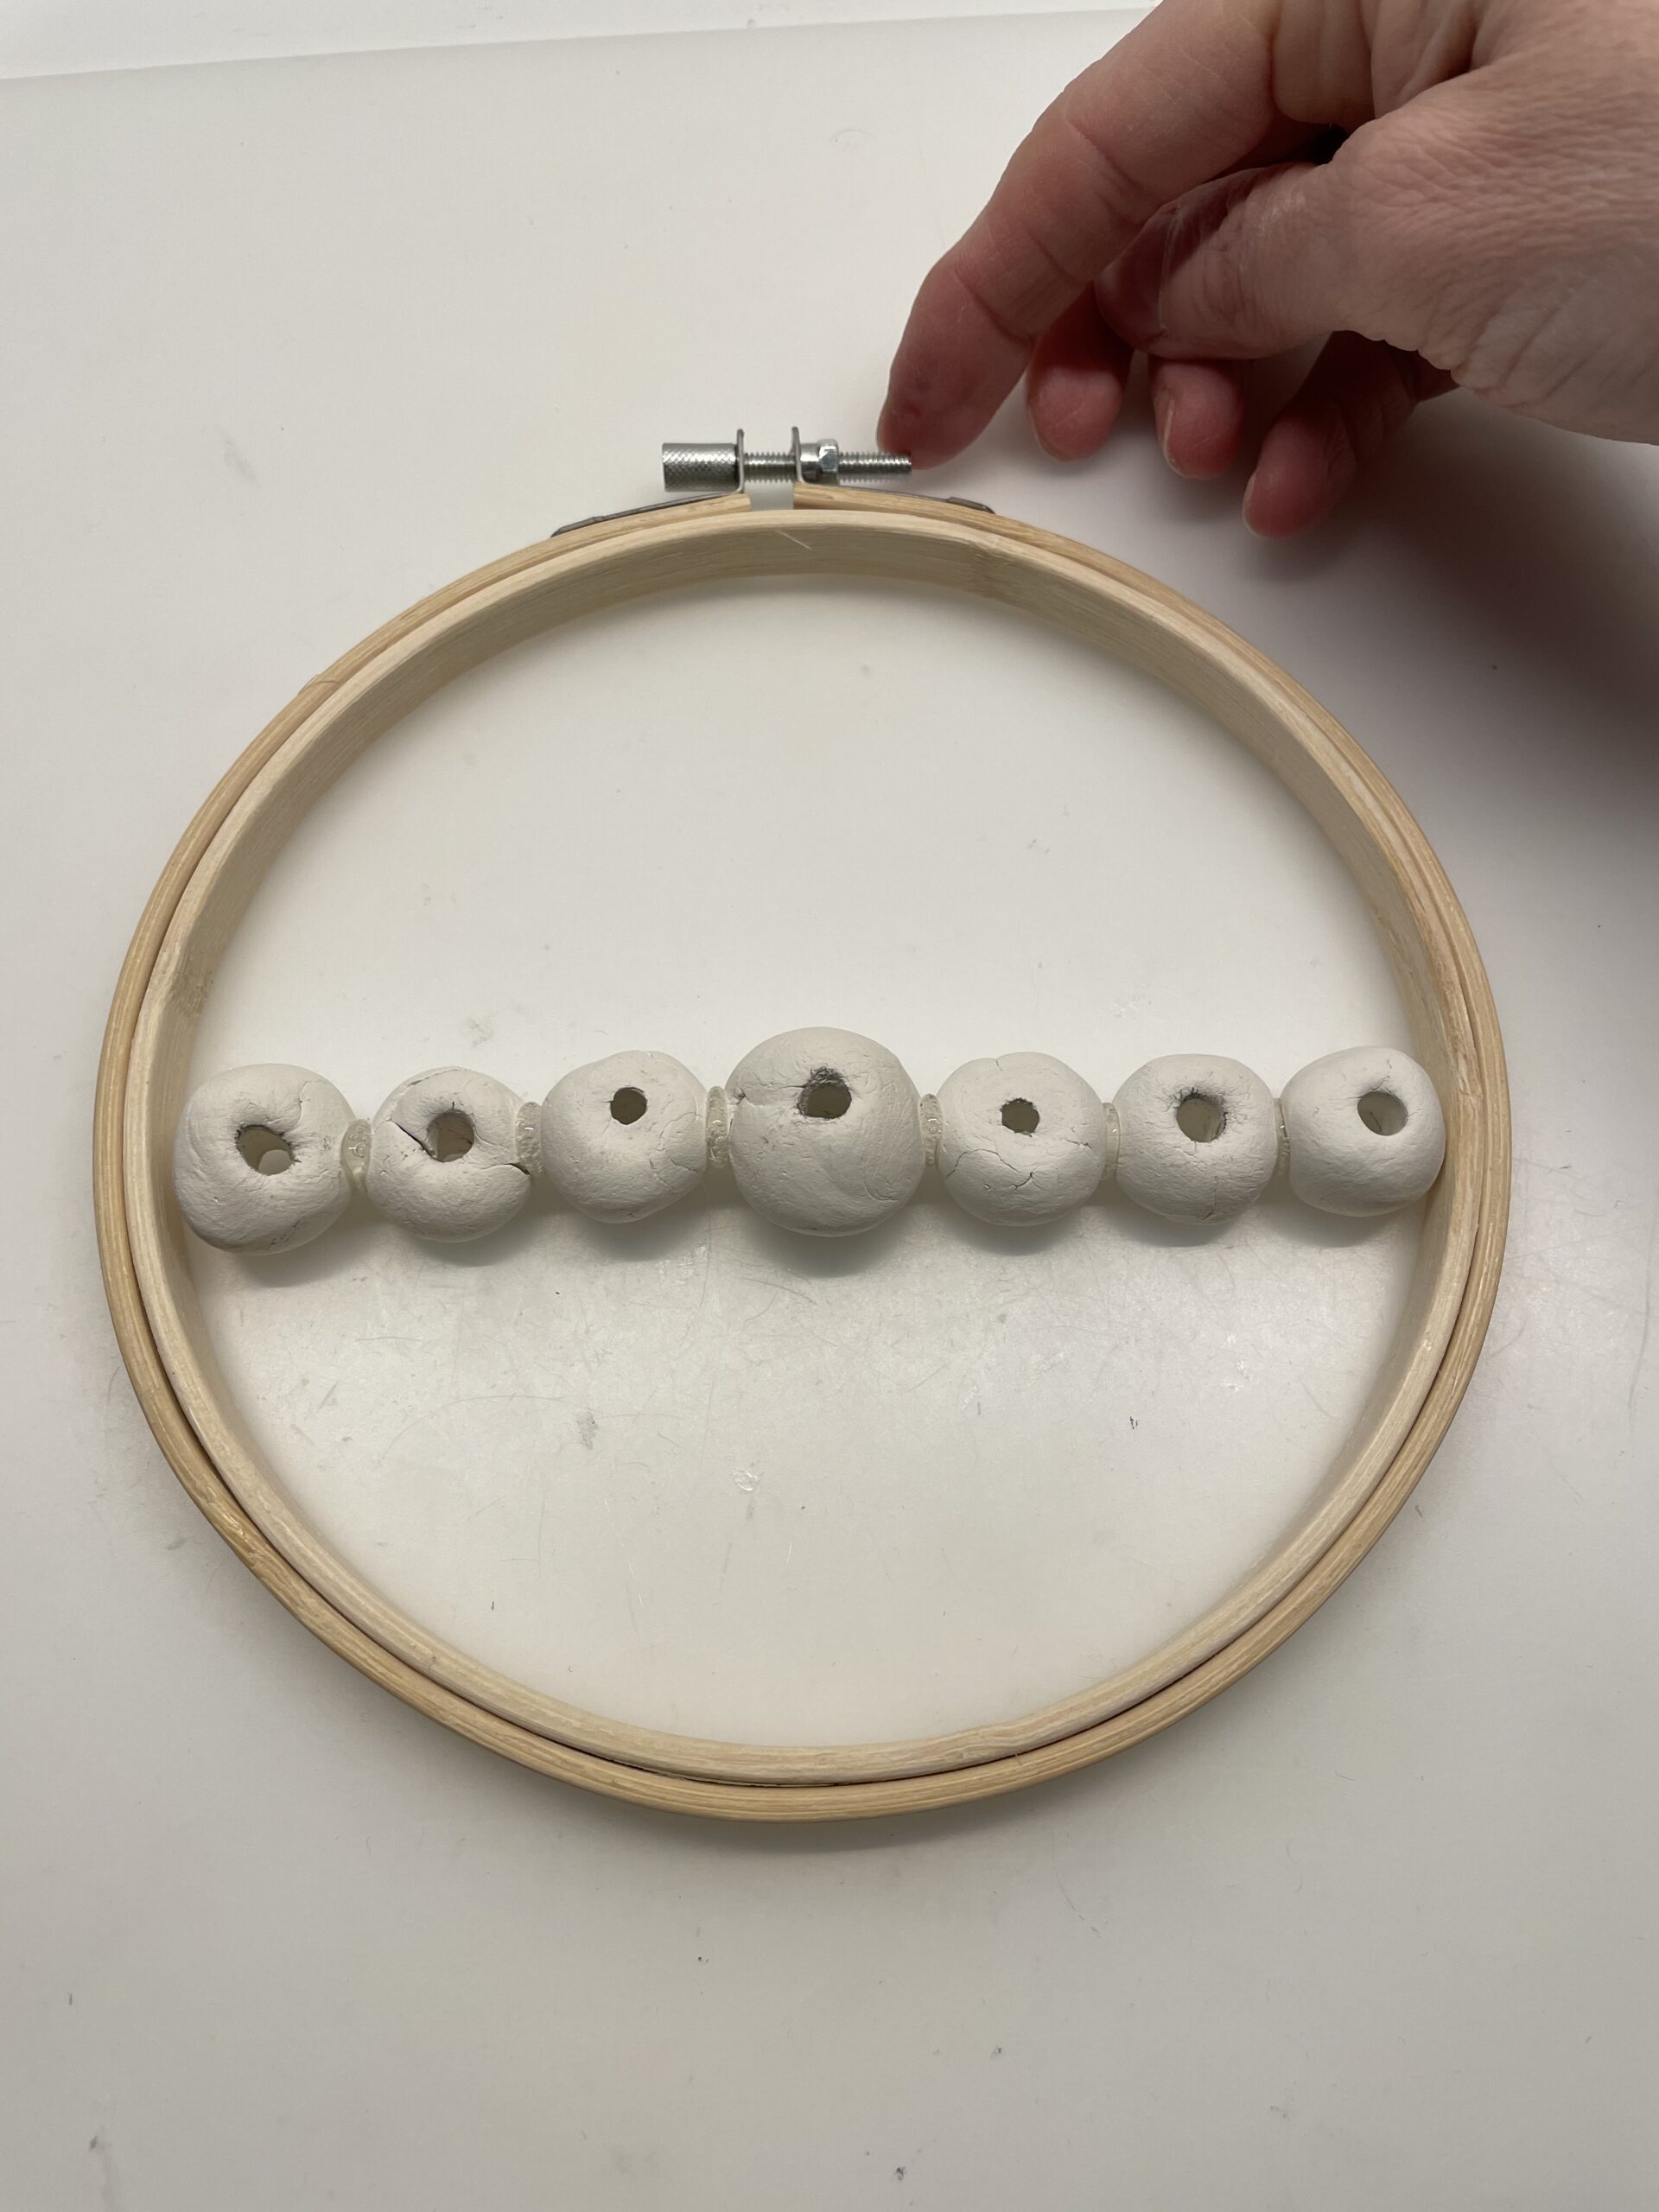
Checks again and again whether the row still fits in the ring! Because by the applied glue the row becomes longer!


After that, you stick the row of pearls in the ring.


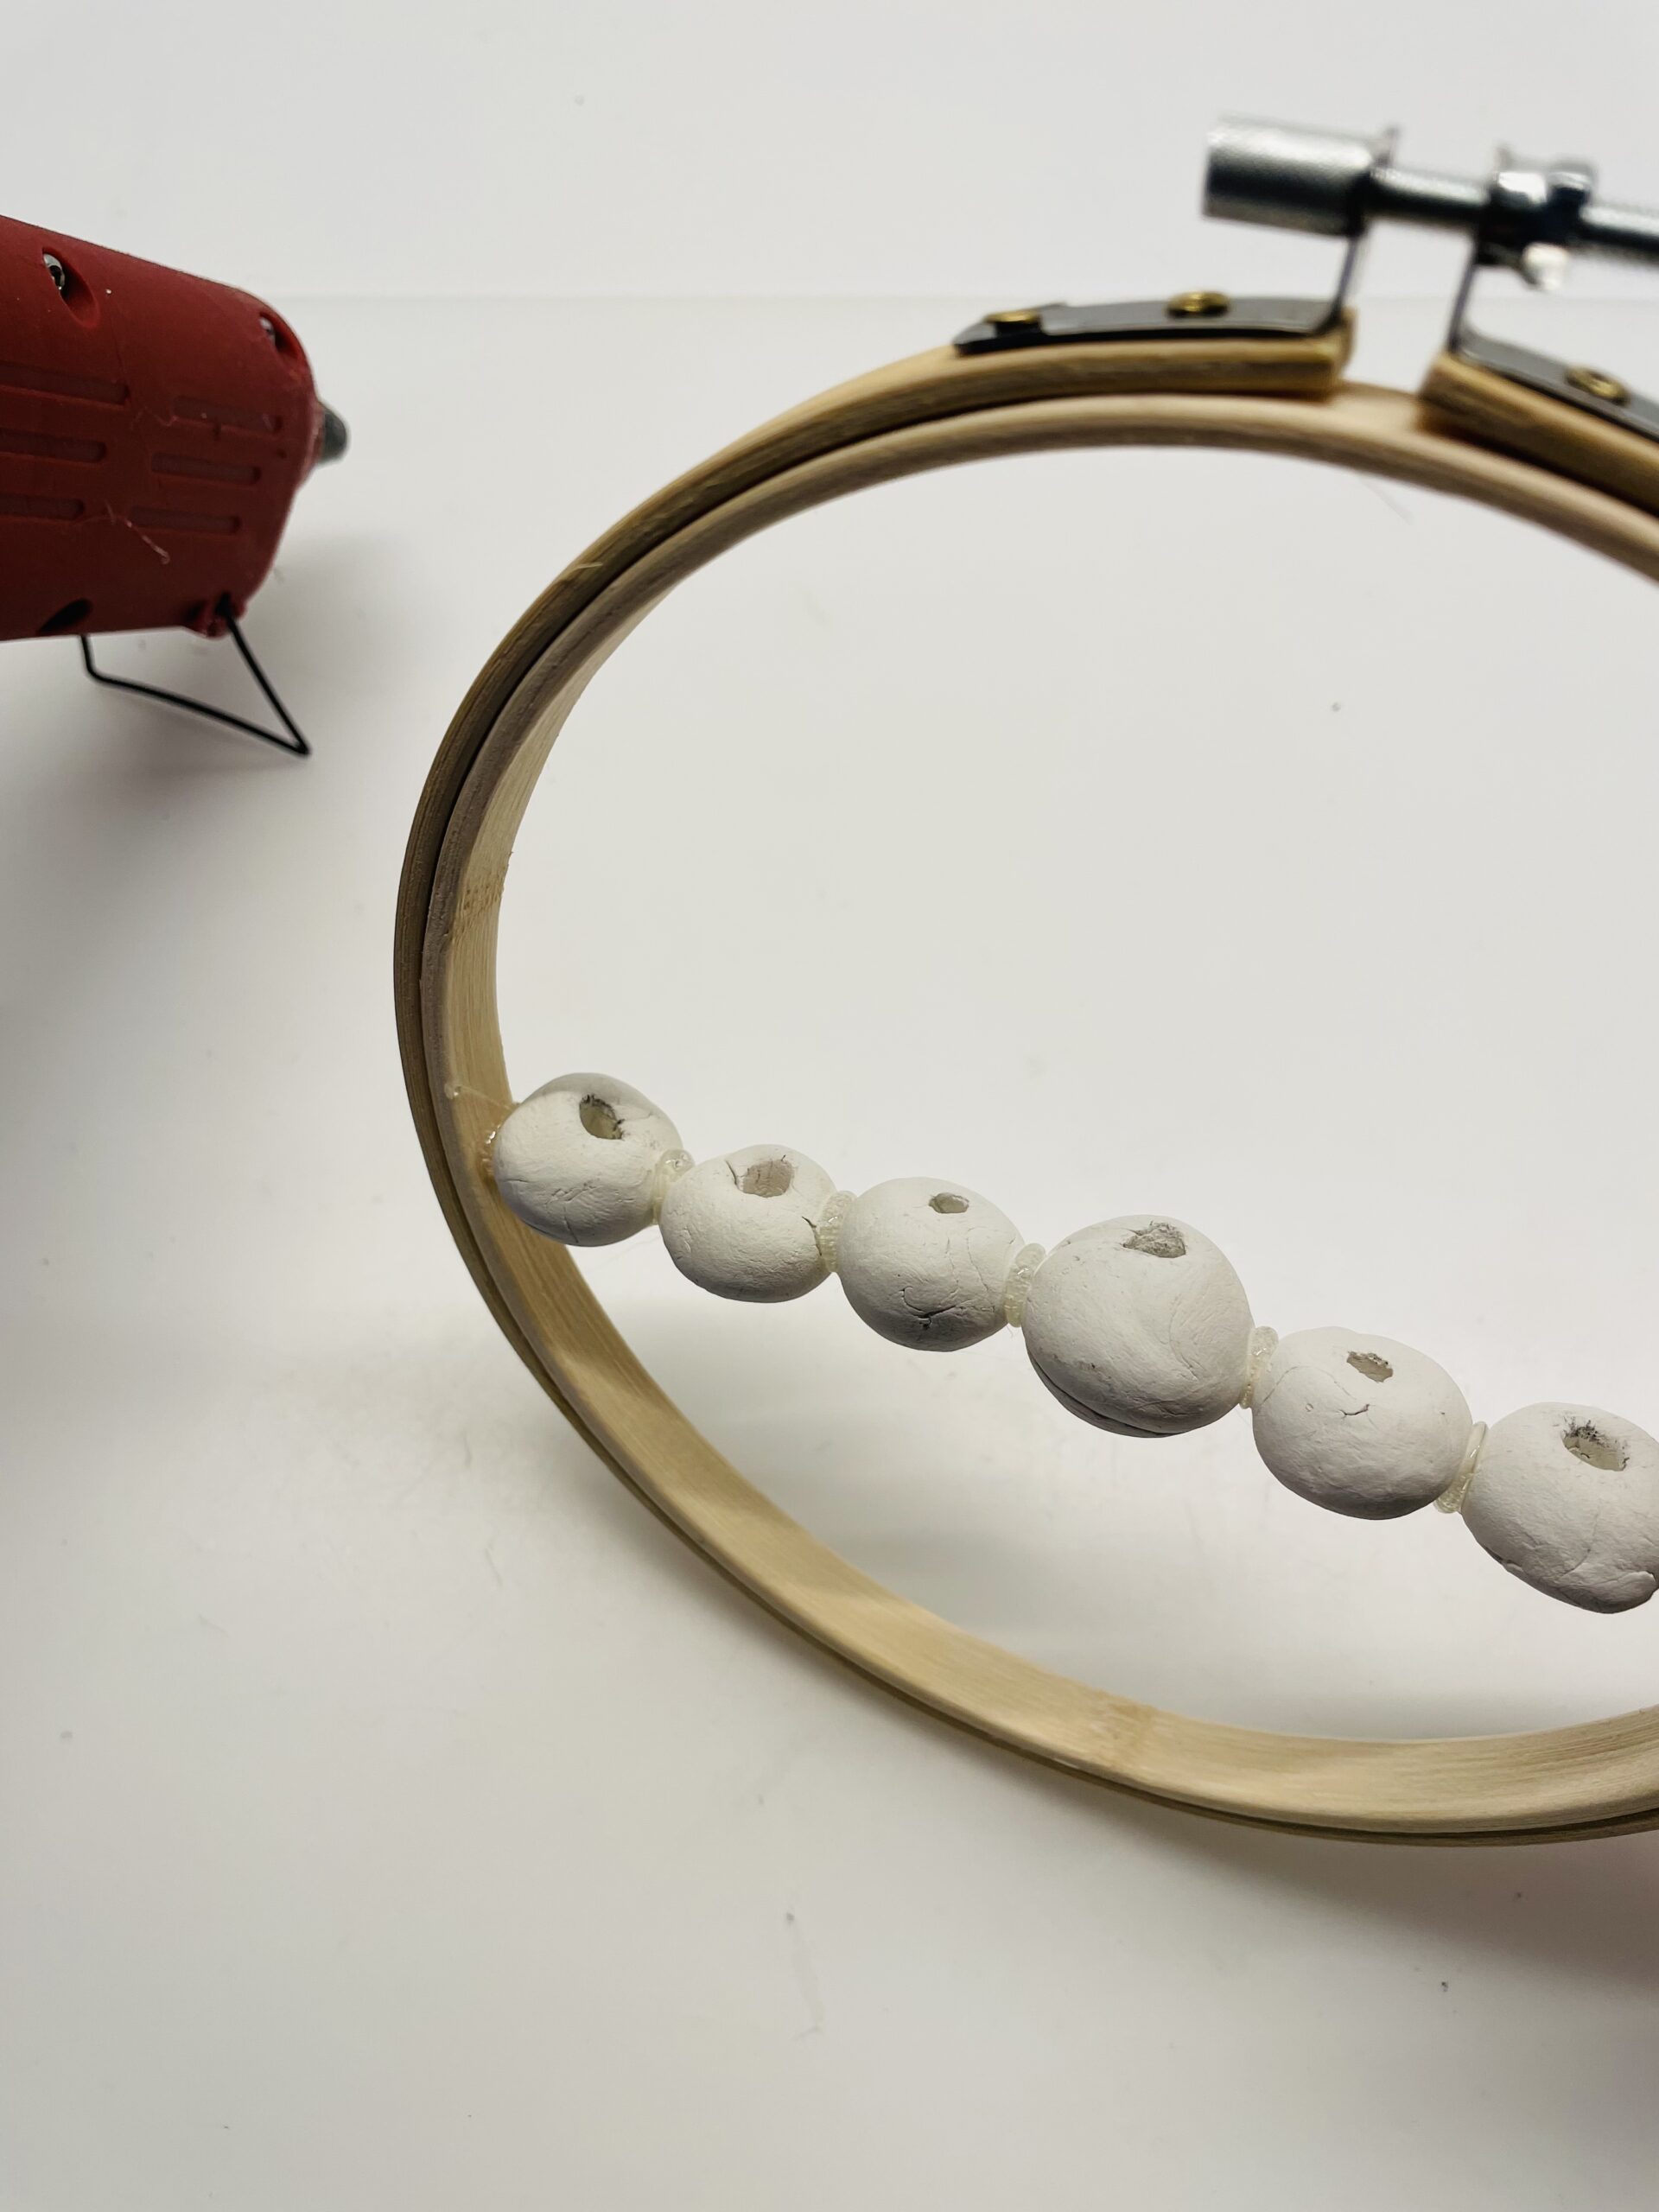
For this you put up the ring and put the bead row in it, so that all openings point upwards. Now you put some hot glue on one end of the bead row and put the bead row in the ring. As soon as the glue holds, you fix the bead row also on the other side.


Now the basic frame stands for the door wreath.


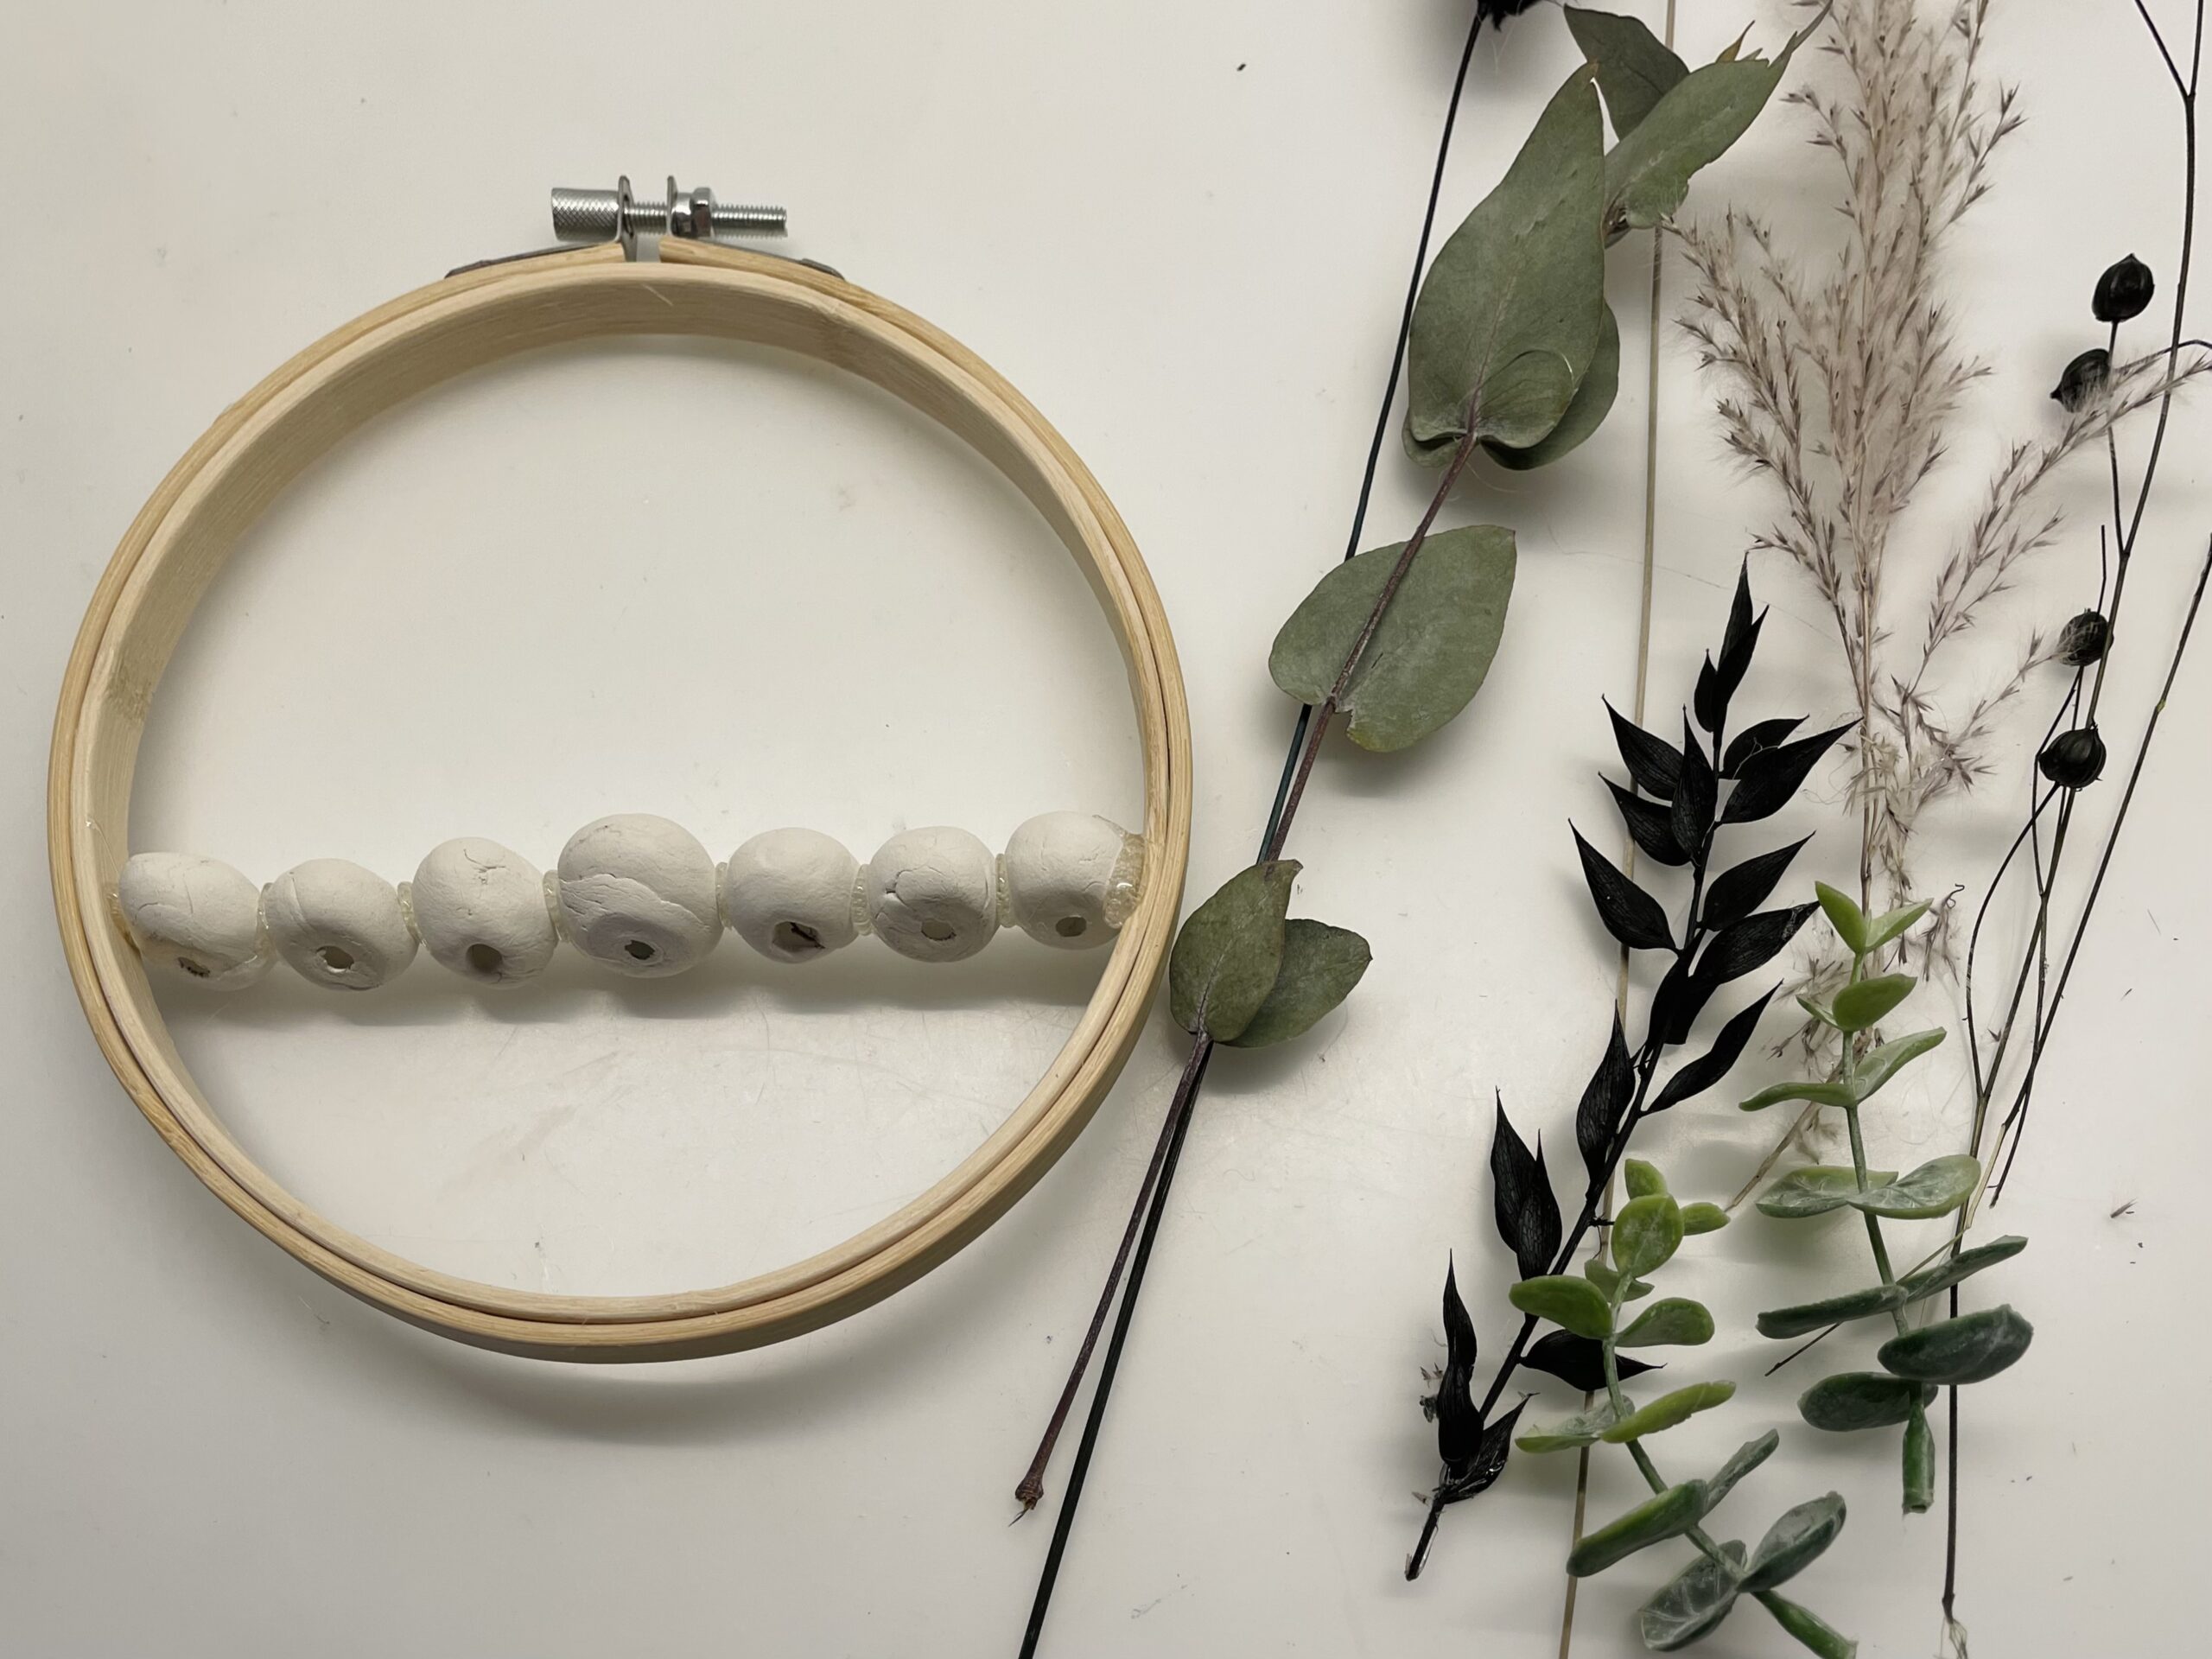
Now put as many grasses, leaves, branches, feathers or flowers into the holes of the beads.


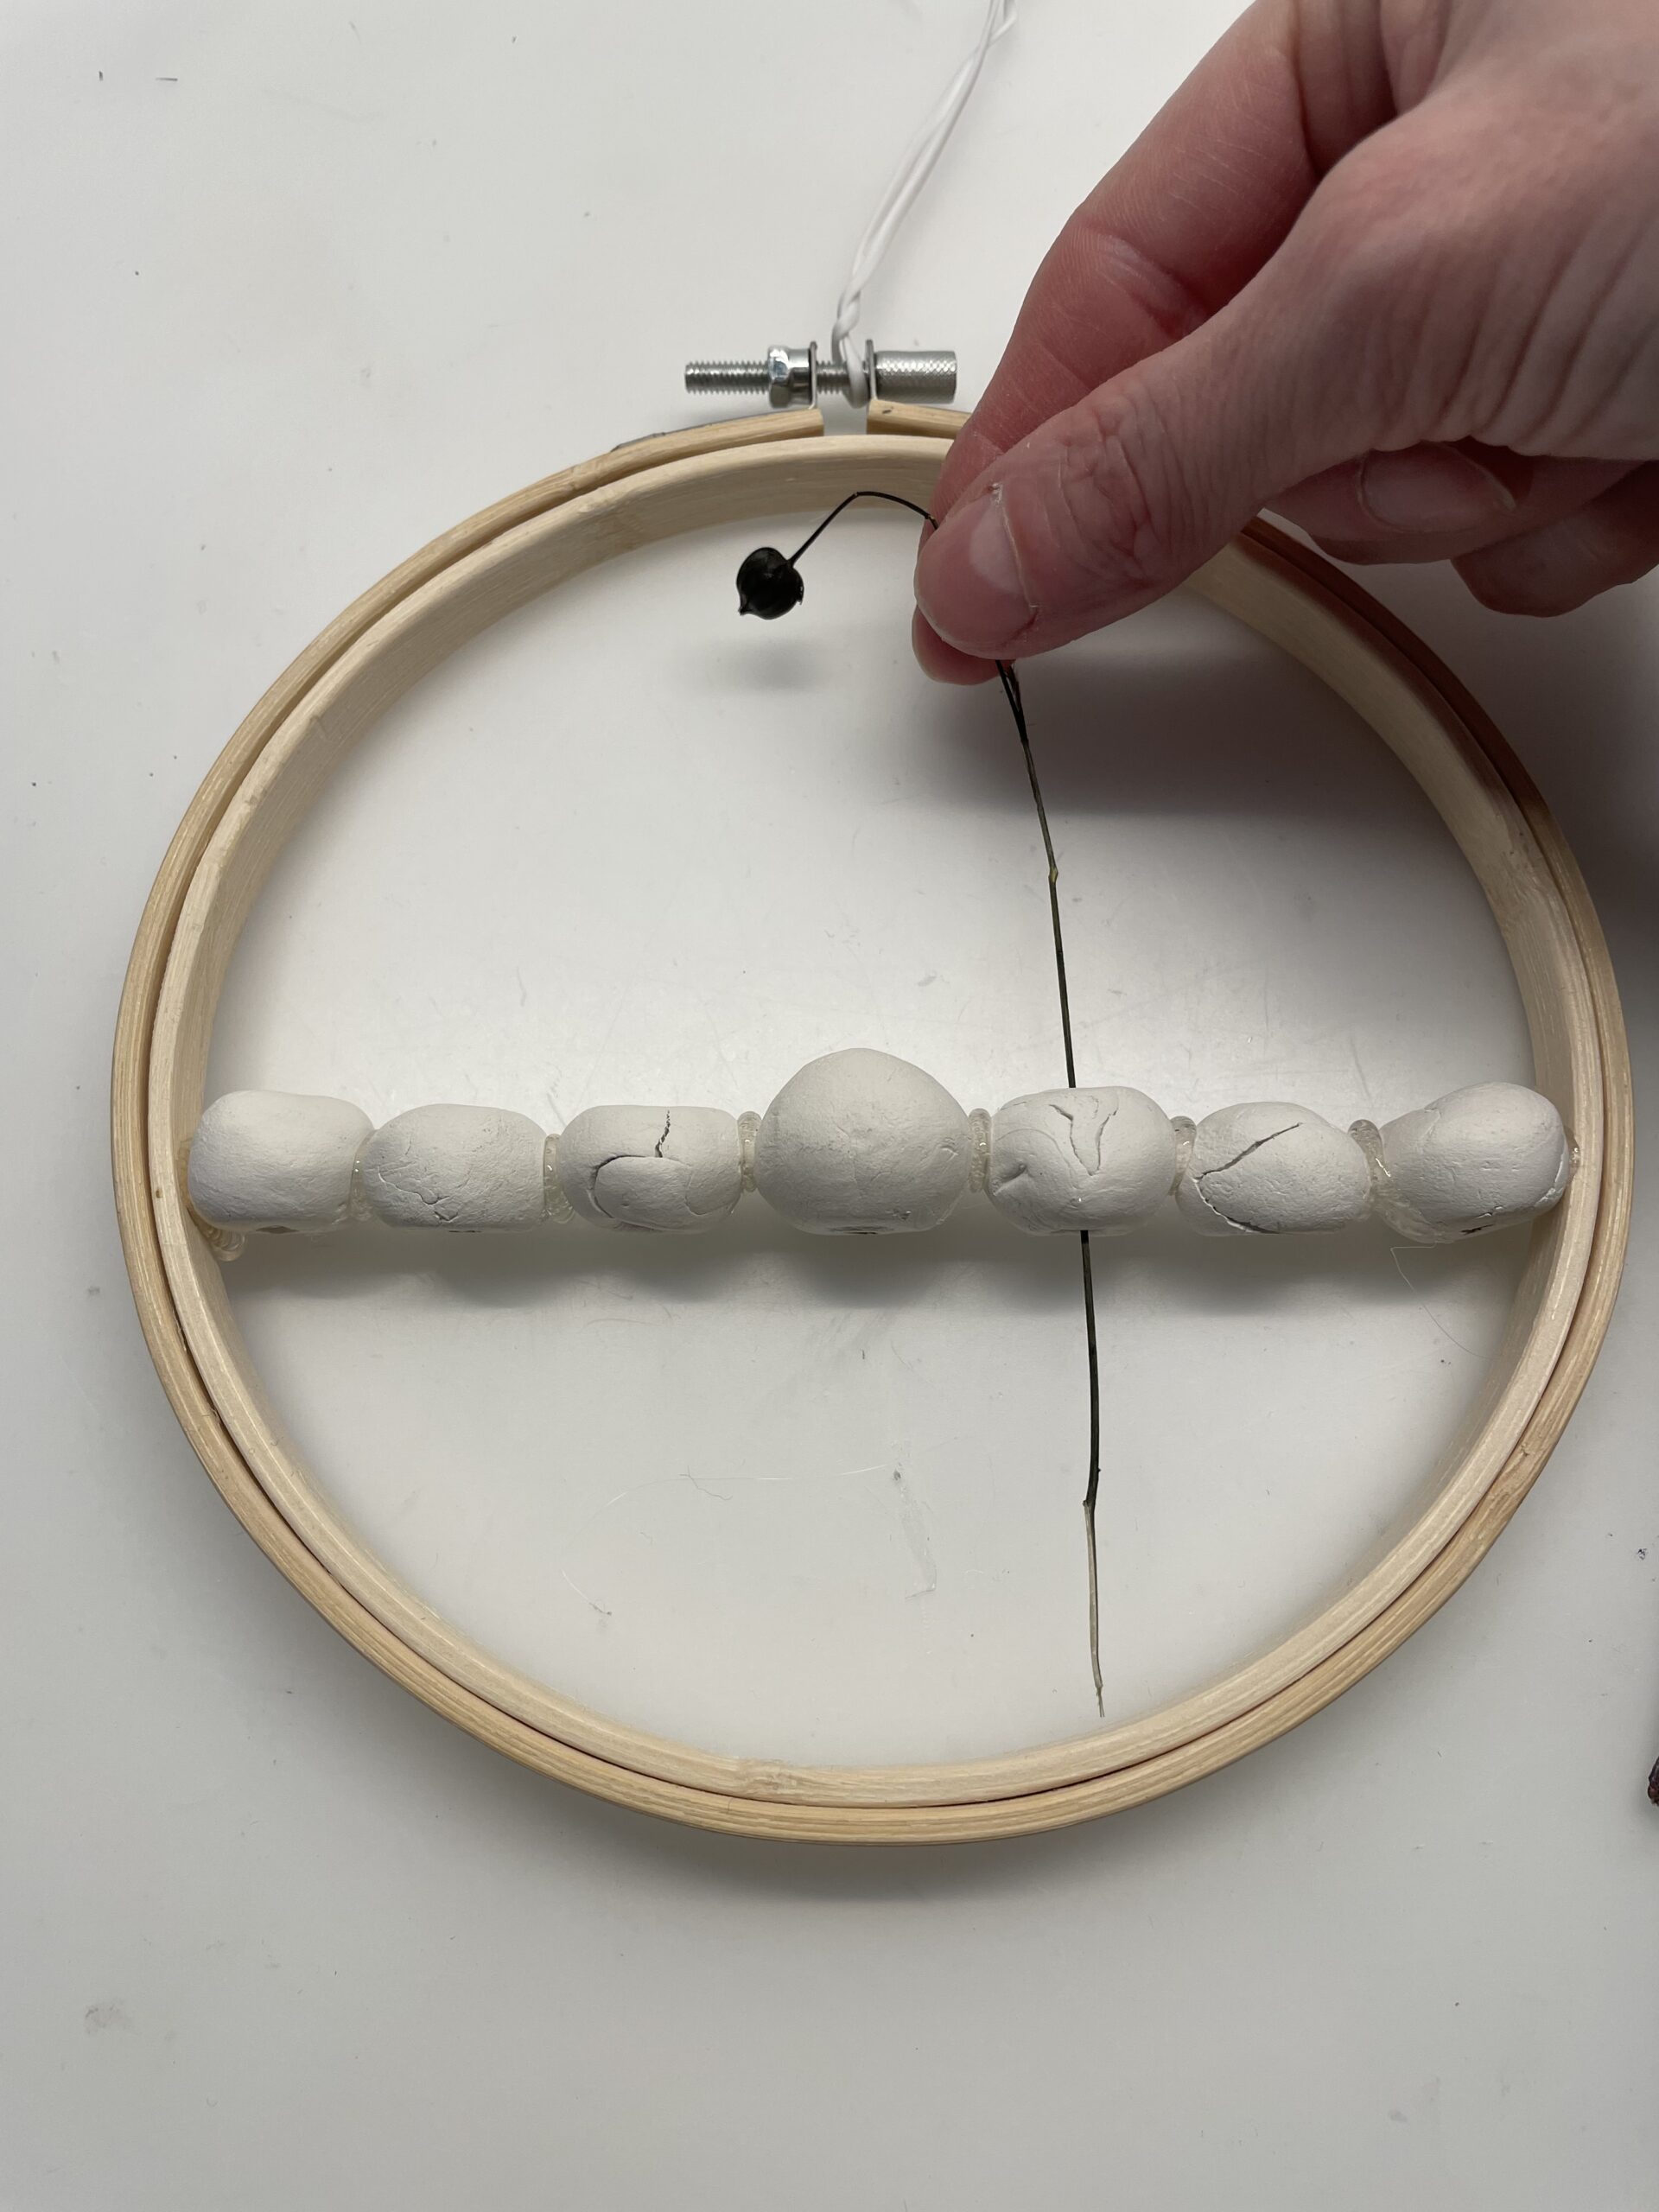
Be careful when plugging in, and shorten the stems as desired.


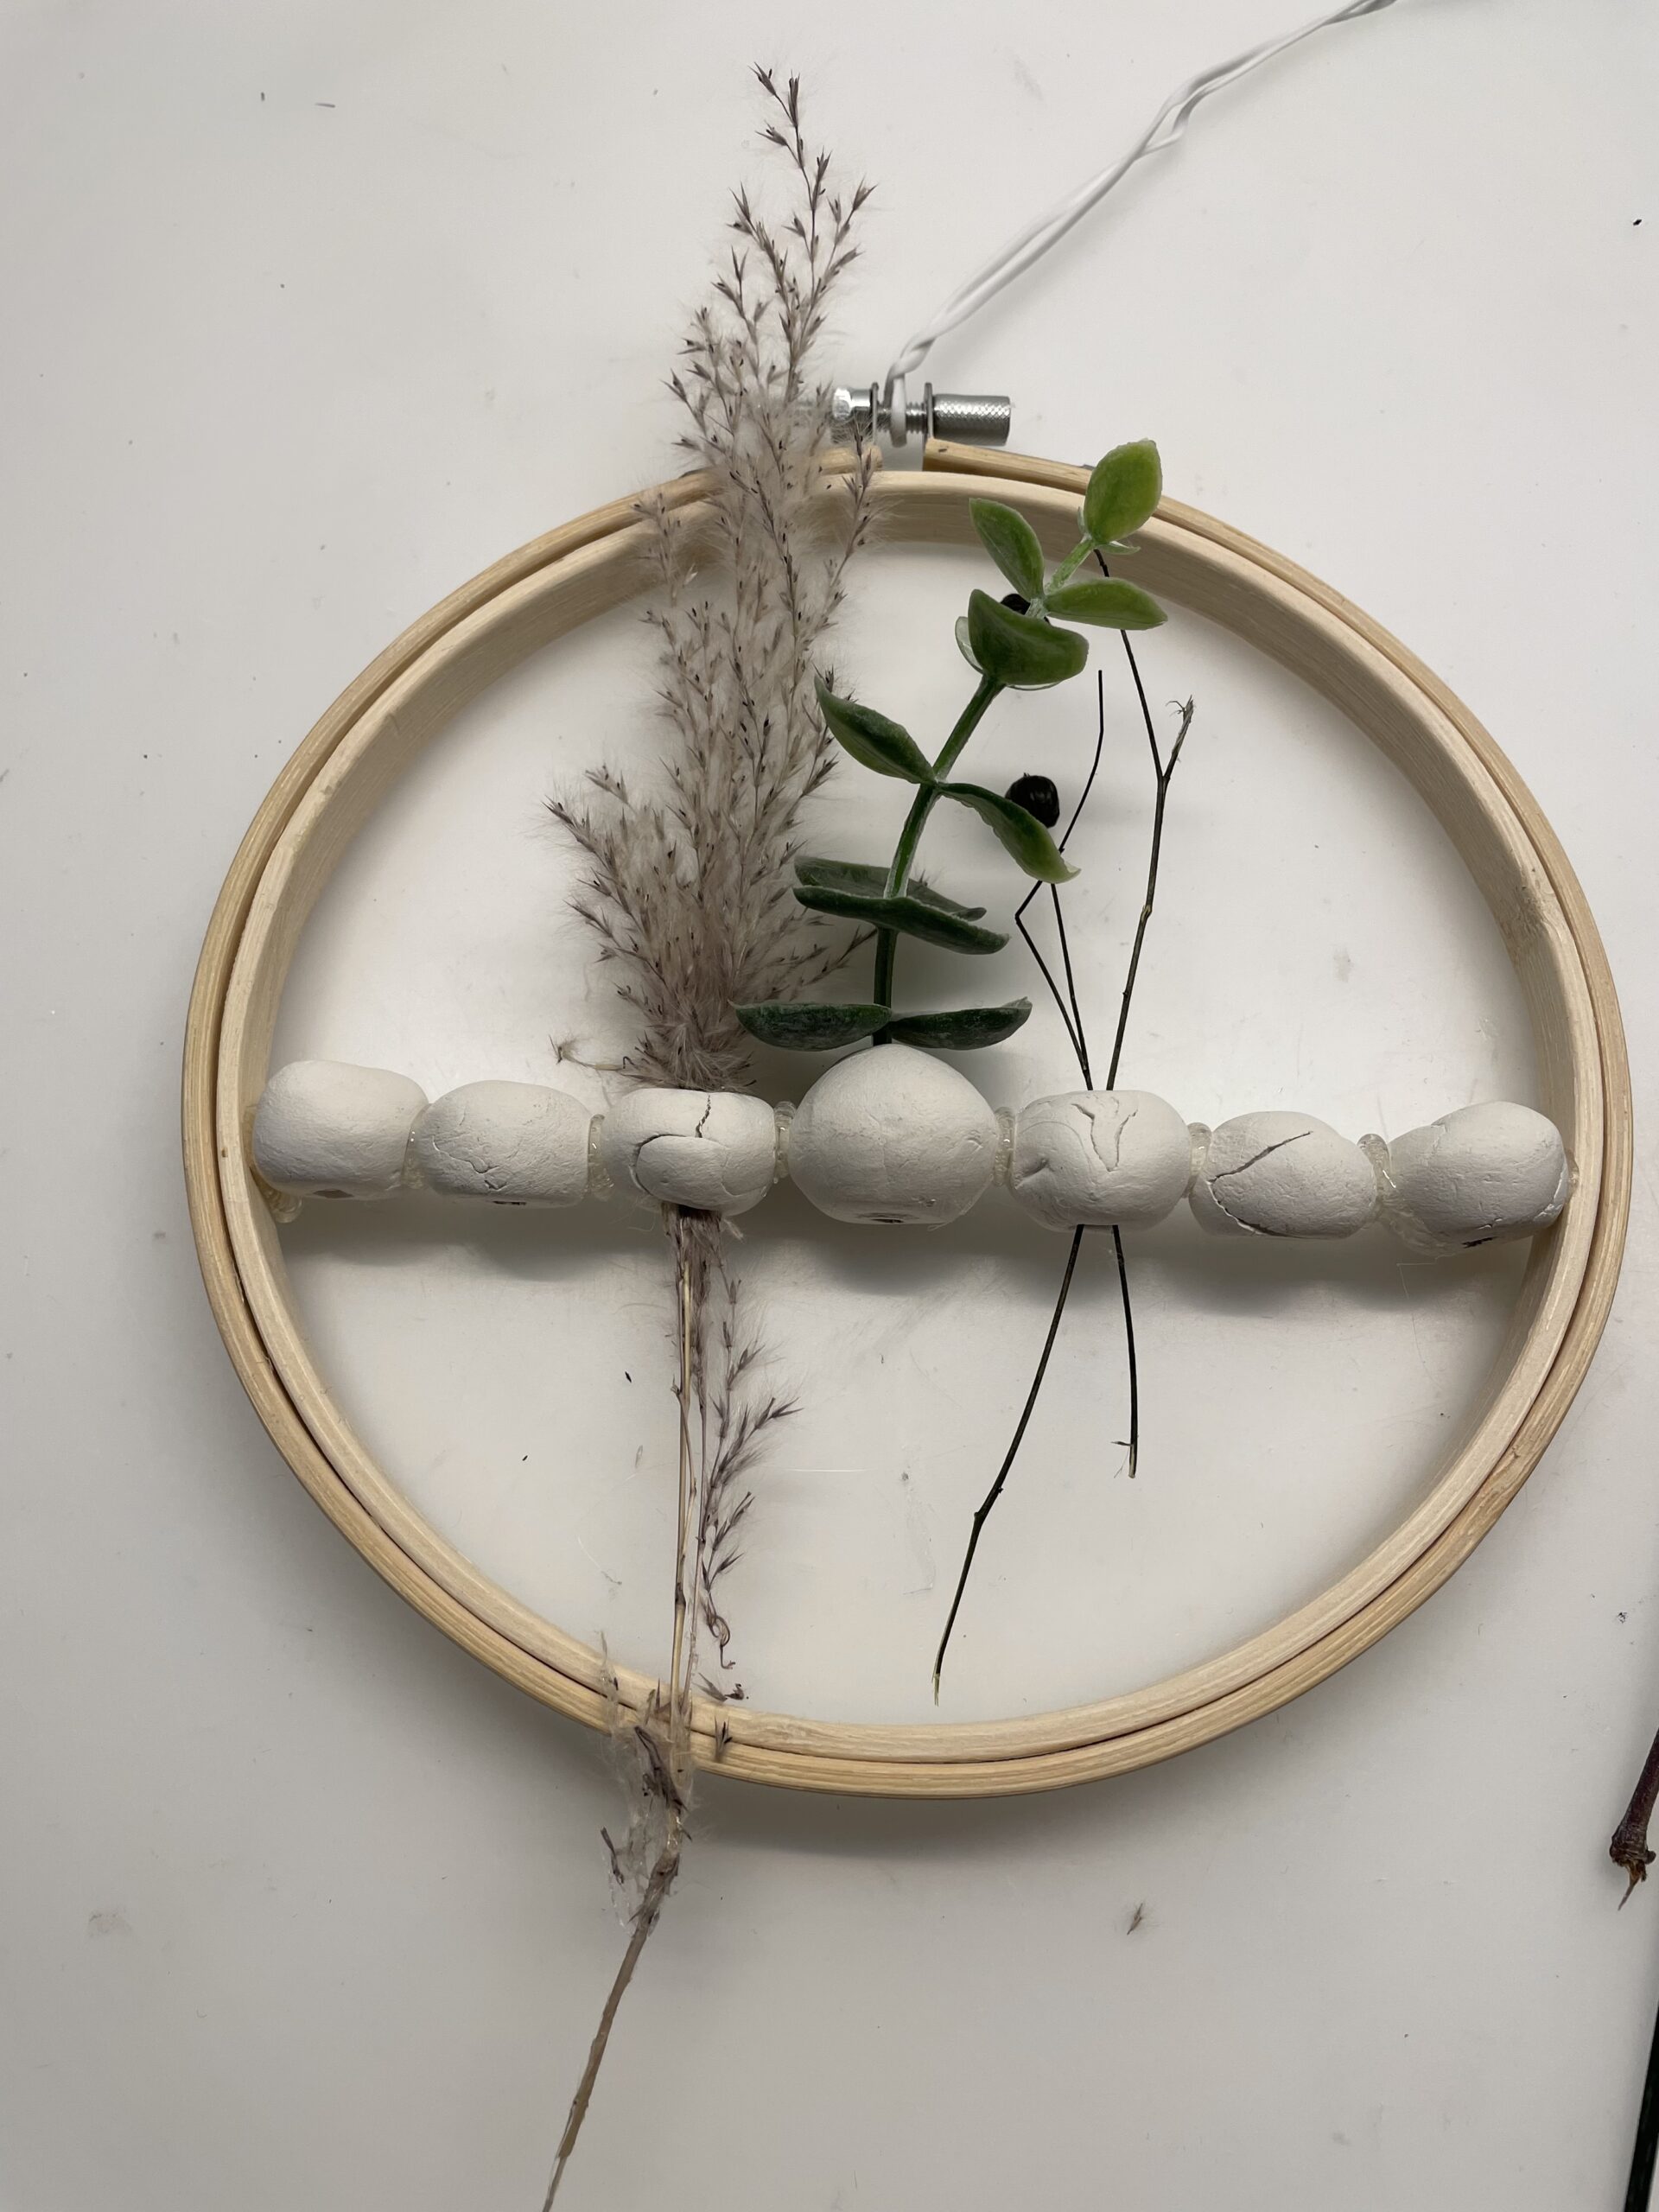


Make sure that the inserted materials sit tight and do not slide down. In this case, simply add more items.
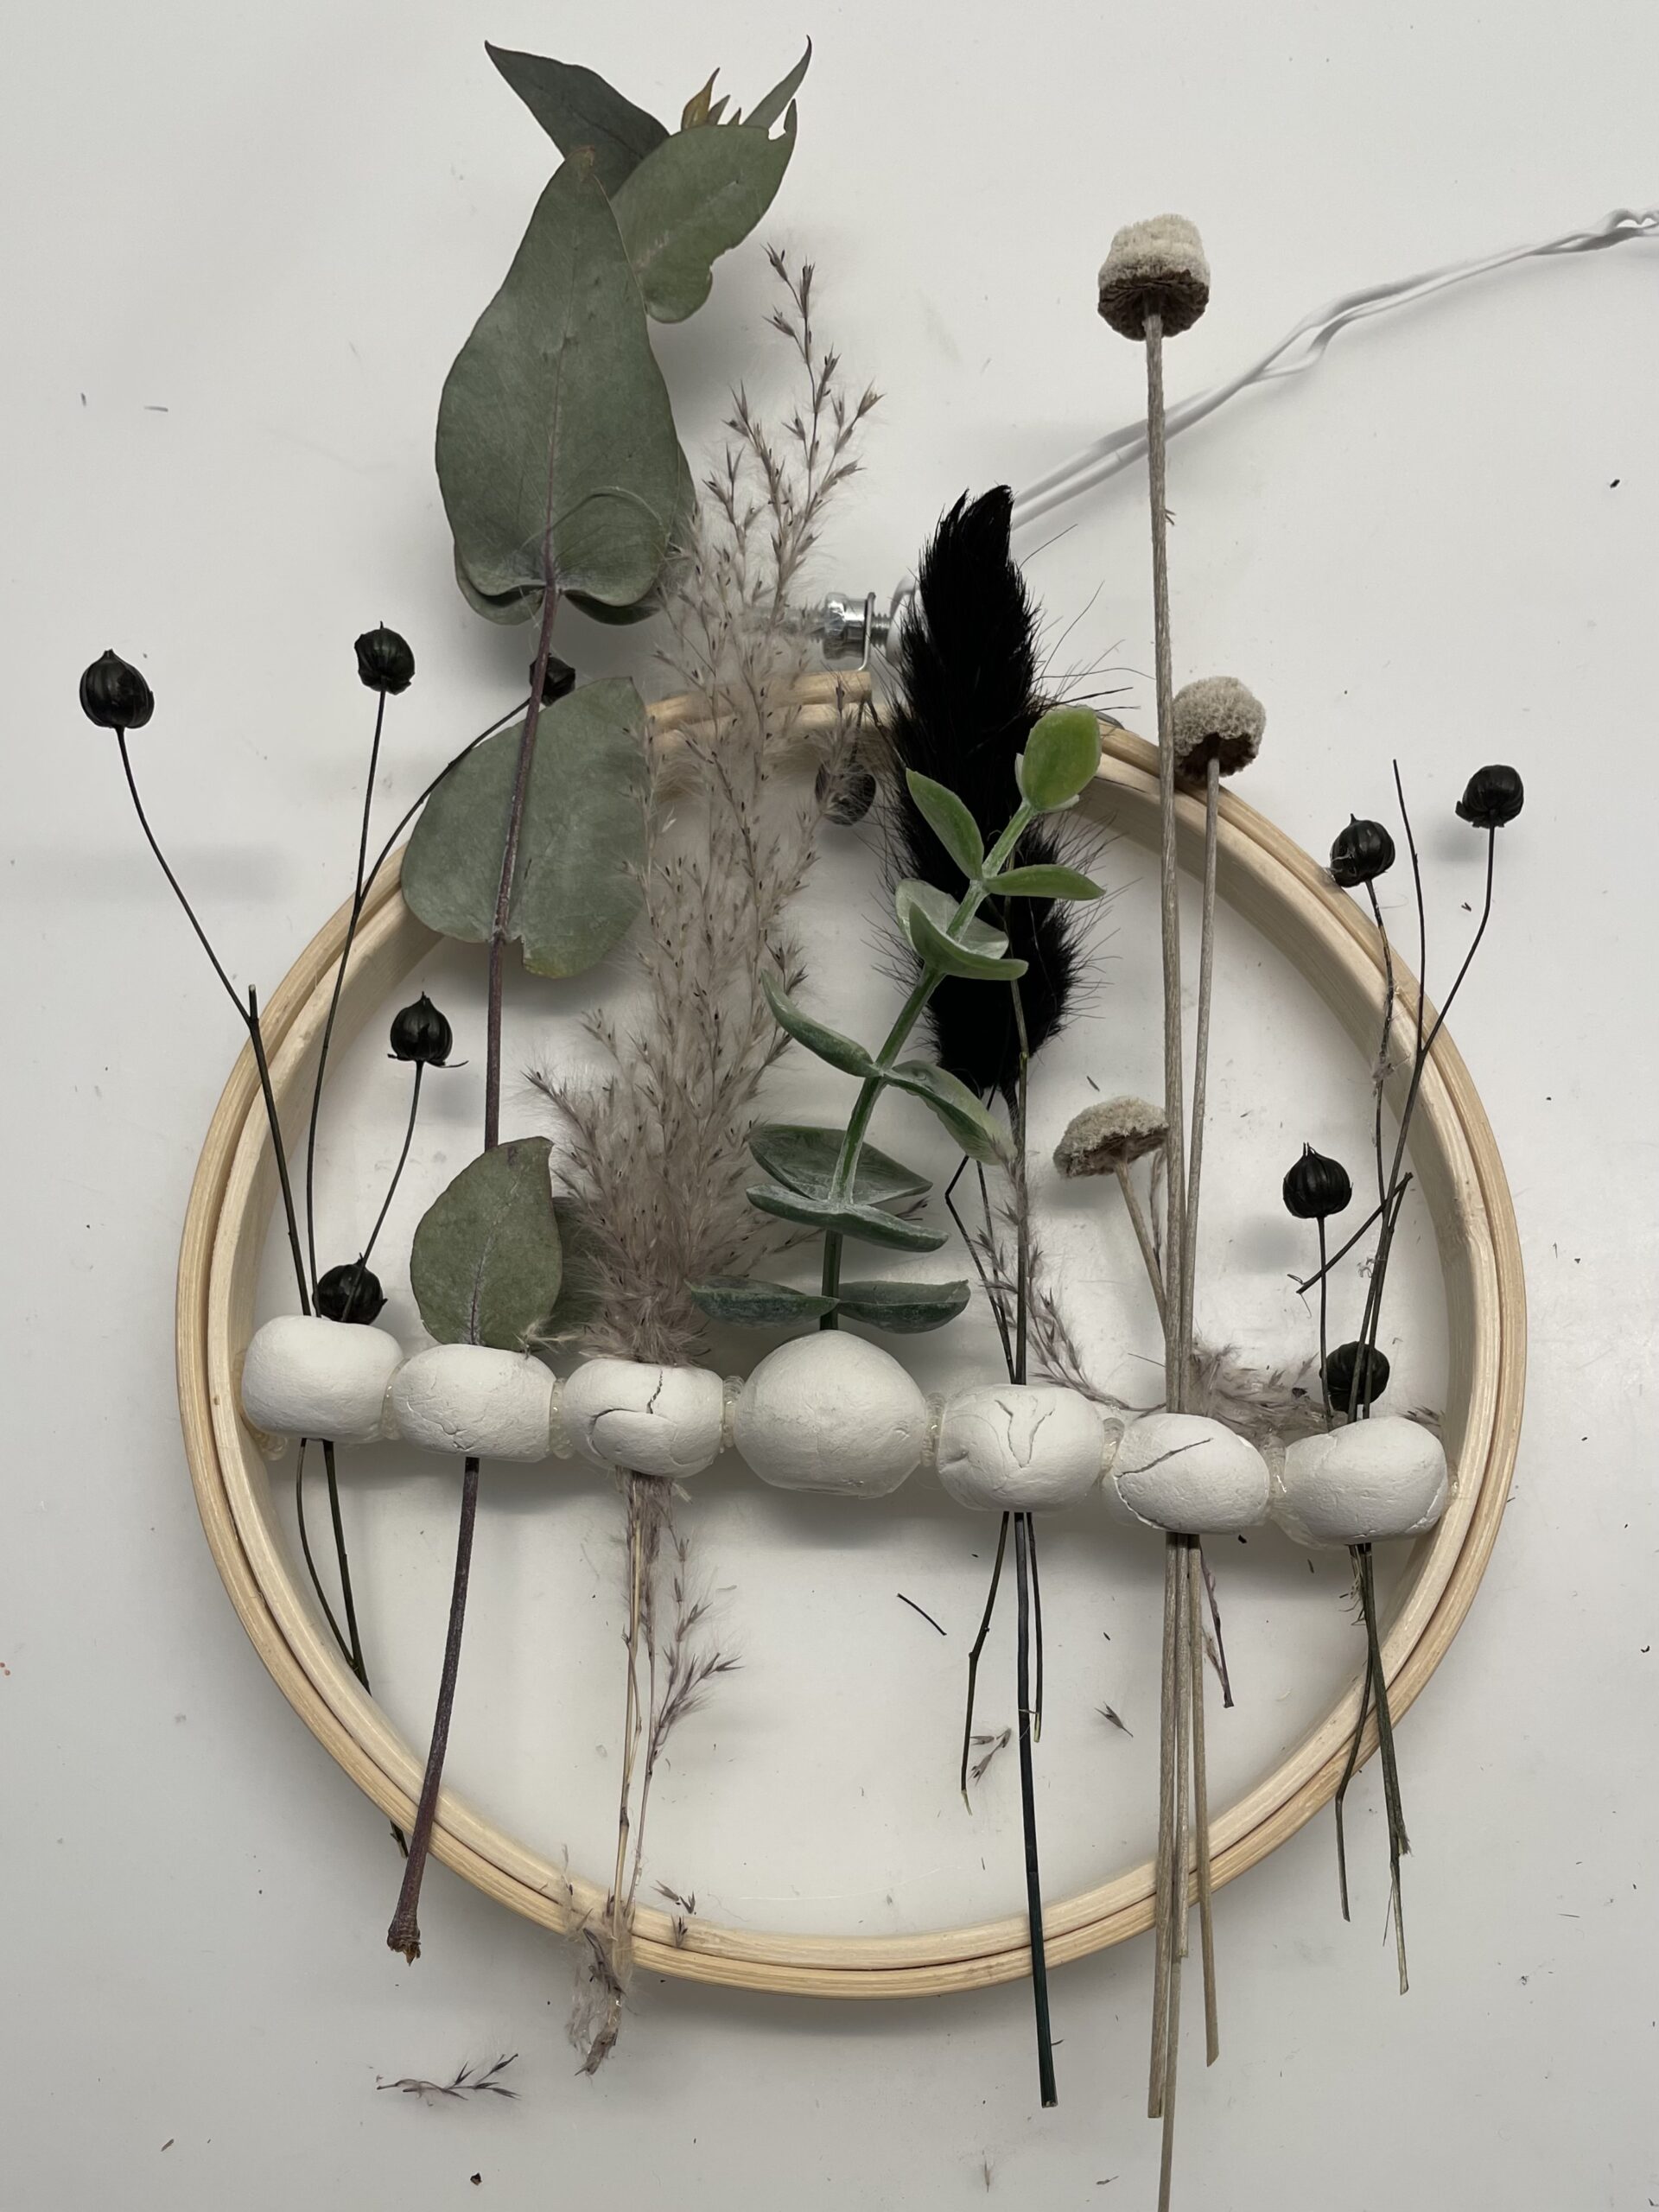


Finally lift up the wreath and see if your decoration holds.
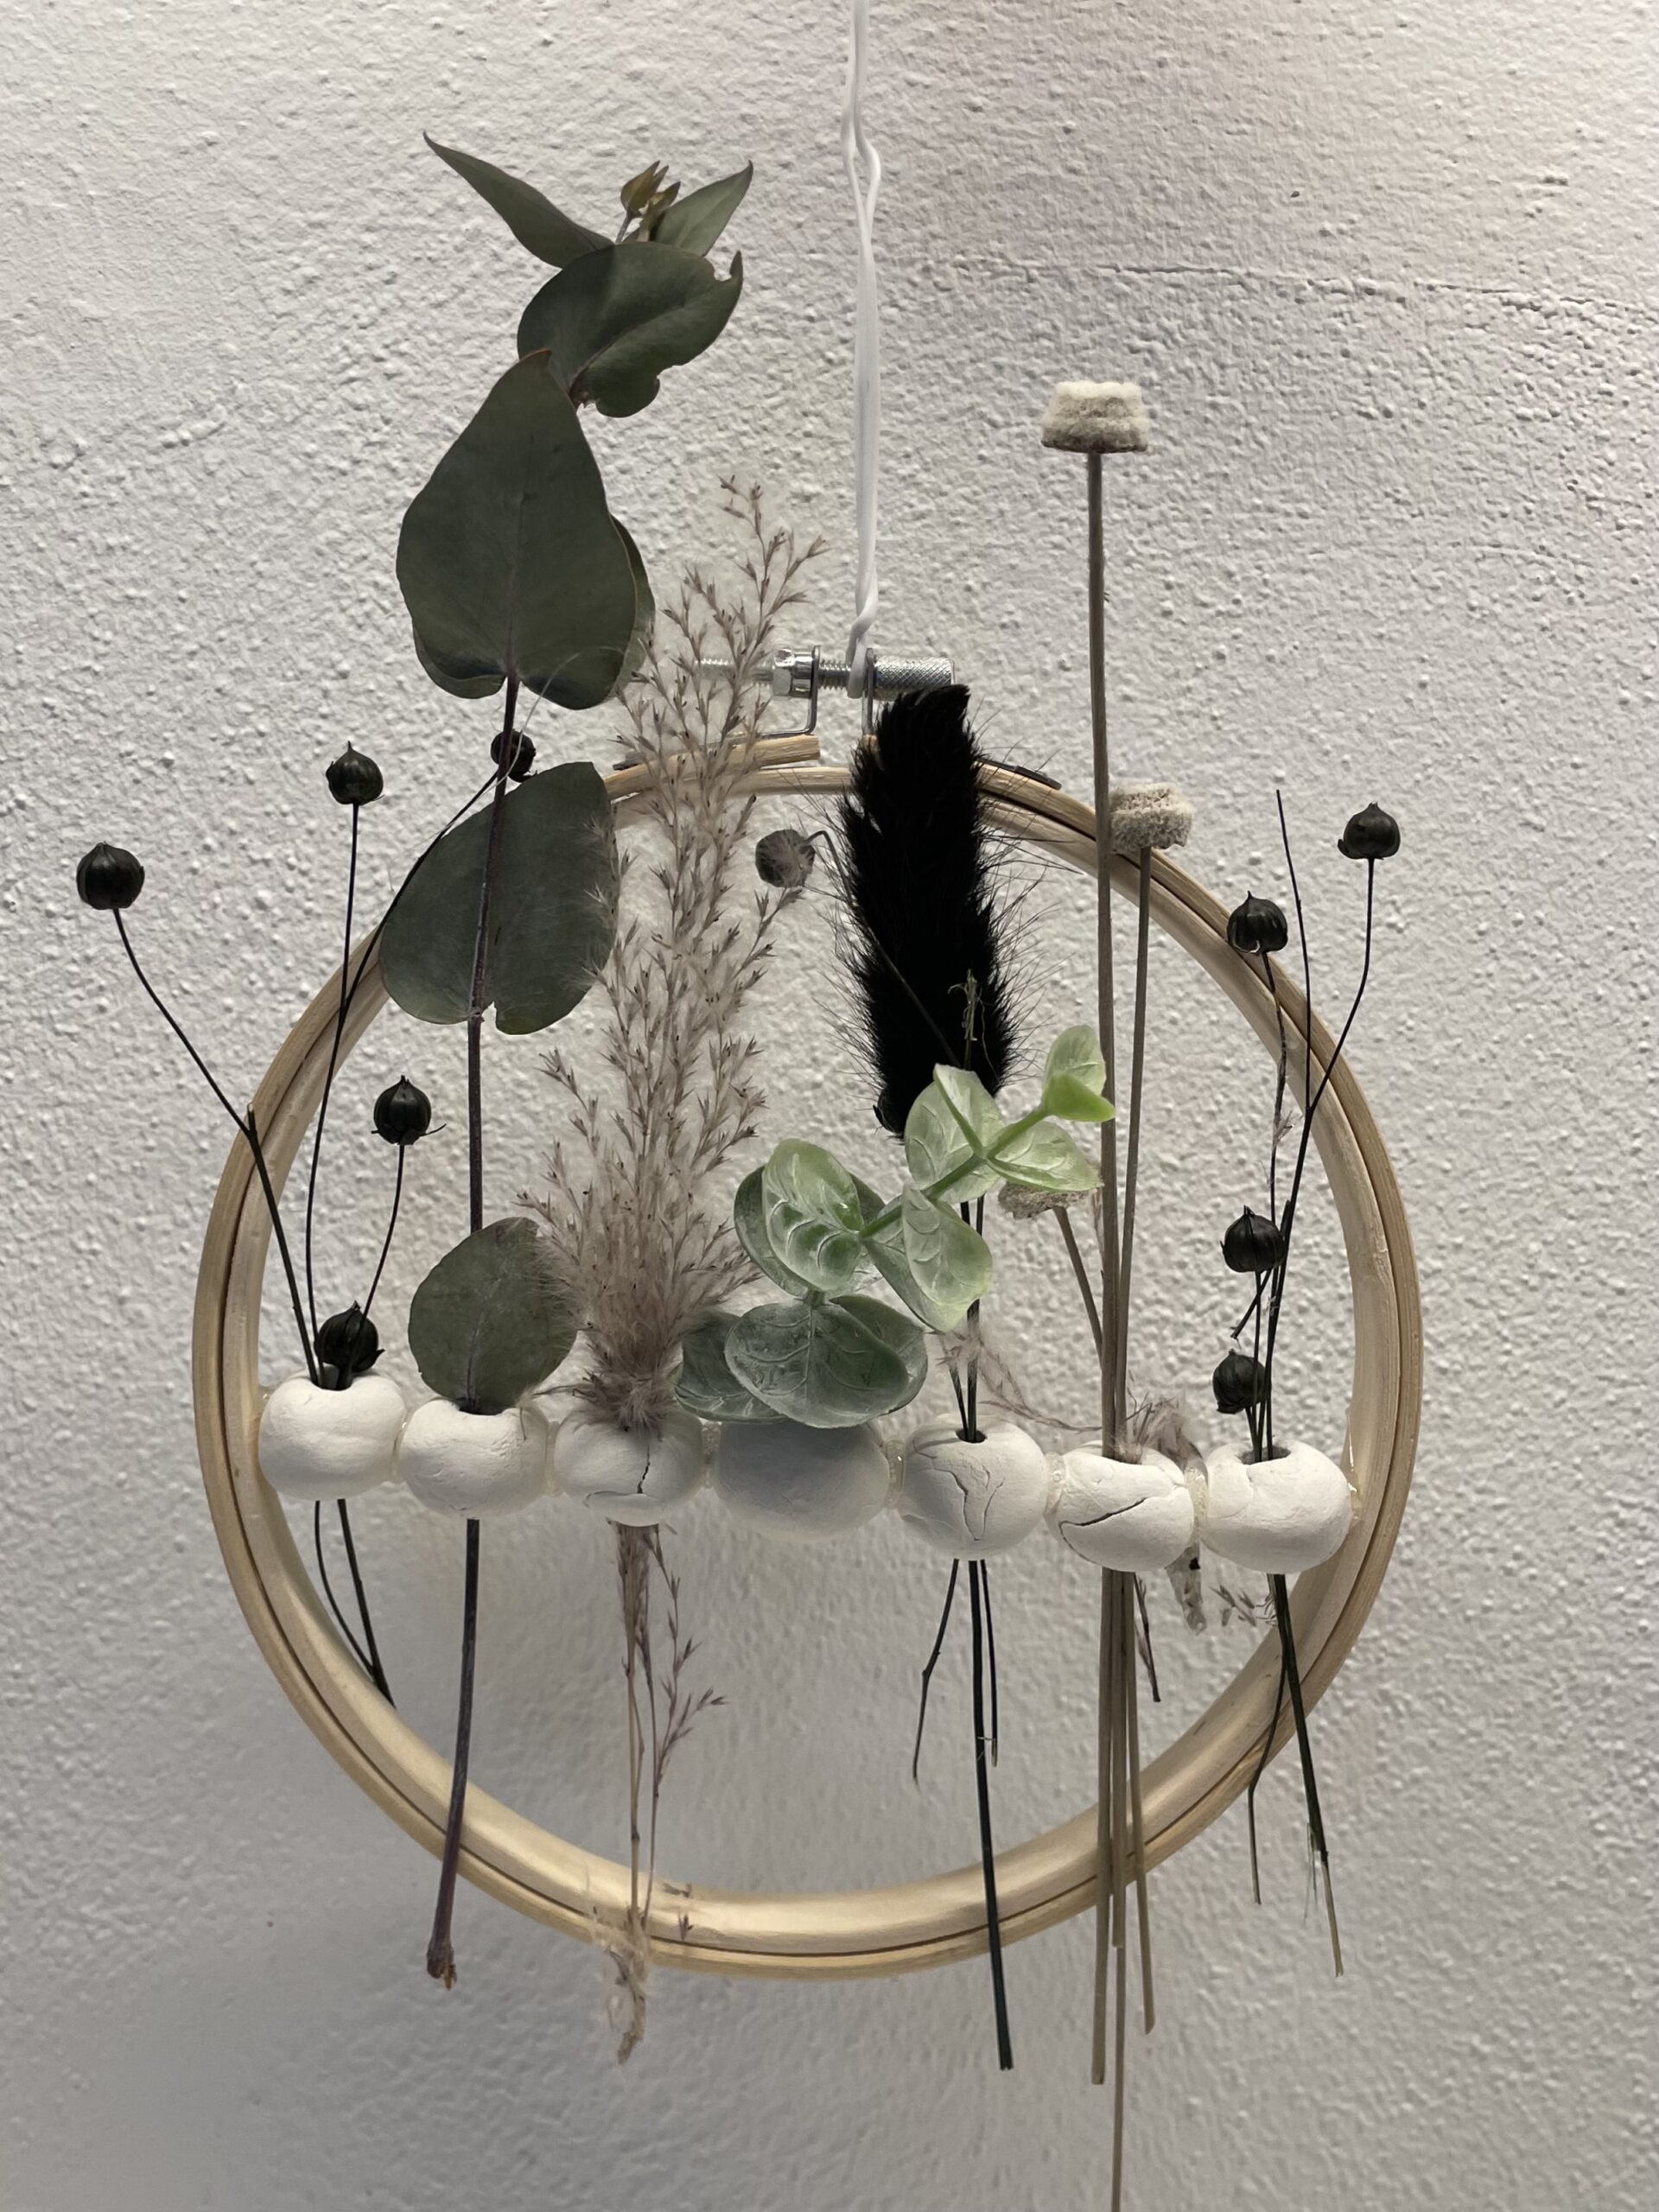


Finally you tie a band or cord to the ring and hang it e.g. the door.
Tip: The finished wreath can also be used as a wonderful gift.
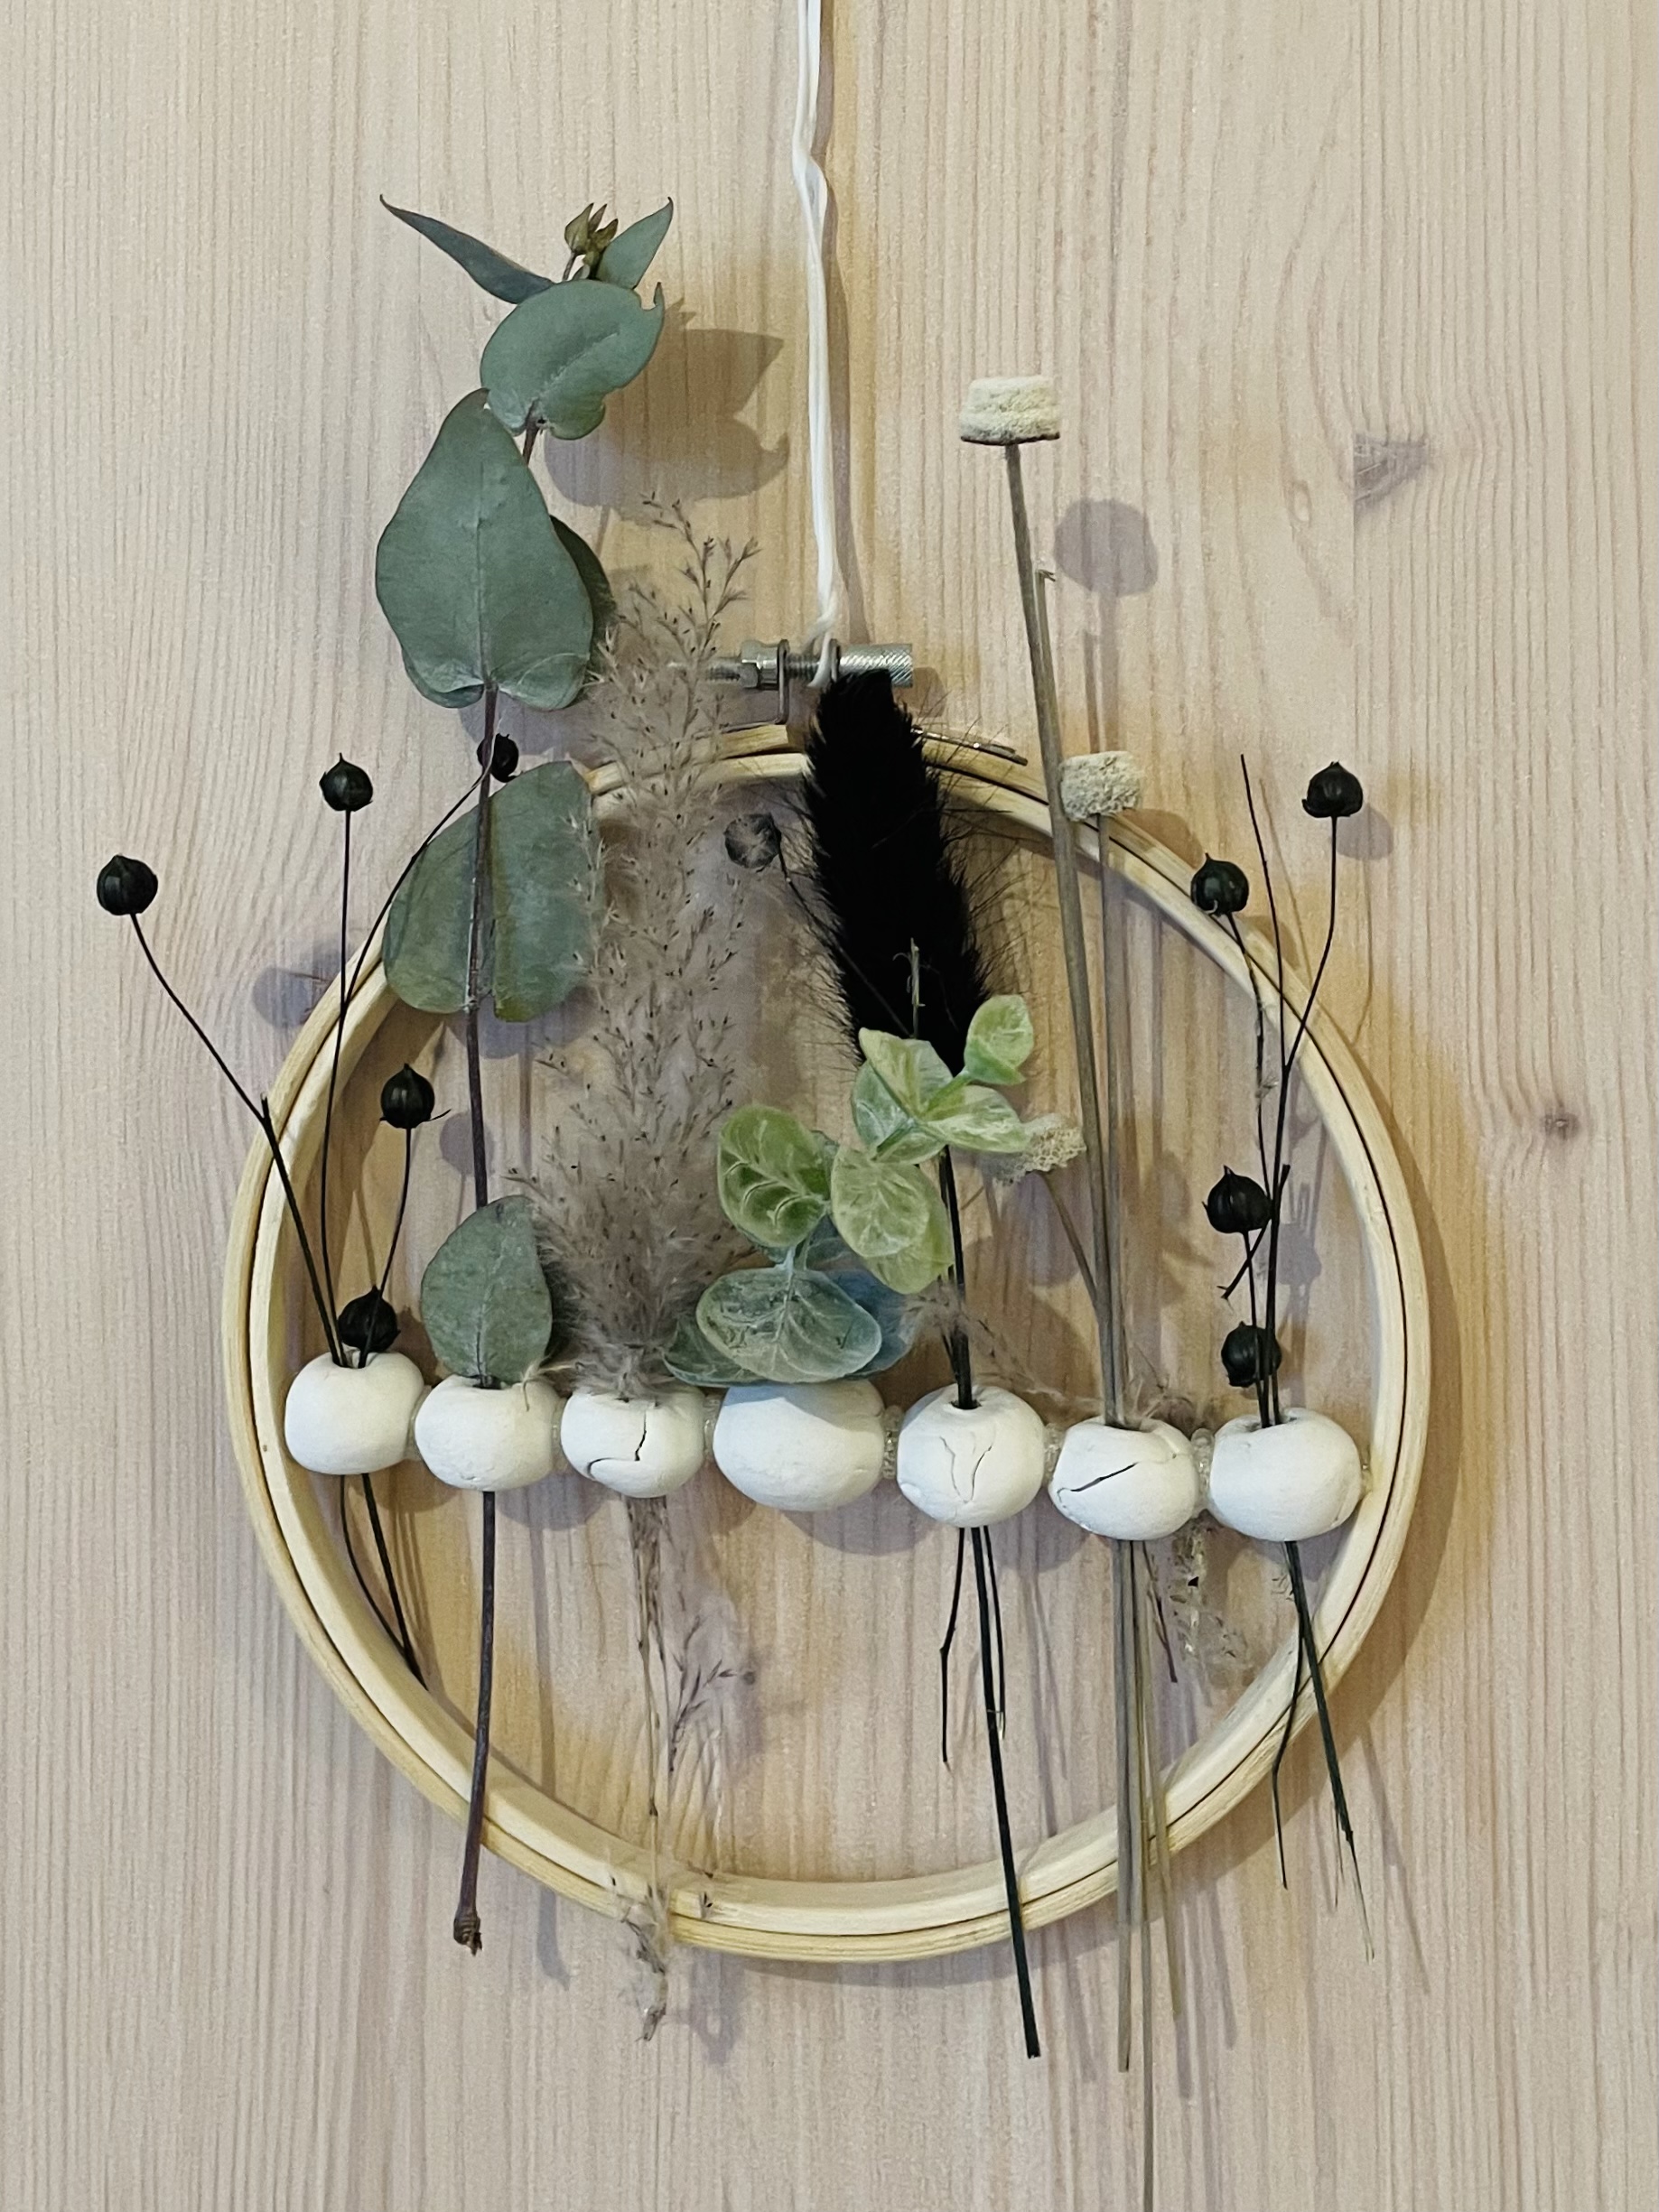


Have fun in designing!
Tip: After all objects are only plugged in, you can remodel and decorate the wreath again and again.
Materials
Directions
First, lay out all the materials and the craft material.
If you work with self-made beads made of clay, then you should prepare them a few days before, so that they can dry out.
Tip: You can also use wooden beads.


Now place with the beads a row that is slightly smaller the width of your ring and try to place the row in the ring. You may need different size beads until you can place a matching row. All holes in the beads point upwards.


Now you stick one bead at a time to each other with hot glue. To do this, place the beads flat on the table and squeeze them together.
Attention when handling the hot glue - risk of injury!


Checks again and again whether the row still fits in the ring! Because by the applied glue the row becomes longer!


After that, you stick the row of pearls in the ring.


For this you put up the ring and put the bead row in it, so that all openings point upwards. Now you put some hot glue on one end of the bead row and put the bead row in the ring. As soon as the glue holds, you fix the bead row also on the other side.


Now the basic frame stands for the door wreath.


Now put as many grasses, leaves, branches, feathers or flowers into the holes of the beads.


Be careful when plugging in, and shorten the stems as desired.


Make sure that the inserted materials sit tight and do not slide down. In this case, simply add more items.


Finally lift up the wreath and see if your decoration holds.


Finally you tie a band or cord to the ring and hang it e.g. the door.
Tip: The finished wreath can also be used as a wonderful gift.


Have fun in designing!
Tip: After all objects are only plugged in, you can remodel and decorate the wreath again and again.
Follow us on Facebook , Instagram and Pinterest
Don't miss any more adventures: Our bottle mail


