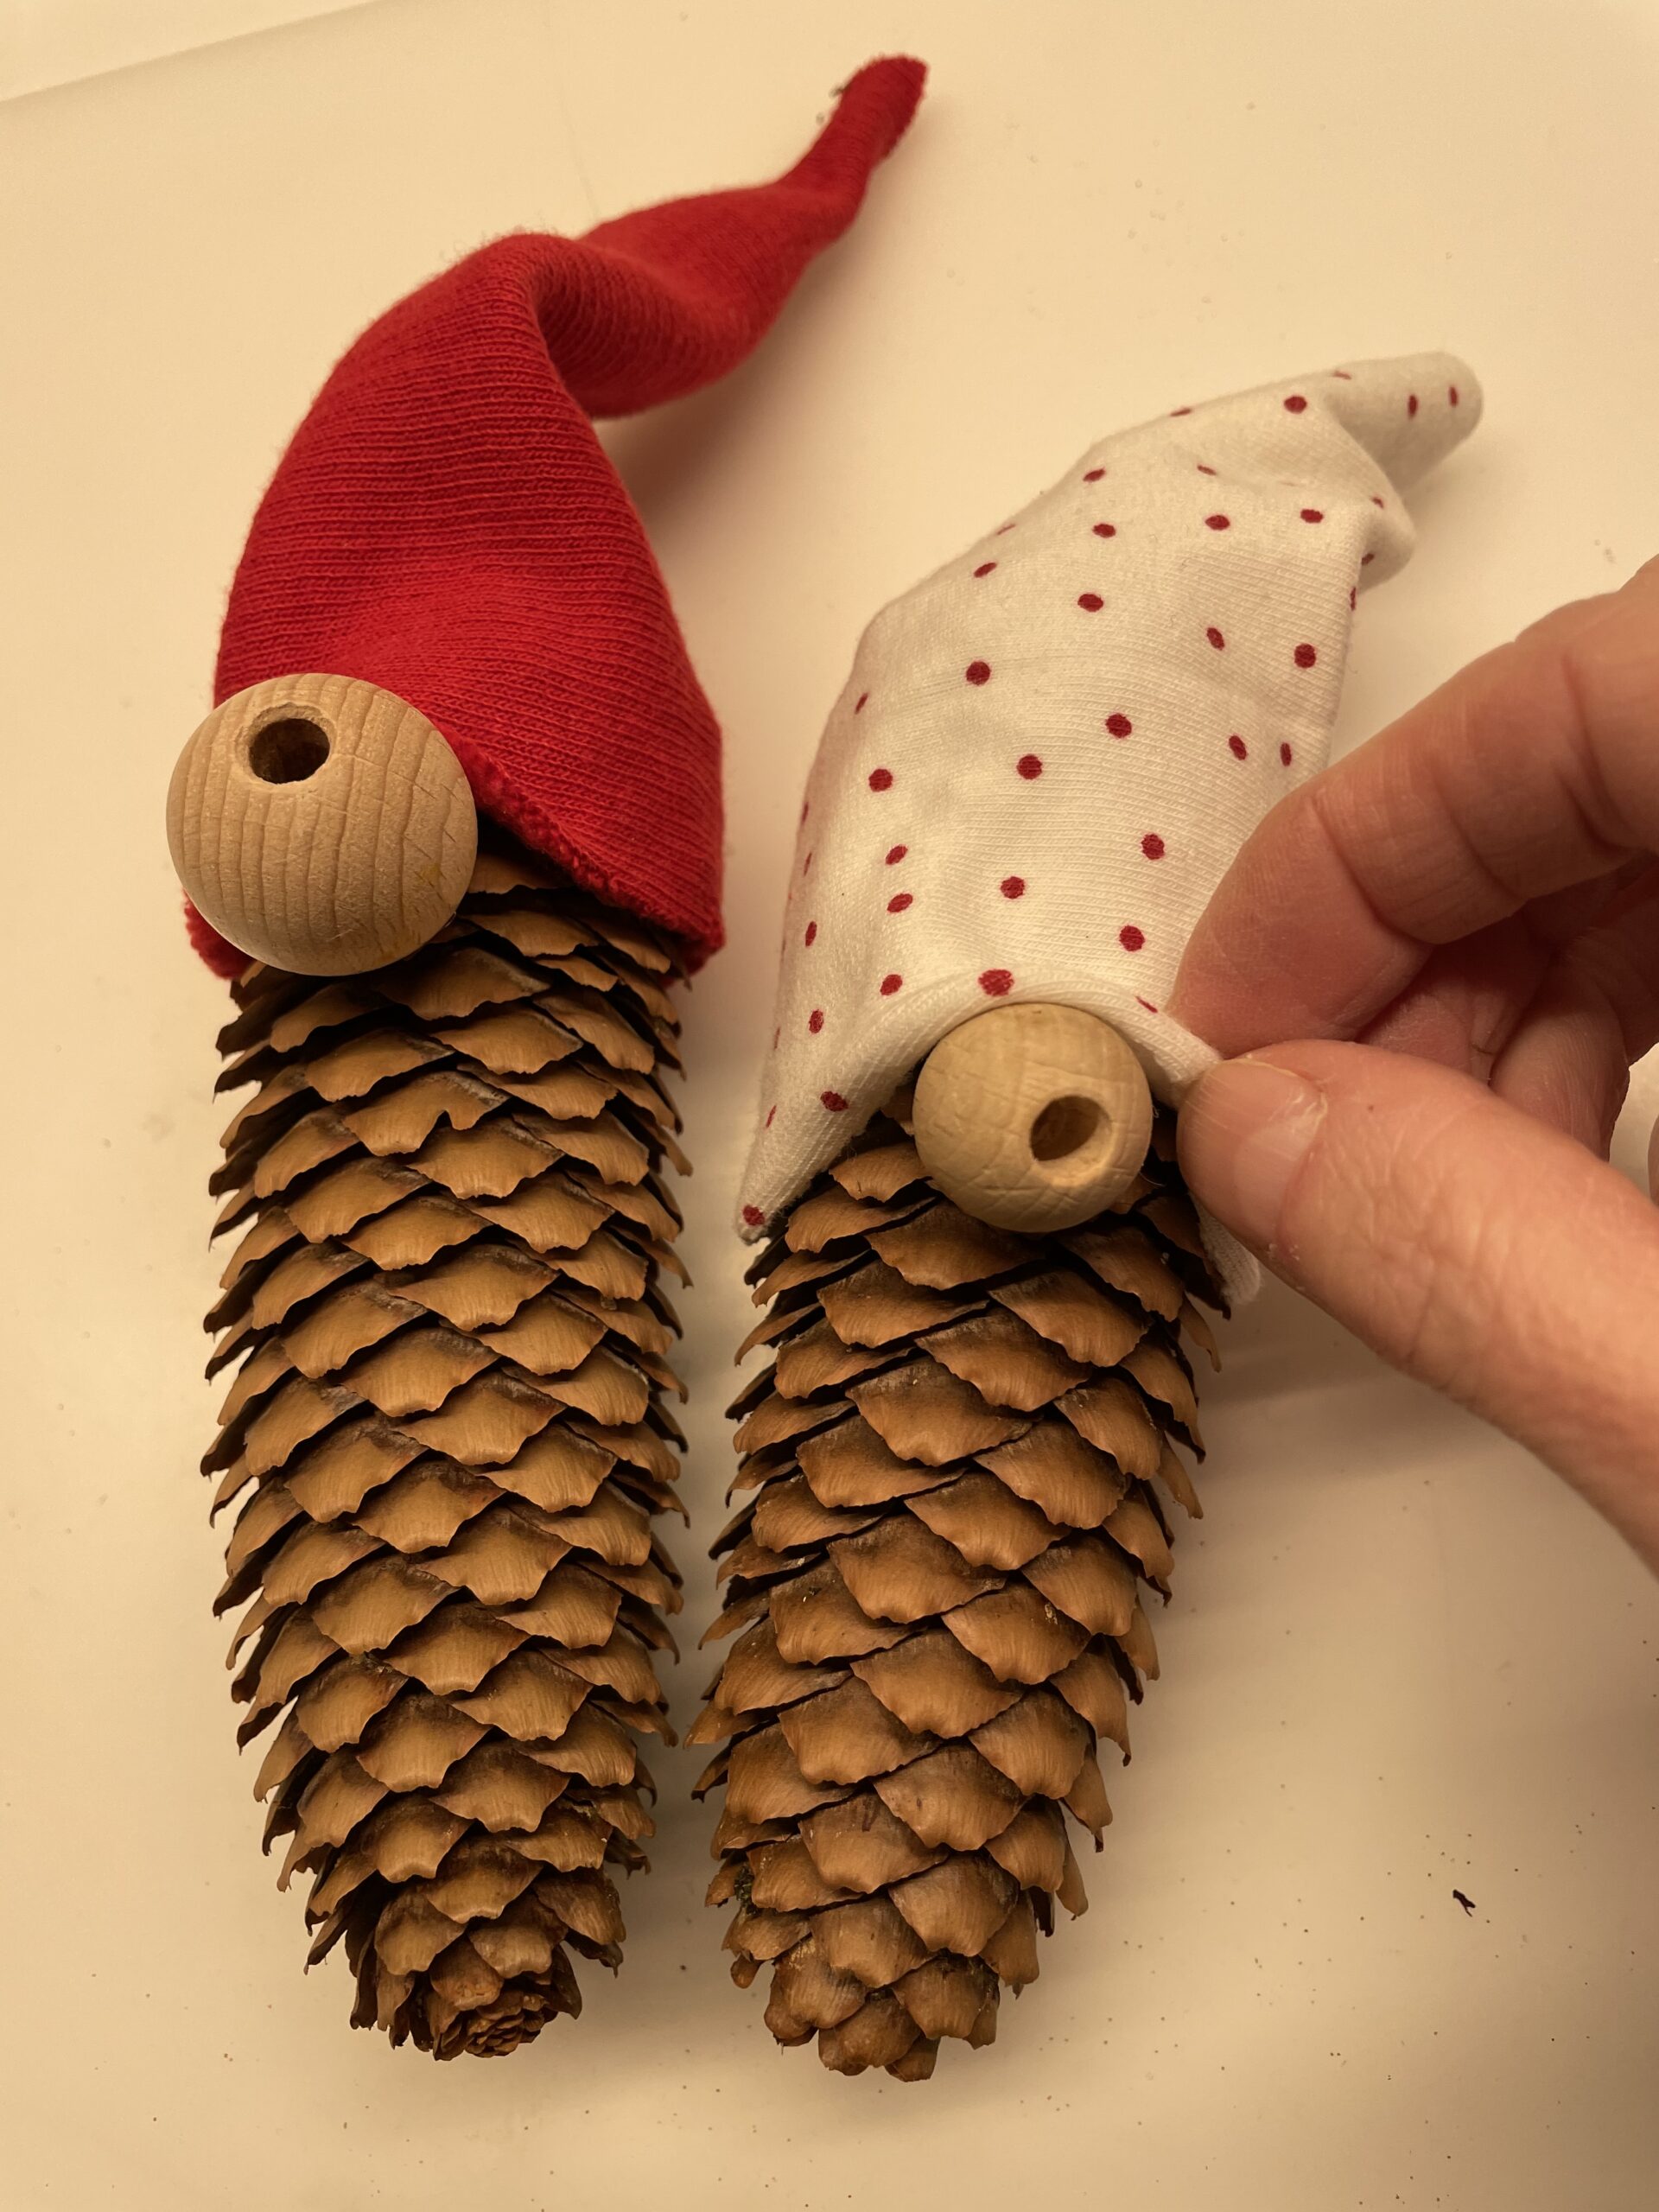
From cones of any kind can be made very simple kibbles. With a felt or fabric triangle the zip cap is glued together. A large wooden bead is the nose. Both you attach to the cone and the kibble is ready to decorate. See for yourself.
Media Education for Kindergarten and Hort

Relief in everyday life, targeted promotion of individual children, independent learning and - without any pre-knowledge already usable by the youngest!
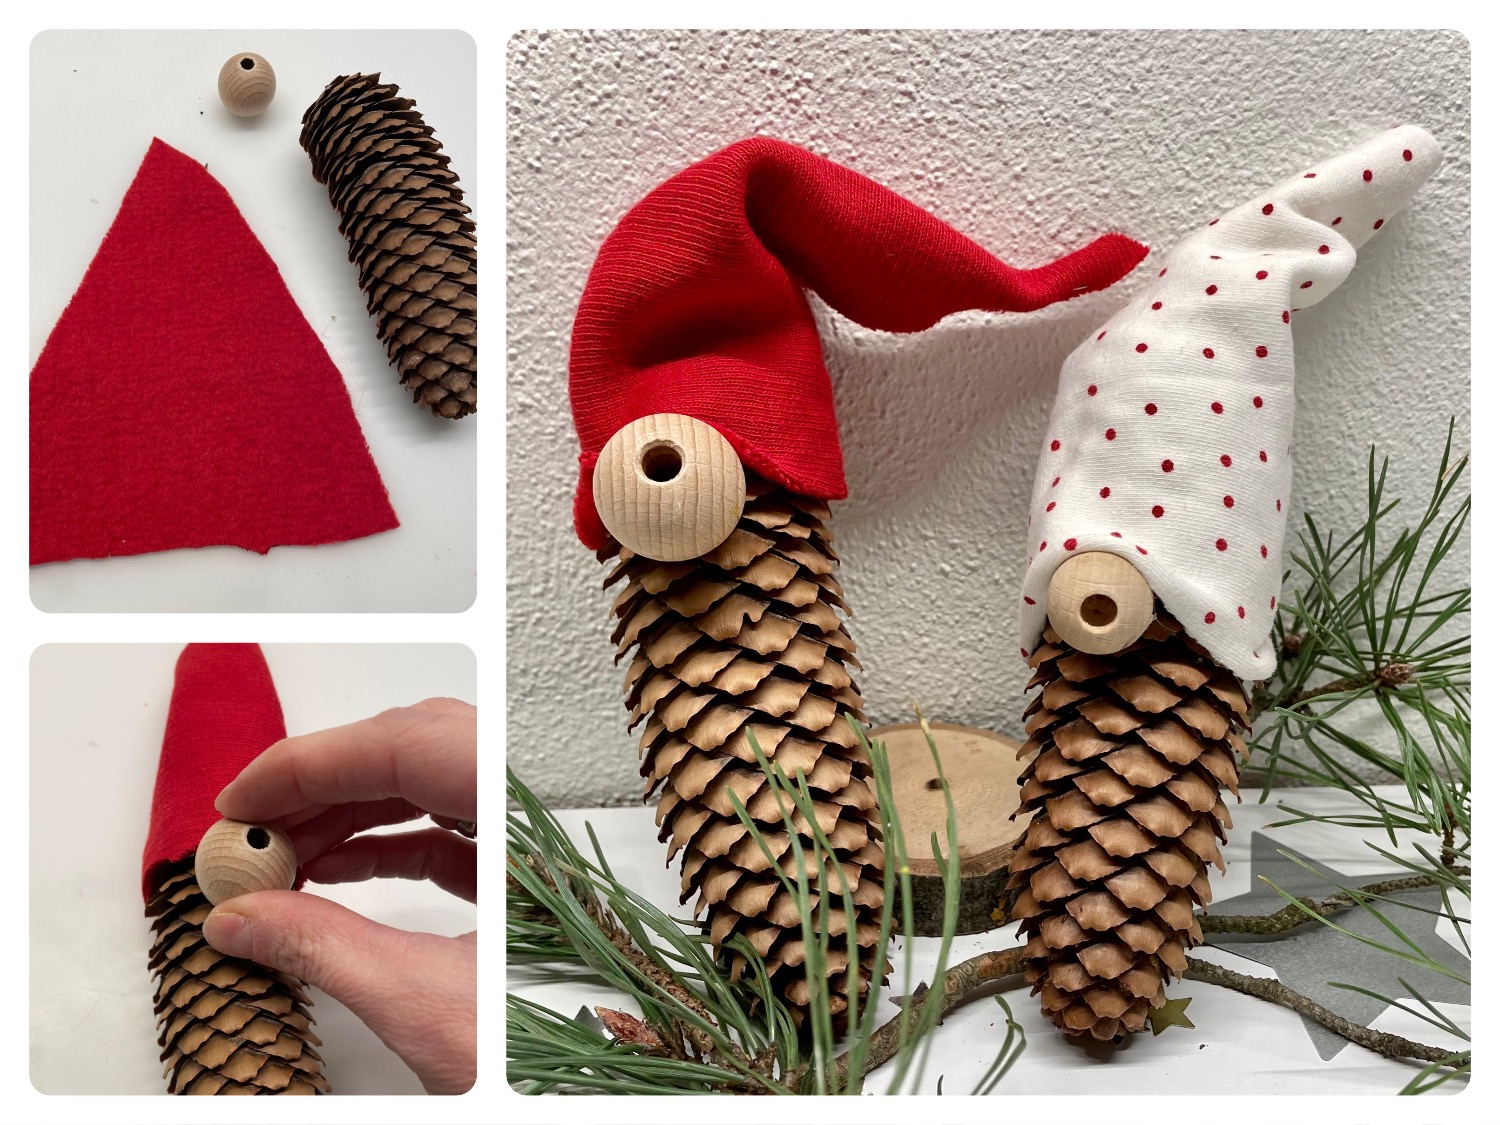
Get the material ready first.
Then cut out a triangle from the felt. The lower side of the triangle must pass around the pine cone. Attention, leave the lower side a little longer.

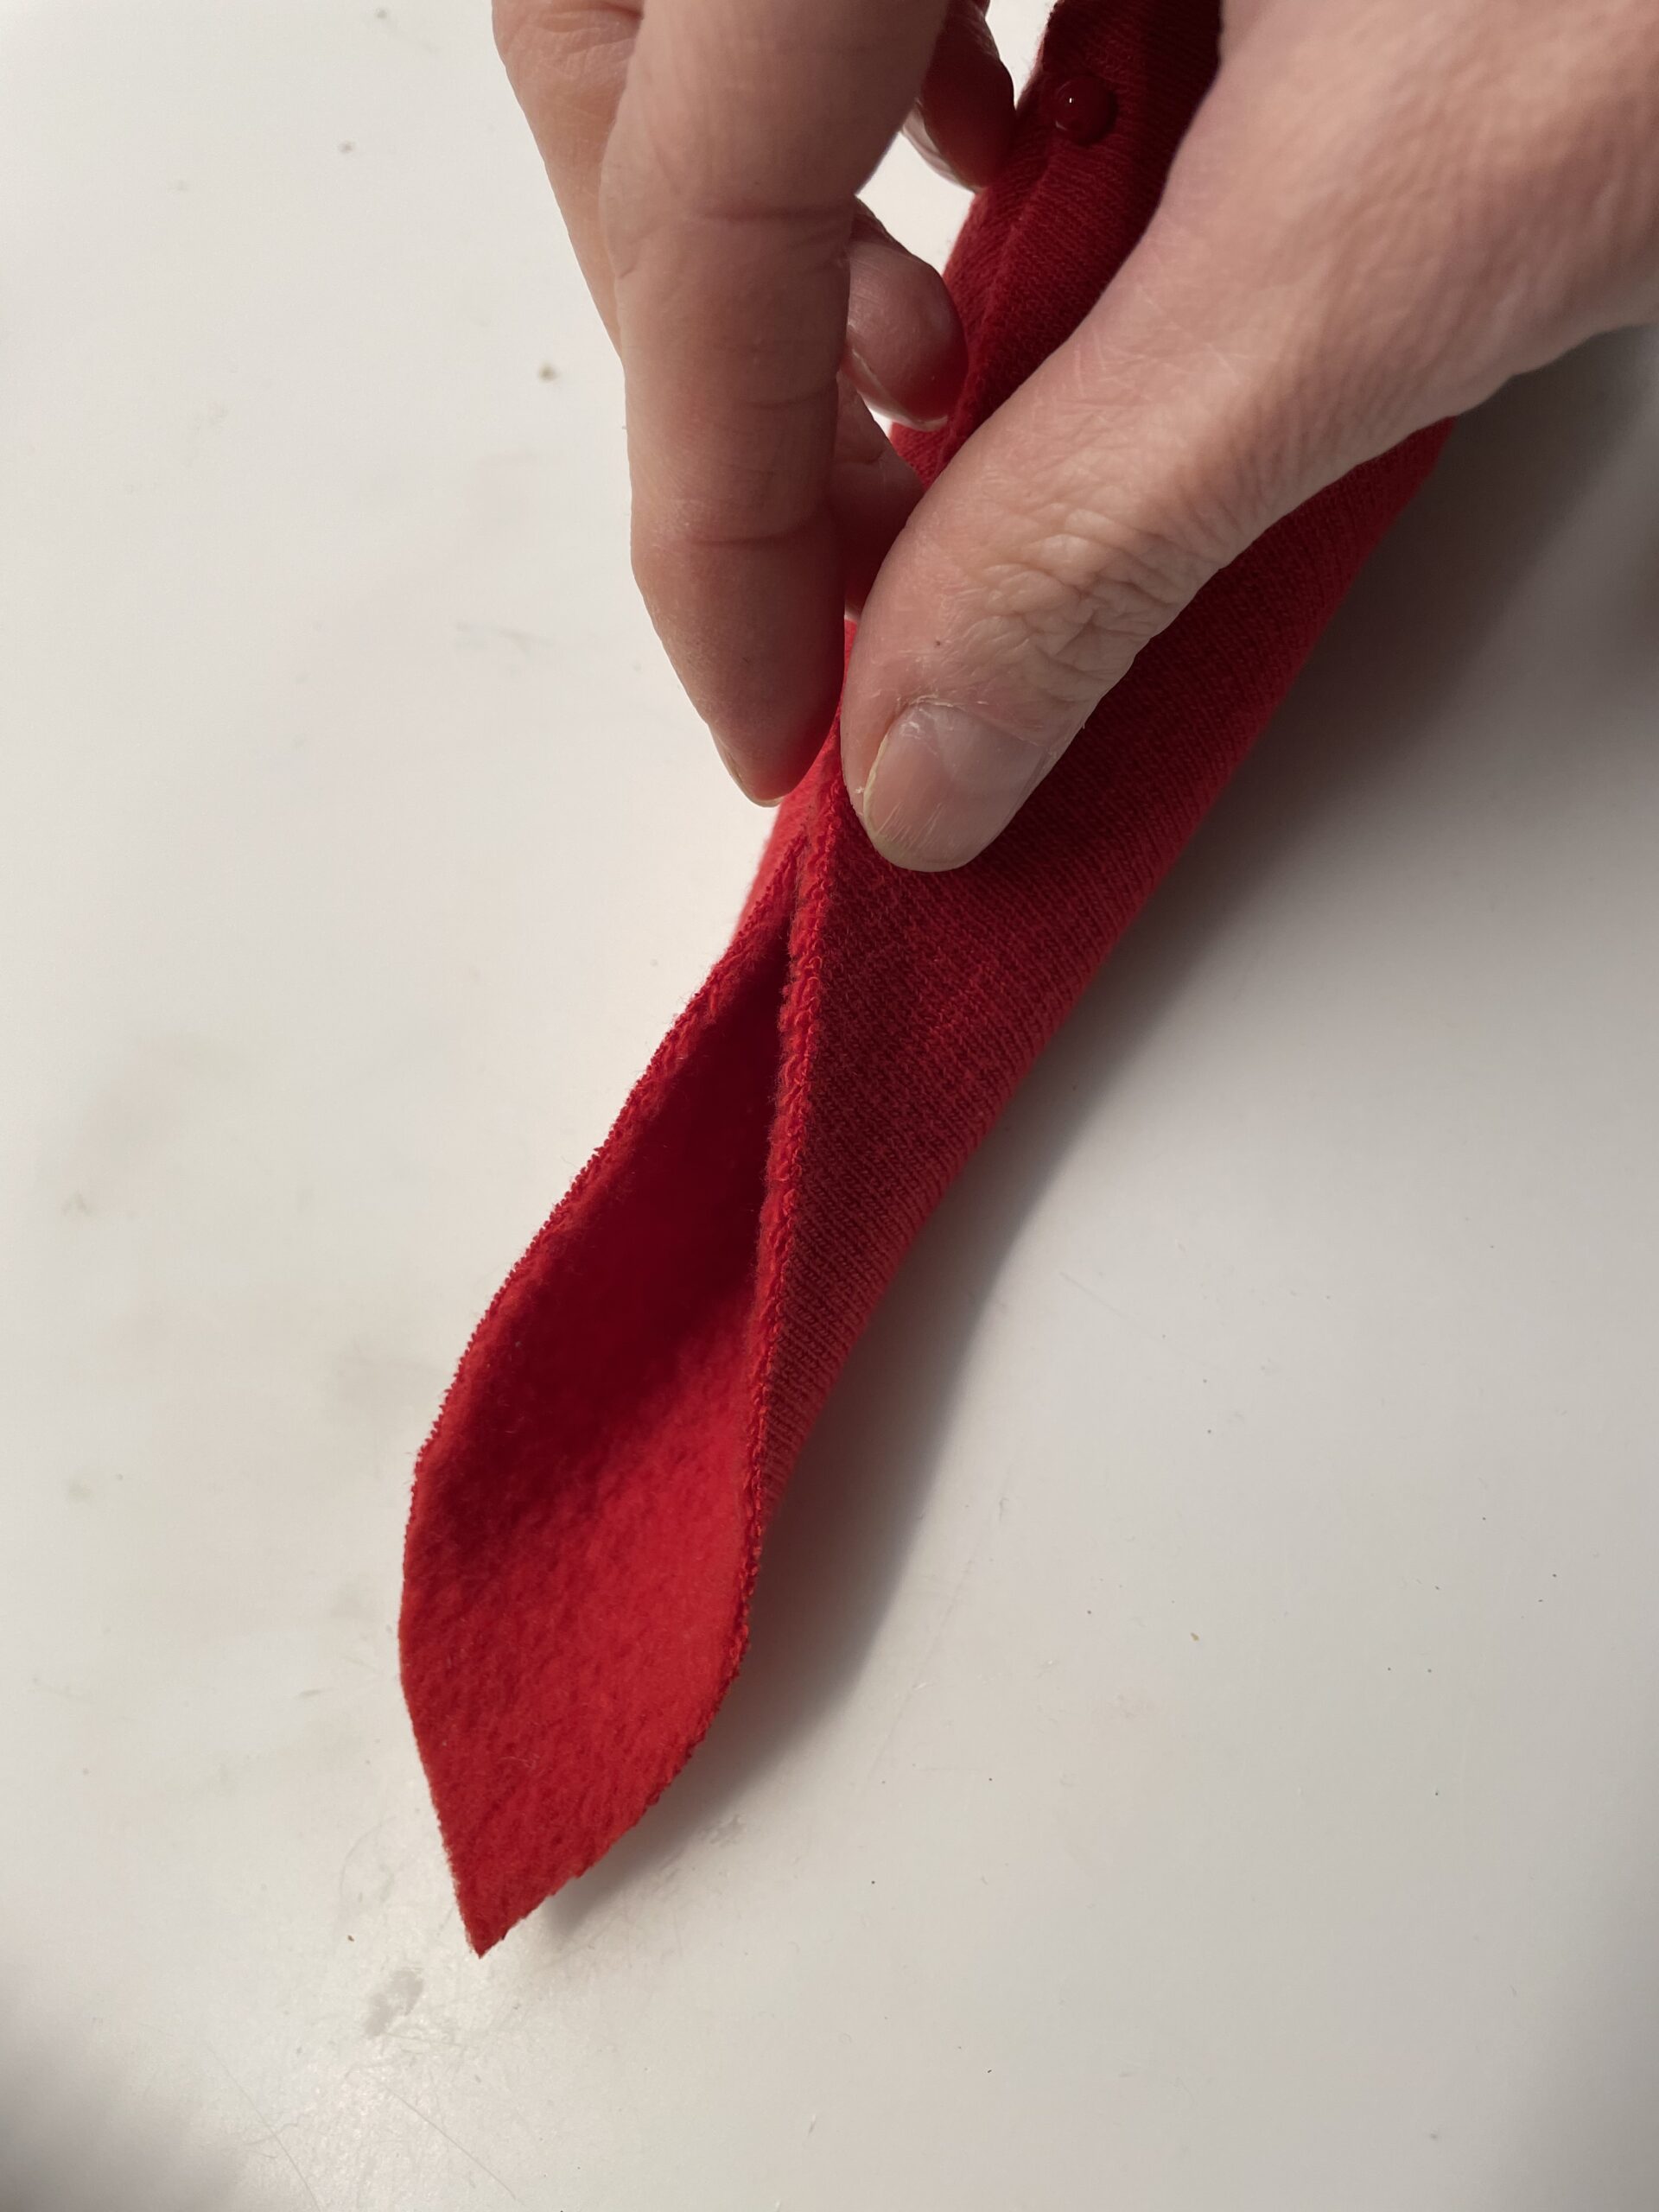
Now you fold the triangle together at the two long times and form a zip cap from it. Stick the two long sides together and hold the glued place firmly until the glue is dried. Use a clothespin to fix it.


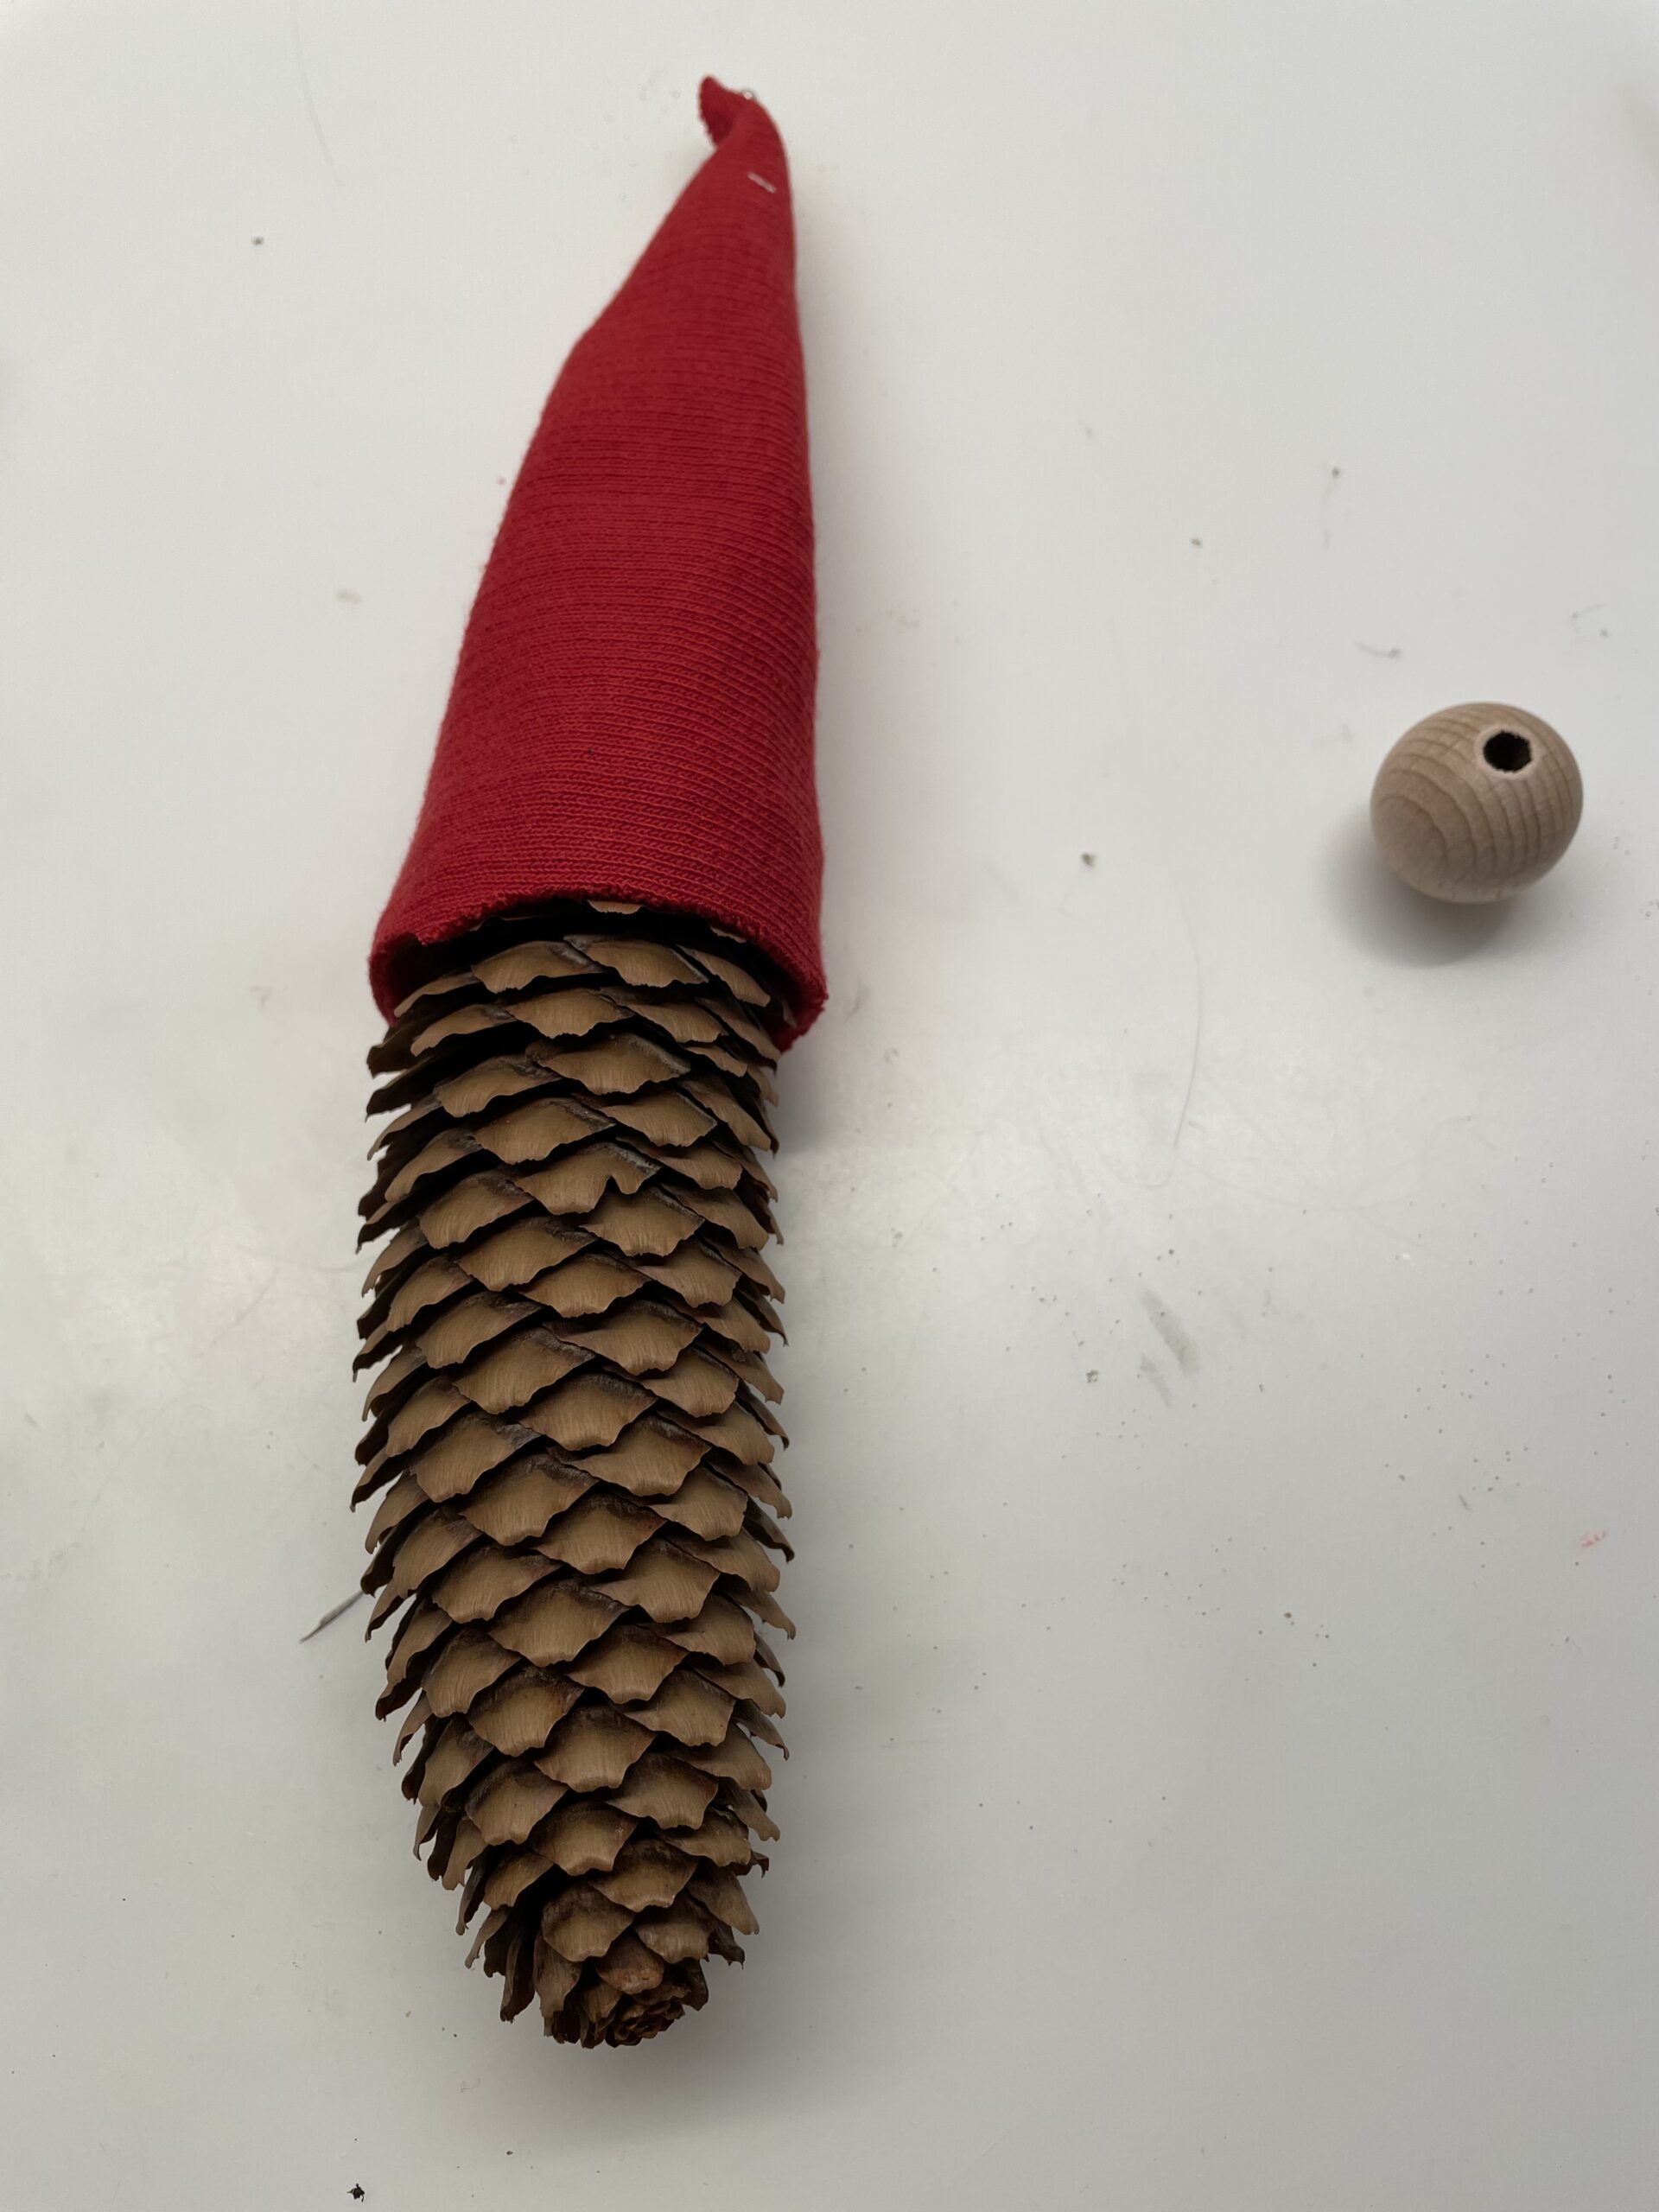
Then you put the tip cap on the pine cone.


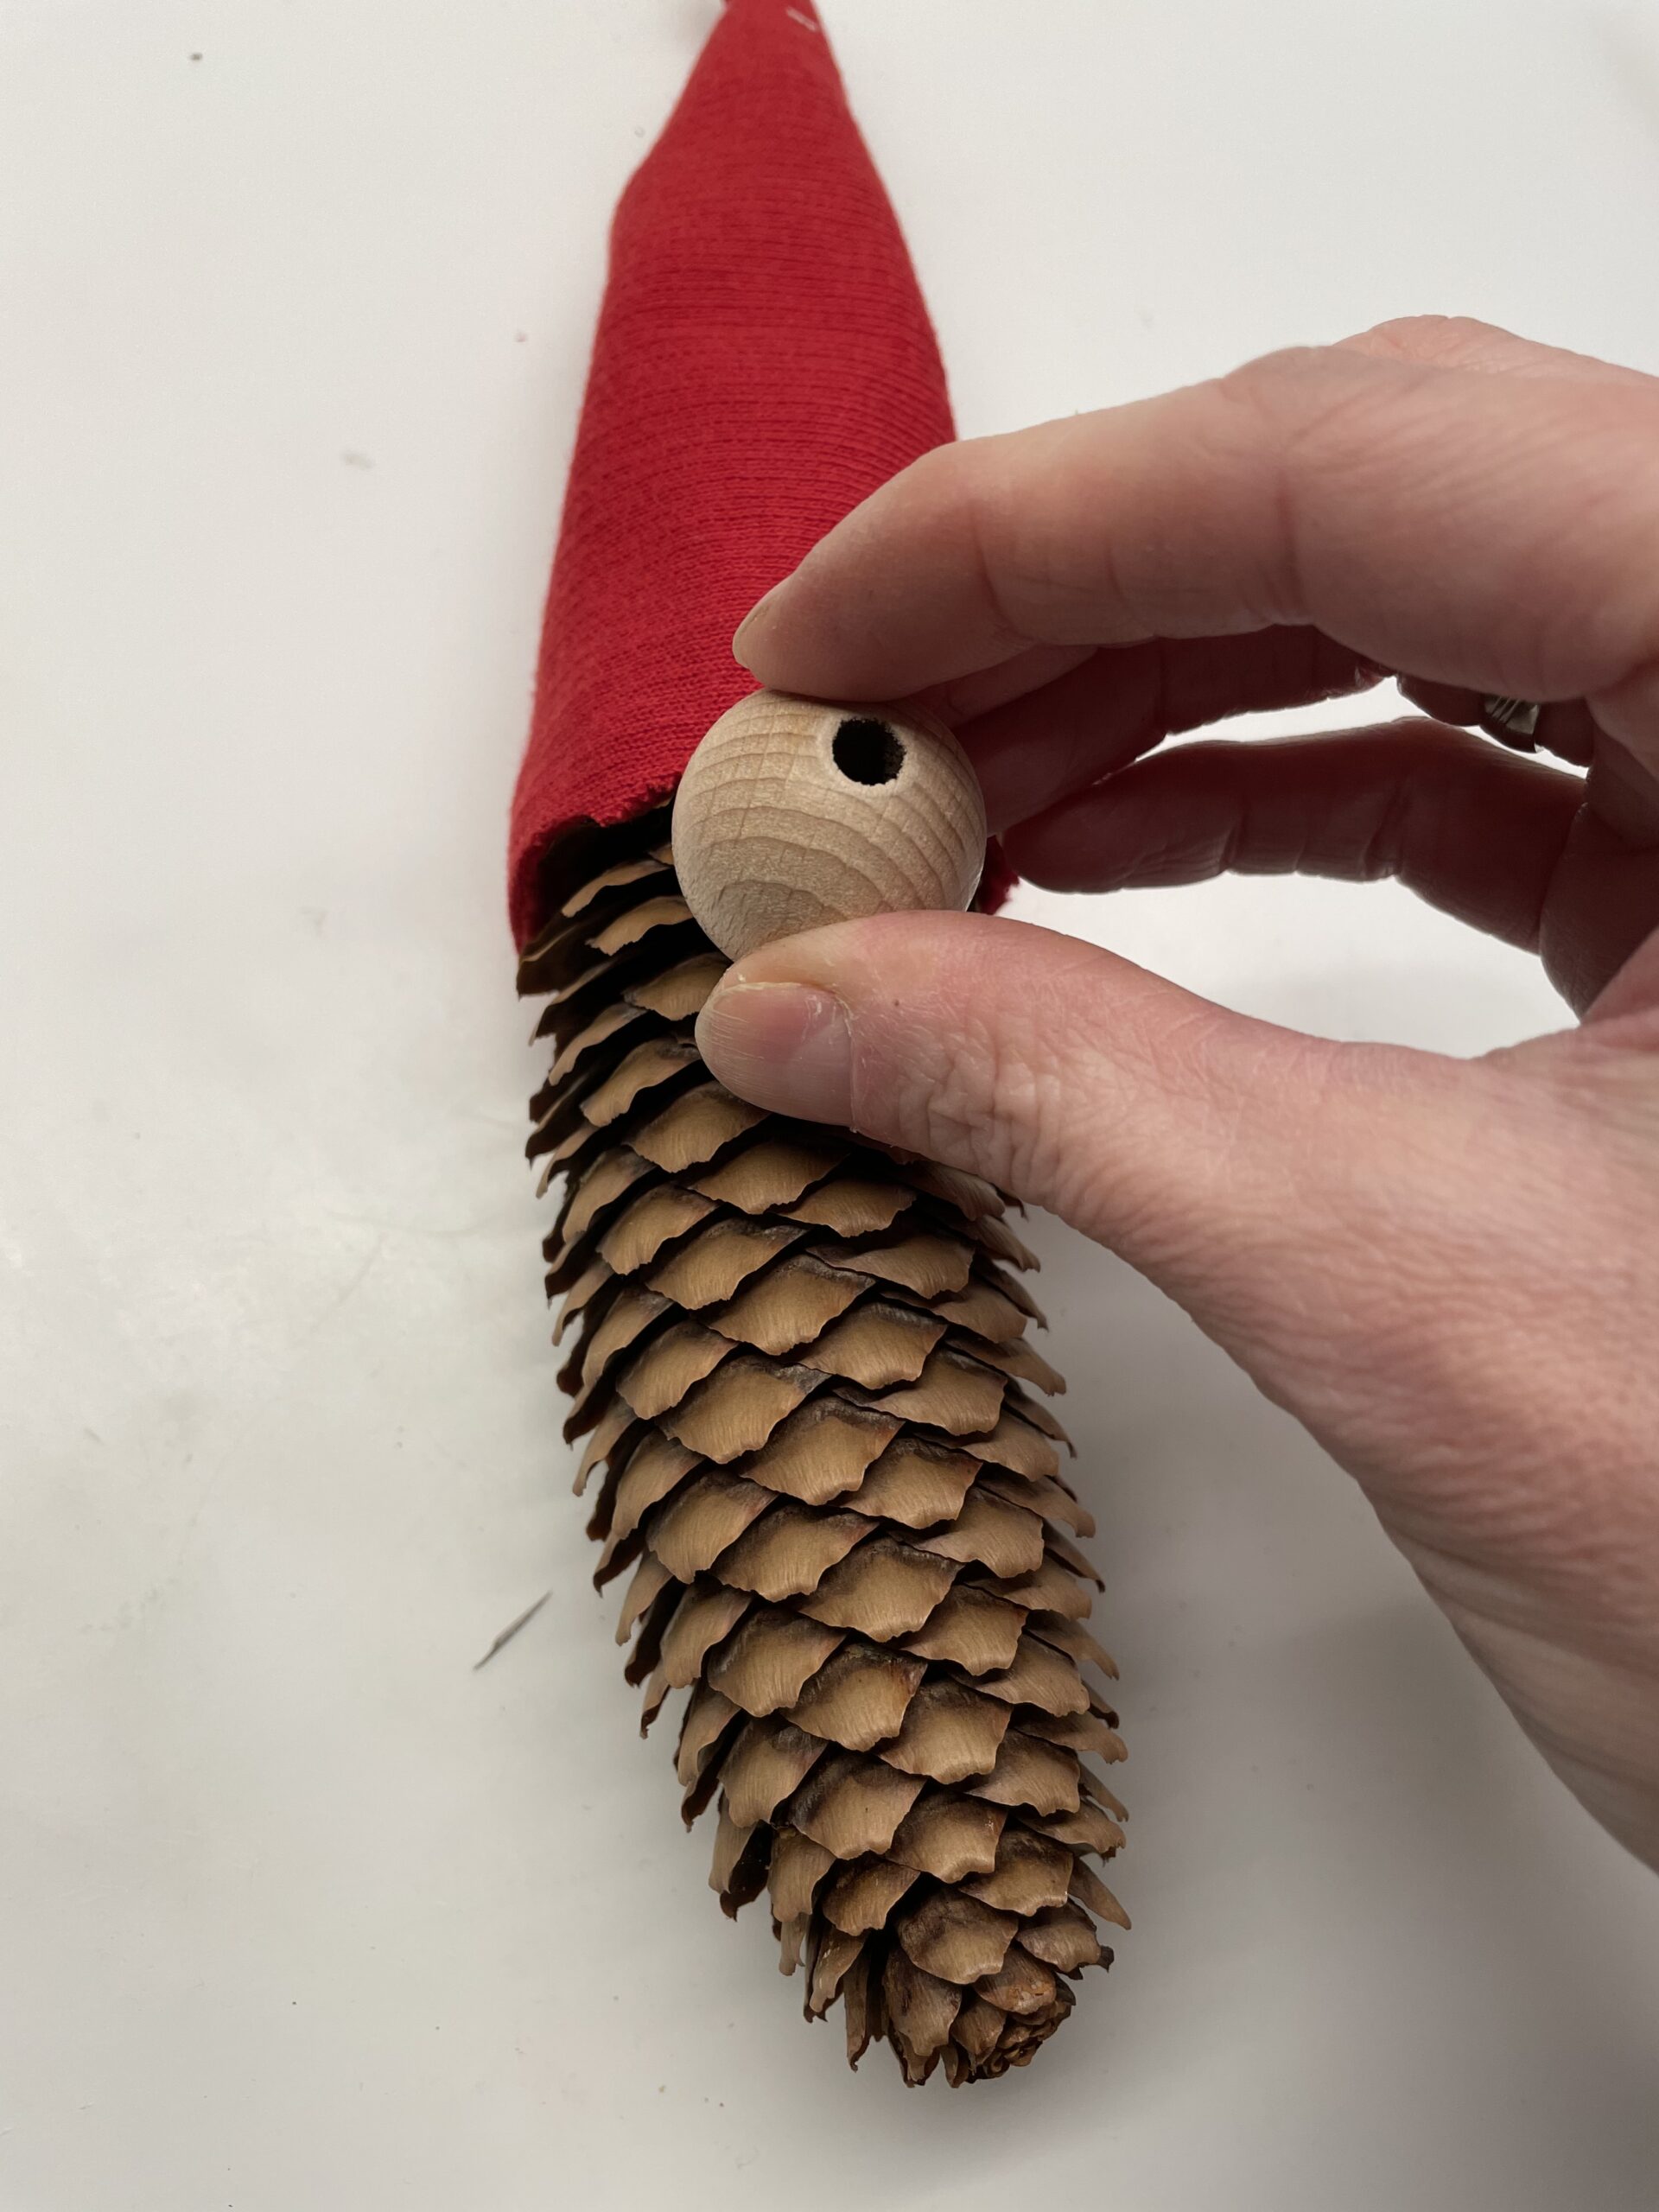
Then glue the wooden ball directly below the cap on the pine cones.


Makes so several cone wichtels, e.g. with different colored tip caps.


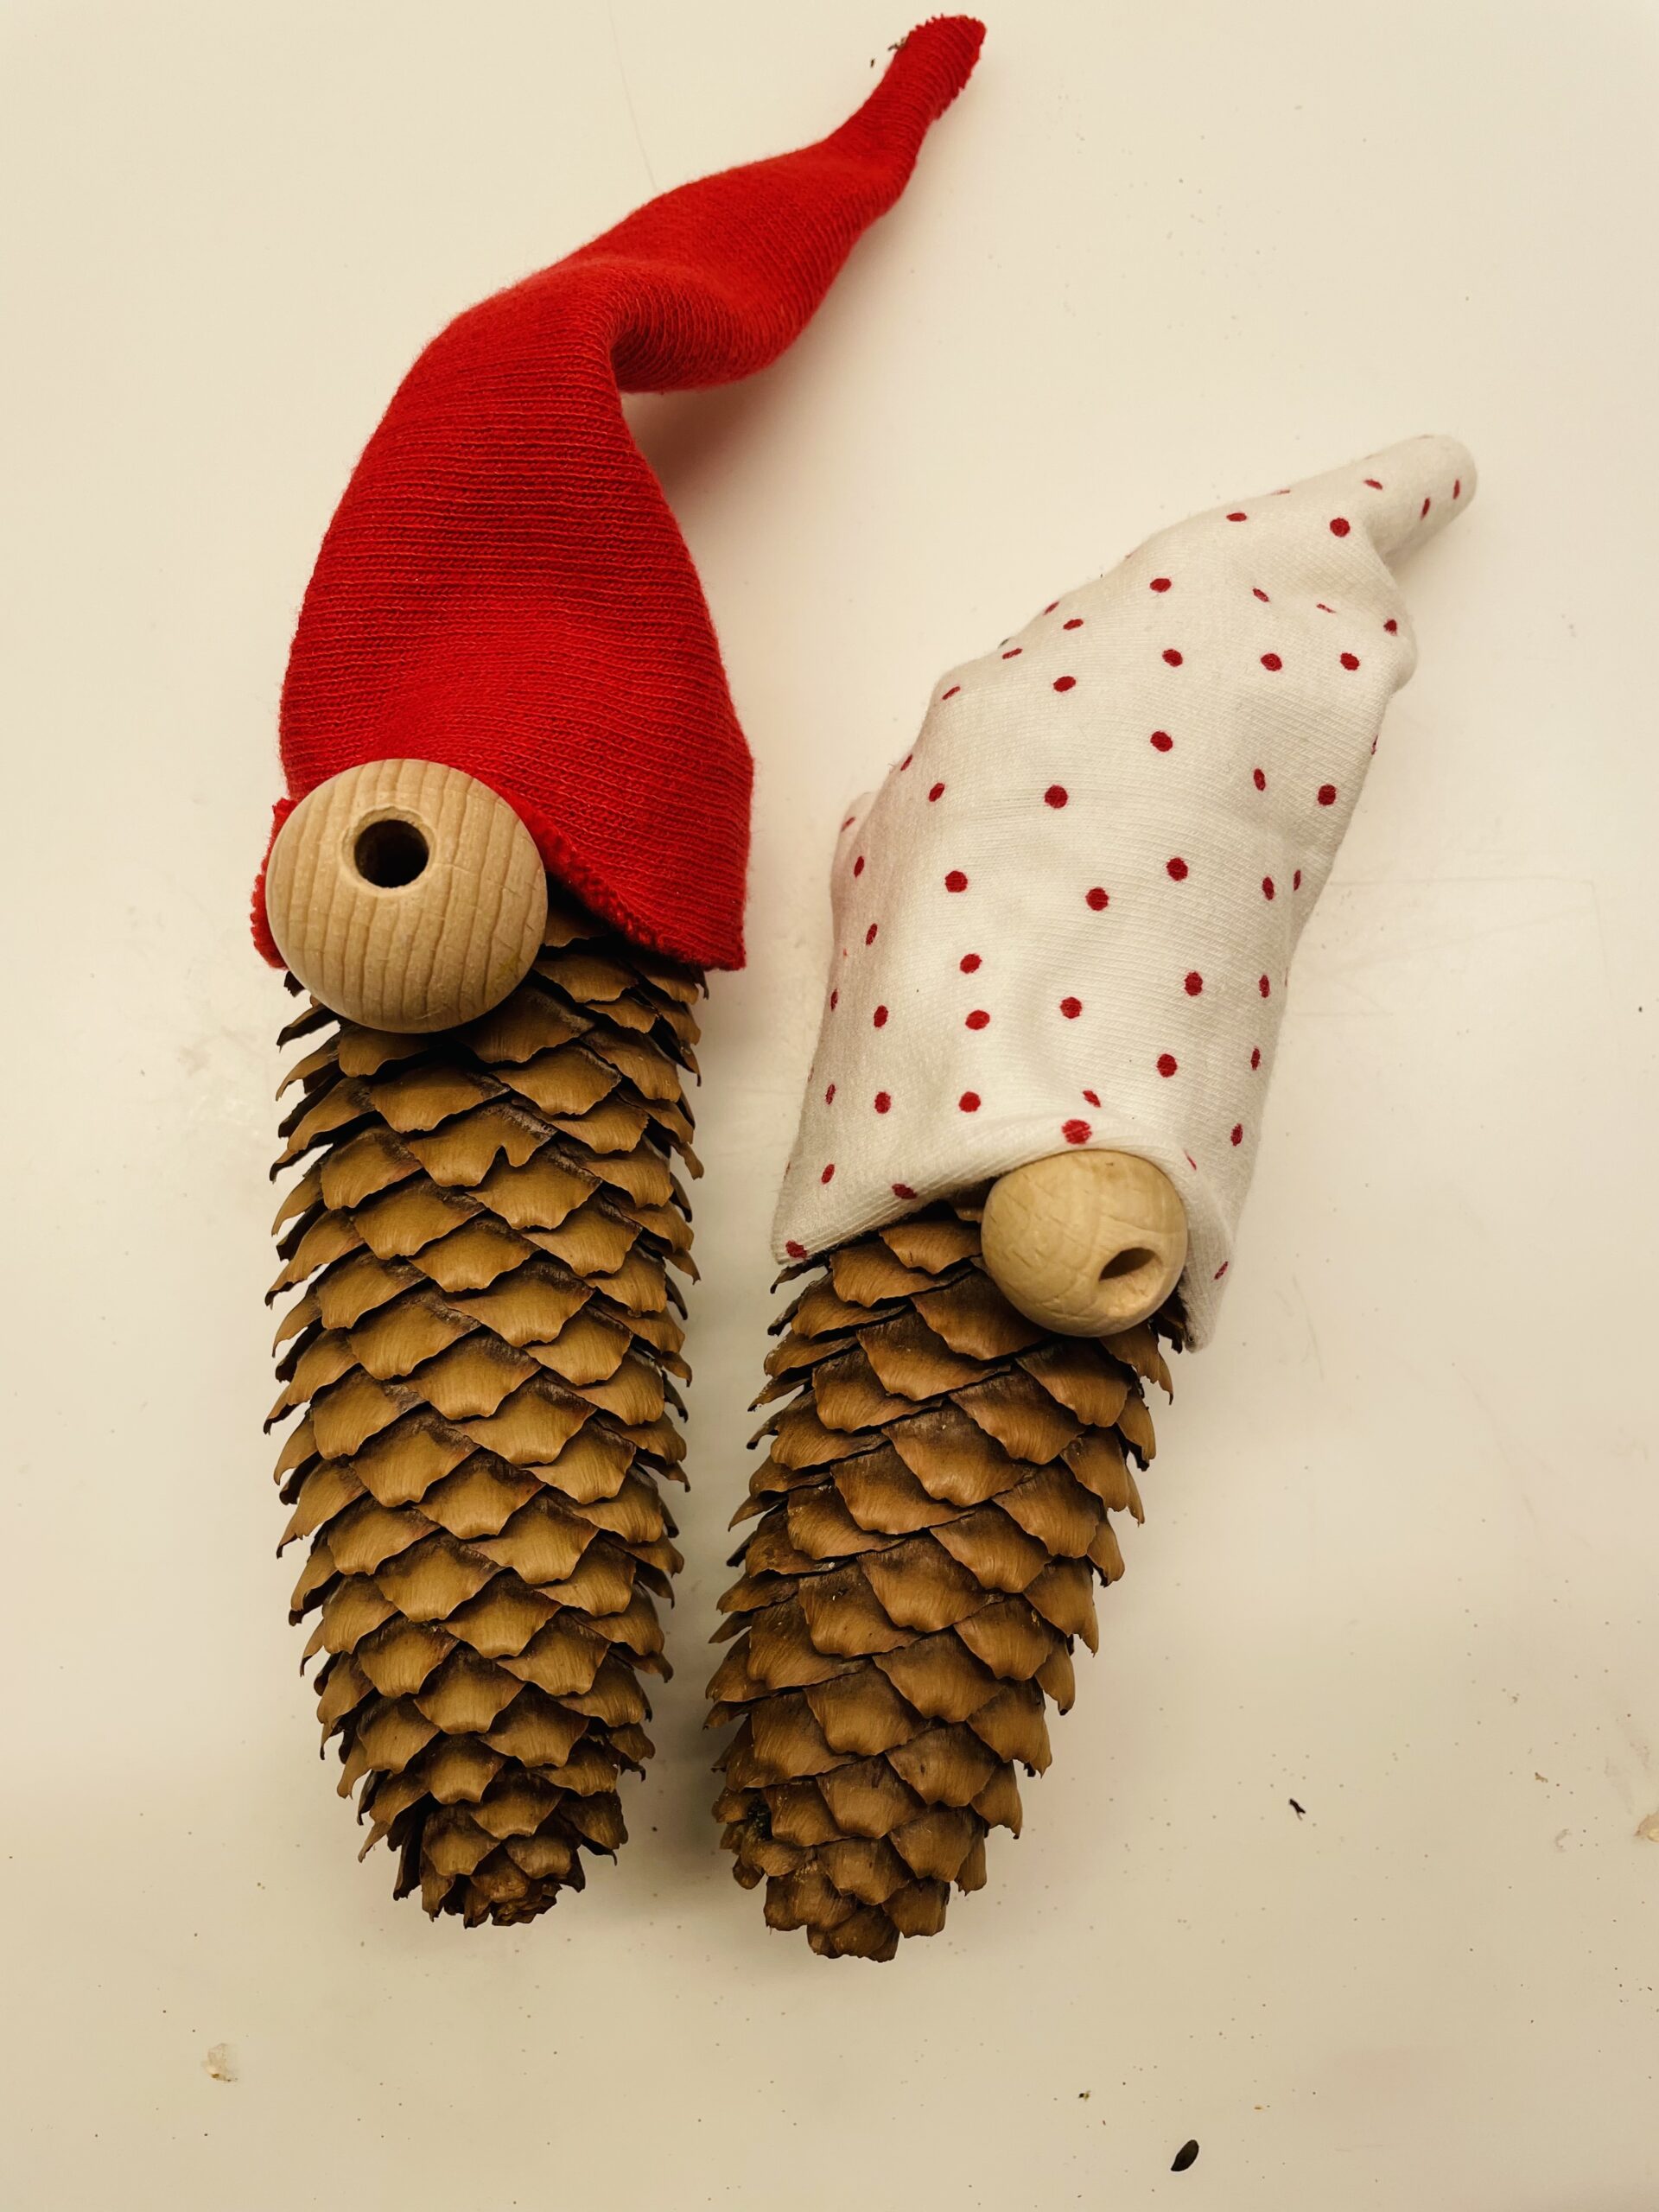


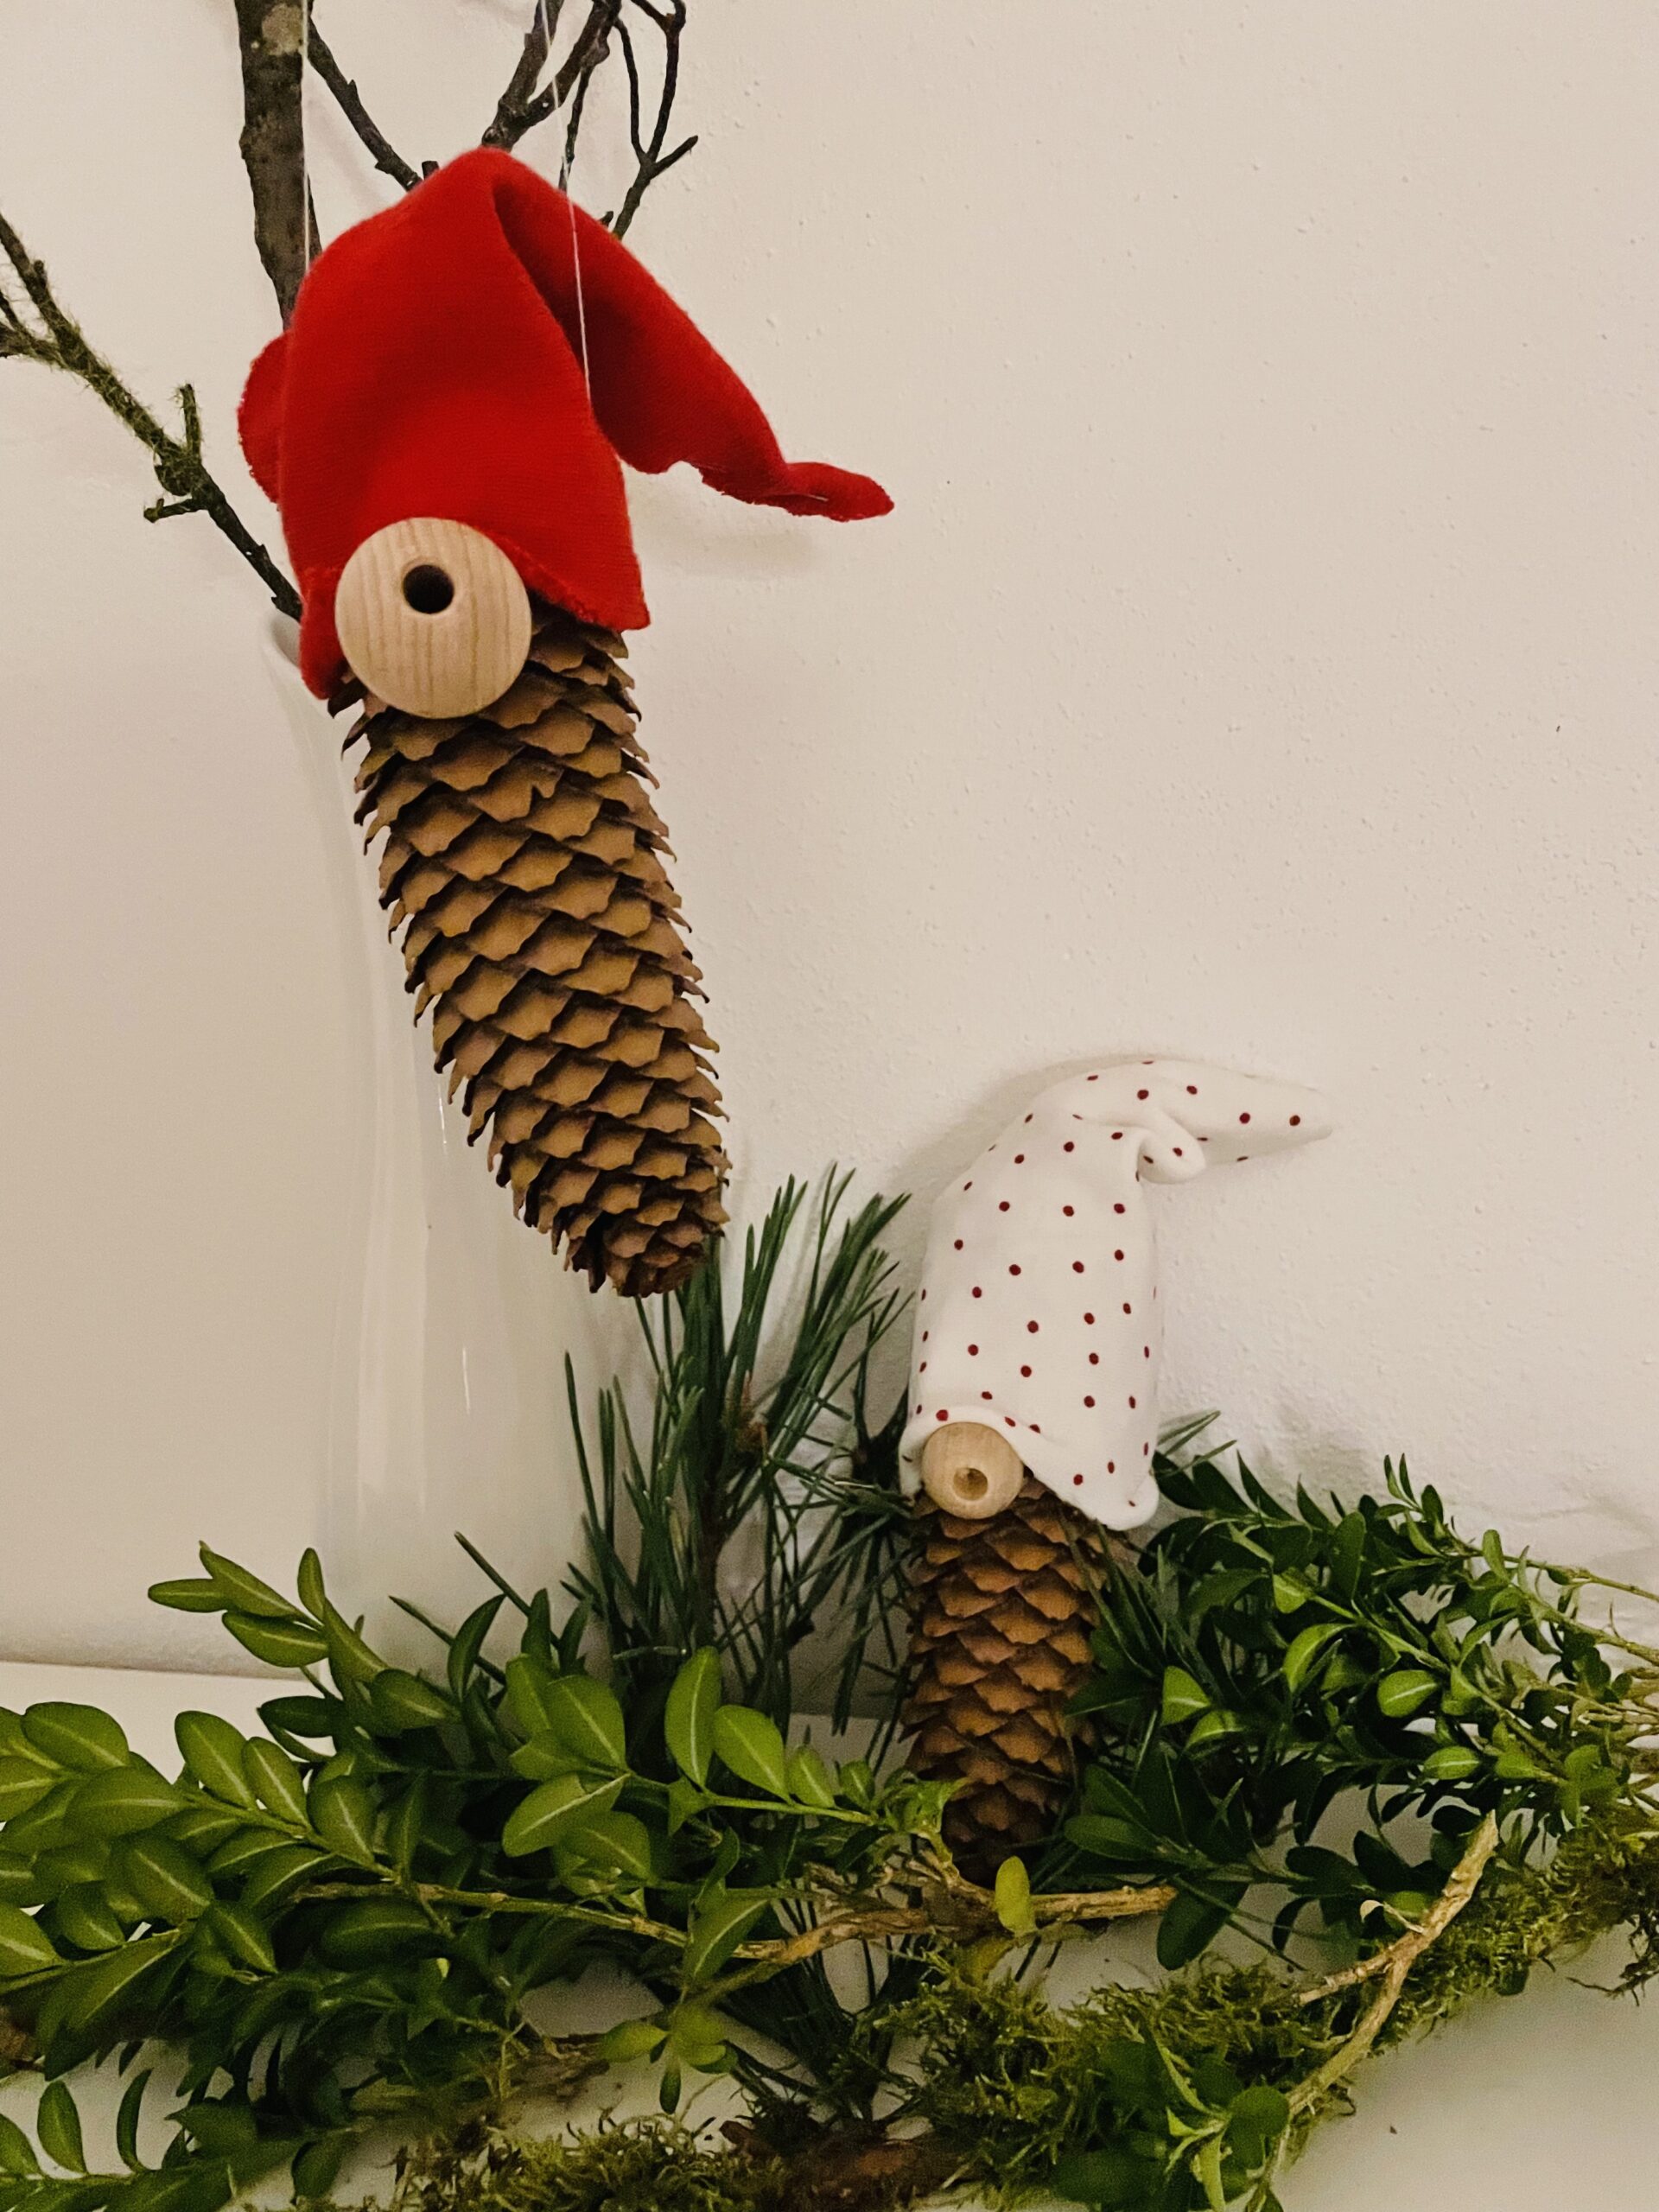
Then look for a nice place and decorate the cone wichtel.


Enjoy crafting and decorating!


Materials
Directions
Get the material ready first.
Then cut out a triangle from the felt. The lower side of the triangle must pass around the pine cone. Attention, leave the lower side a little longer.


Now you fold the triangle together at the two long times and form a zip cap from it. Stick the two long sides together and hold the glued place firmly until the glue is dried. Use a clothespin to fix it.


Then you put the tip cap on the pine cone.


Then glue the wooden ball directly below the cap on the pine cones.


Makes so several cone wichtels, e.g. with different colored tip caps.


Then look for a nice place and decorate the cone wichtel.


Enjoy crafting and decorating!


Follow us on Facebook , Instagram and Pinterest
Don't miss any more adventures: Our bottle mail


