Fir trees for the window

AdventurerKatzi
Rating5.04.2 thousand times & (1) DifficultyIntermediate

These fir trees are quickly crafted with children and they look particularly individual and original due to their different sizes and shapes. Even younger children can paint and cut the triangles for the fir trees. Tree trunks in different lengths can be easily glued afterwards.

Tip: A few dark green trees are set highlights and loosen up the overall picture of the tree rows.
Have fun trying it out!

Media Education for Kindergarten and Hort

Kind bastelt eine Rassel mit dem Navi
The Adventure Navi, the app for DIY projects, enables media education for the youngest.

Relief in everyday life, targeted promotion of individual children, independent learning and - without any pre-knowledge already usable by the youngest!
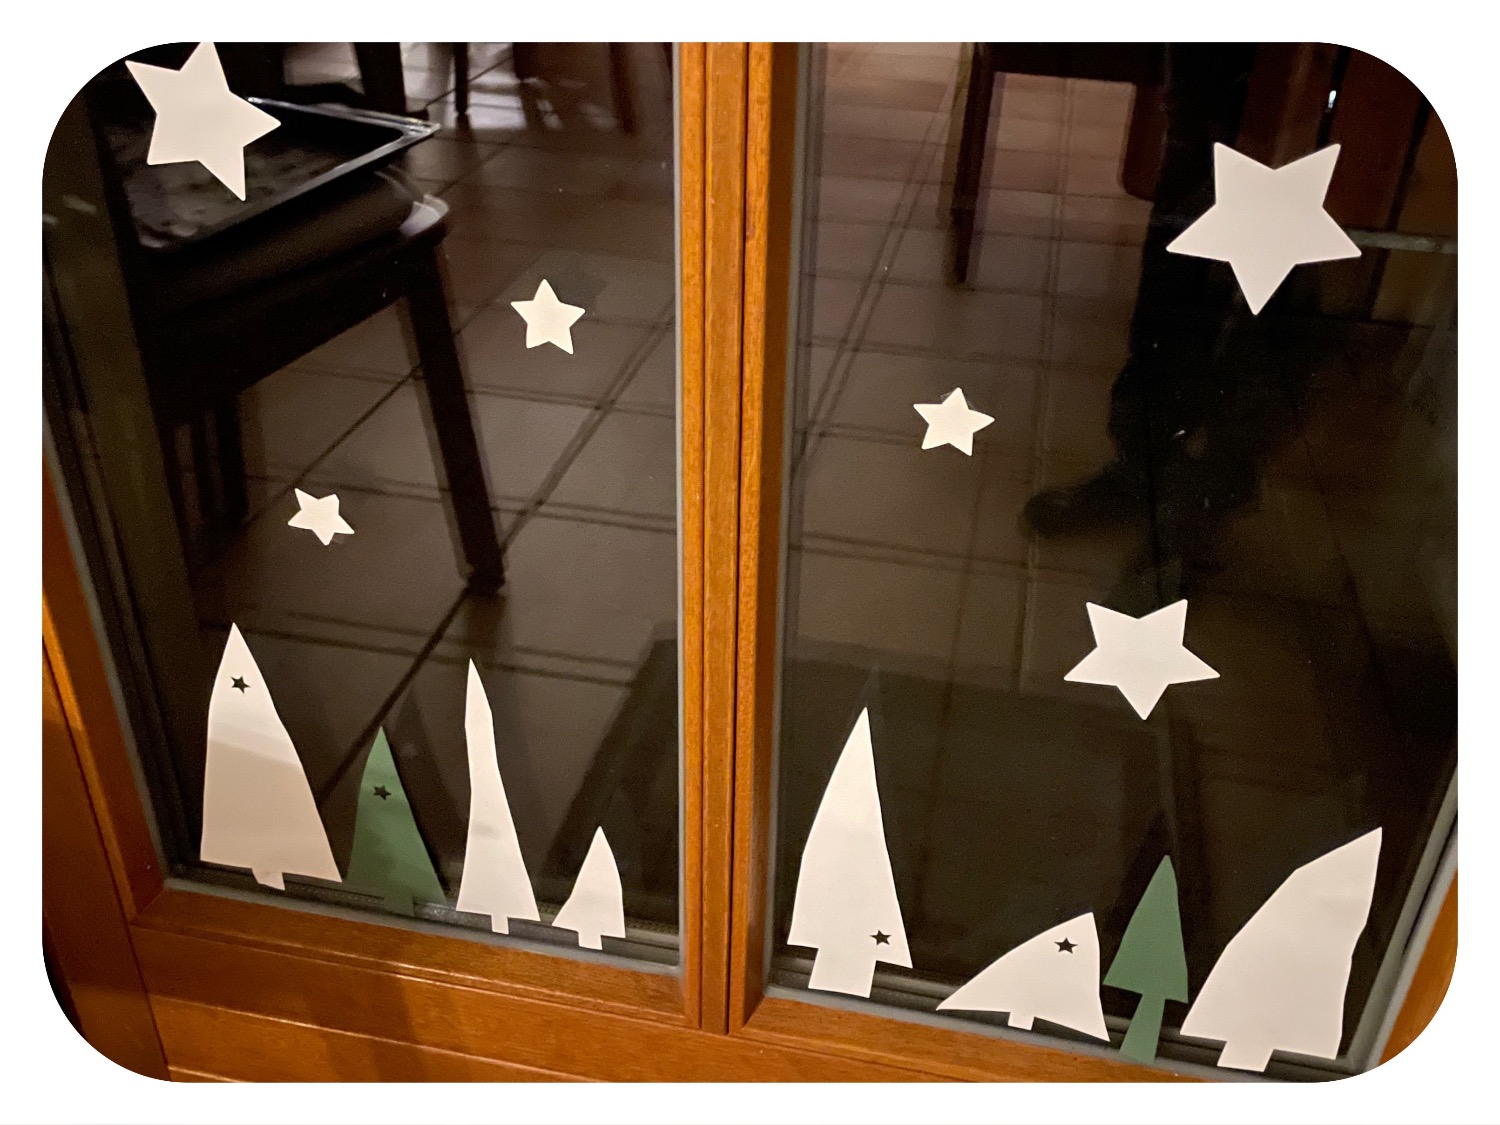


Titelbild zur Bastel- und DIY-Idee für Kinder '(893) Tannenbäume fürs Fenster'
Material for1 Child
Prep Time5 min.Adv. Time20 min.Total Time25 min.
 White paper
 Paper dark green
 1 Pencil
 Adhesive strips
 possibly Star Dancer
All links marked with a shopping cart lead to Amazon - here we have selected products that we would order ourselves and in part also ordered. In a qualified purchase via the advertising link, we as Amazon partner receive a commission, for you there are no costs. You thus support our cost- and advertising banner-free, educational offer.
1

Get ready for paper, pen and scissors.
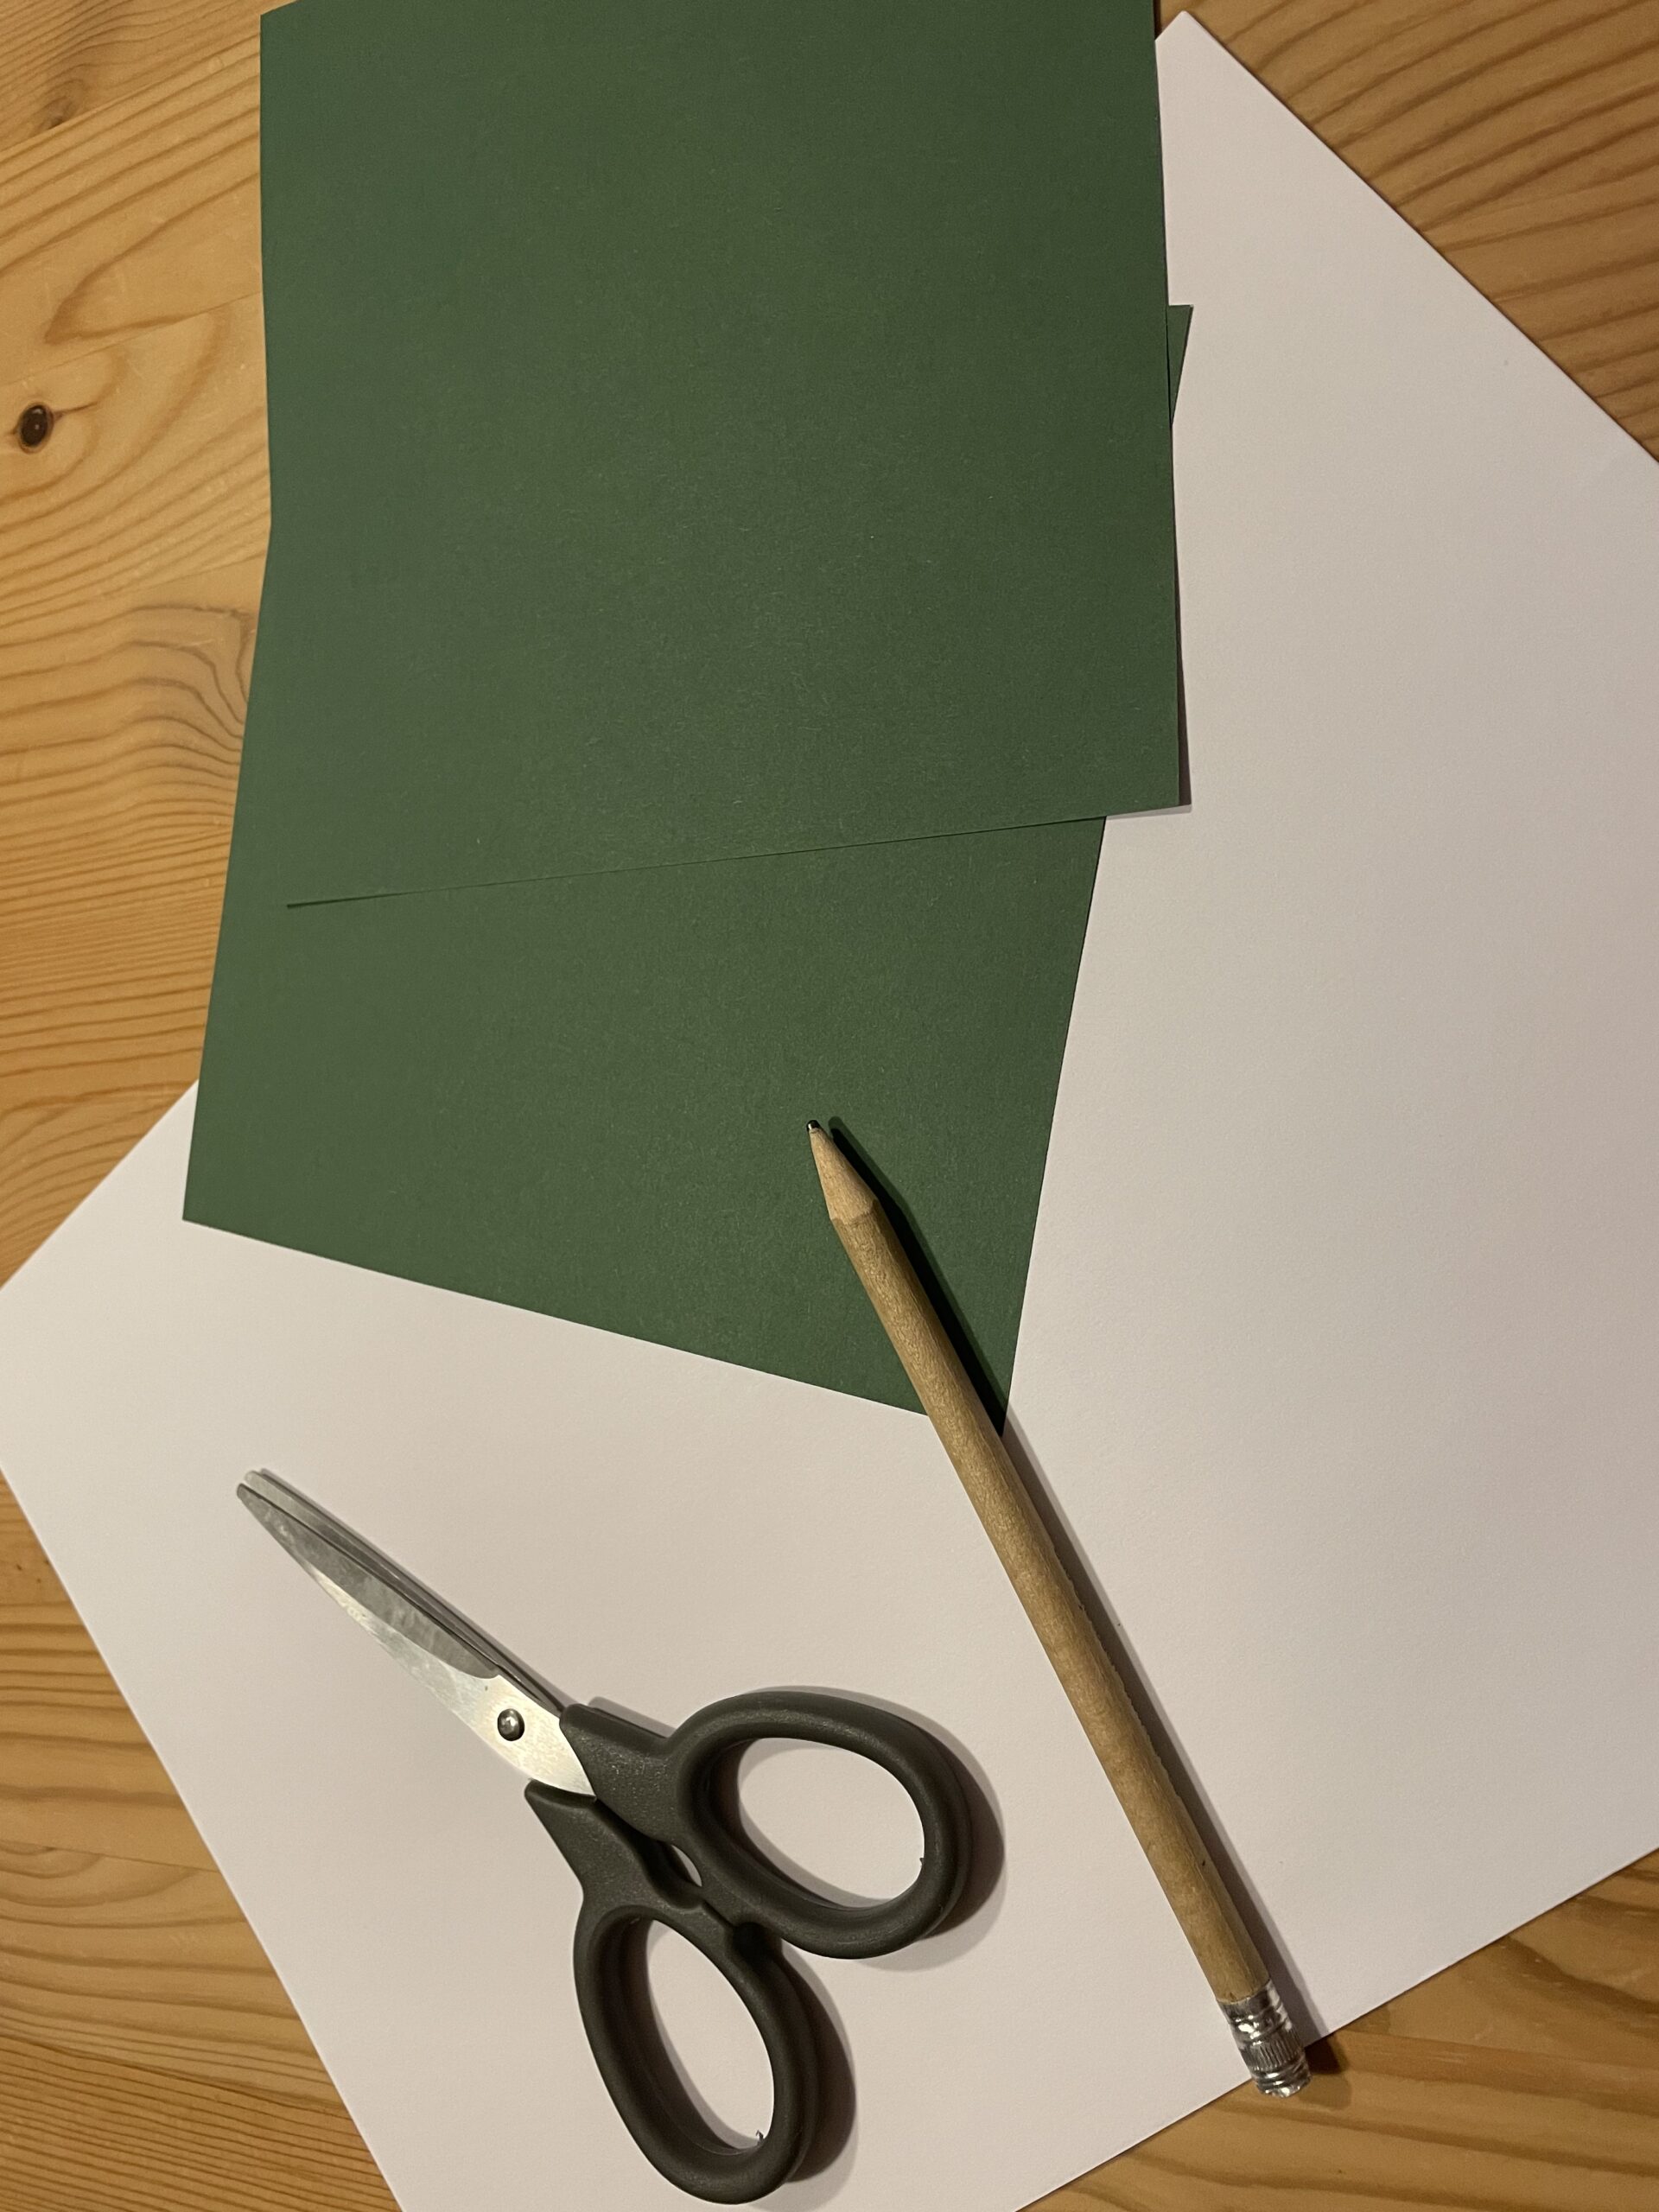
Bild zum Schritt 1 für das Bastel- und DIY-Abenteuer für Kinder: 'Legt euch Papier, Stift und Schere bereit.'

2

Then you paint the fir trees in different sizes. Paint large triangles, a zip cap or a house roof.
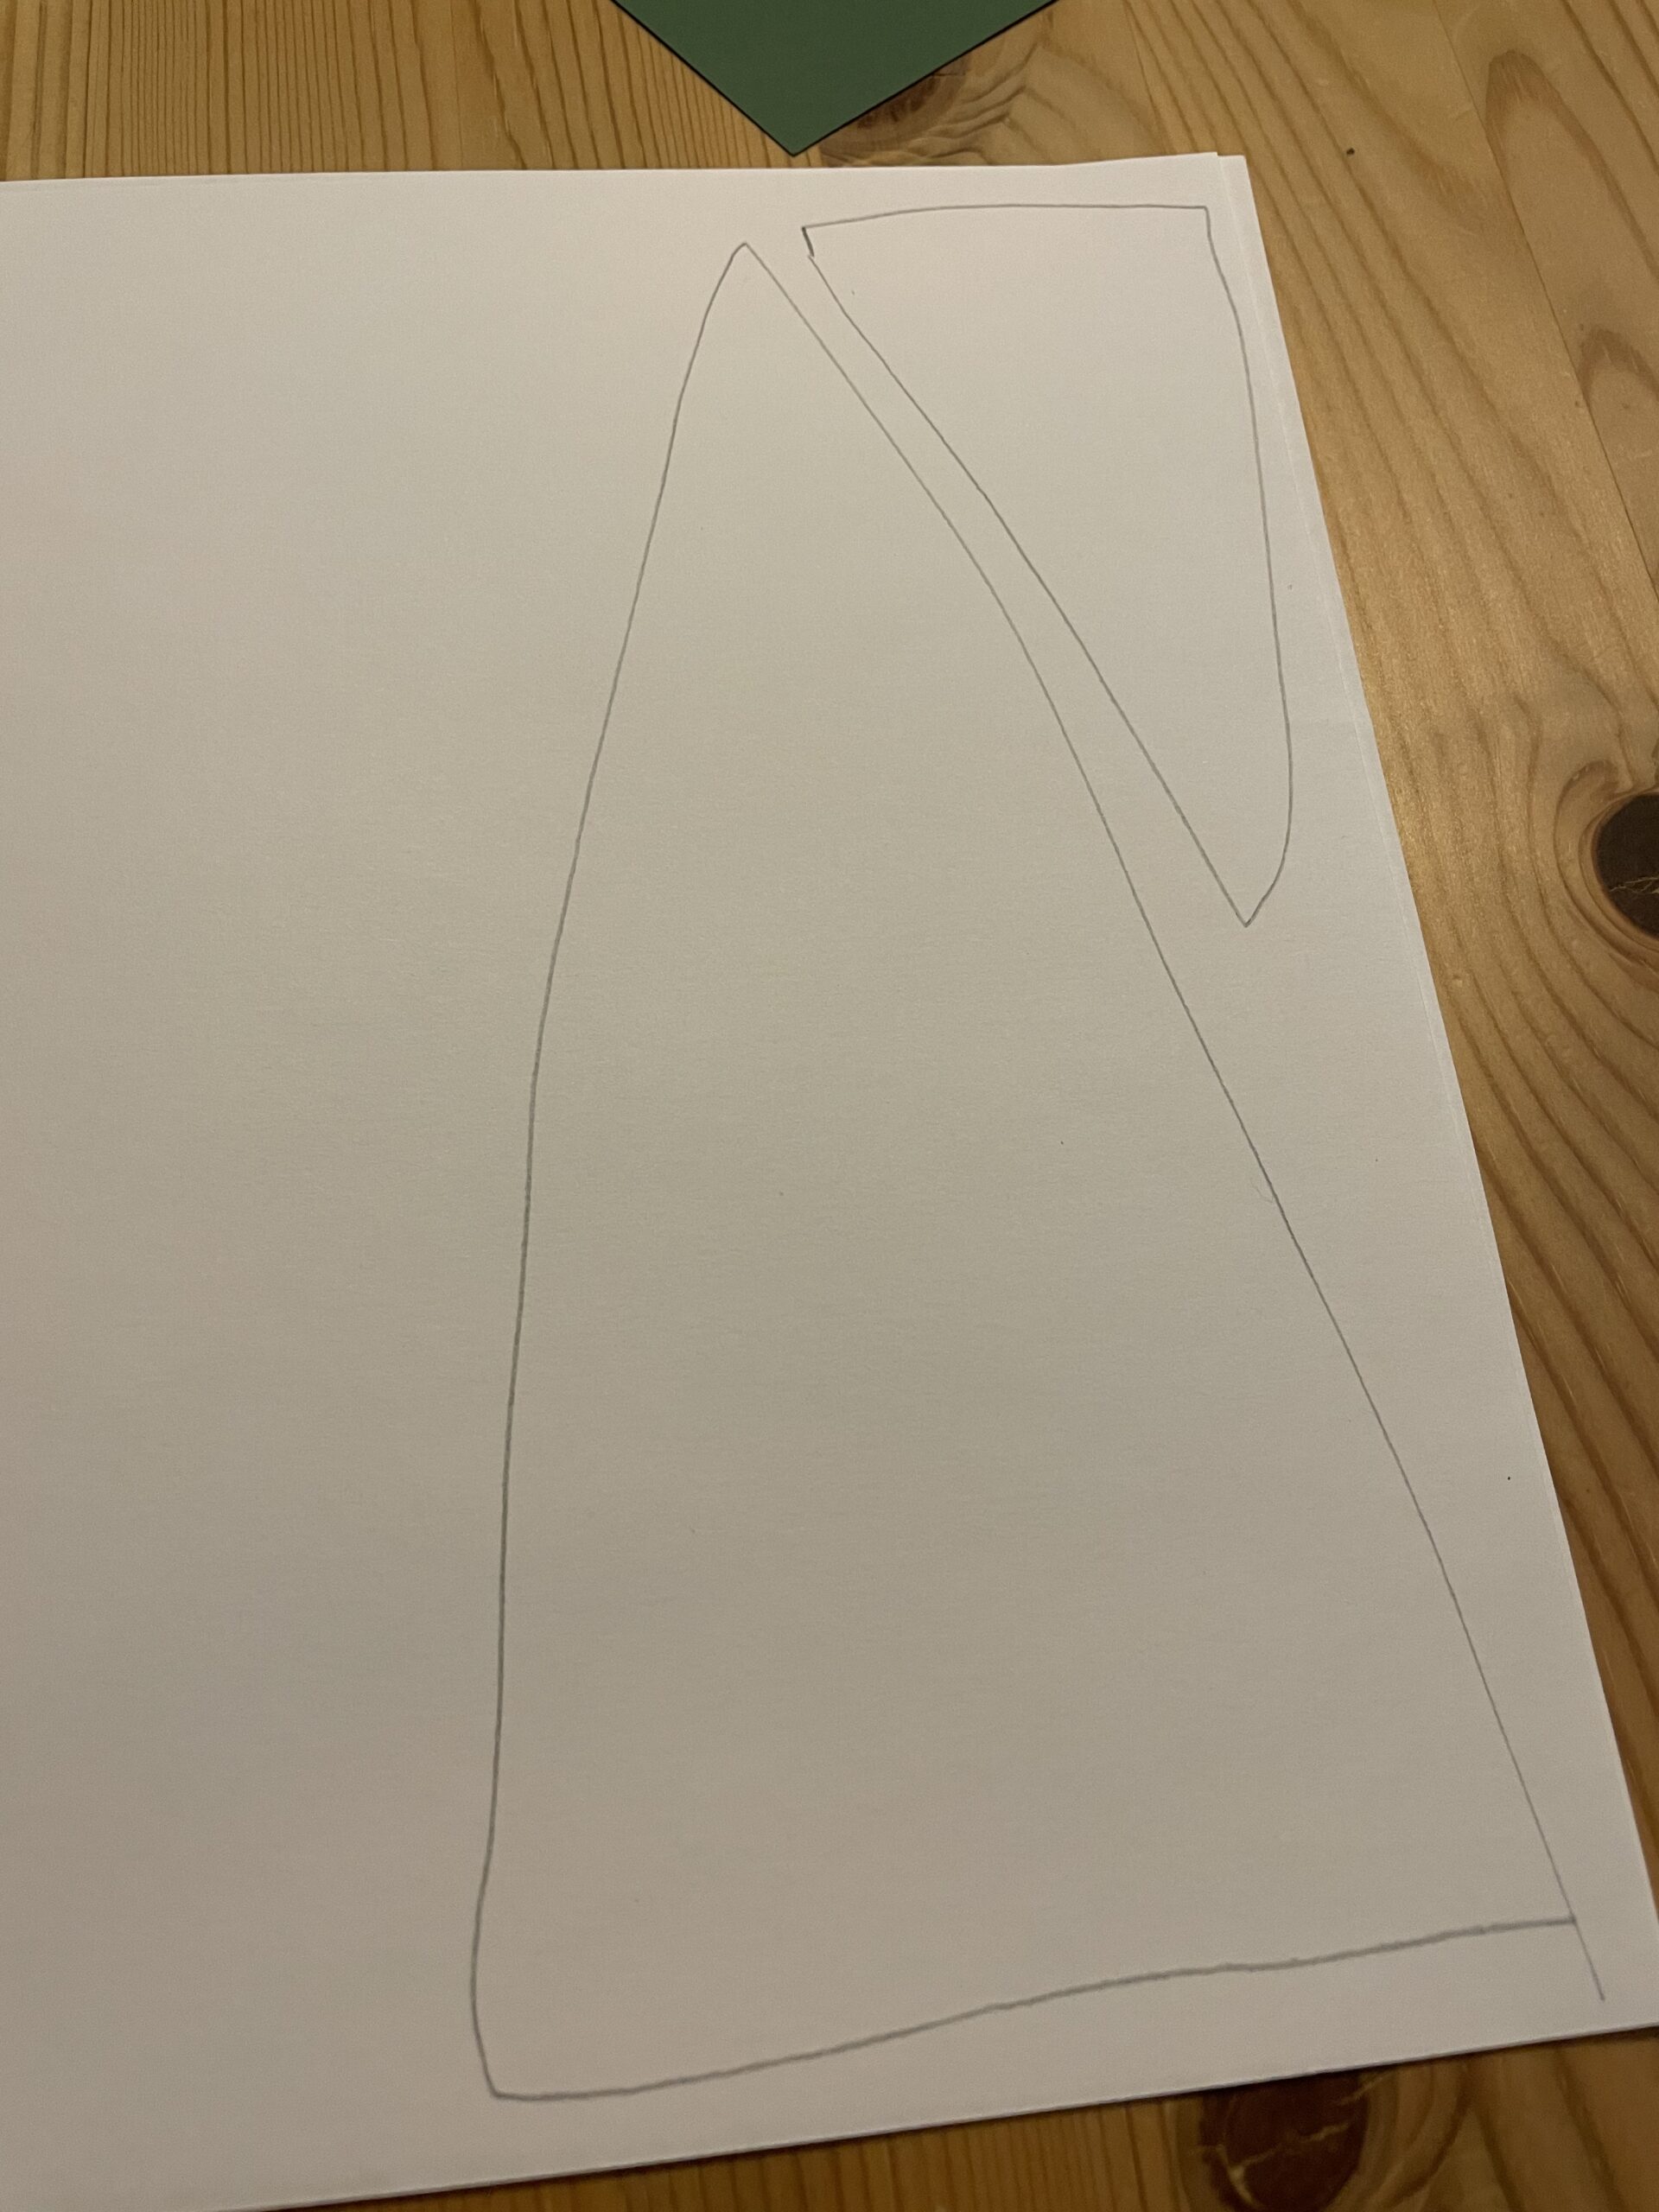
Bild zum Schritt 2 für das Bastel- und DIY-Abenteuer für Kinder: 'Dann malt ihr euch die Tannenbäume in verschiedenen Größen auf....'

3

Then cut out the triangles. Then cut out a strip of paper and stick it to it as a tree trunk.

Bild zum Schritt 3 für das Bastel- und DIY-Abenteuer für Kinder: 'Anschließend  schneidet ihr die Dreiecke aus. Schneidet danach noch...'

4

Or you cut out the fir tree with the tree trunk in one.

Important: Depending on the age, this works. For younger children, it is very difficult.

Bild zum Schritt 4 für das Bastel- und DIY-Abenteuer für Kinder: 'Oder ihr schneidet den Tannenbaum samt dem Baumstamm in einem...'

5

Then, with a star-stancing, stars are still punching into the fir trees.

Bild zum Schritt 5 für das Bastel- und DIY-Abenteuer für Kinder: 'Anschließend stanzt mit einem Sternen-Stanzen noch Sterne in die Tannenbäume.'

6

Then glue the trees to a window or a balcony door with an adhesive film.

Tip: If the adhesive film rolls together and attaches it to the back of the trees, you do not see the adhesive tape.

Bild zum Schritt 6 für das Bastel- und DIY-Abenteuer für Kinder: 'Dann klebt ihr die Bäume mit einem Klebefilm an ein...'

7

Finally, cut out stars or snowflakes (e.g. small round circles) and decorate the window additionally.

Bild zum Schritt 7 für das Bastel- und DIY-Abenteuer für Kinder: 'Schneidet abschließend noch Sterne oder Schneeflocken  (z.B. kleine runde...'

8

Many trees in as different sizes as possible look particularly beautiful.

9

Have fun doing crafts!

Materials

 White paper
 Paper dark green
 1 Pencil
 Adhesive strips
 possibly Star Dancer
All links marked with a shopping cart lead to Amazon - here we have selected products that we would order ourselves and in part also ordered. In a qualified purchase via the advertising link, we as Amazon partner receive a commission, for you there are no costs. You thus support our cost- and advertising banner-free, educational offer.

Directions

1

Get ready for paper, pen and scissors.

Bild zum Schritt 1 für das Bastel- und DIY-Abenteuer für Kinder: 'Legt euch Papier, Stift und Schere bereit.'

2

Then you paint the fir trees in different sizes. Paint large triangles, a zip cap or a house roof.

Bild zum Schritt 2 für das Bastel- und DIY-Abenteuer für Kinder: 'Dann malt ihr euch die Tannenbäume in verschiedenen Größen auf....'

3

Then cut out the triangles. Then cut out a strip of paper and stick it to it as a tree trunk.
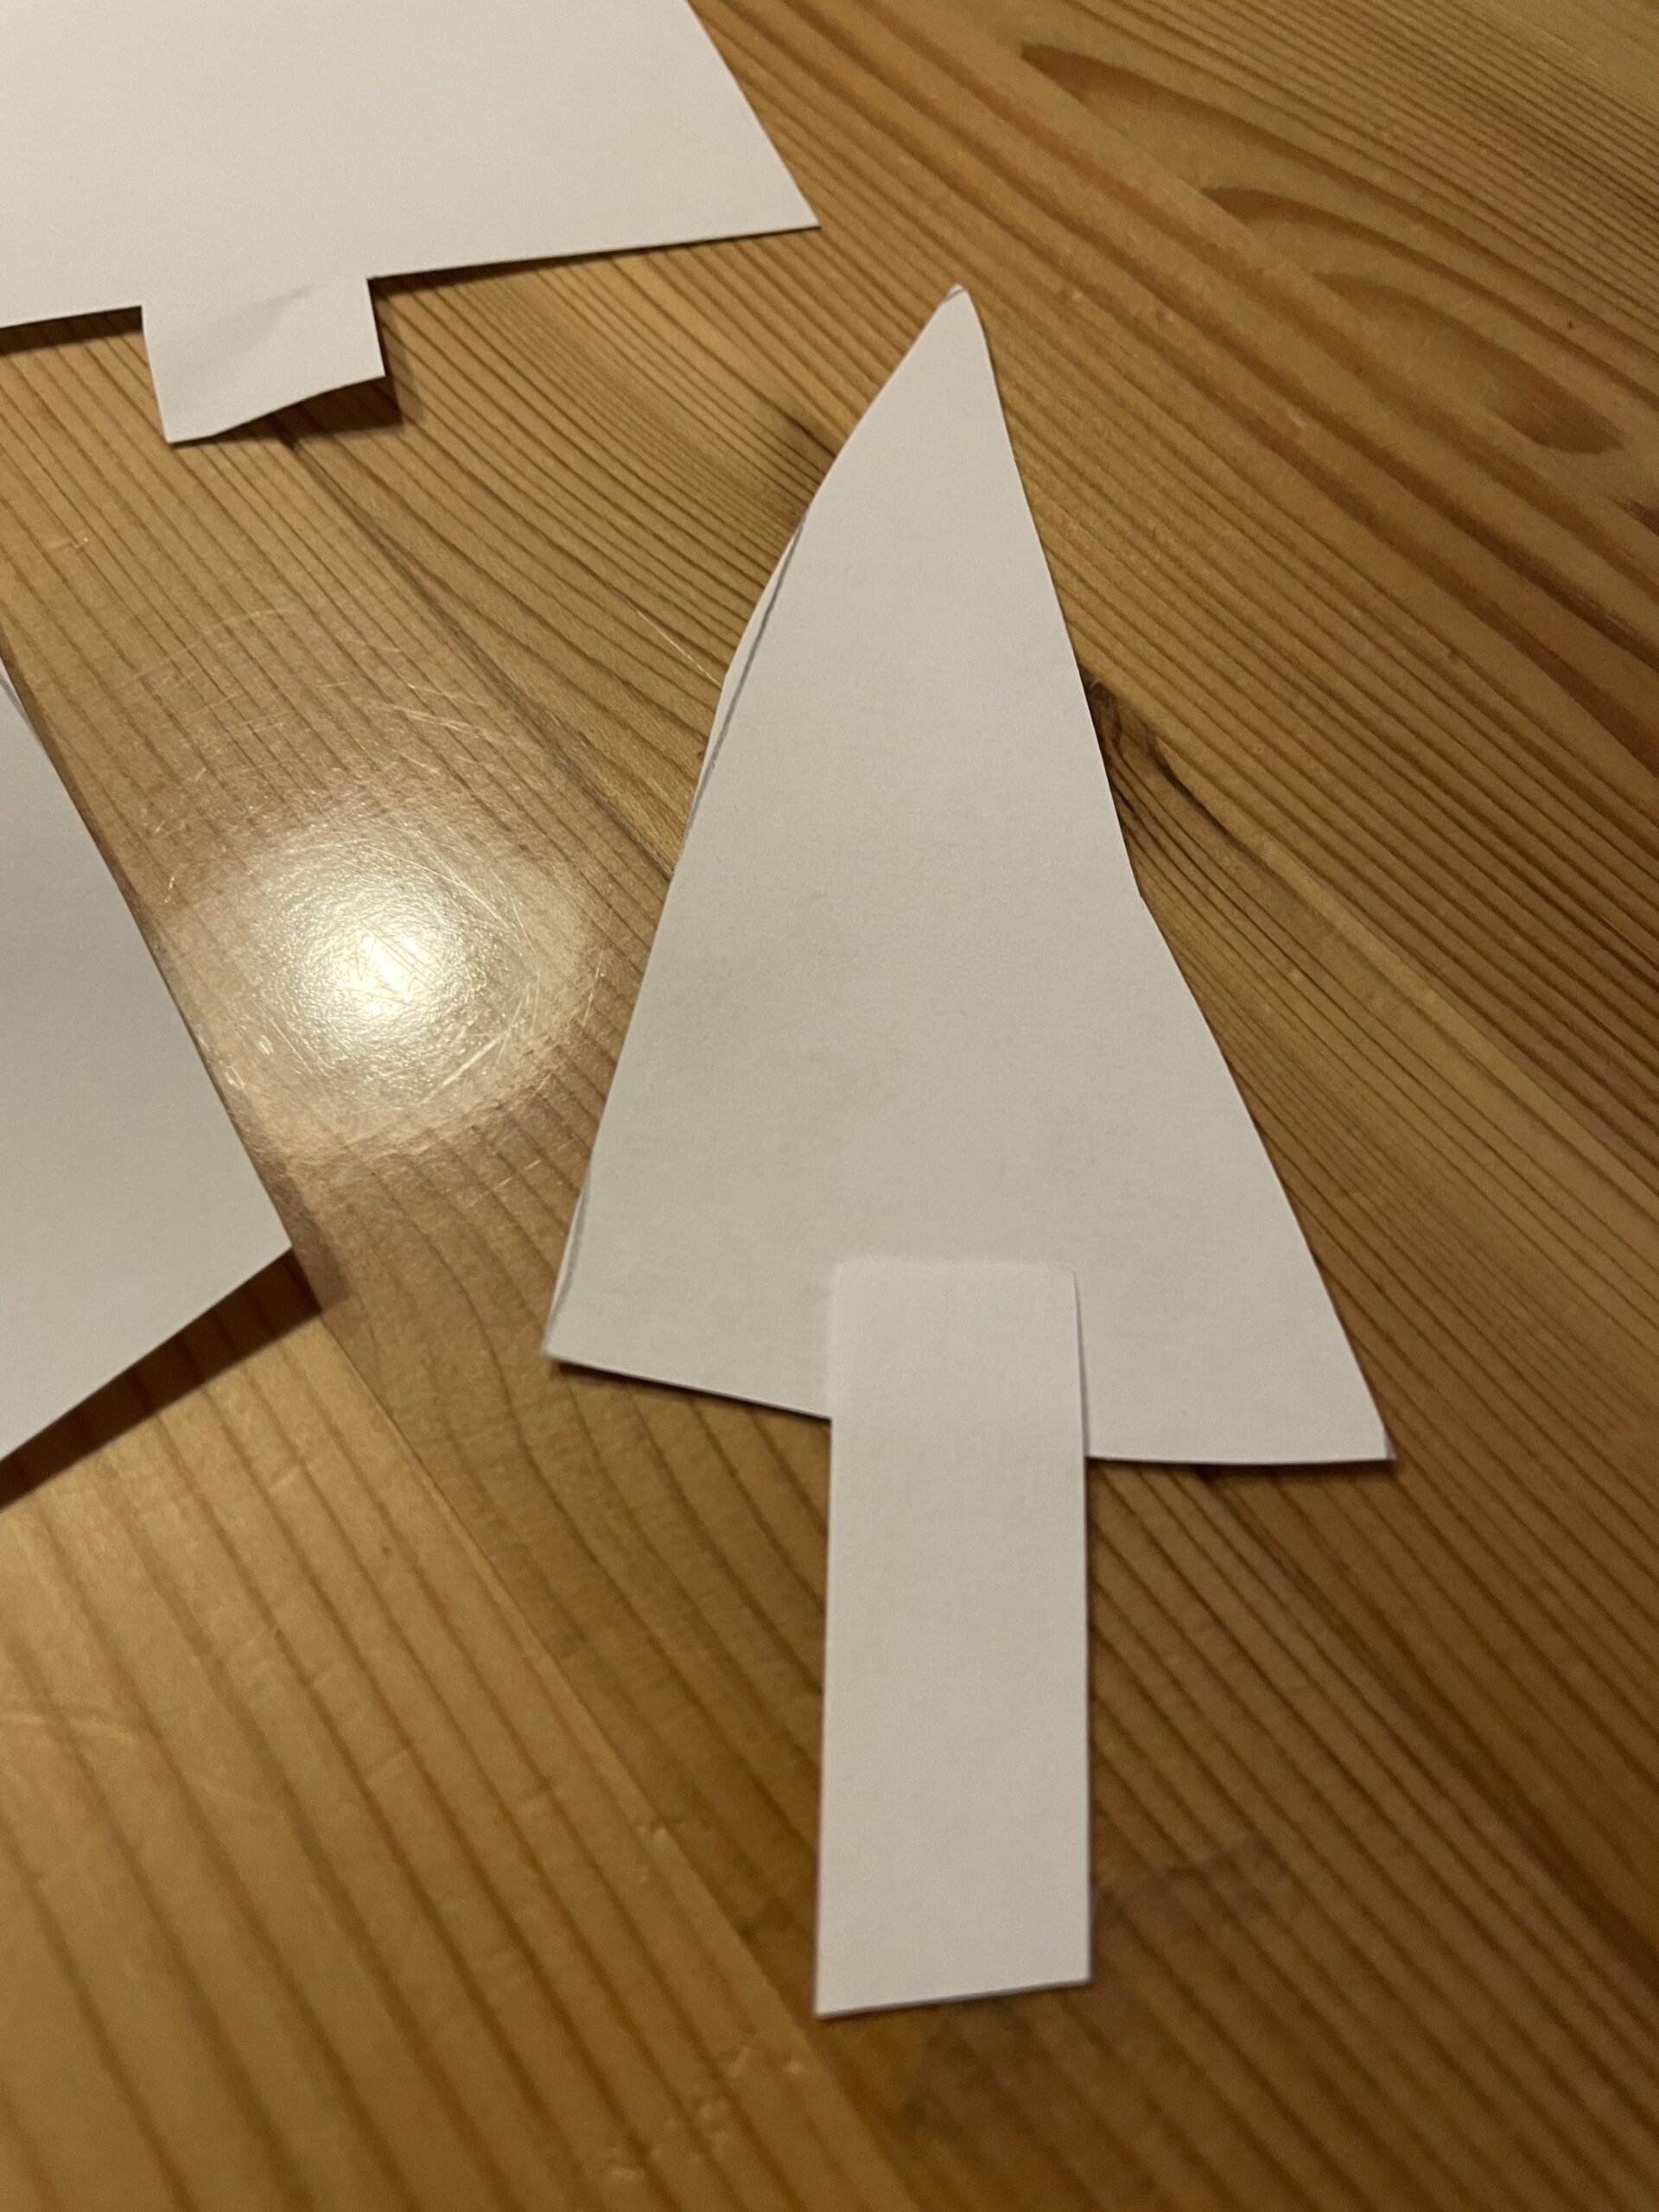
Bild zum Schritt 3 für das Bastel- und DIY-Abenteuer für Kinder: 'Anschließend  schneidet ihr die Dreiecke aus. Schneidet danach noch...'

4

Or you cut out the fir tree with the tree trunk in one.

Important: Depending on the age, this works. For younger children, it is very difficult.
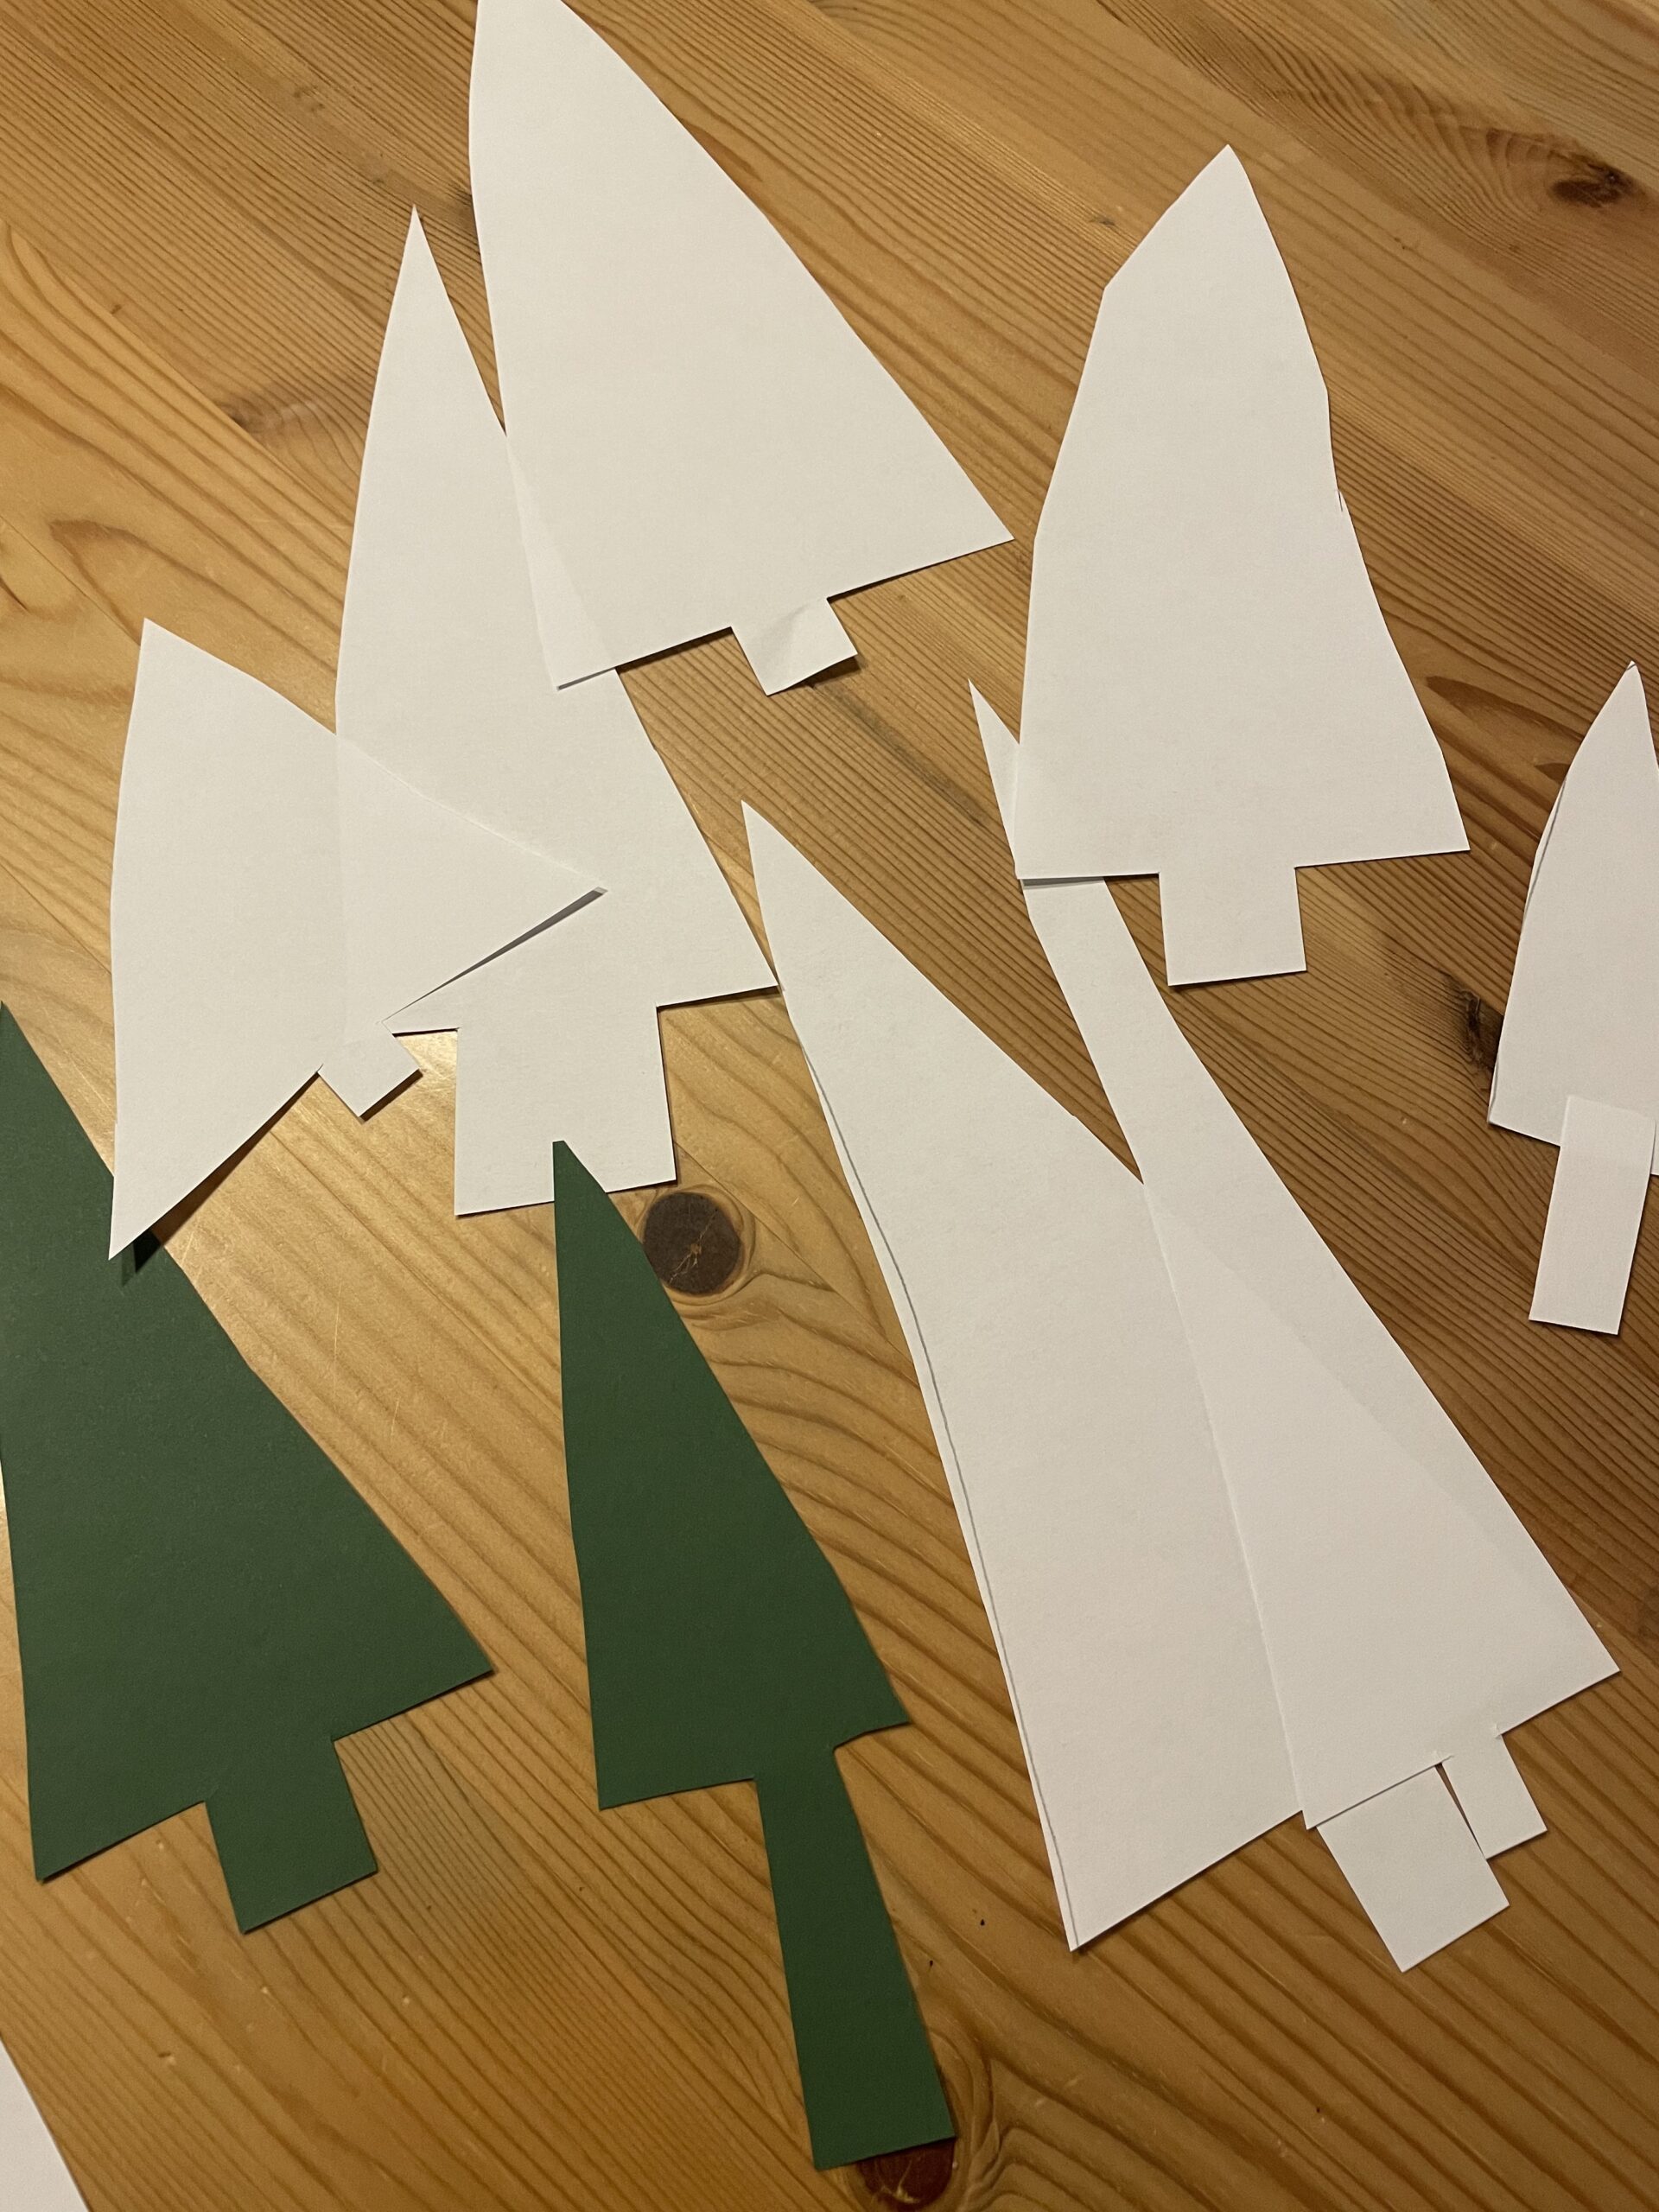
Bild zum Schritt 4 für das Bastel- und DIY-Abenteuer für Kinder: 'Oder ihr schneidet den Tannenbaum samt dem Baumstamm in einem...'

5

Then, with a star-stancing, stars are still punching into the fir trees.
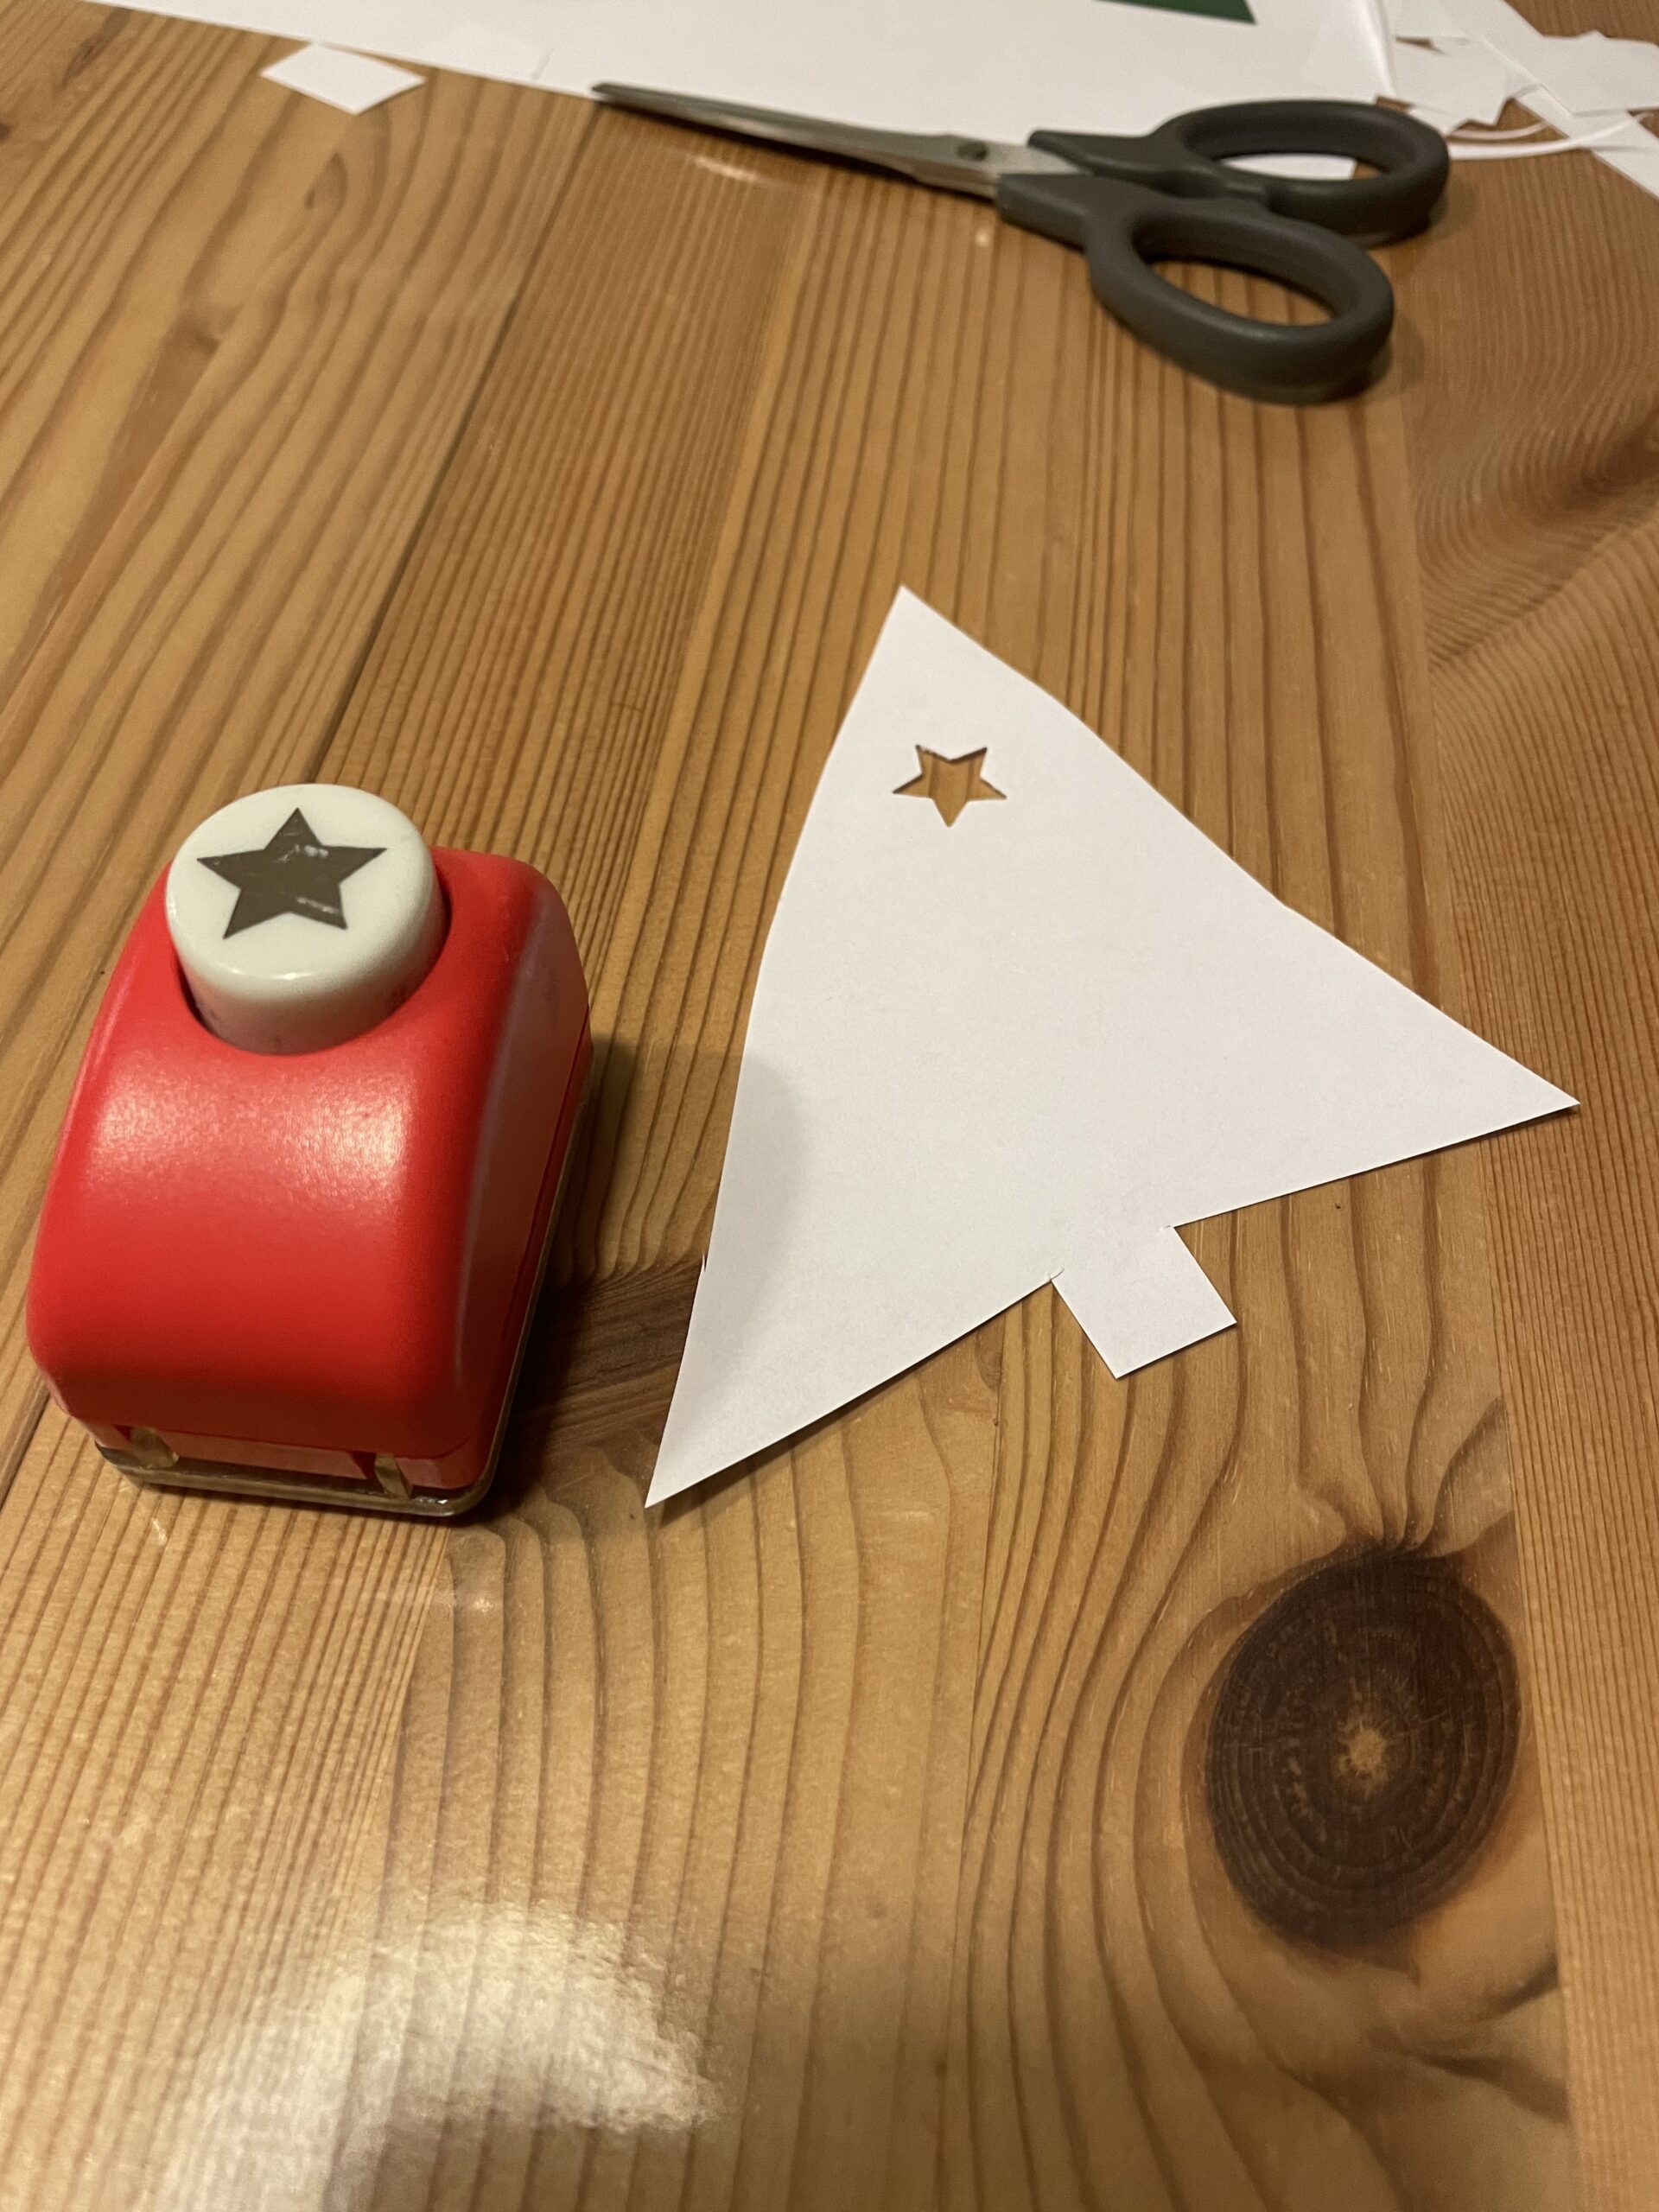
Bild zum Schritt 5 für das Bastel- und DIY-Abenteuer für Kinder: 'Anschließend stanzt mit einem Sternen-Stanzen noch Sterne in die Tannenbäume.'

6

Then glue the trees to a window or a balcony door with an adhesive film.

Tip: If the adhesive film rolls together and attaches it to the back of the trees, you do not see the adhesive tape.
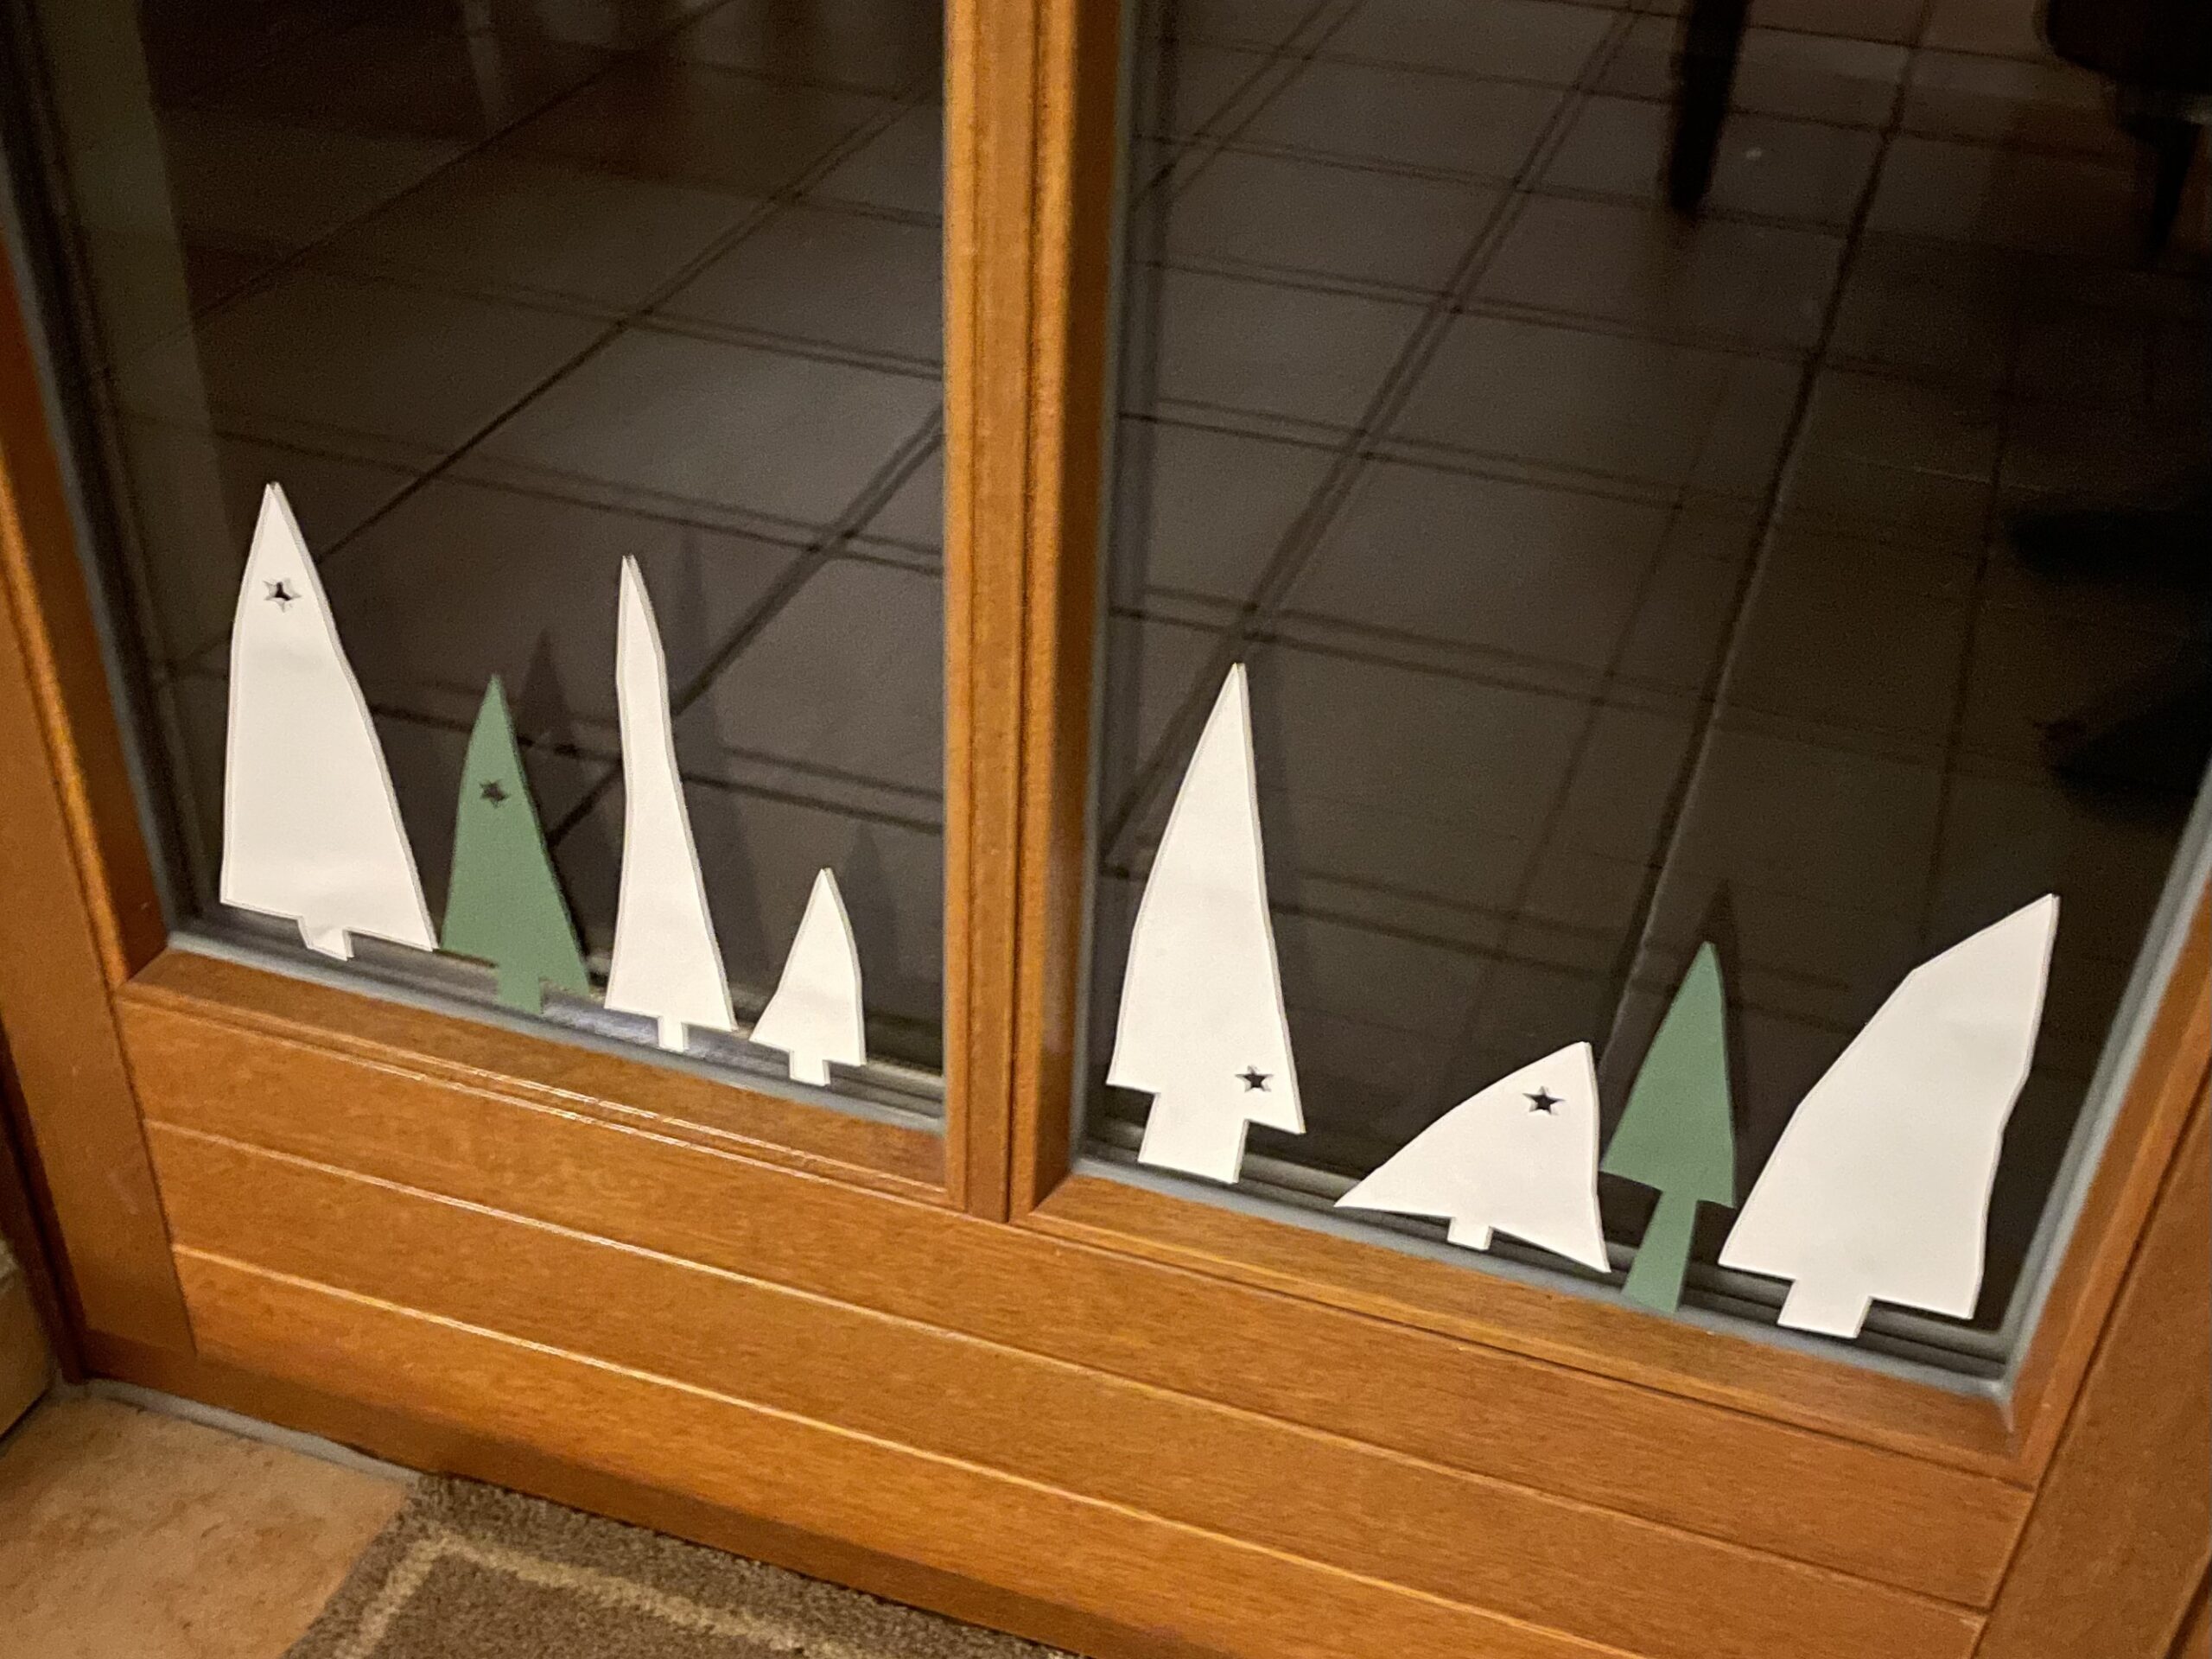
Bild zum Schritt 6 für das Bastel- und DIY-Abenteuer für Kinder: 'Dann klebt ihr die Bäume mit einem Klebefilm an ein...'

7

Finally, cut out stars or snowflakes (e.g. small round circles) and decorate the window additionally.
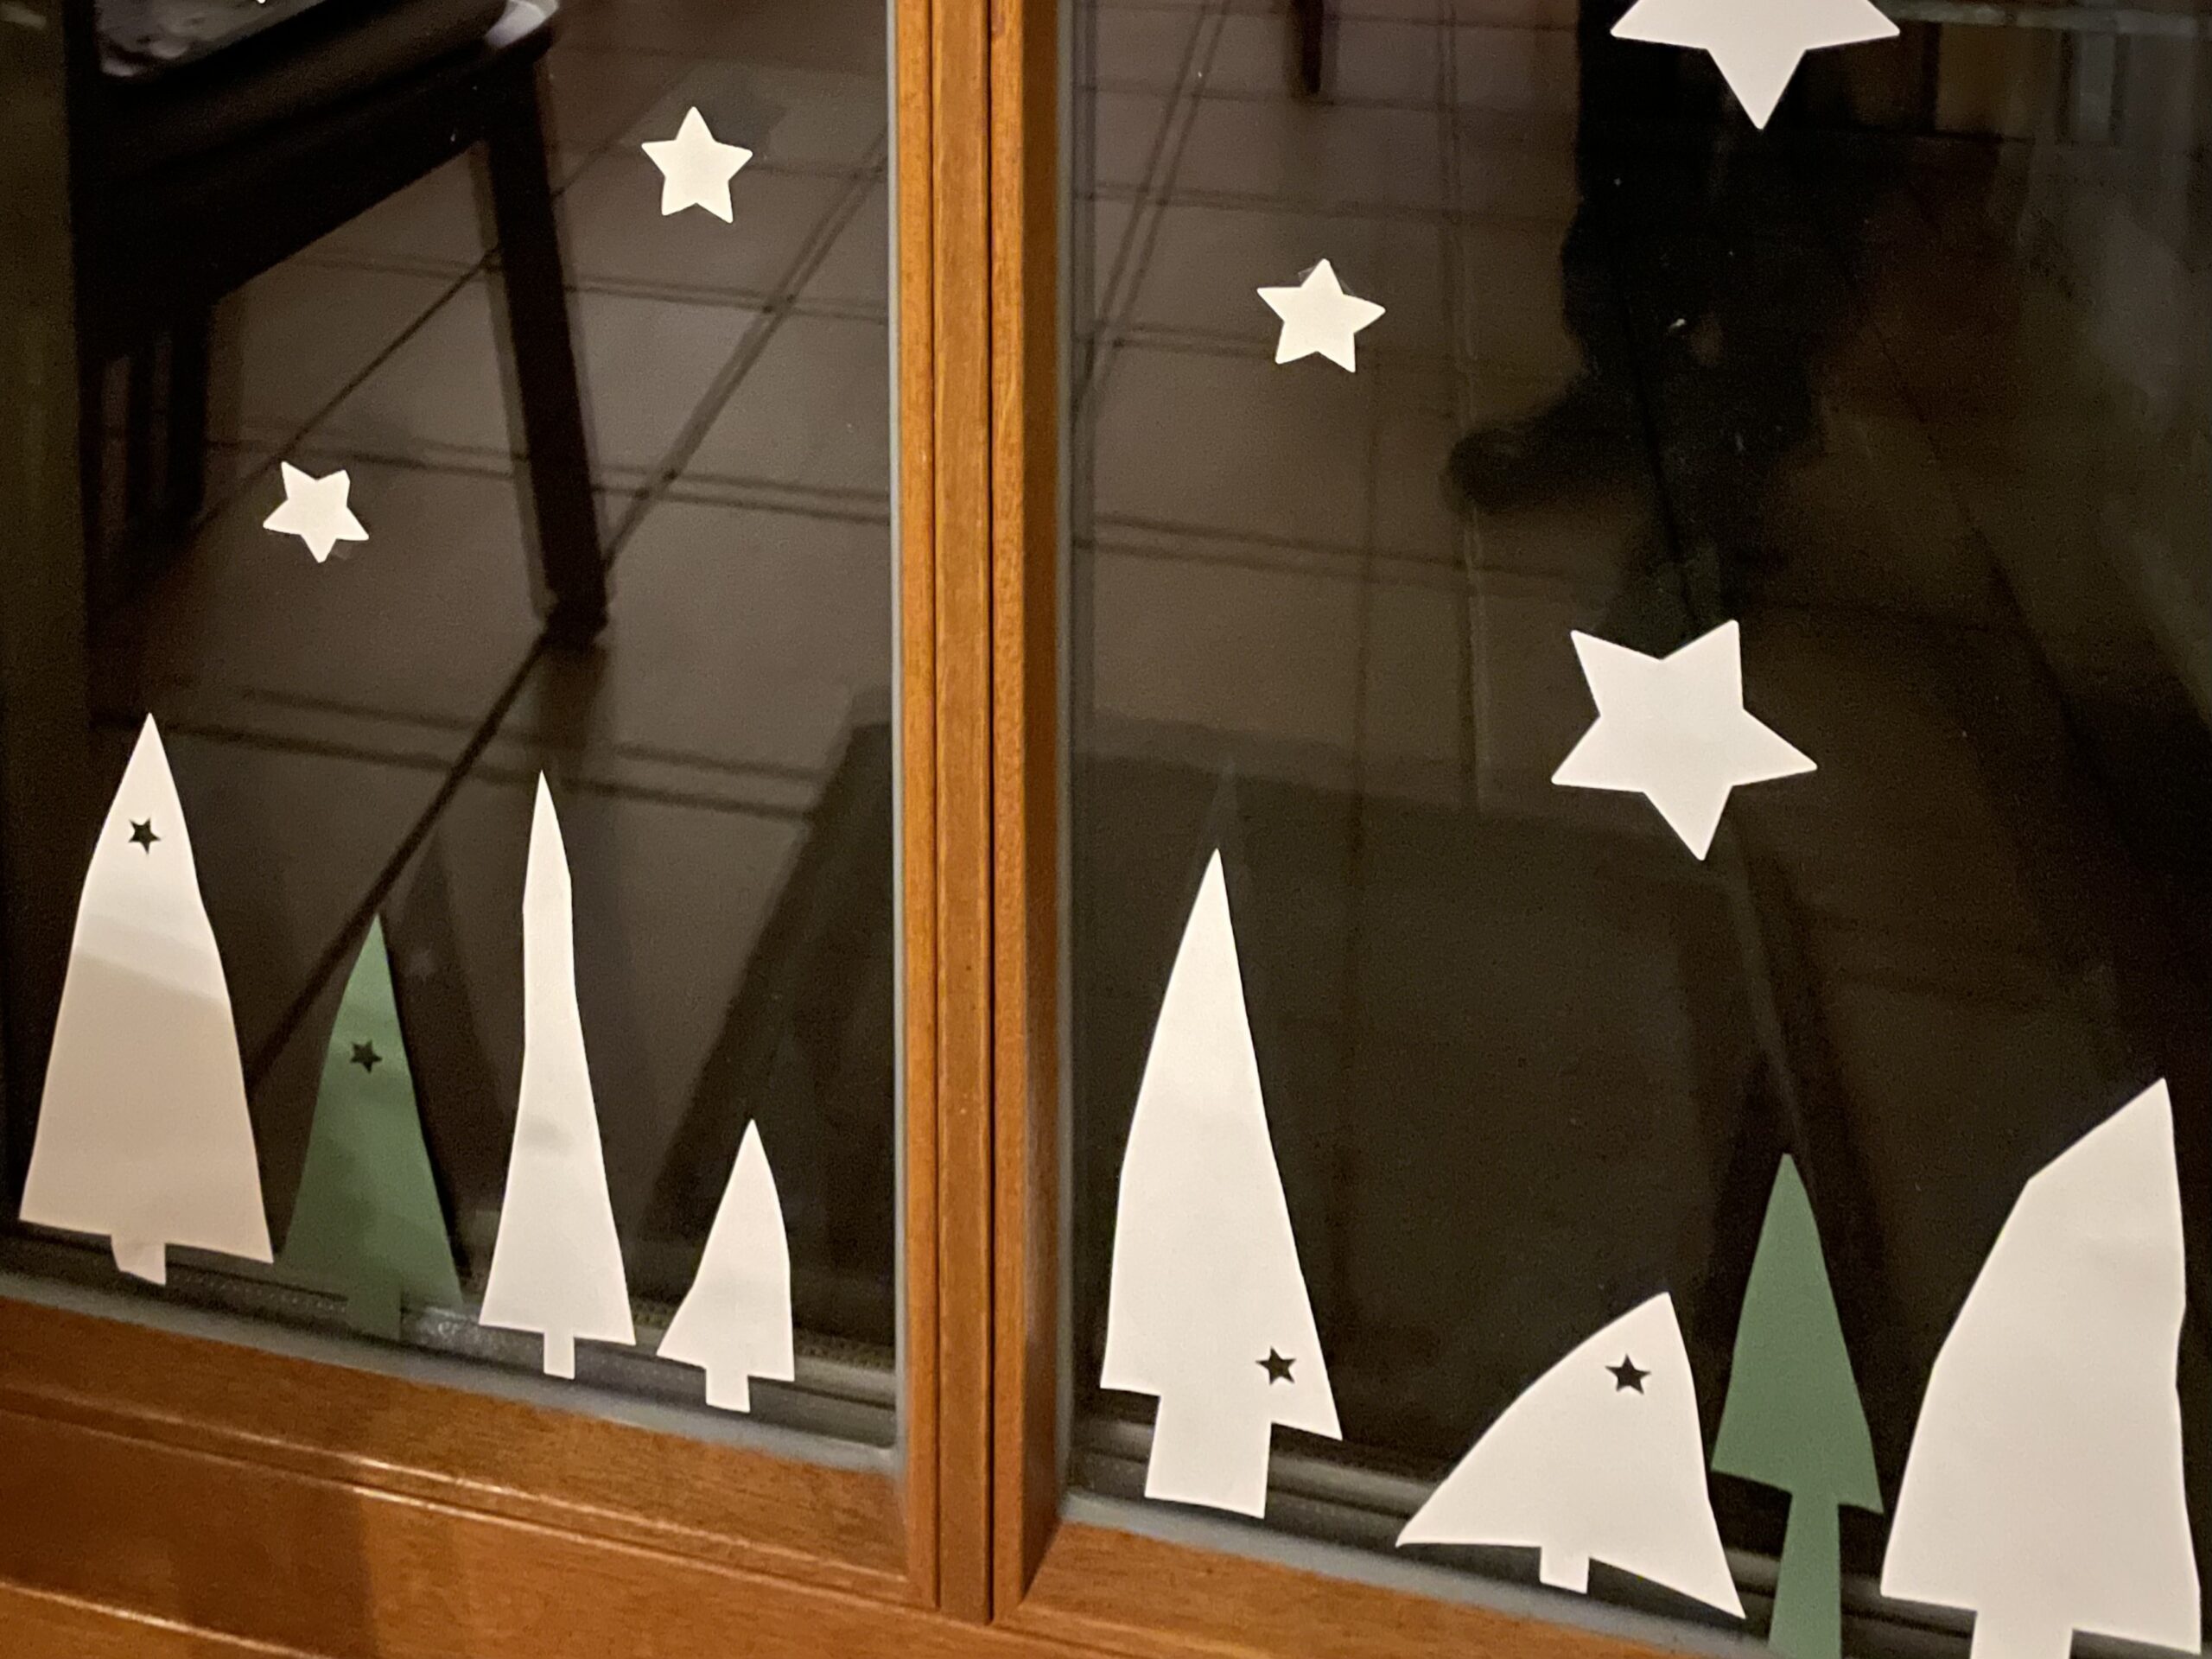
Bild zum Schritt 7 für das Bastel- und DIY-Abenteuer für Kinder: 'Schneidet abschließend noch Sterne oder Schneeflocken  (z.B. kleine runde...'

8

Many trees in as different sizes as possible look particularly beautiful.

9

Have fun doing crafts!

Fir trees for the window

Follow us on Facebook , Instagram and Pinterest
Don't miss any more adventures: Our bottle mail

Leave a Reply

Your email address will not be published.

The maximum upload file size: 5 MB. You can upload: image, document. Drop file here