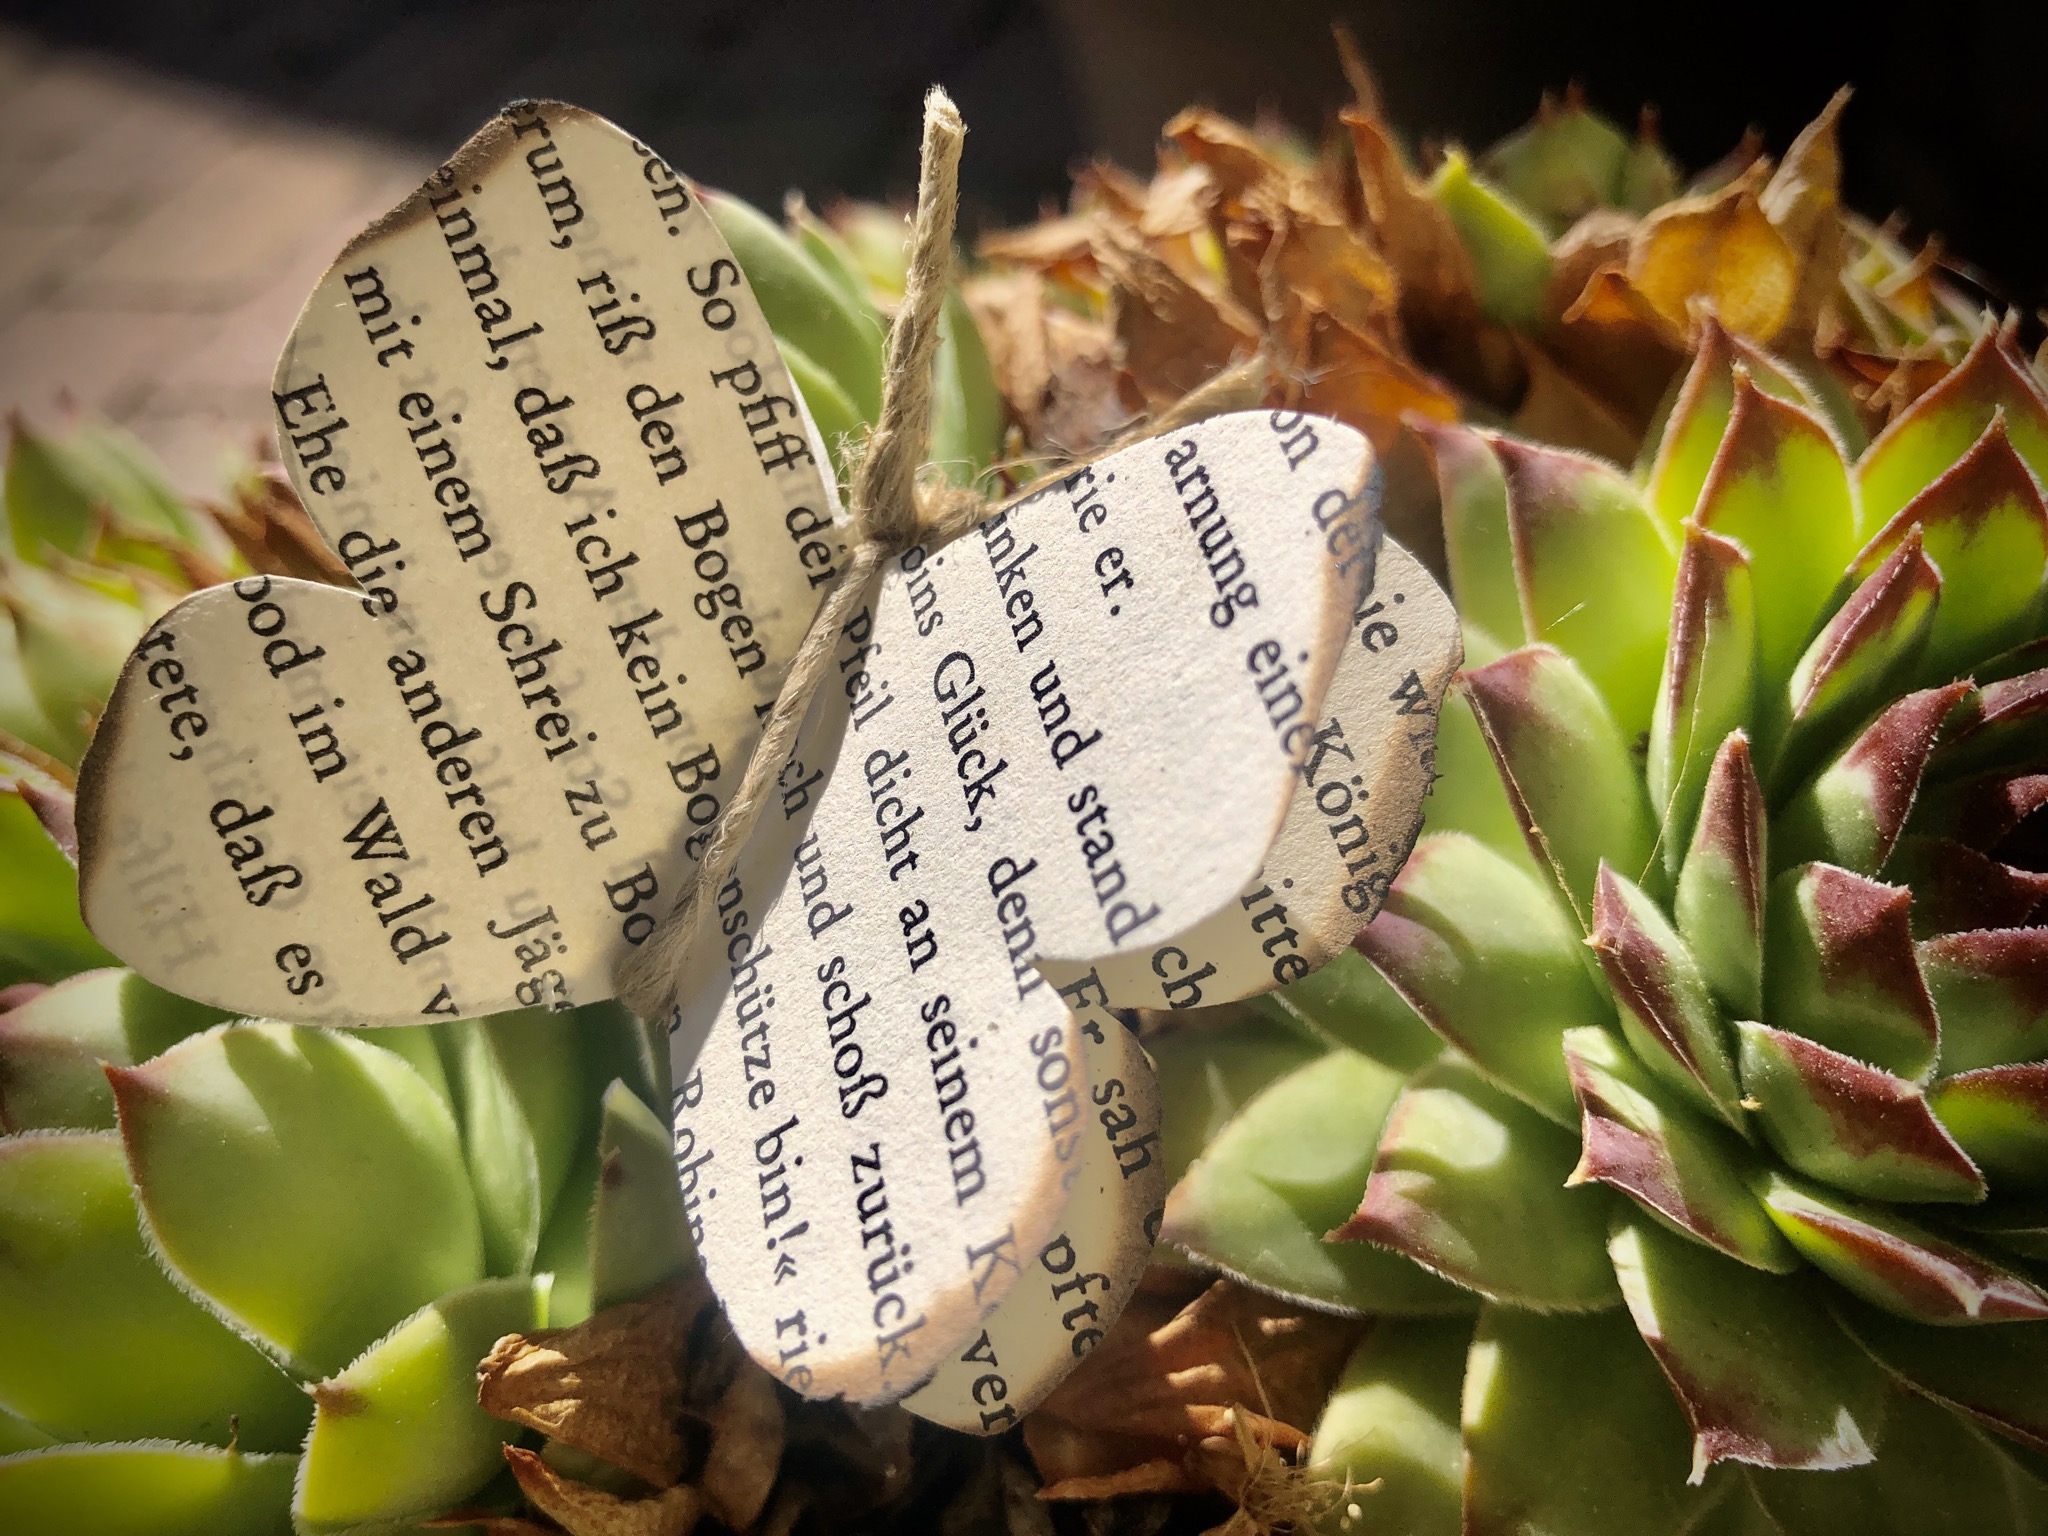
From the described pages of an old or broken book we make butterflies. As a pendant or beautification of a gift, as a deco for a spring bouquet, as a motif for a Mother's Day or birthday card...
Media Education for Kindergarten and Hort

Relief in everyday life, targeted promotion of individual children, independent learning and - without any pre-knowledge already usable by the youngest!
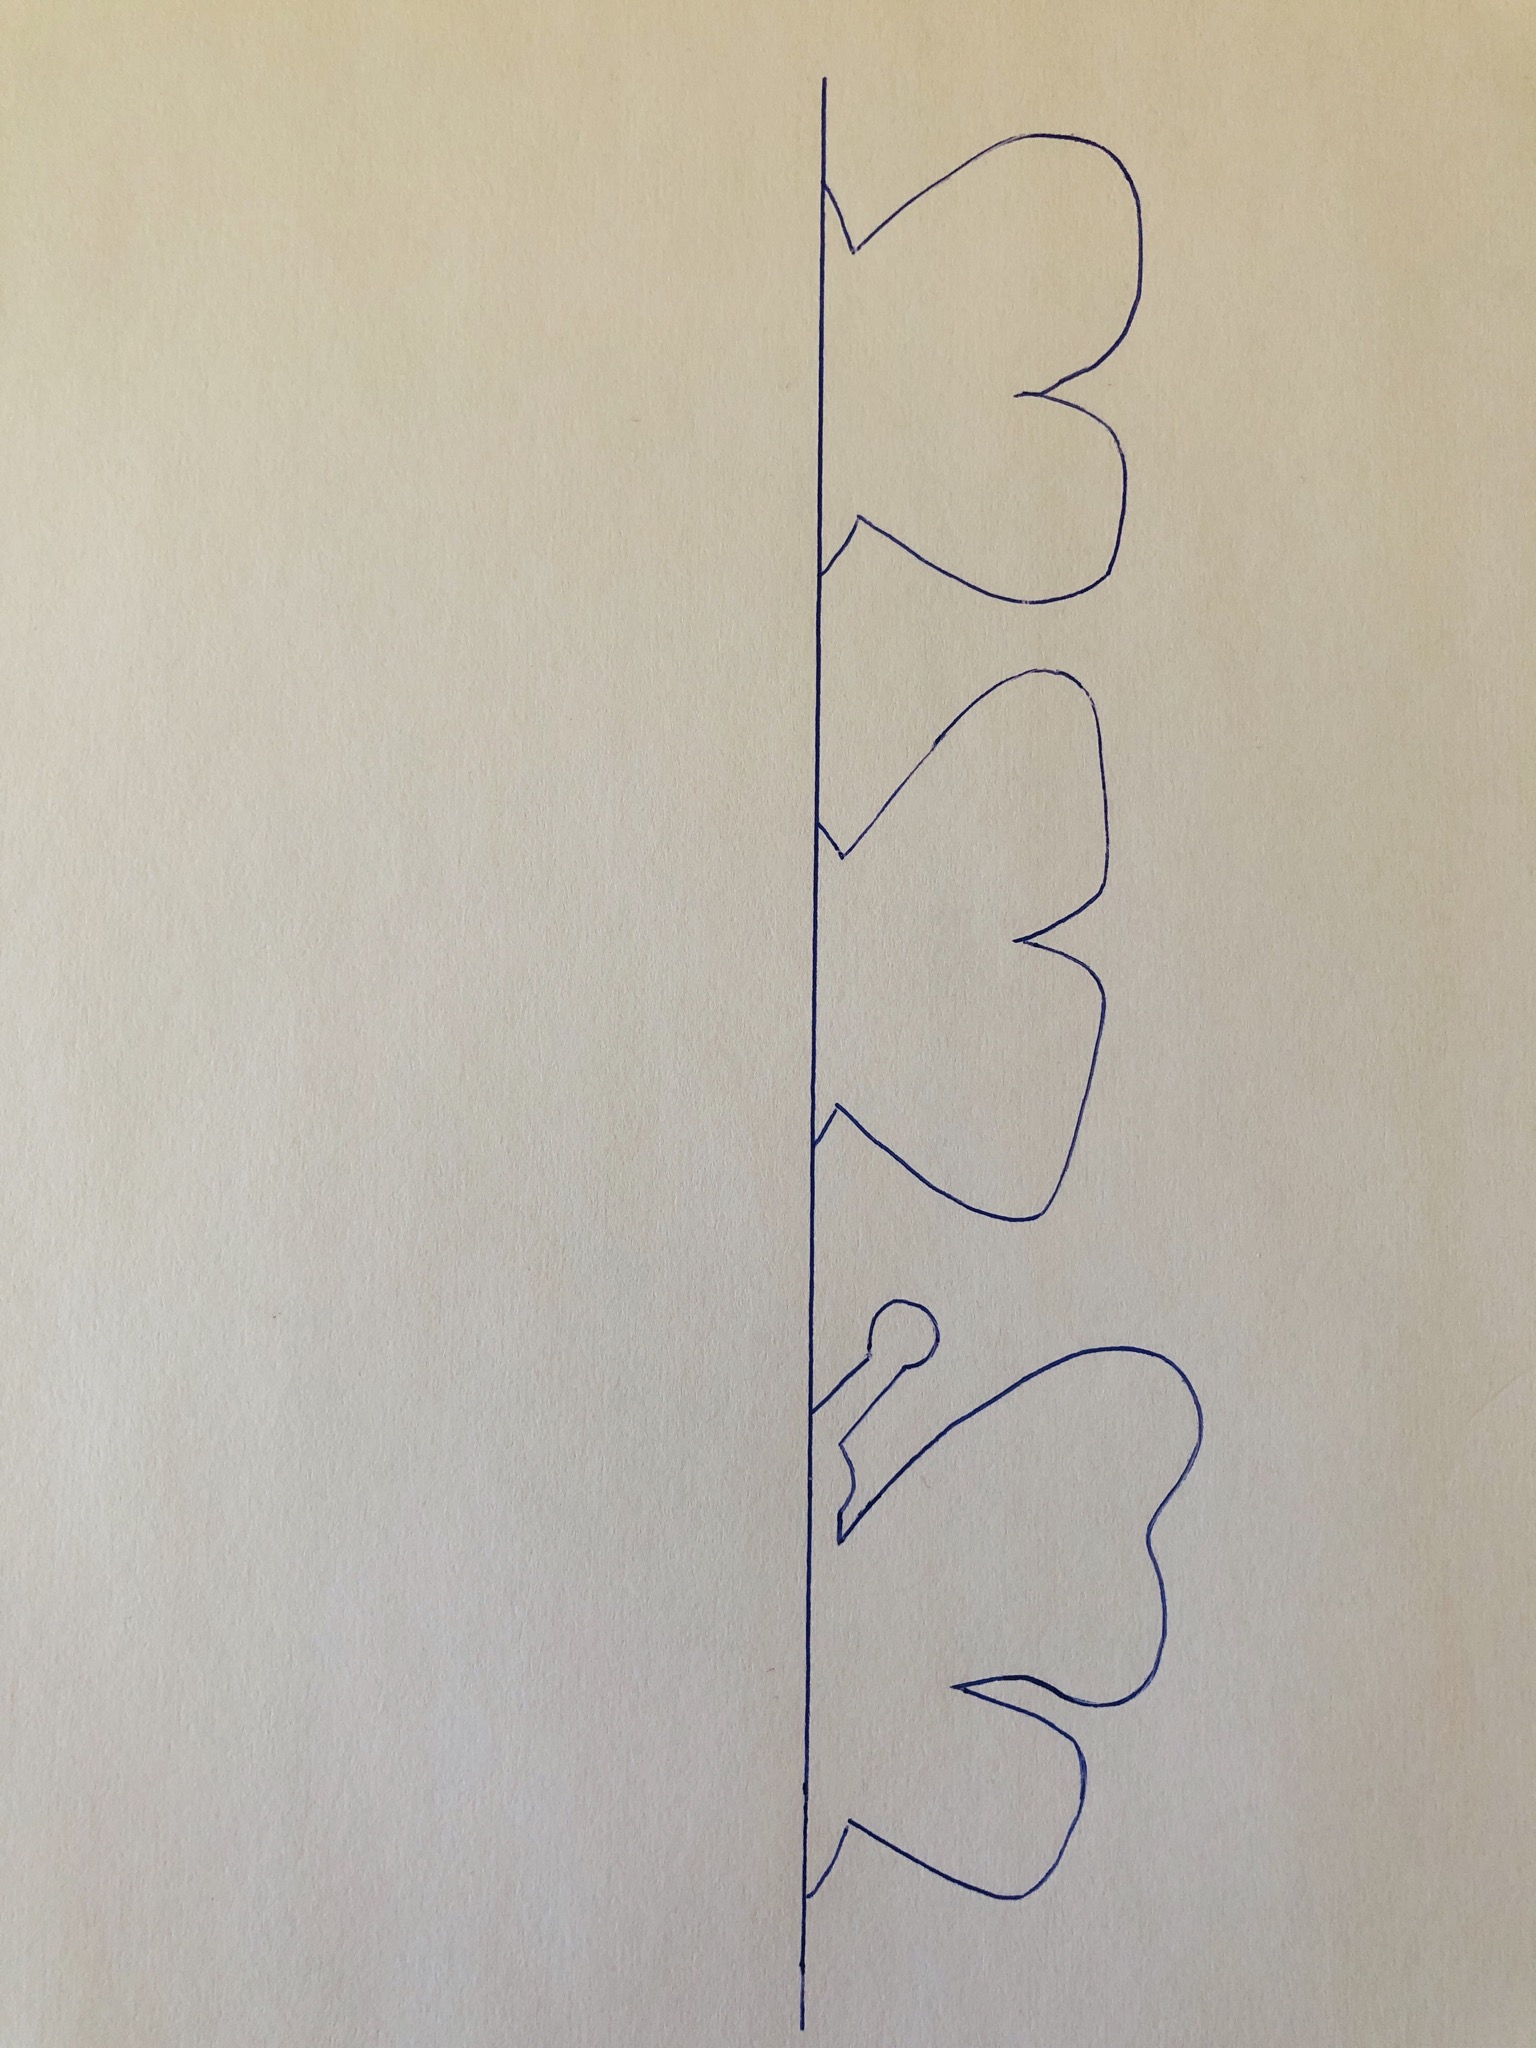
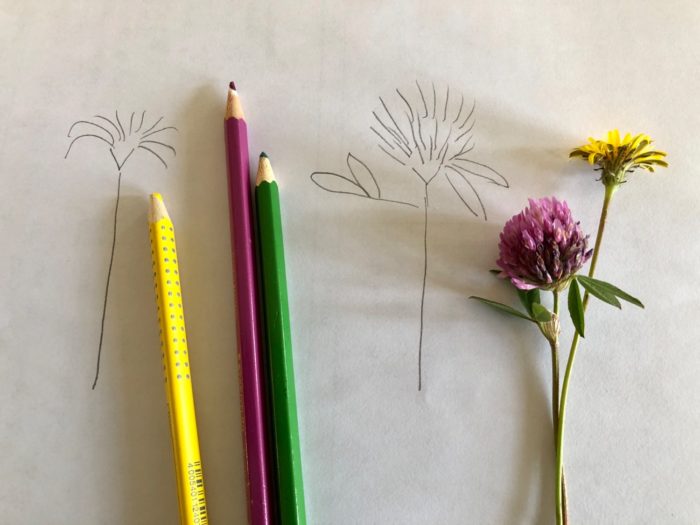
Create or print template!
Only one "wing" of the butterfly is painted, because the paper is double and the break of the paper is on the line.
Take the book page out of the book.

Halve paper, here has been folded obliquely, so that the text on the wings looks more beautiful!
Transfer the butterfly template to the book page. Three cutouts are required for each finished butterfly.
Cut these with scissors.
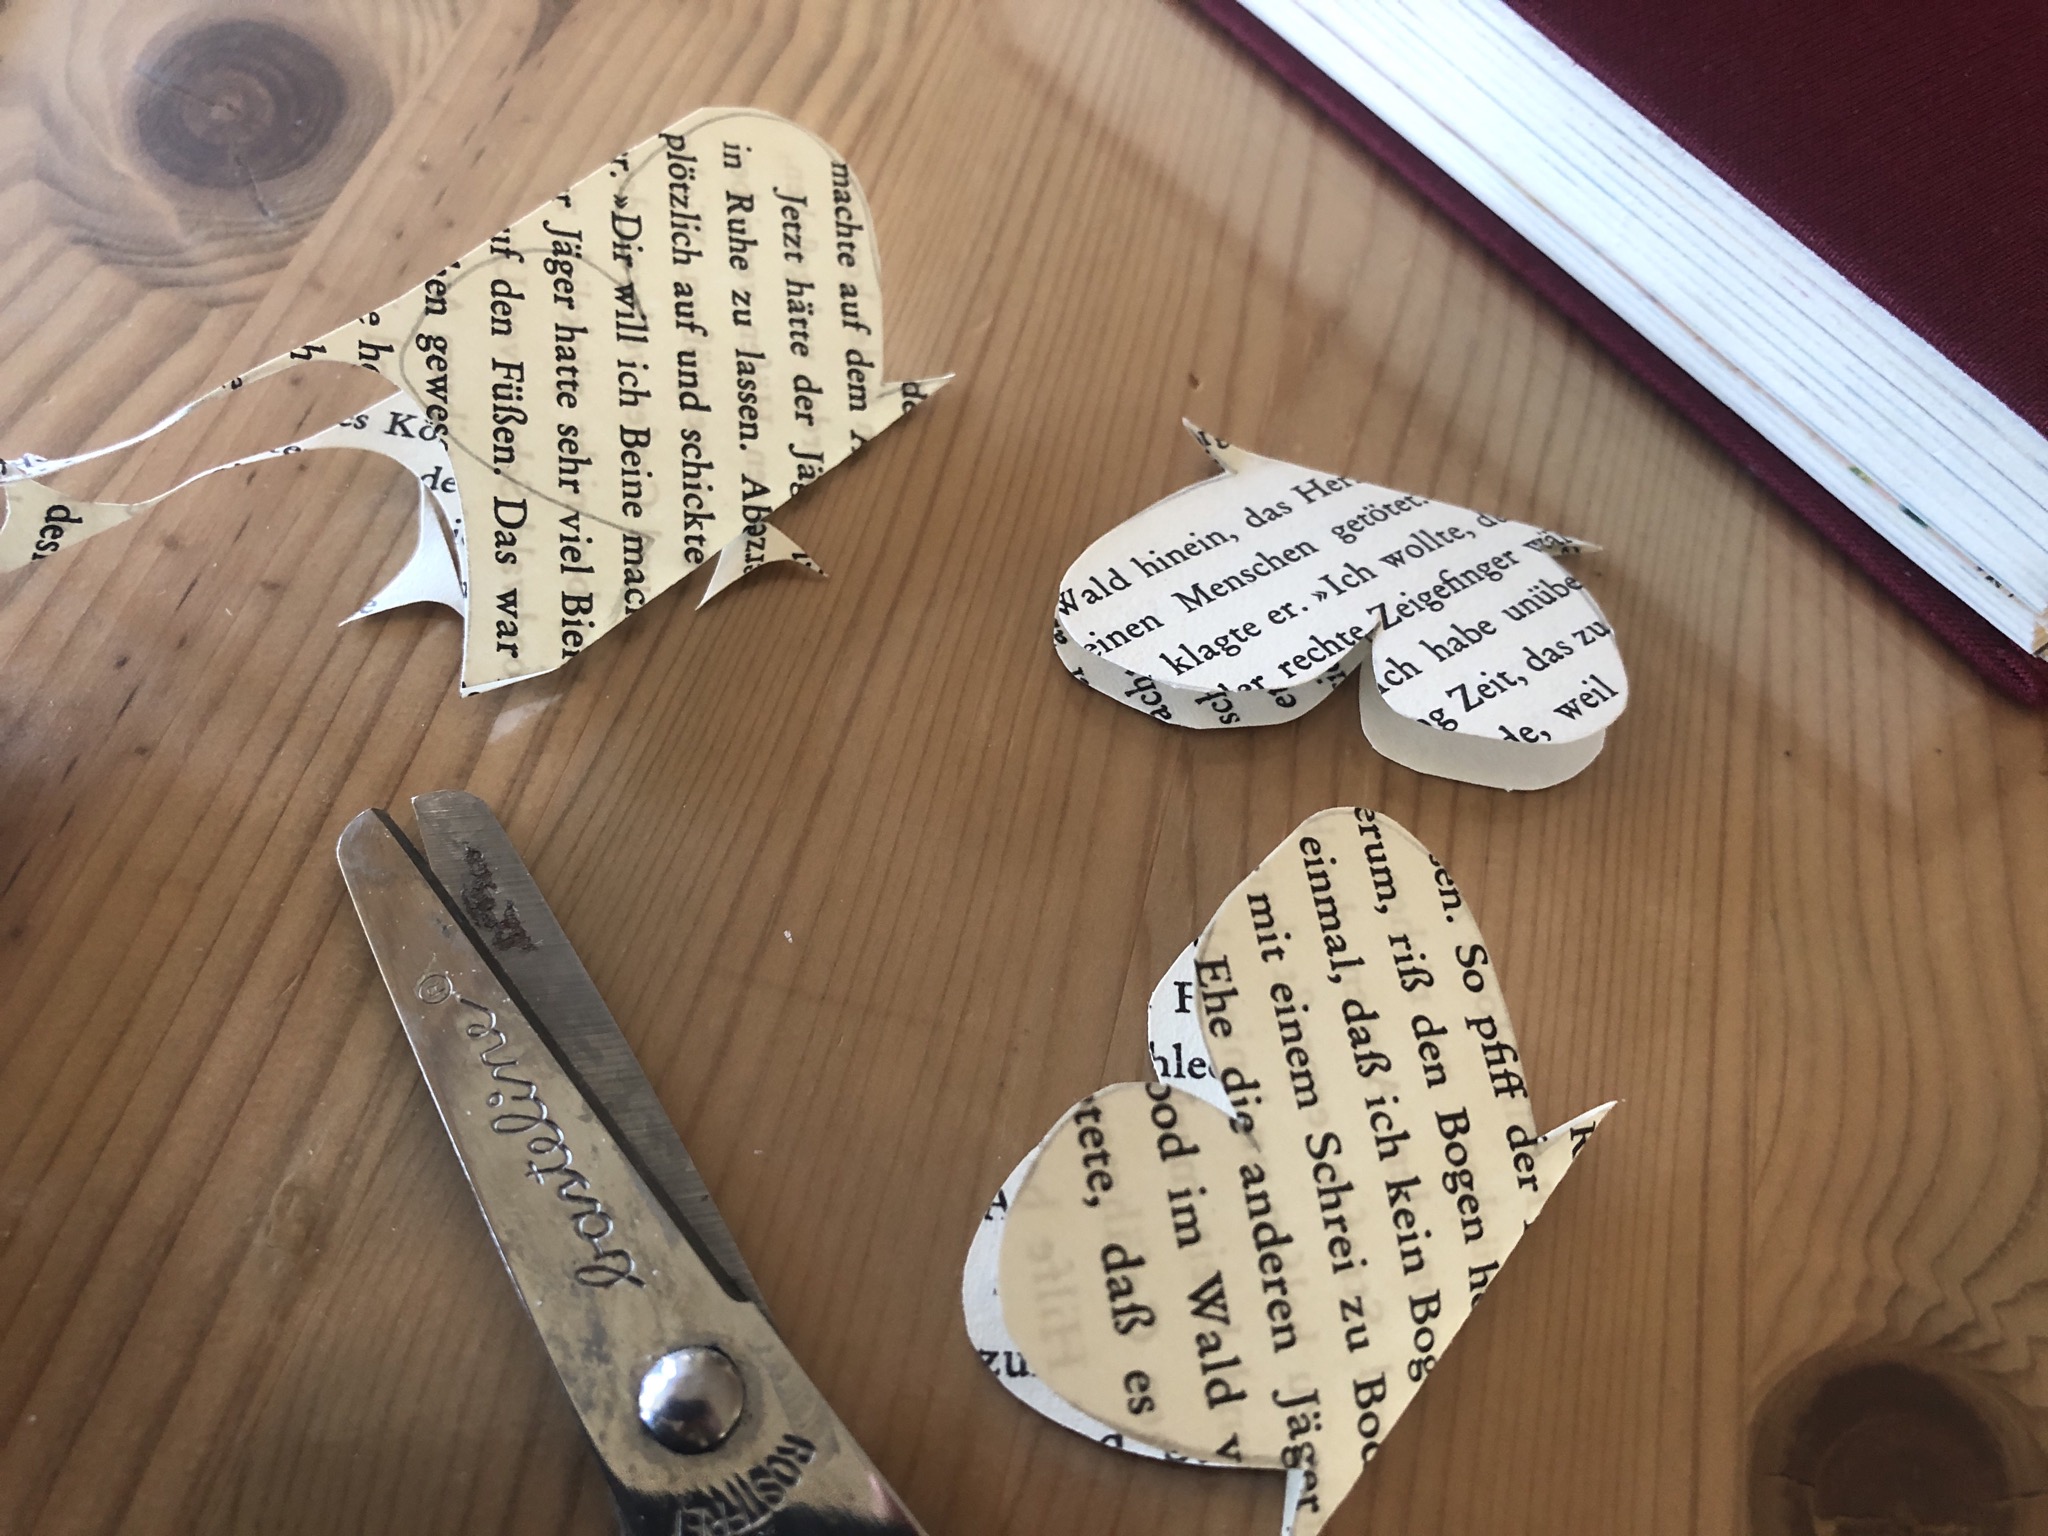
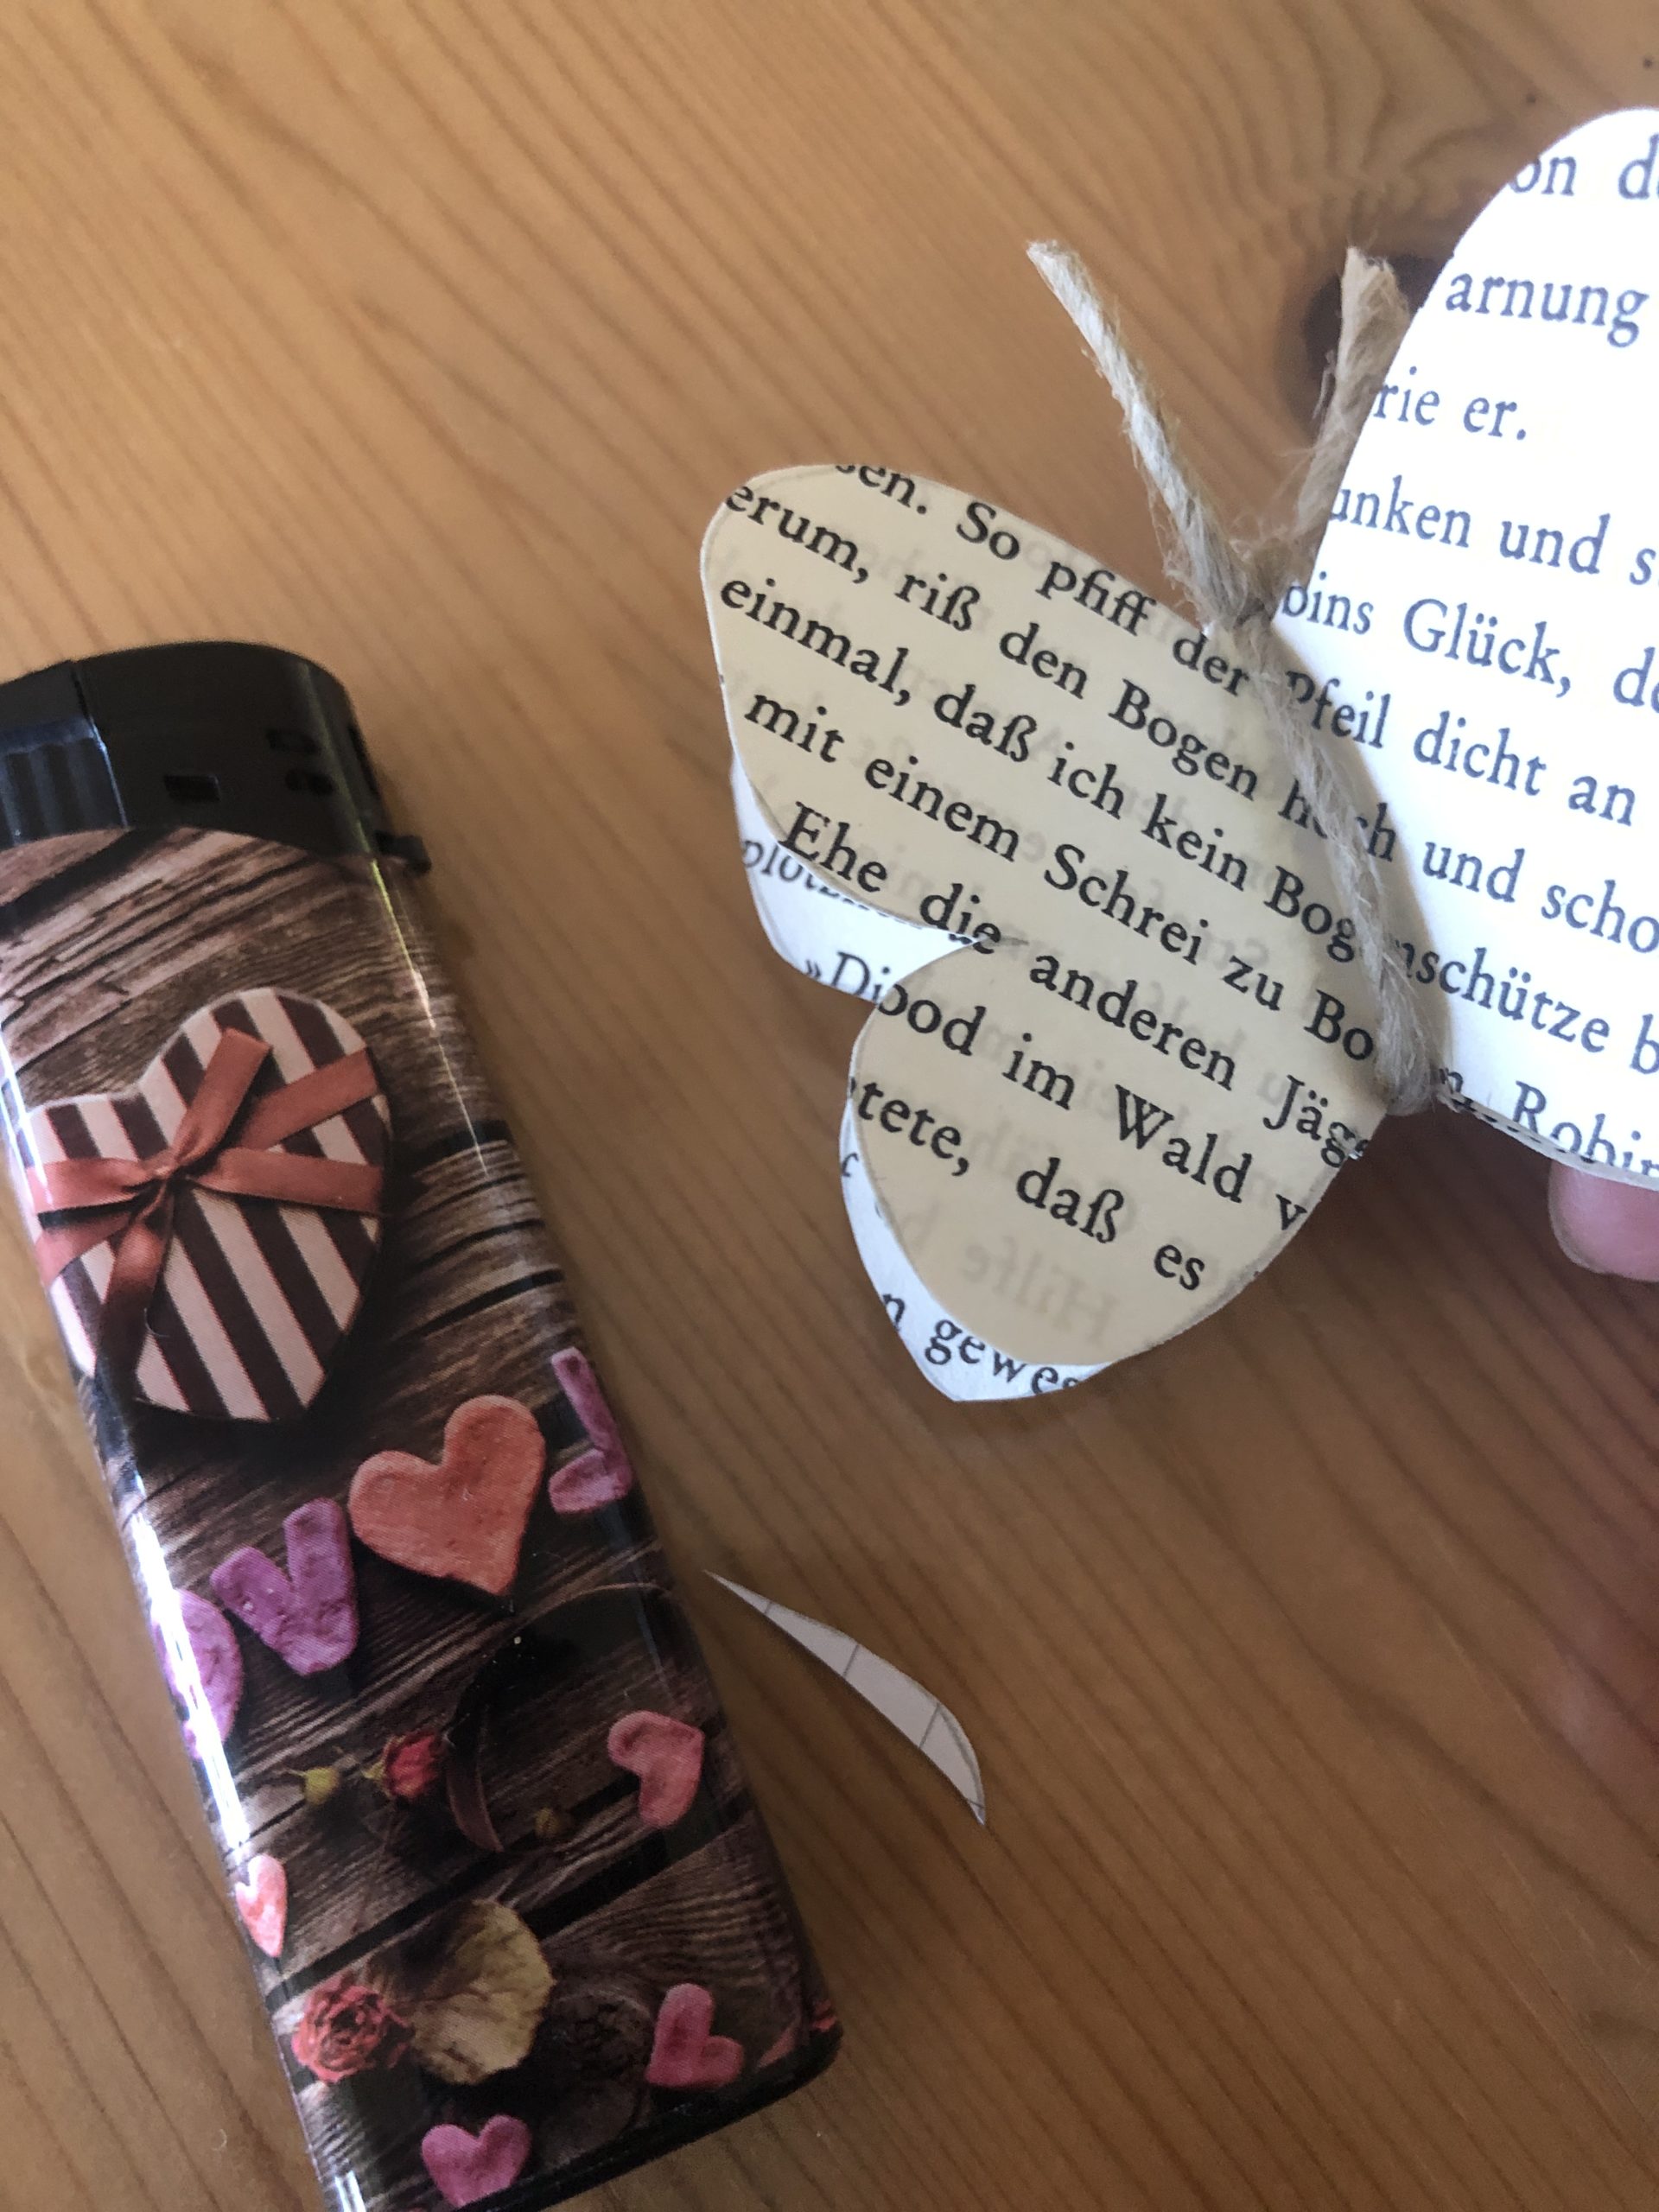
At the middle break the butterflies stick exactly to each other. Do not stick the wings.

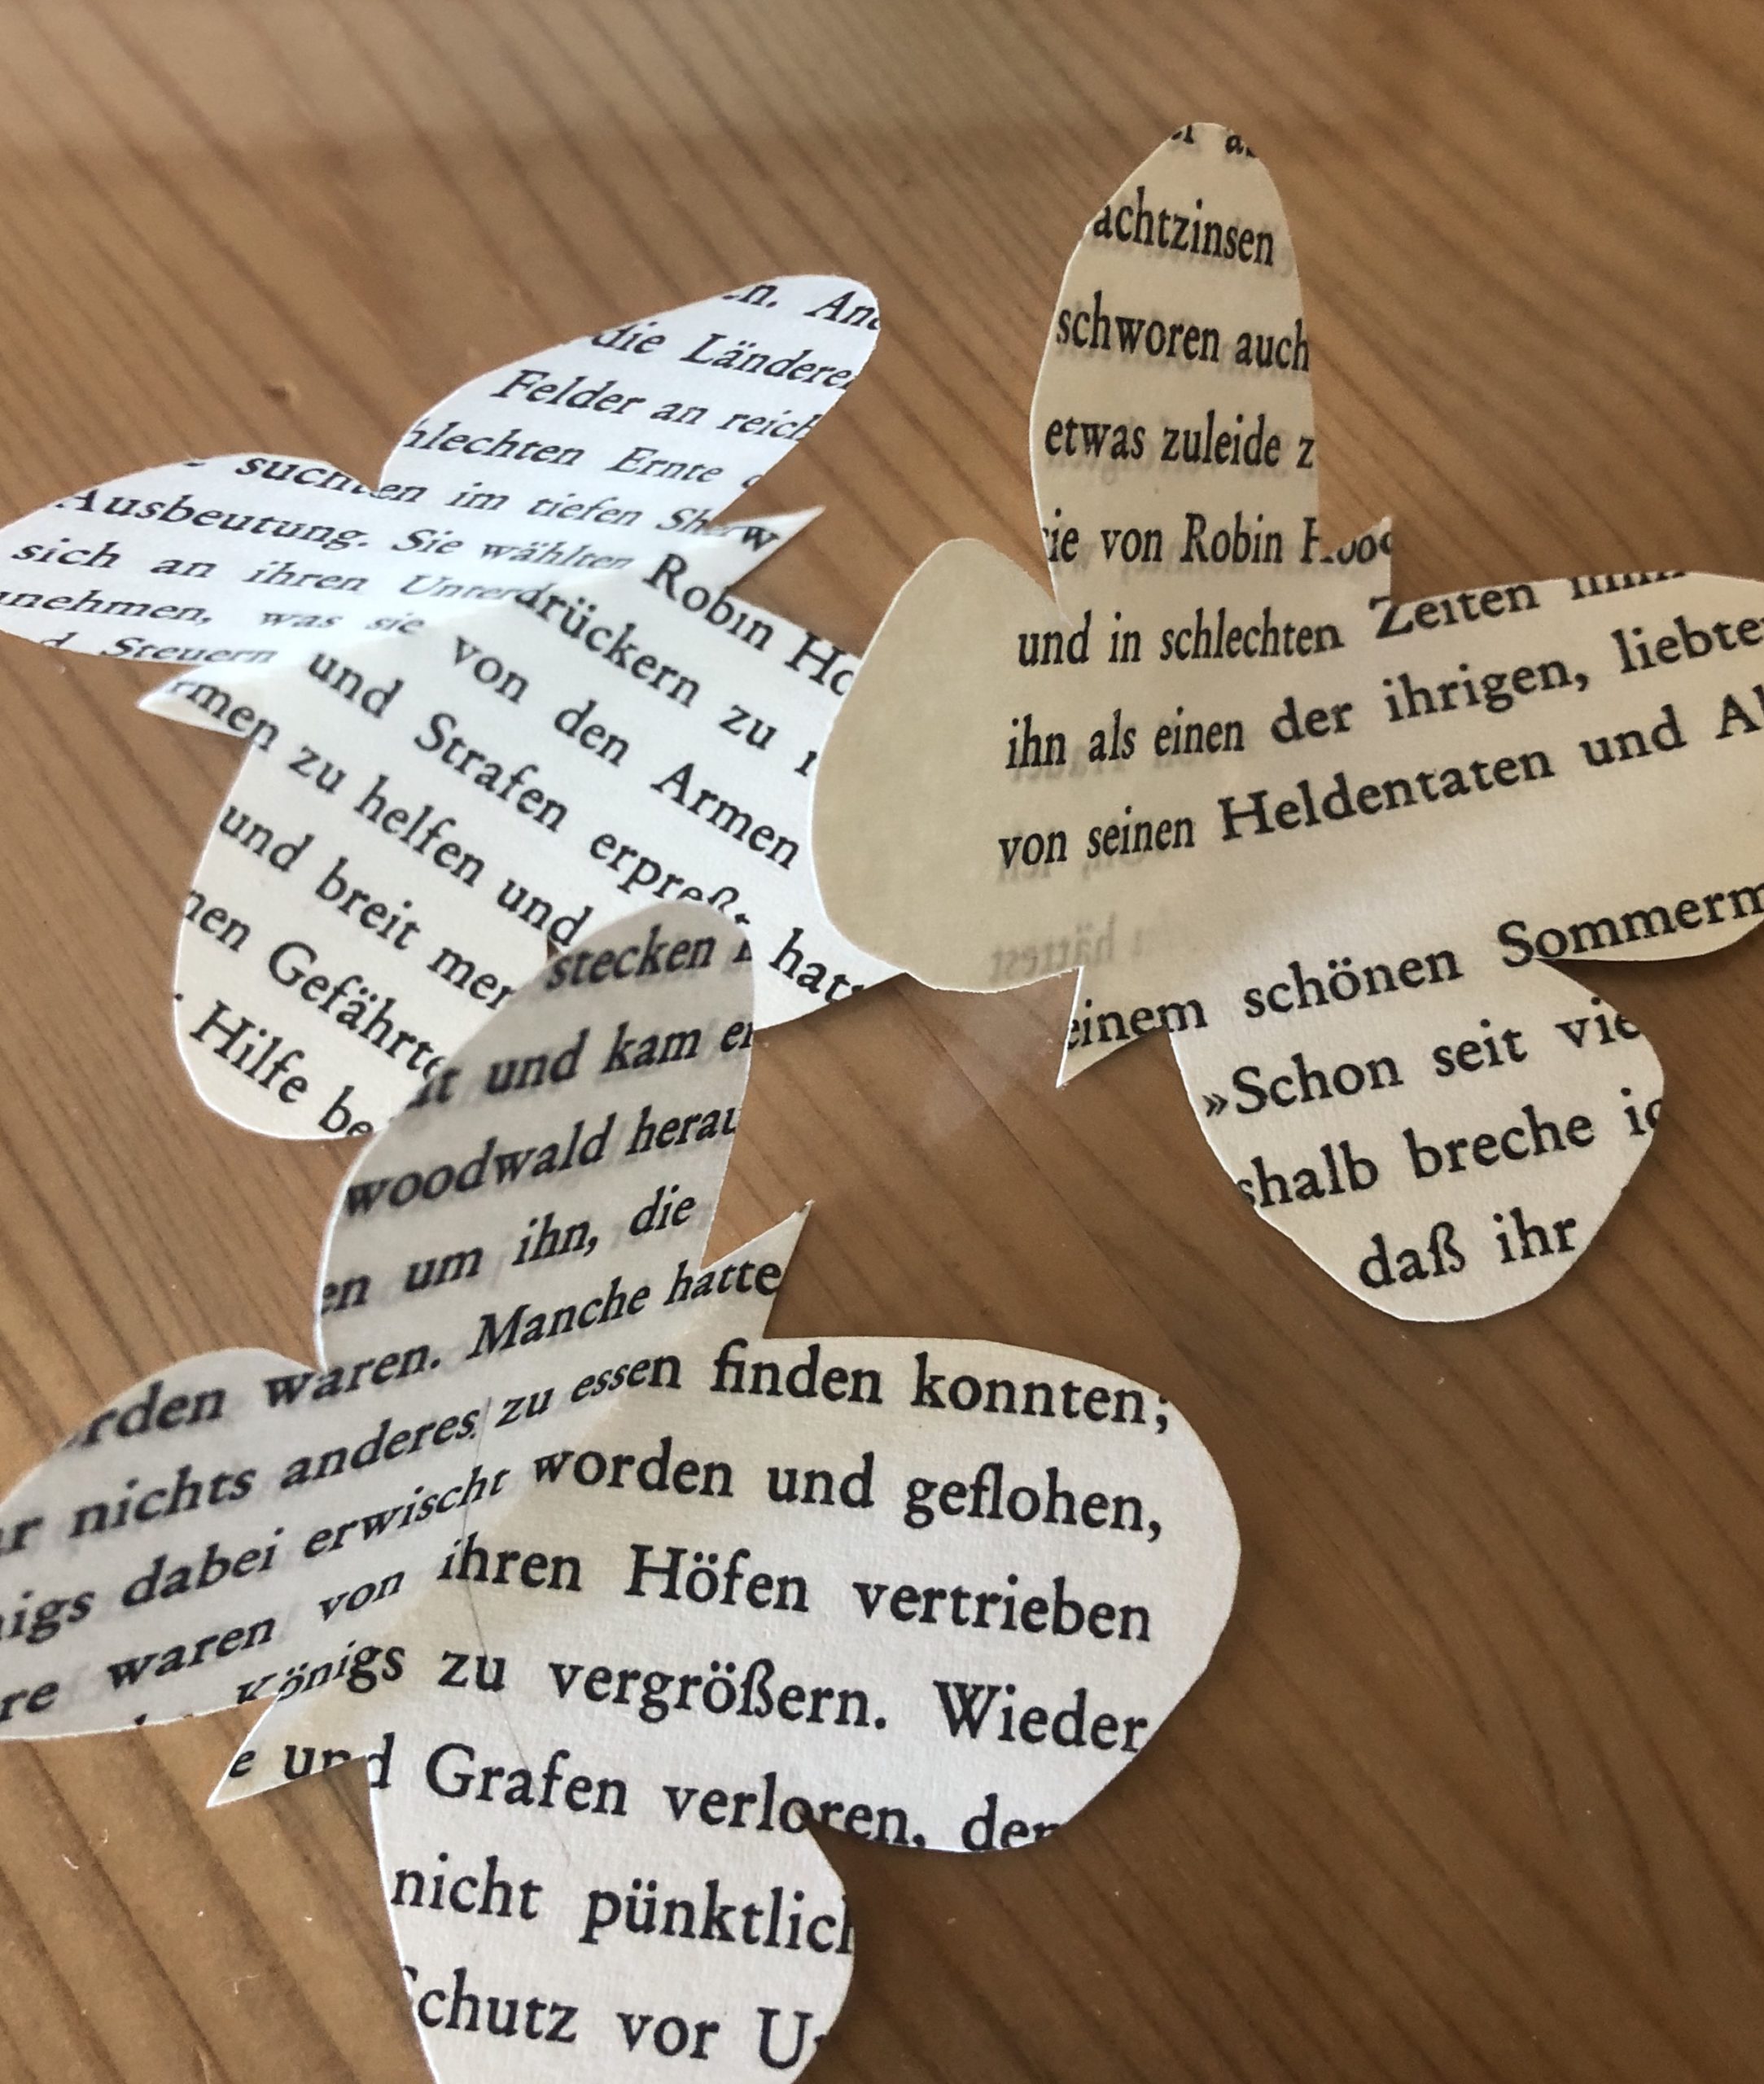
Bending the wings a little bit apart.

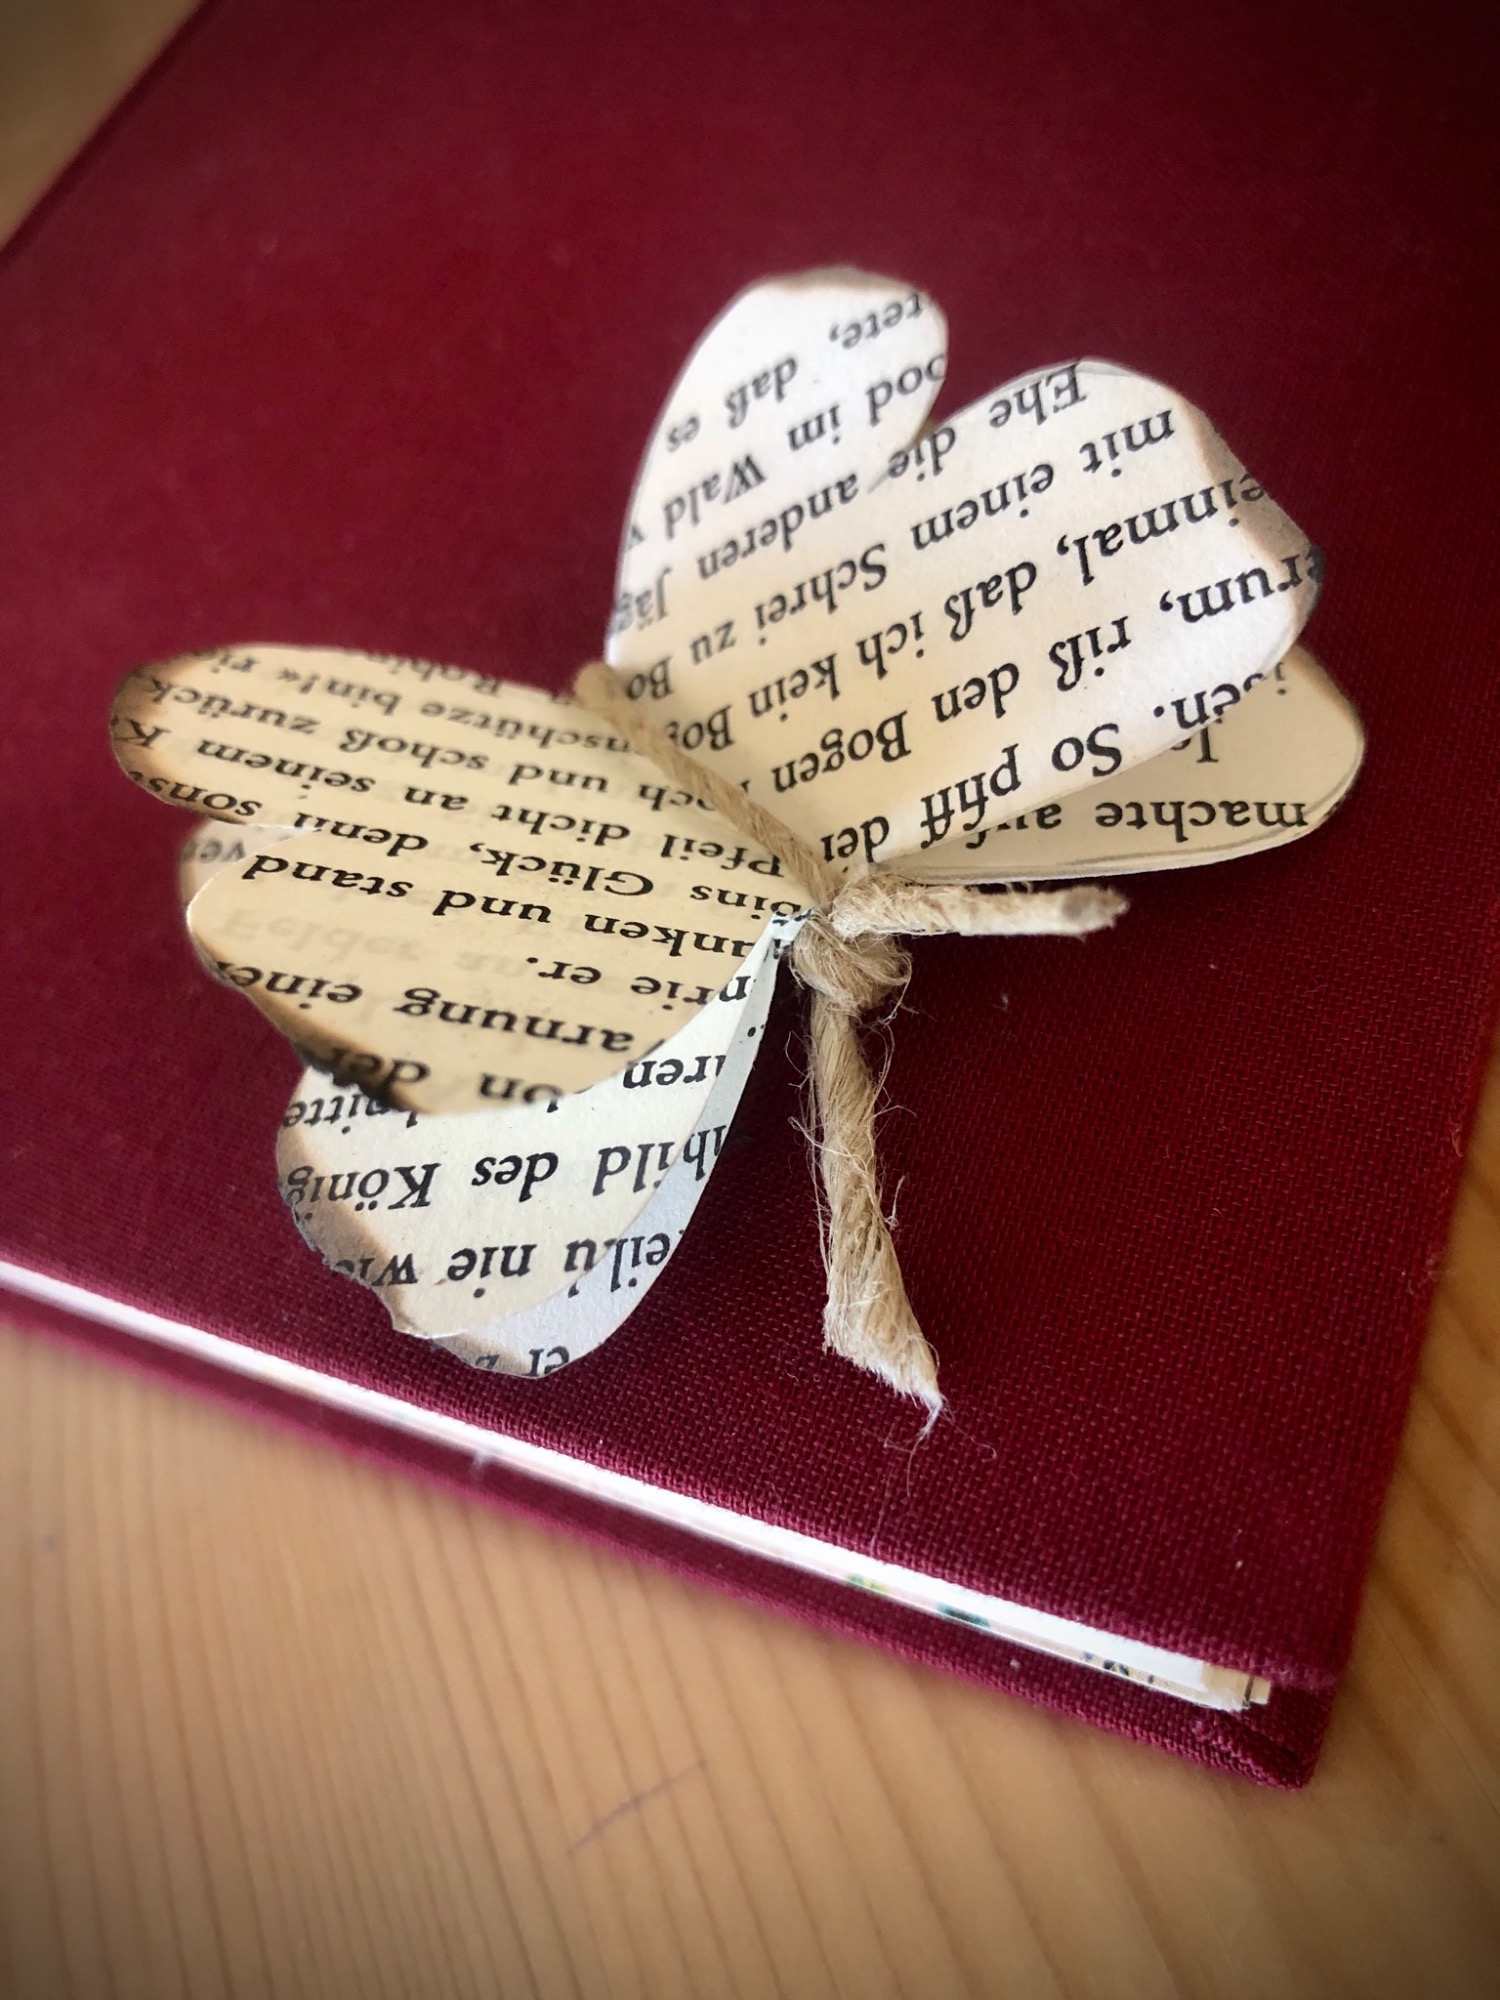
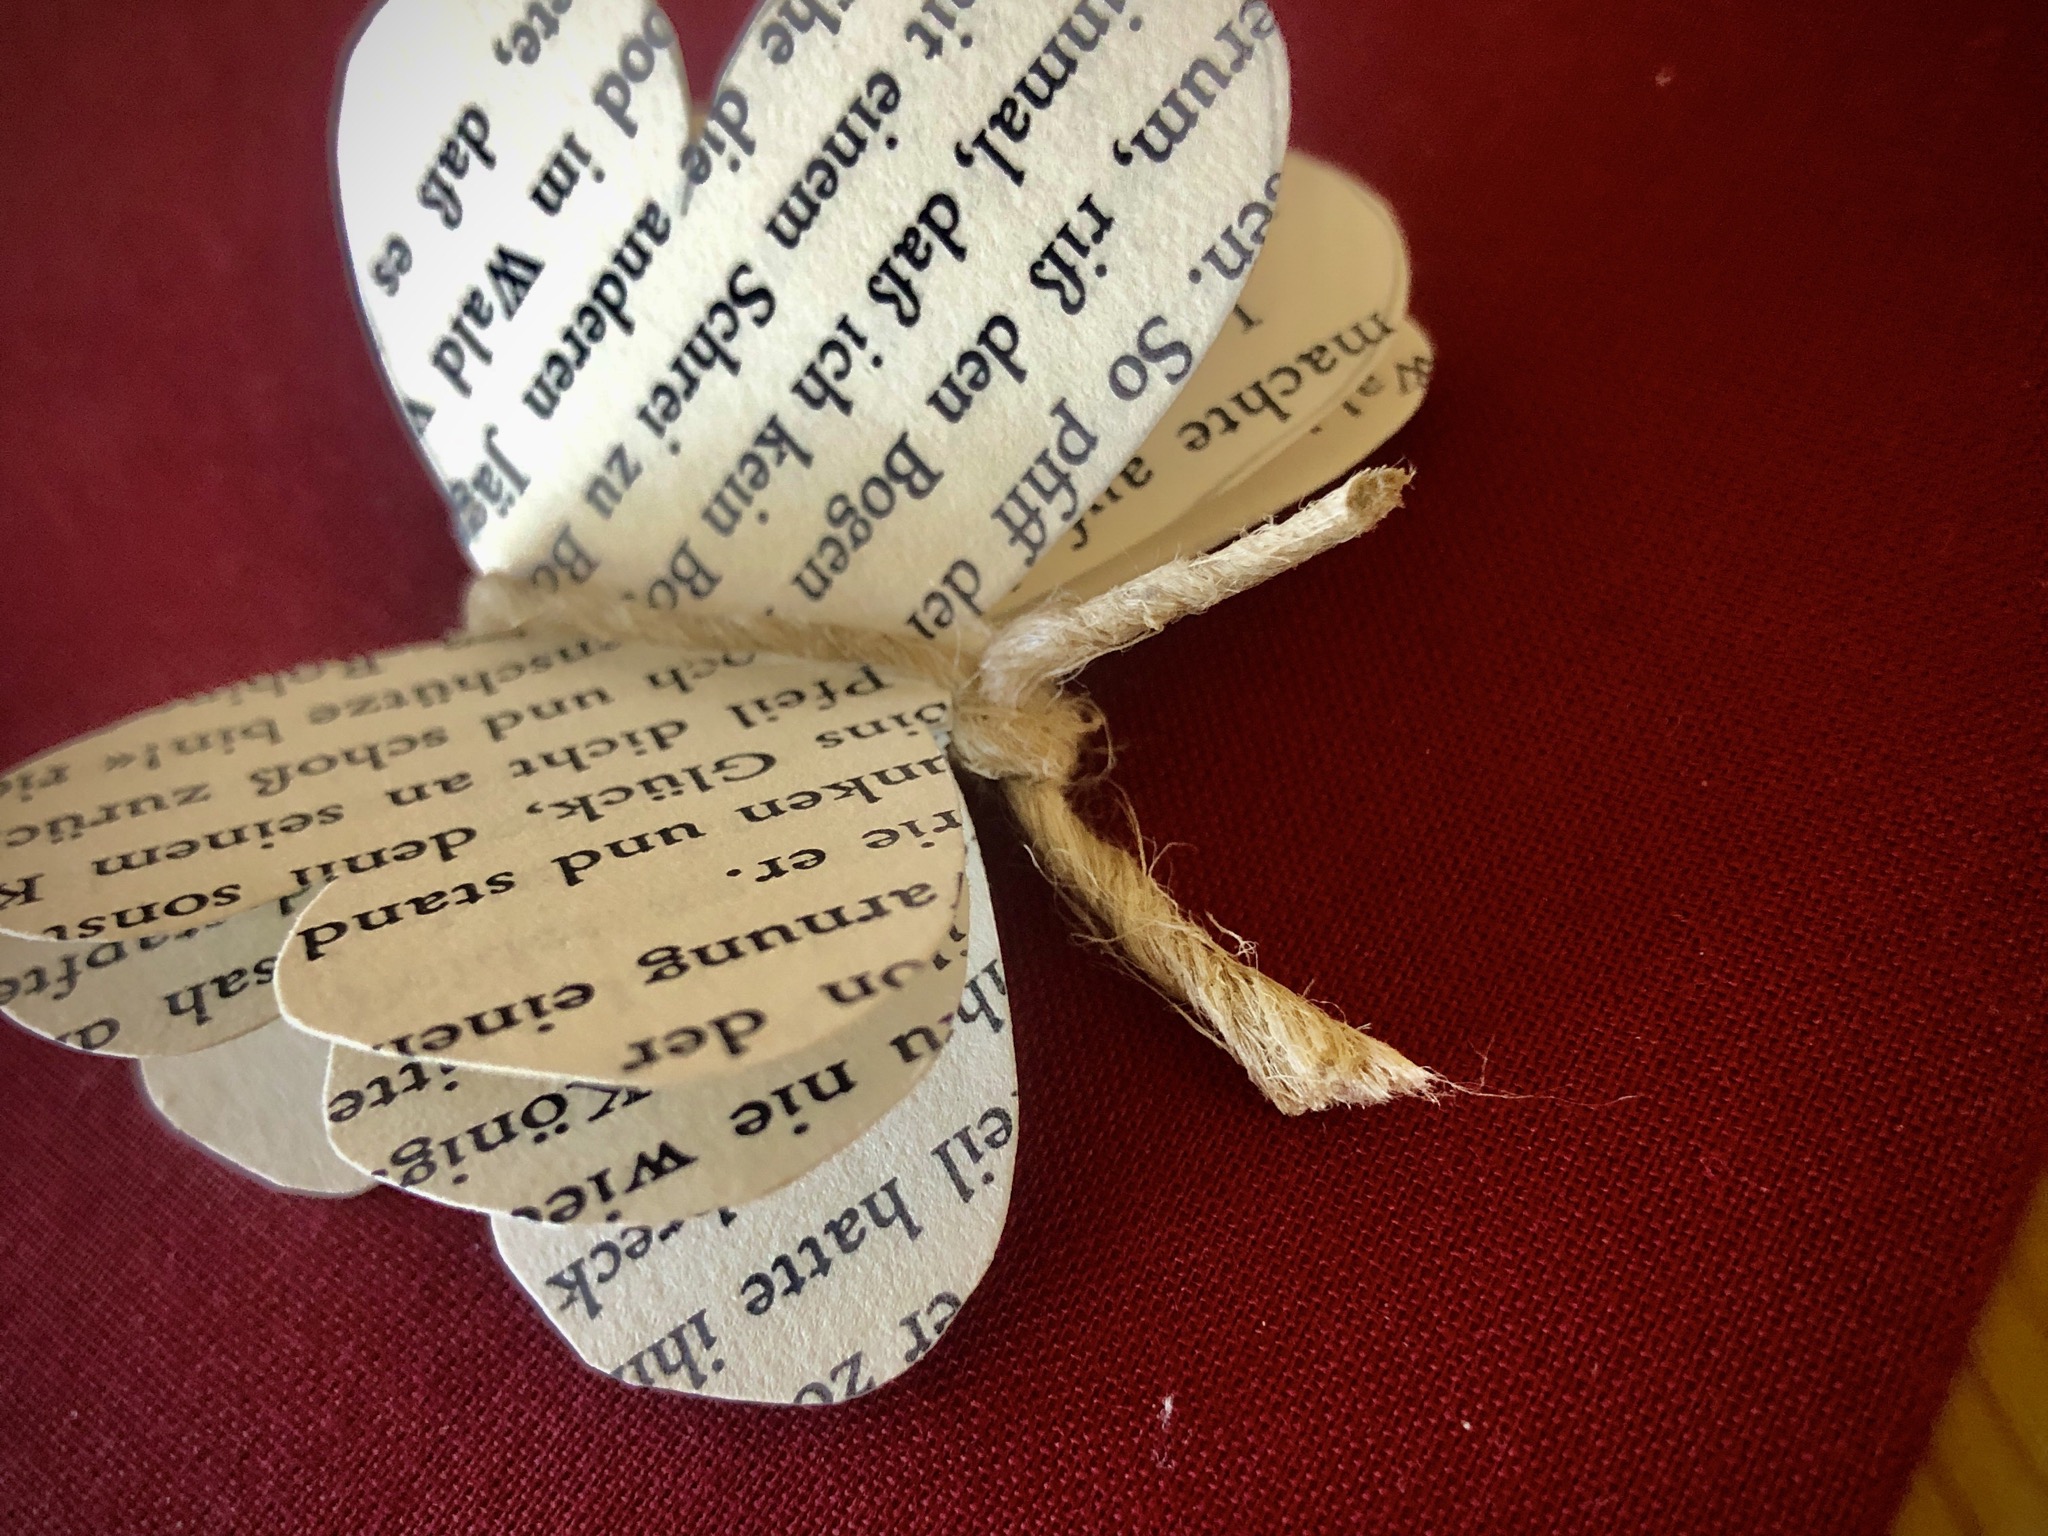
Tie a piece of cord around the middle and close with a knot at the top end. Let the ends survive (= the feelers!) and shorten to the same length.

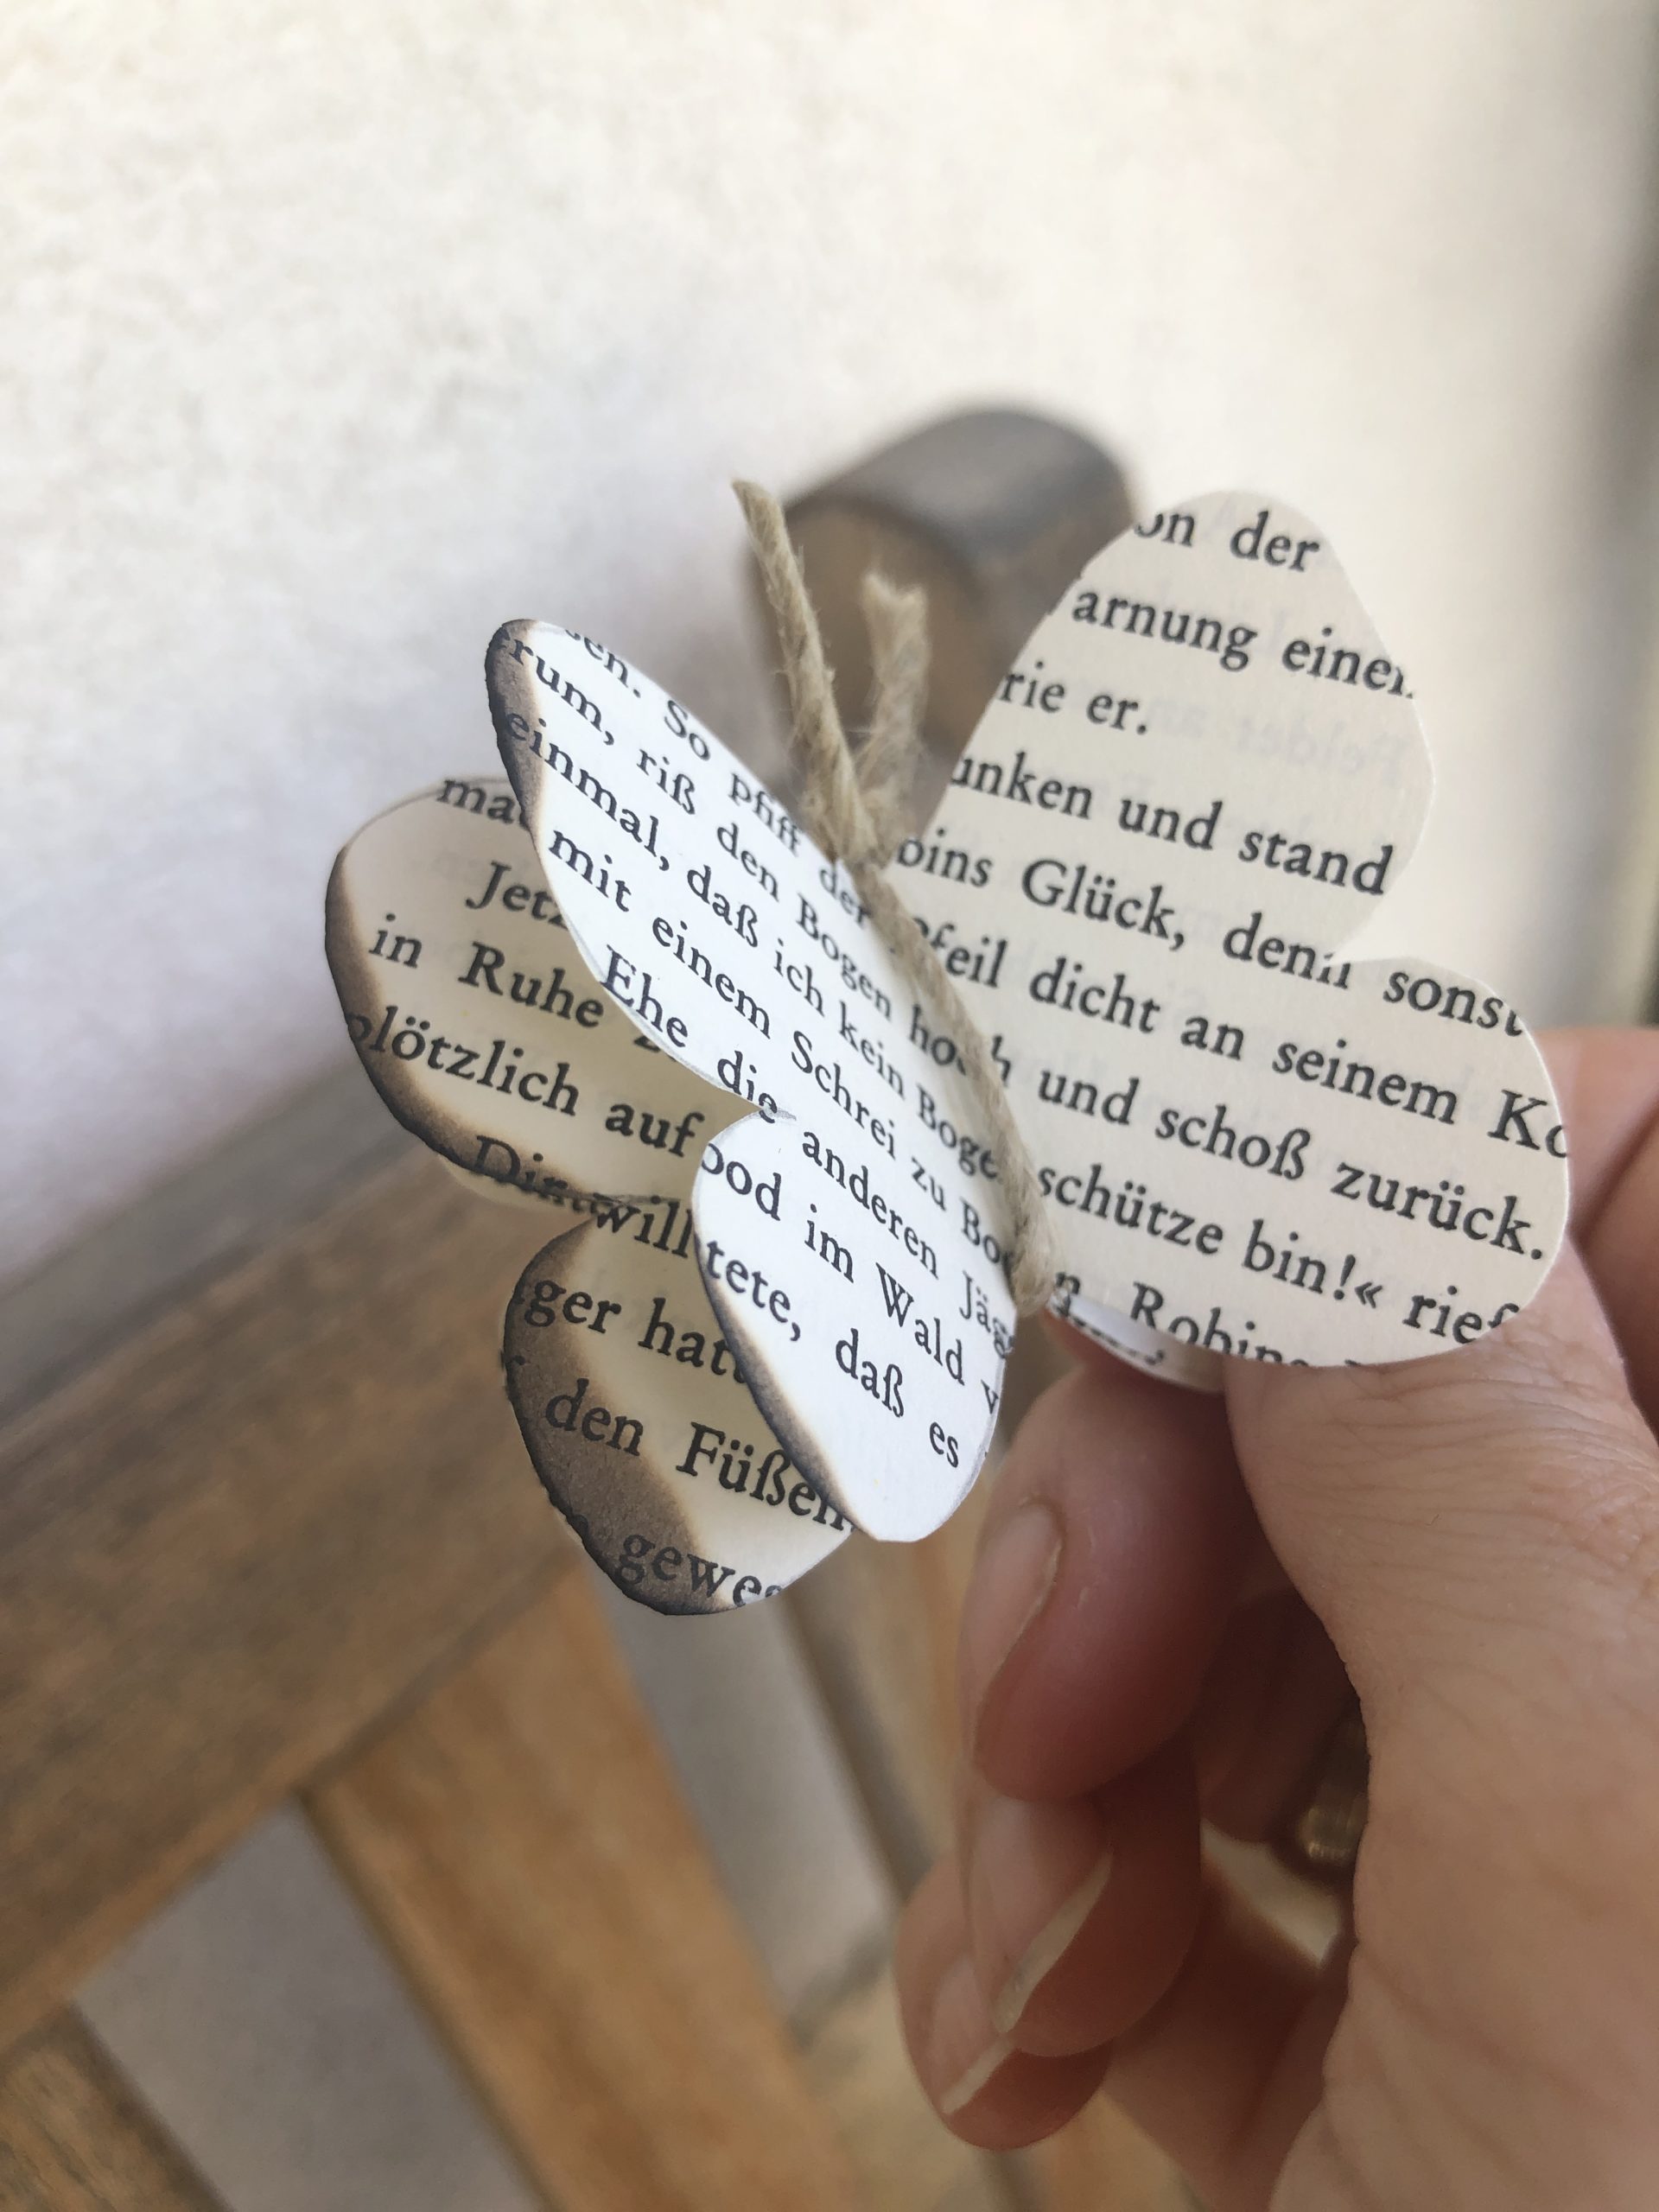
Now lightly burn the wings with a lighter. (Let children do only under supervision or help!)
Briefly "strip" the edge with the flame and then immediately blow out the lightly burning paper! Burn each sheet individually. See picture!
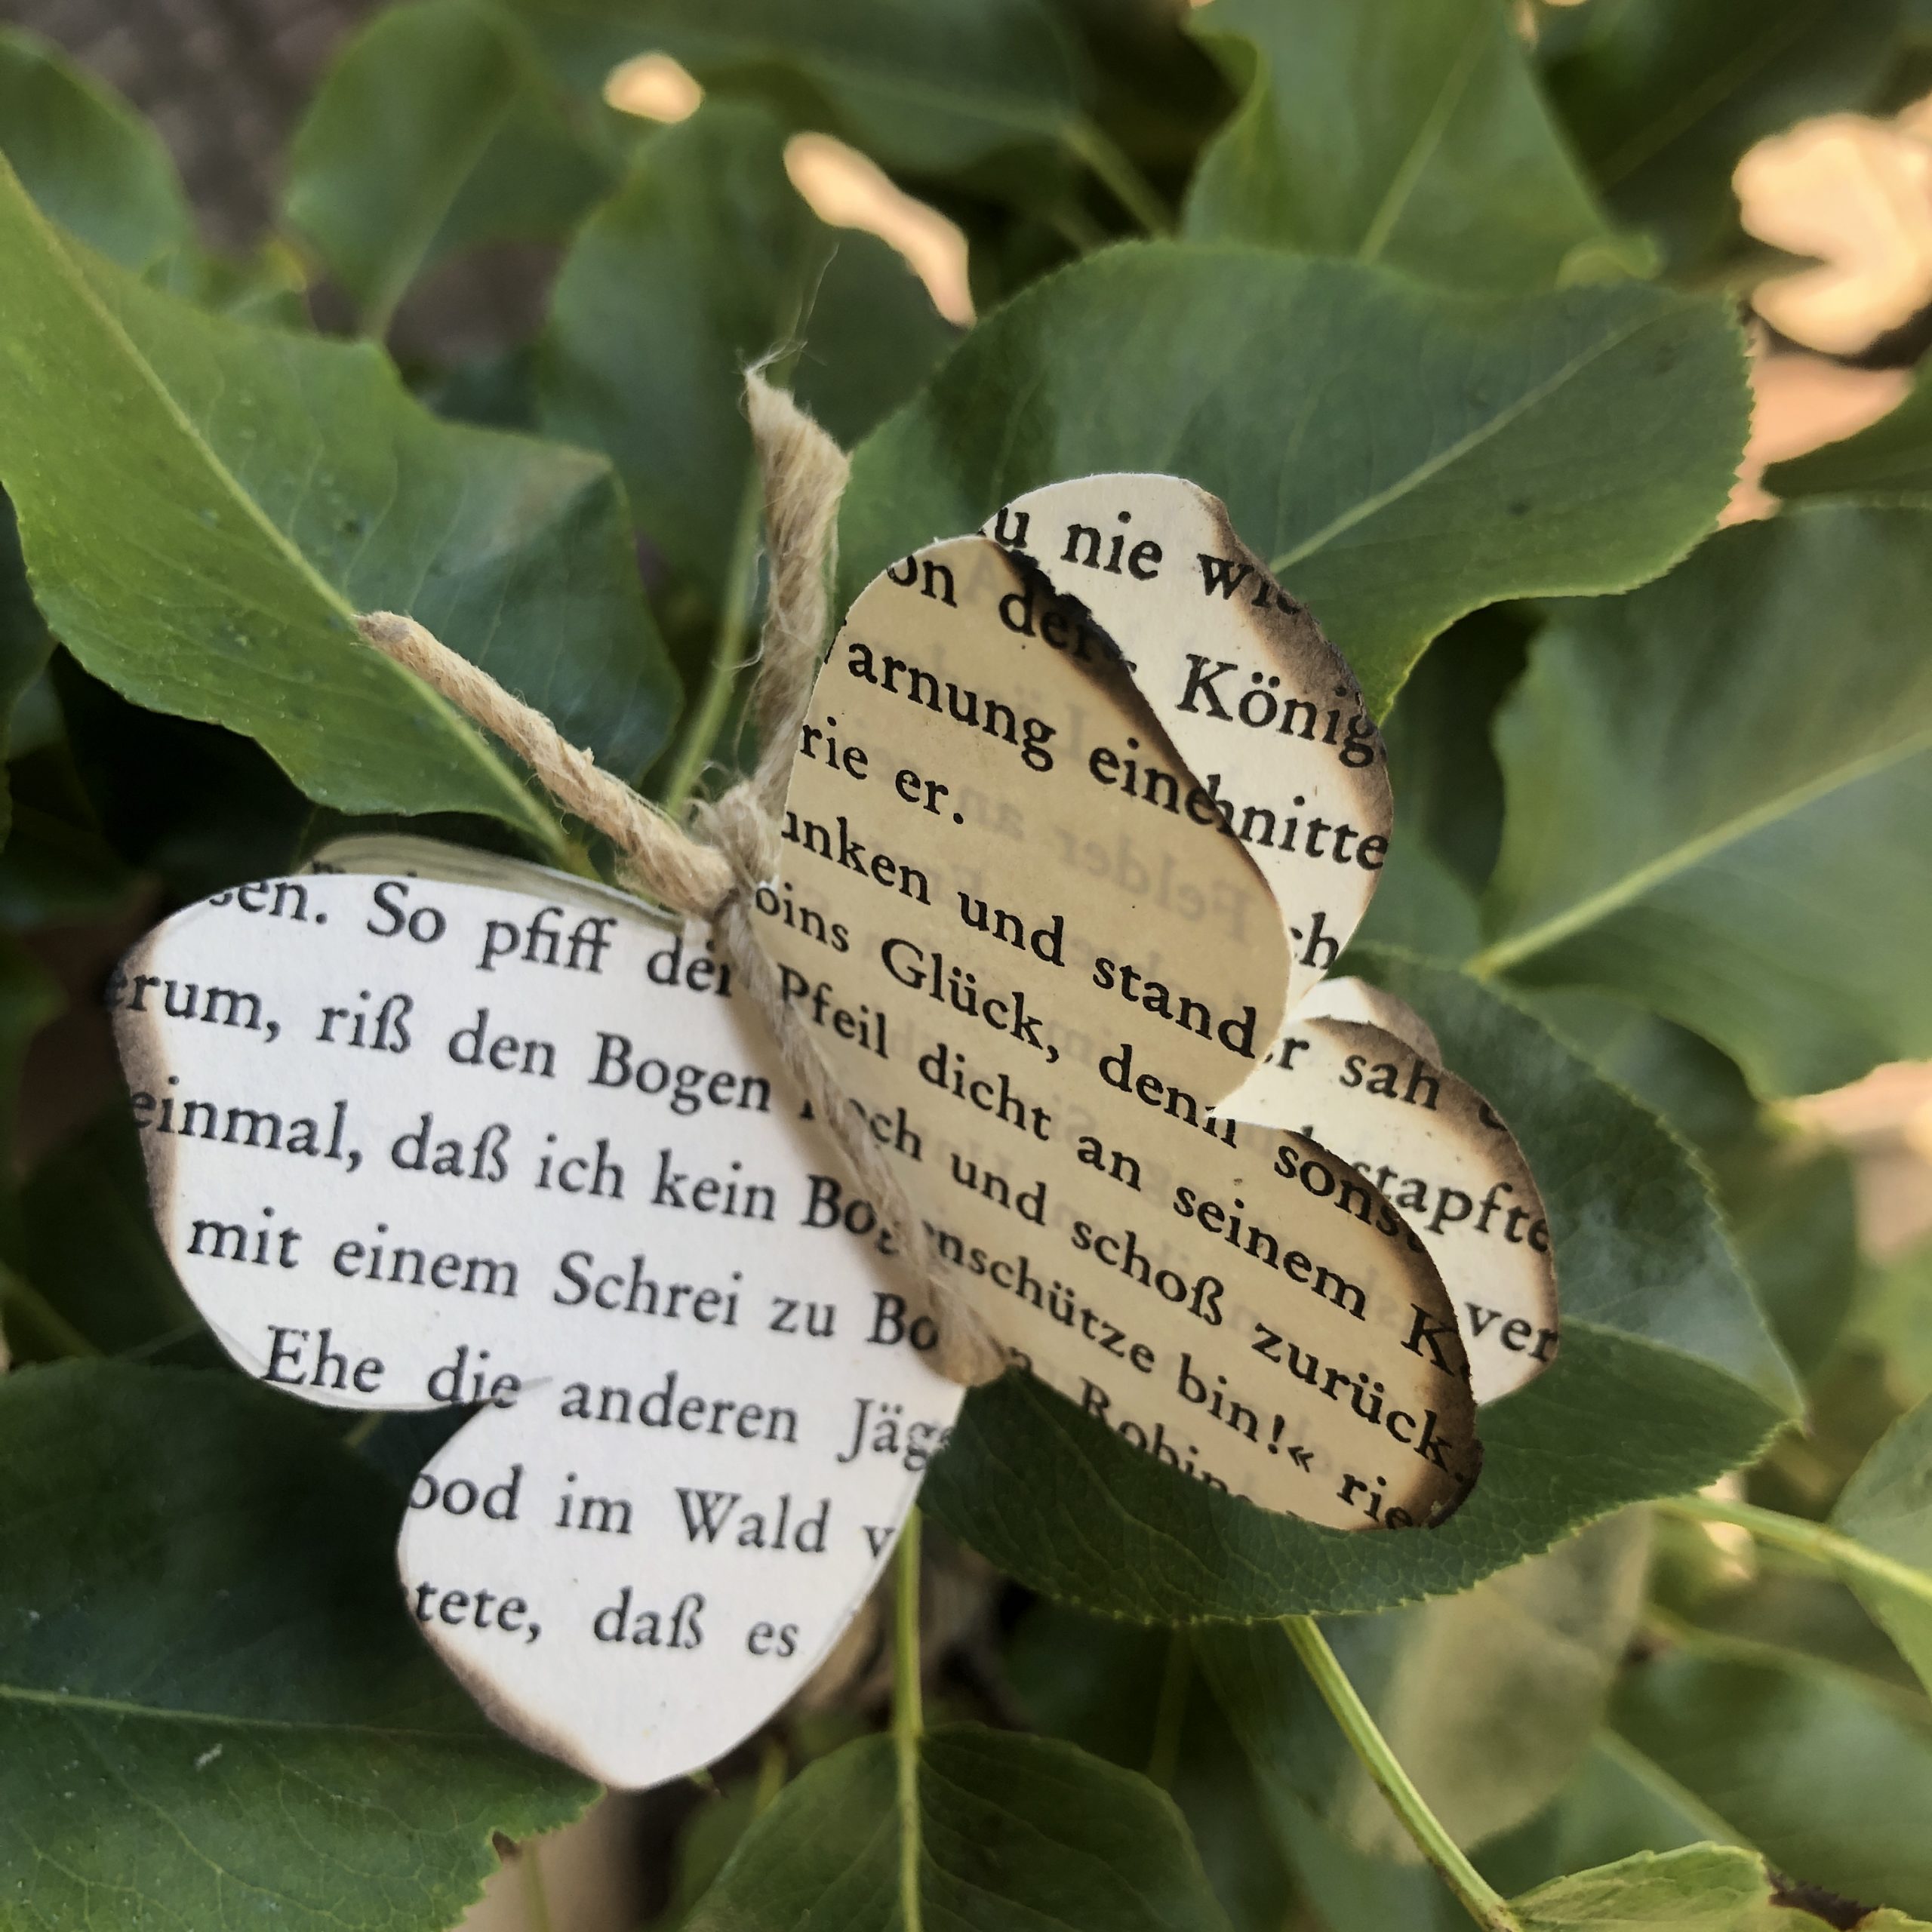
The butterfly is ready! Find a nice spot for the butterfly or make many more!

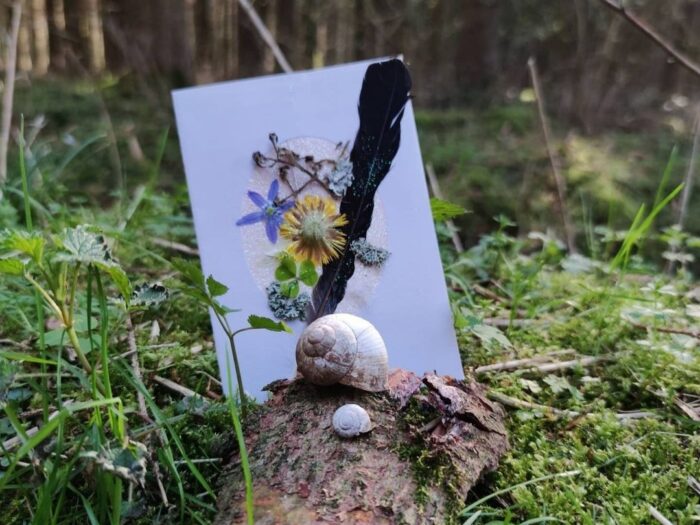
Or decorate a flower stick, to give away, with it!

Materials
Directions
Create or print template!
Only one "wing" of the butterfly is painted, because the paper is double and the break of the paper is on the line.
Take the book page out of the book.
Halve paper, here has been folded obliquely, so that the text on the wings looks more beautiful!
Transfer the butterfly template to the book page. Three cutouts are required for each finished butterfly.
Cut these with scissors.
At the middle break the butterflies stick exactly to each other. Do not stick the wings.
Bending the wings a little bit apart.
Tie a piece of cord around the middle and close with a knot at the top end. Let the ends survive (= the feelers!) and shorten to the same length.
Now lightly burn the wings with a lighter. (Let children do only under supervision or help!)
Briefly "strip" the edge with the flame and then immediately blow out the lightly burning paper! Burn each sheet individually. See picture!
The butterfly is ready! Find a nice spot for the butterfly or make many more!
Or decorate a flower stick, to give away, with it!
Follow us on Facebook , Instagram and Pinterest
Don't miss any more adventures: Our bottle mail


Thanks for the idea. They are also made of colorful paper very nice! Our results!
… and they are versatile! Be it for decoration or as a gift.