For this action you need the support of an adult. For this you need a granite stone cube, in which you drill a hole for a test tube with the drill. After the hole you put the test tube into the drilled hole. Your little vase is ready. Search for a beautiful flower or a few grasses and place it in the tube.
Now you have a nice table vase that you can always plant with fresh flowers. Order the children to look regularly for the water and refill it. Because in the tube only very little water fits.
Media Education for Kindergarten and Hort

Relief in everyday life, targeted promotion of individual children, independent learning and - without any pre-knowledge already usable by the youngest!
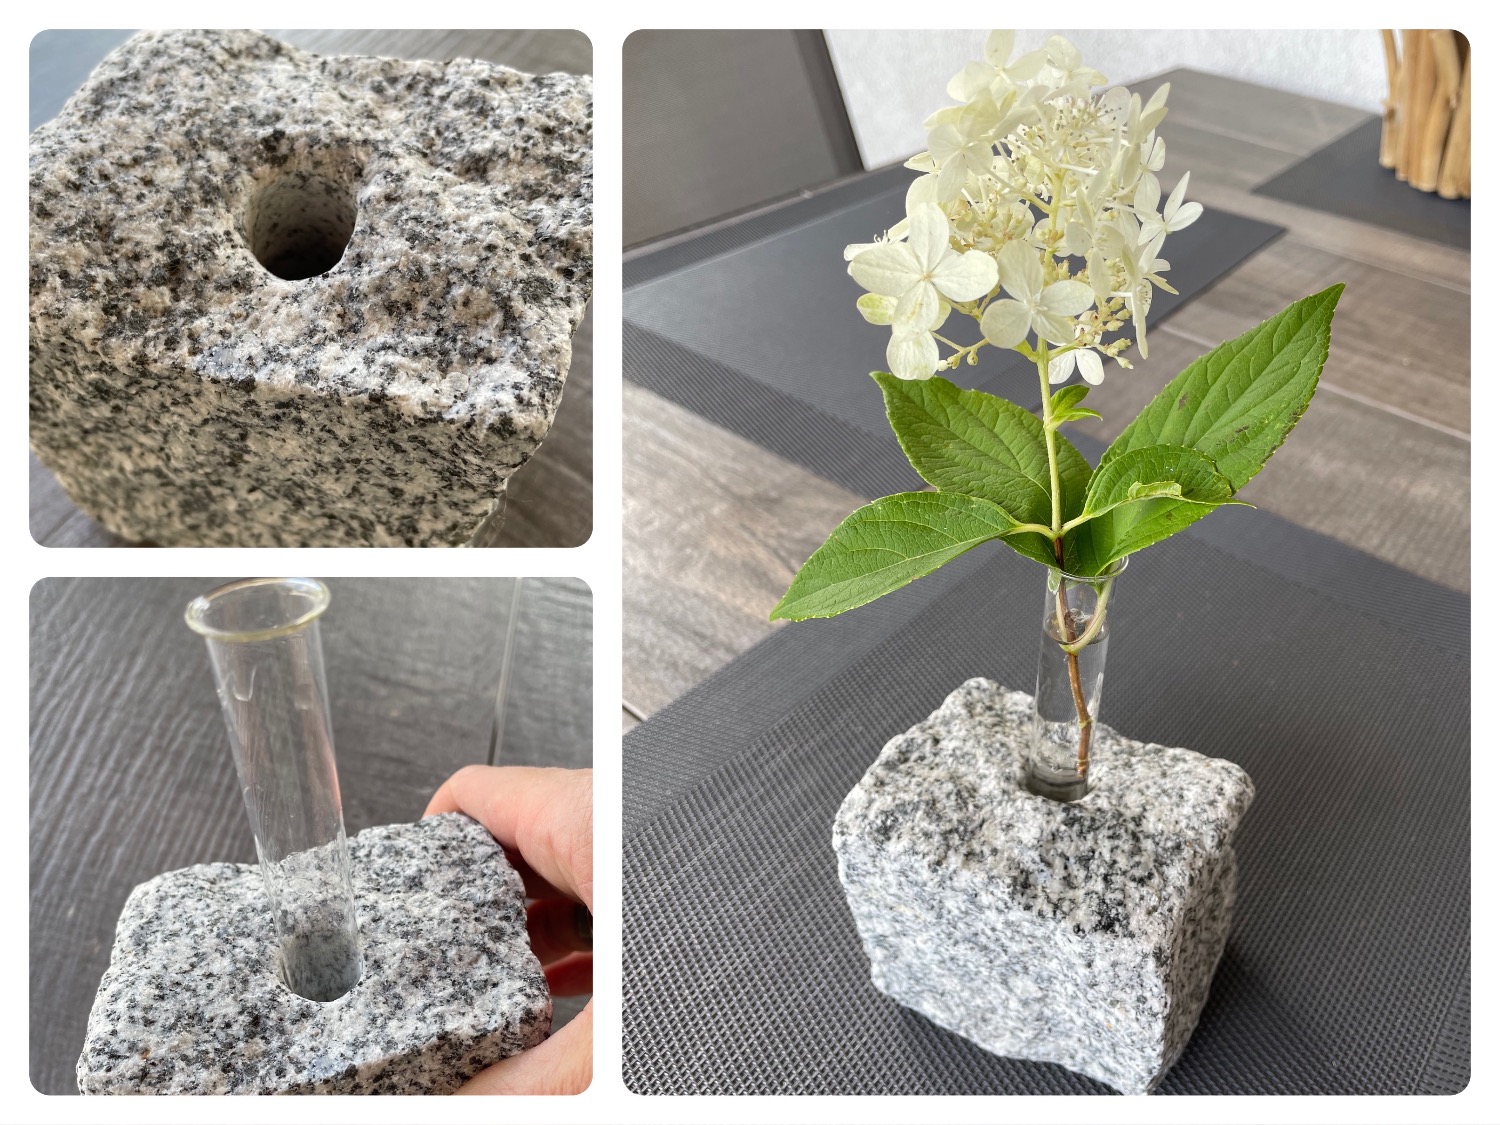
Use a granite stone cube, which is smooth on one side and therefore firm. From above an adult should drill you a hole in the stone. For this purpose you use a stone drill. Attach the stone together in a vice. Then you drill the hole into it.
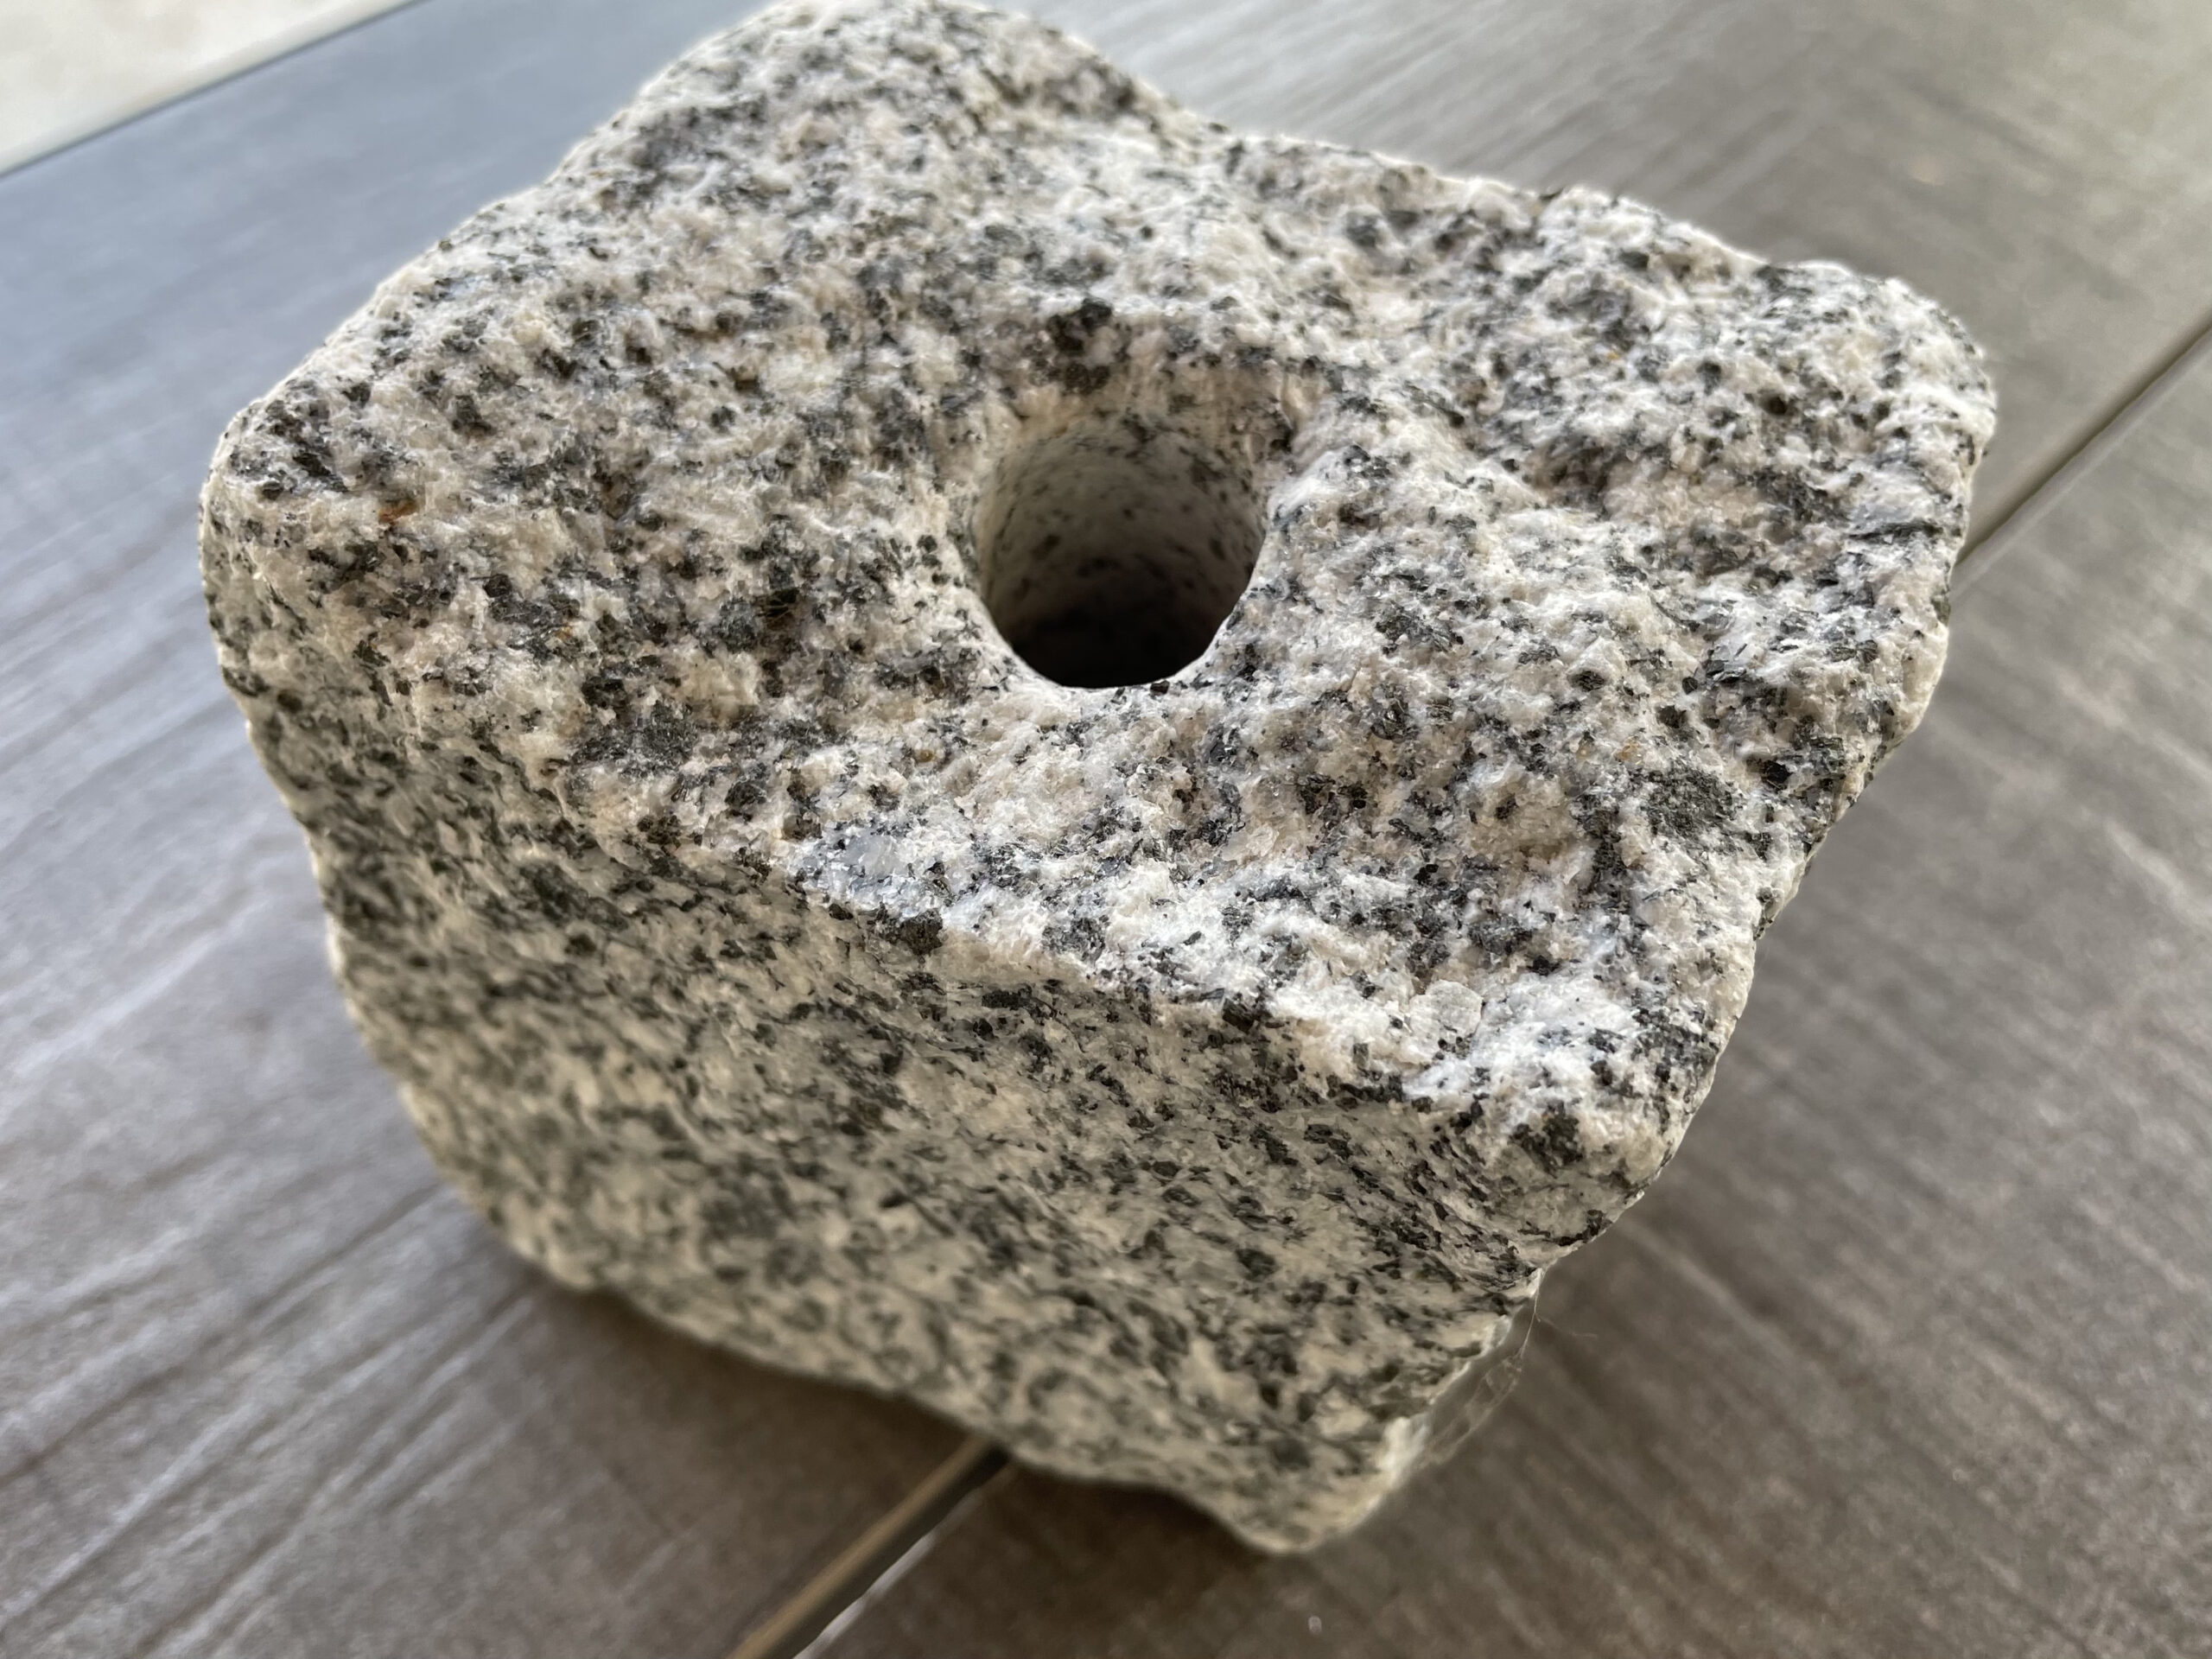
The hole depends on the size of your test tube.

Try if your test tube fits into the hole.

Then you wash the drilled stone with water and let it dry a bit. Now put the test tube into the hole.

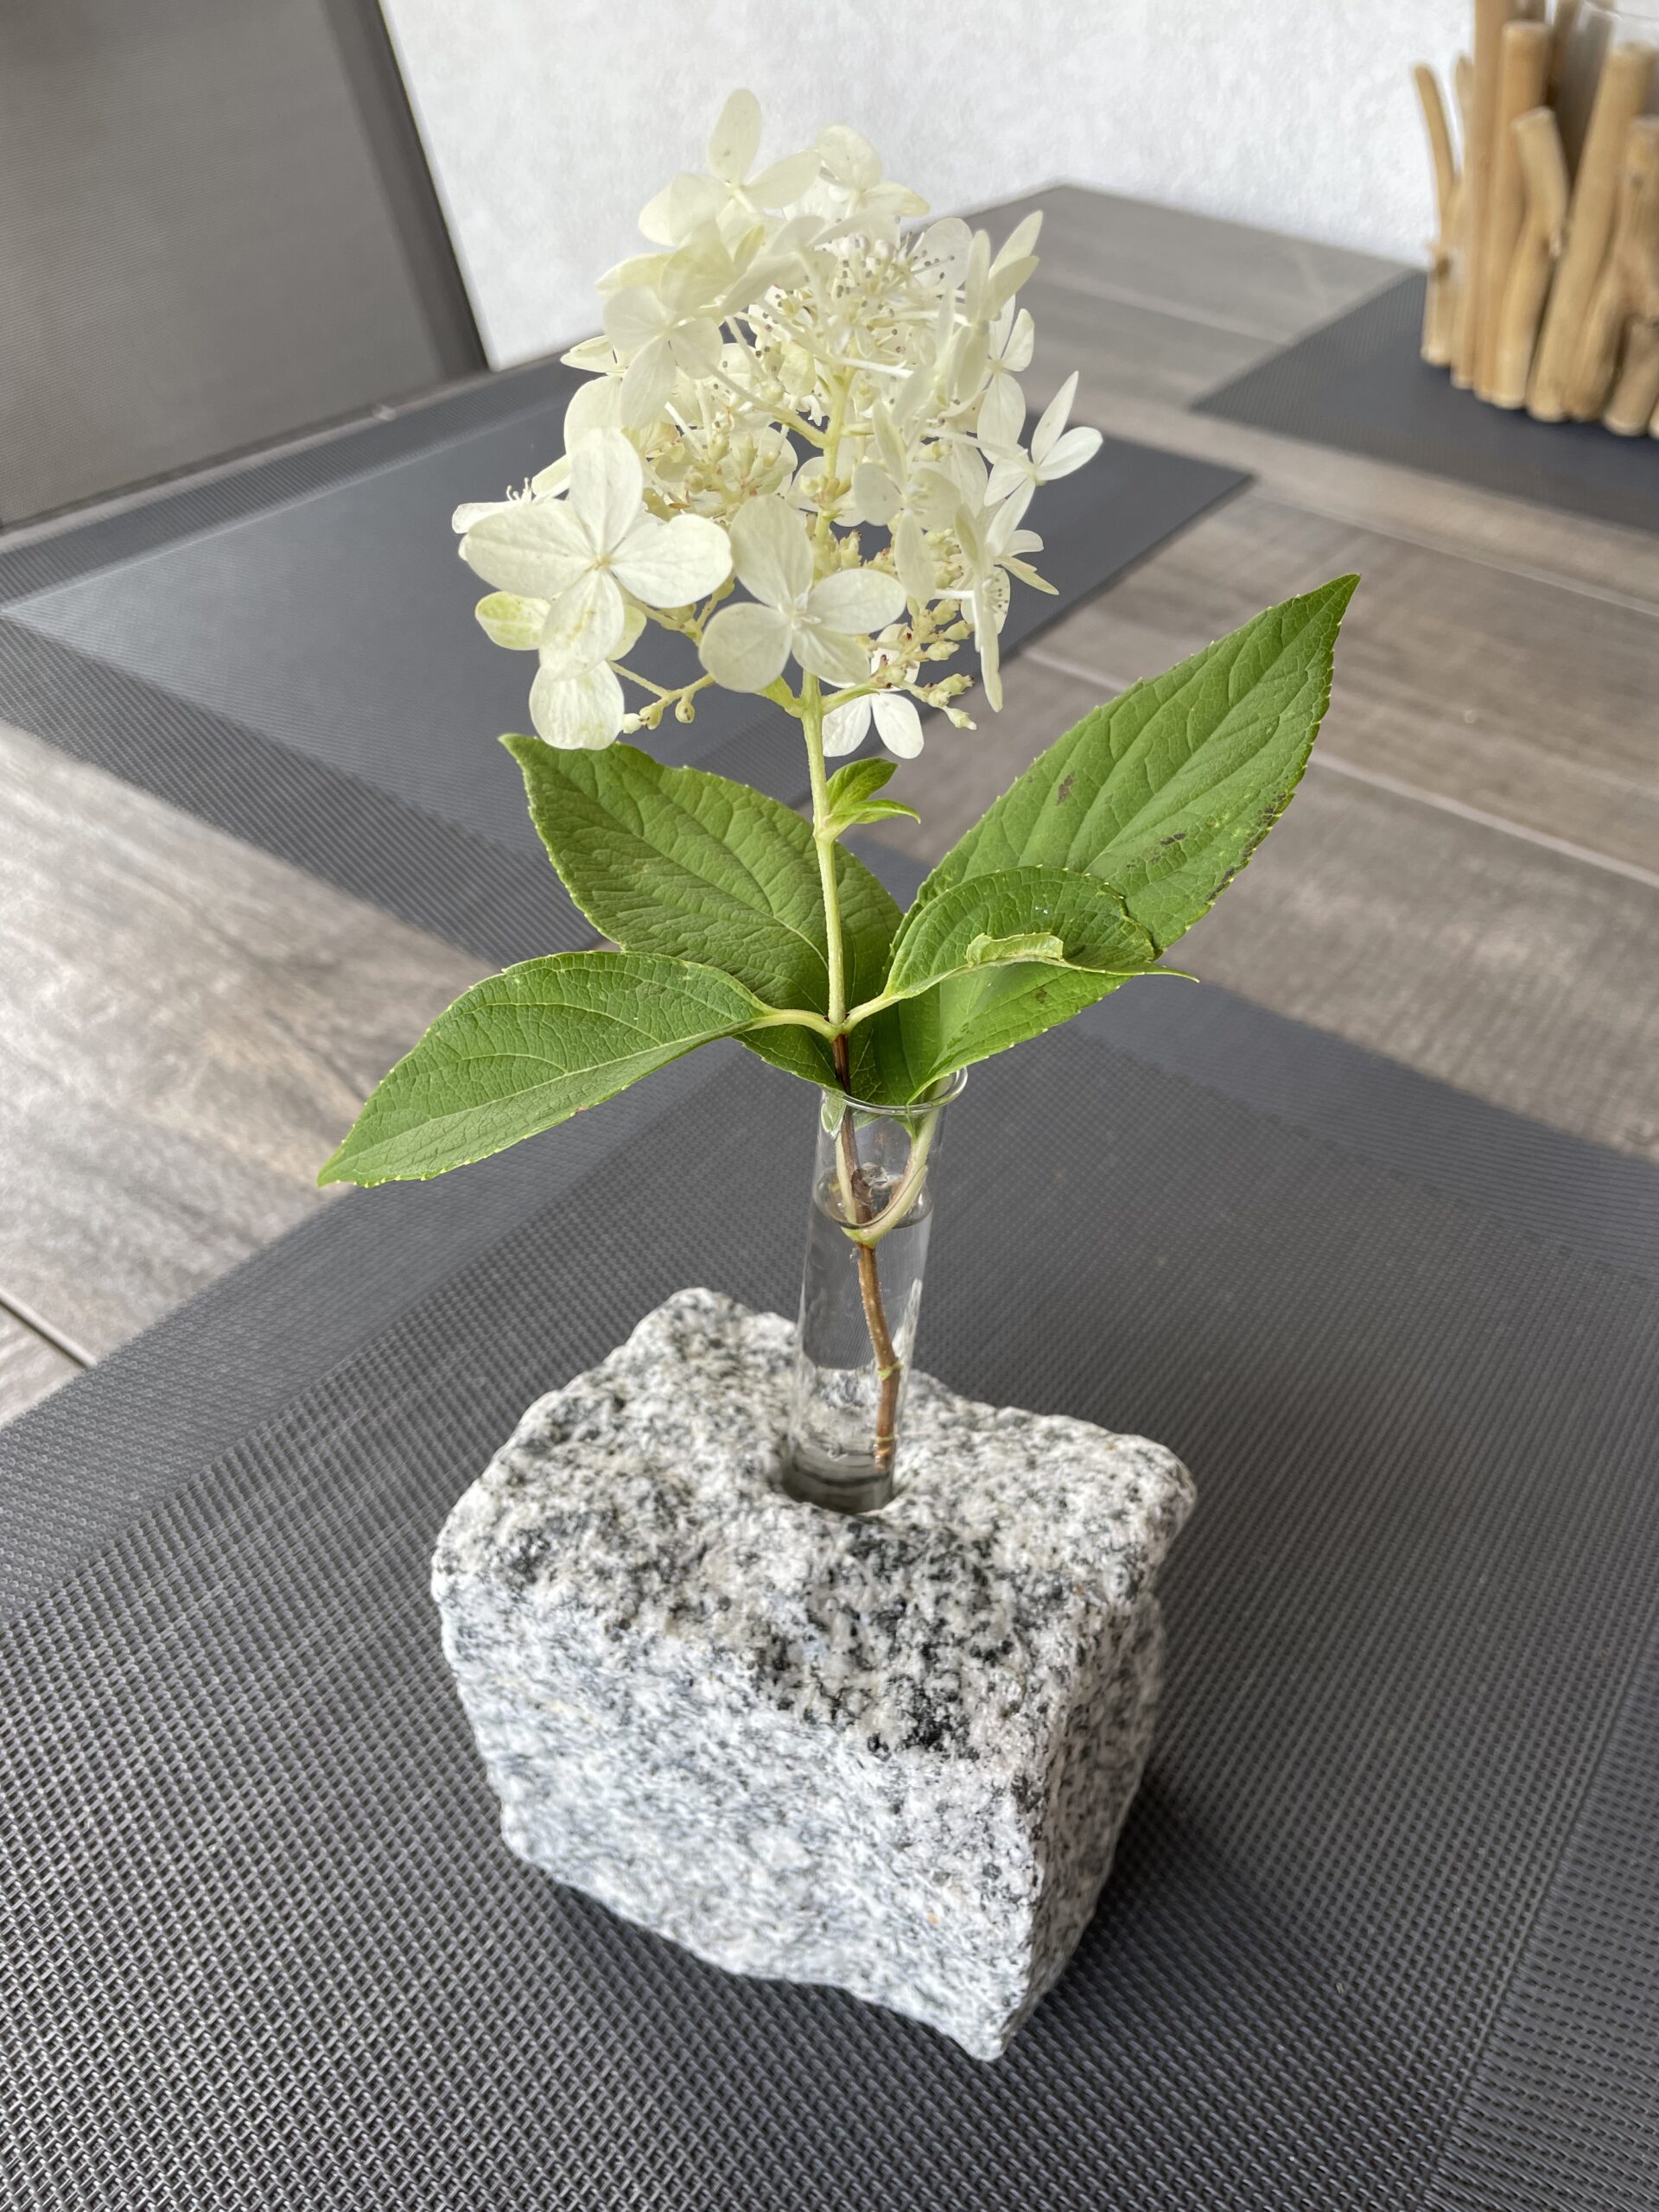
Picks a flower and puts it in the small vase. Removes the lower leaves.
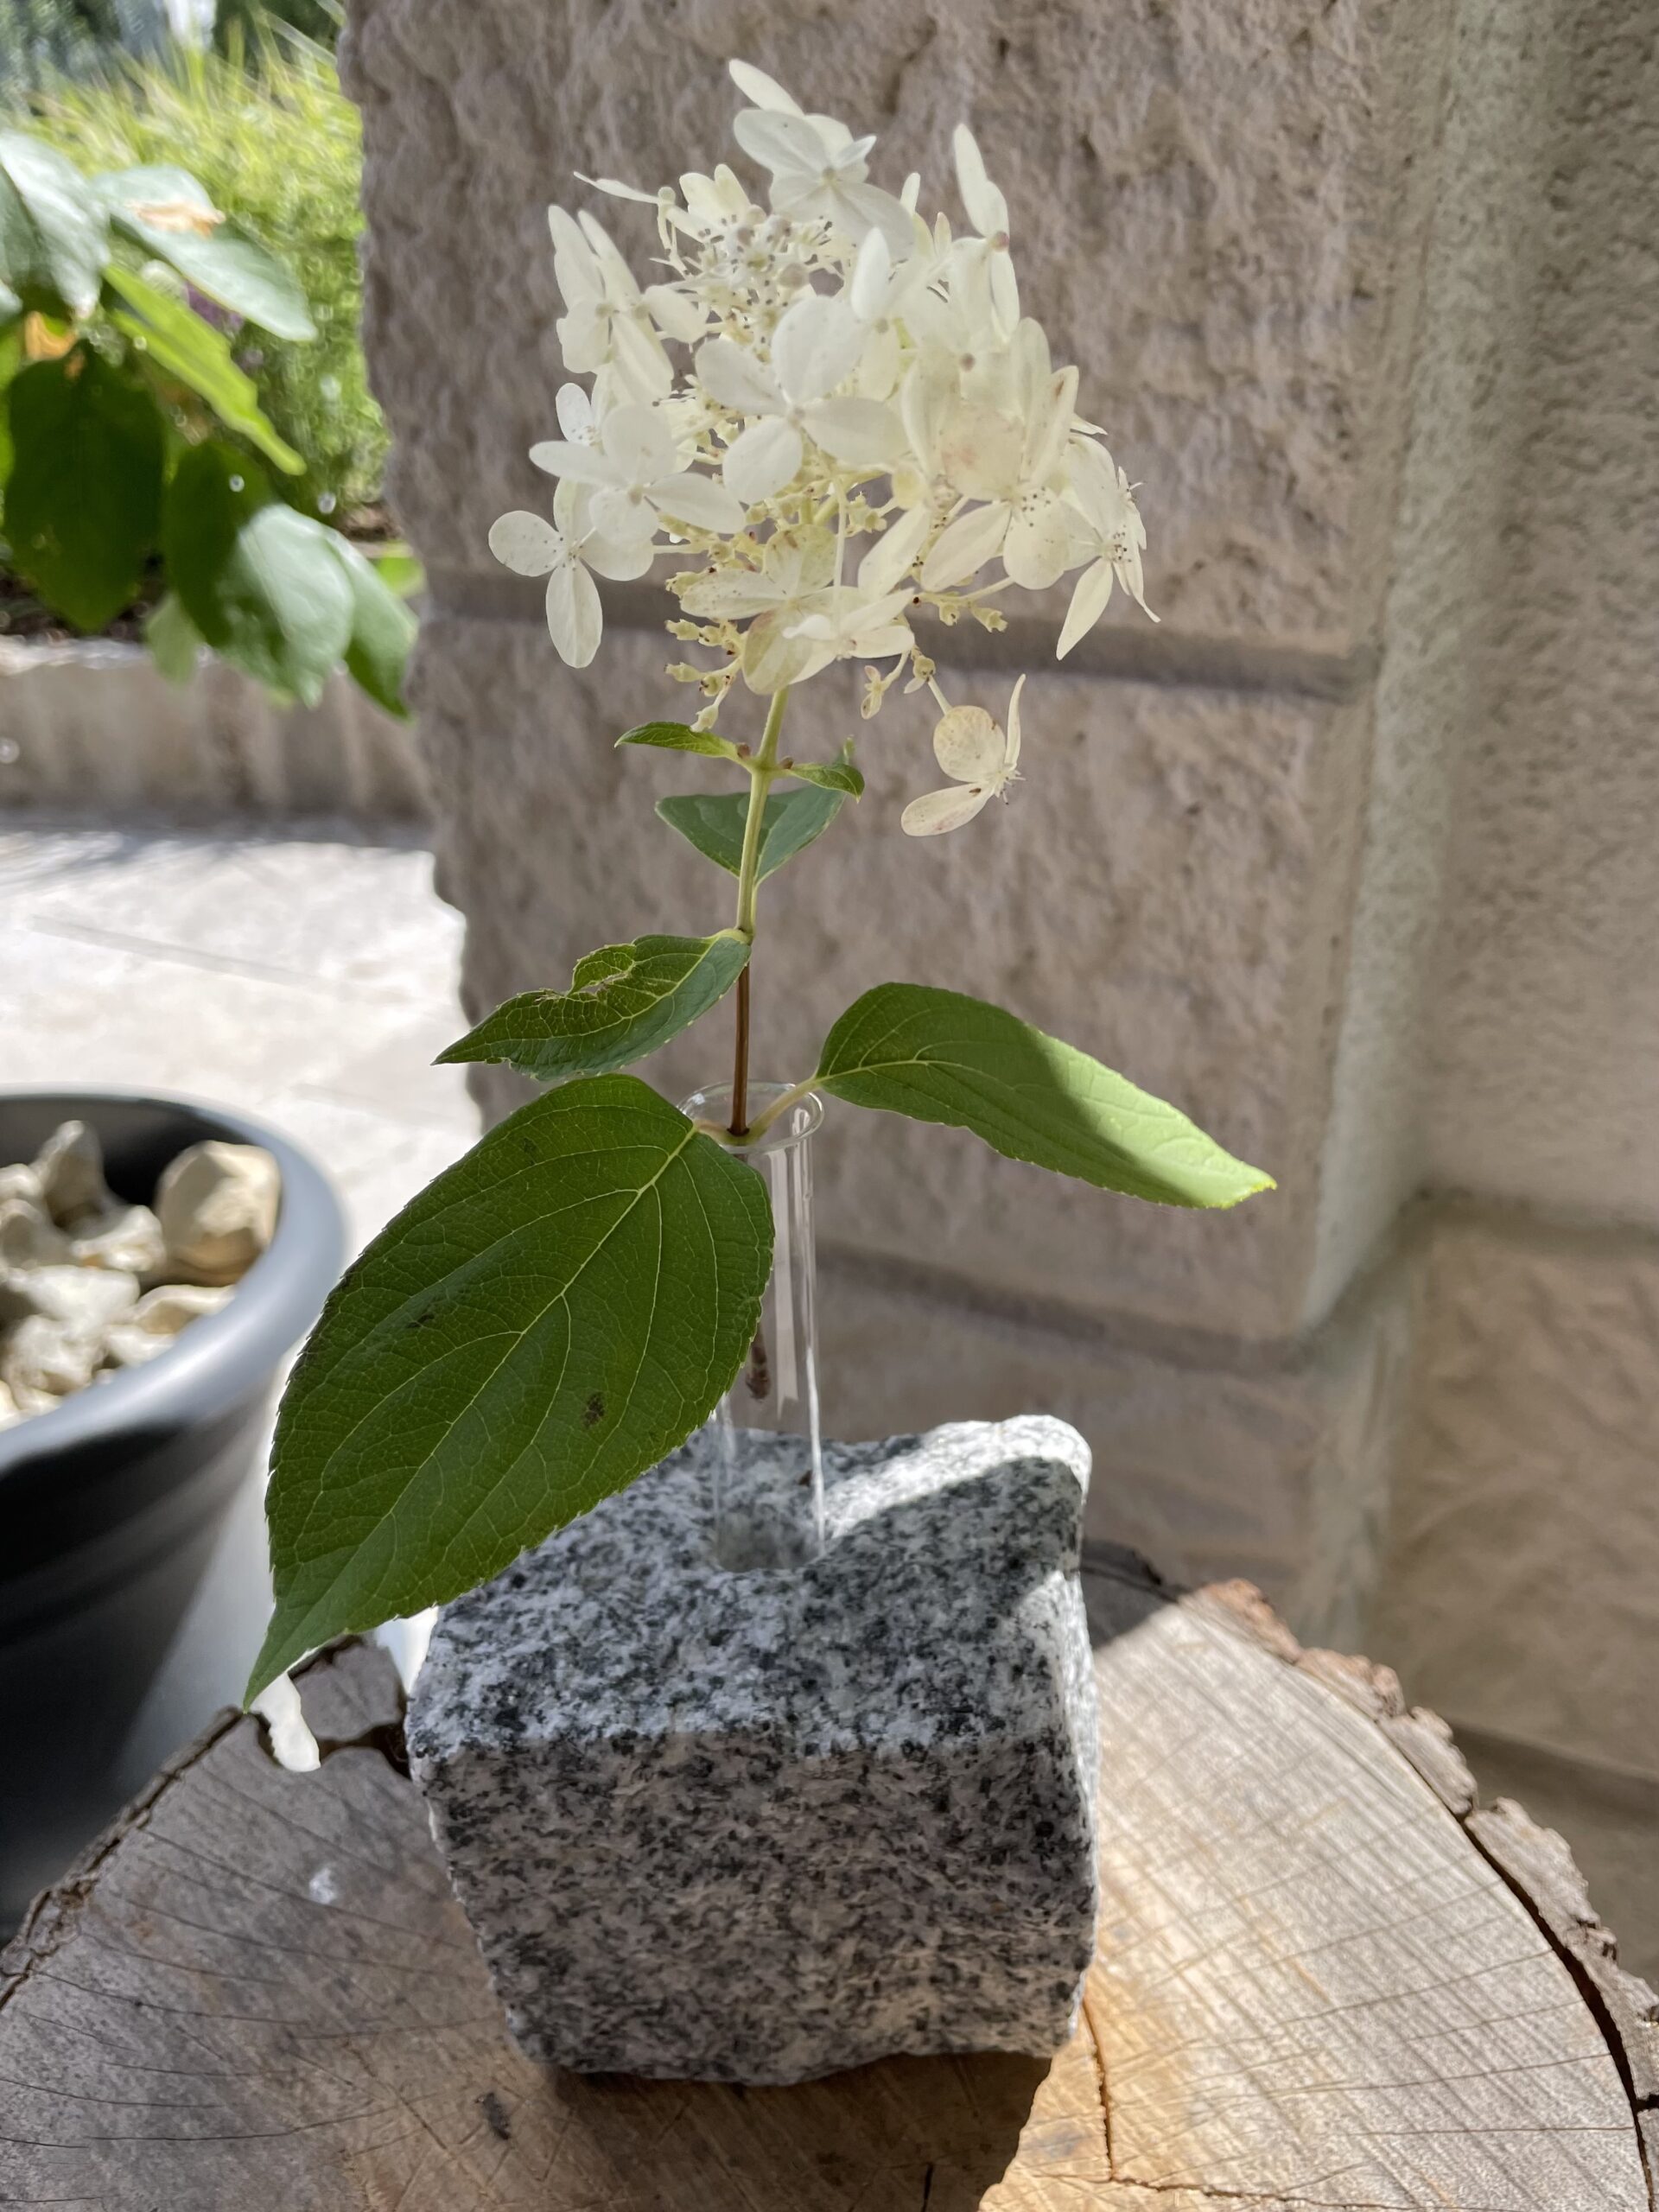
Now fill some water in the tube.

Your table vase is ready.
Don't forget to look regularly at the water, because there is not much space in the tube. Children can take over this abandonment. They learn that different plants need different amounts of water and they learn to take responsibility for a task.
Enjoy crafting, watering and discovering nature.
Materials
Directions
Use a granite stone cube, which is smooth on one side and therefore firm. From above an adult should drill you a hole in the stone. For this purpose you use a stone drill. Attach the stone together in a vice. Then you drill the hole into it.
The hole depends on the size of your test tube.
Try if your test tube fits into the hole.
Then you wash the drilled stone with water and let it dry a bit. Now put the test tube into the hole.
Picks a flower and puts it in the small vase. Removes the lower leaves.
Now fill some water in the tube.
Your table vase is ready.
Don't forget to look regularly at the water, because there is not much space in the tube. Children can take over this abandonment. They learn that different plants need different amounts of water and they learn to take responsibility for a task.
Enjoy crafting, watering and discovering nature.
Follow us on Facebook , Instagram and Pinterest
Don't miss any more adventures: Our bottle mail


