Our insects need a variety of flowers as a source of food! That's why we produce small seeds ourselves, which we can easily distribute to contribute to the biodiversity of our flower world.
Media Education for Kindergarten and Hort

Relief in everyday life, targeted promotion of individual children, independent learning and - without any pre-knowledge already usable by the youngest!
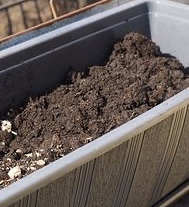
Flower soil and alumina are well mixed, lumps are crushed and disturbing aesthesias removed. The soil must not be too wet.
Mix well the flower seeds (5 different local flower seeds!) in a bowl.

Mix flower seeds and soil together, so that there are seeds everywhere.
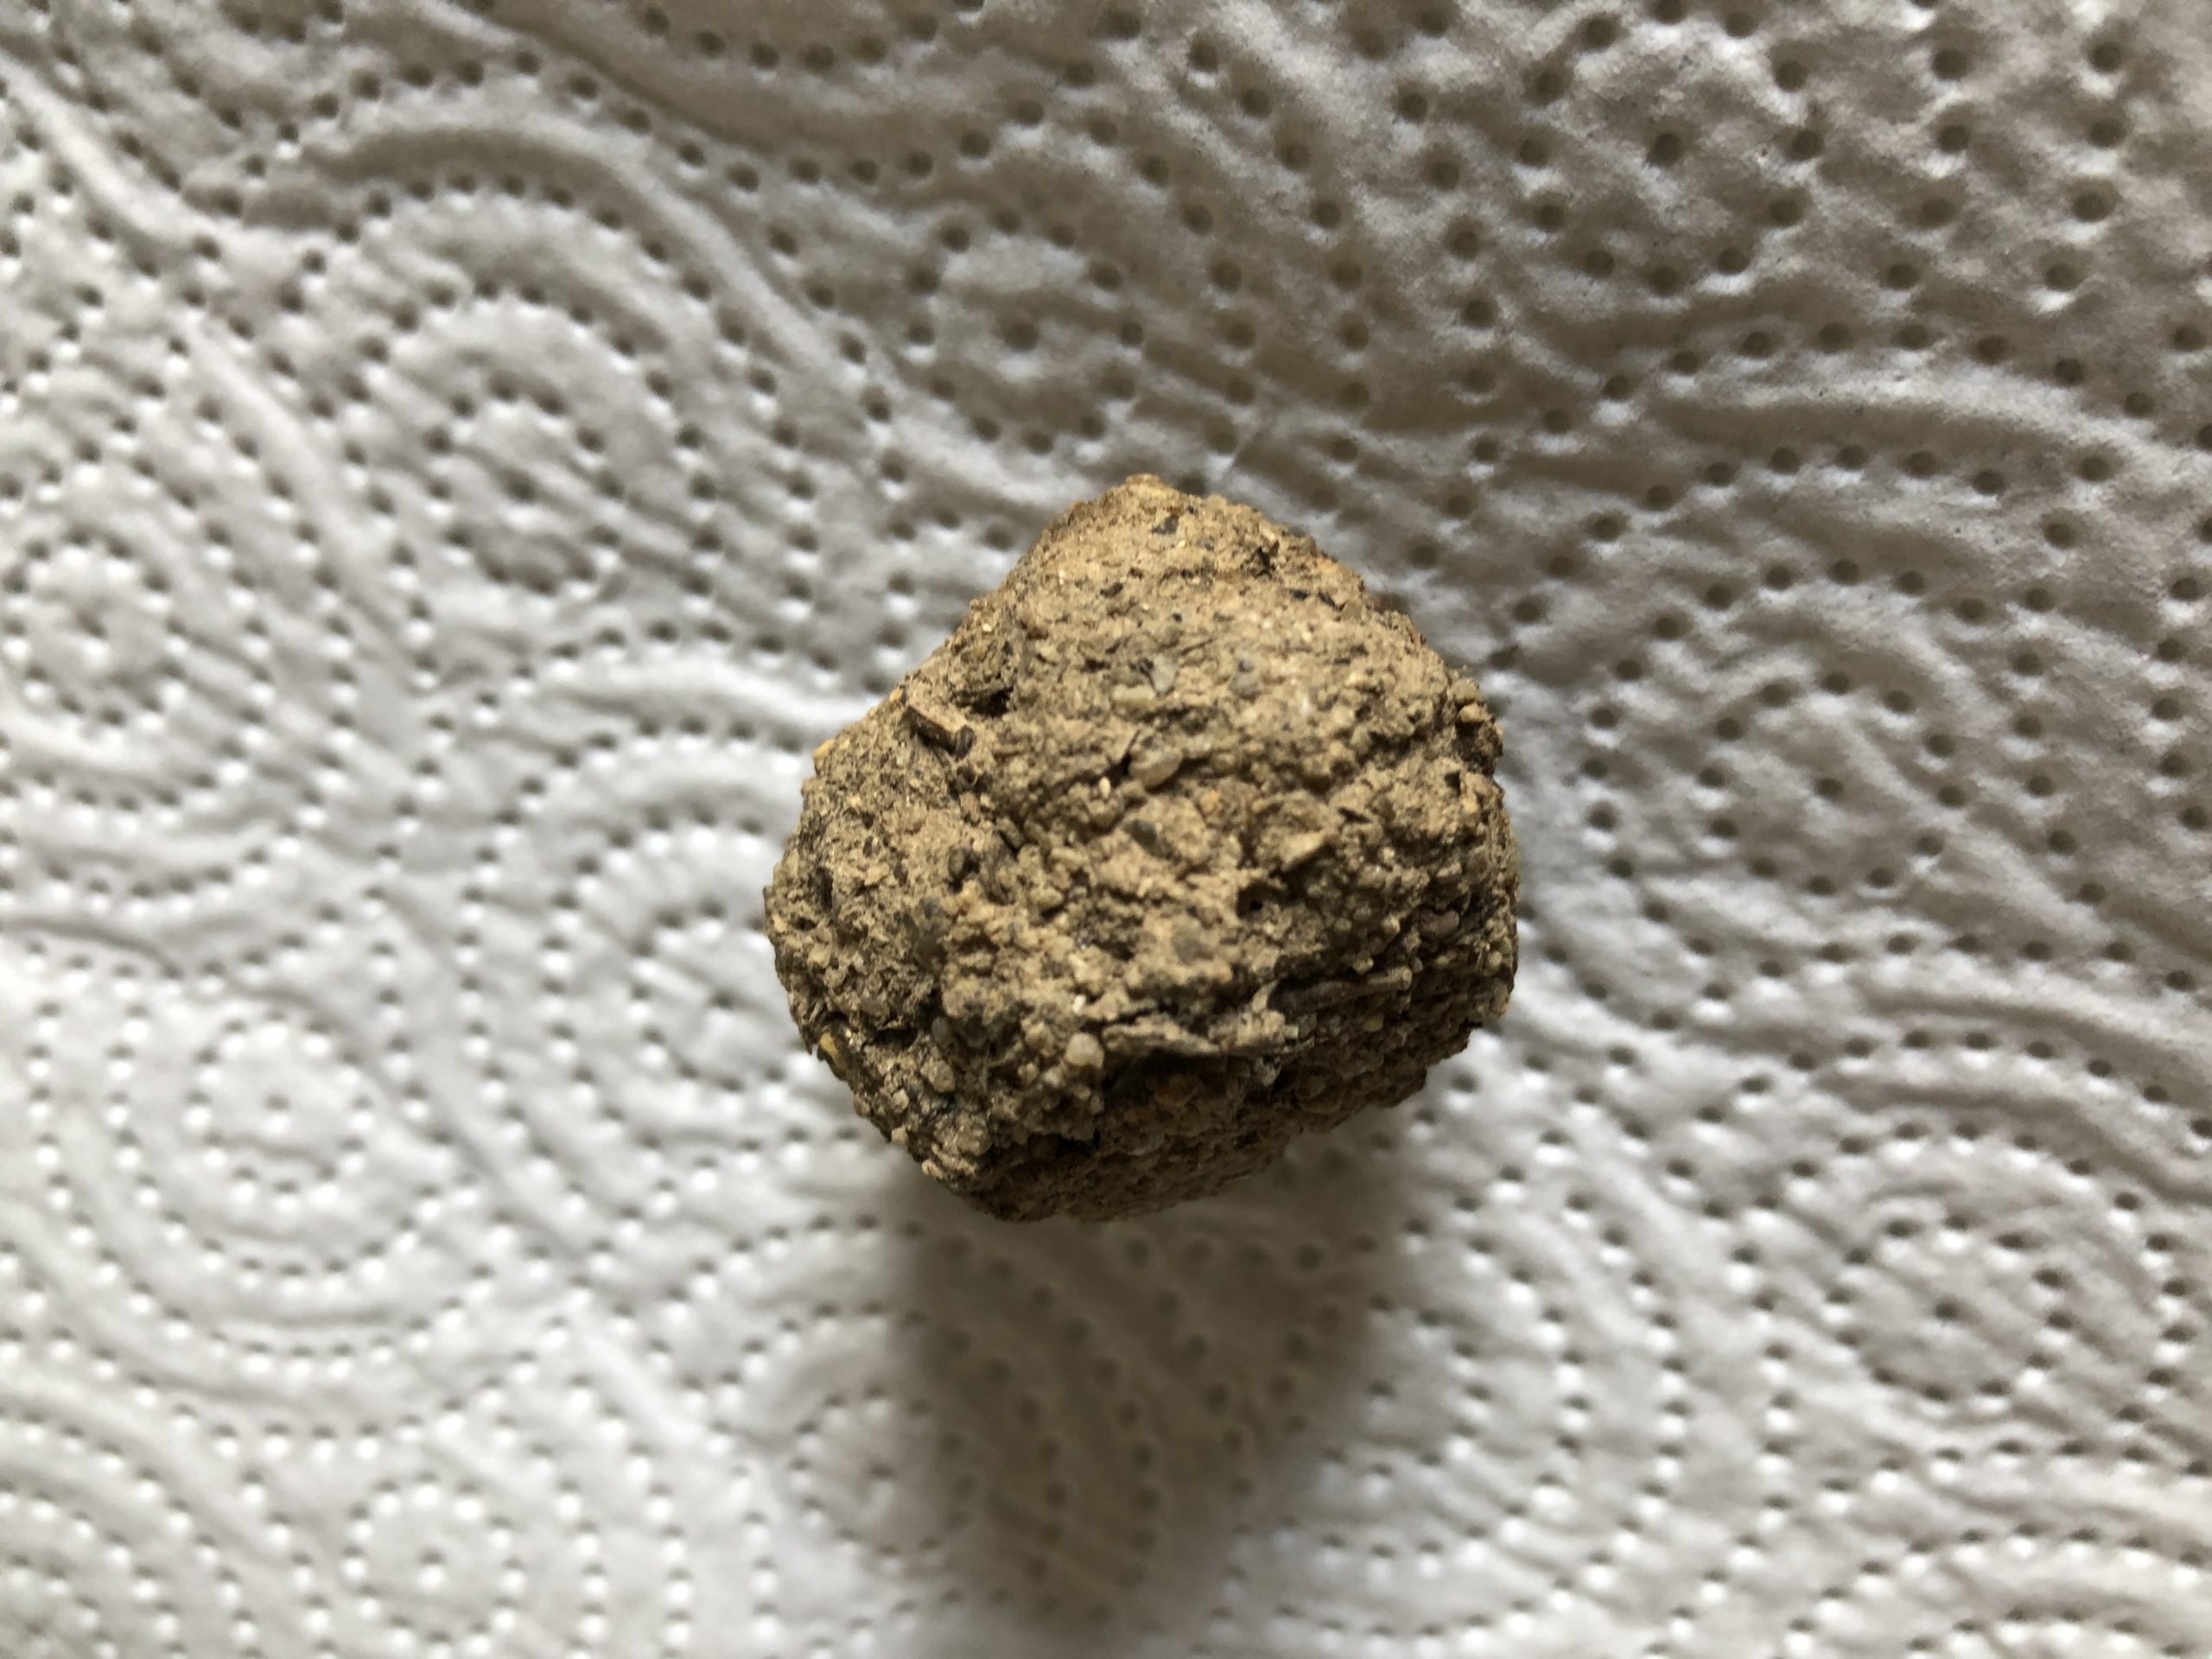
Now add some water (a little, otherwise the seeds begin to germinate) only so much that it works to form hazelnut-sized balls. In the palm of the hand press the earth mixture firmly together.
Place the so-called "seed balls" on a newspaper to dry. Turn around again and again that they dry well. (Duration about 2 days)
Now the seed ball is ready.
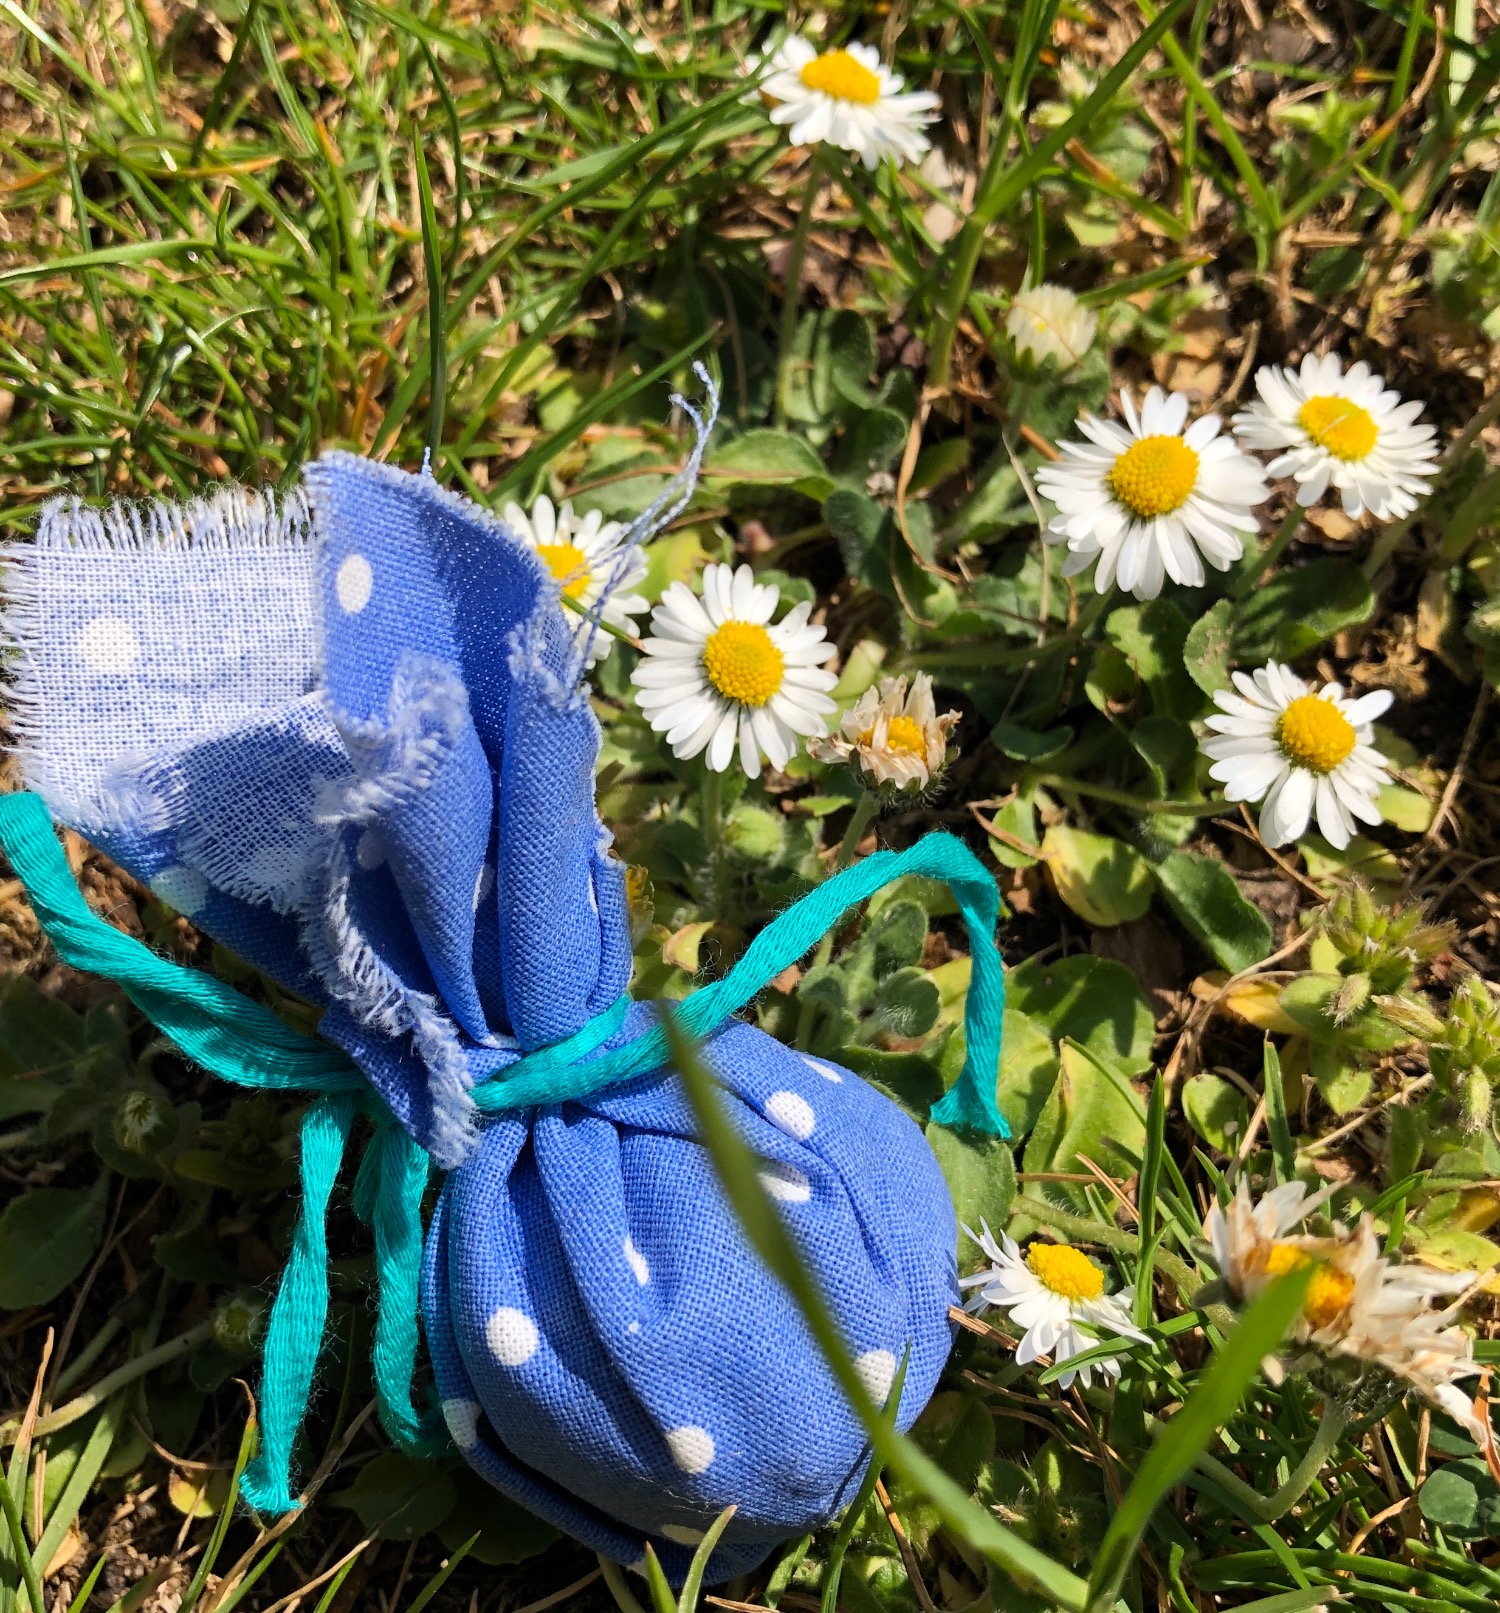
Cut a piece of fabric about 10cm x 10cm and wrap the seed ball in it.

Tie it up with a ribbon.
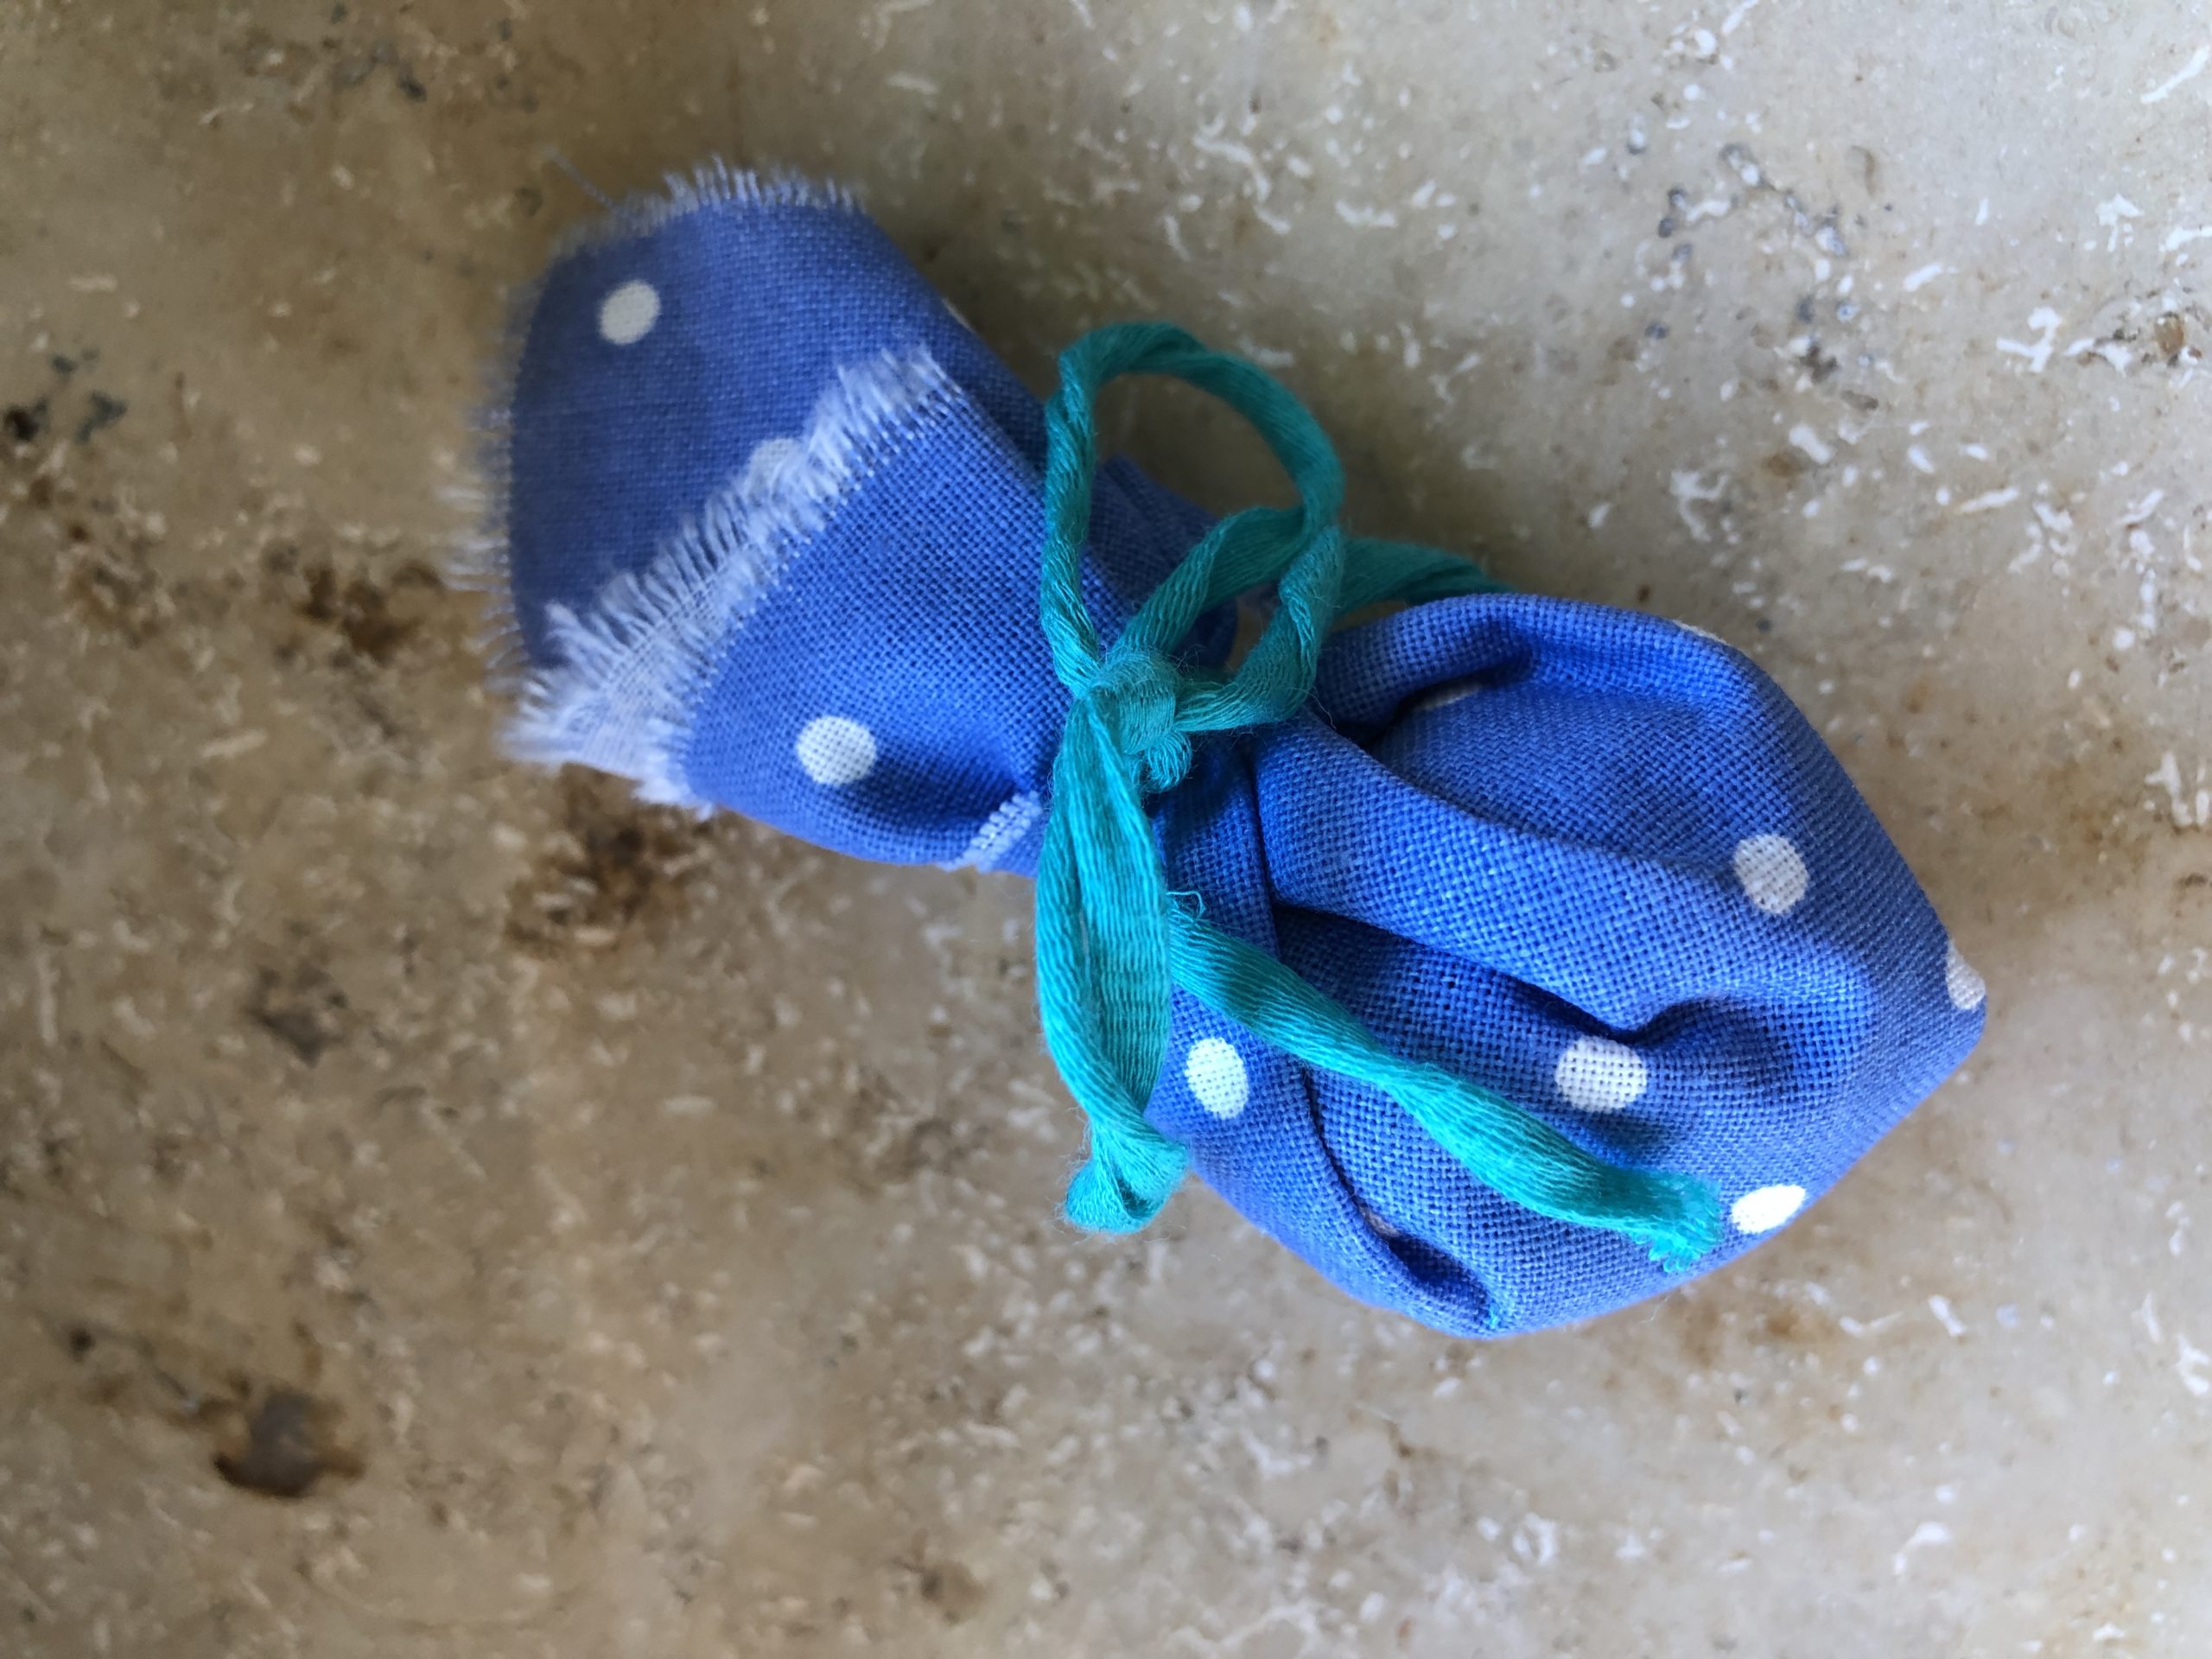
The seed ball is a nice souvenir or small gift!

Materials
Directions
Flower soil and alumina are well mixed, lumps are crushed and disturbing aesthesias removed. The soil must not be too wet.
Mix well the flower seeds (5 different local flower seeds!) in a bowl.
Mix flower seeds and soil together, so that there are seeds everywhere.
Now add some water (a little, otherwise the seeds begin to germinate) only so much that it works to form hazelnut-sized balls. In the palm of the hand press the earth mixture firmly together.
Place the so-called "seed balls" on a newspaper to dry. Turn around again and again that they dry well. (Duration about 2 days)
Now the seed ball is ready.
Cut a piece of fabric about 10cm x 10cm and wrap the seed ball in it.
Tie it up with a ribbon.
The seed ball is a nice souvenir or small gift!
Follow us on Facebook , Instagram and Pinterest
Don't miss any more adventures: Our bottle mail


Great idea! Thanks for sharing.
Dear explorers and adventurers, I can only join you. Super simple and great with the pictures. Your Jen.
Dear Elfe, dear Jen, we are very pleased that the seed buds were a great idea for you and that you were able to do it so well. I take it the children had their joy. You can also upload your photos. Maybe there are more offers in the category Nature that are interesting for you.
Hello
Would that like to make Christmas gifts for grandparents & Co. with my children. Are the balls suitable to store until spring comes? And how many balls does the above amount result?
Thank you for your feedback.
Greetings
They definitely last a long time when they are well dried and airy (otherwise they start to mold).
The amount can easily be dosed, the ratio should only be about right. A seed bomb is created per heaped tablespoon of earth. It also depends on the size of your balls that you form.