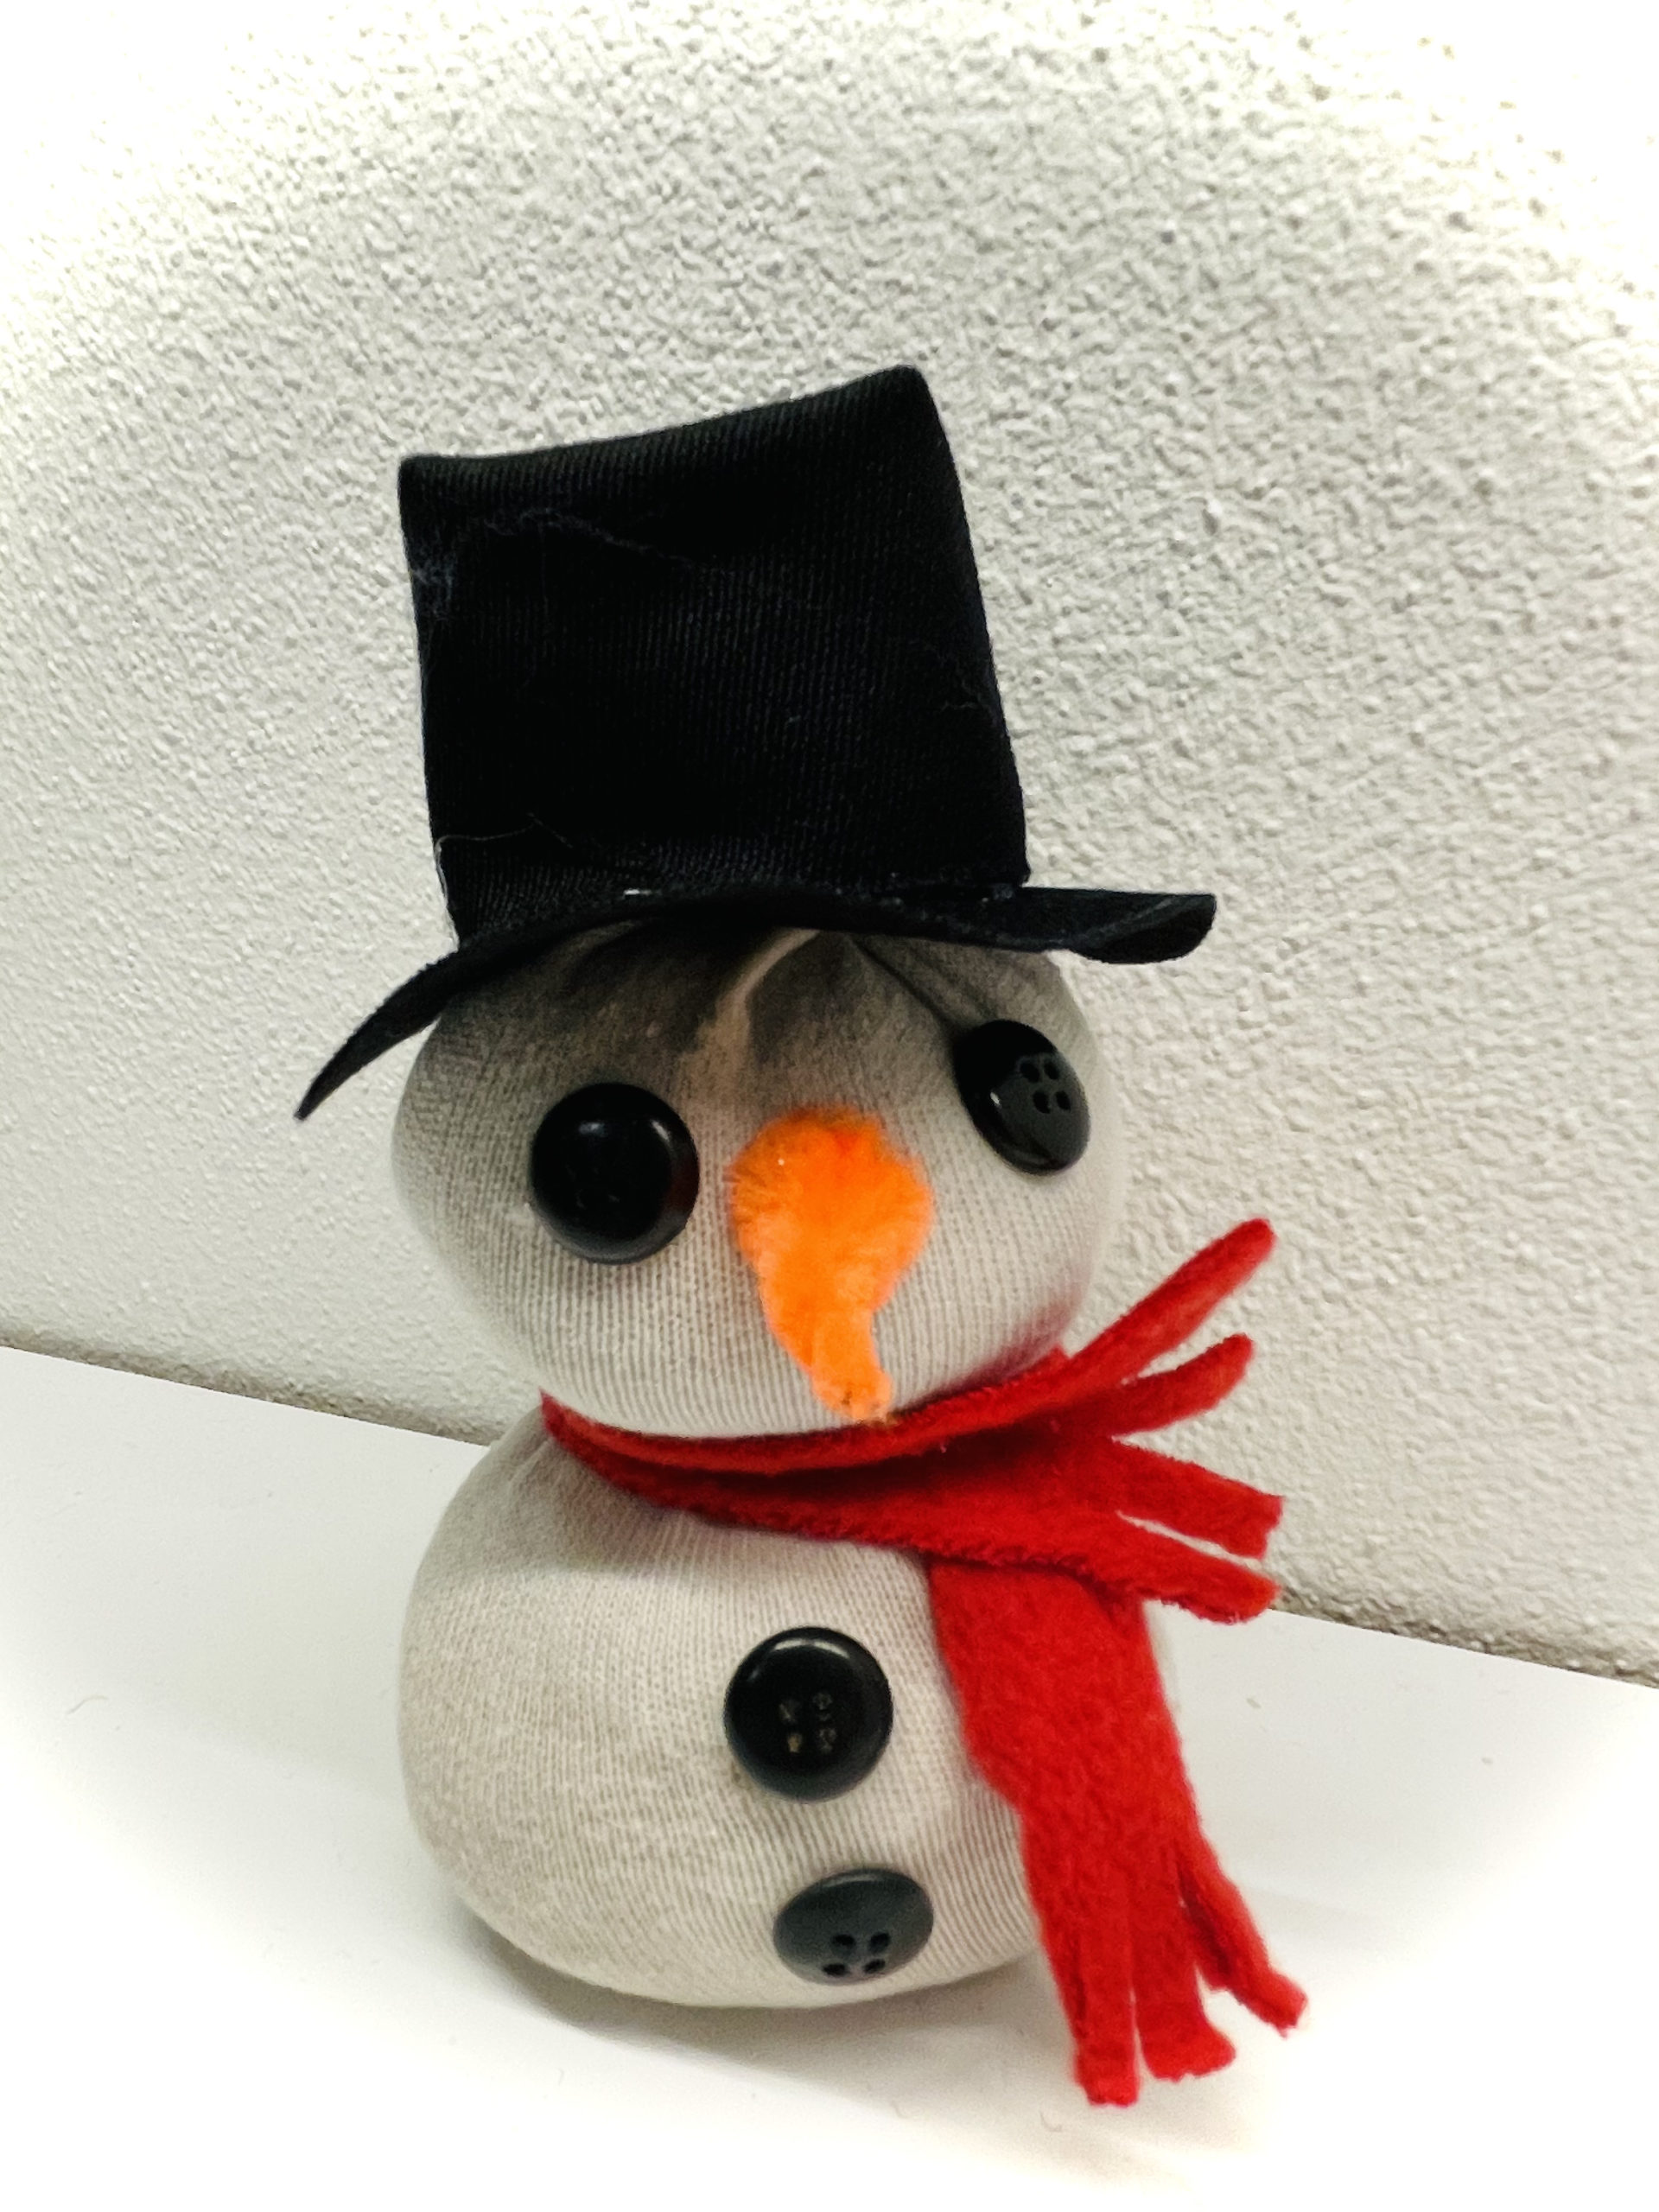
This cute snowman is made from a white sock! A small hat (also made from a sock) or a somewhat elaborate hat, buttons and a piece of pipe cleaner as a nose are glued quickly.
Here I have a step by step guide for both variants! Choose which snowman you like!
Media Education for Kindergarten and Hort

Relief in everyday life, targeted promotion of individual children, independent learning and - without any pre-knowledge already usable by the youngest!

Find all the materials together and put out your craft file.
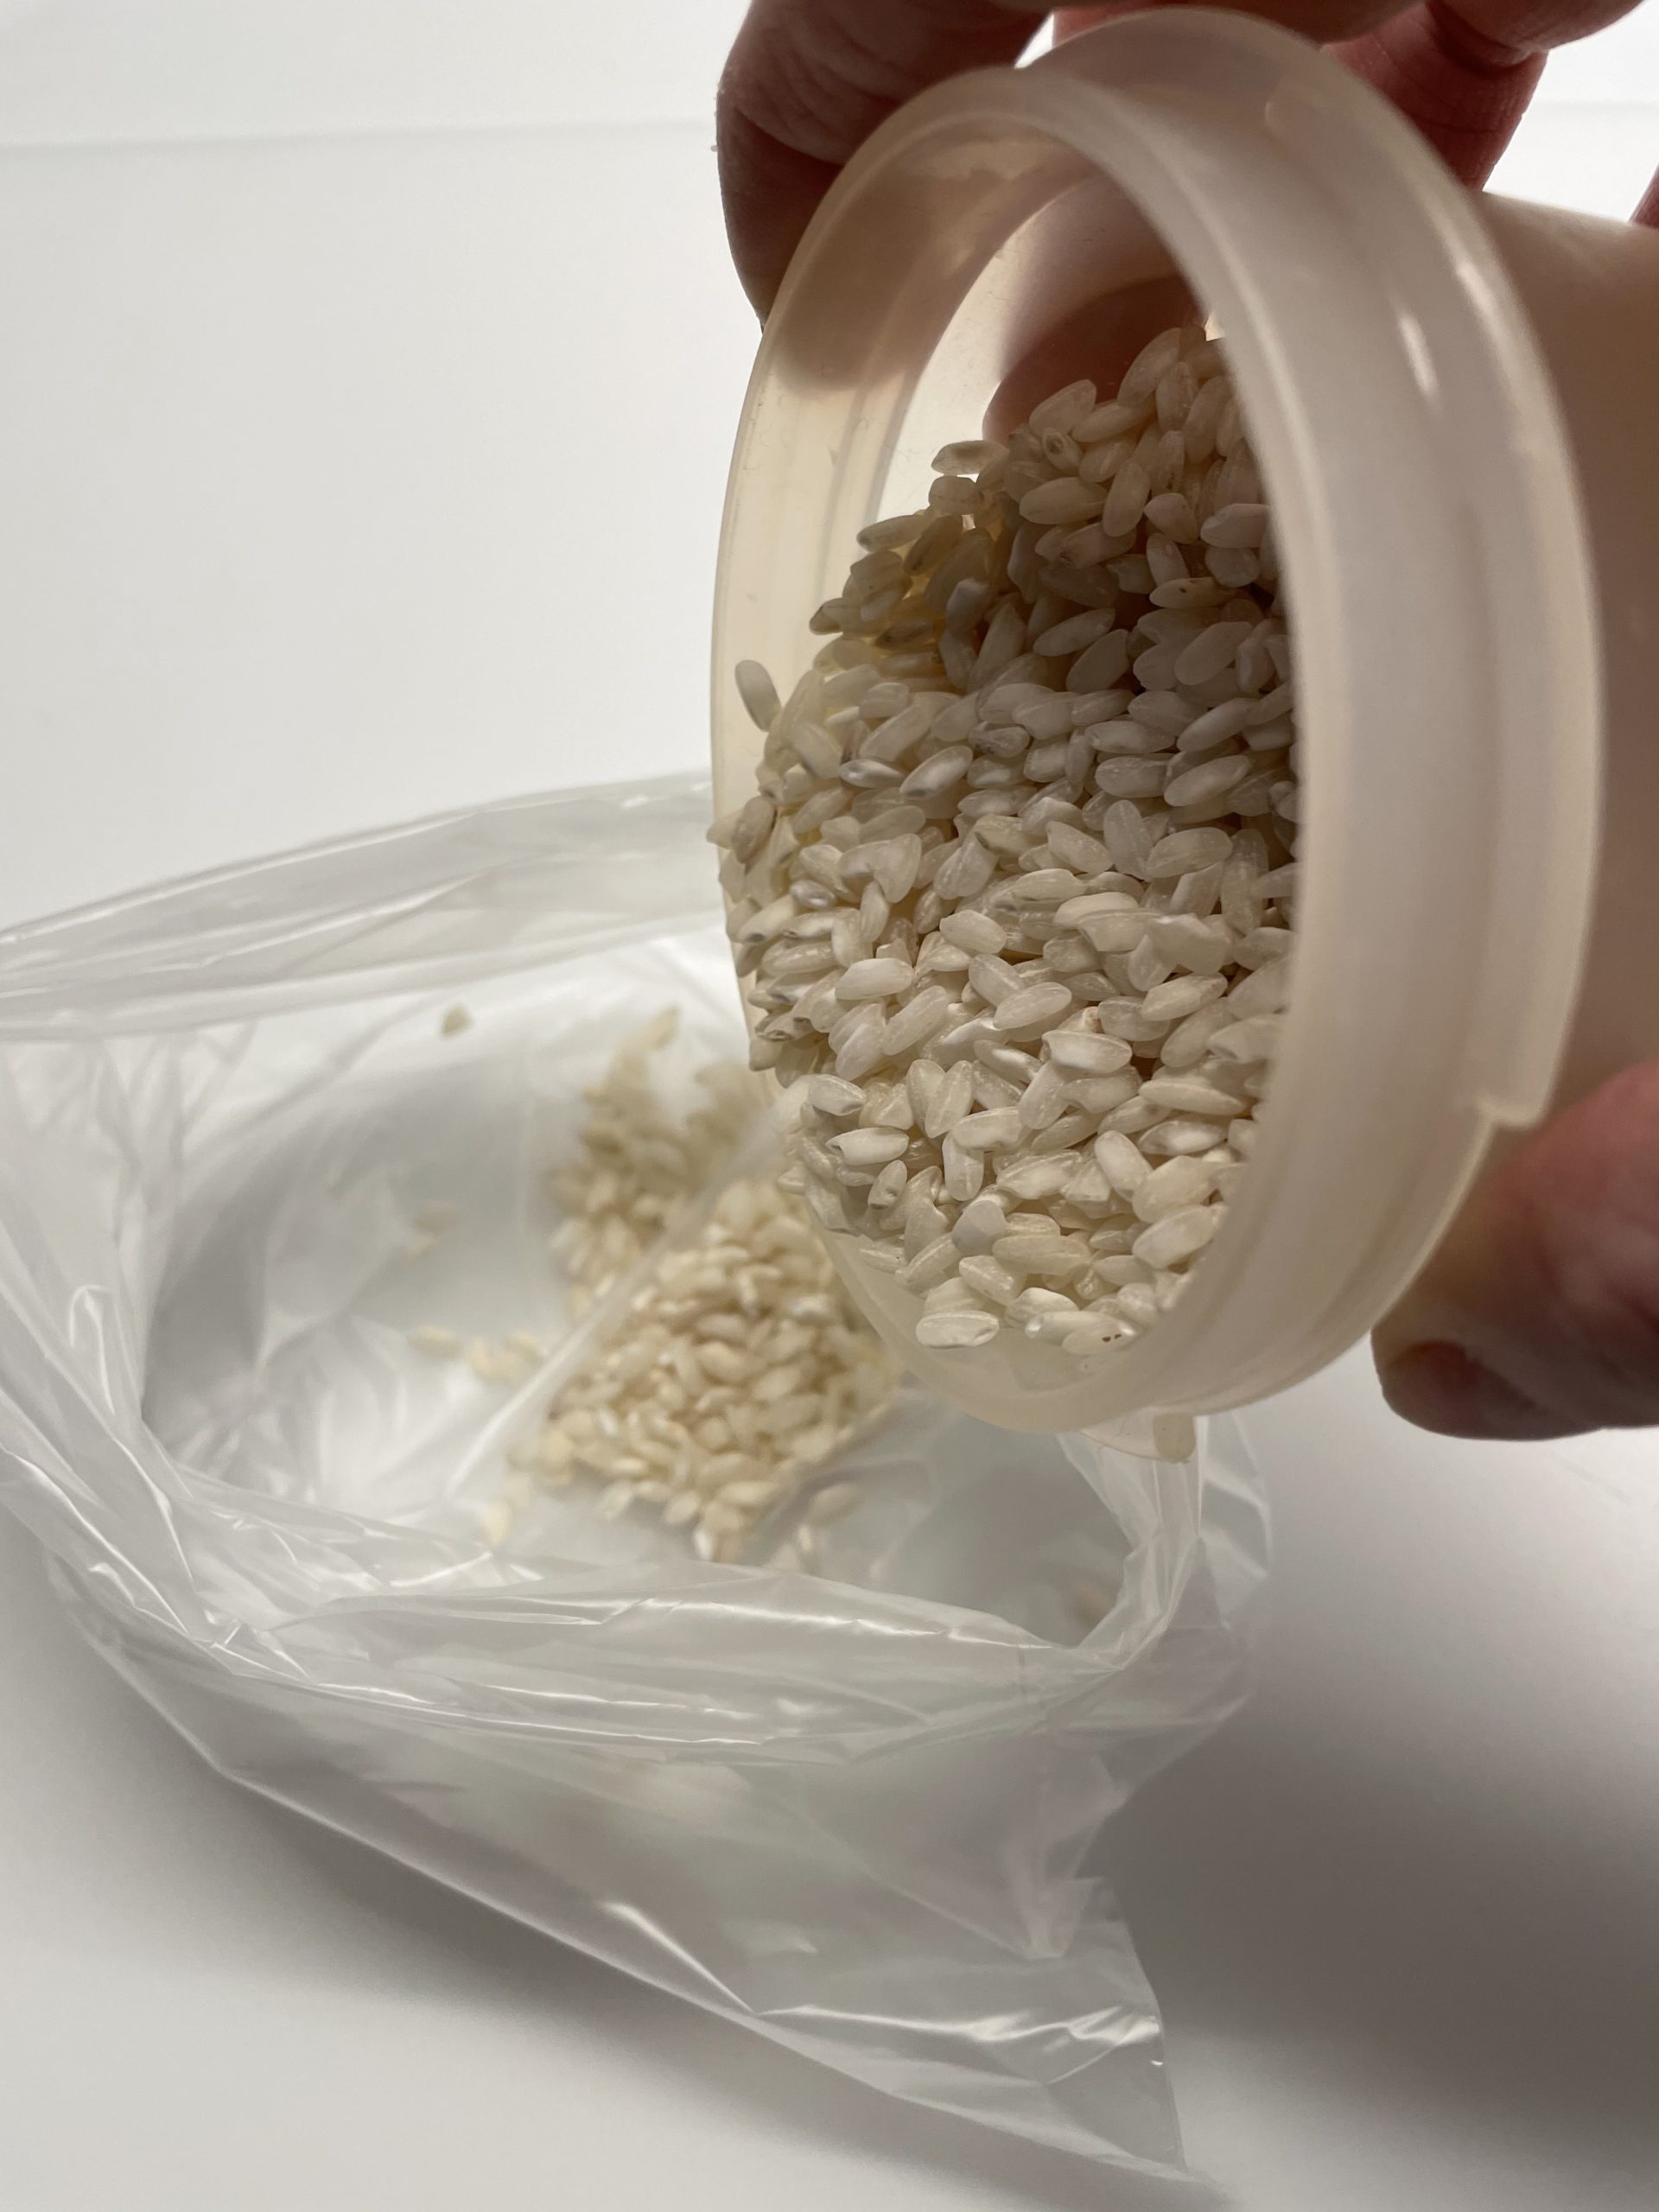
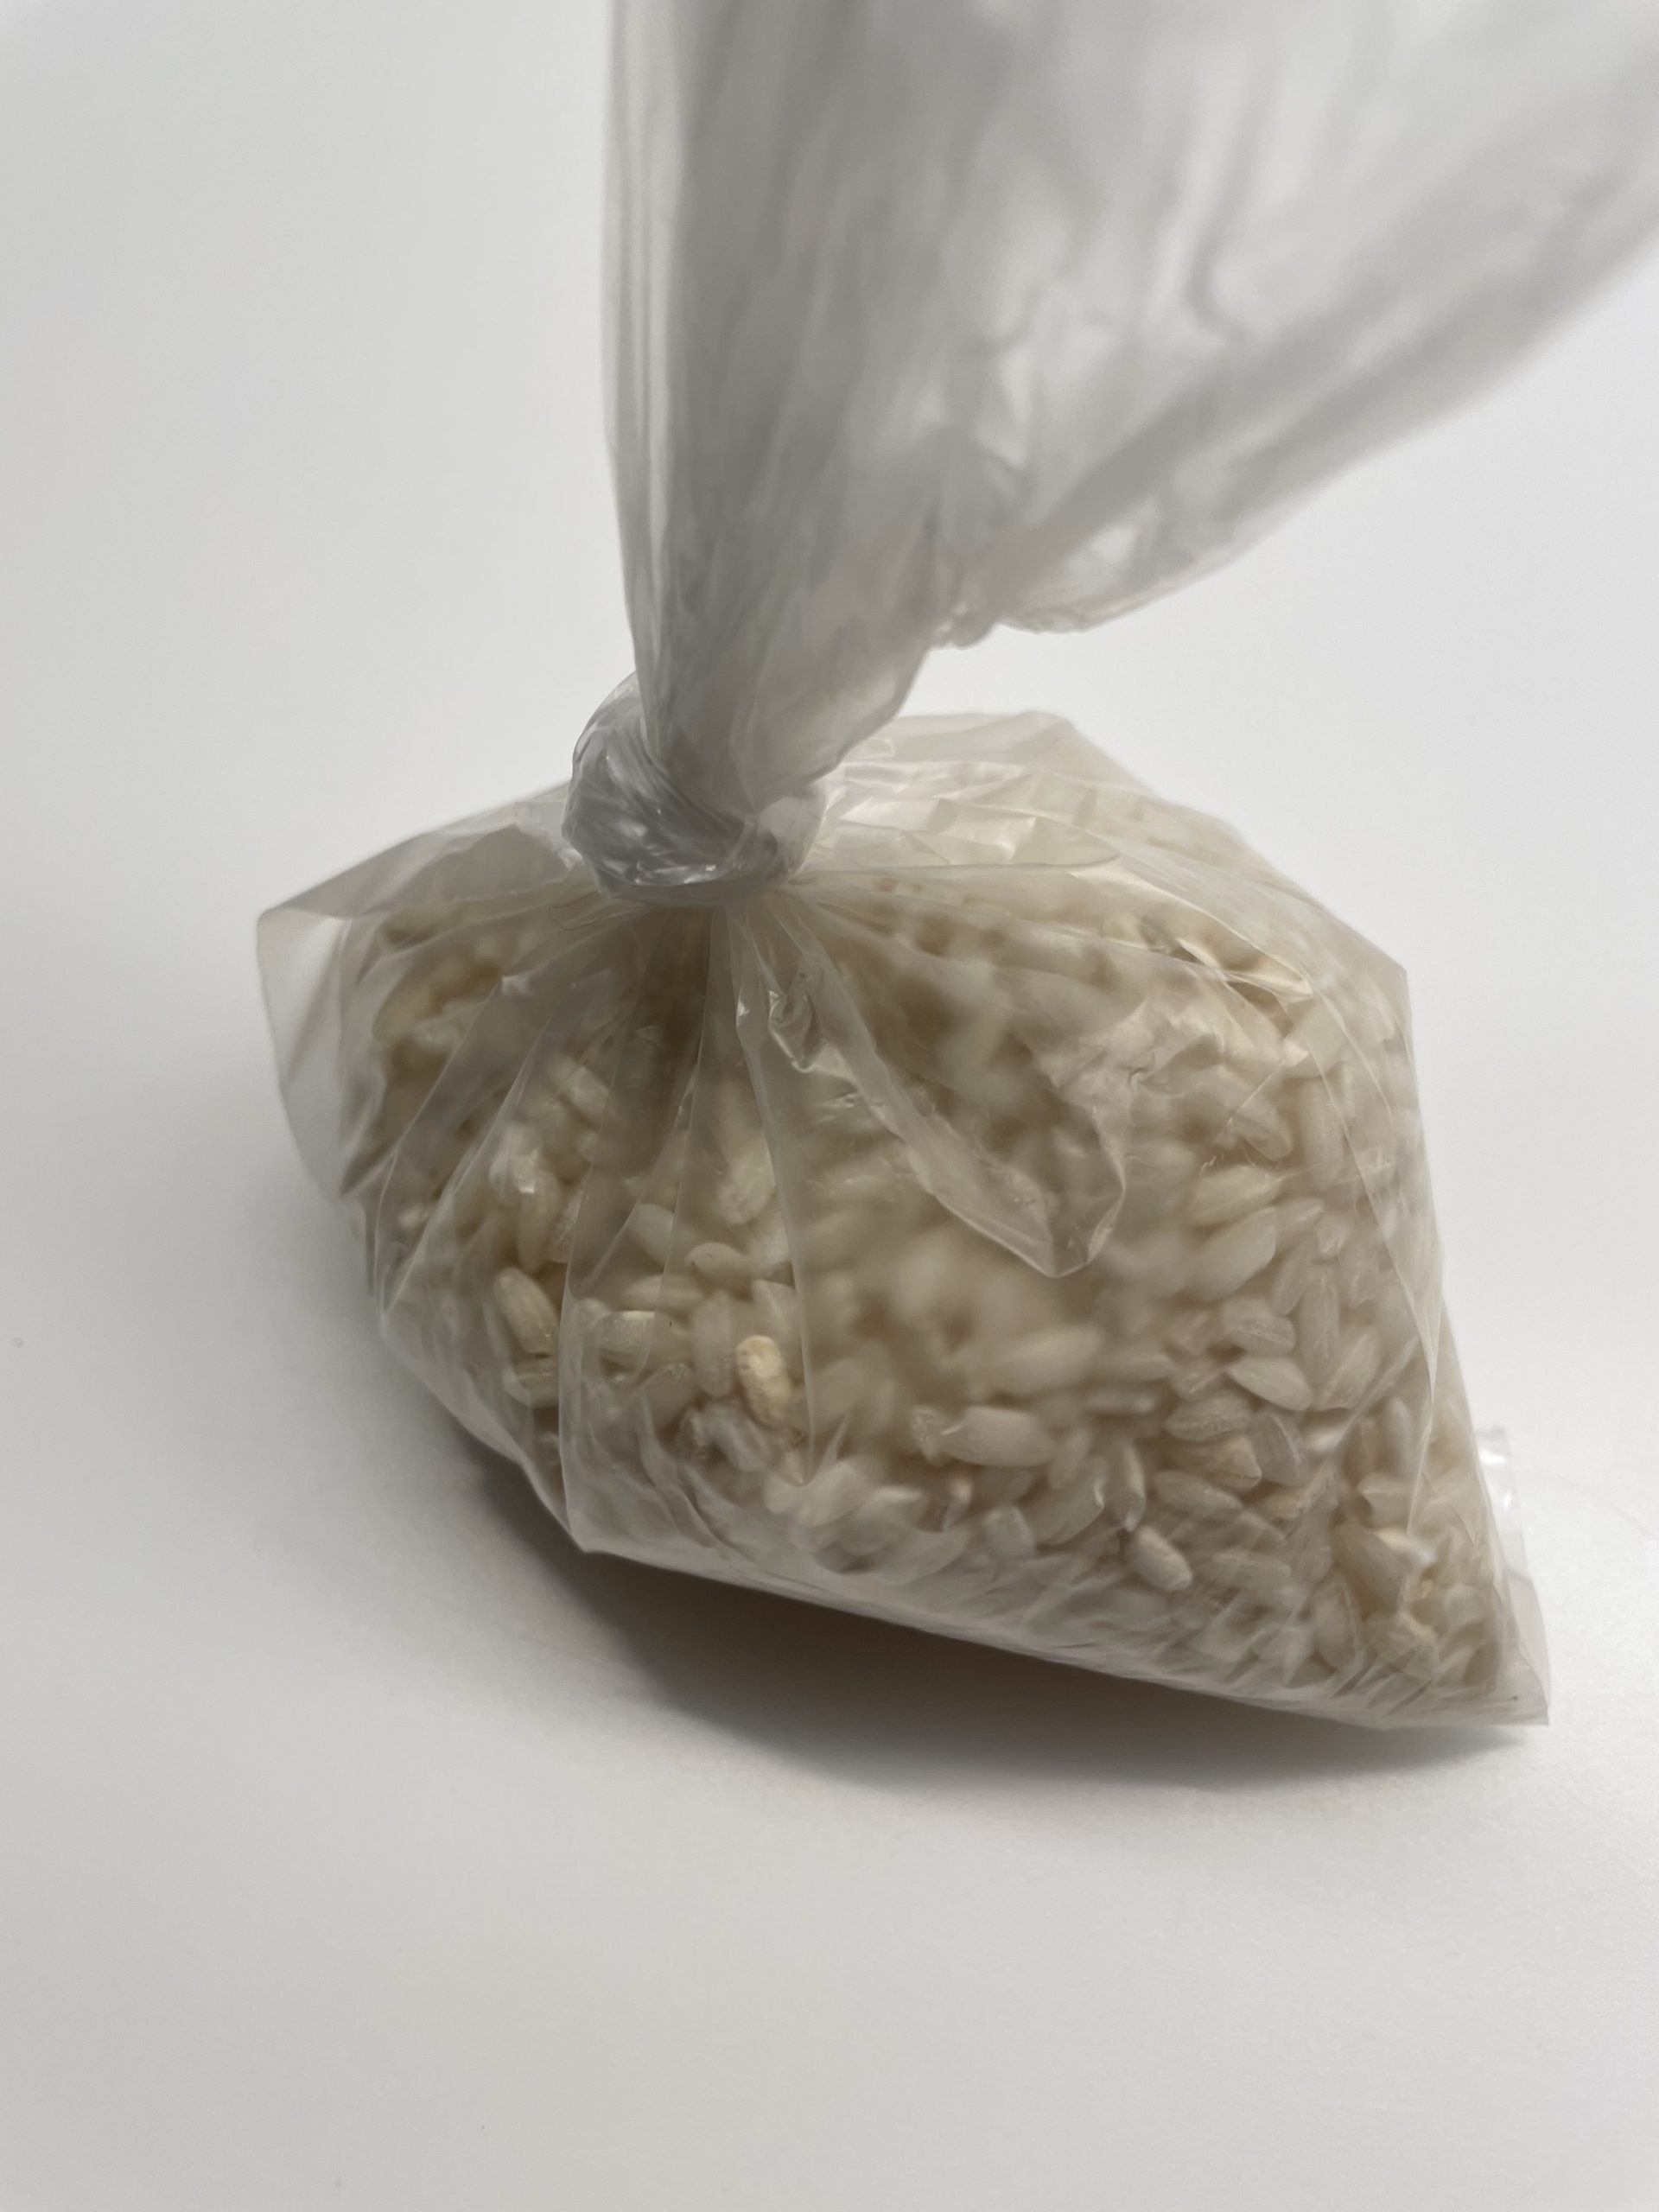
Then fill rice in a cup first.
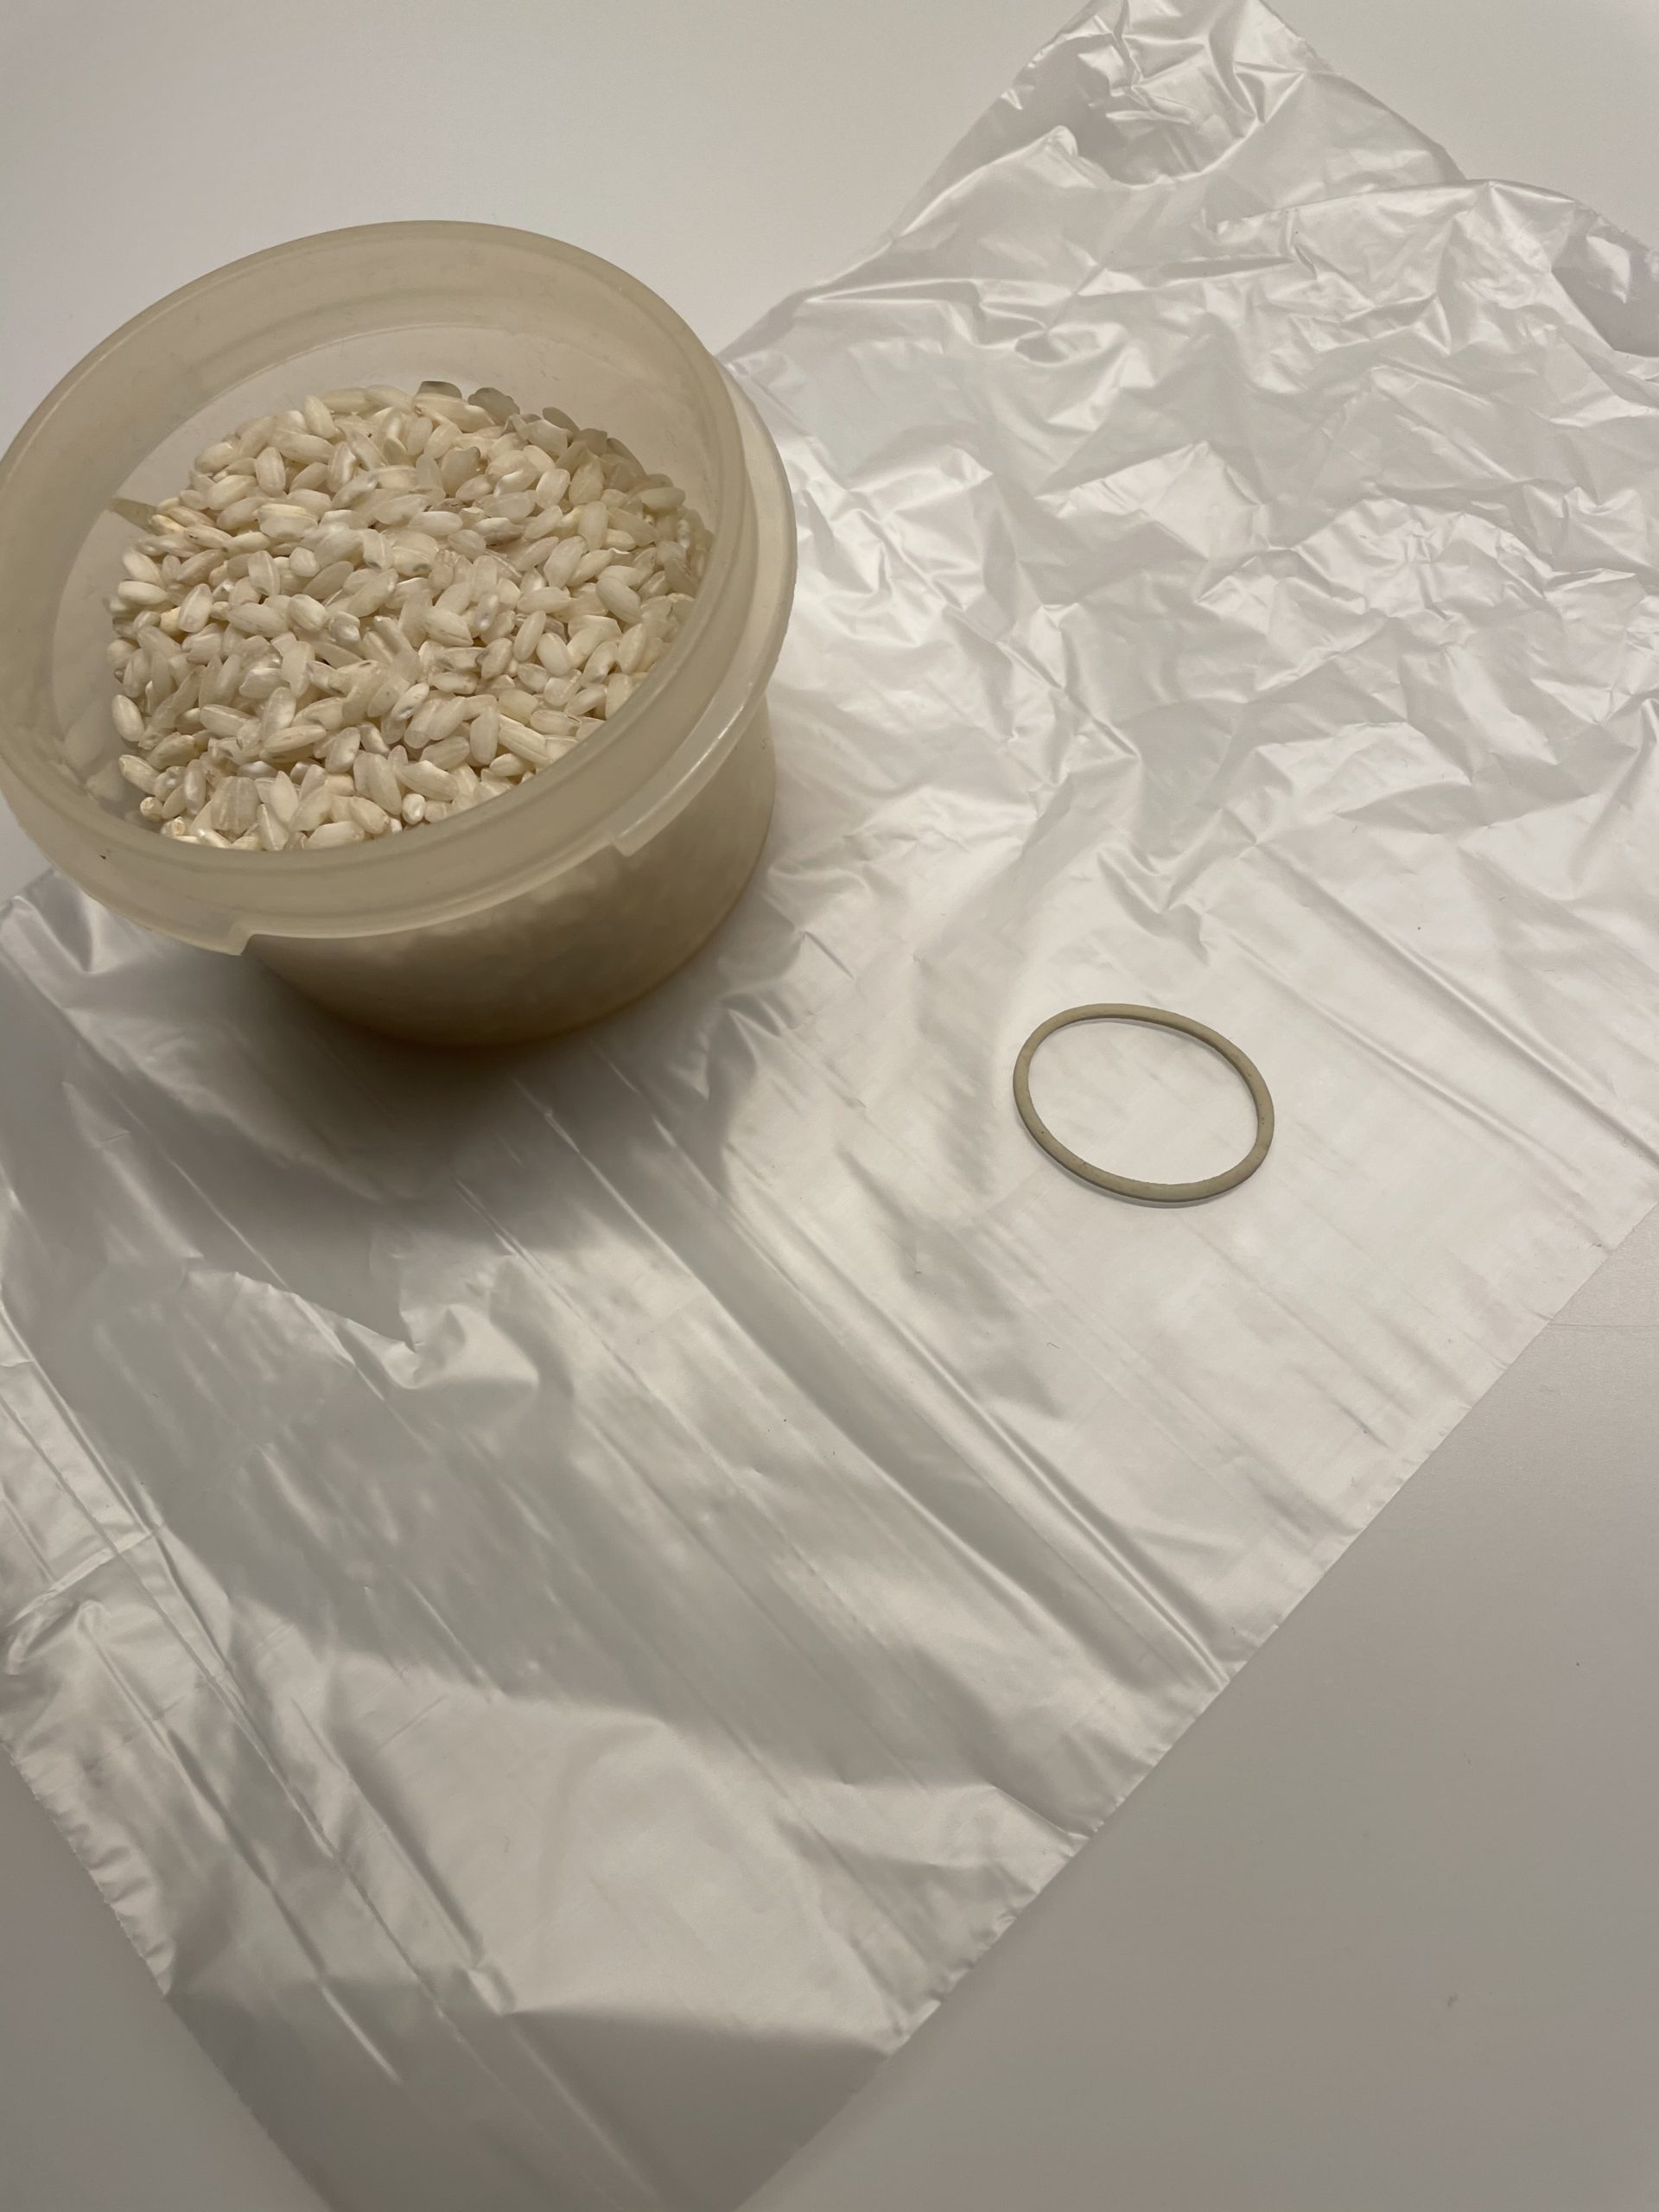
This fills her in the breakfast bag.
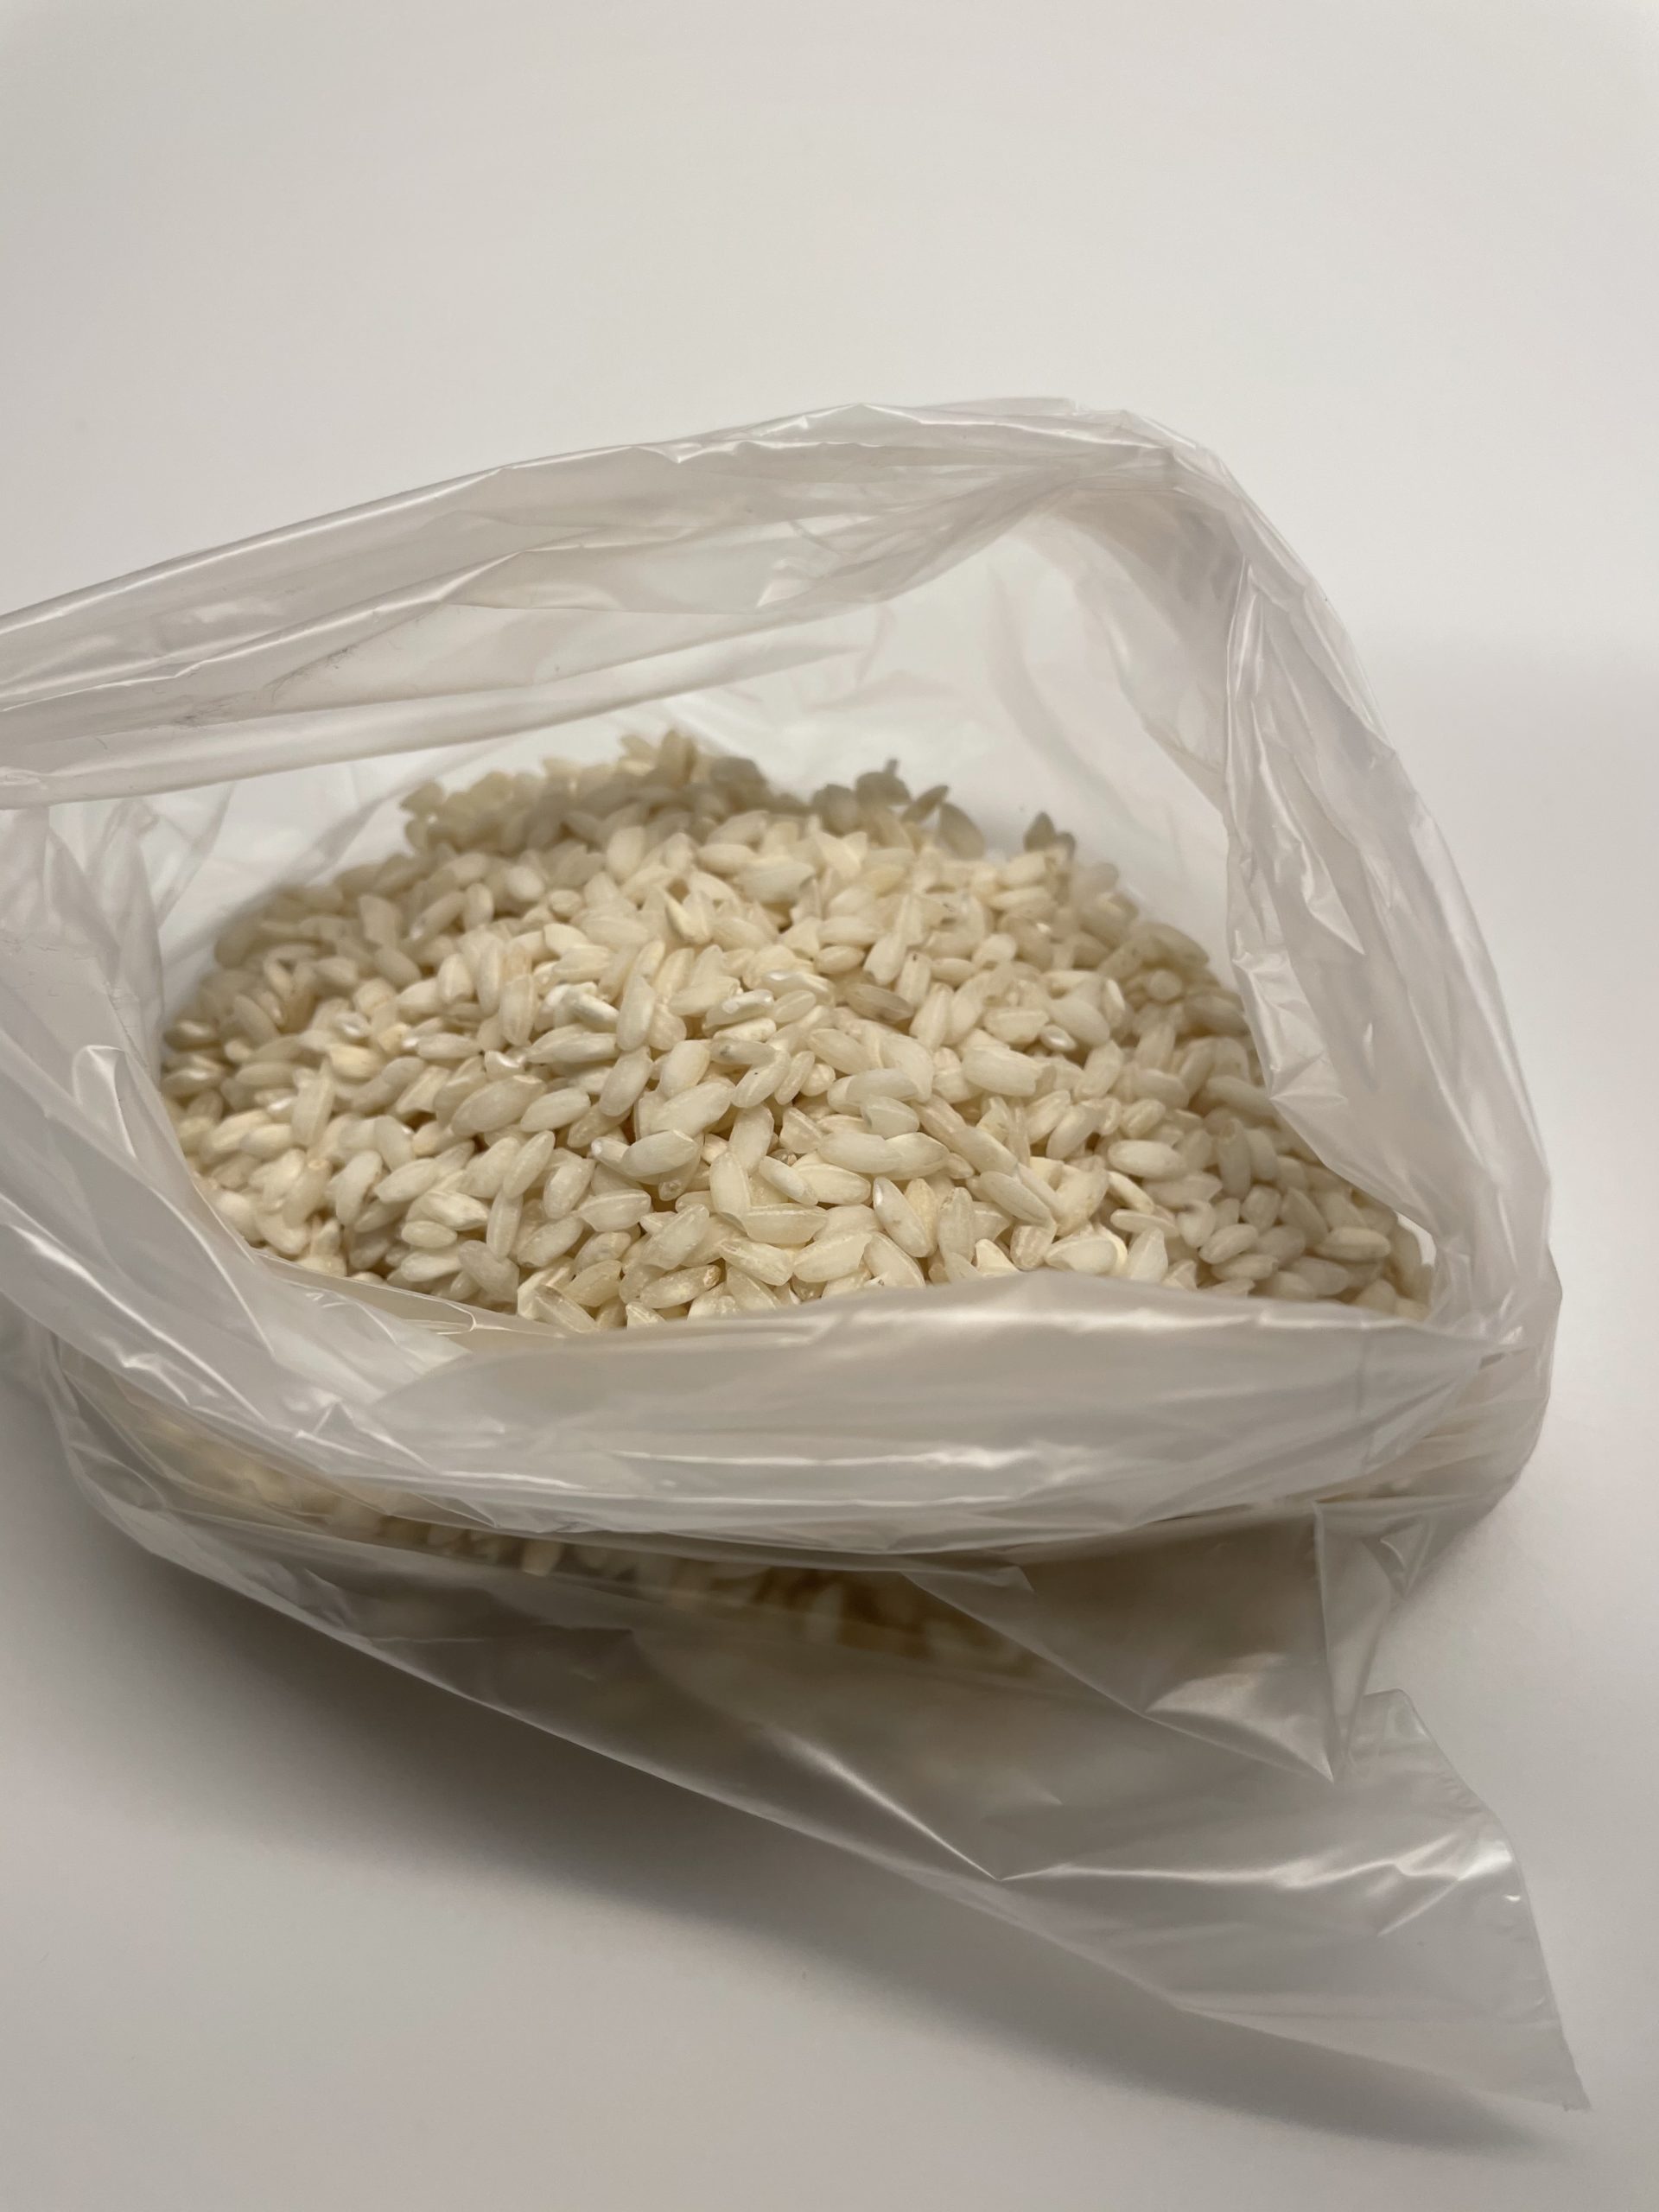
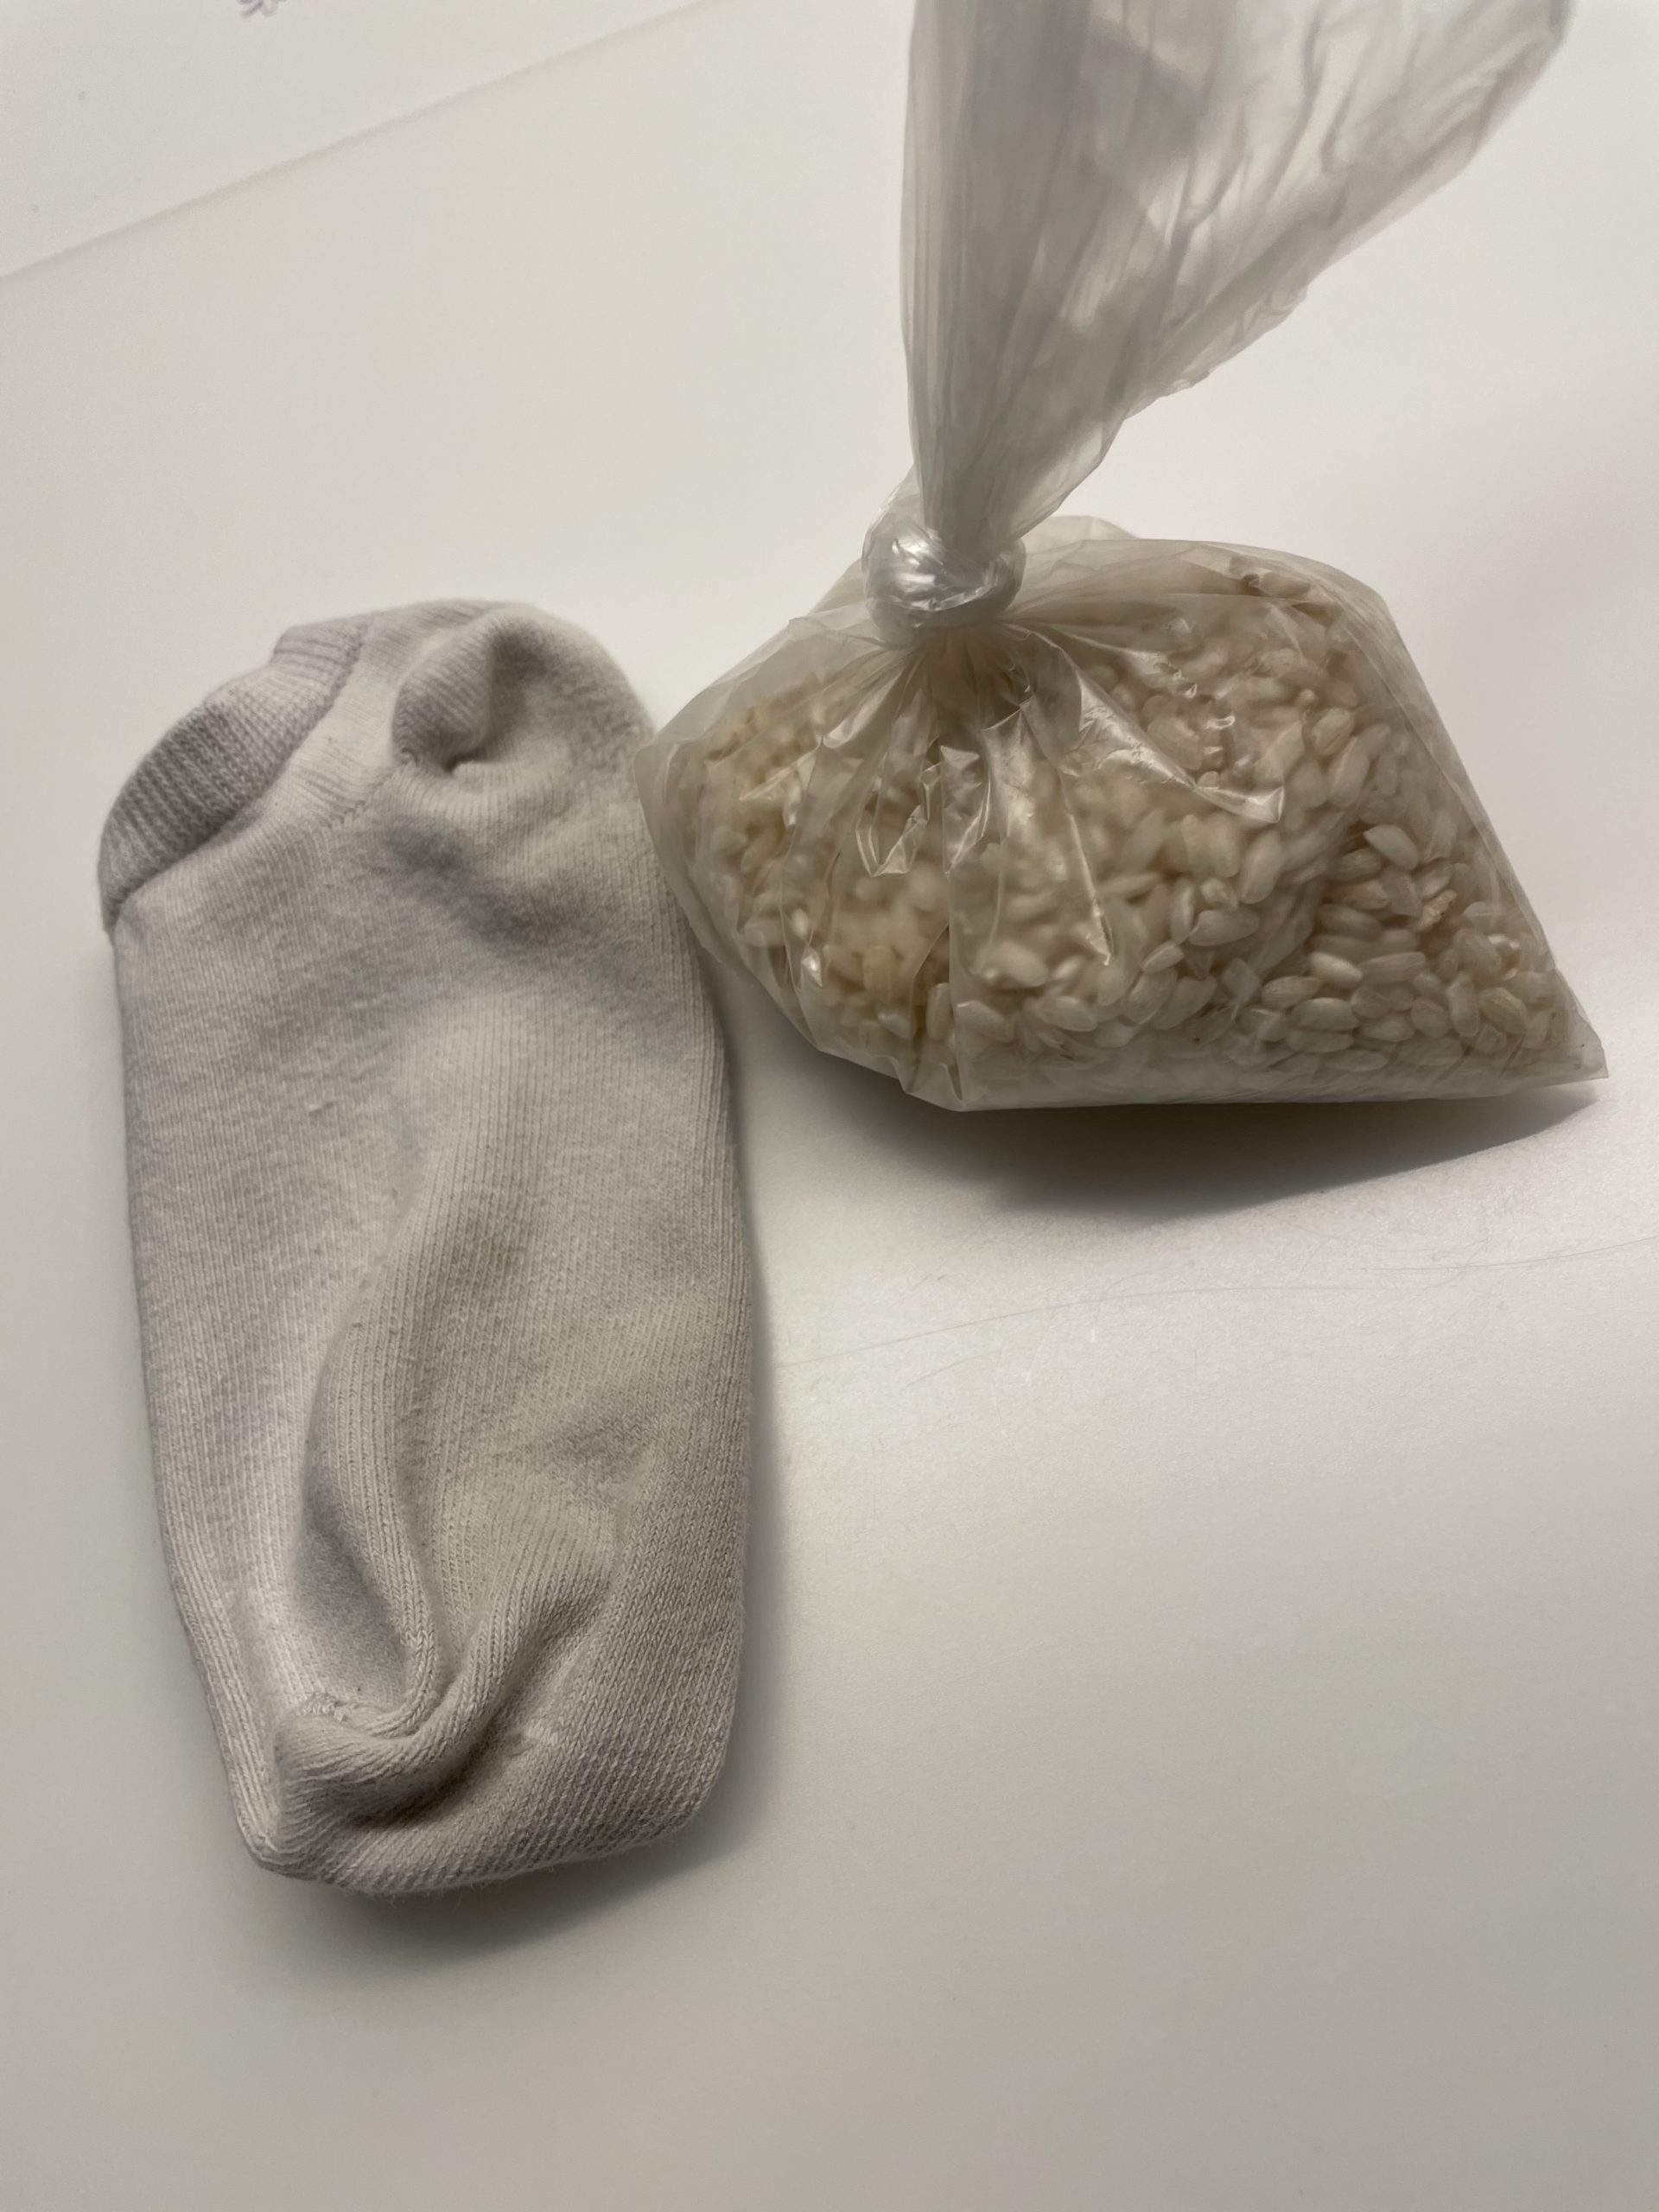
Knot the bag and push out the air before you tighten the knot.
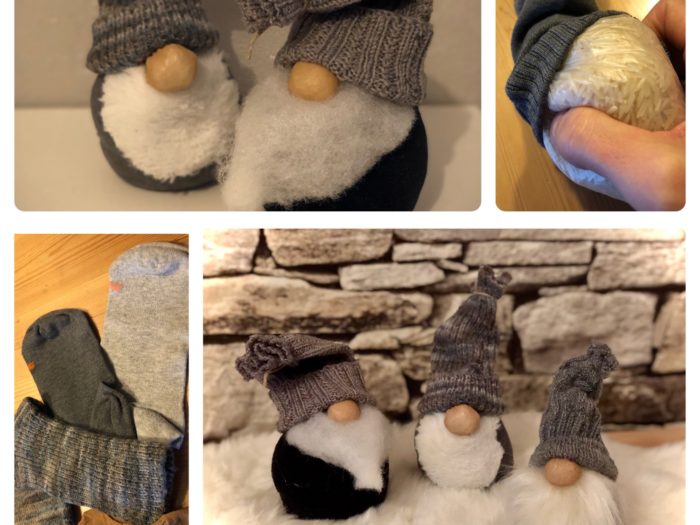
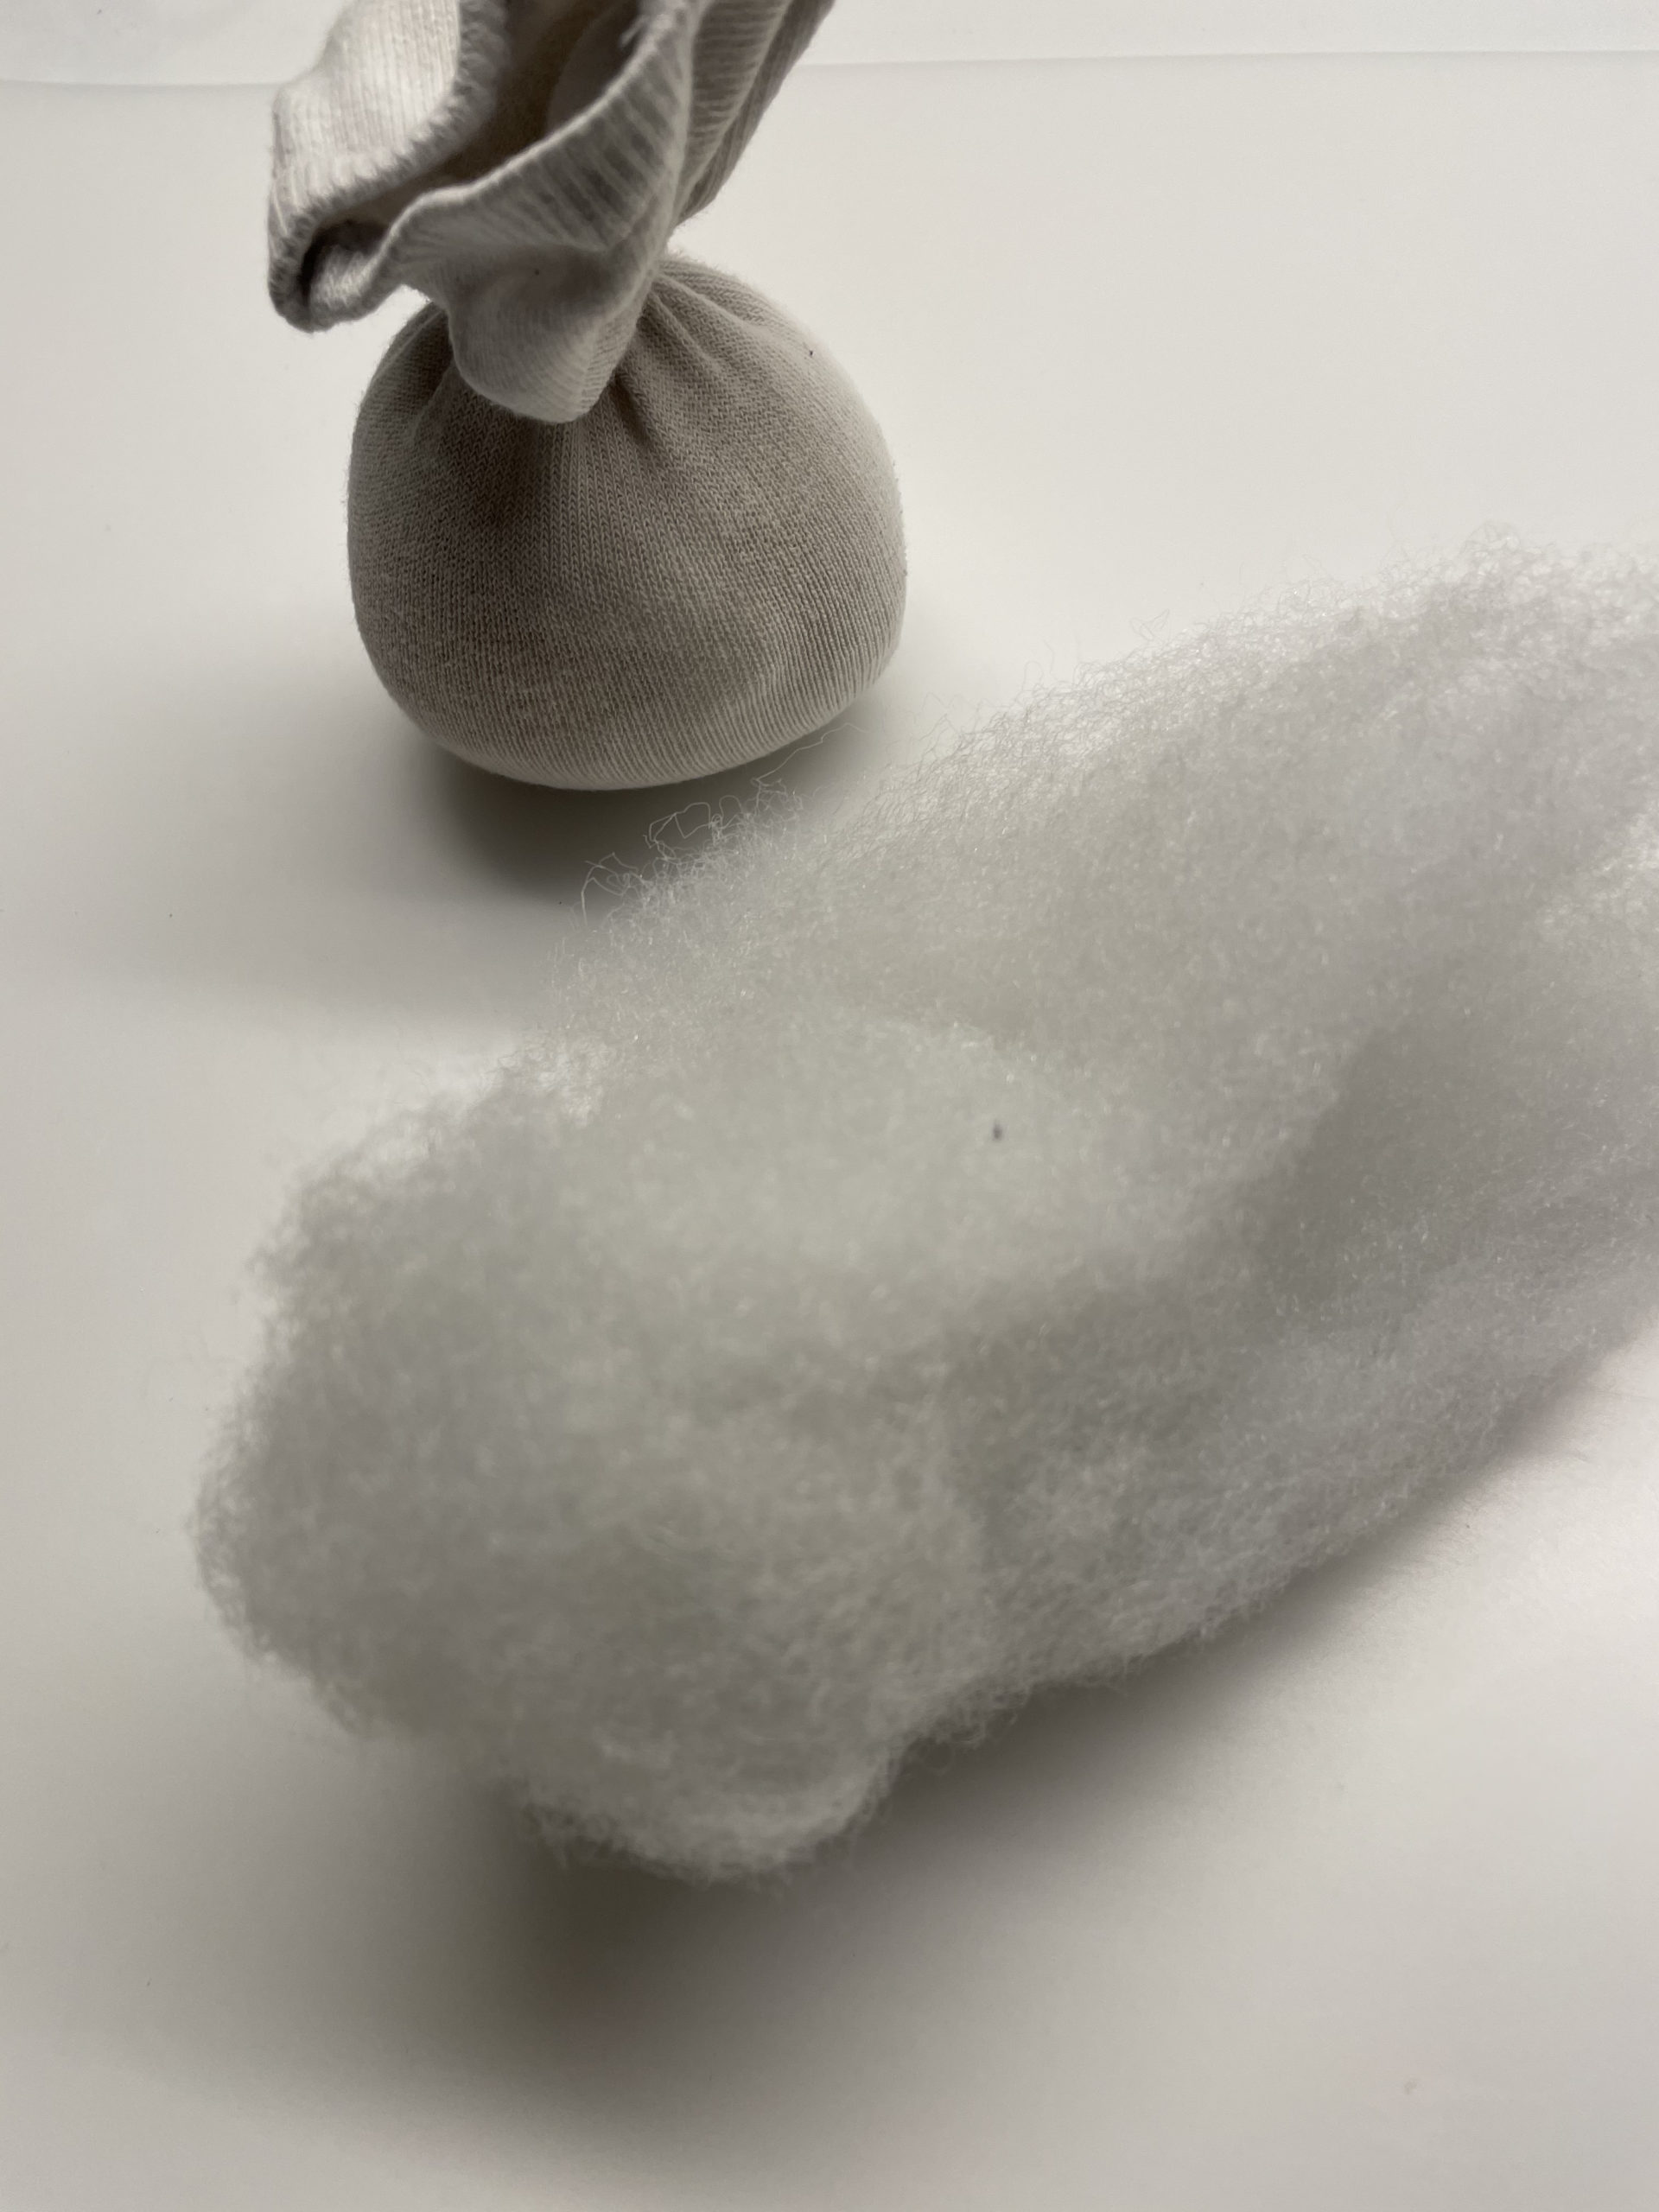
Now take the sock and put the rice bag in the sock.
Now push the rice at the bottom and squeeze the socks over it.
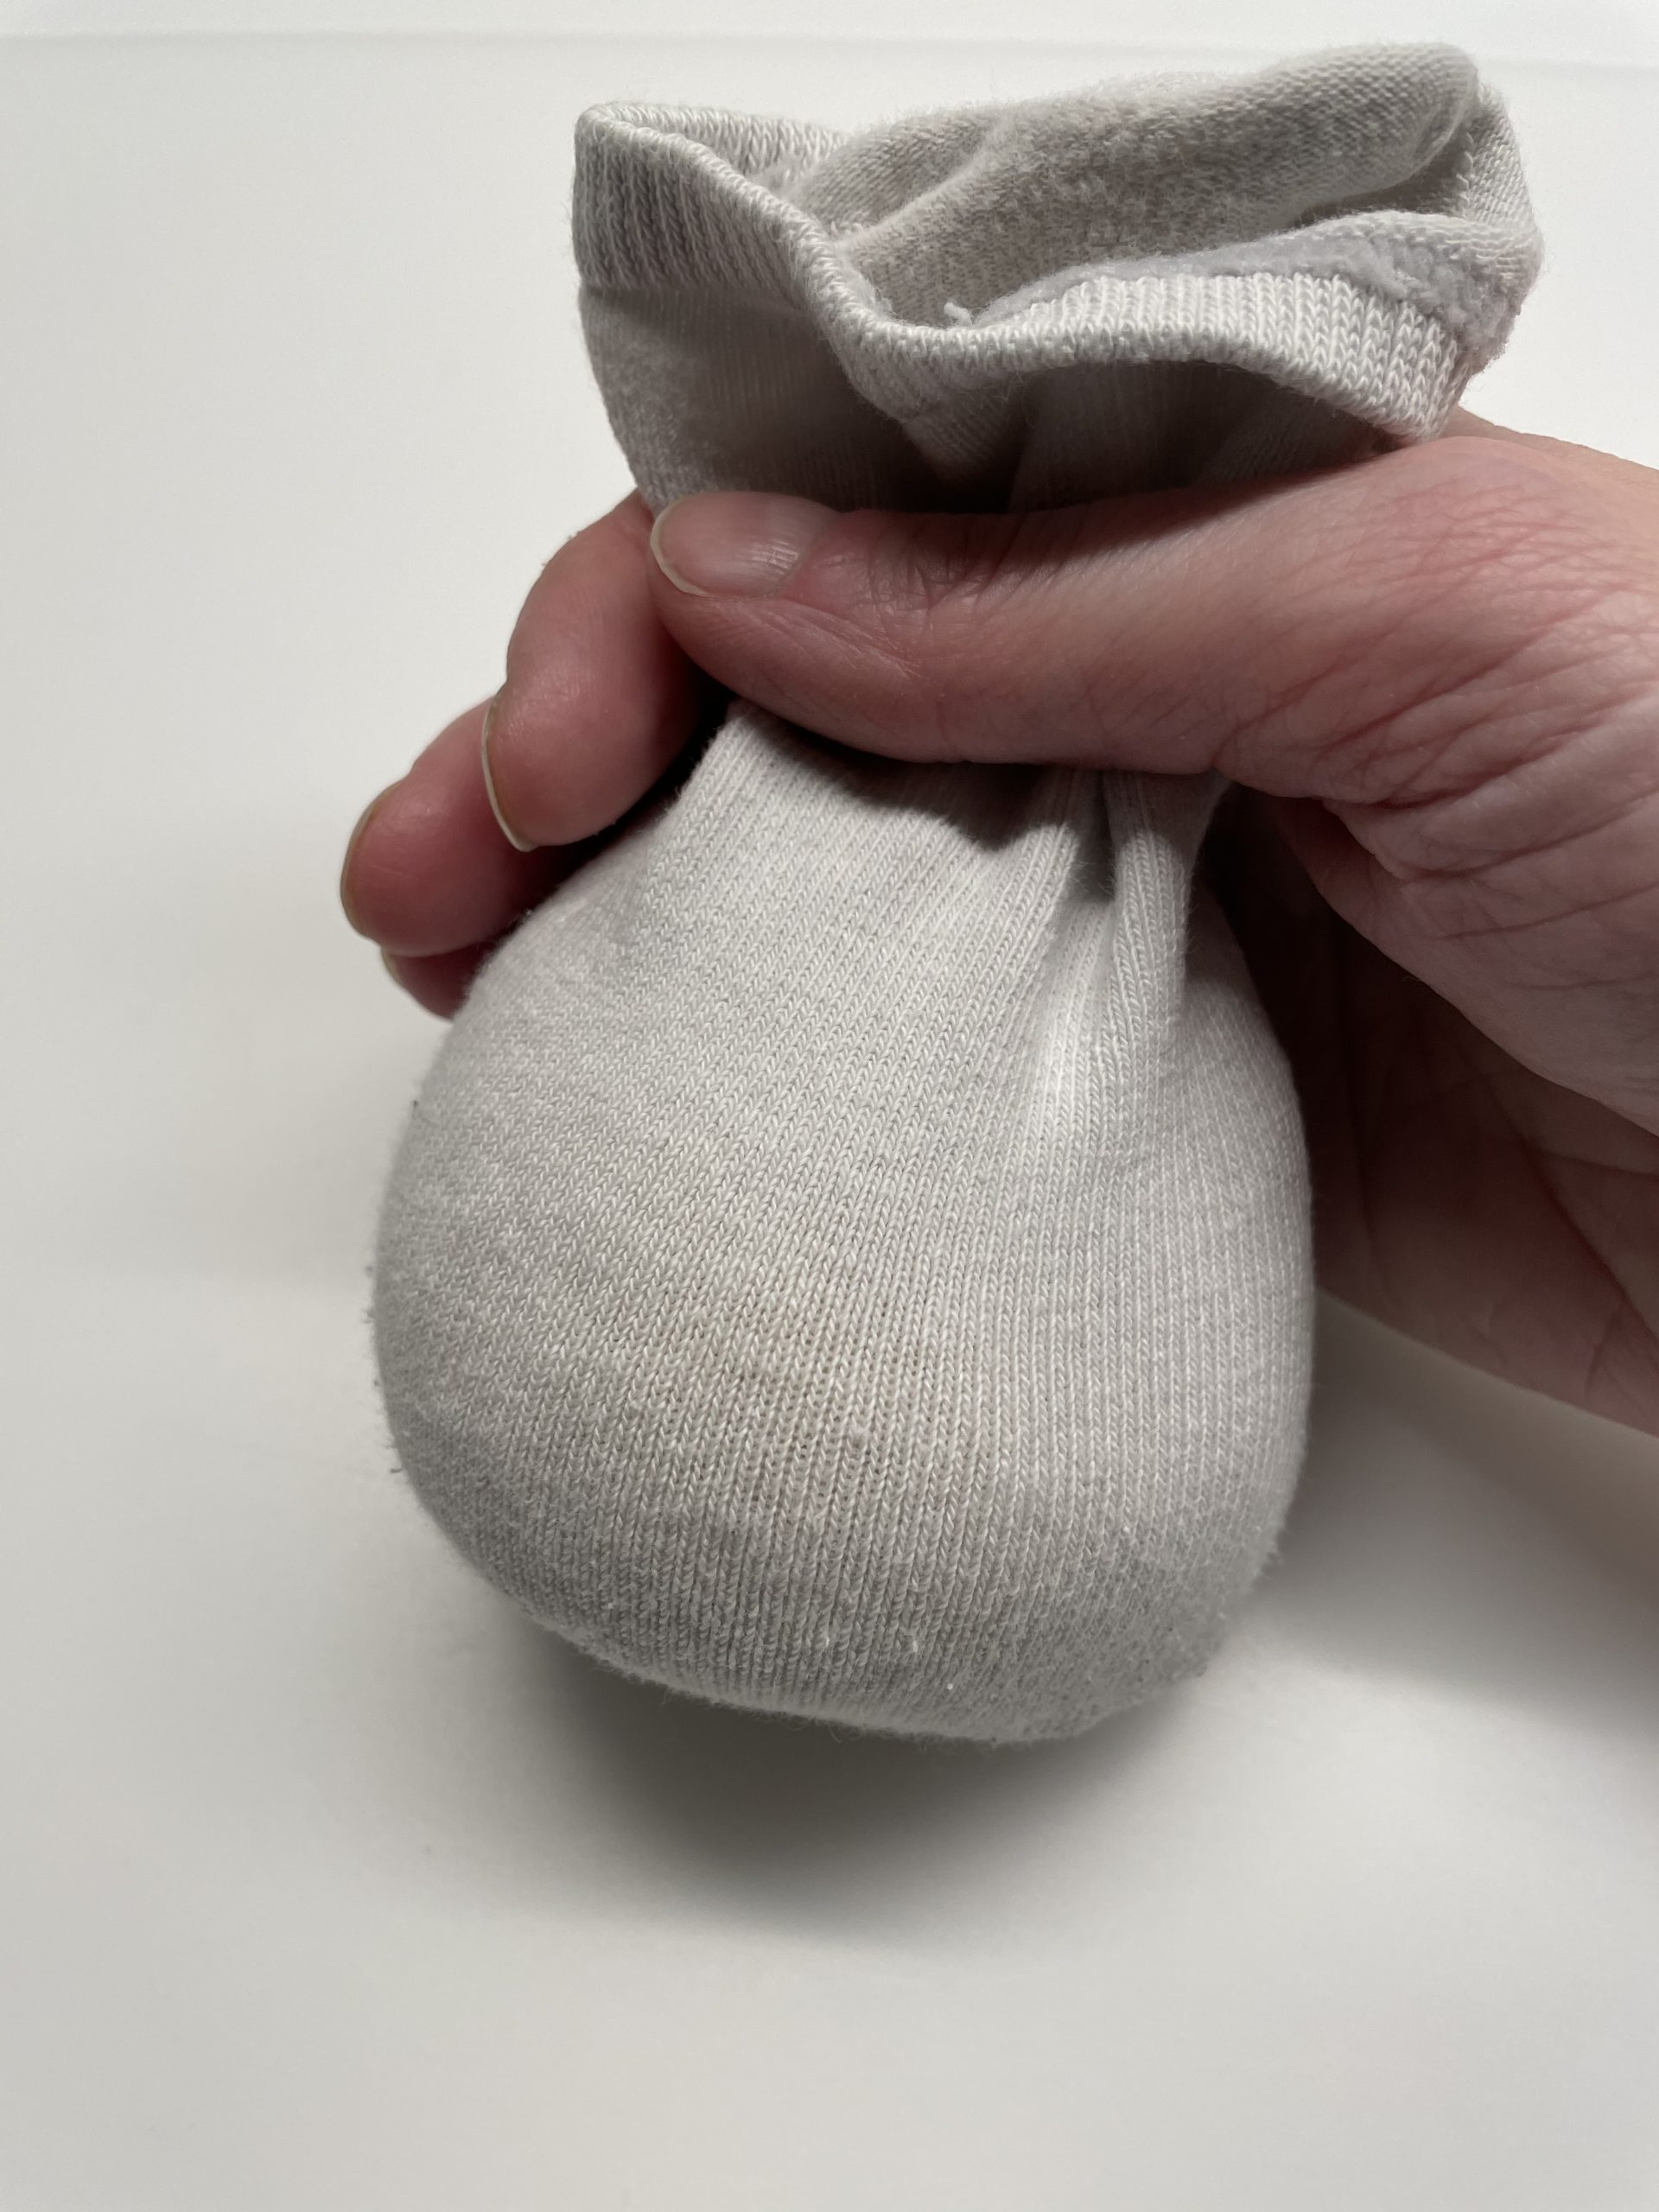
Now you fix the socks with a small household rubber. Place them tightly around, so that a ball is created.
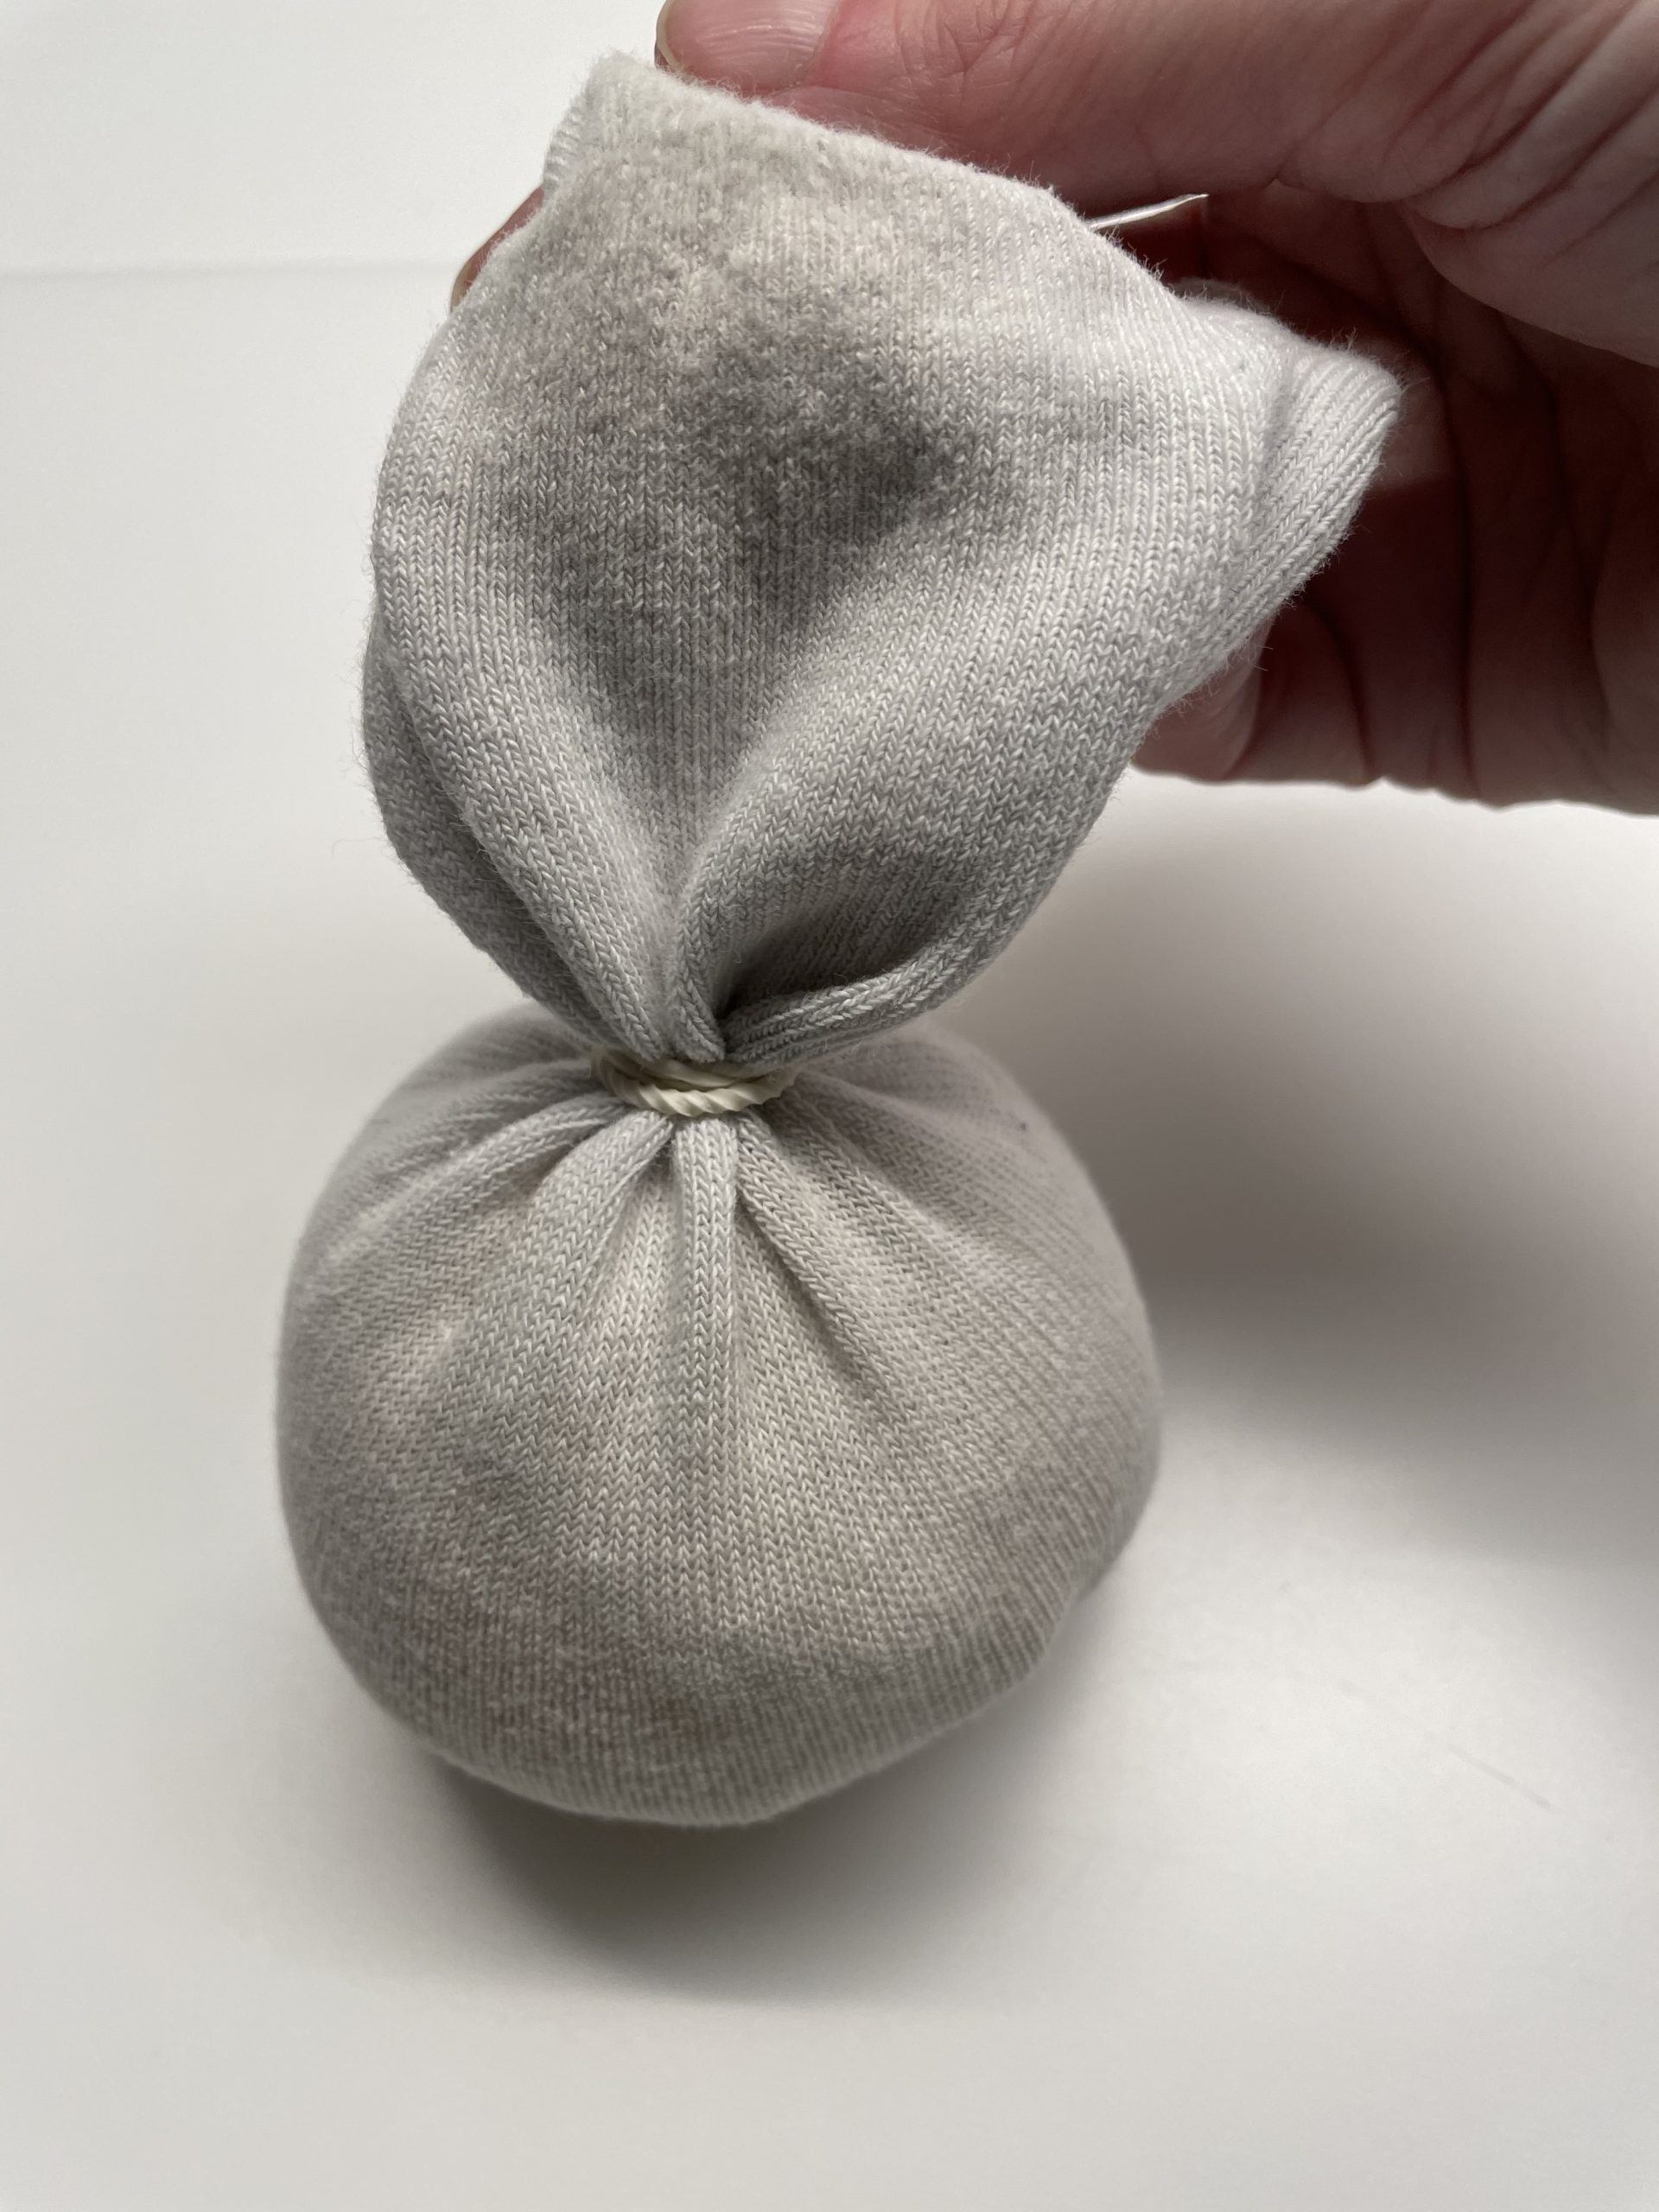
Now you put the cotton wool in the sock, on the first ball and form the second ball from it. Make sure that the second ball is filled round and plump.
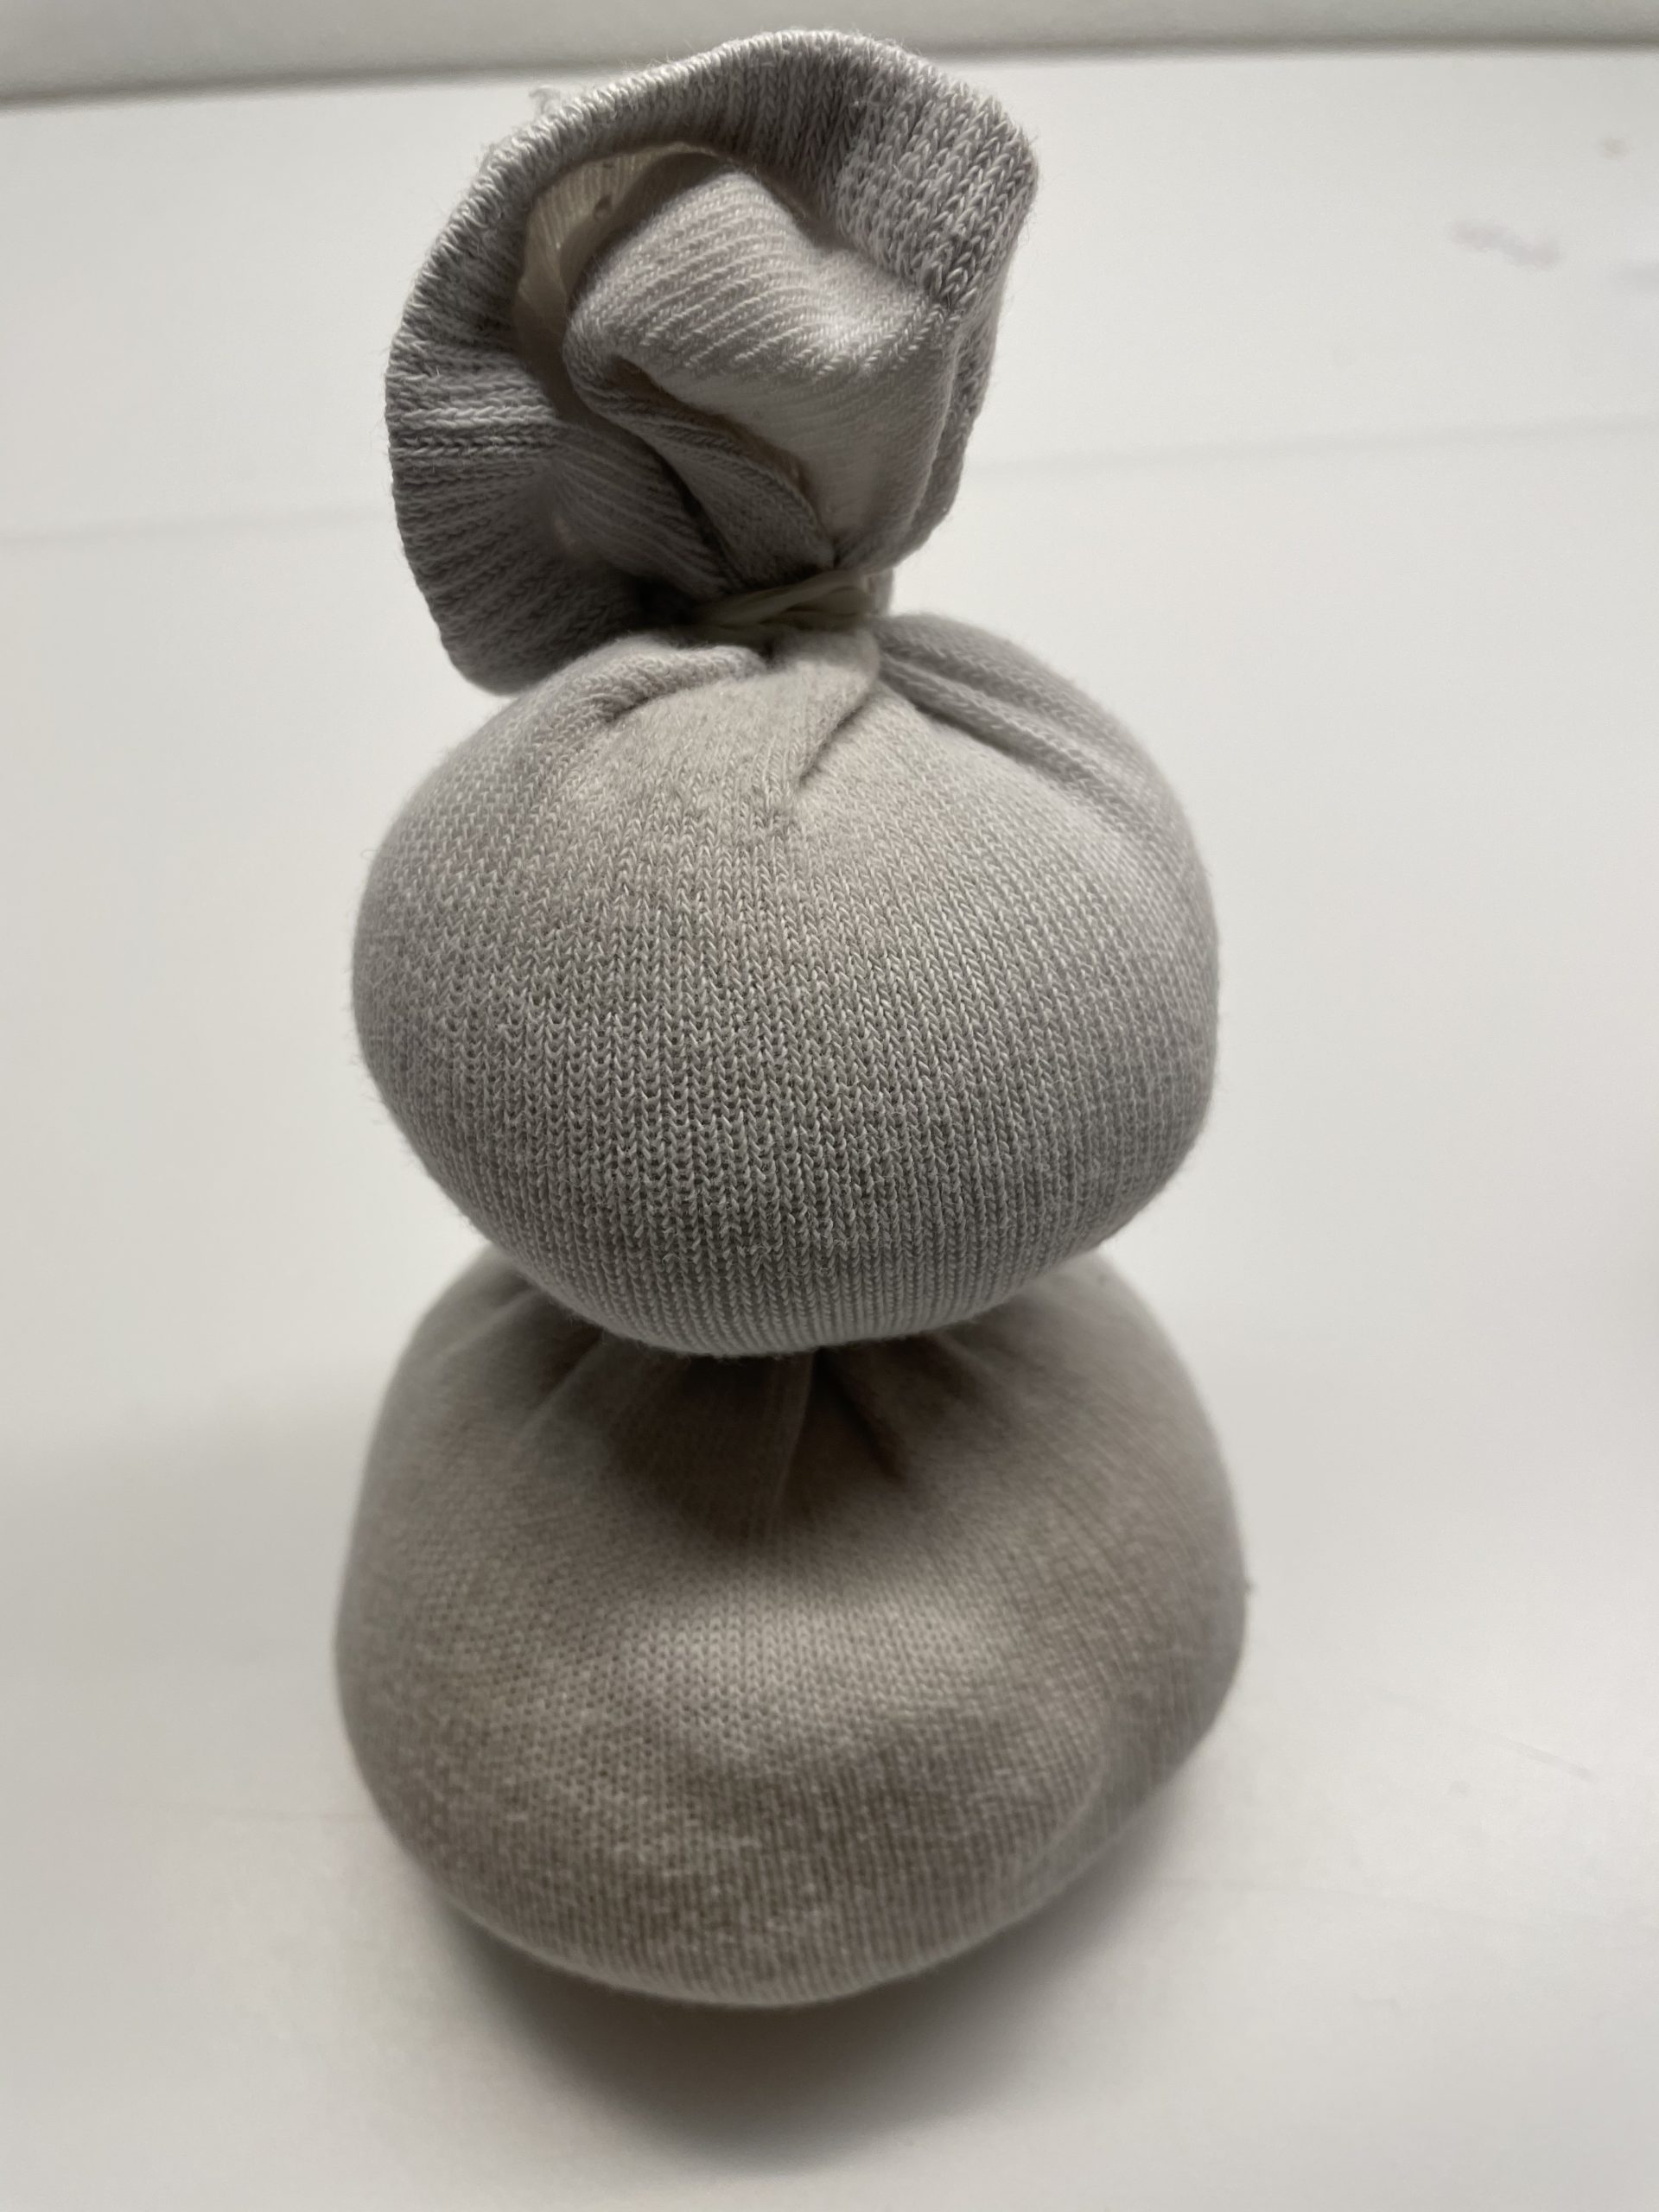
Press the socks on the top tightly and close the second ball with a household rubber as well.

Upstairs a small piece of the sock stands still. This piece you need, since hat or cap so much more hold to get.
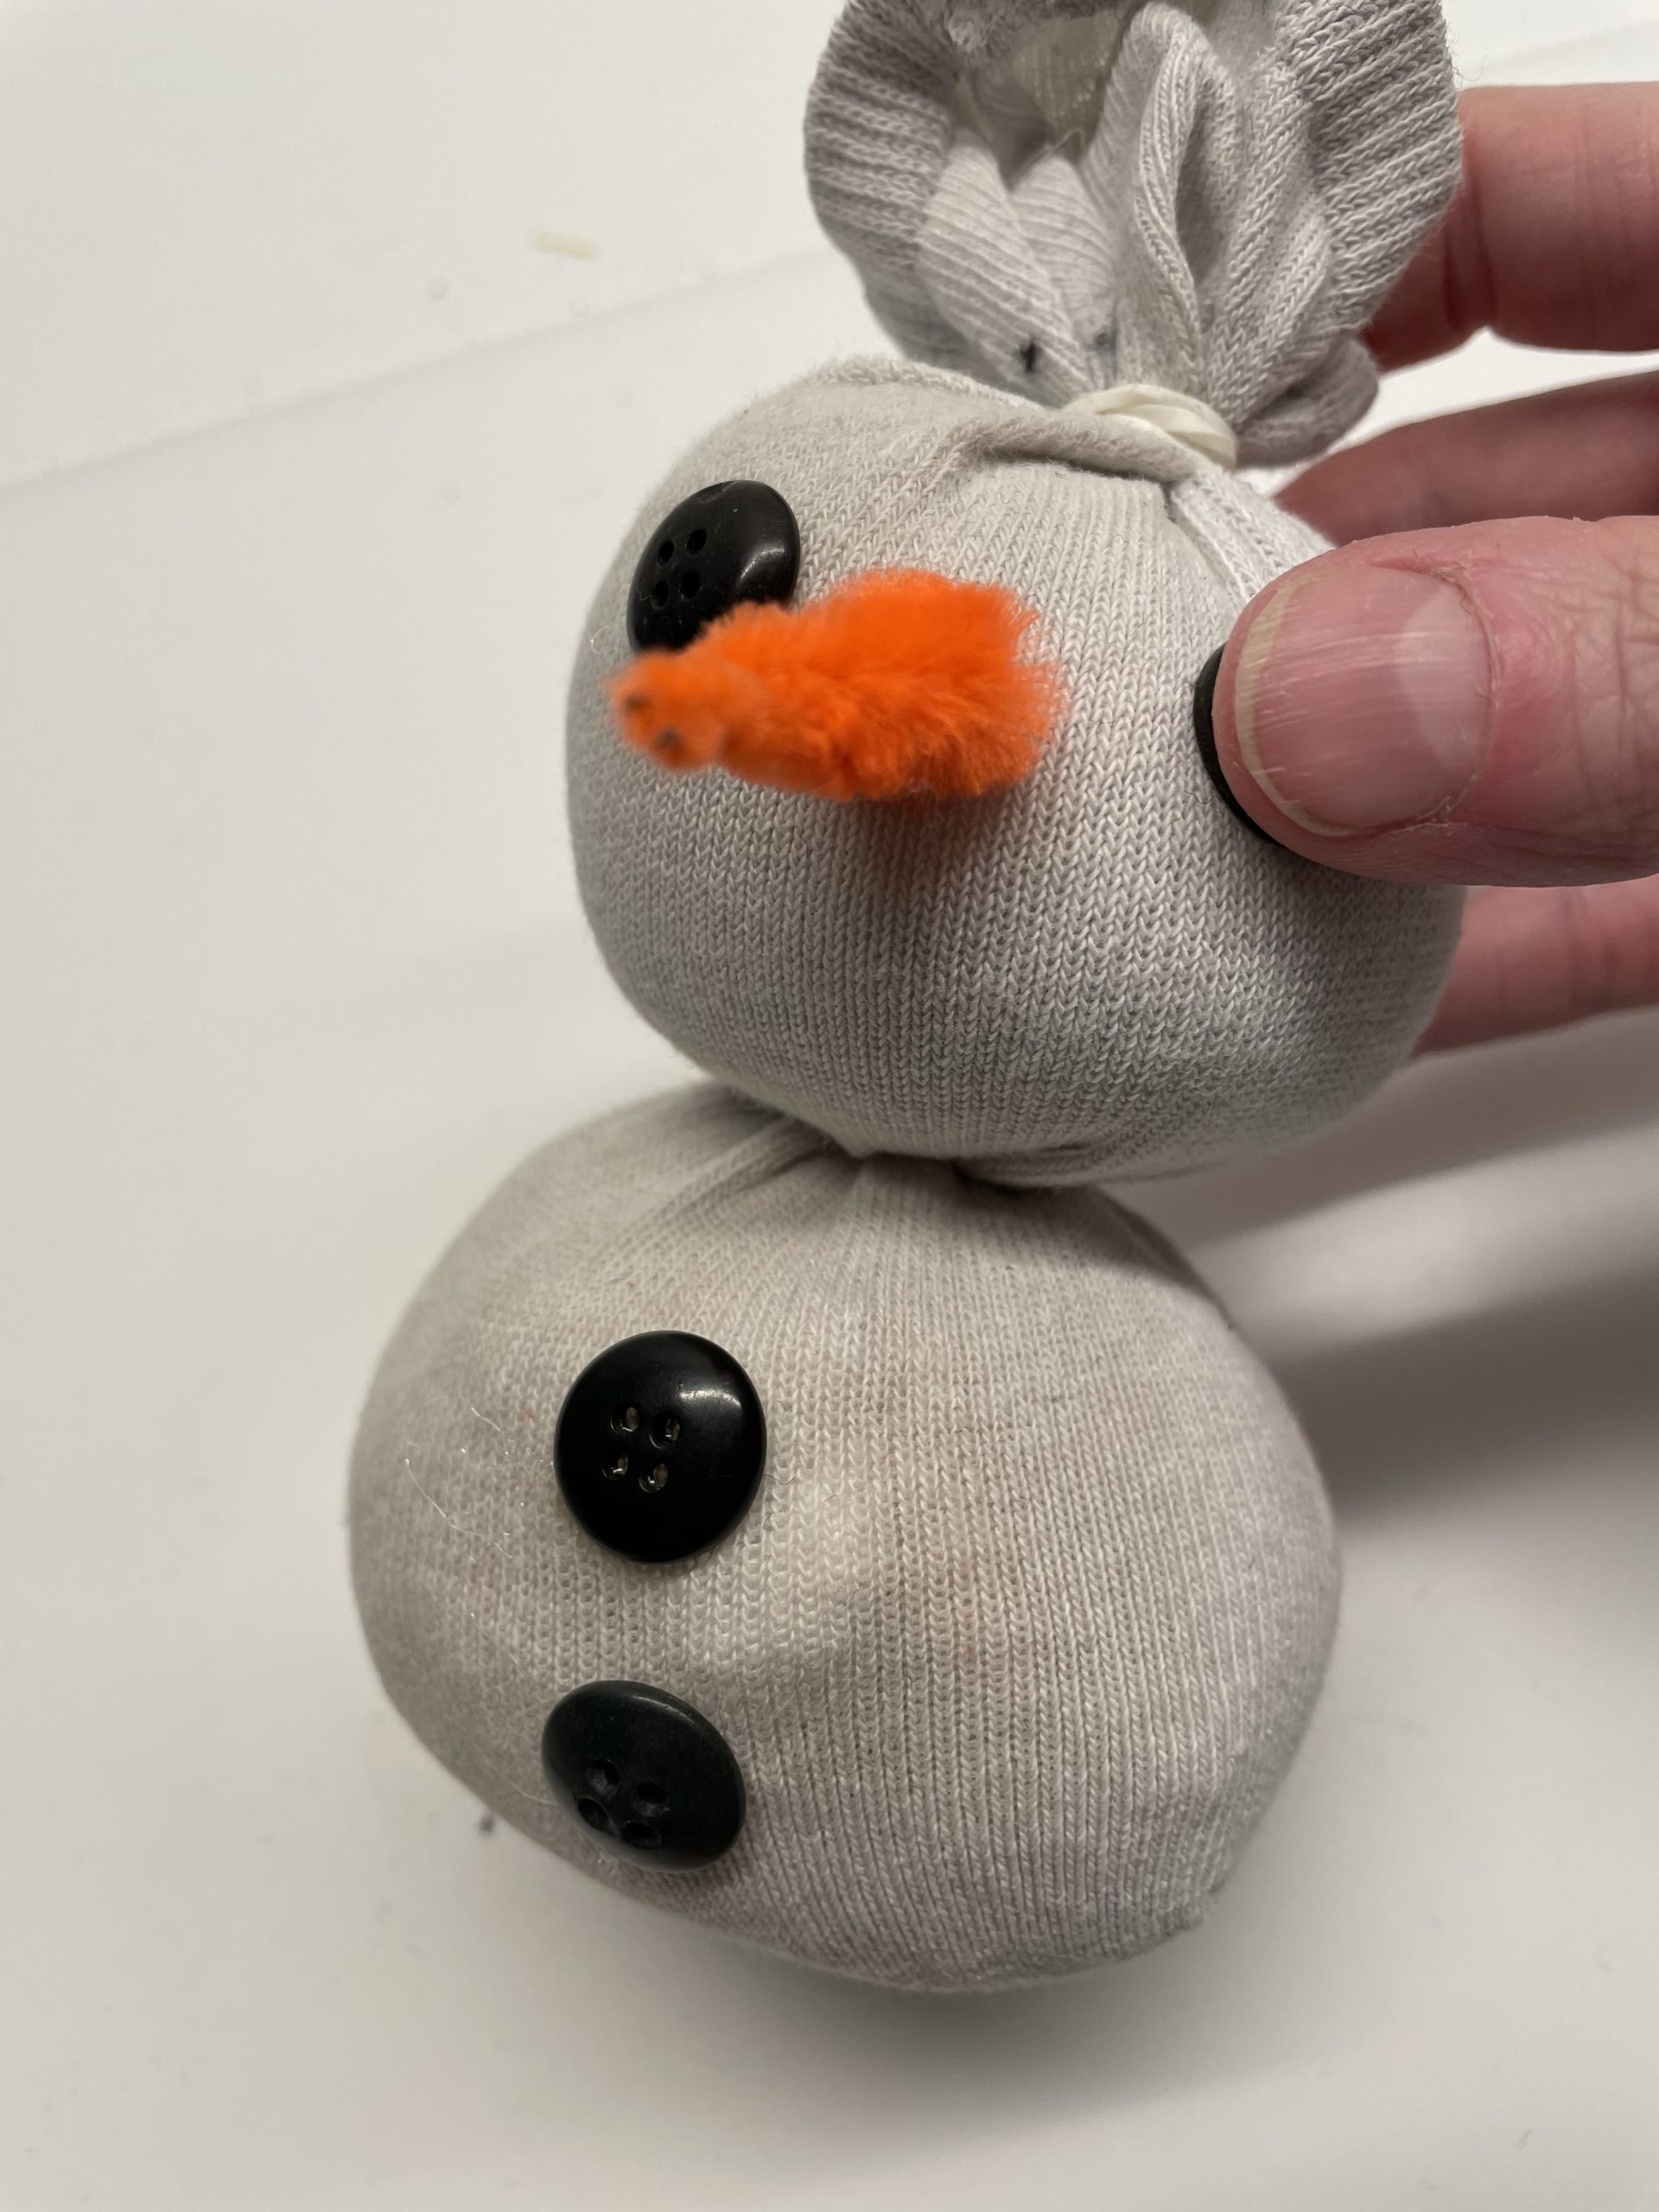
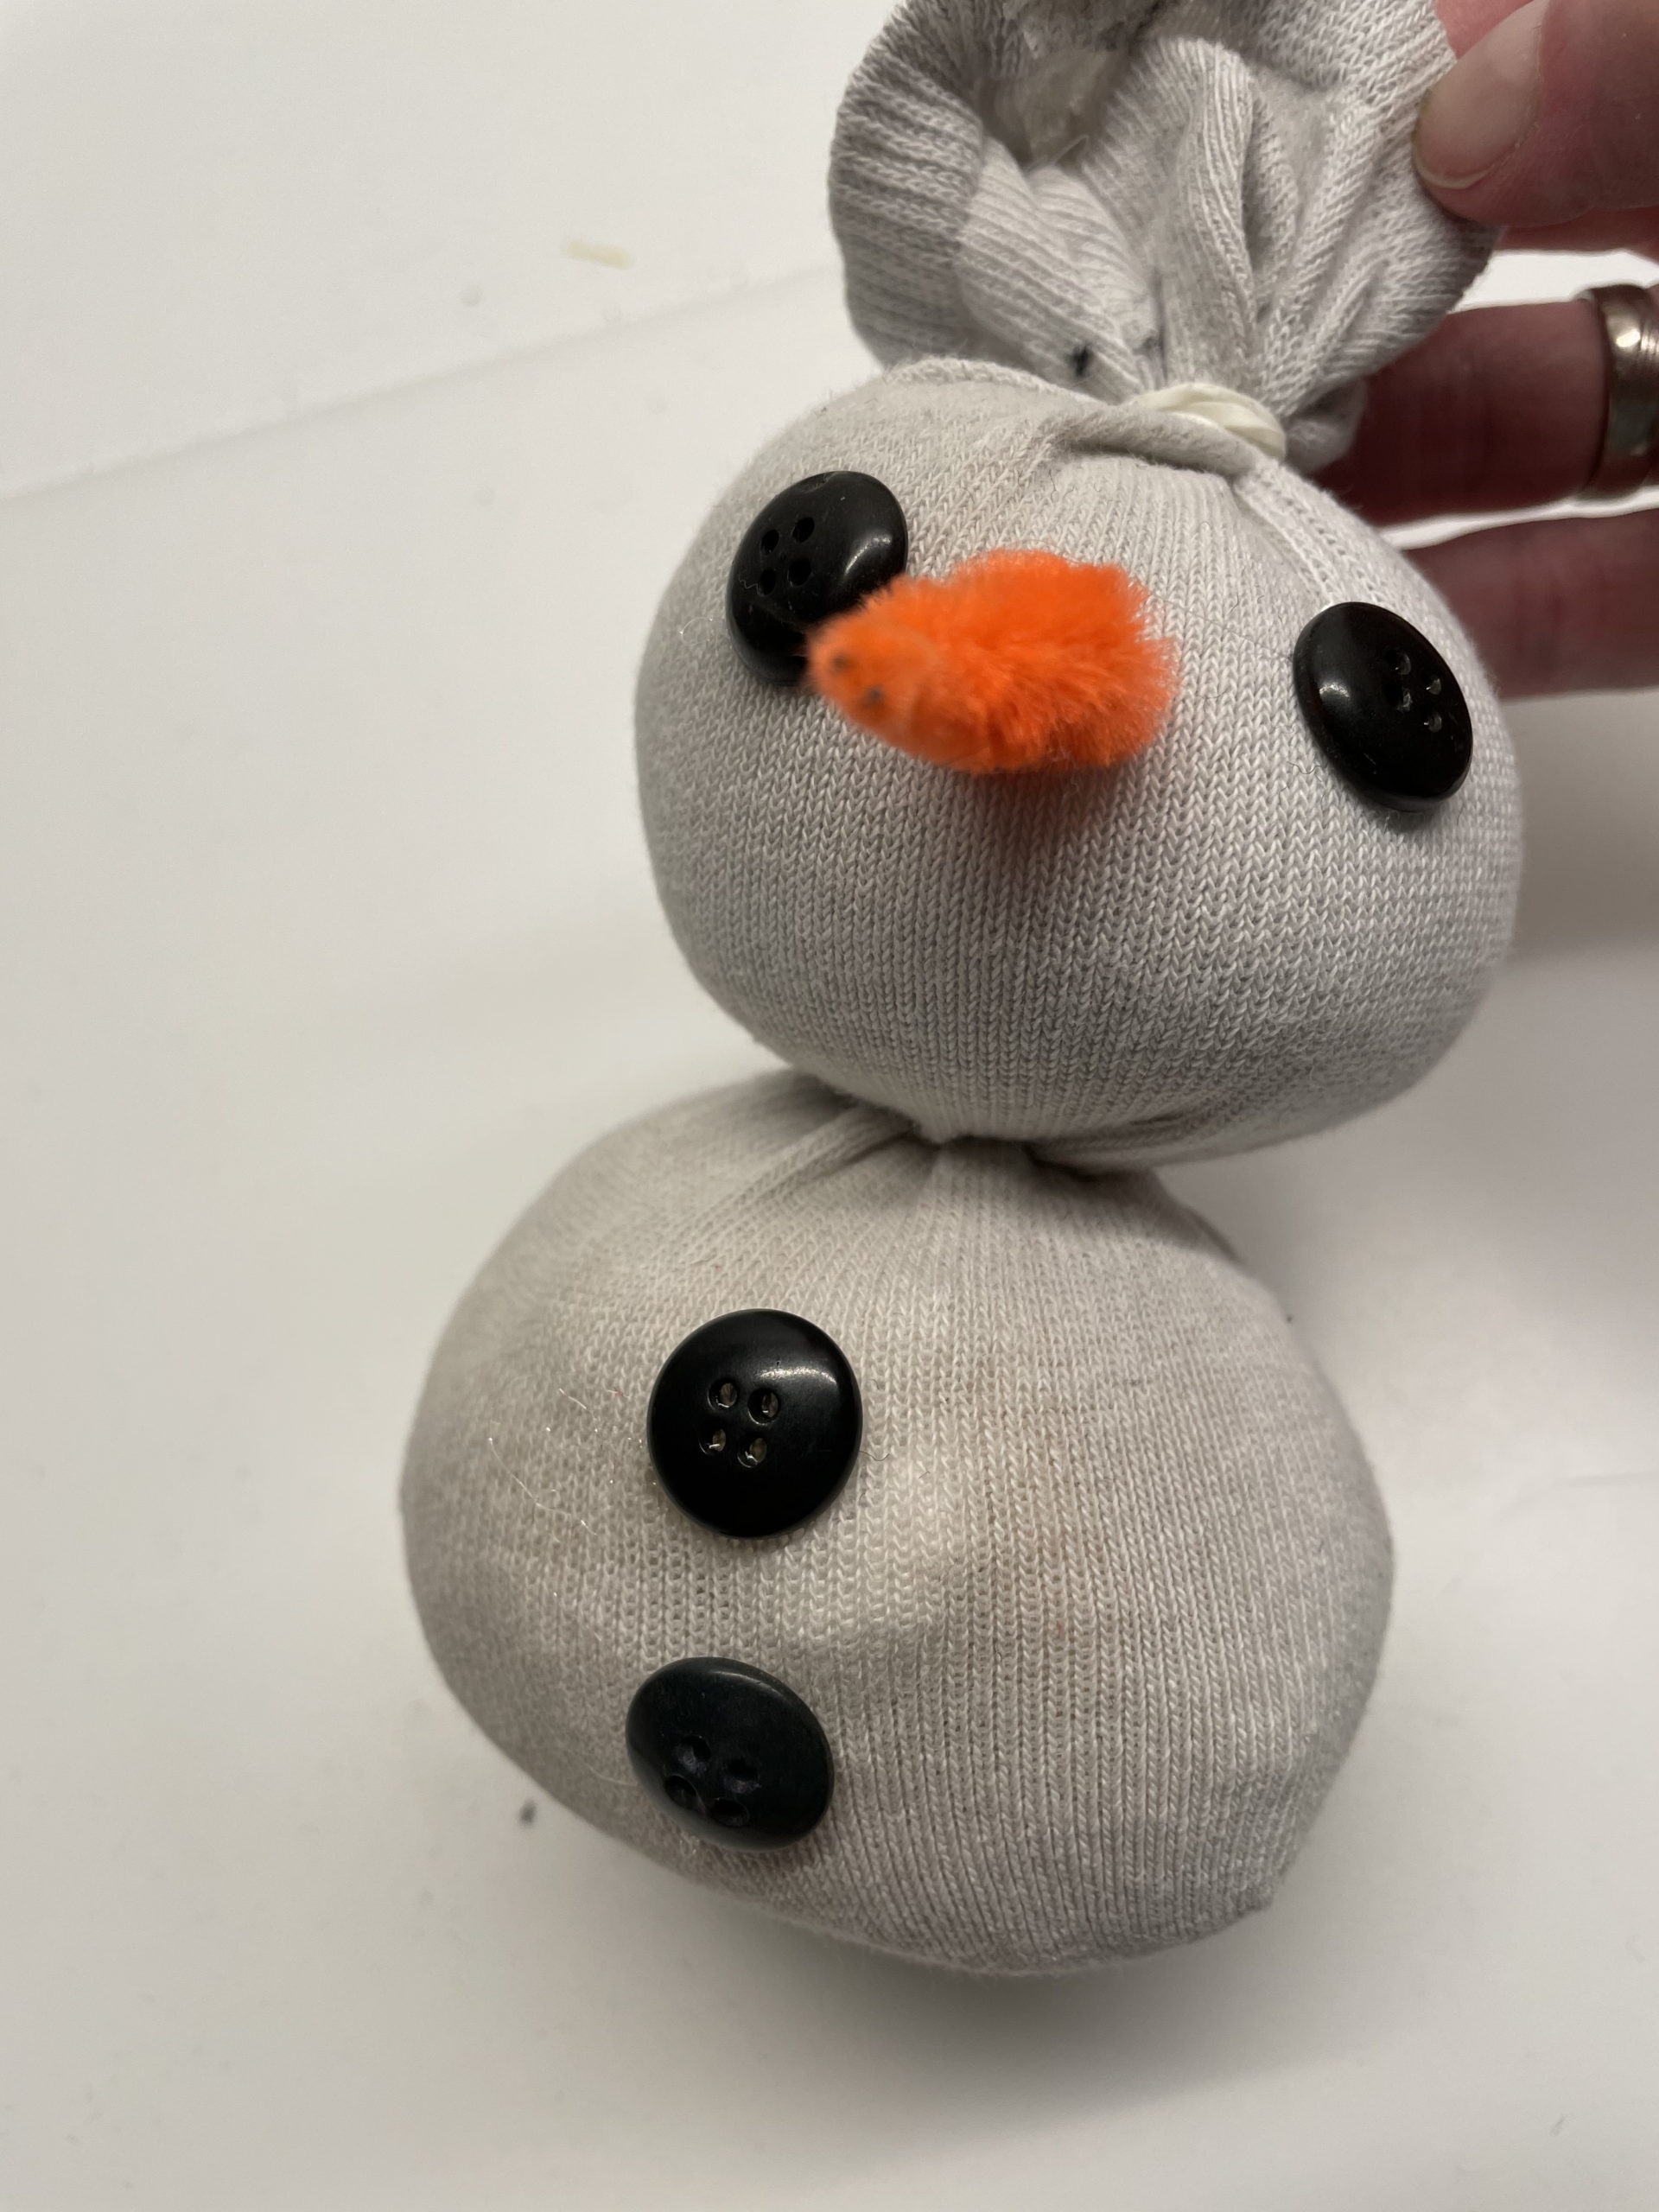
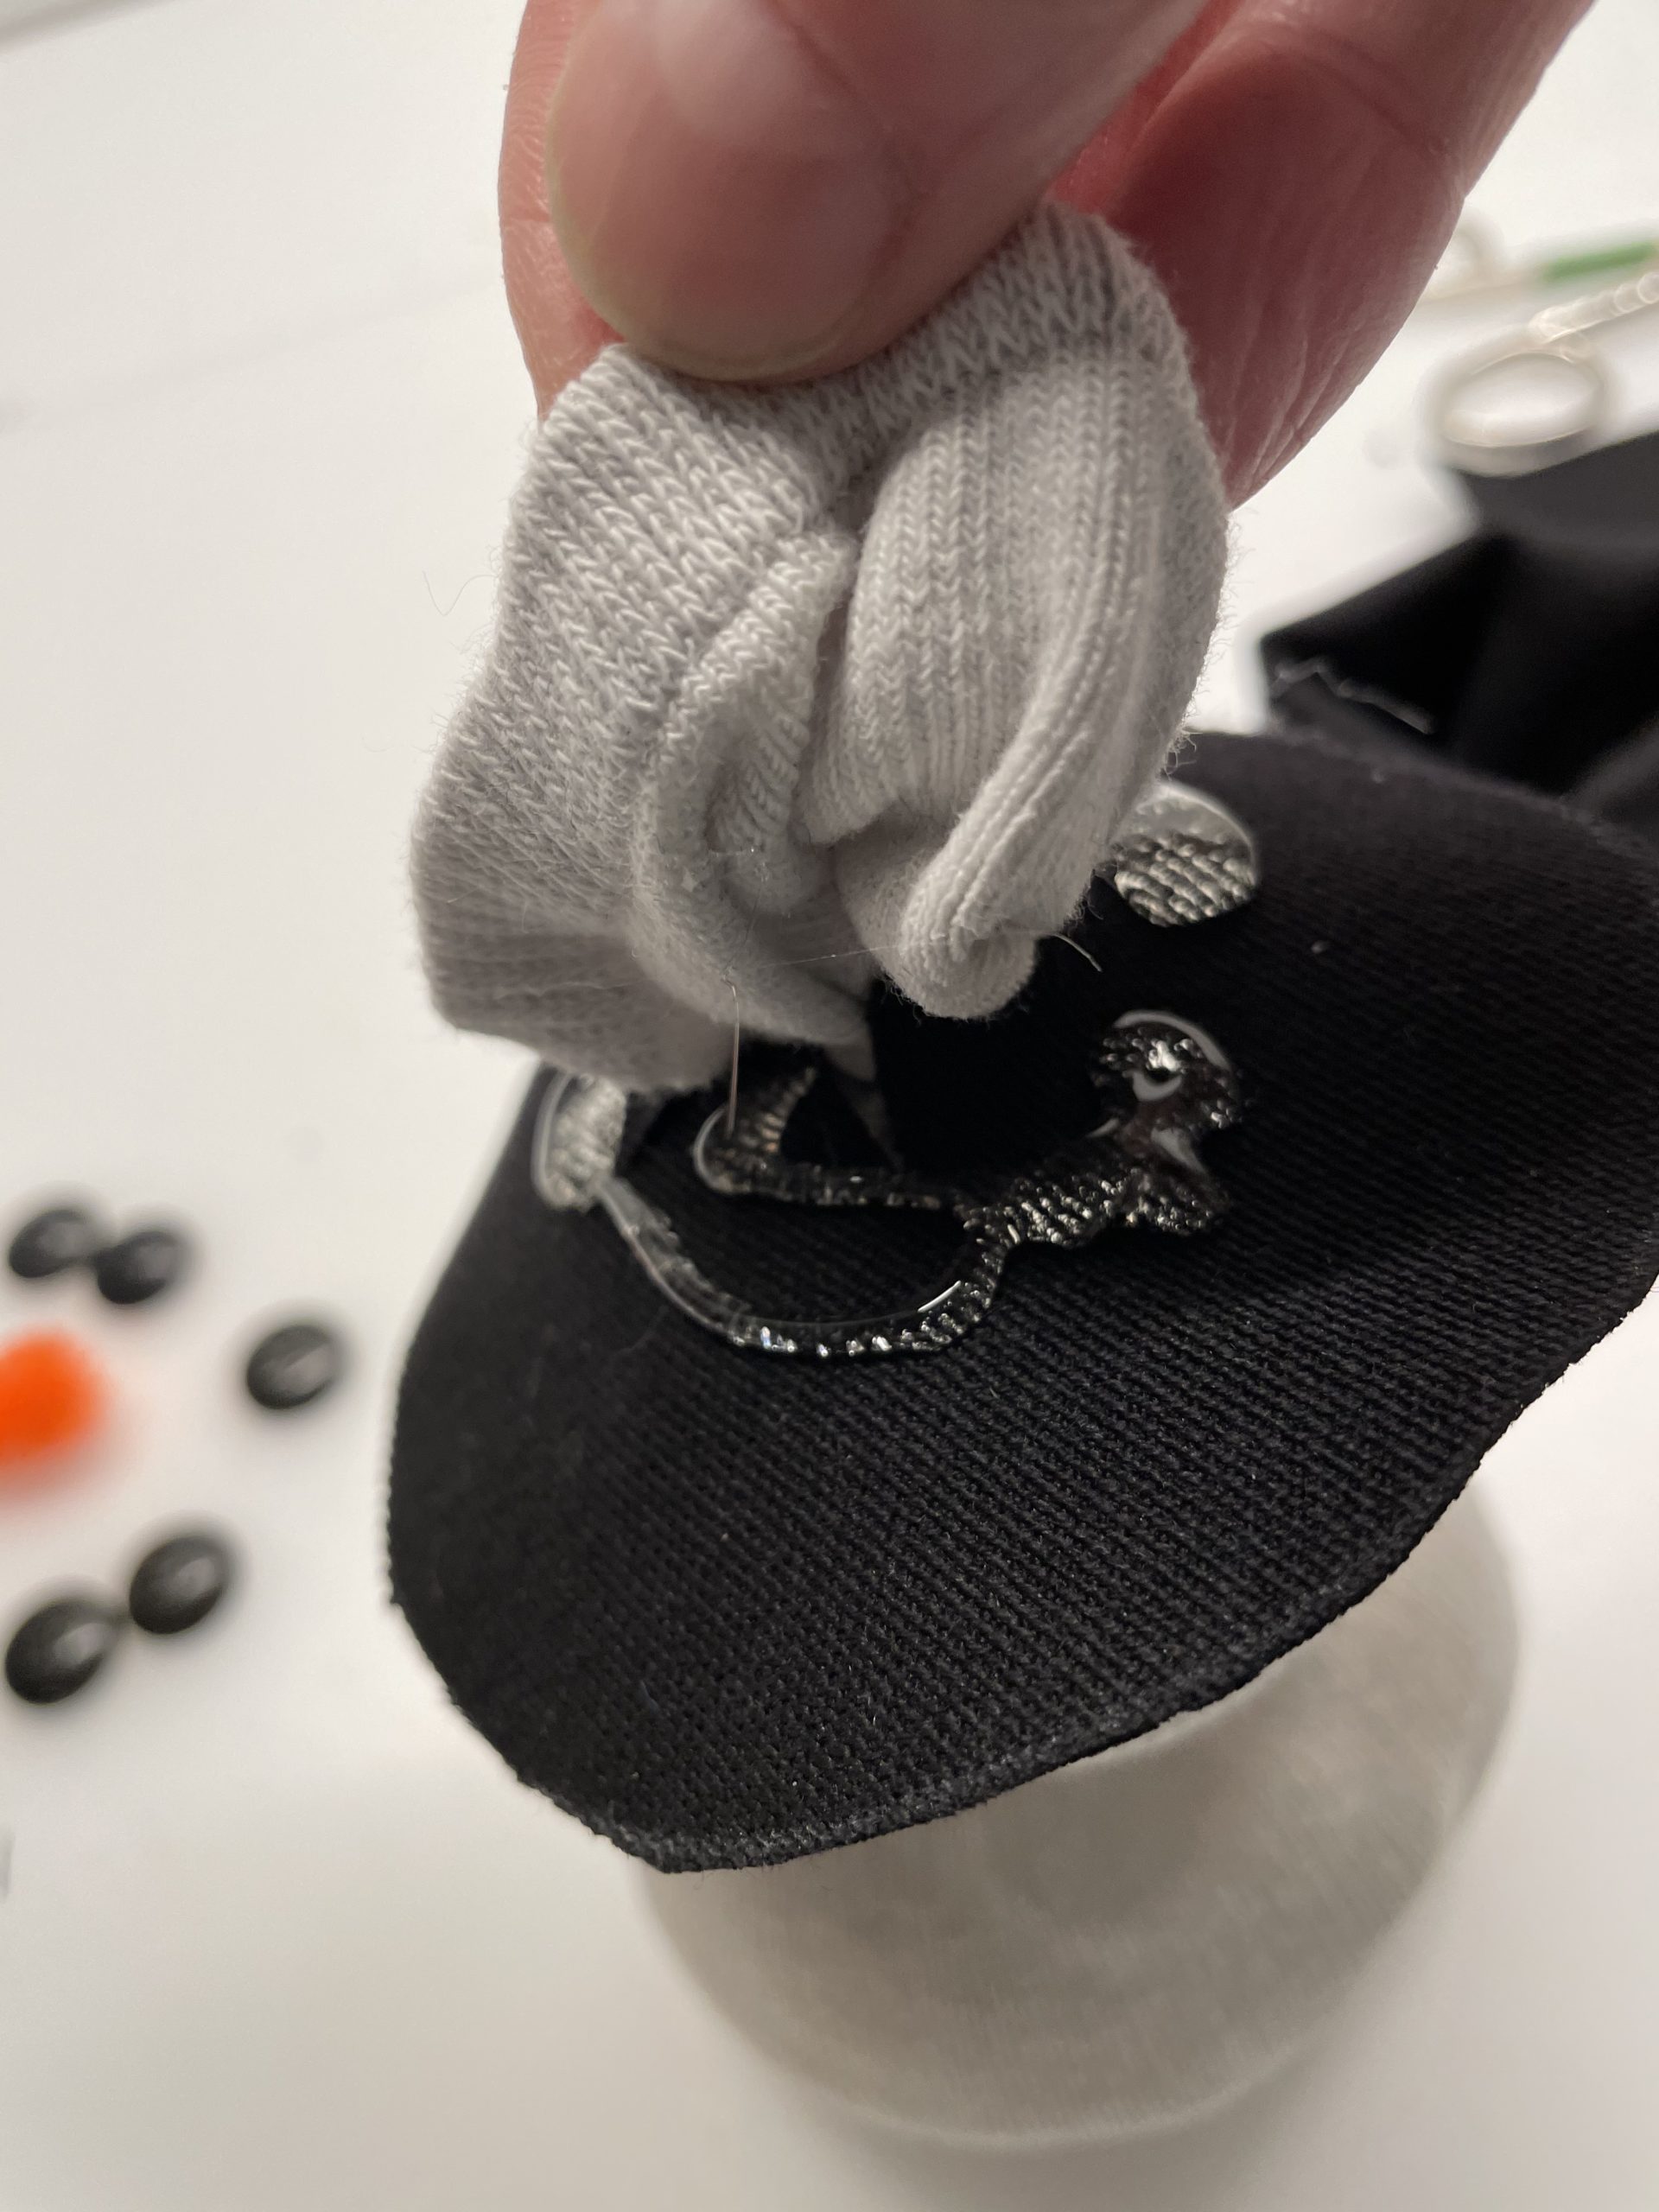
Now you're sticking your eyes and buttons on the snowman.
Then you bend the orange pipe cleaner into the shape of a carrot.
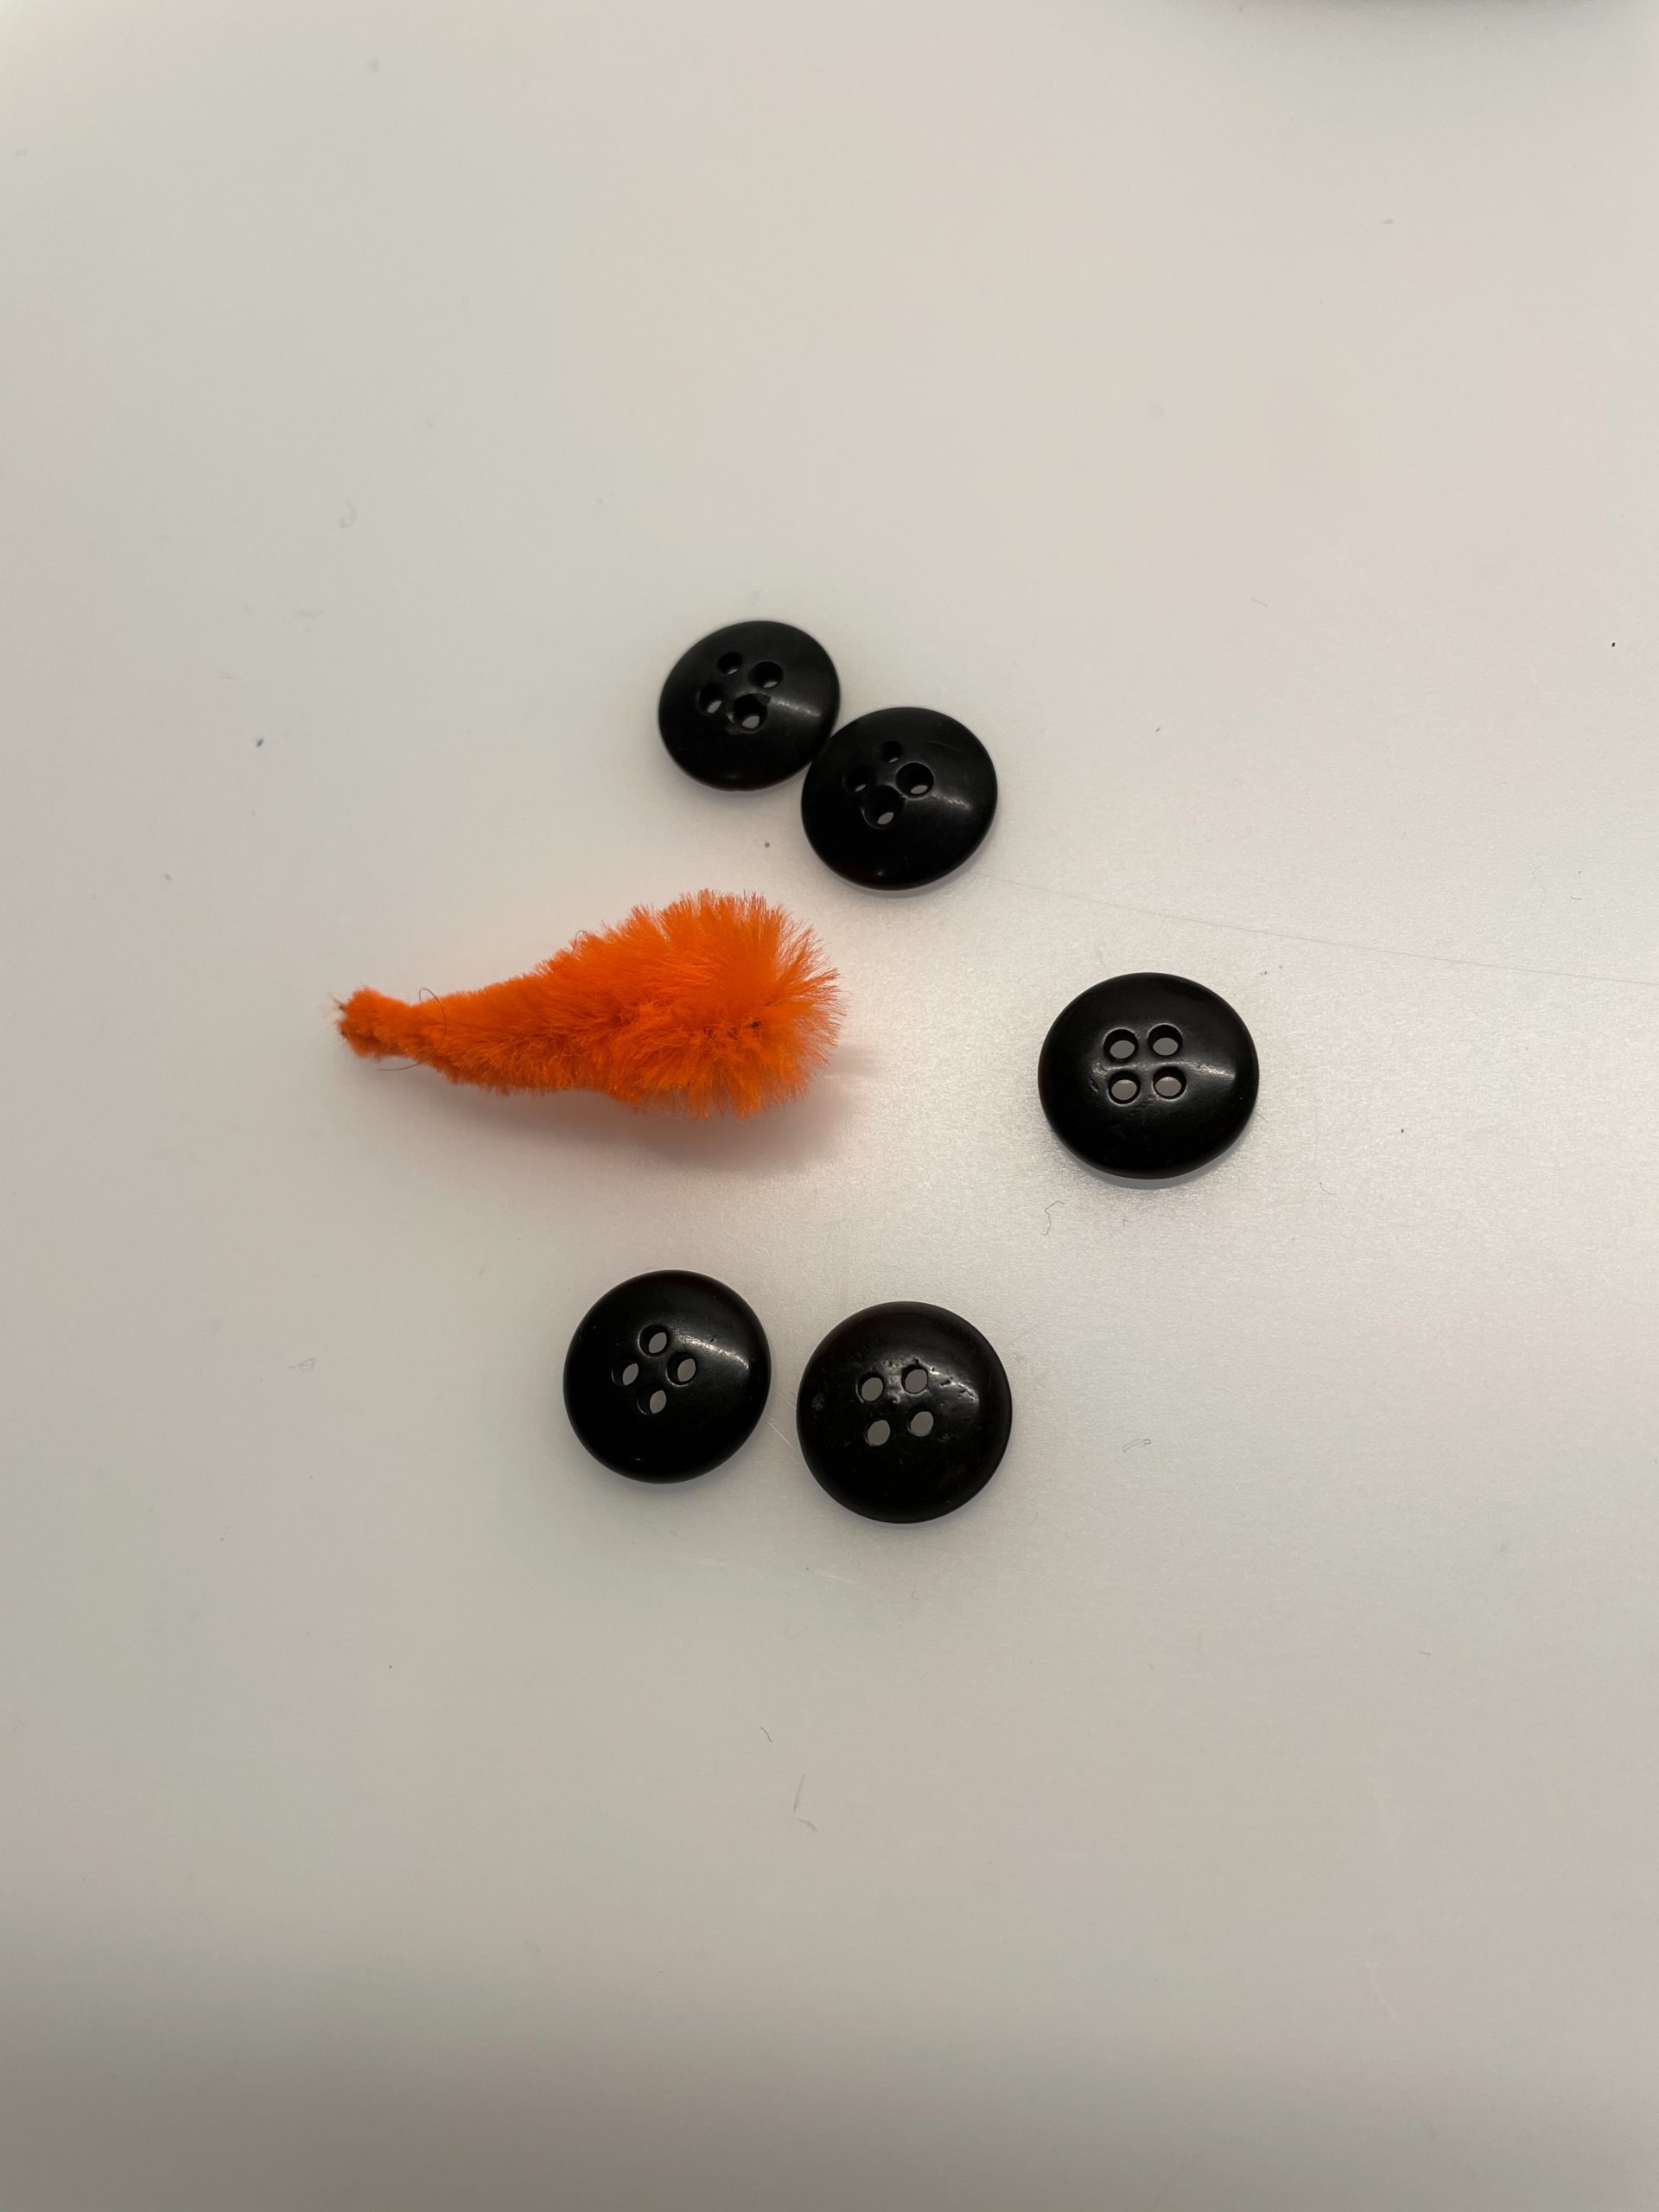
Then stick her nose on. Use the hot glue for this.
Attention: Let an adult help you with this - risk of injury!
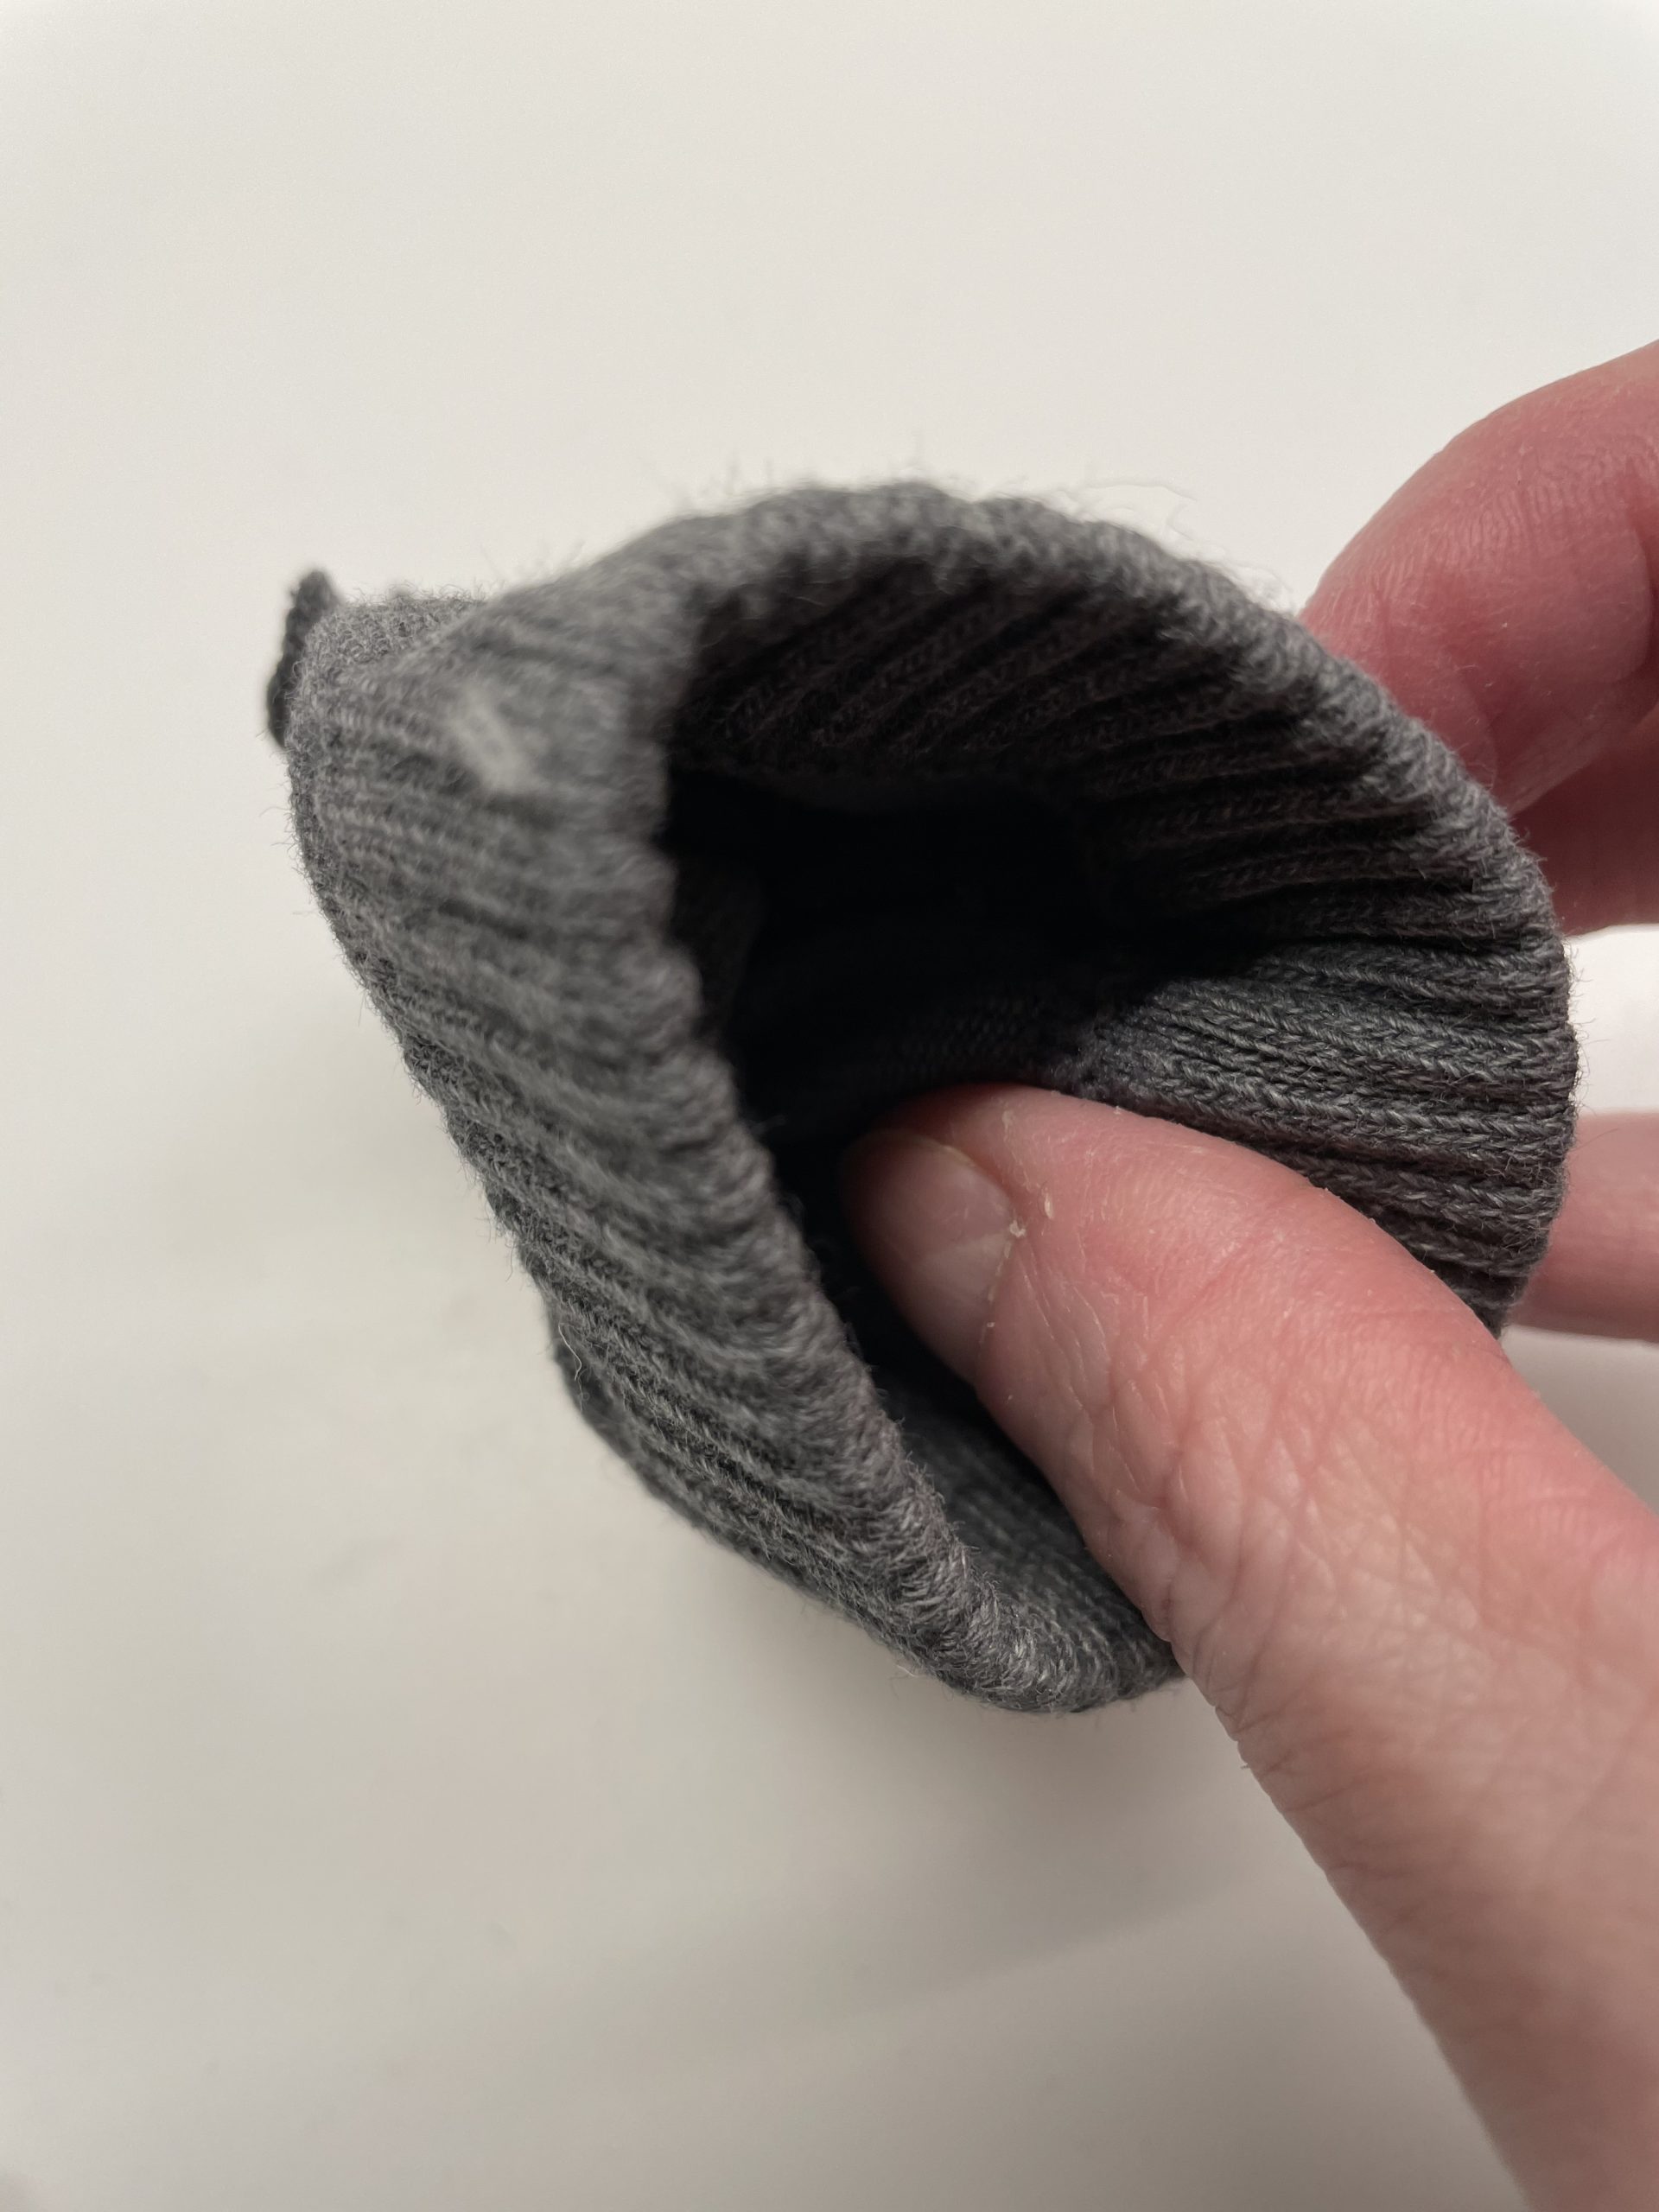
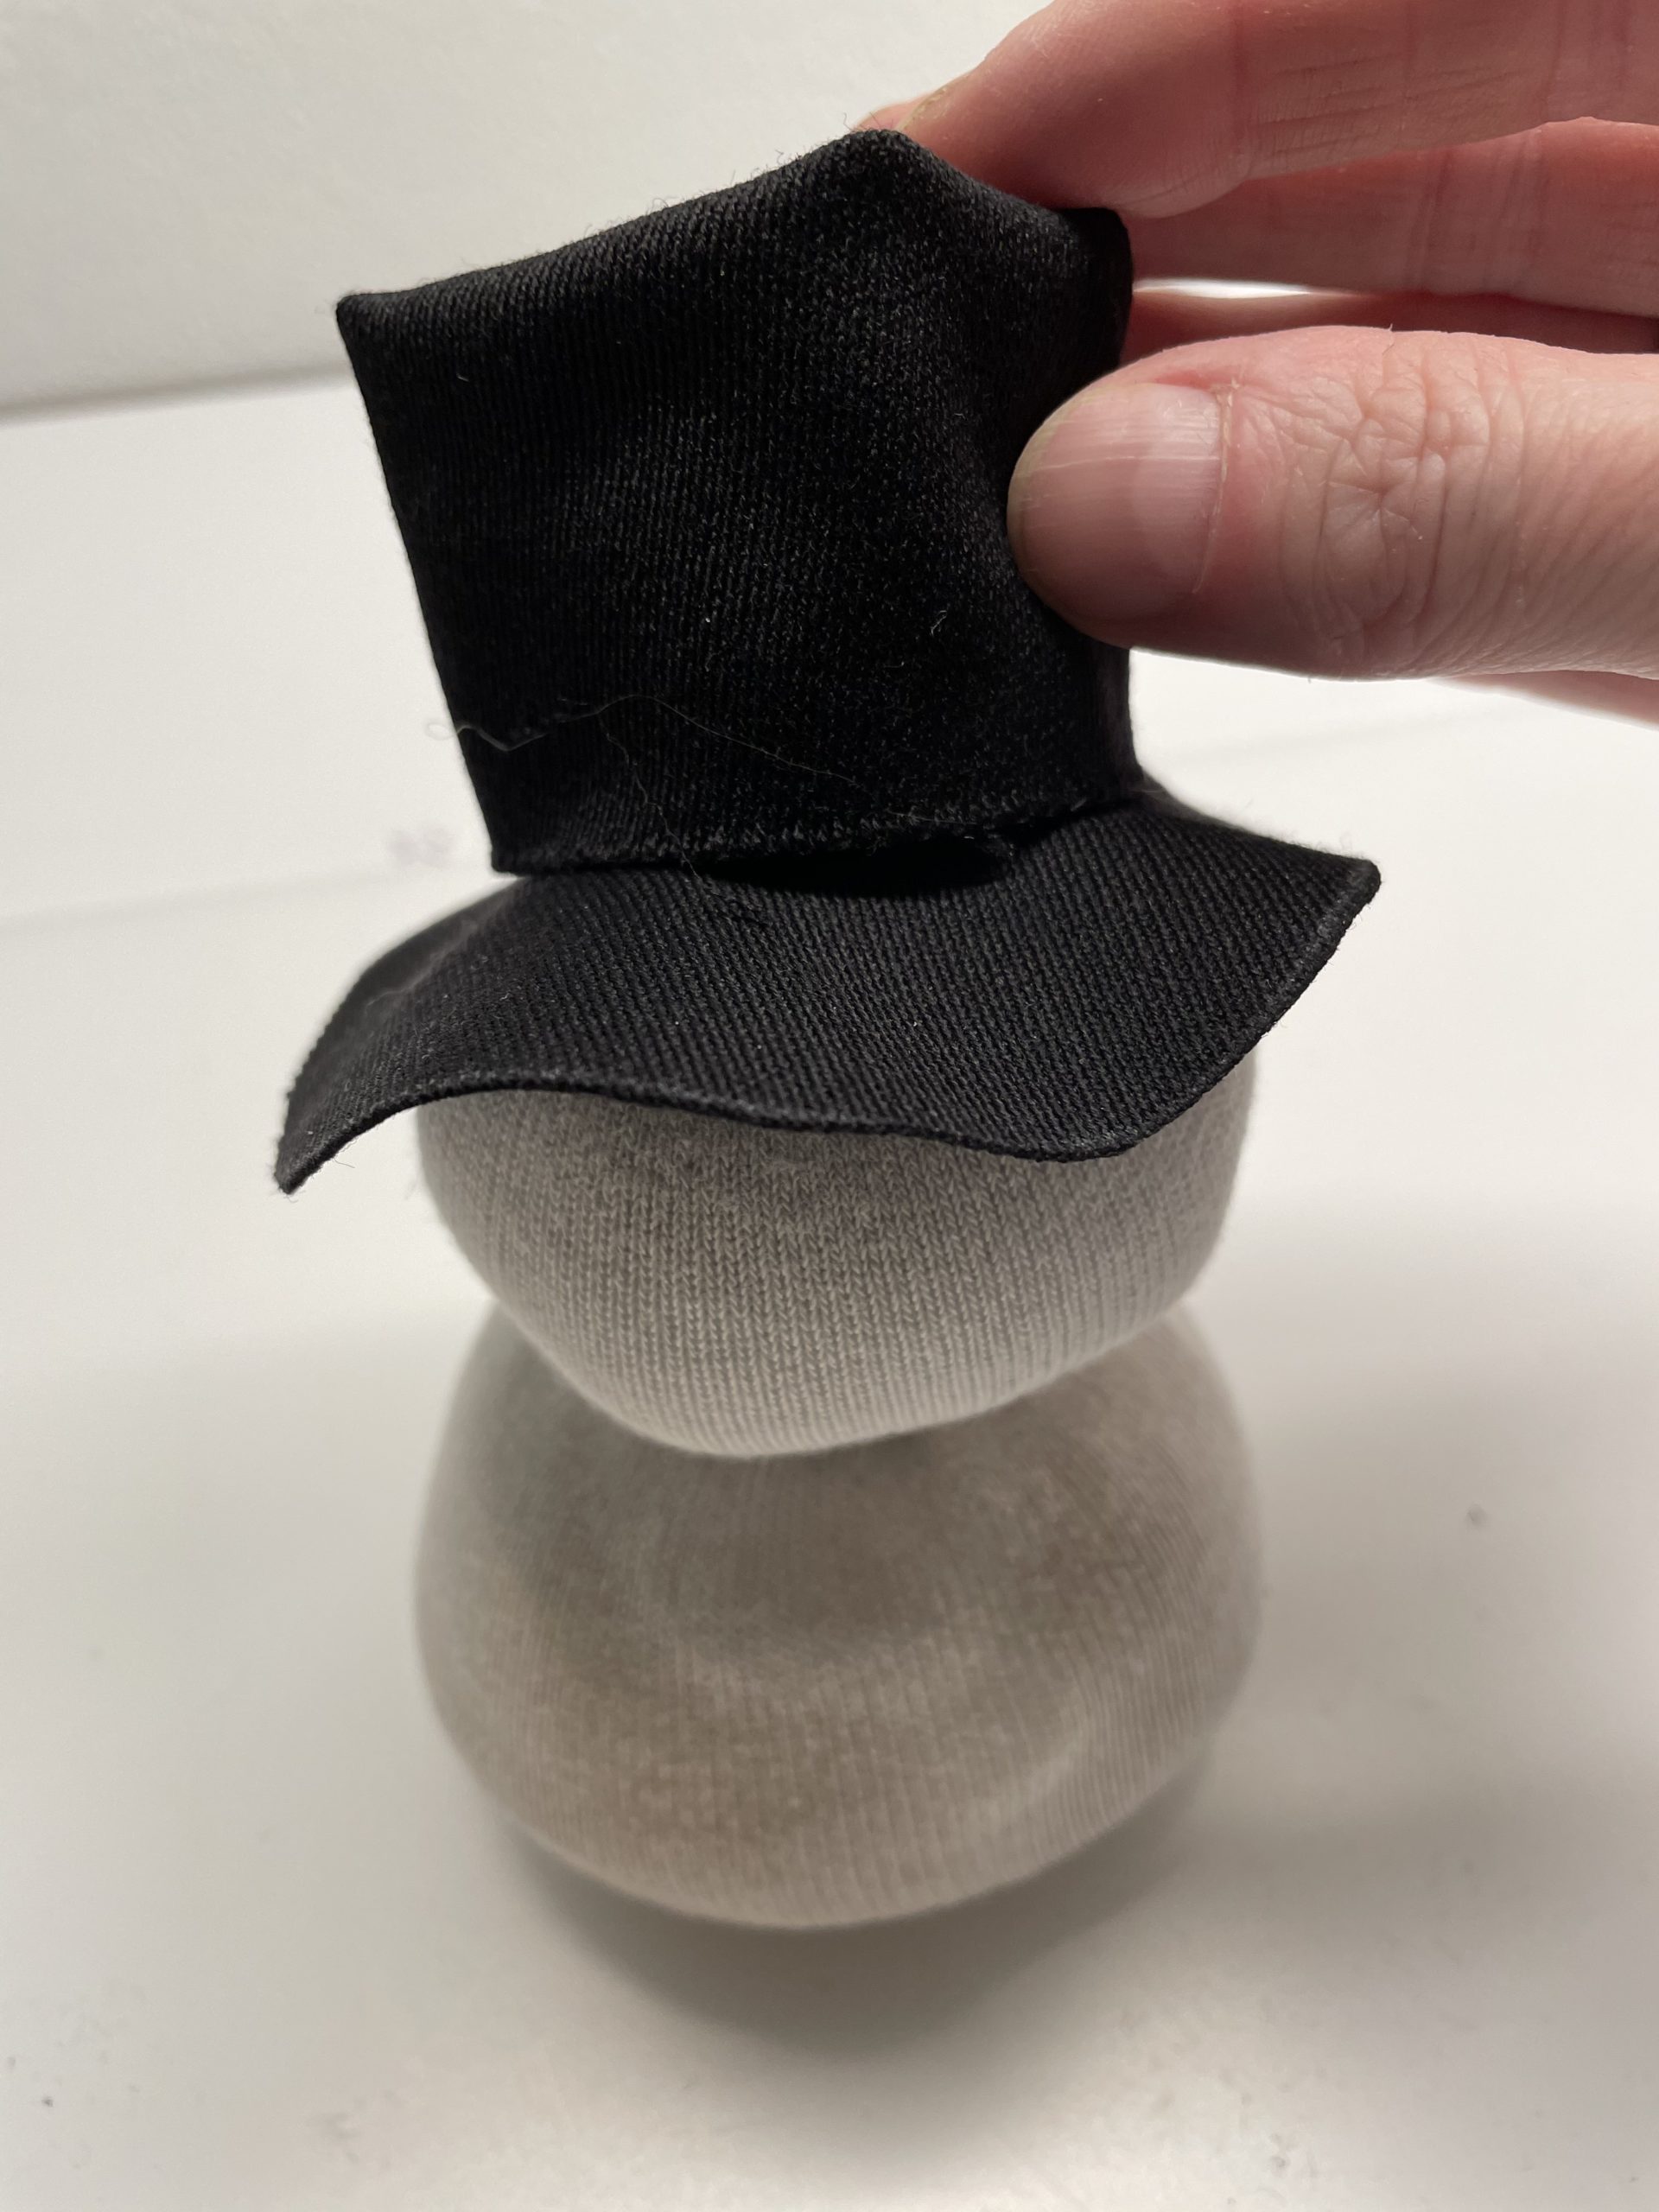
Now you're making your hat.
For this you cut off a sock about 8 cm long. Measure the length from the cuff.
Now you bind the interface with a rubber or a cord.
Tip: You can also bind the sock first in the desired length and then cut it off.

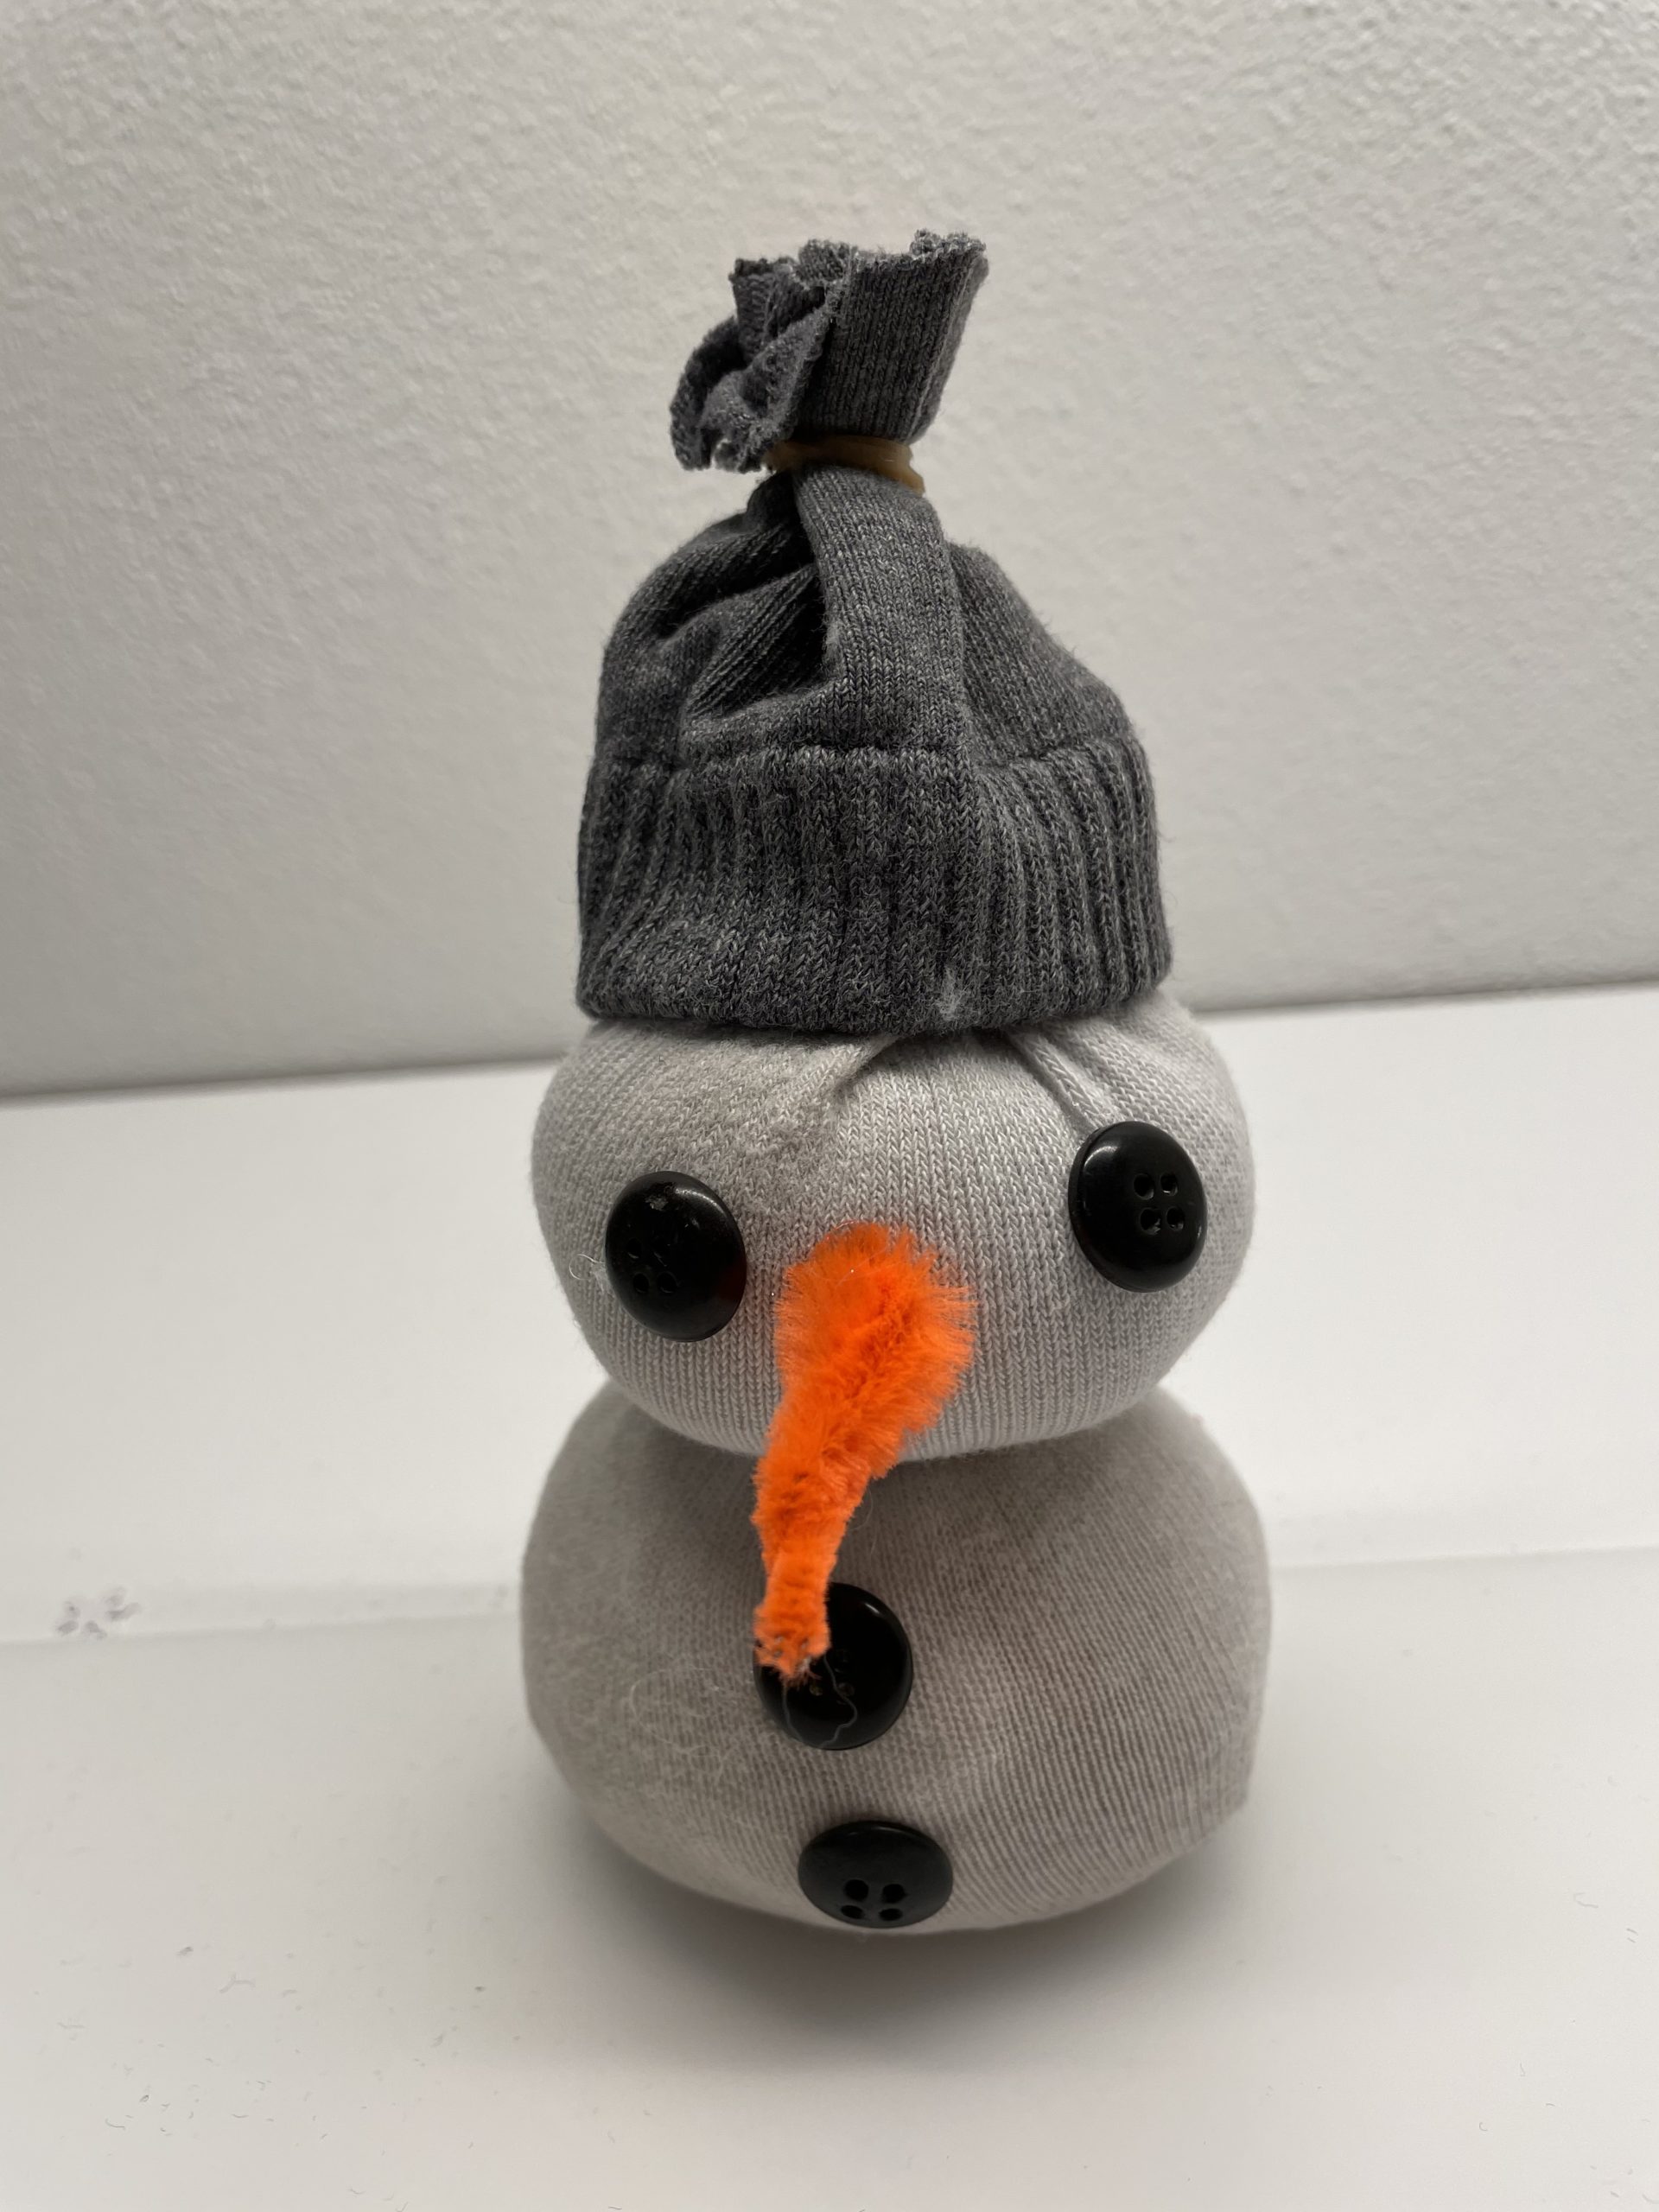
Finished is the small cap. Put on the cap and pull the upper end a little apart - this creates a bobble.
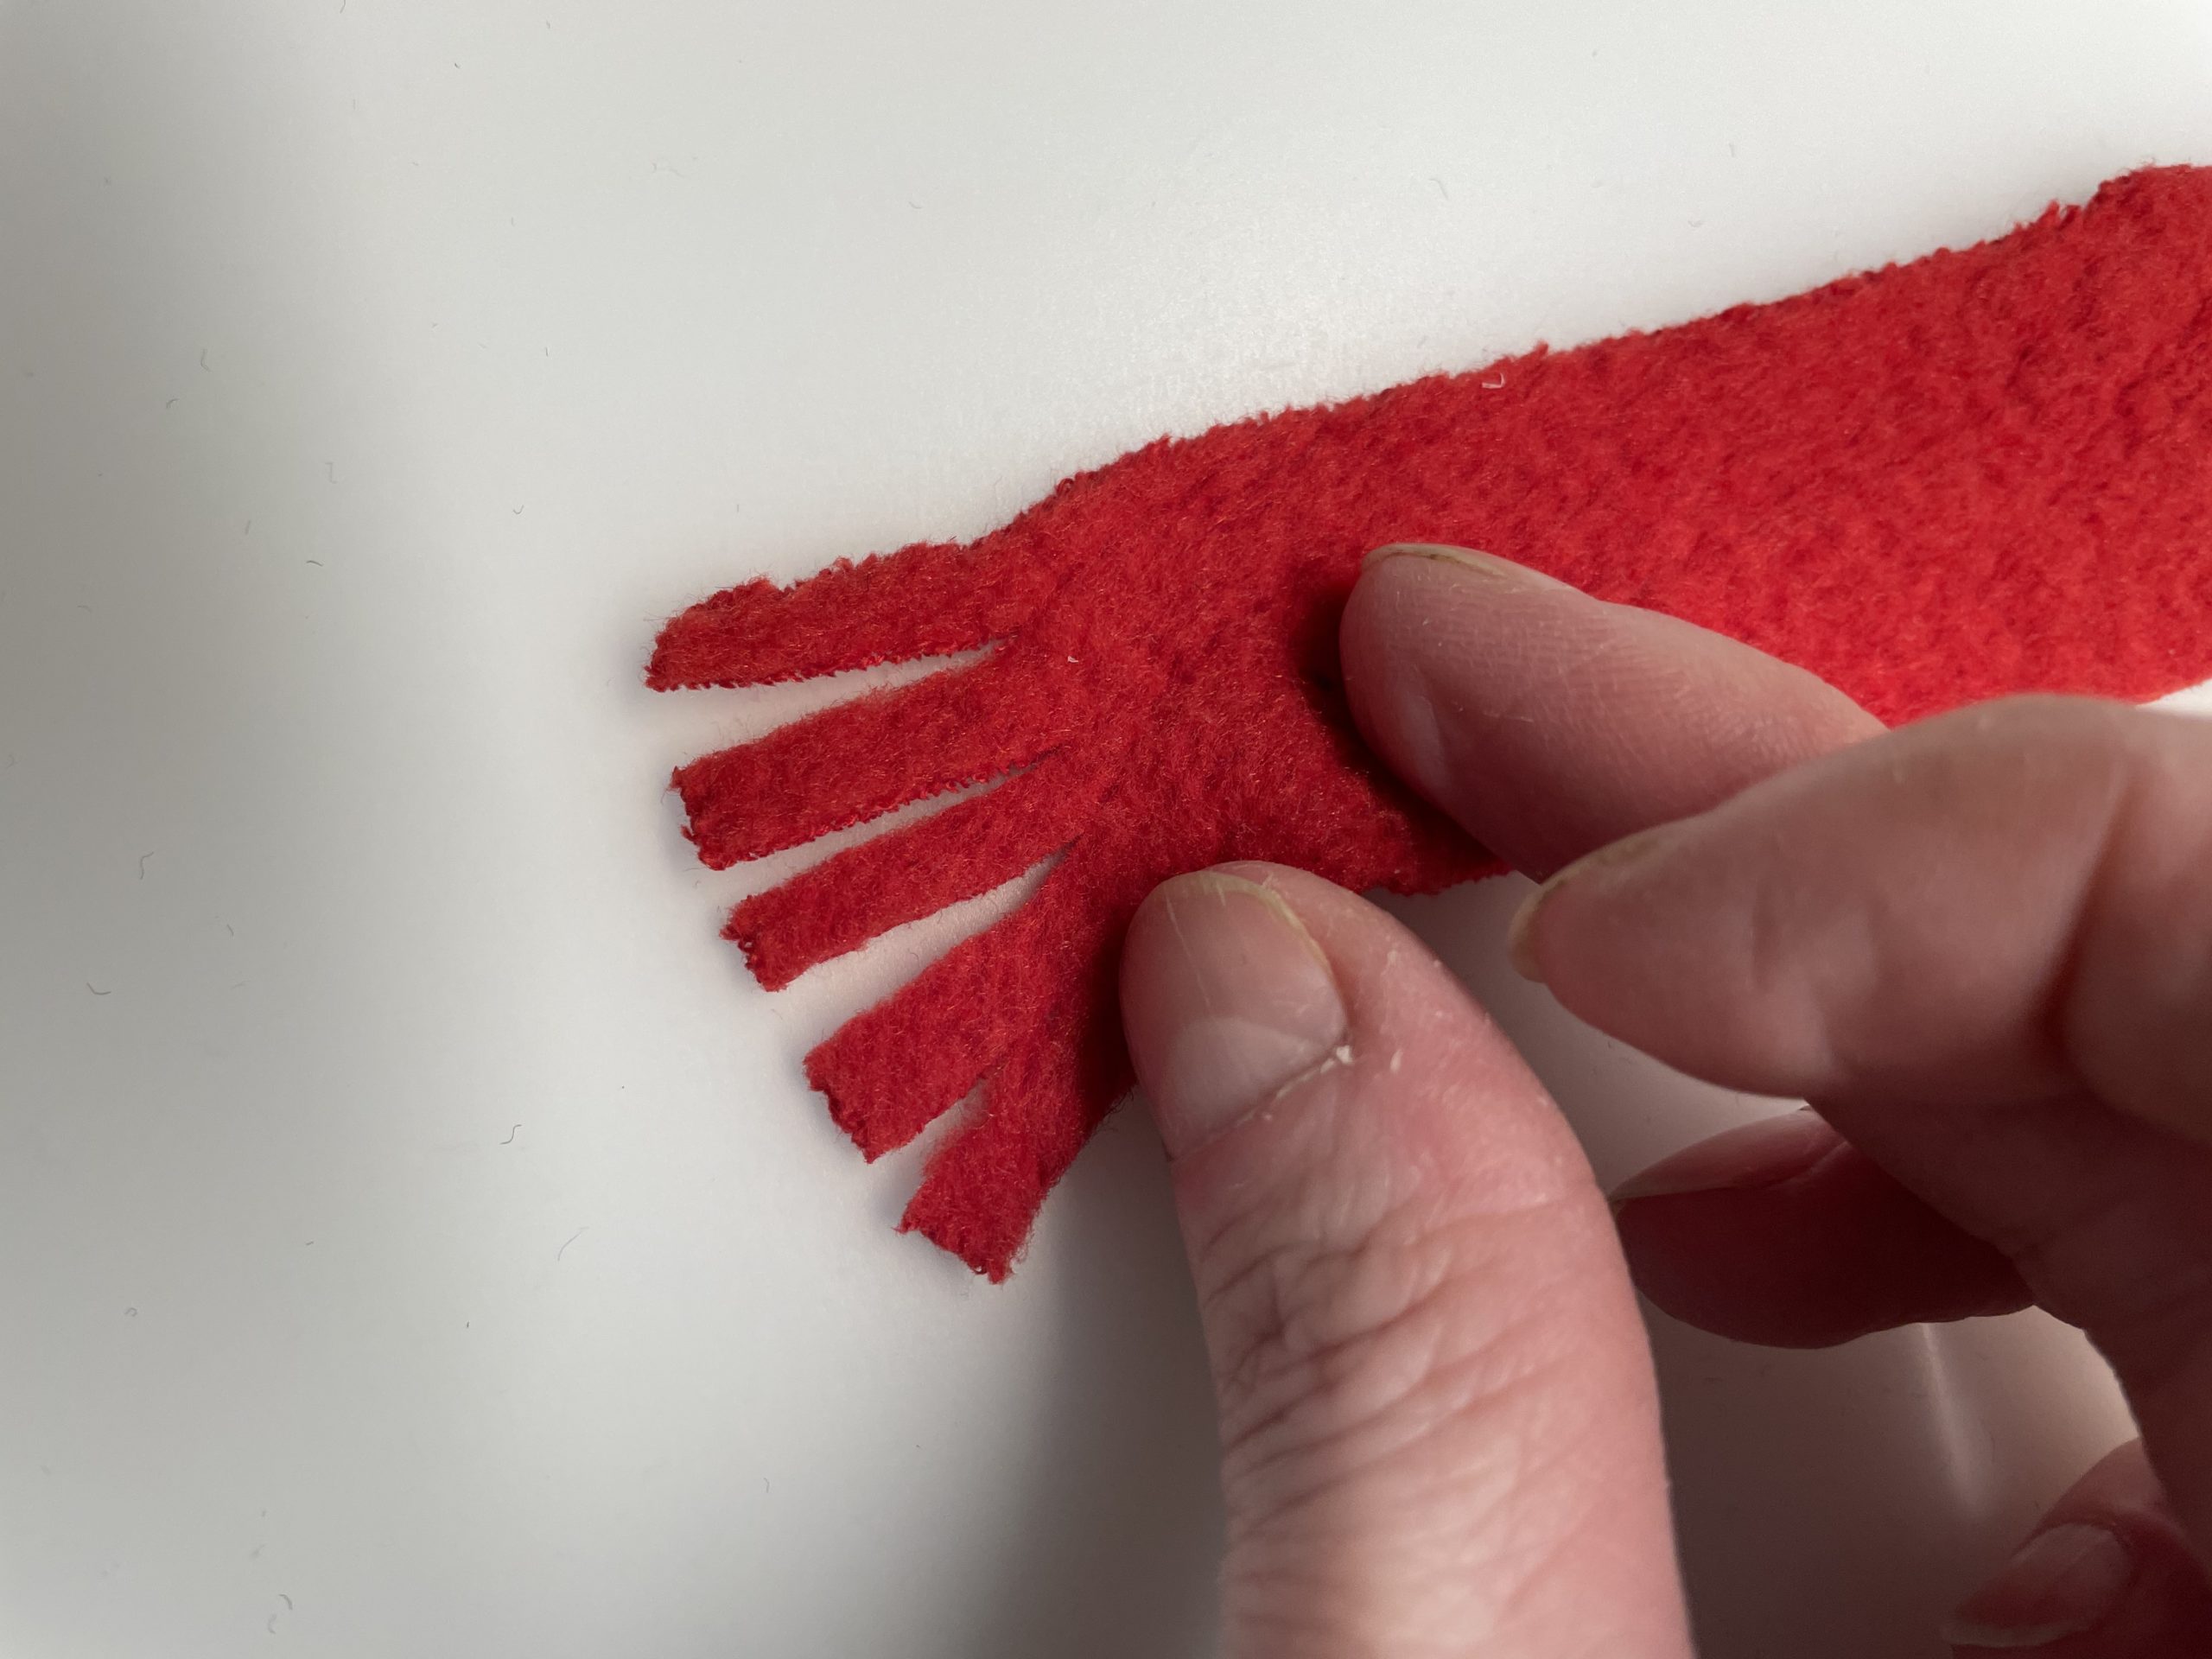
Now cut her the scarf of the snowman. For this cut a felt strip to the dimensions 25cm x 2cm.
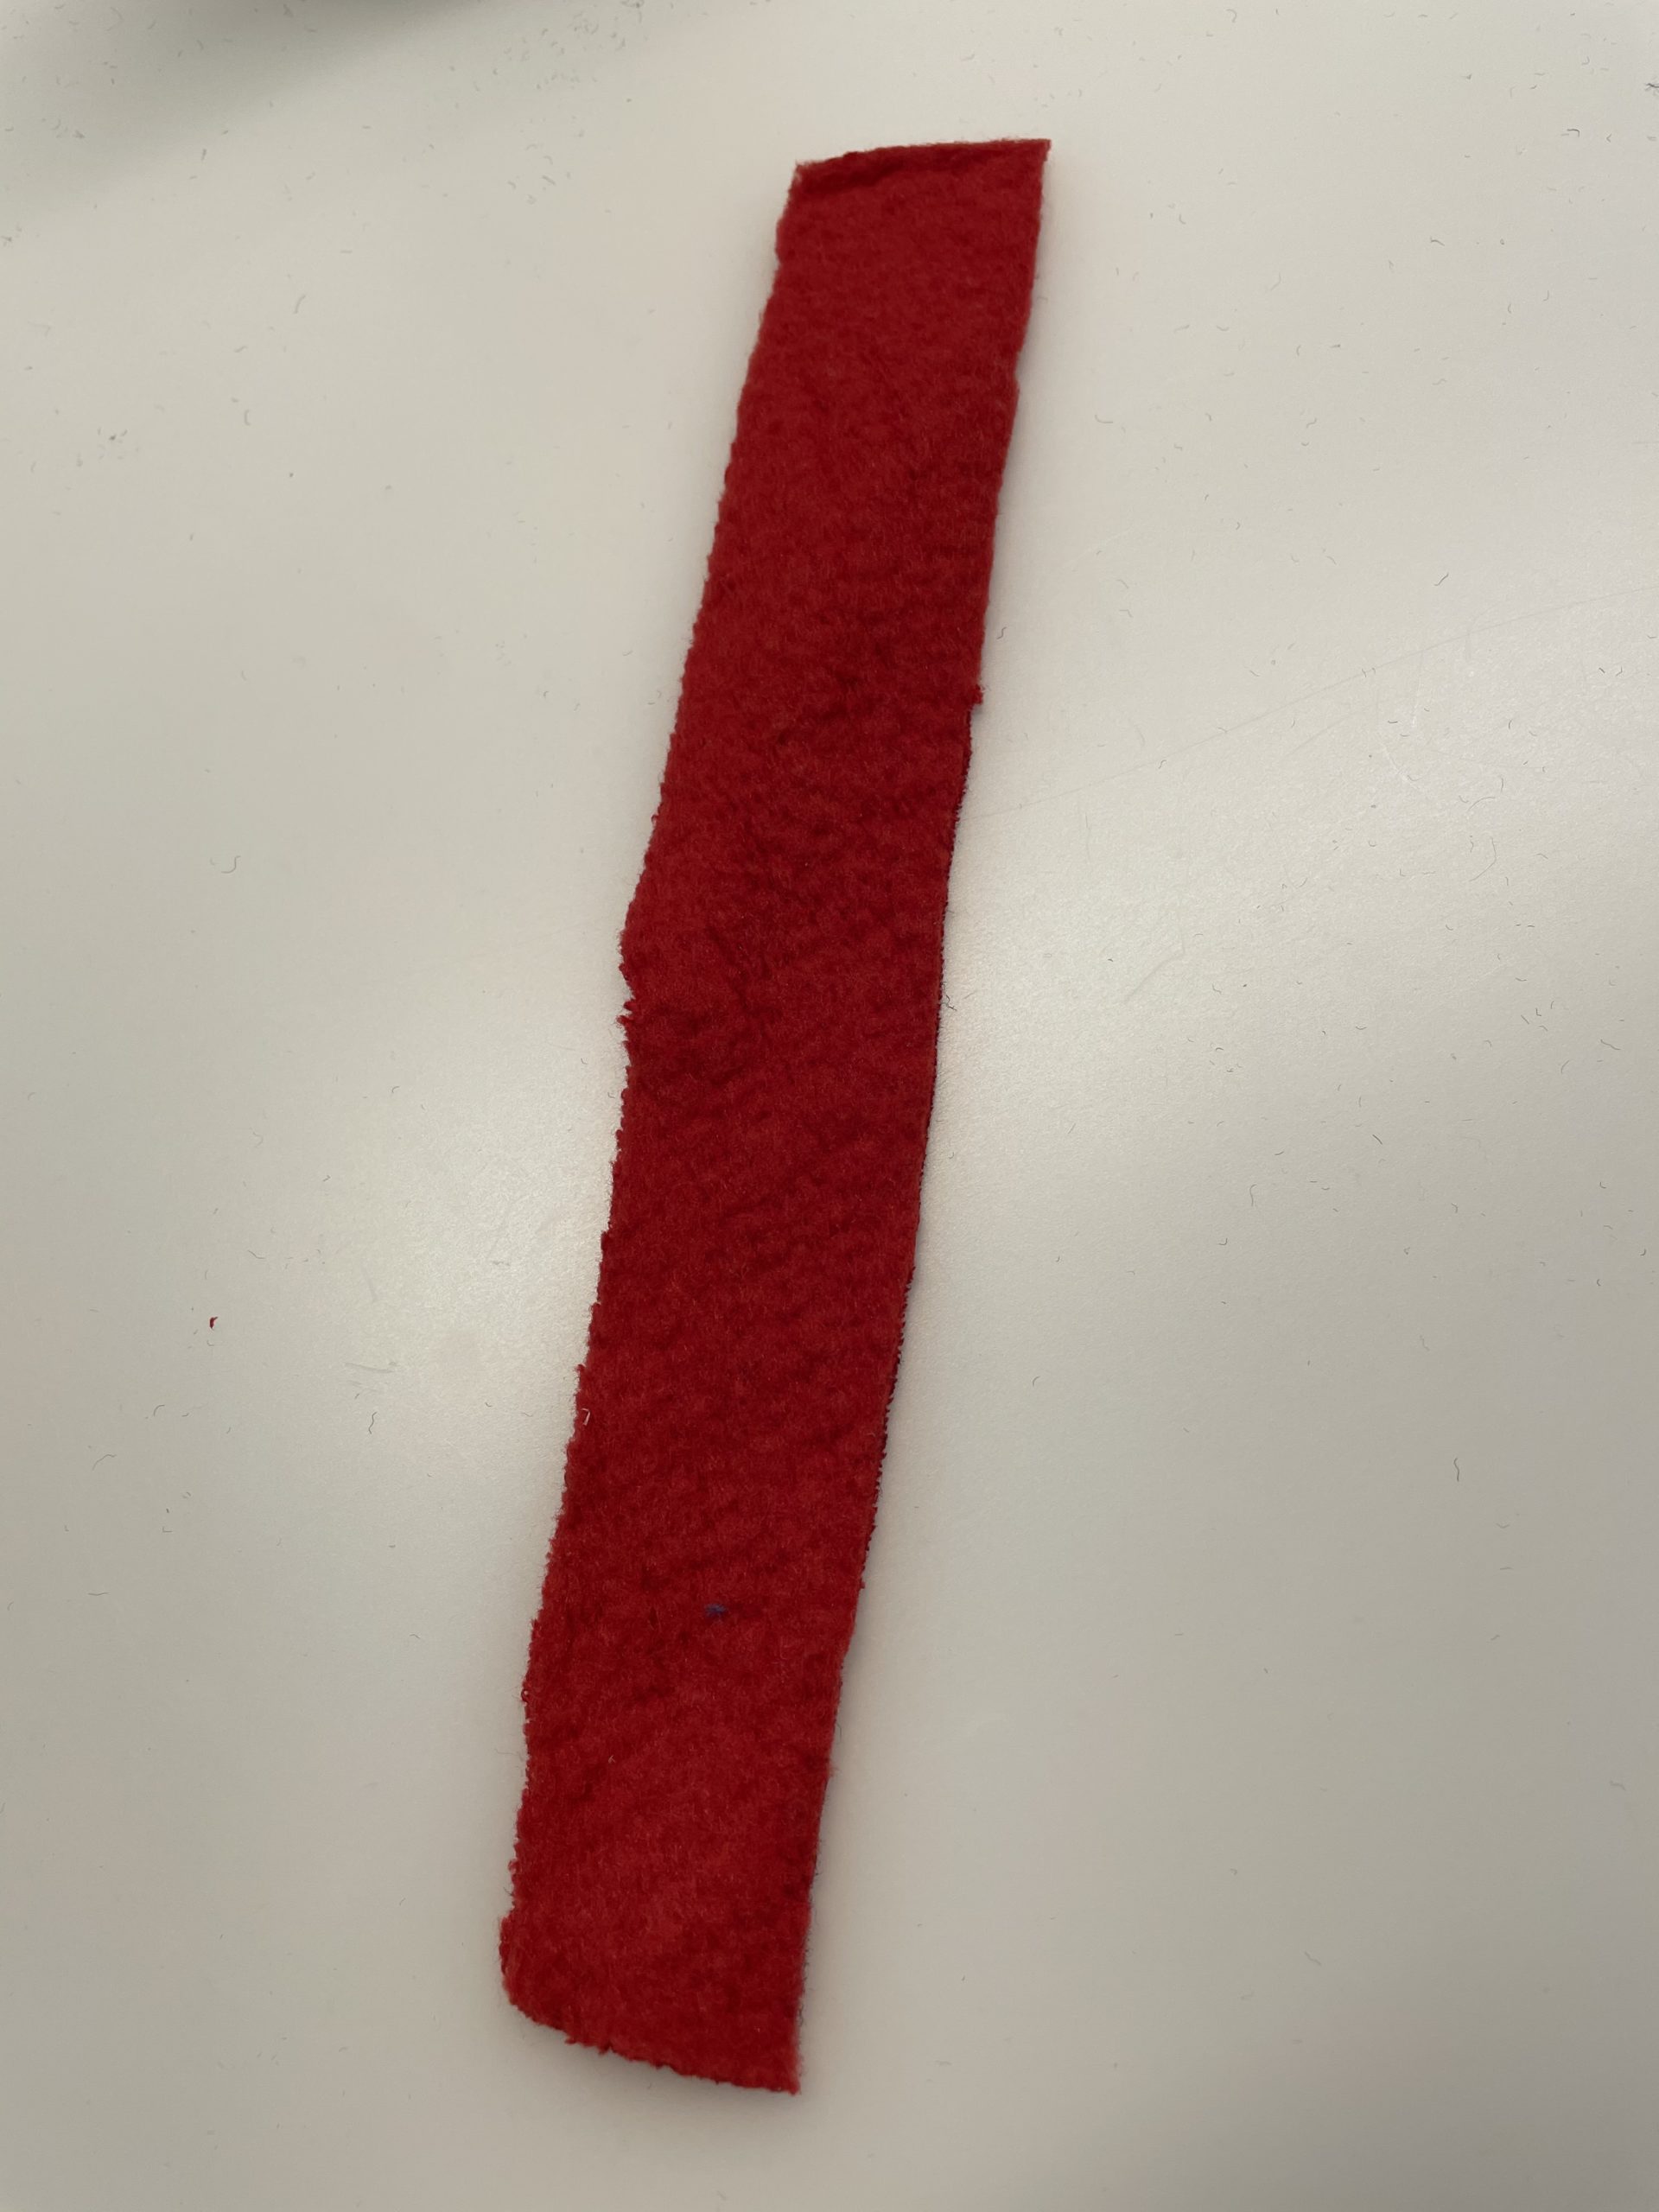
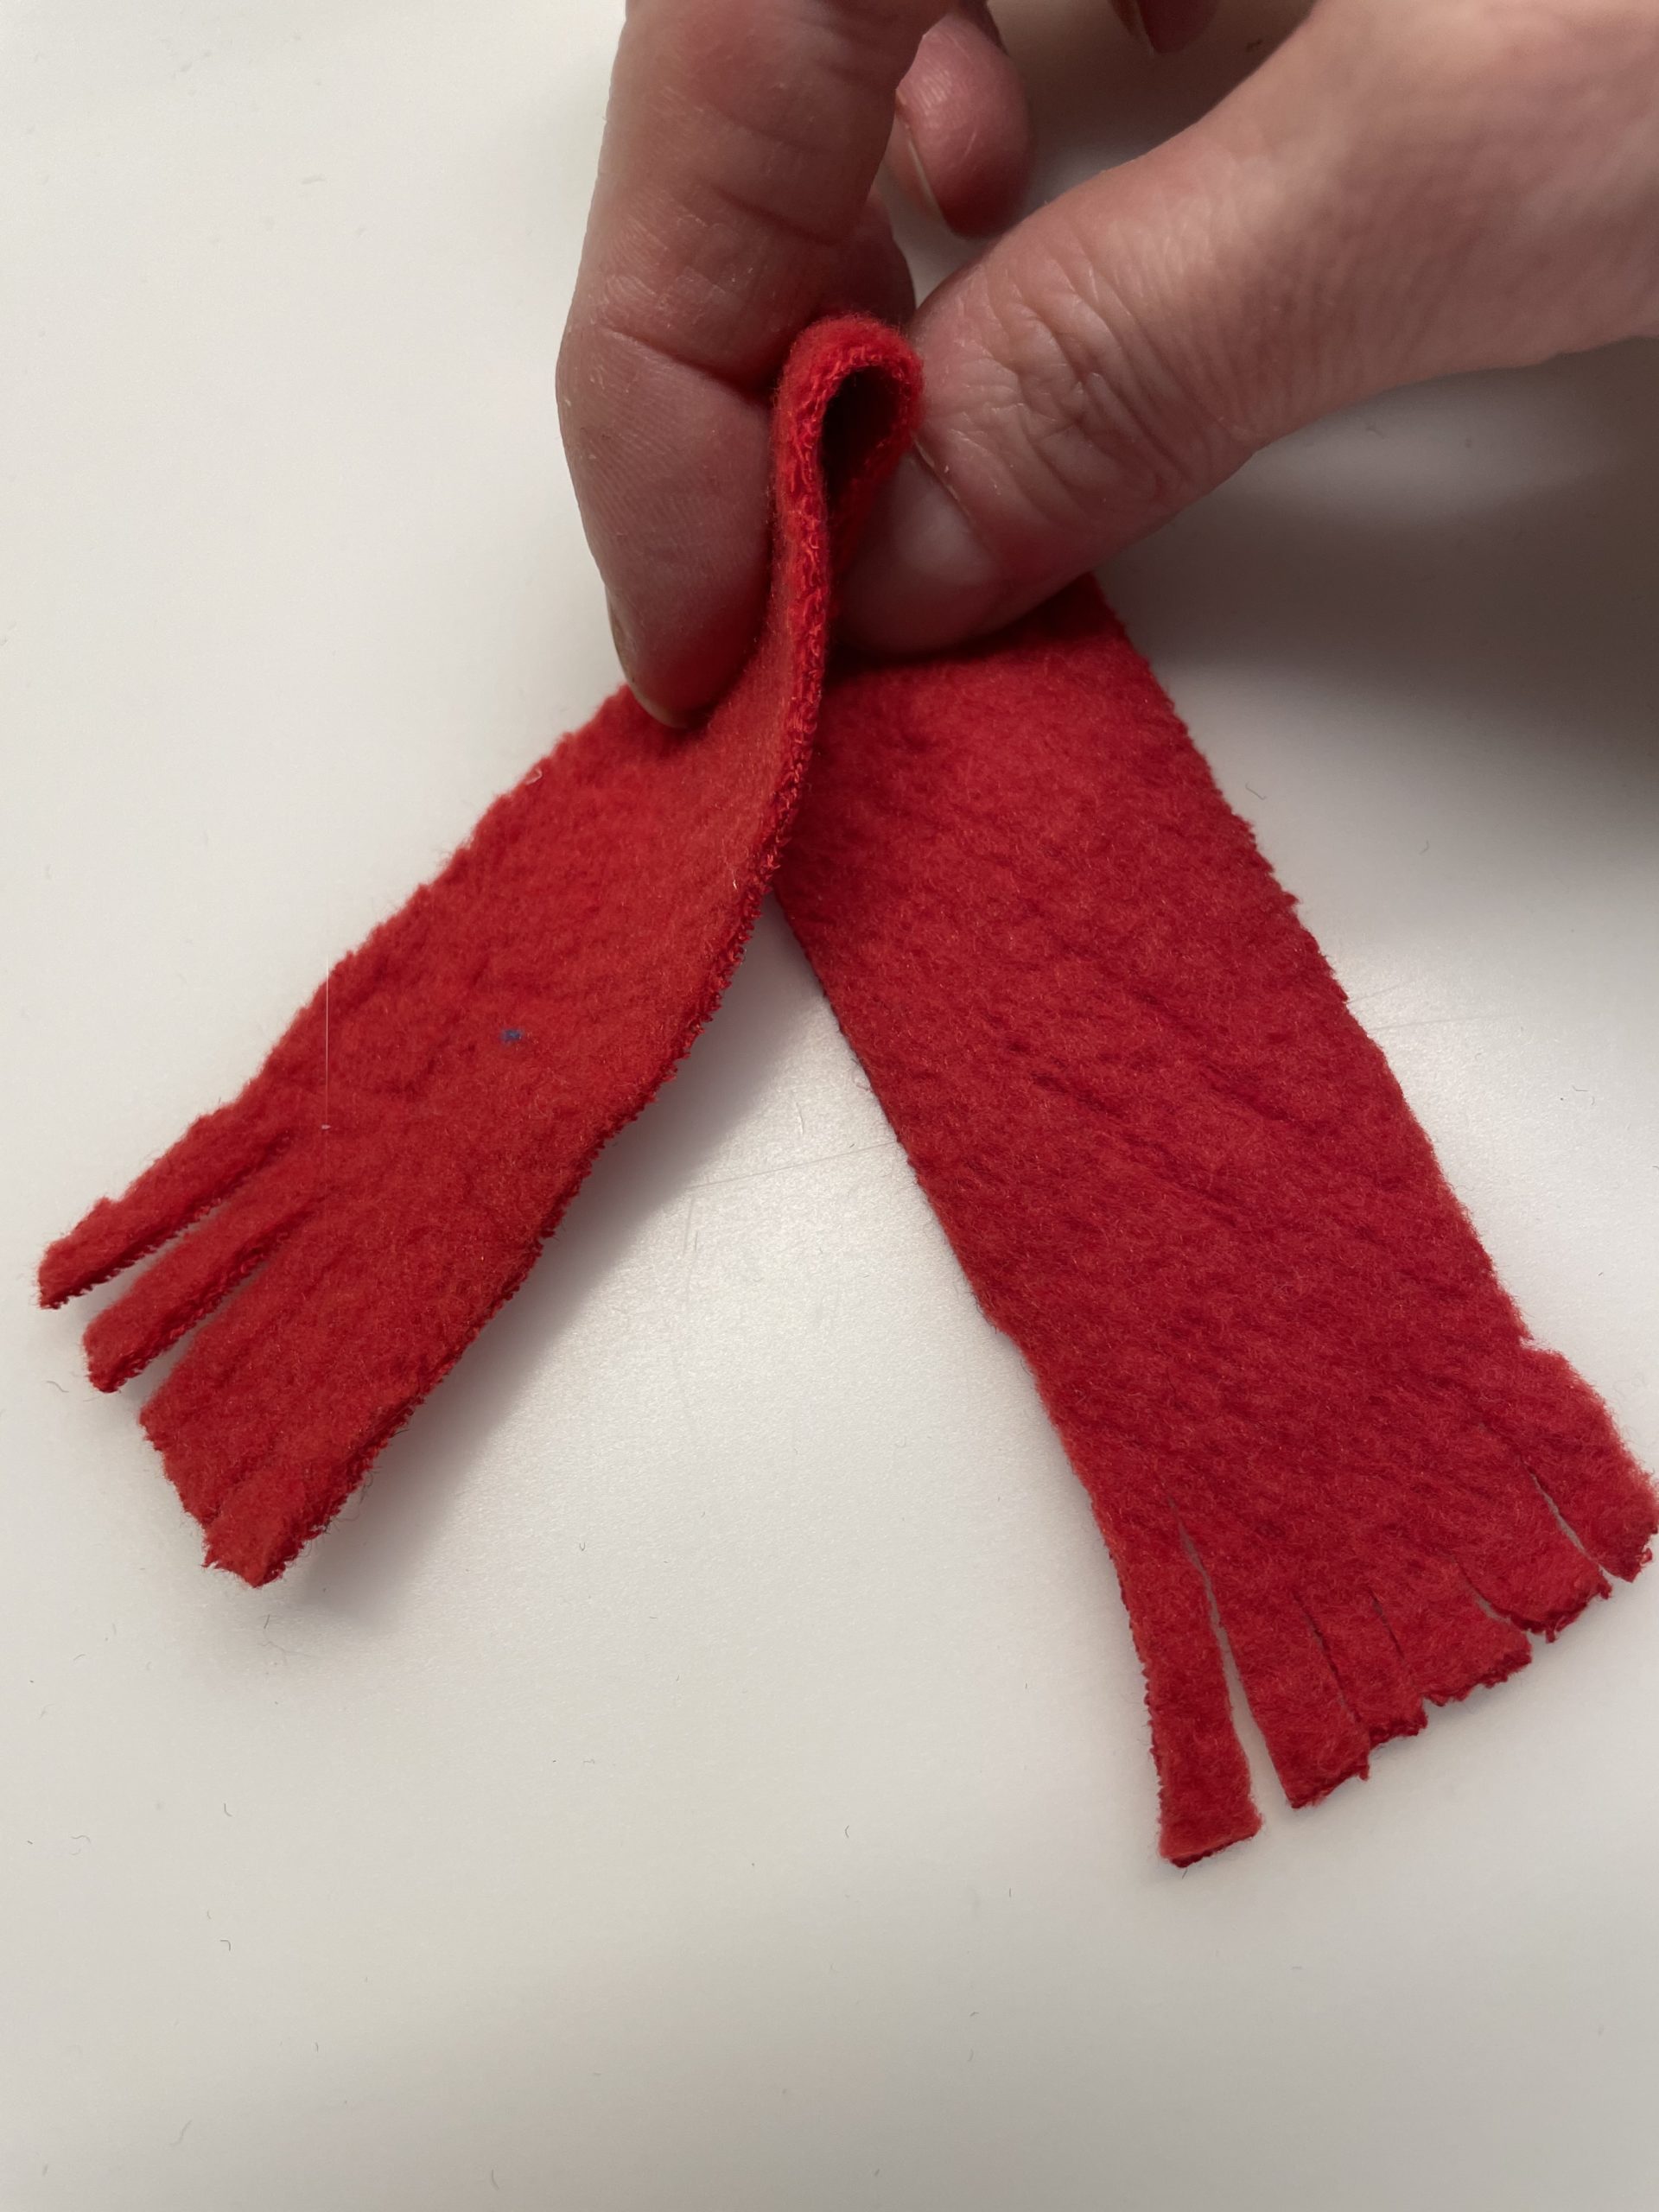
Then you cut the strip several times at both ends with the scissors about 1cm.

The scarf is ready.
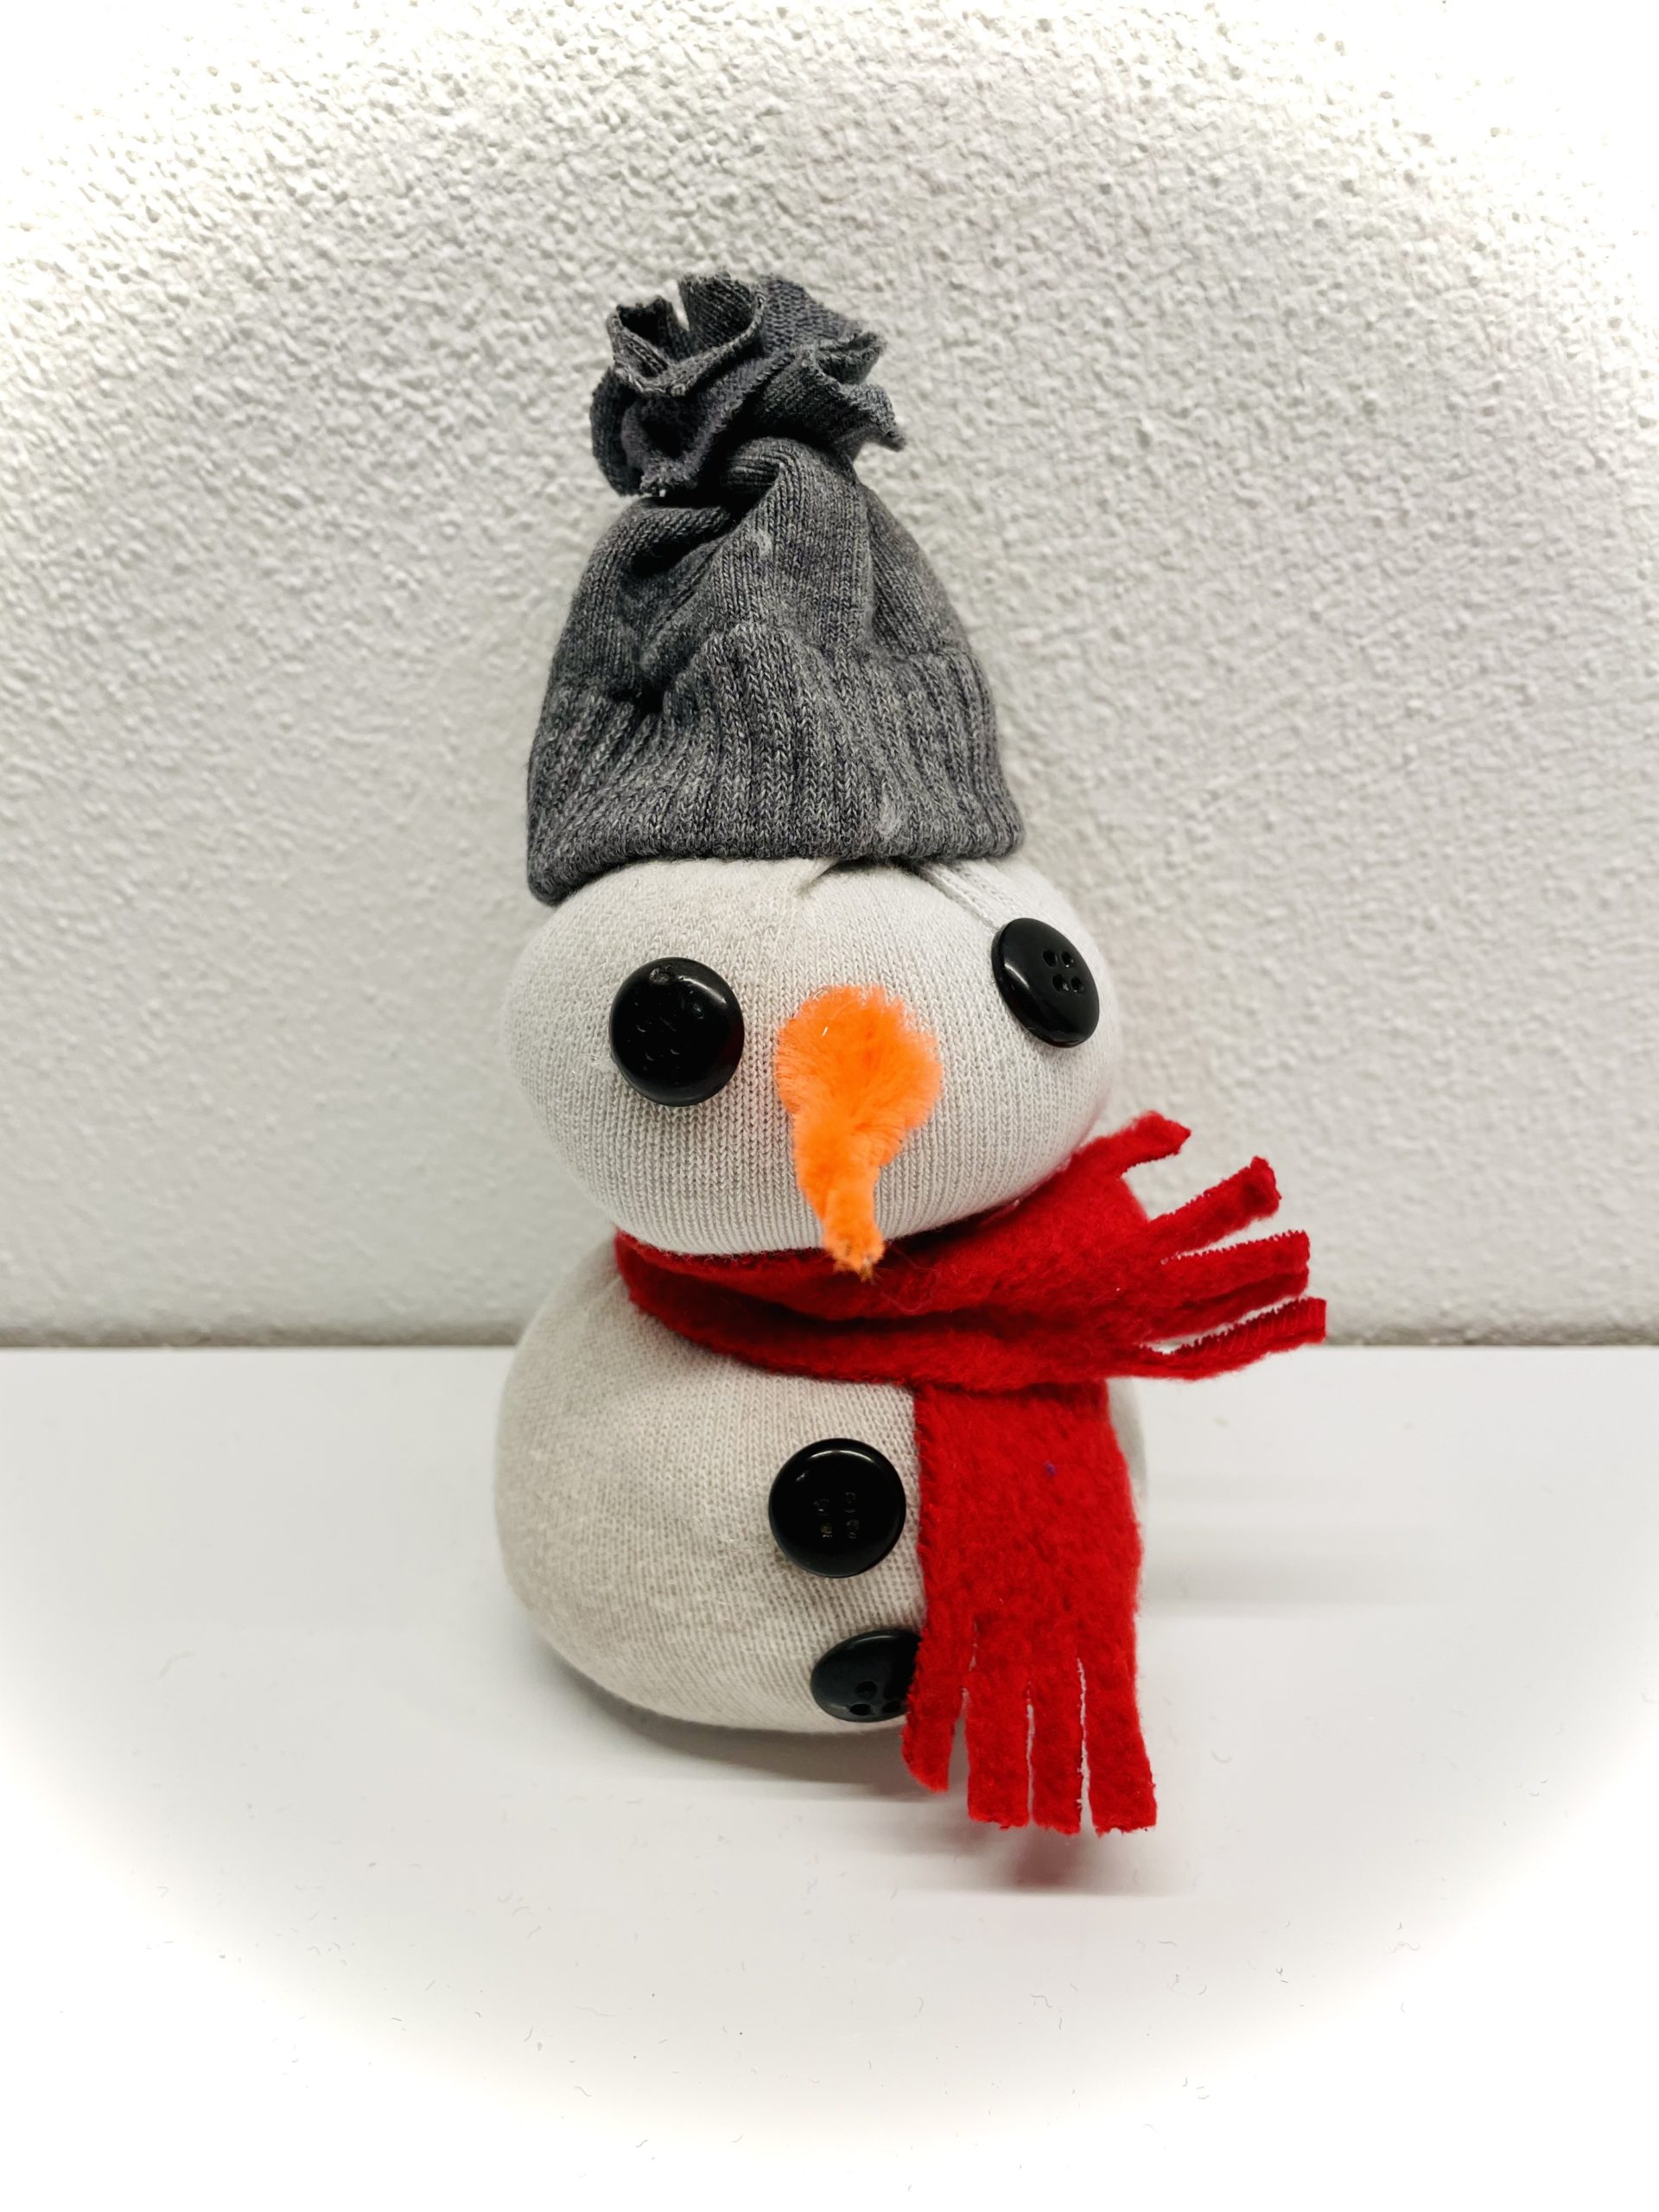
Now tie the scarf around the snowman.
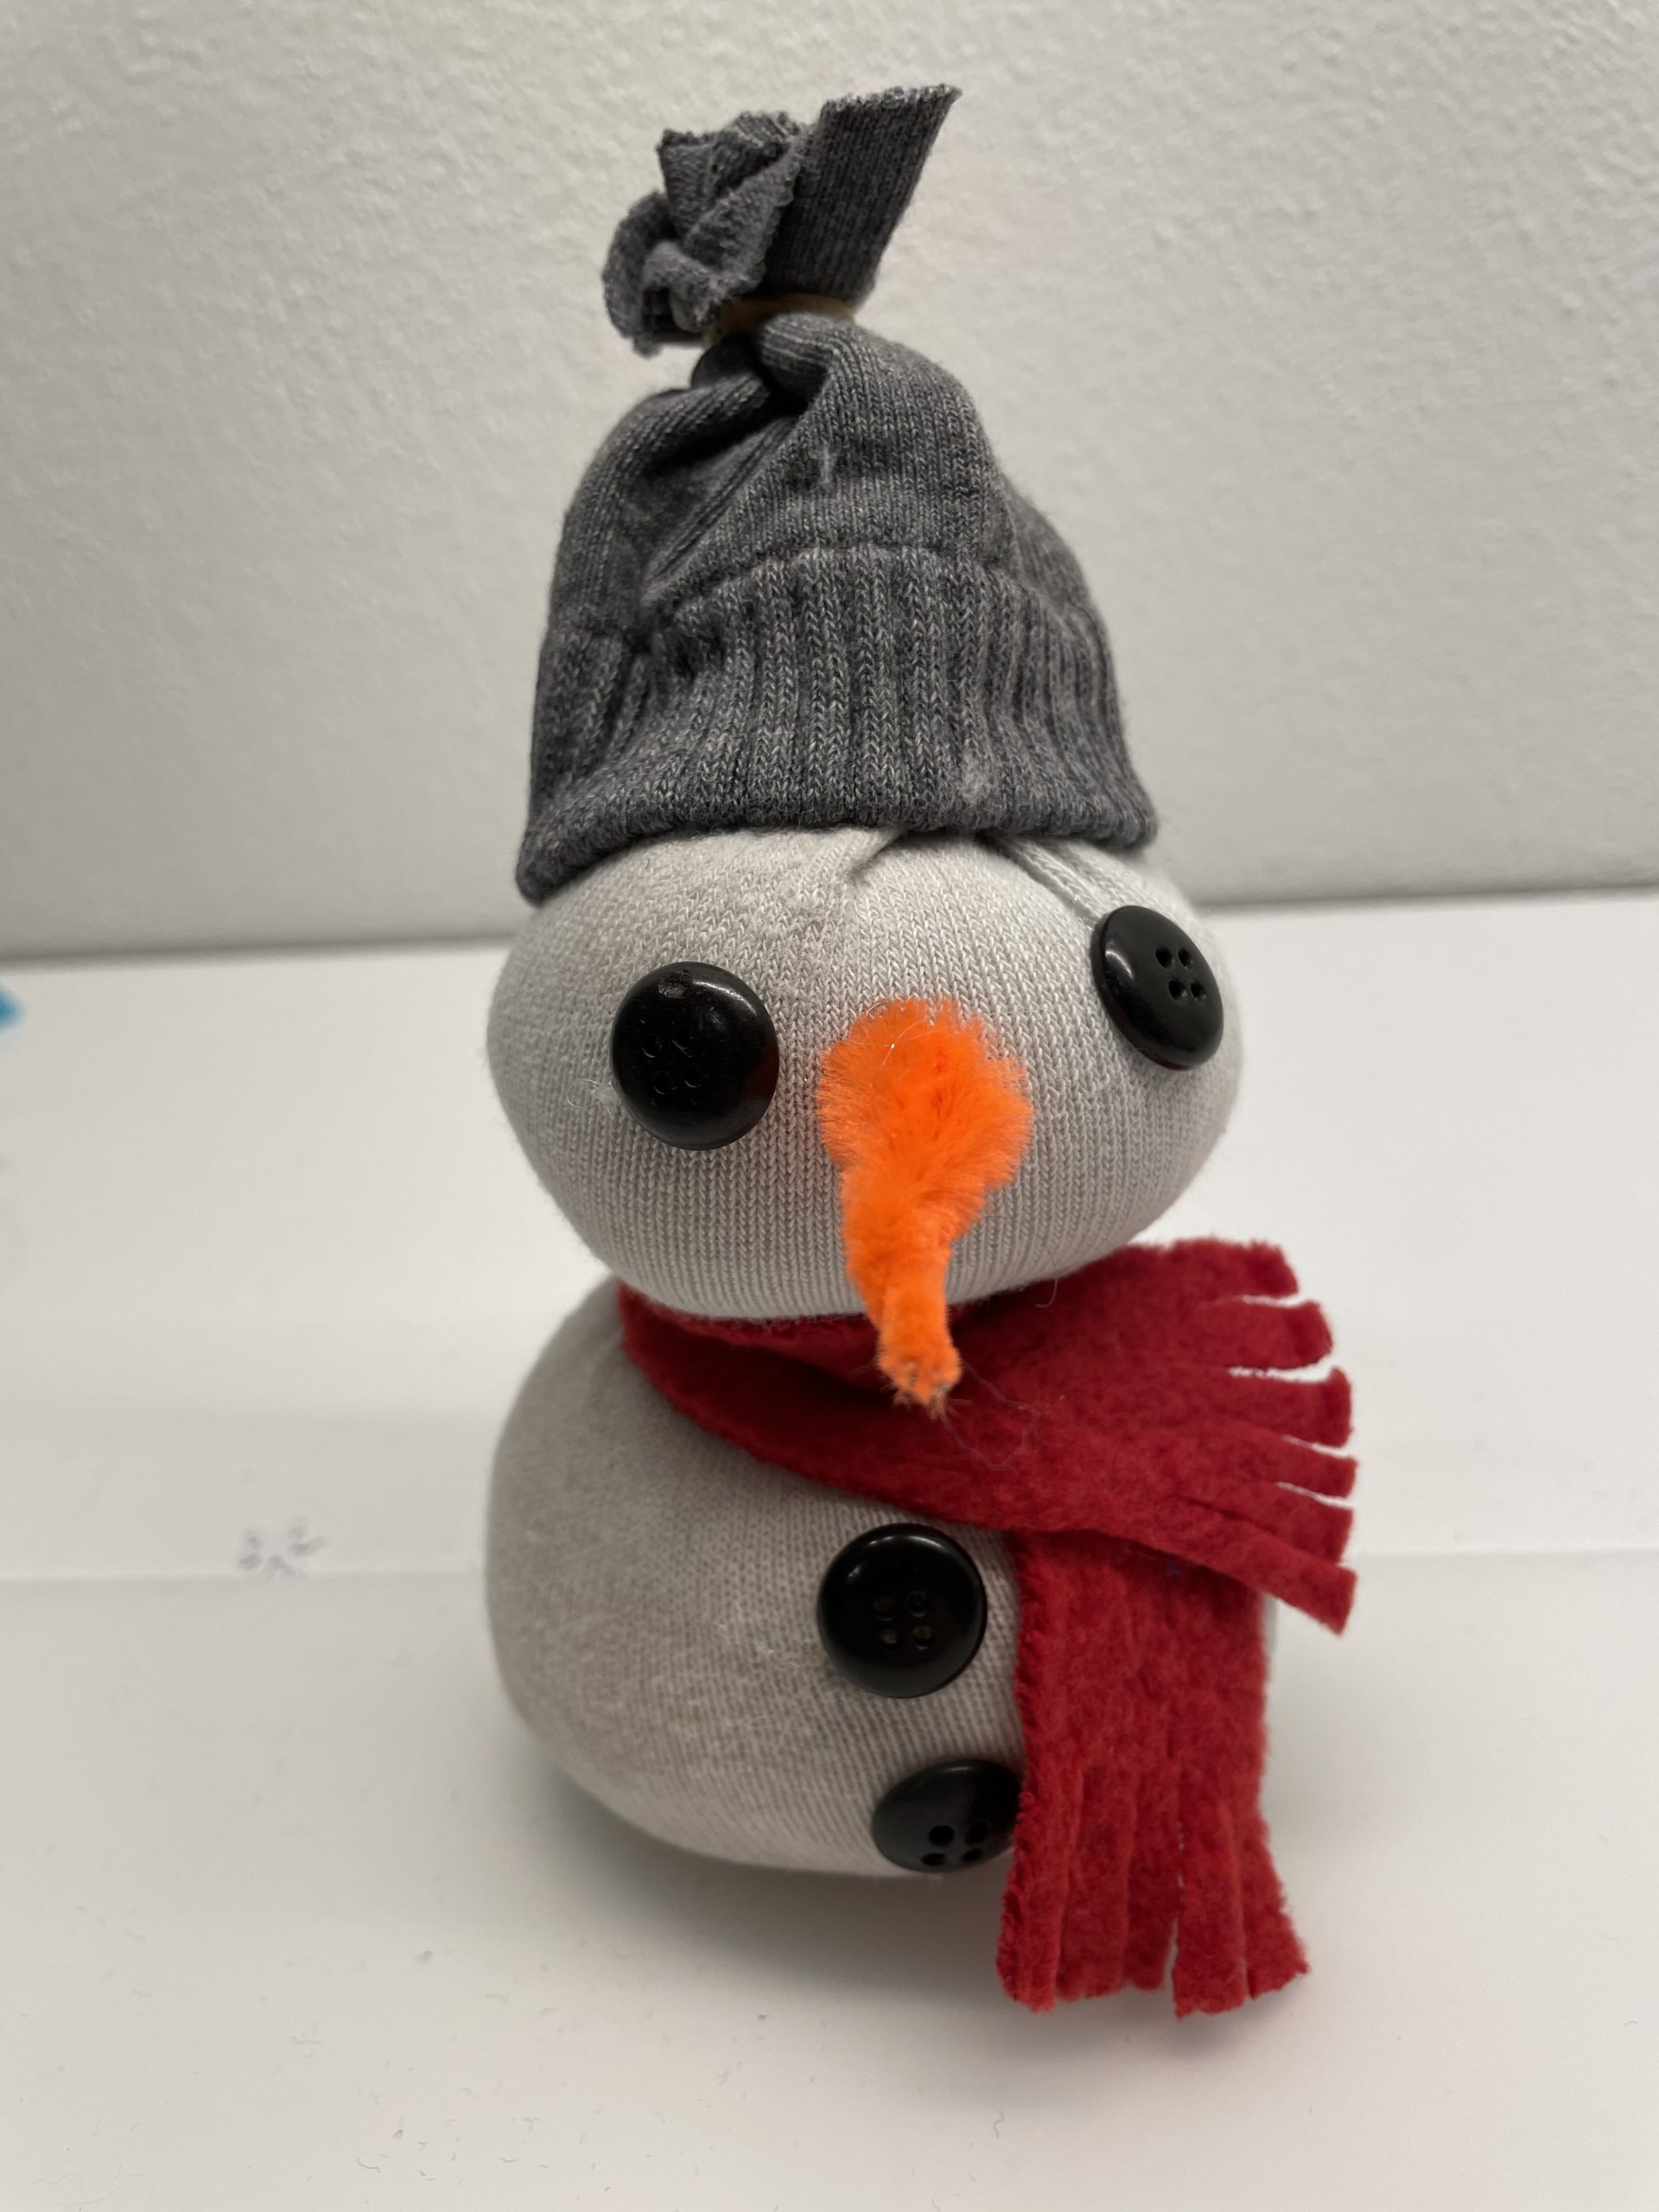
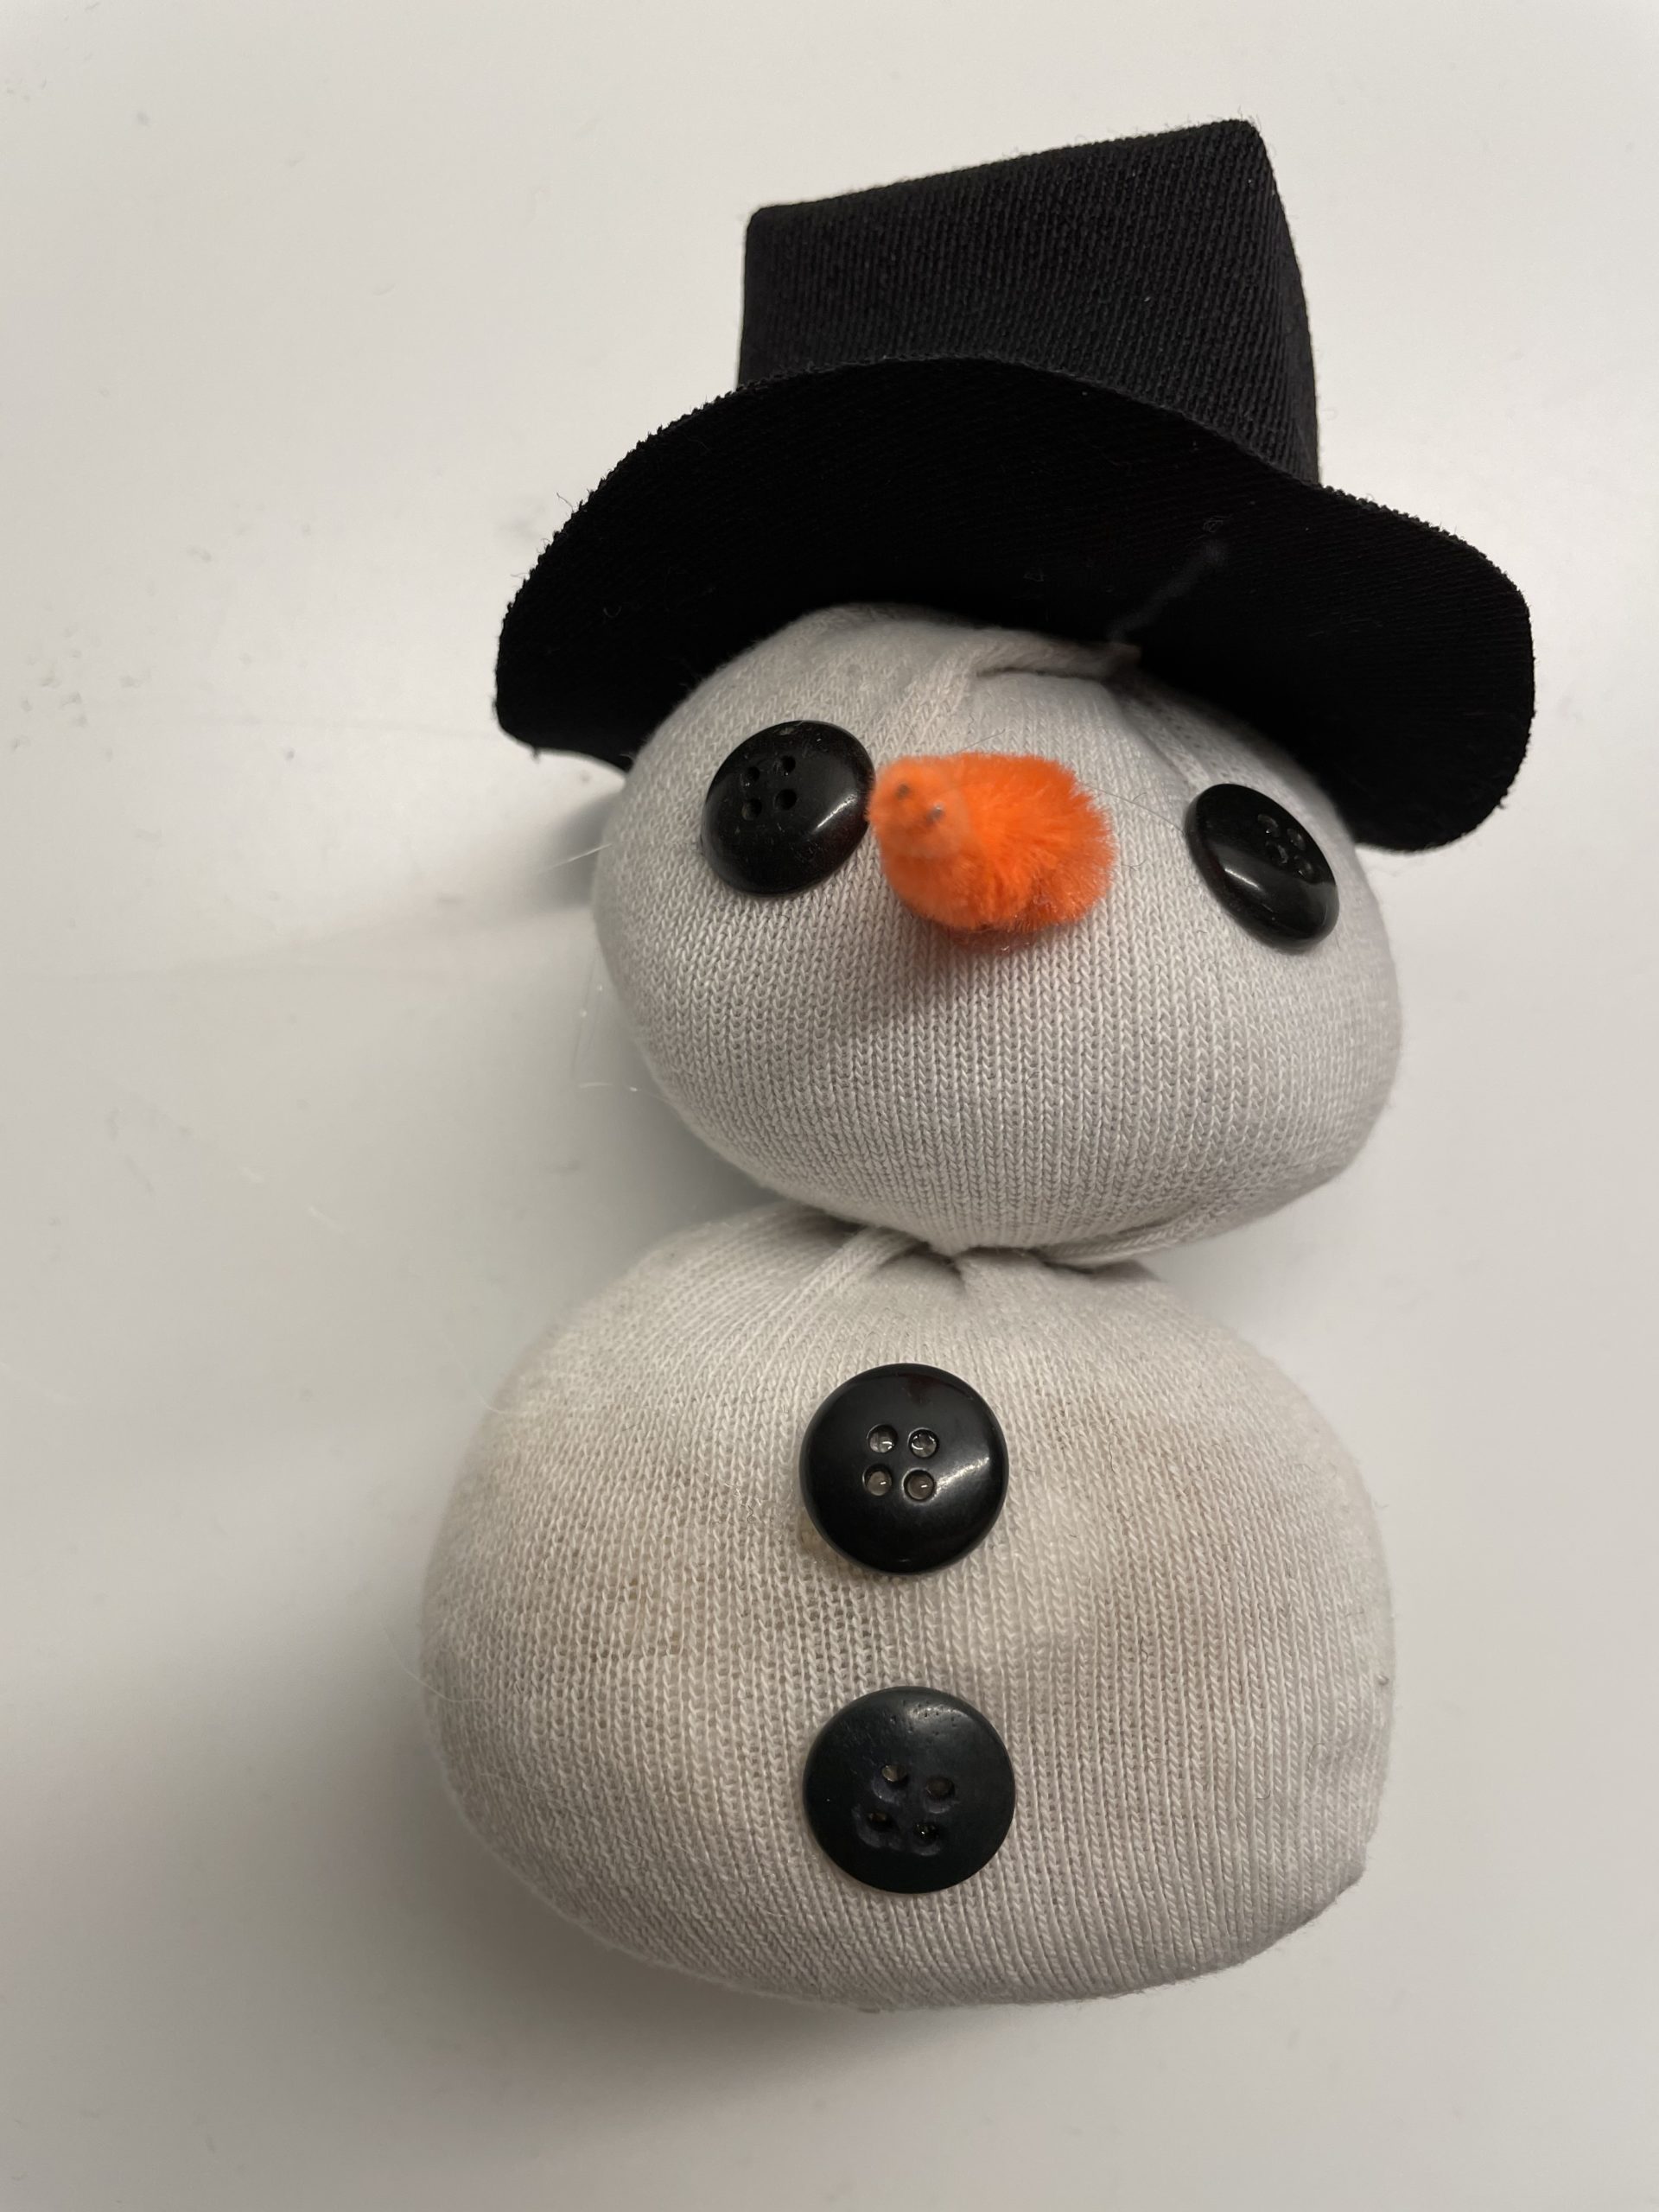
The snowman is ready.
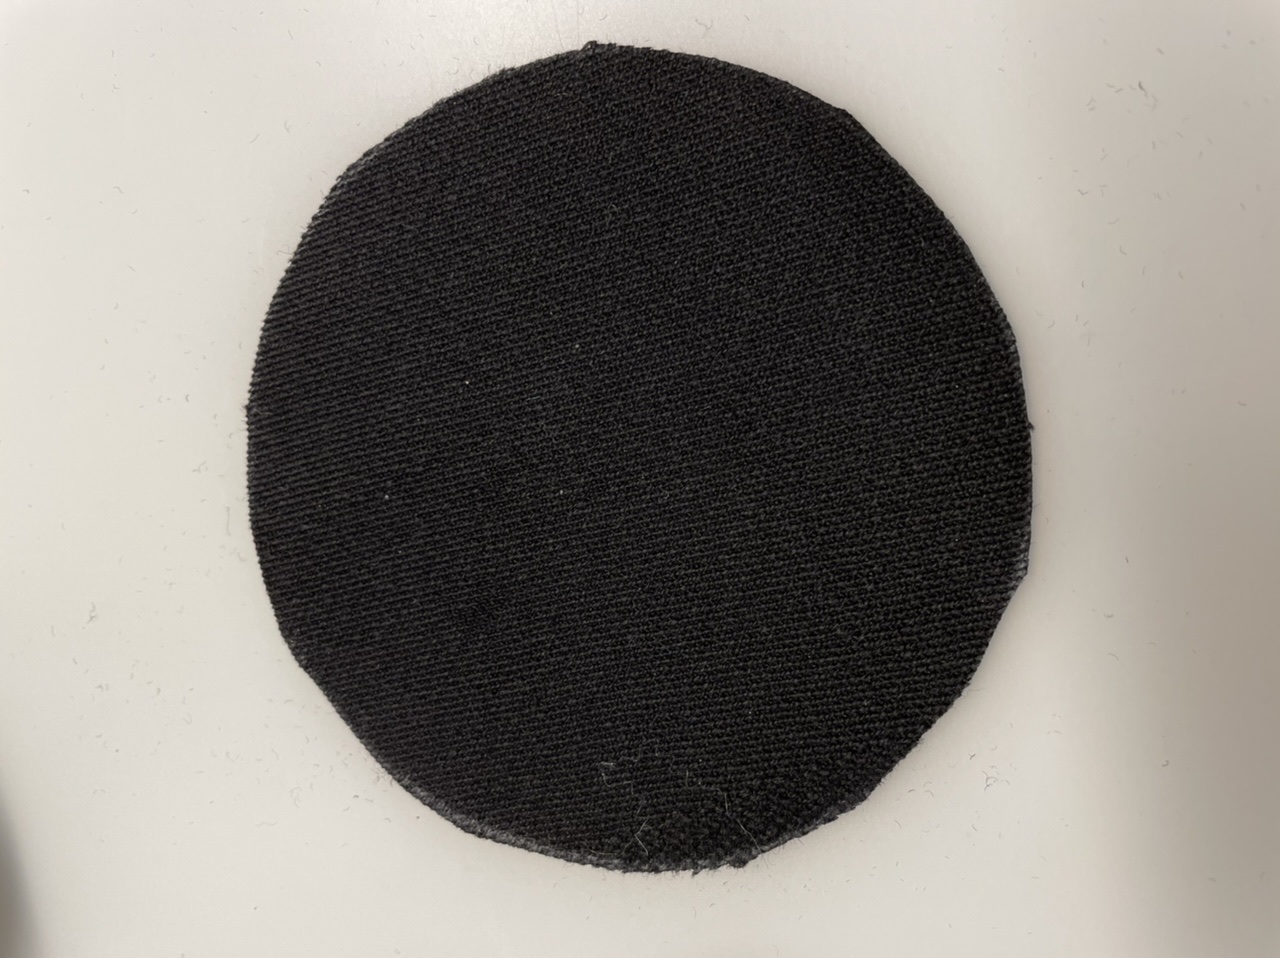
Cuts out an 8cm circle from a black piece of fabric or felt for the hat.
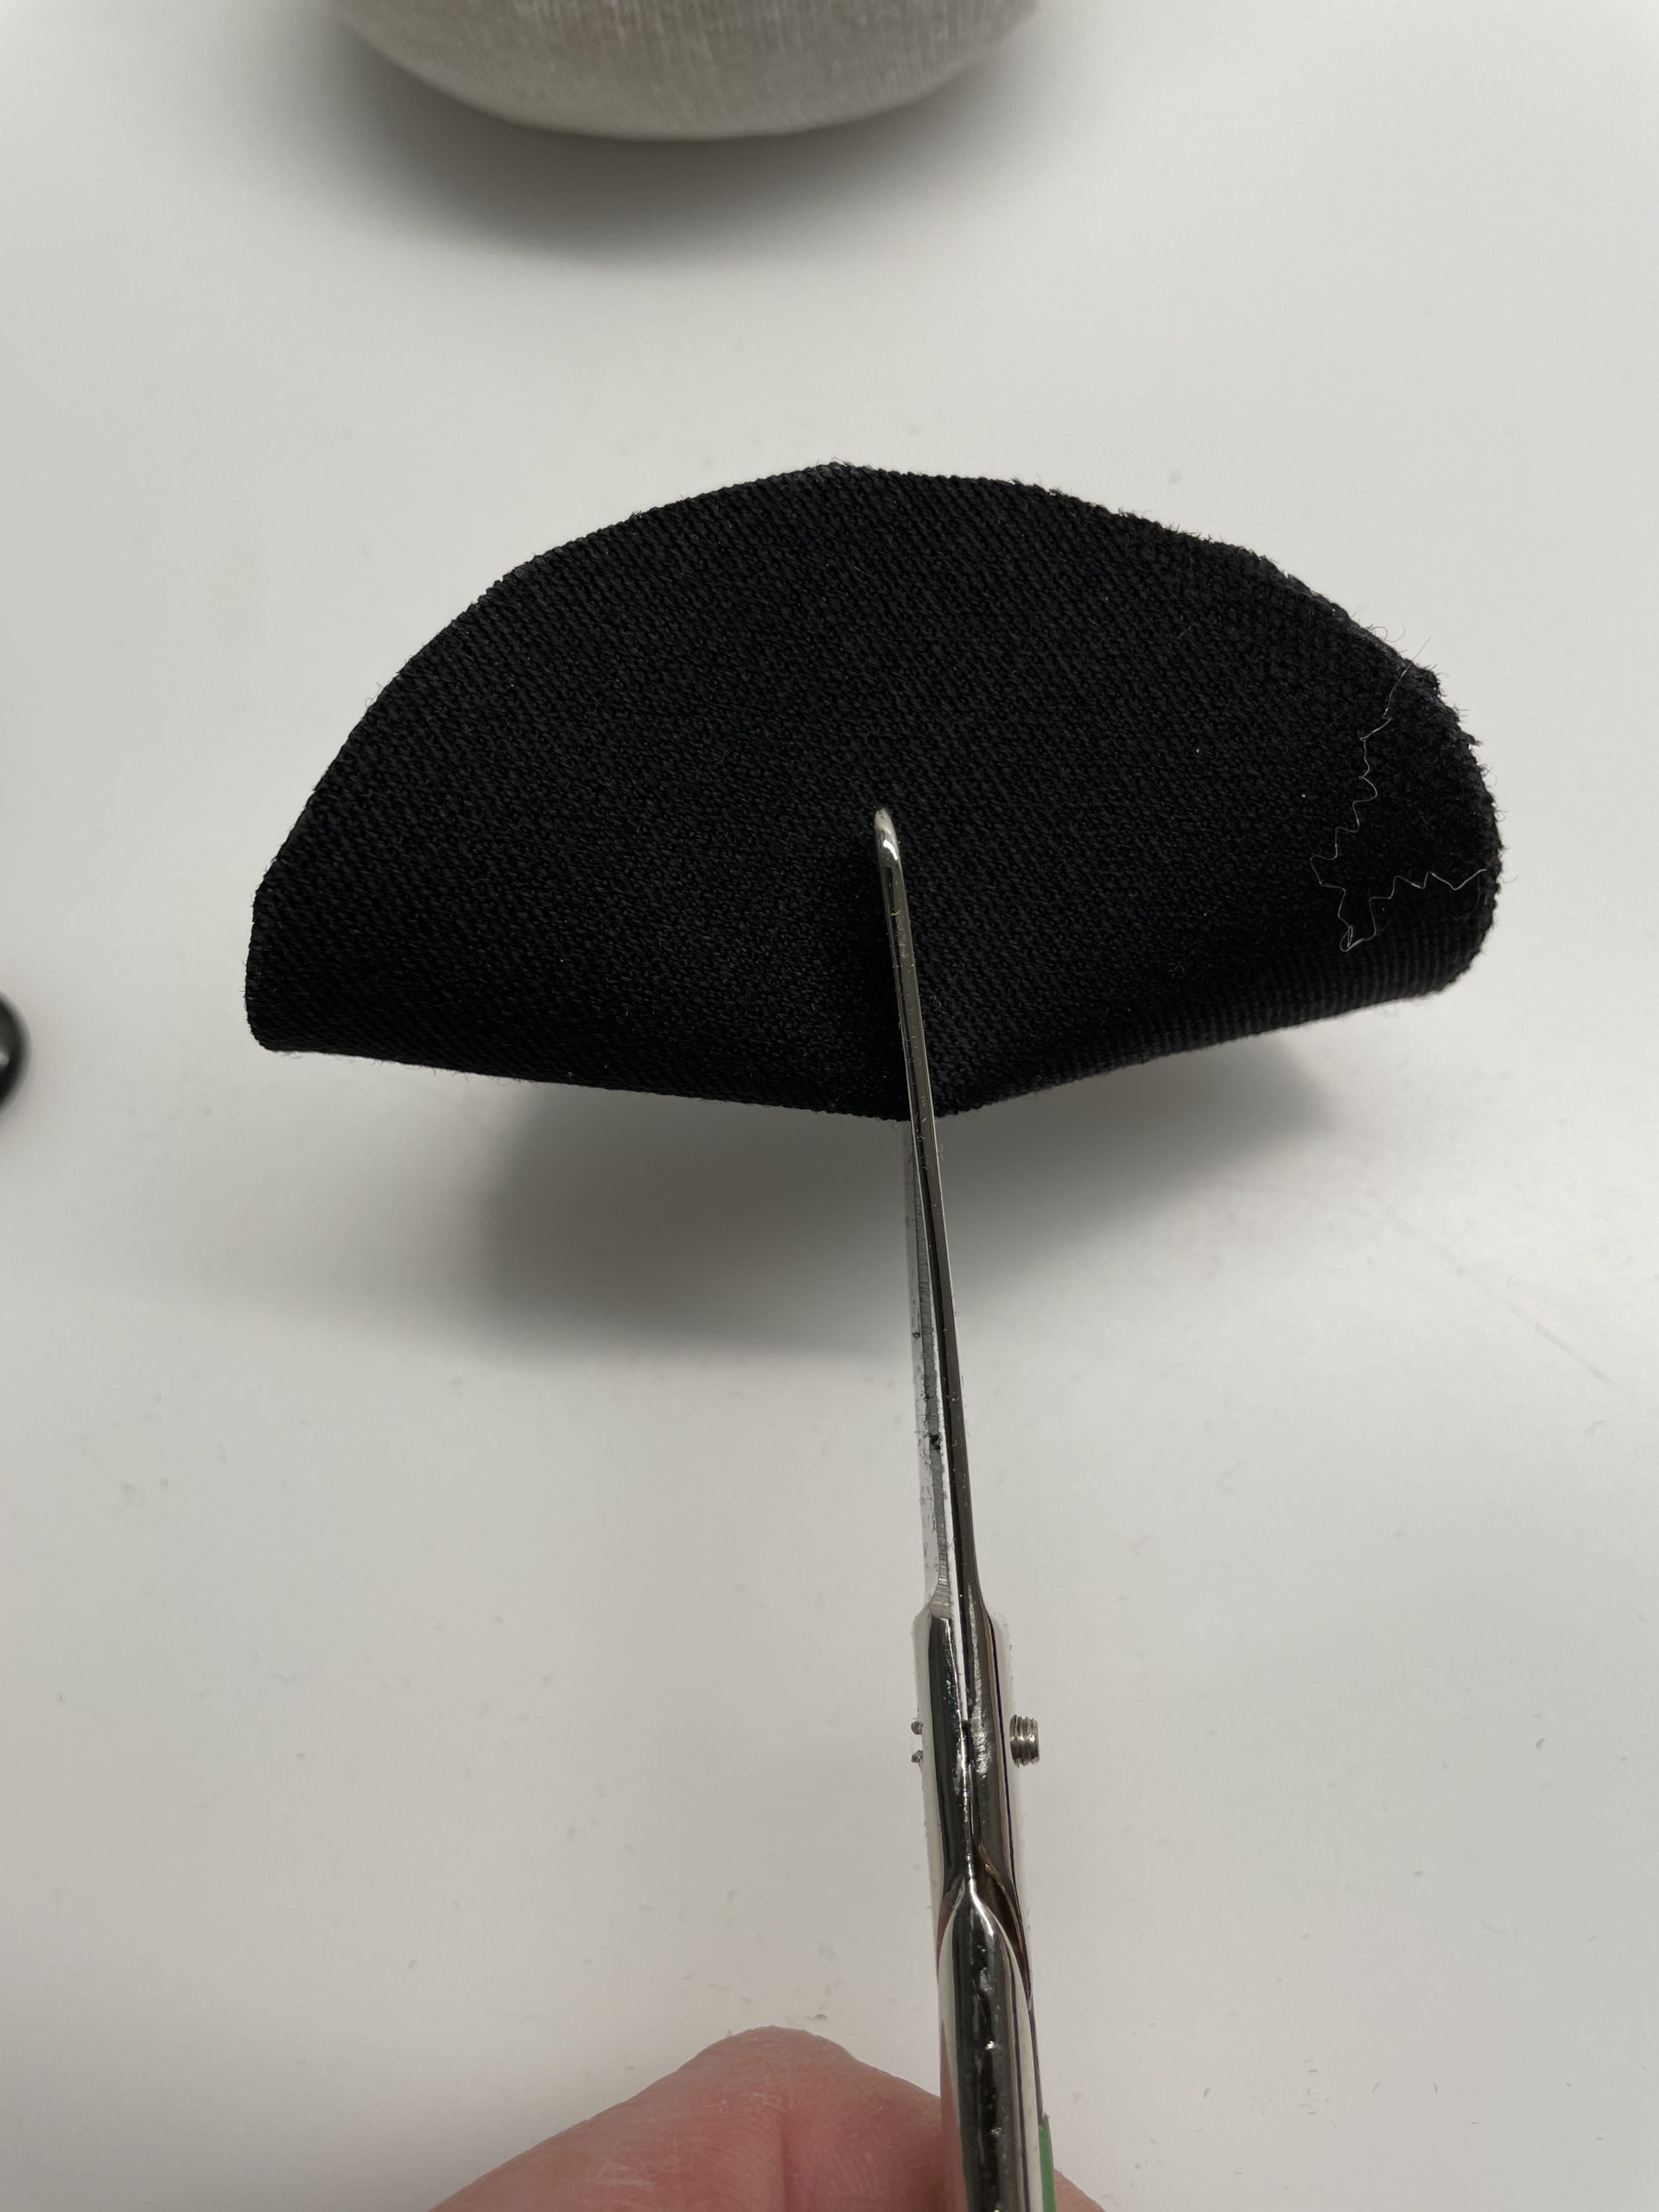
Now fold the circle half and cut it in the middle a small piece.
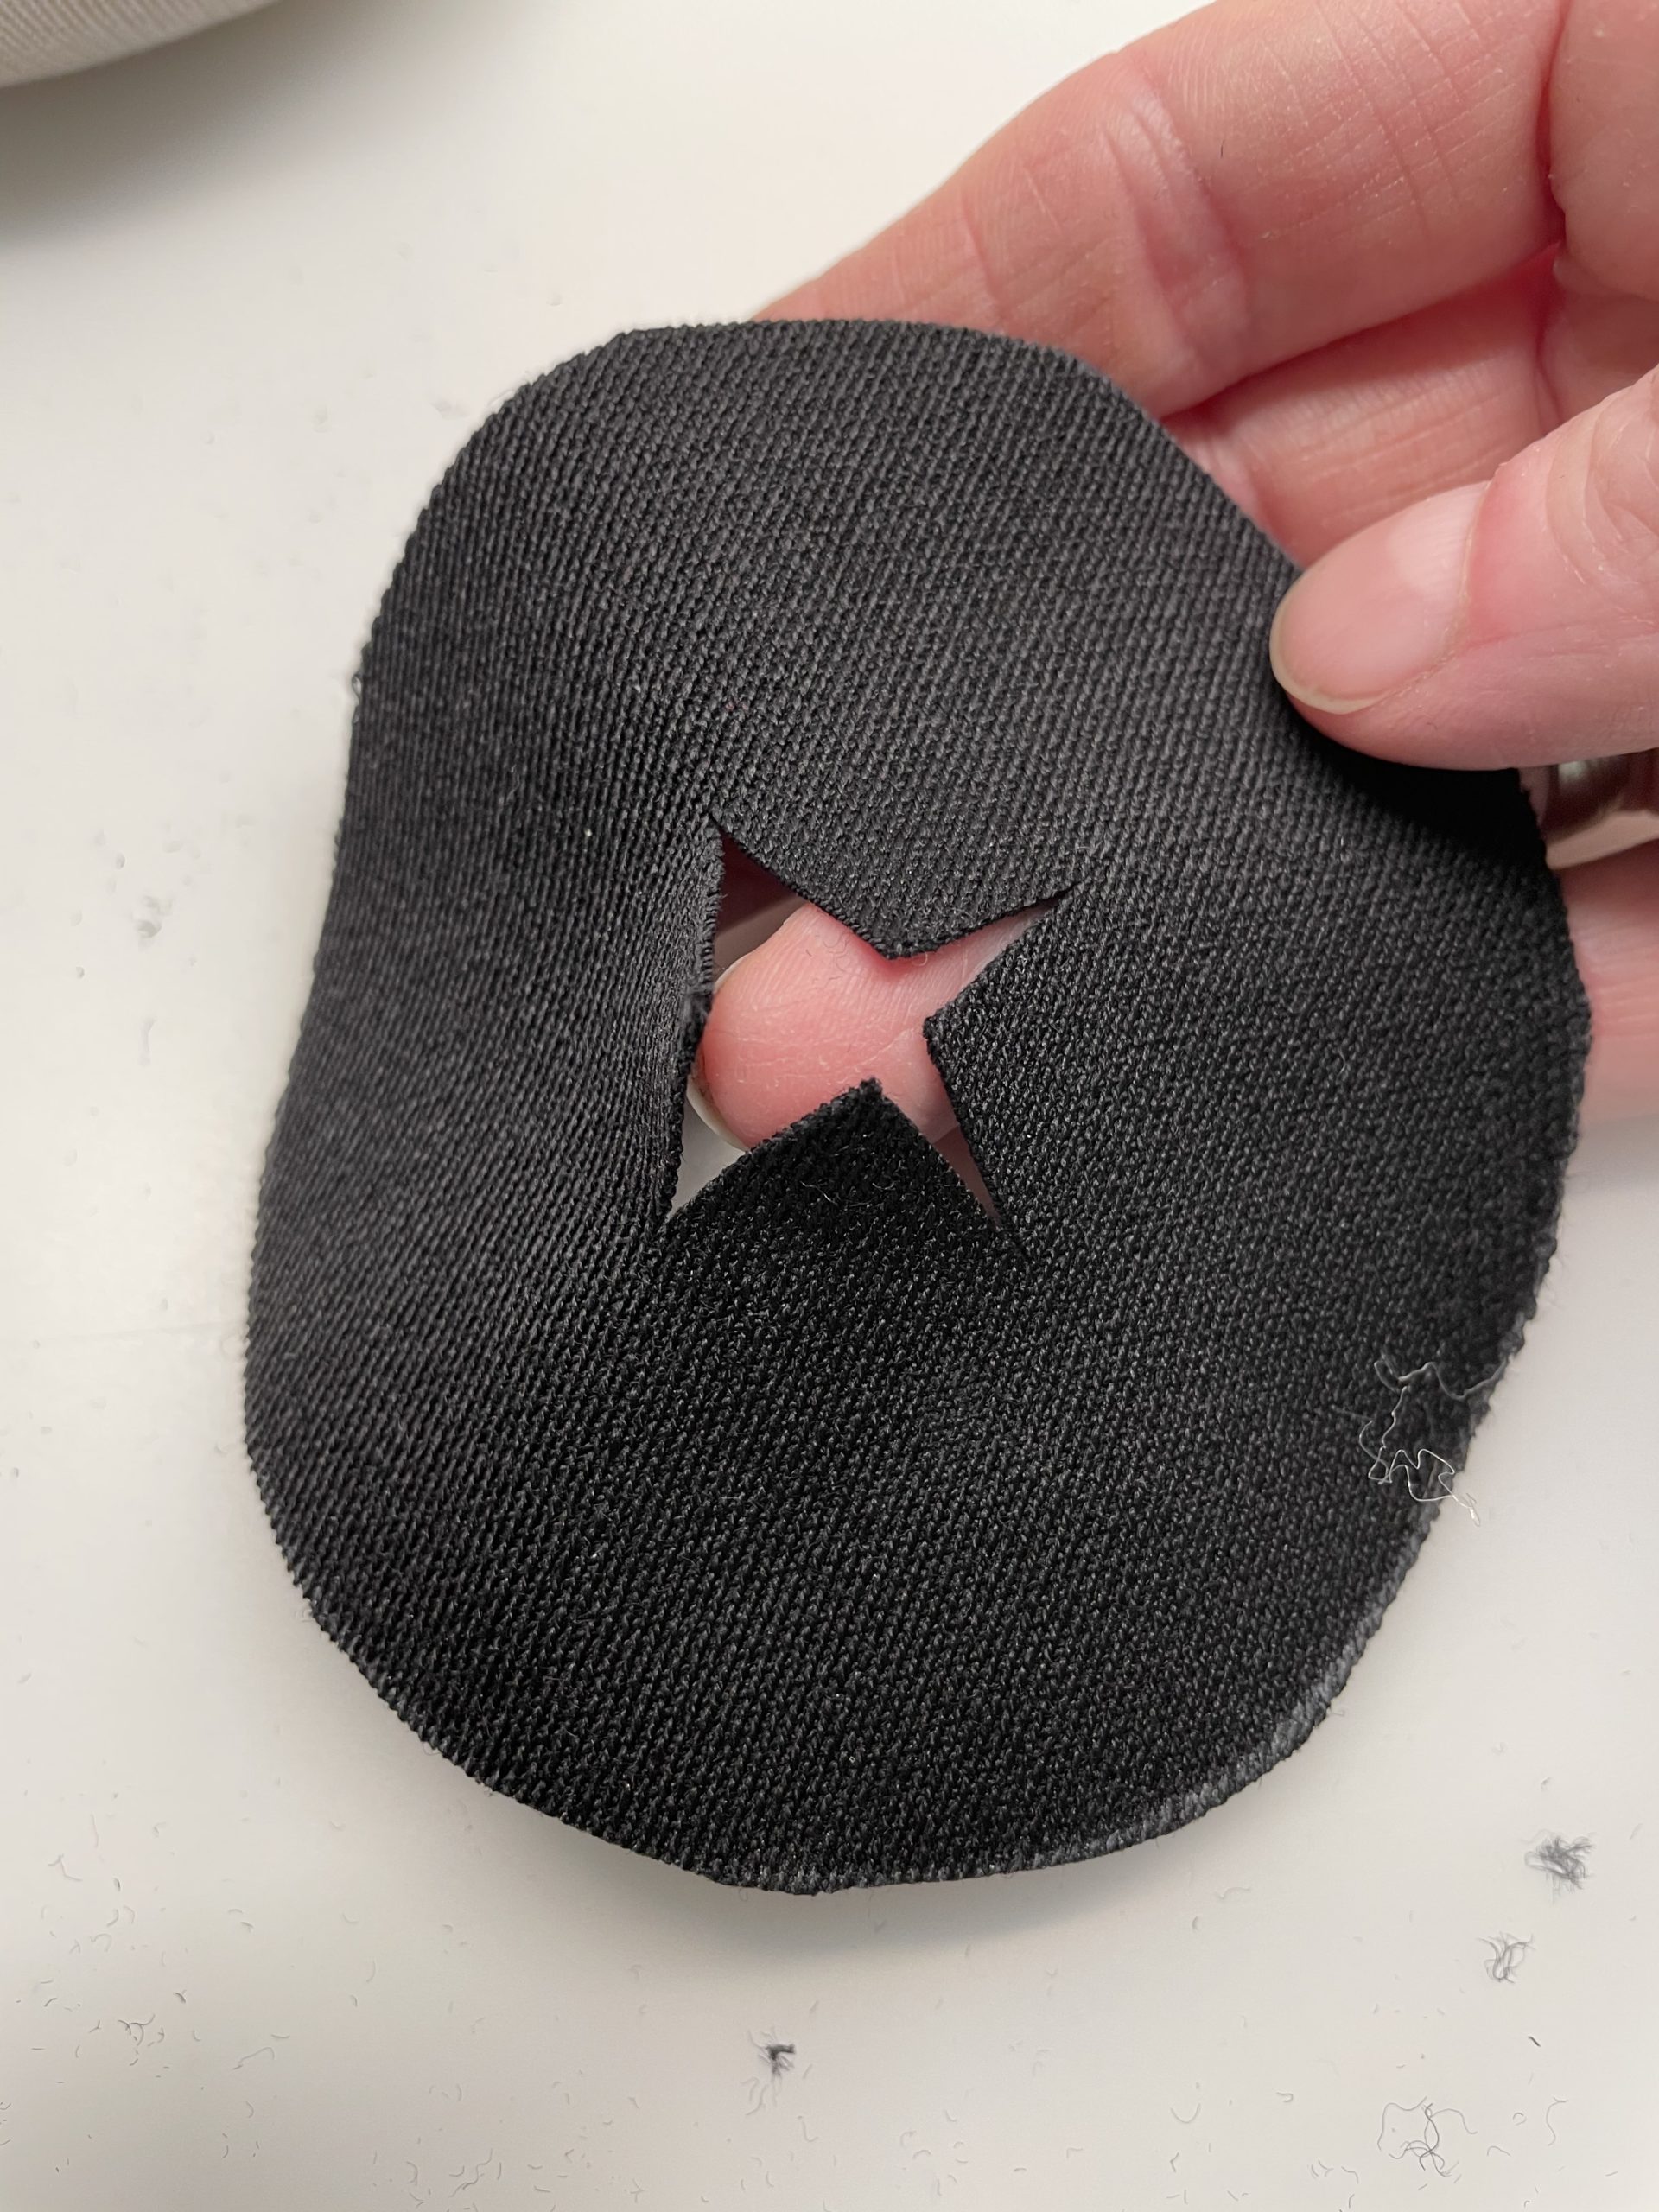
Now fold the circle and fold it again in the other direction. Cut a small piece in the middle again. This creates a cross-cut in the middle.
Now roll the fabric circle over the socks.

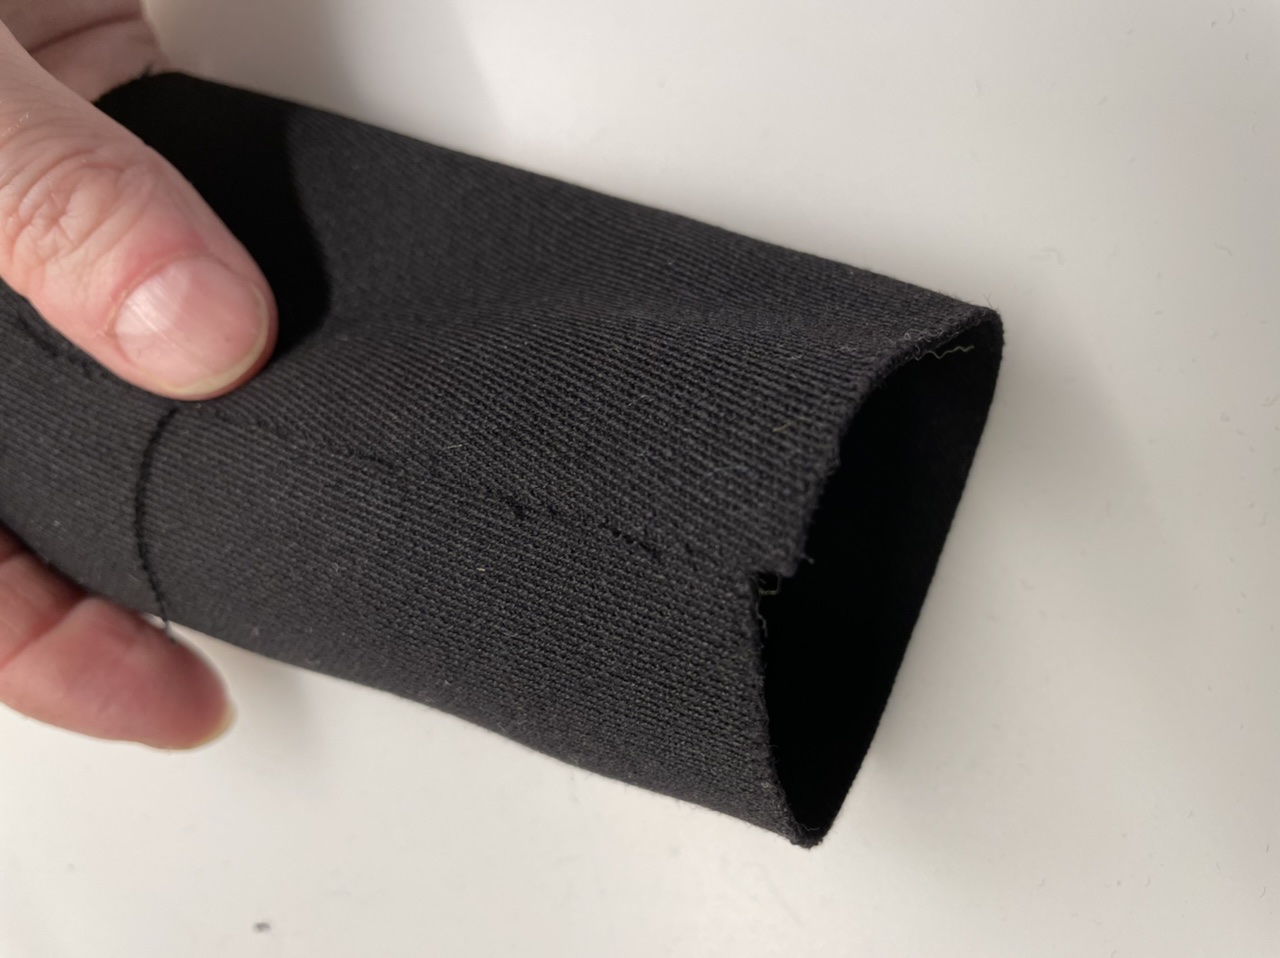
Now cut a strip, which is about 15cm x 8cm large.

Then stick this strip together to form a hose. Use any hot glue. Attention: Let an adult help you with this - risk of injury!
Now you're half-inside the fabric hose.
If the fold doesn't hold, just put on a few brackets.
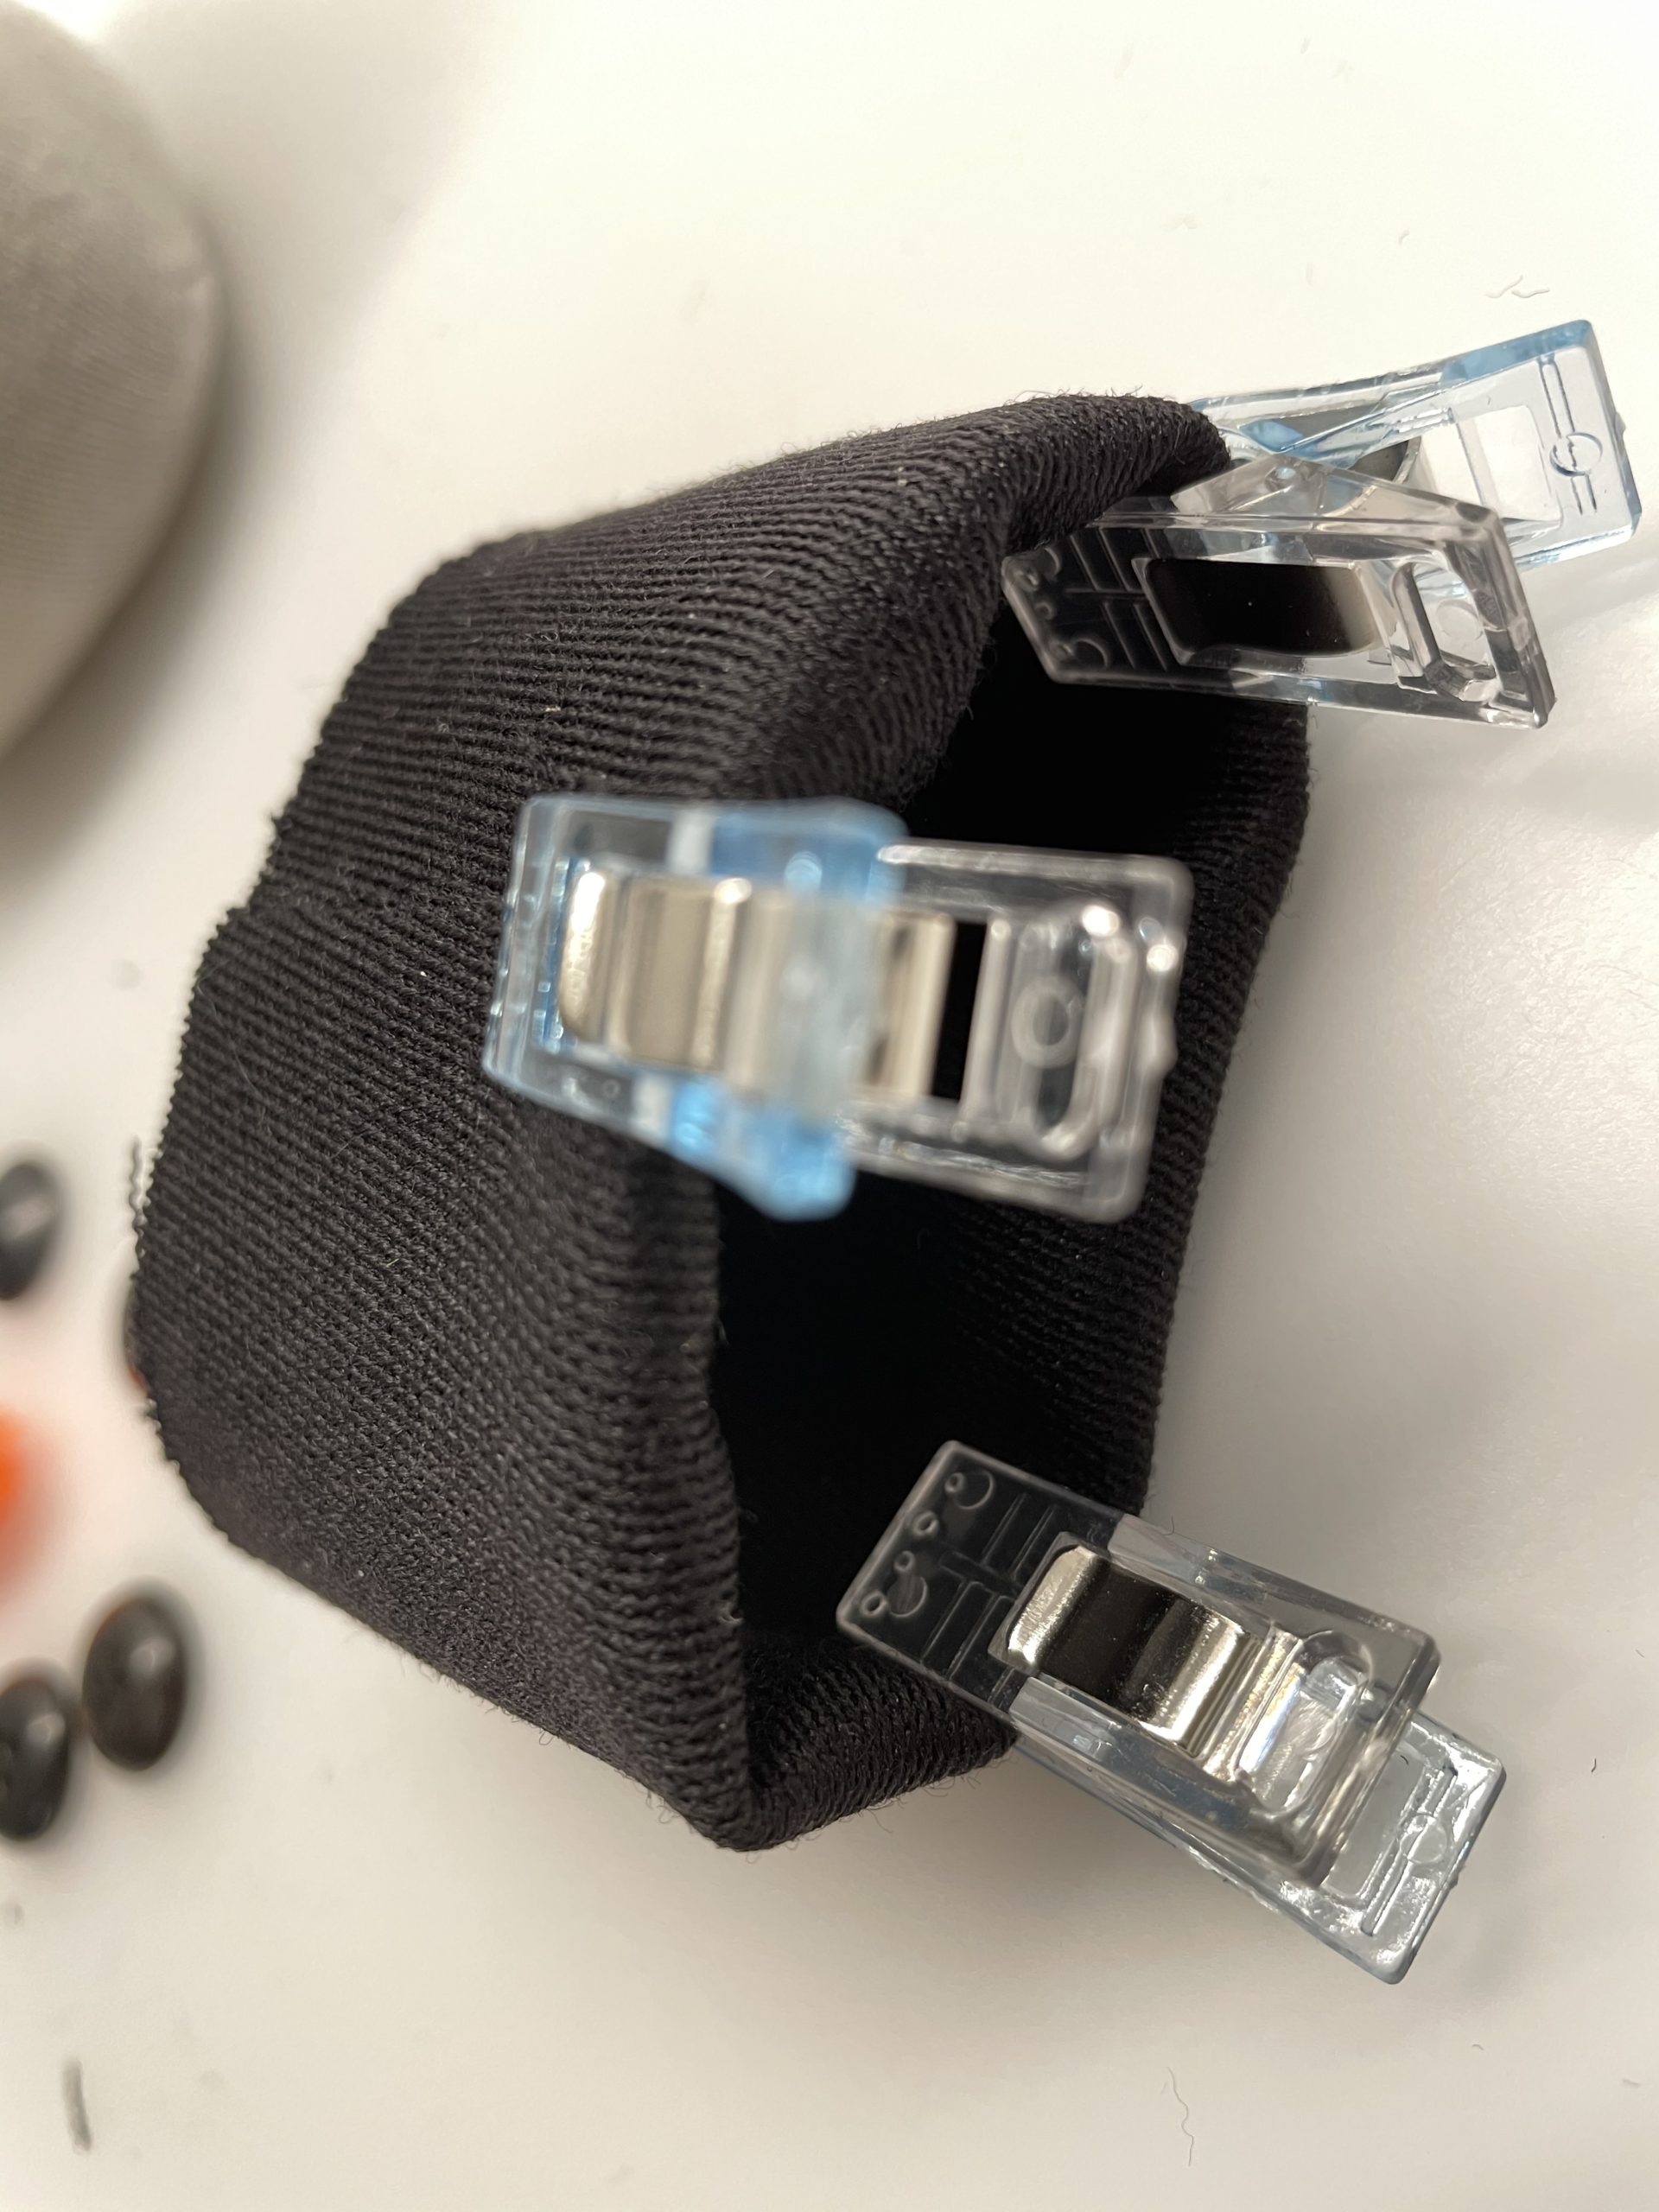
Now you put the fabric hose over the socks.
Now stick the fabric hose to the circle with hot glue. Add some hot glue and put immediately the hat edge on it.
Tighten the fabric hose.
Now cut a small fabric circle with a diameter of about 4cm.

Then stick this on the hat and close the open place on the hat.


Design the snowman as described above with buttons, eyes, pipe cleaner nose and a scarf.
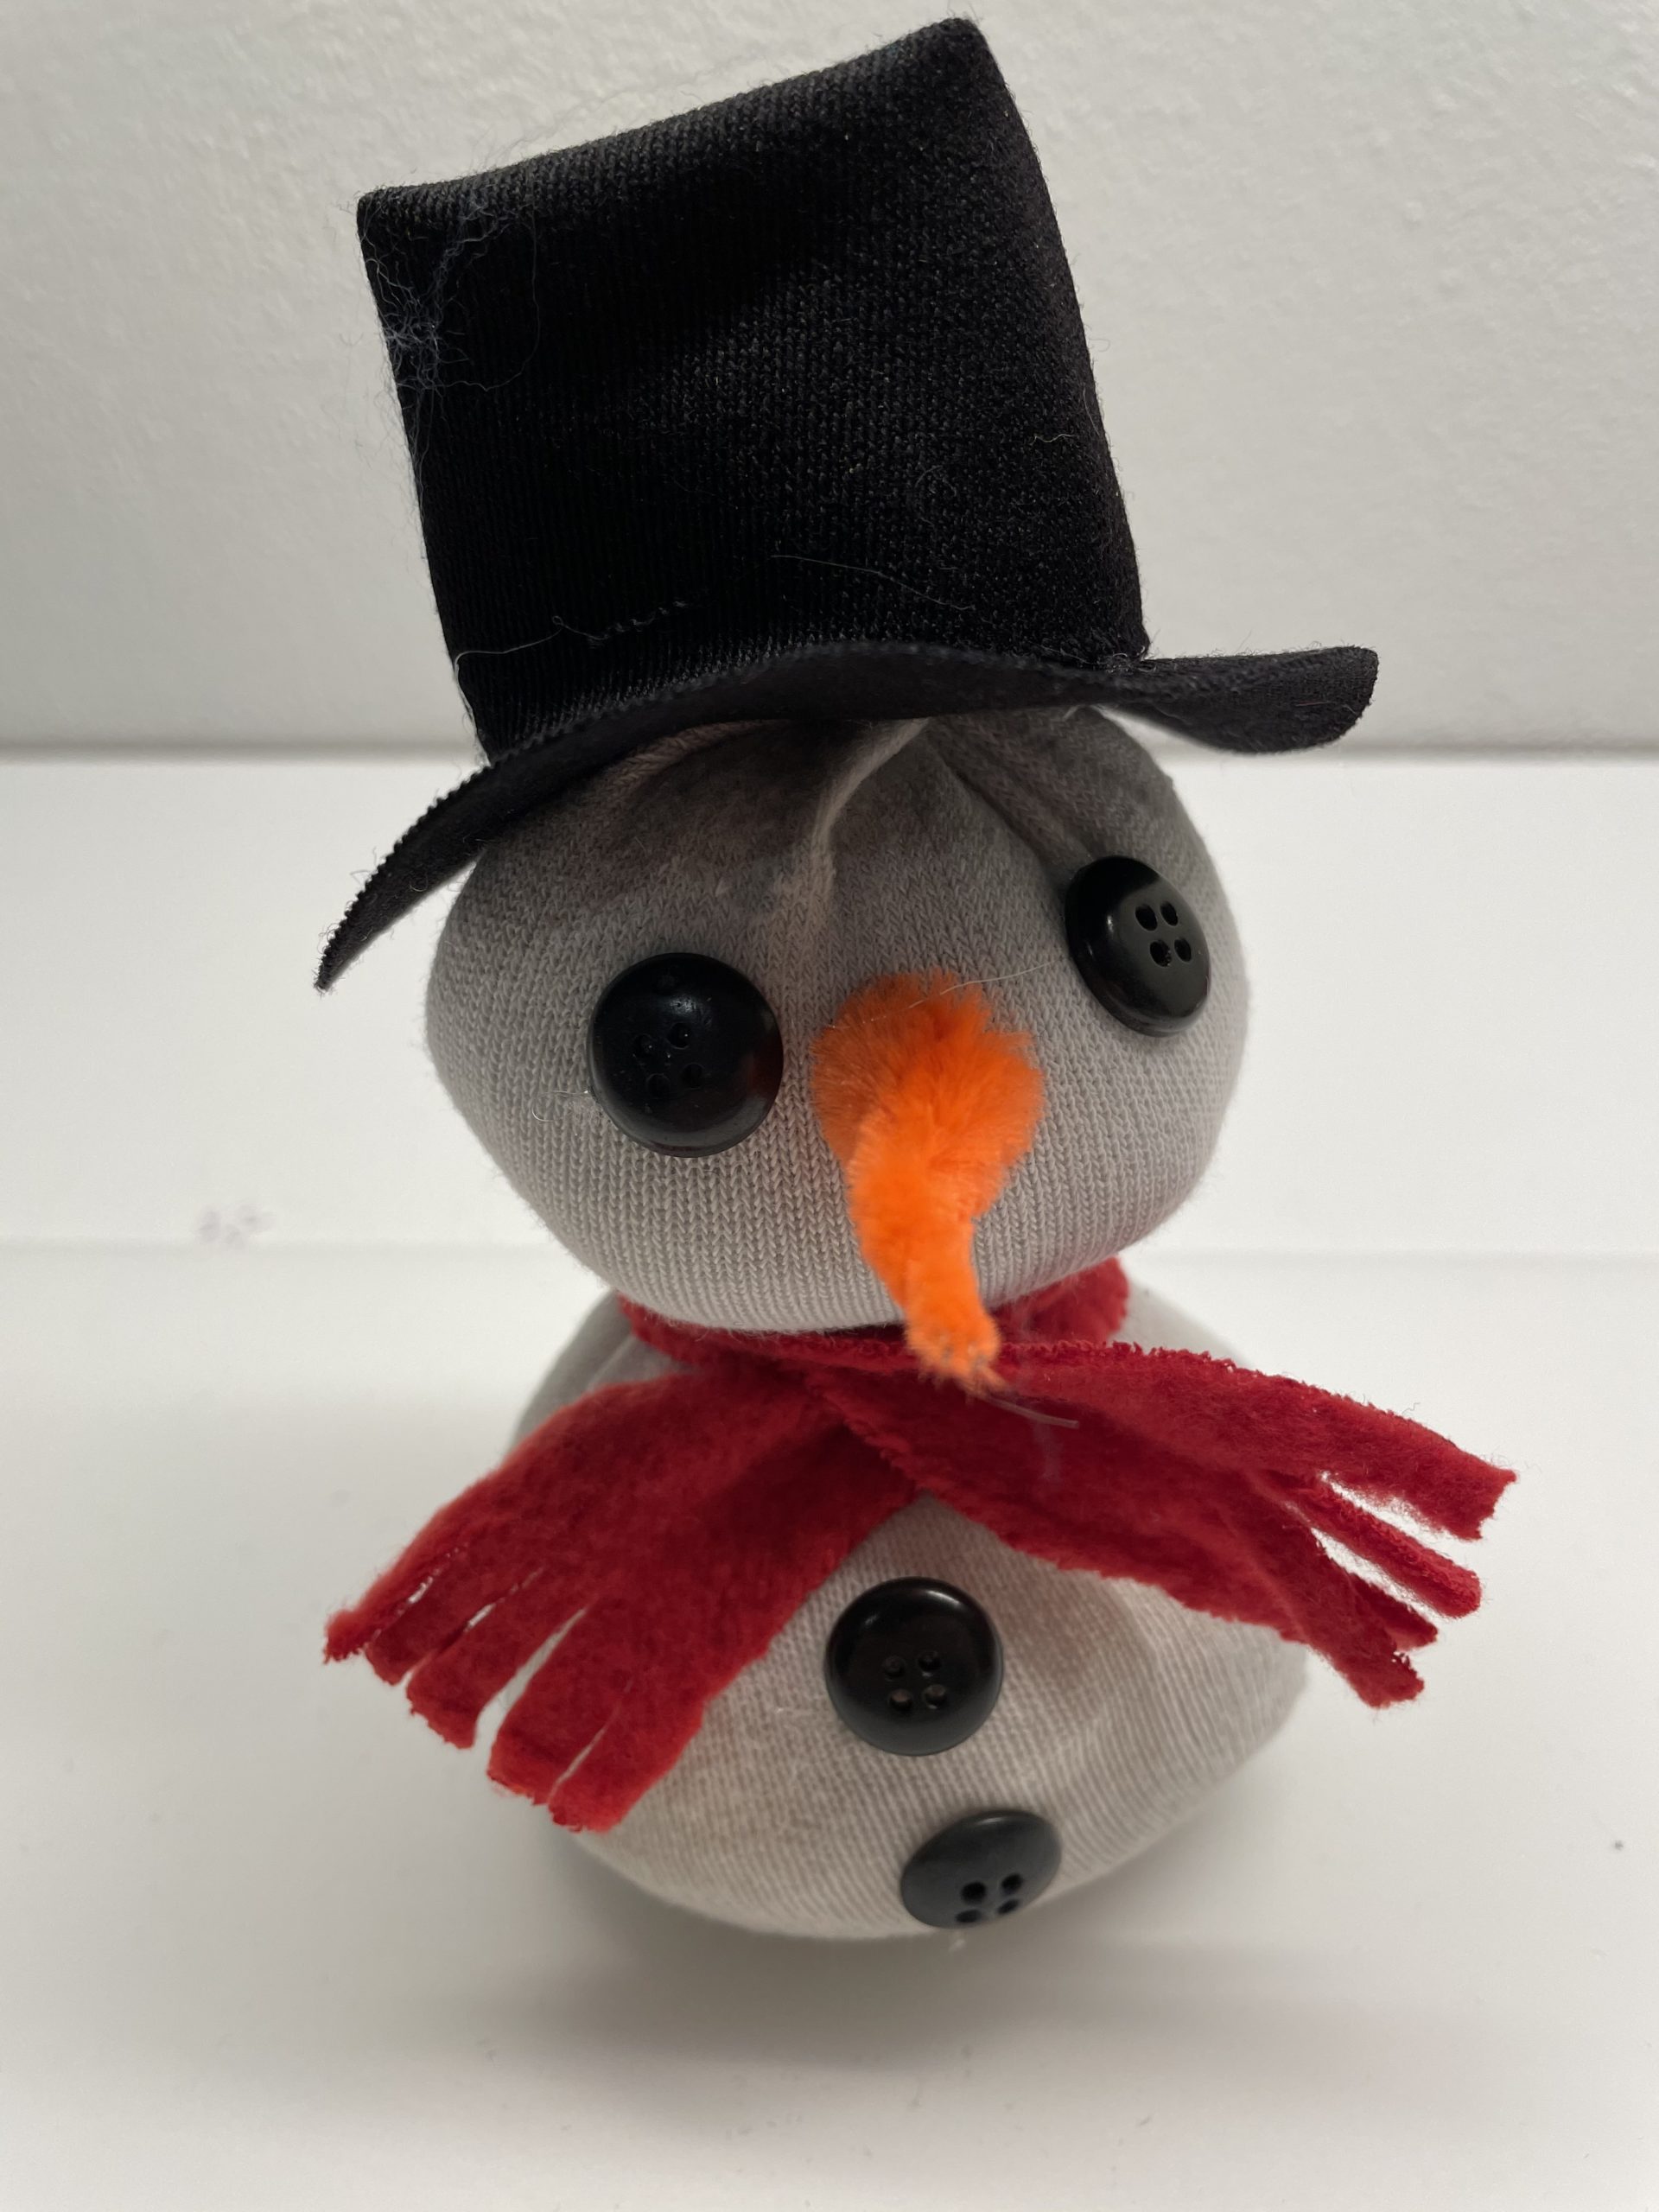
The snowman is finished with a hat.
Have fun doing crafts.
Materials
Directions
Find all the materials together and put out your craft file.
Then fill rice in a cup first.
This fills her in the breakfast bag.
Knot the bag and push out the air before you tighten the knot.
Now take the sock and put the rice bag in the sock.
Now push the rice at the bottom and squeeze the socks over it.
Now you fix the socks with a small household rubber. Place them tightly around, so that a ball is created.
Now you put the cotton wool in the sock, on the first ball and form the second ball from it. Make sure that the second ball is filled round and plump.
Press the socks on the top tightly and close the second ball with a household rubber as well.
Upstairs a small piece of the sock stands still. This piece you need, since hat or cap so much more hold to get.
Now you're sticking your eyes and buttons on the snowman.
Then you bend the orange pipe cleaner into the shape of a carrot.
Then stick her nose on. Use the hot glue for this.
Attention: Let an adult help you with this - risk of injury!
Now you're making your hat.
For this you cut off a sock about 8 cm long. Measure the length from the cuff.
Now you bind the interface with a rubber or a cord.
Tip: You can also bind the sock first in the desired length and then cut it off.
Finished is the small cap. Put on the cap and pull the upper end a little apart - this creates a bobble.
Now cut her the scarf of the snowman. For this cut a felt strip to the dimensions 25cm x 2cm.
Then you cut the strip several times at both ends with the scissors about 1cm.
The scarf is ready.
Now tie the scarf around the snowman.
The snowman is ready.
Cuts out an 8cm circle from a black piece of fabric or felt for the hat.
Now fold the circle half and cut it in the middle a small piece.
Now fold the circle and fold it again in the other direction. Cut a small piece in the middle again. This creates a cross-cut in the middle.
Now roll the fabric circle over the socks.
Now cut a strip, which is about 15cm x 8cm large.
Then stick this strip together to form a hose. Use any hot glue. Attention: Let an adult help you with this - risk of injury!
Now you're half-inside the fabric hose.
If the fold doesn't hold, just put on a few brackets.
Now you put the fabric hose over the socks.
Now stick the fabric hose to the circle with hot glue. Add some hot glue and put immediately the hat edge on it.
Tighten the fabric hose.
Now cut a small fabric circle with a diameter of about 4cm.
Then stick this on the hat and close the open place on the hat.
Design the snowman as described above with buttons, eyes, pipe cleaner nose and a scarf.
The snowman is finished with a hat.
Have fun doing crafts.
Follow us on Facebook , Instagram and Pinterest
Don't miss any more adventures: Our bottle mail