Napkin ring with buttons (2 ideas)

AdventurerKatzi
Rating5.06.1 Thousand times & (3) DifficultyIntermediate

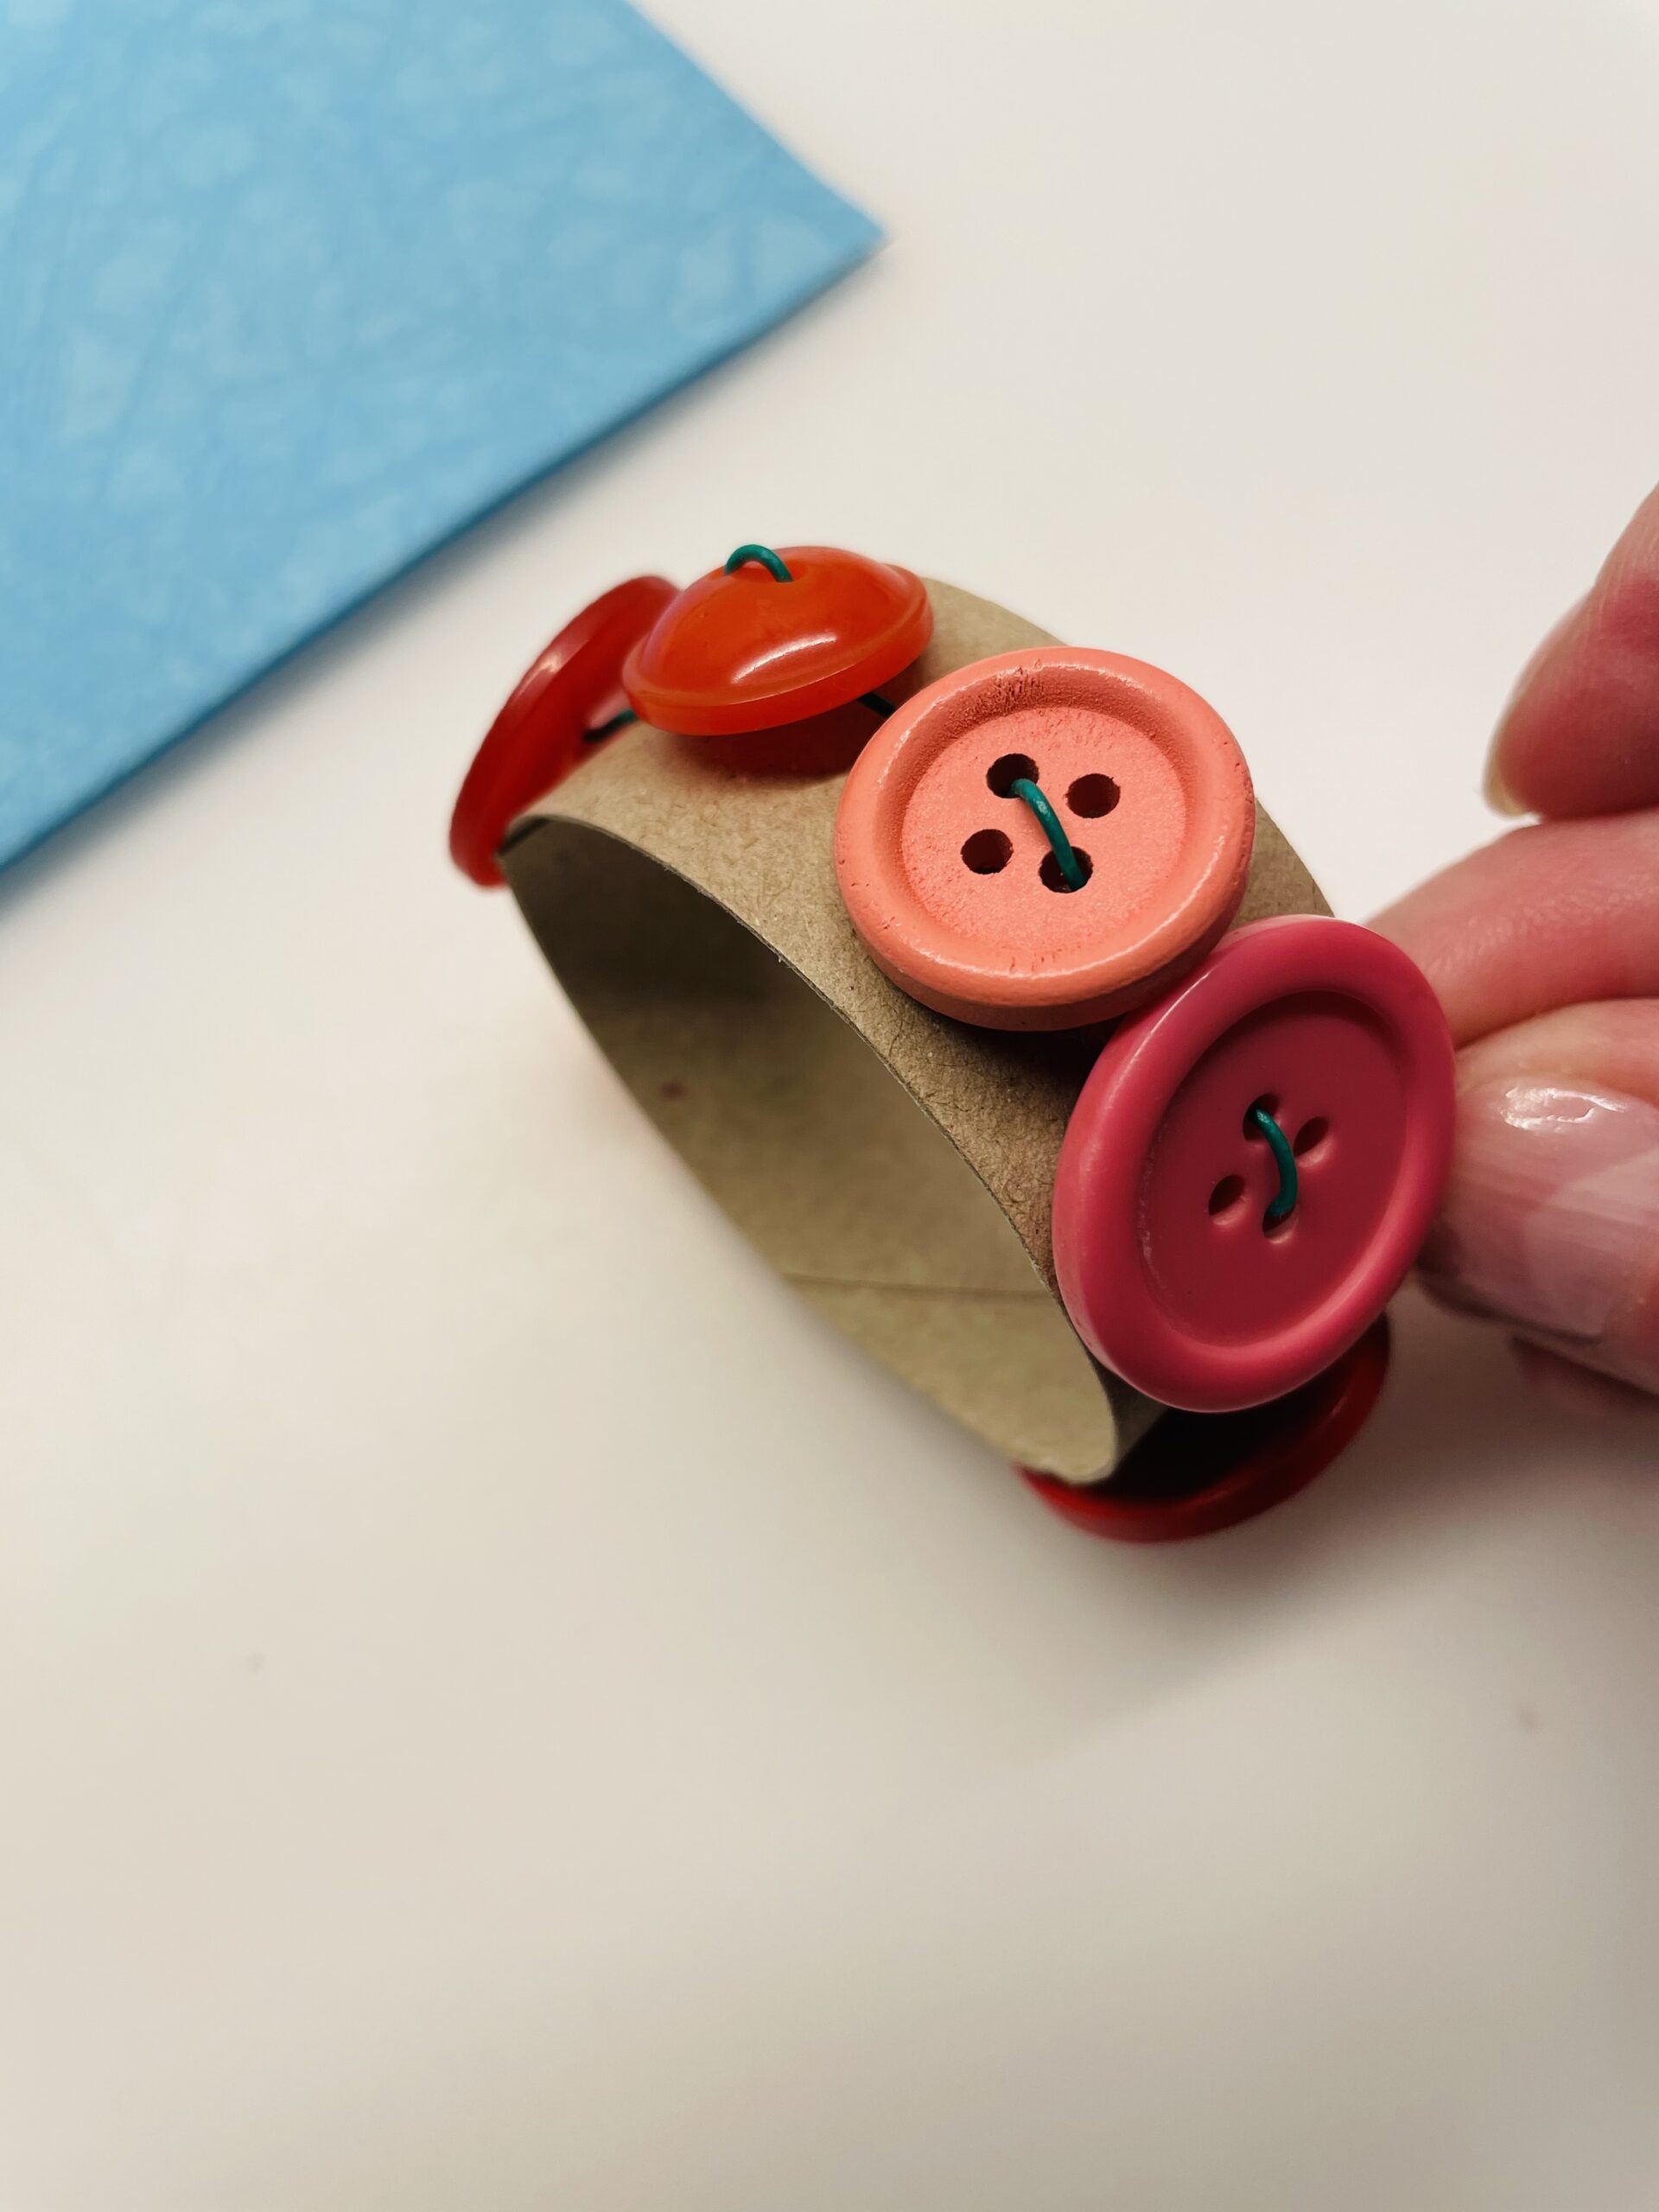
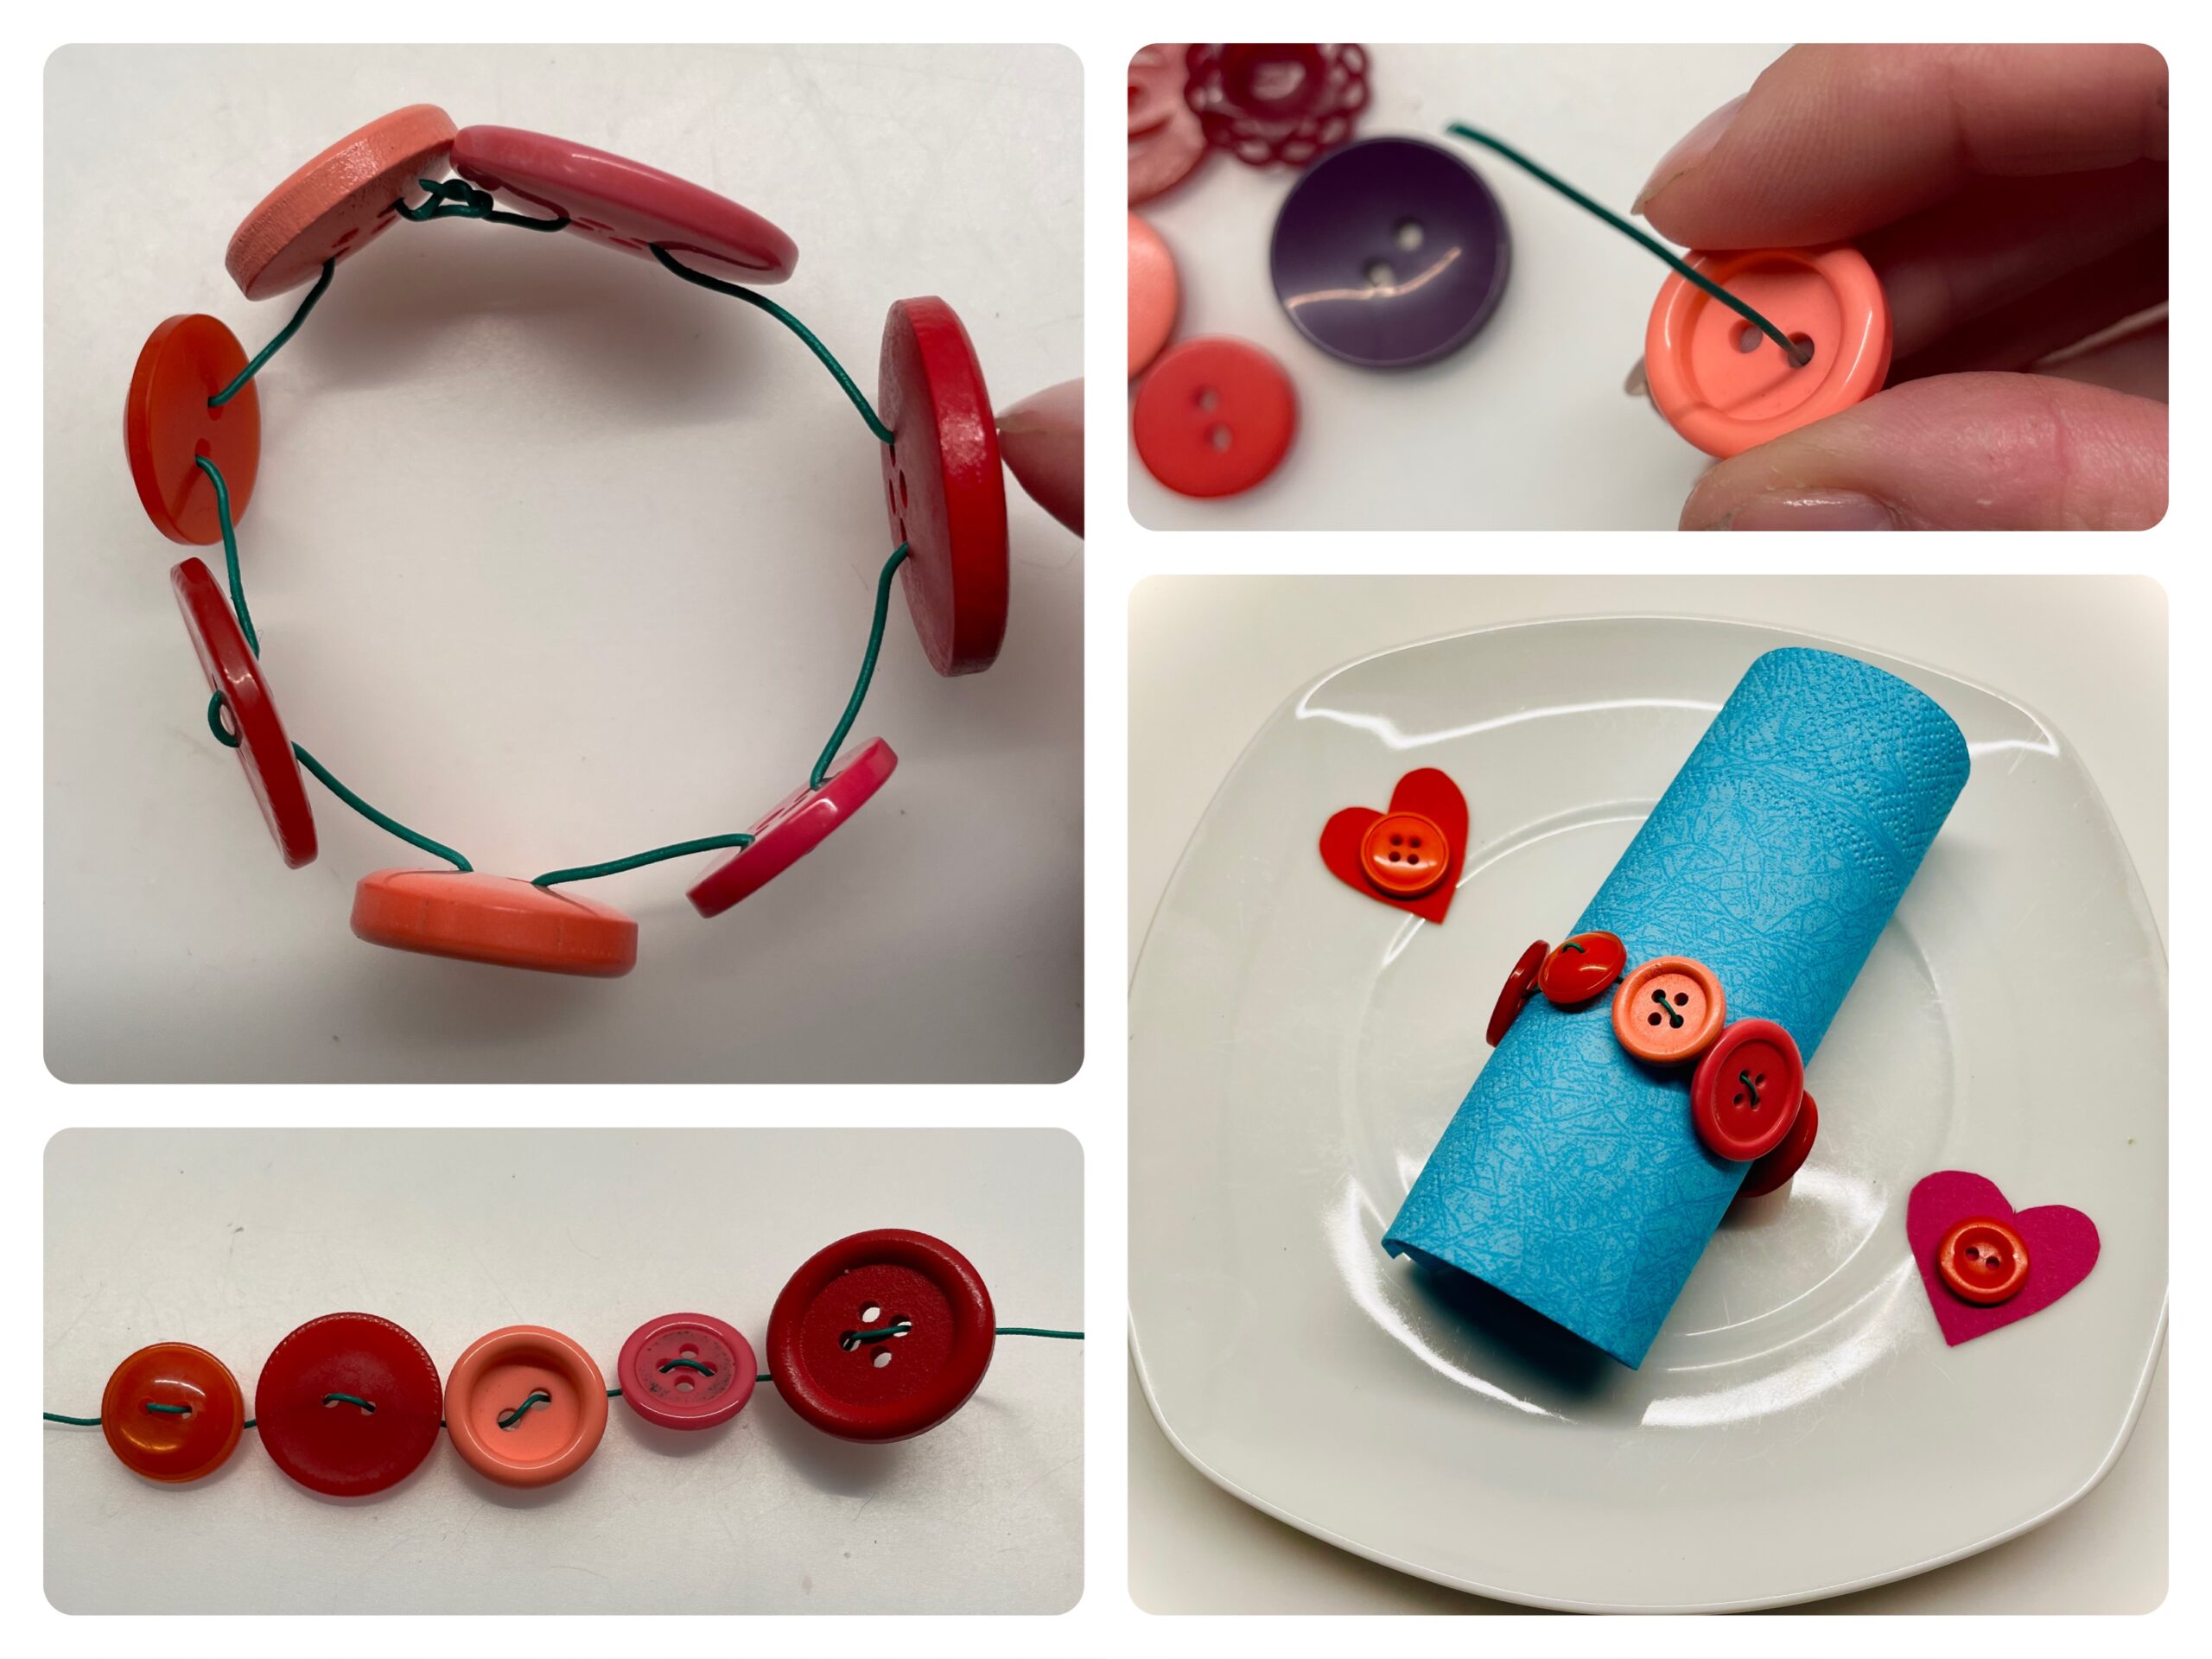
This simple napkin ring is made of a cardboard roll, which has been decorated with buttons. For this you thread the buttons on a thin flower wire, which you then put around the cardboard roll. The illustrated guide shows you how it works and how you can make a beautiful napkin ring from the buttons even without the cardboard roll. For every celebration this napkin ring is suitable and certainly a highlight - be it for Mother's Day, Father's Day, birthday or just a visit from the grandparents.

Media Education for Kindergarten and Hort

Kind bastelt eine Rassel mit dem Navi
The Adventure Navi, the app for DIY projects, enables media education for the youngest.

Relief in everyday life, targeted promotion of individual children, independent learning and - without any pre-knowledge already usable by the youngest!
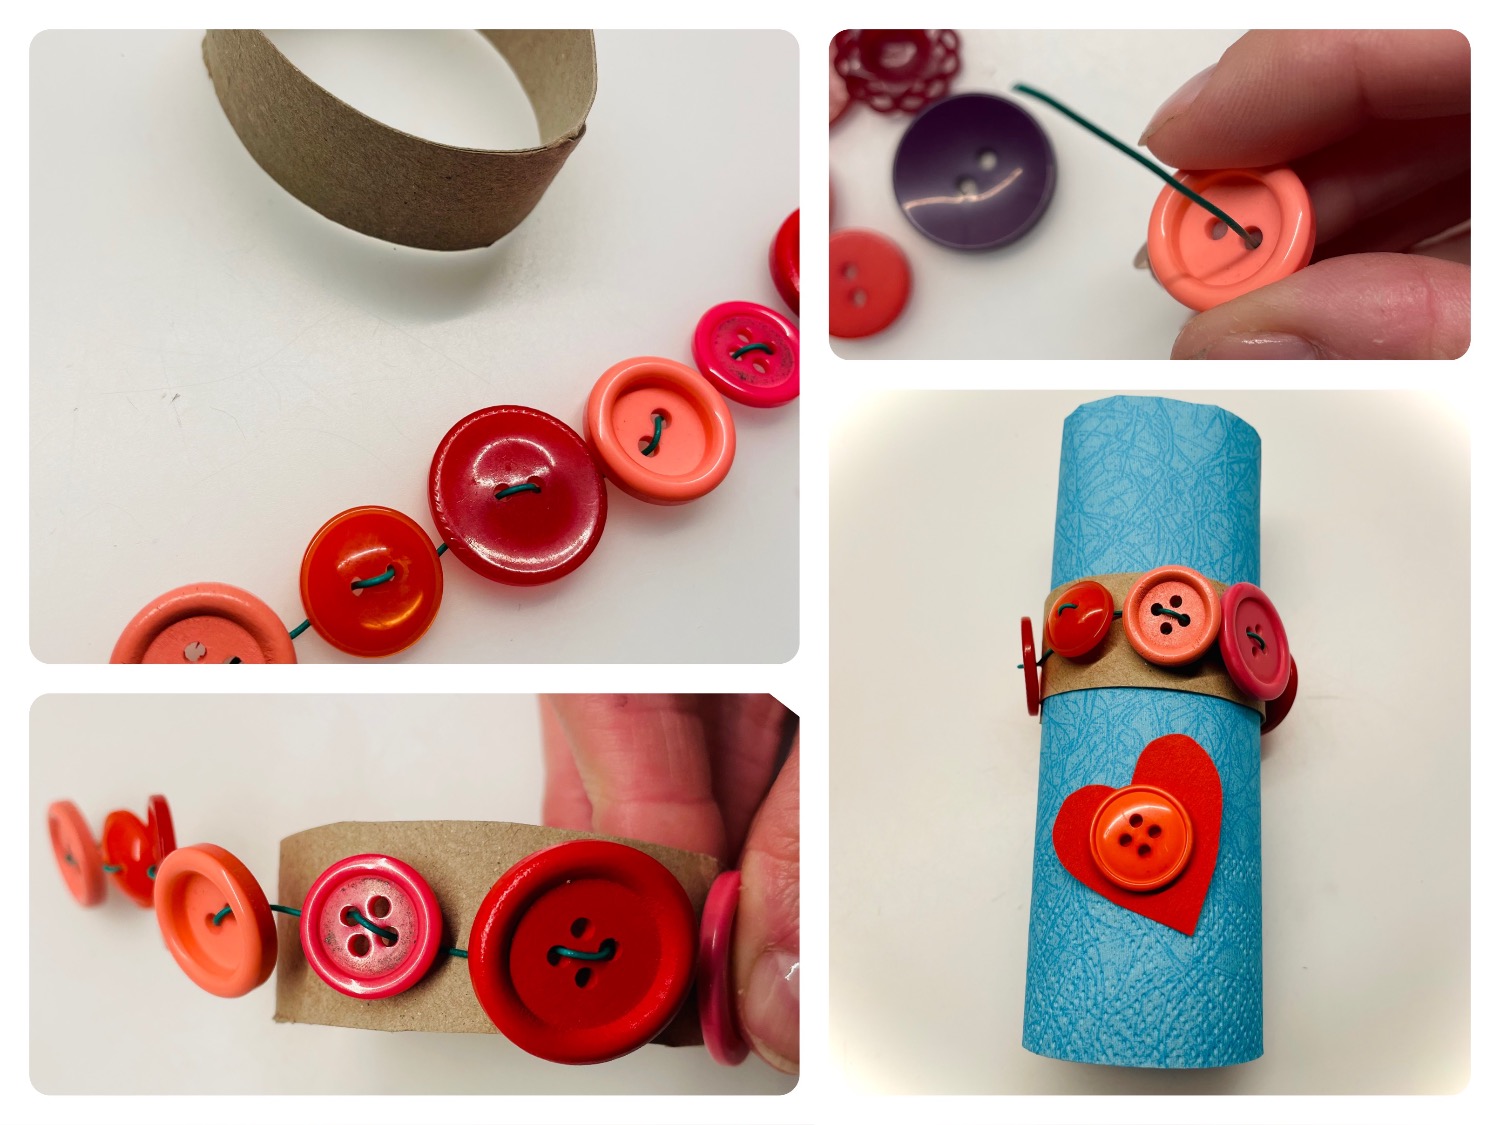


Titelbild zur Bastel- und DIY-Idee für Kinder '(739) Serviettenring mit Knöpfen (2 Ideen)'
Material for1 Child
Prep Time5 min.Adv. Time20 min.Total Time25 min.
 1 Rolled paperapprox. 1,5cm wide
 Buttons
 Floral wire thinapprox. 20cm
 1 Handicraft shears
 1 Pen
 Clay paper residues
 Builder's pad
All links marked with a shopping cart lead to Amazon - here we have selected products that we would order ourselves and in part also ordered. In a qualified purchase via the advertising link, we as Amazon partner receive a commission, for you there are no costs. You thus support our cost- and advertising banner-free, educational offer.
1

Get different buttons and a thin flower wire ready.
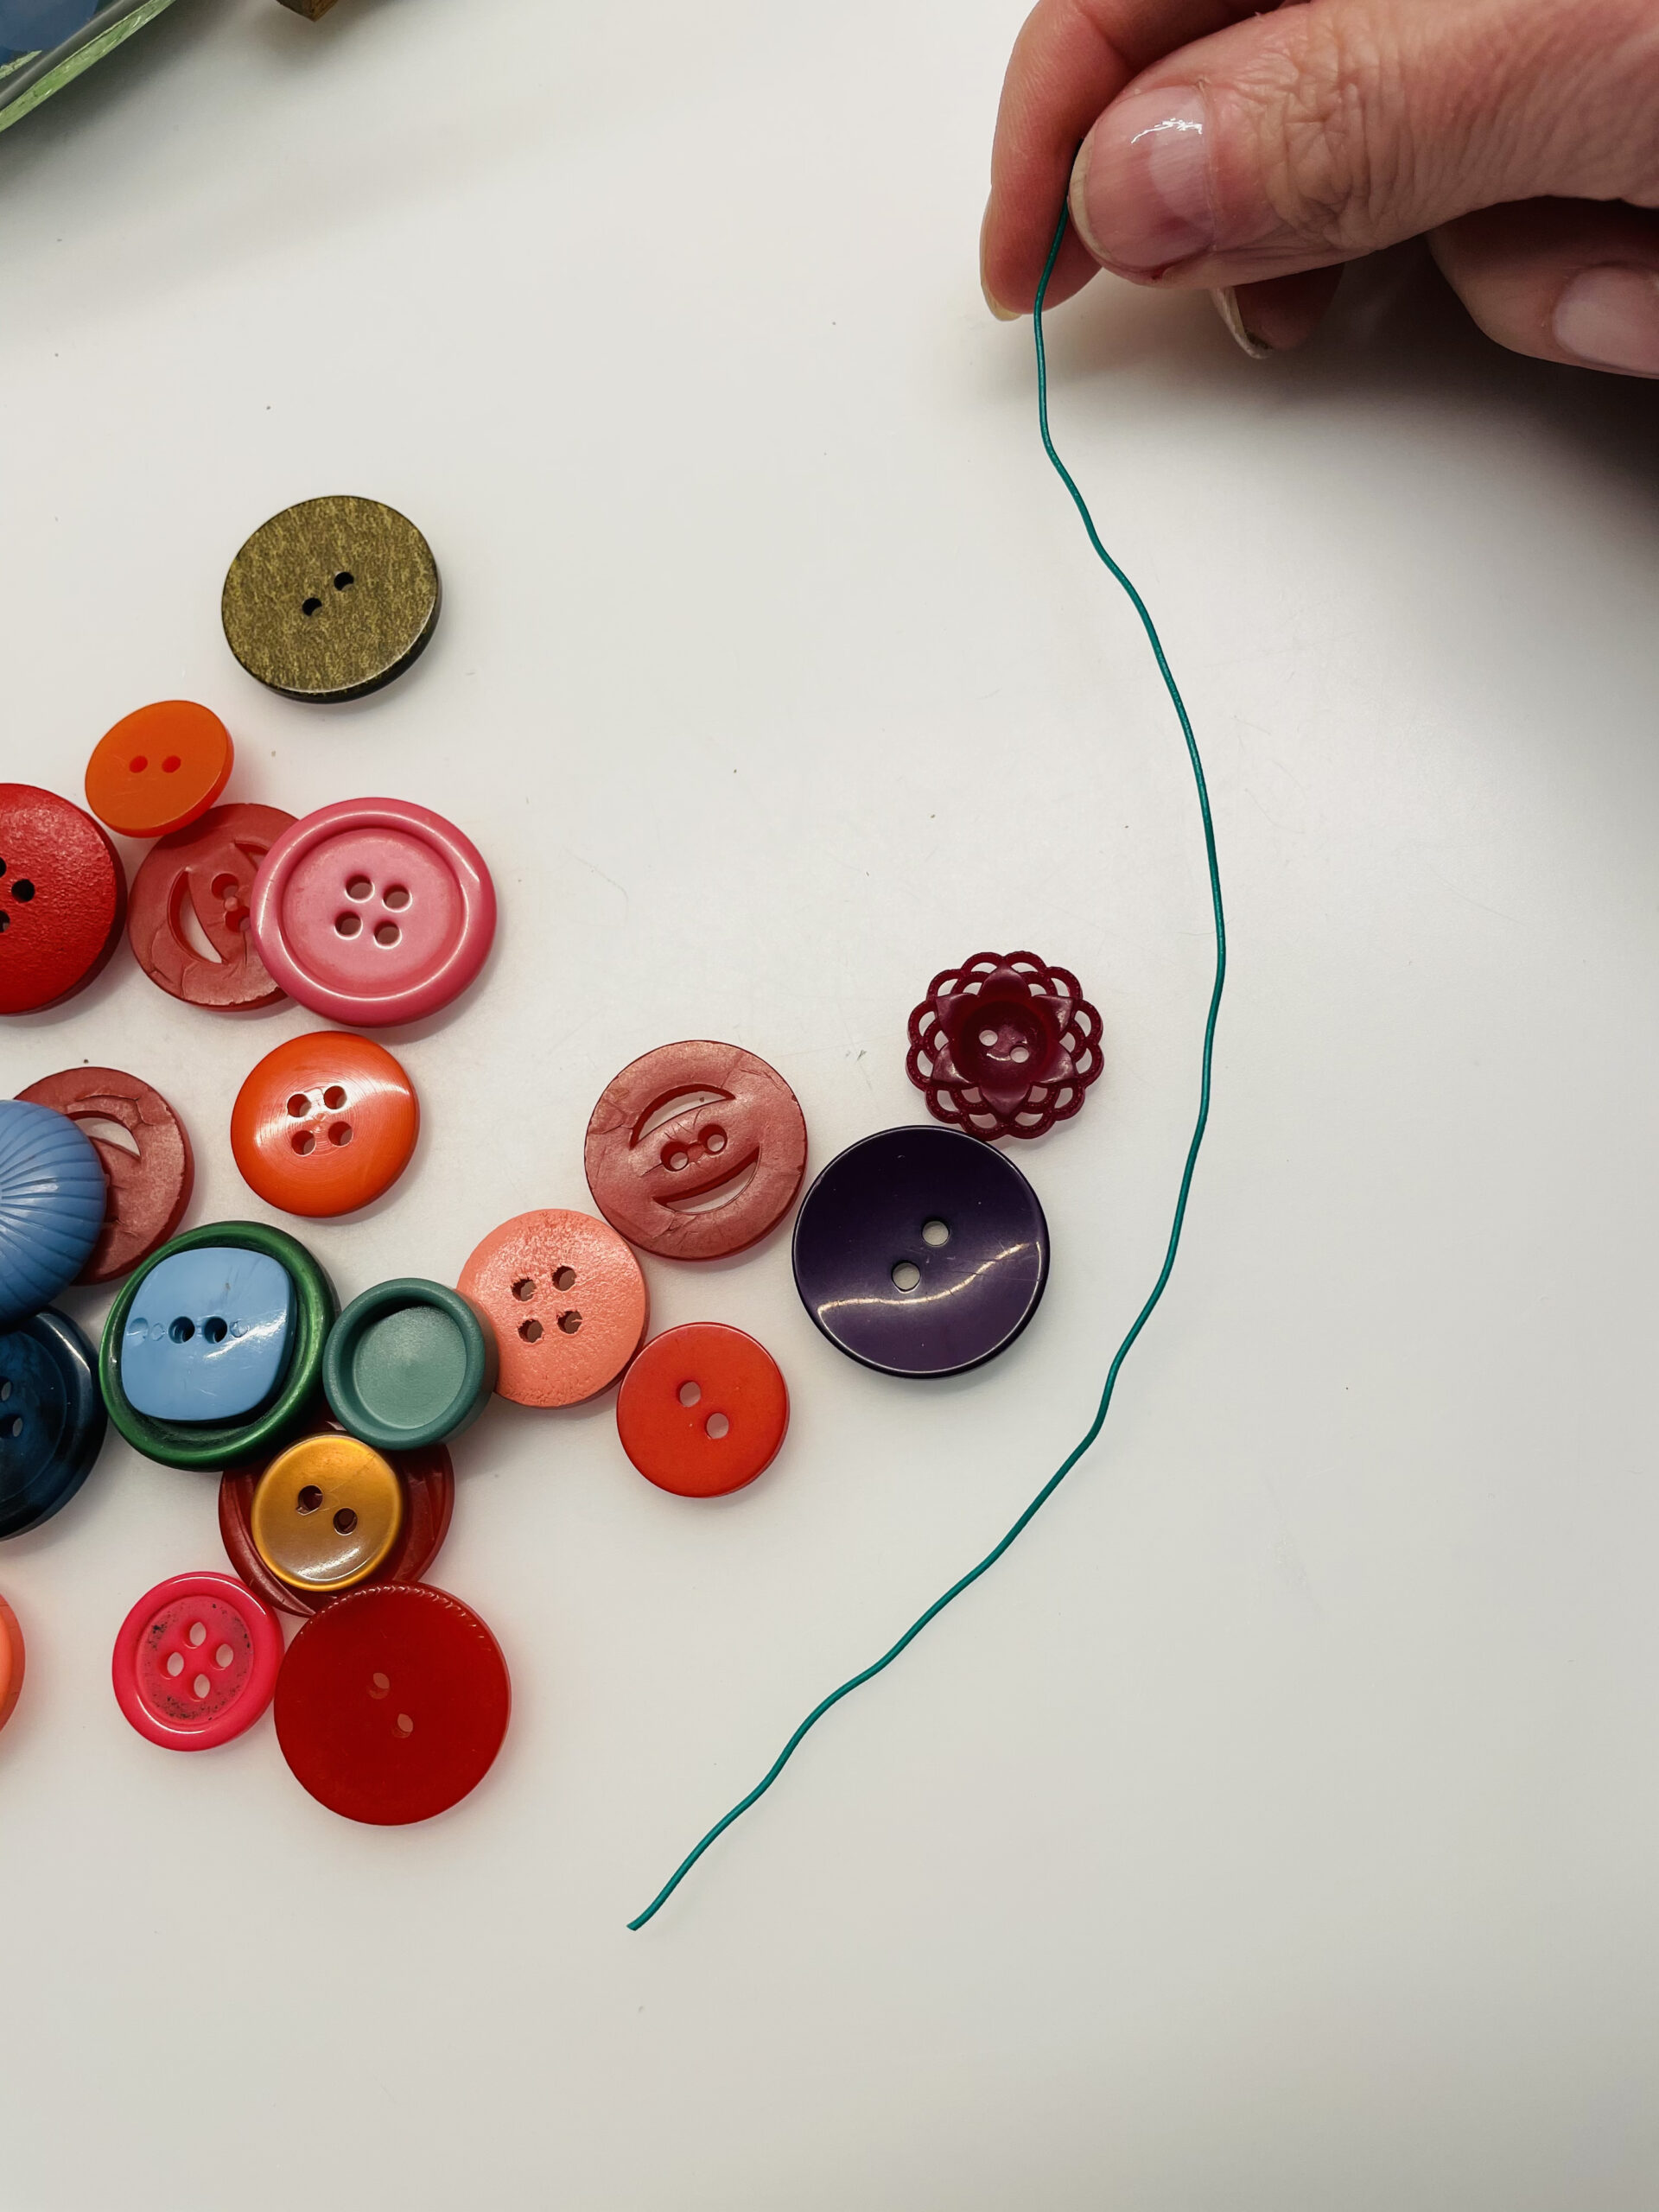
Bild zum Schritt 1 für das Bastel- und DIY-Abenteuer für Kinder: 'Legt euch verschiedene Knöpfe und einen dünnen Blumendraht bereit.'

2

Thread the first button onto the wire. You thread the wire through a button hole. Then you push the button to the middle of the wire. Then you thread the wire through the second button hole.
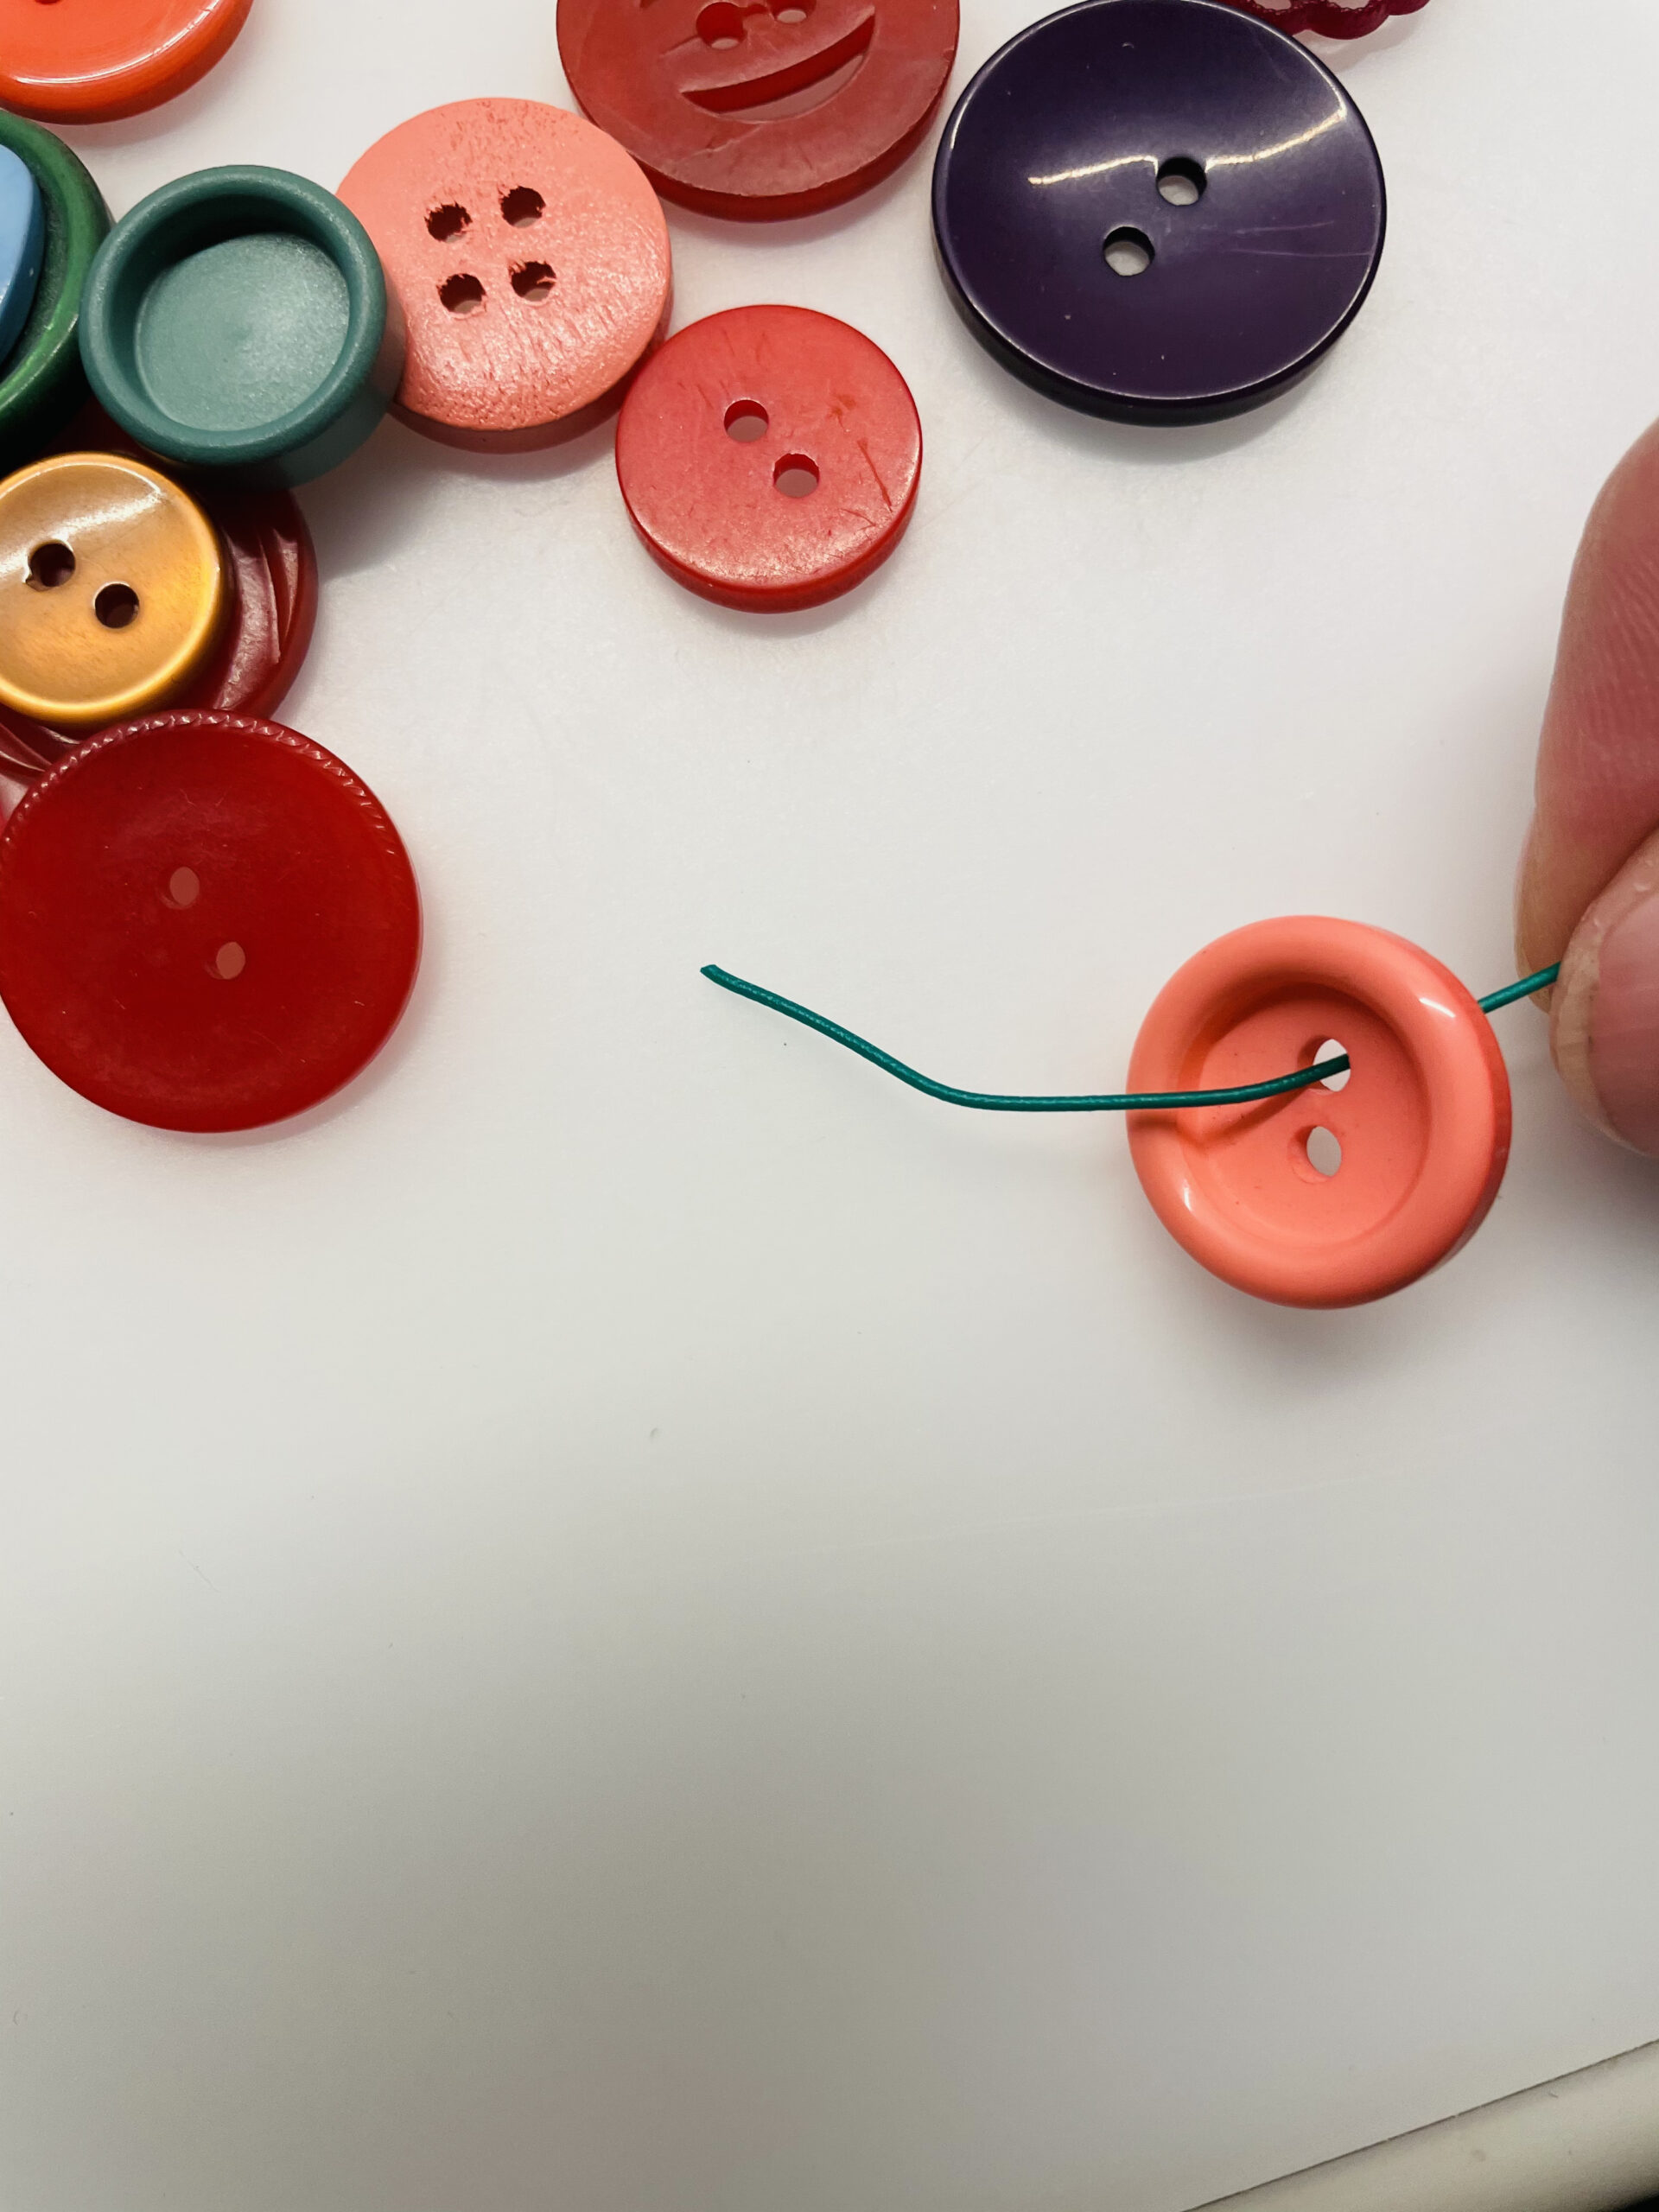
Bild zum Schritt 2 für das Bastel- und DIY-Abenteuer für Kinder: 'Fädelt den ersten Knopf auf den Draht. Dabei fädelt ihr...'

3

Pull the wire. Now the button no longer slips!

Bild zum Schritt 3 für das Bastel- und DIY-Abenteuer für Kinder: 'Zieht den Draht fest. Jetzt verrutscht der Knopf nicht mehr!'

4

Now you also thread up the second button (again only through a buttonhole) and push it very close to the first button. Then thread the wire through the second buttonhole and tighten the wire.

Bild zum Schritt 4 für das Bastel- und DIY-Abenteuer für Kinder: 'Jetzt fädelt ihr ebenso den zweiten Knopf auf (wieder erst...'

5

Drive like this with all other buttons.

Bild zum Schritt 5 für das Bastel- und DIY-Abenteuer für Kinder: 'Verfahrt so bei allen weiteren Knöpfen.'

6

Folds buttons alternately from both sides.

Bild zum Schritt 6 für das Bastel- und DIY-Abenteuer für Kinder: 'Fädelt abwechselnd von beiden Seiten Knöpfe auf.'

7

Repeat the process until your button-wire snake fits around a cardboard roll.

Bild zum Schritt 7 für das Bastel- und DIY-Abenteuer für Kinder: 'Wiederholt den Vorgang so lange bis euere Knopf-Draht-Schlange um eine...'

8

Now you cut a cardboard roll to the width of 1.5cm.

Bild zum Schritt 8 für das Bastel- und DIY-Abenteuer für Kinder: 'Nun schneidet ihr euch eine Papprolle auf die Breite von...'

9

Now stick the button-wire snake on the strip of the cardboard roll.

Bild zum Schritt 9 für das Bastel- und DIY-Abenteuer für Kinder: 'Klebt jetzt die Knopf-Draht-Schlange auf den Streifen der Papprolle.'

10

Fix the button snake with a few hot glue points.
Attention when handling the hot glue - risk of injury!

Bild zum Schritt 10 für das Bastel- und DIY-Abenteuer für Kinder: 'Fixiert die Knopf-Schlange mit ein paar Heißklebepunkten.  Achtung im...'

11

Your first napkin ring is ready.

Bild zum Schritt 11 für das Bastel- und DIY-Abenteuer für Kinder: 'Fertig ist euer erster Serviettenring.'

12

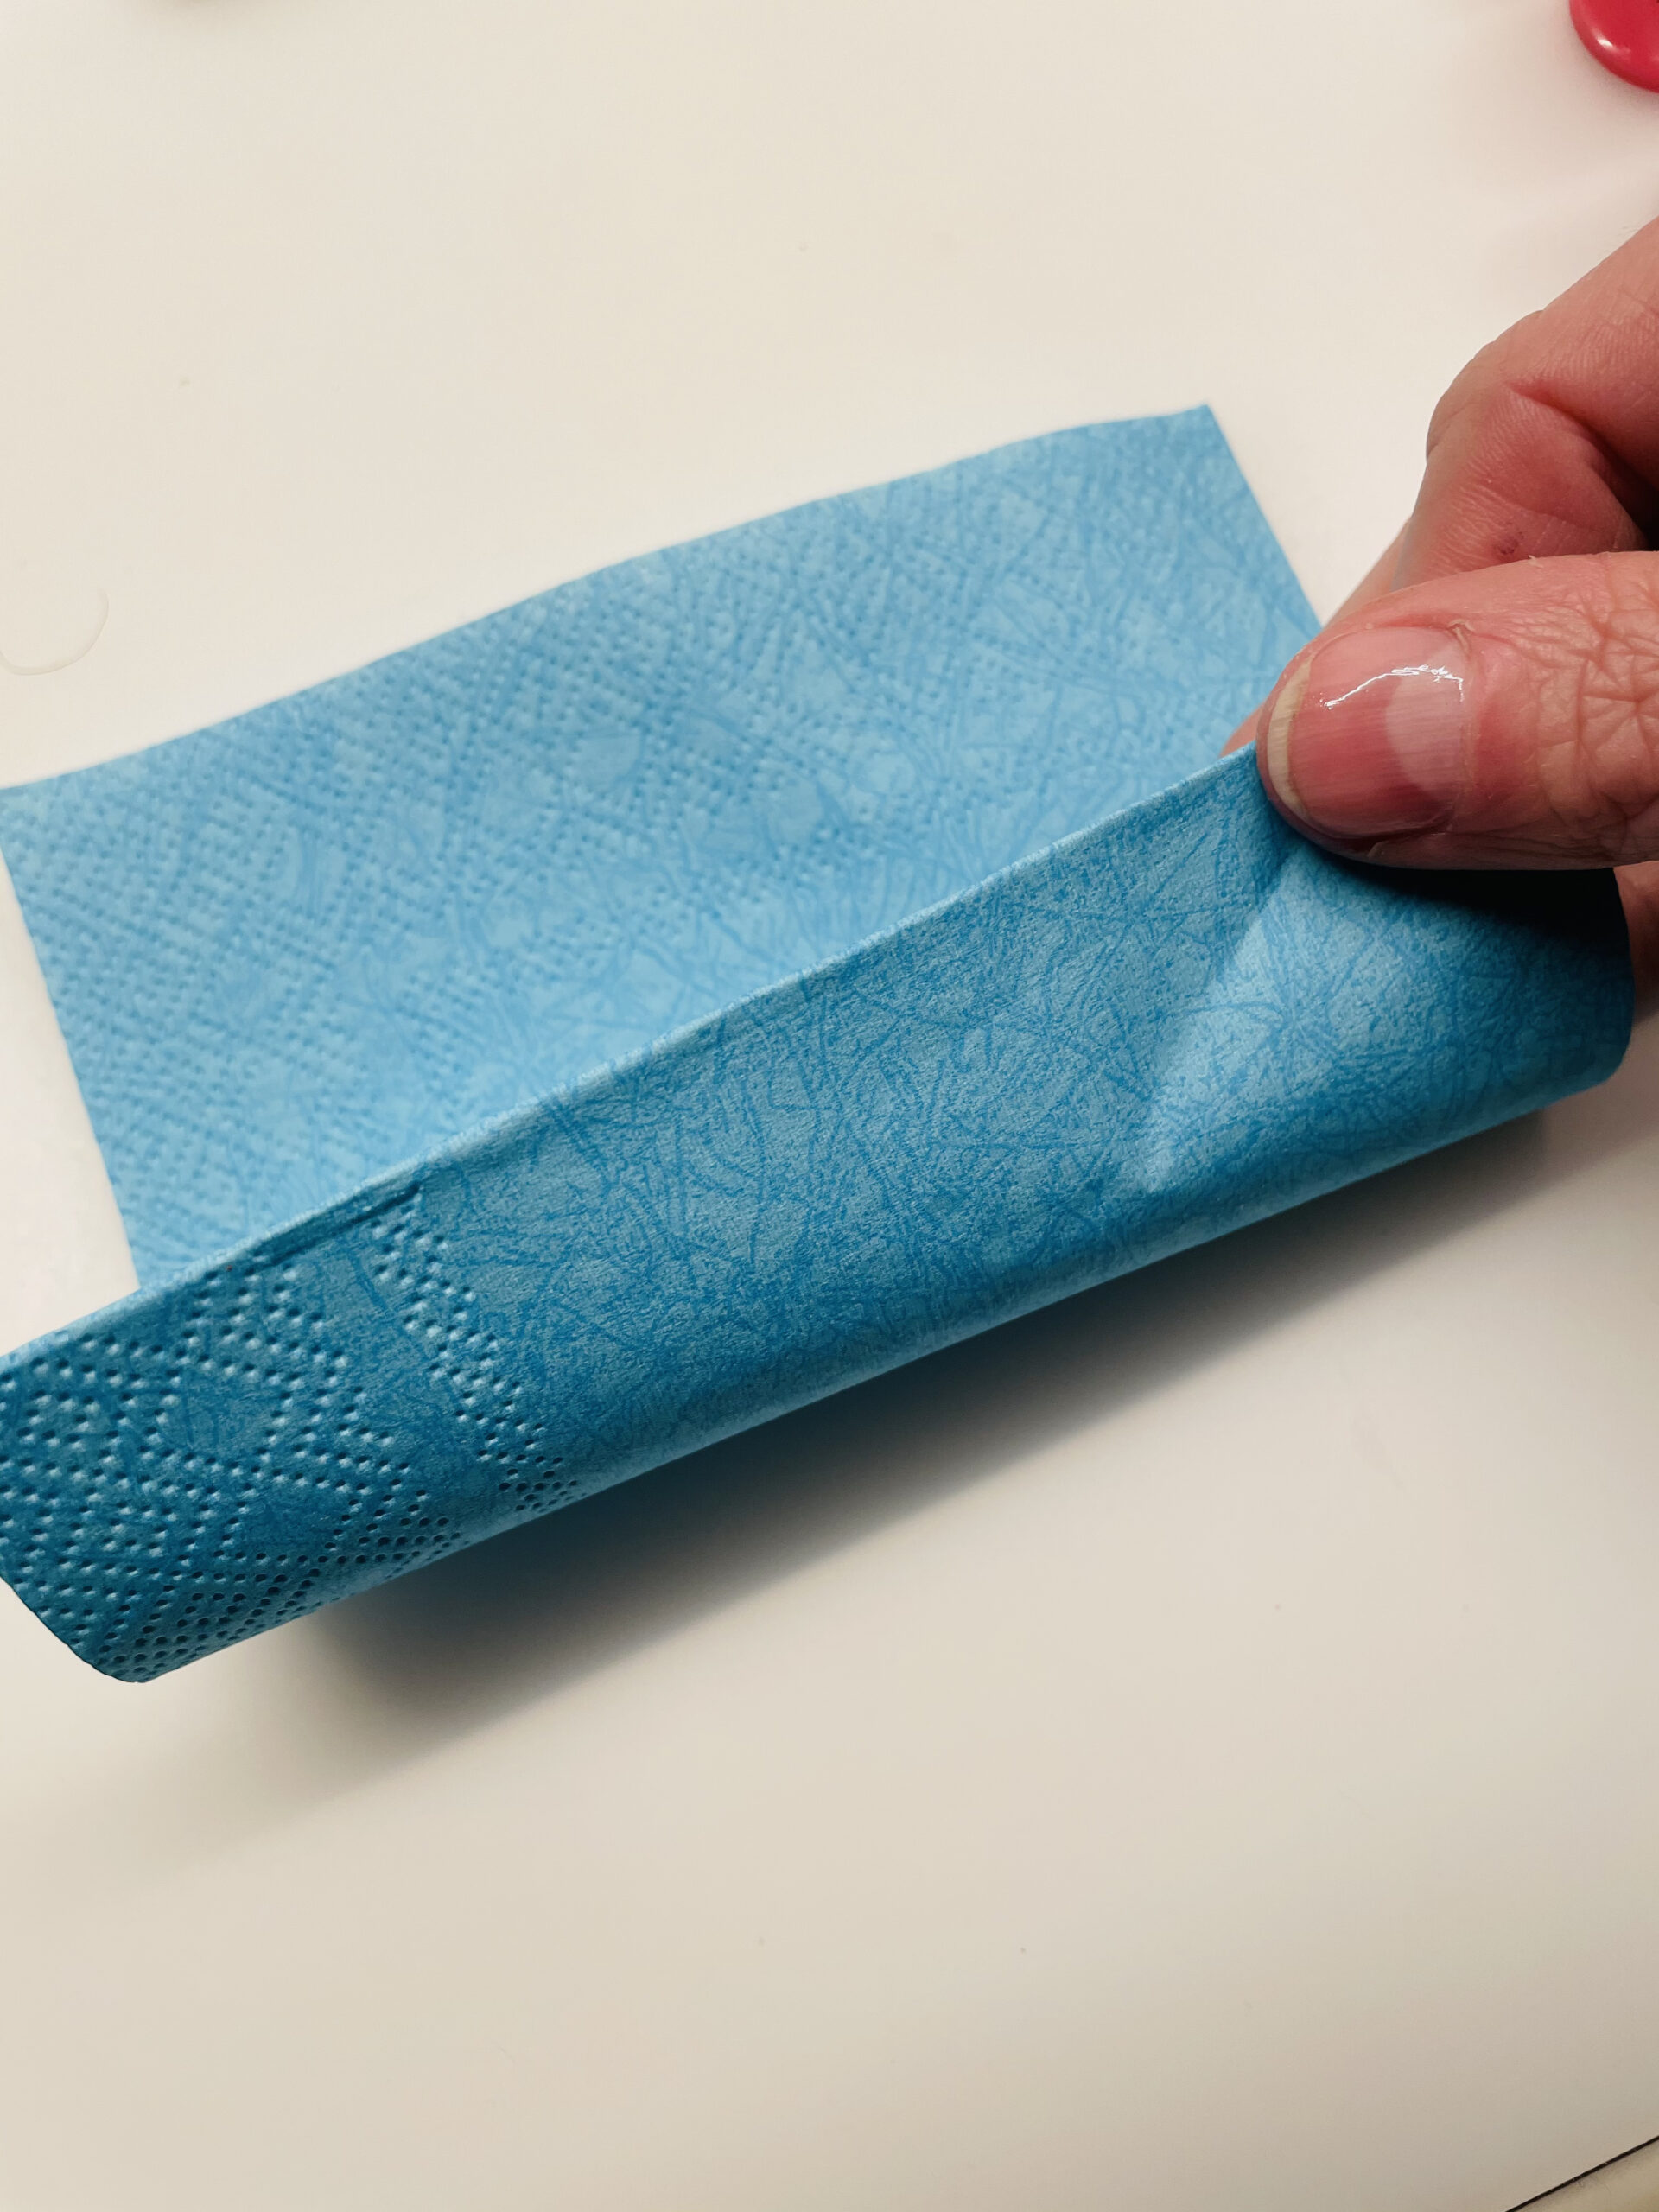
Roll a napkin together and put it through the ring.

Bild zum Schritt 12 für das Bastel- und DIY-Abenteuer für Kinder: 'Rollt eine Serviette zusammen und steckt diese durch den Ring.'

13

Then you cut out a little heart from clay paper and stick a button on it.

Bild zum Schritt 13 für das Bastel- und DIY-Abenteuer für Kinder: 'Dann schneidet ihr euch aus Tonpapier noch ein kleines Herz...'

14

Place this button heart as a decoration on the finished napkin.
Finished is a beautiful table decoration.

Bild zum Schritt 14 für das Bastel- und DIY-Abenteuer für Kinder: 'Legt dieses Knopf-Herz als Dekoration auf die fertige Serviette. ...'

Variant 2 without cardboard roll:
15

Thread the buttons on the wire as described above.
The wire should be about 15 cm long.

Bild zum Schritt 16 für das Bastel- und DIY-Abenteuer für Kinder: 'Fädelt die Knöpfe wie oben beschrieben auf den Draht. ...'

16

Then twist the two overhanging ends of the wire together.

Bild zum Schritt 17 für das Bastel- und DIY-Abenteuer für Kinder: 'Dann verdreht ihr die beiden überstehenden Enden des Drahtes miteinander.'

17

So you close the wire with the buttons to a ring.

Bild zum Schritt 18 für das Bastel- und DIY-Abenteuer für Kinder: 'So schließt ihr den Draht mit den Knöpfen zu einem...'

18

Turns the ring into a stable circle.

Bild zum Schritt 19 für das Bastel- und DIY-Abenteuer für Kinder: 'Biegt den Ring zu einem stabilen Kreis.'

19

Now you roll a napkin loosely.

Bild zum Schritt 20 für das Bastel- und DIY-Abenteuer für Kinder: 'Jetzt rollt ihr eine Serviette locker zusammen.'

20

Then you slip the napkin through the button ring.

Bild zum Schritt 21 für das Bastel- und DIY-Abenteuer für Kinder: 'Anschließend stülpt ihr die Serviette durch den Knopf-Ring.'

21

Also here you can cut out a few hearts of clay paper and embellish with a button.

Bild zum Schritt 22 für das Bastel- und DIY-Abenteuer für Kinder: 'Auch hier könnt ihr ein paar Herzen aus Tonpapier ausschneiden...'

22

Decorate the napkin with a napkin ring and the heart on a plate.

Bild zum Schritt 23 für das Bastel- und DIY-Abenteuer für Kinder: 'Dekoriert die Serviette mit Serviettenring und den Herzen auf einem...'

23

Try to put the napkin on the plate. What do you like better?

Bild zum Schritt 24 für das Bastel- und DIY-Abenteuer für Kinder: 'Probiert auch einmal die Serviette auf den Teller stellen. Was...'

24

2. Bild zum Schritt 24 für das Bastel- und DIY-Abenteuer für Kinder: 'Probiert auch einmal die Serviette auf den Teller stellen. Was...'

25

Have fun doing crafts and giving gifts!

Materials

 1 Rolled paperapprox. 1,5cm wide
 Buttons
 Floral wire thinapprox. 20cm
 1 Handicraft shears
 1 Pen
 Clay paper residues
 Builder's pad
All links marked with a shopping cart lead to Amazon - here we have selected products that we would order ourselves and in part also ordered. In a qualified purchase via the advertising link, we as Amazon partner receive a commission, for you there are no costs. You thus support our cost- and advertising banner-free, educational offer.

Directions

1

Get different buttons and a thin flower wire ready.

Bild zum Schritt 1 für das Bastel- und DIY-Abenteuer für Kinder: 'Legt euch verschiedene Knöpfe und einen dünnen Blumendraht bereit.'

2

Thread the first button onto the wire. You thread the wire through a button hole. Then you push the button to the middle of the wire. Then you thread the wire through the second button hole.

Bild zum Schritt 2 für das Bastel- und DIY-Abenteuer für Kinder: 'Fädelt den ersten Knopf auf den Draht. Dabei fädelt ihr...'

3

Pull the wire. Now the button no longer slips!
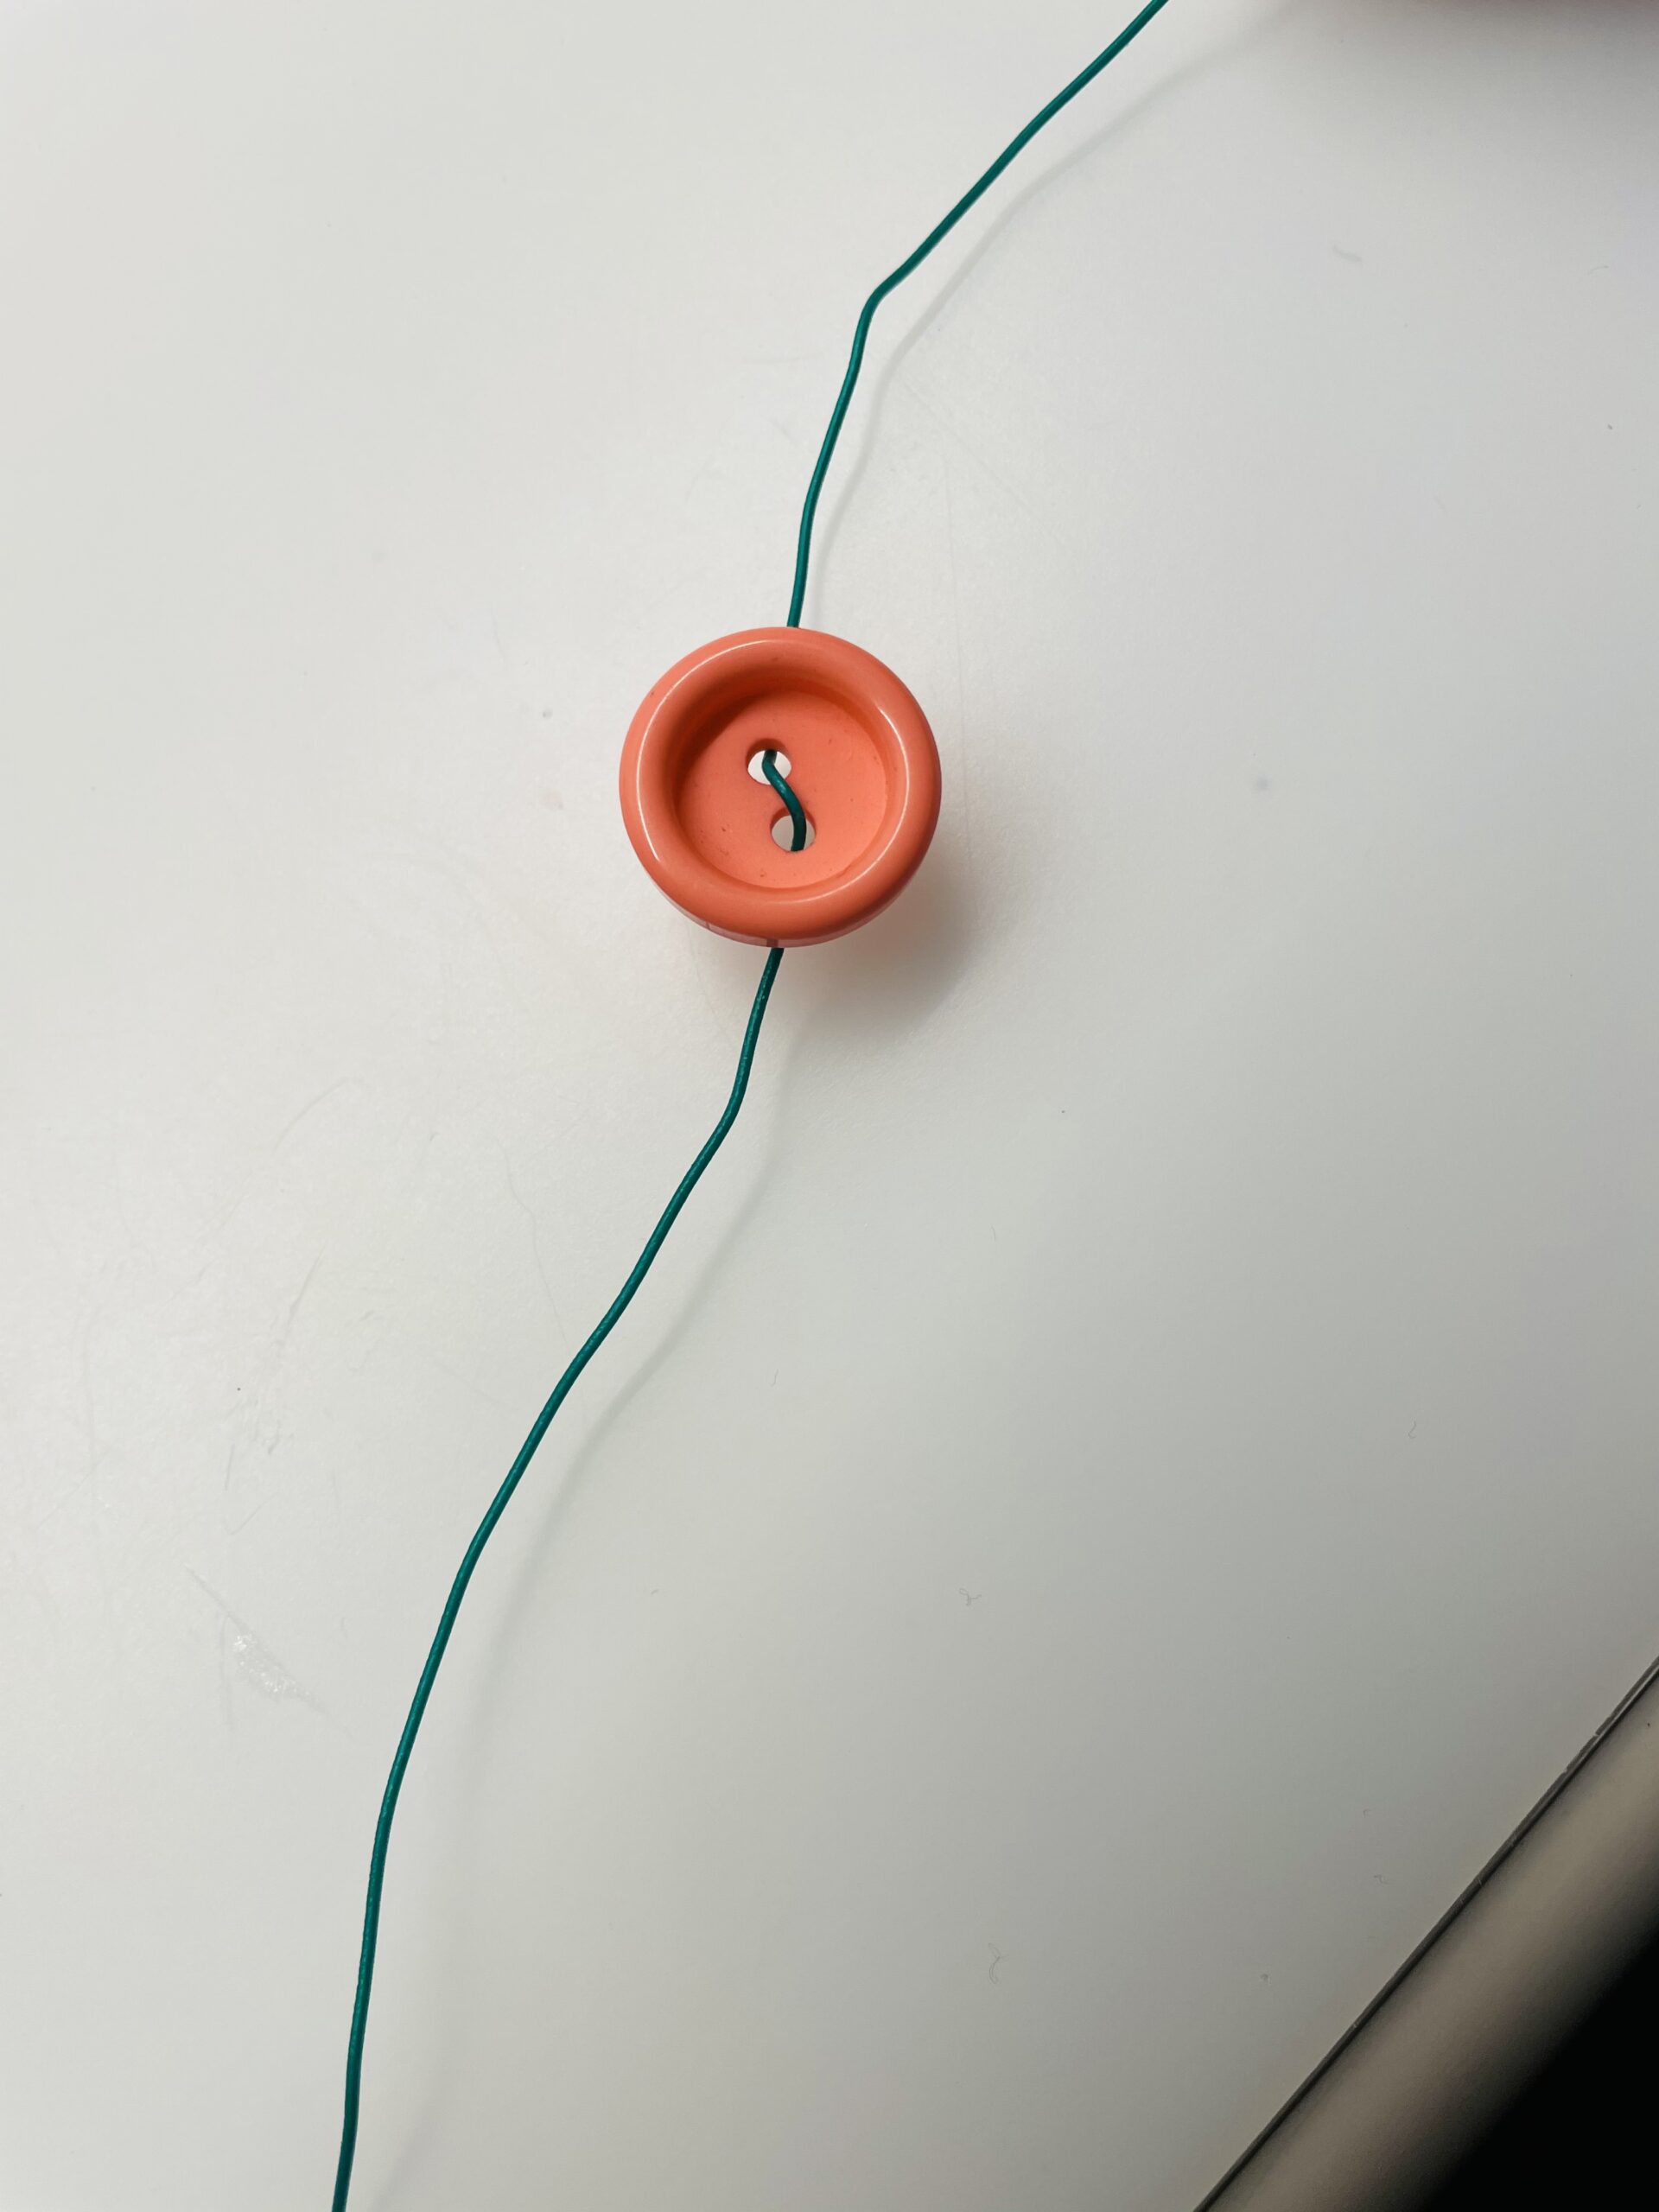
Bild zum Schritt 3 für das Bastel- und DIY-Abenteuer für Kinder: 'Zieht den Draht fest. Jetzt verrutscht der Knopf nicht mehr!'

4

Now you also thread up the second button (again only through a buttonhole) and push it very close to the first button. Then thread the wire through the second buttonhole and tighten the wire.
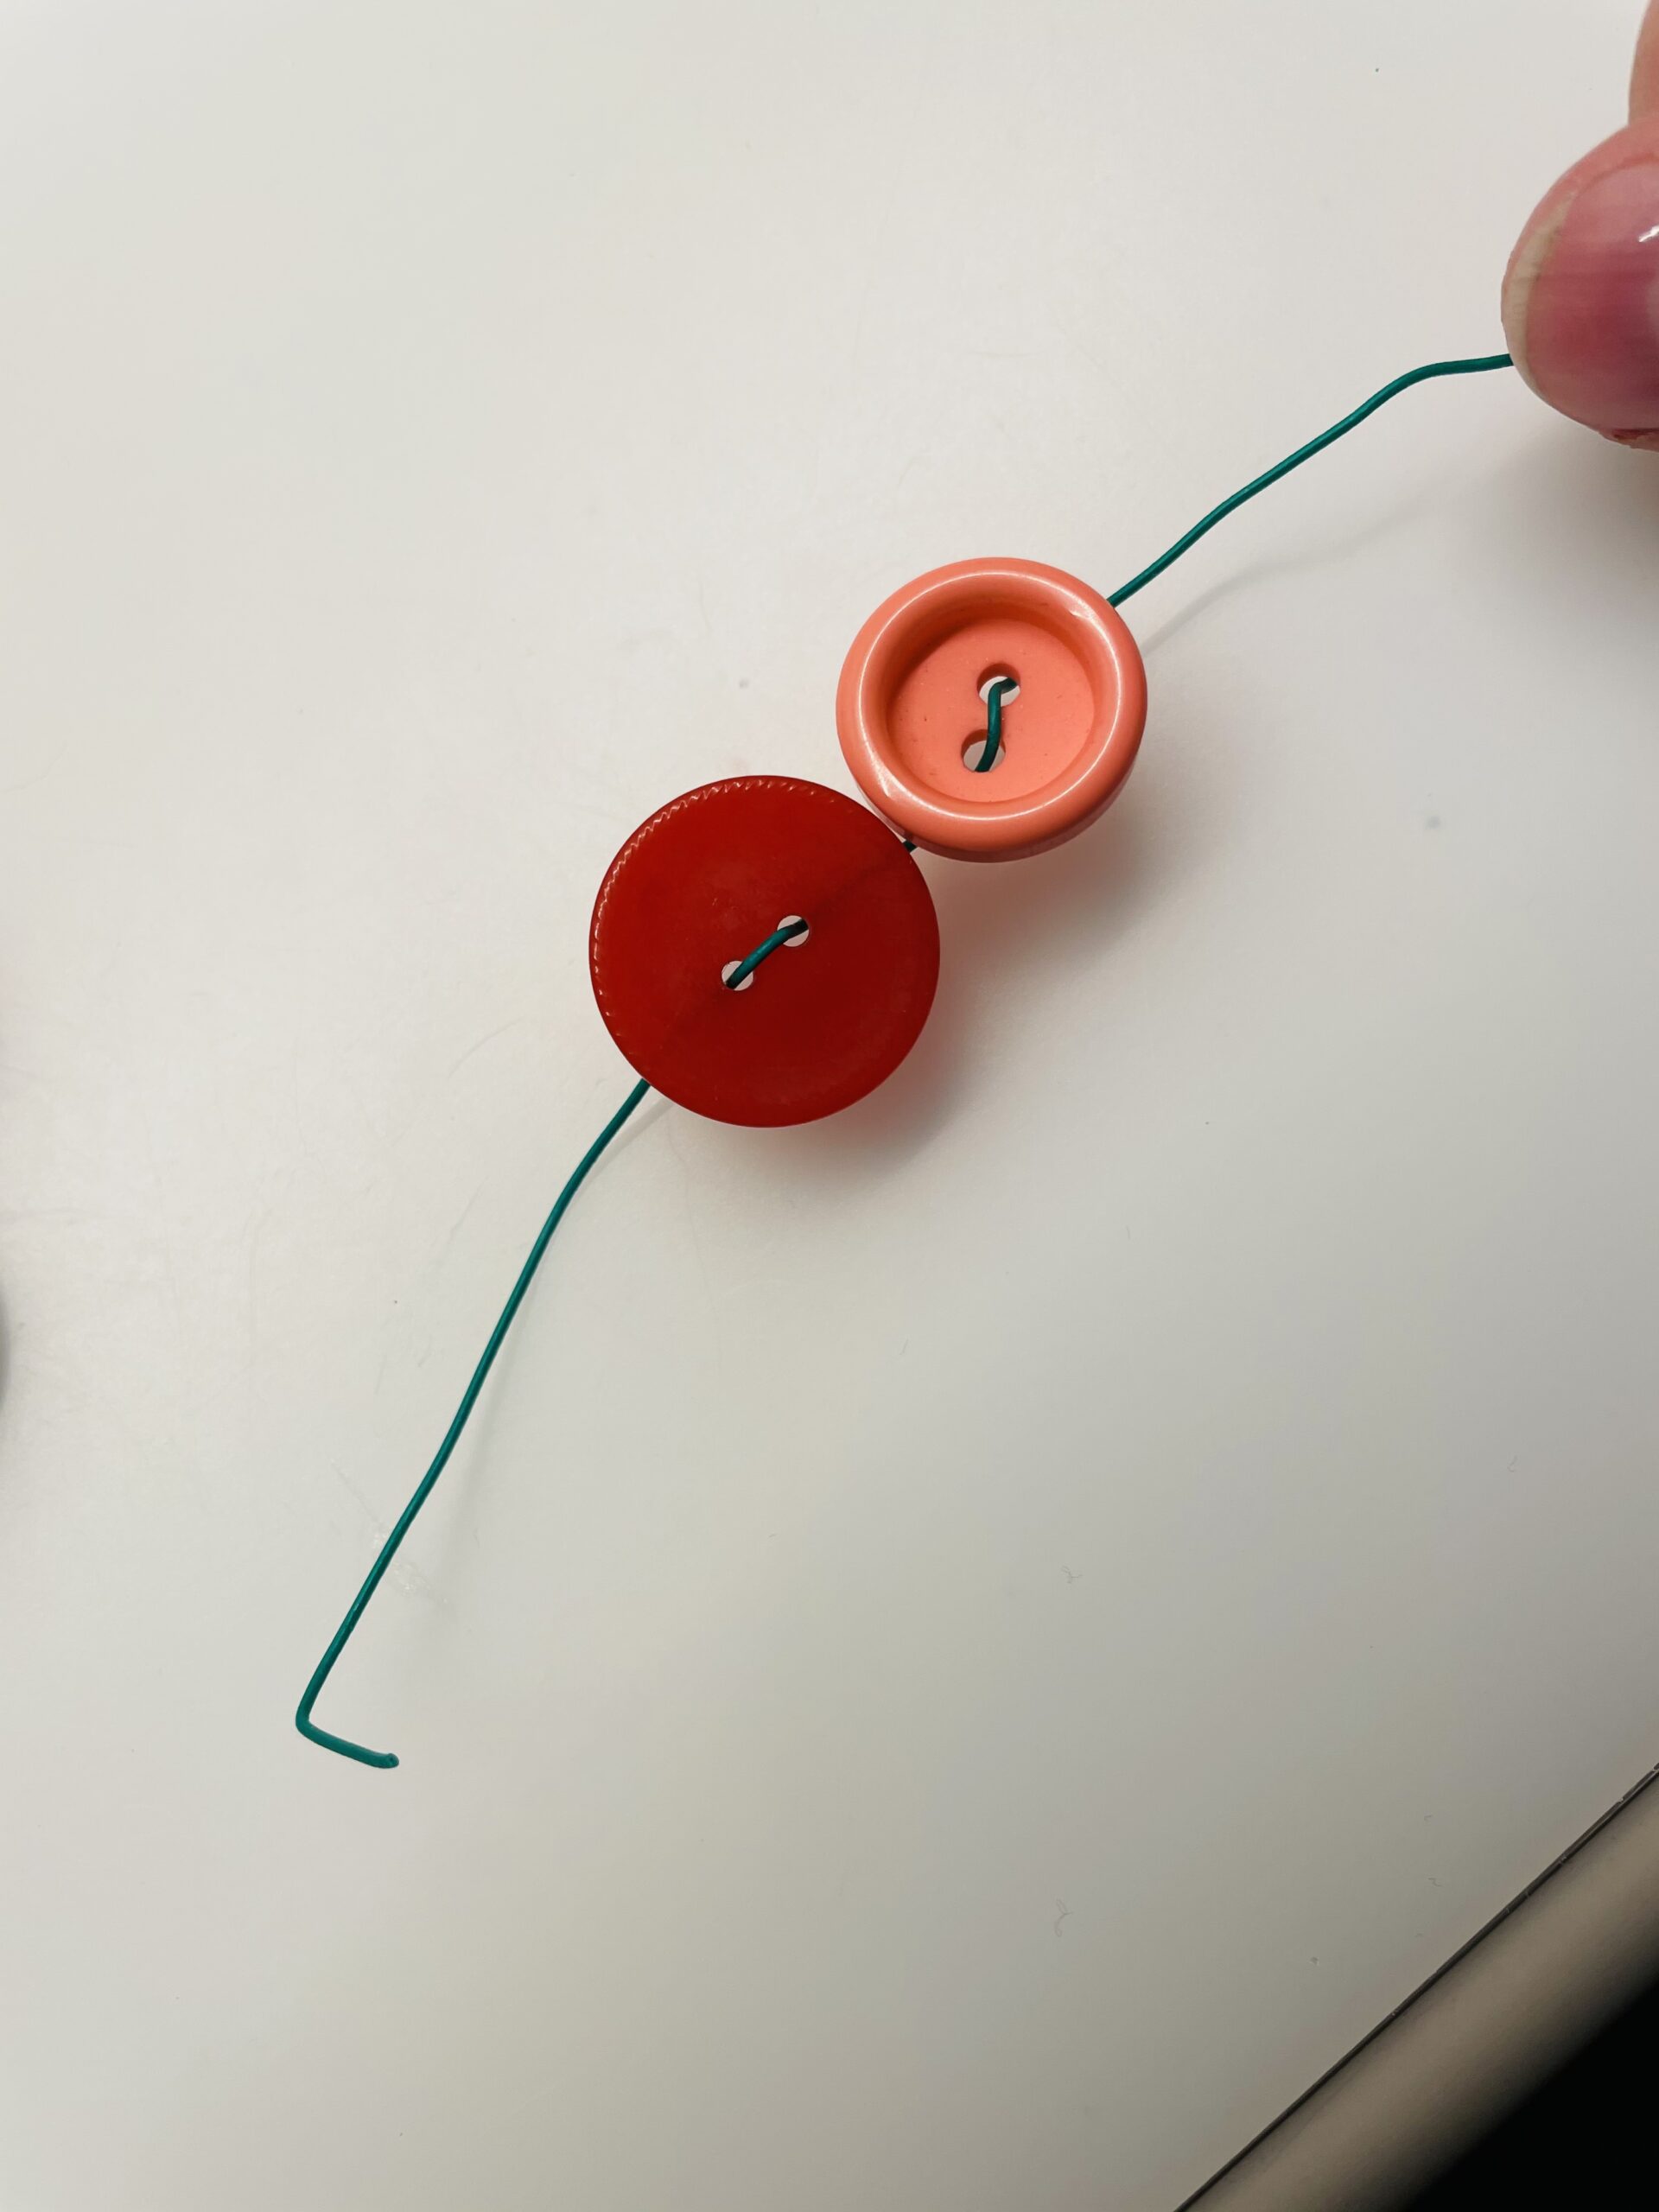
Bild zum Schritt 4 für das Bastel- und DIY-Abenteuer für Kinder: 'Jetzt fädelt ihr ebenso den zweiten Knopf auf (wieder erst...'

5

Drive like this with all other buttons.
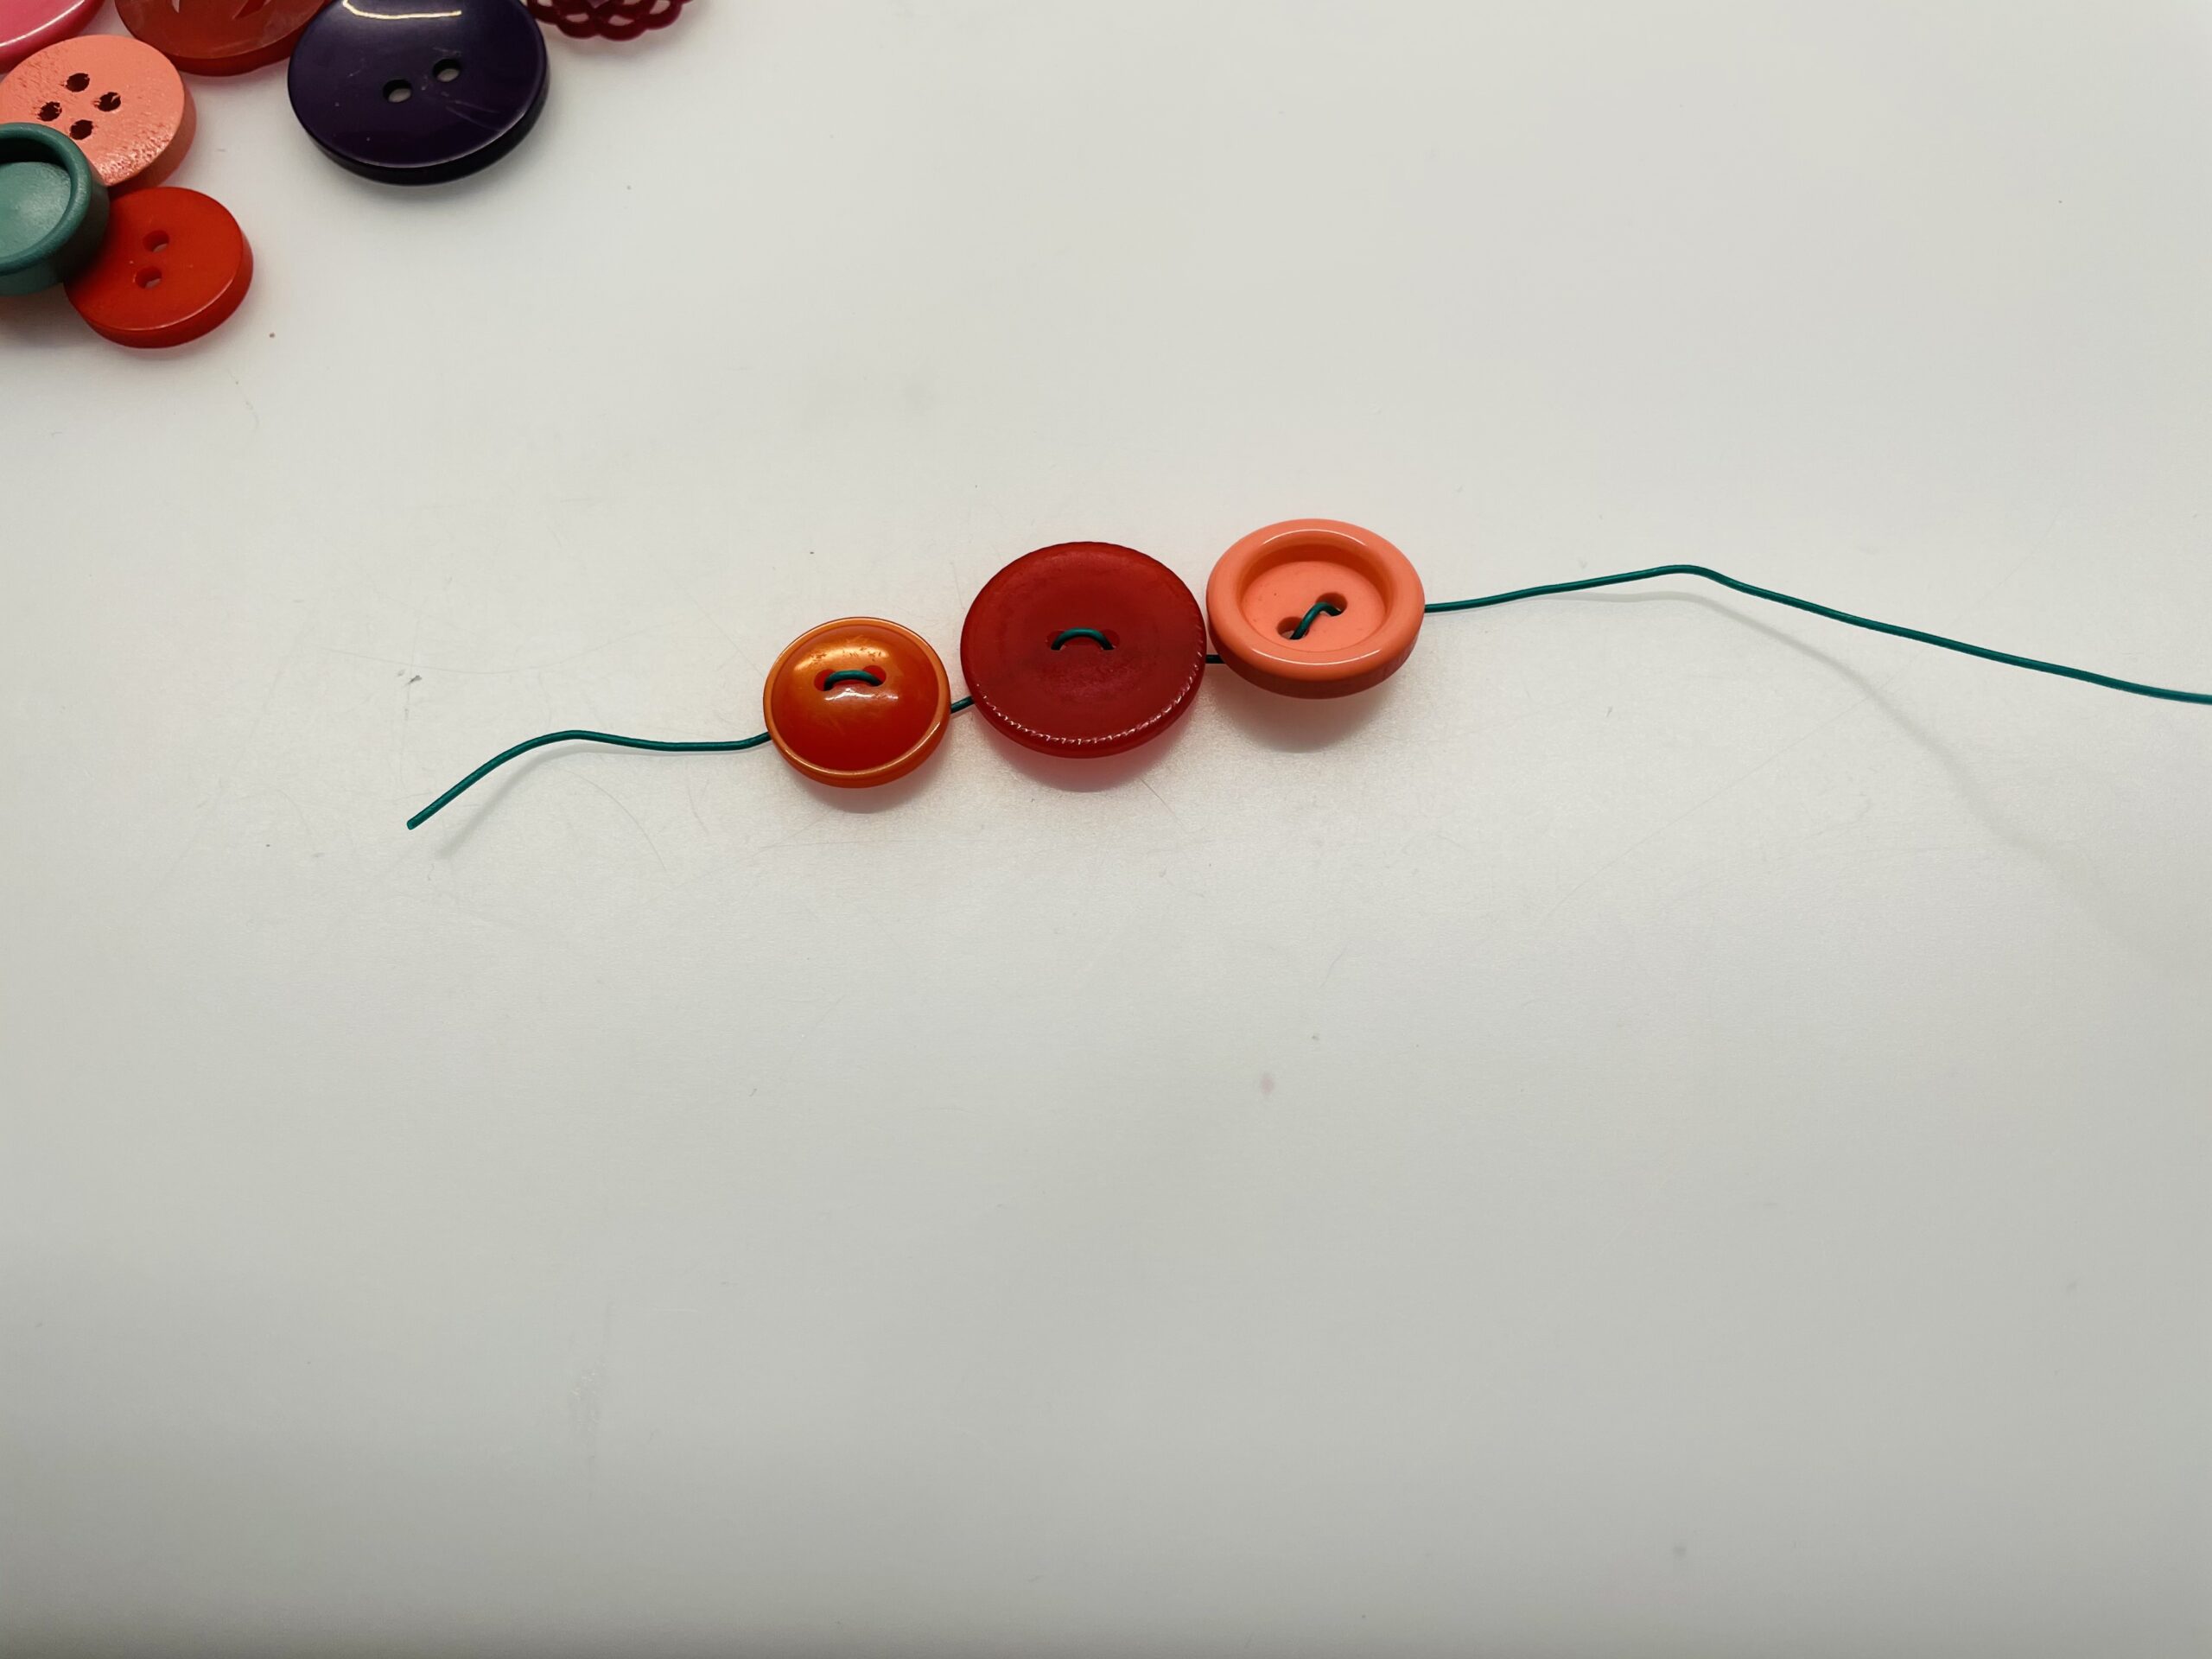
Bild zum Schritt 5 für das Bastel- und DIY-Abenteuer für Kinder: 'Verfahrt so bei allen weiteren Knöpfen.'

6

Folds buttons alternately from both sides.
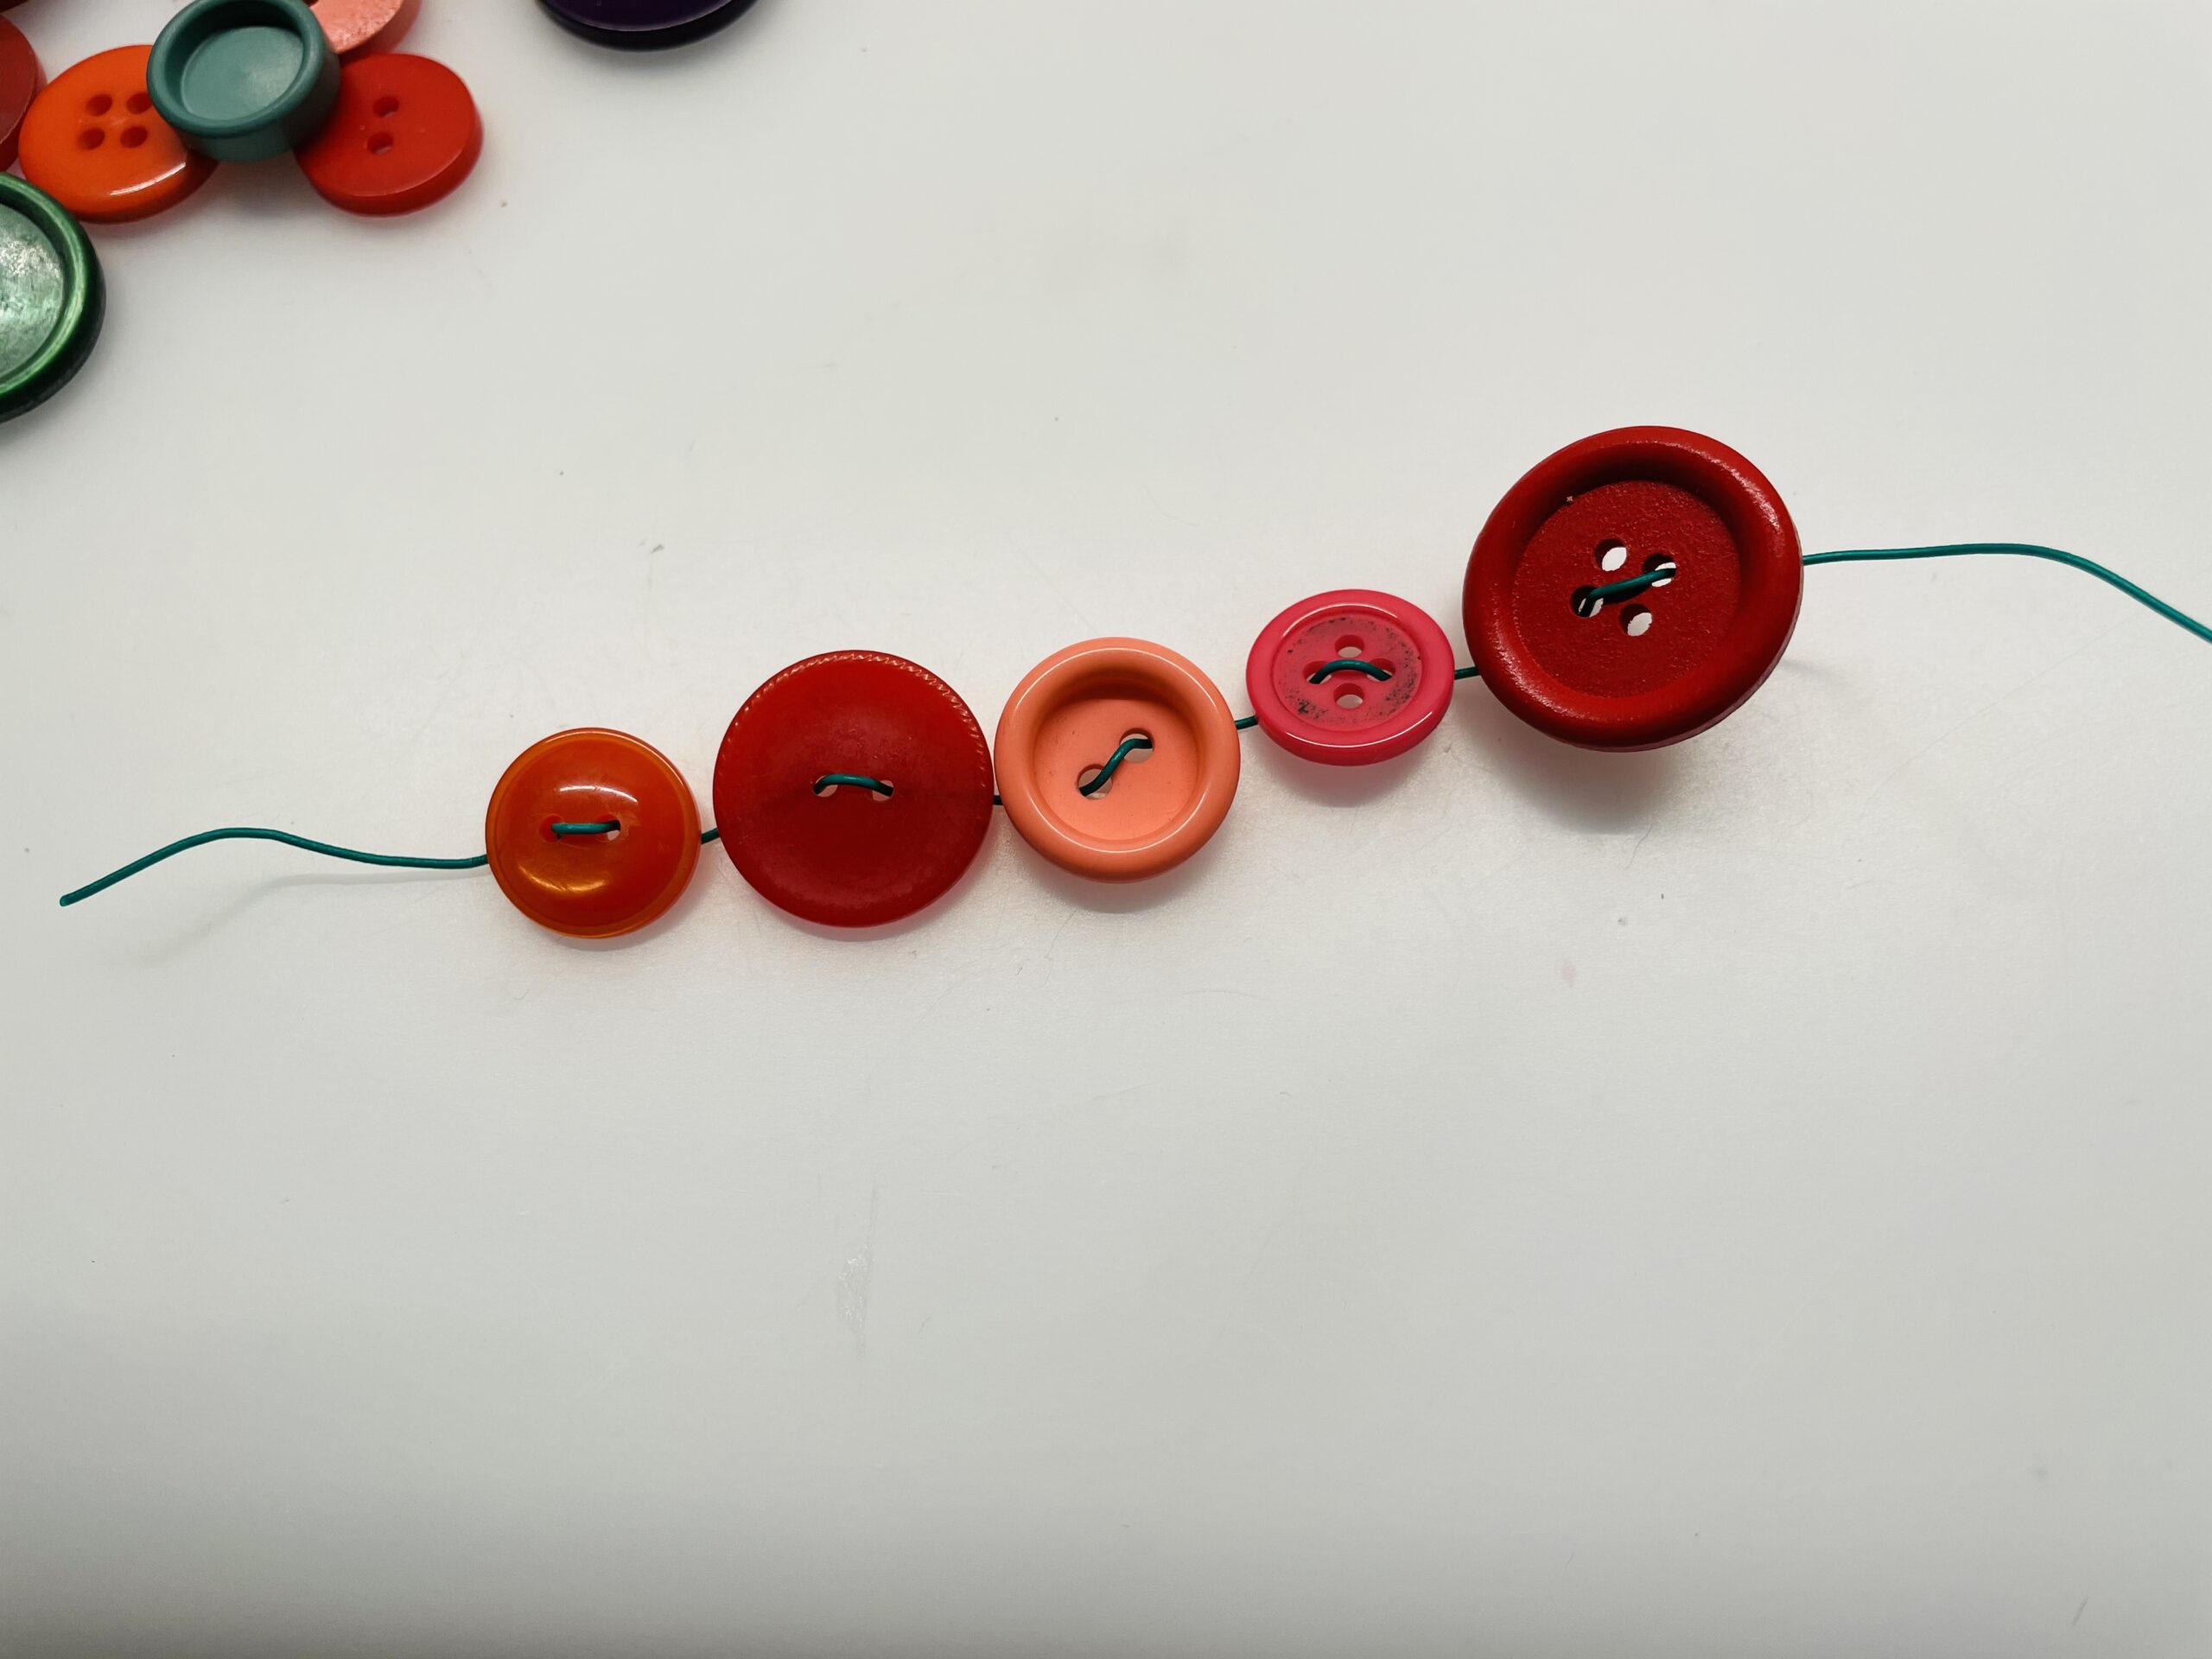
Bild zum Schritt 6 für das Bastel- und DIY-Abenteuer für Kinder: 'Fädelt abwechselnd von beiden Seiten Knöpfe auf.'

7

Repeat the process until your button-wire snake fits around a cardboard roll.
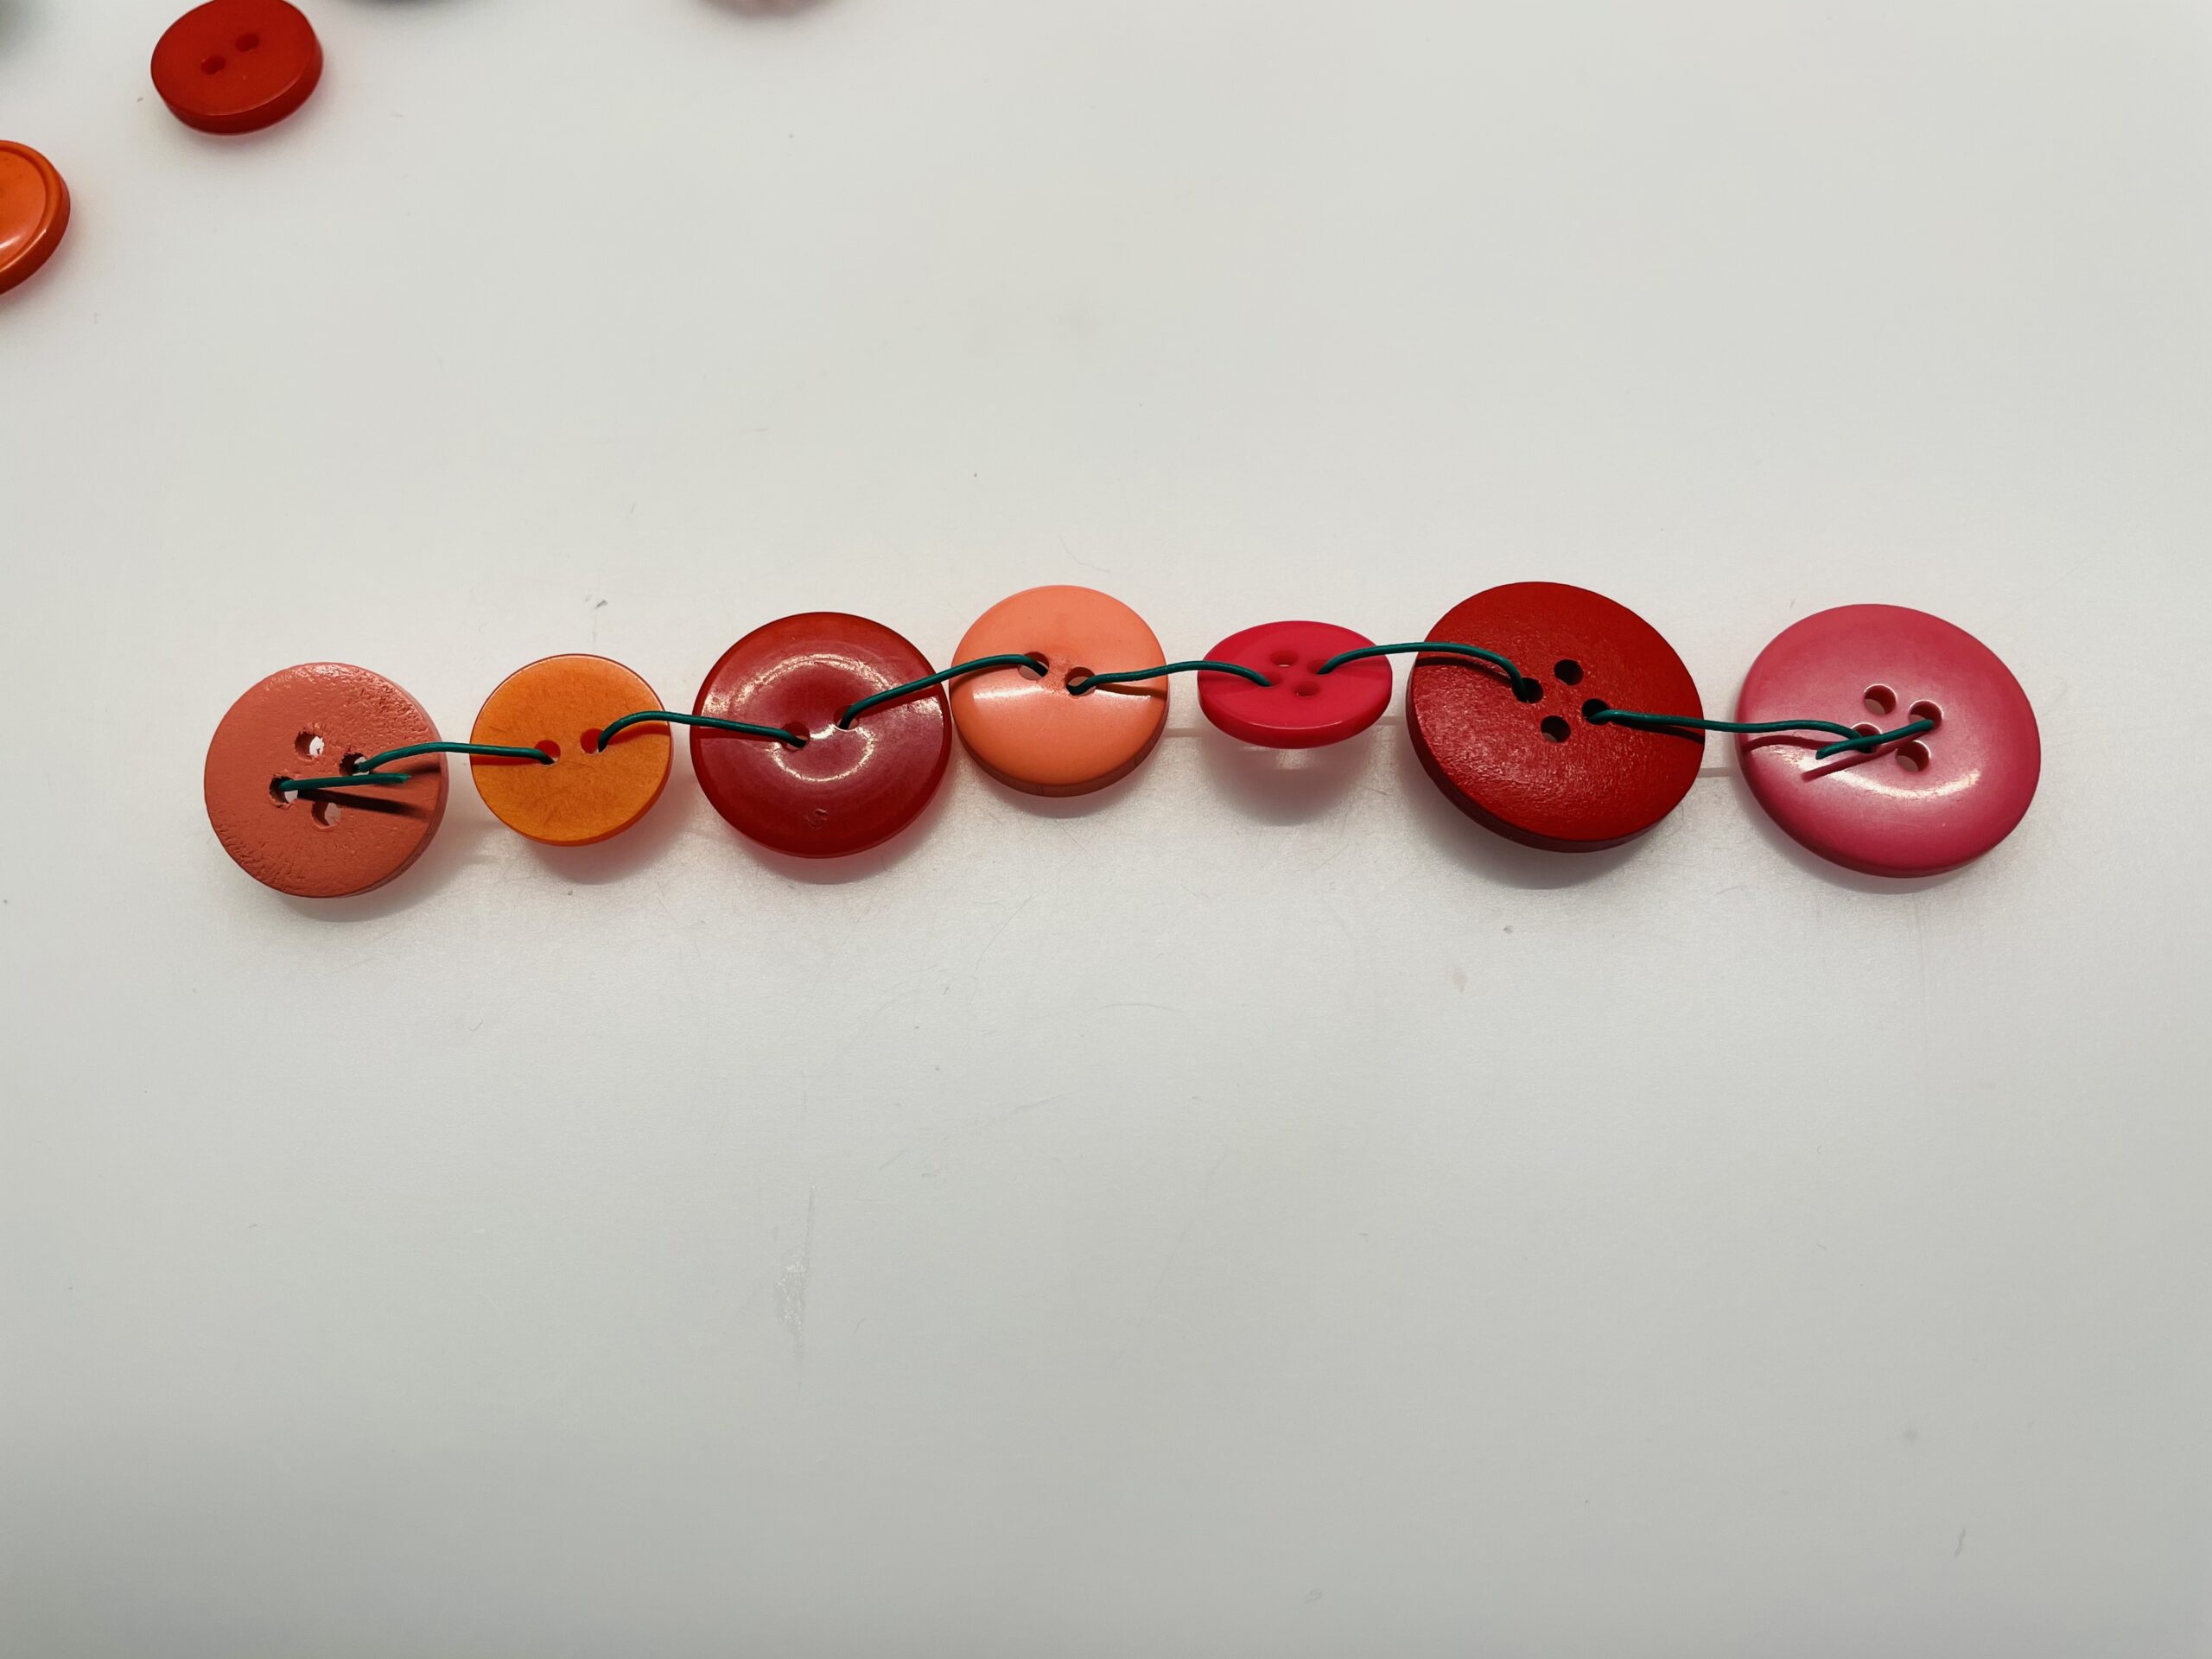
Bild zum Schritt 7 für das Bastel- und DIY-Abenteuer für Kinder: 'Wiederholt den Vorgang so lange bis euere Knopf-Draht-Schlange um eine...'

8

Now you cut a cardboard roll to the width of 1.5cm.
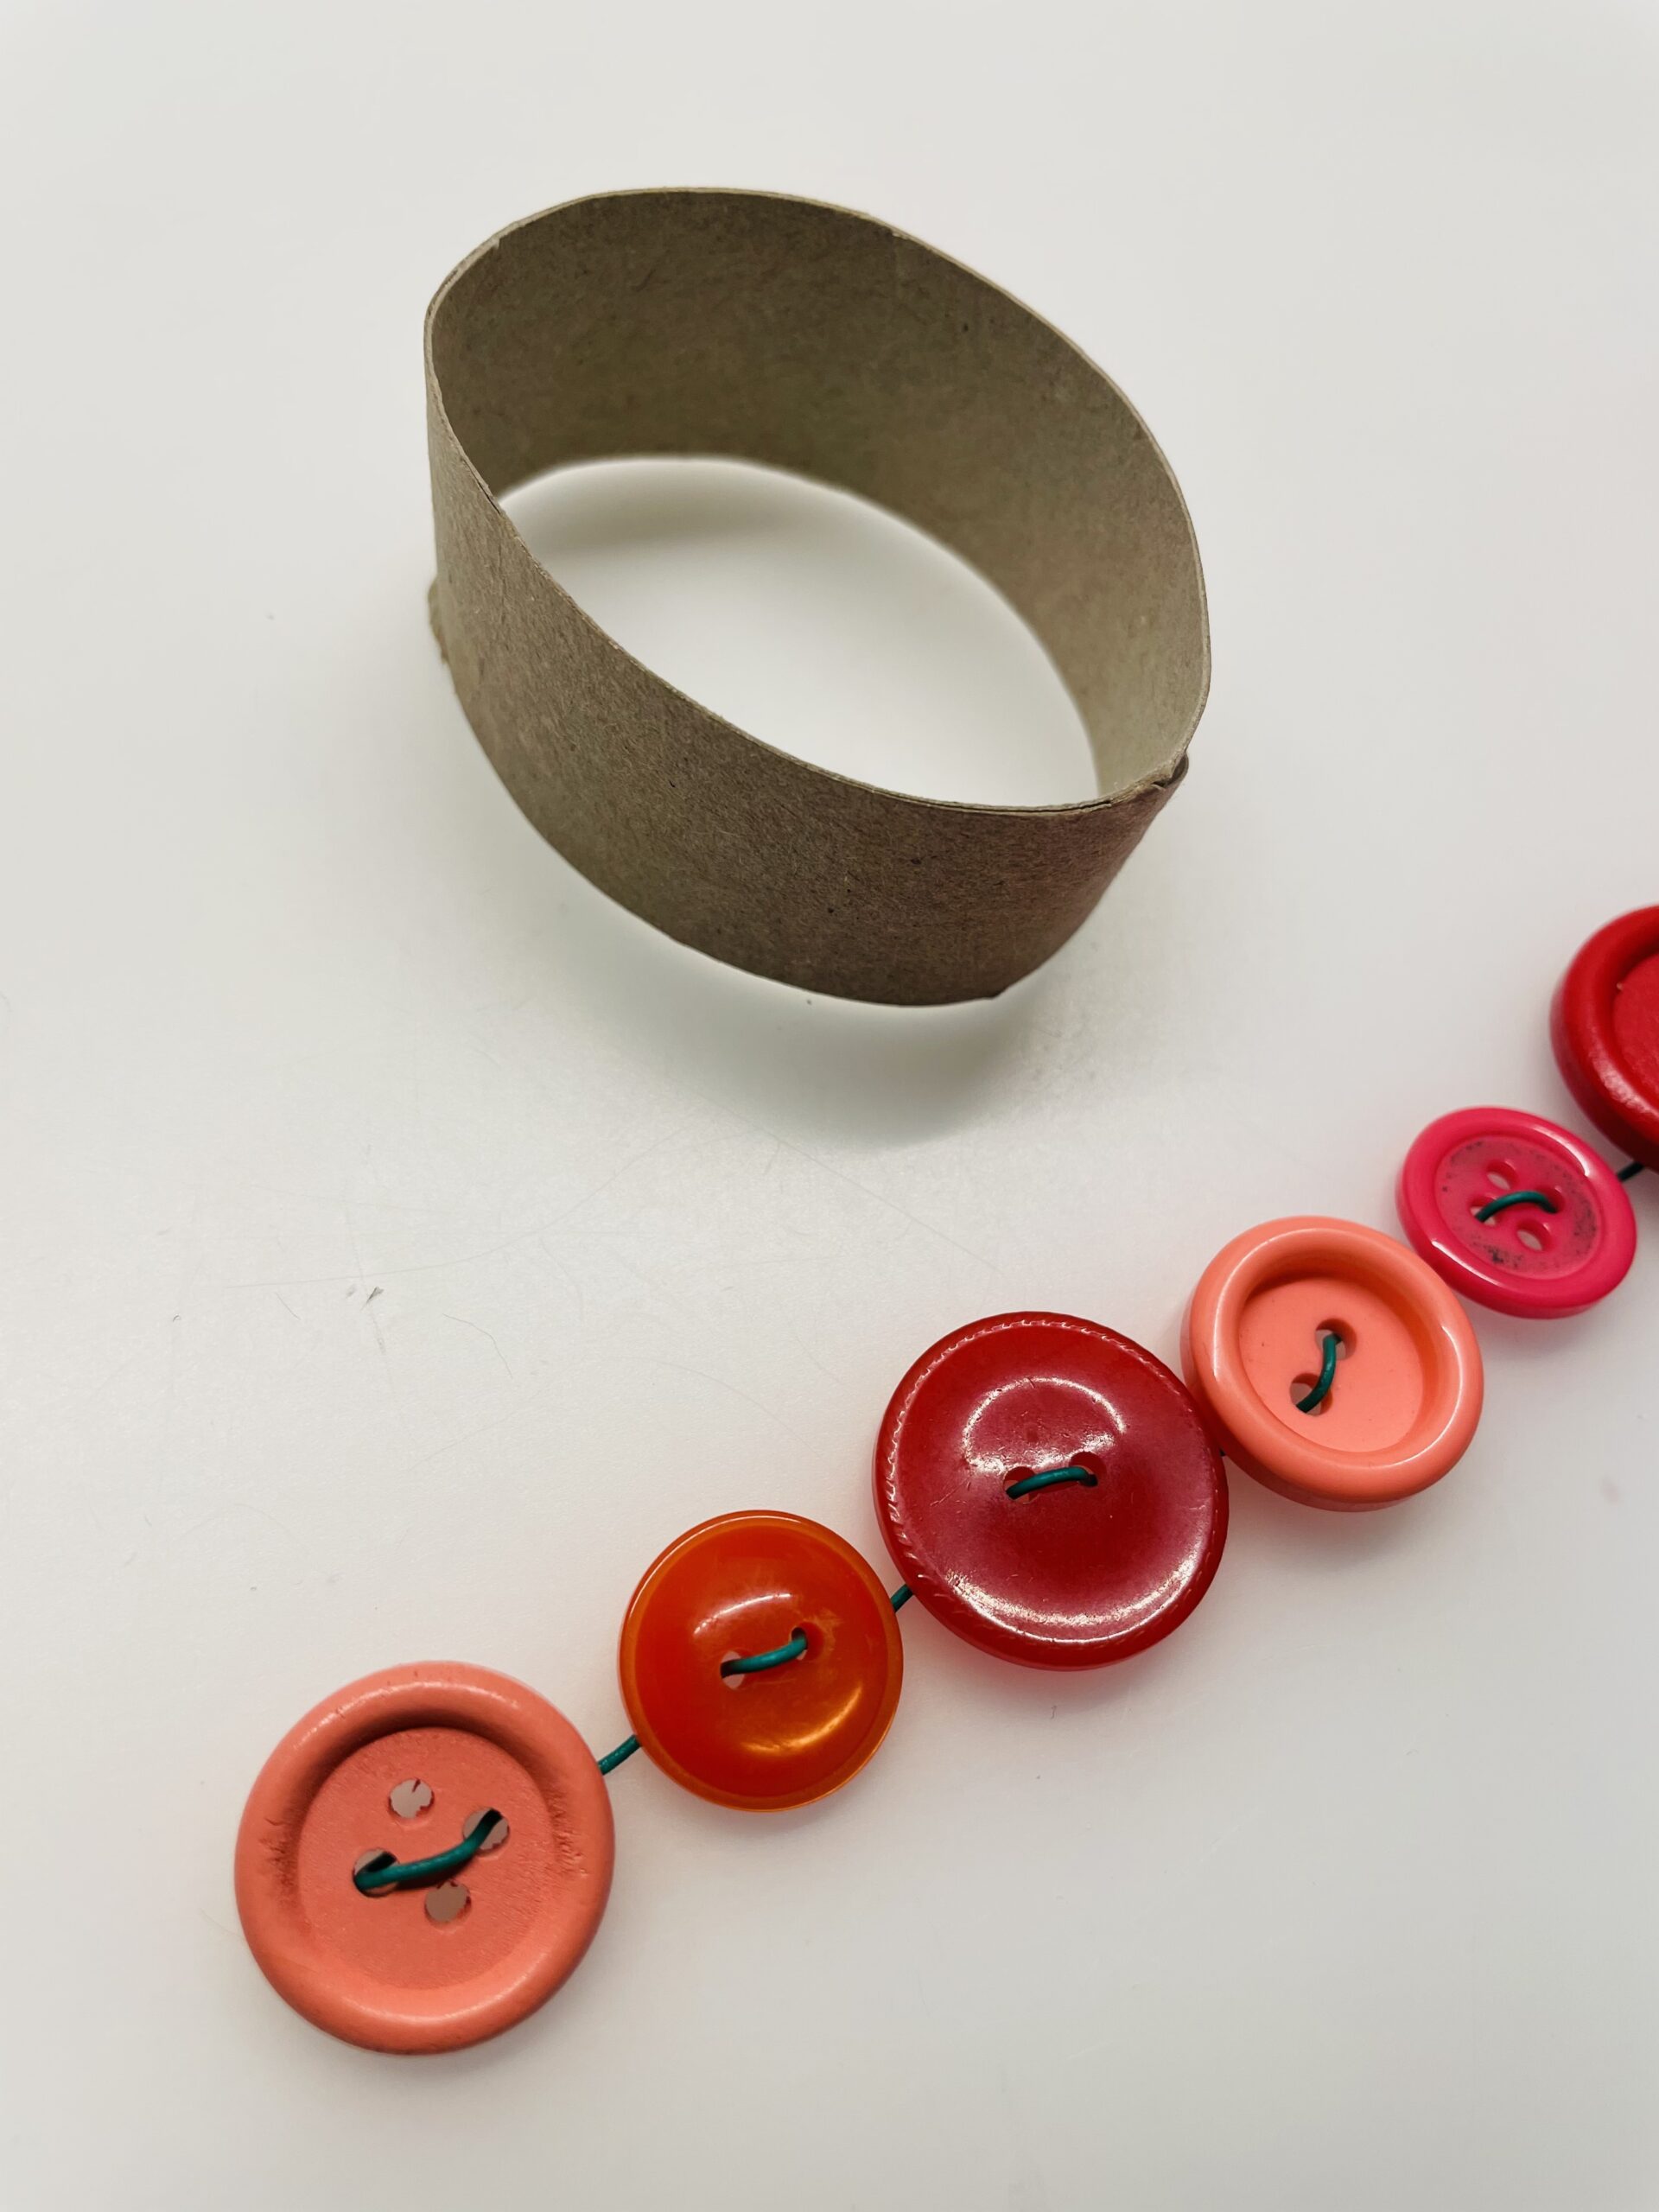
Bild zum Schritt 8 für das Bastel- und DIY-Abenteuer für Kinder: 'Nun schneidet ihr euch eine Papprolle auf die Breite von...'

9

Now stick the button-wire snake on the strip of the cardboard roll.
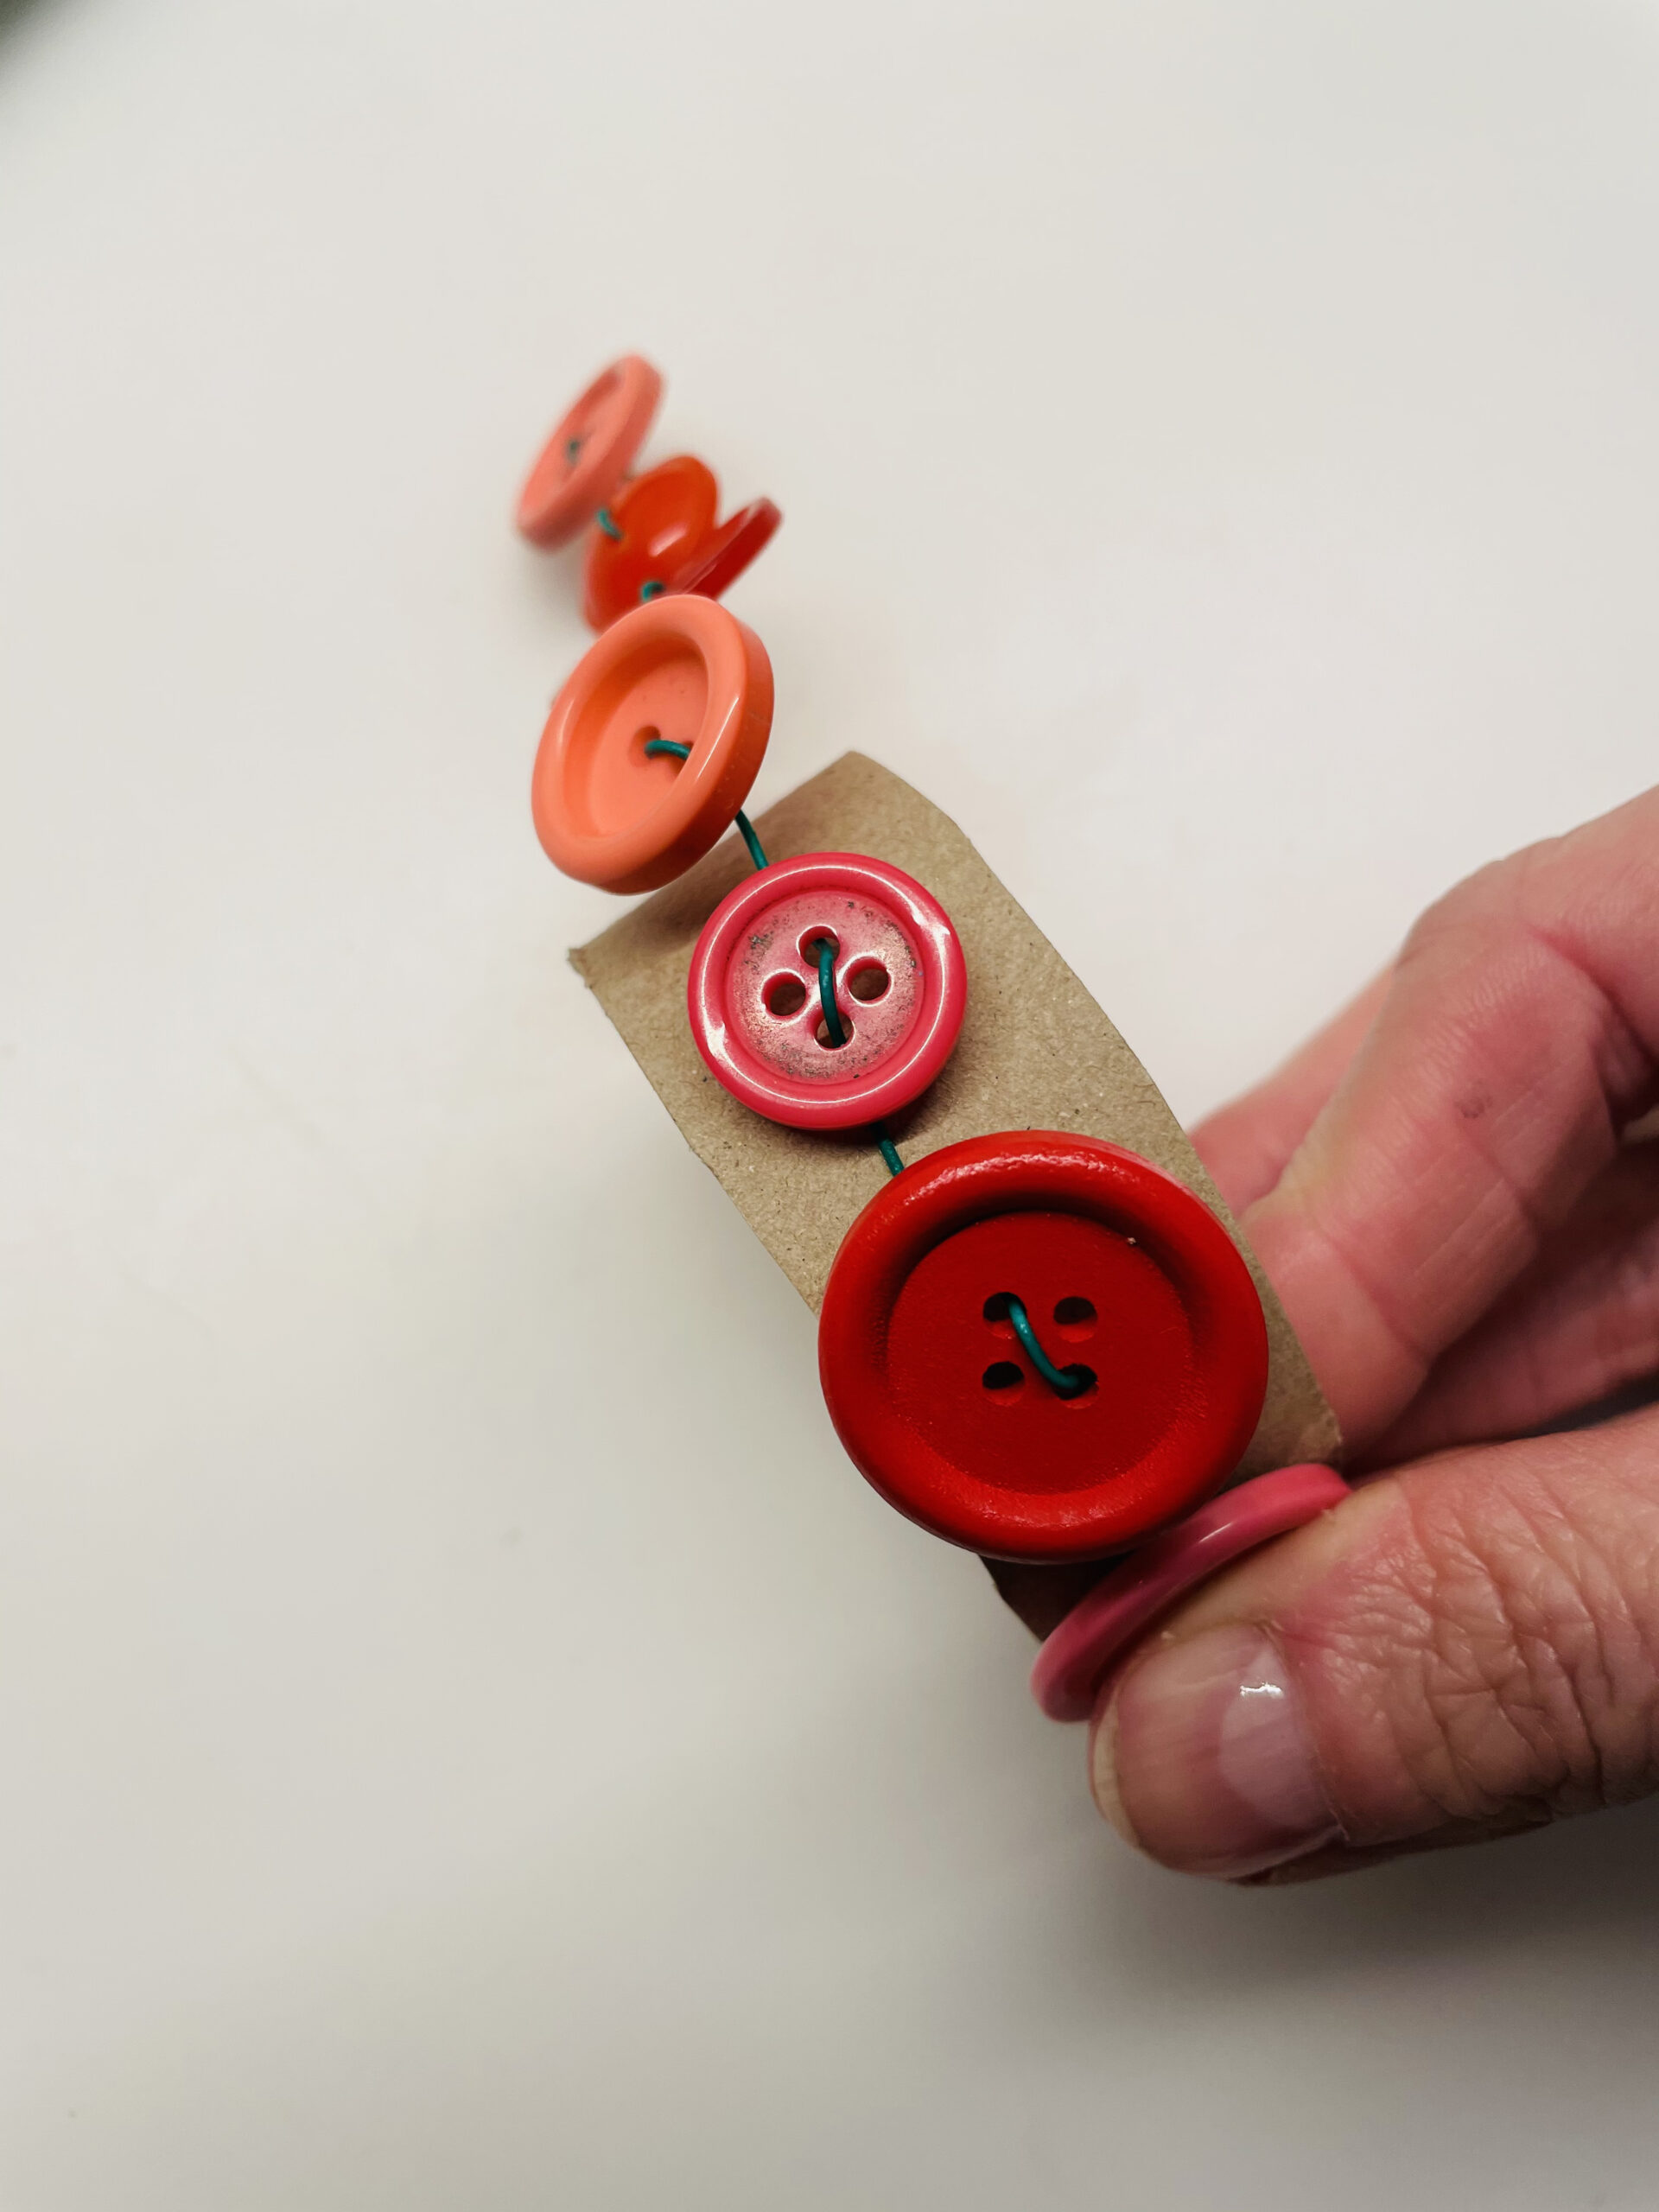
Bild zum Schritt 9 für das Bastel- und DIY-Abenteuer für Kinder: 'Klebt jetzt die Knopf-Draht-Schlange auf den Streifen der Papprolle.'

10

Fix the button snake with a few hot glue points.
Attention when handling the hot glue - risk of injury!
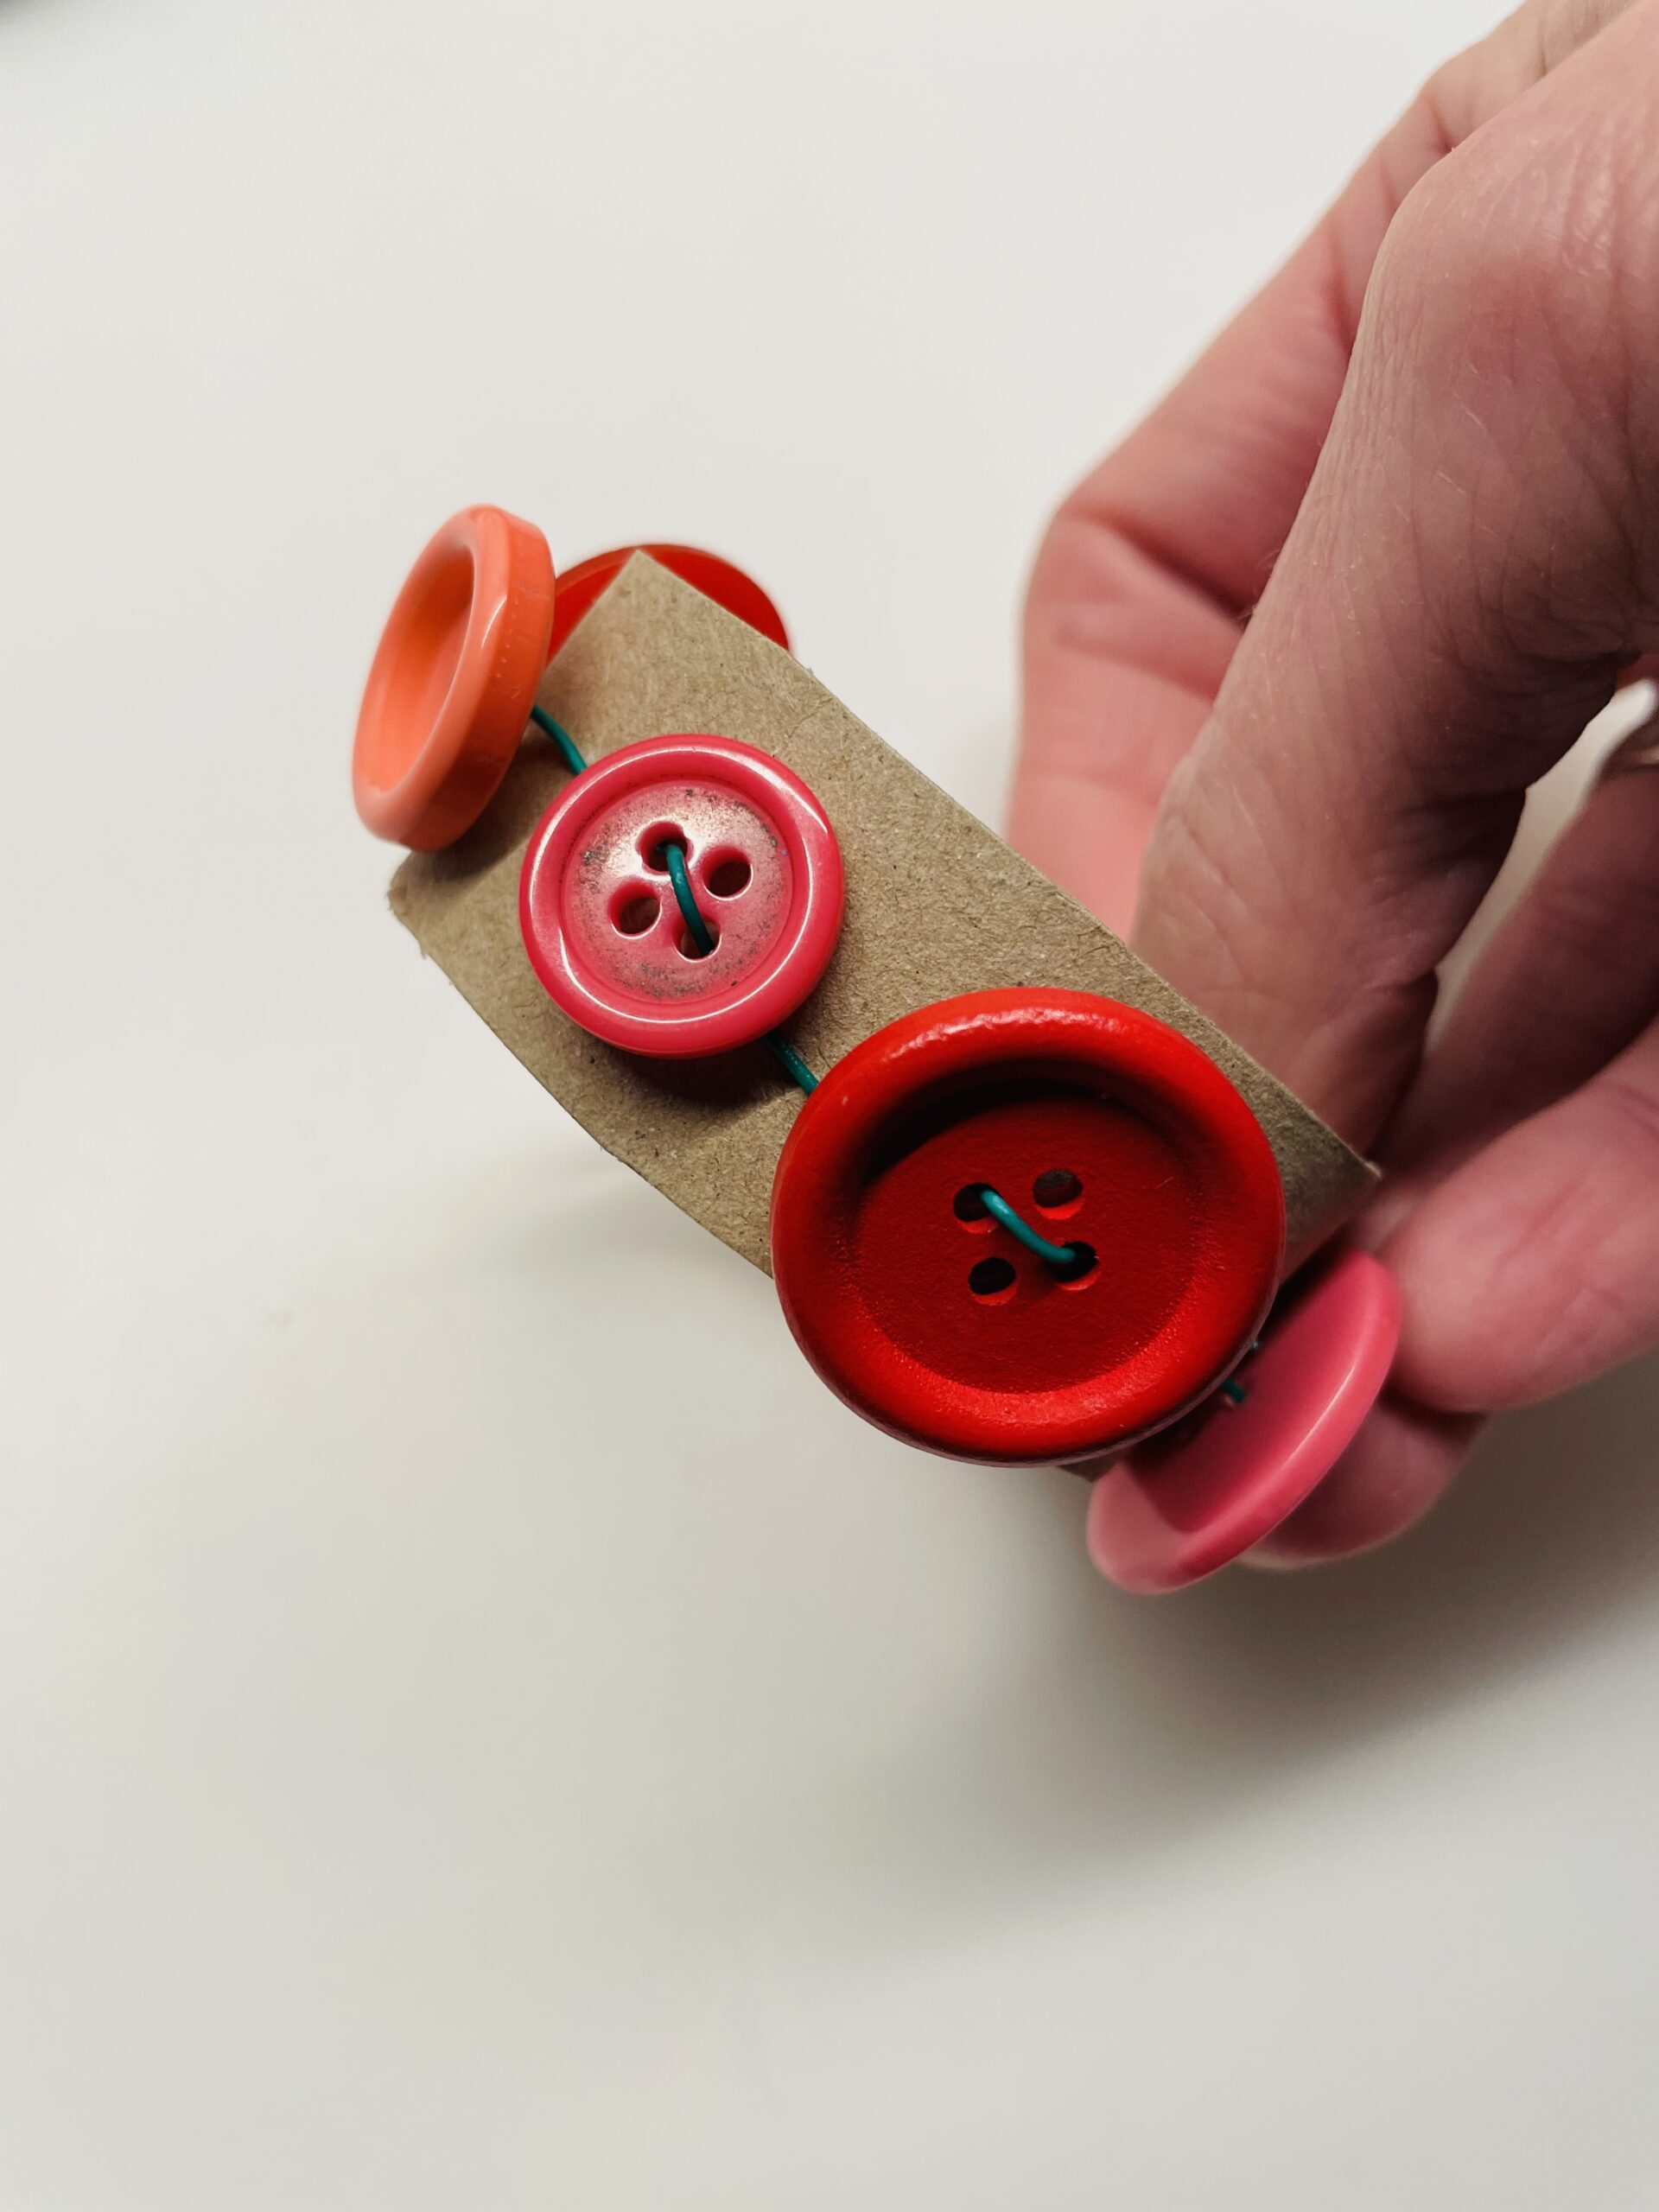
Bild zum Schritt 10 für das Bastel- und DIY-Abenteuer für Kinder: 'Fixiert die Knopf-Schlange mit ein paar Heißklebepunkten.  Achtung im...'

11

Your first napkin ring is ready.

Bild zum Schritt 11 für das Bastel- und DIY-Abenteuer für Kinder: 'Fertig ist euer erster Serviettenring.'

12

Roll a napkin together and put it through the ring.
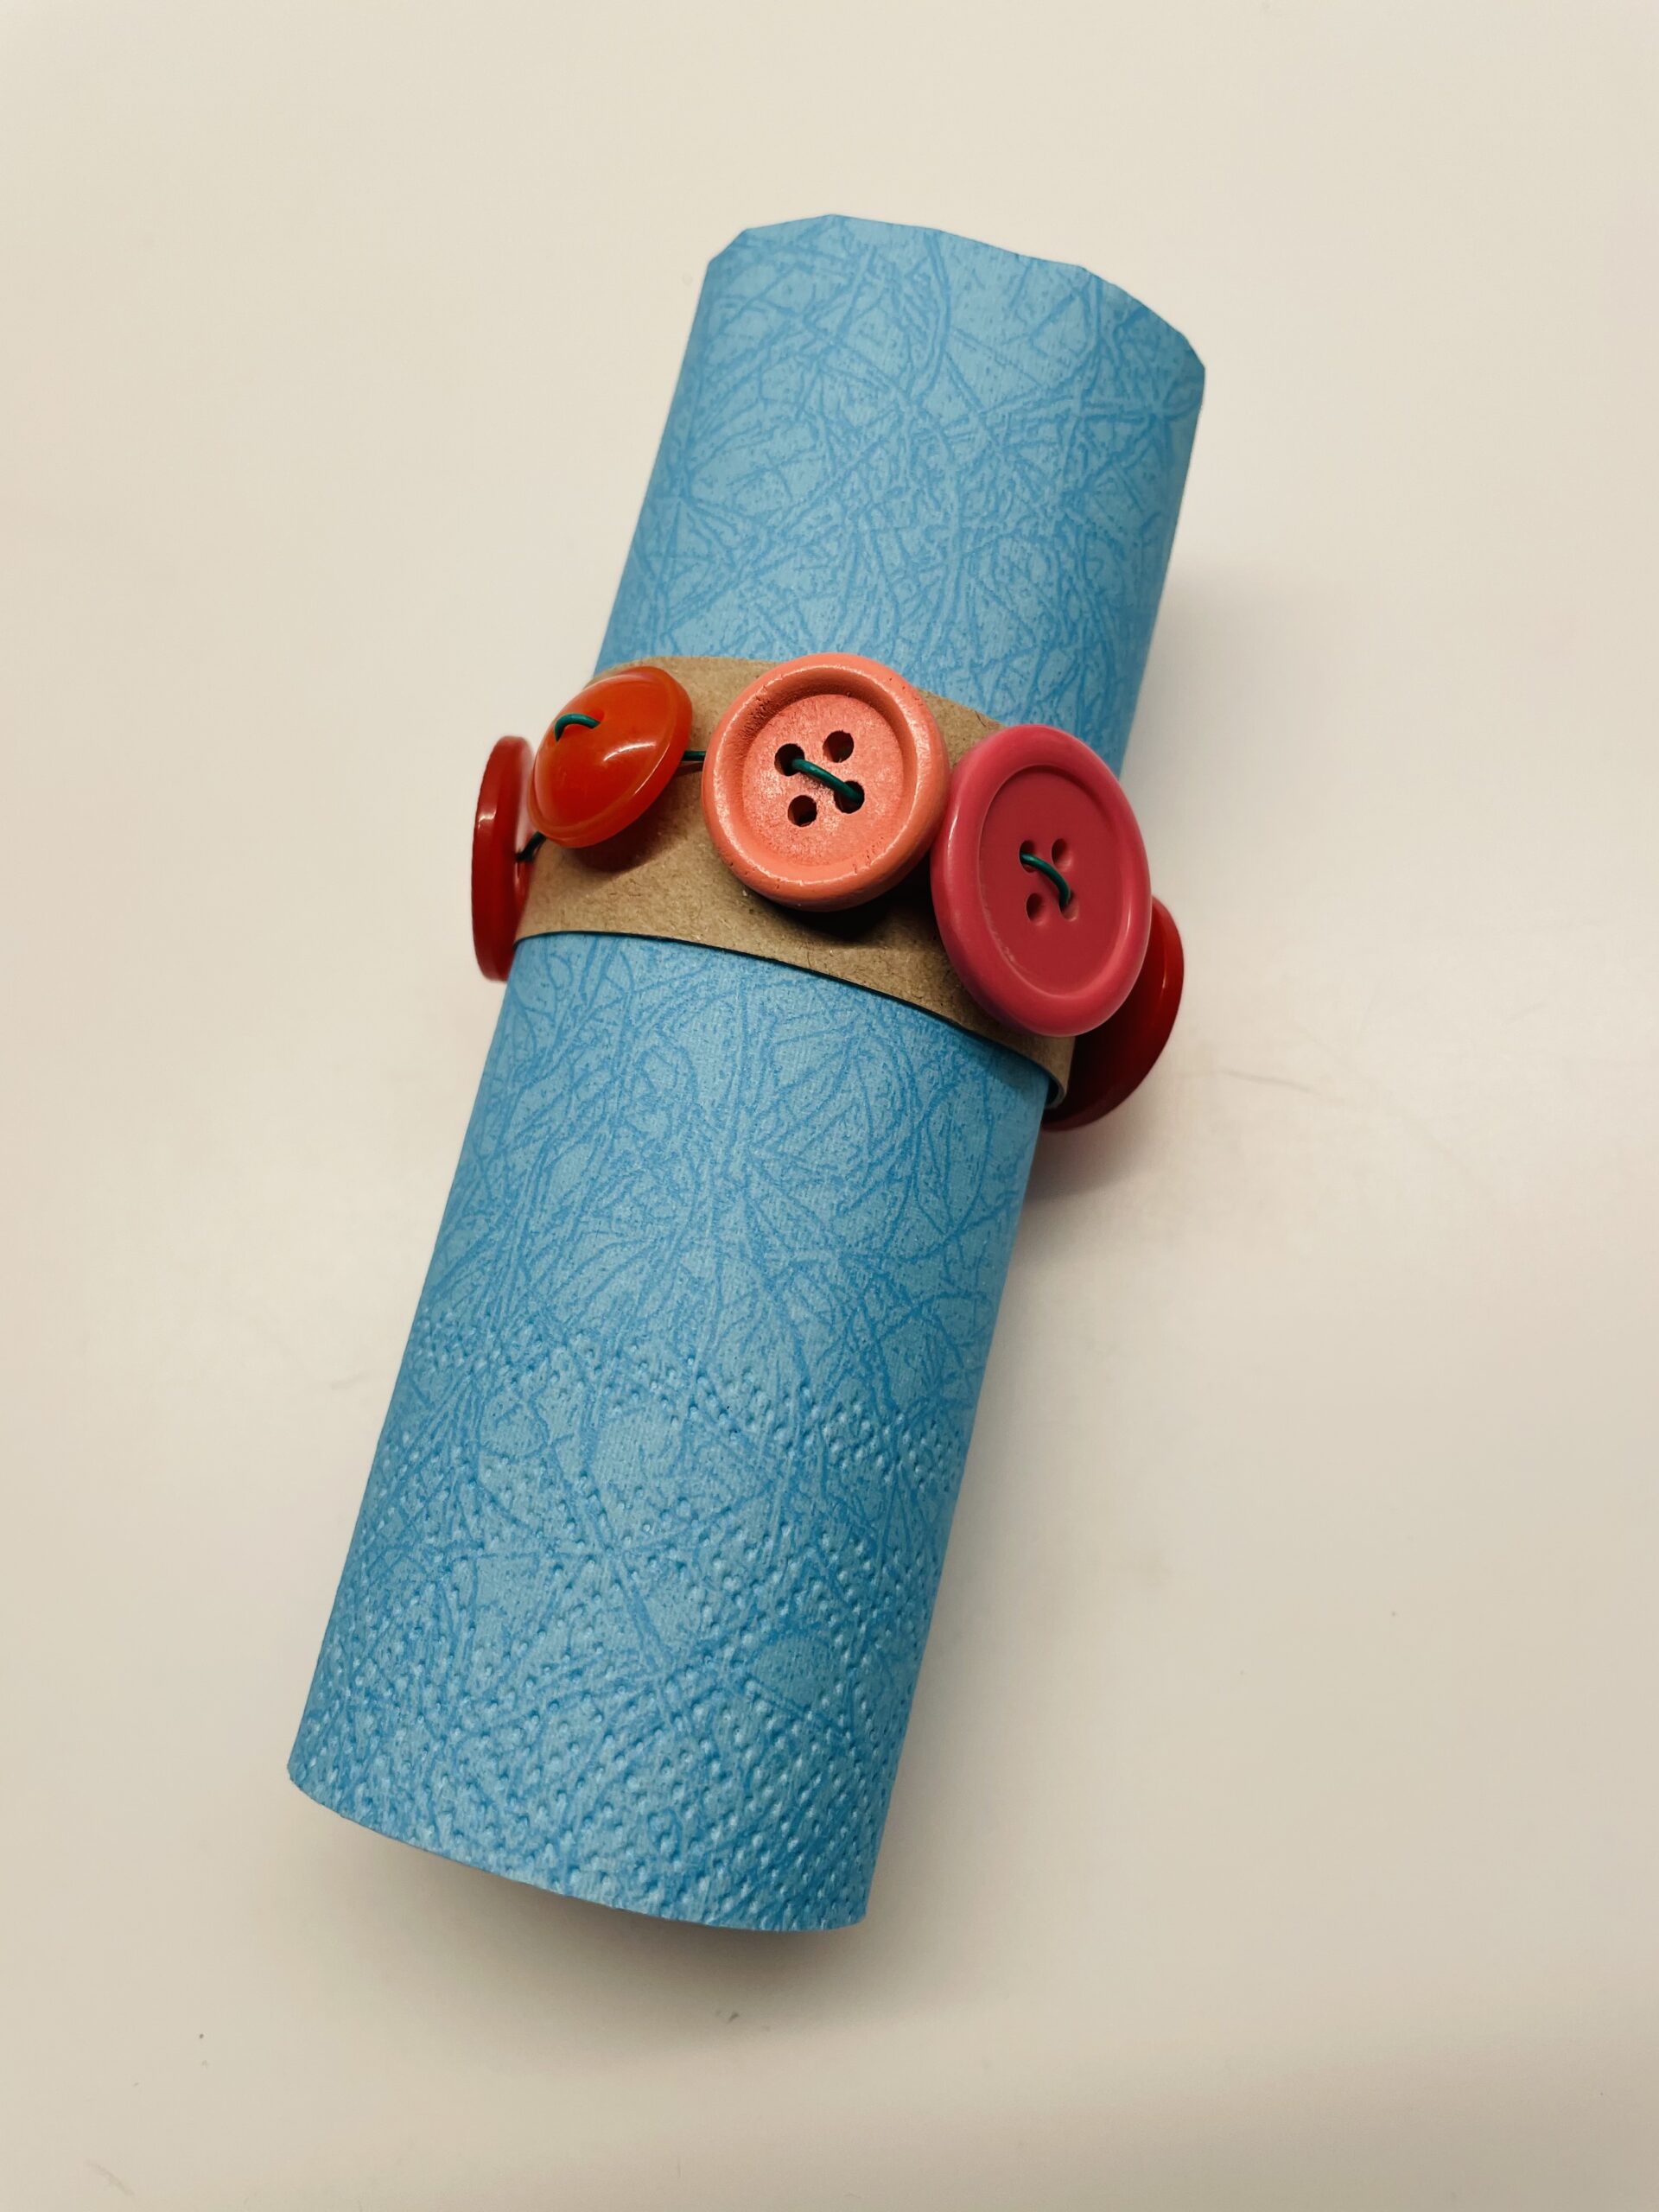
Bild zum Schritt 12 für das Bastel- und DIY-Abenteuer für Kinder: 'Rollt eine Serviette zusammen und steckt diese durch den Ring.'

13

Then you cut out a little heart from clay paper and stick a button on it.
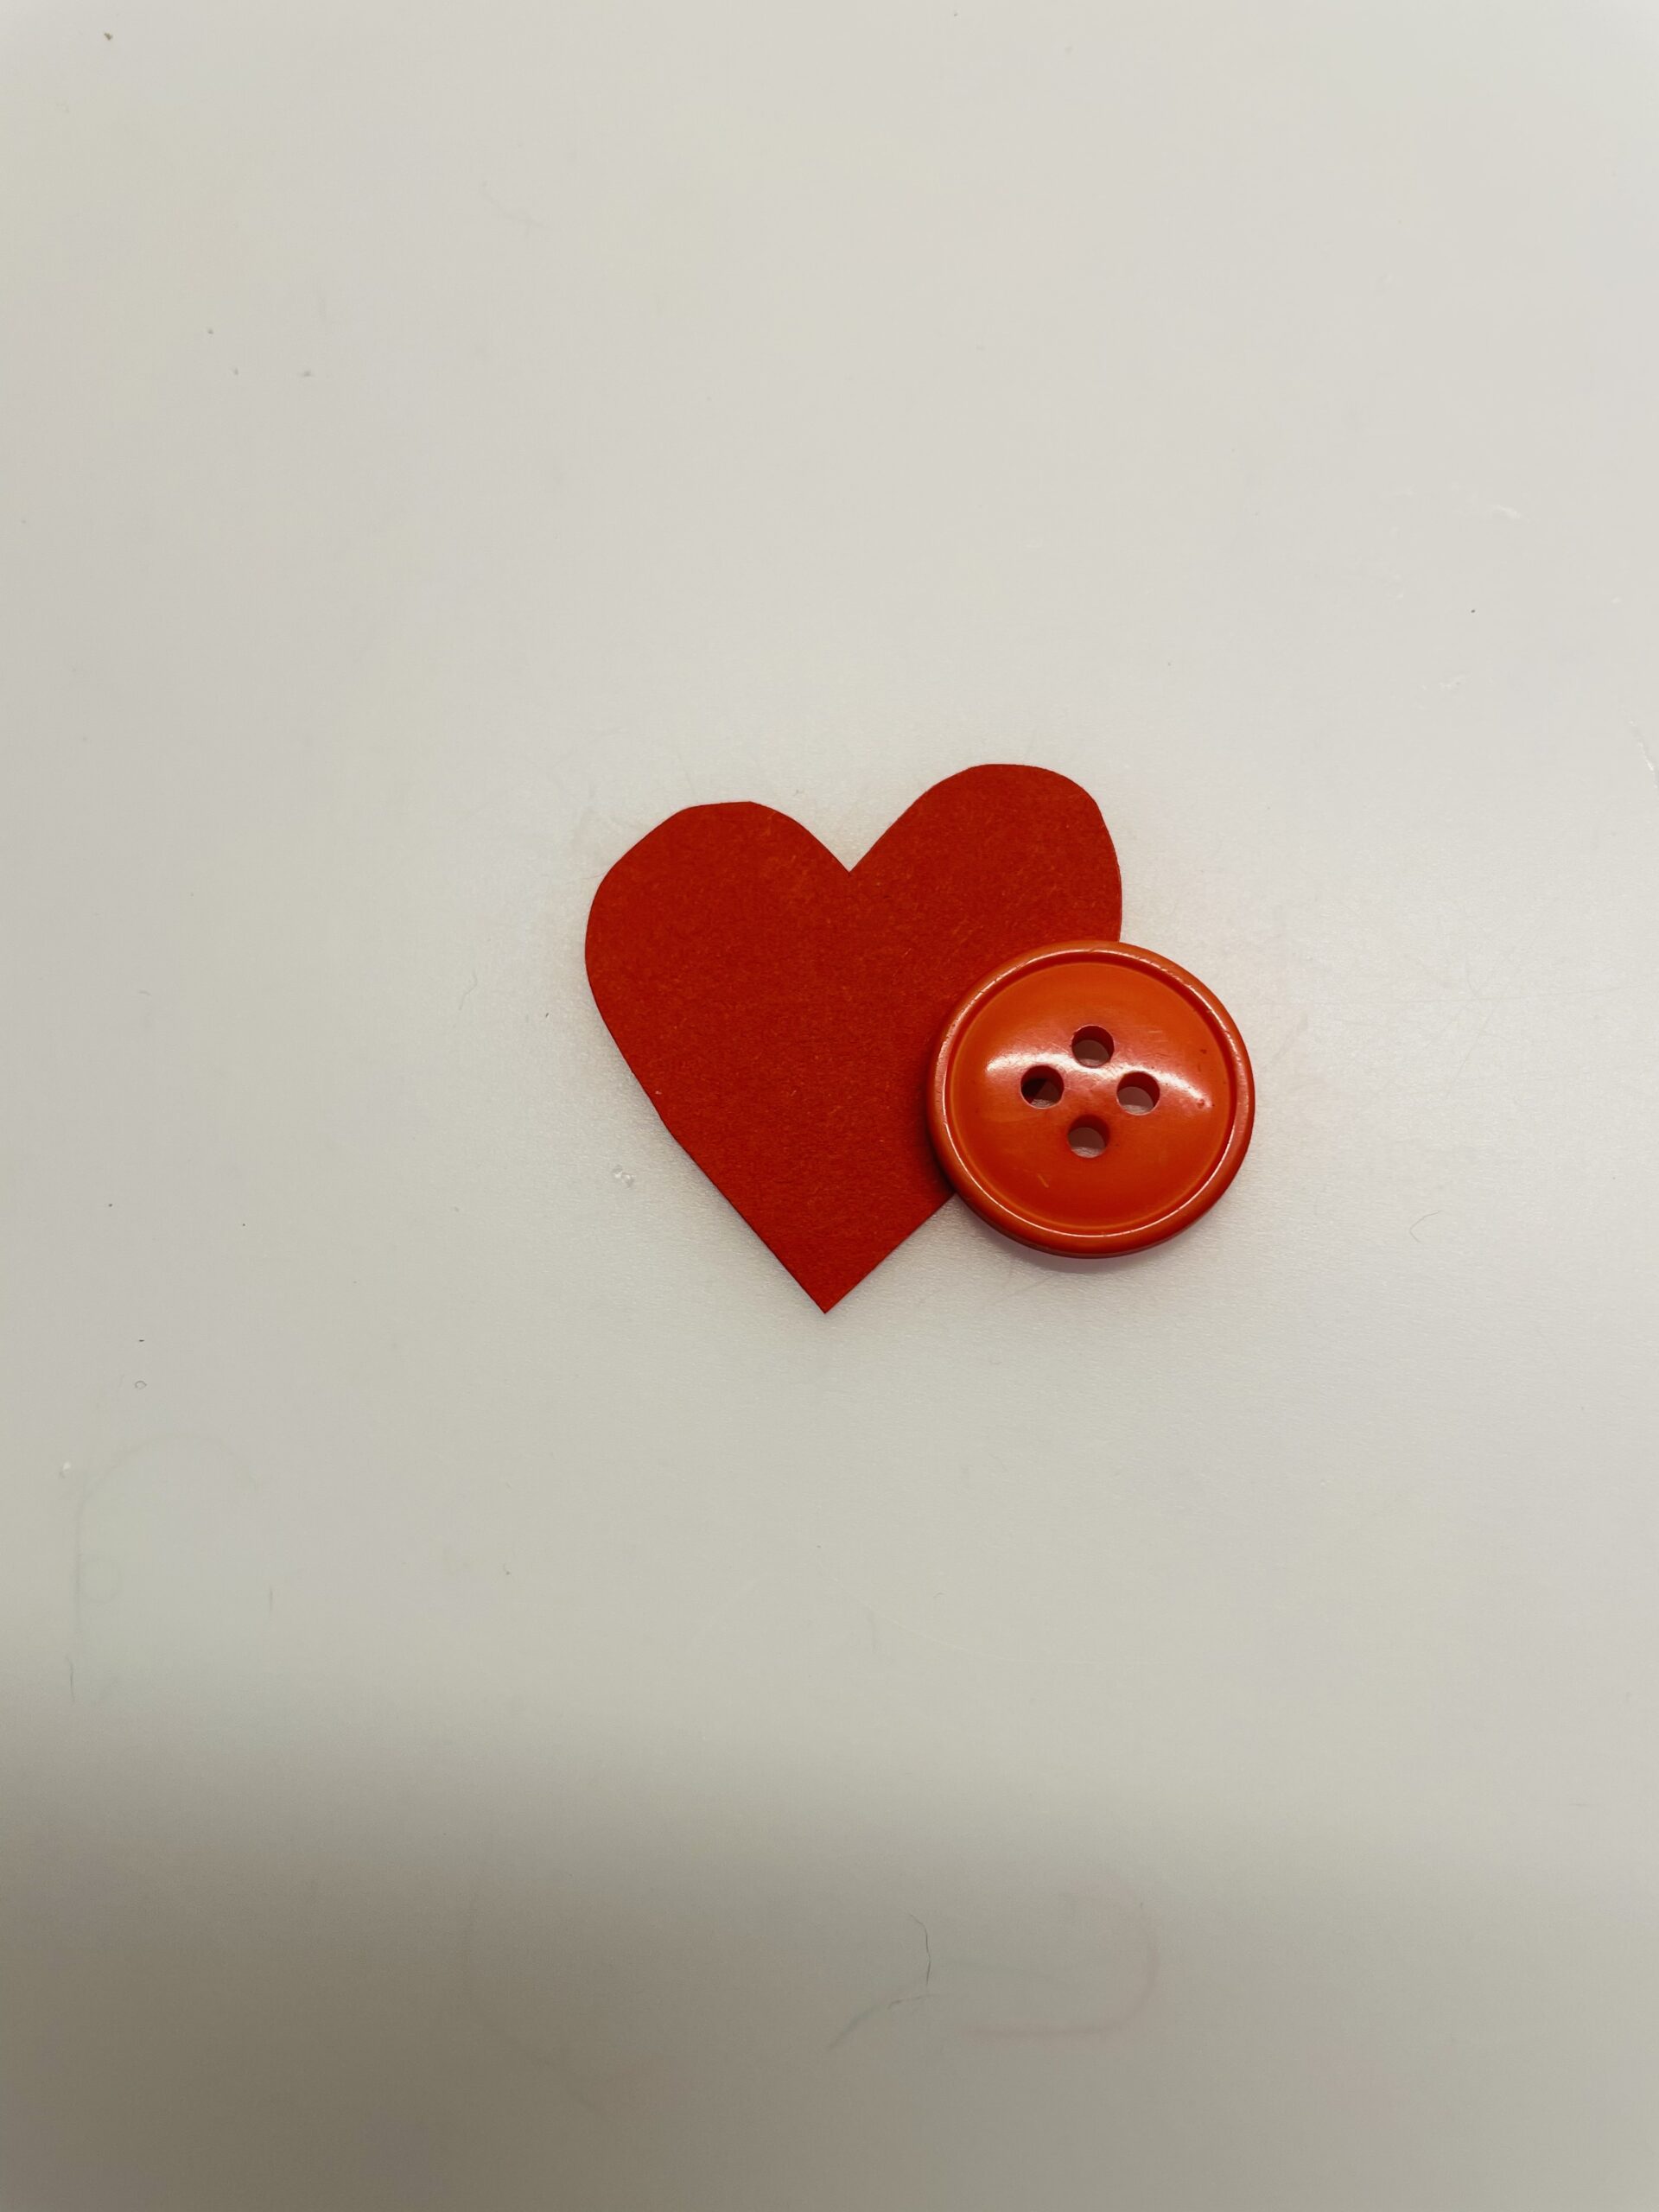
Bild zum Schritt 13 für das Bastel- und DIY-Abenteuer für Kinder: 'Dann schneidet ihr euch aus Tonpapier noch ein kleines Herz...'

14

Place this button heart as a decoration on the finished napkin.
Finished is a beautiful table decoration.
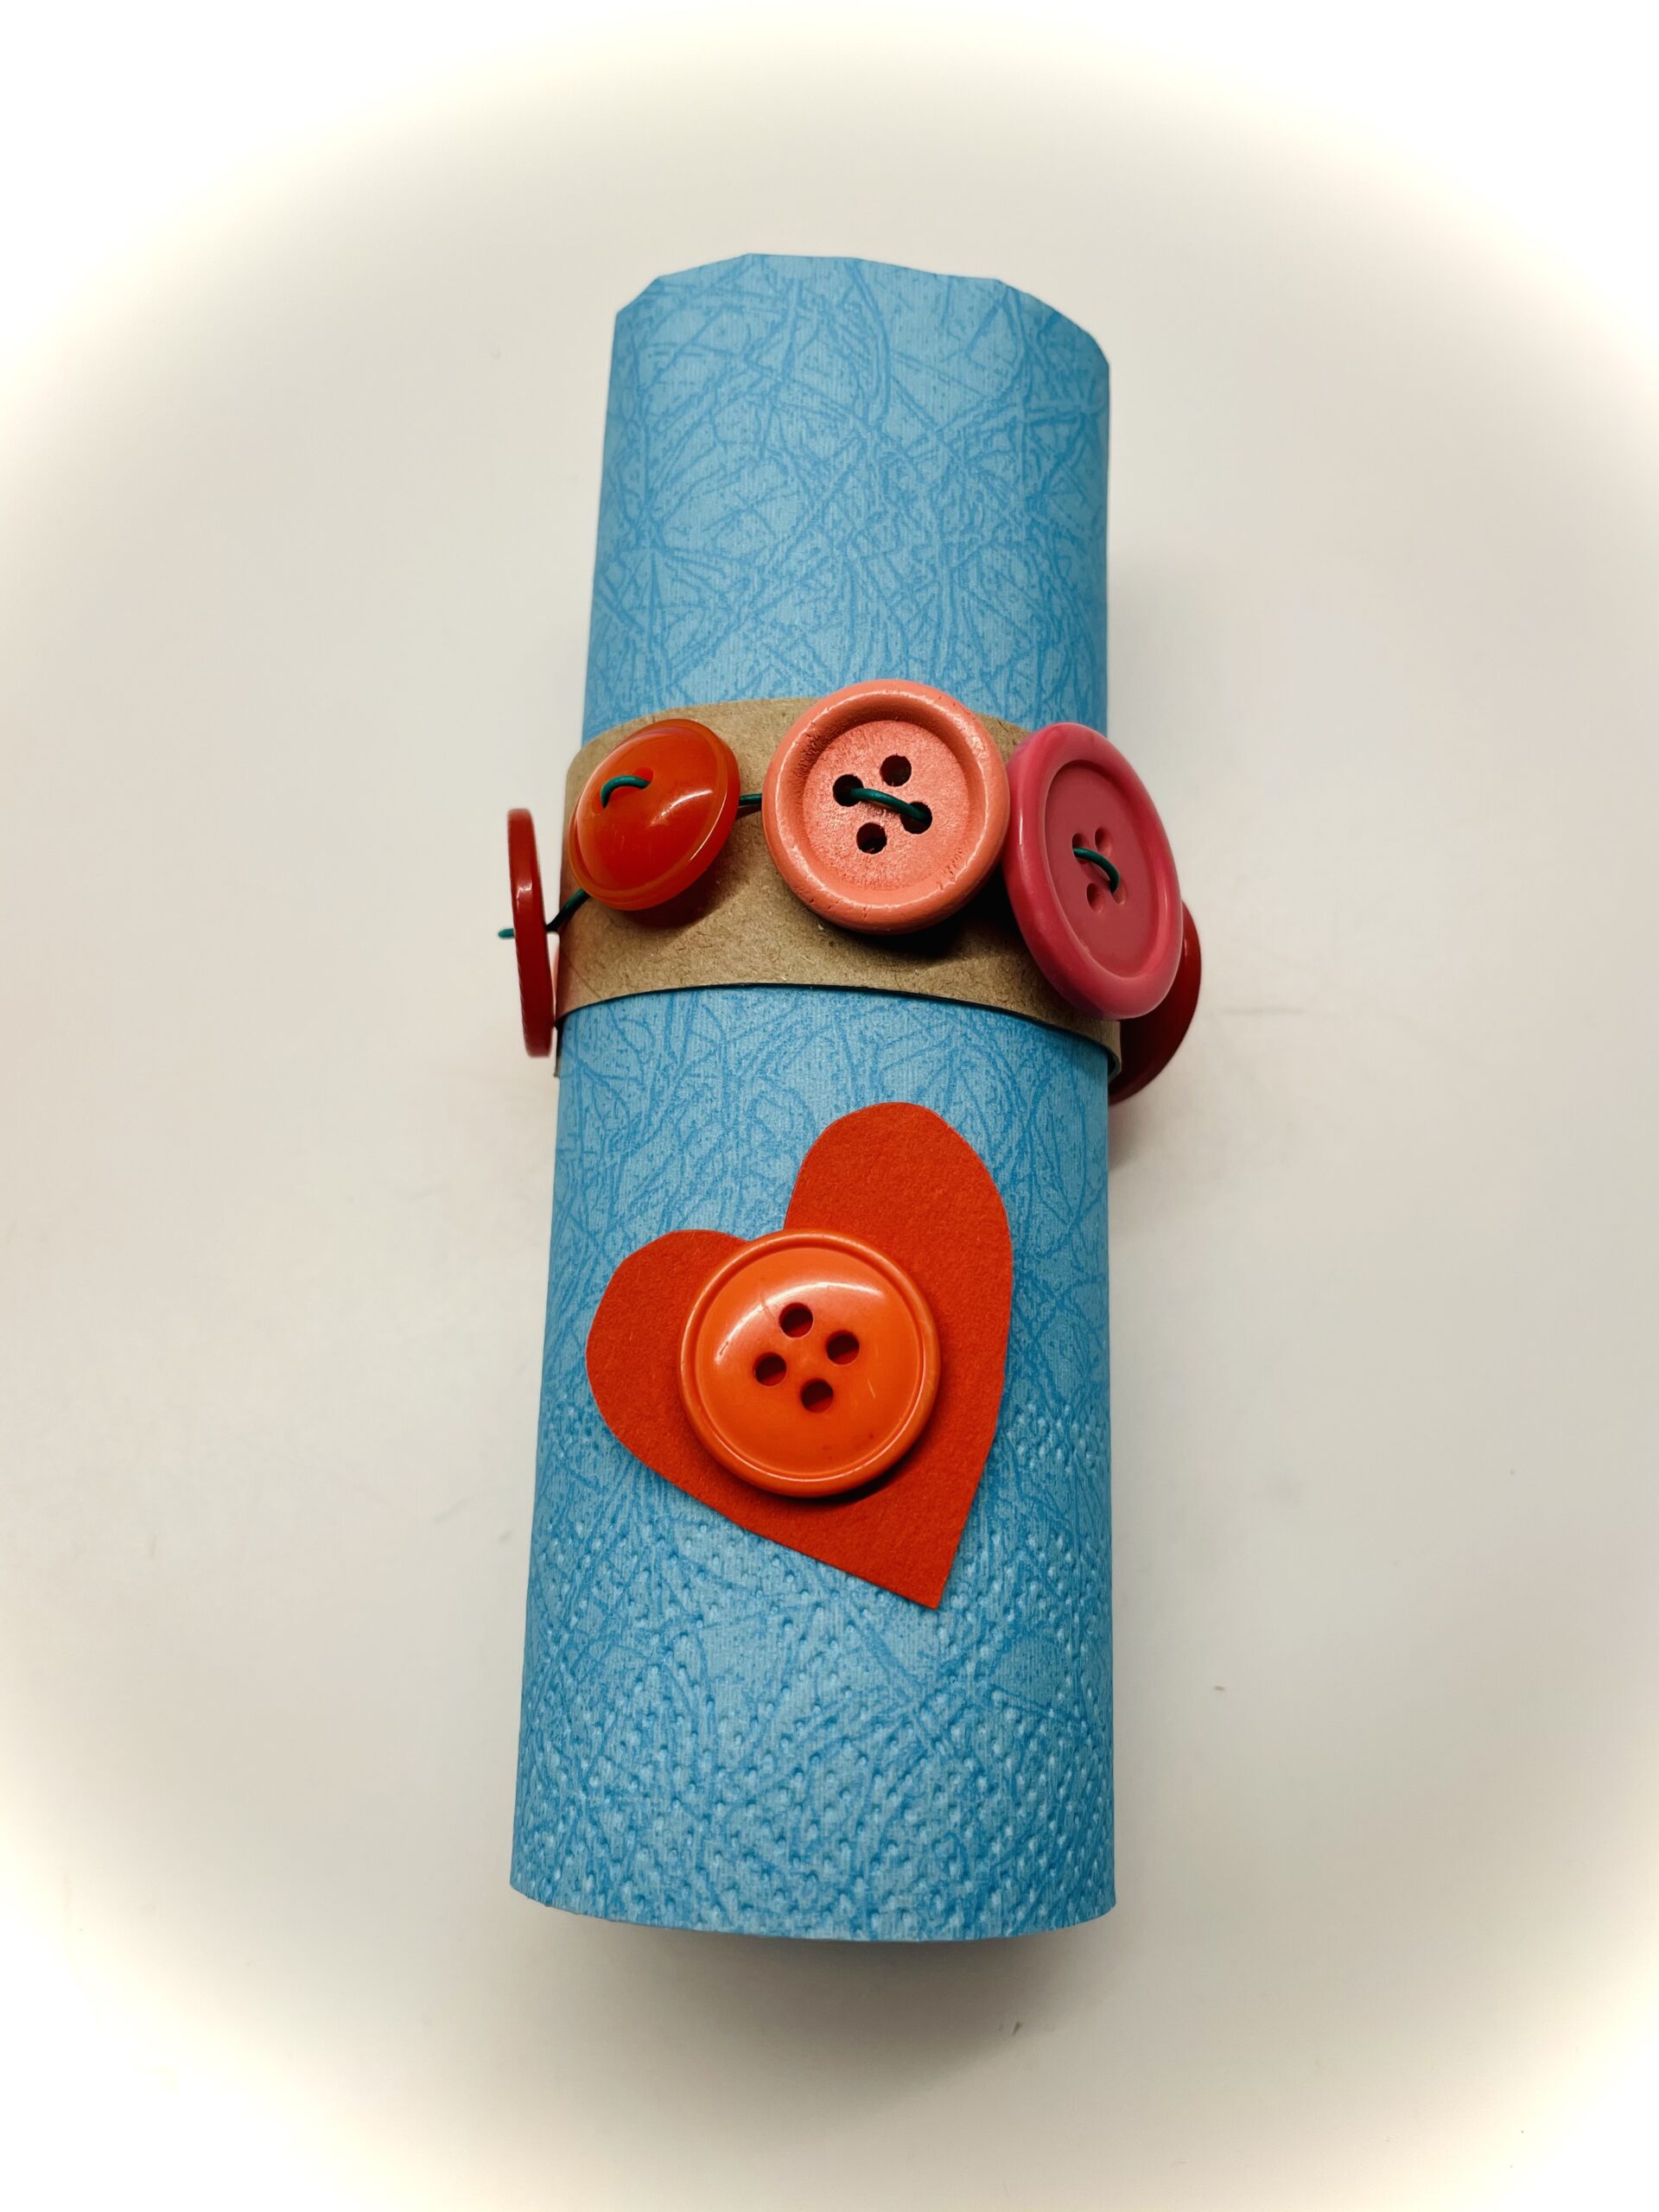
Bild zum Schritt 14 für das Bastel- und DIY-Abenteuer für Kinder: 'Legt dieses Knopf-Herz als Dekoration auf die fertige Serviette. ...'

Variant 2 without cardboard roll:
15

Thread the buttons on the wire as described above.
The wire should be about 15 cm long.
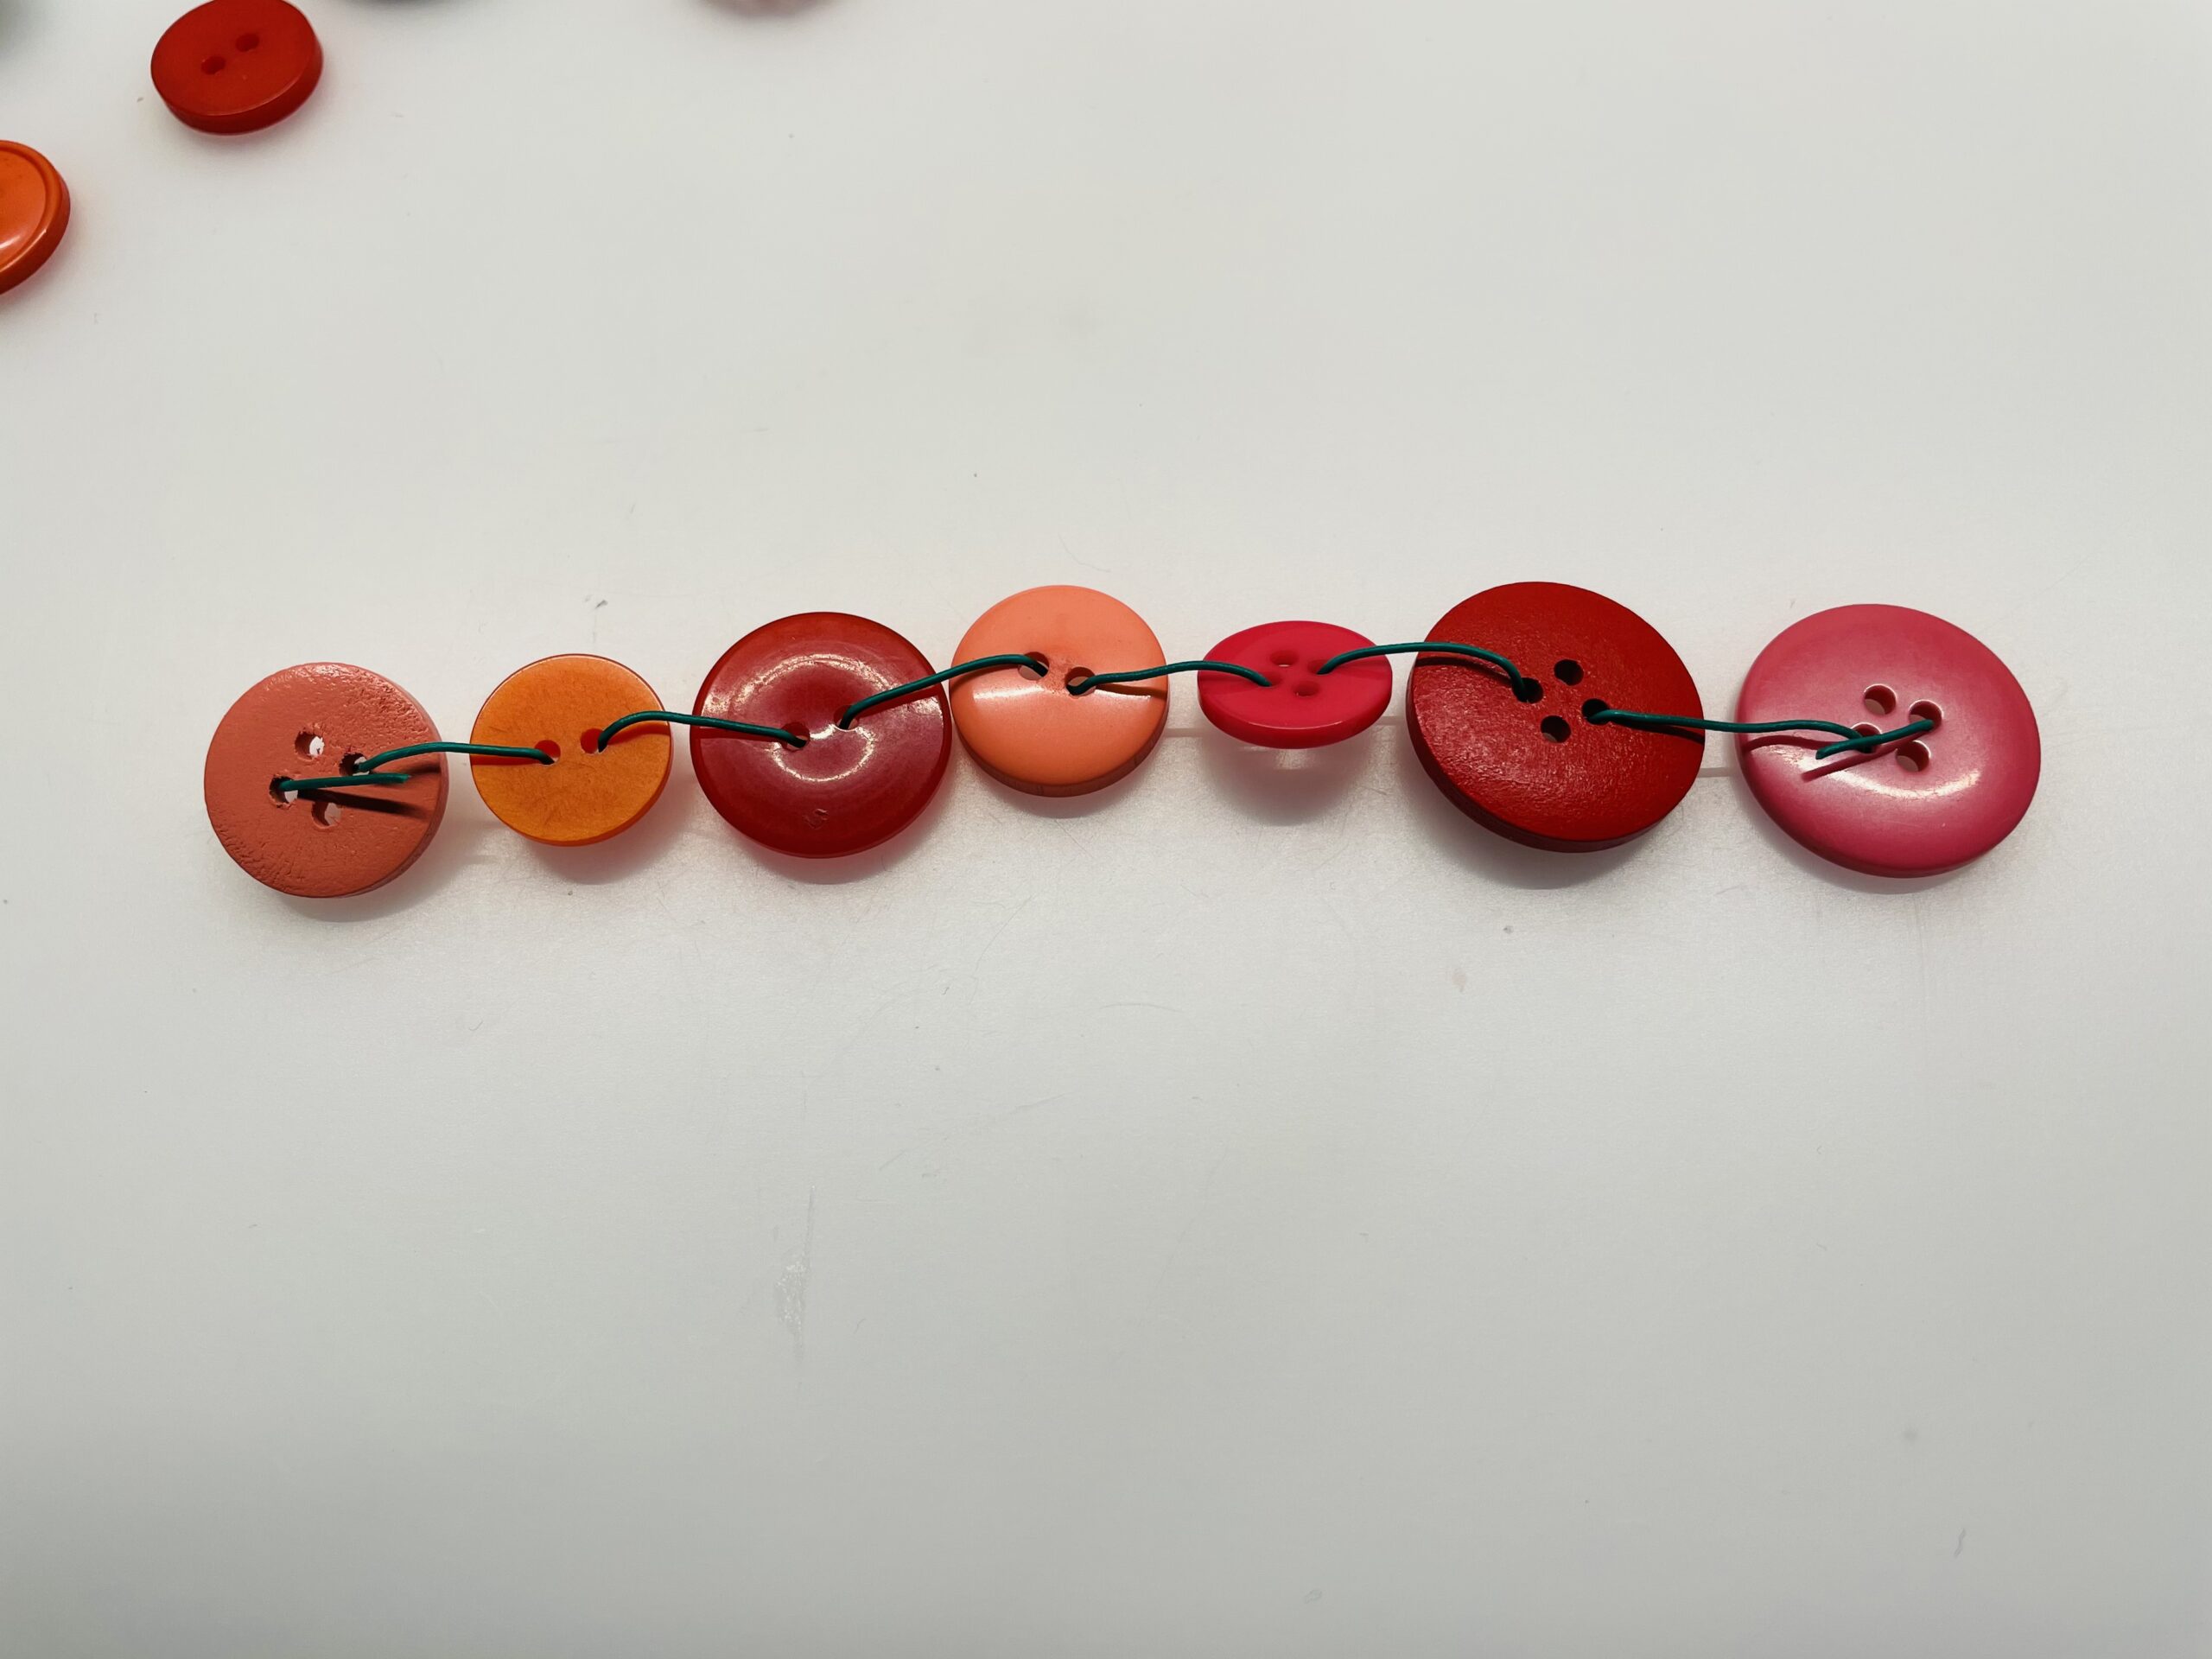
Bild zum Schritt 16 für das Bastel- und DIY-Abenteuer für Kinder: 'Fädelt die Knöpfe wie oben beschrieben auf den Draht. ...'

16

Then twist the two overhanging ends of the wire together.
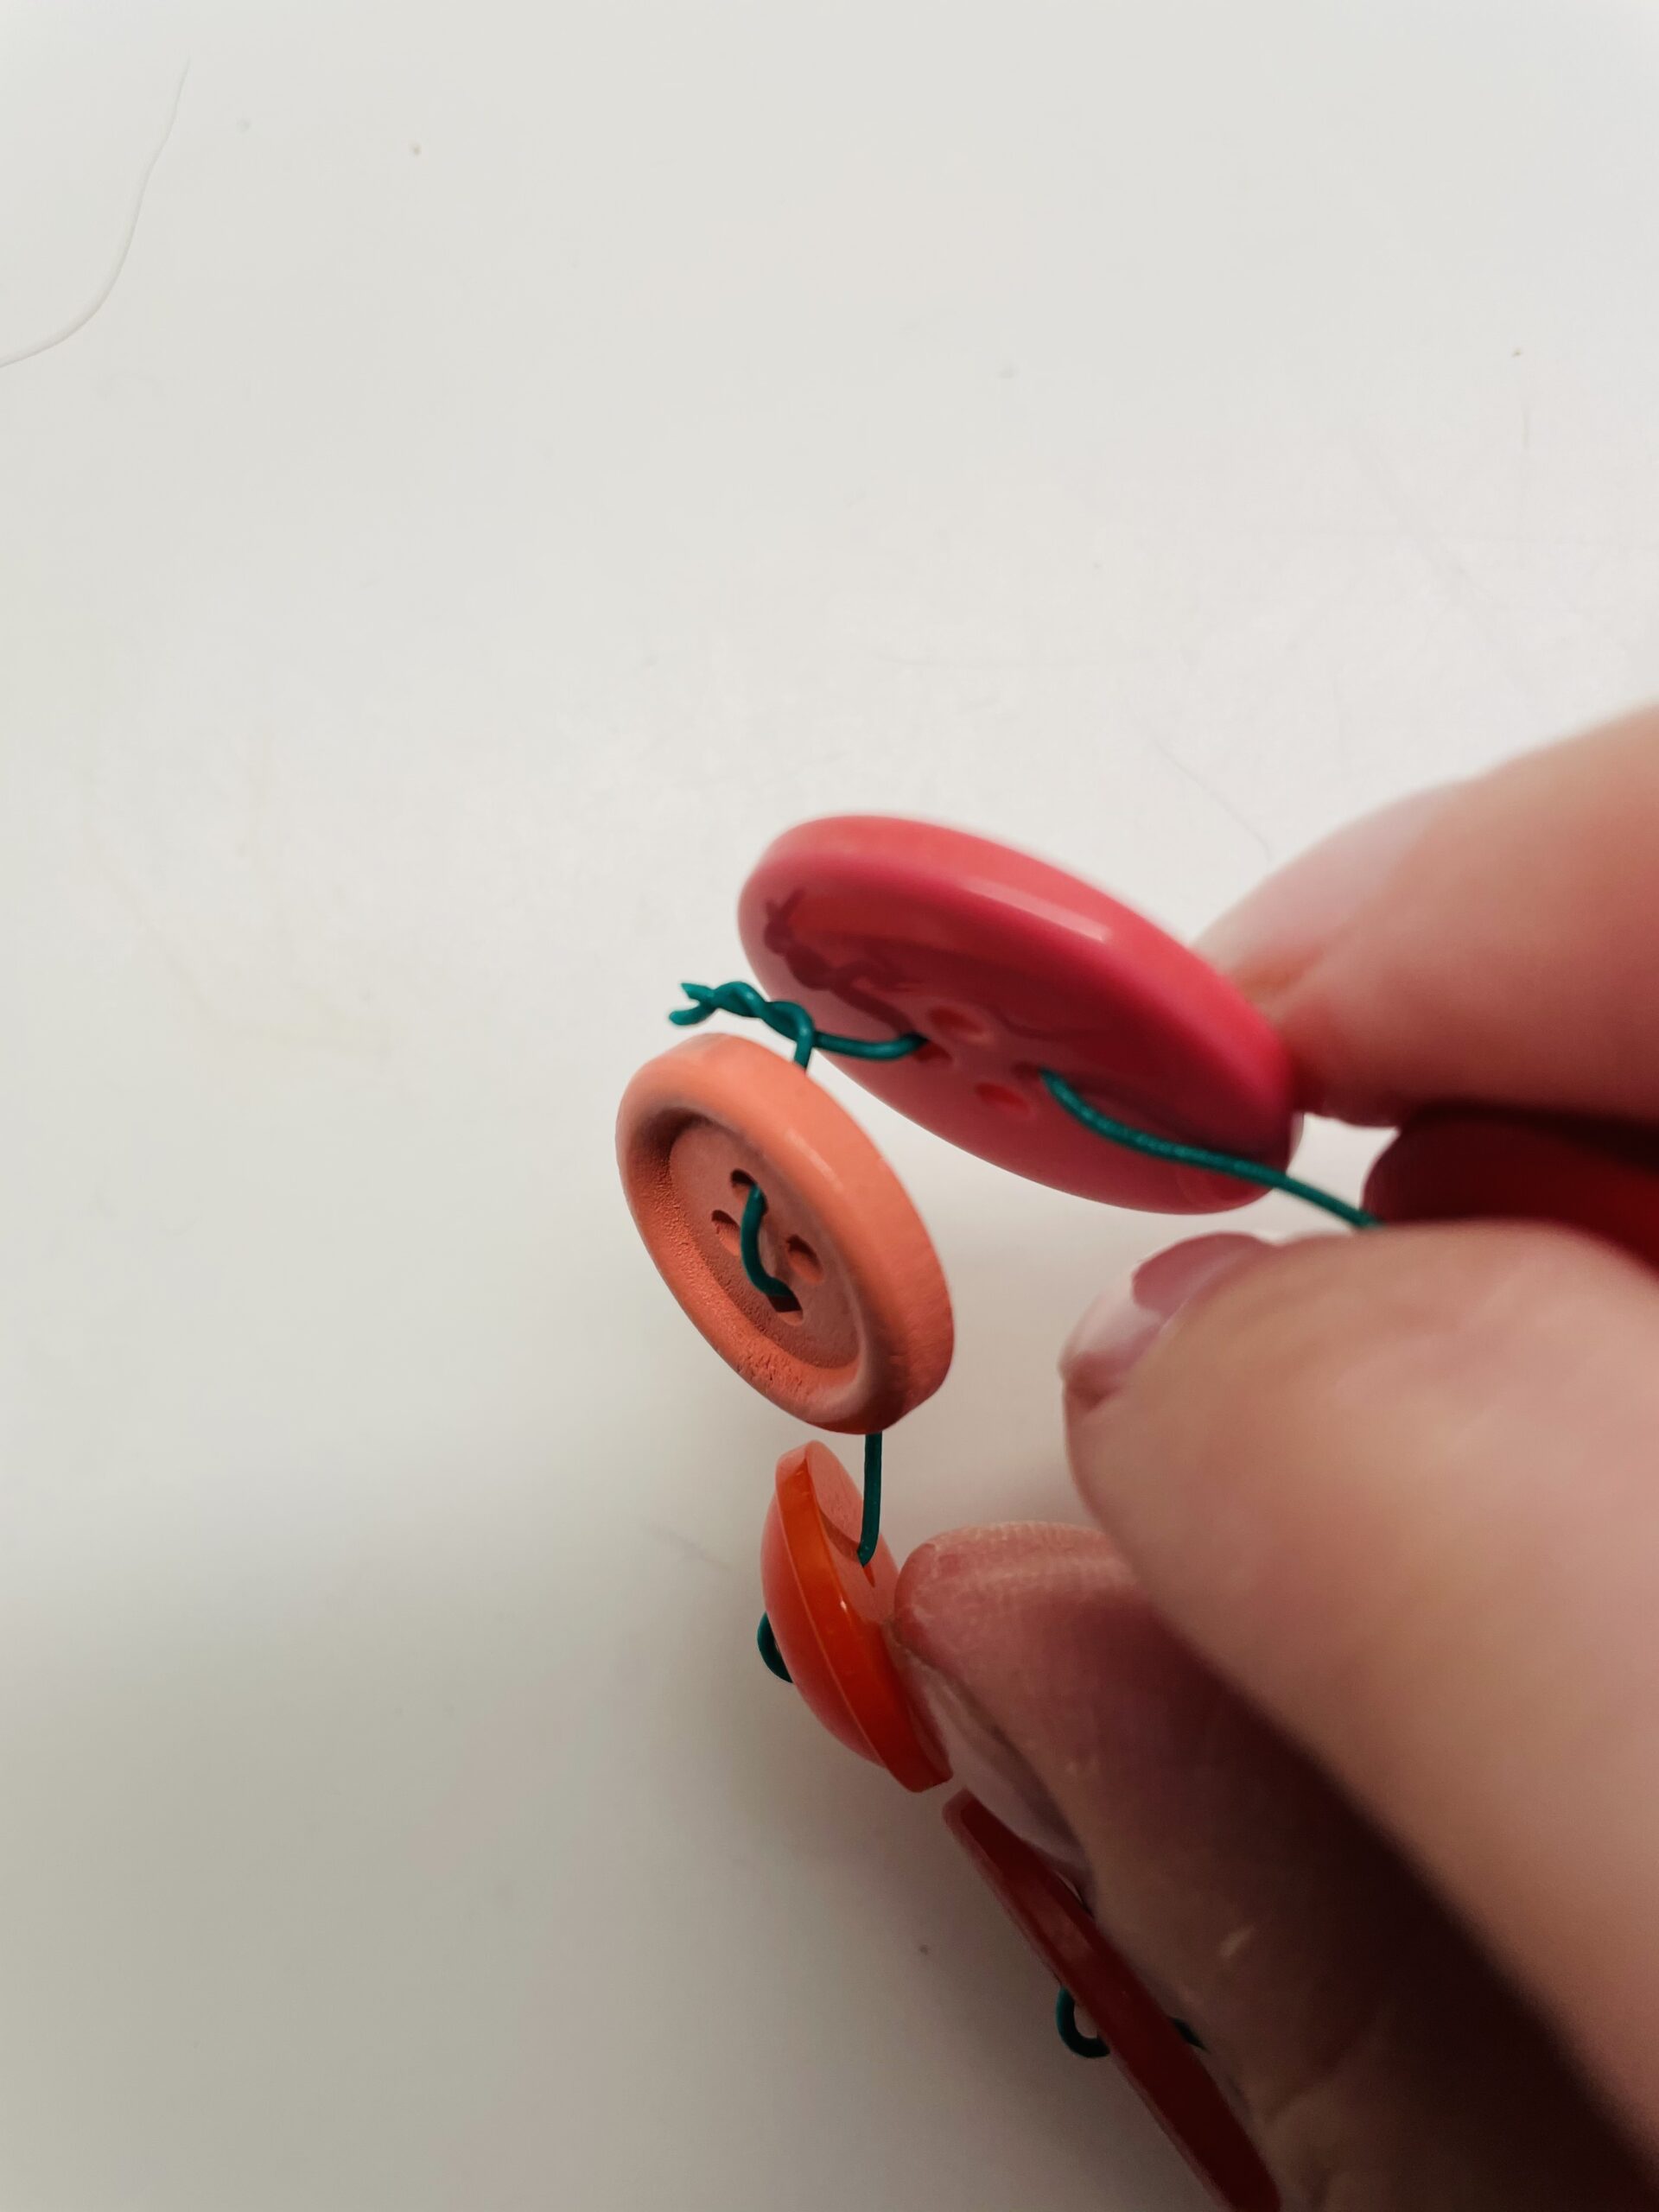
Bild zum Schritt 17 für das Bastel- und DIY-Abenteuer für Kinder: 'Dann verdreht ihr die beiden überstehenden Enden des Drahtes miteinander.'

17

So you close the wire with the buttons to a ring.
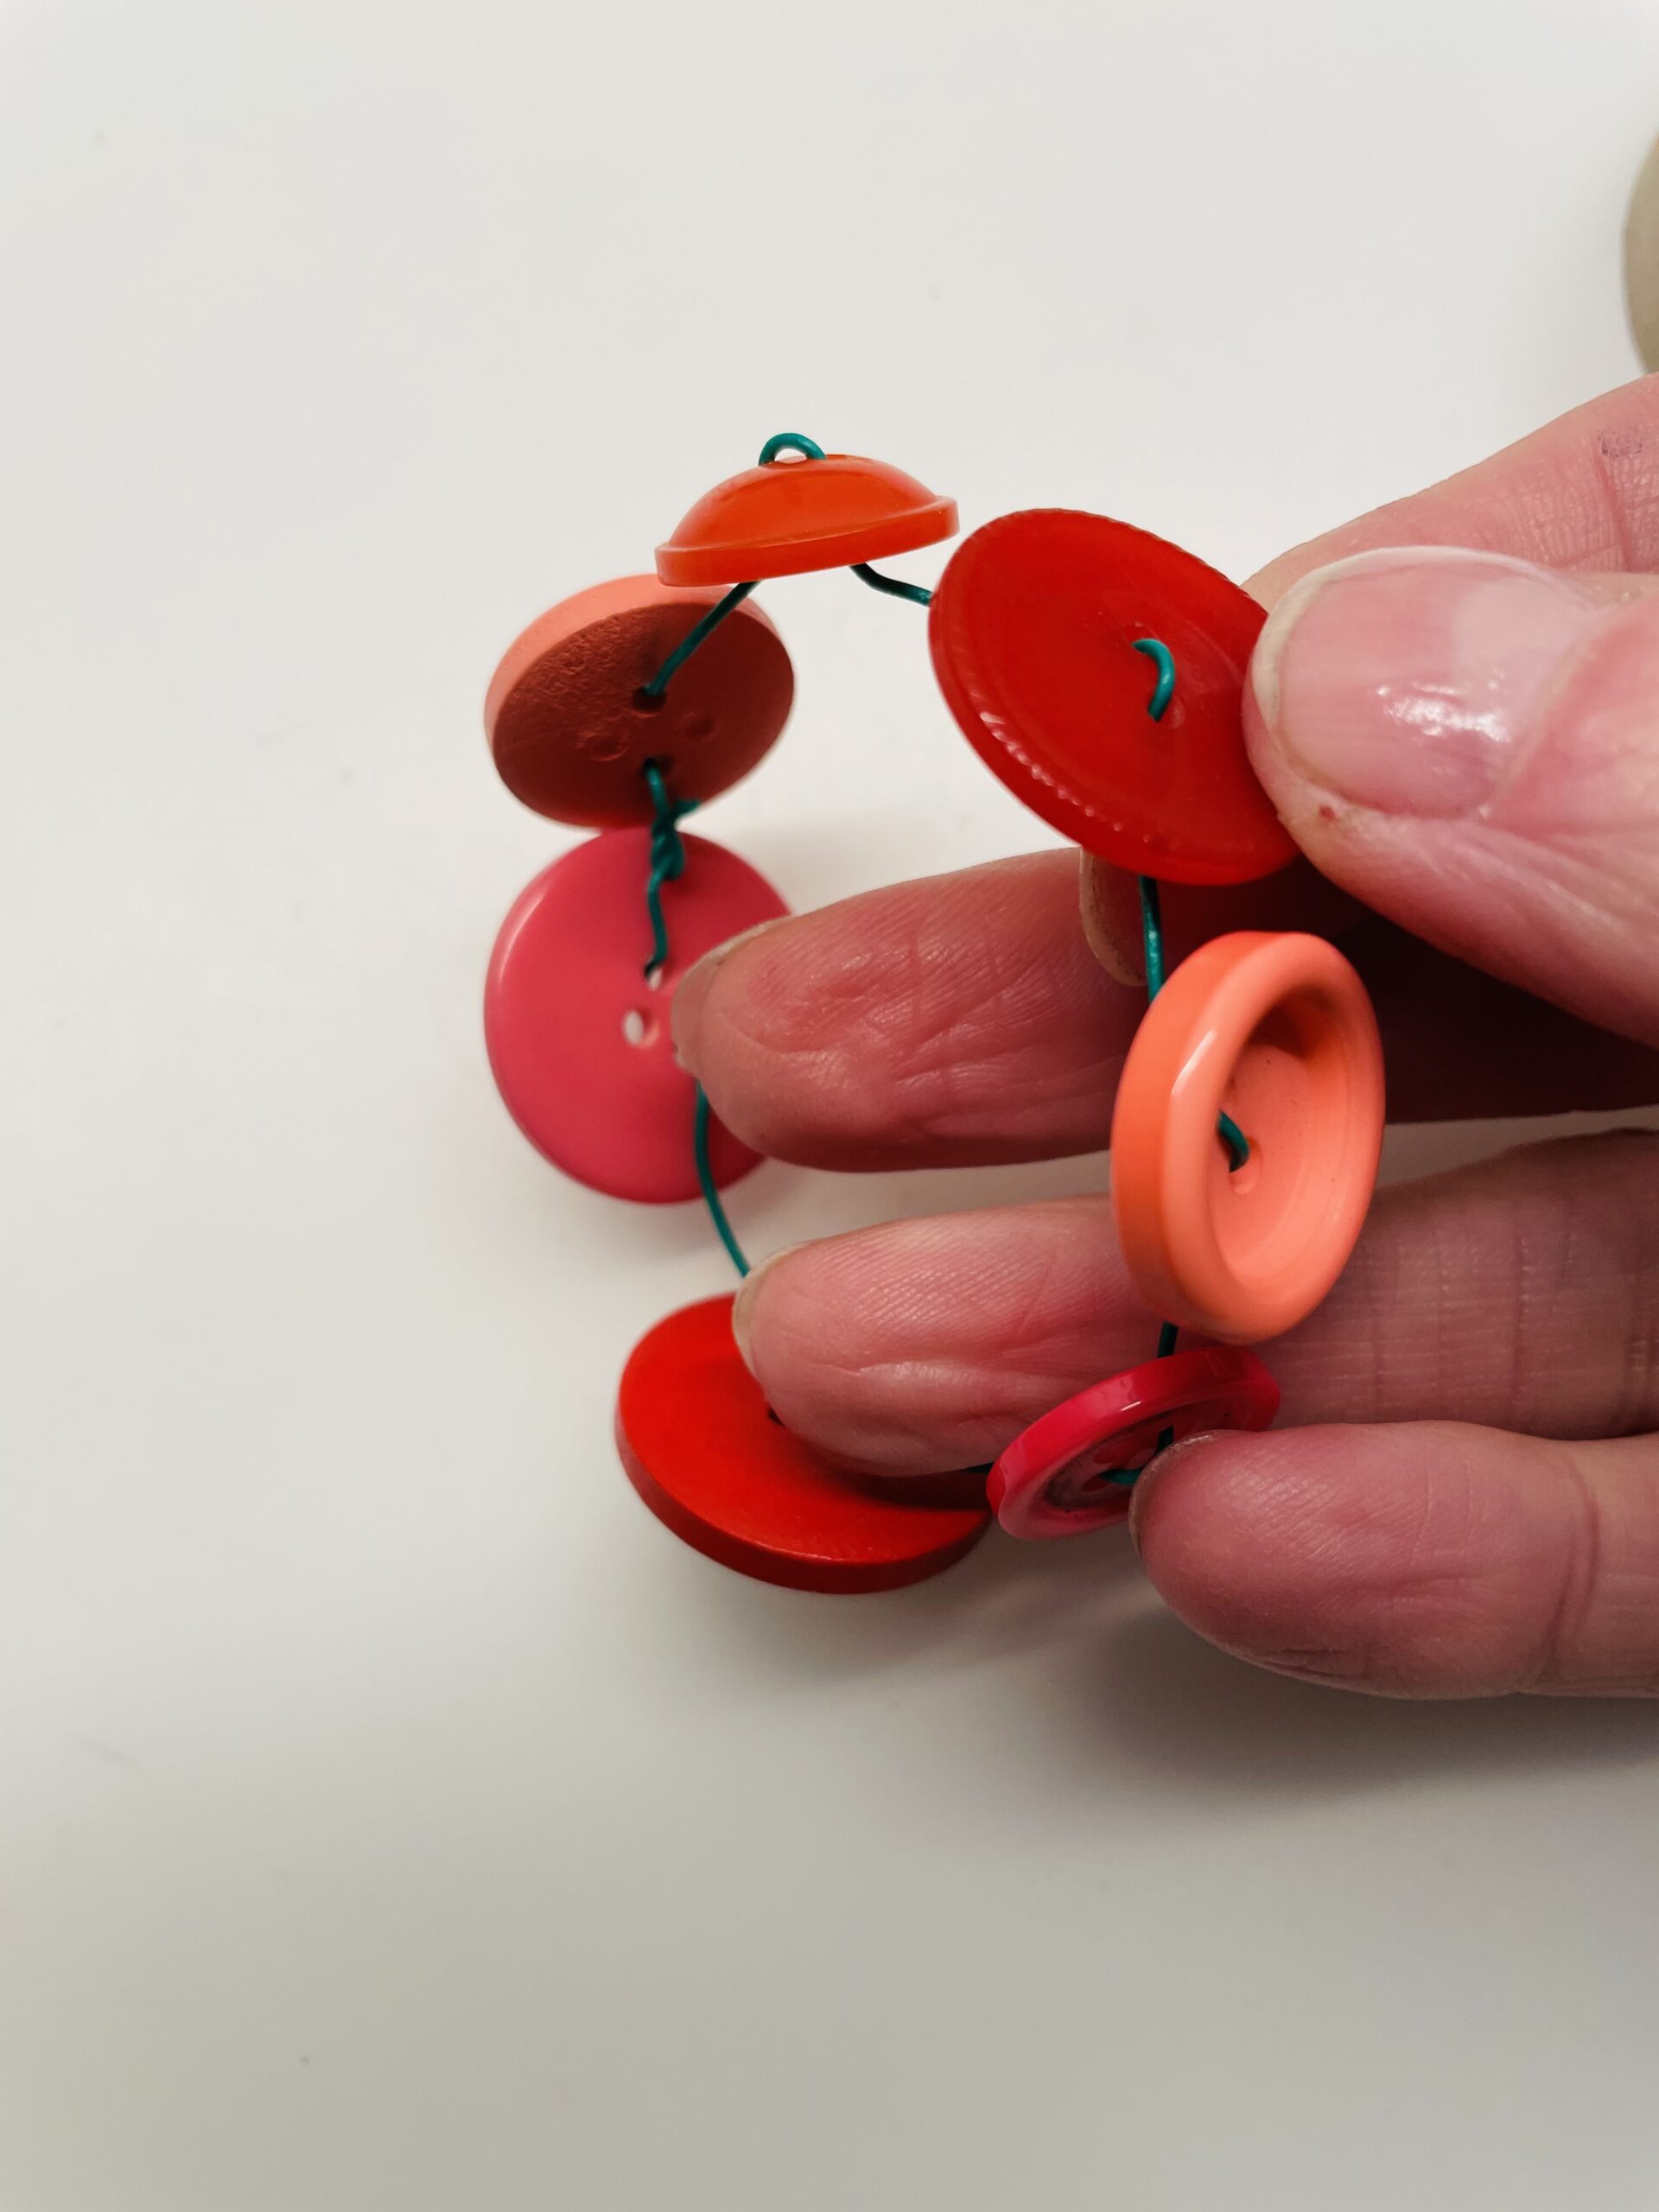
Bild zum Schritt 18 für das Bastel- und DIY-Abenteuer für Kinder: 'So schließt ihr den Draht mit den Knöpfen zu einem...'

18

Turns the ring into a stable circle.
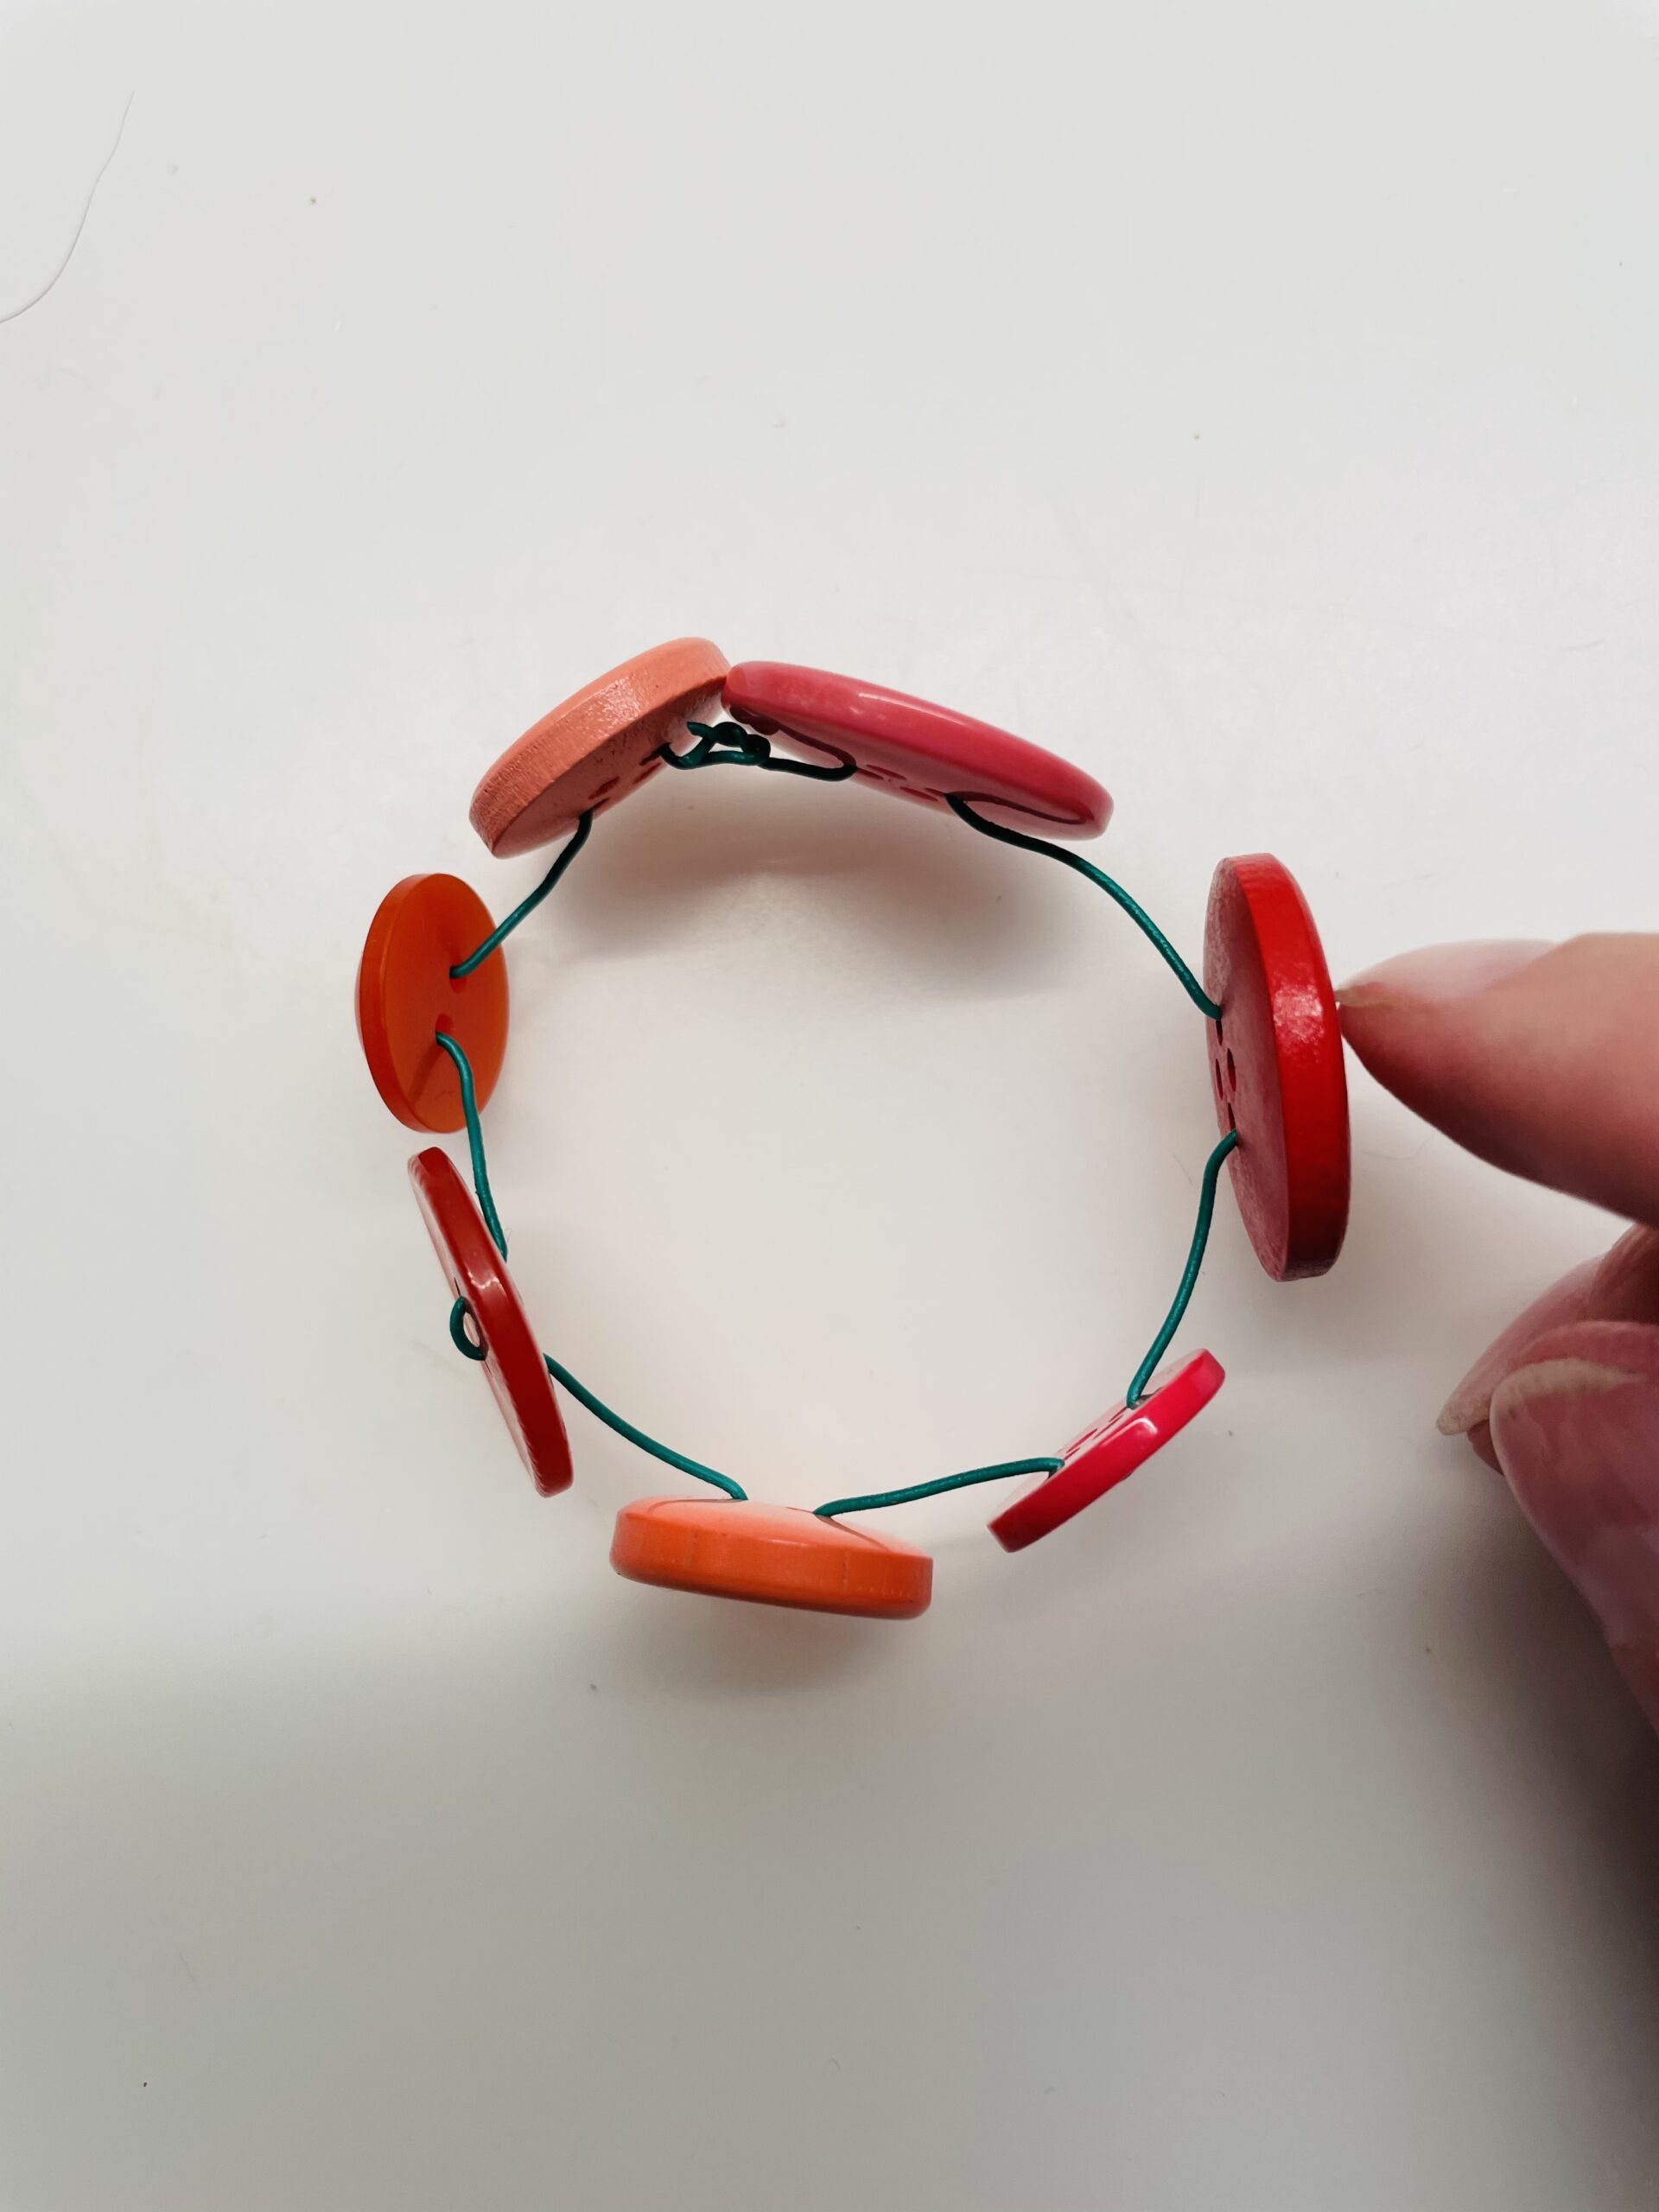
Bild zum Schritt 19 für das Bastel- und DIY-Abenteuer für Kinder: 'Biegt den Ring zu einem stabilen Kreis.'

19

Now you roll a napkin loosely.

Bild zum Schritt 20 für das Bastel- und DIY-Abenteuer für Kinder: 'Jetzt rollt ihr eine Serviette locker zusammen.'

20

Then you slip the napkin through the button ring.
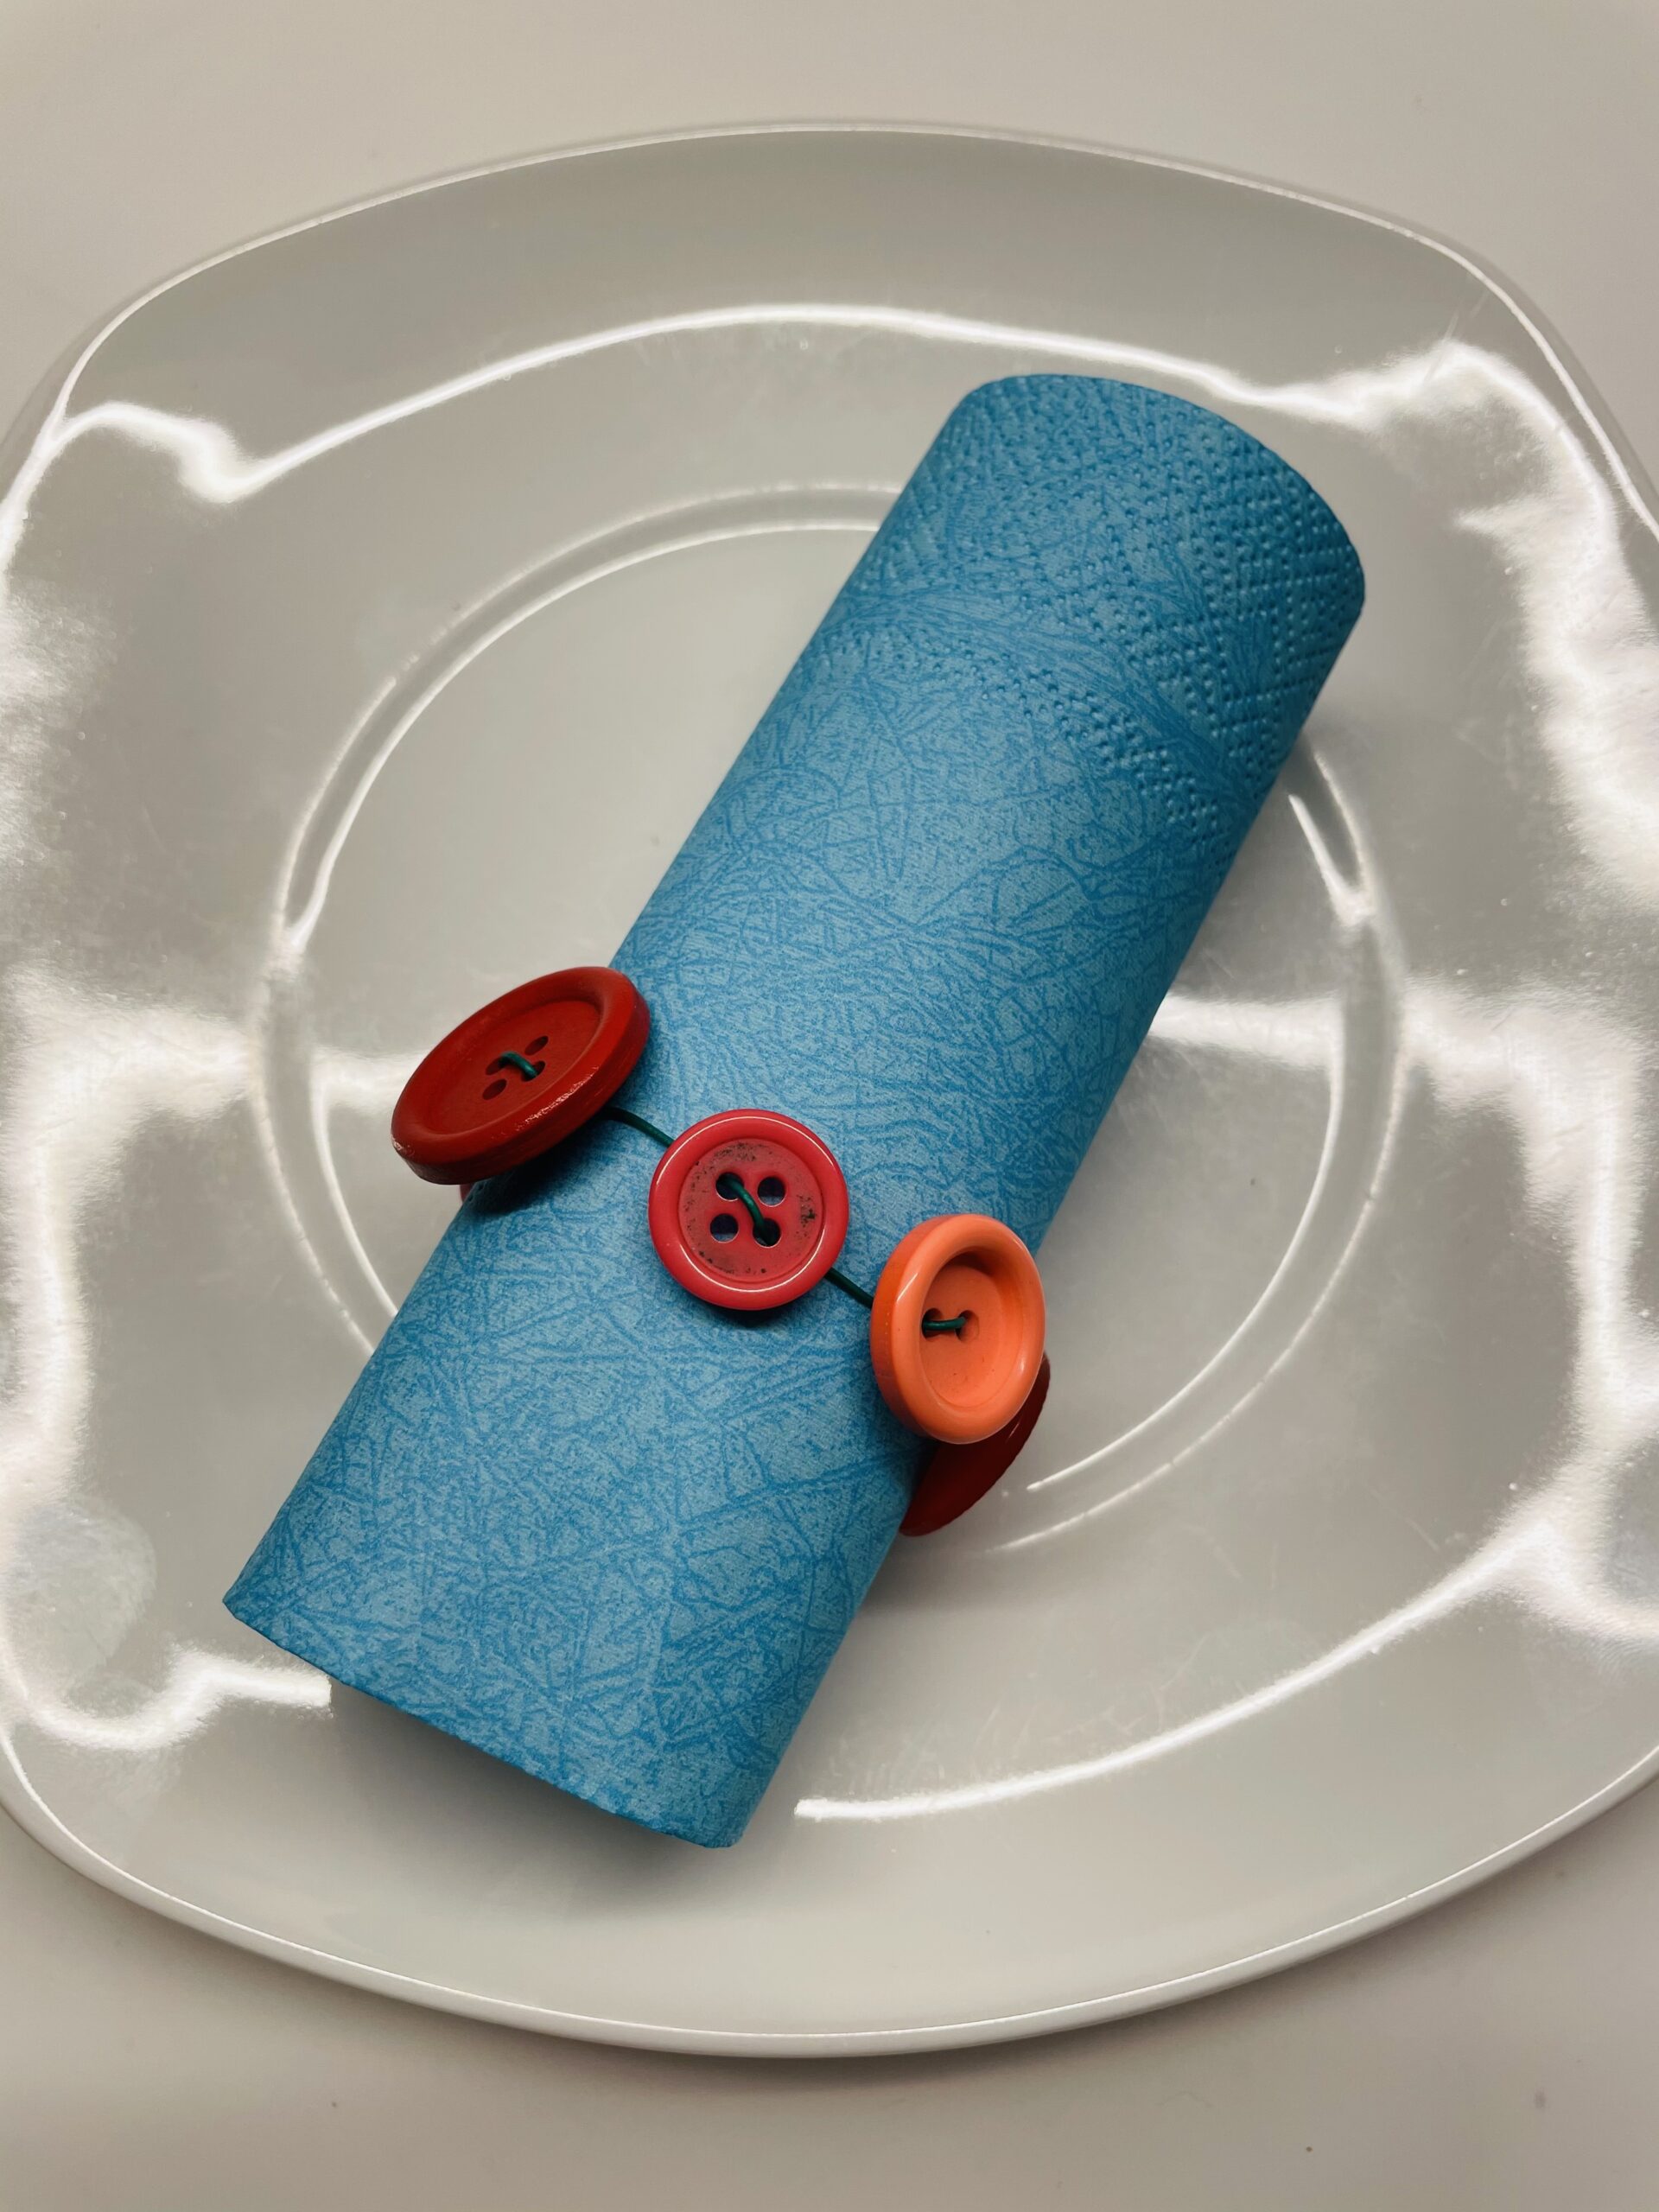
Bild zum Schritt 21 für das Bastel- und DIY-Abenteuer für Kinder: 'Anschließend stülpt ihr die Serviette durch den Knopf-Ring.'

21

Also here you can cut out a few hearts of clay paper and embellish with a button.
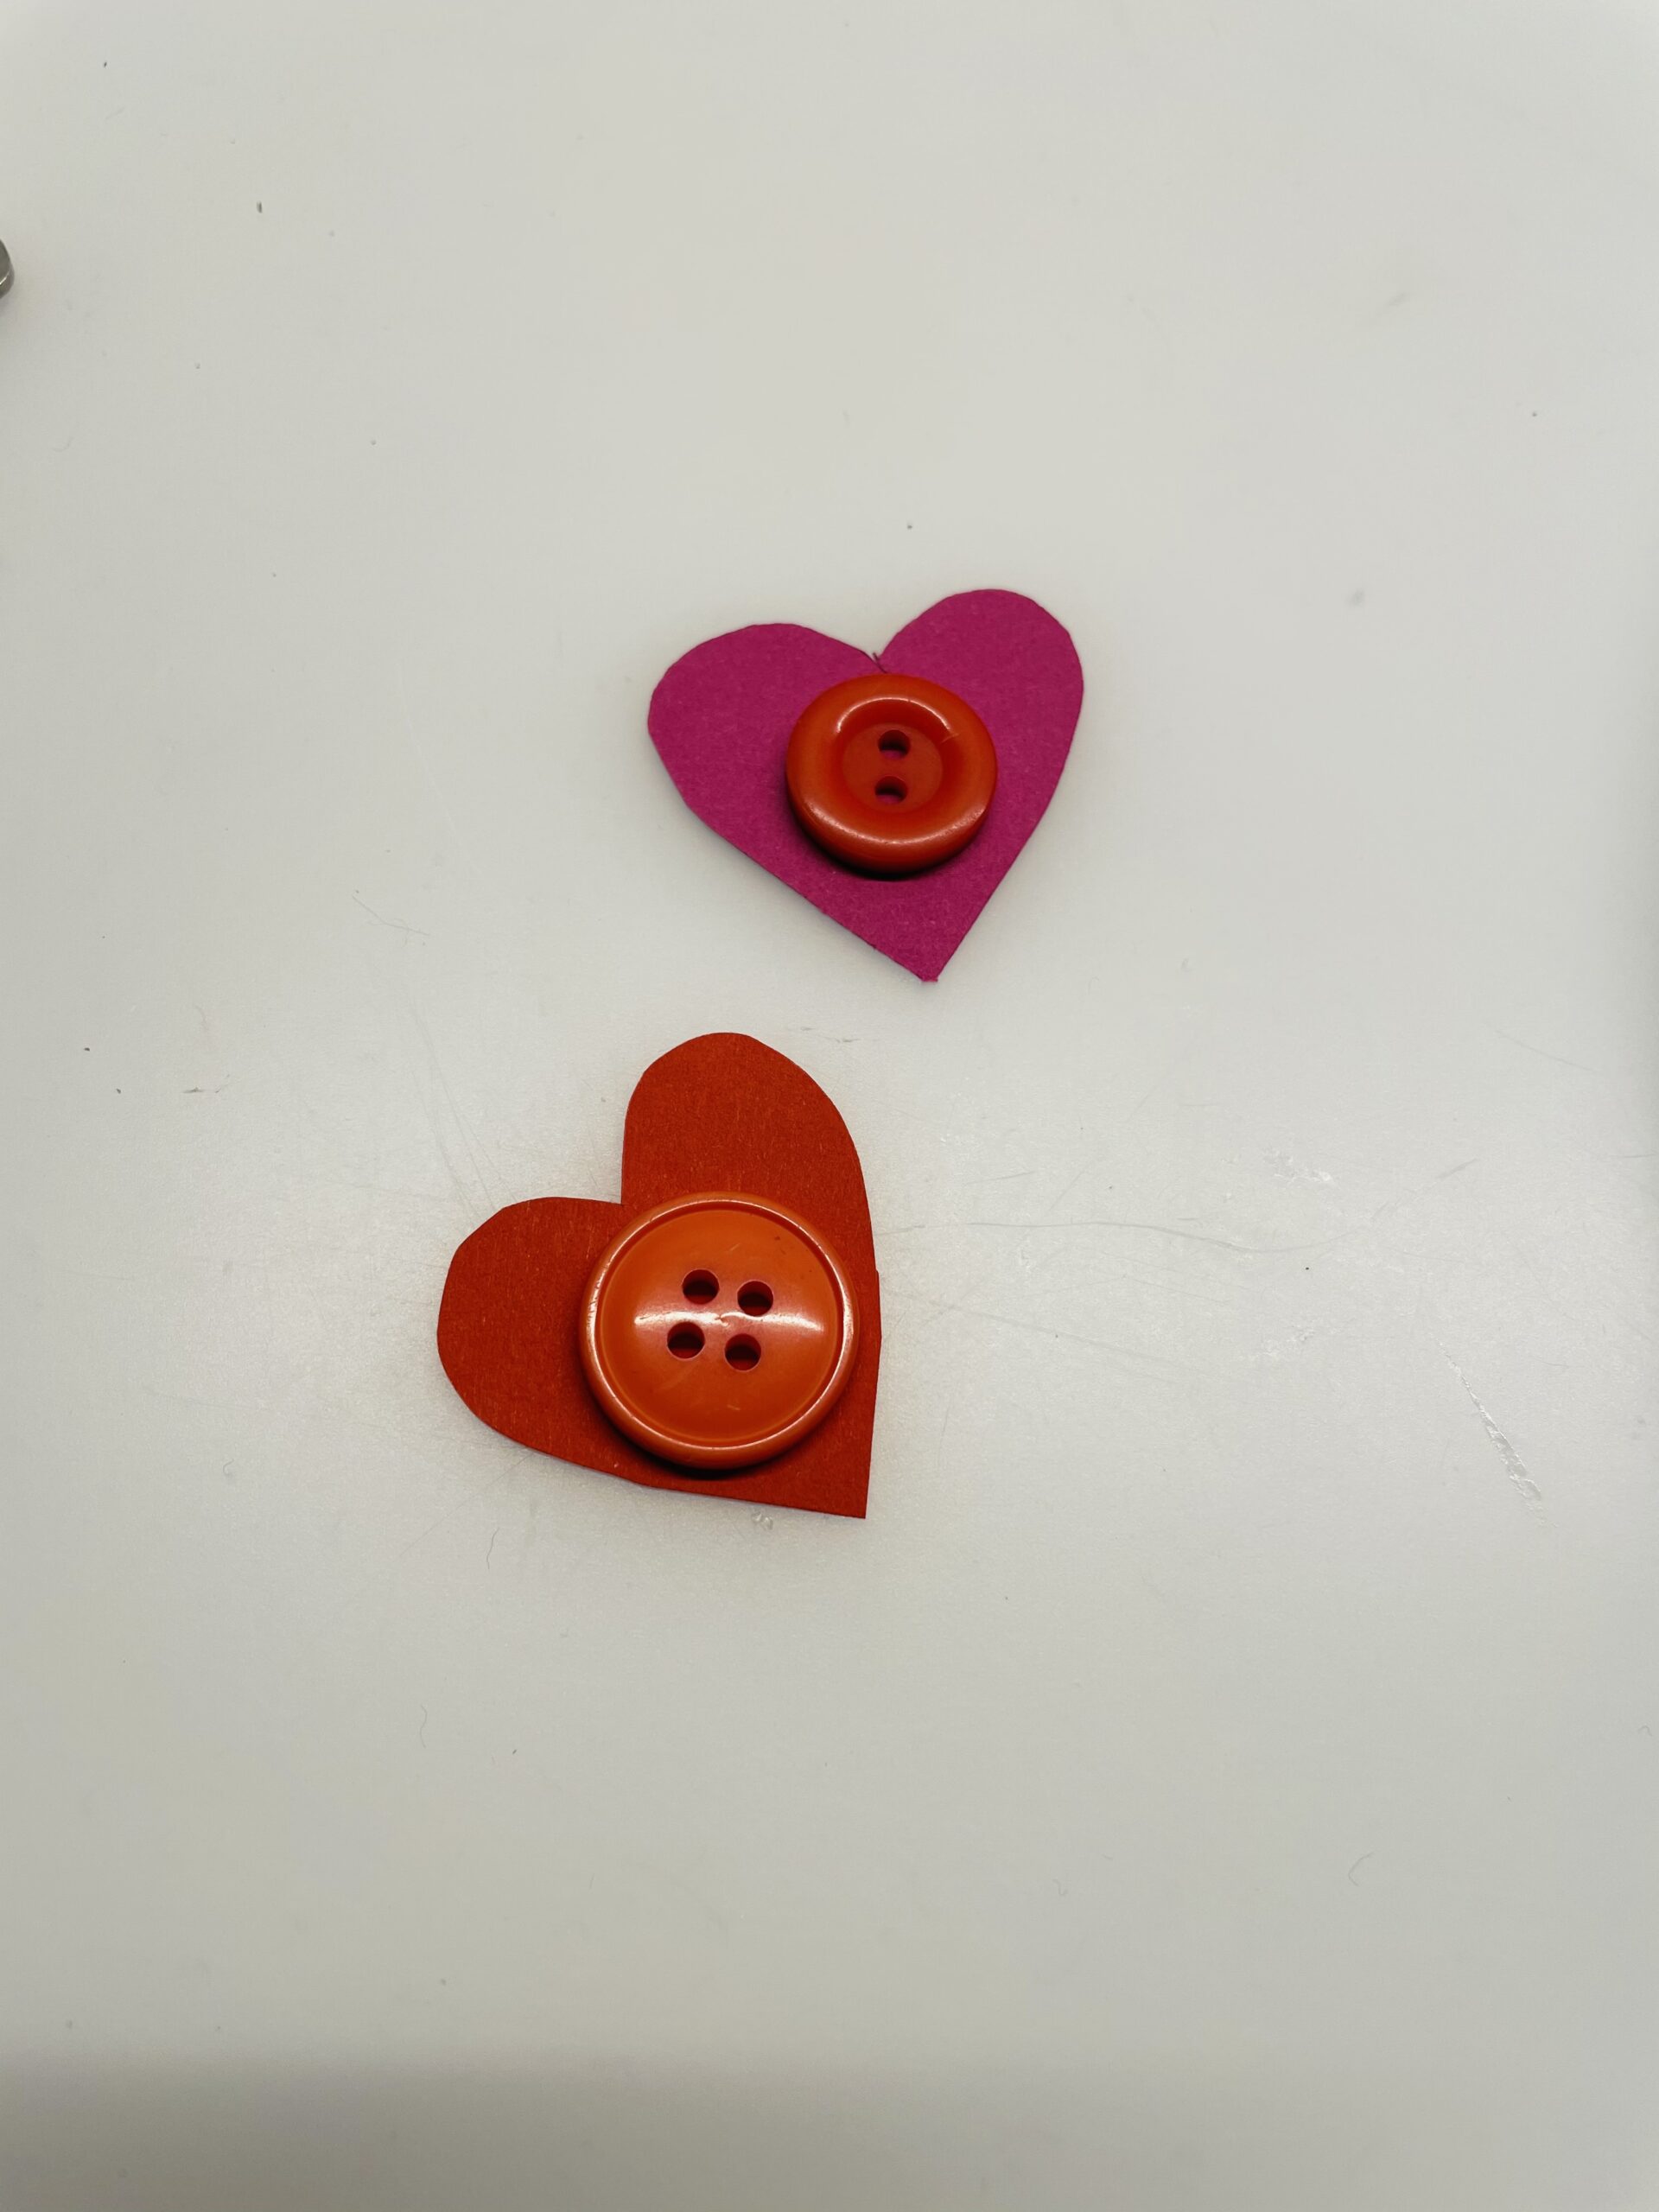
Bild zum Schritt 22 für das Bastel- und DIY-Abenteuer für Kinder: 'Auch hier könnt ihr ein paar Herzen aus Tonpapier ausschneiden...'

22

Decorate the napkin with a napkin ring and the heart on a plate.
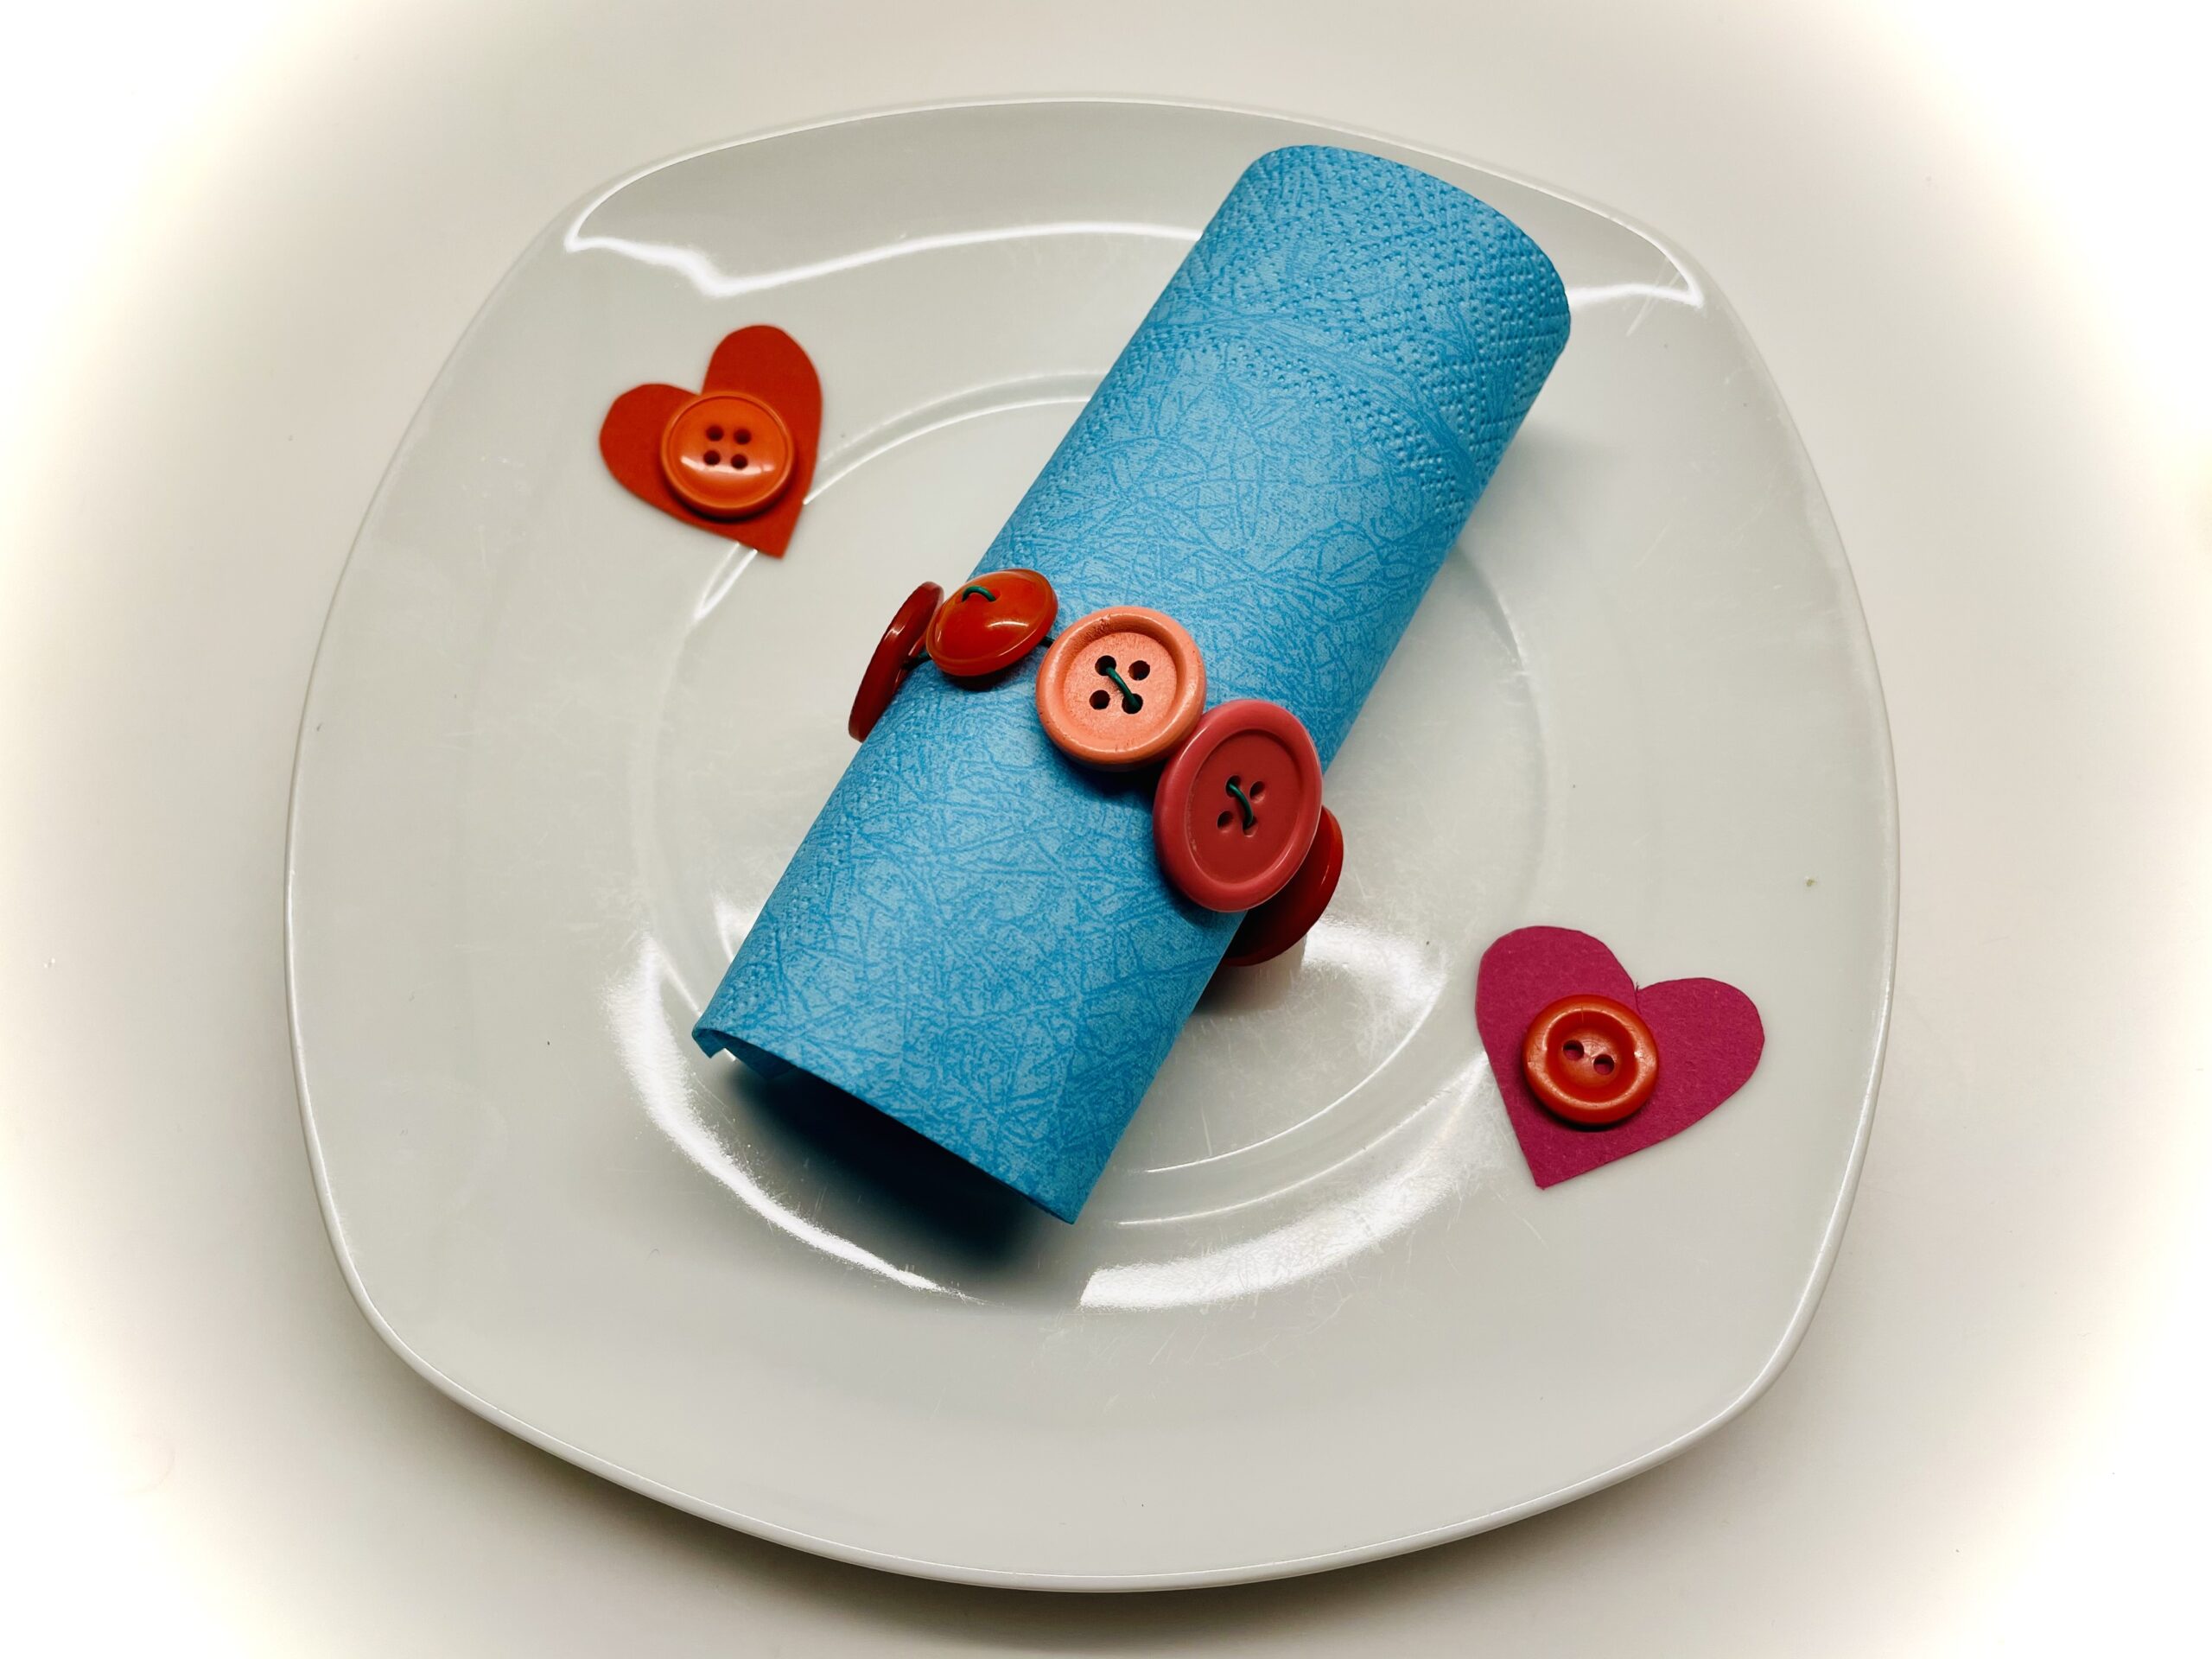
Bild zum Schritt 23 für das Bastel- und DIY-Abenteuer für Kinder: 'Dekoriert die Serviette mit Serviettenring und den Herzen auf einem...'

23

Try to put the napkin on the plate. What do you like better?
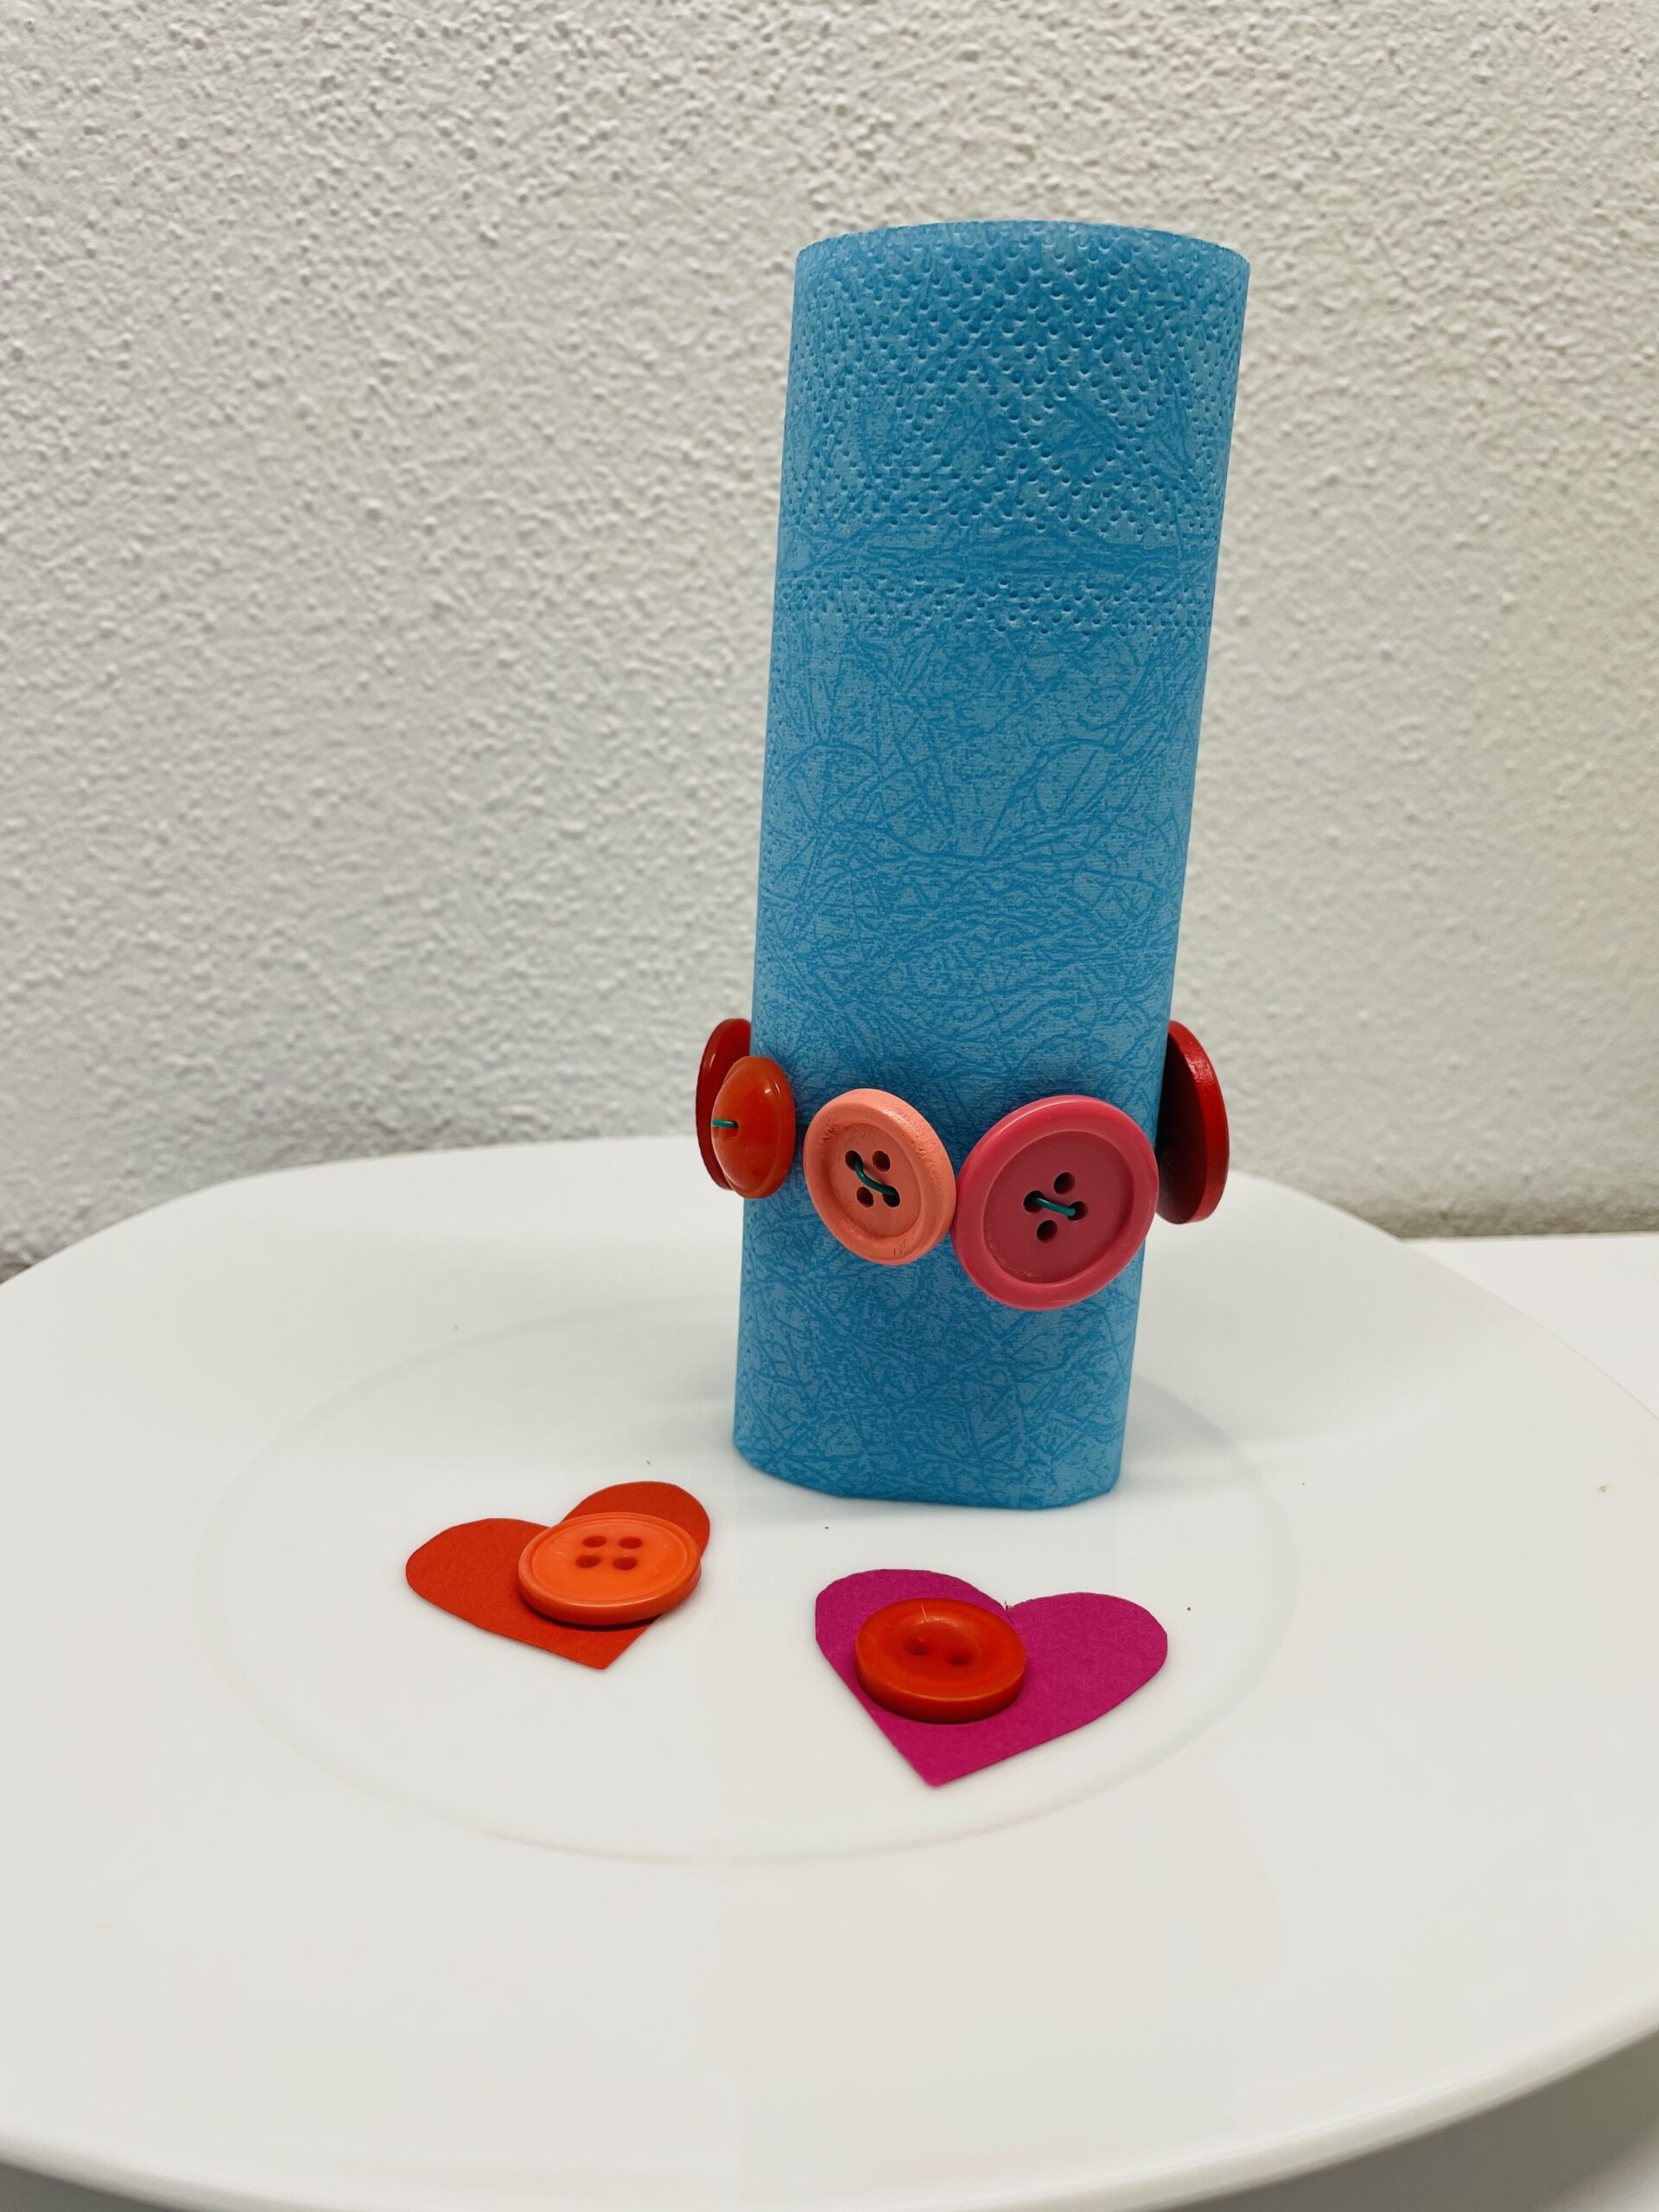
Bild zum Schritt 24 für das Bastel- und DIY-Abenteuer für Kinder: 'Probiert auch einmal die Serviette auf den Teller stellen. Was...'

24

2. Bild zum Schritt 24 für das Bastel- und DIY-Abenteuer für Kinder: 'Probiert auch einmal die Serviette auf den Teller stellen. Was...'

25

Have fun doing crafts and giving gifts!

Napkin ring with buttons (2 ideas)

Follow us on Facebook , Instagram and Pinterest
Don't miss any more adventures: Our bottle mail

Leave a Reply

Your email address will not be published.

The maximum upload file size: 5 MB. You can upload: image, document. Drop file here