 AdventurerThe
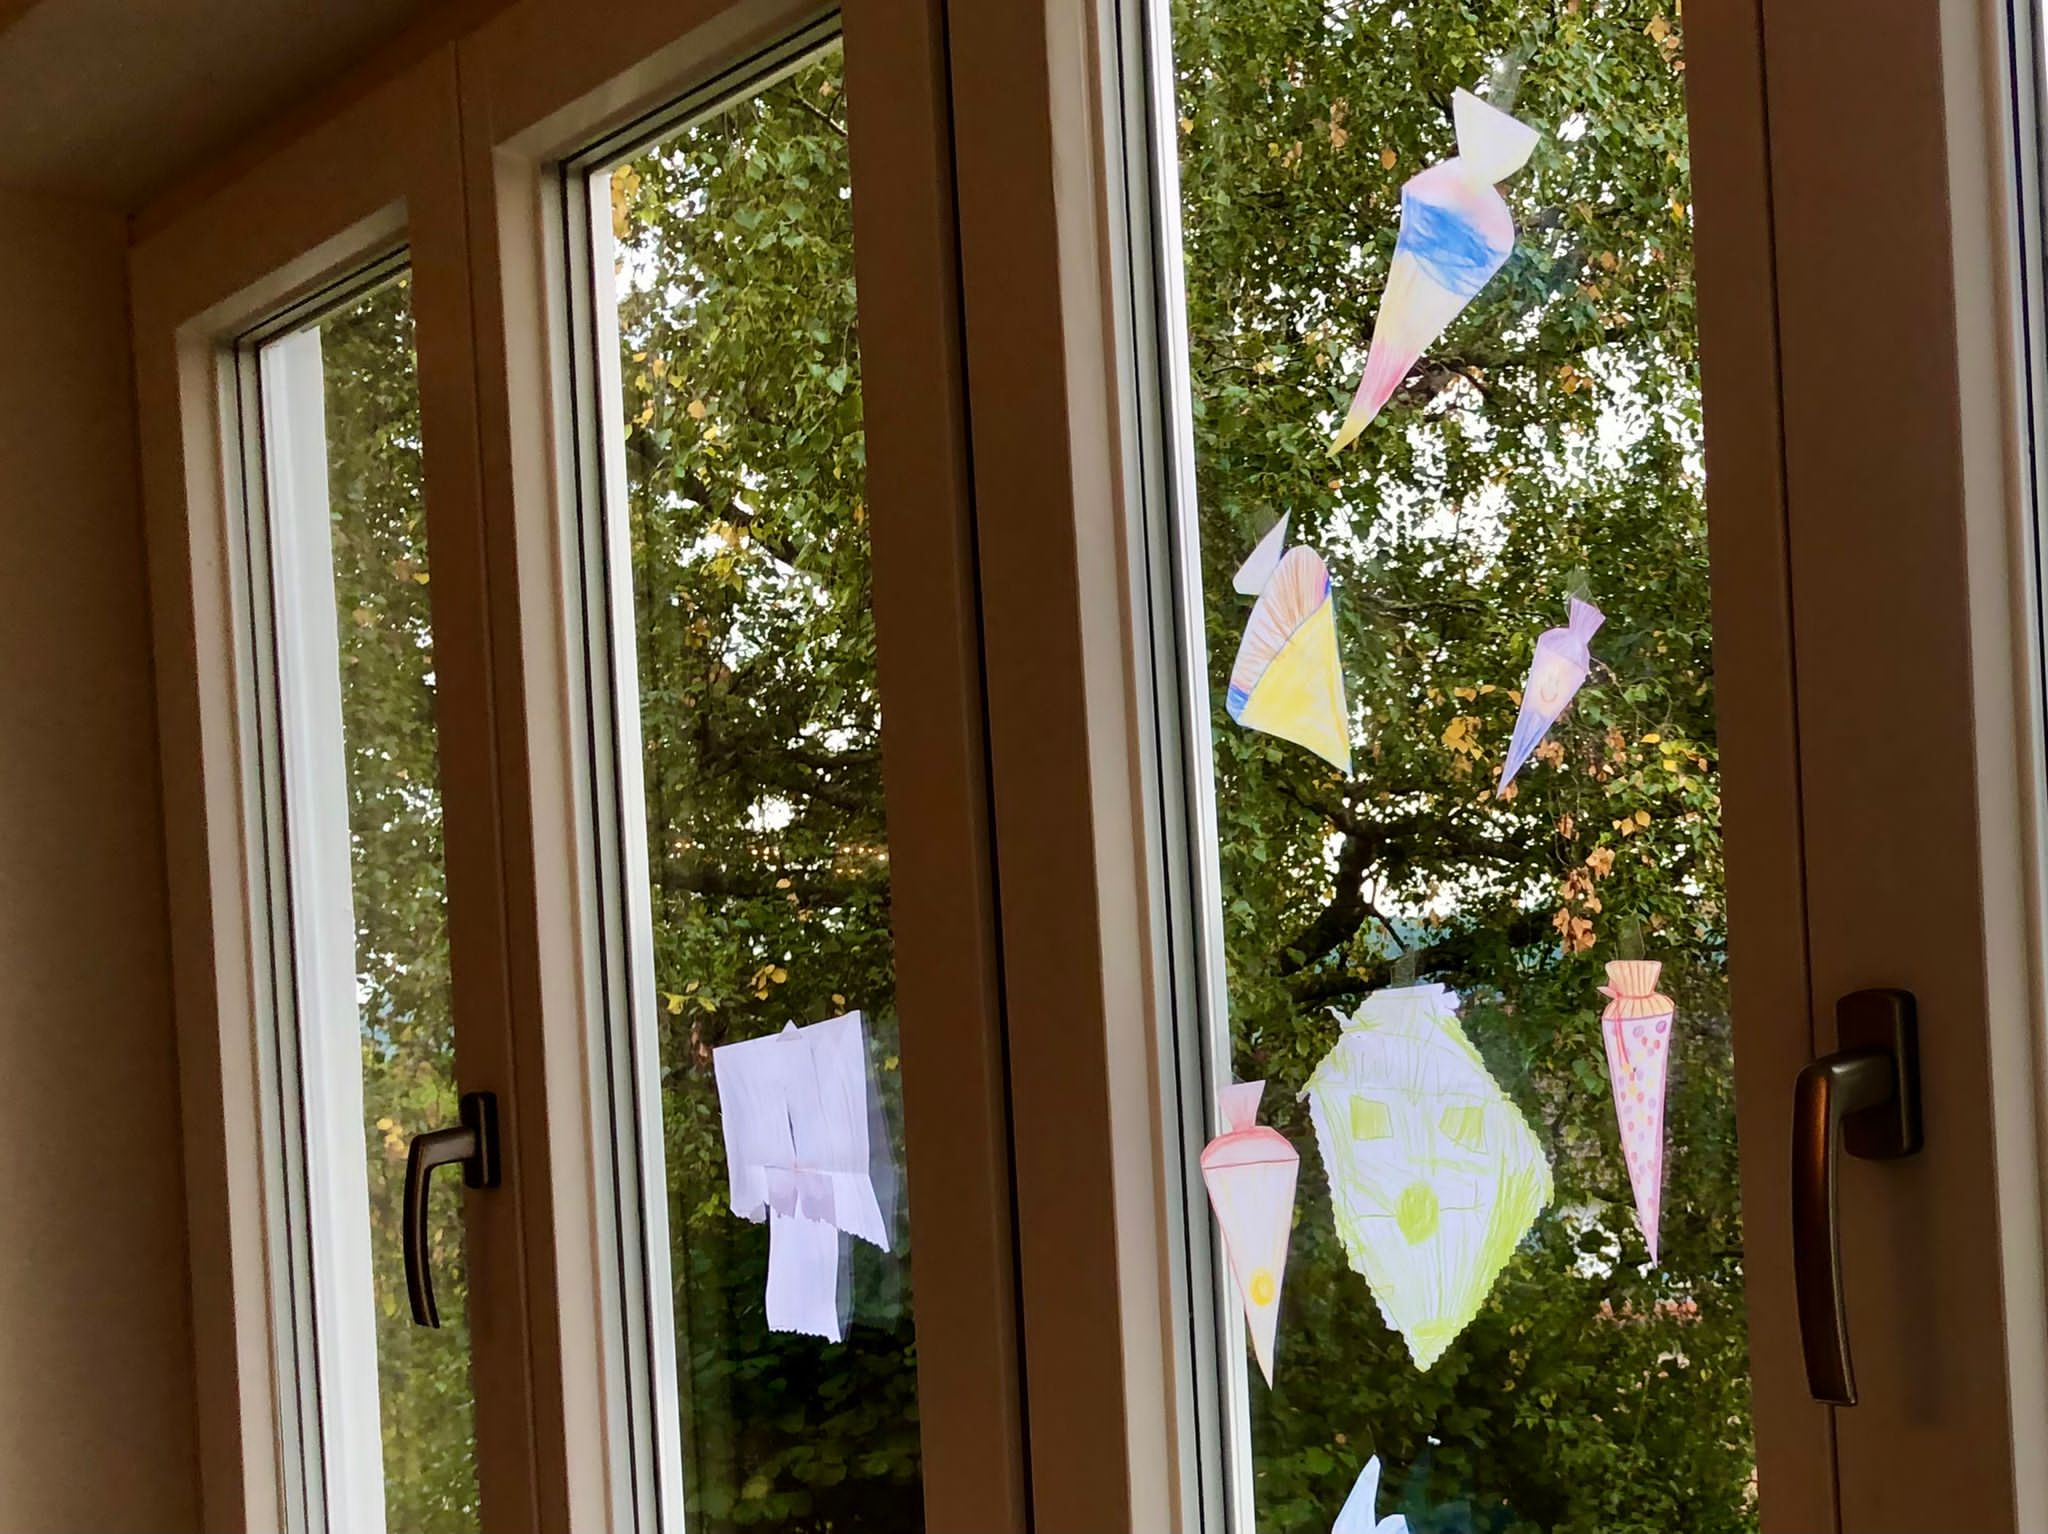
Everyone should see it: the anticipation for the very first day of school. Therefore, decorate your windows with transparent shimmering self-painted colorful school bags.
Draw up your own bags and paint them brightly with coloured crayons. Cut them out with the scissors and brush the back of the paper with oil. After drying you can then hang the school bags, which now shine colorfully from both sides, on a window. How easy it is, we show you here.
Have fun doing crafts!
Media Education for Kindergarten and Hort

Relief in everyday life, targeted promotion of individual children, independent learning and - without any pre-knowledge already usable by the youngest!
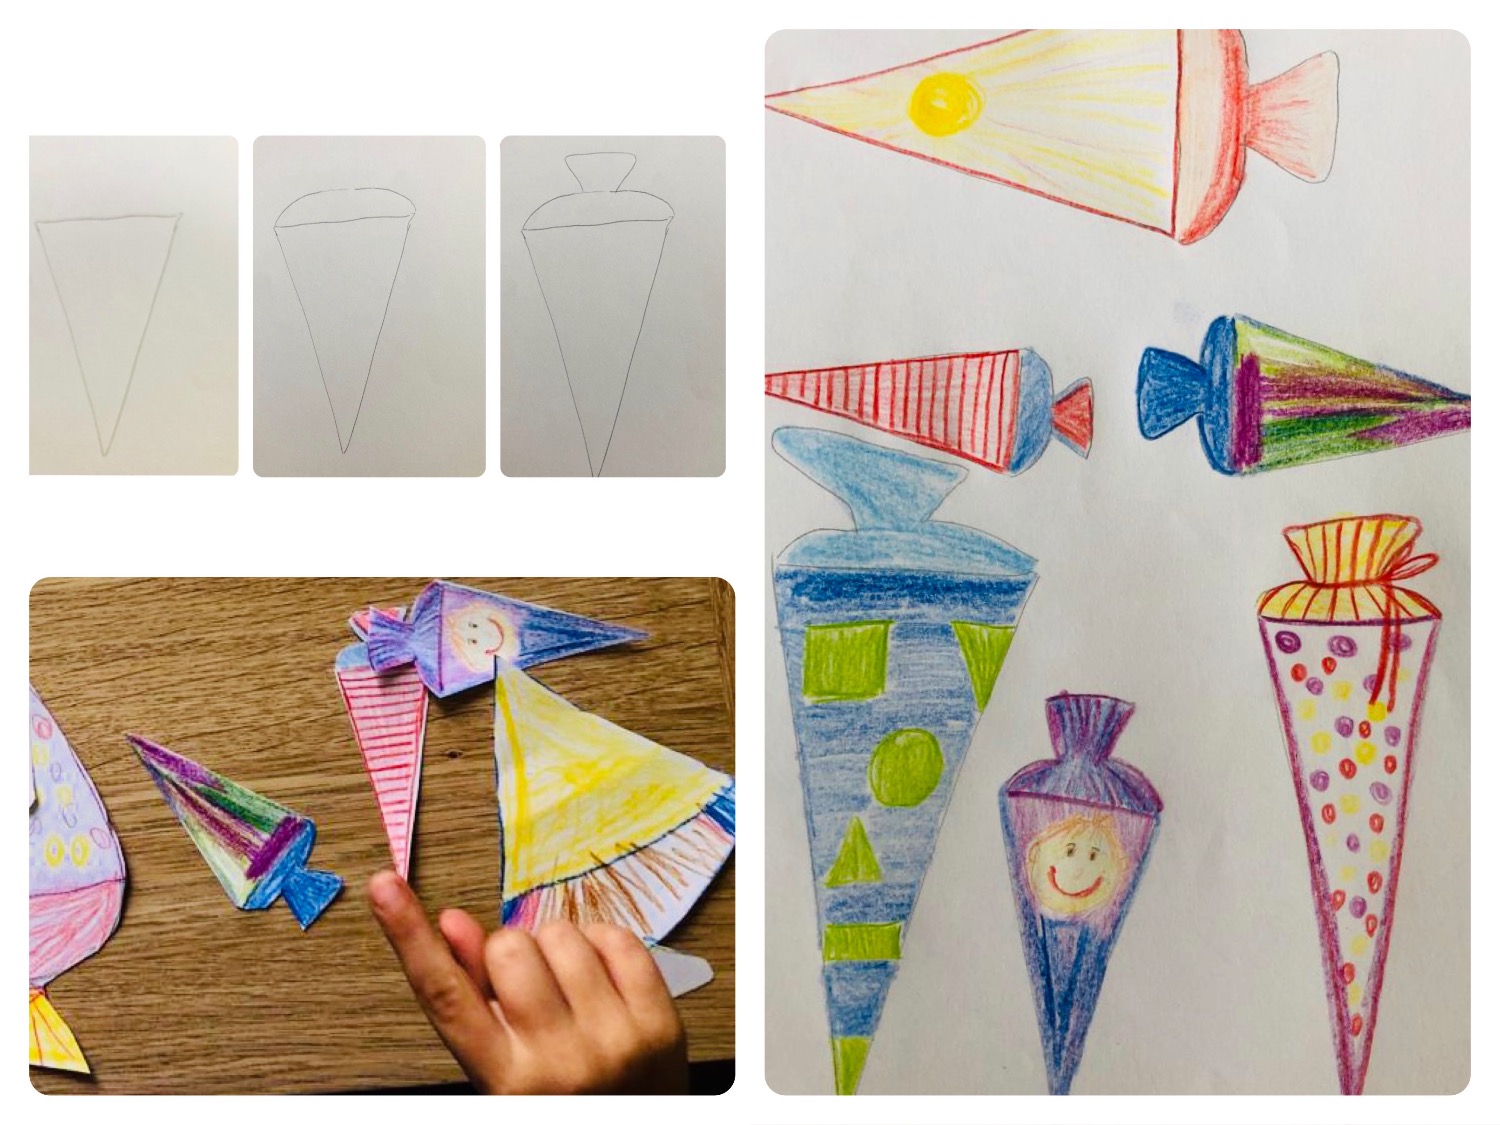
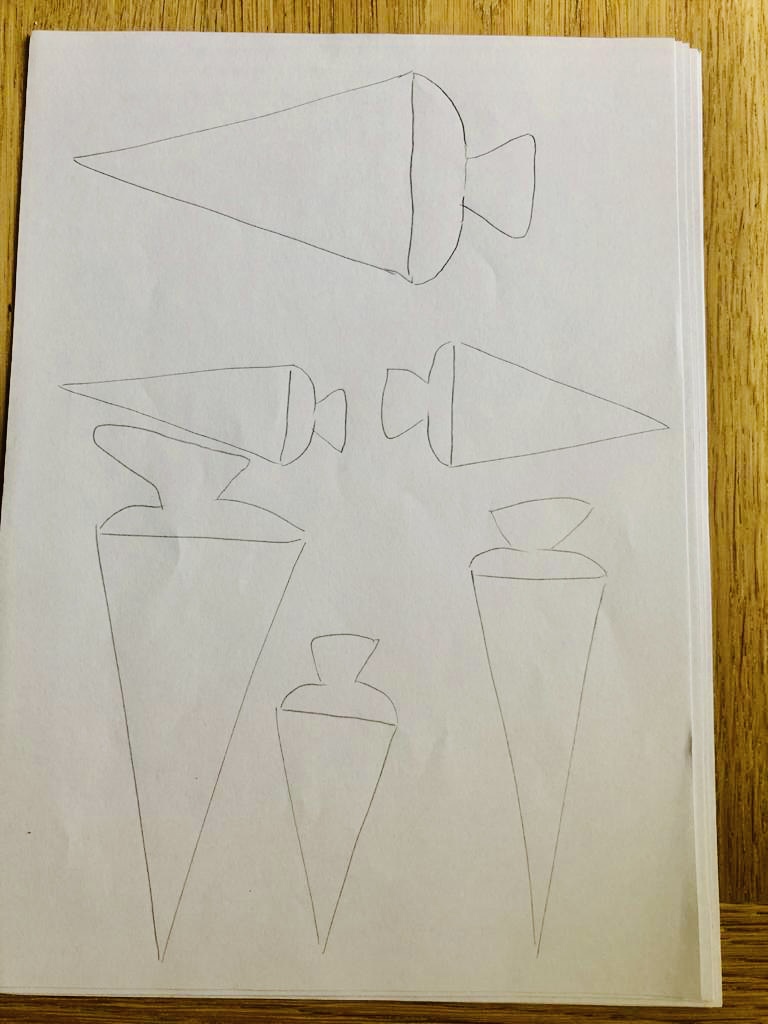
Start by painting school bags.
Build the floor plan as in the picture.
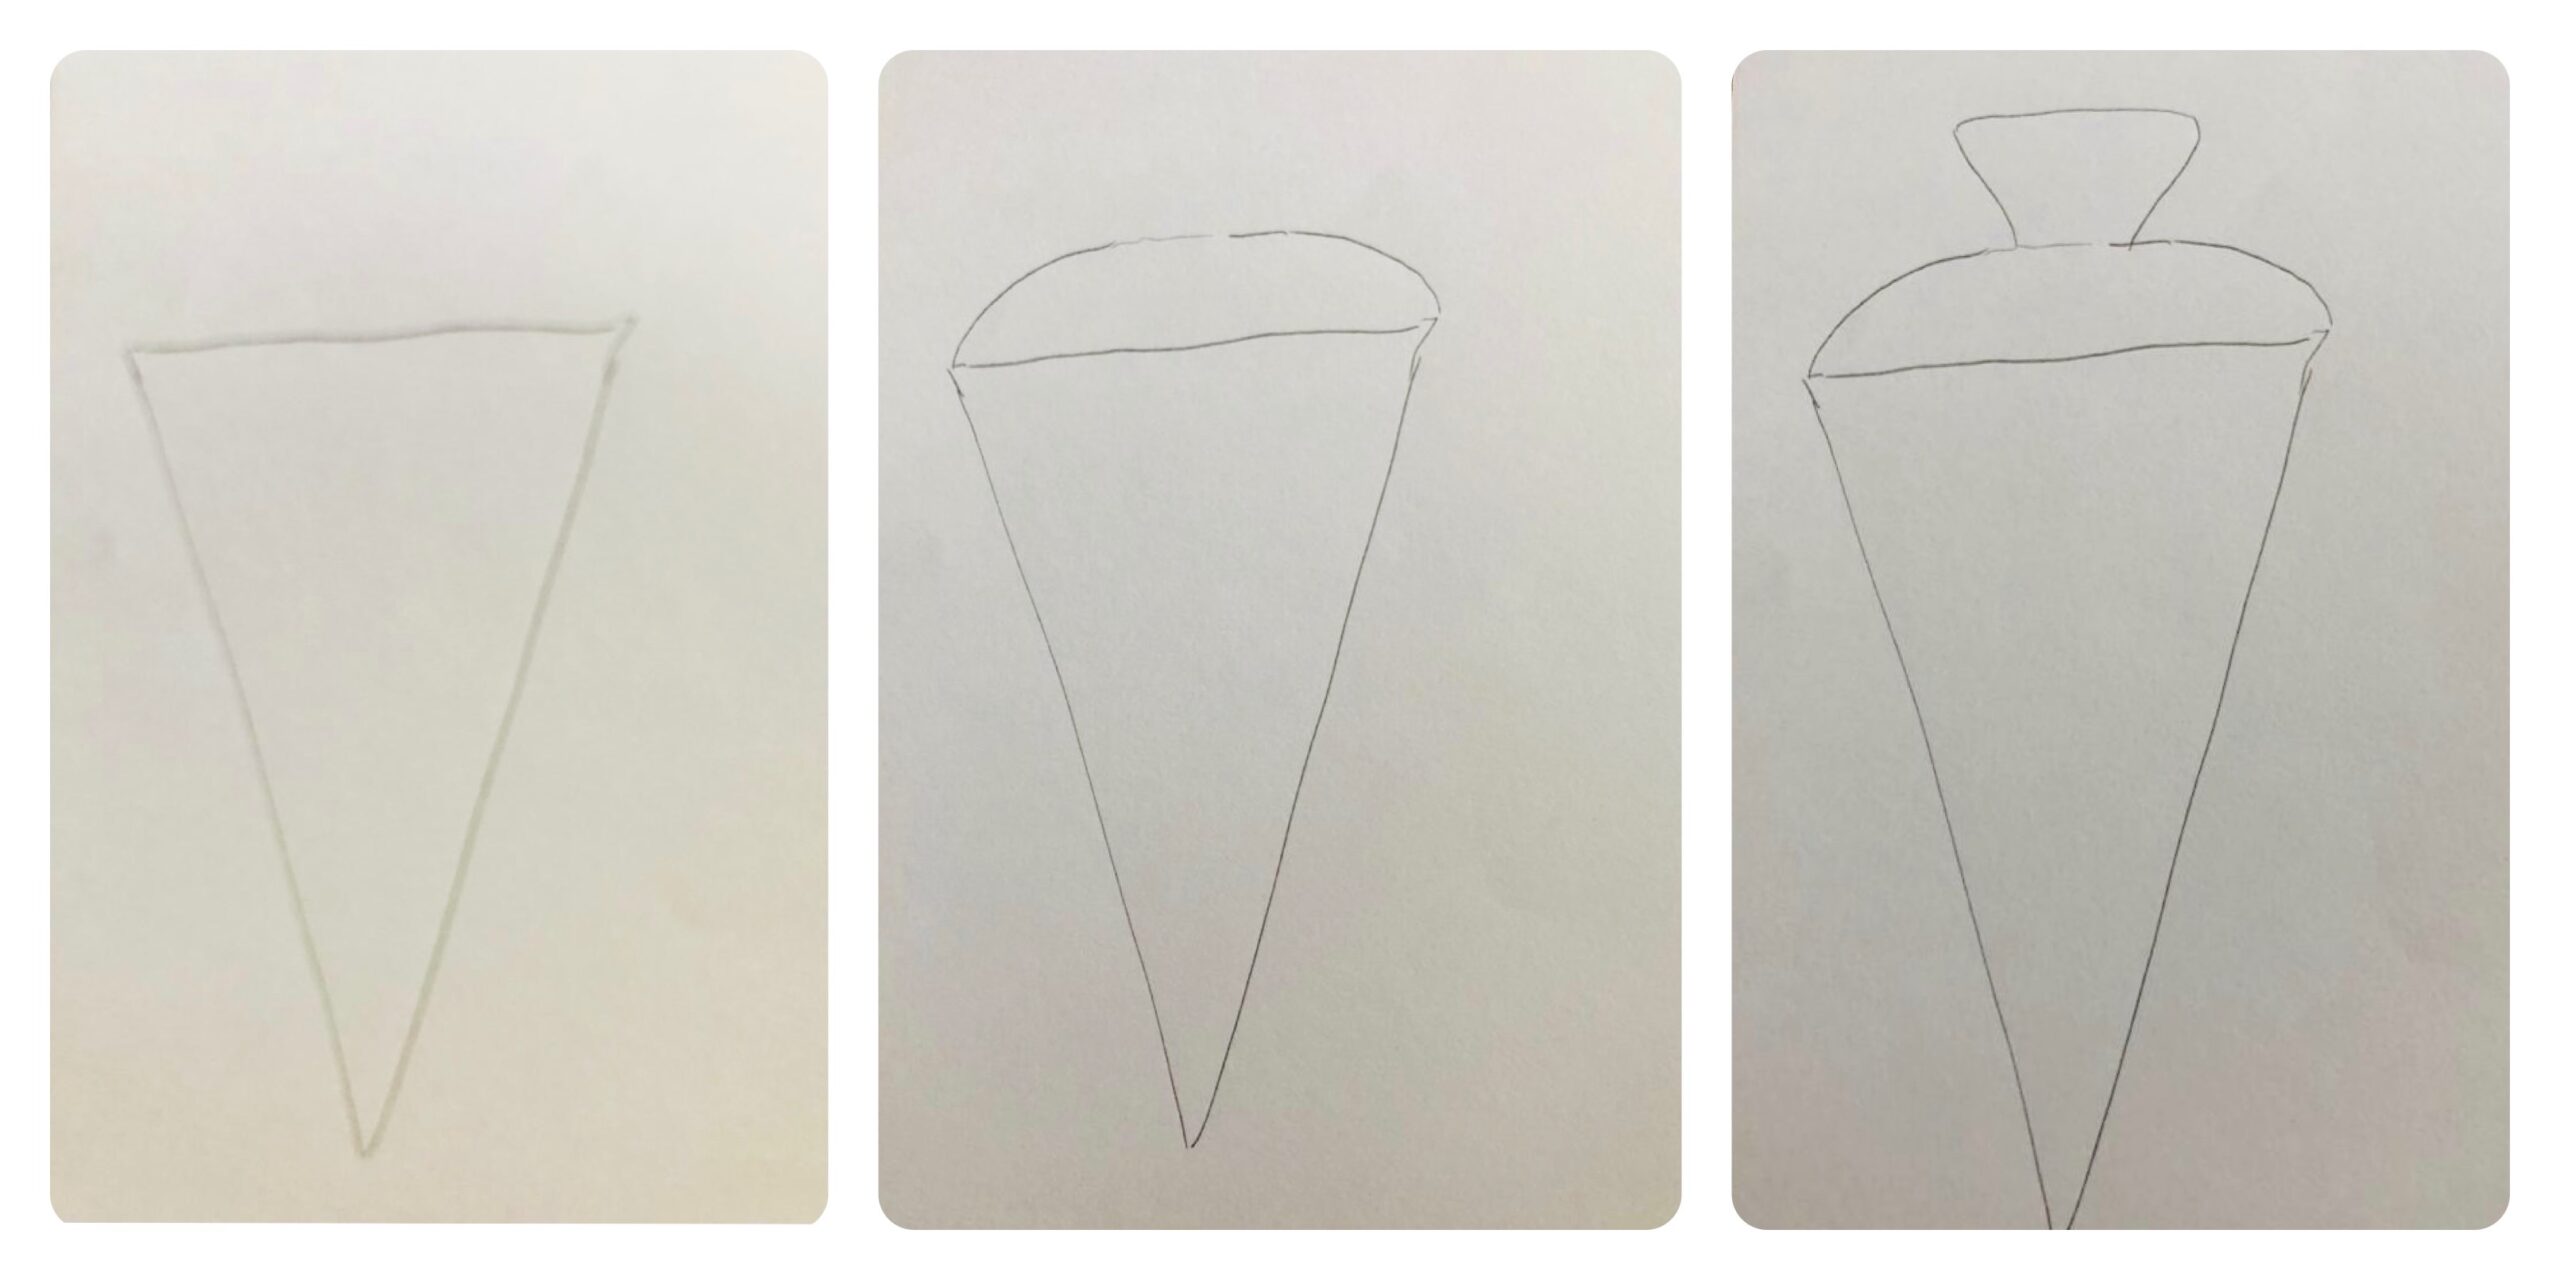
You can paint different sizes.
Tip: Use the space on paper. Children also learn to use the material sparingly.
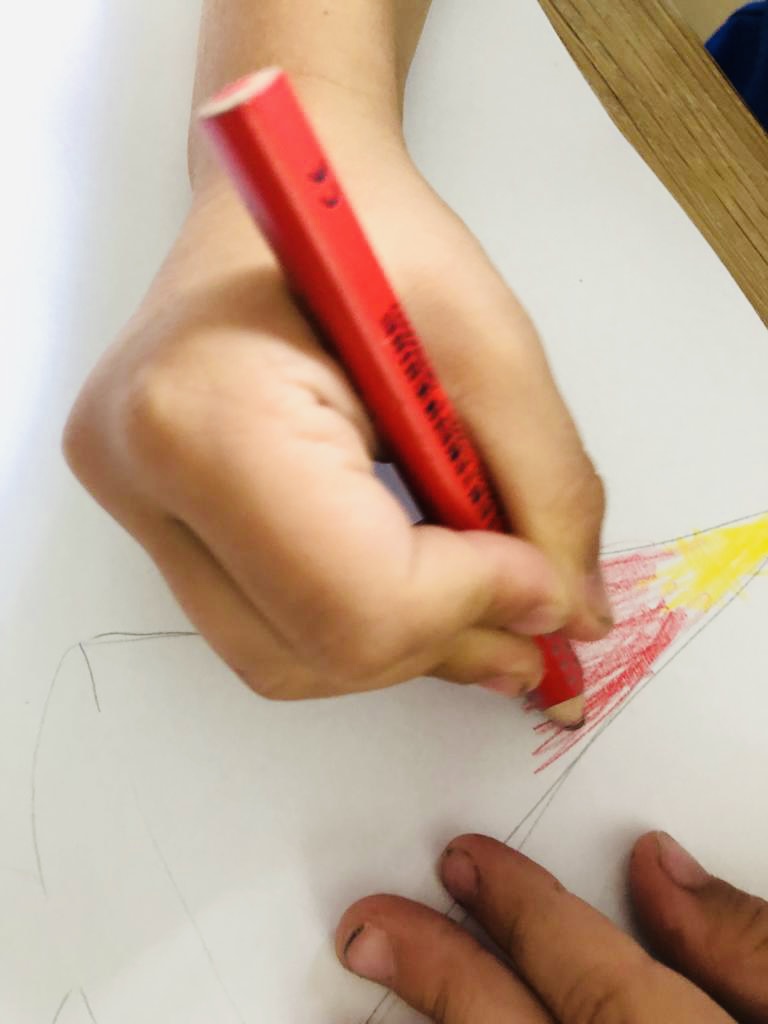
Now paint out the school bags with crayons.
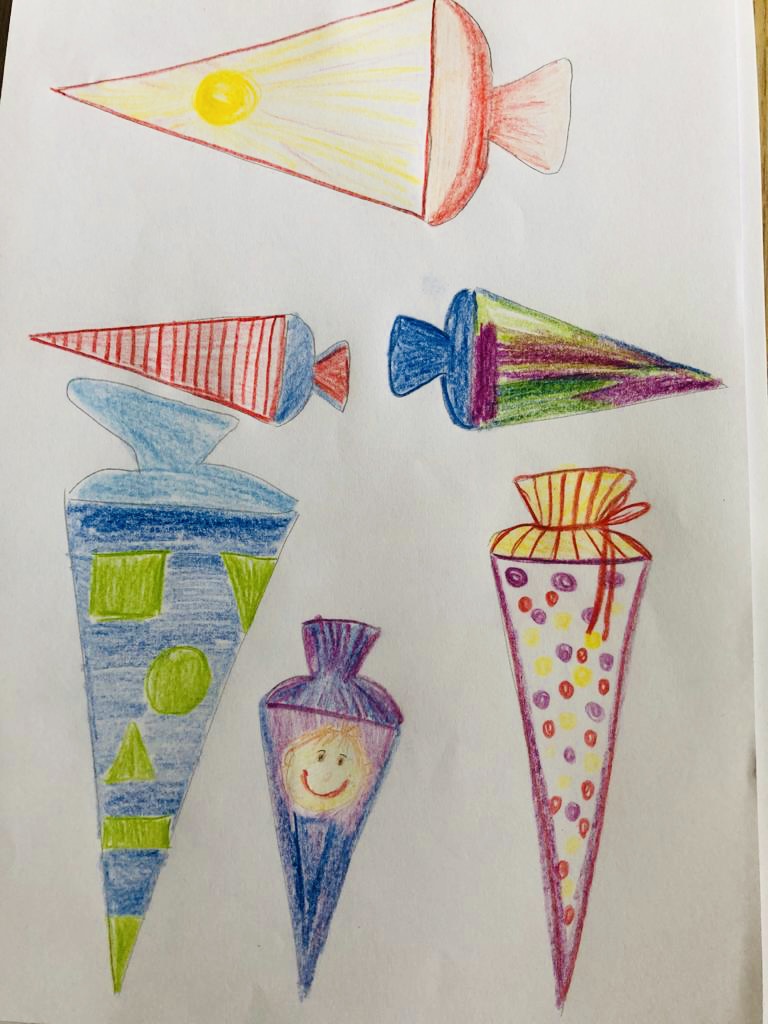
Now you cut out the school bags individually.

Then you brush the back of the school bags with oil. Use a cheap household oil for this.
Fill this in a small bowl.
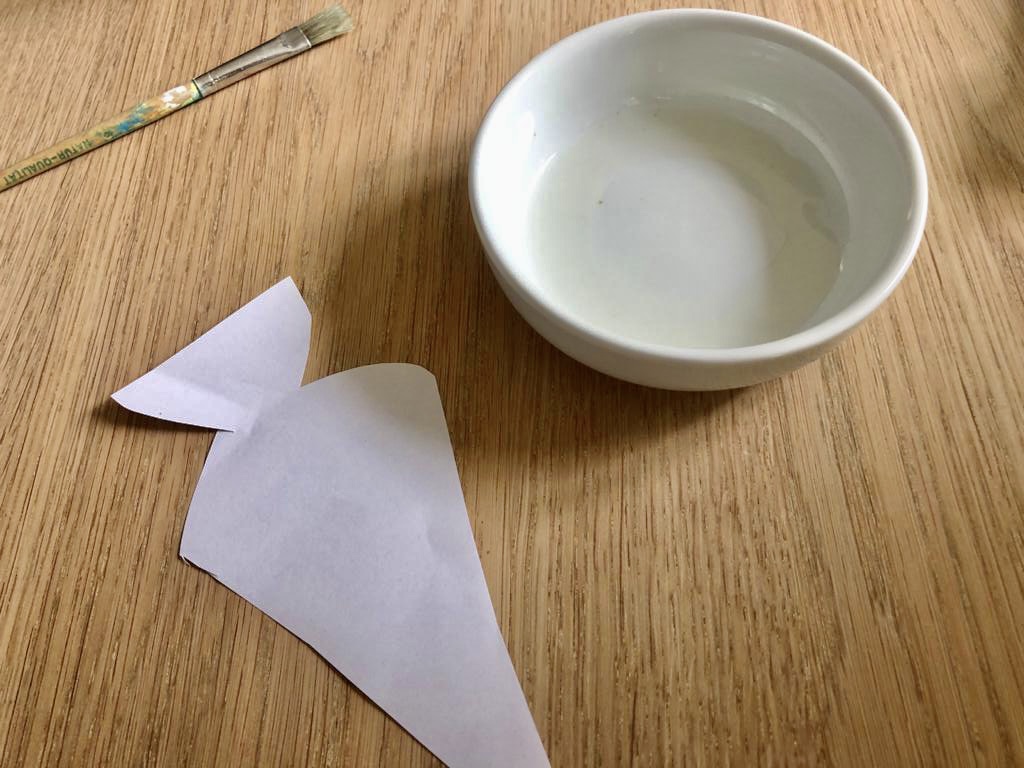
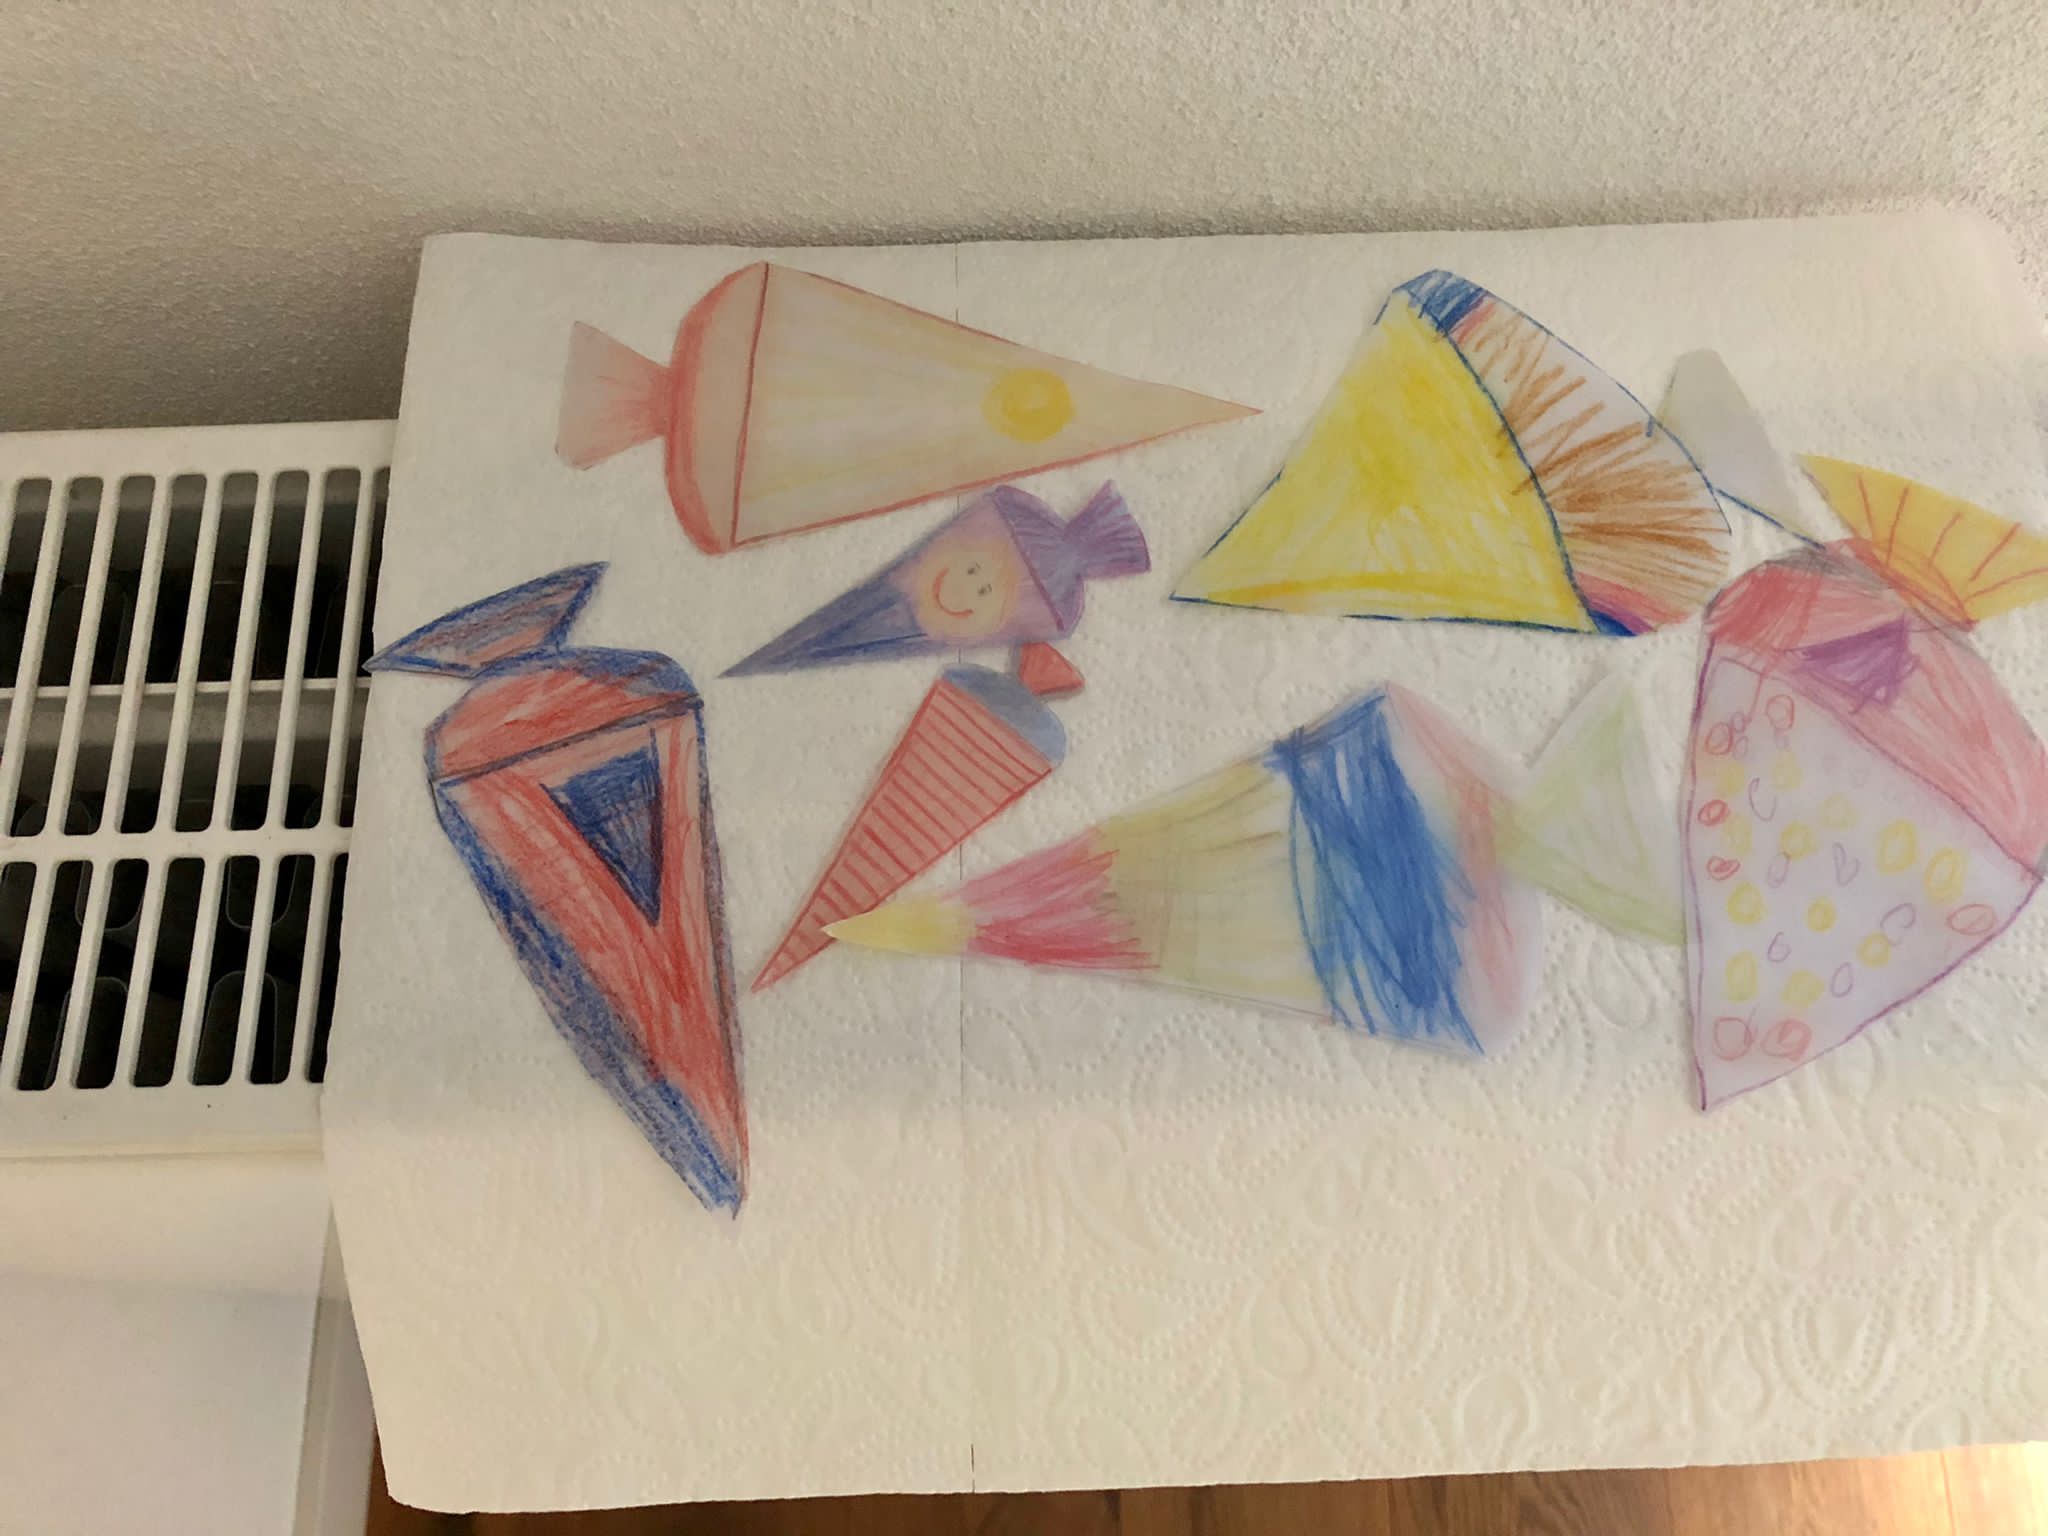
To brush, put the school bags, with the back up, on a kitchen crepe. So you can paint with the brush to the edge. Wetting the whole school bag flat with the oil. A small swab oil is enough to make the paper transparent.
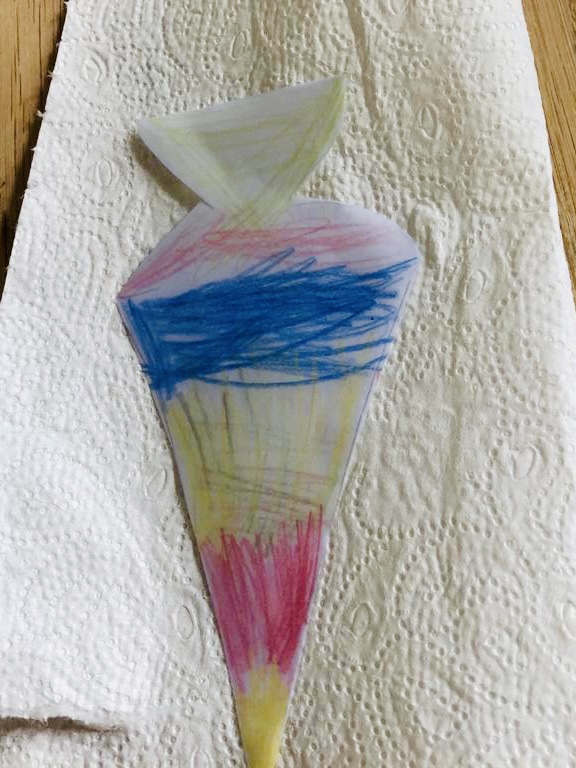
Then wipe off excess oil with a kitchen crepe.
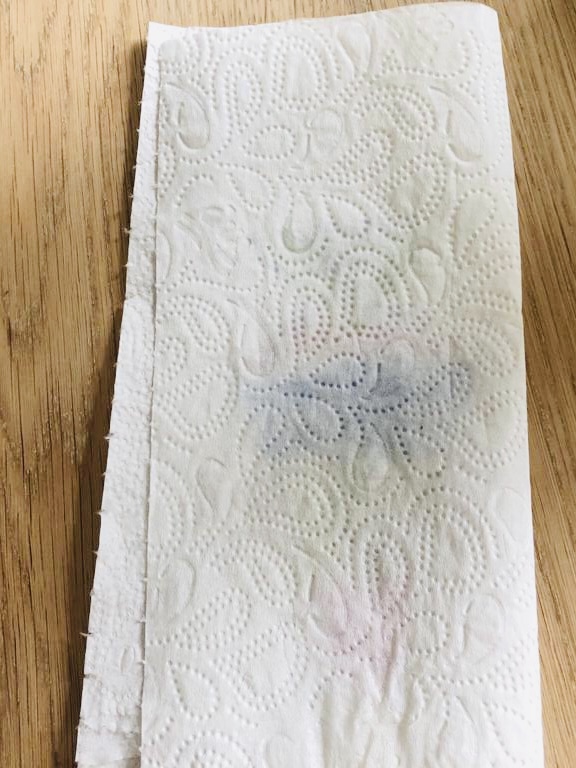
Put the school bags in the sun or on a radiator for drying. Make sure that there is still an absorbent crepe underneath, otherwise oil stains are created.
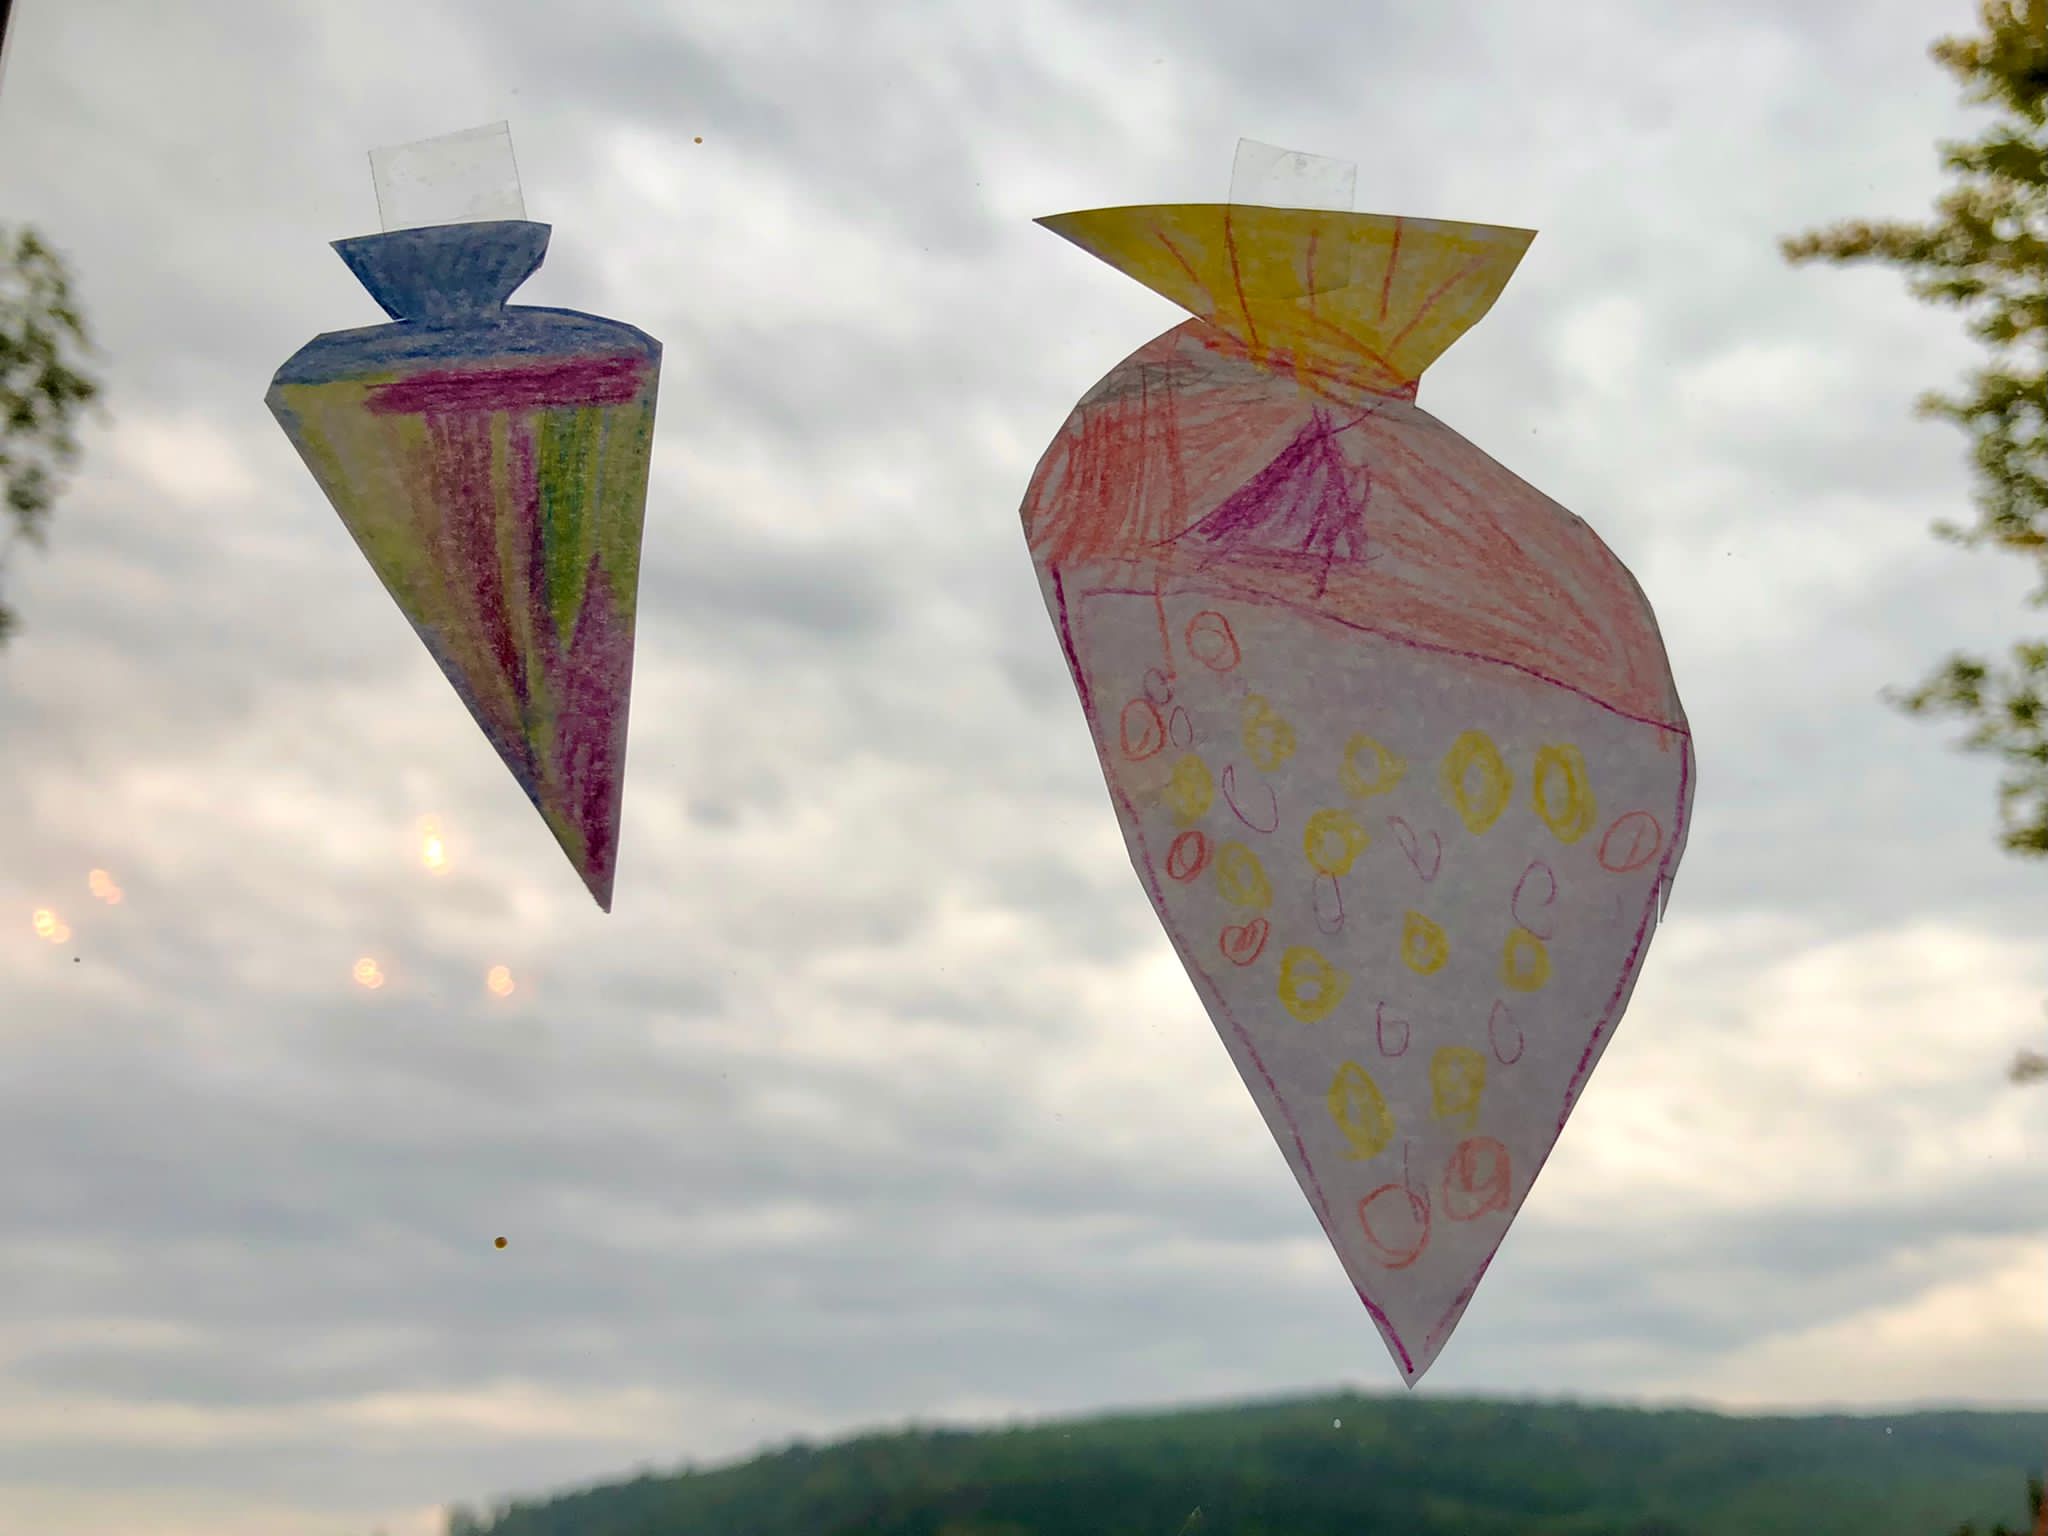
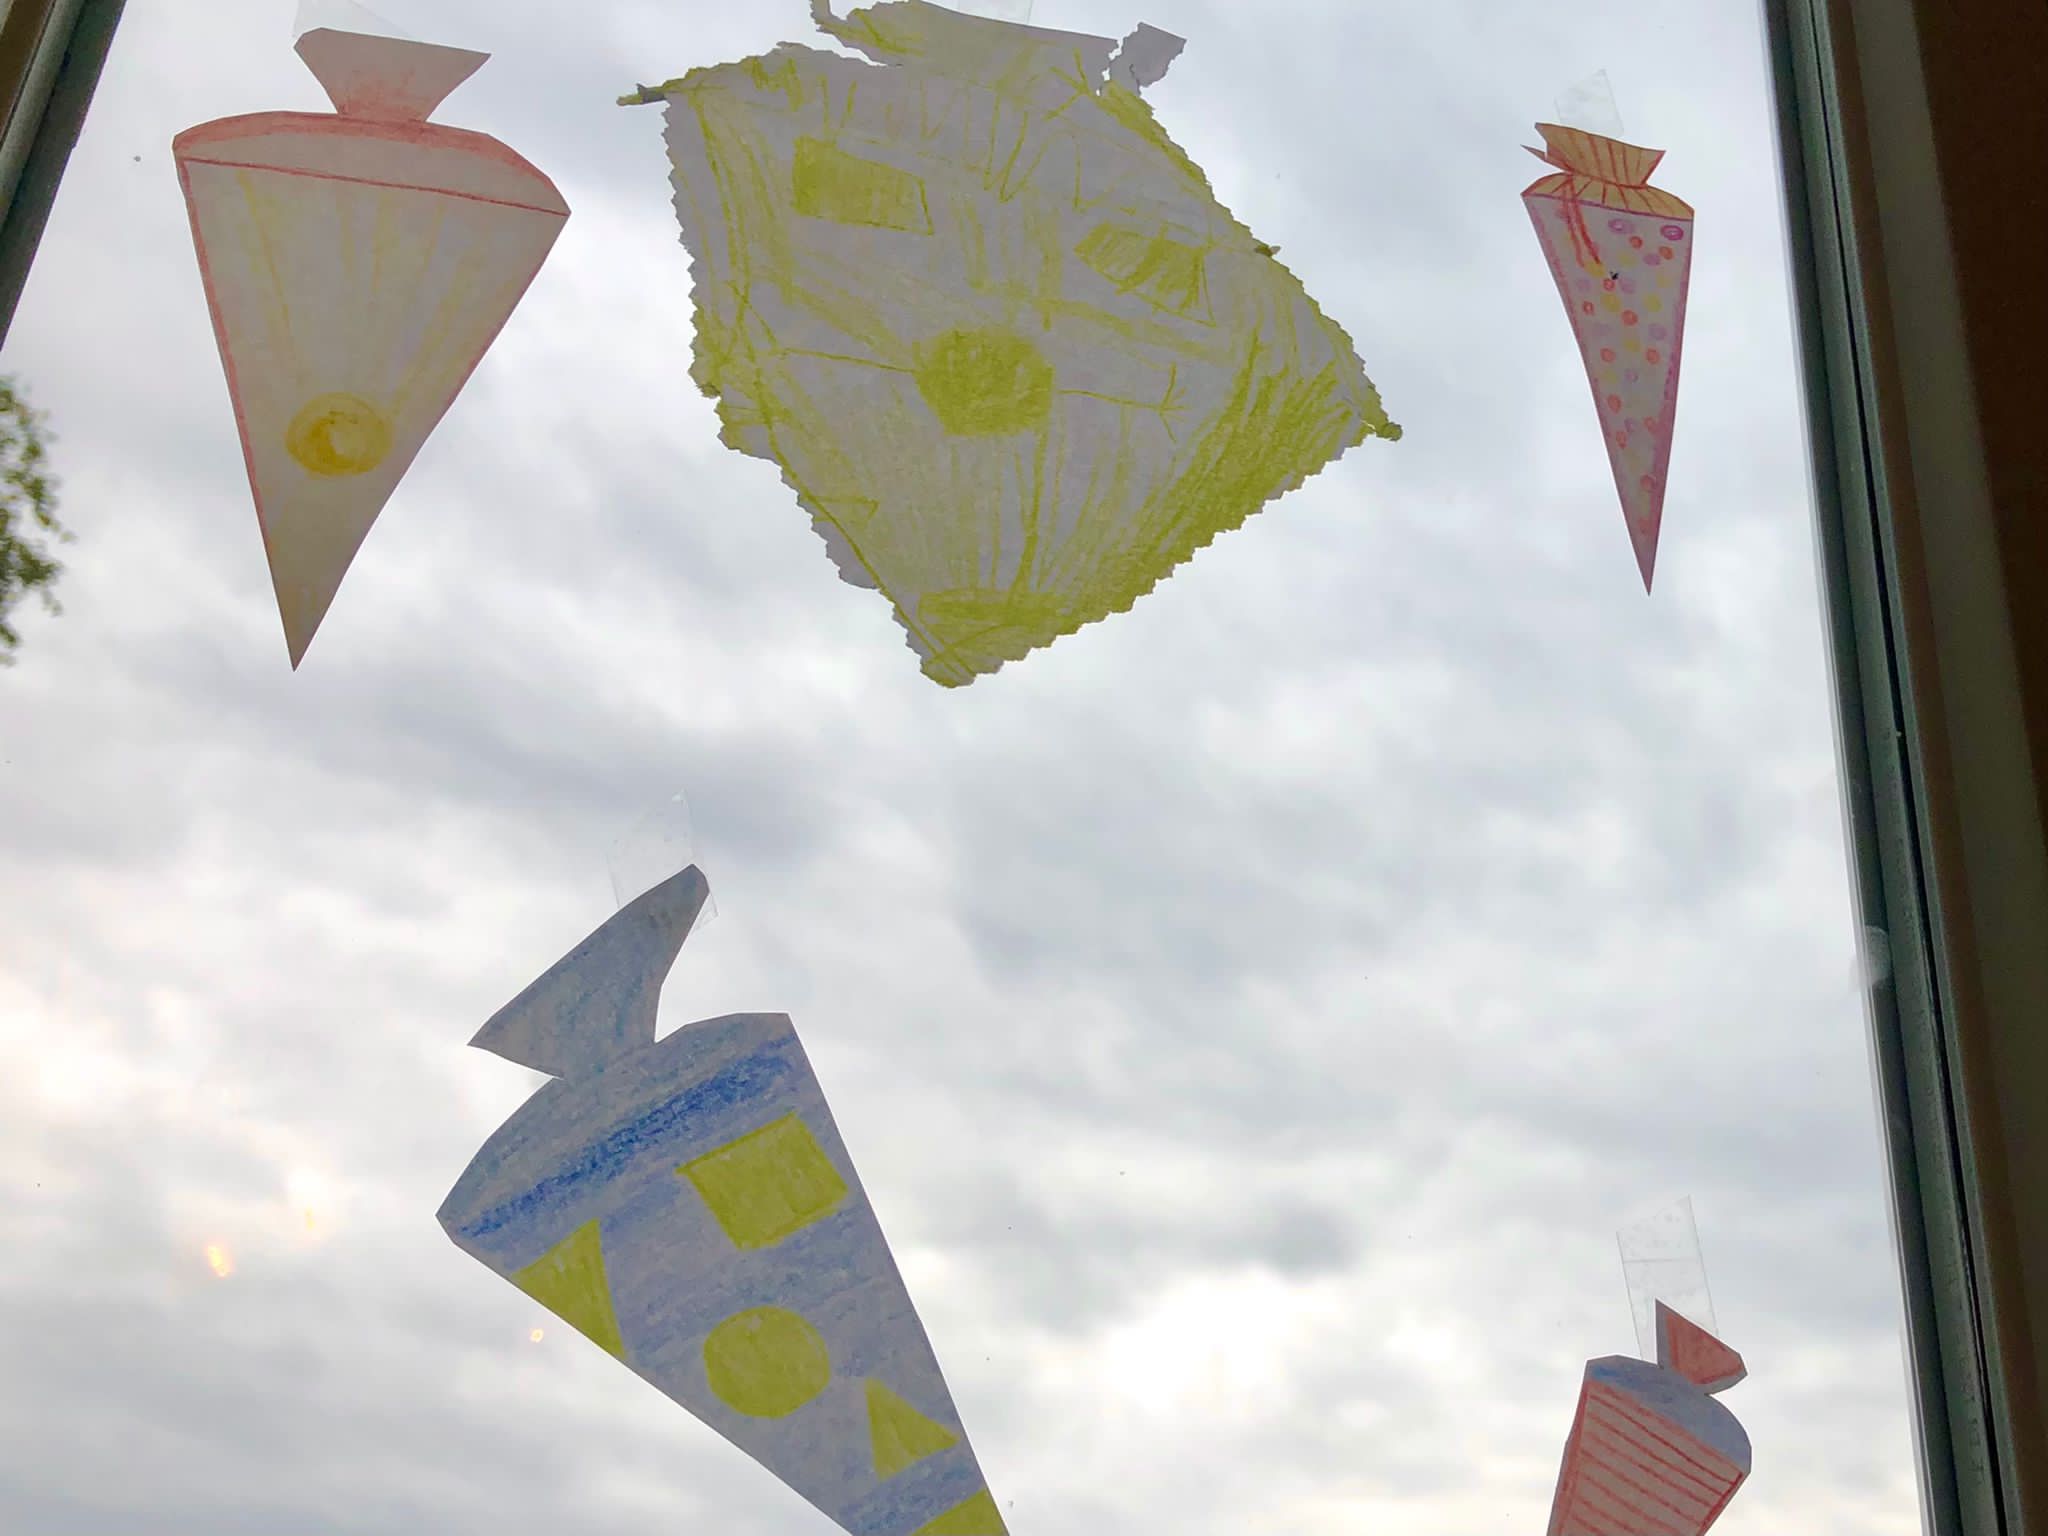
The school bags can then be hung onto the windows.
Have fun!
Materials
Directions
Start by painting school bags.
Build the floor plan as in the picture.
You can paint different sizes.
Tip: Use the space on paper. Children also learn to use the material sparingly.
Now paint out the school bags with crayons.
Now you cut out the school bags individually.
Then you brush the back of the school bags with oil. Use a cheap household oil for this.
Fill this in a small bowl.
To brush, put the school bags, with the back up, on a kitchen crepe. So you can paint with the brush to the edge. Wetting the whole school bag flat with the oil. A small swab oil is enough to make the paper transparent.
Then wipe off excess oil with a kitchen crepe.
Put the school bags in the sun or on a radiator for drying. Make sure that there is still an absorbent crepe underneath, otherwise oil stains are created.
The school bags can then be hung onto the windows.
Have fun!
Follow us on Facebook , Instagram and Pinterest
Don't miss any more adventures: Our bottle mail


So simple, so good!!!