Snowman tinkering (made from cardboard roll and screw glass lid)

AdventurerKatzi
Rating4.54.2 thousand times & (2) DifficultyAdvanced

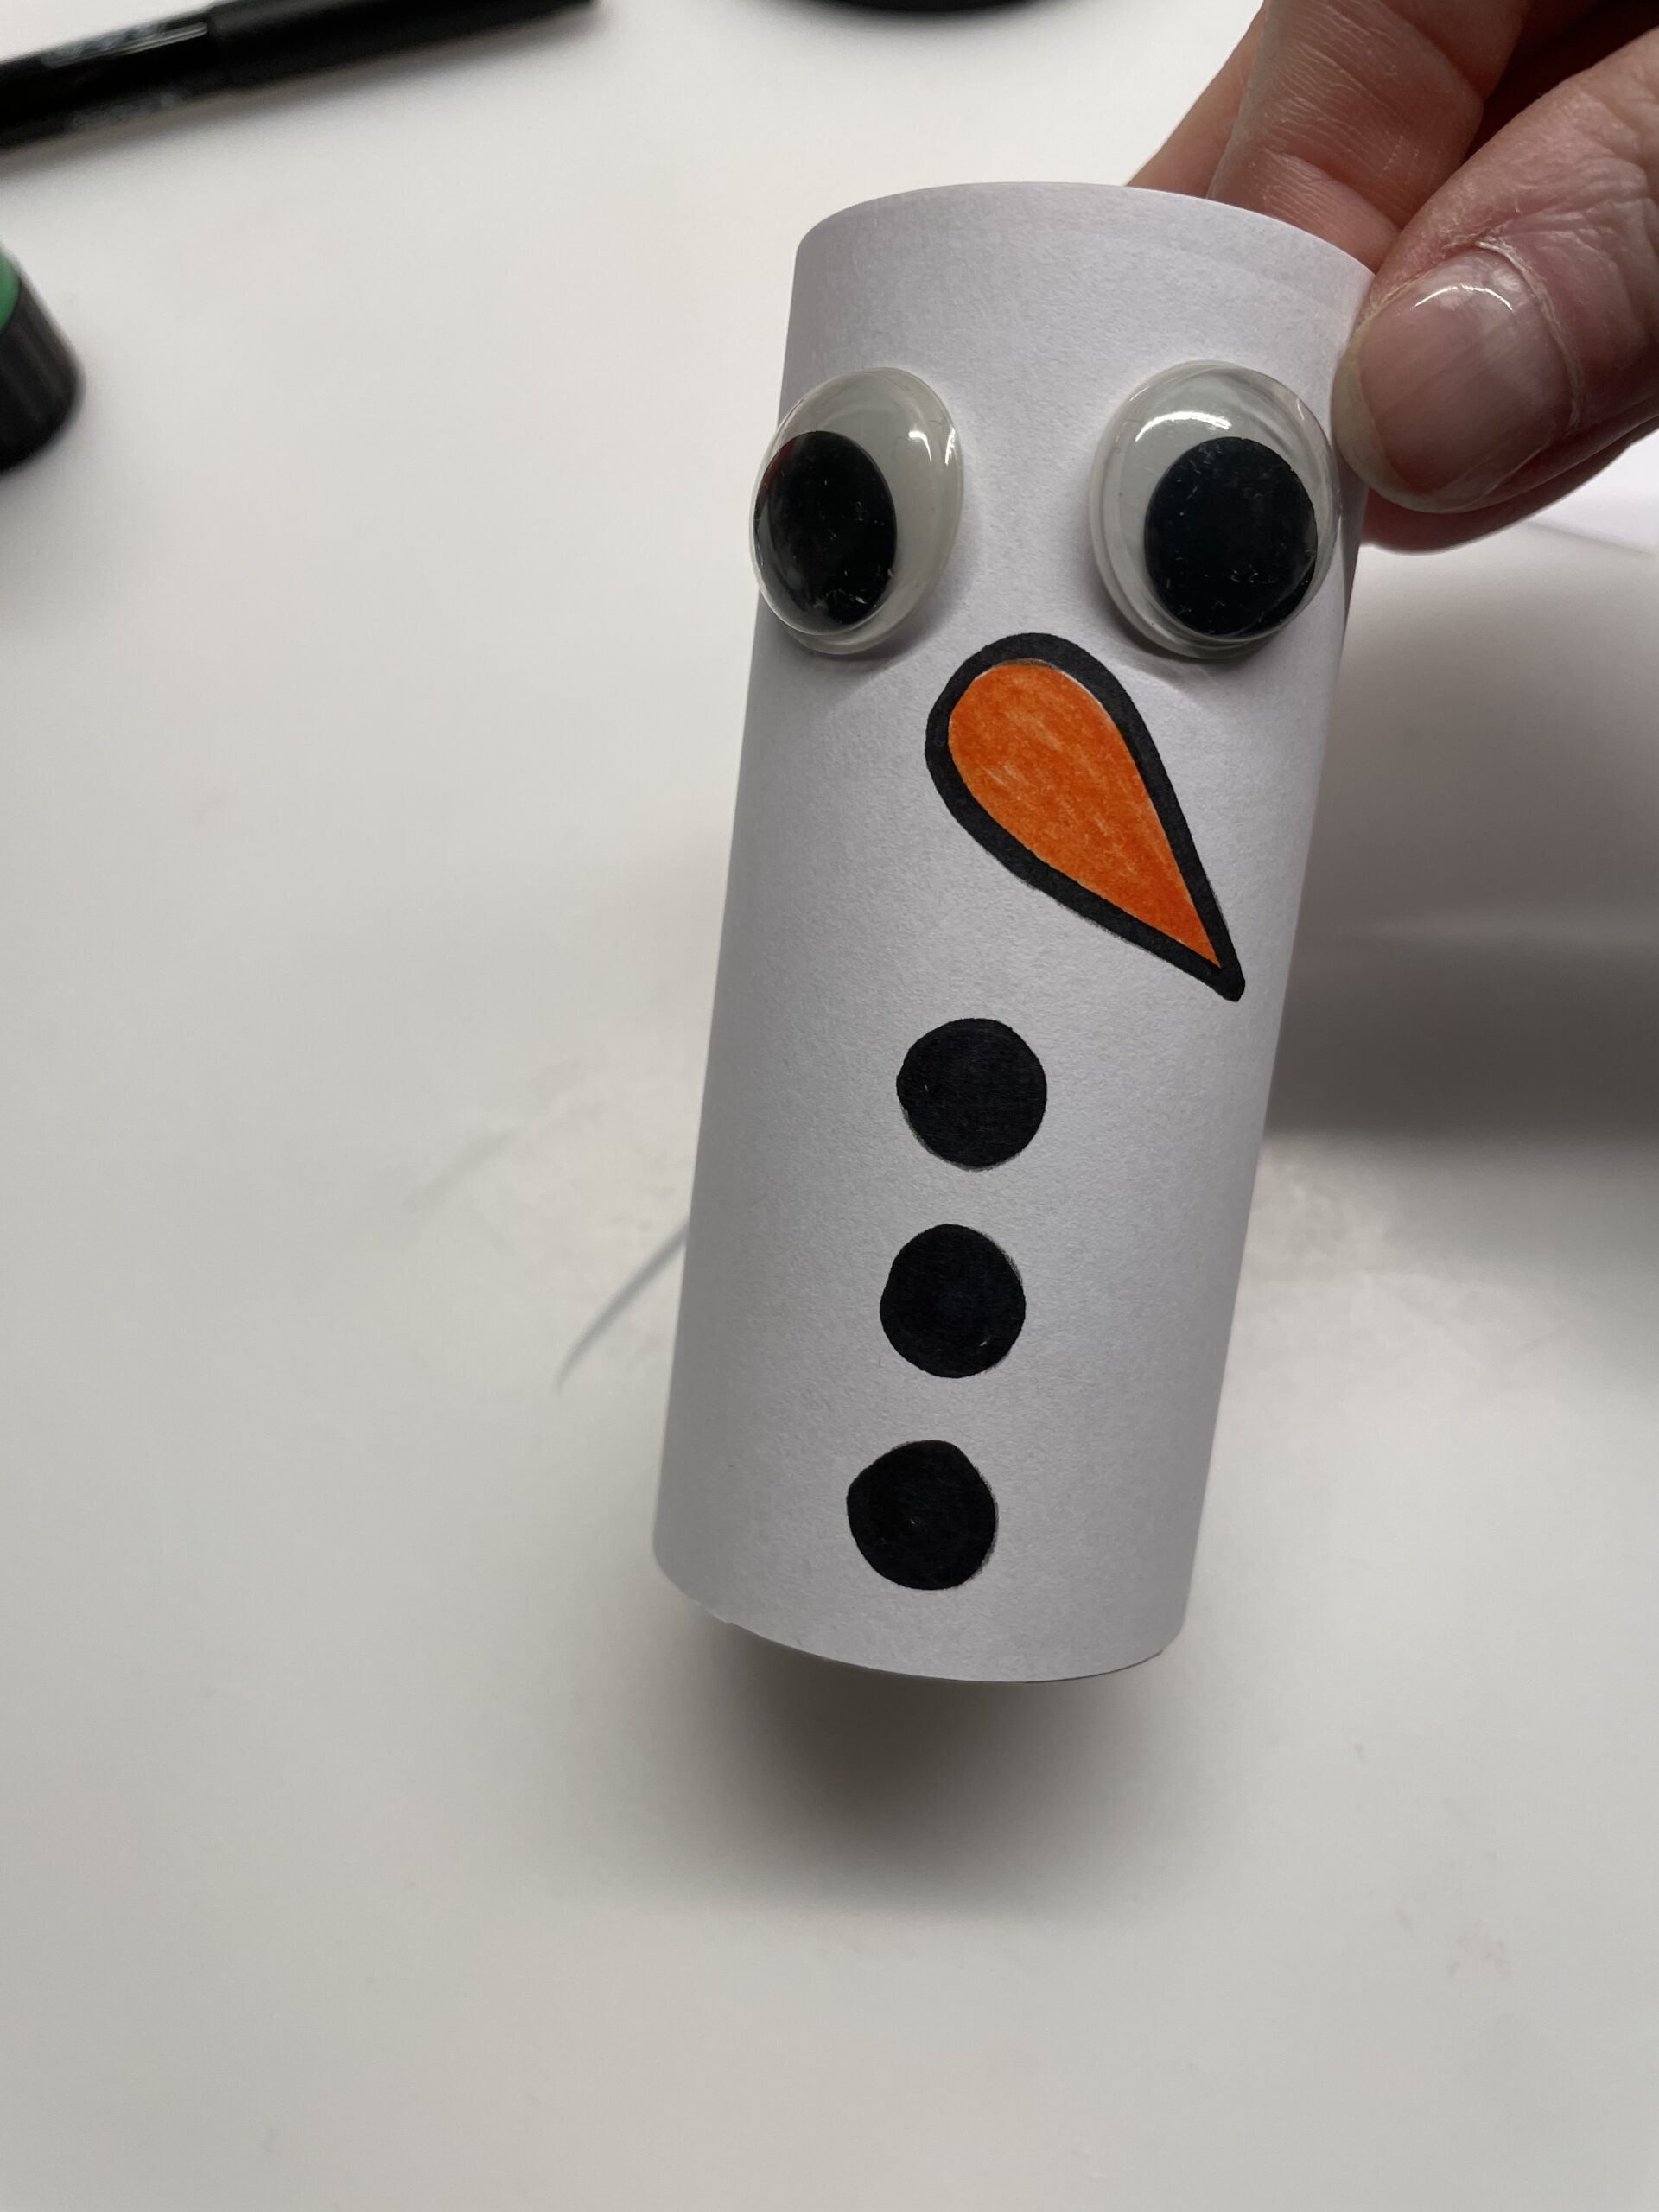
This little snowman consists of two cardboard rolls (clorolls) or a kitchen roll and a black lid of a screw glass. First you glue the cardboard roll with a white paper, paint a nose and buttons and glue two wobble eyes on it. Then you make the hat. For this you use a piece of cardboard roll, which glues it with black paper and this glues it on the lid. This creates in no time this beautiful snowman.
Here you will find the step by step instructions. Enjoy crafting!

Media Education for Kindergarten and Hort

Kind bastelt eine Rassel mit dem Navi
The Adventure Navi, the app for DIY projects, enables media education for the youngest.

Relief in everyday life, targeted promotion of individual children, independent learning and - without any pre-knowledge already usable by the youngest!


Titelbild zur Bastel- und DIY-Idee für Kinder '(939) Schneemann basteln (aus Papprolle und Schraubglasdeckel)'
Material for1 Child
Prep Time5 min.Adv. Time30 min.Total Time35 min.
 2 Paper rollsKitchen roll, toilet paper rolls
 1 White paper 9cm x 15cm
 1 Paper black4cm x 15 cm
 2 Wax eyes
 1 Screw-glass lid black
 1 Pencil
 1 Felt pen orange + black
 1 Ruler
 1 Builder's pad
 possibly snow crystals e.g. as a spread-deco
All links marked with a shopping cart lead to Amazon - here we have selected products that we would order ourselves and in part also ordered. In a qualified purchase via the advertising link, we as Amazon partner receive a commission, for you there are no costs. You thus support our cost- and advertising banner-free, educational offer.
1

Put out the craft file and first select your materials.
Then cut the white paper to the size 9cm x 15 cm.
Check whether the dimensions fit for your cardboard roll or cut the kitchen roll accordingly.
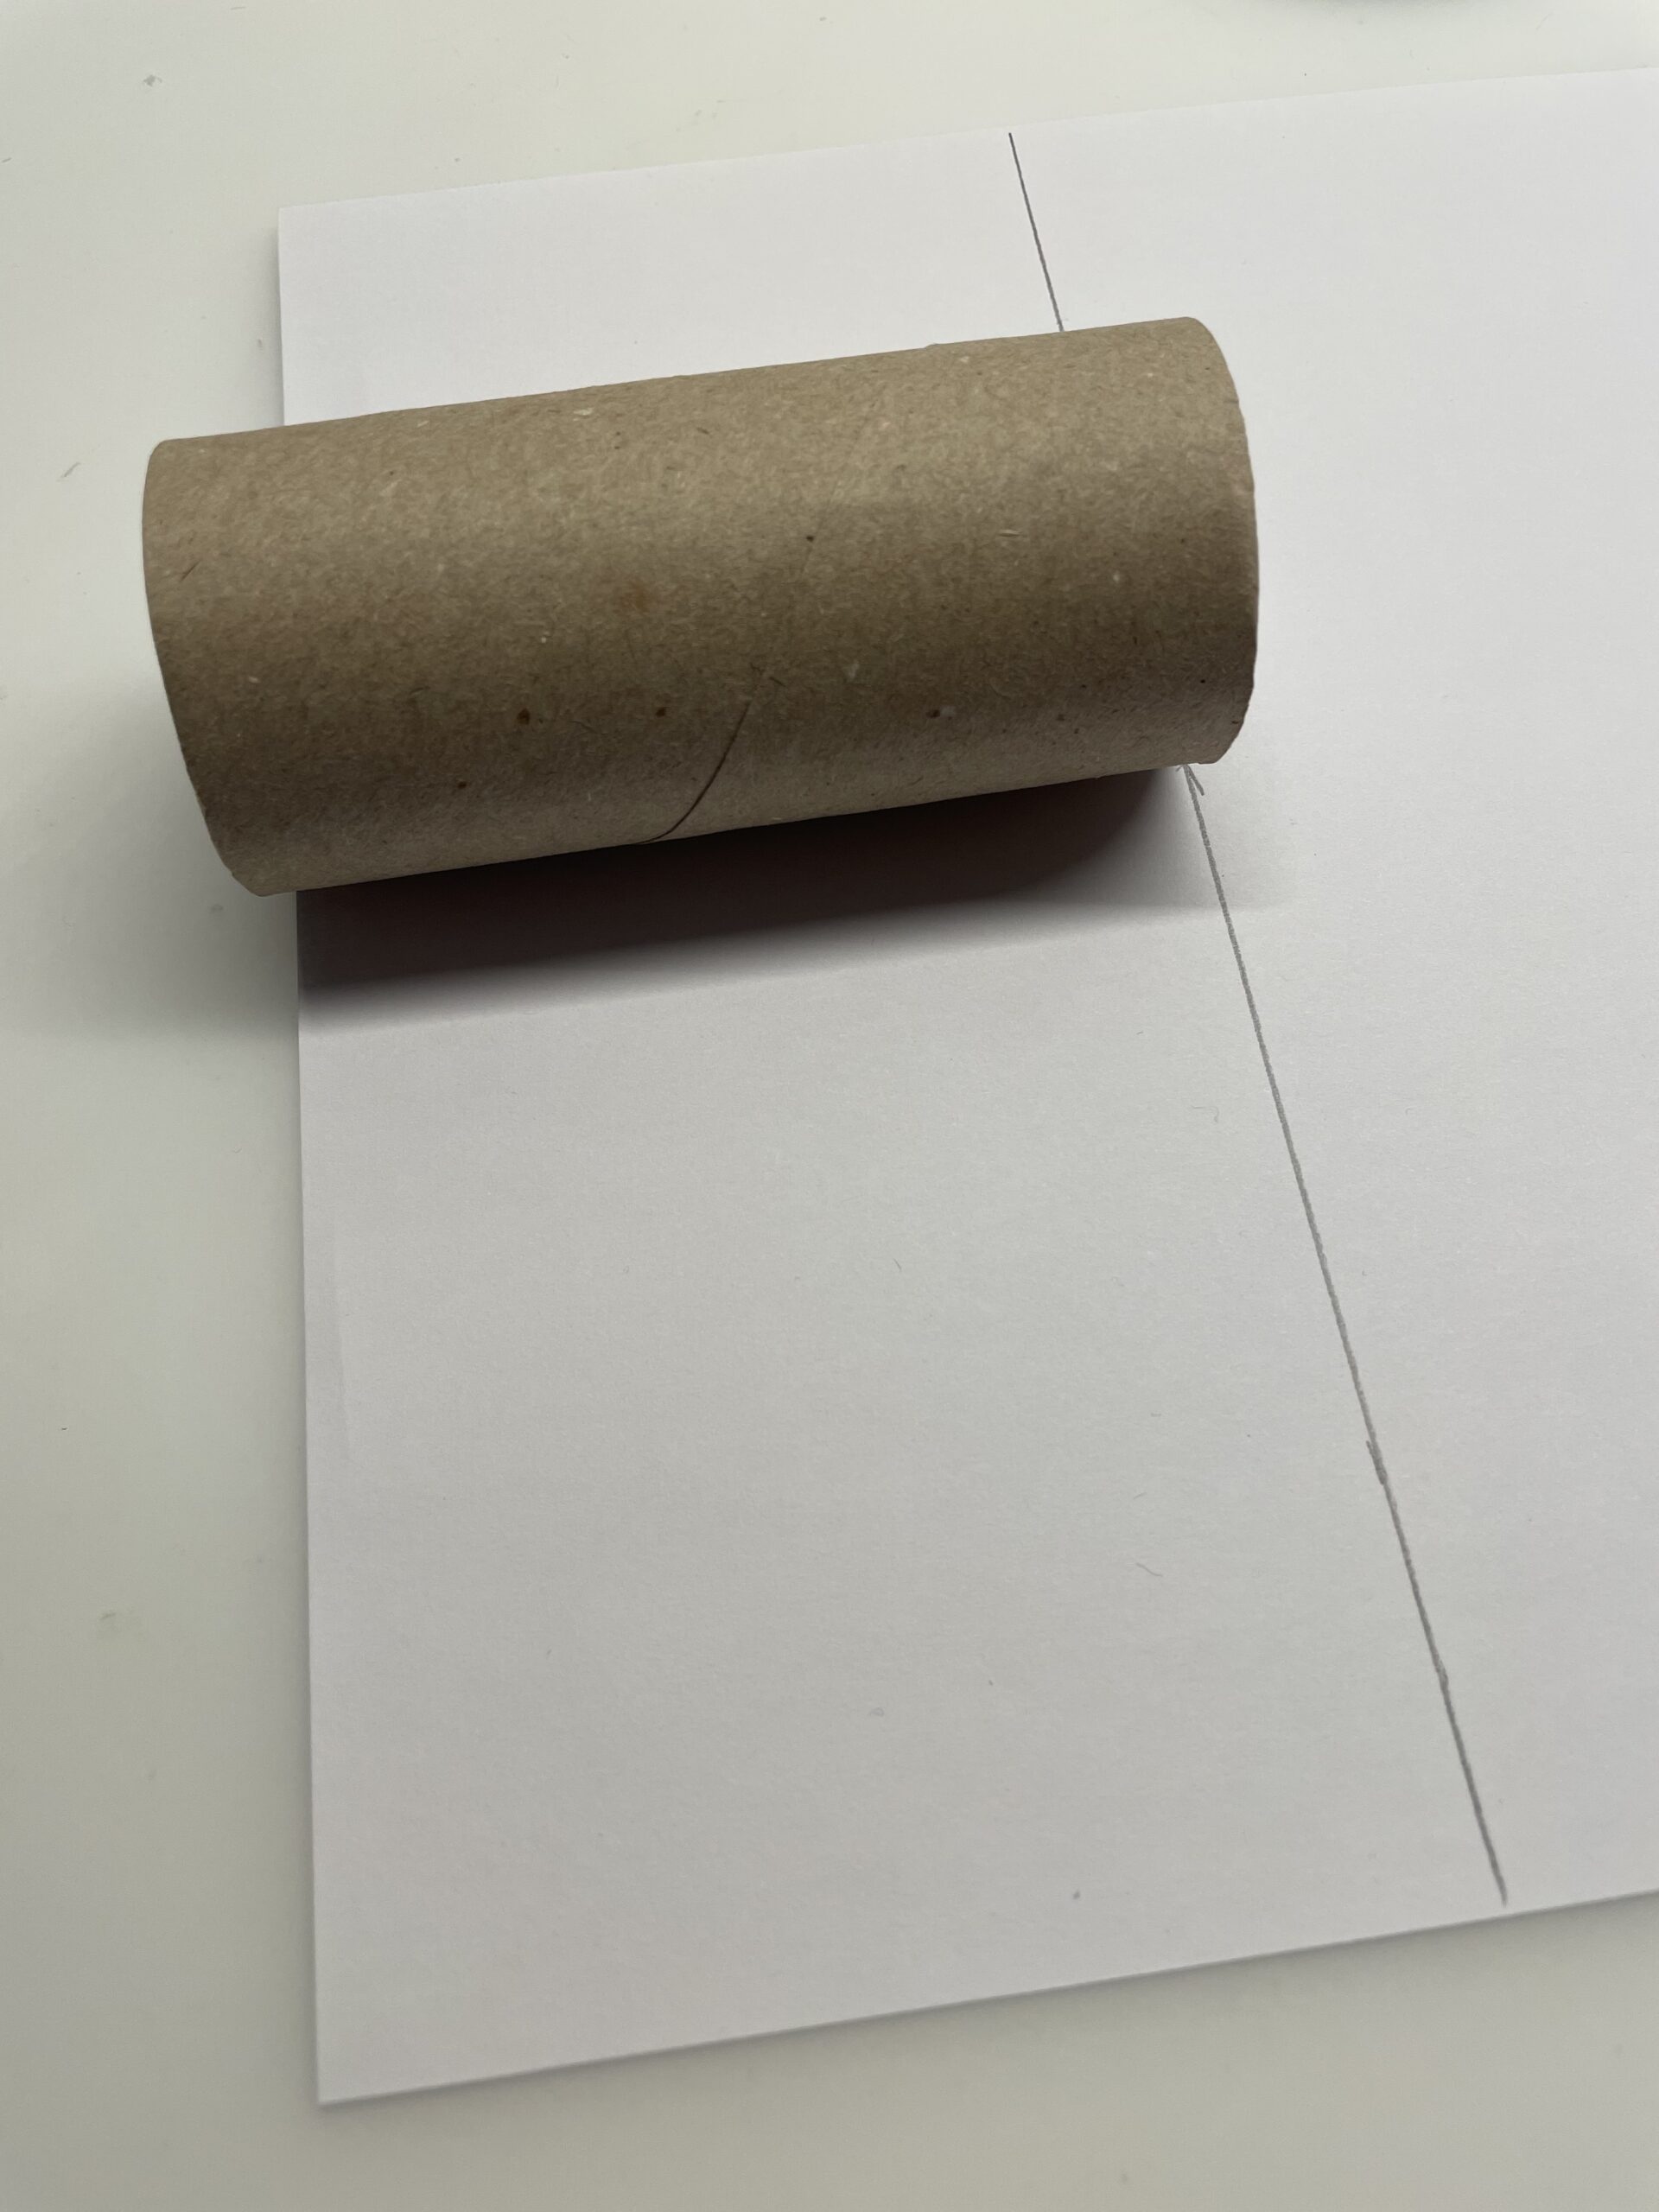
Bild zum Schritt 1 für das Bastel- und DIY-Abenteuer für Kinder: 'Legt die Bastelunterlage aus und sucht zuerst eure Materialien zusammen....'

2

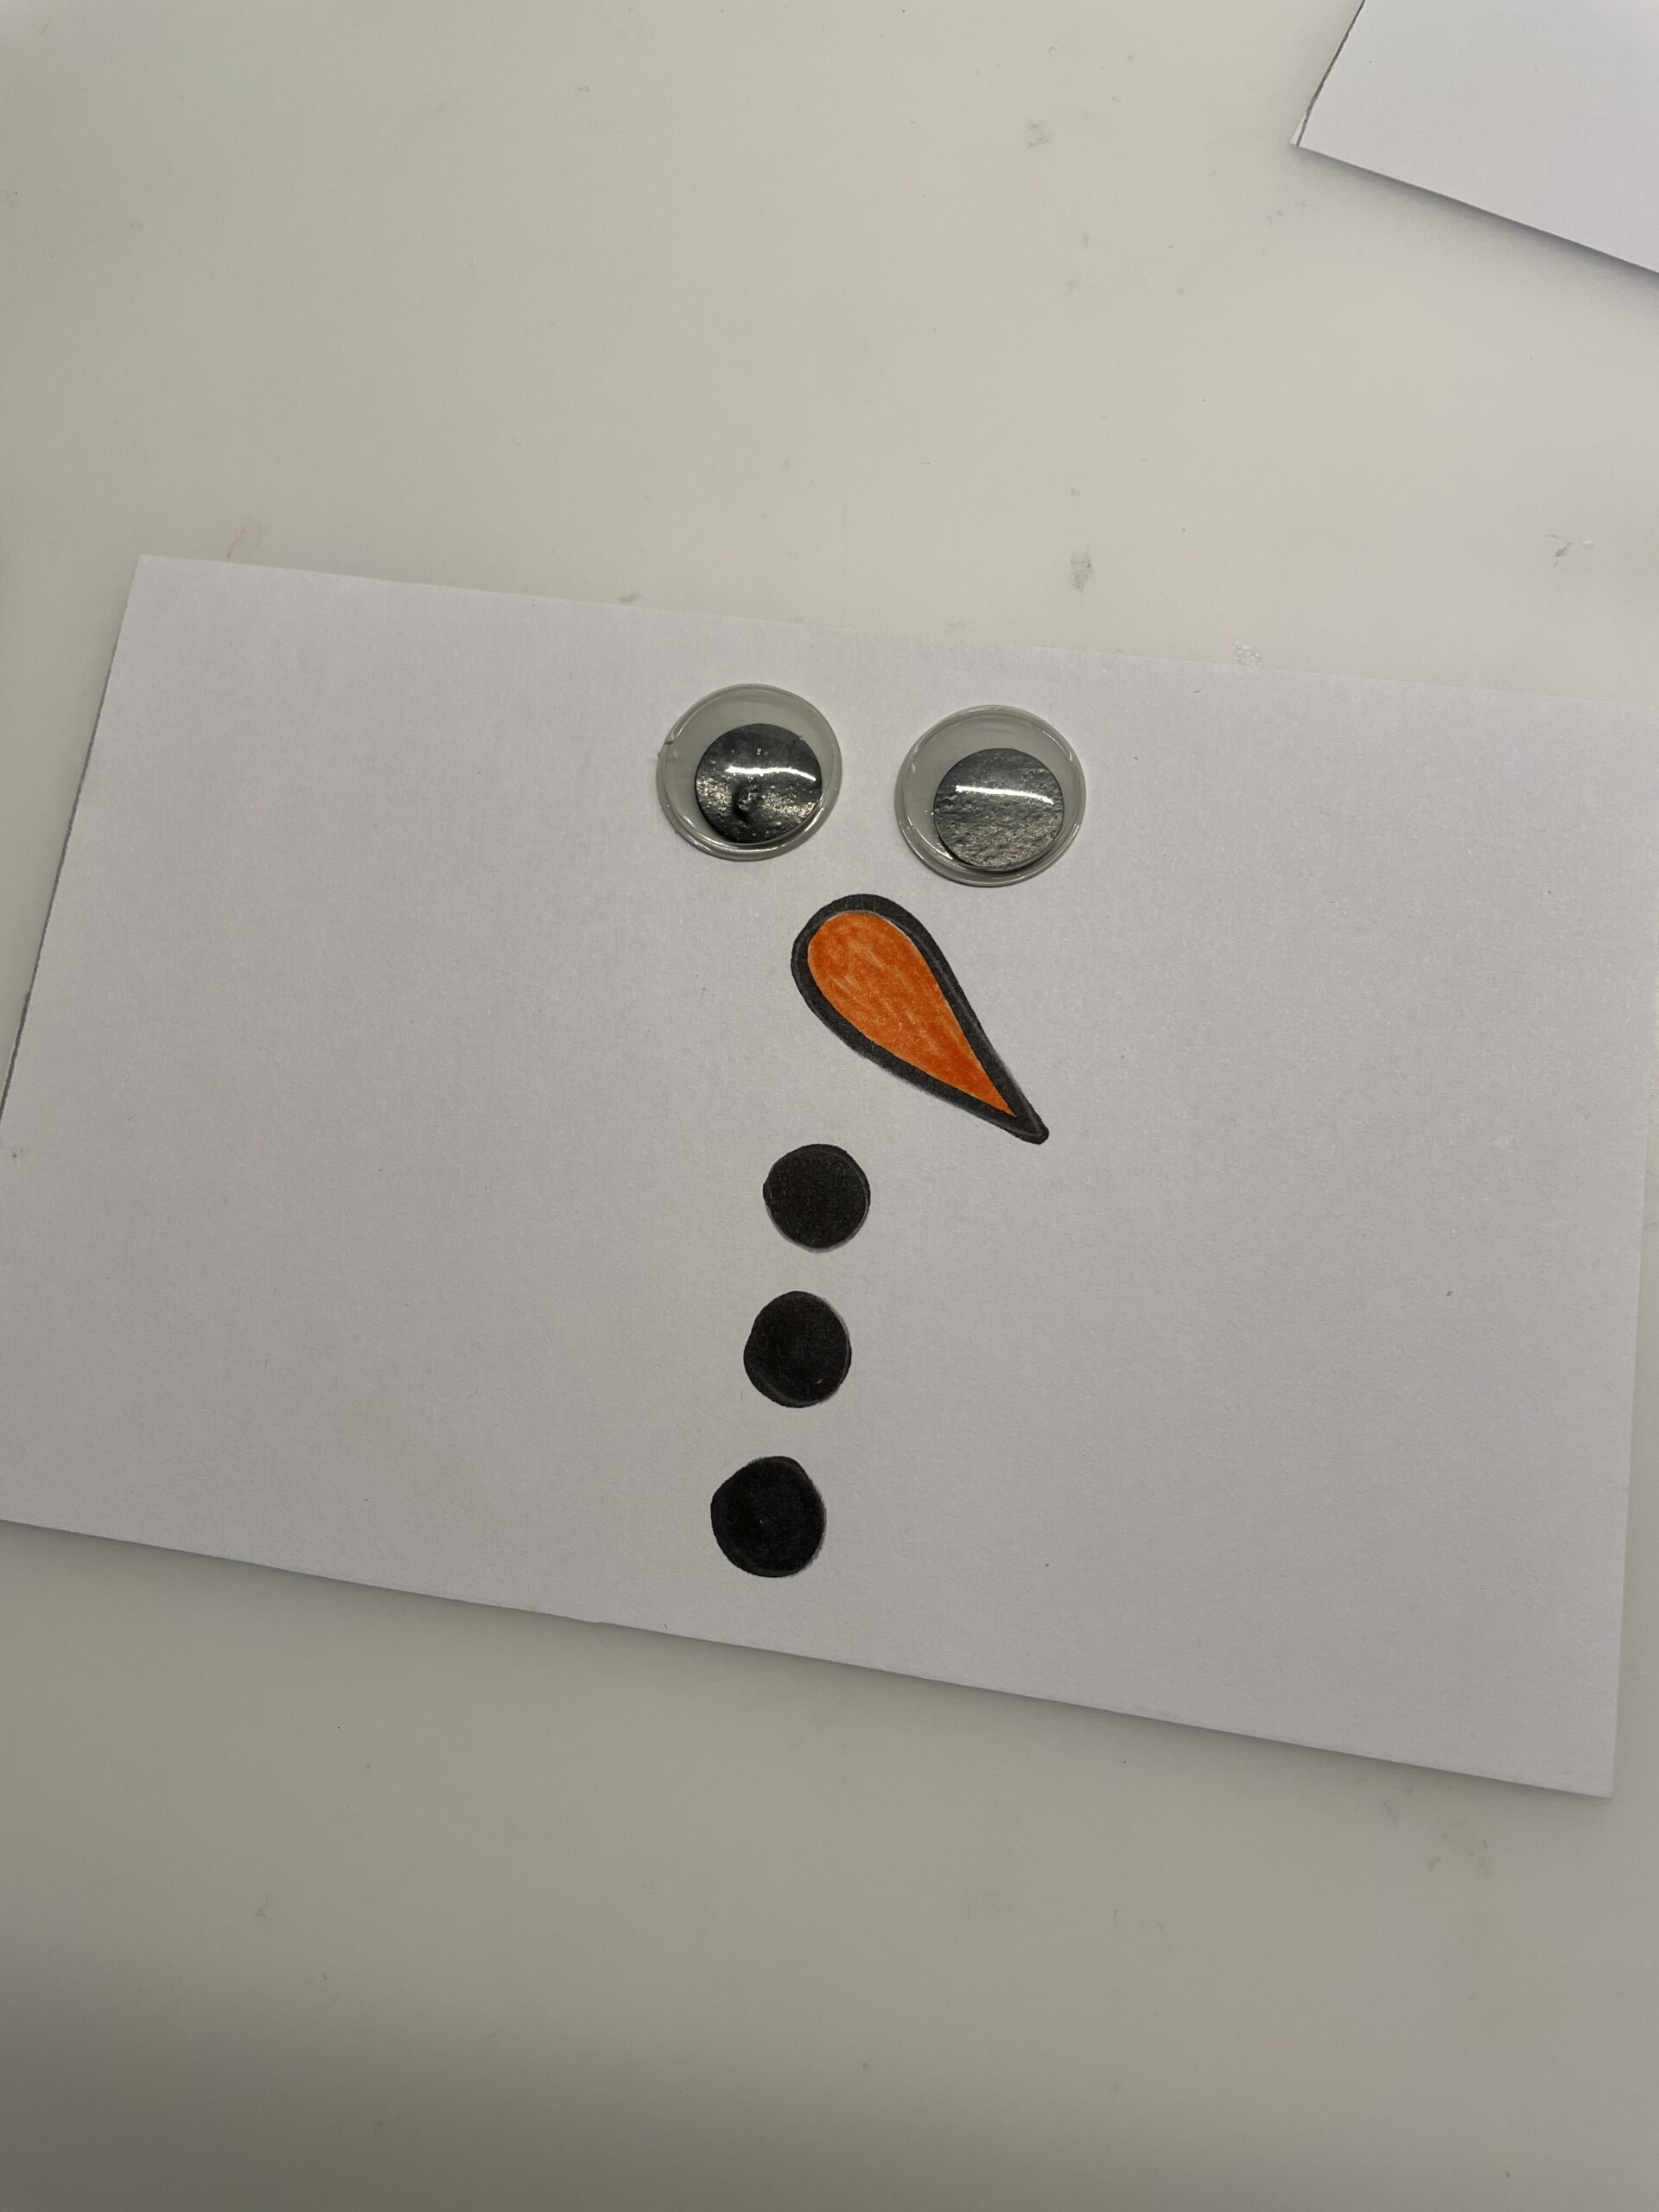
Now you paint in the middle of the paper the face of the snowman. For the eyes stick her wobble eyes on. Alternatively, you paint the eyes with a black pen.
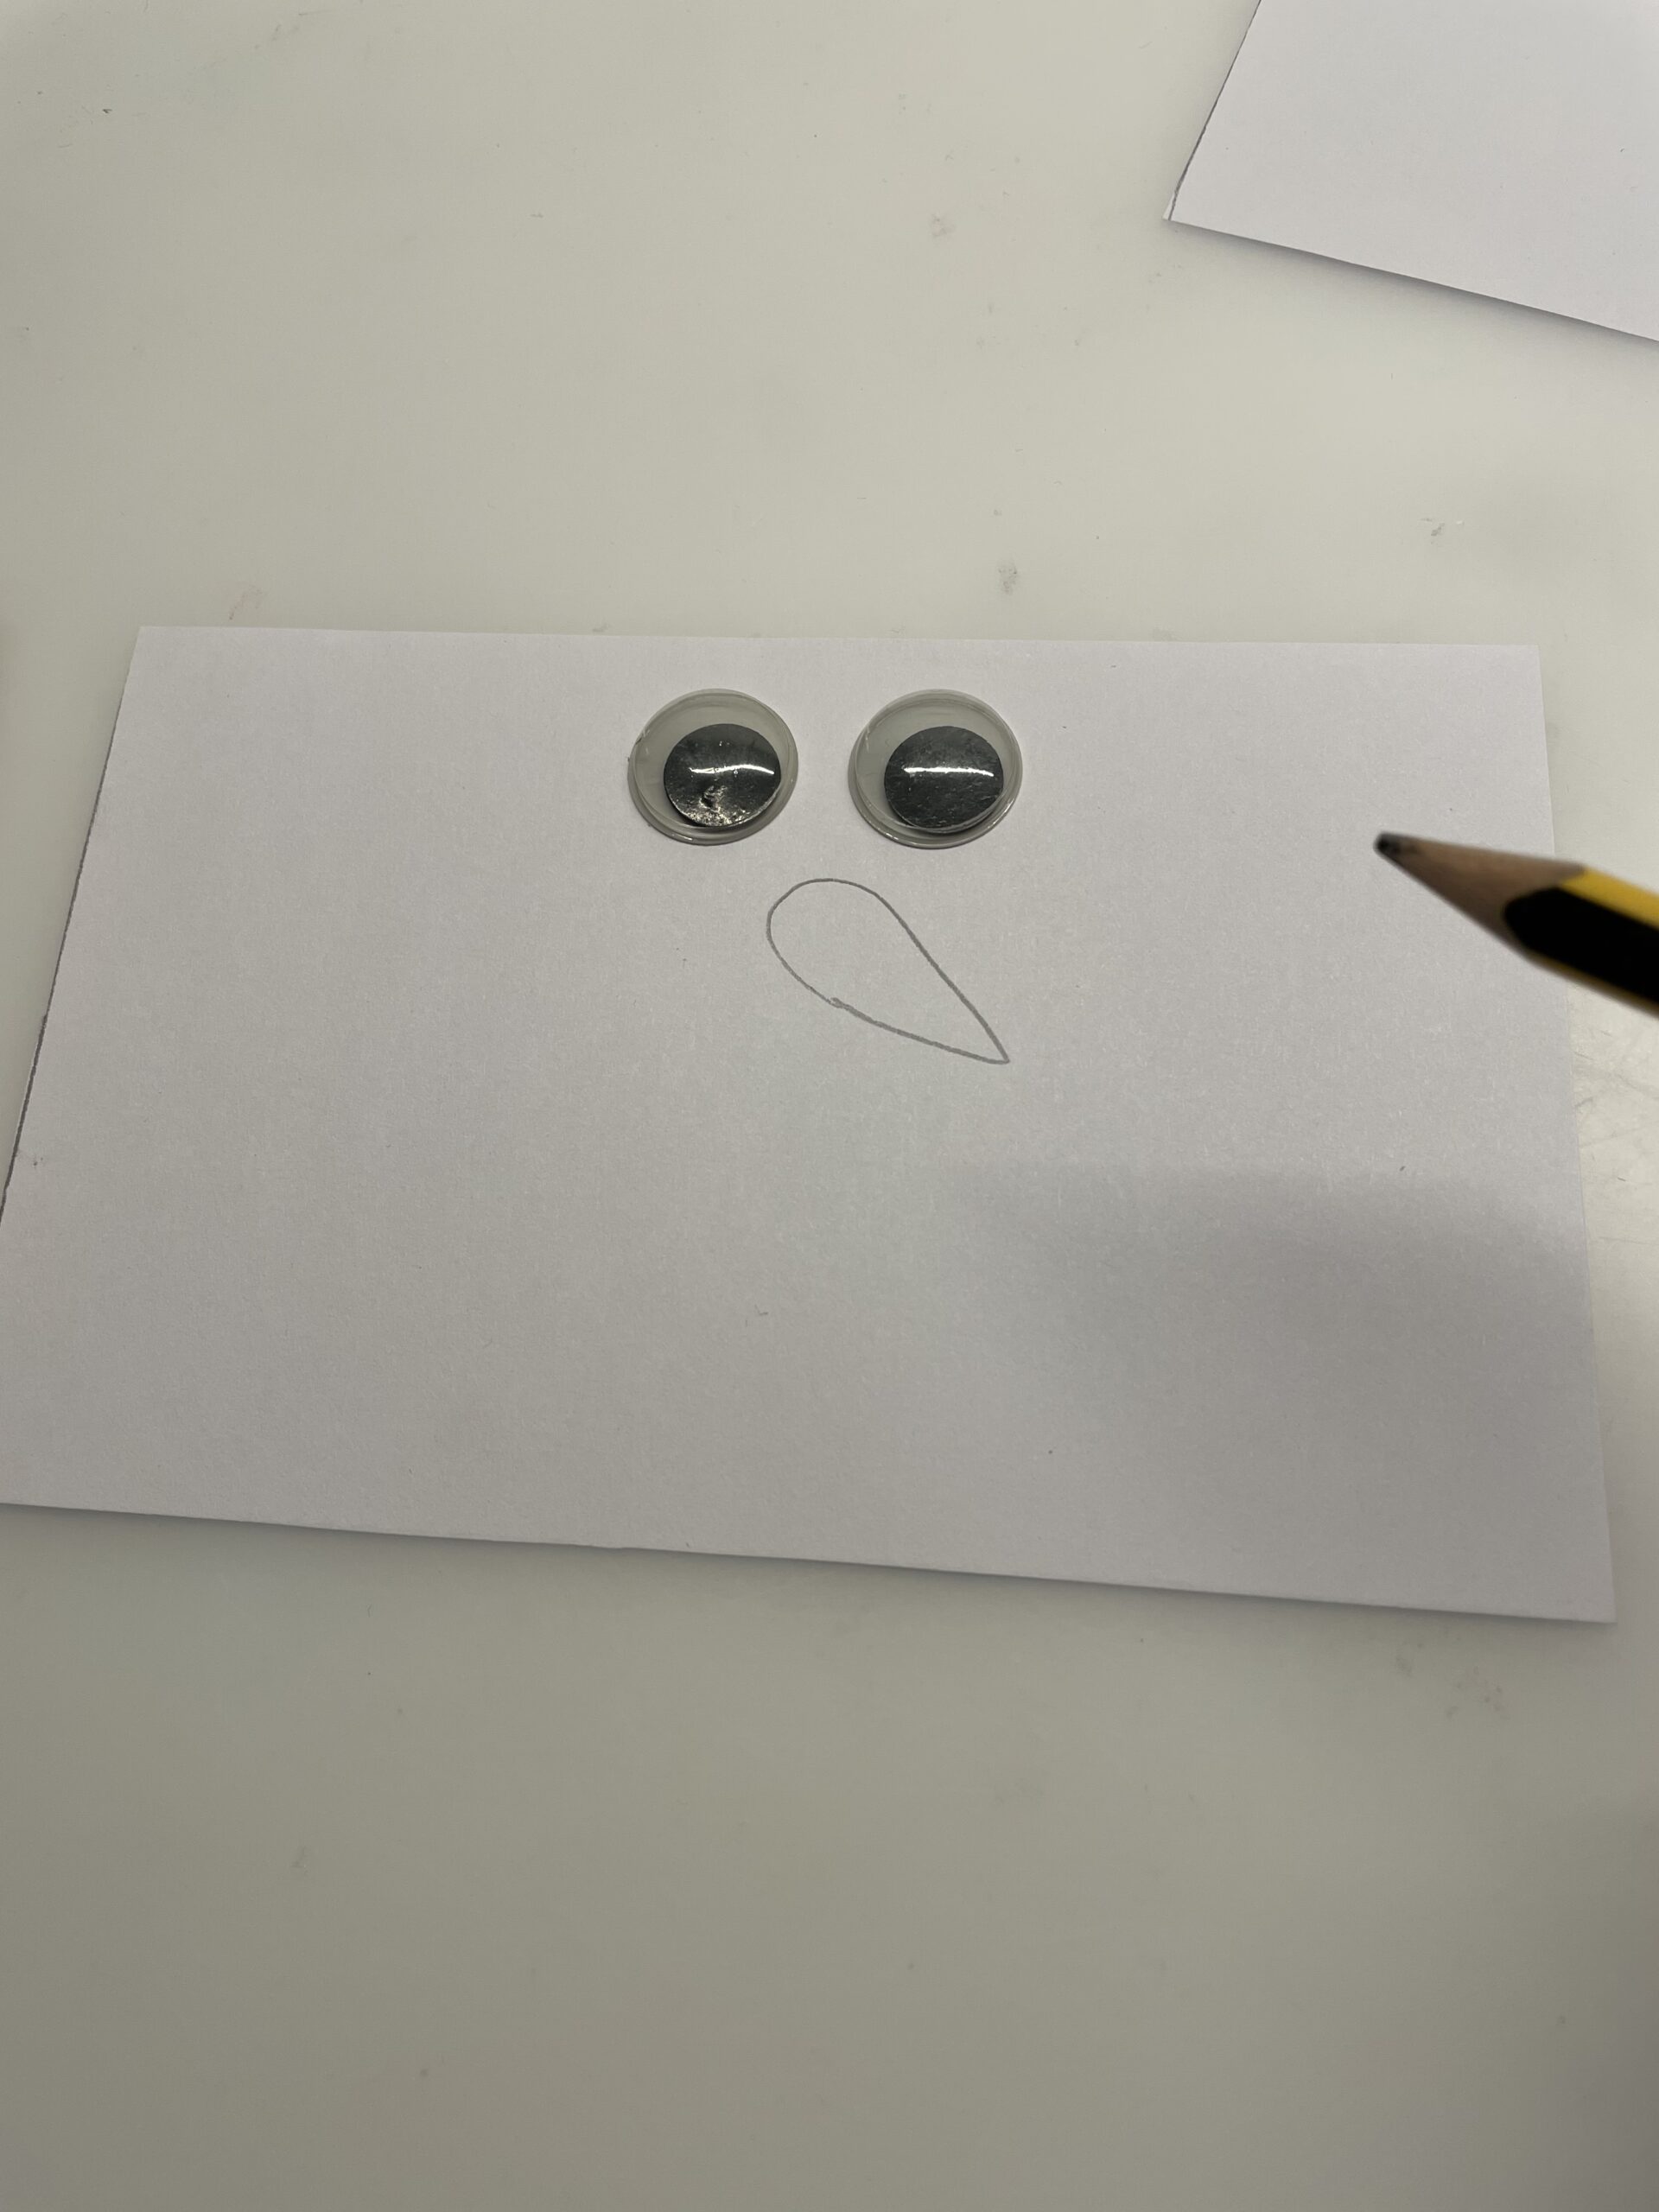
Bild zum Schritt 2 für das Bastel- und DIY-Abenteuer für Kinder: 'Jetzt malt ihr in die Mitte des Papiers das Gesicht...'

3

2. Bild zum Schritt 2 für das Bastel- und DIY-Abenteuer für Kinder: 'Jetzt malt ihr in die Mitte des Papiers das Gesicht...'

4

Then apply glue to a piece of the cardboard roll from top to bottom.

Bild zum Schritt 4 für das Bastel- und DIY-Abenteuer für Kinder: 'Danach streicht ihr ein Stück der Papprolle von oben nach...'

5

At this point you attach the short side of the paper.

Bild zum Schritt 5 für das Bastel- und DIY-Abenteuer für Kinder: 'An diese Stelle klebt ihr die kurze Seite des Papiers...'

6

Then you put the paper around the roll.

Bild zum Schritt 6 für das Bastel- und DIY-Abenteuer für Kinder: 'Danach legt ihr das Papier um die Rolle.'

7

At the point where both papers overlap, apply glue to the paper roll and the already glued paper.

Bild zum Schritt 7 für das Bastel- und DIY-Abenteuer für Kinder: 'An der Stelle an der beide Papiere überlappen, streicht ihr...'

8

Now you put the end of the paper strip on it and press on the paper. Make sure that the paper is tightly wrapped around the paper roll.

Bild zum Schritt 8 für das Bastel- und DIY-Abenteuer für Kinder: 'Nun legt ihr das Ende des Papierstreifens darauf und drückt...'

9

2. Bild zum Schritt 8 für das Bastel- und DIY-Abenteuer für Kinder: 'Nun legt ihr das Ende des Papierstreifens darauf und drückt...'

10

Now you're making the hat.

Tip: If you don't have a black lid, paint a coloured screw glass lid in black!

Bild zum Schritt 10 für das Bastel- und DIY-Abenteuer für Kinder: 'Jetzt bastelt ihr den Hut.    Tipp: Solltet...'

11

Cuts off a 4cm wide piece of the cardboard roll.

Bild zum Schritt 11 für das Bastel- und DIY-Abenteuer für Kinder: 'Schneidet ein ca. 4cm breites Stück der Papprolle ab.'

12

Thus, both parts are later placed on each other.

Bild zum Schritt 12 für das Bastel- und DIY-Abenteuer für Kinder: 'So werden beide Teile später aufeinander gesetzt.'

13

Then cut a strip of black paper to the size 4cm x 15cm.
After that, you stick the paper strip around the cardboard roll (see above!).

Bild zum Schritt 13 für das Bastel- und DIY-Abenteuer für Kinder: 'Anschließend schneidet ihr einen Streifen schwarzes Papier auf die Größe...'

14

Cut off overhanging paper edges with scissors.

Bild zum Schritt 14 für das Bastel- und DIY-Abenteuer für Kinder: 'Überstehende Papierränder schneidet ihr mit der Schere ab.'

15

Now put the lid on the snowman and stick the lid on the cardboard roll. To do this, apply the glue to the cardboard roll and place the lid on it.

Bild zum Schritt 15 für das Bastel- und DIY-Abenteuer für Kinder: 'Jetzt legt ihr den Deckel auf den Schneemann und klebt...'

16

Then brush the edge on the black roll with glue and stick it on the lid.

Bild zum Schritt 16 für das Bastel- und DIY-Abenteuer für Kinder: 'Anschließend bestreicht ihr die Kante an der schwarzen Rolle mit...'

17

Scattered deco-snow crystals or cotton swabs are suitable for decorating.

Bild zum Schritt 17 für das Bastel- und DIY-Abenteuer für Kinder: 'Zum Dekorieren eignen sich Streudeko-Schneekristalle oder Wattebäuschen.'

18

Stay creative.
Have fun doing crafts!

Materials

 2 Paper rollsKitchen roll, toilet paper rolls
 1 White paper 9cm x 15cm
 1 Paper black4cm x 15 cm
 2 Wax eyes
 1 Screw-glass lid black
 1 Pencil
 1 Felt pen orange + black
 1 Ruler
 1 Builder's pad
 possibly snow crystals e.g. as a spread-deco
All links marked with a shopping cart lead to Amazon - here we have selected products that we would order ourselves and in part also ordered. In a qualified purchase via the advertising link, we as Amazon partner receive a commission, for you there are no costs. You thus support our cost- and advertising banner-free, educational offer.

Directions

1

Put out the craft file and first select your materials.
Then cut the white paper to the size 9cm x 15 cm.
Check whether the dimensions fit for your cardboard roll or cut the kitchen roll accordingly.

Bild zum Schritt 1 für das Bastel- und DIY-Abenteuer für Kinder: 'Legt die Bastelunterlage aus und sucht zuerst eure Materialien zusammen....'

2

Now you paint in the middle of the paper the face of the snowman. For the eyes stick her wobble eyes on. Alternatively, you paint the eyes with a black pen.

Bild zum Schritt 2 für das Bastel- und DIY-Abenteuer für Kinder: 'Jetzt malt ihr in die Mitte des Papiers das Gesicht...'

3

2. Bild zum Schritt 2 für das Bastel- und DIY-Abenteuer für Kinder: 'Jetzt malt ihr in die Mitte des Papiers das Gesicht...'

4

Then apply glue to a piece of the cardboard roll from top to bottom.
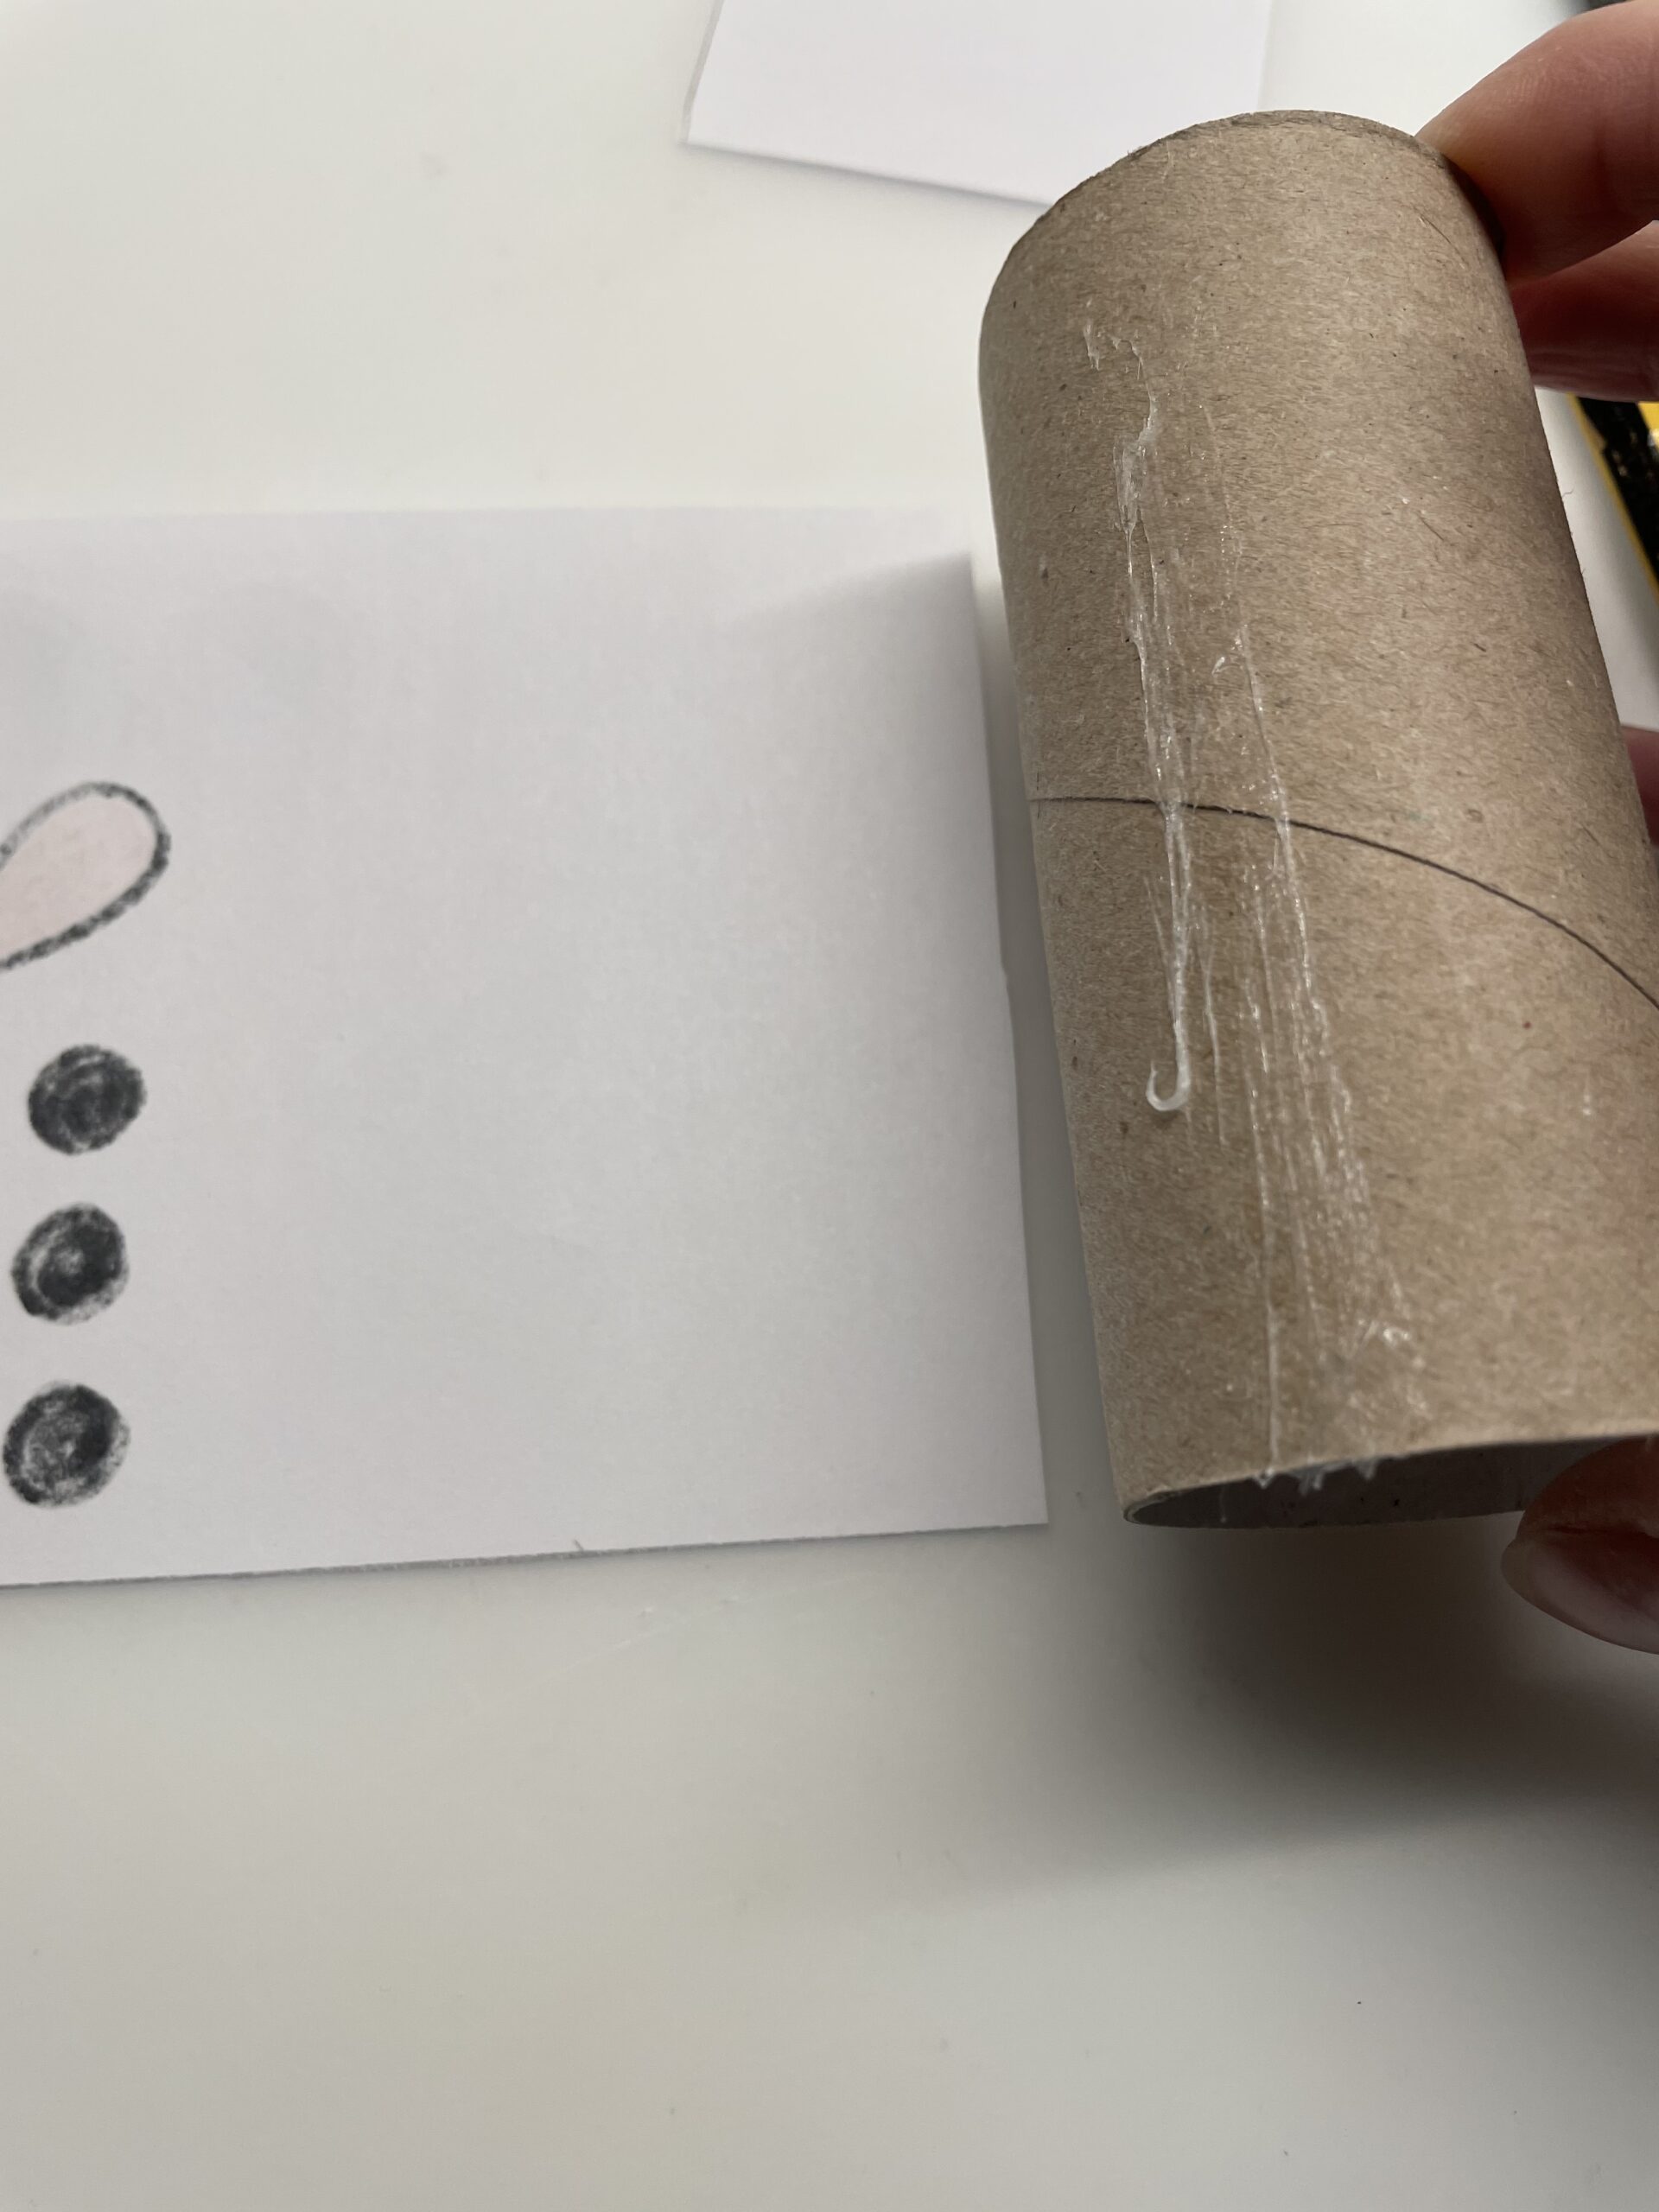
Bild zum Schritt 4 für das Bastel- und DIY-Abenteuer für Kinder: 'Danach streicht ihr ein Stück der Papprolle von oben nach...'

5

At this point you attach the short side of the paper.
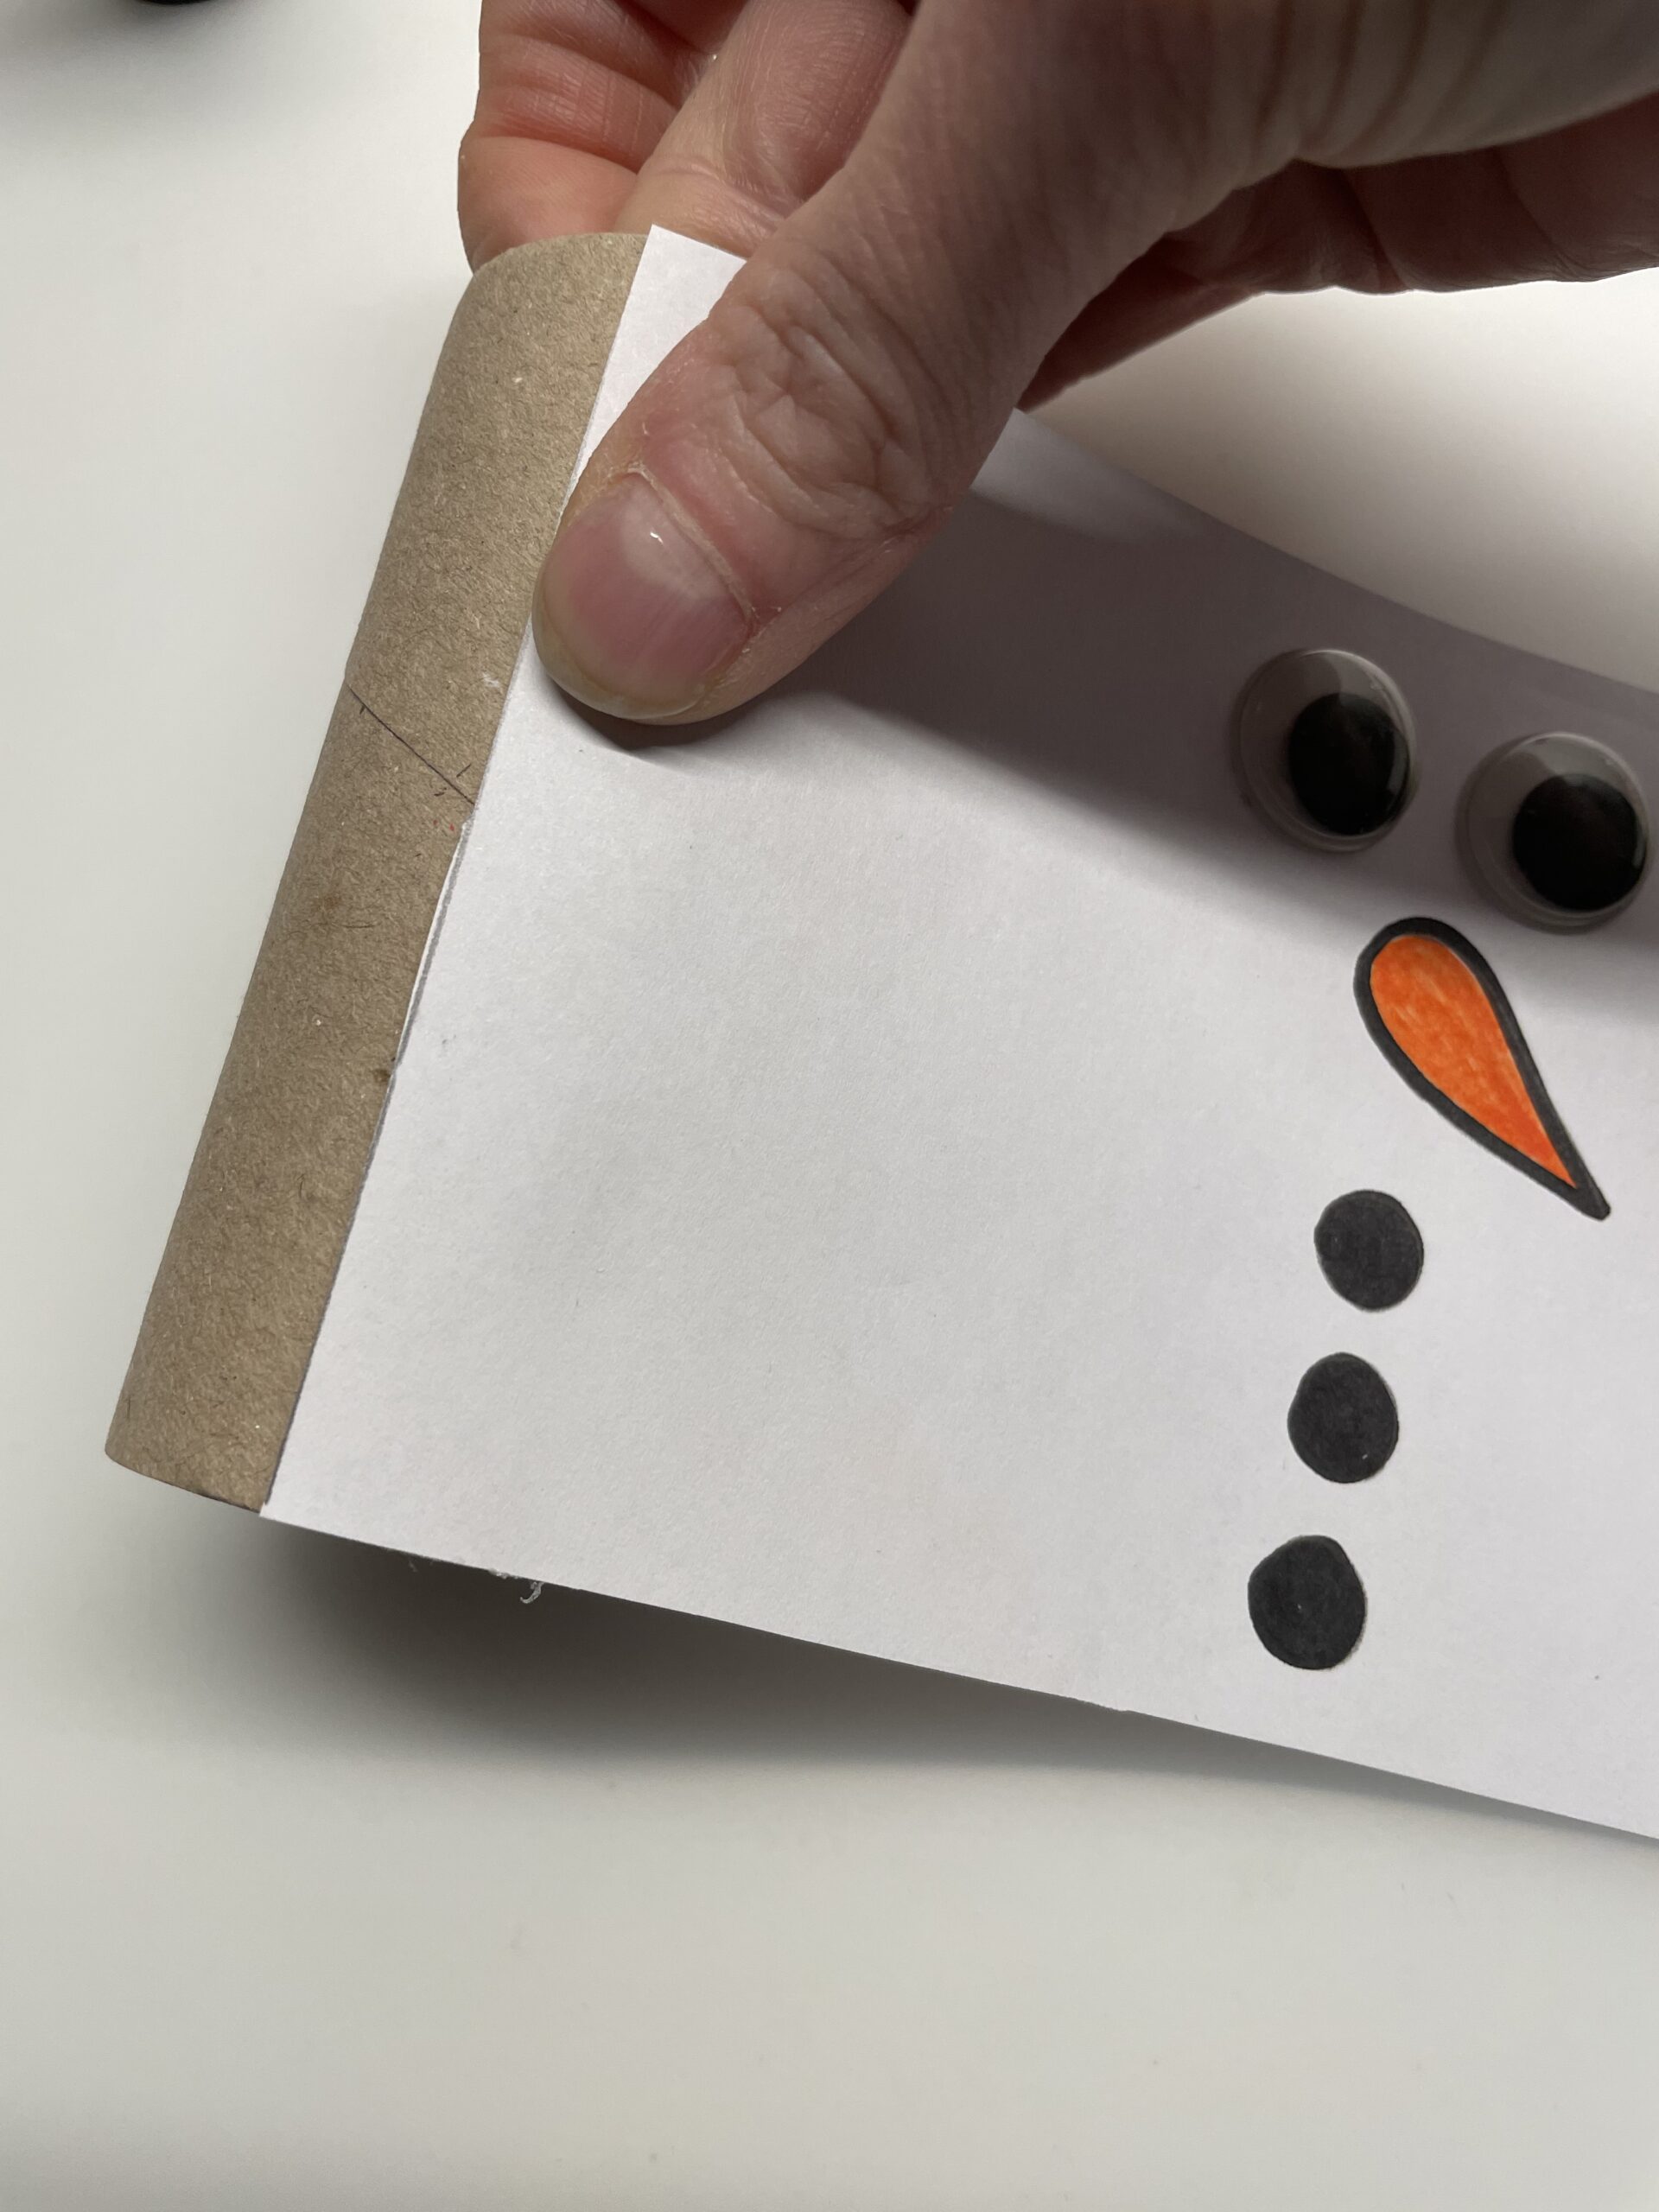
Bild zum Schritt 5 für das Bastel- und DIY-Abenteuer für Kinder: 'An diese Stelle klebt ihr die kurze Seite des Papiers...'

6

Then you put the paper around the roll.
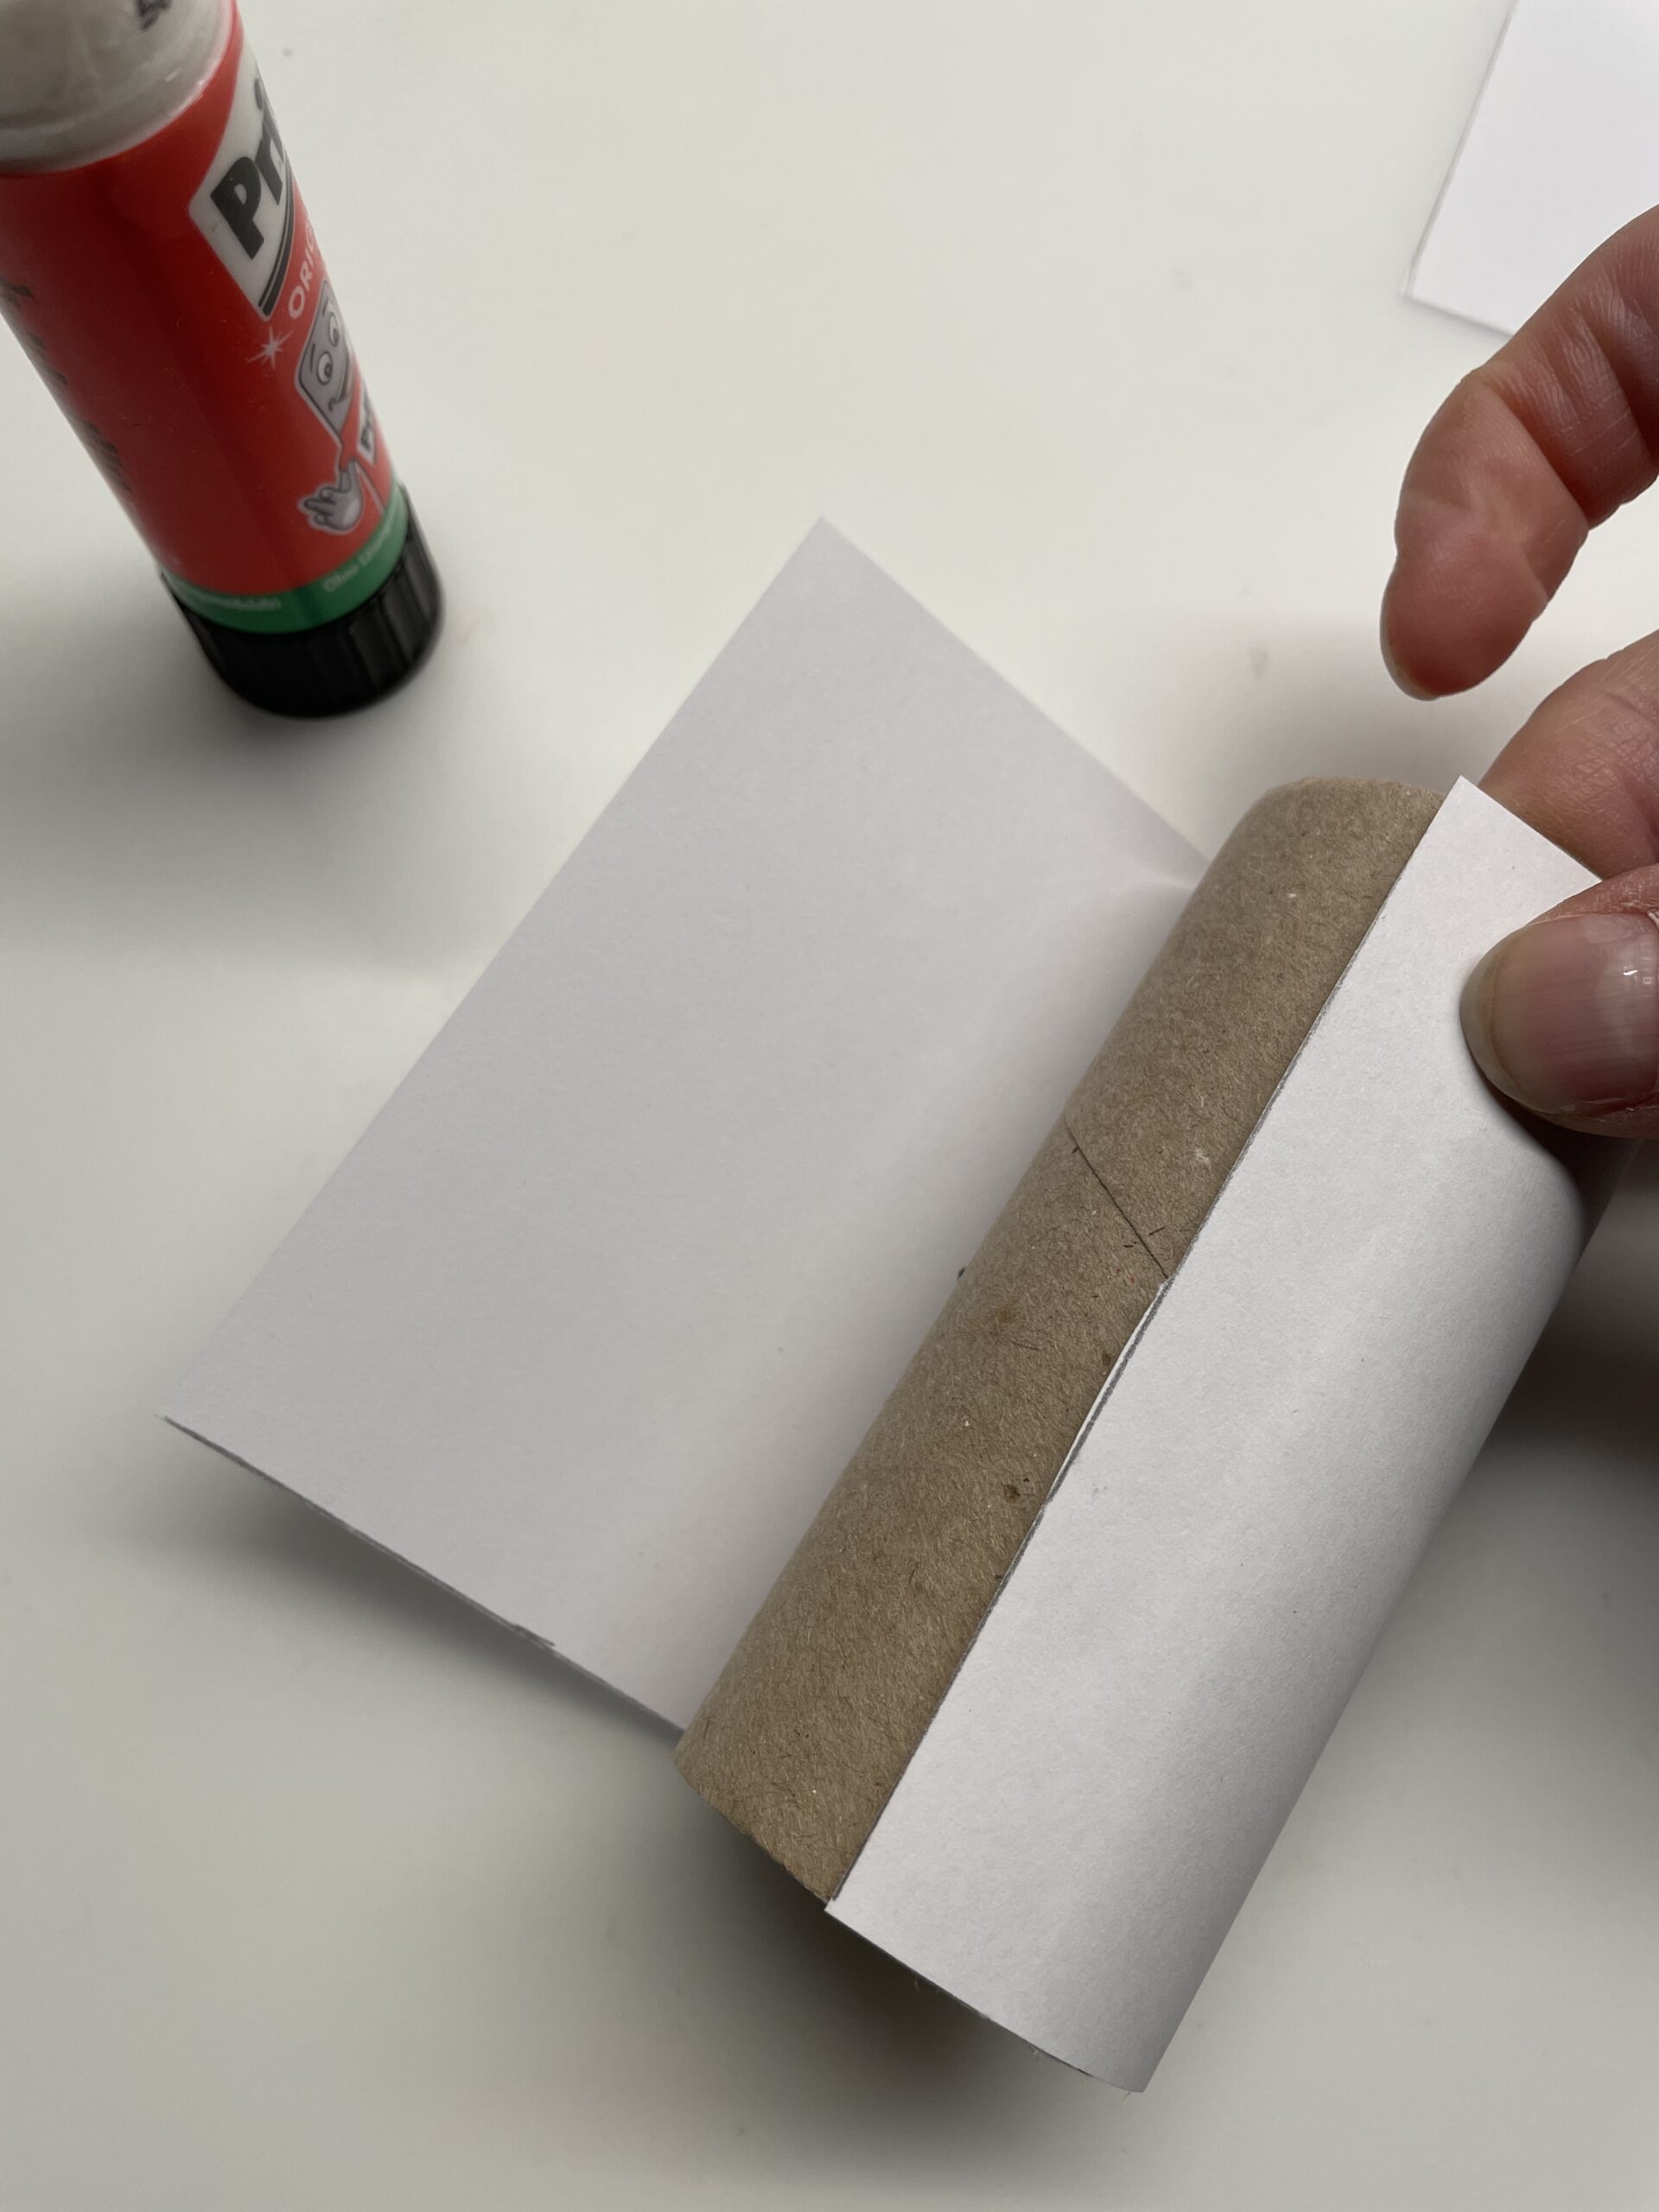
Bild zum Schritt 6 für das Bastel- und DIY-Abenteuer für Kinder: 'Danach legt ihr das Papier um die Rolle.'

7

At the point where both papers overlap, apply glue to the paper roll and the already glued paper.
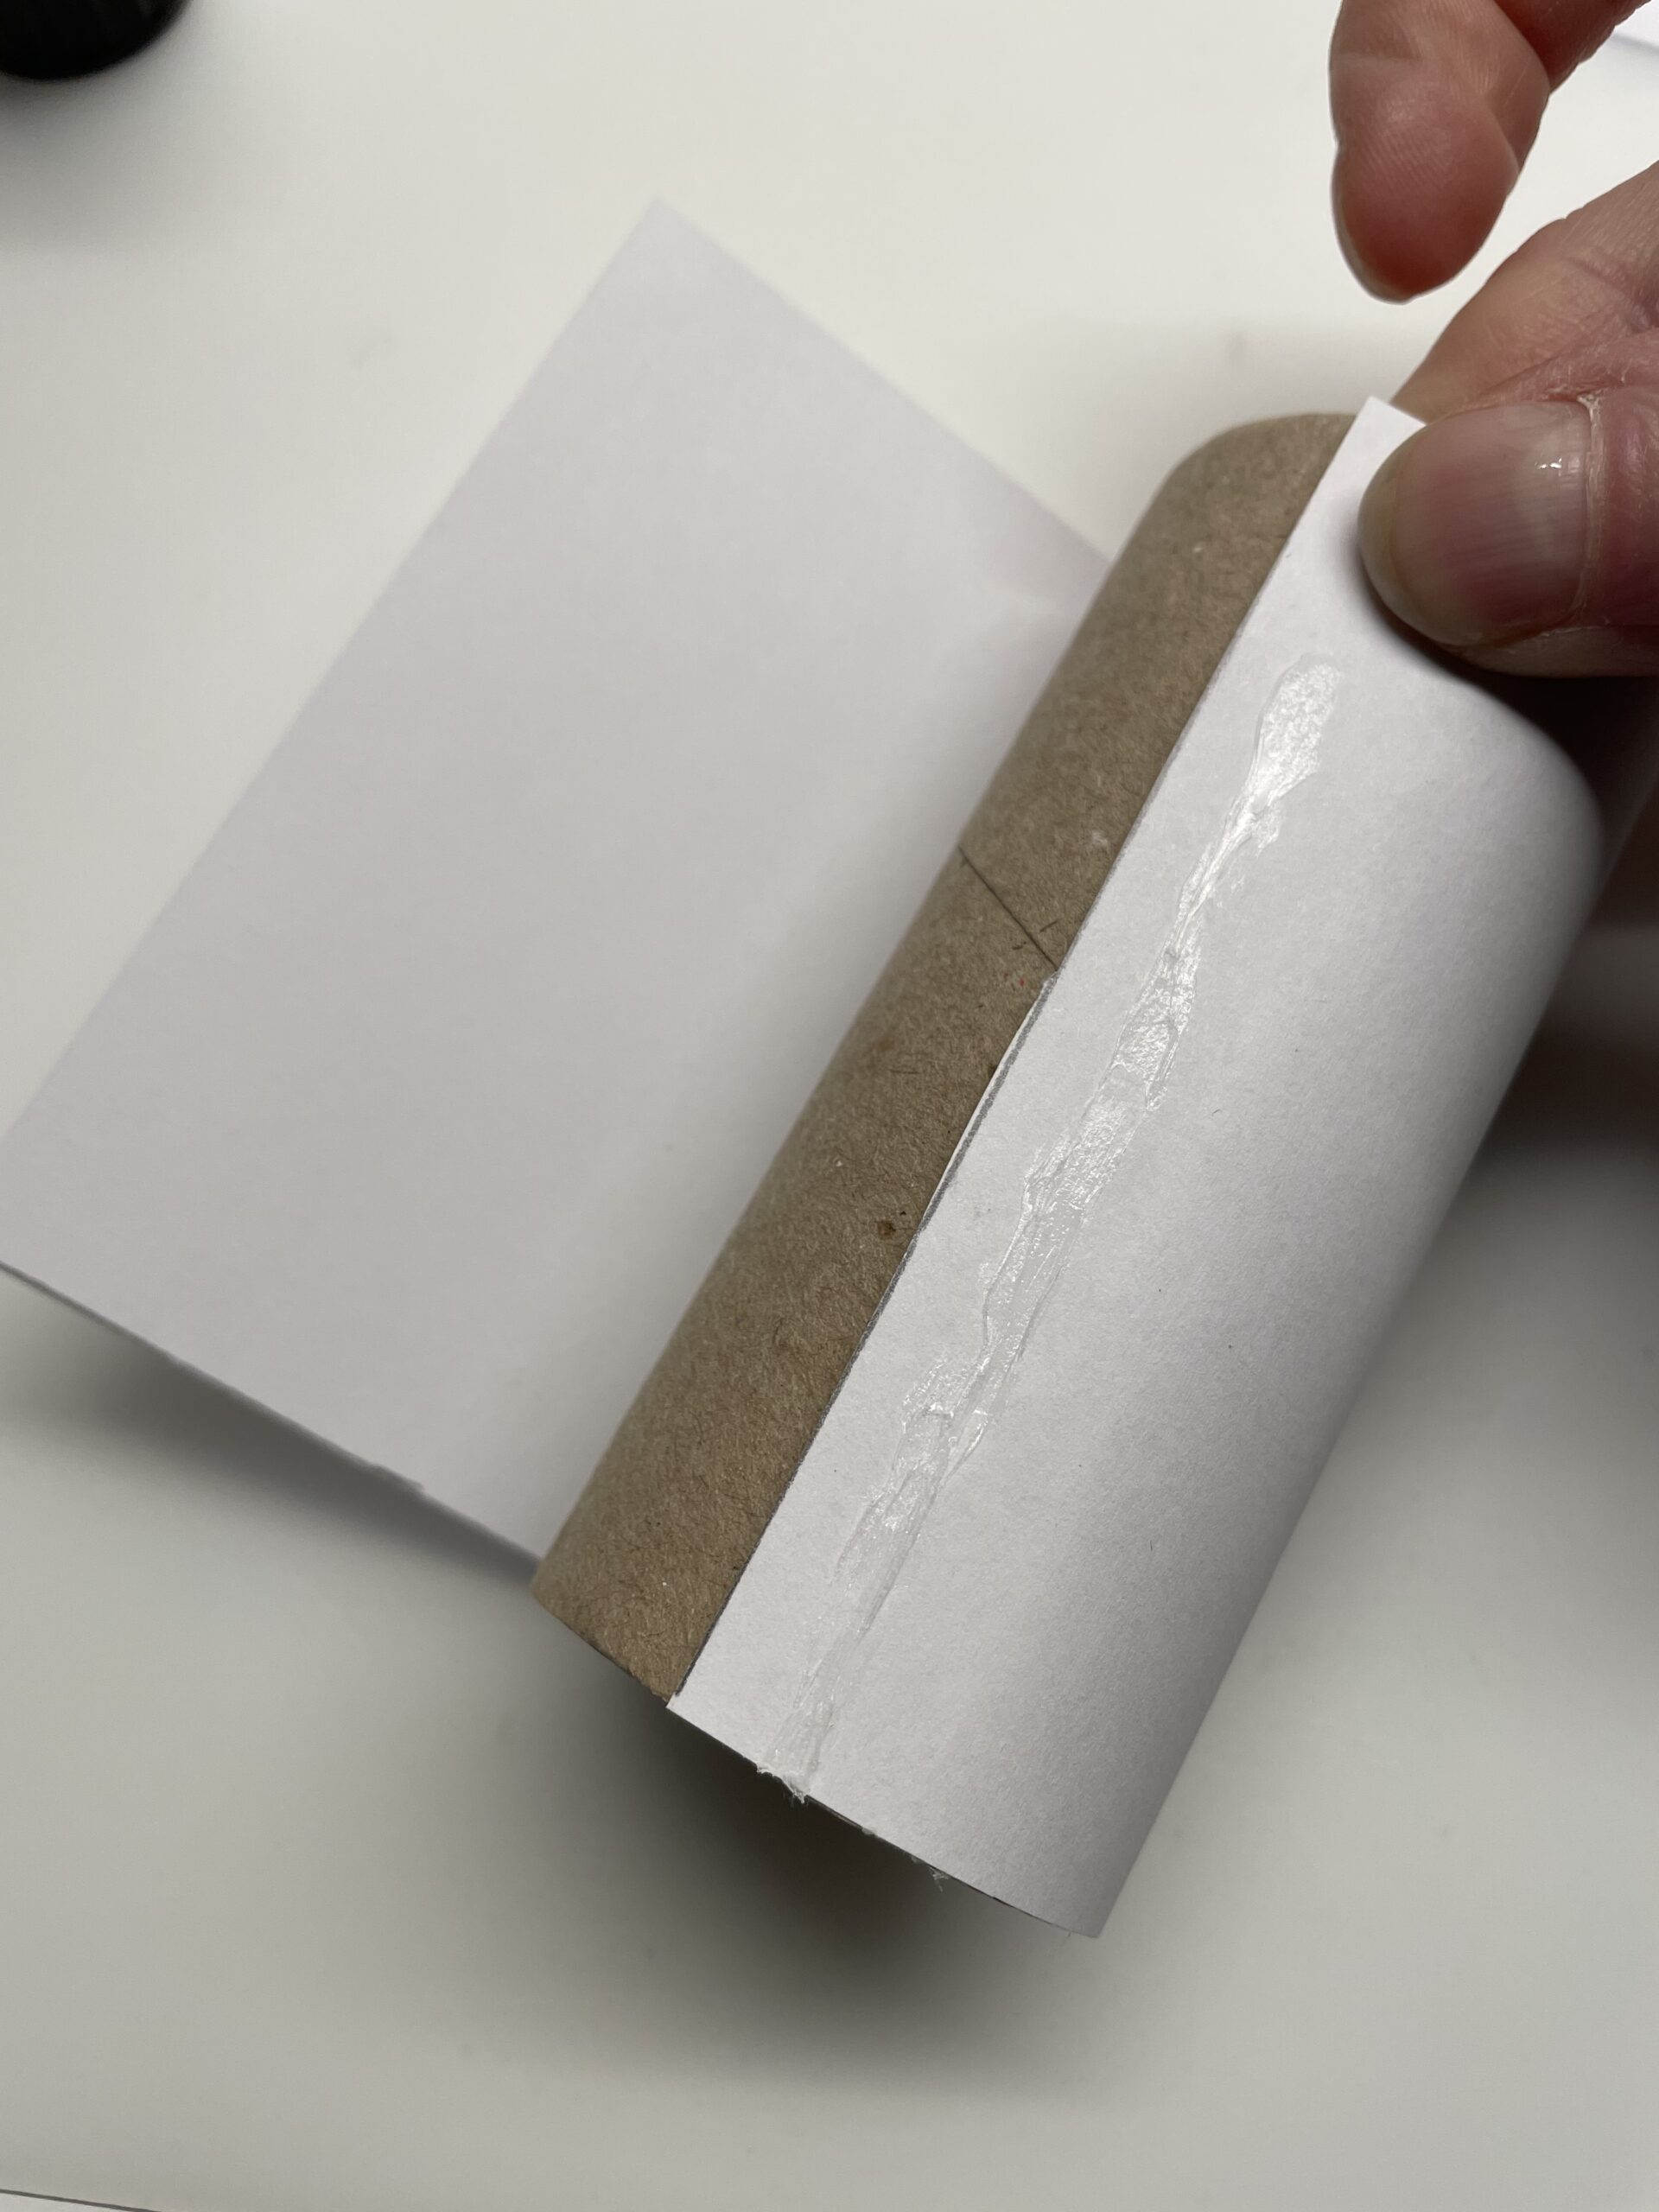
Bild zum Schritt 7 für das Bastel- und DIY-Abenteuer für Kinder: 'An der Stelle an der beide Papiere überlappen, streicht ihr...'

8

Now you put the end of the paper strip on it and press on the paper. Make sure that the paper is tightly wrapped around the paper roll.
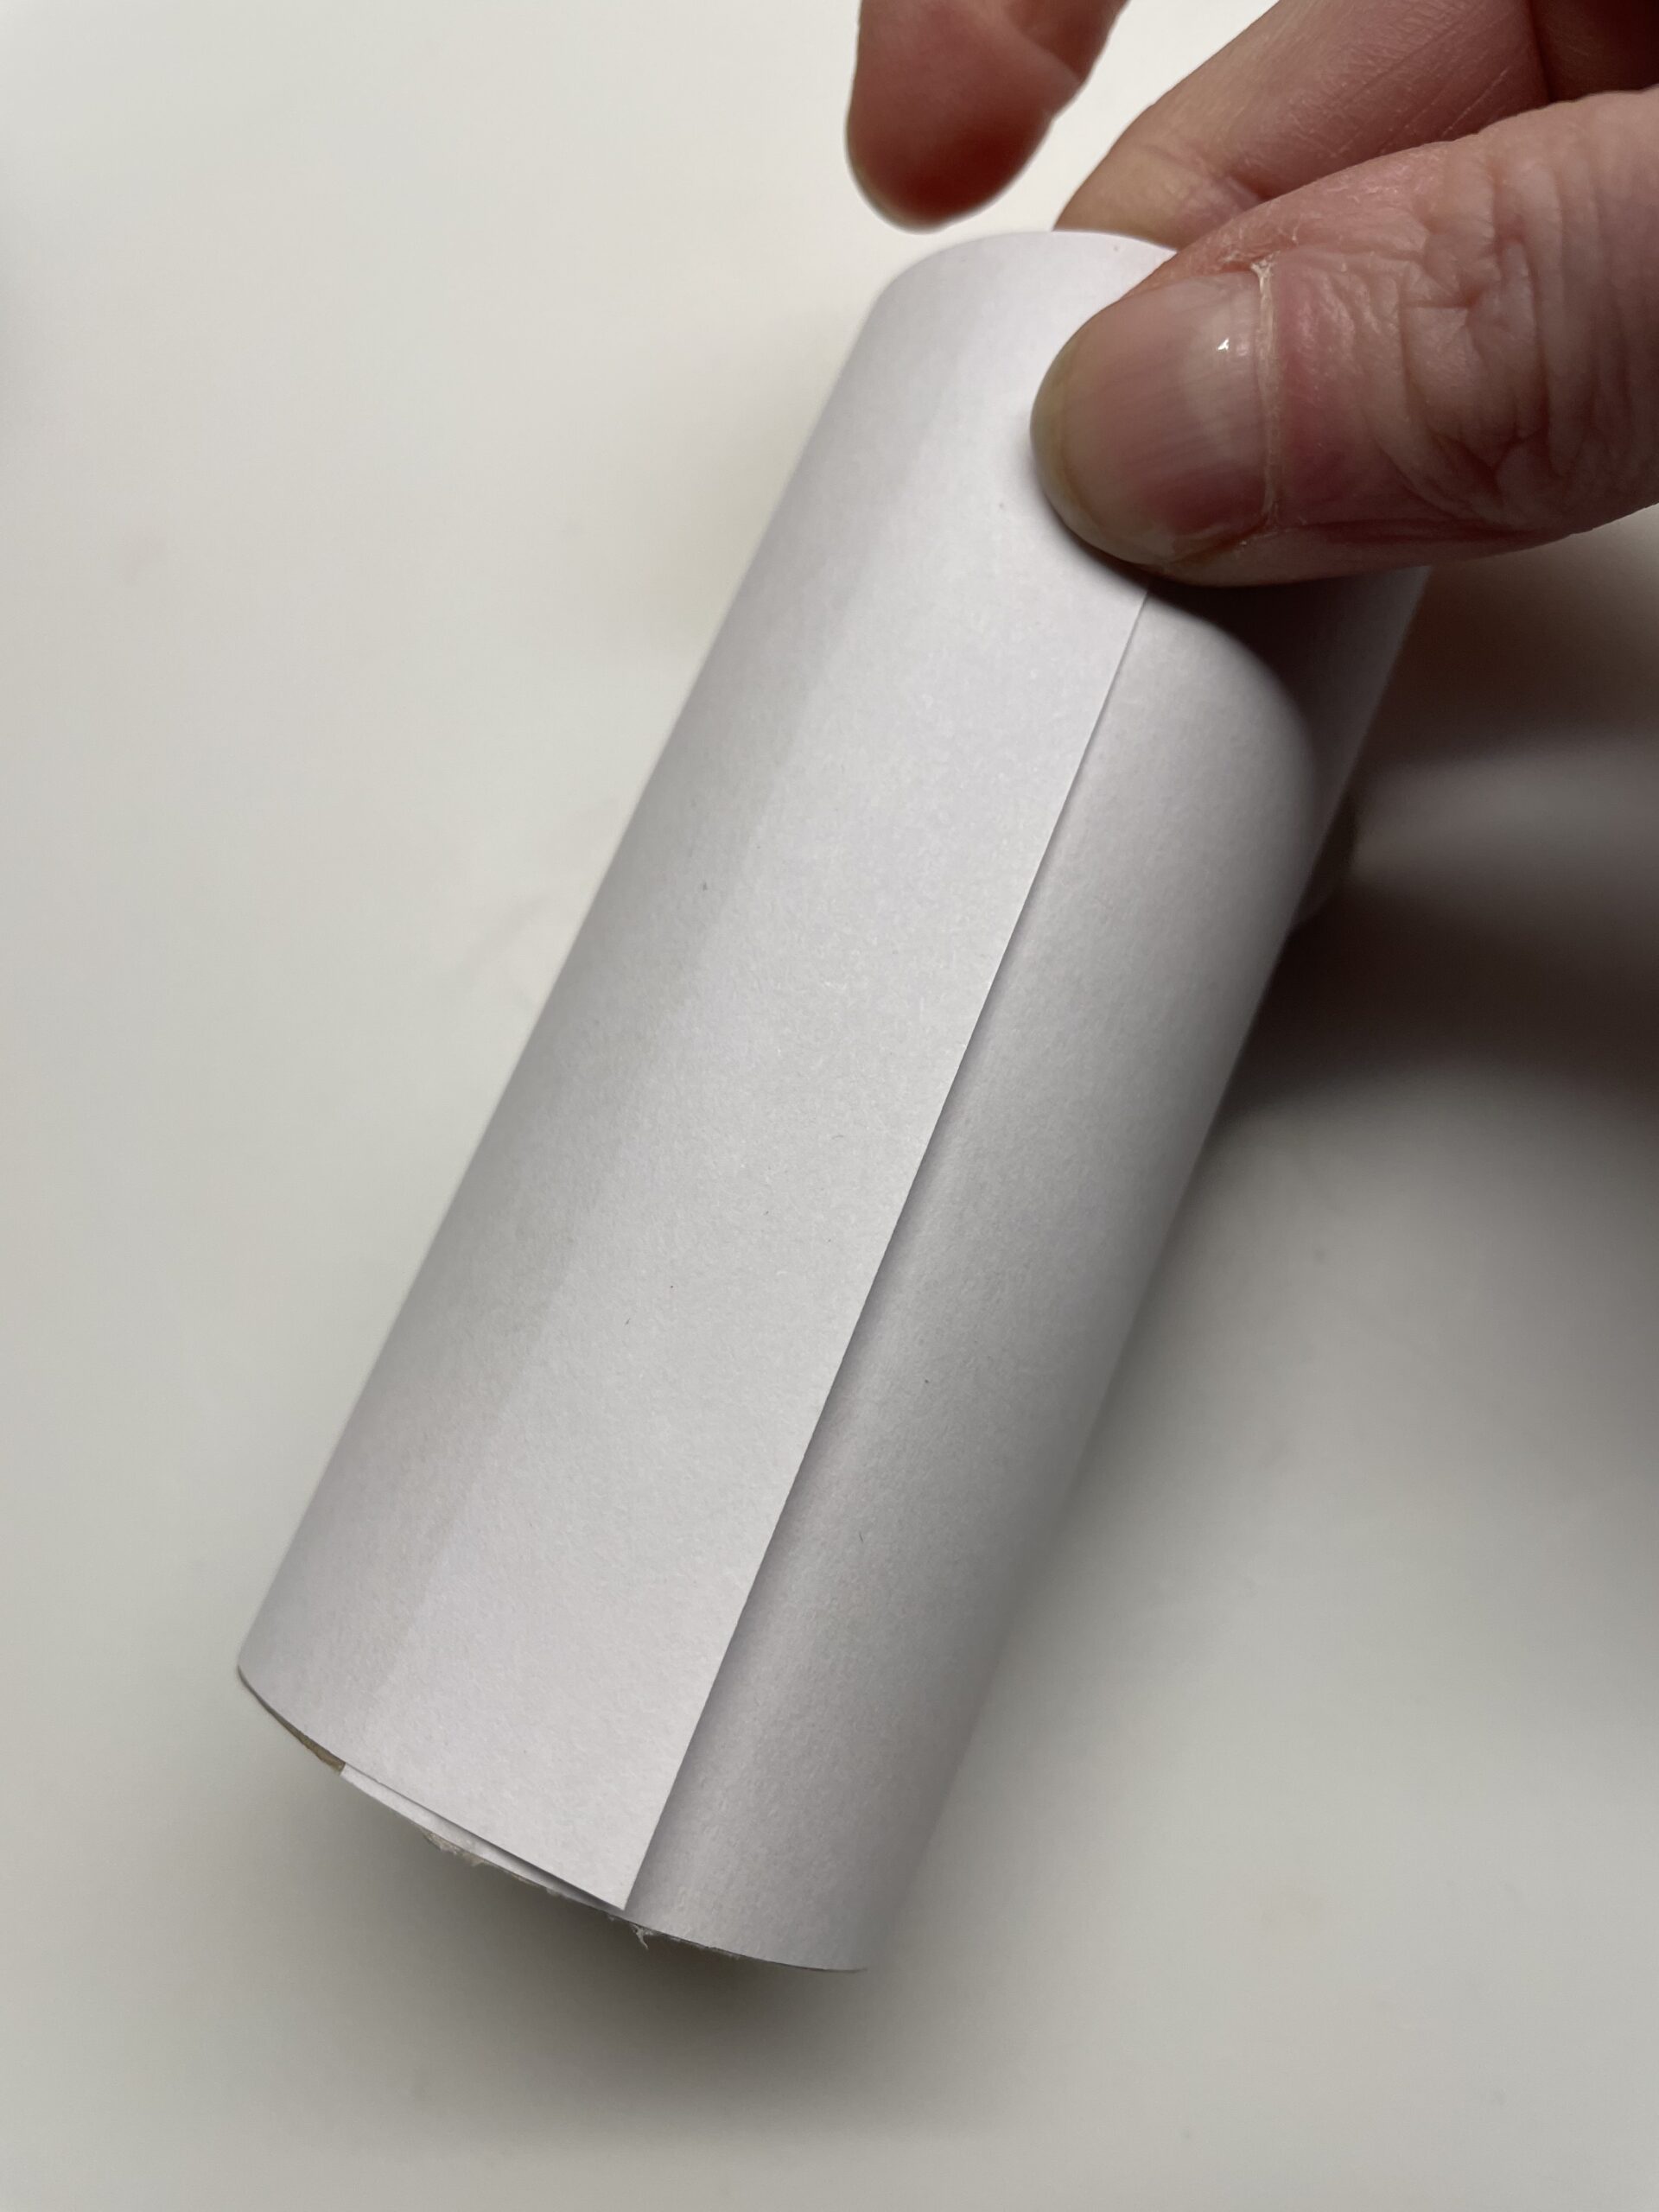
Bild zum Schritt 8 für das Bastel- und DIY-Abenteuer für Kinder: 'Nun legt ihr das Ende des Papierstreifens darauf und drückt...'

9

2. Bild zum Schritt 8 für das Bastel- und DIY-Abenteuer für Kinder: 'Nun legt ihr das Ende des Papierstreifens darauf und drückt...'

10

Now you're making the hat.

Tip: If you don't have a black lid, paint a coloured screw glass lid in black!
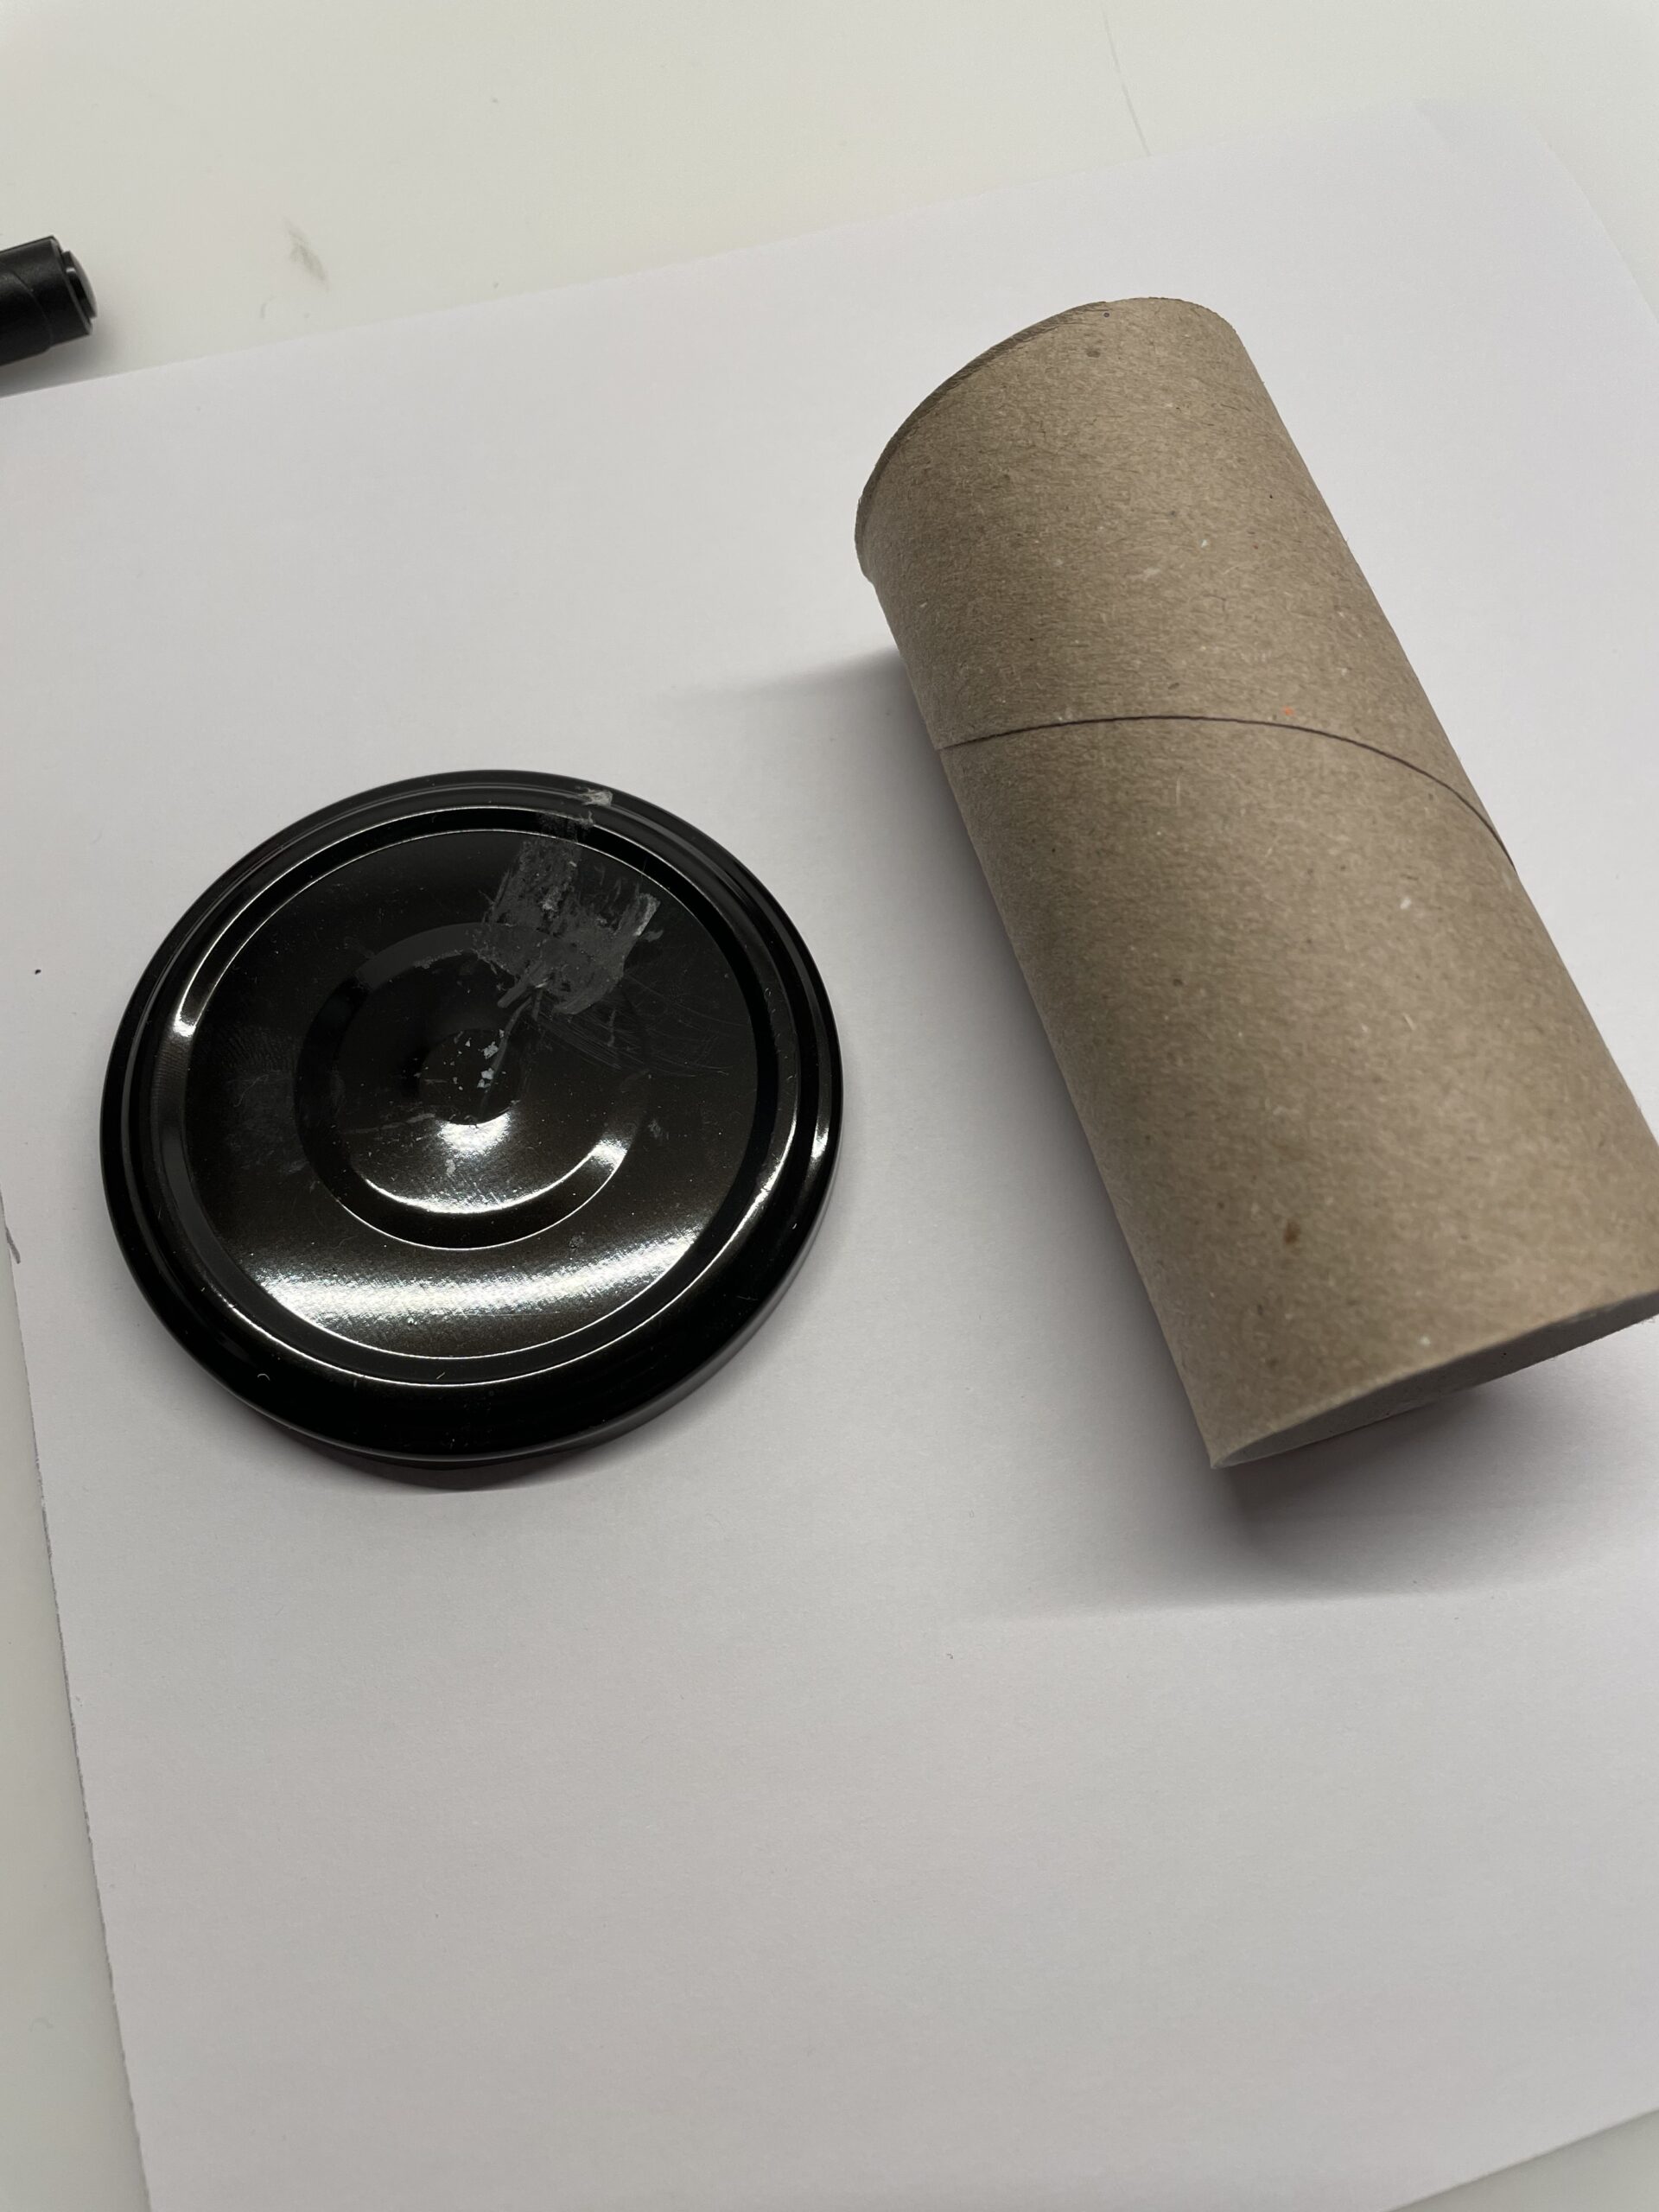
Bild zum Schritt 10 für das Bastel- und DIY-Abenteuer für Kinder: 'Jetzt bastelt ihr den Hut.    Tipp: Solltet...'

11

Cuts off a 4cm wide piece of the cardboard roll.
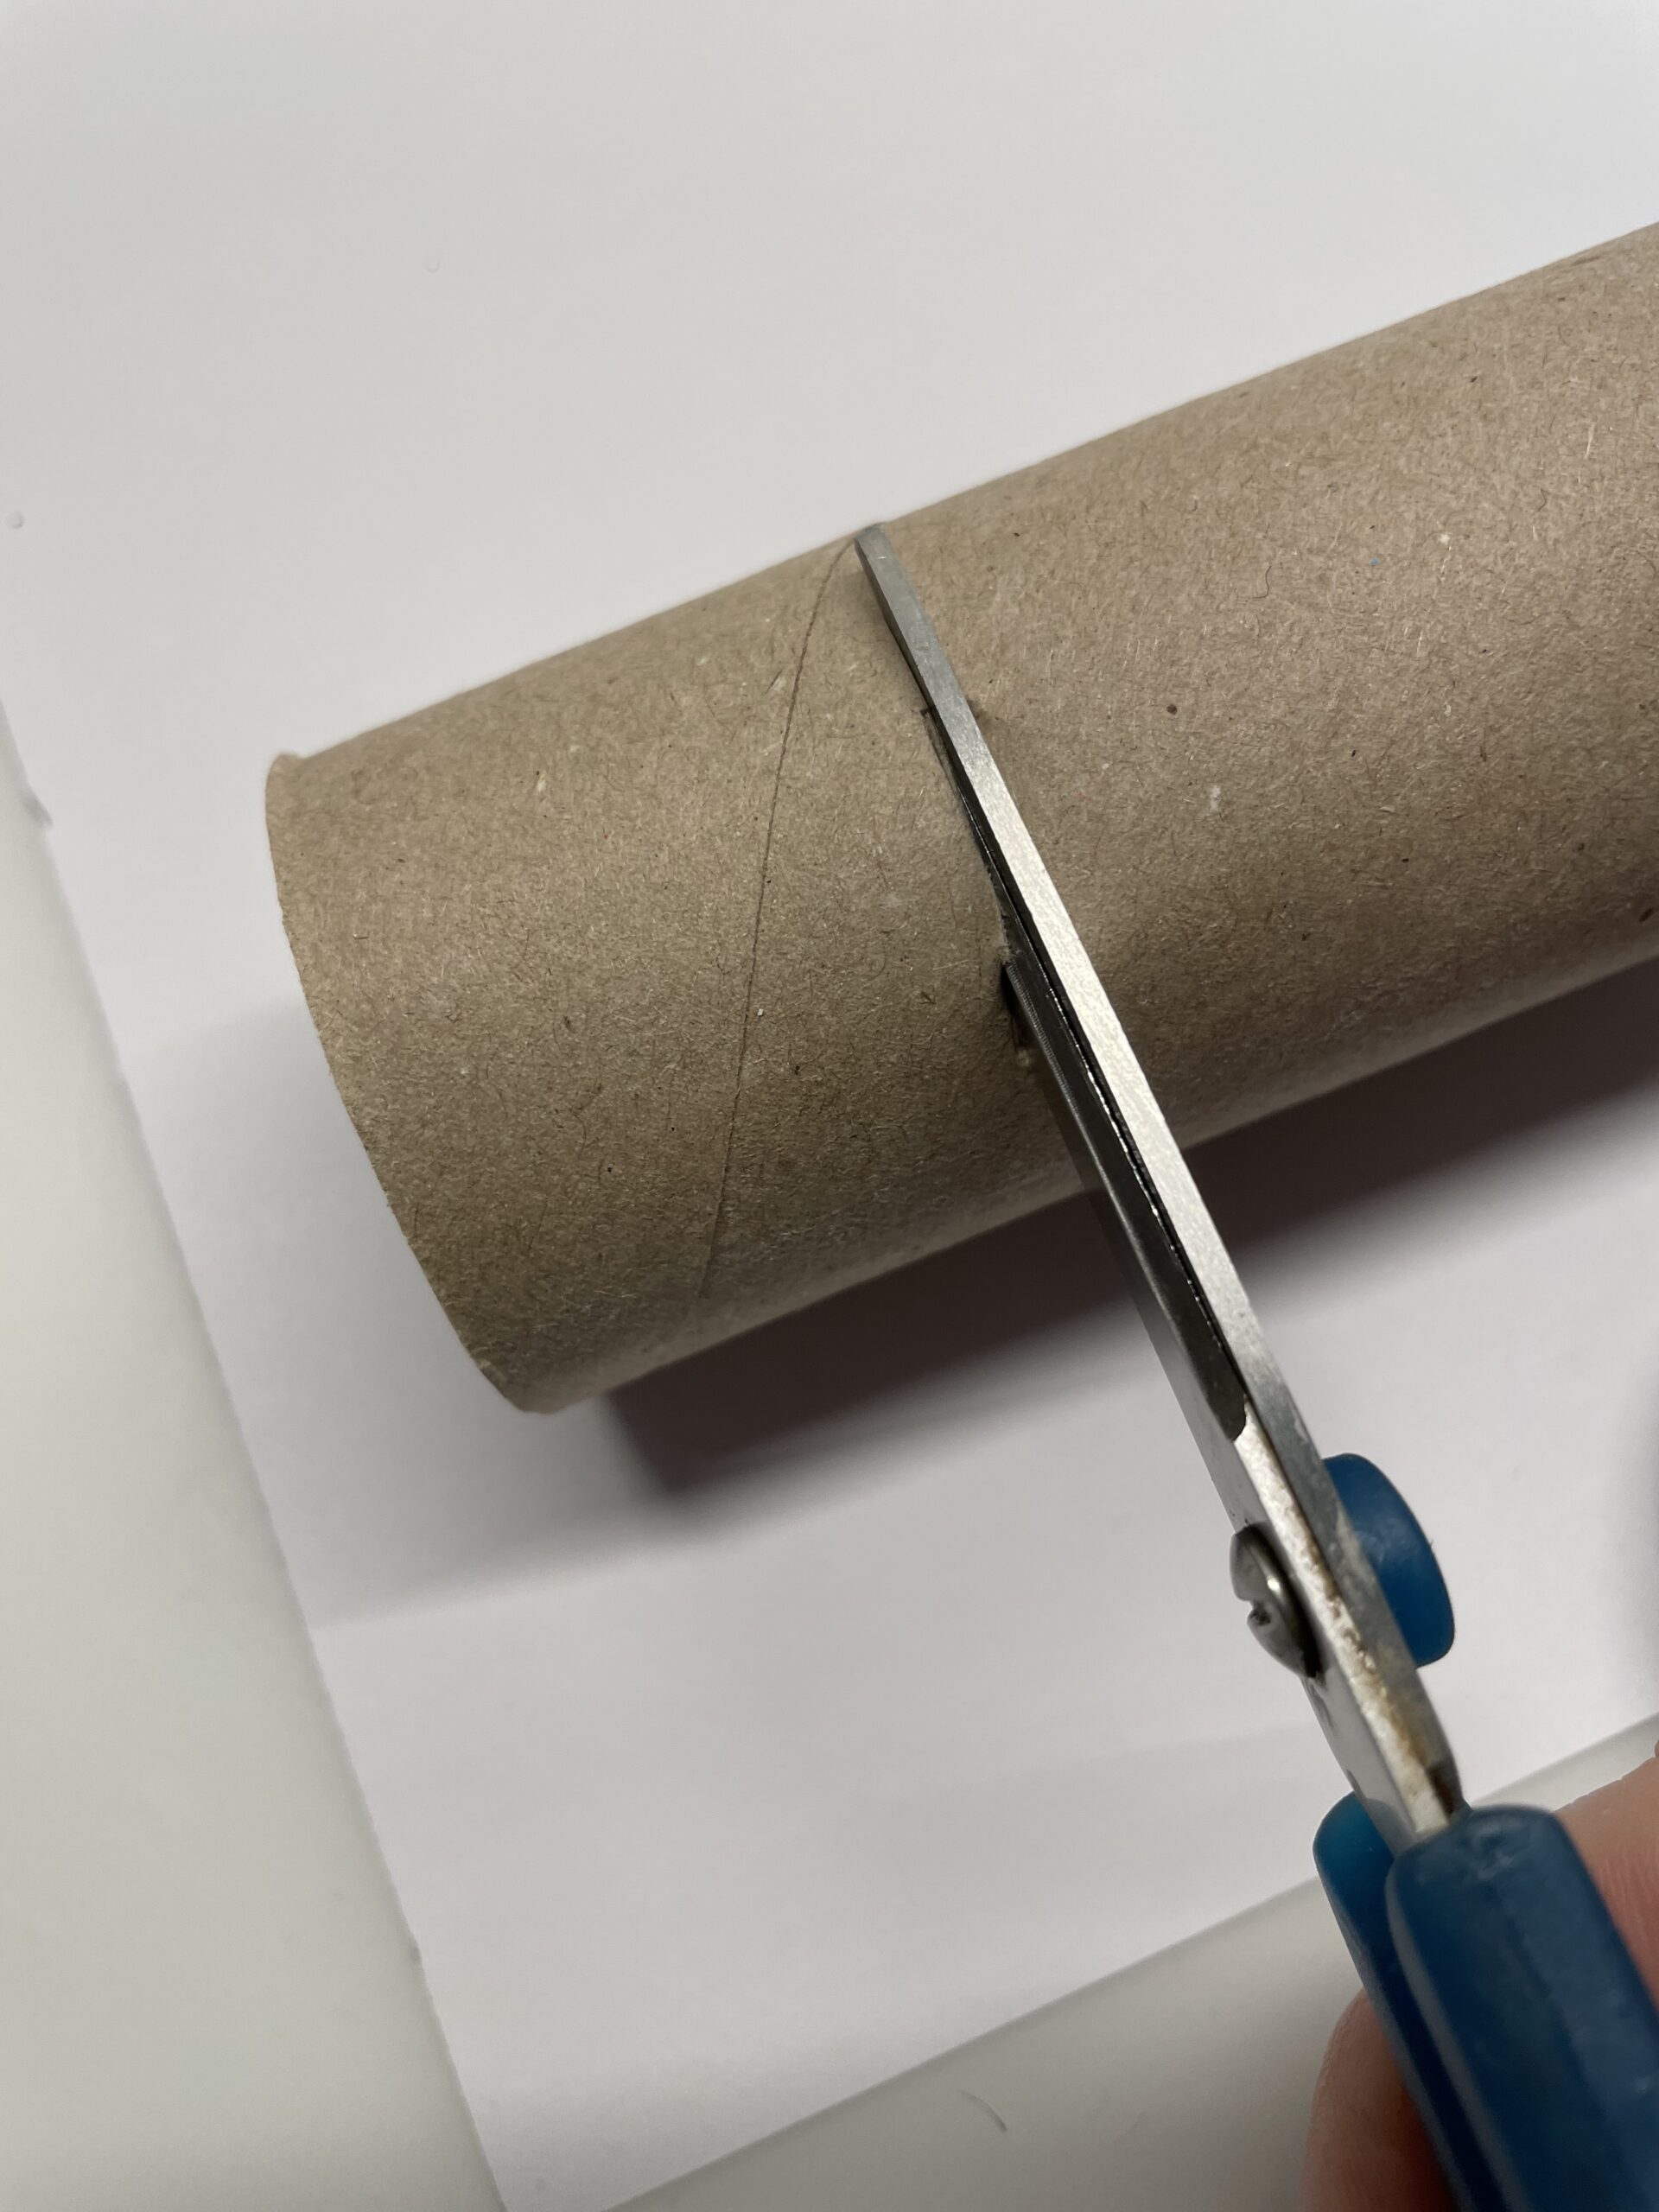
Bild zum Schritt 11 für das Bastel- und DIY-Abenteuer für Kinder: 'Schneidet ein ca. 4cm breites Stück der Papprolle ab.'

12

Thus, both parts are later placed on each other.
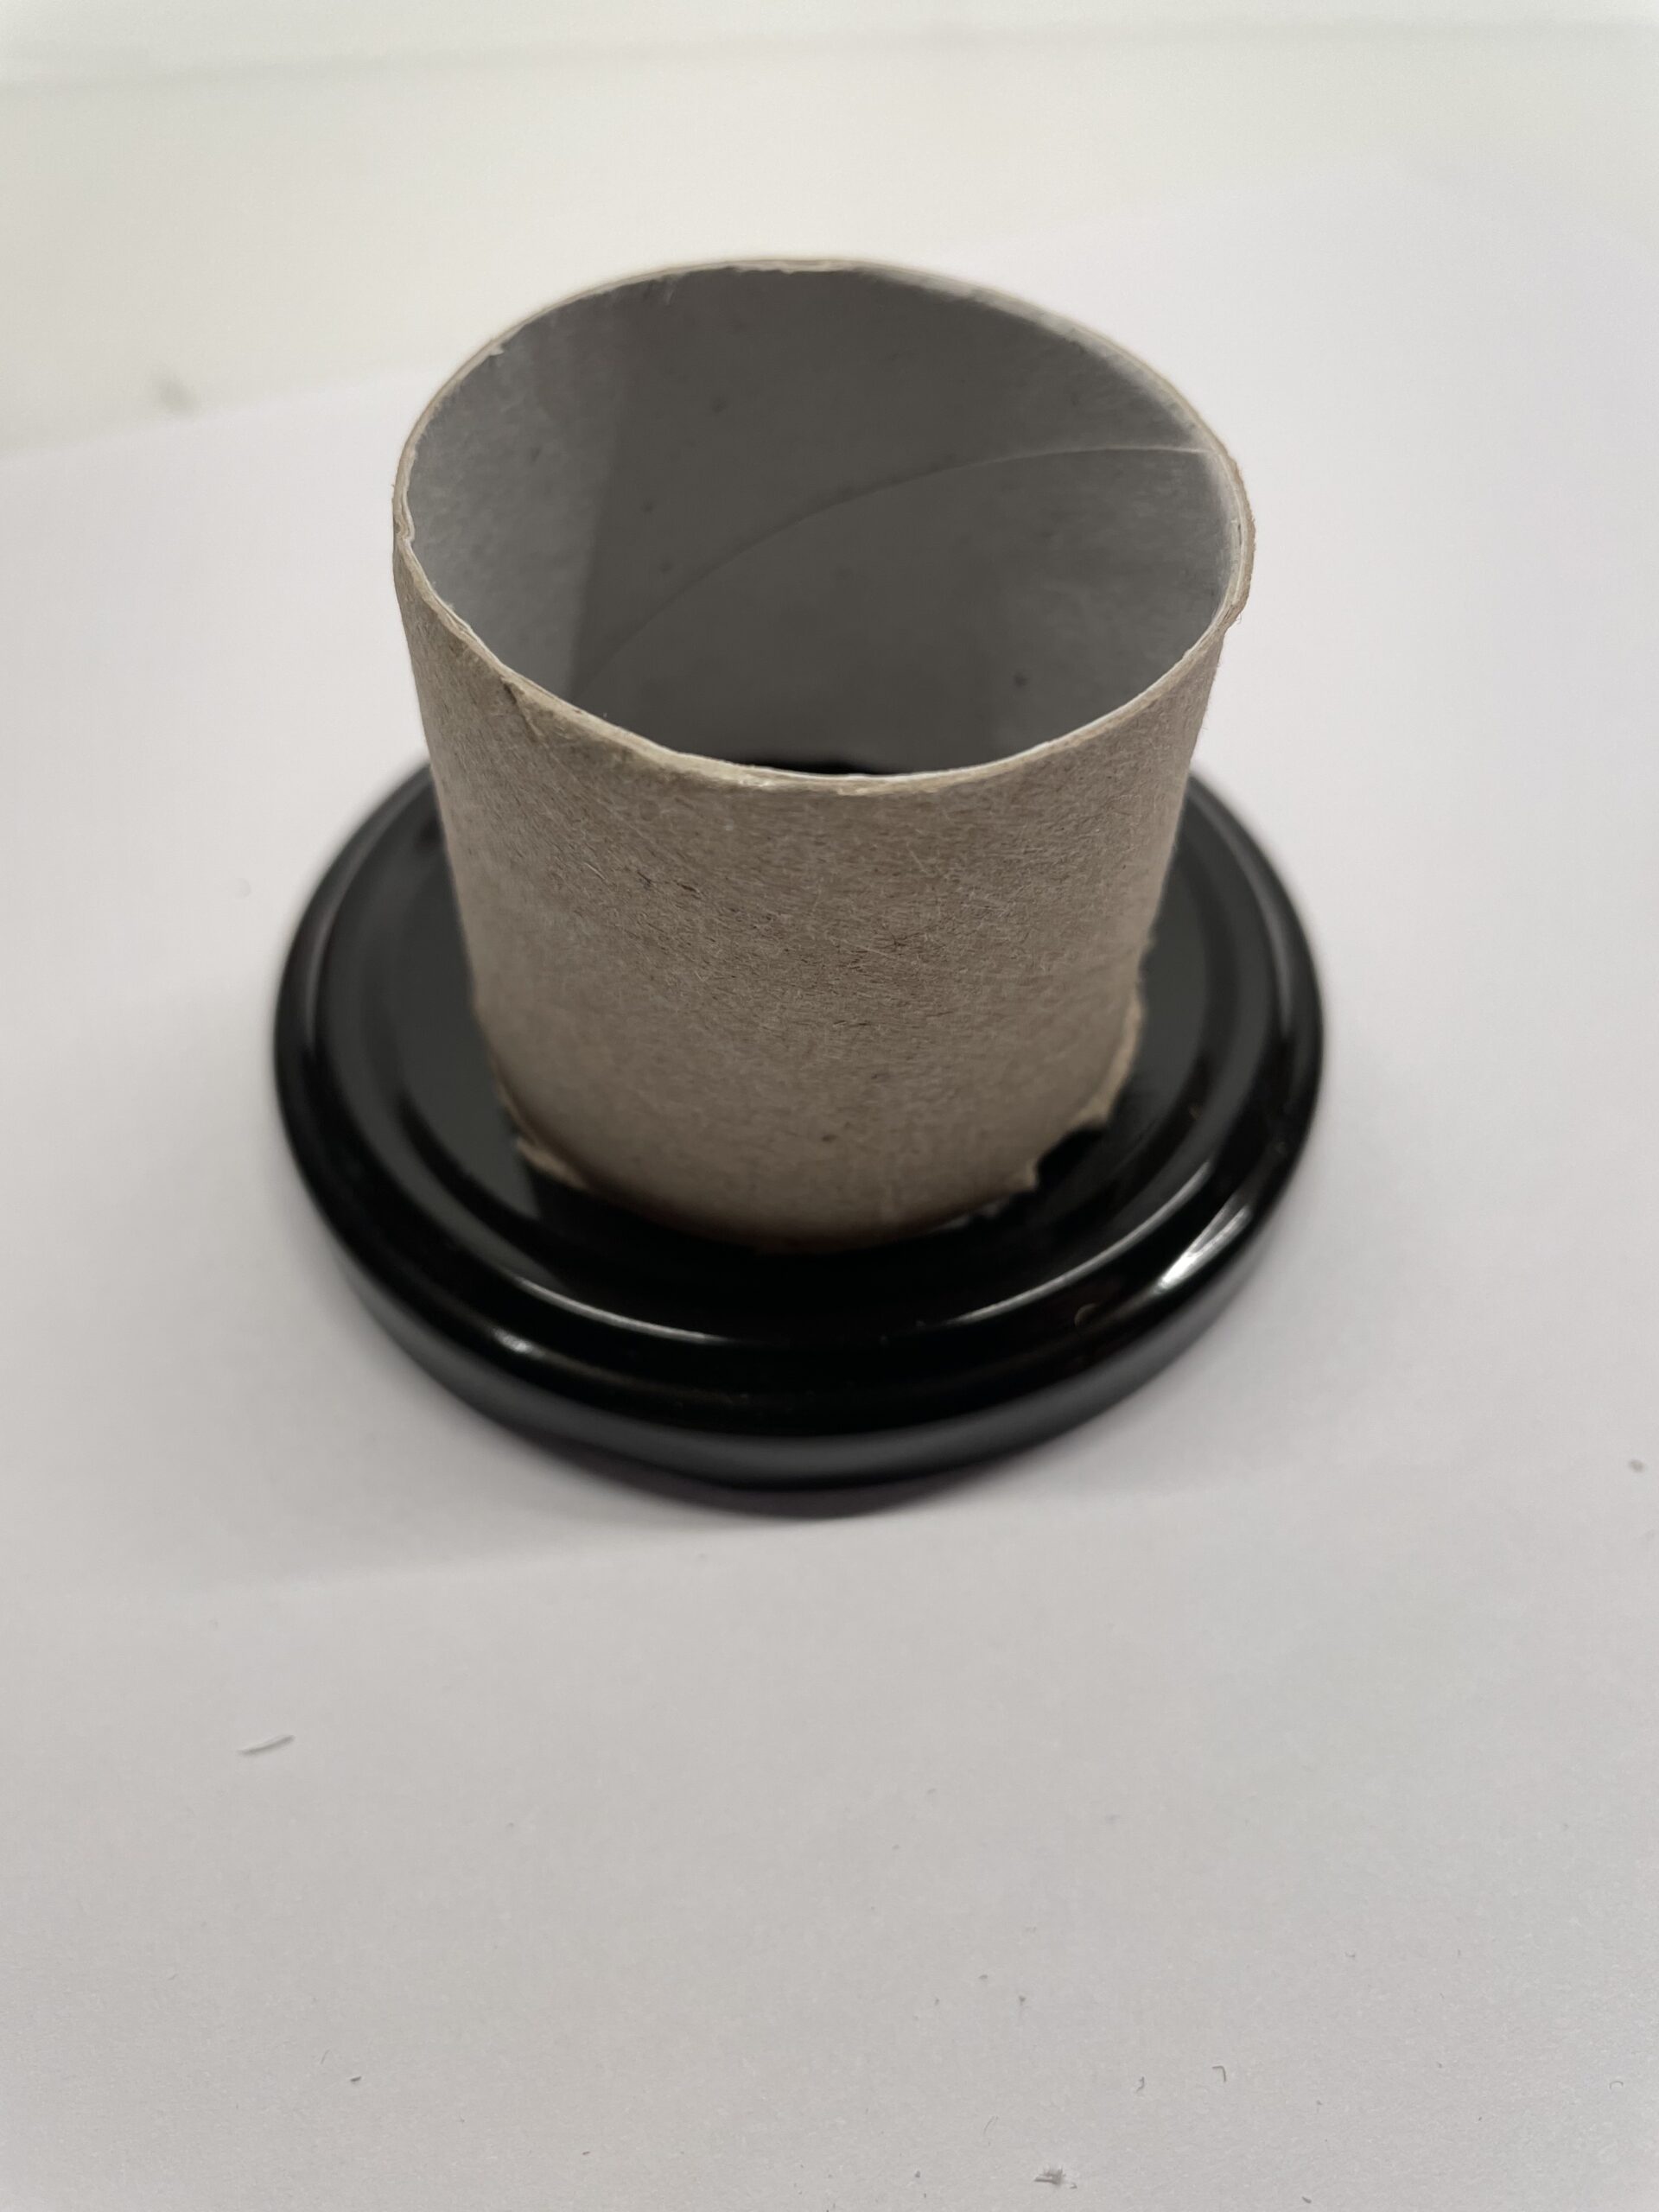
Bild zum Schritt 12 für das Bastel- und DIY-Abenteuer für Kinder: 'So werden beide Teile später aufeinander gesetzt.'

13

Then cut a strip of black paper to the size 4cm x 15cm.
After that, you stick the paper strip around the cardboard roll (see above!).
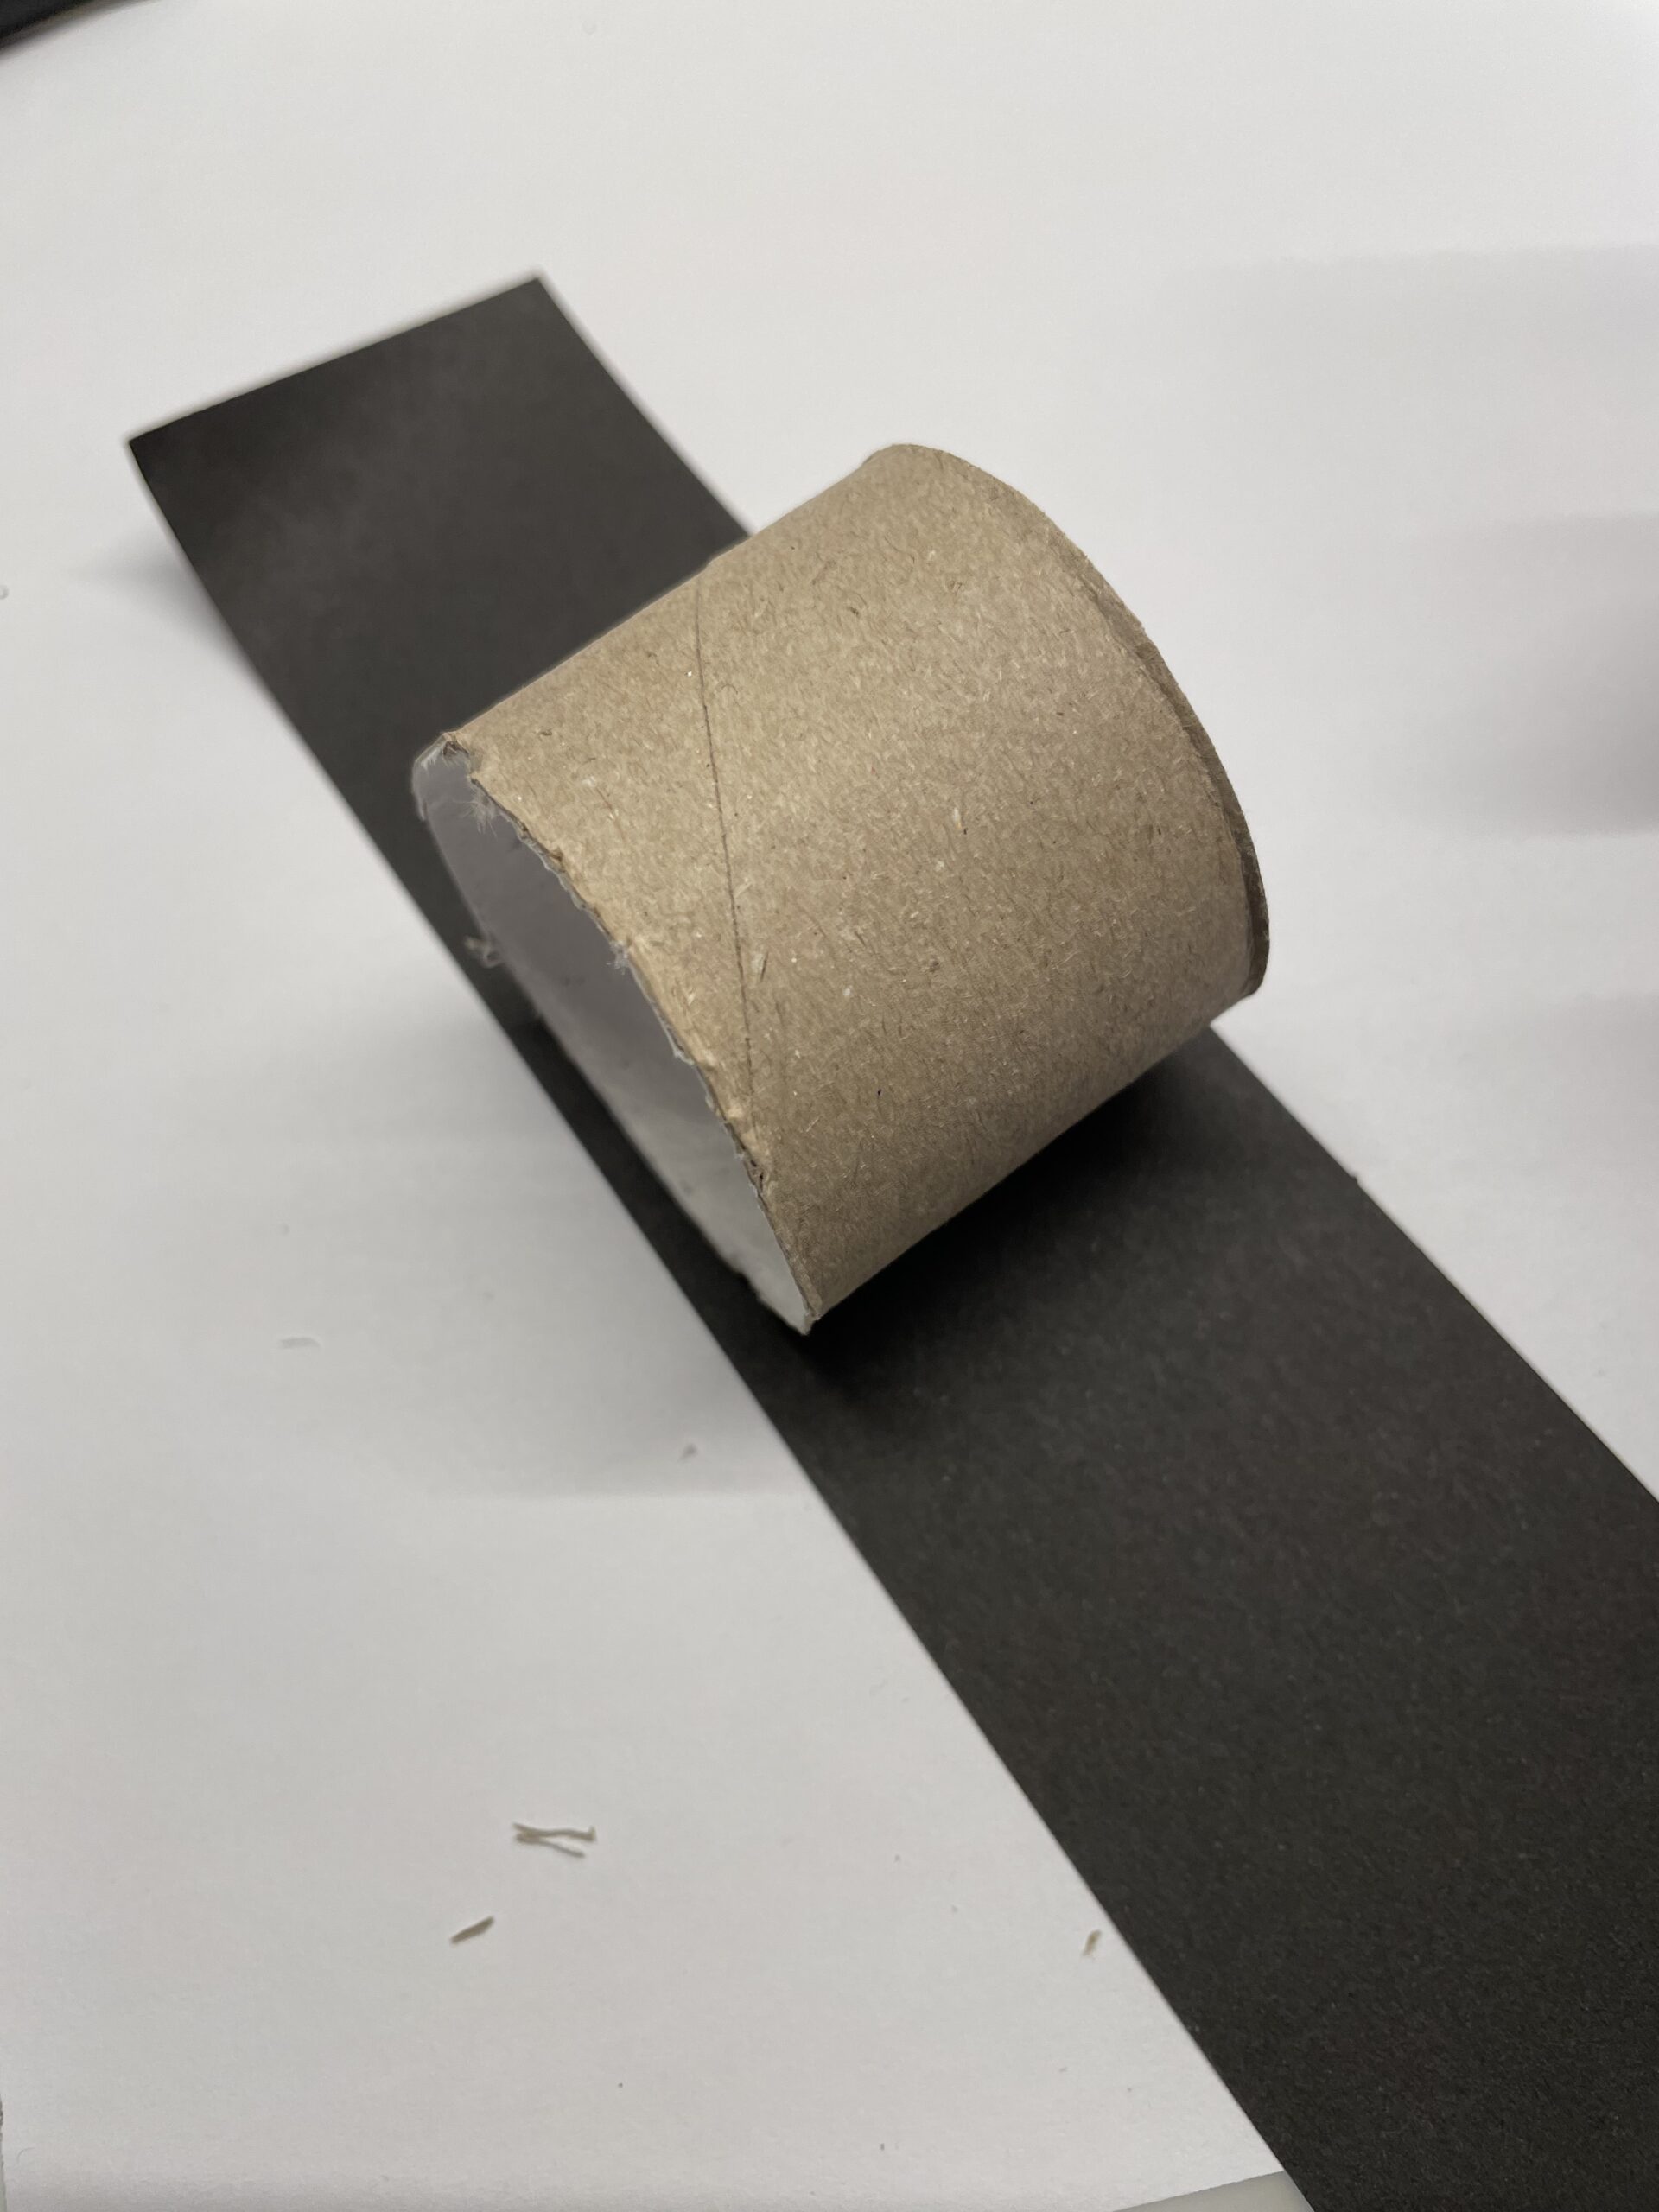
Bild zum Schritt 13 für das Bastel- und DIY-Abenteuer für Kinder: 'Anschließend schneidet ihr einen Streifen schwarzes Papier auf die Größe...'

14

Cut off overhanging paper edges with scissors.
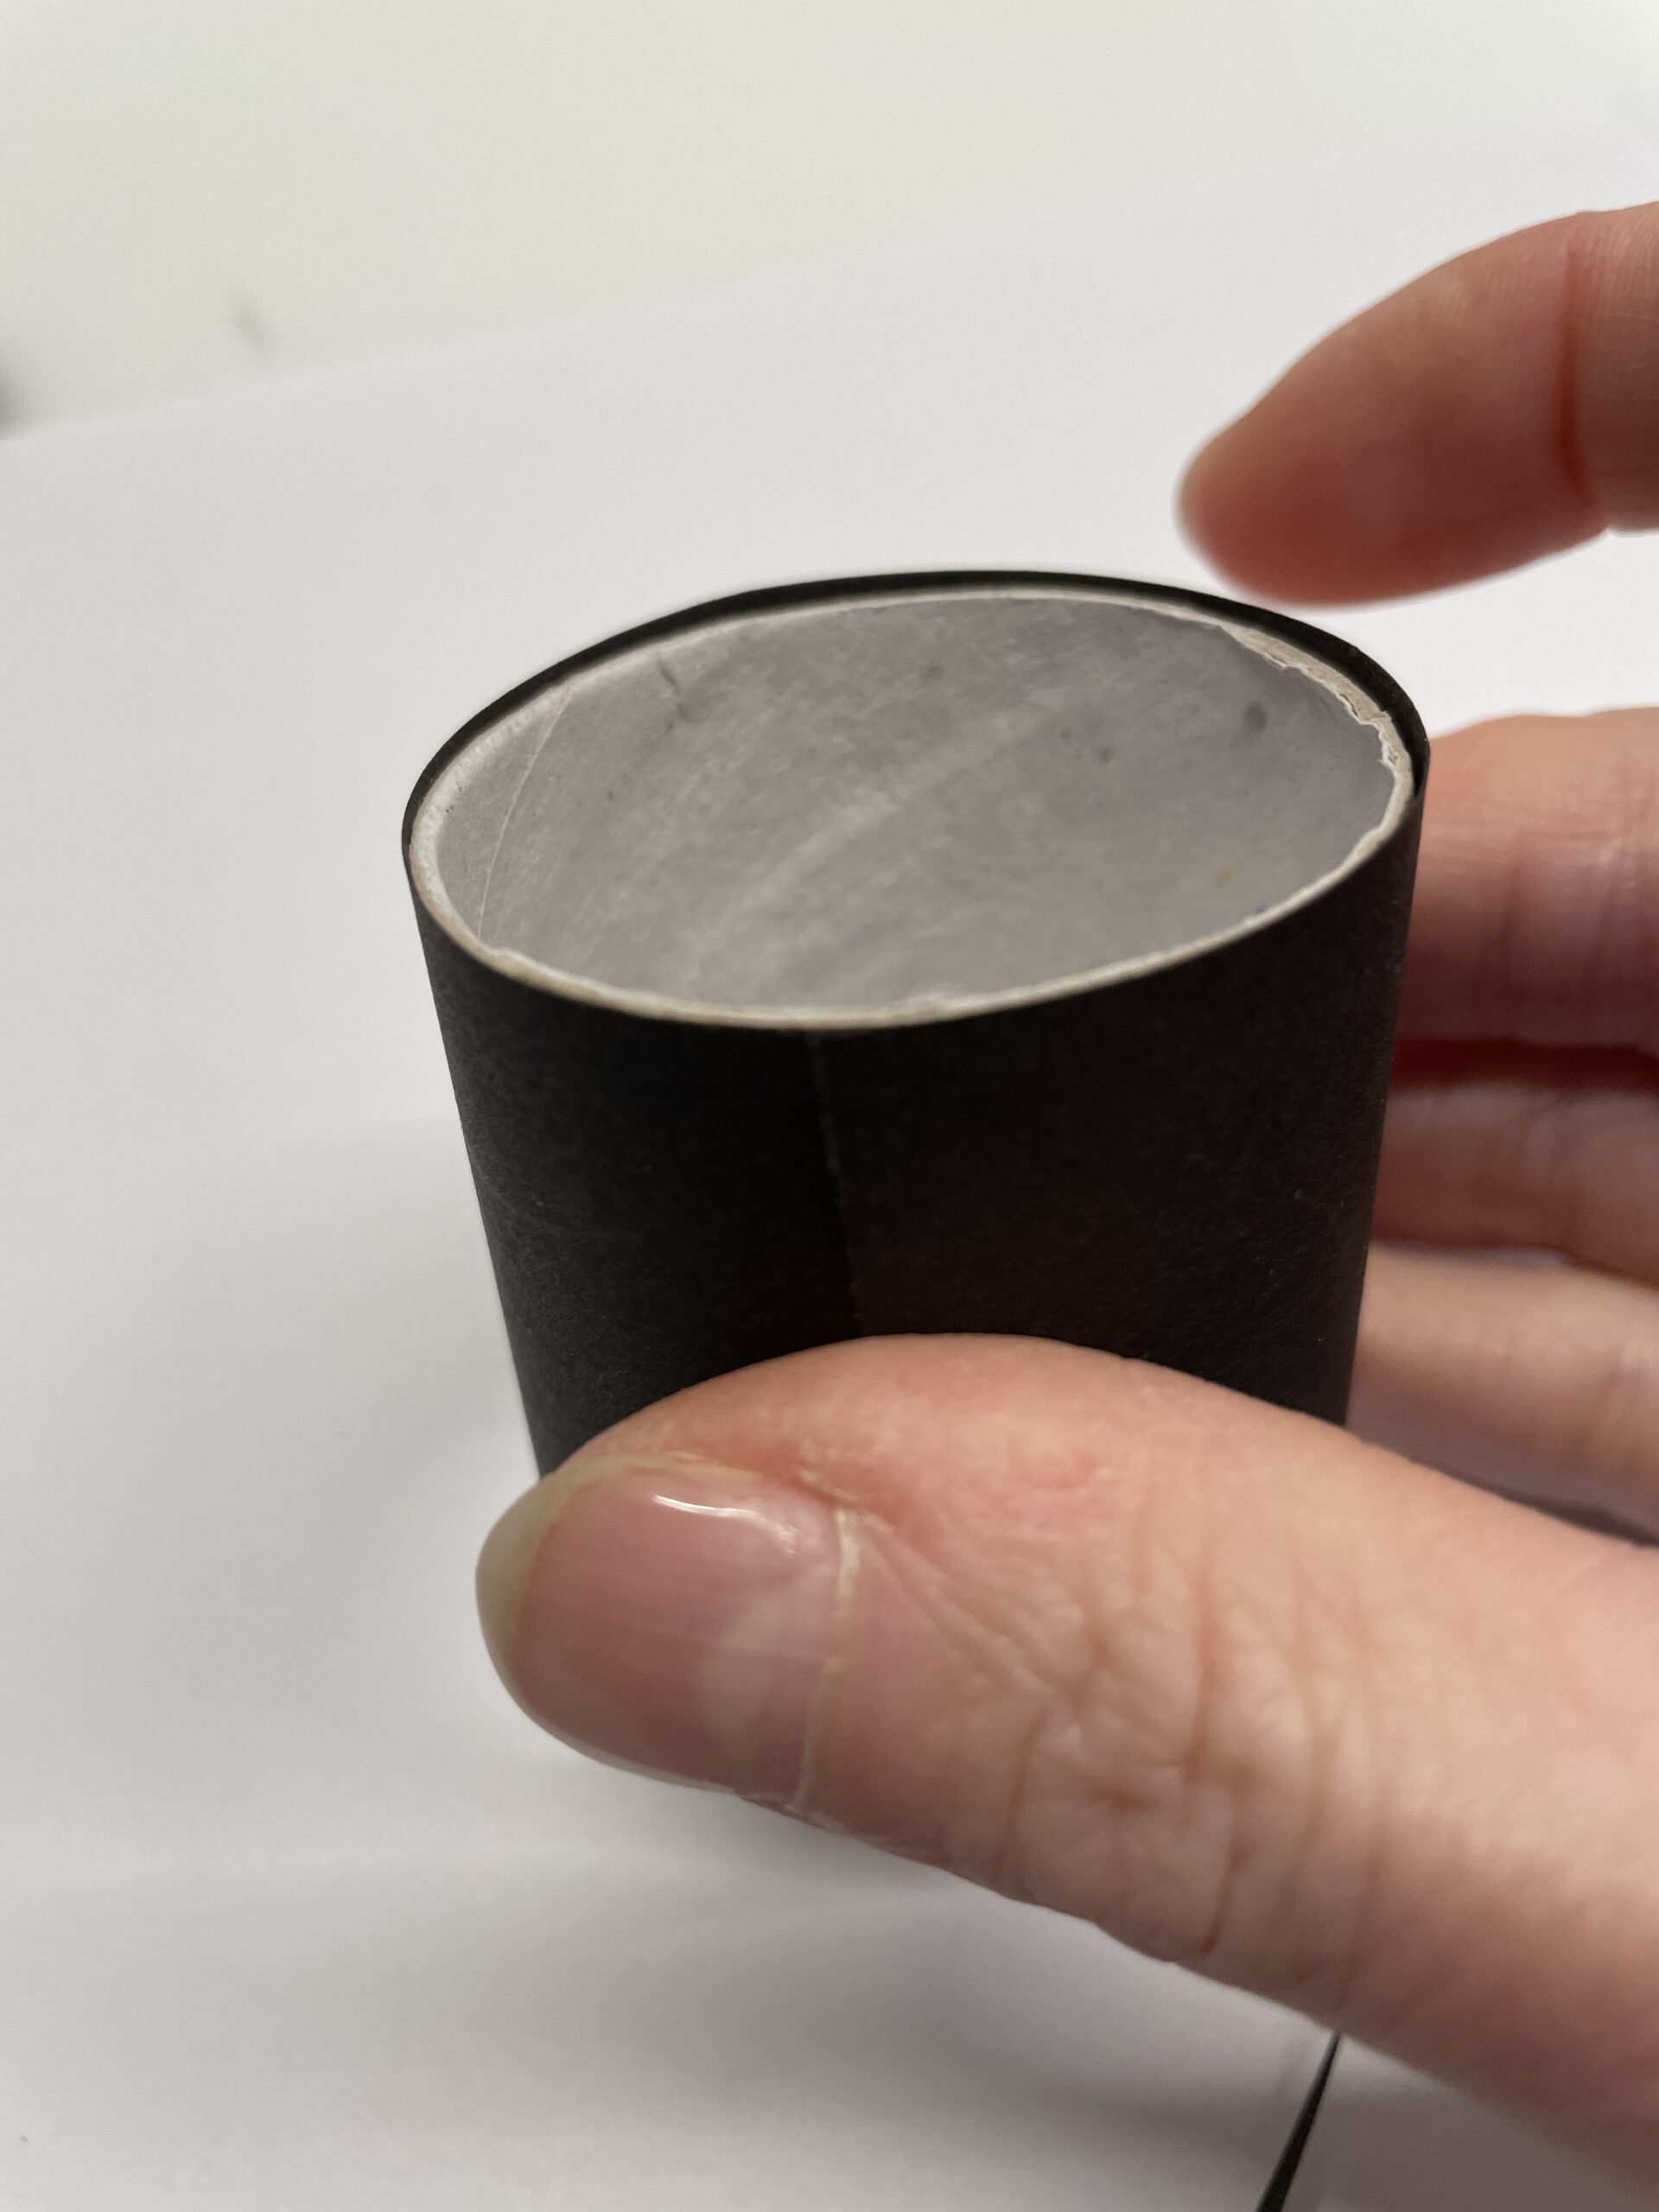
Bild zum Schritt 14 für das Bastel- und DIY-Abenteuer für Kinder: 'Überstehende Papierränder schneidet ihr mit der Schere ab.'

15

Now put the lid on the snowman and stick the lid on the cardboard roll. To do this, apply the glue to the cardboard roll and place the lid on it.

Bild zum Schritt 15 für das Bastel- und DIY-Abenteuer für Kinder: 'Jetzt legt ihr den Deckel auf den Schneemann und klebt...'

16

Then brush the edge on the black roll with glue and stick it on the lid.
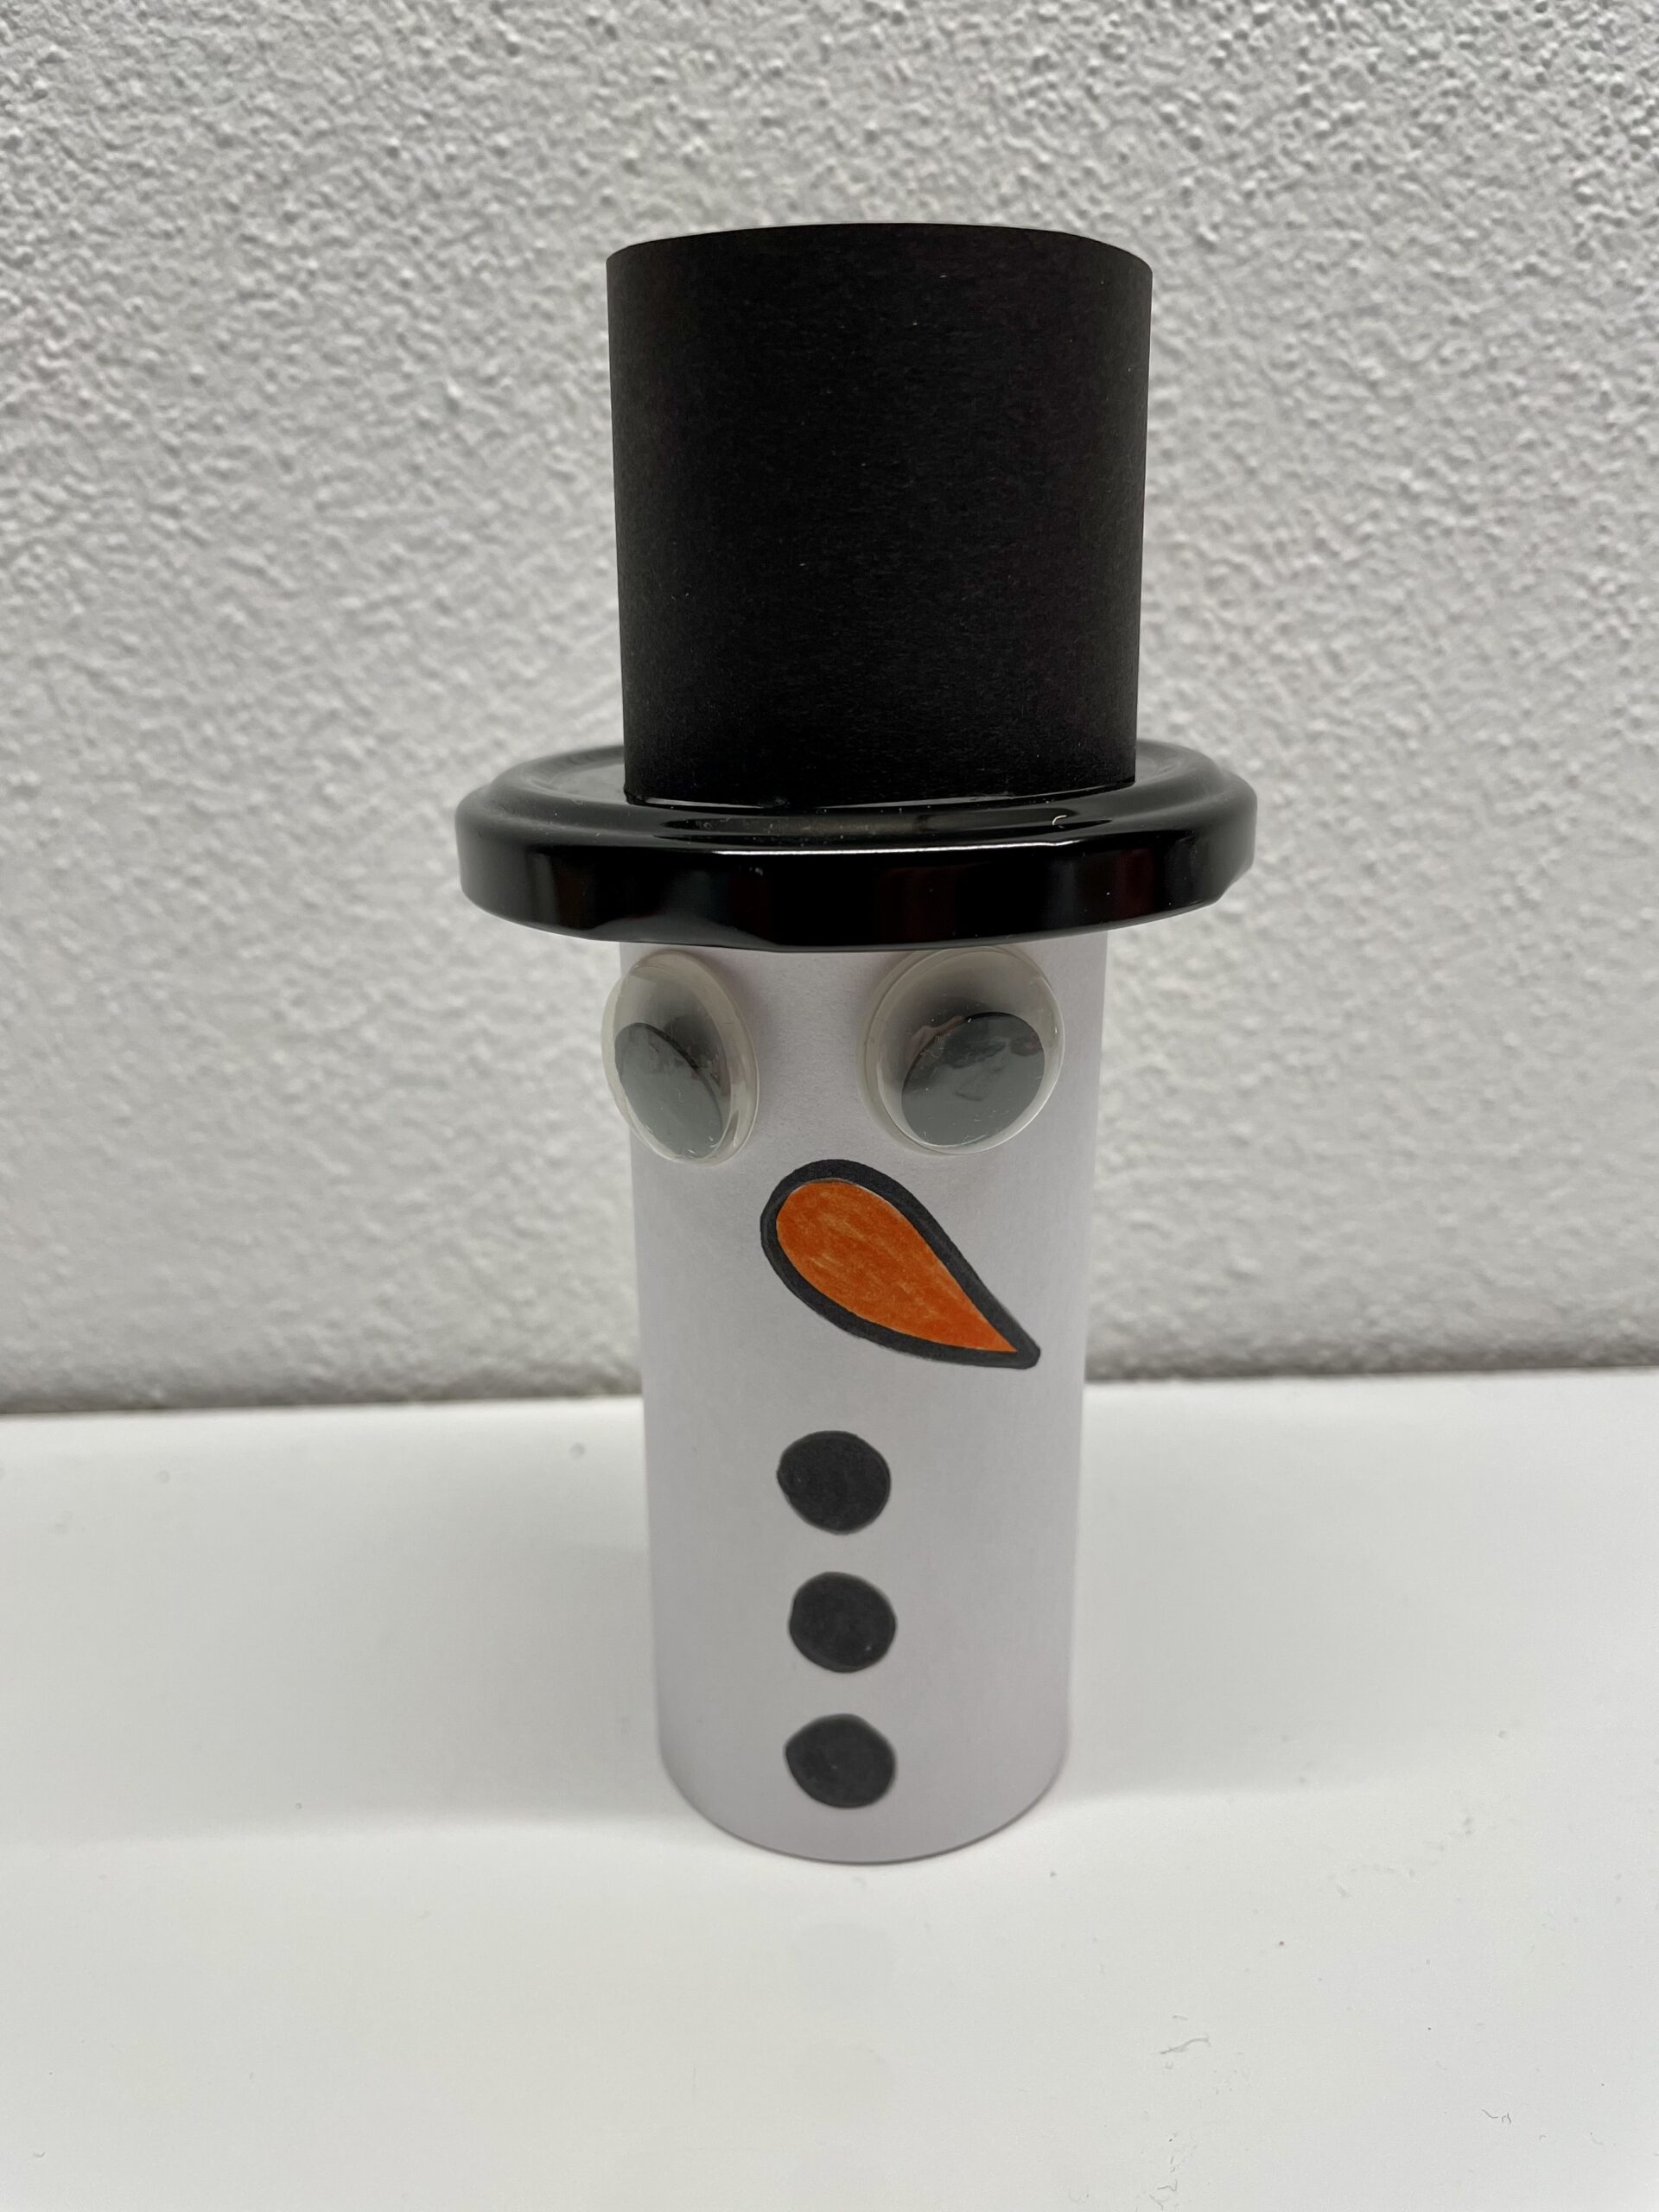
Bild zum Schritt 16 für das Bastel- und DIY-Abenteuer für Kinder: 'Anschließend bestreicht ihr die Kante an der schwarzen Rolle mit...'

17

Scattered deco-snow crystals or cotton swabs are suitable for decorating.
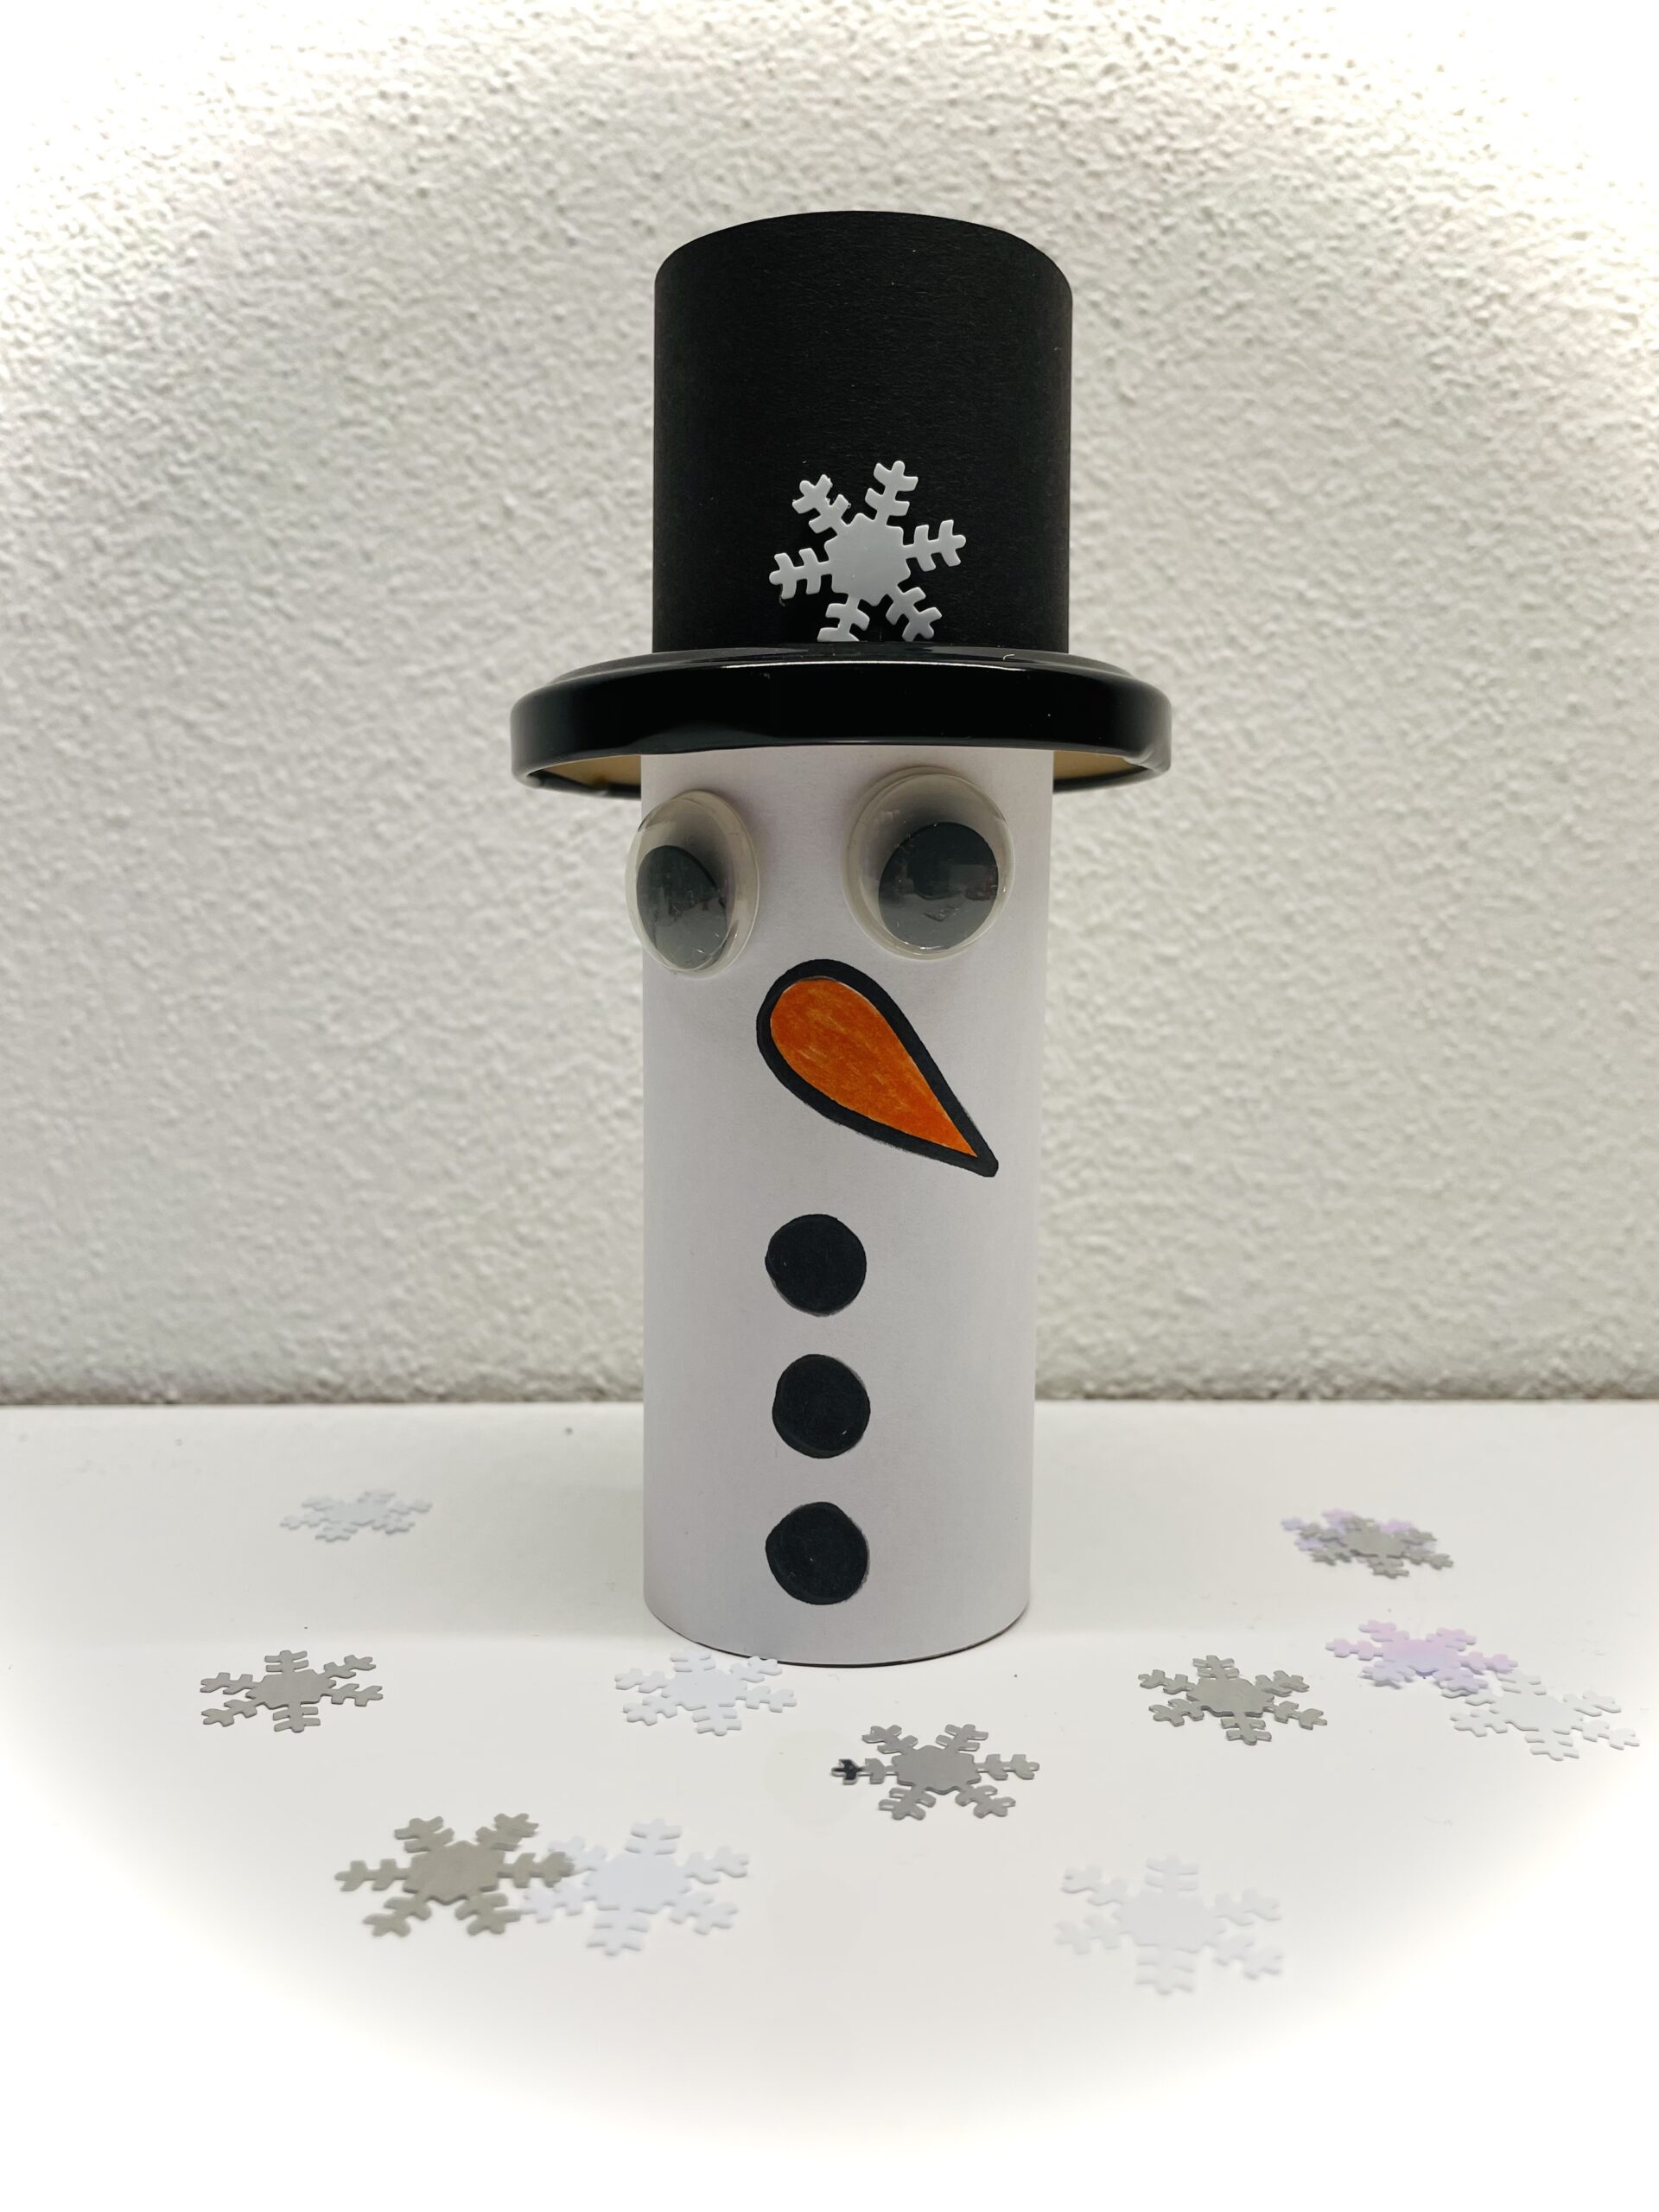
Bild zum Schritt 17 für das Bastel- und DIY-Abenteuer für Kinder: 'Zum Dekorieren eignen sich Streudeko-Schneekristalle oder Wattebäuschen.'

18

Stay creative.
Have fun doing crafts!

Snowman tinkering (made from cardboard roll and screw glass lid)

Follow us on Facebook , Instagram and Pinterest
Don't miss any more adventures: Our bottle mail

Leave a Reply

Your email address will not be published.

The maximum upload file size: 5 MB. You can upload: image, document. Drop file here