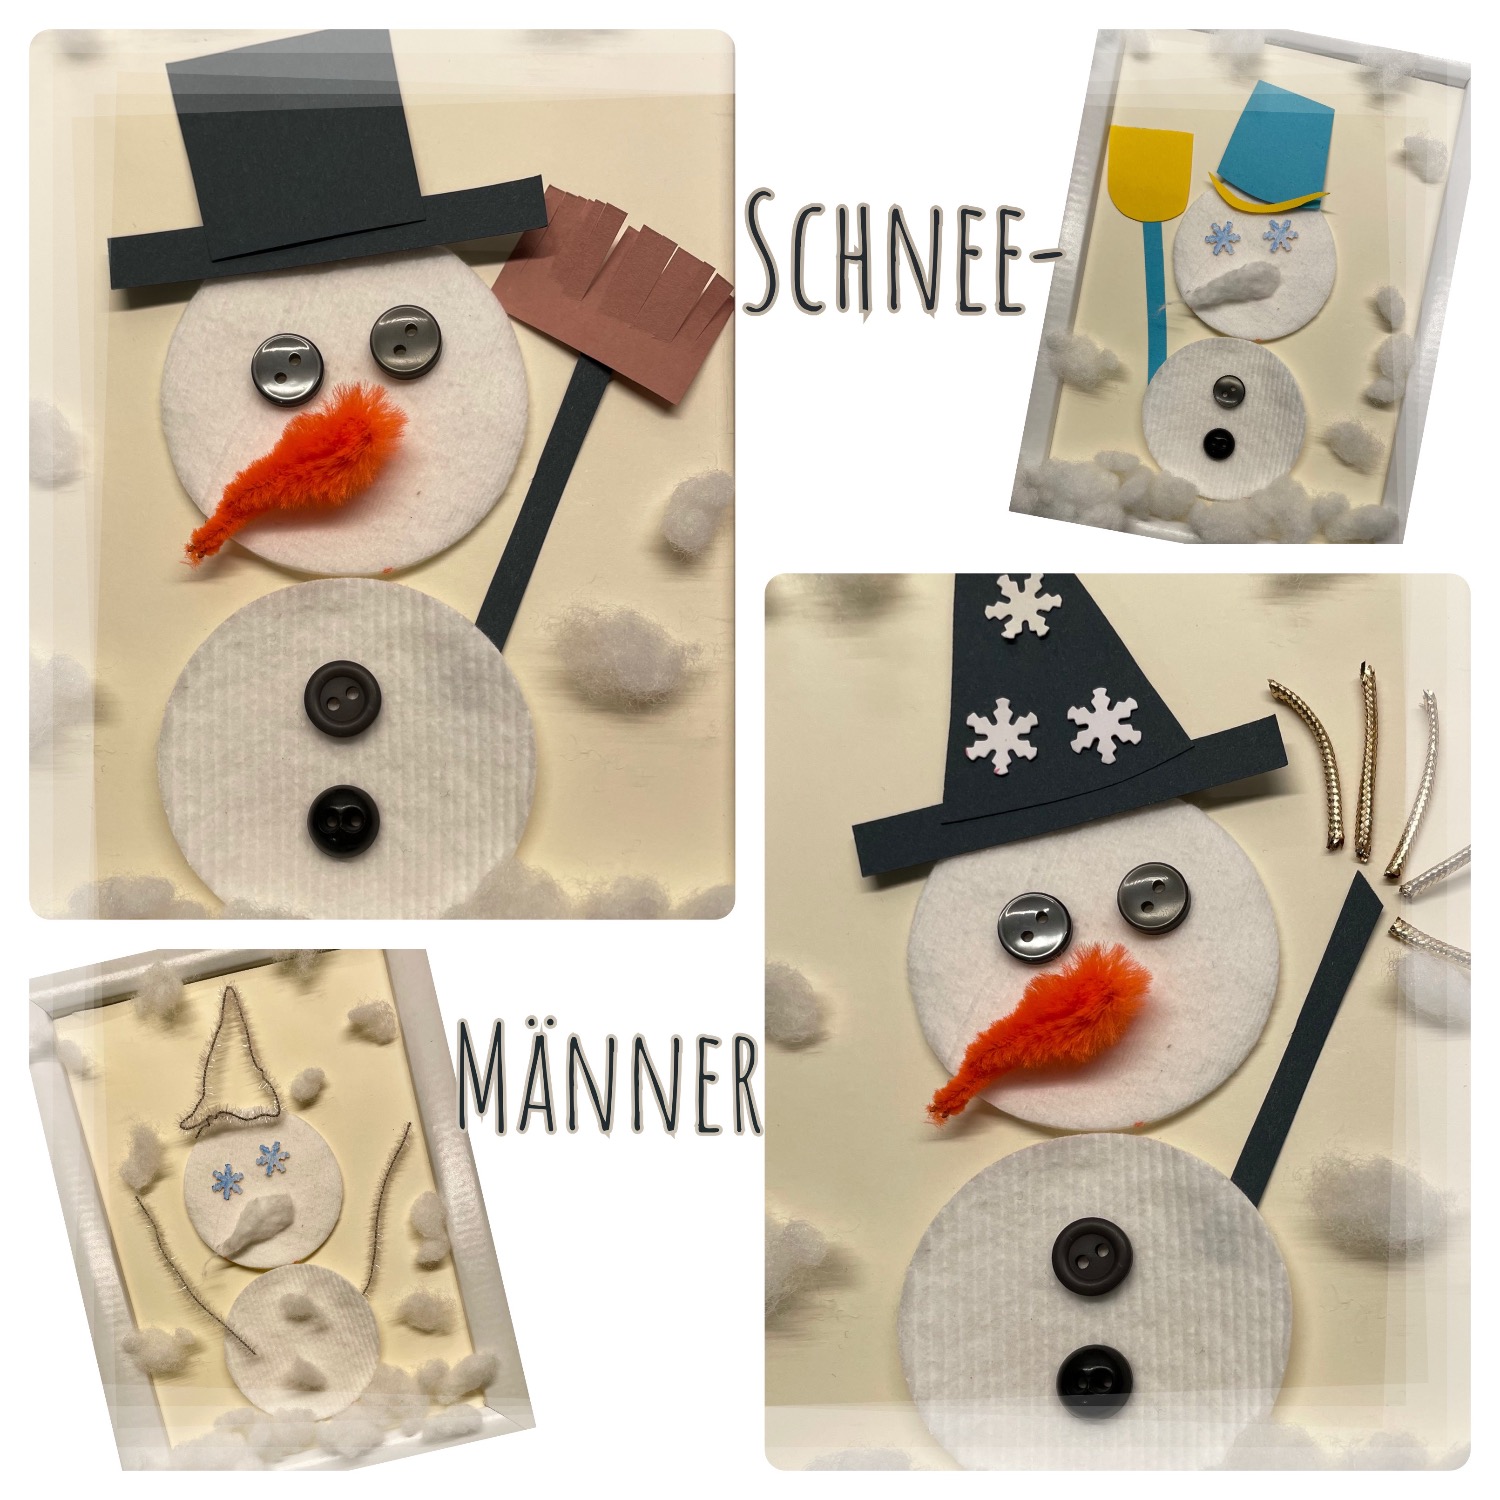
It doesn't always have to be the typical snowman! Here I show you a few very simple variants for creative children.
If the snowman forms a frame right away, then the finished work of art is perfectly framed.
From two cotton pads and a few other utensils quickly becomes a "magic snowman" or "snowman", a "elfen snowwoman" or "snowman", a "builder snowman" or "snowman" and a chimney sweeper snowman with cylinder and broom.
Media Education for Kindergarten and Hort

Relief in everyday life, targeted promotion of individual children, independent learning and - without any pre-knowledge already usable by the youngest!
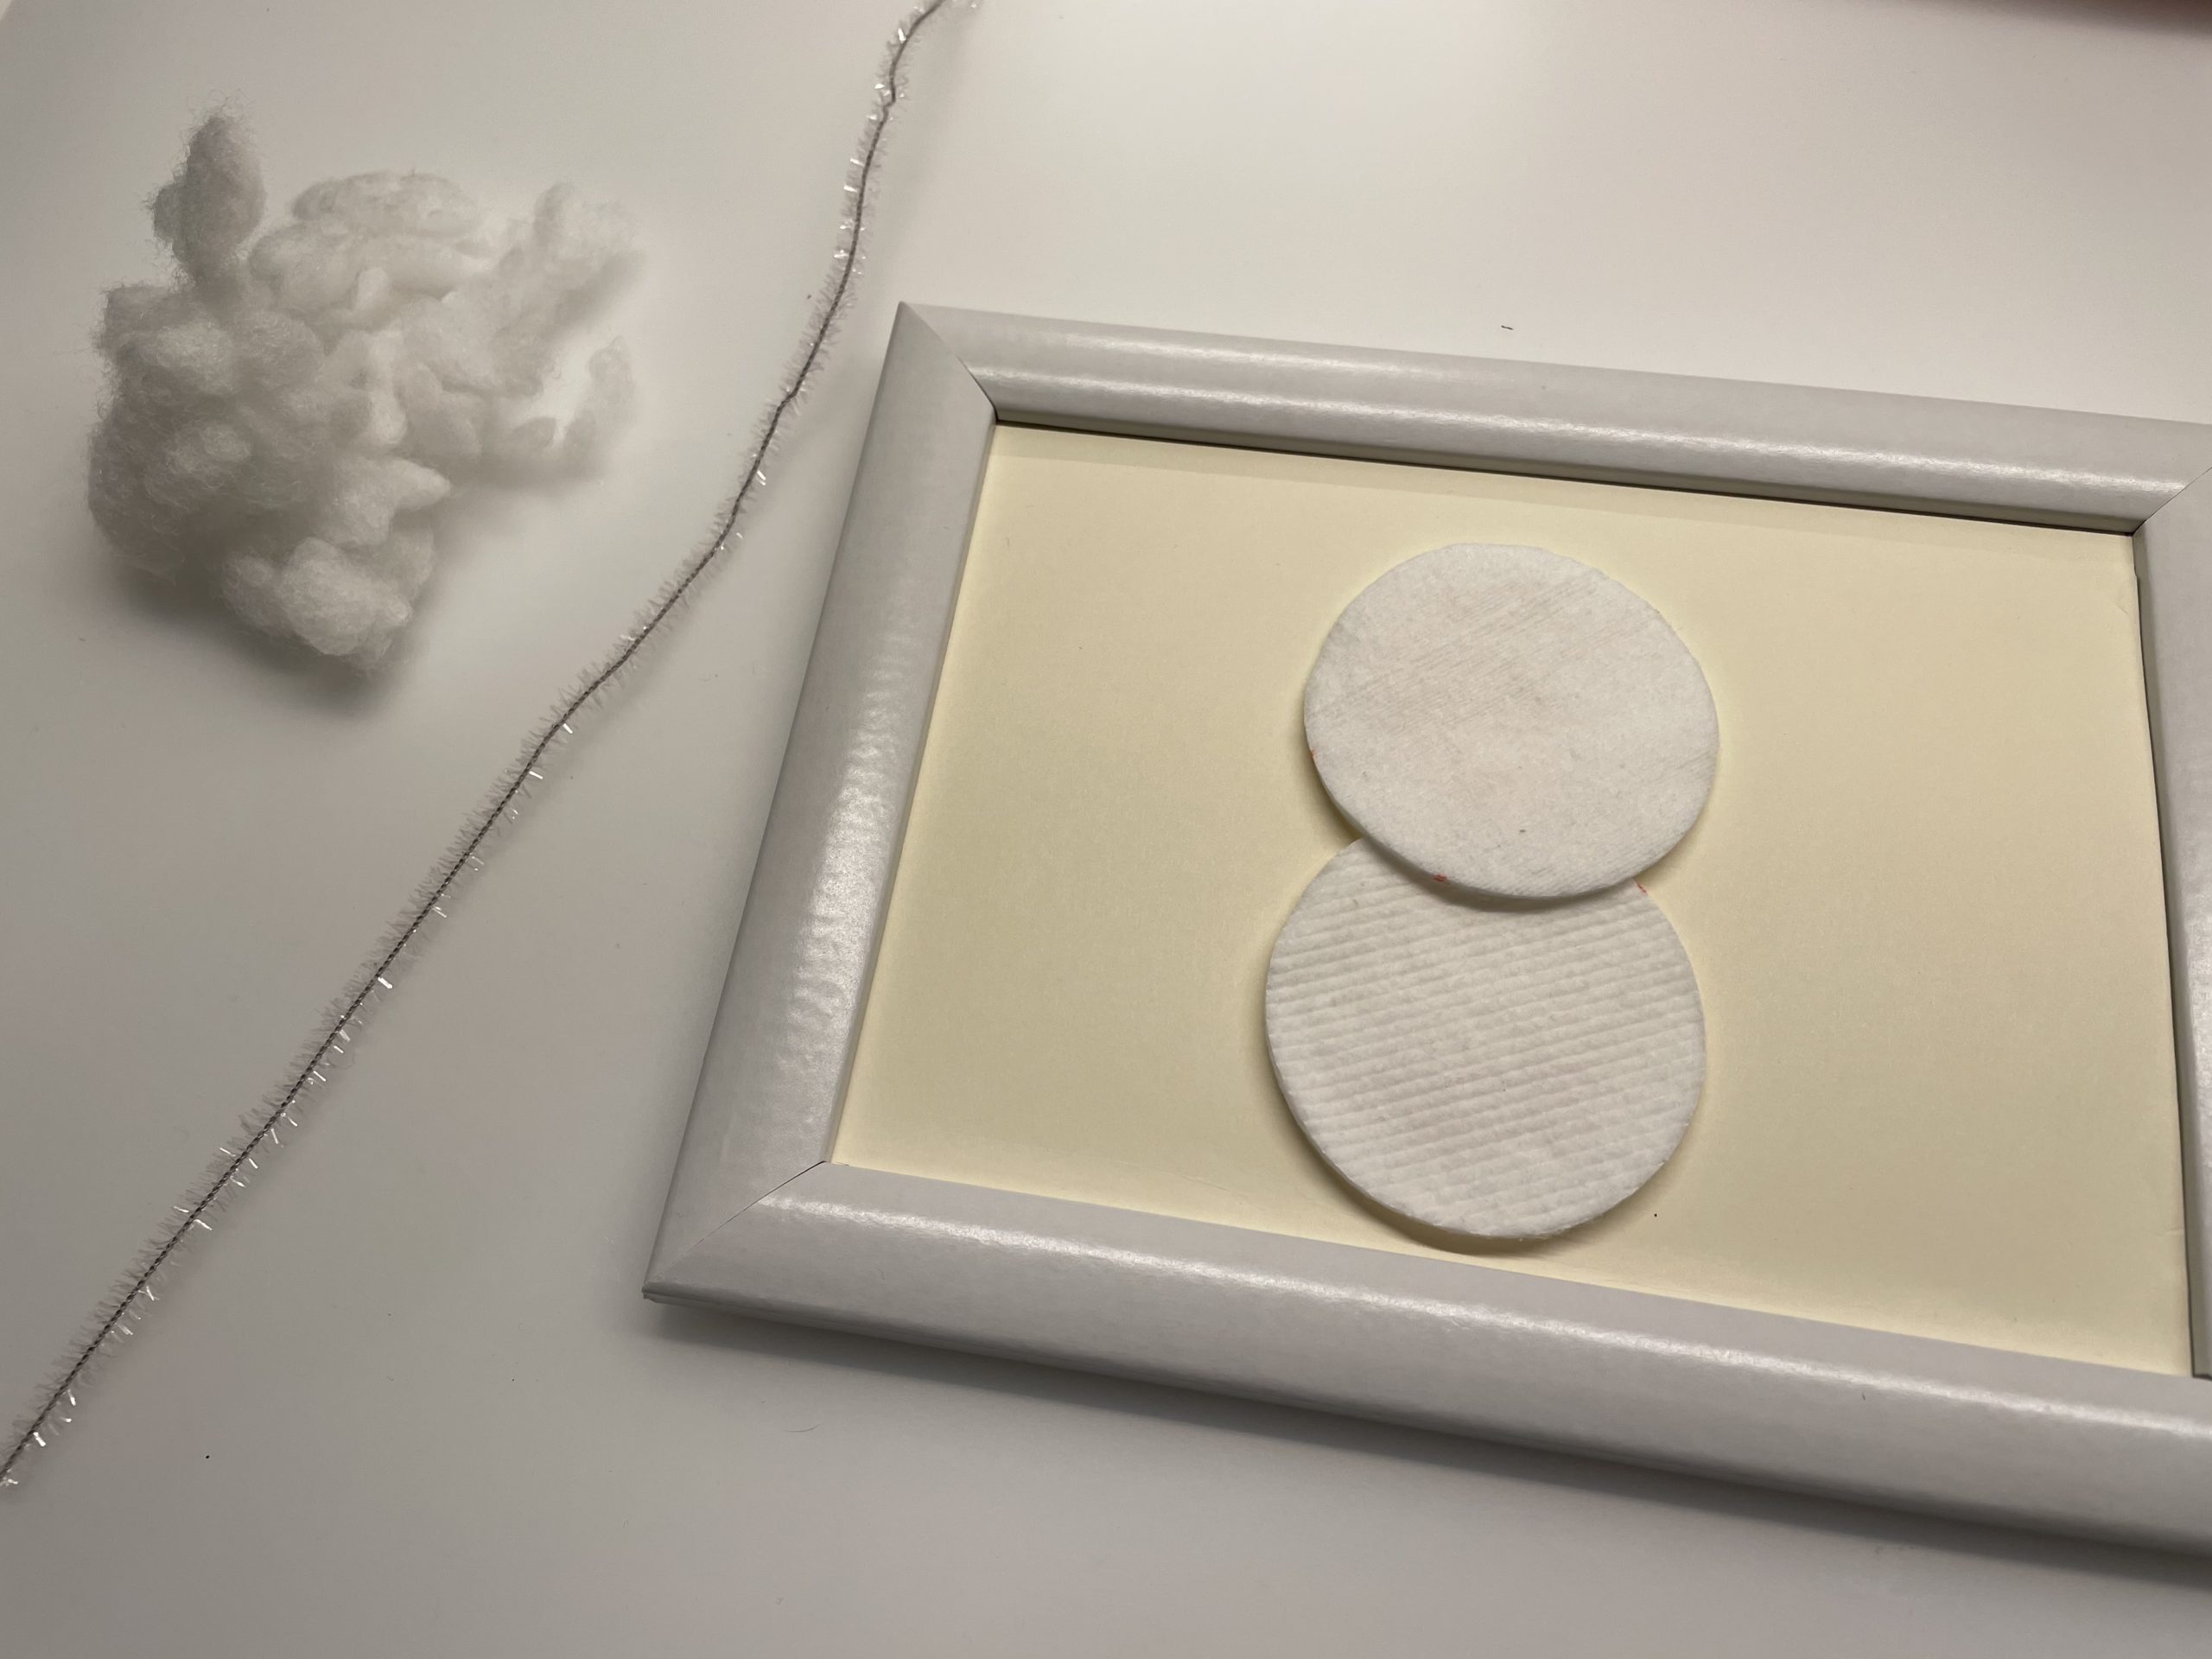
Insert a monochrome sheet in the picture frame. The snowman is designed on it. You can use the frame up or down. Look only before where the suspension is on the frame.
Take into account before sticking on whether your snowman with headgear also fits on the landscape format, if not take it up edged!
Put two cotton pads on top of each other on the picture. You can overlap a bit in the middle.
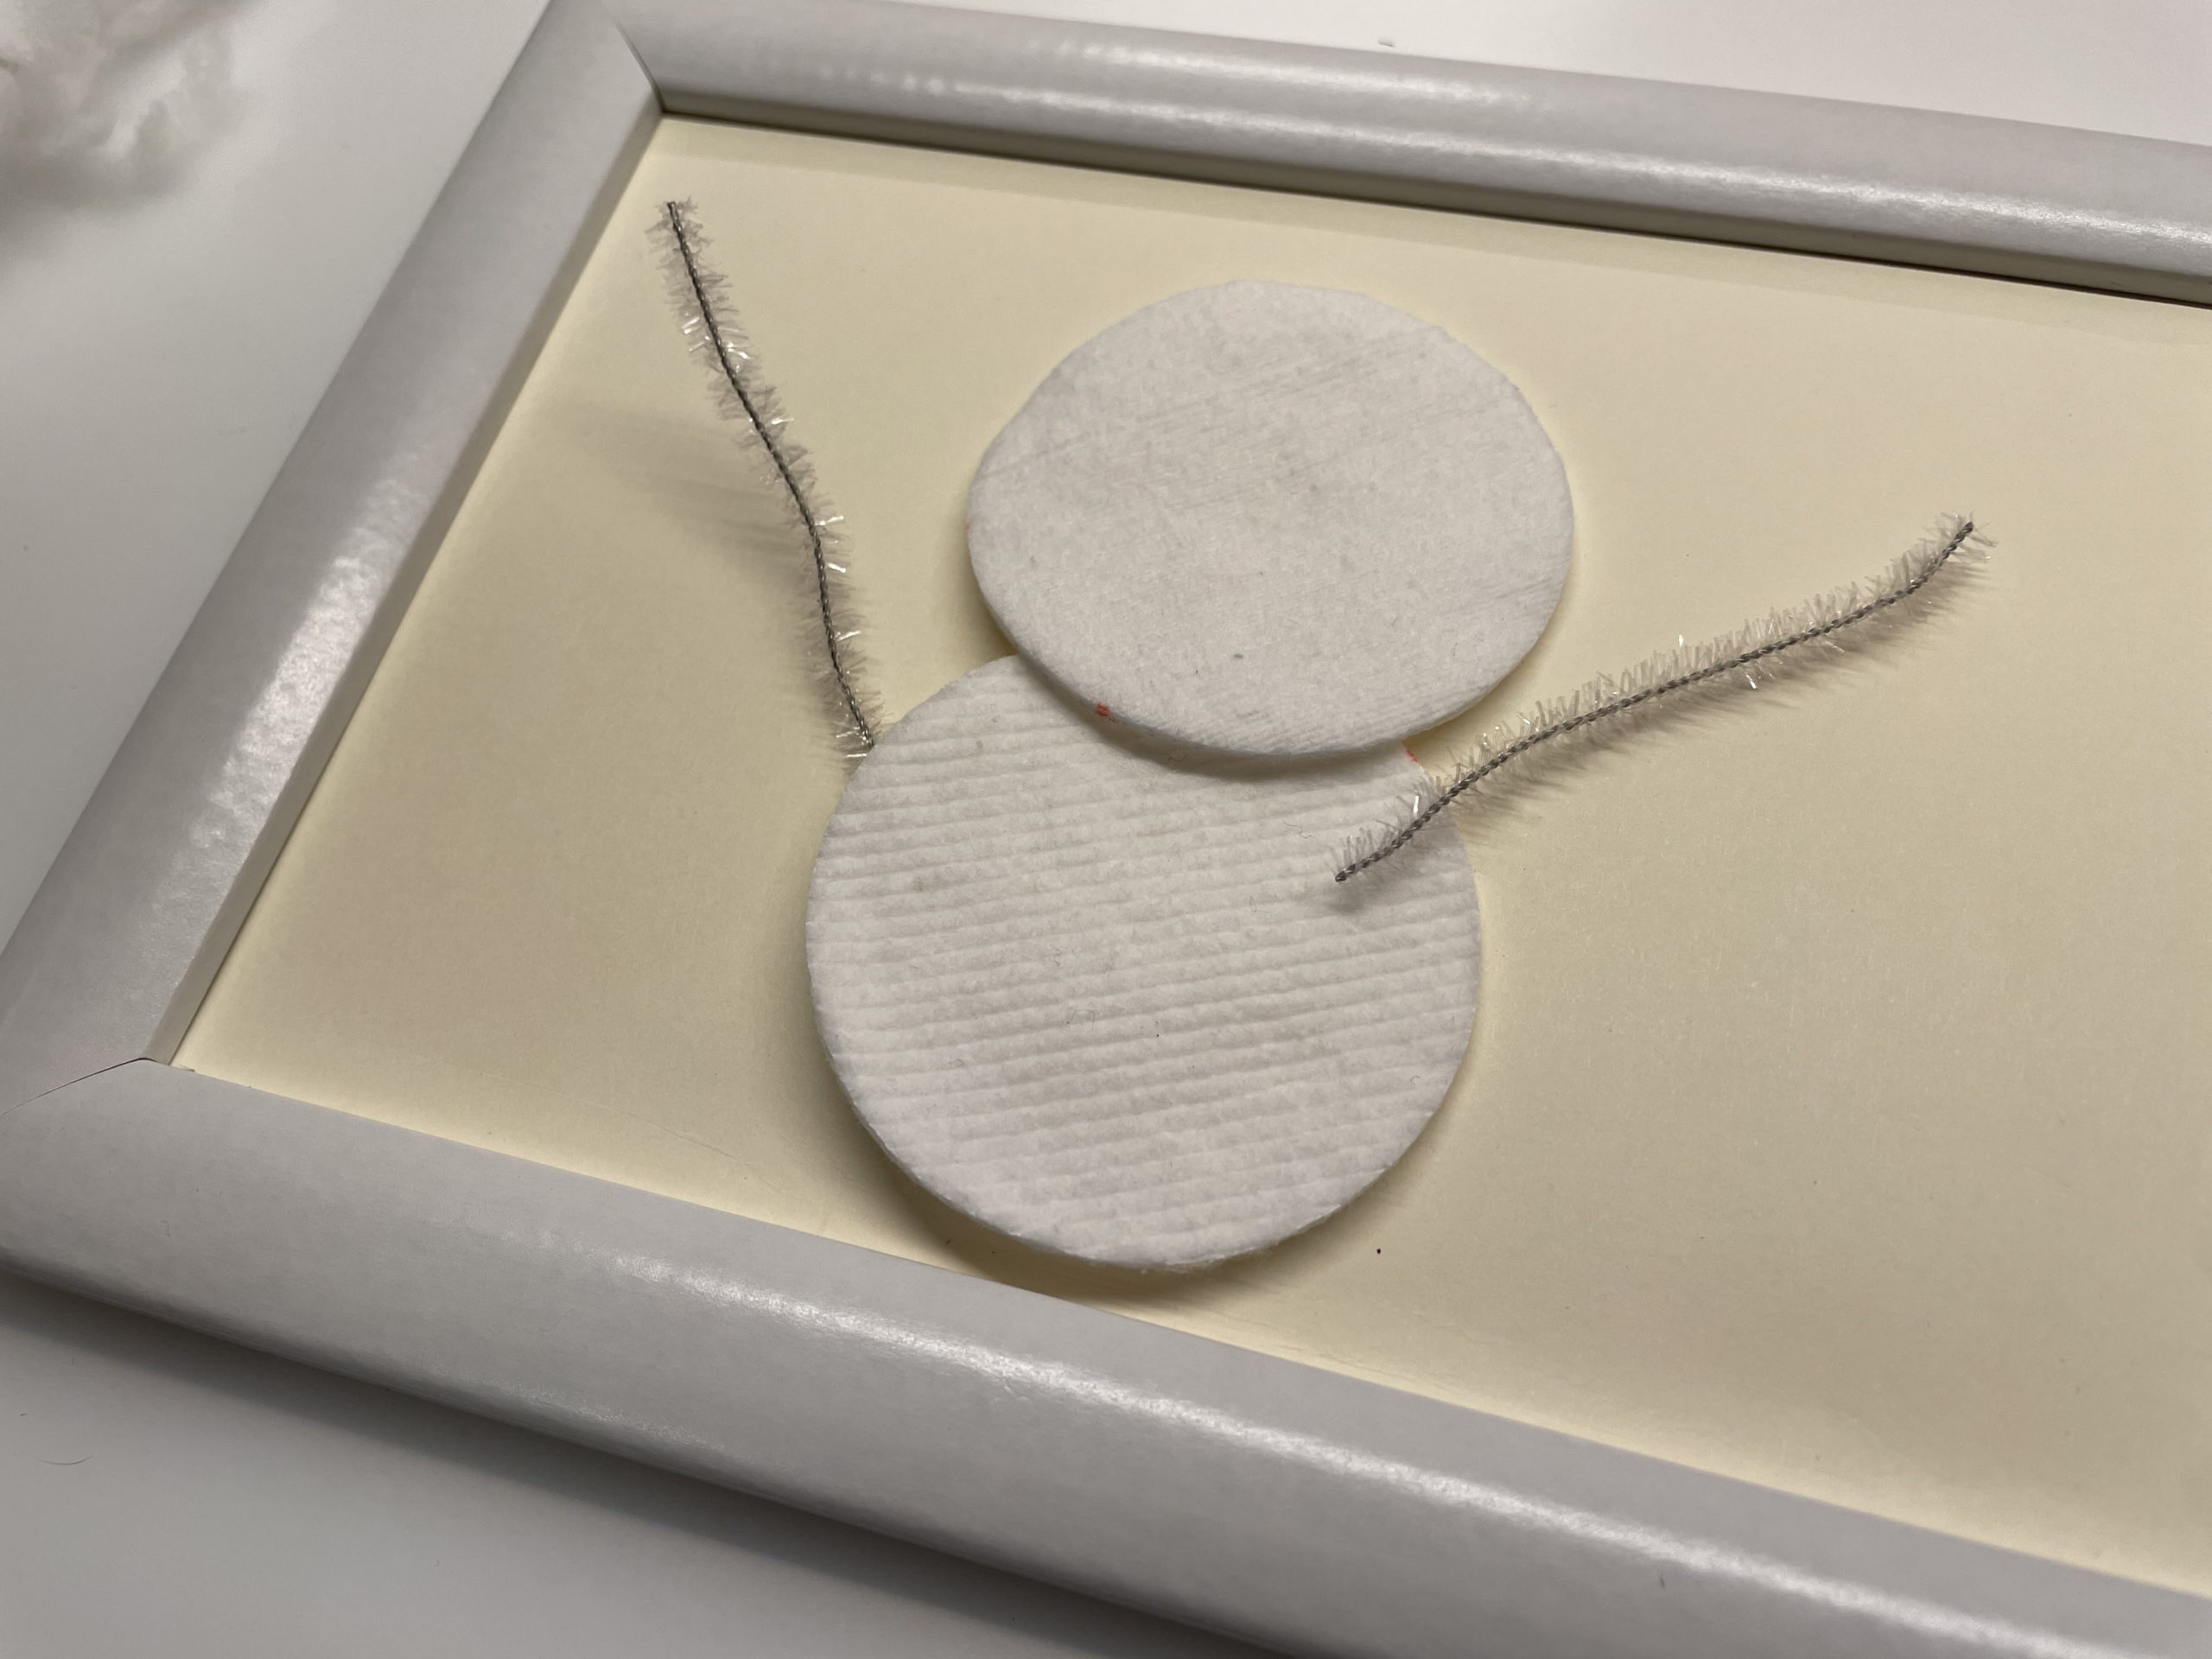
The side arms are made of pipe cleaner wire. Cuts off two pieces with 6-8 cm wire and places them on the snowman's belly.


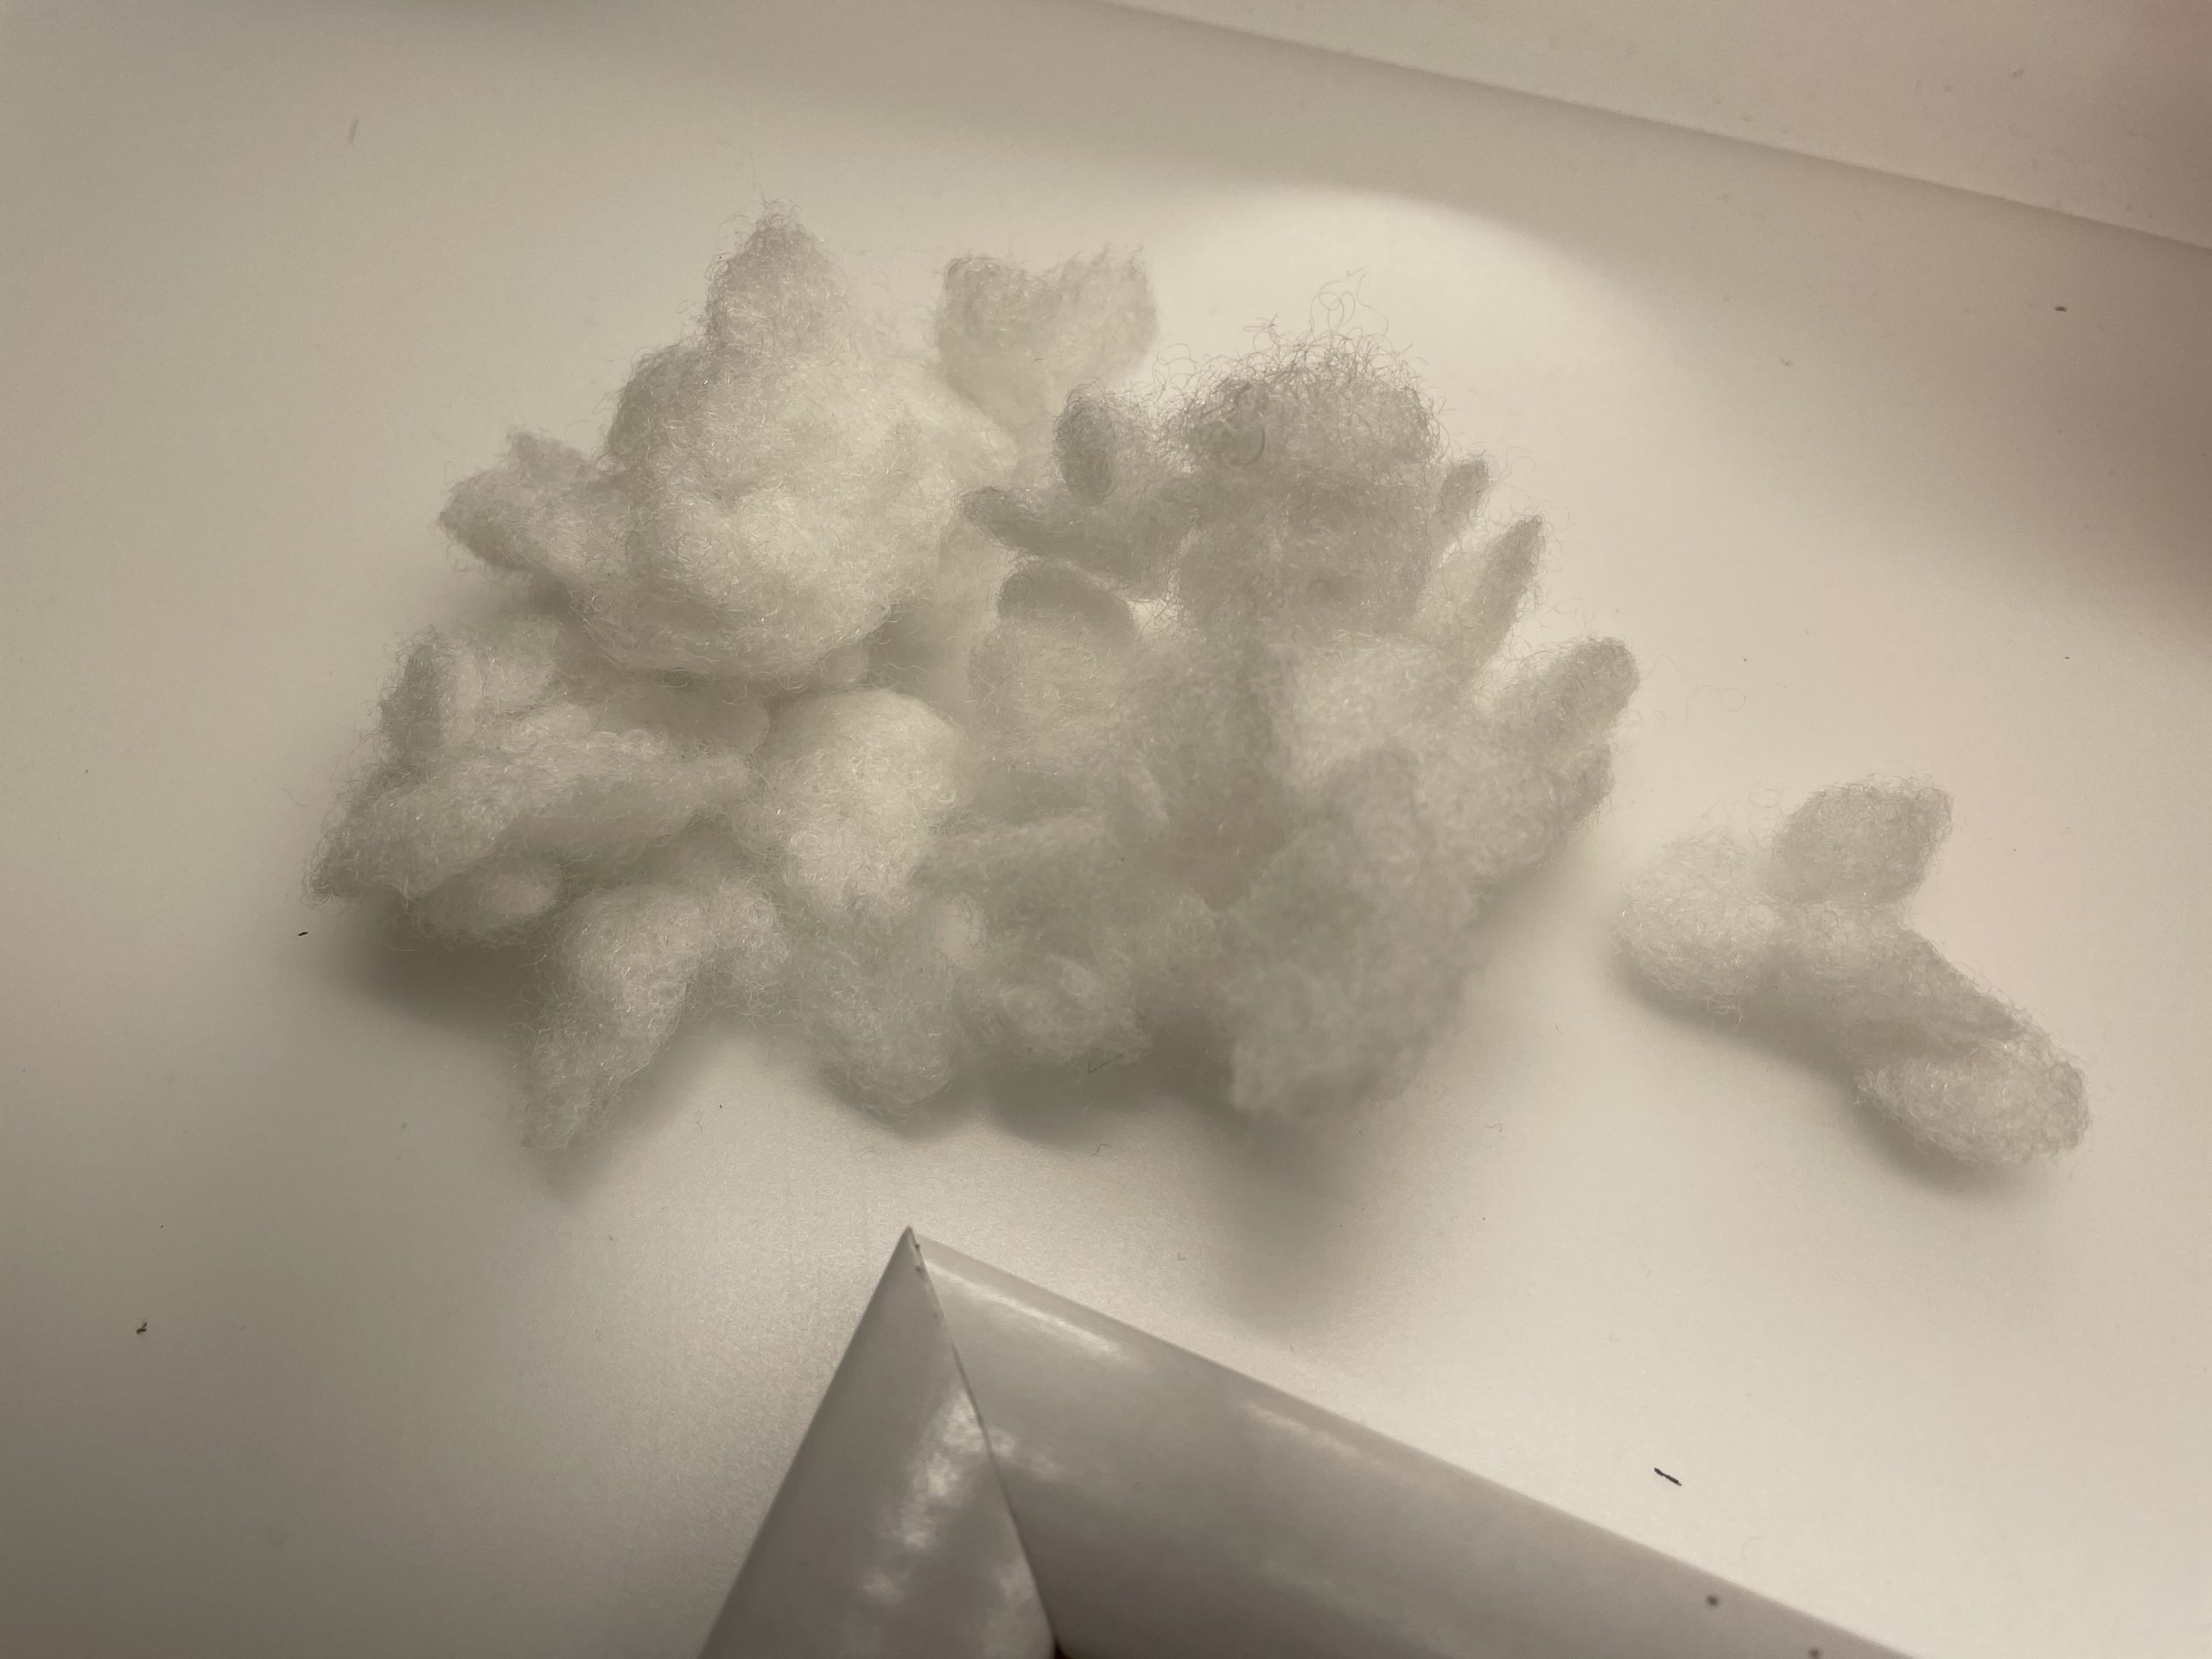
Take flaky padding or pluck cotton wool into small pieces.


Cover the lower frame of your picture with cotton wool (snow). It can also be glued to the frame cotton wool, not only on the picture itself.
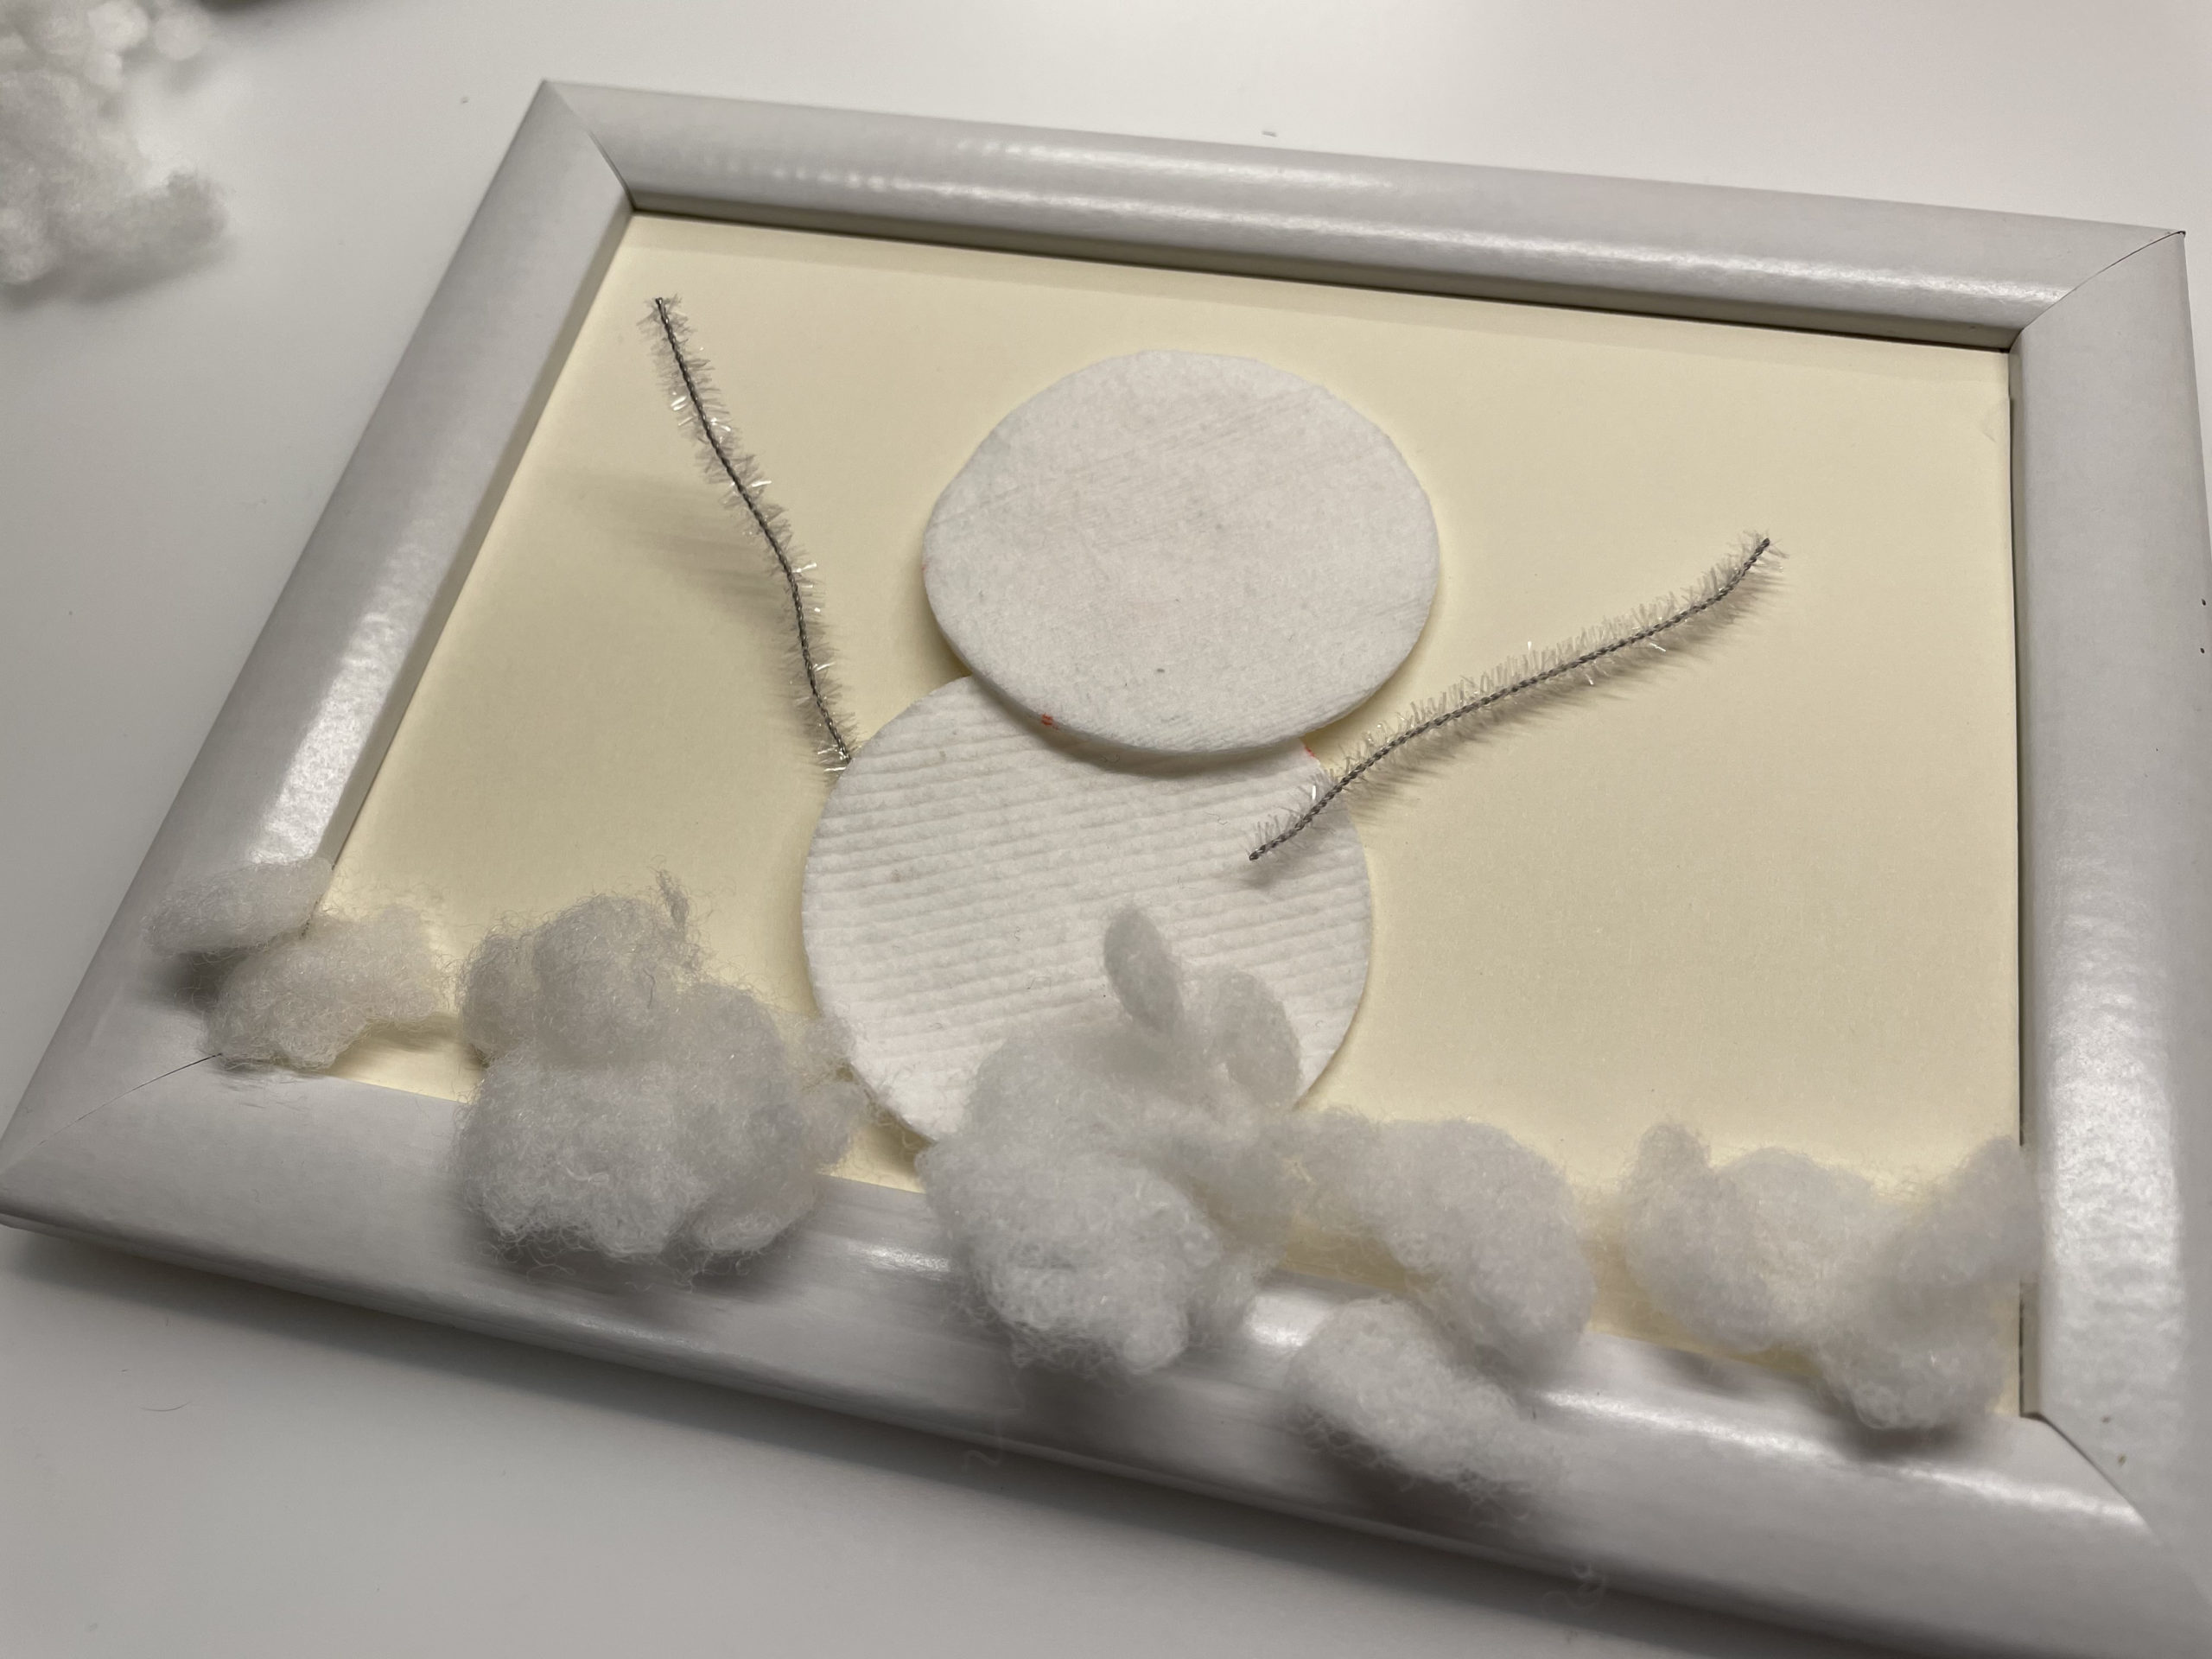


Use another piece of pipe cleaner wire and bend from it a triangle. This will be the hat. Attach this above the cotton pad balls.
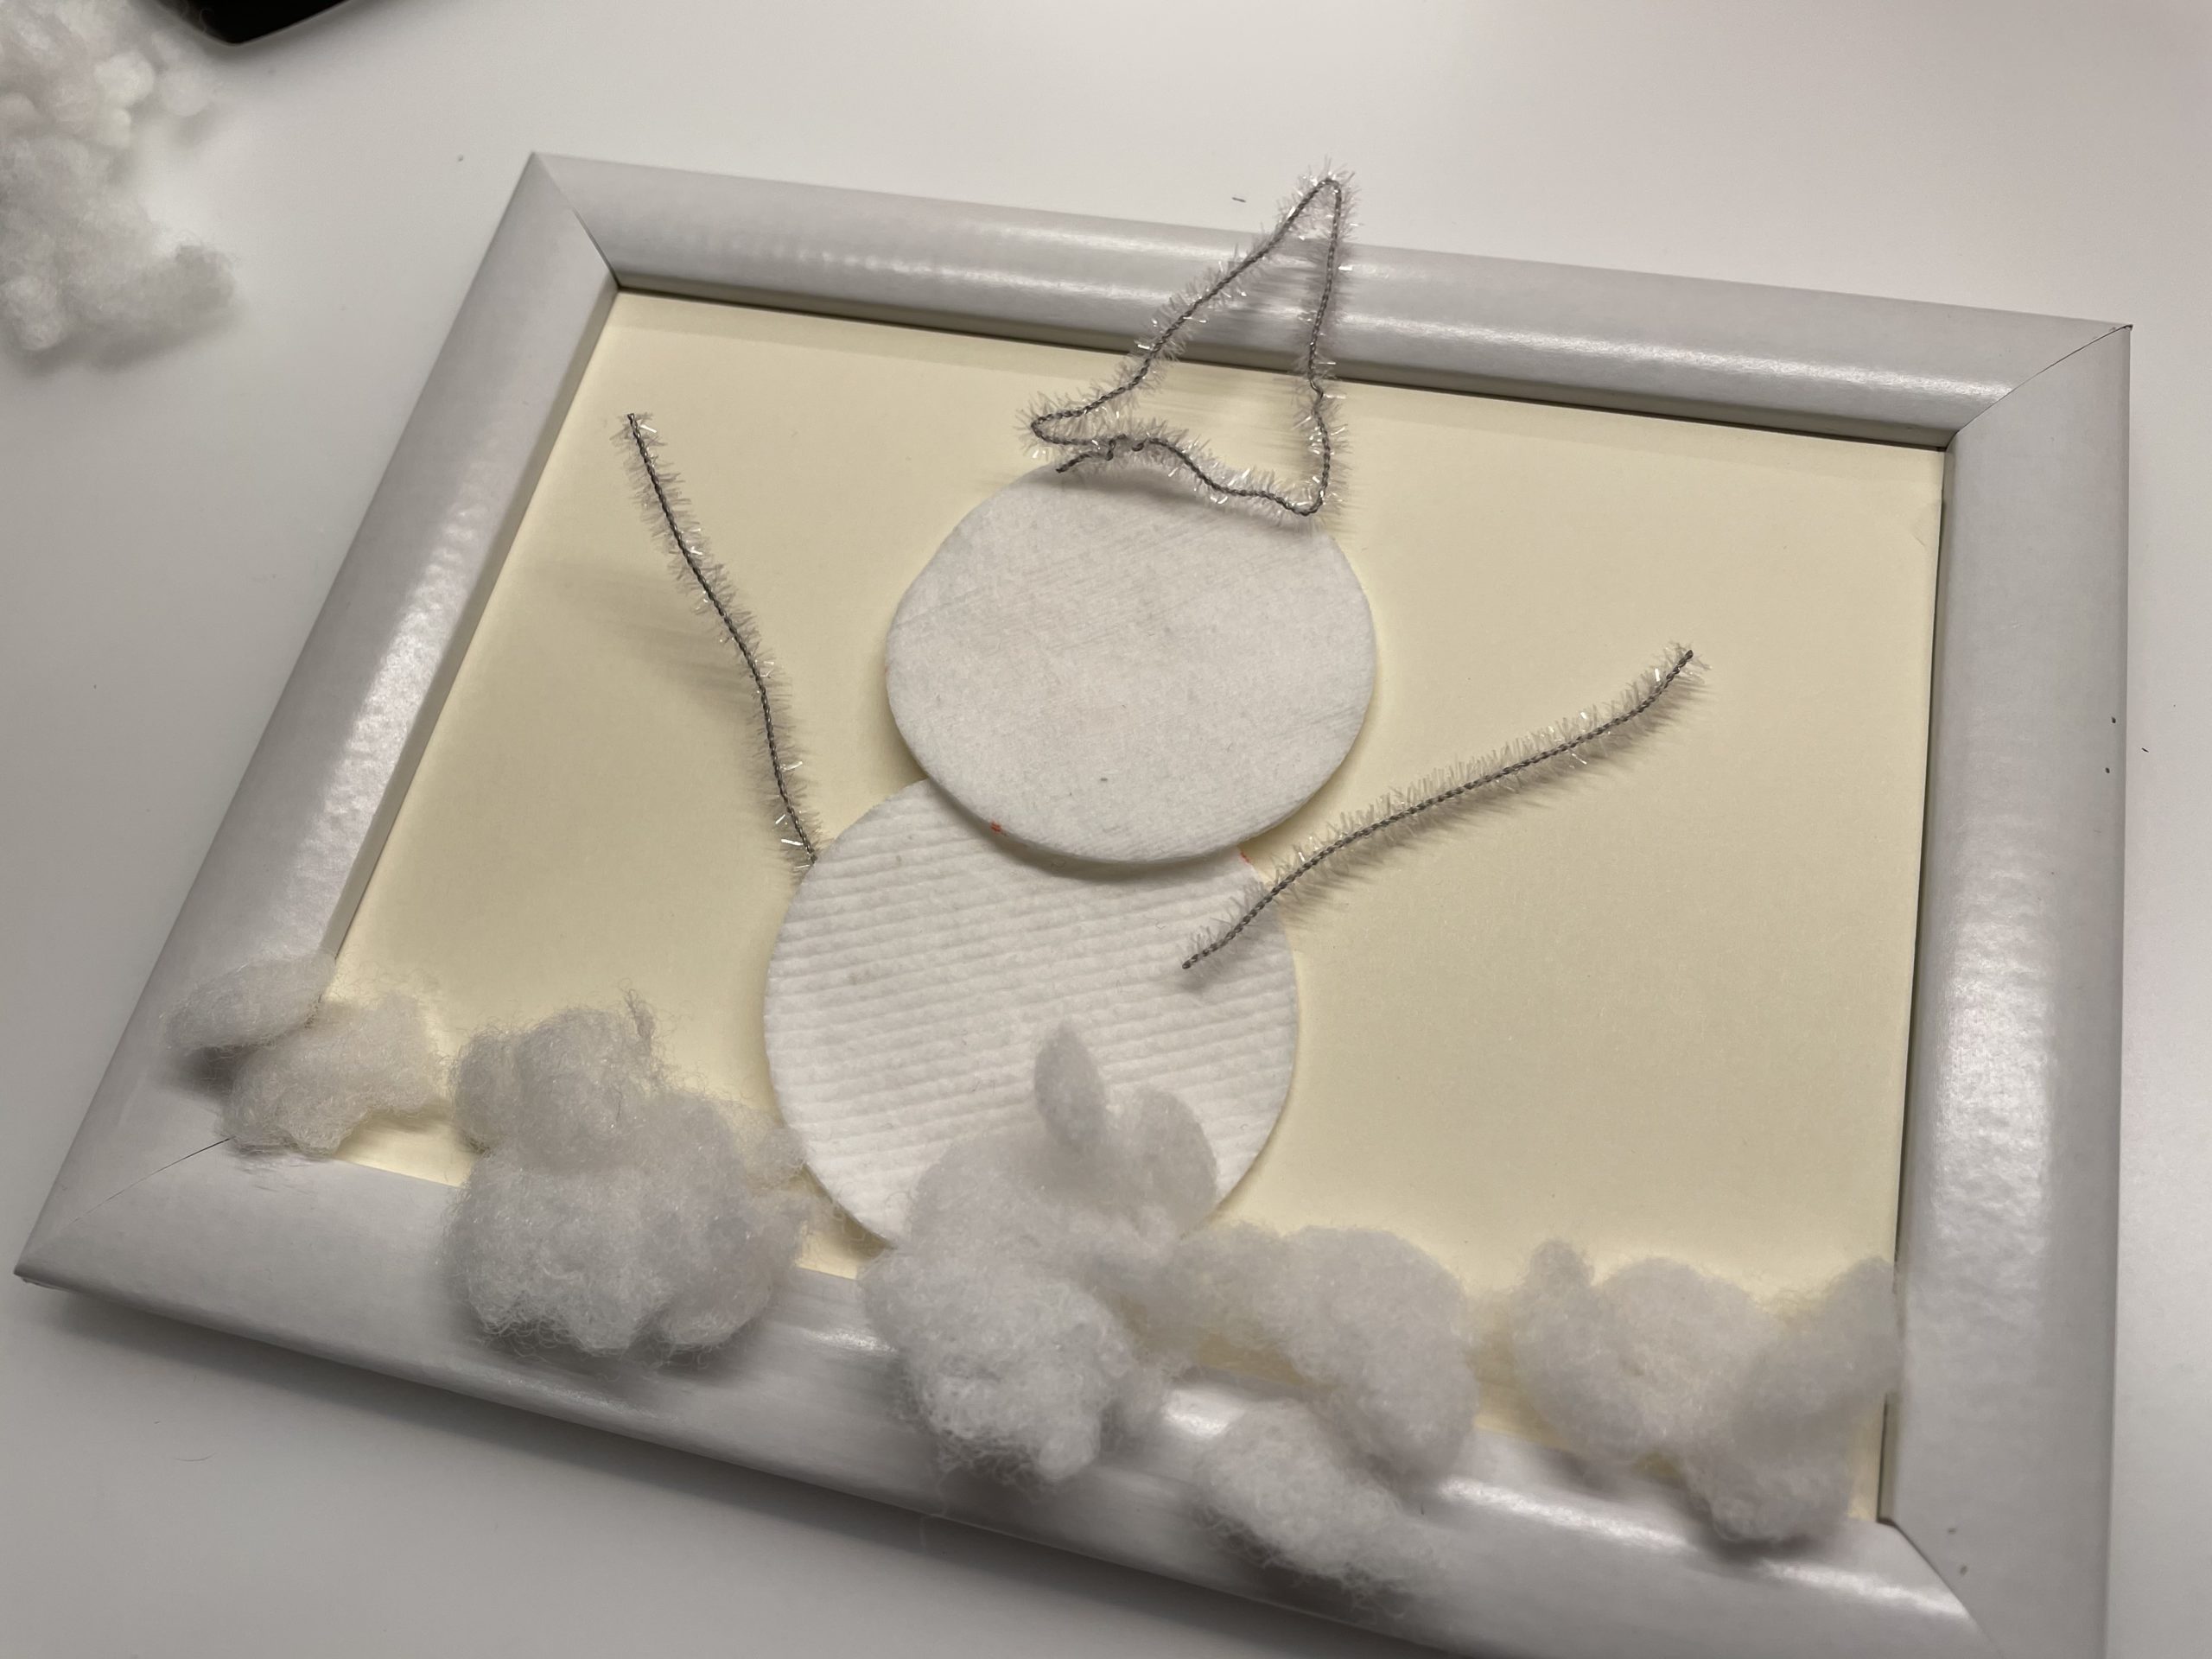


Stamp out snowflakes from white paper and glue your picture with snowflakes. You can also make the snowman's eyes with snowflakes.
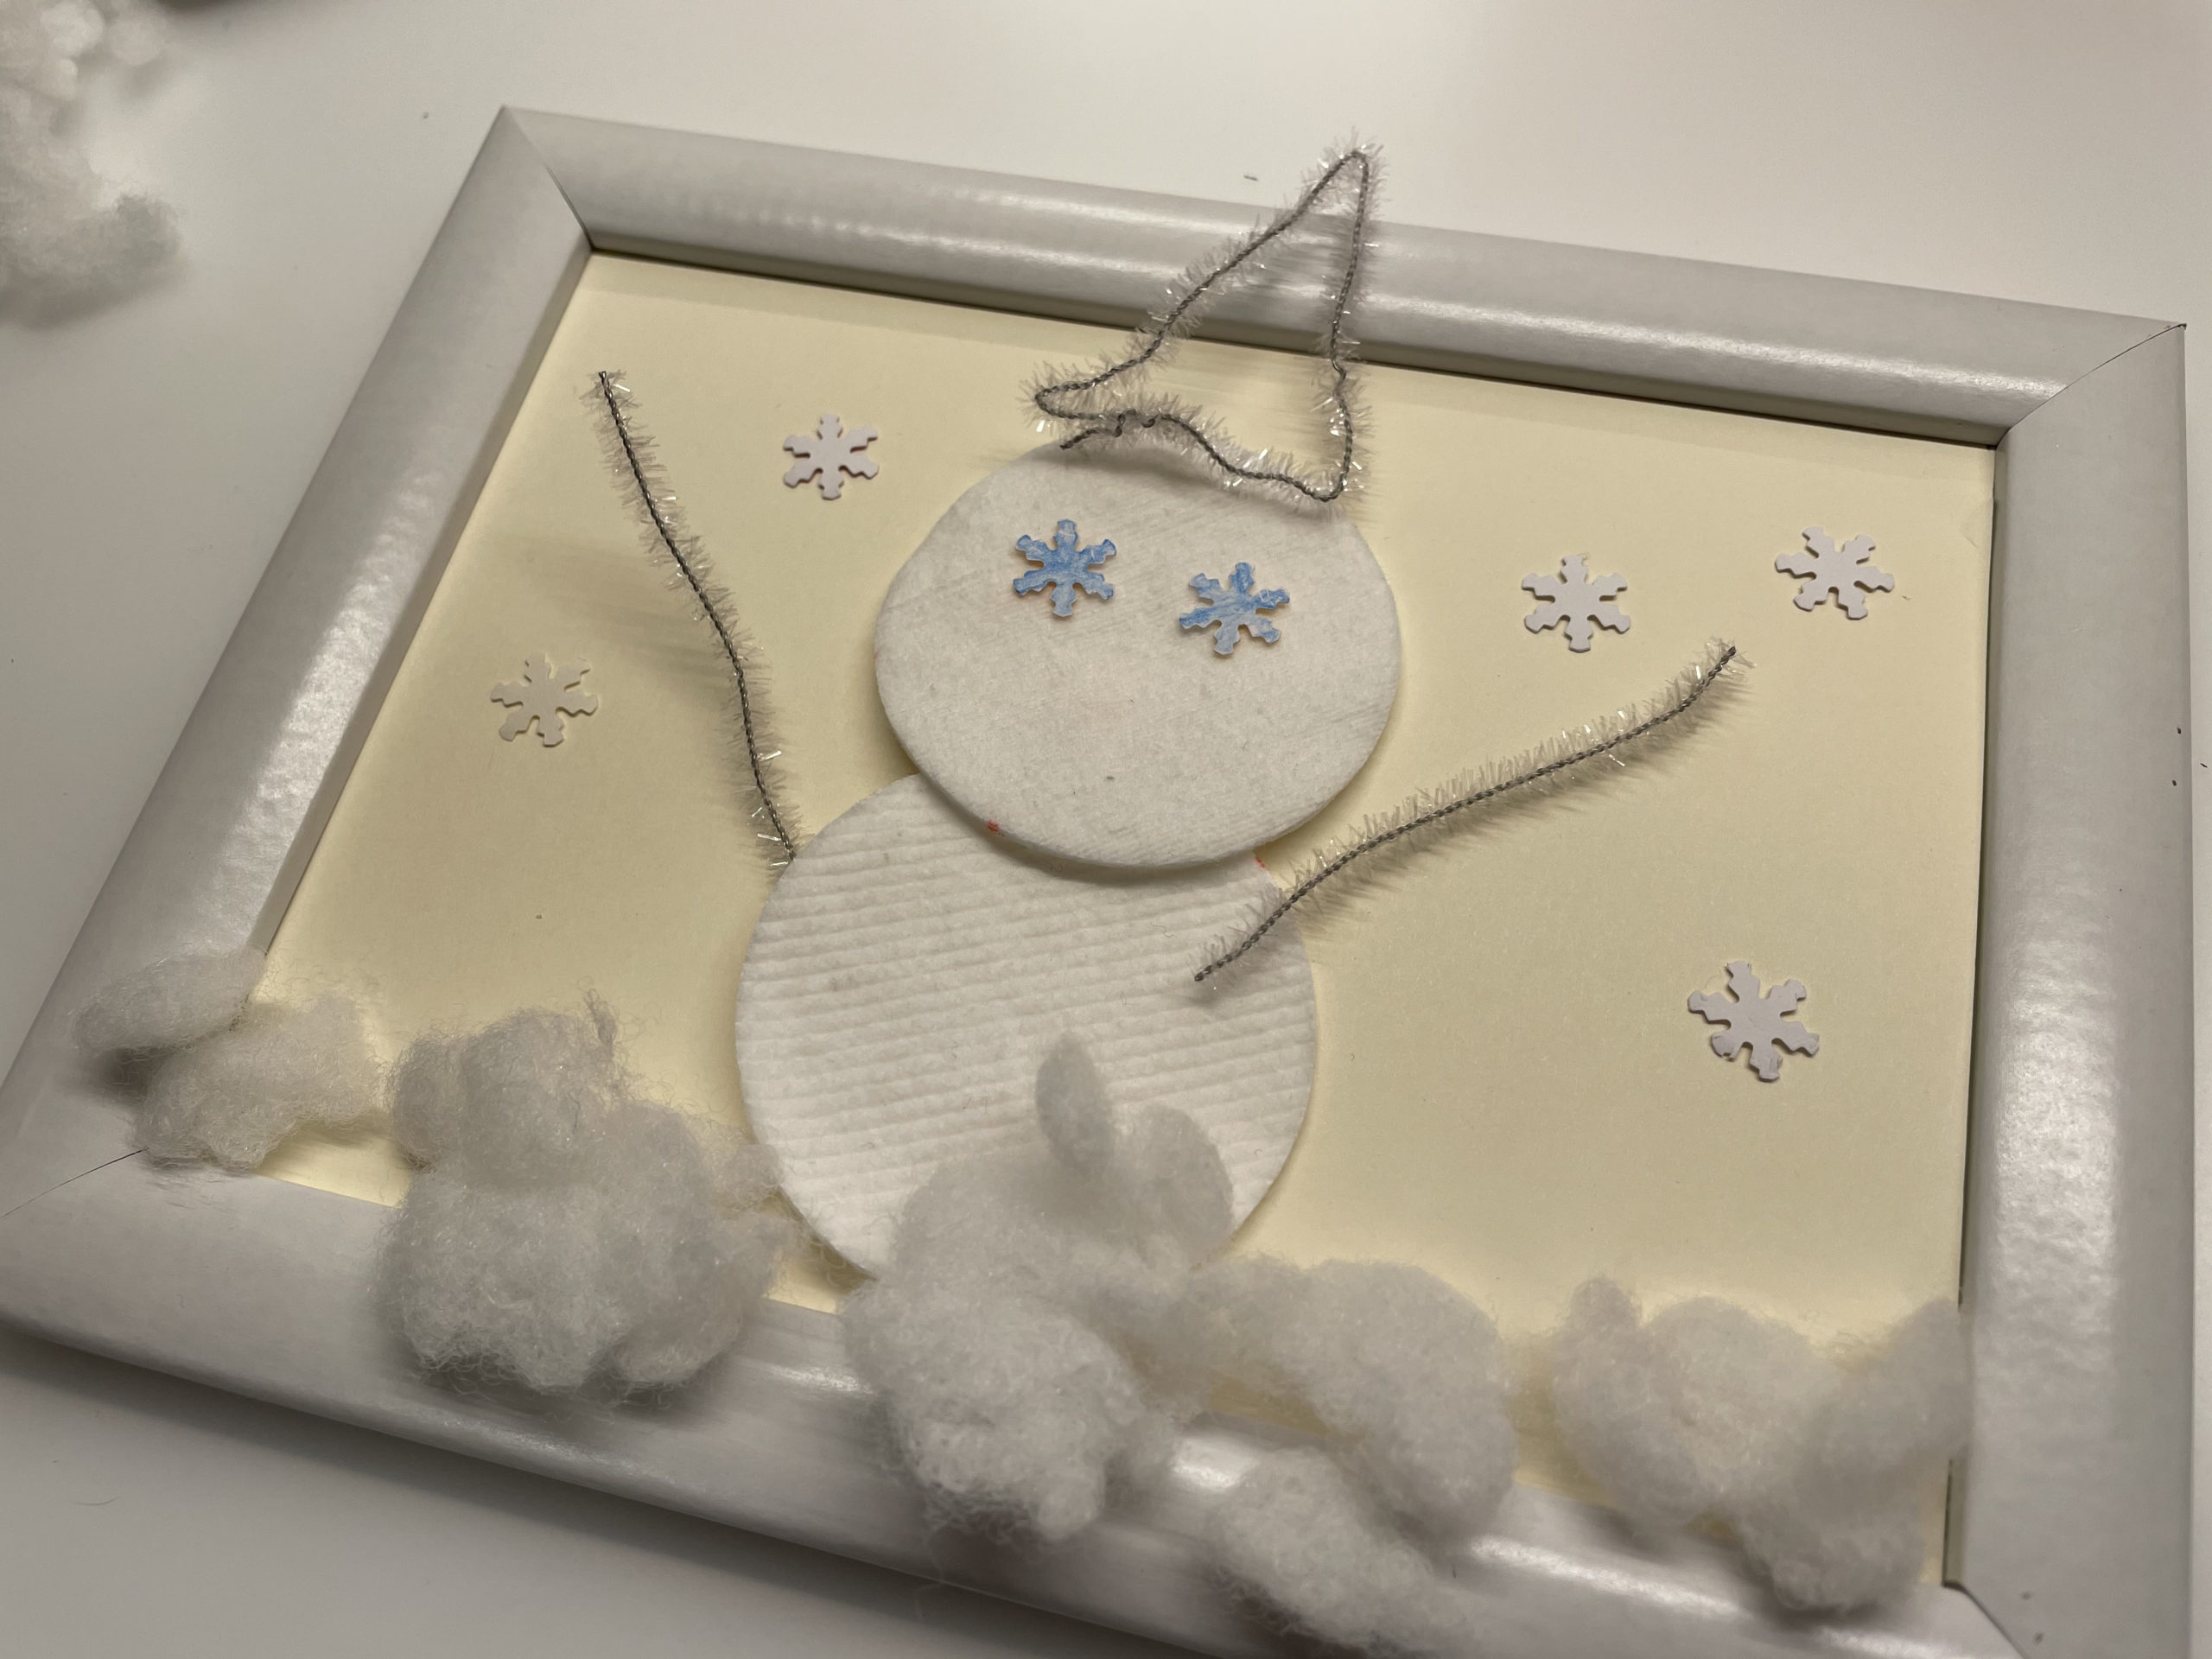


Alternatively, you can also apply cotton wool pieces as snow. Or you can use the small circles of the holer as snow.
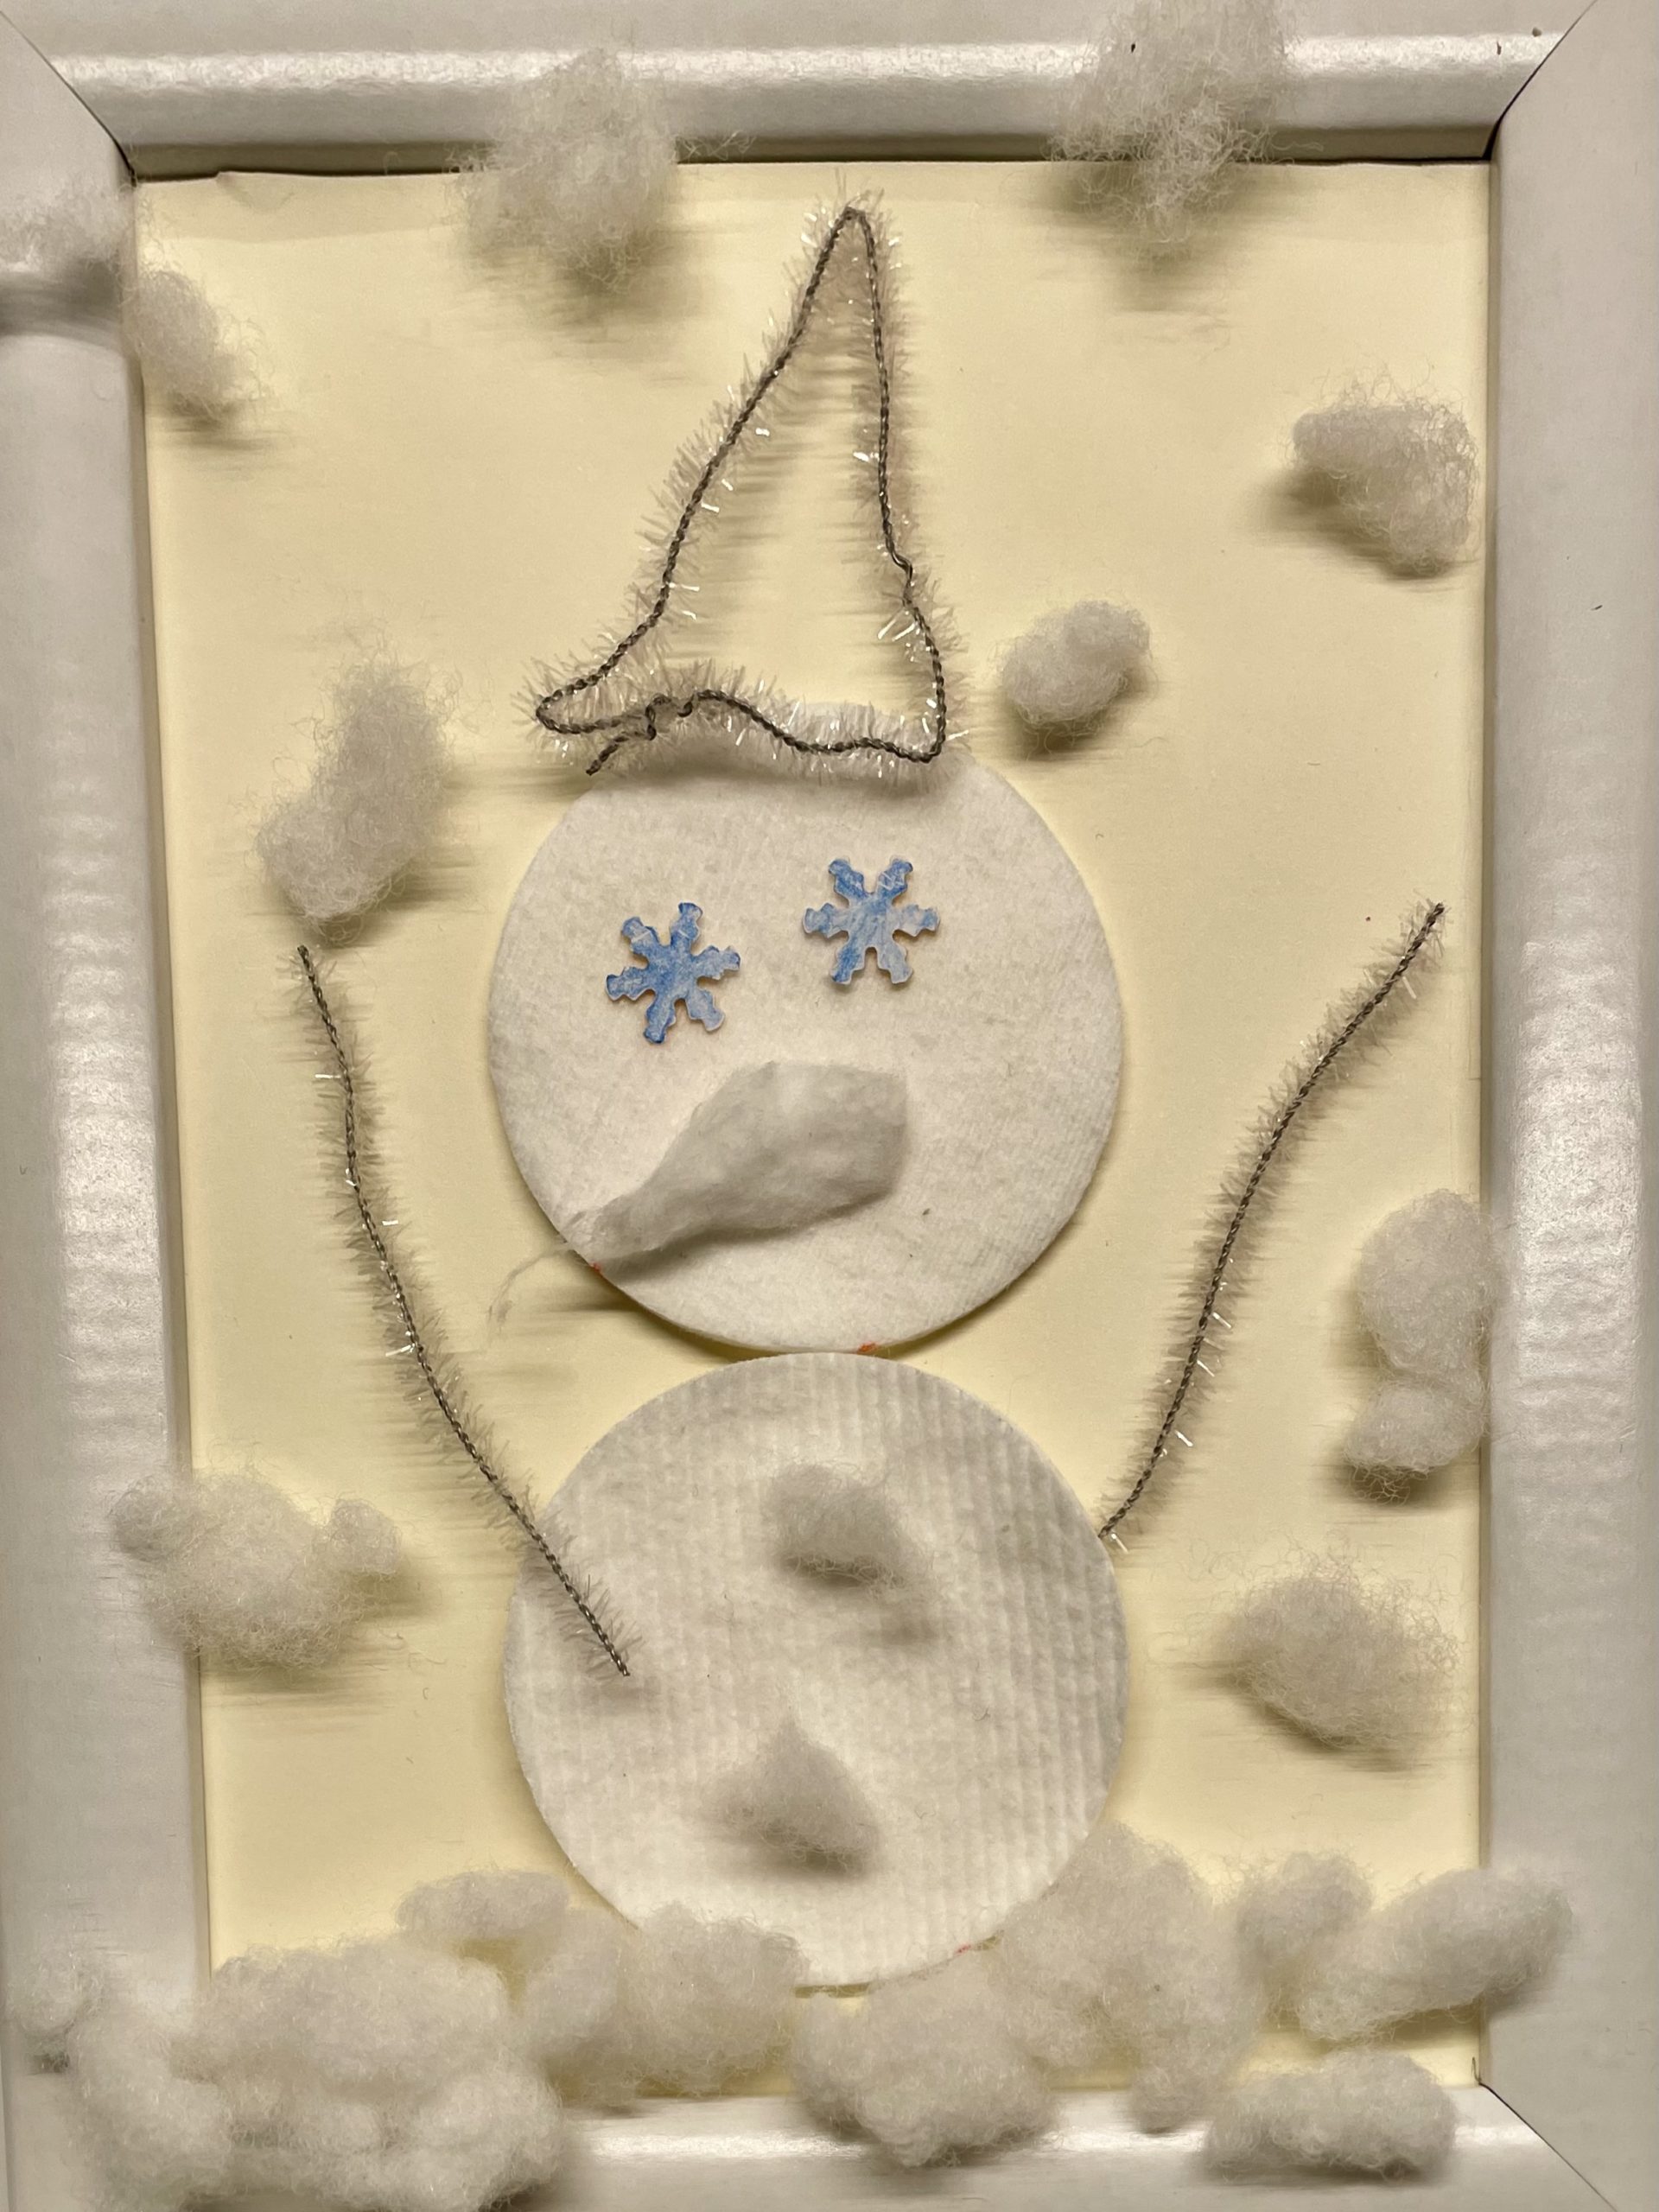


Turn a piece of cotton wool as a "carrot nose", drag it to length.
All parts are glued to the picture and/or frame with the glue pin. If something does not hold, let an adult help you and then try it with the hot glue.
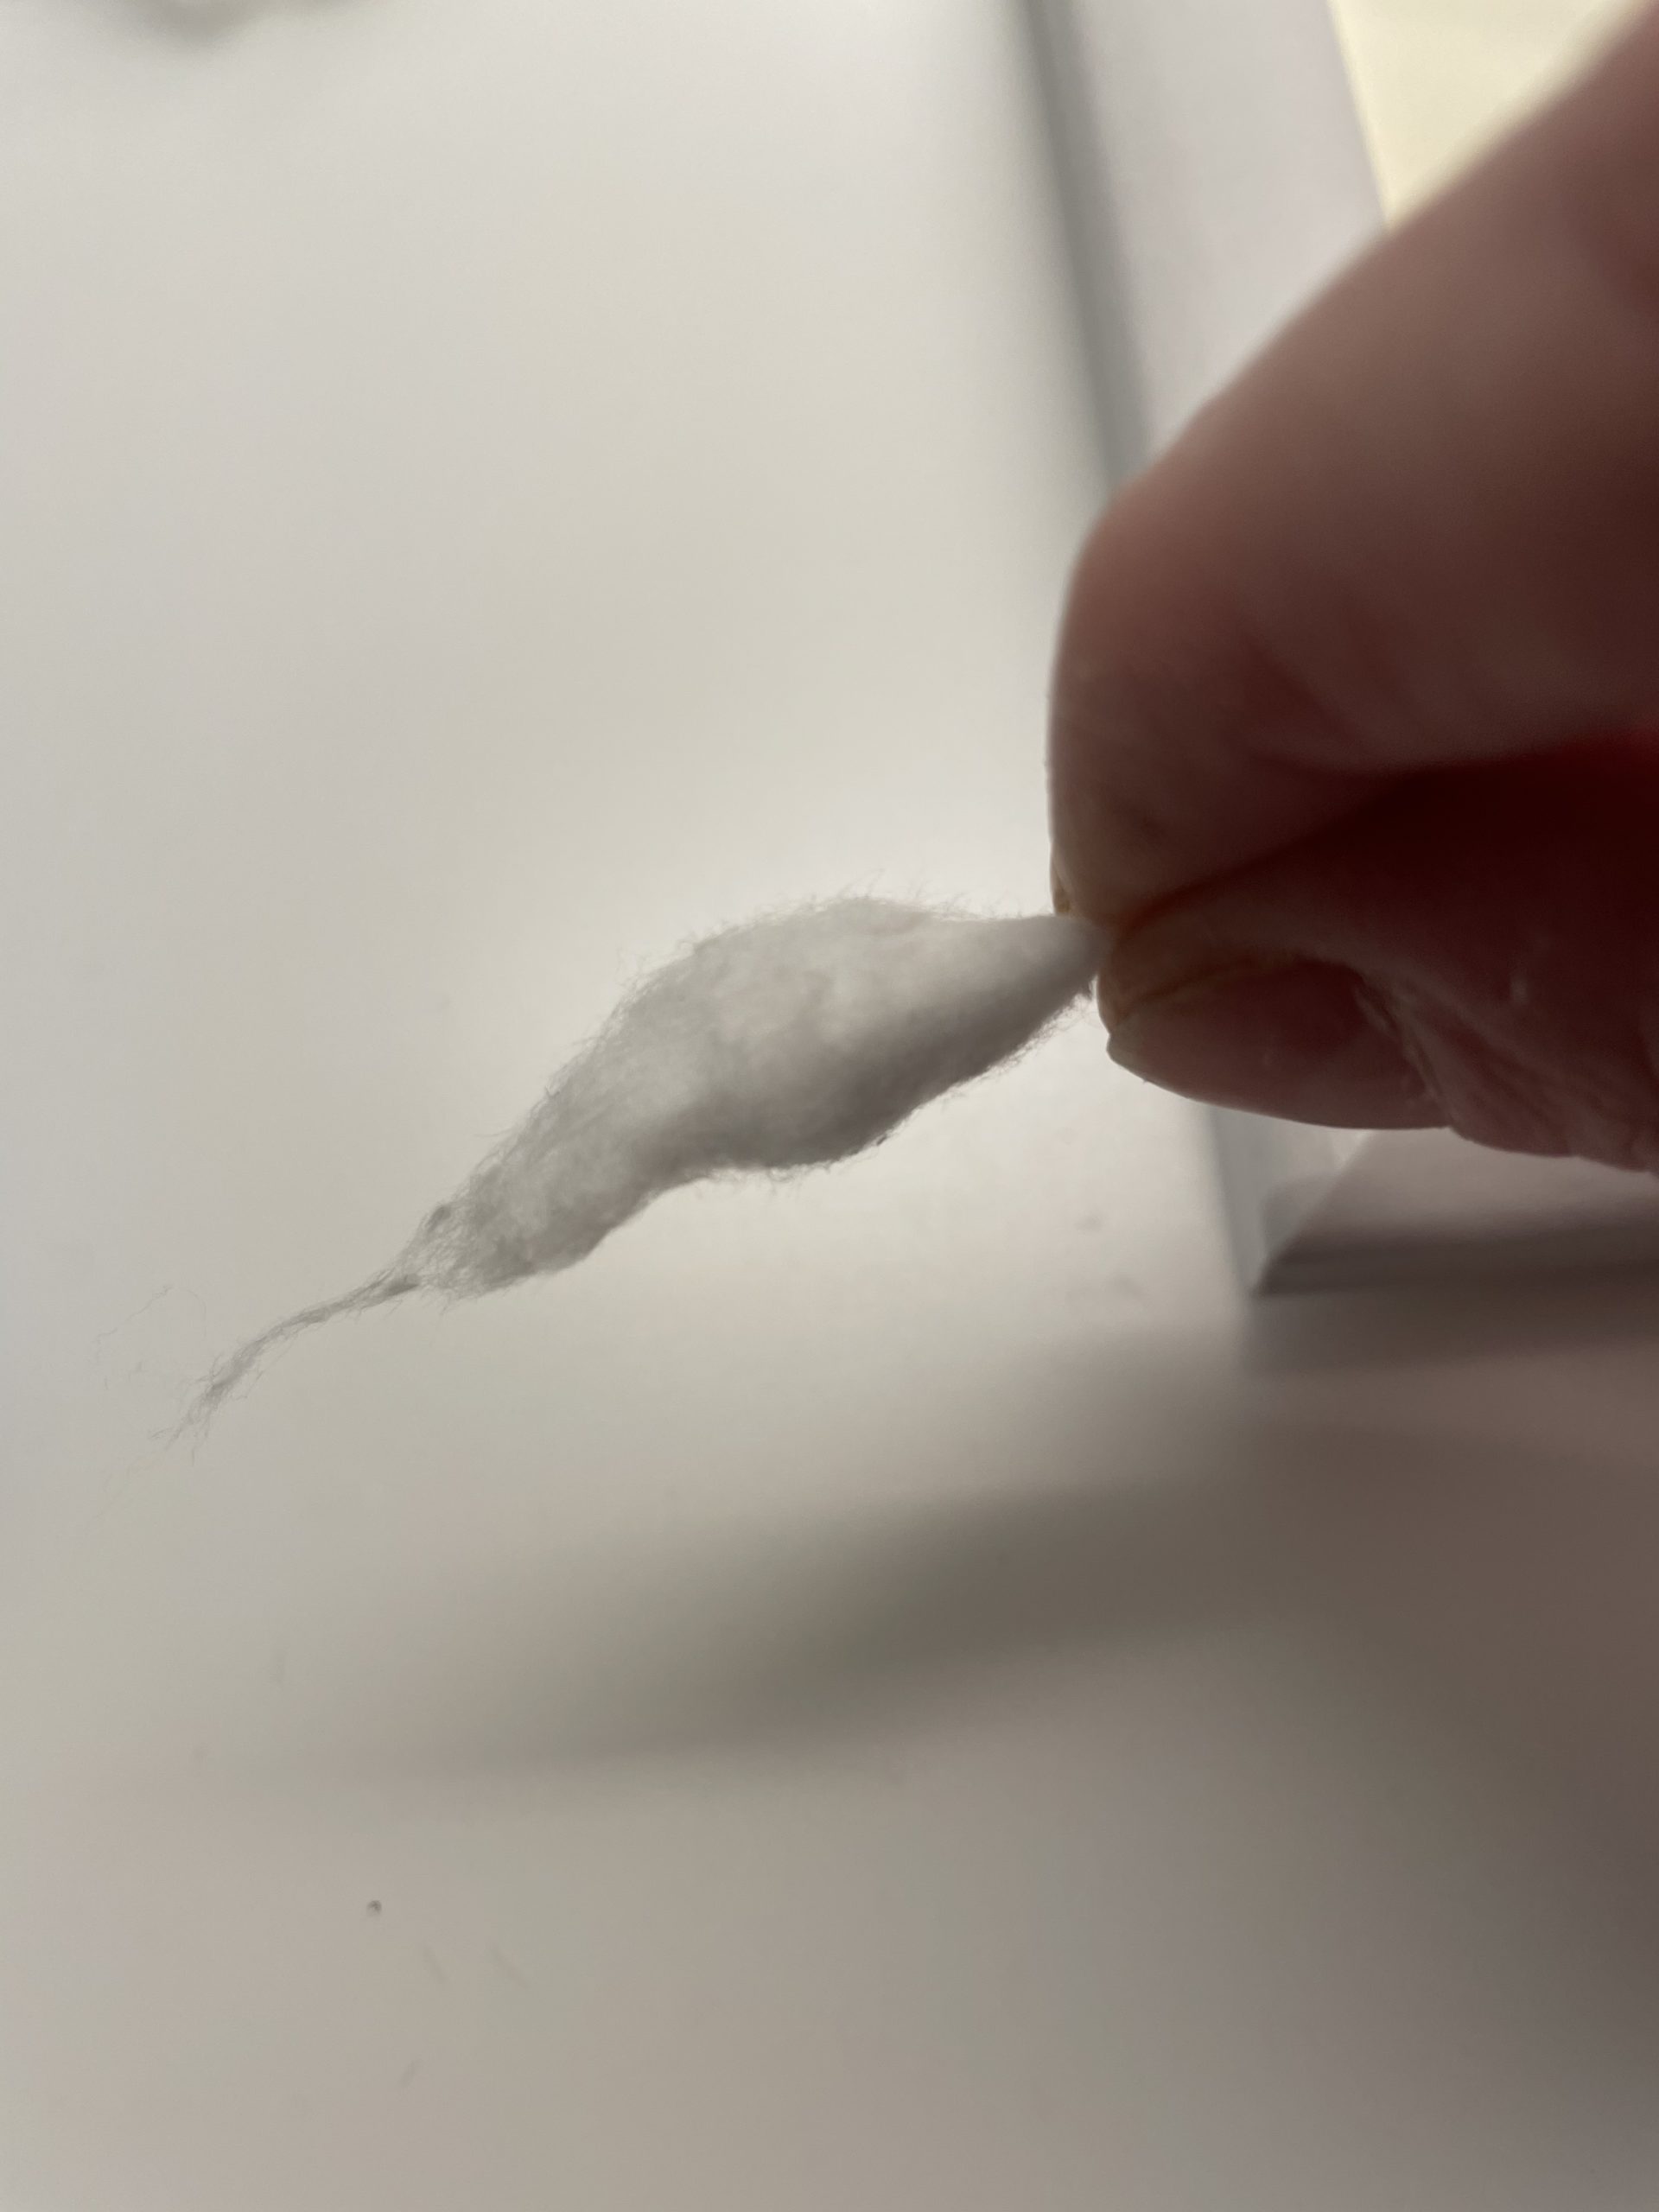


Make a magic hat.
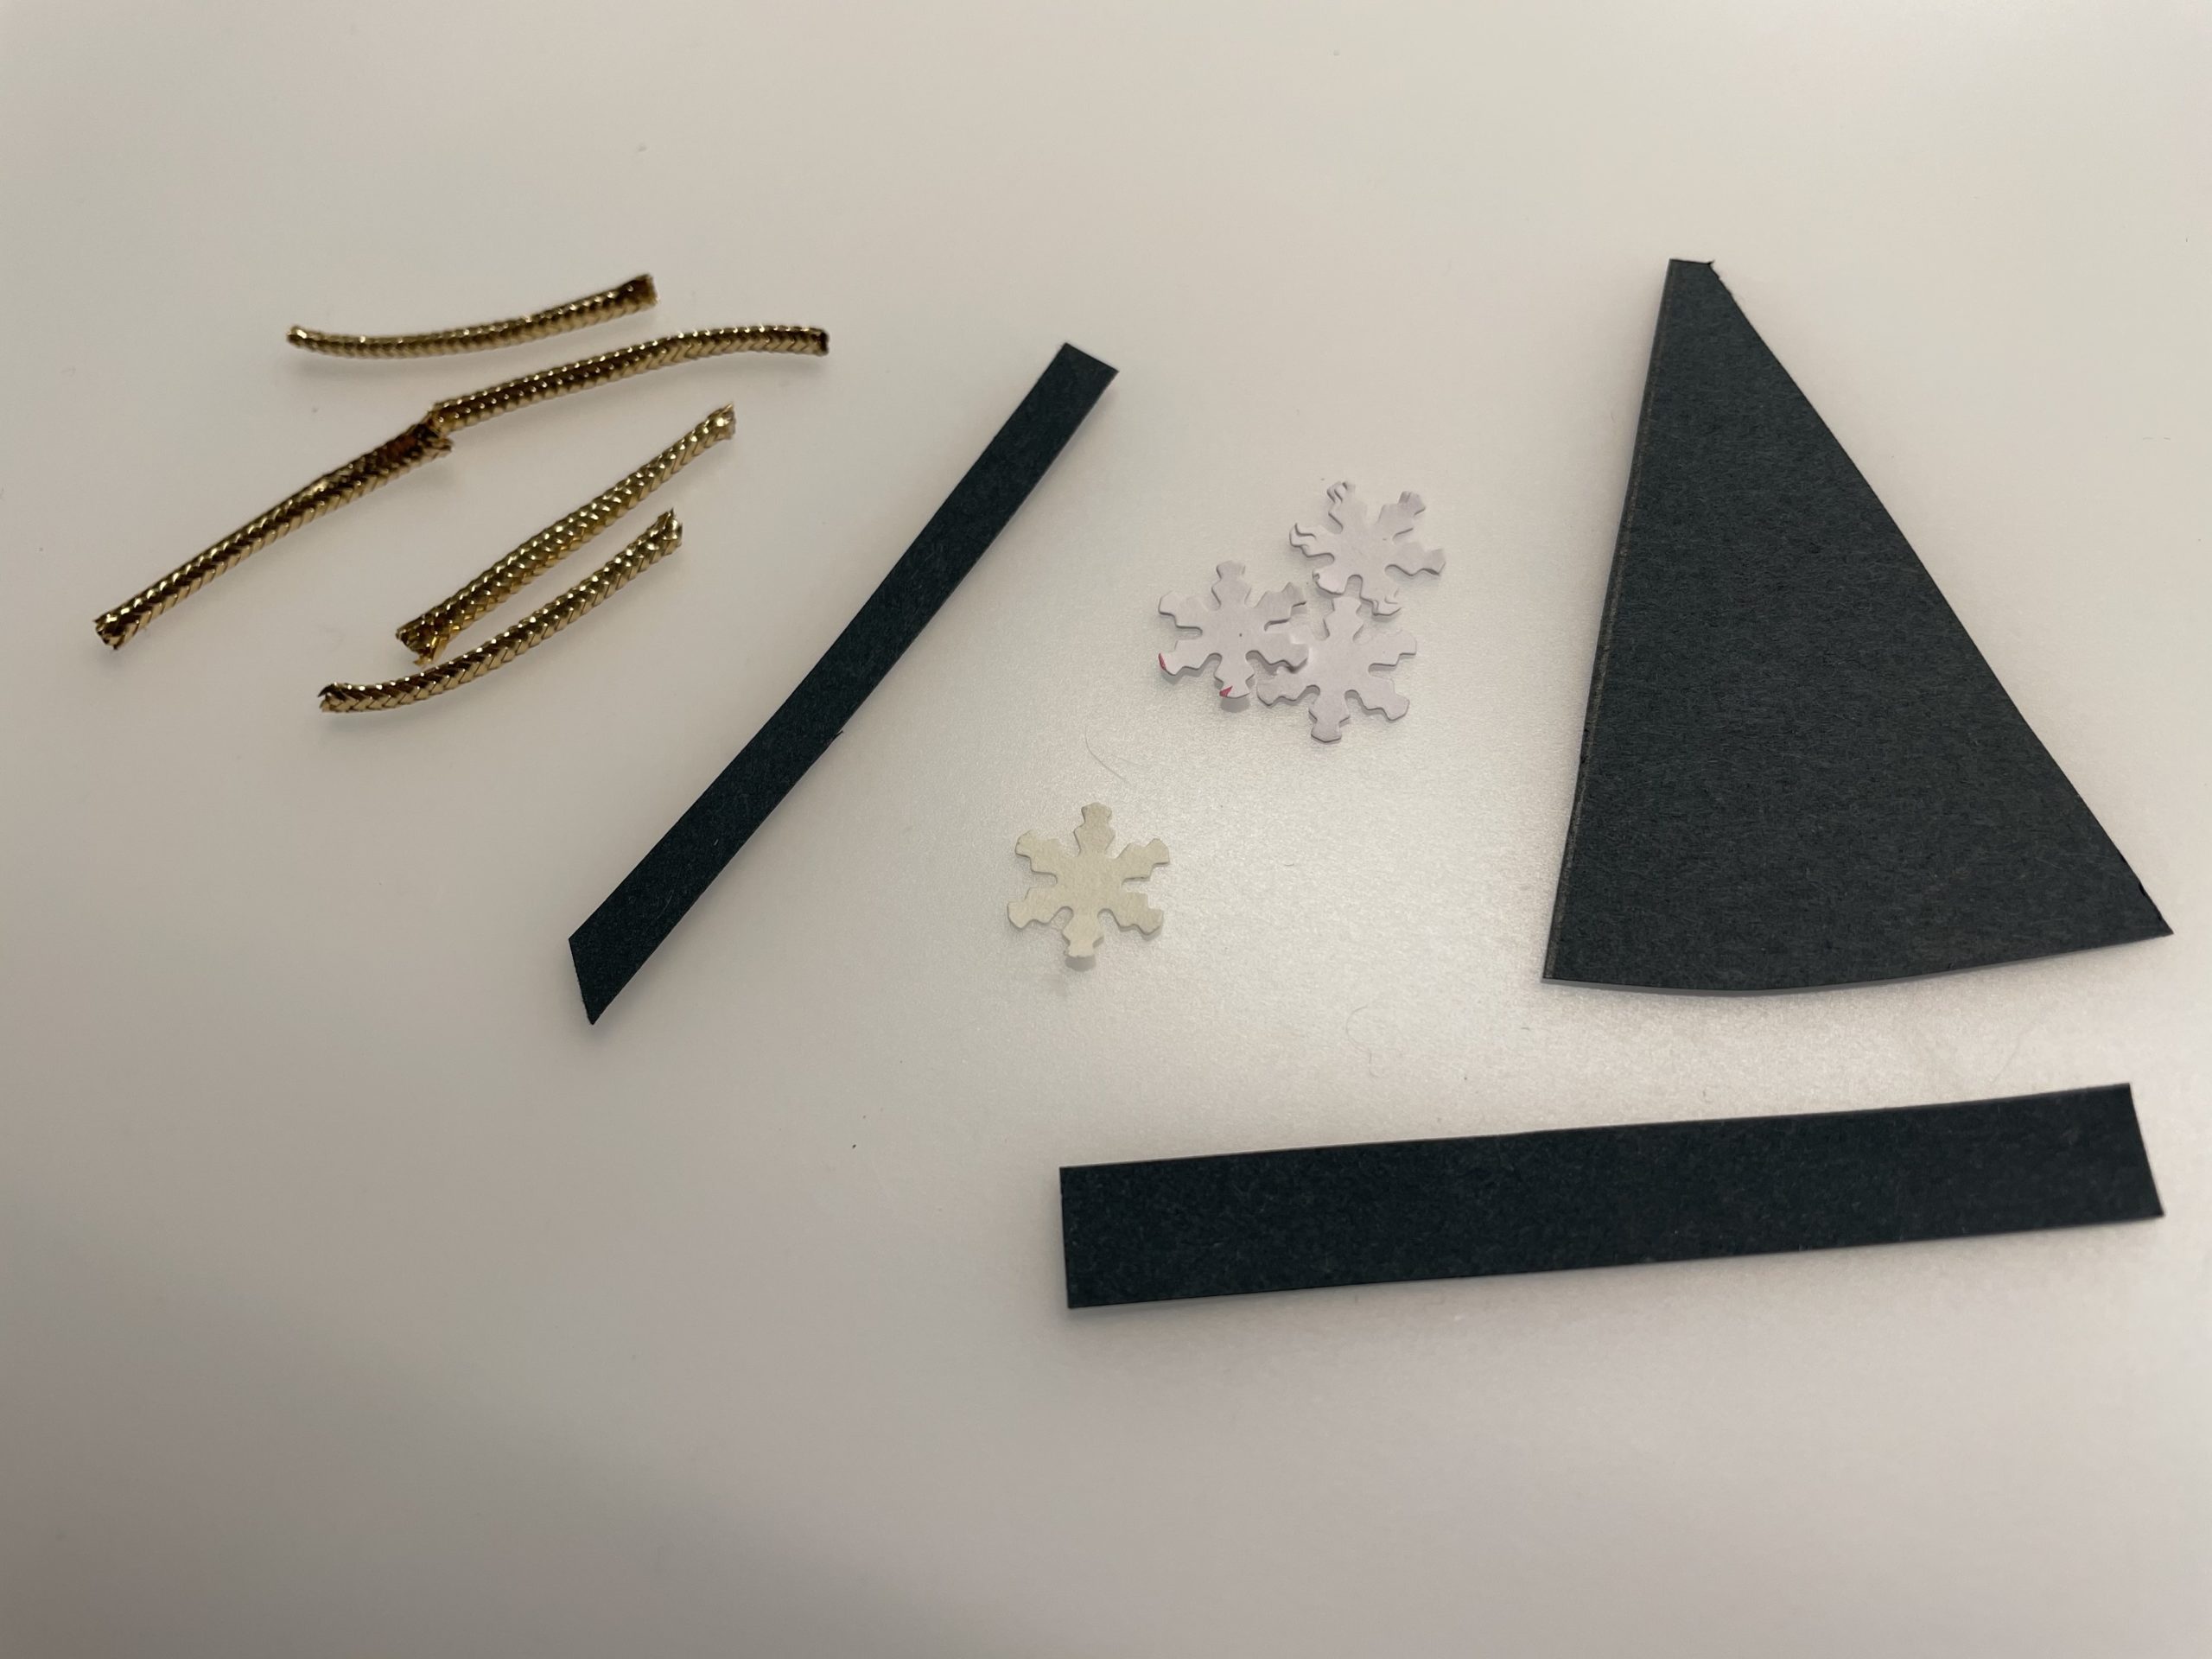
Cut out a triangle and a strip of paper. Glue both together to form a hat. In addition, you need another thin strip of paper as a magic wand.
Cut off small pieces of a glittering cord / wool. approx. 2 cm long. You also need them for the magic wand. The carrot nose is bent from a piece of orange pipe cleaner wire. (See Schneemann at the very end!)


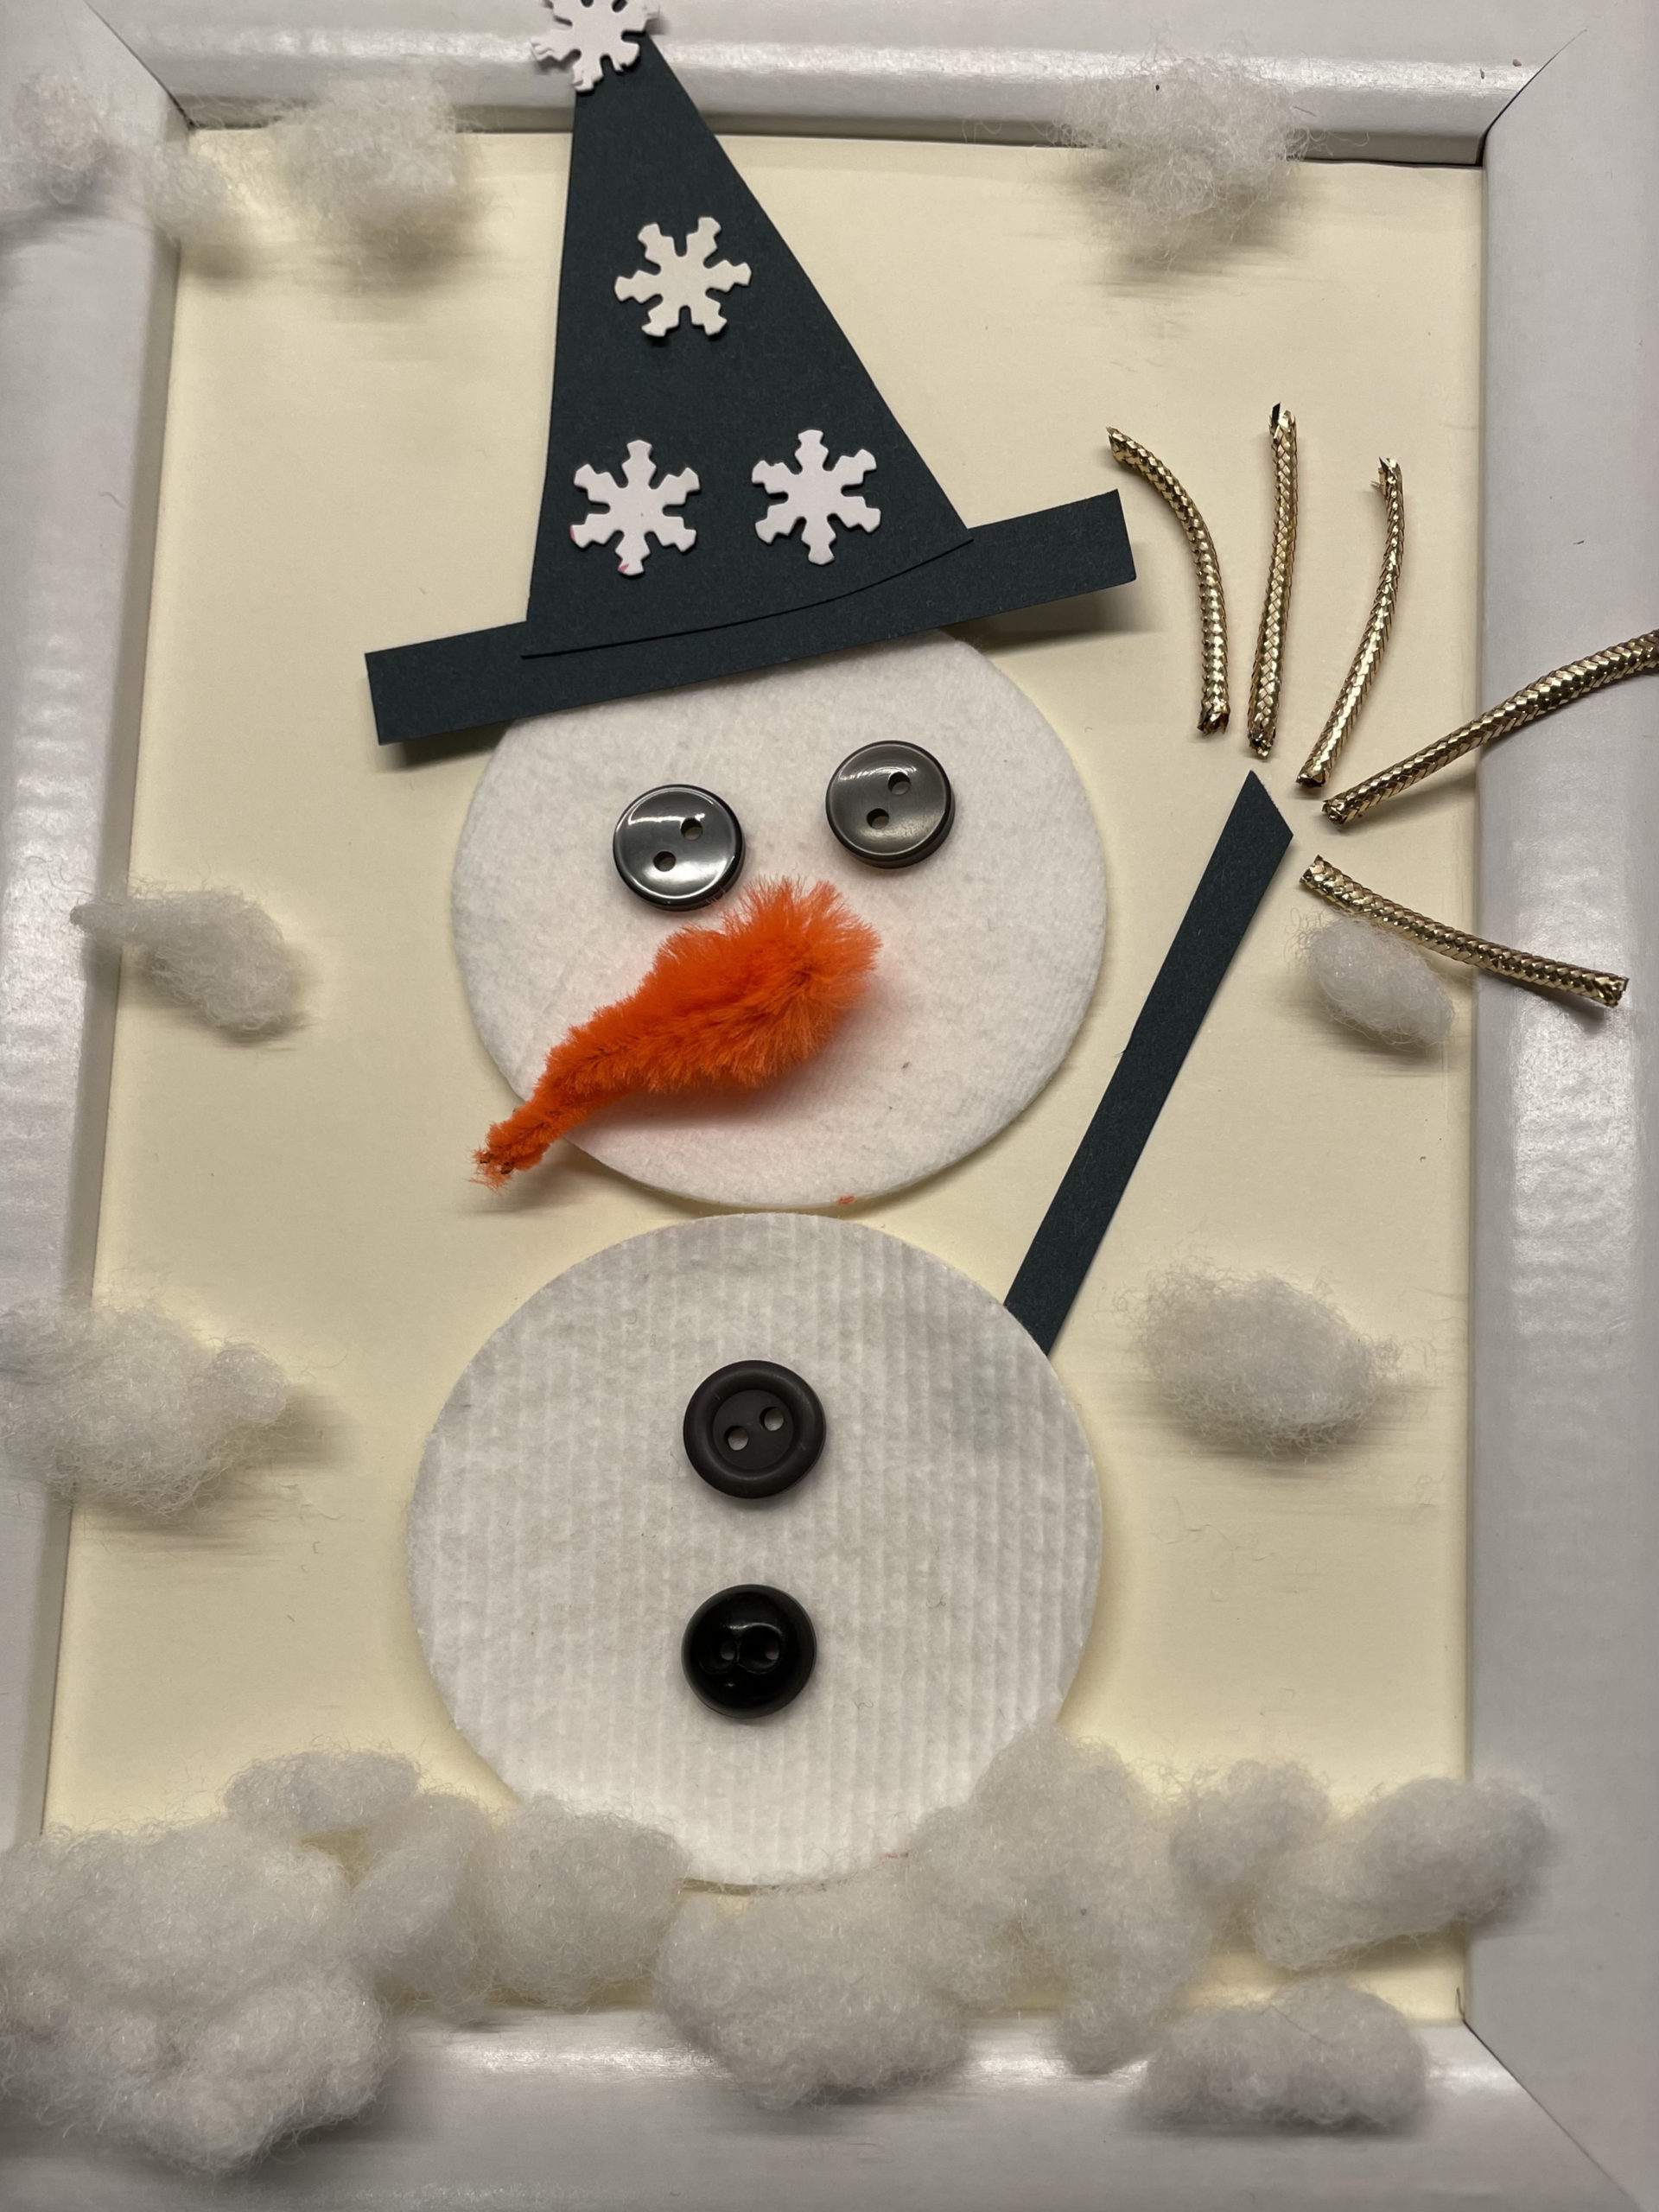
Put it all together.
(The structure of the snowman frame is described at the beginning.)


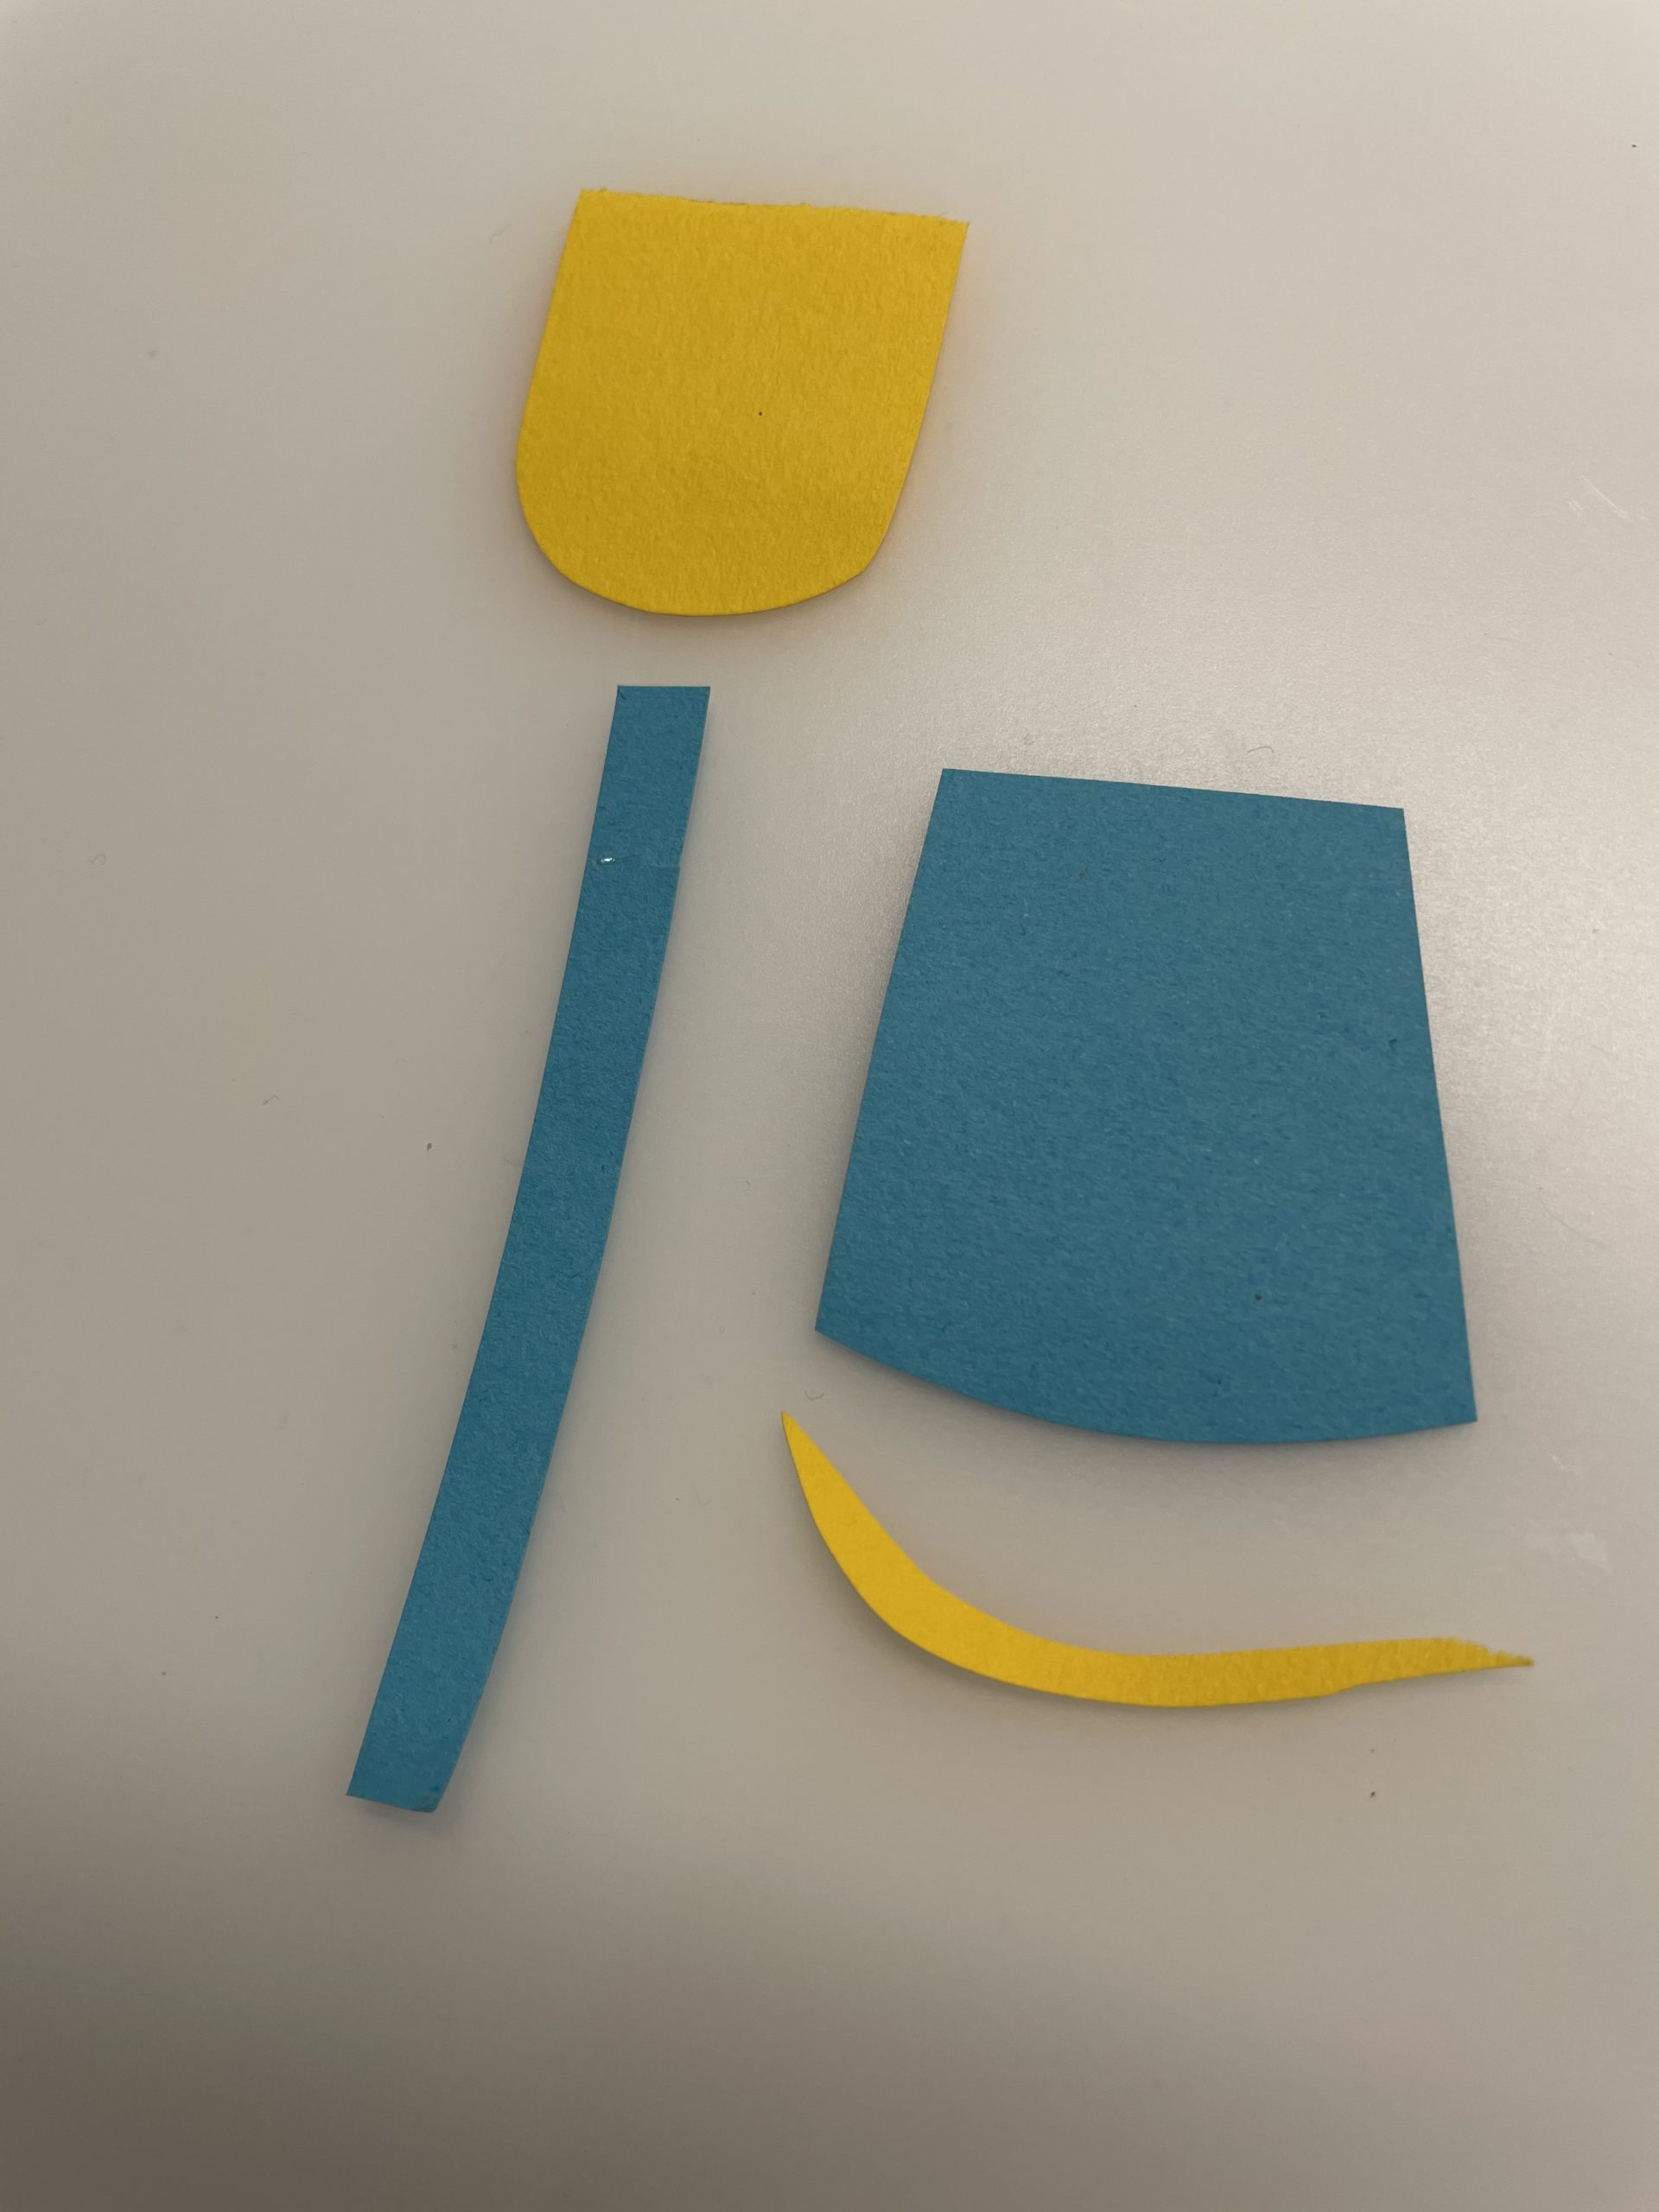
Make a shovel and a bucket of clay paper.
The shovel consists of a narrow strip of clay paper and a rectangle/square rounded on two sides.
The hat is a square slightly bevelled on two opposite sides. In addition, you can round off the wide edge very easily. Cut off a very narrow bow of a differently colored clay paper. Or stick a small wool thread as handle to the bucket.


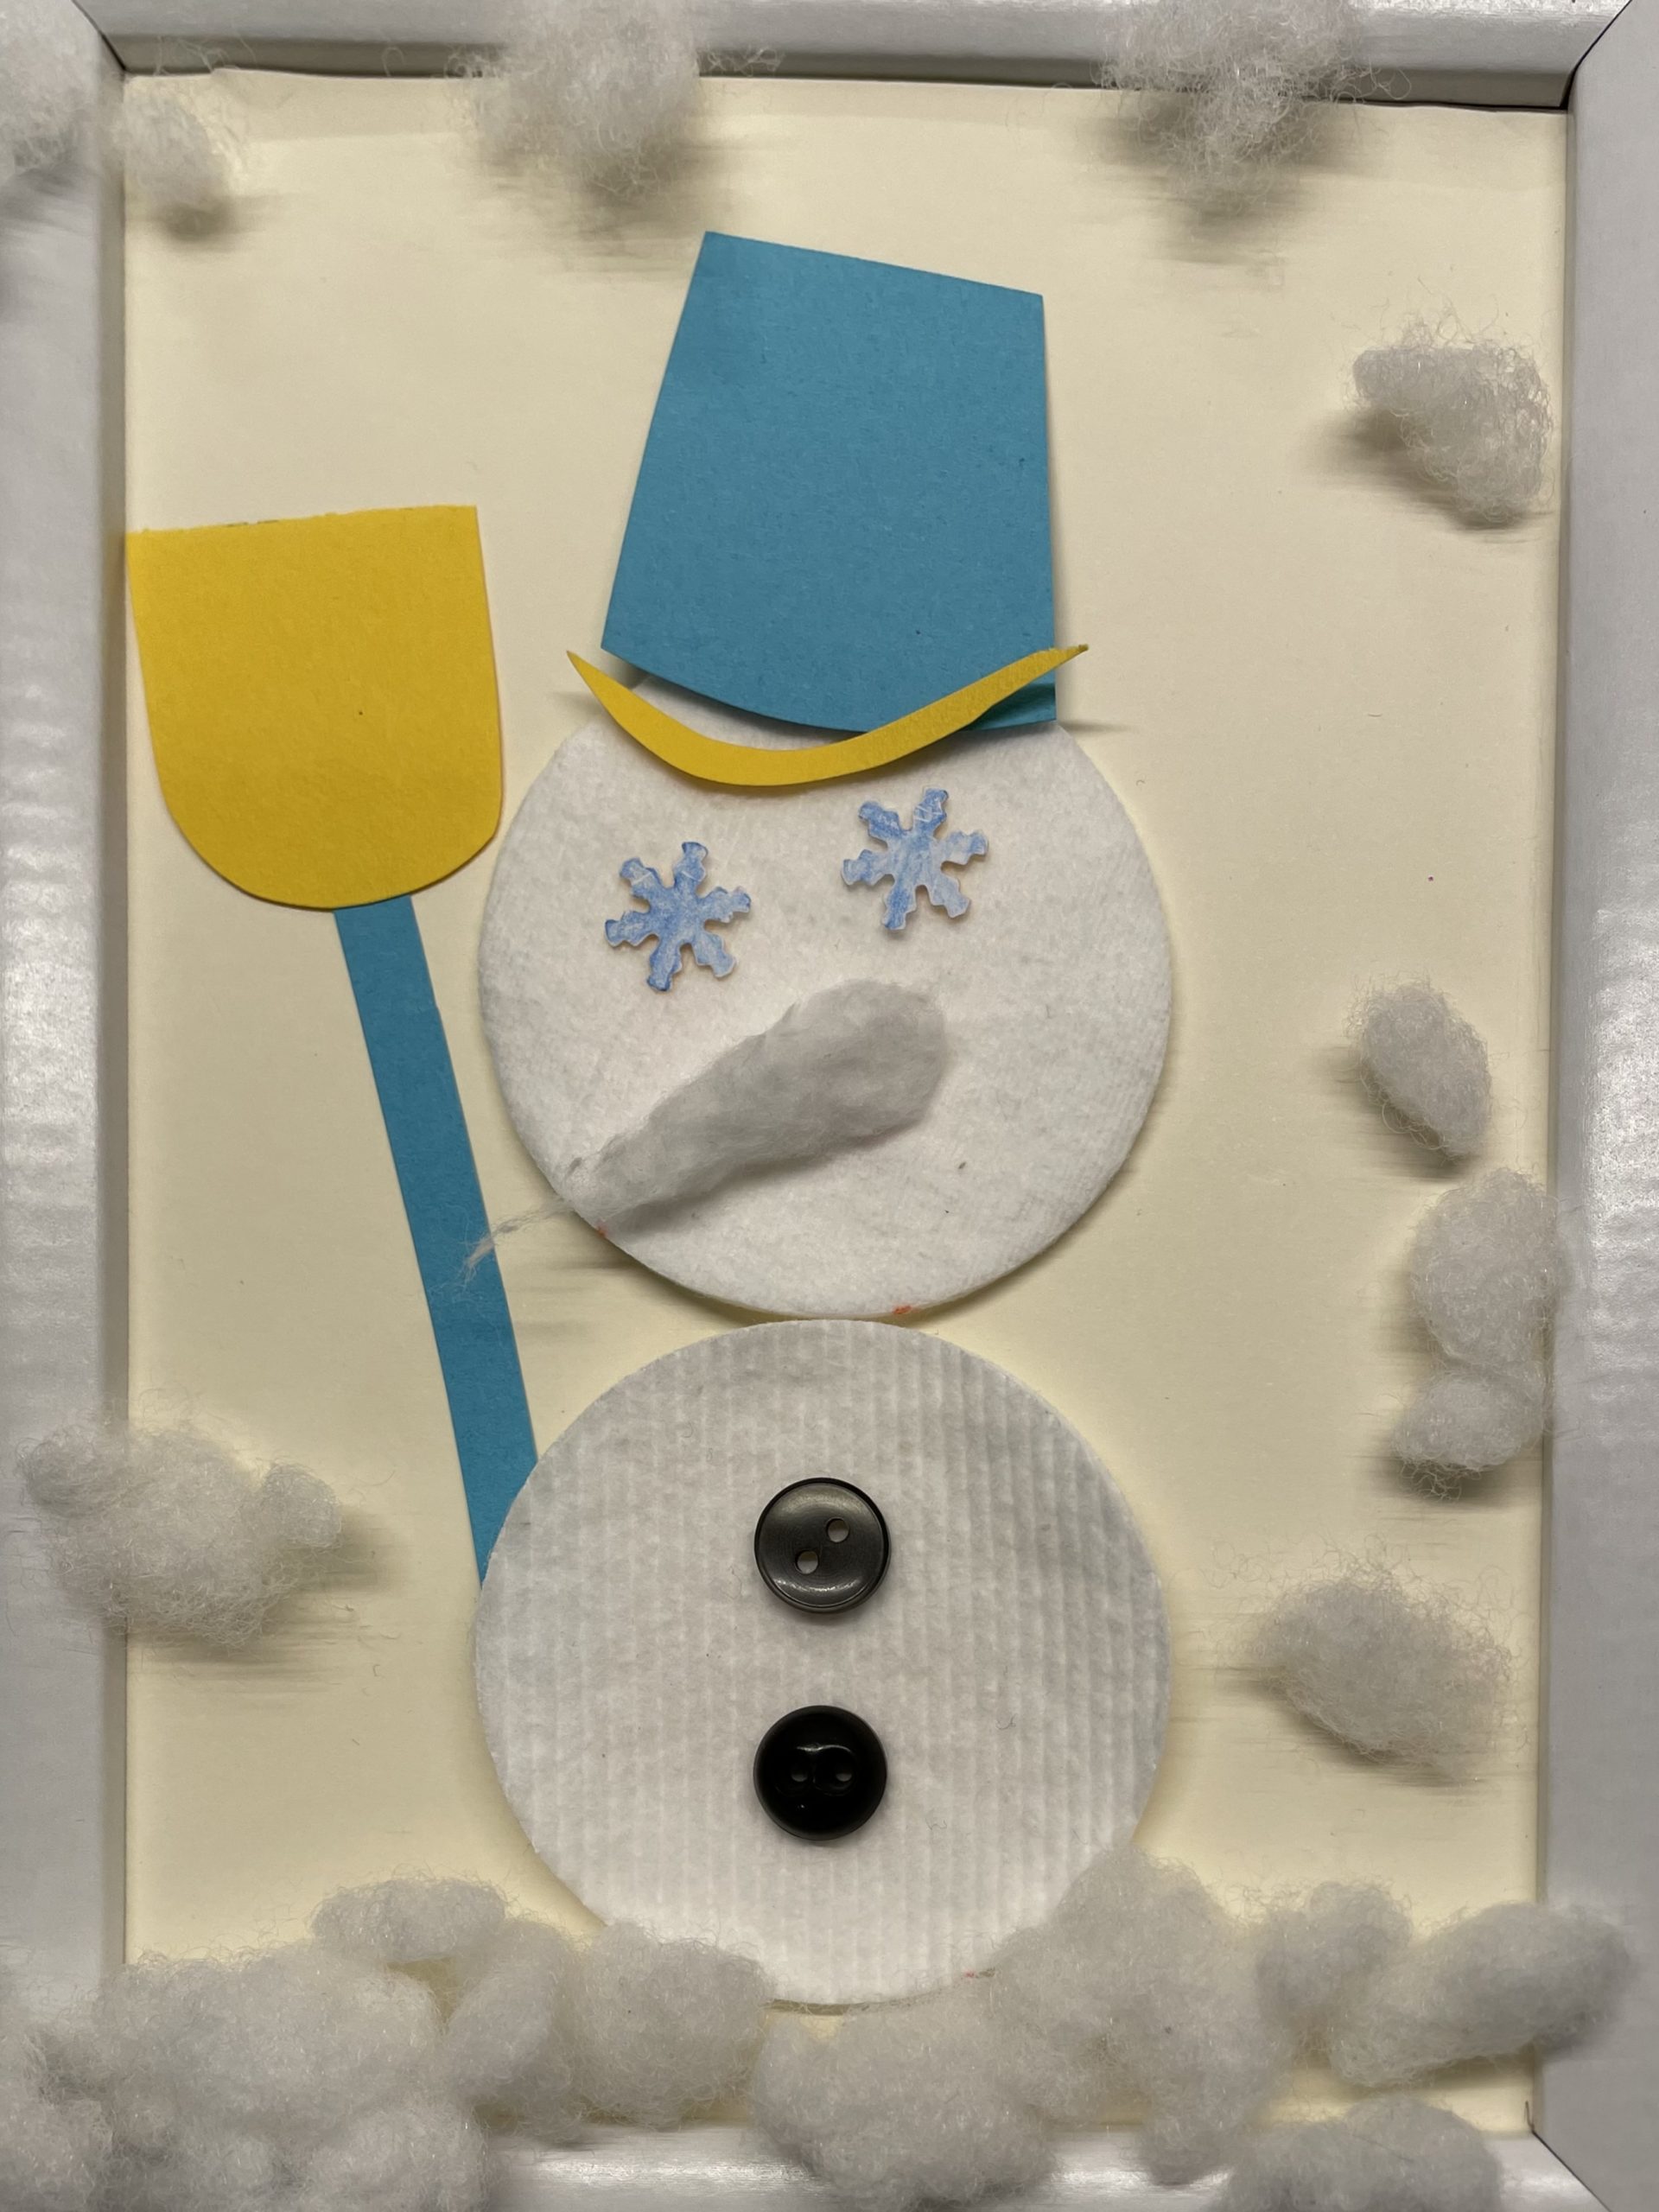
Glue your items together like in the picture.
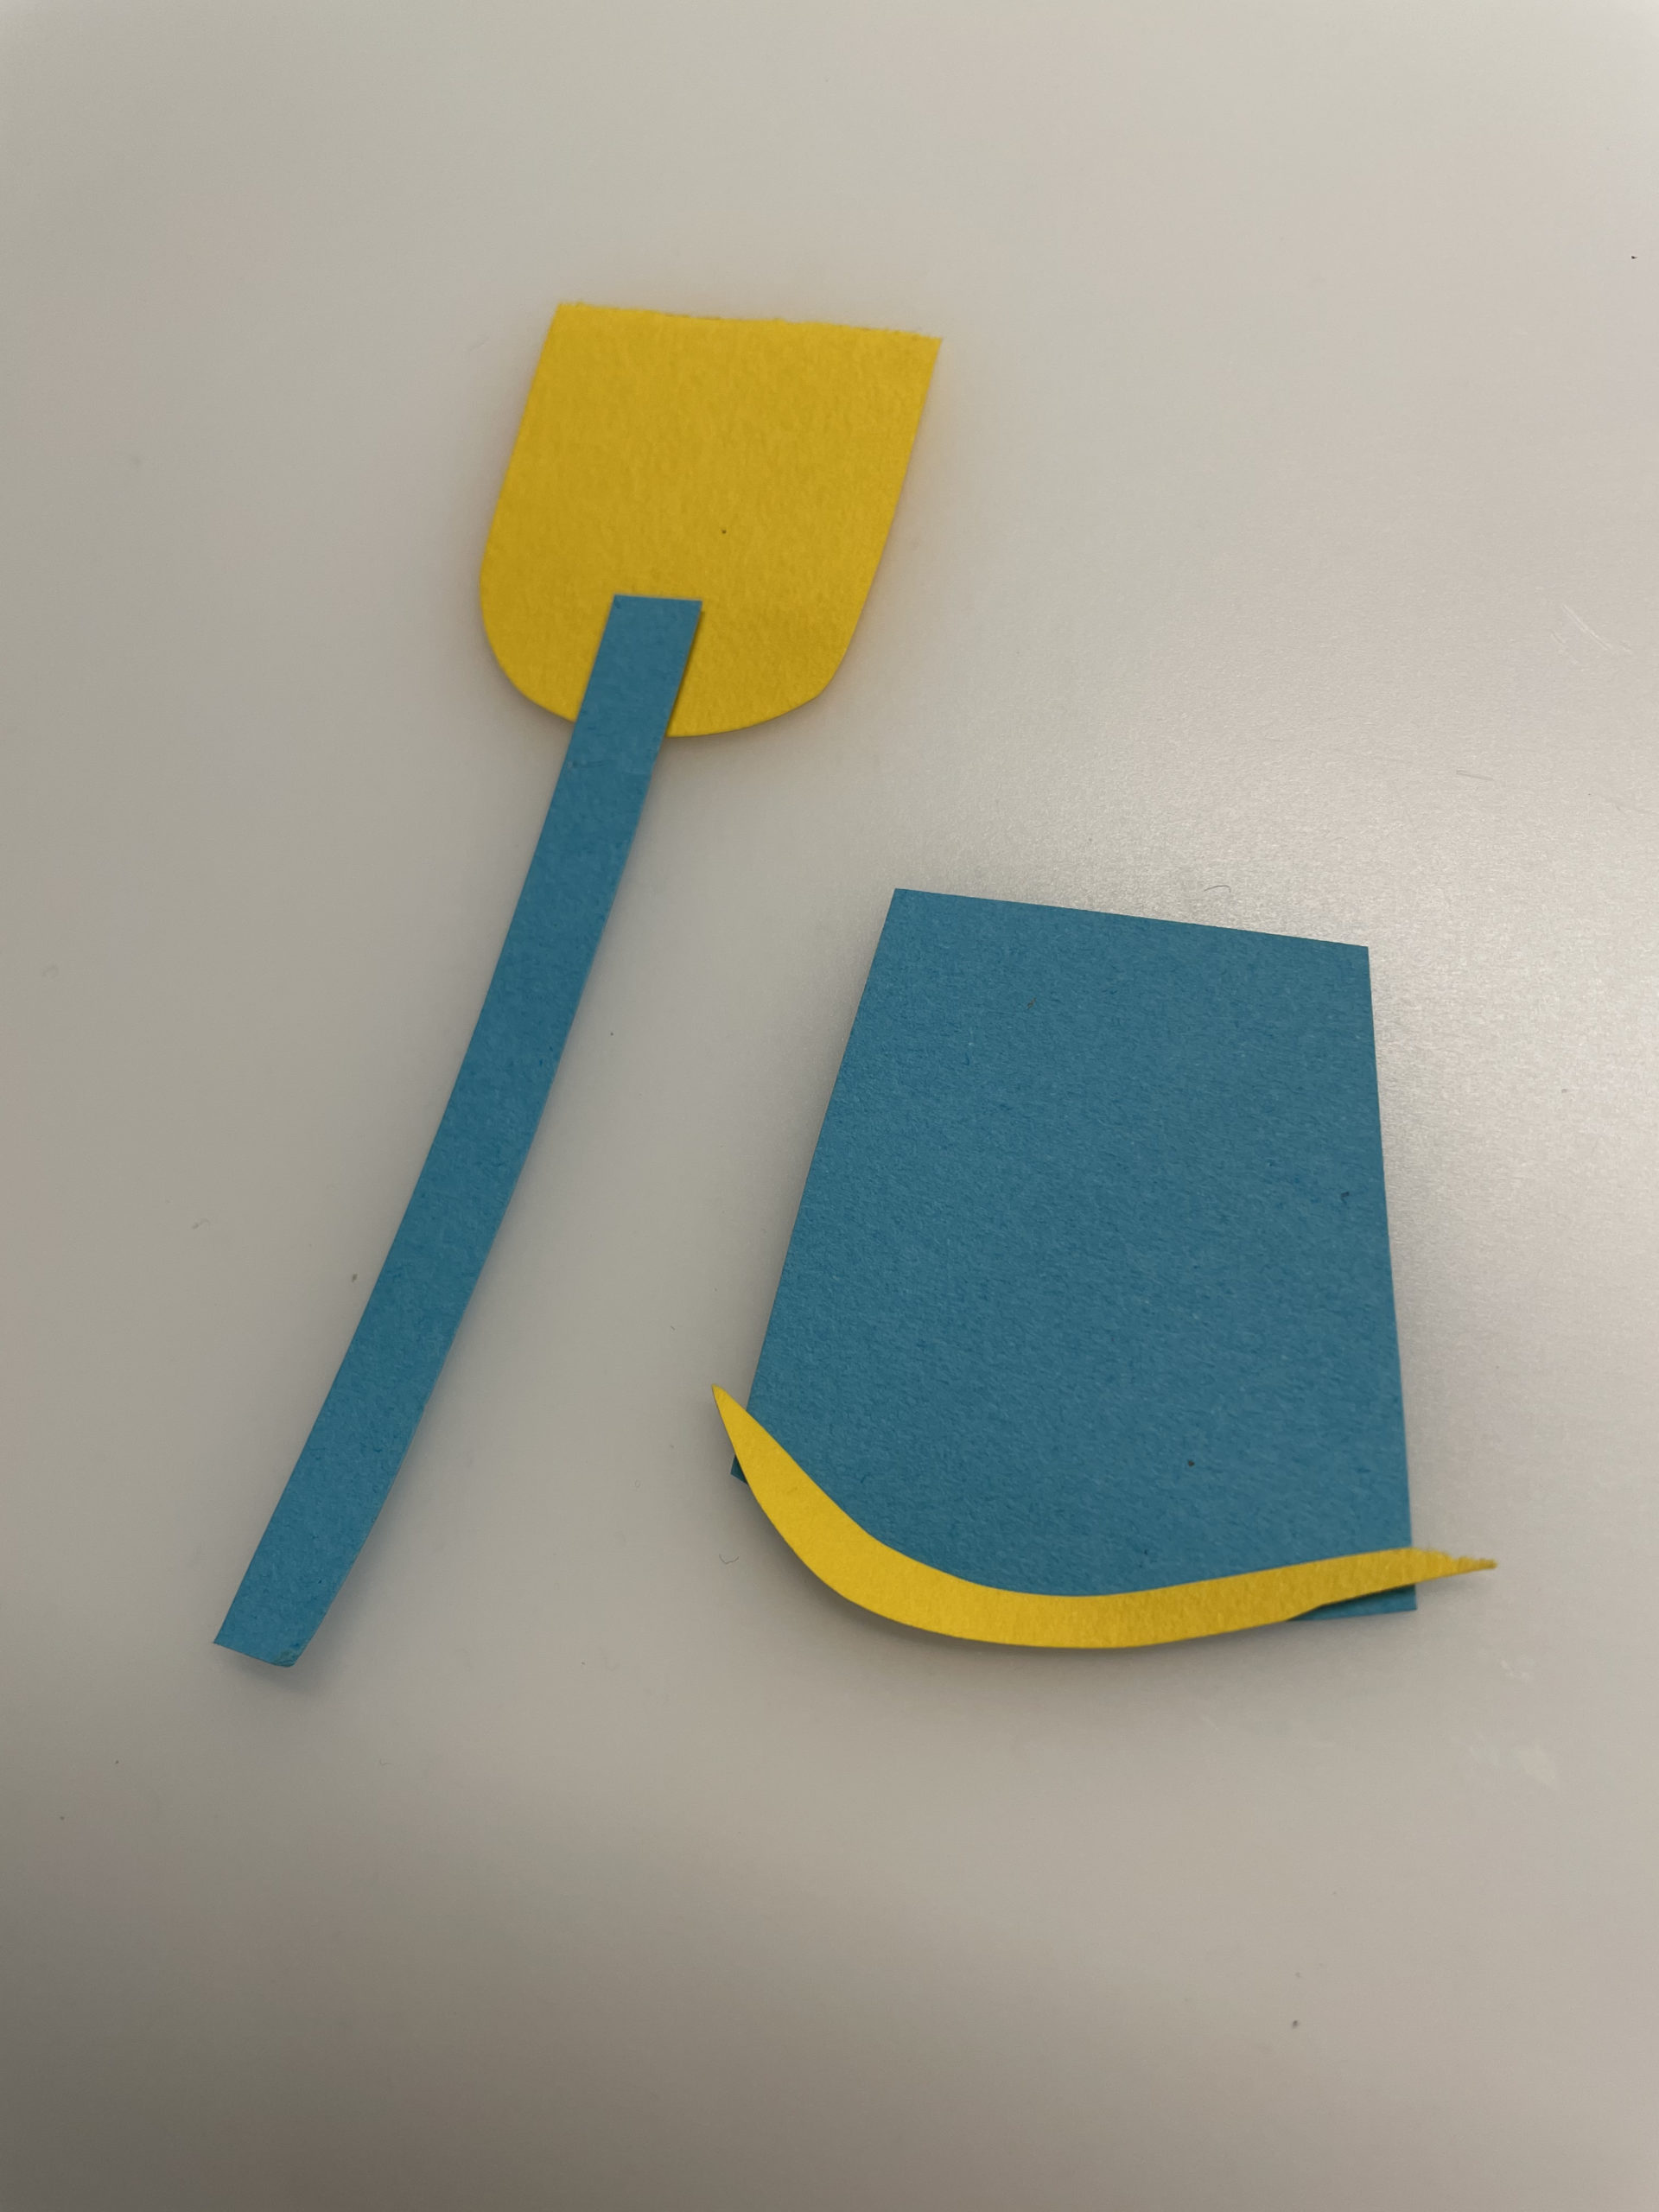


Decorate your snowman with bucket and shovel.
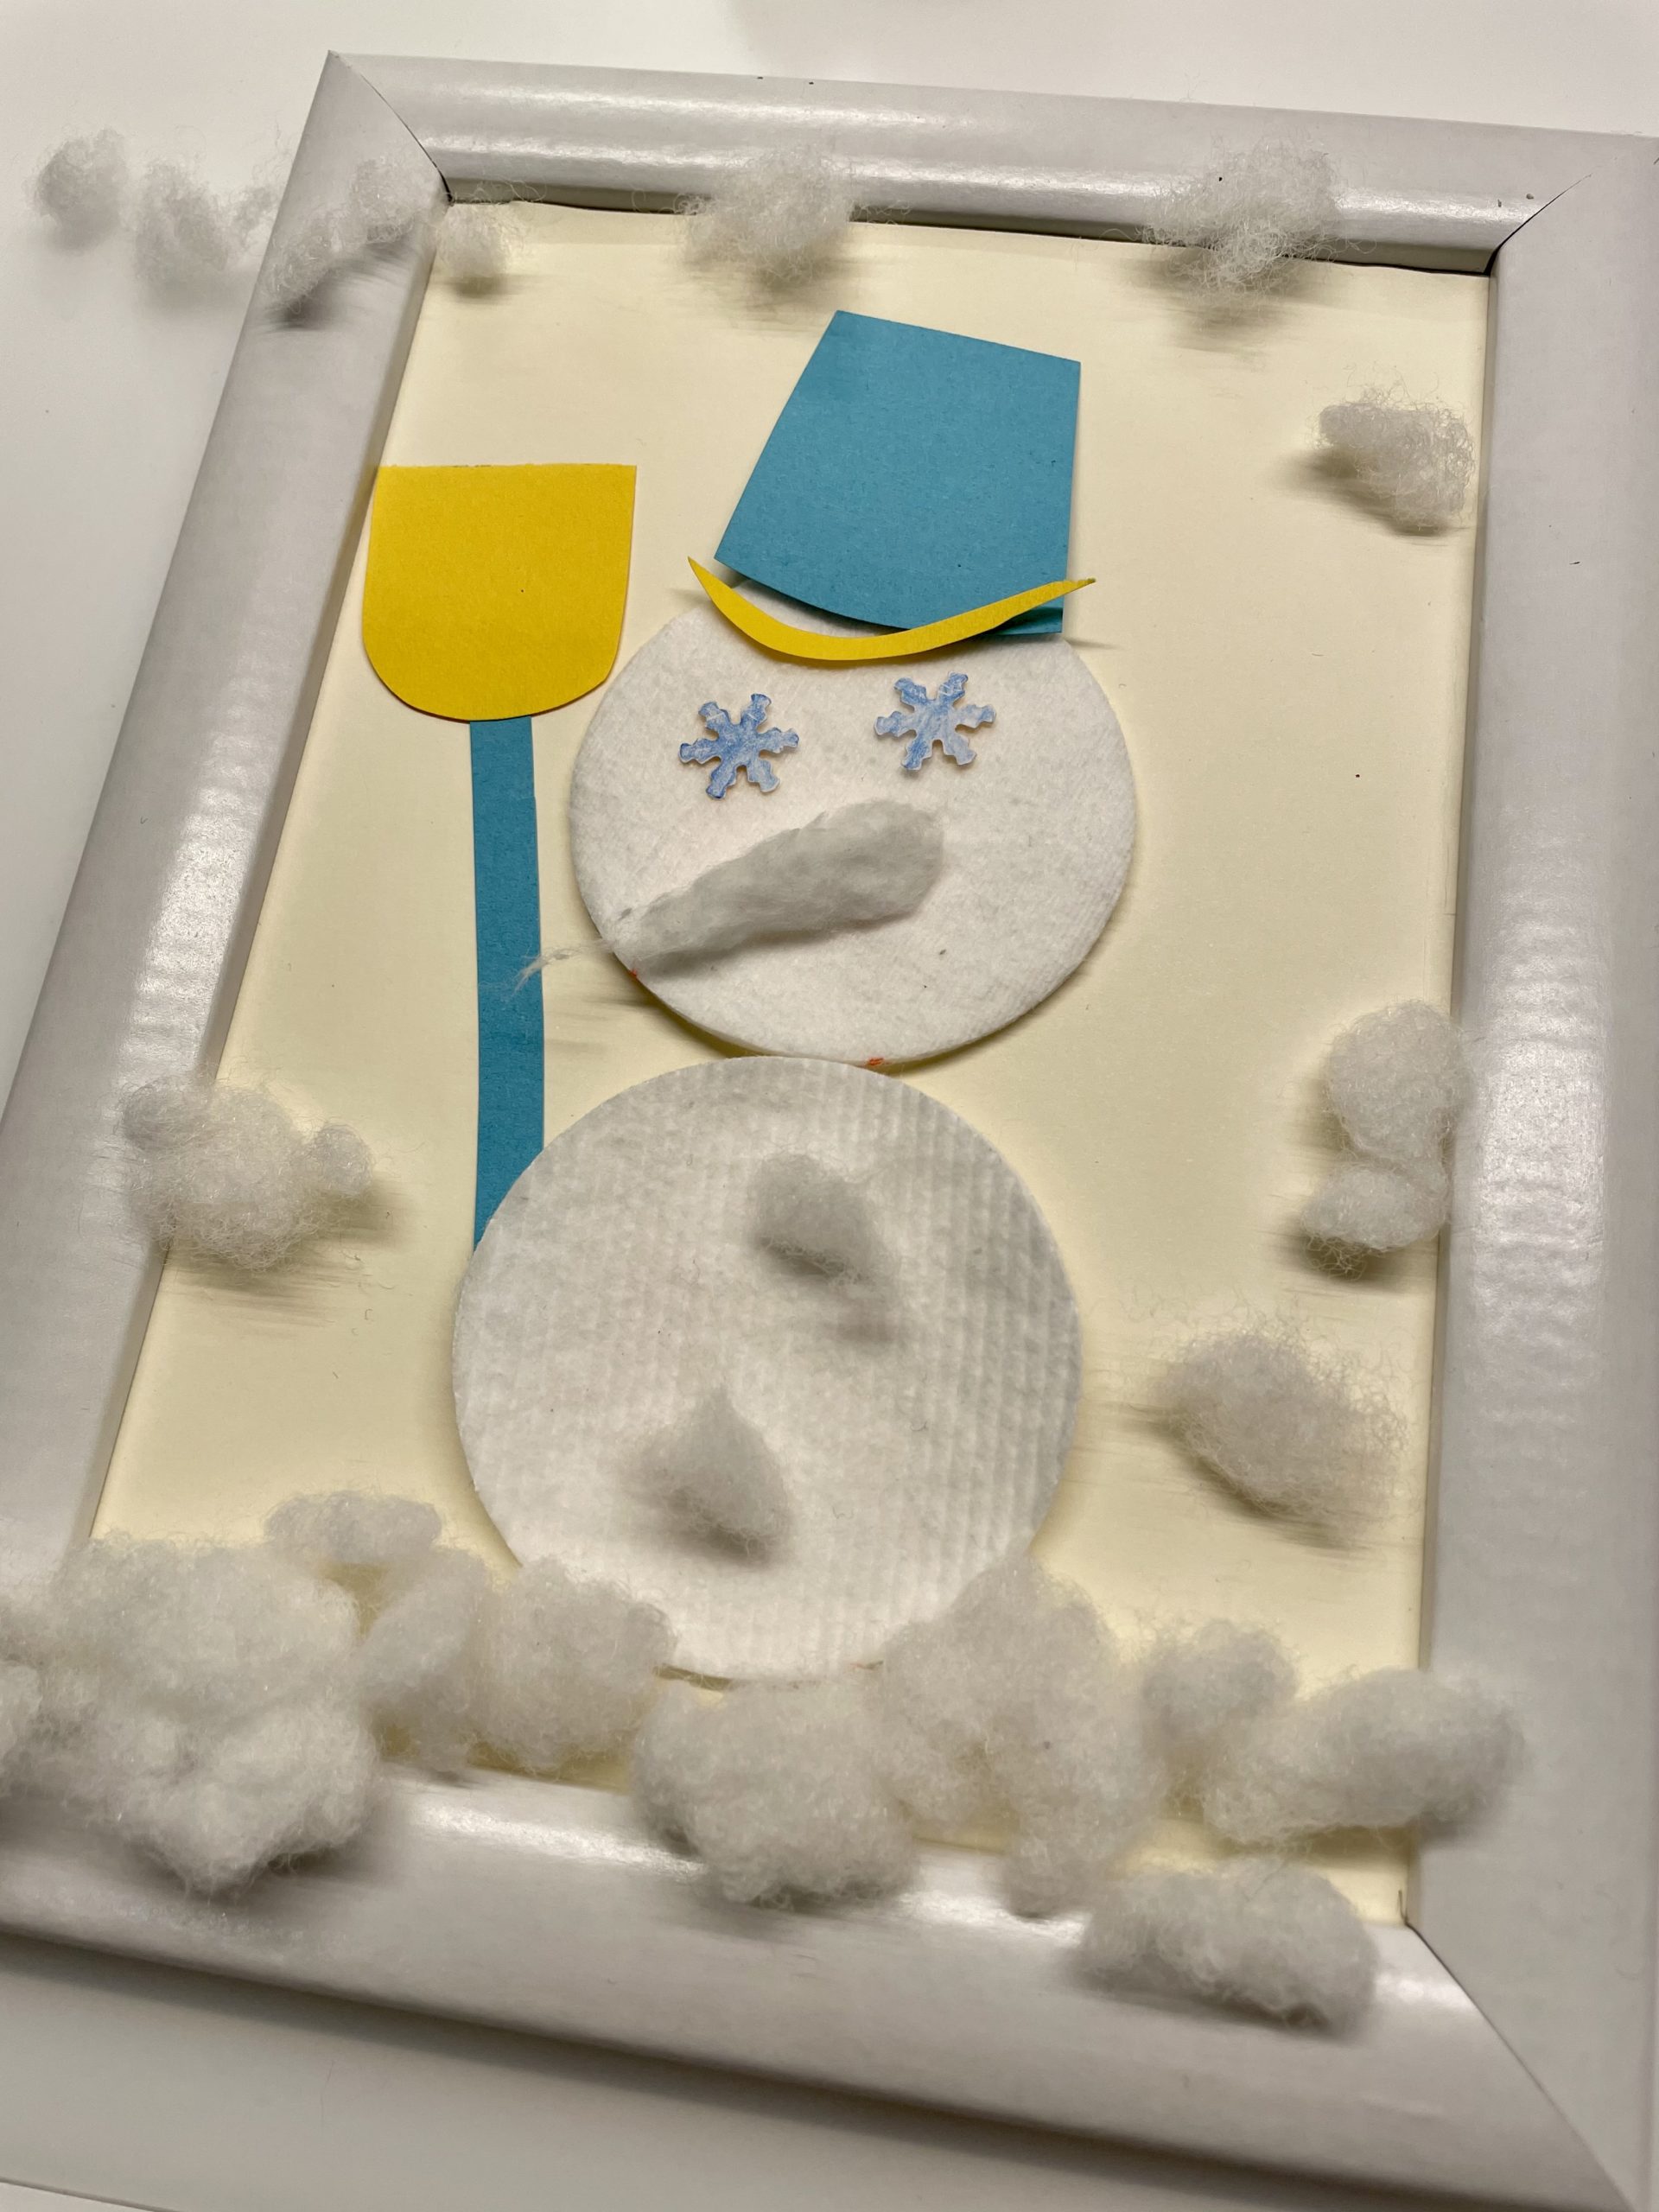


With buttons and eyes you can use creatively what you would like! Here is just another example!


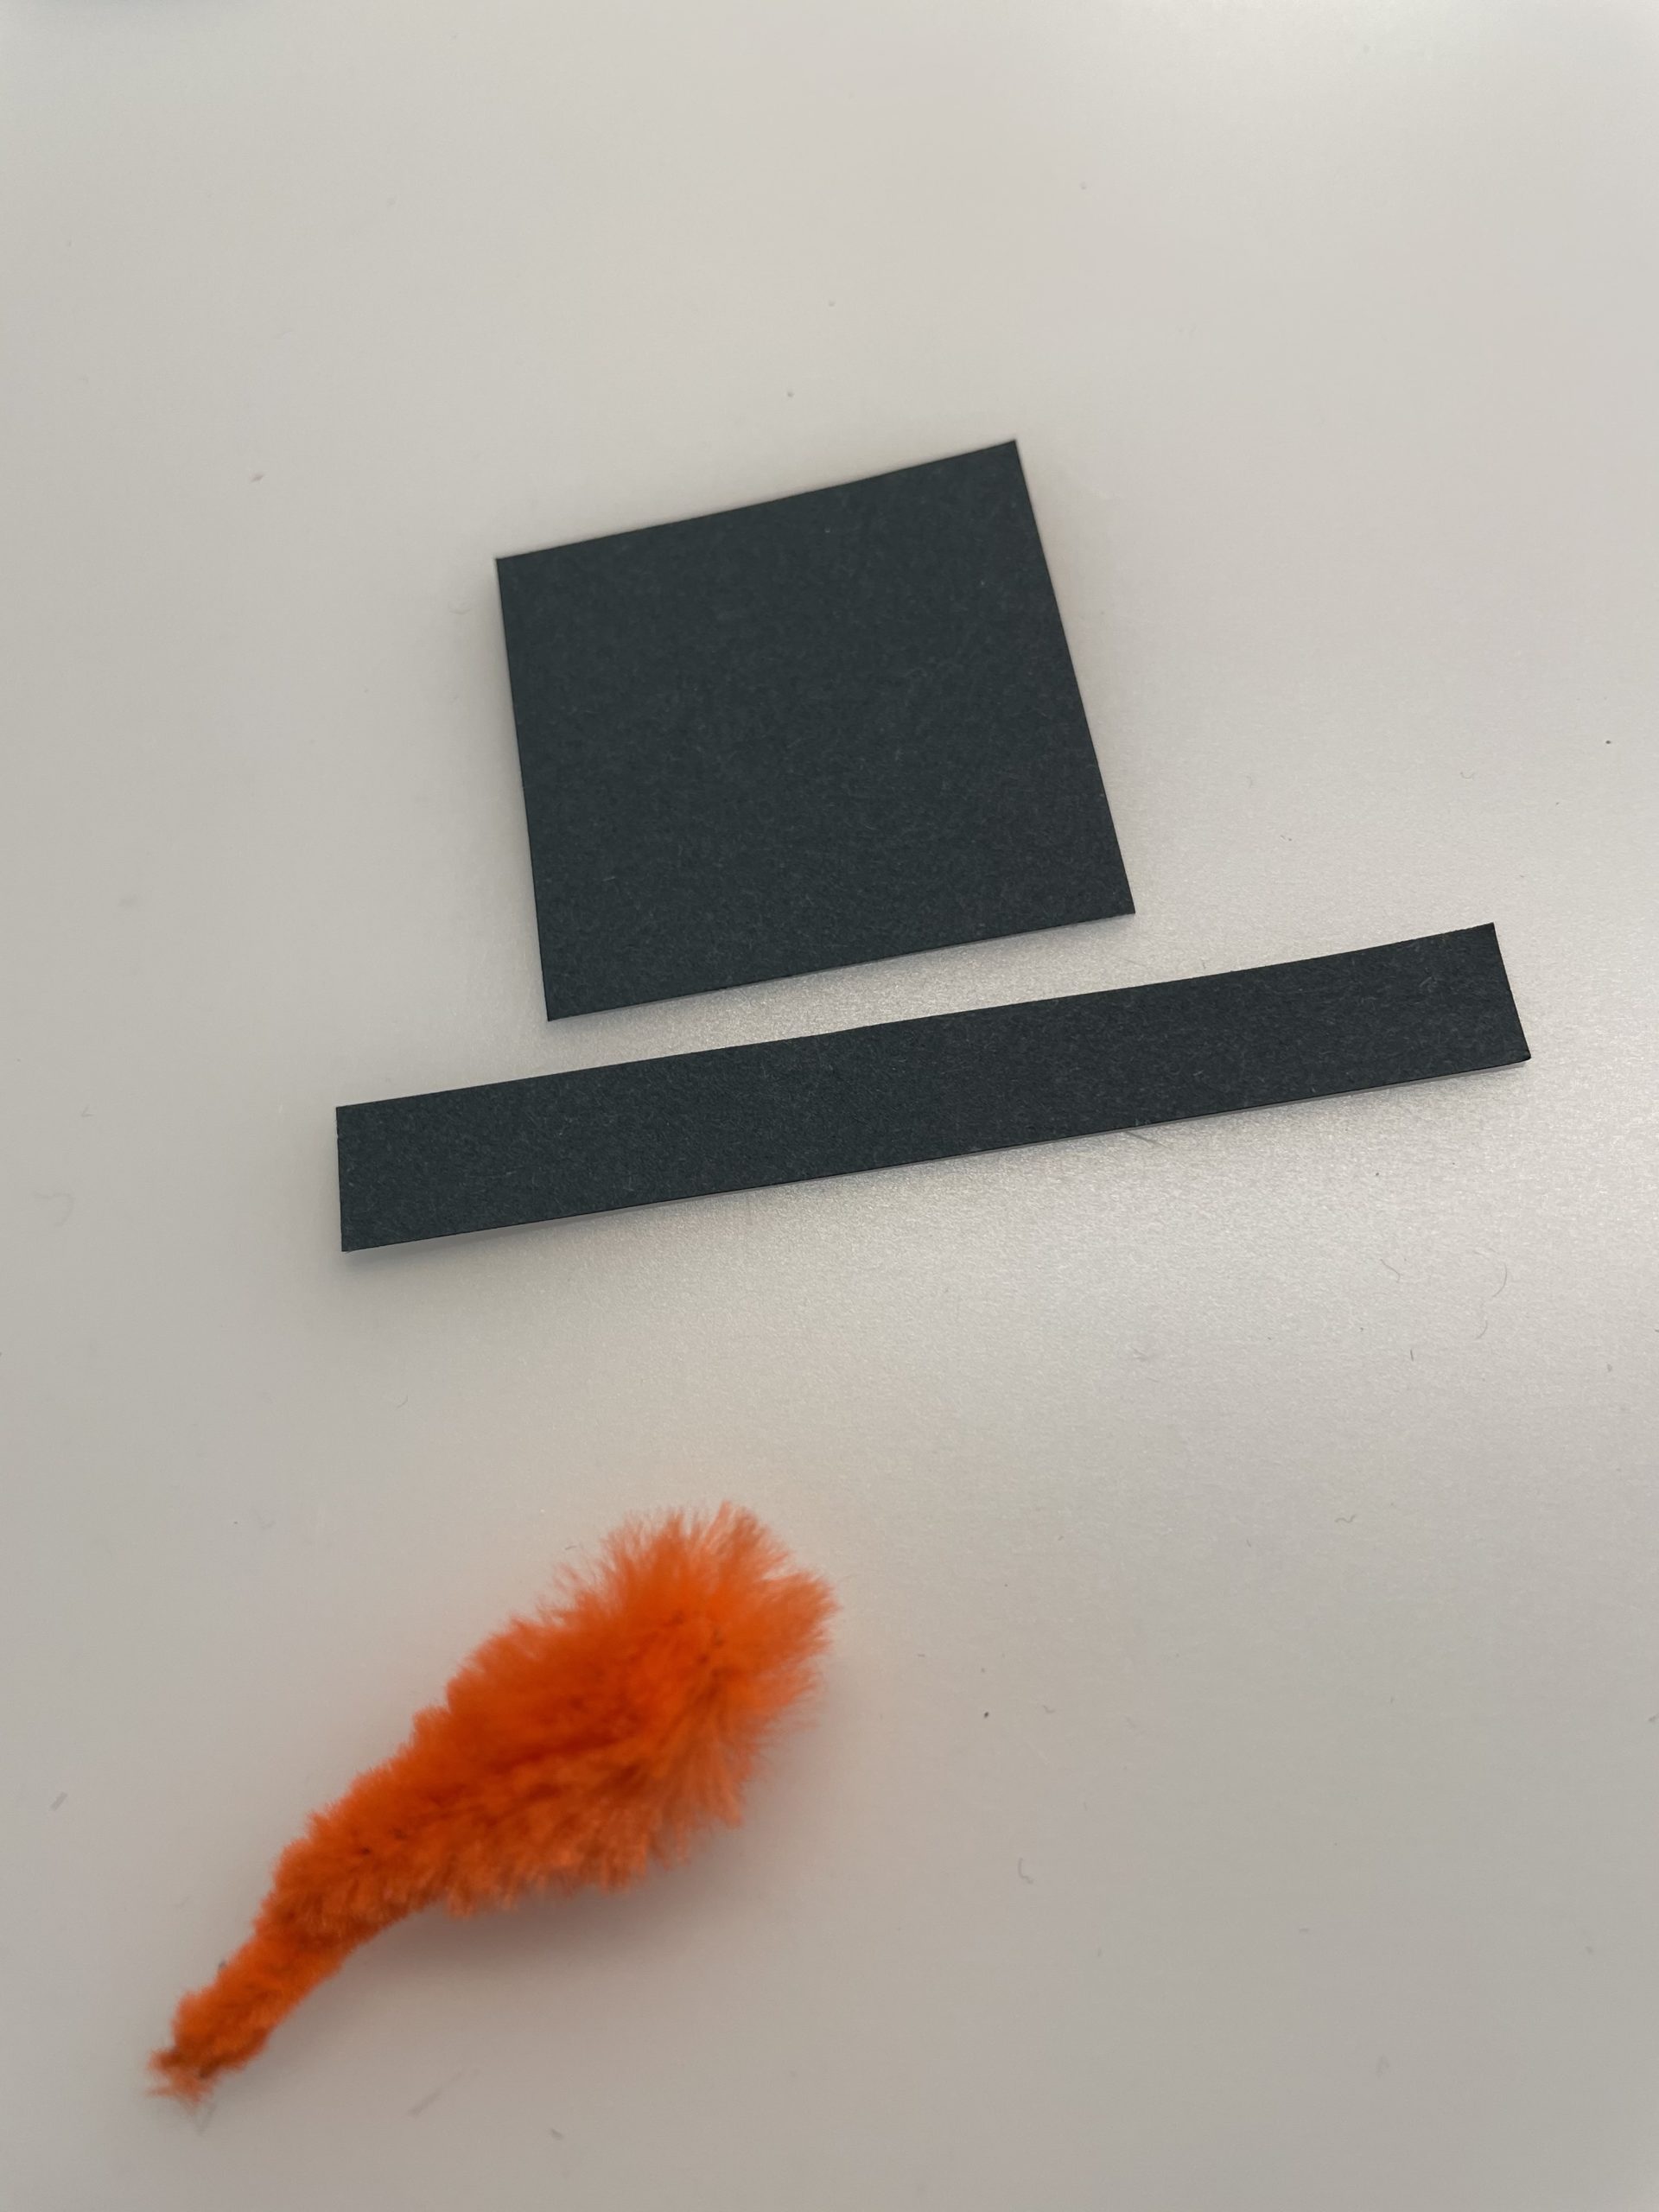
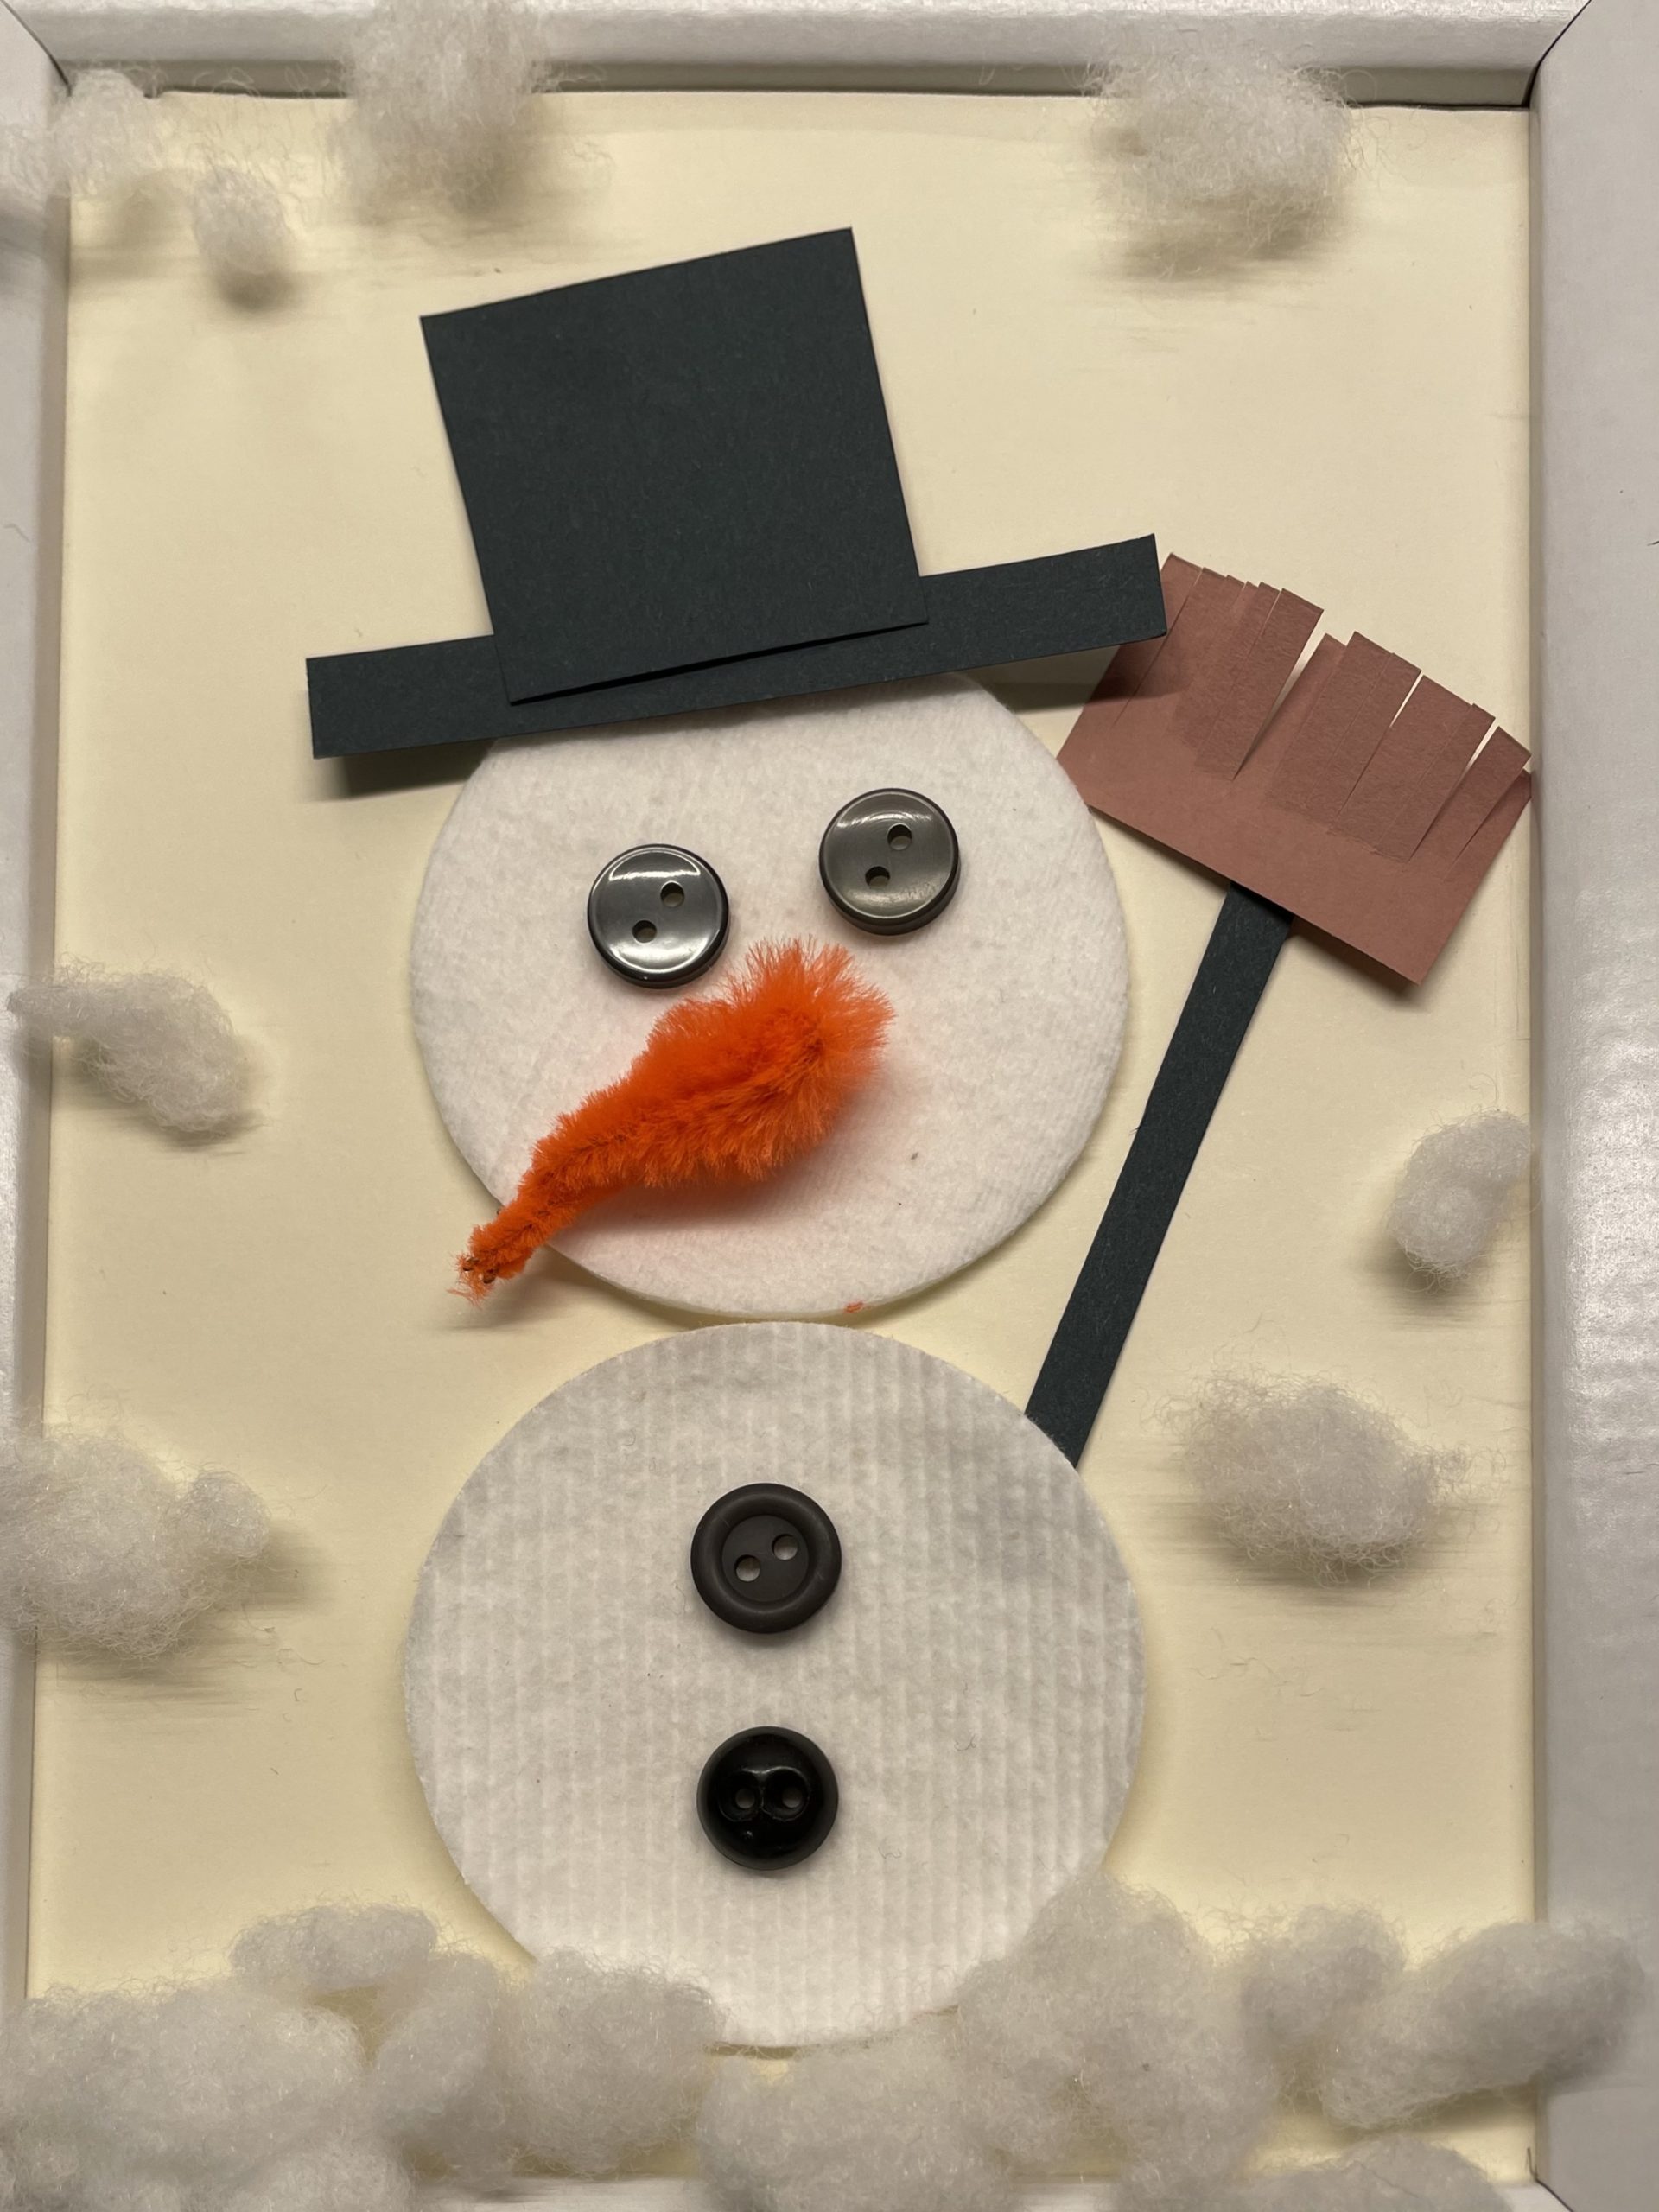
Make a cylinder hat.
Either you paint up a top hat directly or you cut out a square first and then a thin strip that is a little longer than the square. Stick both together to form a hat.
The carrot nose is bent from an approximately 5 cm long orange pipe cleaner piece carrot-shaped. (on one side pointed and thin and on the other thick and round.)


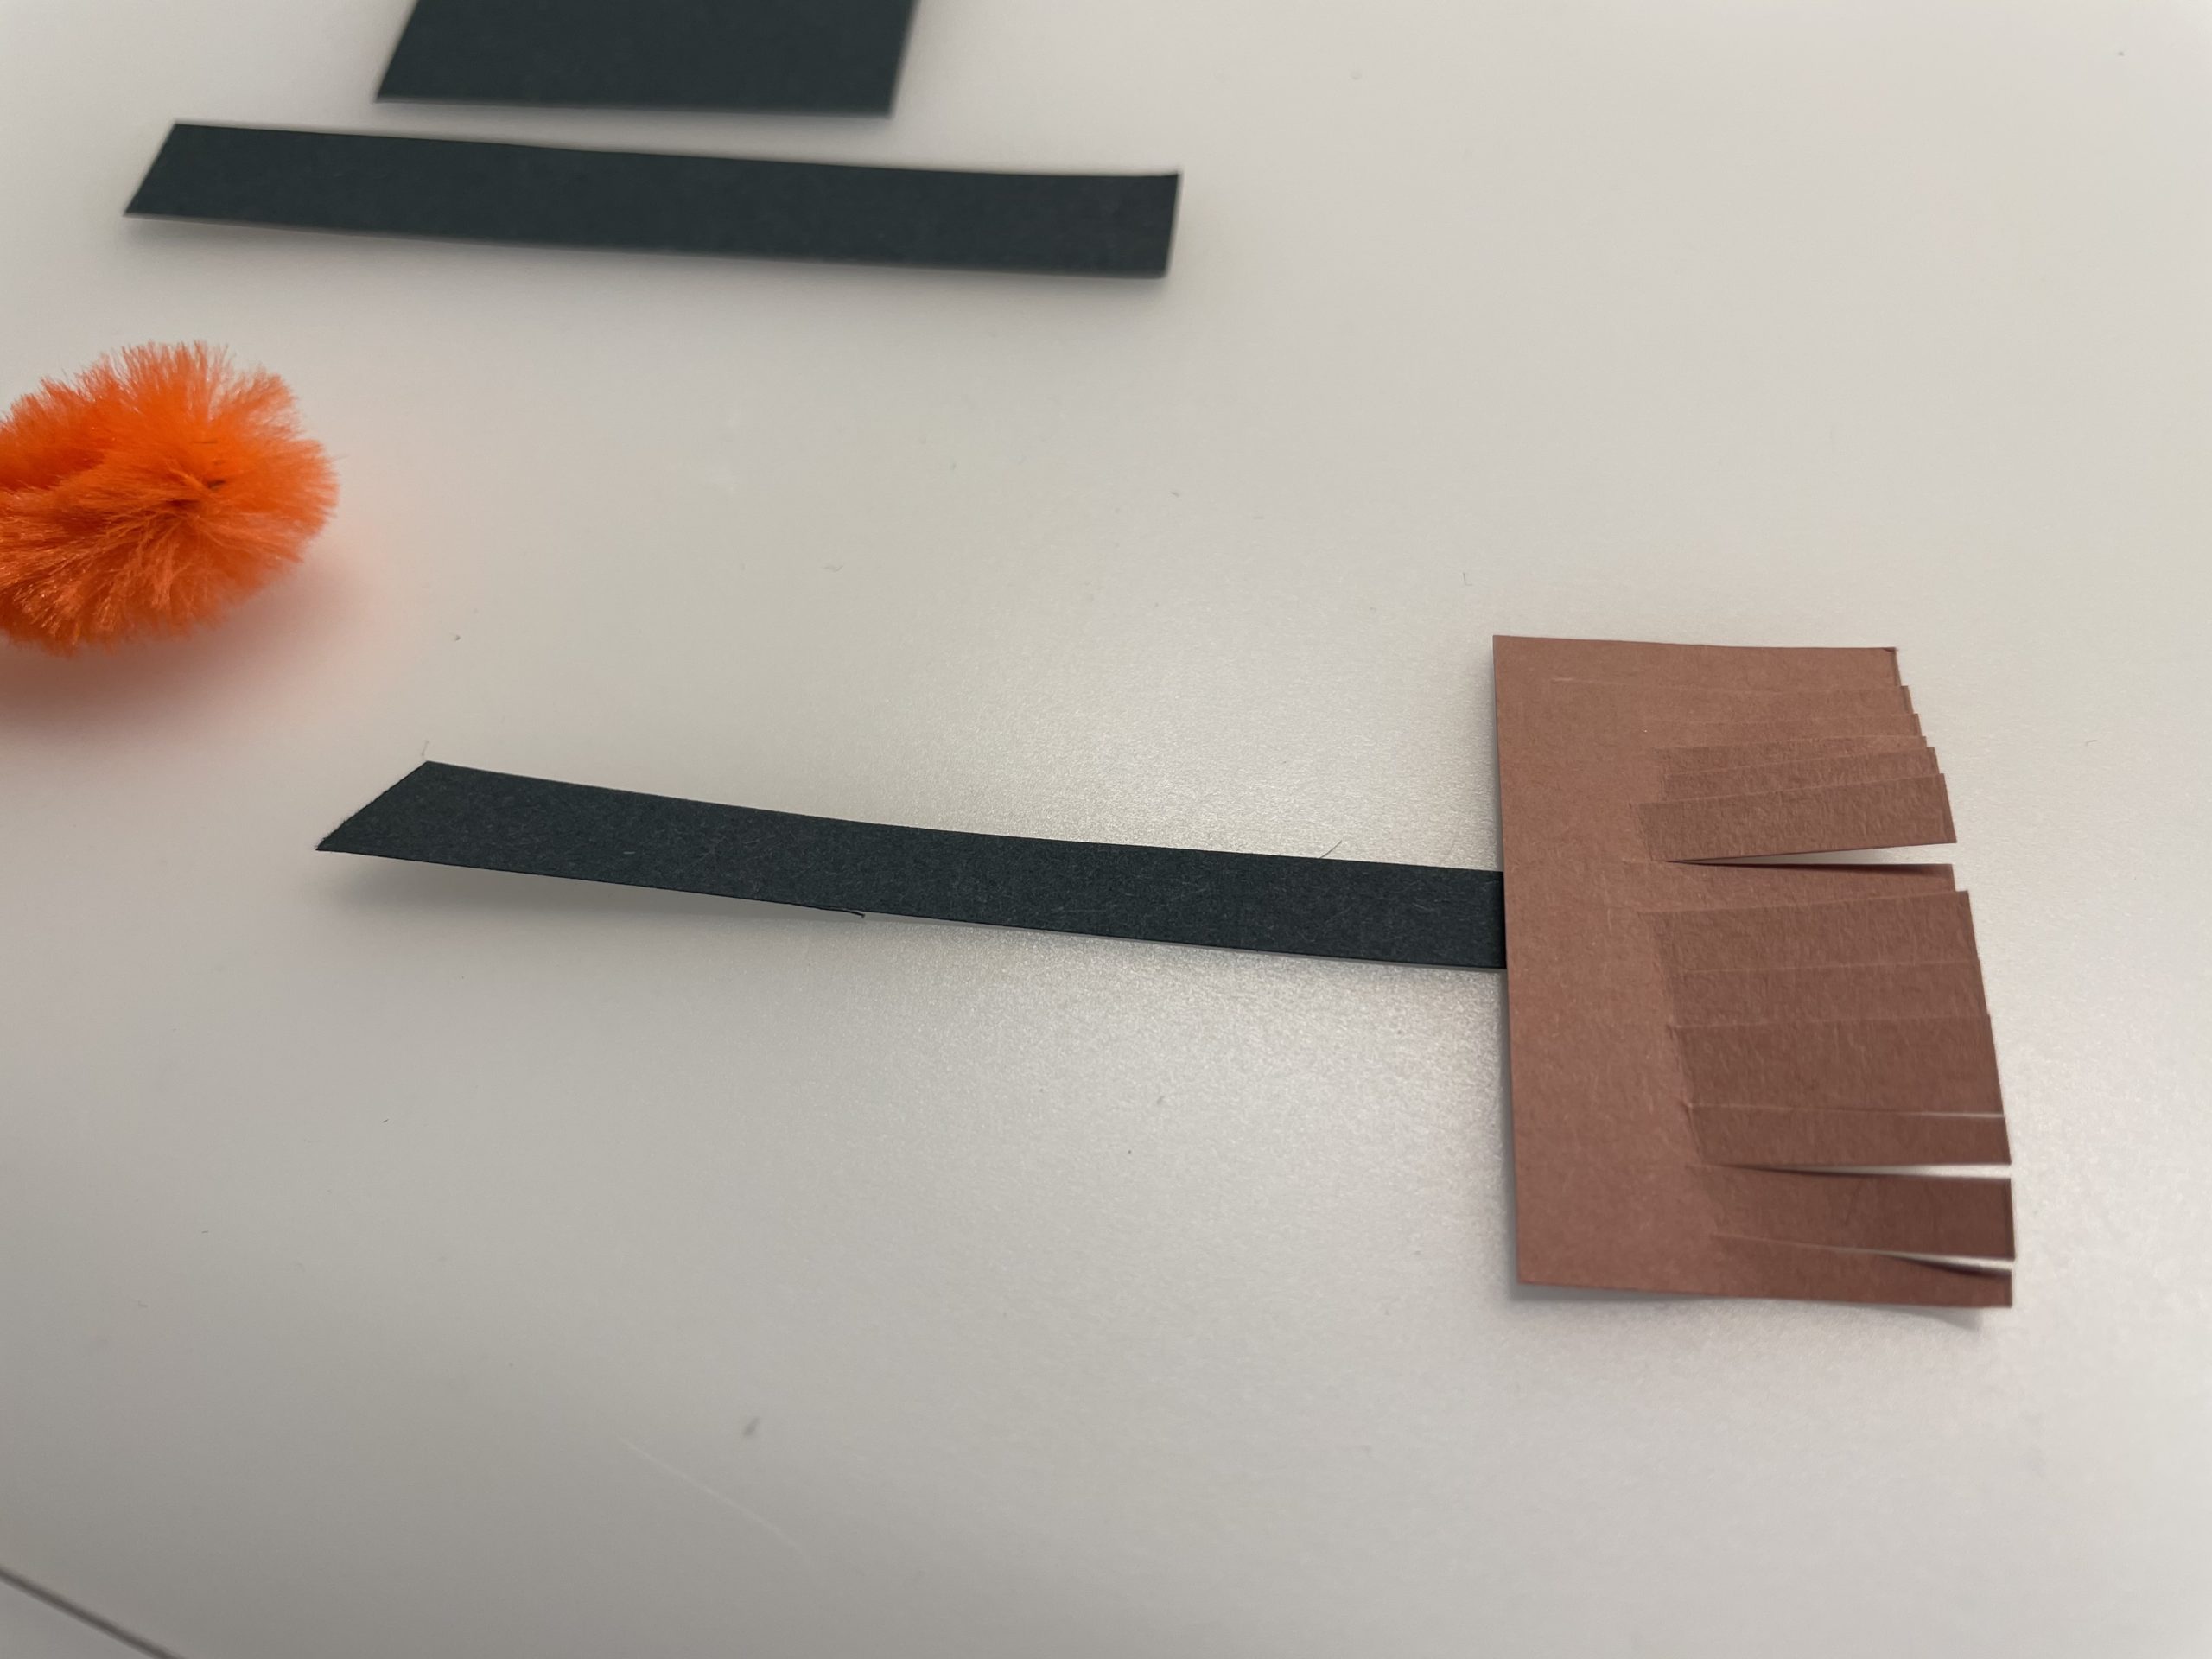
Then make a broom.
Cut off a narrow strip of clay paper. Approx. 6-8 cm long. In addition, you need a brown rectangle. You often cut it in half with the scissors on one long side. This creates the bristles on your broom. Bend the cut stripes a bit apart and the broom is finished. Sticks style and bristles t-shaped together.


Now put together a hat, broom and carrot nose as a snowman.


Have fun doing crafts!
Materials
Directions
Insert a monochrome sheet in the picture frame. The snowman is designed on it. You can use the frame up or down. Look only before where the suspension is on the frame.
Take into account before sticking on whether your snowman with headgear also fits on the landscape format, if not take it up edged!
Put two cotton pads on top of each other on the picture. You can overlap a bit in the middle.


The side arms are made of pipe cleaner wire. Cuts off two pieces with 6-8 cm wire and places them on the snowman's belly.


Take flaky padding or pluck cotton wool into small pieces.


Cover the lower frame of your picture with cotton wool (snow). It can also be glued to the frame cotton wool, not only on the picture itself.


Use another piece of pipe cleaner wire and bend from it a triangle. This will be the hat. Attach this above the cotton pad balls.


Stamp out snowflakes from white paper and glue your picture with snowflakes. You can also make the snowman's eyes with snowflakes.


Alternatively, you can also apply cotton wool pieces as snow. Or you can use the small circles of the holer as snow.


Turn a piece of cotton wool as a "carrot nose", drag it to length.
All parts are glued to the picture and/or frame with the glue pin. If something does not hold, let an adult help you and then try it with the hot glue.


Make a magic hat.
Cut out a triangle and a strip of paper. Glue both together to form a hat. In addition, you need another thin strip of paper as a magic wand.
Cut off small pieces of a glittering cord / wool. approx. 2 cm long. You also need them for the magic wand. The carrot nose is bent from a piece of orange pipe cleaner wire. (See Schneemann at the very end!)


Put it all together.
(The structure of the snowman frame is described at the beginning.)


Make a shovel and a bucket of clay paper.
The shovel consists of a narrow strip of clay paper and a rectangle/square rounded on two sides.
The hat is a square slightly bevelled on two opposite sides. In addition, you can round off the wide edge very easily. Cut off a very narrow bow of a differently colored clay paper. Or stick a small wool thread as handle to the bucket.


Glue your items together like in the picture.


Decorate your snowman with bucket and shovel.


With buttons and eyes you can use creatively what you would like! Here is just another example!


Make a cylinder hat.
Either you paint up a top hat directly or you cut out a square first and then a thin strip that is a little longer than the square. Stick both together to form a hat.
The carrot nose is bent from an approximately 5 cm long orange pipe cleaner piece carrot-shaped. (on one side pointed and thin and on the other thick and round.)


Then make a broom.
Cut off a narrow strip of clay paper. Approx. 6-8 cm long. In addition, you need a brown rectangle. You often cut it in half with the scissors on one long side. This creates the bristles on your broom. Bend the cut stripes a bit apart and the broom is finished. Sticks style and bristles t-shaped together.


Now put together a hat, broom and carrot nose as a snowman.


Have fun doing crafts!
Follow us on Facebook , Instagram and Pinterest
Don't miss any more adventures: Our bottle mail


We already made a construction worker snowman today. Full success. It was really fun. Thank you.