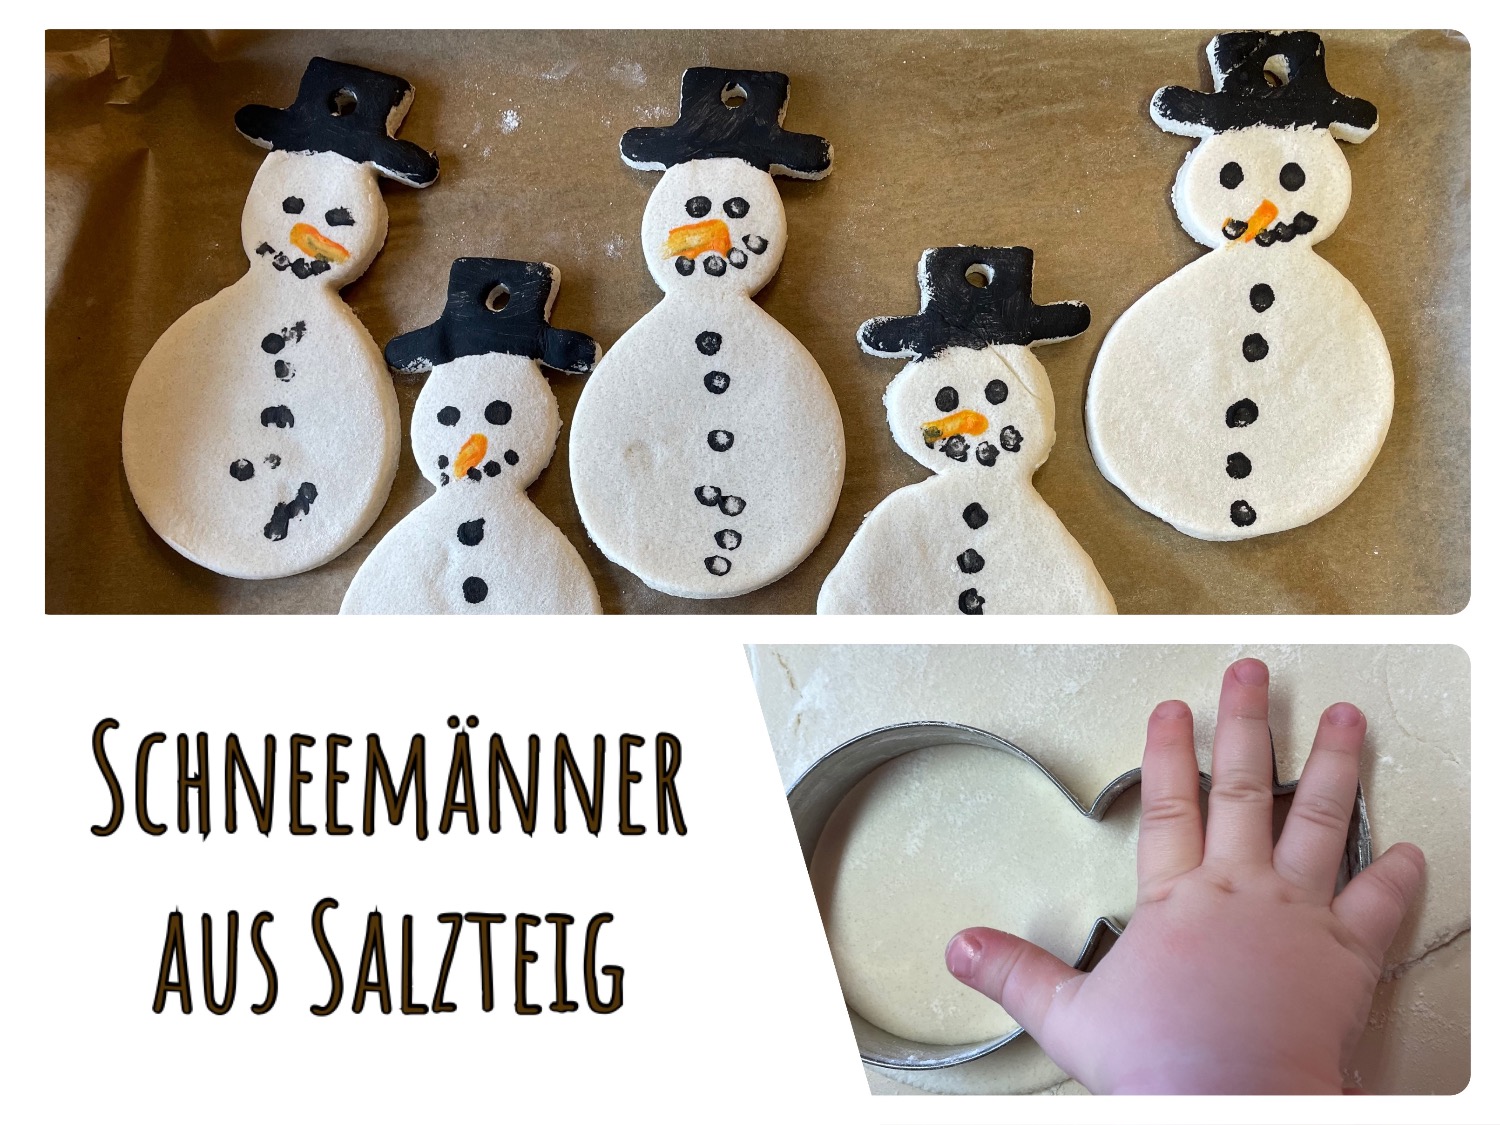
Snowmen of salted dough

AdventurerKatzi
Rating5.012.8 thousand times & (2) DifficultyIntermediate

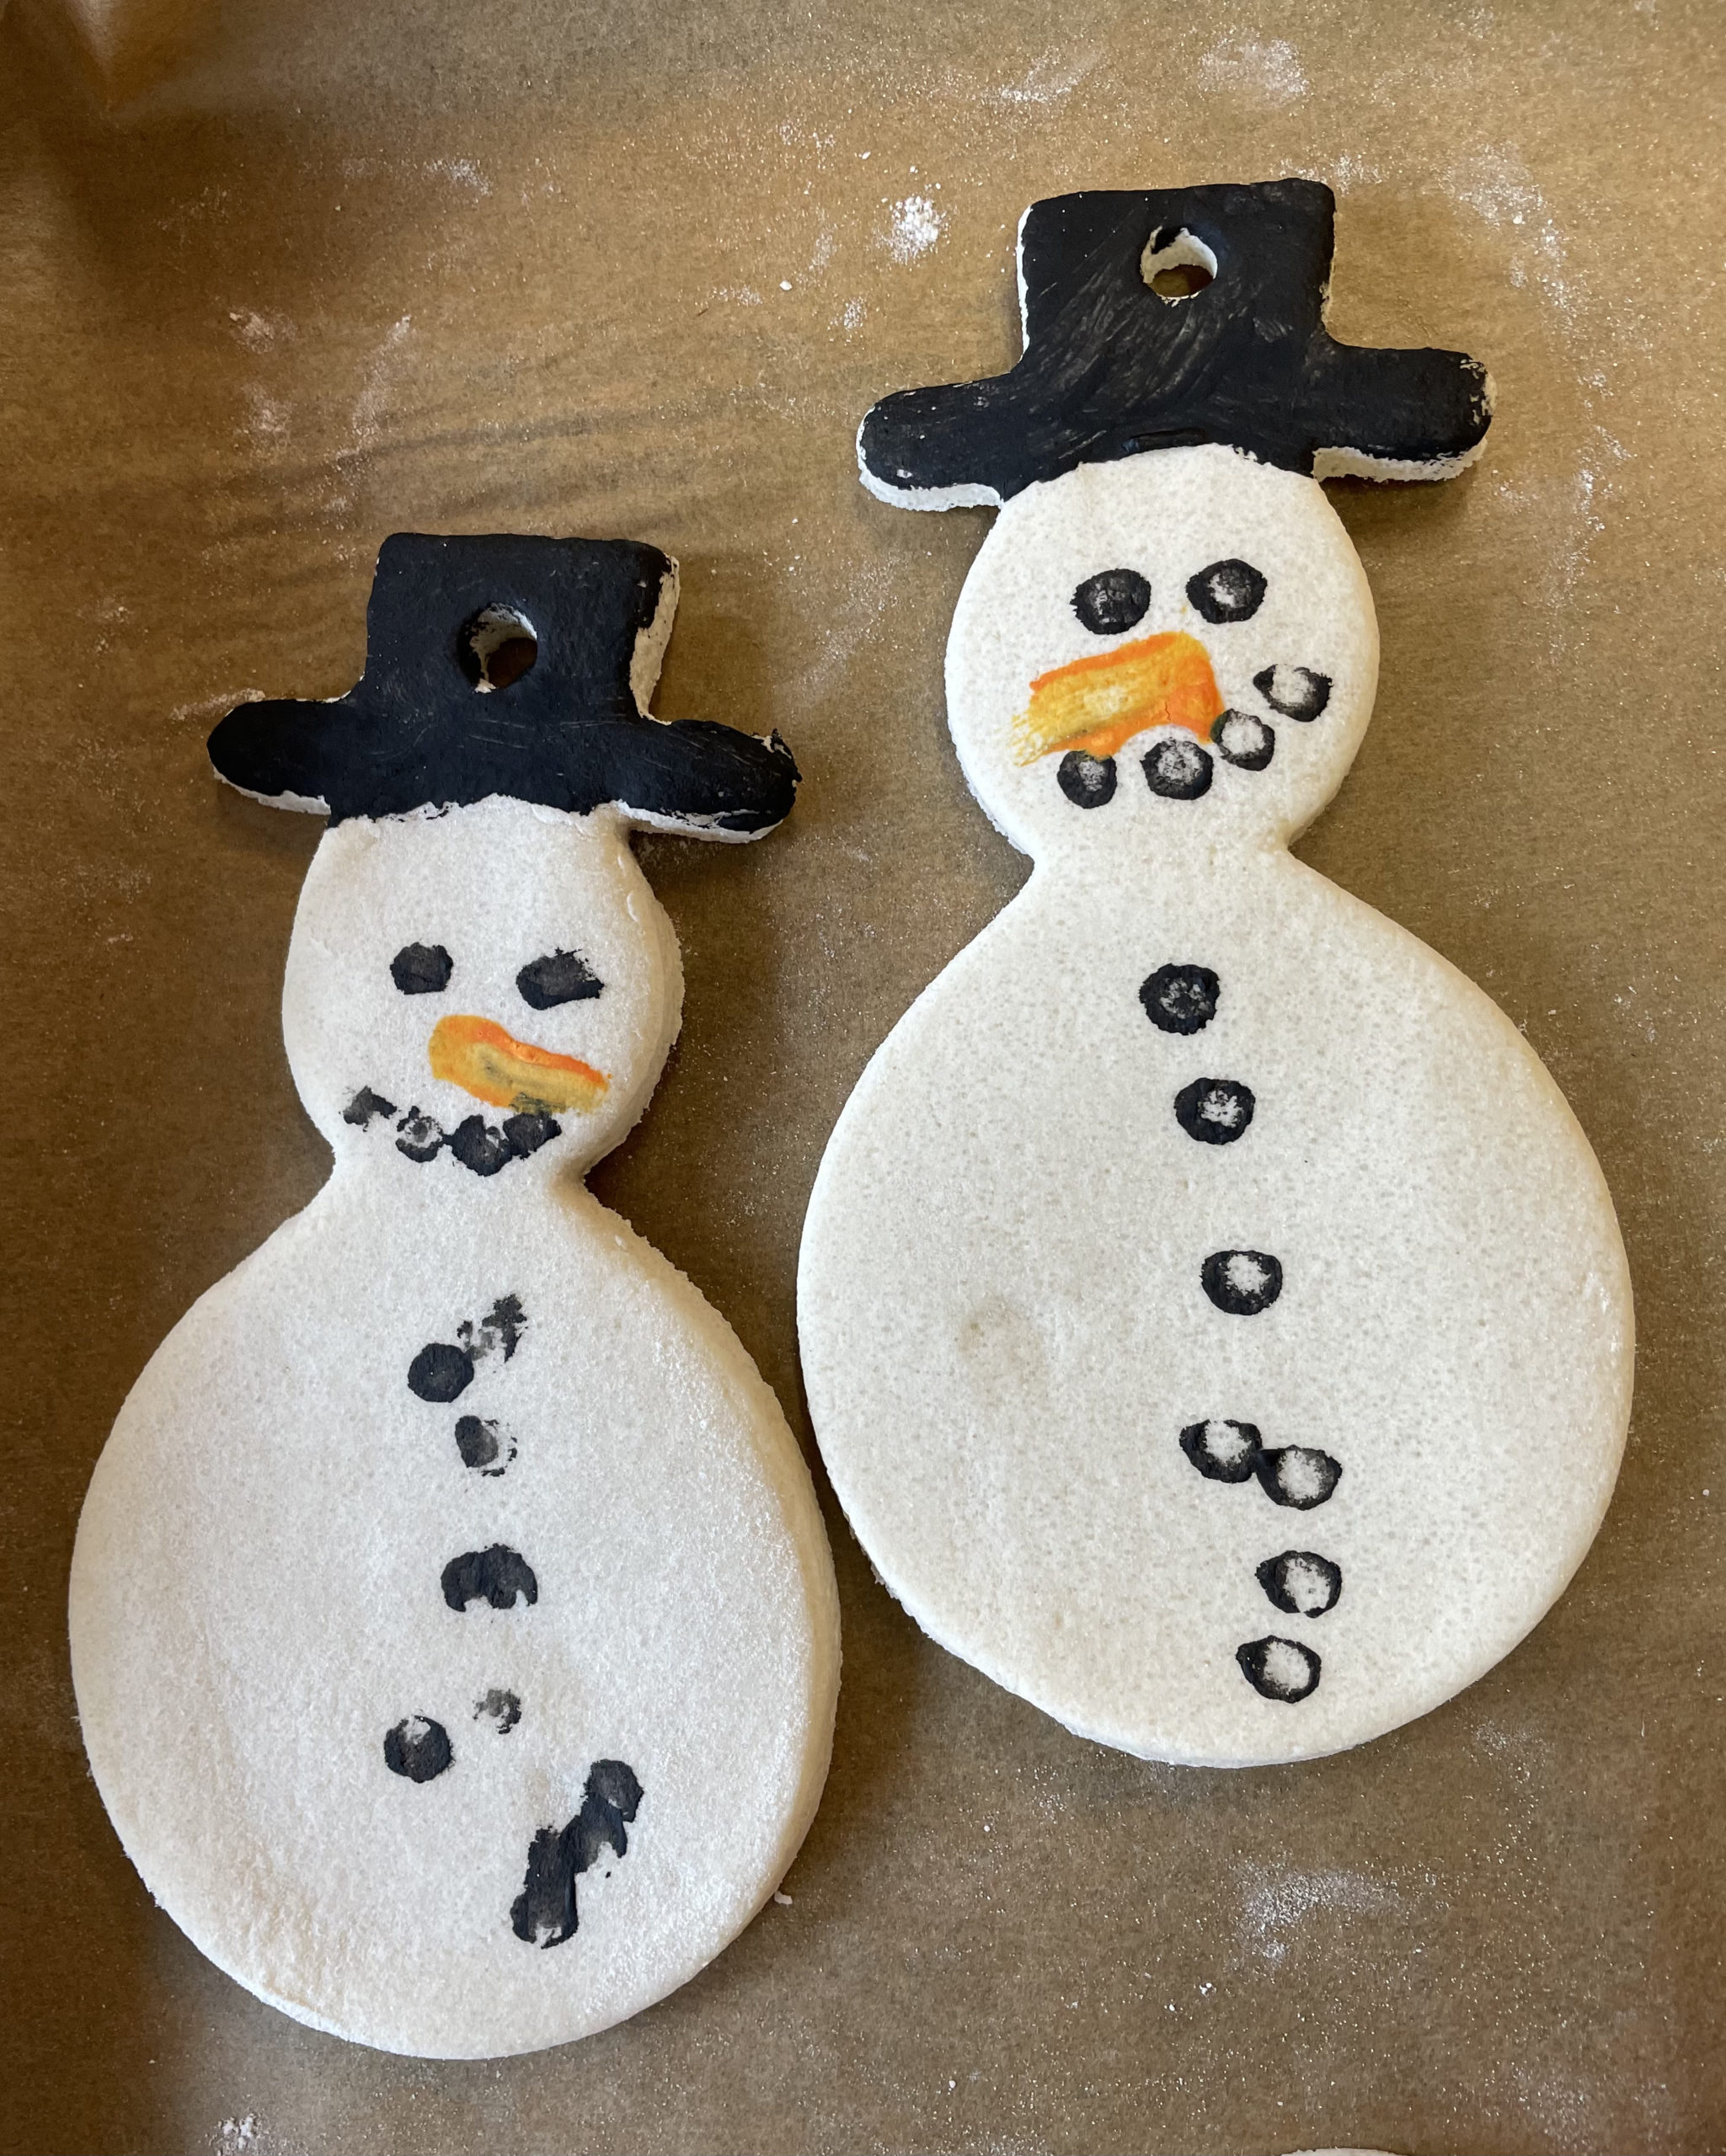
Crafting with salt dough is fun all year round. The white dough does not even have to be painted by the snowman. Here it is enough to complement the hat, the carrot, the buttons and the eyes.
Look for yourself!

Media Education for Kindergarten and Hort

Kind bastelt eine Rassel mit dem Navi
The Adventure Navi, the app for DIY projects, enables media education for the youngest.

Relief in everyday life, targeted promotion of individual children, independent learning and - without any pre-knowledge already usable by the youngest!


Titelbild zur Bastel- und DIY-Idee für Kinder '(601) Schneemänner aus Salzteig'
Material for1 Child
Prep Time10 min.Adv. Time30 min.Total Time40 min.
 Thermomix for the dough
Salt dough Recipe:
 250 g Flour
 250 g Salt
 200 g Water
 25 g Oil
Other materials:
 Pasta wood
 Snowman cut-out shape
 1 Straw
 1 Sheet with baking paper
For painting:
 Water colours Or finger colors
 Brushes
 Cups with water
 Kitchen towel or handkerchief
 Paint coats
 Document
All links marked with a shopping cart lead to Amazon - here we have selected products that we would order ourselves and in part also ordered. In a qualified purchase via the advertising link, we as Amazon partner receive a commission, for you there are no costs. You thus support our cost- and advertising banner-free, educational offer.
1

Make the dough first. For this you put all the ingredients in a bowl or the thermomix and knead the dough until it is smooth and supple. (3 minutes in a thermomix)

Bild zum Schritt 1 für das Bastel- und DIY-Abenteuer für Kinder: 'Stellt als erstes den Teig her. Dafür gebt ihr alle...'

2

Then you flour your work surface and roll out the dough about 0.5 cm thick. If you prefer to roll out the dough a little thicker, then the snowmen are more stable.
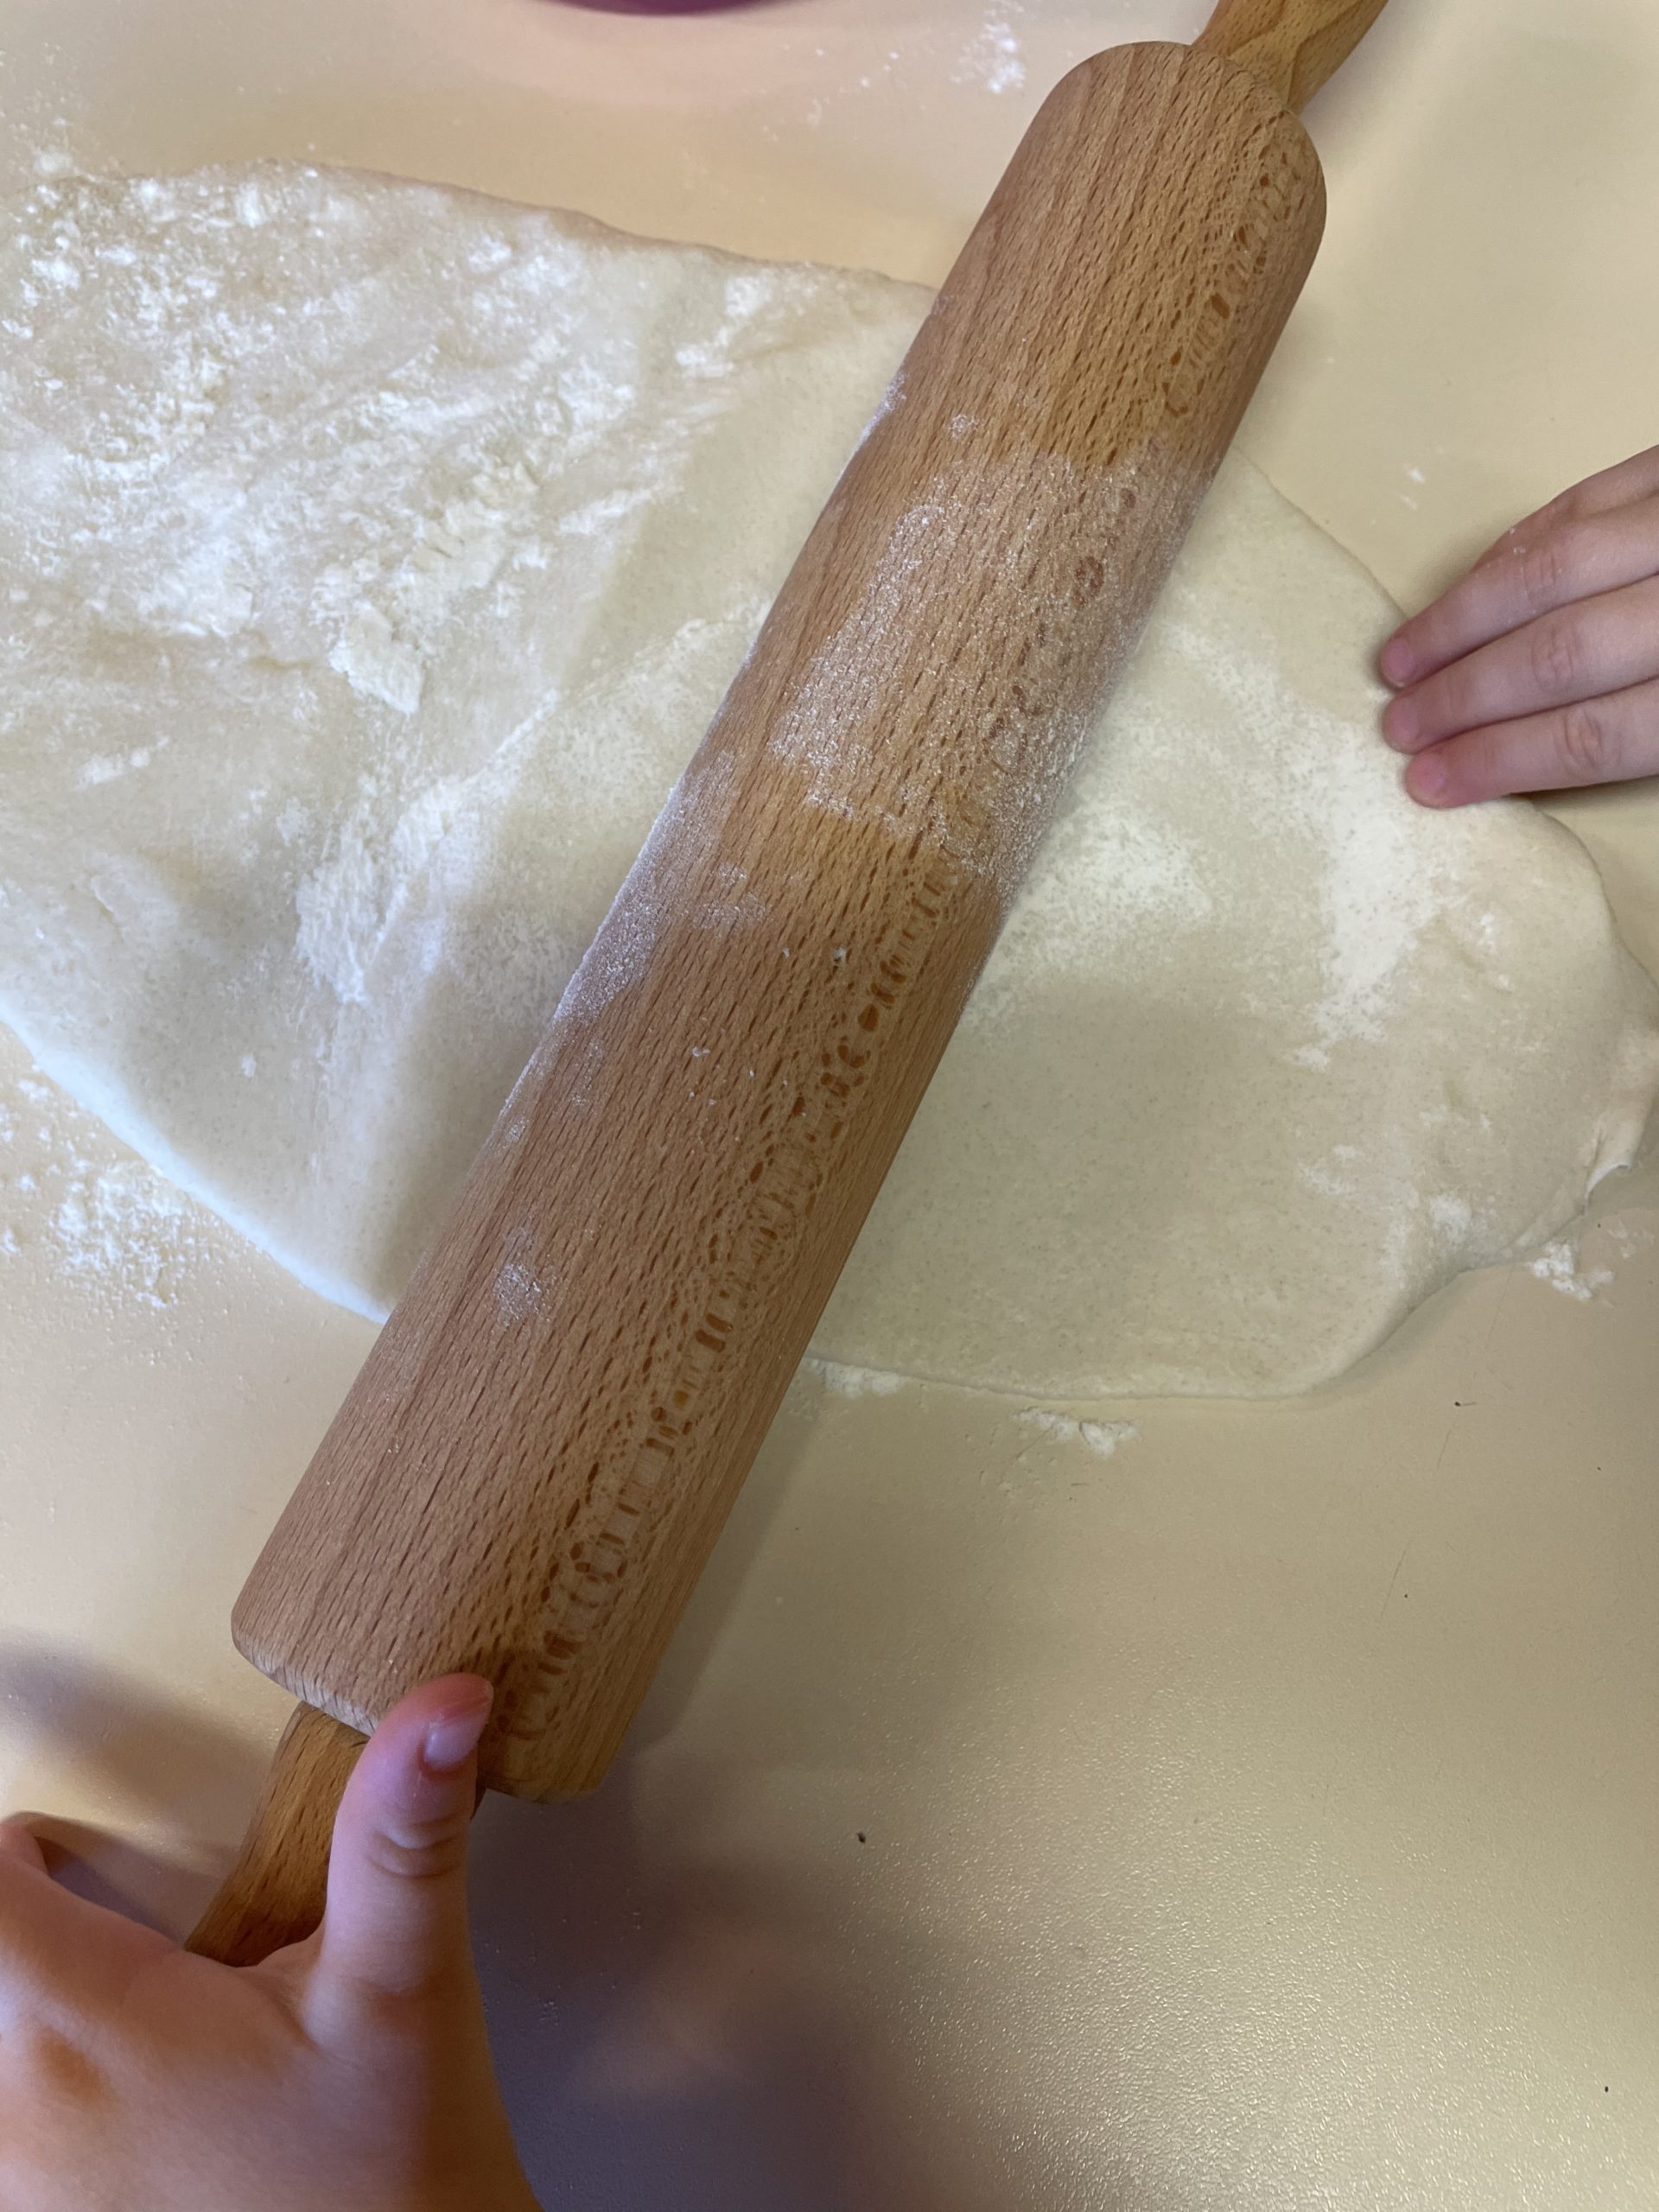
Bild zum Schritt 2 für das Bastel- und DIY-Abenteuer für Kinder: 'Dann bemehlt ihr eure Arbeitsfläche und rollt den Teig circa...'

3

Now you're going to put out the cut-out on the dough.

Bild zum Schritt 3 für das Bastel- und DIY-Abenteuer für Kinder: 'Nun legt ihr dir Ausstechform auf den Teig.'

4

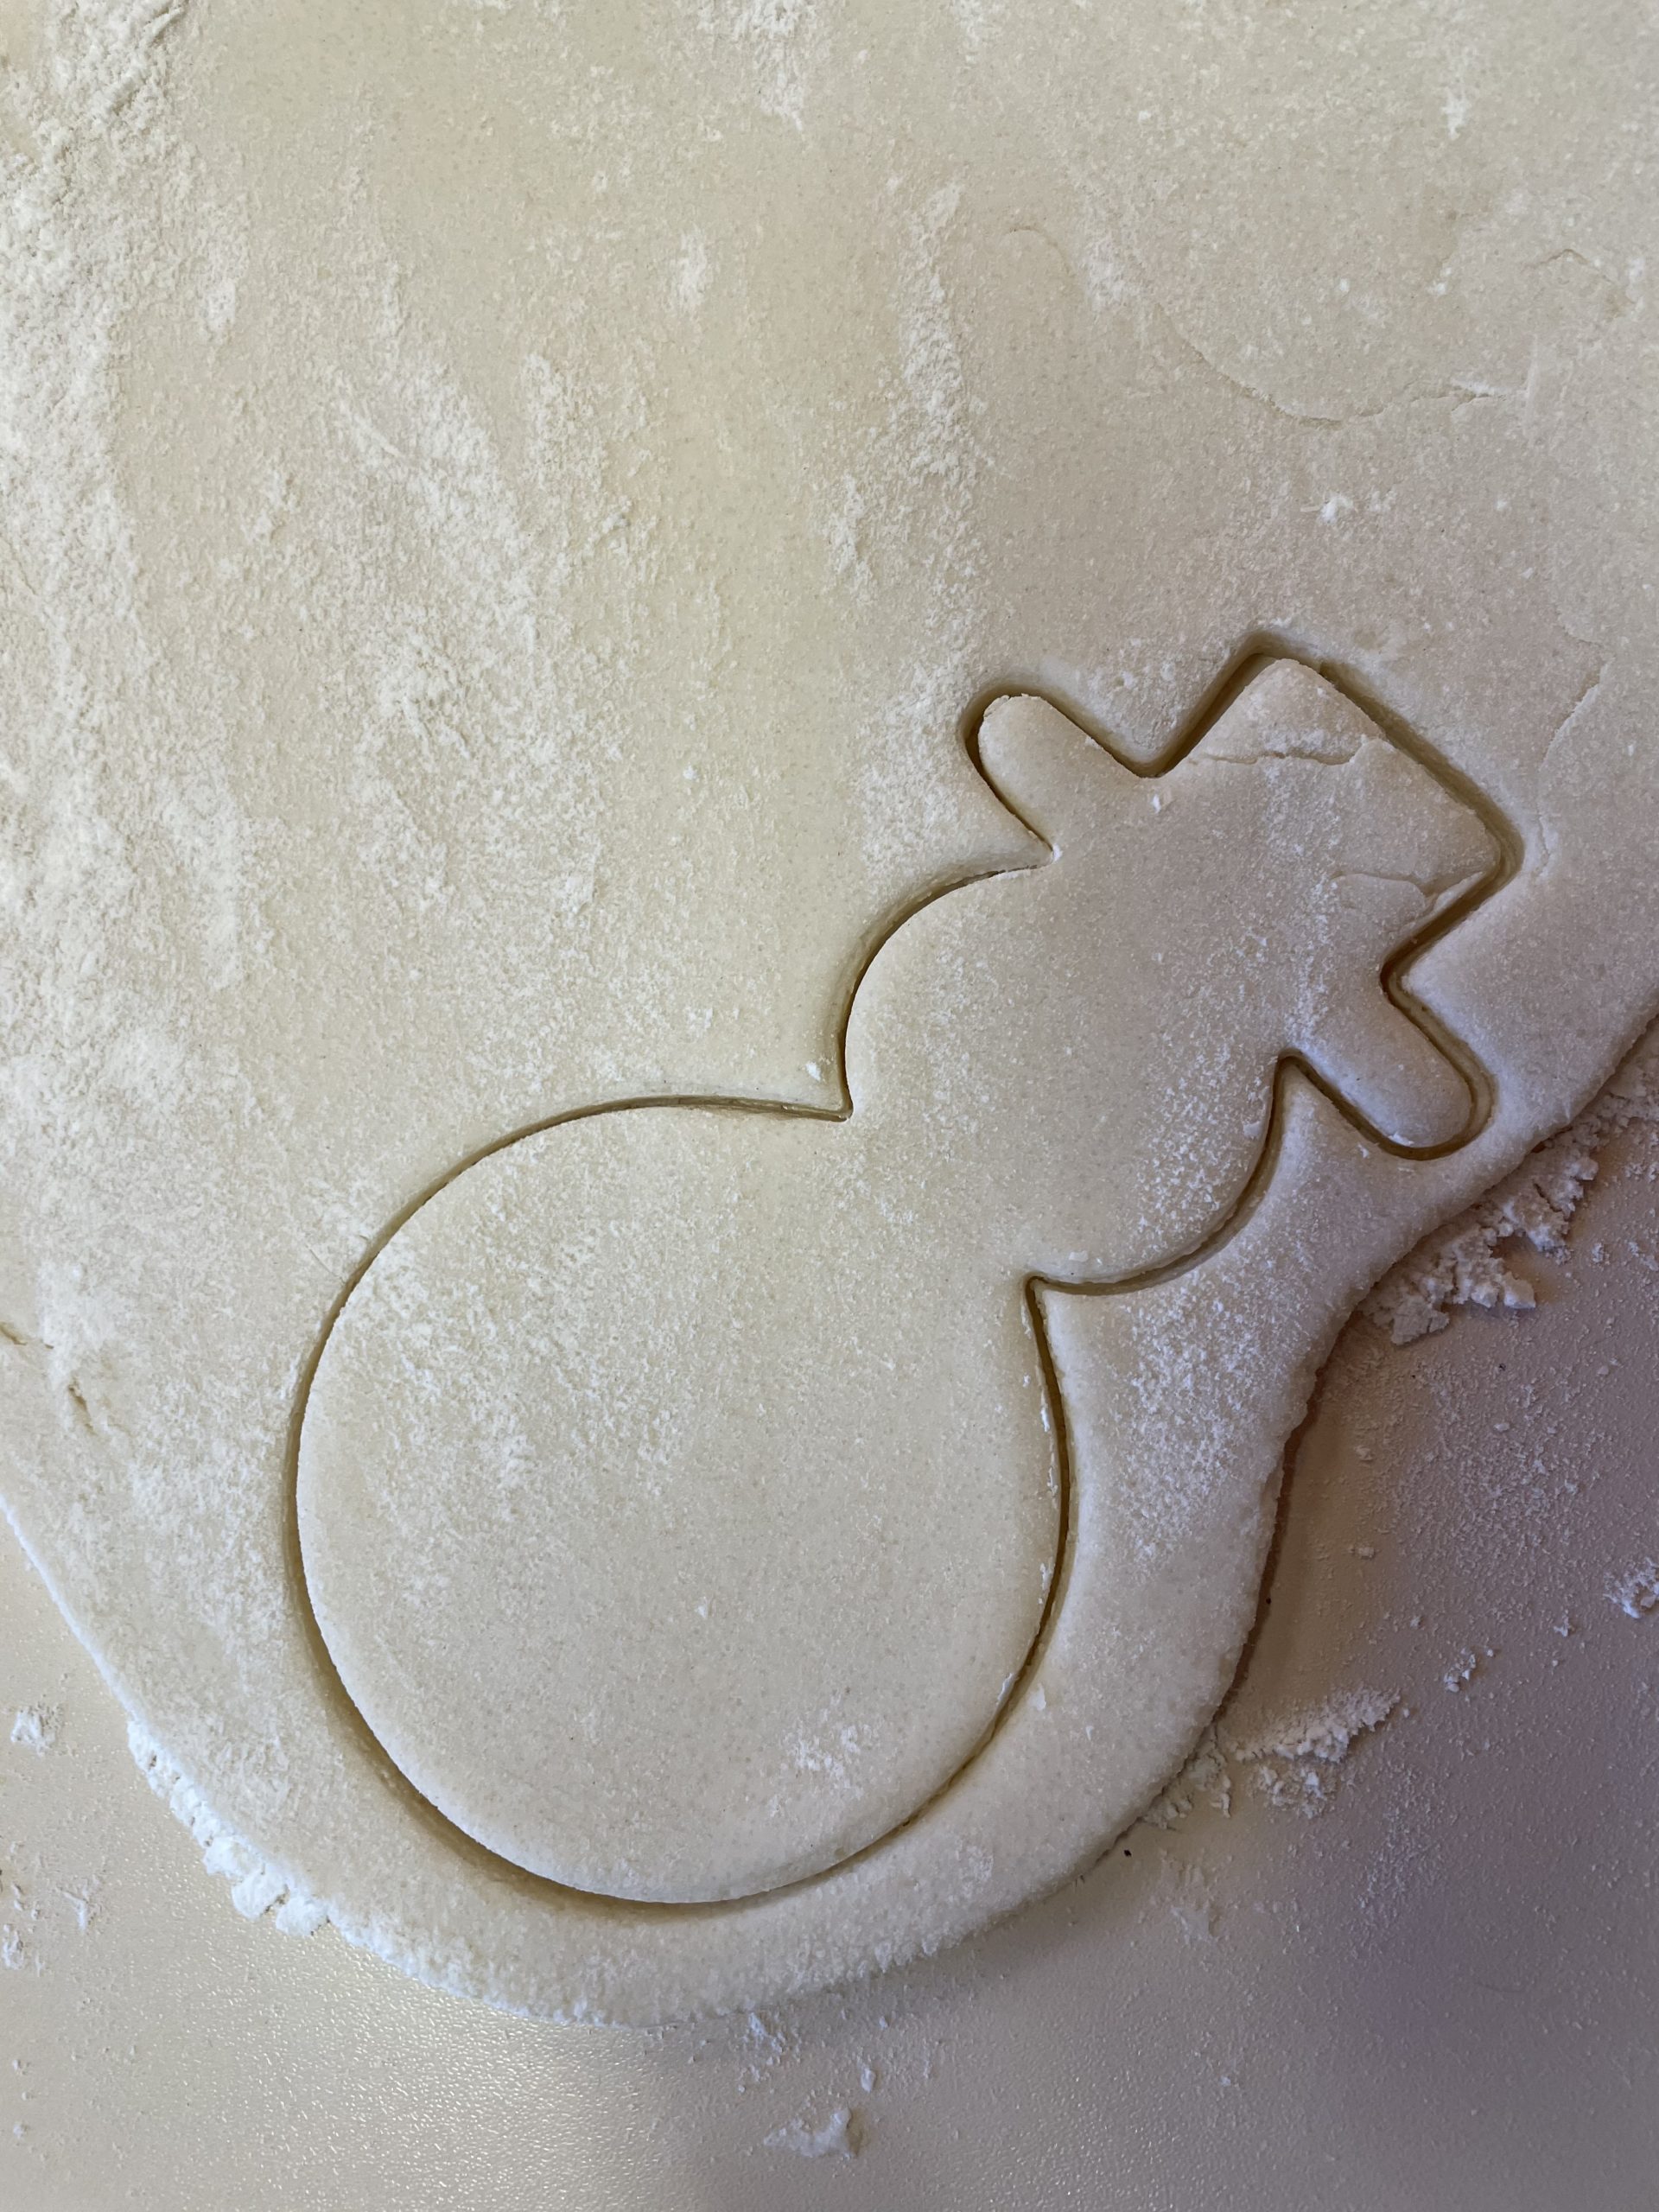
Then press the shape firmly into the dough.

Bild zum Schritt 4 für das Bastel- und DIY-Abenteuer für Kinder: 'Und drückt anschließend die Form fest in den Teig.'

5

2. Bild zum Schritt 4 für das Bastel- und DIY-Abenteuer für Kinder: 'Und drückt anschließend die Form fest in den Teig.'

6

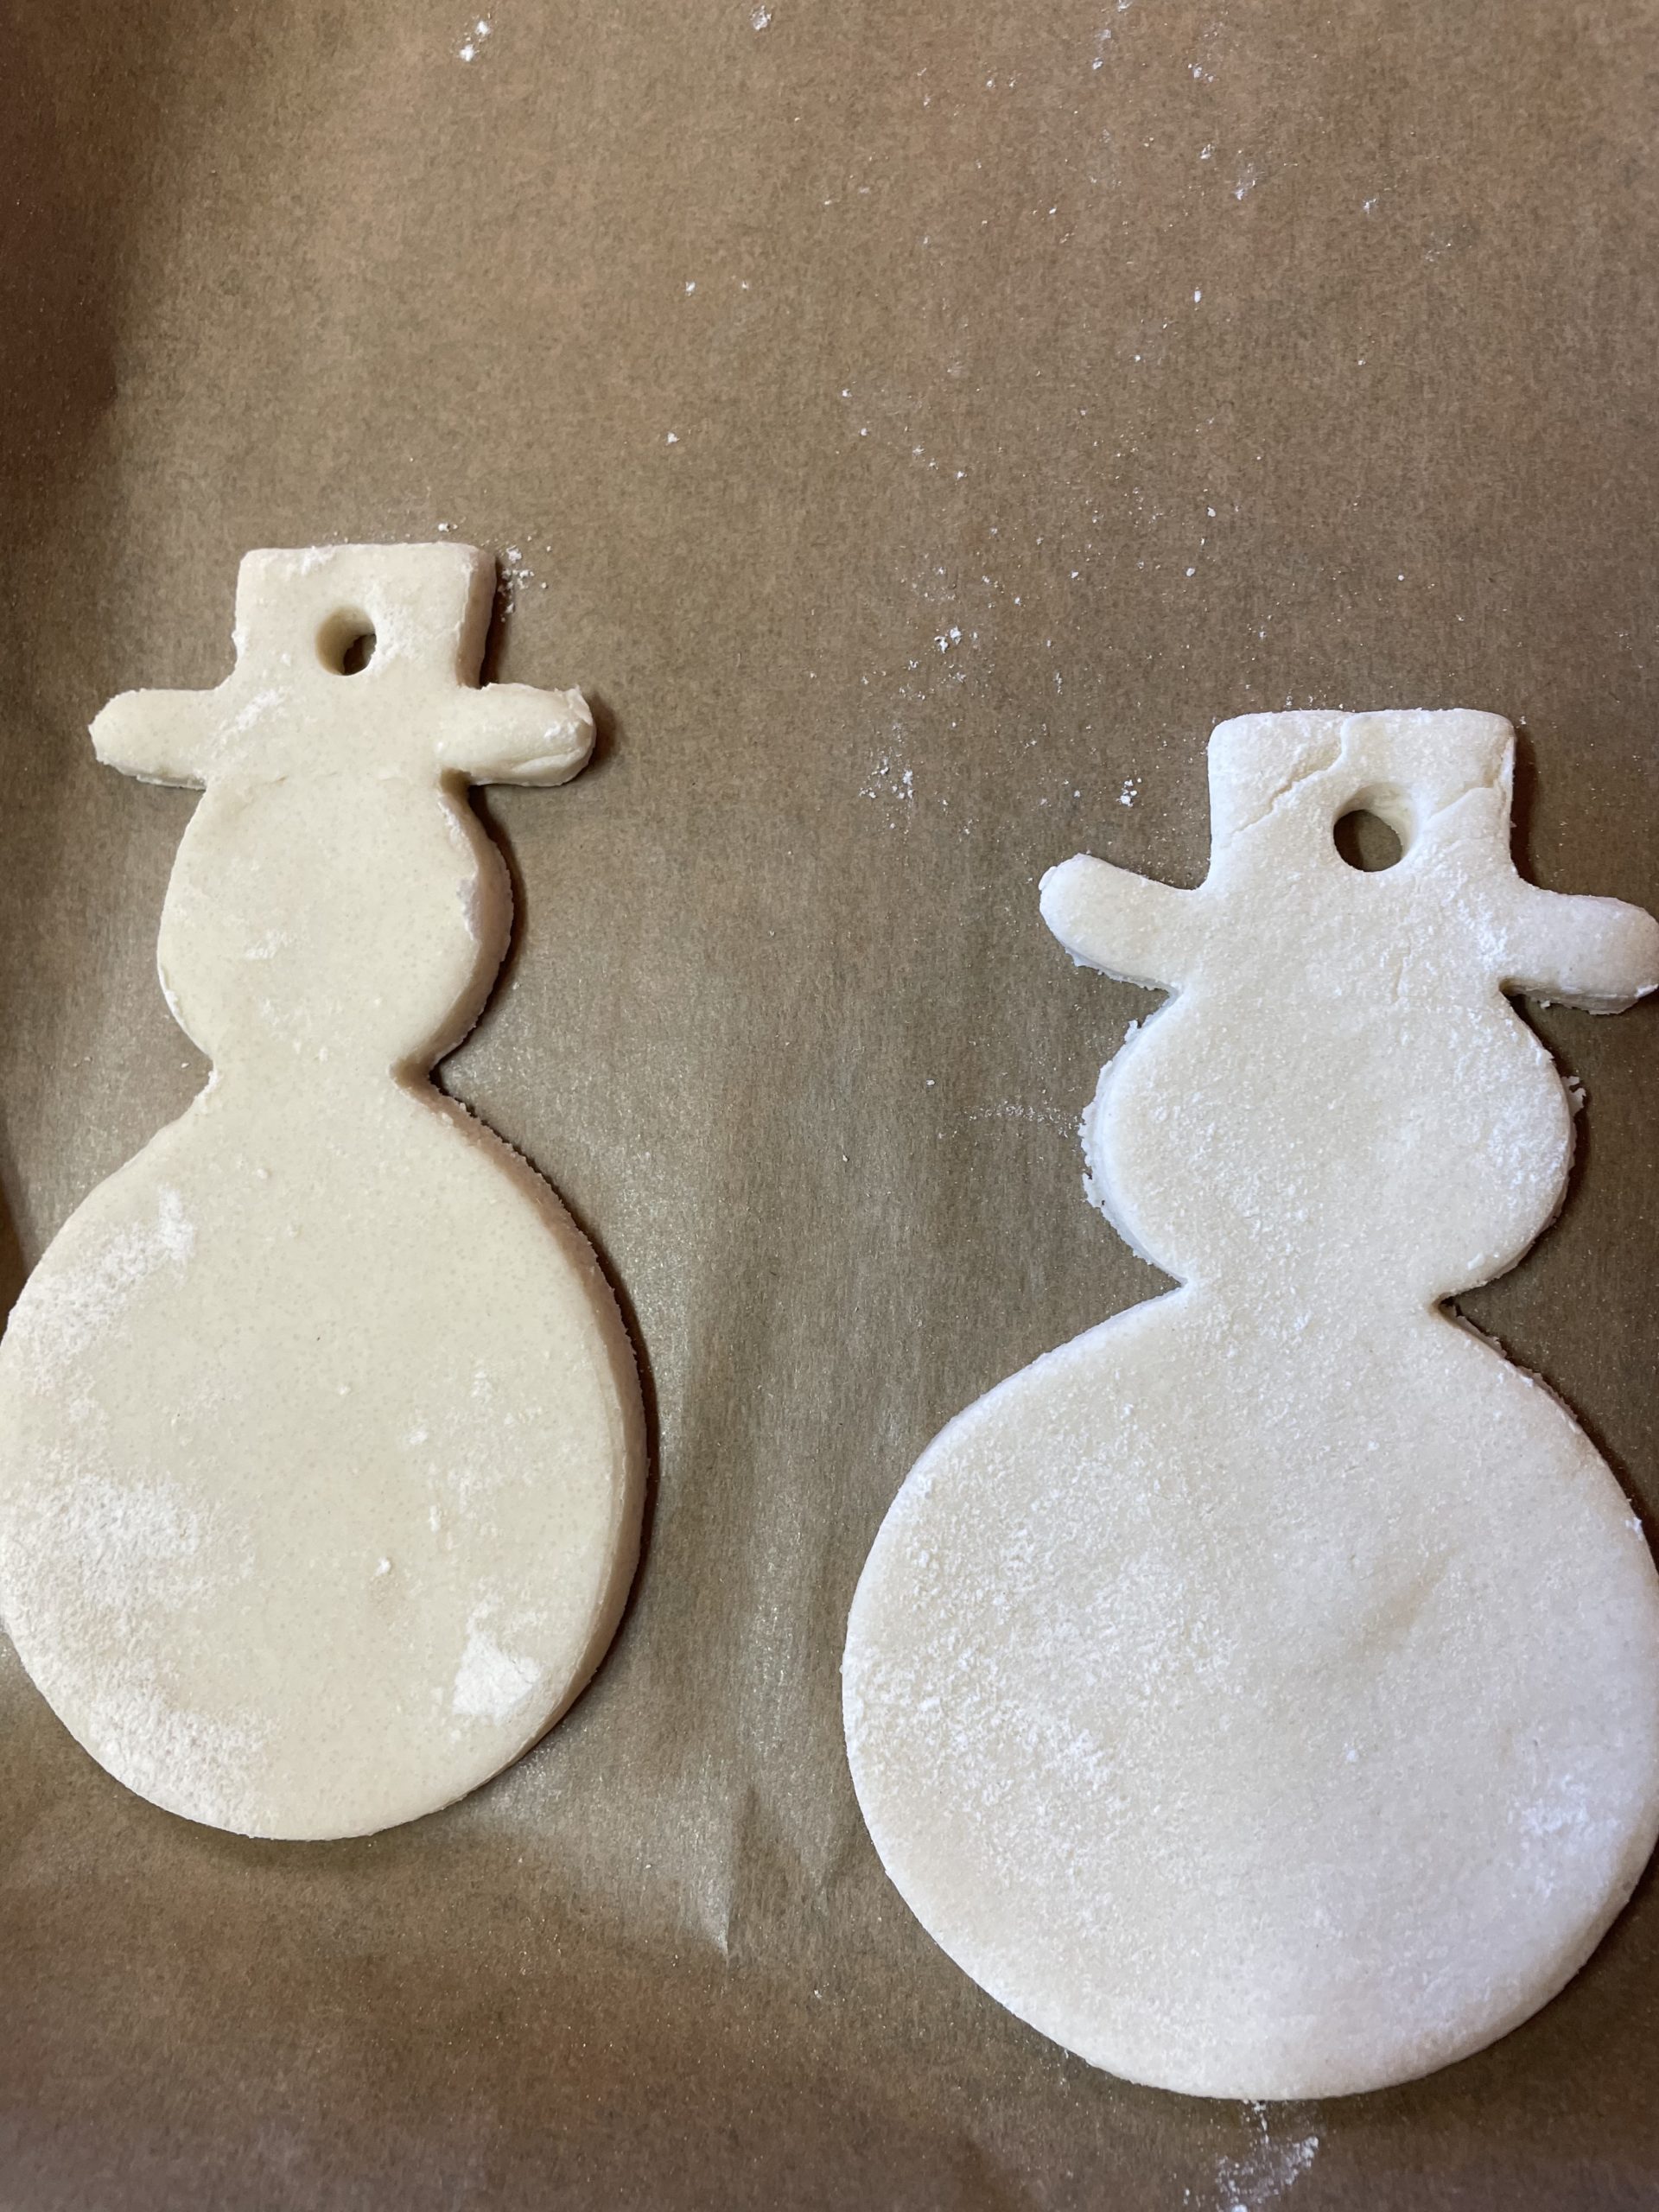
The snowmen so pierced put her on a baking tray.

Bild zum Schritt 6 für das Bastel- und DIY-Abenteuer für Kinder: 'Die so ausgestochenen Schneemänner legt ihr anschließend auf ein Backblech.'

7

Now with a tube a hole in the hat. So you can hang the dried snowman later.

Bild zum Schritt 7 für das Bastel- und DIY-Abenteuer für Kinder: 'Jetzt stecht mit einem Röhrchen ein Loch in den Hut....'

8

Let the snowmen dry now.

Bild zum Schritt 8 für das Bastel- und DIY-Abenteuer für Kinder: 'Lasst die Schneemänner nun trocknen.'

9

For this you put the sheet metal with the snowmen about 2-3 days on a radiator.

10

Alternatively, you can let the snowmen dry slowly in the oven. You should leave the oven door a little open so that the moisture can escape. You can increase the temperature slowly during drying. Start the first hour with 50 degrees and increase the temperature in the next hour to 100 degrees and then 140 degrees. If the dough dries too quickly, then it tears.

11

Thicker snowmen need longer to dry!

12

Once the snowmen are dried, rub off the surface with a handkerchief.

13

Now you can paint the snowmen.
Uses water or finger colors.

14

Paint the hat and nose with the brush and pat the eyes and buttons with the finger.

15

Your snowmen are ready!

Bild zum Schritt 15 für das Bastel- und DIY-Abenteuer für Kinder: 'Fertig sind eure Schneemänner!'

16

2. Bild zum Schritt 15 für das Bastel- und DIY-Abenteuer für Kinder: 'Fertig sind eure Schneemänner!'

17

Have fun trying out.

Bild zum Schritt 17 für das Bastel- und DIY-Abenteuer für Kinder: 'Viel Spaß beim Ausprobieren.'

Materials

 Thermomix for the dough
Salt dough Recipe:
 250 g Flour
 250 g Salt
 200 g Water
 25 g Oil
Other materials:
 Pasta wood
 Snowman cut-out shape
 1 Straw
 1 Sheet with baking paper
For painting:
 Water colours Or finger colors
 Brushes
 Cups with water
 Kitchen towel or handkerchief
 Paint coats
 Document
All links marked with a shopping cart lead to Amazon - here we have selected products that we would order ourselves and in part also ordered. In a qualified purchase via the advertising link, we as Amazon partner receive a commission, for you there are no costs. You thus support our cost- and advertising banner-free, educational offer.

Directions

1

Make the dough first. For this you put all the ingredients in a bowl or the thermomix and knead the dough until it is smooth and supple. (3 minutes in a thermomix)

Bild zum Schritt 1 für das Bastel- und DIY-Abenteuer für Kinder: 'Stellt als erstes den Teig her. Dafür gebt ihr alle...'

2

Then you flour your work surface and roll out the dough about 0.5 cm thick. If you prefer to roll out the dough a little thicker, then the snowmen are more stable.

Bild zum Schritt 2 für das Bastel- und DIY-Abenteuer für Kinder: 'Dann bemehlt ihr eure Arbeitsfläche und rollt den Teig circa...'

3

Now you're going to put out the cut-out on the dough.
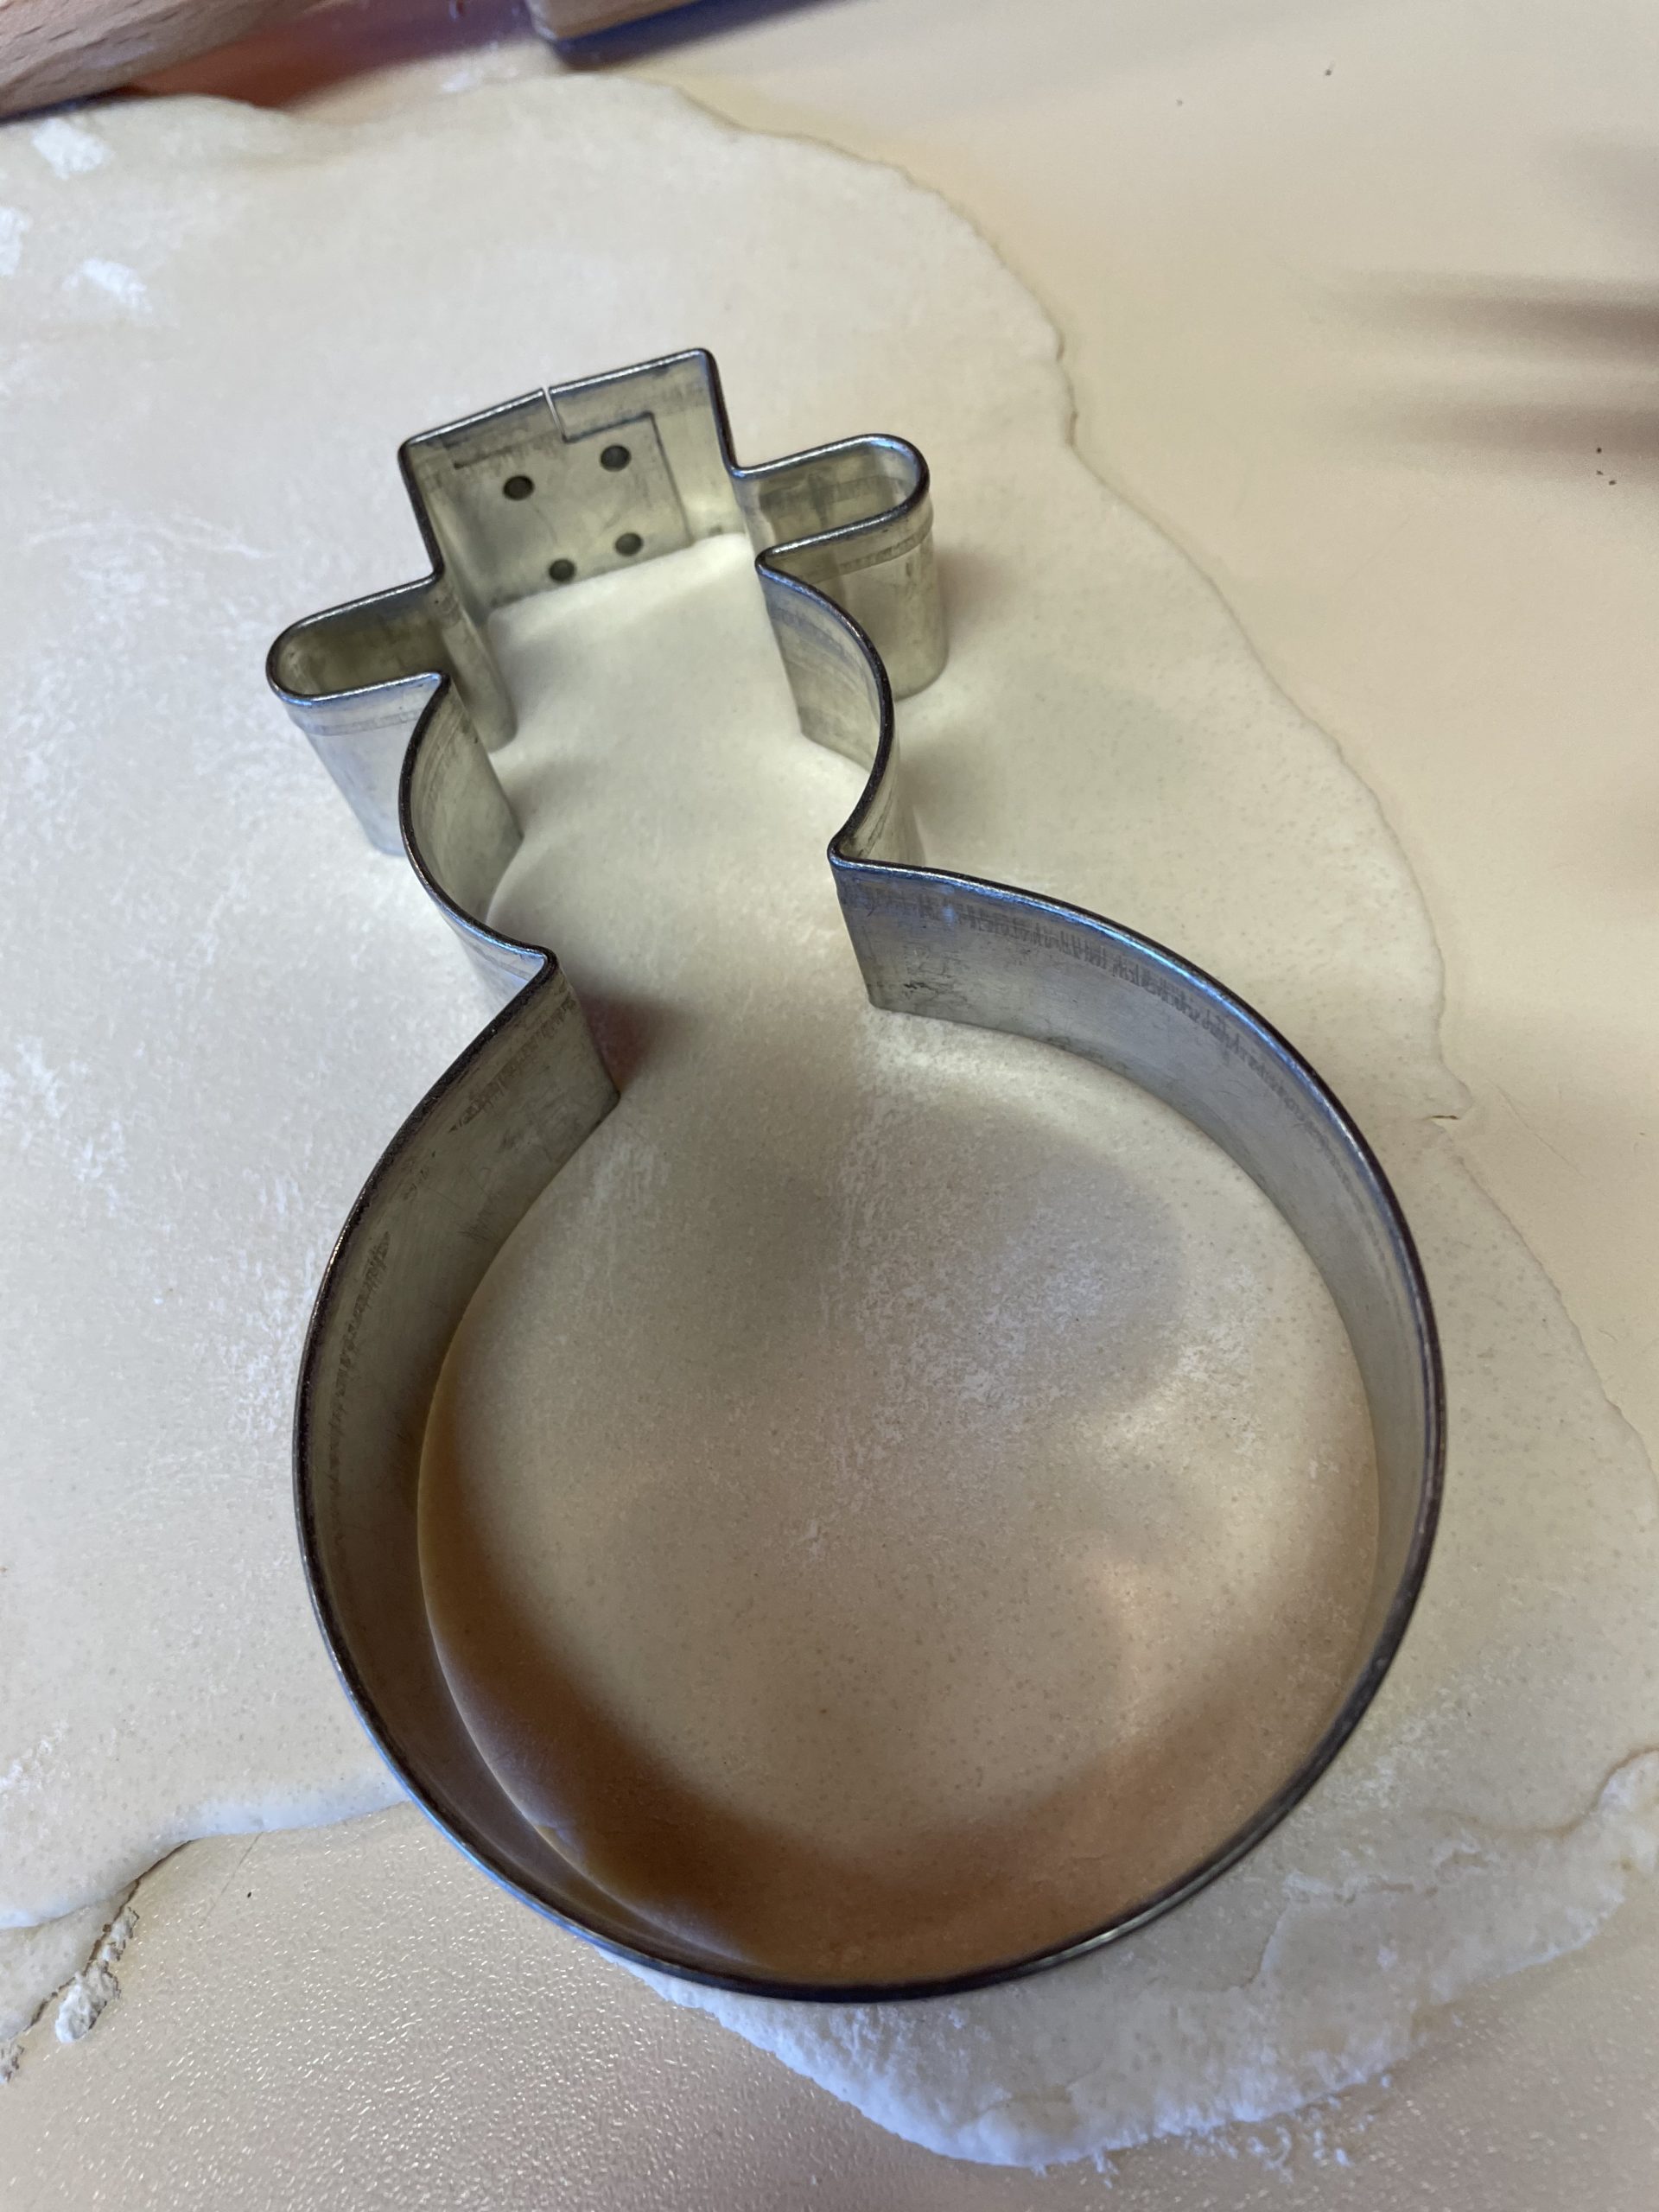
Bild zum Schritt 3 für das Bastel- und DIY-Abenteuer für Kinder: 'Nun legt ihr dir Ausstechform auf den Teig.'

4

Then press the shape firmly into the dough.

Bild zum Schritt 4 für das Bastel- und DIY-Abenteuer für Kinder: 'Und drückt anschließend die Form fest in den Teig.'

5

2. Bild zum Schritt 4 für das Bastel- und DIY-Abenteuer für Kinder: 'Und drückt anschließend die Form fest in den Teig.'

6

The snowmen so pierced put her on a baking tray.
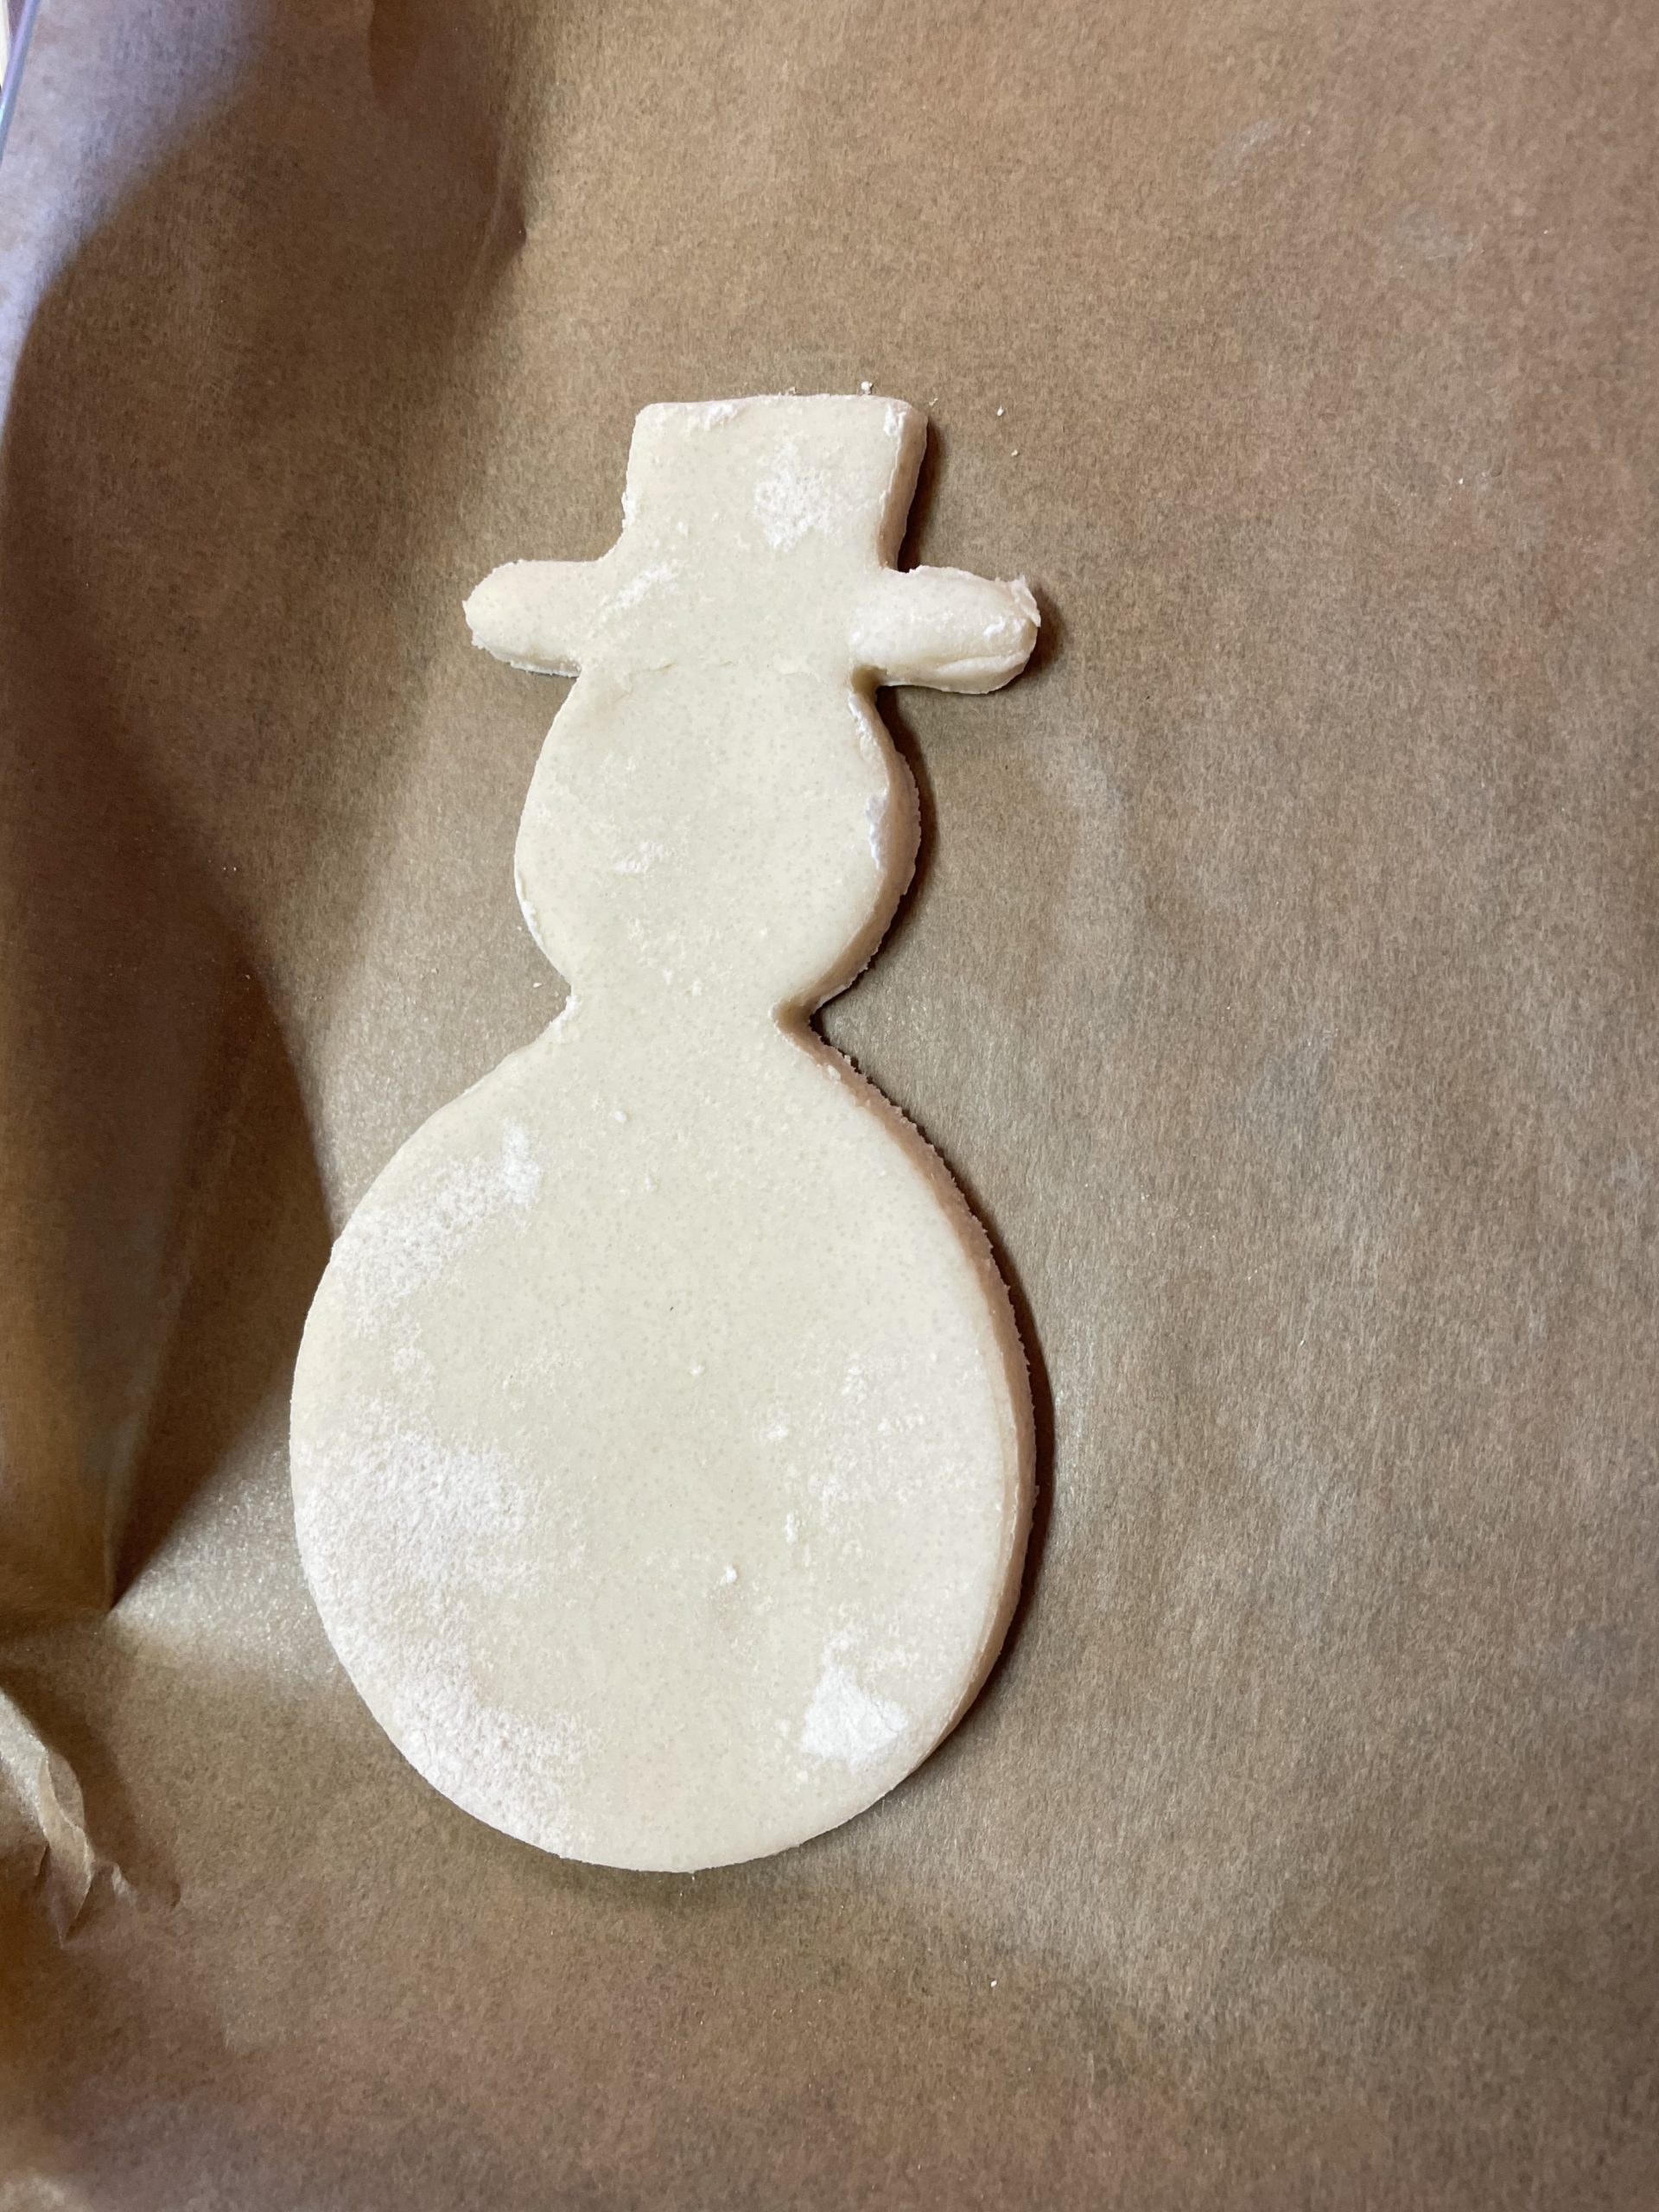
Bild zum Schritt 6 für das Bastel- und DIY-Abenteuer für Kinder: 'Die so ausgestochenen Schneemänner legt ihr anschließend auf ein Backblech.'

7

Now with a tube a hole in the hat. So you can hang the dried snowman later.
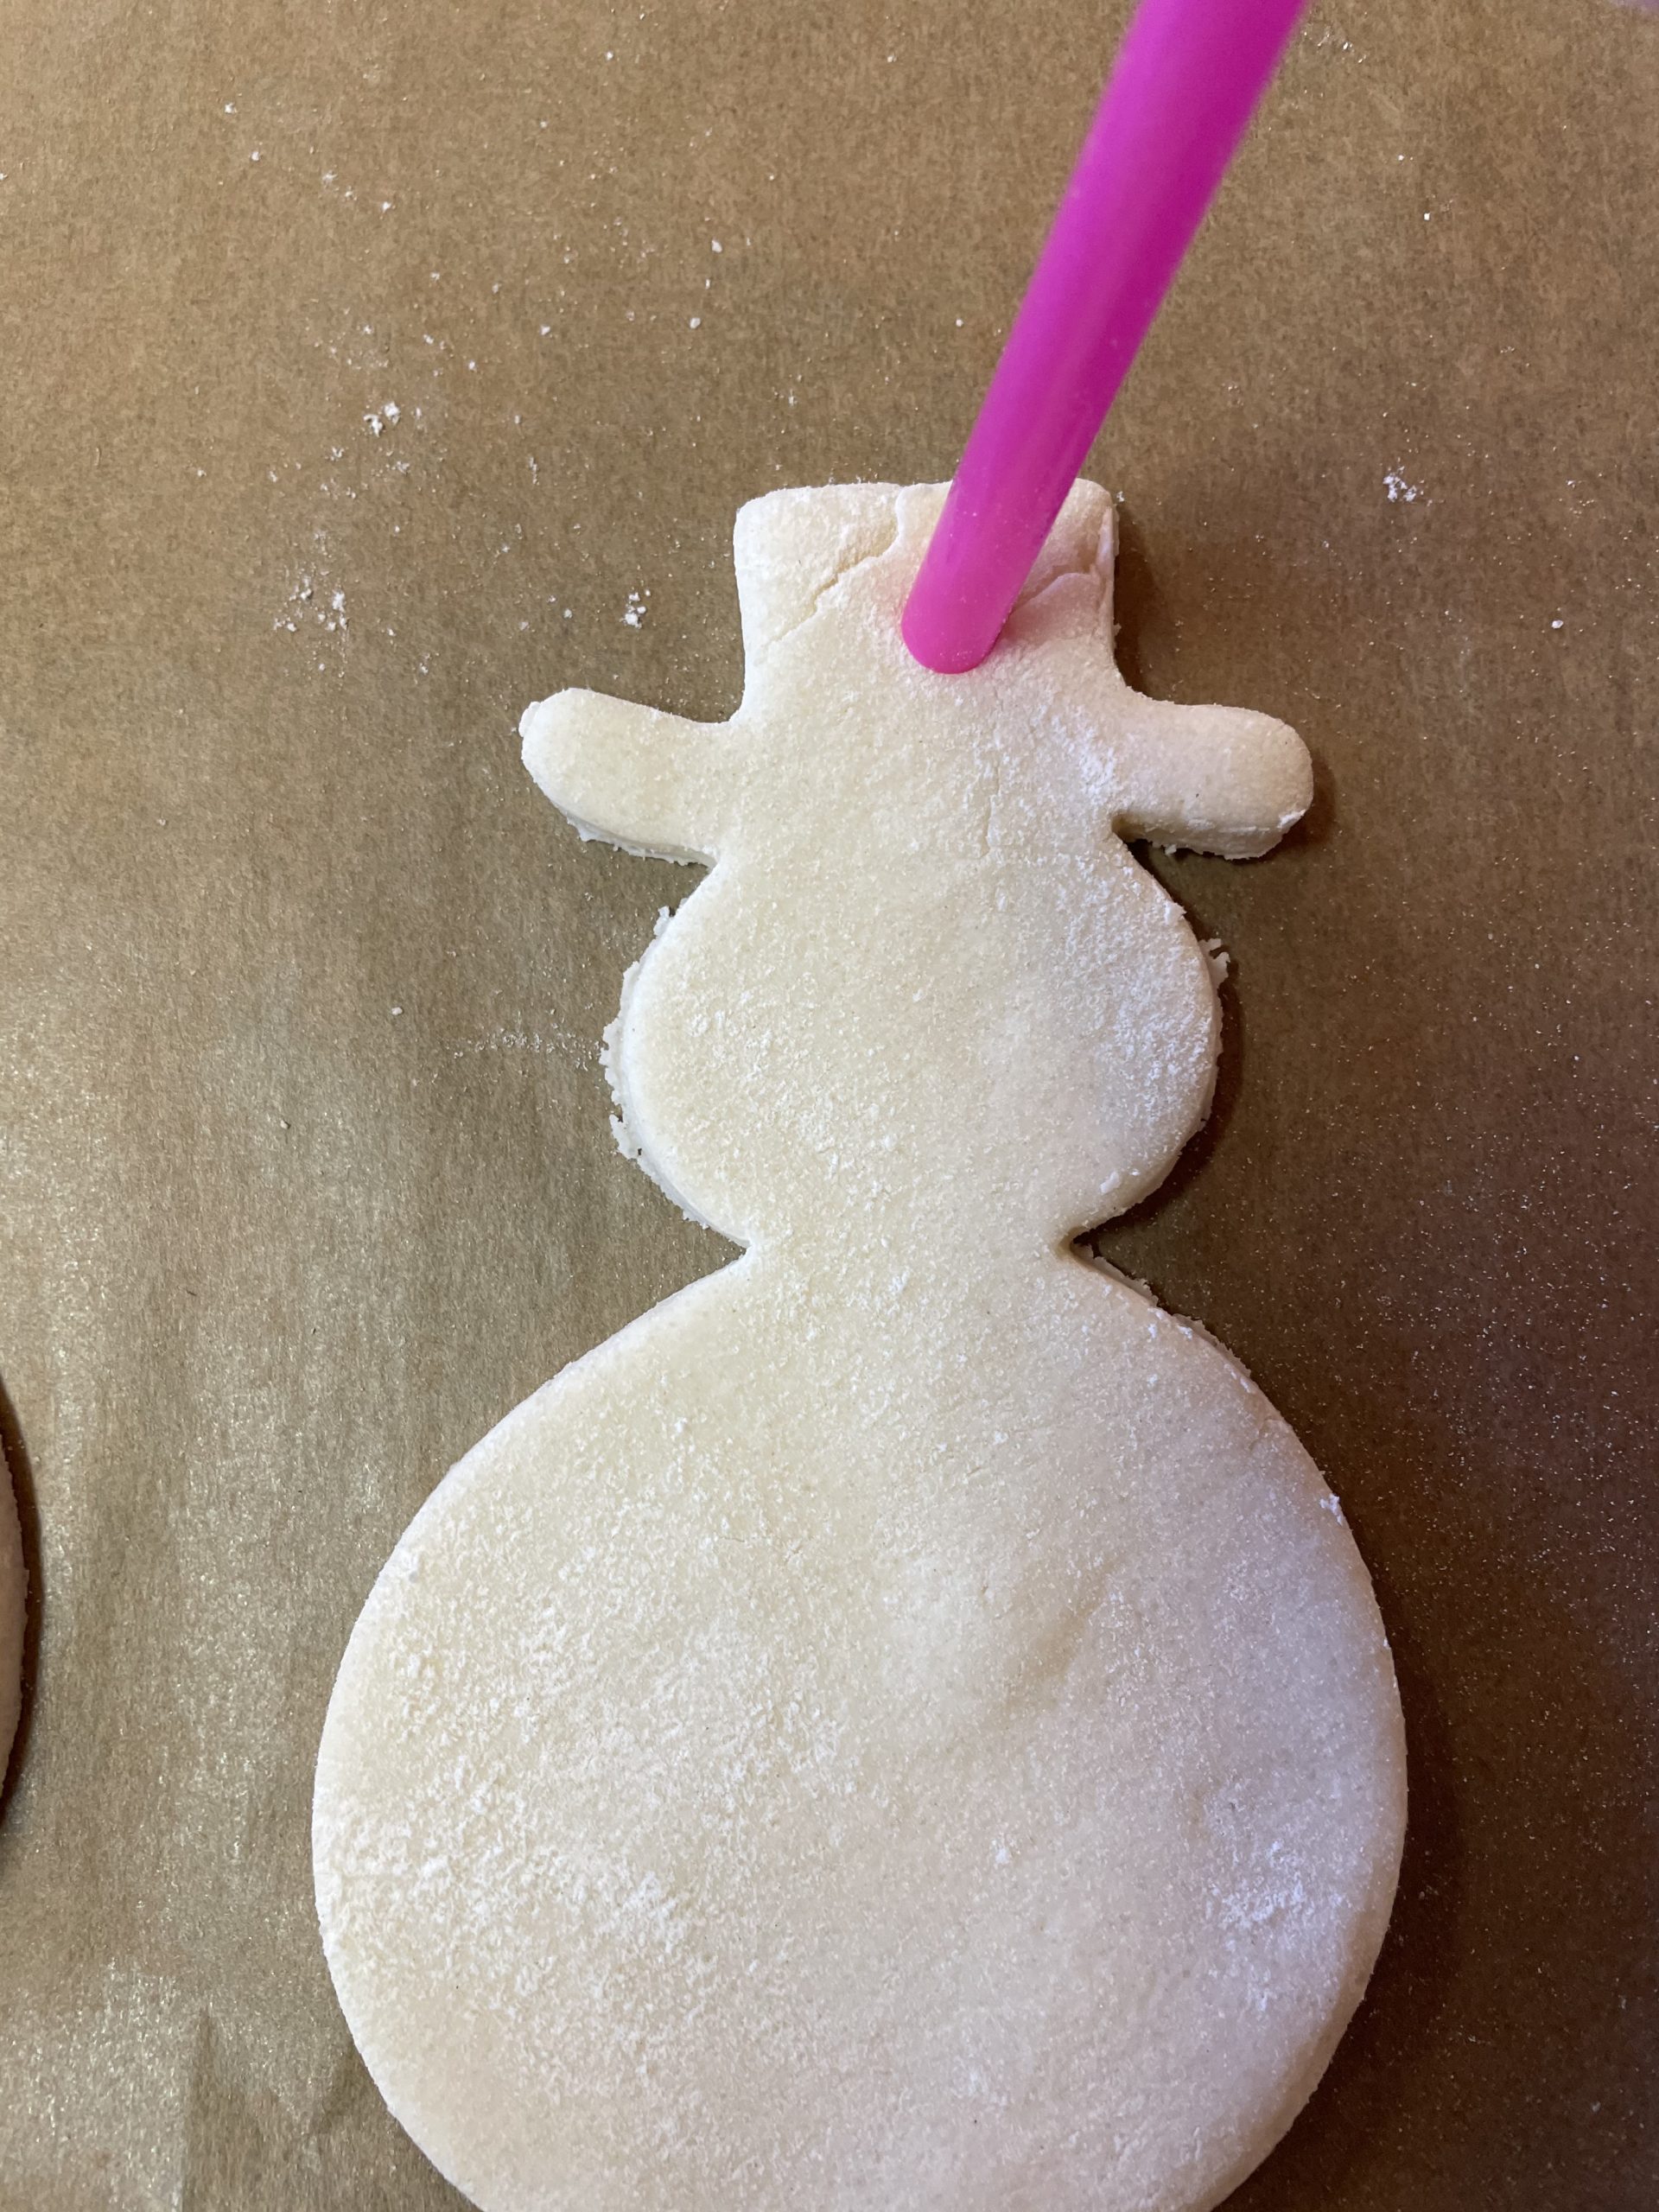
Bild zum Schritt 7 für das Bastel- und DIY-Abenteuer für Kinder: 'Jetzt stecht mit einem Röhrchen ein Loch in den Hut....'

8

Let the snowmen dry now.

Bild zum Schritt 8 für das Bastel- und DIY-Abenteuer für Kinder: 'Lasst die Schneemänner nun trocknen.'

9

For this you put the sheet metal with the snowmen about 2-3 days on a radiator.

10

Alternatively, you can let the snowmen dry slowly in the oven. You should leave the oven door a little open so that the moisture can escape. You can increase the temperature slowly during drying. Start the first hour with 50 degrees and increase the temperature in the next hour to 100 degrees and then 140 degrees. If the dough dries too quickly, then it tears.

11

Thicker snowmen need longer to dry!

12

Once the snowmen are dried, rub off the surface with a handkerchief.

13

Now you can paint the snowmen.
Uses water or finger colors.

14

Paint the hat and nose with the brush and pat the eyes and buttons with the finger.

15

Your snowmen are ready!

Bild zum Schritt 15 für das Bastel- und DIY-Abenteuer für Kinder: 'Fertig sind eure Schneemänner!'

16

2. Bild zum Schritt 15 für das Bastel- und DIY-Abenteuer für Kinder: 'Fertig sind eure Schneemänner!'

17

Have fun trying out.

Bild zum Schritt 17 für das Bastel- und DIY-Abenteuer für Kinder: 'Viel Spaß beim Ausprobieren.'

Snowmen of salted dough

Follow us on Facebook , Instagram and Pinterest
Don't miss any more adventures: Our bottle mail

Leave a Reply

Your email address will not be published.

The maximum upload file size: 5 MB. You can upload: image, document. Drop file here