Snowdrop with cotton pad & tearing technique

AdventurerKatzi
Rating4.05.0 thousand times & (1) DifficultyAdvanced

The blossom of the snowdrop is made of a cotton pad. Its fluffy quality is a special highlight for children. If the children know it quietly, they are sensitized to the diversity of materials.
Paint points on the cotton wool and cut them out together. You cut the stem and bud out of green paper. For the leaves you can tear two strips of green paper. Thus you have linked several different work steps together in a craft action.
Combines all parts to the snowdrop and creates a picture or a map.

Media Education for Kindergarten and Hort

Kind bastelt eine Rassel mit dem Navi
The Adventure Navi, the app for DIY projects, enables media education for the youngest.

Relief in everyday life, targeted promotion of individual children, independent learning and - without any pre-knowledge already usable by the youngest!
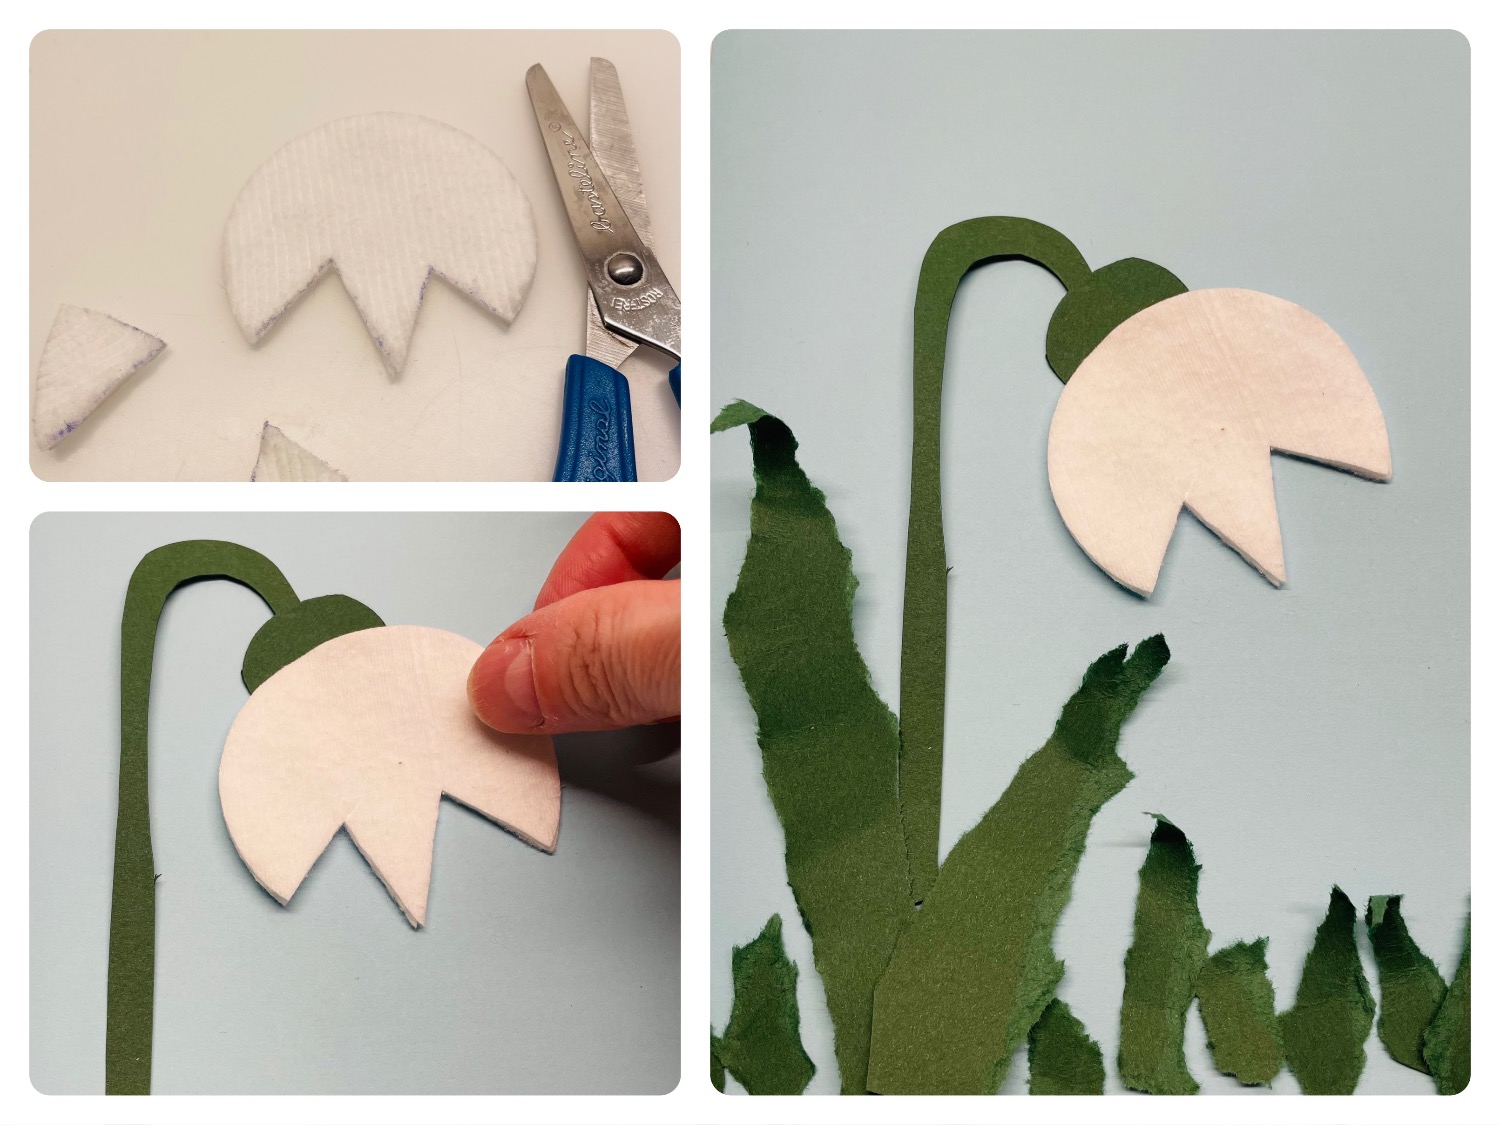


Titelbild zur Bastel- und DIY-Idee für Kinder '(676) Schneeglöckchen mit Wattepad & Reißtechnik'
Material for1 Child
Prep Time5 min.Adv. Time25 min.Total Time30 min.
 1 DIN A5 paper light blue
 Clay paper dark green
 1 Wadding pad
 1 Coloured pencil white
 1 Ballpoint pens
 Builder's pad
All links marked with a shopping cart lead to Amazon - here we have selected products that we would order ourselves and in part also ordered. In a qualified purchase via the advertising link, we as Amazon partner receive a commission, for you there are no costs. You thus support our cost- and advertising banner-free, educational offer.
1

Uses a craft file.
Find the materials together.

2

First the flower is made. Take the cotton pad and a ballpoint pen.
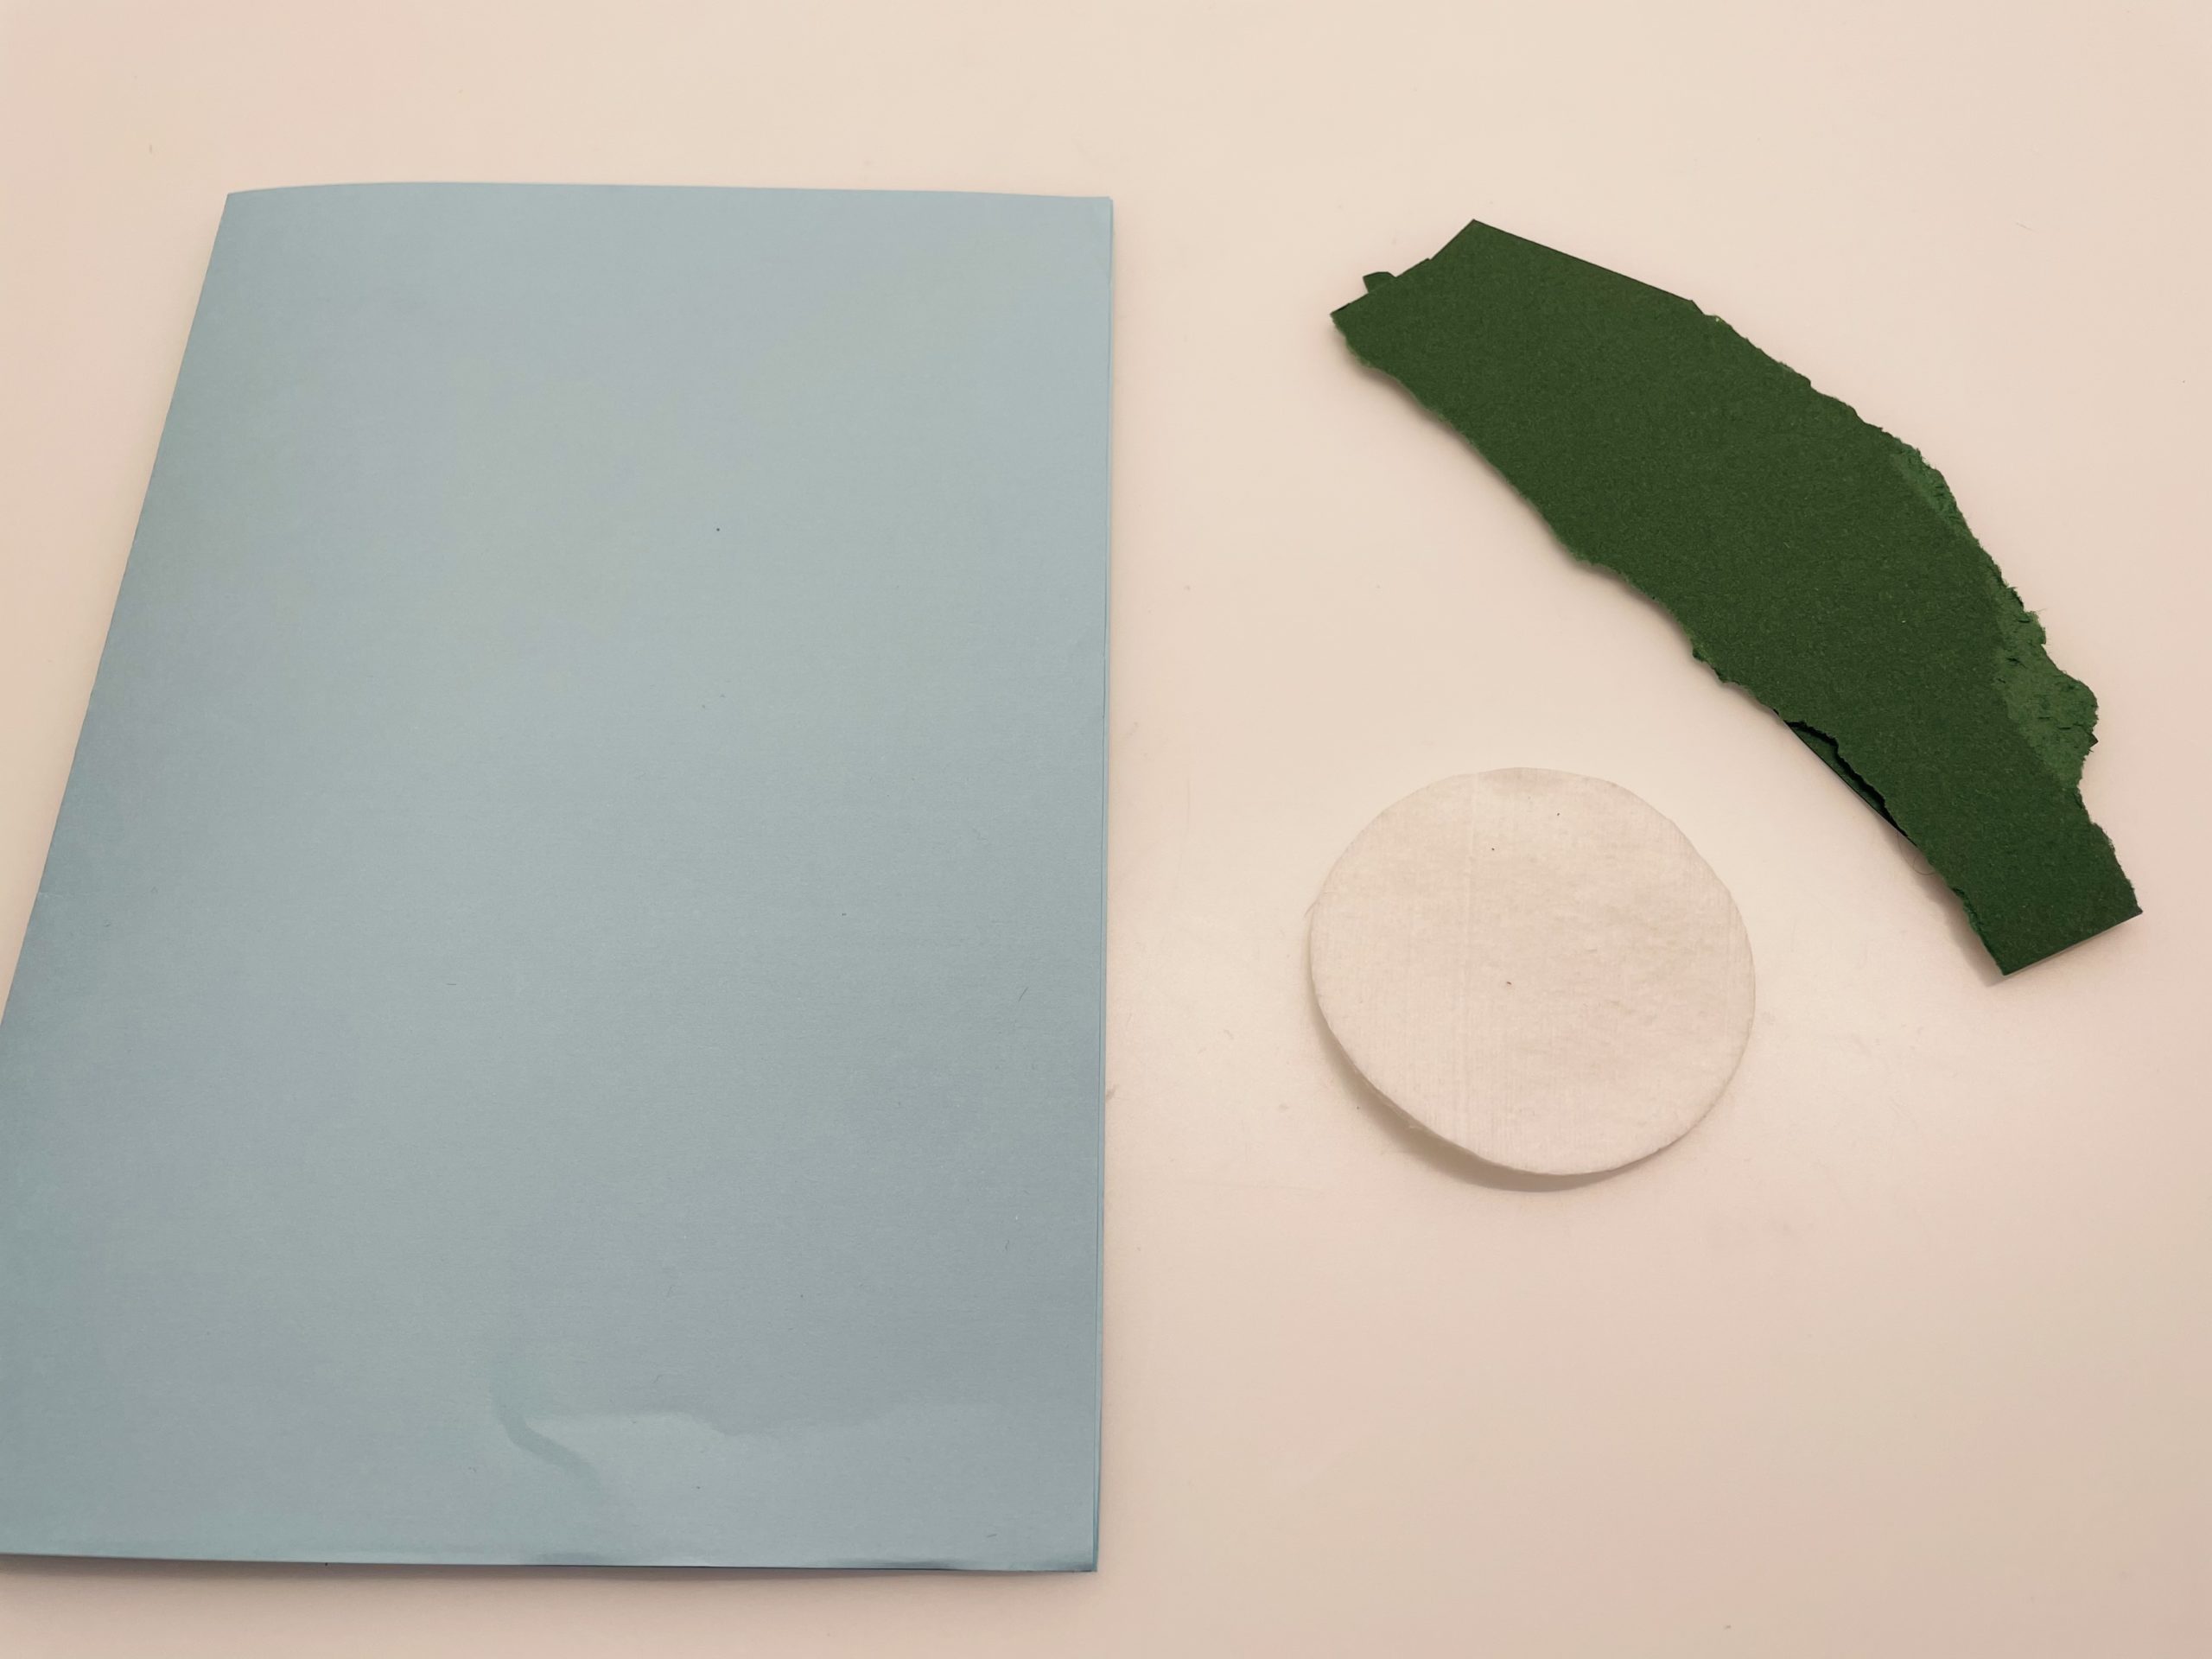
Bild zum Schritt 2 für das Bastel- und DIY-Abenteuer für Kinder: 'Zuerst wird die Blüte gebastelt. Nehmt dazu das Wattepad und...'

3

Paints two triangles on the cotton pad so that three tips are created.
Start painting from the inside to the outside. Otherwise, the cotton will tear apart.
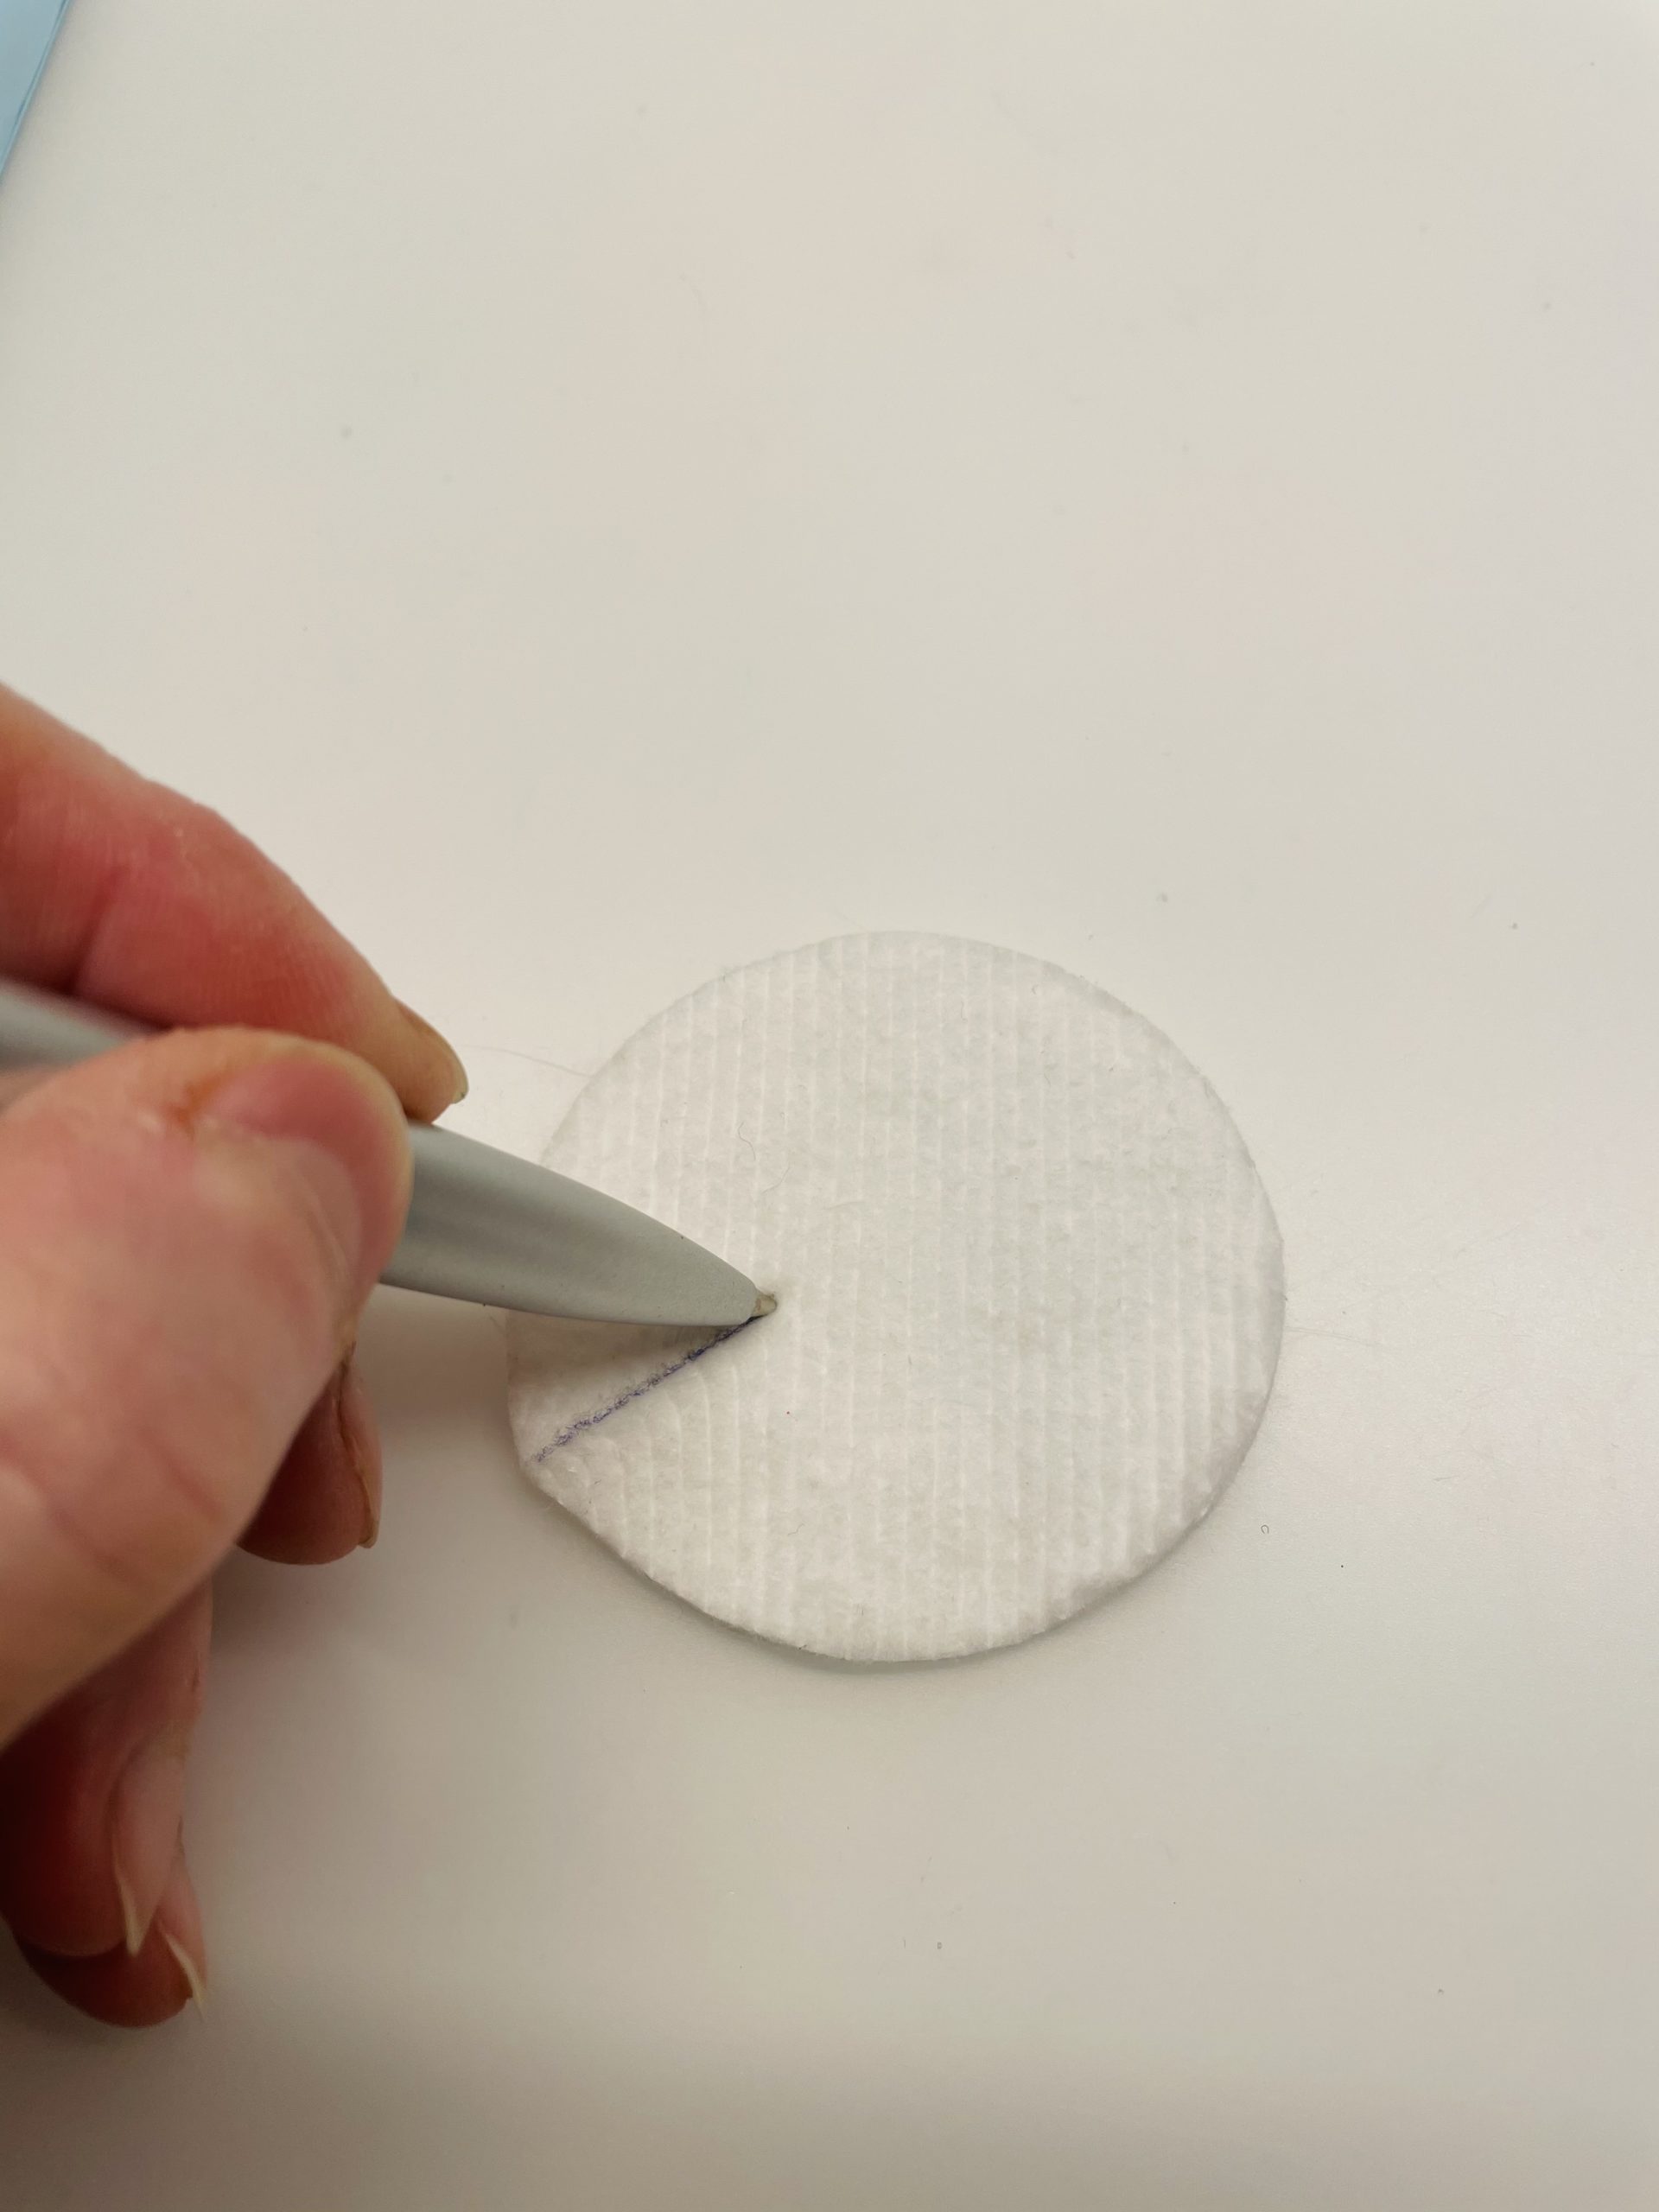
Bild zum Schritt 3 für das Bastel- und DIY-Abenteuer für Kinder: 'Malt zwei Dreiecke auf das Wattepad, so dass drei Spitzen...'

4

Paint a triangle first.

Bild zum Schritt 4 für das Bastel- und DIY-Abenteuer für Kinder: 'Malt erst ein Dreieck.'

5

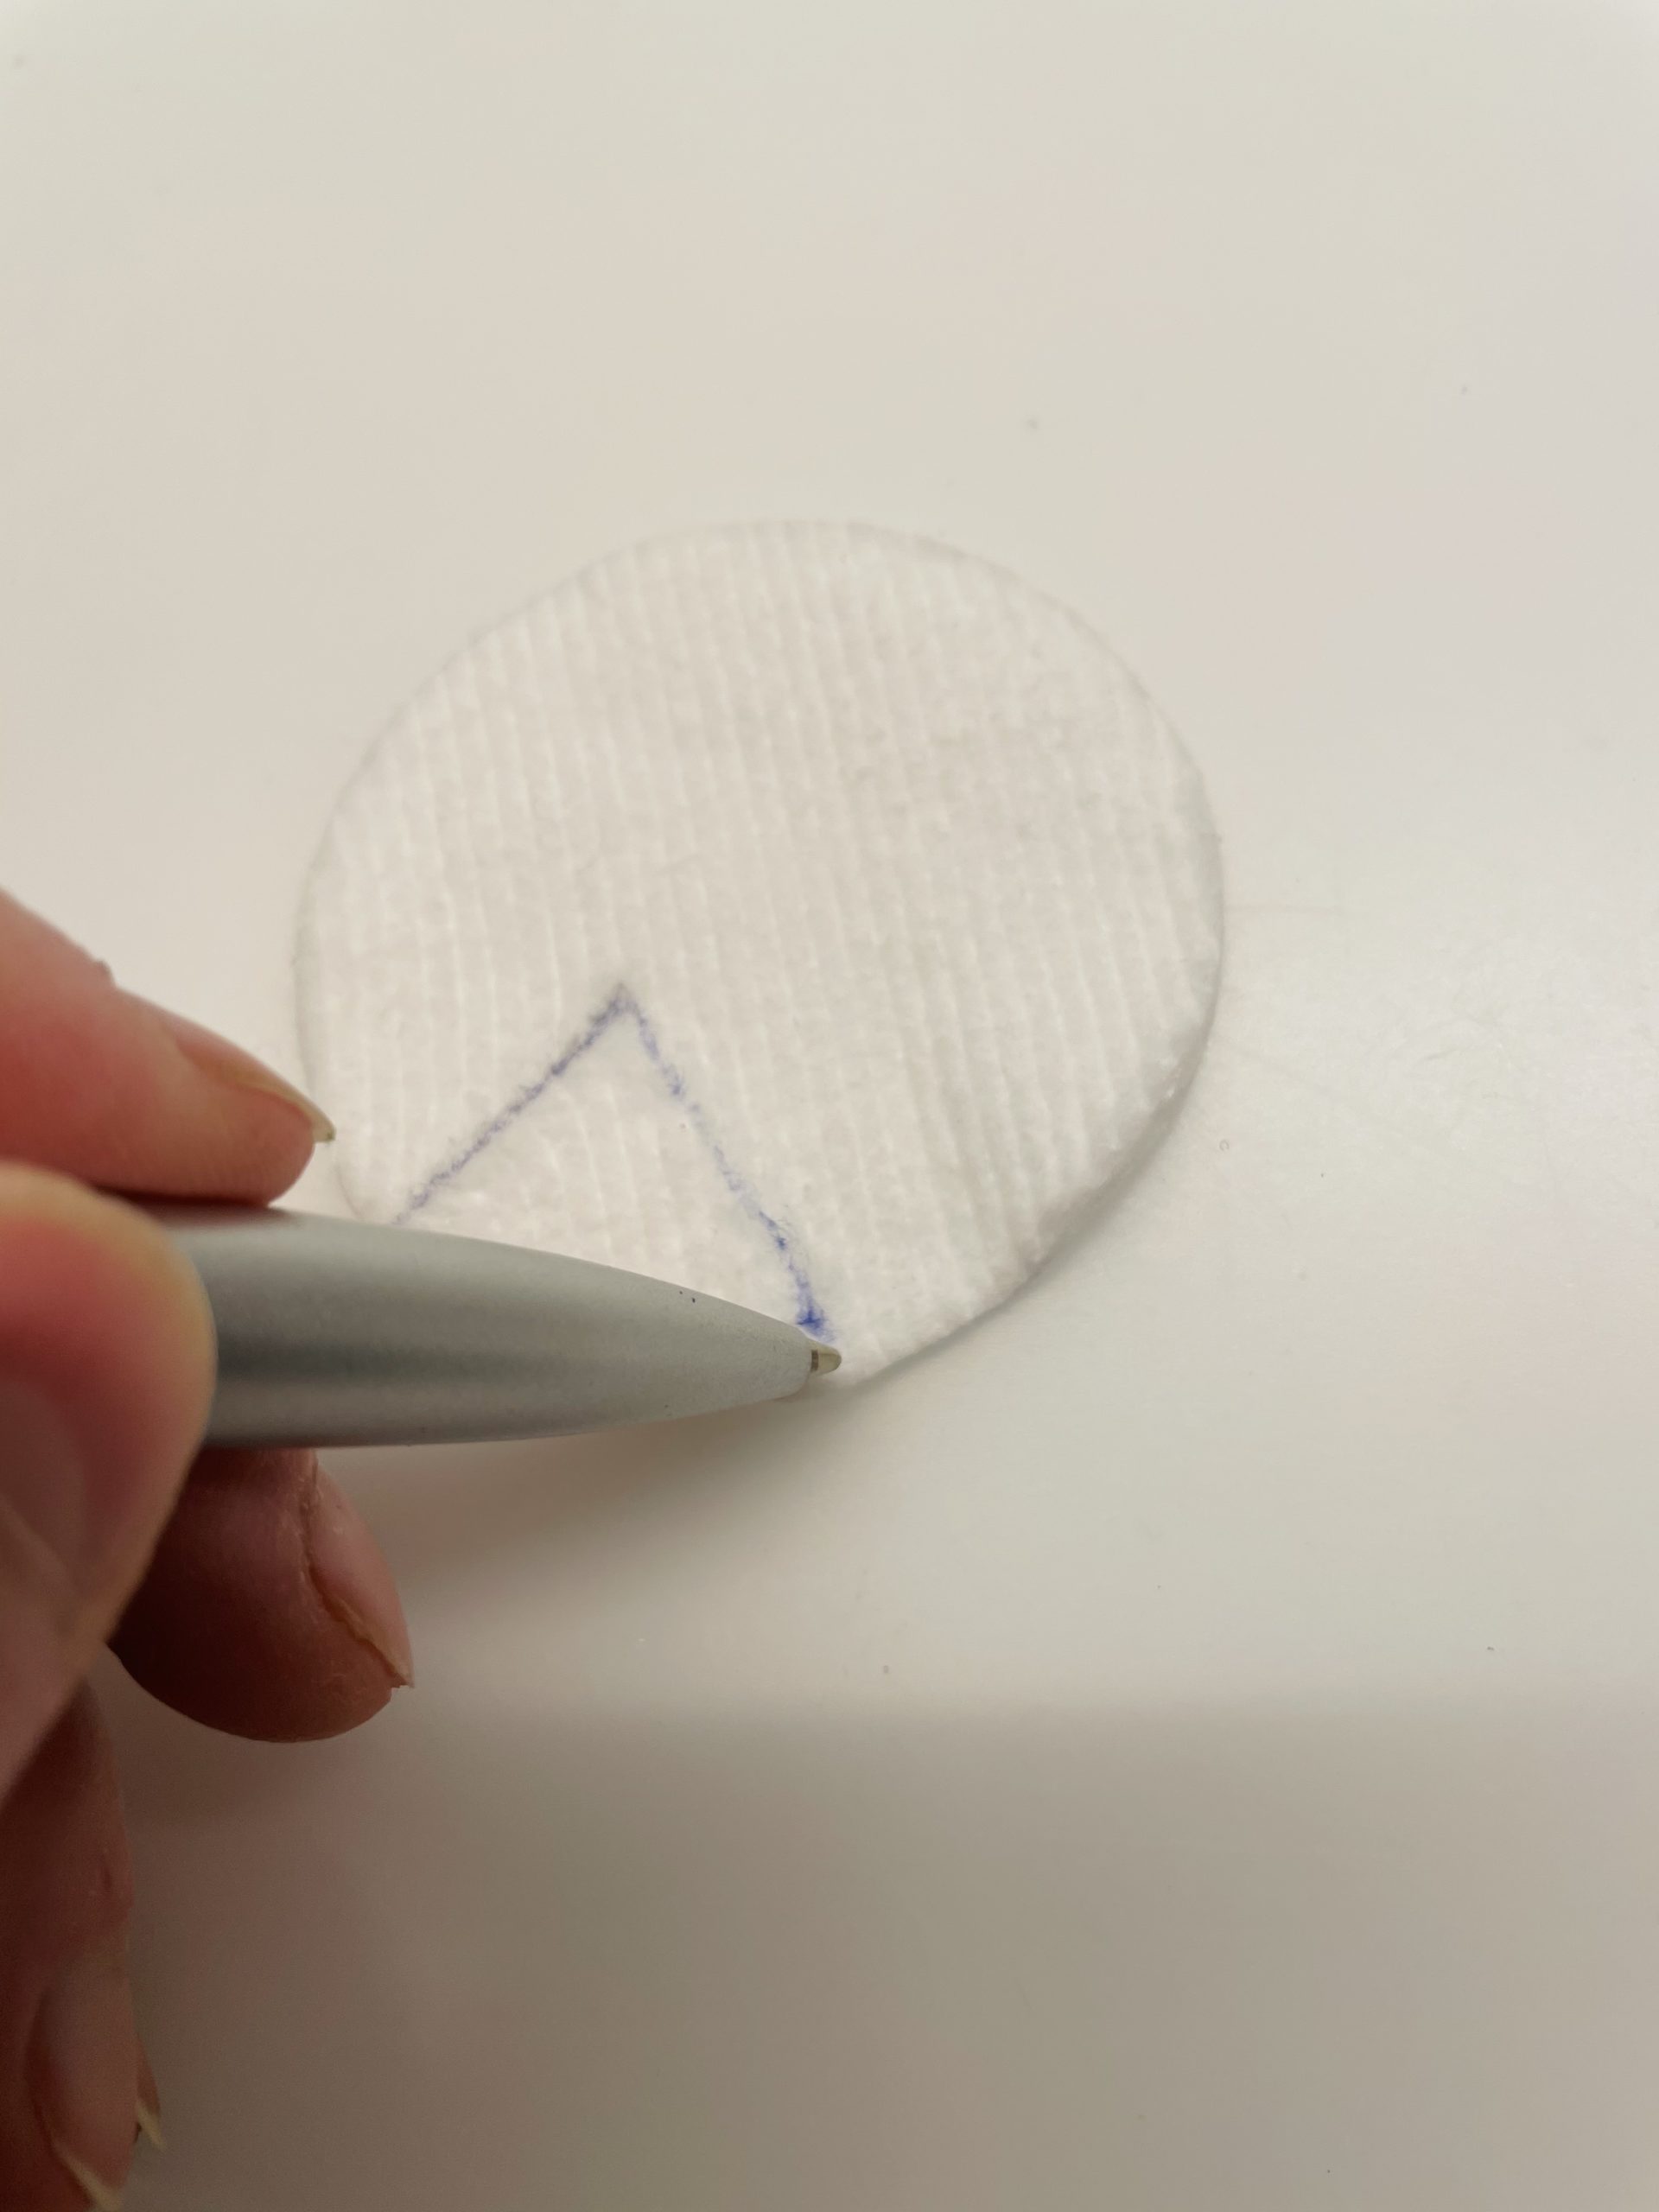
Then you paint another triangle right next to it. The inner ends of the triangles touch each other. This results in a tip in the middle.

Bild zum Schritt 5 für das Bastel- und DIY-Abenteuer für Kinder: 'Anschließend malt ihr dann direkt daneben ein weiteres Dreieck. Die...'

6

2. Bild zum Schritt 5 für das Bastel- und DIY-Abenteuer für Kinder: 'Anschließend malt ihr dann direkt daneben ein weiteres Dreieck. Die...'

7

That's what the zigzag pattern should look like now.

Bild zum Schritt 7 für das Bastel- und DIY-Abenteuer für Kinder: 'So sollte das Zickzack-Muster jetzt aussehen.'

8

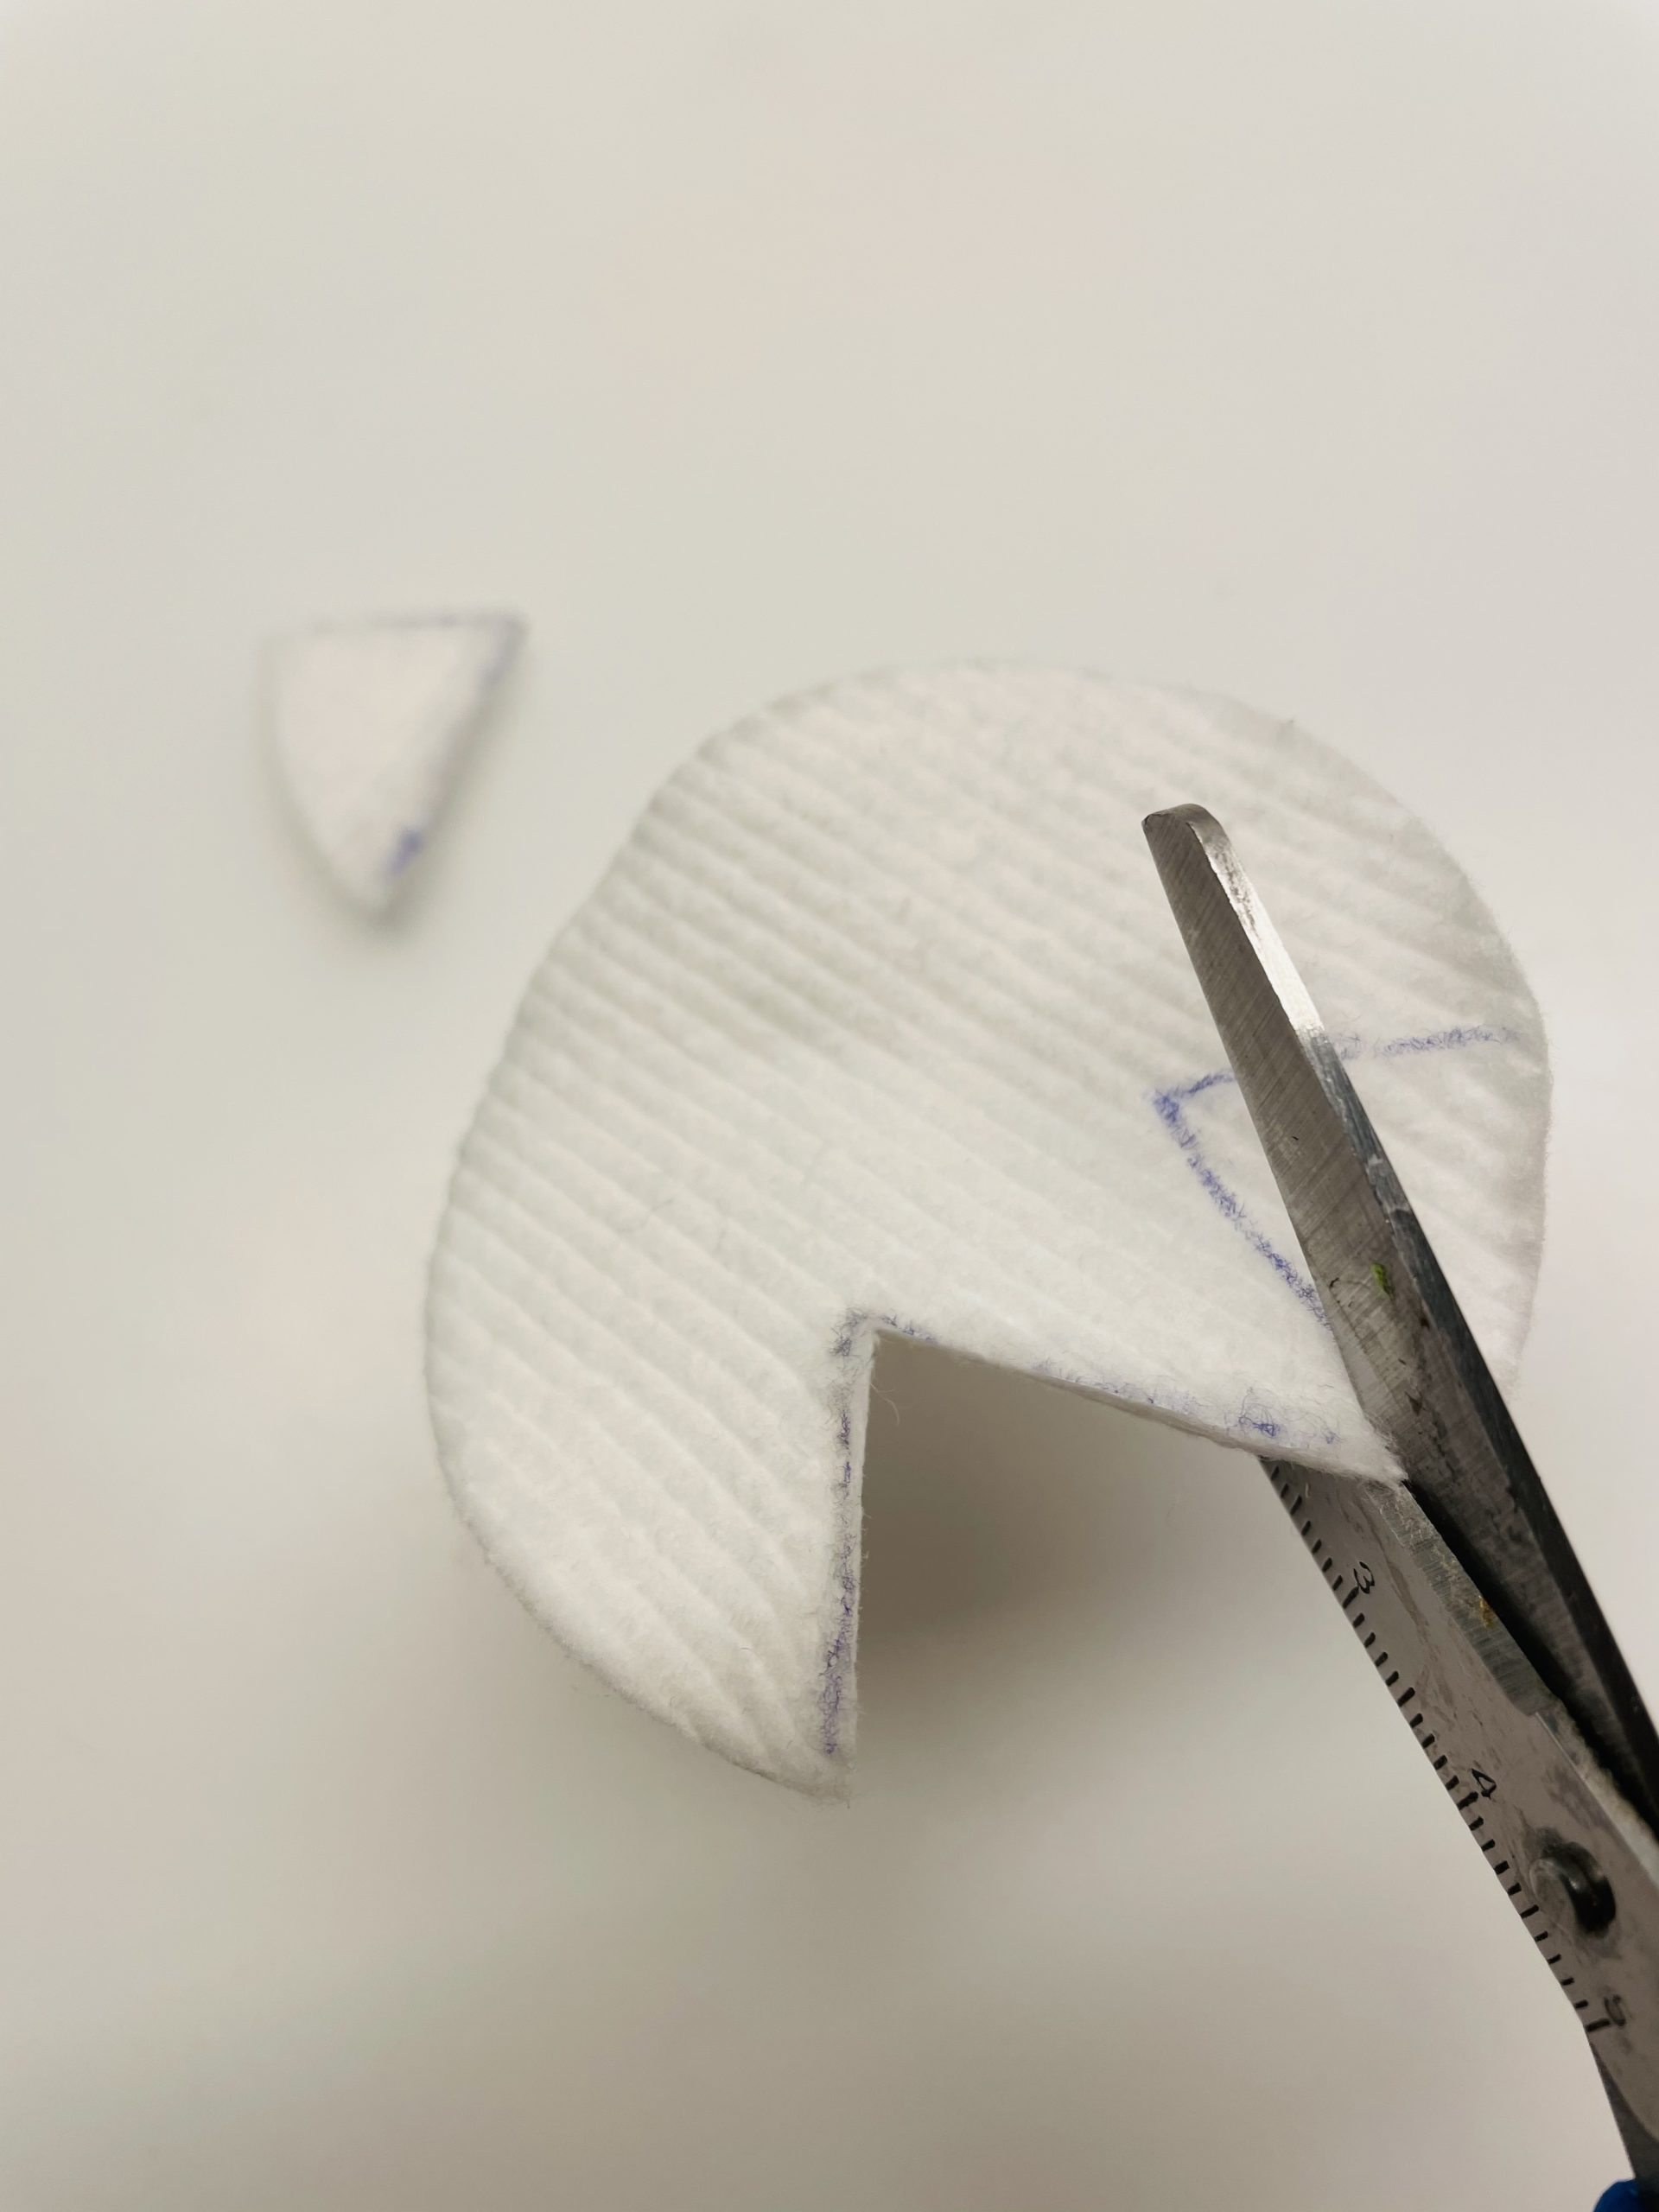
Now cut out the small triangles with the scissors. Always cut the points from the outside to the inside.

Bild zum Schritt 8 für das Bastel- und DIY-Abenteuer für Kinder: 'Schneidet nun die kleinen Dreiecke mit der Schere heraus. Schneidet...'

9

2. Bild zum Schritt 8 für das Bastel- und DIY-Abenteuer für Kinder: 'Schneidet nun die kleinen Dreiecke mit der Schere heraus. Schneidet...'

10

The flower of the snowdrop is ready.

Bild zum Schritt 10 für das Bastel- und DIY-Abenteuer für Kinder: 'Fertig ist die Blüte des Schneeglöckchens.'

11

Put the flower on your paper or card.

Bild zum Schritt 11 für das Bastel- und DIY-Abenteuer für Kinder: 'Legt die Blüte auf euer Papier bzw. eure Karte.'

12

Now paints a curved stalk (as with a walking stick) and a bud (see template).

Bild zum Schritt 12 für das Bastel- und DIY-Abenteuer für Kinder: 'Malt nun einen gebogenen Stiel (so wie bei einem Spazierstock)...'

13

Paints the stem freely on the green paper or uses the template.

Bild zum Schritt 13 für das Bastel- und DIY-Abenteuer für Kinder: 'Malt den Stiel frei auf das grüne Papier oder verwendet...'

14

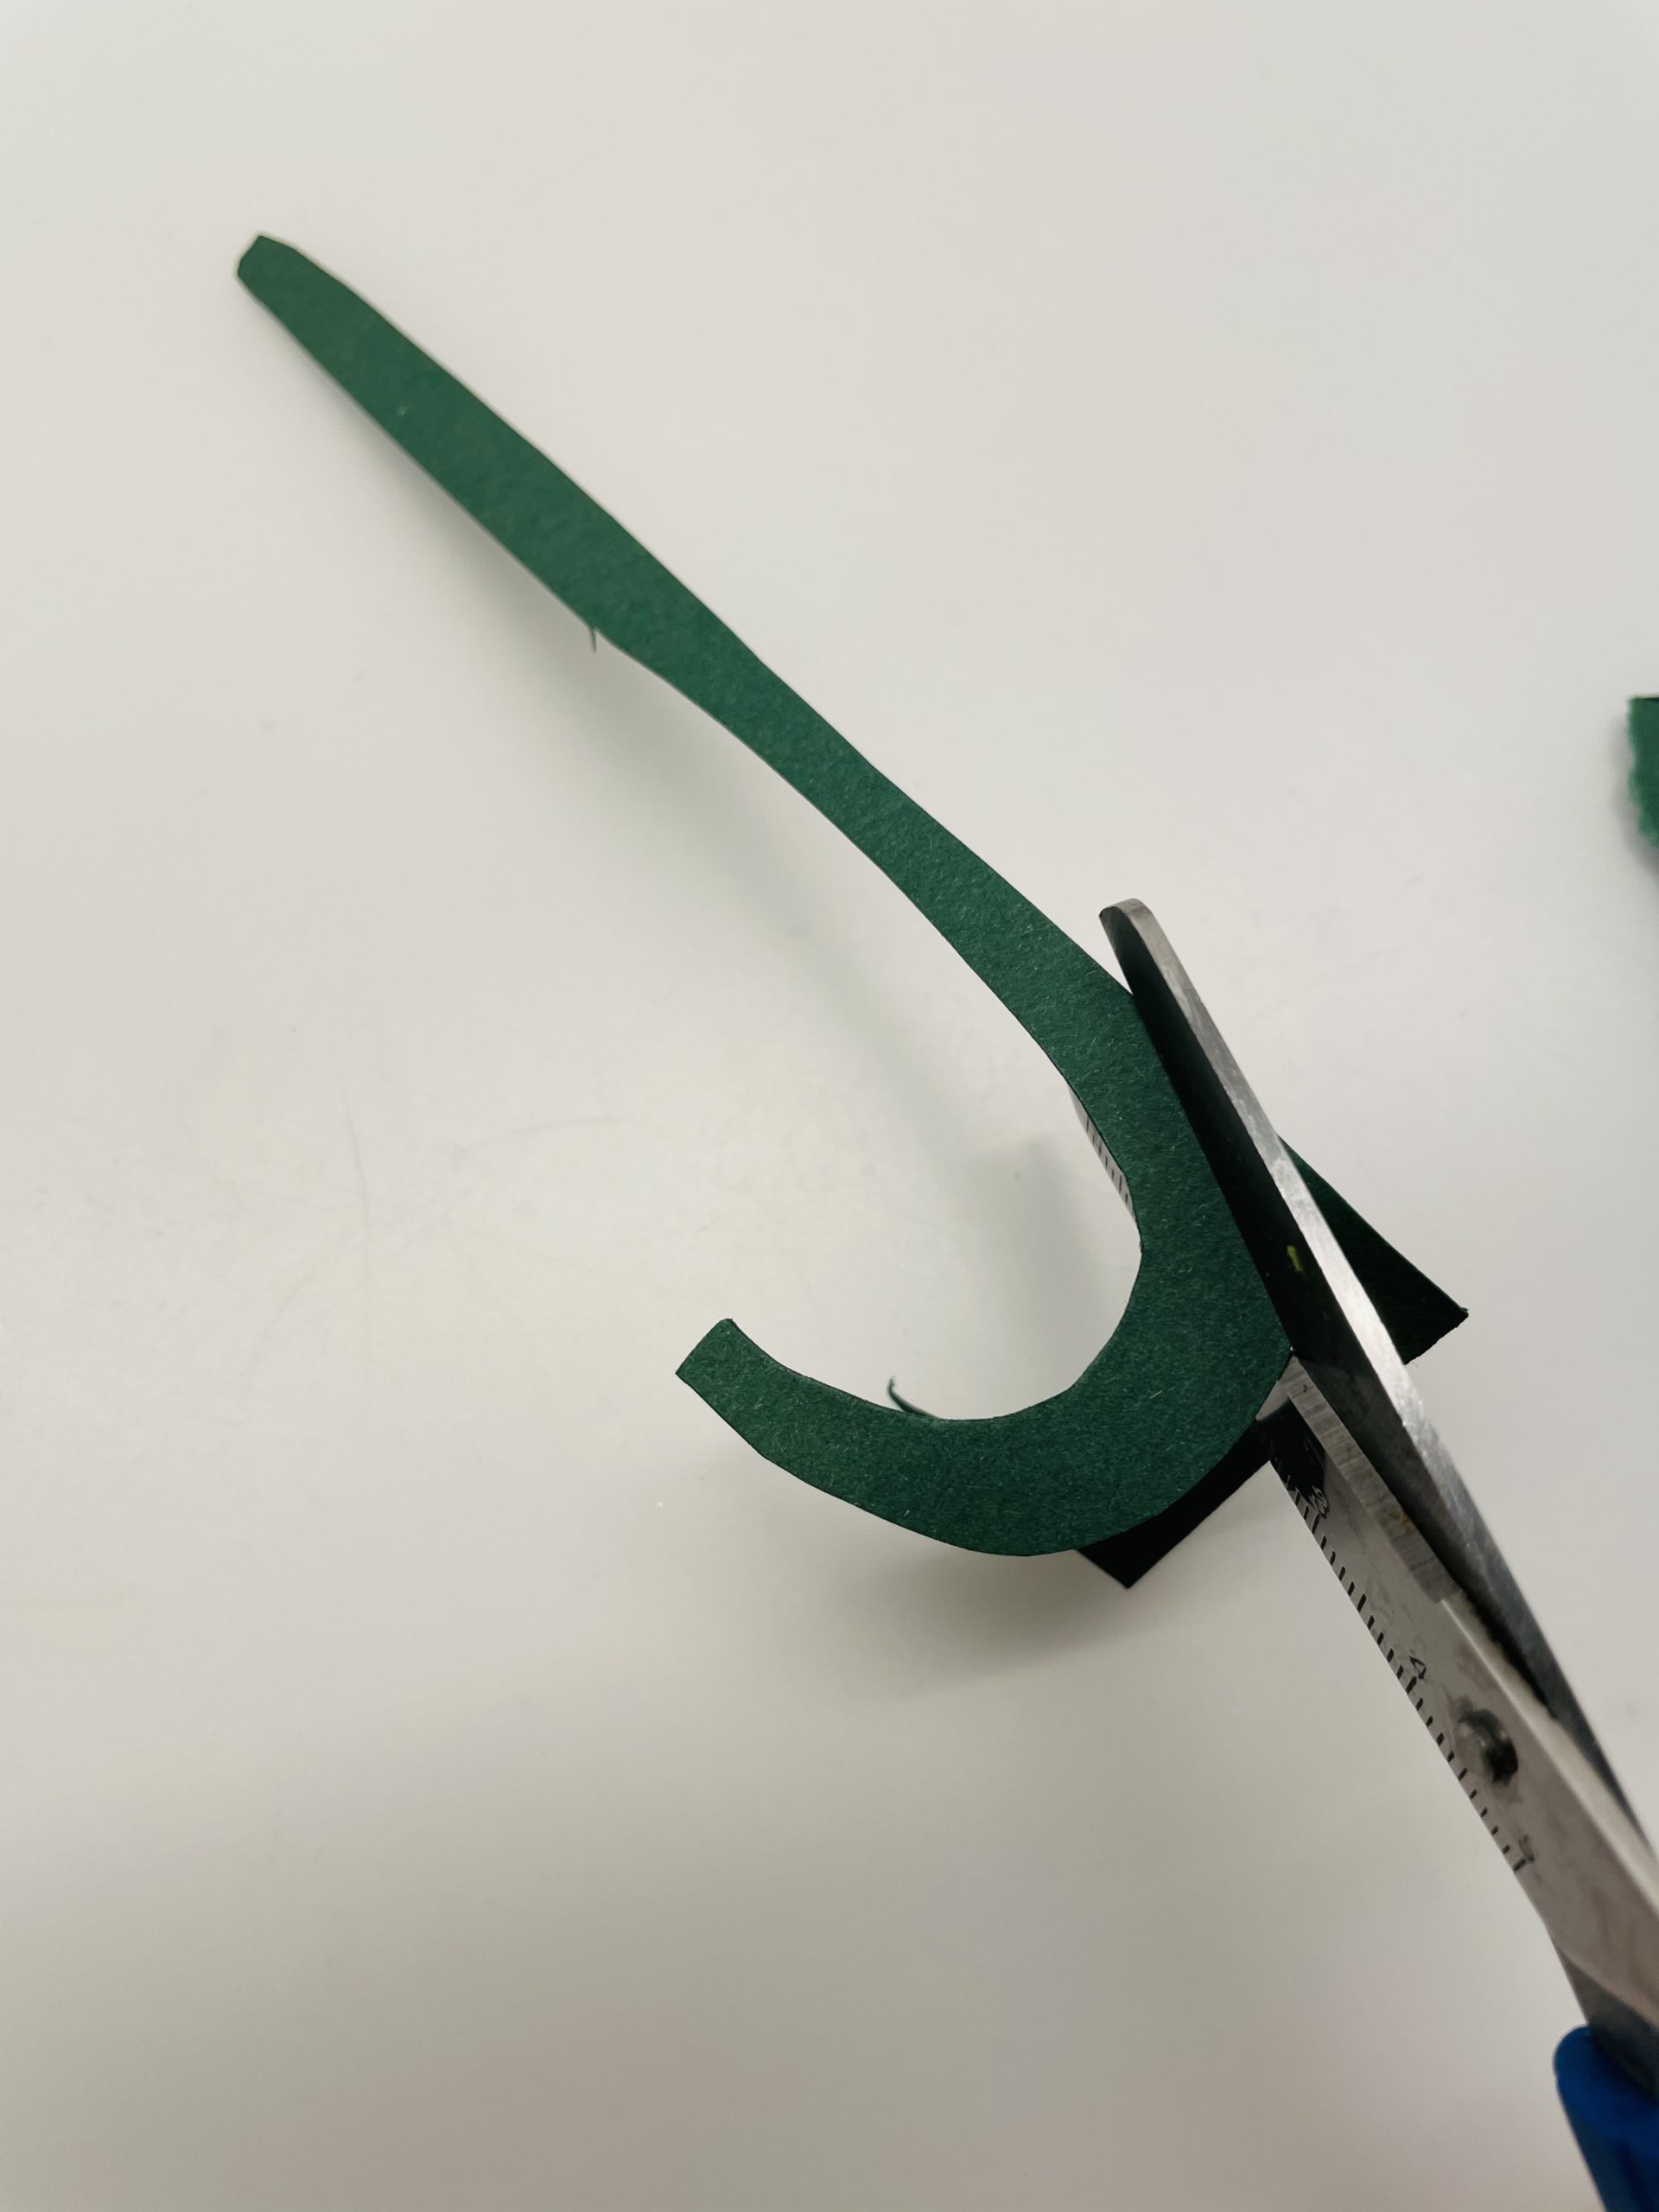
Then cut out the stem.

Bild zum Schritt 14 für das Bastel- und DIY-Abenteuer für Kinder: 'Schneidet dann den Stiel aus.'

15

Now you paint the bud on the green paper and cut it out.

Bild zum Schritt 15 für das Bastel- und DIY-Abenteuer für Kinder: 'Jetzt malt ihr die Knospe auf das grüne Papier und...'

16

2. Bild zum Schritt 15 für das Bastel- und DIY-Abenteuer für Kinder: 'Jetzt malt ihr die Knospe auf das grüne Papier und...'

17

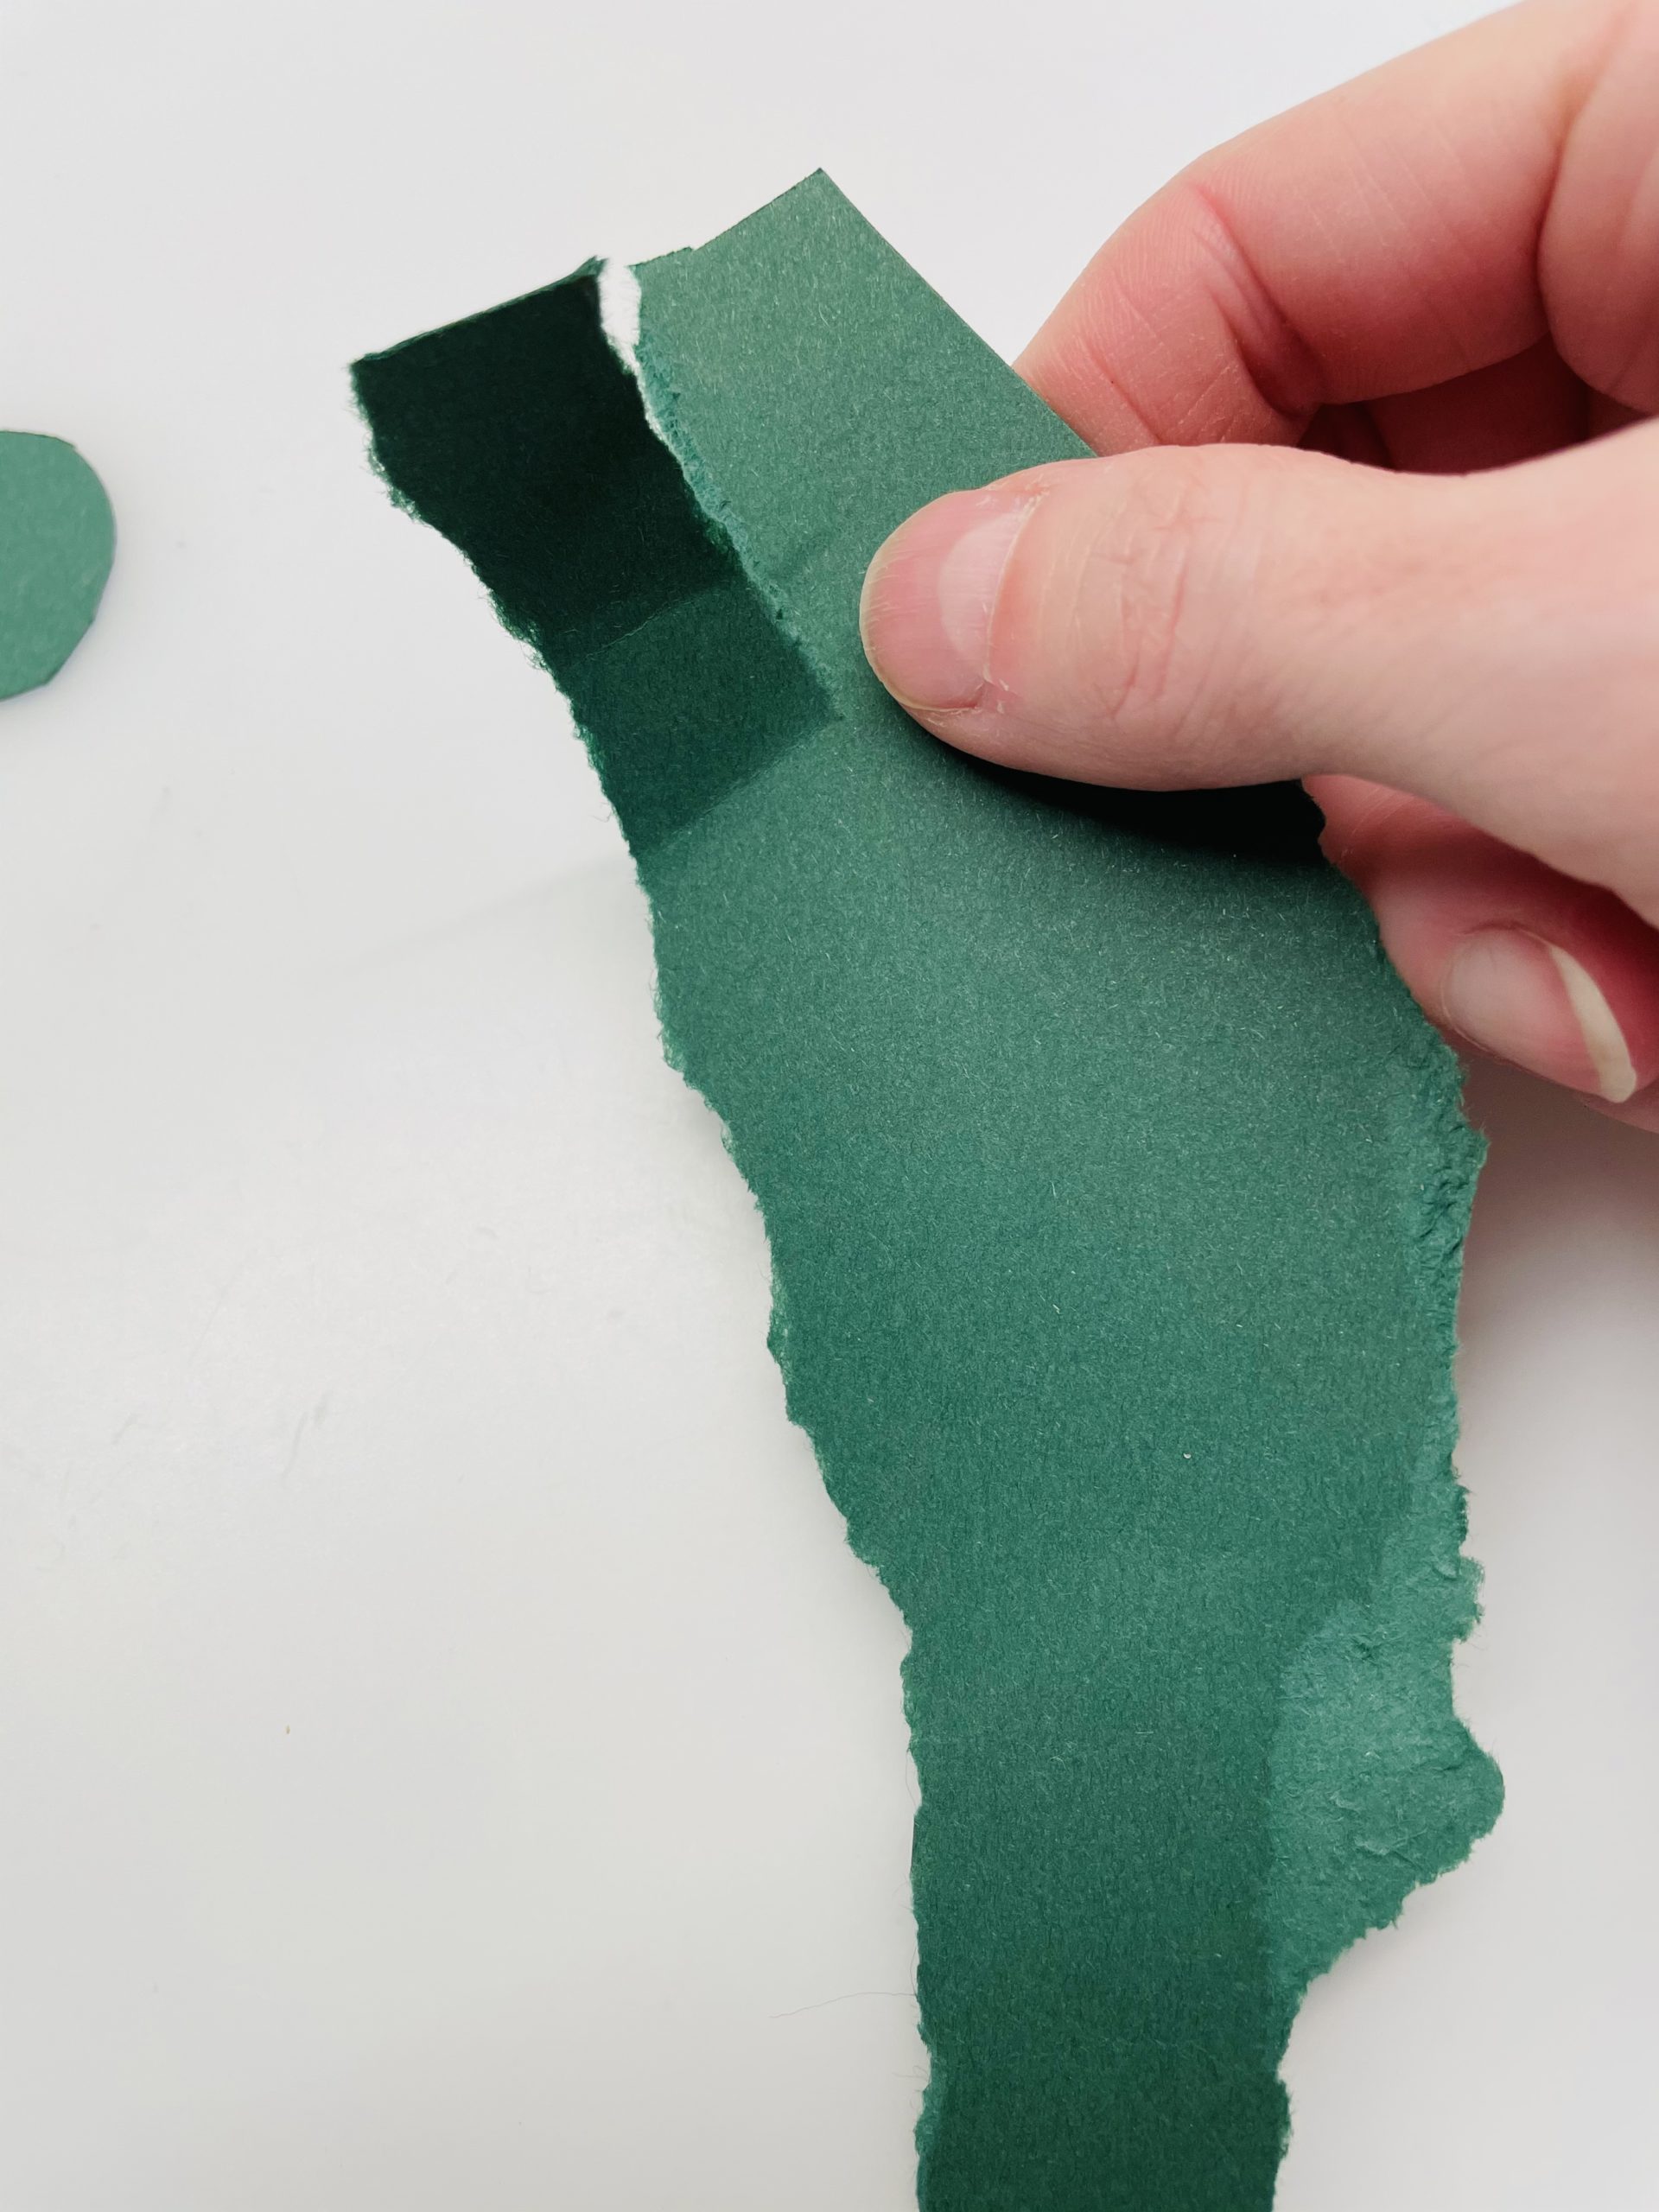
From a piece of green clay paper you can now rip off two strips. These are the leaves for the snowdrop.

Bild zum Schritt 17 für das Bastel- und DIY-Abenteuer für Kinder: 'Aus einem Reststück von grünem Tonpapier könnt ihr euch nun...'

18

2. Bild zum Schritt 17 für das Bastel- und DIY-Abenteuer für Kinder: 'Aus einem Reststück von grünem Tonpapier könnt ihr euch nun...'

19

3. Bild zum Schritt 18 für das Bastel- und DIY-Abenteuer für Kinder: 'Aus einem Reststück von grünem Tonpapier könnt ihr euch nun...'

20

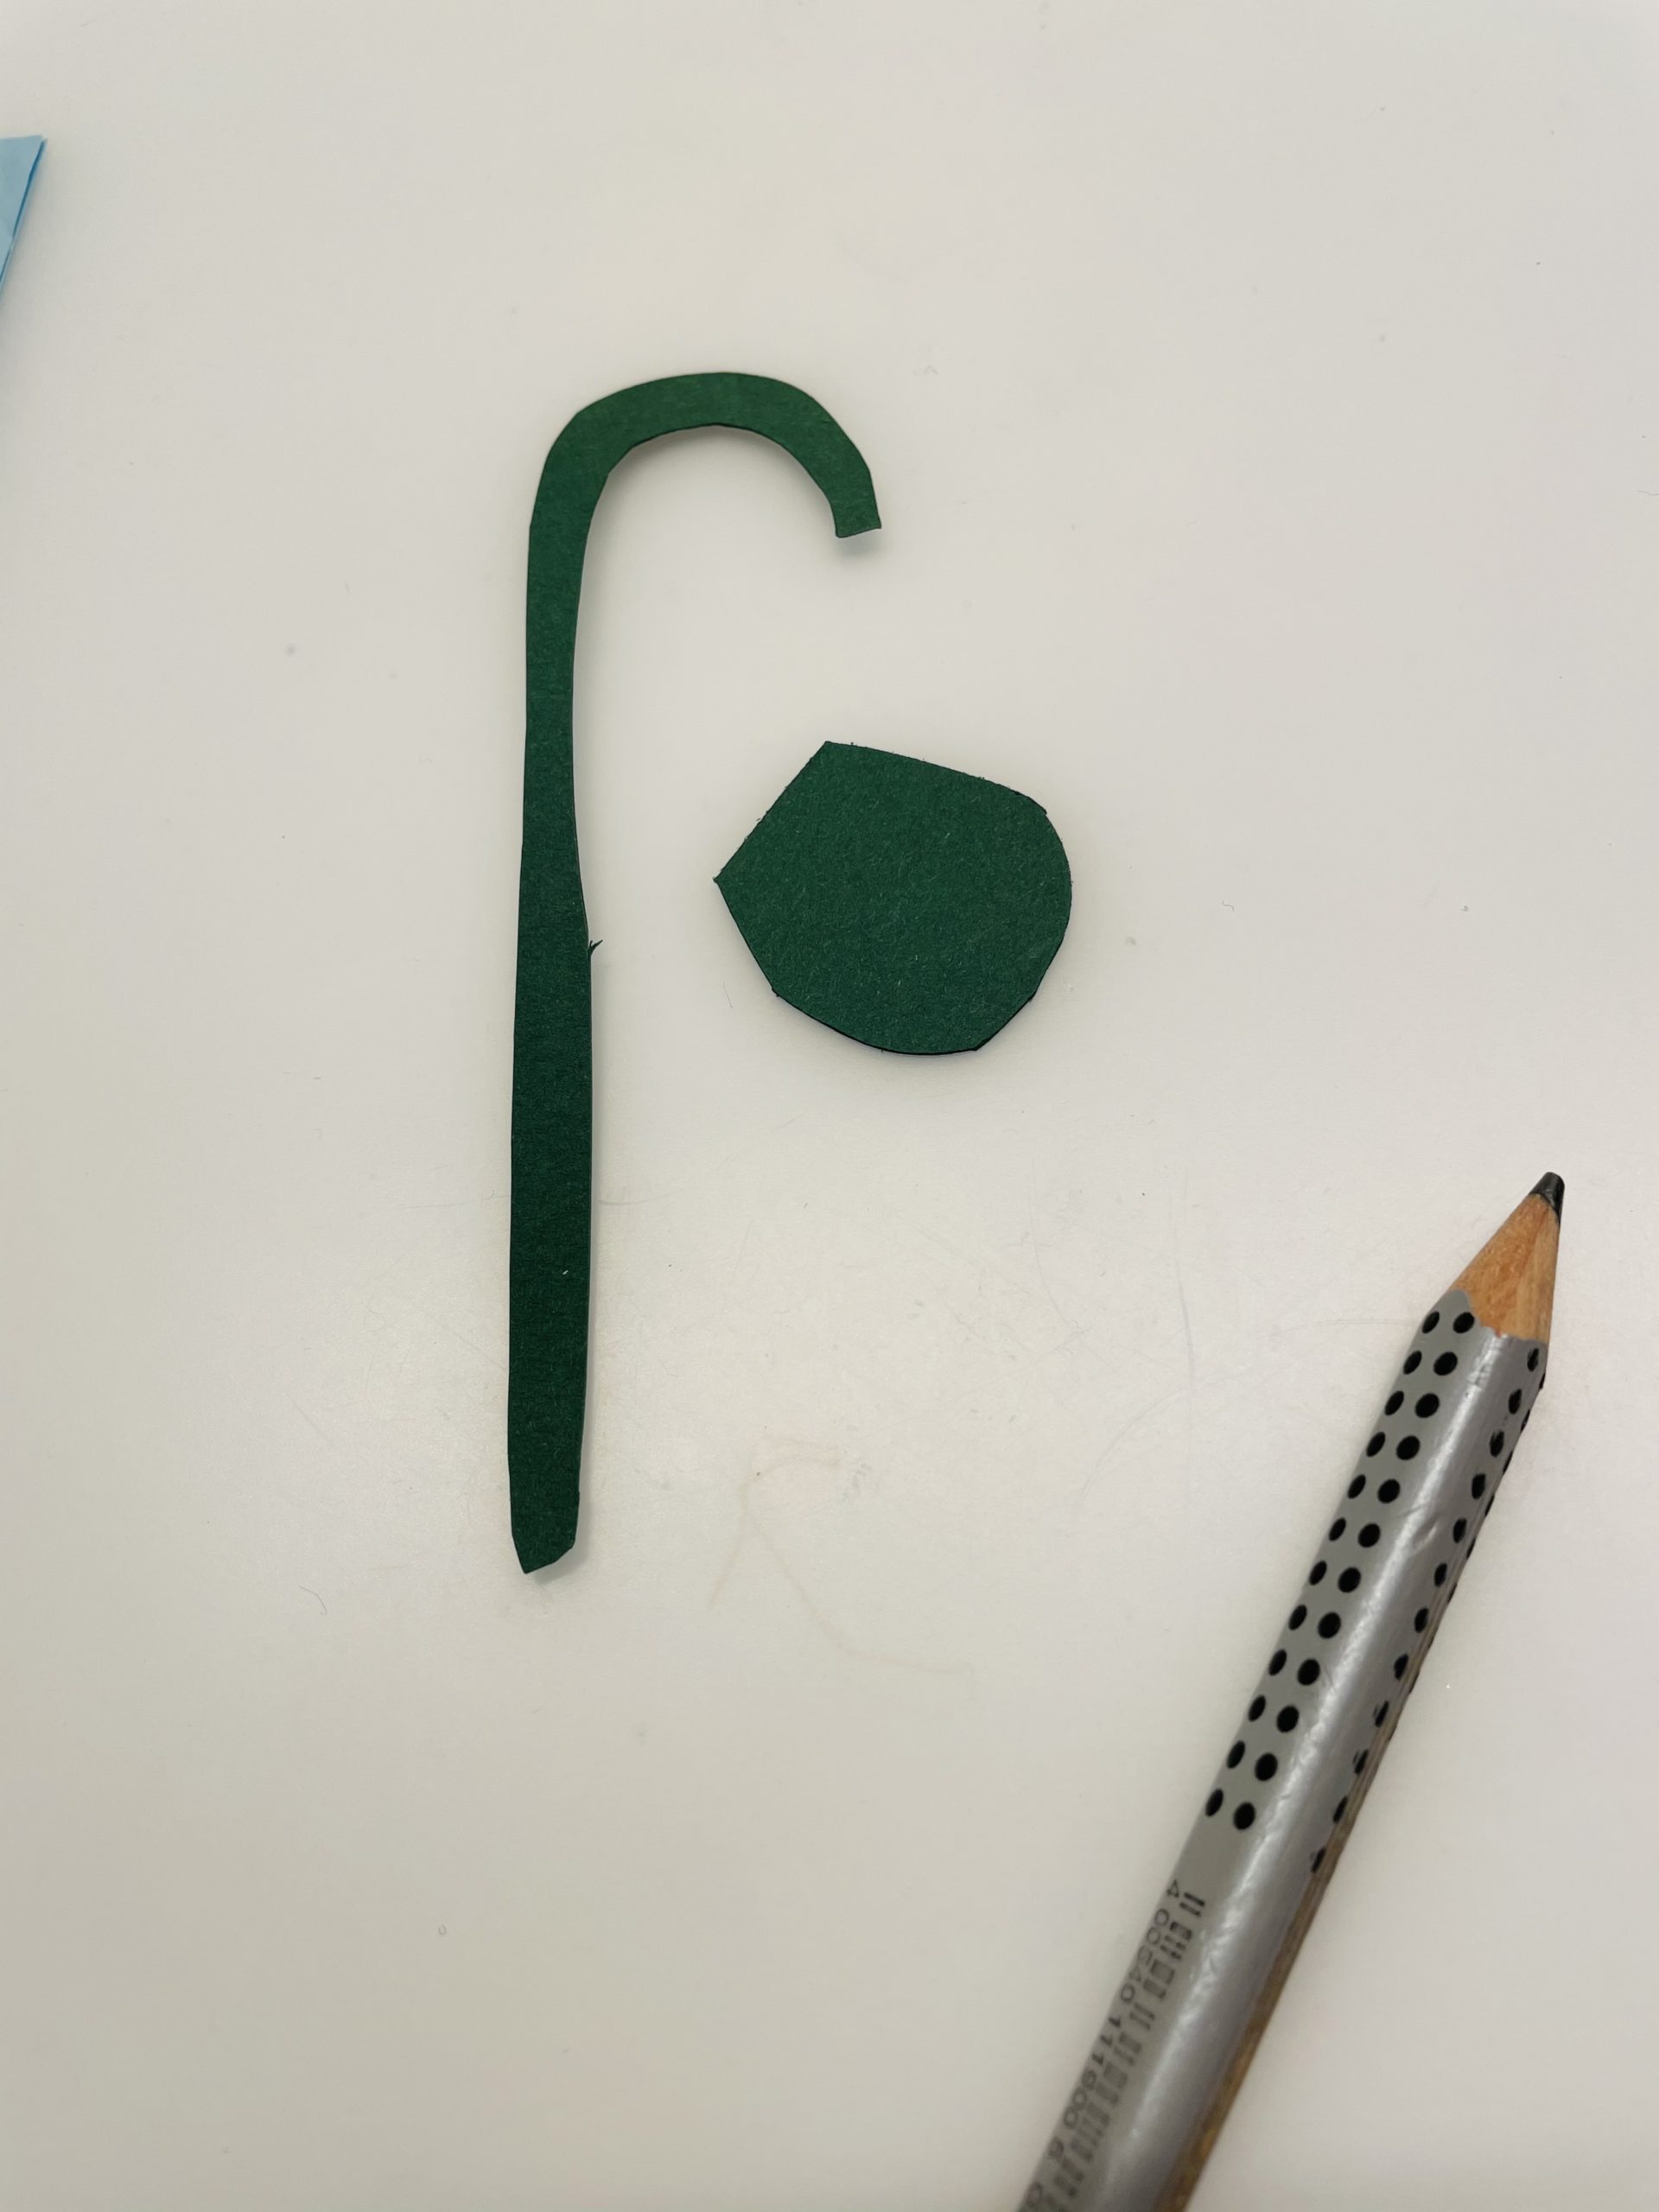
Your items are ready for the snowdrop.

Bild zum Schritt 20 für das Bastel- und DIY-Abenteuer für Kinder: 'Fertig sind eure Einzelteile für das Schneeglöckchen.'

21

Now put all the pieces together to form a flower.

Bild zum Schritt 21 für das Bastel- und DIY-Abenteuer für Kinder: 'Fügt nun alle Teile zu einer Blume zusammen.'

22

Put the bud on the stem first.

Bild zum Schritt 22 für das Bastel- und DIY-Abenteuer für Kinder: 'An den Stiel legt ihr zuerst die Knospe.'

23

Then place the flower (with the tips down) under the bud.

Bild zum Schritt 23 für das Bastel- und DIY-Abenteuer für Kinder: 'Dann legt ihr die Blüte (mit den Spitzen nach unten)...'

24

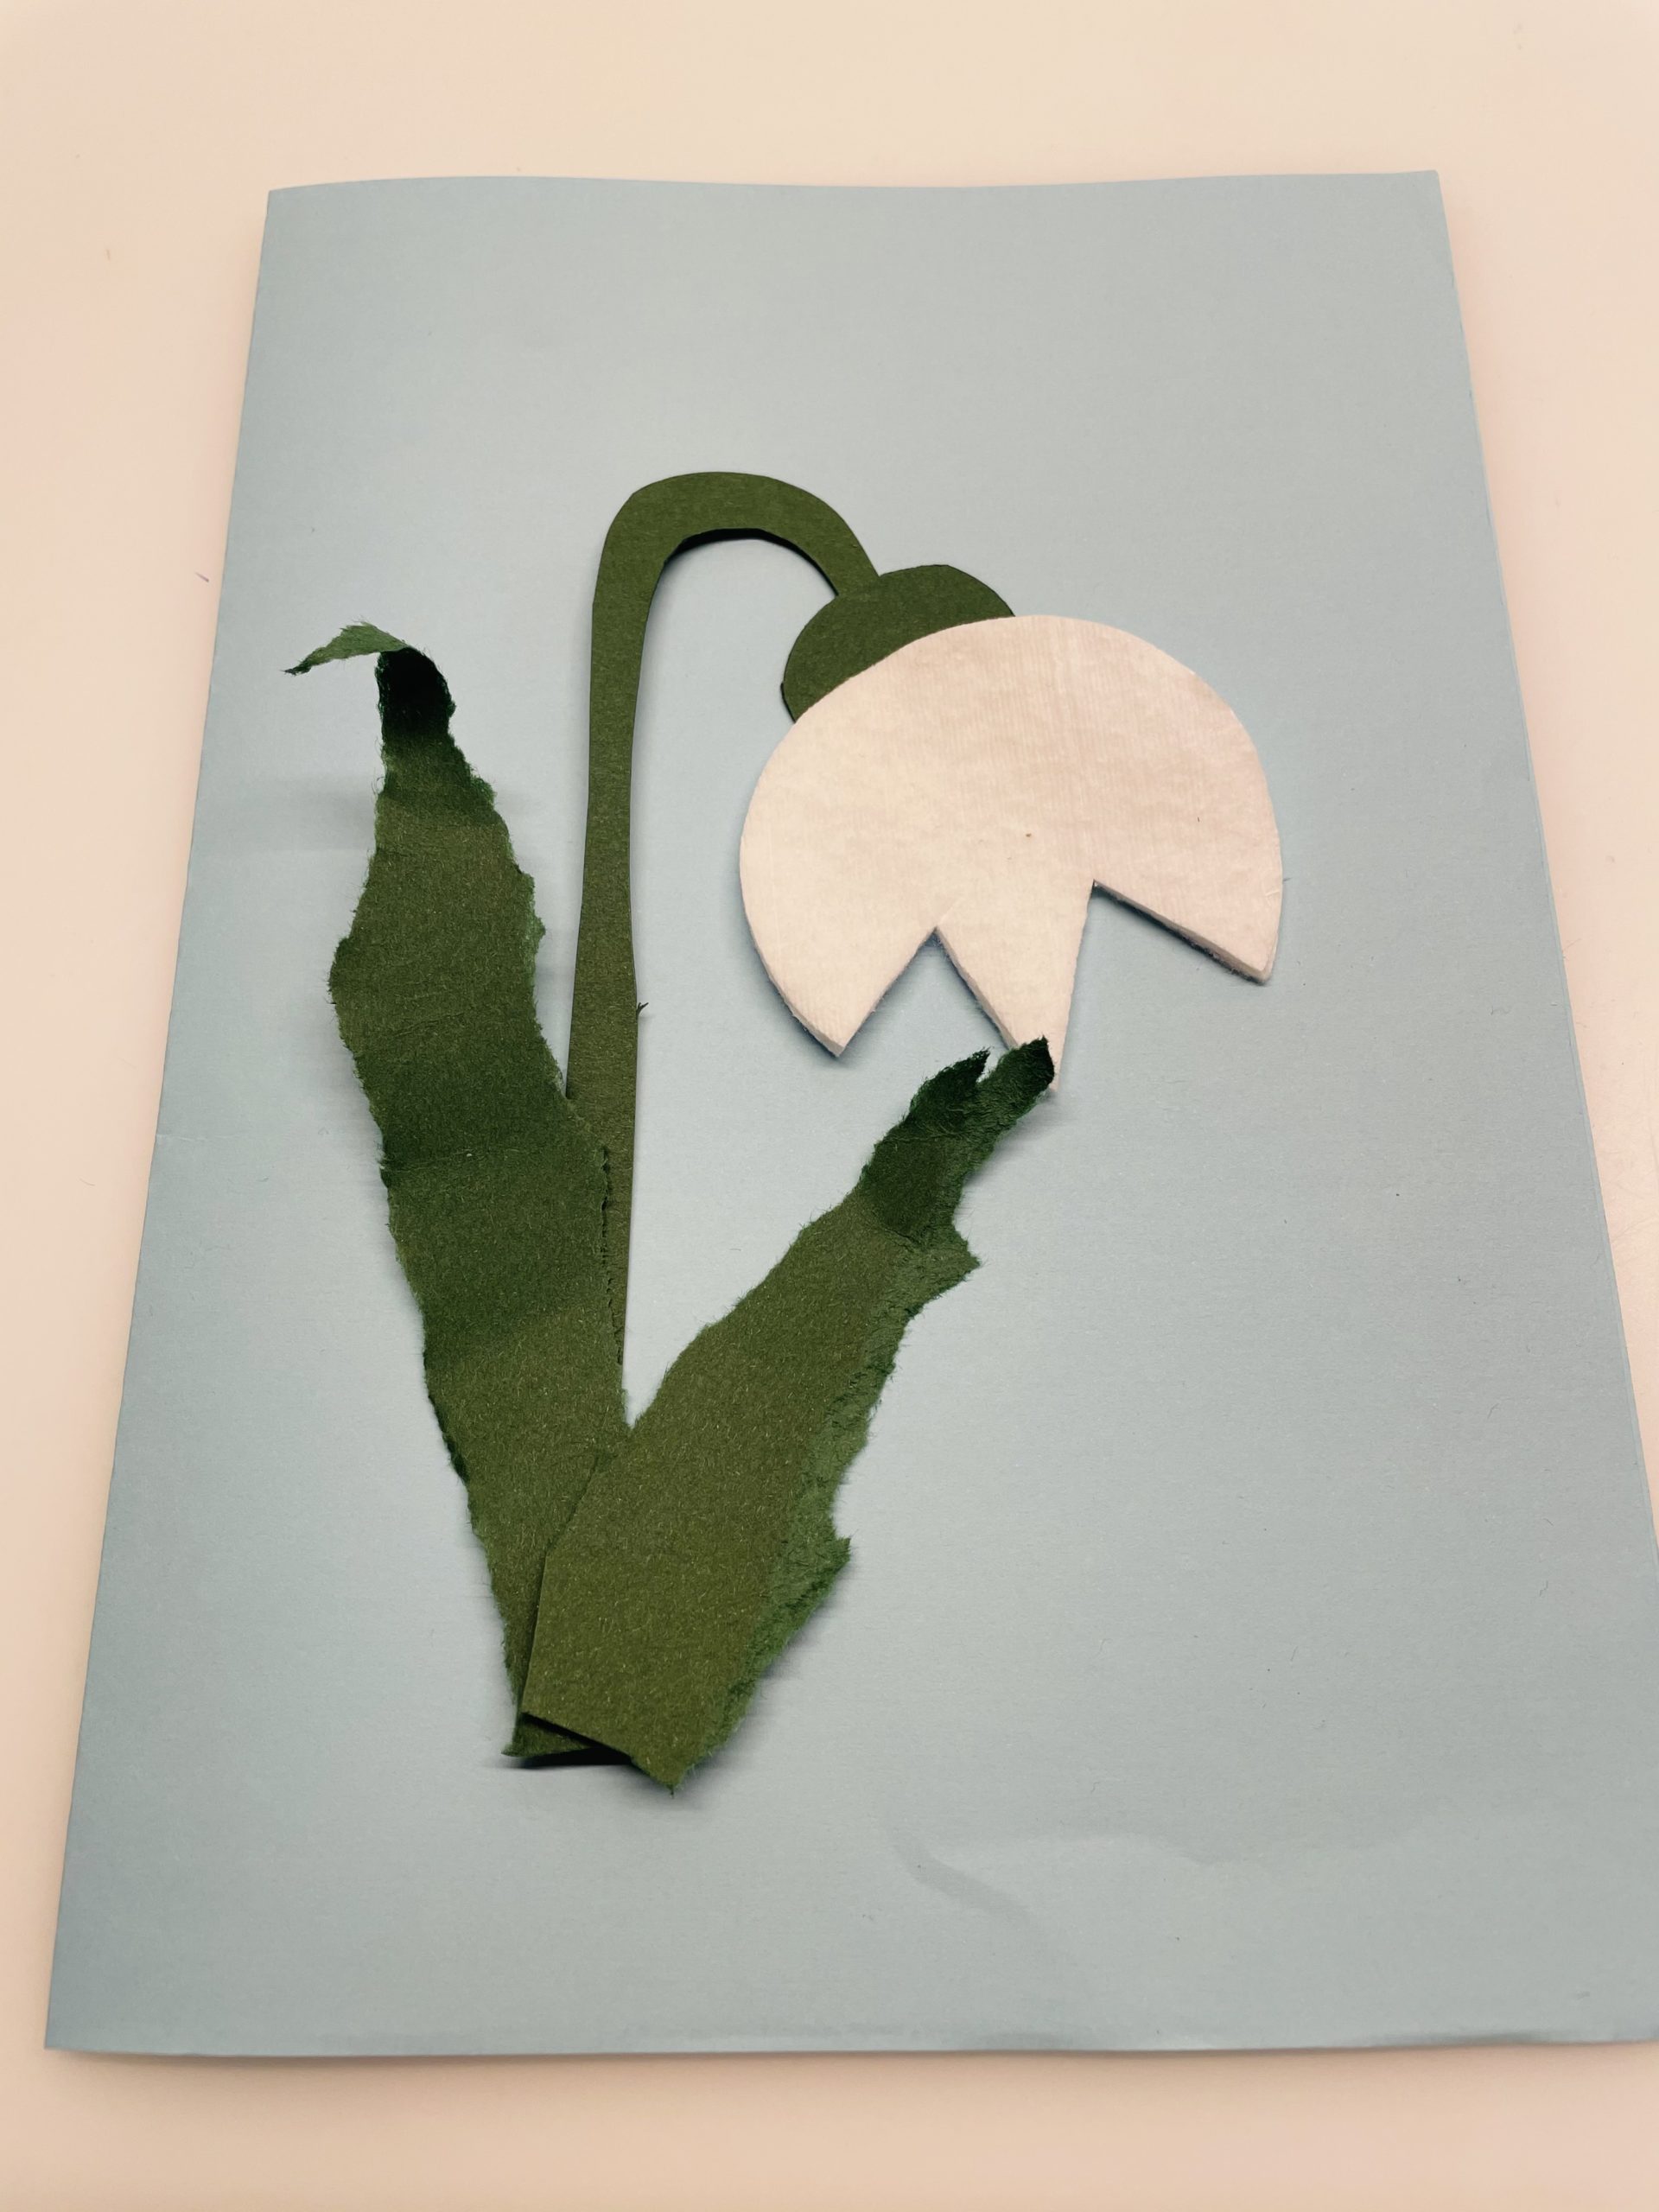
To the left and right of the stem you place the leaves.

Bild zum Schritt 24 für das Bastel- und DIY-Abenteuer für Kinder: 'Links und rechts vom Stiel platziert ihr anschließend die Blätter.'

25

The snowdrop is ready.

Bild zum Schritt 25 für das Bastel- und DIY-Abenteuer für Kinder: 'Fertig ist das Schneeglöckchen.'

26

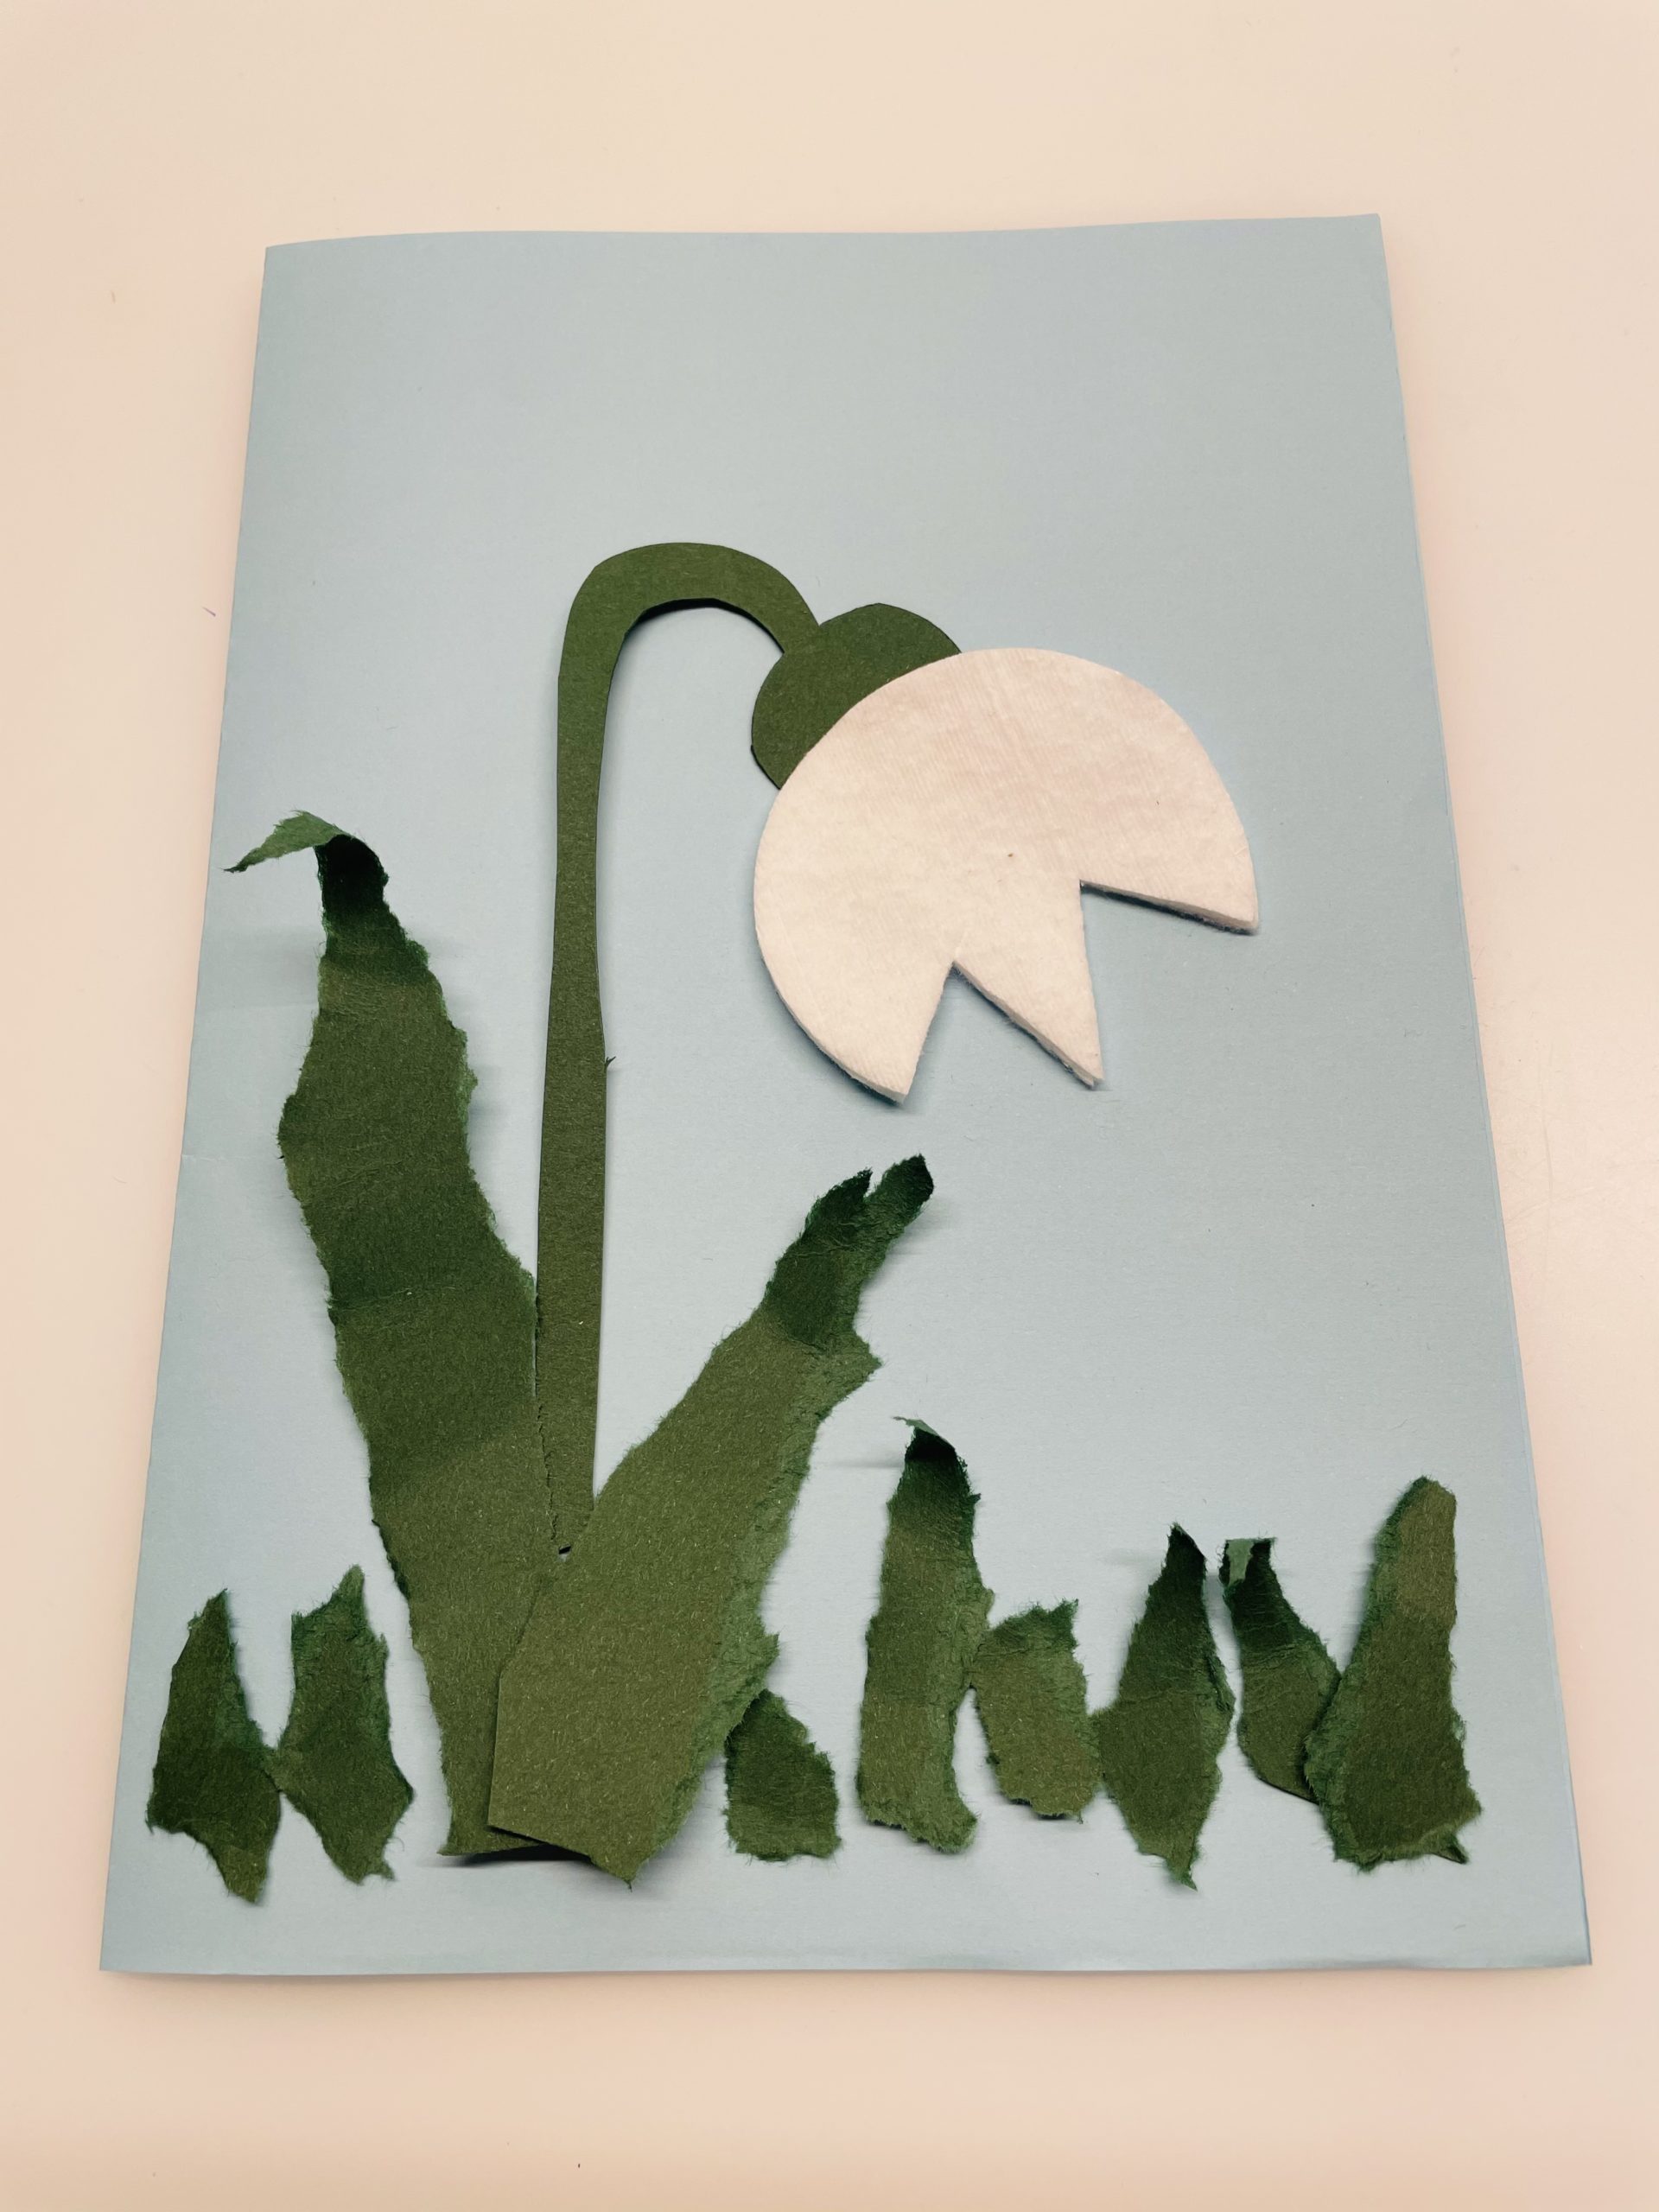
If you want, tear a few short strips off the green paper and stick them as grass on your picture.

Bild zum Schritt 26 für das Bastel- und DIY-Abenteuer für Kinder: 'Wenn ihr wollt, reißt euch noch ein paar kurze Streifen...'

27

Your picture or card is ready.

Bild zum Schritt 27 für das Bastel- und DIY-Abenteuer für Kinder: 'Fertig ist euer Bild bzw. eure Karte.'

28

Have fun trying it out!

Materials

 1 DIN A5 paper light blue
 Clay paper dark green
 1 Wadding pad
 1 Coloured pencil white
 1 Ballpoint pens
 Builder's pad
All links marked with a shopping cart lead to Amazon - here we have selected products that we would order ourselves and in part also ordered. In a qualified purchase via the advertising link, we as Amazon partner receive a commission, for you there are no costs. You thus support our cost- and advertising banner-free, educational offer.

Directions

1

Uses a craft file.
Find the materials together.

2

First the flower is made. Take the cotton pad and a ballpoint pen.

Bild zum Schritt 2 für das Bastel- und DIY-Abenteuer für Kinder: 'Zuerst wird die Blüte gebastelt. Nehmt dazu das Wattepad und...'

3

Paints two triangles on the cotton pad so that three tips are created.
Start painting from the inside to the outside. Otherwise, the cotton will tear apart.

Bild zum Schritt 3 für das Bastel- und DIY-Abenteuer für Kinder: 'Malt zwei Dreiecke auf das Wattepad, so dass drei Spitzen...'

4

Paint a triangle first.

Bild zum Schritt 4 für das Bastel- und DIY-Abenteuer für Kinder: 'Malt erst ein Dreieck.'

5

Then you paint another triangle right next to it. The inner ends of the triangles touch each other. This results in a tip in the middle.
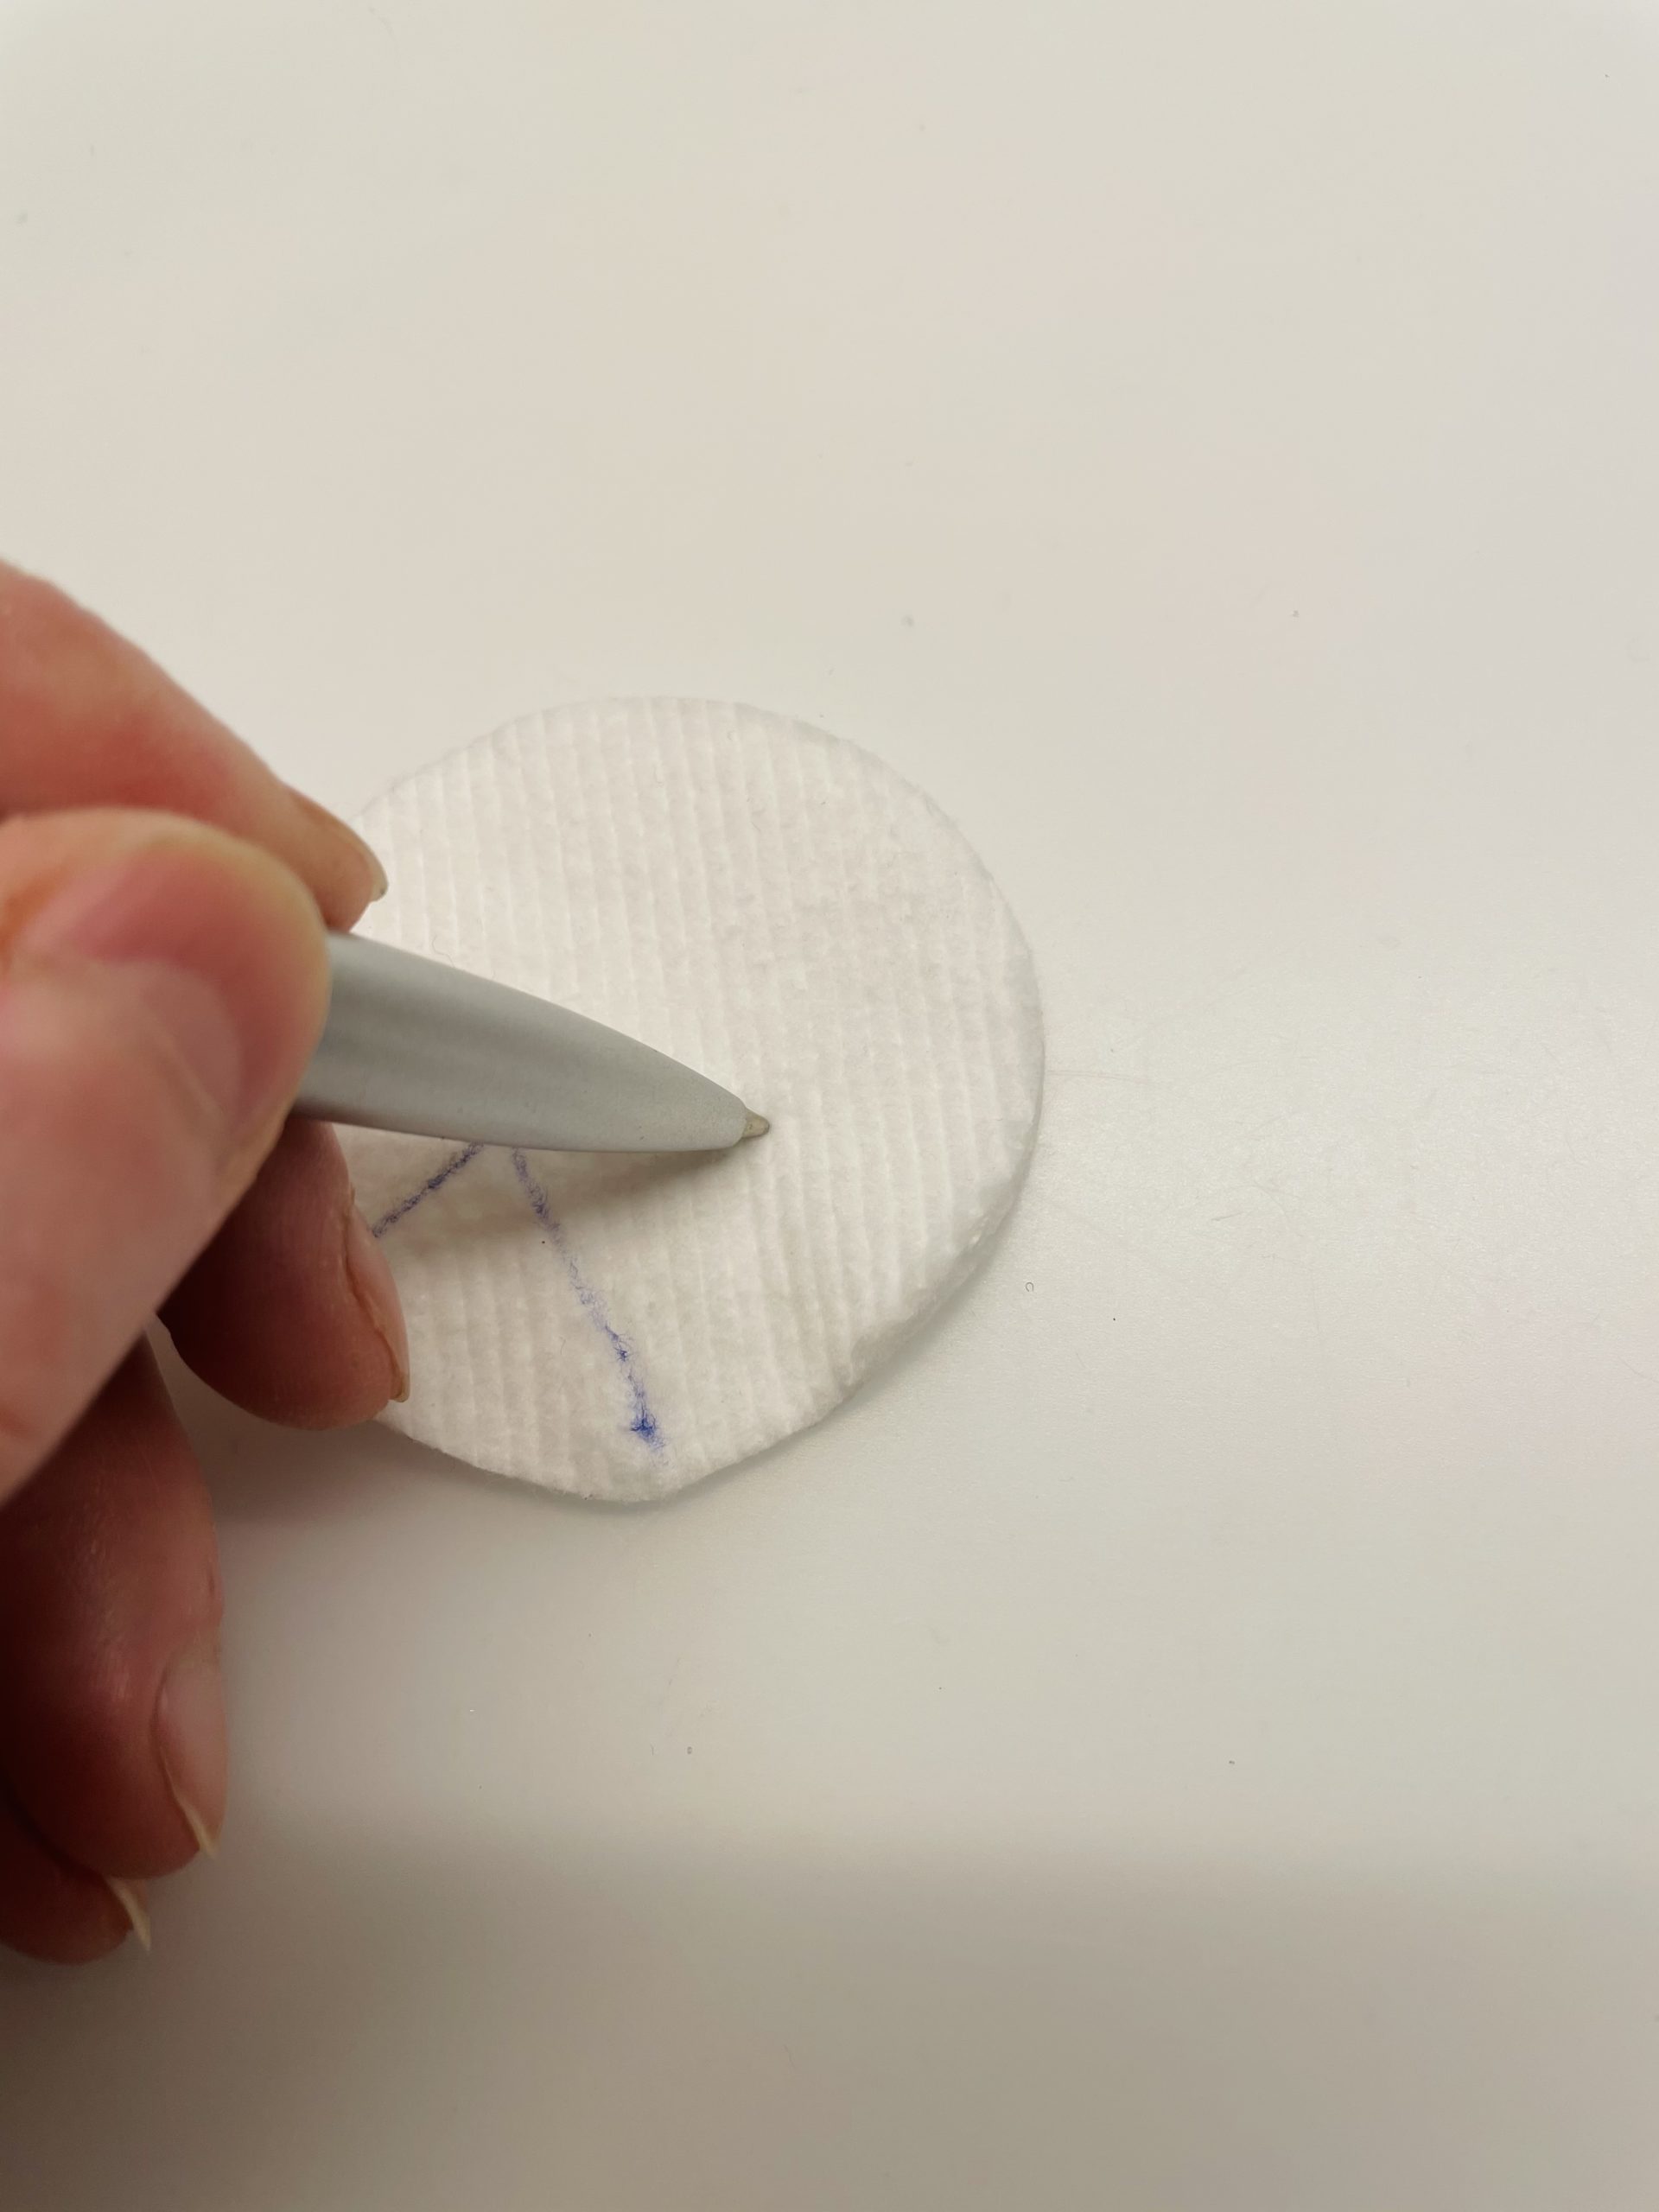
Bild zum Schritt 5 für das Bastel- und DIY-Abenteuer für Kinder: 'Anschließend malt ihr dann direkt daneben ein weiteres Dreieck. Die...'

6

2. Bild zum Schritt 5 für das Bastel- und DIY-Abenteuer für Kinder: 'Anschließend malt ihr dann direkt daneben ein weiteres Dreieck. Die...'

7

That's what the zigzag pattern should look like now.

Bild zum Schritt 7 für das Bastel- und DIY-Abenteuer für Kinder: 'So sollte das Zickzack-Muster jetzt aussehen.'

8

Now cut out the small triangles with the scissors. Always cut the points from the outside to the inside.
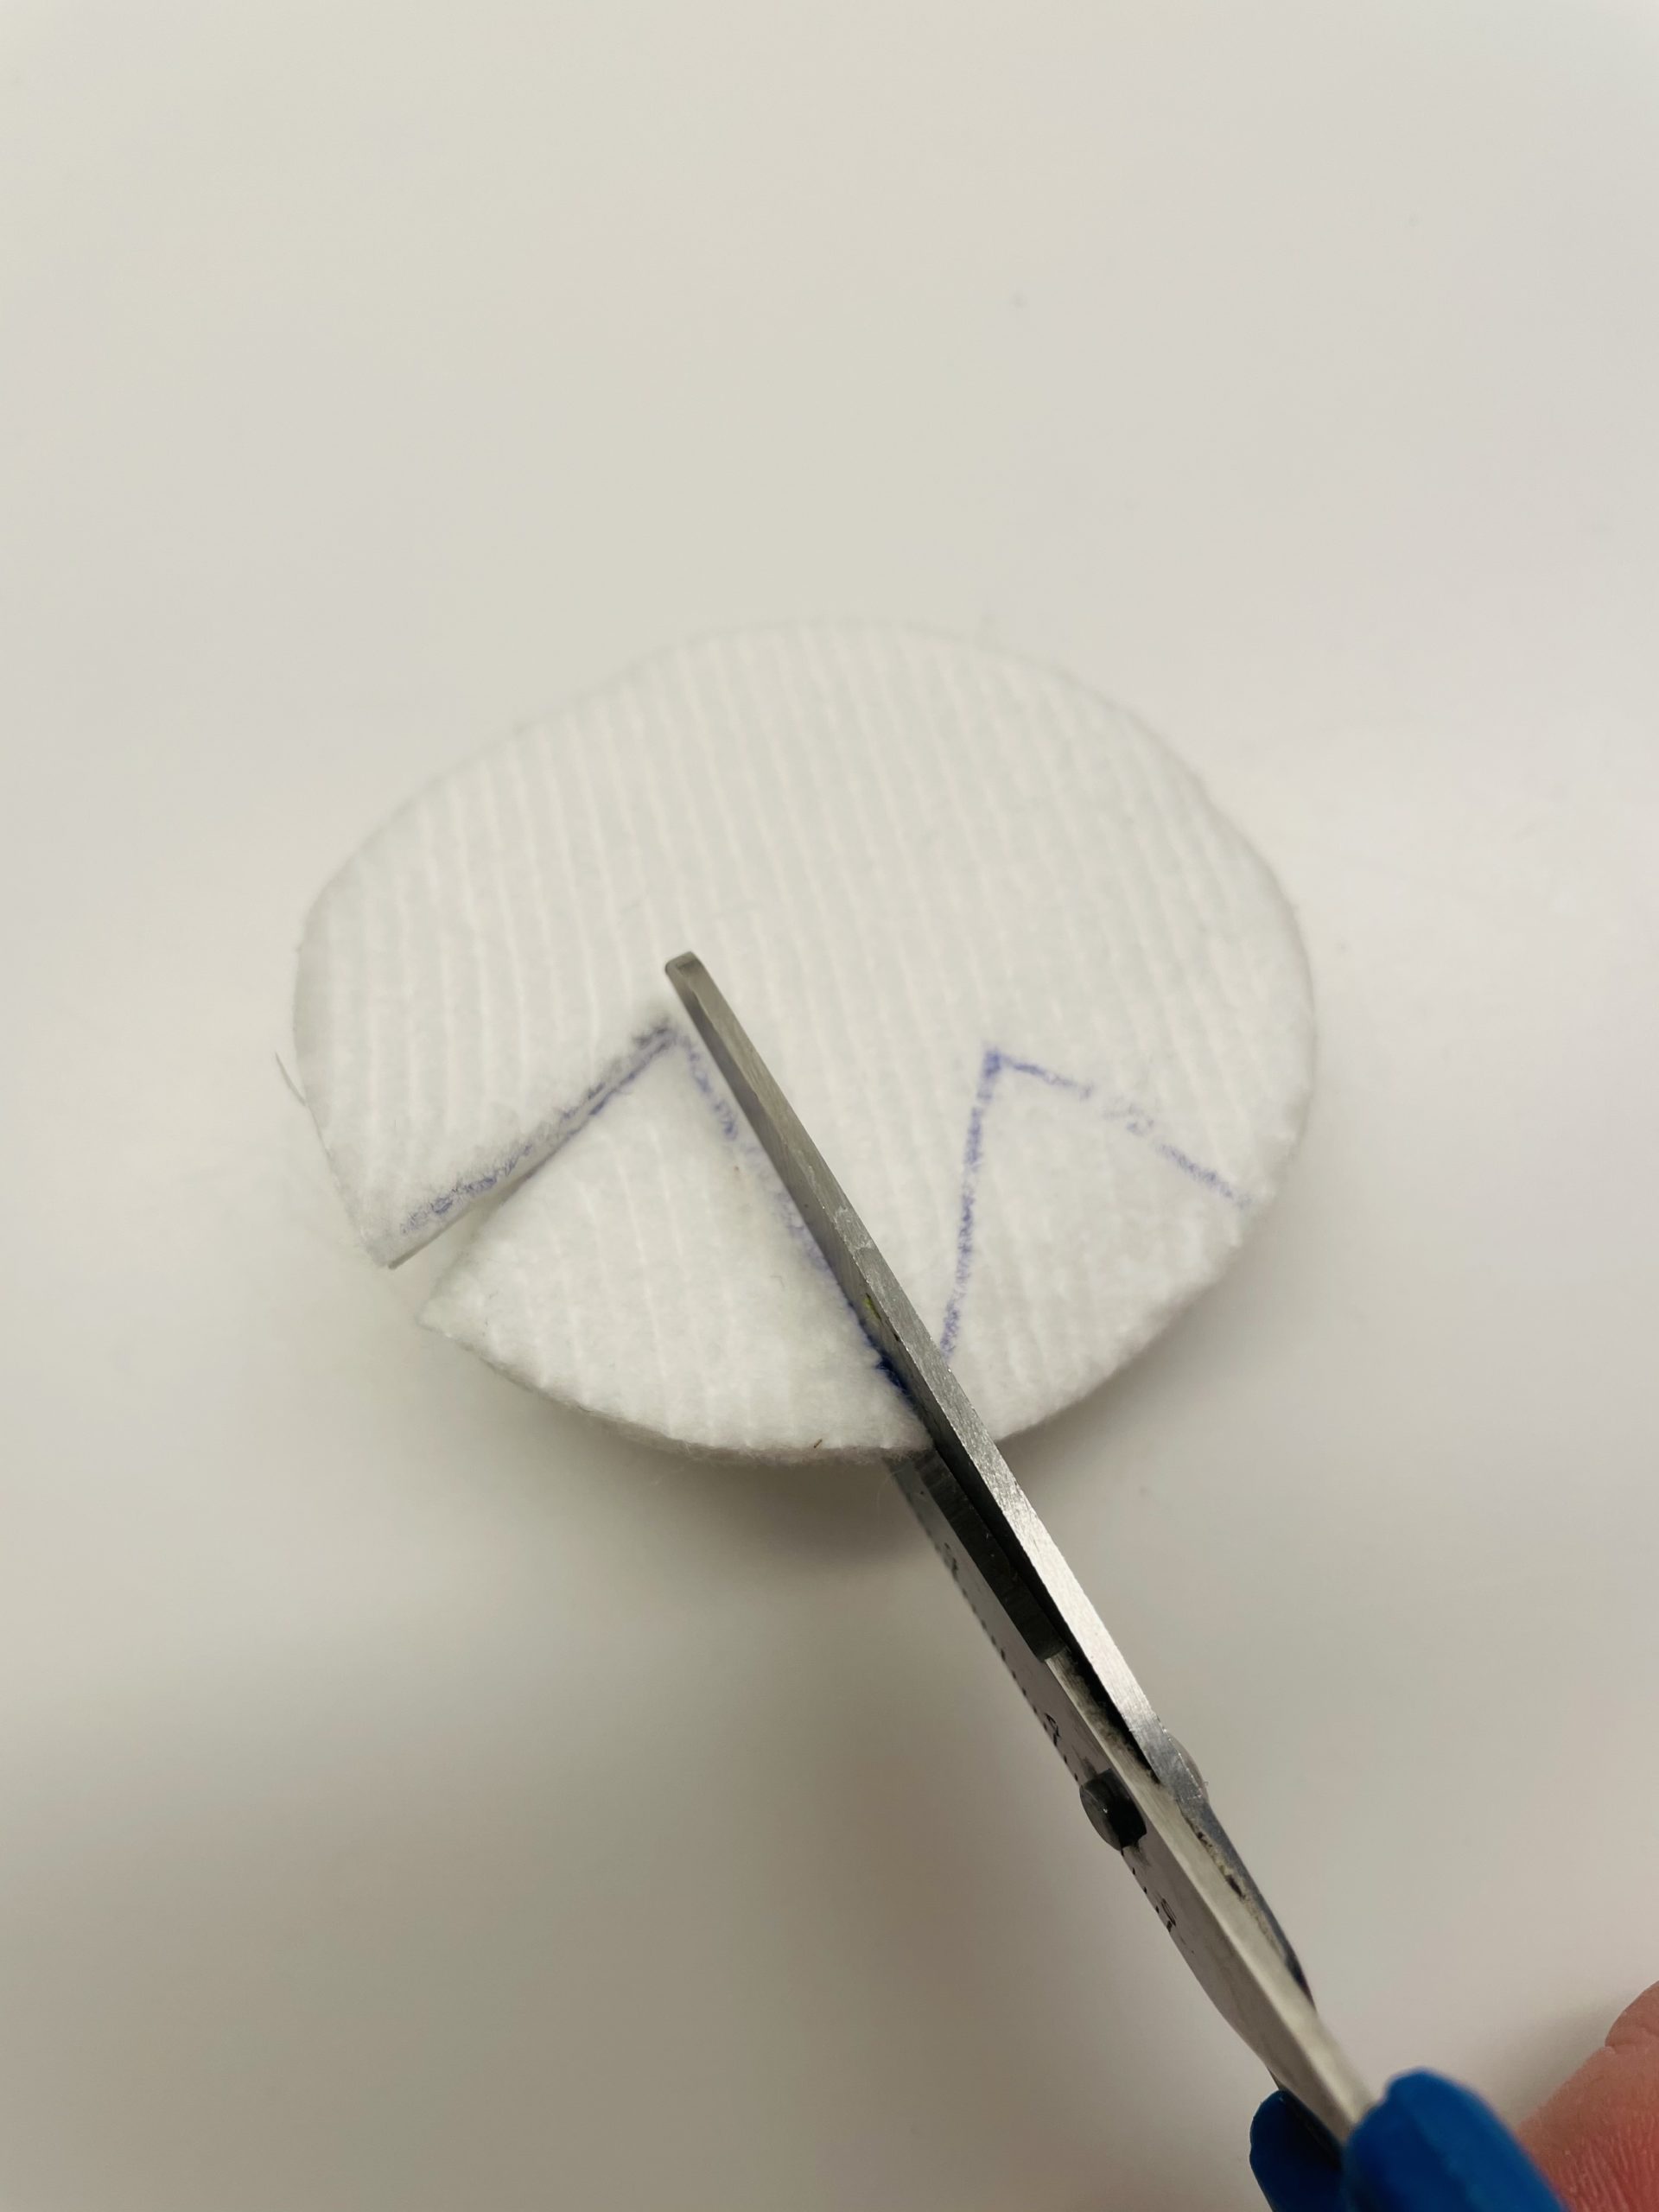
Bild zum Schritt 8 für das Bastel- und DIY-Abenteuer für Kinder: 'Schneidet nun die kleinen Dreiecke mit der Schere heraus. Schneidet...'

9

2. Bild zum Schritt 8 für das Bastel- und DIY-Abenteuer für Kinder: 'Schneidet nun die kleinen Dreiecke mit der Schere heraus. Schneidet...'

10

The flower of the snowdrop is ready.
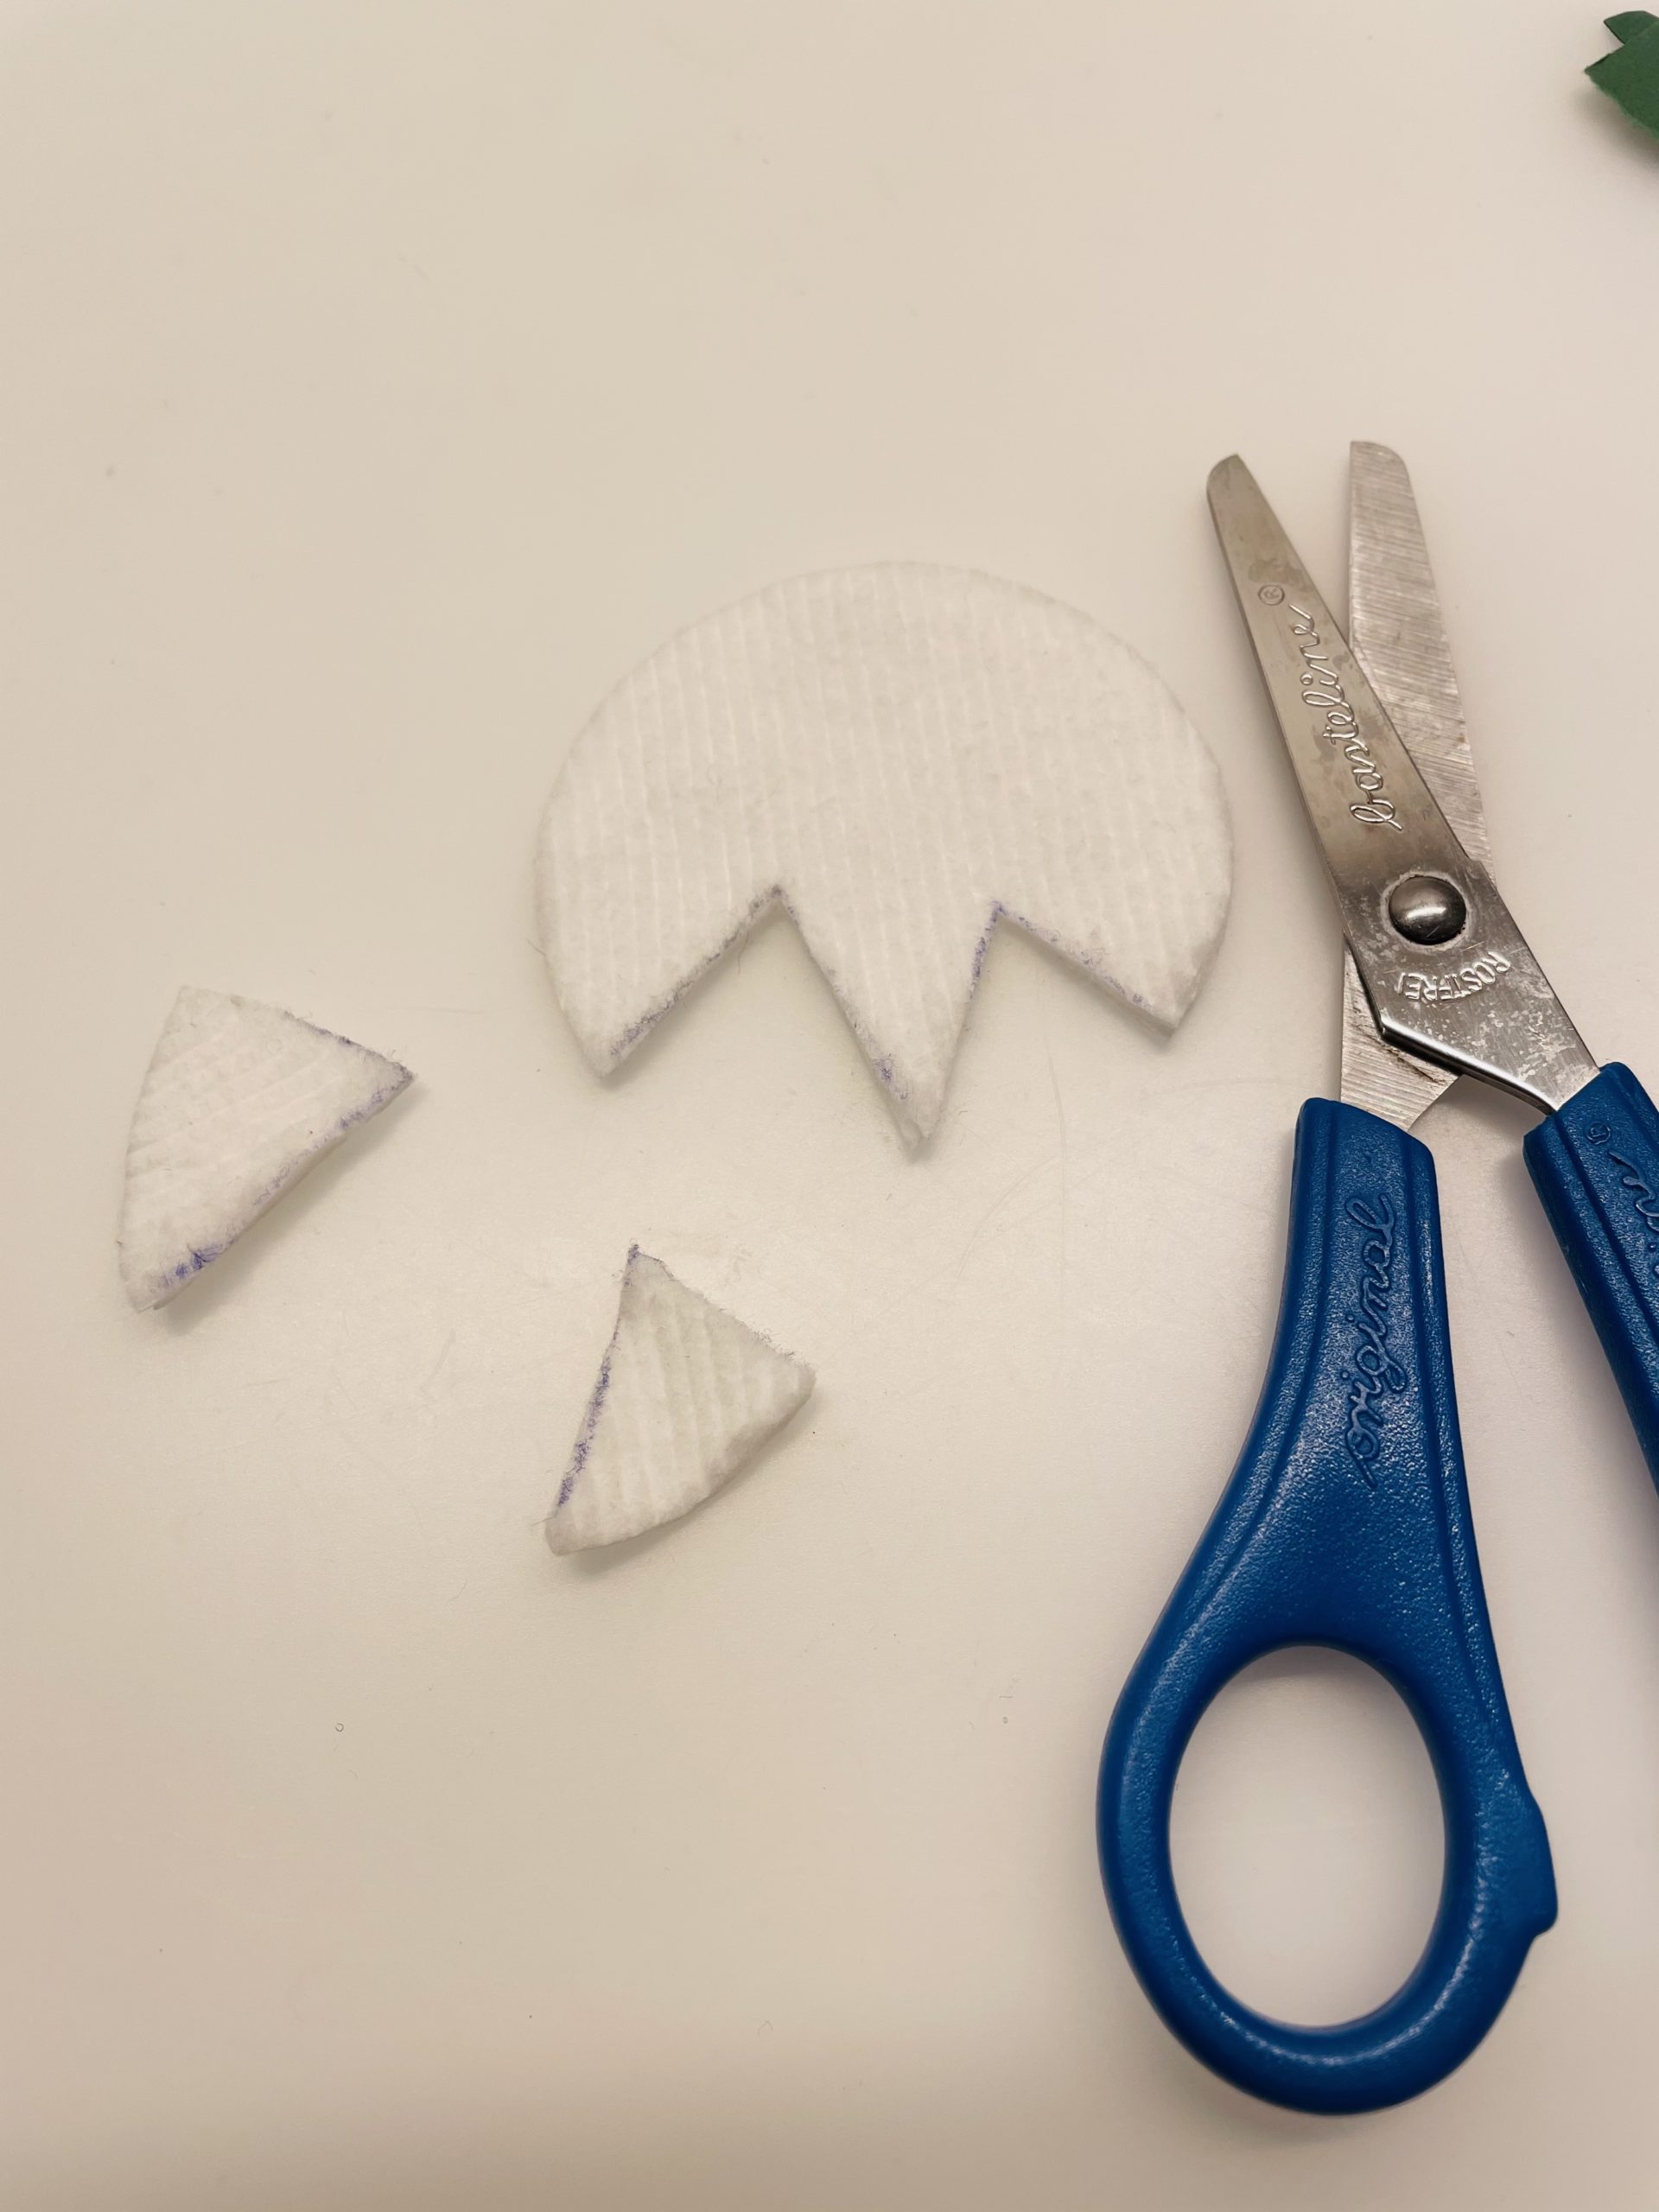
Bild zum Schritt 10 für das Bastel- und DIY-Abenteuer für Kinder: 'Fertig ist die Blüte des Schneeglöckchens.'

11

Put the flower on your paper or card.
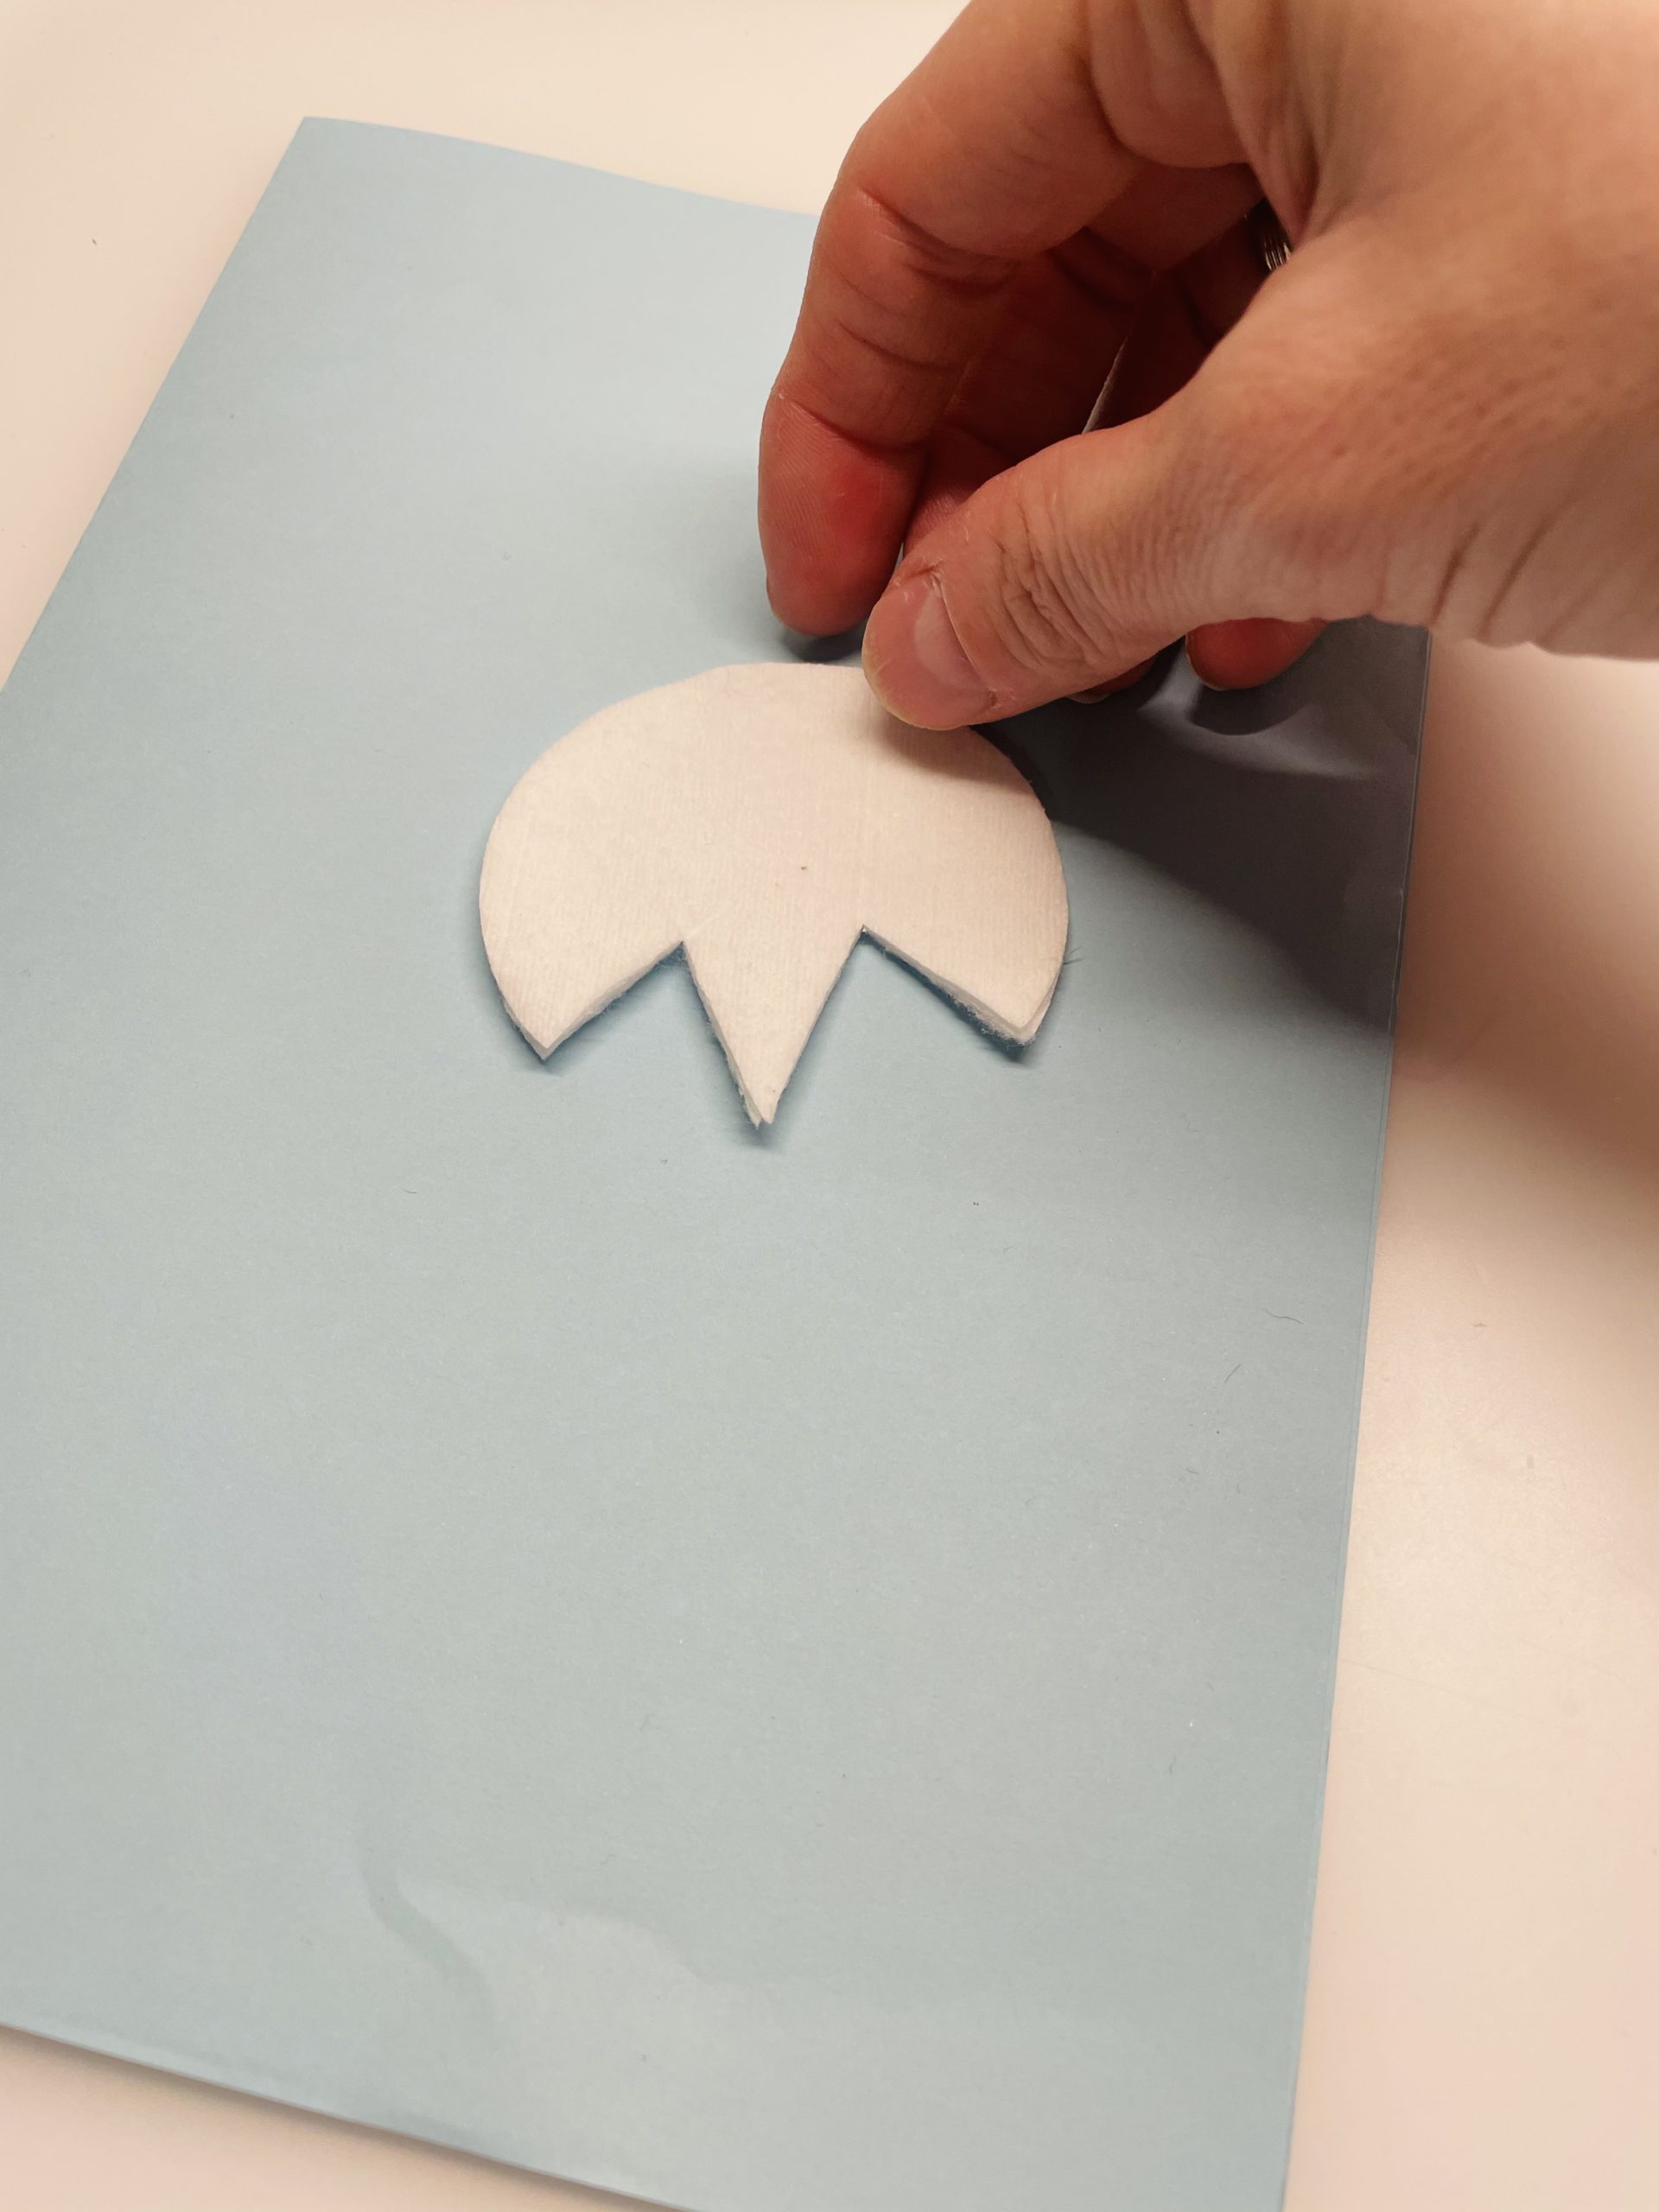
Bild zum Schritt 11 für das Bastel- und DIY-Abenteuer für Kinder: 'Legt die Blüte auf euer Papier bzw. eure Karte.'

12

Now paints a curved stalk (as with a walking stick) and a bud (see template).

Bild zum Schritt 12 für das Bastel- und DIY-Abenteuer für Kinder: 'Malt nun einen gebogenen Stiel (so wie bei einem Spazierstock)...'

13

Paints the stem freely on the green paper or uses the template.
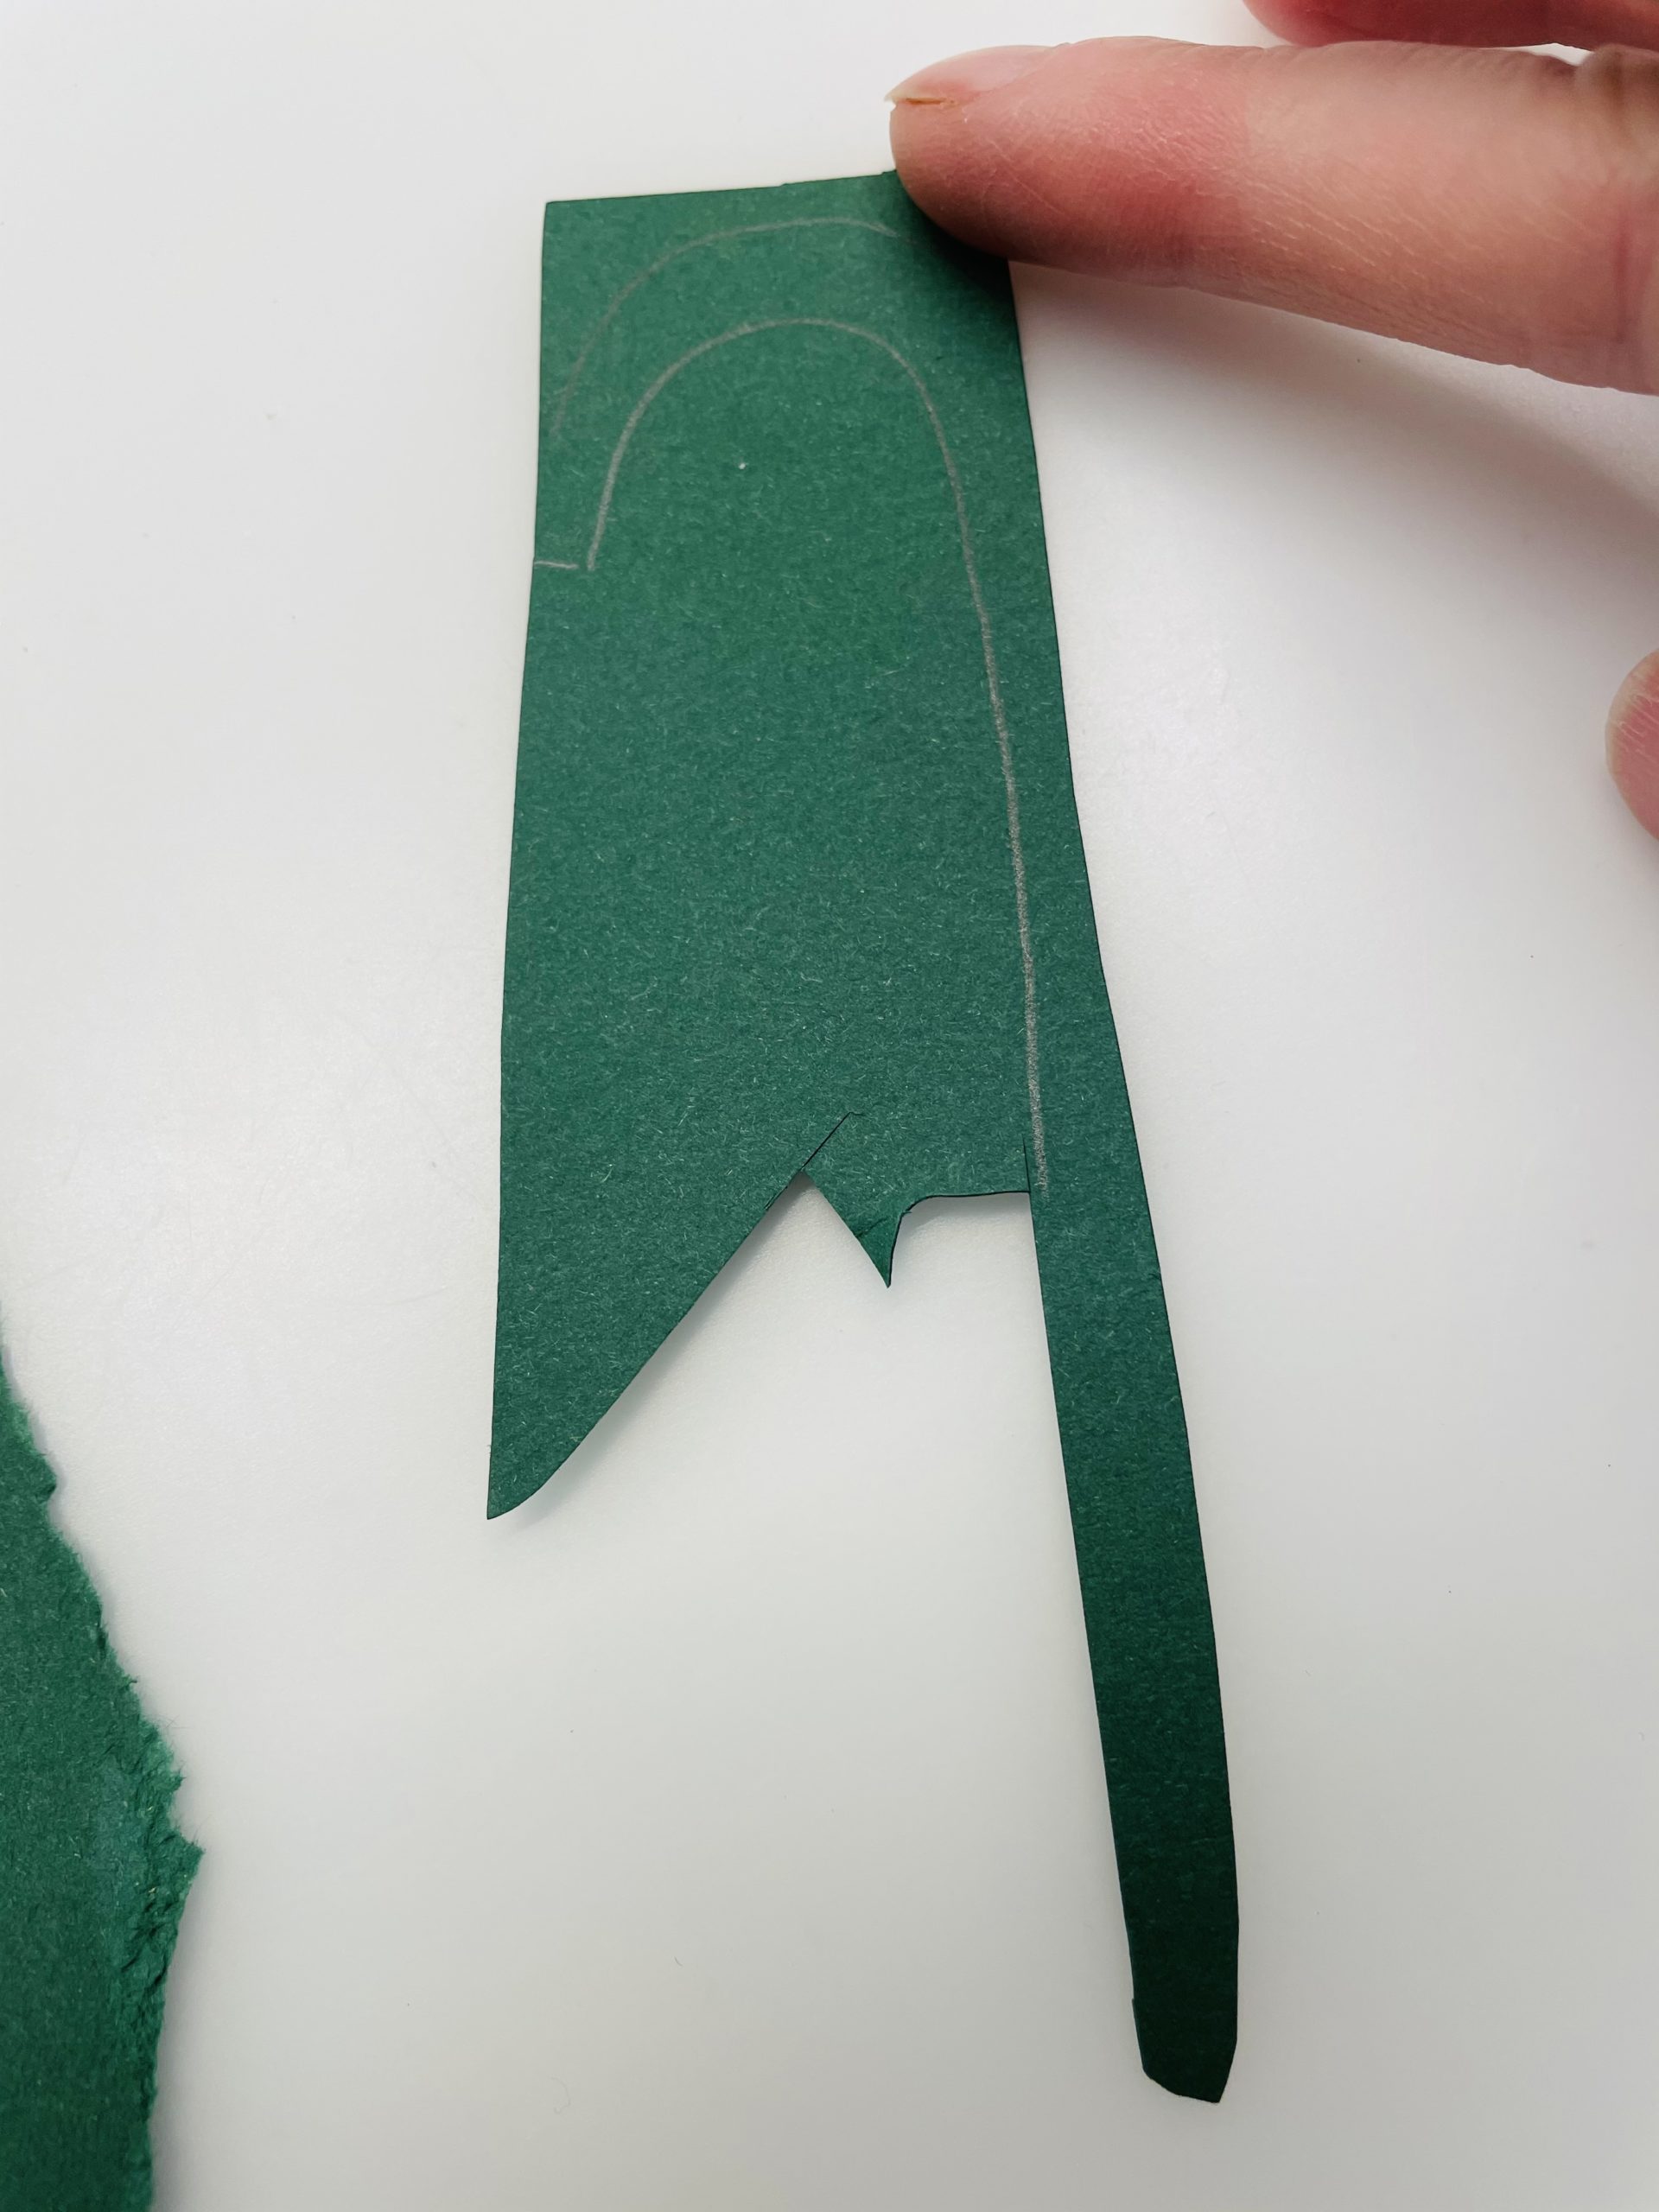
Bild zum Schritt 13 für das Bastel- und DIY-Abenteuer für Kinder: 'Malt den Stiel frei auf das grüne Papier oder verwendet...'

14

Then cut out the stem.

Bild zum Schritt 14 für das Bastel- und DIY-Abenteuer für Kinder: 'Schneidet dann den Stiel aus.'

15

Now you paint the bud on the green paper and cut it out.
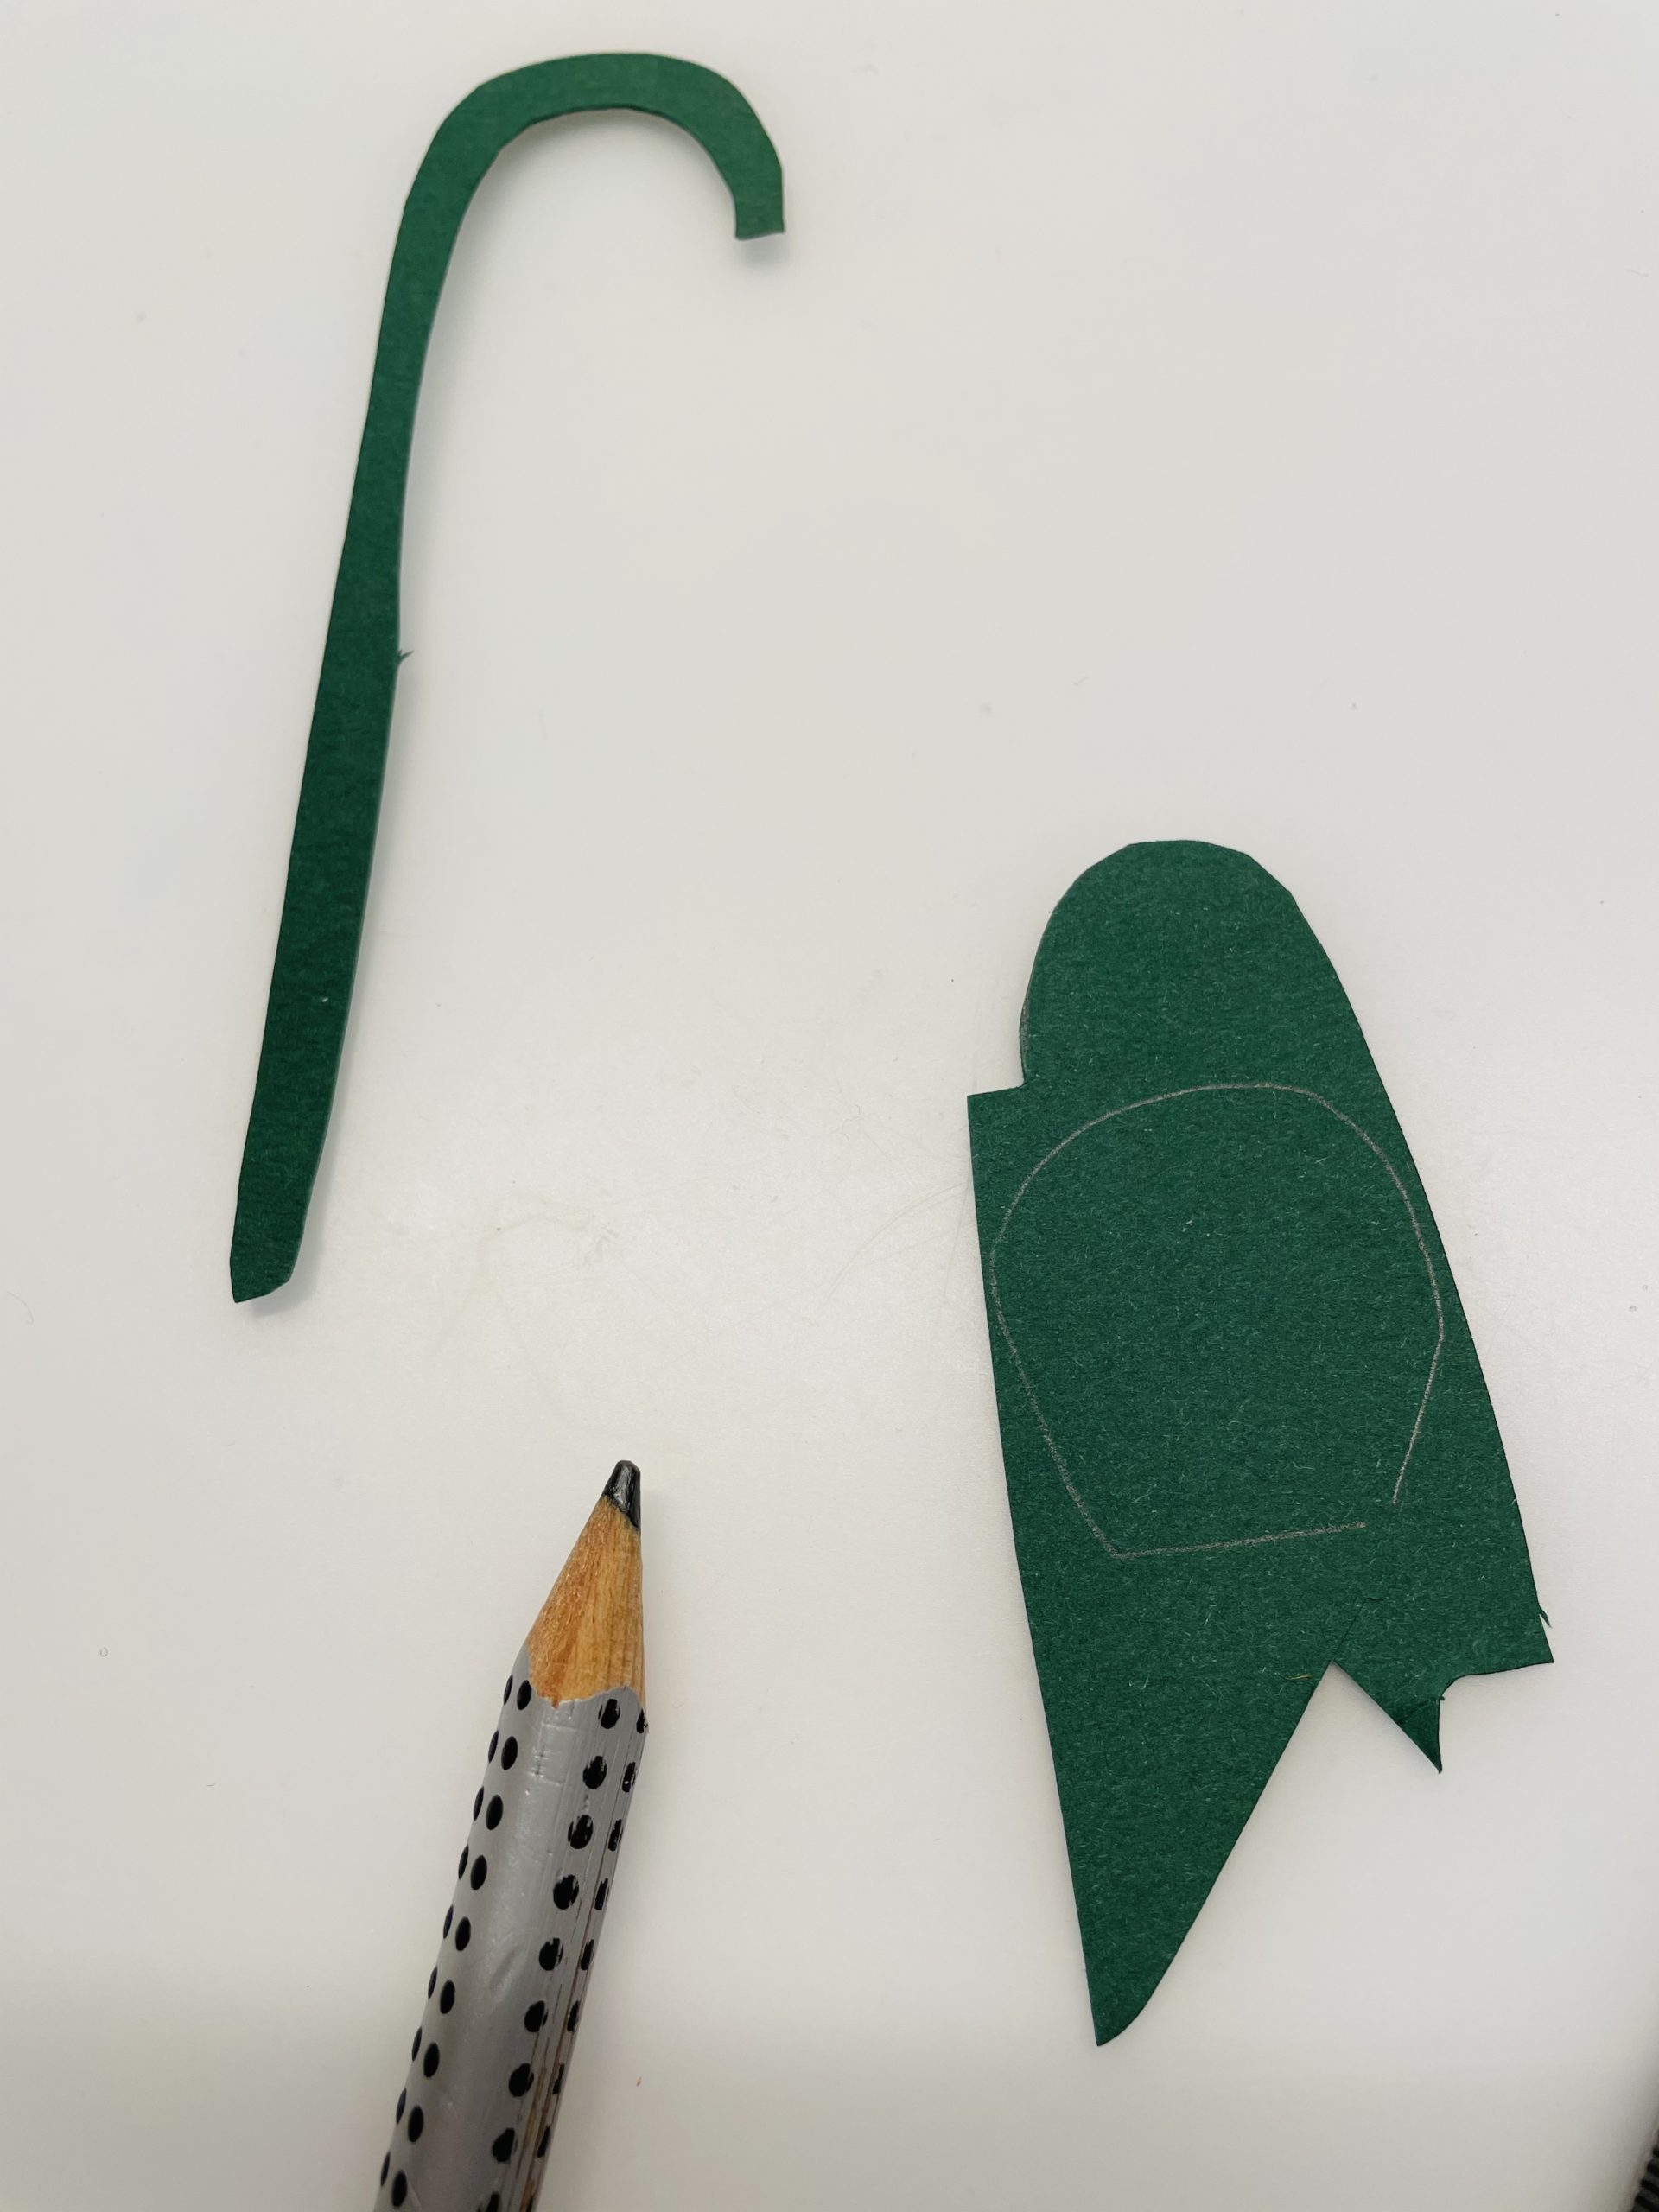
Bild zum Schritt 15 für das Bastel- und DIY-Abenteuer für Kinder: 'Jetzt malt ihr die Knospe auf das grüne Papier und...'

16

2. Bild zum Schritt 15 für das Bastel- und DIY-Abenteuer für Kinder: 'Jetzt malt ihr die Knospe auf das grüne Papier und...'

17

From a piece of green clay paper you can now rip off two strips. These are the leaves for the snowdrop.
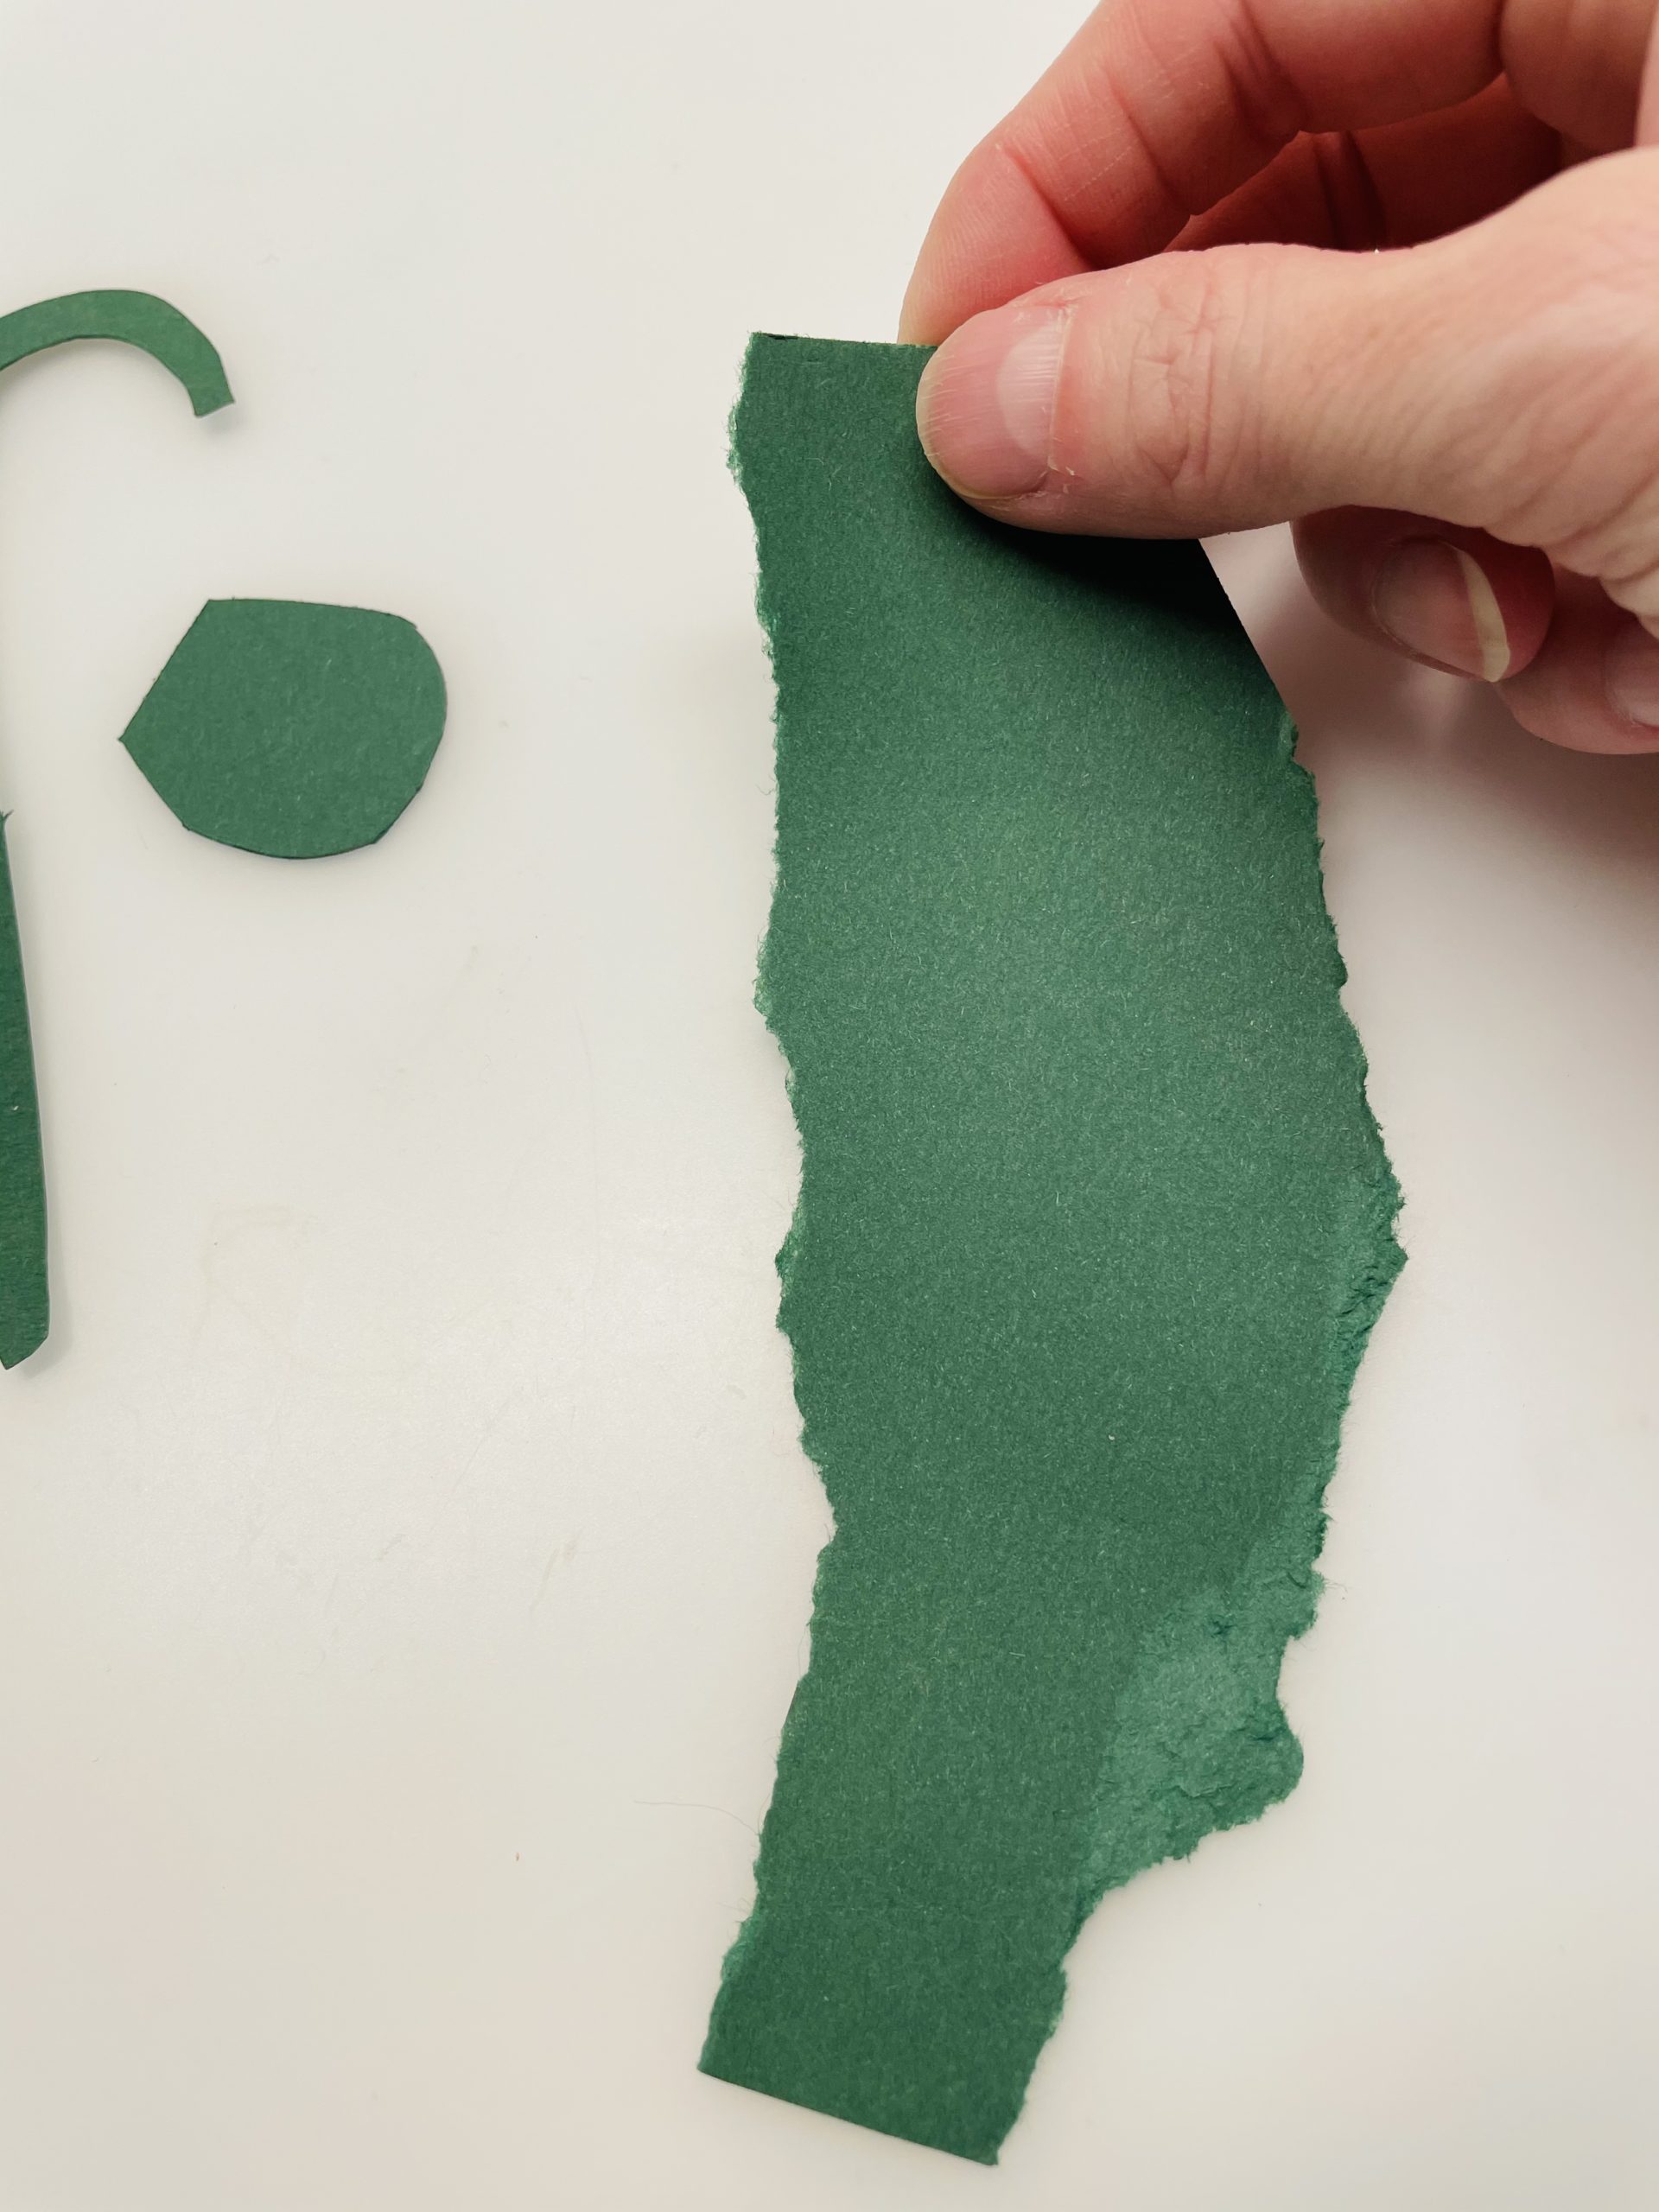
Bild zum Schritt 17 für das Bastel- und DIY-Abenteuer für Kinder: 'Aus einem Reststück von grünem Tonpapier könnt ihr euch nun...'

18

2. Bild zum Schritt 17 für das Bastel- und DIY-Abenteuer für Kinder: 'Aus einem Reststück von grünem Tonpapier könnt ihr euch nun...'

19

3. Bild zum Schritt 18 für das Bastel- und DIY-Abenteuer für Kinder: 'Aus einem Reststück von grünem Tonpapier könnt ihr euch nun...'

20

Your items are ready for the snowdrop.
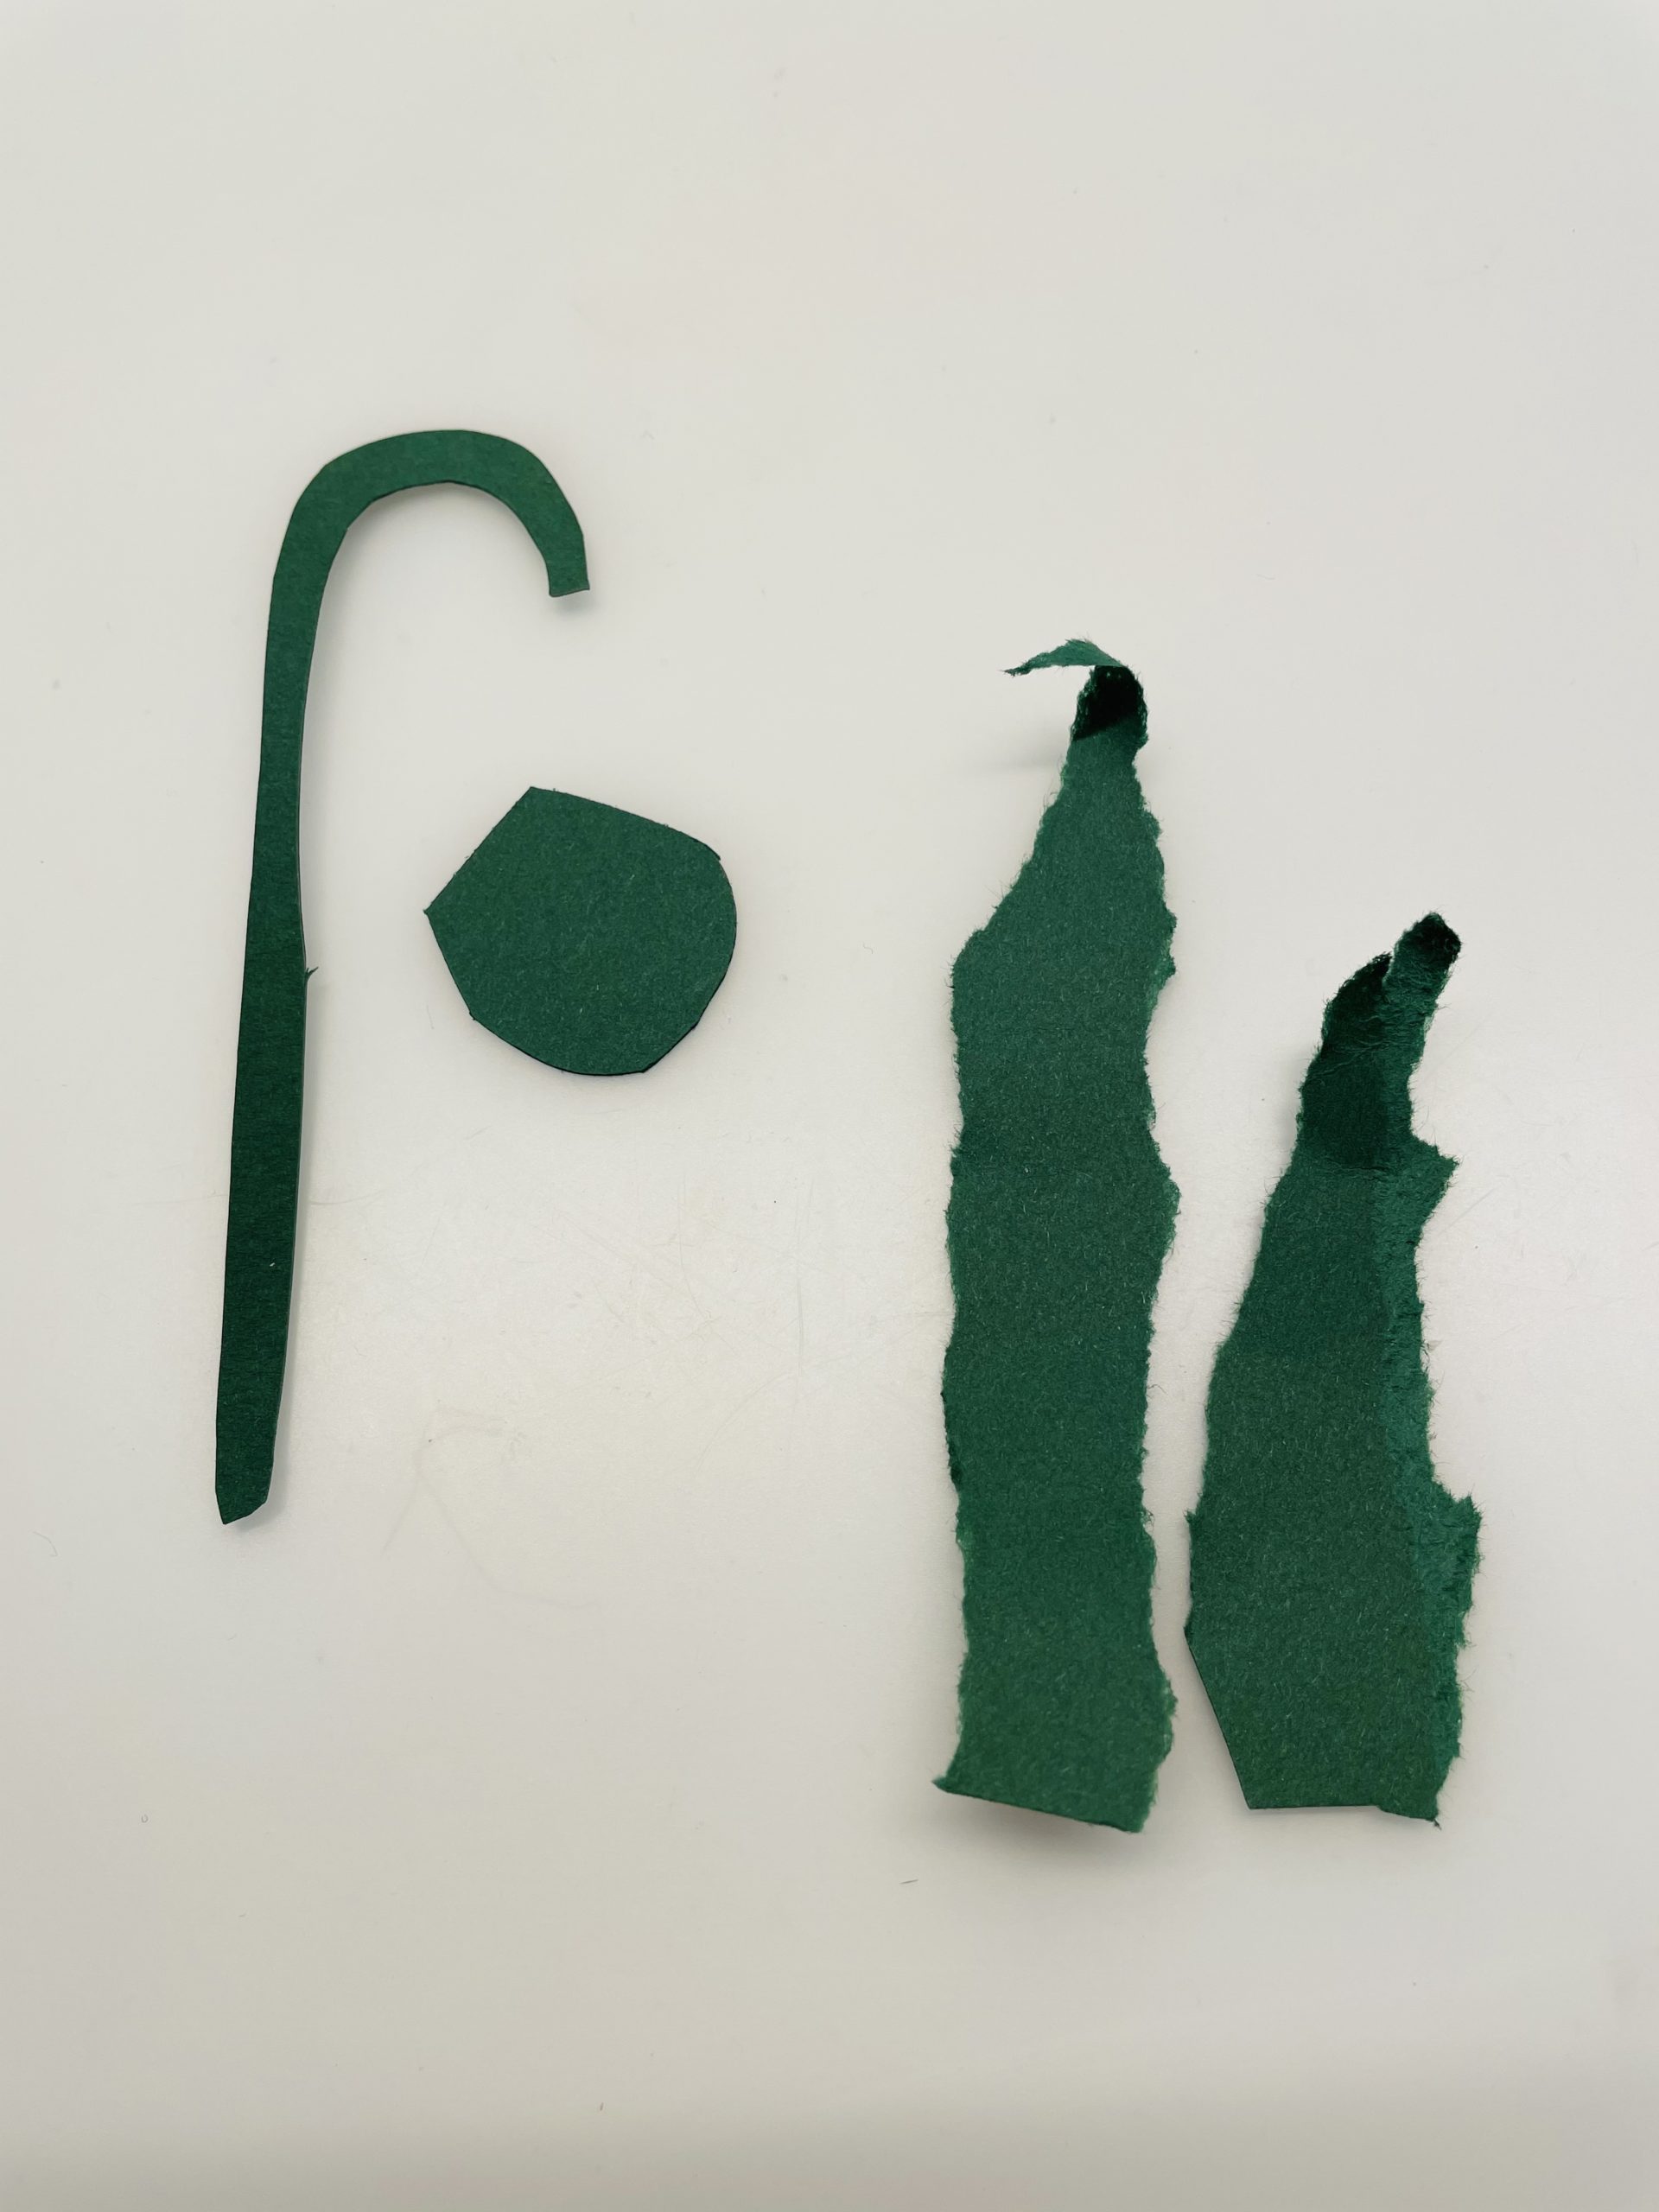
Bild zum Schritt 20 für das Bastel- und DIY-Abenteuer für Kinder: 'Fertig sind eure Einzelteile für das Schneeglöckchen.'

21

Now put all the pieces together to form a flower.

Bild zum Schritt 21 für das Bastel- und DIY-Abenteuer für Kinder: 'Fügt nun alle Teile zu einer Blume zusammen.'

22

Put the bud on the stem first.

Bild zum Schritt 22 für das Bastel- und DIY-Abenteuer für Kinder: 'An den Stiel legt ihr zuerst die Knospe.'

23

Then place the flower (with the tips down) under the bud.
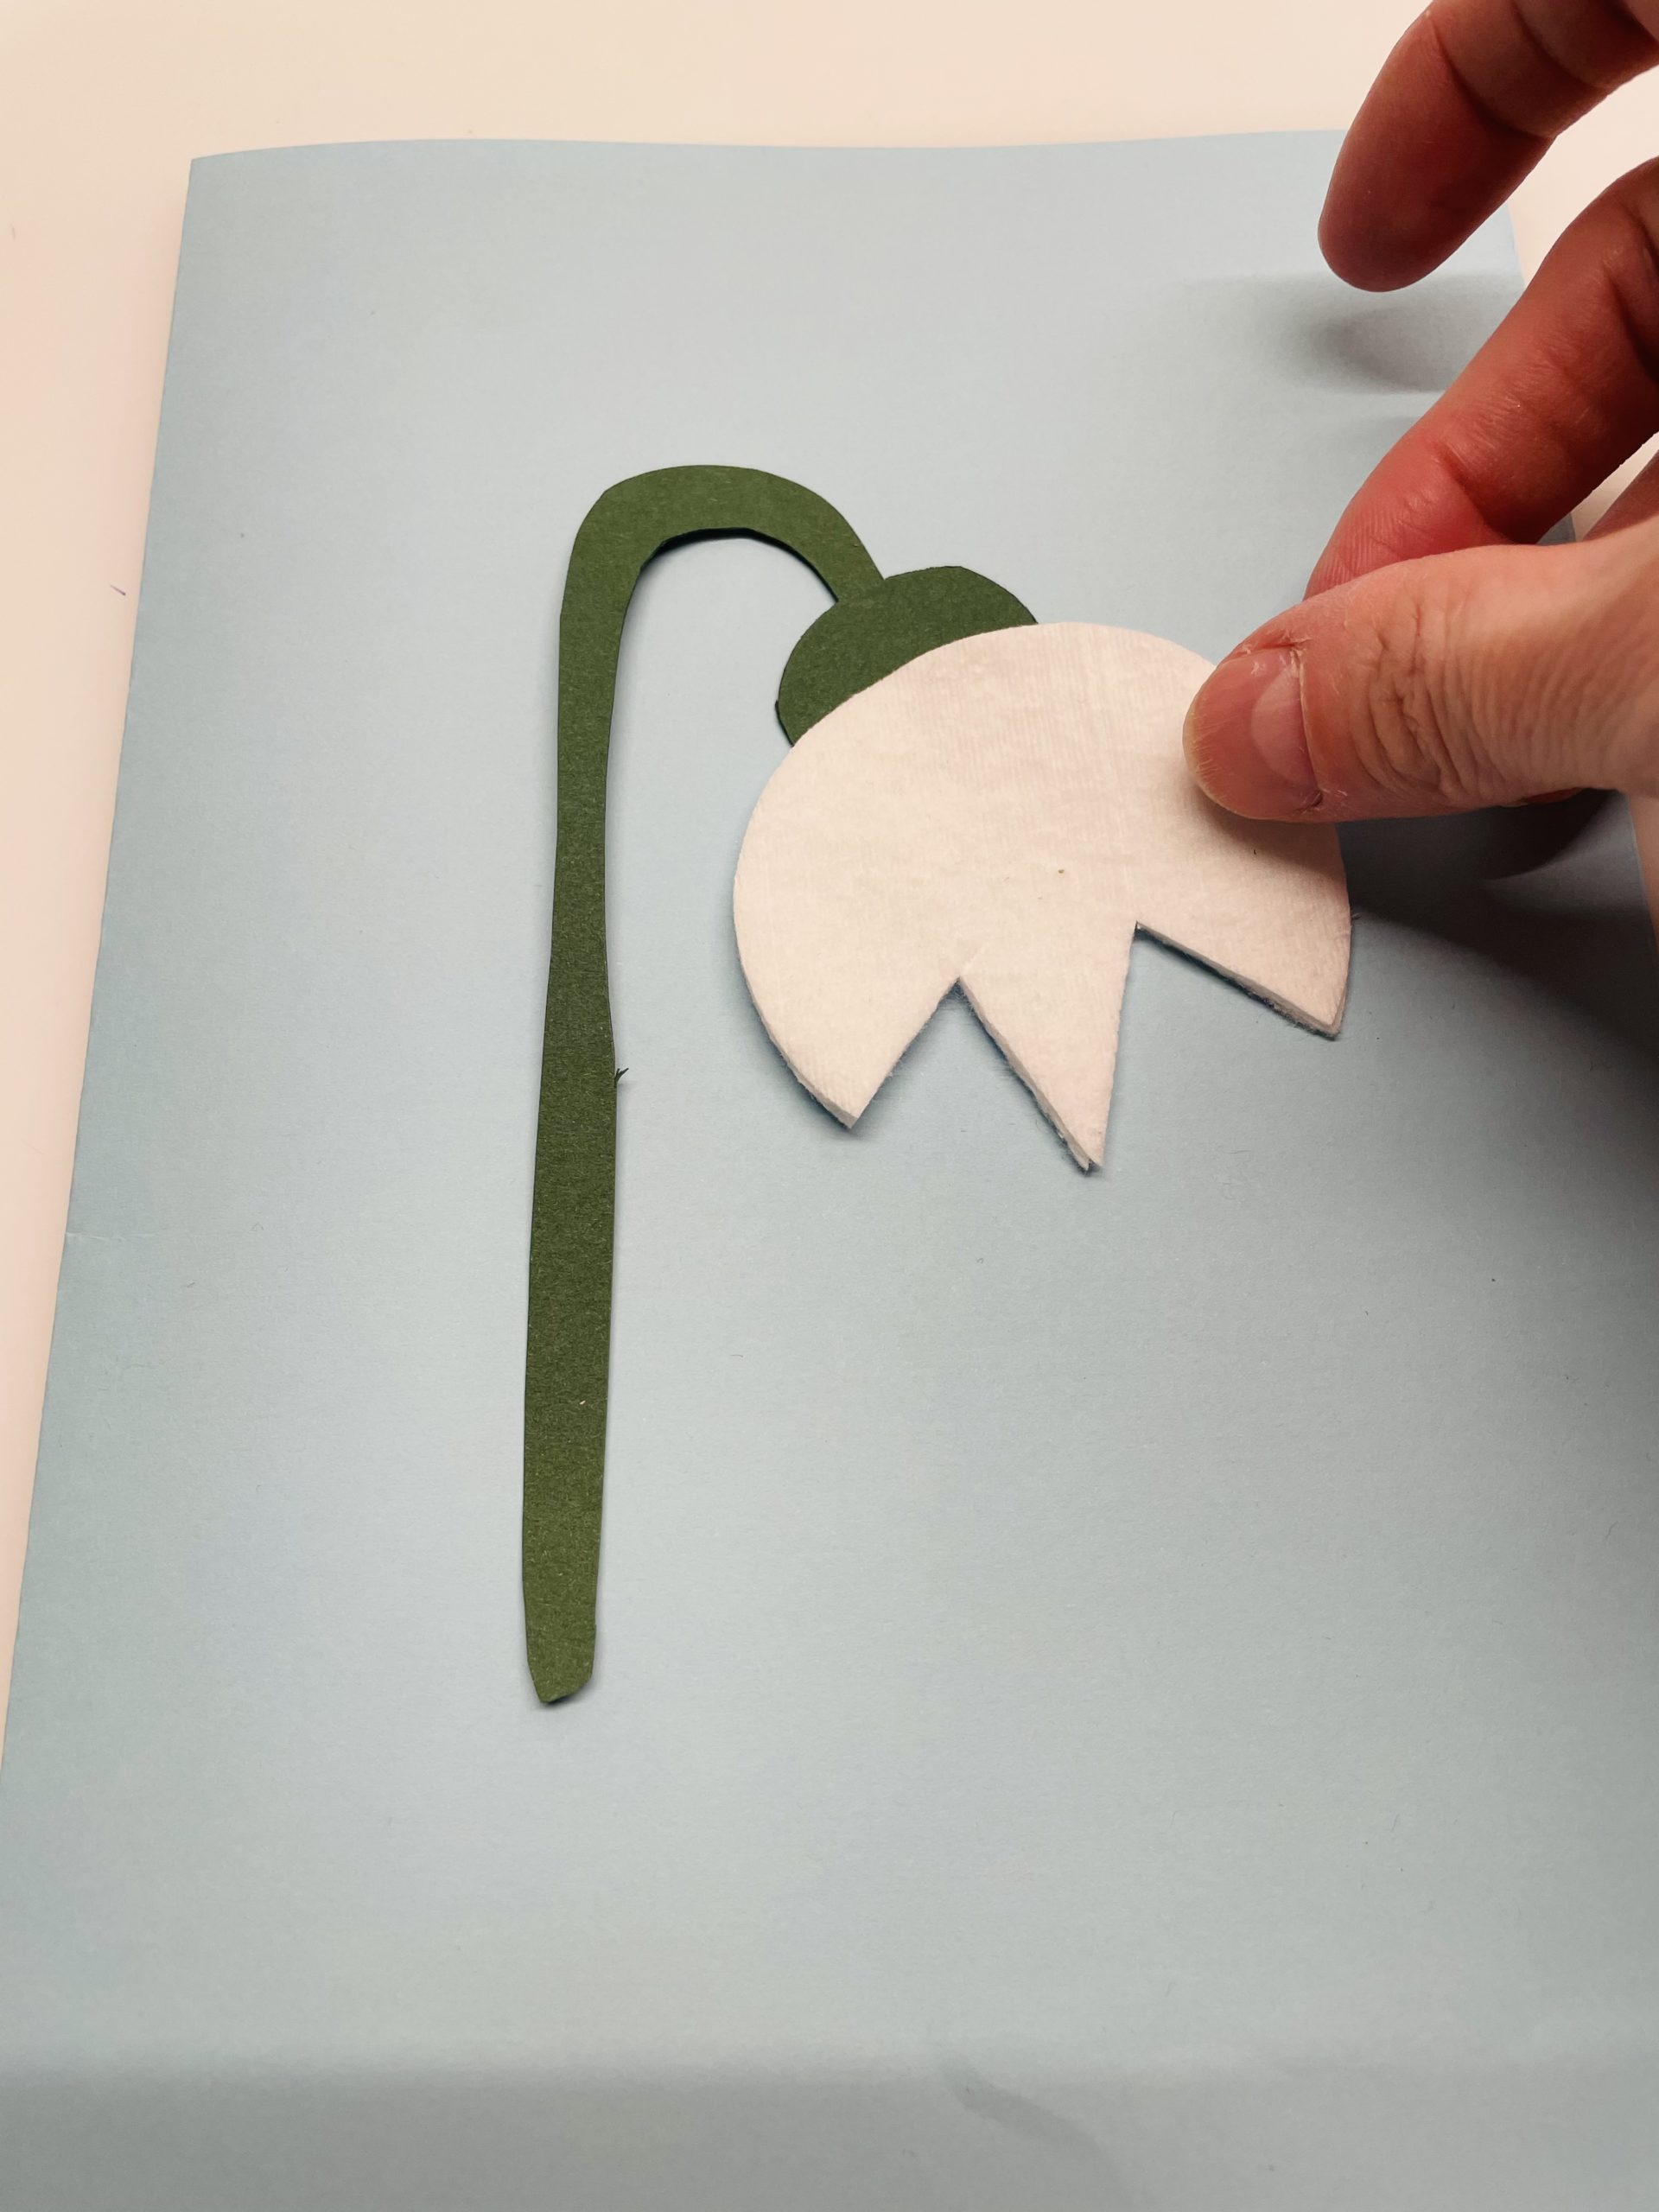
Bild zum Schritt 23 für das Bastel- und DIY-Abenteuer für Kinder: 'Dann legt ihr die Blüte (mit den Spitzen nach unten)...'

24

To the left and right of the stem you place the leaves.

Bild zum Schritt 24 für das Bastel- und DIY-Abenteuer für Kinder: 'Links und rechts vom Stiel platziert ihr anschließend die Blätter.'

25

The snowdrop is ready.

Bild zum Schritt 25 für das Bastel- und DIY-Abenteuer für Kinder: 'Fertig ist das Schneeglöckchen.'

26

If you want, tear a few short strips off the green paper and stick them as grass on your picture.
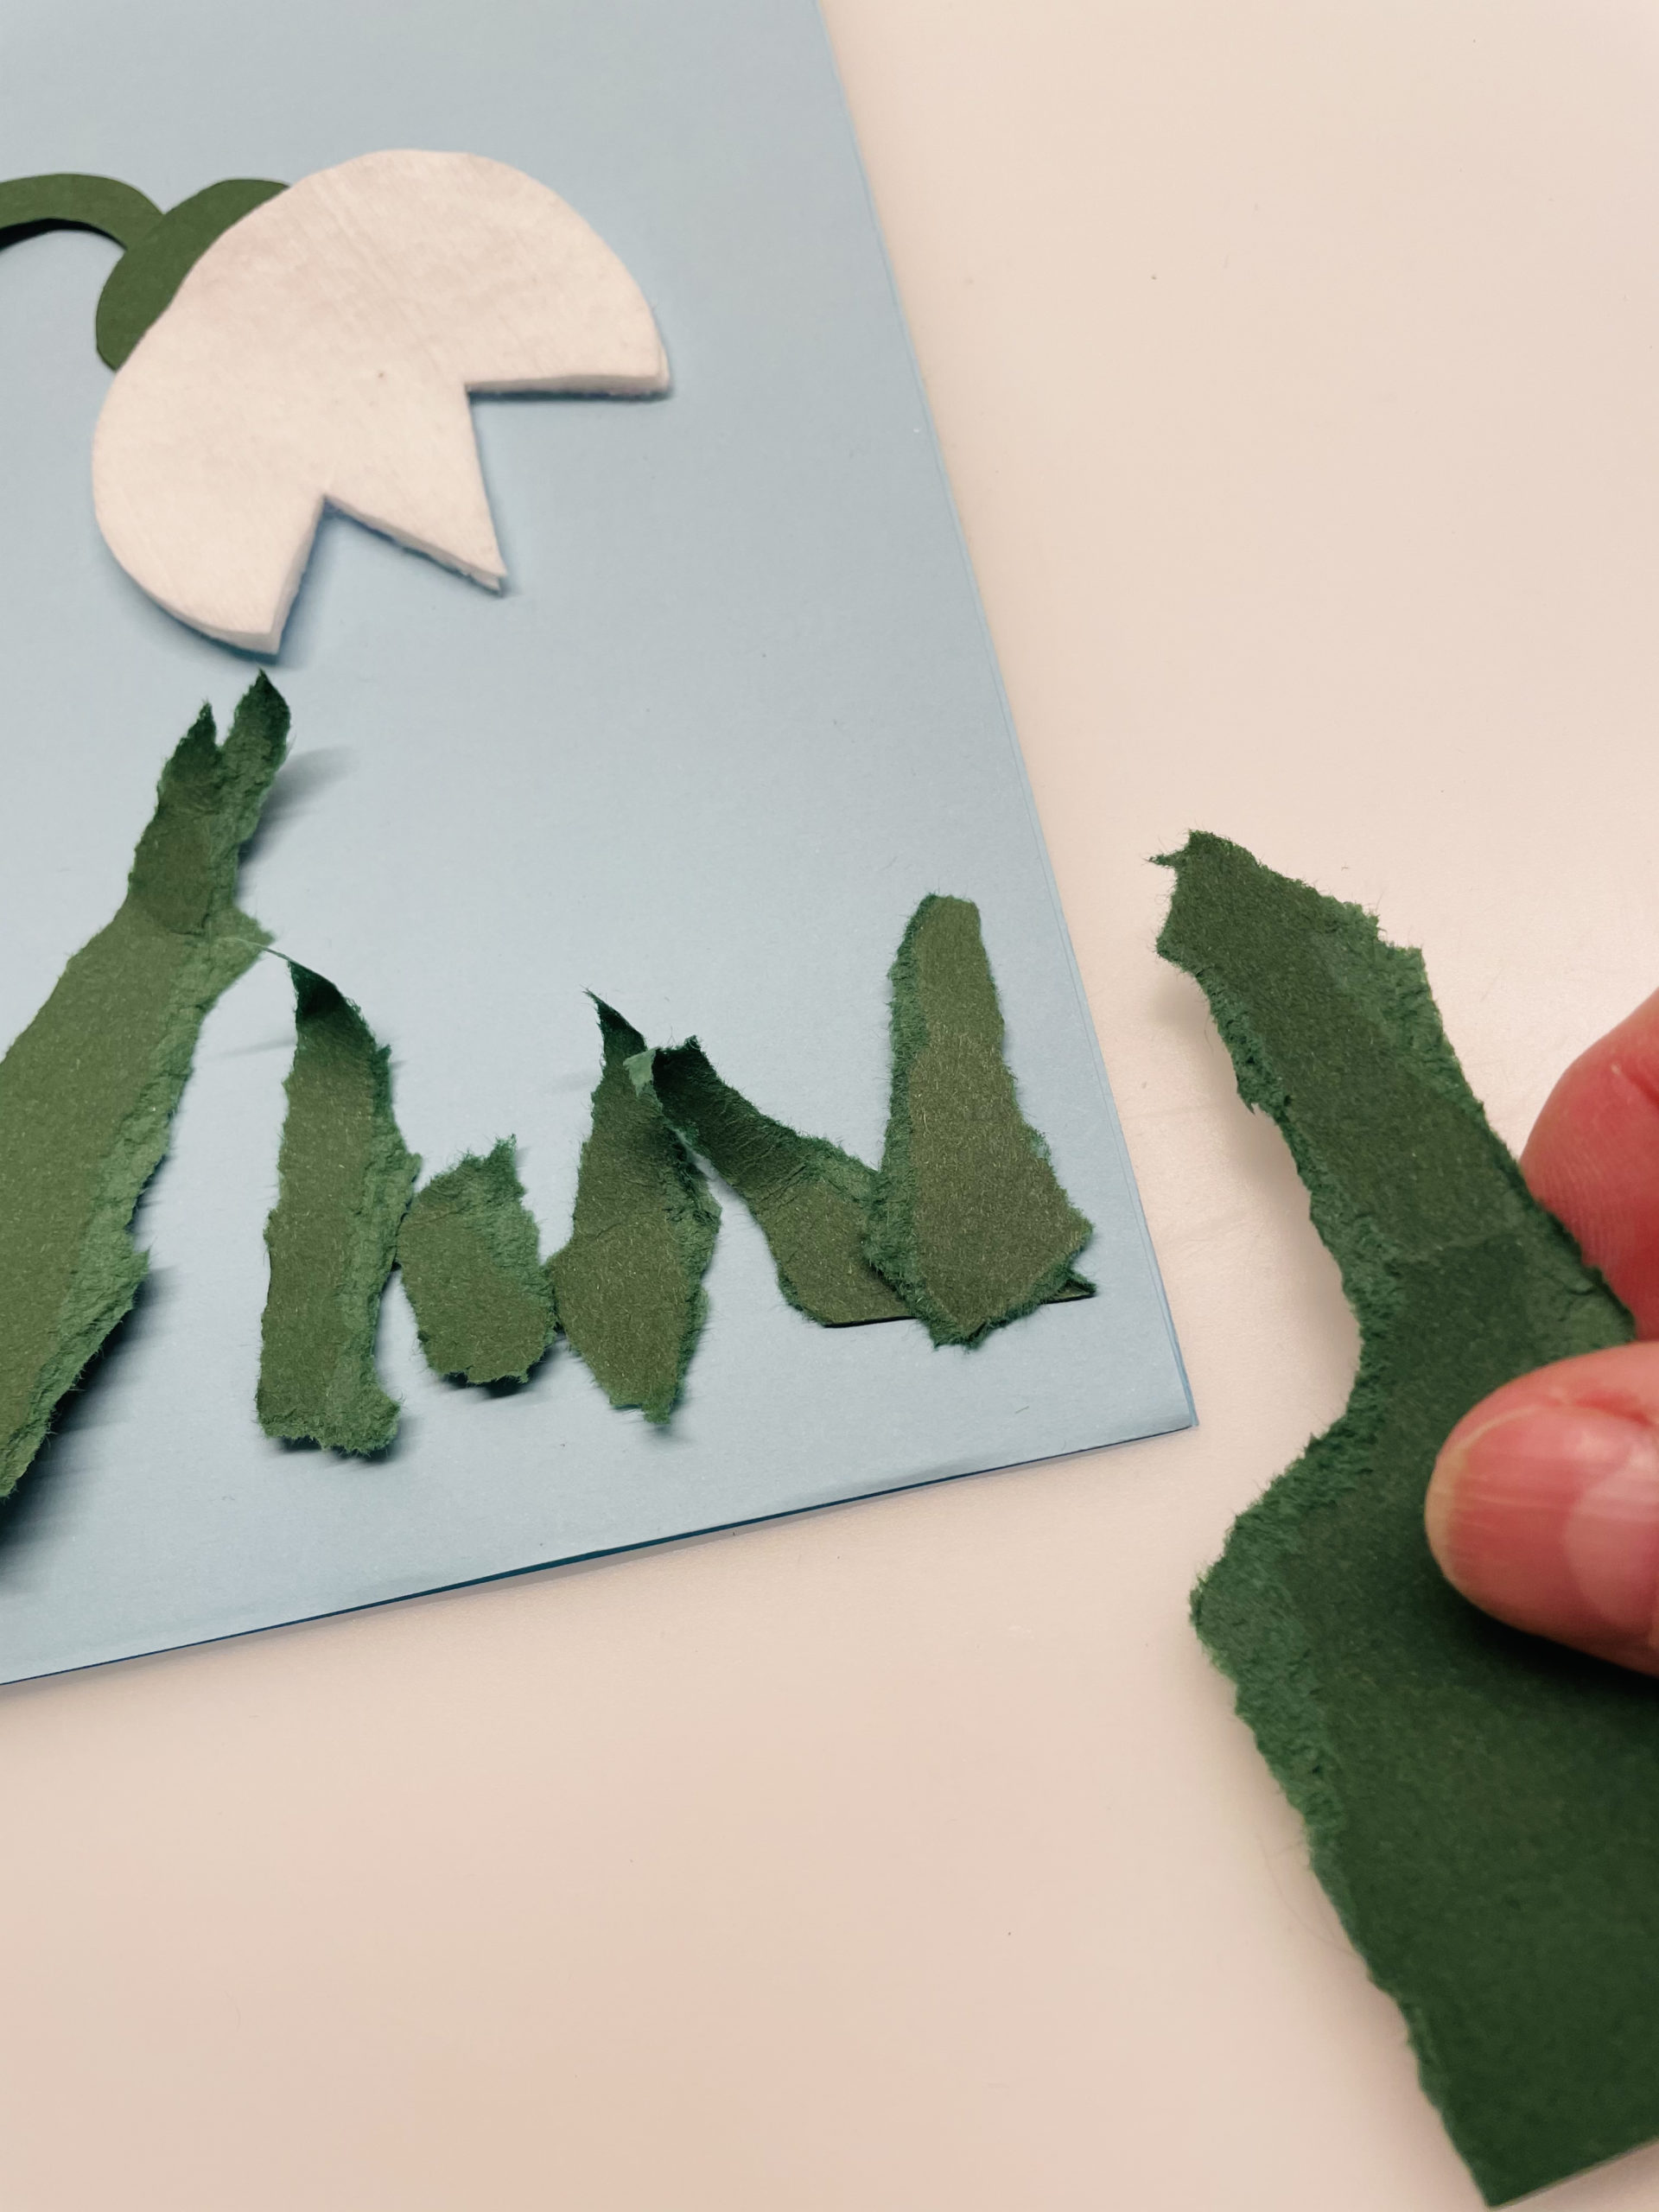
Bild zum Schritt 26 für das Bastel- und DIY-Abenteuer für Kinder: 'Wenn ihr wollt, reißt euch noch ein paar kurze Streifen...'

27

Your picture or card is ready.

Bild zum Schritt 27 für das Bastel- und DIY-Abenteuer für Kinder: 'Fertig ist euer Bild bzw. eure Karte.'

28

Have fun trying it out!

Snowdrop with cotton pad & tearing technique

Follow us on Facebook , Instagram and Pinterest
Don't miss any more adventures: Our bottle mail

Leave a Reply

Your email address will not be published.

The maximum upload file size: 5 MB. You can upload: image, document. Drop file here