Butterfly 3D

AdventurerKatzi
Rating5.06.4 Thousand times & (3) DifficultyIntermediate

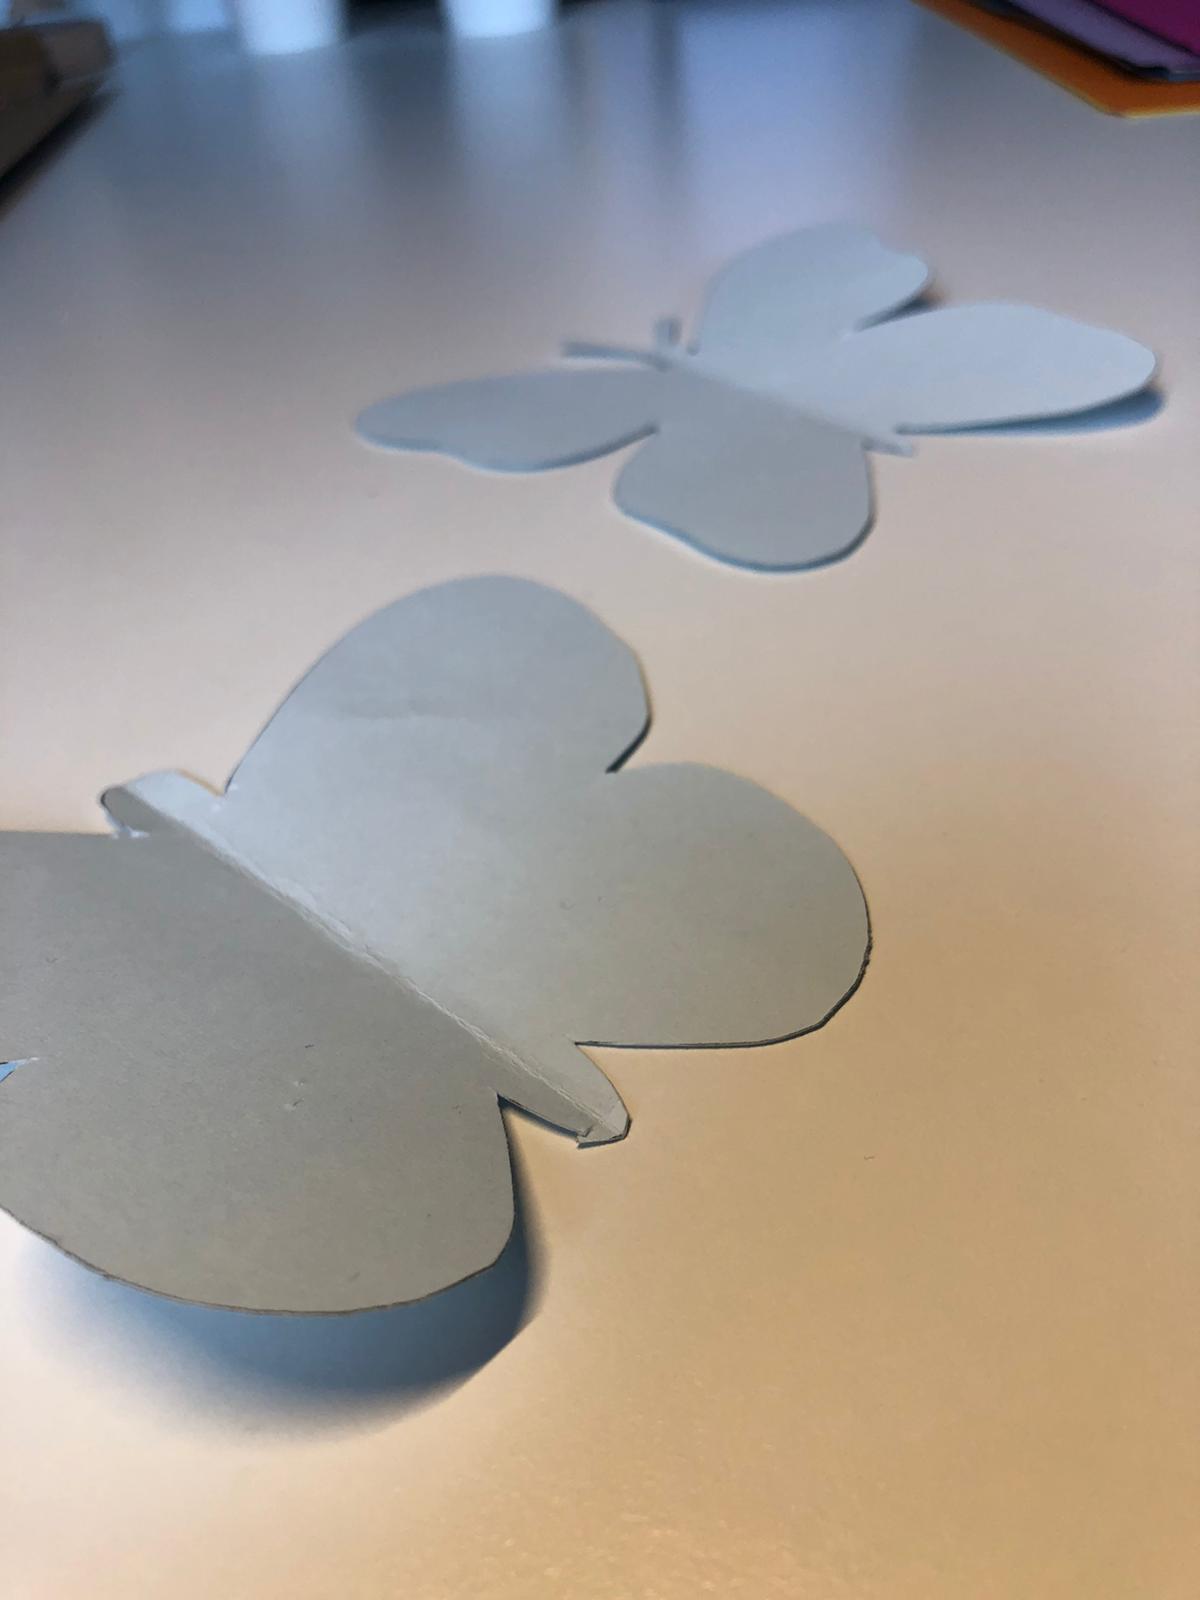
This beautiful butterfly is easy to craft. Children learn quickly how to make it out of the colored paper, as the processes are repeated.
This butterfly is suitable in spring as well as in summer months for a colour swab in the window, for a birthday card, for beautification of gifts or in a picture frame.

Media Education for Kindergarten and Hort

Kind bastelt eine Rassel mit dem Navi
The Adventure Navi, the app for DIY projects, enables media education for the youngest.

Relief in everyday life, targeted promotion of individual children, independent learning and - without any pre-knowledge already usable by the youngest!
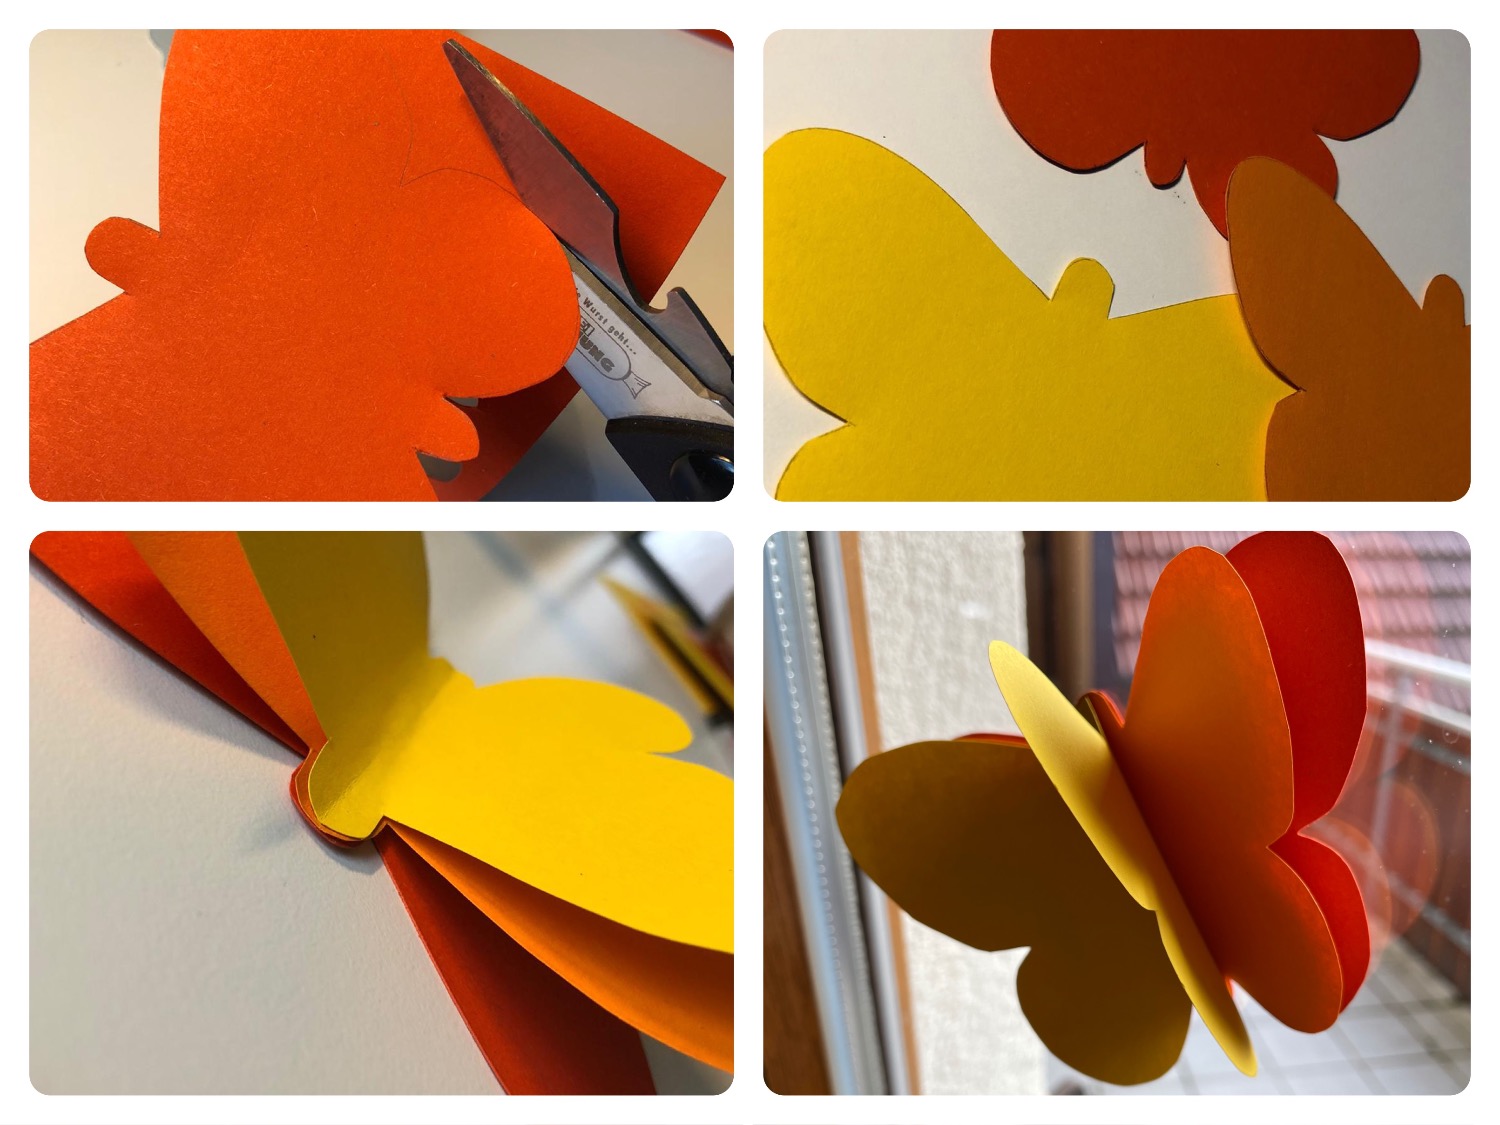


Titelbild zur Bastel- und DIY-Idee für Kinder '(626) Schmetterling 3D'
Material for1 Child
Prep Time5 min.Adv. Time20 min.Total Time25 min.
 3 Paper and paperboardyellow, orange, red
 1 Butterfly template
 1 Pencil
 Adhesive film
 Builder's pad
All links marked with a shopping cart lead to Amazon - here we have selected products that we would order ourselves and in part also ordered. In a qualified purchase via the advertising link, we as Amazon partner receive a commission, for you there are no costs. You thus support our cost- and advertising banner-free, educational offer.
1

Put out your craft material and select three colors of clay paper.
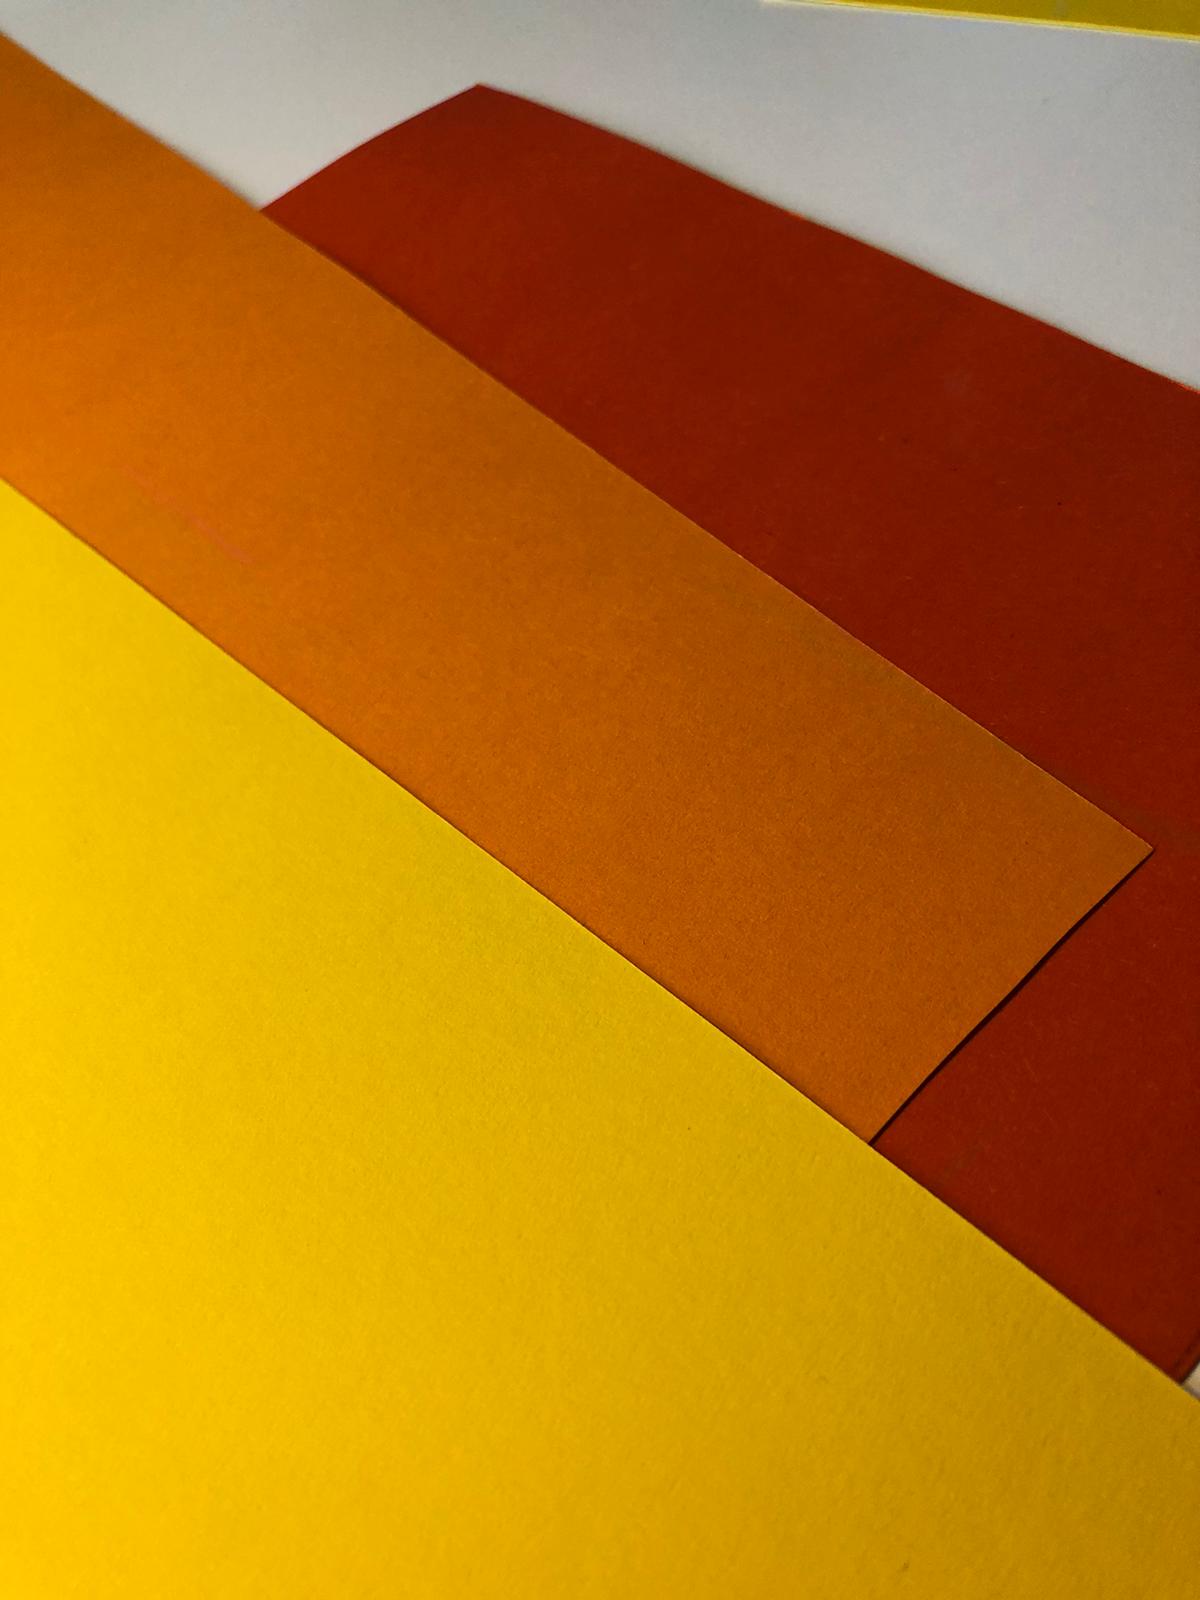
Bild zum Schritt 1 für das Bastel- und DIY-Abenteuer für Kinder: 'Legt eure Bastelunterlage aus und wählt euch drei Farben Tonpapier...'

2

Now you paint a butterfly stencil or you print this template.
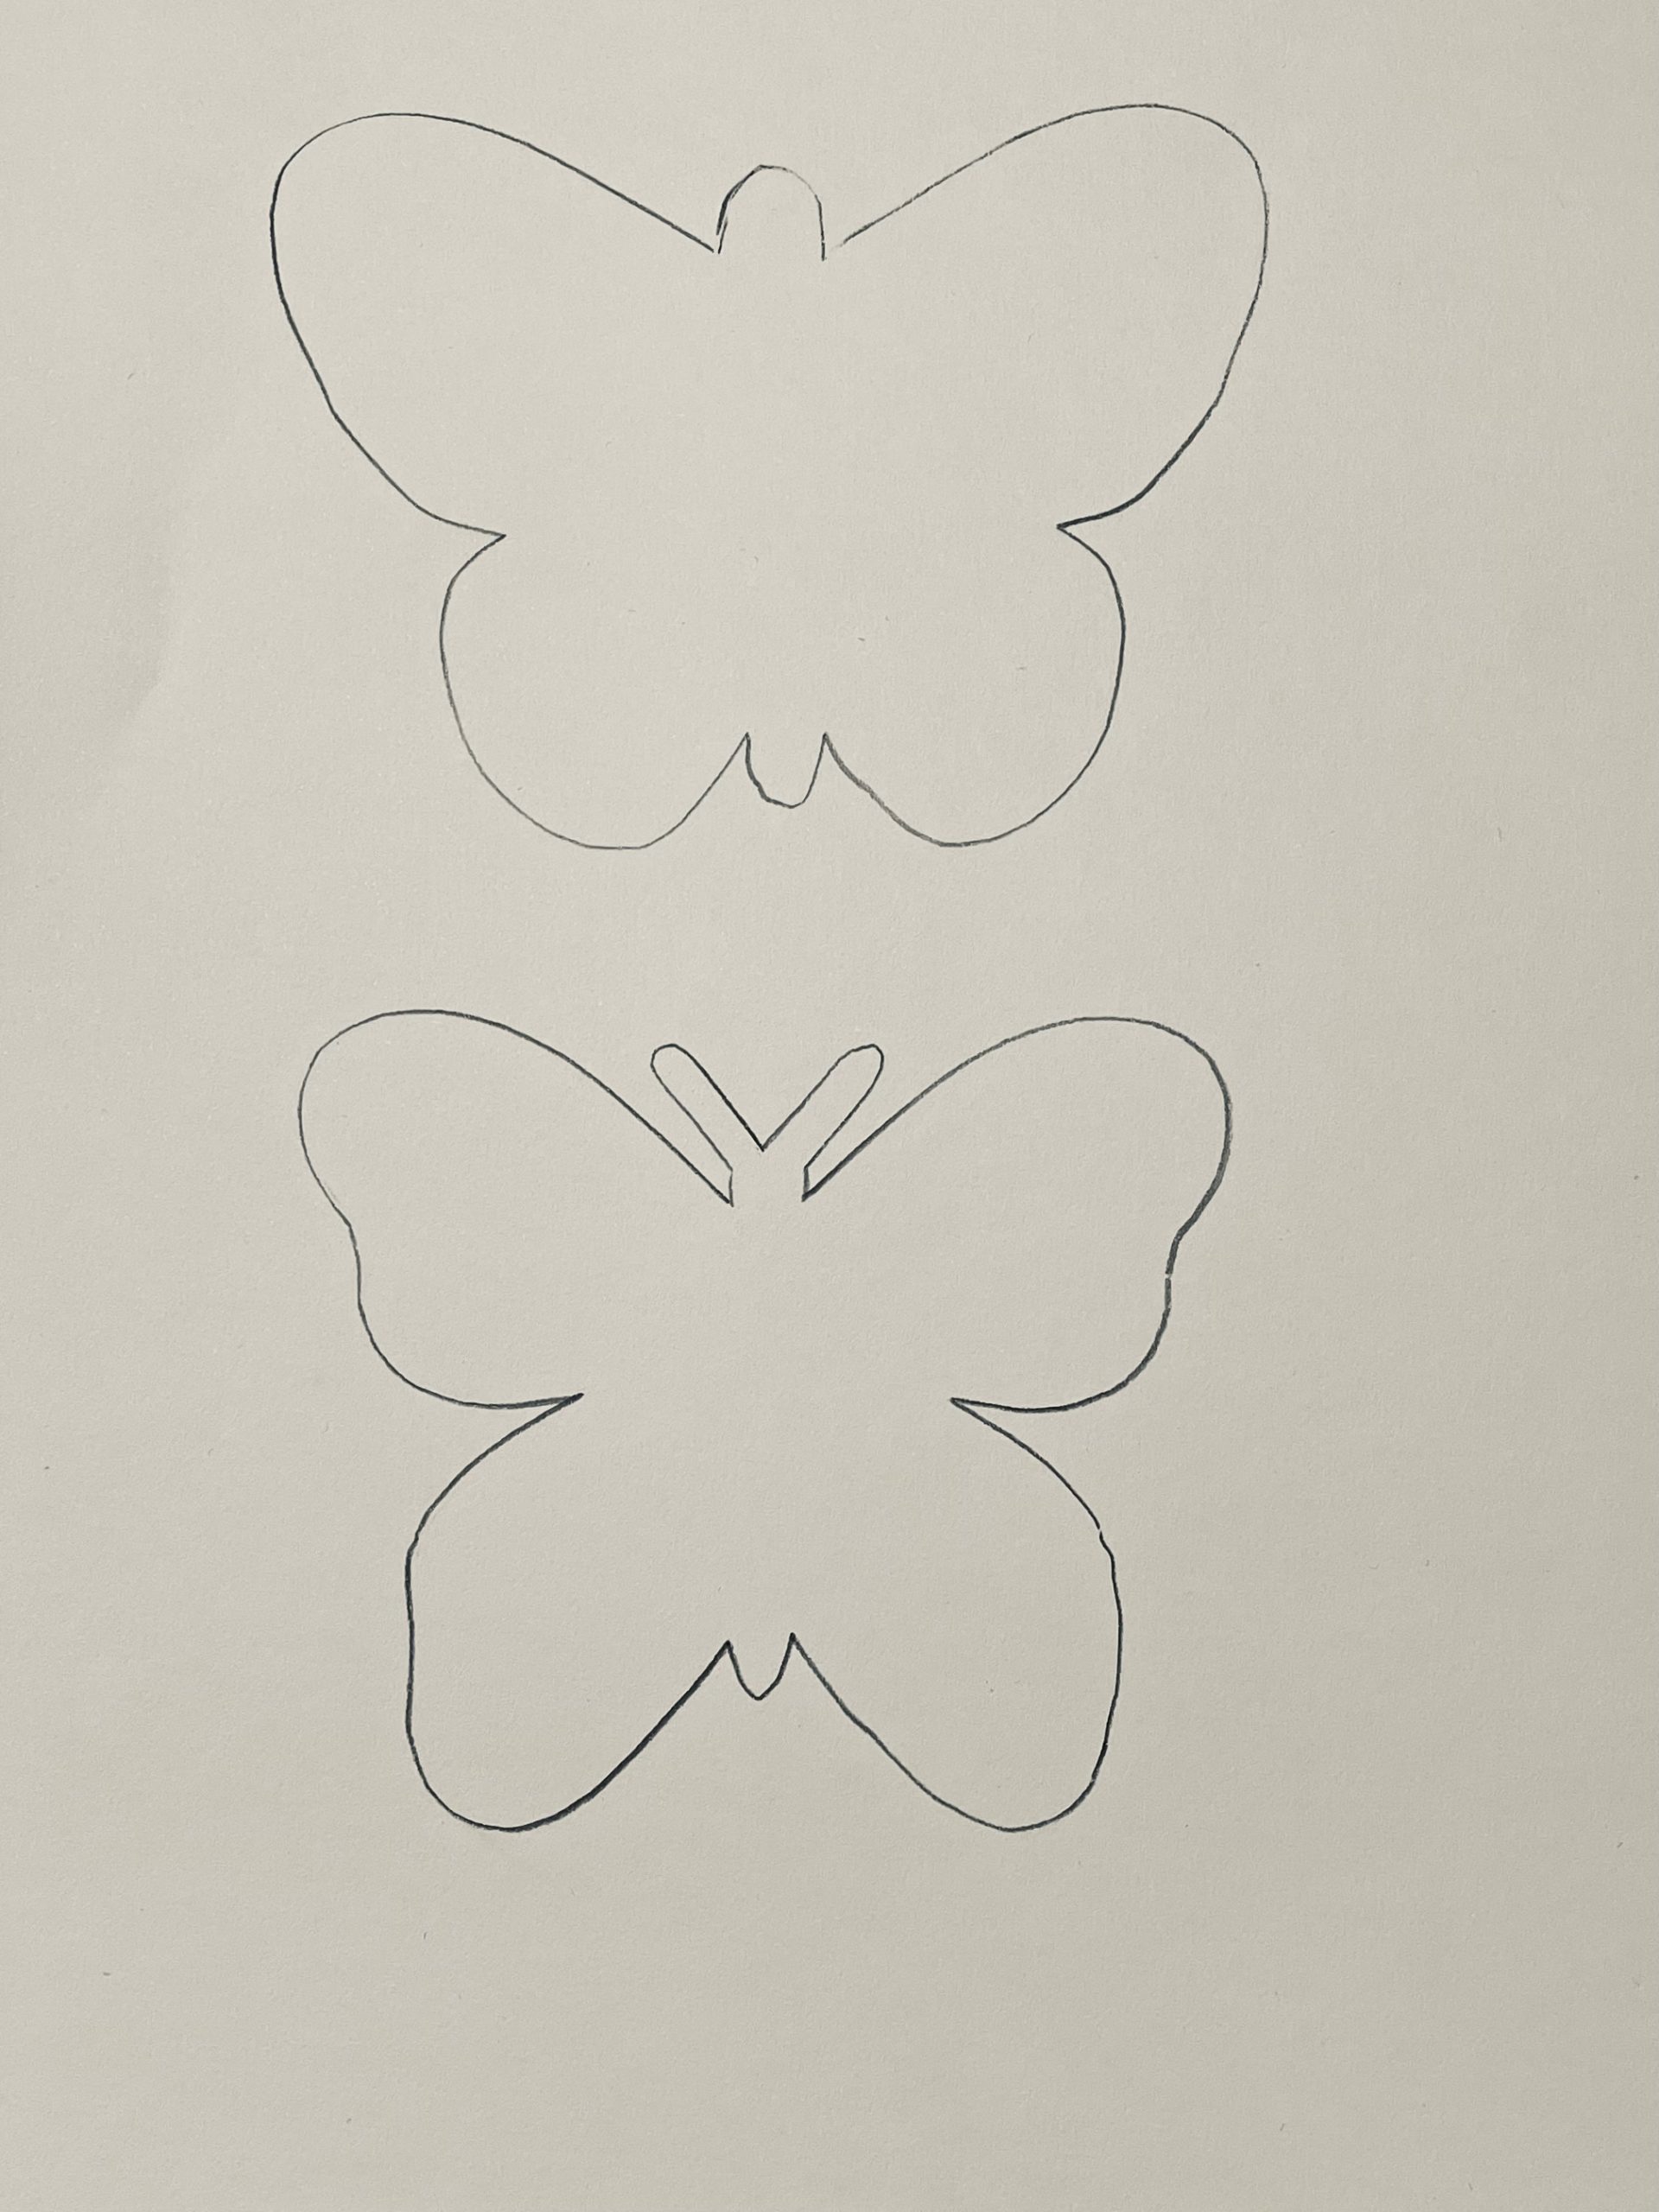
Bild zum Schritt 2 für das Bastel- und DIY-Abenteuer für Kinder: 'Jetzt malt ihr euch eine Schmetterlingsschablone oder ihr druckt euch...'

3

Then you cut out the butterfly.

Bild zum Schritt 3 für das Bastel- und DIY-Abenteuer für Kinder: 'Anschließend schneidet ihr den Schmetterling aus.'

4

Now transfer the template to the audio paper.

Bild zum Schritt 4 für das Bastel- und DIY-Abenteuer für Kinder: 'Übertragt nun die Vorlage auf das Tonpapier.'

5

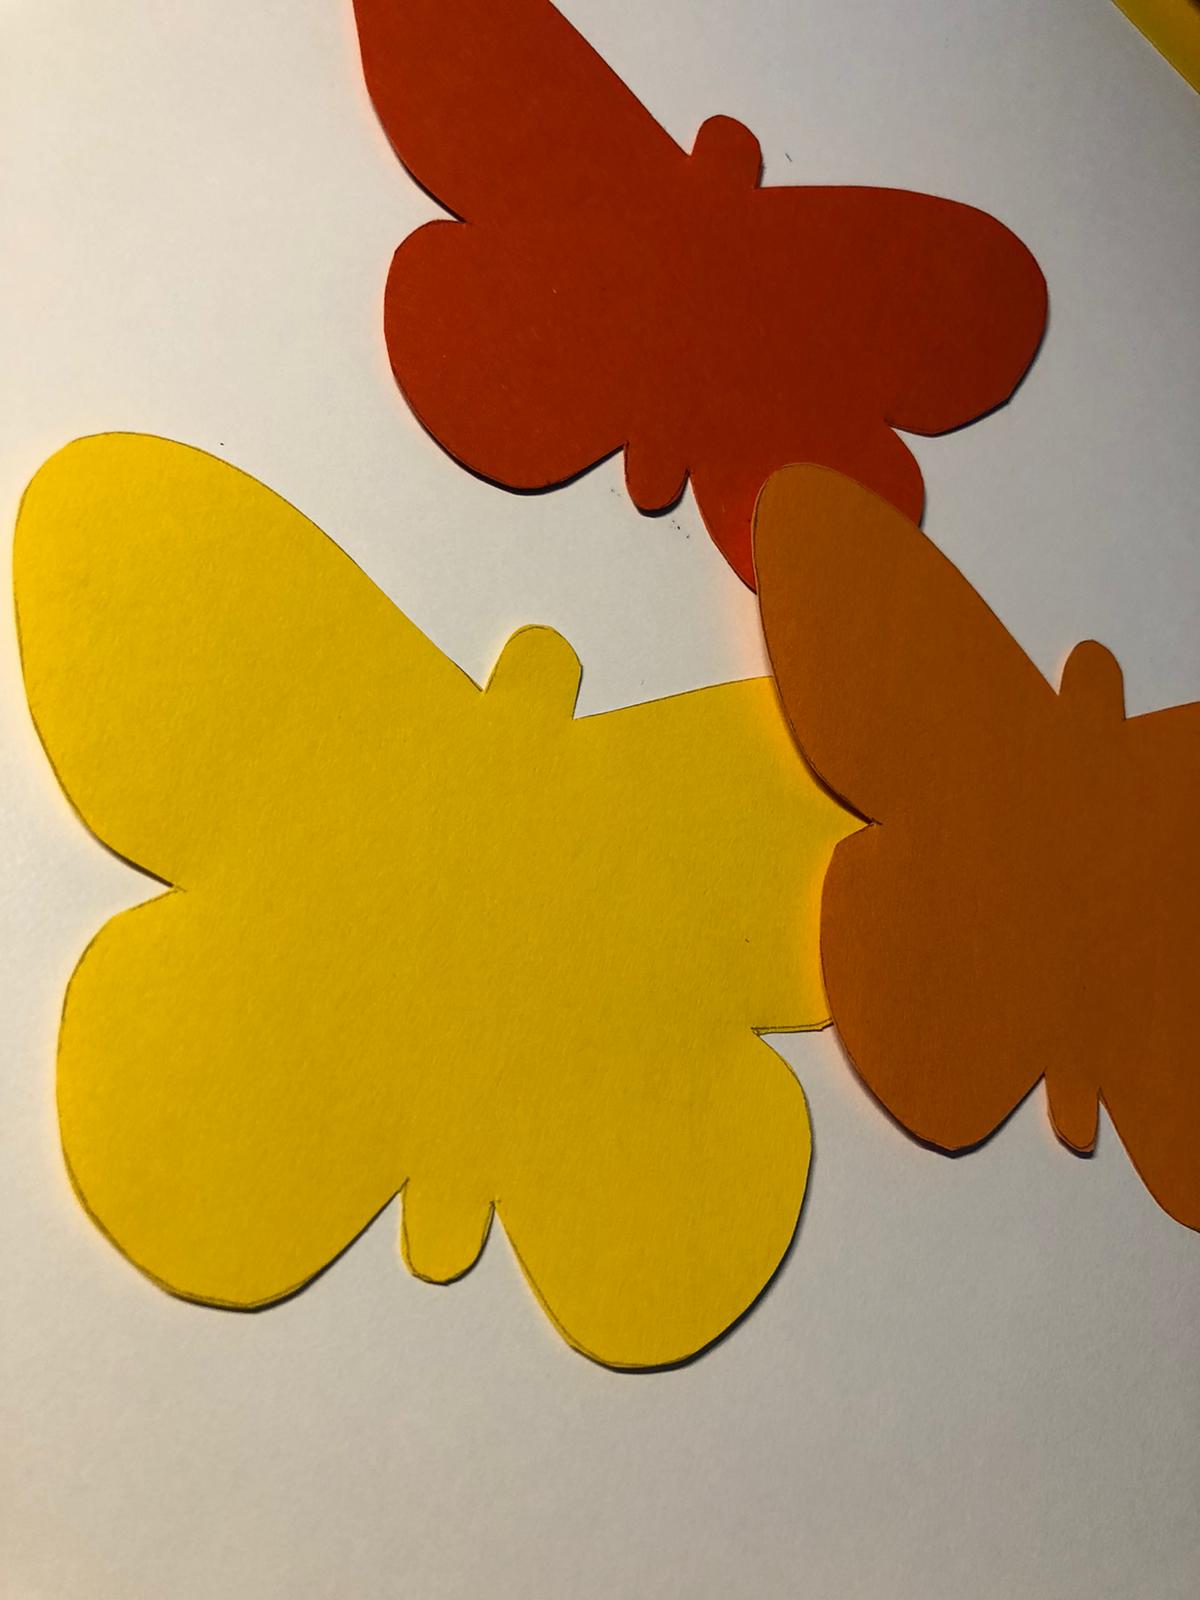
Cut out three butterflies in different shades.

Bild zum Schritt 5 für das Bastel- und DIY-Abenteuer für Kinder: 'Schneidet euch drei Schmetterlinge in verschiedenen Farbtönen aus.'

6

Tip: Alternatively, you can also use 3 shades of blue or 3 shades of green.

Bild zum Schritt 6 für das Bastel- und DIY-Abenteuer für Kinder: 'Tipp: Alternativ könnt ihr auch 3 Blautöne oder 3 Grüntöne...'

7

2. Bild zum Schritt 6 für das Bastel- und DIY-Abenteuer für Kinder: 'Tipp: Alternativ könnt ihr auch 3 Blautöne oder 3 Grüntöne...'

8

Now you mark the middle of your butterflies.
For this, you draw a thin pencil line that marks you with the ruler.
So you can fold the paper exactly at the line in the middle.

Bild zum Schritt 8 für das Bastel- und DIY-Abenteuer für Kinder: 'Jetzt markiert ihr die Mitte eurer Schmetterlinge.   Dafür...'

9

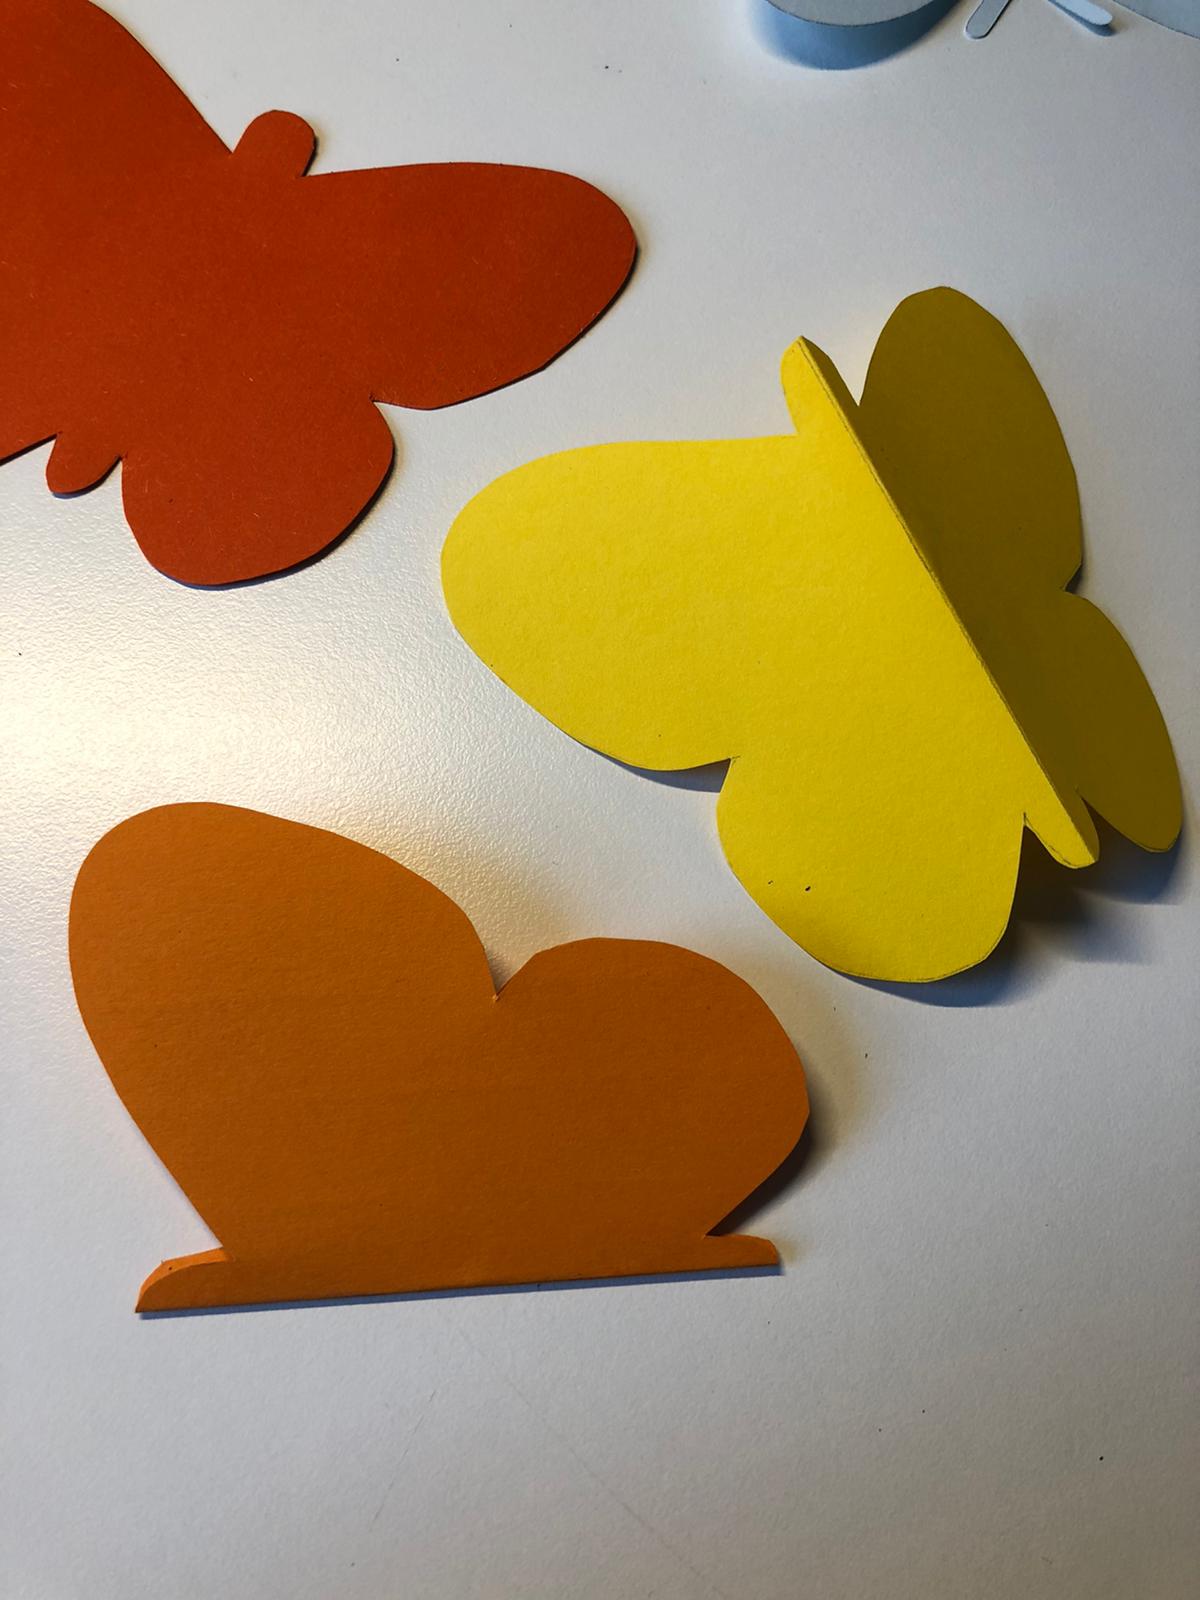
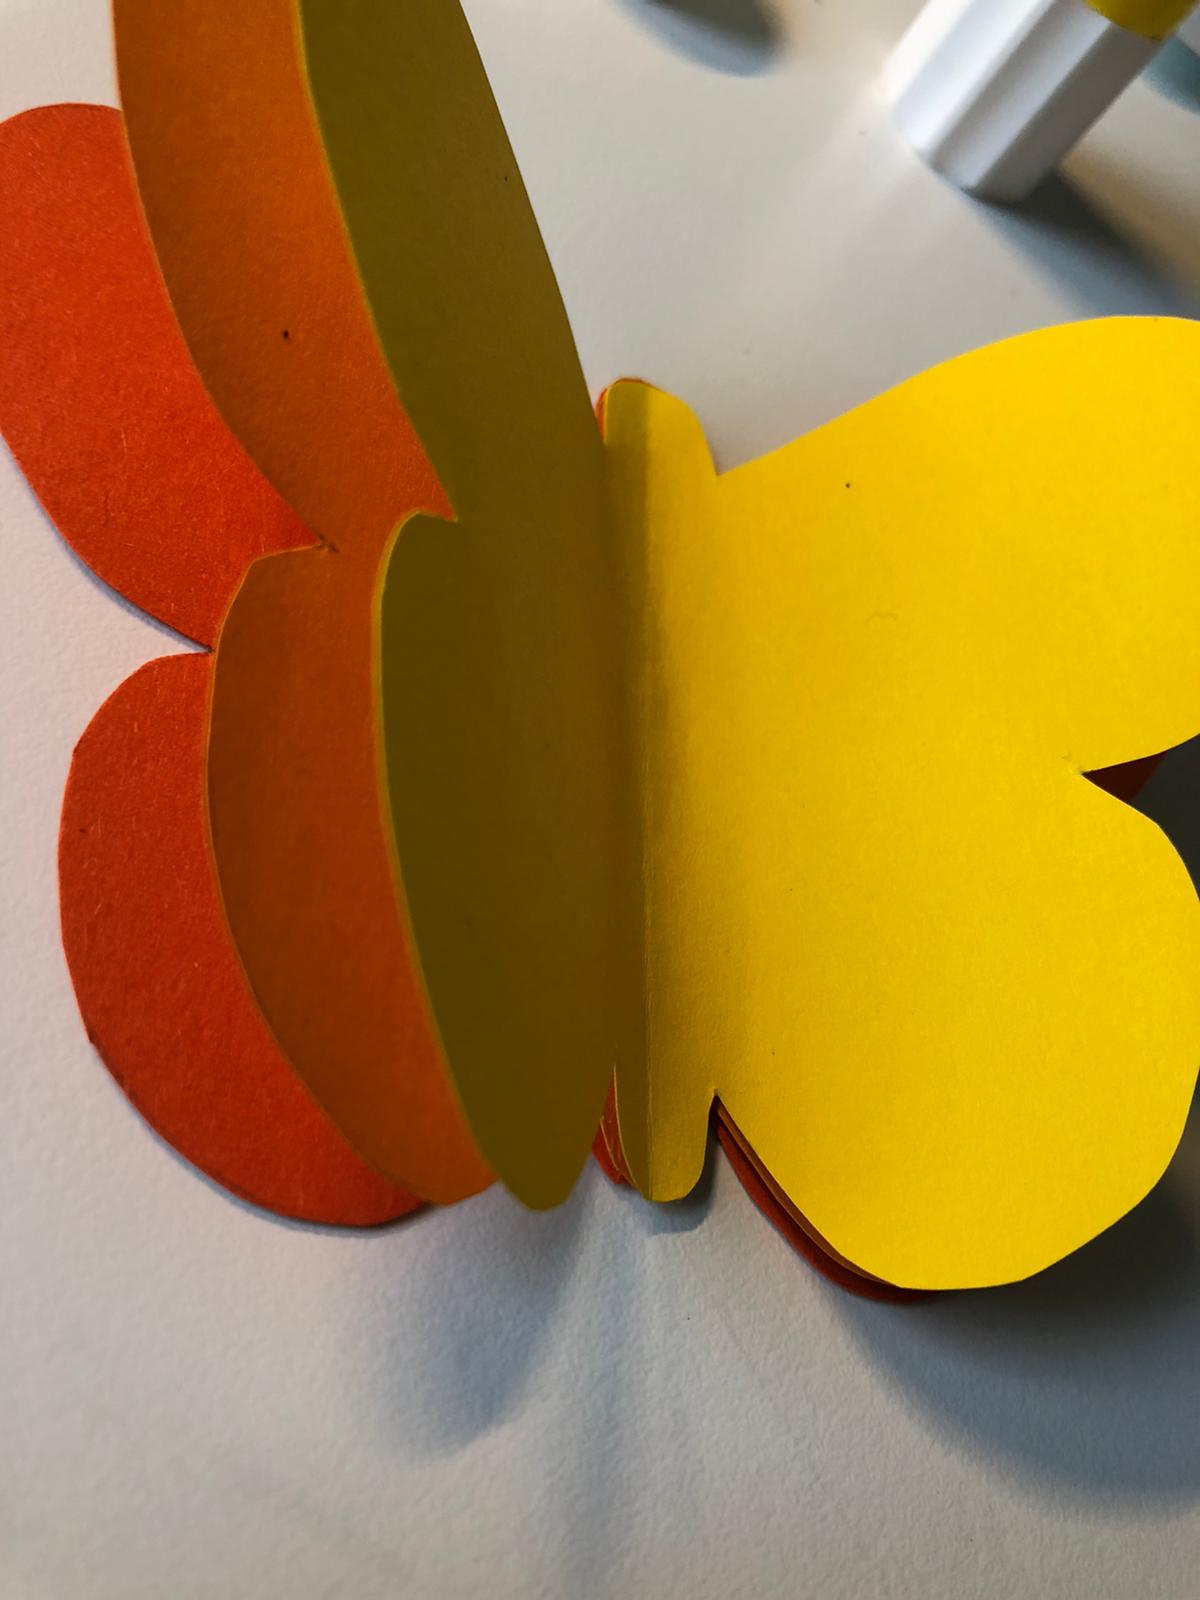
Now fold half all butterflies.

Bild zum Schritt 9 für das Bastel- und DIY-Abenteuer für Kinder: 'Faltet nun alle Schmetterlinge zur Hälfte.'

10

Now put glue on the middle line of the first butterfly.

Bild zum Schritt 10 für das Bastel- und DIY-Abenteuer für Kinder: 'Tragt jetzt auf die Mittellinie des ersten Schmetterlings Kleber auf.'

11

Then you put the second butterfly and squeeze it.

Bild zum Schritt 11 für das Bastel- und DIY-Abenteuer für Kinder: 'Darauf legt ihr nun den zweiten Schmetterling und drückt ihn...'

12

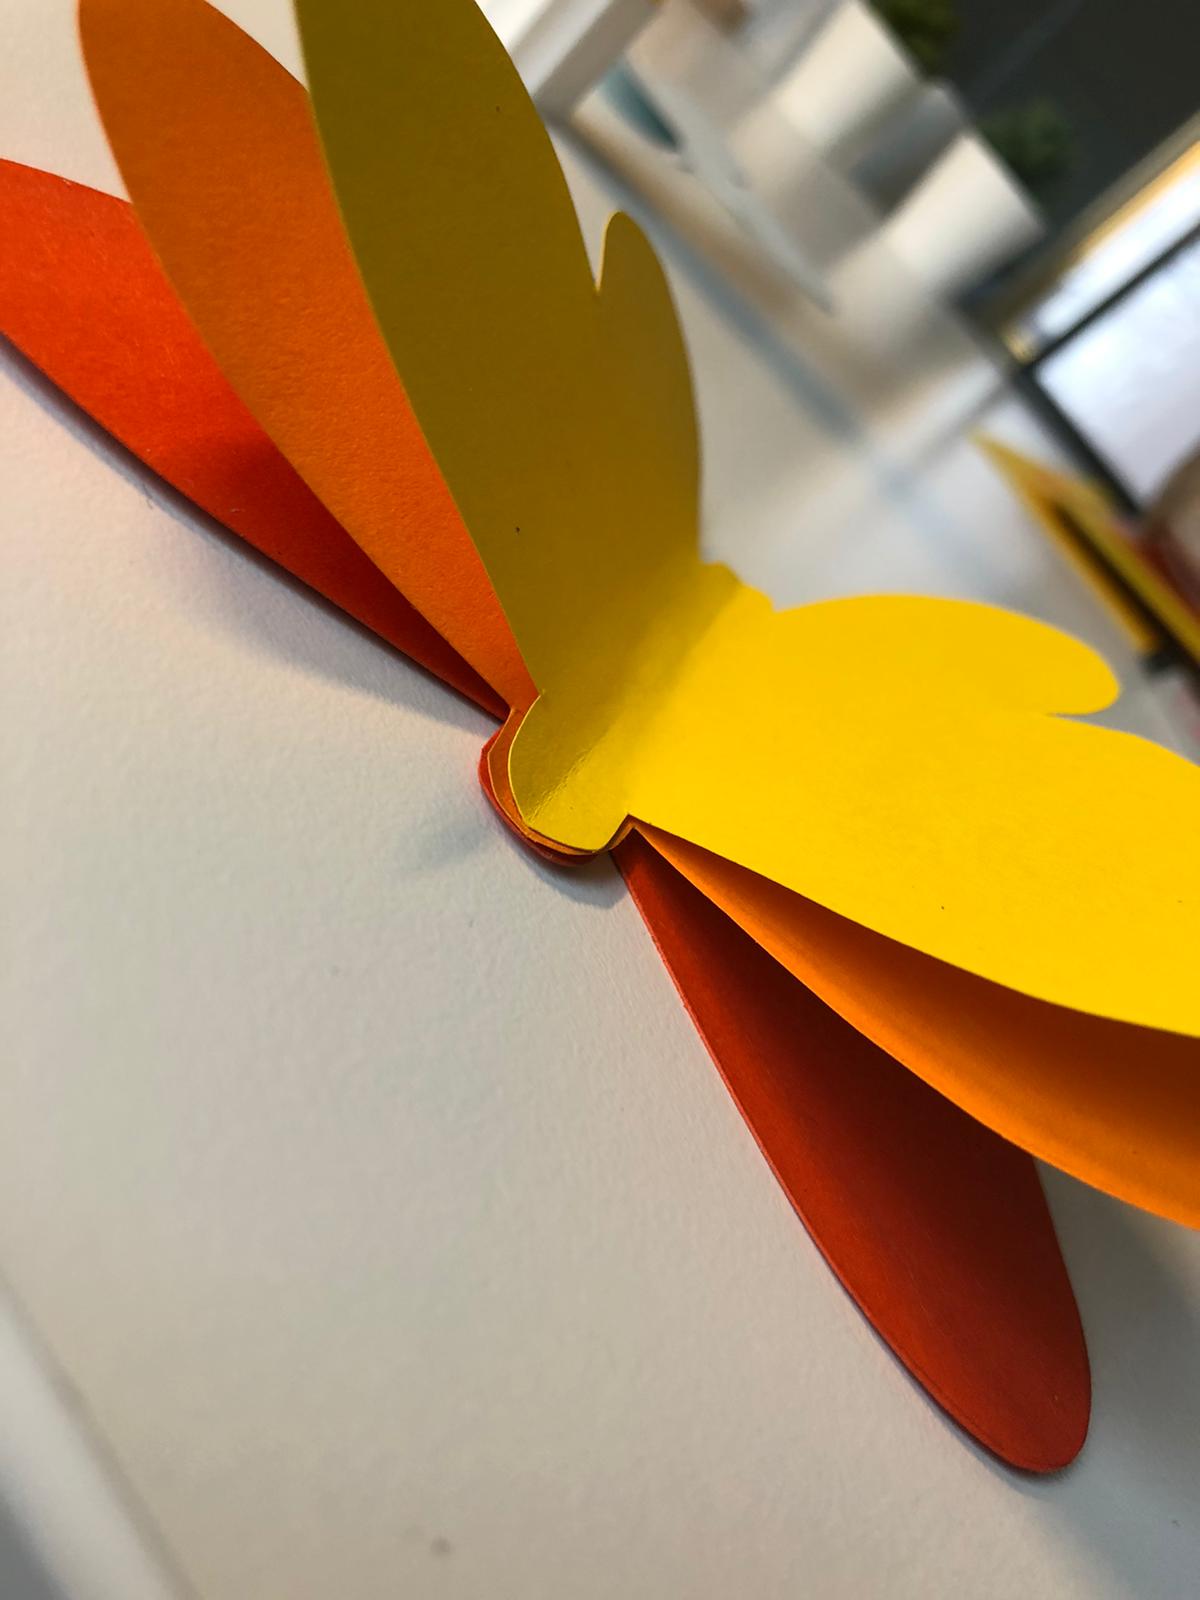
After that, you put glue on the upper butterfly and stick the third butterfly on it.

Bild zum Schritt 12 für das Bastel- und DIY-Abenteuer für Kinder: 'Danach tragt ihr Kleber auf den oberen Schmetterling auf und...'

13

2. Bild zum Schritt 12 für das Bastel- und DIY-Abenteuer für Kinder: 'Danach tragt ihr Kleber auf den oberen Schmetterling auf und...'

14

Your butterfly is ready.

Bild zum Schritt 14 für das Bastel- und DIY-Abenteuer für Kinder: 'Fertig ist euer Schmetterling.'

15

Now roll up a tape and hang the butterfly on a window.

Bild zum Schritt 15 für das Bastel- und DIY-Abenteuer für Kinder: 'Rollt jetzt einen Klebestreifen zusammen und hängt den Schmetterling an...'

16

Or you can hang him on a wall.

Bild zum Schritt 16 für das Bastel- und DIY-Abenteuer für Kinder: 'Oder ihr hängt ihn an eine Wand.'

Other use: as a card
17

Fold half a solid paper so that you get a card.
Stick the butterfly on it.

Bild zum Schritt 18 für das Bastel- und DIY-Abenteuer für Kinder: 'Faltet dafür ein festes Papier zu Hälfte, so dass ihr...'

18

Finished is a colorful card e.g. for birthday.

Bild zum Schritt 19 für das Bastel- und DIY-Abenteuer für Kinder: 'Fertig ist eine farbenfrohe Karte z.B. zum Geburtstag.'

Further use: as dream catcher
19

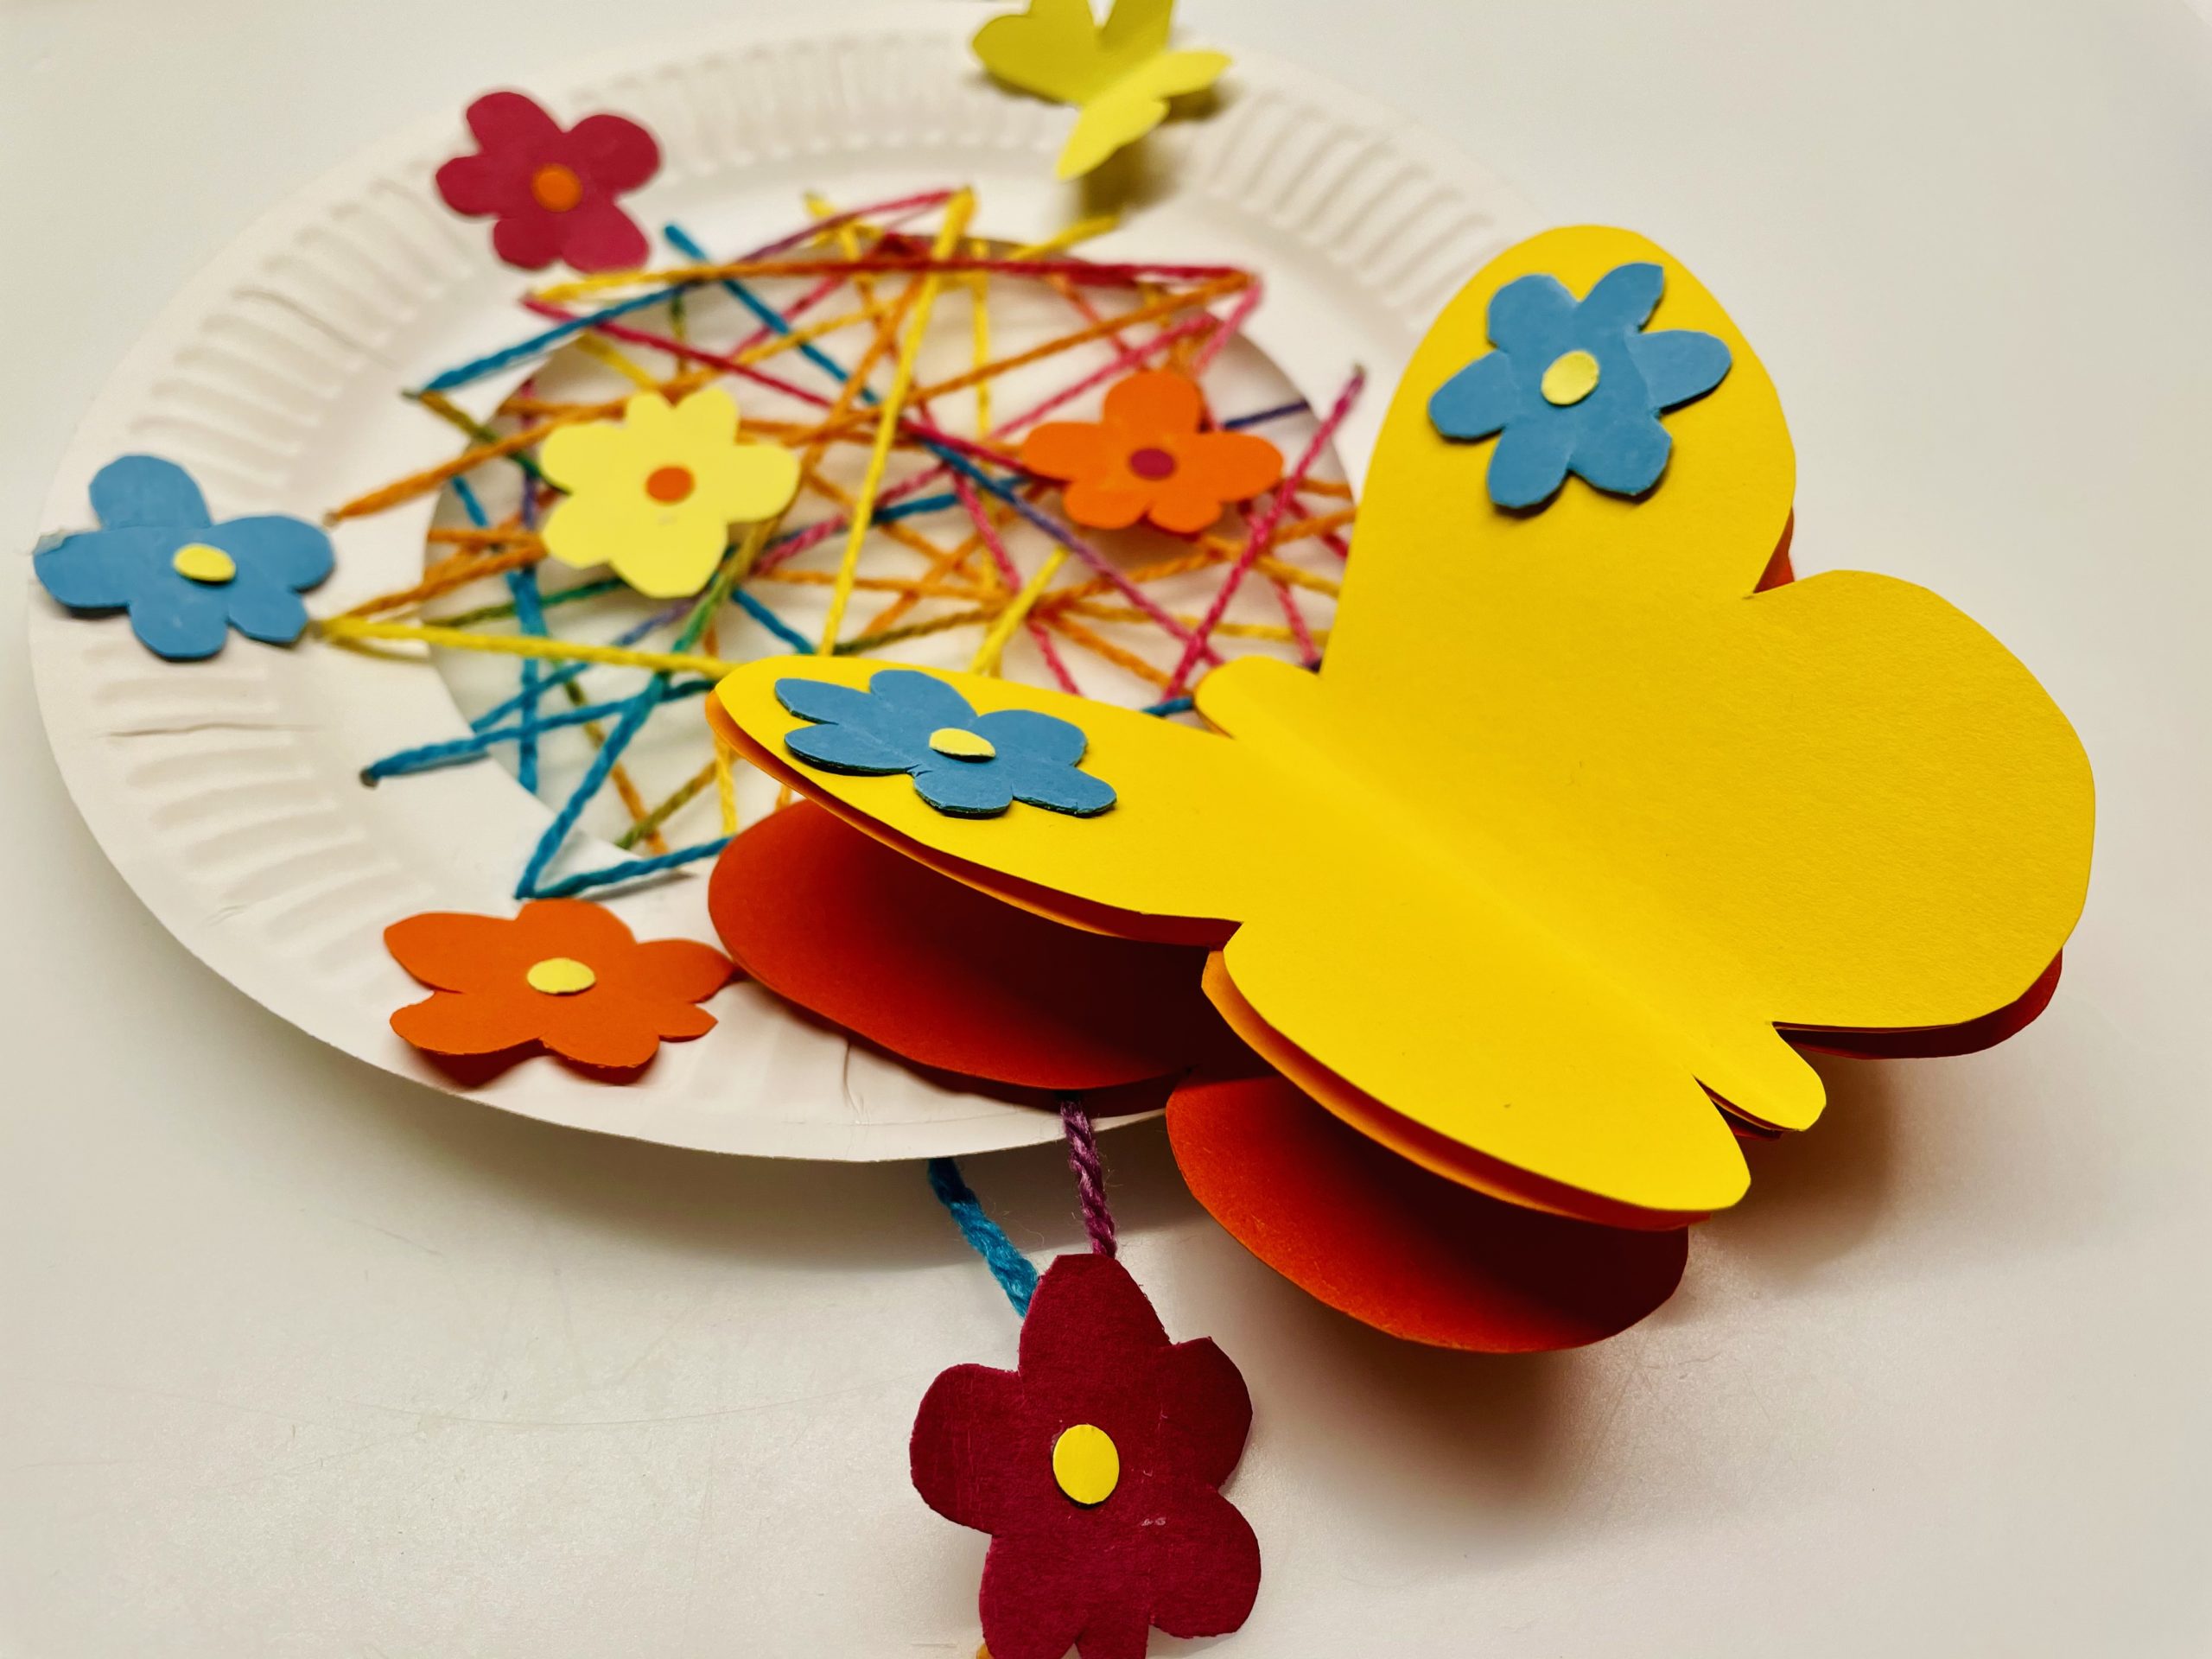
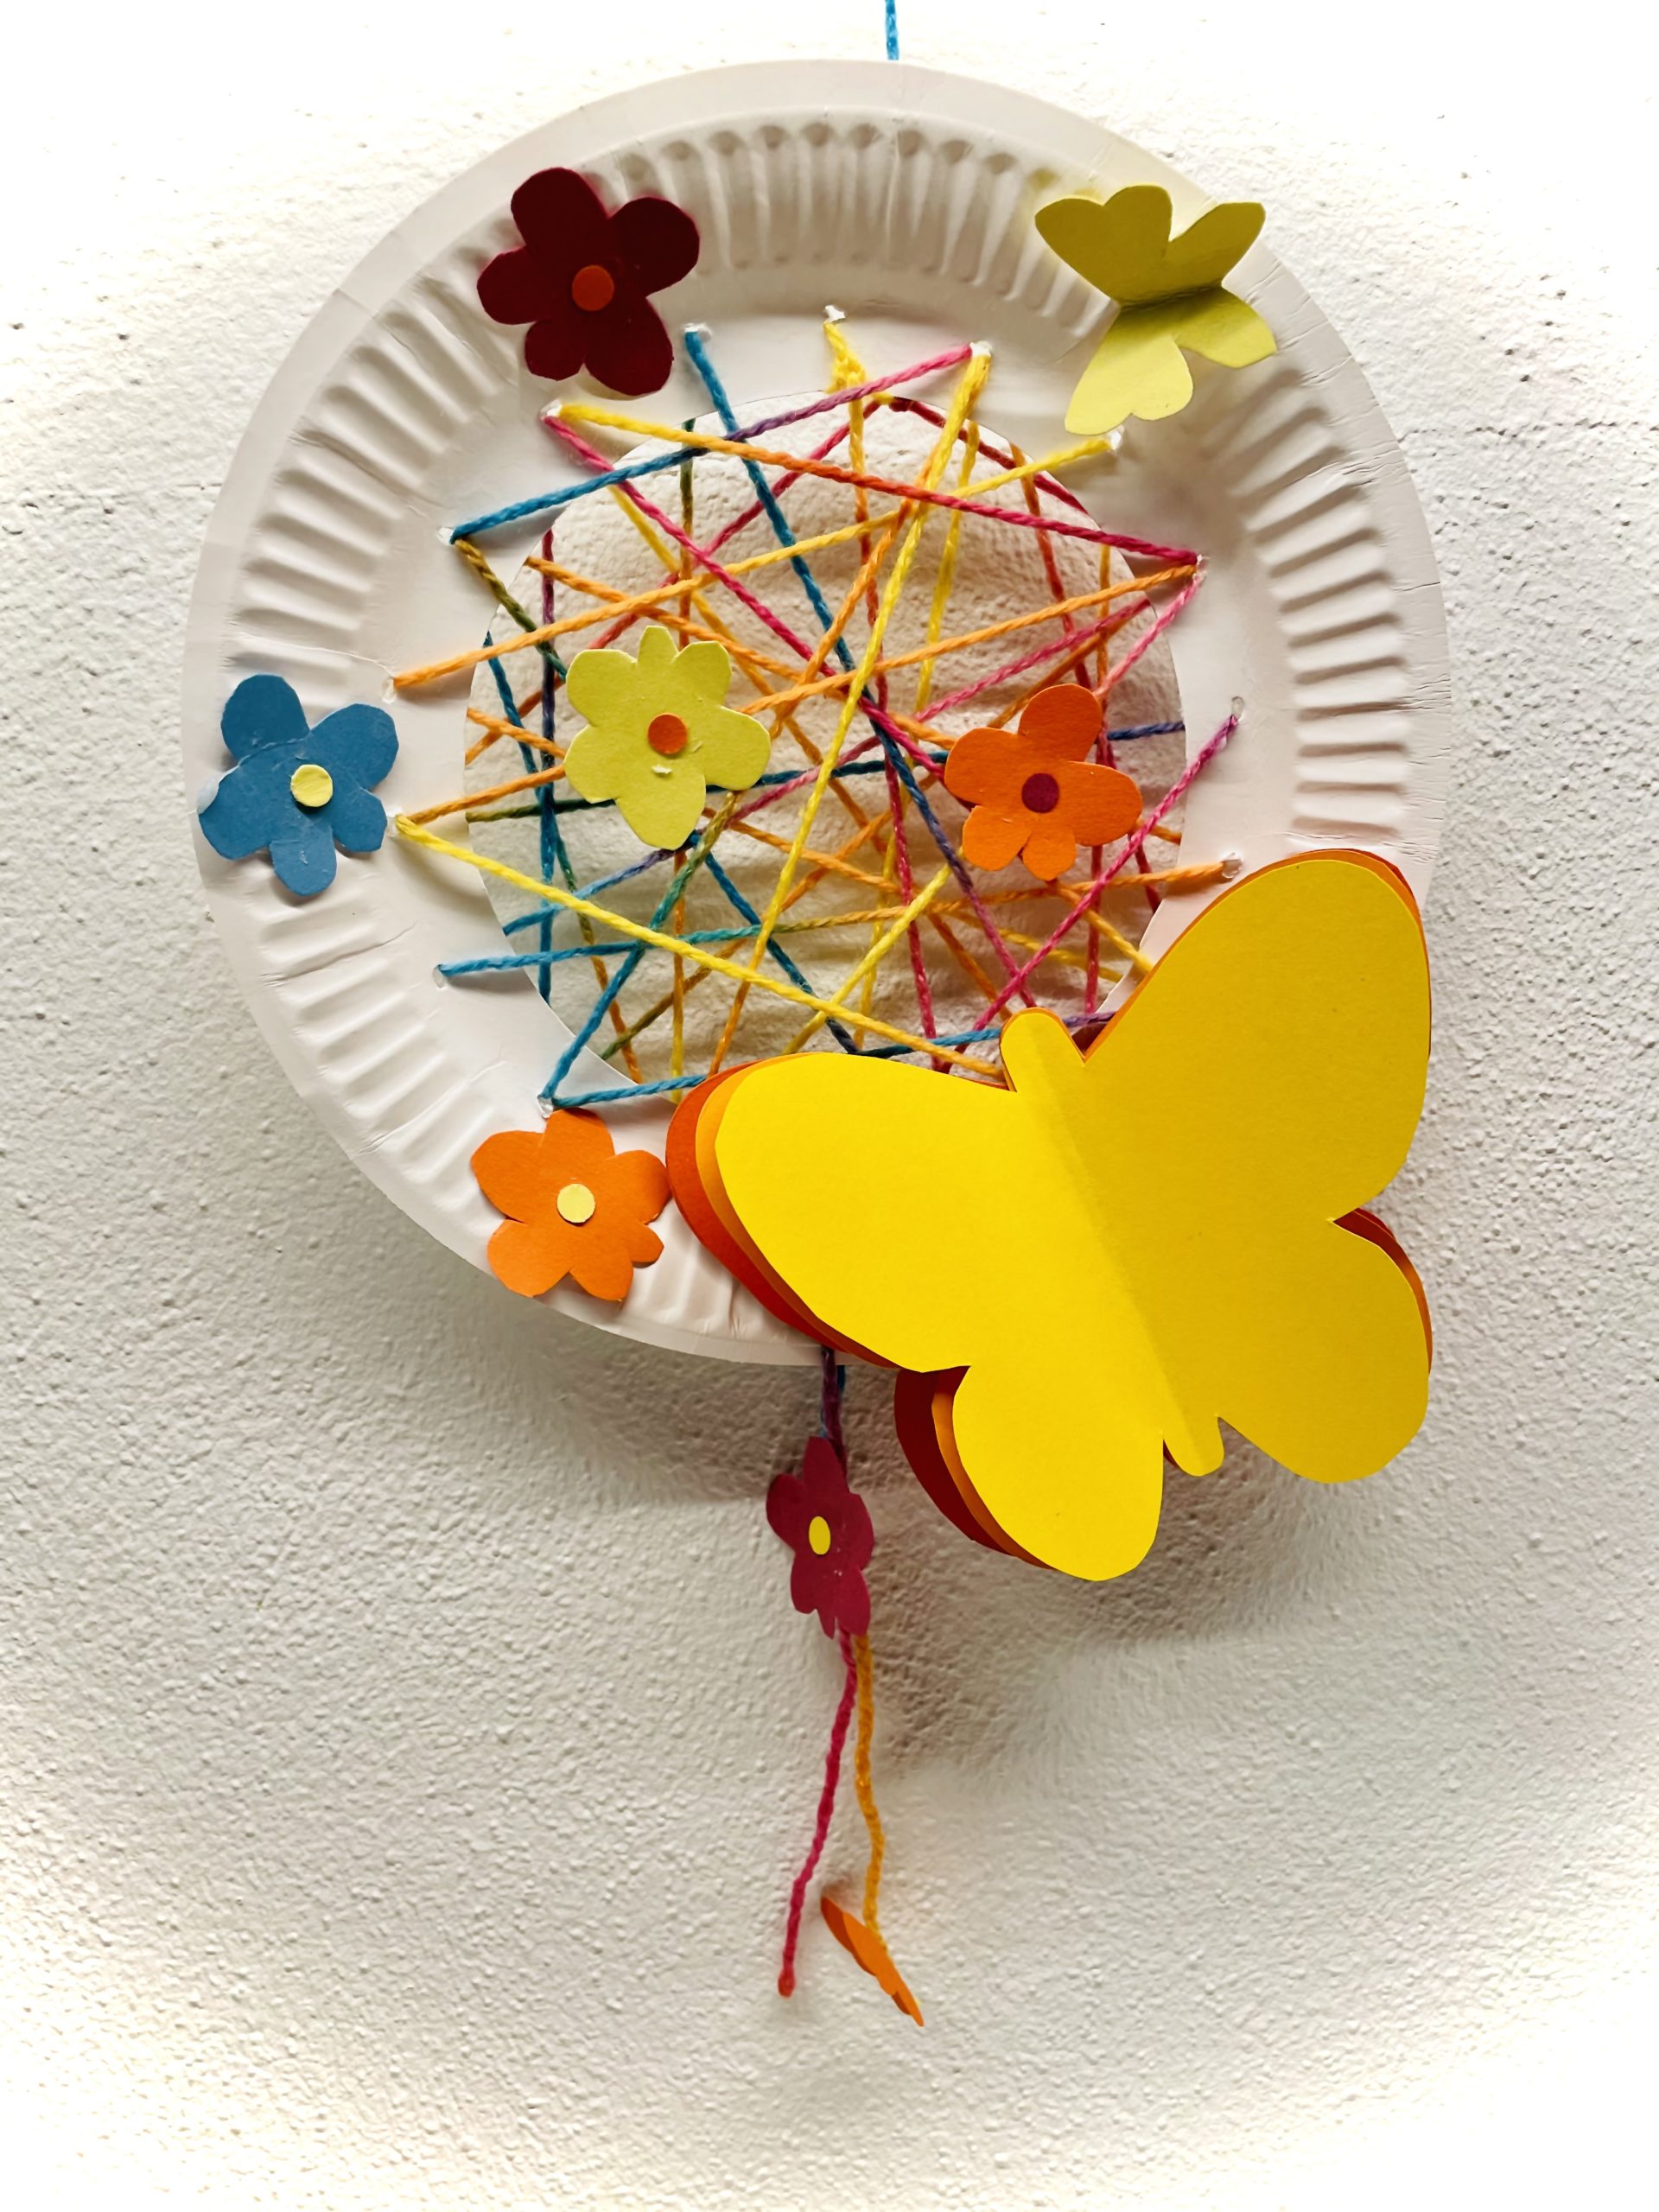
Use the butterfly and use it as an embellishment on a Dream catcher.

Bild zum Schritt 21 für das Bastel- und DIY-Abenteuer für Kinder: 'Nutzt den Schmetterling und verwendet ihn wie hier als Verschönerung...'

20

2. Bild zum Schritt 21 für das Bastel- und DIY-Abenteuer für Kinder: 'Nutzt den Schmetterling und verwendet ihn wie hier als Verschönerung...'

Makes the butterfly as an image:
21

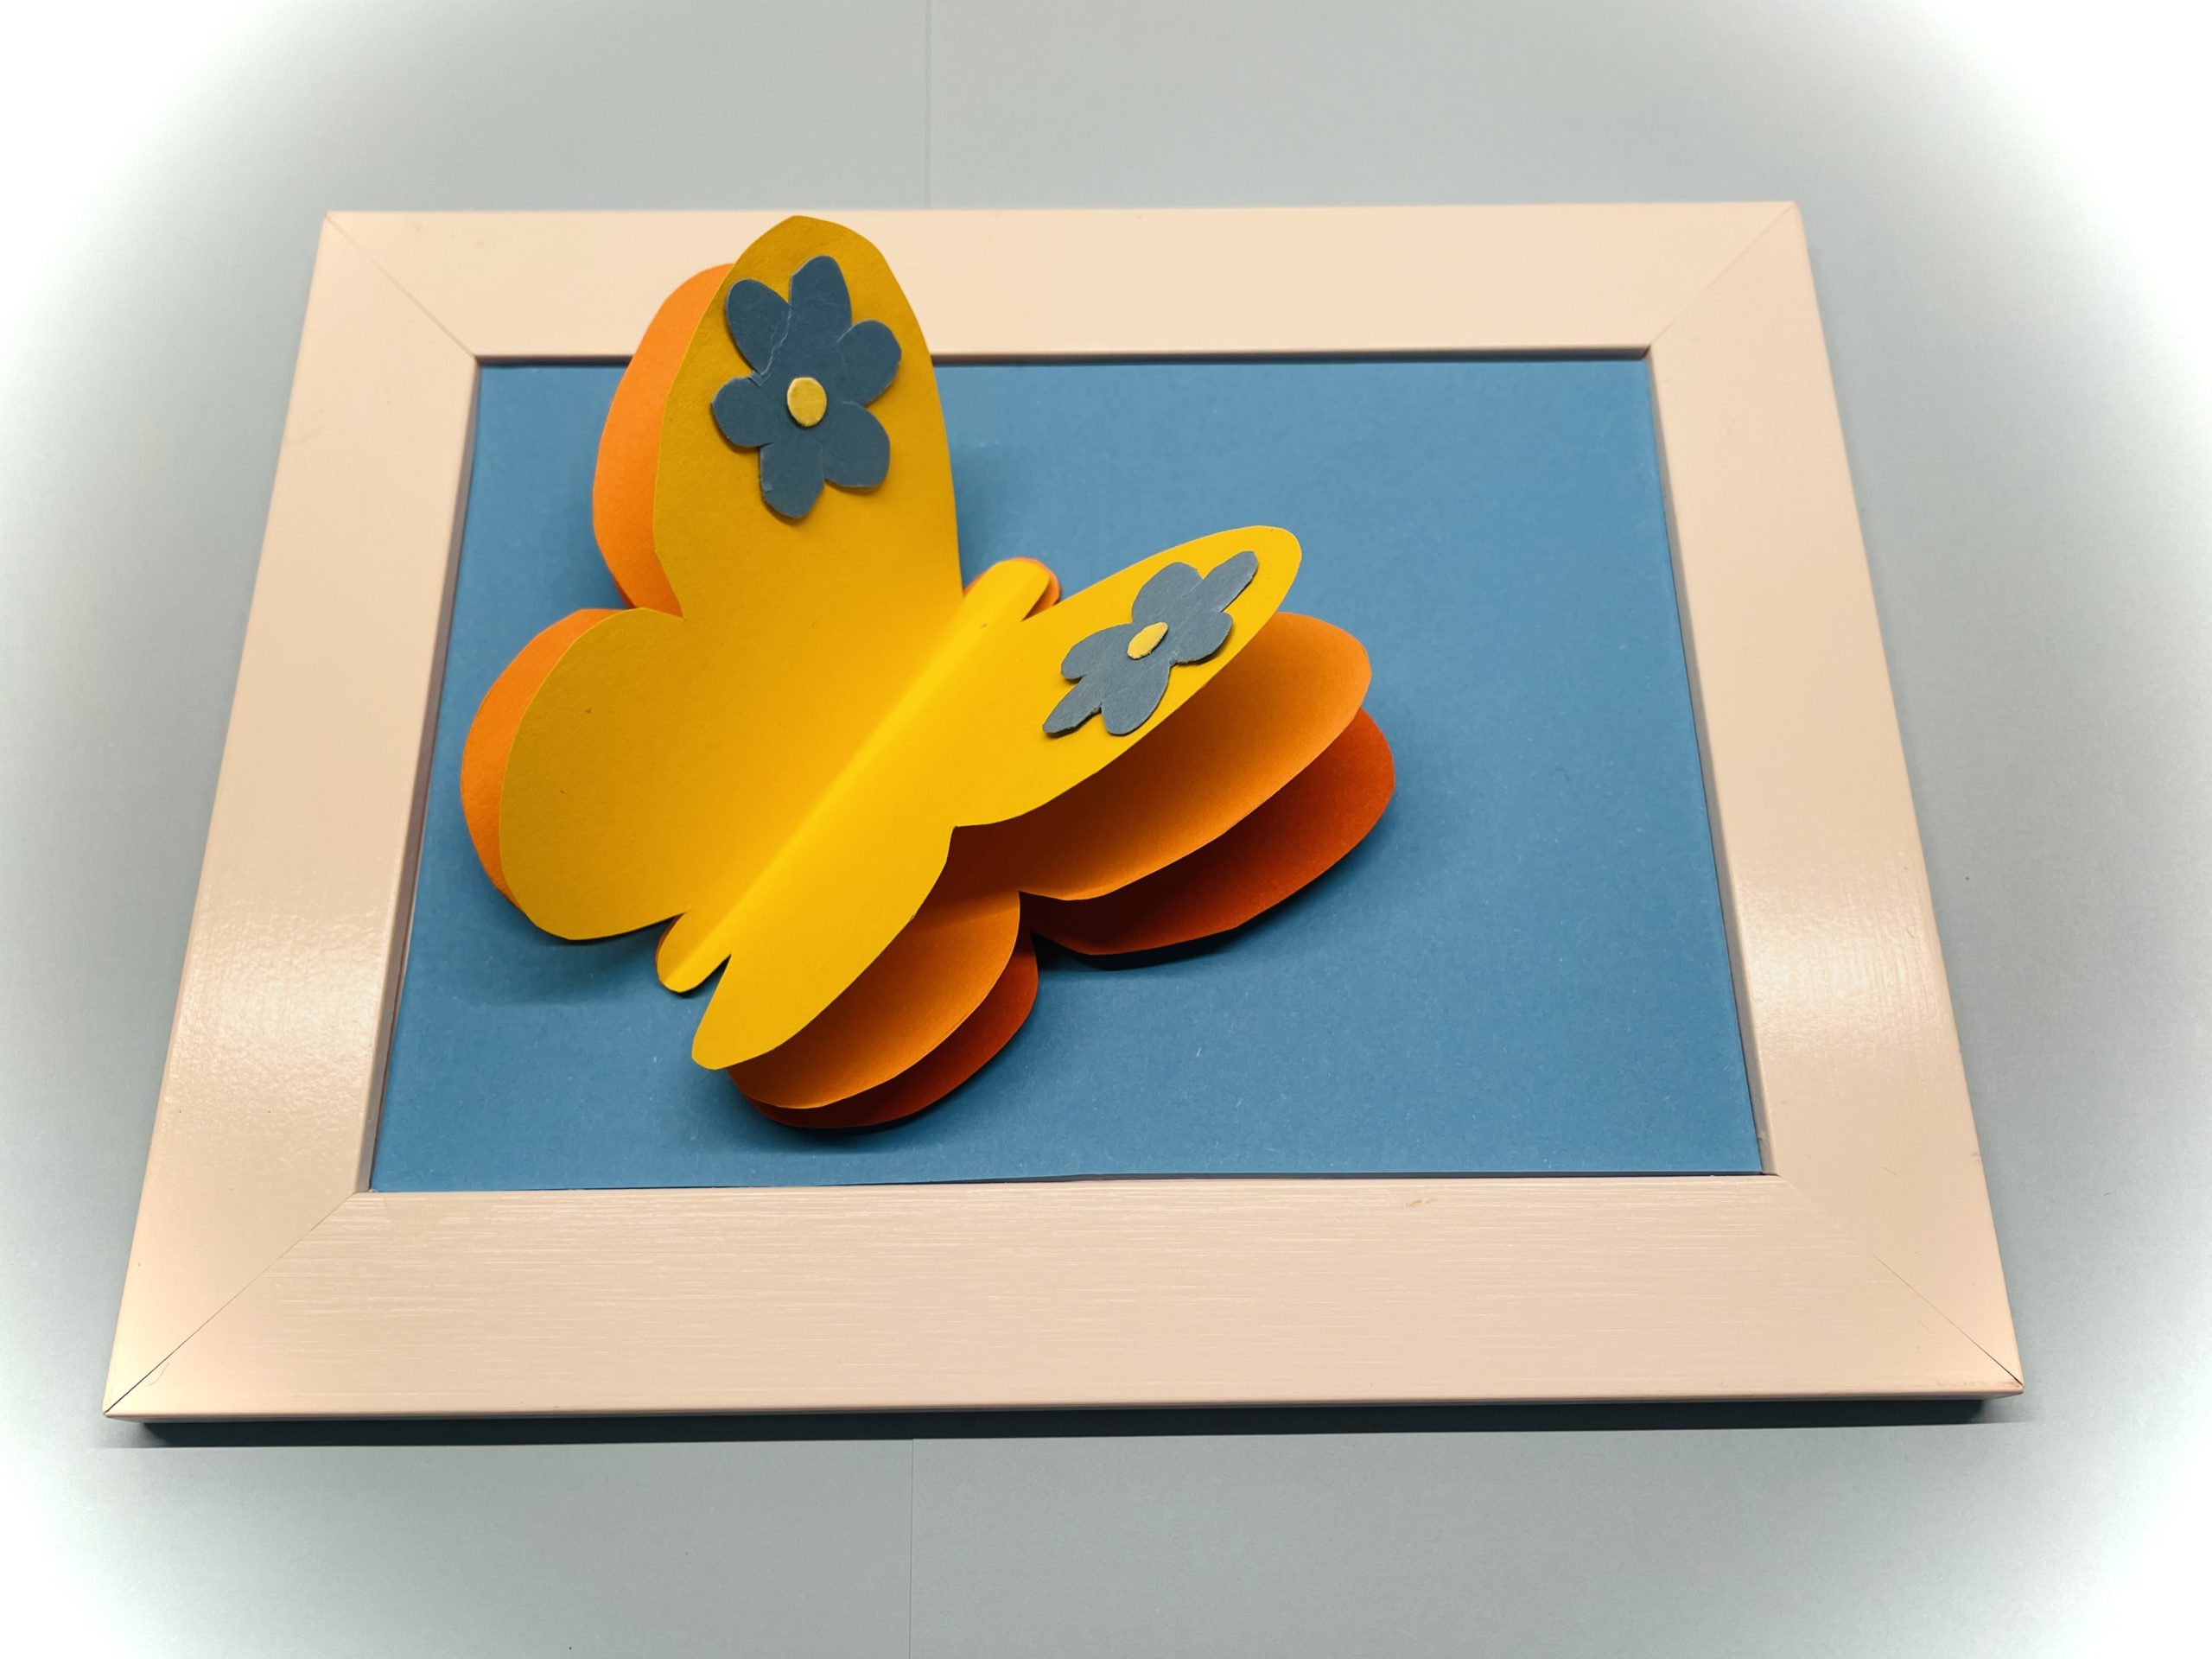
For that, you put the butterfly in a picture frame.
Puts in the frame a monochrome leaf and then glues the butterfly to it. Do you want to add something to it?

Bild zum Schritt 24 für das Bastel- und DIY-Abenteuer für Kinder: 'Dafür klebt ihr den Schmetterling in einen Bilderrahmen.  ...'

22

Try it out!

Bild zum Schritt 25 für das Bastel- und DIY-Abenteuer für Kinder: 'Probiert es aus!'

23

Enjoy your crafting!

Materials

 3 Paper and paperboardyellow, orange, red
 1 Butterfly template
 1 Pencil
 Adhesive film
 Builder's pad
All links marked with a shopping cart lead to Amazon - here we have selected products that we would order ourselves and in part also ordered. In a qualified purchase via the advertising link, we as Amazon partner receive a commission, for you there are no costs. You thus support our cost- and advertising banner-free, educational offer.

Directions

1

Put out your craft material and select three colors of clay paper.

Bild zum Schritt 1 für das Bastel- und DIY-Abenteuer für Kinder: 'Legt eure Bastelunterlage aus und wählt euch drei Farben Tonpapier...'

2

Now you paint a butterfly stencil or you print this template.

Bild zum Schritt 2 für das Bastel- und DIY-Abenteuer für Kinder: 'Jetzt malt ihr euch eine Schmetterlingsschablone oder ihr druckt euch...'

3

Then you cut out the butterfly.

Bild zum Schritt 3 für das Bastel- und DIY-Abenteuer für Kinder: 'Anschließend schneidet ihr den Schmetterling aus.'

4

Now transfer the template to the audio paper.
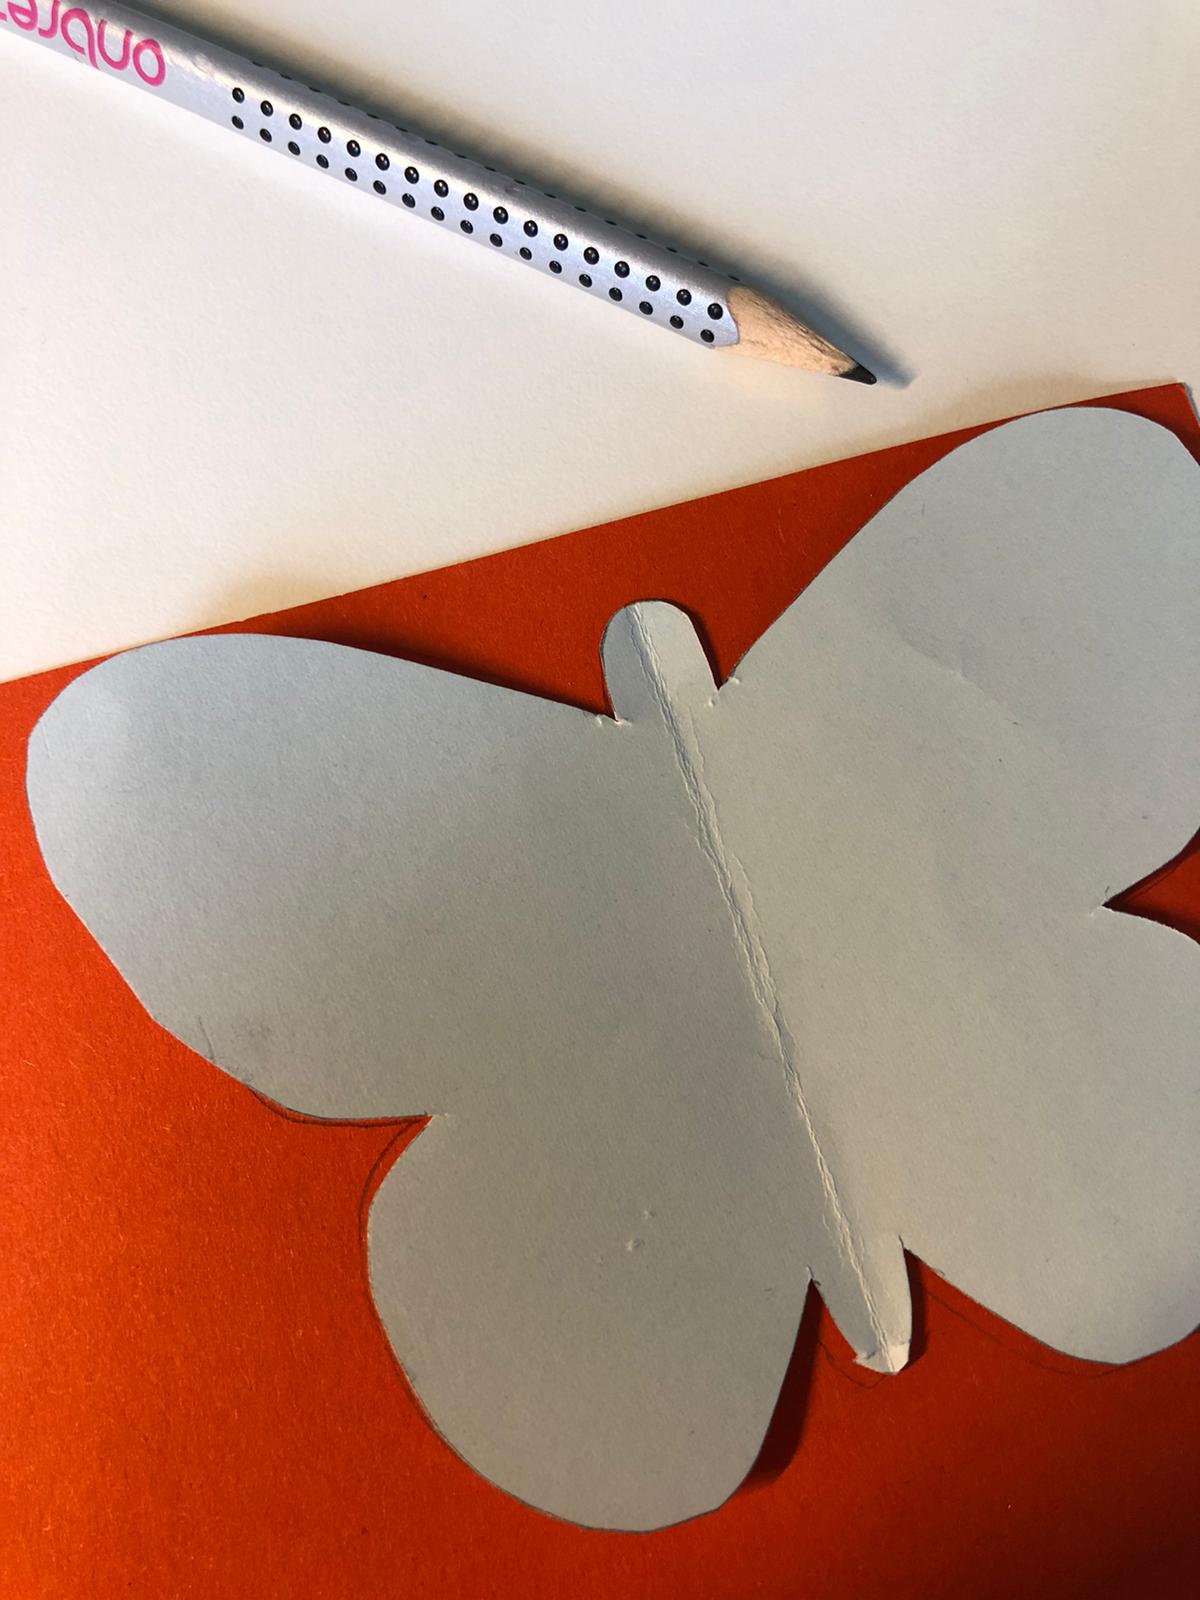
Bild zum Schritt 4 für das Bastel- und DIY-Abenteuer für Kinder: 'Übertragt nun die Vorlage auf das Tonpapier.'

5

Cut out three butterflies in different shades.
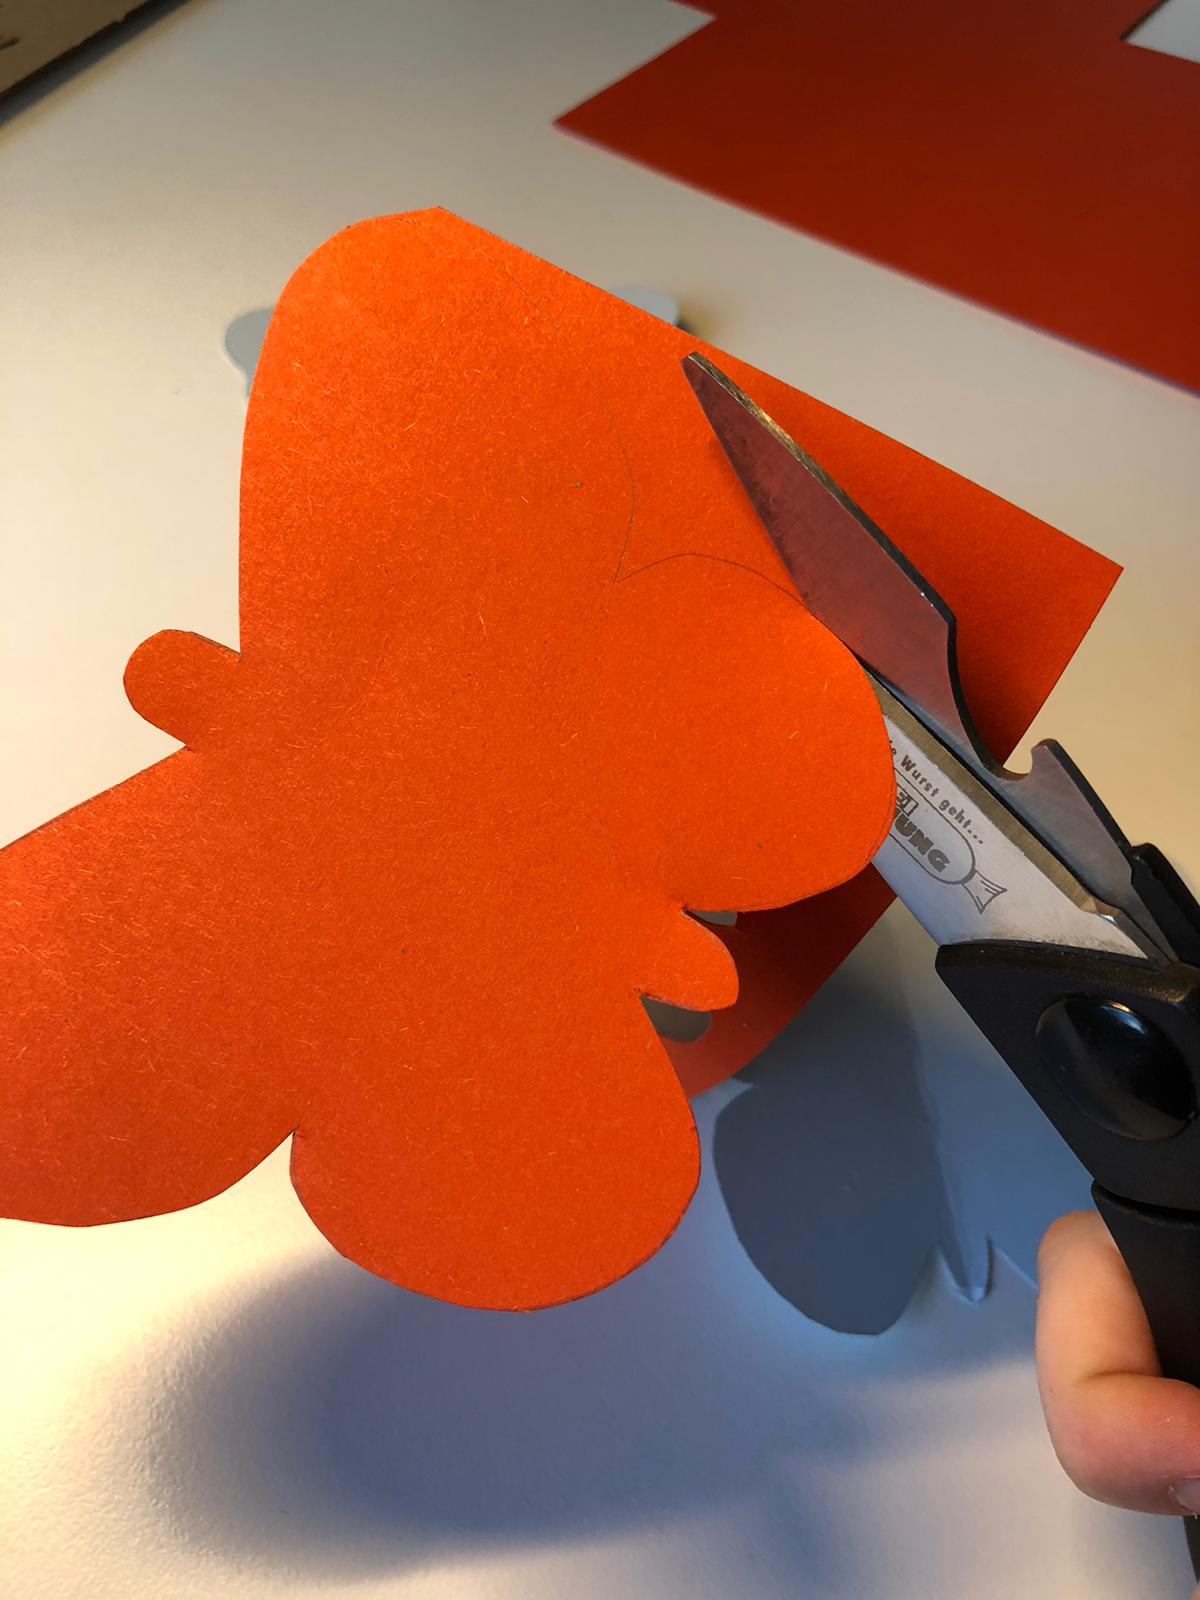
Bild zum Schritt 5 für das Bastel- und DIY-Abenteuer für Kinder: 'Schneidet euch drei Schmetterlinge in verschiedenen Farbtönen aus.'

6

Tip: Alternatively, you can also use 3 shades of blue or 3 shades of green.
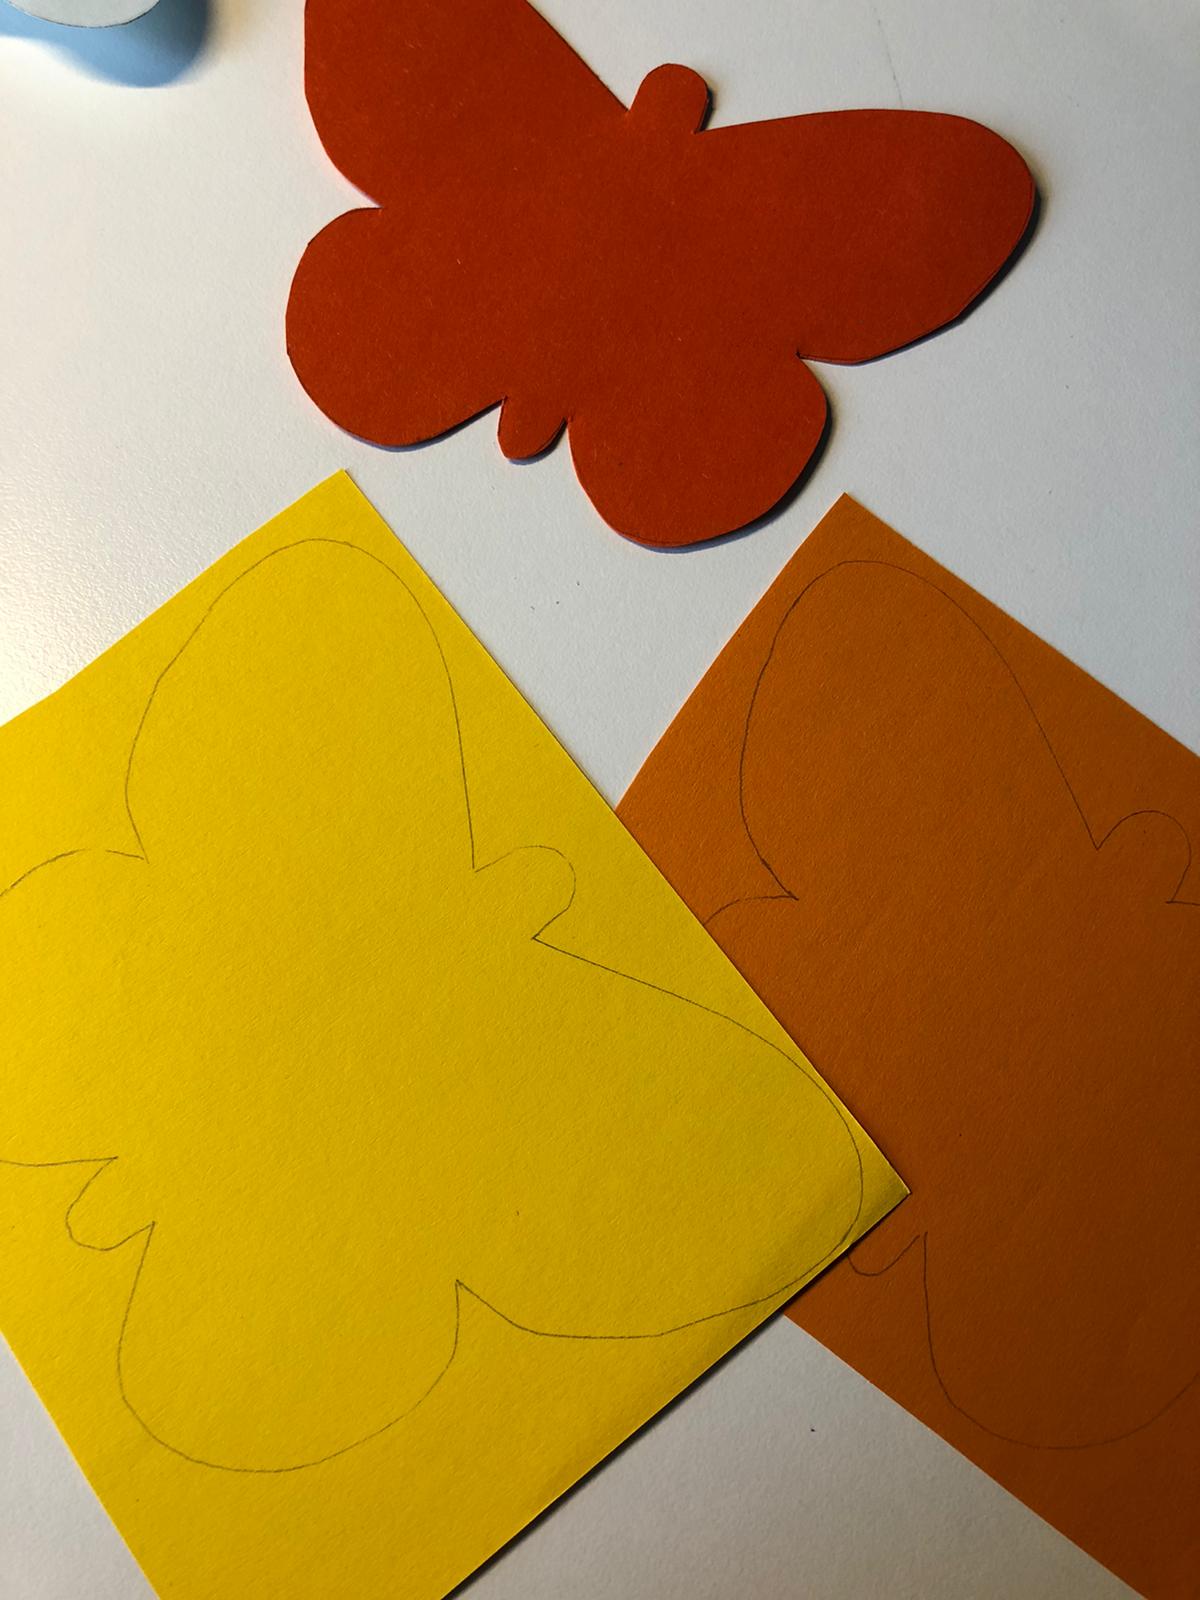
Bild zum Schritt 6 für das Bastel- und DIY-Abenteuer für Kinder: 'Tipp: Alternativ könnt ihr auch 3 Blautöne oder 3 Grüntöne...'

7

2. Bild zum Schritt 6 für das Bastel- und DIY-Abenteuer für Kinder: 'Tipp: Alternativ könnt ihr auch 3 Blautöne oder 3 Grüntöne...'

8

Now you mark the middle of your butterflies.
For this, you draw a thin pencil line that marks you with the ruler.
So you can fold the paper exactly at the line in the middle.
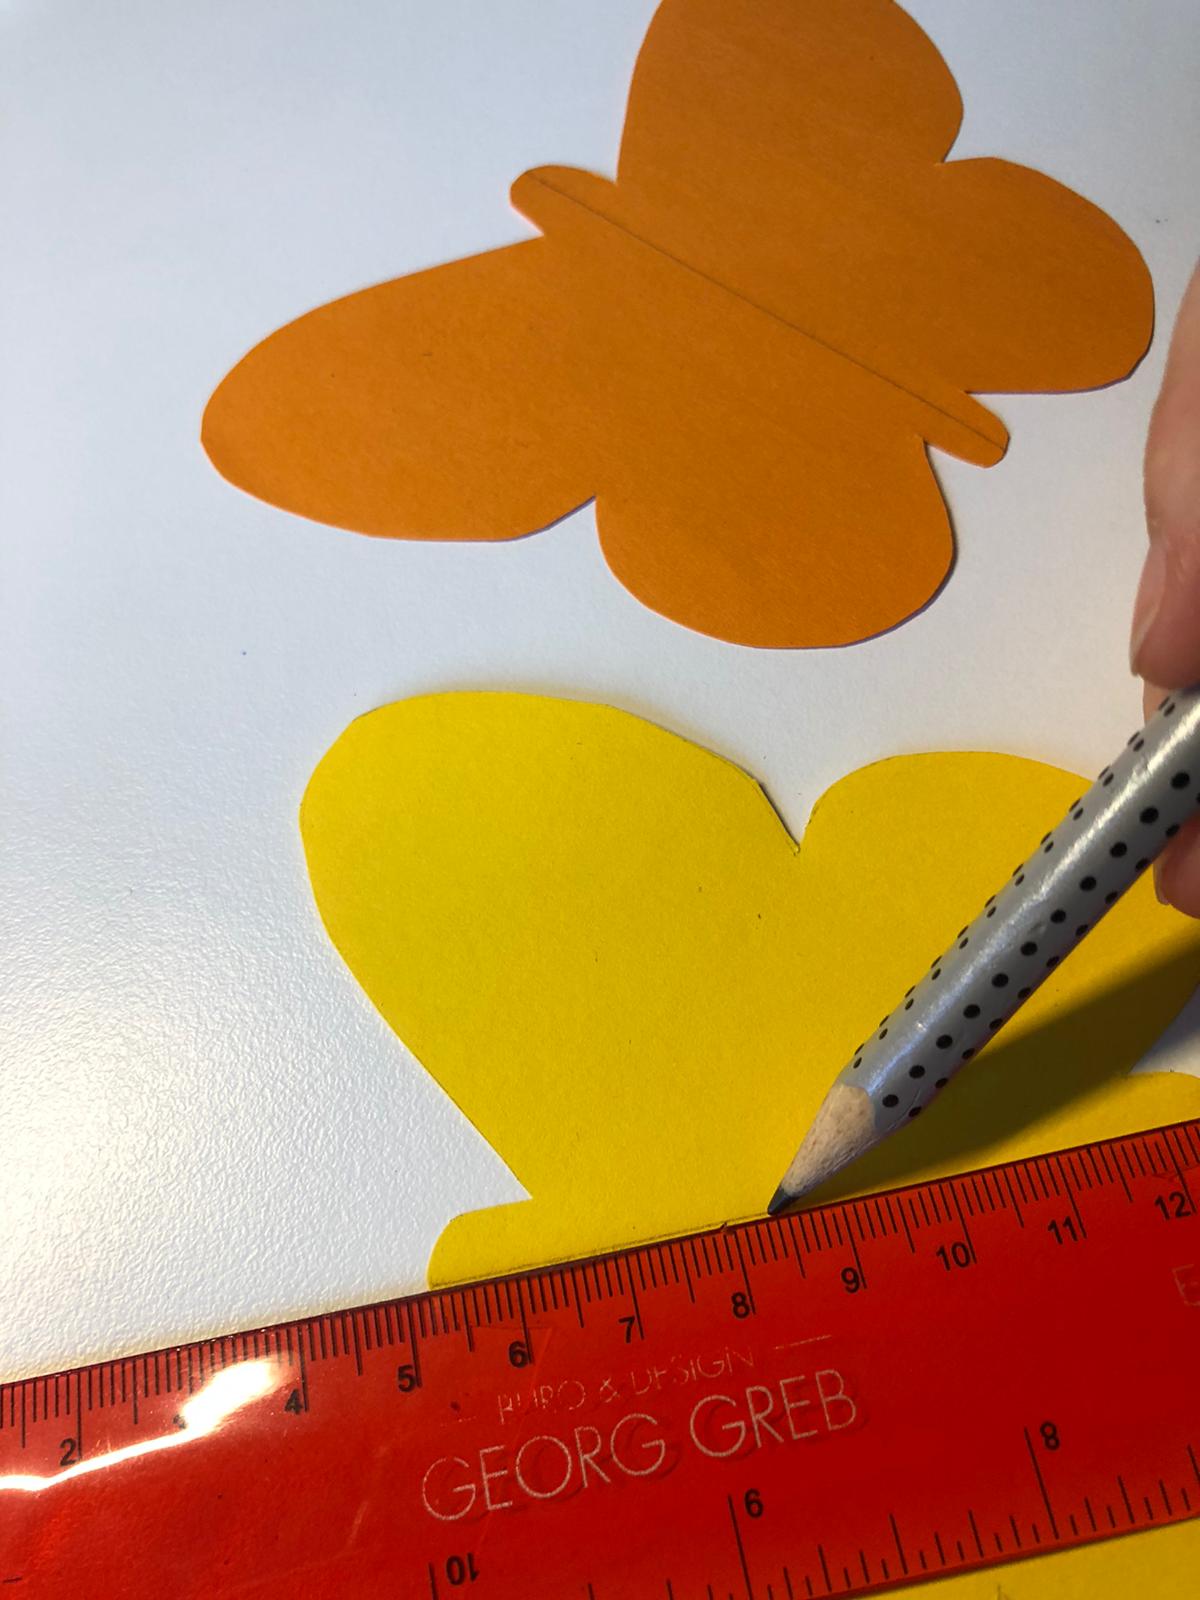
Bild zum Schritt 8 für das Bastel- und DIY-Abenteuer für Kinder: 'Jetzt markiert ihr die Mitte eurer Schmetterlinge.   Dafür...'

9

Now fold half all butterflies.

Bild zum Schritt 9 für das Bastel- und DIY-Abenteuer für Kinder: 'Faltet nun alle Schmetterlinge zur Hälfte.'

10

Now put glue on the middle line of the first butterfly.

Bild zum Schritt 10 für das Bastel- und DIY-Abenteuer für Kinder: 'Tragt jetzt auf die Mittellinie des ersten Schmetterlings Kleber auf.'

11

Then you put the second butterfly and squeeze it.
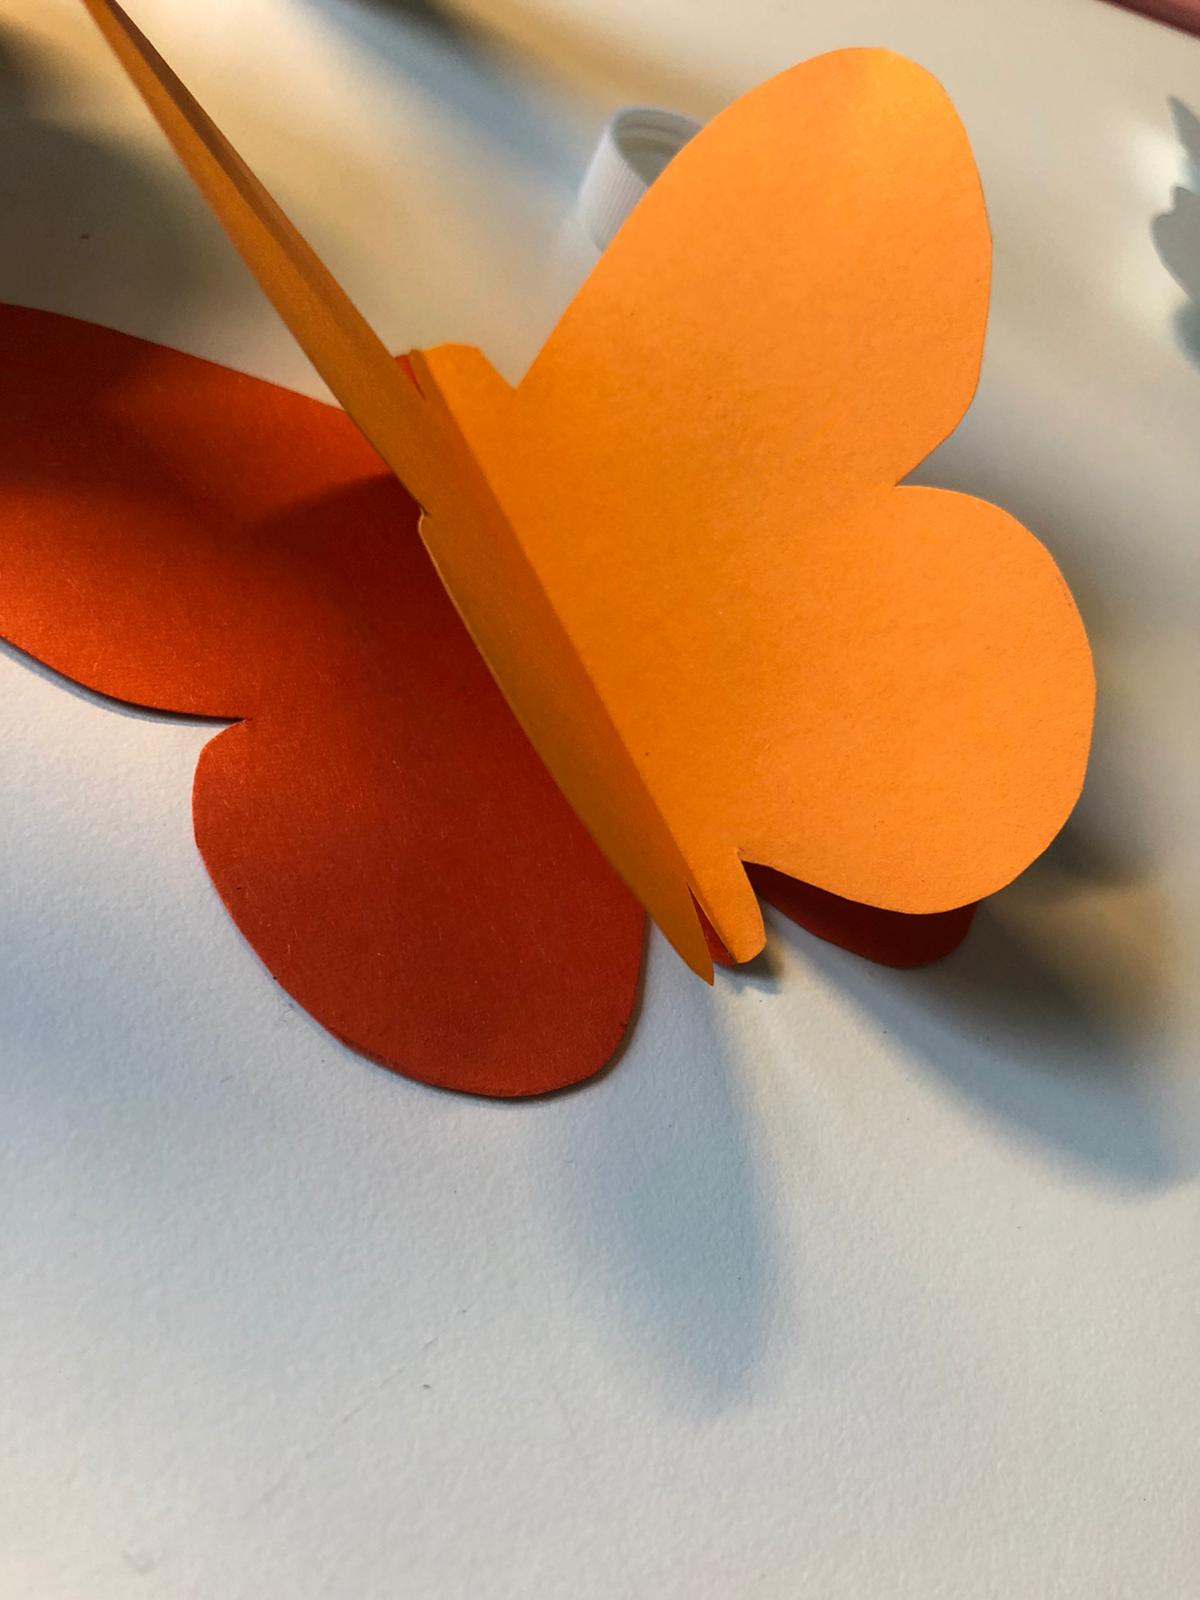
Bild zum Schritt 11 für das Bastel- und DIY-Abenteuer für Kinder: 'Darauf legt ihr nun den zweiten Schmetterling und drückt ihn...'

12

After that, you put glue on the upper butterfly and stick the third butterfly on it.
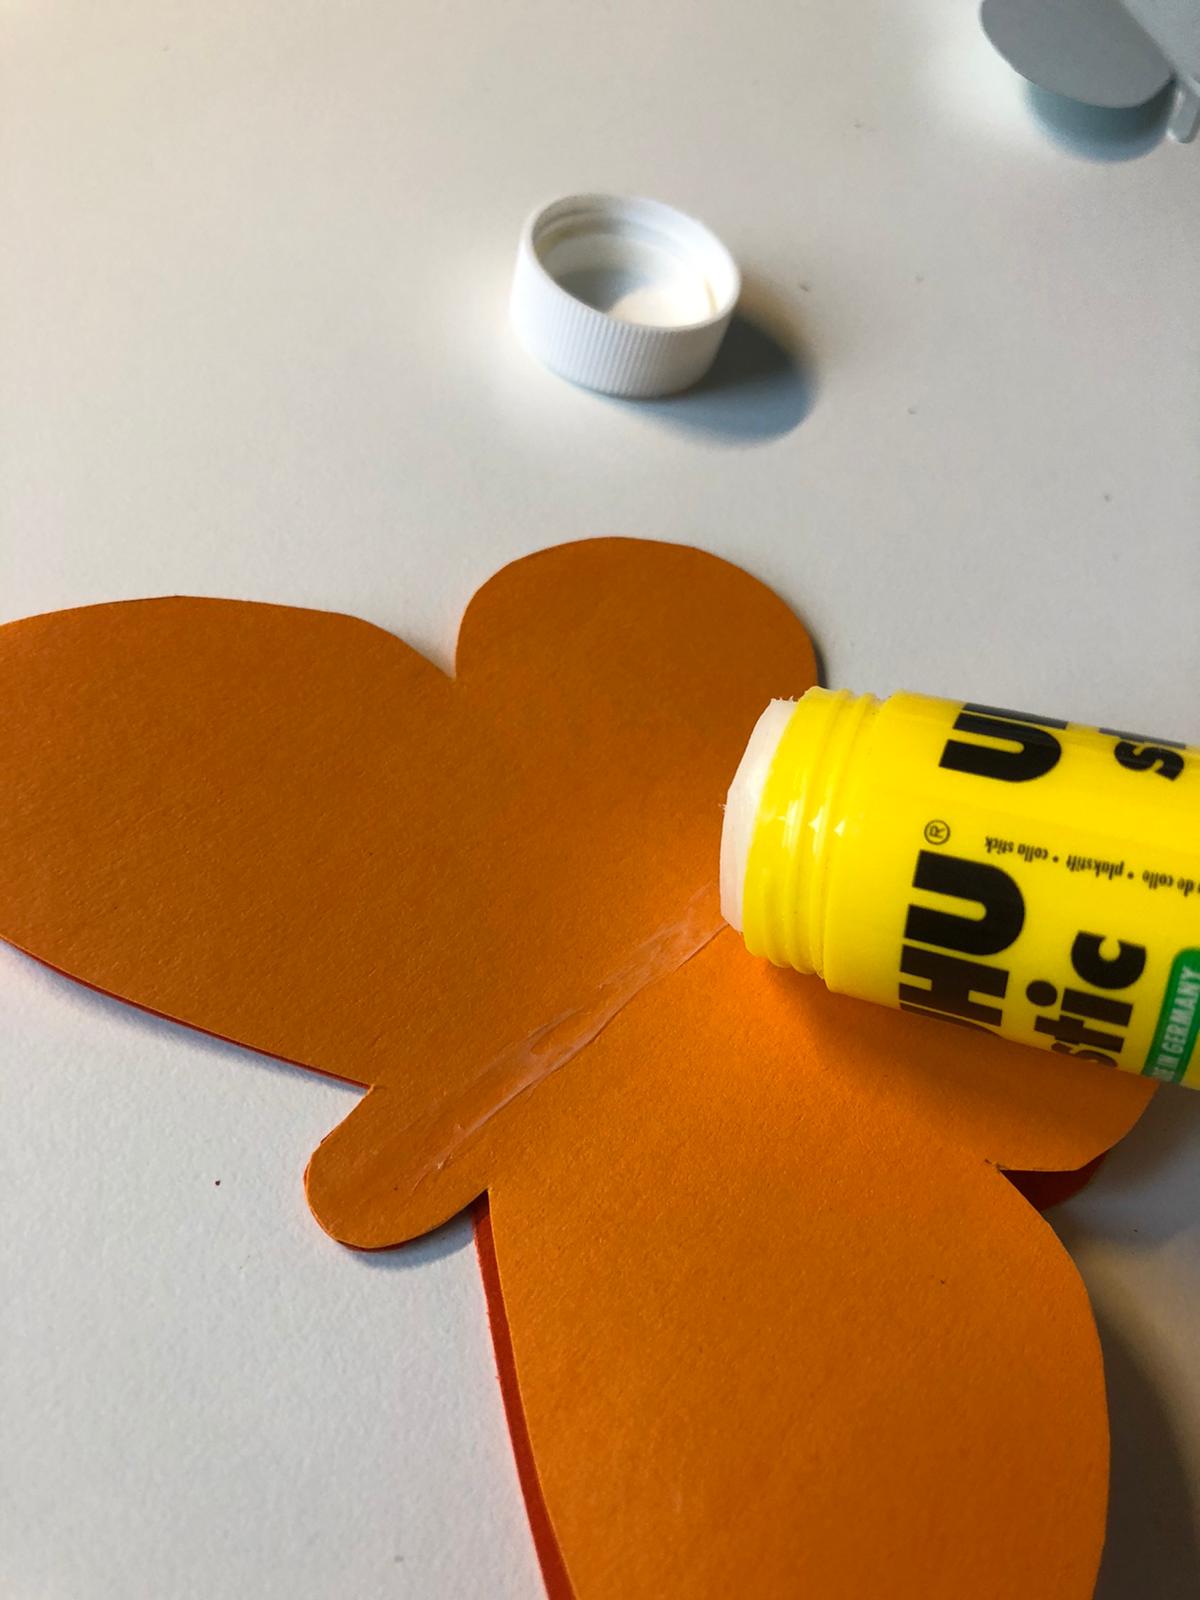
Bild zum Schritt 12 für das Bastel- und DIY-Abenteuer für Kinder: 'Danach tragt ihr Kleber auf den oberen Schmetterling auf und...'

13

2. Bild zum Schritt 12 für das Bastel- und DIY-Abenteuer für Kinder: 'Danach tragt ihr Kleber auf den oberen Schmetterling auf und...'

14

Your butterfly is ready.

Bild zum Schritt 14 für das Bastel- und DIY-Abenteuer für Kinder: 'Fertig ist euer Schmetterling.'

15

Now roll up a tape and hang the butterfly on a window.
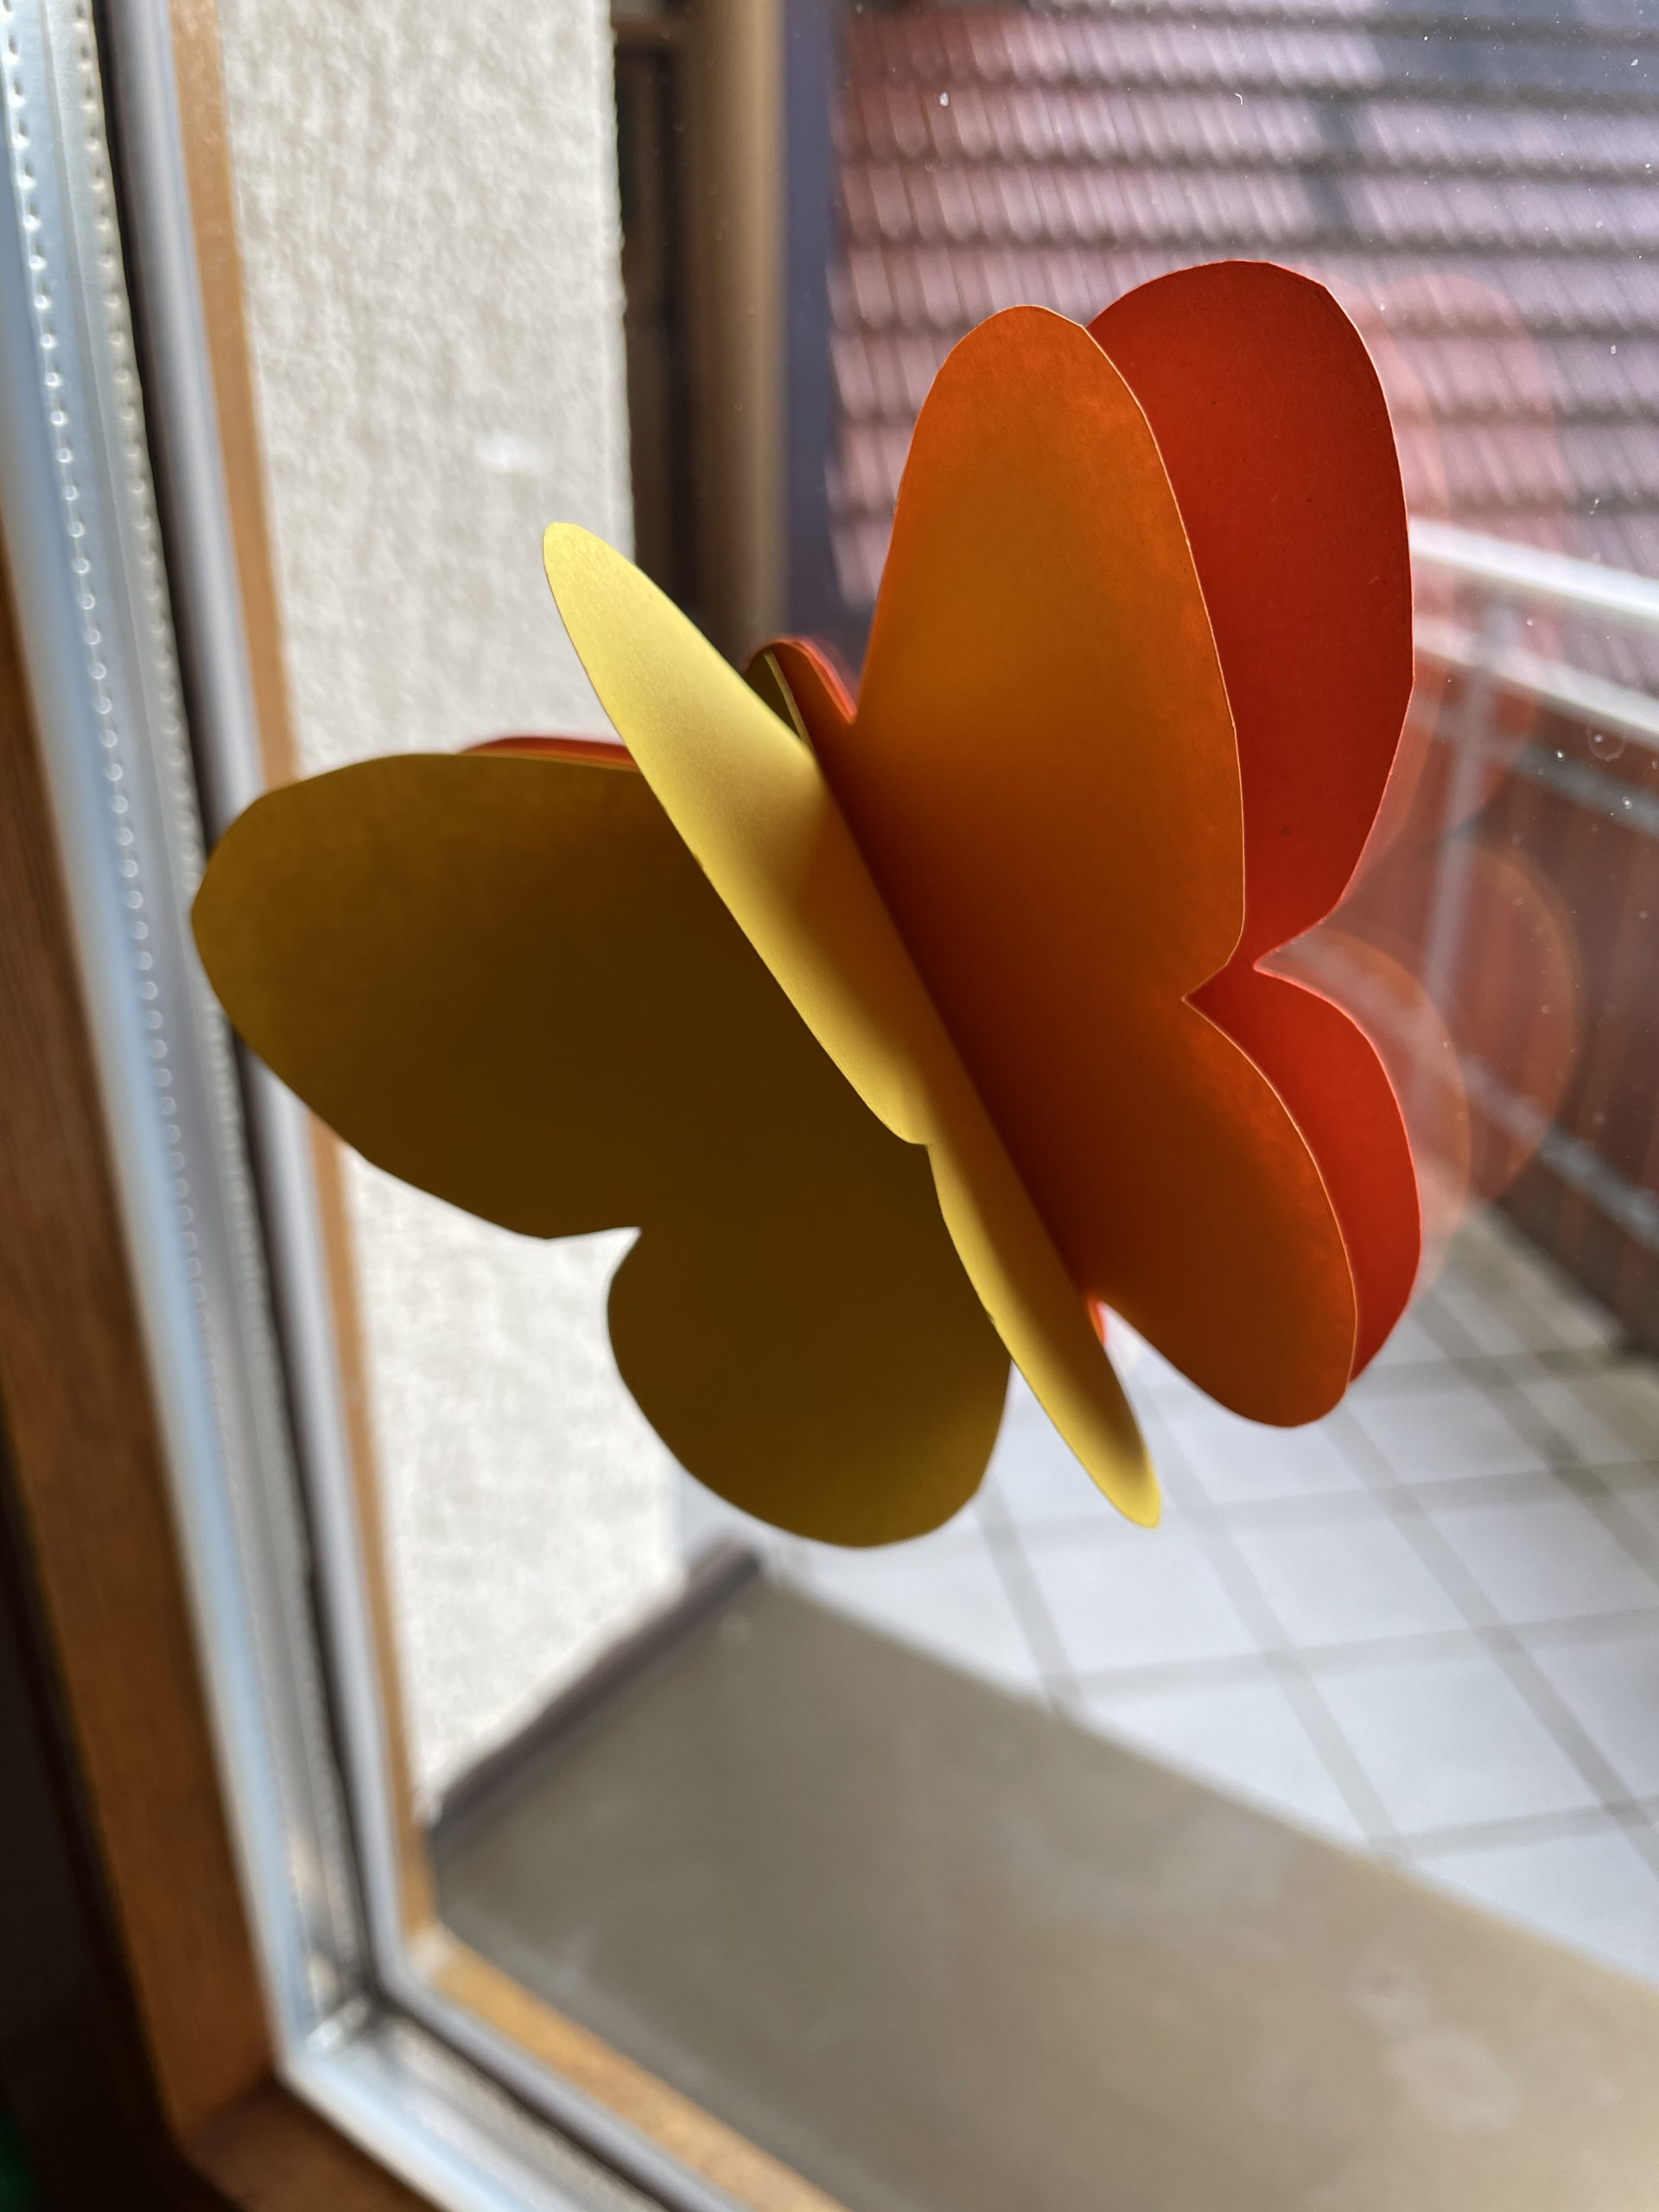
Bild zum Schritt 15 für das Bastel- und DIY-Abenteuer für Kinder: 'Rollt jetzt einen Klebestreifen zusammen und hängt den Schmetterling an...'

16

Or you can hang him on a wall.

Bild zum Schritt 16 für das Bastel- und DIY-Abenteuer für Kinder: 'Oder ihr hängt ihn an eine Wand.'

Other use: as a card
17

Fold half a solid paper so that you get a card.
Stick the butterfly on it.
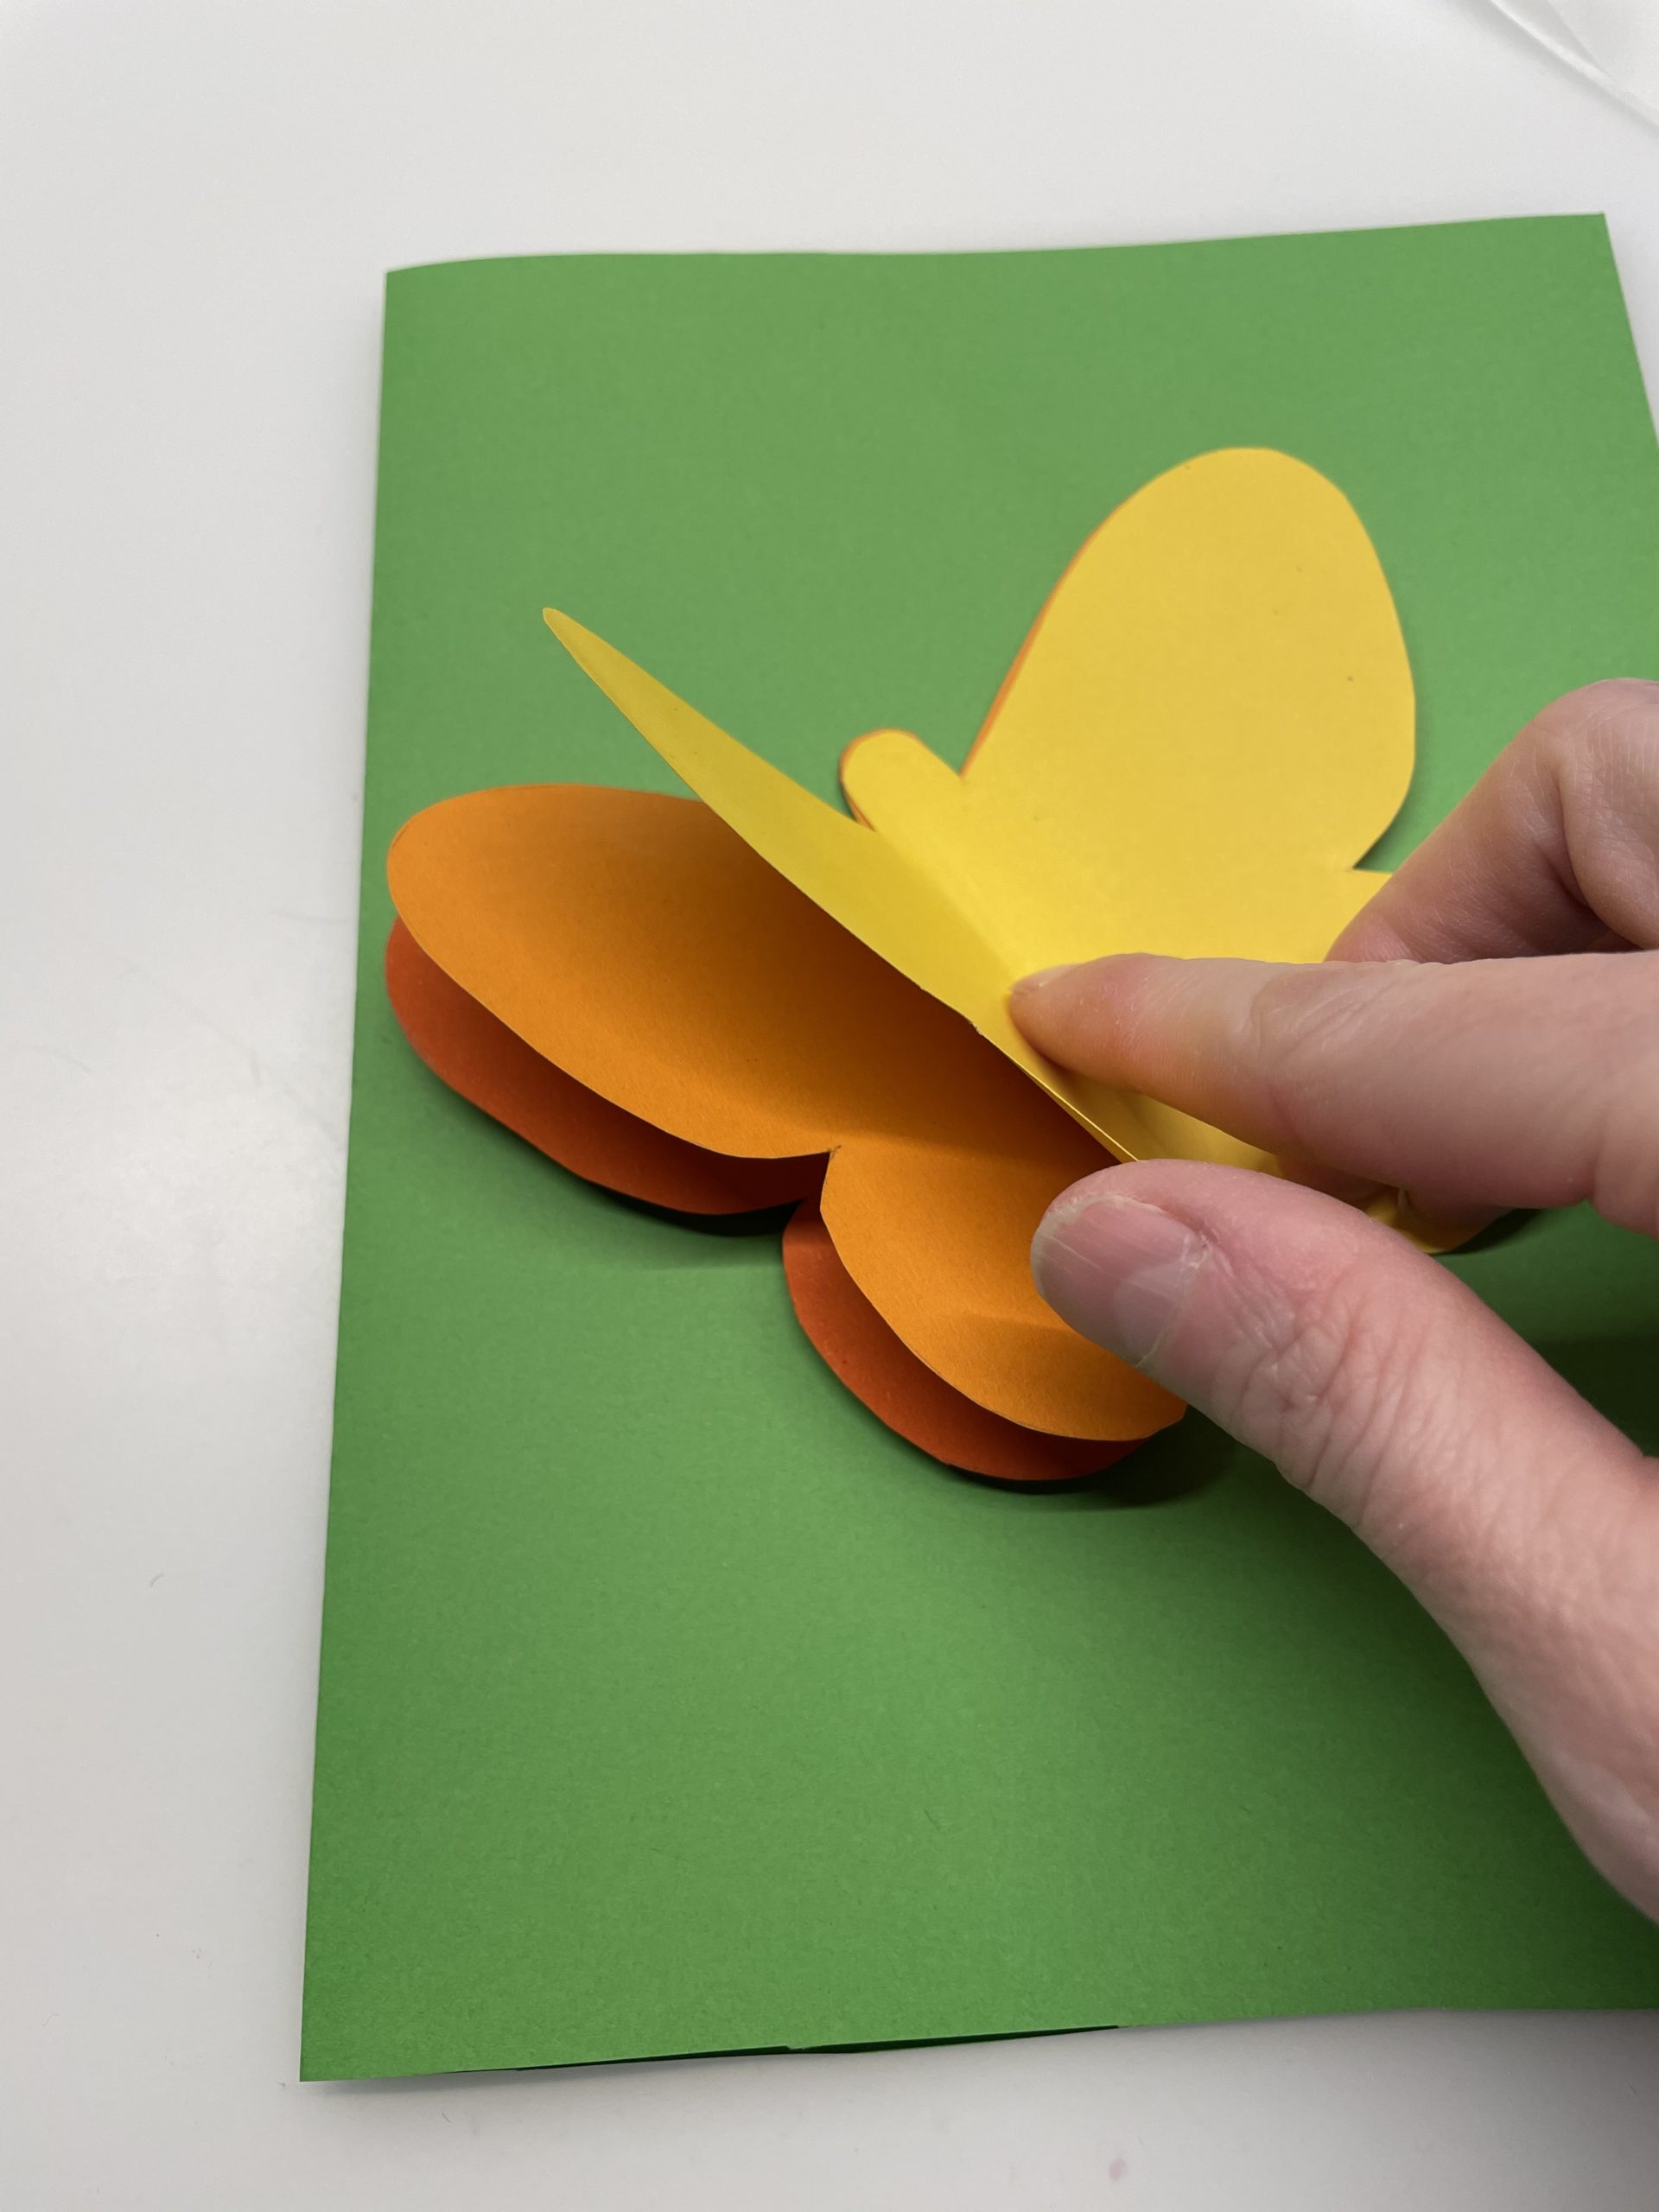
Bild zum Schritt 18 für das Bastel- und DIY-Abenteuer für Kinder: 'Faltet dafür ein festes Papier zu Hälfte, so dass ihr...'

18

Finished is a colorful card e.g. for birthday.
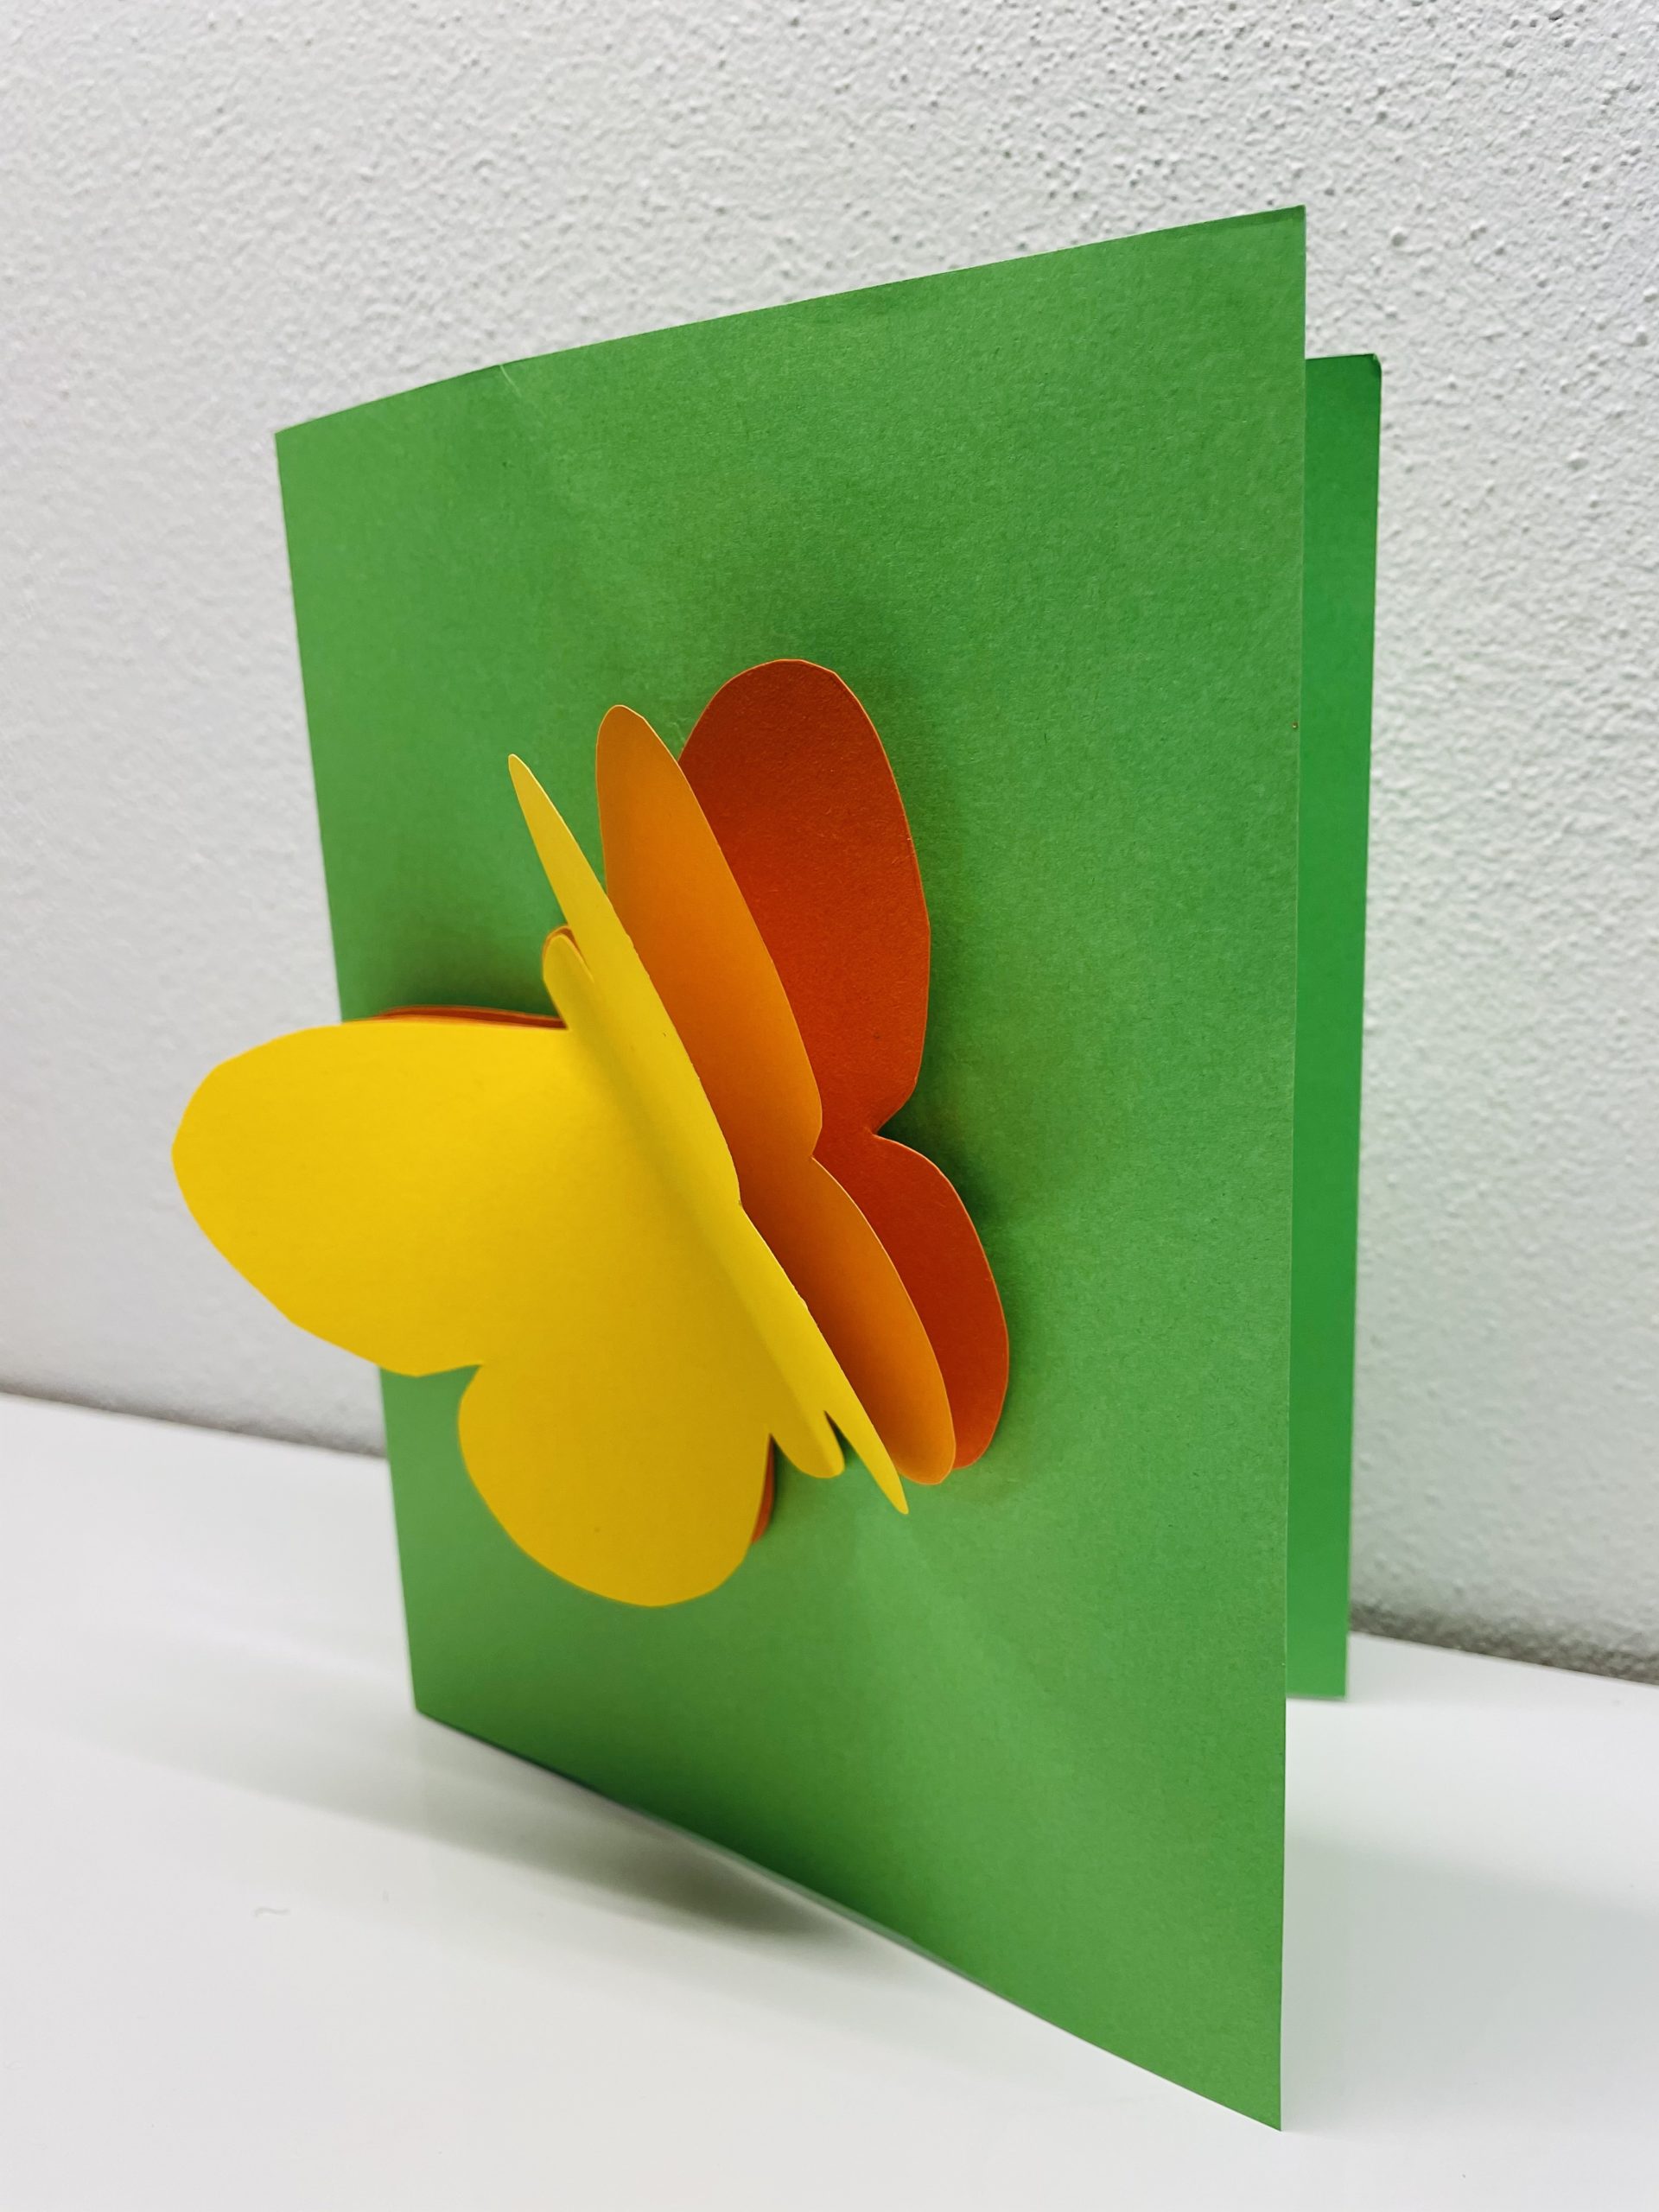
Bild zum Schritt 19 für das Bastel- und DIY-Abenteuer für Kinder: 'Fertig ist eine farbenfrohe Karte z.B. zum Geburtstag.'

Further use: as dream catcher
19

Use the butterfly and use it as an embellishment on a Dream catcher.

Bild zum Schritt 21 für das Bastel- und DIY-Abenteuer für Kinder: 'Nutzt den Schmetterling und verwendet ihn wie hier als Verschönerung...'

20

2. Bild zum Schritt 21 für das Bastel- und DIY-Abenteuer für Kinder: 'Nutzt den Schmetterling und verwendet ihn wie hier als Verschönerung...'

Makes the butterfly as an image:
21

For that, you put the butterfly in a picture frame.
Puts in the frame a monochrome leaf and then glues the butterfly to it. Do you want to add something to it?
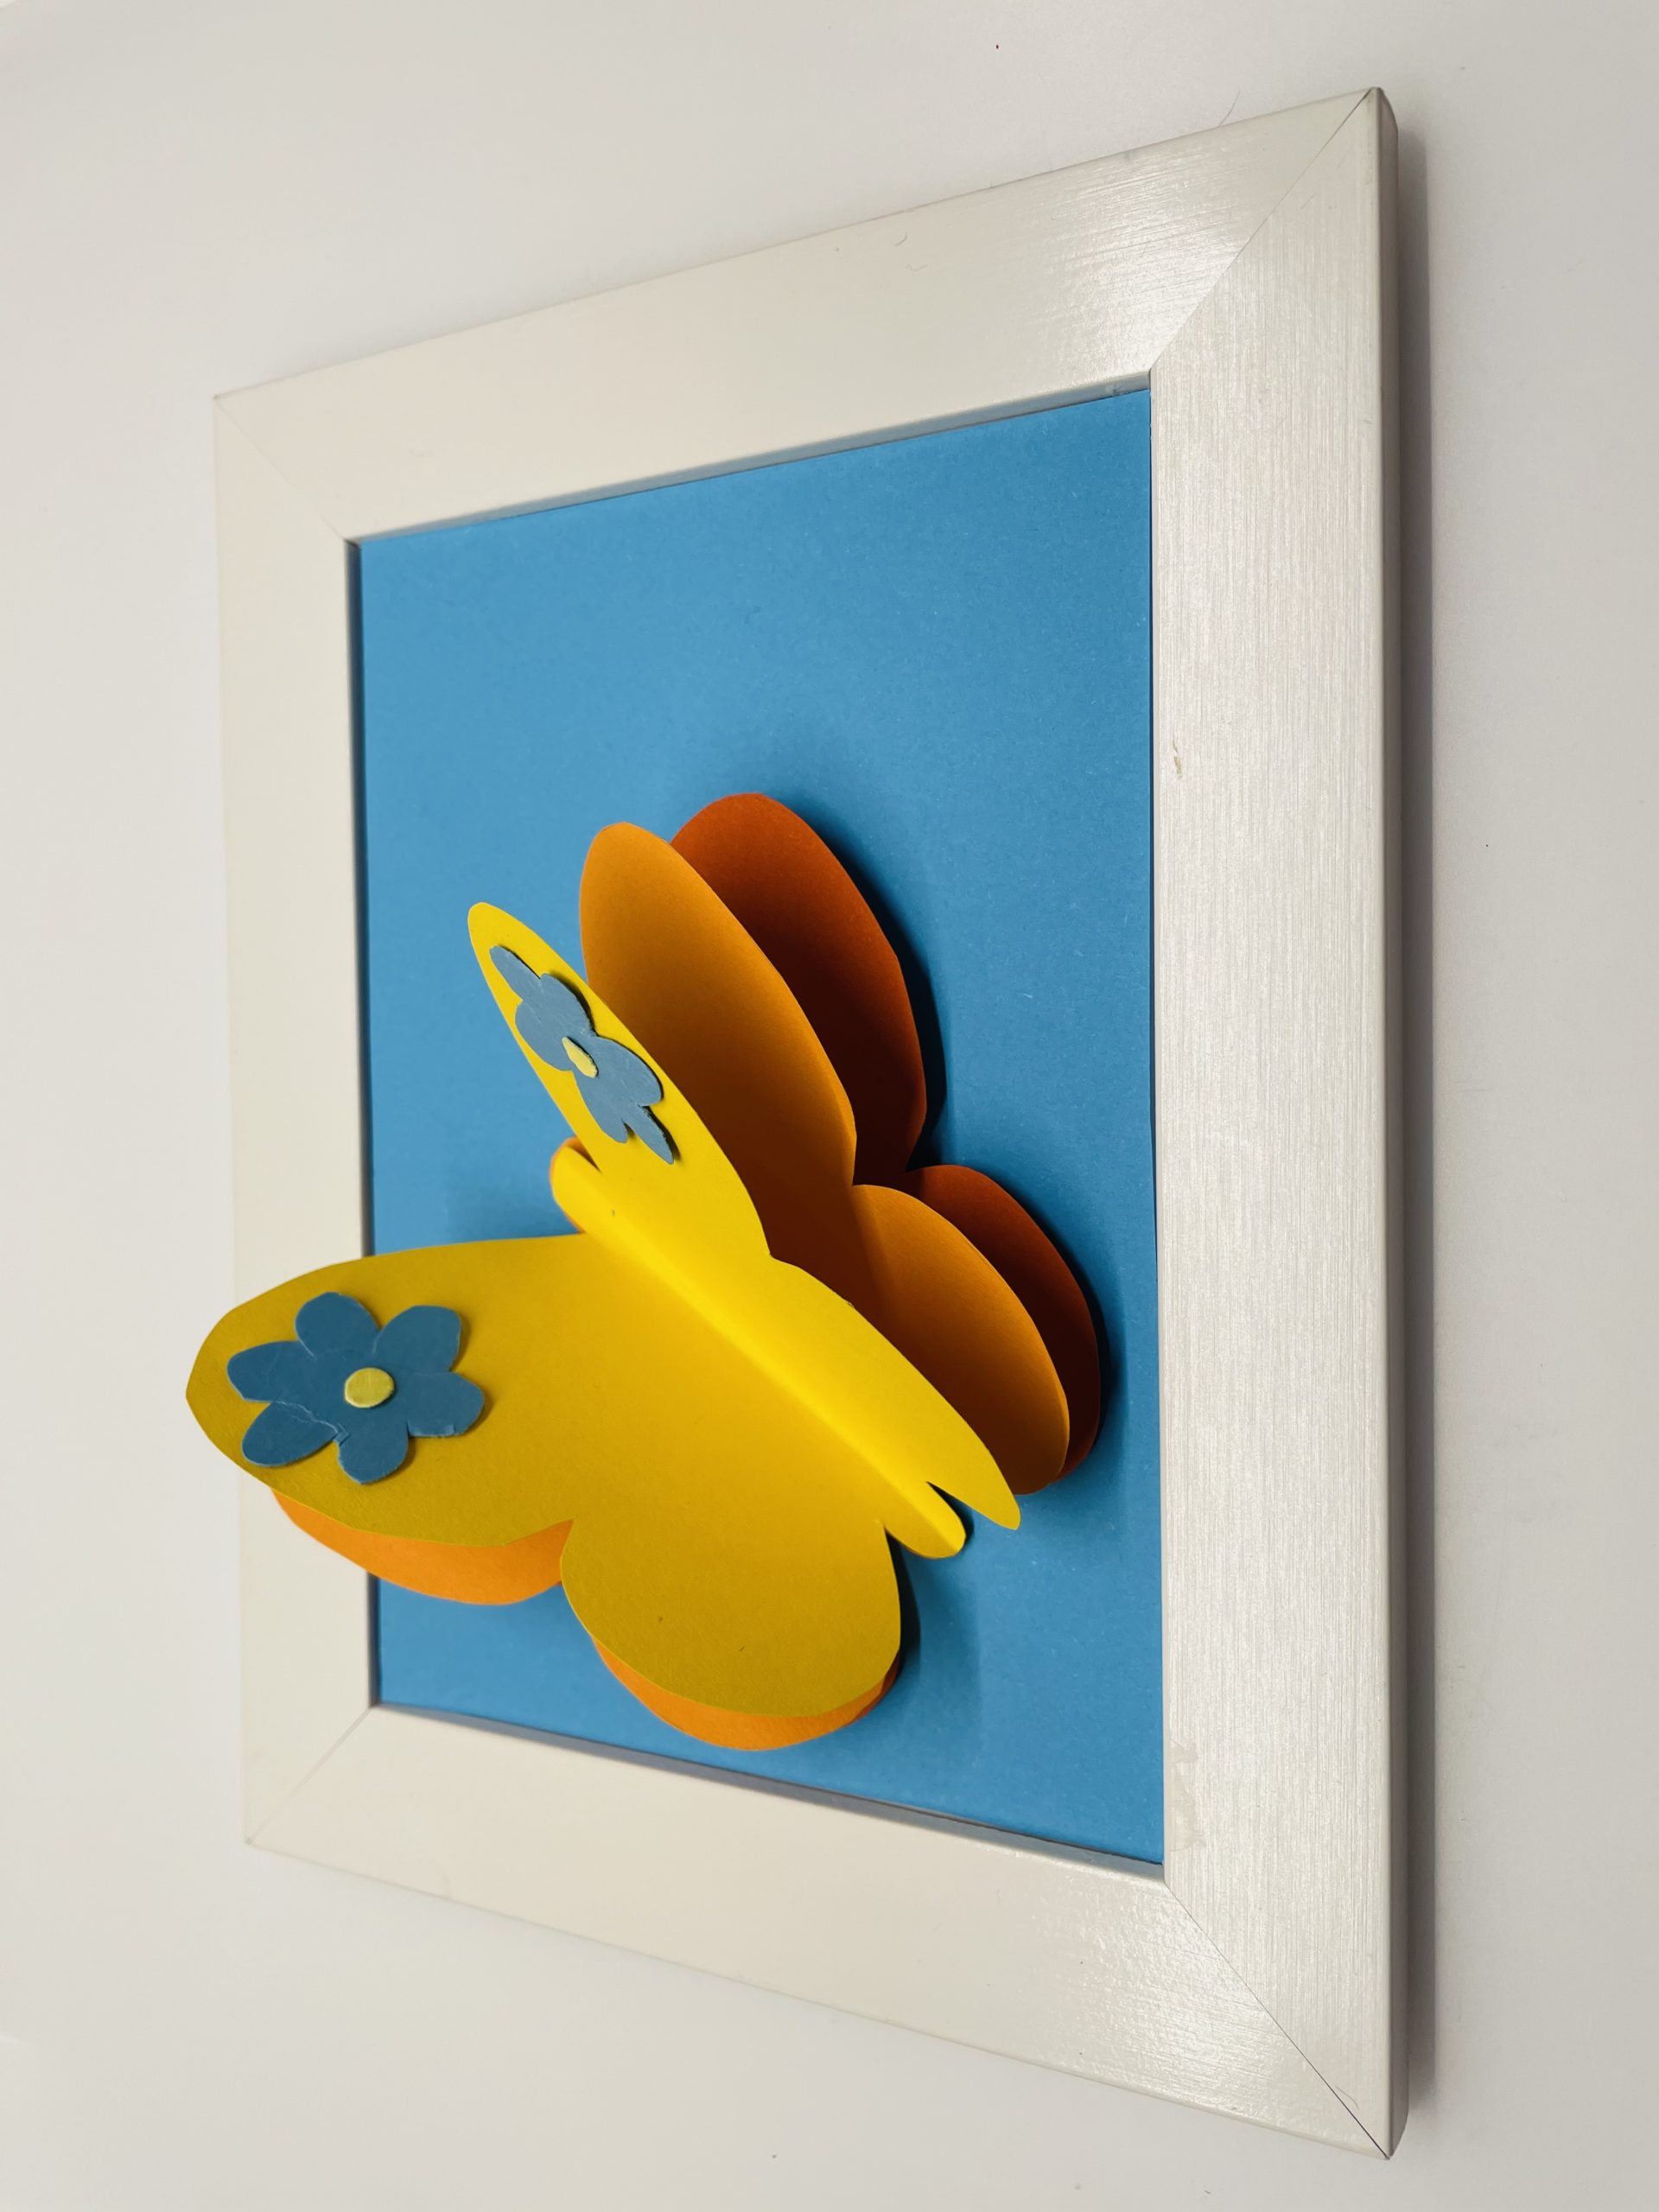
Bild zum Schritt 24 für das Bastel- und DIY-Abenteuer für Kinder: 'Dafür klebt ihr den Schmetterling in einen Bilderrahmen.  ...'

22

Try it out!

Bild zum Schritt 25 für das Bastel- und DIY-Abenteuer für Kinder: 'Probiert es aus!'

23

Enjoy your crafting!

Butterfly 3D

Follow us on Facebook , Instagram and Pinterest
Don't miss any more adventures: Our bottle mail

Leave a Reply

Your email address will not be published.

The maximum upload file size: 5 MB. You can upload: image, document. Drop file here