Winter, snow, ice and cold temperature make us tinker with this penguin. Whether as a pen cup / brush holder or for decoration is left to your imagination.
Use an empty drinking yoghurt cup and paint it, except for a round "swelling surface", black.
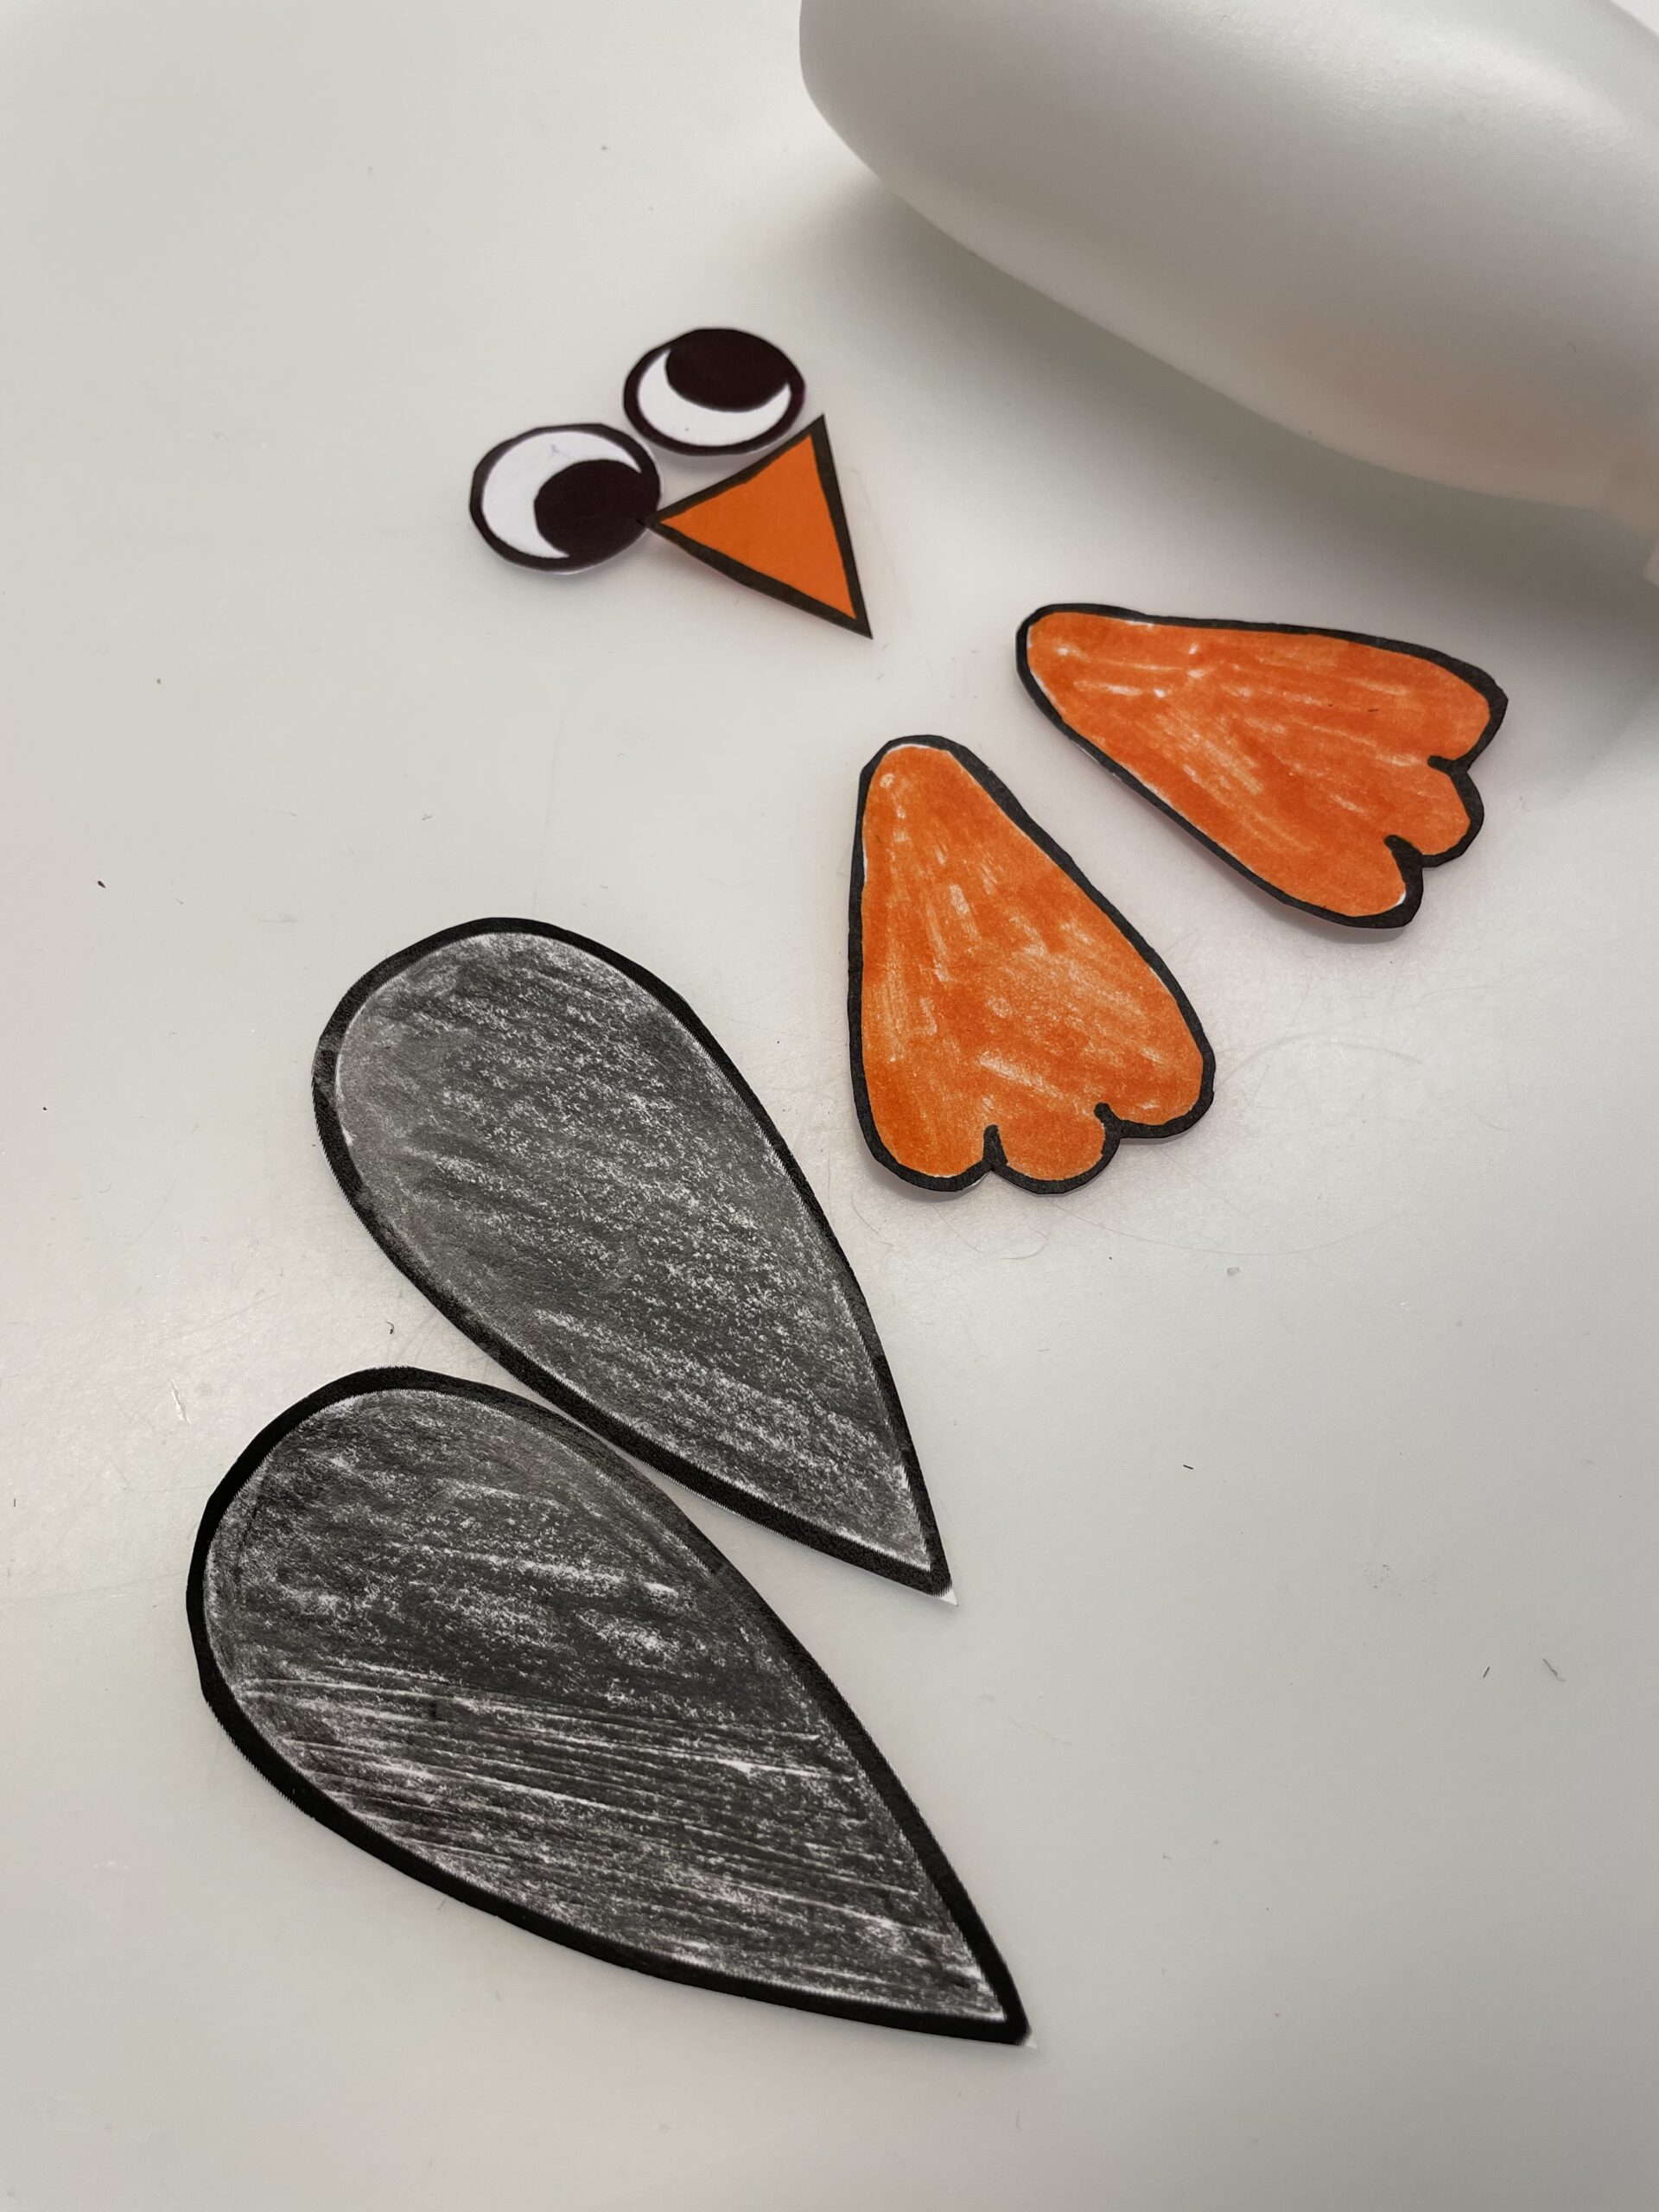
Parts such as feet, wing arms, eyes and the beak are made of paper. You can use colored clay paper residue or paint white paper accordingly colorful.
You can find out how all this works in the illustrated guide step by step. Enjoy crafting.
Media Education for Kindergarten and Hort

Relief in everyday life, targeted promotion of individual children, independent learning and - without any pre-knowledge already usable by the youngest!
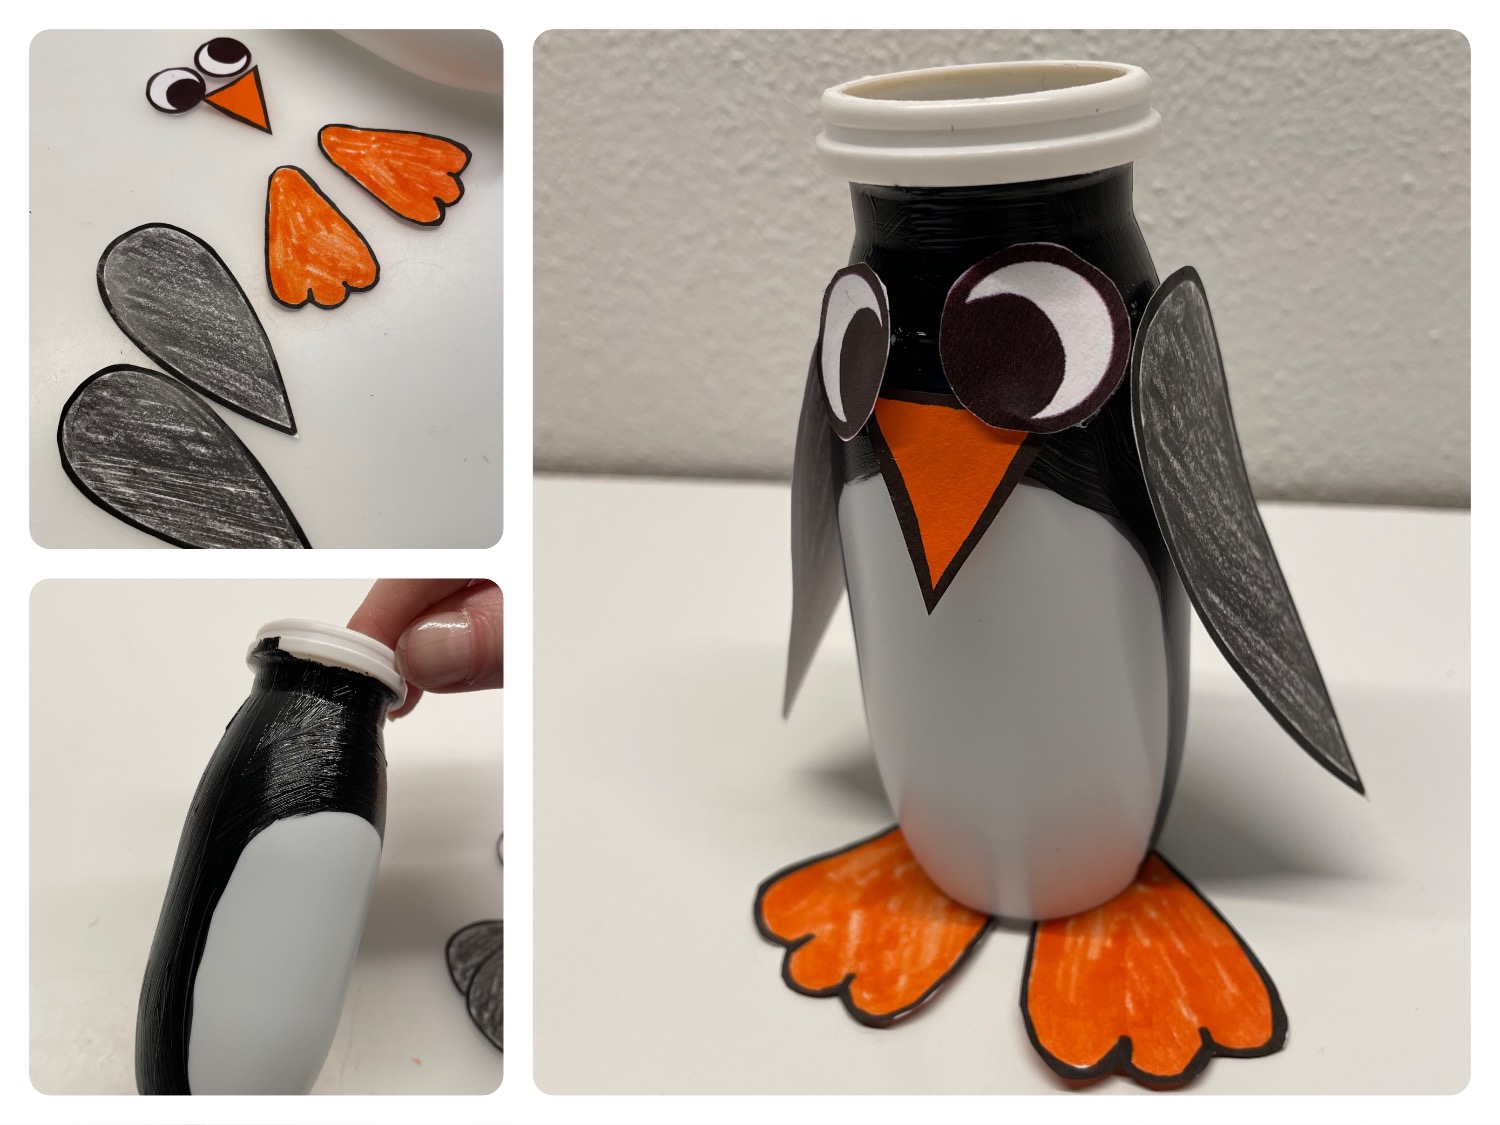
Get all the materials ready and spread out your craft pad. Put on a paint coat.
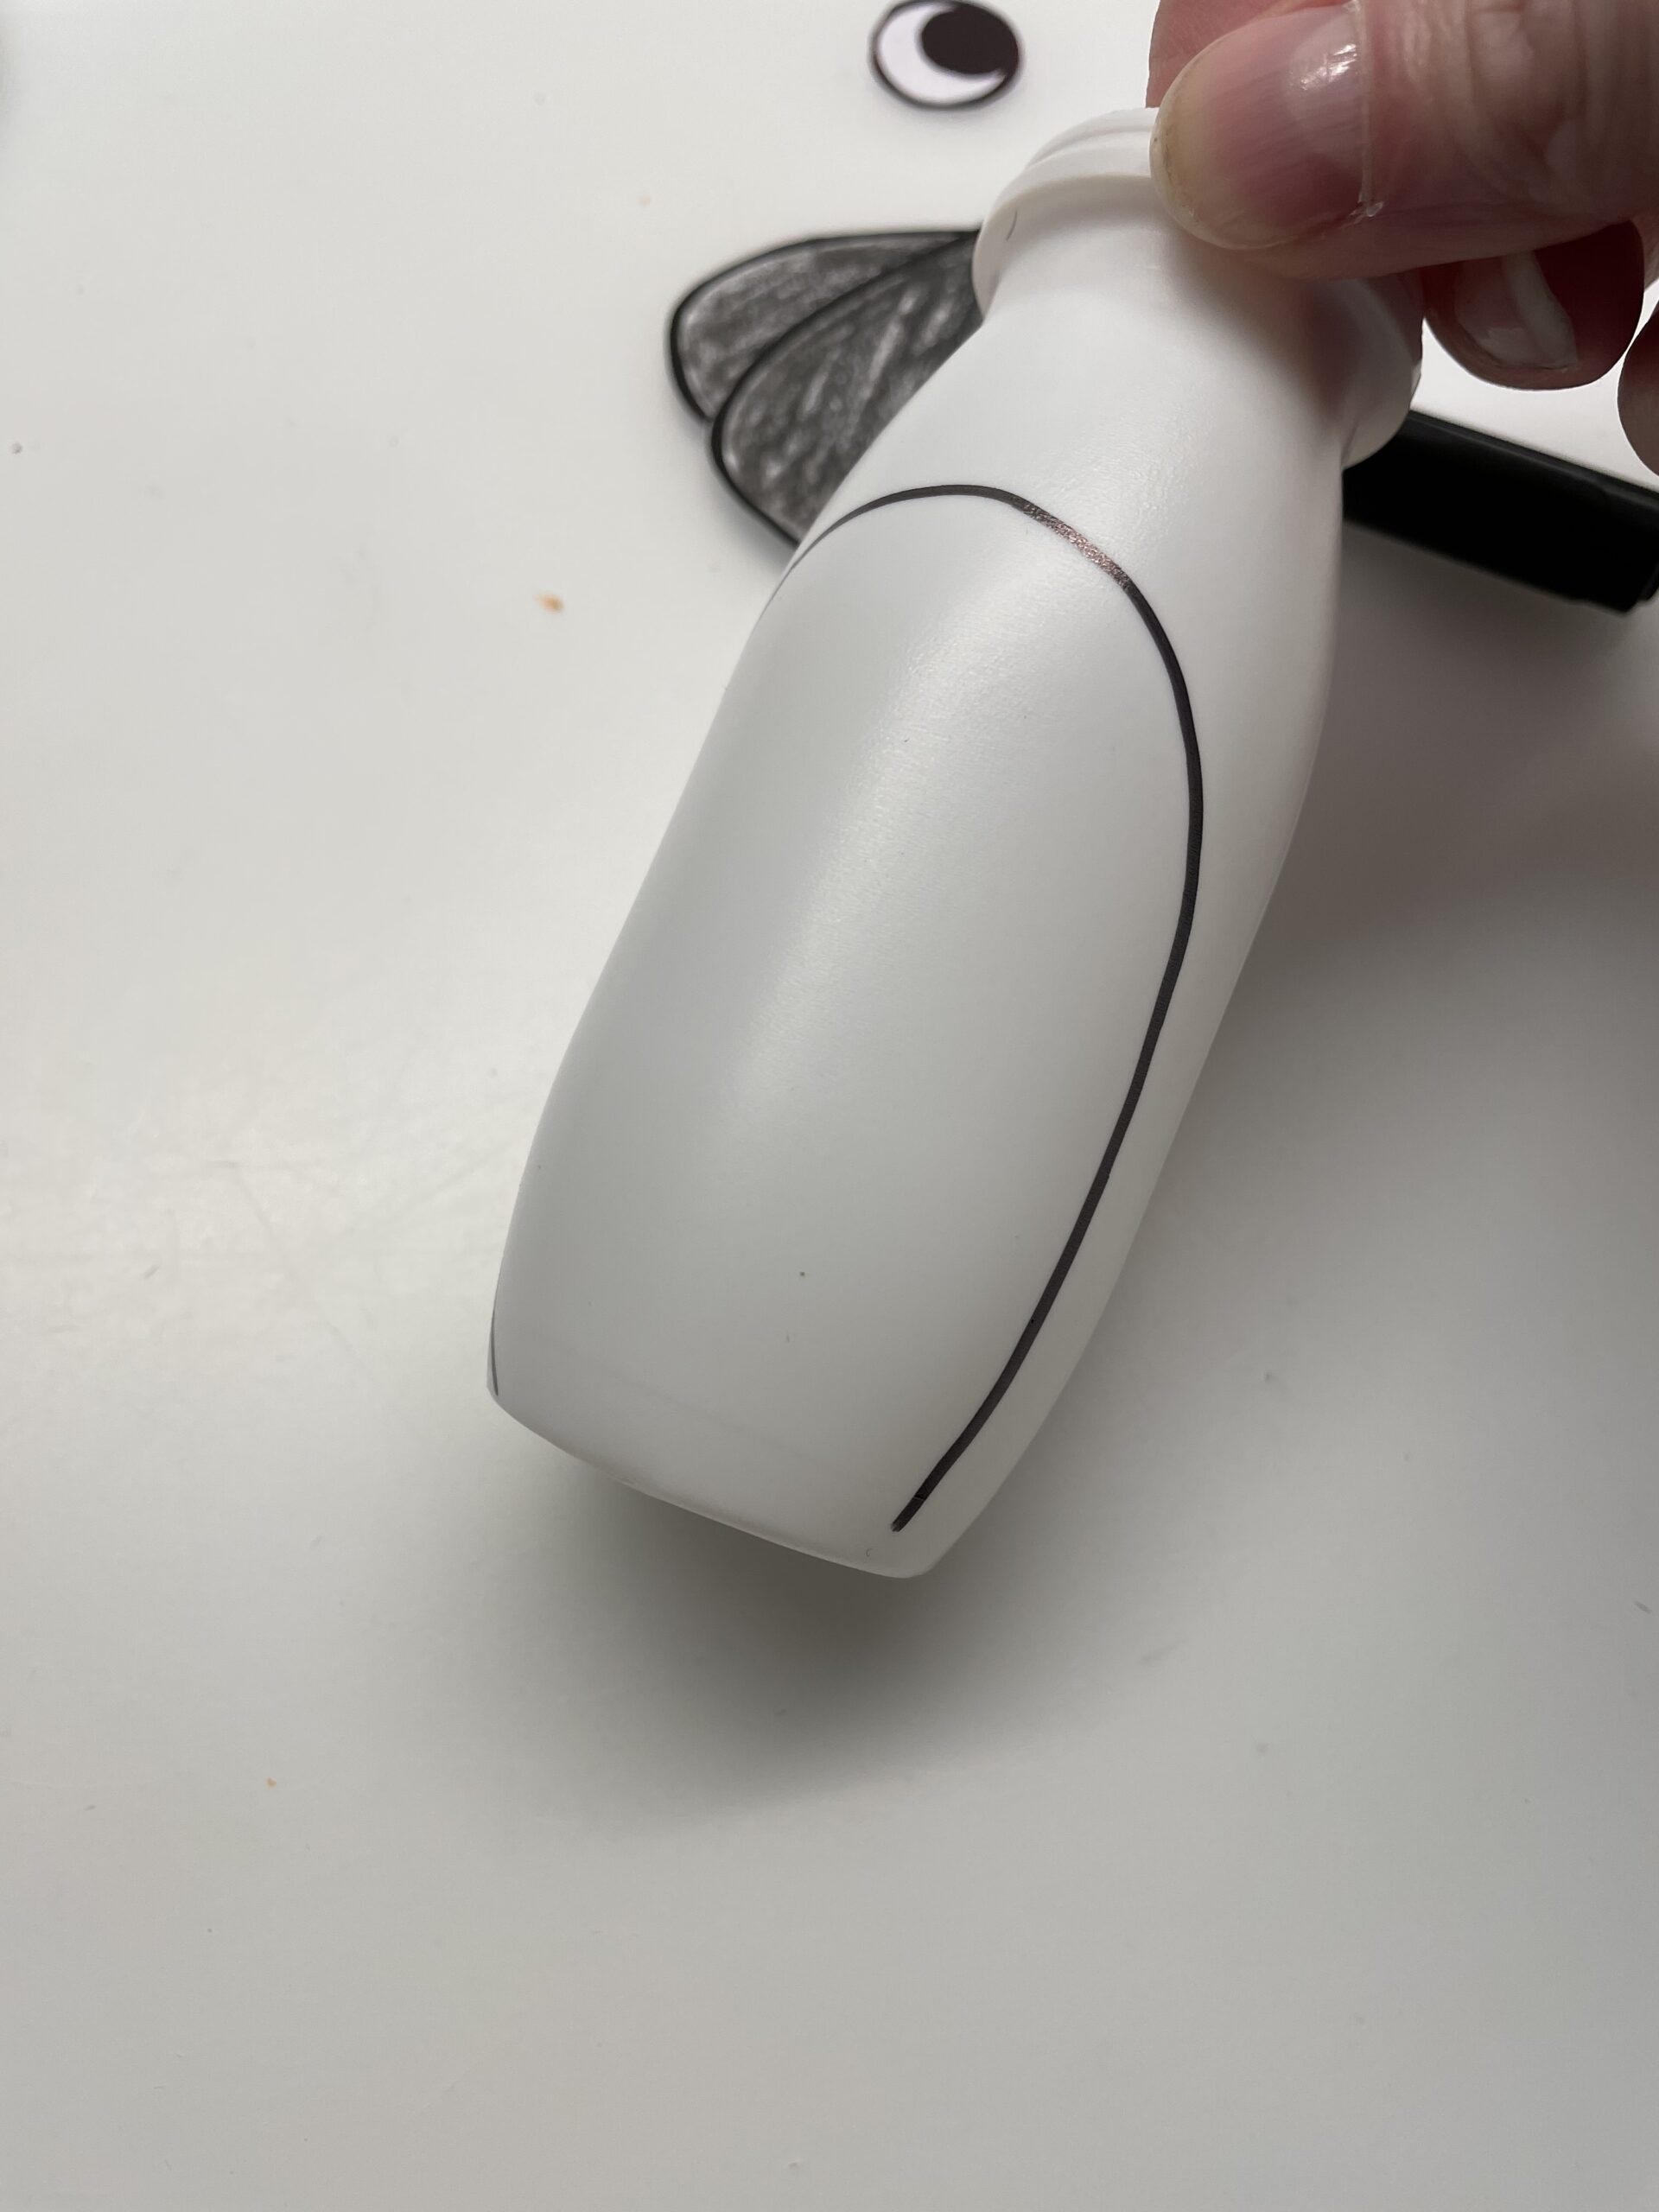
Take an empty clean drinking yoghurt cup. Paints the belly patch of the penguin with a waterproof felt pen.
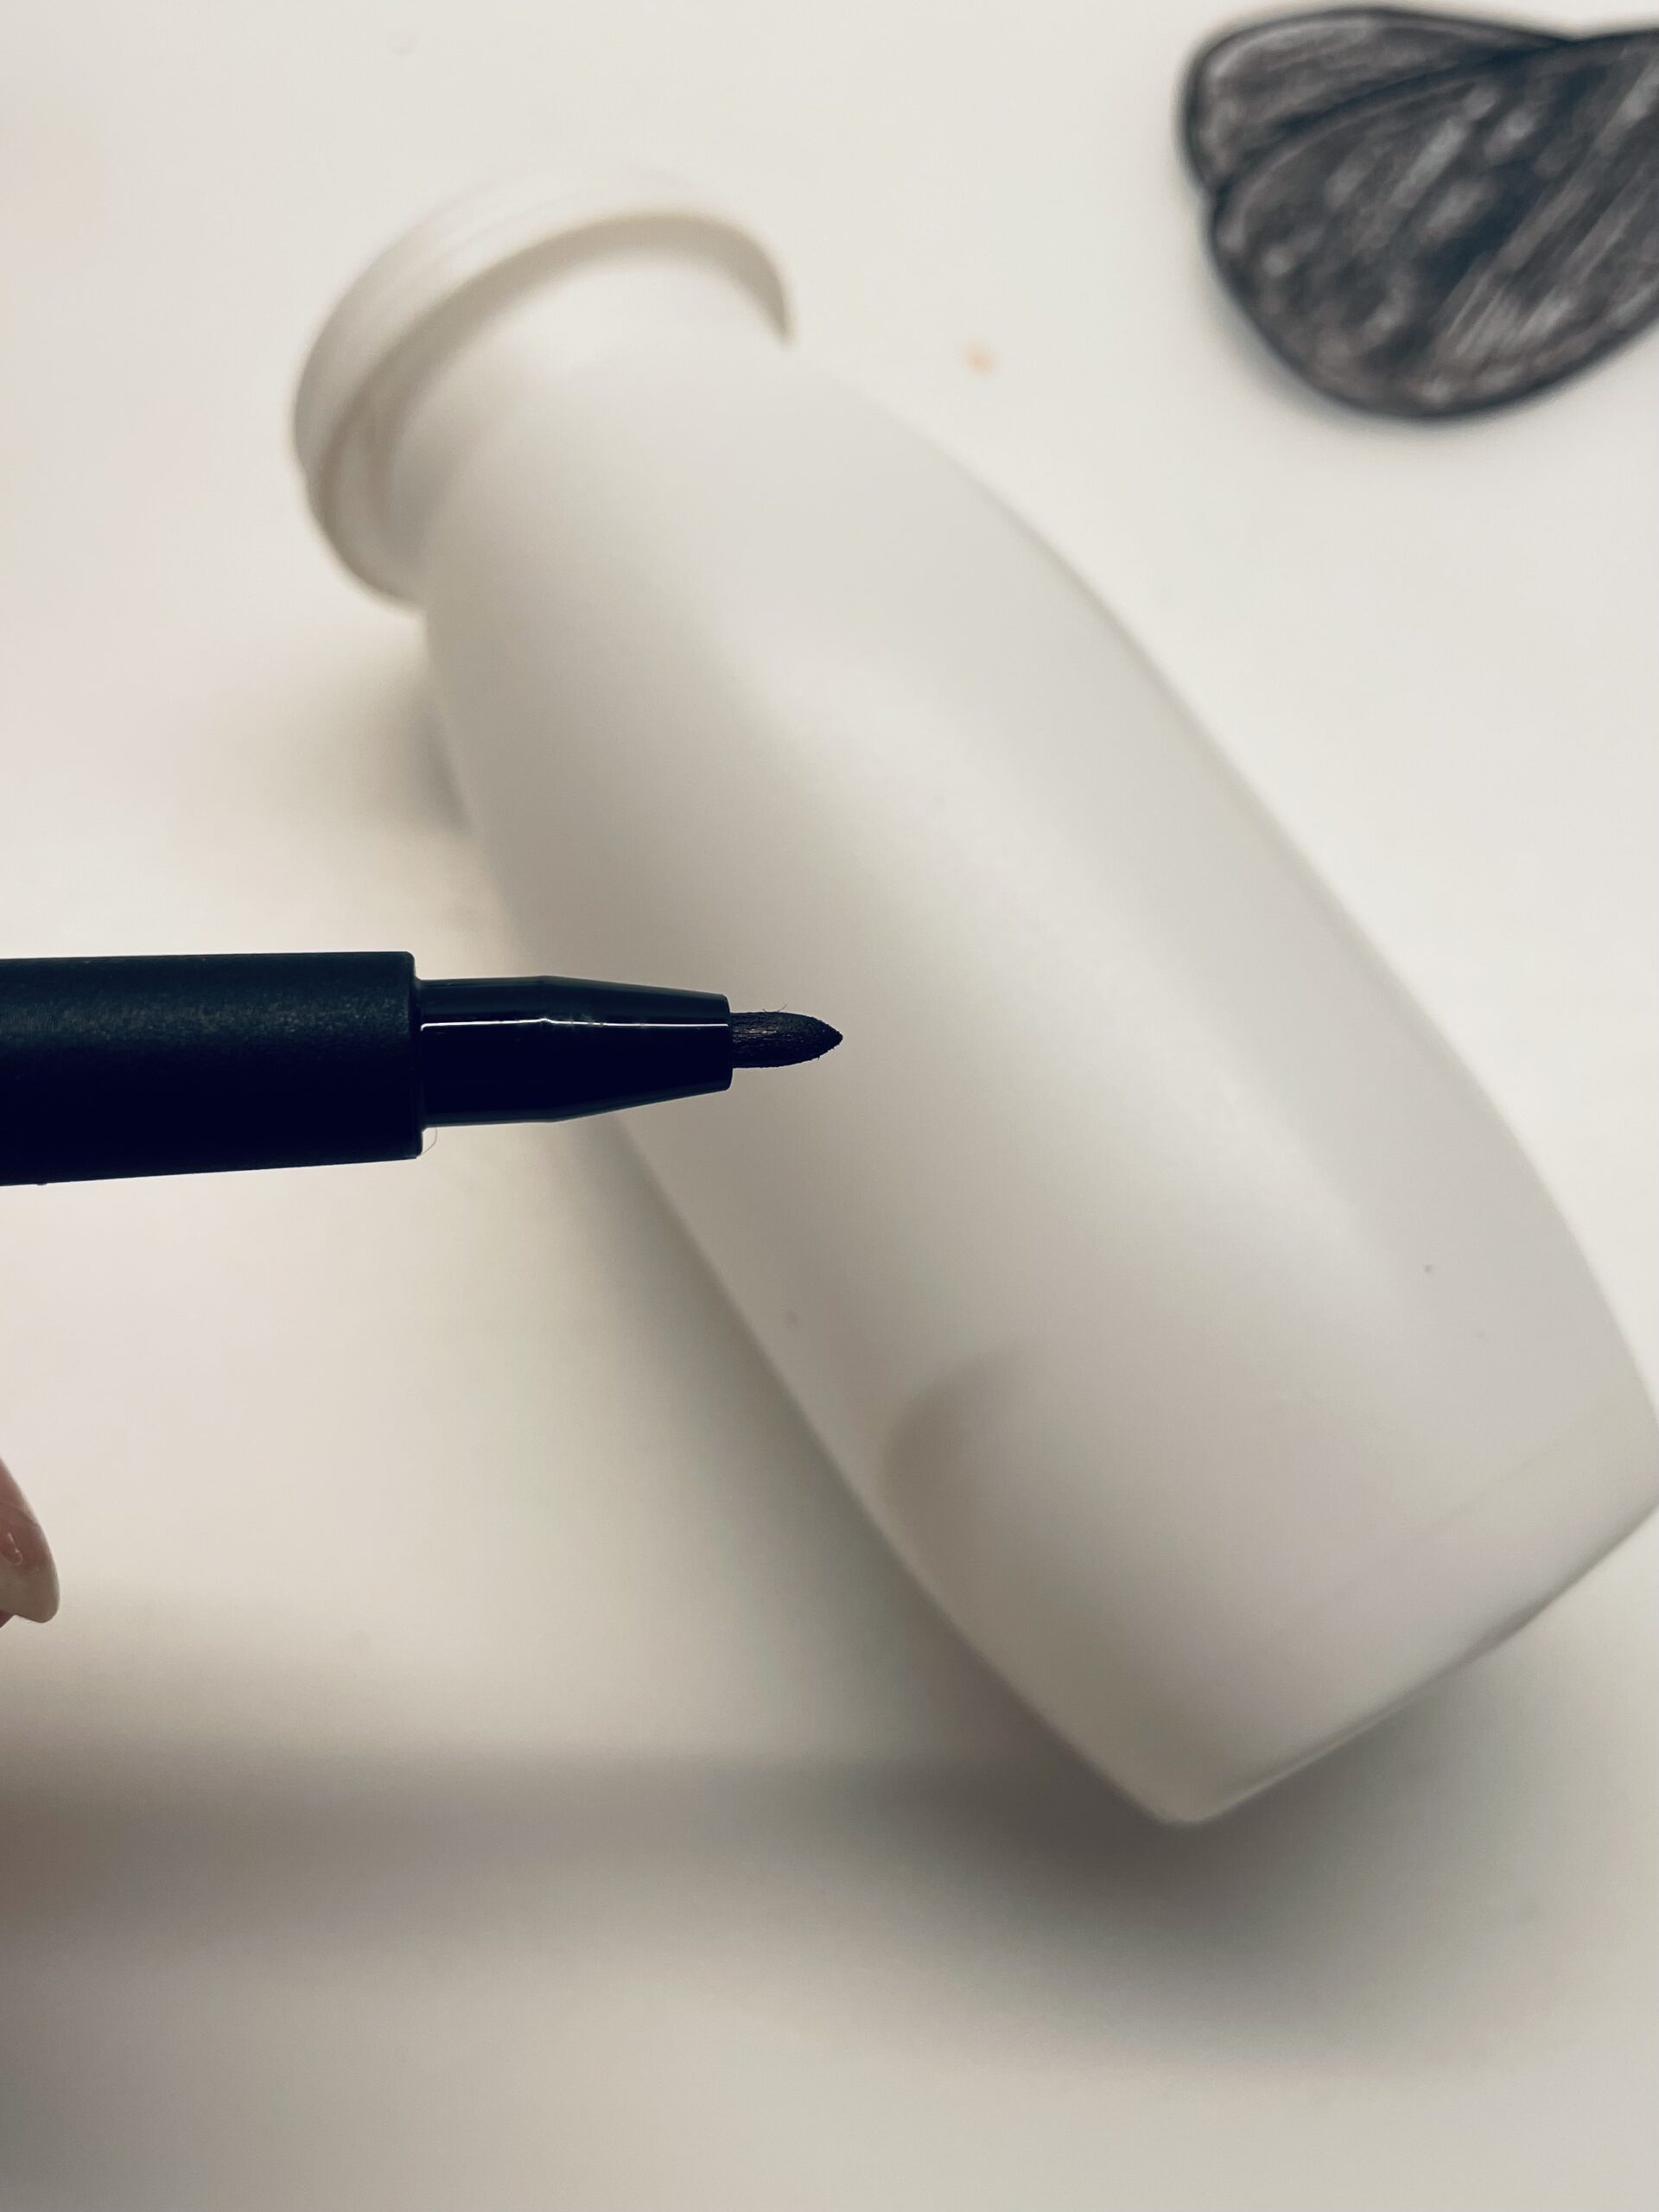
The shape is a long oval arch. The remaining surface remains white.


Now paint the remaining cup with a opaque black color (e.g. acrylic paint). For example, place an old screw glass lid under it, then the cup does not slip away when painting.
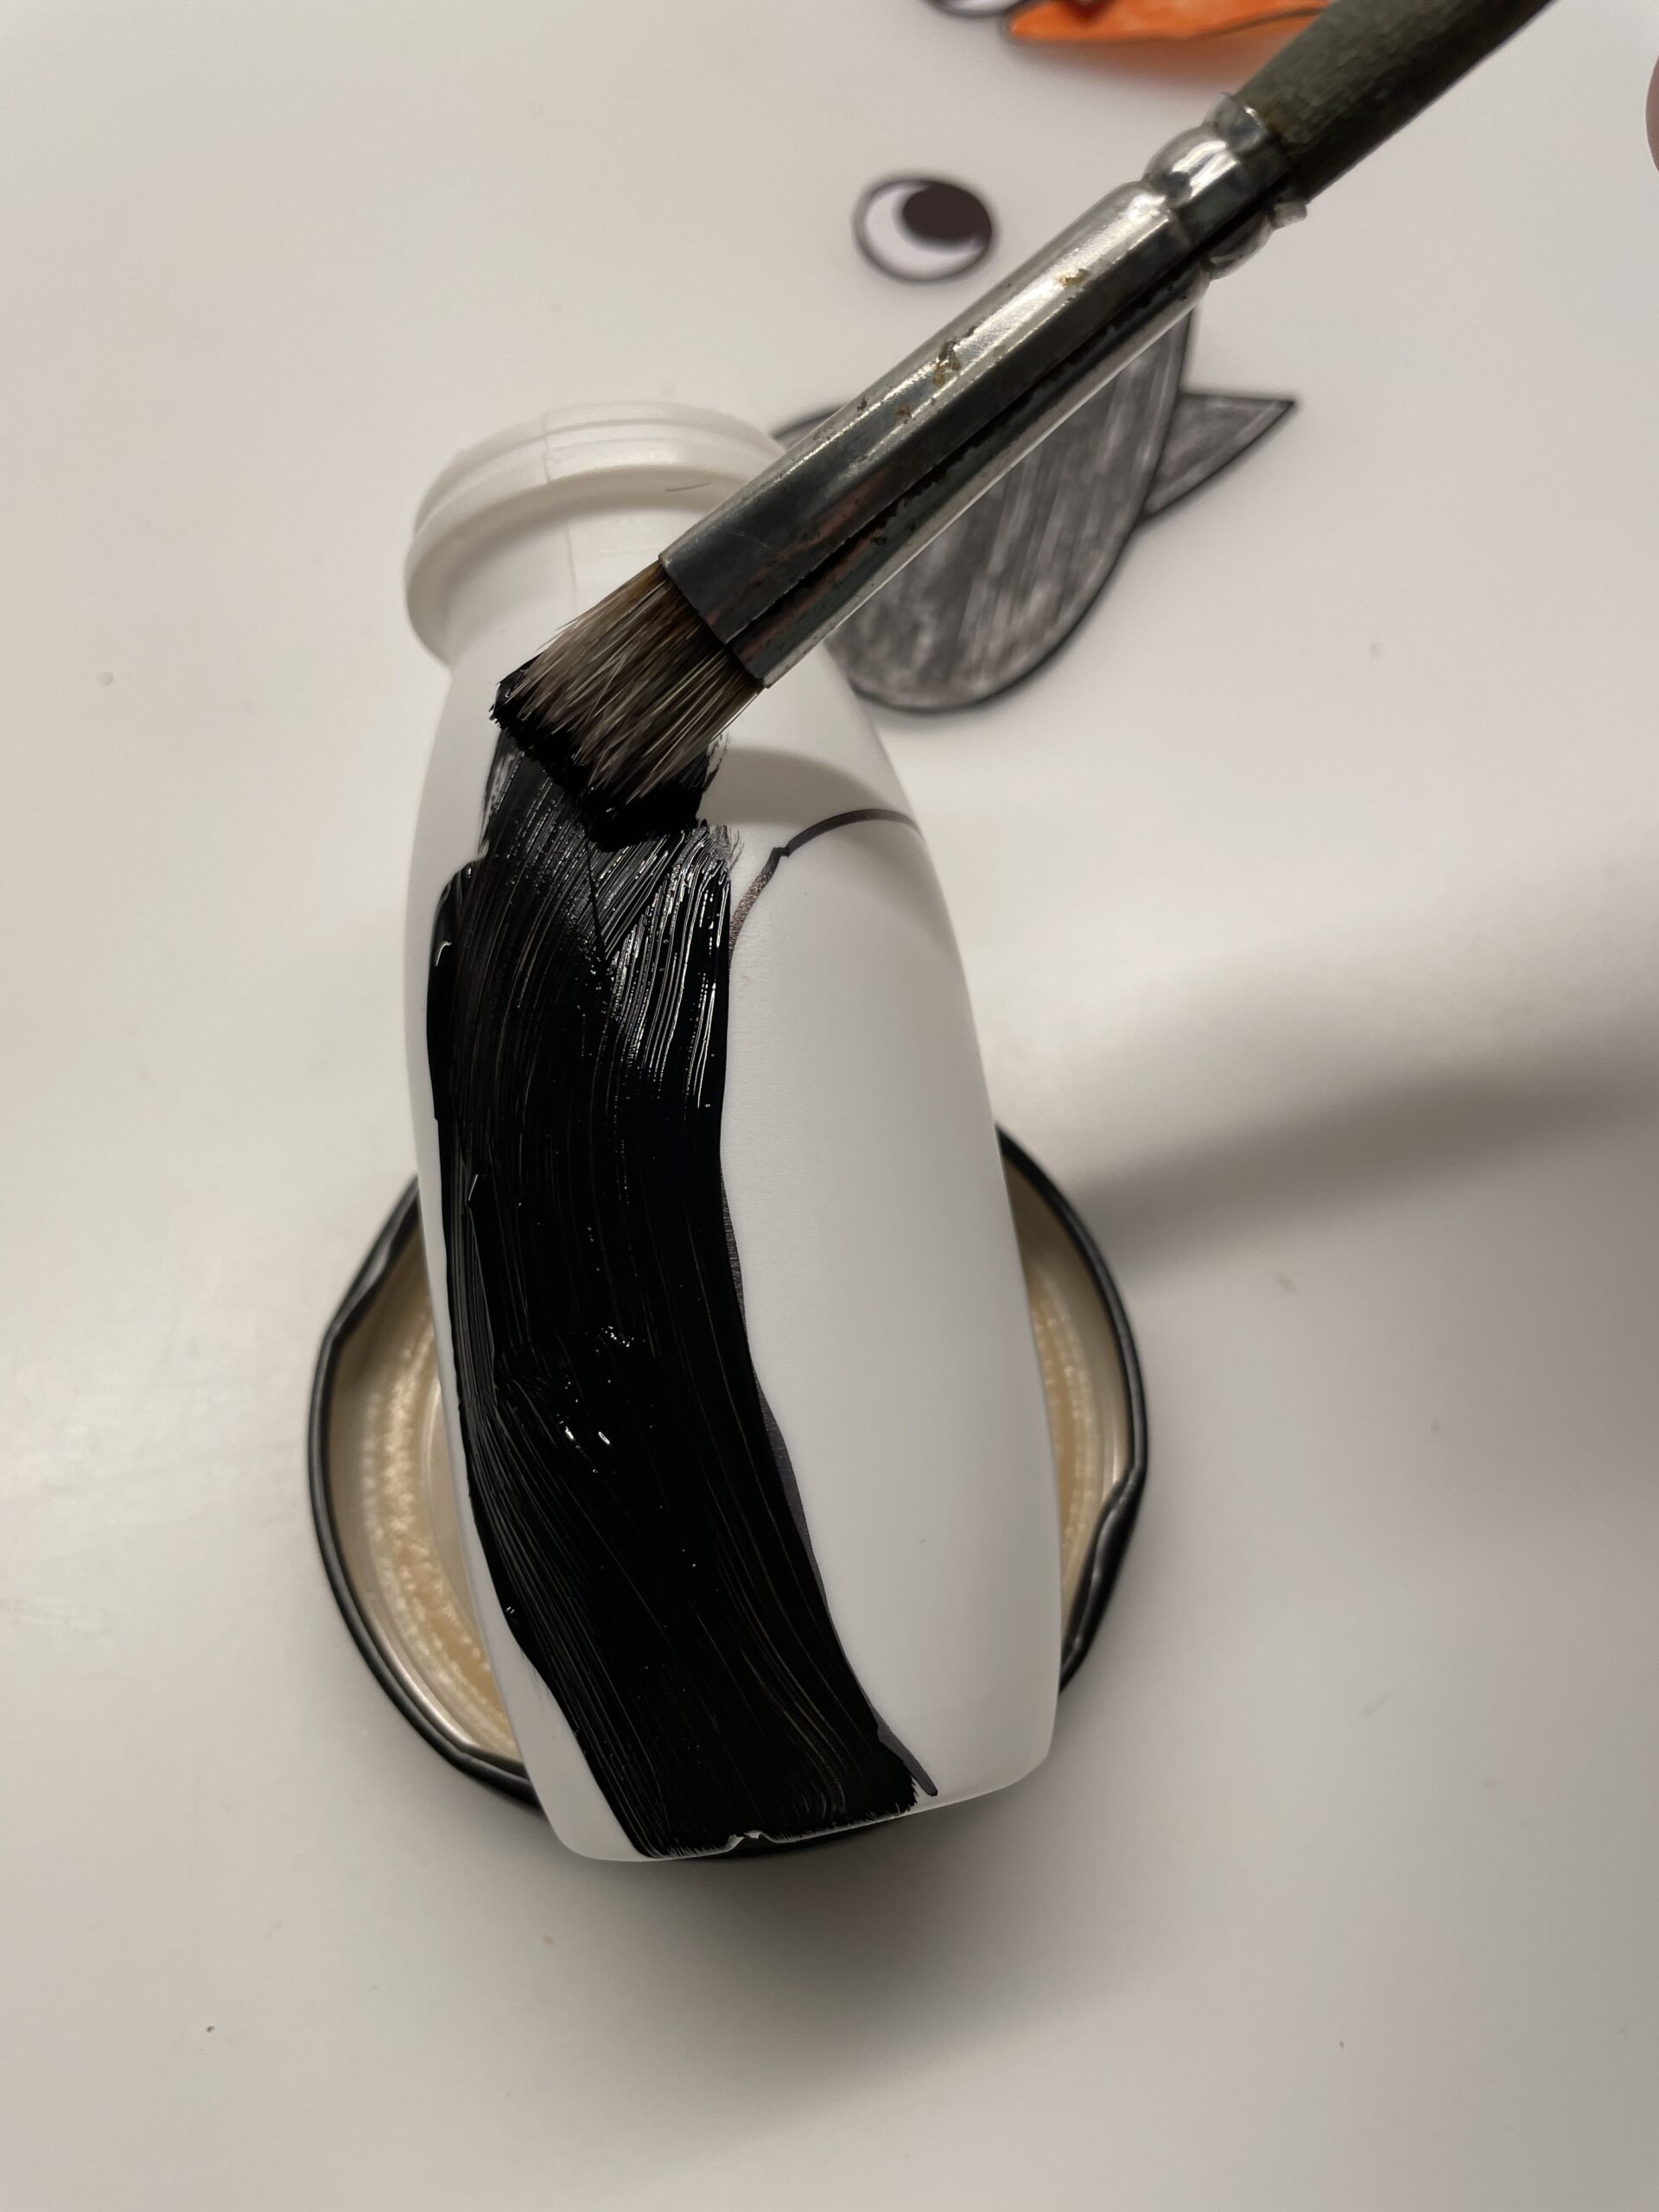


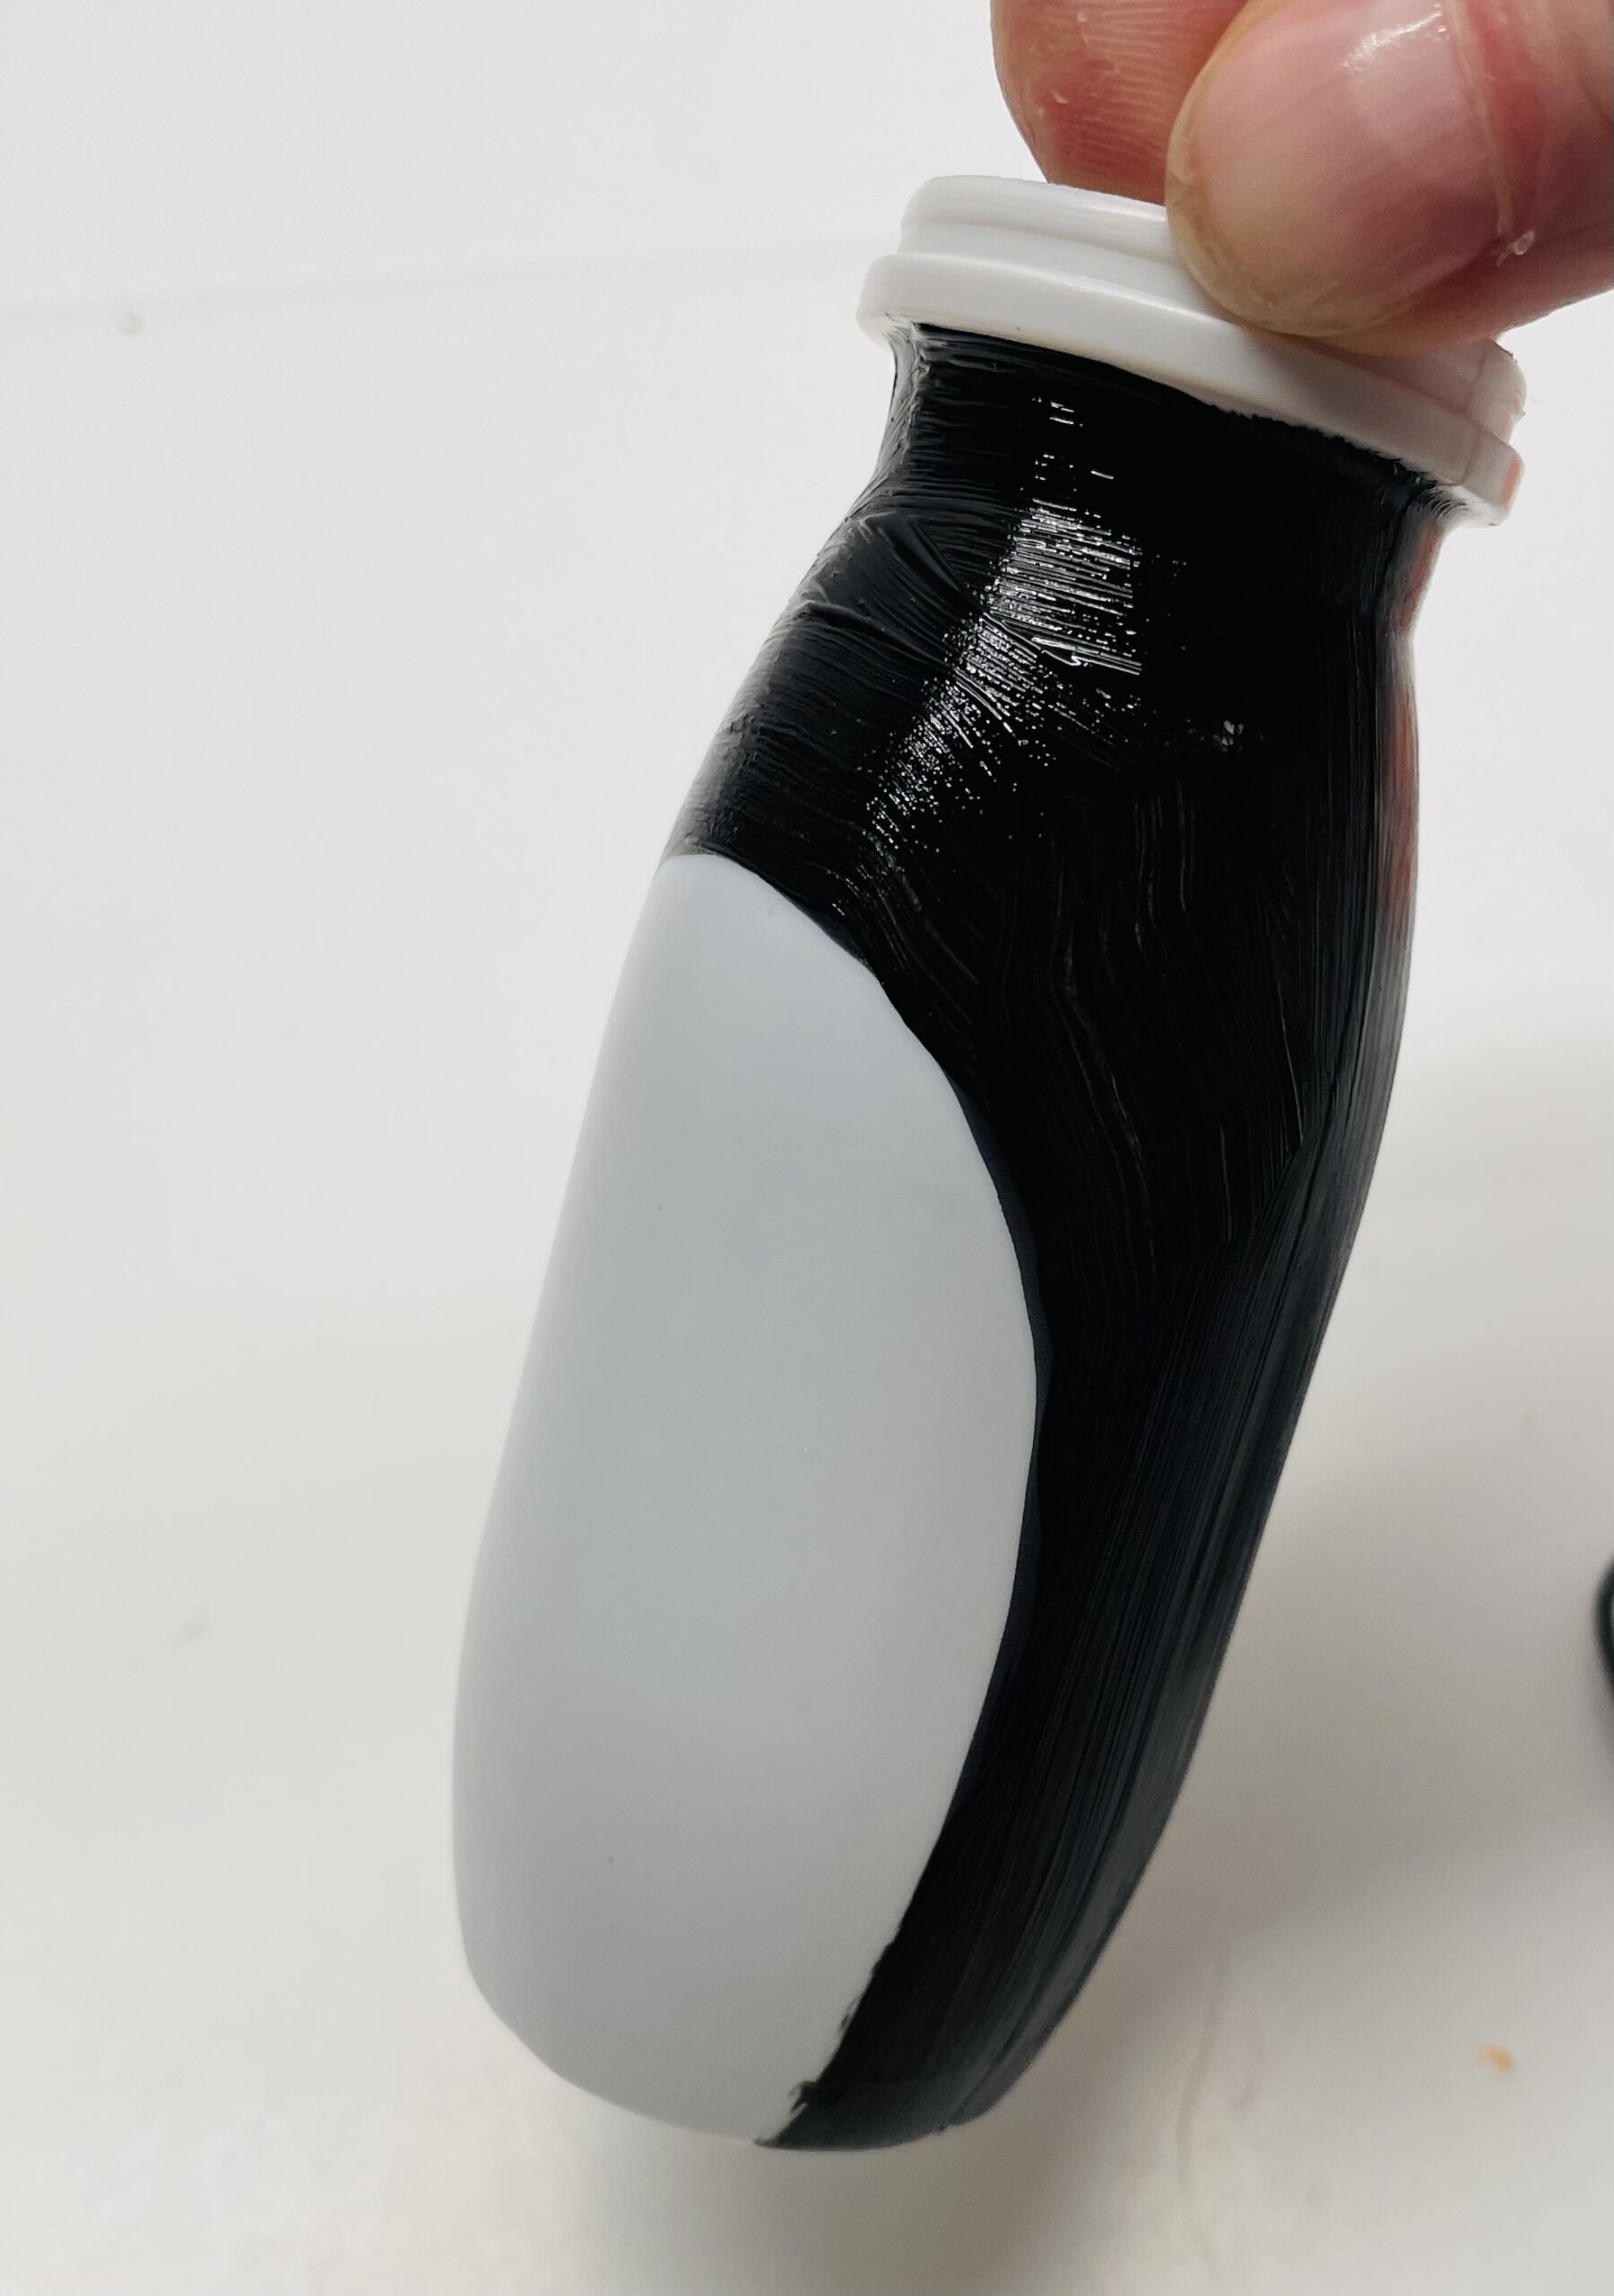
The top edge of the cup can remain white, so you can still touch it.
Put the cup to dry.


Meanwhile, you can paint, paint and cut the feet, wings, eyes and beak, or use the template.


Sticks the feet to the bottom of the cup. They should stand as far forward as possible, therefore only apply glue to the back end of the feet.
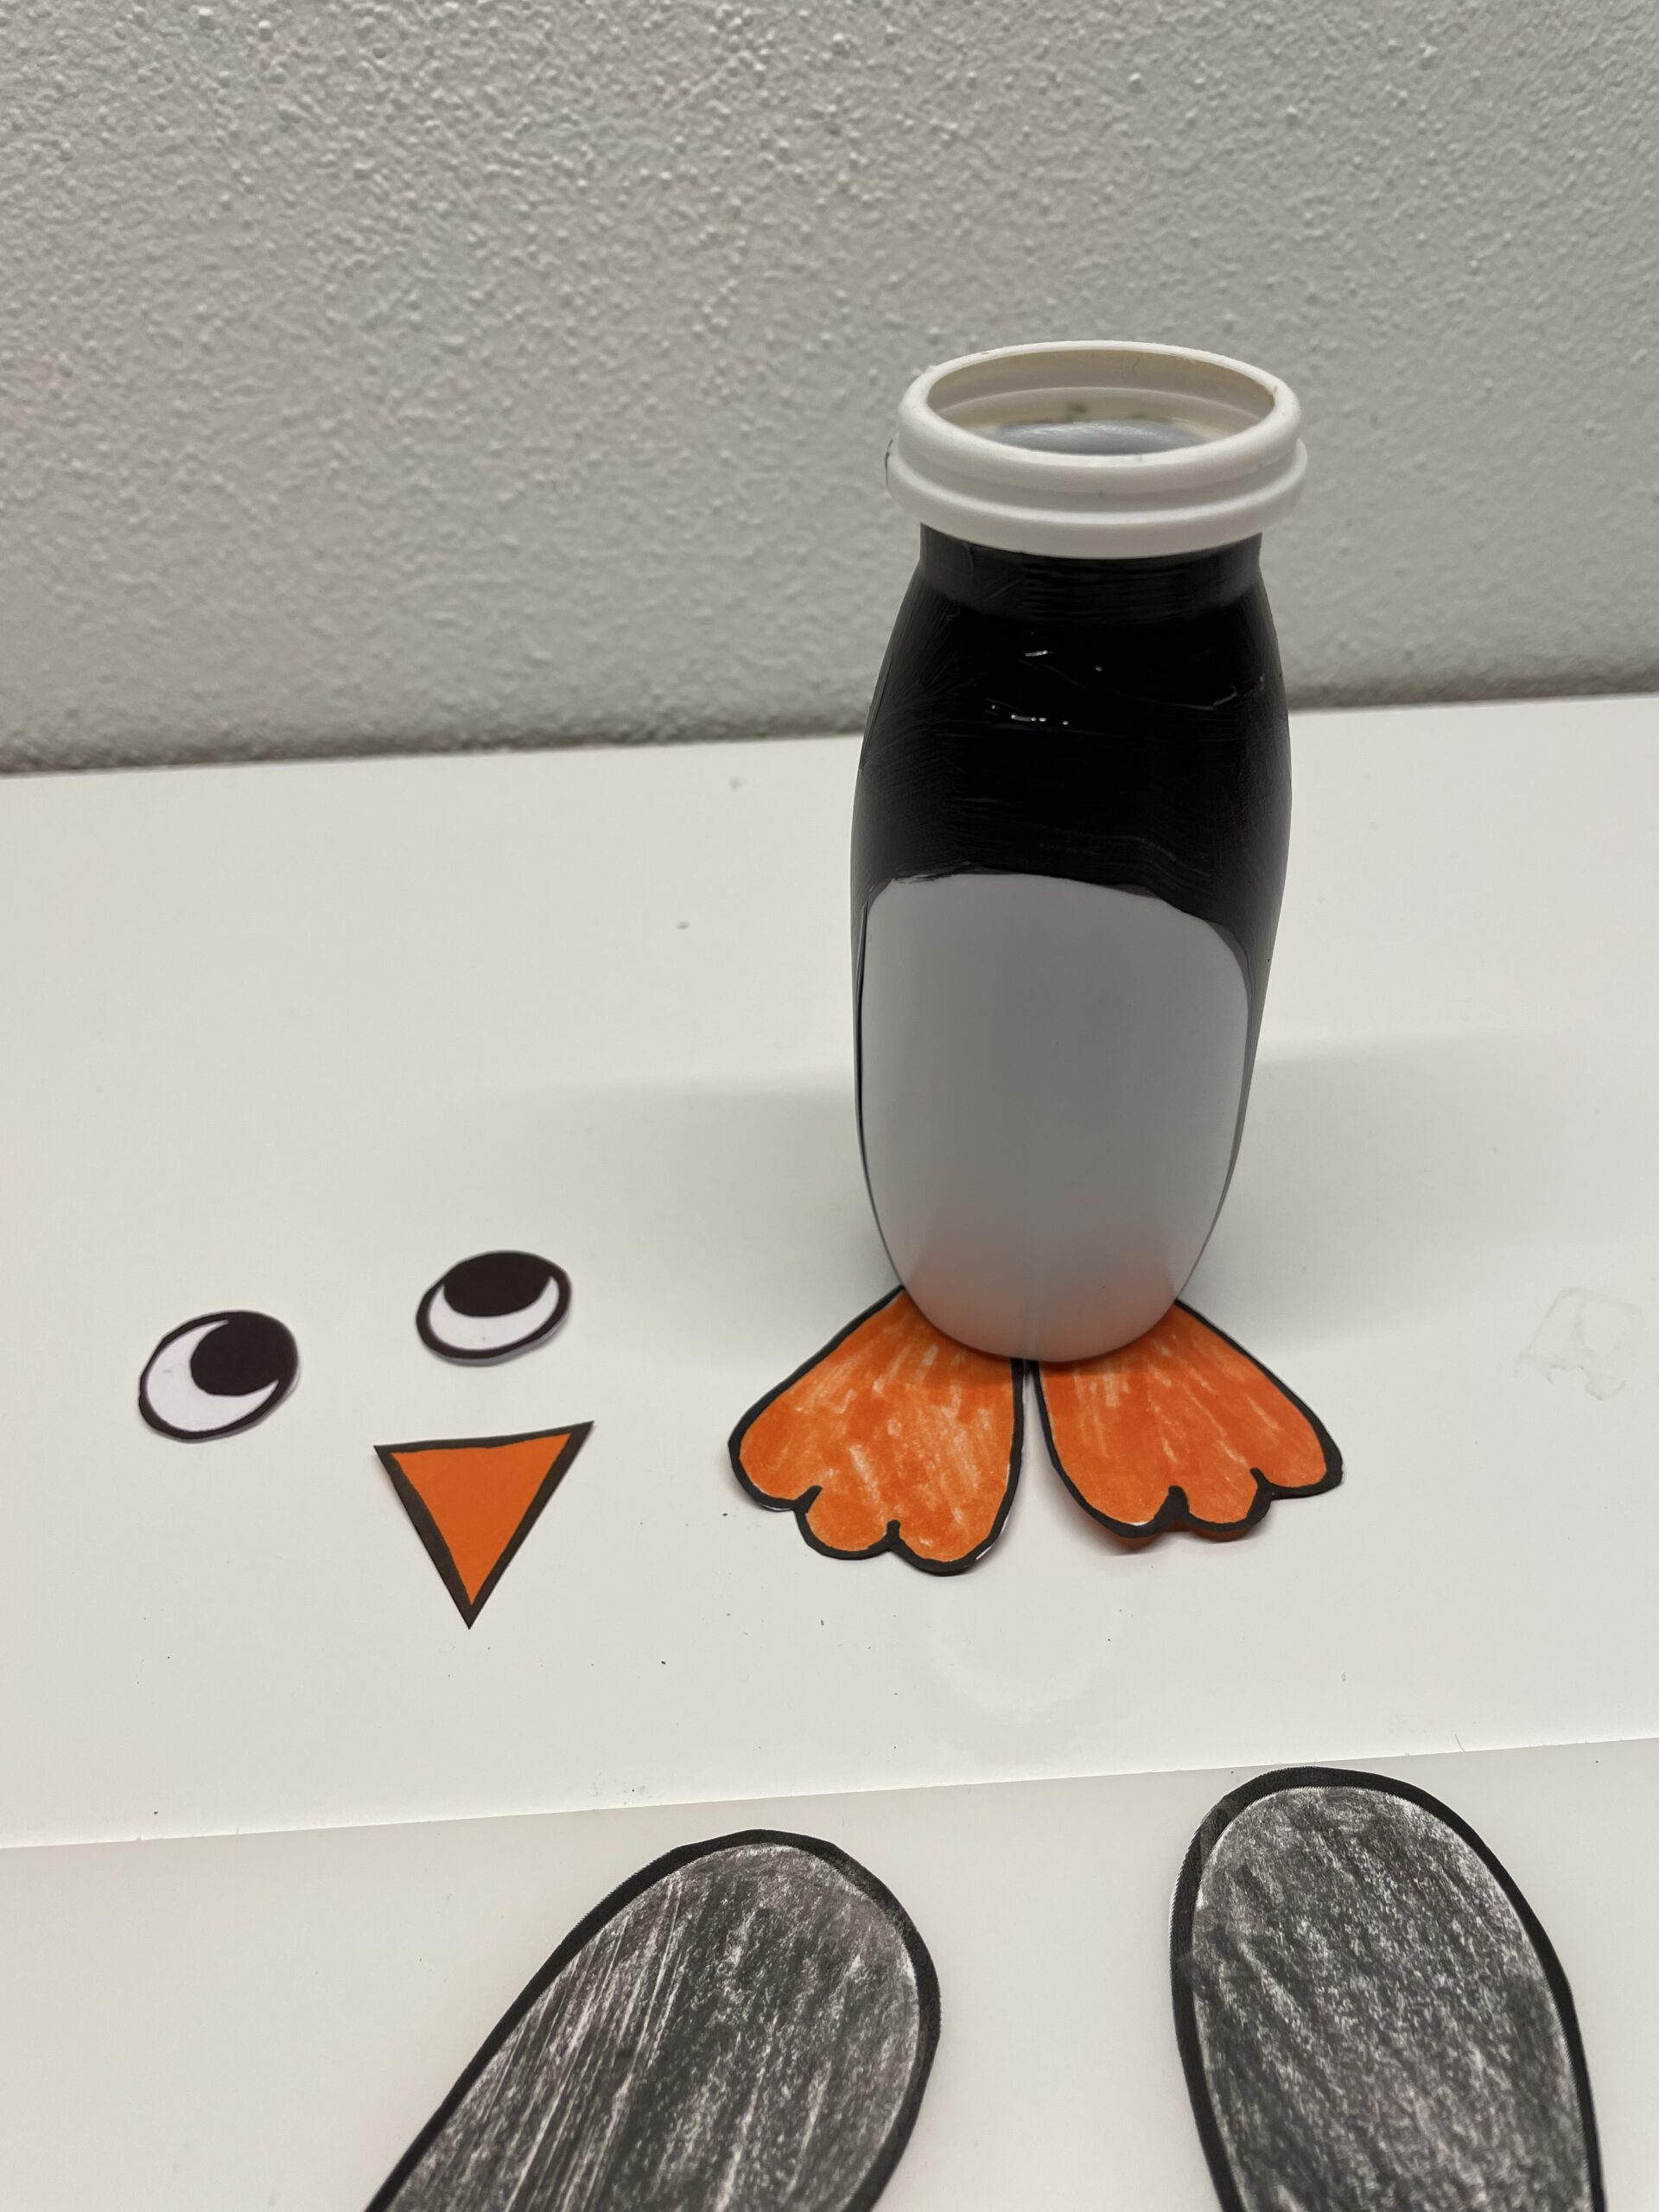


The beak is placed above the white belly patch. The eyes are glued over it.


On the side of the belly patch the wings are attached to the left and right rather high up. Adhesive points are only needed at the upper end of the wing.
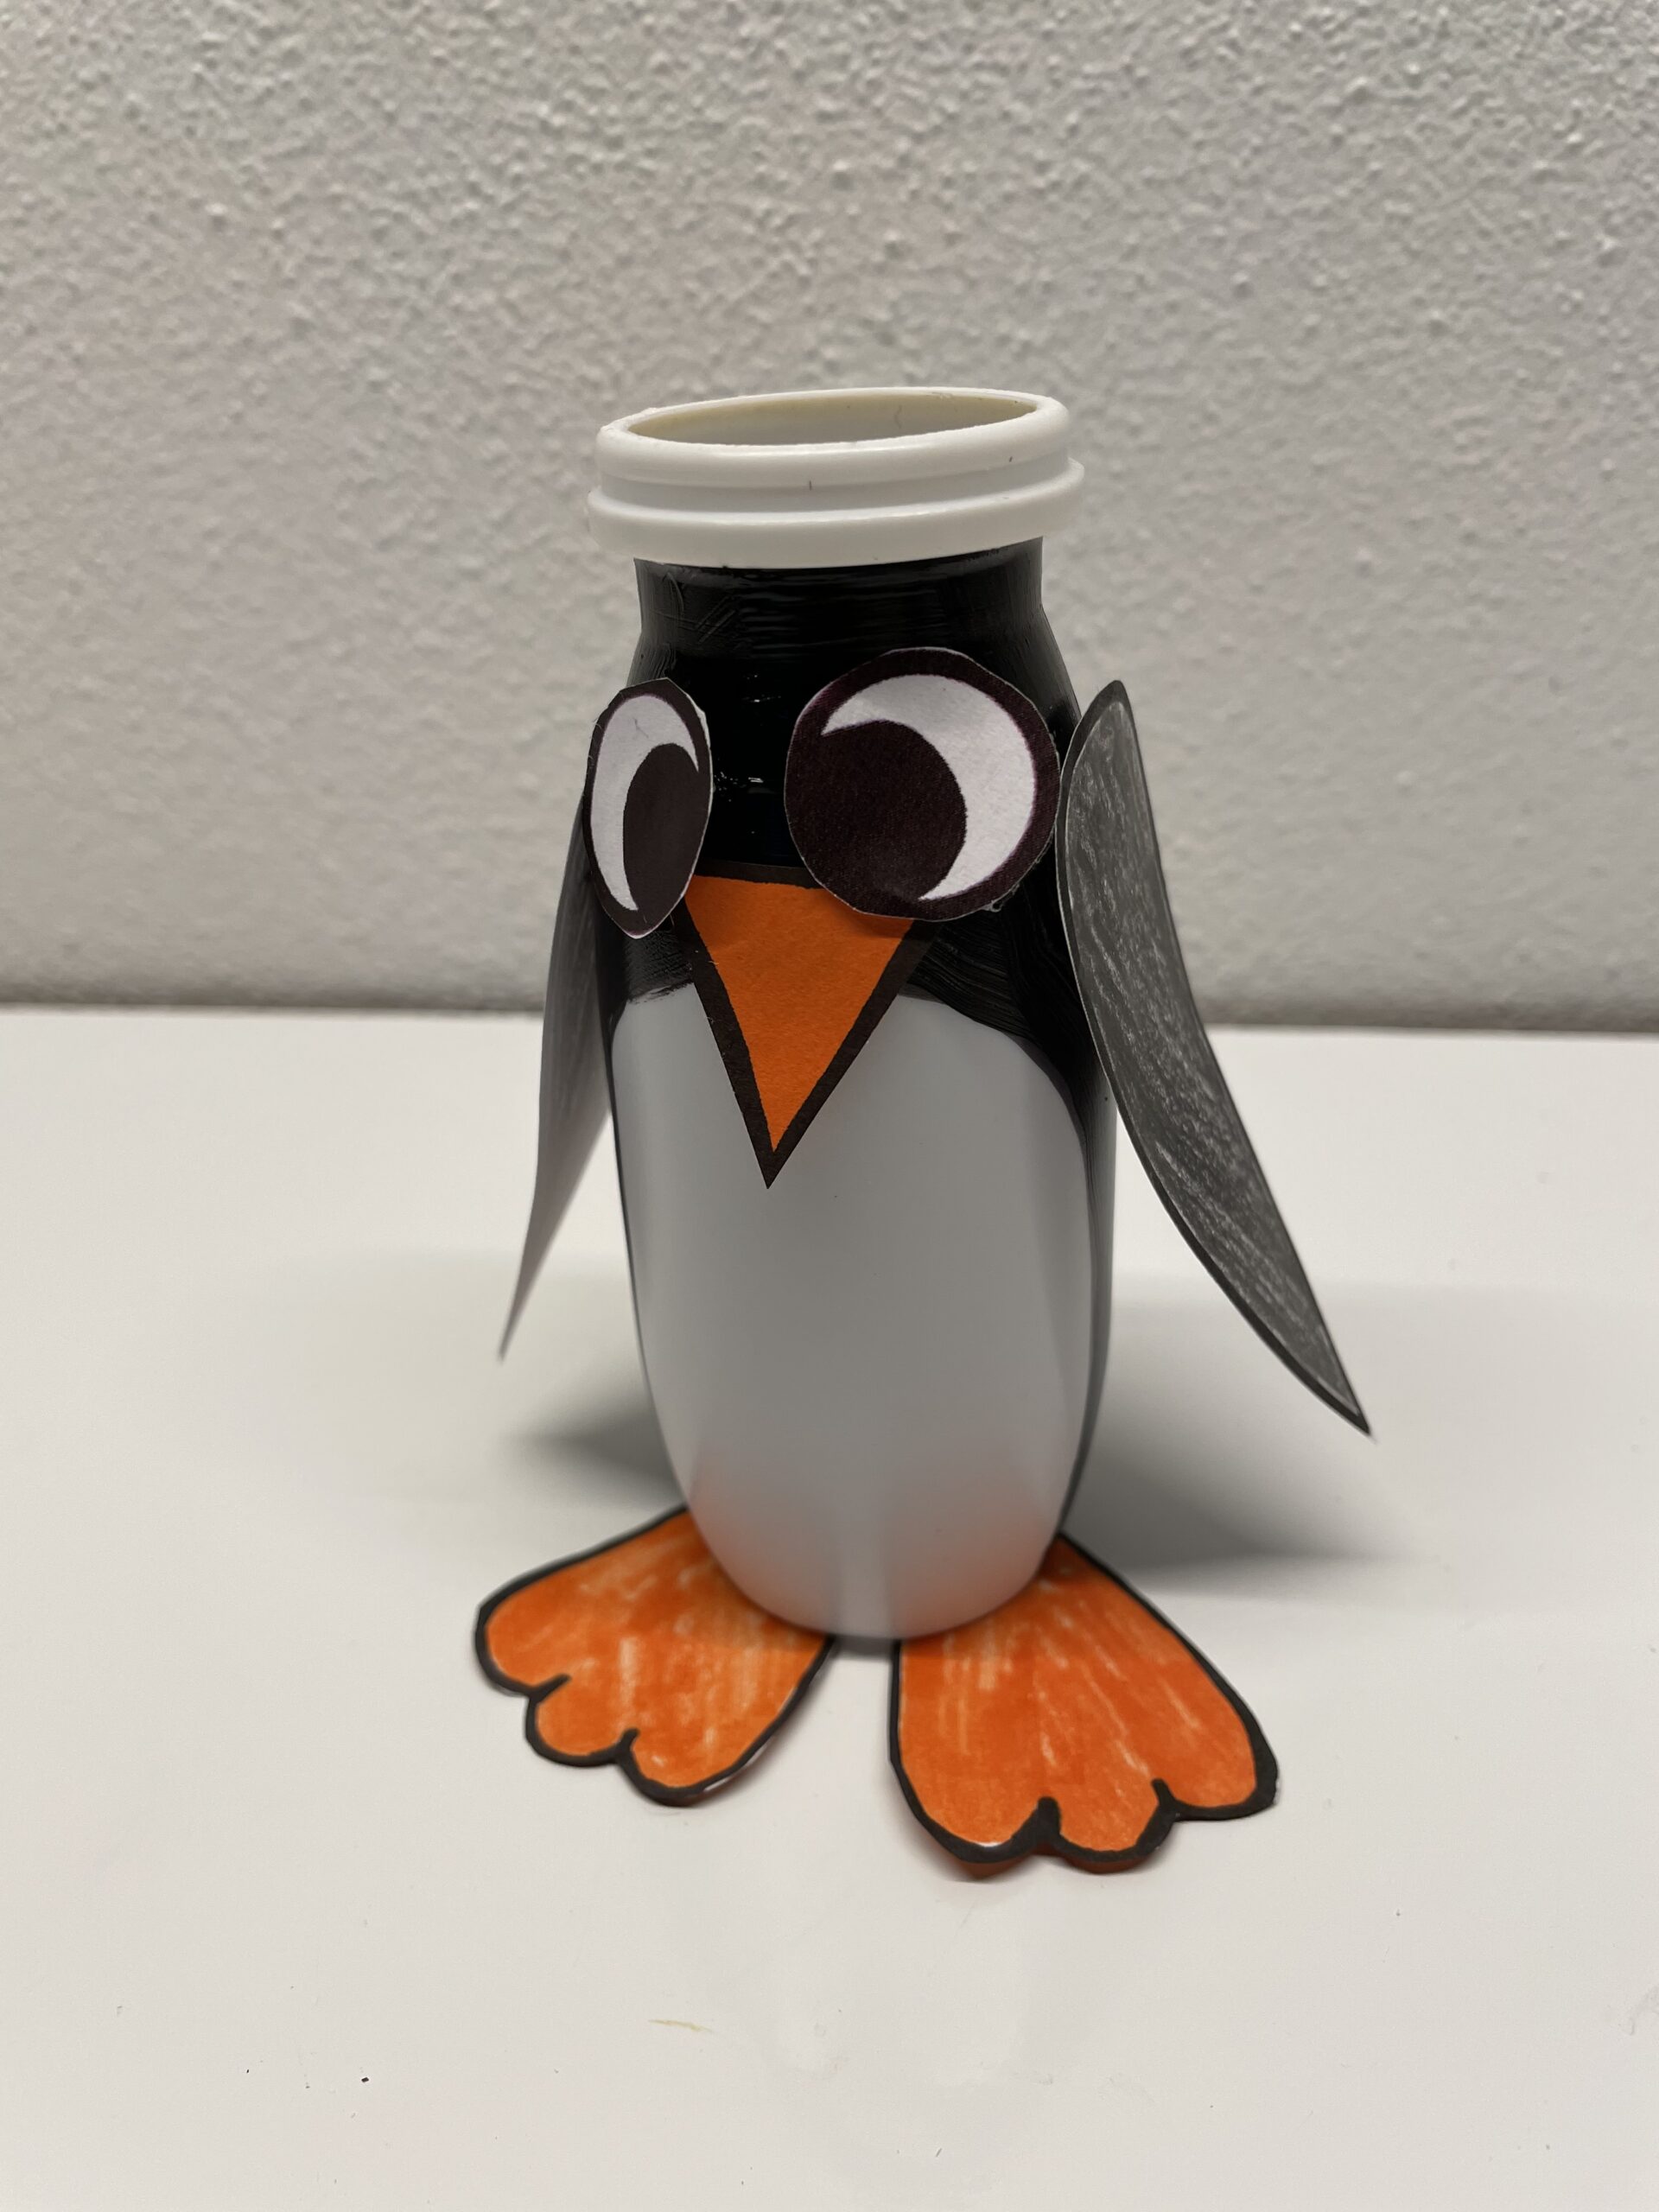


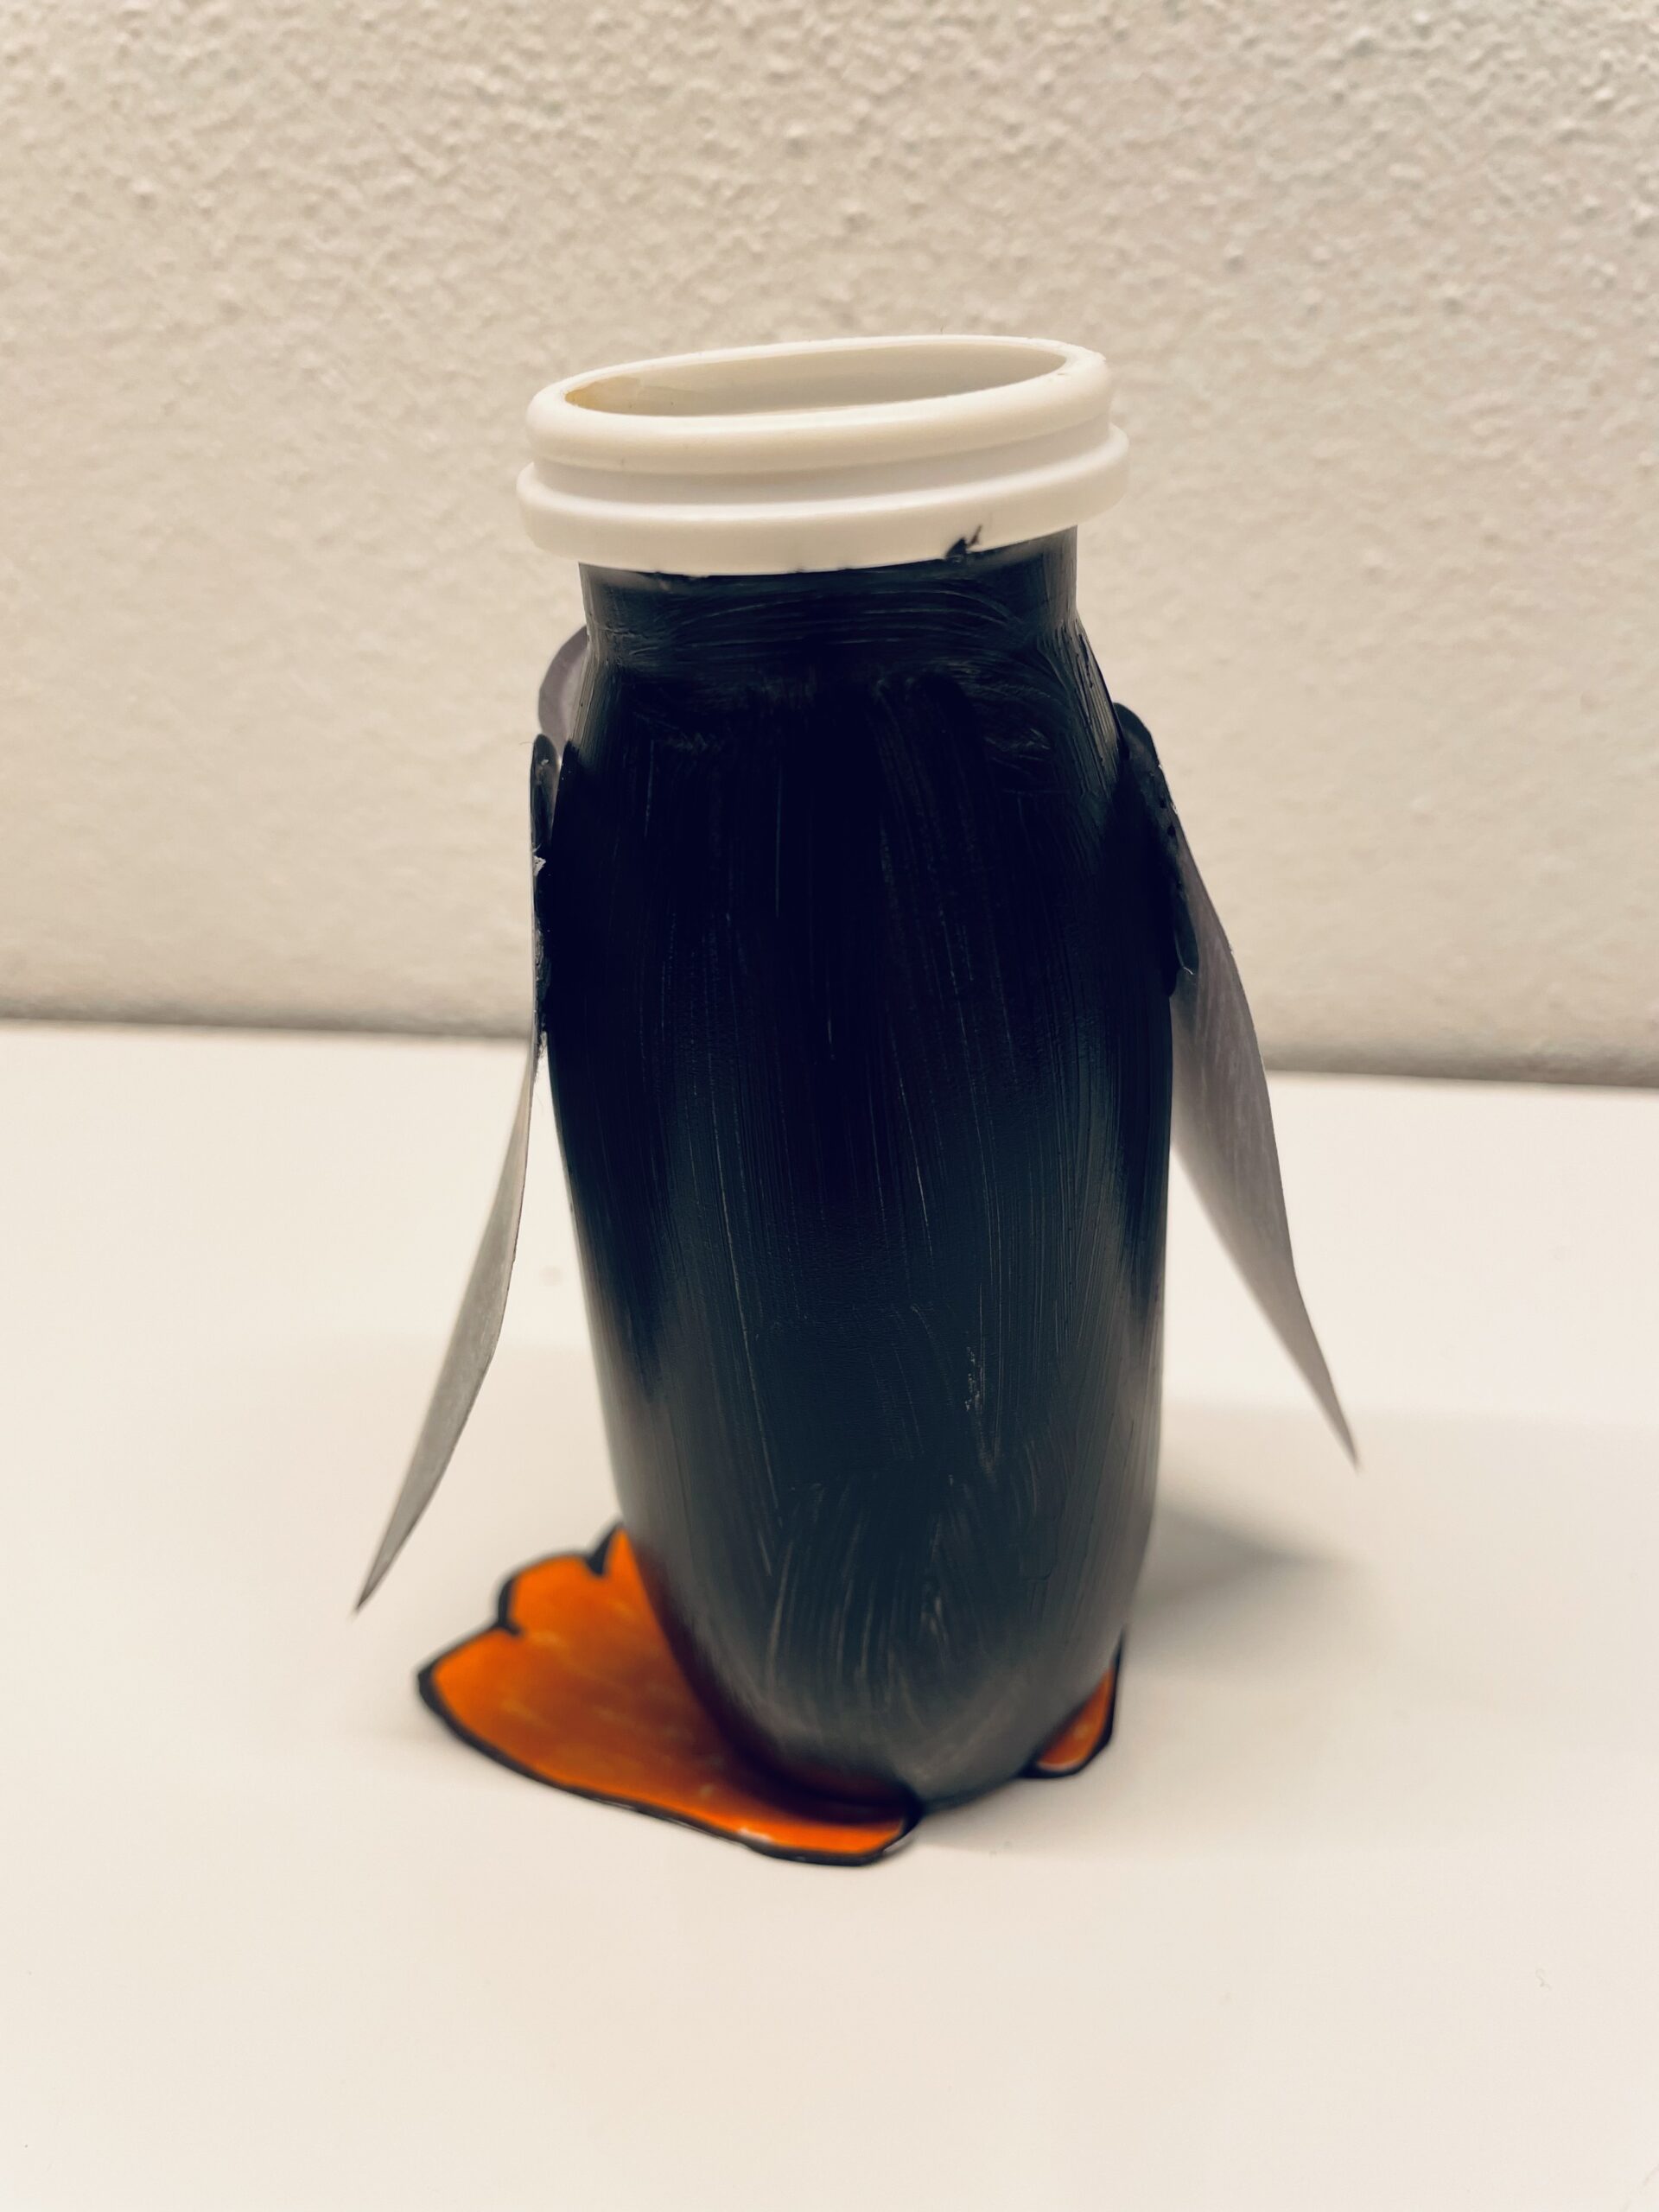
That's what the penguin looks like from the back.


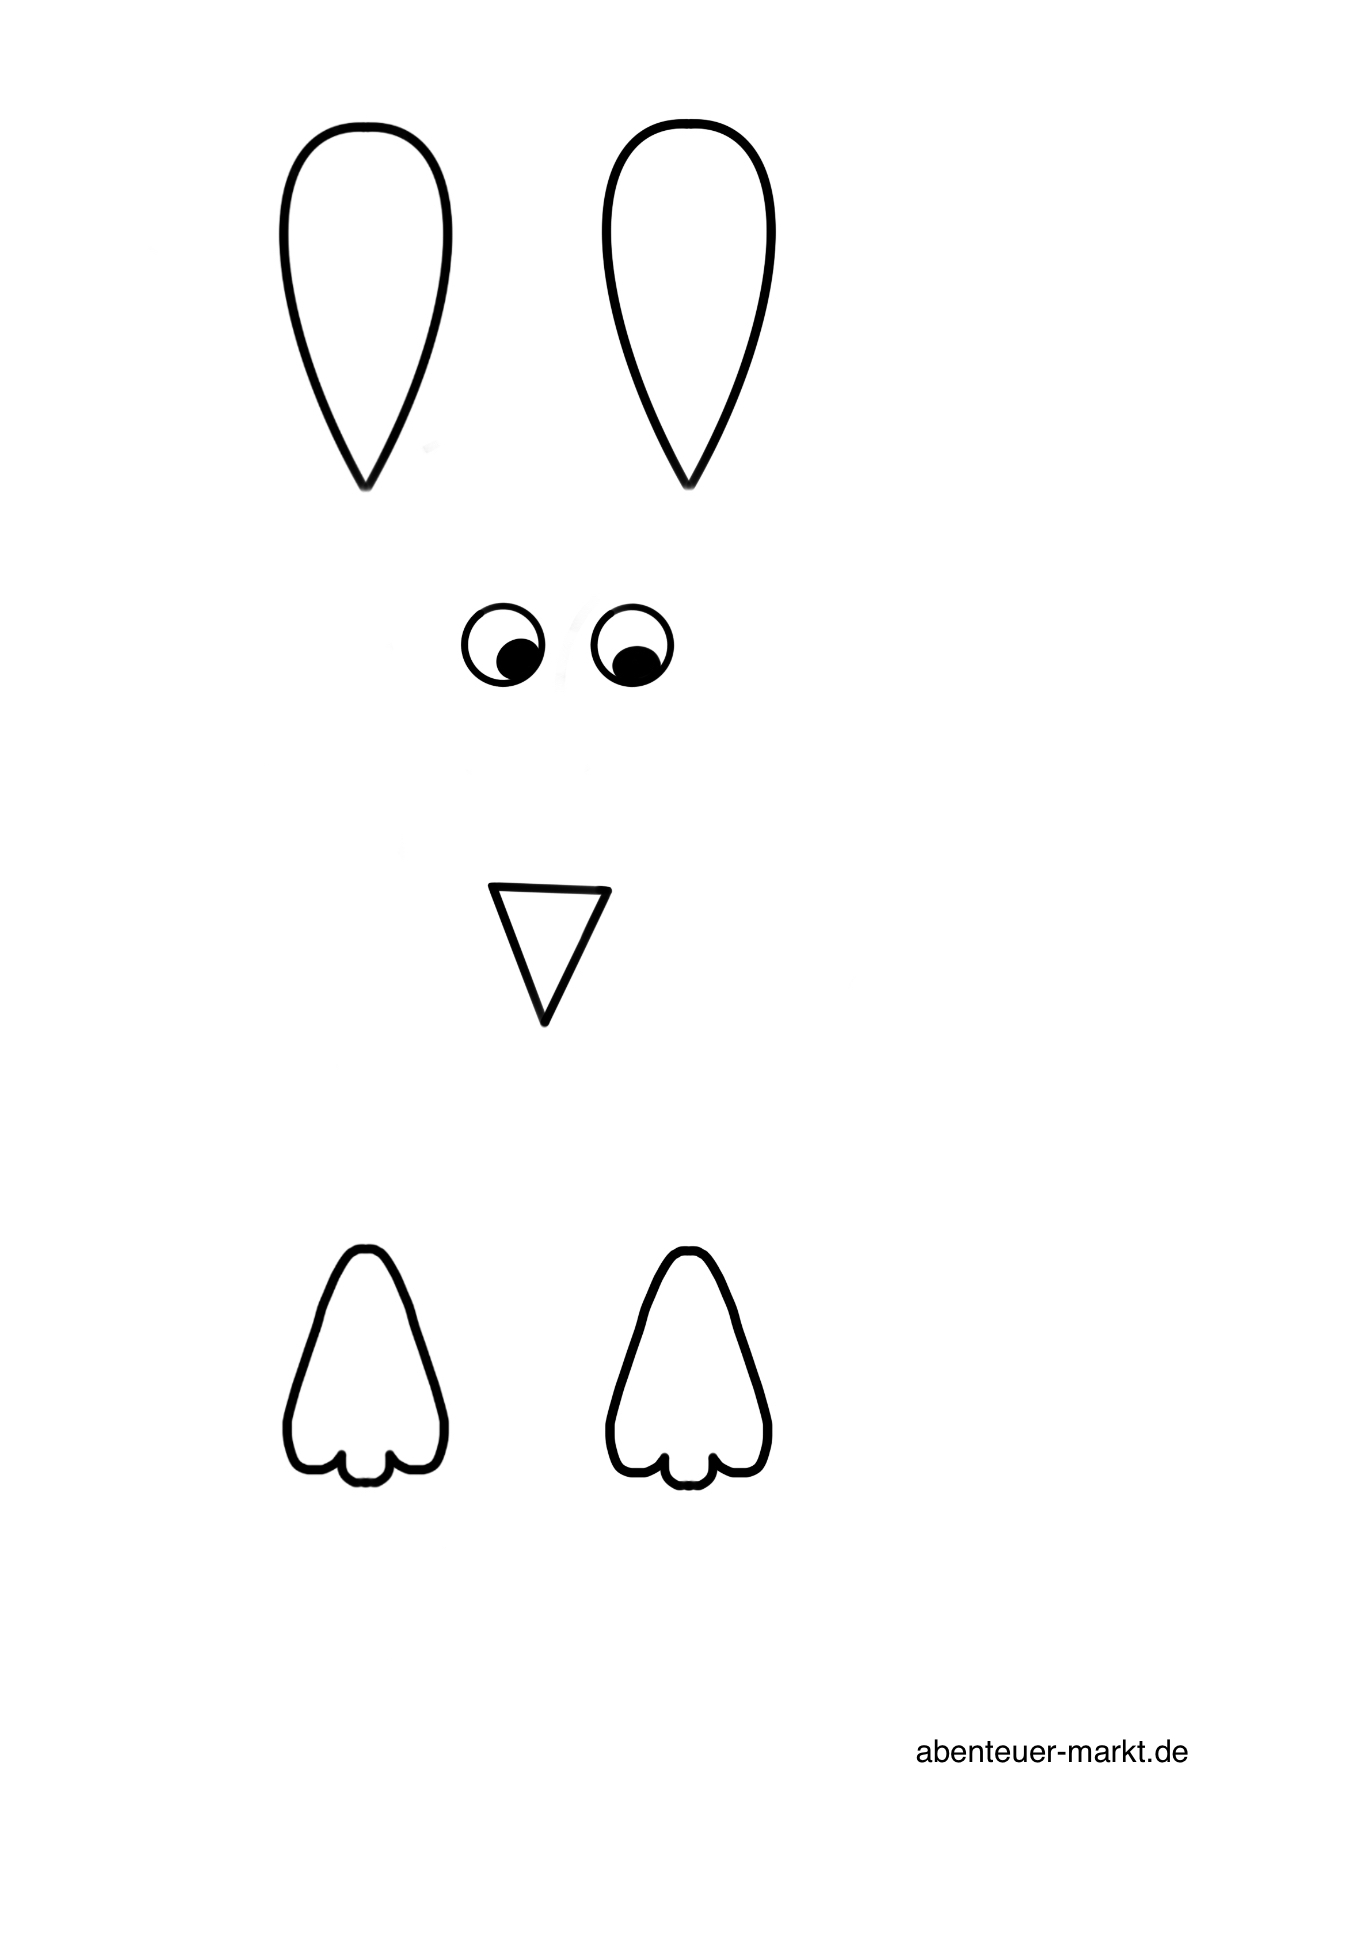
This is the template, you can use it or you can paint your own.


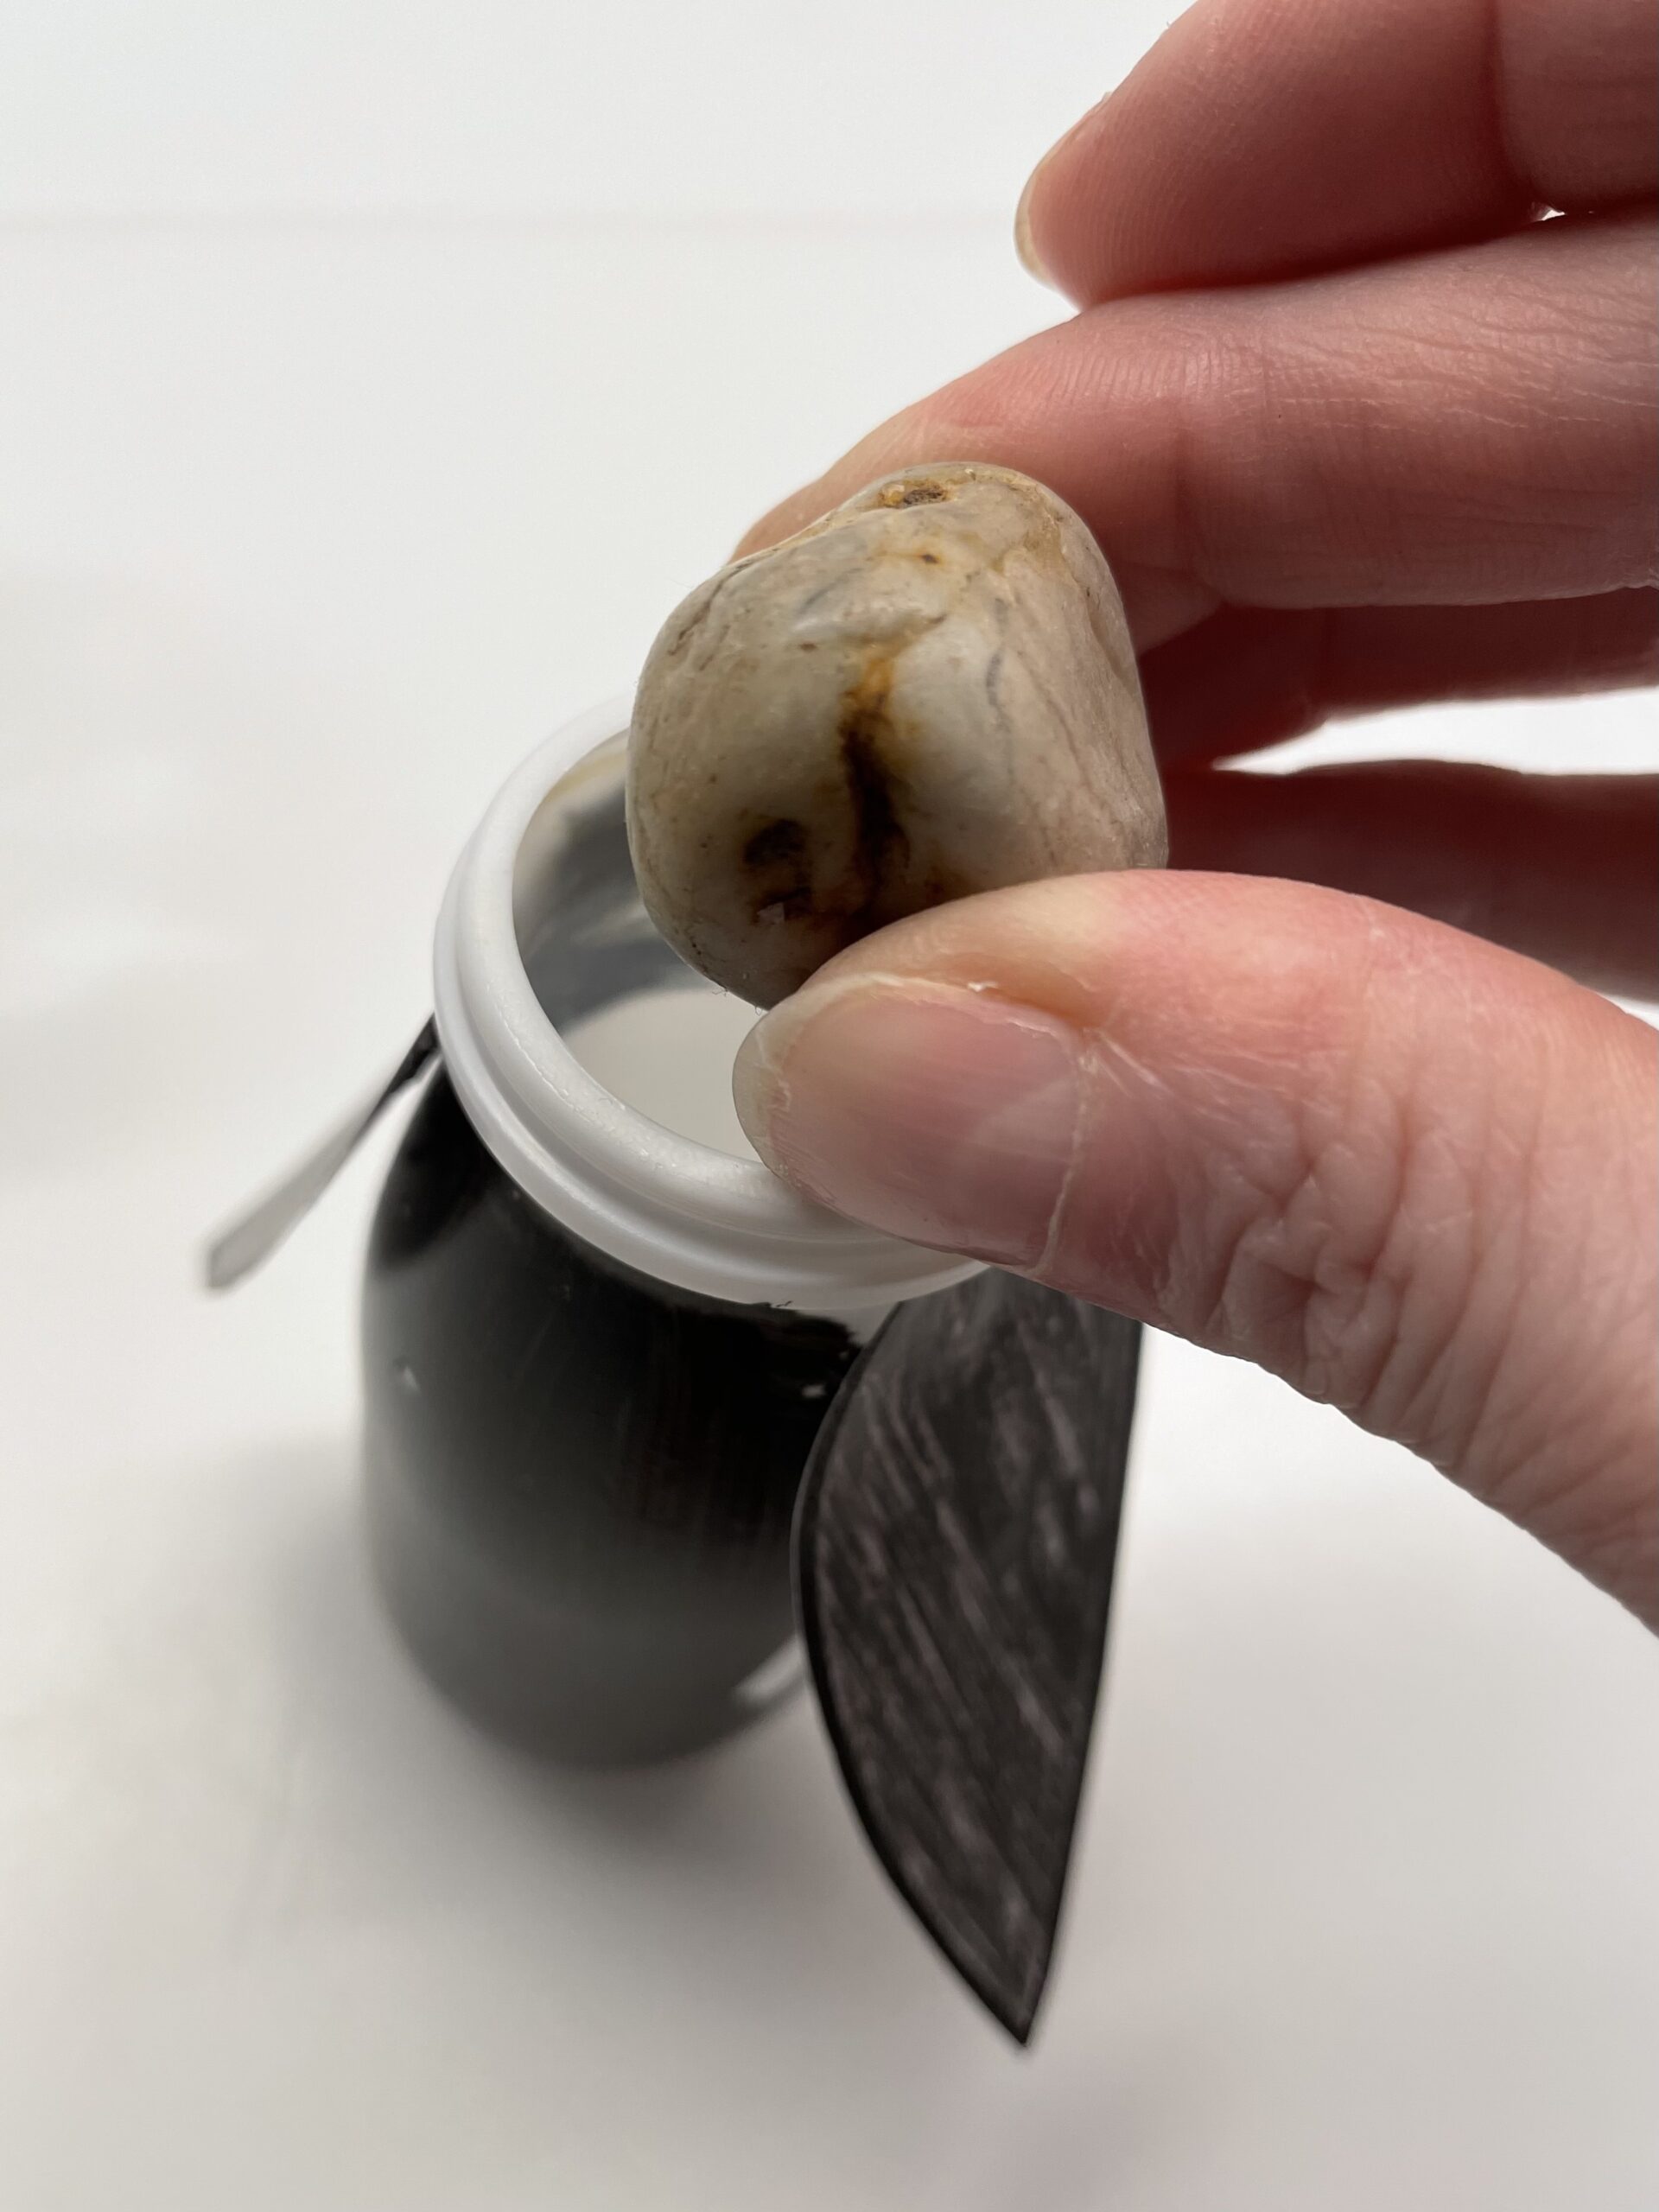
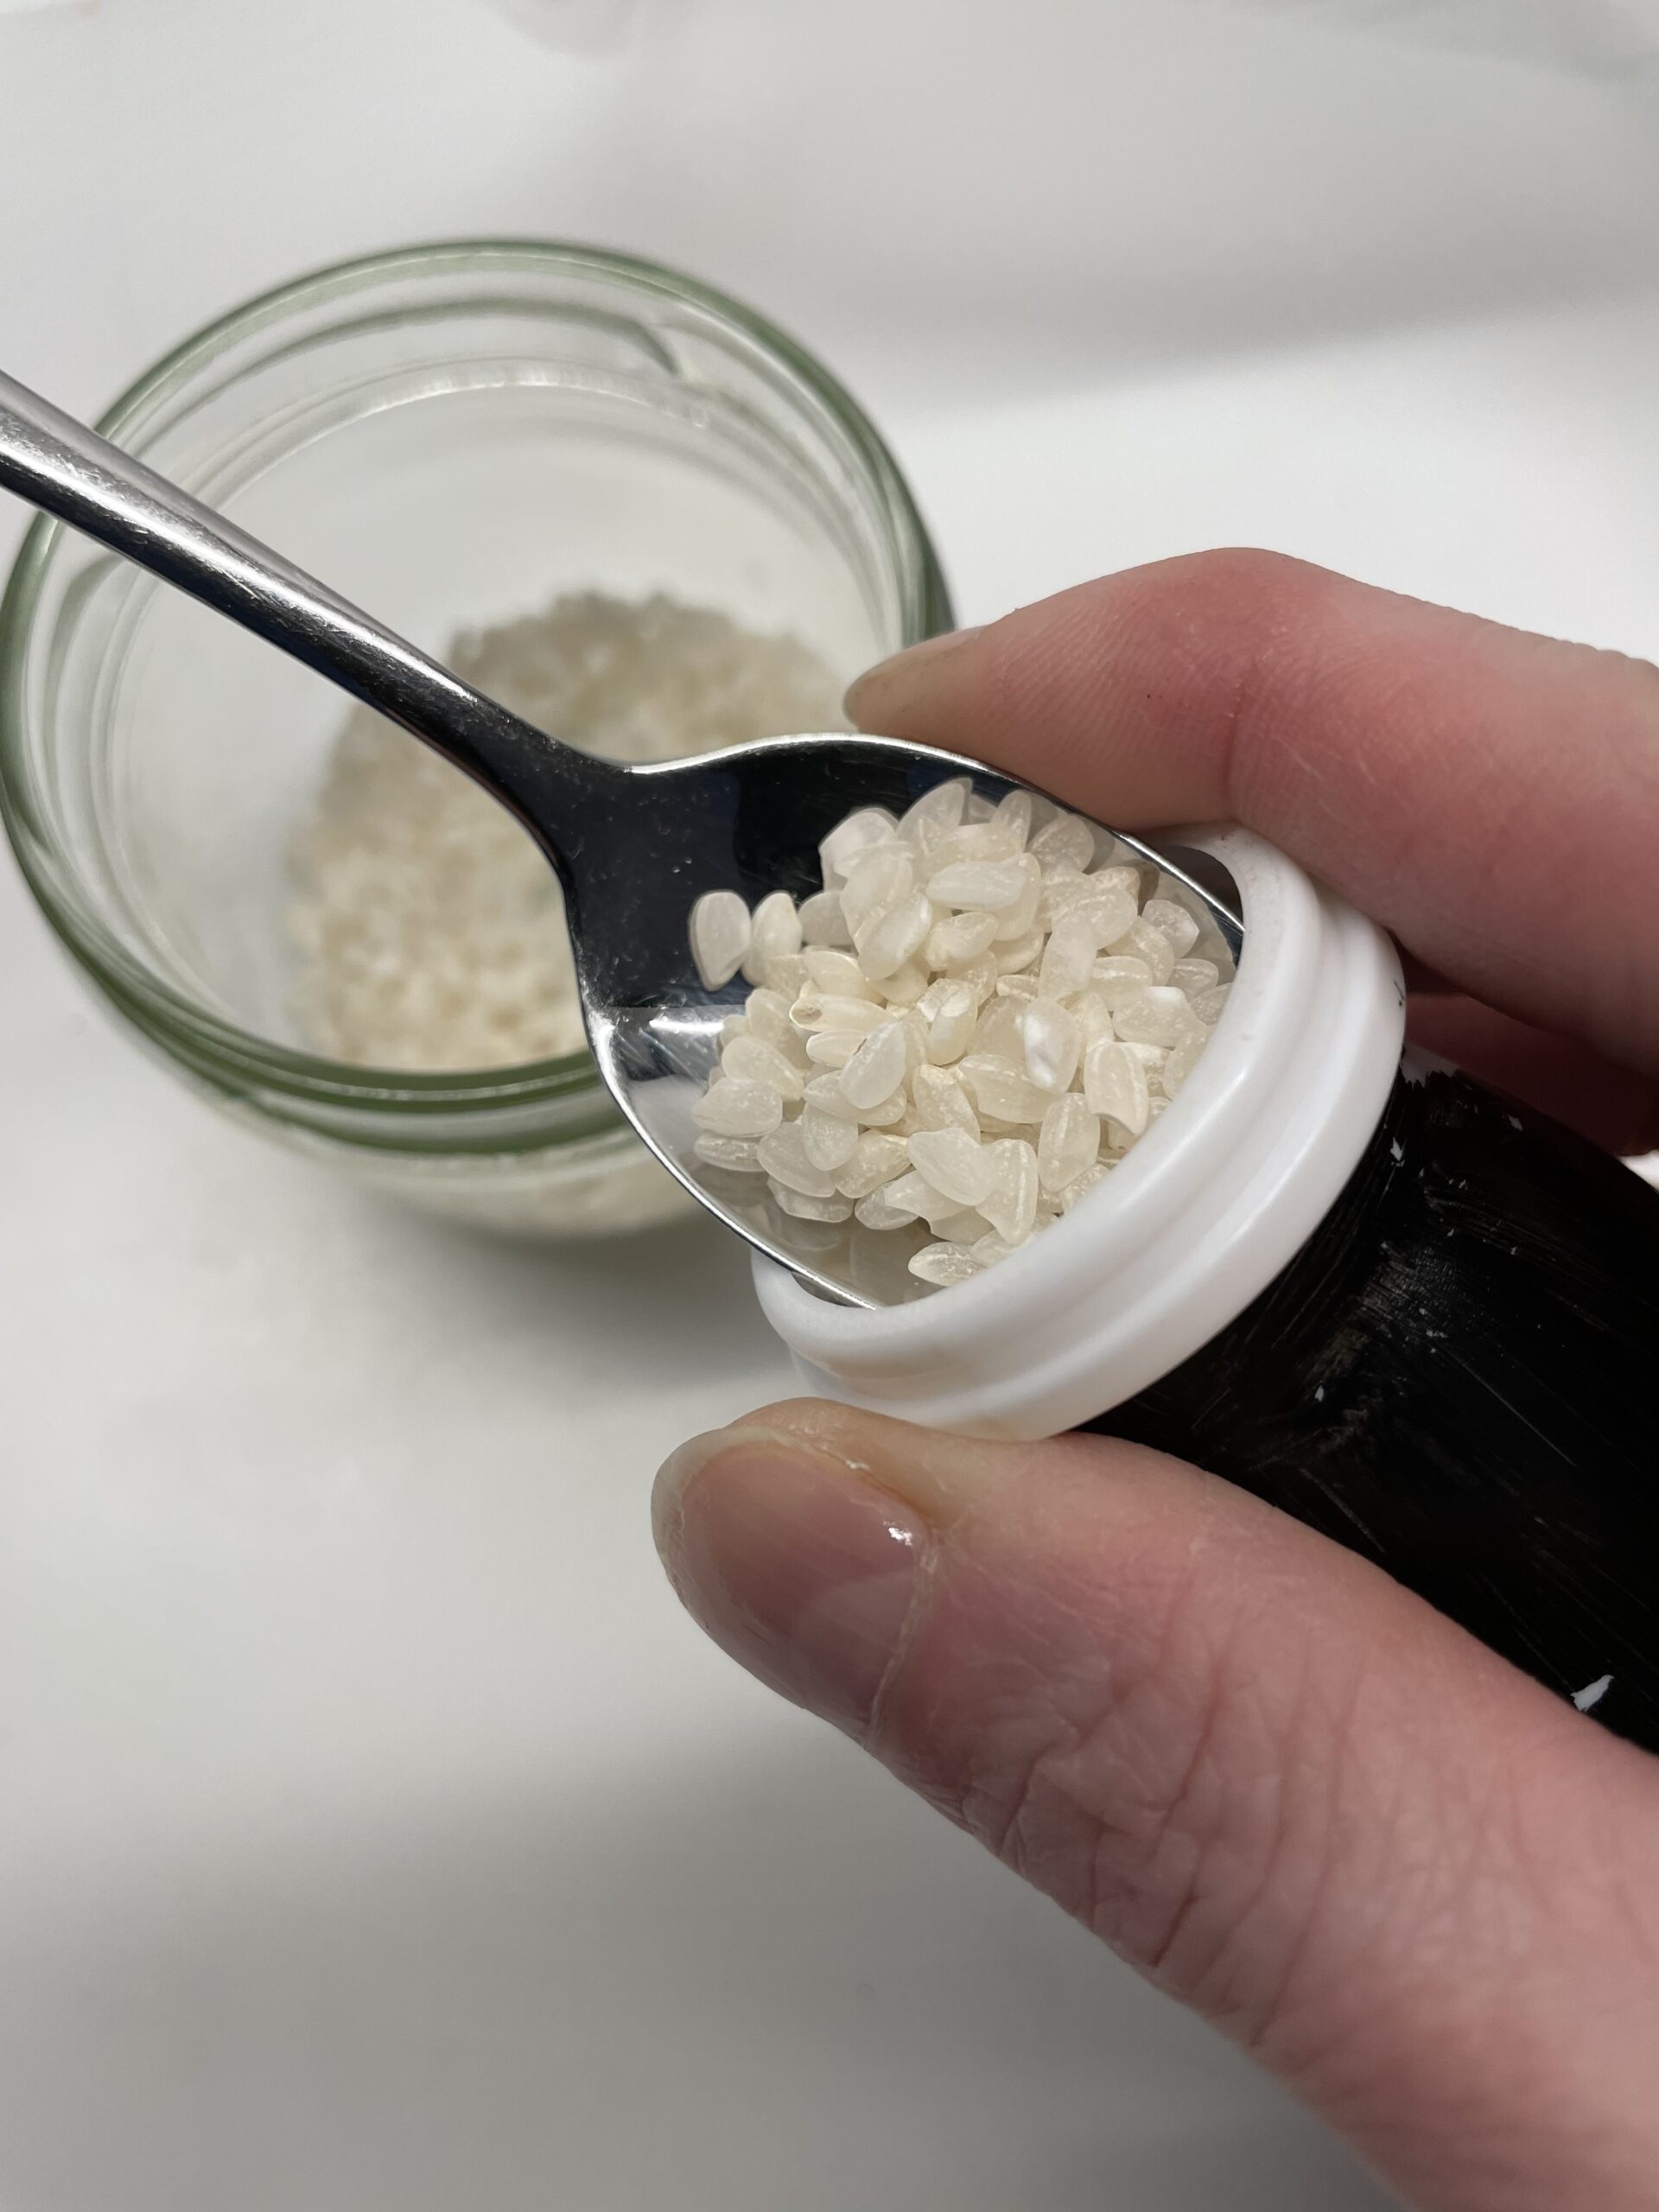
Tip: You can either put a stone in it or fill in some rice or sand for discomfort.




Materials
Directions
Get all the materials ready and spread out your craft pad. Put on a paint coat.
Take an empty clean drinking yoghurt cup. Paints the belly patch of the penguin with a waterproof felt pen.


The shape is a long oval arch. The remaining surface remains white.


Now paint the remaining cup with a opaque black color (e.g. acrylic paint). For example, place an old screw glass lid under it, then the cup does not slip away when painting.


The top edge of the cup can remain white, so you can still touch it.
Put the cup to dry.


Meanwhile, you can paint, paint and cut the feet, wings, eyes and beak, or use the template.


Sticks the feet to the bottom of the cup. They should stand as far forward as possible, therefore only apply glue to the back end of the feet.


The beak is placed above the white belly patch. The eyes are glued over it.


On the side of the belly patch the wings are attached to the left and right rather high up. Adhesive points are only needed at the upper end of the wing.


That's what the penguin looks like from the back.


This is the template, you can use it or you can paint your own.


Tip: You can either put a stone in it or fill in some rice or sand for discomfort.


Follow us on Facebook , Instagram and Pinterest
Don't miss any more adventures: Our bottle mail


