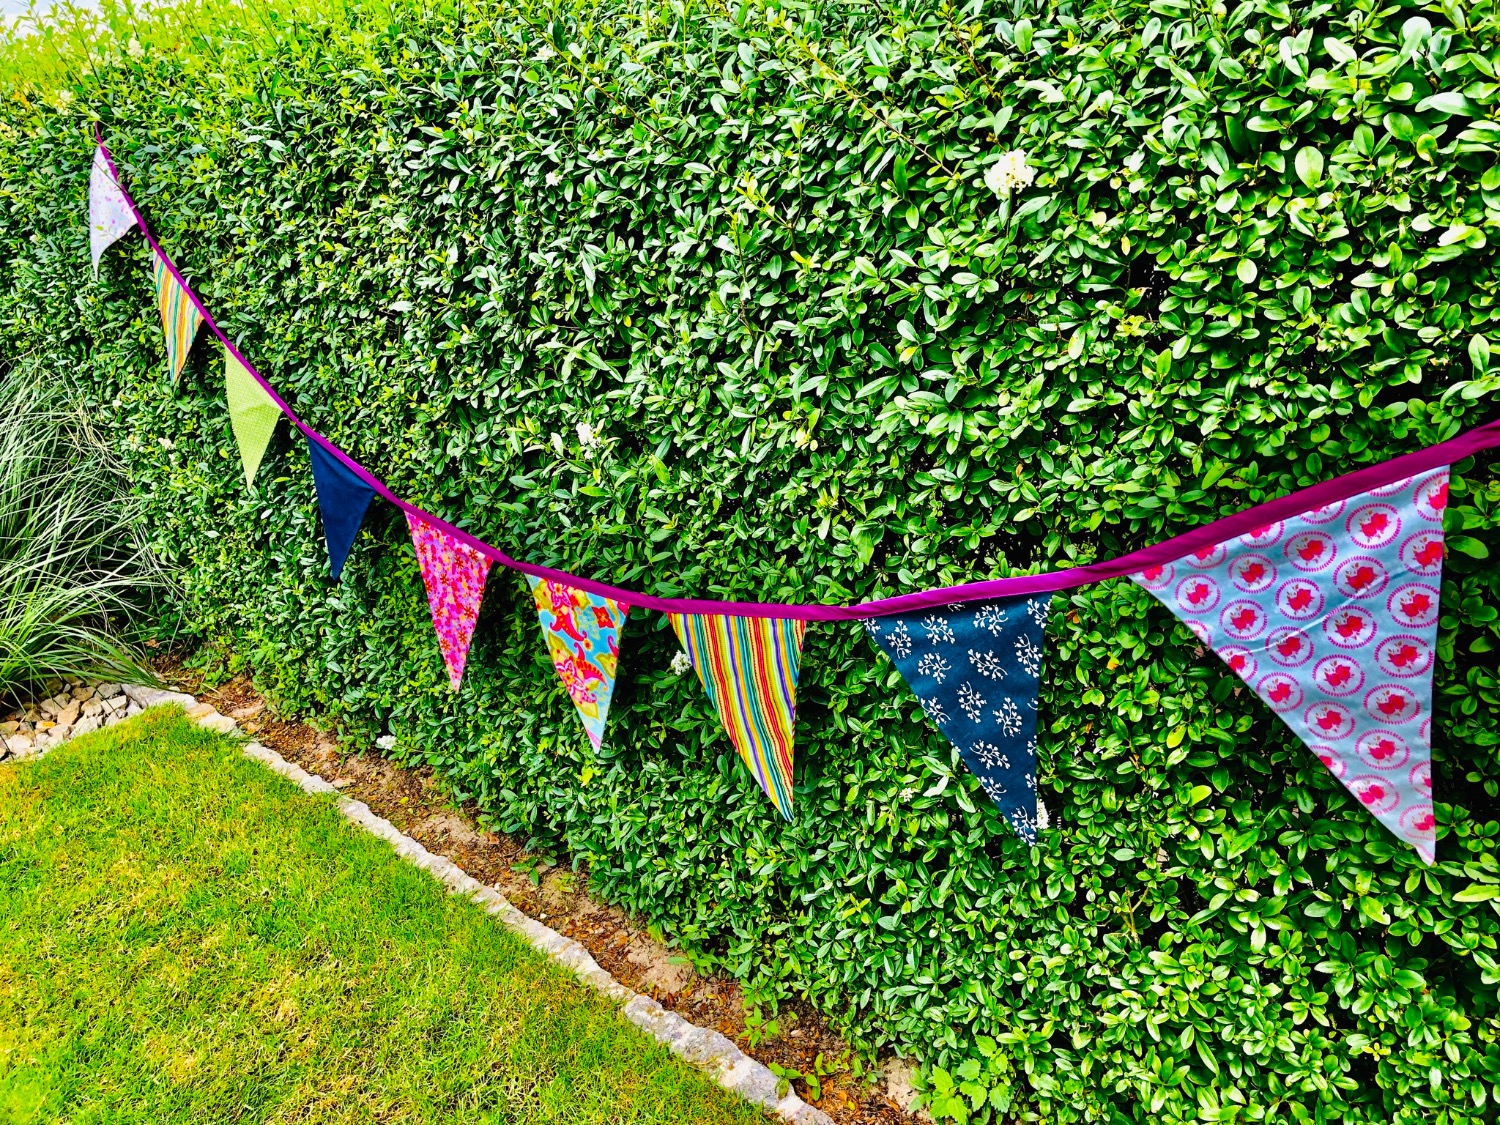
A garland made of fabric is quickly made and for many garden parties, birthdays, parties a nice decoration. I show today a fast feasible variant without sewing machine! The children can participate actively.
Of course, a garland with sewn fabric triangles is more durable. This would be washable in the washing machine. Wimpel chain suitable for the recycling of fabric residues!
Media Education for Kindergarten and Hort

Relief in everyday life, targeted promotion of individual children, independent learning and - without any pre-knowledge already usable by the youngest!
Template transferable to any desired size!
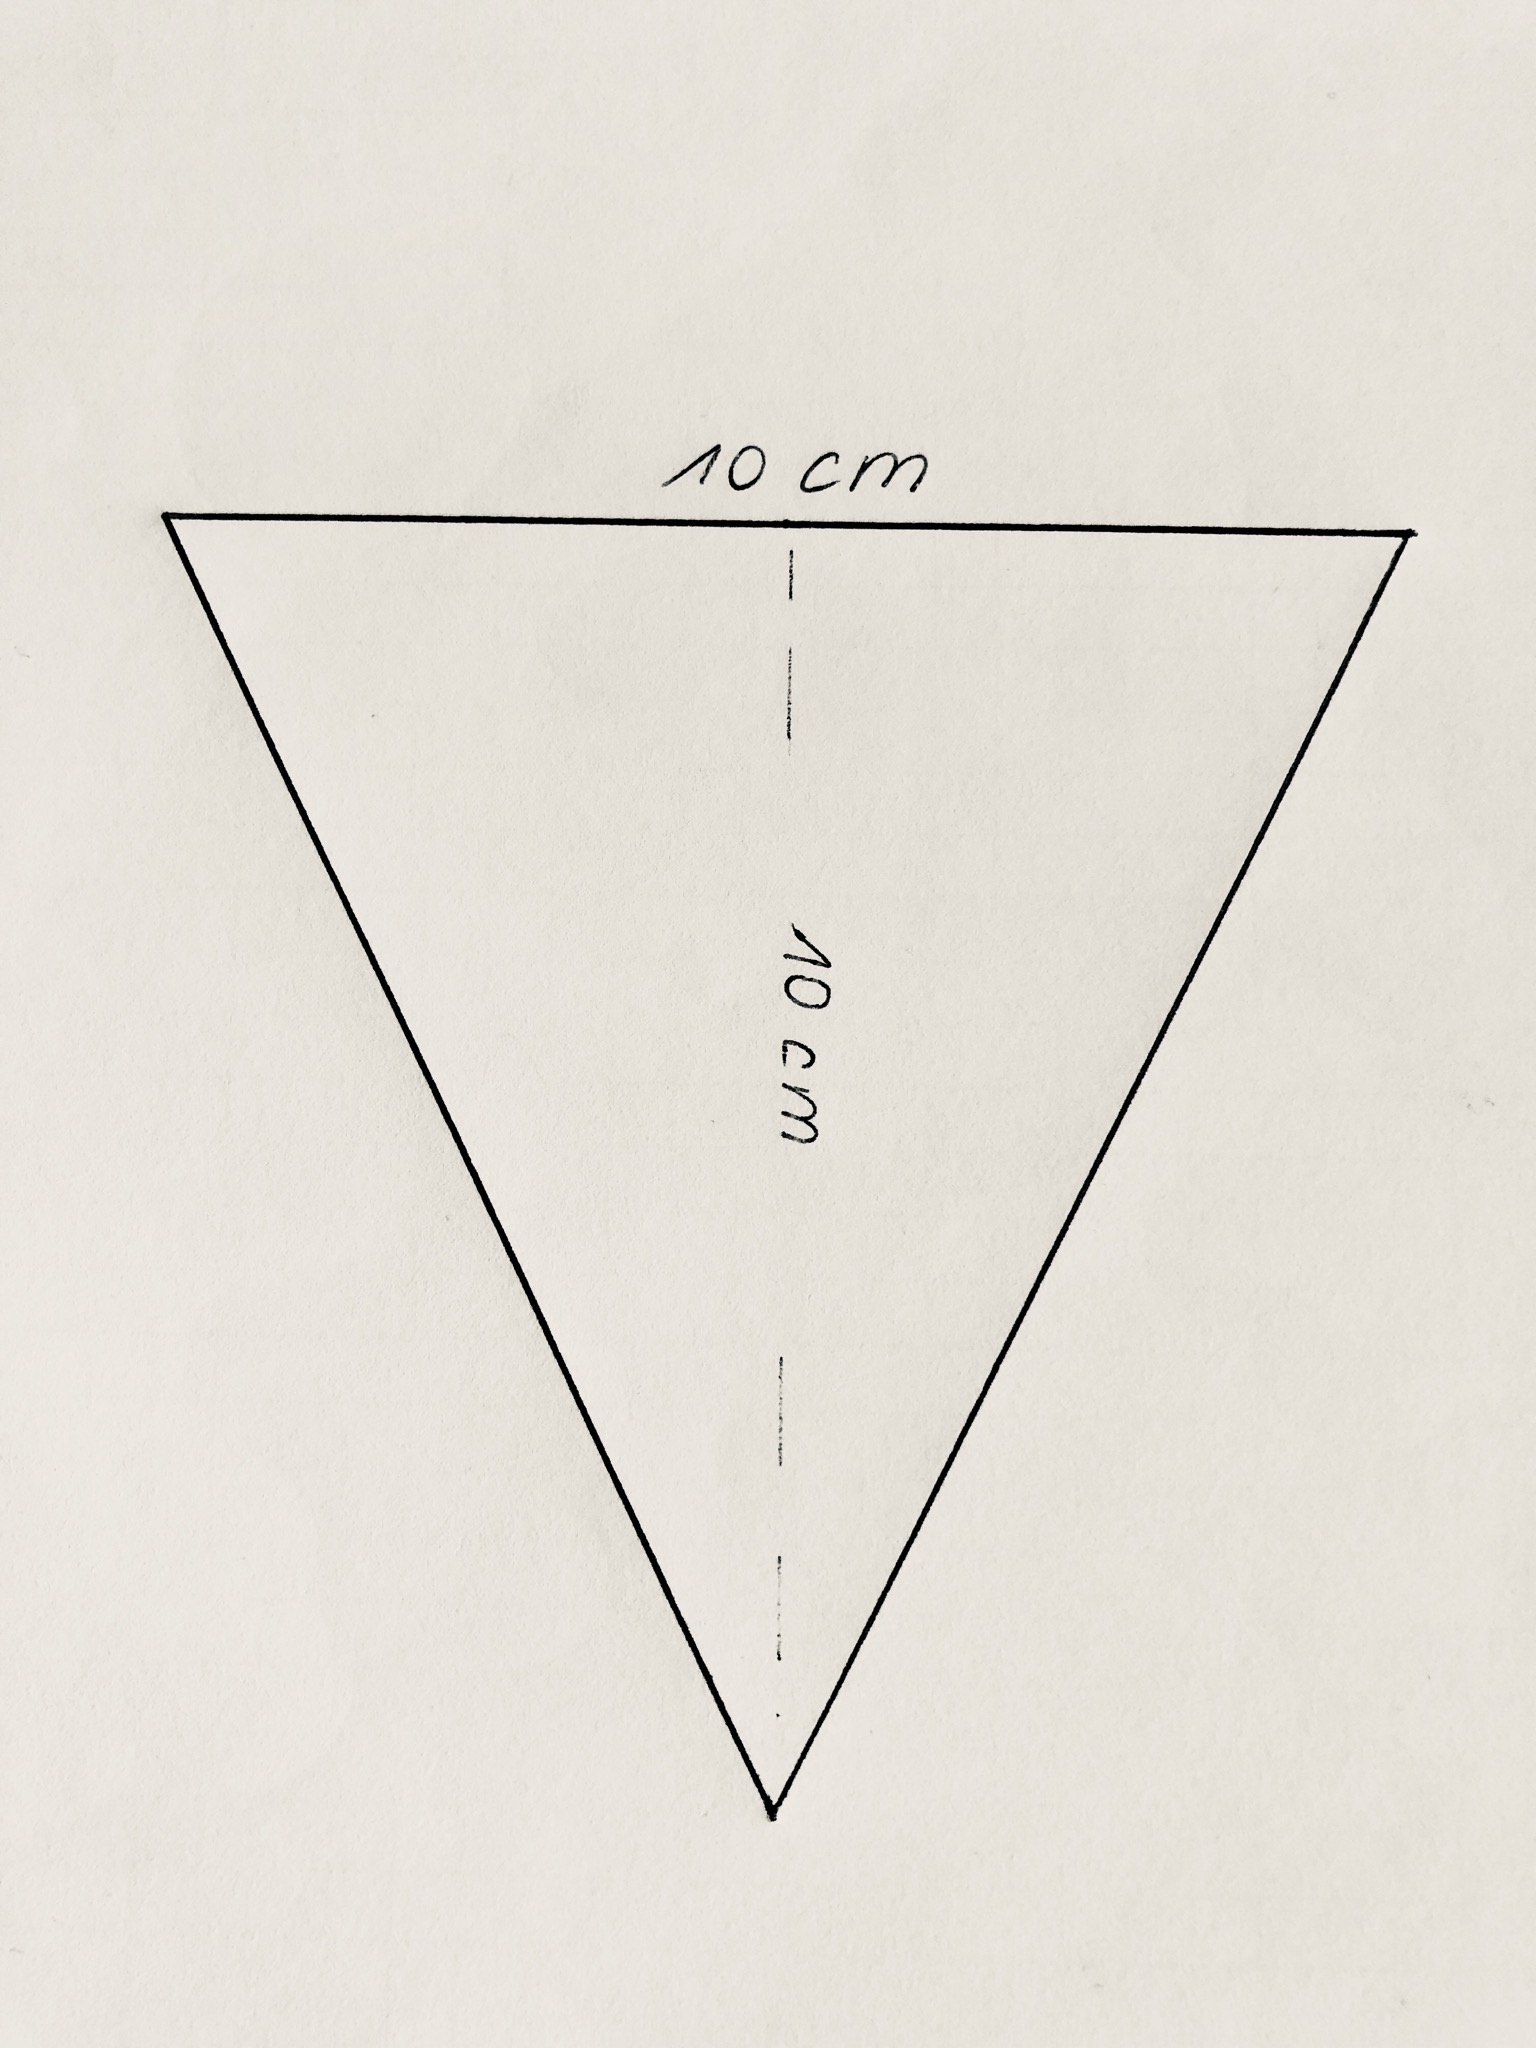
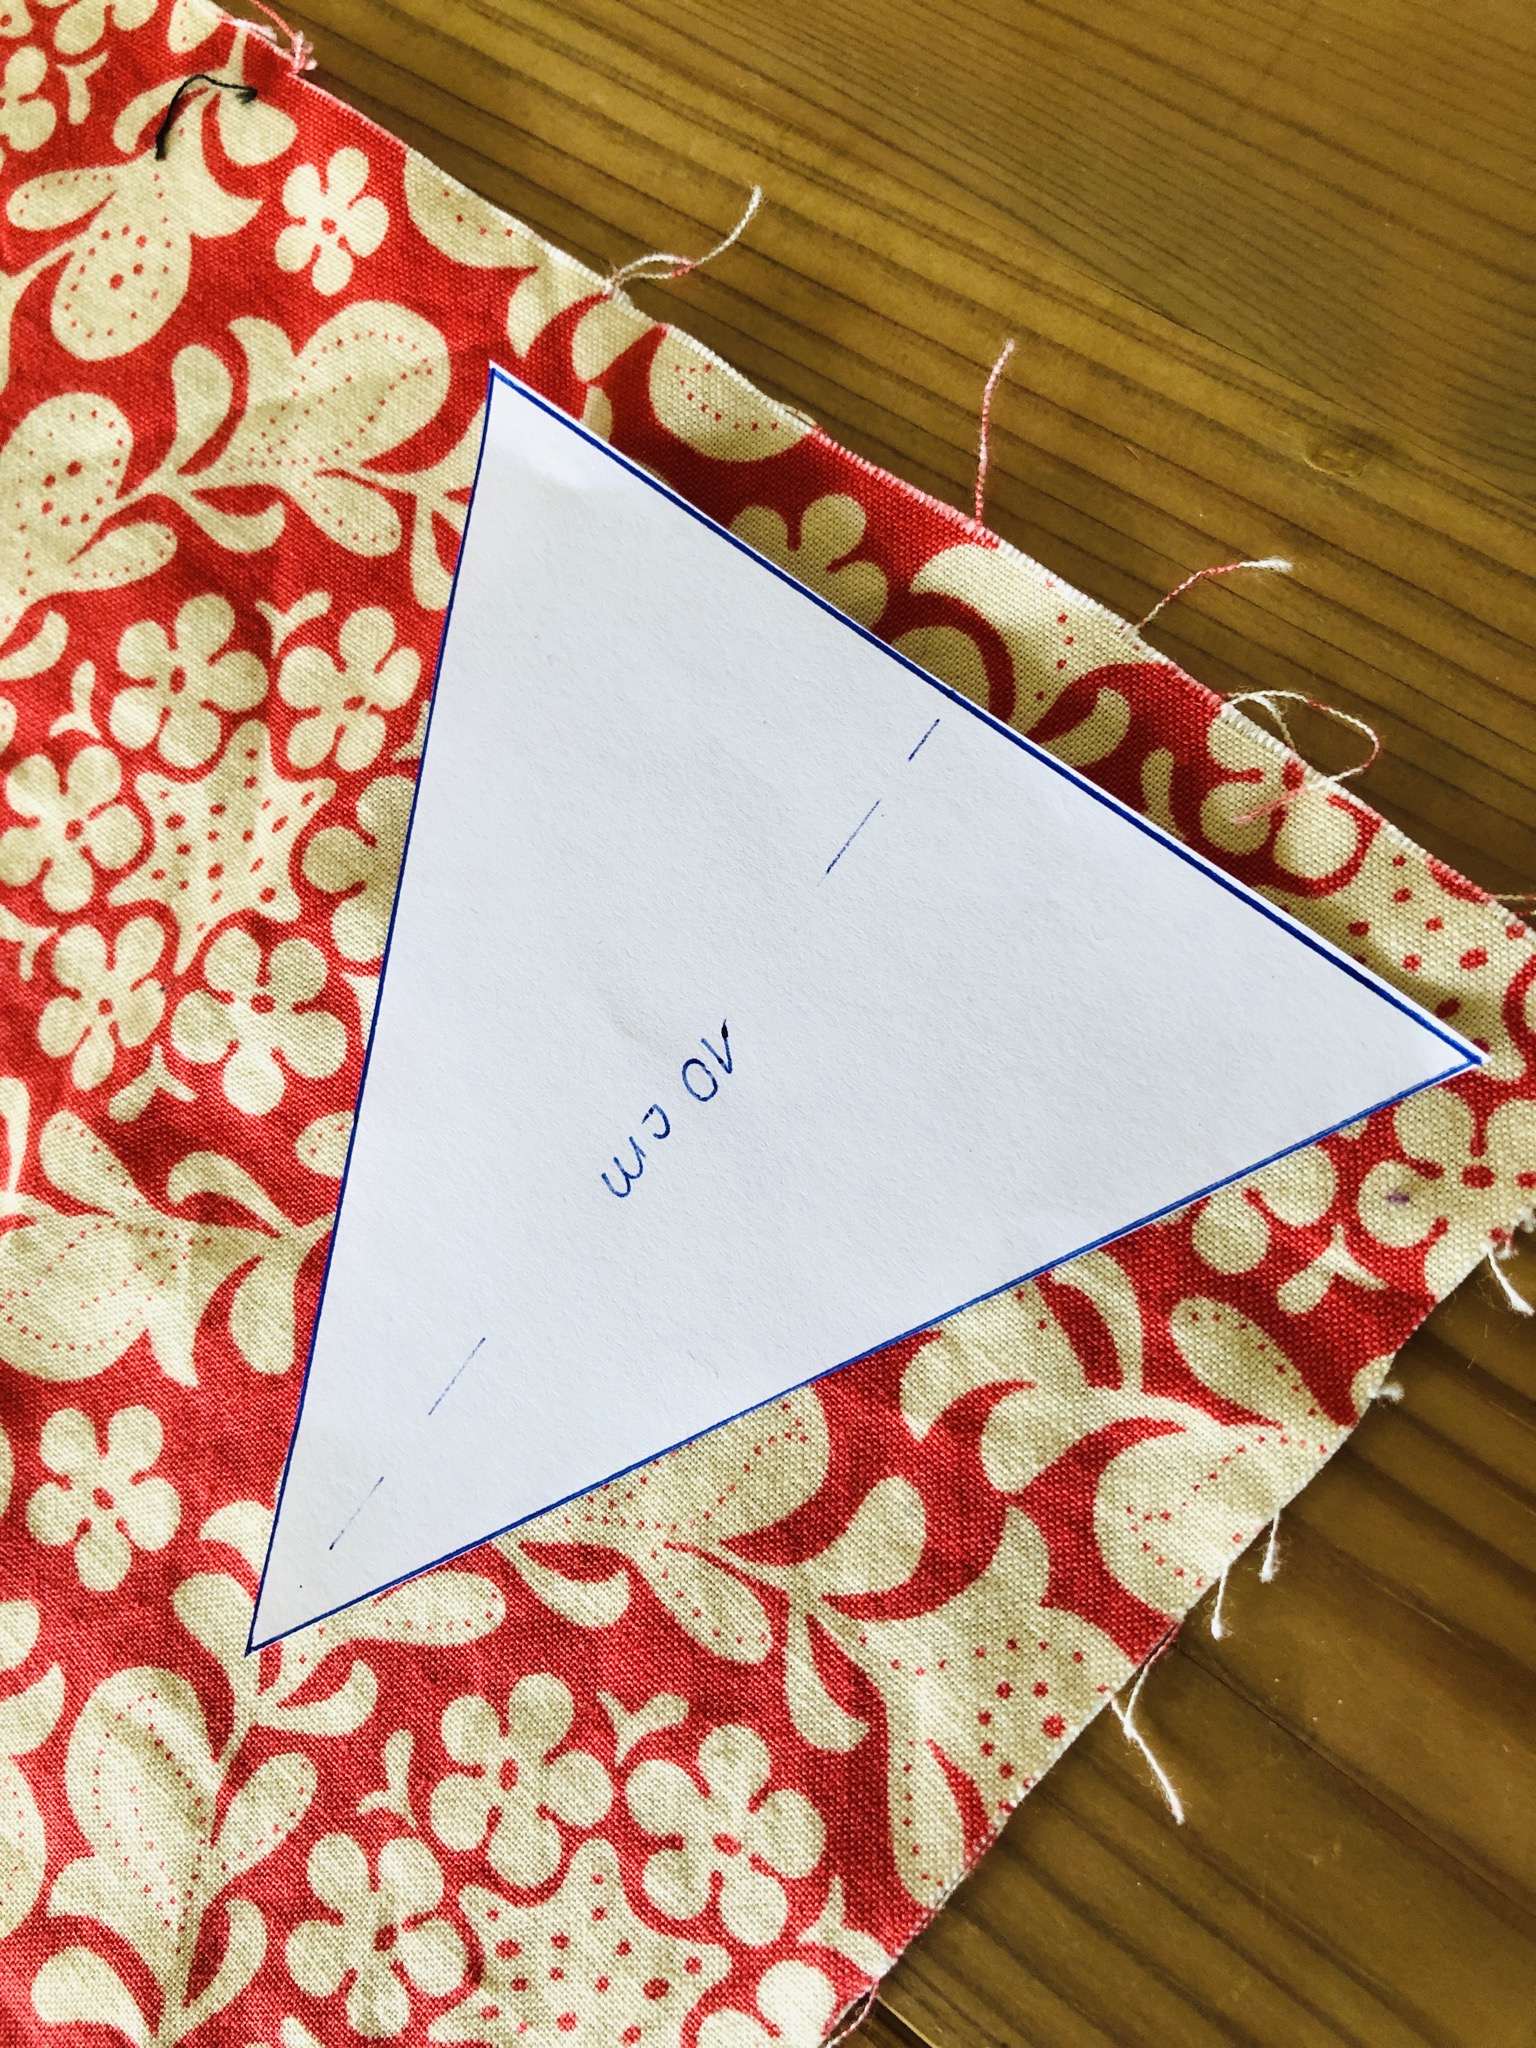
Transfer the cut pattern to the fabric. Cuts out the fabric approx. 0.5 cm ("seam allowance") larger, so that the seam allowance can then be flipped over.

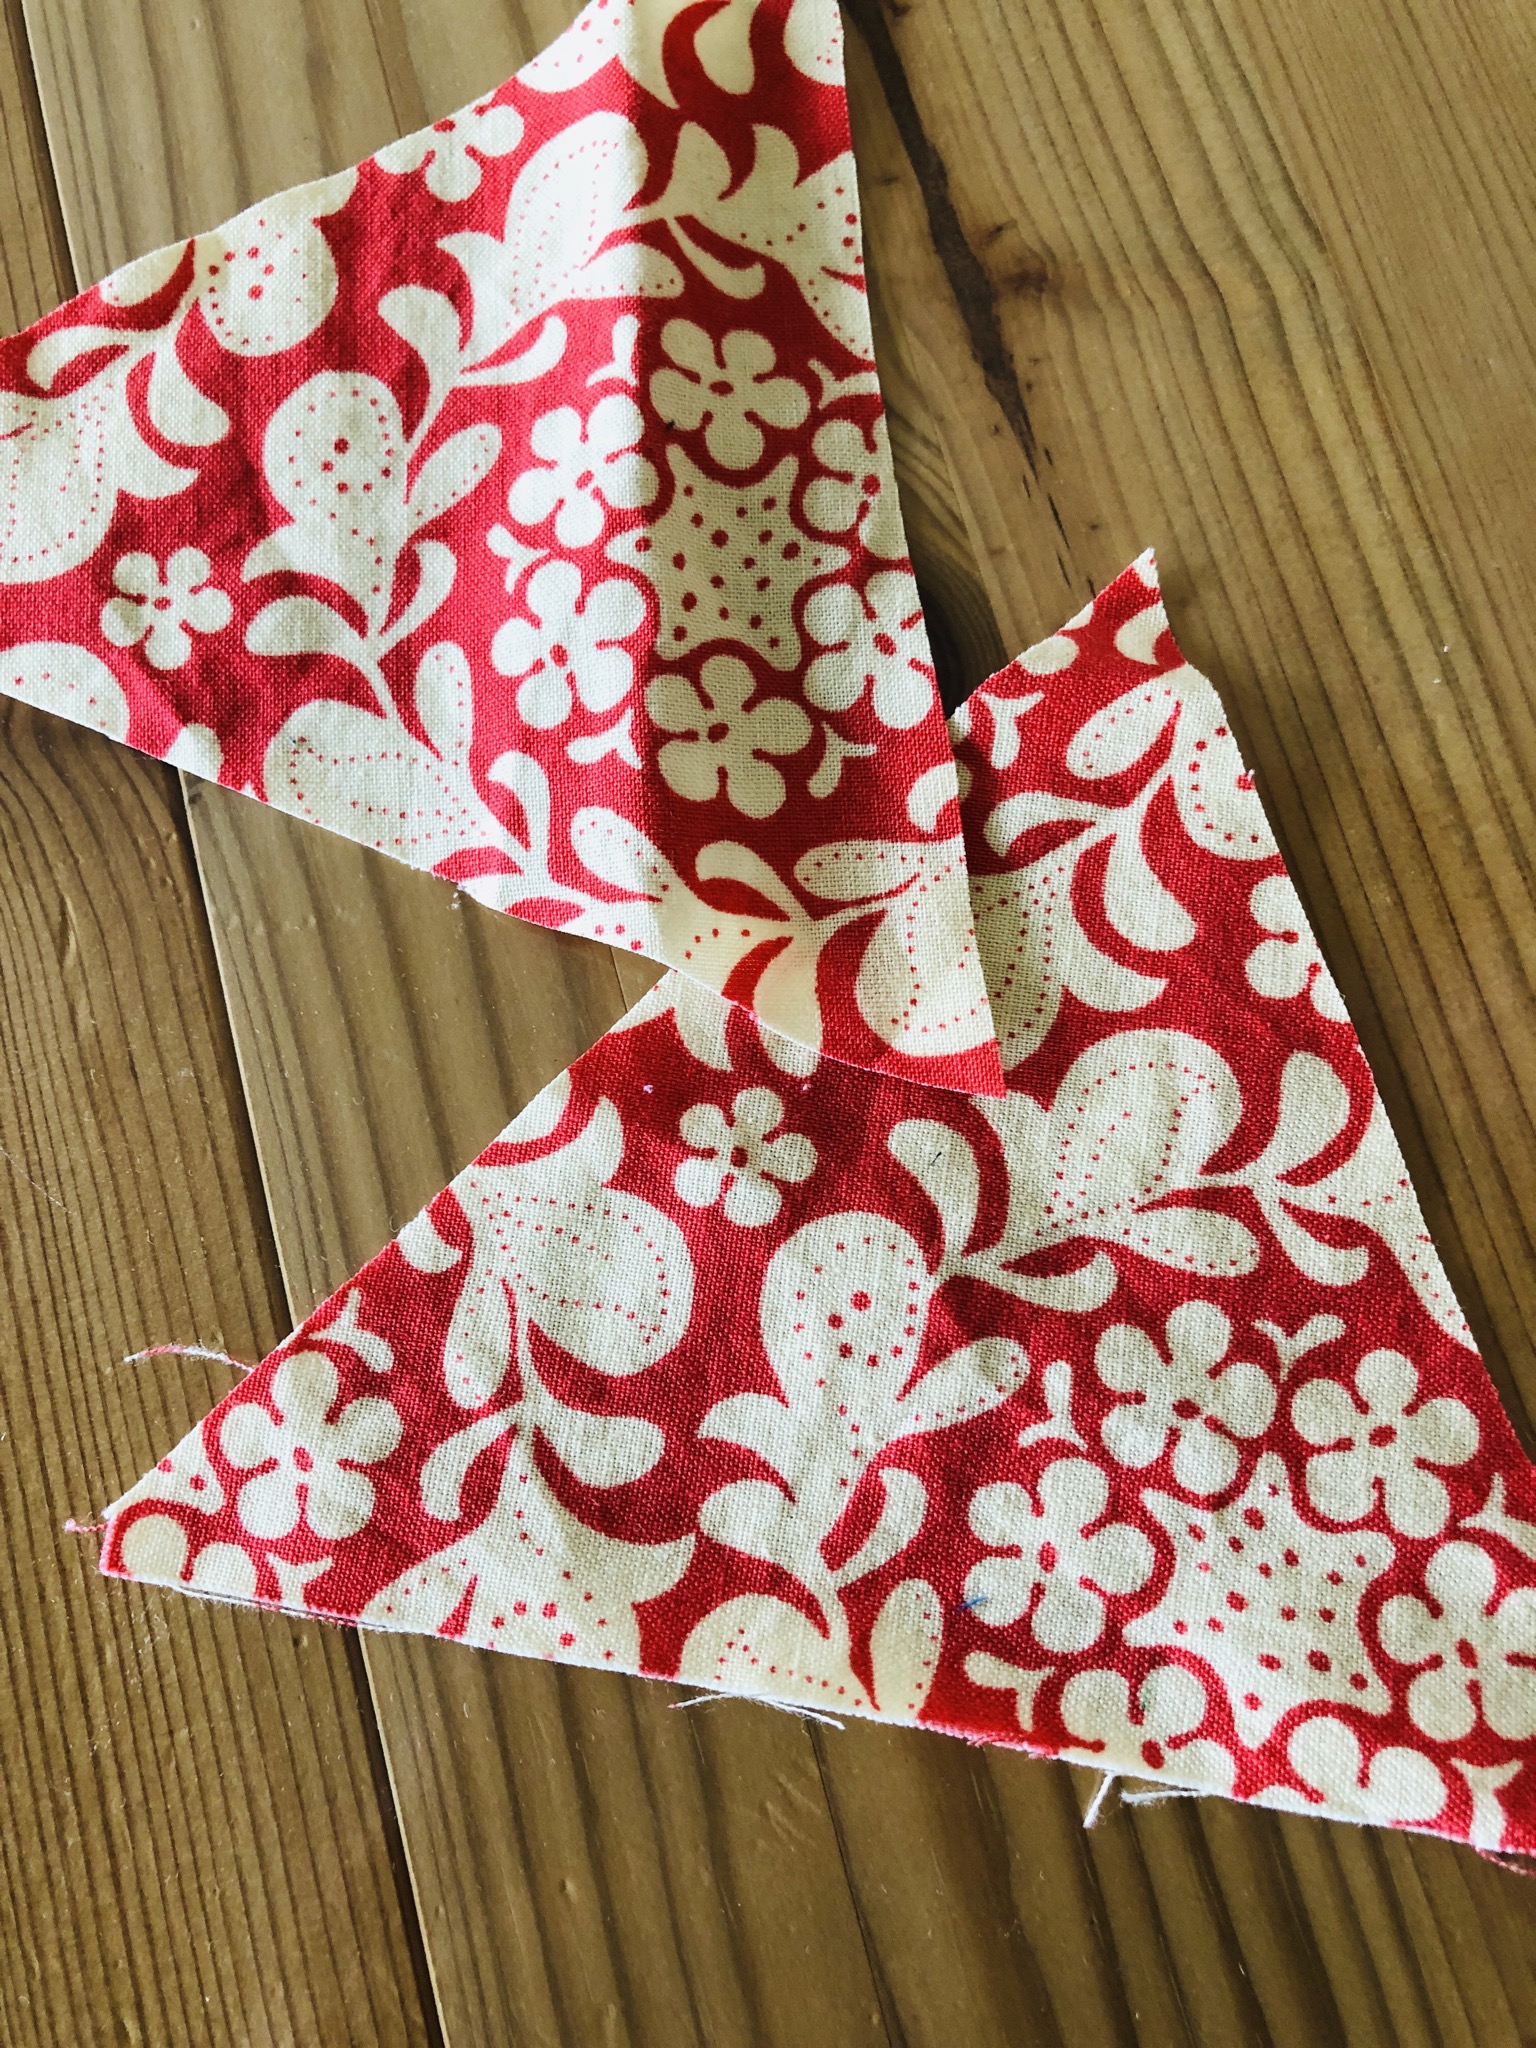
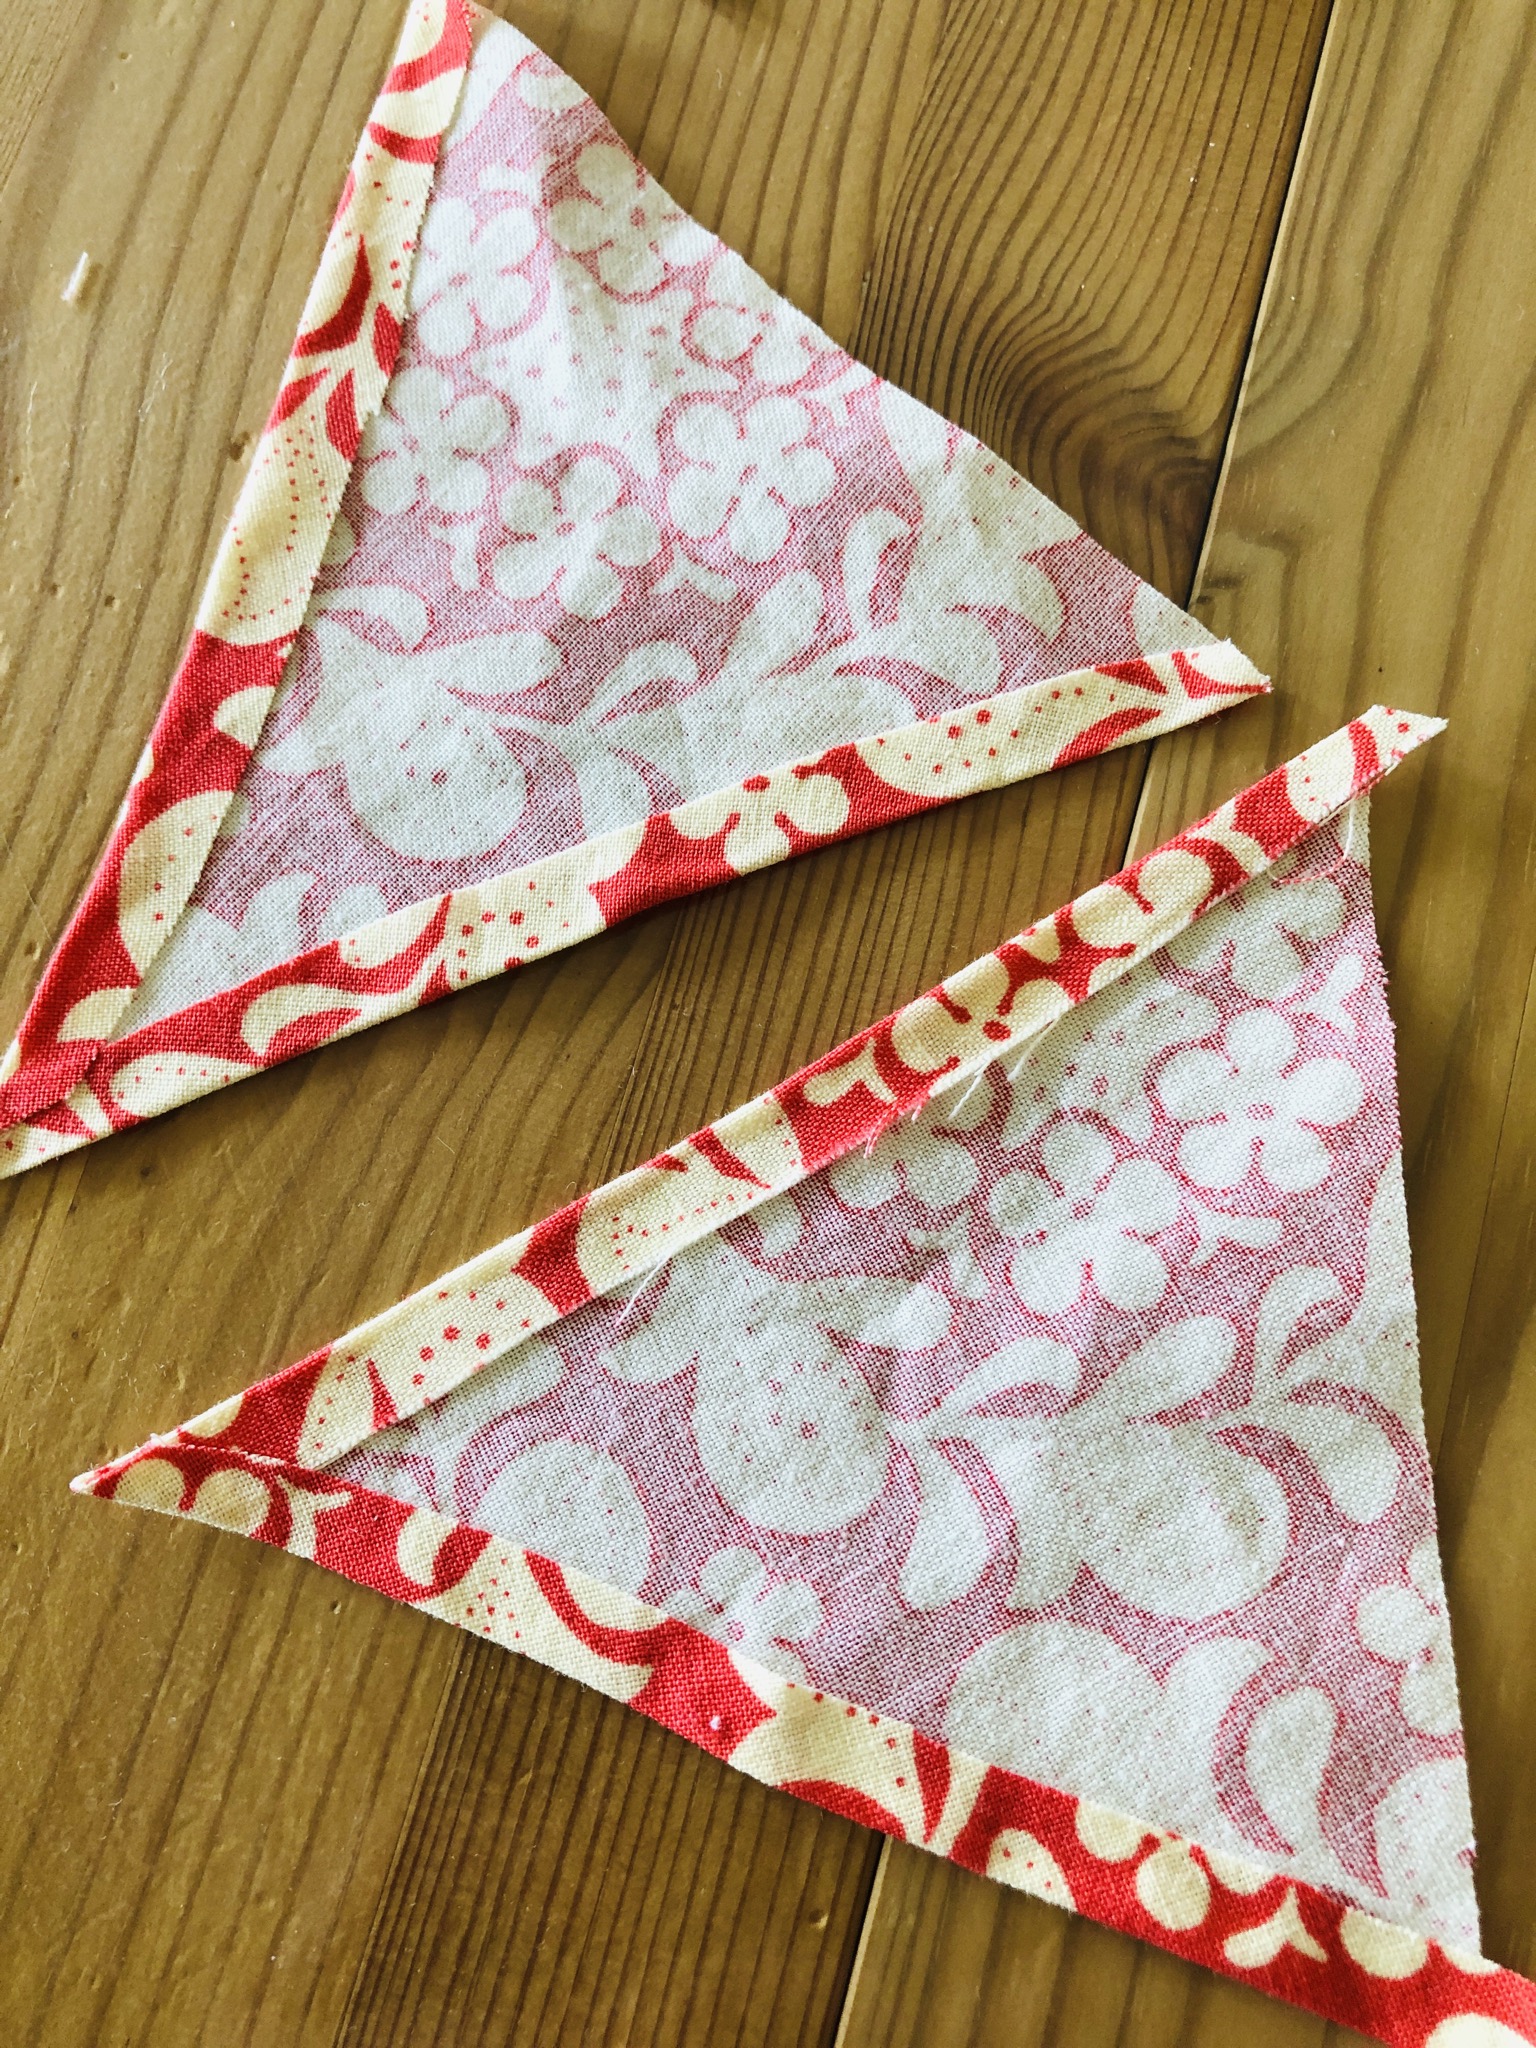
Cut out 2 triangles. Different fabrics are also possible here.
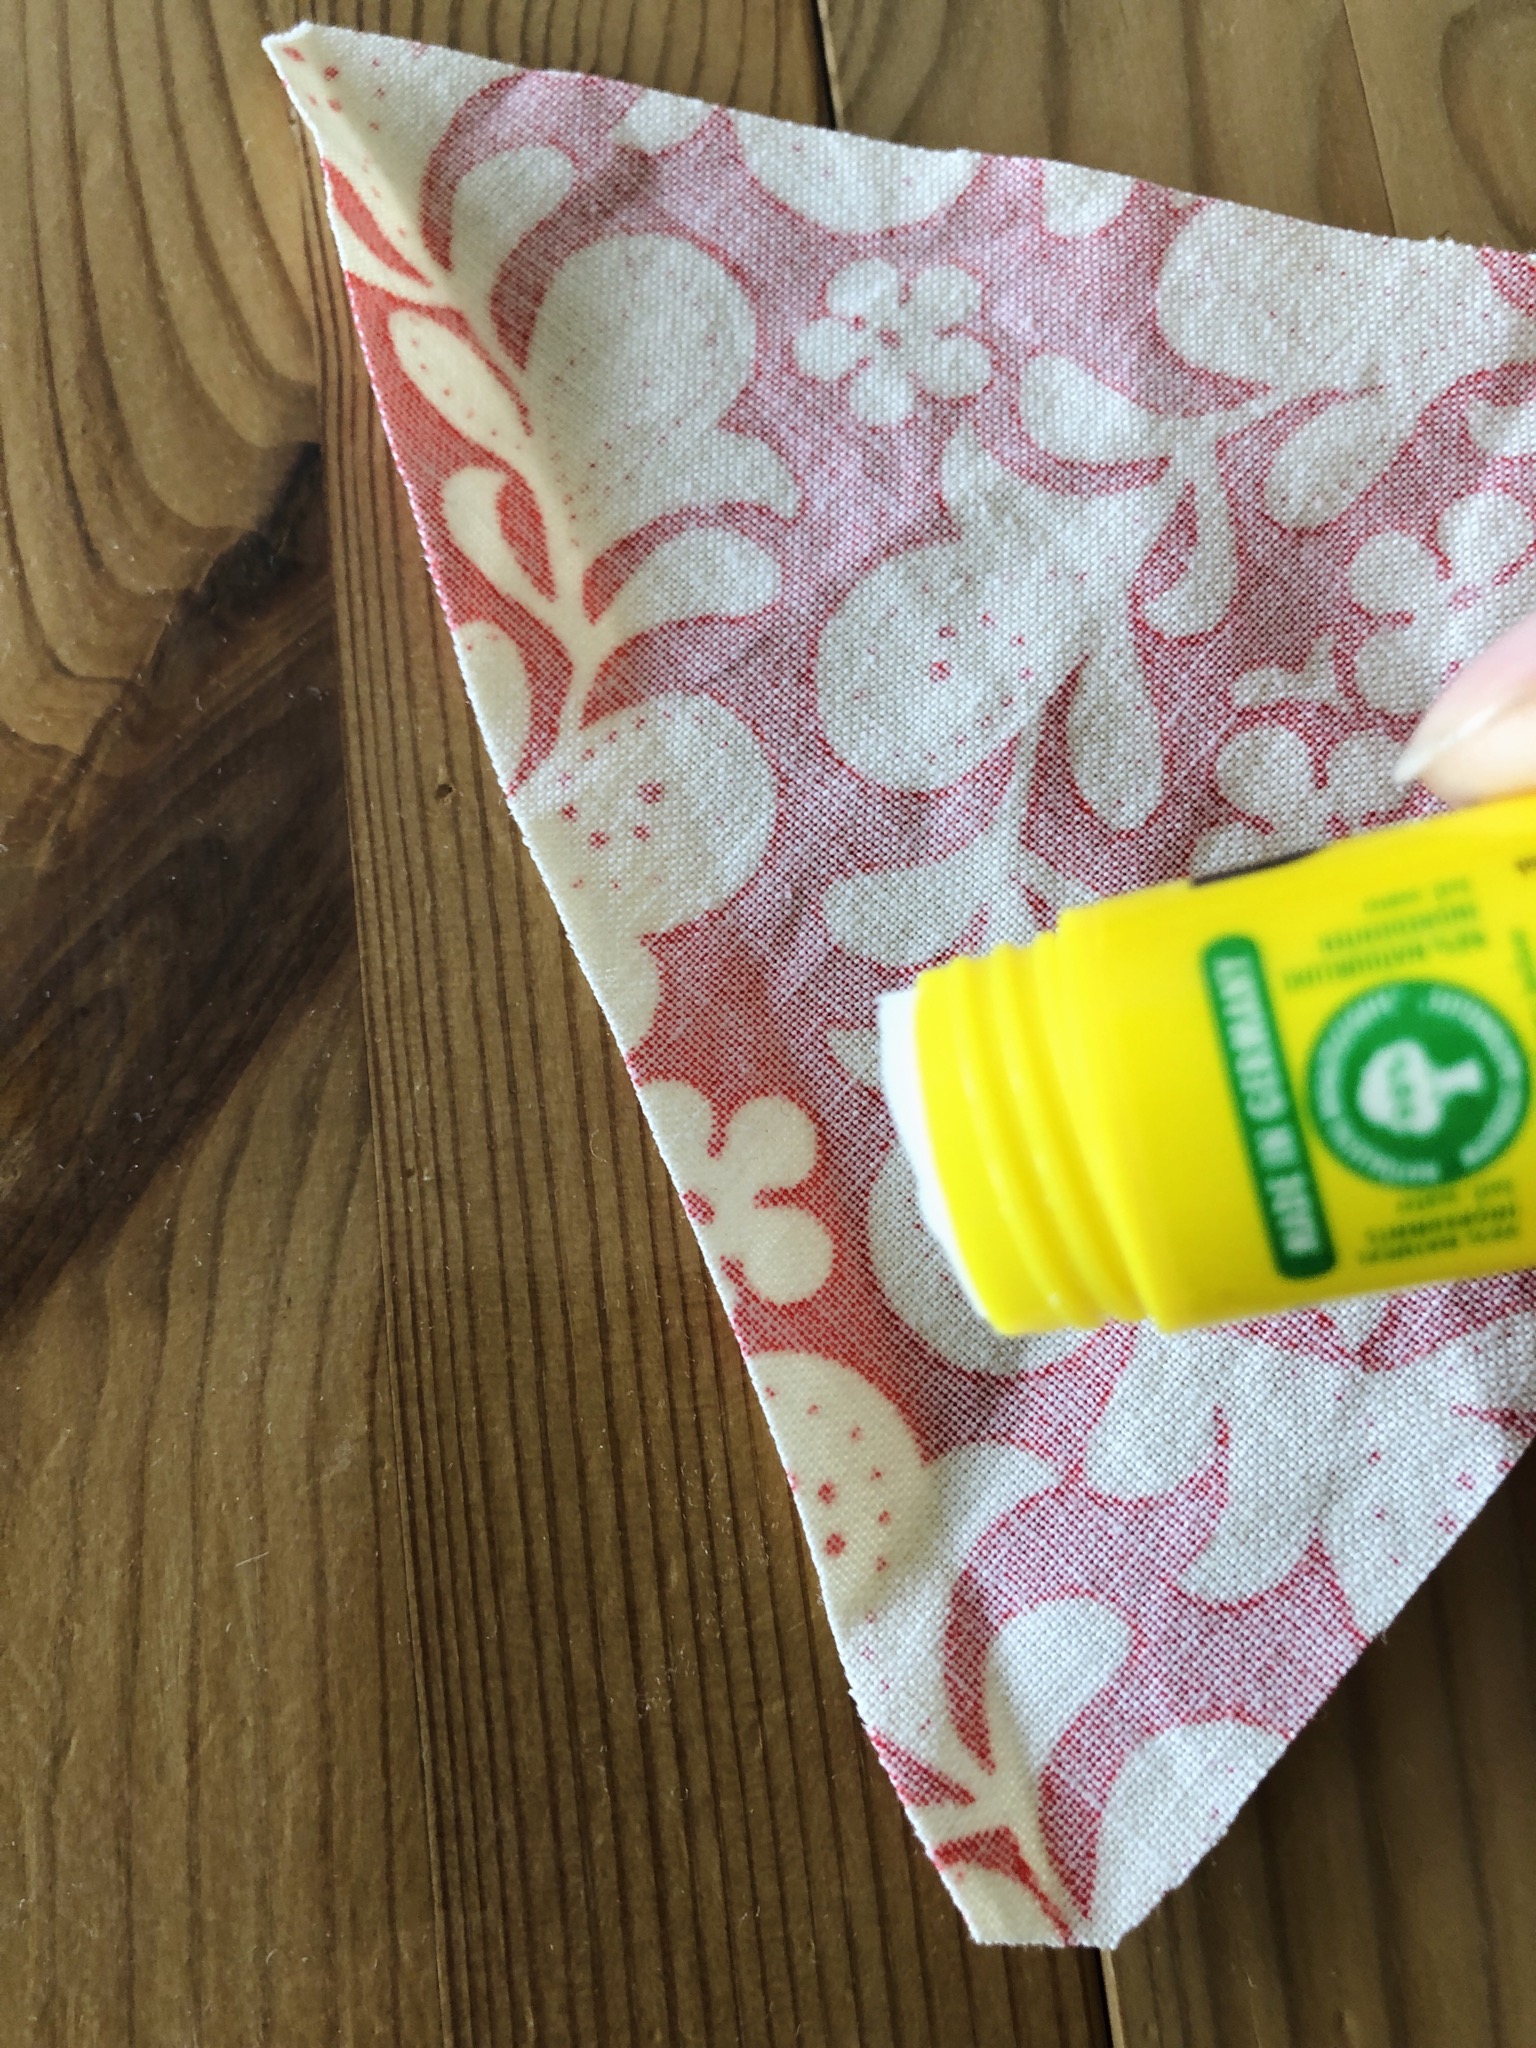
On the left side stroke the longer sides on the edge with glue and apply 0.5 cm and press firmly.
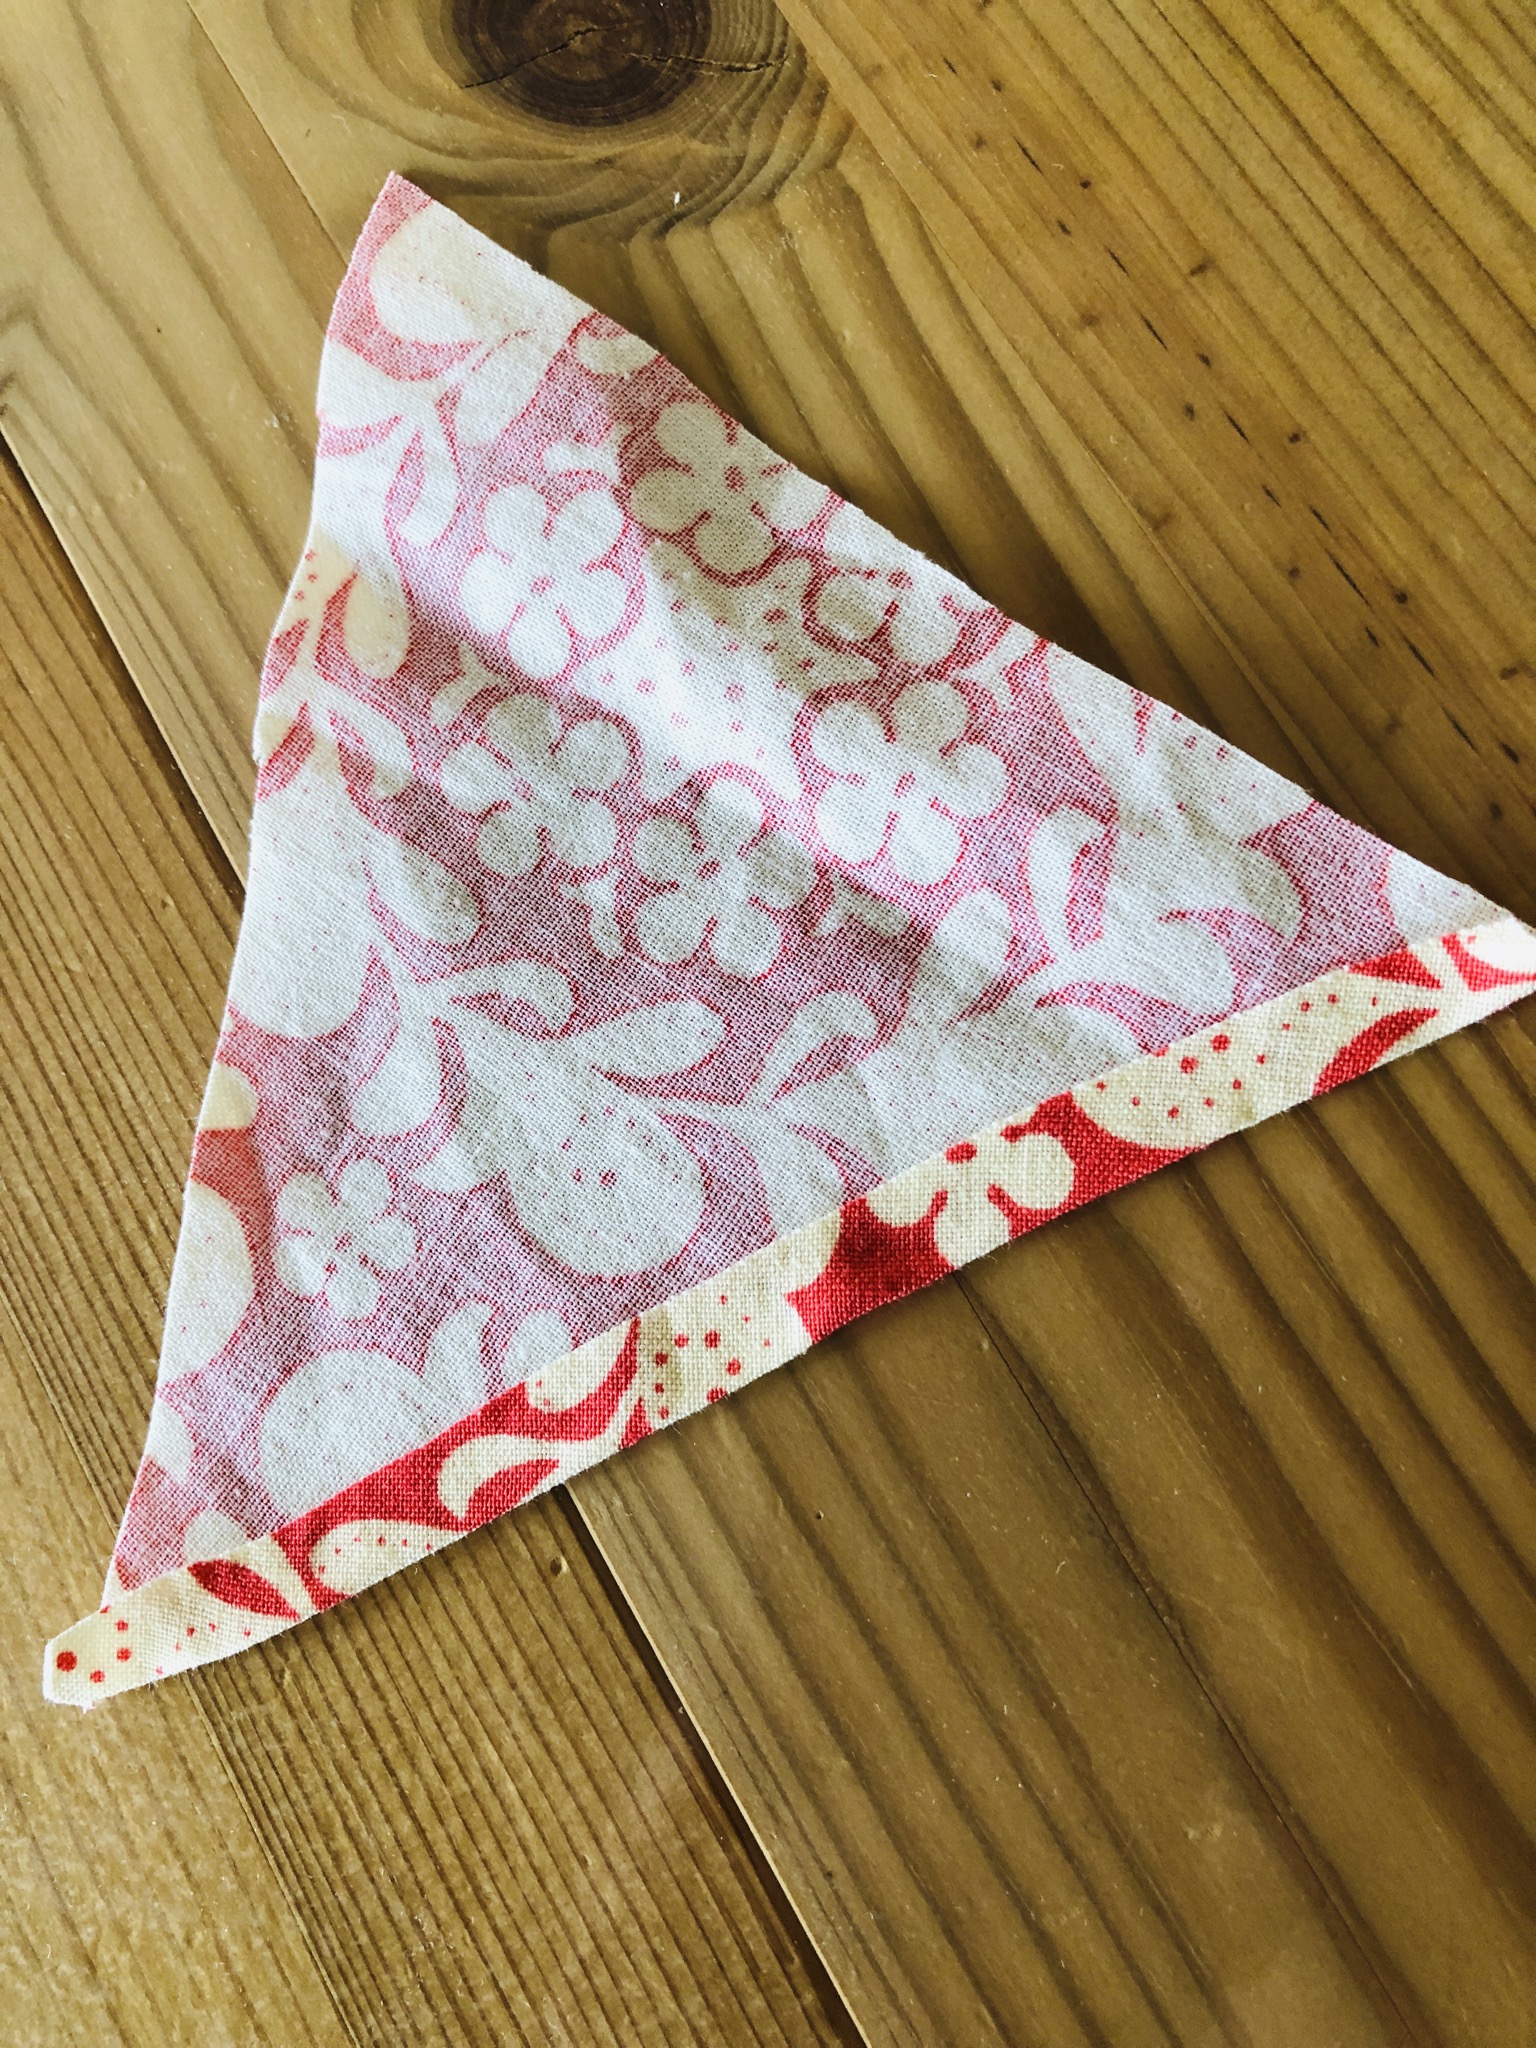
Cut off the overhanging fabric at the top so that a beautiful lace emerges.
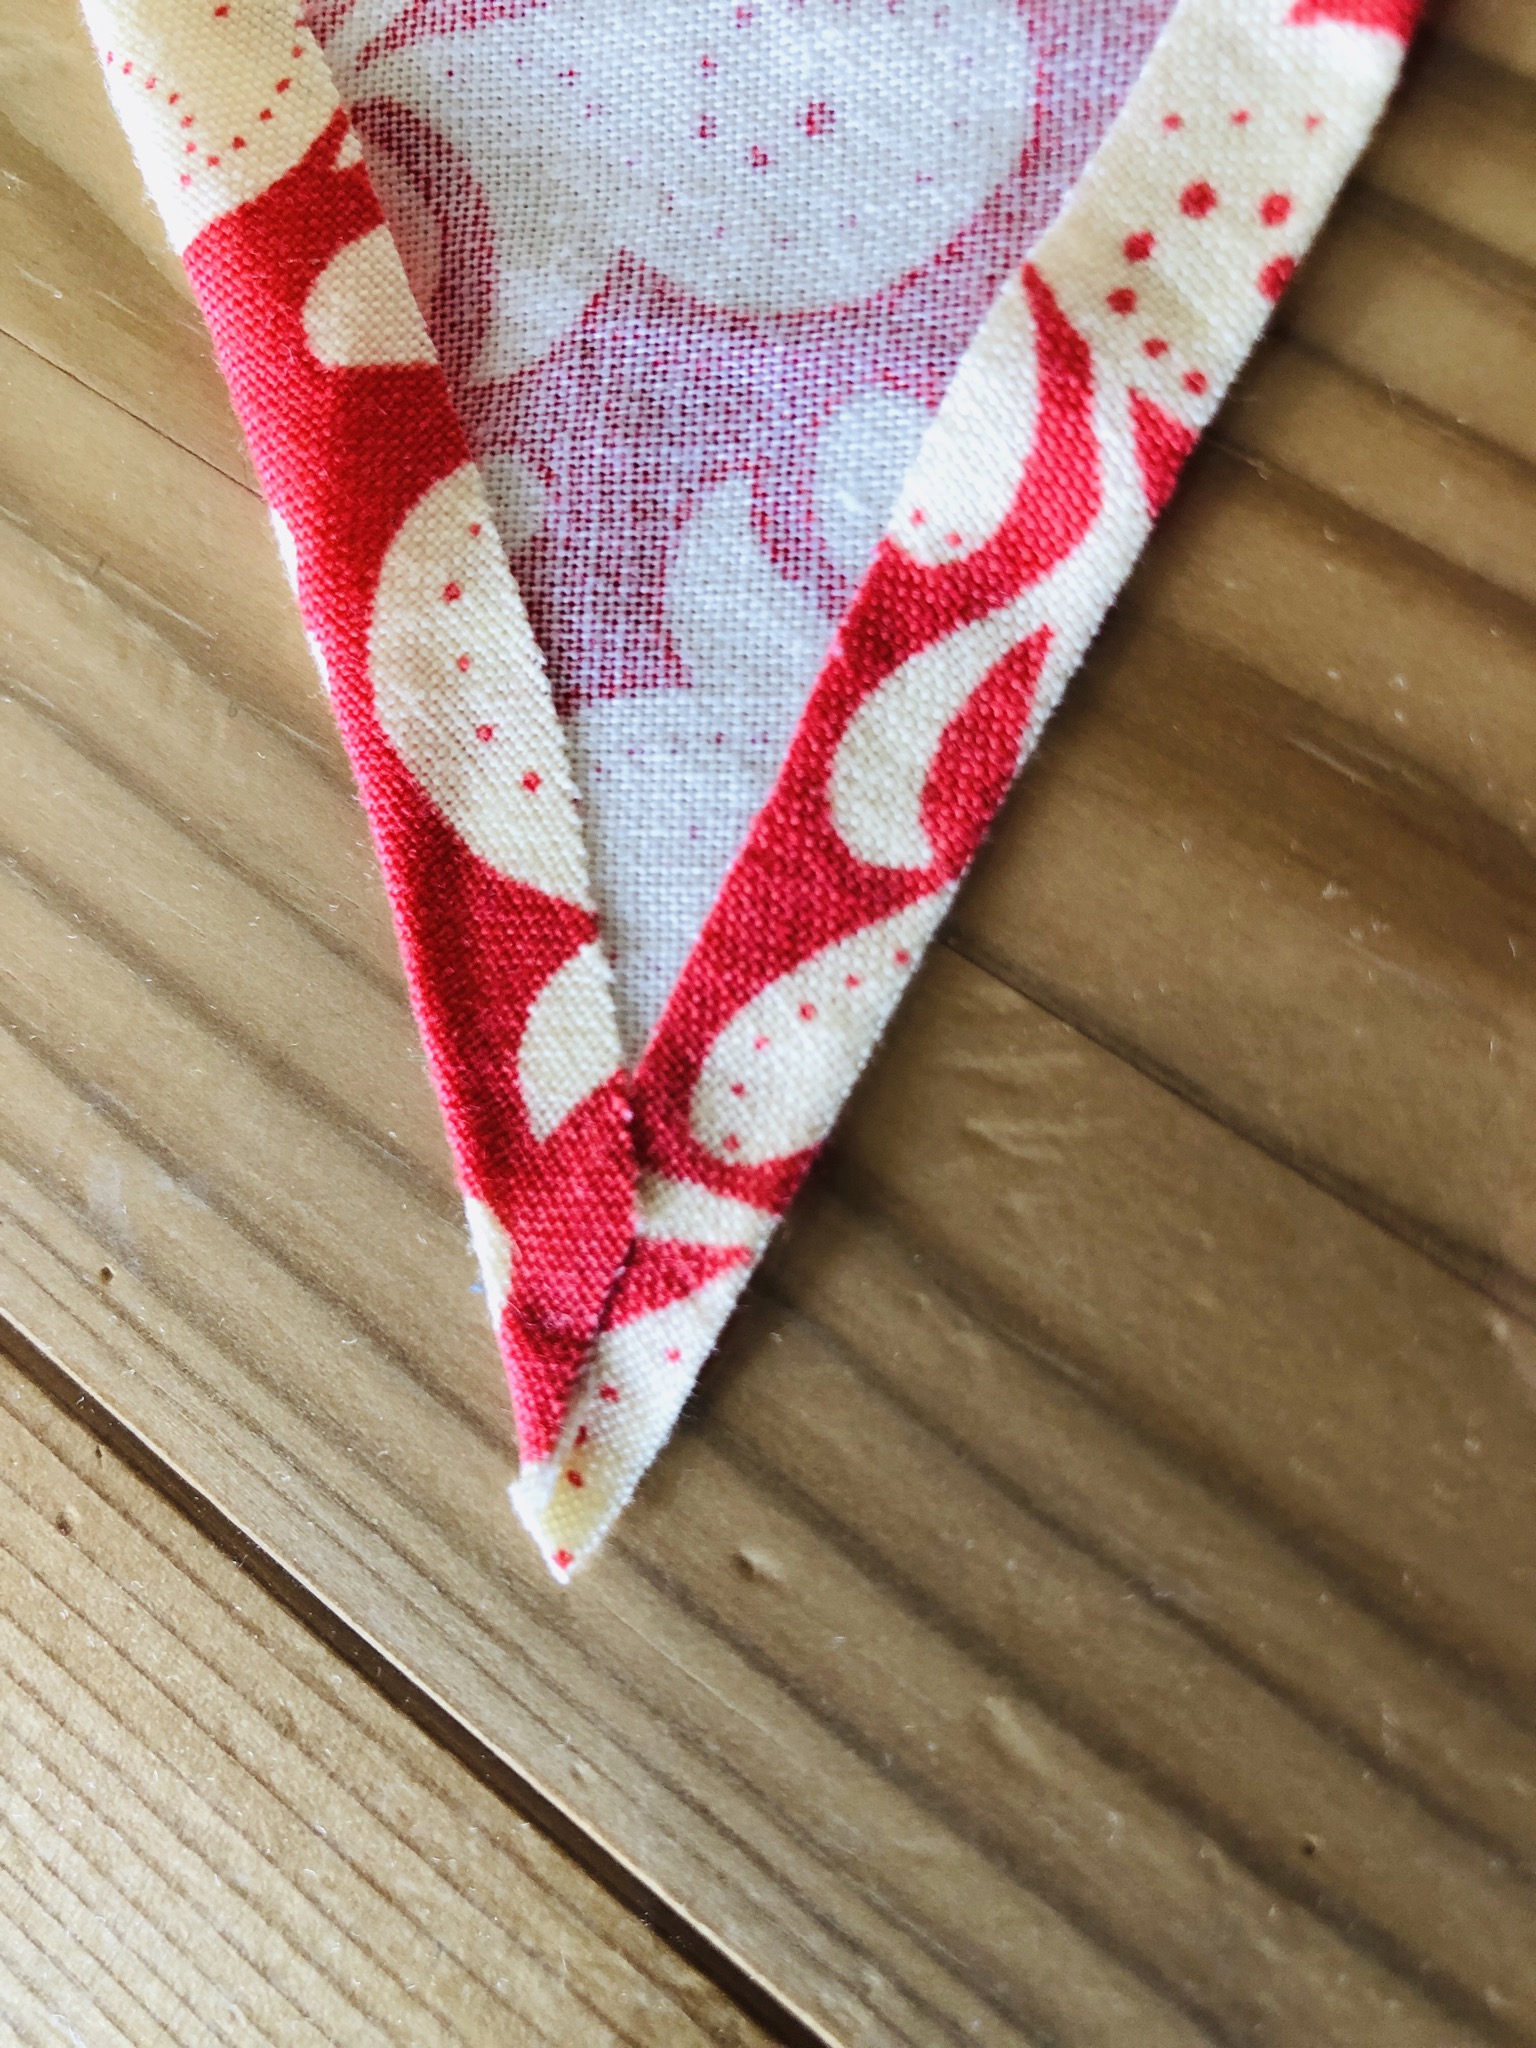
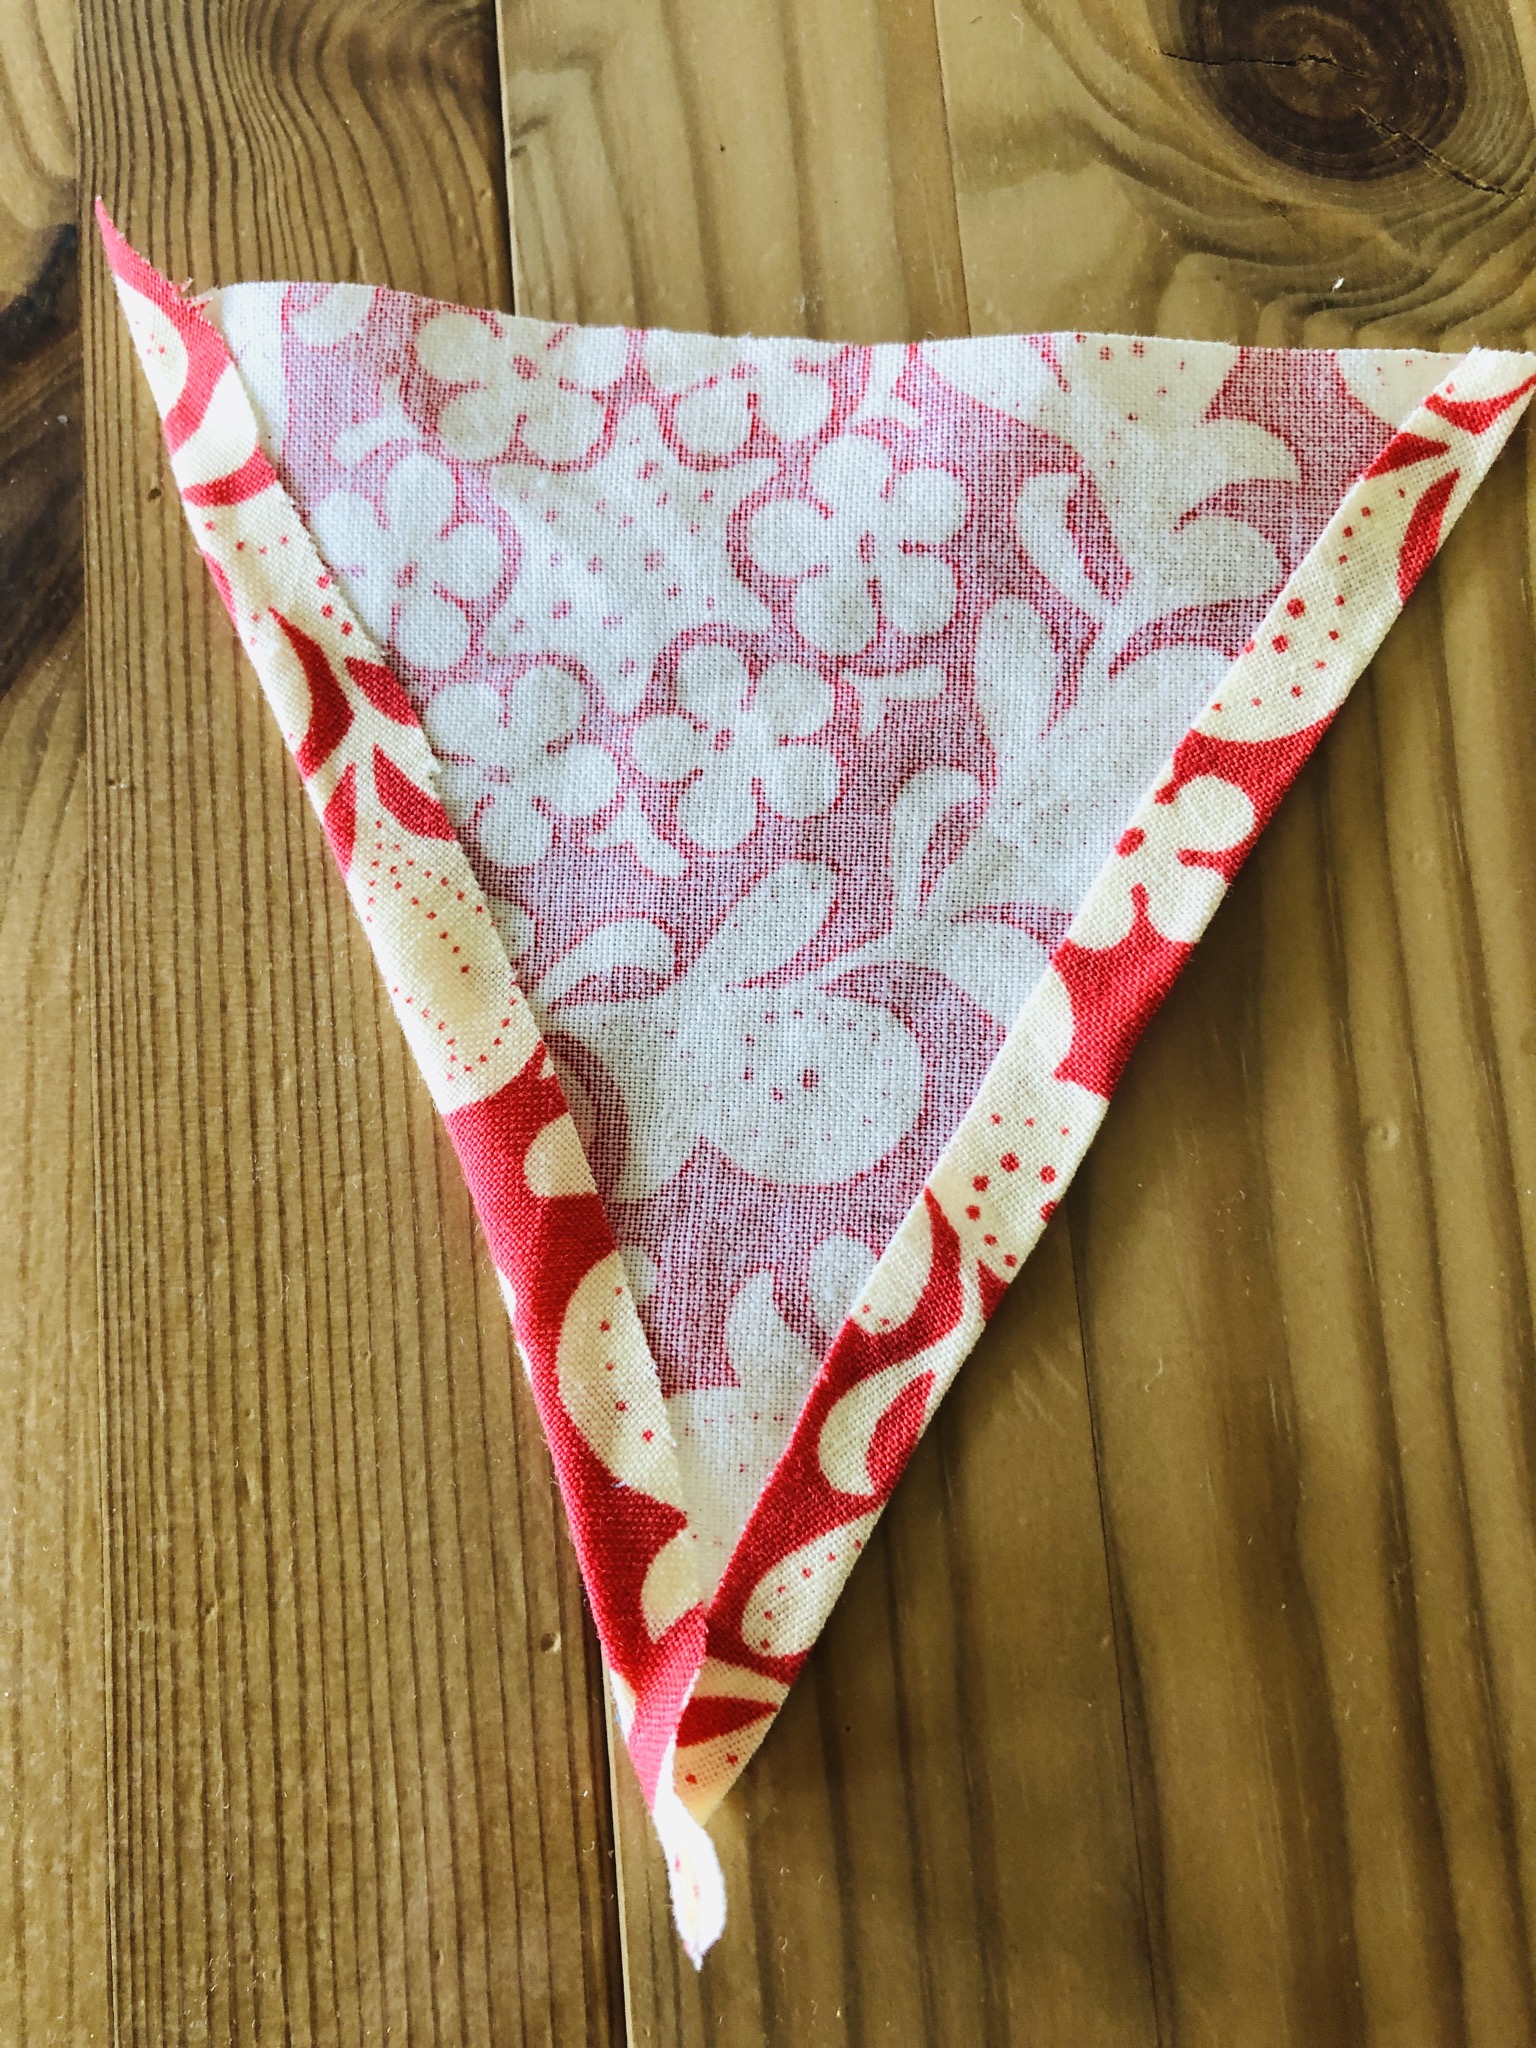
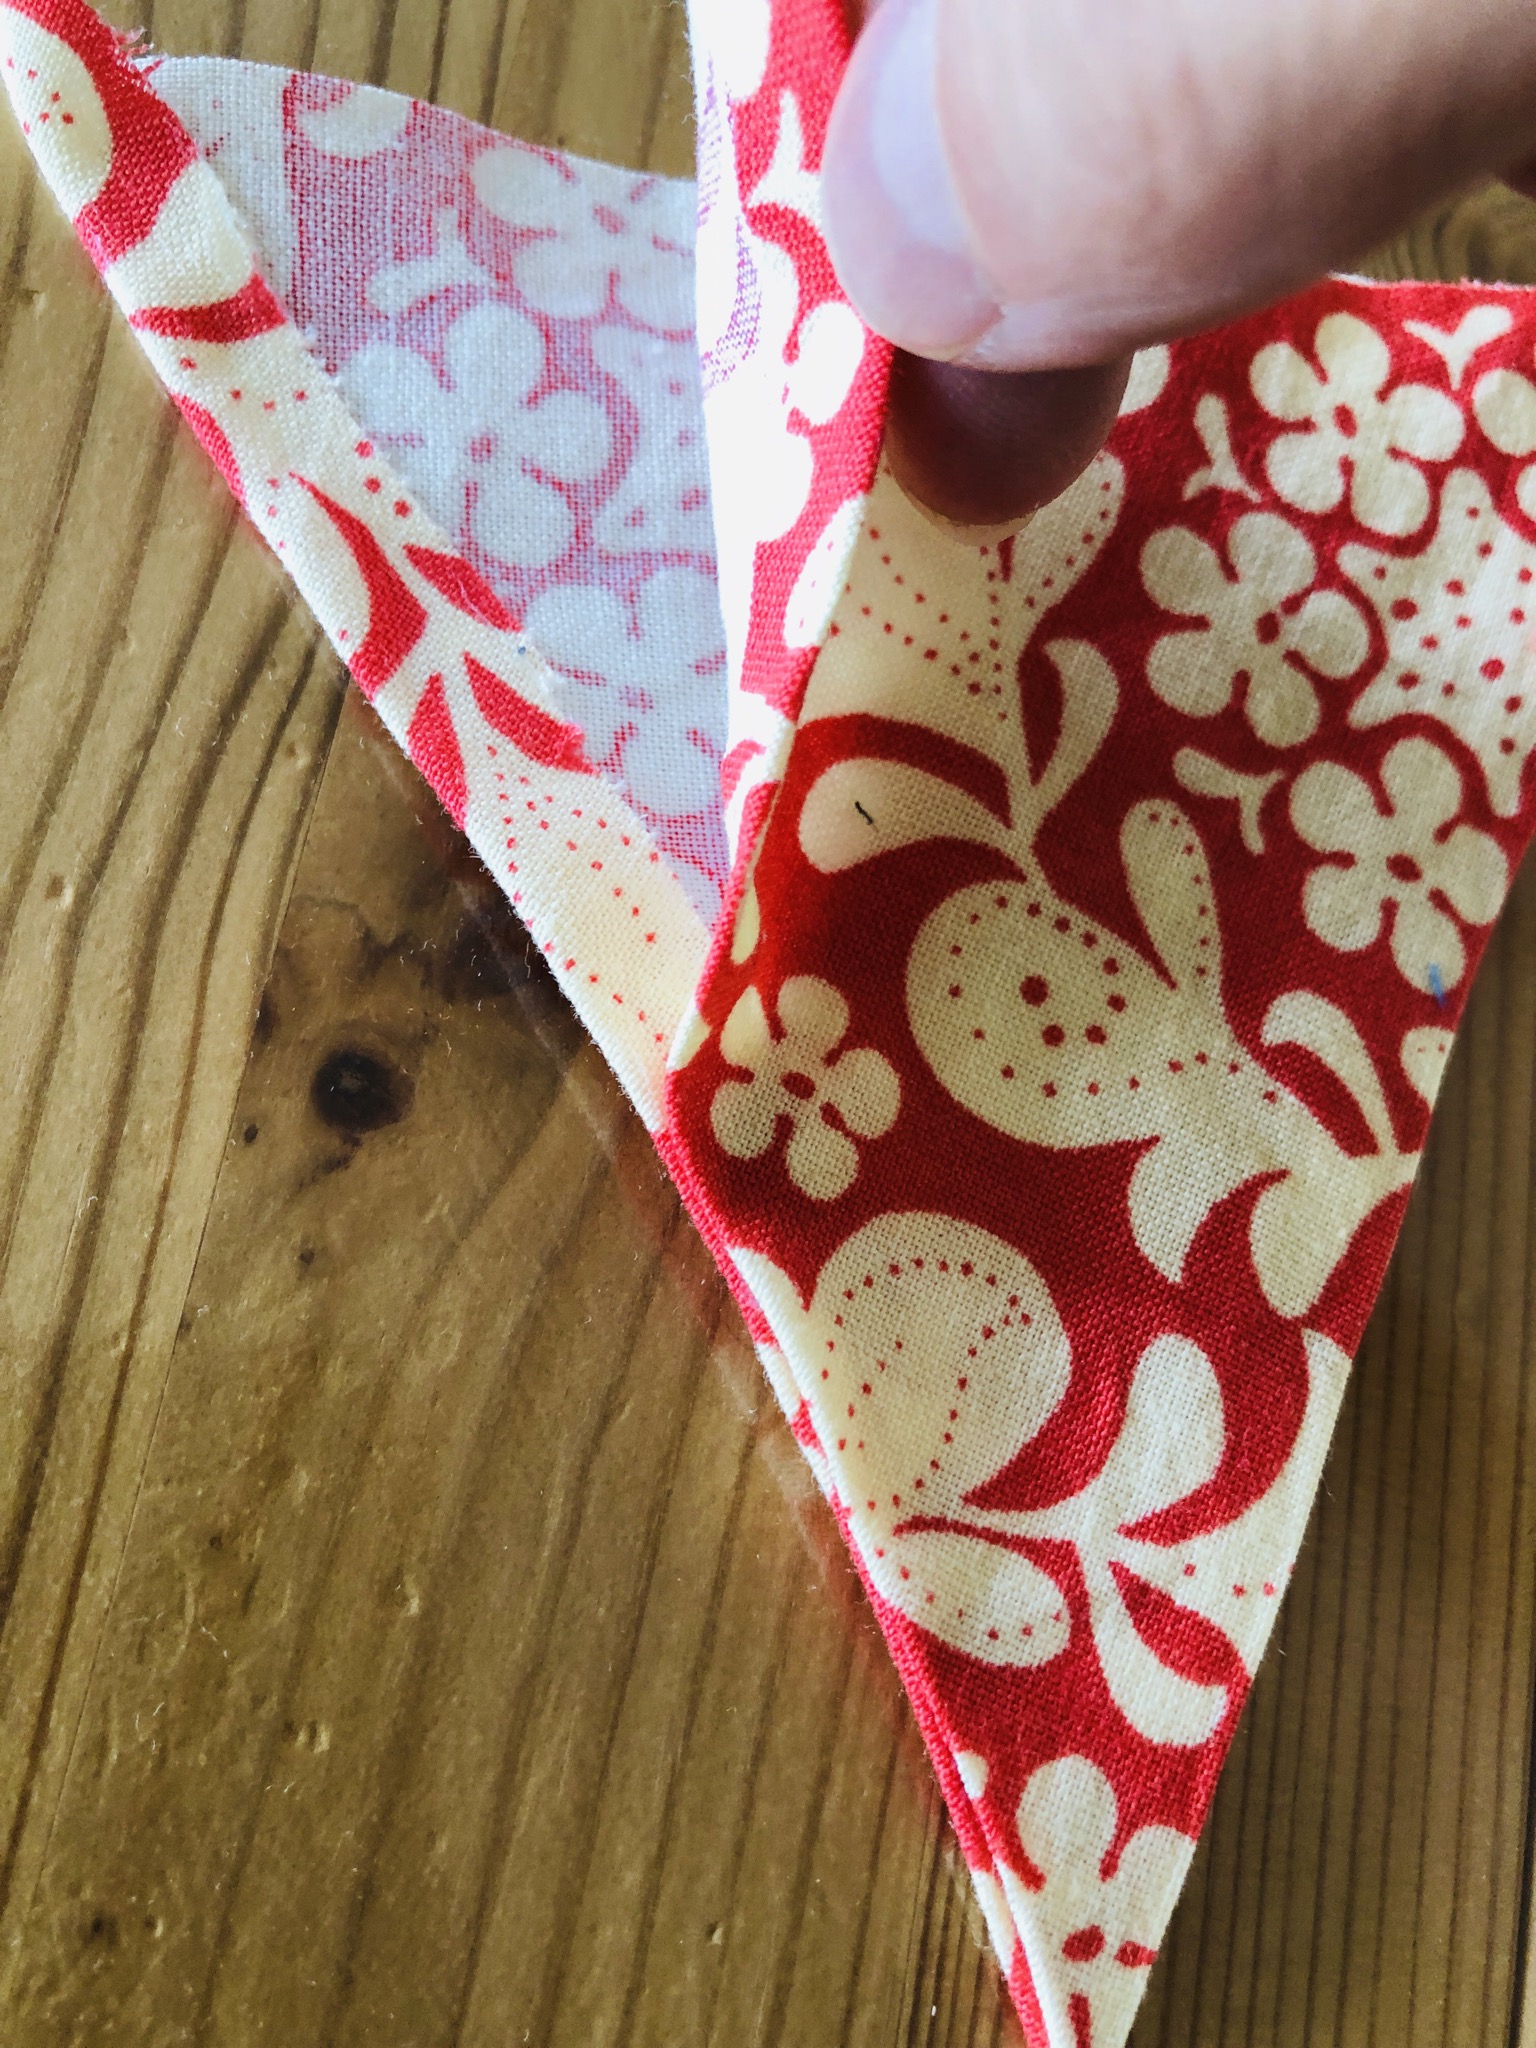
Now glue both triangles together.

Place edges neatly on each other (stick)
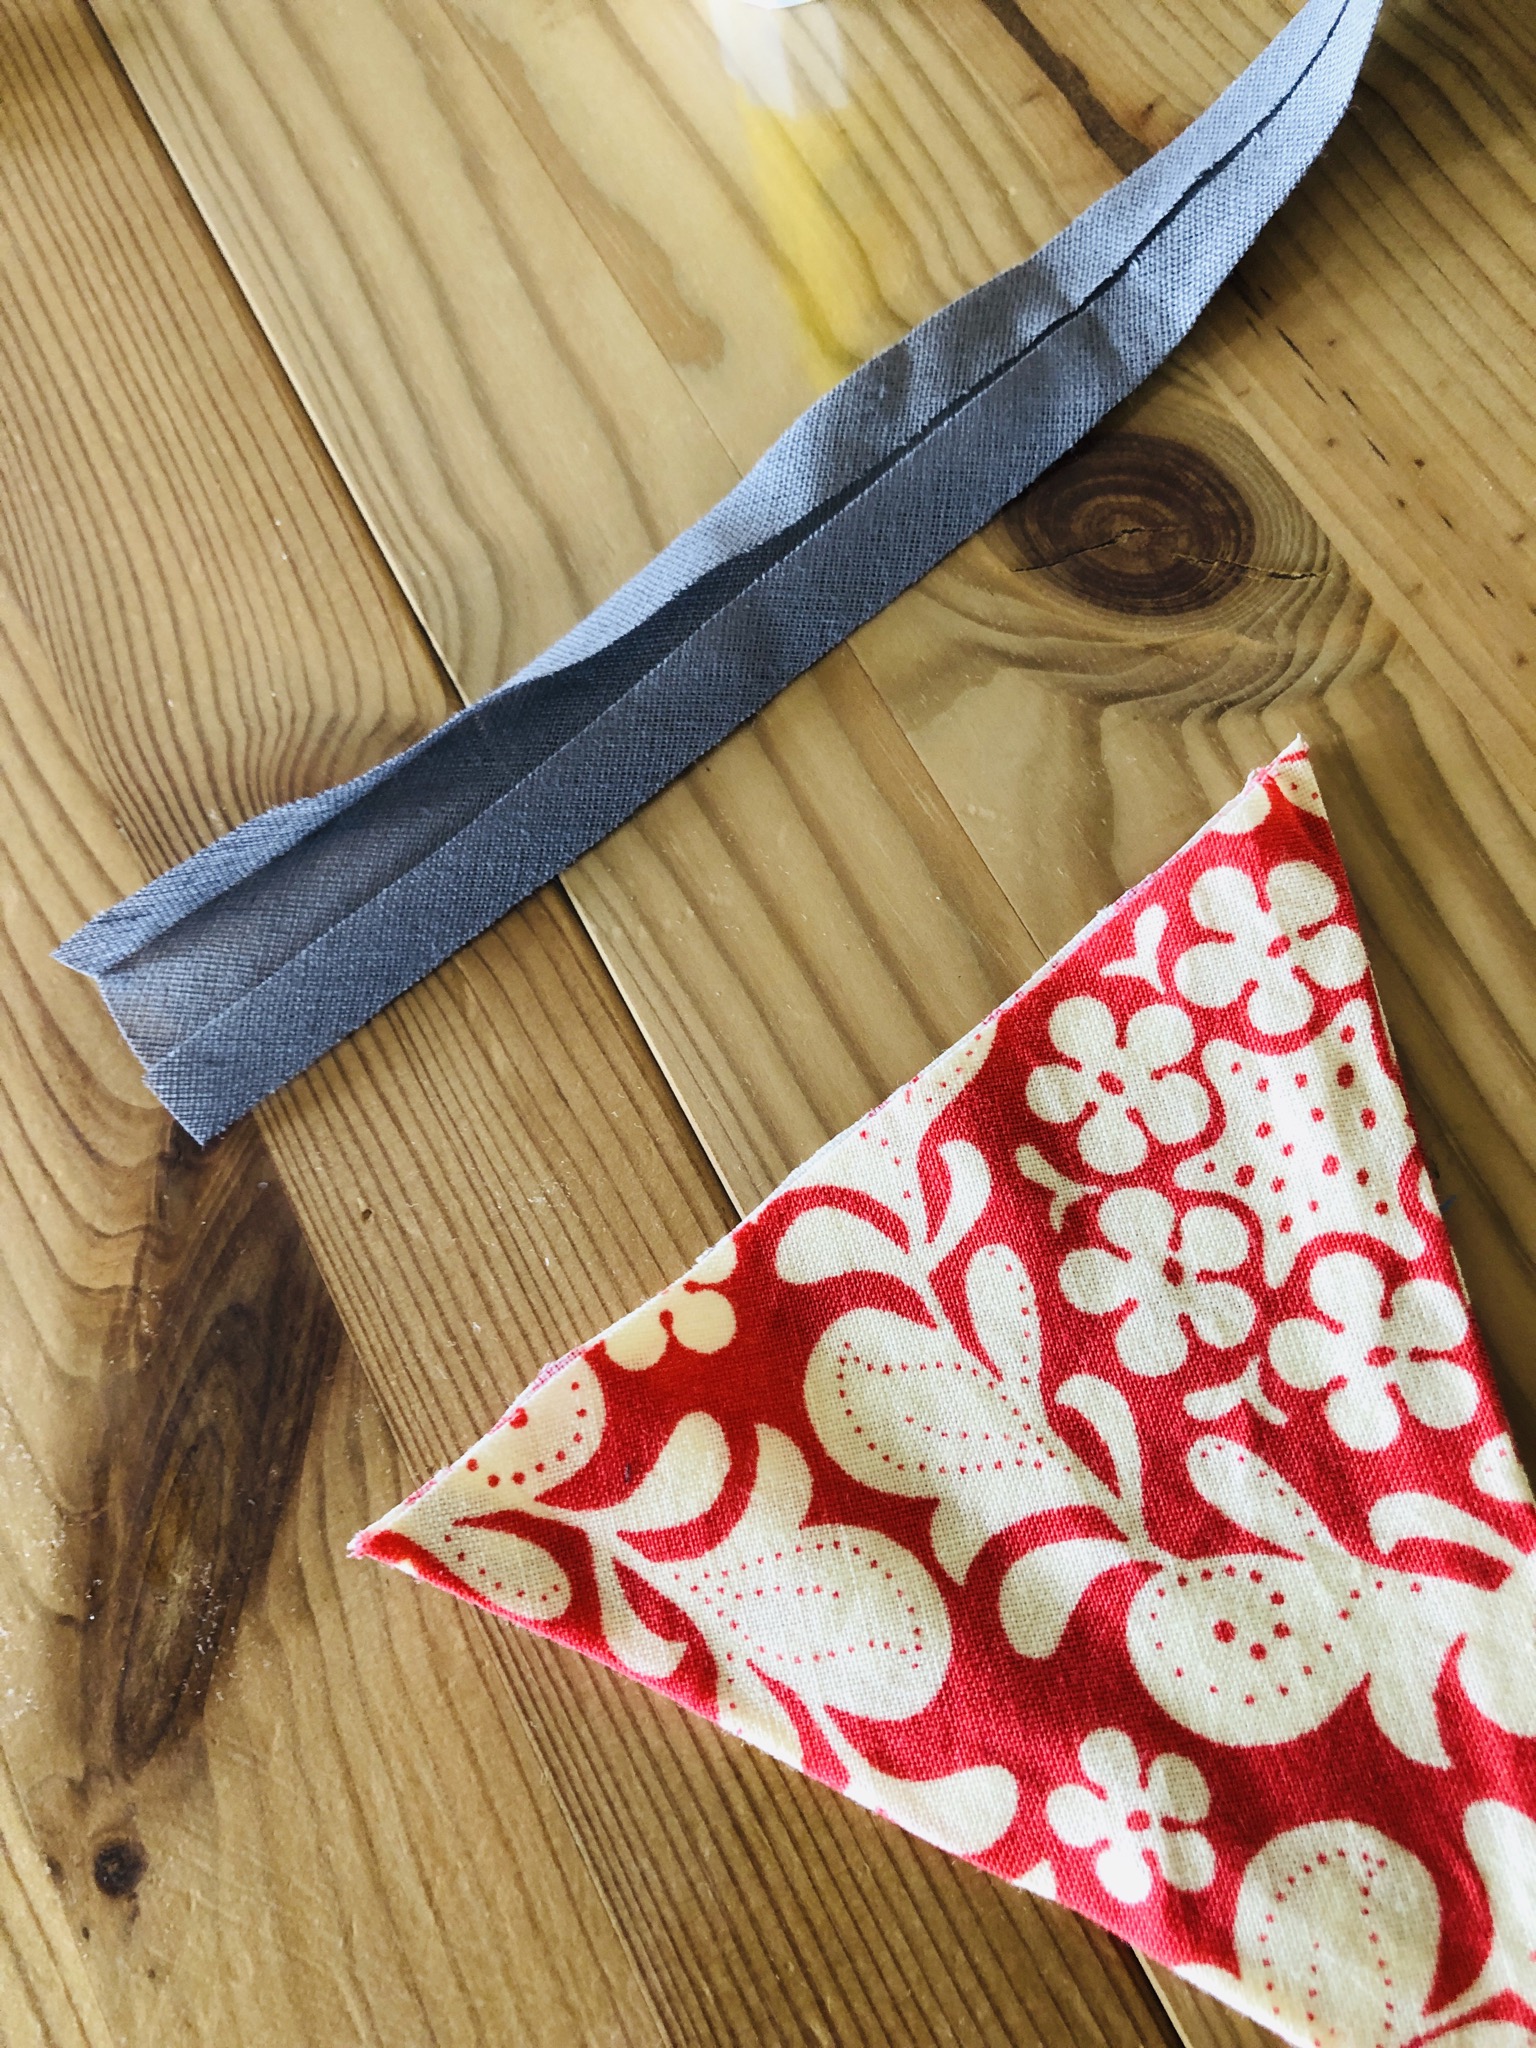
Cut the upper edge cleanly, so that a straight fabric edge is created. Now cut the slanting tape to the desired length of the garland.
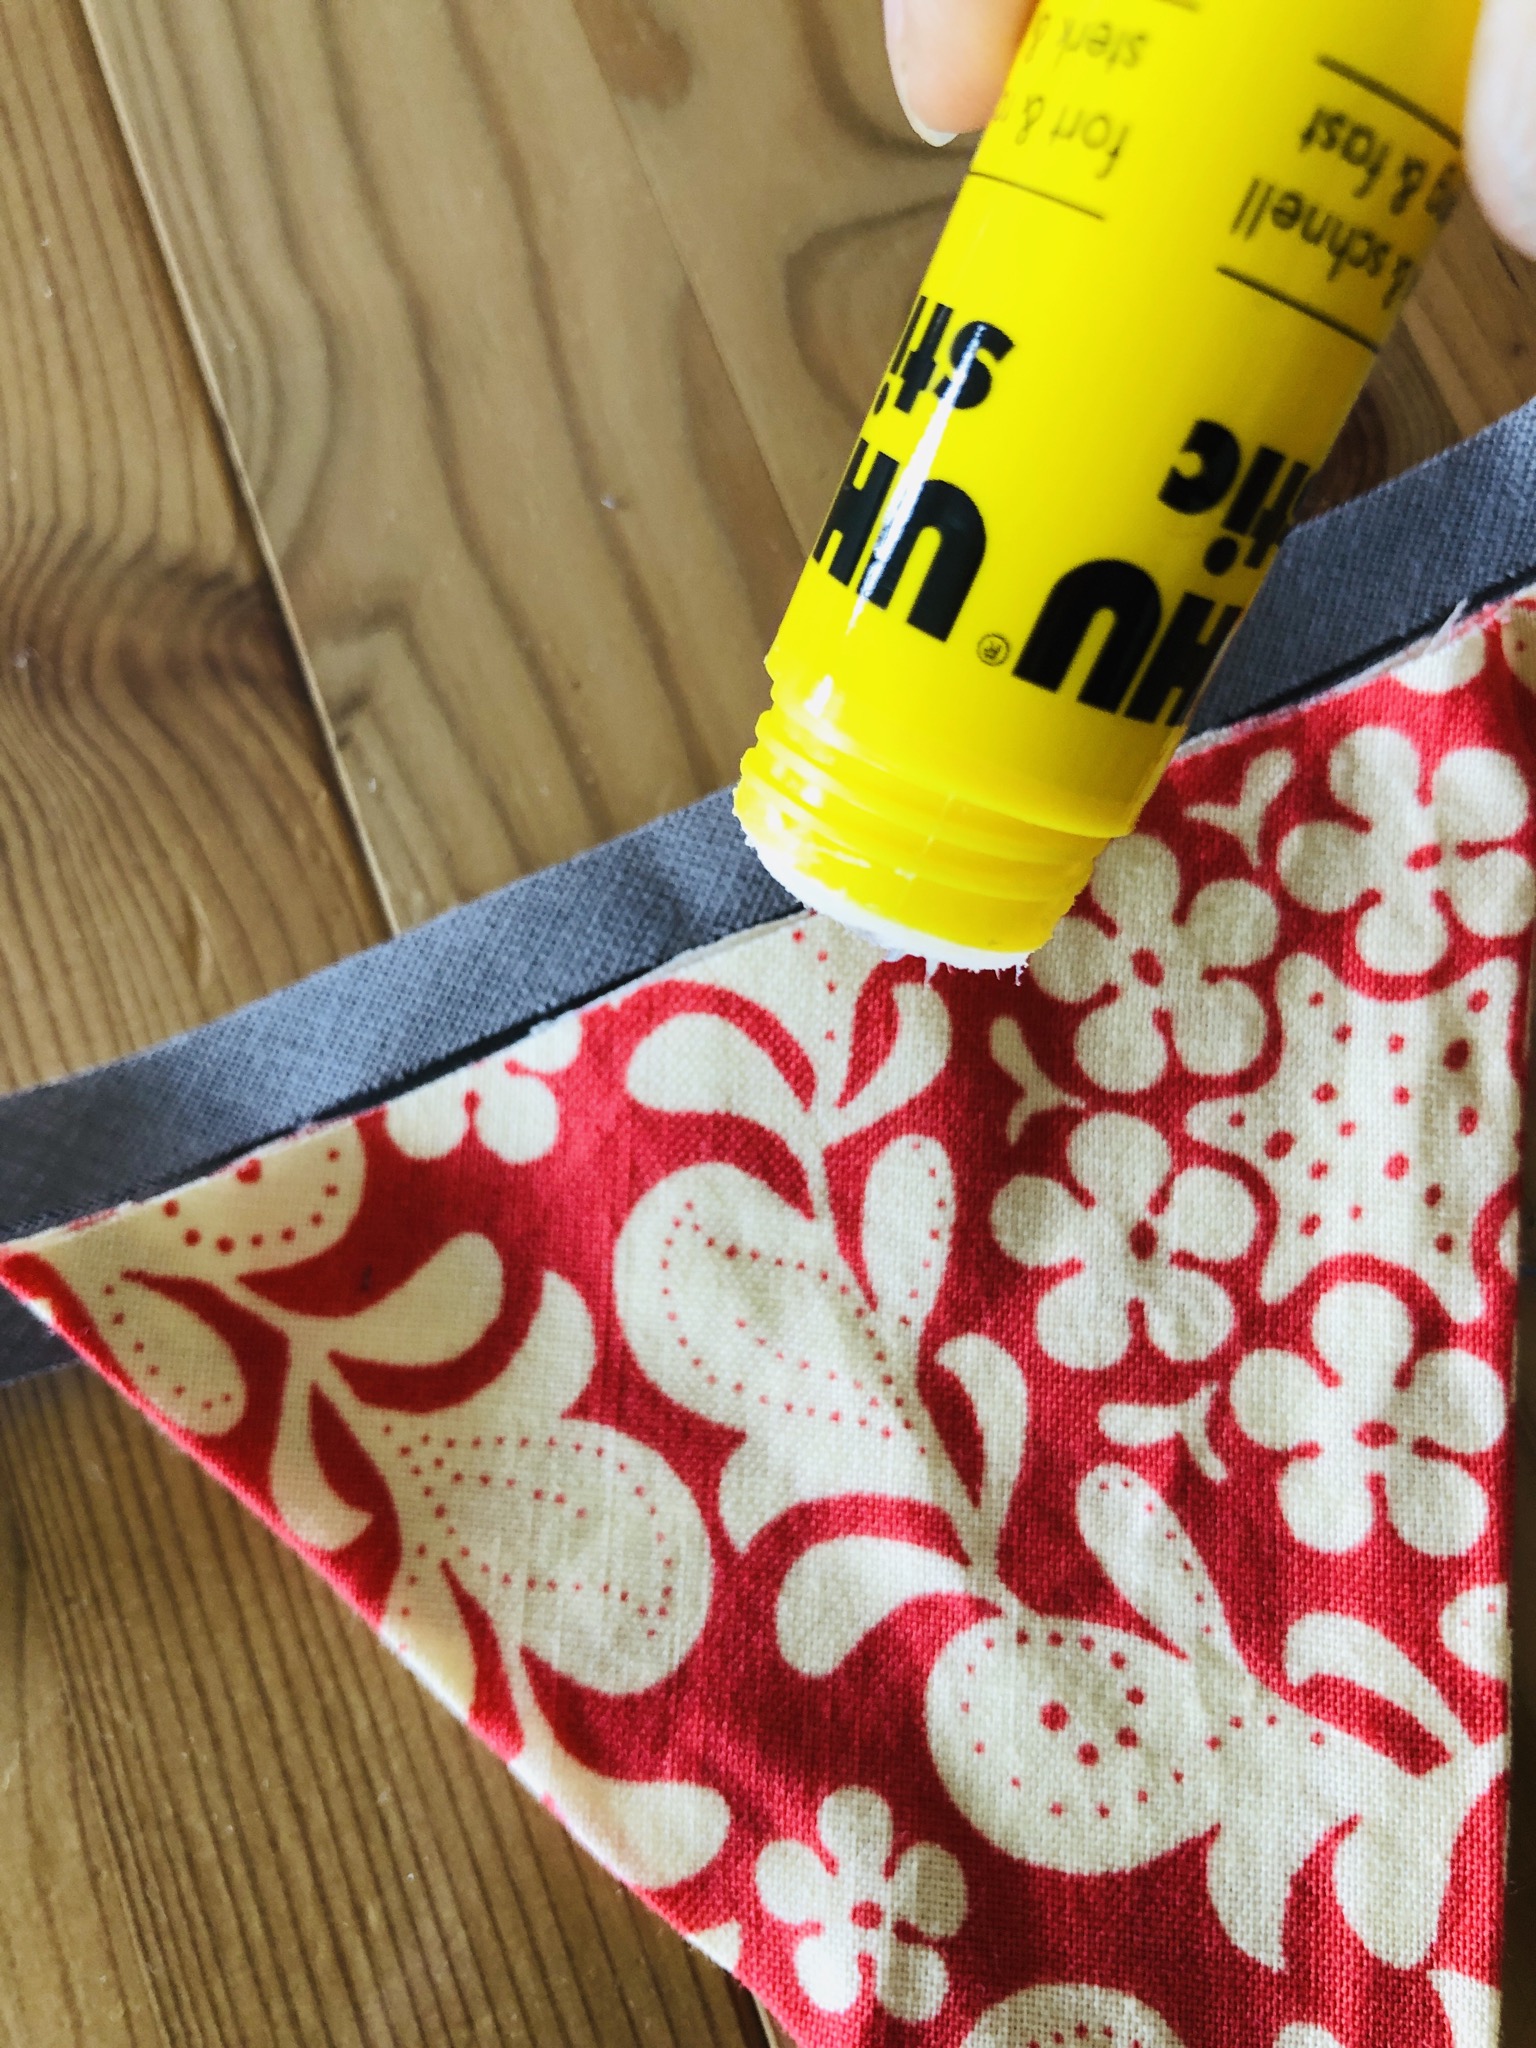
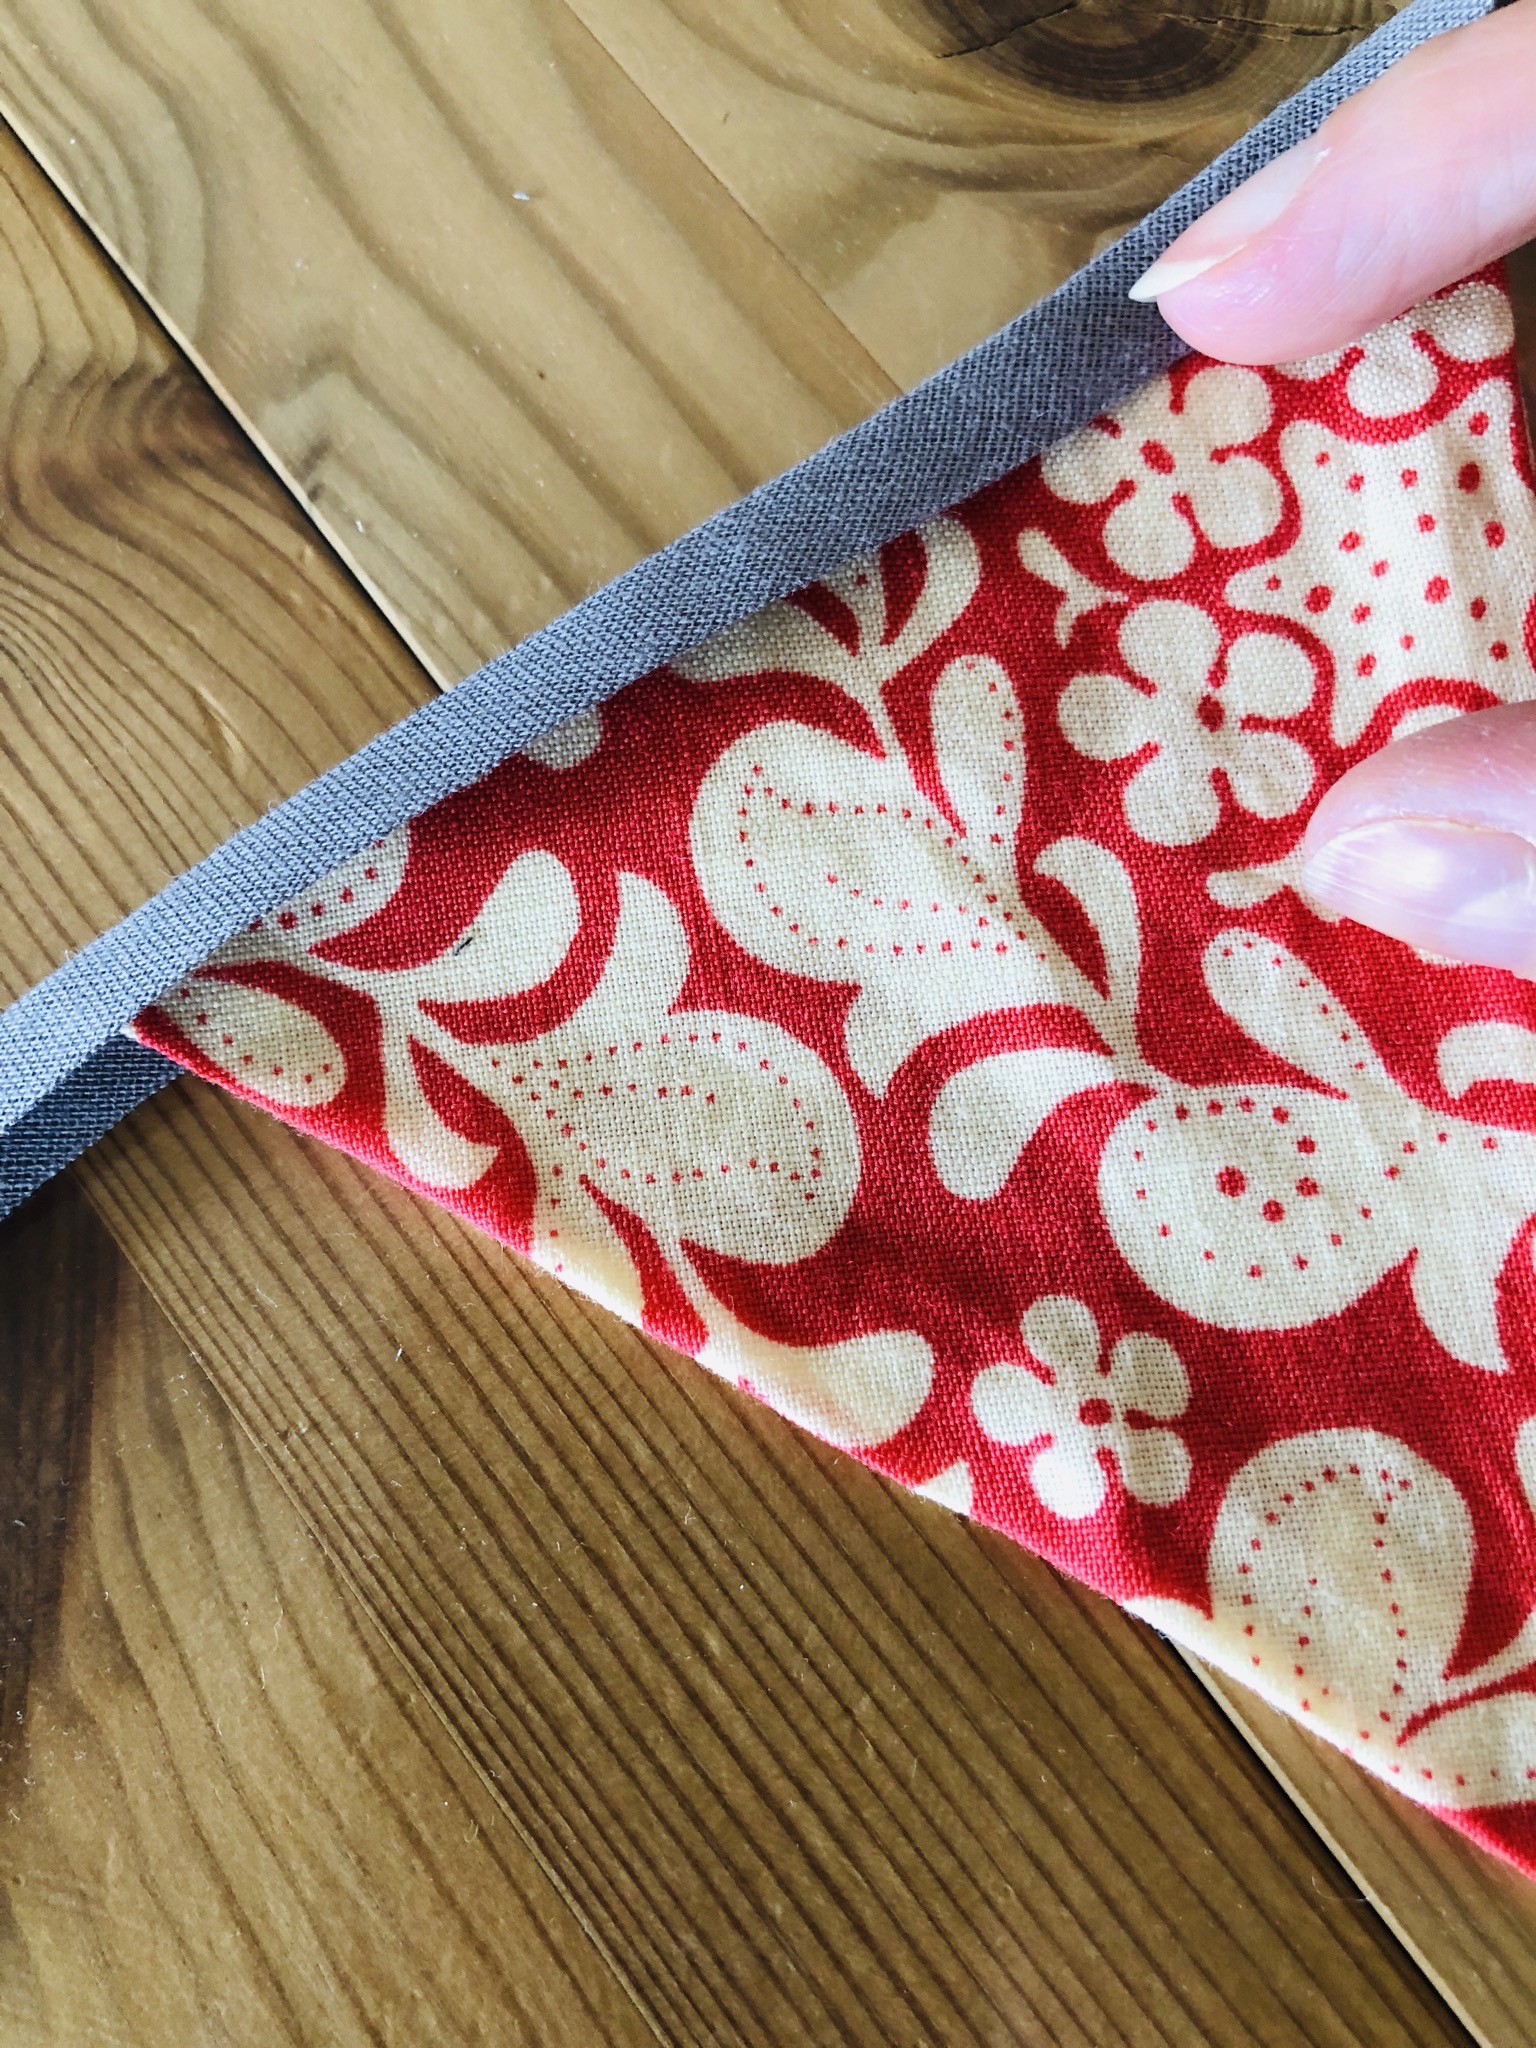
Now the triangles are glued into the slanting tape. Place the triangle up to the fracture edge in the slanting tape and glue it from both sides. Fold the slanting tape to the fracture.
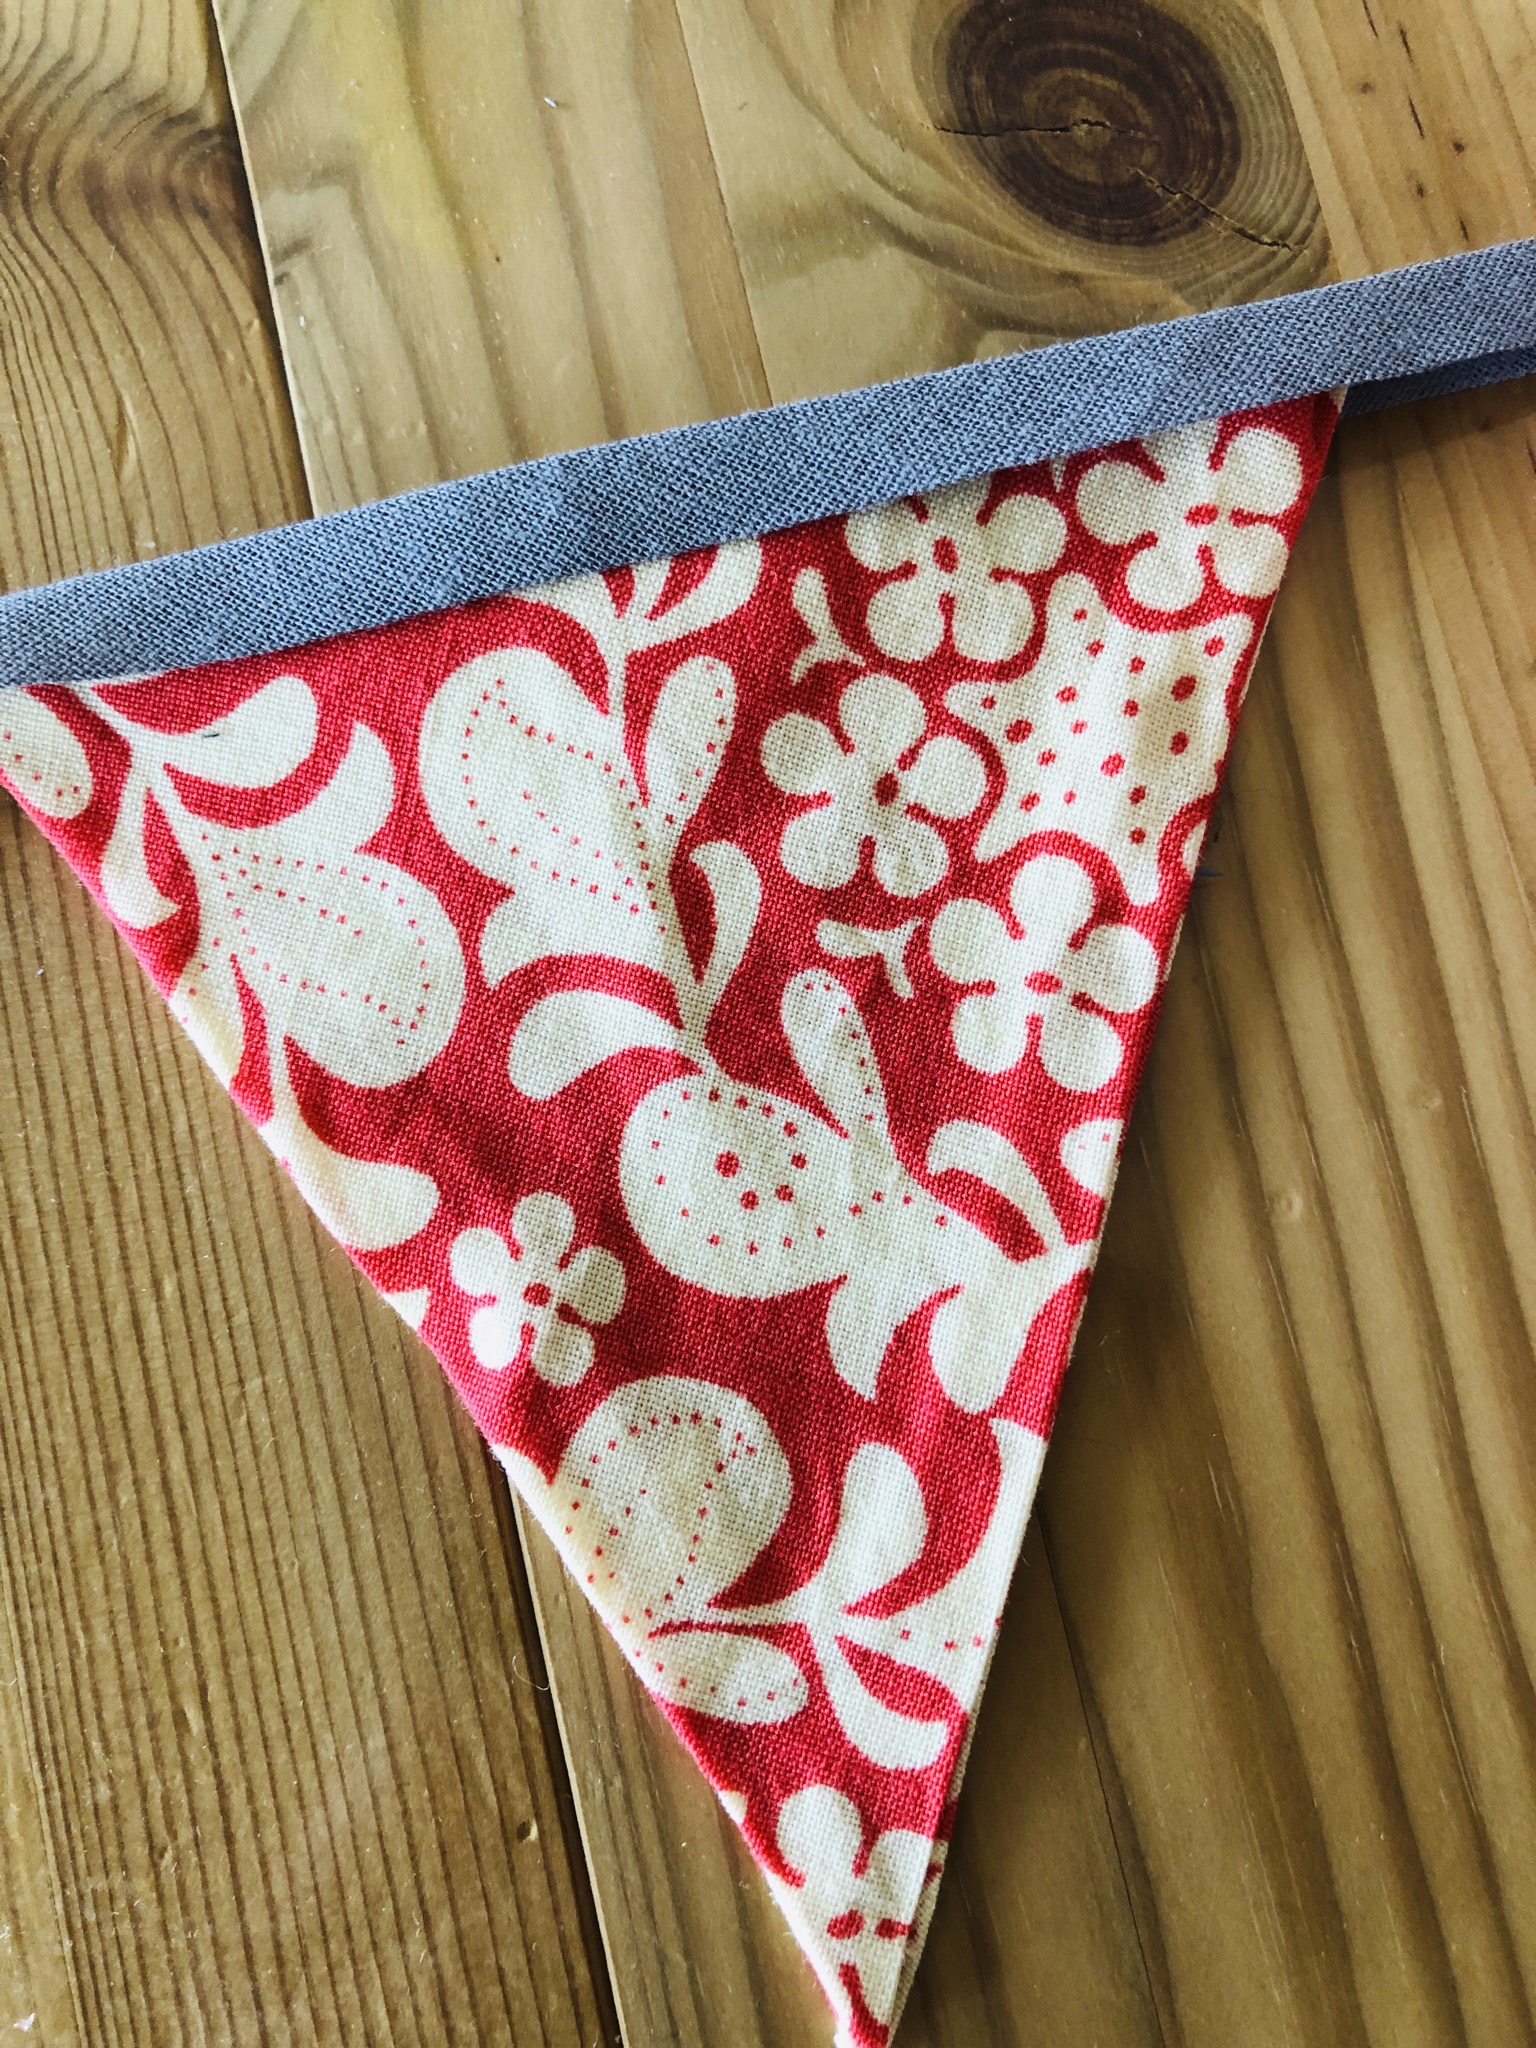
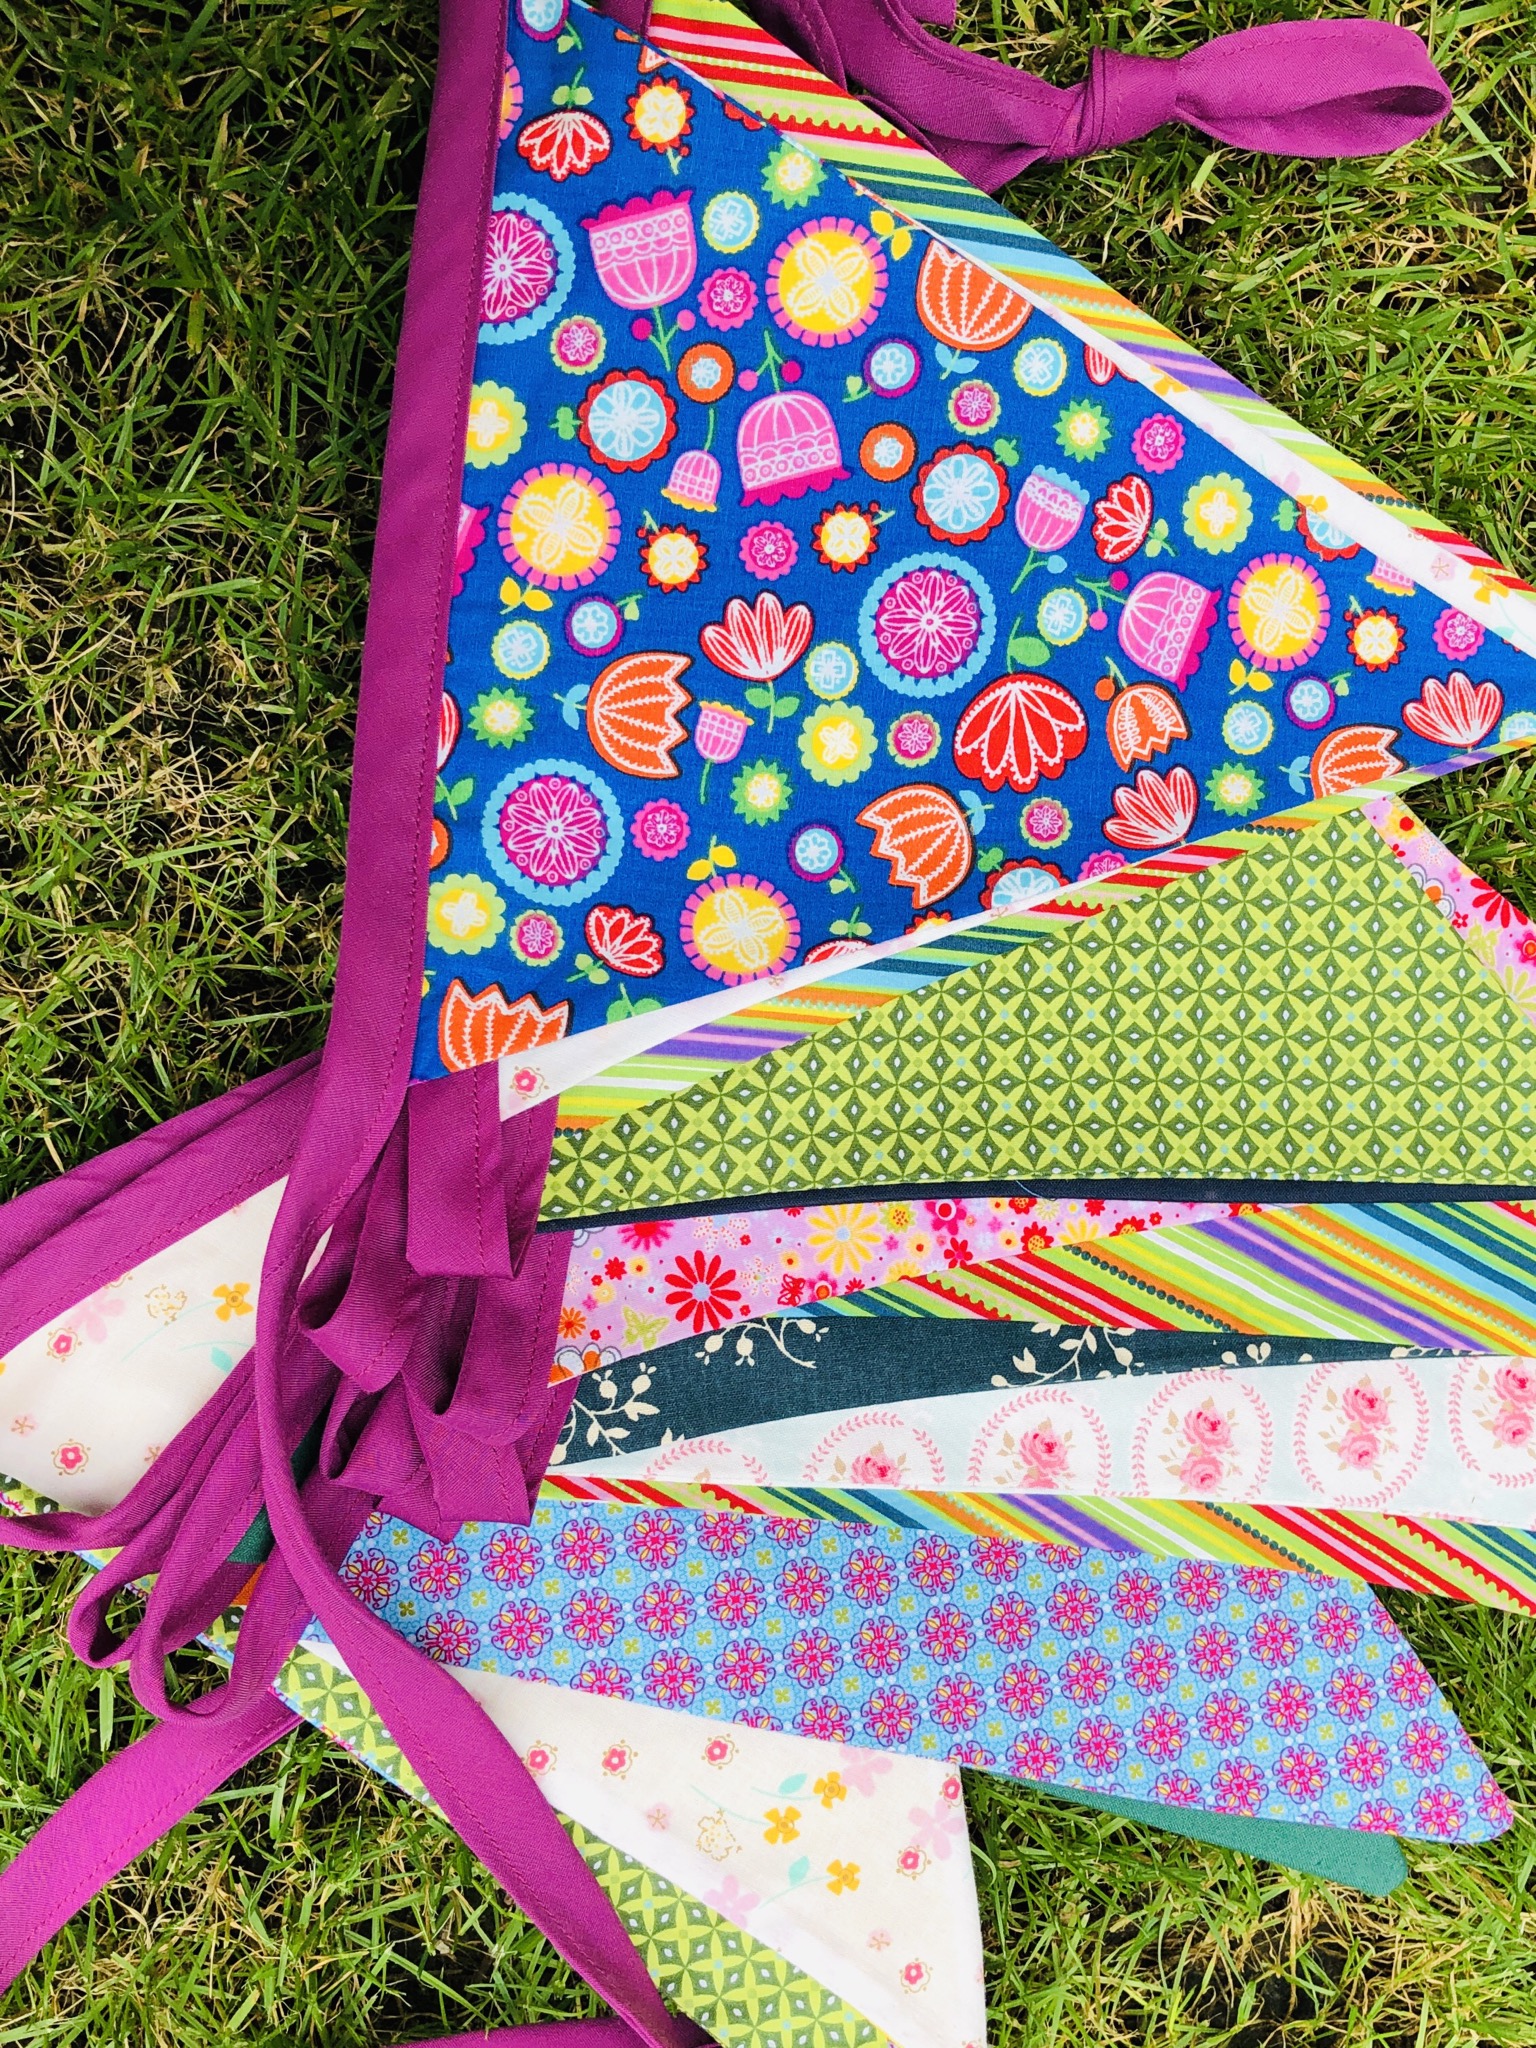
With some distance, different fabric triangles are glued to the length of the slanting tape. This creates a colorful garland.
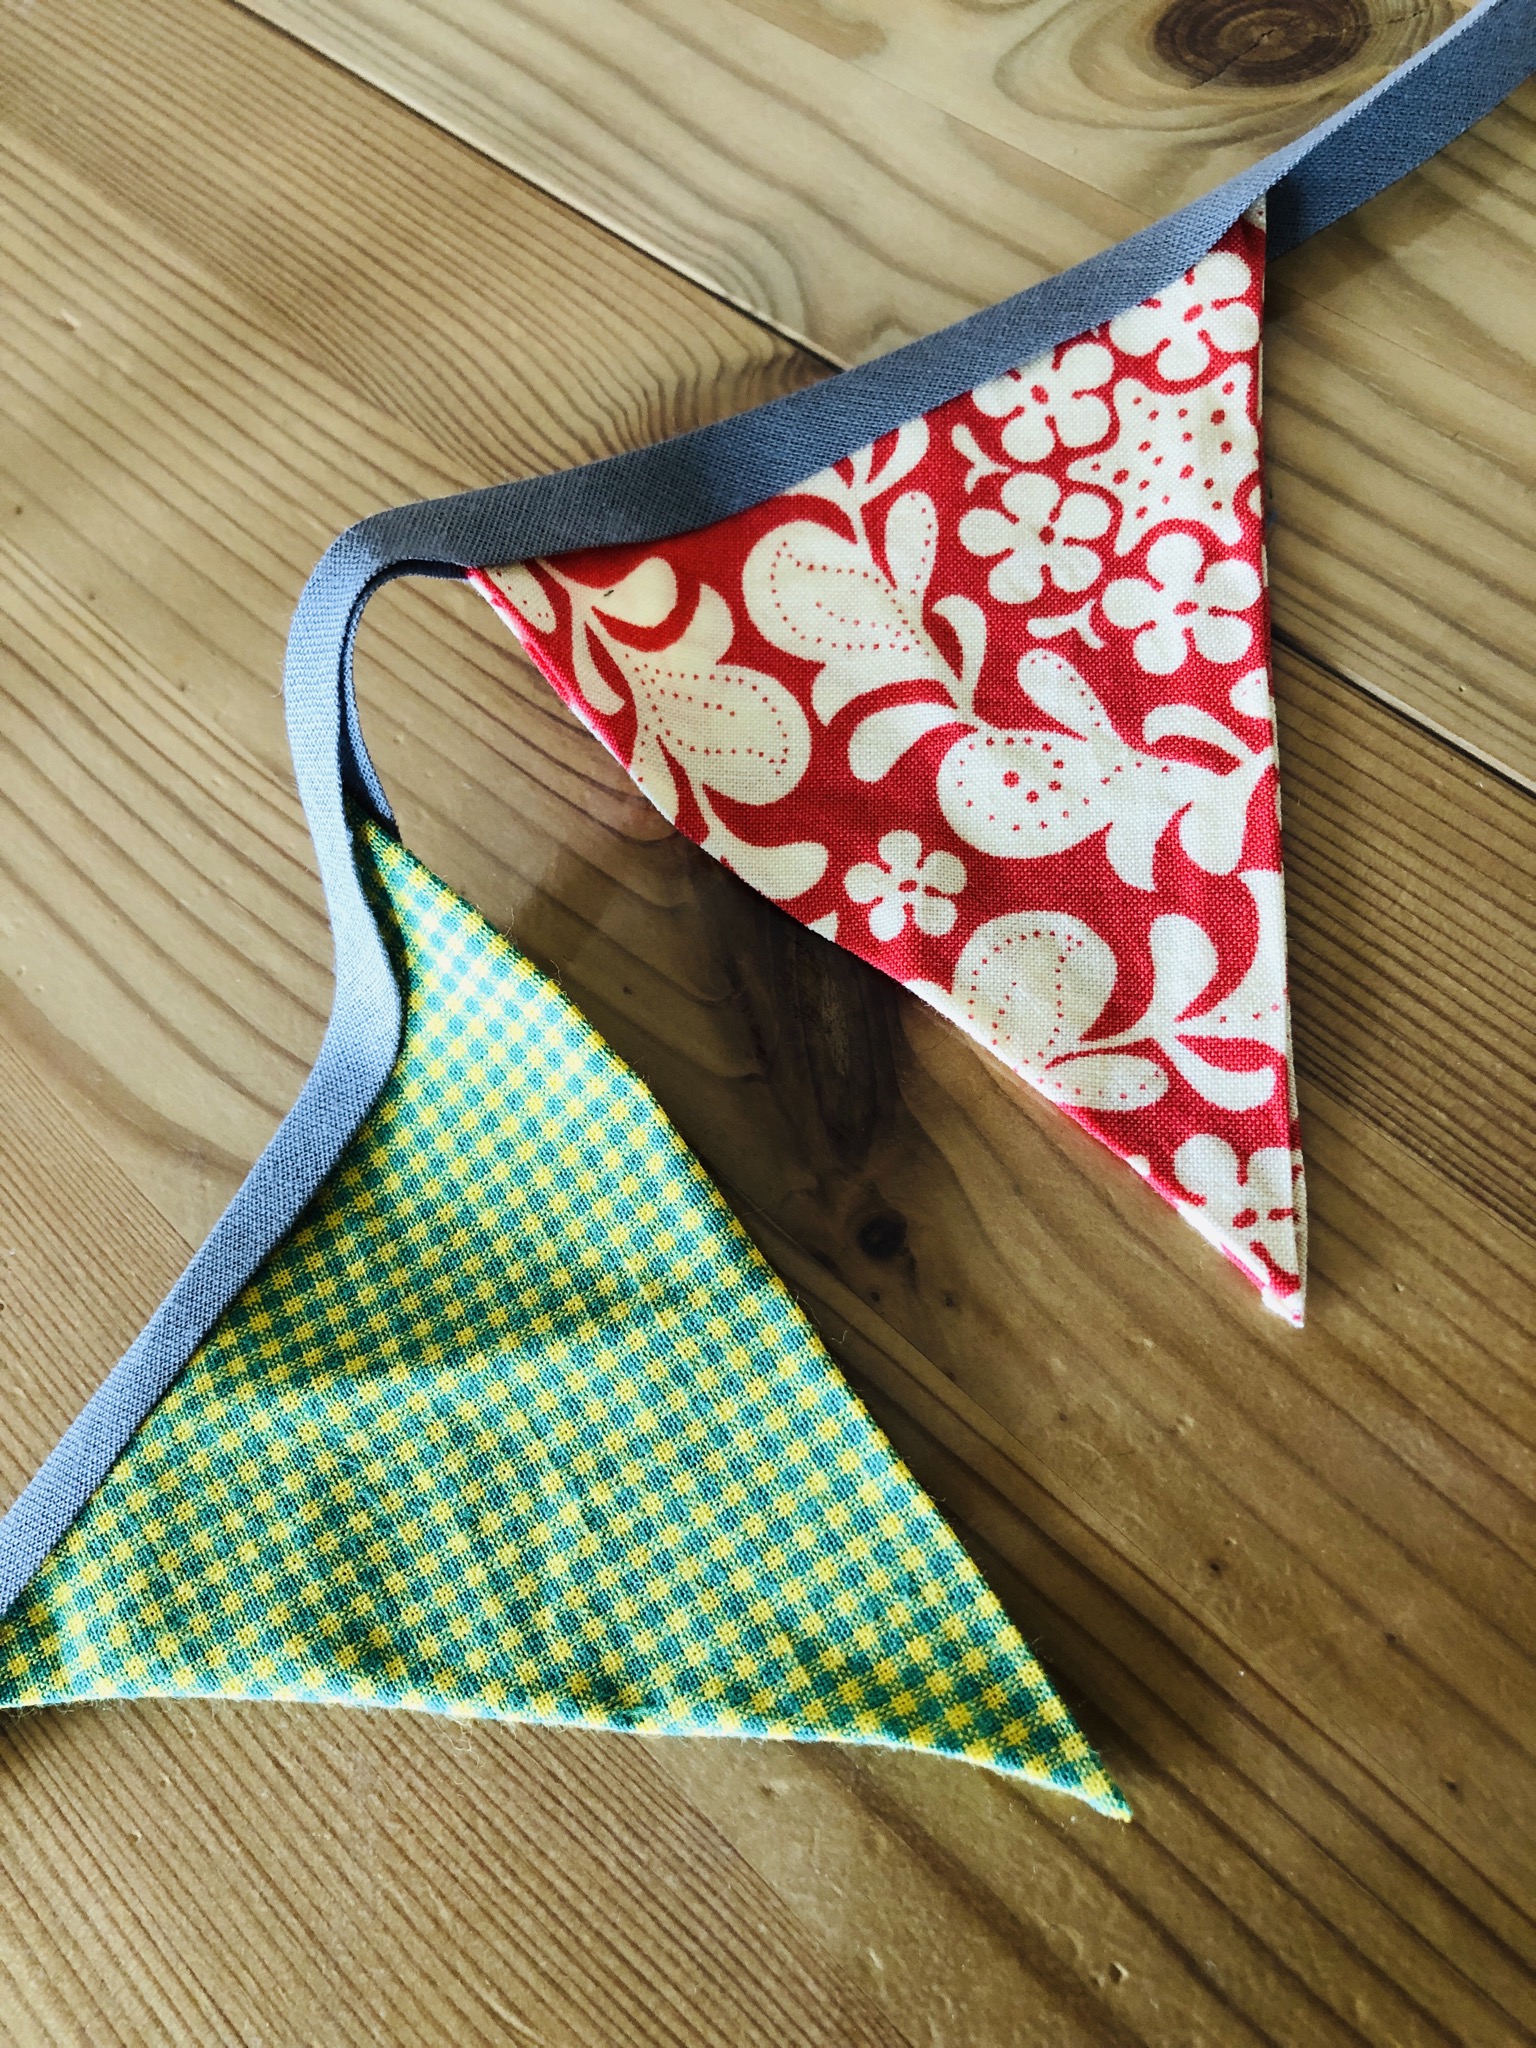
Let some band survive on the sides (on which no fabric triangle is attached yet) in order to hang the garland.
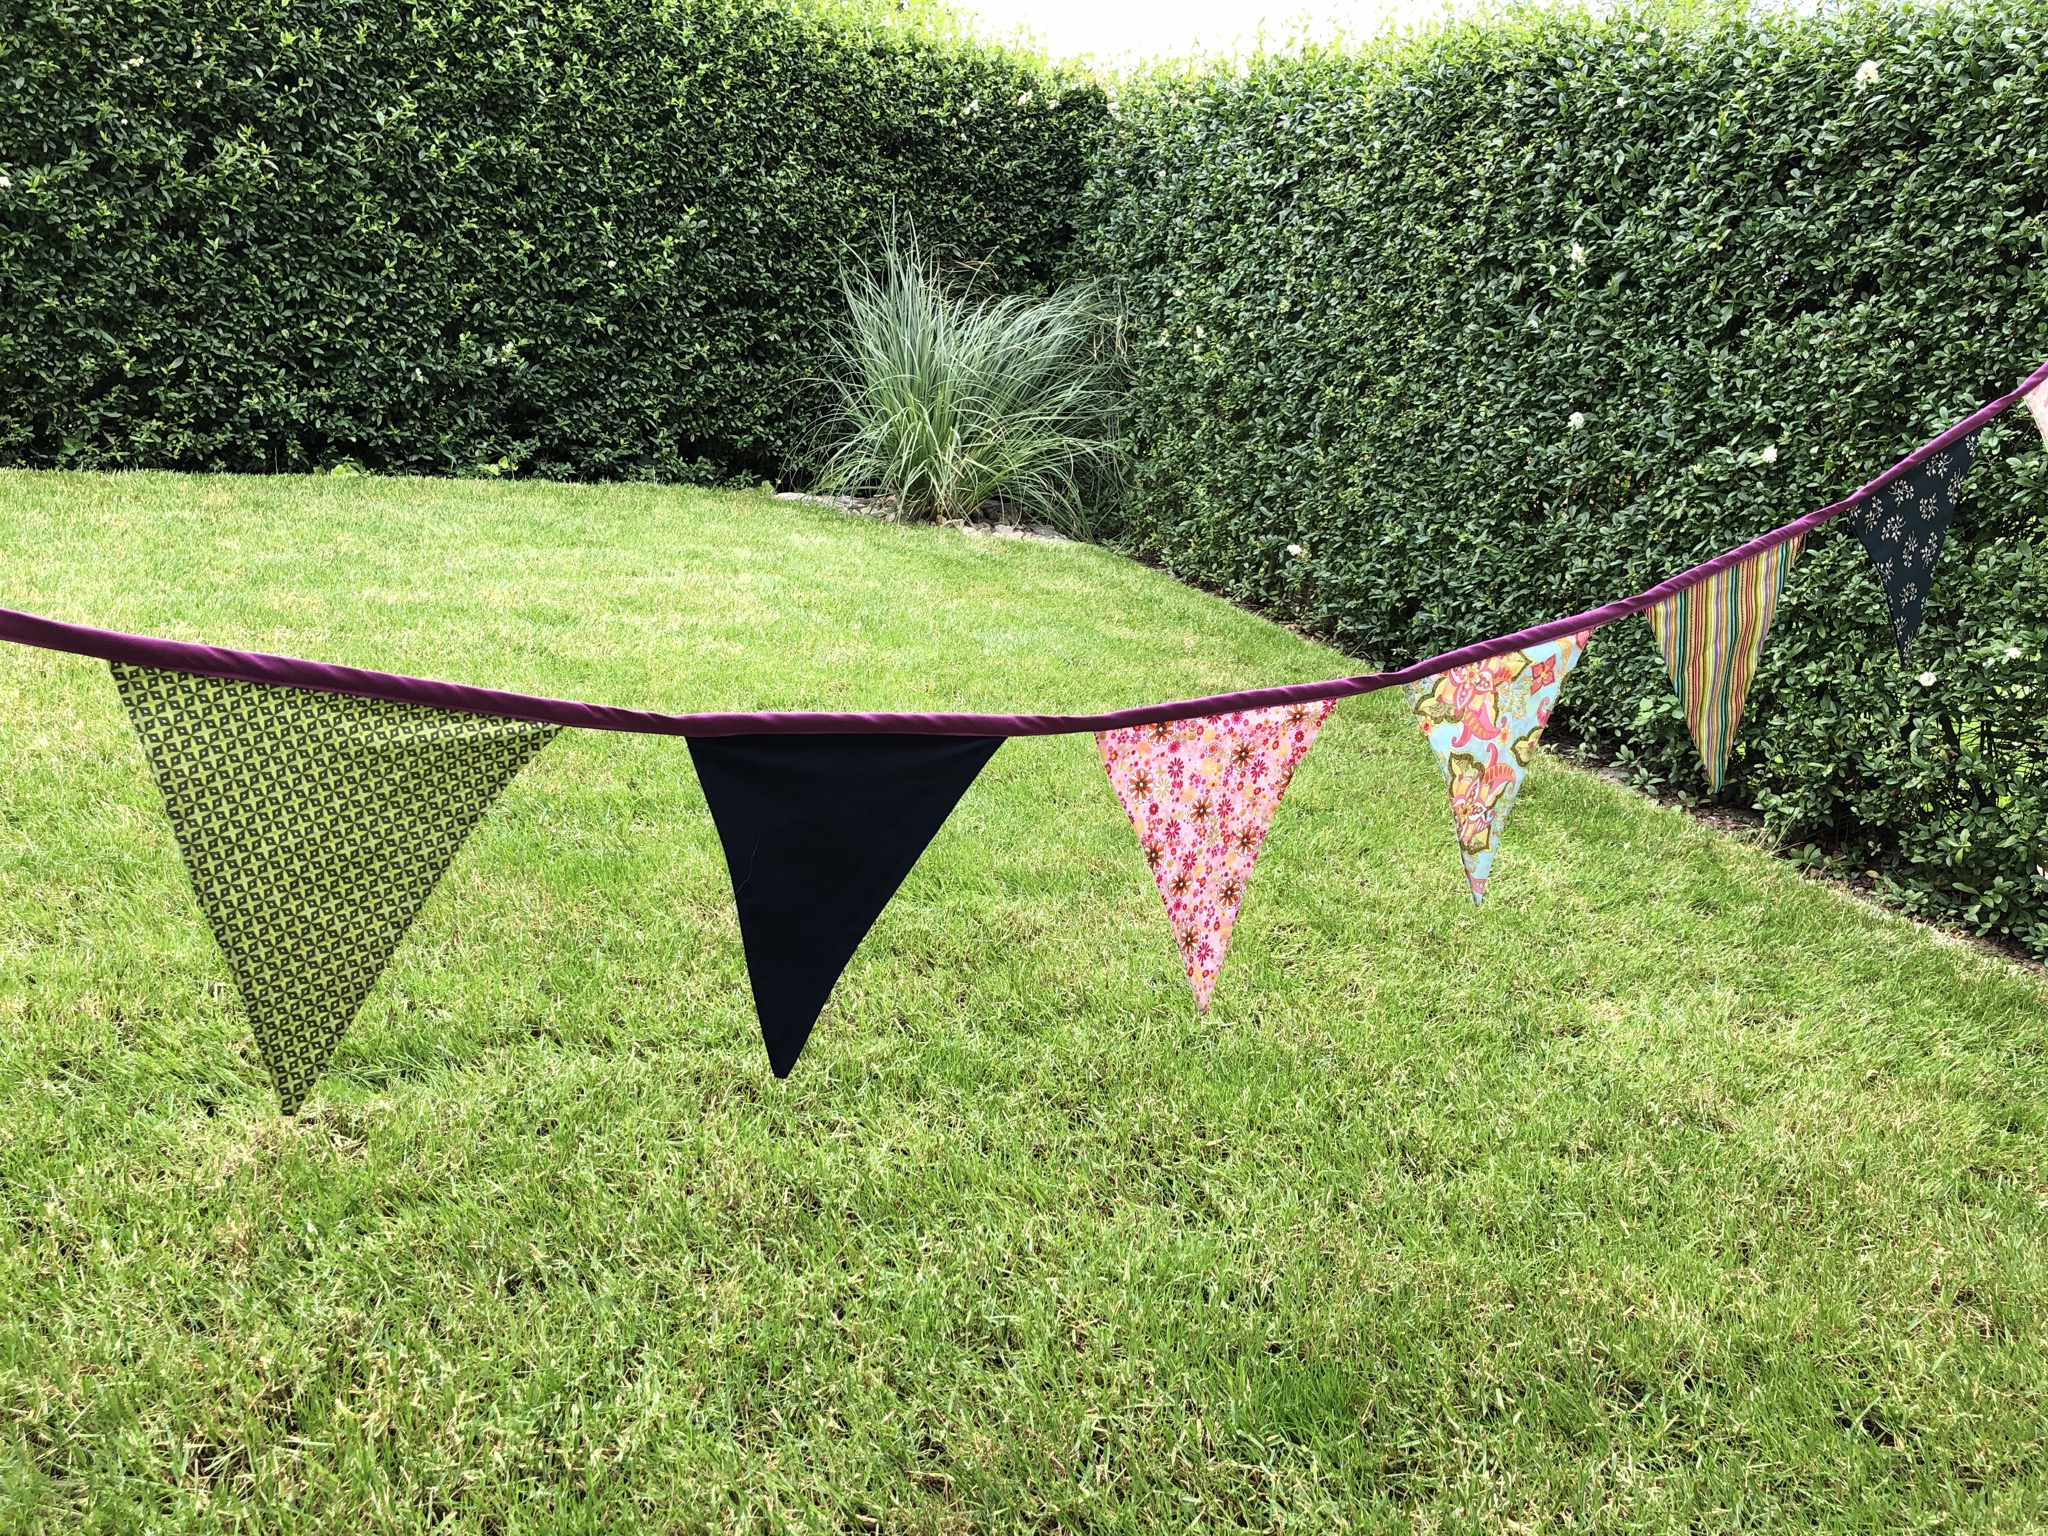
Another idea is larger triangles for a large garland for e.g. the garden. I used 20 cm instead of 10 cm in the pattern.
The piece of fabric can also be glued, but I still sewed the slanting tape with the sewing machine, so the garland also withstands a windy garden party.
Have fun imitating.
Materials
Directions
Template transferable to any desired size!
Transfer the cut pattern to the fabric. Cuts out the fabric approx. 0.5 cm ("seam allowance") larger, so that the seam allowance can then be flipped over.
Cut out 2 triangles. Different fabrics are also possible here.
On the left side stroke the longer sides on the edge with glue and apply 0.5 cm and press firmly.
Cut off the overhanging fabric at the top so that a beautiful lace emerges.
Now glue both triangles together.
Place edges neatly on each other (stick)
Cut the upper edge cleanly, so that a straight fabric edge is created. Now cut the slanting tape to the desired length of the garland.
Now the triangles are glued into the slanting tape. Place the triangle up to the fracture edge in the slanting tape and glue it from both sides. Fold the slanting tape to the fracture.
With some distance, different fabric triangles are glued to the length of the slanting tape. This creates a colorful garland.
Let some band survive on the sides (on which no fabric triangle is attached yet) in order to hang the garland.
Another idea is larger triangles for a large garland for e.g. the garden. I used 20 cm instead of 10 cm in the pattern.
The piece of fabric can also be glued, but I still sewed the slanting tape with the sewing machine, so the garland also withstands a windy garden party.
Have fun imitating.
Follow us on Facebook , Instagram and Pinterest
Don't miss any more adventures: Our bottle mail


We've got this on the list and we're going to make a garland in any case!
Dear BaSo, we are delighted. Let's know how it has become and have a lot of fun with the adventure.
That's great!
Dear Sanne,
We are pleased that she liked the guide to the party garland! Thanks for your feedback.