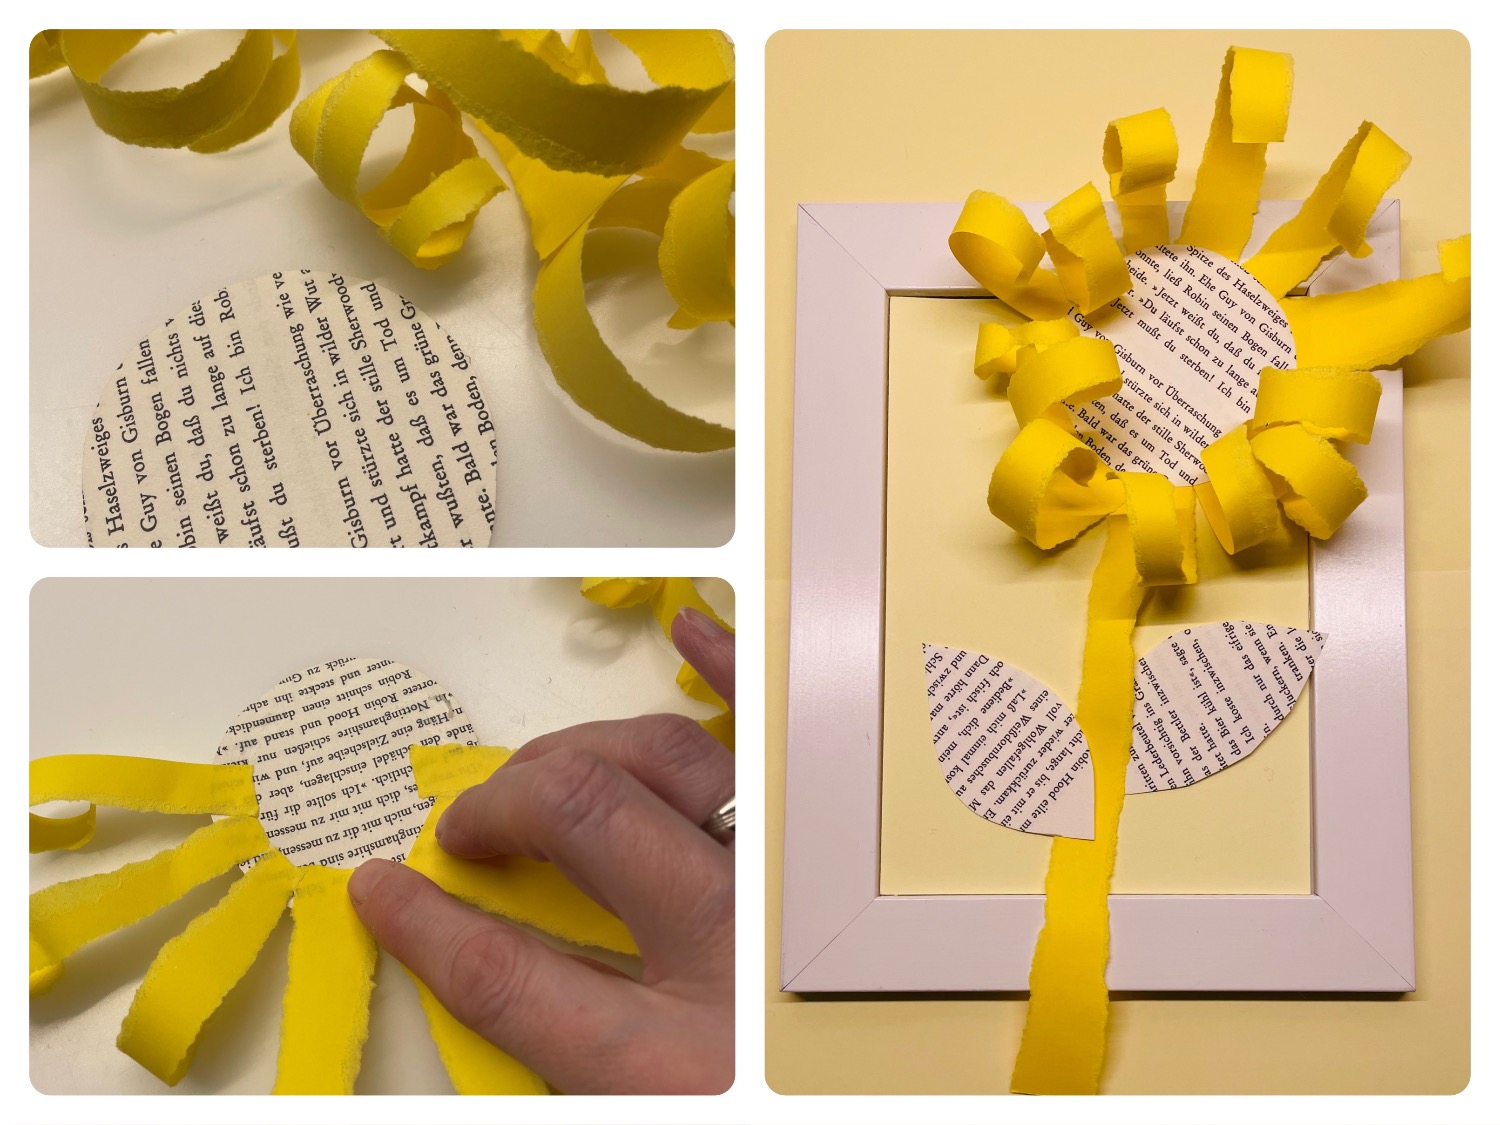
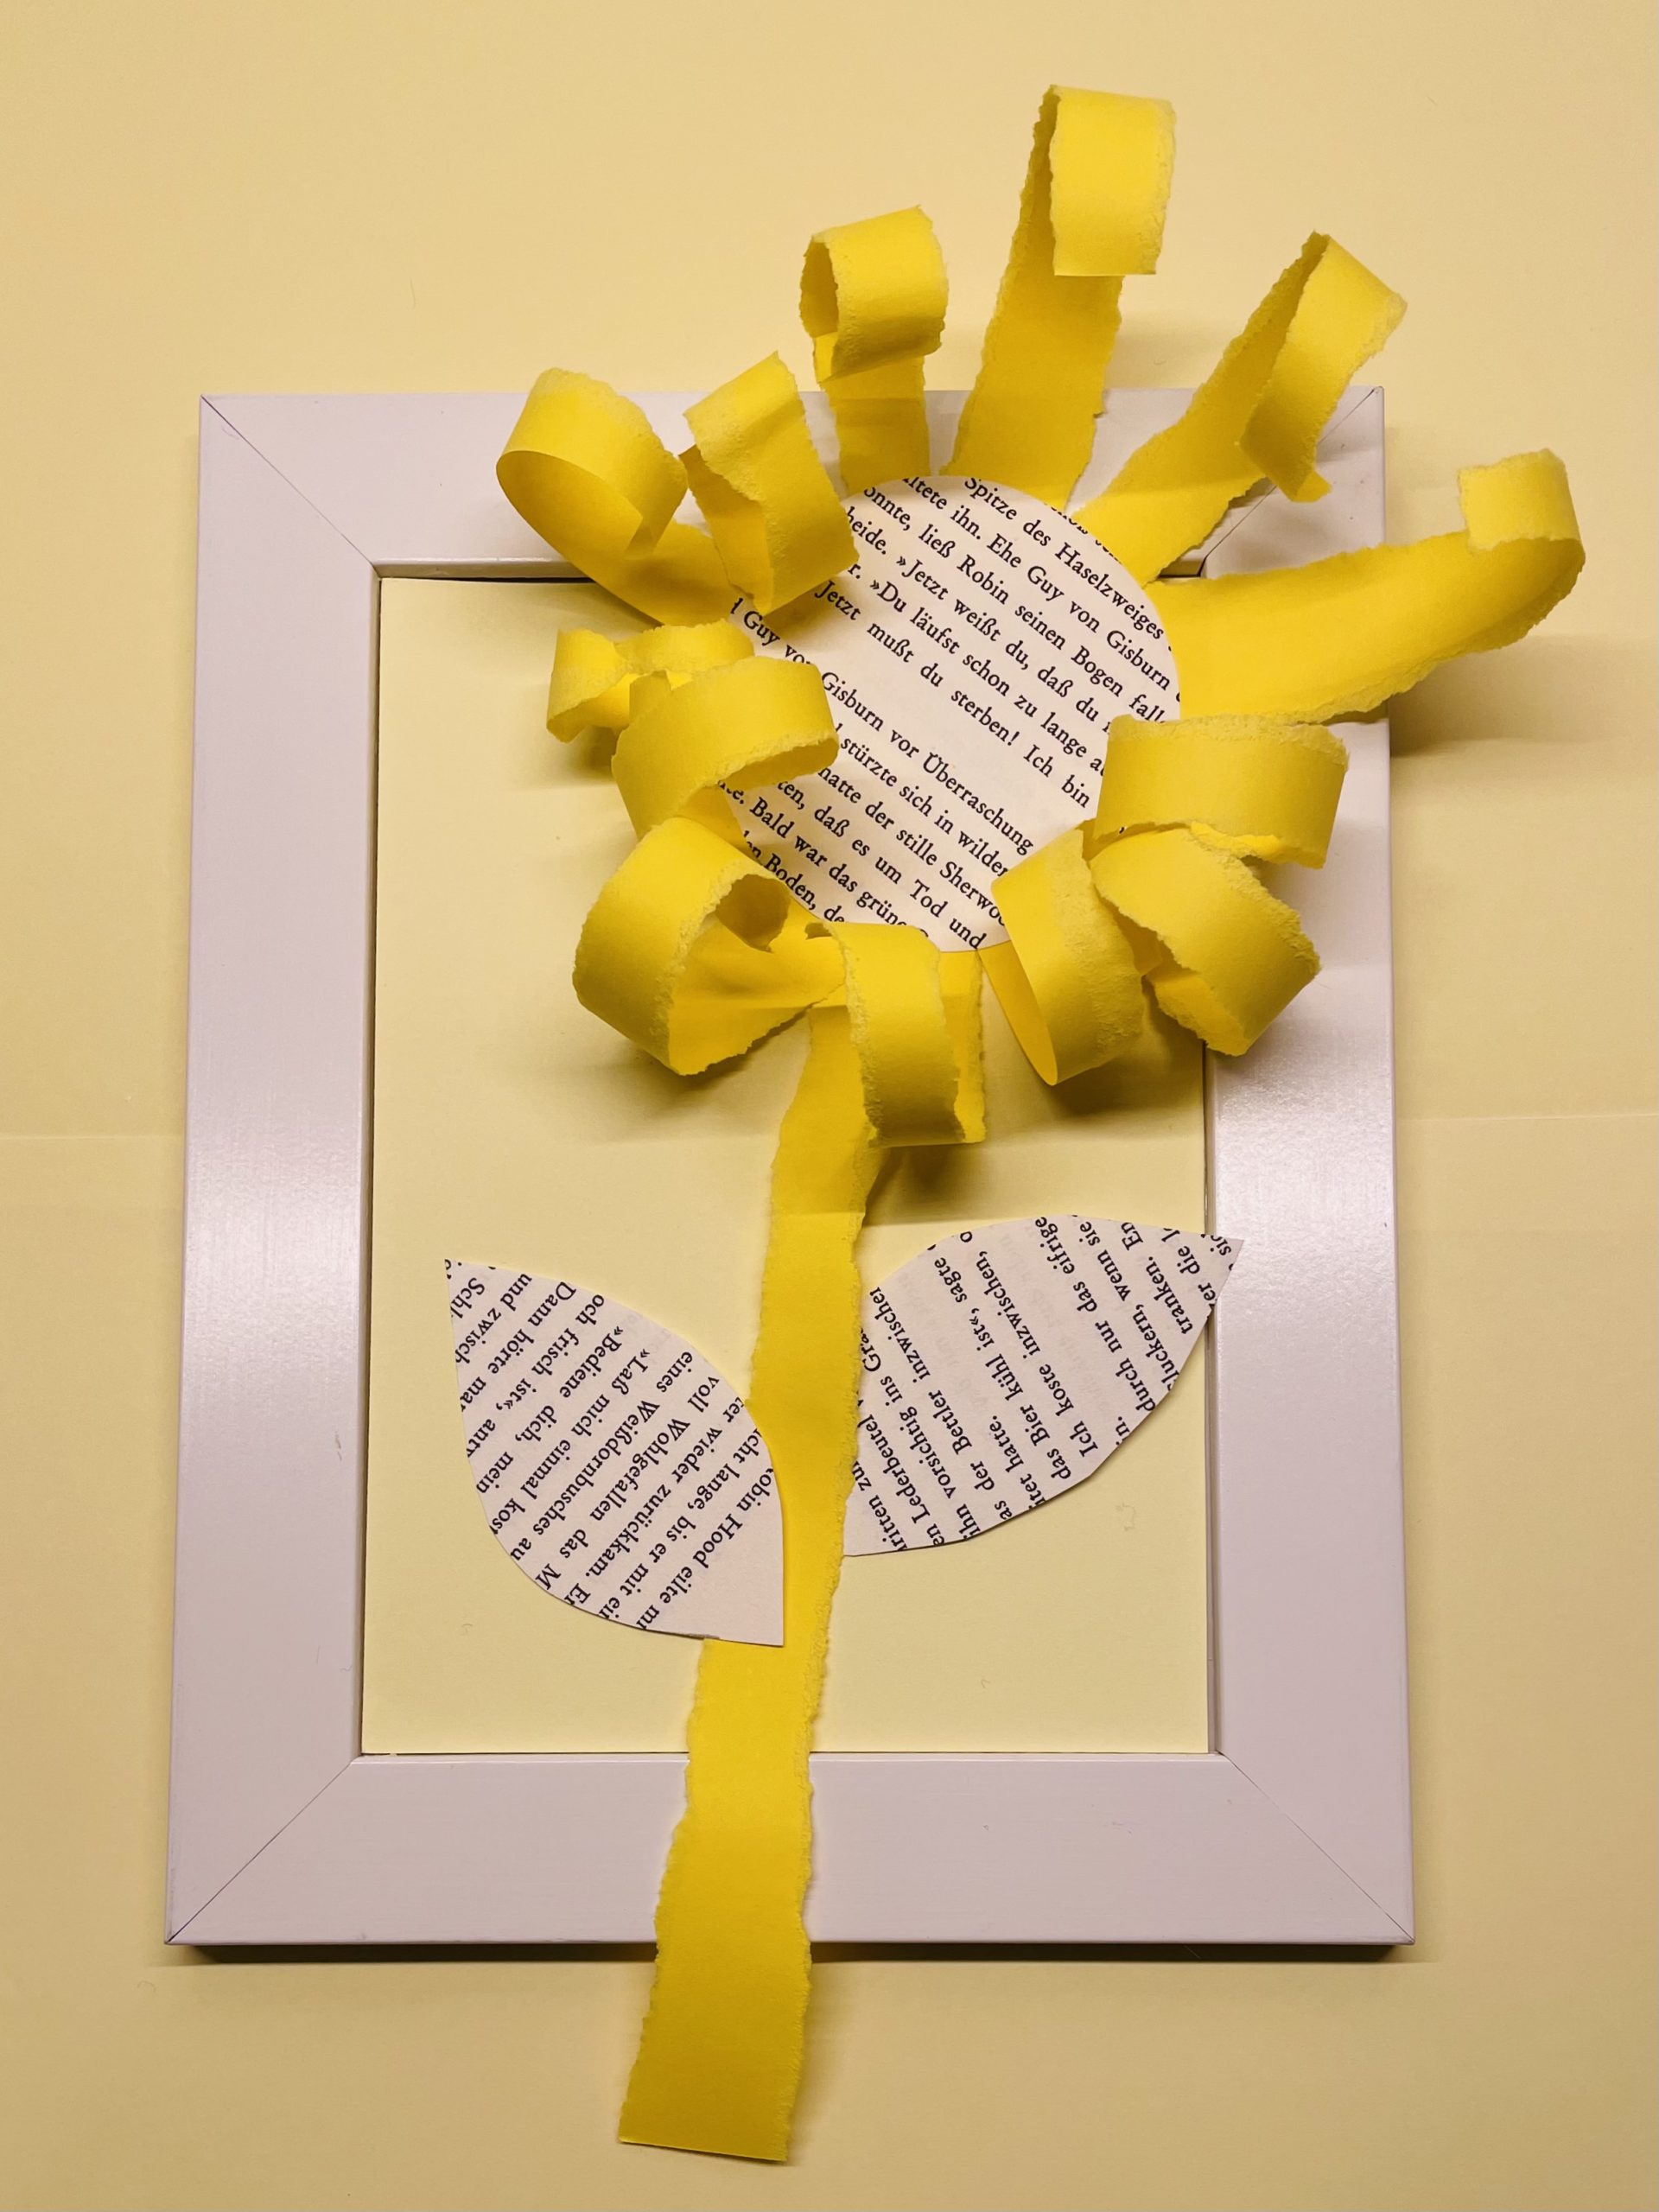
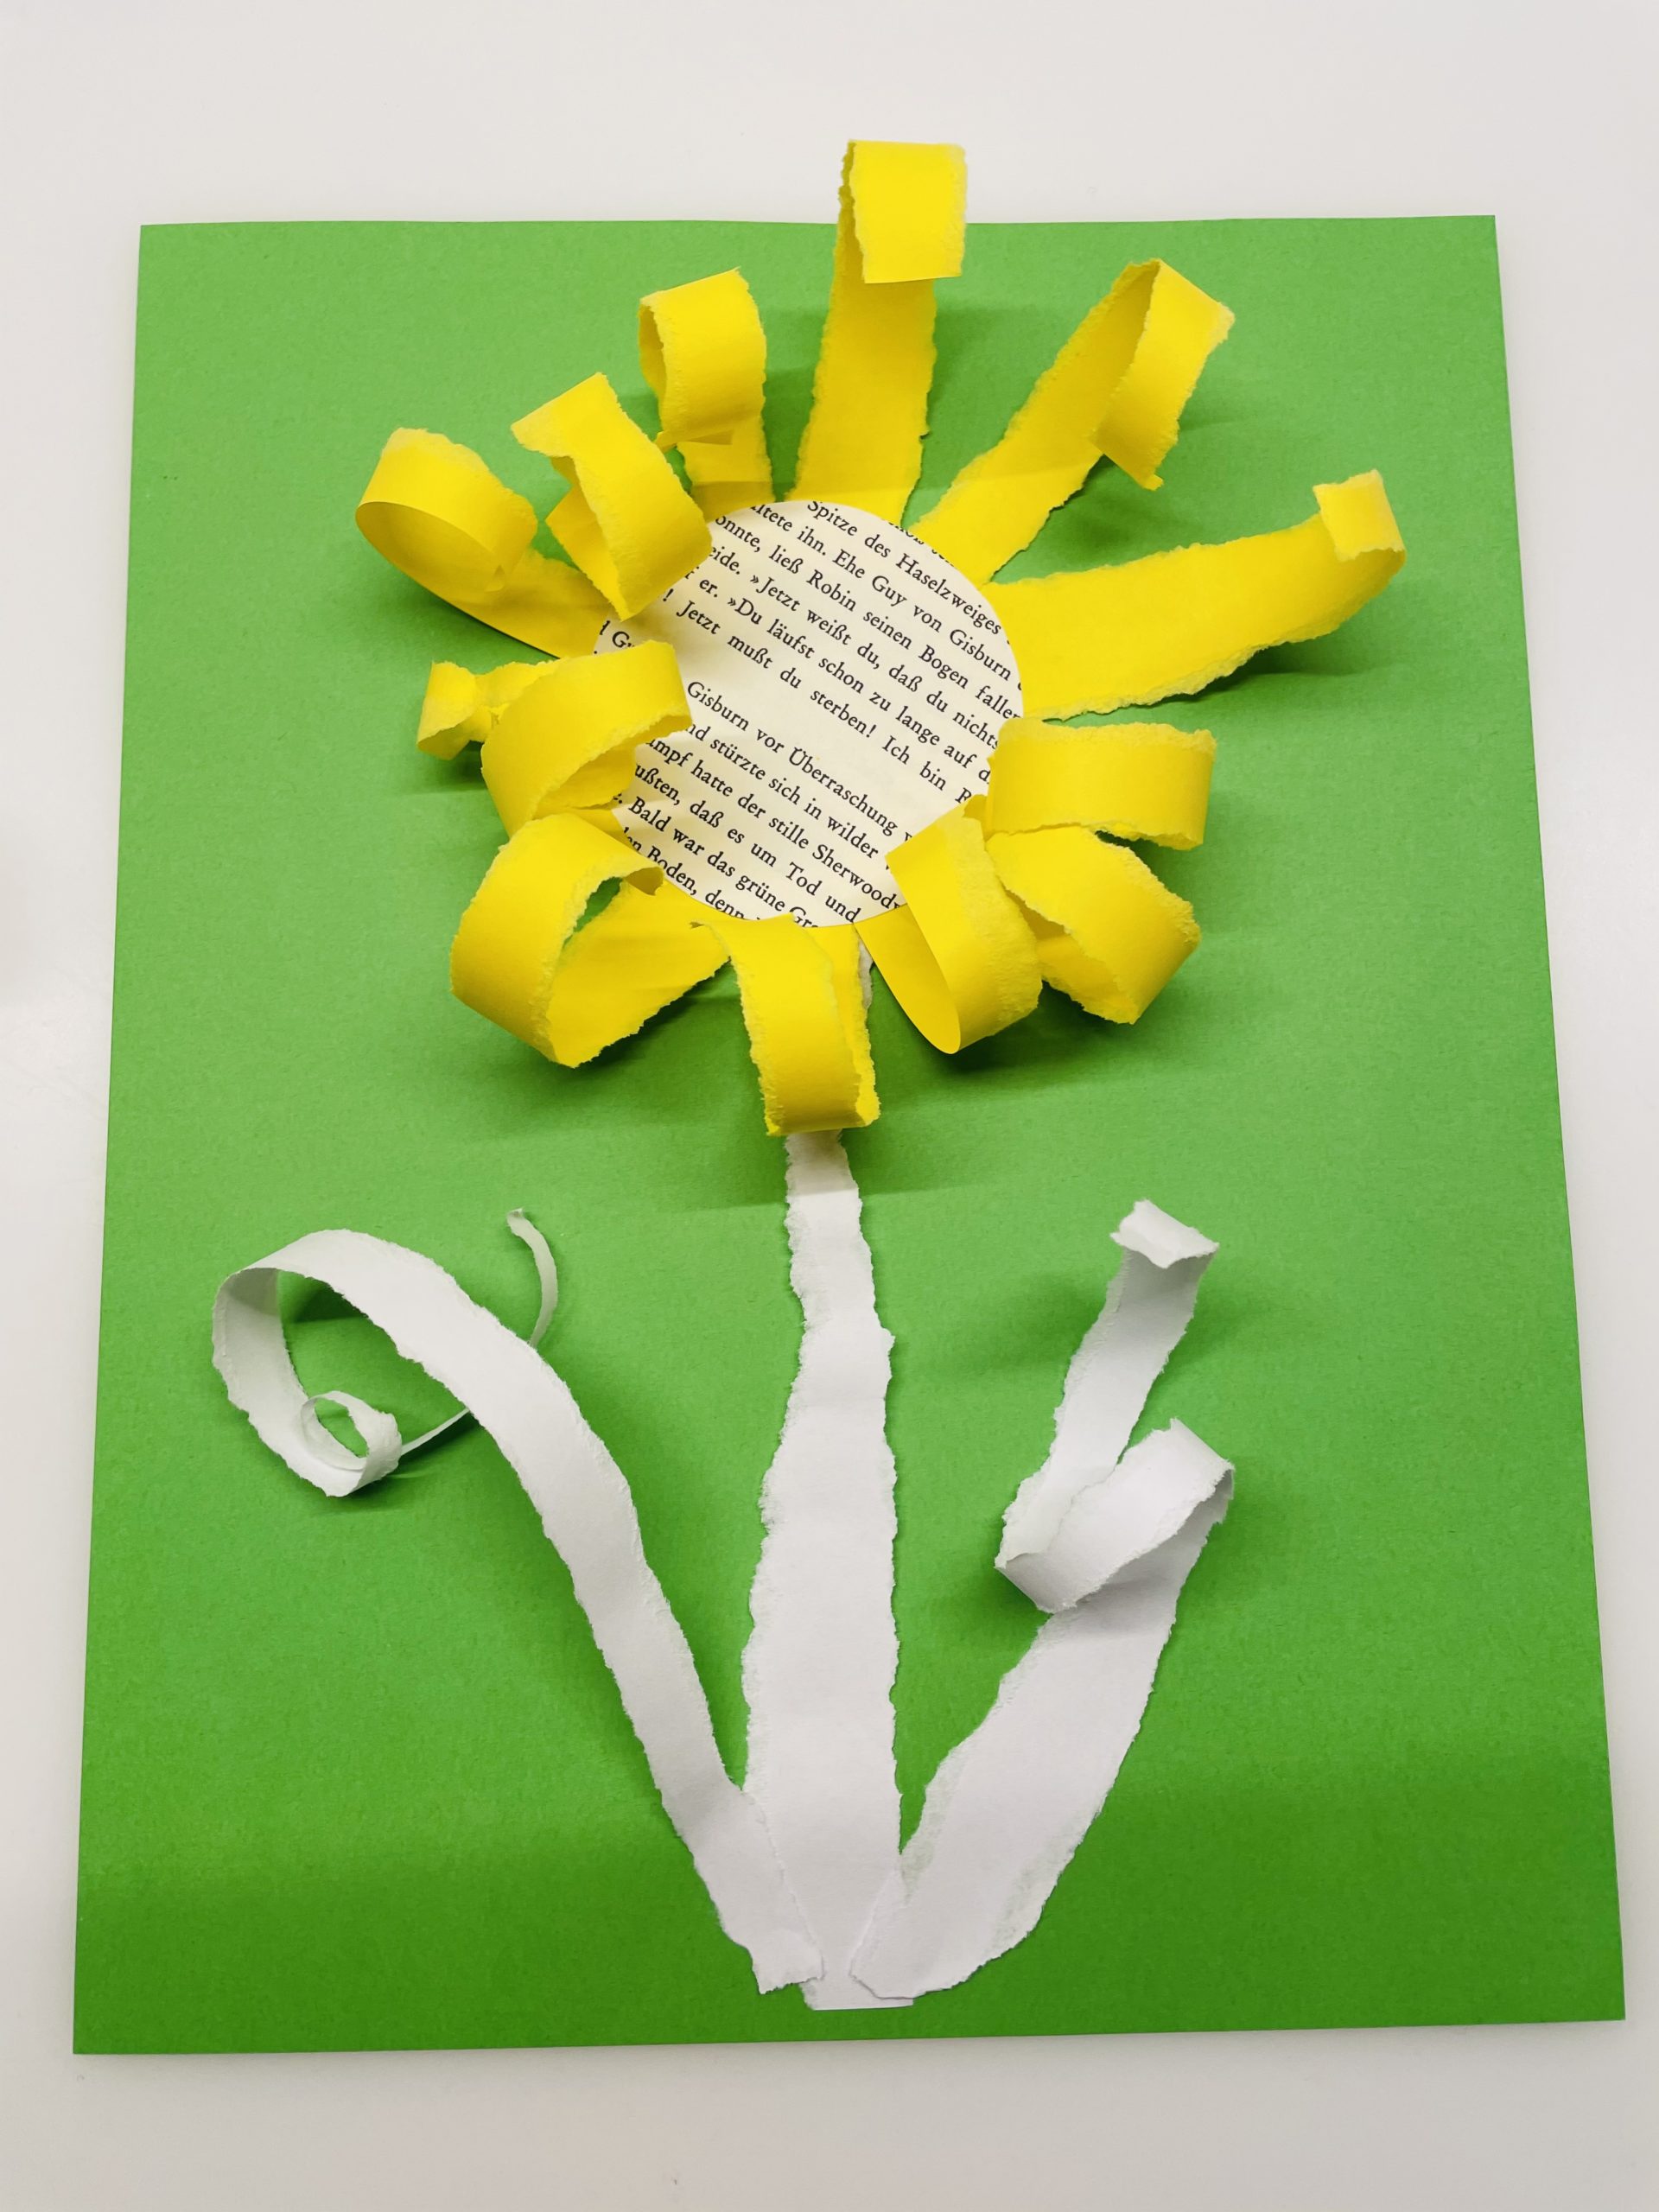
This wonderfully simple flower is crafted from ripped paper strips and old book pages. Designed in a picture frame or as a card, it stands in the eye through its plastic effect.
Rice thin paper into narrow strips and stick it to a cut-out circle from a book page. She also paints the leaves on a book page and cuts them out. The handle consists of a coloured strip of paper.
Everything is then glued to a picture frame with monochrome inserting leaf. The flower - sunflower is ready!
Media Education for Kindergarten and Hort

Relief in everyday life, targeted promotion of individual children, independent learning and - without any pre-knowledge already usable by the youngest!
Put out your craft material and pick up your materials.
Then you tear the paper into narrow strips first.
Paper can only be ripped in one direction!!! Try it out in which direction.
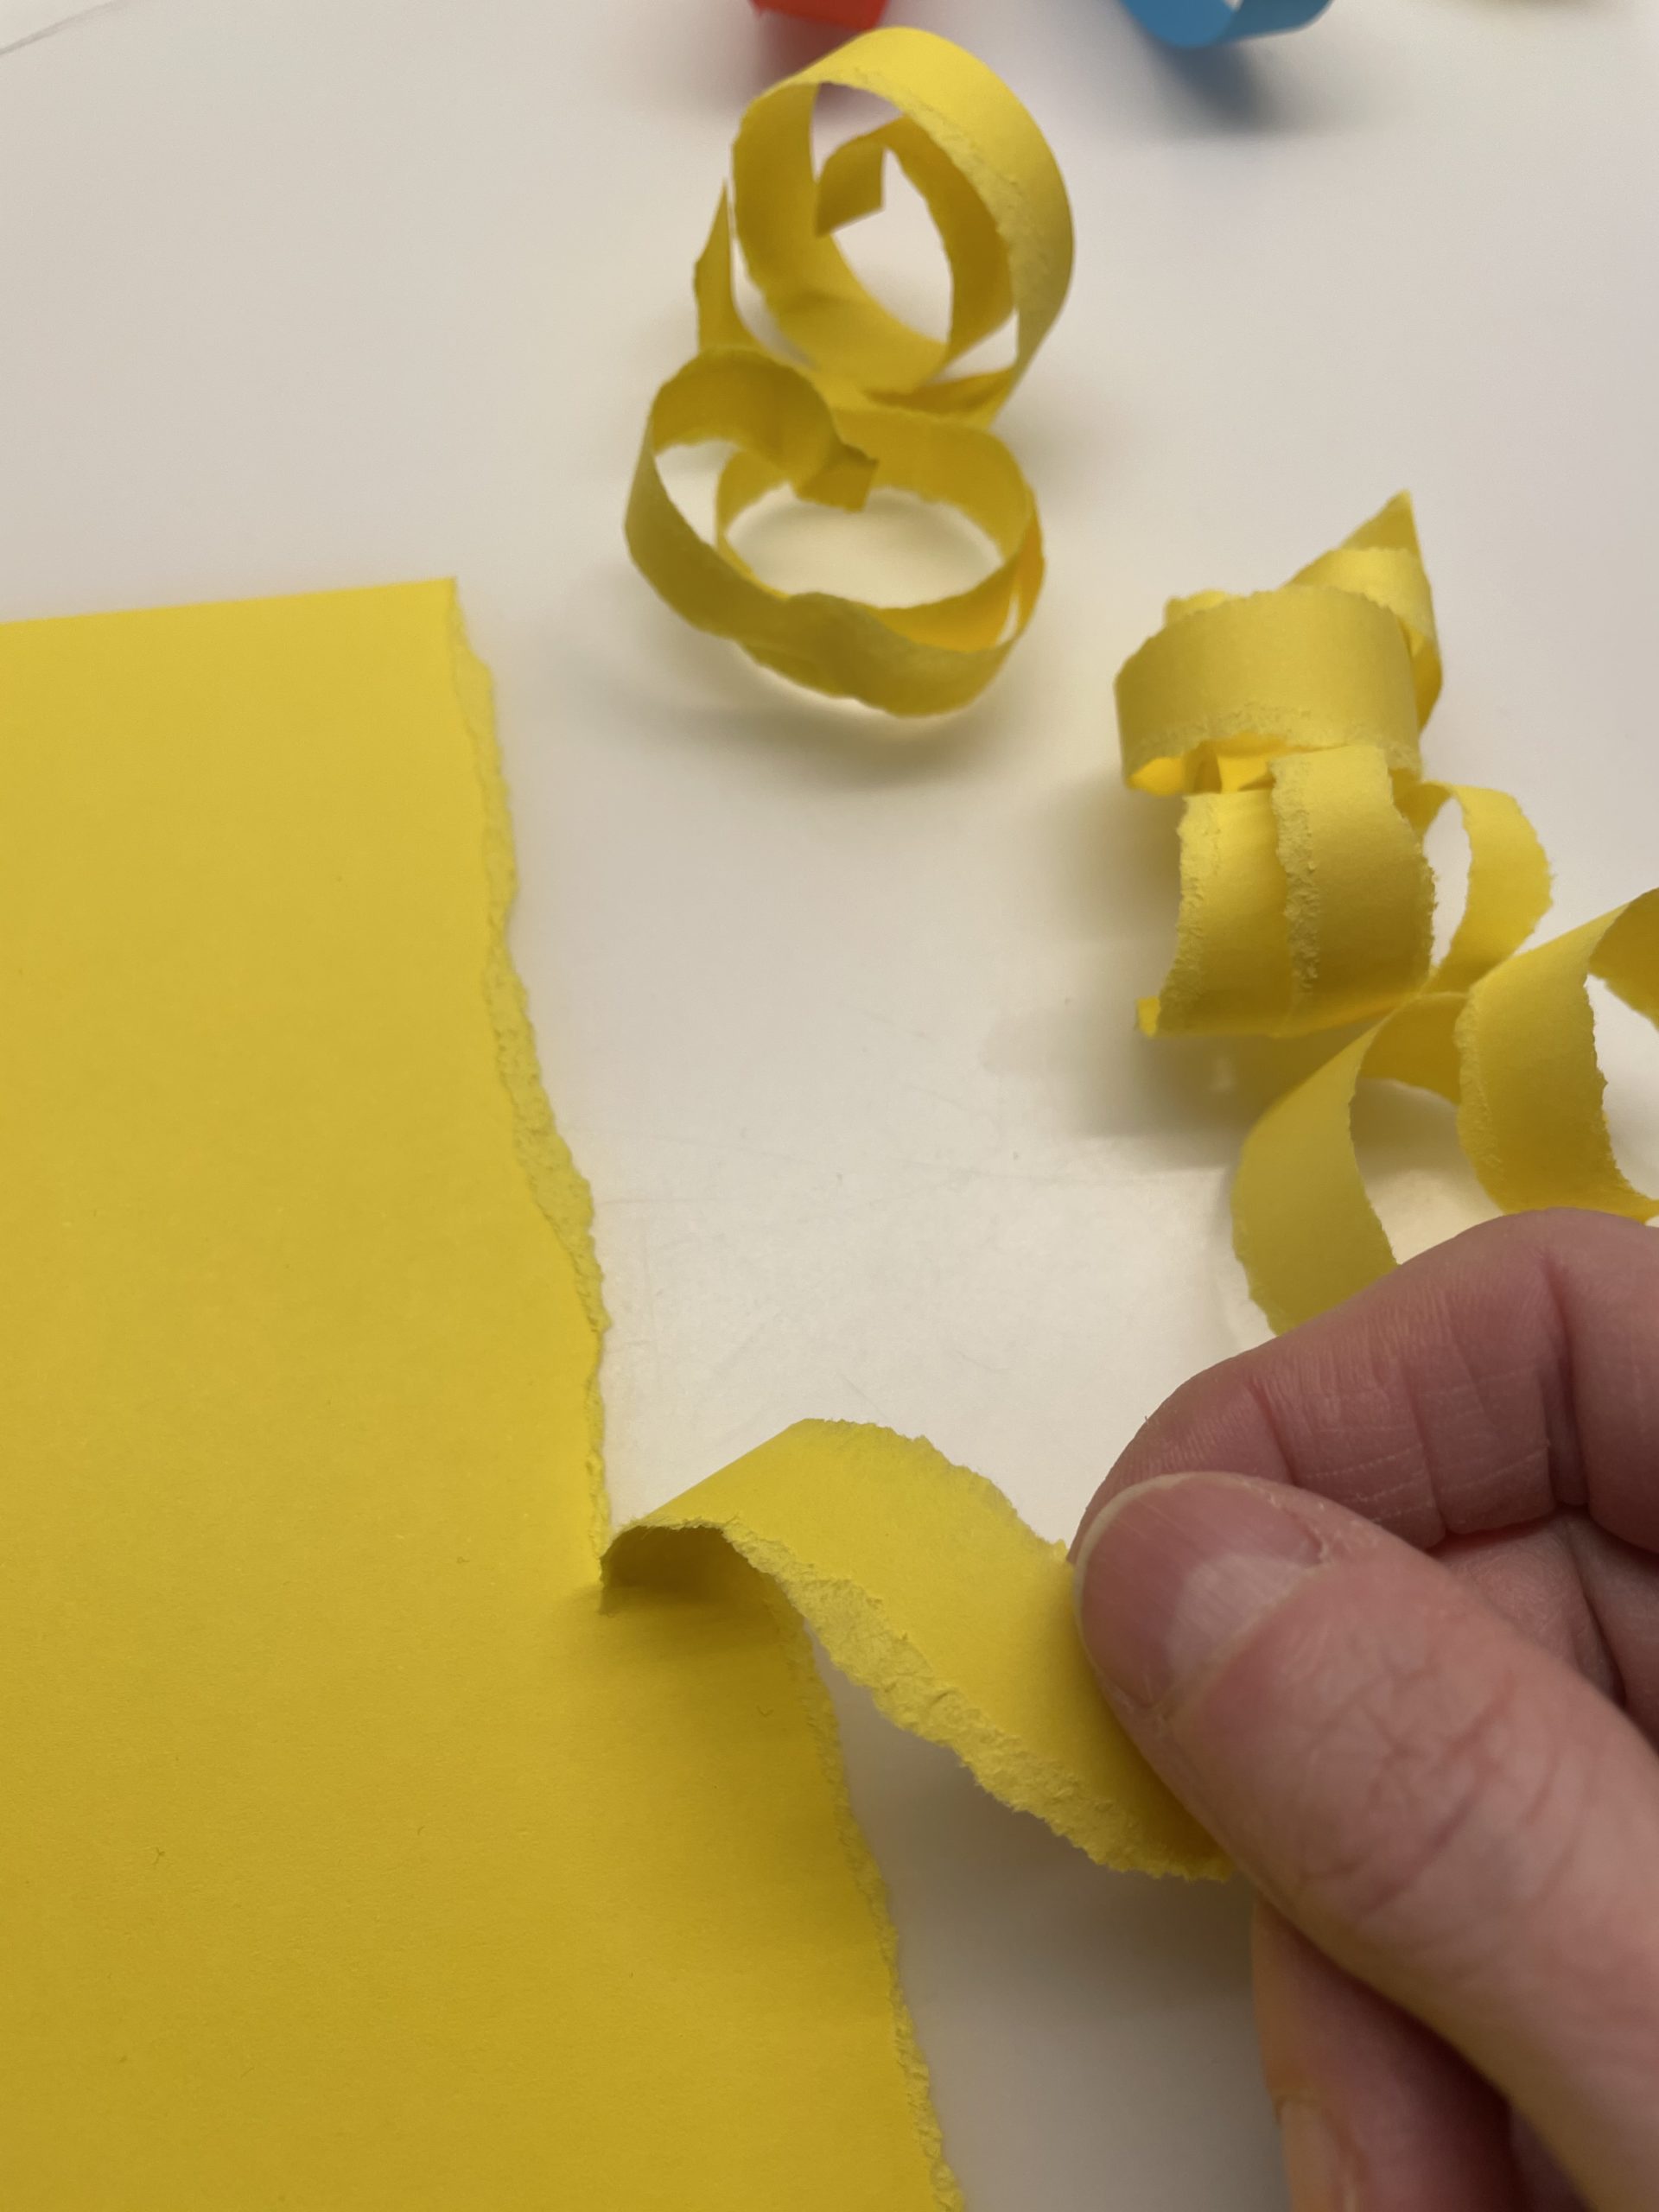
Tears about 10-15 strips in length of 10 cm.
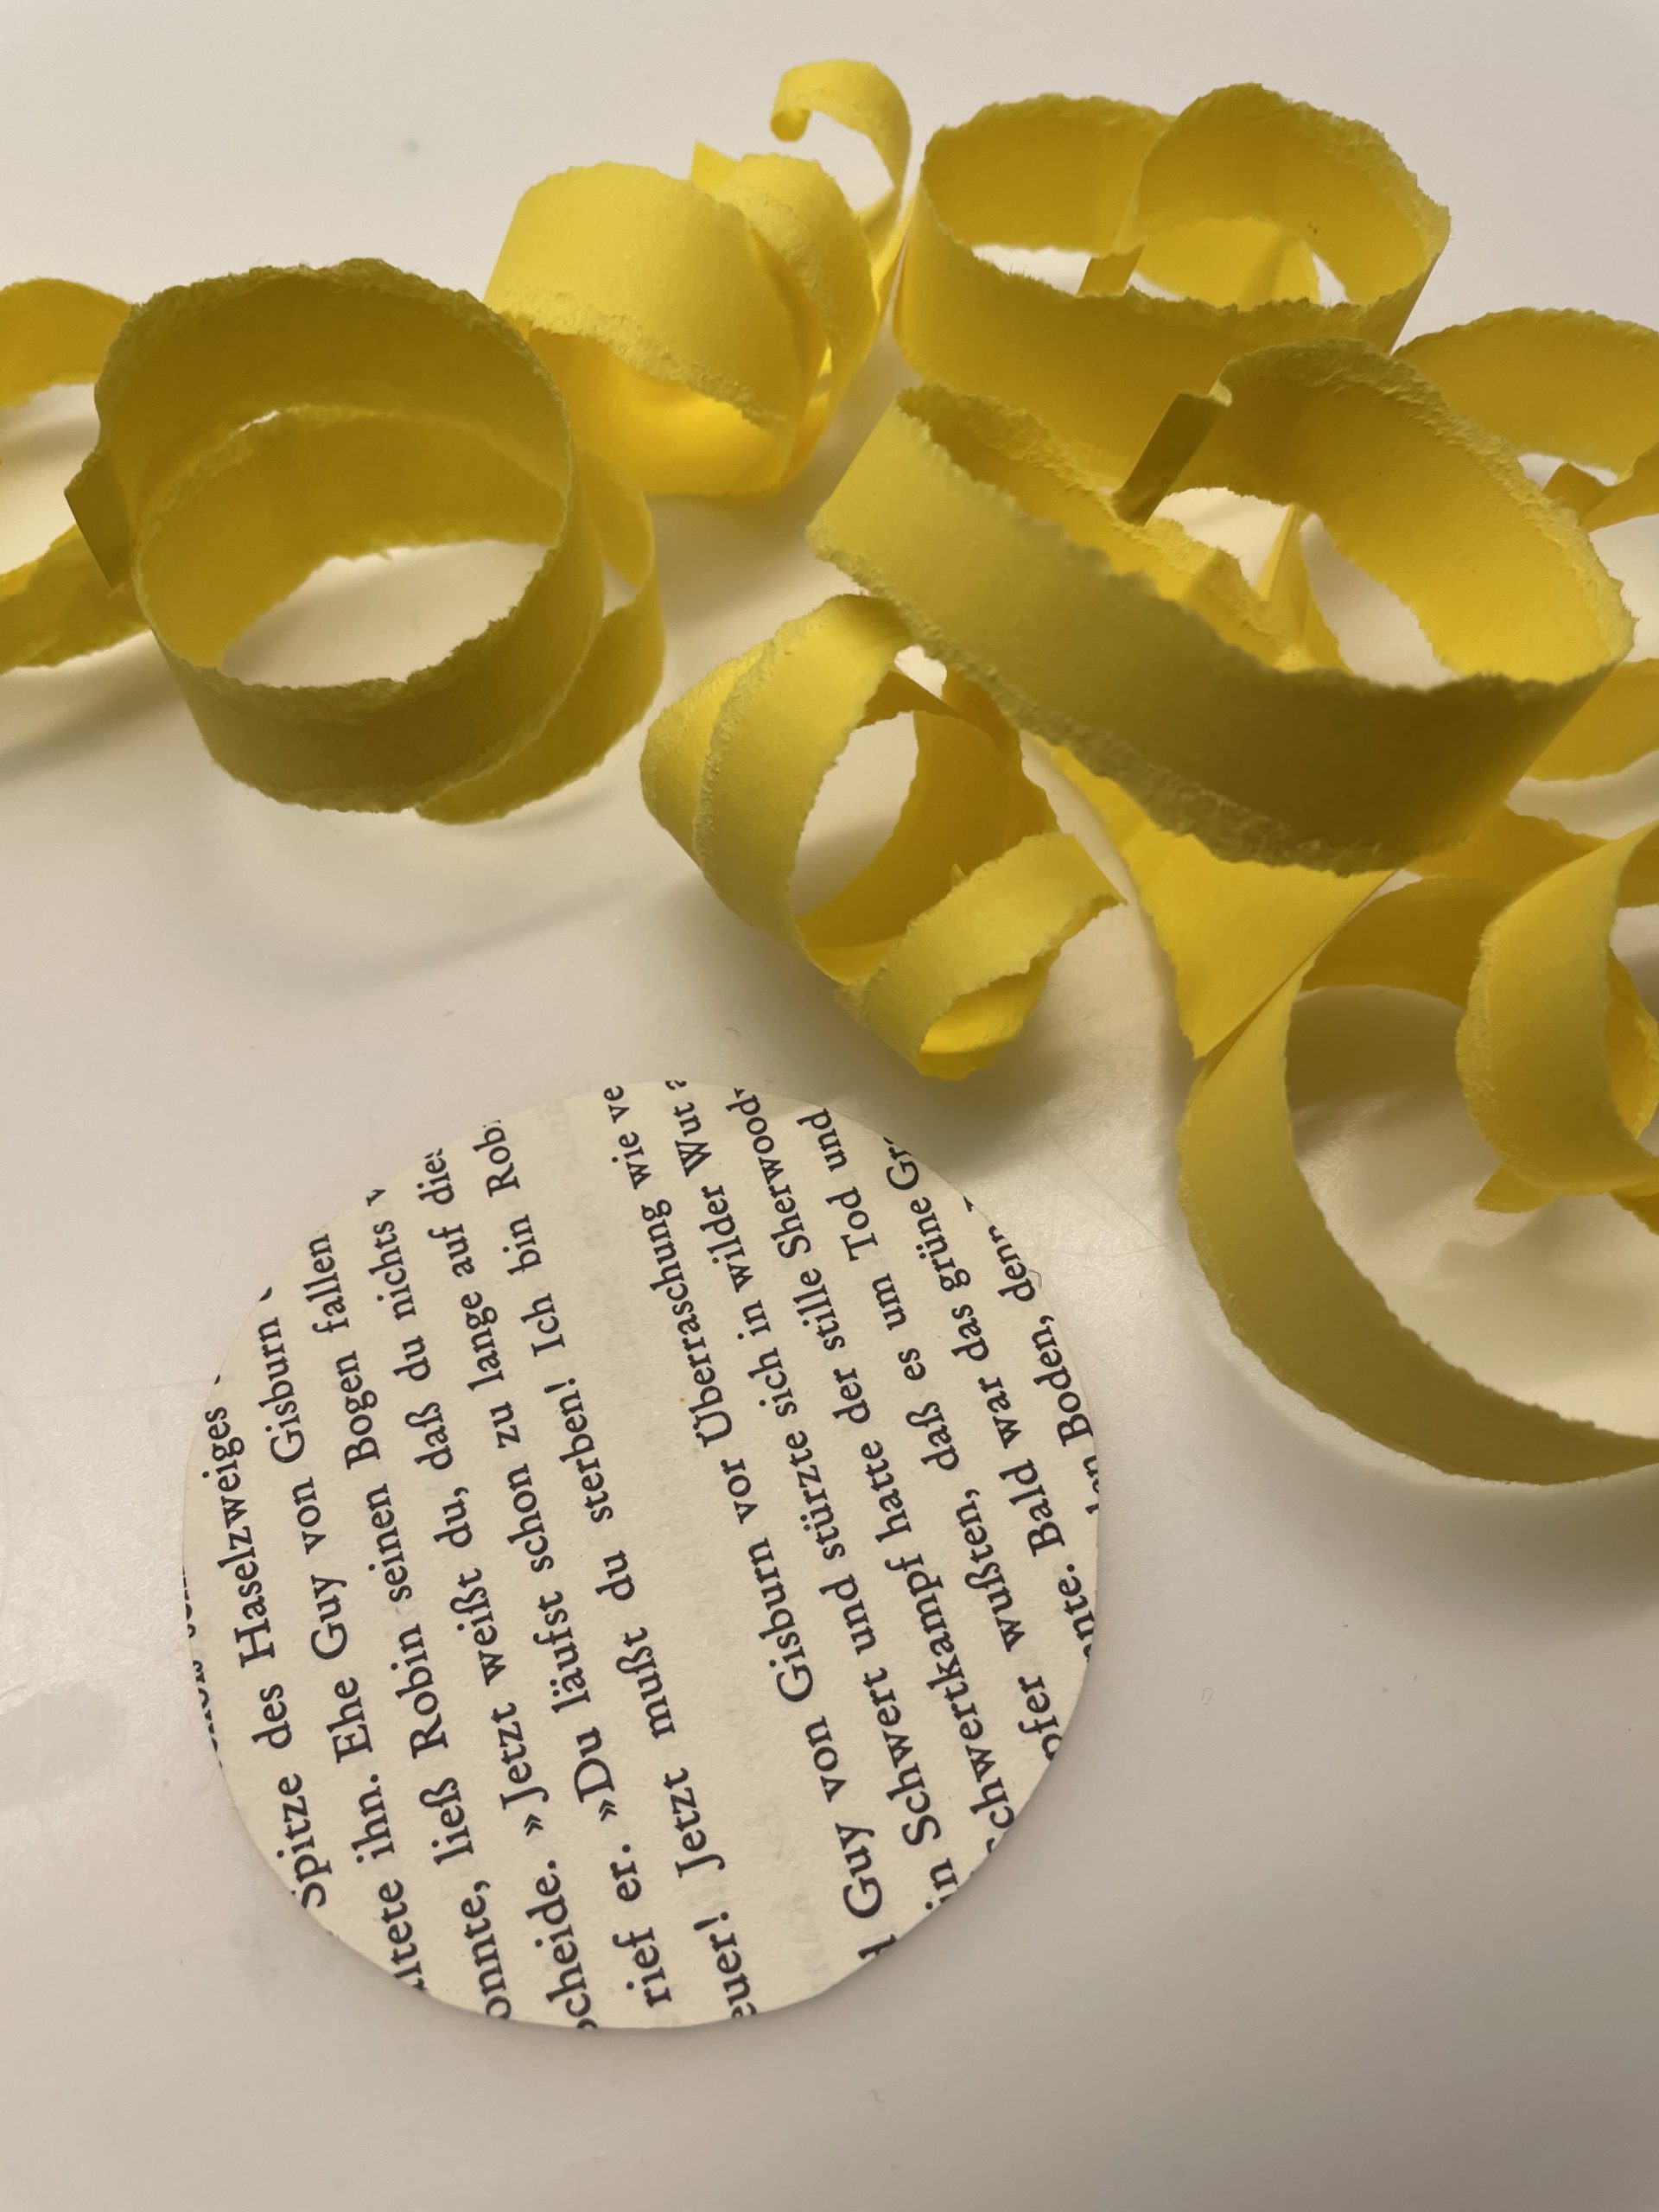
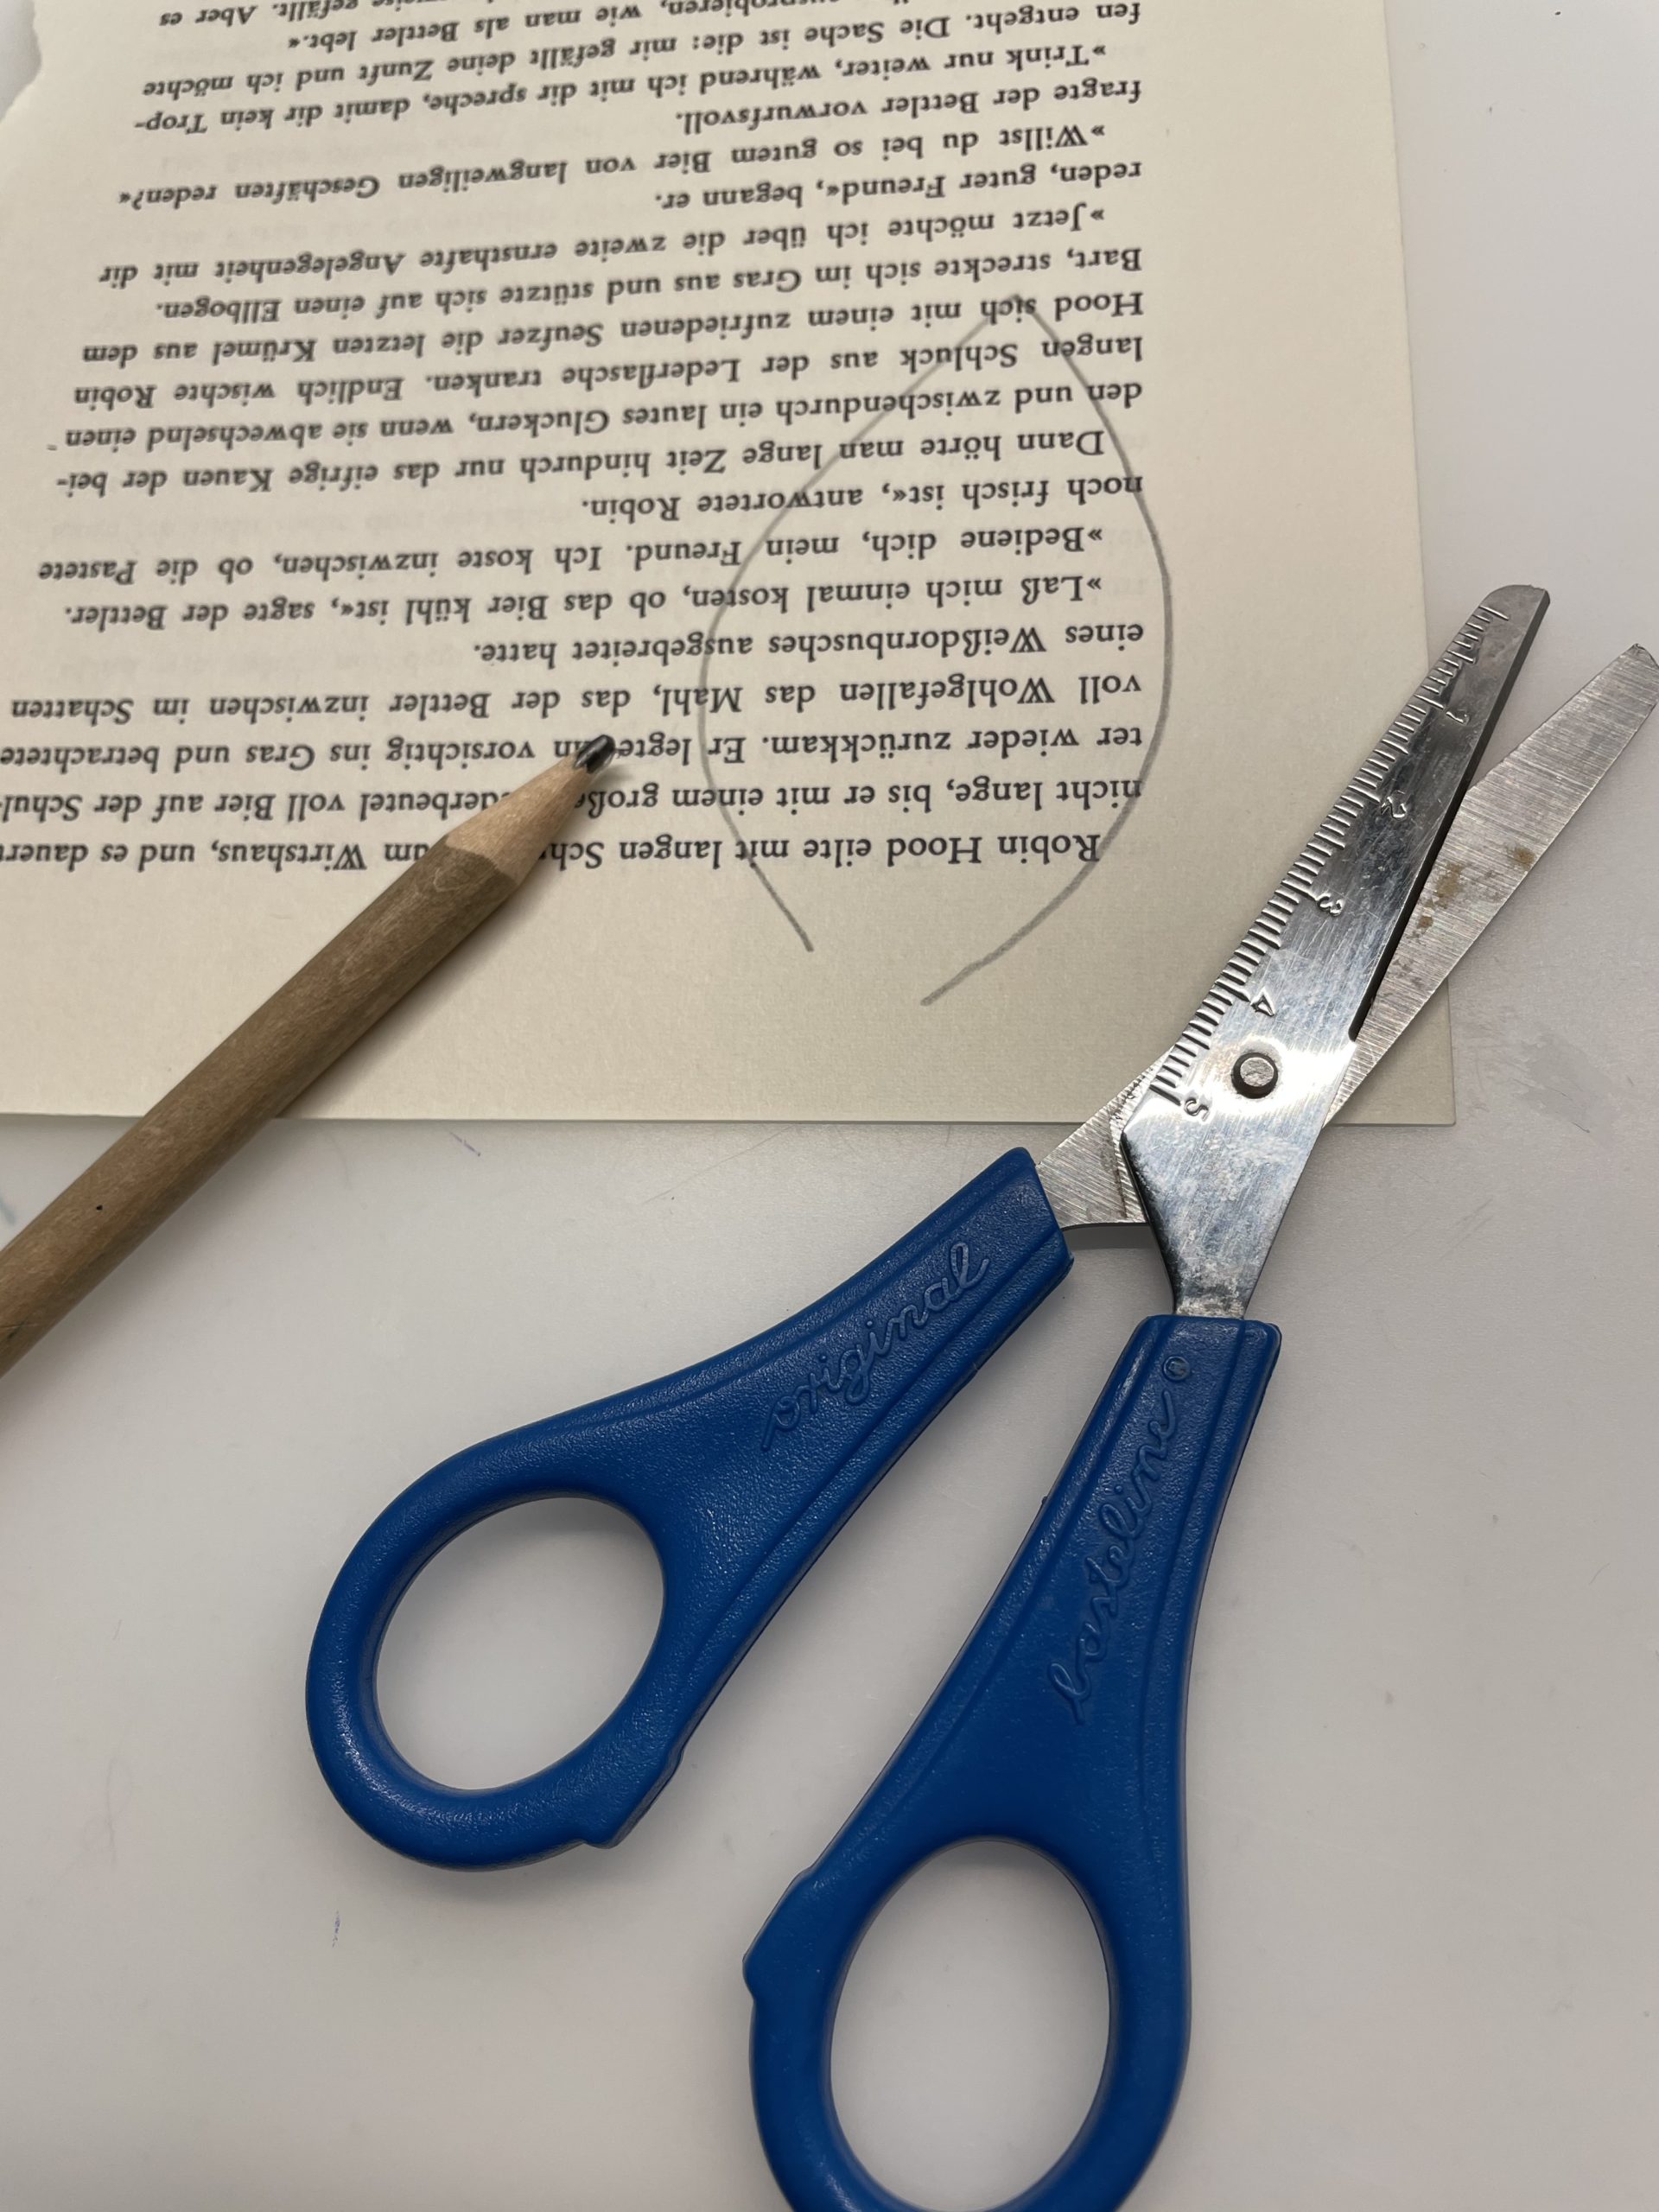
Then paint a circle on an old book page. Use a round object, such as a screw glass lid, a small bowl or a drinking glass (approx. 6 cm diameter).

Now cut out your painted circle with the scissors.
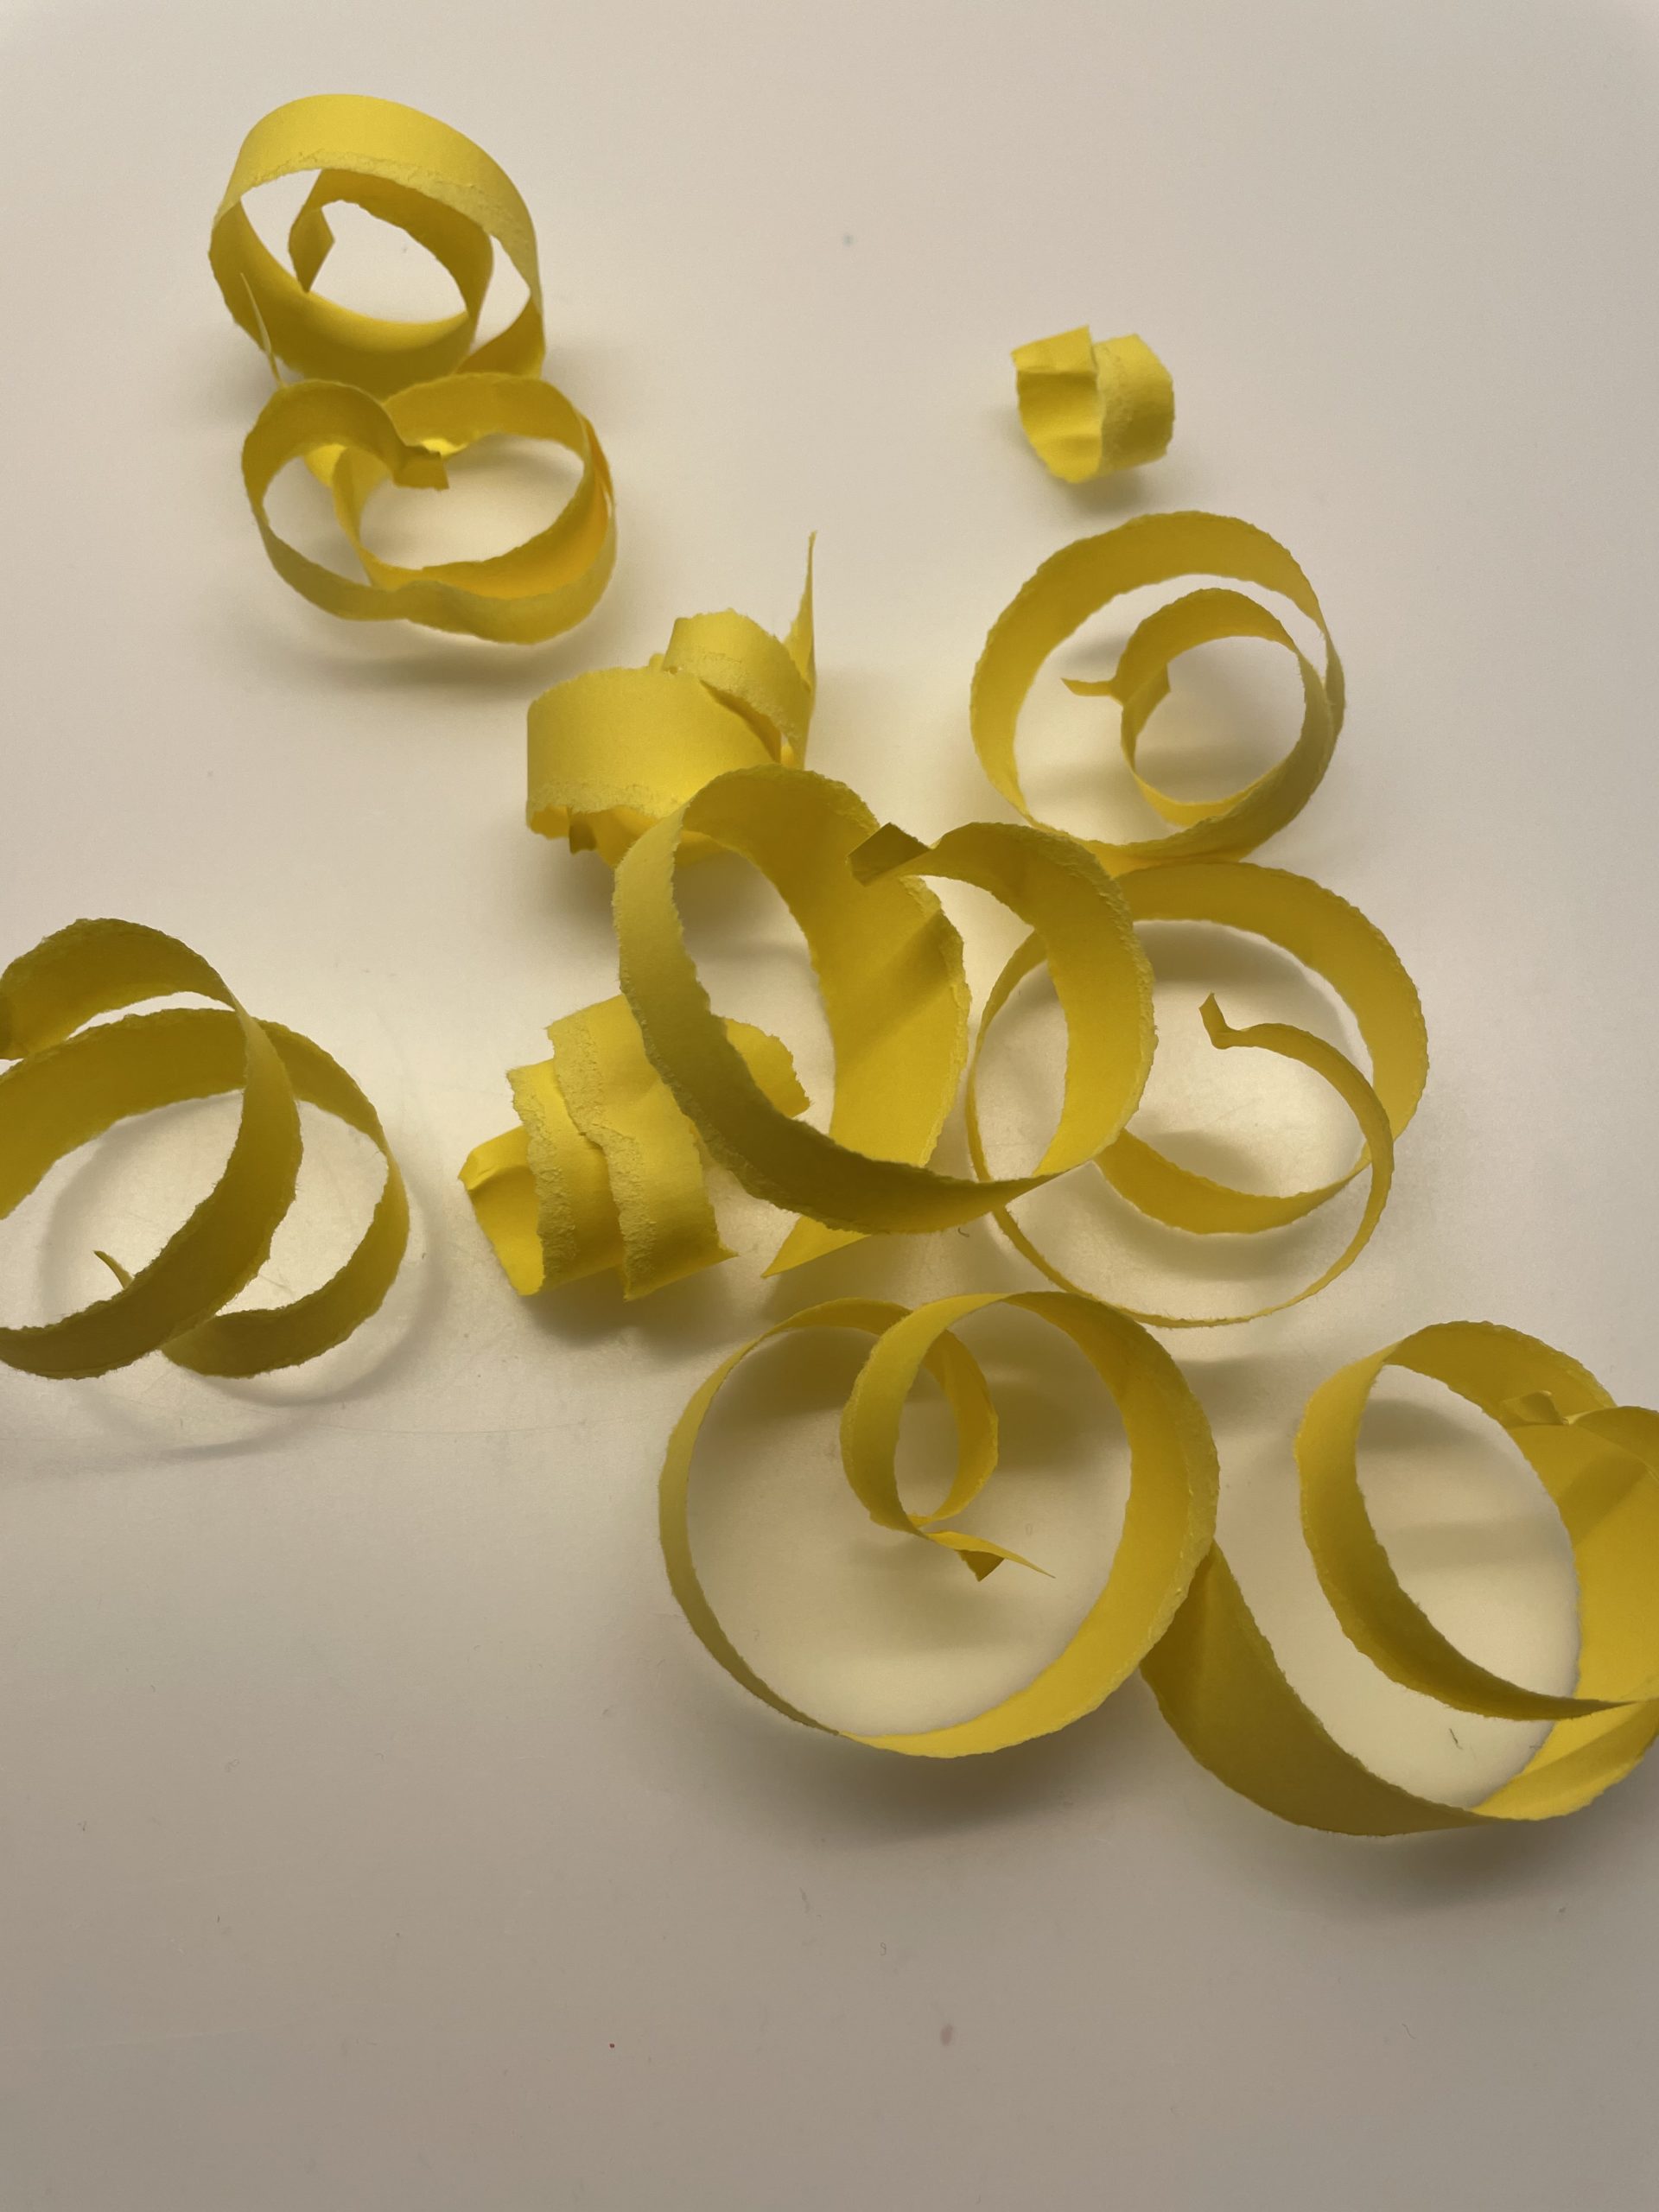
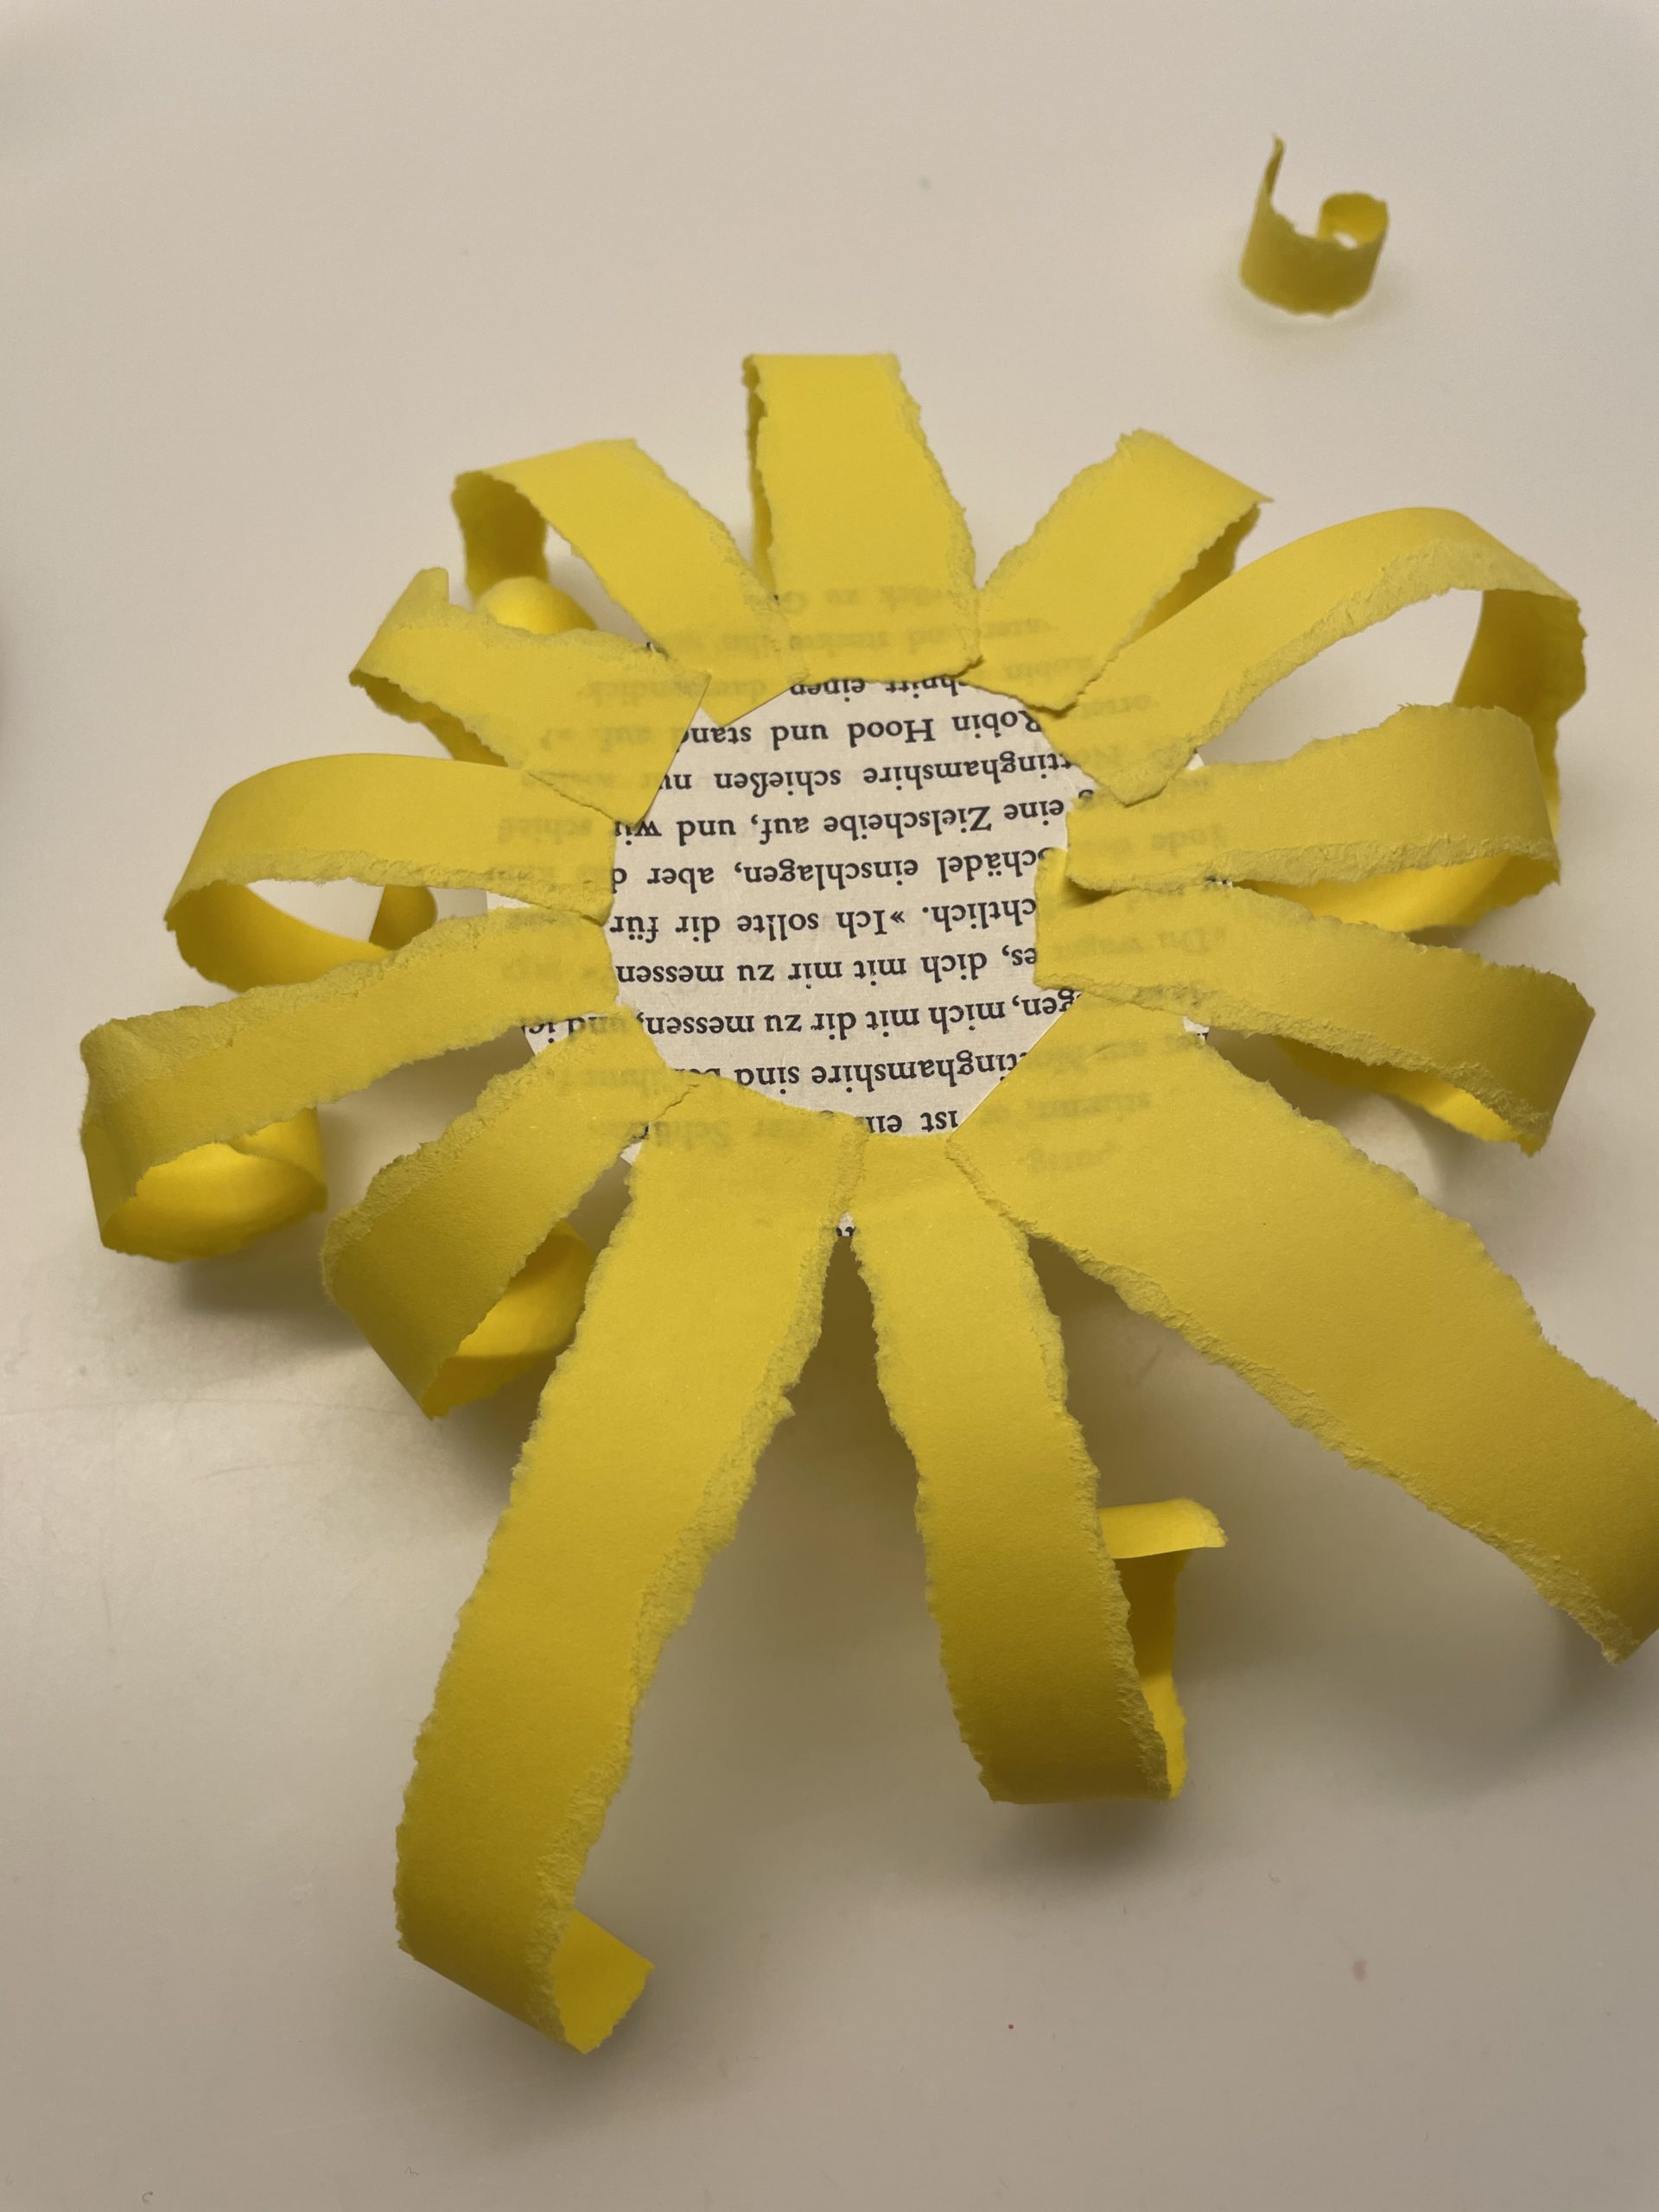
Then you stick around about 1 cm wide glue along the circle edge. On these you begin to glue strips for strips of your petals. Place the torn stripes so that they curl to the side of the table.
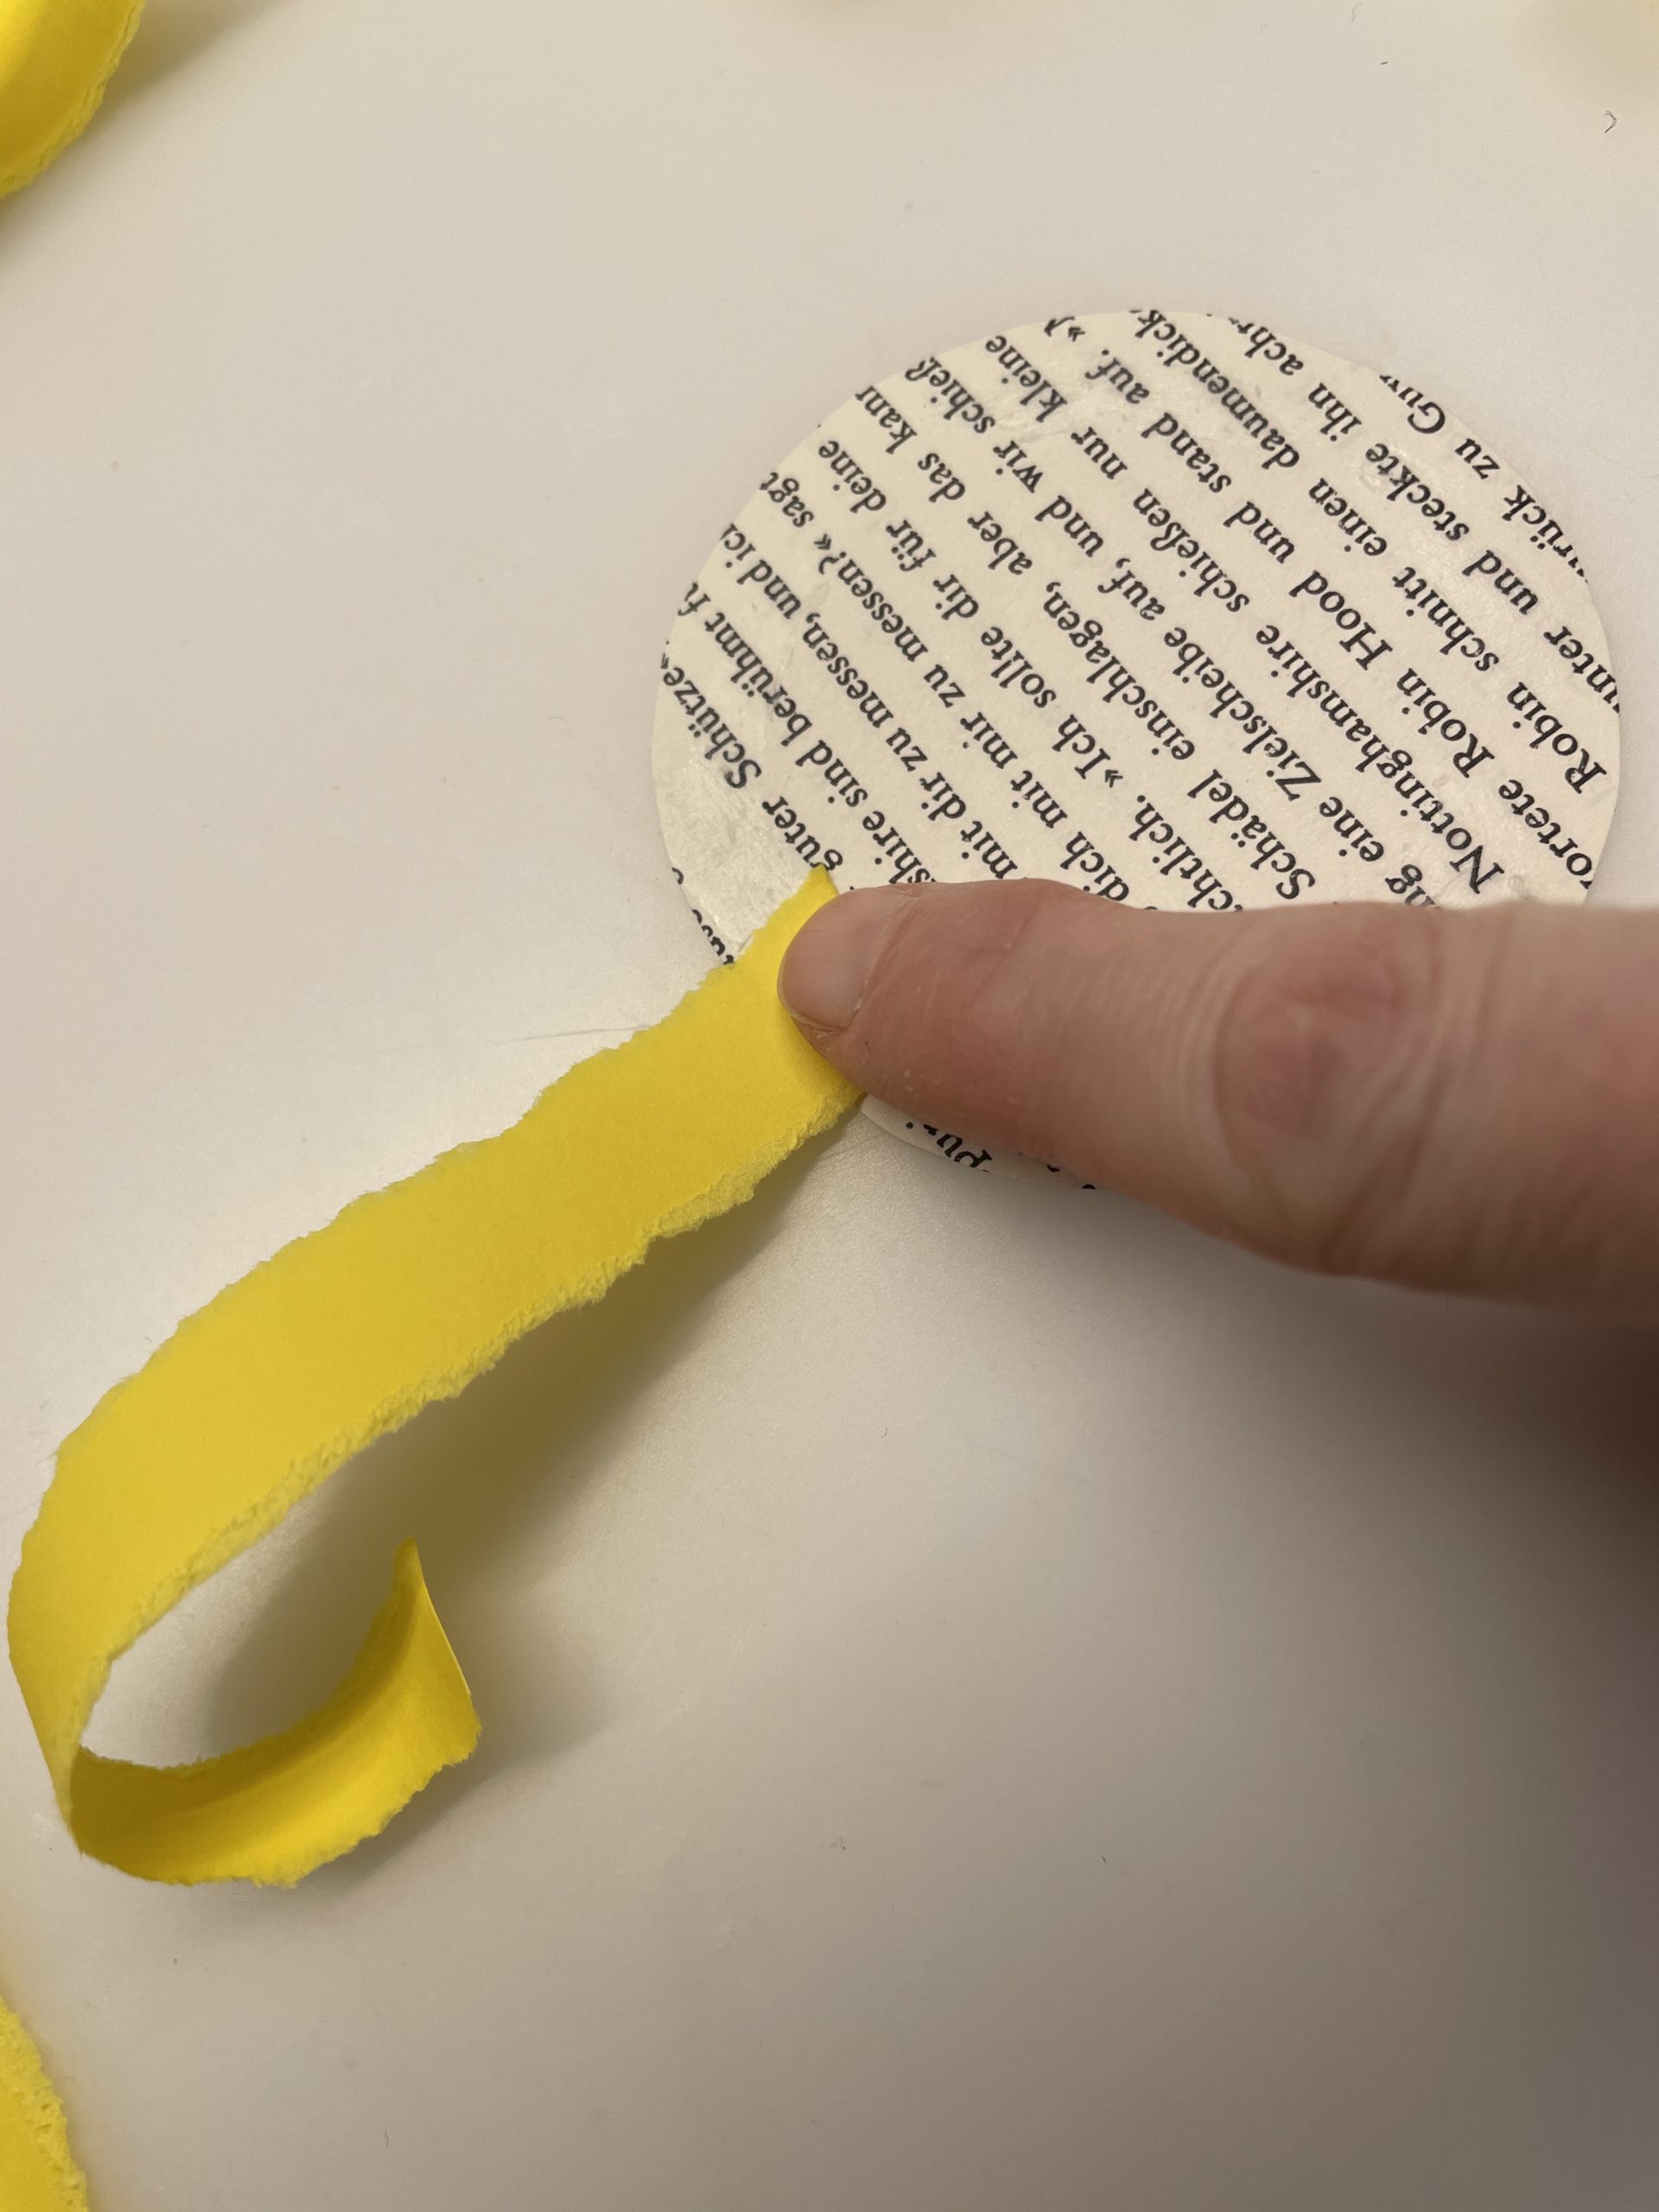
Sticks the strips close to each other. Always press the centre circle firmly on the table with one hand. Thus the crafting remains well lying.

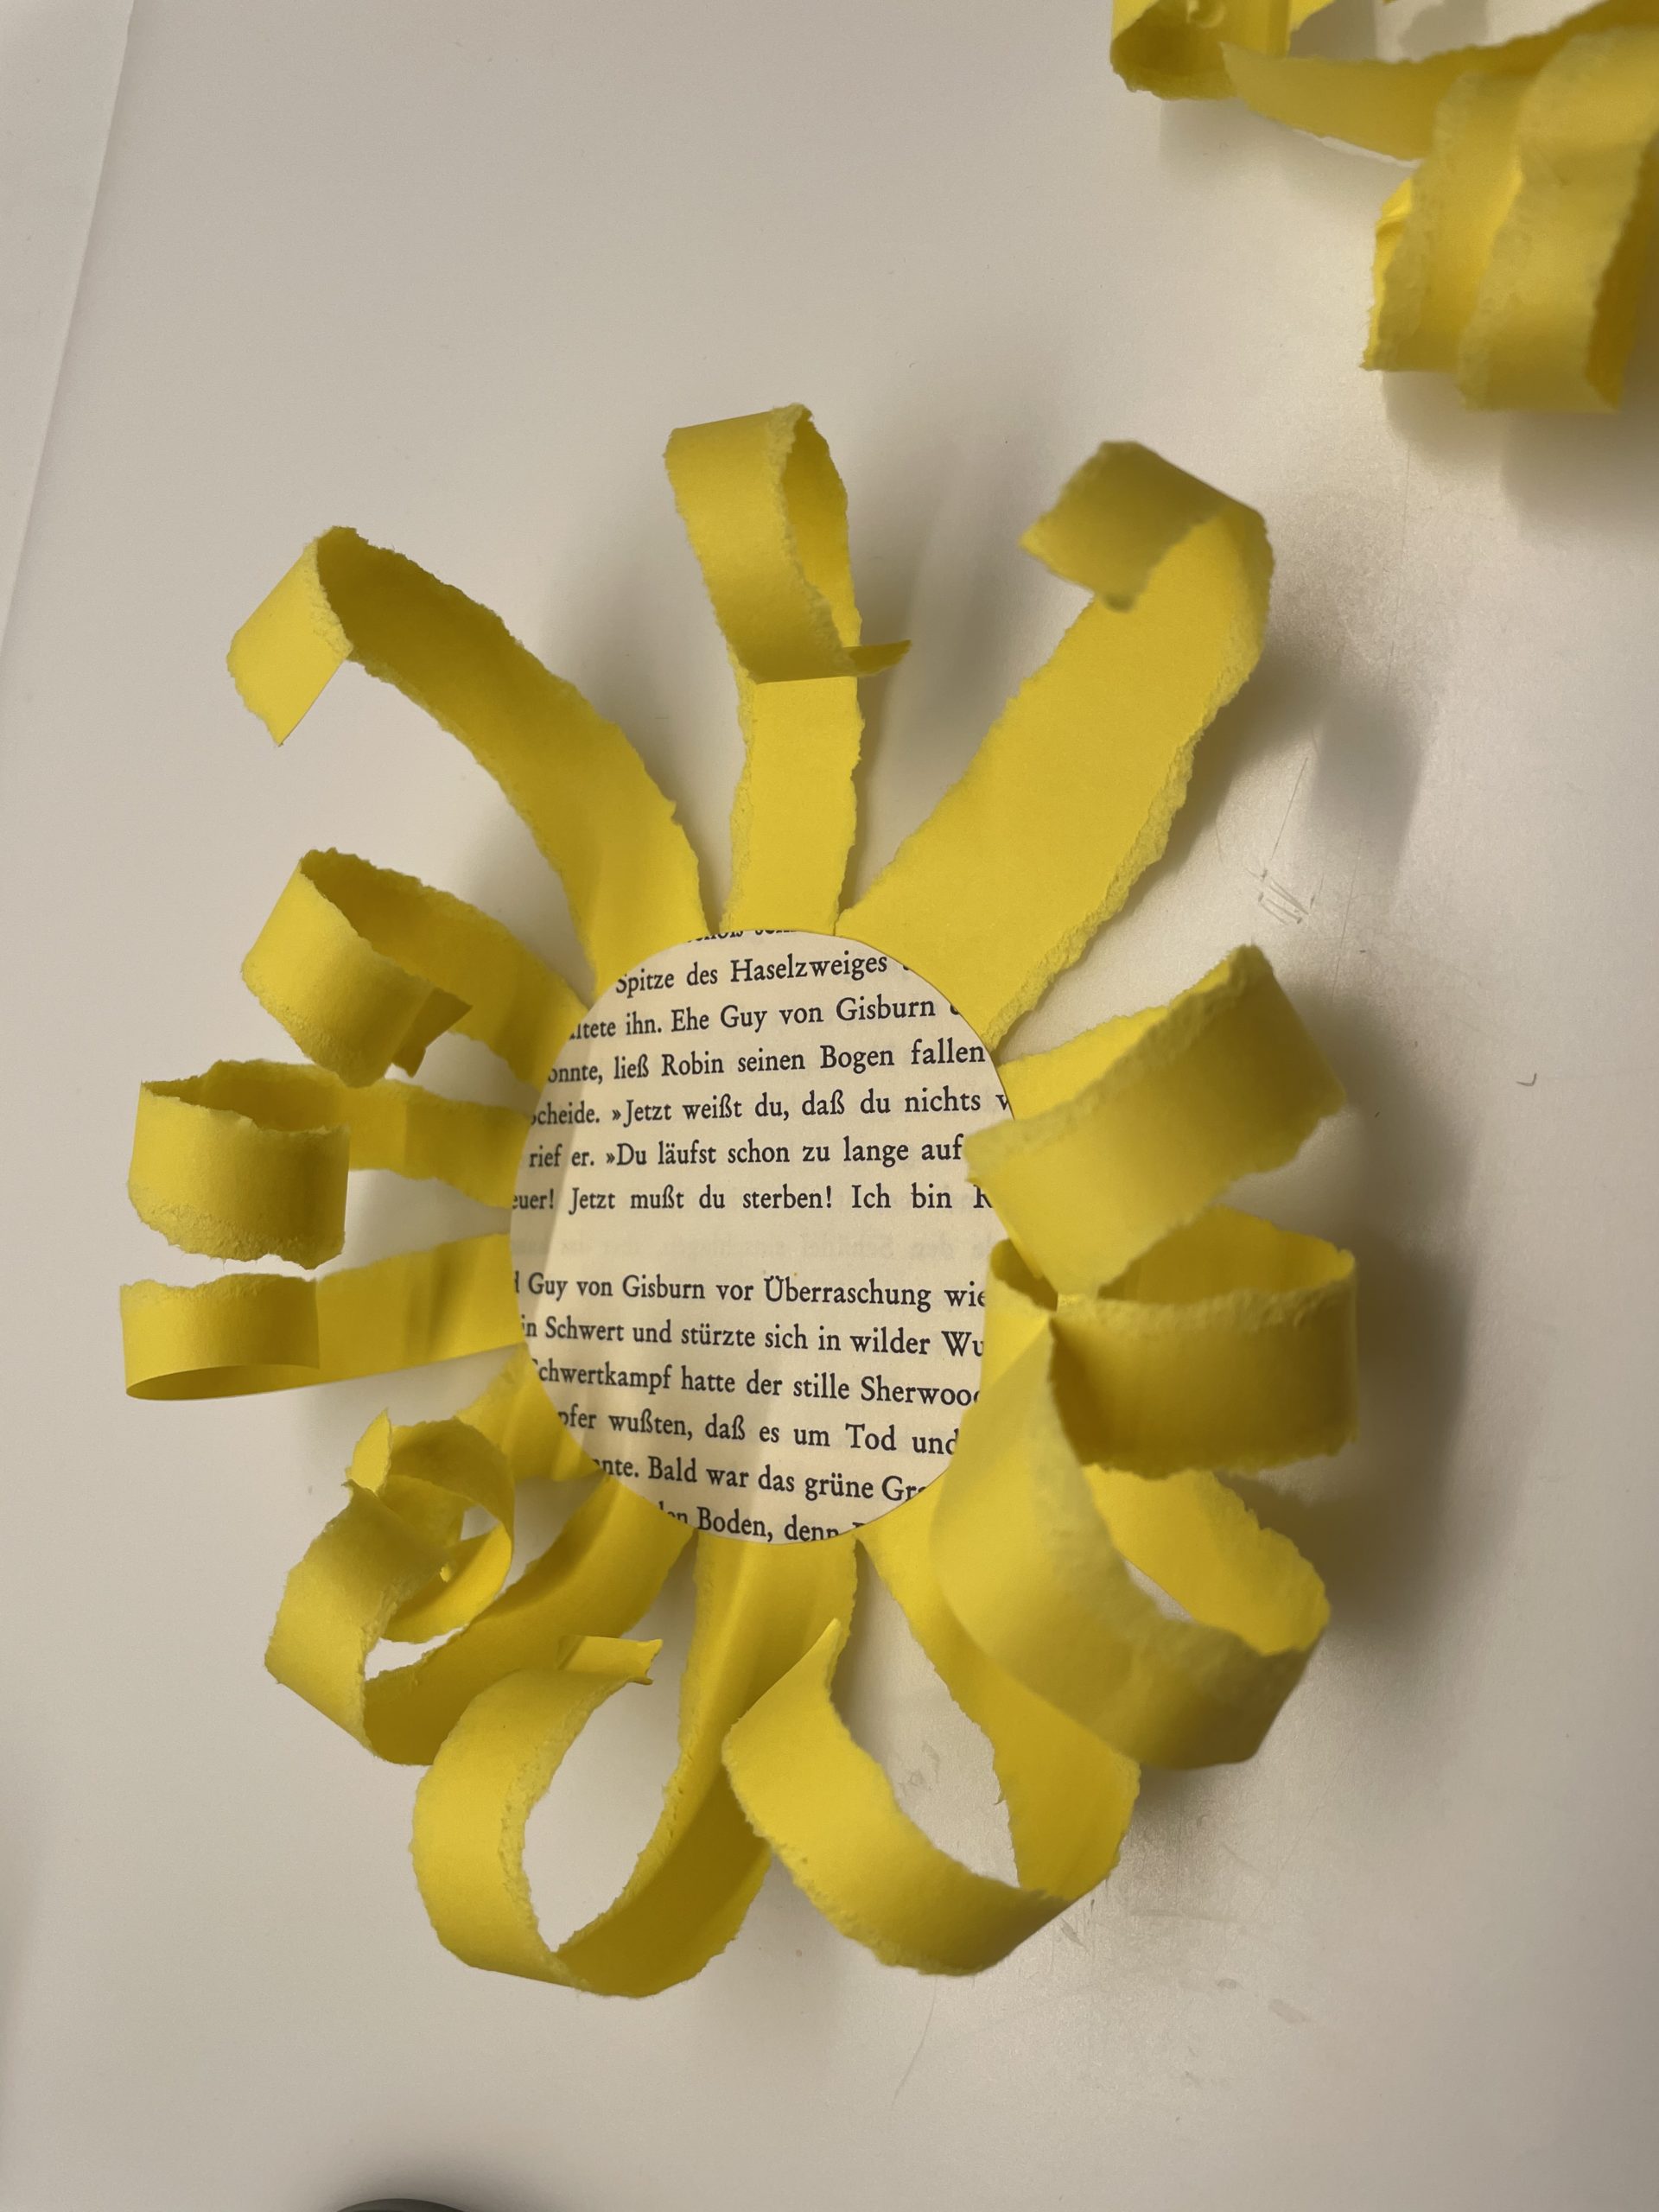
If all the strips are glued on, the flower is ready.
Turn it around so that the rolled paper points upwards.
Then you paint two leaves on another book page. You can paint them freely. Then cut out the painted leaves.
Set up a picture frame with an insert. Use a brighter shade than the one you have chosen for your flower.
Put the insert in the frame.
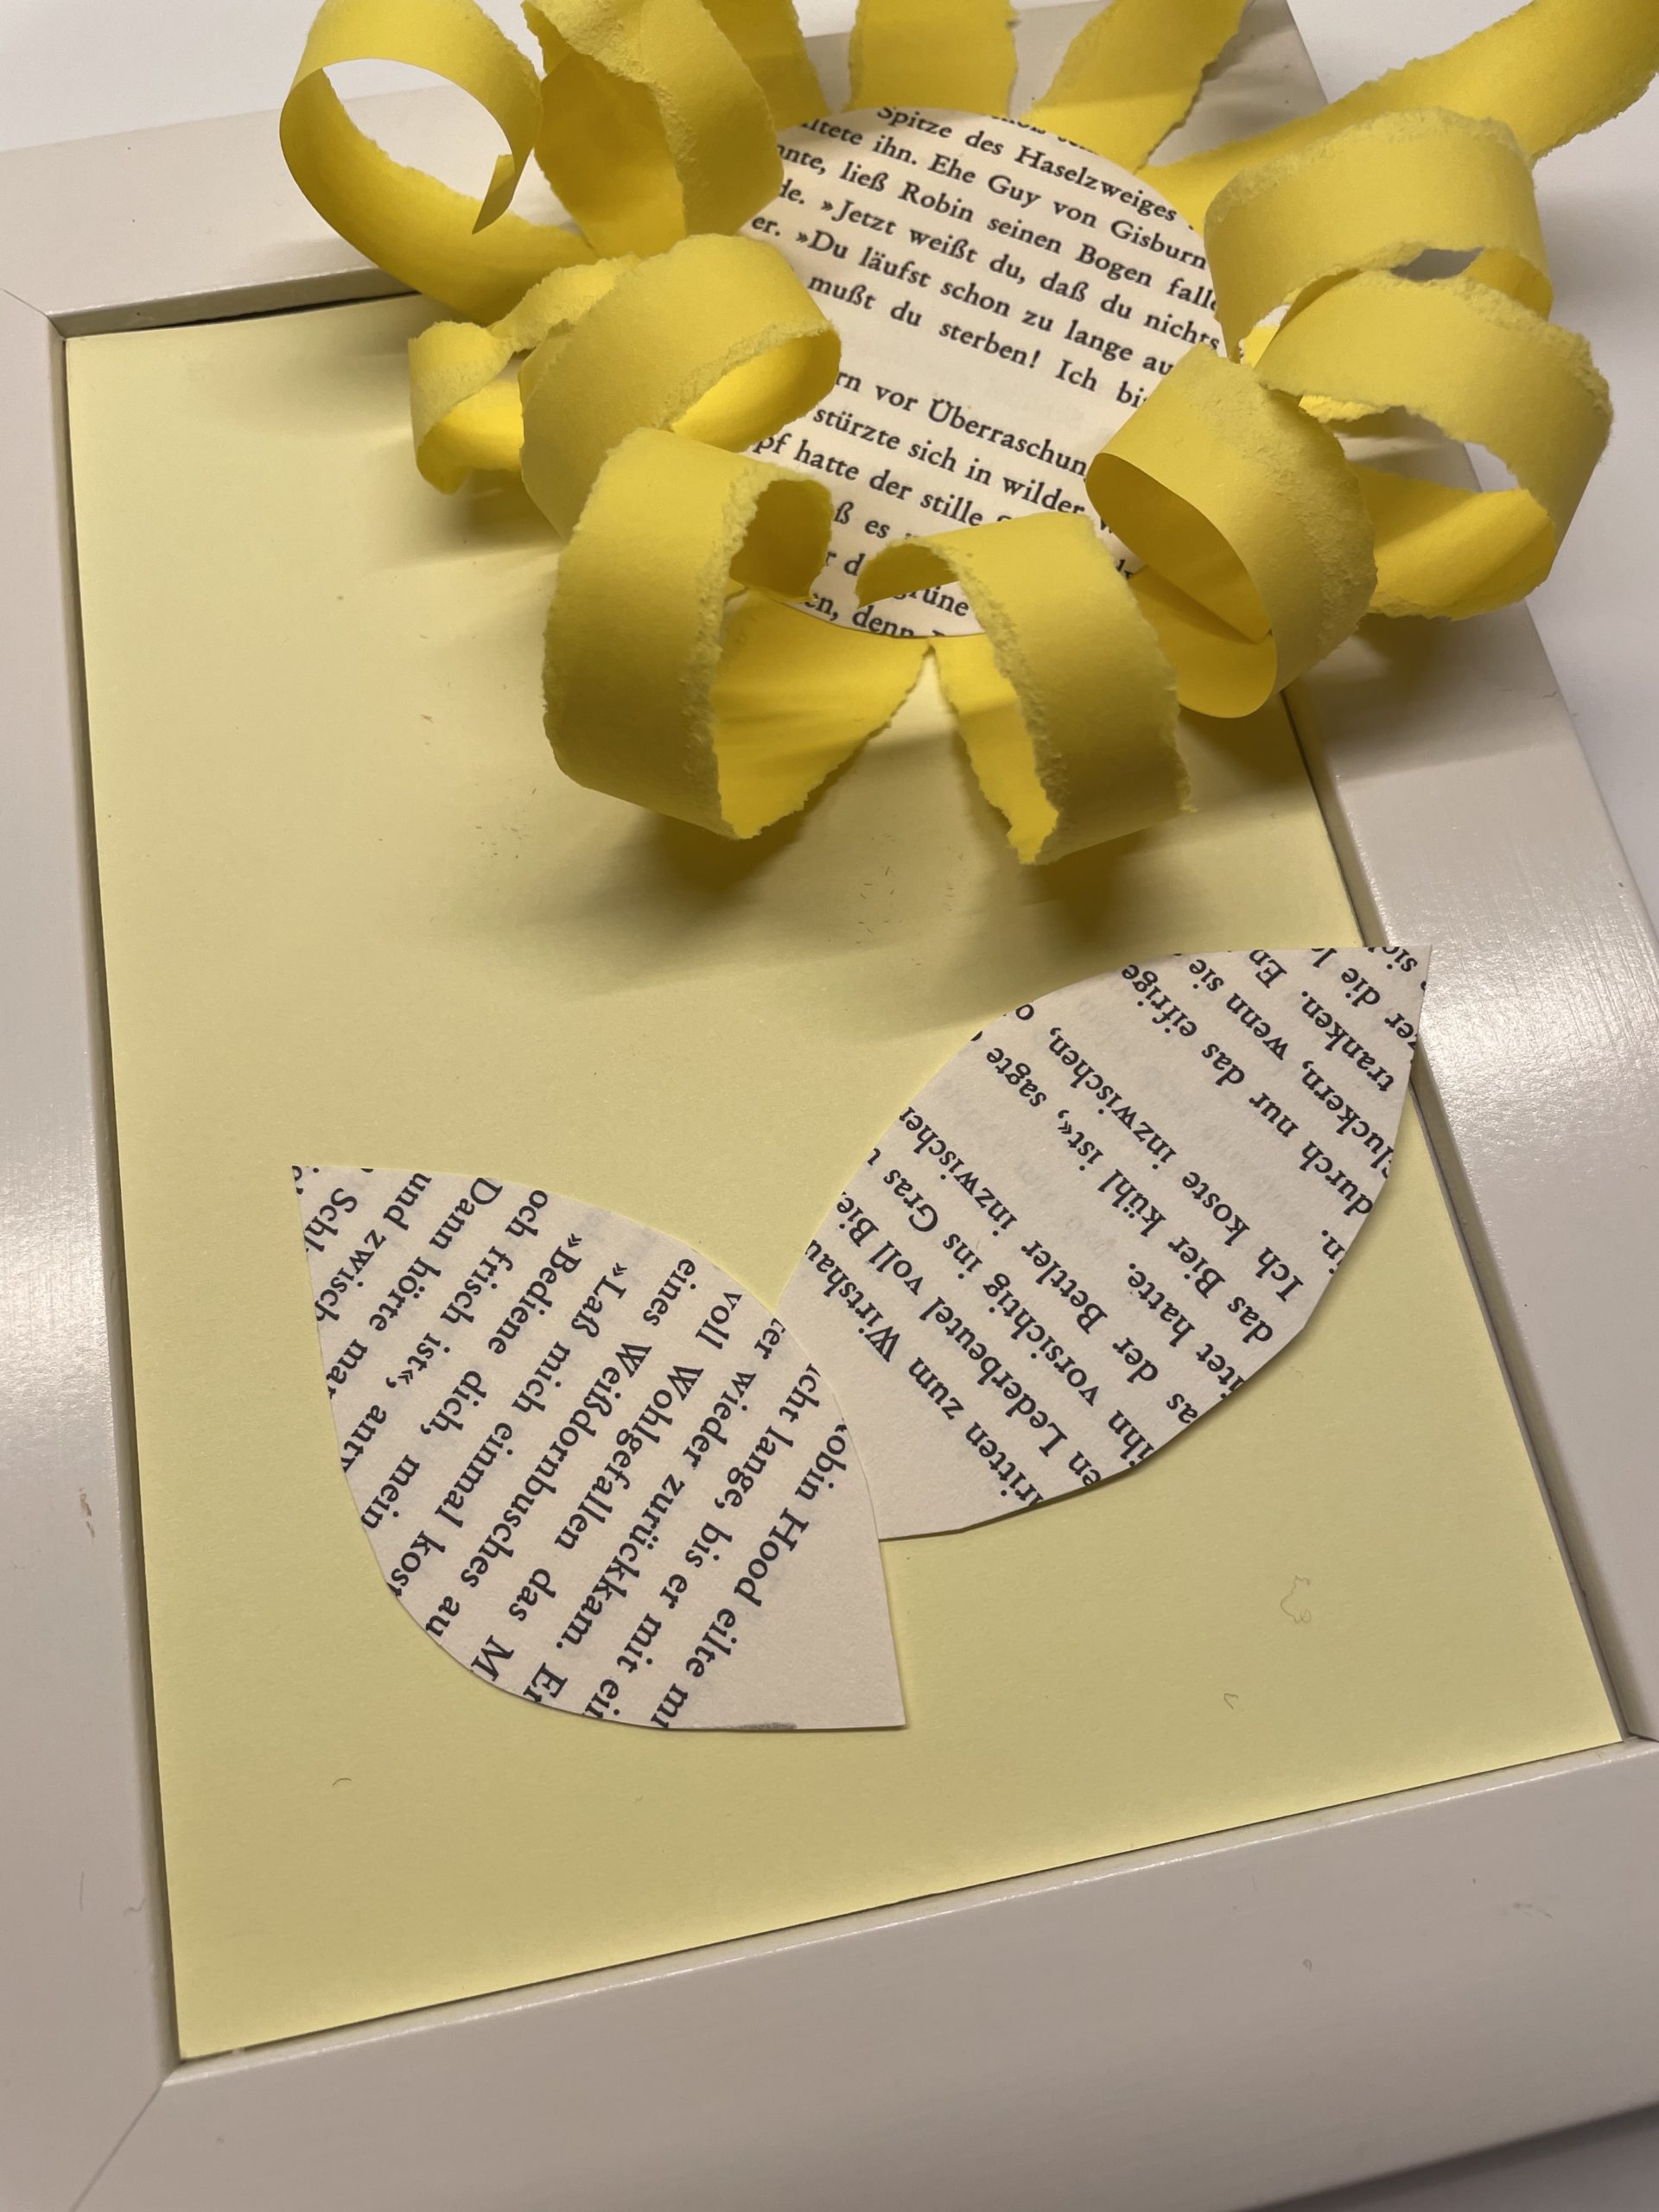
Then another strip of colorful paper travels. It becomes a flower stem and can also rise above the picture frame.
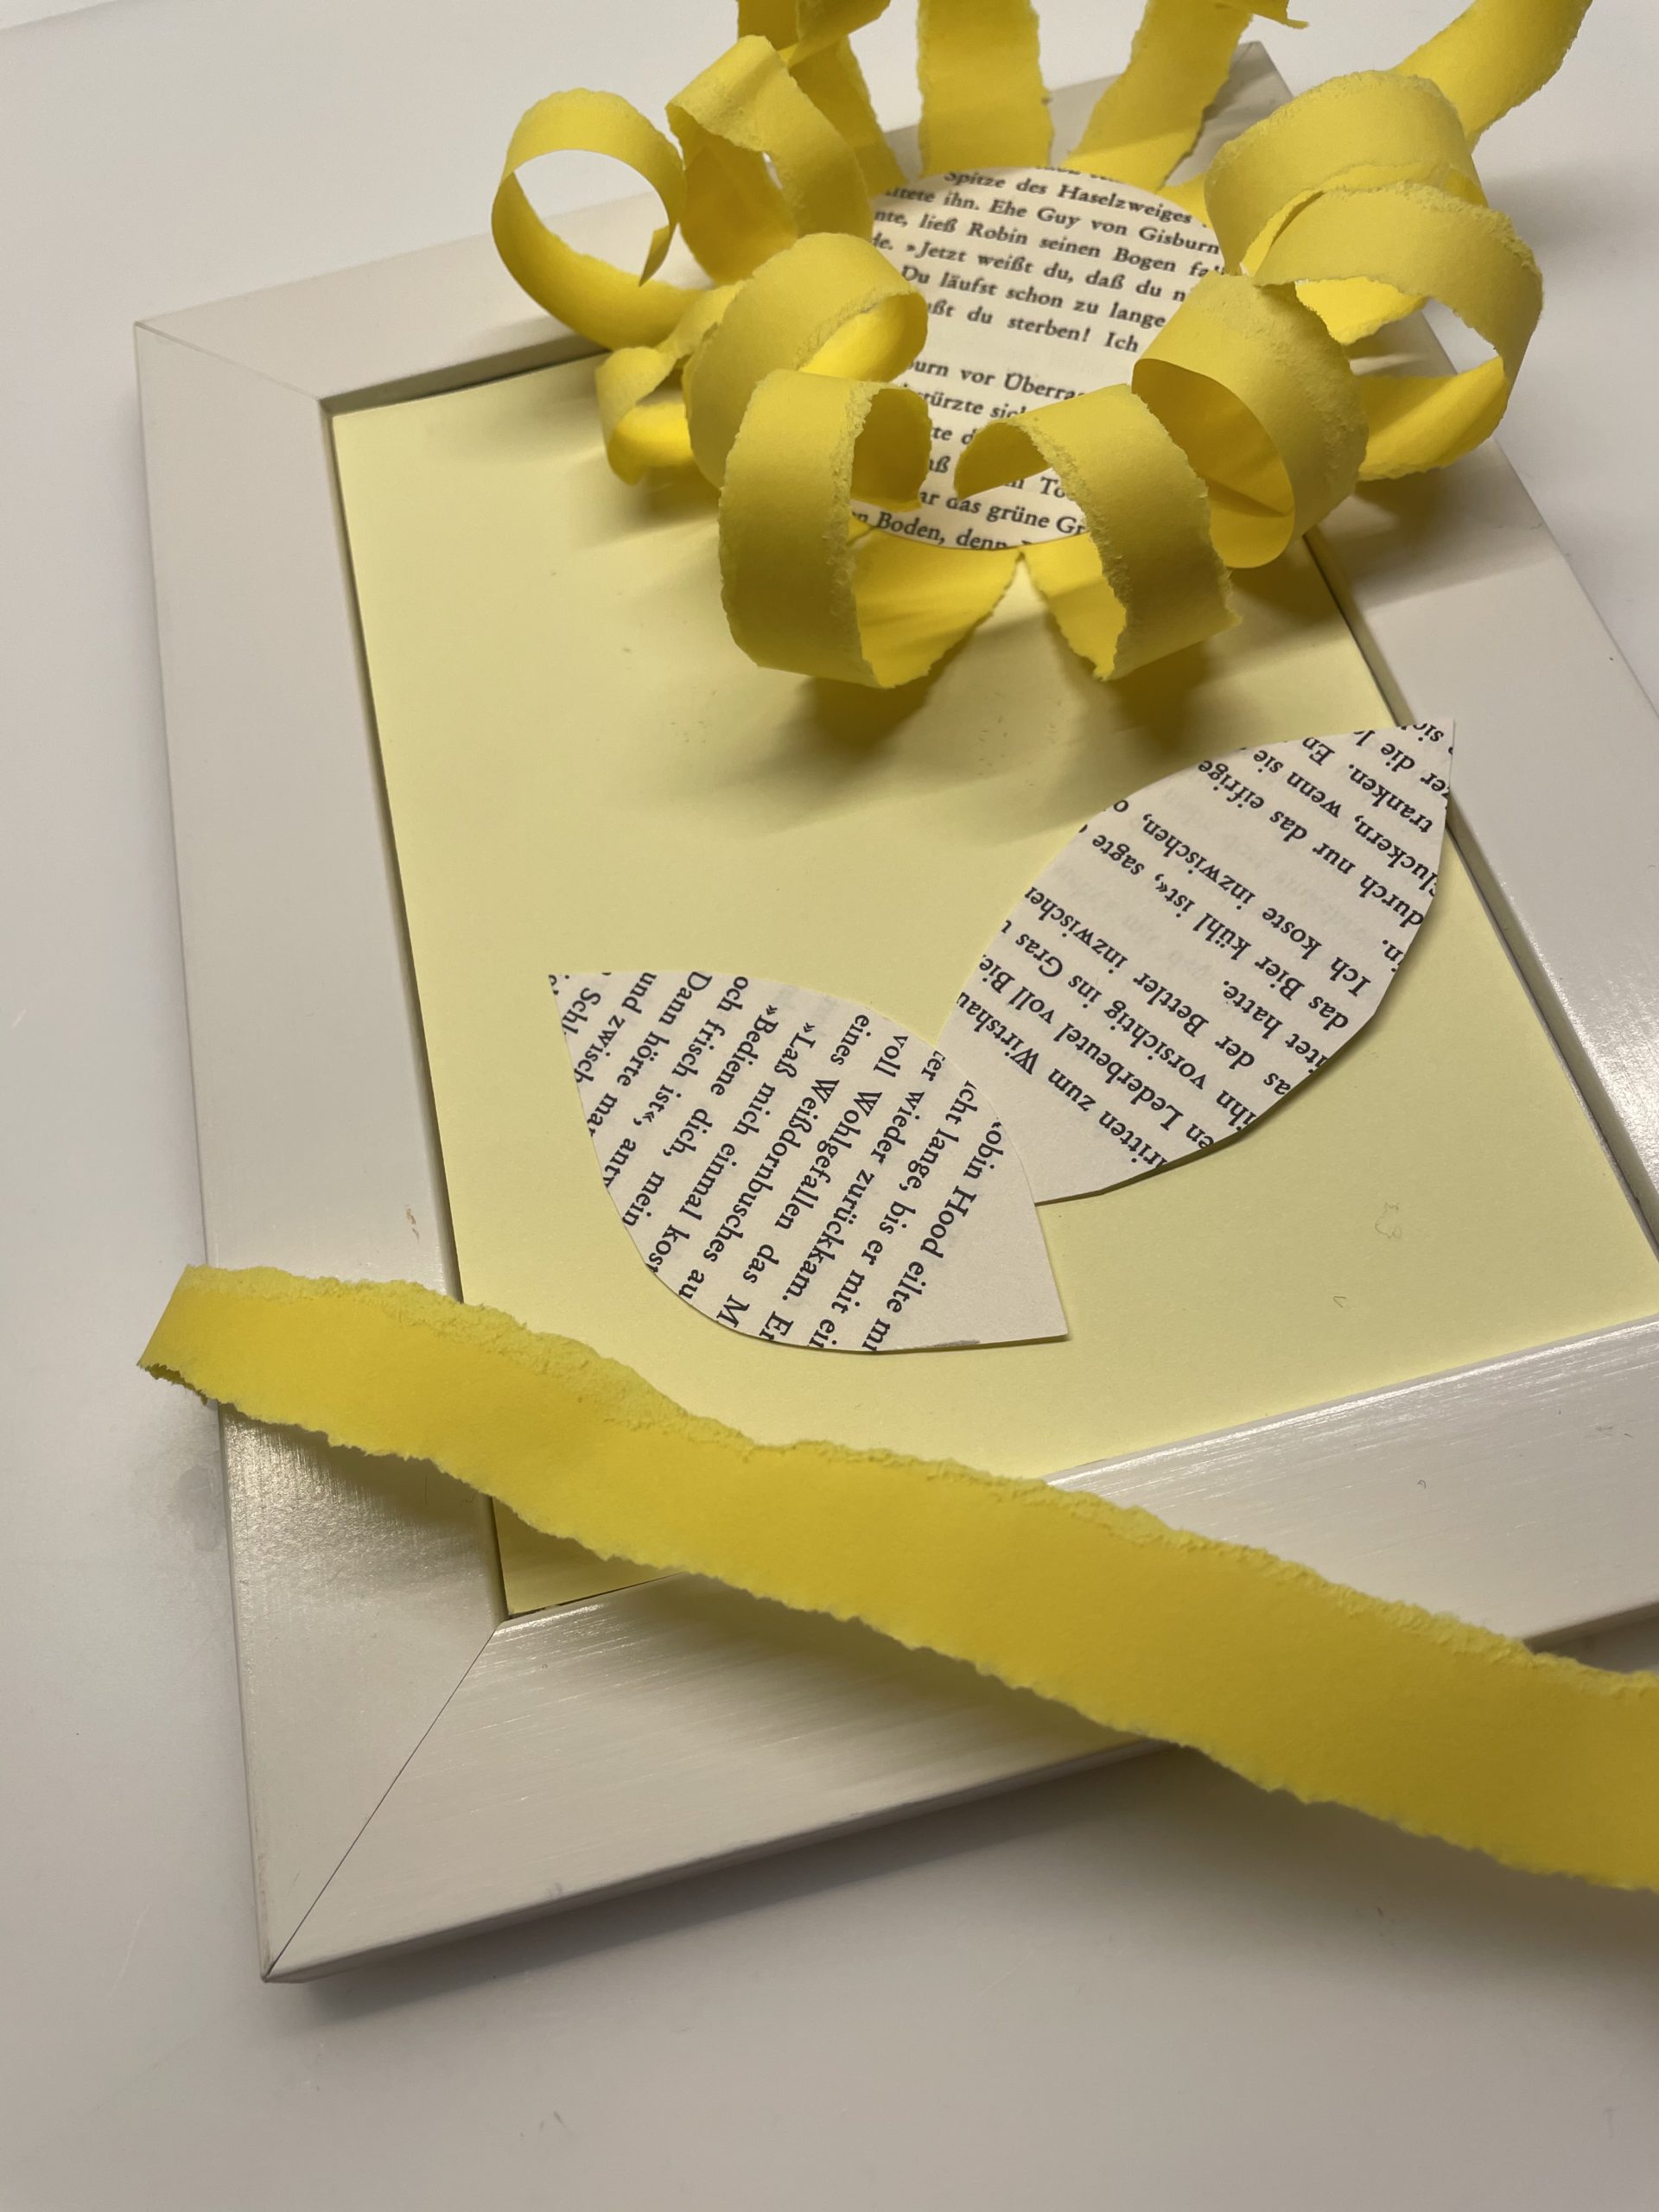
Now glue the parts together to form a flower.
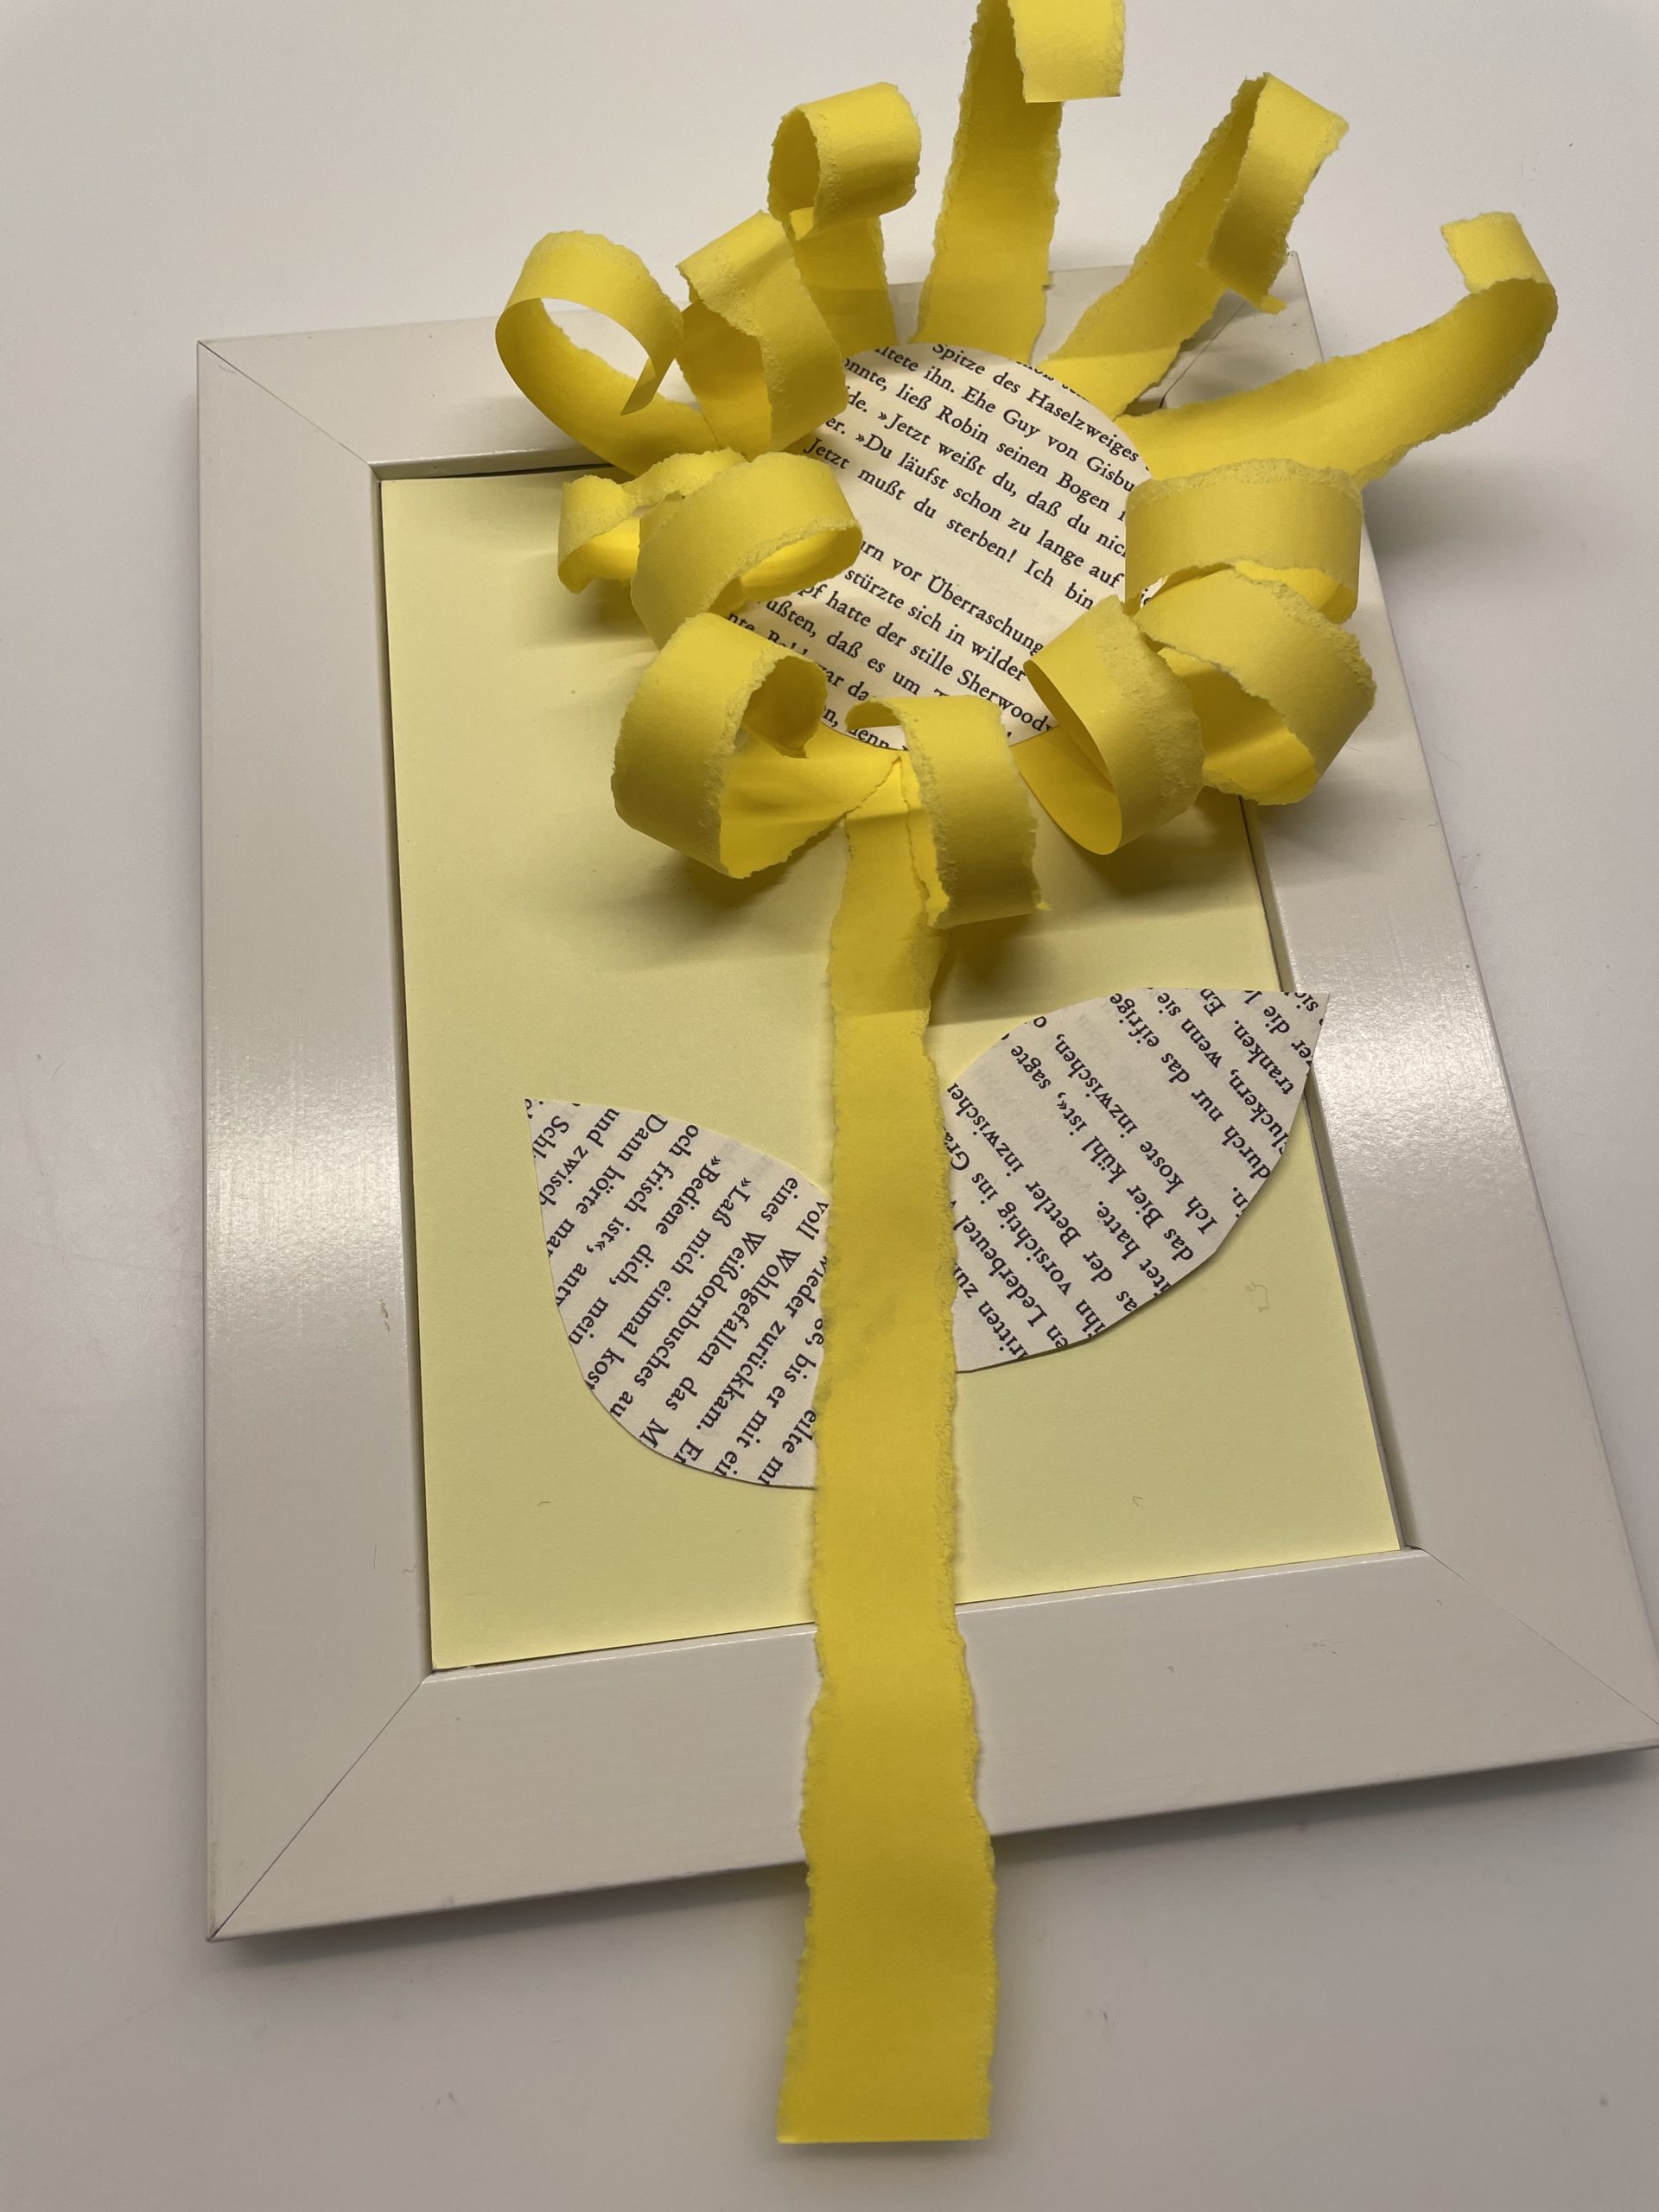
Your flowery gift is ready!
To do this, glue the flower onto a half-folded solid clay box. You can tear the leaves and the stem for this, for example, also from white copy paper.
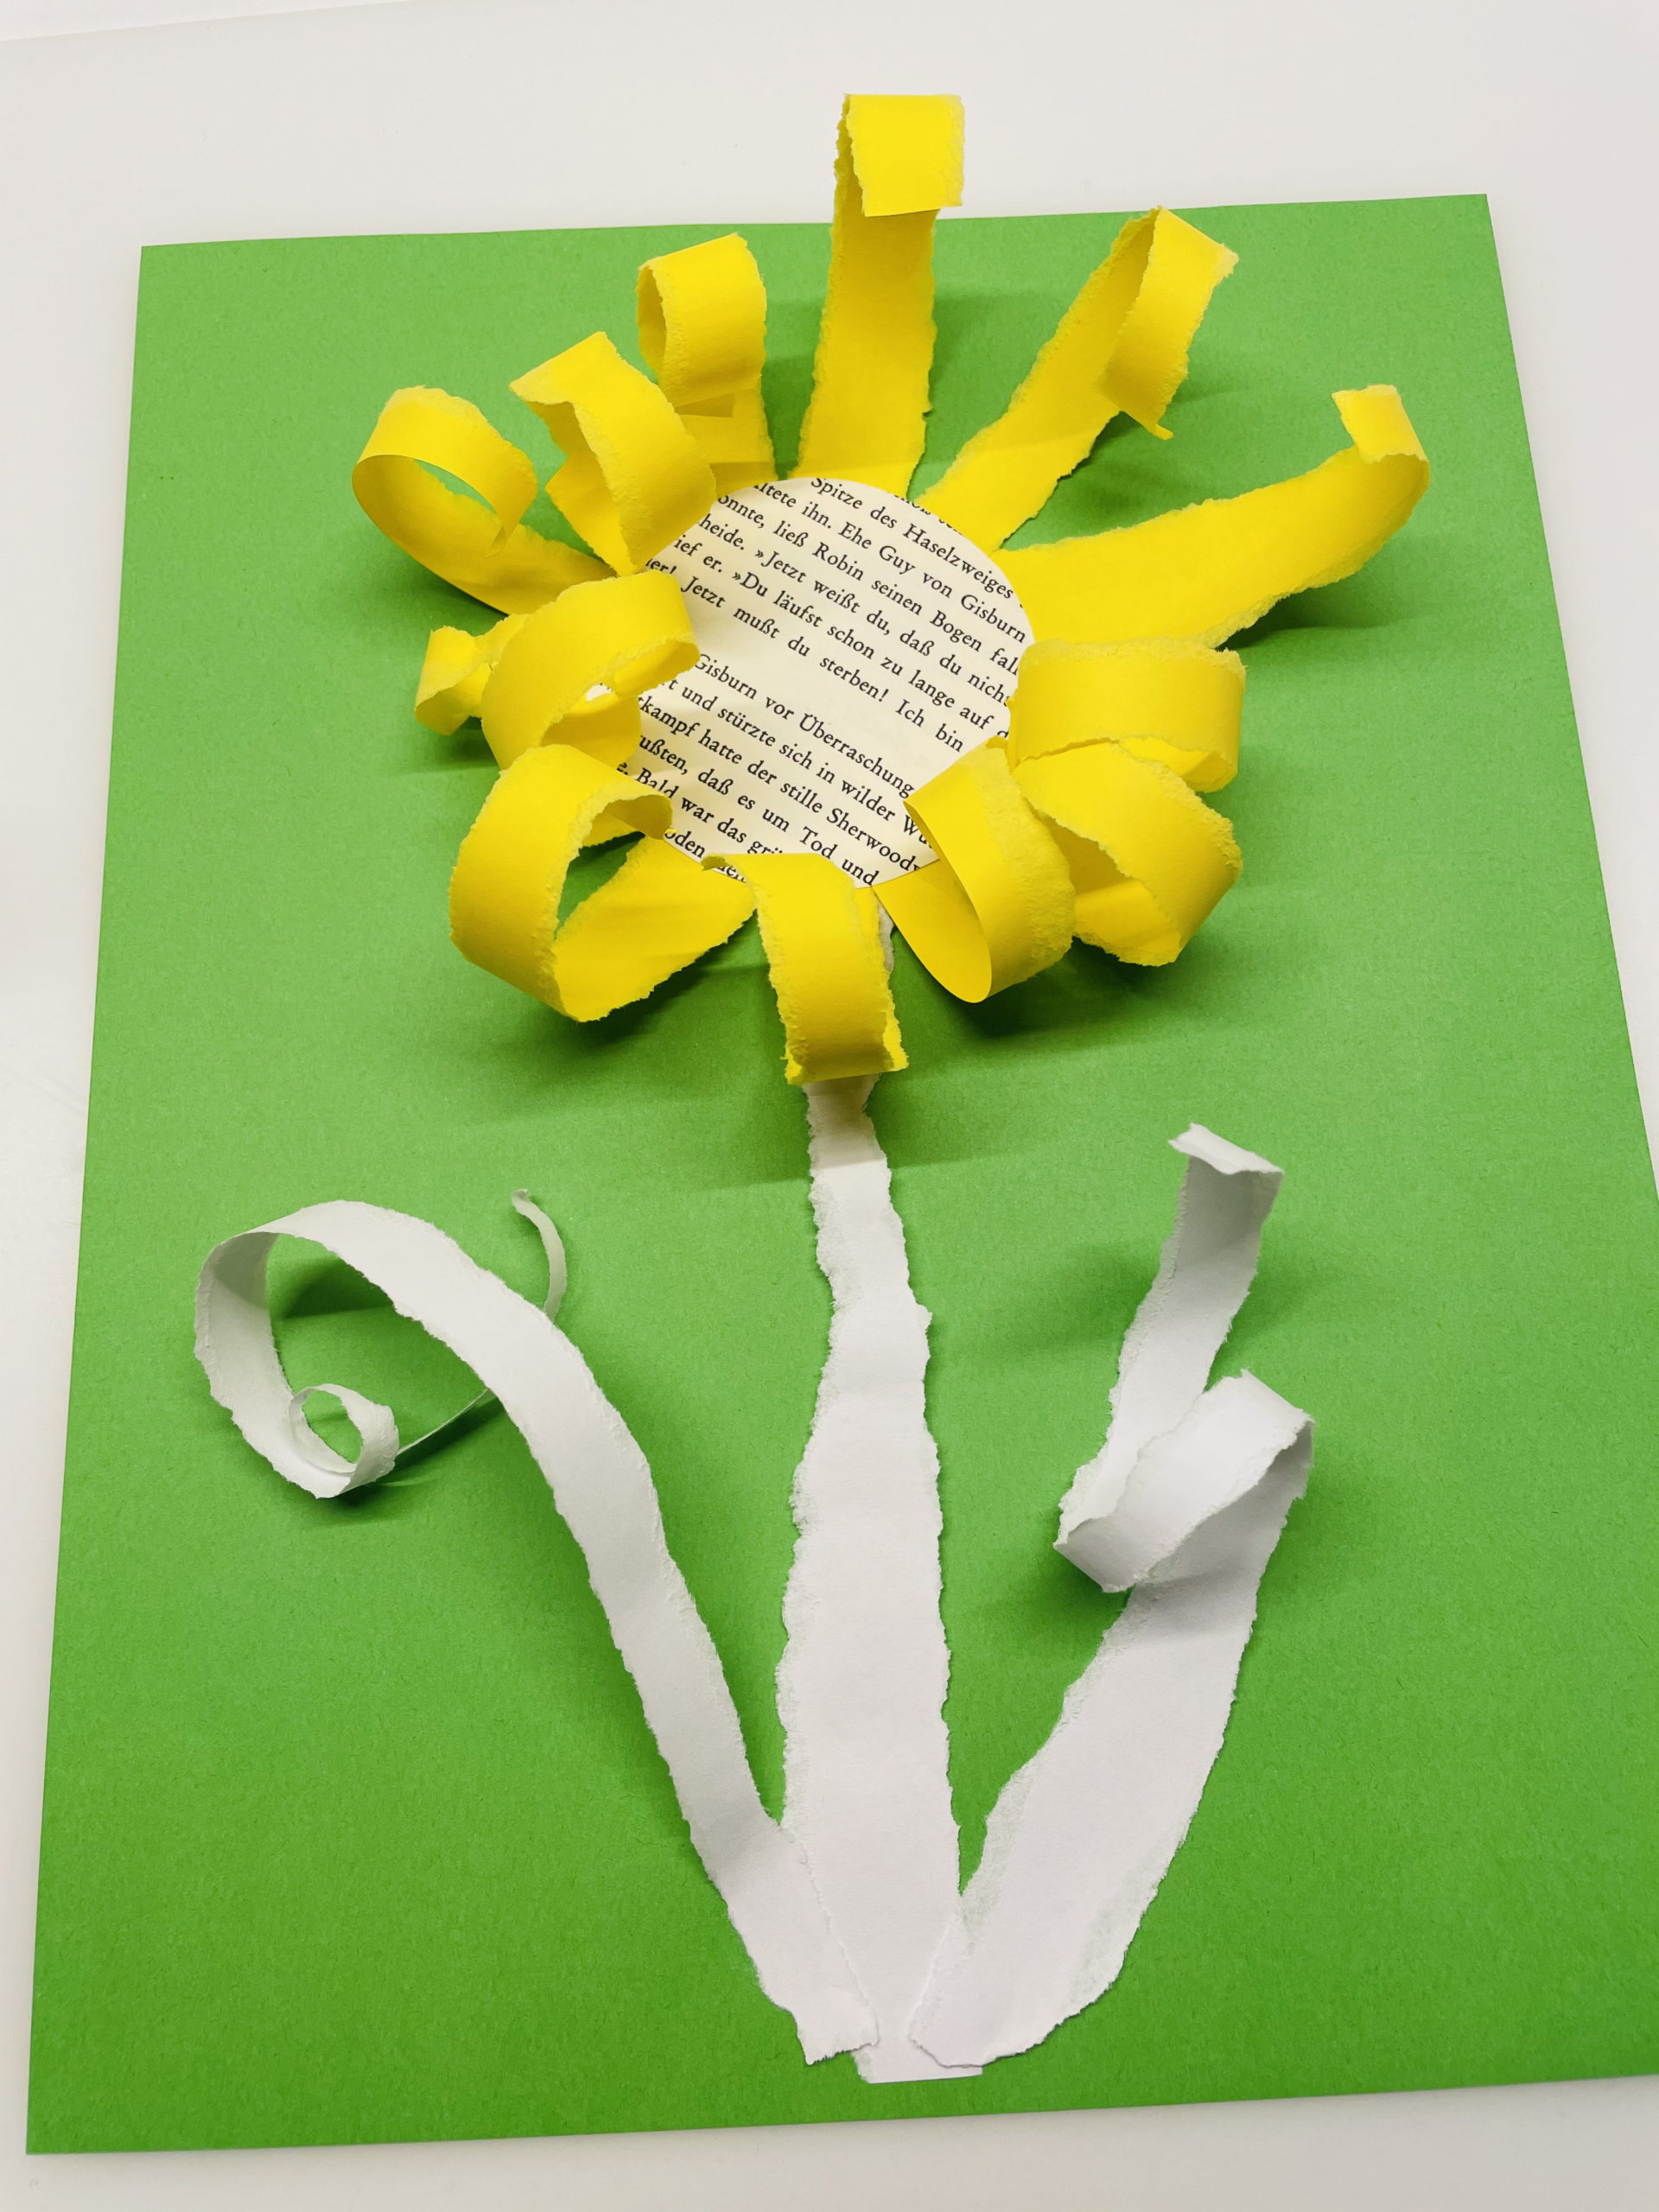
Try it yourself!
A complete flower meadow for the window, certainly also looks very nice!
Have fun doing crafts!
Materials
Directions
Put out your craft material and pick up your materials.
Then you tear the paper into narrow strips first.
Paper can only be ripped in one direction!!! Try it out in which direction.
Tears about 10-15 strips in length of 10 cm.
Then paint a circle on an old book page. Use a round object, such as a screw glass lid, a small bowl or a drinking glass (approx. 6 cm diameter).
Now cut out your painted circle with the scissors.
Then you stick around about 1 cm wide glue along the circle edge. On these you begin to glue strips for strips of your petals. Place the torn stripes so that they curl to the side of the table.
Sticks the strips close to each other. Always press the centre circle firmly on the table with one hand. Thus the crafting remains well lying.
If all the strips are glued on, the flower is ready.
Turn it around so that the rolled paper points upwards.
Then you paint two leaves on another book page. You can paint them freely. Then cut out the painted leaves.
Set up a picture frame with an insert. Use a brighter shade than the one you have chosen for your flower.
Put the insert in the frame.
Then another strip of colorful paper travels. It becomes a flower stem and can also rise above the picture frame.
Now glue the parts together to form a flower.
Your flowery gift is ready!
To do this, glue the flower onto a half-folded solid clay box. You can tear the leaves and the stem for this, for example, also from white copy paper.
Try it yourself!
A complete flower meadow for the window, certainly also looks very nice!
Have fun doing crafts!
Follow us on Facebook , Instagram and Pinterest
Don't miss any more adventures: Our bottle mail