Easter bunny made of cardboard roll (3 ideas)

AdventurerKatzi
Rating5.06.4 Thousand times & (3) DifficultyAdvanced

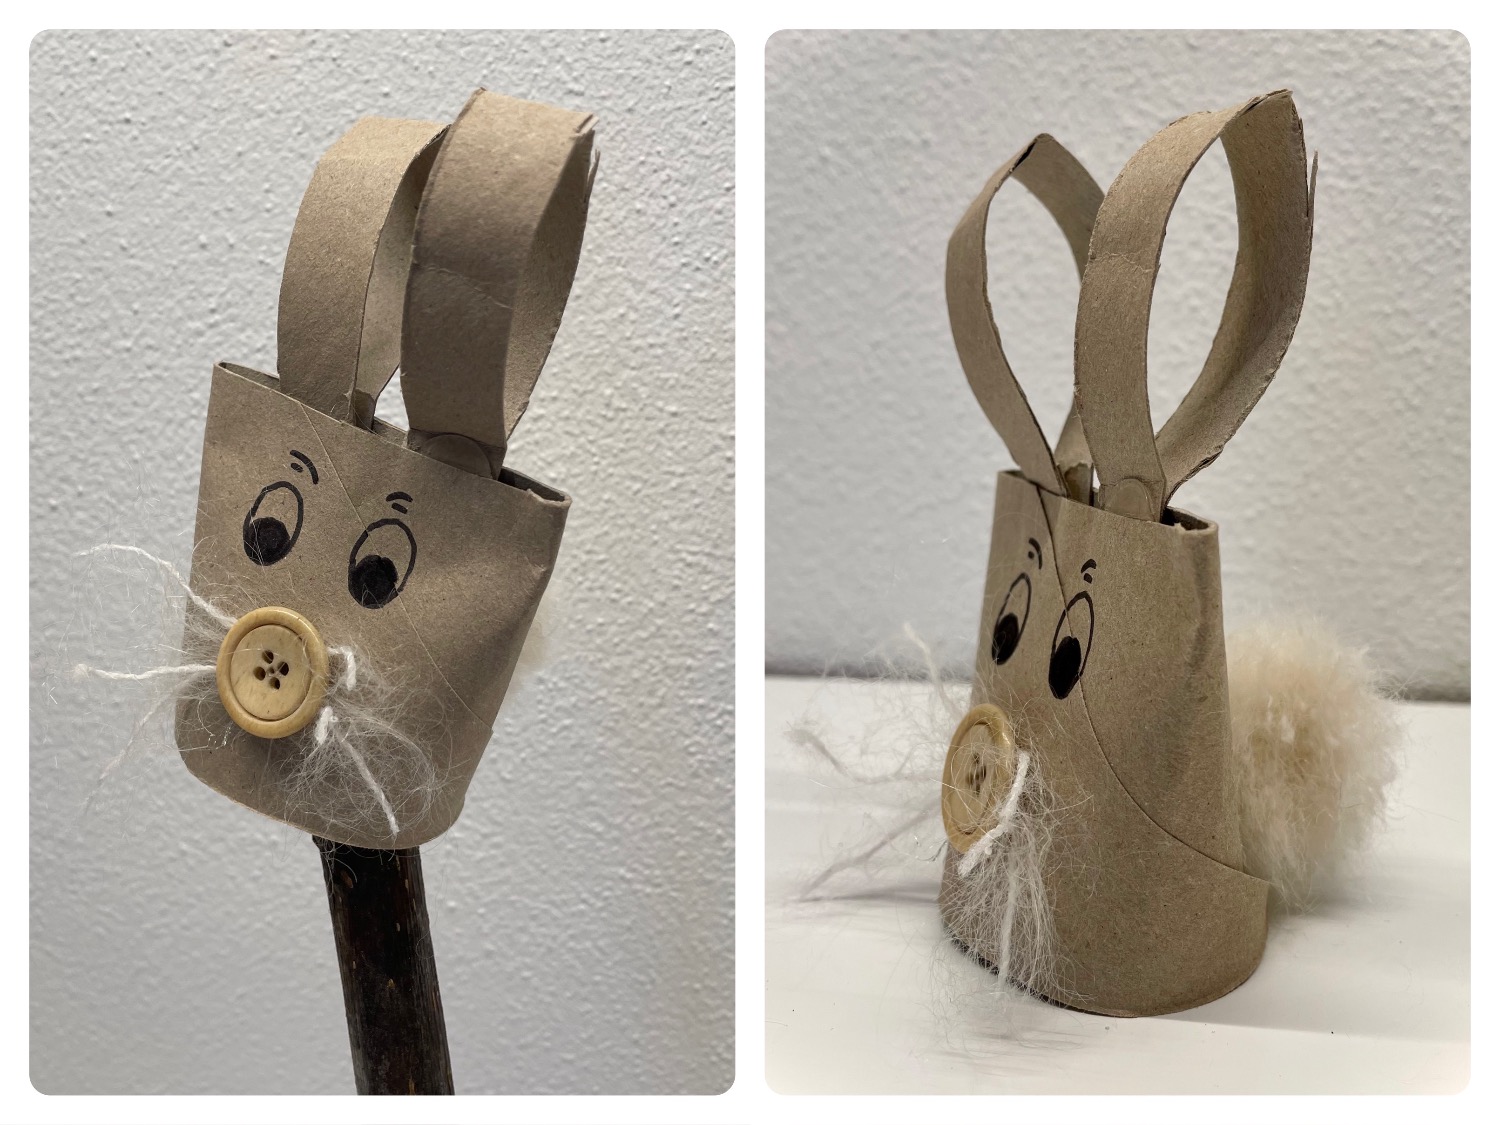
Make a small rabbit out of a cardboard roll. In addition, you need scissors, pen, glue, a button and wool for the Haretails And the whiskers.
It is suitable as a decoration for Easter, as a gift or for playing in the puppet theatre.

Media Education for Kindergarten and Hort

Kind bastelt eine Rassel mit dem Navi
The Adventure Navi, the app for DIY projects, enables media education for the youngest.

Relief in everyday life, targeted promotion of individual children, independent learning and - without any pre-knowledge already usable by the youngest!


Titelbild zur Bastel- und DIY-Idee für Kinder '(666) Osterhase aus Papprolle (3 Ideen )'
Material for1 Child
Prep Time5 min.Adv. Time25 min.Total Time30 min.
 1 Rolled paper
 1 Button
 WoolWhite or brown
 1 Felt pen
 1 Pencil
 Glue
 Possibly hot glue gun
 Possibly tacker
 Builder's pad
All links marked with a shopping cart lead to Amazon - here we have selected products that we would order ourselves and in part also ordered. In a qualified purchase via the advertising link, we as Amazon partner receive a commission, for you there are no costs. You thus support our cost- and advertising banner-free, educational offer.
1

Get ready for all the materials and the craft material.
Take the cardboard roll first.

Bild zum Schritt 1 für das Bastel- und DIY-Abenteuer für Kinder: 'Legt euch alle Materialien und die Bastelunterlage bereit.  ...'

2

Then cut off two very narrow strips of cardboard roll with the scissors.
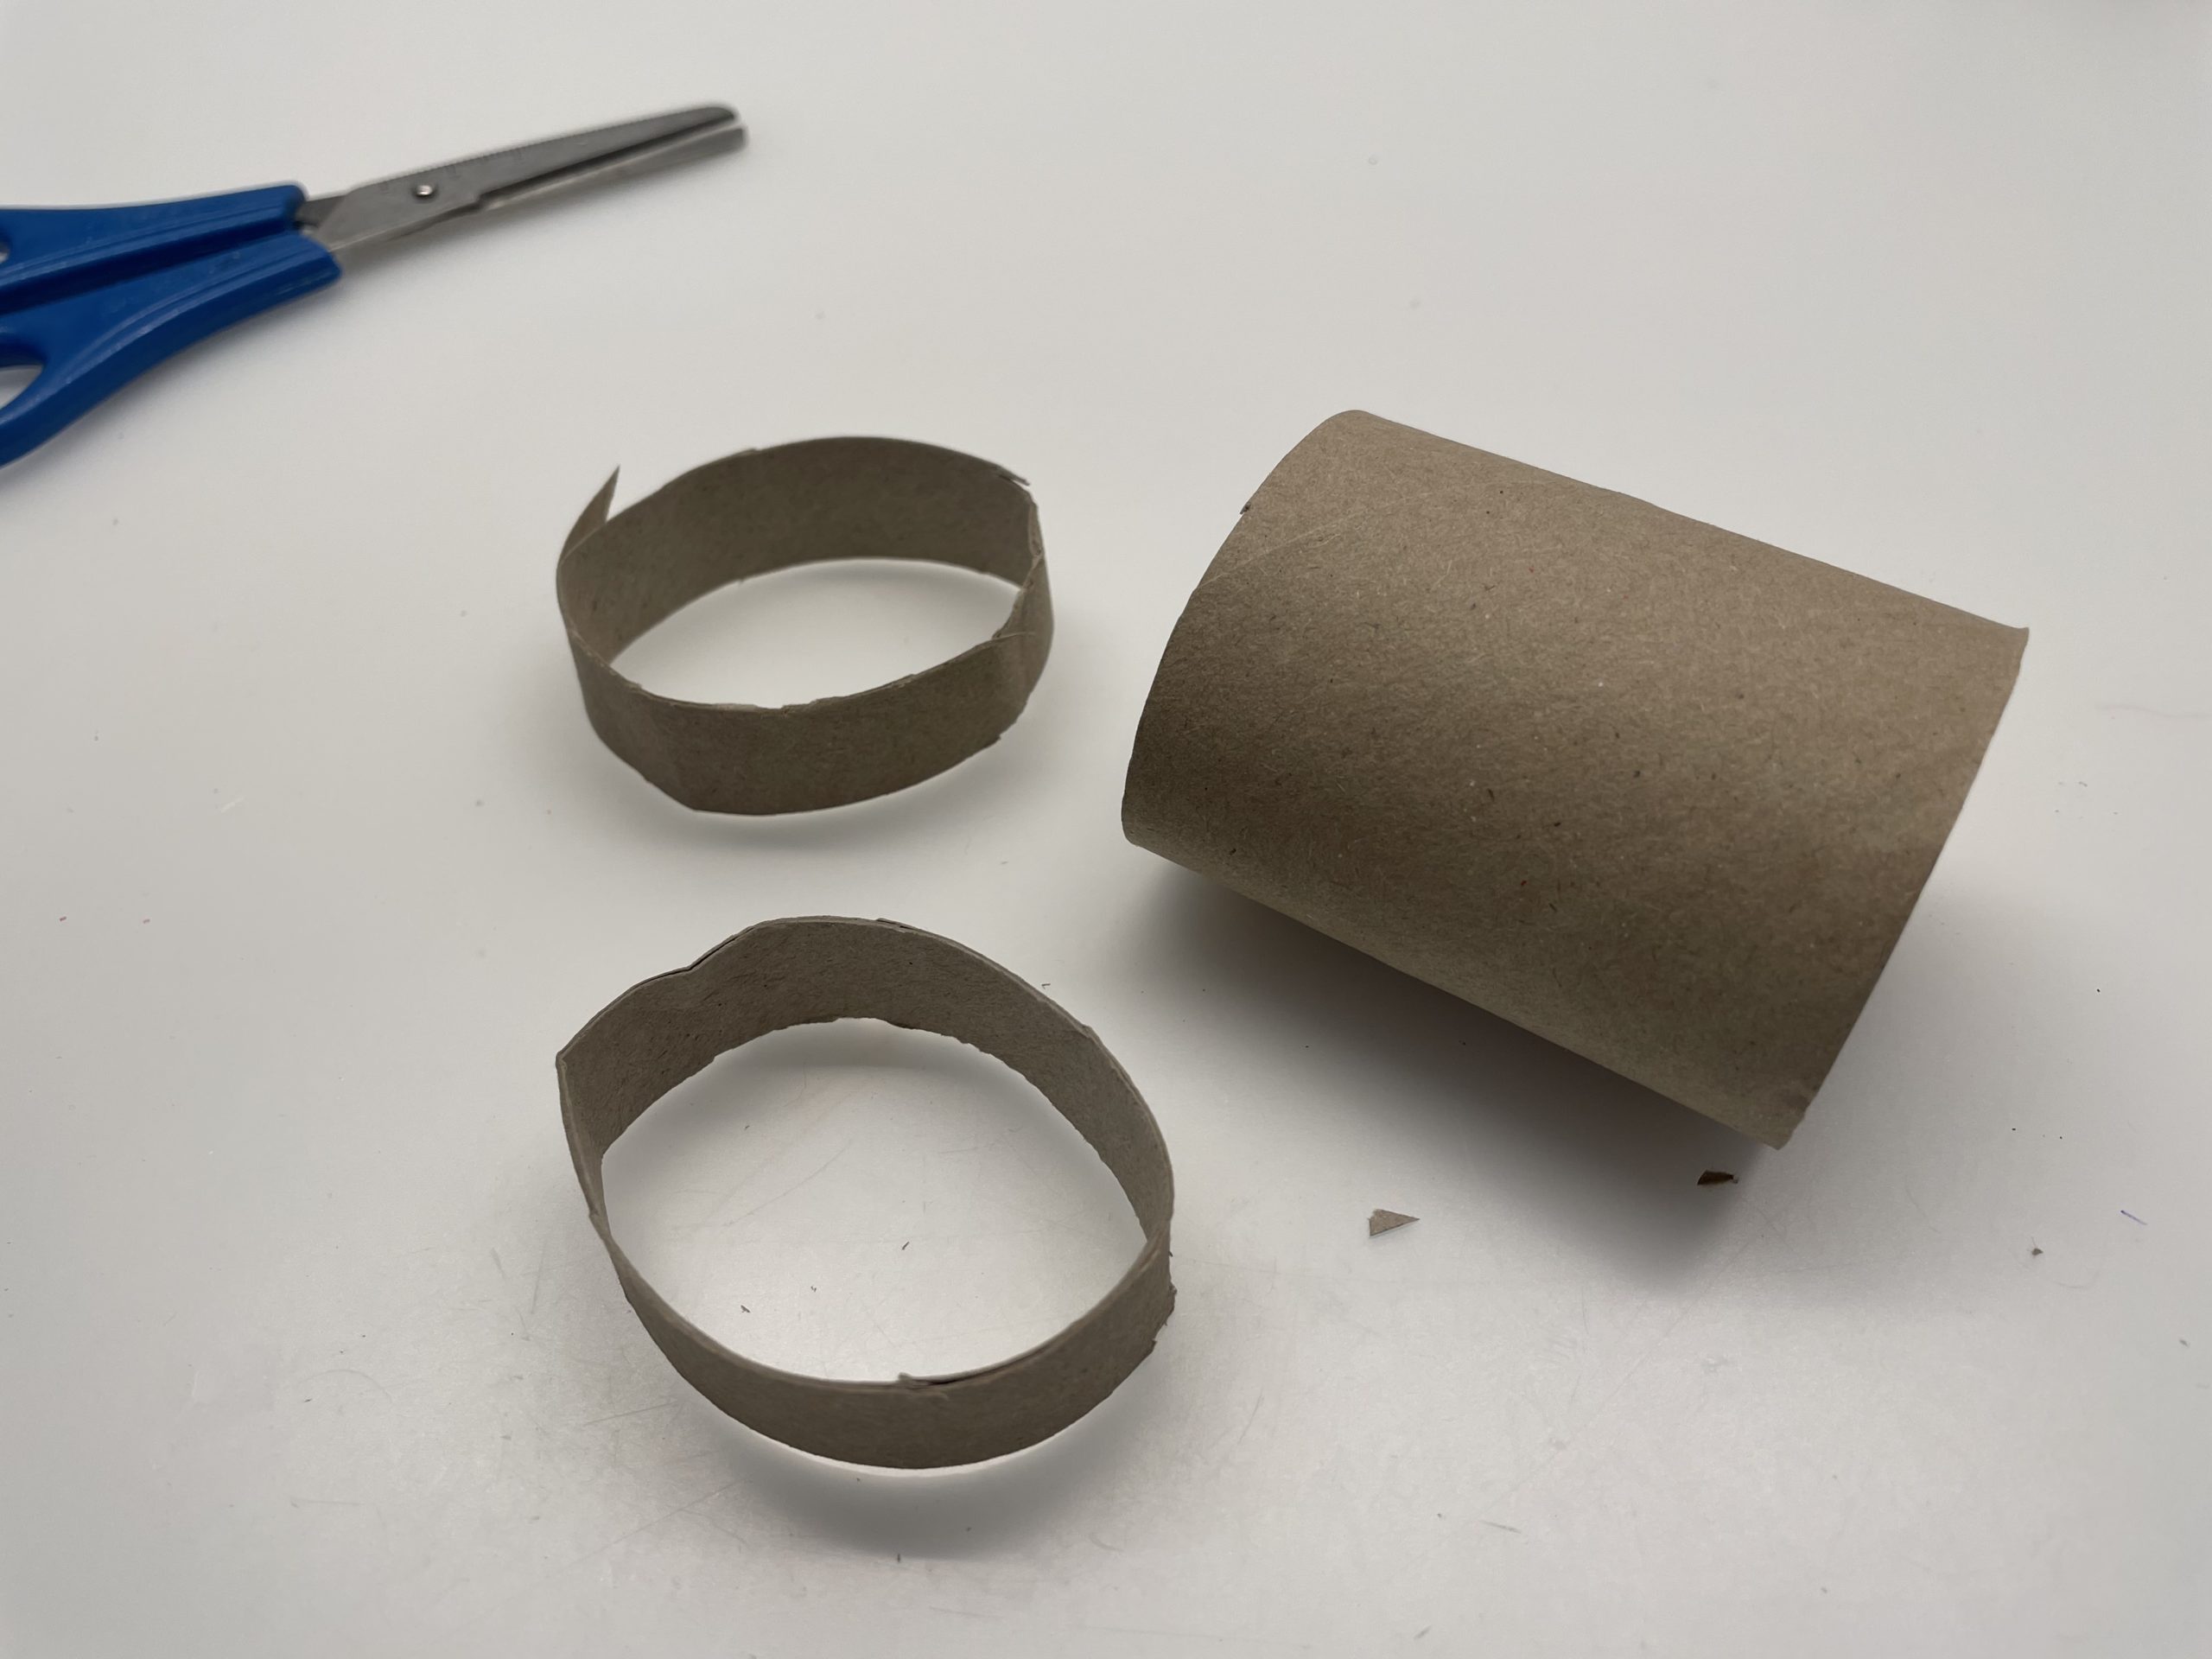
Bild zum Schritt 2 für das Bastel- und DIY-Abenteuer für Kinder: 'Schneidet dann mit der Schere zwei ganz schmale Streifen Papprolle...'

3

Press the strips together flat so they look like two rabbit ears.

Bild zum Schritt 3 für das Bastel- und DIY-Abenteuer für Kinder: 'Drückt die Streifen flach zusammen, so dass sie wie zwei...'

4

Up and down, the cardboard strip has a kink.

Bild zum Schritt 4 für das Bastel- und DIY-Abenteuer für Kinder: 'Oben und unten hat der Pappstreifen dann einen Knick.'

5

Also pushes the cardboard roll slightly together, so that it becomes oval (oval).

Bild zum Schritt 5 für das Bastel- und DIY-Abenteuer für Kinder: 'Drückt auch die Papprolle leicht zusammen, so dass sie oval...'

6

Lay the cardboard roll flat on the base. Then stick the two ears on the lying side from the inside.

Bild zum Schritt 6 für das Bastel- und DIY-Abenteuer für Kinder: 'Legt die Papprolle flach auf die Unterlage. Dann klebt ihr...'

7

You can also use the hot glue gun.
Attention: Let us help you with this - risk of injury!

Bild zum Schritt 7 für das Bastel- und DIY-Abenteuer für Kinder: 'Ihr könnt dazu auch die Heißklebepistole verwenden.   Achtung:...'

8

Now you put the cardboard roll back up.

Bild zum Schritt 8 für das Bastel- und DIY-Abenteuer für Kinder: 'Jetzt stellt ihr die Papprolle wieder auf.'

9

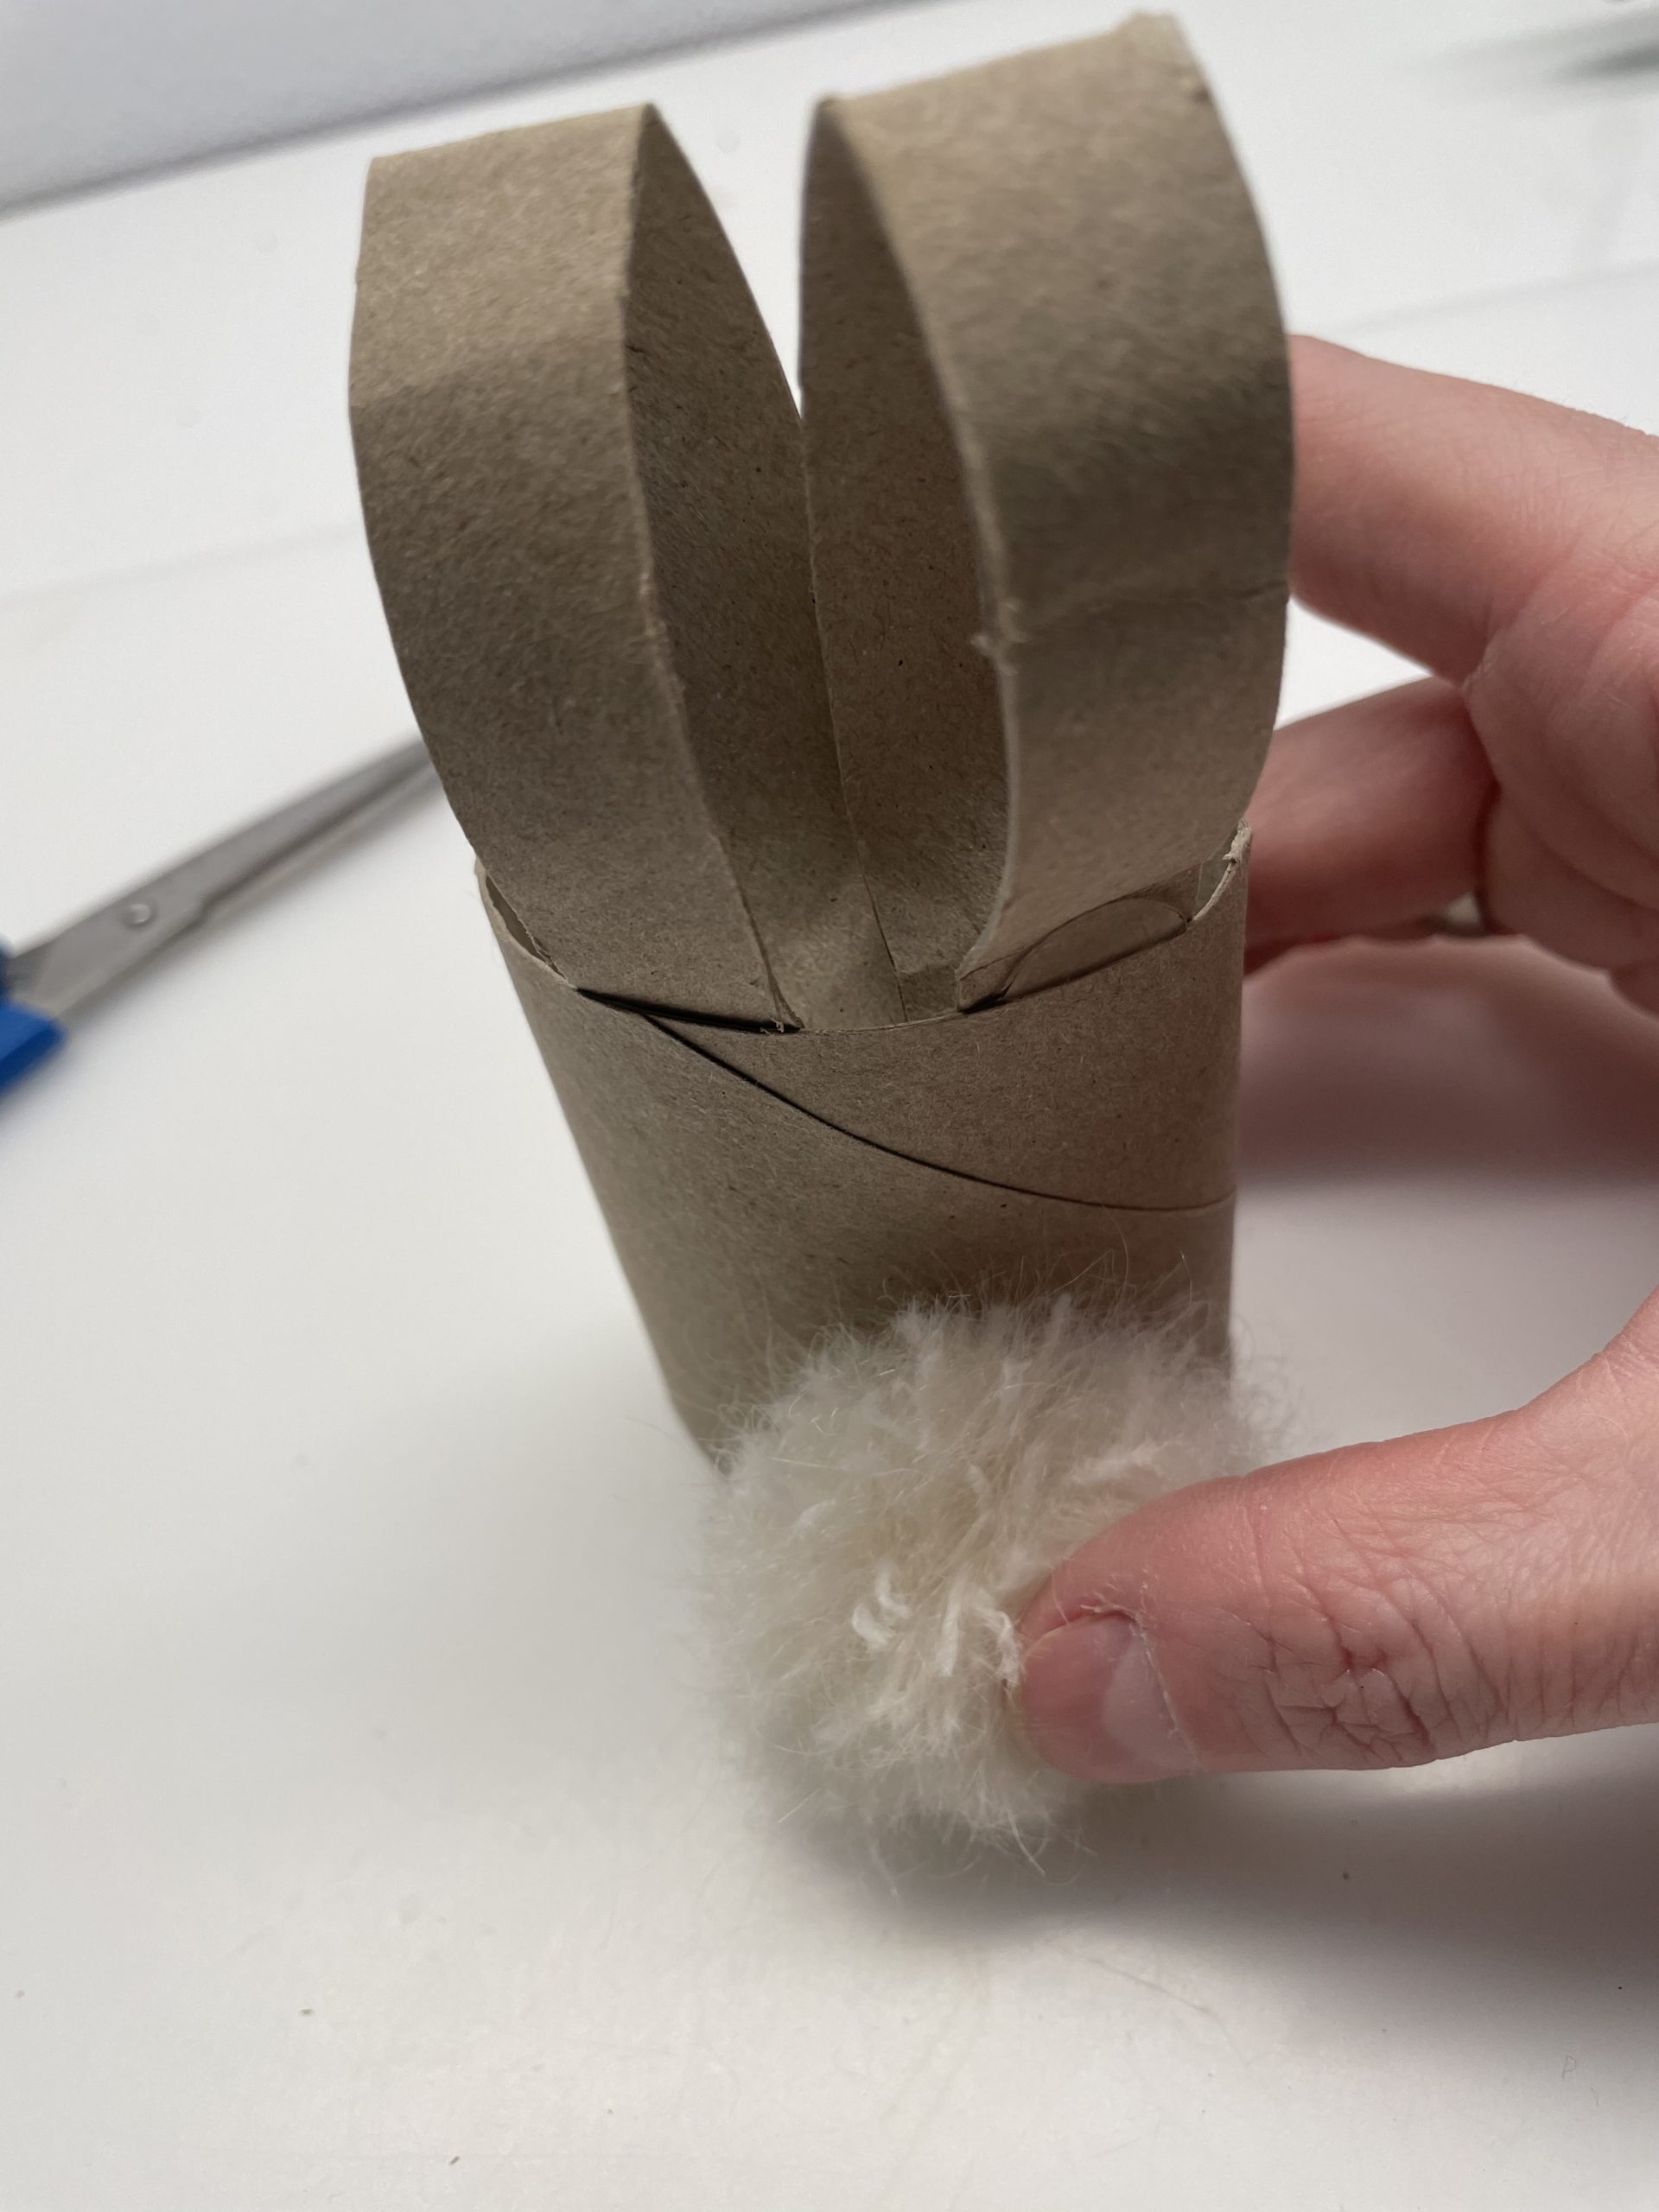
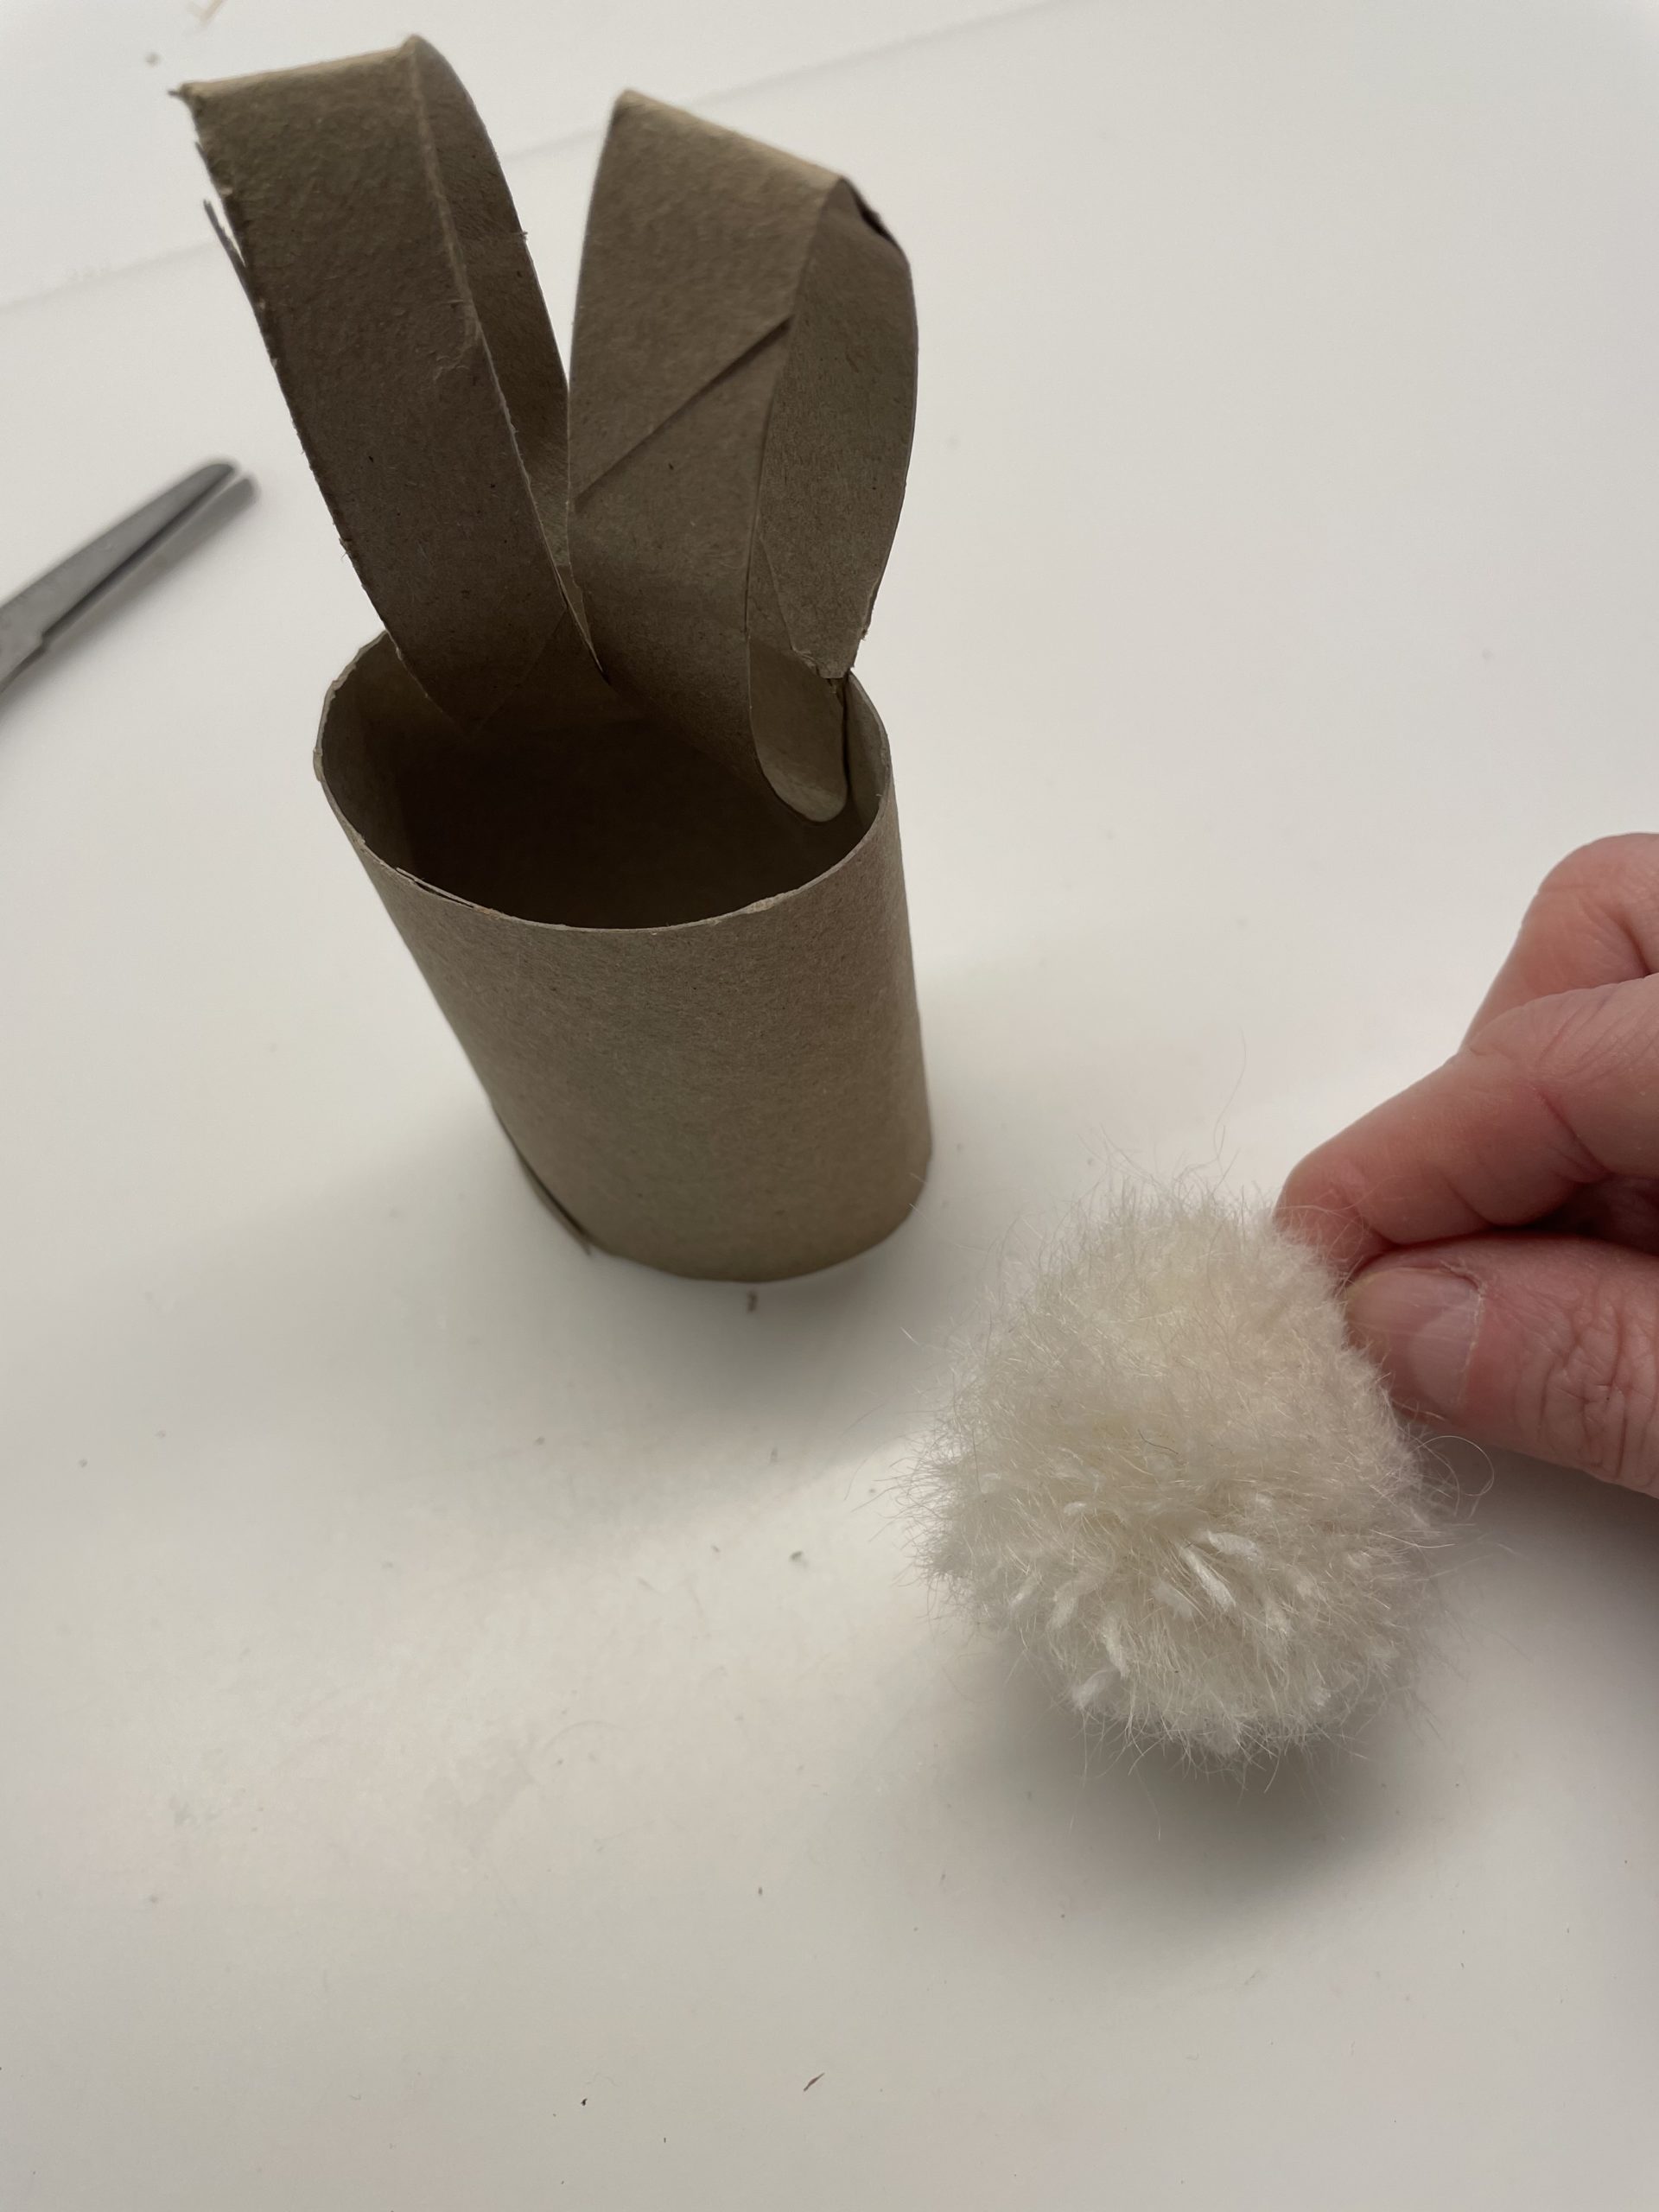
Sticks the tail of the rabbit on the cardboard roll opposite the side with the ears. Here you will find the manual for the Haretails.

Bild zum Schritt 9 für das Bastel- und DIY-Abenteuer für Kinder: 'Klebt gegenüber der Seite mit den Ohren den Schwanz des...'

10

2. Bild zum Schritt 9 für das Bastel- und DIY-Abenteuer für Kinder: 'Klebt gegenüber der Seite mit den Ohren den Schwanz des...'

11

3. Bild zum Schritt 10 für das Bastel- und DIY-Abenteuer für Kinder: 'Klebt gegenüber der Seite mit den Ohren den Schwanz des...'

12

The face of the rabbit is now missing on the front.

Bild zum Schritt 12 für das Bastel- und DIY-Abenteuer für Kinder: 'Auf der Vorderseite fehlt nun noch das Gesicht des Hasen.'

13

For this you paint your eyes on the cardboard roll with a felt pen. These should sit in the middle under the ears.

Bild zum Schritt 13 für das Bastel- und DIY-Abenteuer für Kinder: 'Dafür malt ihr mit einem Filzstift die Augen auf die...'

14

Now you cut off three 5cm long threads of wool. Tip: use the same wool that you used for the tail.

Bild zum Schritt 14 für das Bastel- und DIY-Abenteuer für Kinder: 'Jetzt schneidet ihr drei 5cm lange Fäden der Wolle ab....'

15

First you make a glue point in the middle below the eyes. On this you stick the three woolen threads. Make sure that they survive the same length on both sides.

Bild zum Schritt 15 für das Bastel- und DIY-Abenteuer für Kinder: 'Zuerst macht ihr jetzt einen Klebepunkt in der Mitte unterhalb...'

16

Now you stick the button over the whiskers with the hot glue. Make sure that no hot glue is pouring through the buttonholes - you could burn yourself like this!

Bild zum Schritt 16 für das Bastel- und DIY-Abenteuer für Kinder: 'Nun klebt ihr mit dem Heißkleber den Knopf über die...'

17

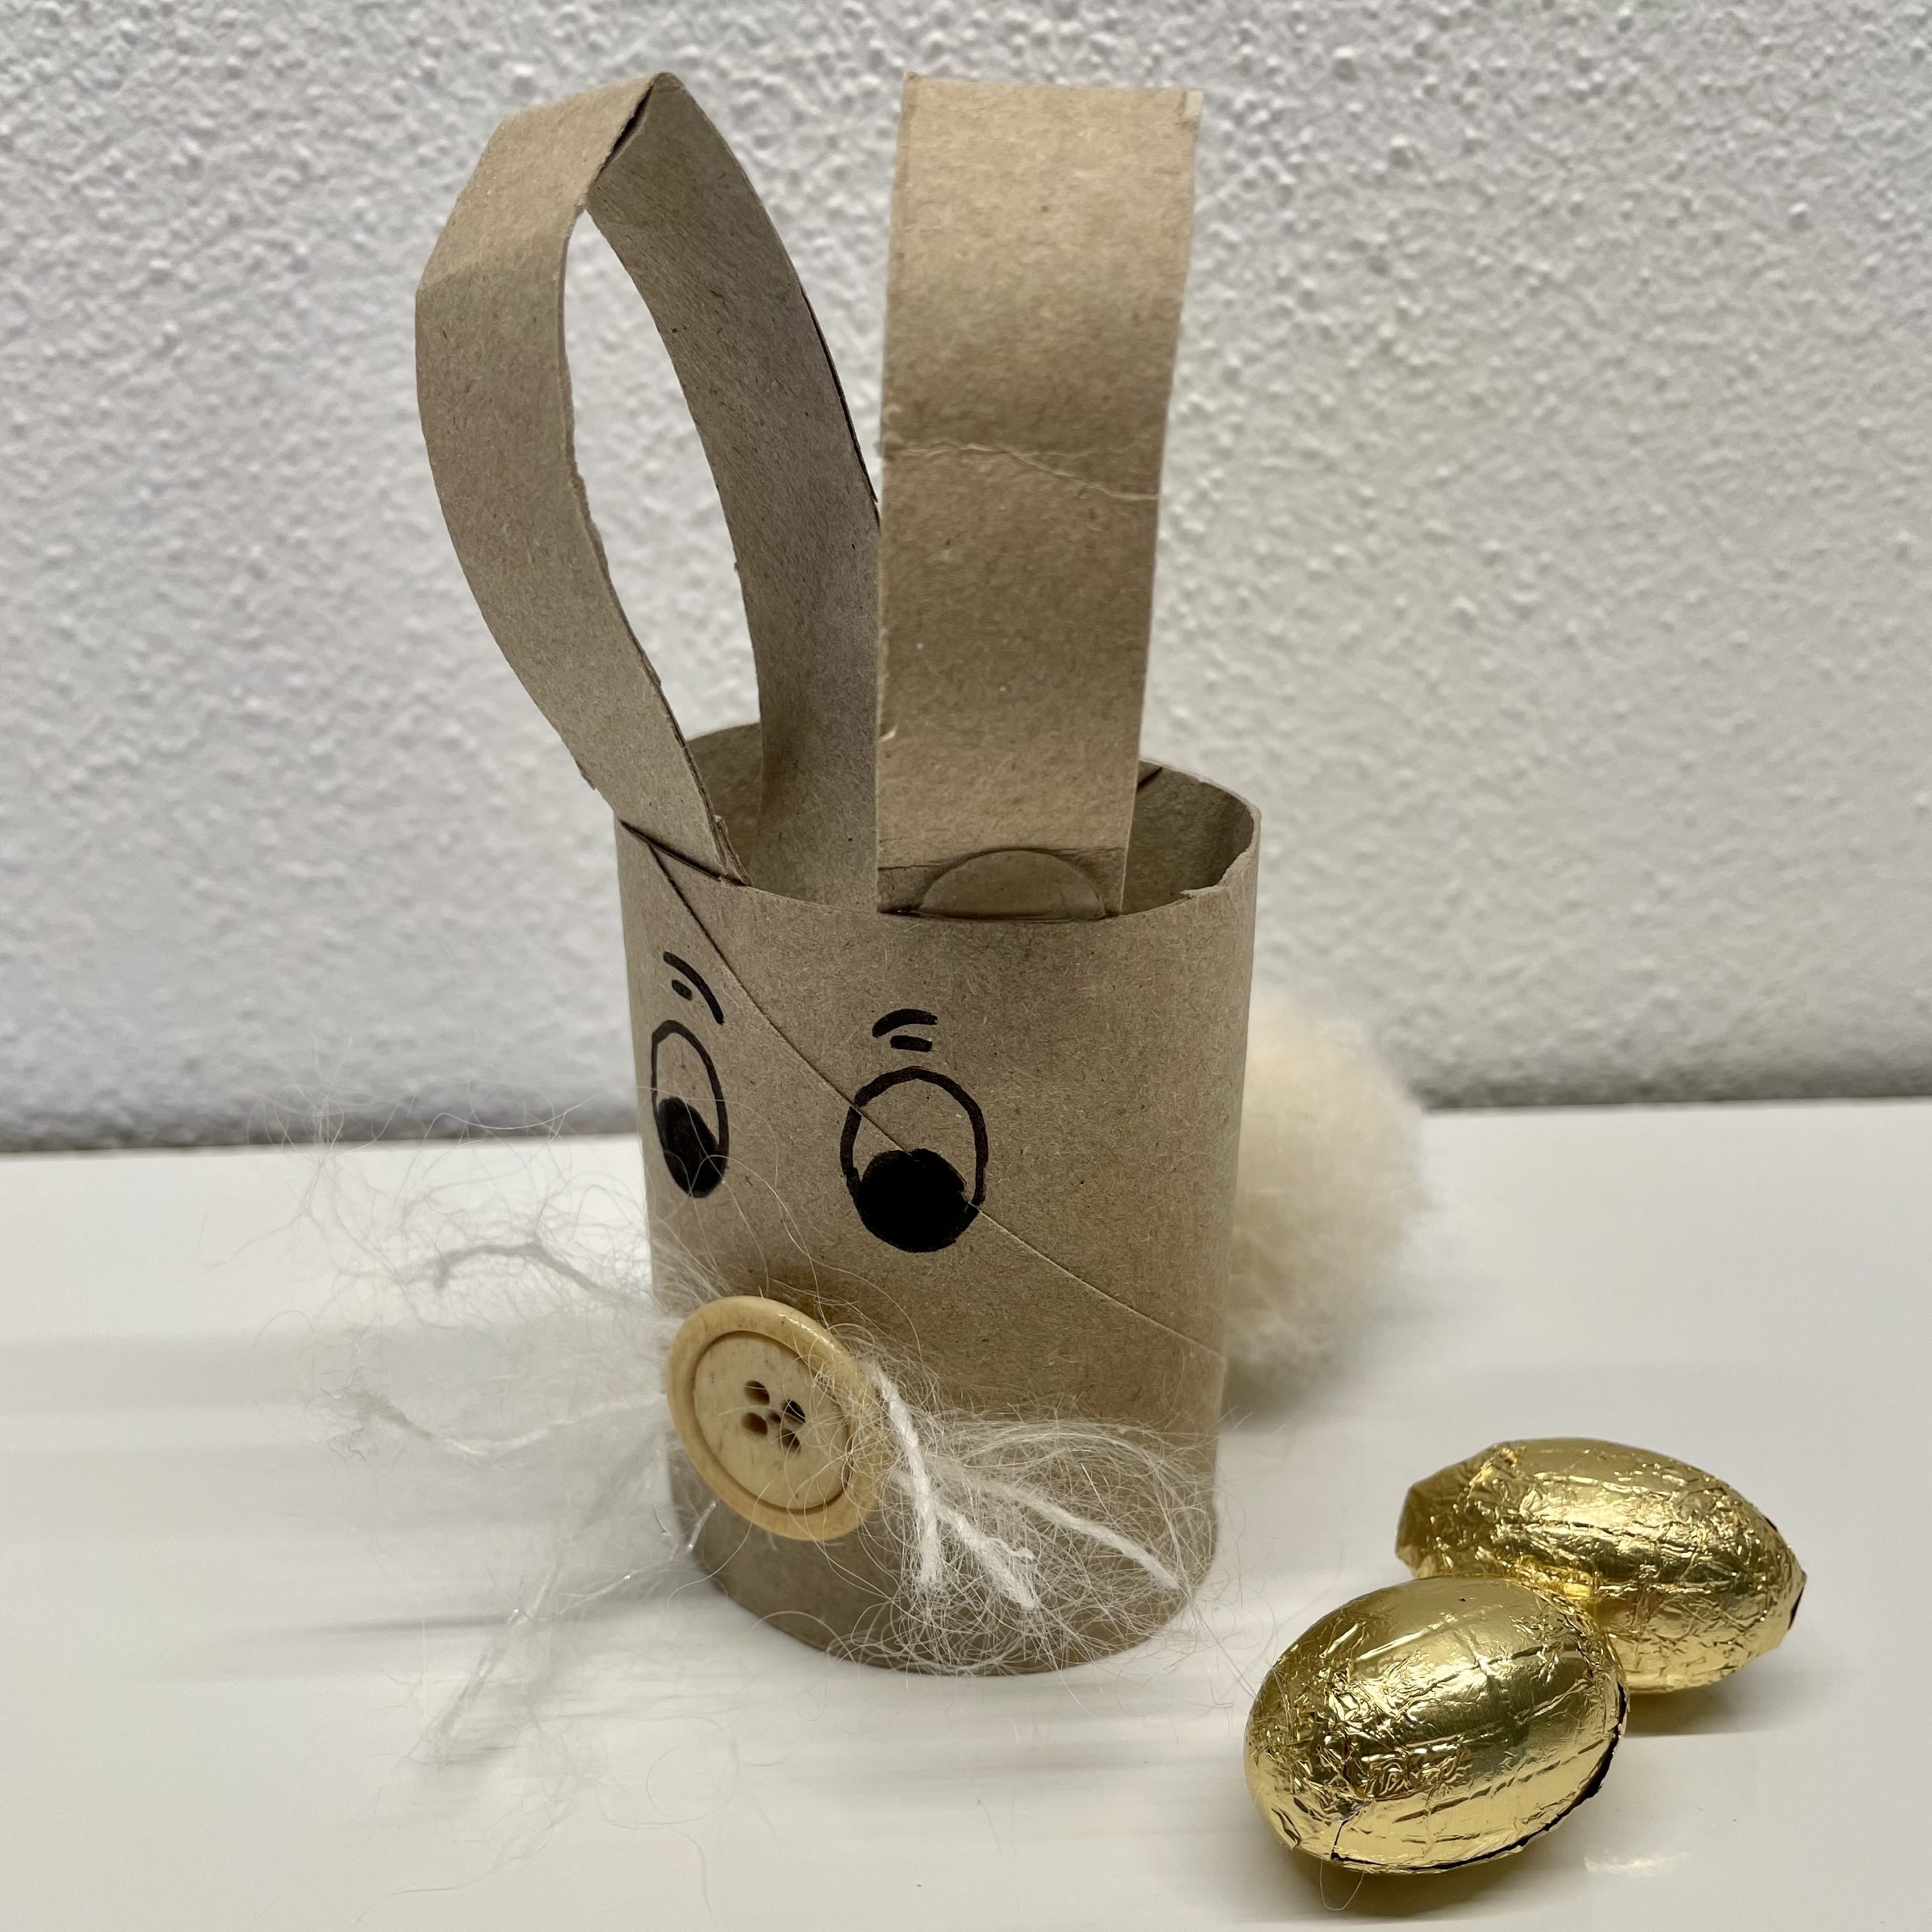
Now our bunny is ready.

Bild zum Schritt 17 für das Bastel- und DIY-Abenteuer für Kinder: 'Fertig ist nun unser Häschen.'

2. Variants:
18

Now press the cardboard roll at the top of the ears flat.

Bild zum Schritt 19 für das Bastel- und DIY-Abenteuer für Kinder: 'Drückt dafür jetzt die Papprolle oben bei den Ohren flach...'

19

Then glue the carton to the top with hot glue.

Bild zum Schritt 20 für das Bastel- und DIY-Abenteuer für Kinder: 'Dann klebt ihr den Karton am oberen Rand mit Heißkleber...'

20

The rabbit is ready.
Bends the ears, if necessary.

Bild zum Schritt 21 für das Bastel- und DIY-Abenteuer für Kinder: 'Fertig ist der Hase.   Biegt die Ohren evtl....'

21

Now find a nice place for the Easter bunny.

Bild zum Schritt 22 für das Bastel- und DIY-Abenteuer für Kinder: 'Jetzt sucht euch noch ein schönes Plätzchen für den Osterhasen.'

For the puppet show:
22

Another idea is to attach the rabbits to a branch or stick.
You can just put him on it, too.

Bild zum Schritt 24 für das Bastel- und DIY-Abenteuer für Kinder: 'Eine weitere Idee ist es den Hasen auf einem Ast...'

23

Now you can use it as a figure for an Easter theatre or an Easter game.
Of course, you can put it in a flower pot or vase.

24

Stay creative!
Have fun doing crafts.

Materials

 1 Rolled paper
 1 Button
 WoolWhite or brown
 1 Felt pen
 1 Pencil
 Glue
 Possibly hot glue gun
 Possibly tacker
 Builder's pad
All links marked with a shopping cart lead to Amazon - here we have selected products that we would order ourselves and in part also ordered. In a qualified purchase via the advertising link, we as Amazon partner receive a commission, for you there are no costs. You thus support our cost- and advertising banner-free, educational offer.

Directions

1

Get ready for all the materials and the craft material.
Take the cardboard roll first.

Bild zum Schritt 1 für das Bastel- und DIY-Abenteuer für Kinder: 'Legt euch alle Materialien und die Bastelunterlage bereit.  ...'

2

Then cut off two very narrow strips of cardboard roll with the scissors.

Bild zum Schritt 2 für das Bastel- und DIY-Abenteuer für Kinder: 'Schneidet dann mit der Schere zwei ganz schmale Streifen Papprolle...'

3

Press the strips together flat so they look like two rabbit ears.
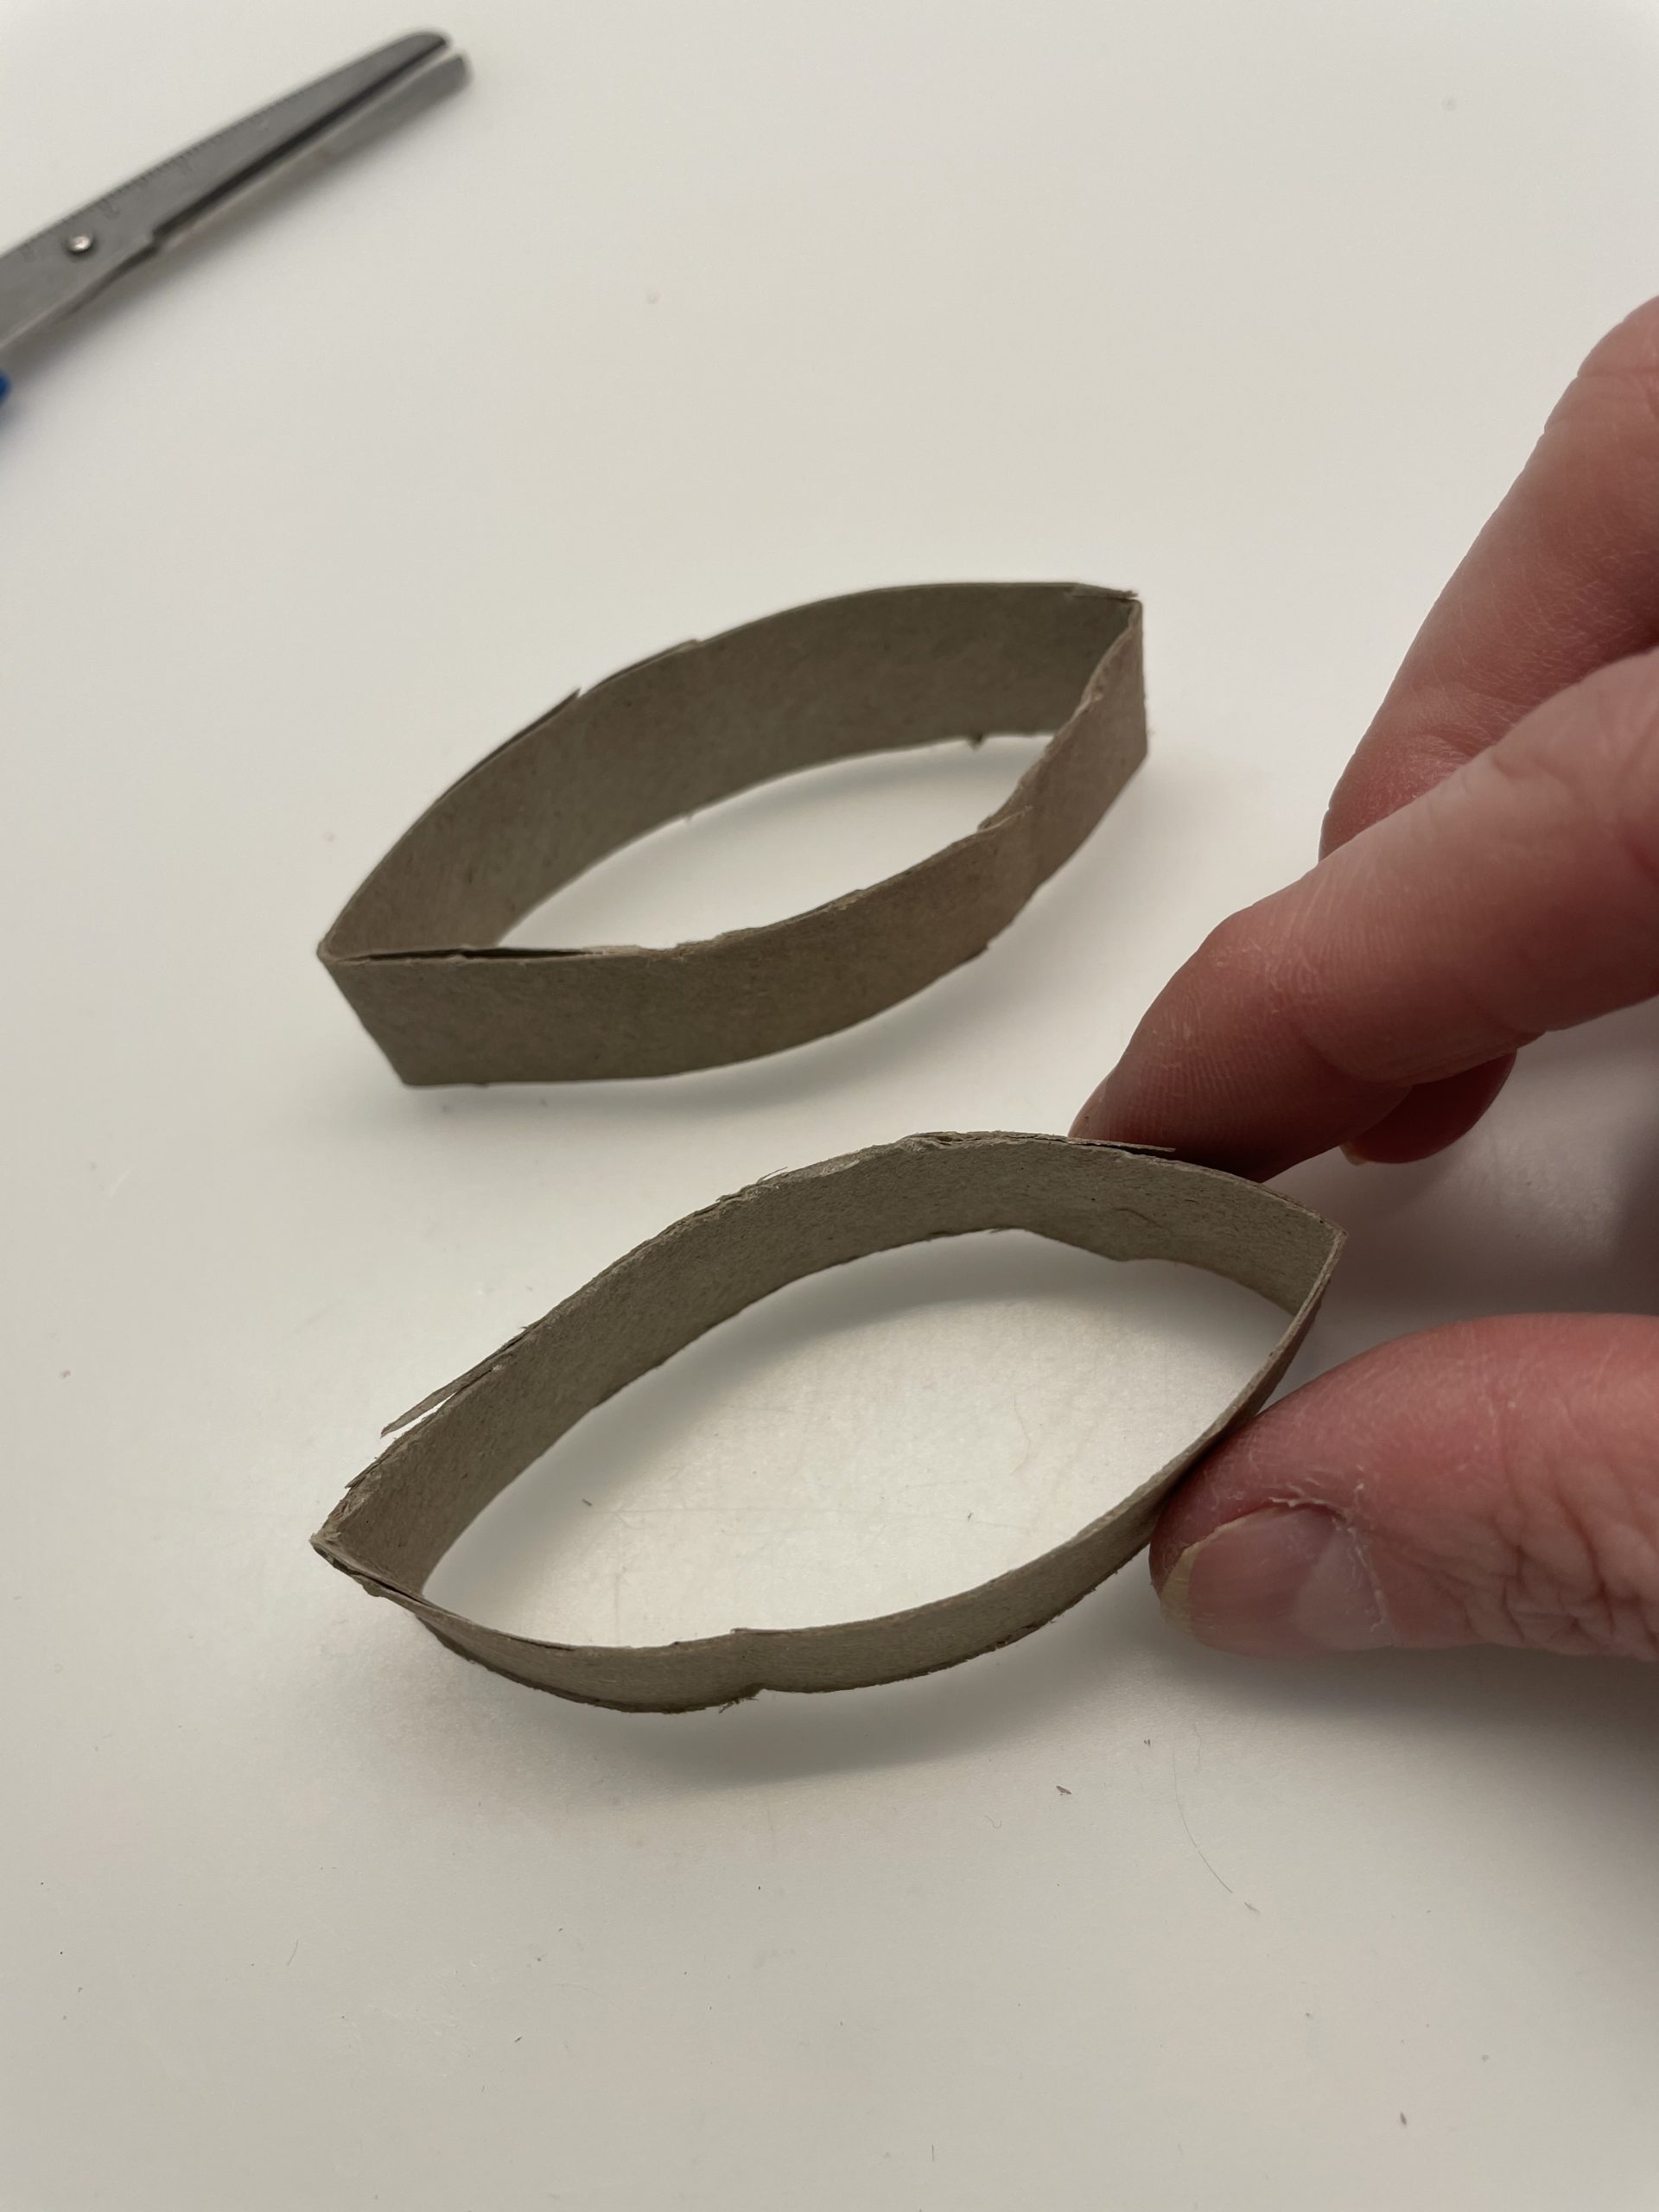
Bild zum Schritt 3 für das Bastel- und DIY-Abenteuer für Kinder: 'Drückt die Streifen flach zusammen, so dass sie wie zwei...'

4

Up and down, the cardboard strip has a kink.

Bild zum Schritt 4 für das Bastel- und DIY-Abenteuer für Kinder: 'Oben und unten hat der Pappstreifen dann einen Knick.'

5

Also pushes the cardboard roll slightly together, so that it becomes oval (oval).
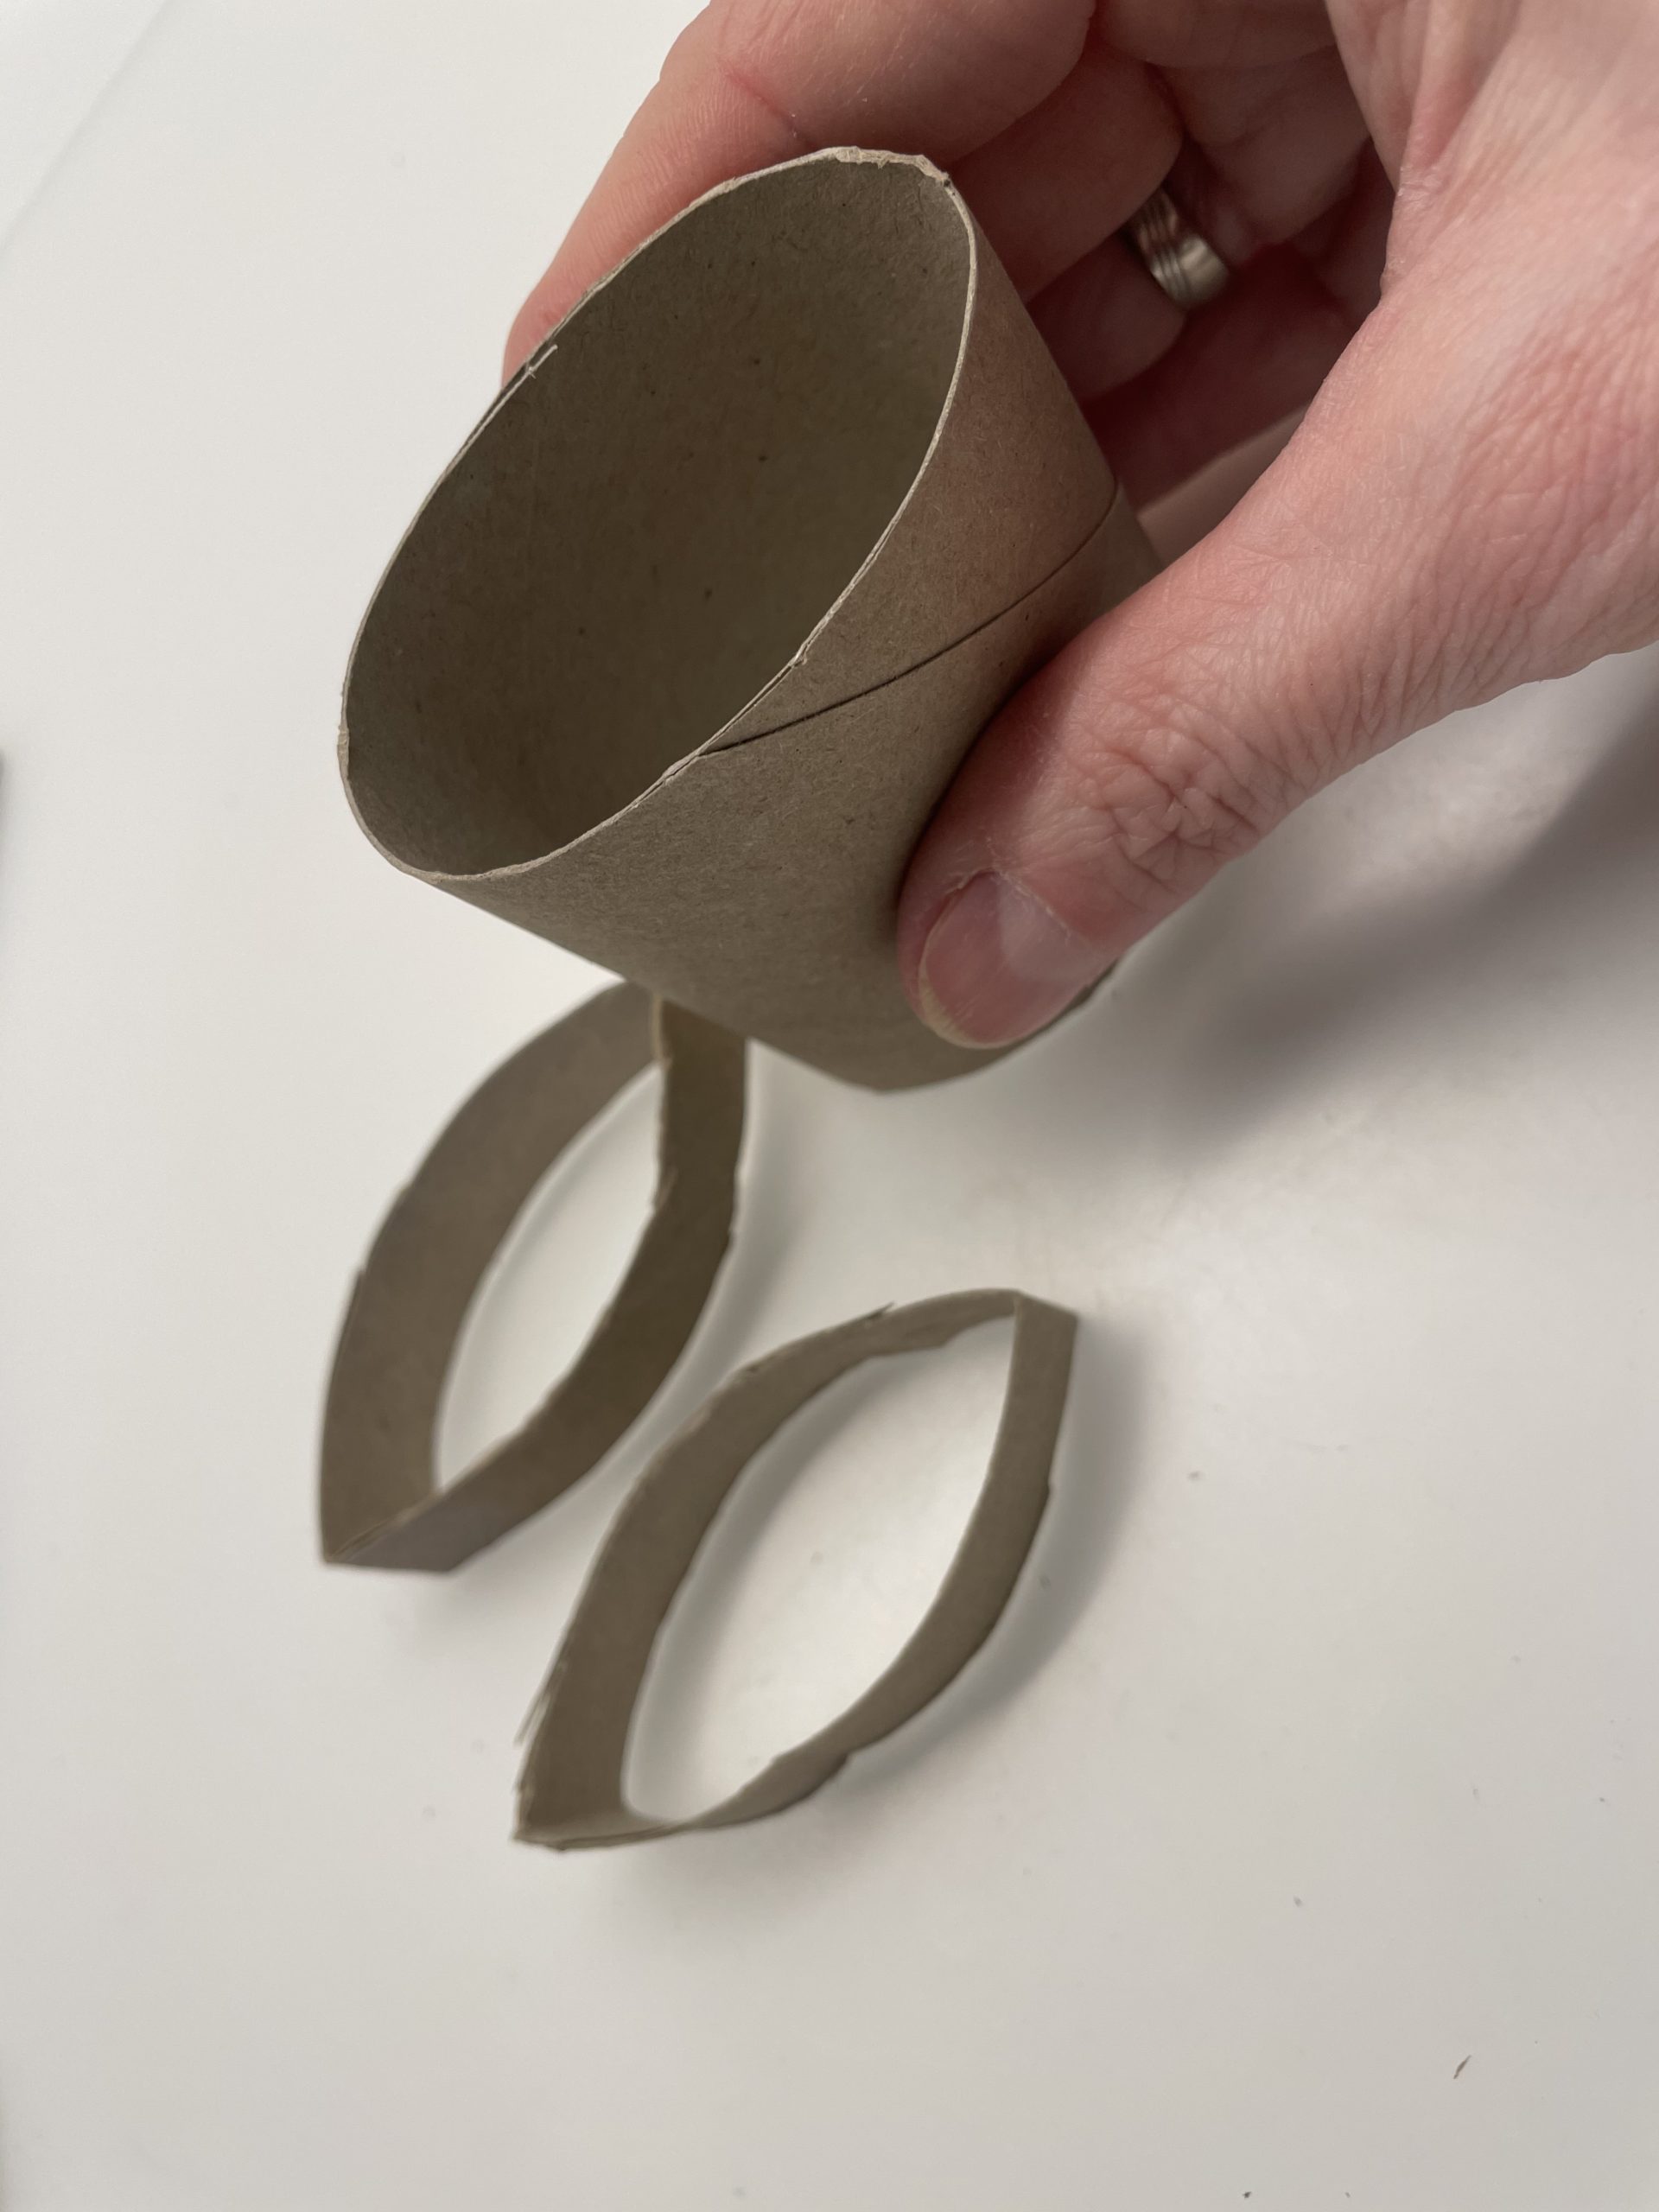
Bild zum Schritt 5 für das Bastel- und DIY-Abenteuer für Kinder: 'Drückt auch die Papprolle leicht zusammen, so dass sie oval...'

6

Lay the cardboard roll flat on the base. Then stick the two ears on the lying side from the inside.
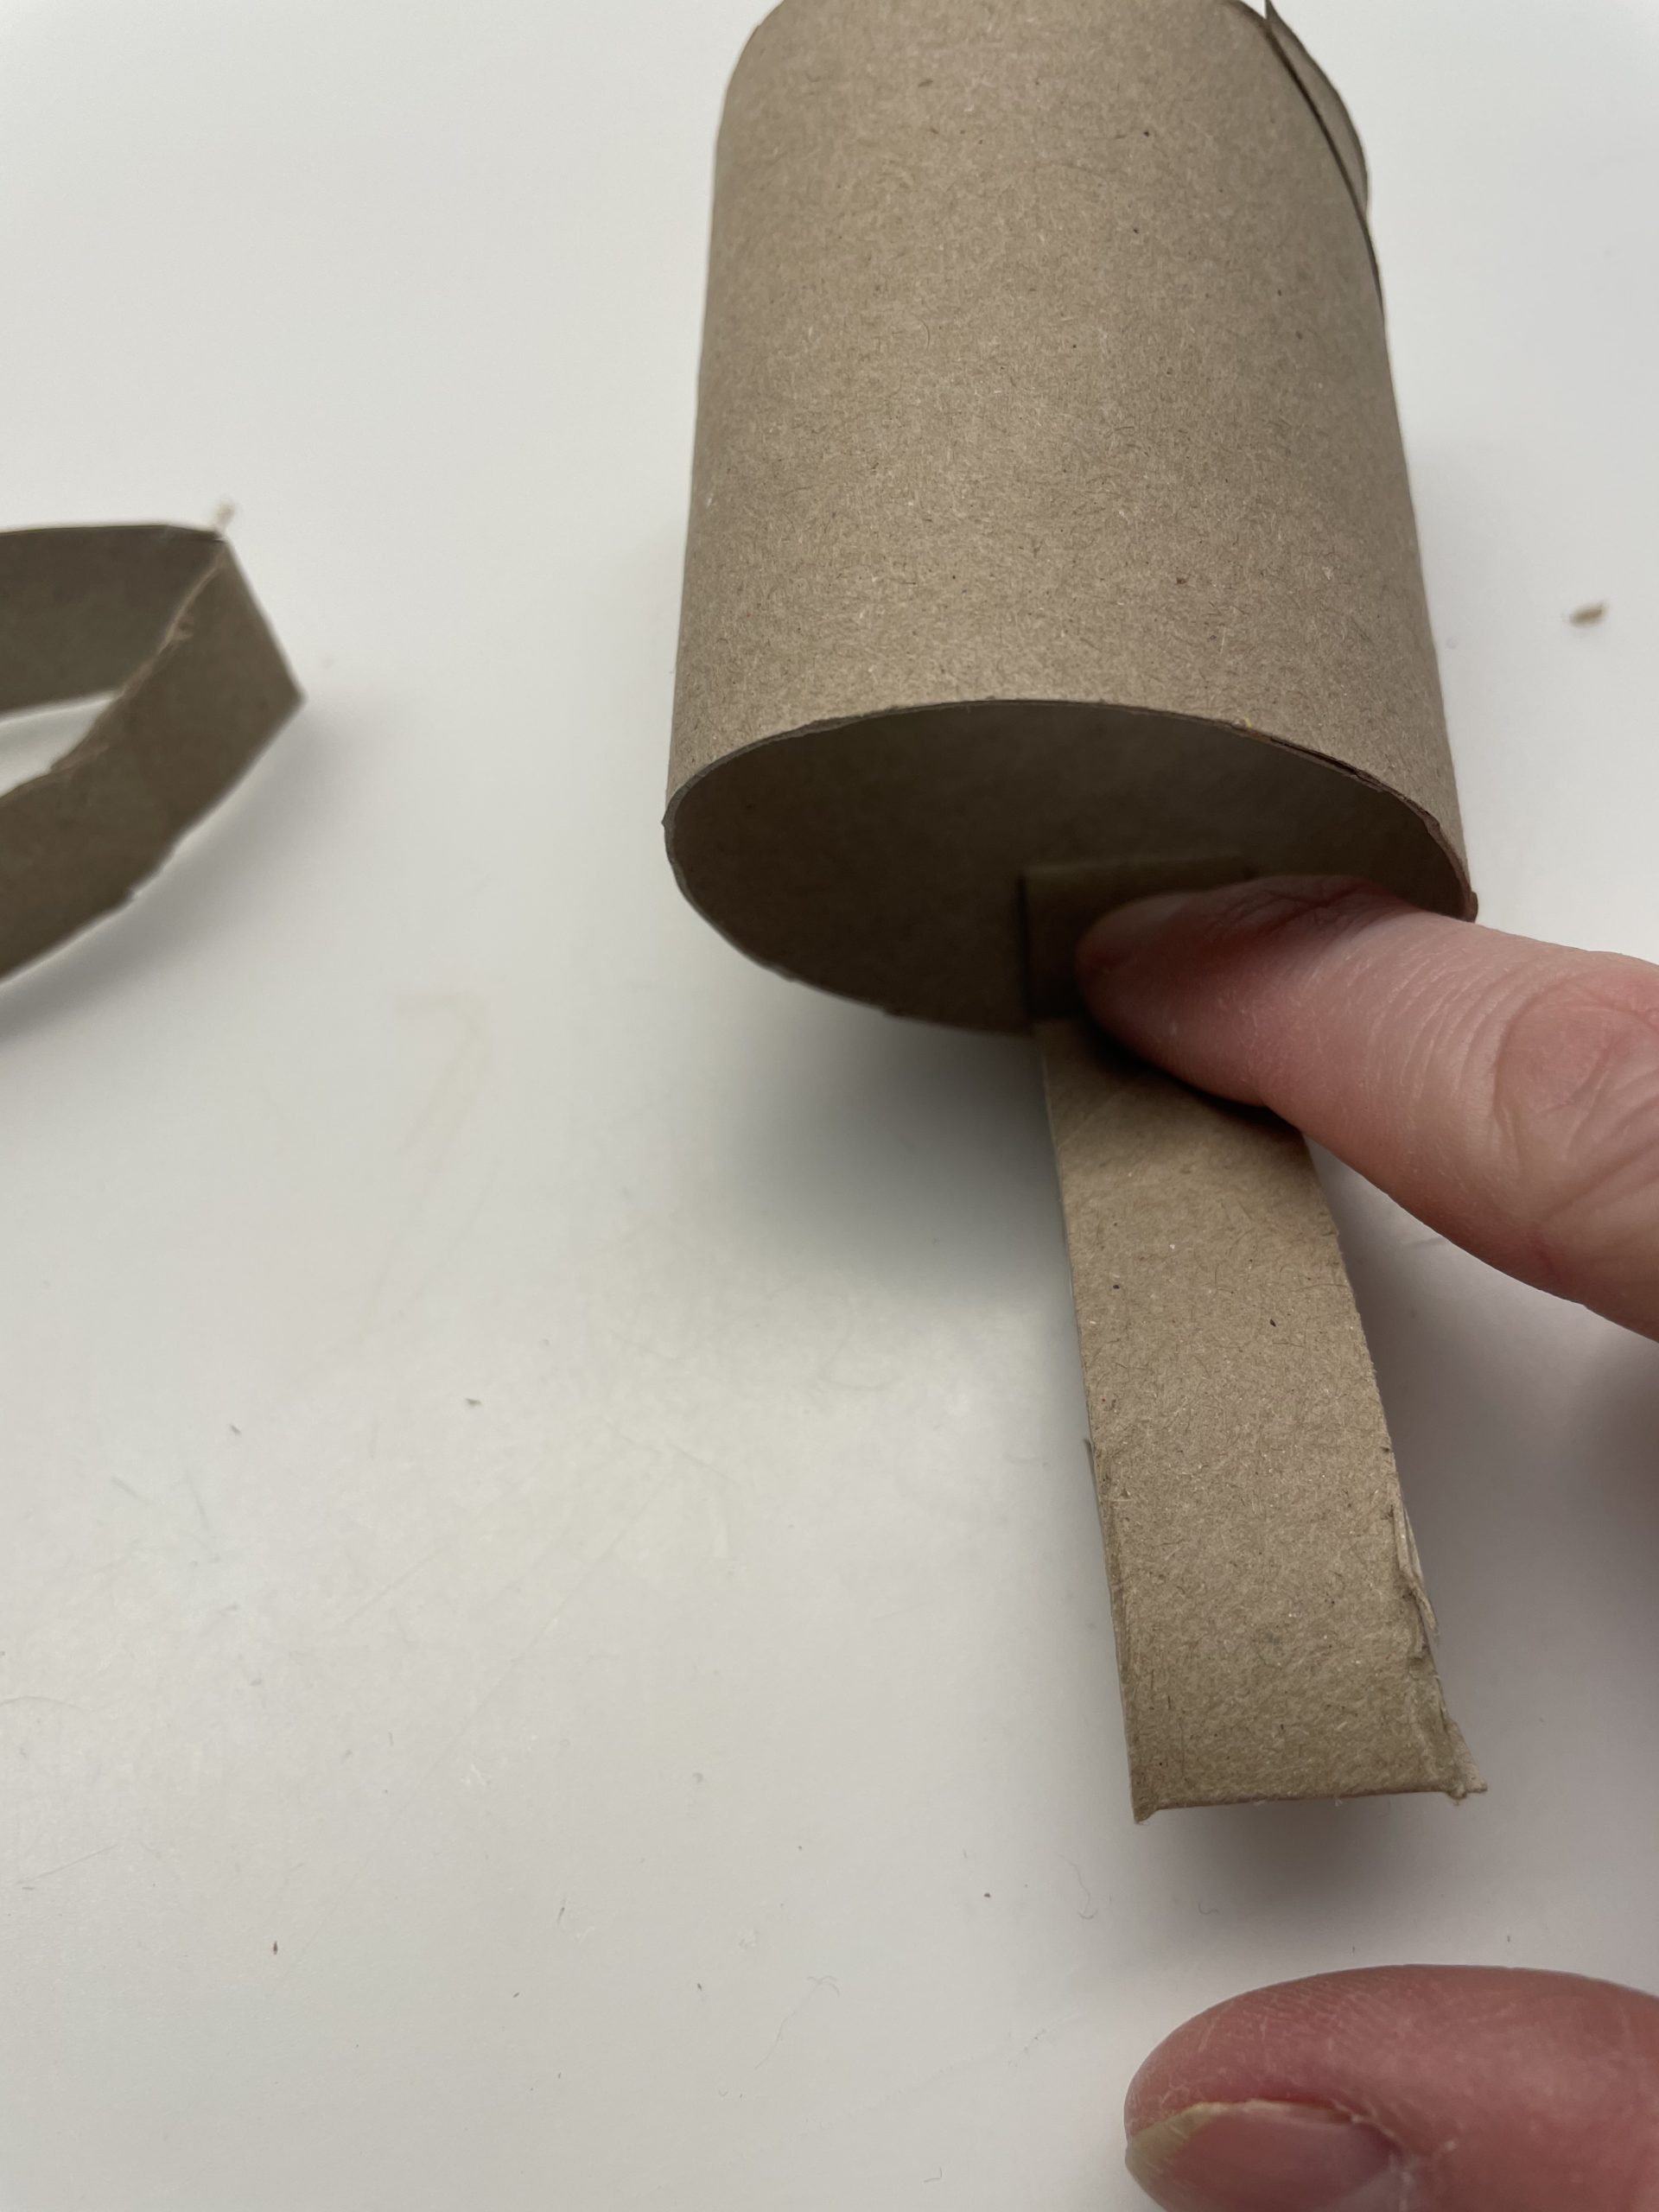
Bild zum Schritt 6 für das Bastel- und DIY-Abenteuer für Kinder: 'Legt die Papprolle flach auf die Unterlage. Dann klebt ihr...'

7

You can also use the hot glue gun.
Attention: Let us help you with this - risk of injury!
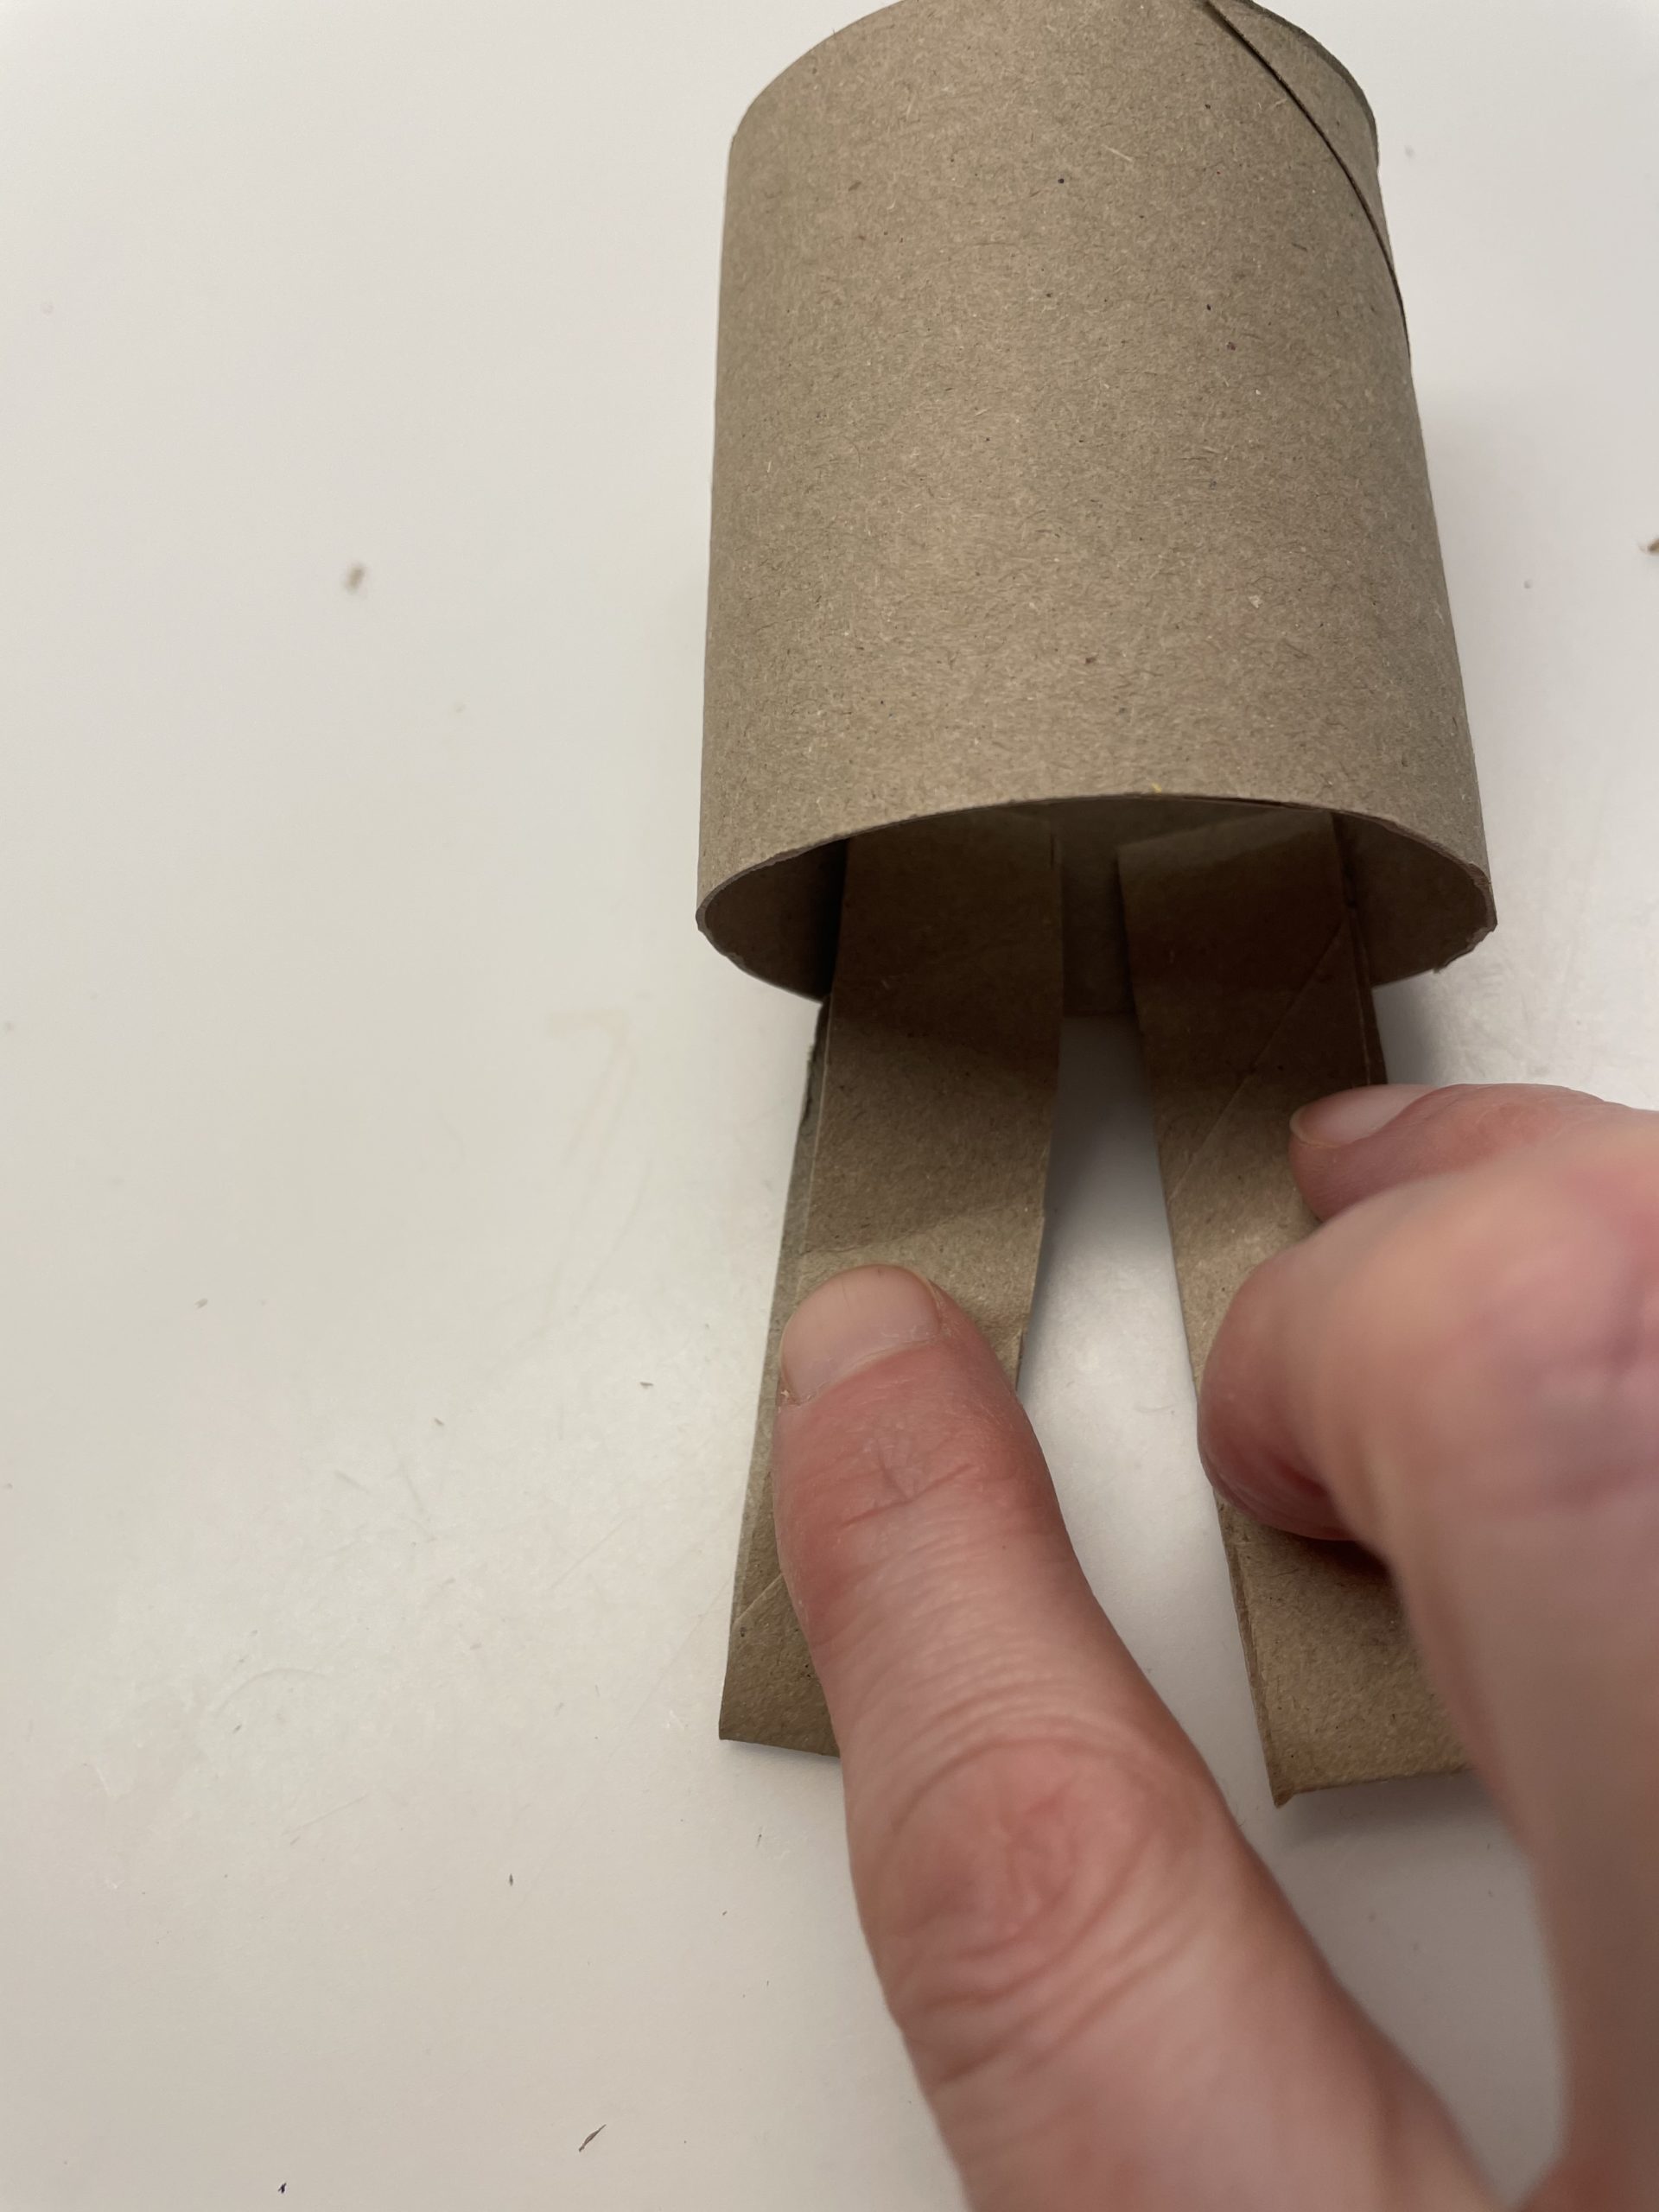
Bild zum Schritt 7 für das Bastel- und DIY-Abenteuer für Kinder: 'Ihr könnt dazu auch die Heißklebepistole verwenden.   Achtung:...'

8

Now you put the cardboard roll back up.
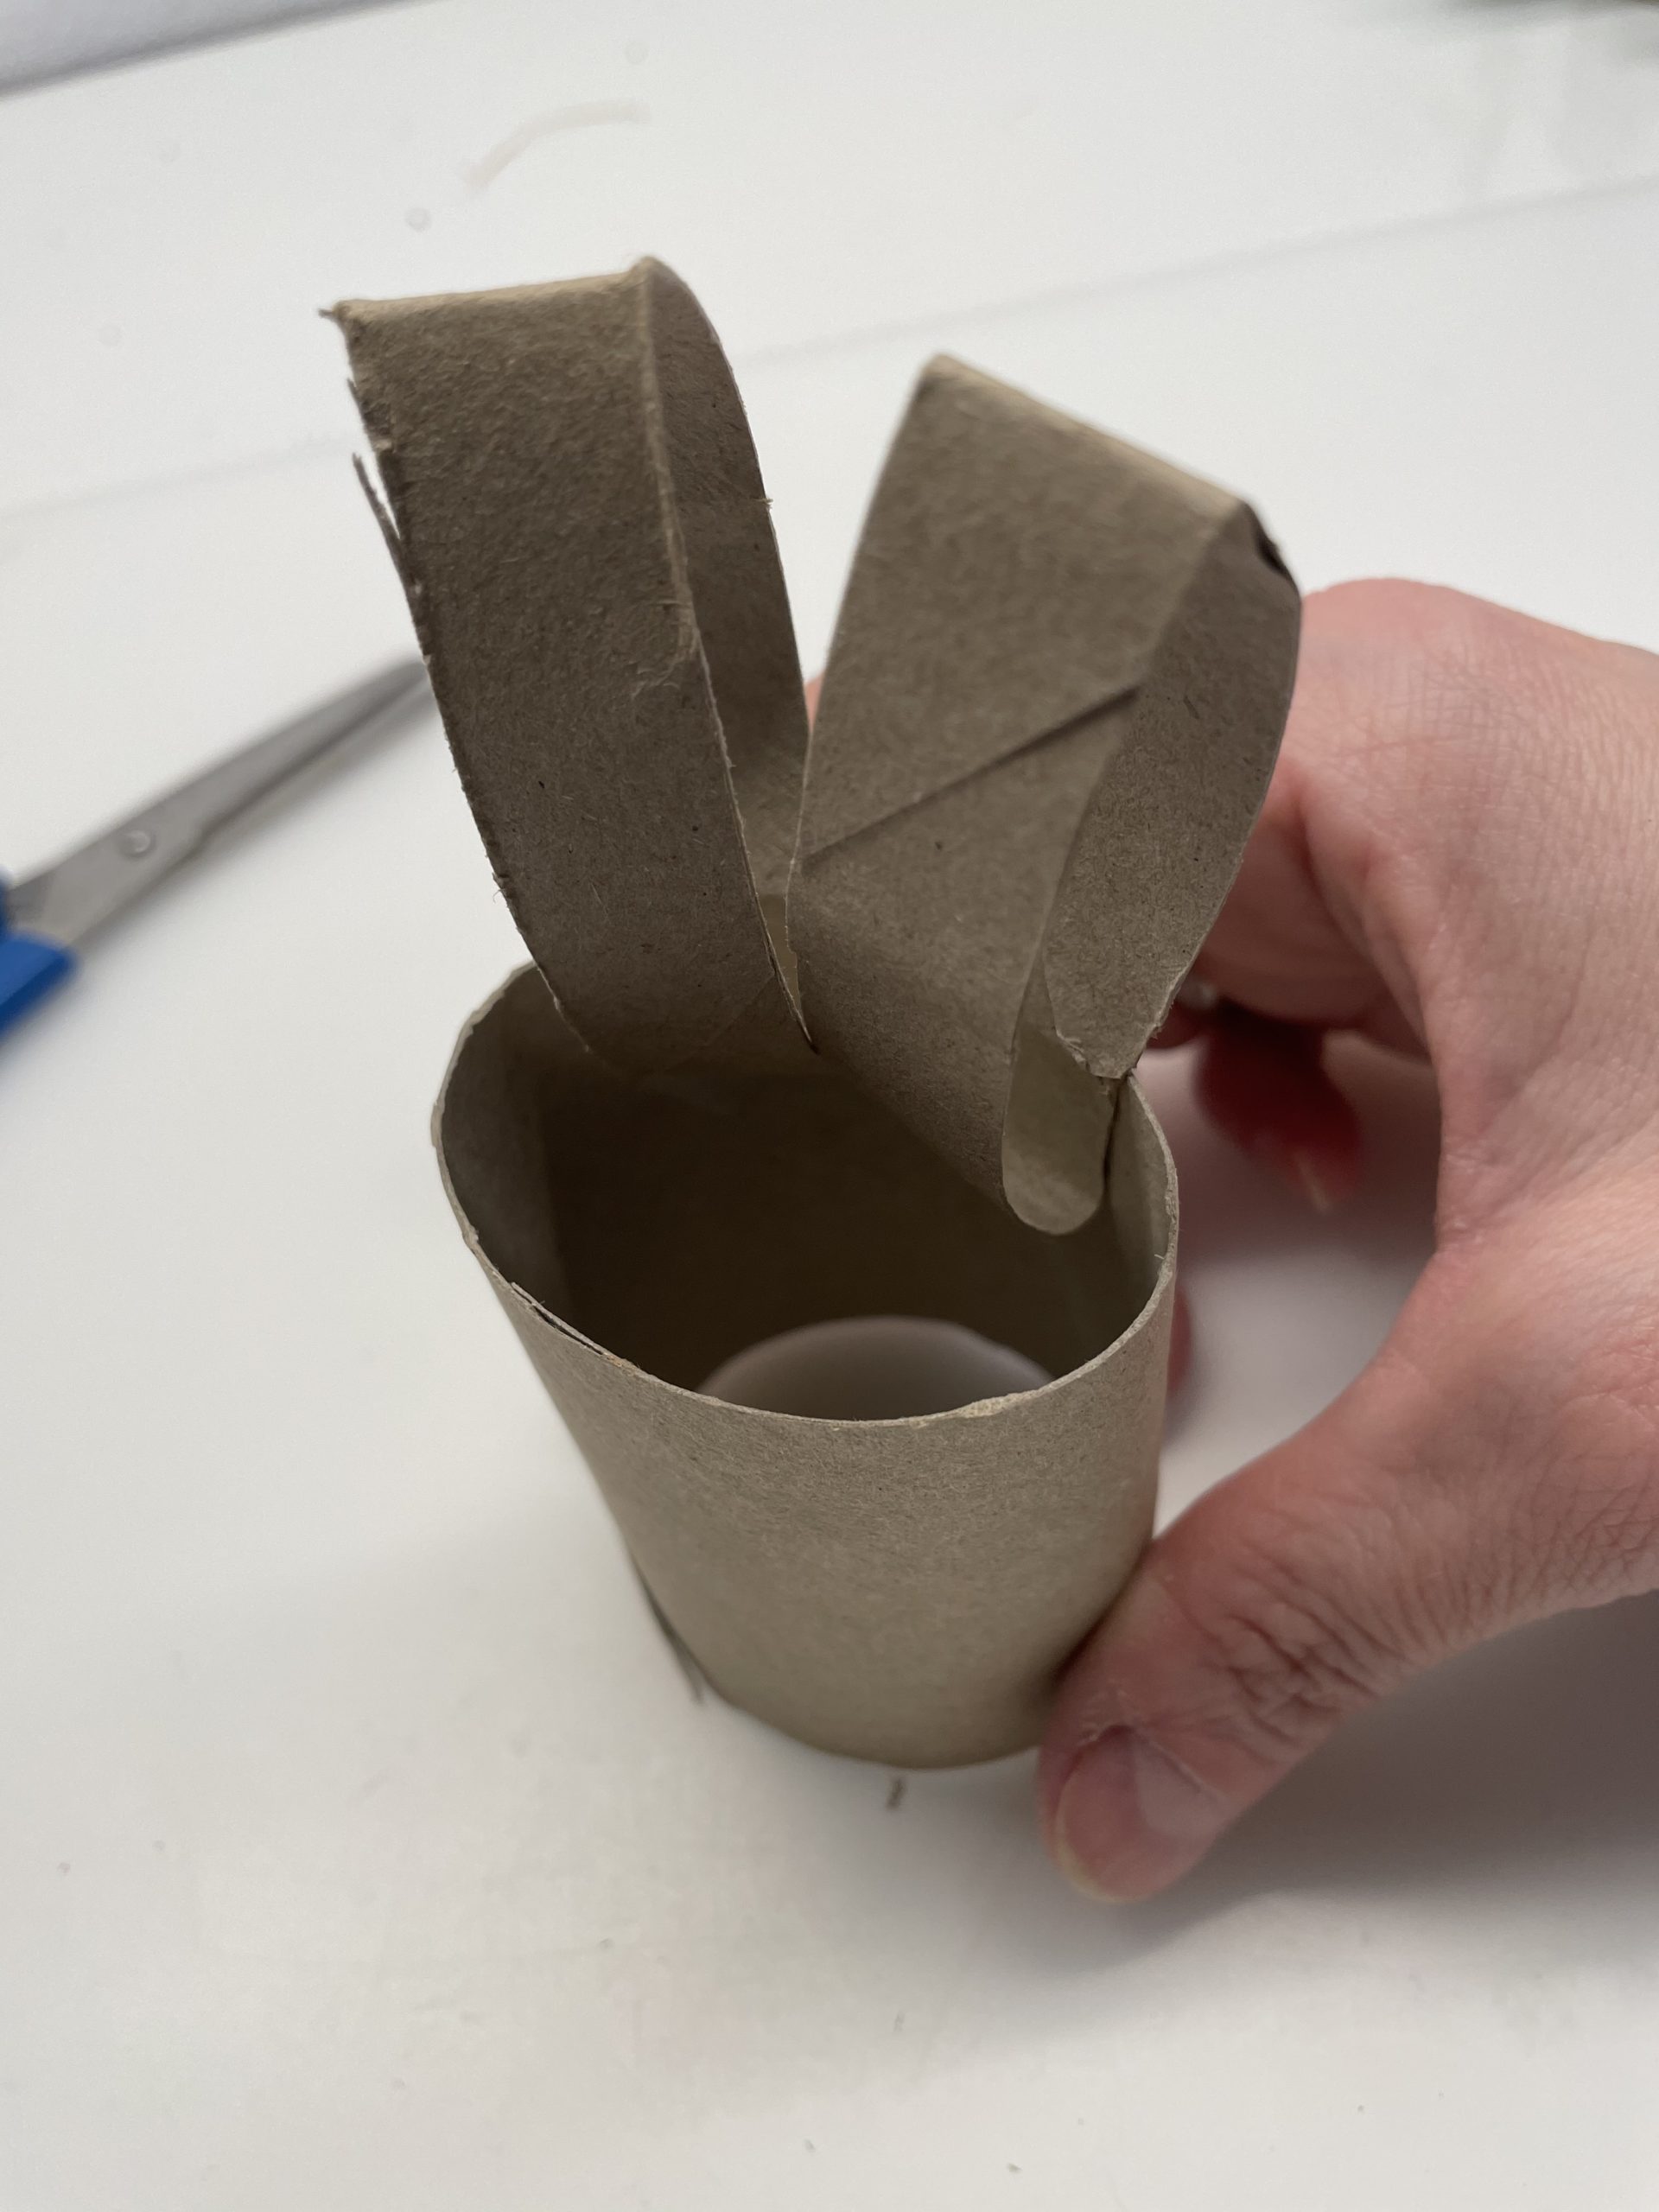
Bild zum Schritt 8 für das Bastel- und DIY-Abenteuer für Kinder: 'Jetzt stellt ihr die Papprolle wieder auf.'

9

Sticks the tail of the rabbit on the cardboard roll opposite the side with the ears. Here you will find the manual for the Haretails.

Bild zum Schritt 9 für das Bastel- und DIY-Abenteuer für Kinder: 'Klebt gegenüber der Seite mit den Ohren den Schwanz des...'

10

2. Bild zum Schritt 9 für das Bastel- und DIY-Abenteuer für Kinder: 'Klebt gegenüber der Seite mit den Ohren den Schwanz des...'

11

3. Bild zum Schritt 10 für das Bastel- und DIY-Abenteuer für Kinder: 'Klebt gegenüber der Seite mit den Ohren den Schwanz des...'

12

The face of the rabbit is now missing on the front.

Bild zum Schritt 12 für das Bastel- und DIY-Abenteuer für Kinder: 'Auf der Vorderseite fehlt nun noch das Gesicht des Hasen.'

13

For this you paint your eyes on the cardboard roll with a felt pen. These should sit in the middle under the ears.

Bild zum Schritt 13 für das Bastel- und DIY-Abenteuer für Kinder: 'Dafür malt ihr mit einem Filzstift die Augen auf die...'

14

Now you cut off three 5cm long threads of wool. Tip: use the same wool that you used for the tail.
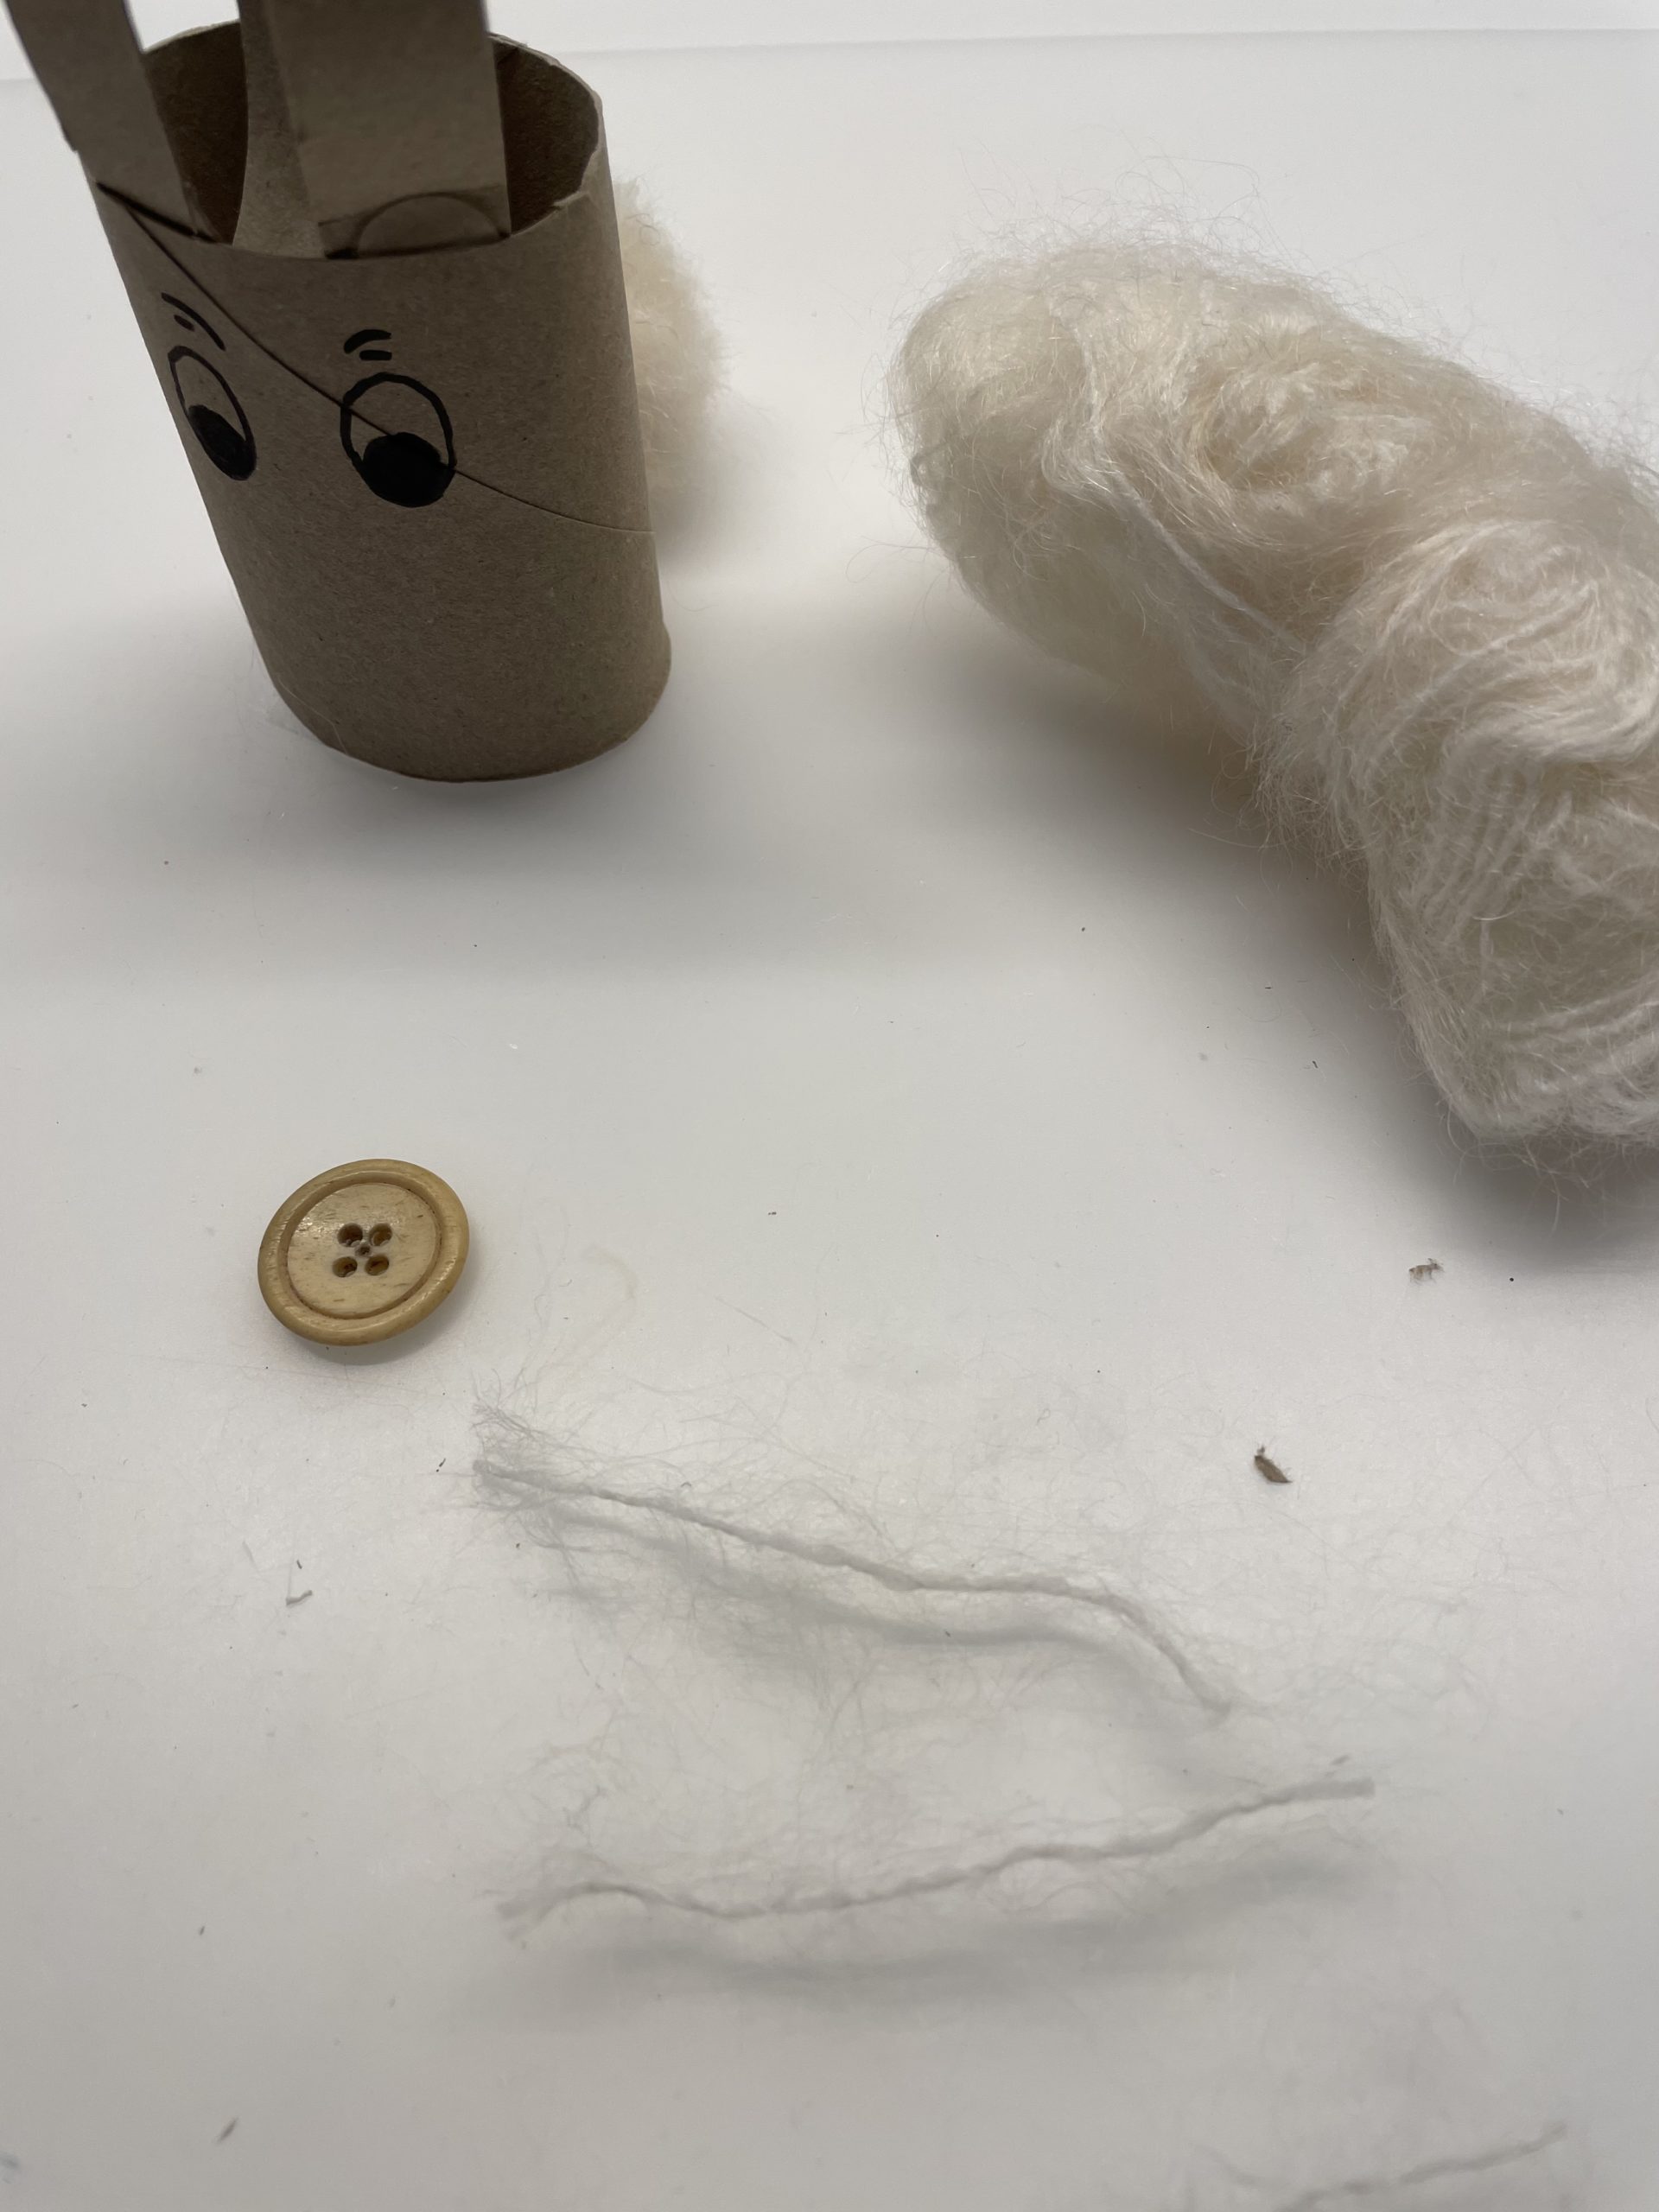
Bild zum Schritt 14 für das Bastel- und DIY-Abenteuer für Kinder: 'Jetzt schneidet ihr drei 5cm lange Fäden der Wolle ab....'

15

First you make a glue point in the middle below the eyes. On this you stick the three woolen threads. Make sure that they survive the same length on both sides.
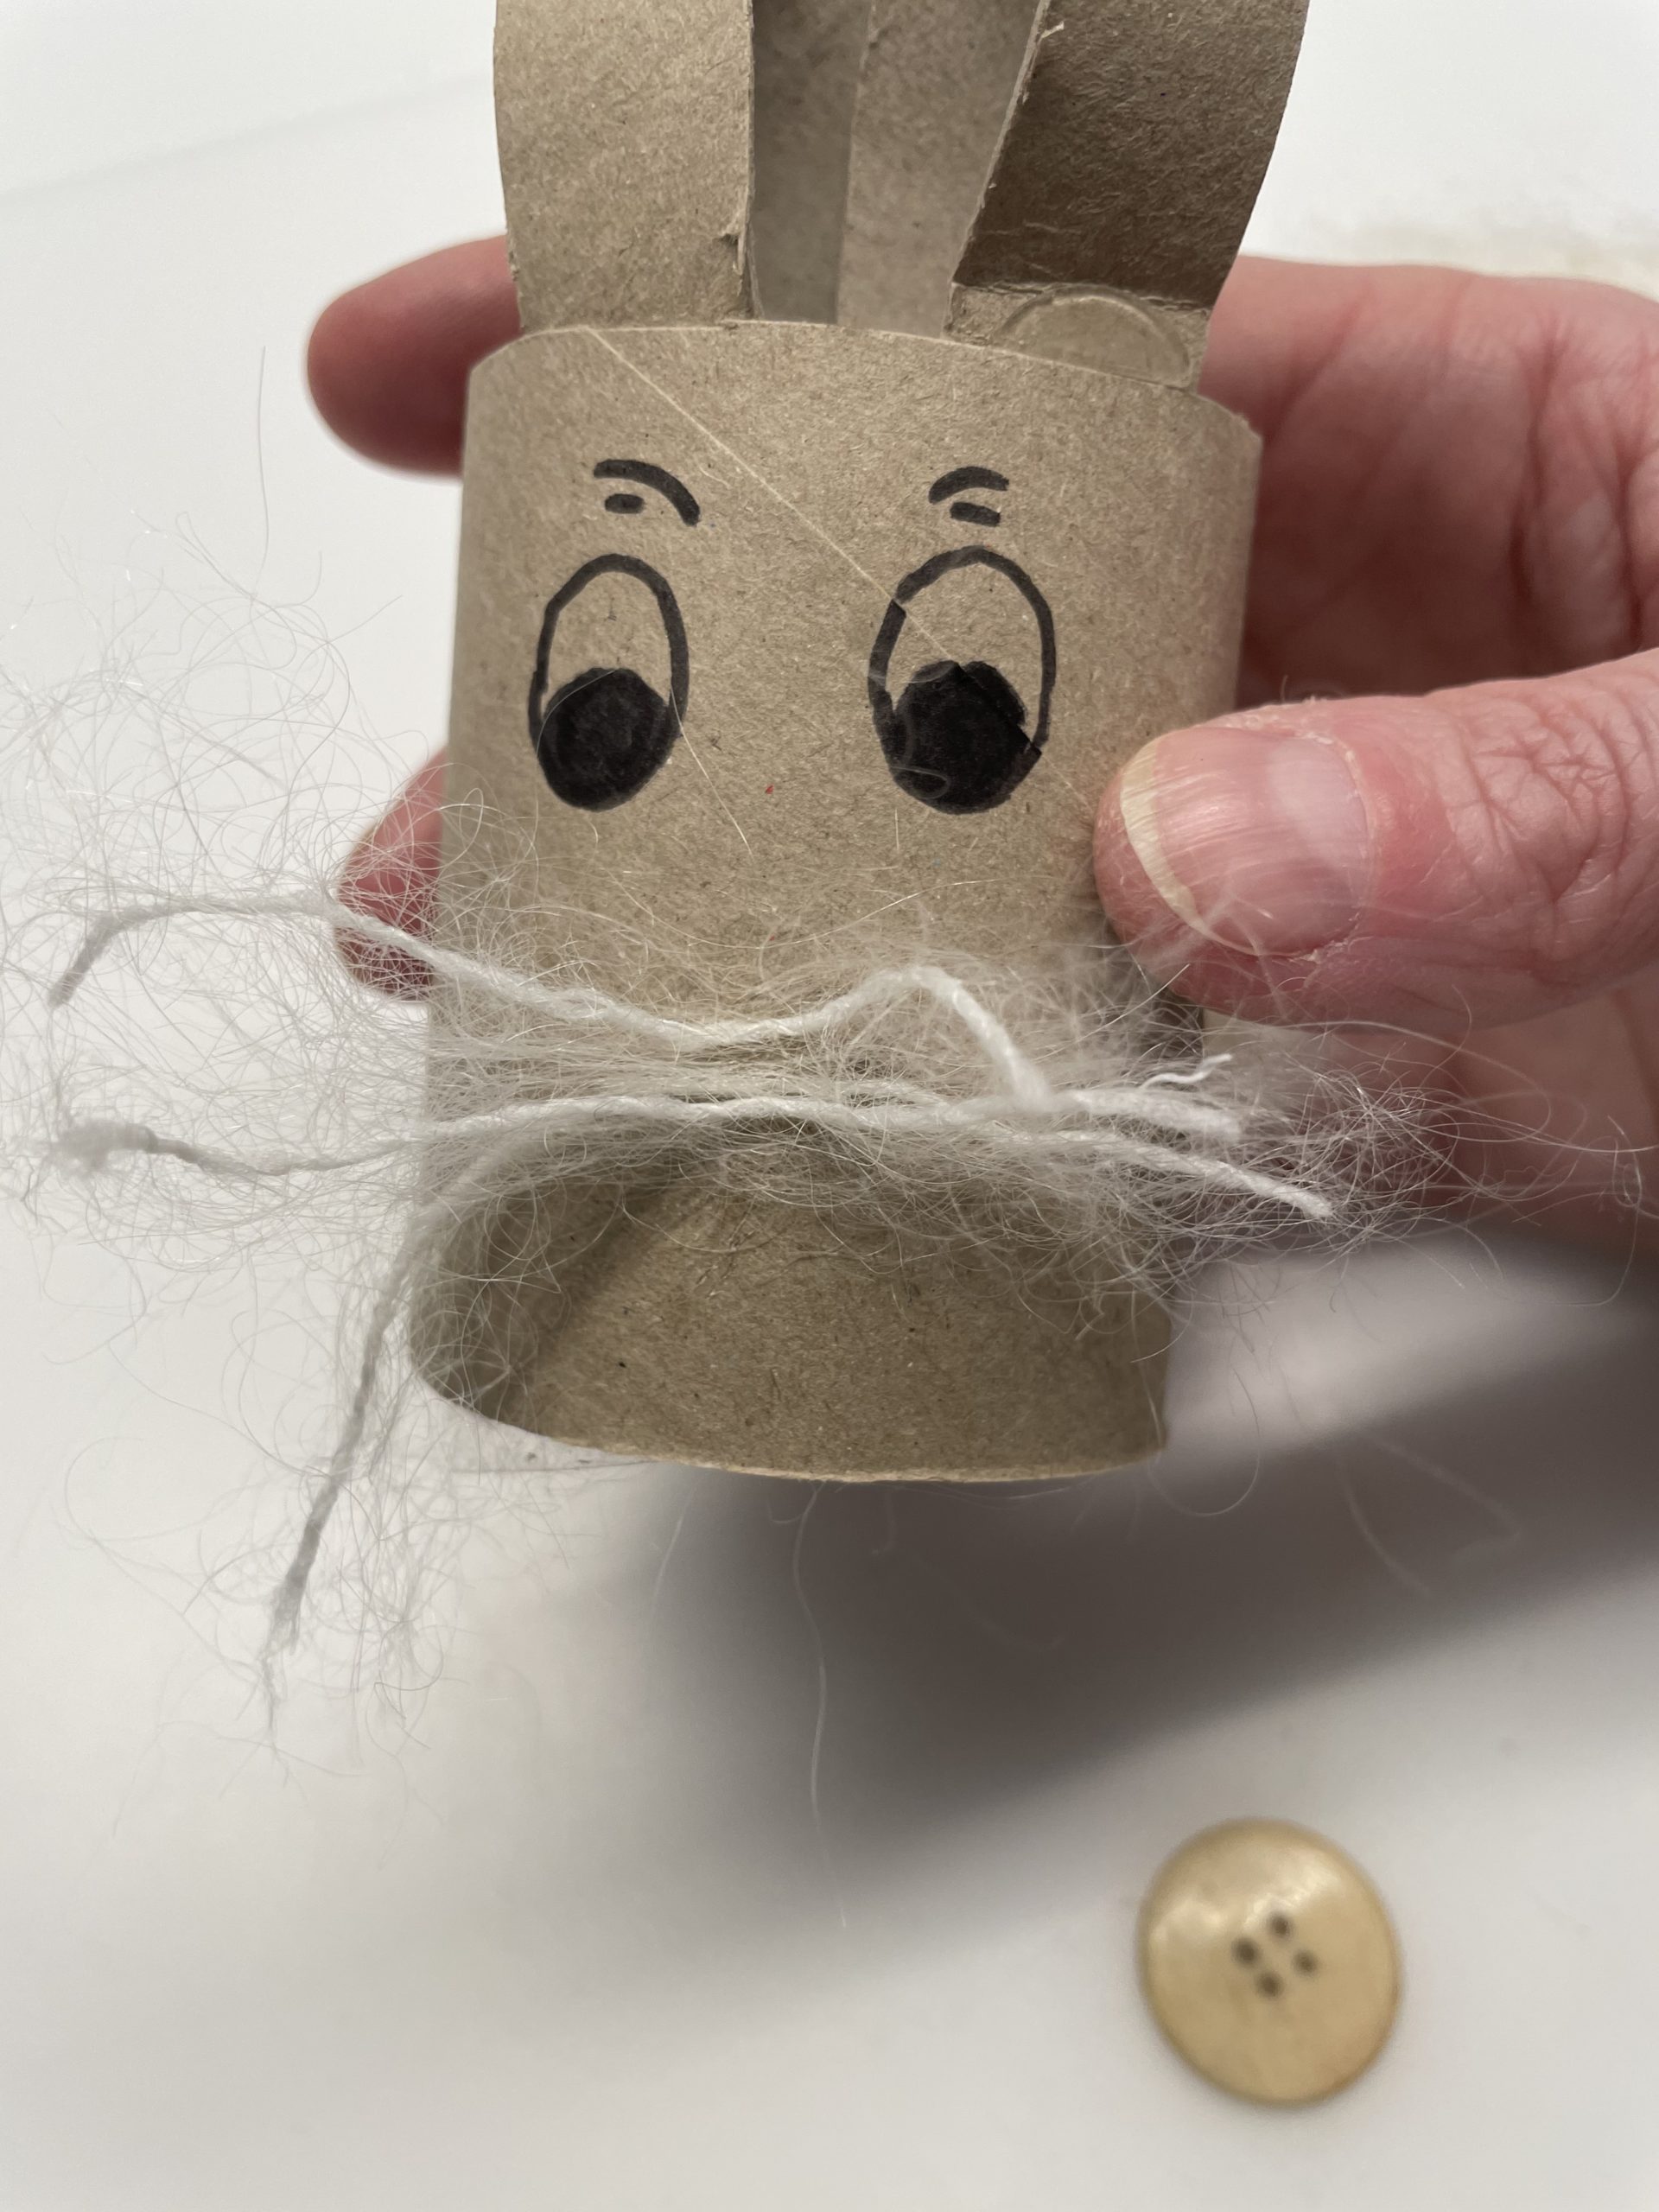
Bild zum Schritt 15 für das Bastel- und DIY-Abenteuer für Kinder: 'Zuerst macht ihr jetzt einen Klebepunkt in der Mitte unterhalb...'

16

Now you stick the button over the whiskers with the hot glue. Make sure that no hot glue is pouring through the buttonholes - you could burn yourself like this!
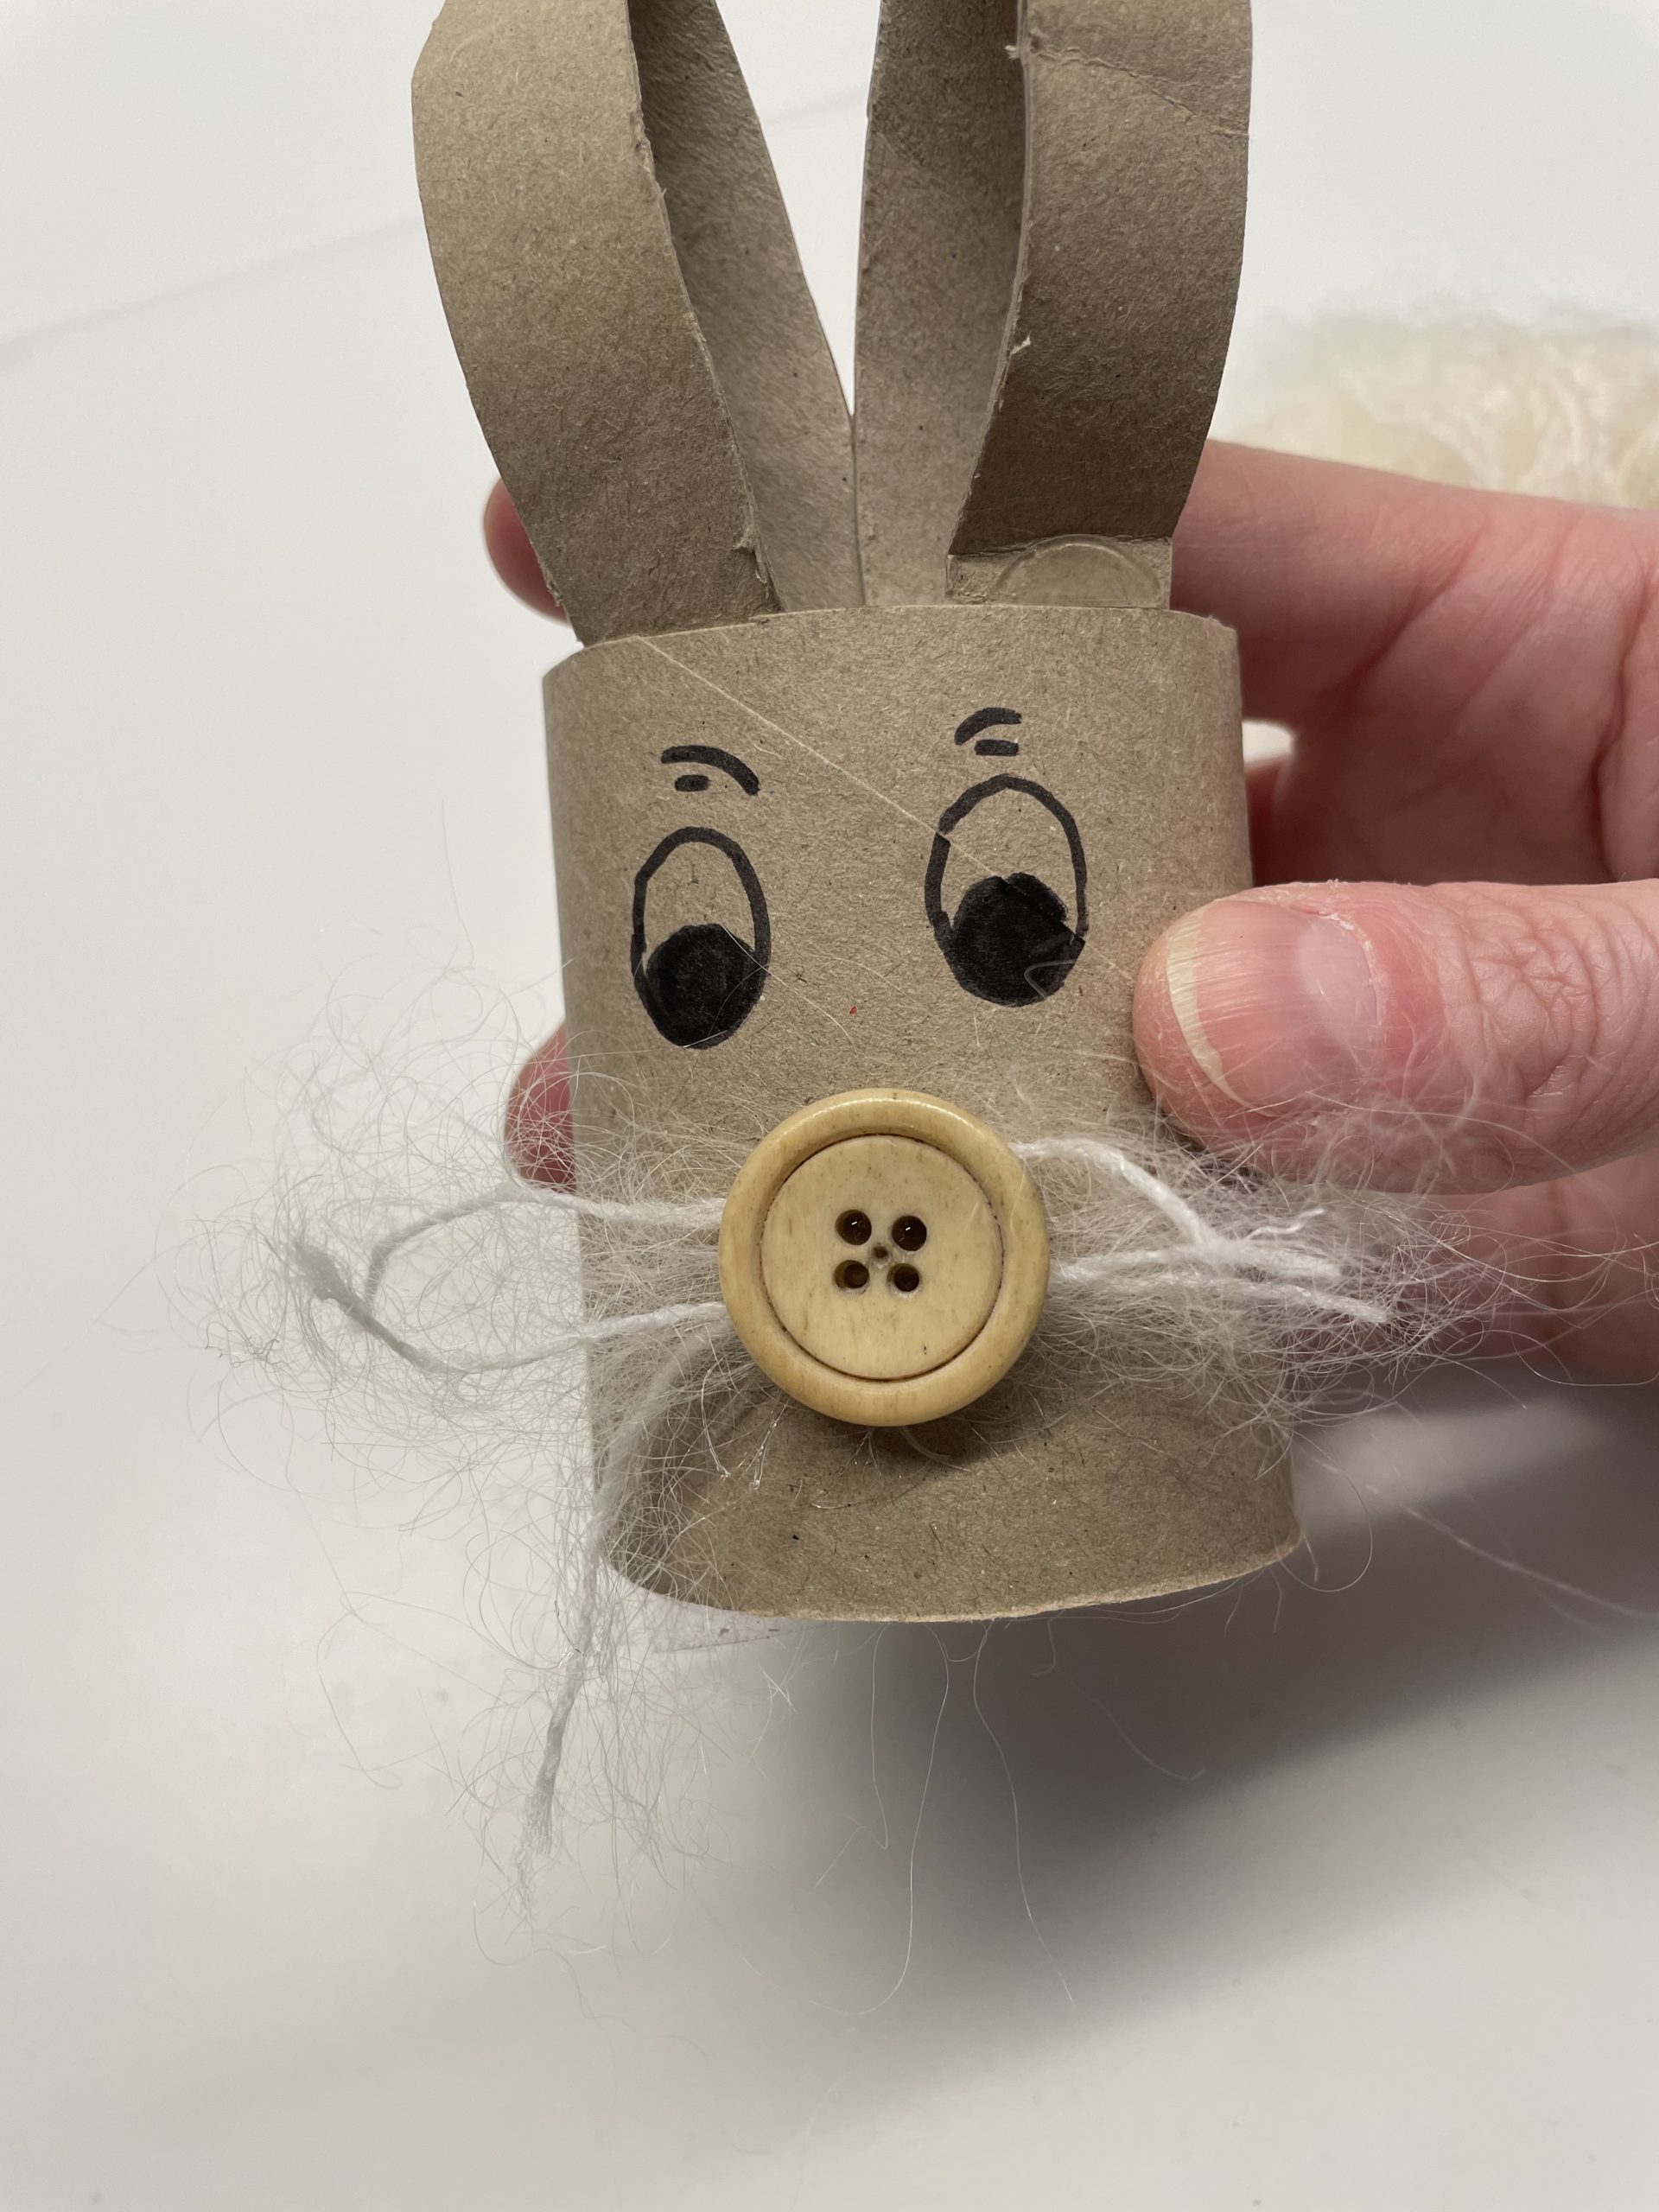
Bild zum Schritt 16 für das Bastel- und DIY-Abenteuer für Kinder: 'Nun klebt ihr mit dem Heißkleber den Knopf über die...'

17

Now our bunny is ready.

Bild zum Schritt 17 für das Bastel- und DIY-Abenteuer für Kinder: 'Fertig ist nun unser Häschen.'

2. Variants:
18

Now press the cardboard roll at the top of the ears flat.
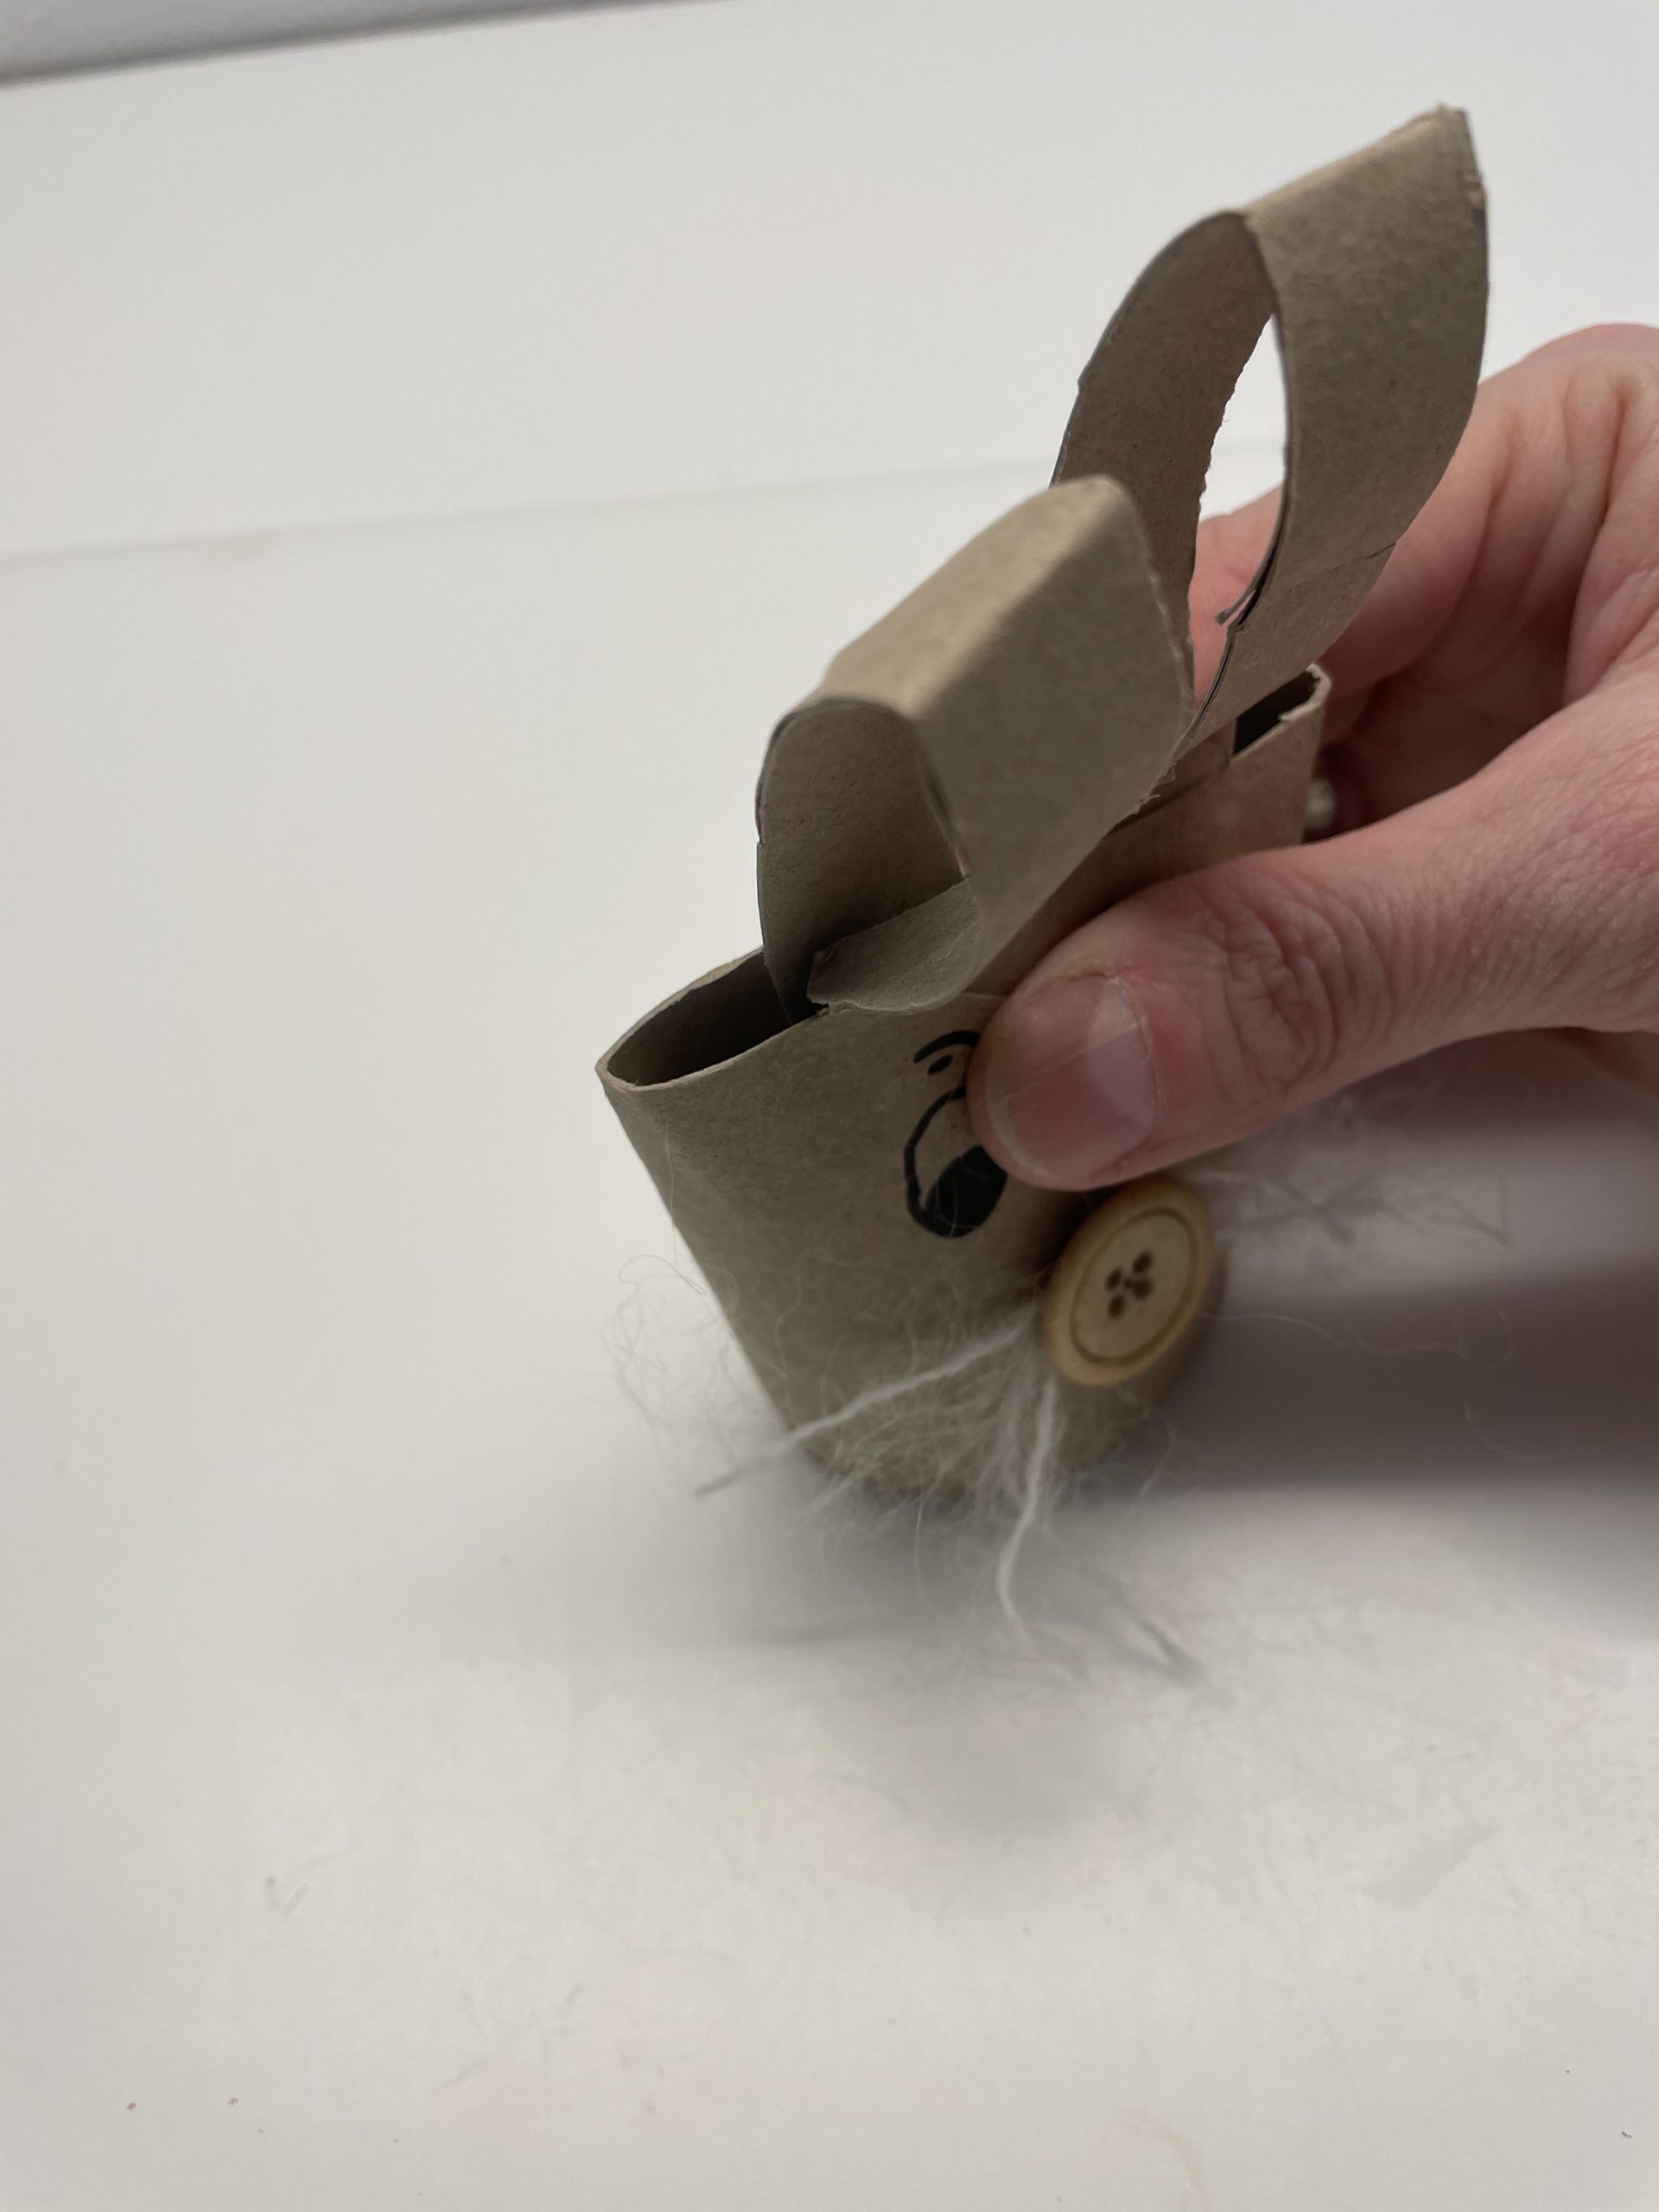
Bild zum Schritt 19 für das Bastel- und DIY-Abenteuer für Kinder: 'Drückt dafür jetzt die Papprolle oben bei den Ohren flach...'

19

Then glue the carton to the top with hot glue.
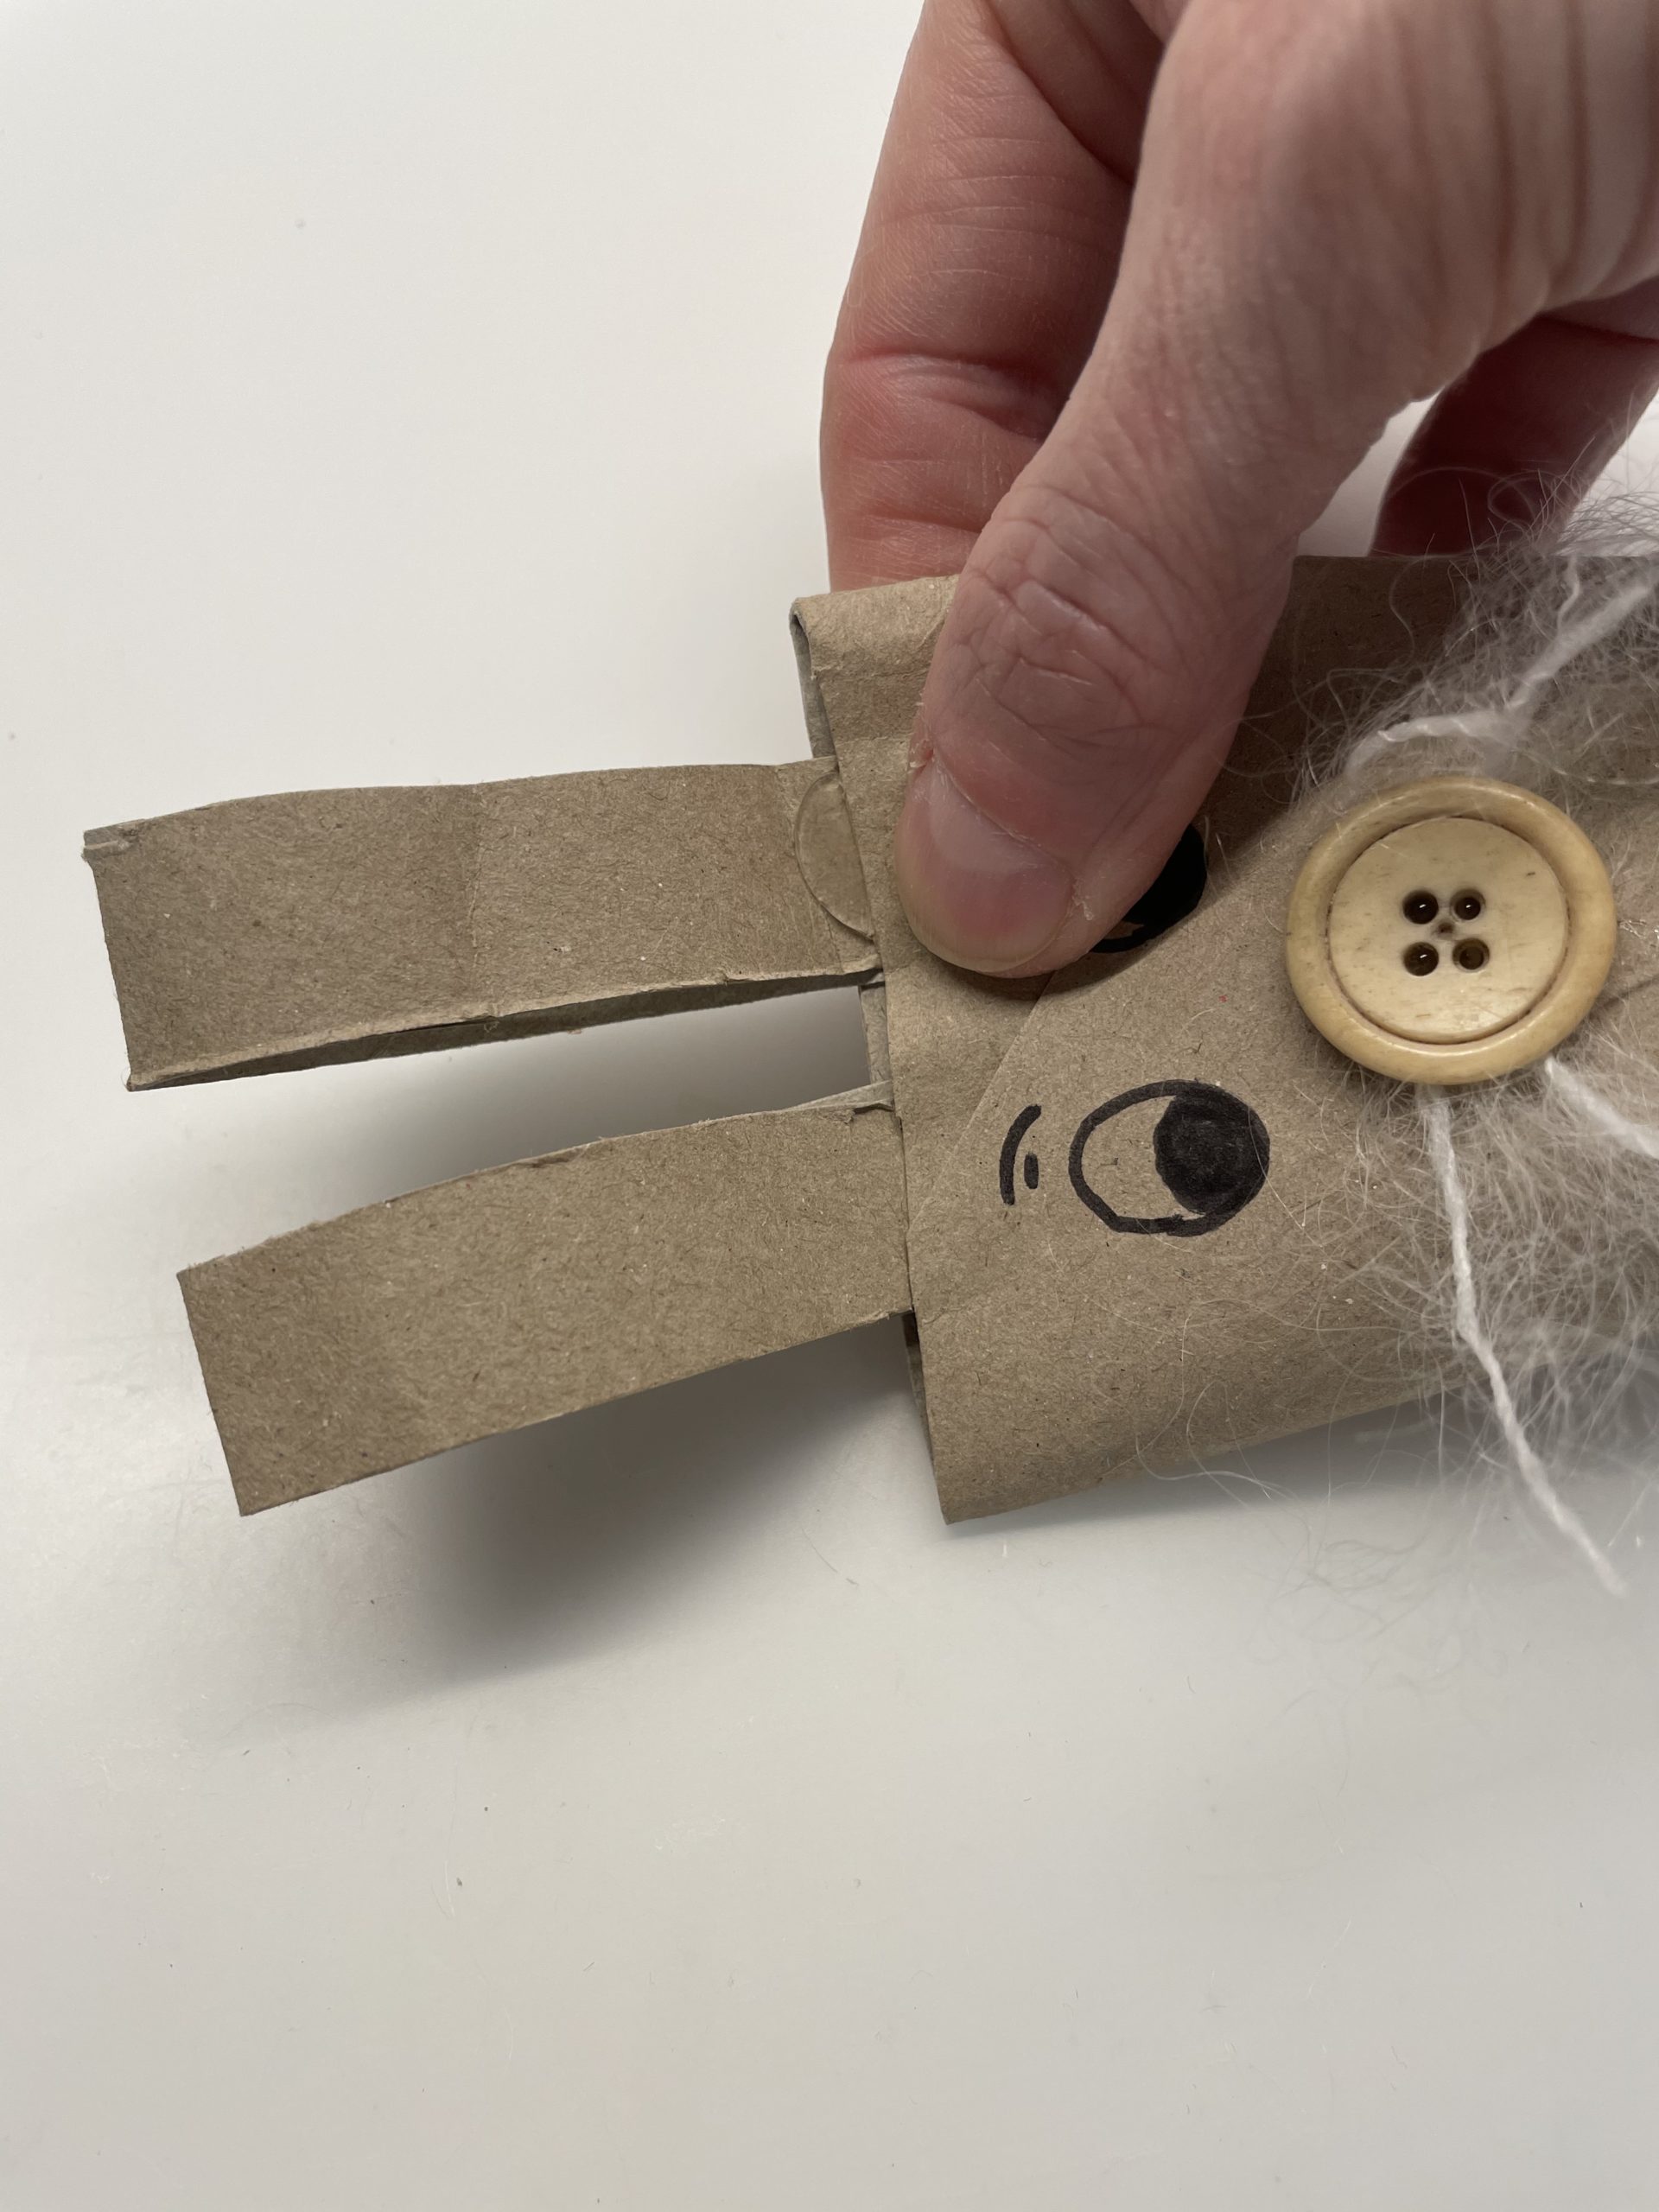
Bild zum Schritt 20 für das Bastel- und DIY-Abenteuer für Kinder: 'Dann klebt ihr den Karton am oberen Rand mit Heißkleber...'

20

The rabbit is ready.
Bends the ears, if necessary.
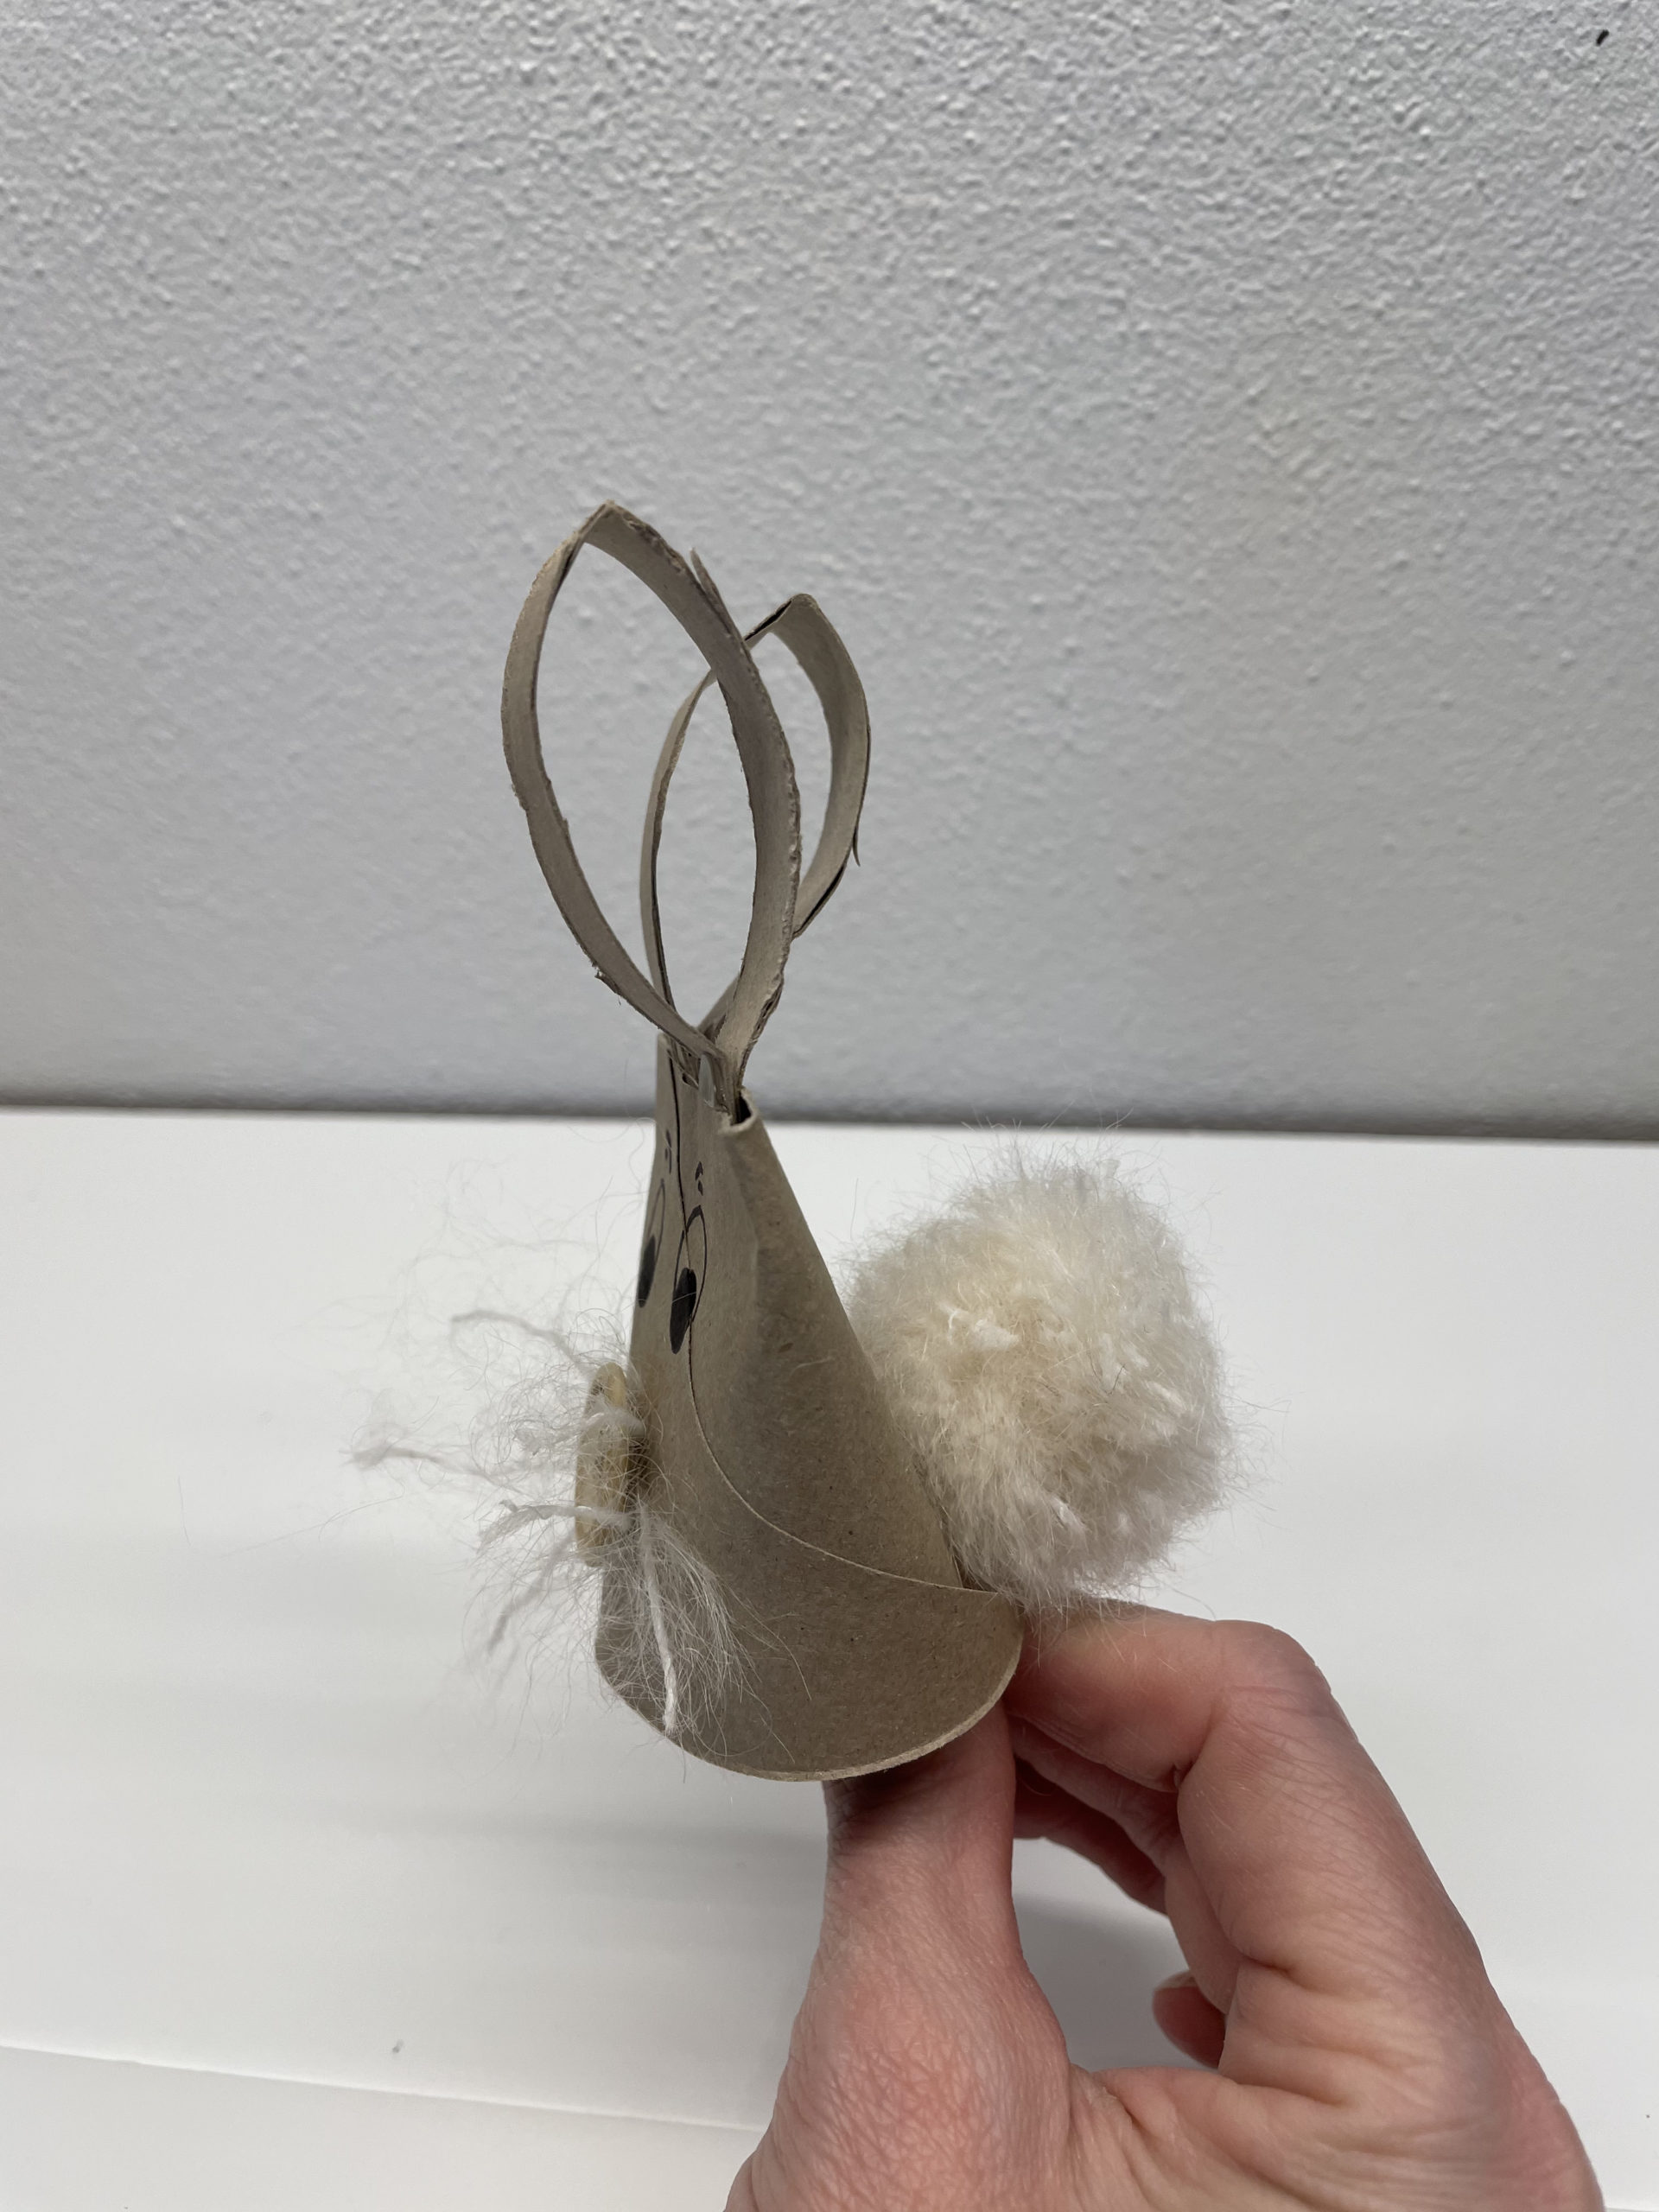
Bild zum Schritt 21 für das Bastel- und DIY-Abenteuer für Kinder: 'Fertig ist der Hase.   Biegt die Ohren evtl....'

21

Now find a nice place for the Easter bunny.

Bild zum Schritt 22 für das Bastel- und DIY-Abenteuer für Kinder: 'Jetzt sucht euch noch ein schönes Plätzchen für den Osterhasen.'

For the puppet show:
22

Another idea is to attach the rabbits to a branch or stick.
You can just put him on it, too.
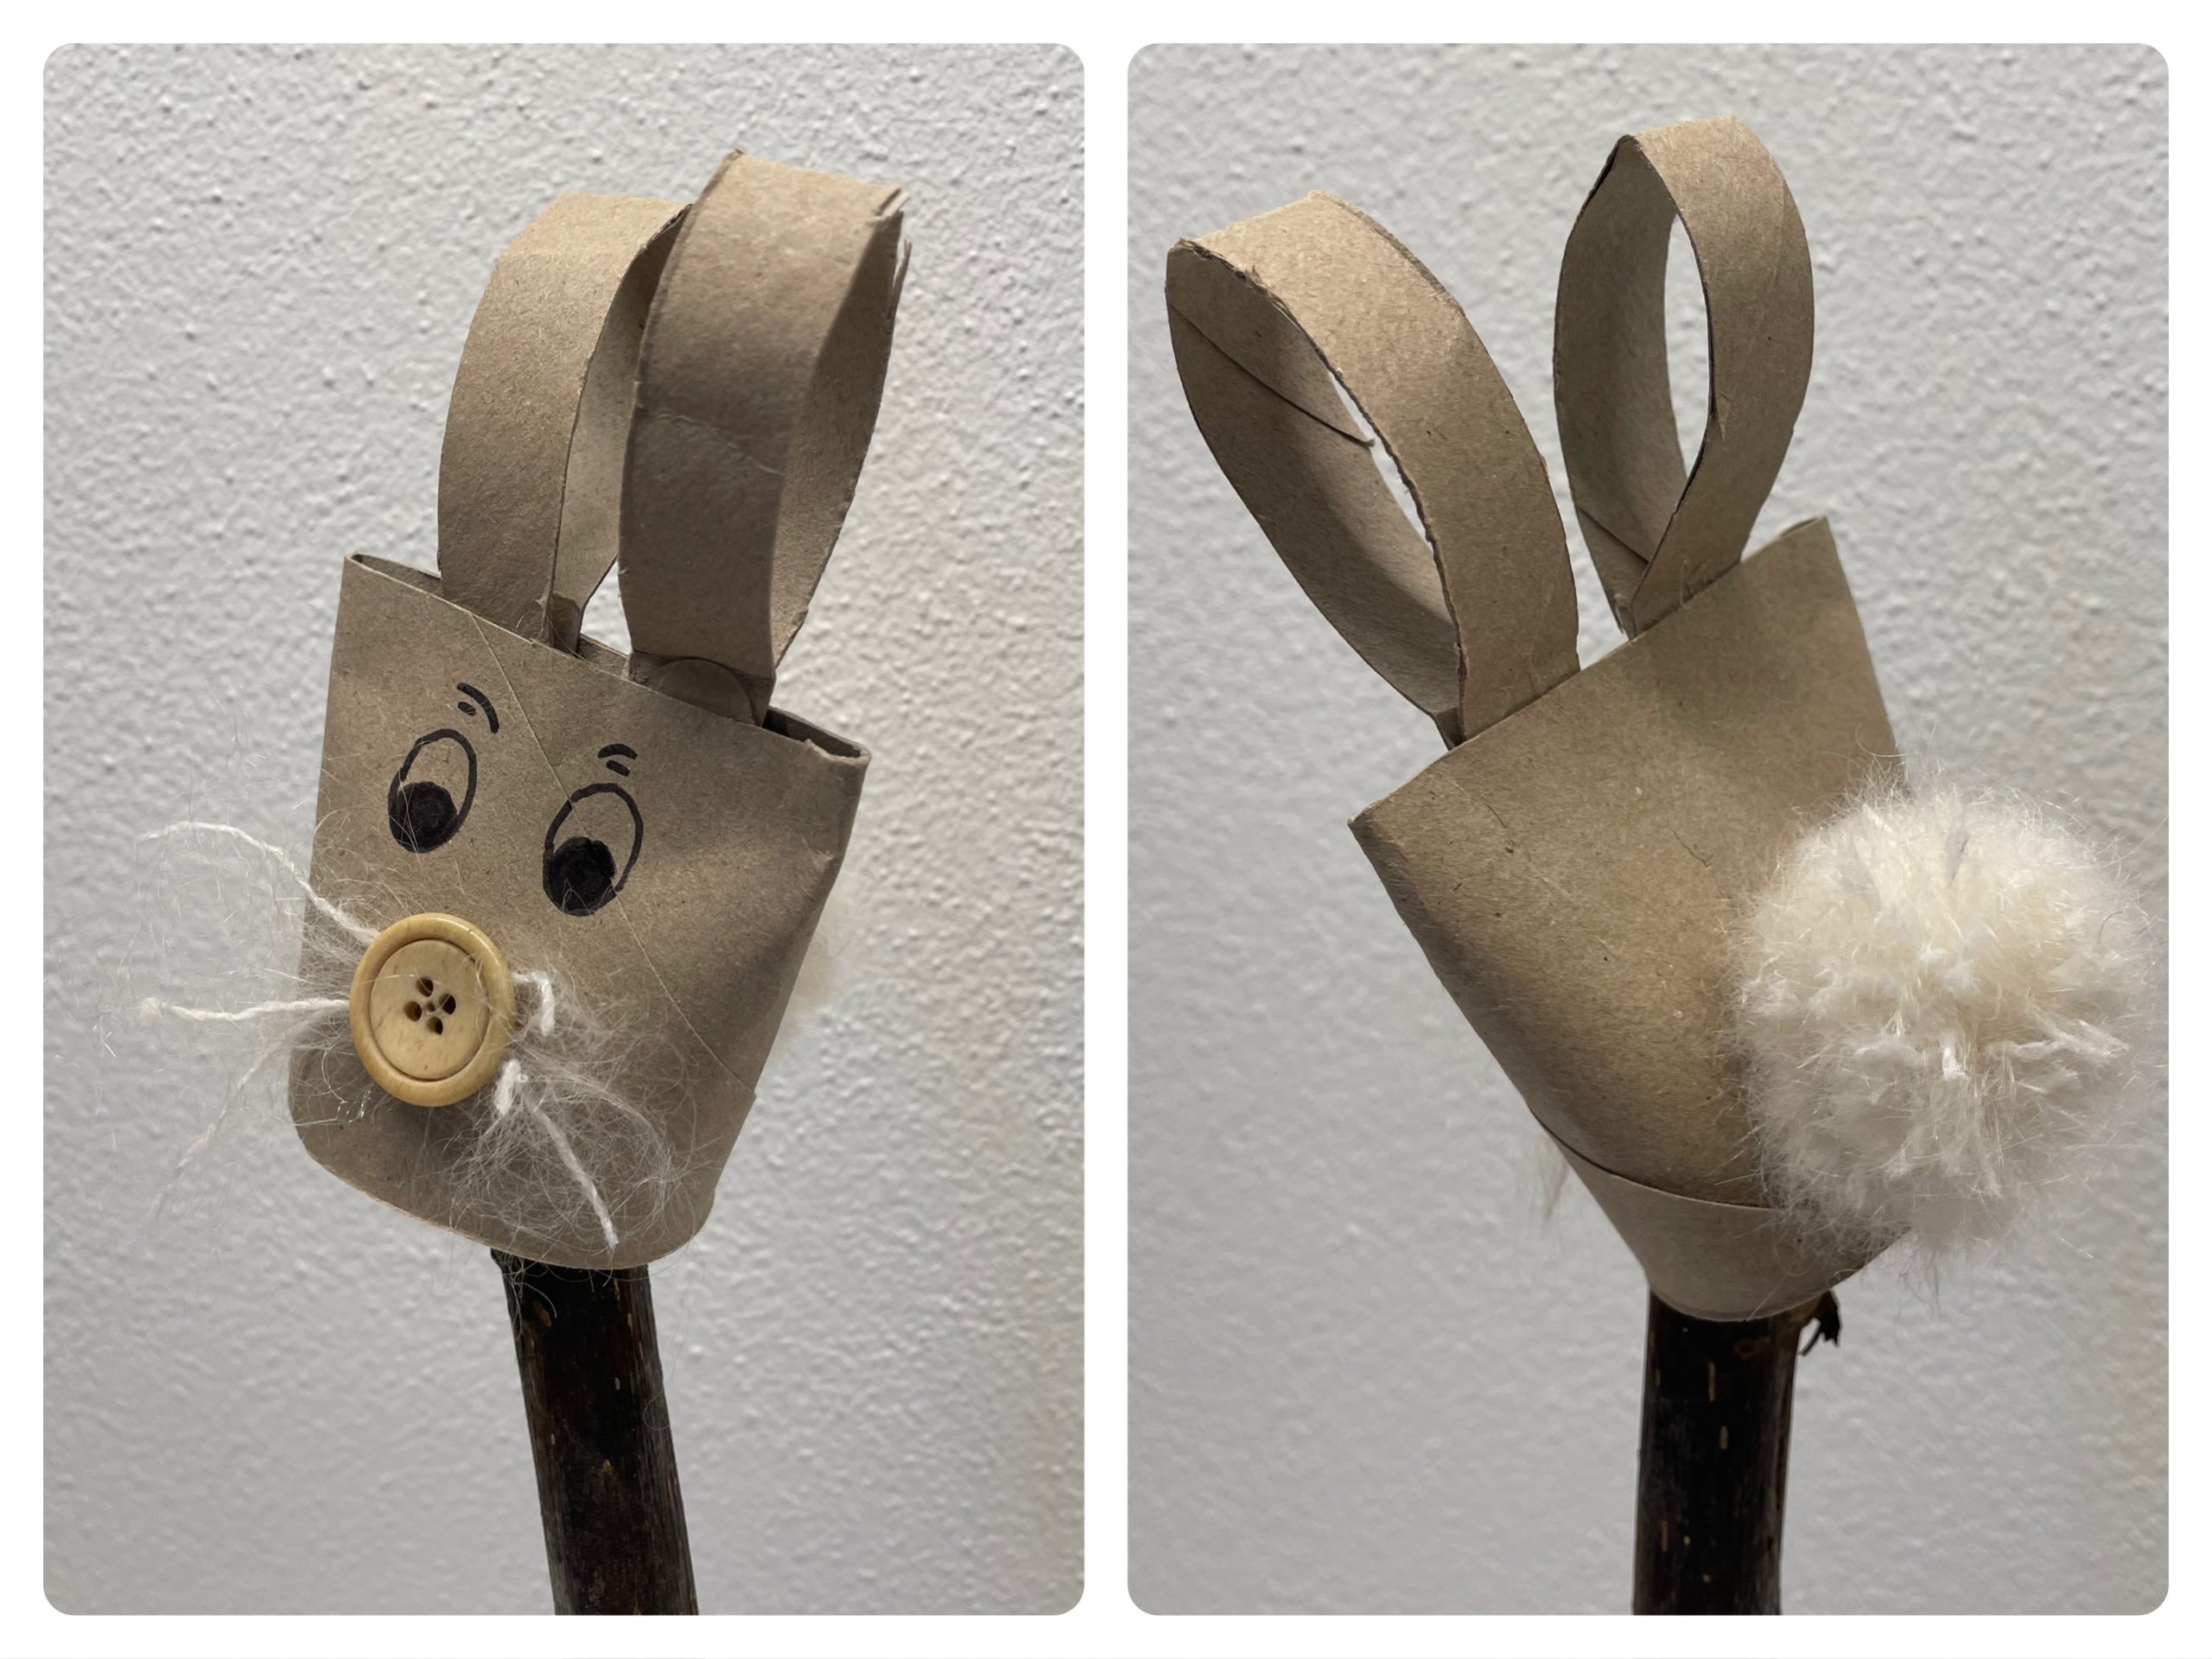
Bild zum Schritt 24 für das Bastel- und DIY-Abenteuer für Kinder: 'Eine weitere Idee ist es den Hasen auf einem Ast...'

23

Now you can use it as a figure for an Easter theatre or an Easter game.
Of course, you can put it in a flower pot or vase.

24

Stay creative!
Have fun doing crafts.

Easter bunny made of cardboard roll (3 ideas)

Follow us on Facebook , Instagram and Pinterest
Don't miss any more adventures: Our bottle mail

One Comment

Leave a Reply

Your email address will not be published.

The maximum upload file size: 5 MB. You can upload: image, document. Drop file here