This cute bunny consists of an empty tetrapack. Remove the coating from the packaging and you get a cardboard box. Through the inner coating (silver) you can give away baked bunnies or the like.
The template, as well as an illustrated guide of this Easter gift box can be found here.
Media Education for Kindergarten and Hort

Relief in everyday life, targeted promotion of individual children, independent learning and - without any pre-knowledge already usable by the youngest!
Get a crafting sheet ready. Set up your materials and you're ready to go.
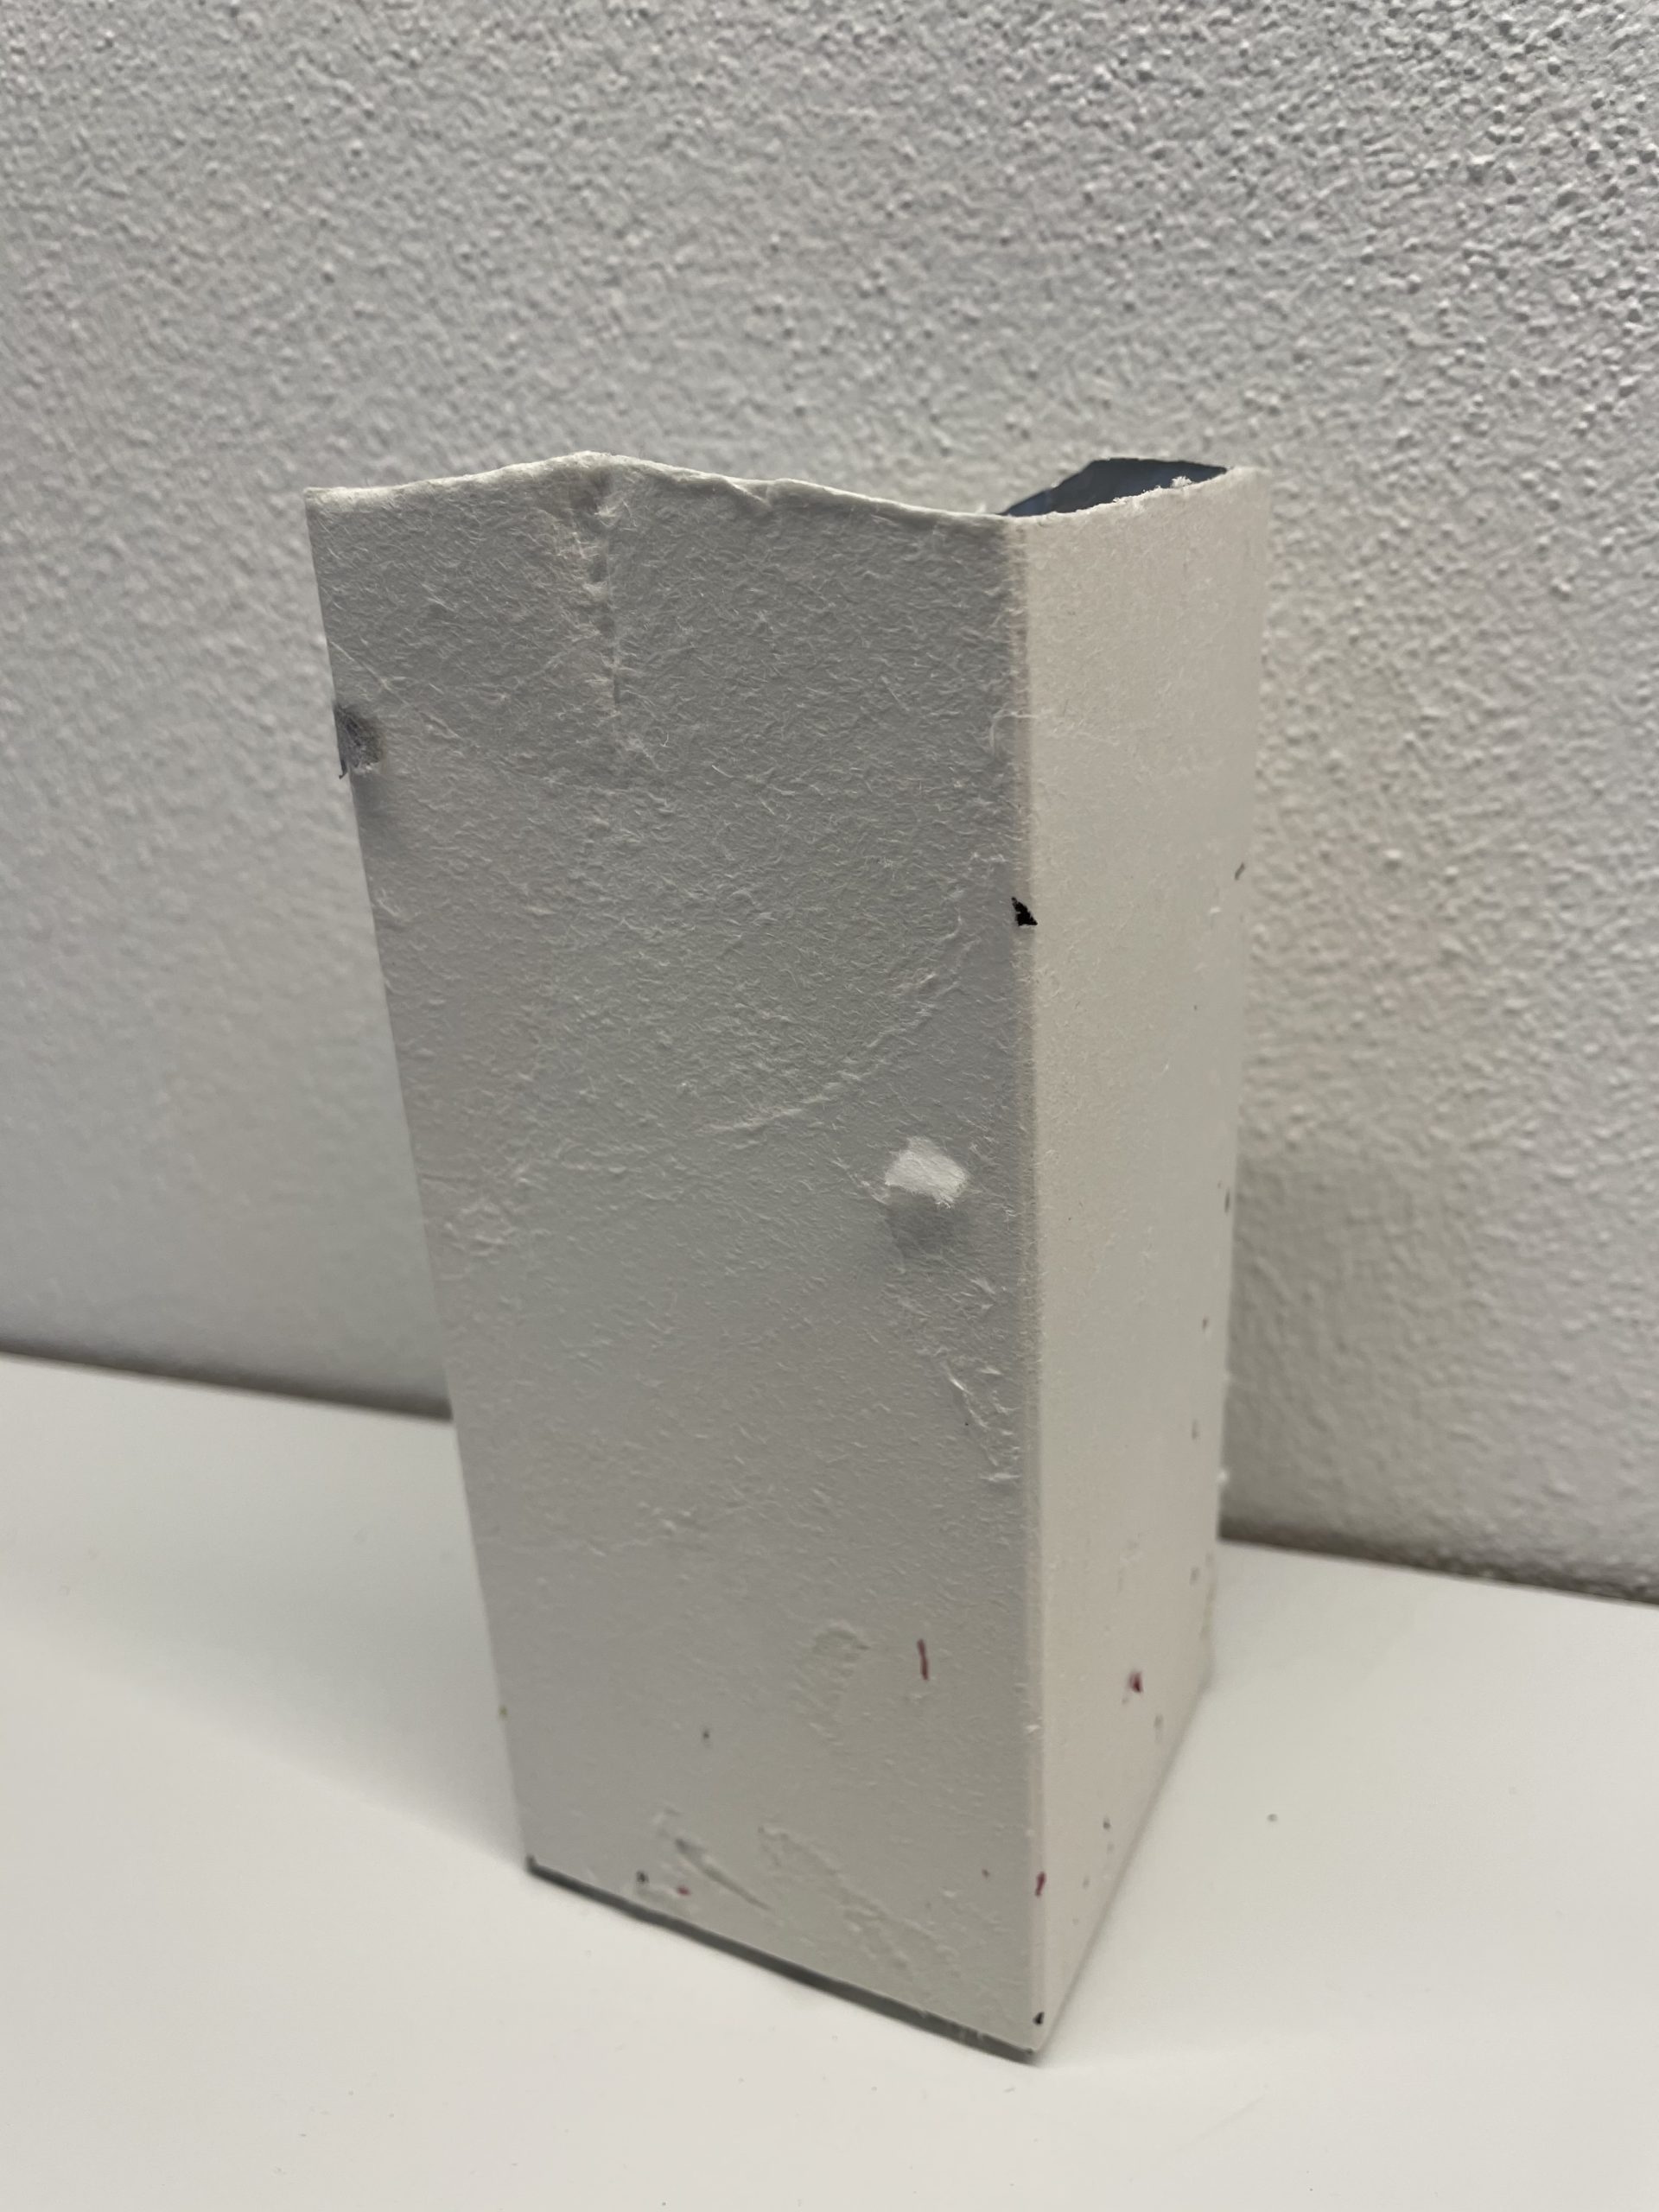
Use an empty Tetrapack. It should be rinsed out and dry.
If the top of the packaging is cut off, you can process the packaging better.
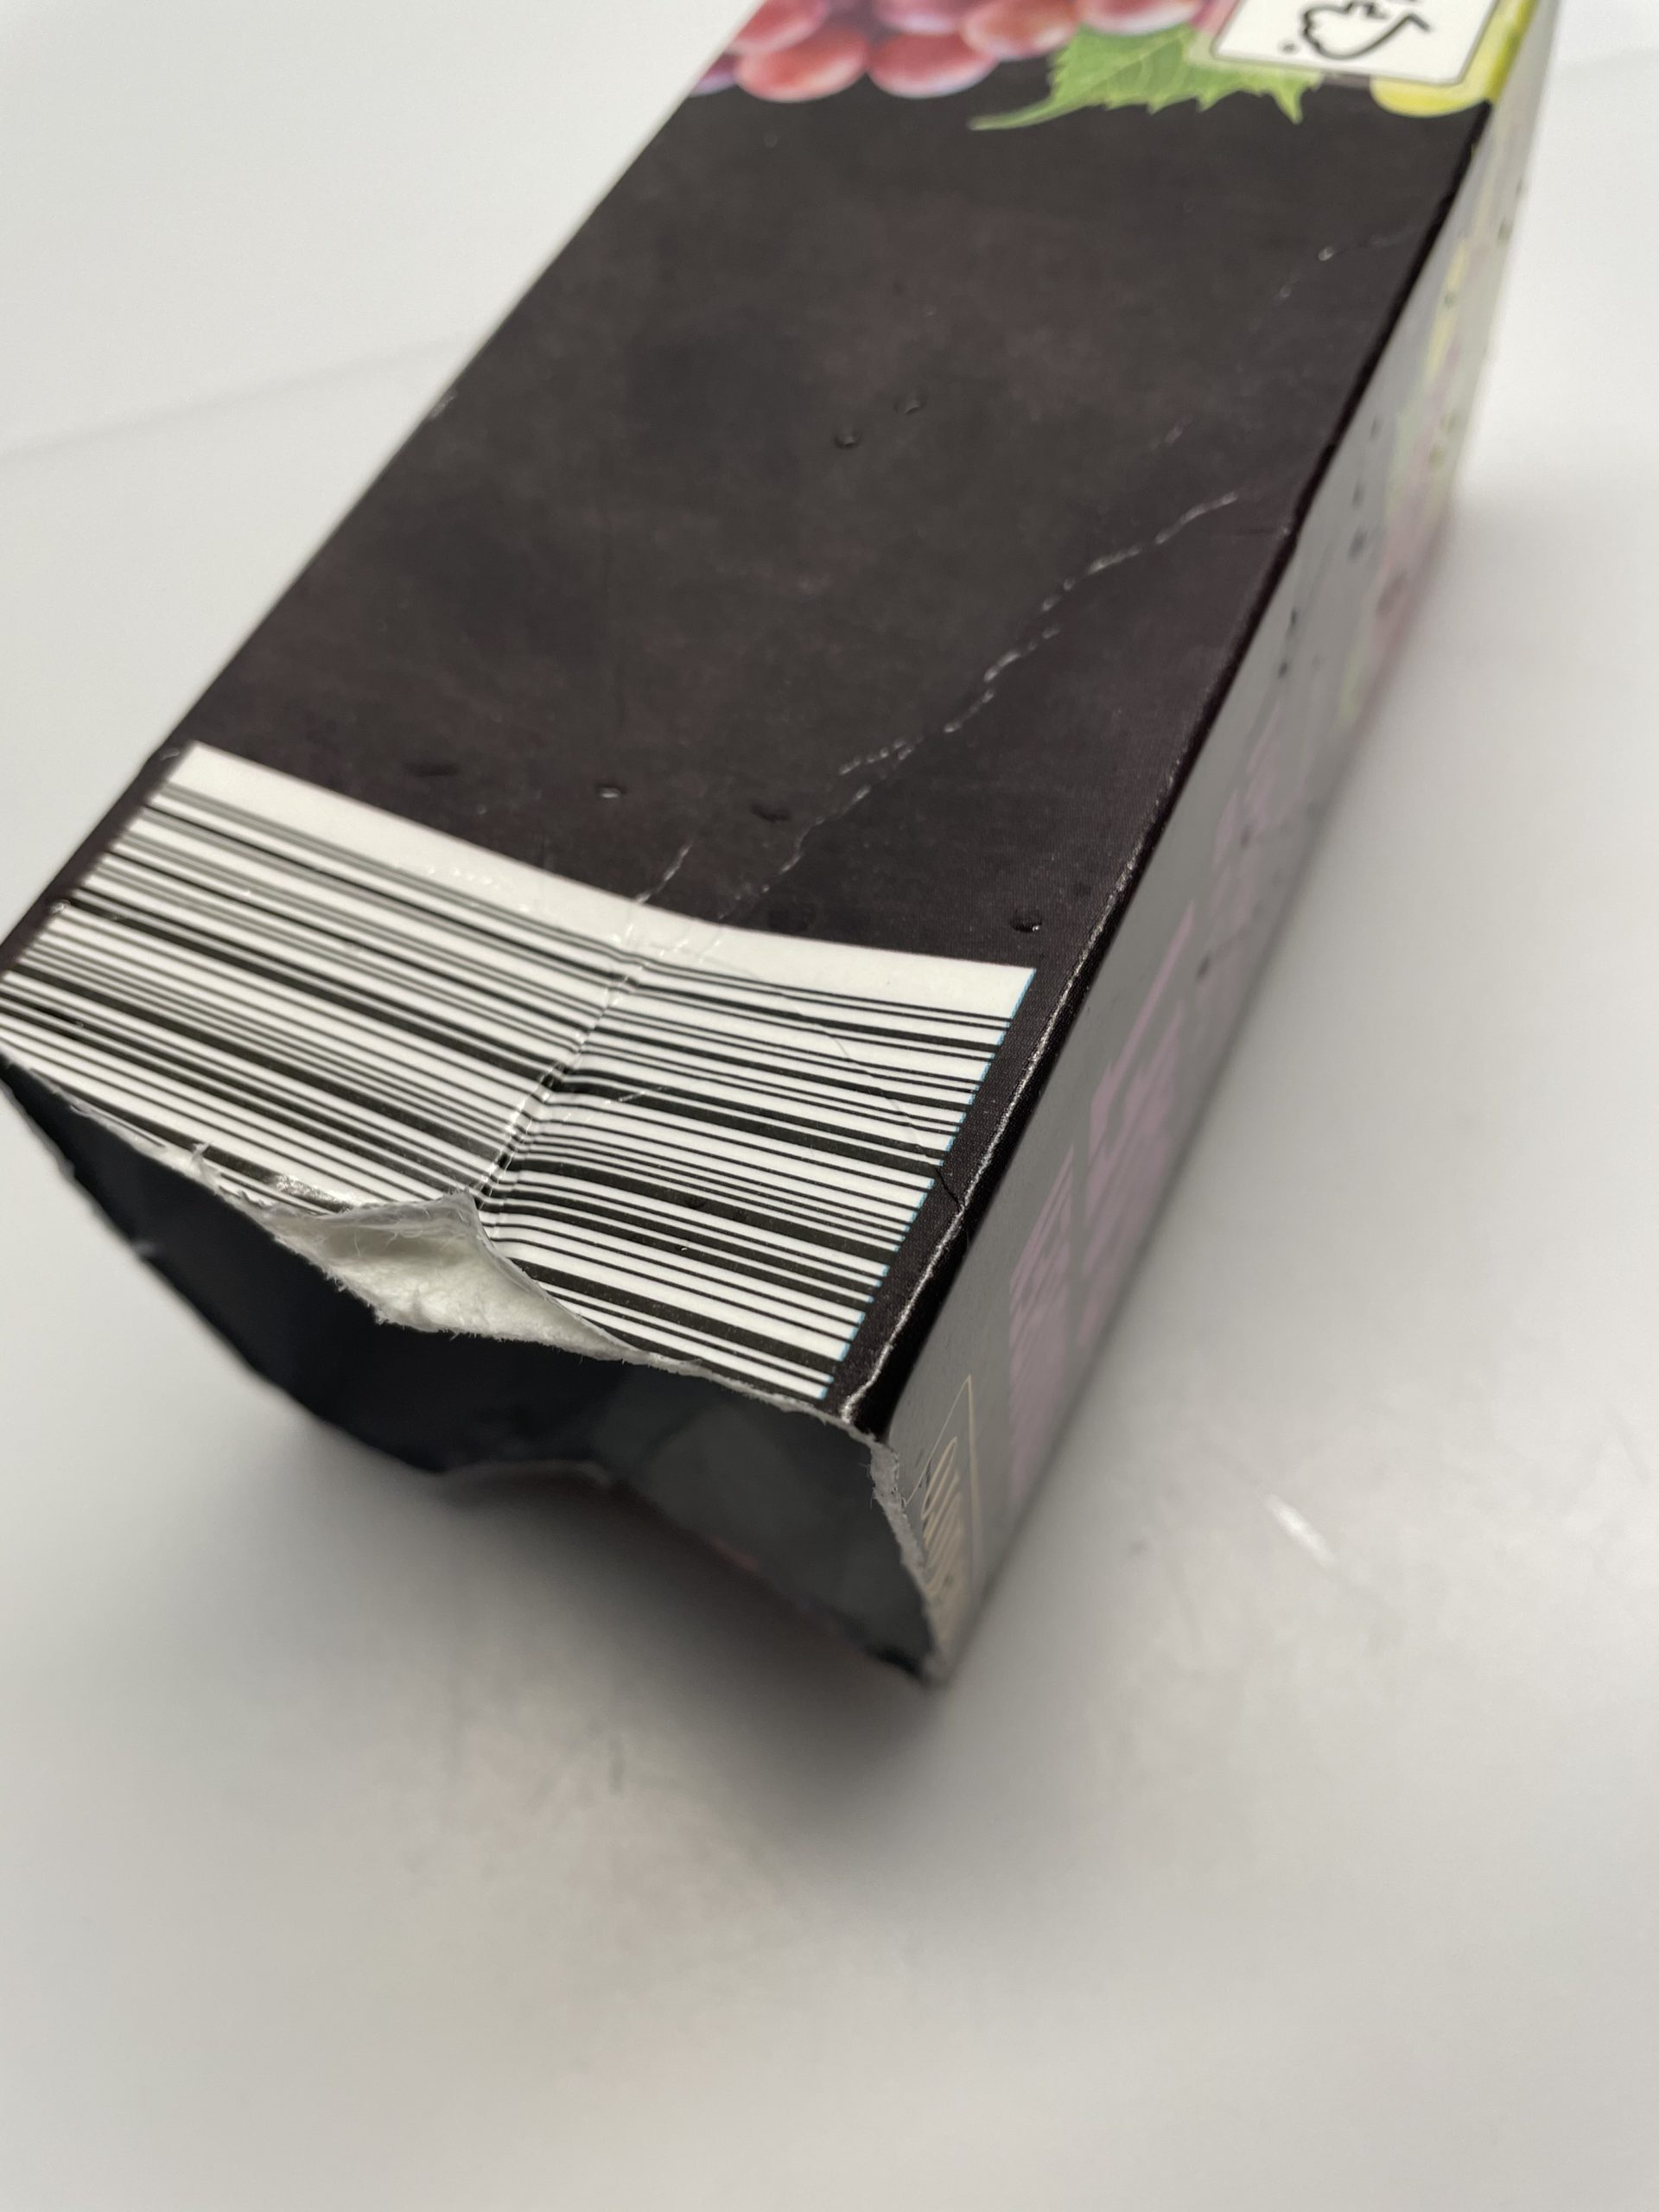
At the cutting edge of the packaging, start removing the upper coating. Try to remove as large pieces as possible at once. Under the coating, the carton appears. The carton is either brown or white. However, you can only see this after removing the coating foil.
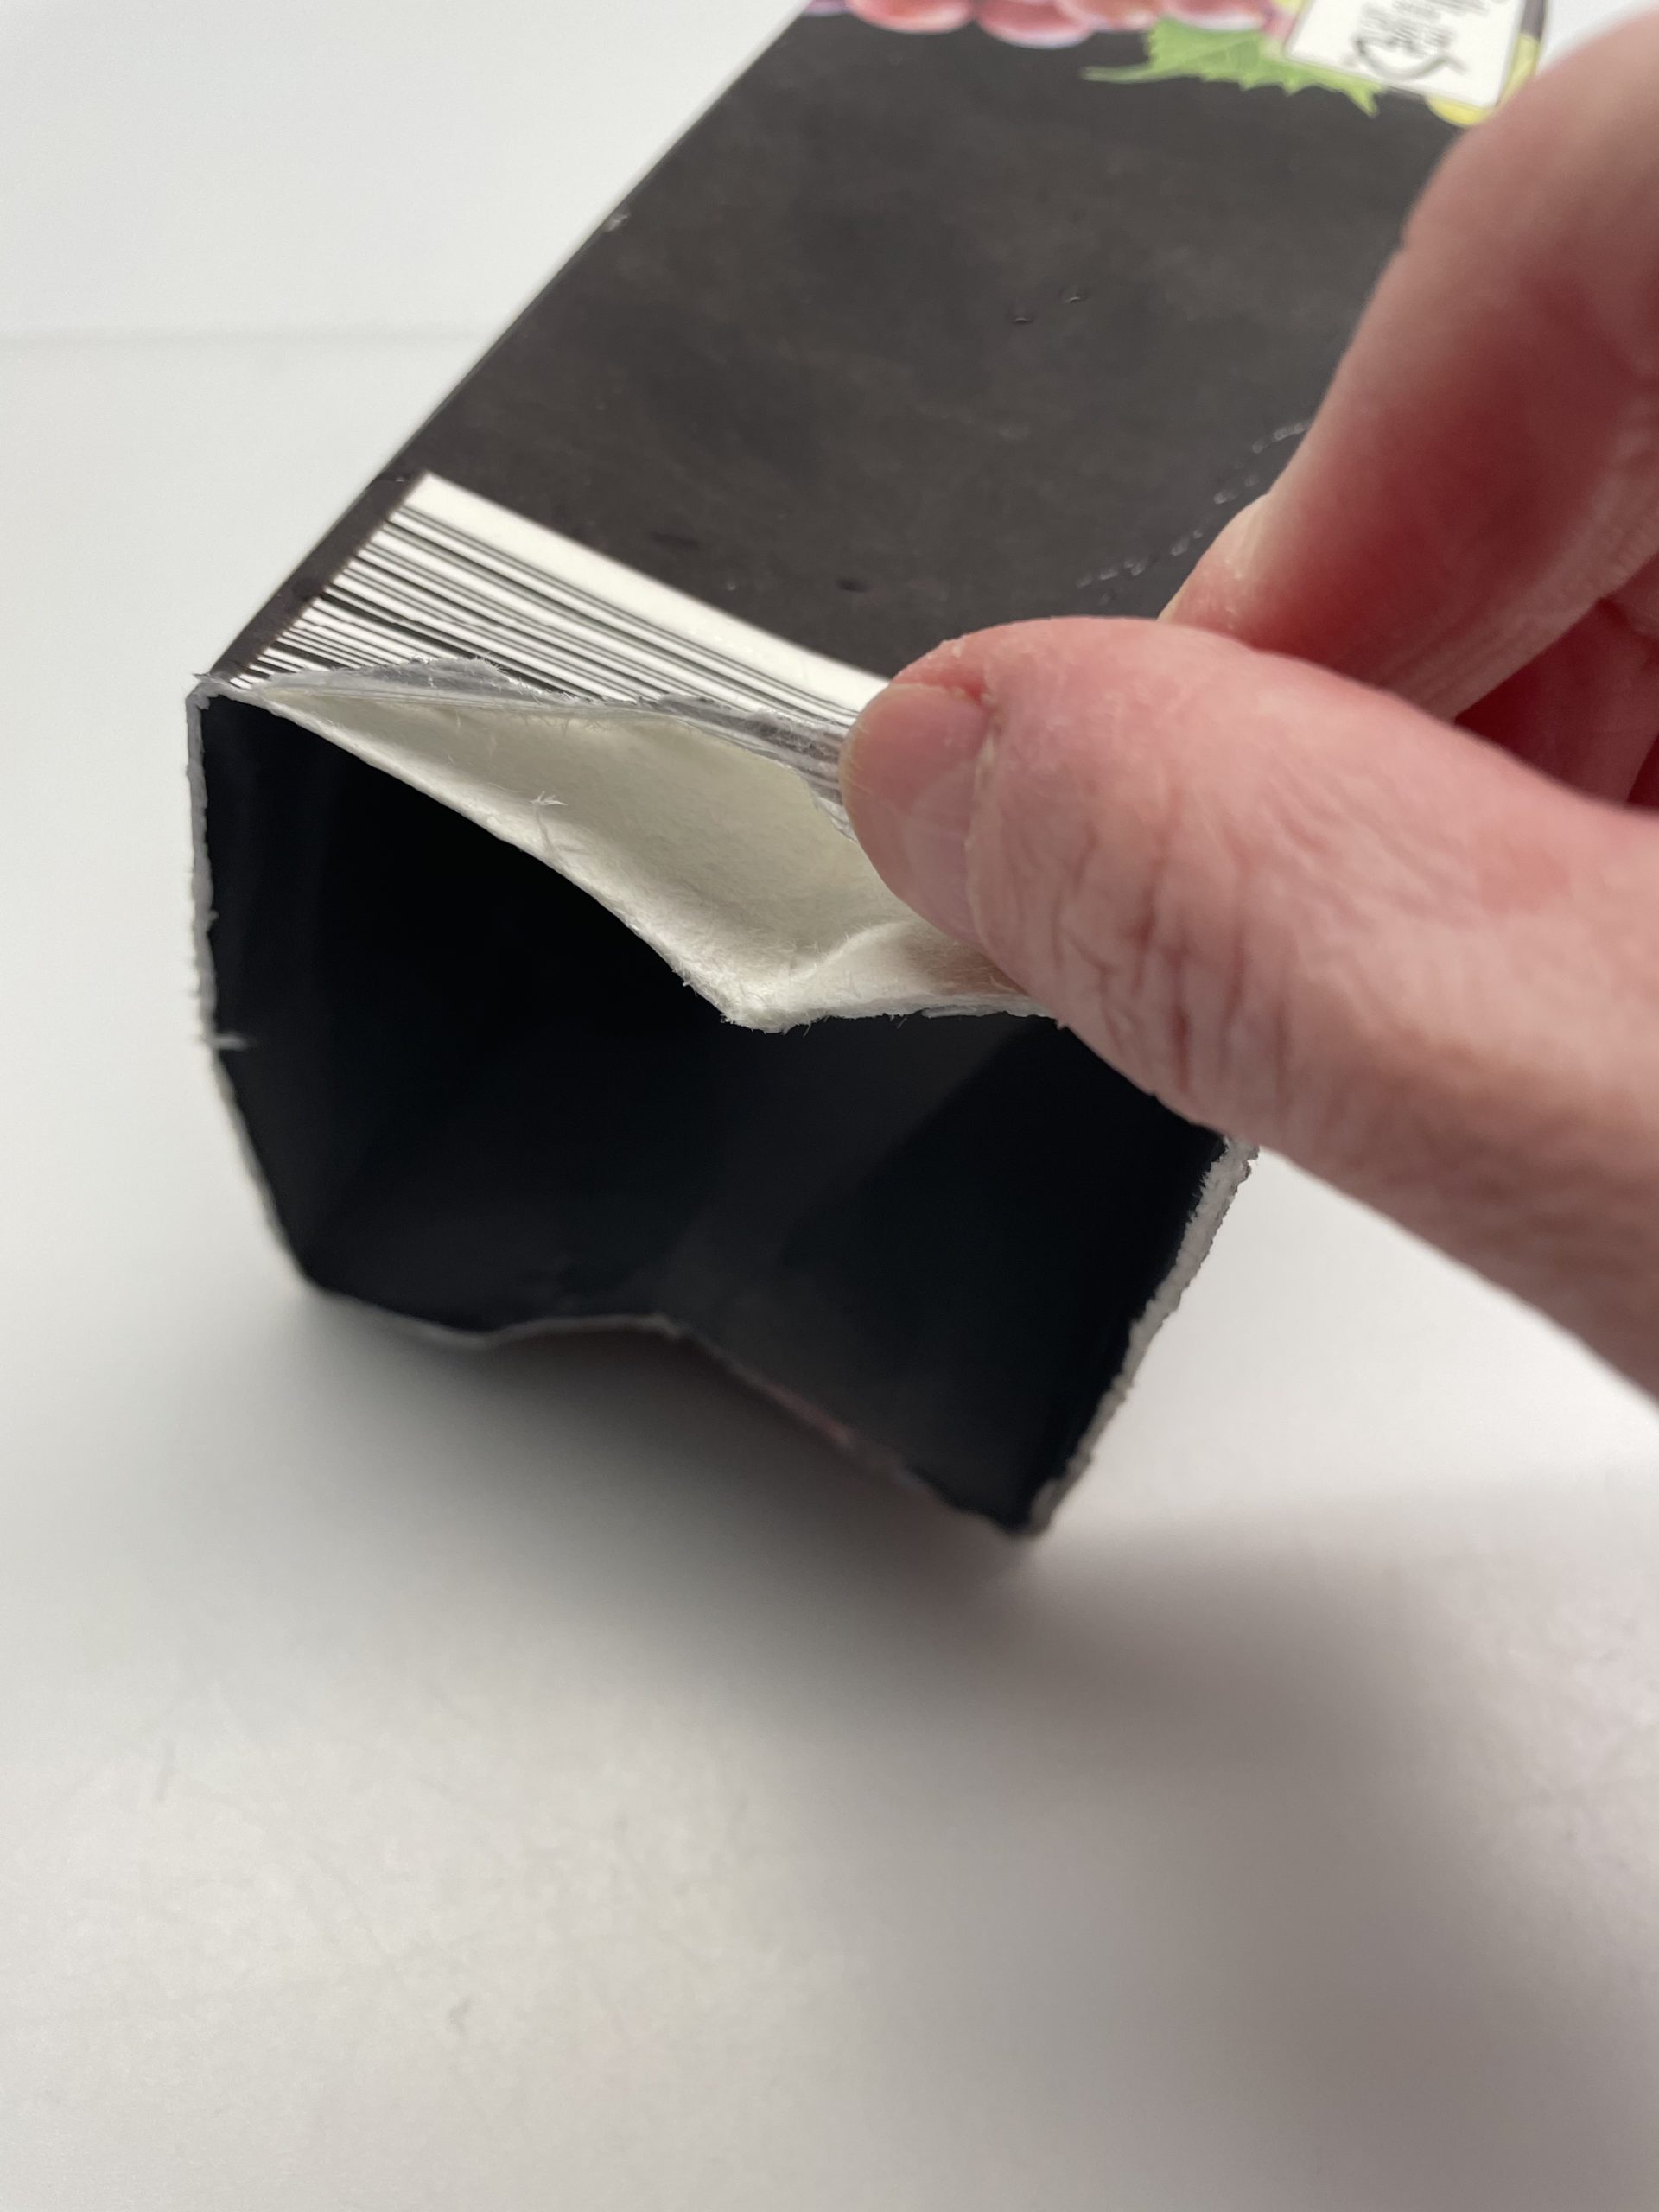
Try to remove the foil as completely as possible.
Tip: If necessary, push a pin under the foil and try to raise it.

This bag has already been removed.
You can print this template and place it on your bag to transfer the rabbit shape. Alternatively, you can paint the rabbits freely.
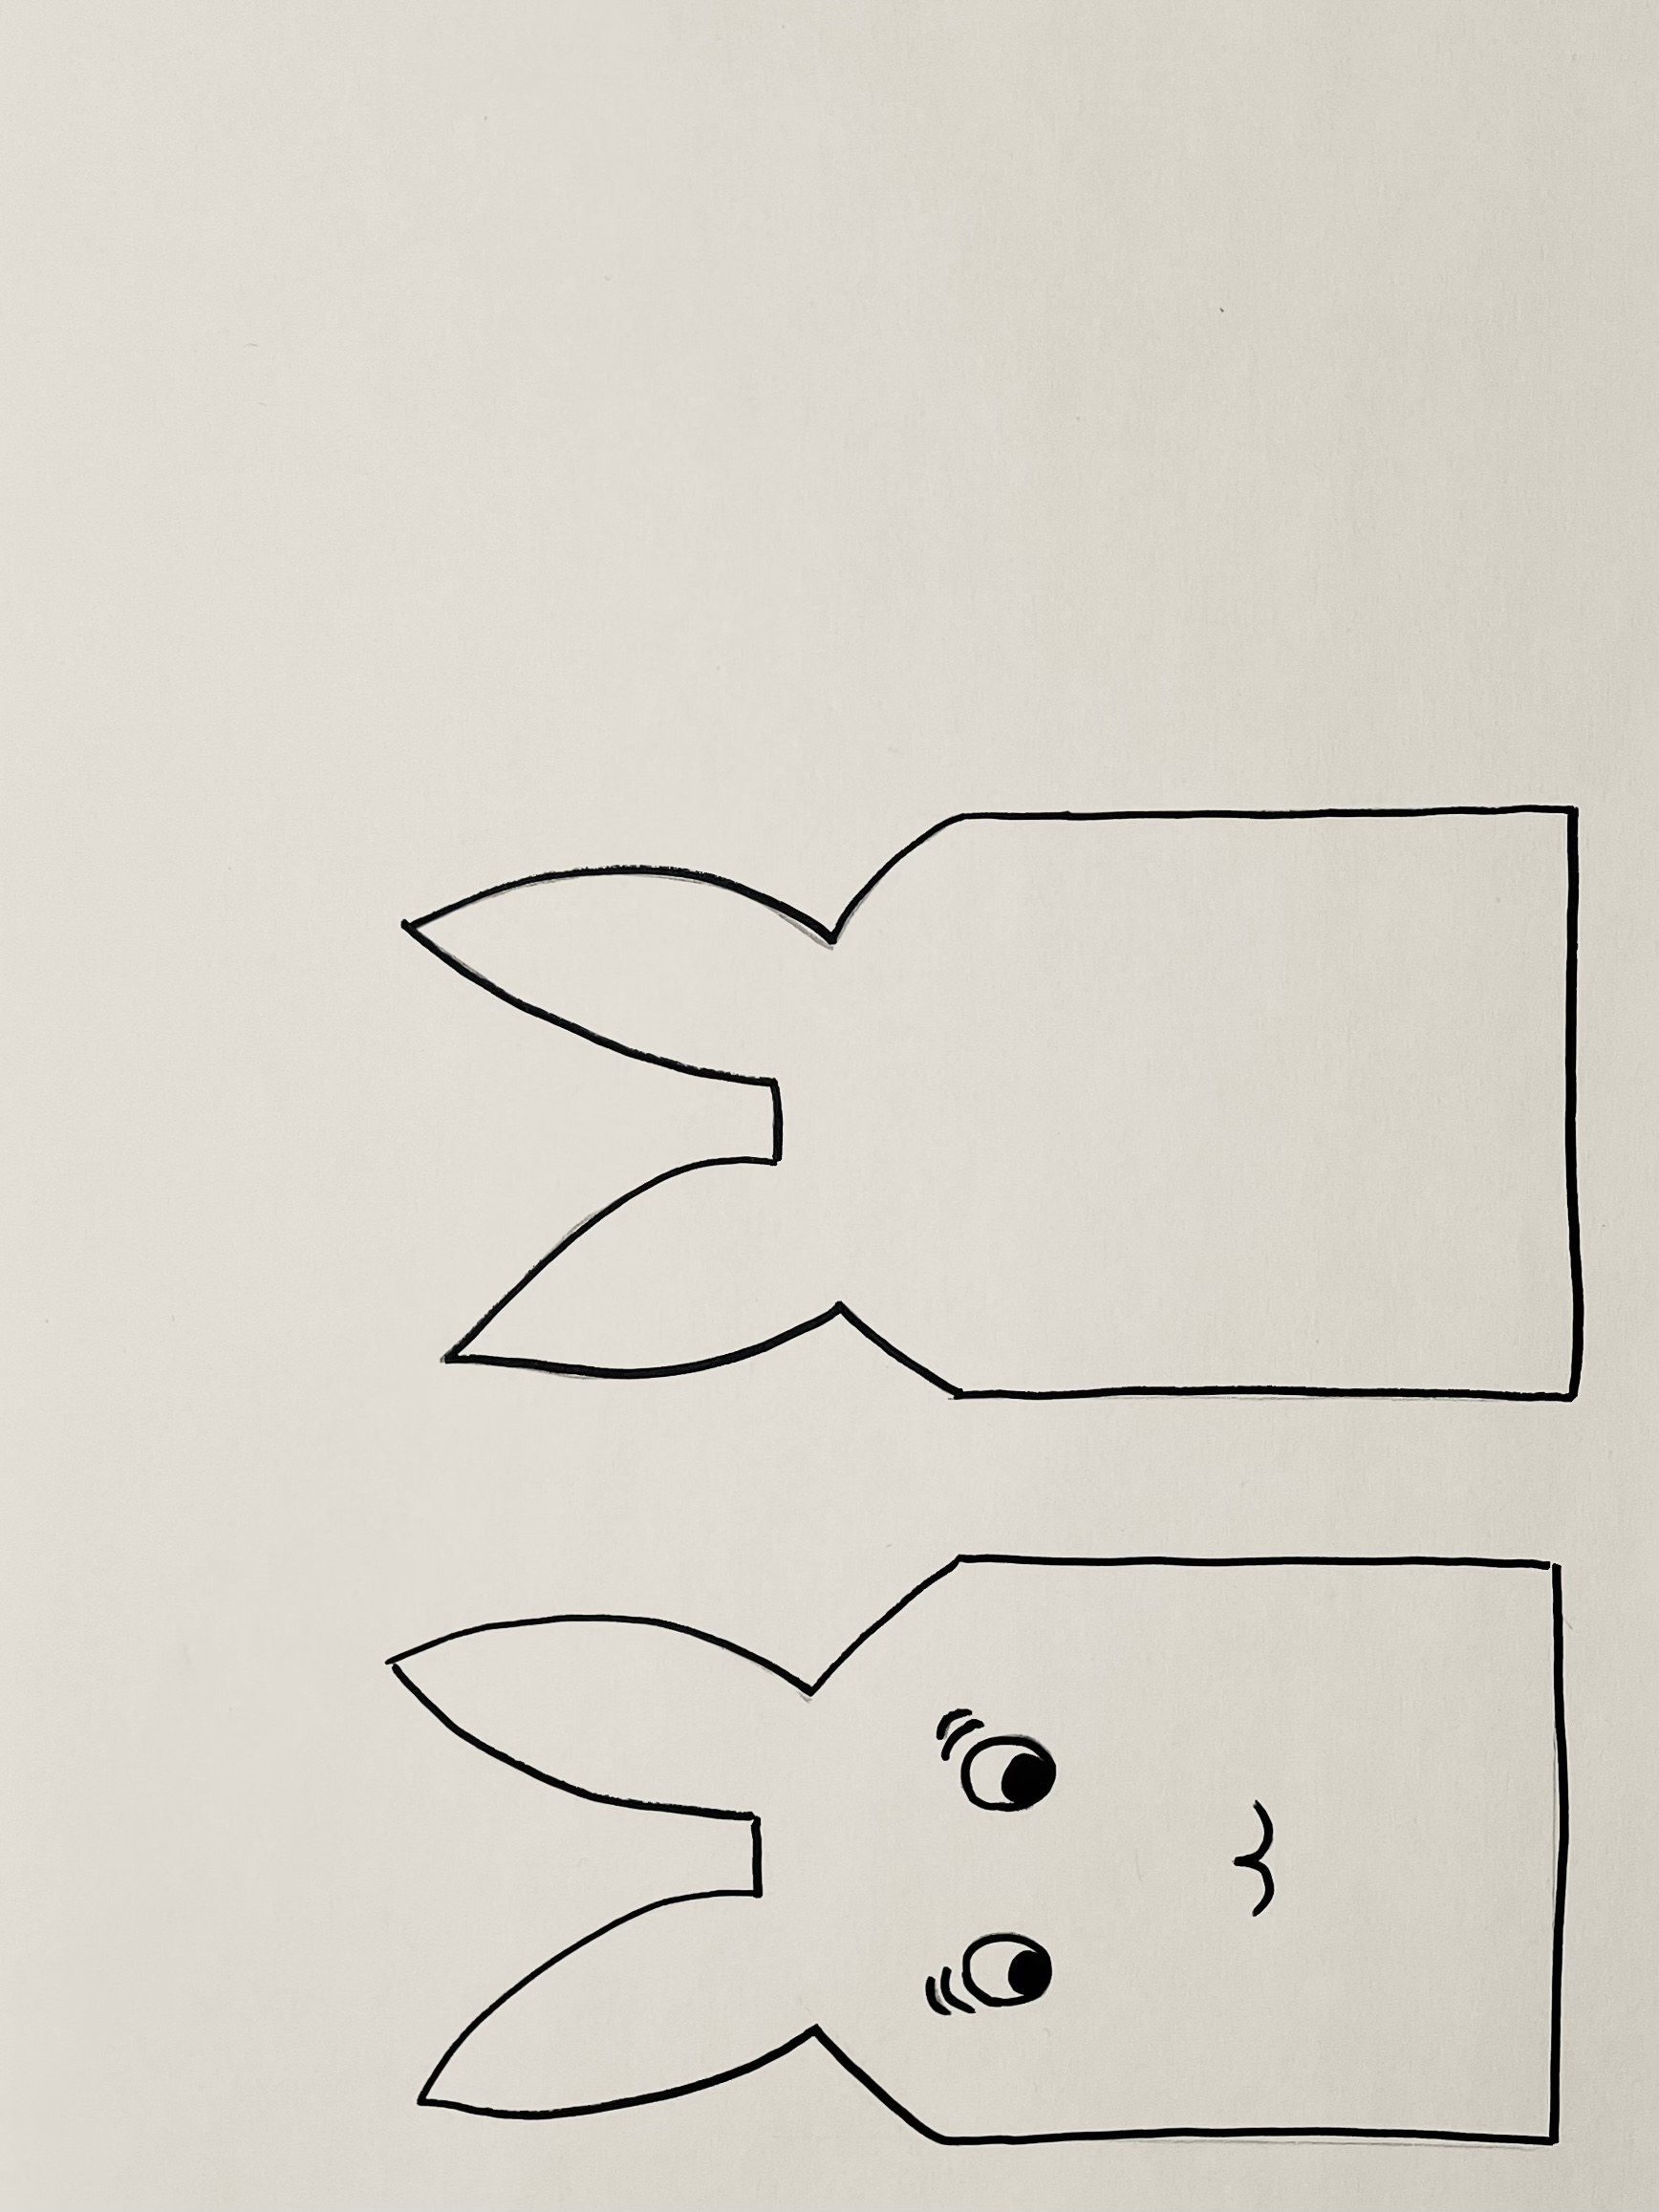
You paint the two hare parts on opposite sides.
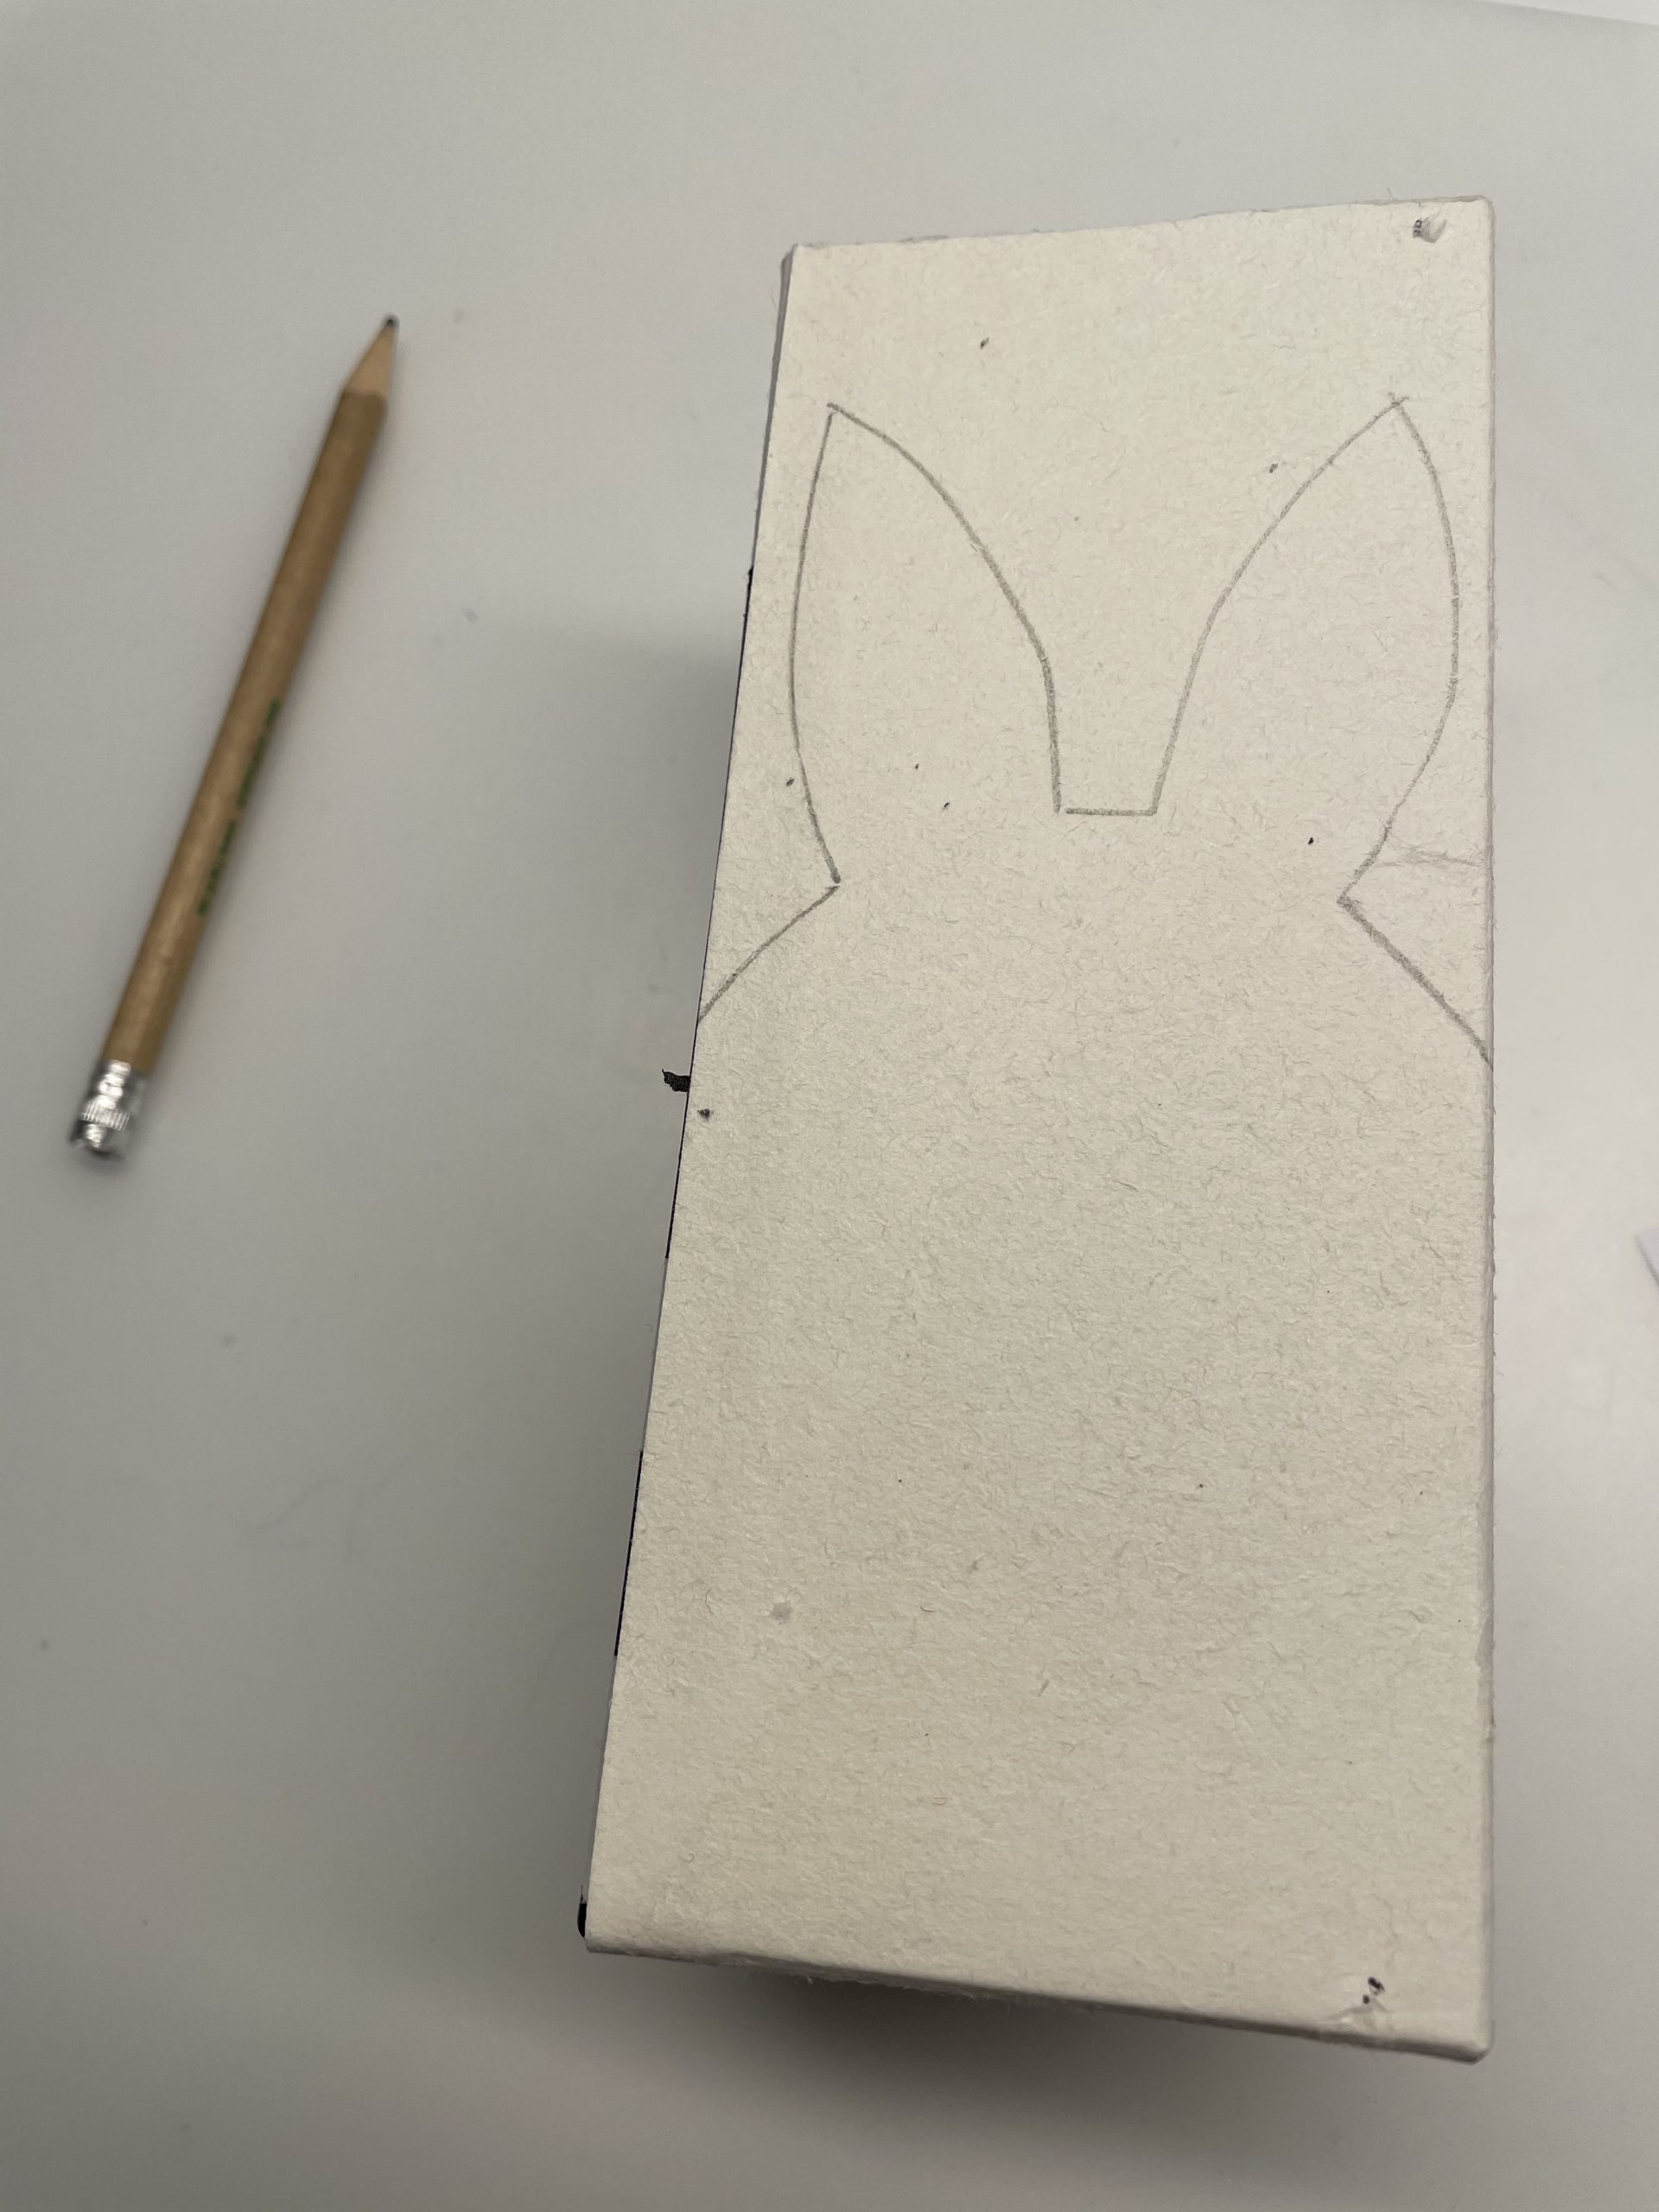
Place the cut-out template on the front of the Tetrapack.
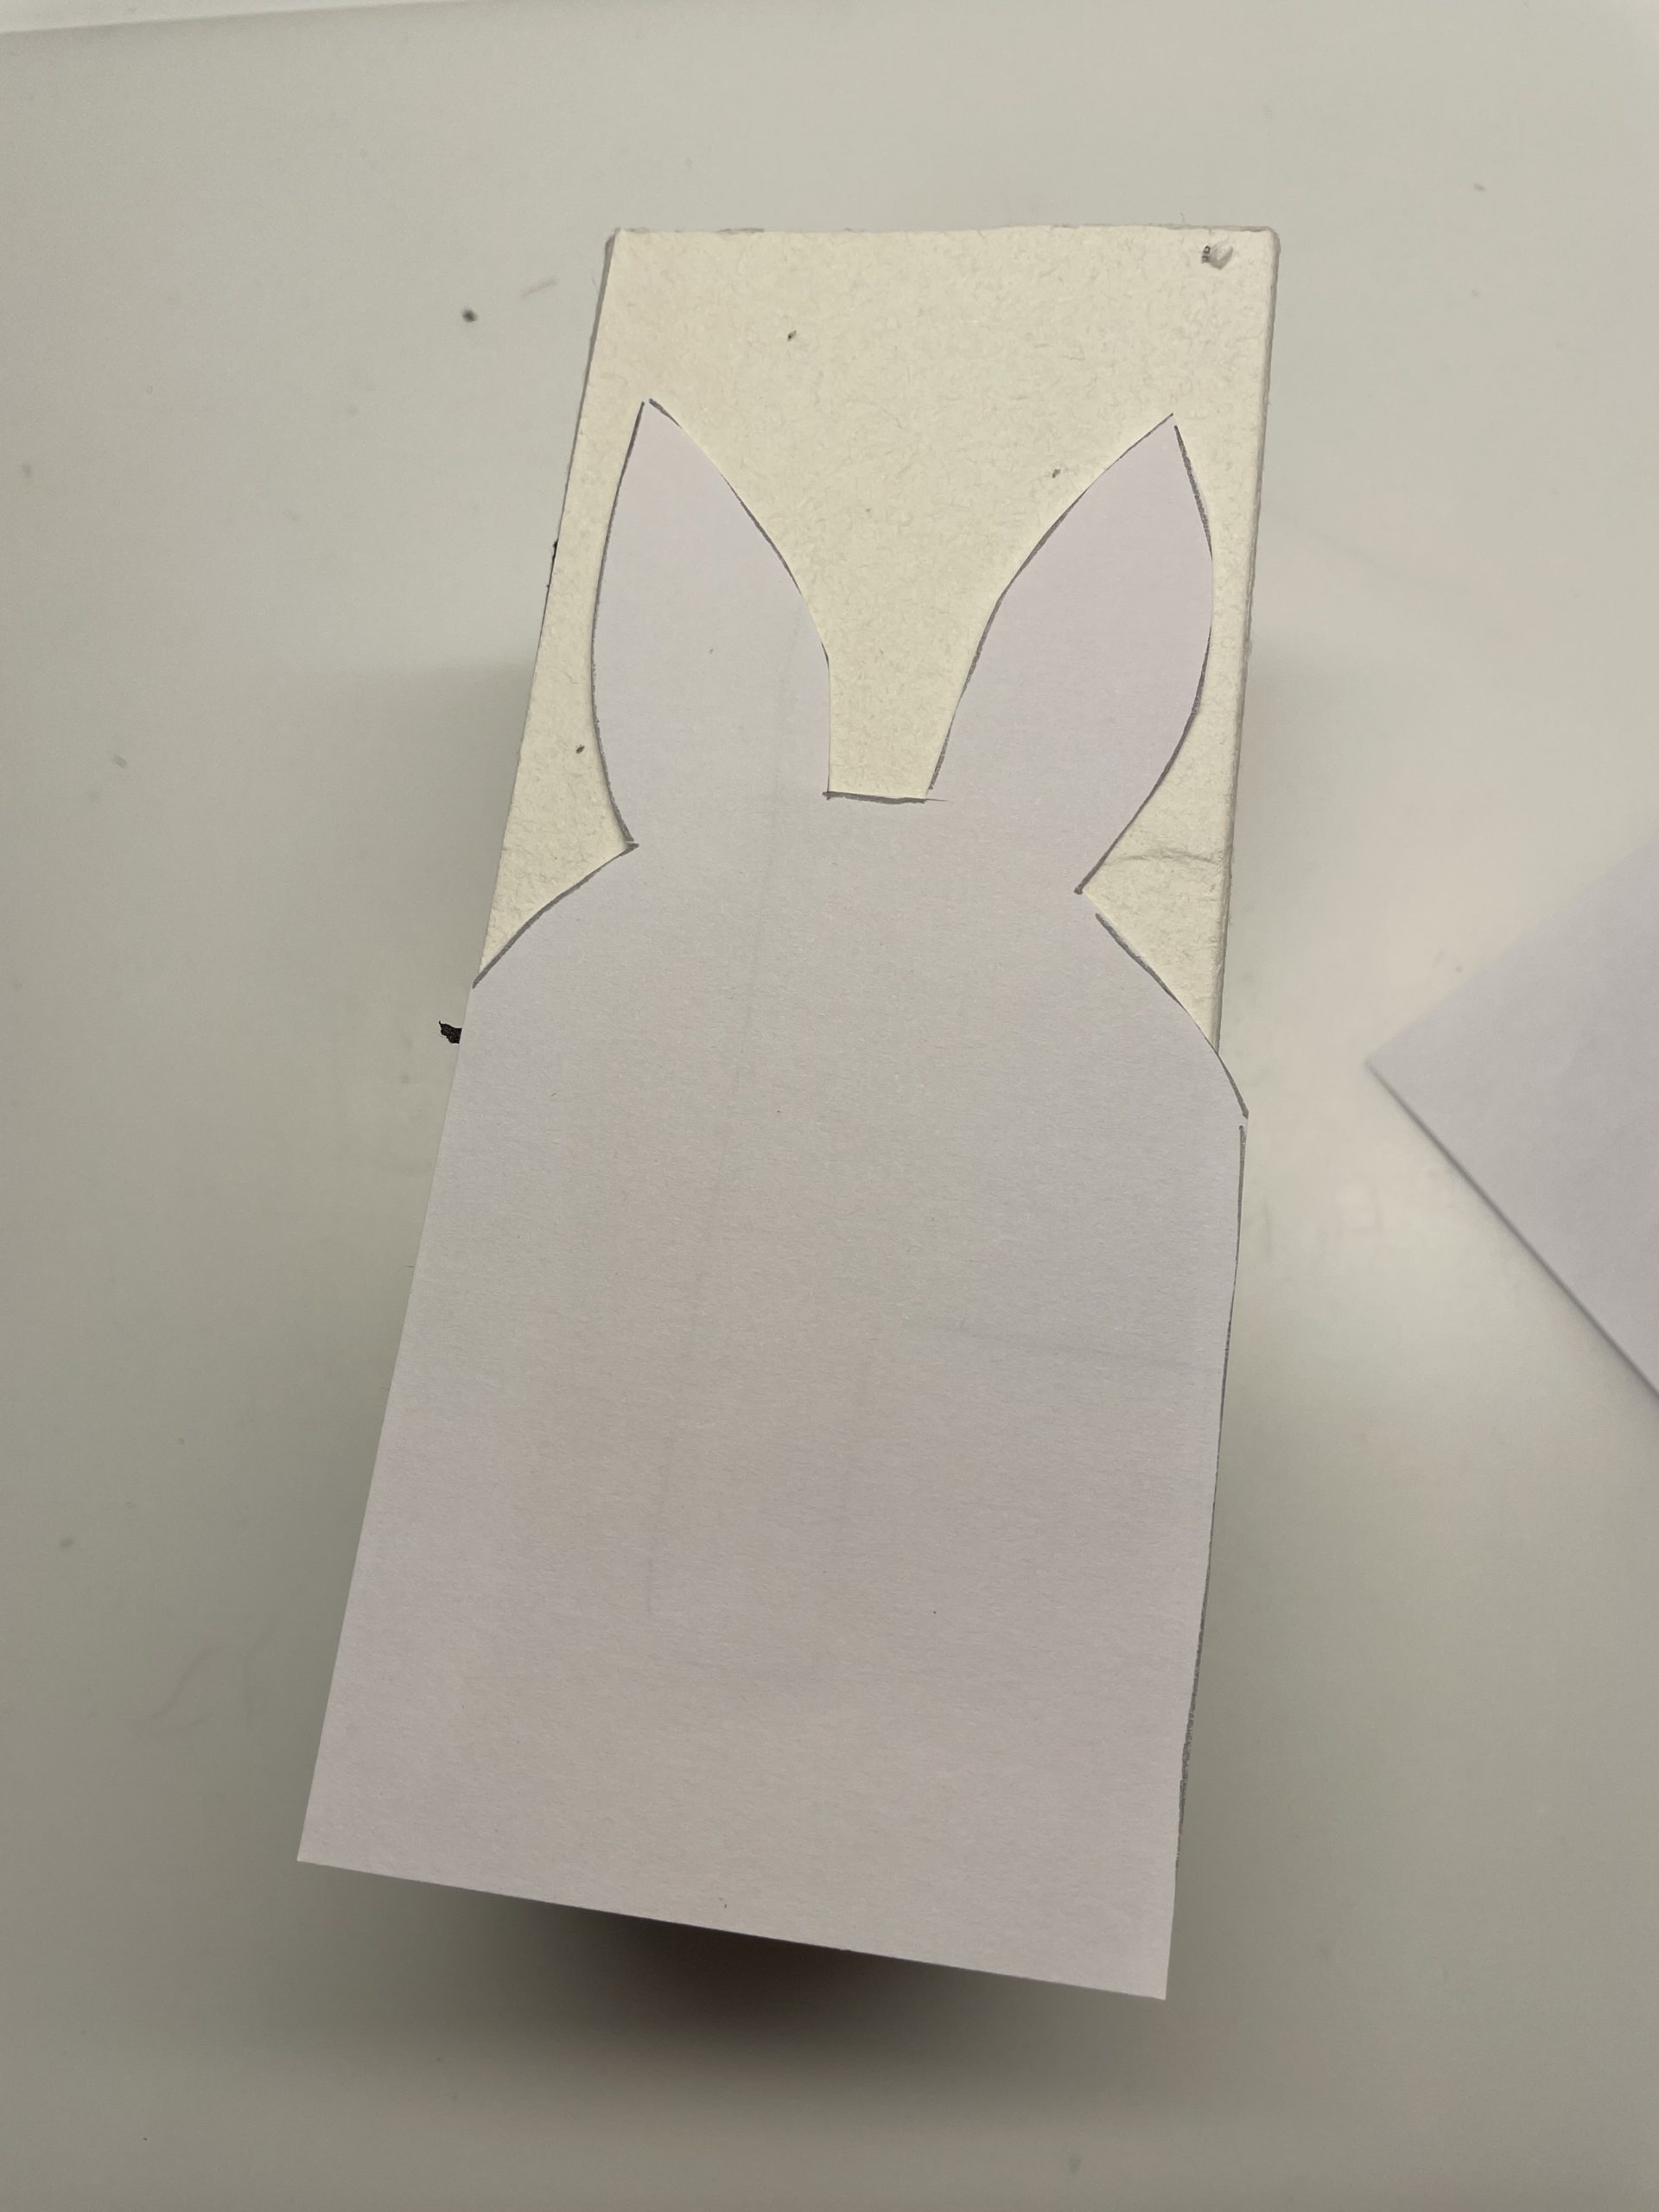
Turn it around with a pen. Then turn the Tetrapack around and paint the shape on the back.
Cuts out the hare shape with a pair of scissors.
ATTENTION: Cut only the sides with the painted rabbits!
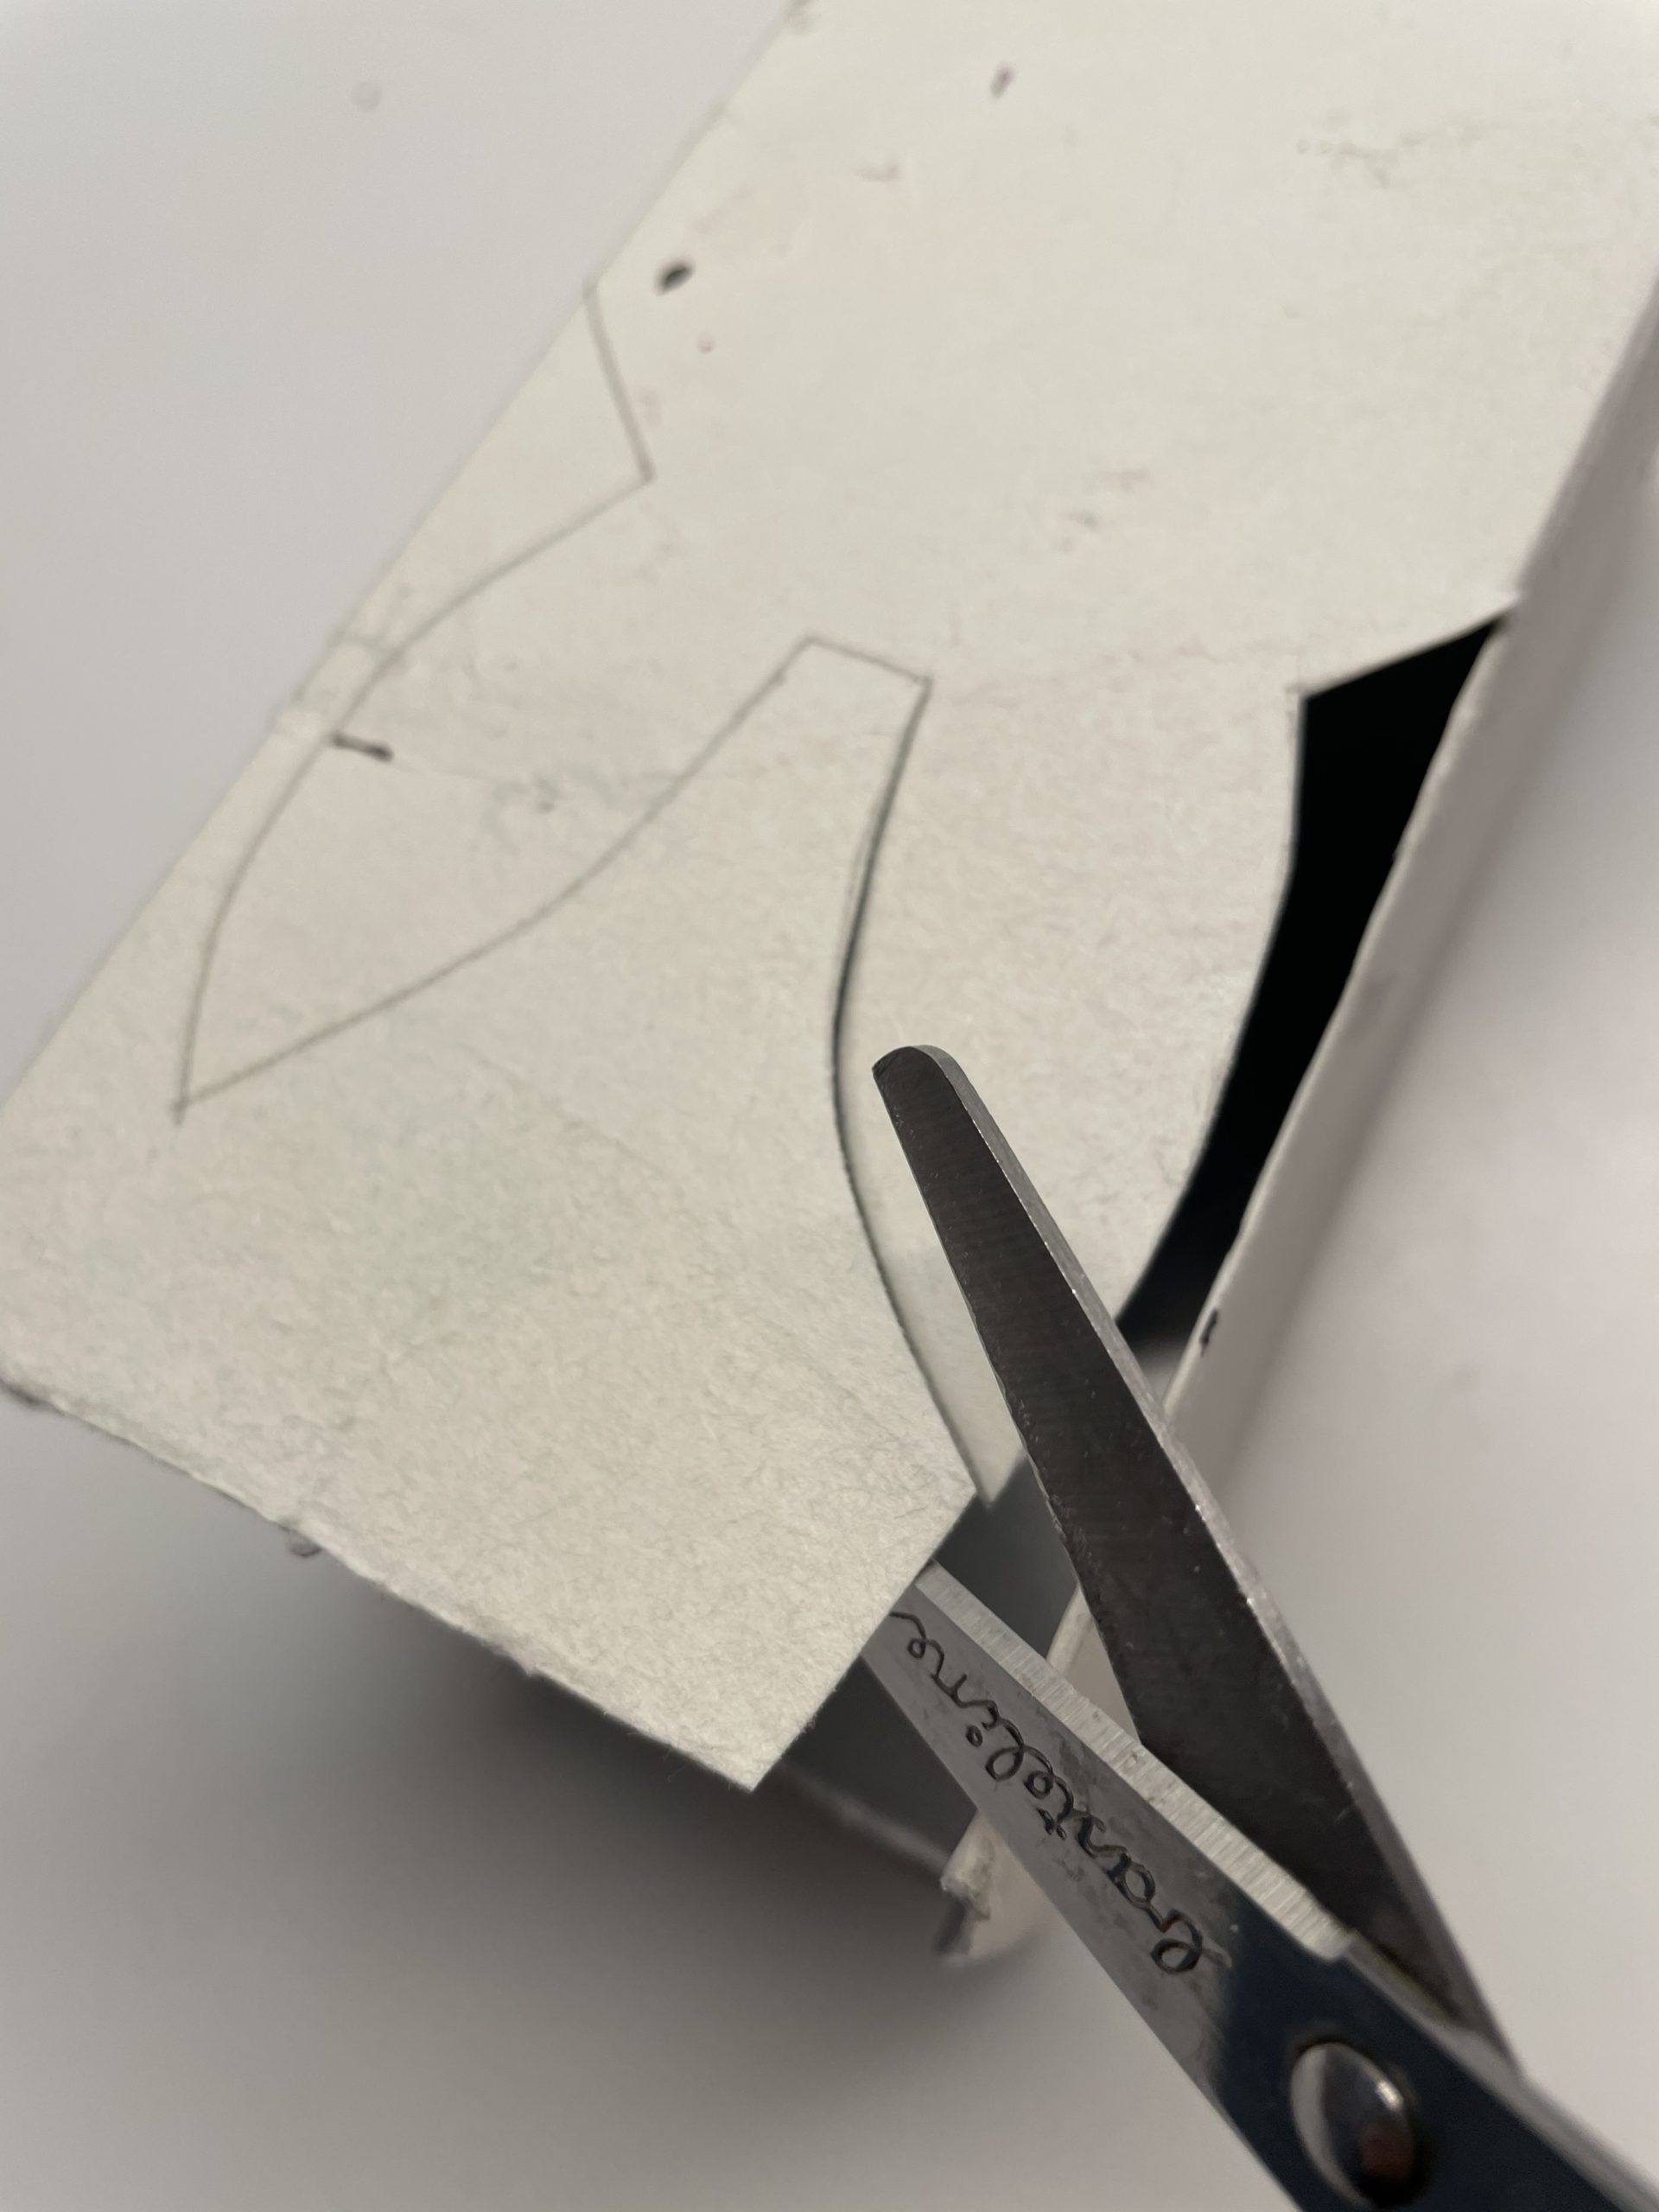
The other two sides remain unprocessed.

If the hare forms are cut, you round off the other two sides.
Cut it oval or round.

The two rounded sides do not have to be cut to the same size.
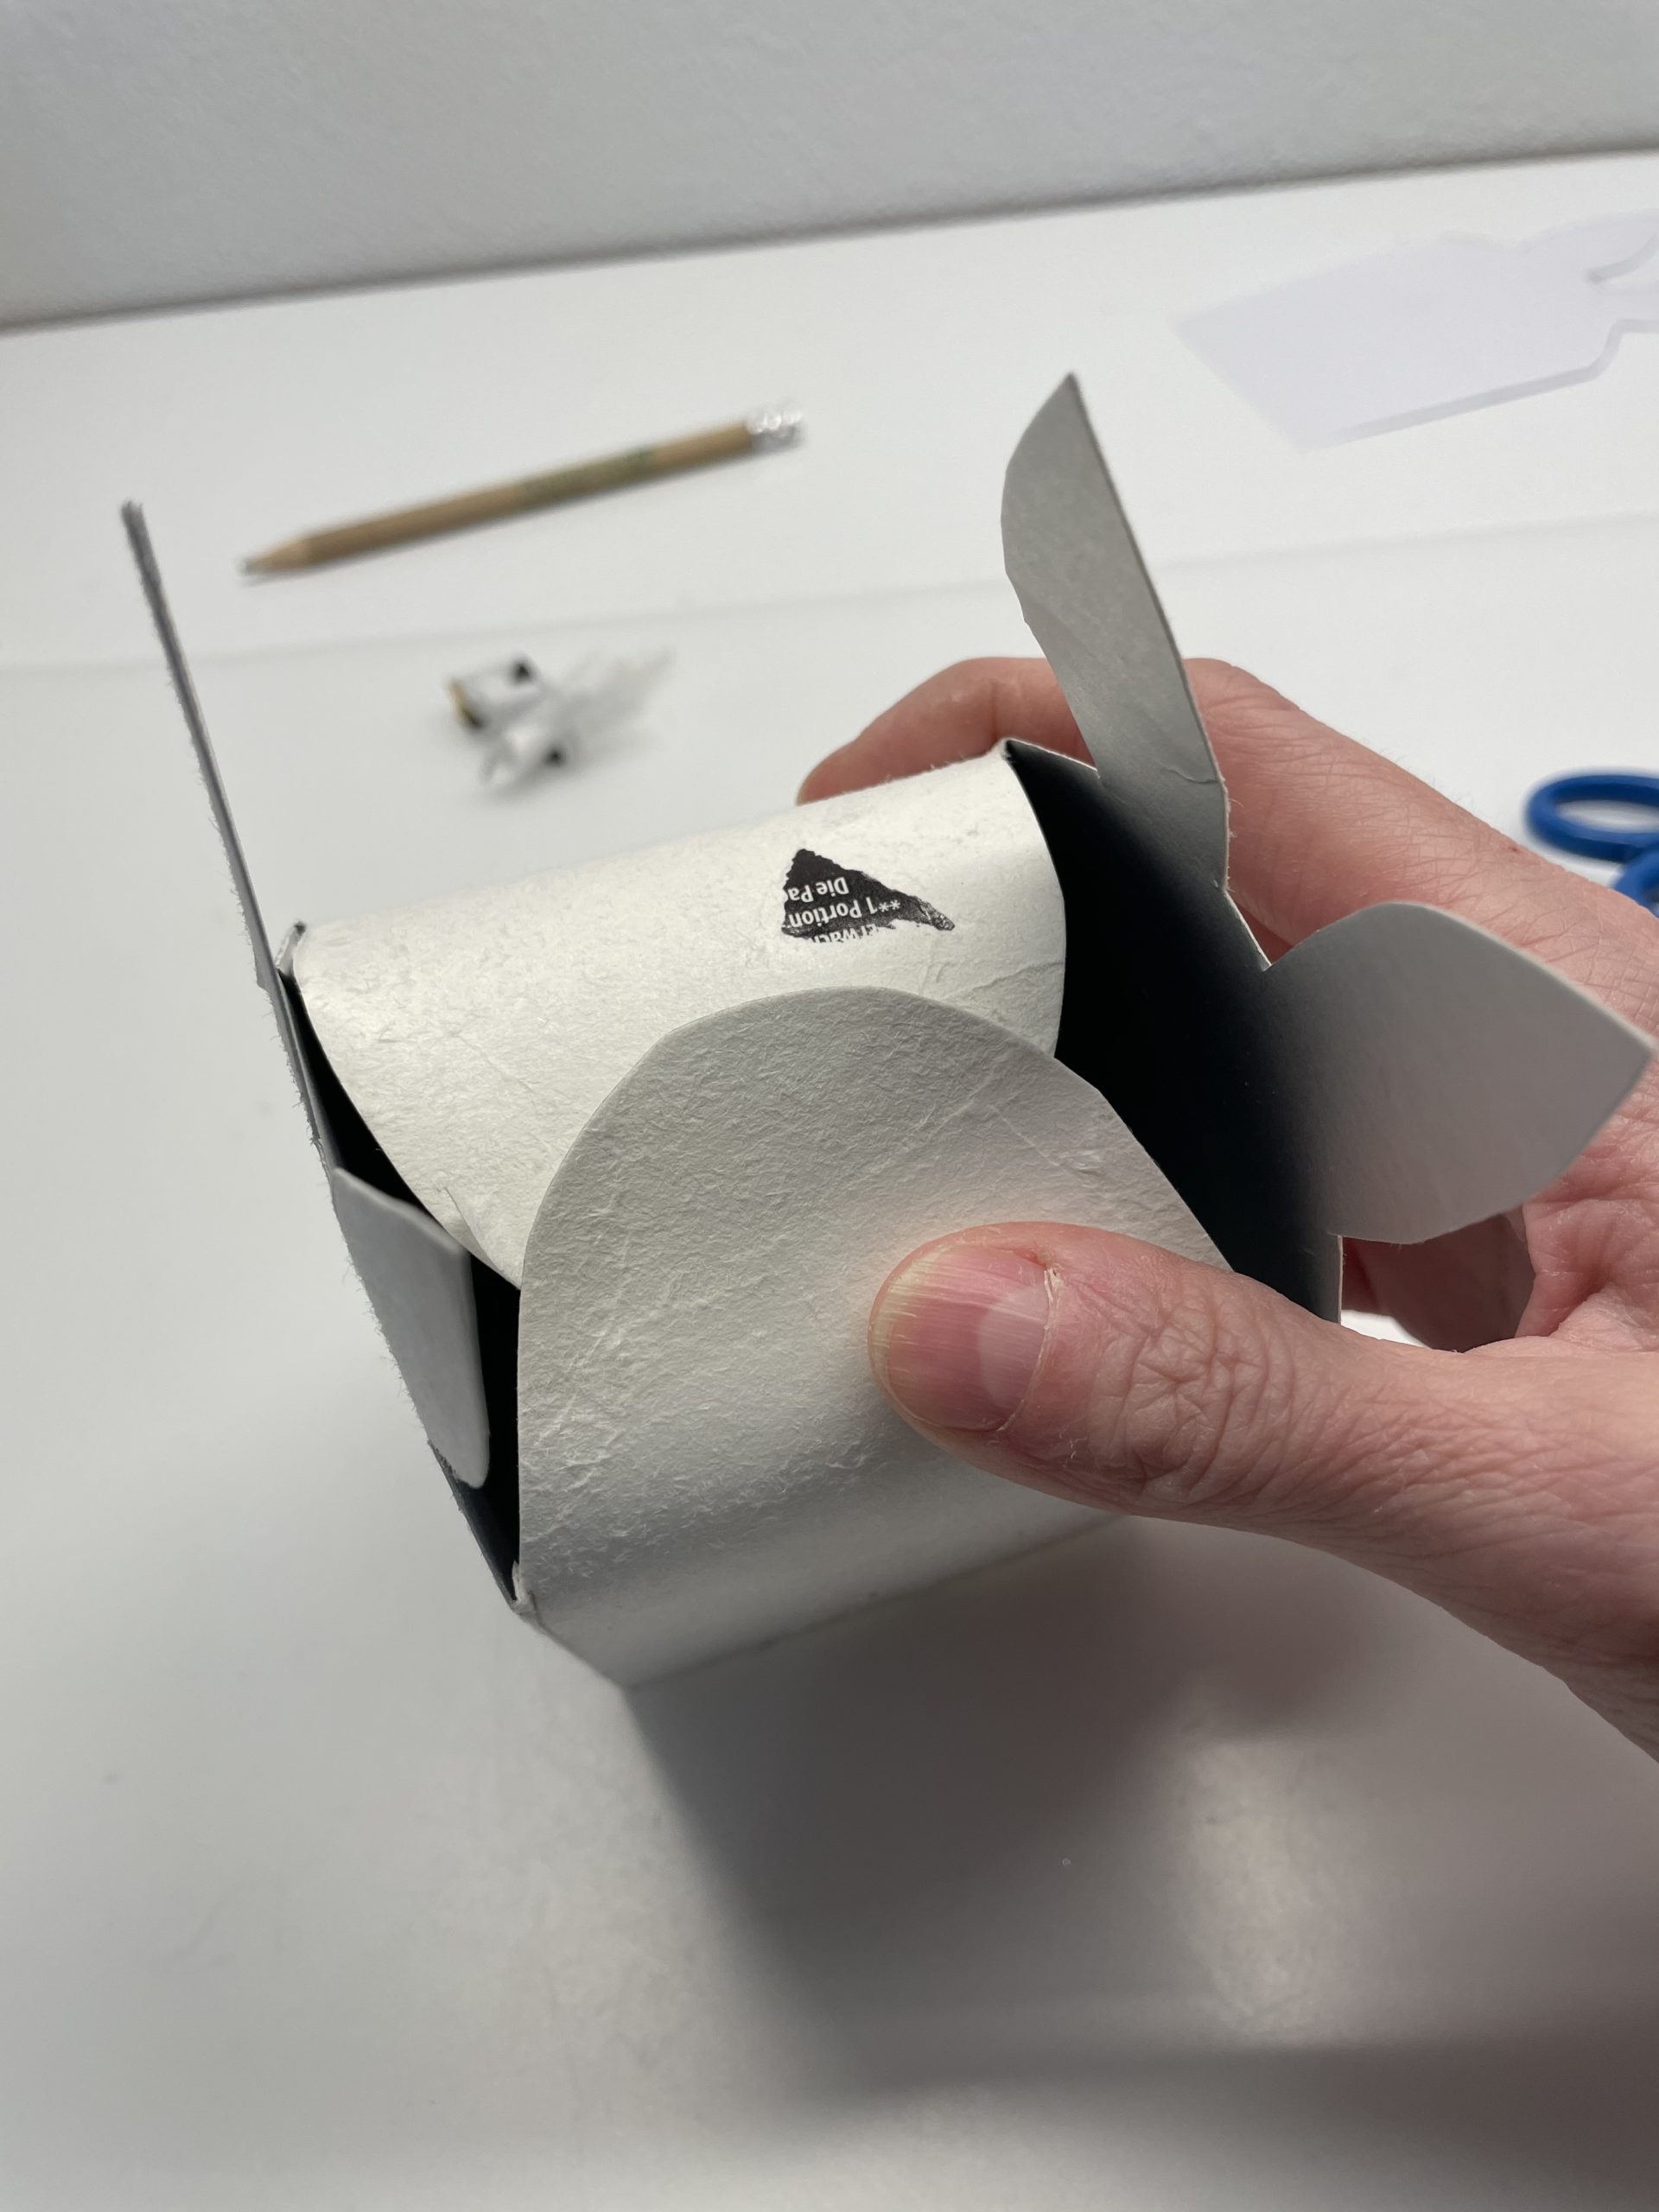
You're now turning her into the middle overlapping, closing the bag again.

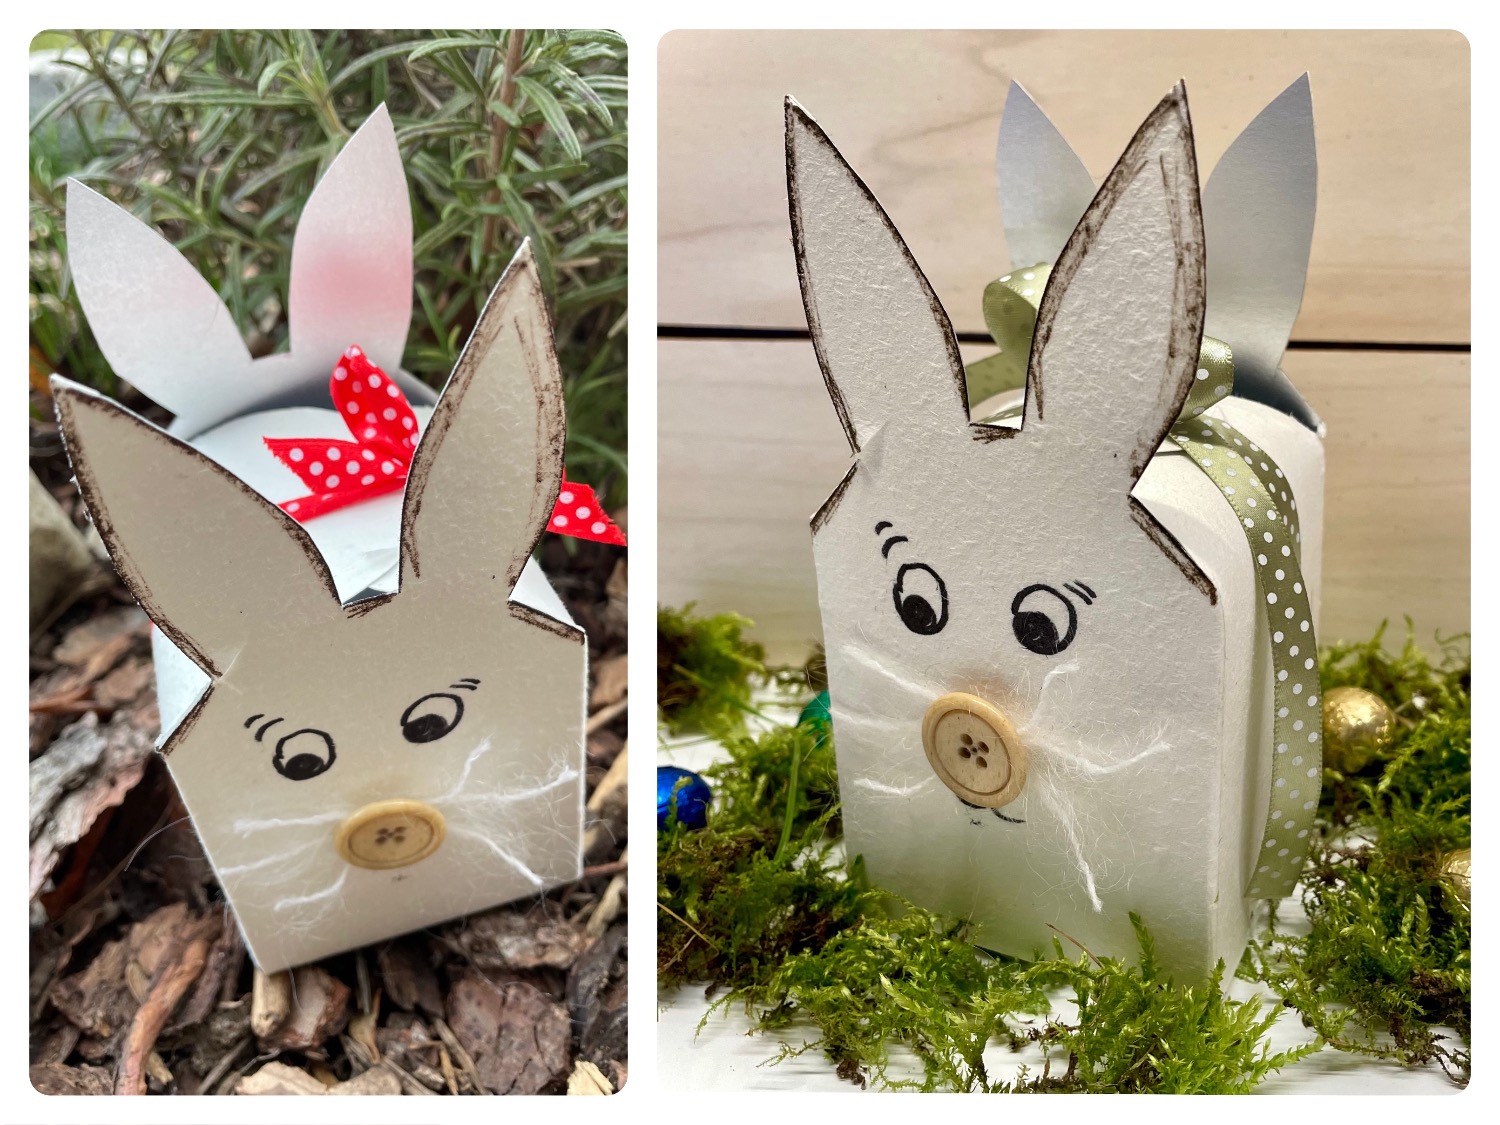
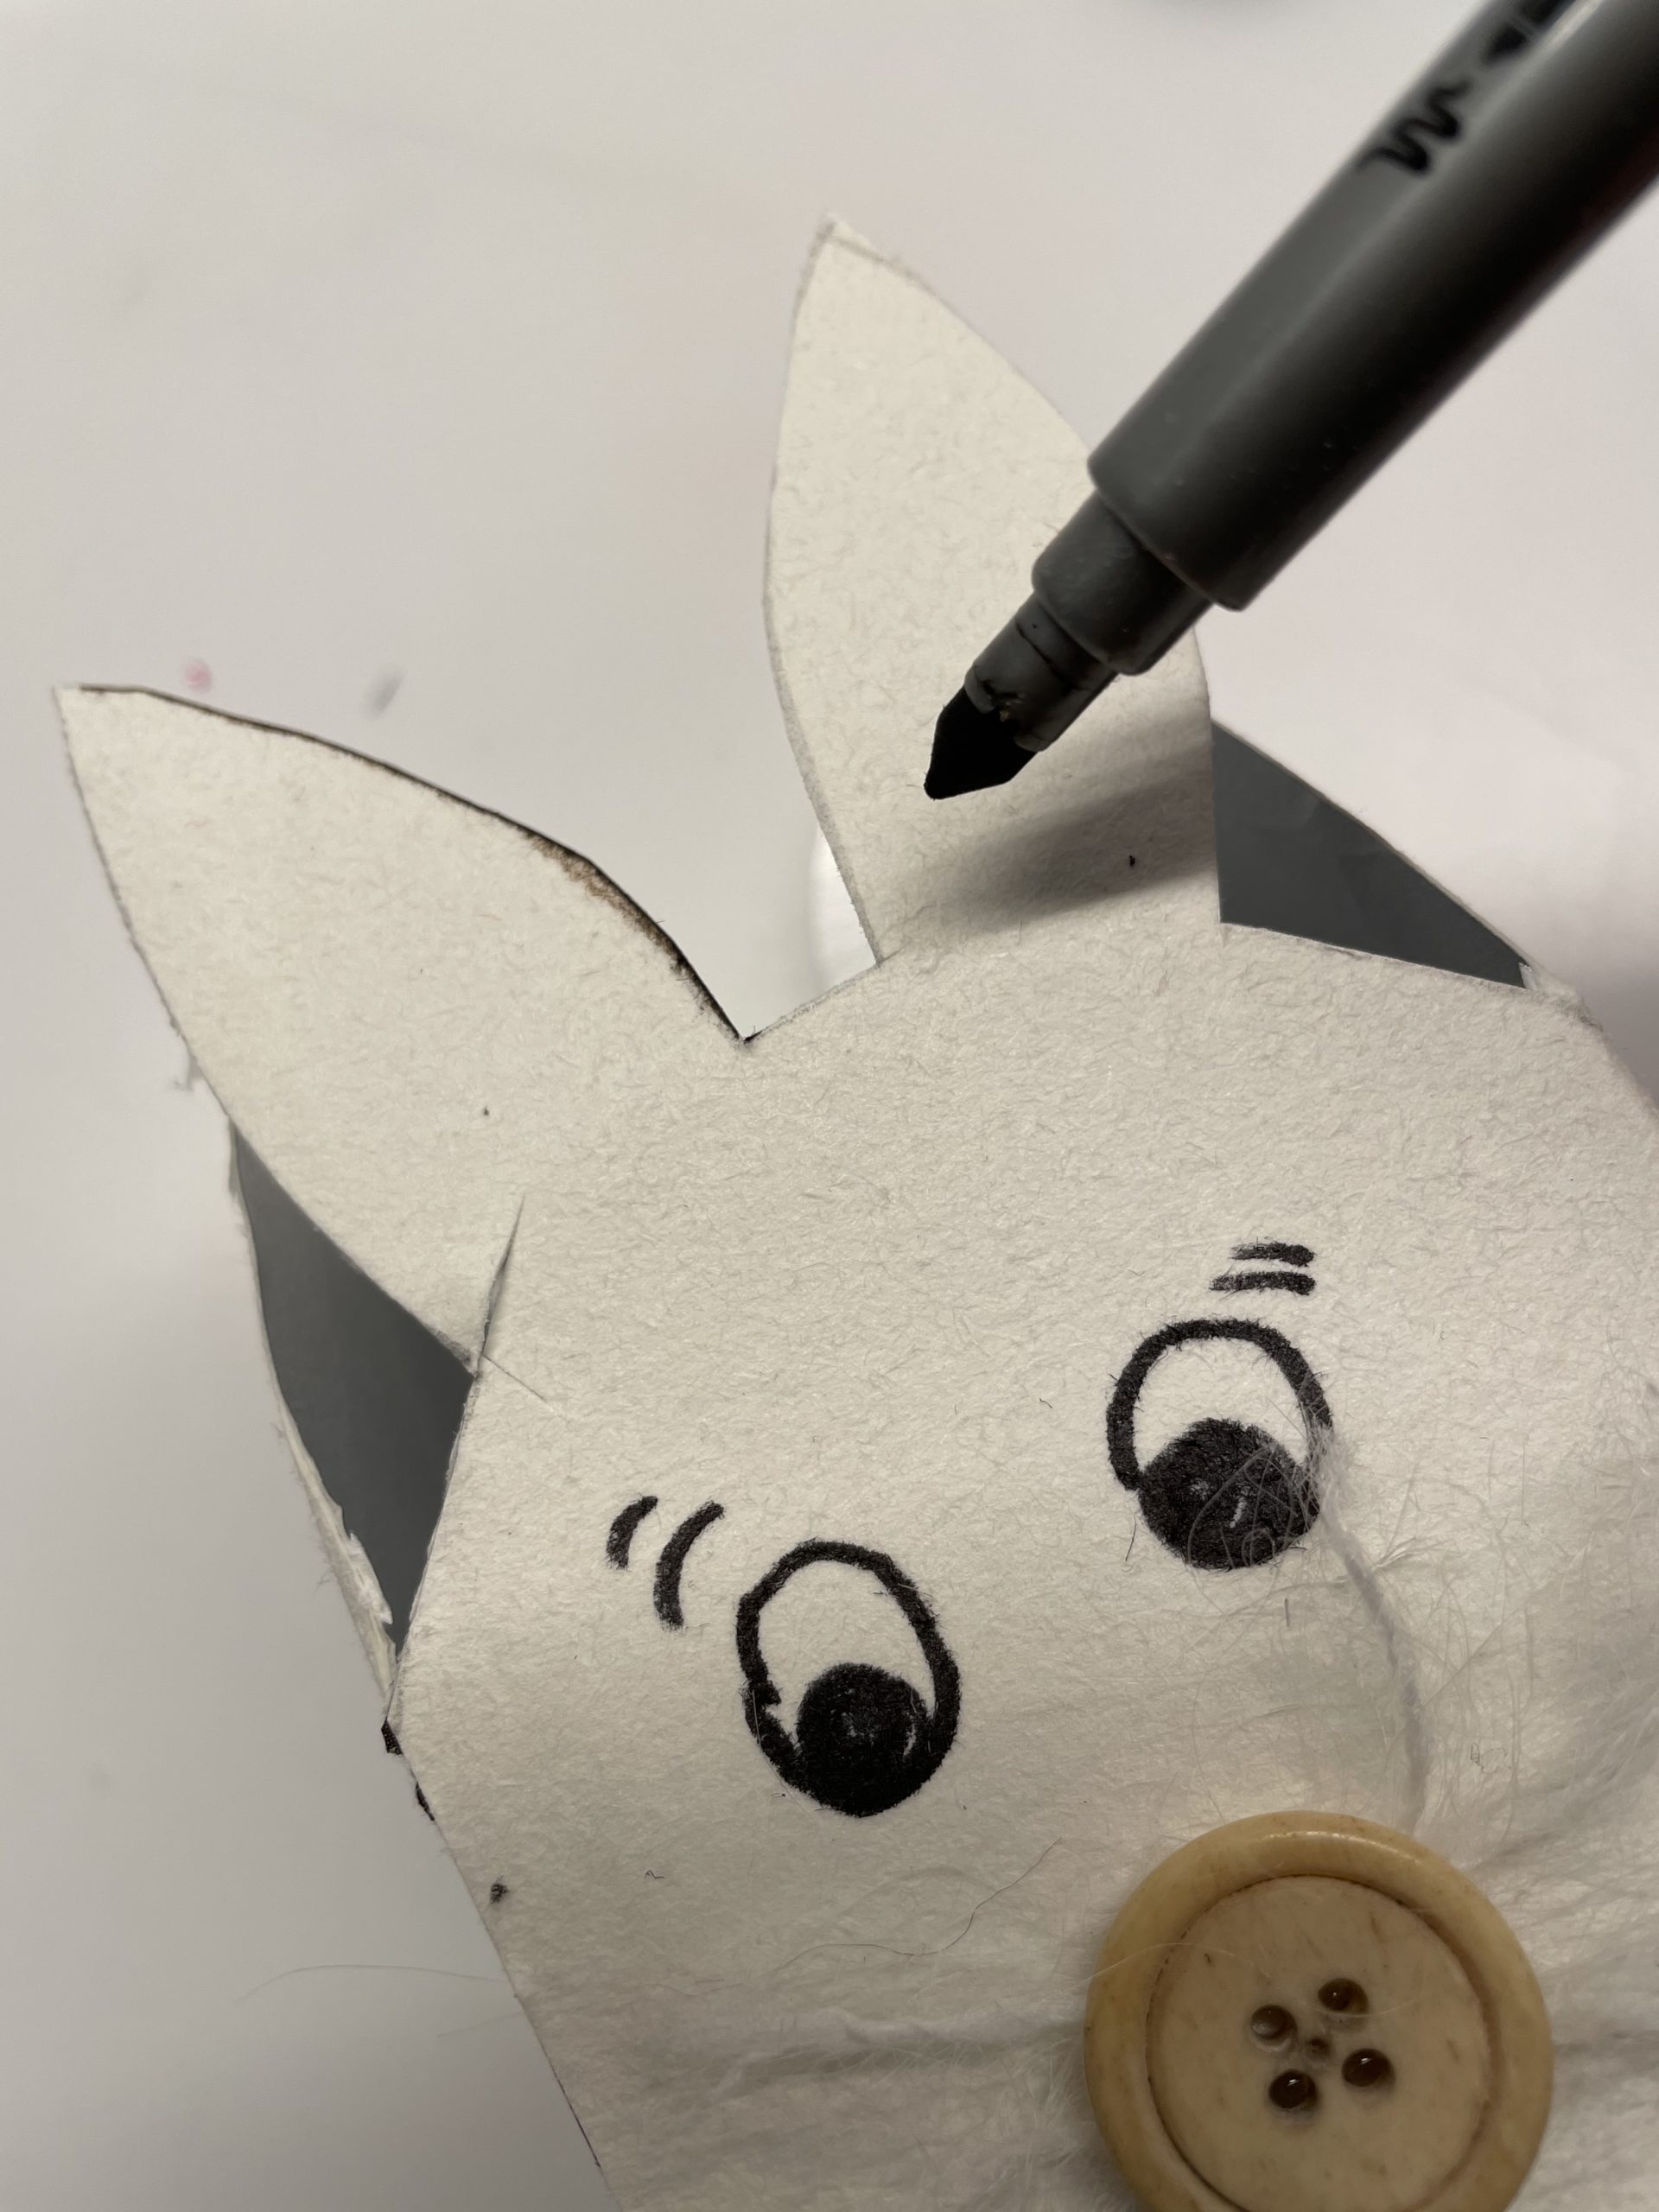
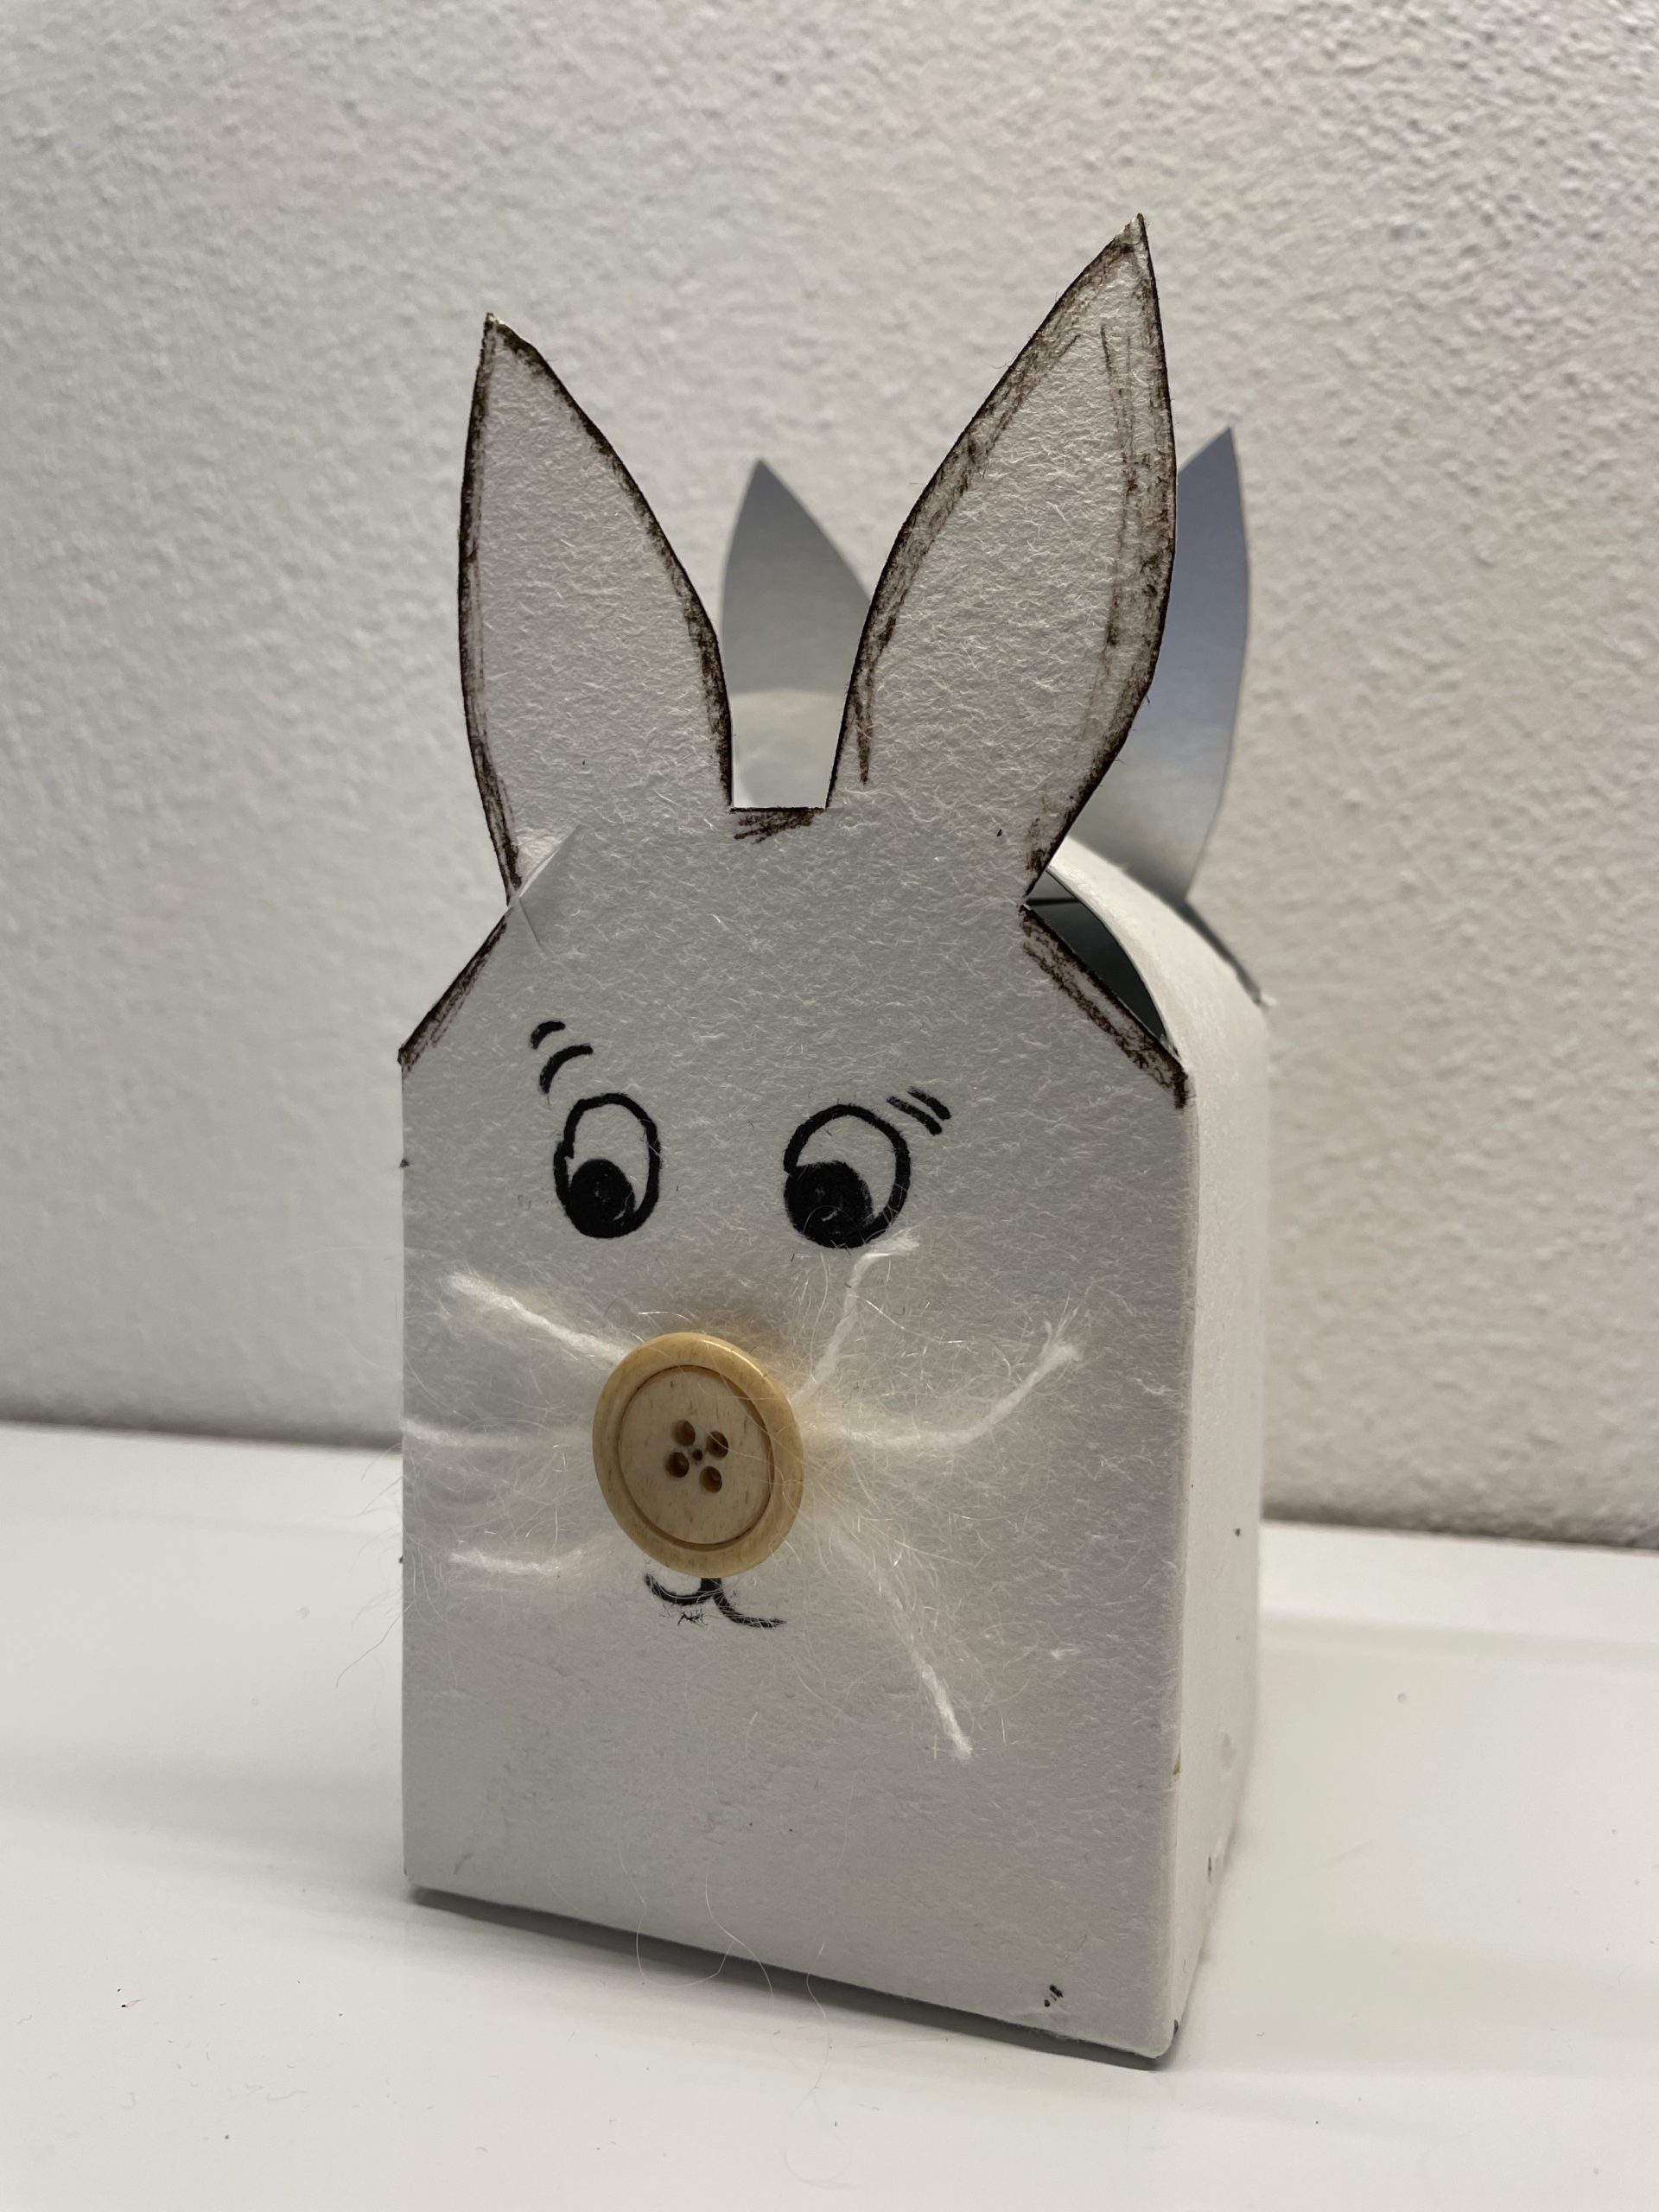
Now paint a rabbit face on the front. Use a felt pen.

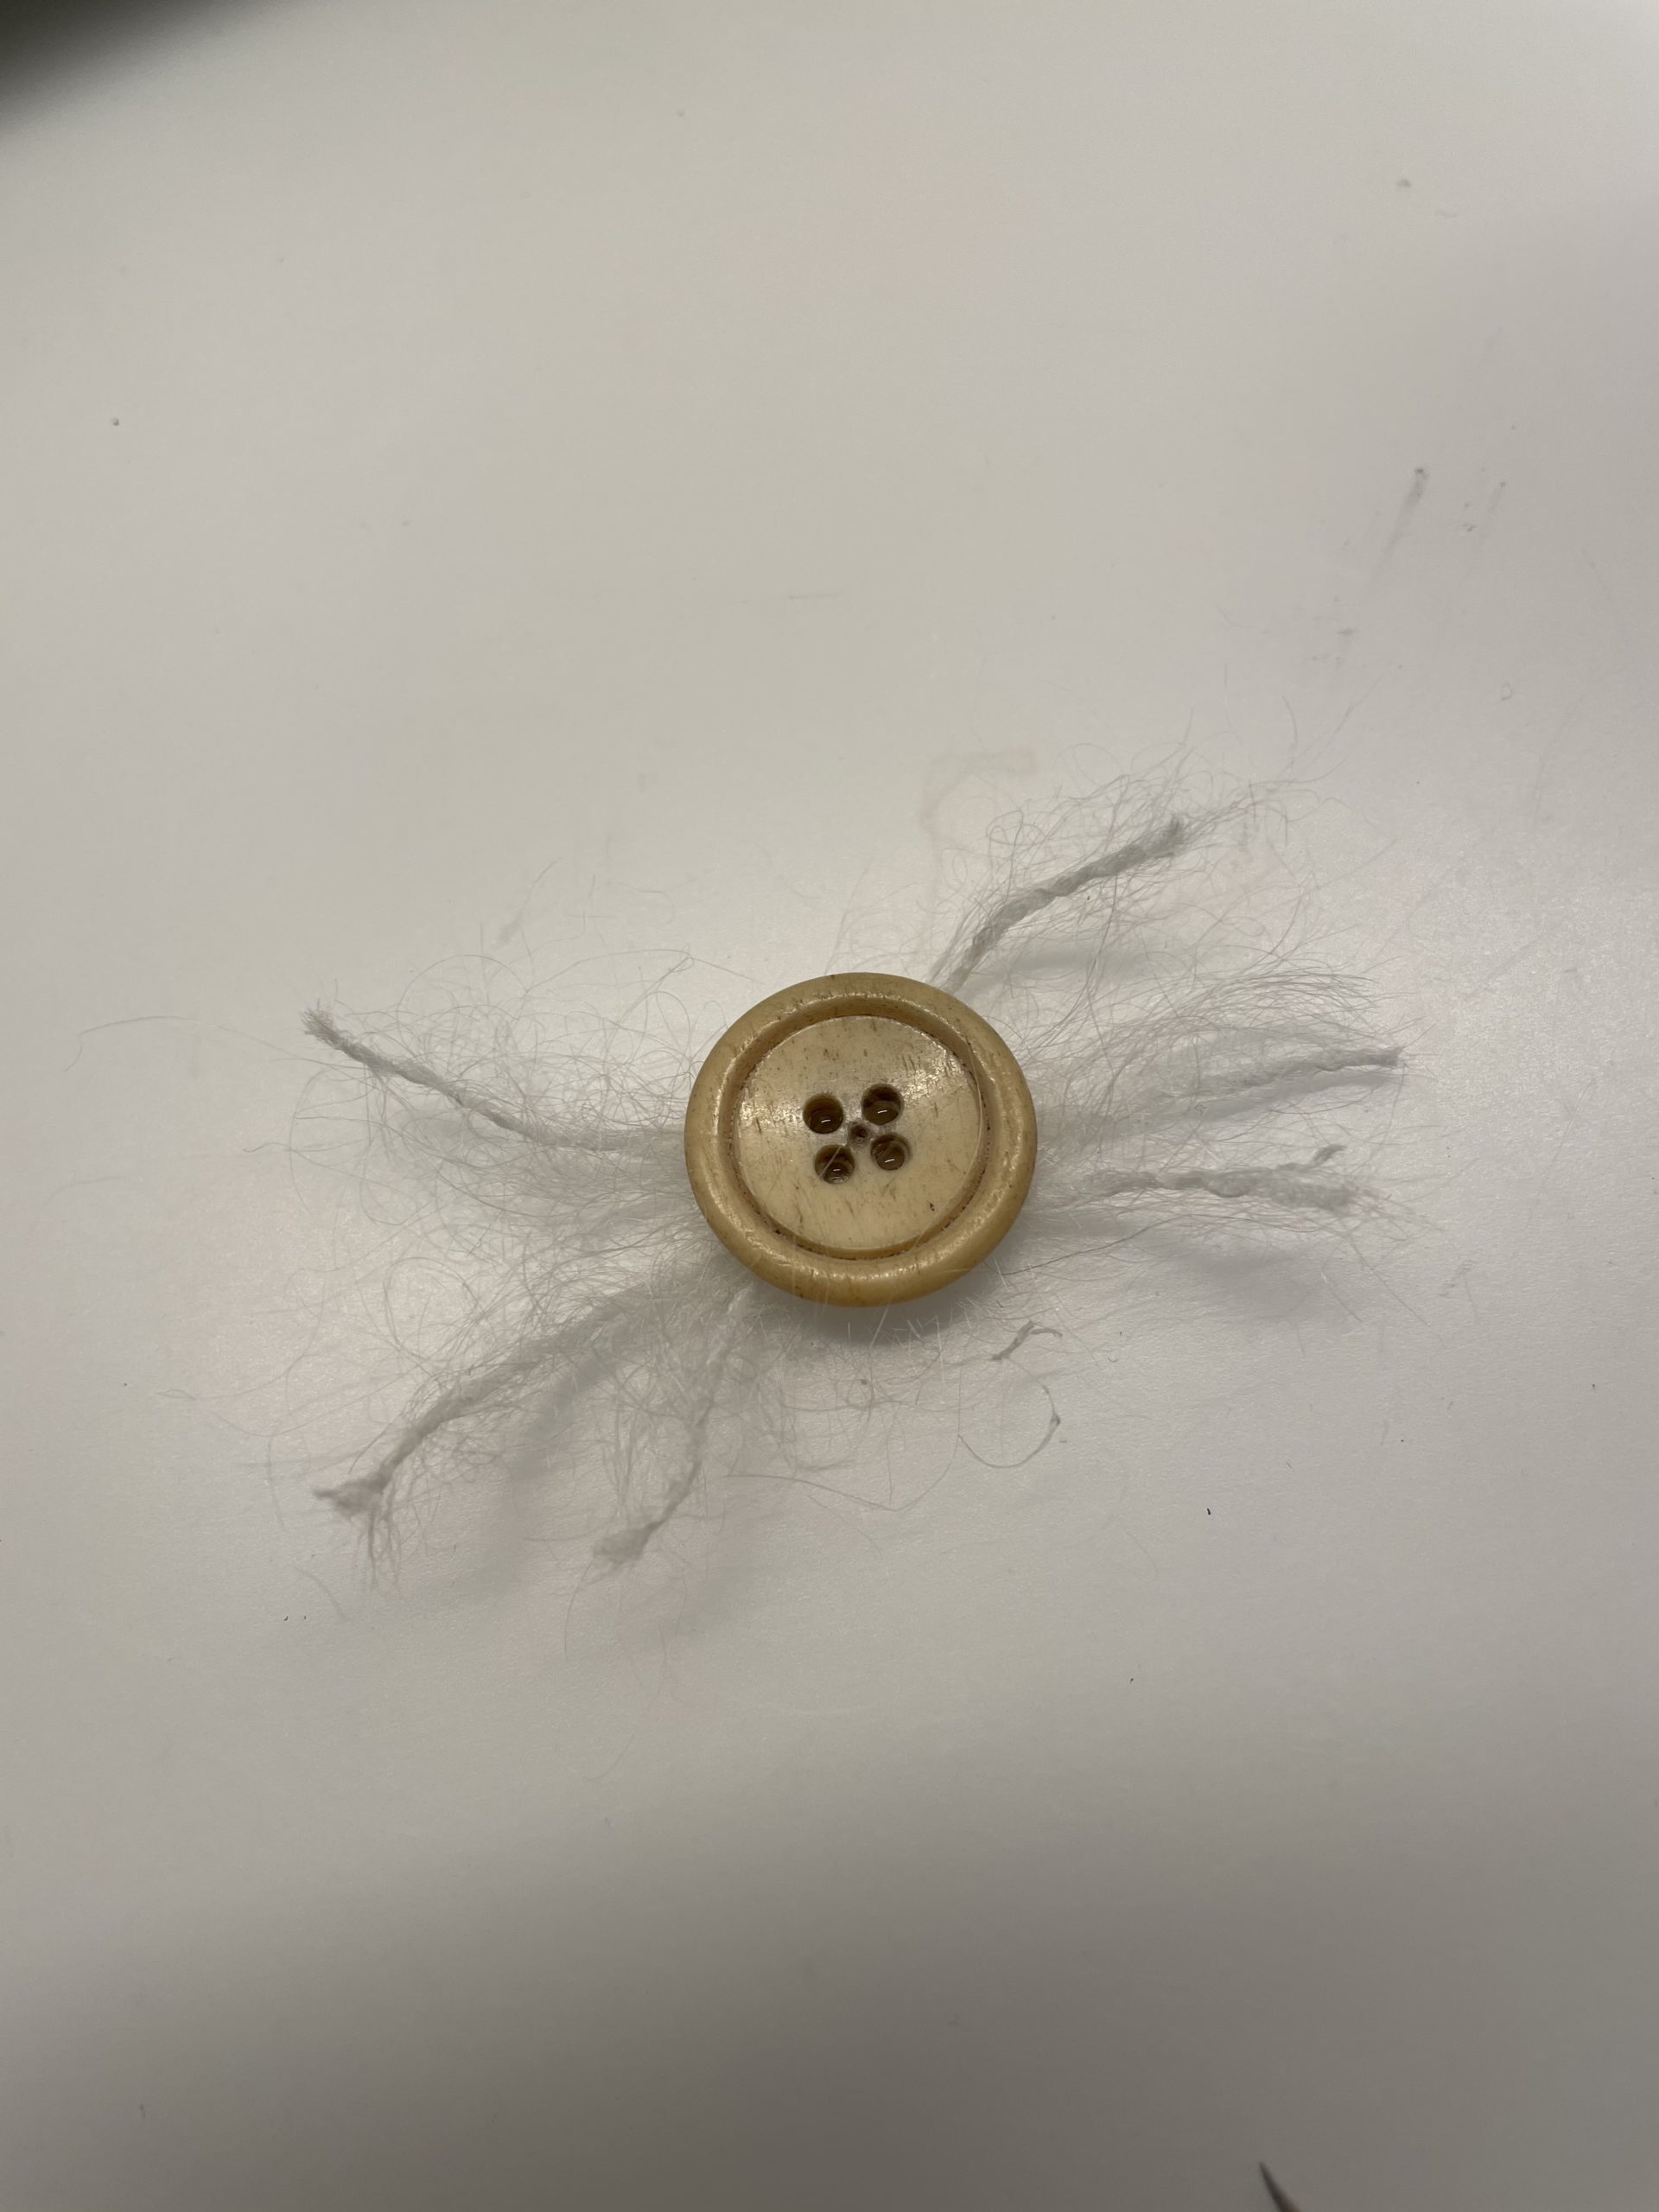
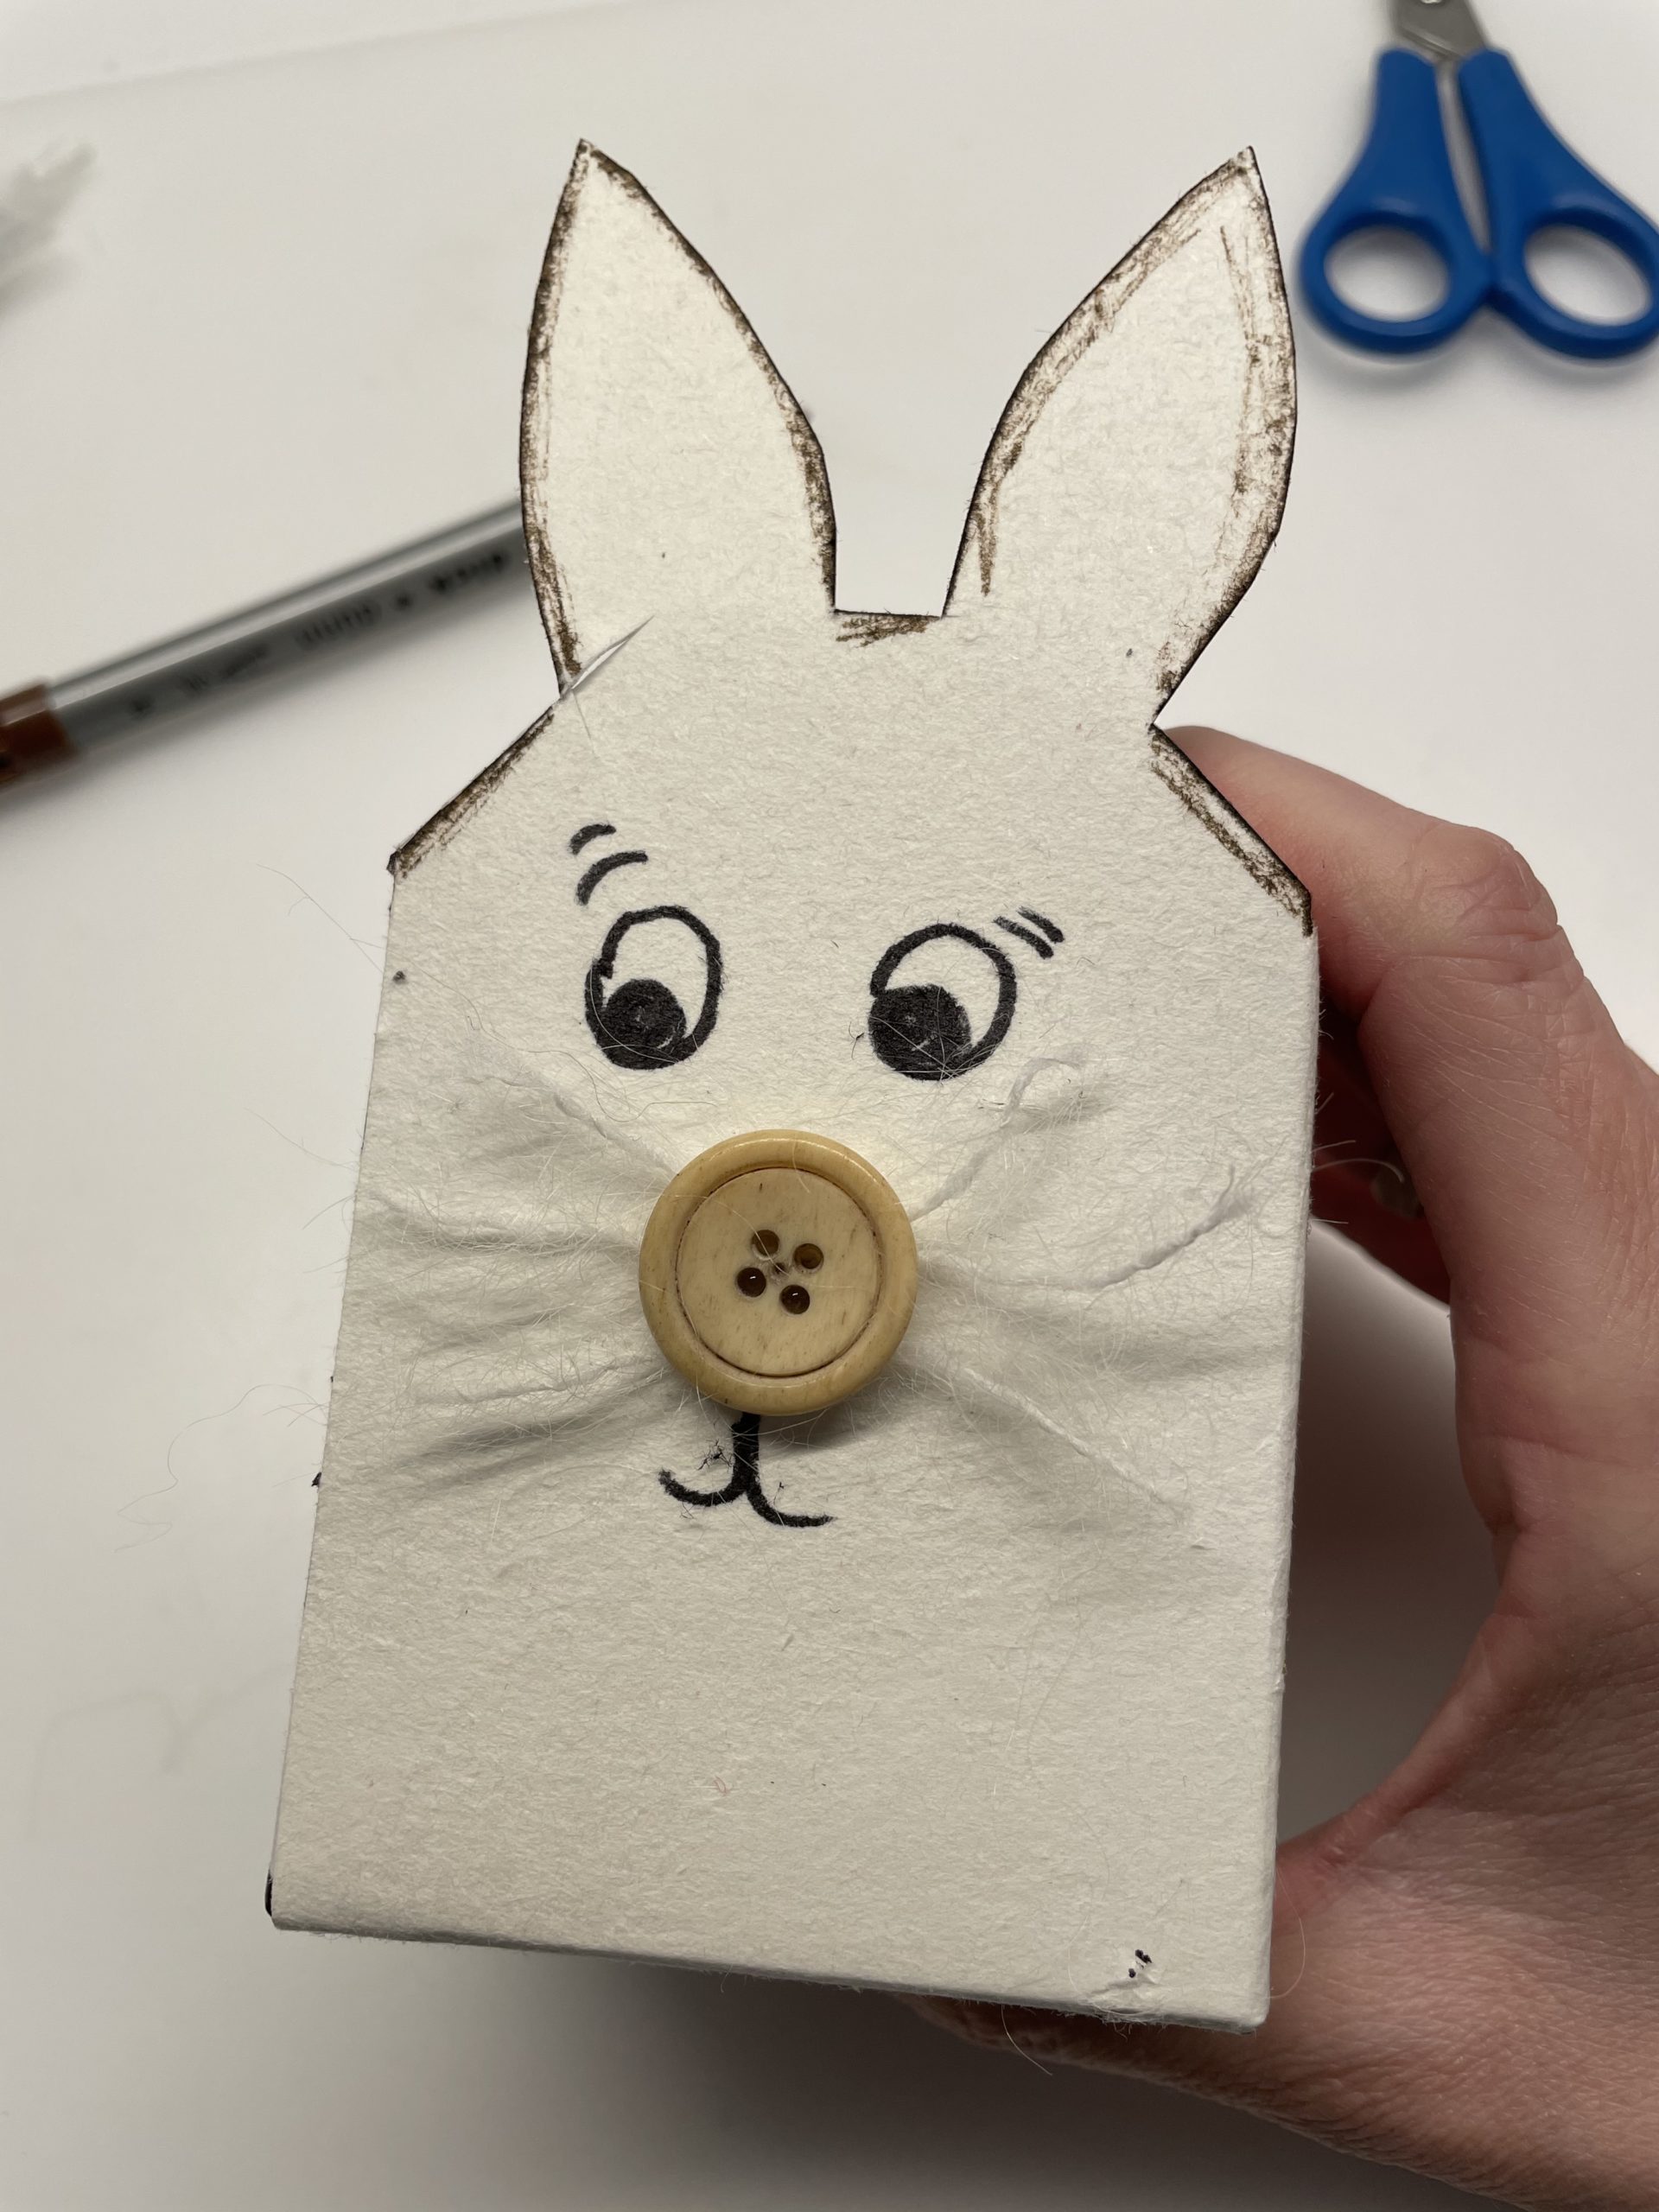
You either paint the nose and whiskers or you cut three wool threads of 5cm length each, which you stick to the back of a button.
The finished rabbit nose then attaches it with glue on the packaging.
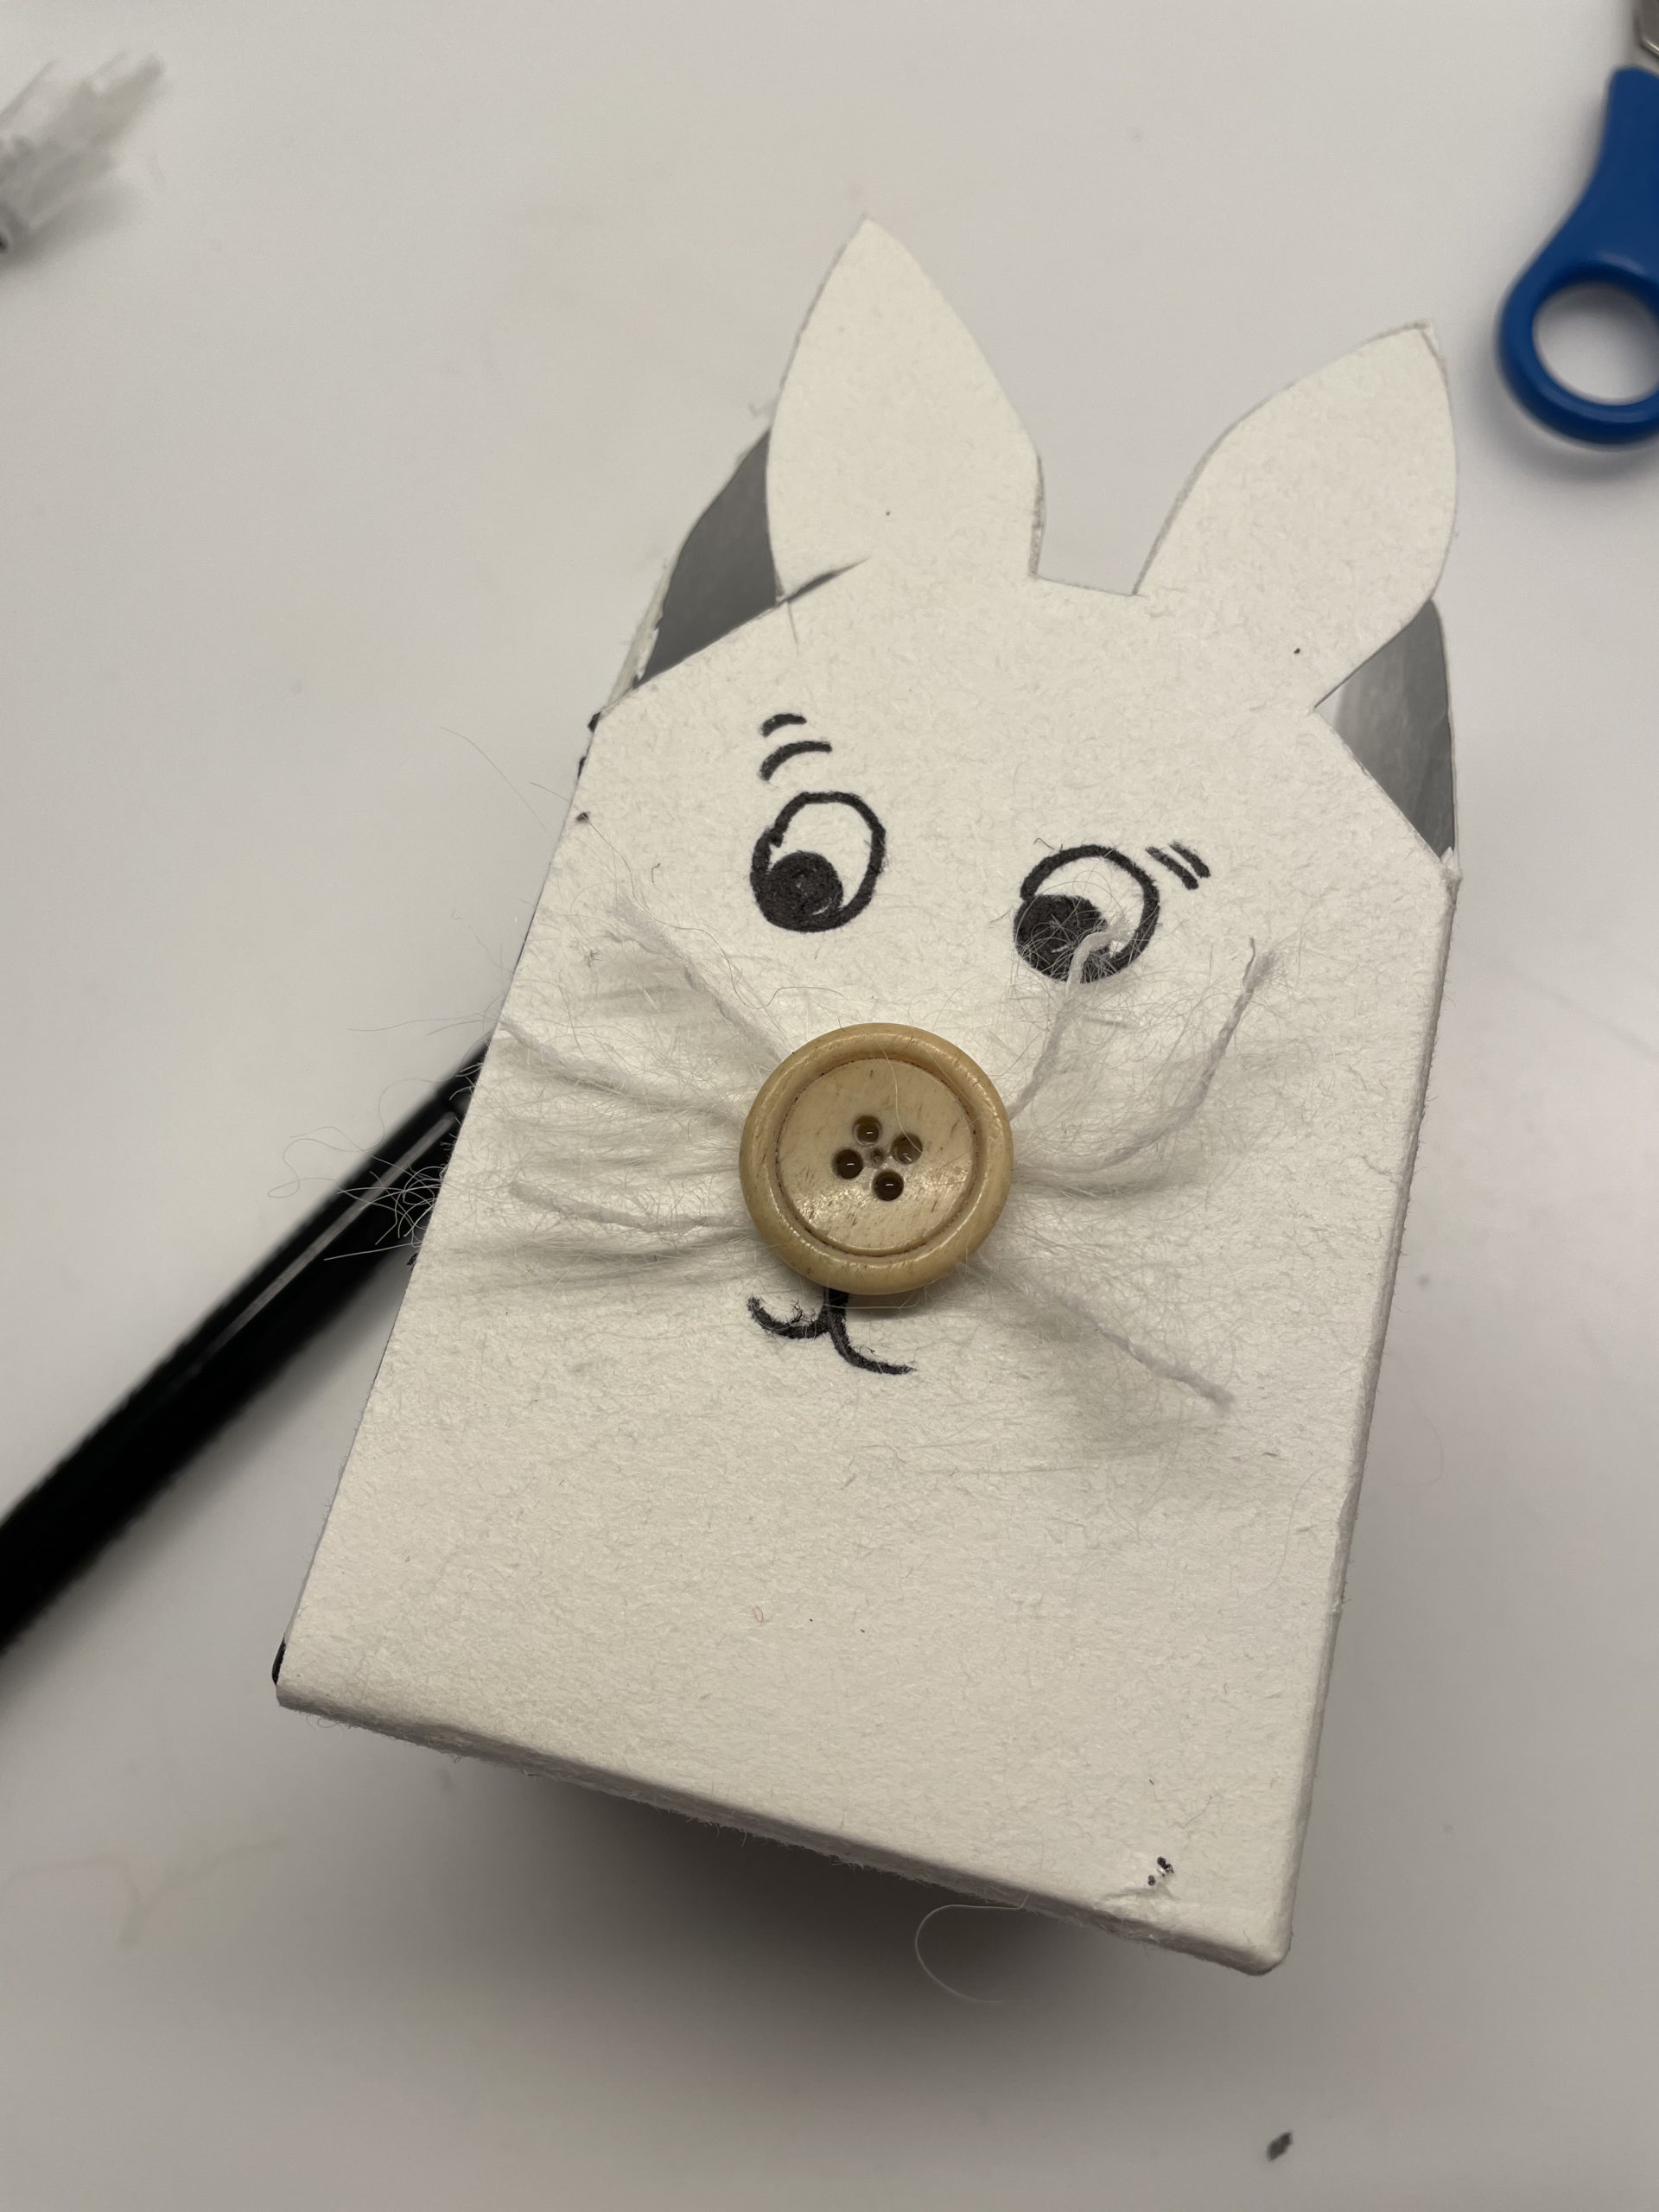
Beautify your rabbit by following the rabbit ears with a felt pen. Strip along the ears with the pen on the side.
The rabbit face is ready.
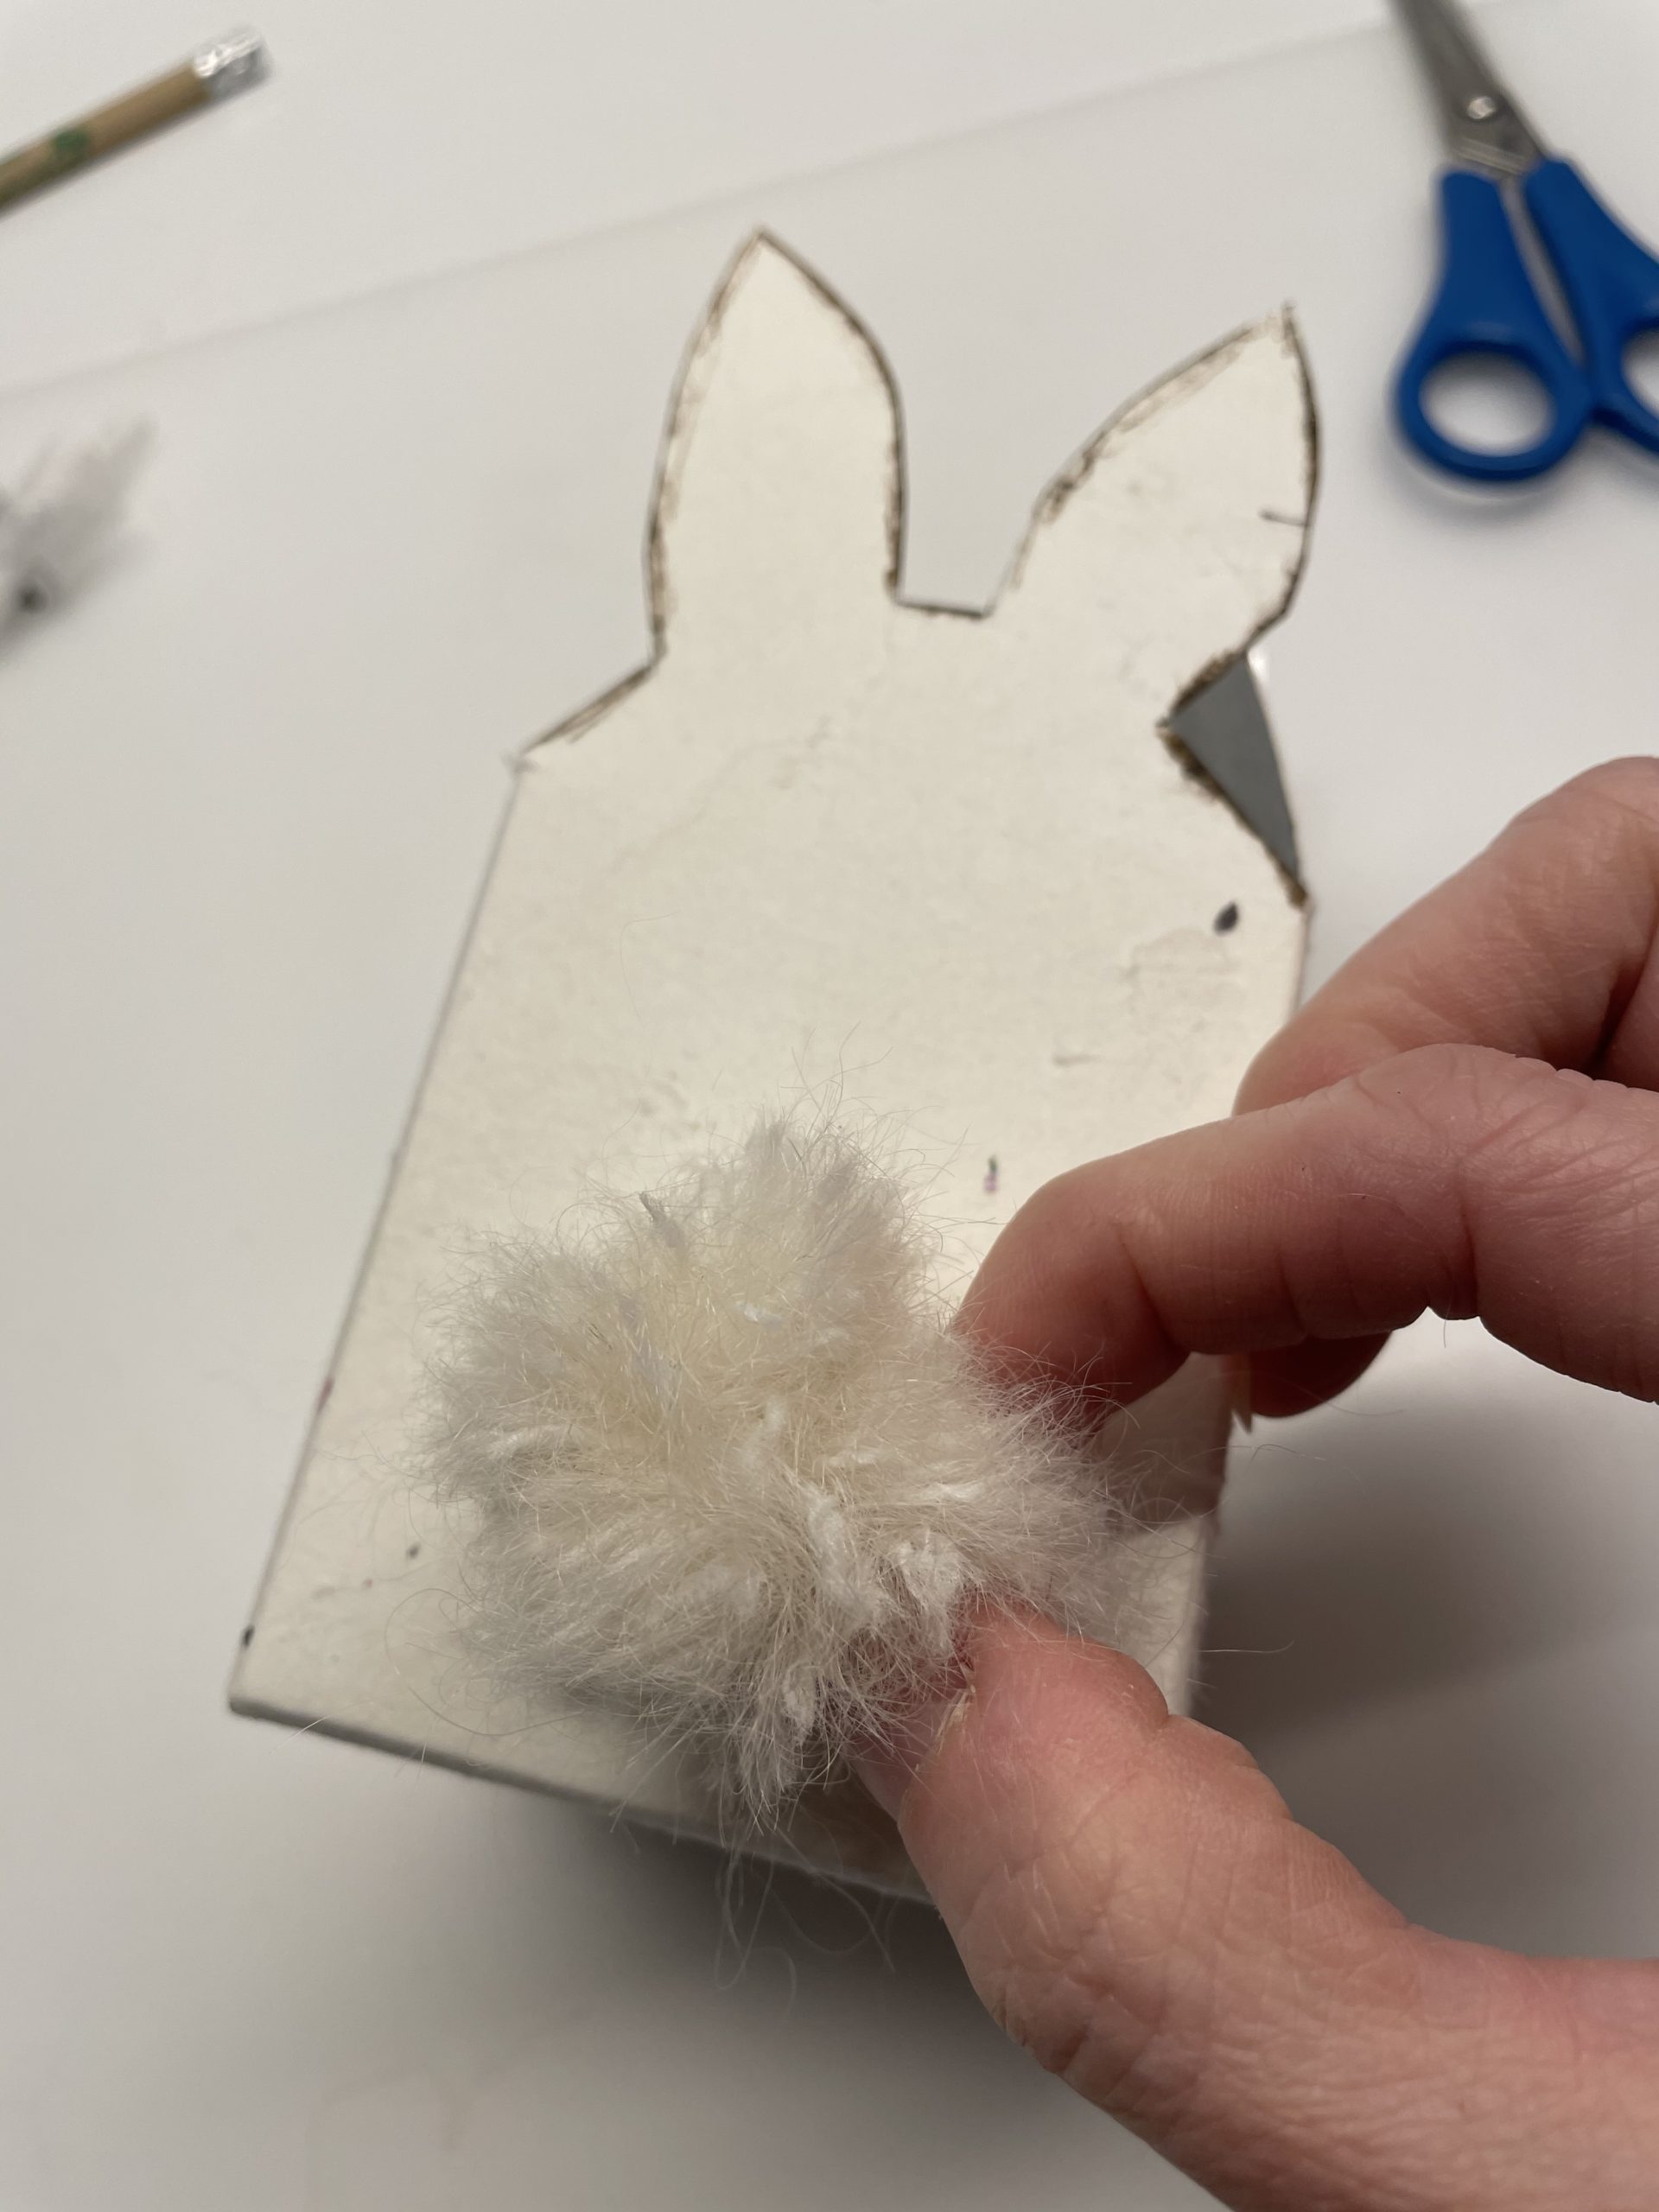
You can also border the contours of the back with a pen.
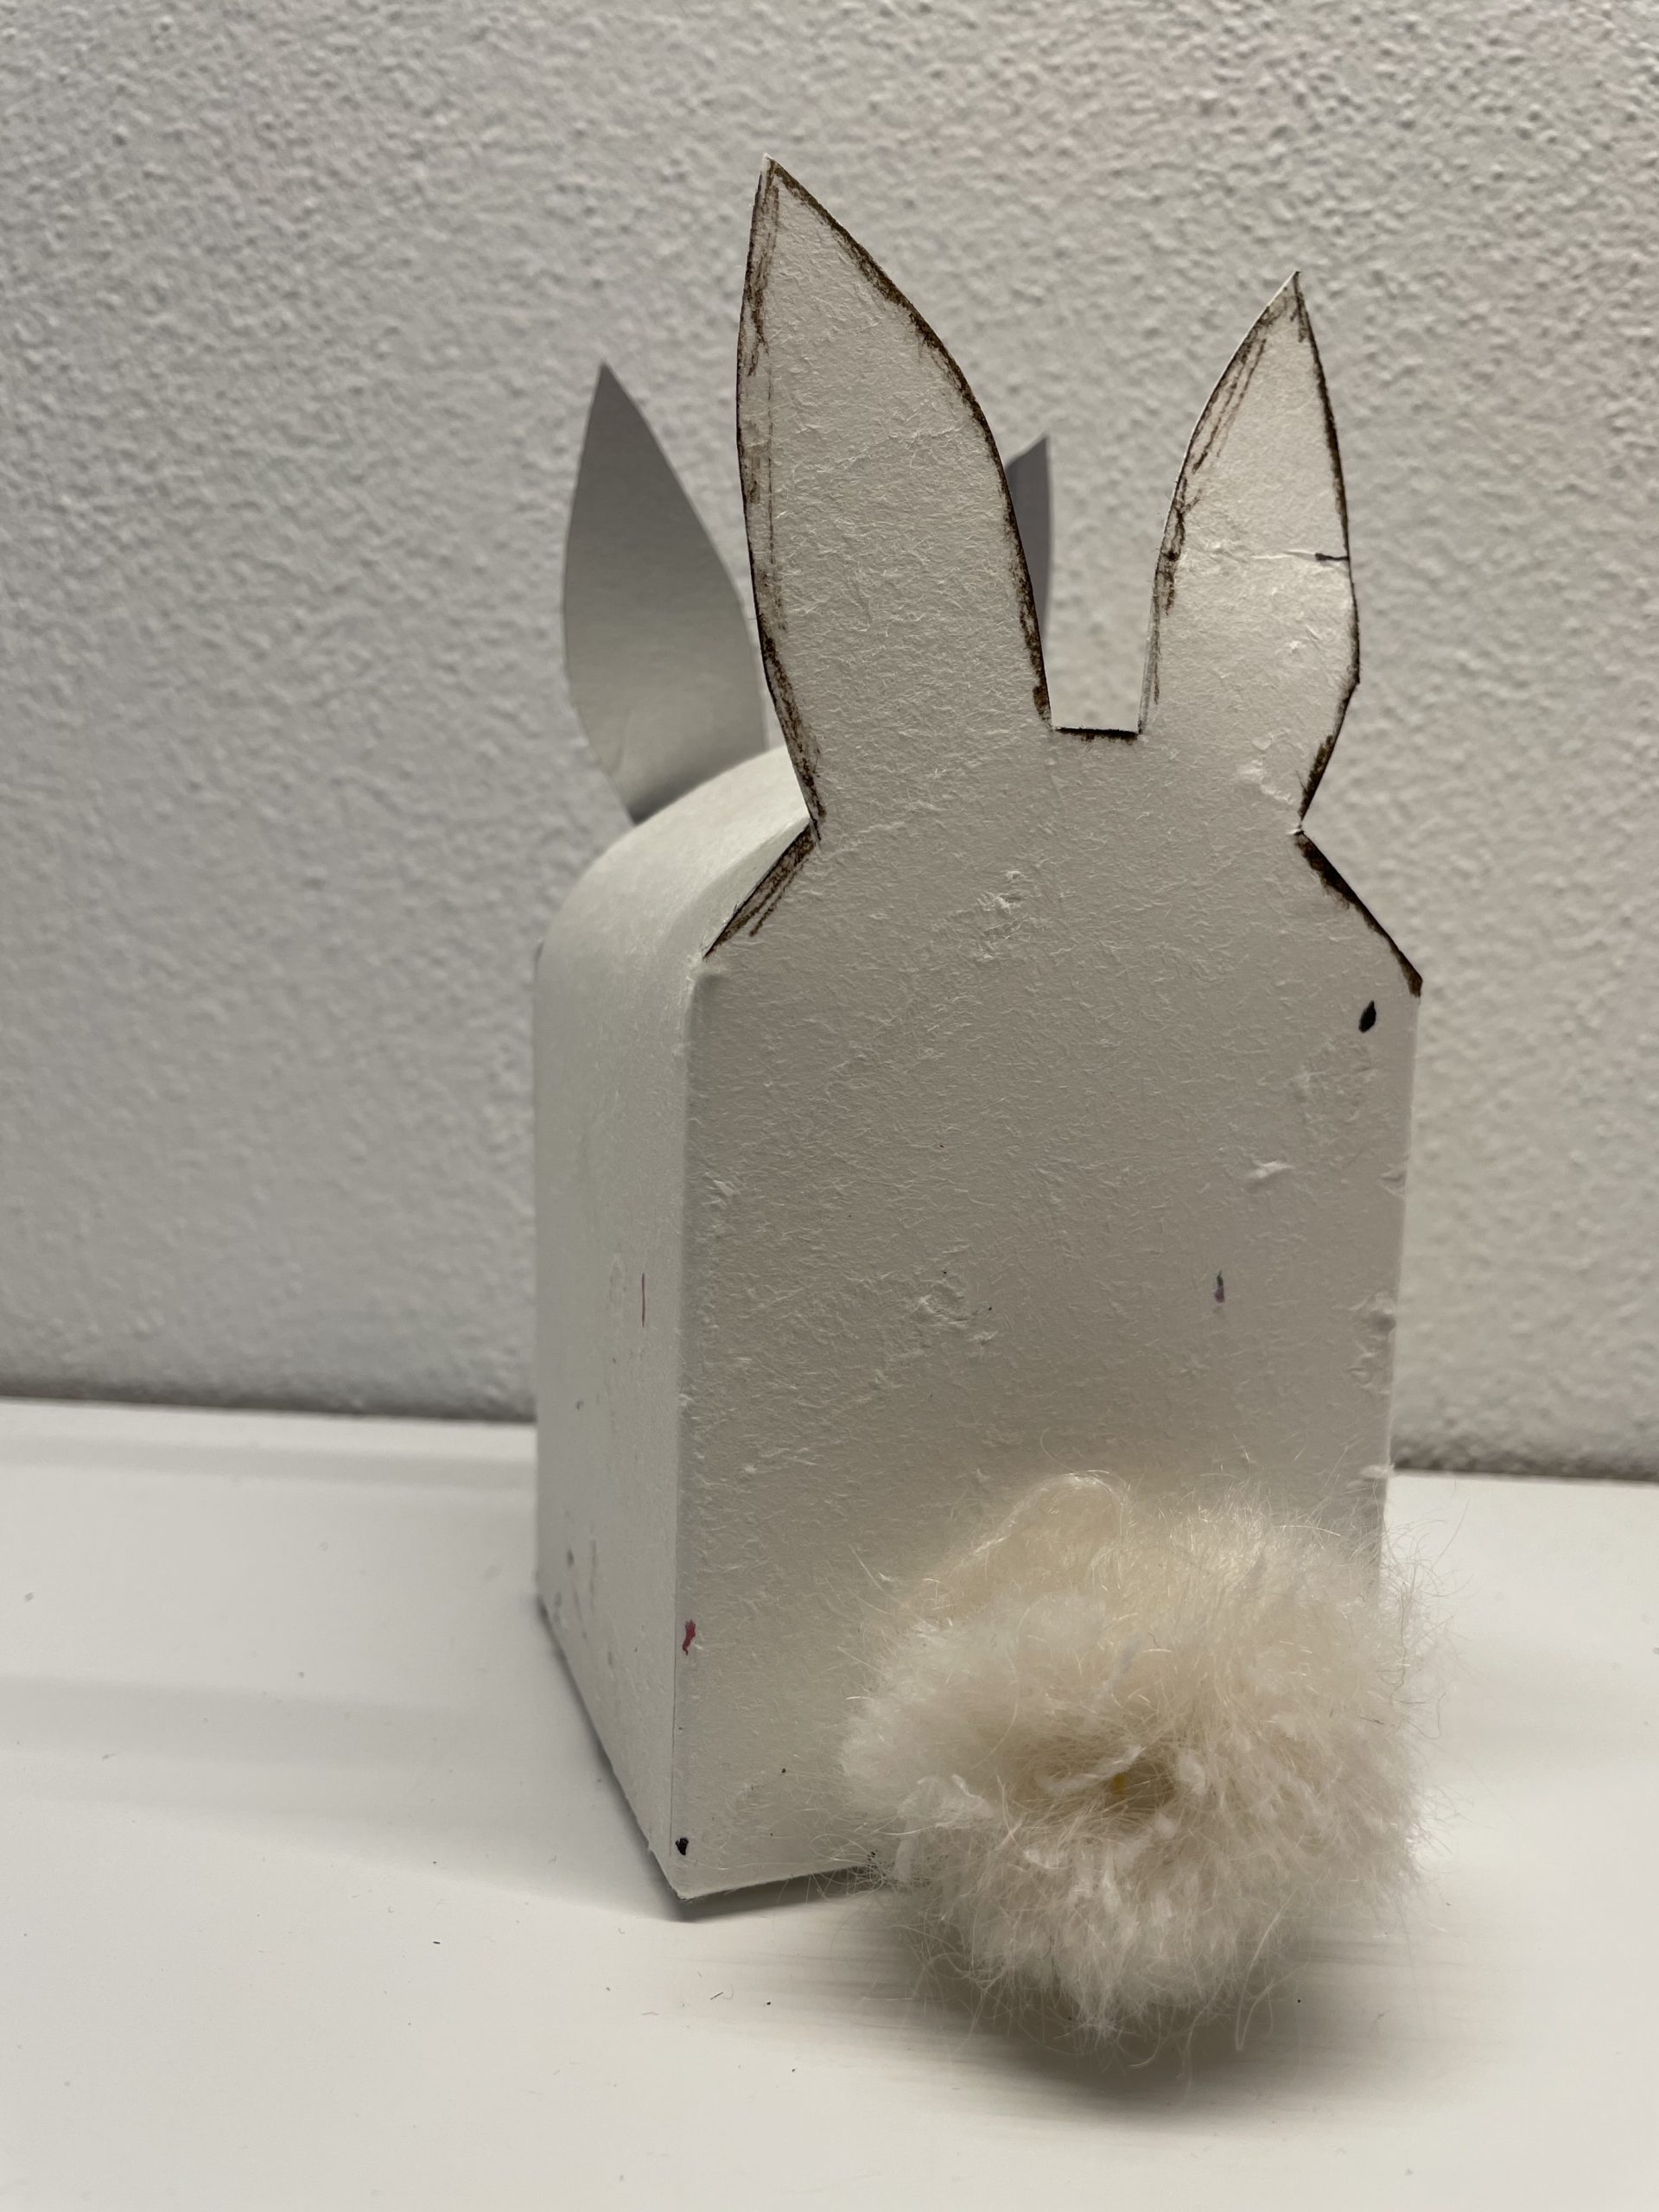
Your bunny gift box is ready.
To close the box, you still need a gift ribbon, bast or a string.
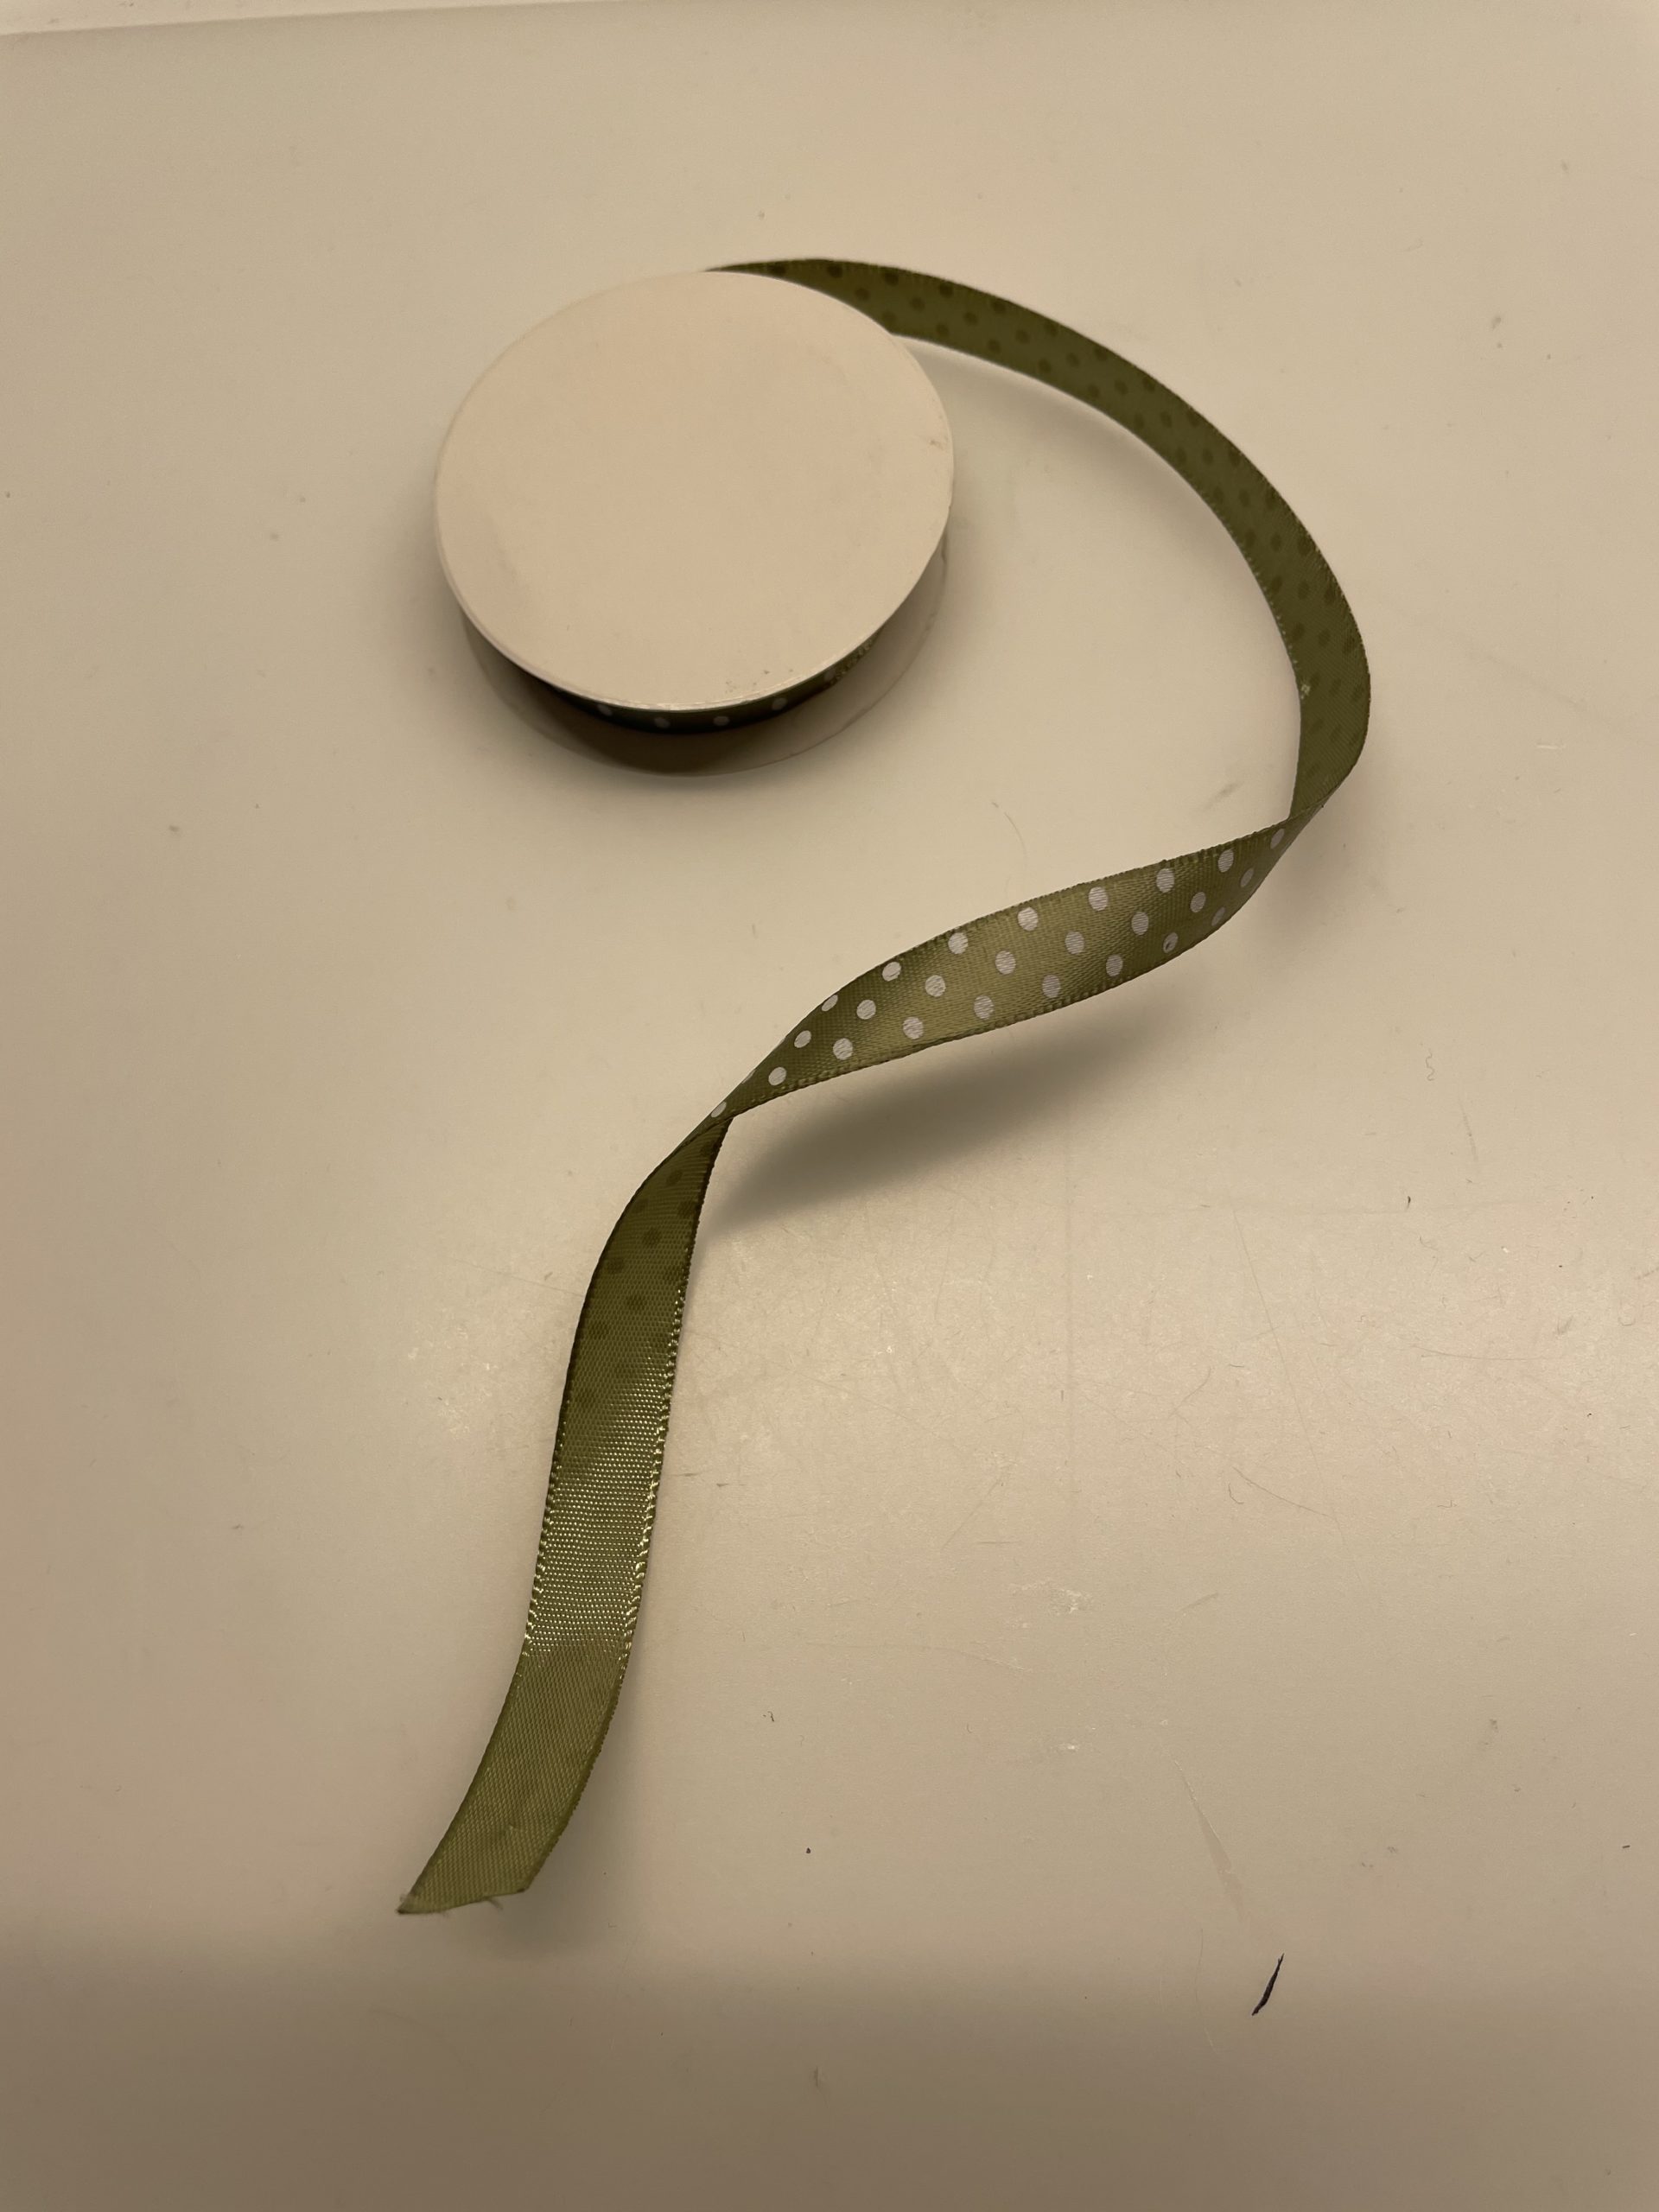
Put your gifts in the box and then tie the tape centrally around the box.
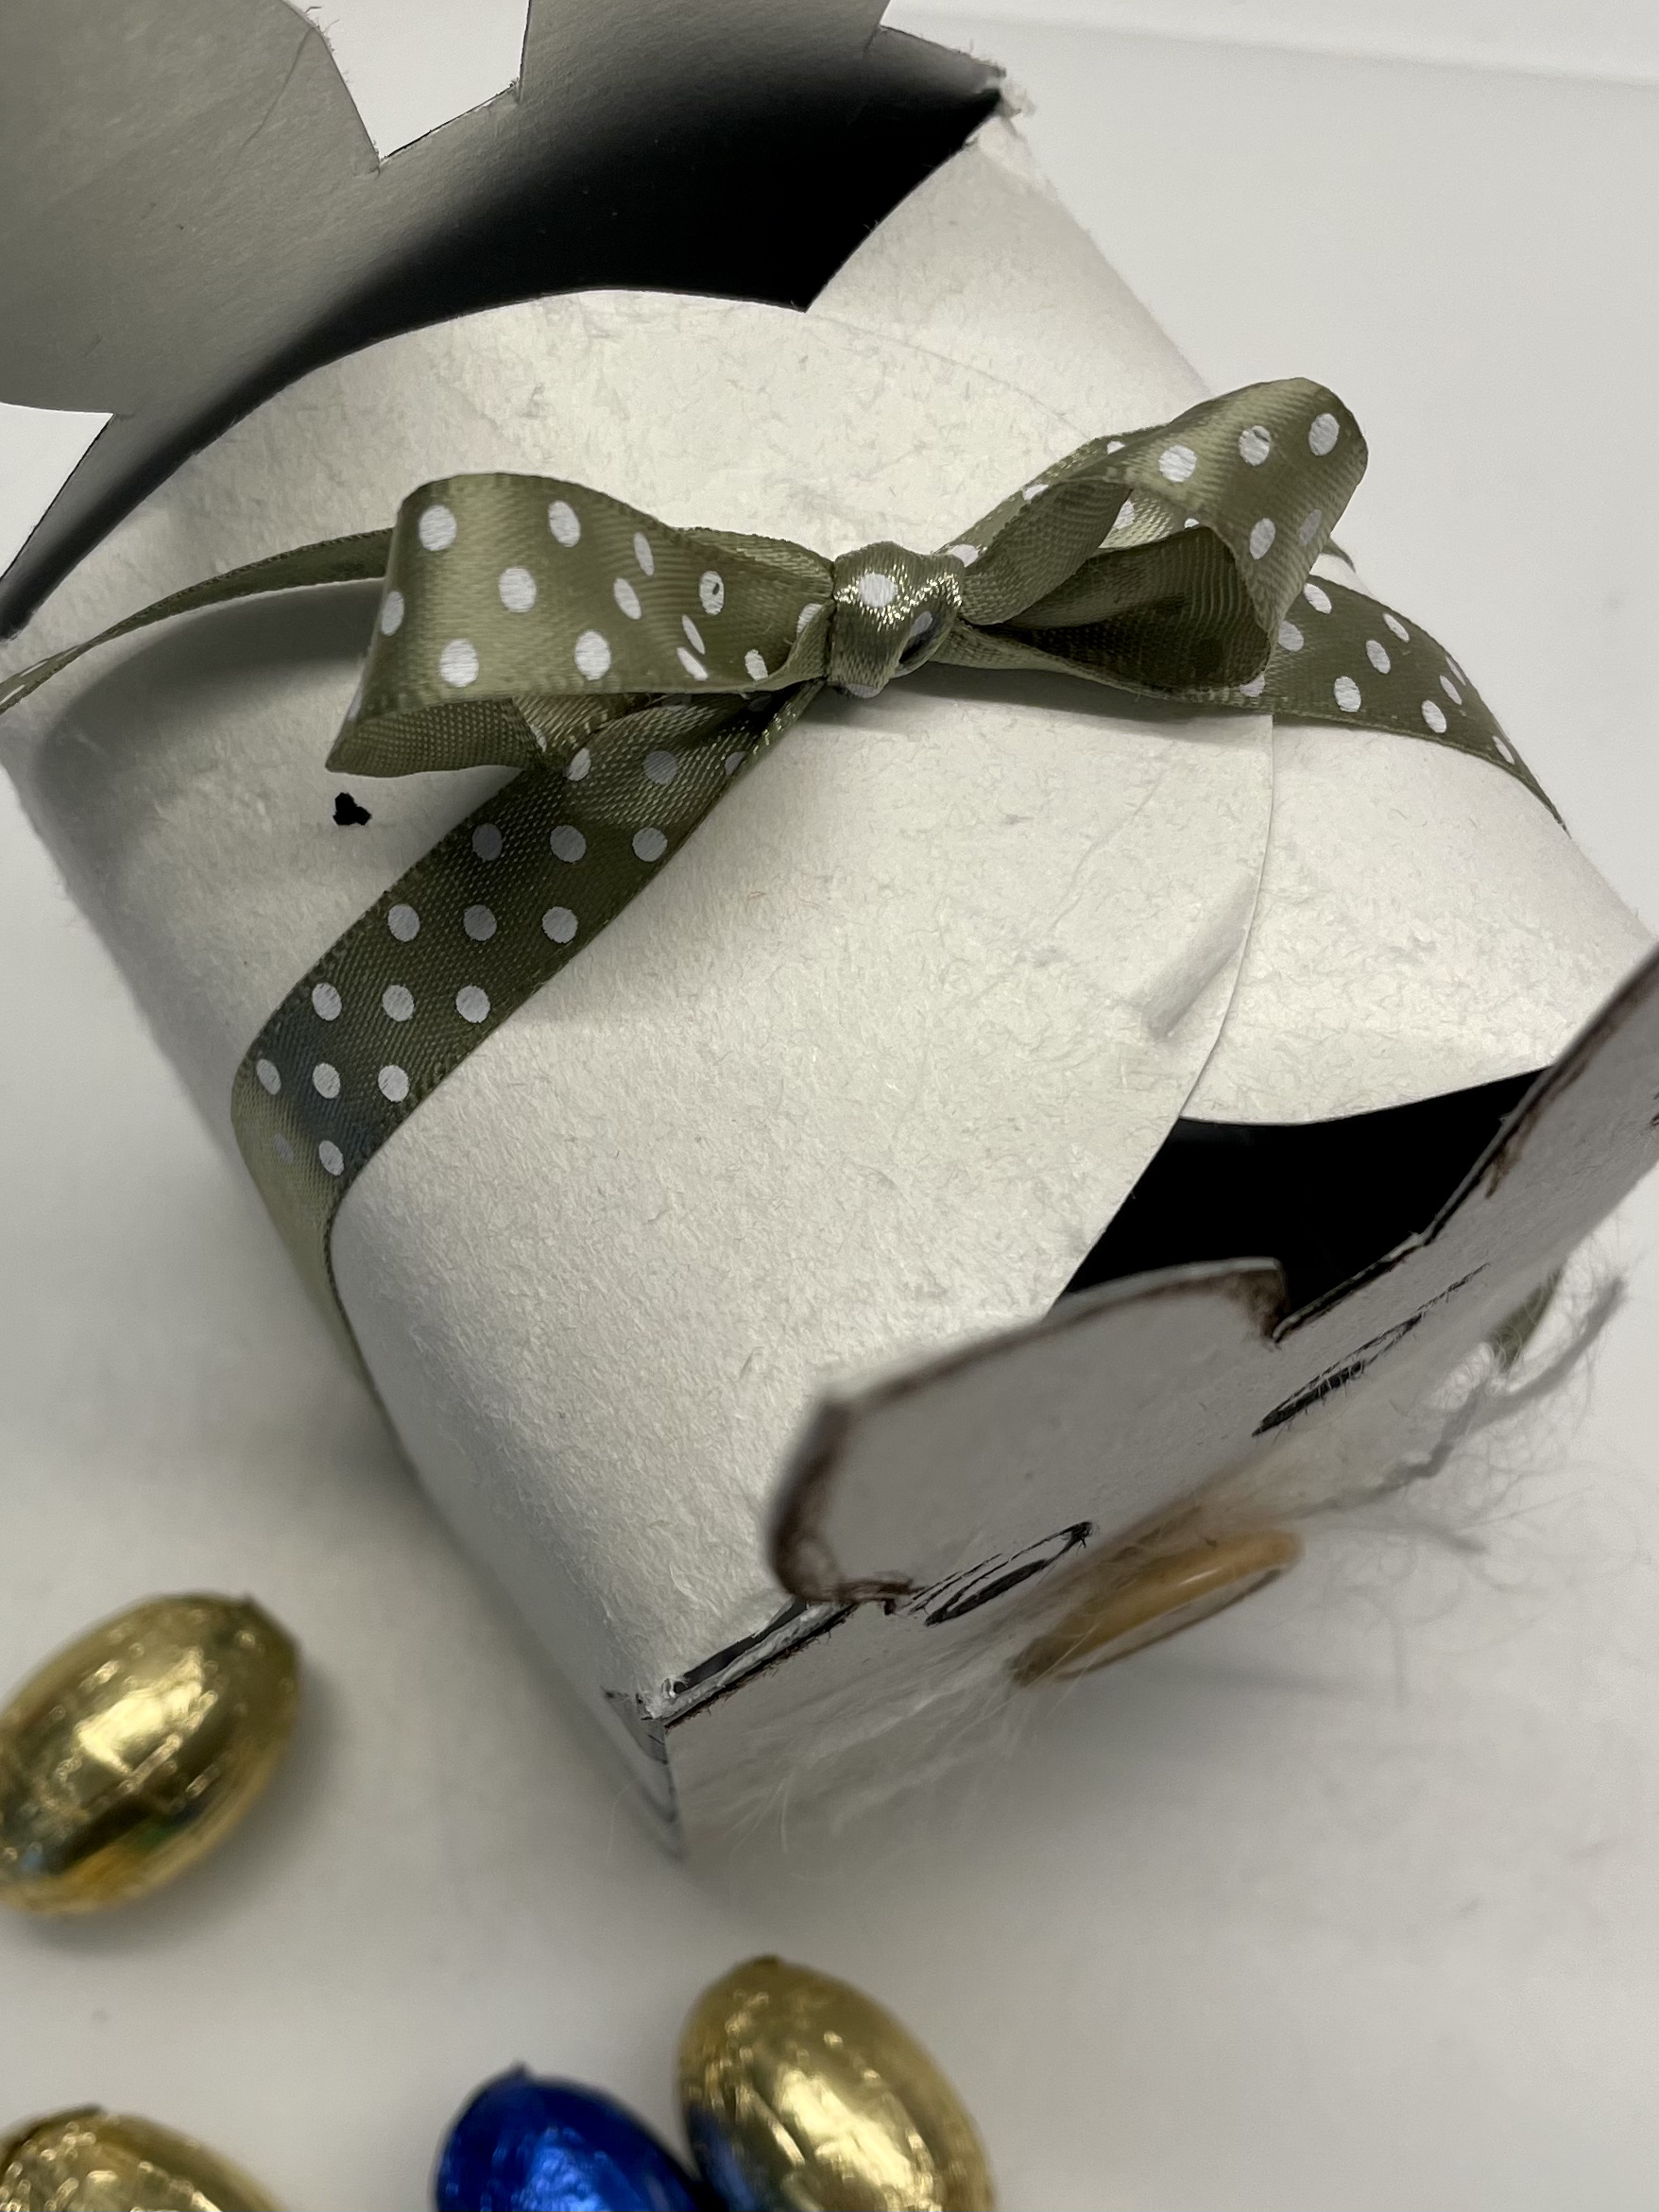
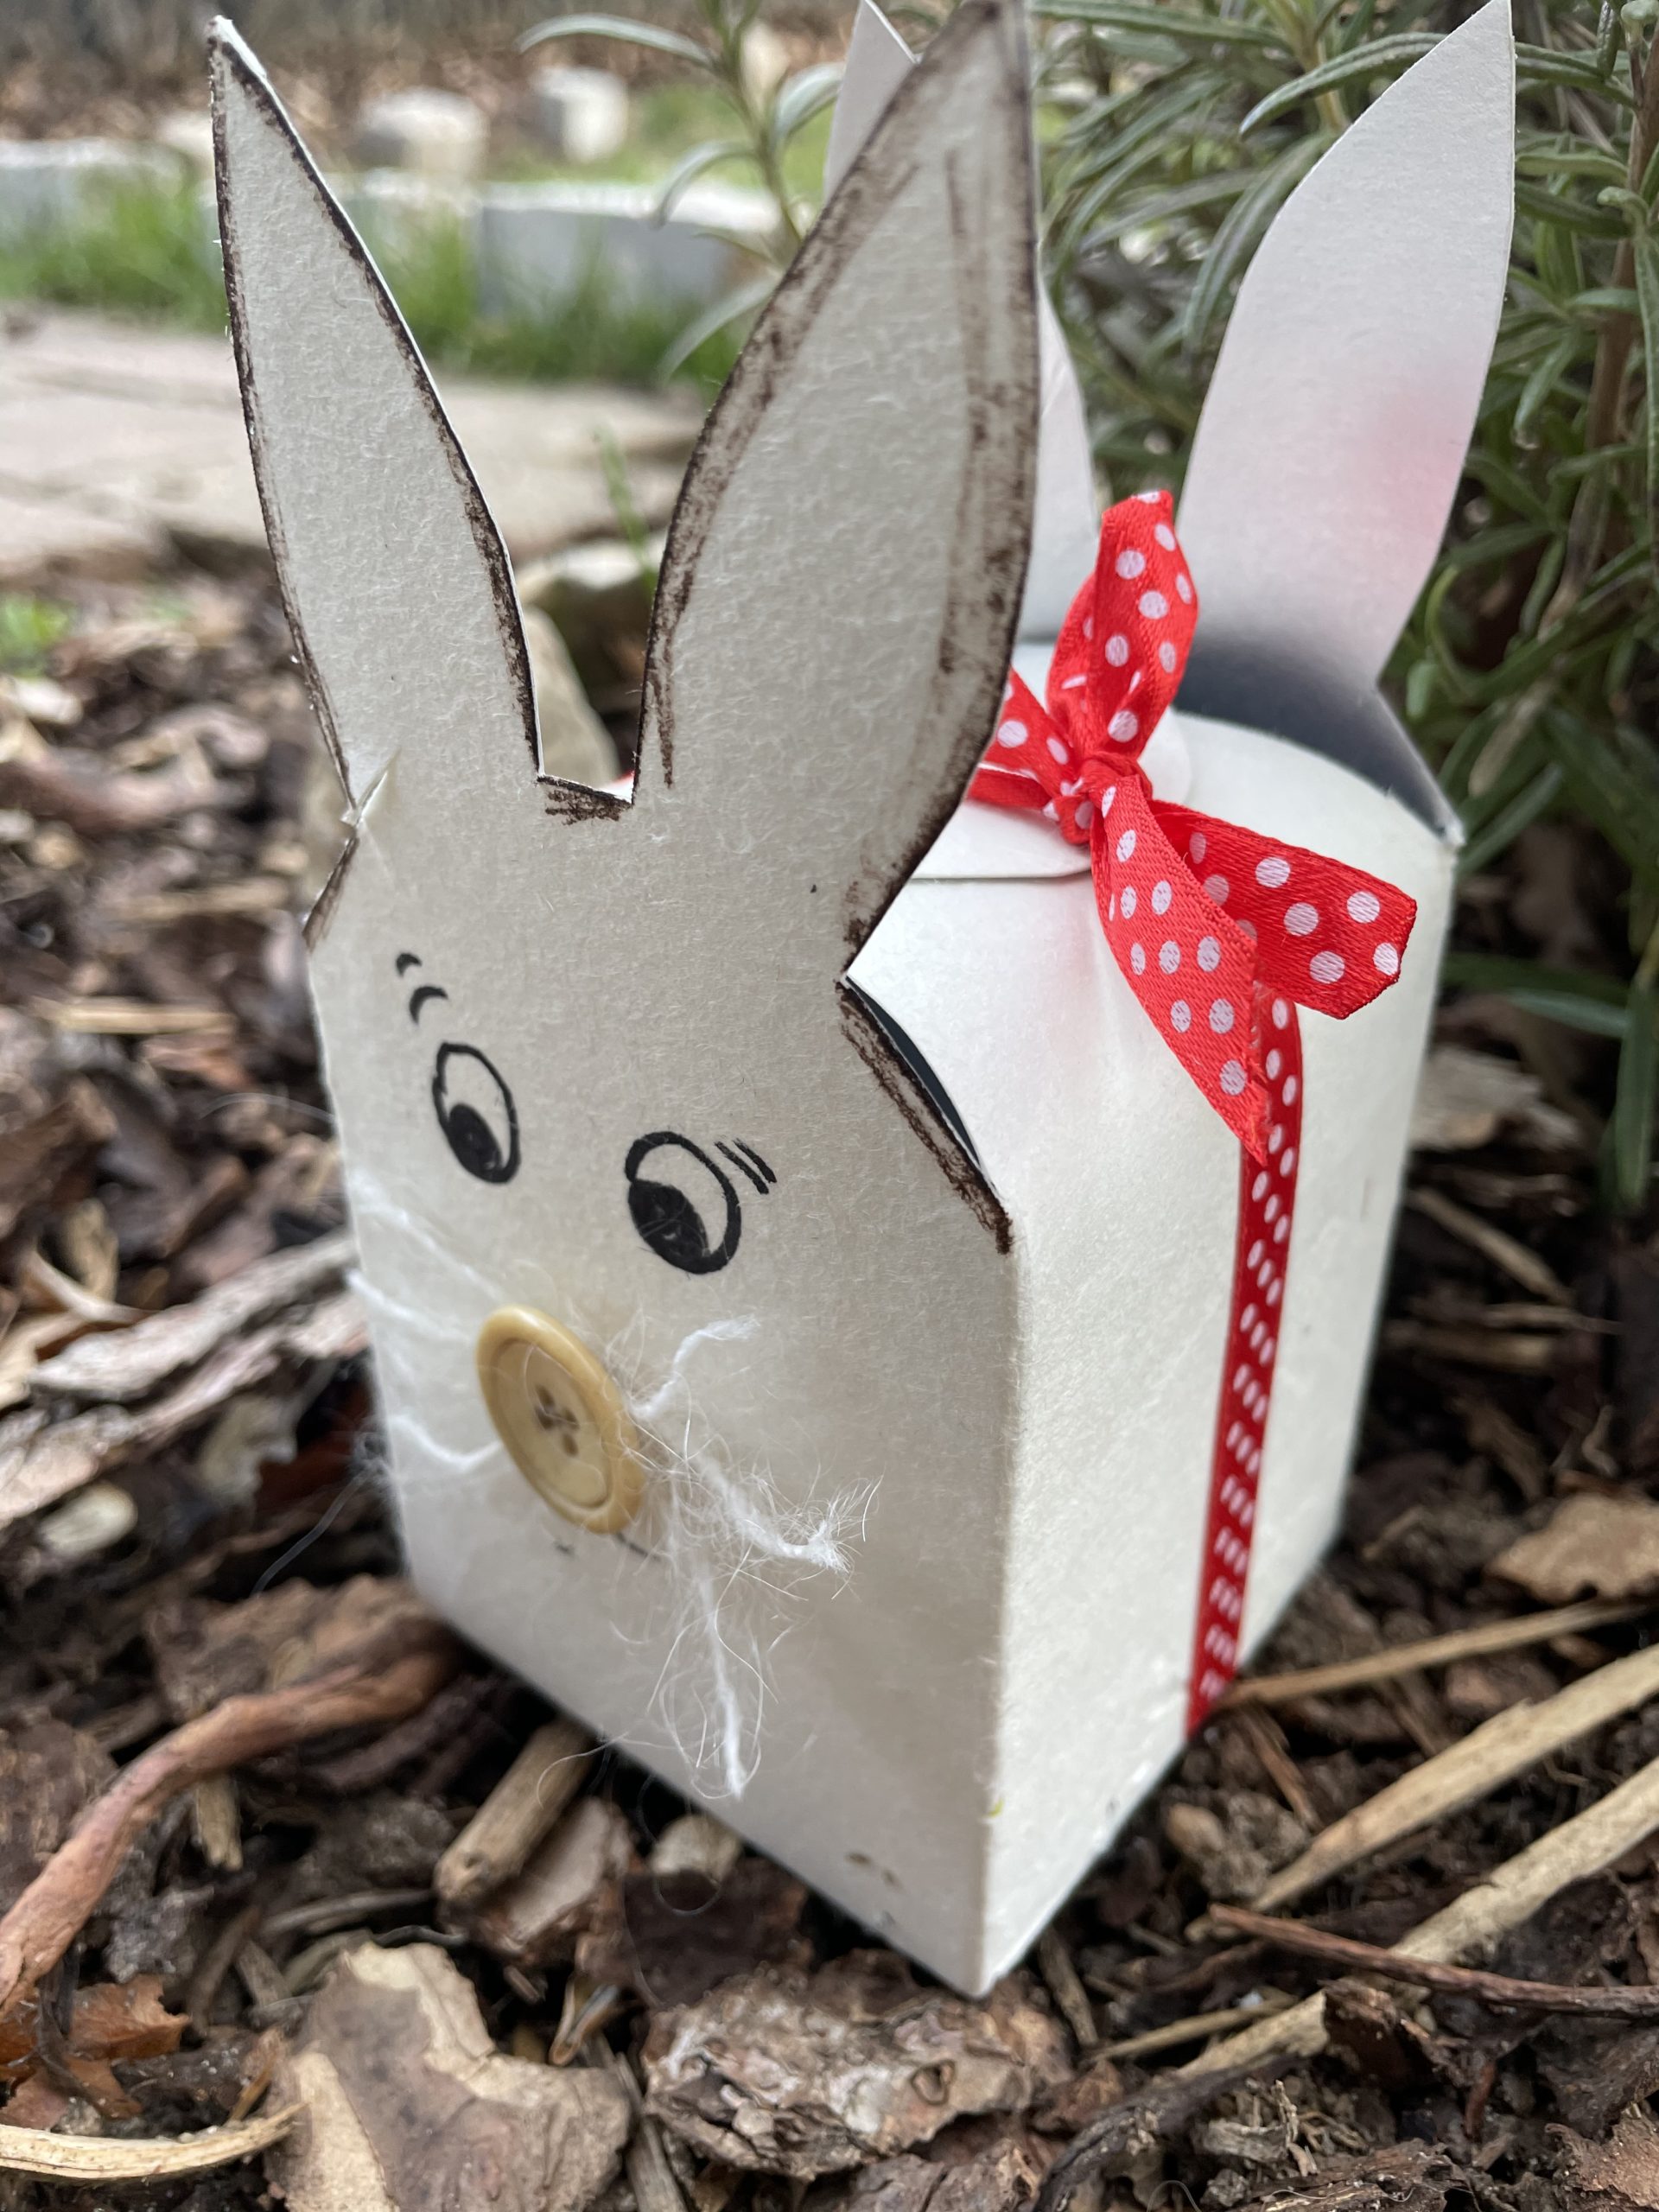
Your bunny gift box is ready. This little Easter surprise is a nice gift.
Maybe you want to keep your rabbit as a decoration.

Have fun doing crafts and giving away!
Materials
Directions
Get a crafting sheet ready. Set up your materials and you're ready to go.
Use an empty Tetrapack. It should be rinsed out and dry.
If the top of the packaging is cut off, you can process the packaging better.
At the cutting edge of the packaging, start removing the upper coating. Try to remove as large pieces as possible at once. Under the coating, the carton appears. The carton is either brown or white. However, you can only see this after removing the coating foil.
Try to remove the foil as completely as possible.
Tip: If necessary, push a pin under the foil and try to raise it.
This bag has already been removed.
You can print this template and place it on your bag to transfer the rabbit shape. Alternatively, you can paint the rabbits freely.
You paint the two hare parts on opposite sides.
Place the cut-out template on the front of the Tetrapack.
Turn it around with a pen. Then turn the Tetrapack around and paint the shape on the back.
Cuts out the hare shape with a pair of scissors.
ATTENTION: Cut only the sides with the painted rabbits!
The other two sides remain unprocessed.
If the hare forms are cut, you round off the other two sides.
Cut it oval or round.
The two rounded sides do not have to be cut to the same size.
You're now turning her into the middle overlapping, closing the bag again.
Now paint a rabbit face on the front. Use a felt pen.
You either paint the nose and whiskers or you cut three wool threads of 5cm length each, which you stick to the back of a button.
The finished rabbit nose then attaches it with glue on the packaging.
Beautify your rabbit by following the rabbit ears with a felt pen. Strip along the ears with the pen on the side.
The rabbit face is ready.
You can also border the contours of the back with a pen.
Your bunny gift box is ready.
To close the box, you still need a gift ribbon, bast or a string.
Put your gifts in the box and then tie the tape centrally around the box.
Your bunny gift box is ready. This little Easter surprise is a nice gift.
Maybe you want to keep your rabbit as a decoration.
Have fun doing crafts and giving away!
Follow us on Facebook , Instagram and Pinterest
Don't miss any more adventures: Our bottle mail