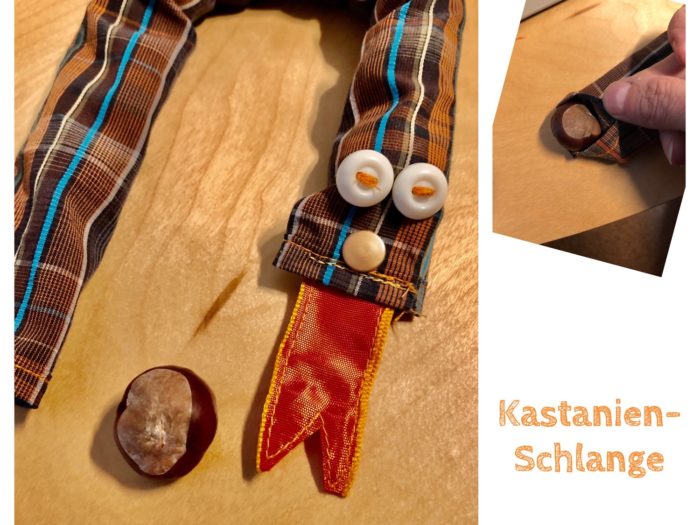
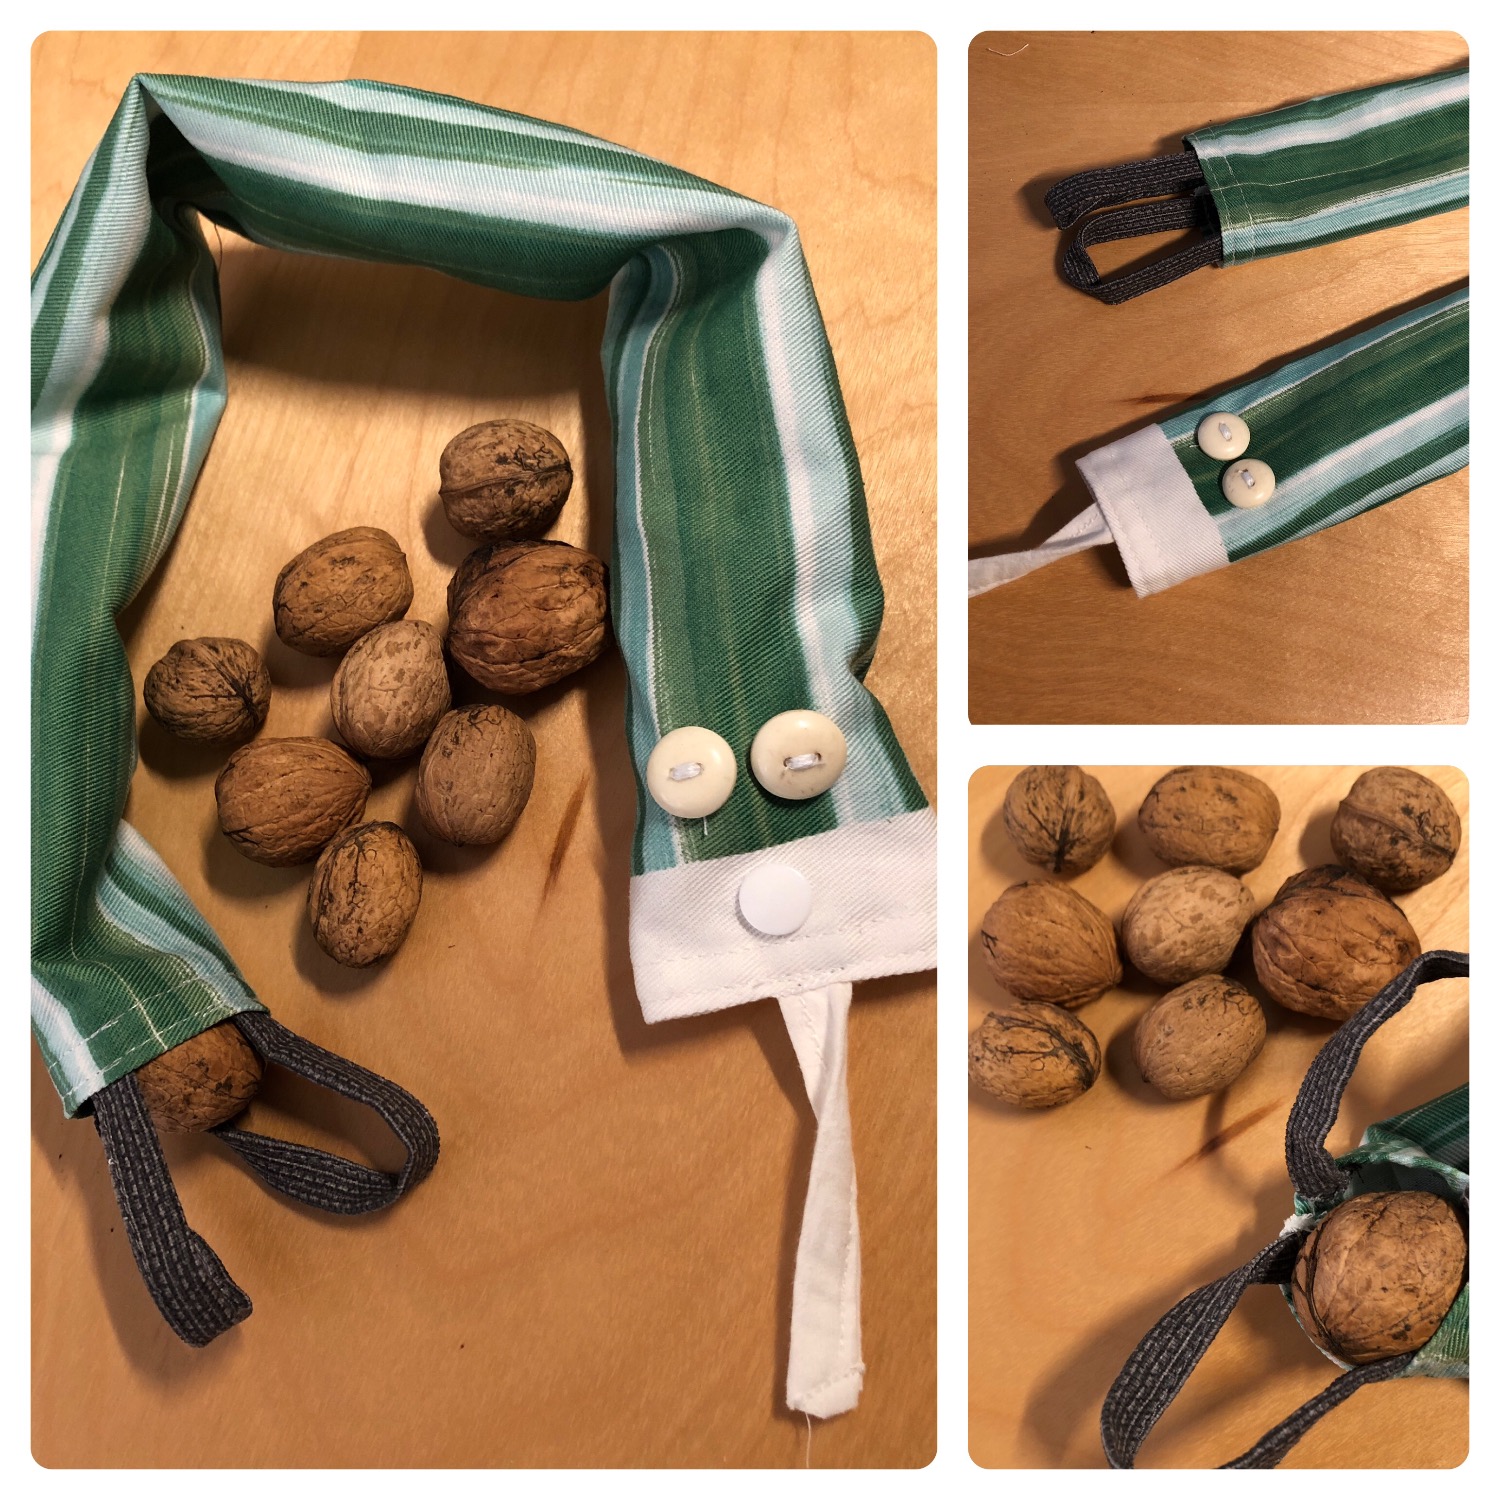
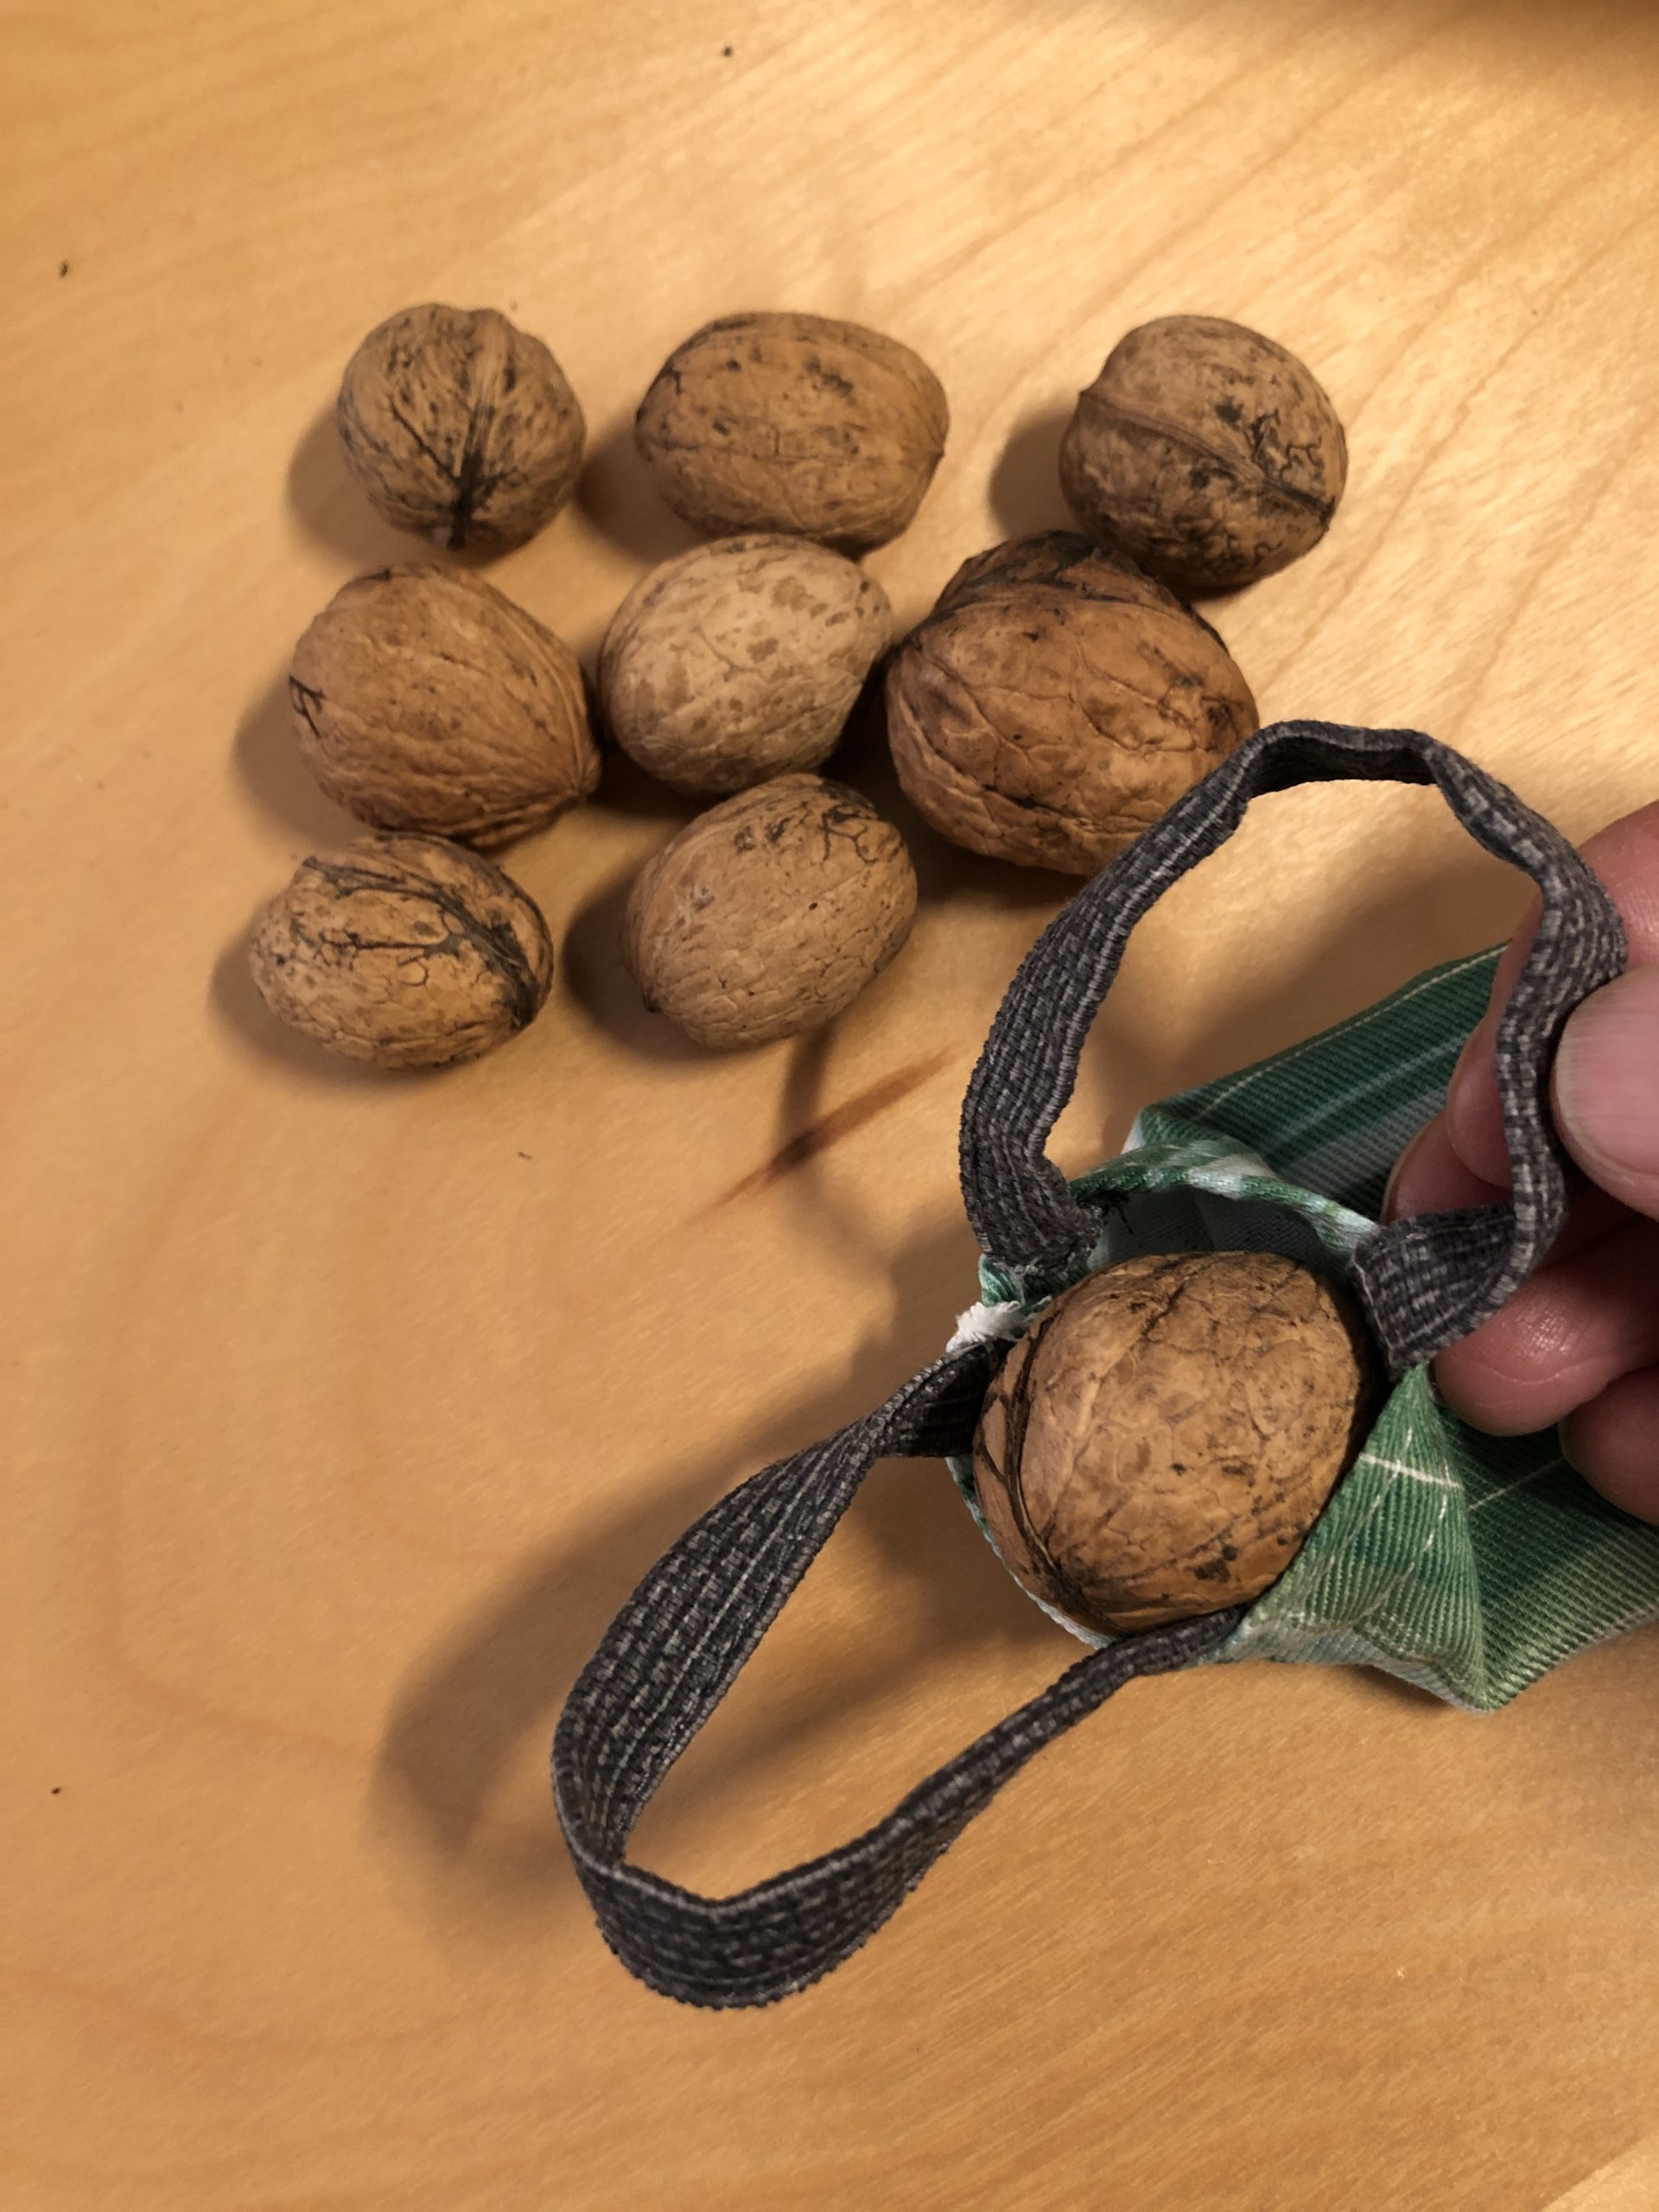
There are a lot of nuts in autumn and children can play great with them. Let the nuts dry well so that they don't mold. We have a game idea in which the fine motor skills are trained and in which the children deal with the natural material of the nut. They experience the shape, the structure, the color, the weight etc.
Media Education for Kindergarten and Hort

Relief in everyday life, targeted promotion of individual children, independent learning and - without any pre-knowledge already usable by the youngest!
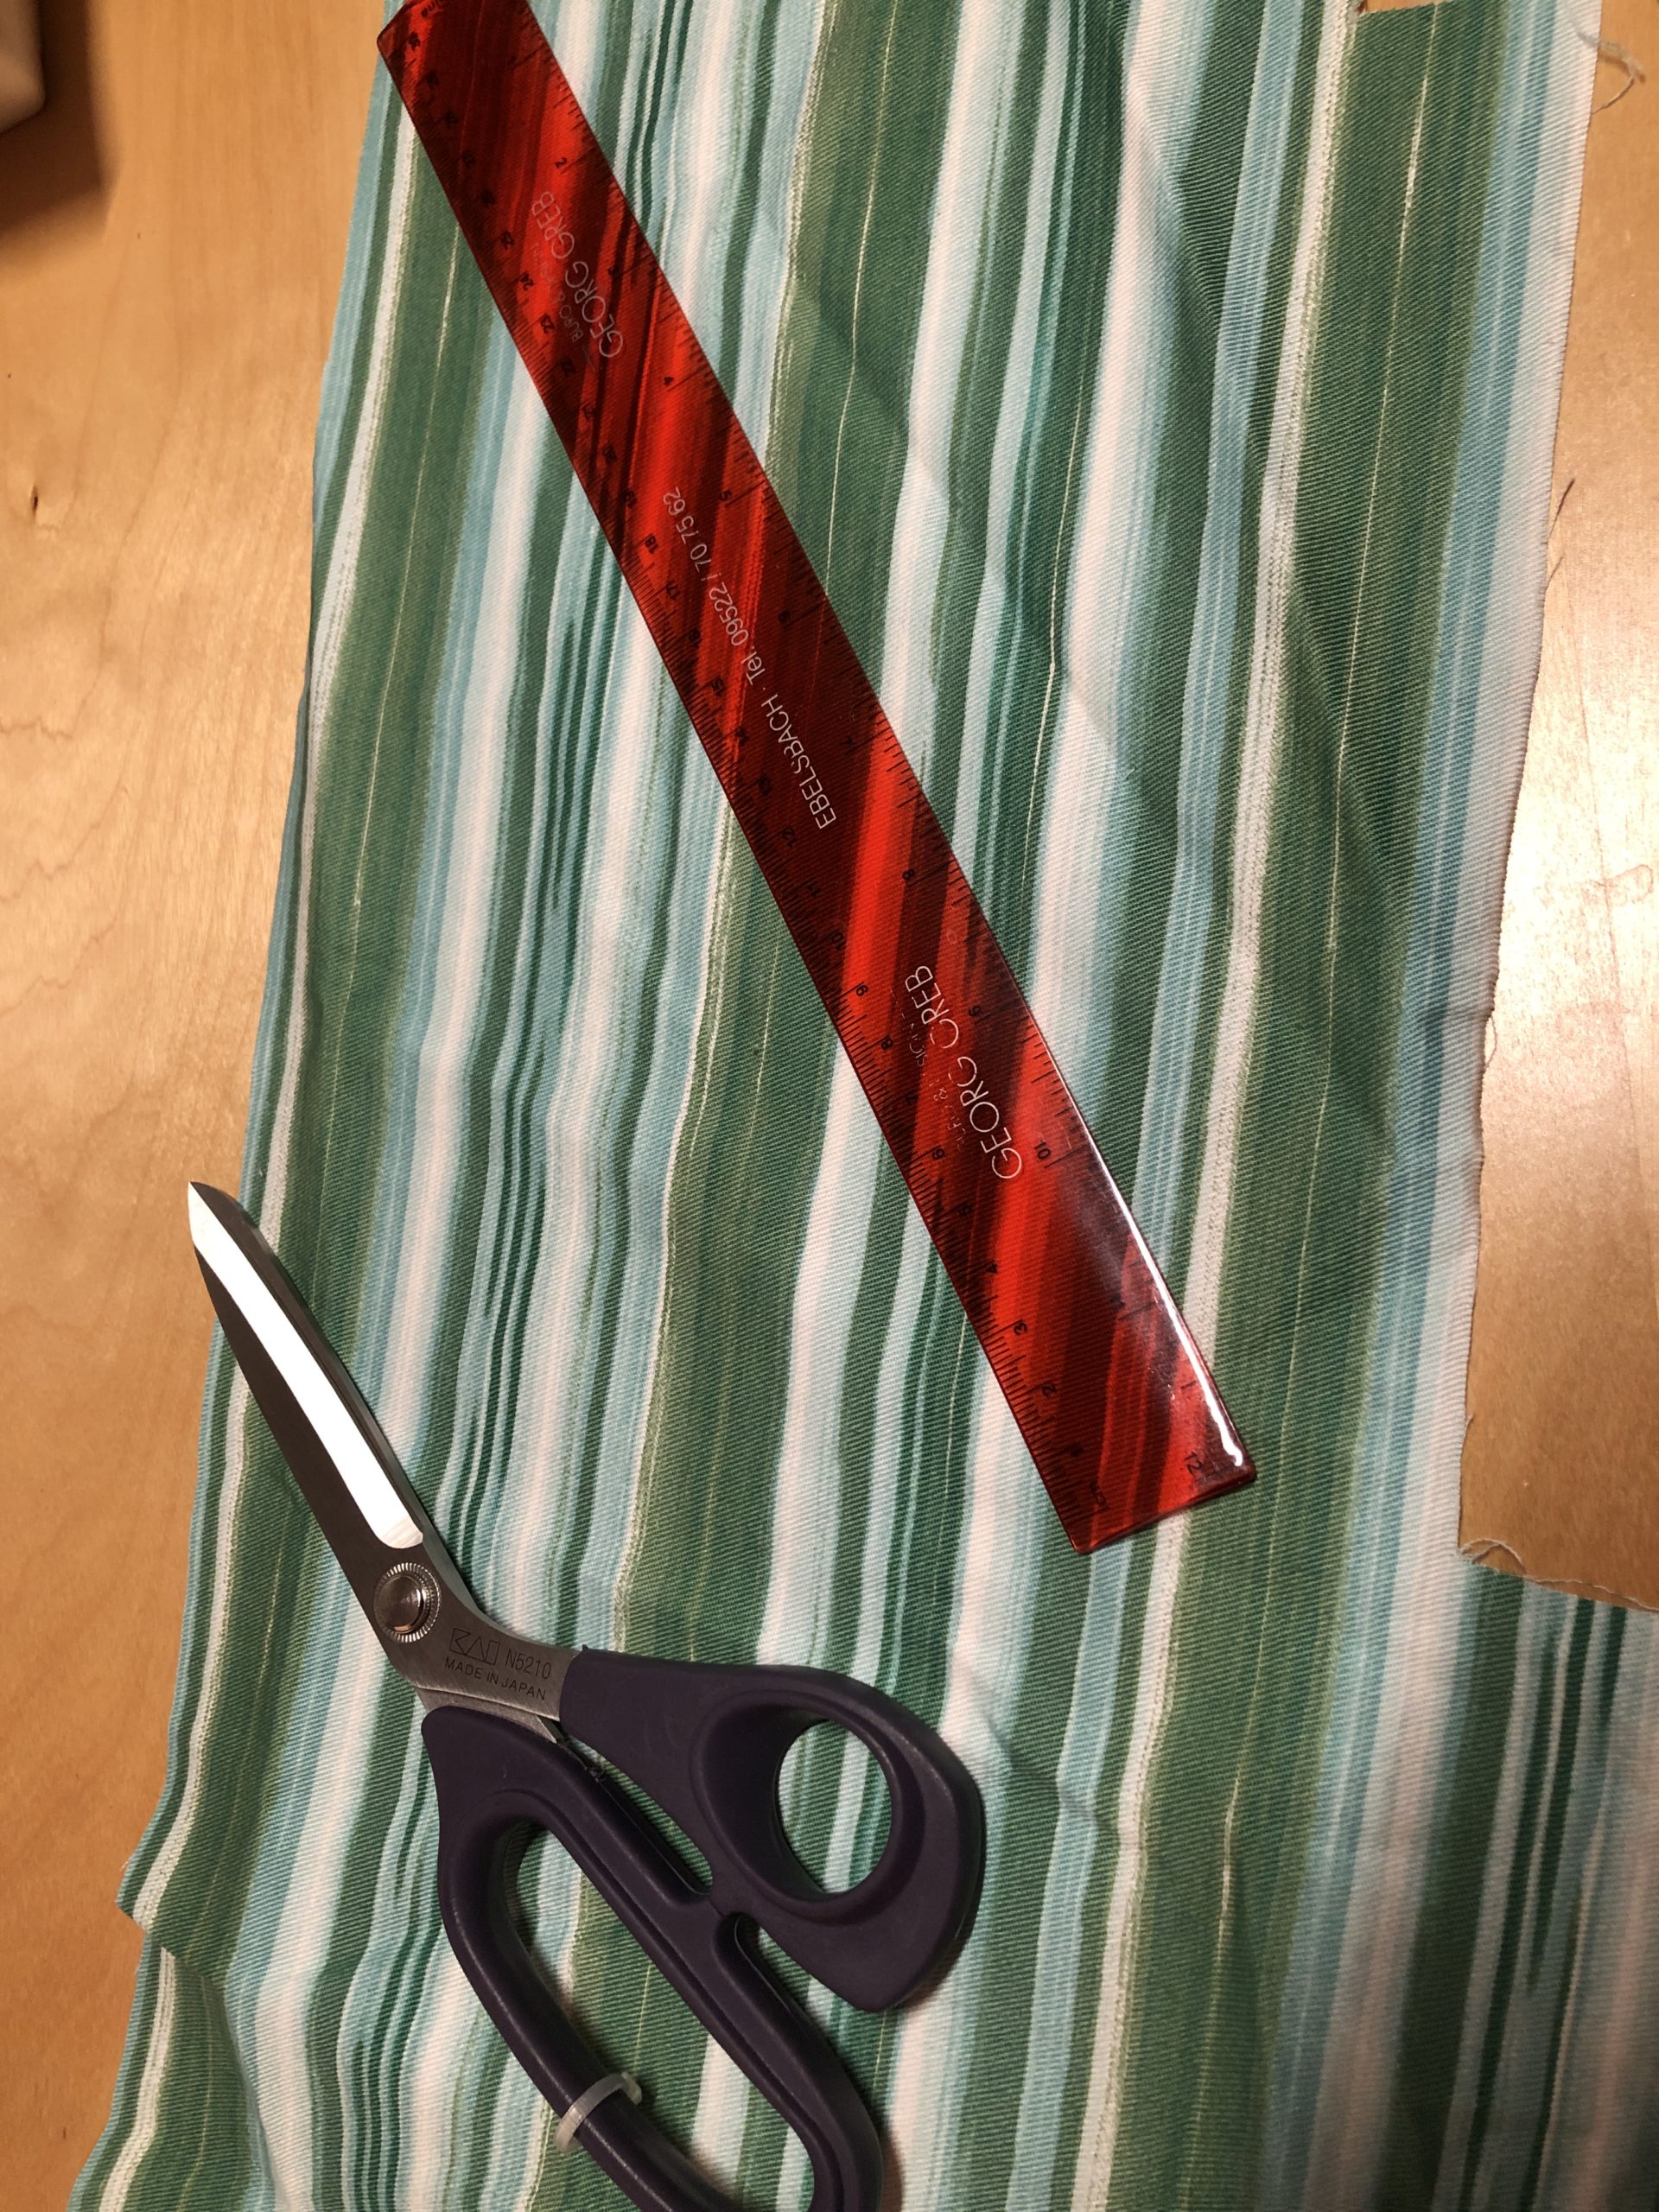
Cut the fabric first.
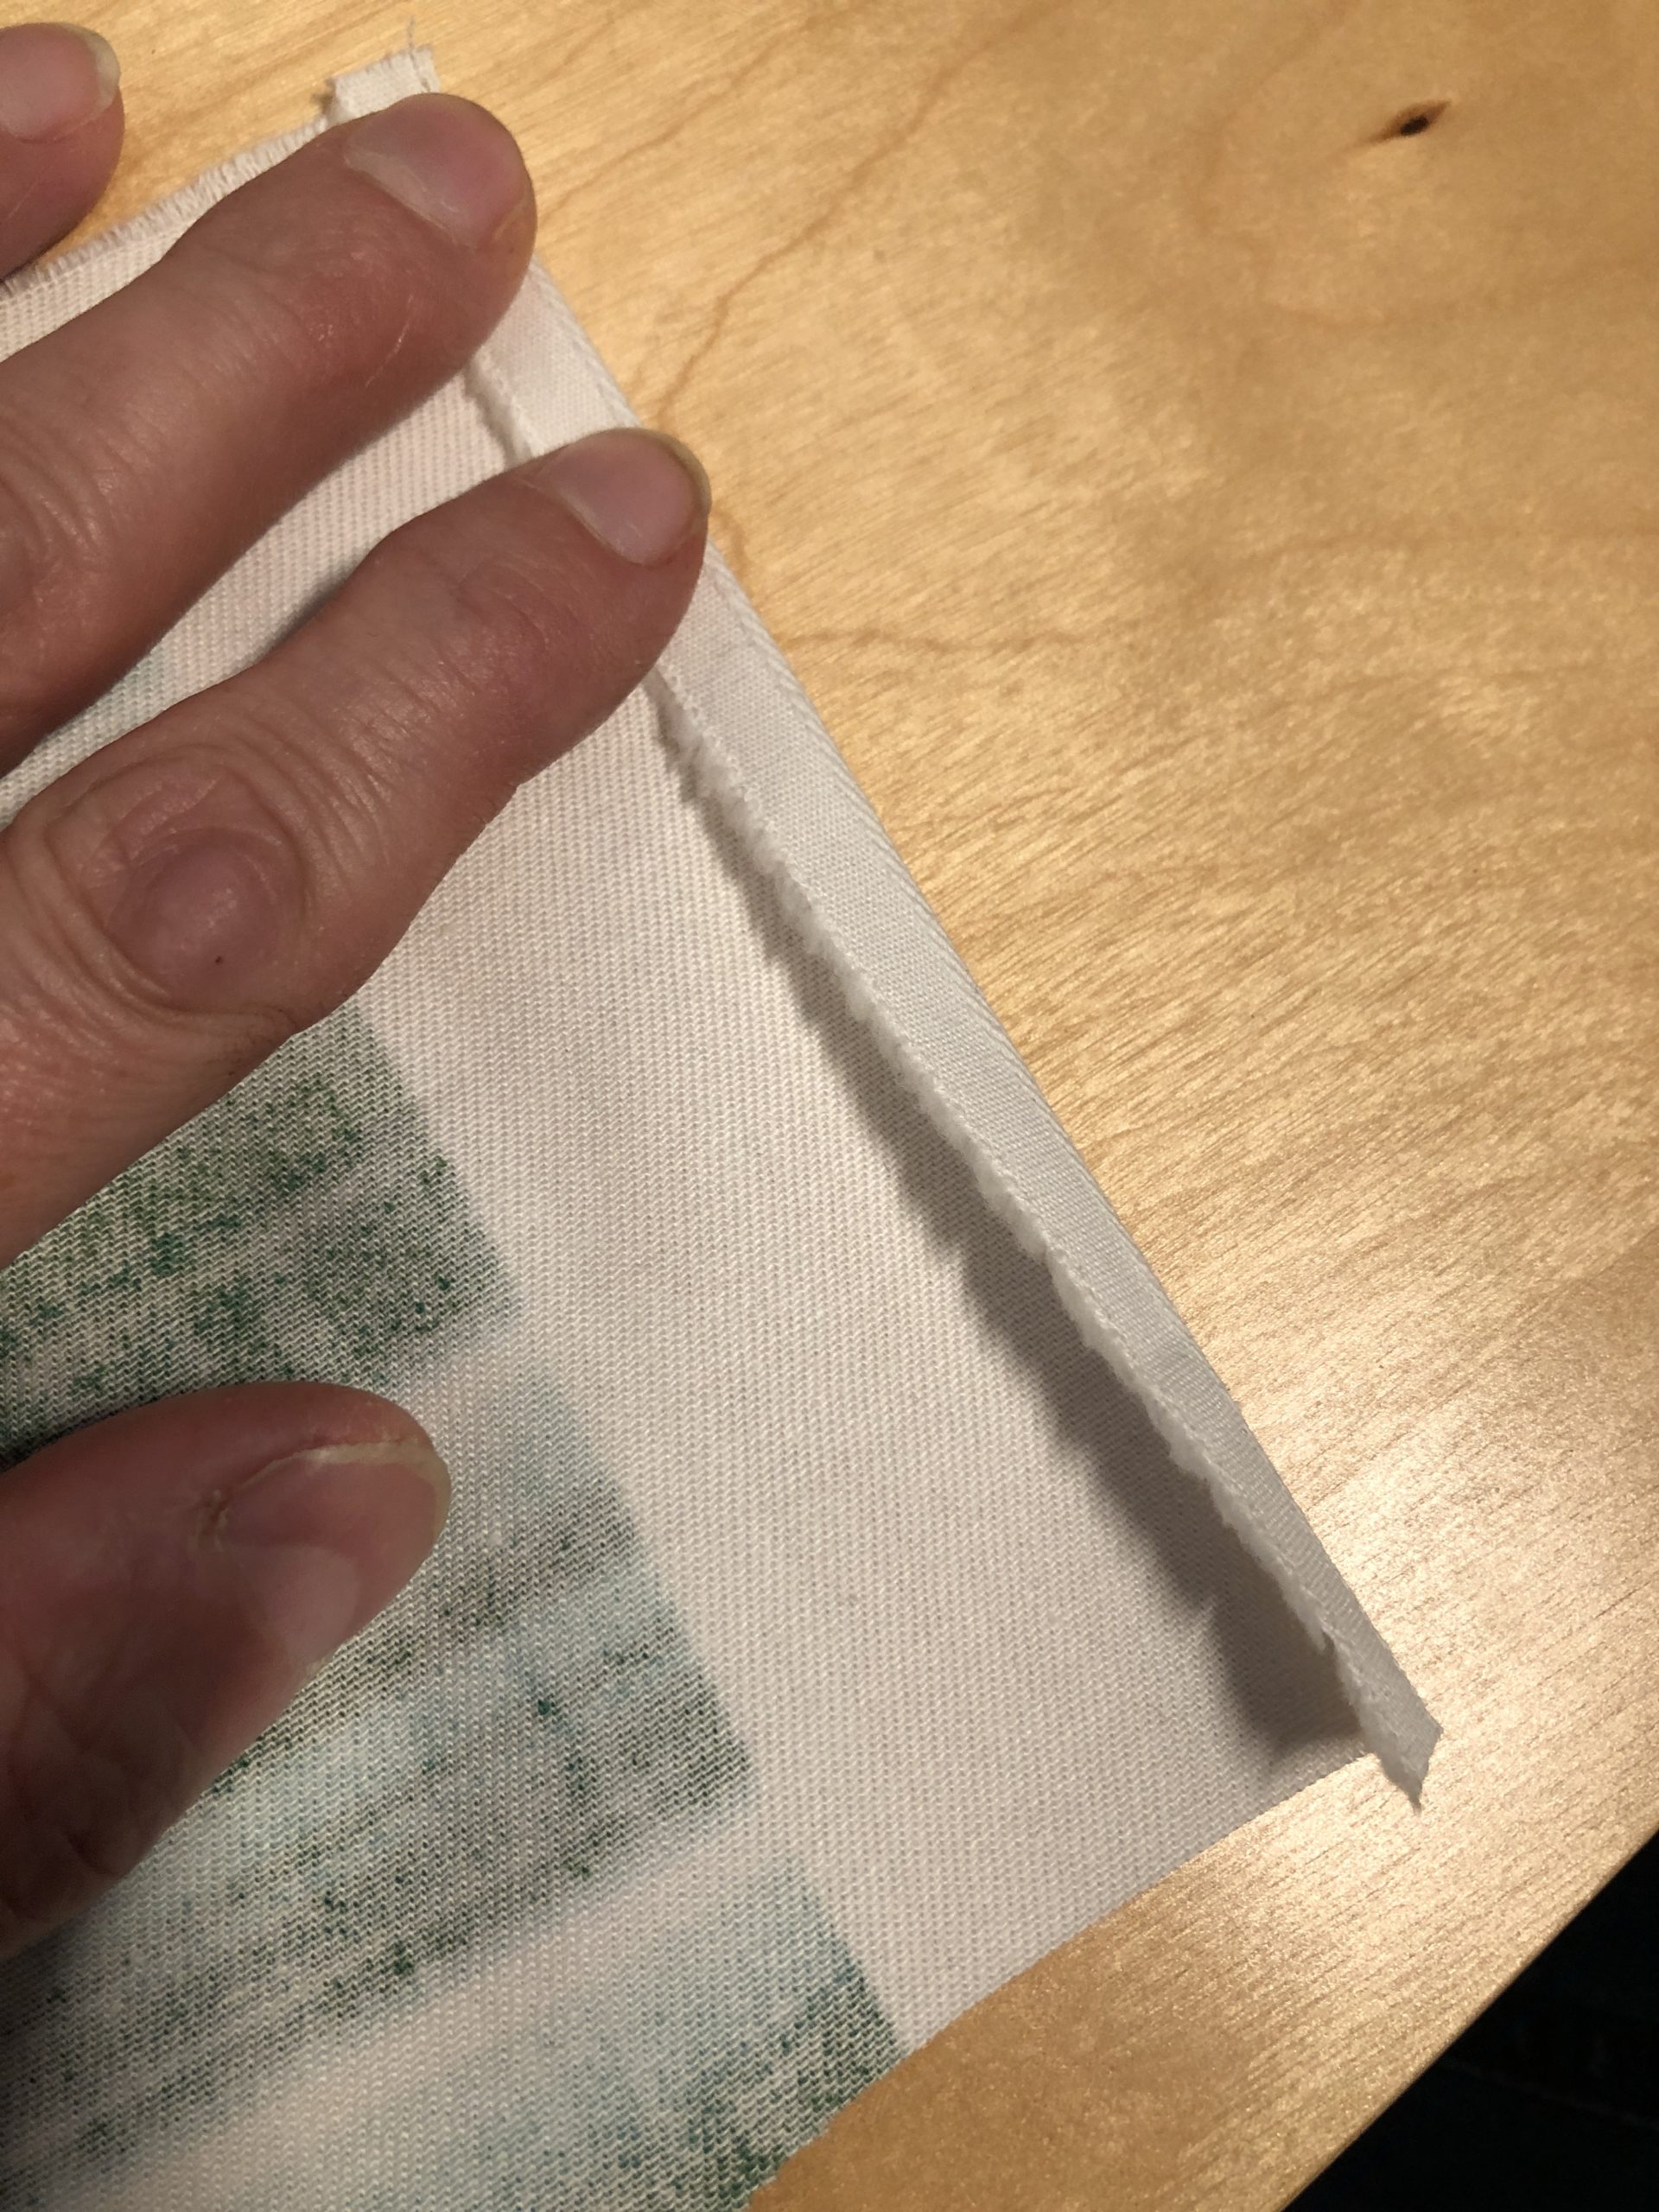
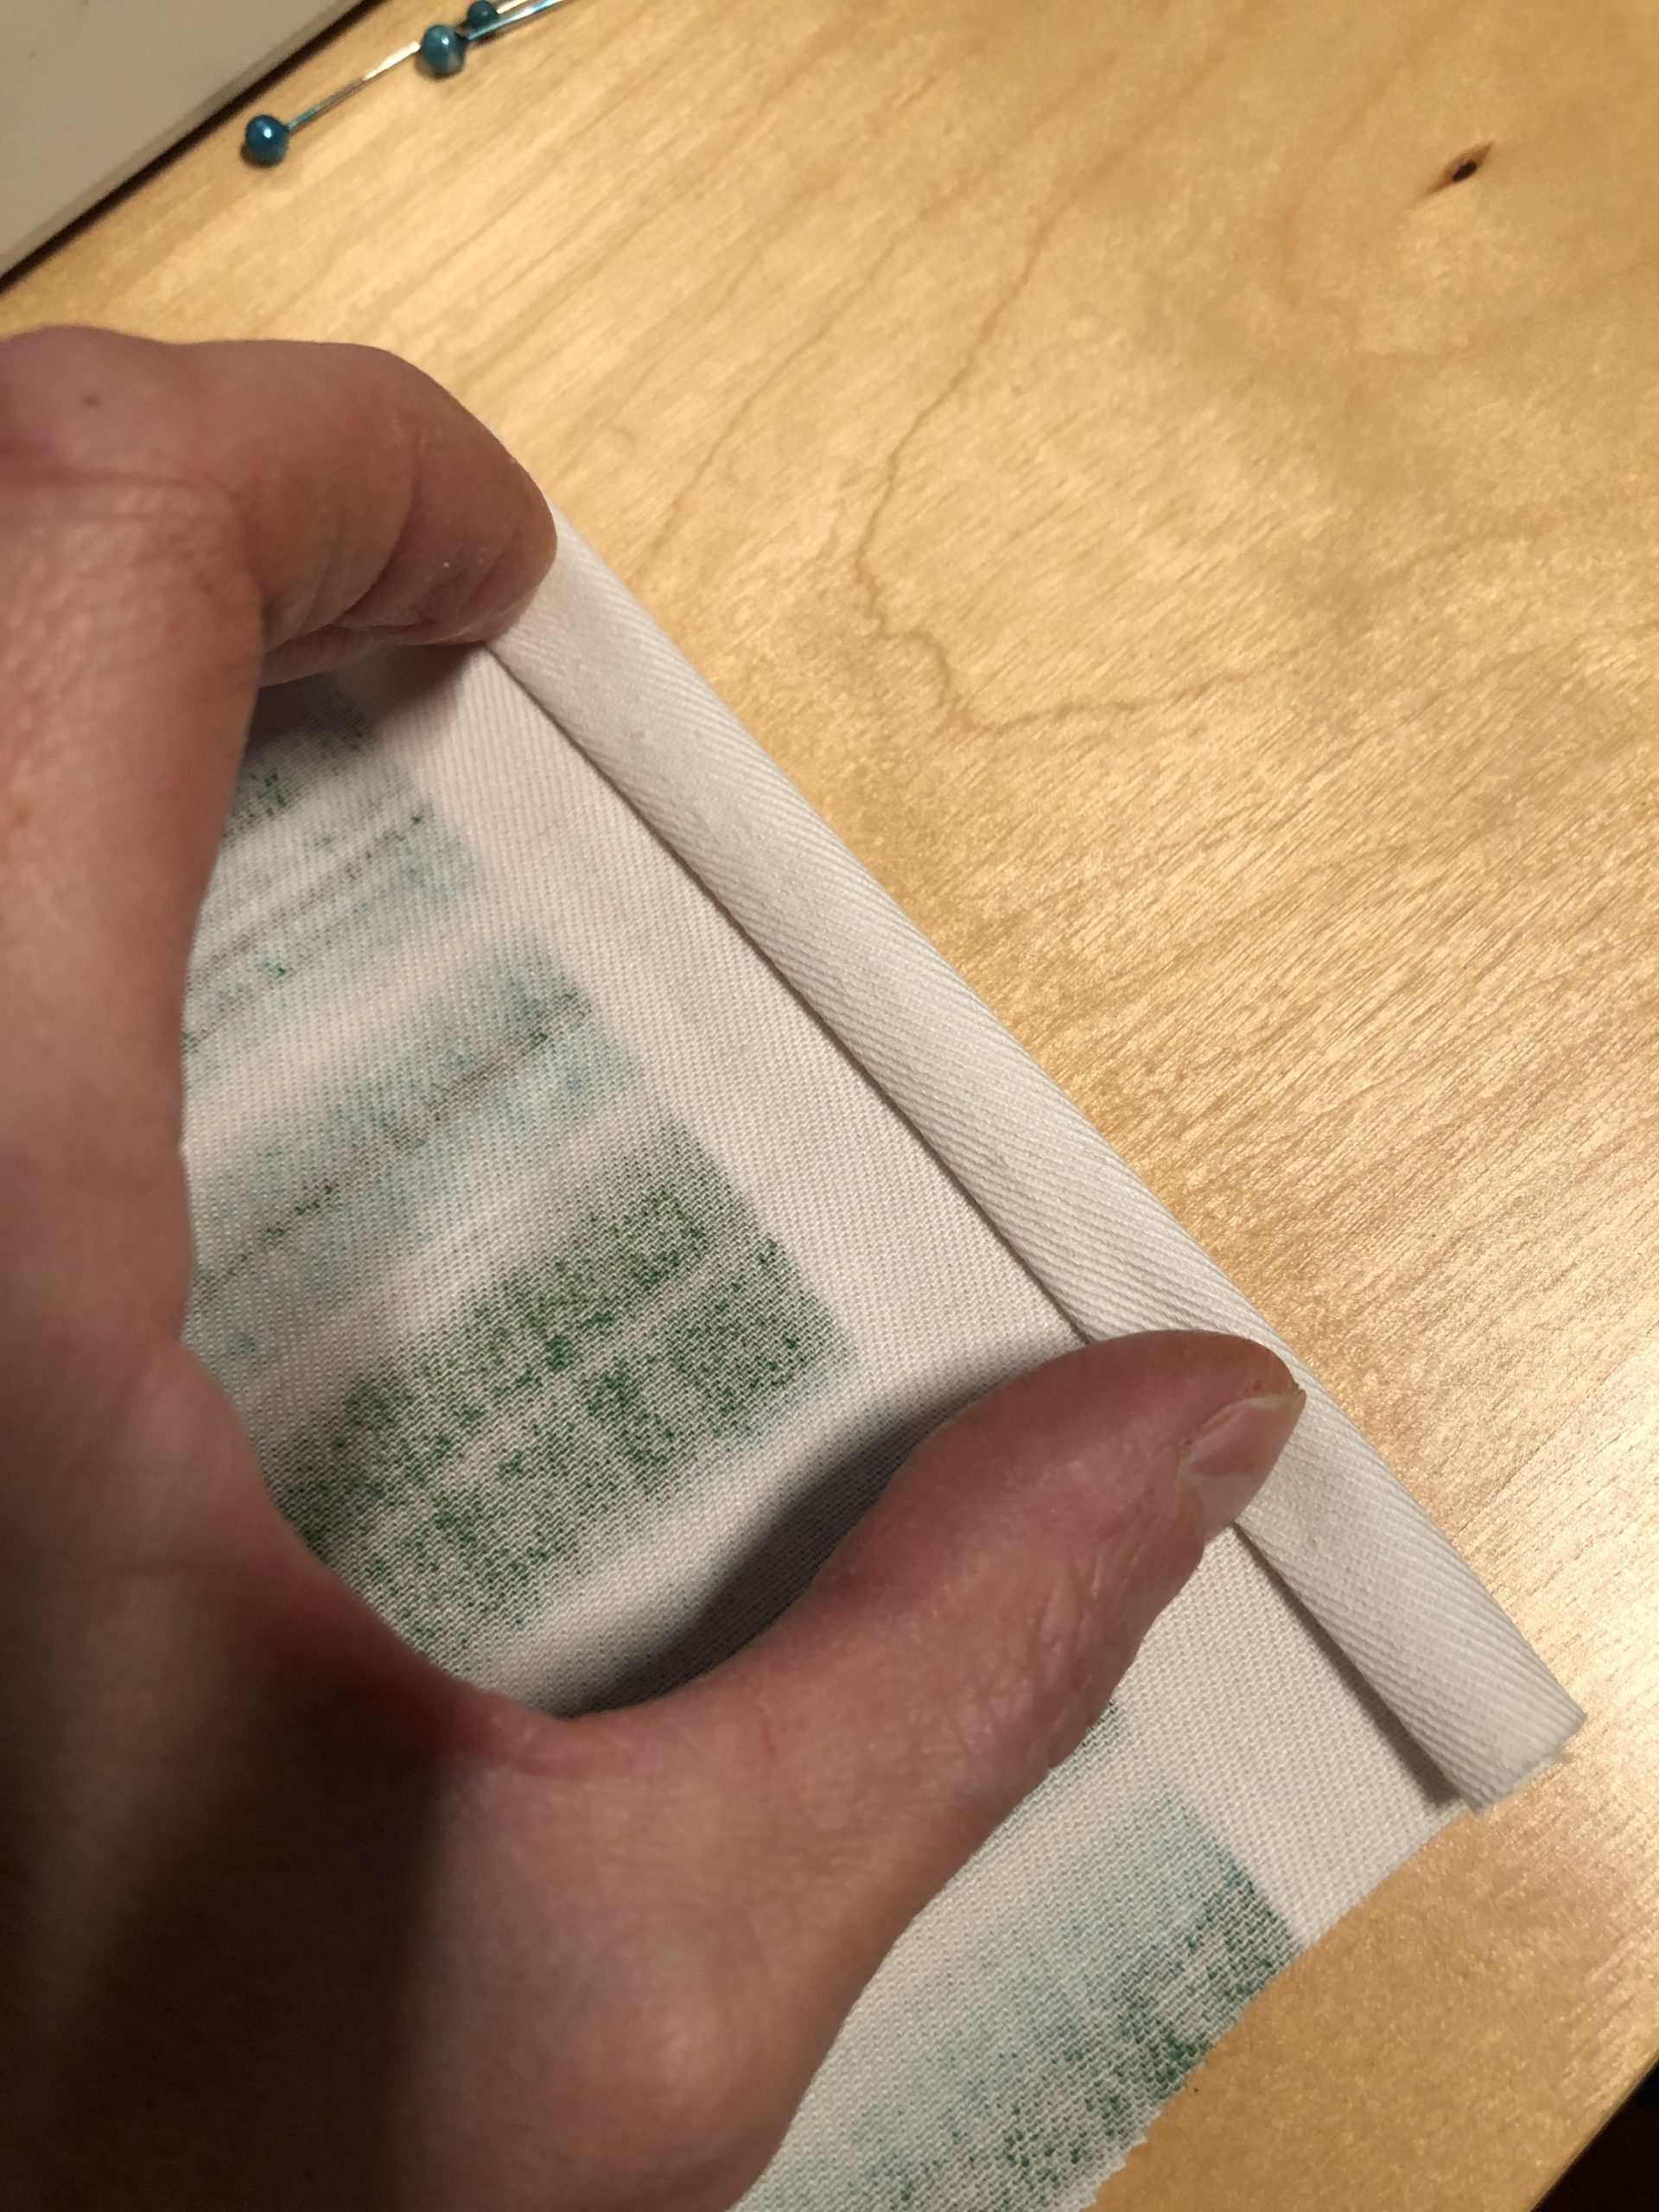
Now fold in the fabric on the short sides 2 times half an inch and knock it over. This will be the hem.
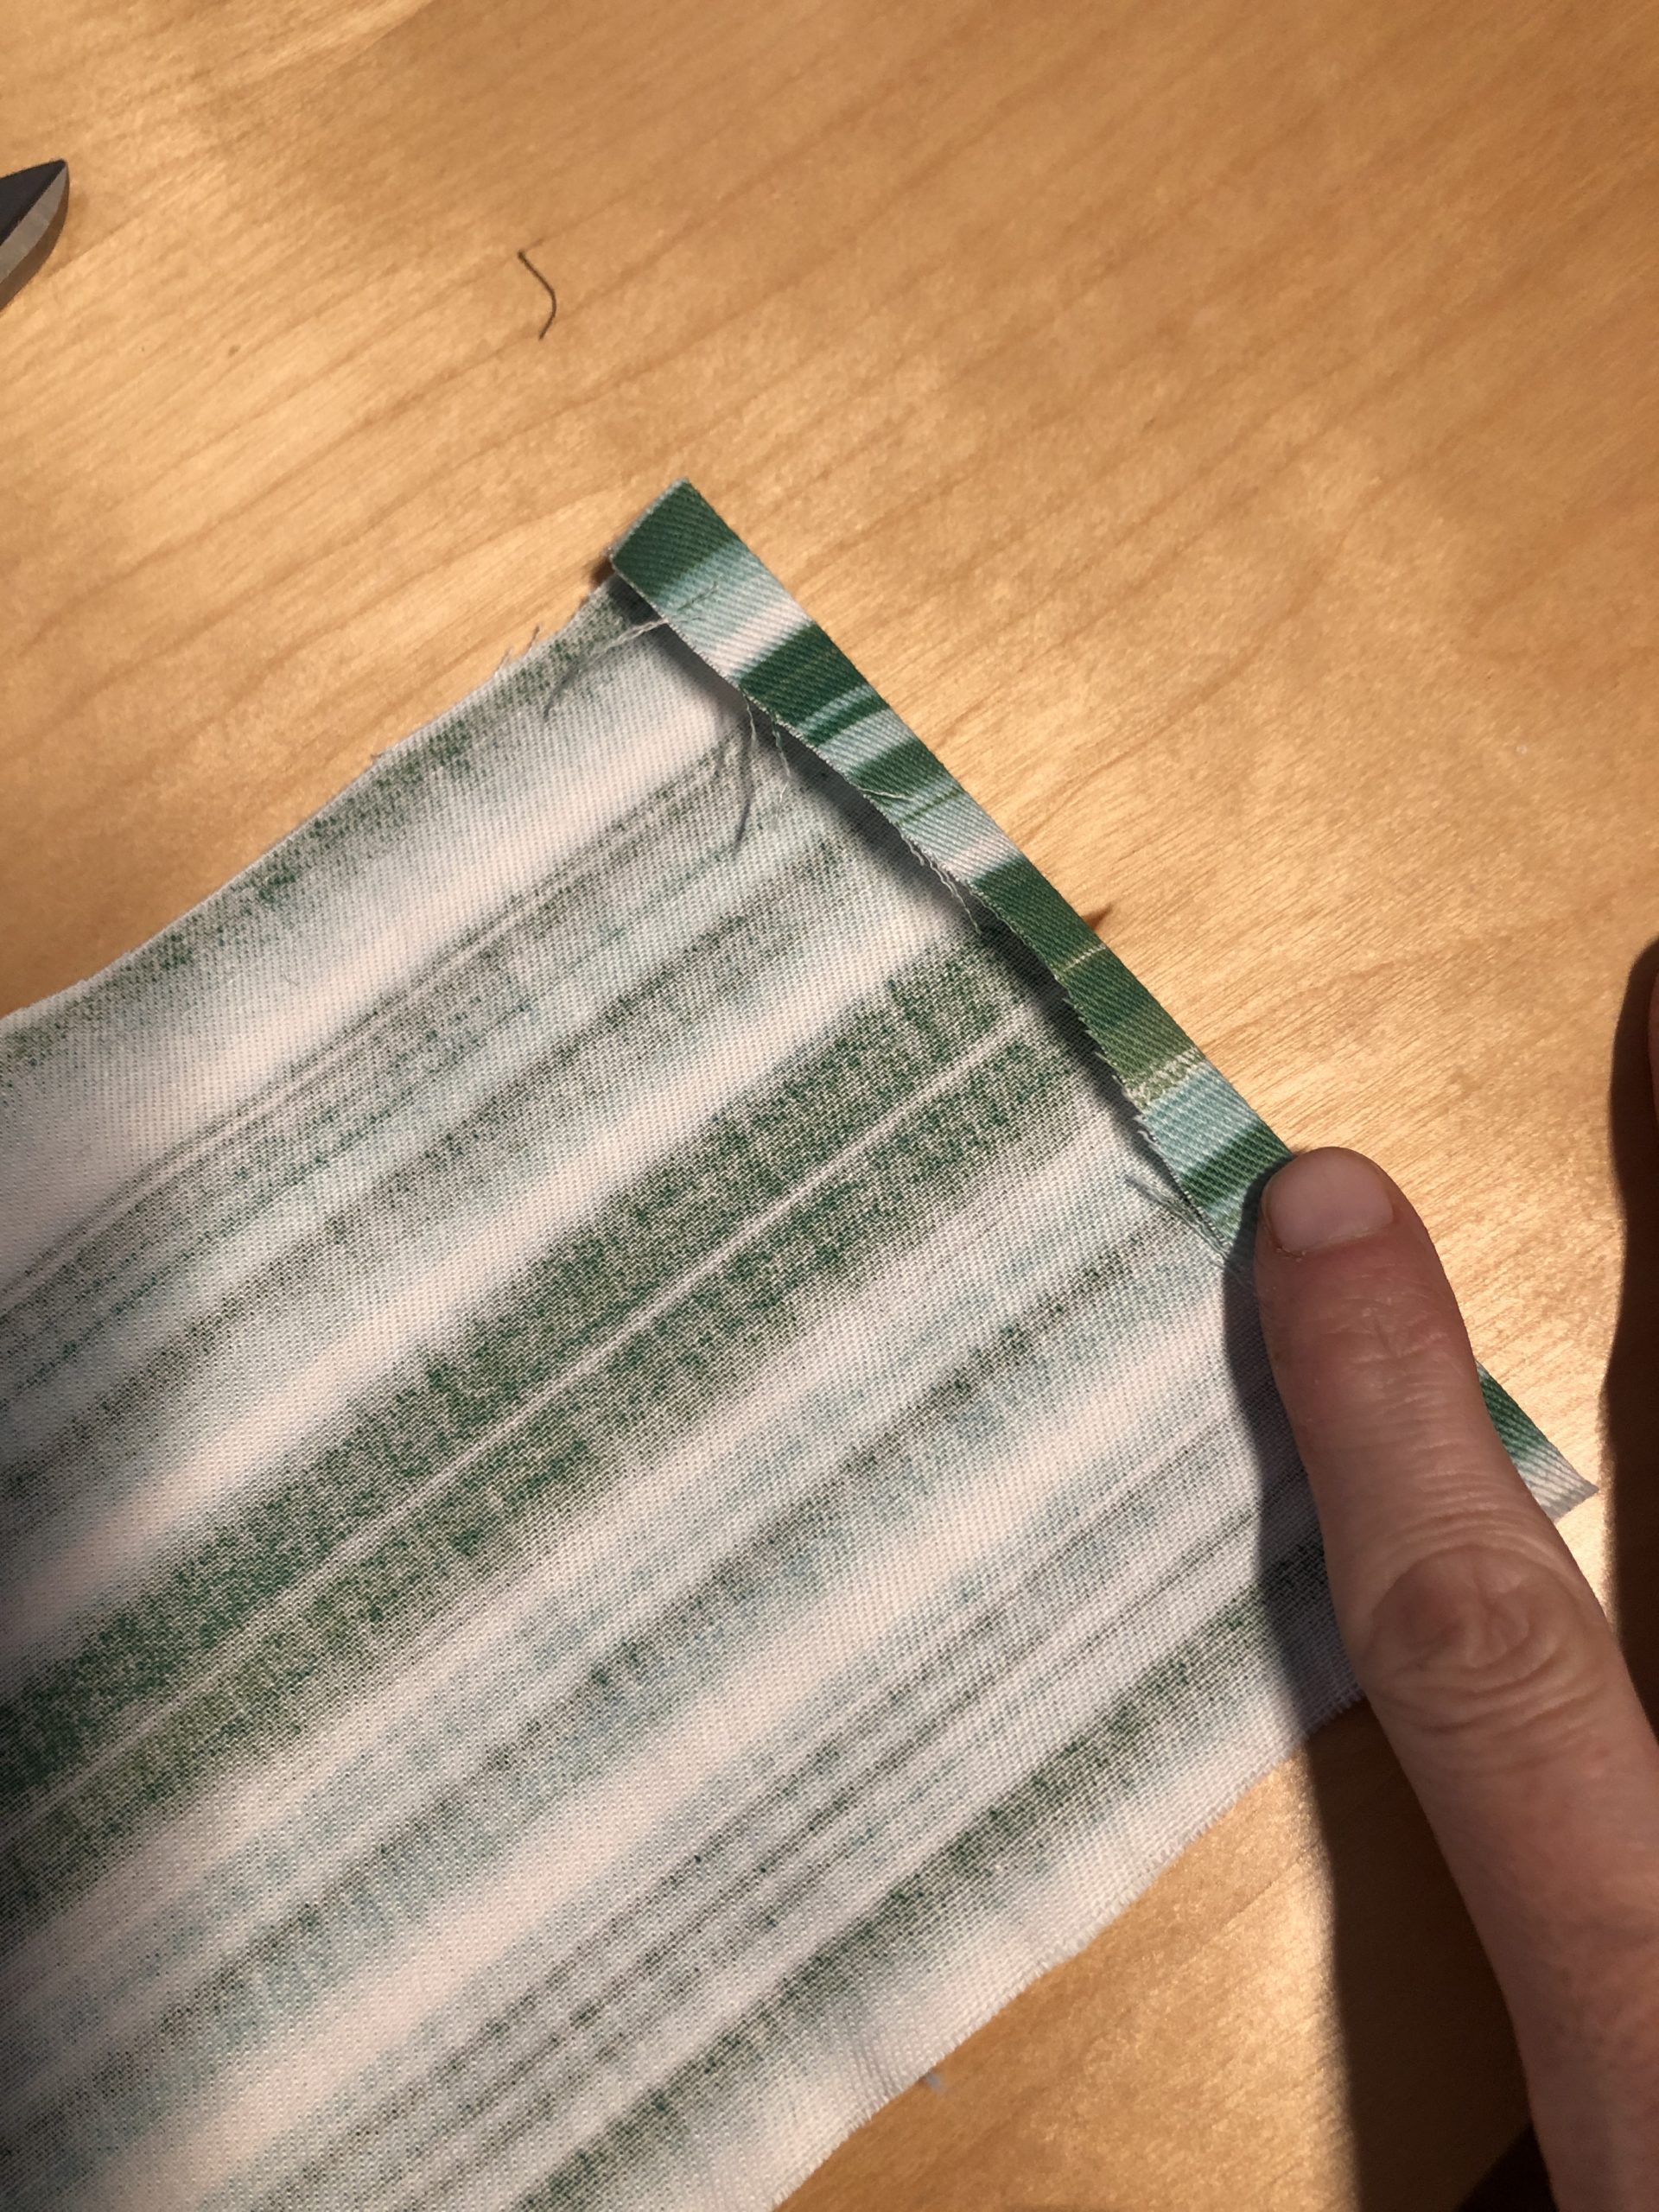


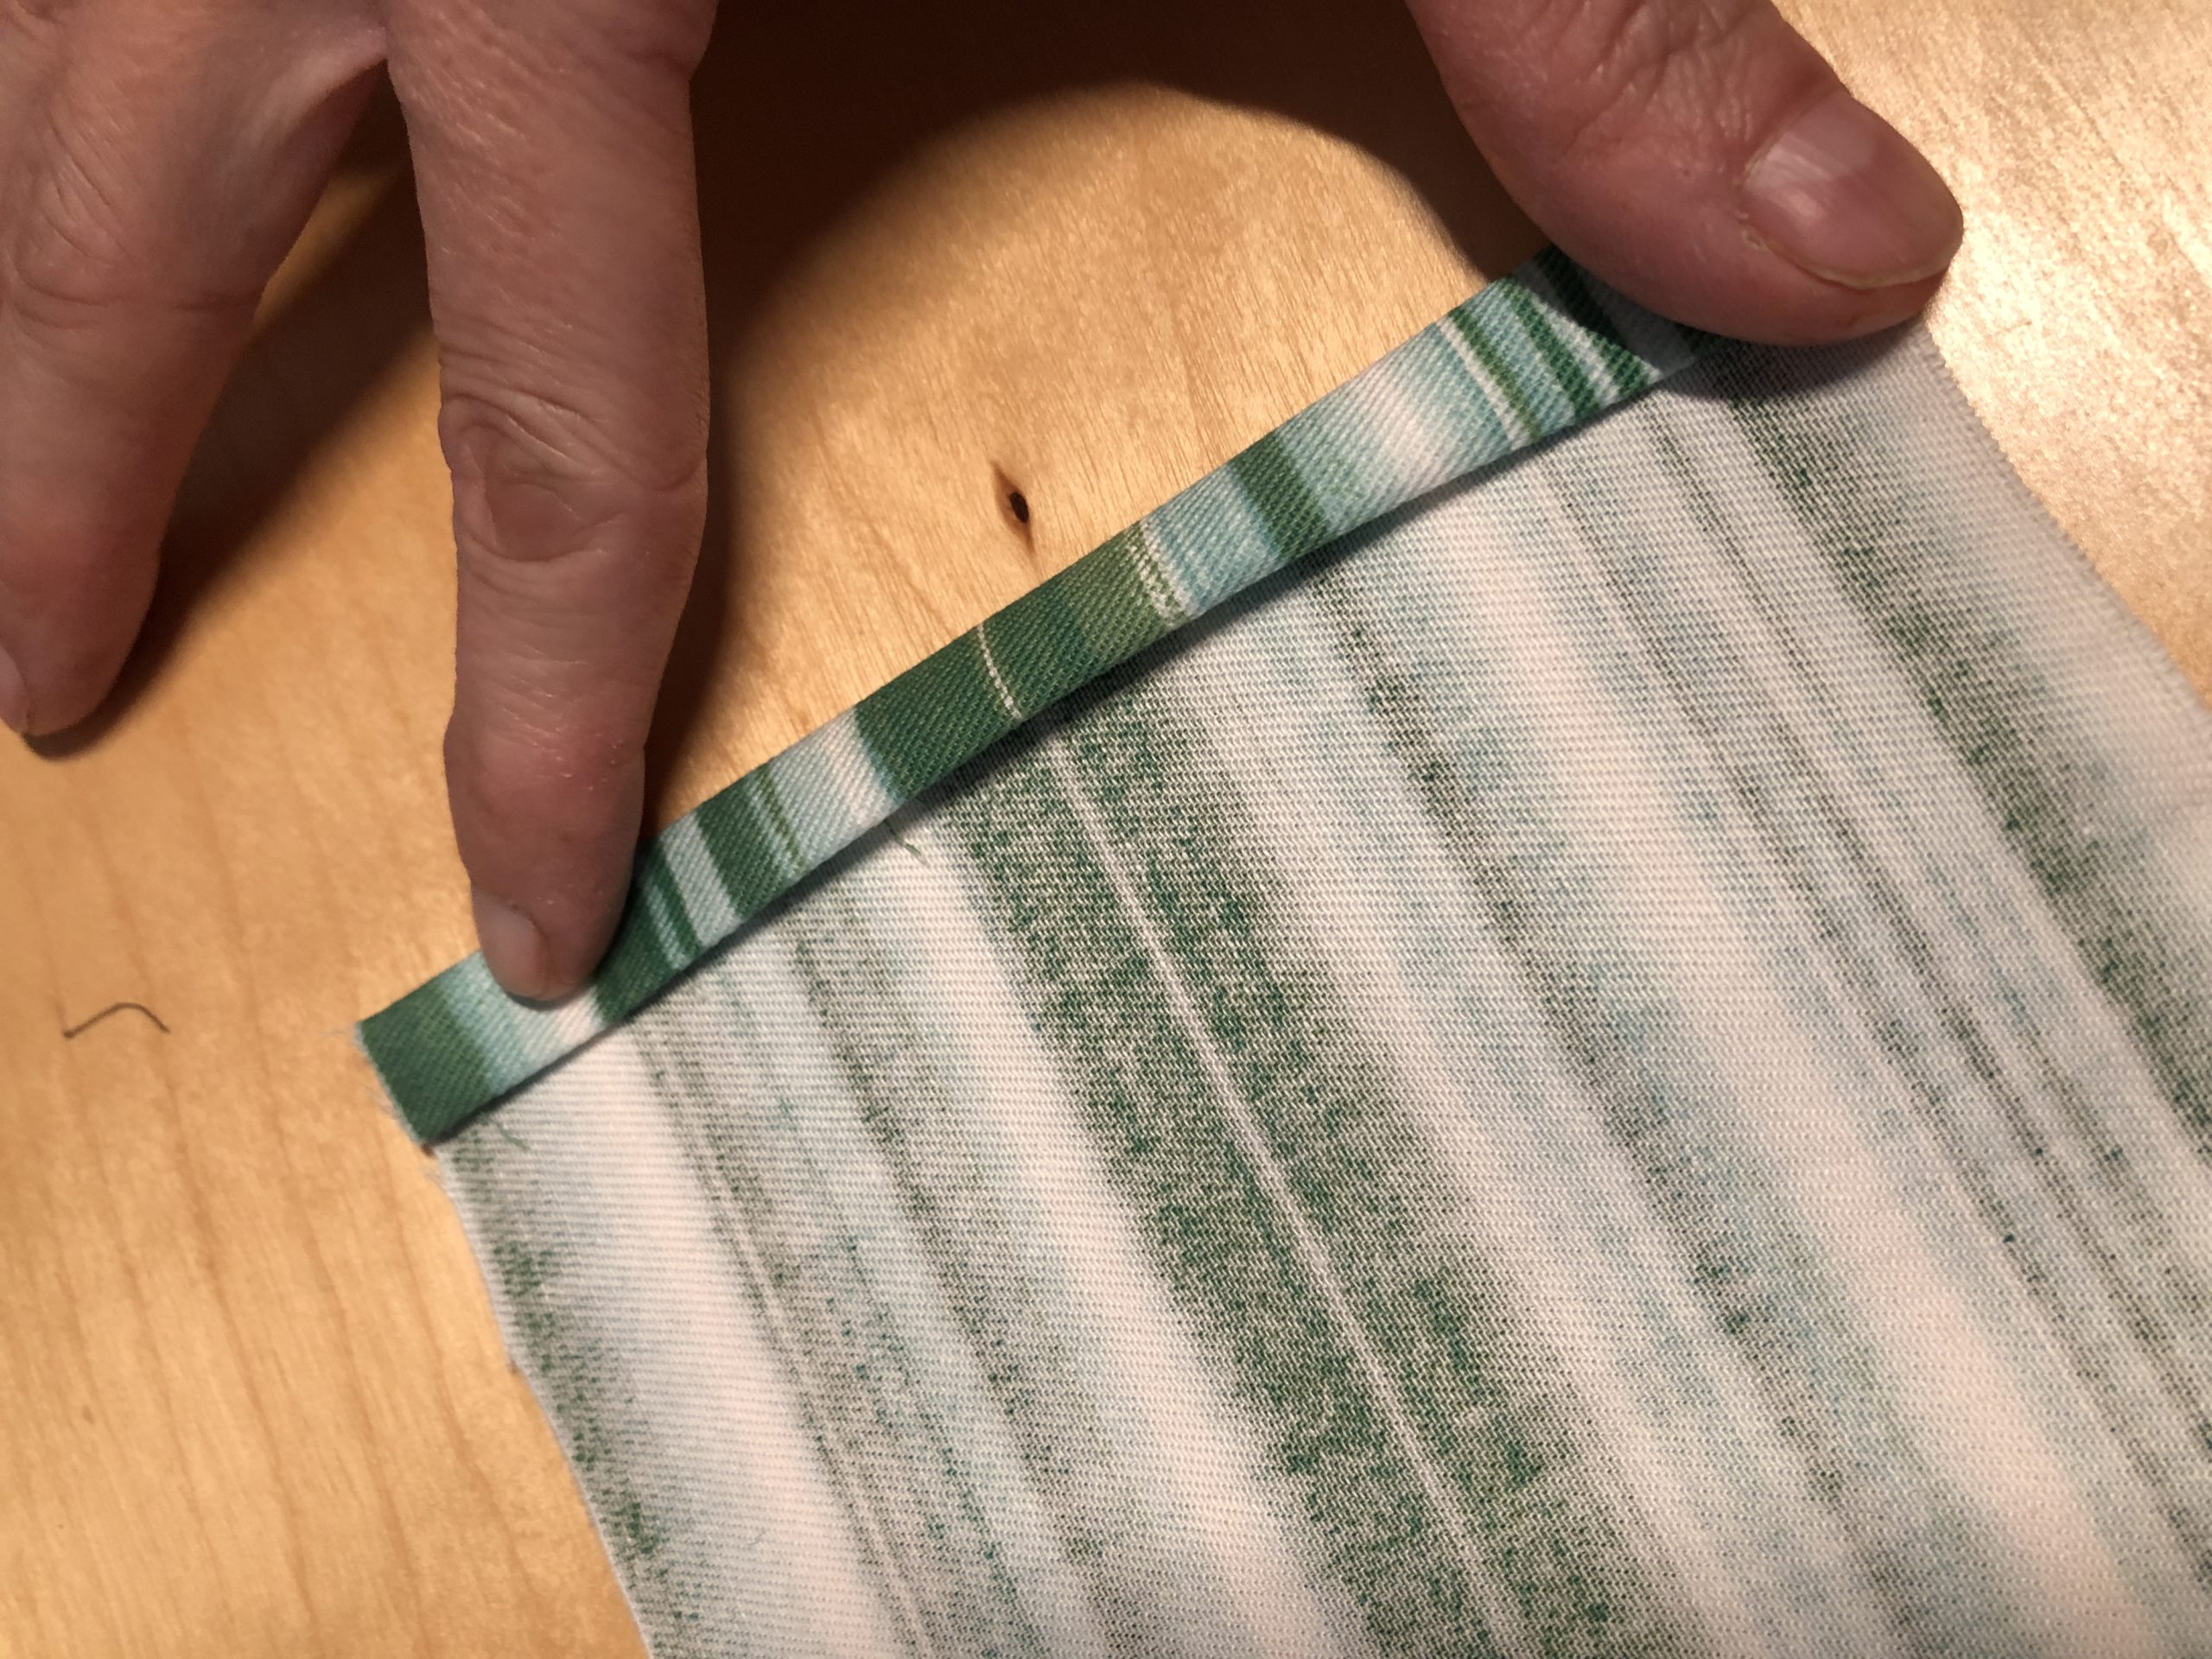


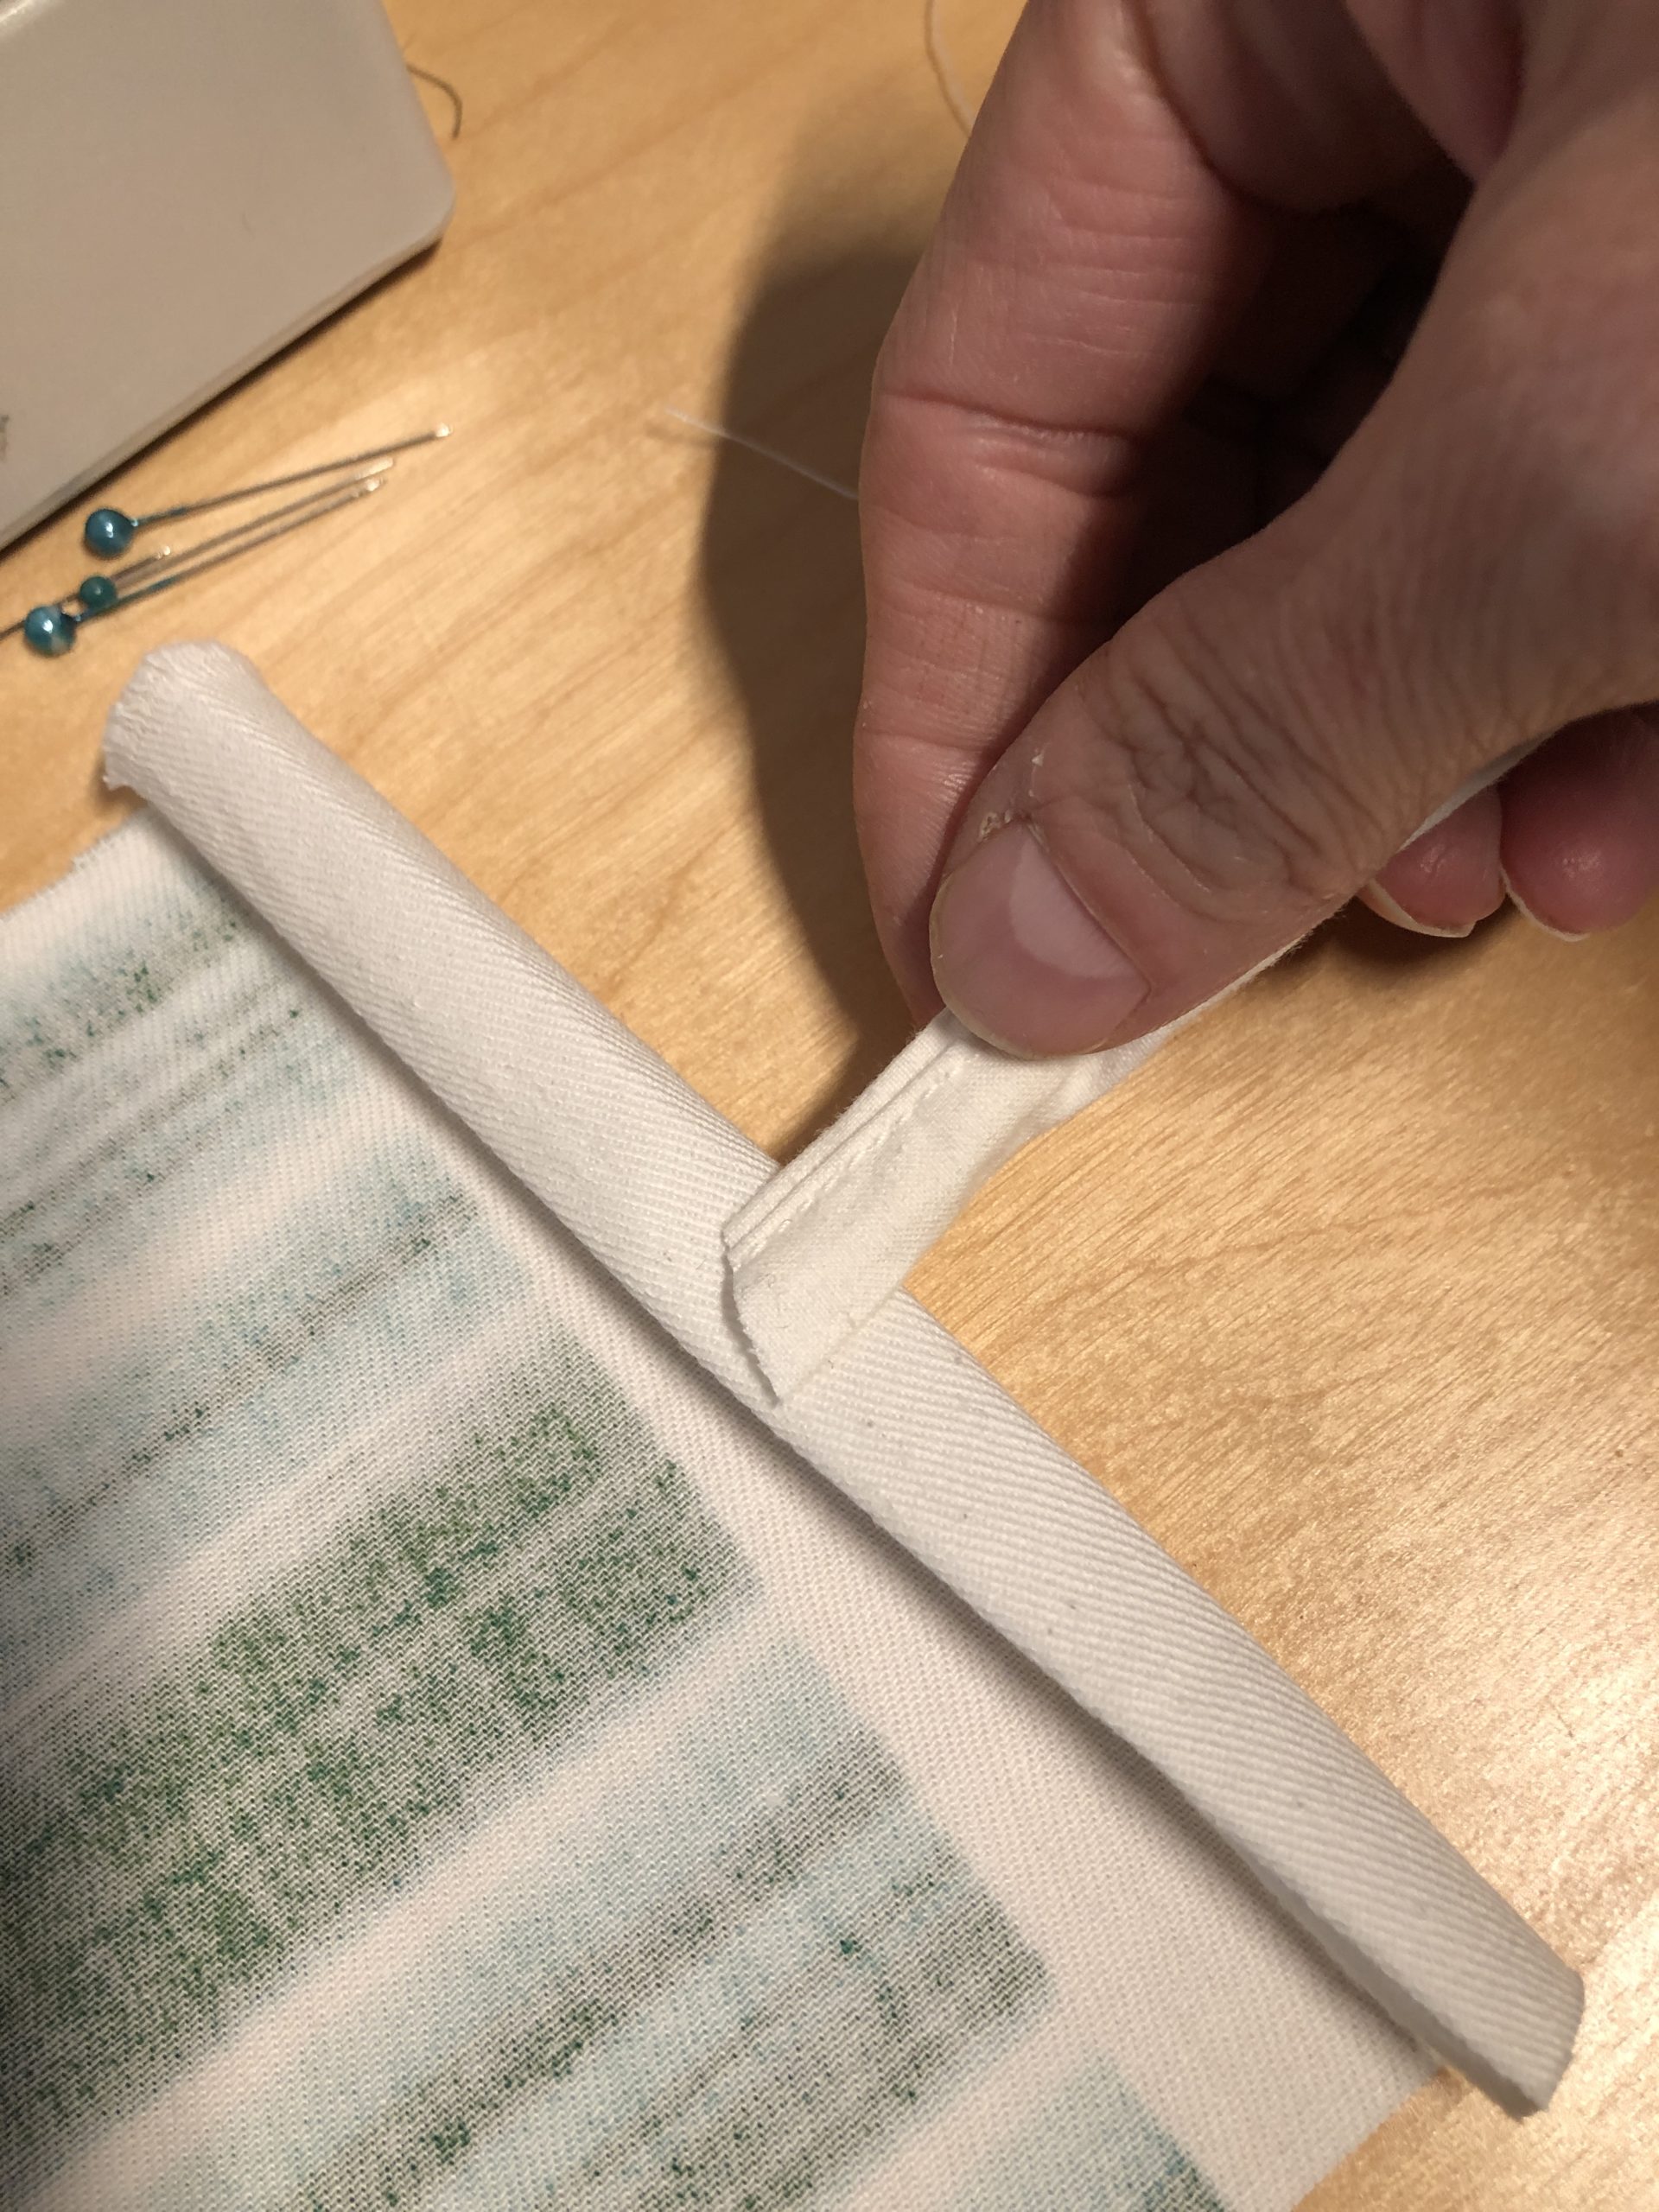
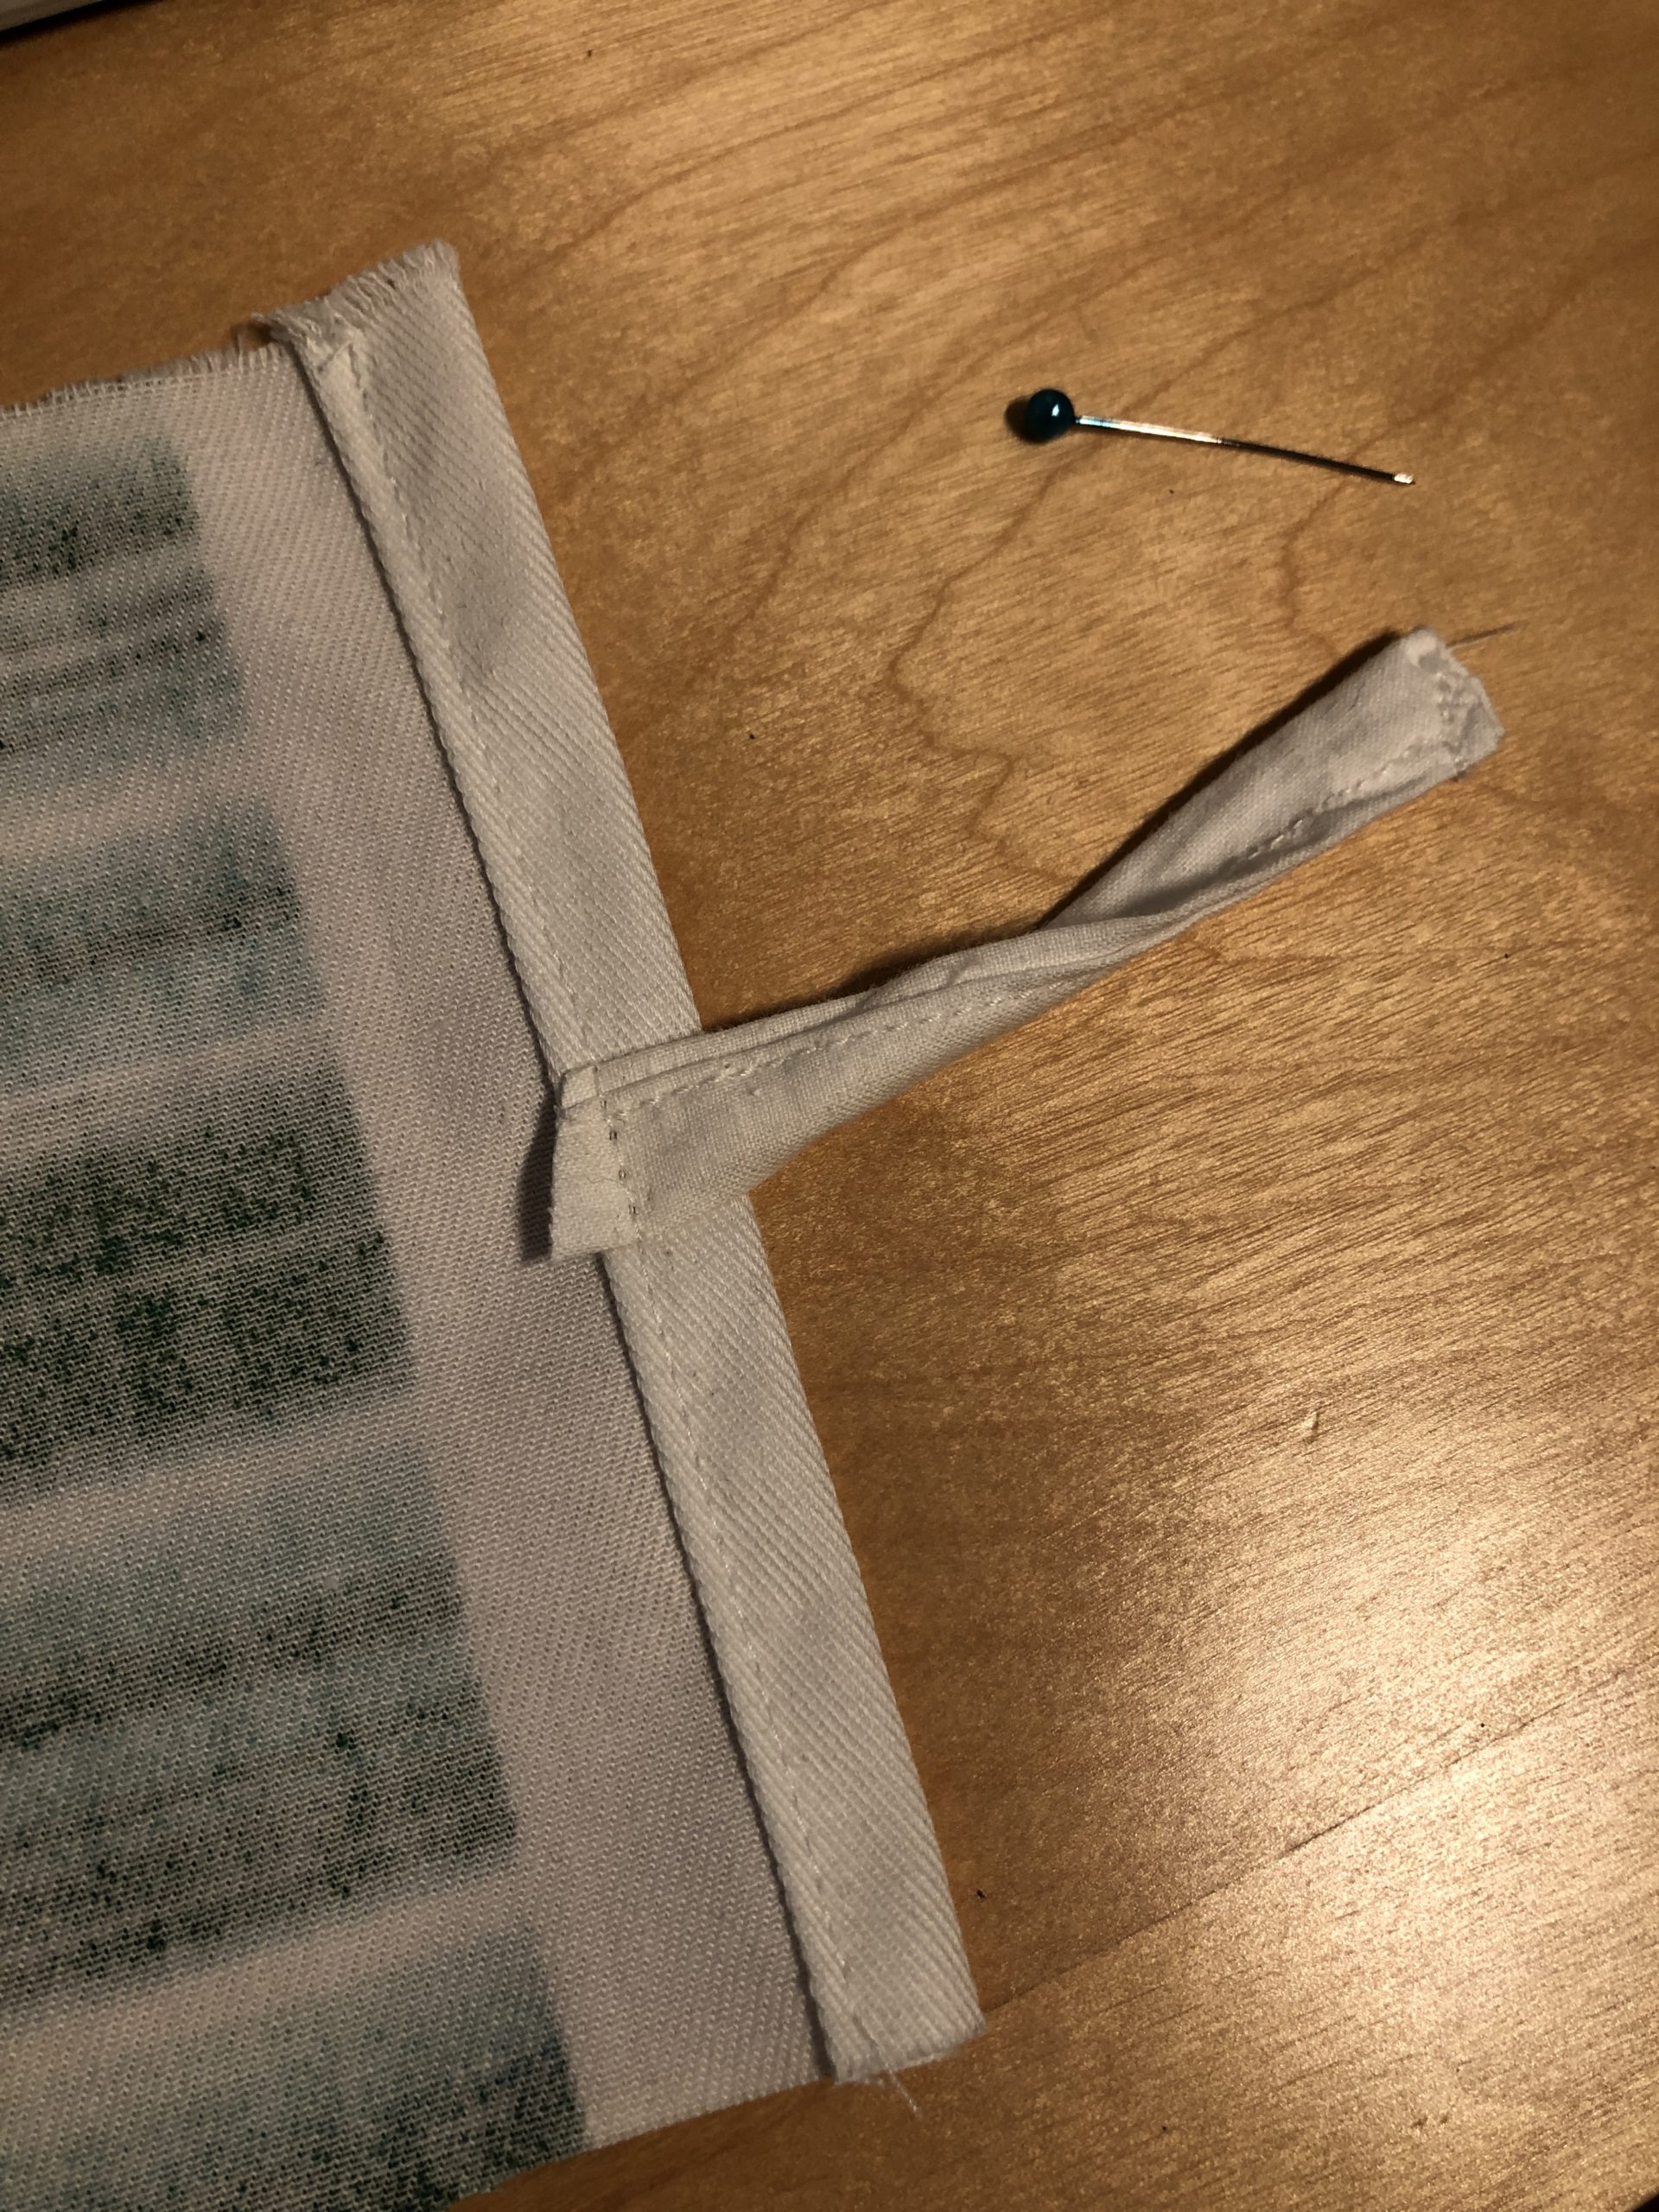
Now you attach the two handles with pins to the hem. See the following pictures:
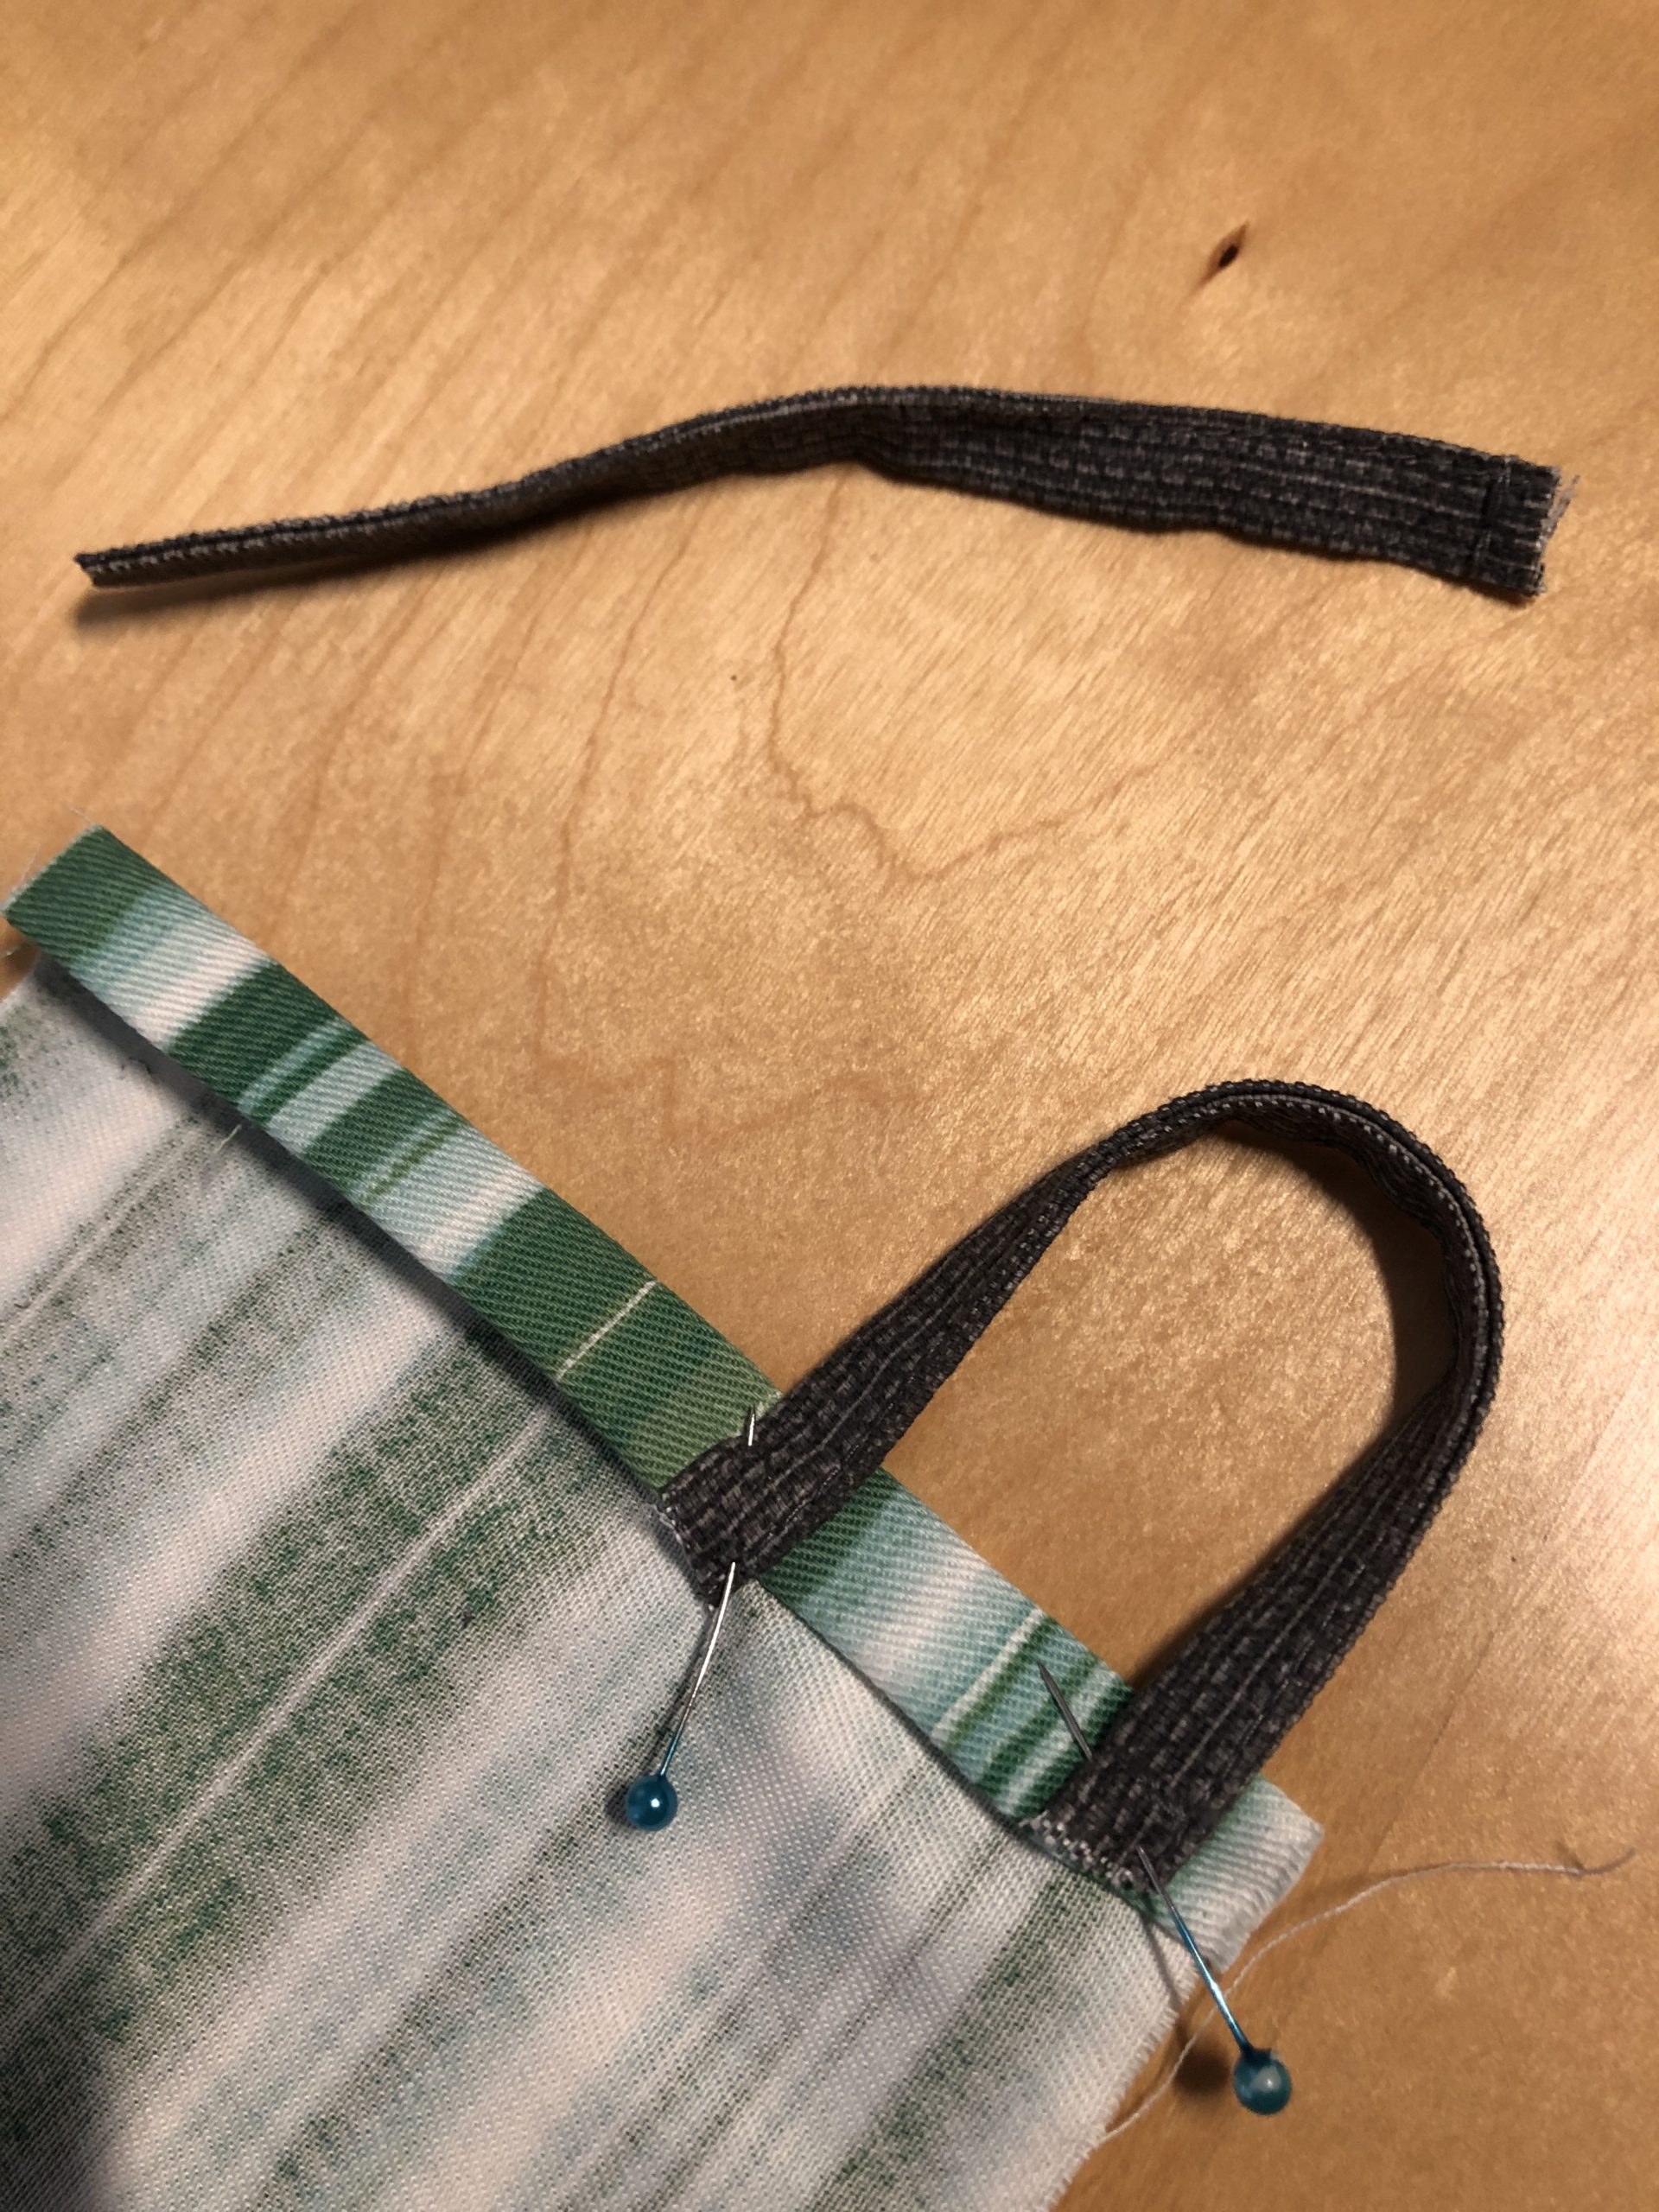


Then sew the hem and the handles.
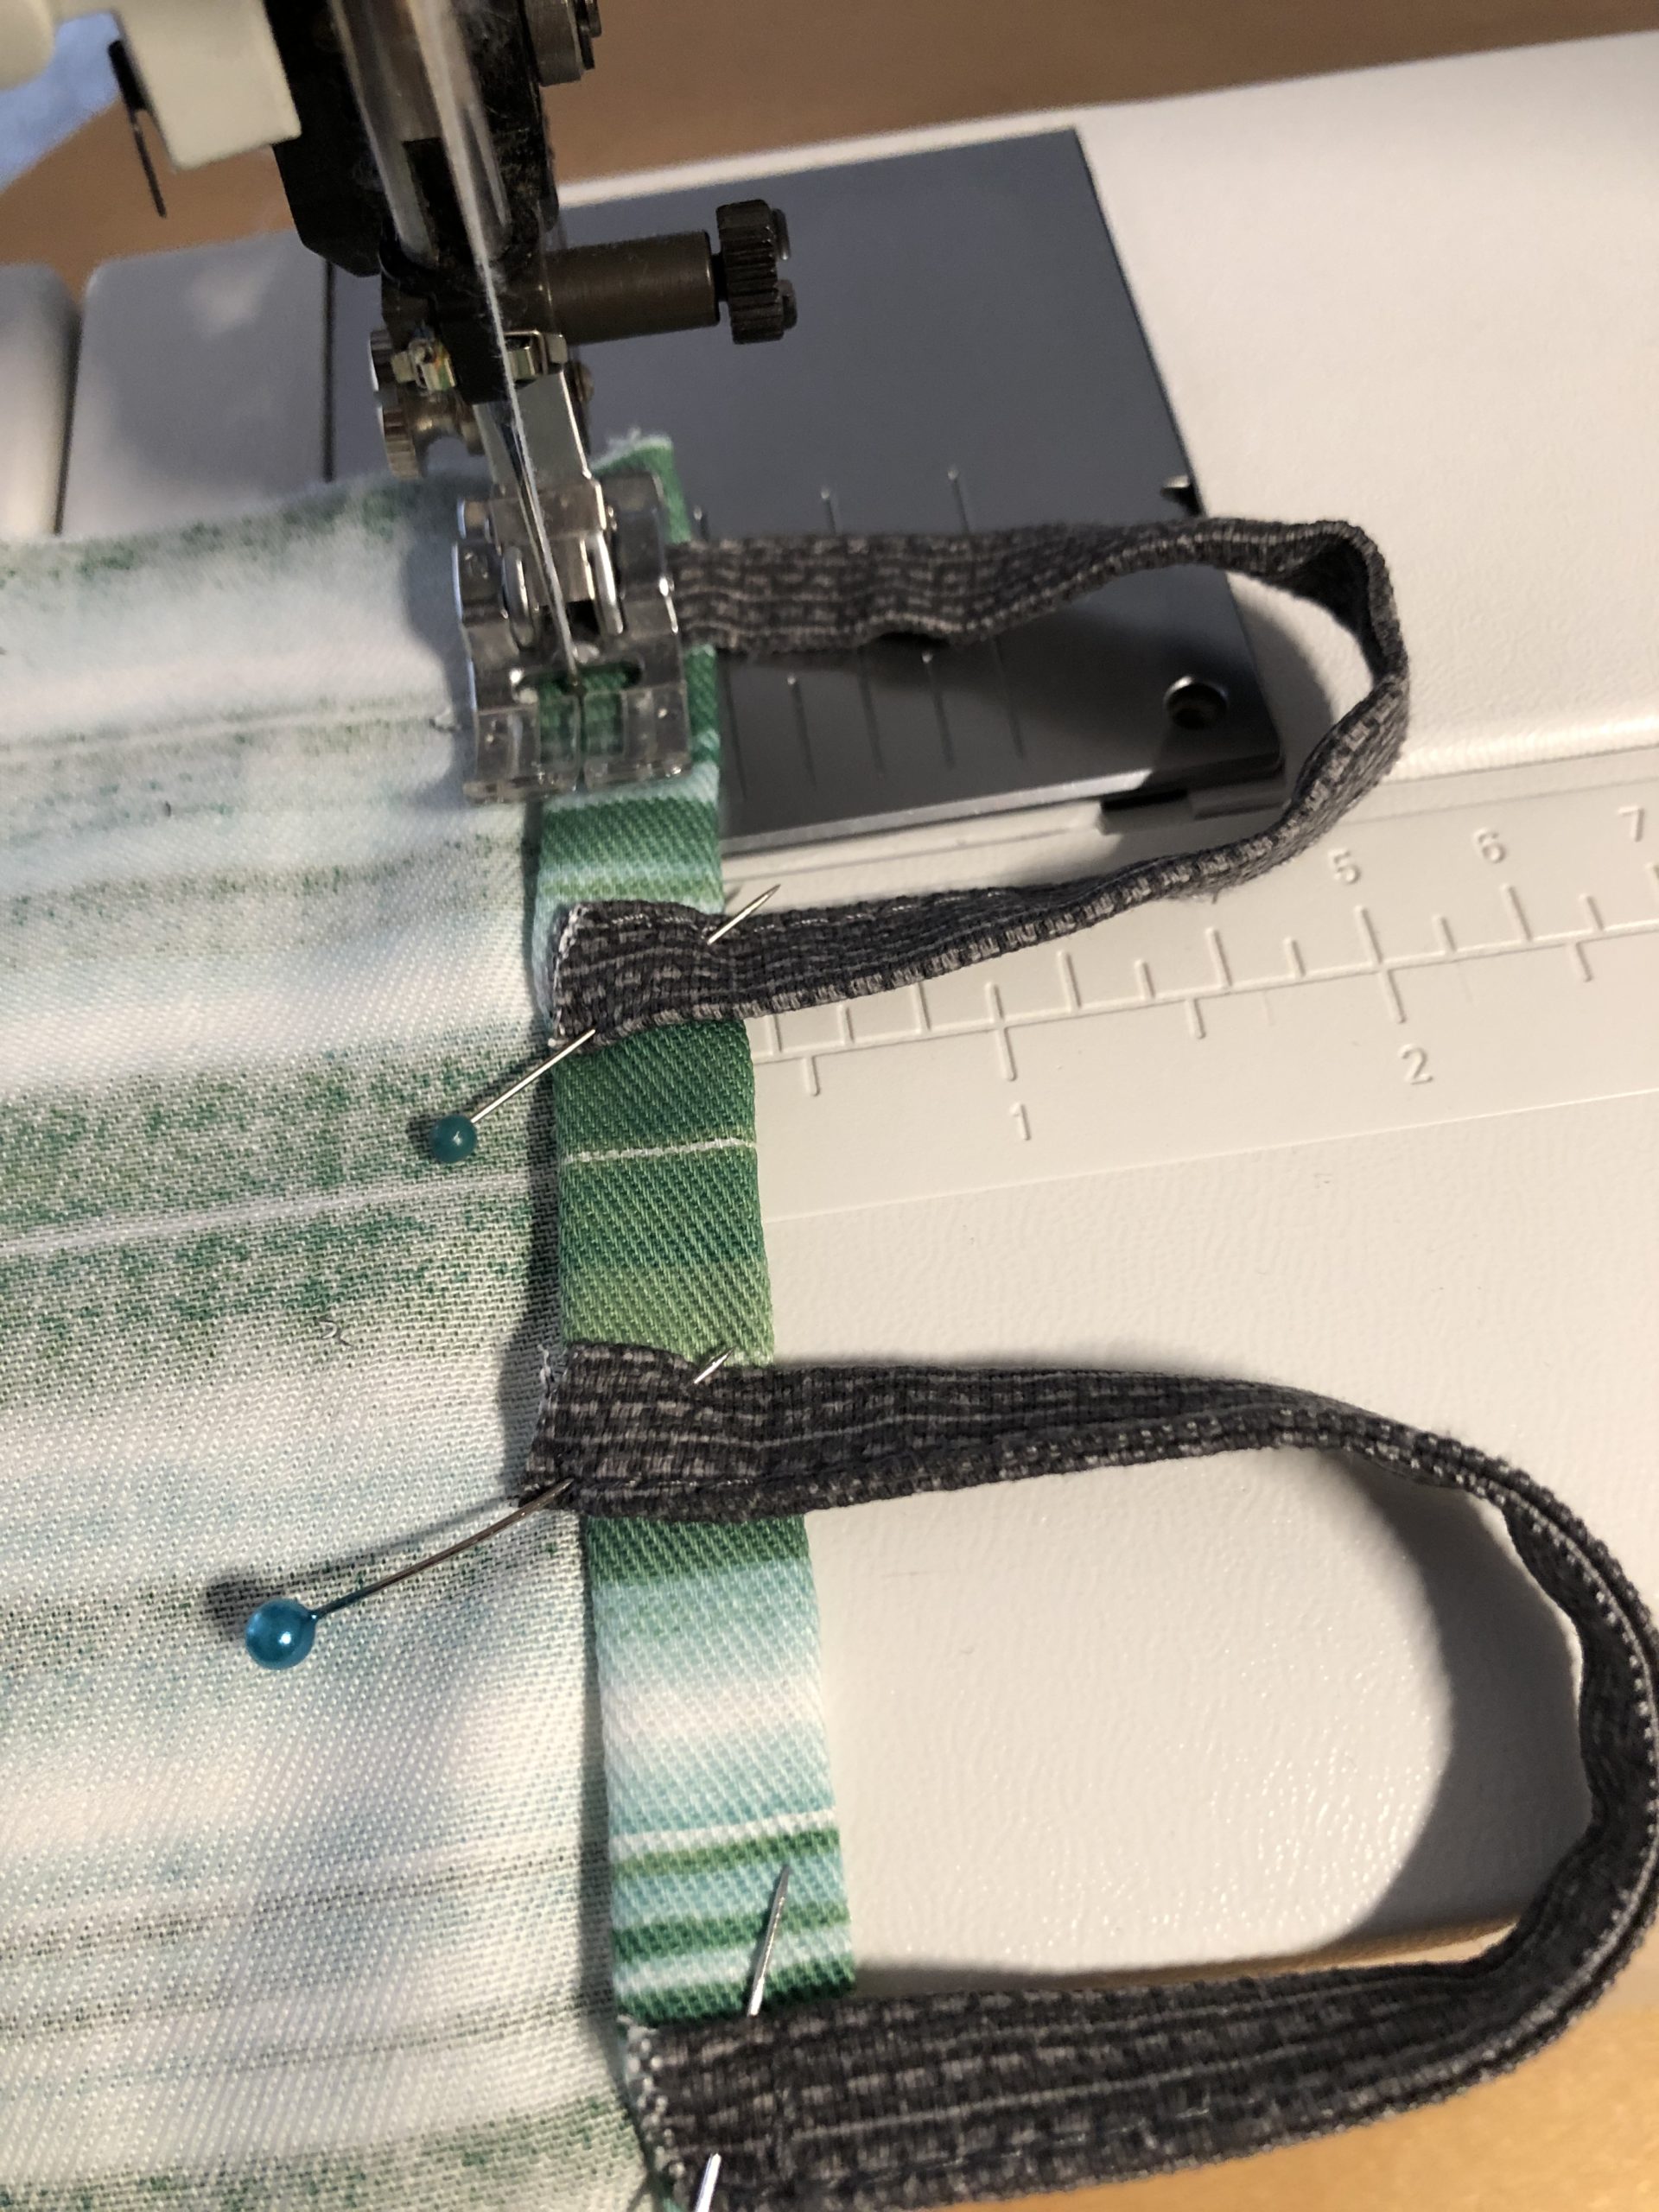


On the opposite side also strike a hem (as described above).




Here you attach the tongue tape in the middle of the fabric.


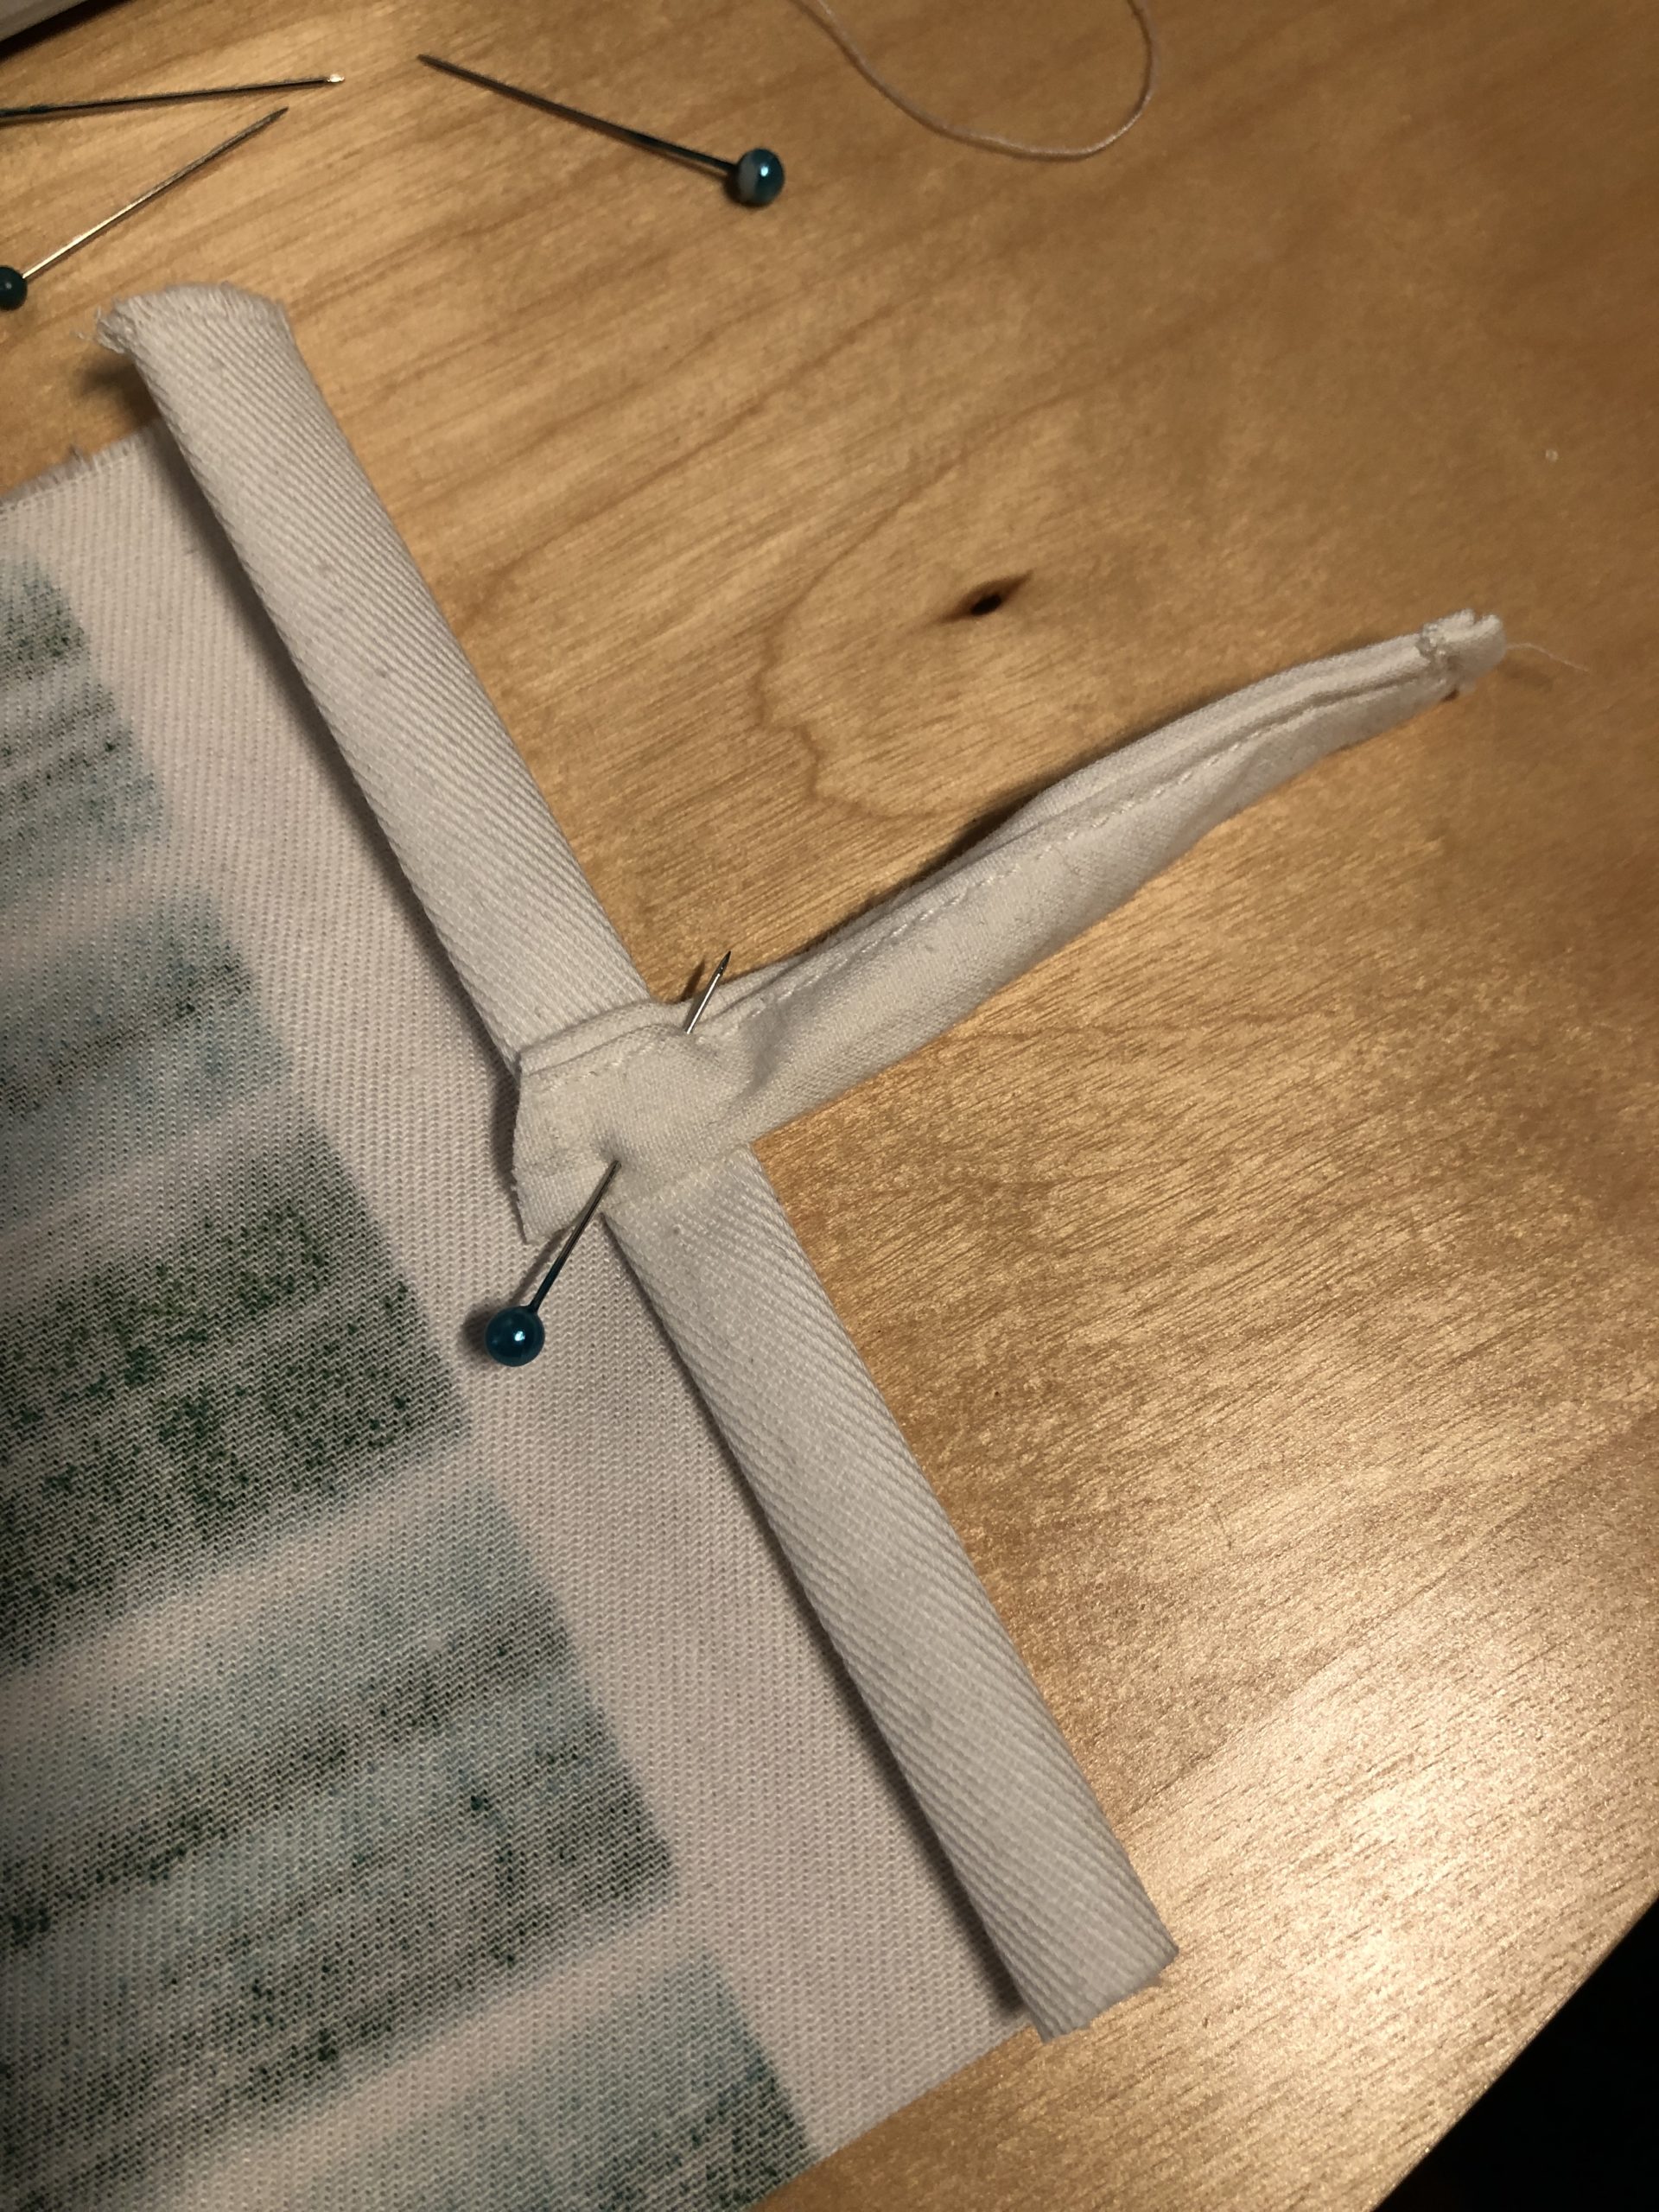


Now you sew the tongue tape together with the seam.


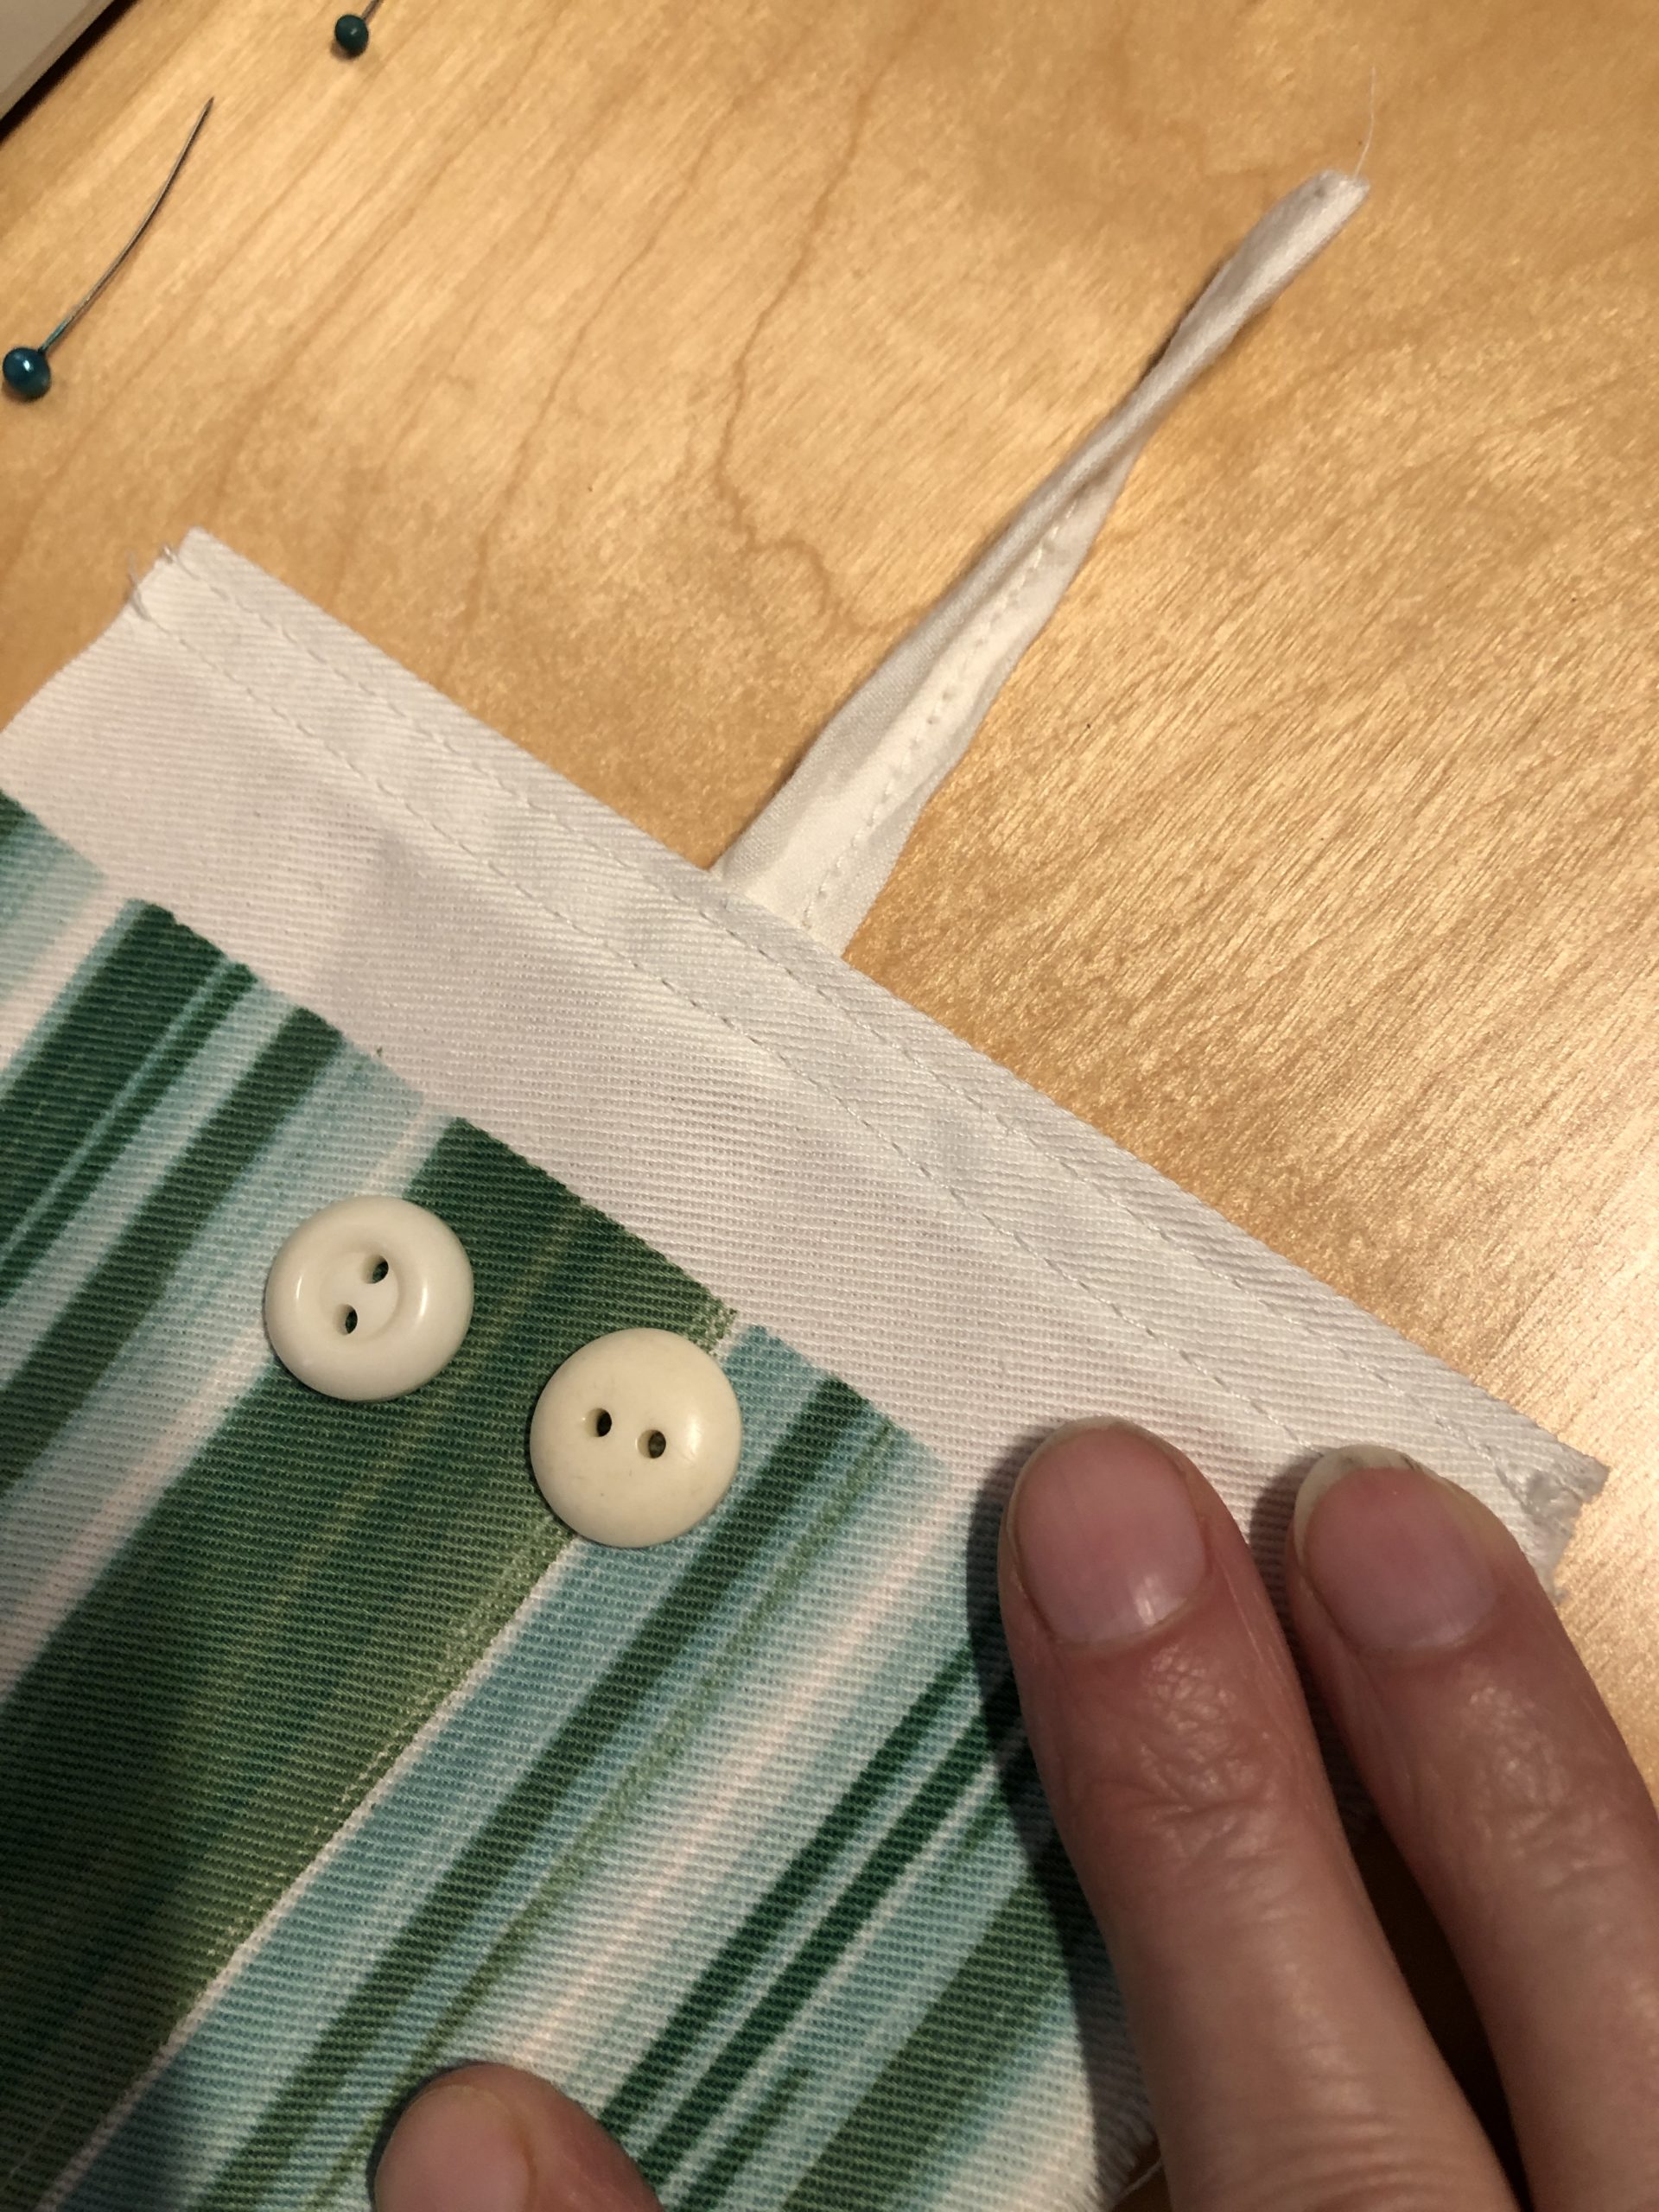
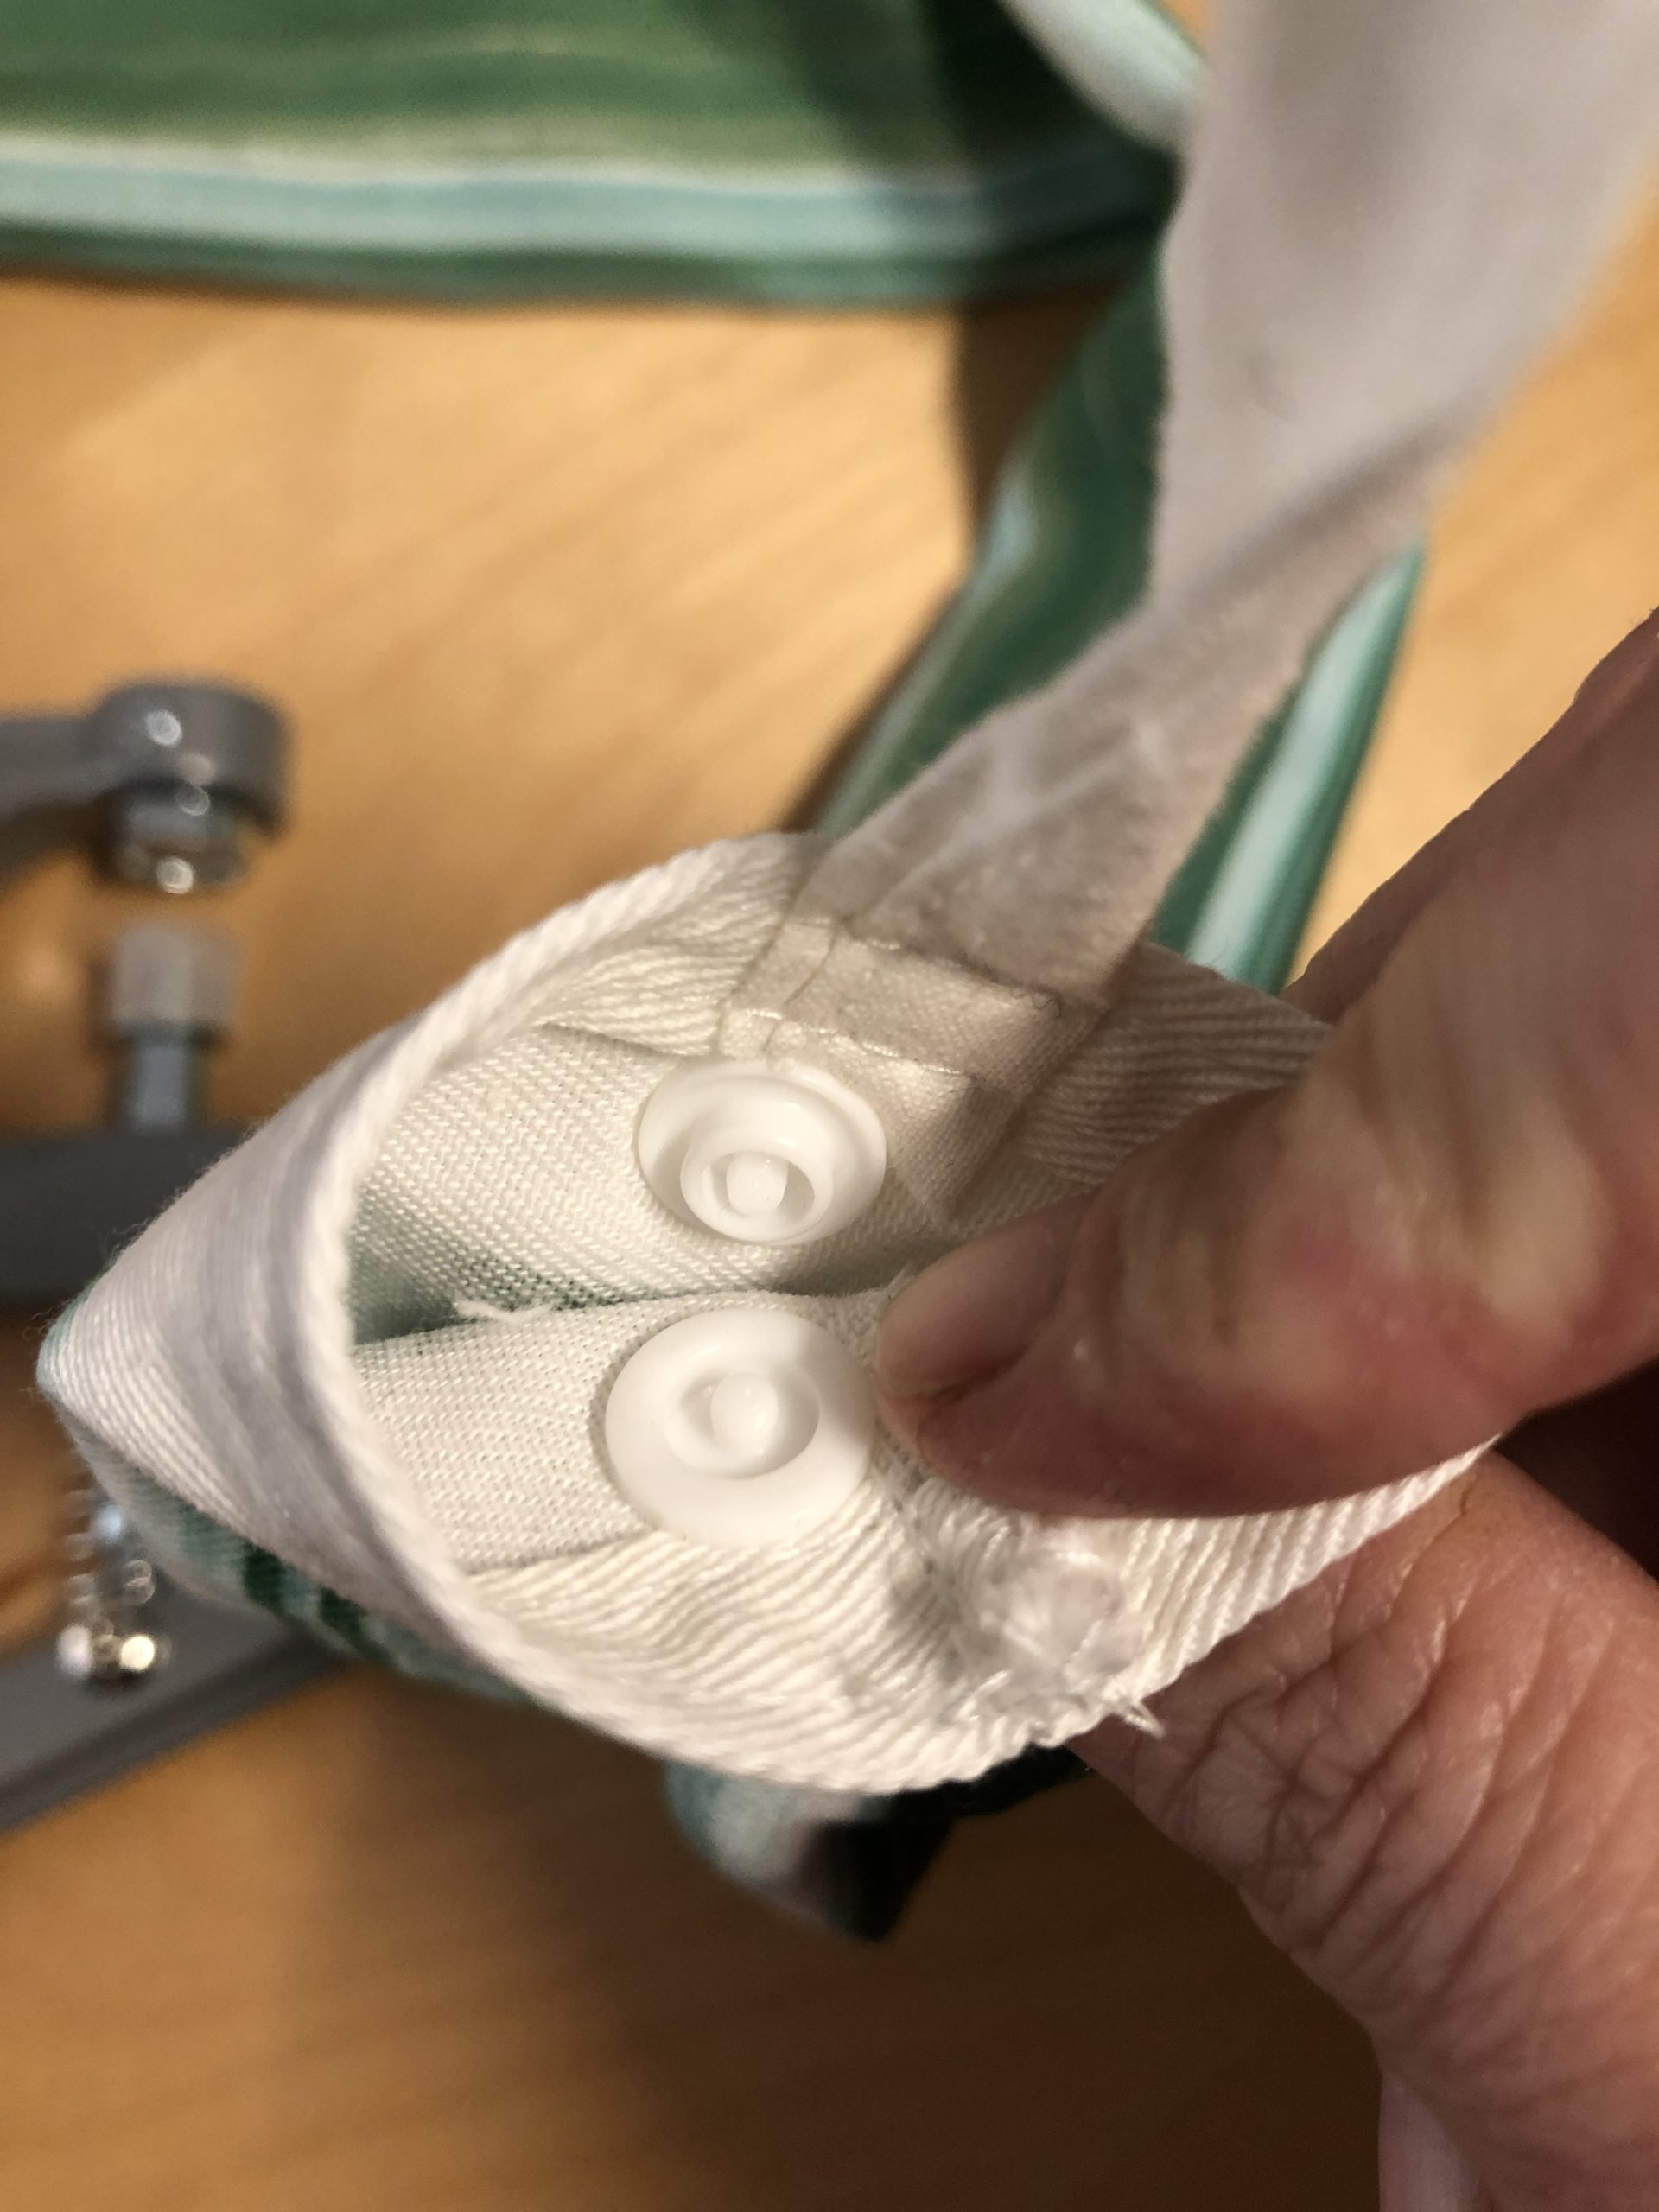
Then sew the two buttons on. Place them on the fabric above the tongue and fasten them. Attention: sew the buttons first and then sew the fabric together!


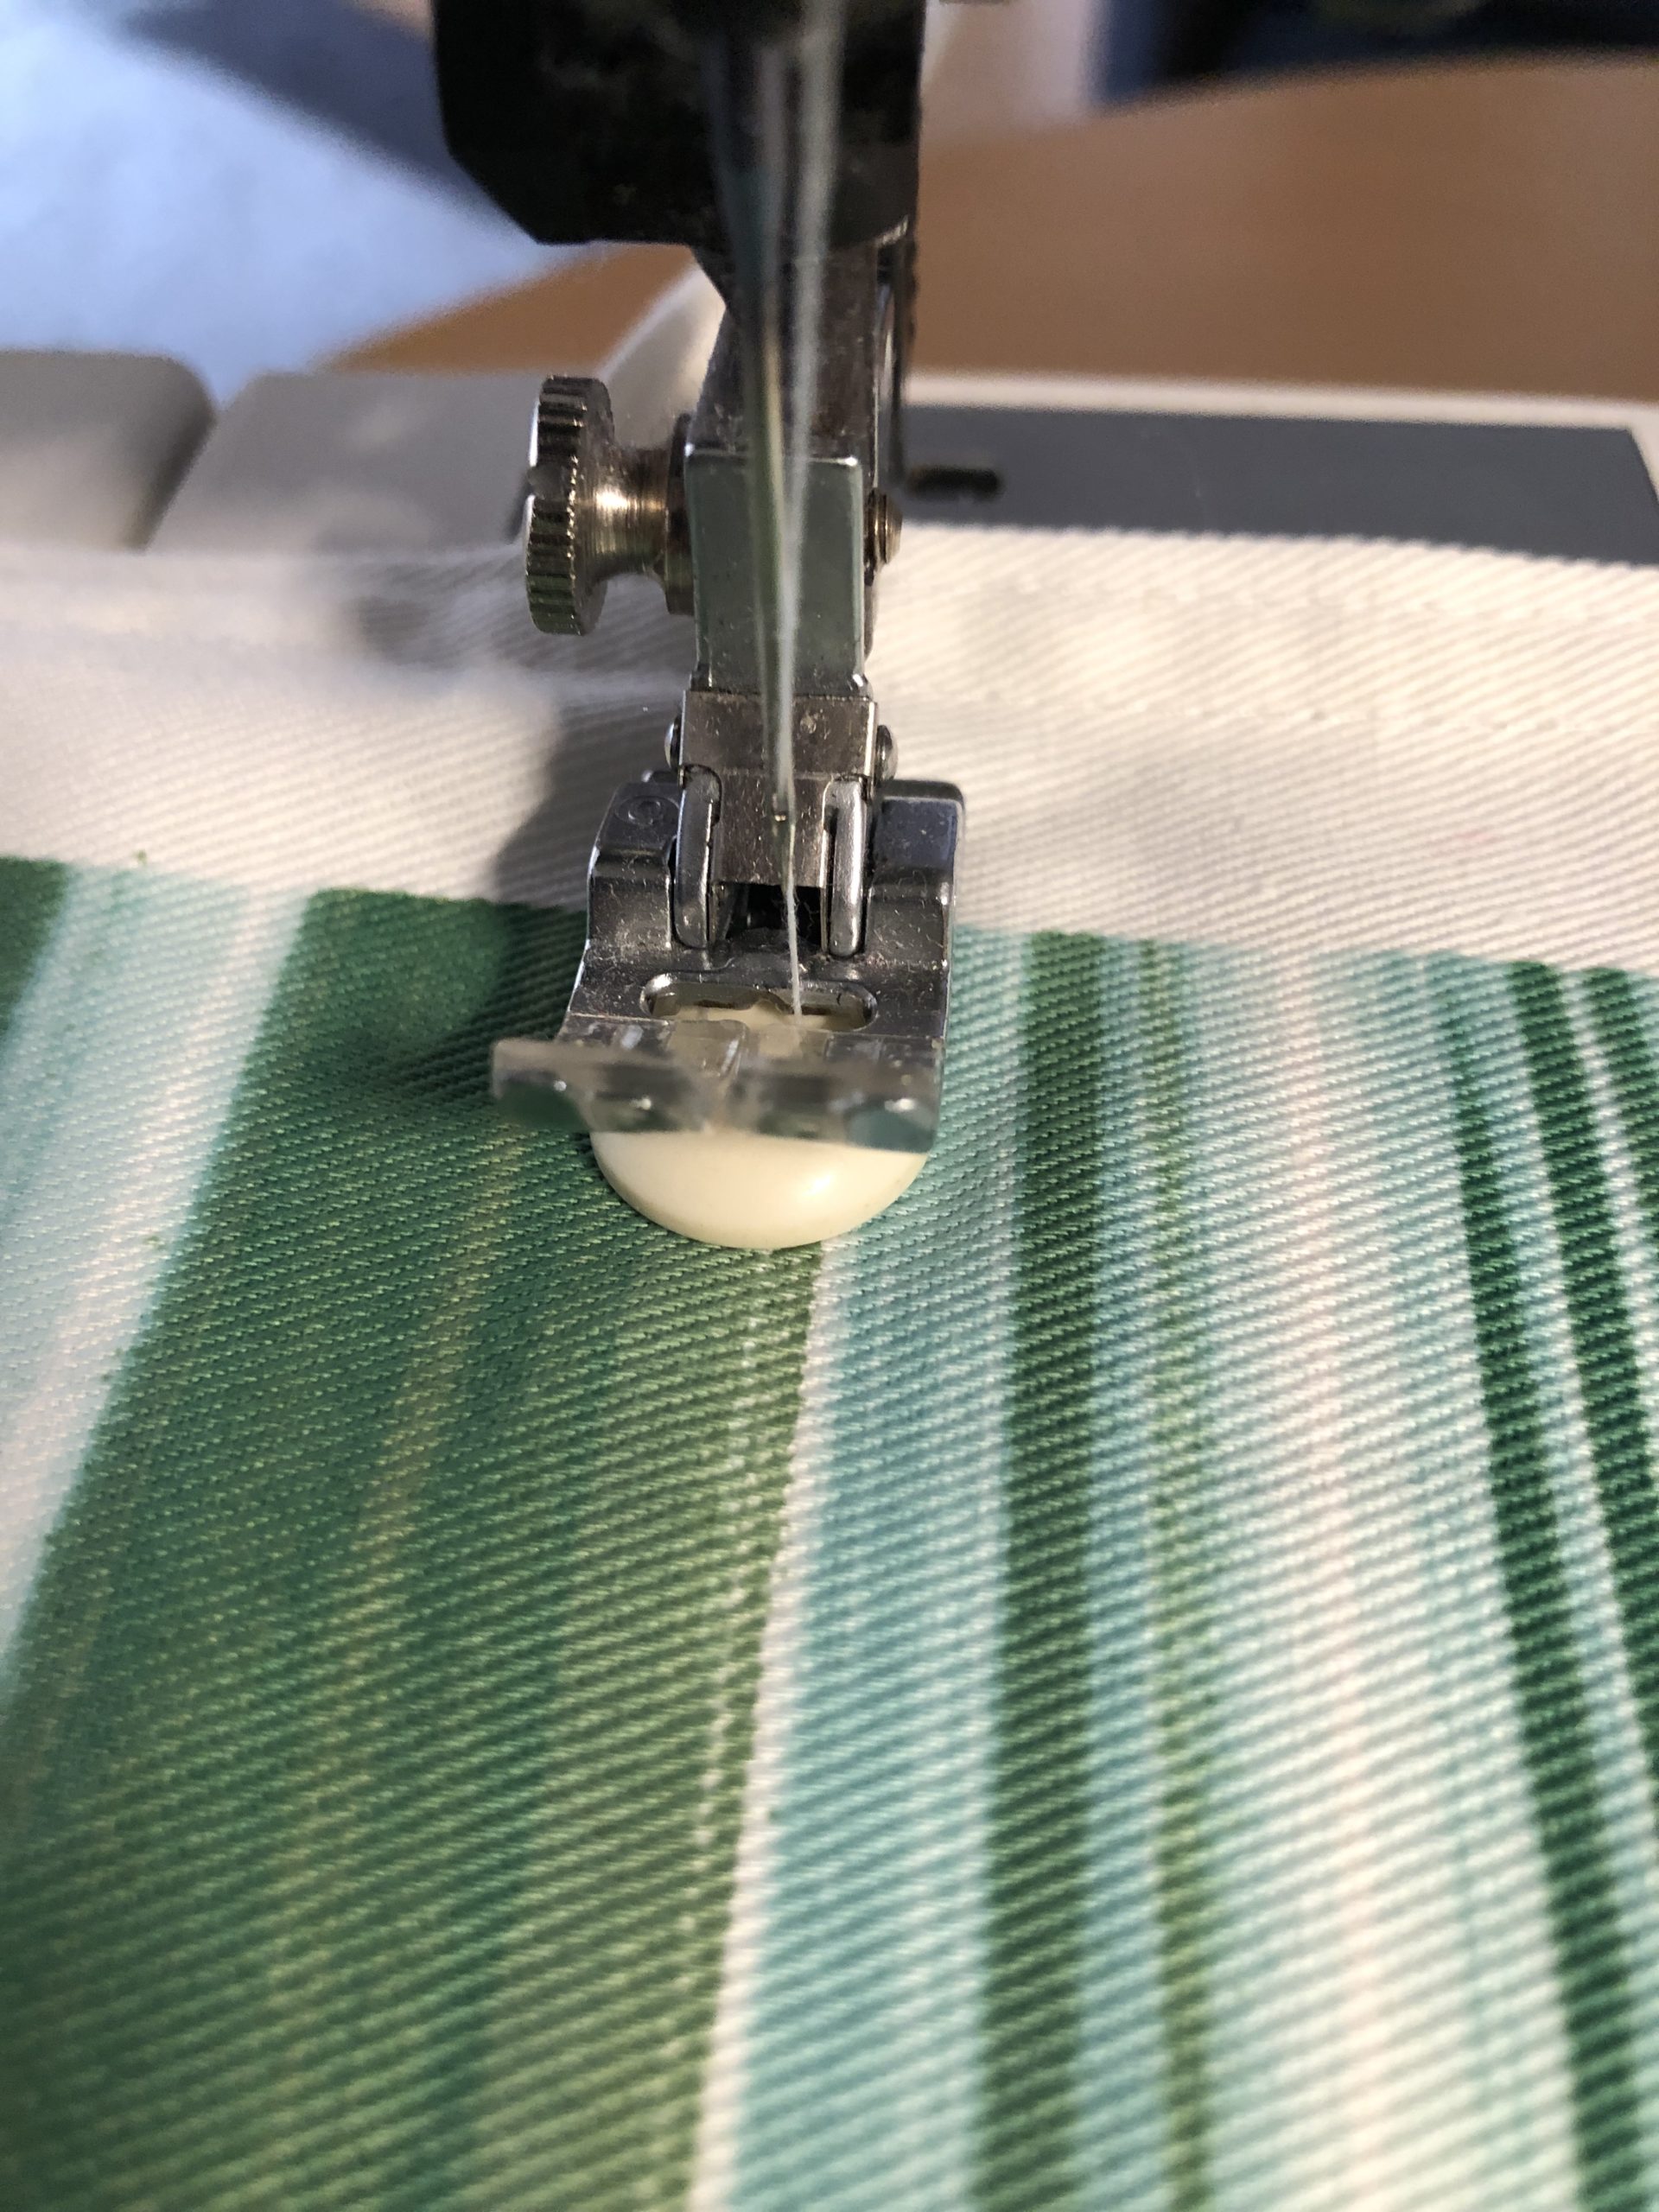
I fasten the buttons with the sewing machine. To do this, you narrow the transport liner. So the button remains lying down and can be sewn effortlessly with a zigzag stitch. Insert the first stitches with the hand edge!!!!
Alternatively, of course, you can sew it with your hand.


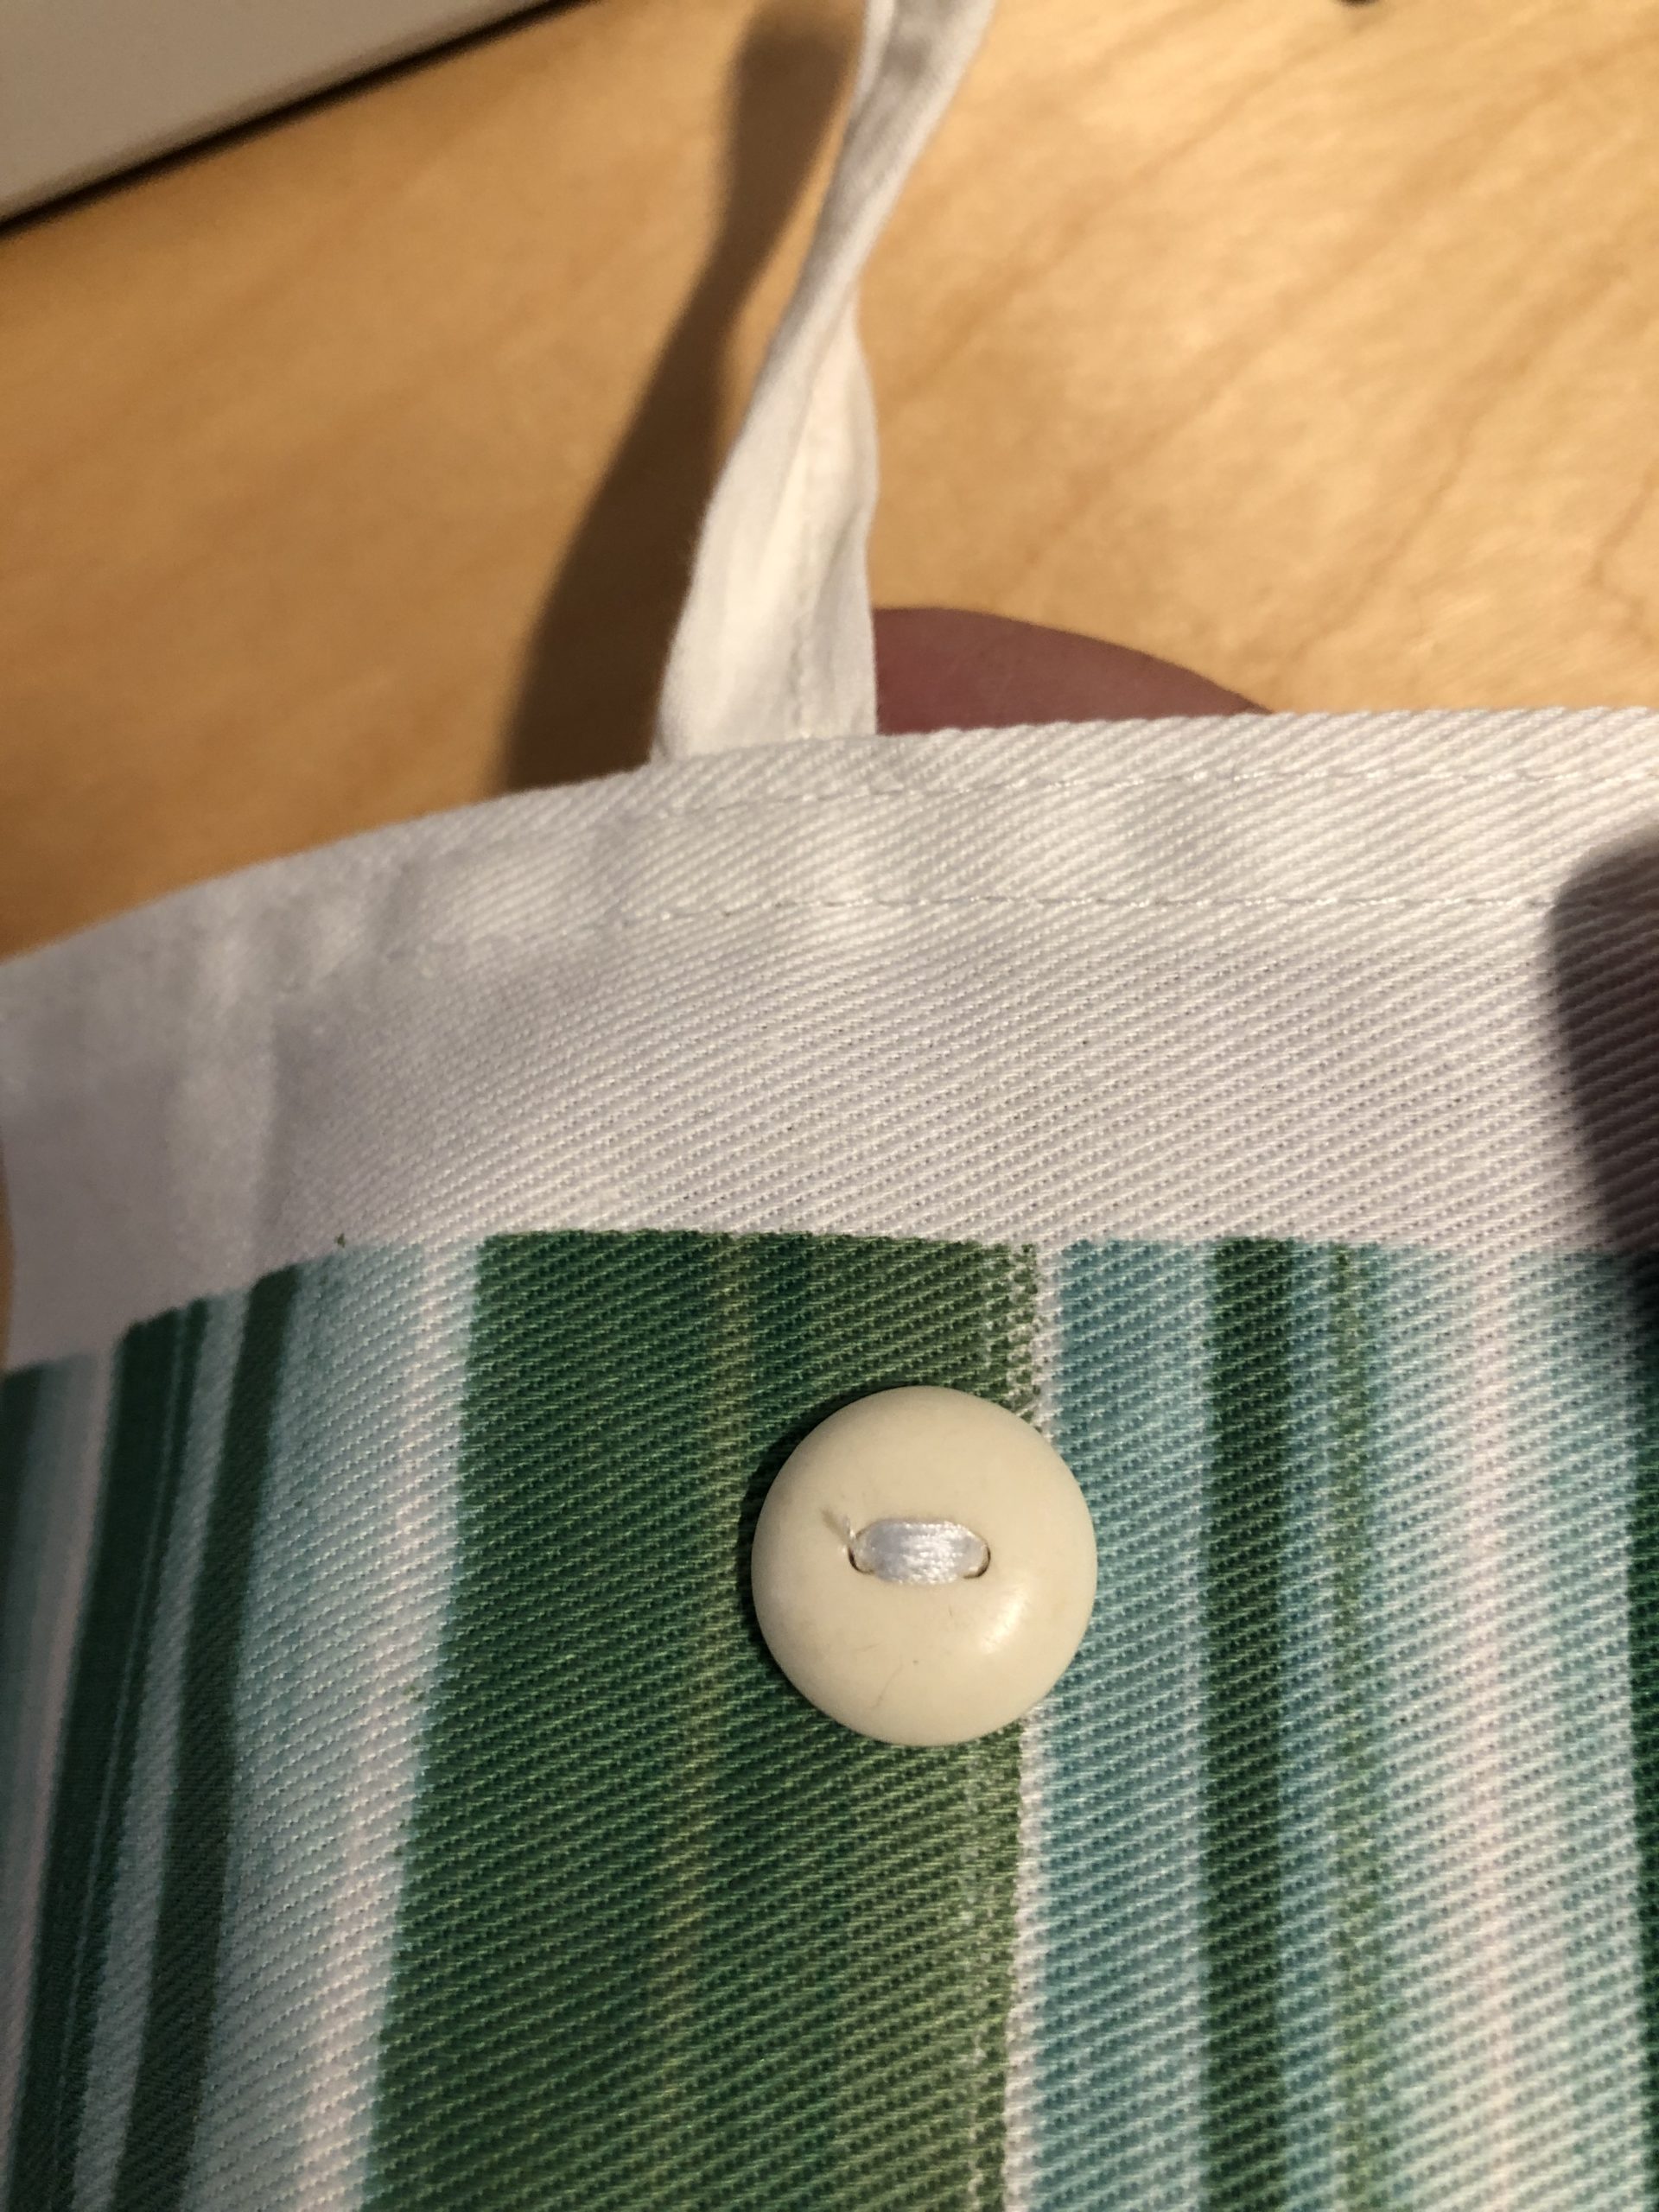


Now you sew on the second button.


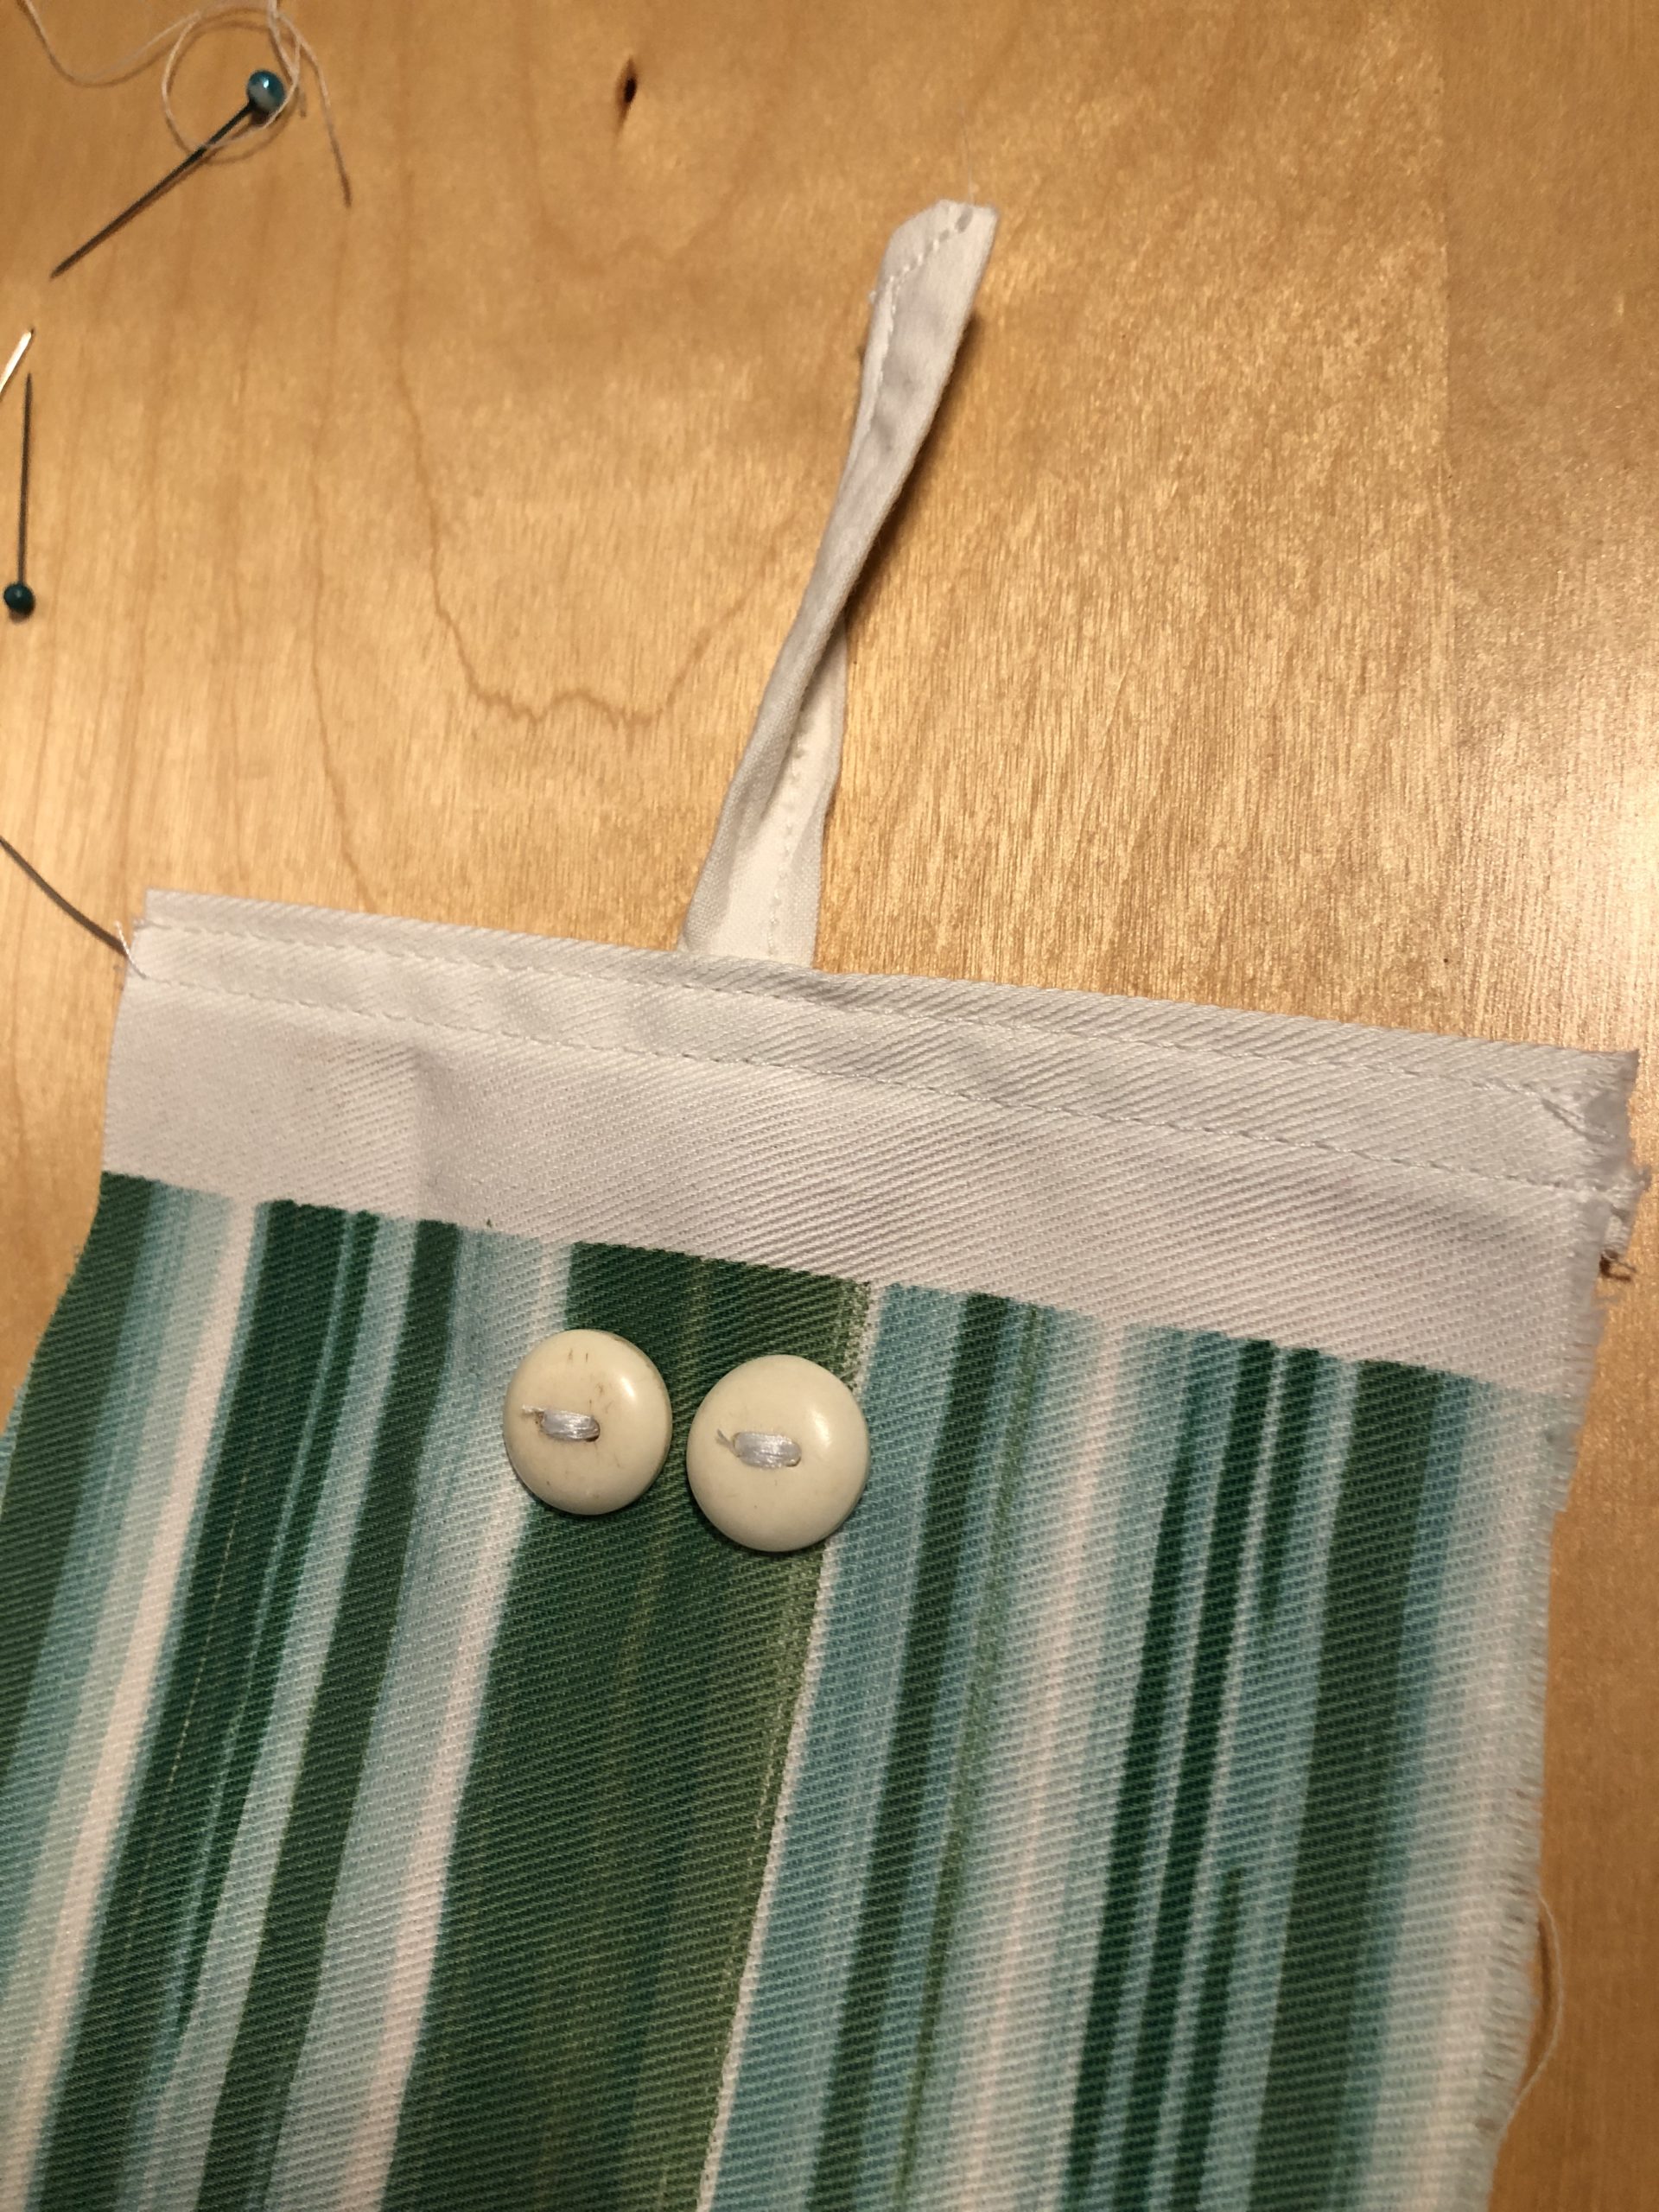


Now turn the fabric to the left side and fold it to the length. The beautiful fabric side is now inside.
Then sew the fabric lengthwise with a straight stitch. The short sides remain open. Afterwards, the fabric edge is lined on the sewn long side with a zigzag stitch.
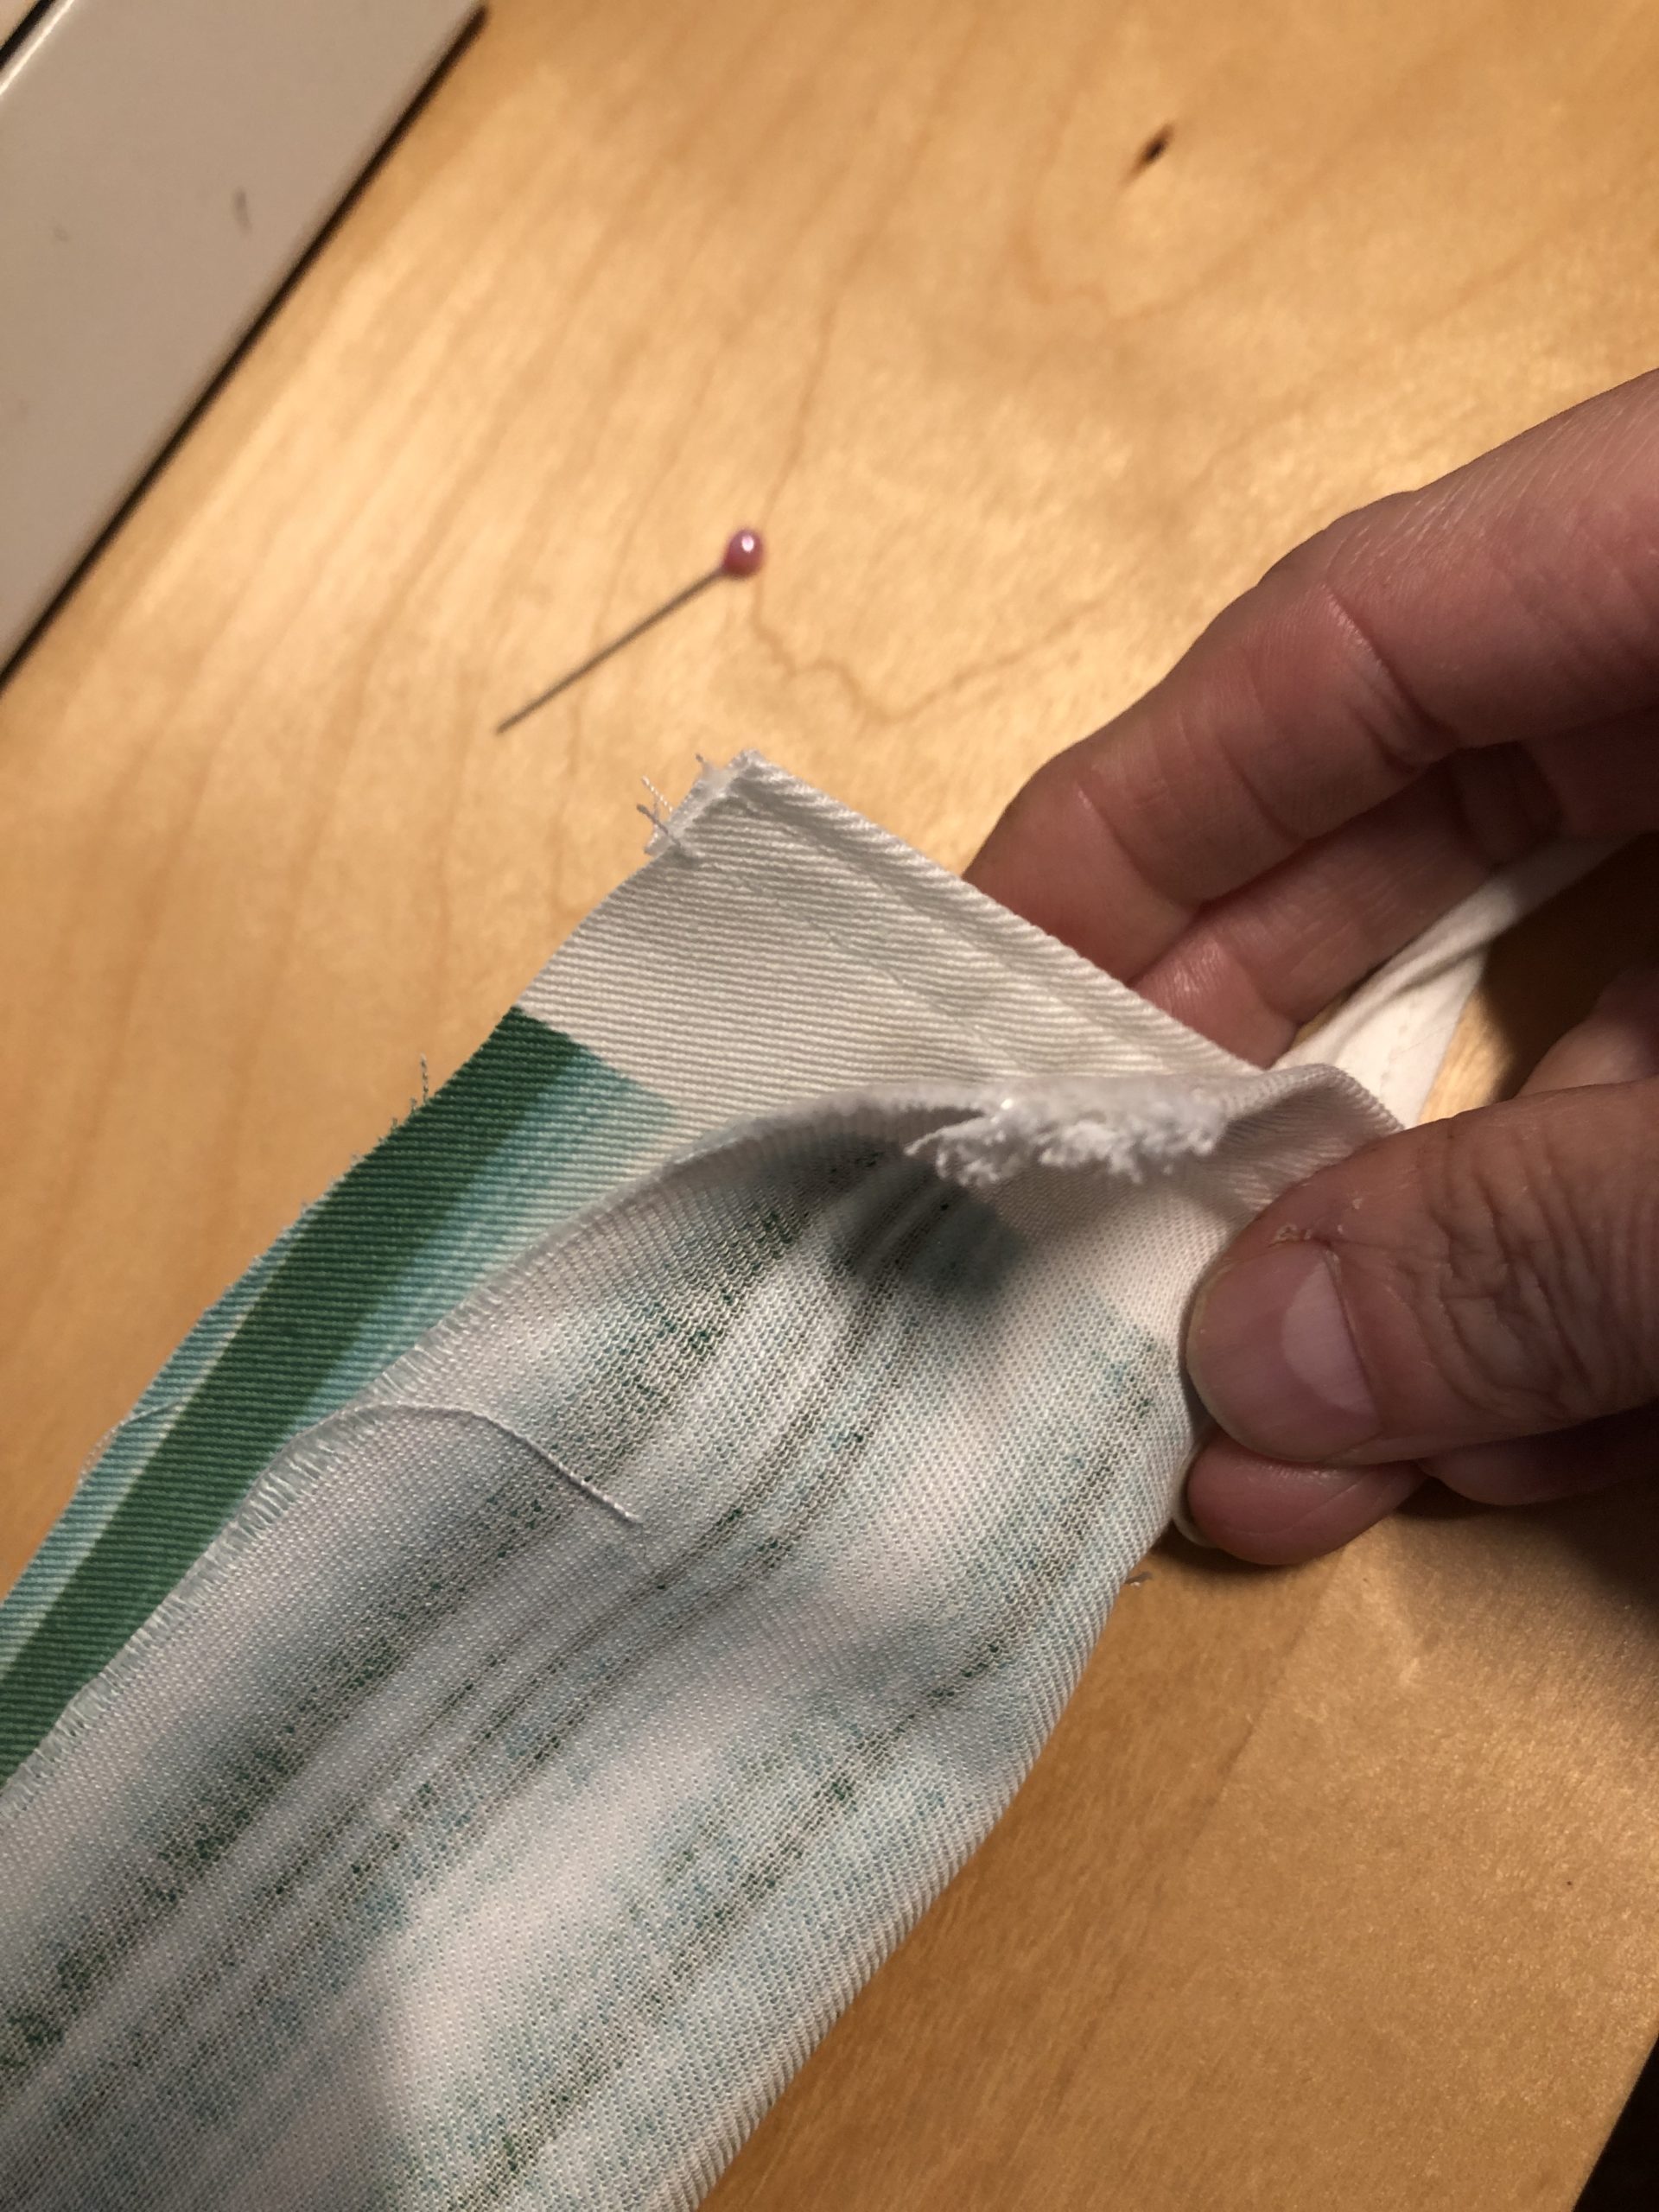


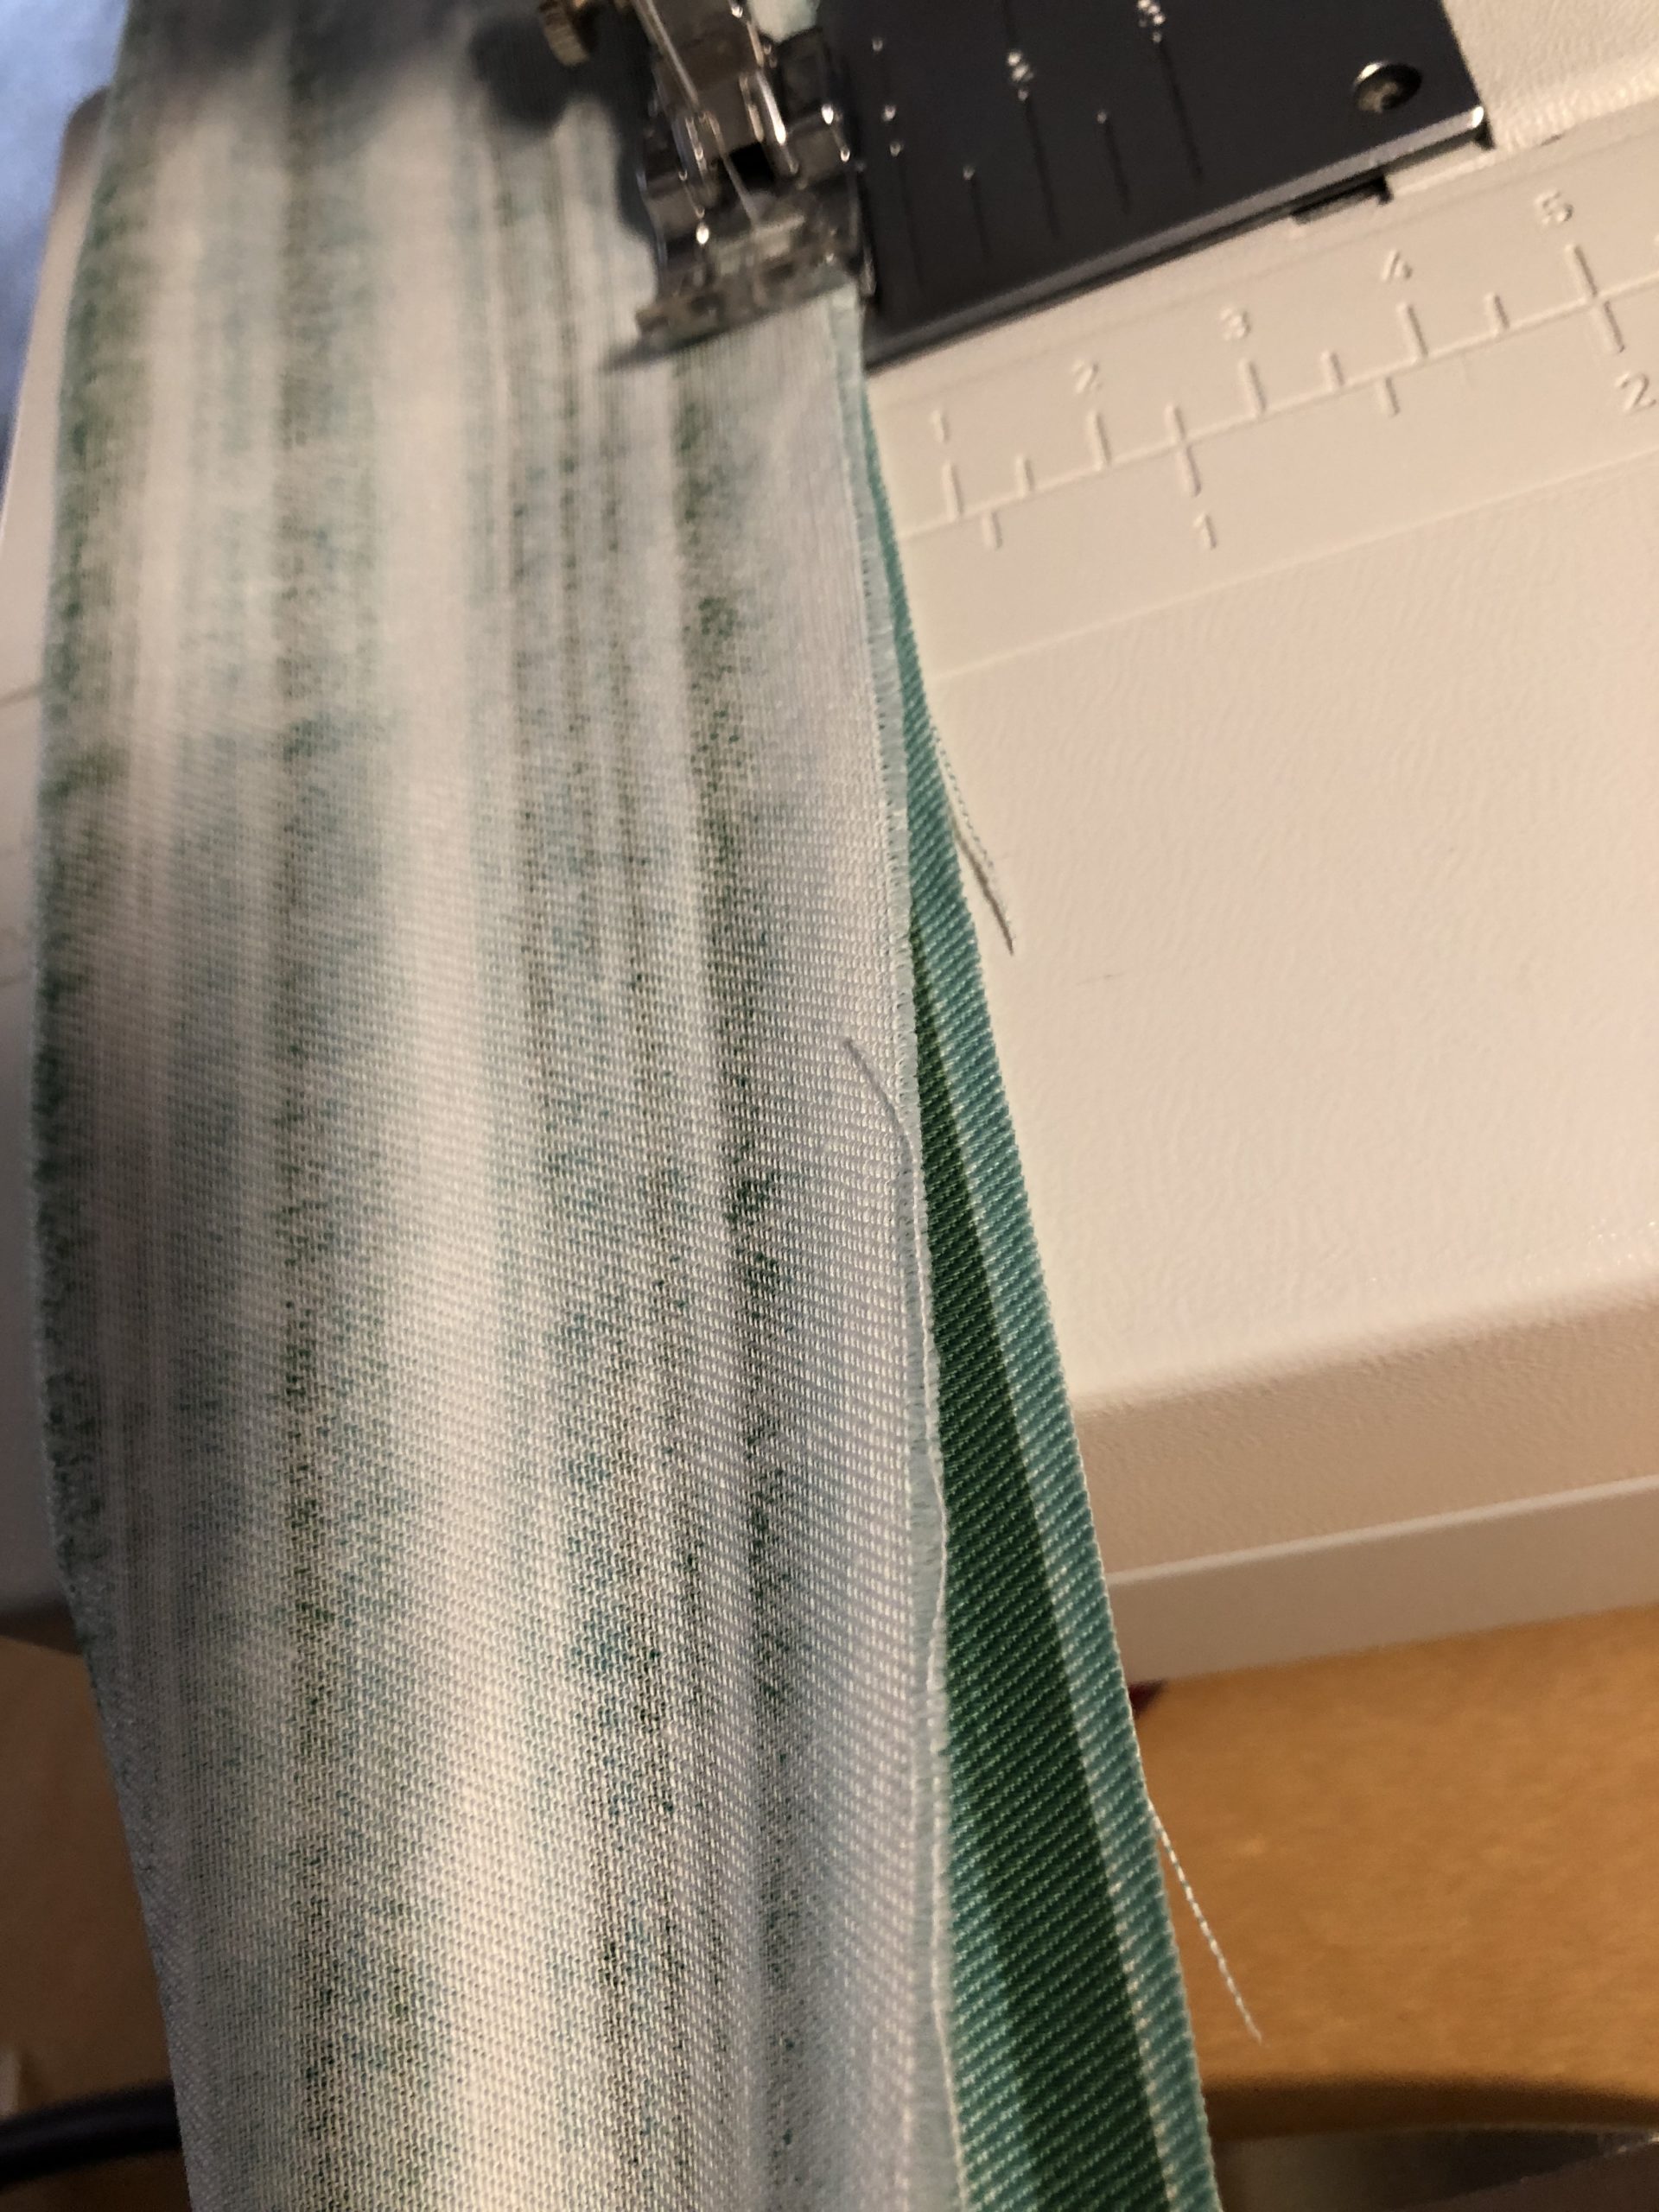


The two short sides are still open!
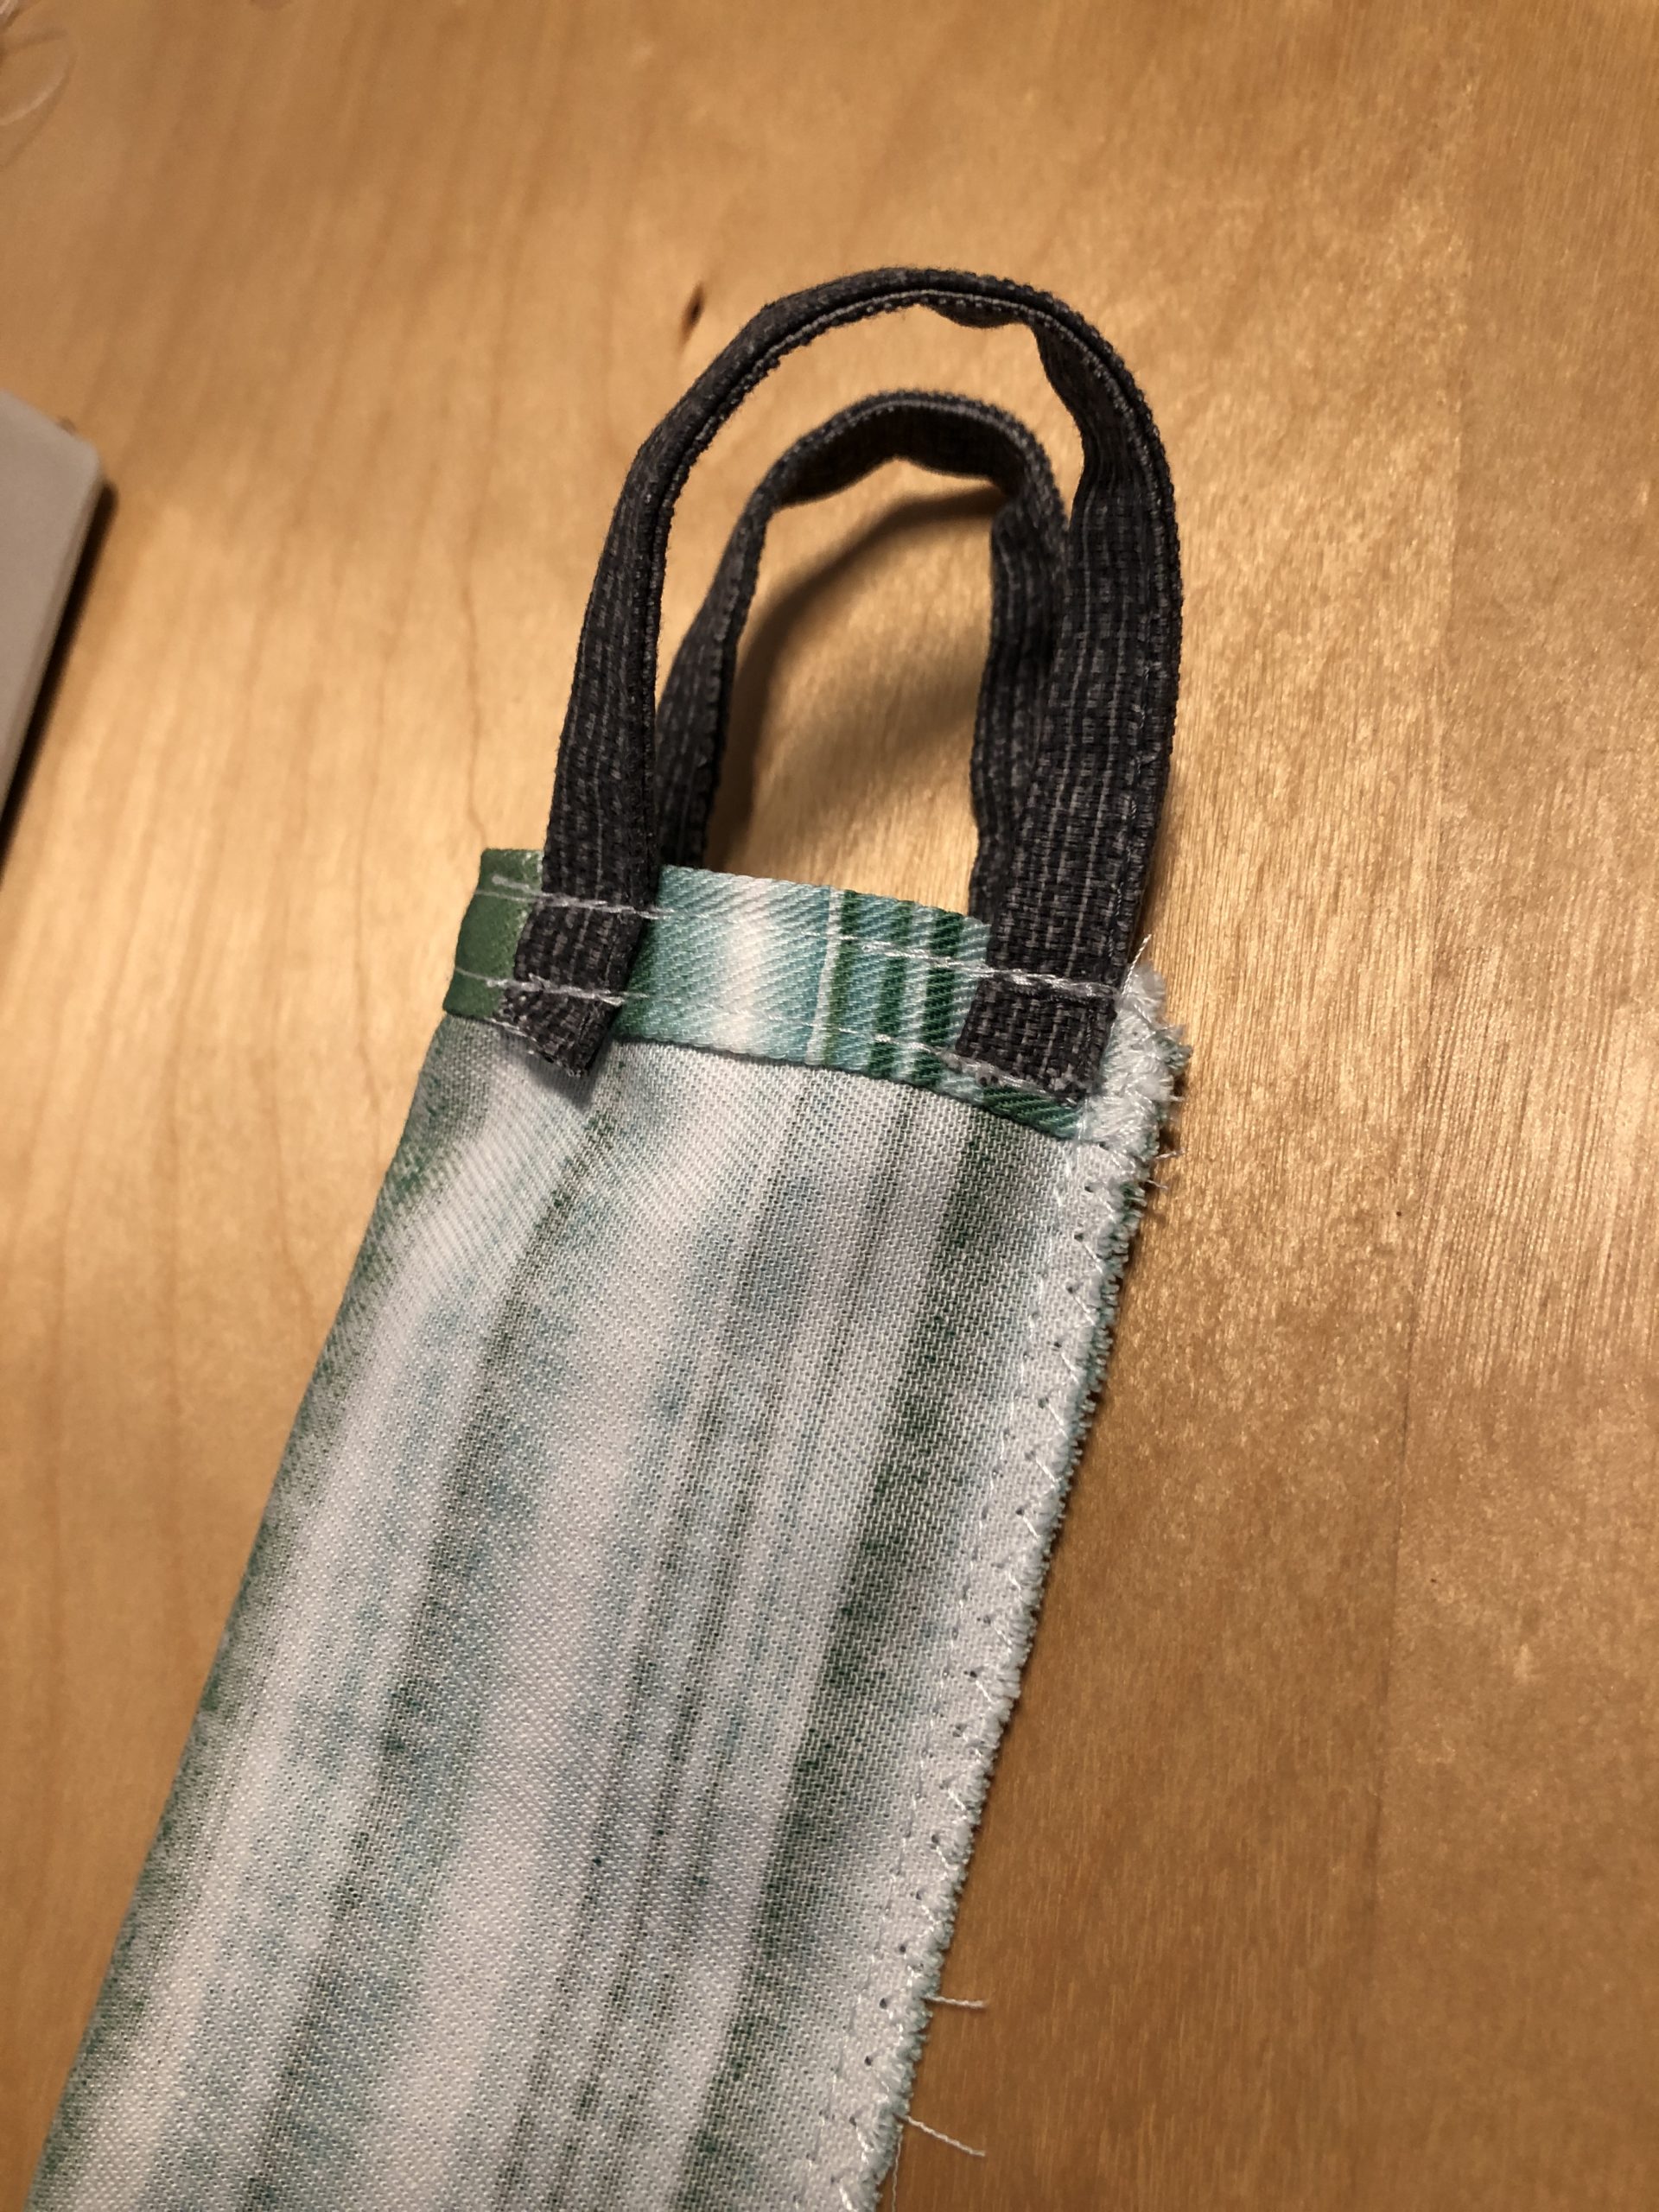


Now you're turning the fabric hose.
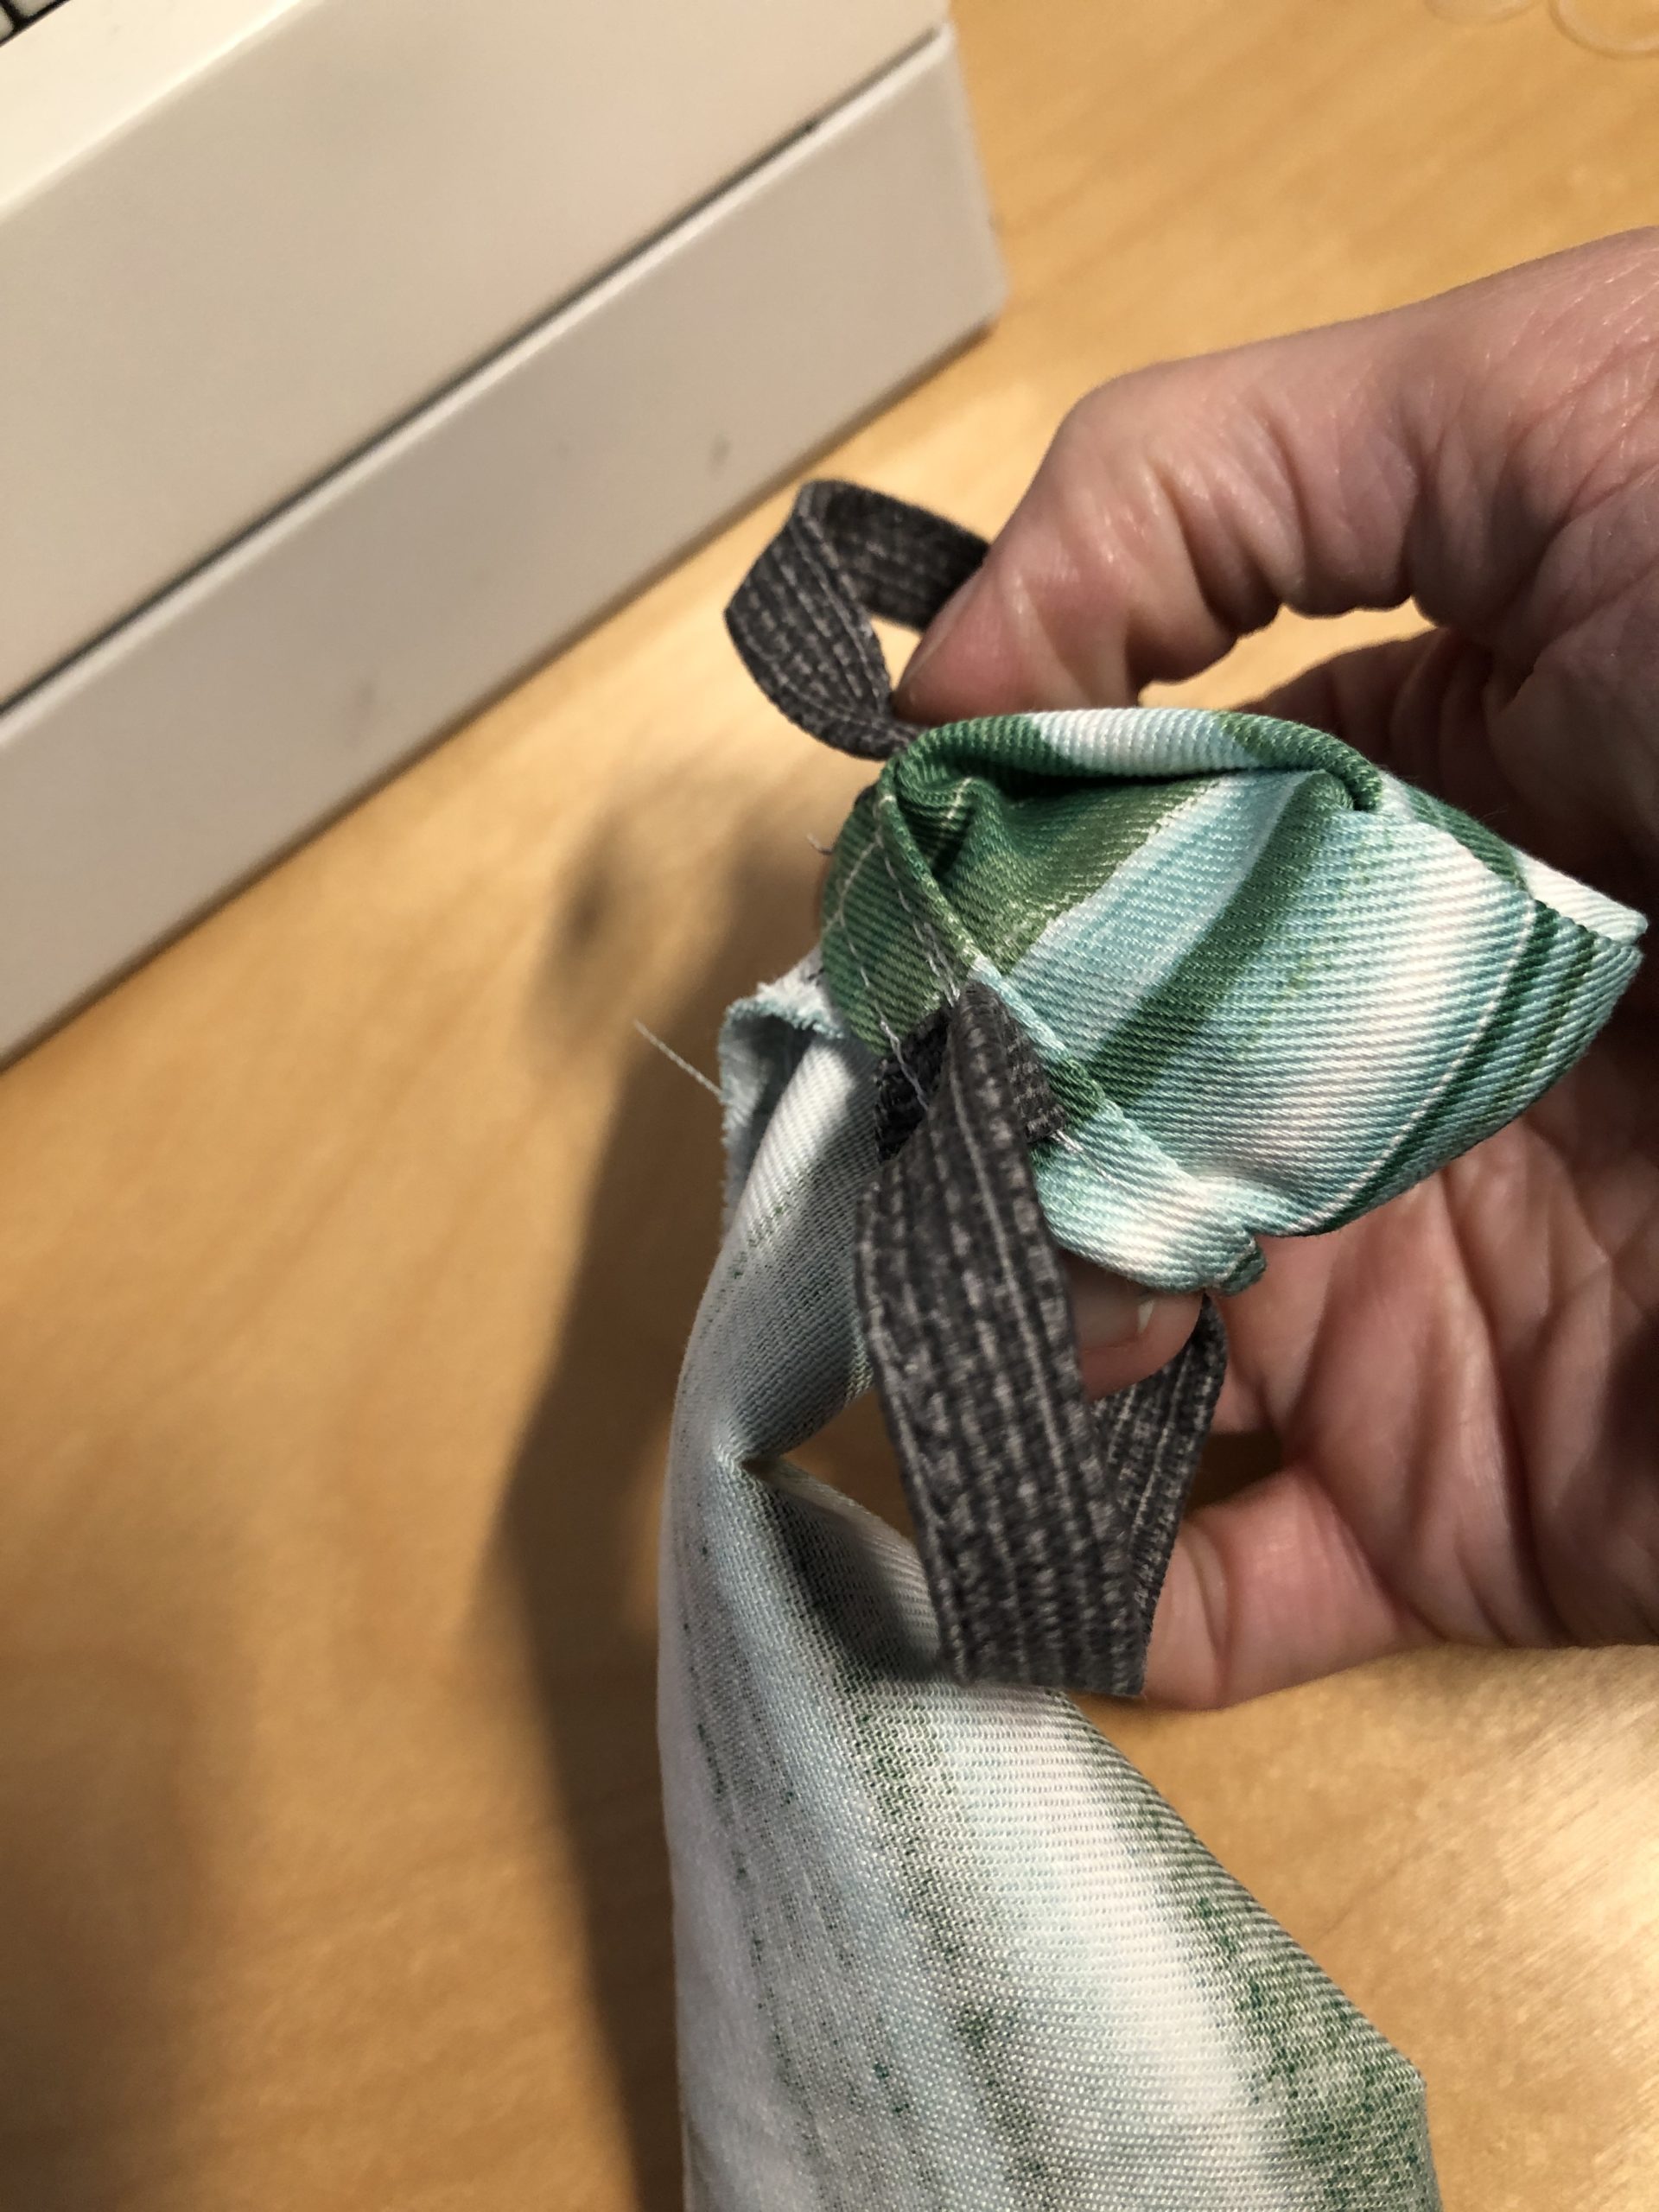


The snake is ready.
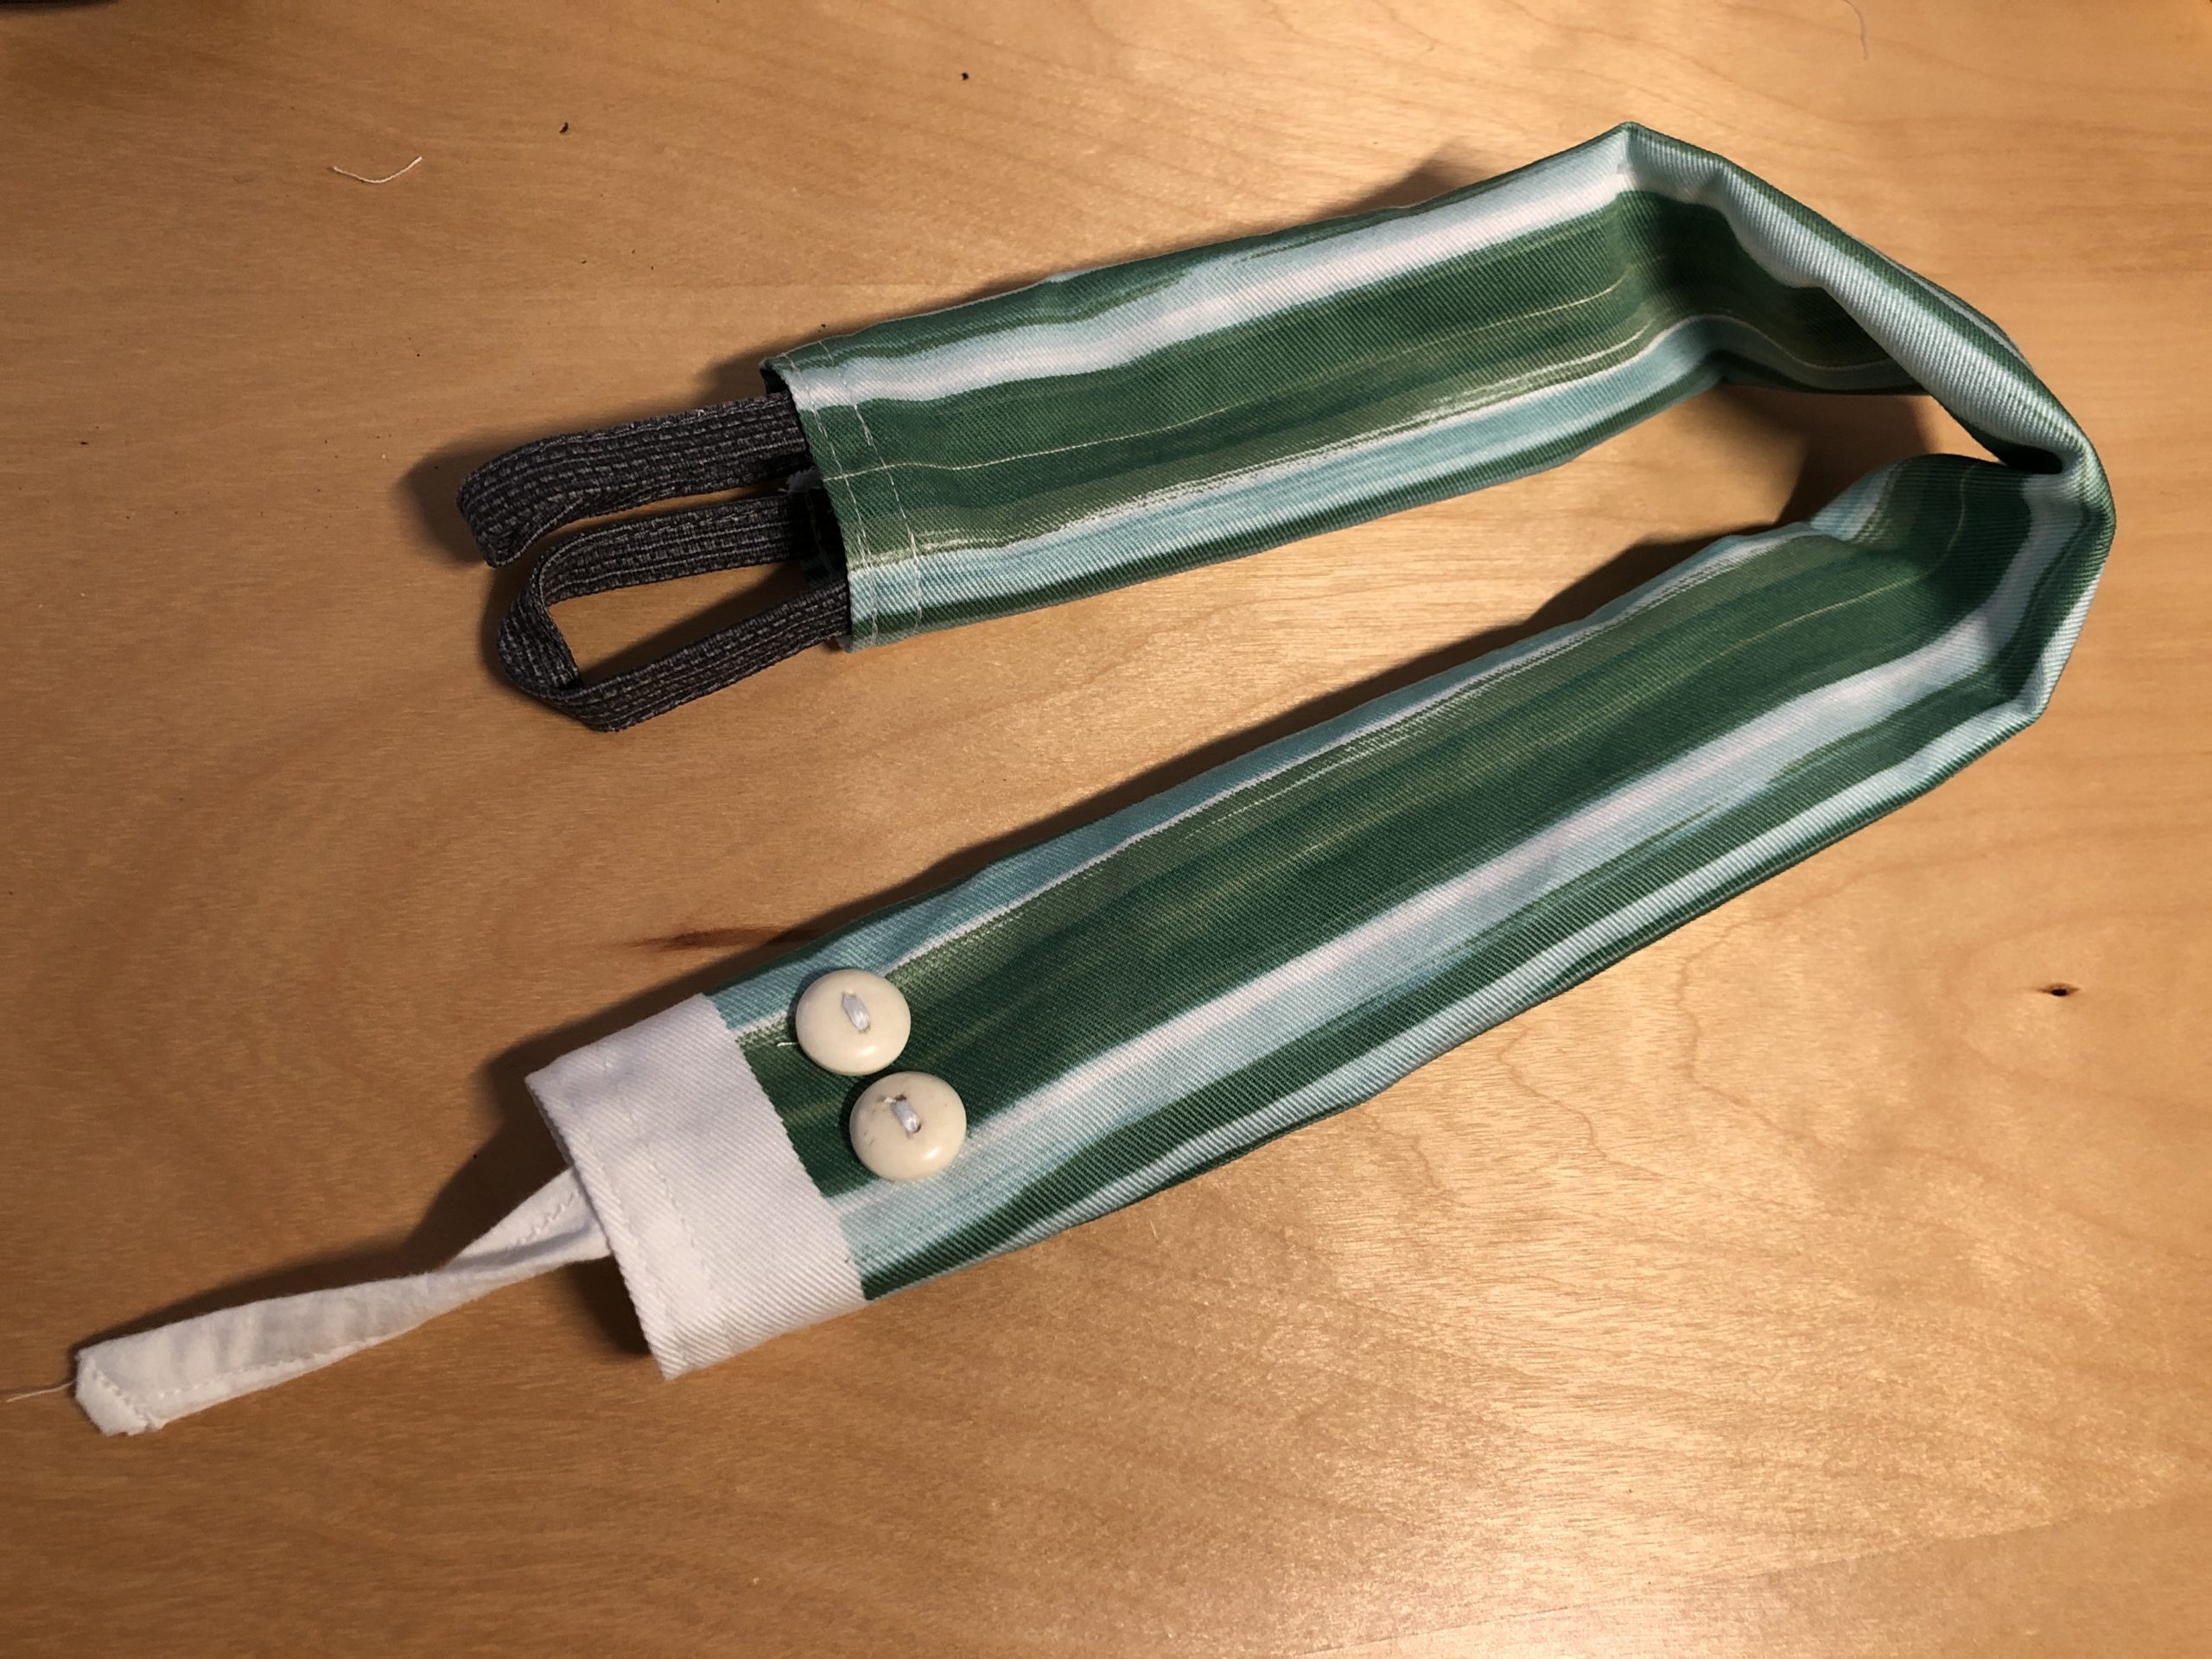


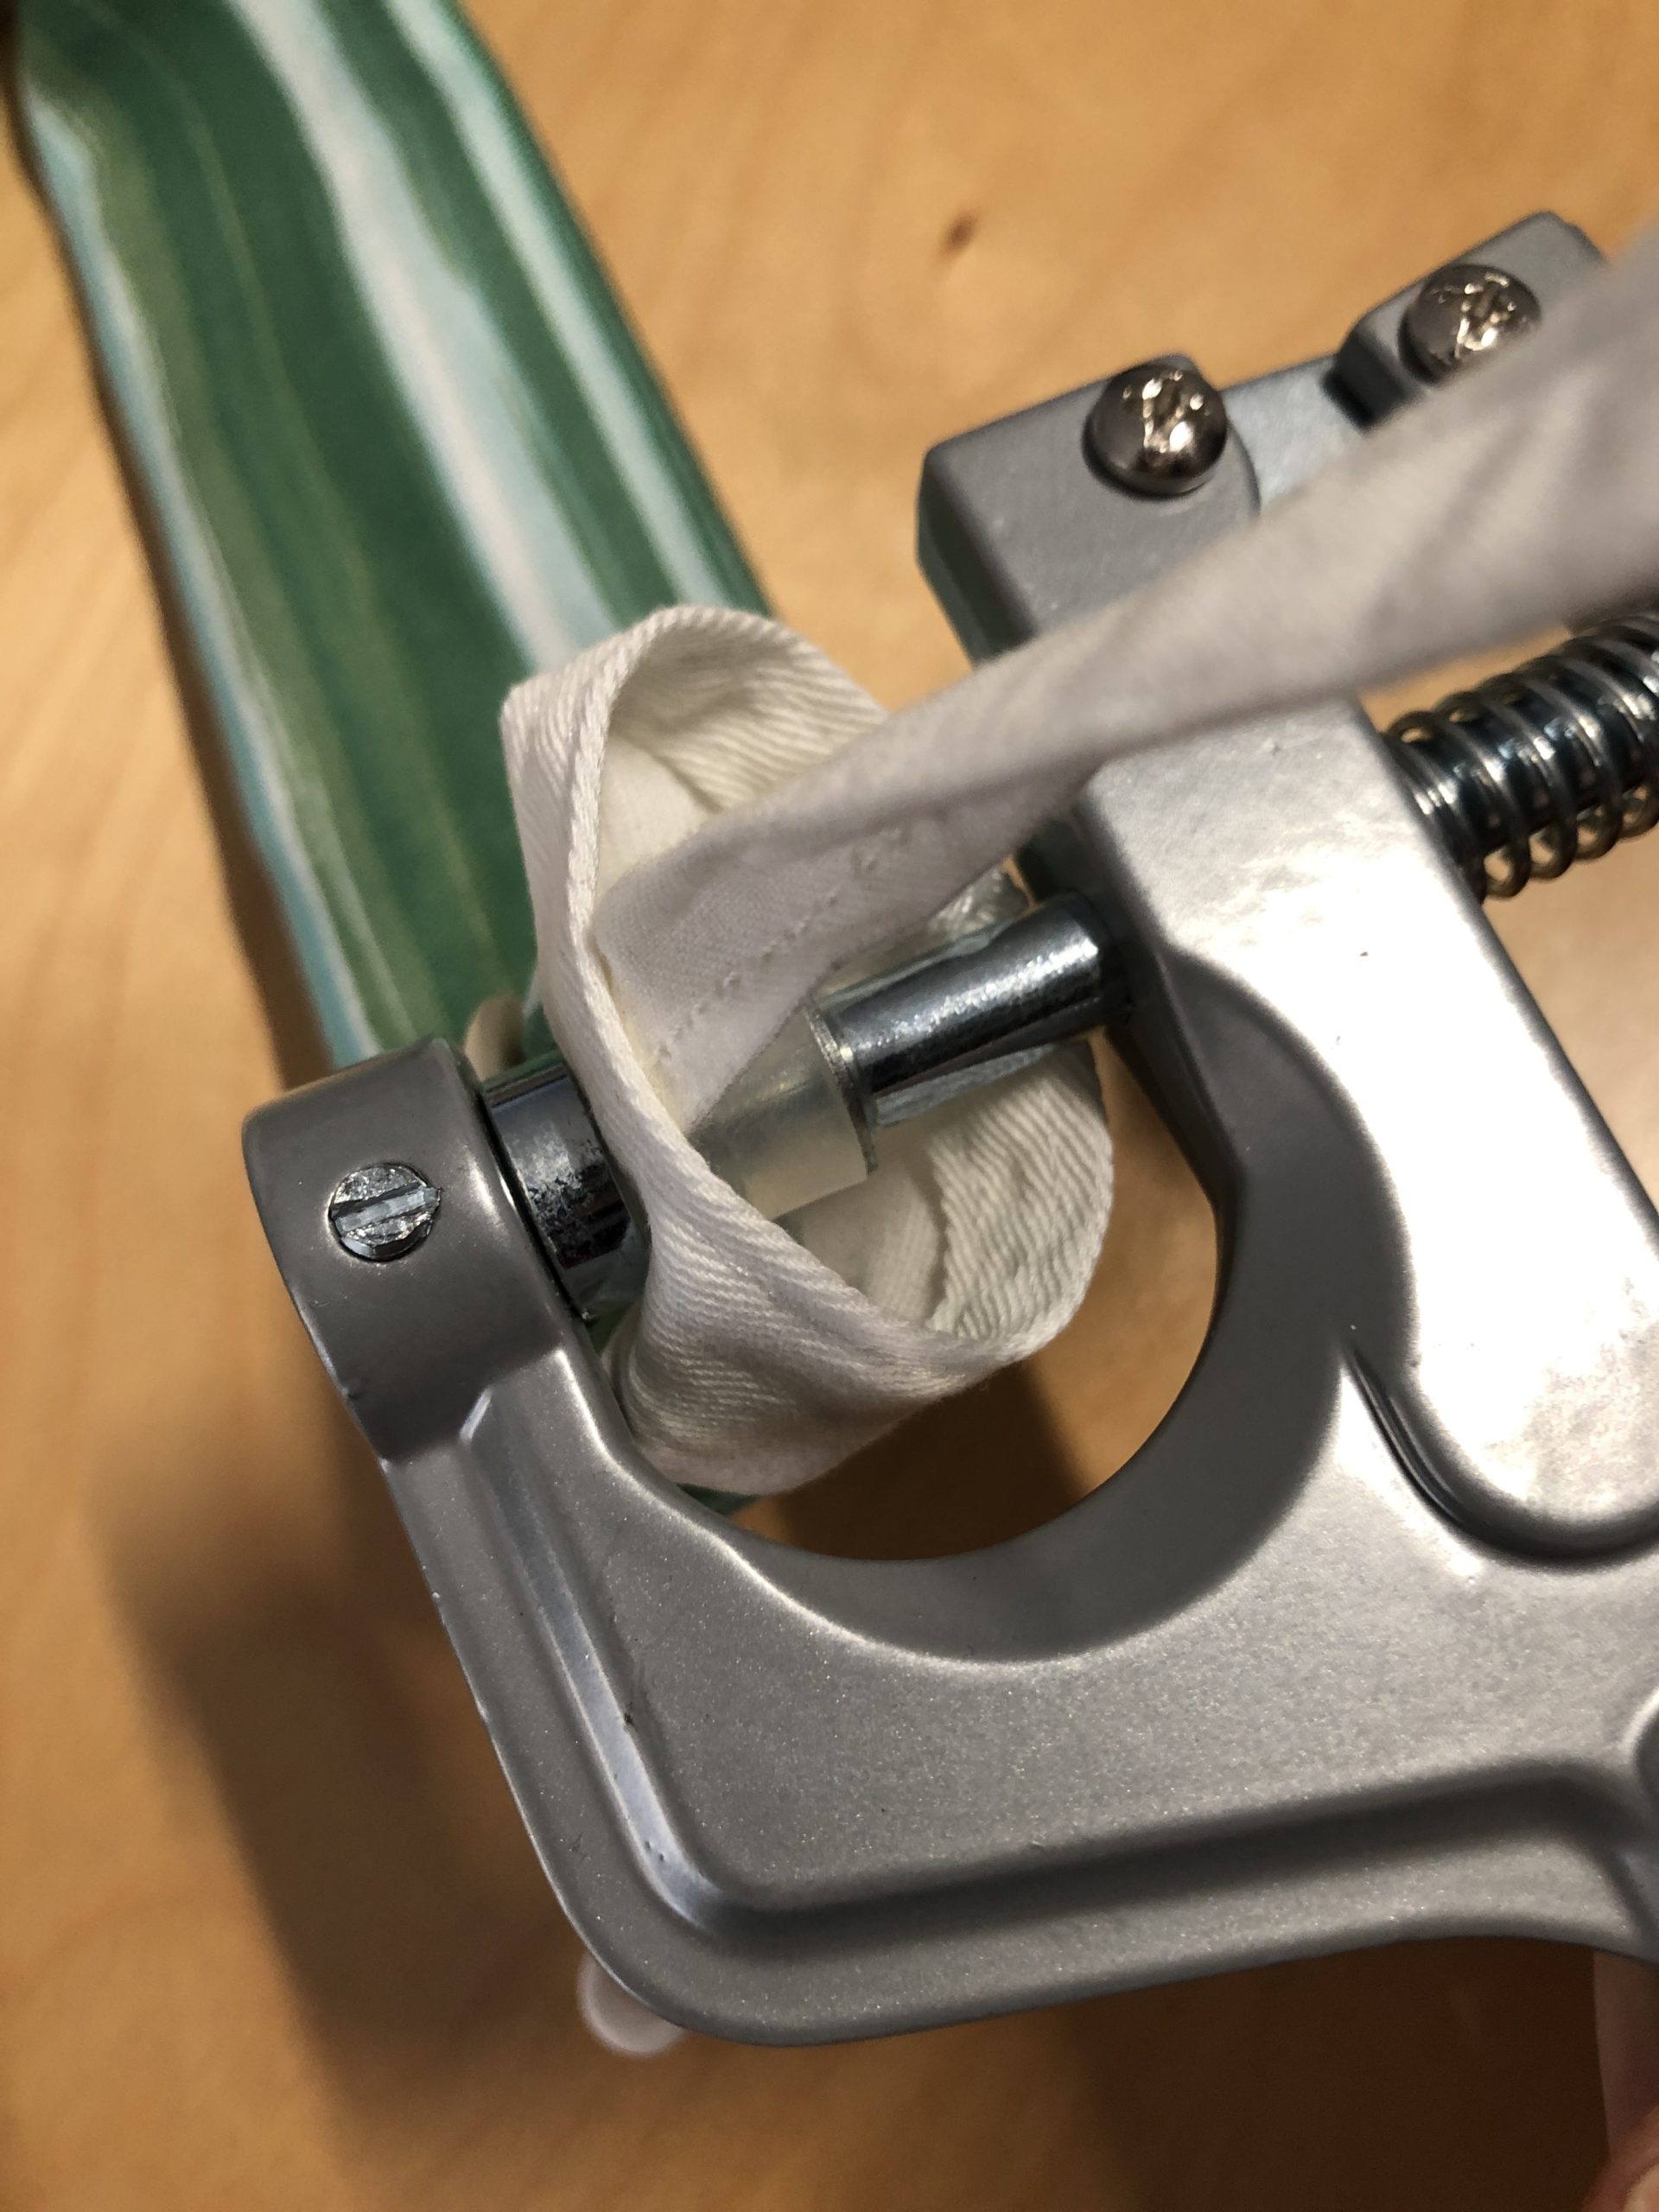
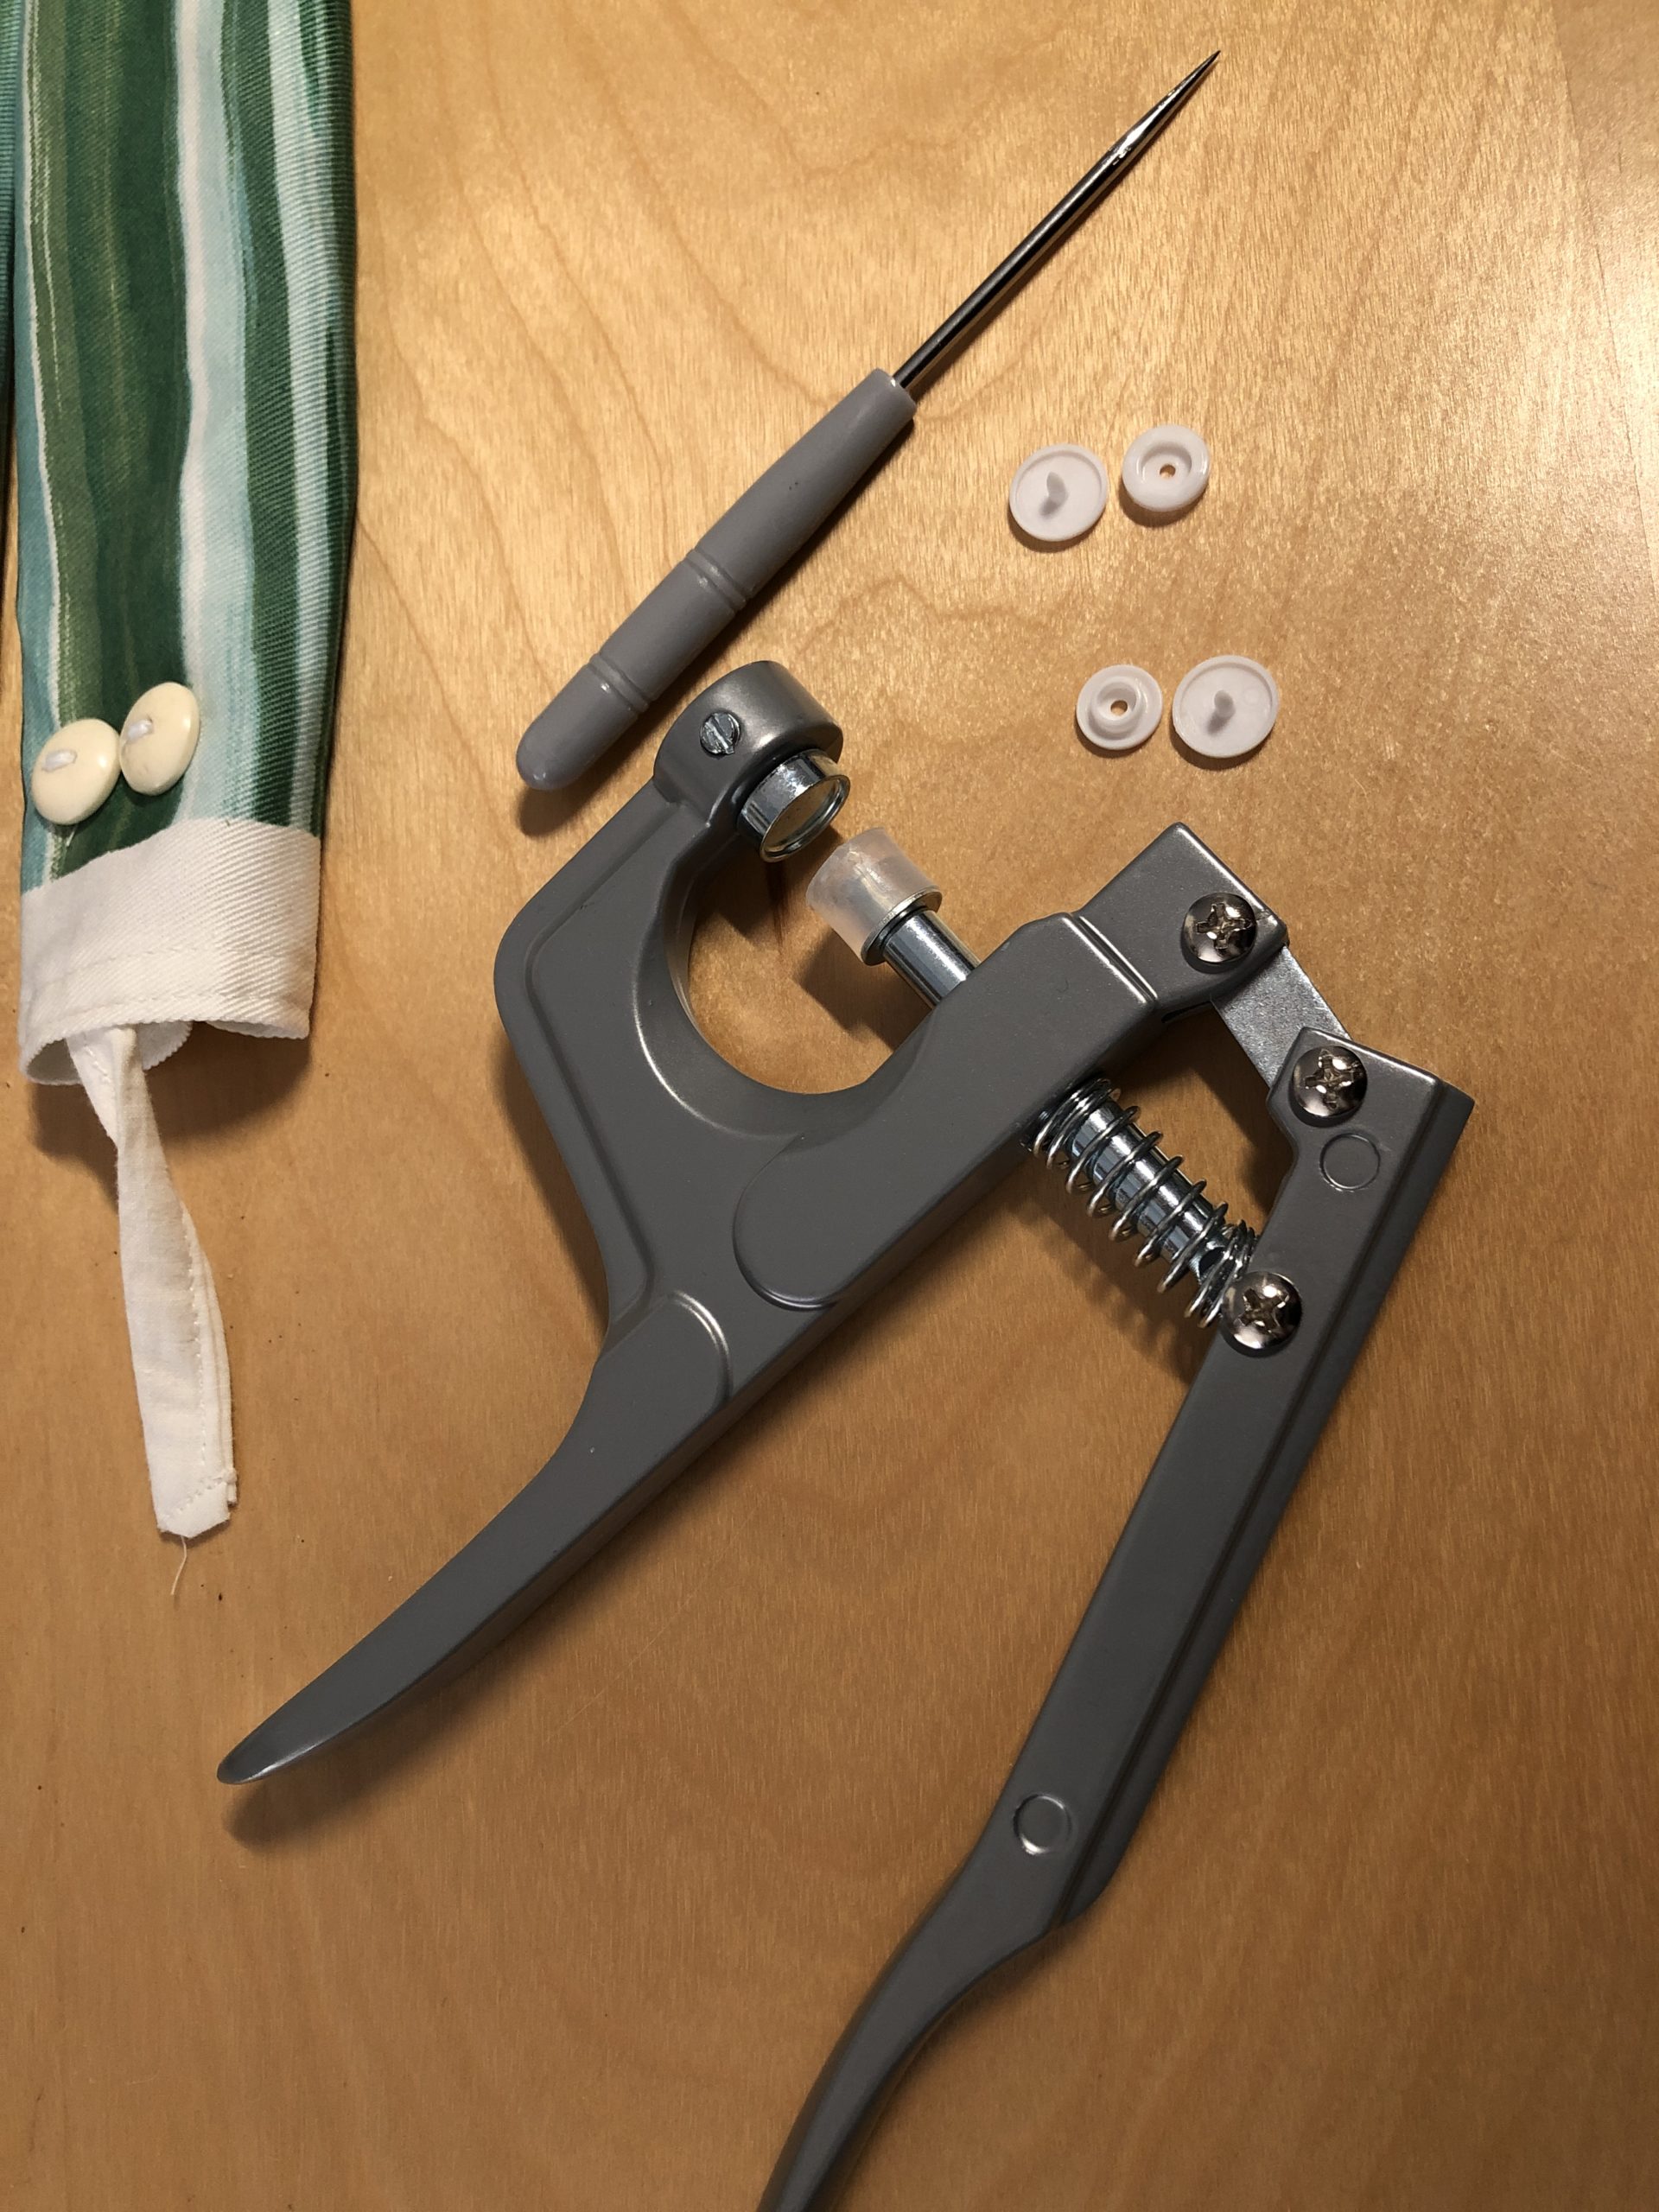
A push-button can now be attached to the top of the head. Use a push-button toggle and the appropriate push-button parts.


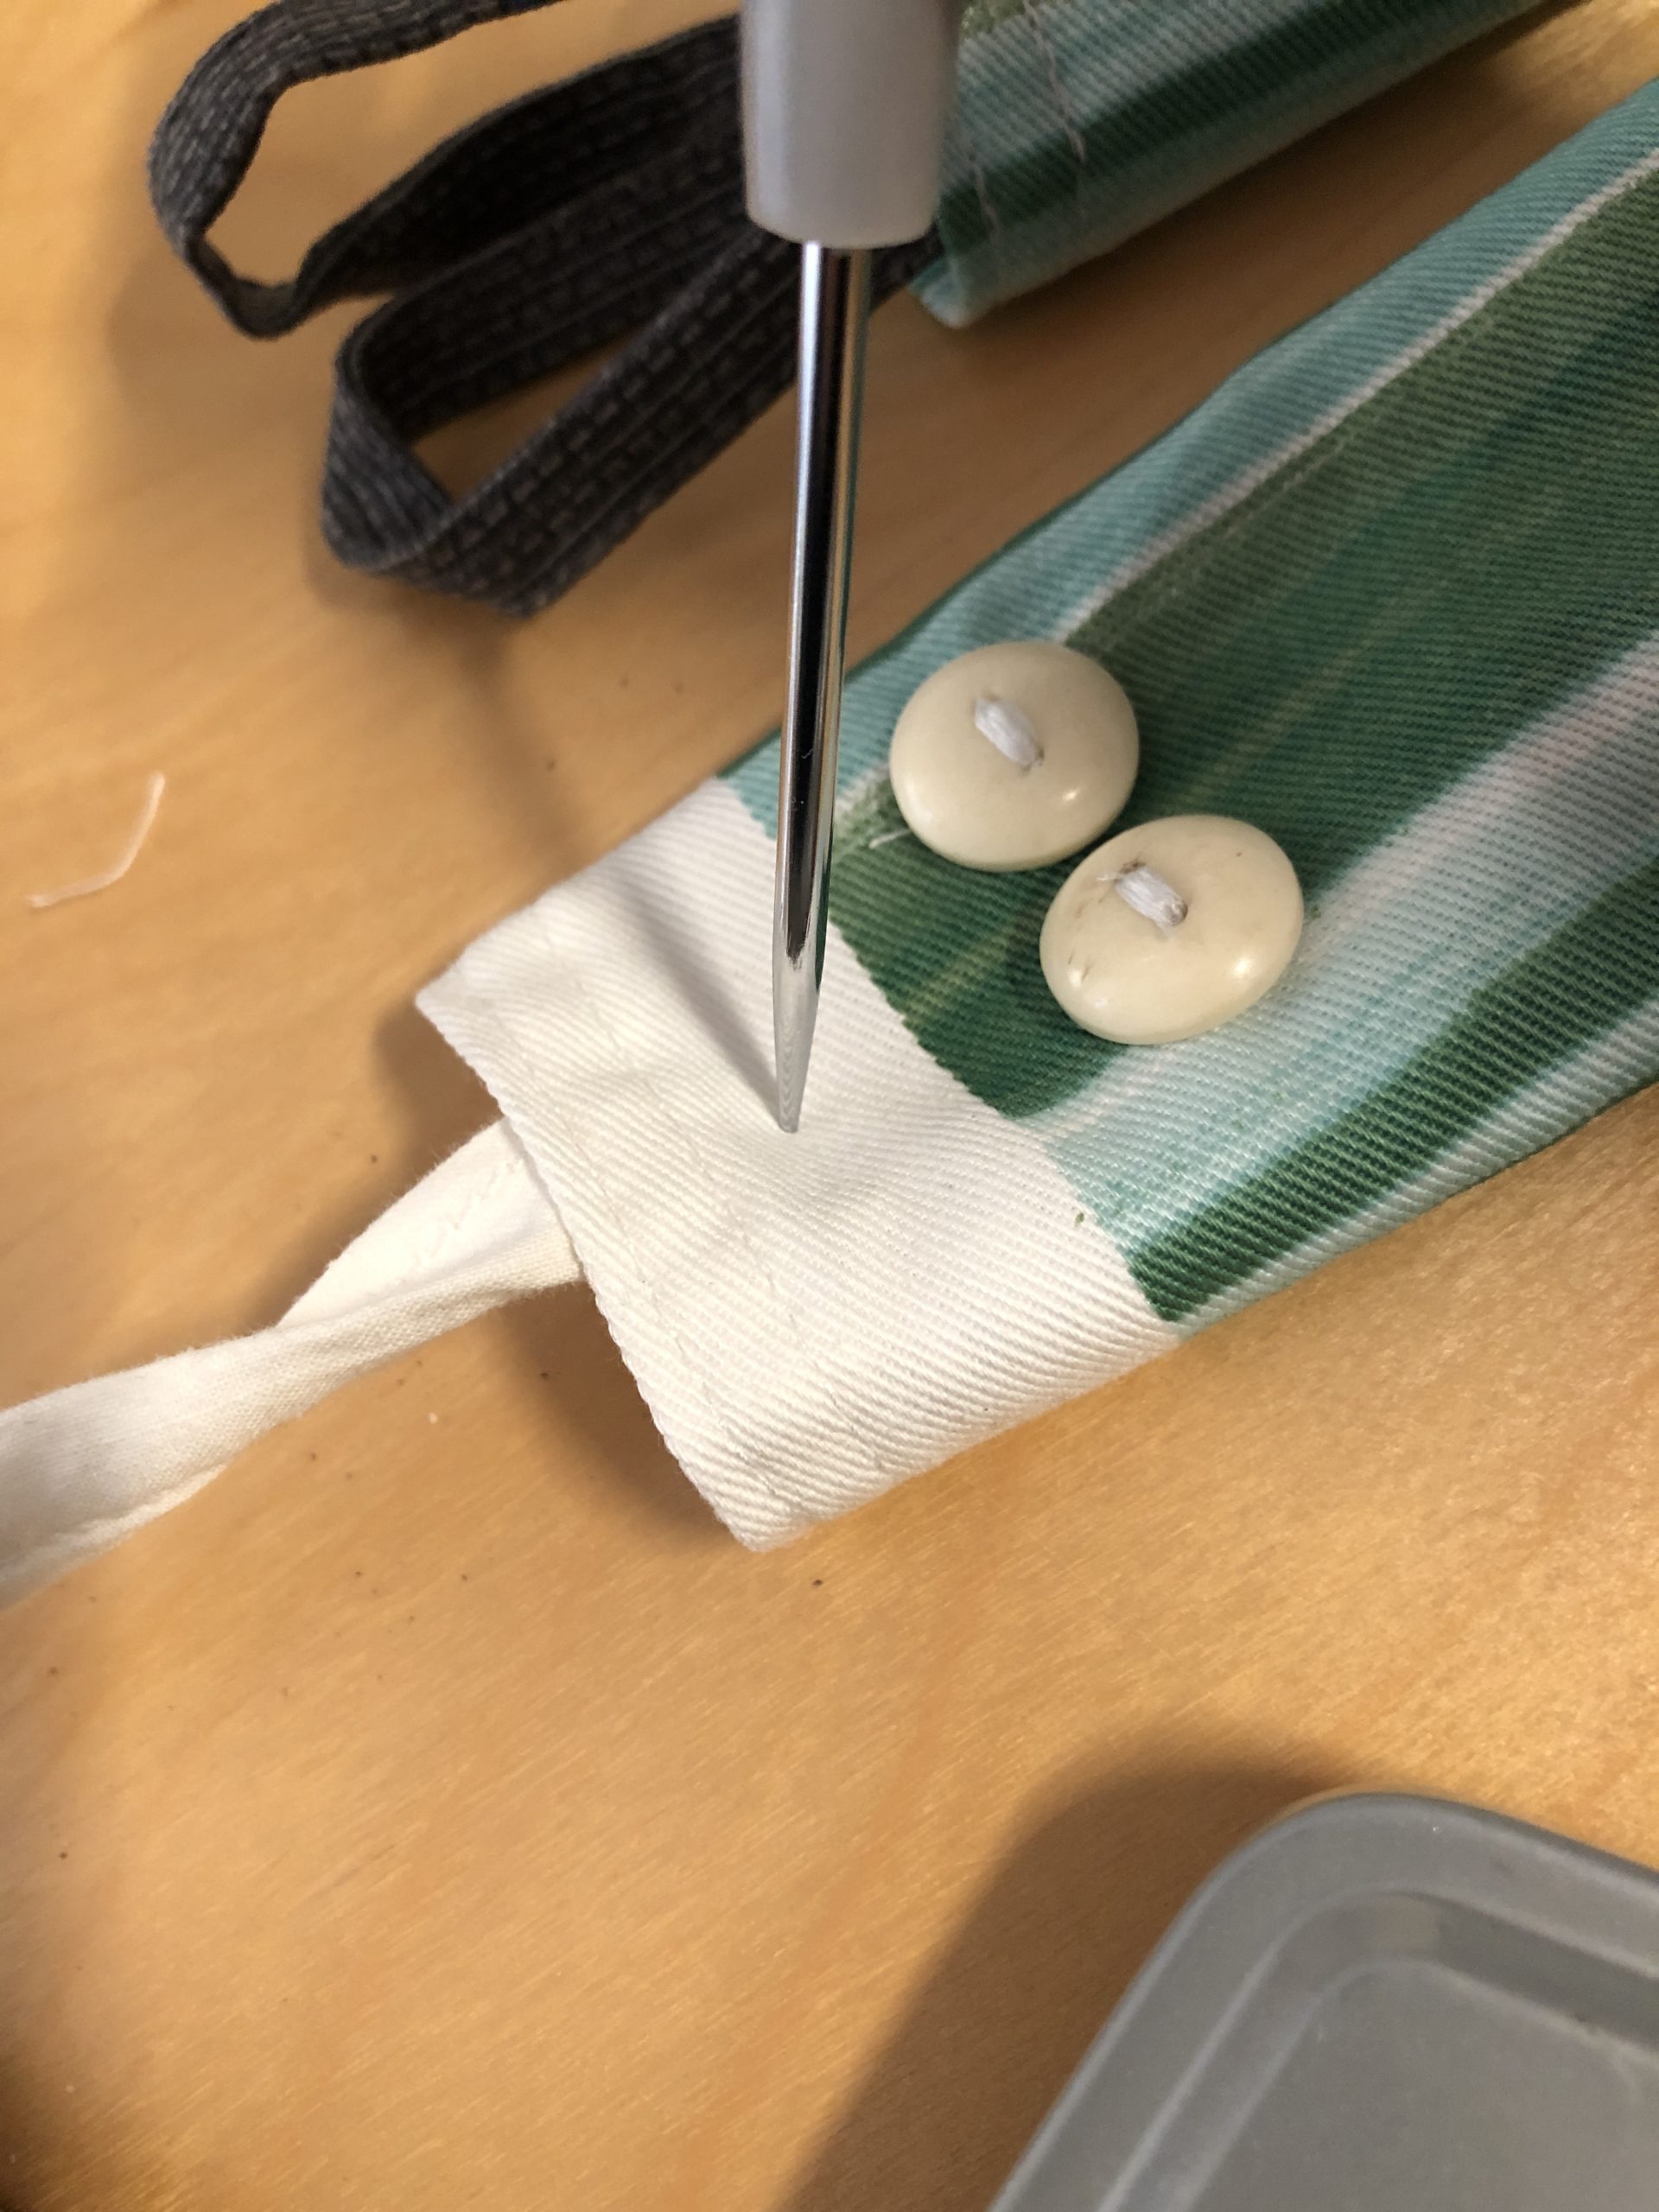
Stitch through the fabric at the place of the push-button with a pickest in hole.


Then close the push button.


Now have fun collecting nuts and filling and emptying the snake.


Materials
Directions
Cut the fabric first.


Now fold in the fabric on the short sides 2 times half an inch and knock it over. This will be the hem.


Now you attach the two handles with pins to the hem. See the following pictures:


Then sew the hem and the handles.


On the opposite side also strike a hem (as described above).


Here you attach the tongue tape in the middle of the fabric.


Now you sew the tongue tape together with the seam.


Then sew the two buttons on. Place them on the fabric above the tongue and fasten them. Attention: sew the buttons first and then sew the fabric together!


I fasten the buttons with the sewing machine. To do this, you narrow the transport liner. So the button remains lying down and can be sewn effortlessly with a zigzag stitch. Insert the first stitches with the hand edge!!!!
Alternatively, of course, you can sew it with your hand.


Now you sew on the second button.


Now turn the fabric to the left side and fold it to the length. The beautiful fabric side is now inside.
Then sew the fabric lengthwise with a straight stitch. The short sides remain open. Afterwards, the fabric edge is lined on the sewn long side with a zigzag stitch.


The two short sides are still open!


Now you're turning the fabric hose.


The snake is ready.


A push-button can now be attached to the top of the head. Use a push-button toggle and the appropriate push-button parts.


Stitch through the fabric at the place of the push-button with a pickest in hole.


Then close the push button.


Now have fun collecting nuts and filling and emptying the snake.


Follow us on Facebook , Instagram and Pinterest
Don't miss any more adventures: Our bottle mail

