Marche cups made of paper mesh

AdventurerKatzi
Rating0.06.3 Thousand times & (0) DifficultyAdvanced

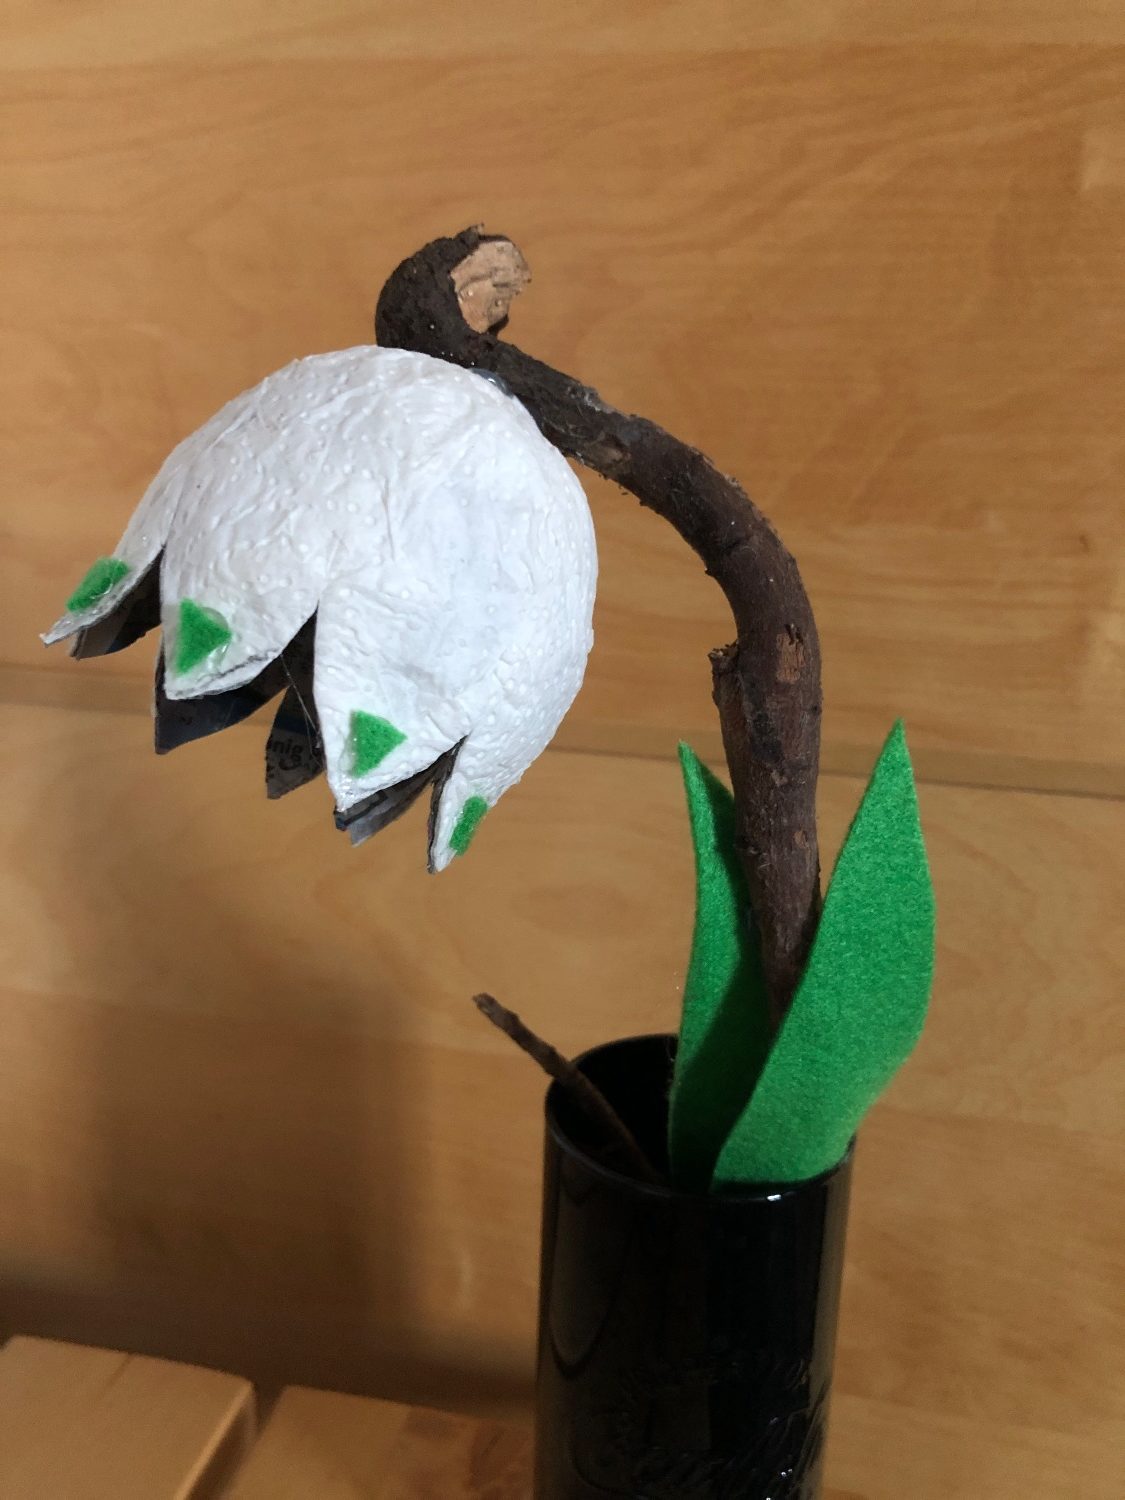
A cardboard mash flower becomes an eye-catcher through a curved branch. A great table decoration for the spring or a souvenir.

Media Education for Kindergarten and Hort

Kind bastelt eine Rassel mit dem Navi
The Adventure Navi, the app for DIY projects, enables media education for the youngest.

Relief in everyday life, targeted promotion of individual children, independent learning and - without any pre-knowledge already usable by the youngest!


Titelbild zur Bastel- und DIY-Idee für Kinder '(71) Märzenbecher aus Pappmasche'
Material for1 Child
Prep Time20 min.Adv. Time30 min.Total Time50 min.
 1 "Water bomb" balloon
 Newspaper snippets
 3 Kitchen crepe paper
 1 Wallpaper pastes
 1 Clothes clip
 1 Pencil
 Green felt
 1 Dark felt pen
 1 Hot glue
 1 Curved branch
All links marked with a shopping cart lead to Amazon - here we have selected products that we would order ourselves and in part also ordered. In a qualified purchase via the advertising link, we as Amazon partner receive a commission, for you there are no costs. You thus support our cost- and advertising banner-free, educational offer.
1

Provide all materials for the paper mesh: paste, an inflated "water bomb" balloon, newspaper torn into snippets and kitchen crepe as snippets.
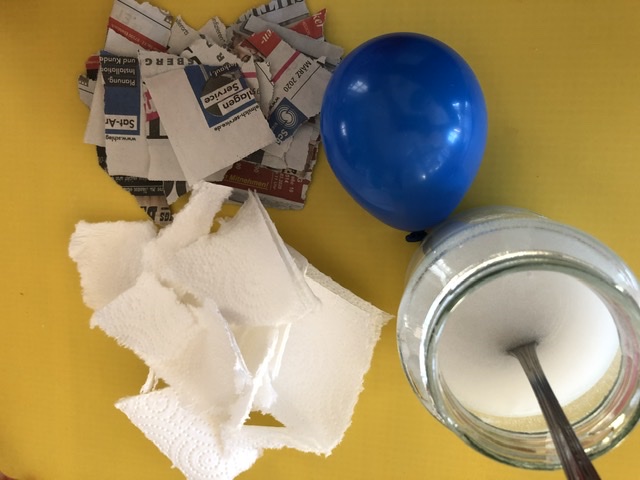
Bild zum Schritt 1 für das Bastel- und DIY-Abenteuer für Kinder: 'Alle Materialien fürs Pappmasche bereit stellen: Kleister, ein aufgeblasener „Wasserbomben“-Luftballon,...'

2

First brush the balloon with paste and then layer several layers of newspaper with lots of paste on top of each other.
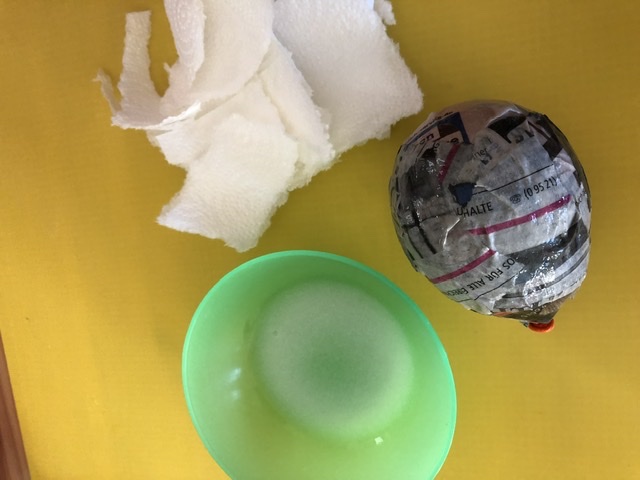
Bild zum Schritt 2 für das Bastel- und DIY-Abenteuer für Kinder: 'Zuerst den Ballon mit Kleister bestreichen und dann mehrere Lagen...'

3

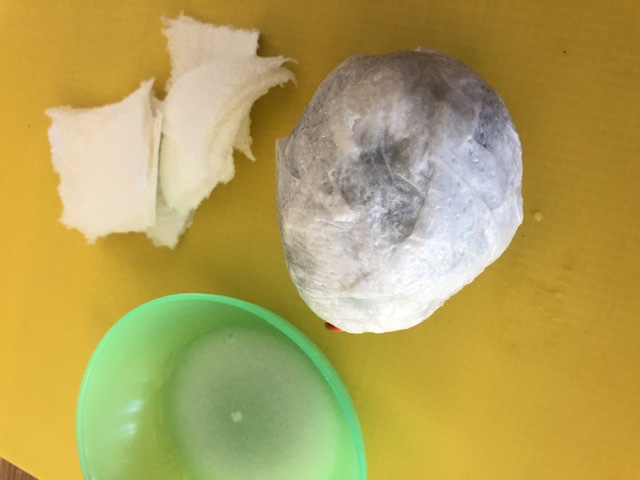
The whole balloon is white.

Bild zum Schritt 3 für das Bastel- und DIY-Abenteuer für Kinder: 'Ebenso mit dem Küchenkrepp verfahren. Der komplette Luftballon ist dann...'

4

Hang the balloon (at the knot) with a clothespin for drying. Let it dry overnight.

Bild zum Schritt 4 für das Bastel- und DIY-Abenteuer für Kinder: 'Den Ballon (am Knoten) mit einer Wäscheklammer zum Trocknen aufhängen....'

5

Cut the dry/hard balloon at the knot so that the air can escape. The balloon dissolves from the paper and can be removed as a piece.

Bild zum Schritt 5 für das Bastel- und DIY-Abenteuer für Kinder: 'Den trockenen/ harten Ballon am Knoten einschneiden, damit die Luft...'

6

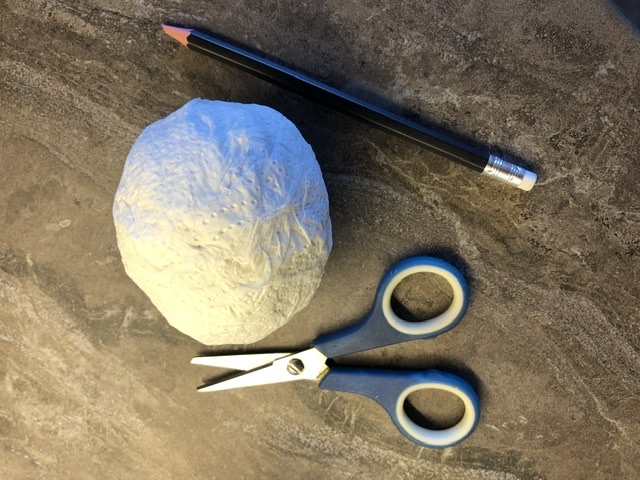
Now prepare scissors and pen.

Bild zum Schritt 6 für das Bastel- und DIY-Abenteuer für Kinder: 'Nun Schere und Stift bereit legen.'

7

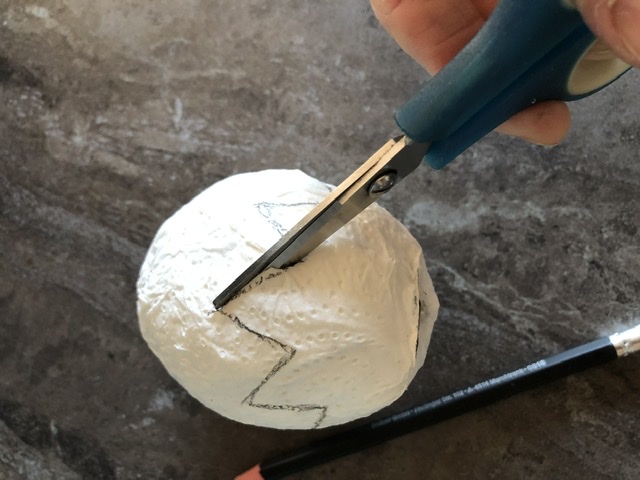
Paint a zig-zag stitch around the egg with the pen.

Bild zum Schritt 7 für das Bastel- und DIY-Abenteuer für Kinder: 'Mit dem Stift einen Zick-Zack-Strich rund um das Ei aufmalen.'

8

Cut with the scissors.

Bild zum Schritt 8 für das Bastel- und DIY-Abenteuer für Kinder: 'Mit der Schere einschneiden.'

9

2. Bild zum Schritt 8 für das Bastel- und DIY-Abenteuer für Kinder: 'Mit der Schere einschneiden.'

10

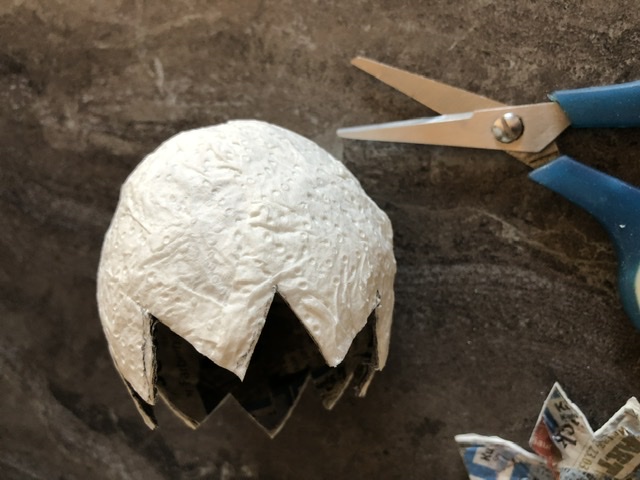
Round off the spikes a little bit with the scissors.

Bild zum Schritt 10 für das Bastel- und DIY-Abenteuer für Kinder: 'Die Zacken etwas abrunden mit der Schere.'

11

Now gently bend the spikes to the outside and put the flower aside.

Bild zum Schritt 11 für das Bastel- und DIY-Abenteuer für Kinder: 'Nun die Zacken vorsichtig etwas nach außen biegen. Und Blüte...'

12

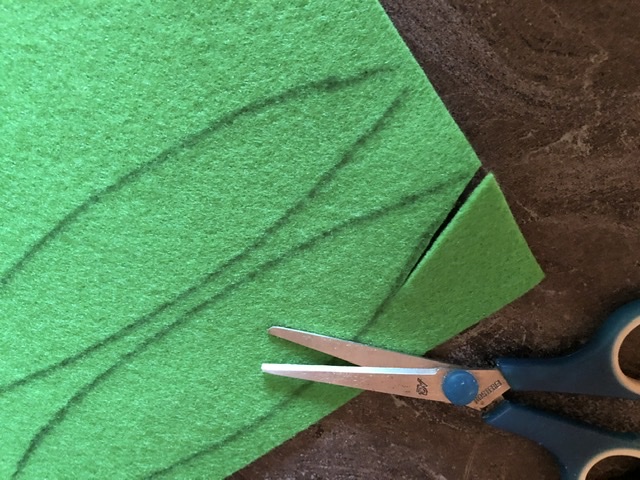
Record elongated leaves on the green felt with a felt pen.

Bild zum Schritt 12 für das Bastel- und DIY-Abenteuer für Kinder: 'Auf dem grünen Filz mit einem Filzstift längliche Blätter aufzeichnen.'

13

Cut these out with the scissors.

Bild zum Schritt 13 für das Bastel- und DIY-Abenteuer für Kinder: 'Diese mit der Schere ausschneiden.'

14

Snip some small mini triangles from the felt residue.

Bild zum Schritt 14 für das Bastel- und DIY-Abenteuer für Kinder: 'Aus dem Filz-Rest einige kleine Mini-Dreiecke schnipseln.'

15

Glue the small felt triangles to the flower tips with the hot glue (be careful!)

Bild zum Schritt 15 für das Bastel- und DIY-Abenteuer für Kinder: 'Mit dem Heißkleber die kleinen Filzdreiecke an die Blütenspitzen kleben...'

16

Now stick the branch, the elongated leaves and the flower cup together with hot glue.

Bild zum Schritt 16 für das Bastel- und DIY-Abenteuer für Kinder: 'Nun den Ast, die länglichen Blätter und den Blütenkelch mit...'

17

The March Cup is ready!

By the way, also a nice gift idea for birthday, Mother's Day or Father's Day.

Bild zum Schritt 17 für das Bastel- und DIY-Abenteuer für Kinder: 'Fertig ist der Märzenbecher!     Übrigens auch...'

Materials

 1 "Water bomb" balloon
 Newspaper snippets
 3 Kitchen crepe paper
 1 Wallpaper pastes
 1 Clothes clip
 1 Pencil
 Green felt
 1 Dark felt pen
 1 Hot glue
 1 Curved branch
All links marked with a shopping cart lead to Amazon - here we have selected products that we would order ourselves and in part also ordered. In a qualified purchase via the advertising link, we as Amazon partner receive a commission, for you there are no costs. You thus support our cost- and advertising banner-free, educational offer.

Directions

1

Provide all materials for the paper mesh: paste, an inflated "water bomb" balloon, newspaper torn into snippets and kitchen crepe as snippets.

Bild zum Schritt 1 für das Bastel- und DIY-Abenteuer für Kinder: 'Alle Materialien fürs Pappmasche bereit stellen: Kleister, ein aufgeblasener „Wasserbomben“-Luftballon,...'

2

First brush the balloon with paste and then layer several layers of newspaper with lots of paste on top of each other.

Bild zum Schritt 2 für das Bastel- und DIY-Abenteuer für Kinder: 'Zuerst den Ballon mit Kleister bestreichen und dann mehrere Lagen...'

3

The whole balloon is white.

Bild zum Schritt 3 für das Bastel- und DIY-Abenteuer für Kinder: 'Ebenso mit dem Küchenkrepp verfahren. Der komplette Luftballon ist dann...'

4

Hang the balloon (at the knot) with a clothespin for drying. Let it dry overnight.
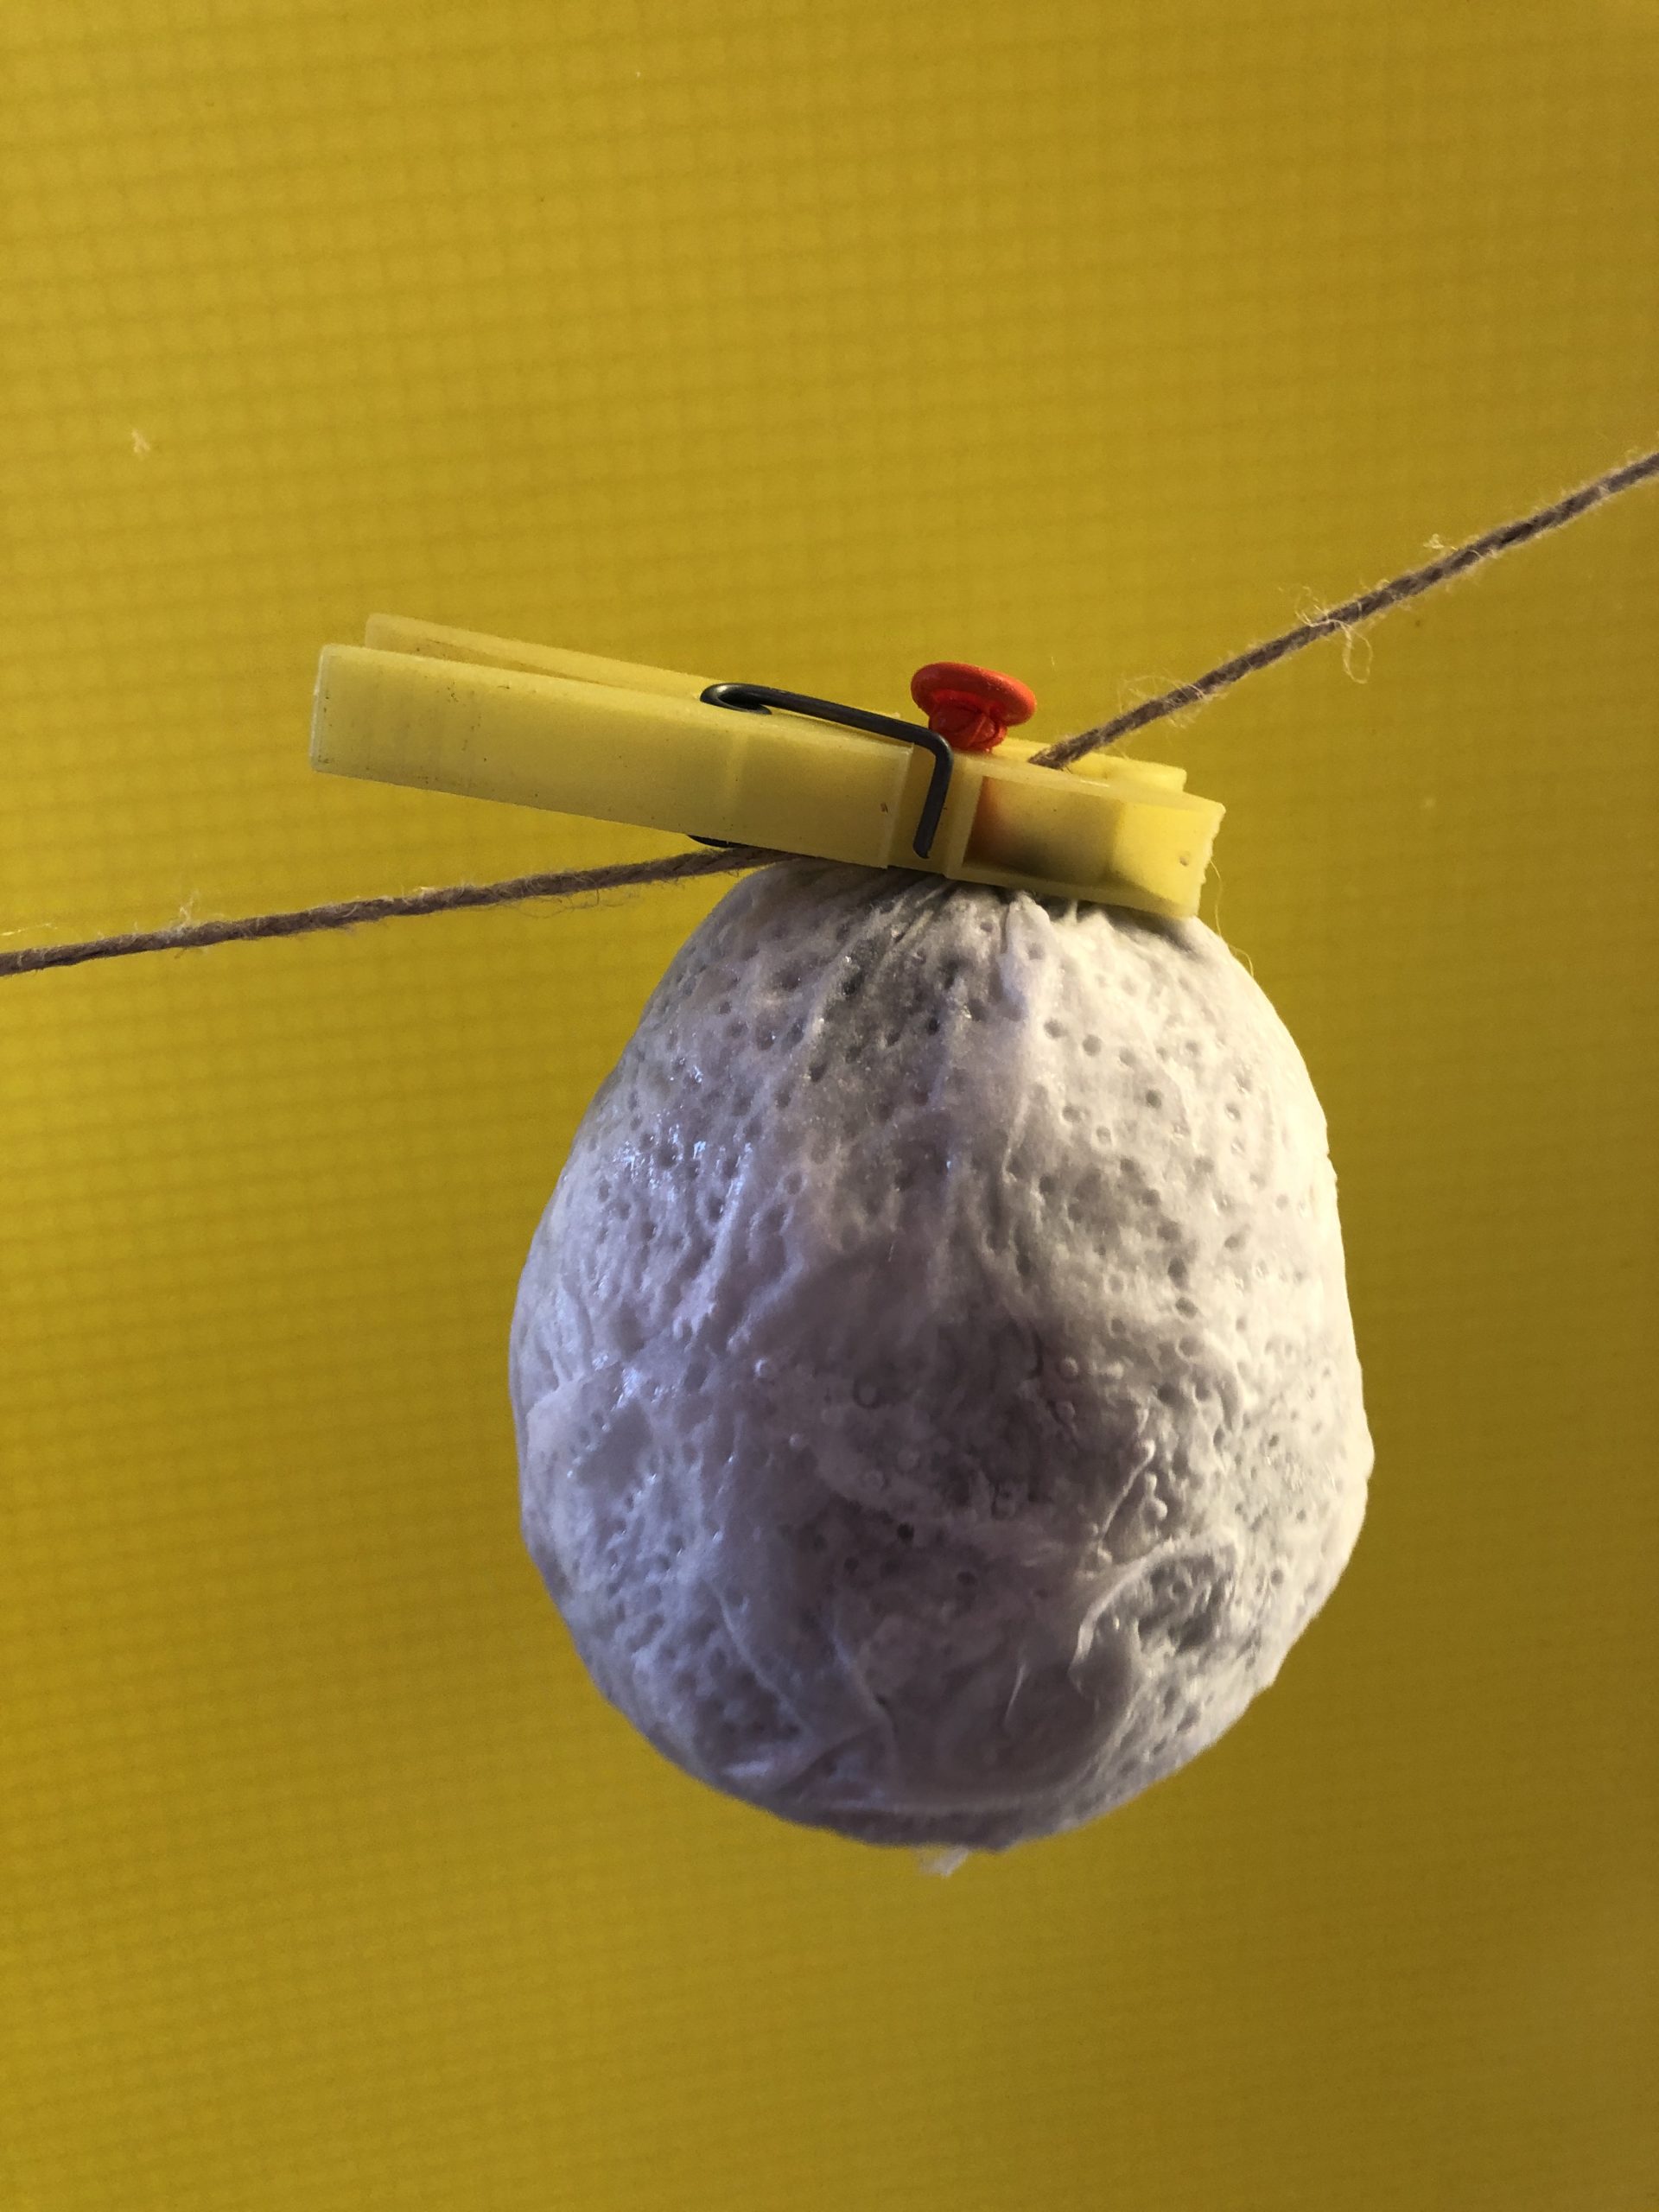
Bild zum Schritt 4 für das Bastel- und DIY-Abenteuer für Kinder: 'Den Ballon (am Knoten) mit einer Wäscheklammer zum Trocknen aufhängen....'

5

Cut the dry/hard balloon at the knot so that the air can escape. The balloon dissolves from the paper and can be removed as a piece.
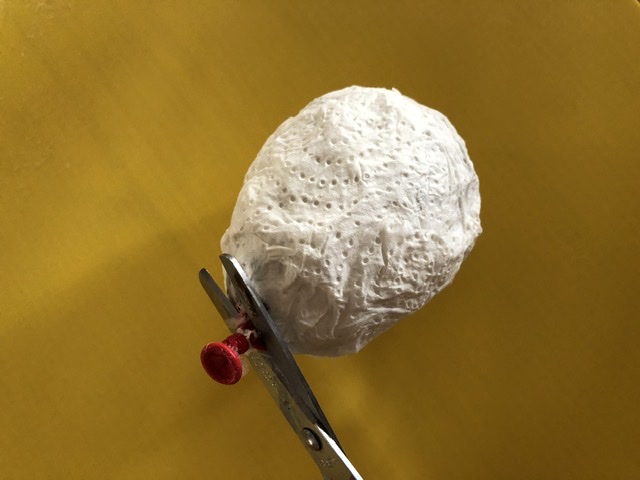
Bild zum Schritt 5 für das Bastel- und DIY-Abenteuer für Kinder: 'Den trockenen/ harten Ballon am Knoten einschneiden, damit die Luft...'

6

Now prepare scissors and pen.

Bild zum Schritt 6 für das Bastel- und DIY-Abenteuer für Kinder: 'Nun Schere und Stift bereit legen.'

7

Paint a zig-zag stitch around the egg with the pen.
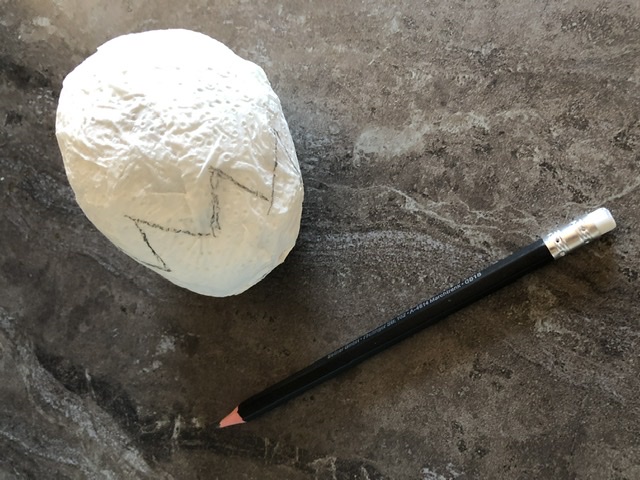
Bild zum Schritt 7 für das Bastel- und DIY-Abenteuer für Kinder: 'Mit dem Stift einen Zick-Zack-Strich rund um das Ei aufmalen.'

8

Cut with the scissors.

Bild zum Schritt 8 für das Bastel- und DIY-Abenteuer für Kinder: 'Mit der Schere einschneiden.'

9

2. Bild zum Schritt 8 für das Bastel- und DIY-Abenteuer für Kinder: 'Mit der Schere einschneiden.'

10

Round off the spikes a little bit with the scissors.
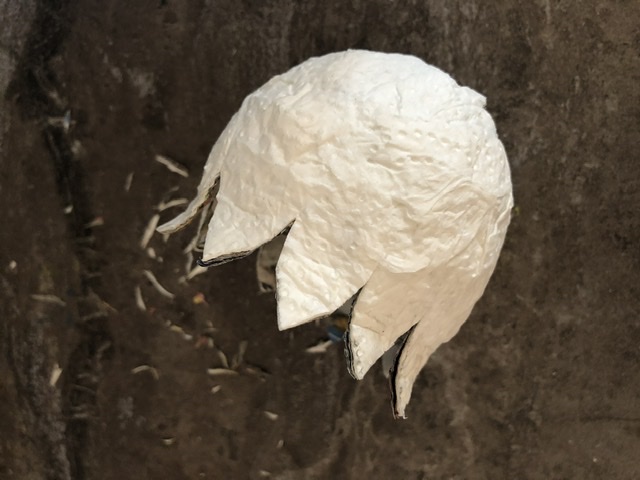
Bild zum Schritt 10 für das Bastel- und DIY-Abenteuer für Kinder: 'Die Zacken etwas abrunden mit der Schere.'

11

Now gently bend the spikes to the outside and put the flower aside.
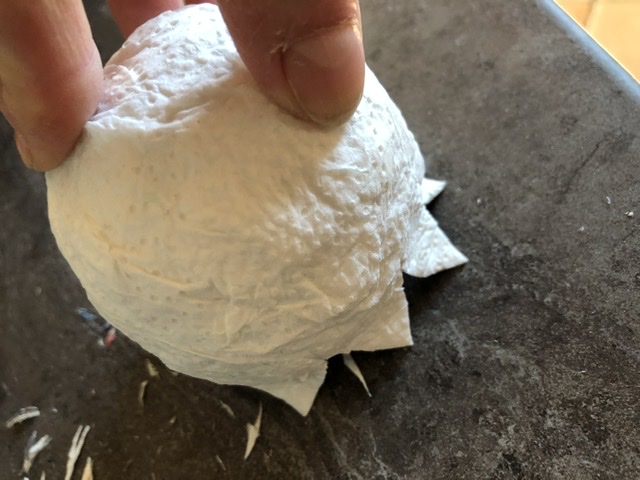
Bild zum Schritt 11 für das Bastel- und DIY-Abenteuer für Kinder: 'Nun die Zacken vorsichtig etwas nach außen biegen. Und Blüte...'

12

Record elongated leaves on the green felt with a felt pen.

Bild zum Schritt 12 für das Bastel- und DIY-Abenteuer für Kinder: 'Auf dem grünen Filz mit einem Filzstift längliche Blätter aufzeichnen.'

13

Cut these out with the scissors.

Bild zum Schritt 13 für das Bastel- und DIY-Abenteuer für Kinder: 'Diese mit der Schere ausschneiden.'

14

Snip some small mini triangles from the felt residue.
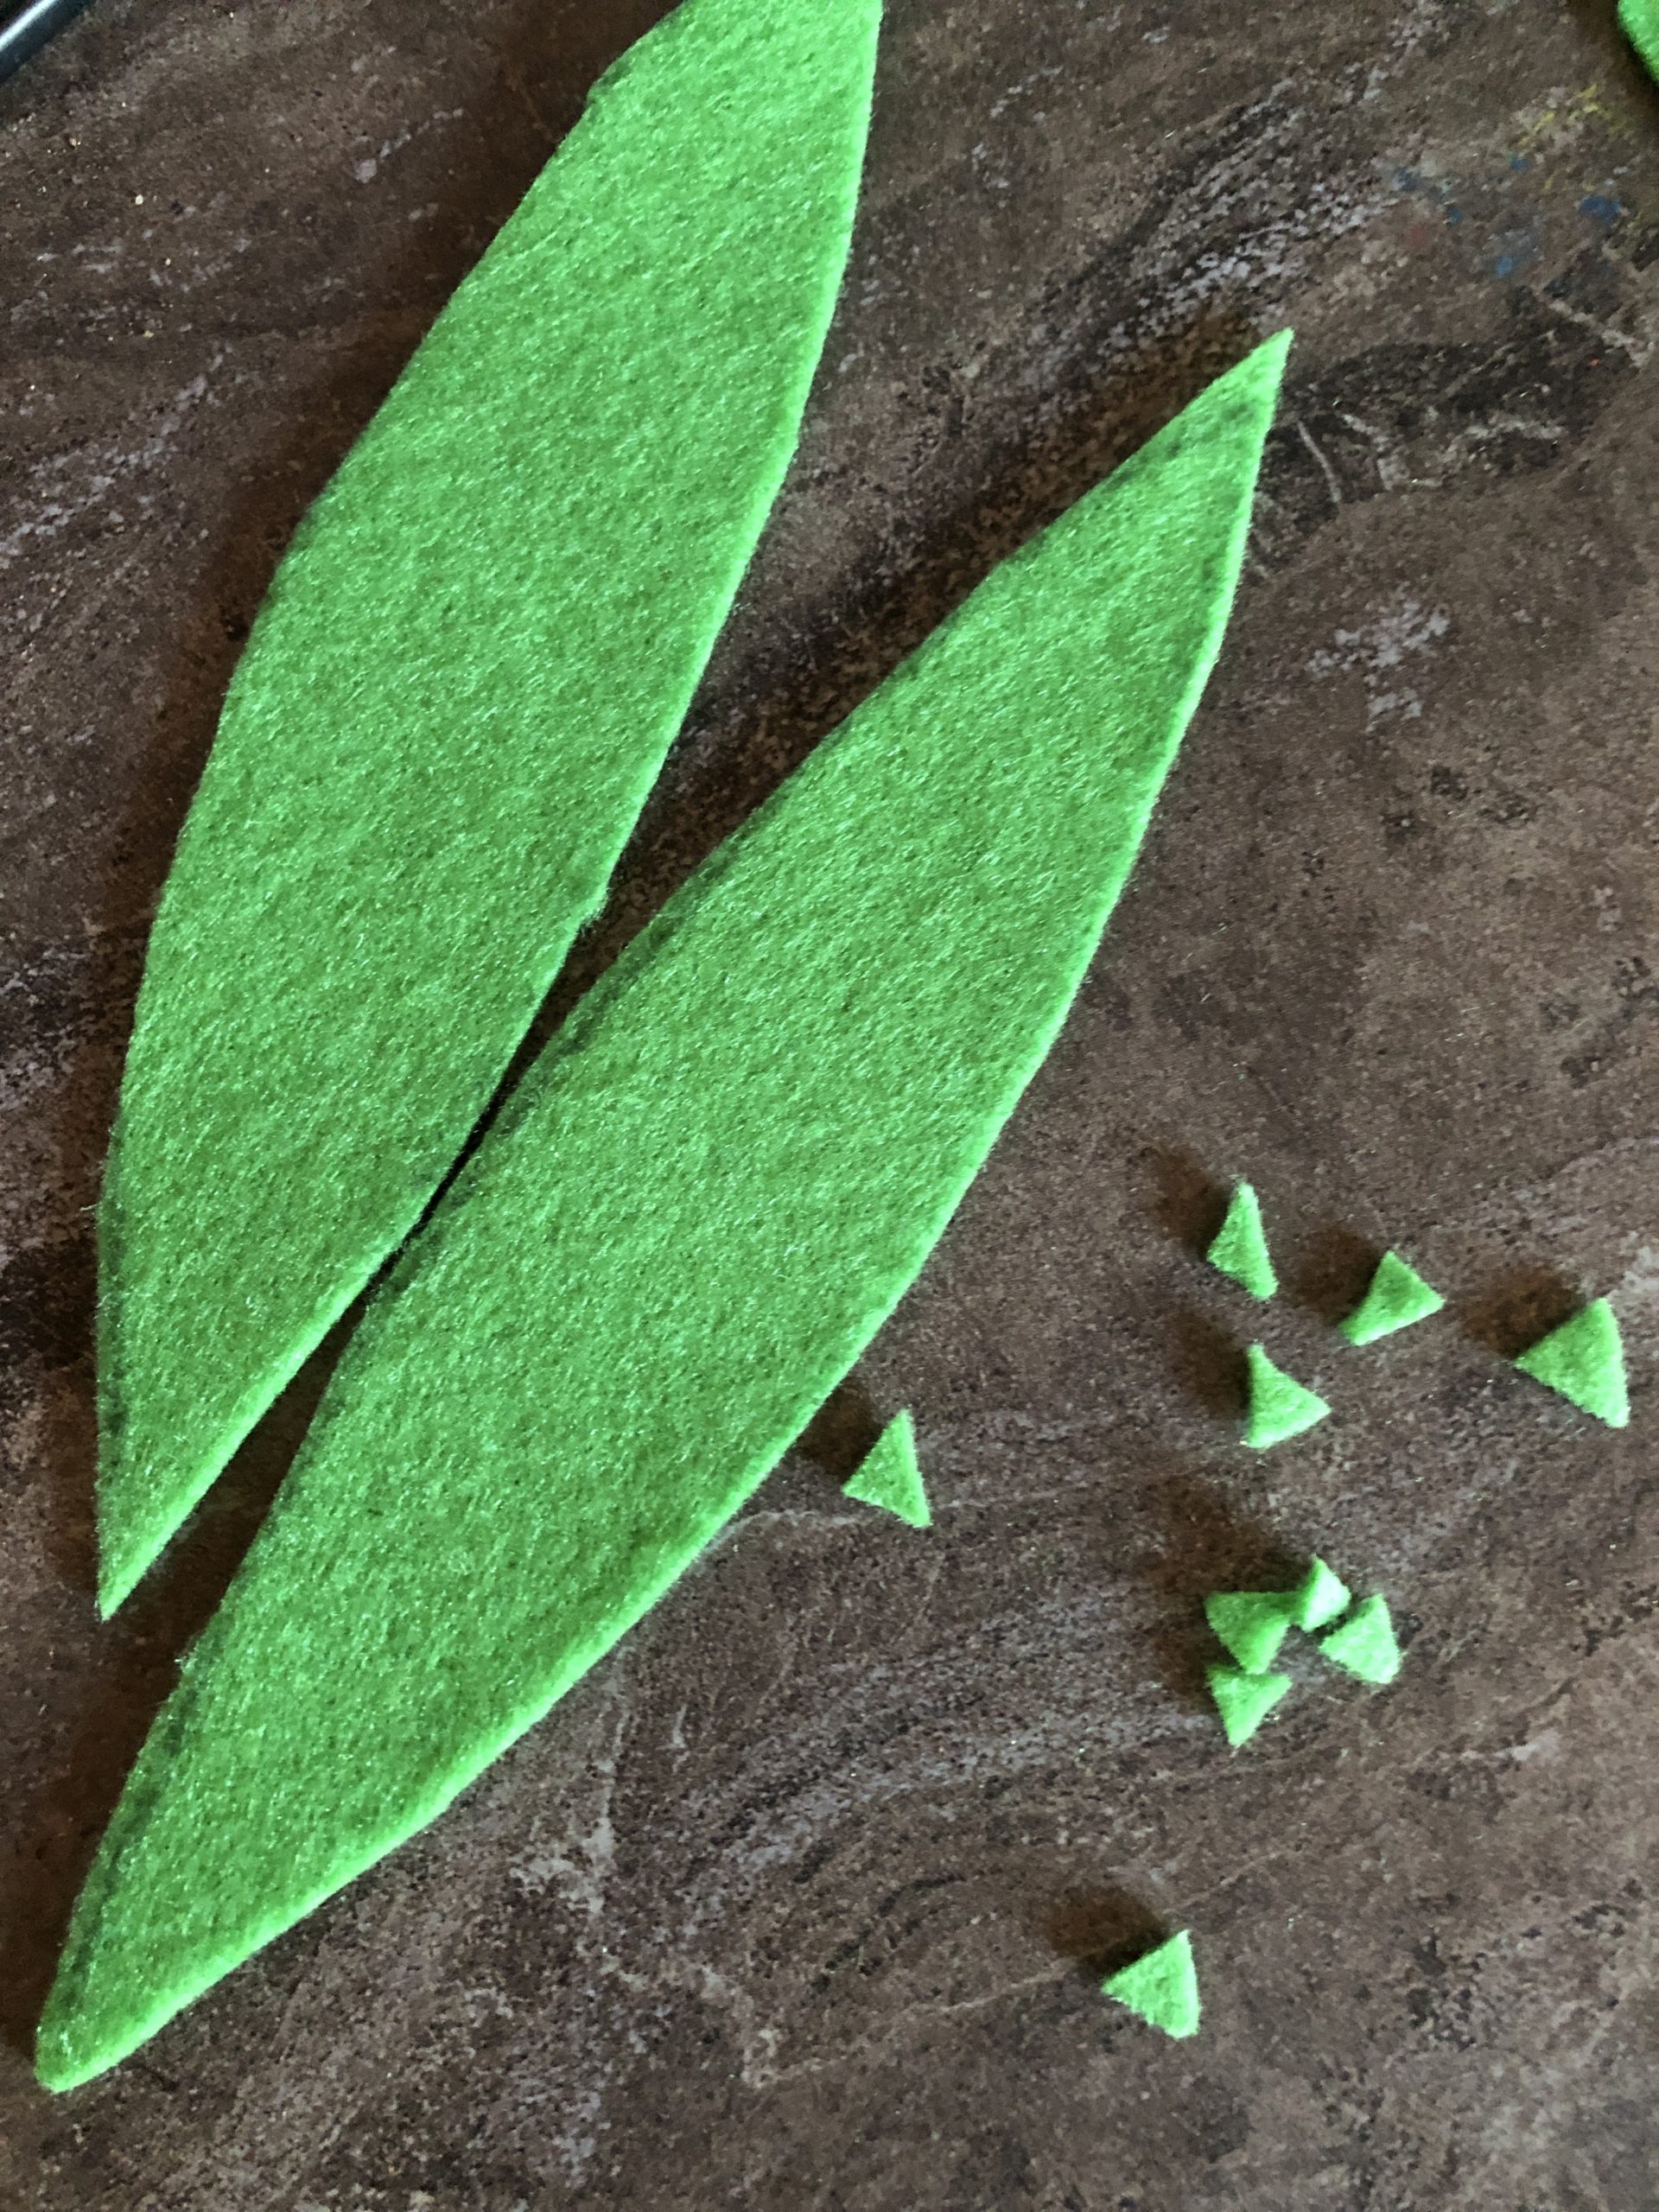
Bild zum Schritt 14 für das Bastel- und DIY-Abenteuer für Kinder: 'Aus dem Filz-Rest einige kleine Mini-Dreiecke schnipseln.'

15

Glue the small felt triangles to the flower tips with the hot glue (be careful!)

Bild zum Schritt 15 für das Bastel- und DIY-Abenteuer für Kinder: 'Mit dem Heißkleber die kleinen Filzdreiecke an die Blütenspitzen kleben...'

16

Now stick the branch, the elongated leaves and the flower cup together with hot glue.
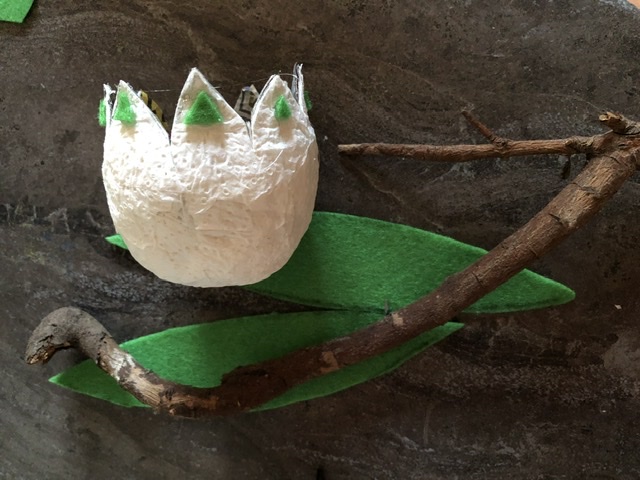
Bild zum Schritt 16 für das Bastel- und DIY-Abenteuer für Kinder: 'Nun den Ast, die länglichen Blätter und den Blütenkelch mit...'

17

The March Cup is ready!

By the way, also a nice gift idea for birthday, Mother's Day or Father's Day.

Bild zum Schritt 17 für das Bastel- und DIY-Abenteuer für Kinder: 'Fertig ist der Märzenbecher!     Übrigens auch...'

Marche cups made of paper mesh

Follow us on Facebook , Instagram and Pinterest
Don't miss any more adventures: Our bottle mail

Leave a Reply

Your email address will not be published.

The maximum upload file size: 5 MB. You can upload: image, document. Drop file here