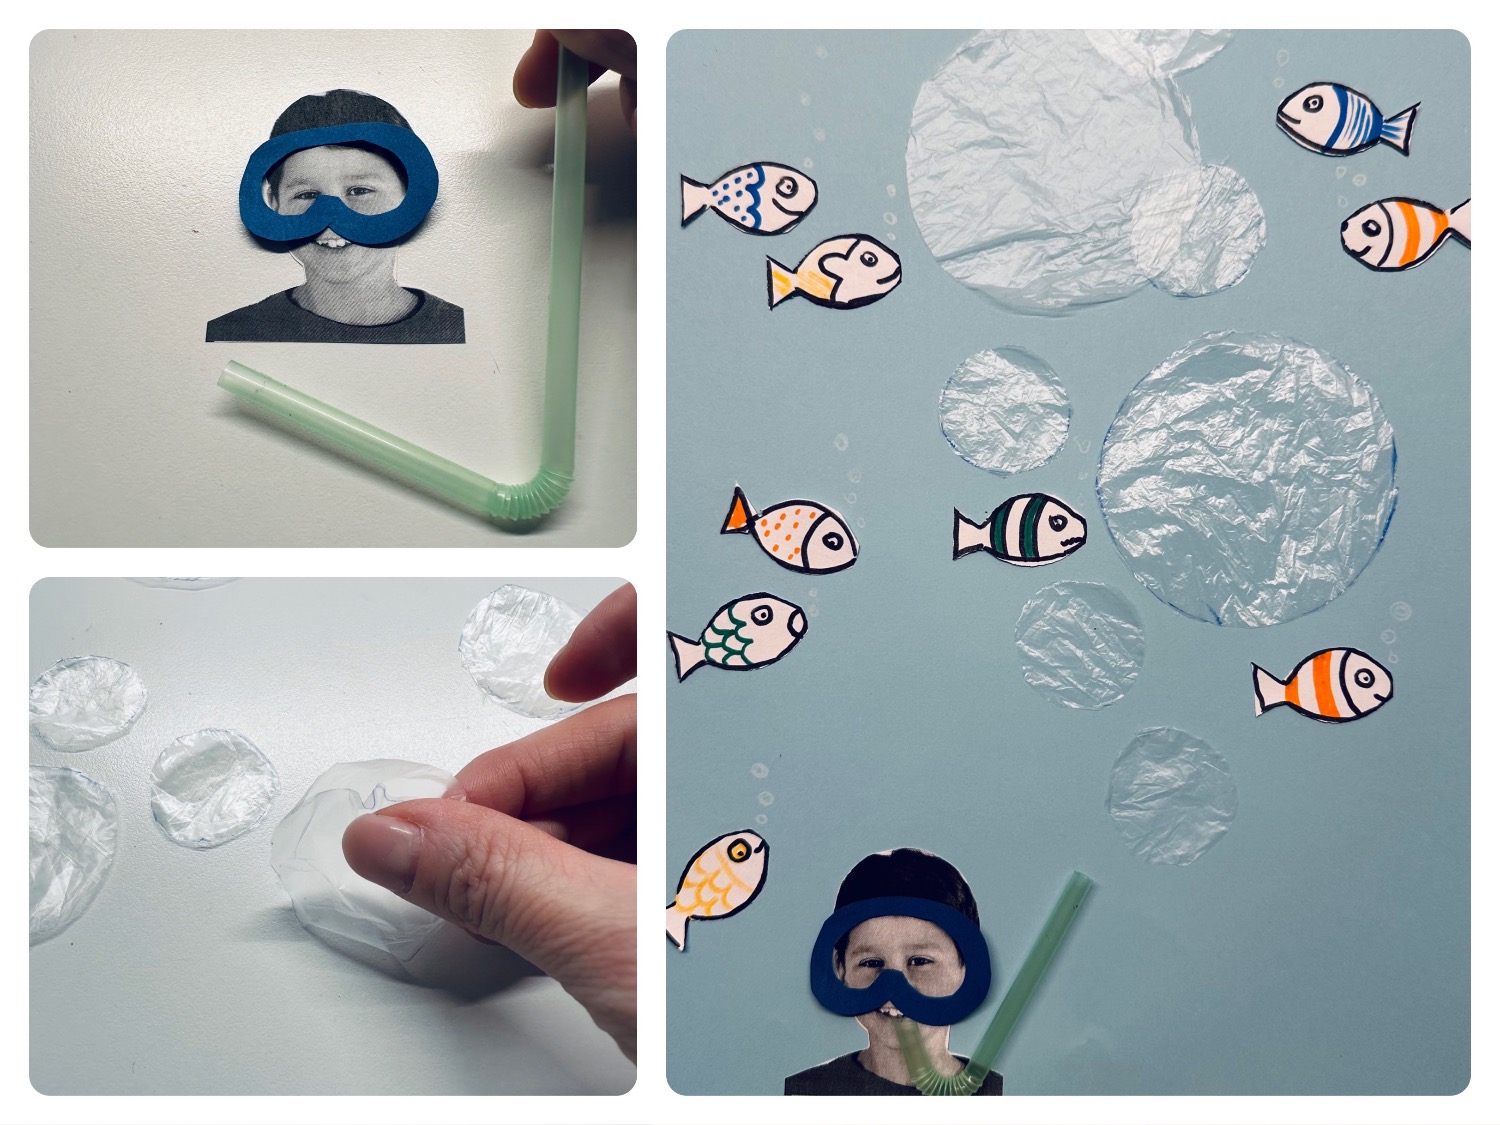
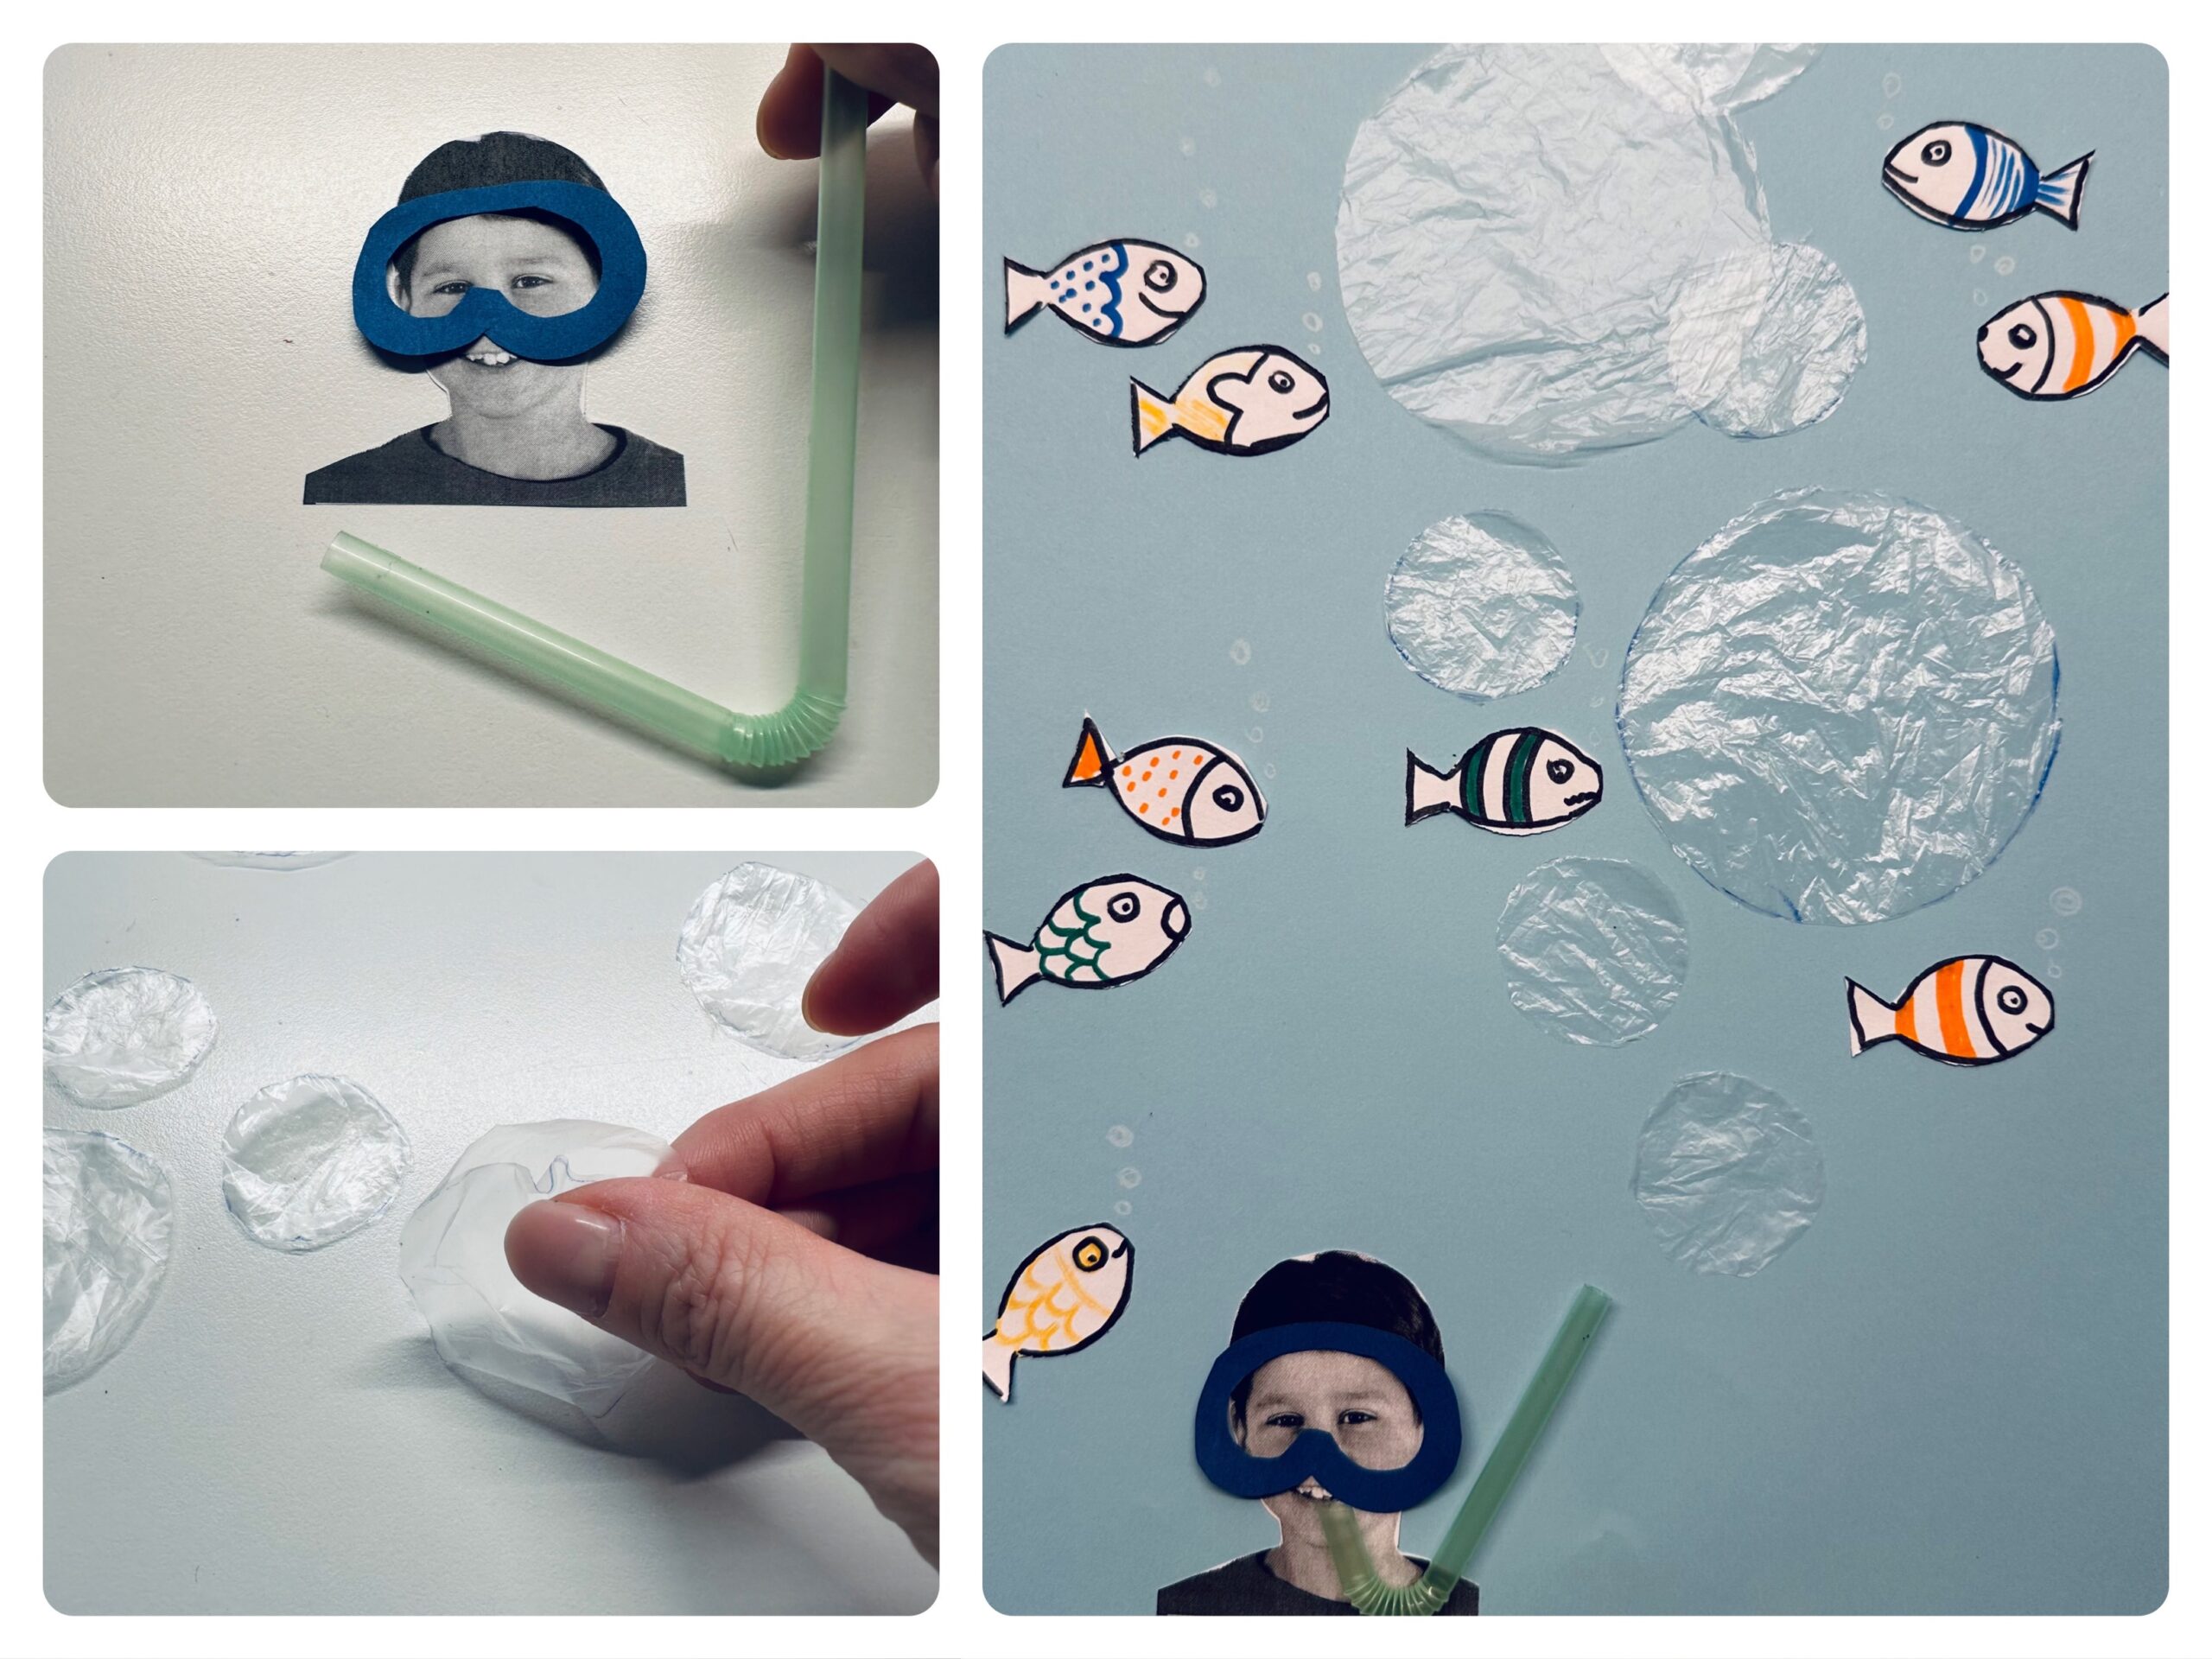
This collage deals with the topic: air, air bubbles or life under water. An experiment with creating air bubbles with a straw could precede the collage.
Making air bubbles from foil is not easy, it requires a lot of dexterity. If the foil is too unstable for you, you can also use a transparent film, which is a little more stable in handling.
Using a photo as a diver/snorcher makes the whole thing very personal and everyone immediately recognizes his artwork. Alternatively, you can also paint the diver yourself.
Try it out. Have fun and stay creative.
Media Education for Kindergarten and Hort

Relief in everyday life, targeted promotion of individual children, independent learning and - without any pre-knowledge already usable by the youngest!
Take a snack bag or another transparent foil.
Put the screw caps on them in different sizes, they will be your air bubbles. The foil can be double.
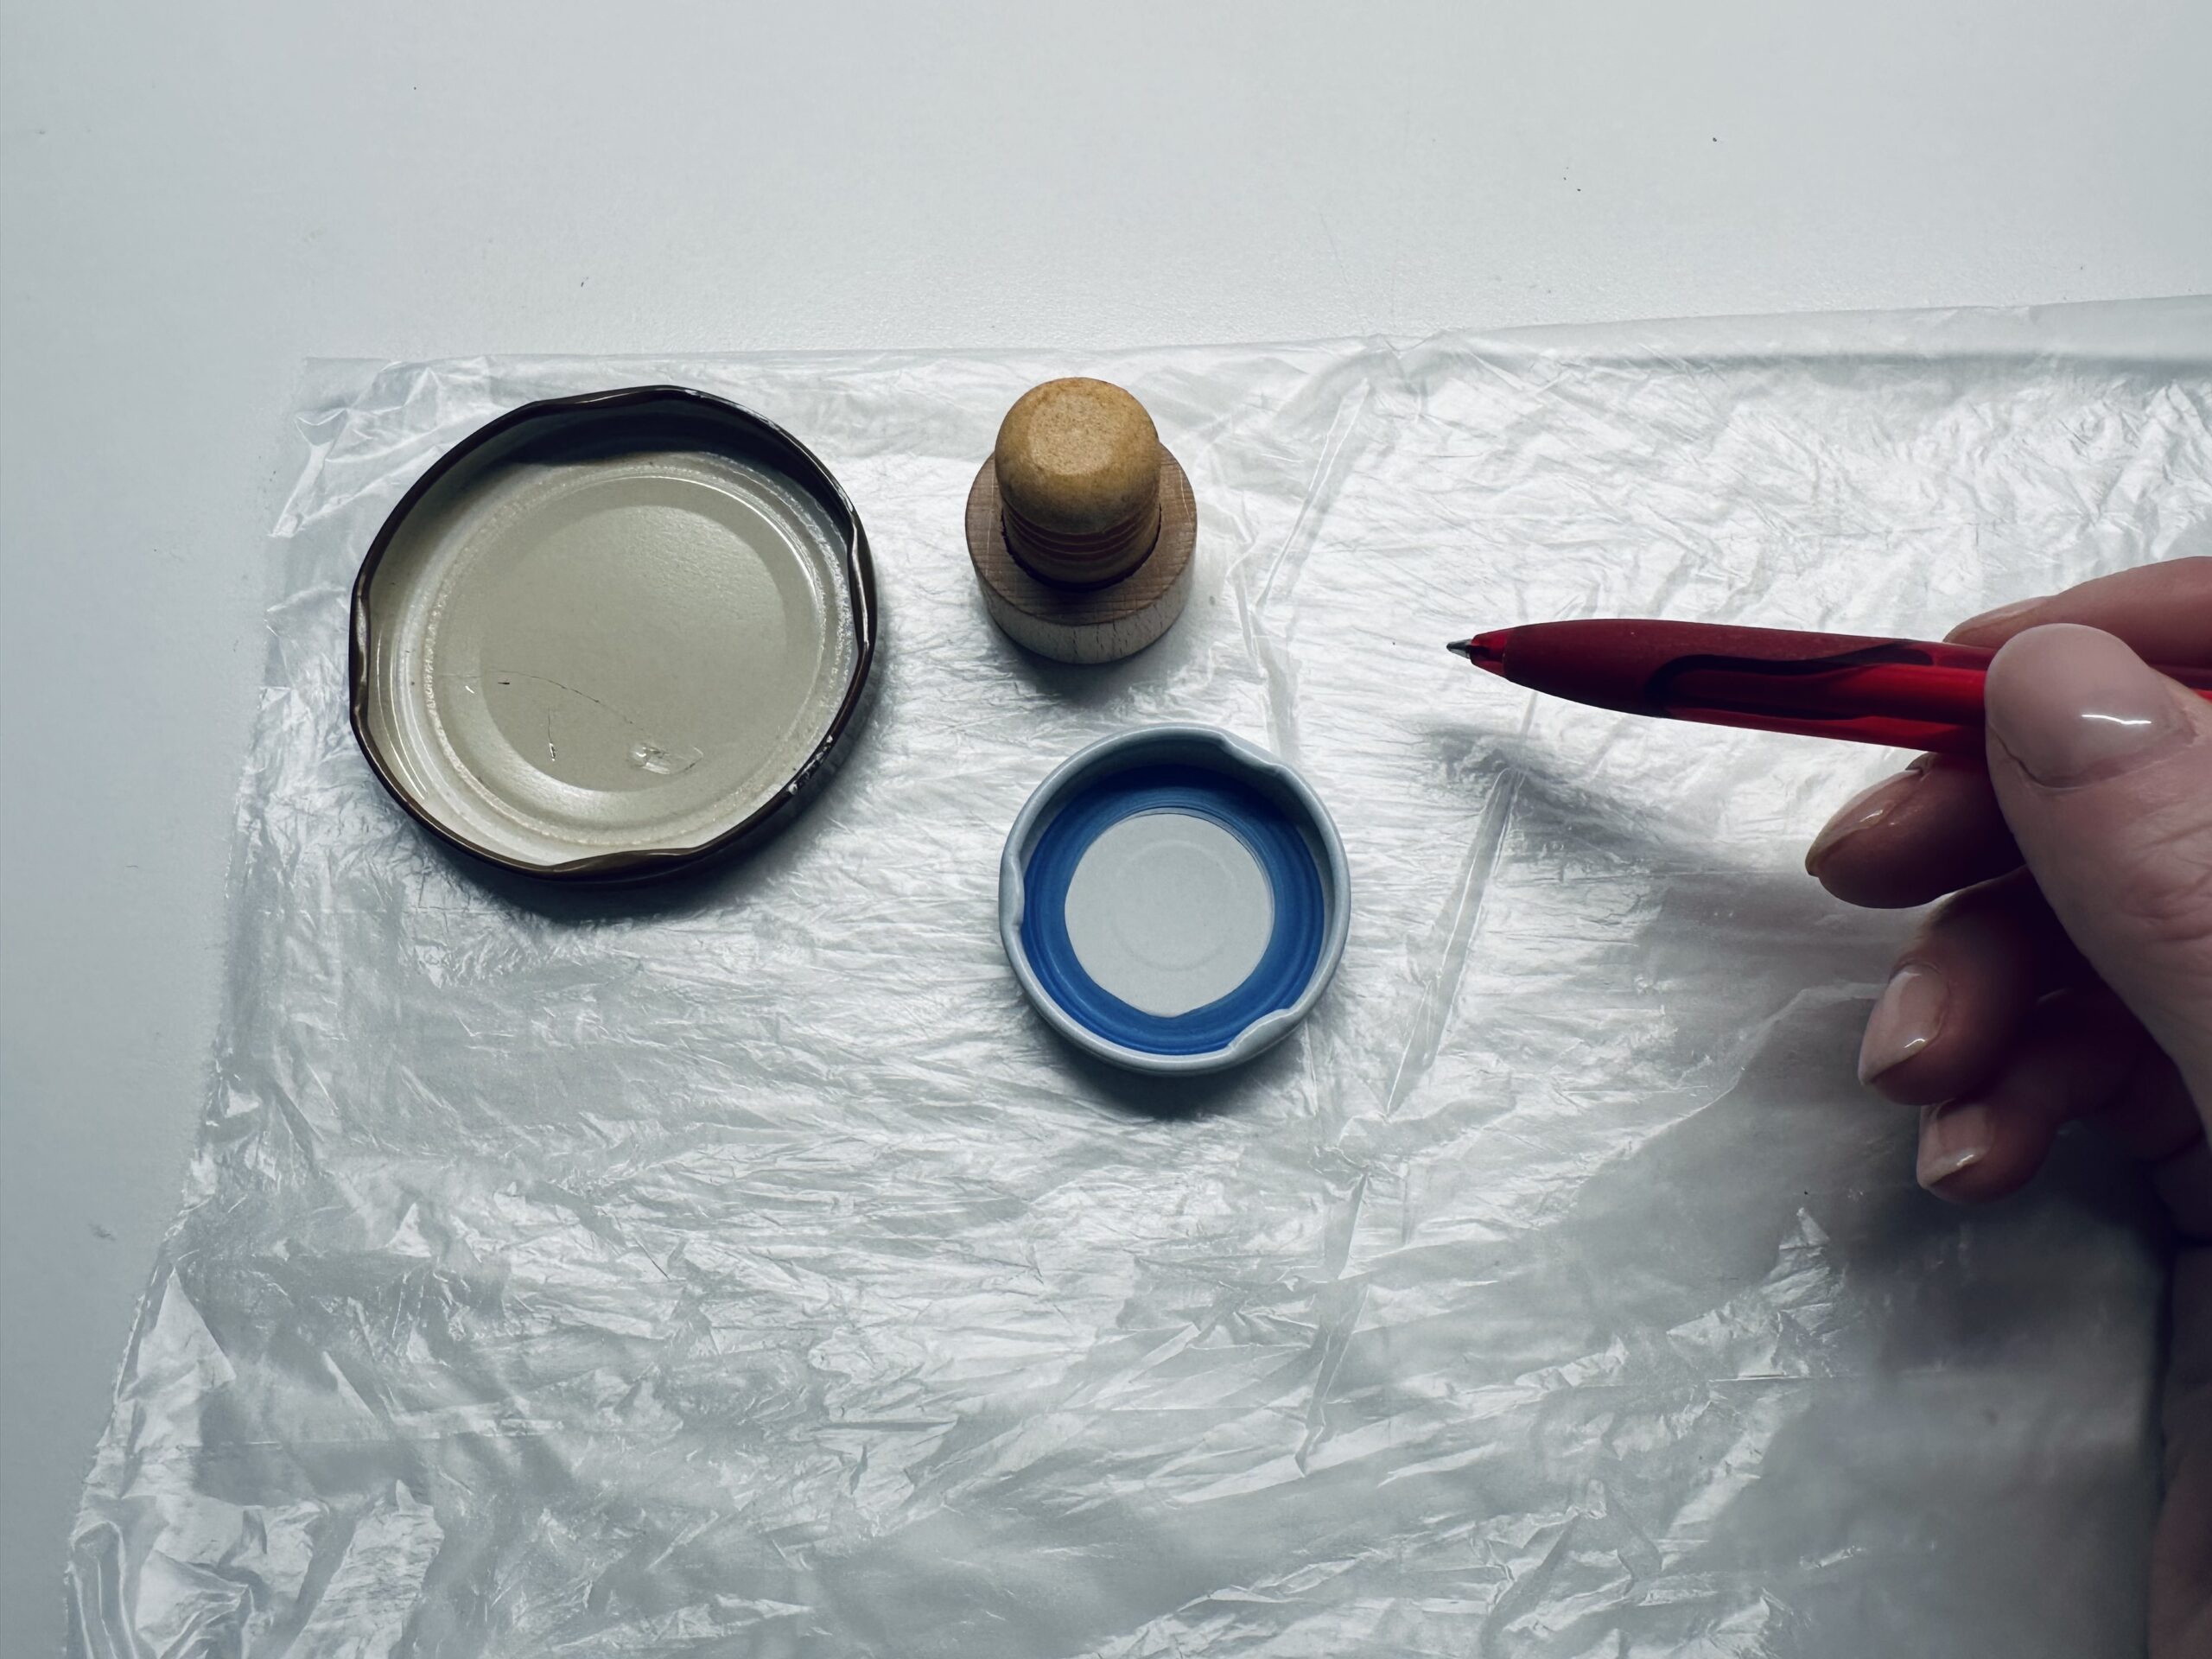
Use either a ballpoint pen or a waterproof foil pen to paint the circles.
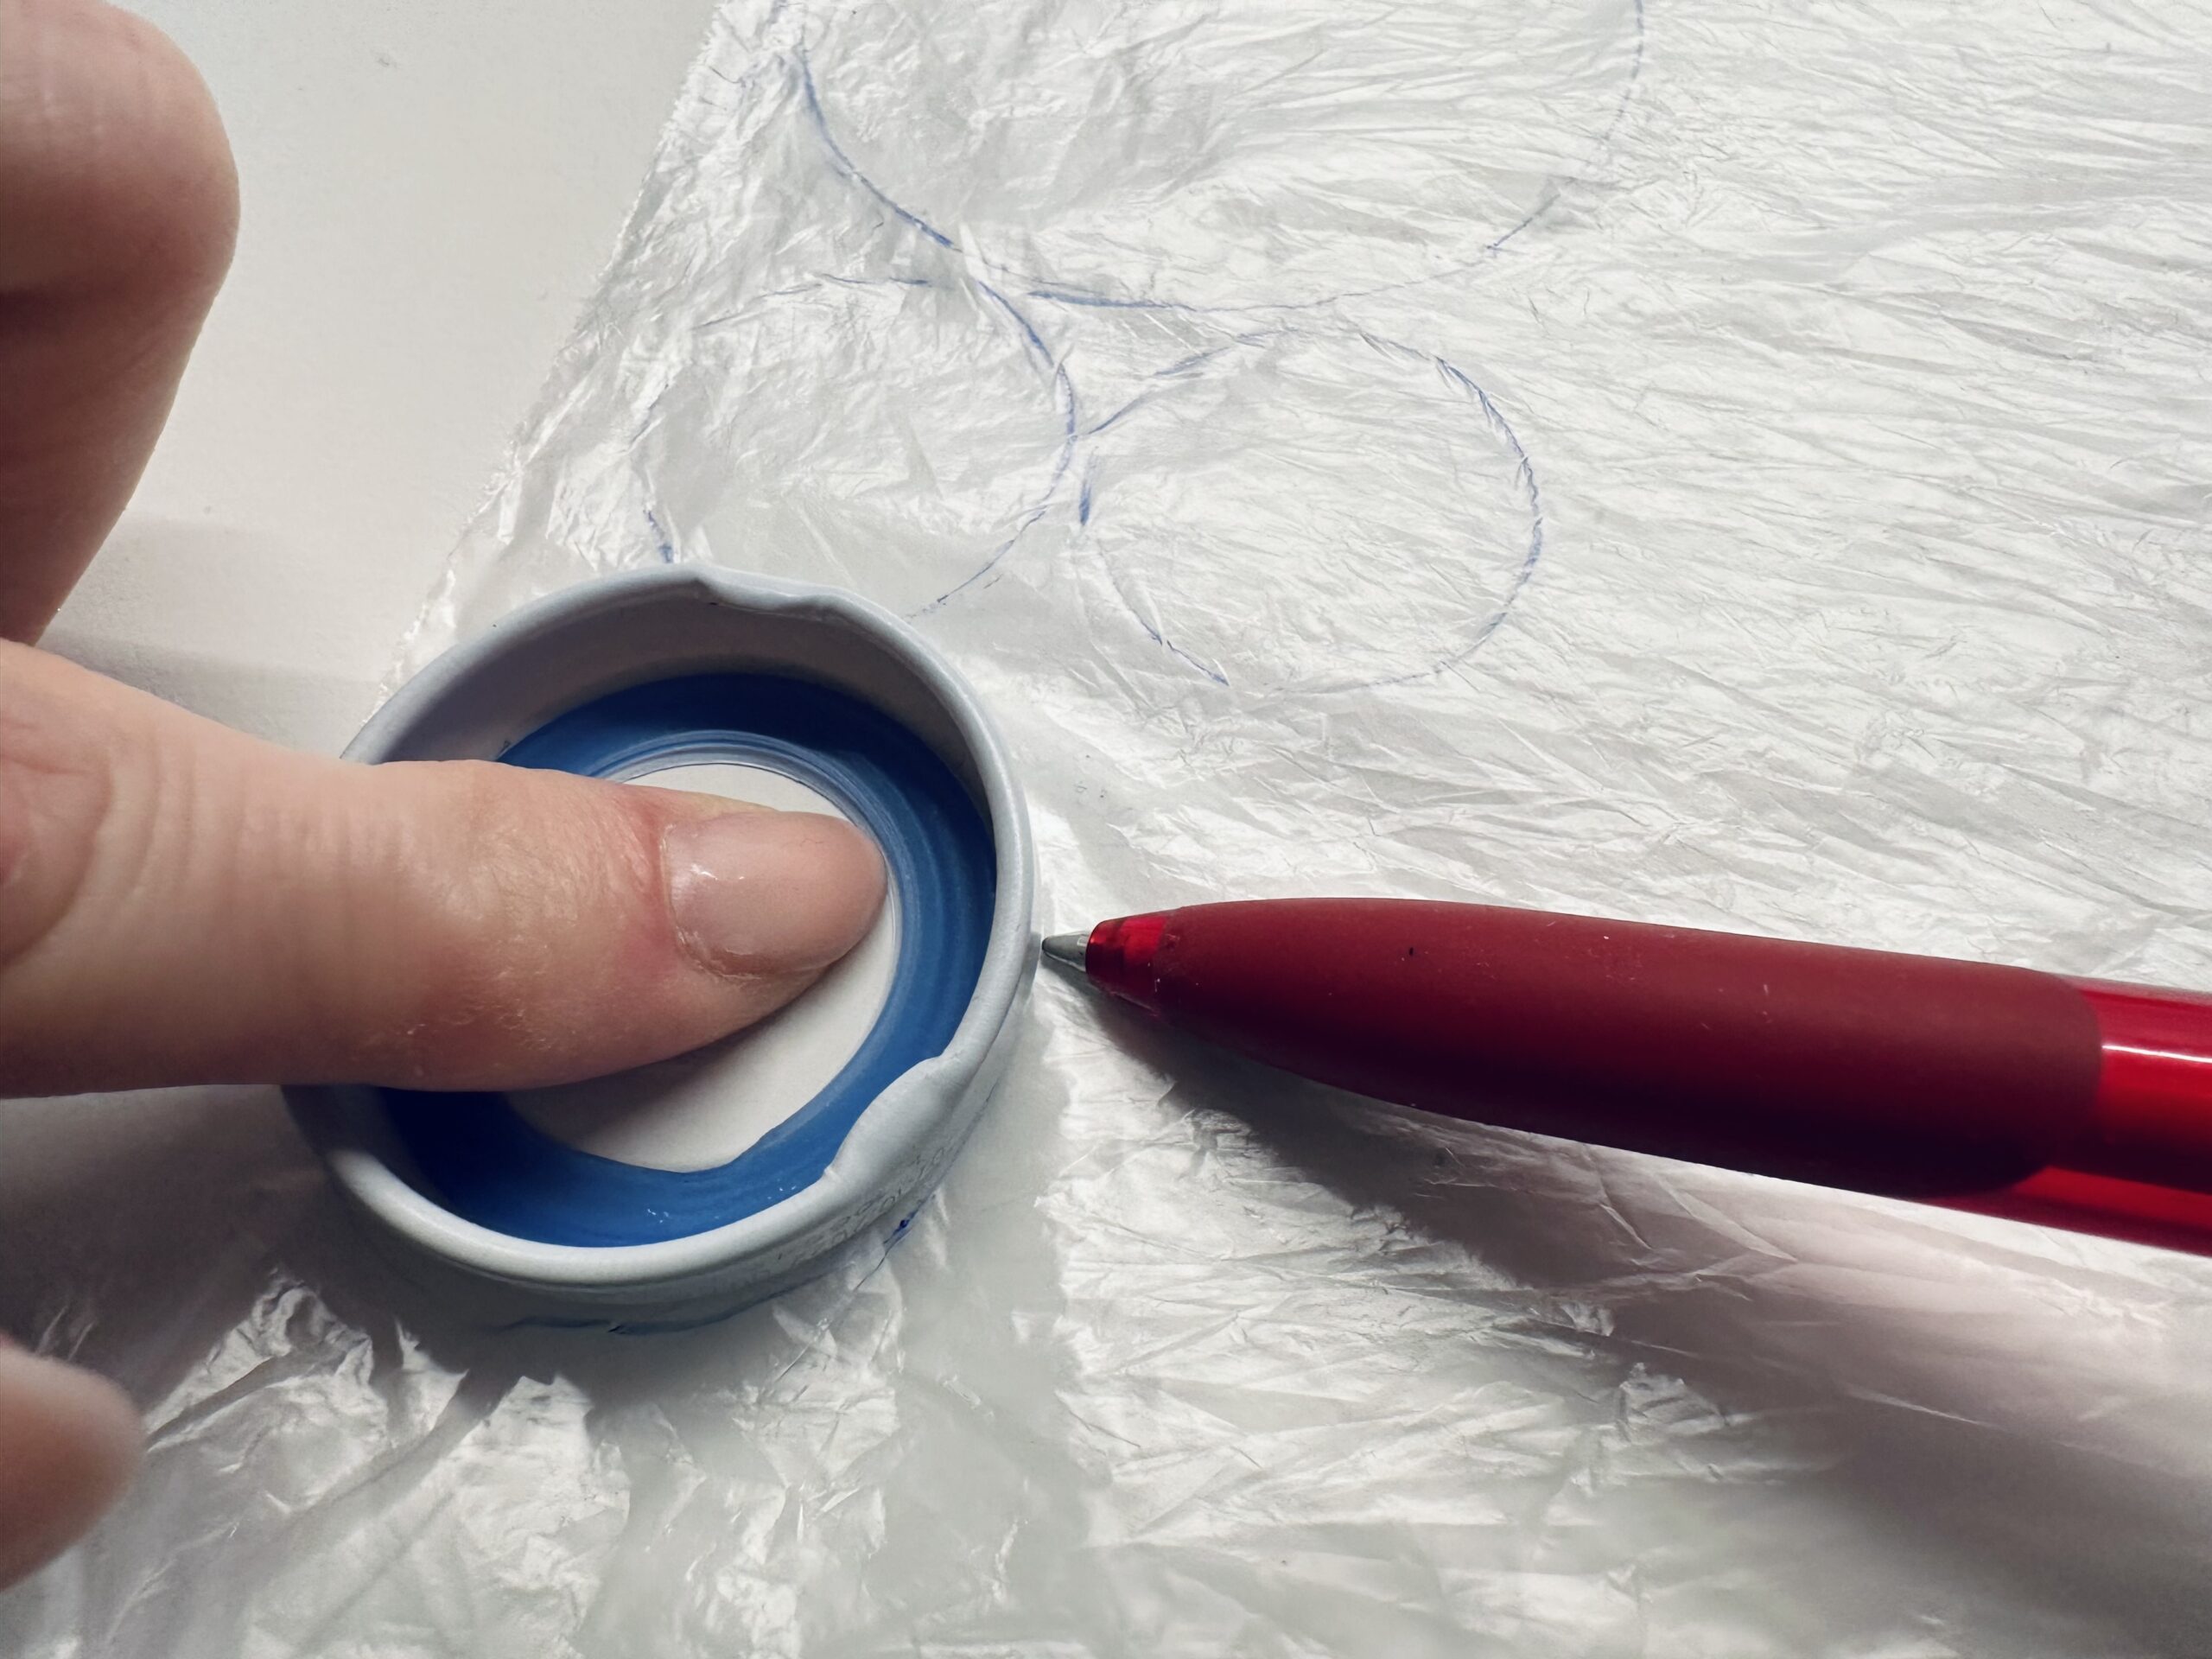


You can only paint all the circles before you cut them out.
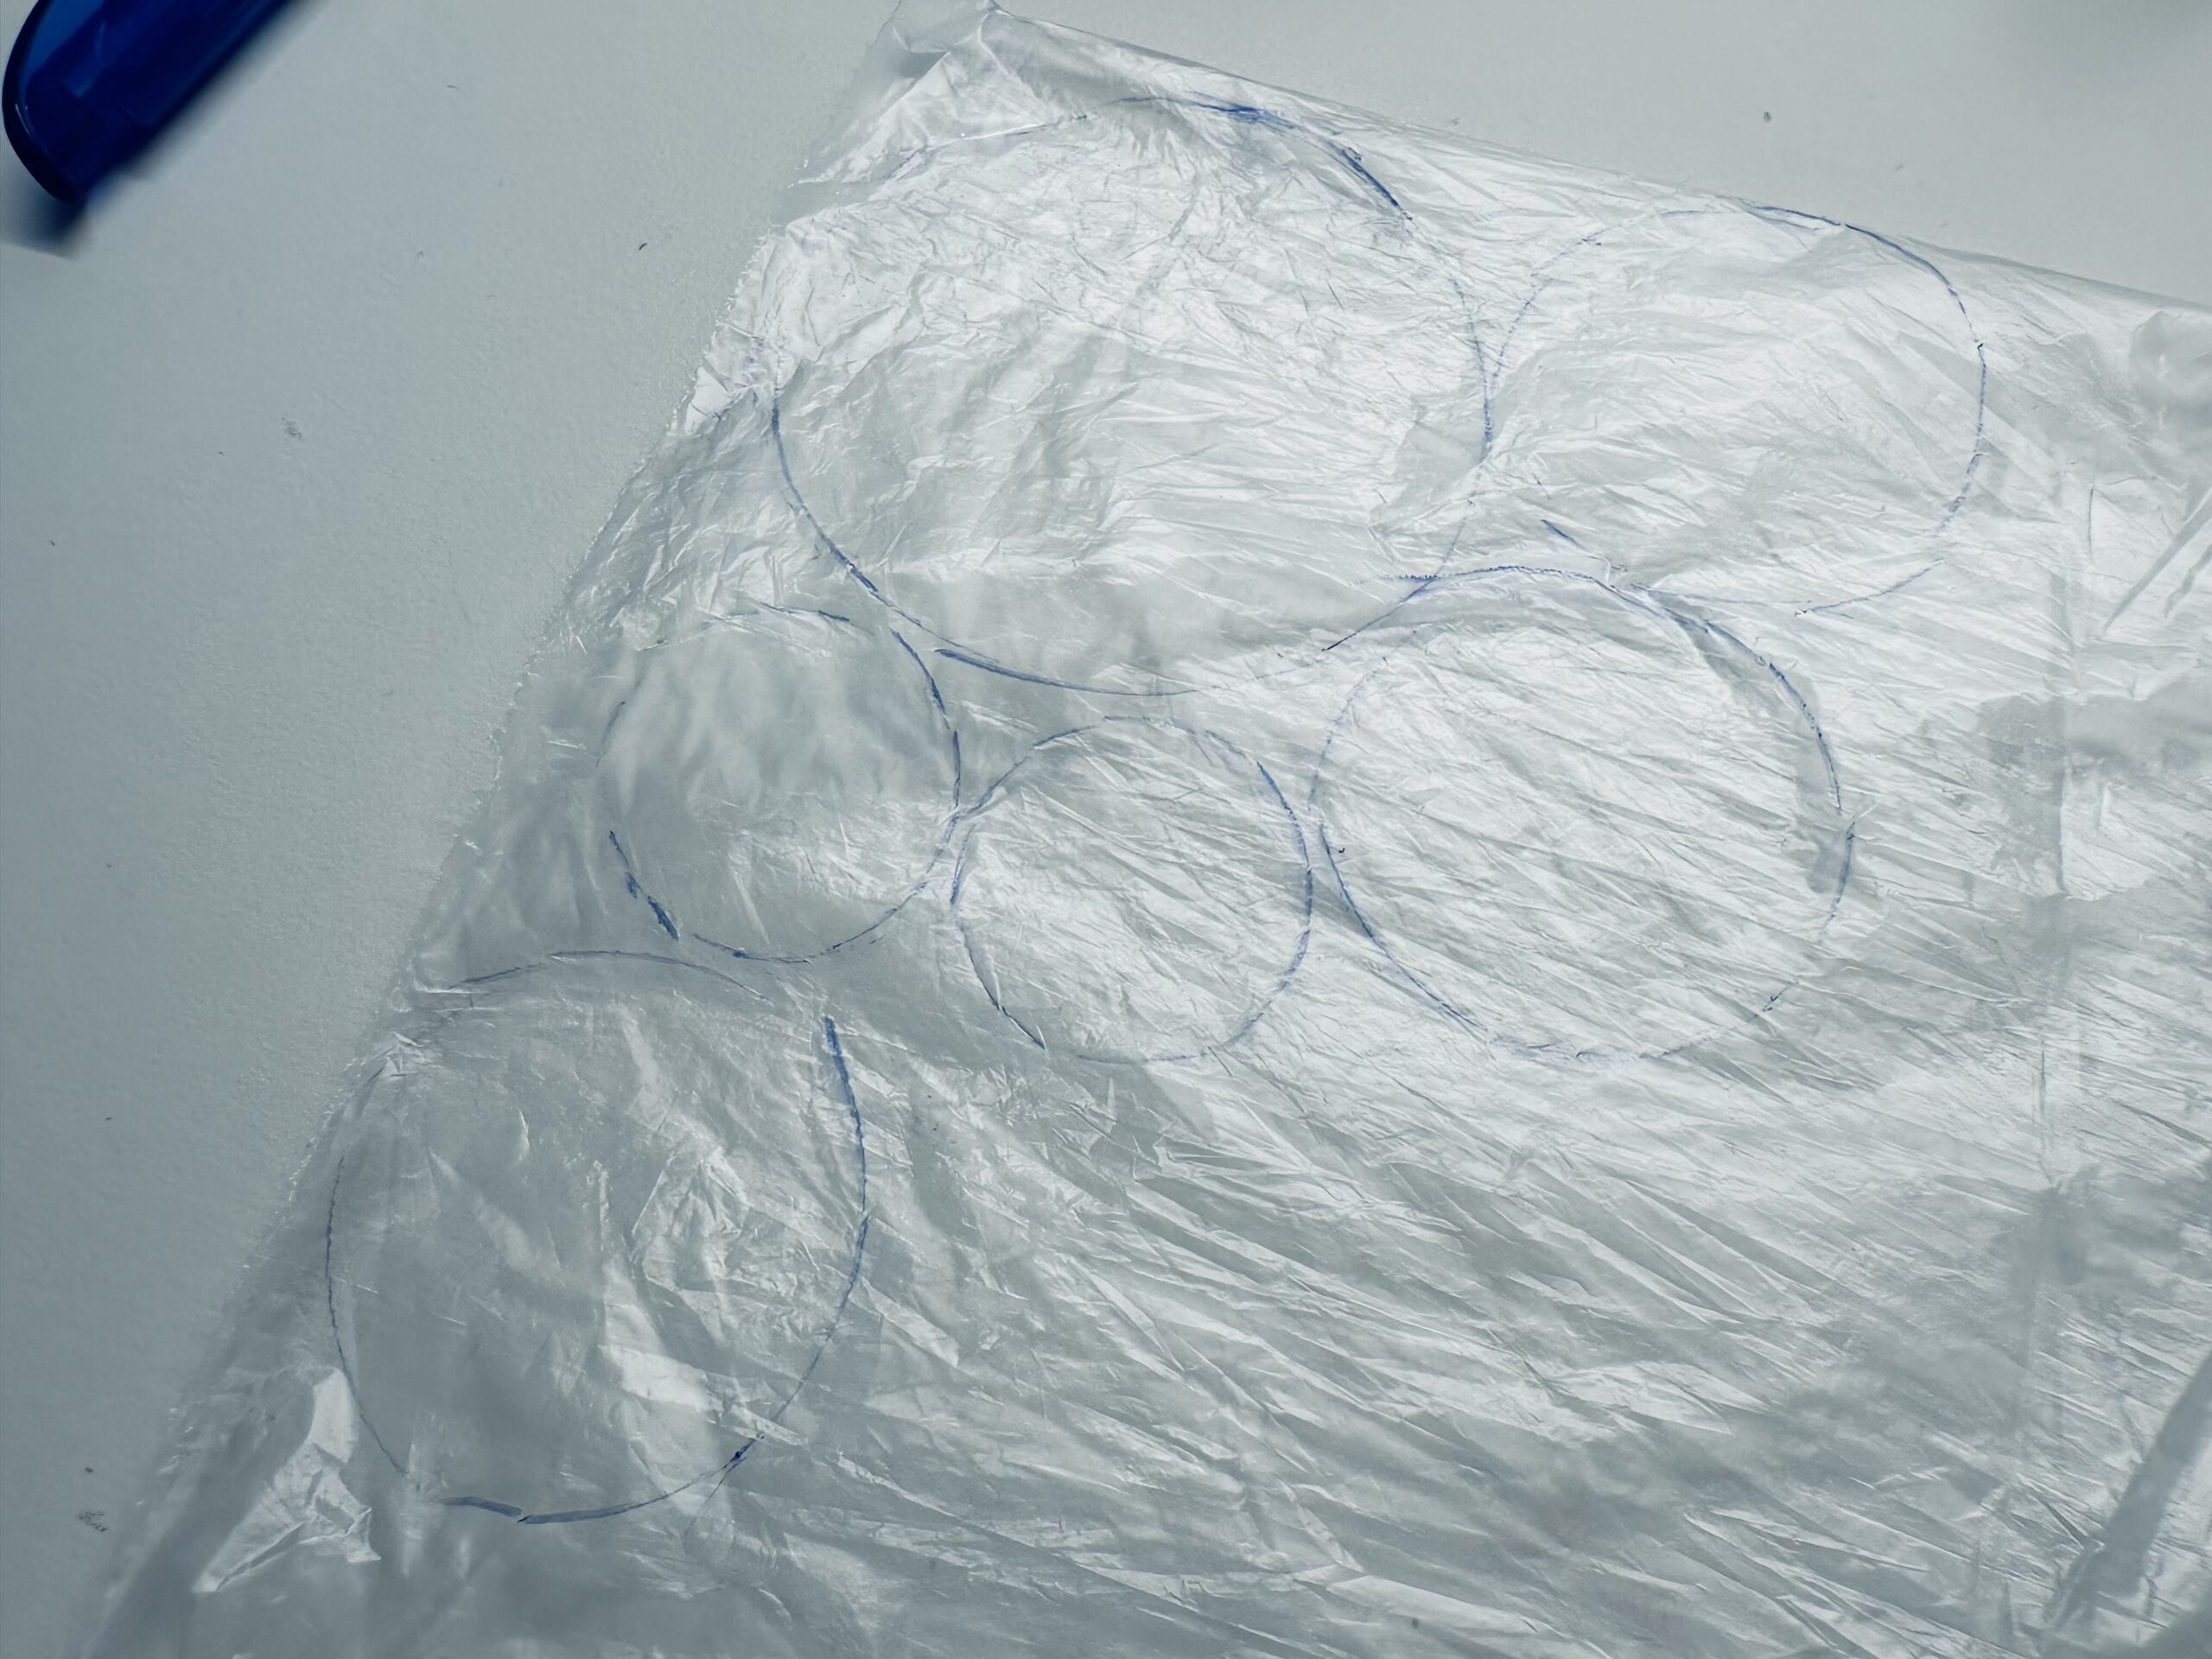


To cut out you need a good scissors, because the foil can not be cut so easily.
Tip: with a fingernail scissors it is also fine.
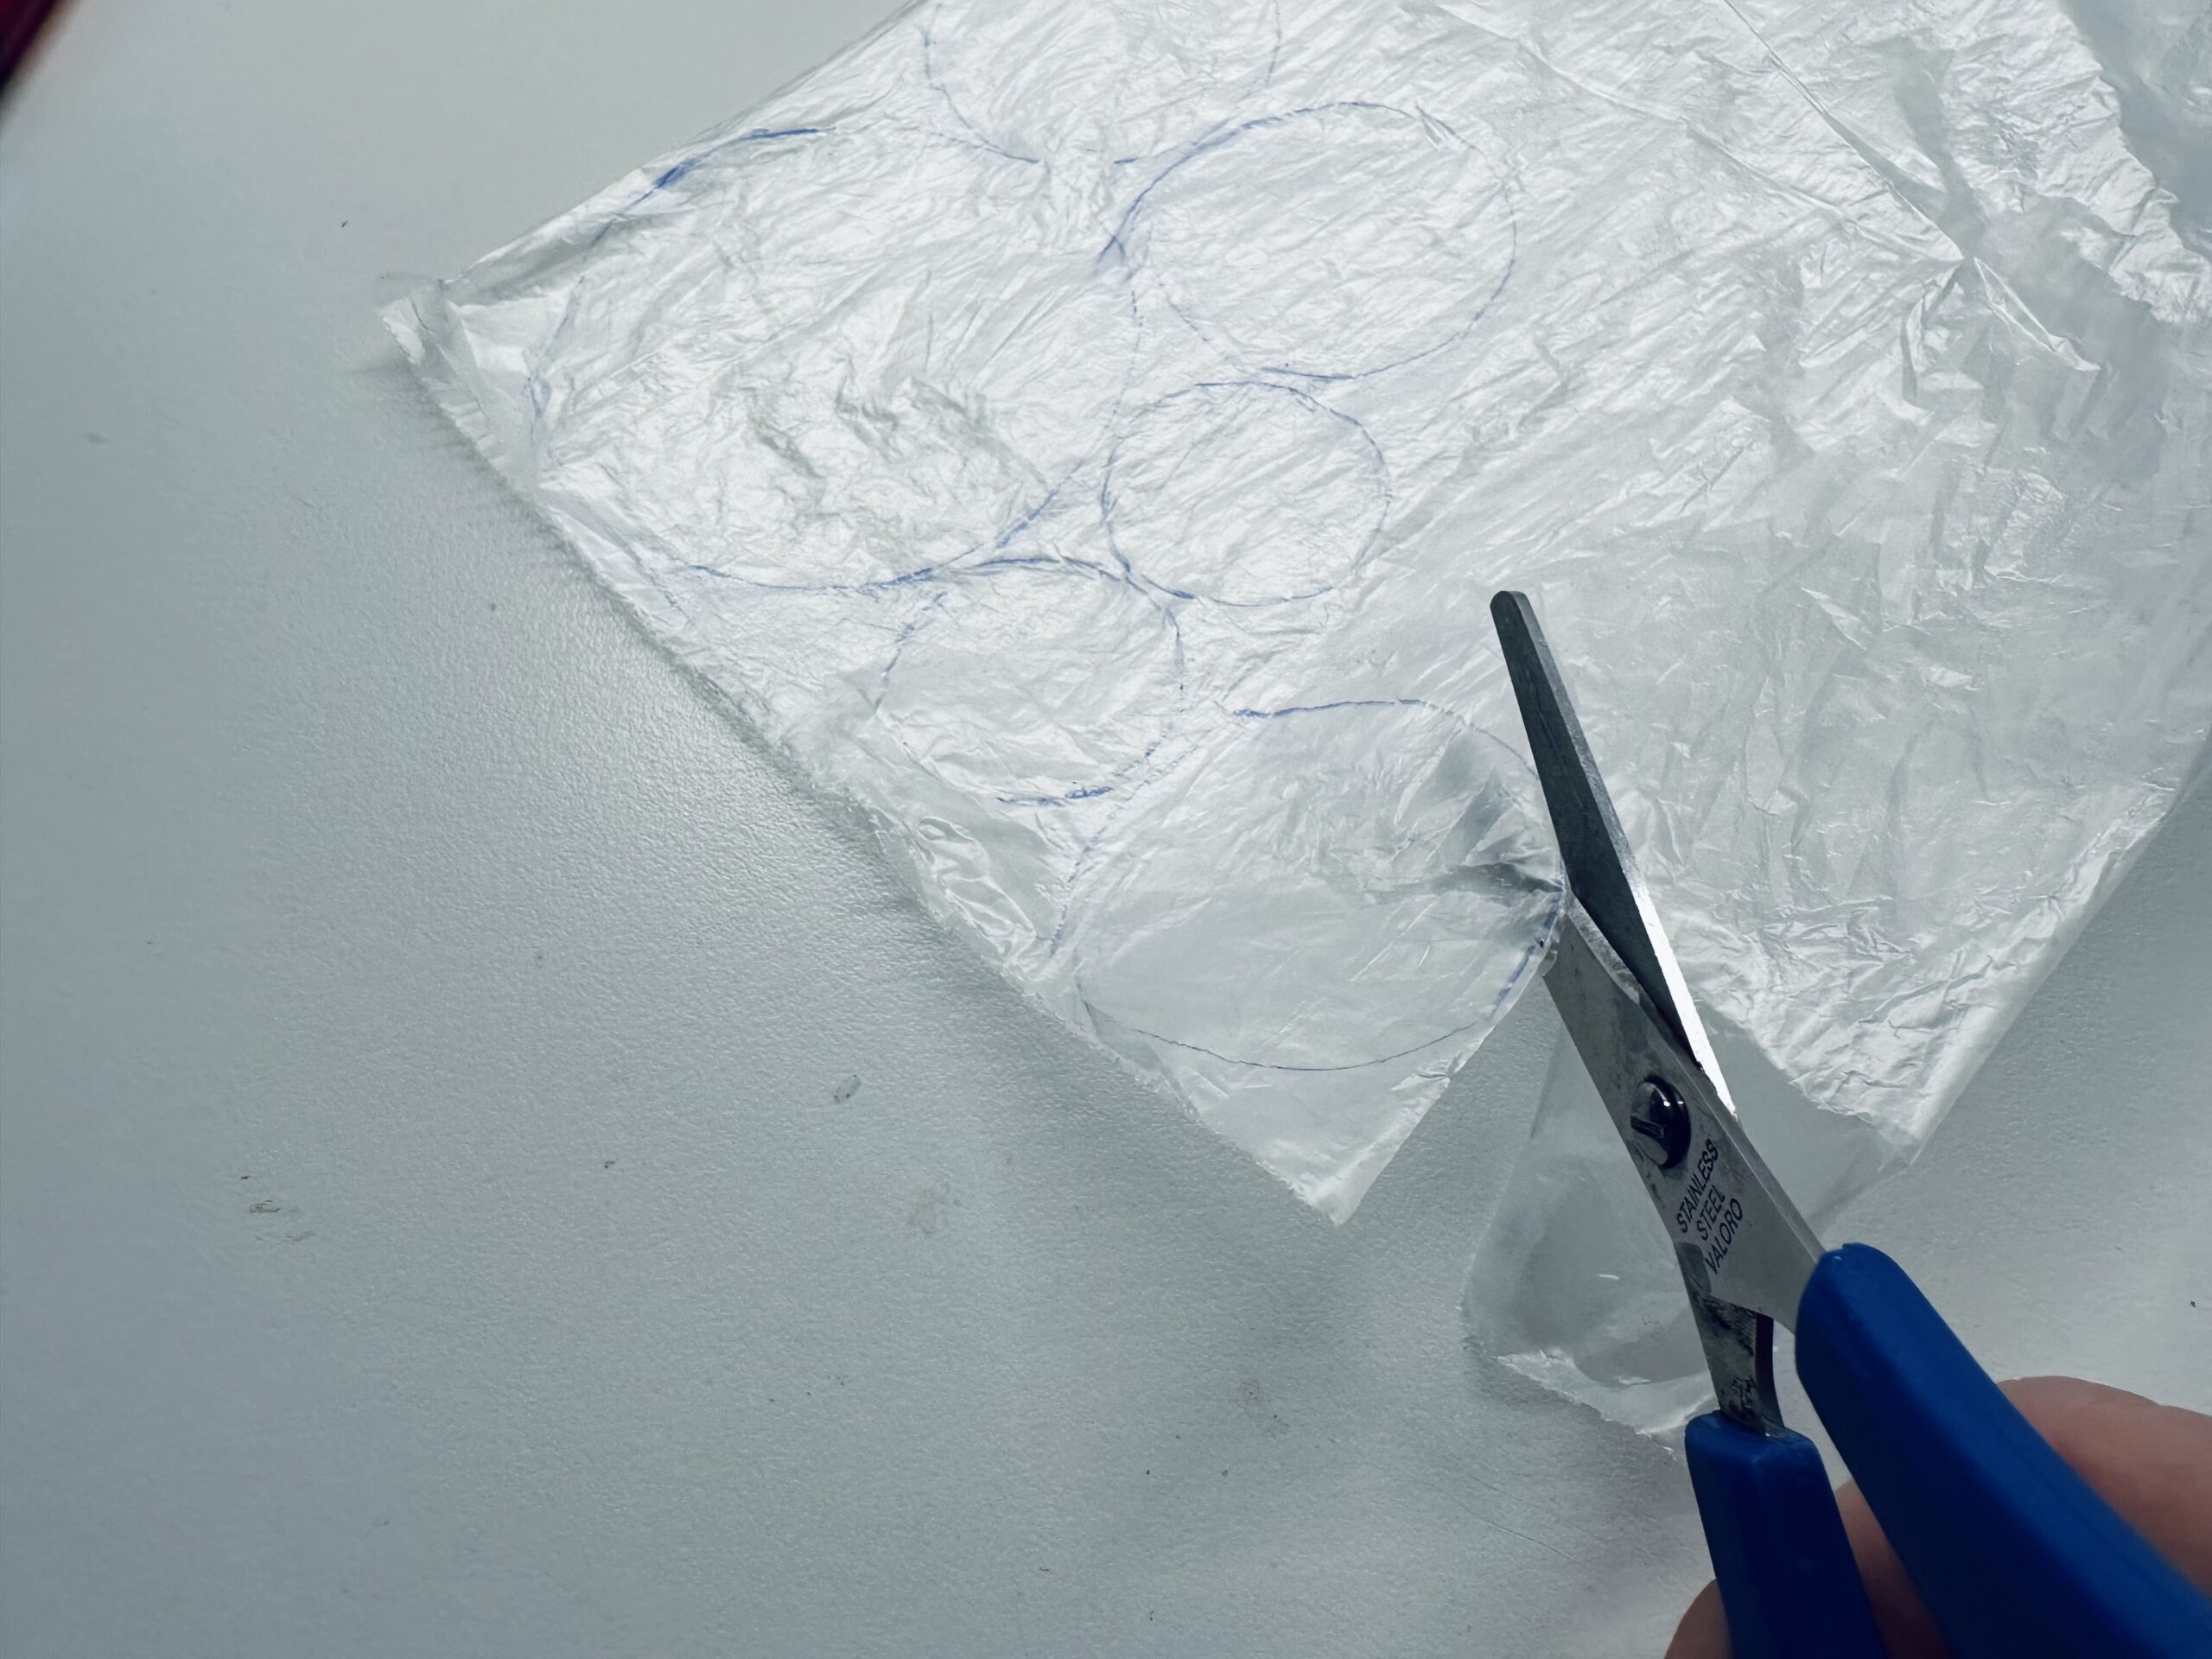


Cuts out one circle (one bubble) at a time.
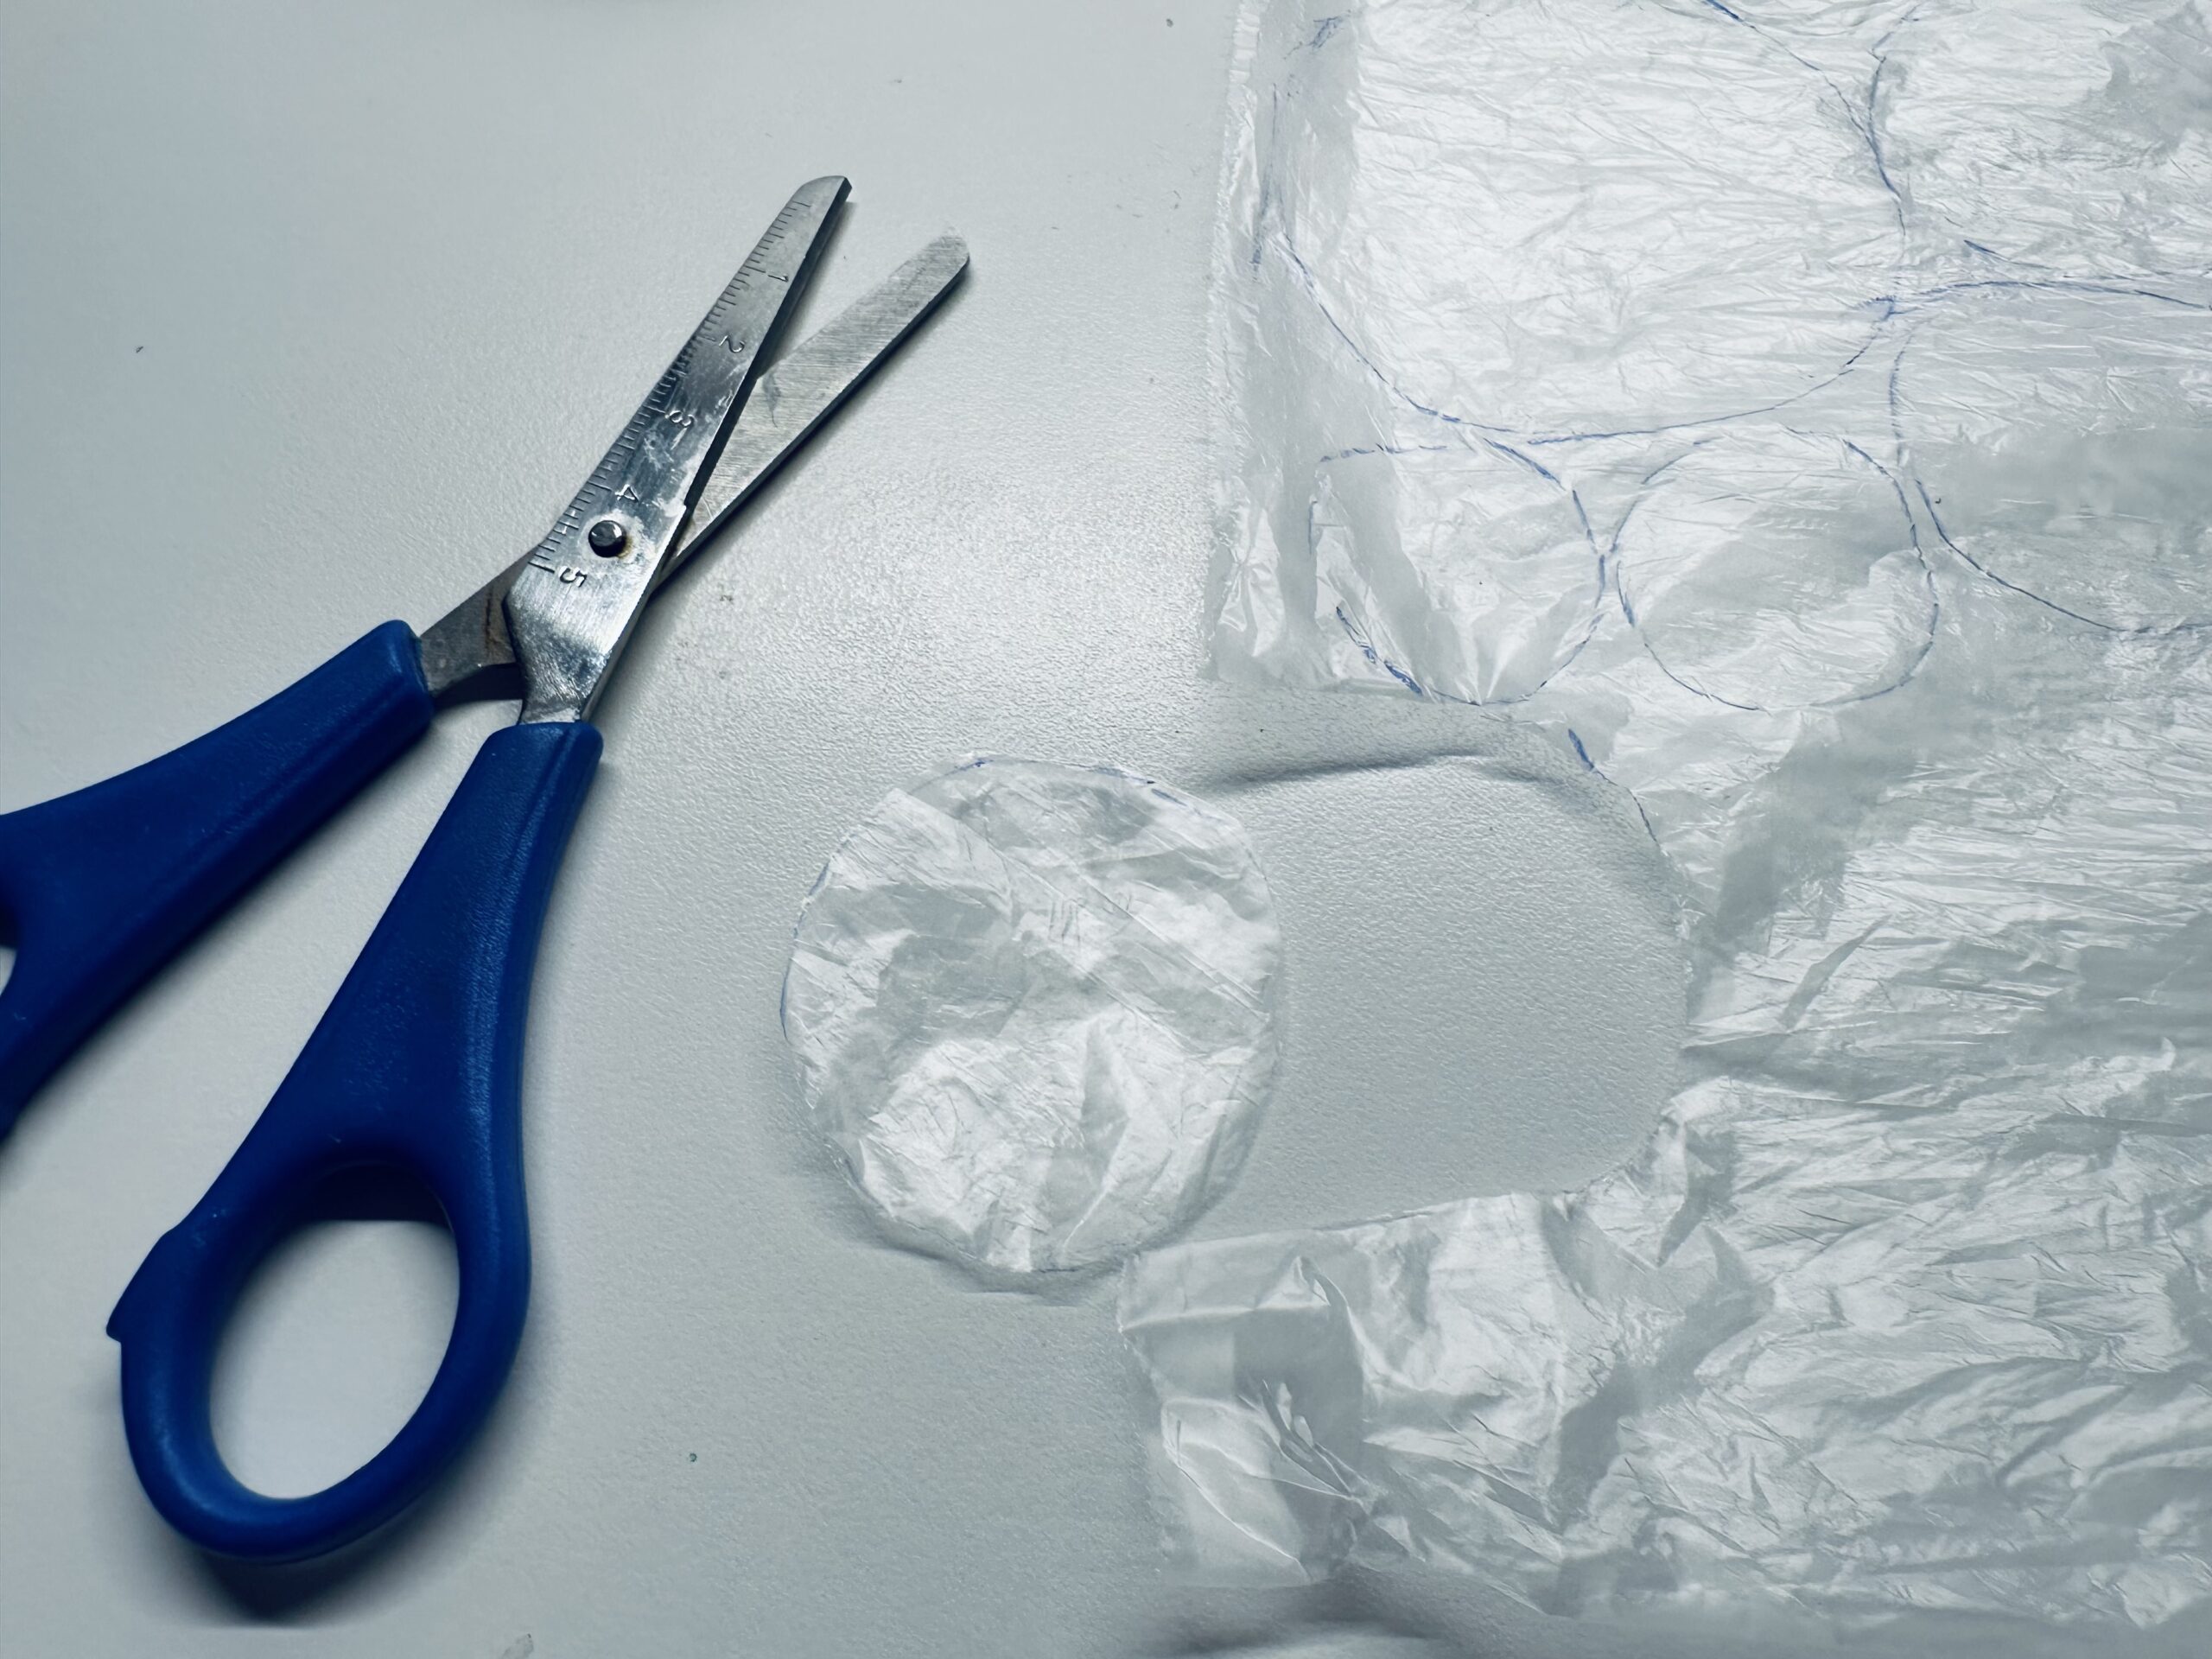


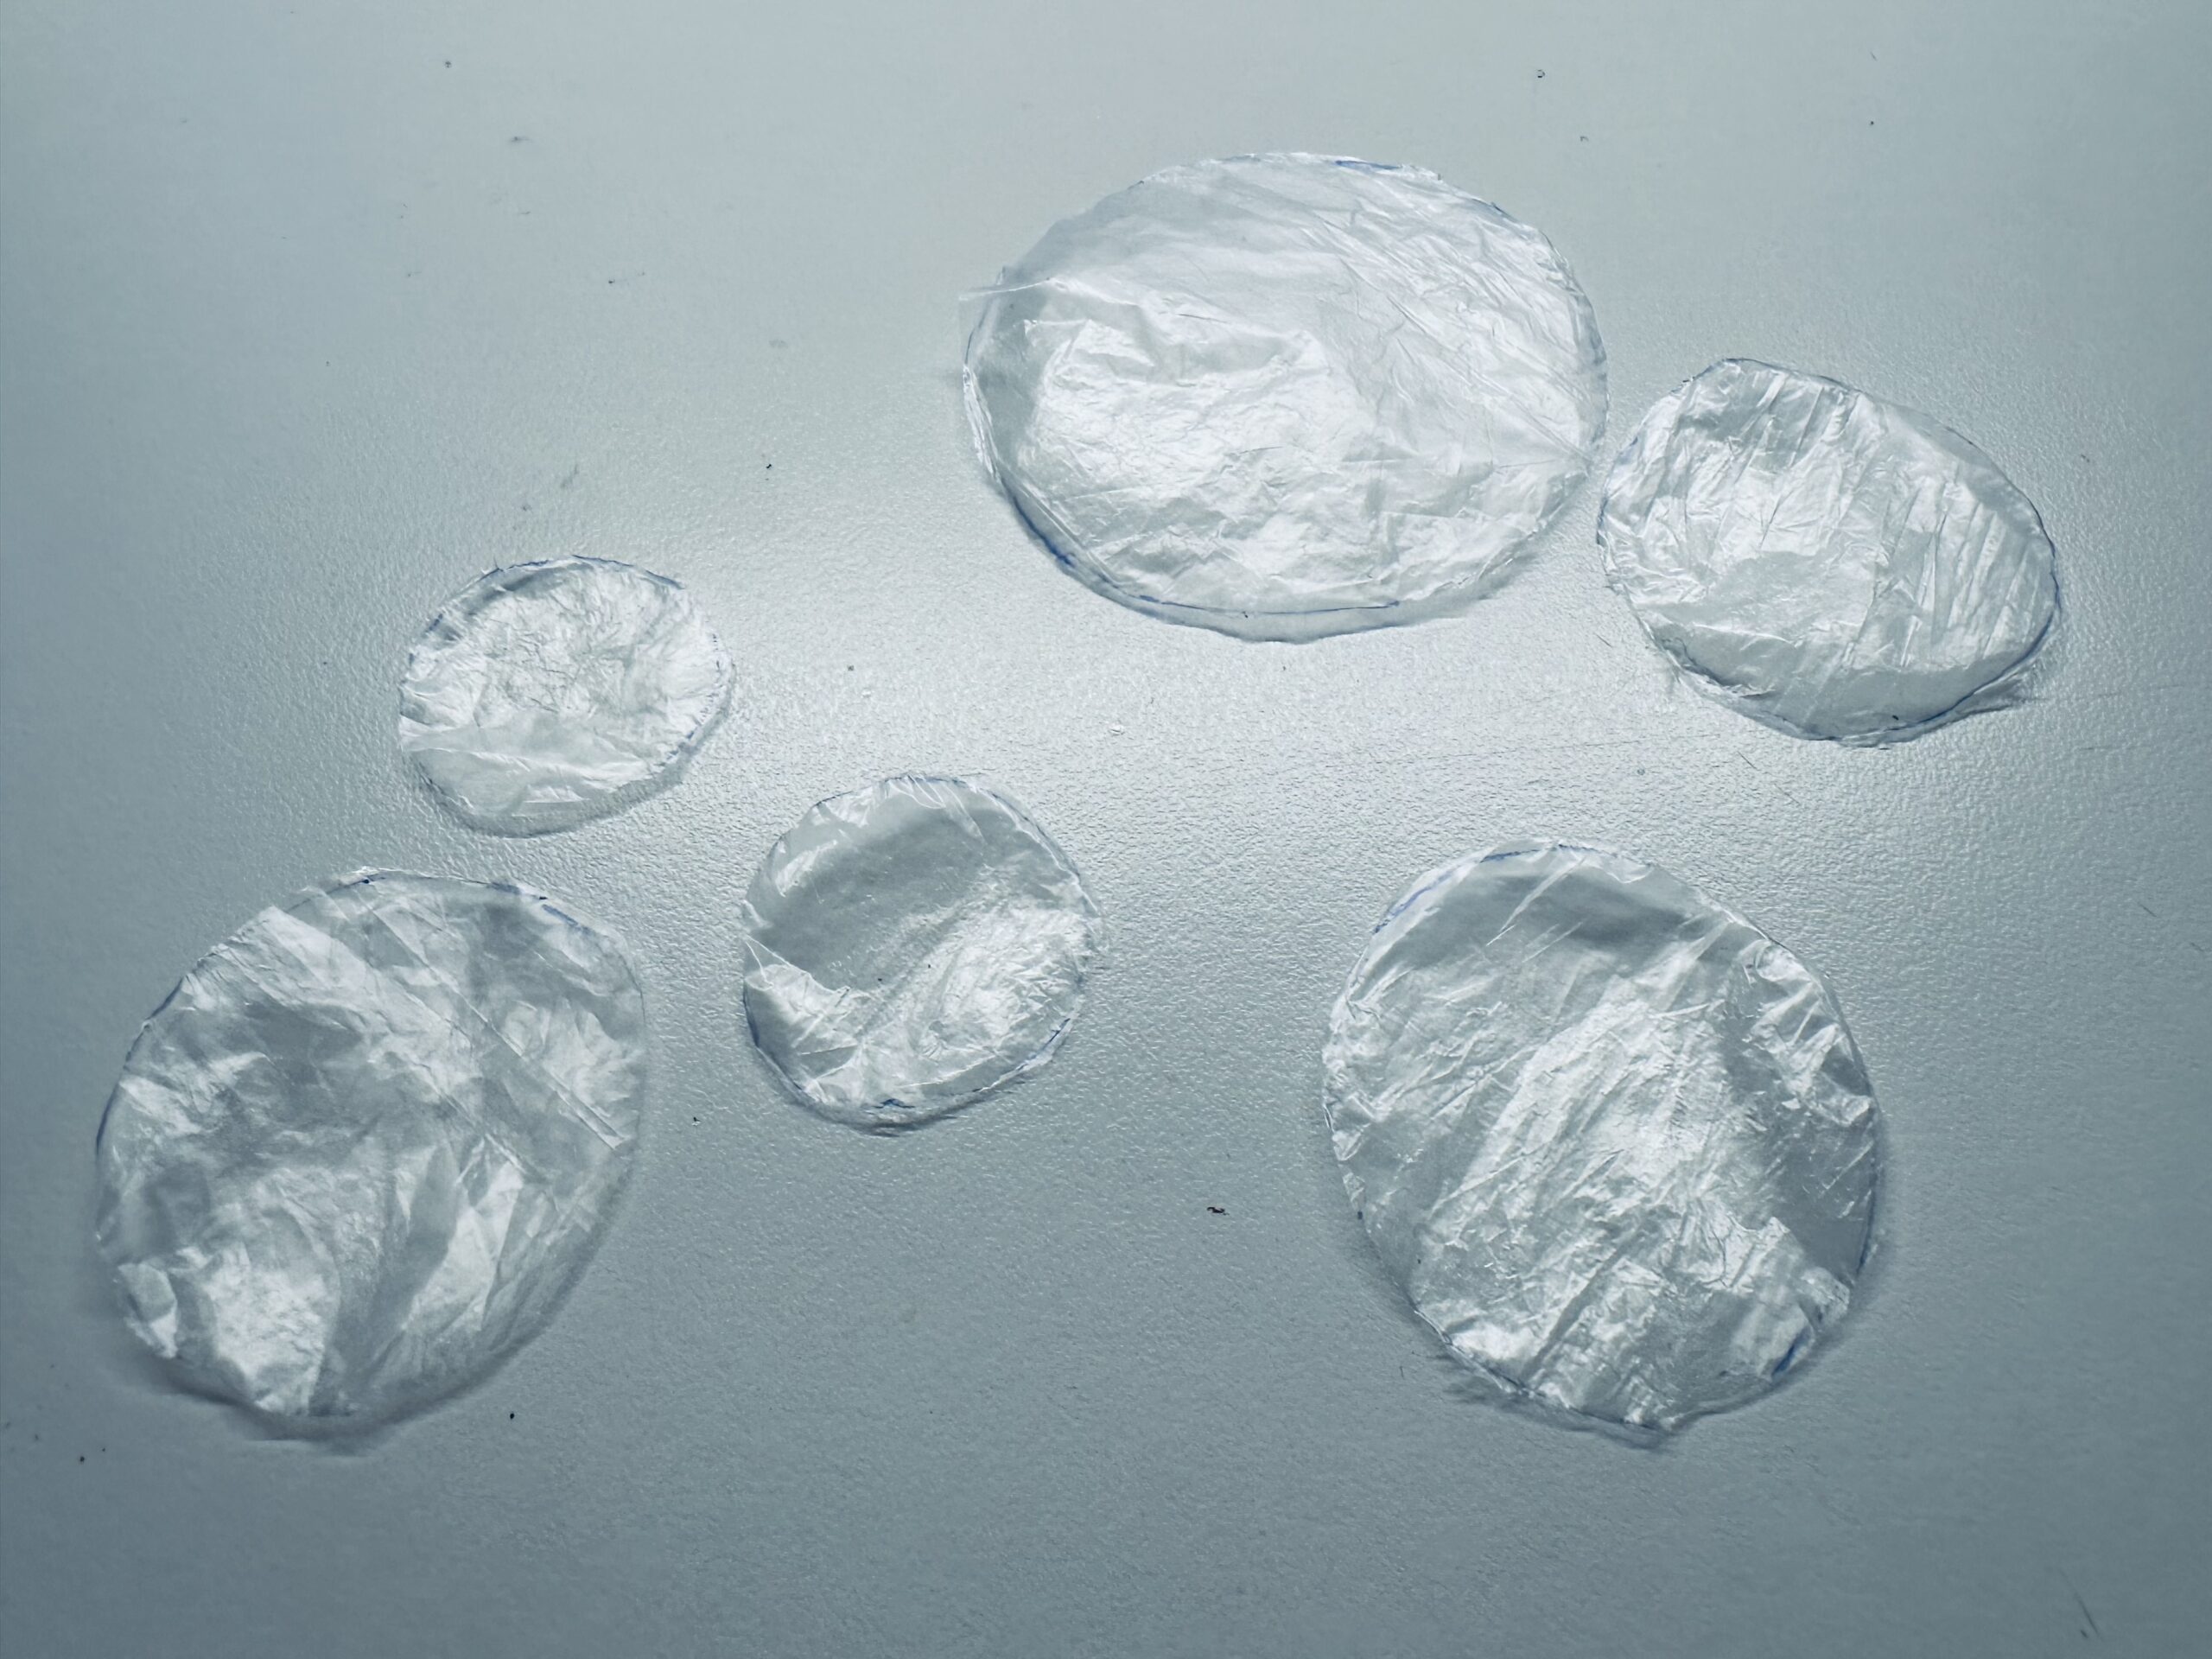
If you're done with it, the circles may still be double.


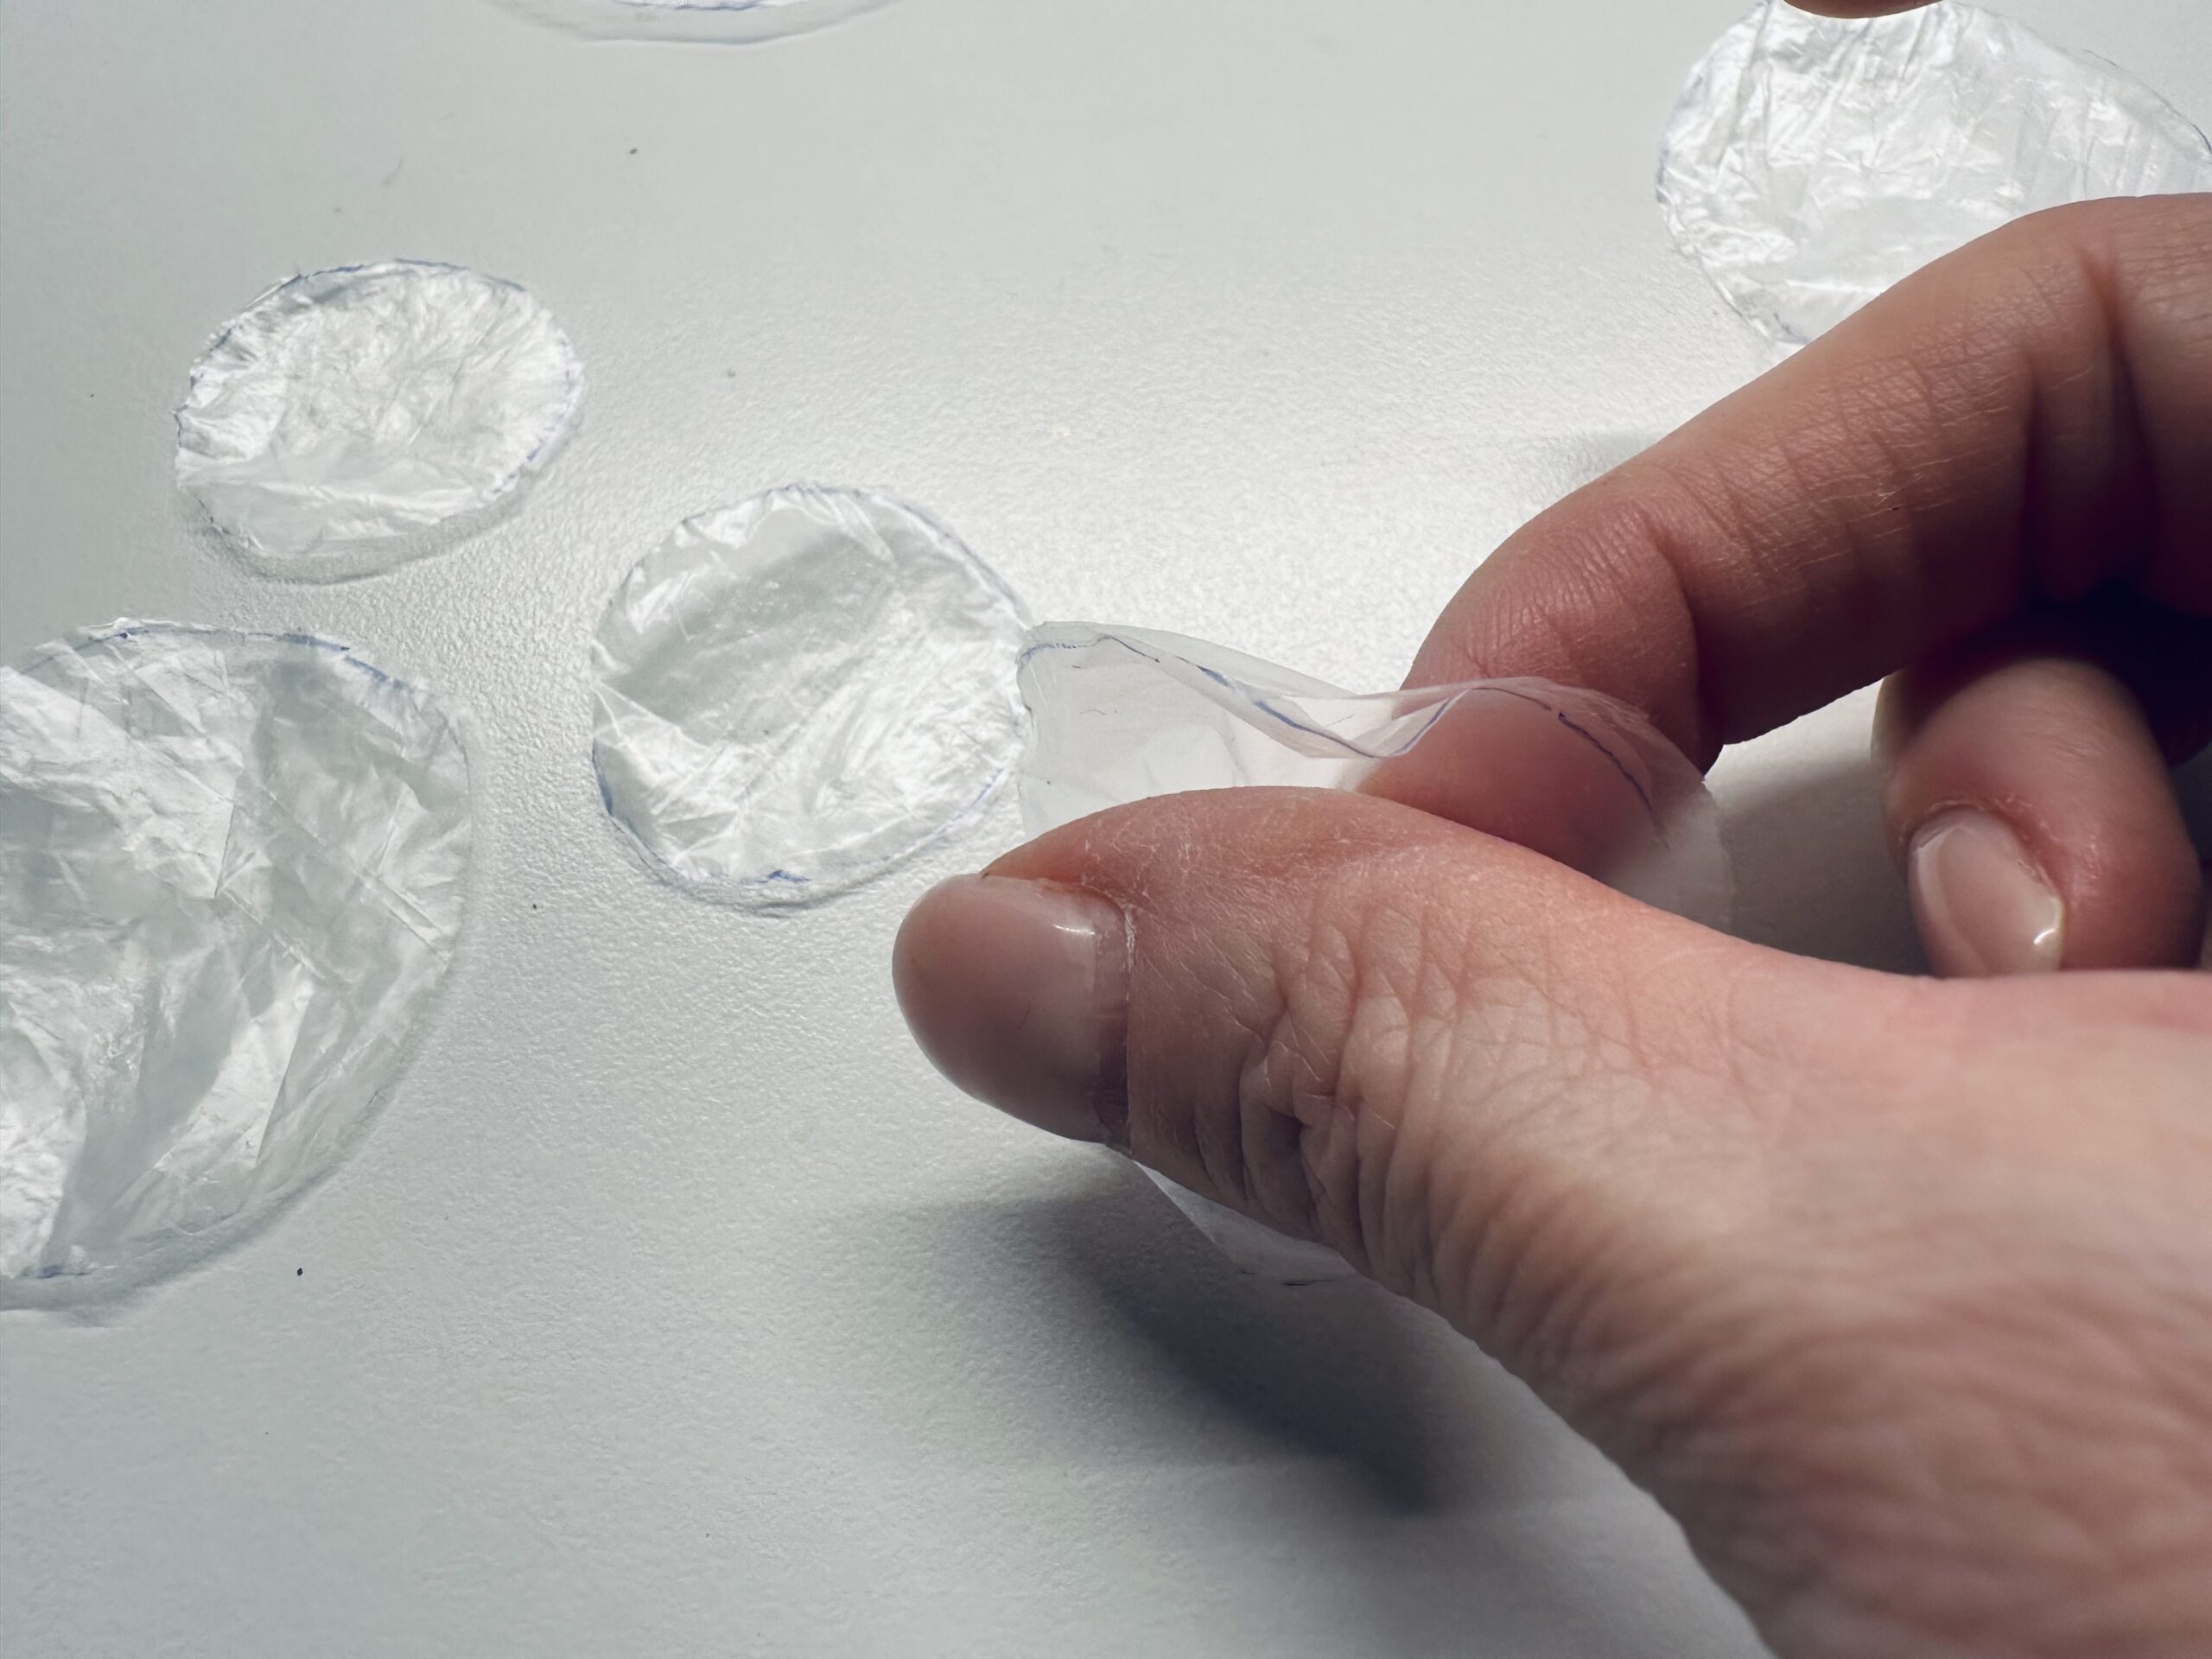
Take a circle in your hand and rub the foil between your thumb and index finger, so they loosen more easily and you can pull the circles apart.


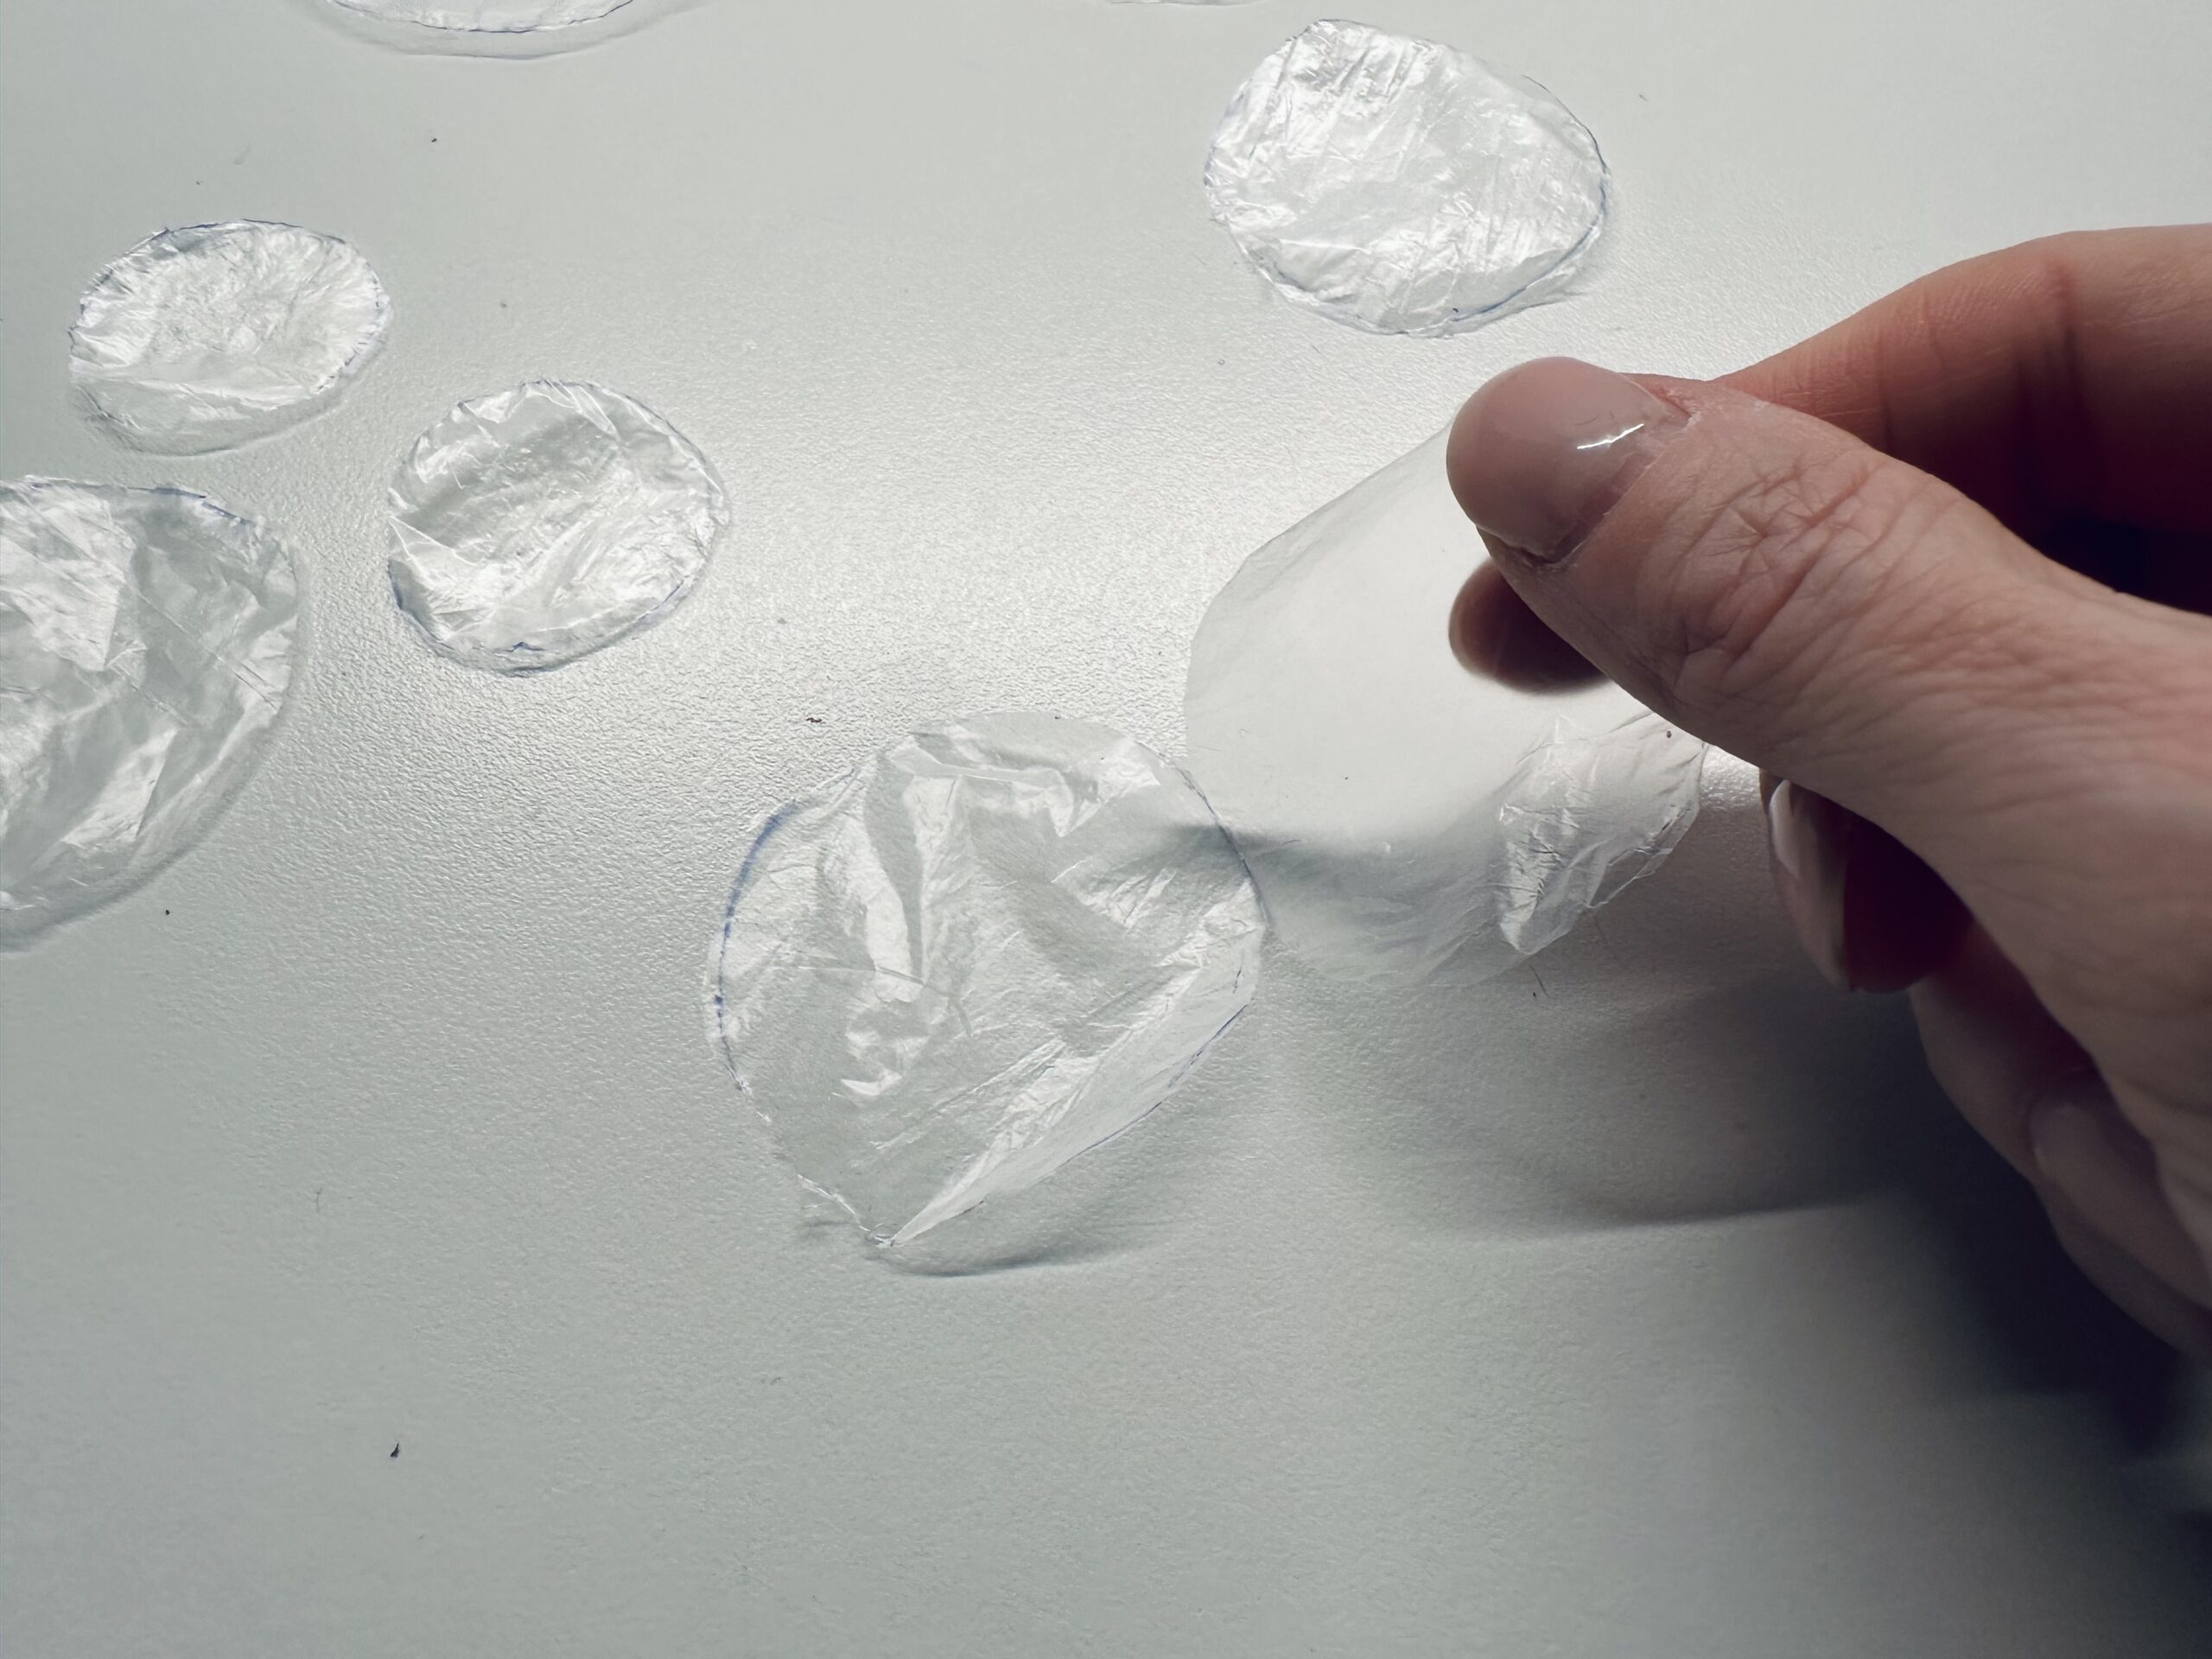
That's how you get two bubbles out of a circle.


Take a blue paper.
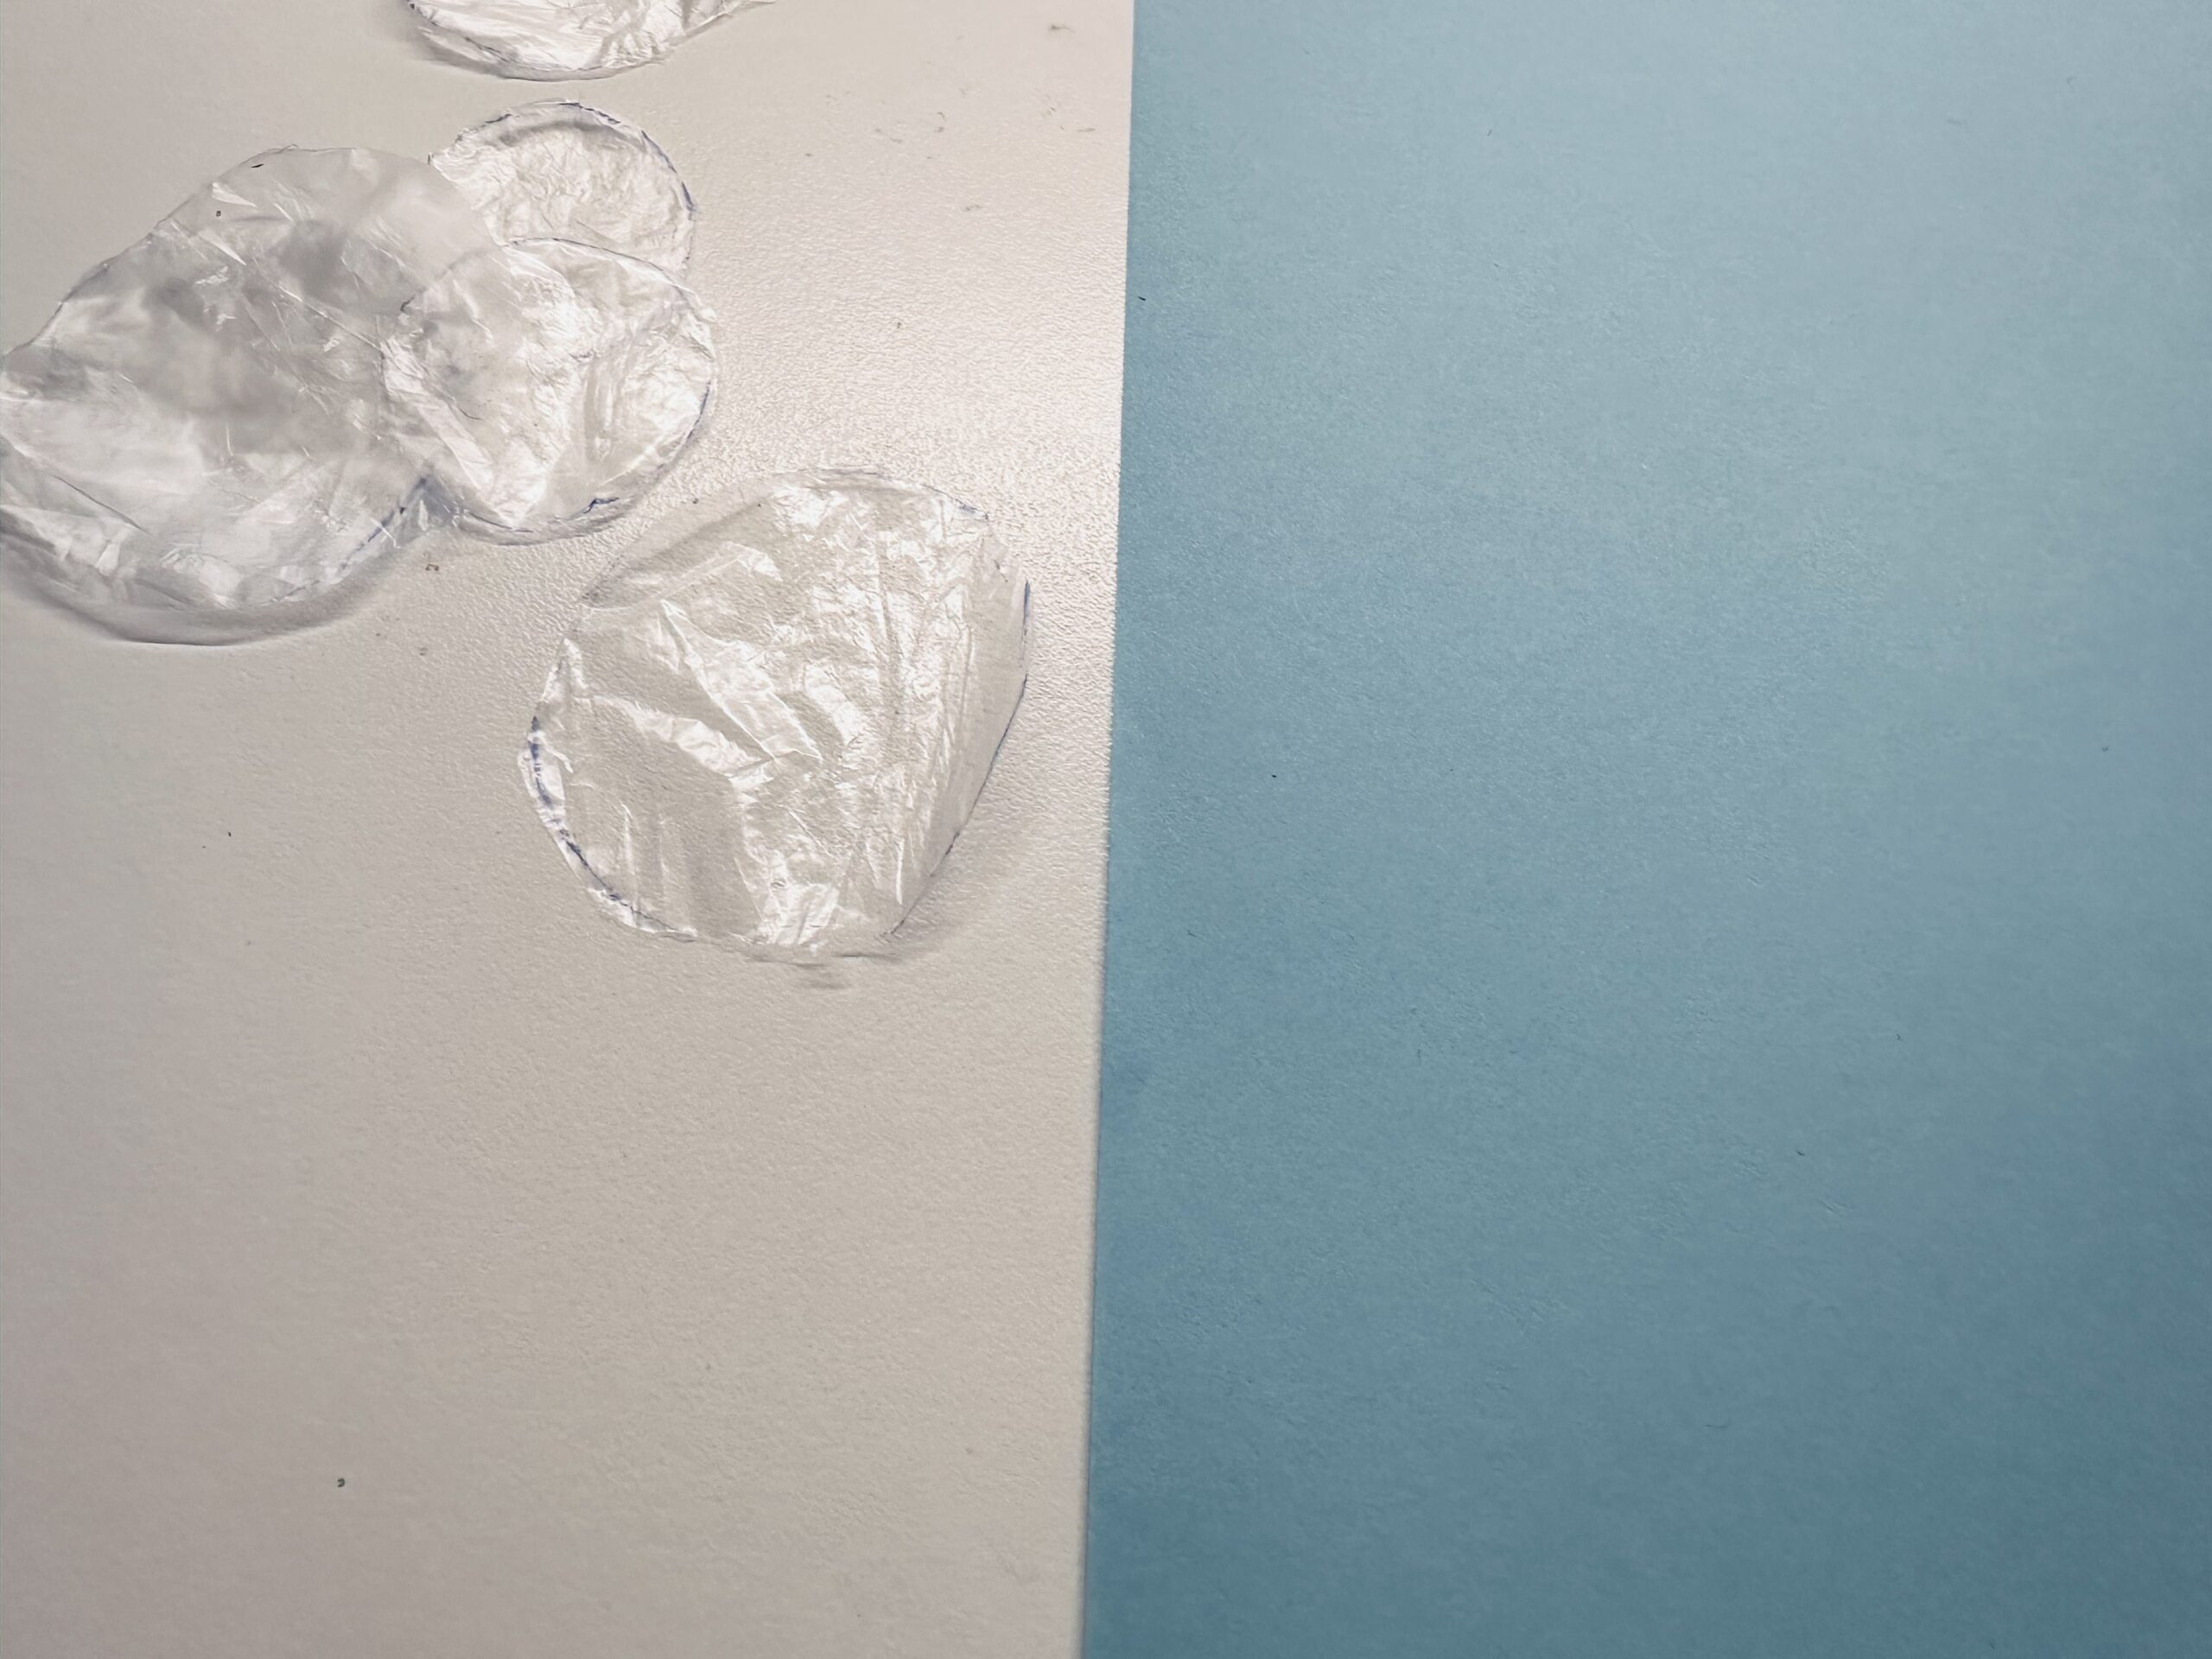


Put the air bubbles on it.
Now you can leave the picture as soap bubbles or you make another diver/snorcher.
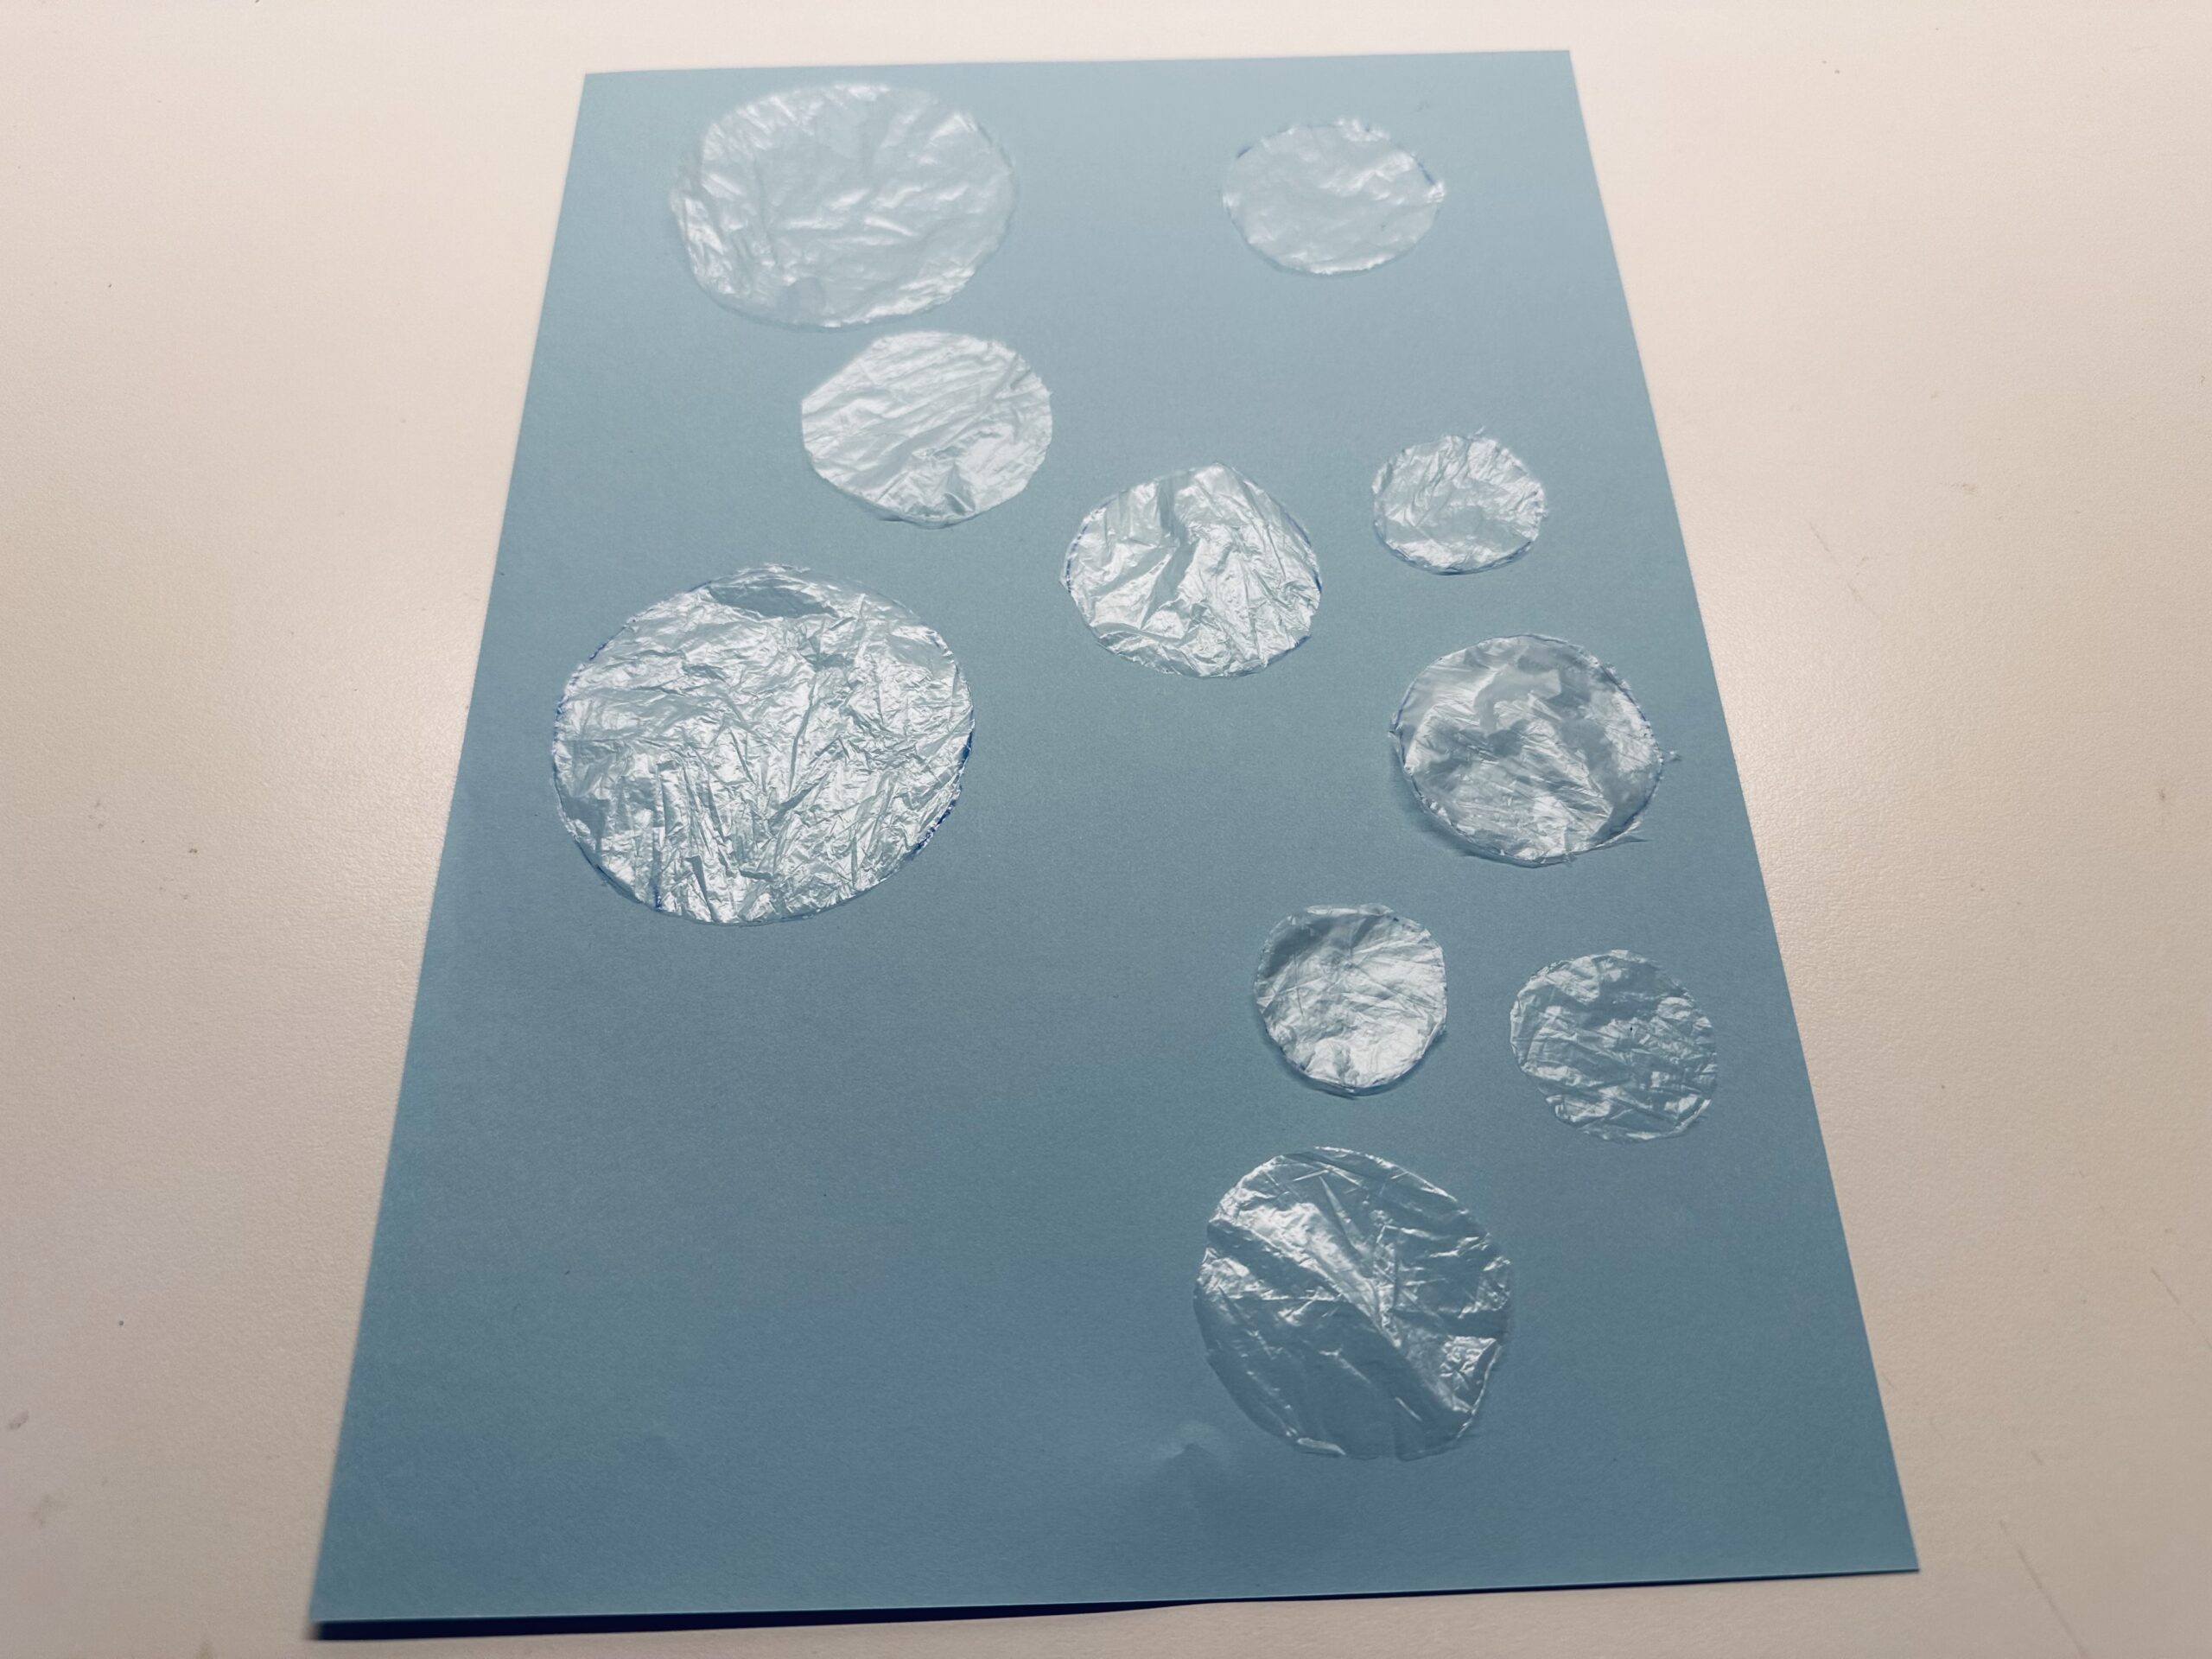


Take a black-and-white copy of a photo of you, for example.
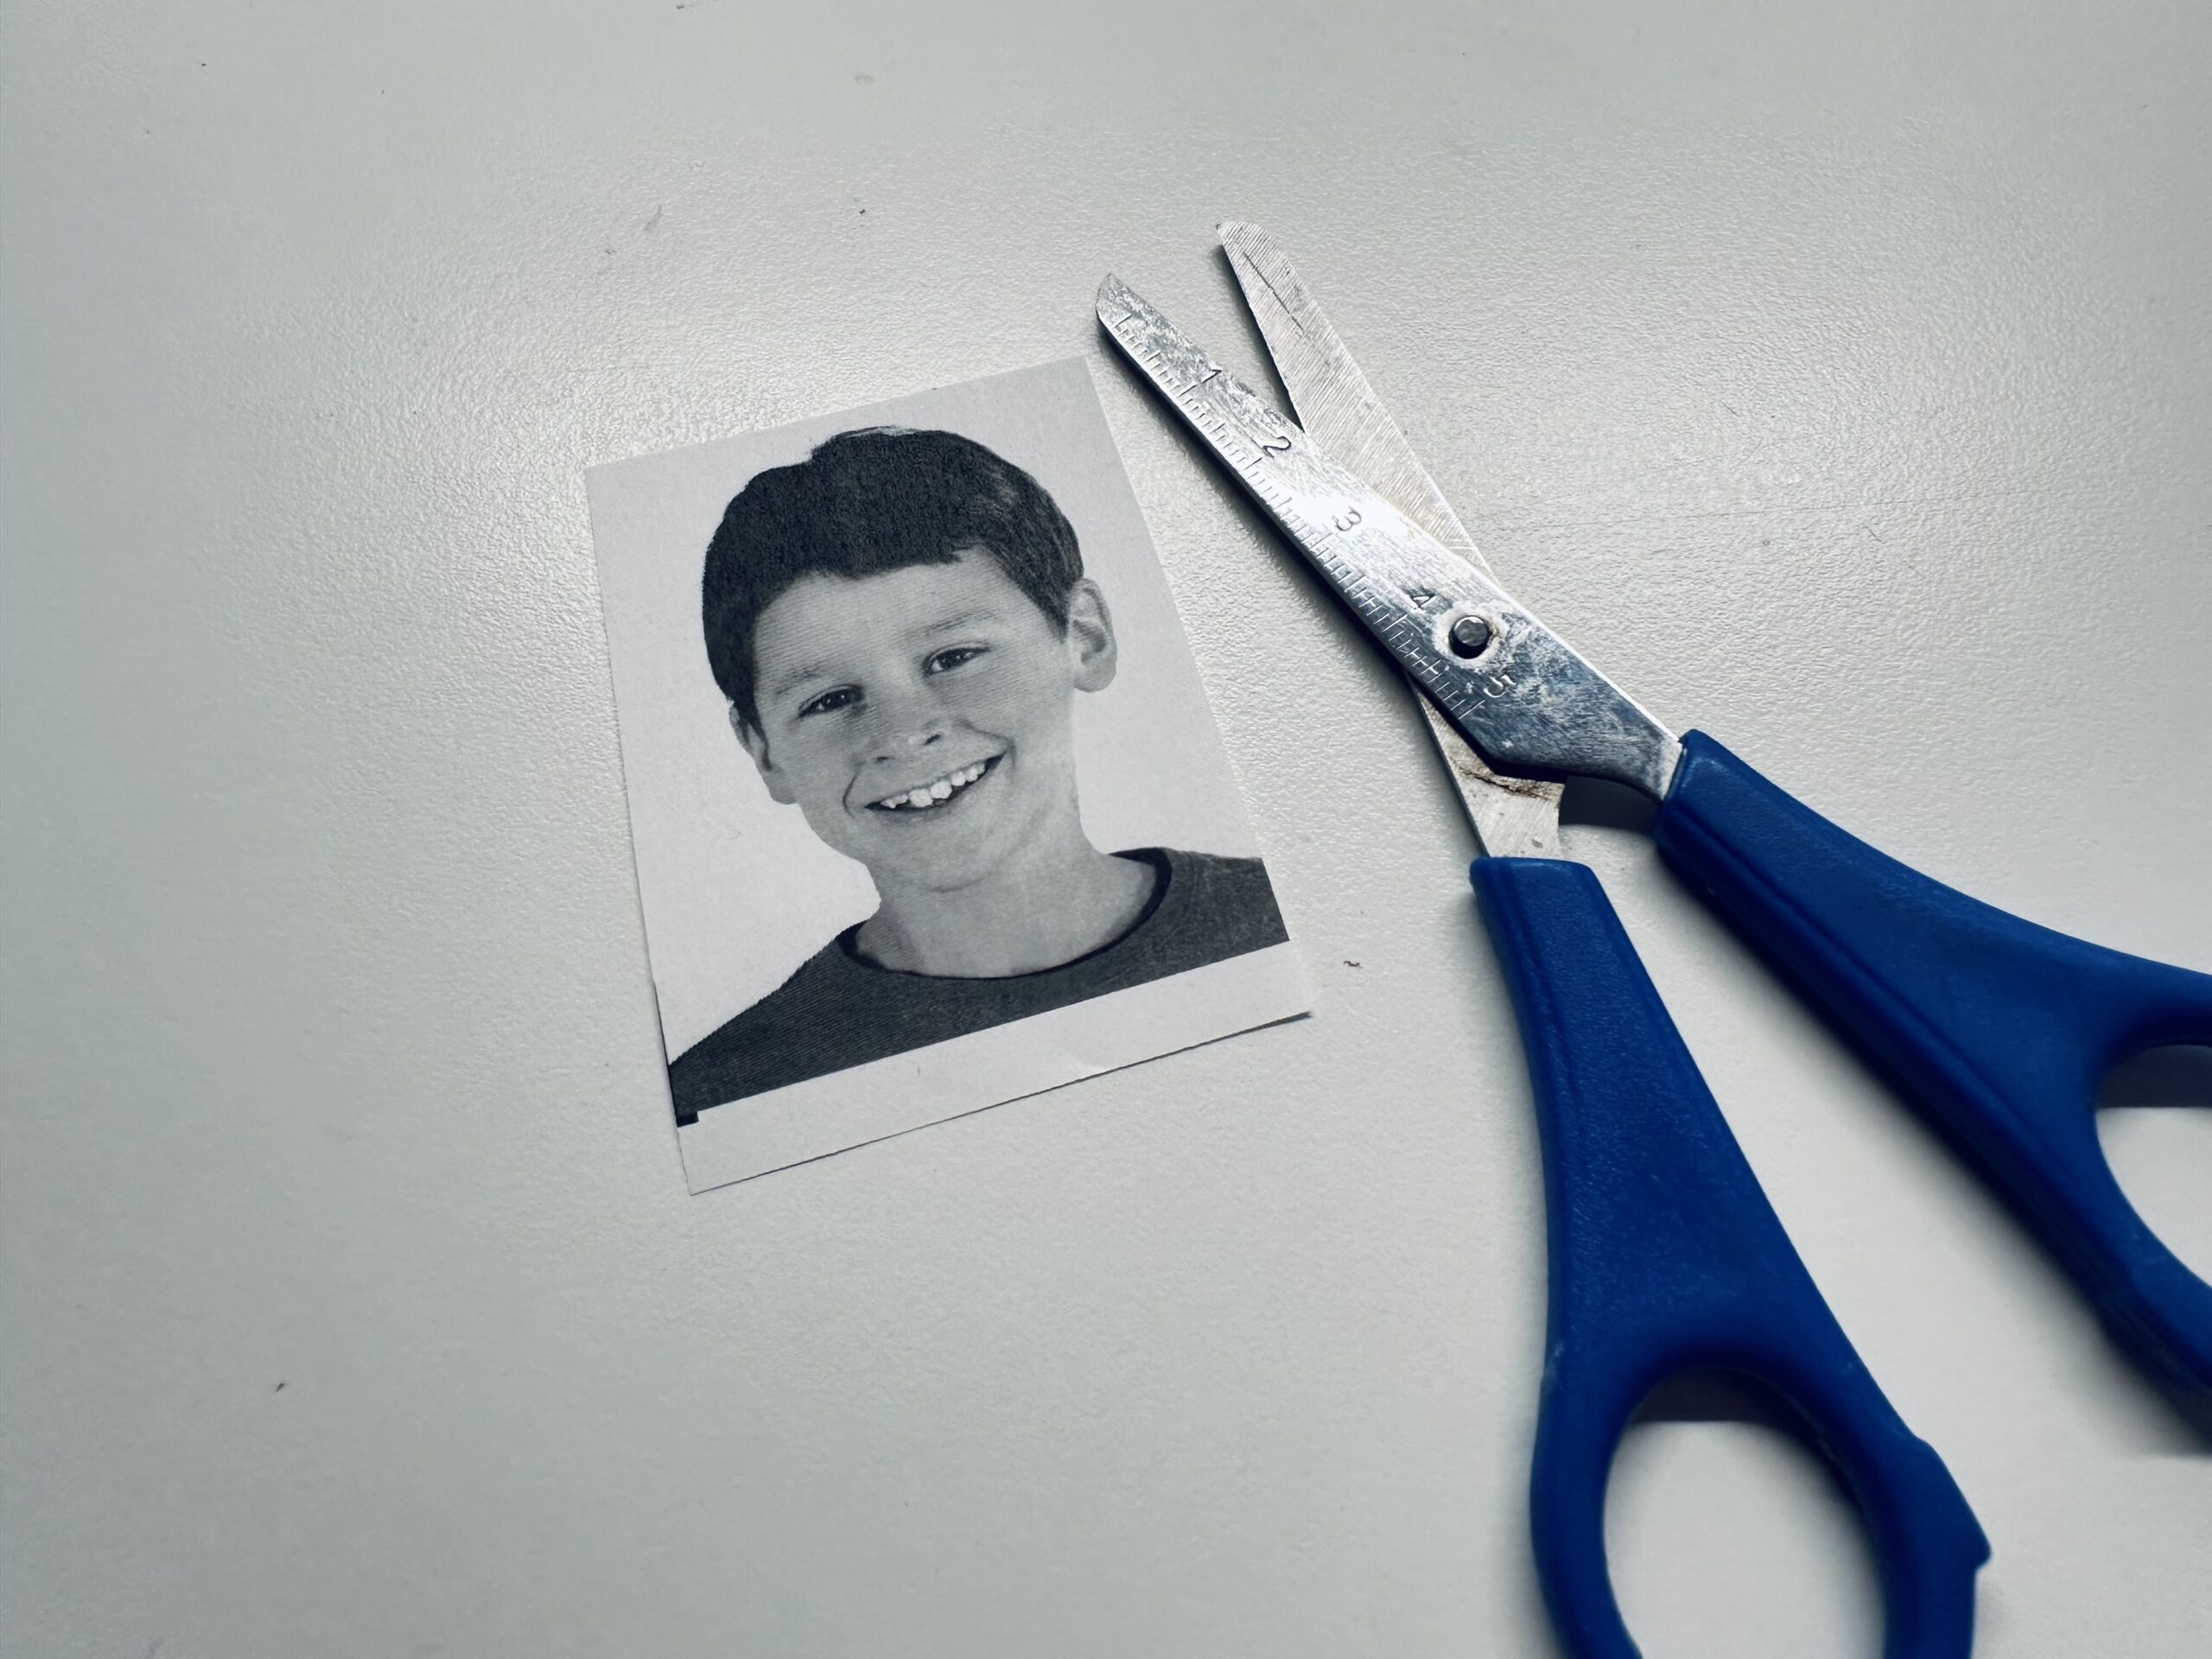


Cut out your head. You can also leave the outline on your upper body.
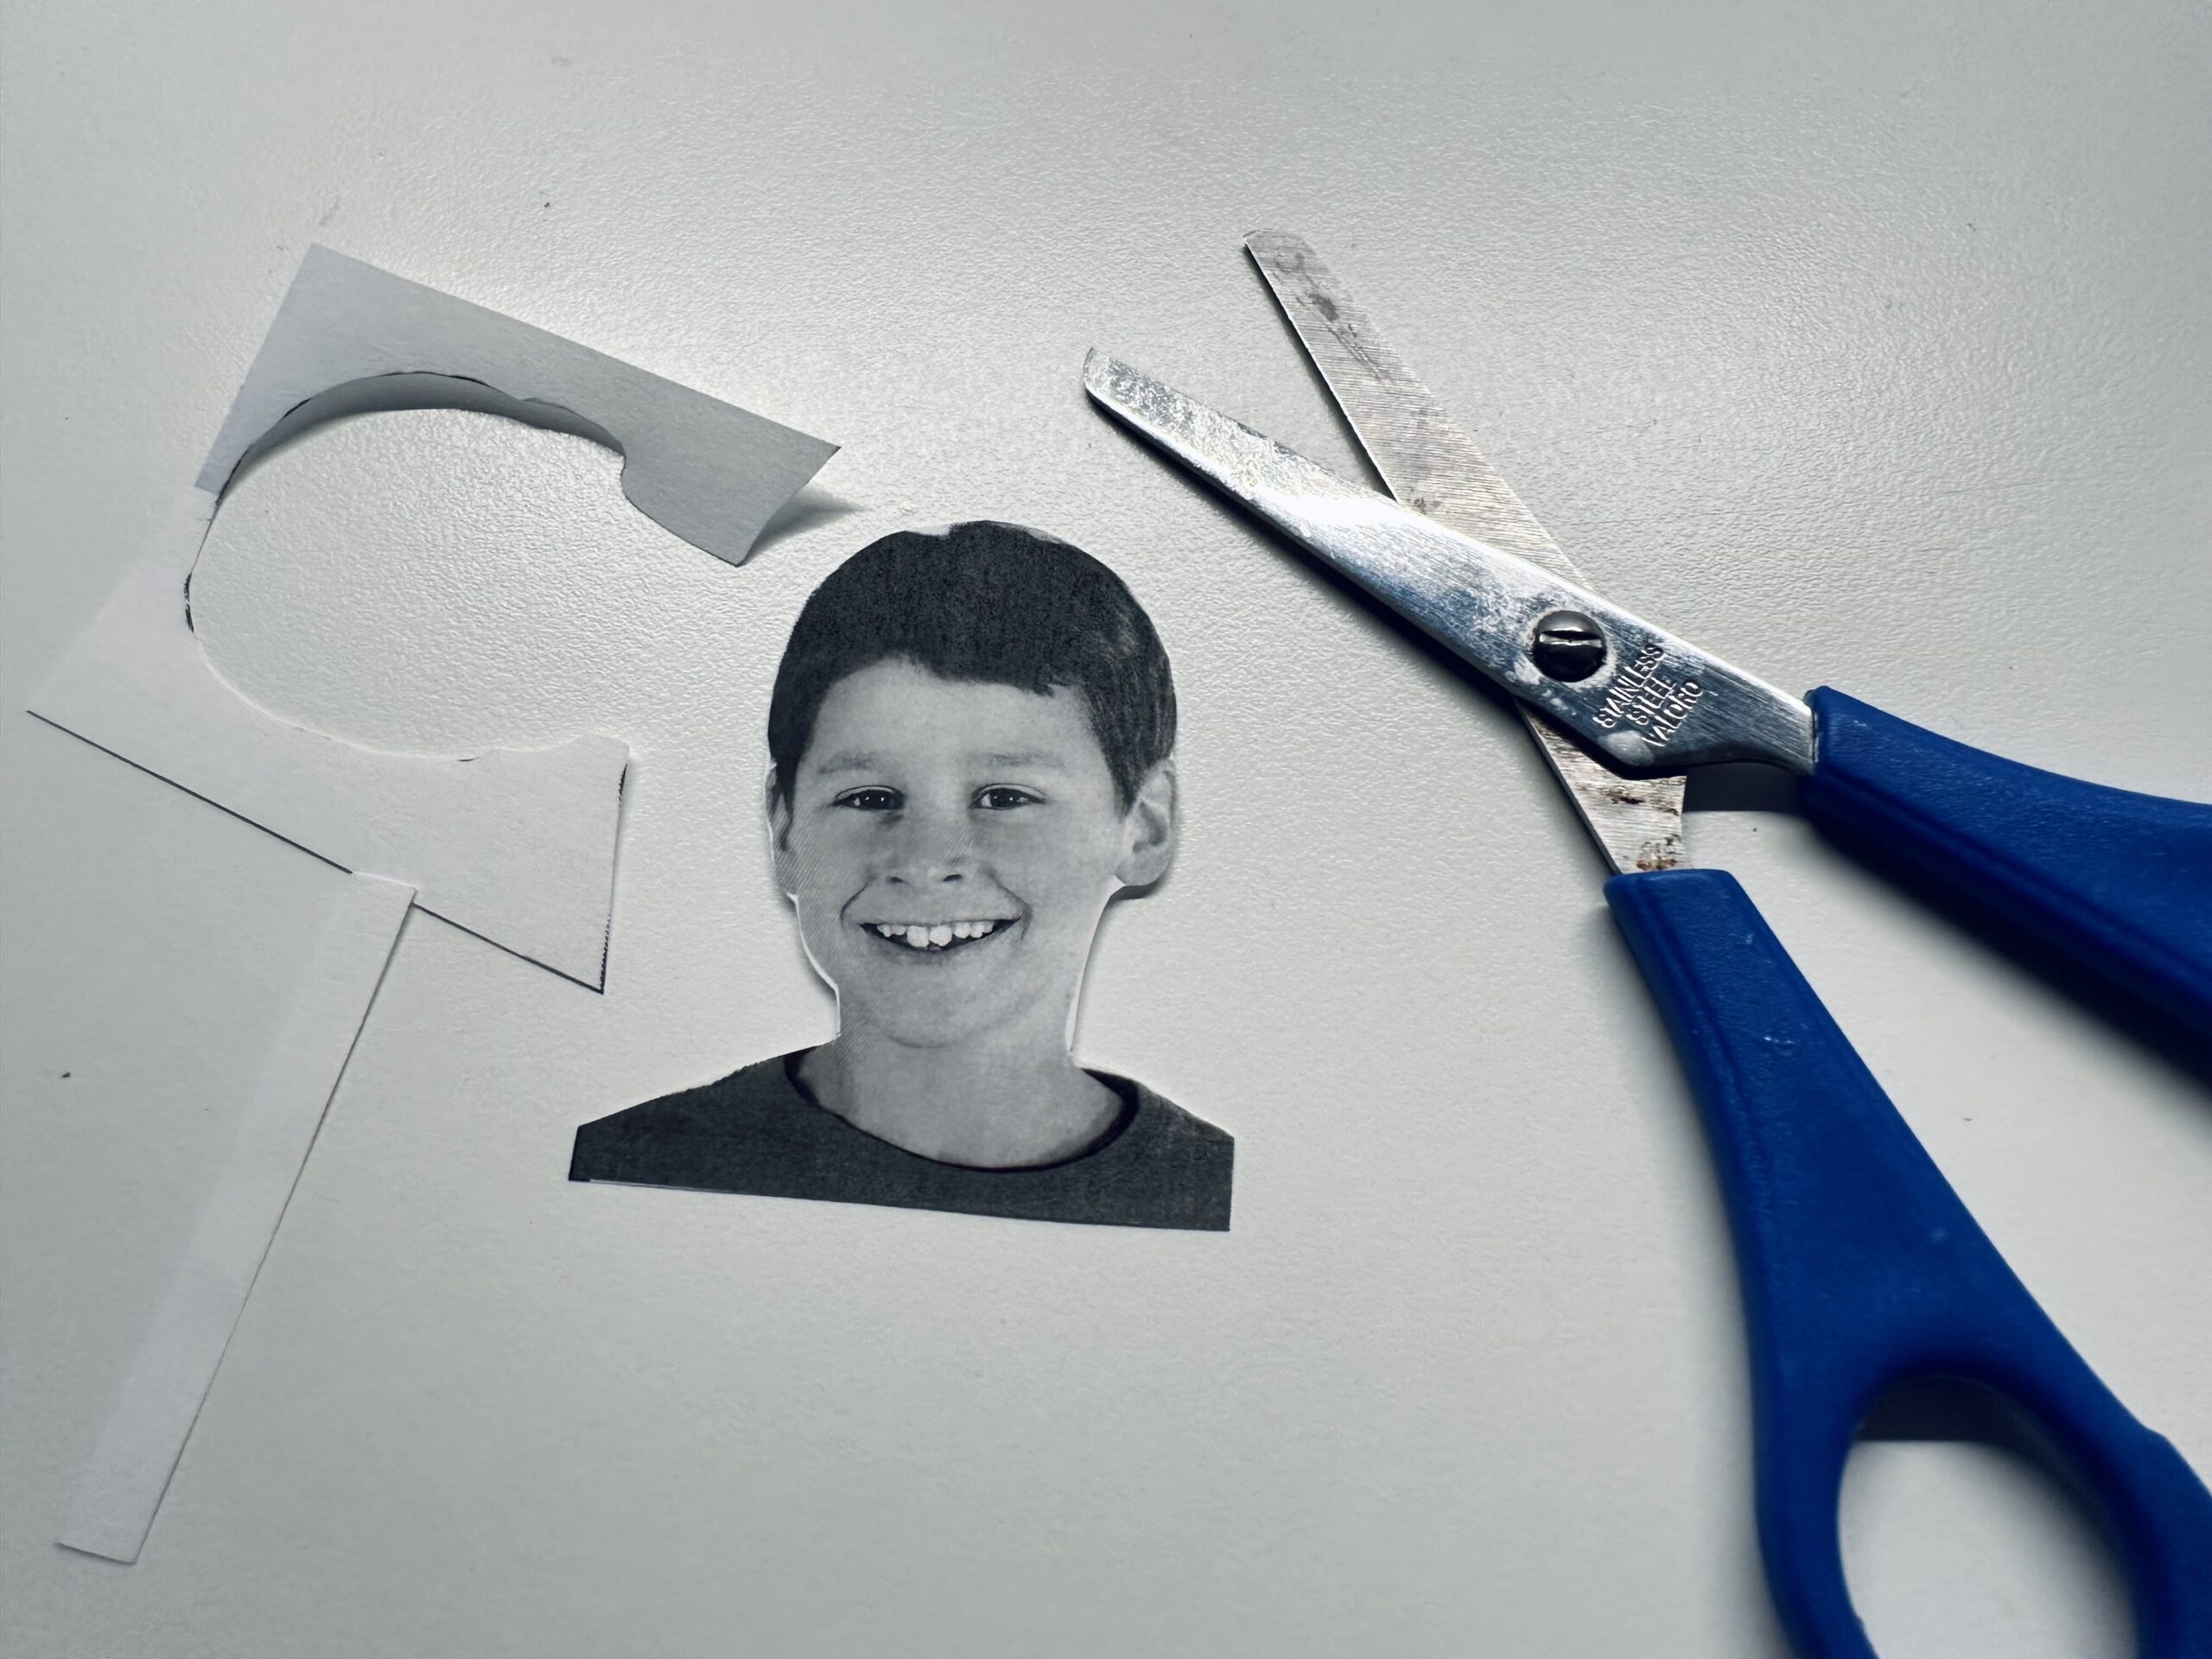


Take a colorful clay paper and paint a diver's glasses. It should be the size above the eyes.
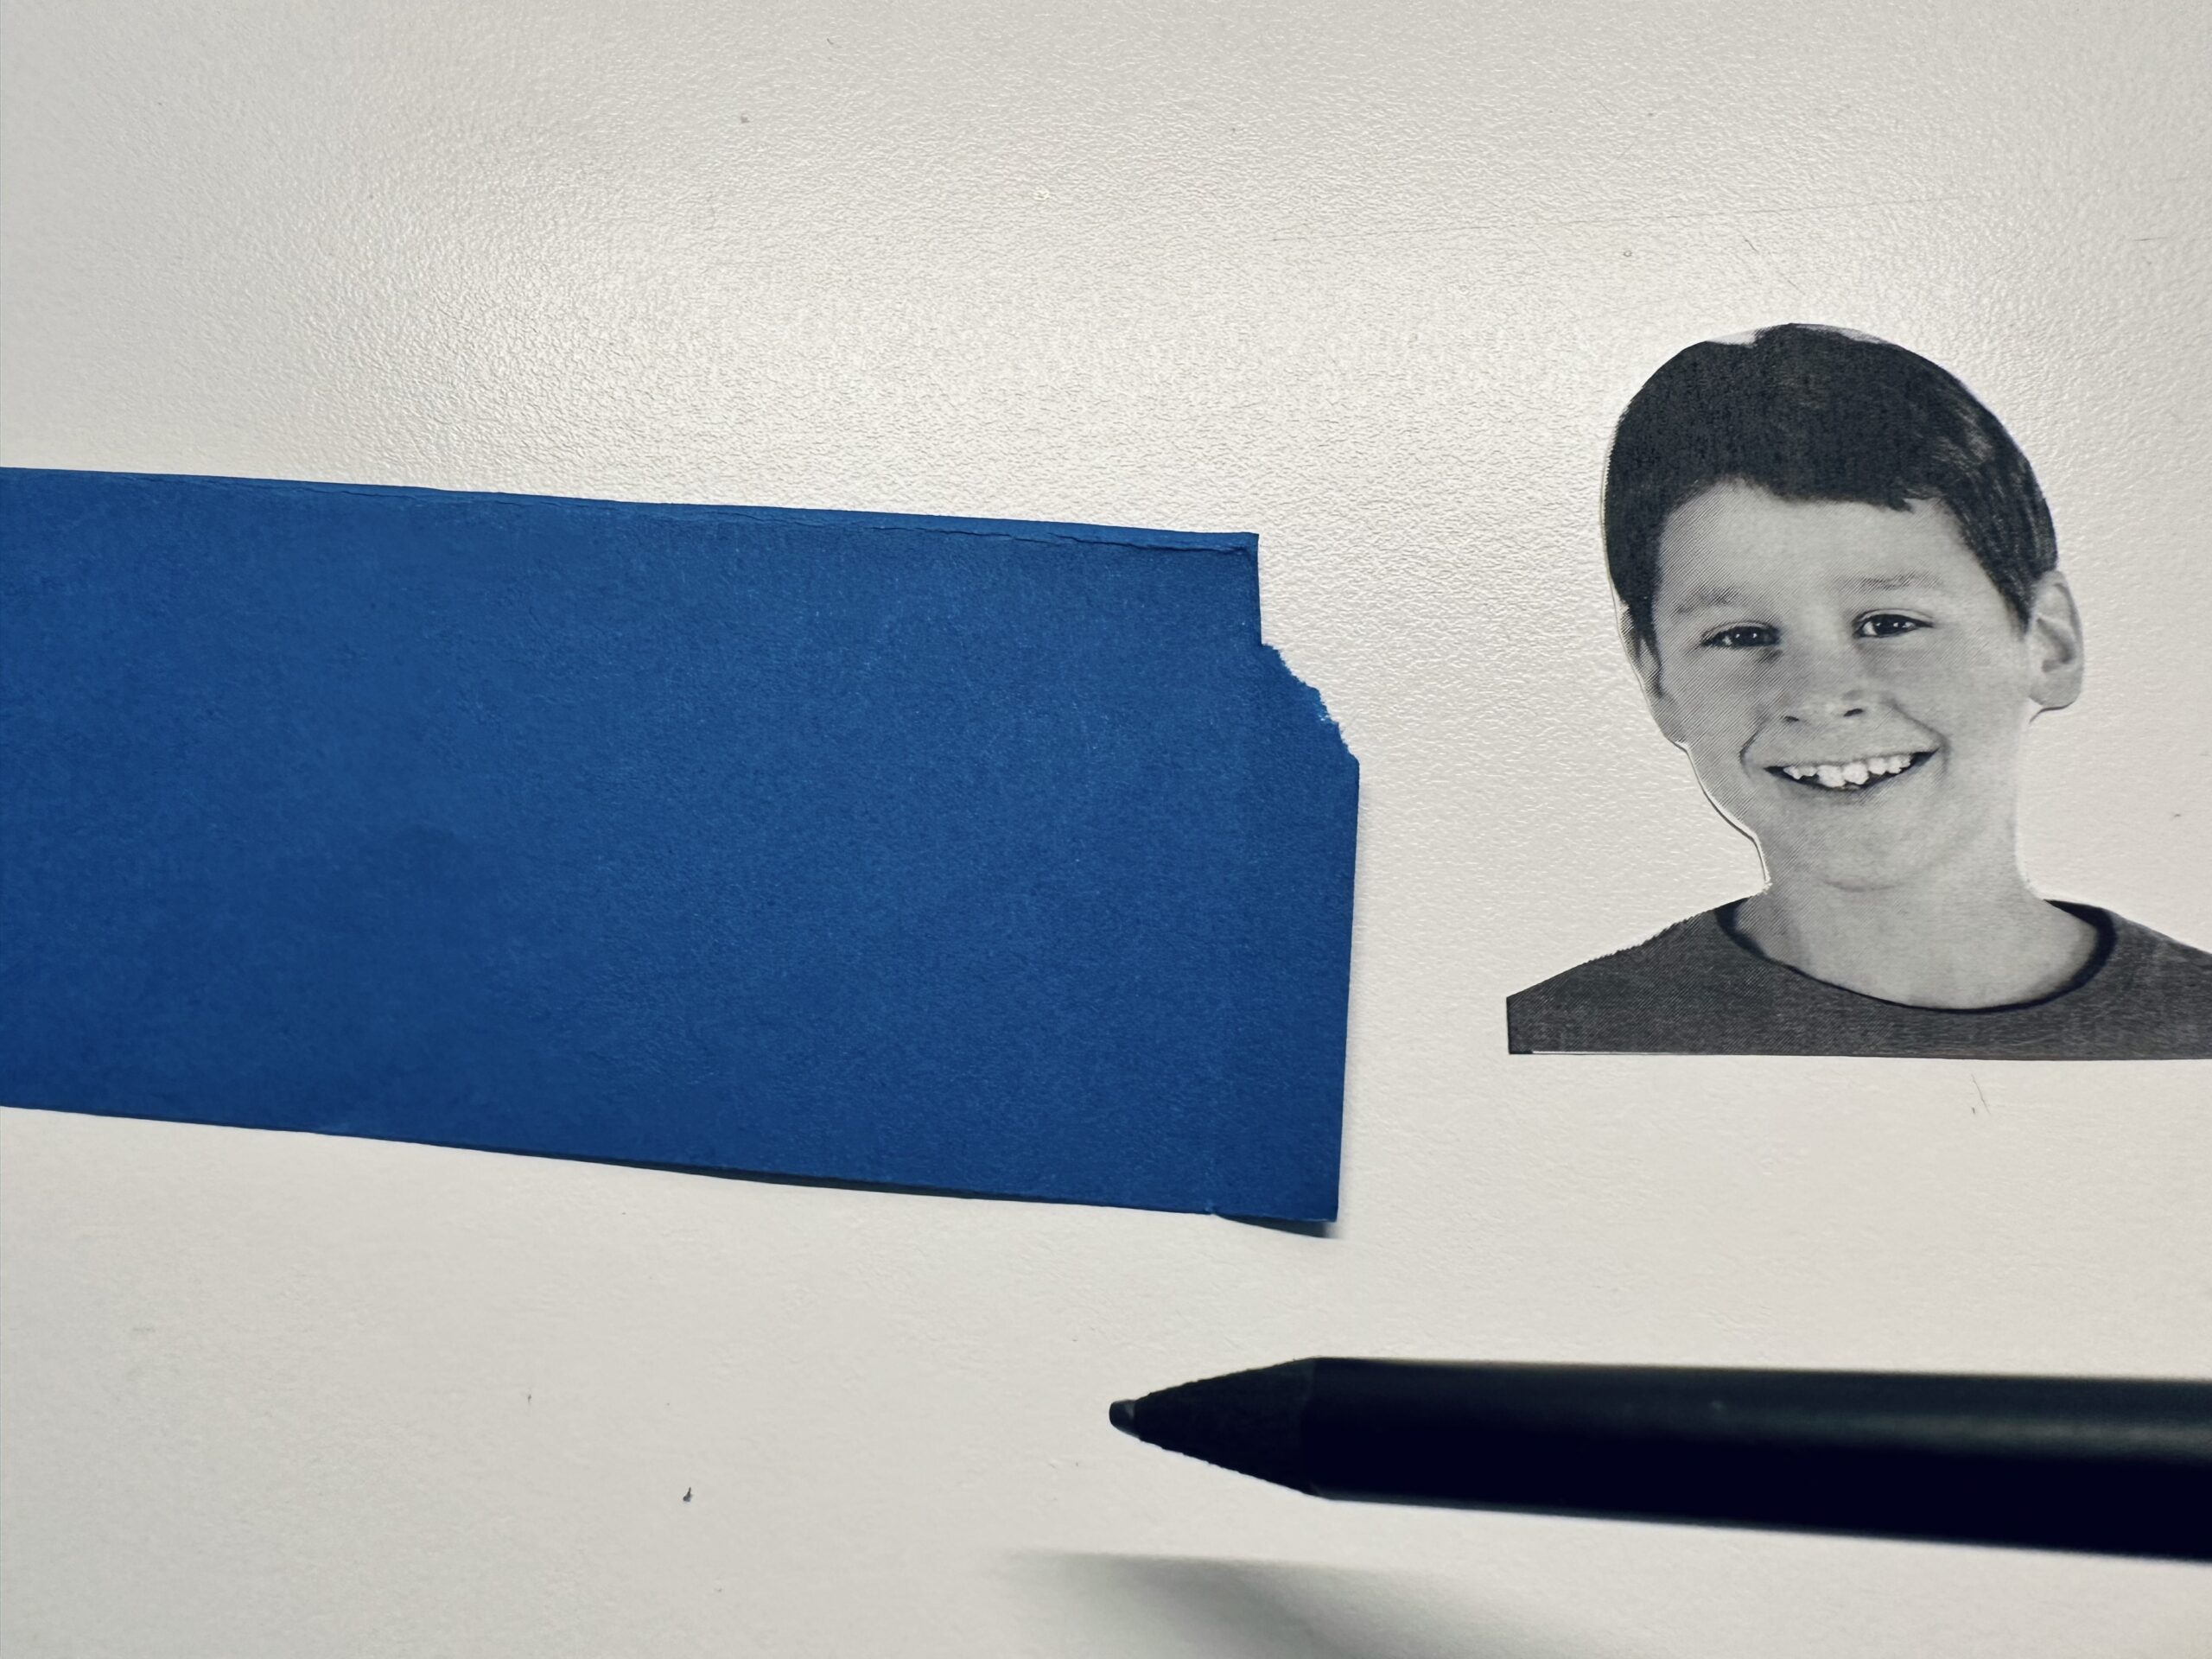


Like that.
Make a thick edge so you can cut out the "windows" for your eyes.
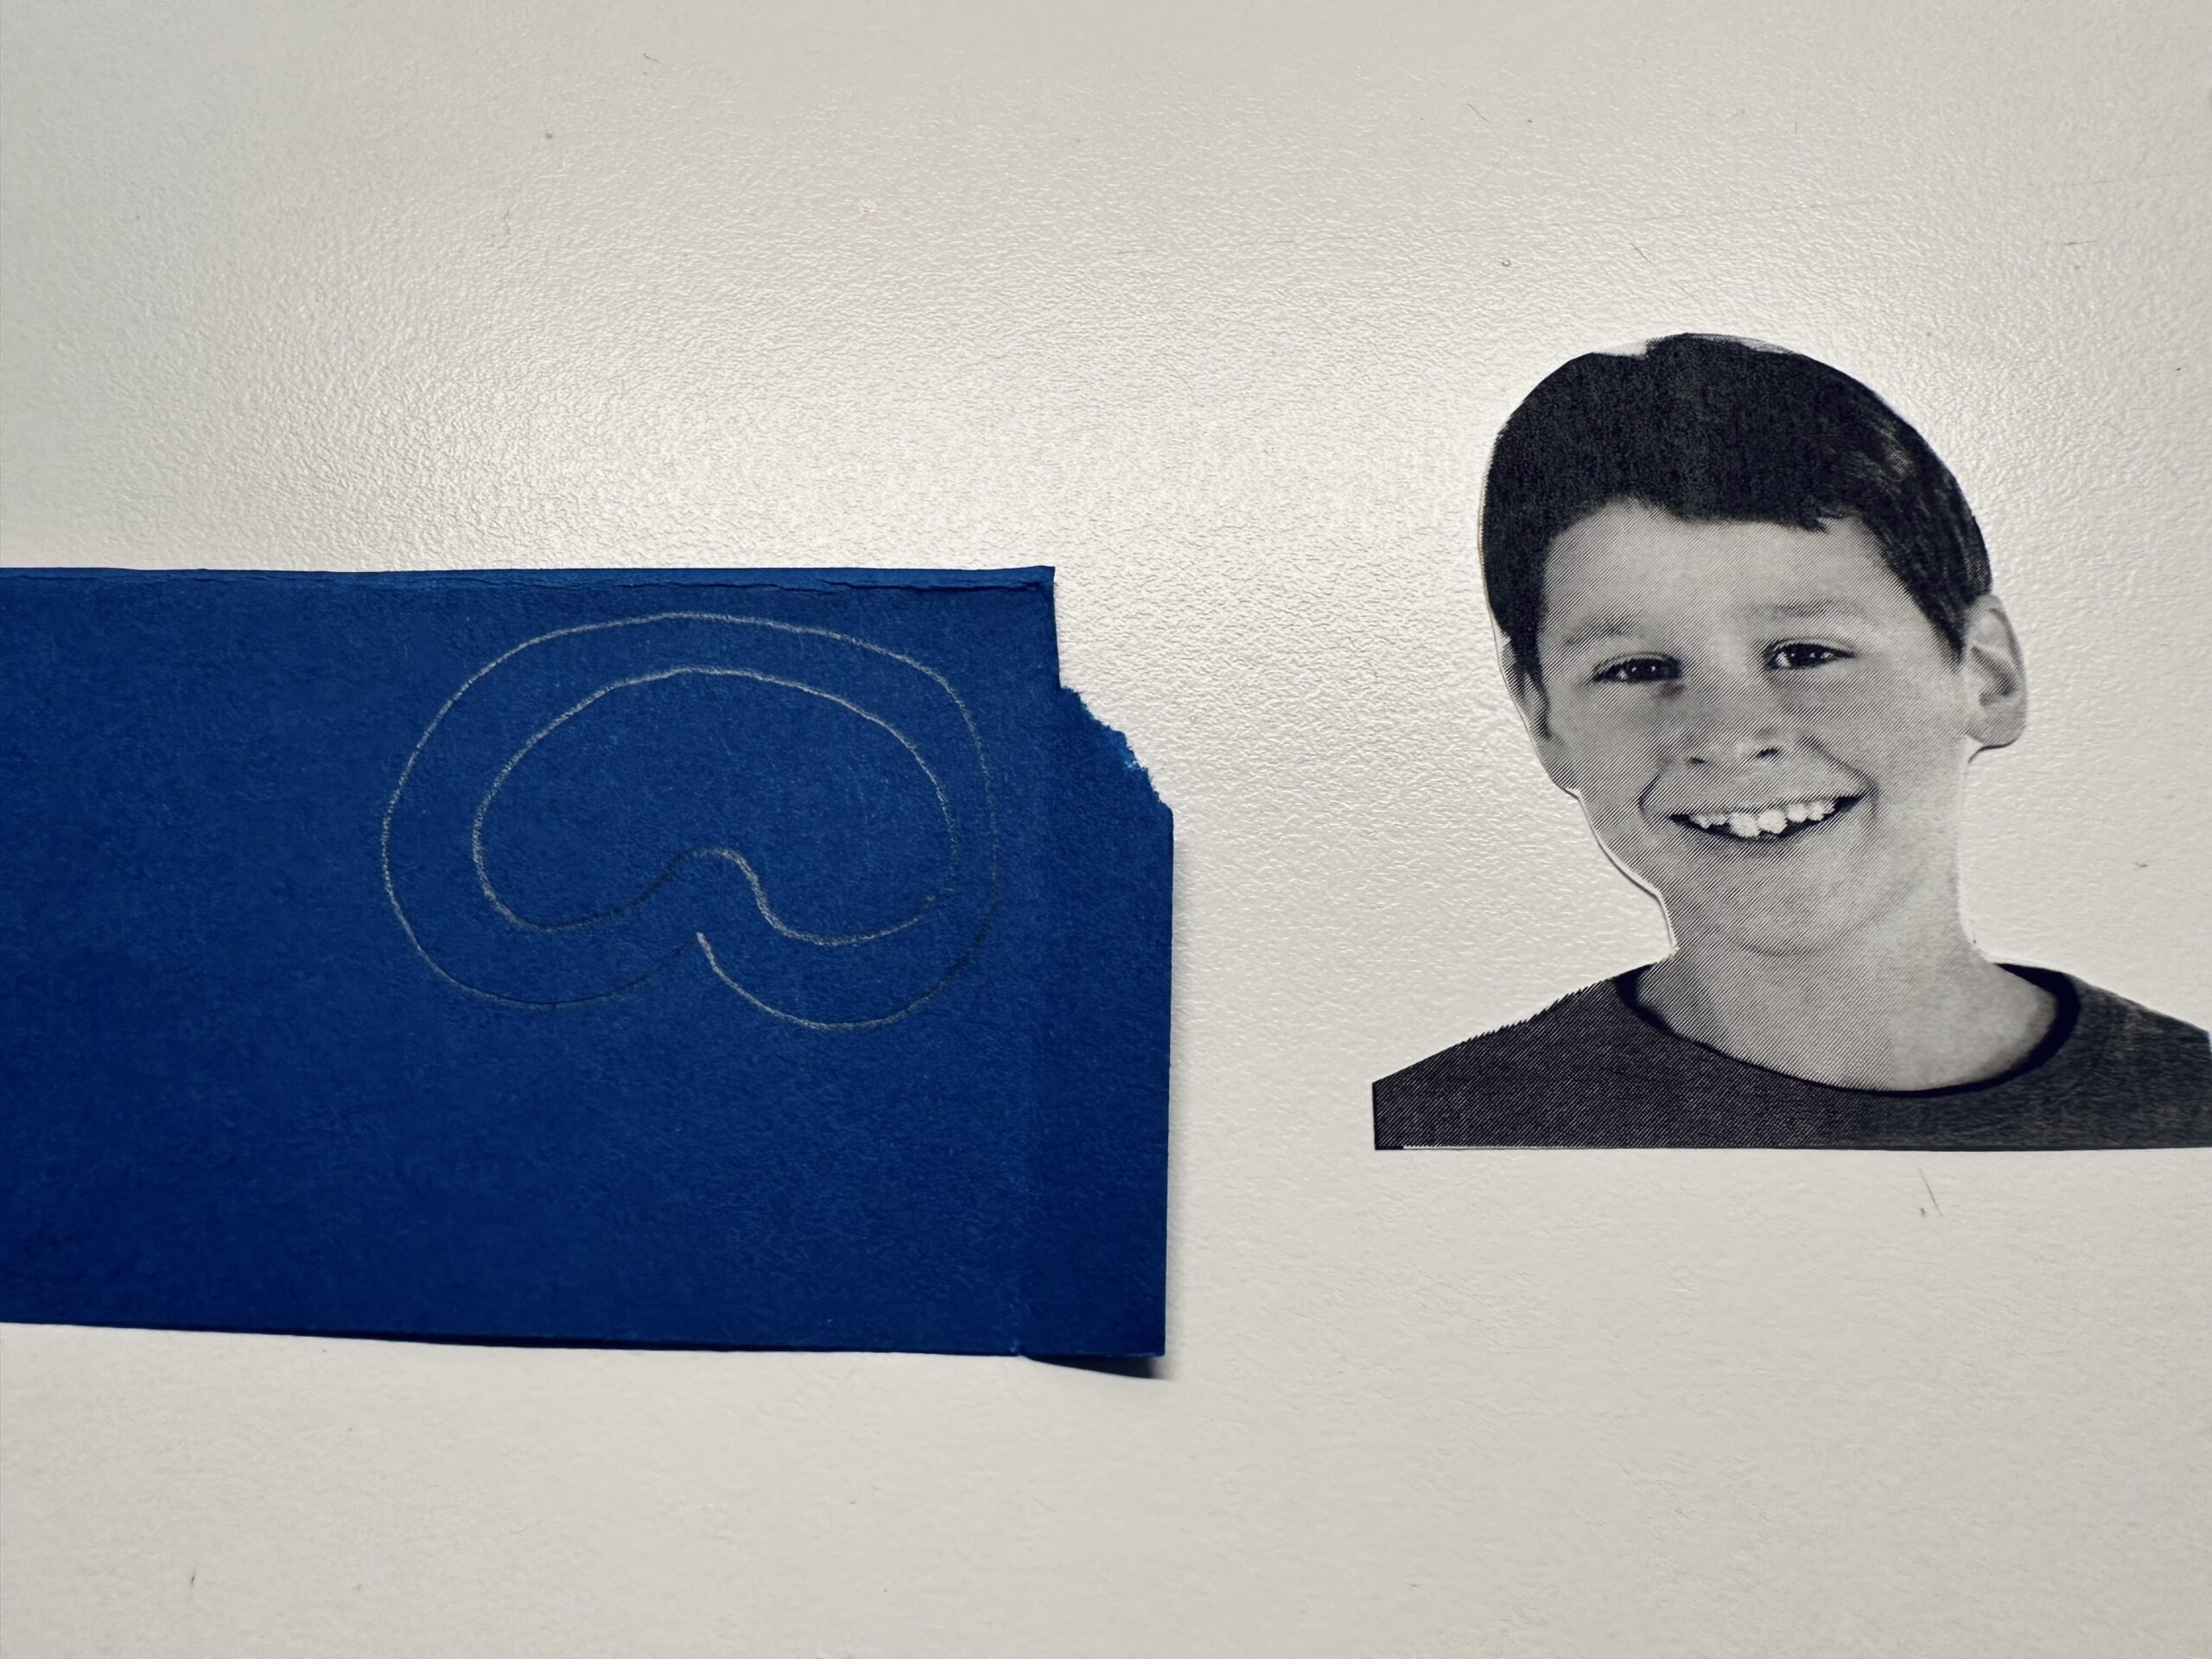


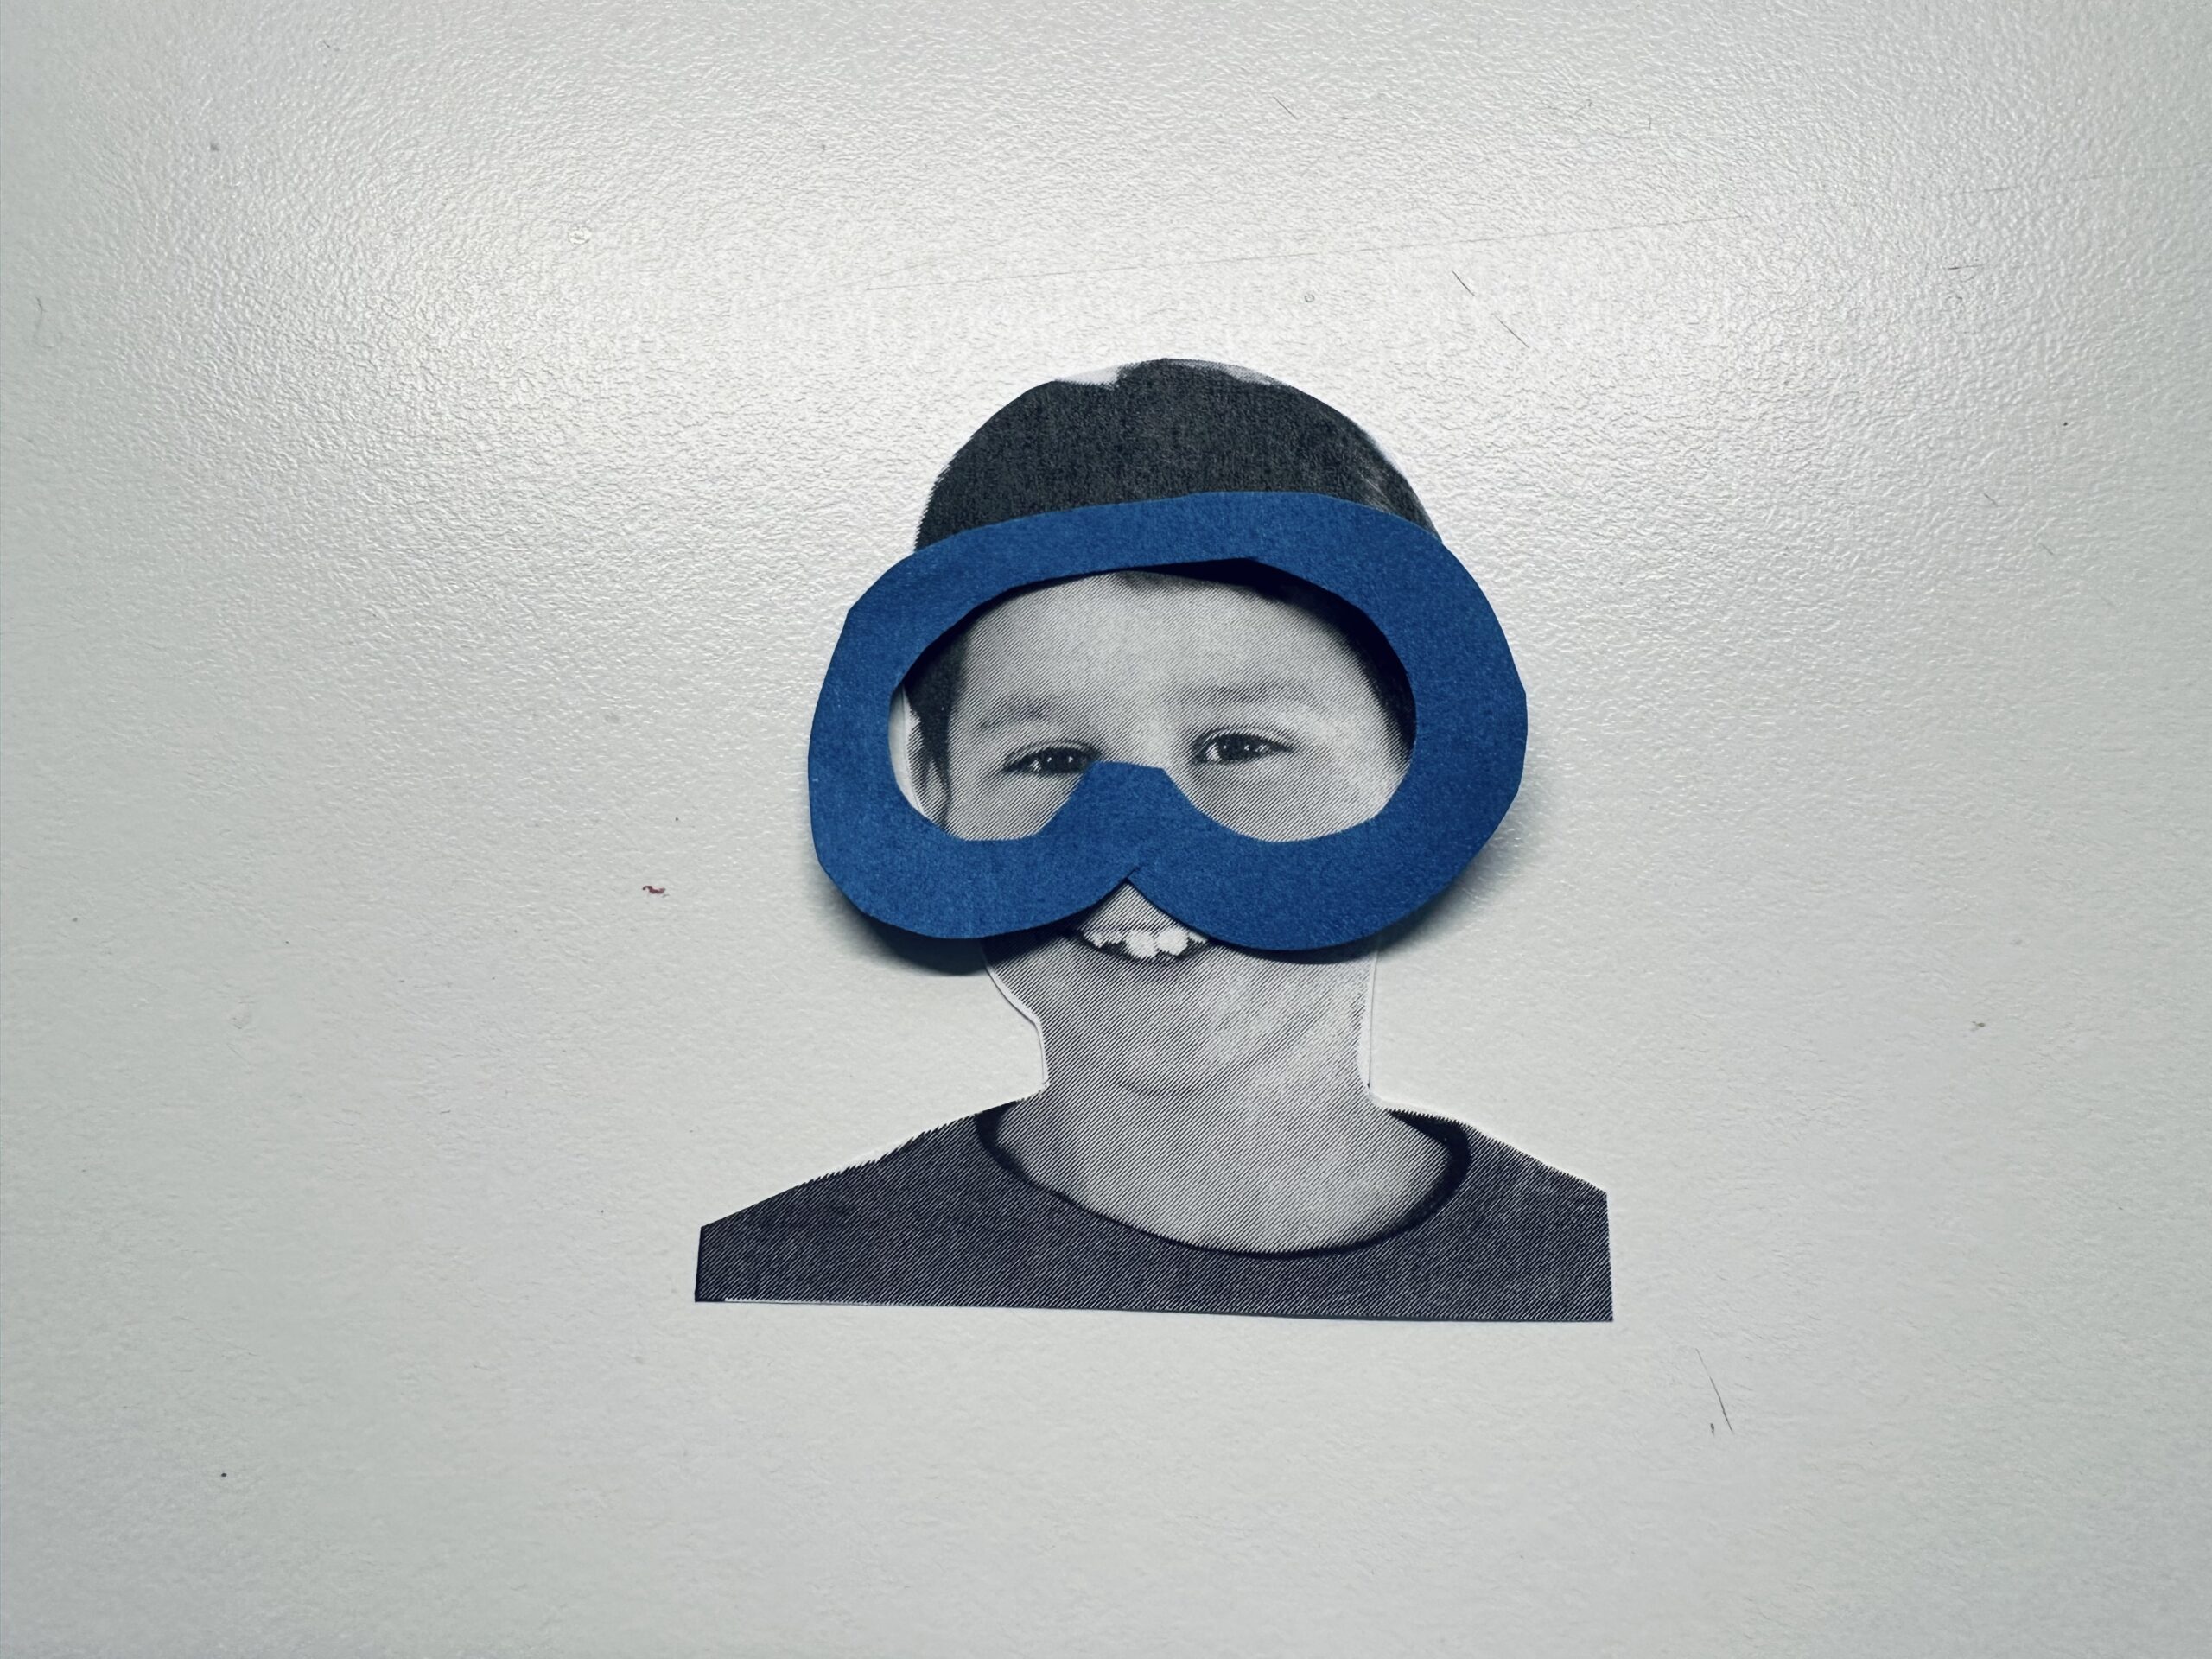
Cut out the scuba glasses with the scissors. First around and then the inside. Here you can bend the glasses a little bit to make a cut to pierce in.
Tip: the inside can also be cut out with a pointed fingernail scissors.


That's what your glasses might look like.


For the snorkel you need a straw now. Knock it so that one end goes away from the mouth and the other one points upwards.
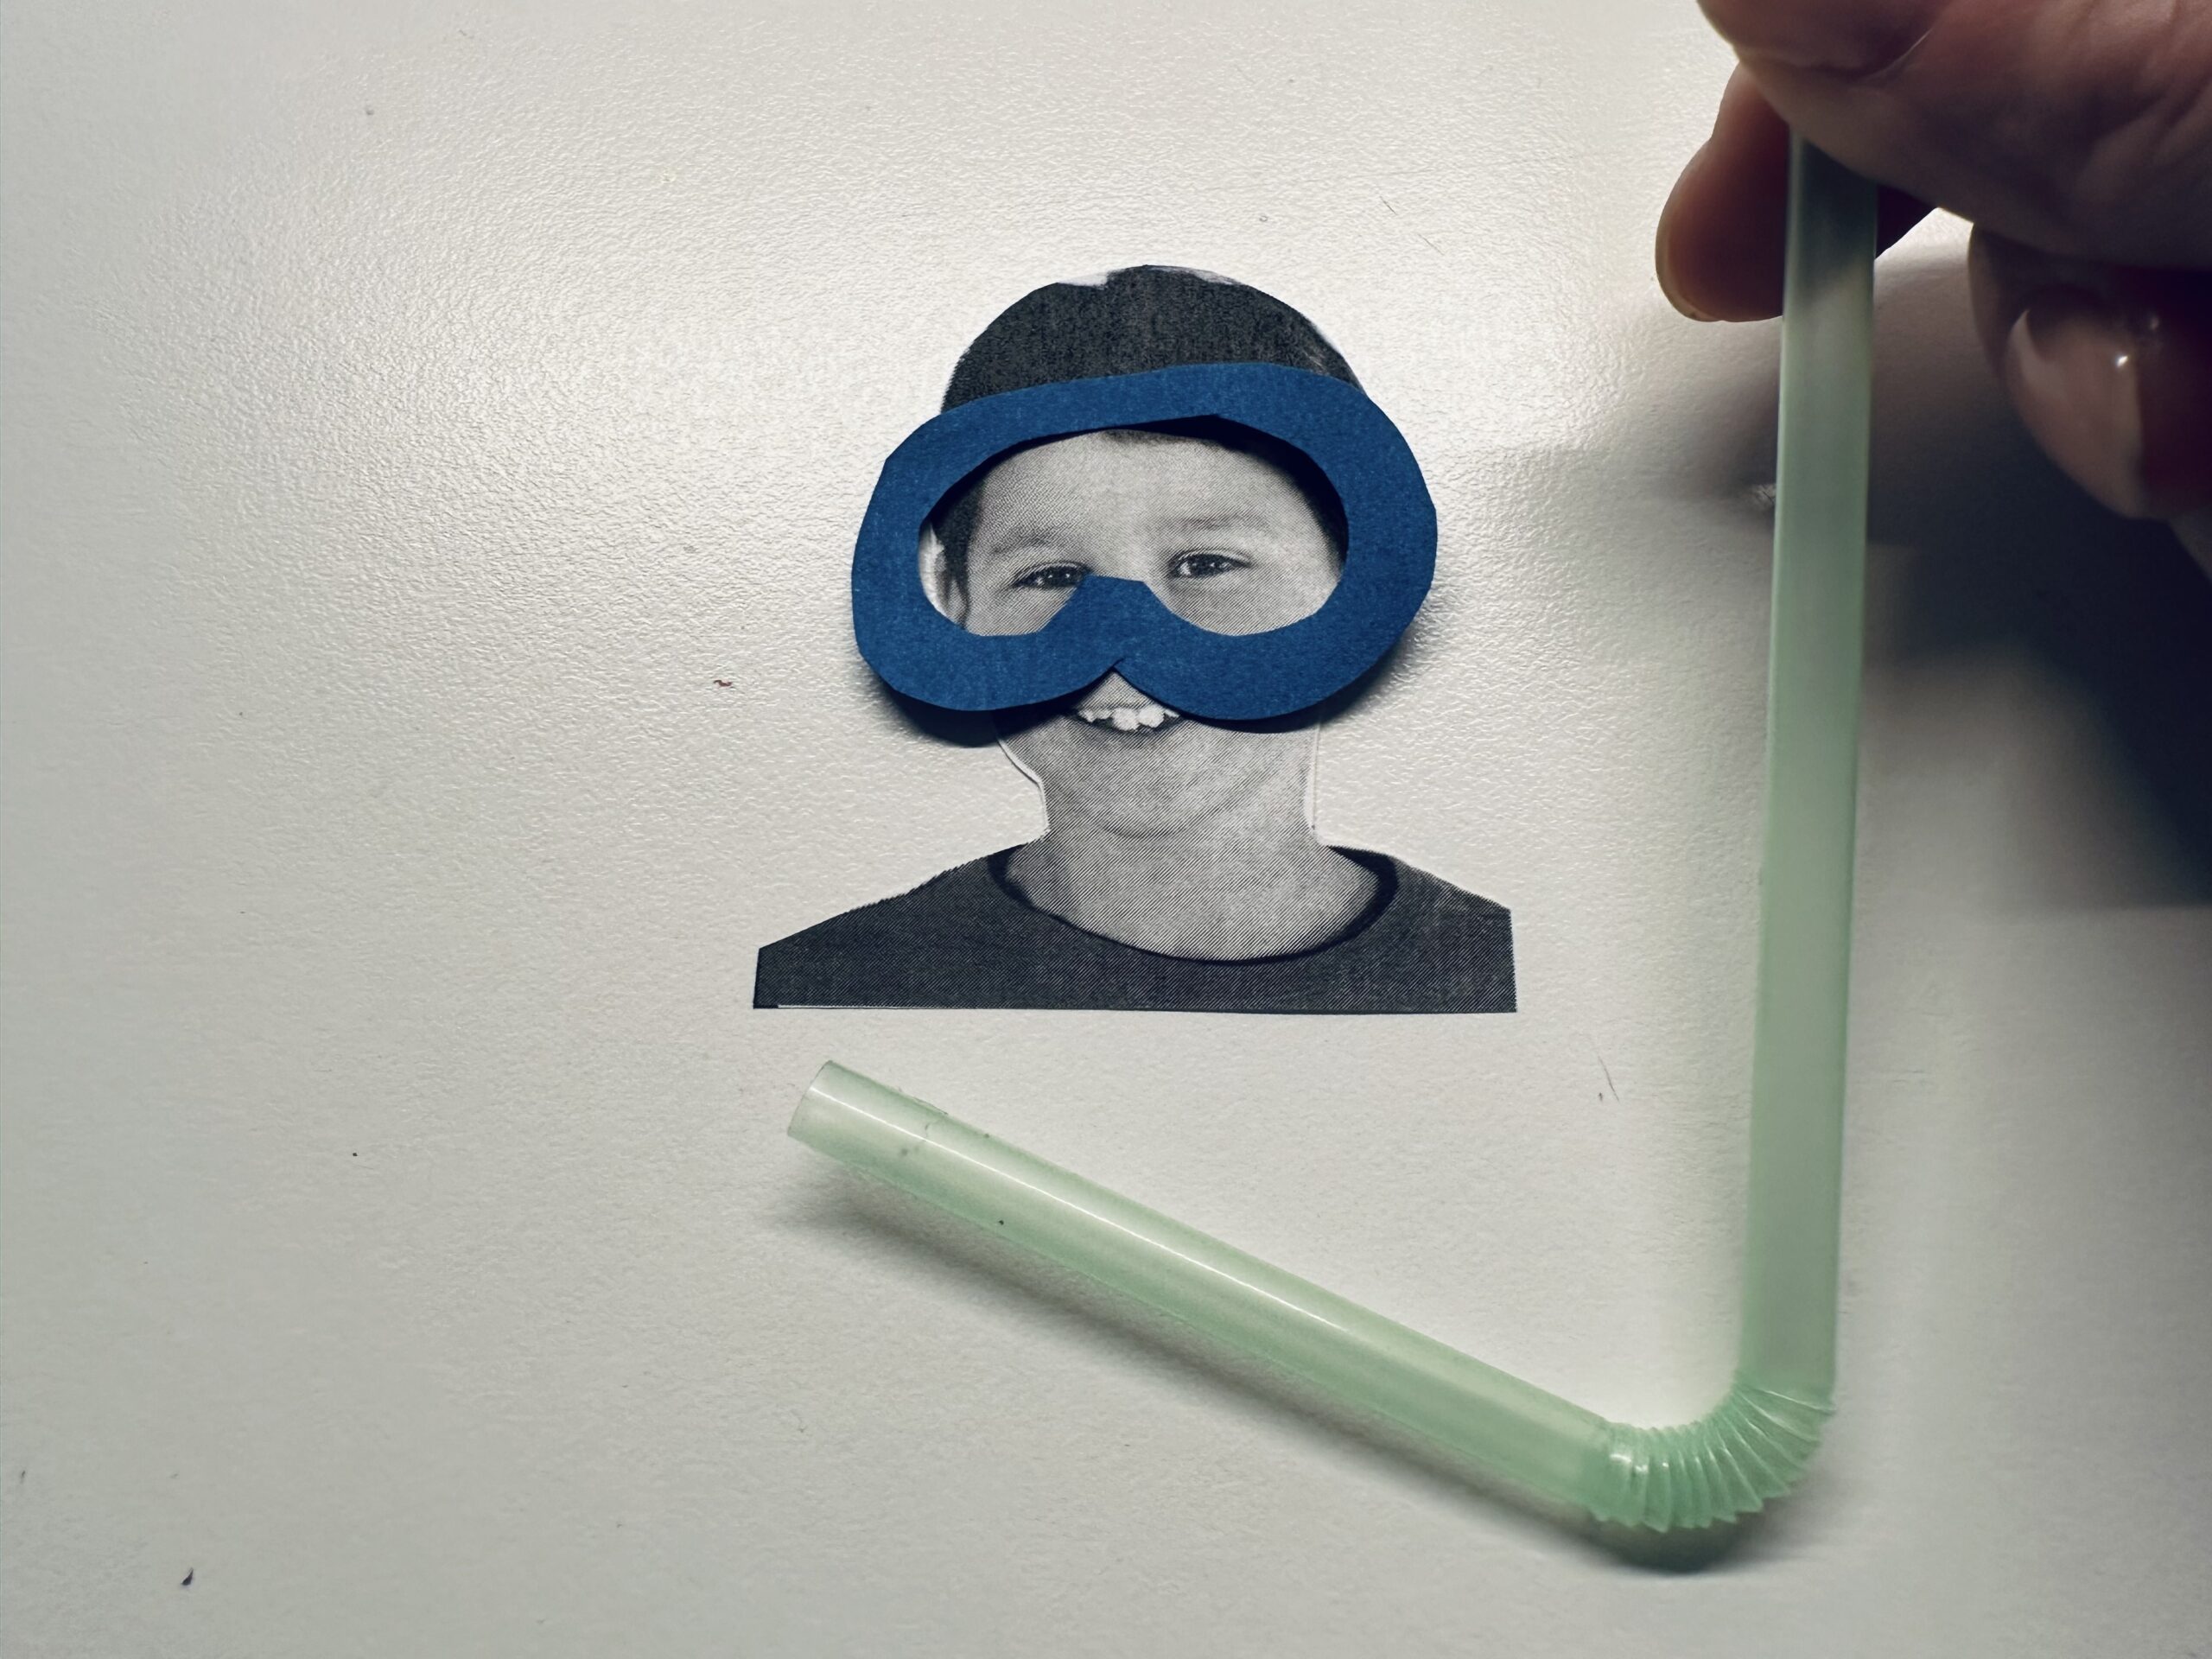


It's a piece that looks like it's in the picture.
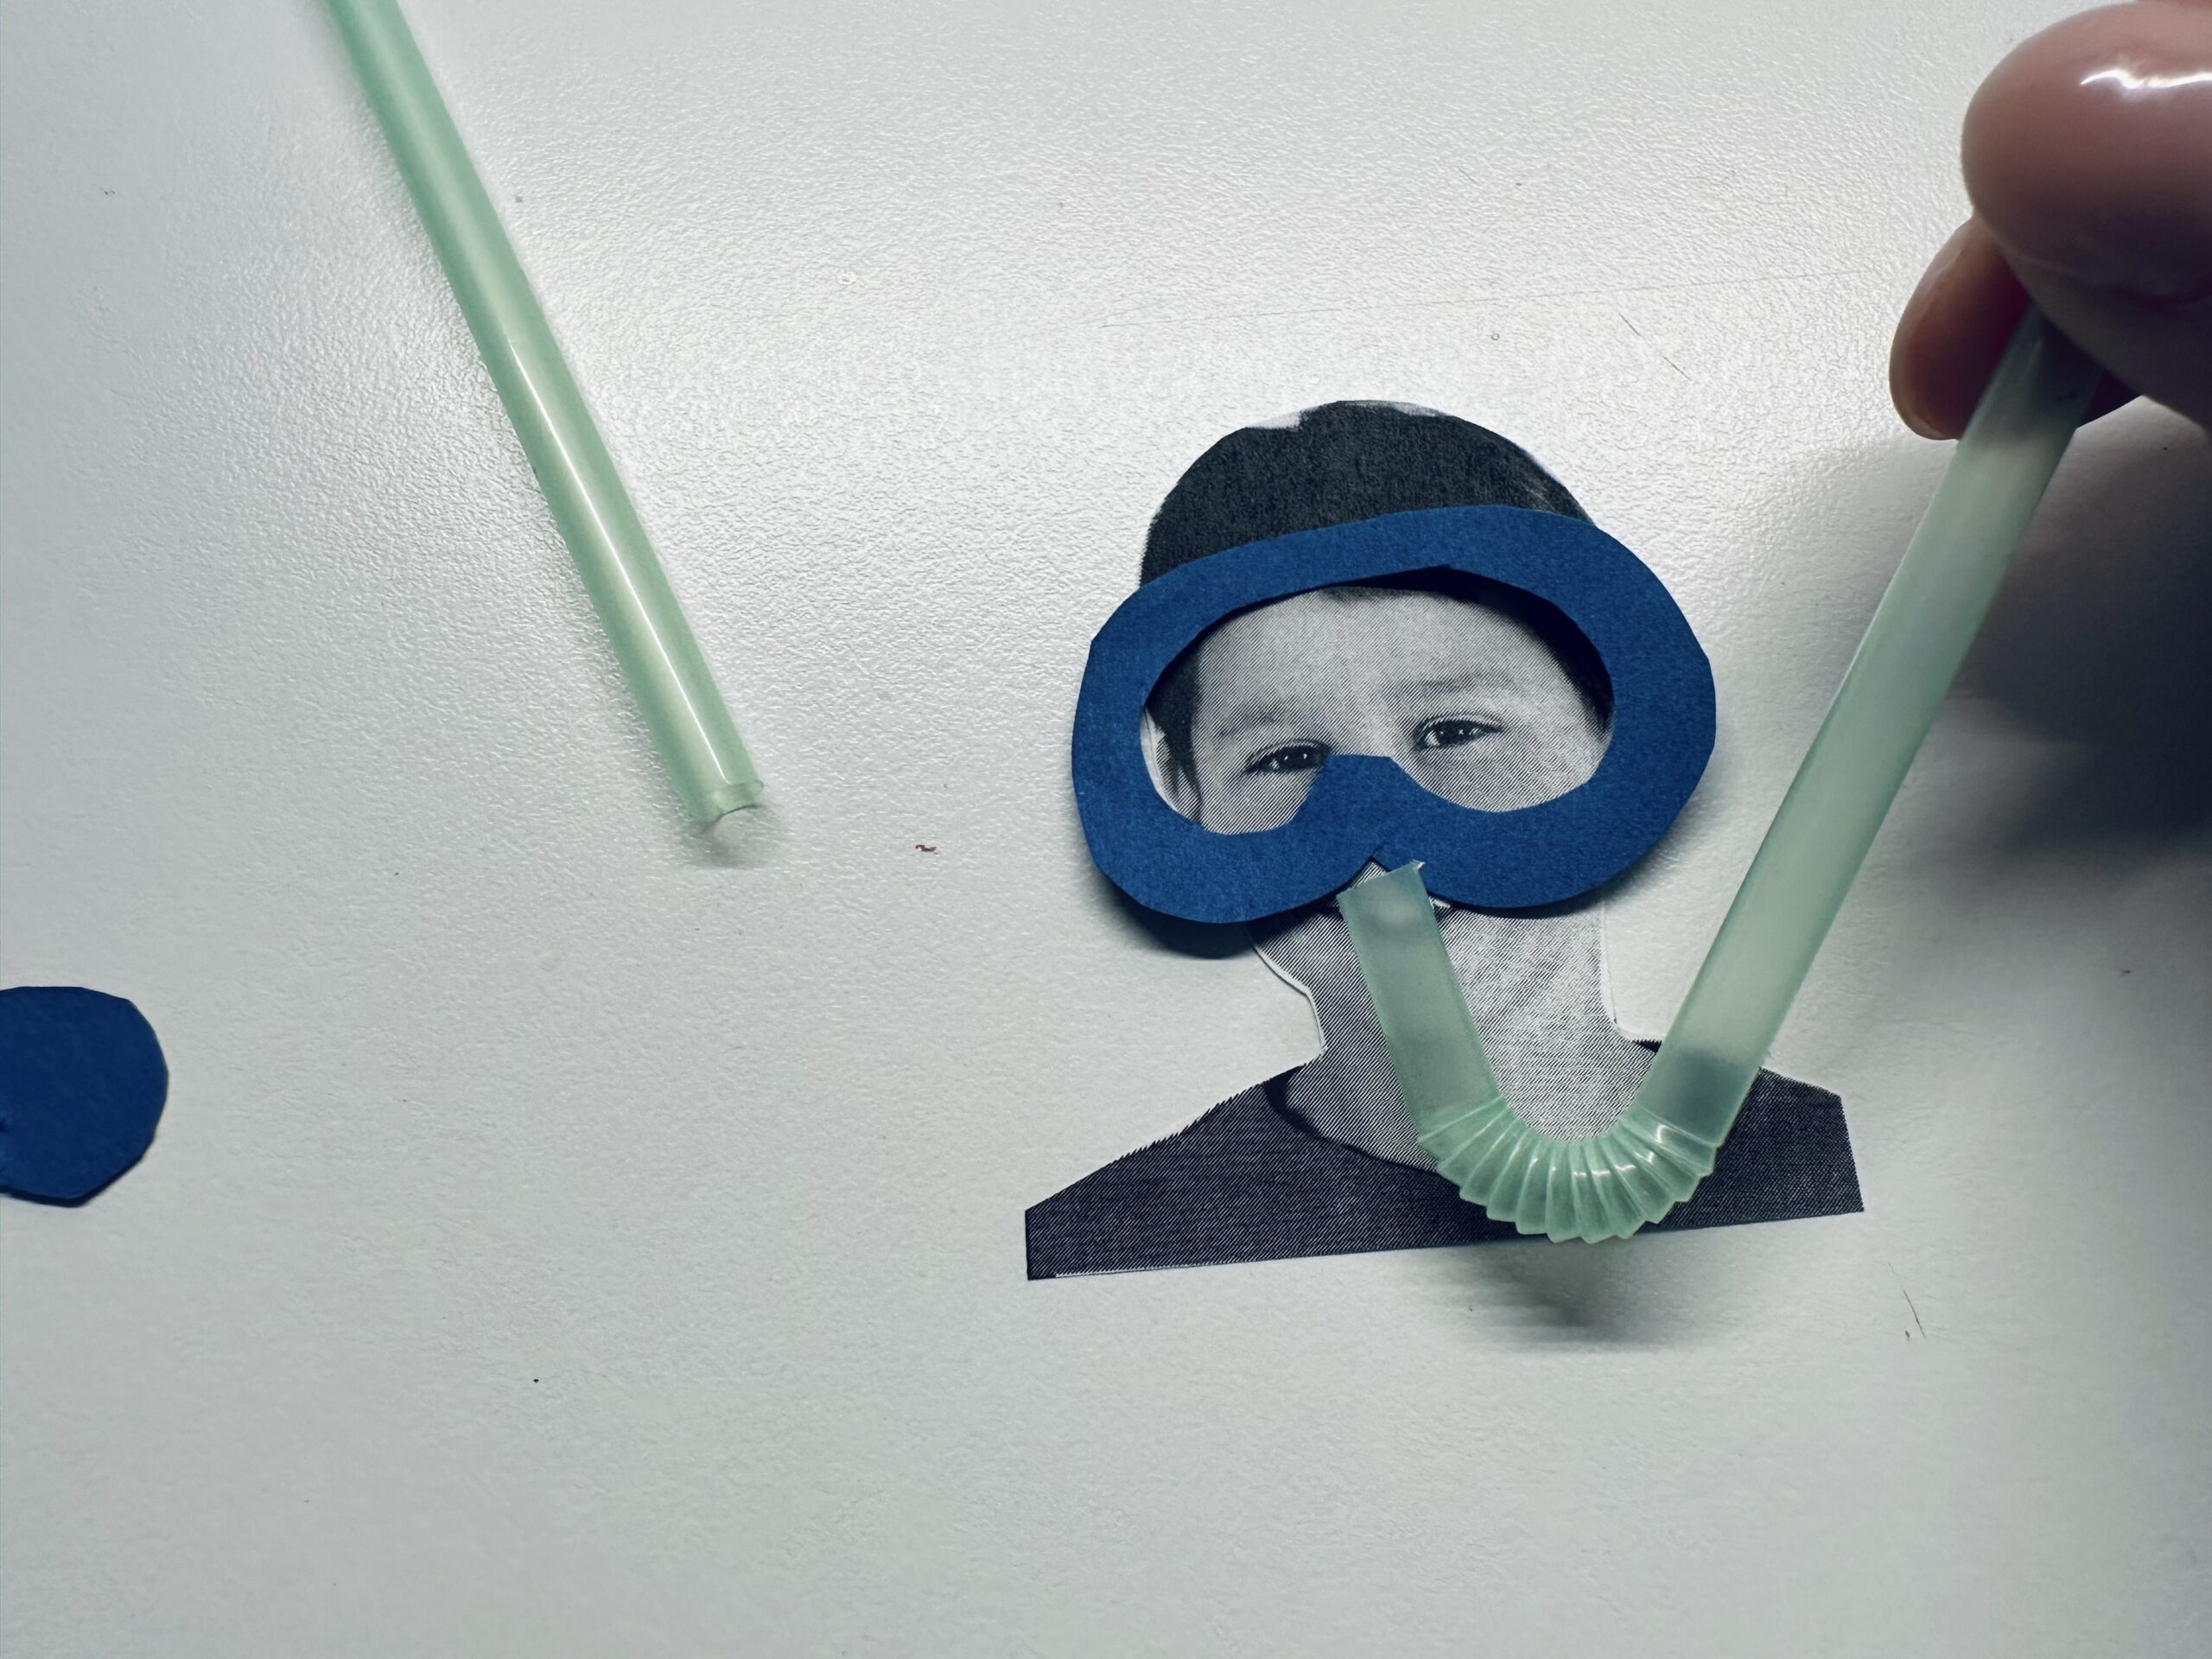


The diver/snorcher is ready.
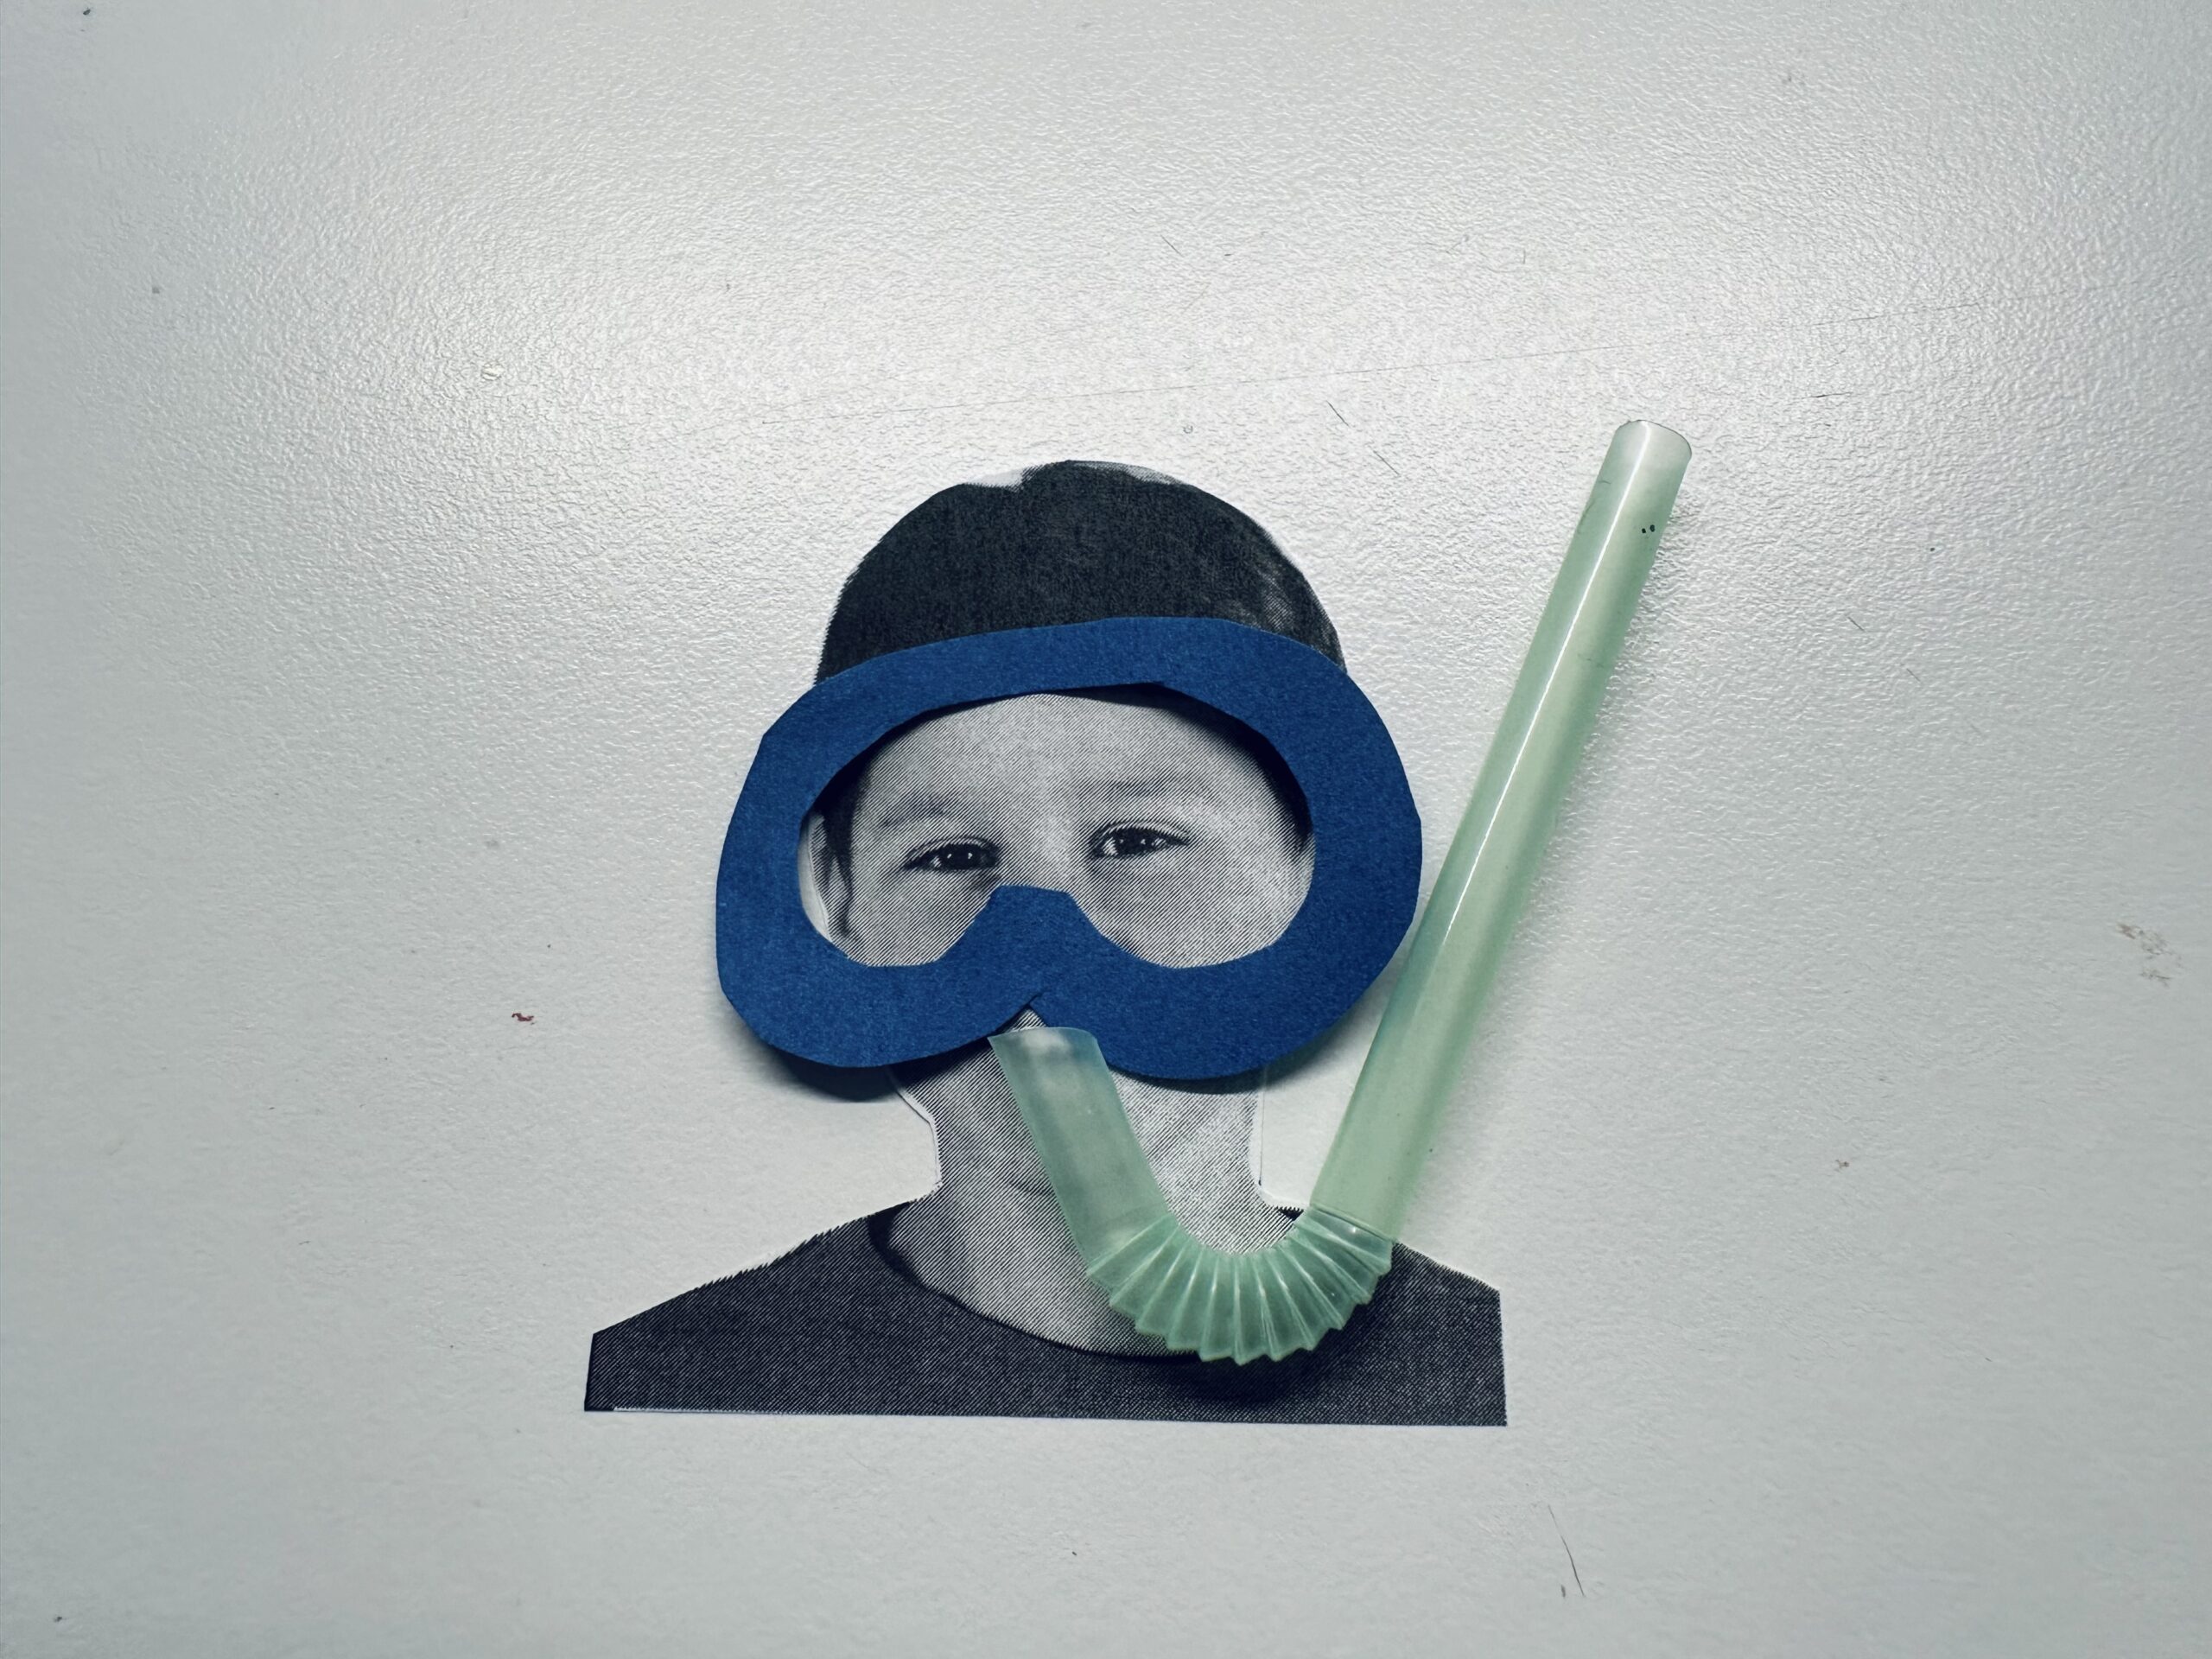


Place it at the bottom of your air bubble image.
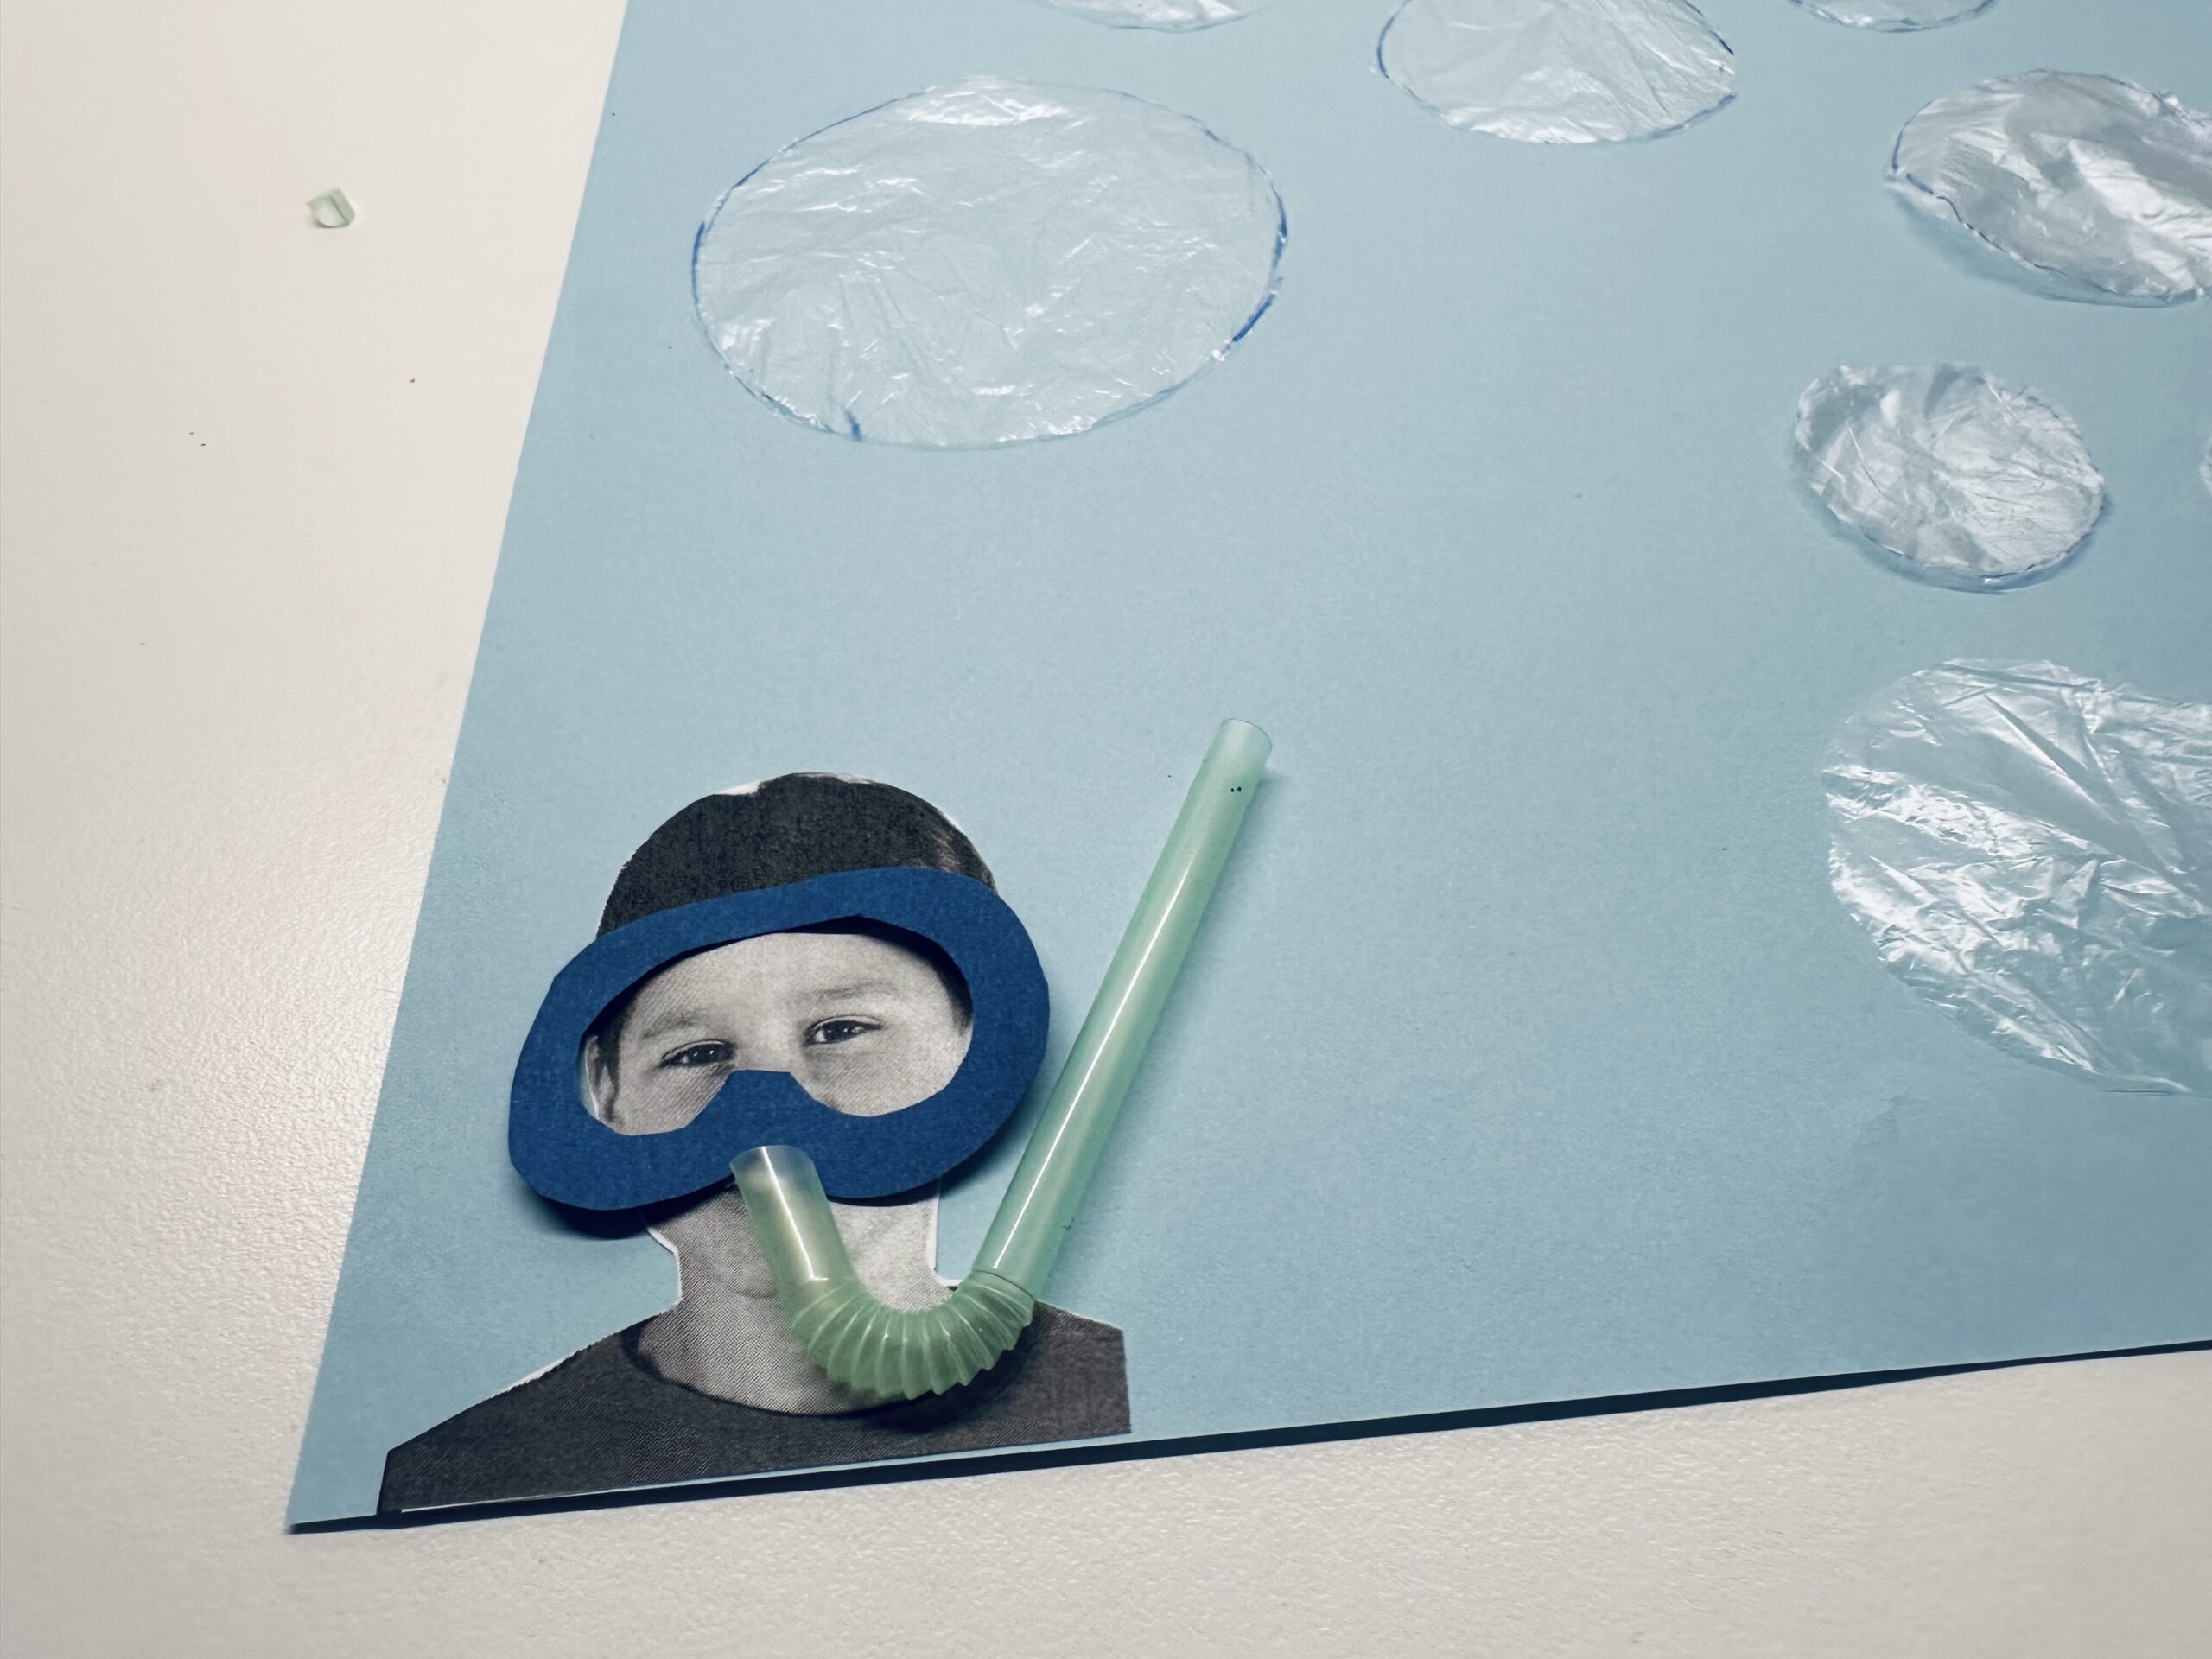


Sets the air bubbles so that it looks like when air bubbles come out of the snorkel.
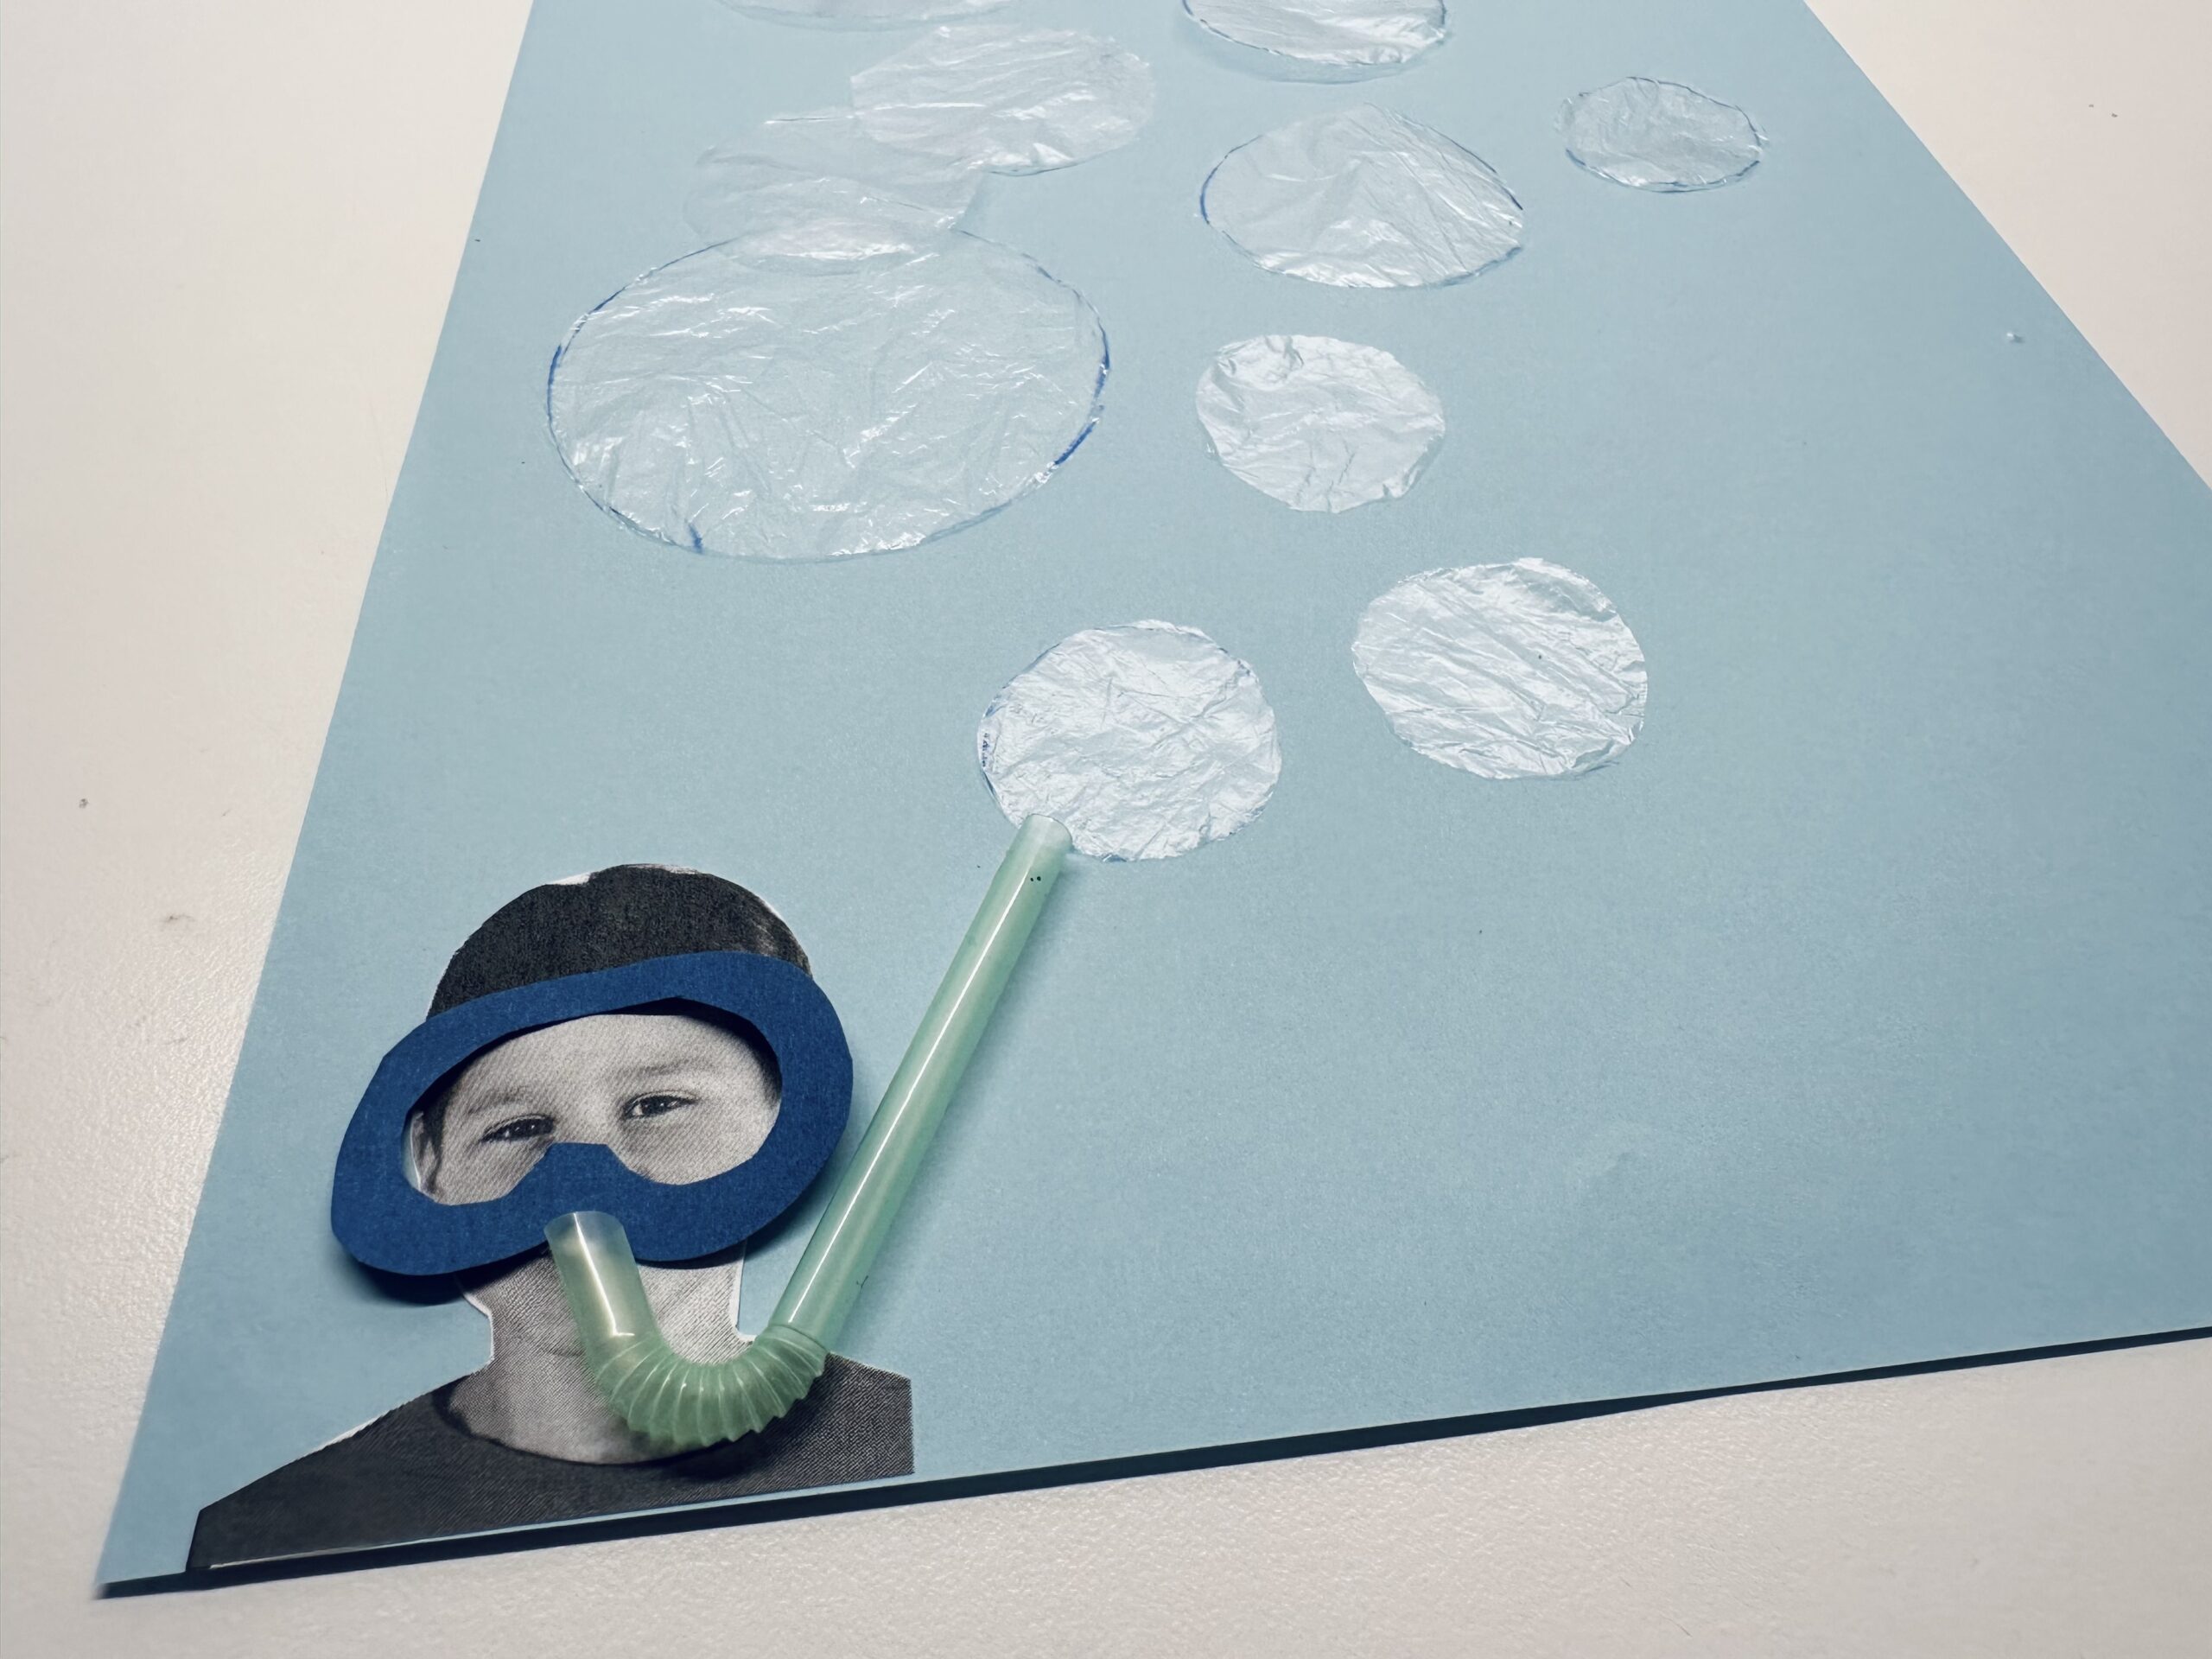


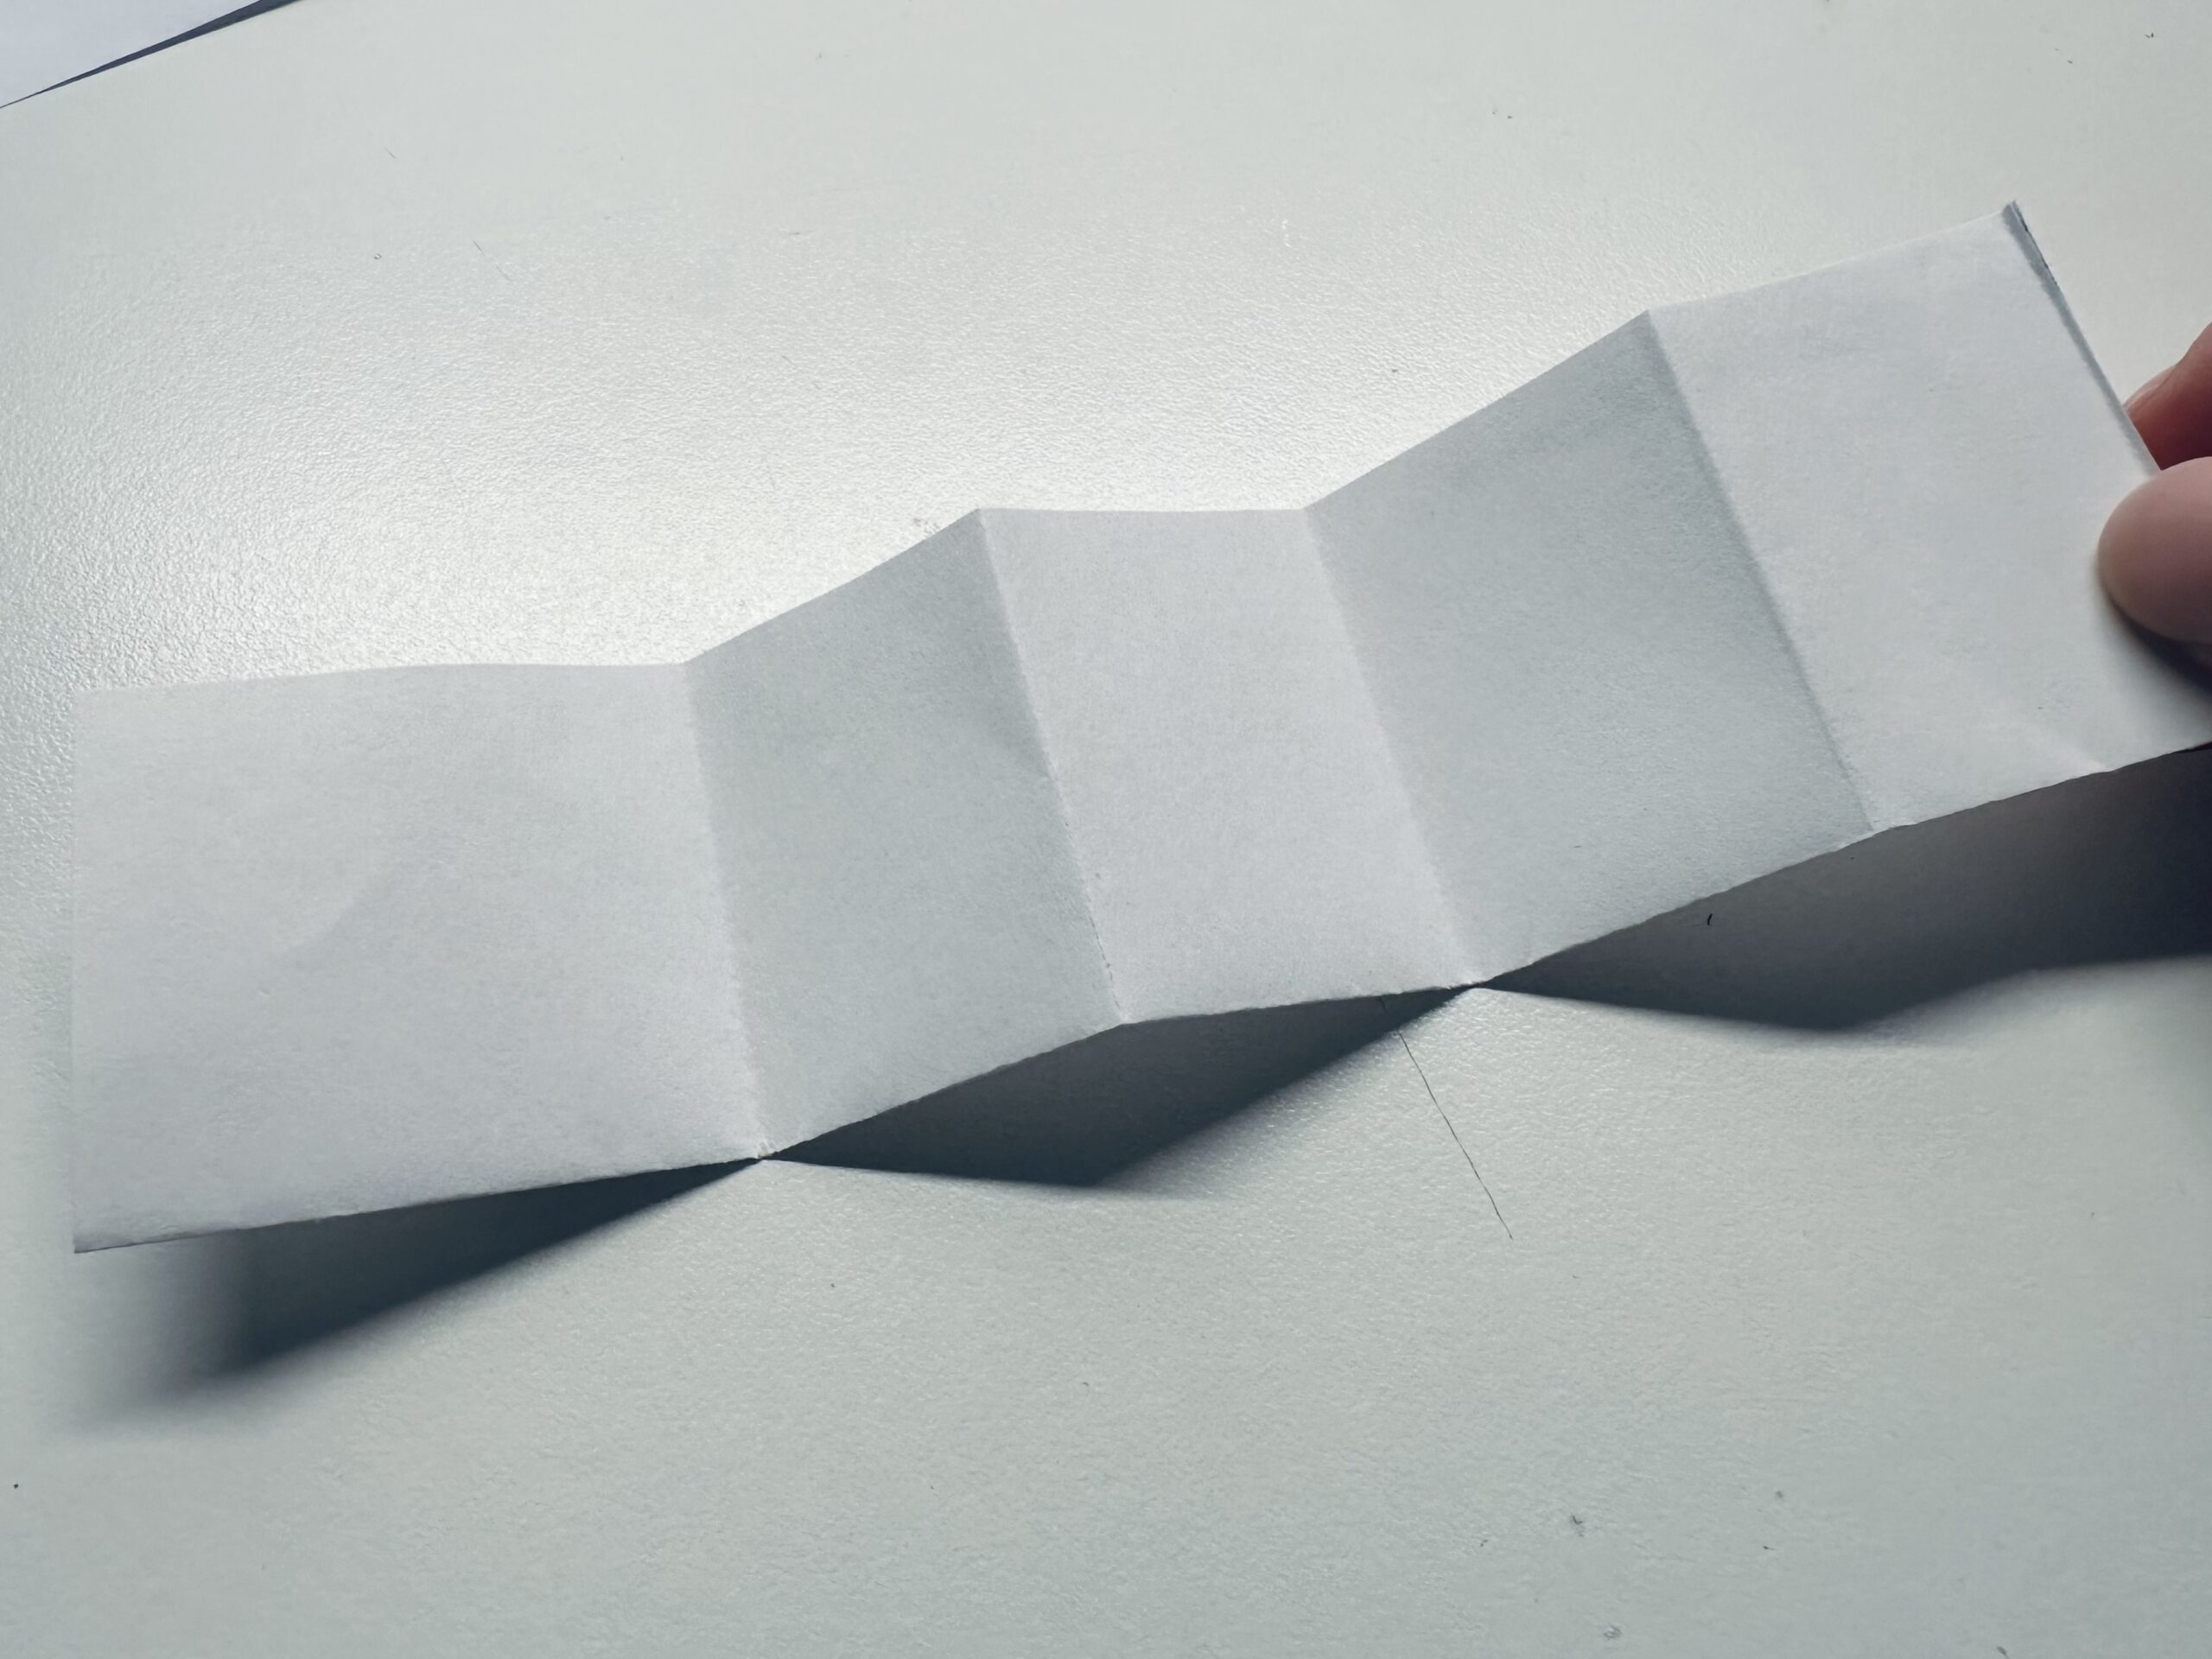
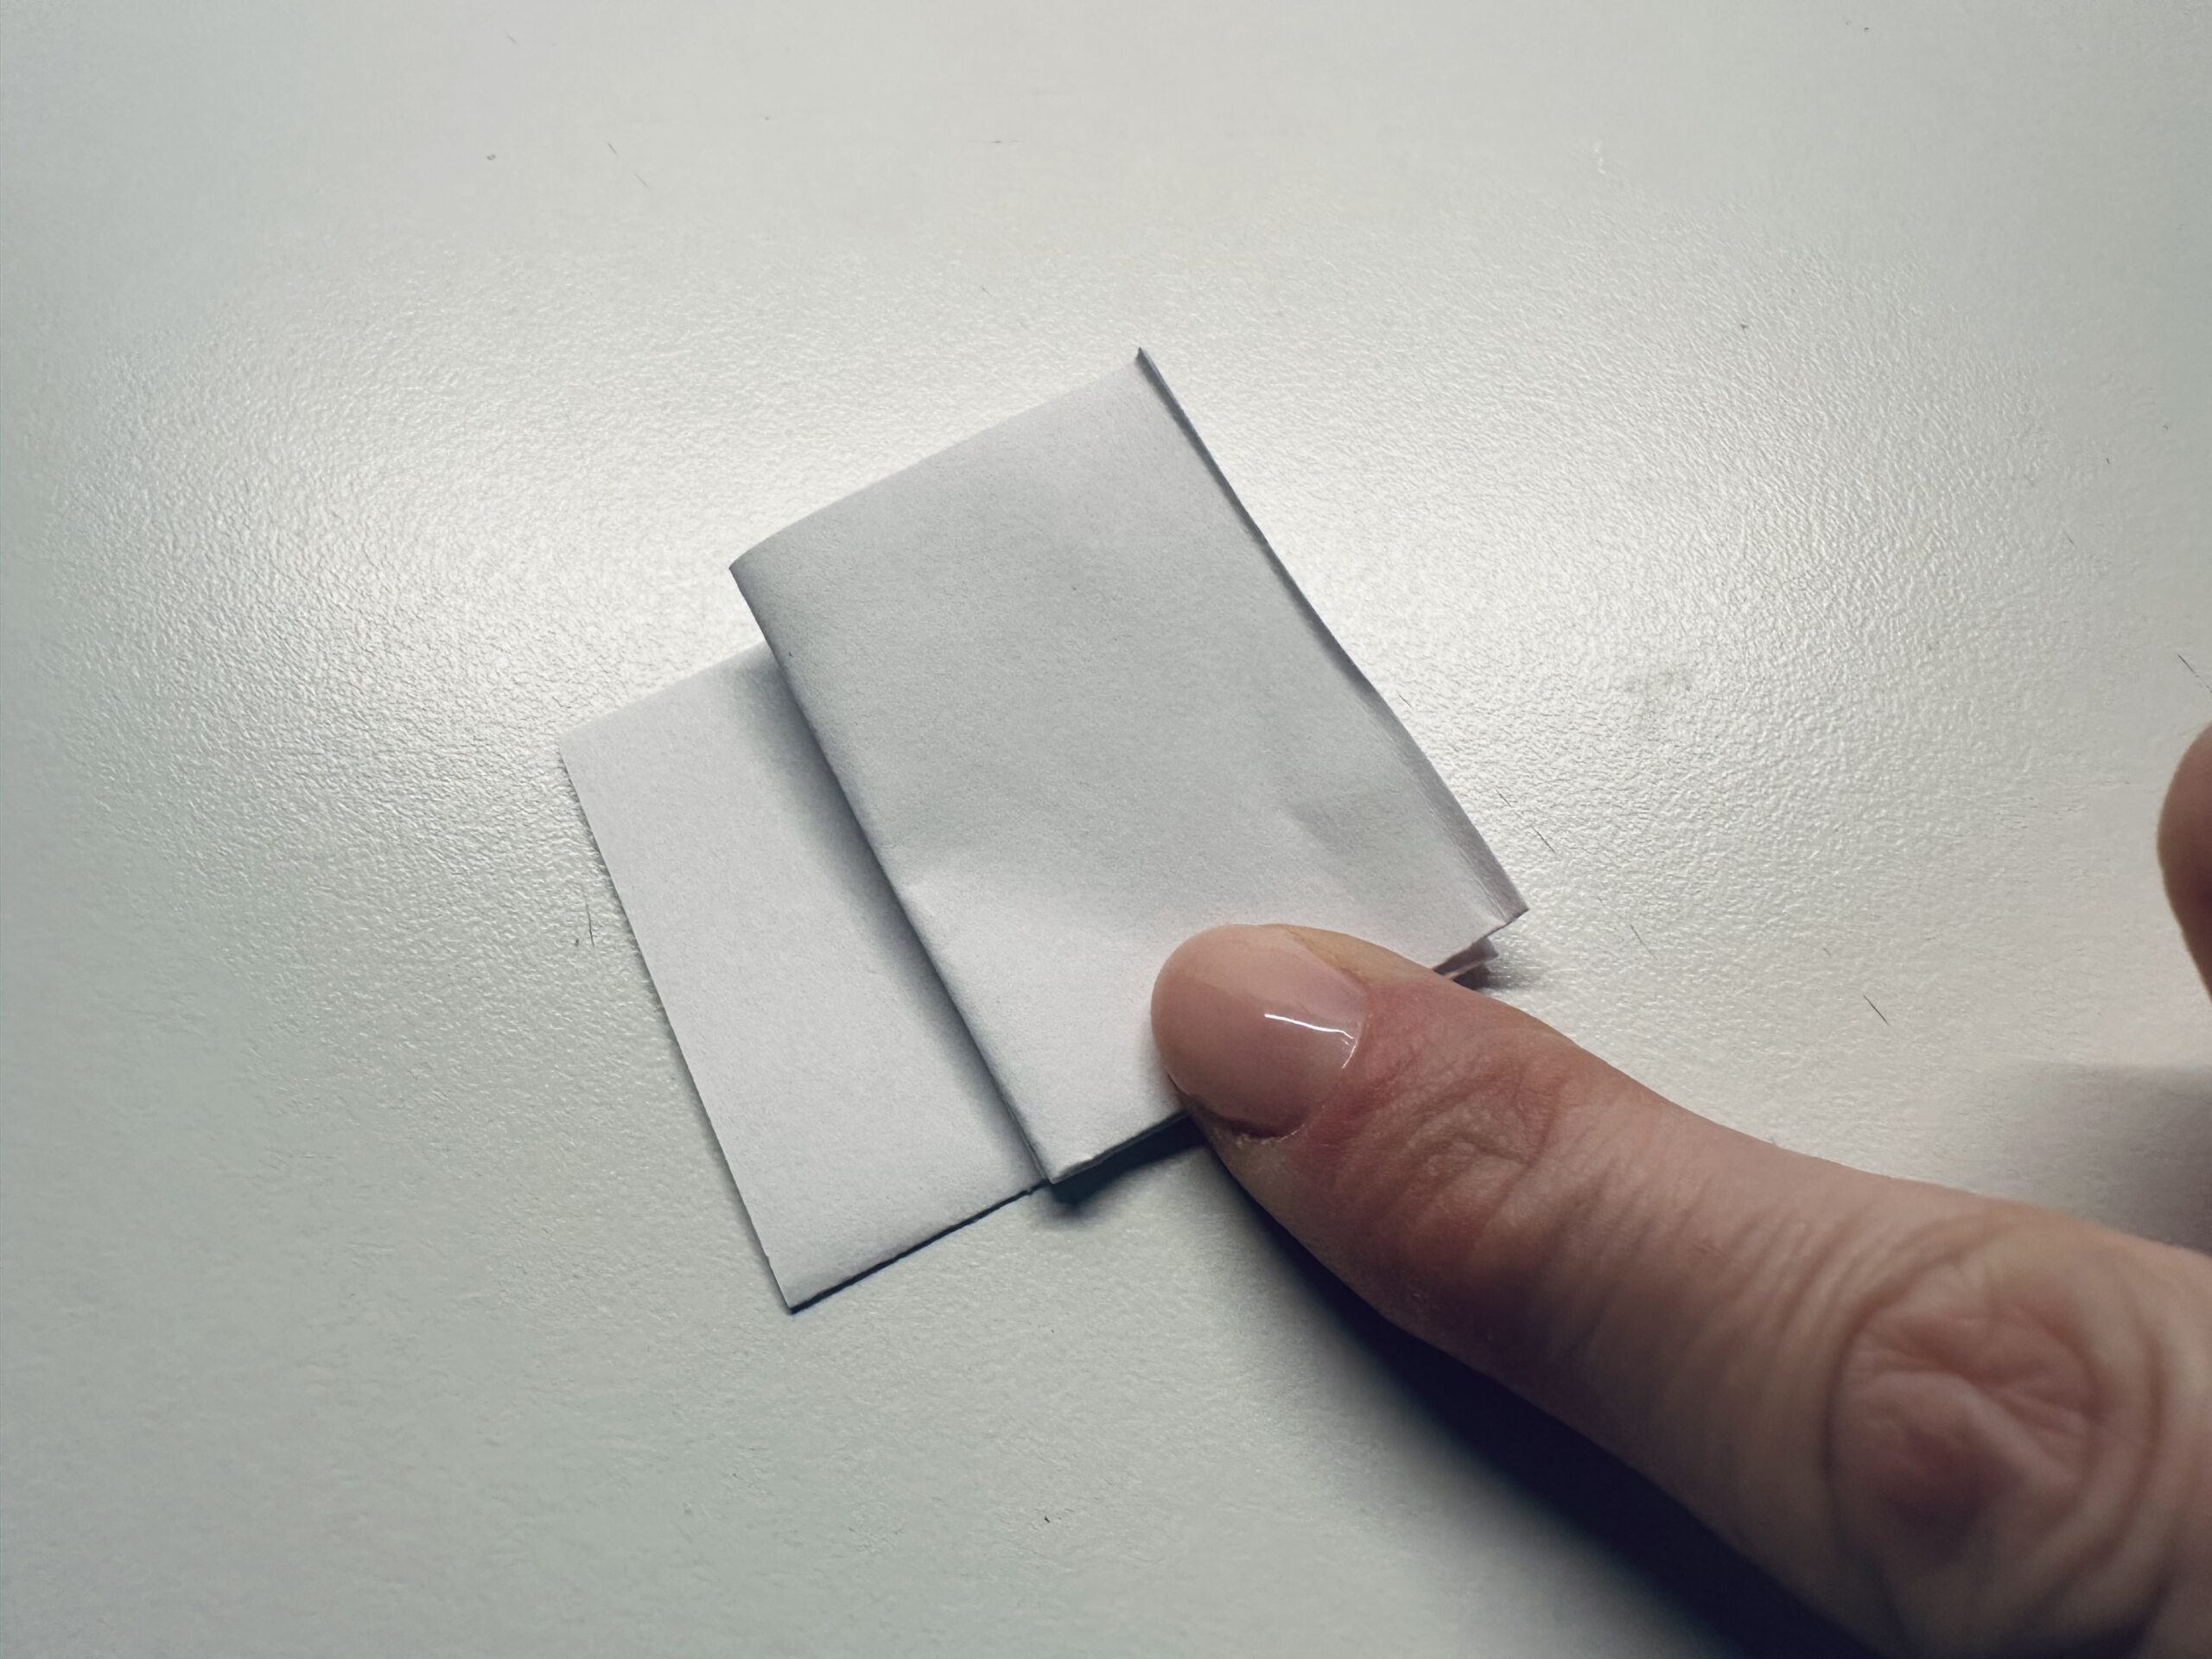
Take a strip of paper and fold it half. Fold it several times. The individual pieces are about 2 fingers wide.


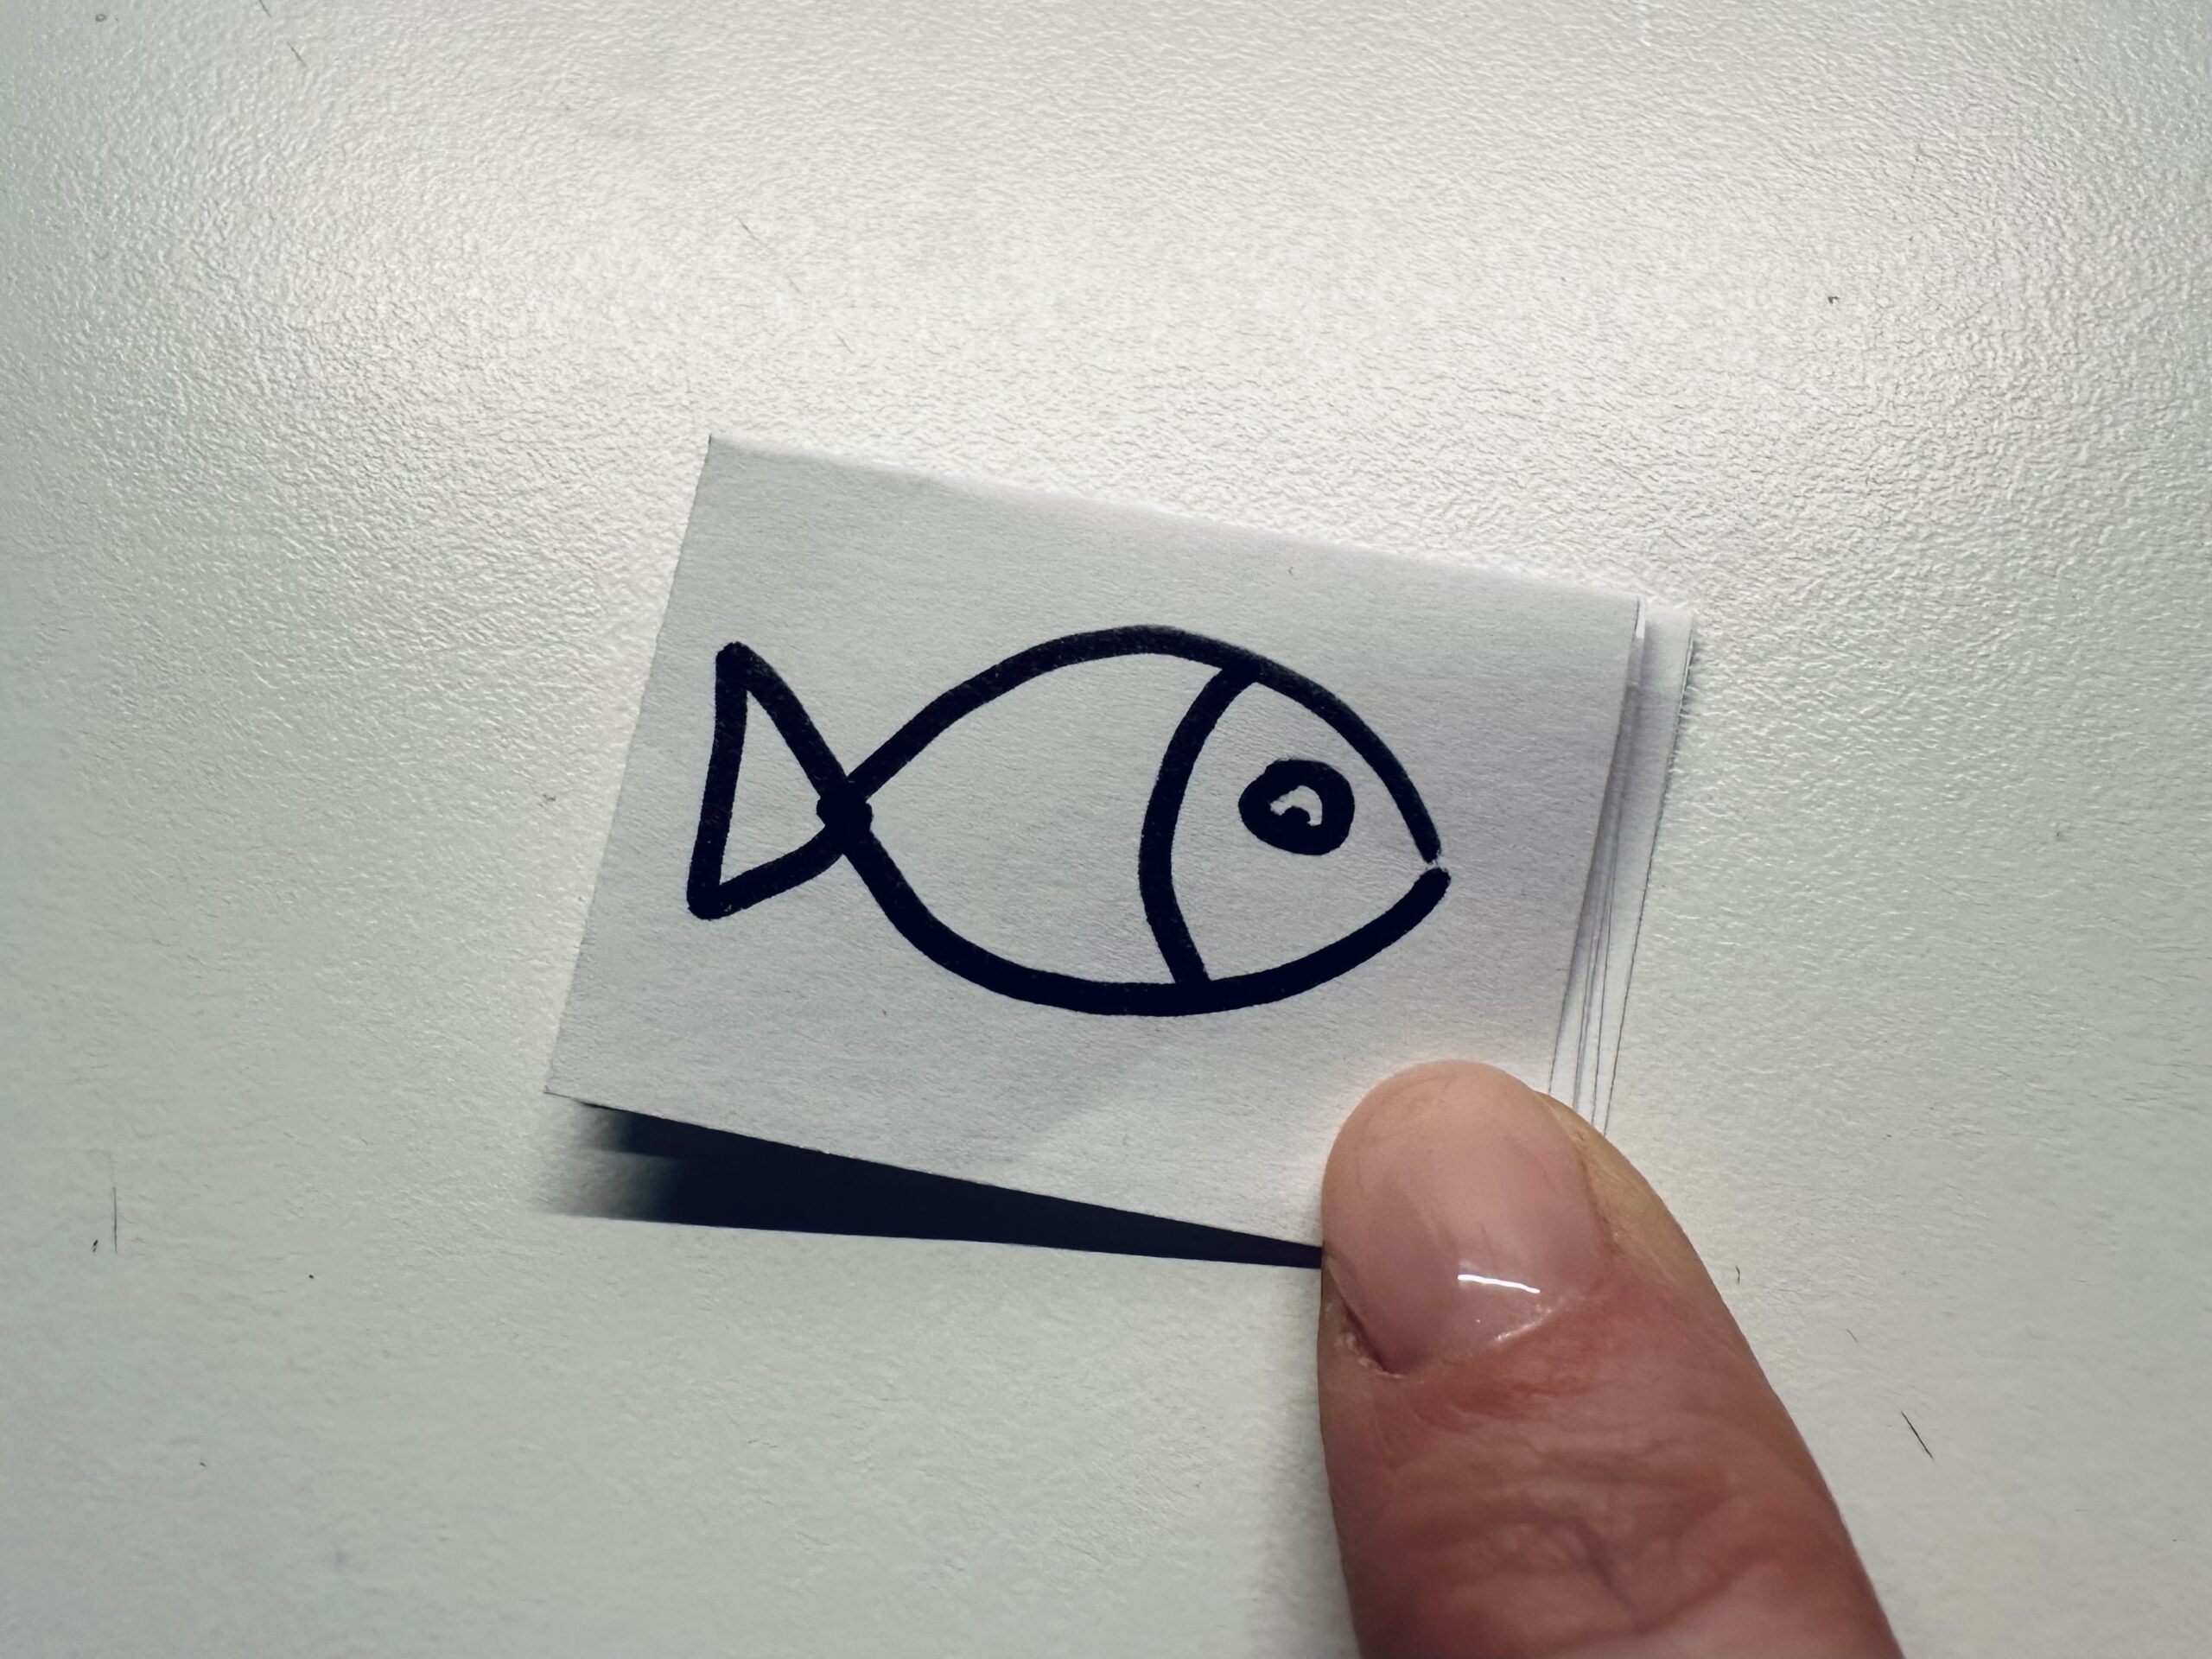
Paints a simple fish on the top piece of paper.


This fish can now be cut out and you get several fish with one time.


When cutting, keep the papers together so that they don't slip.
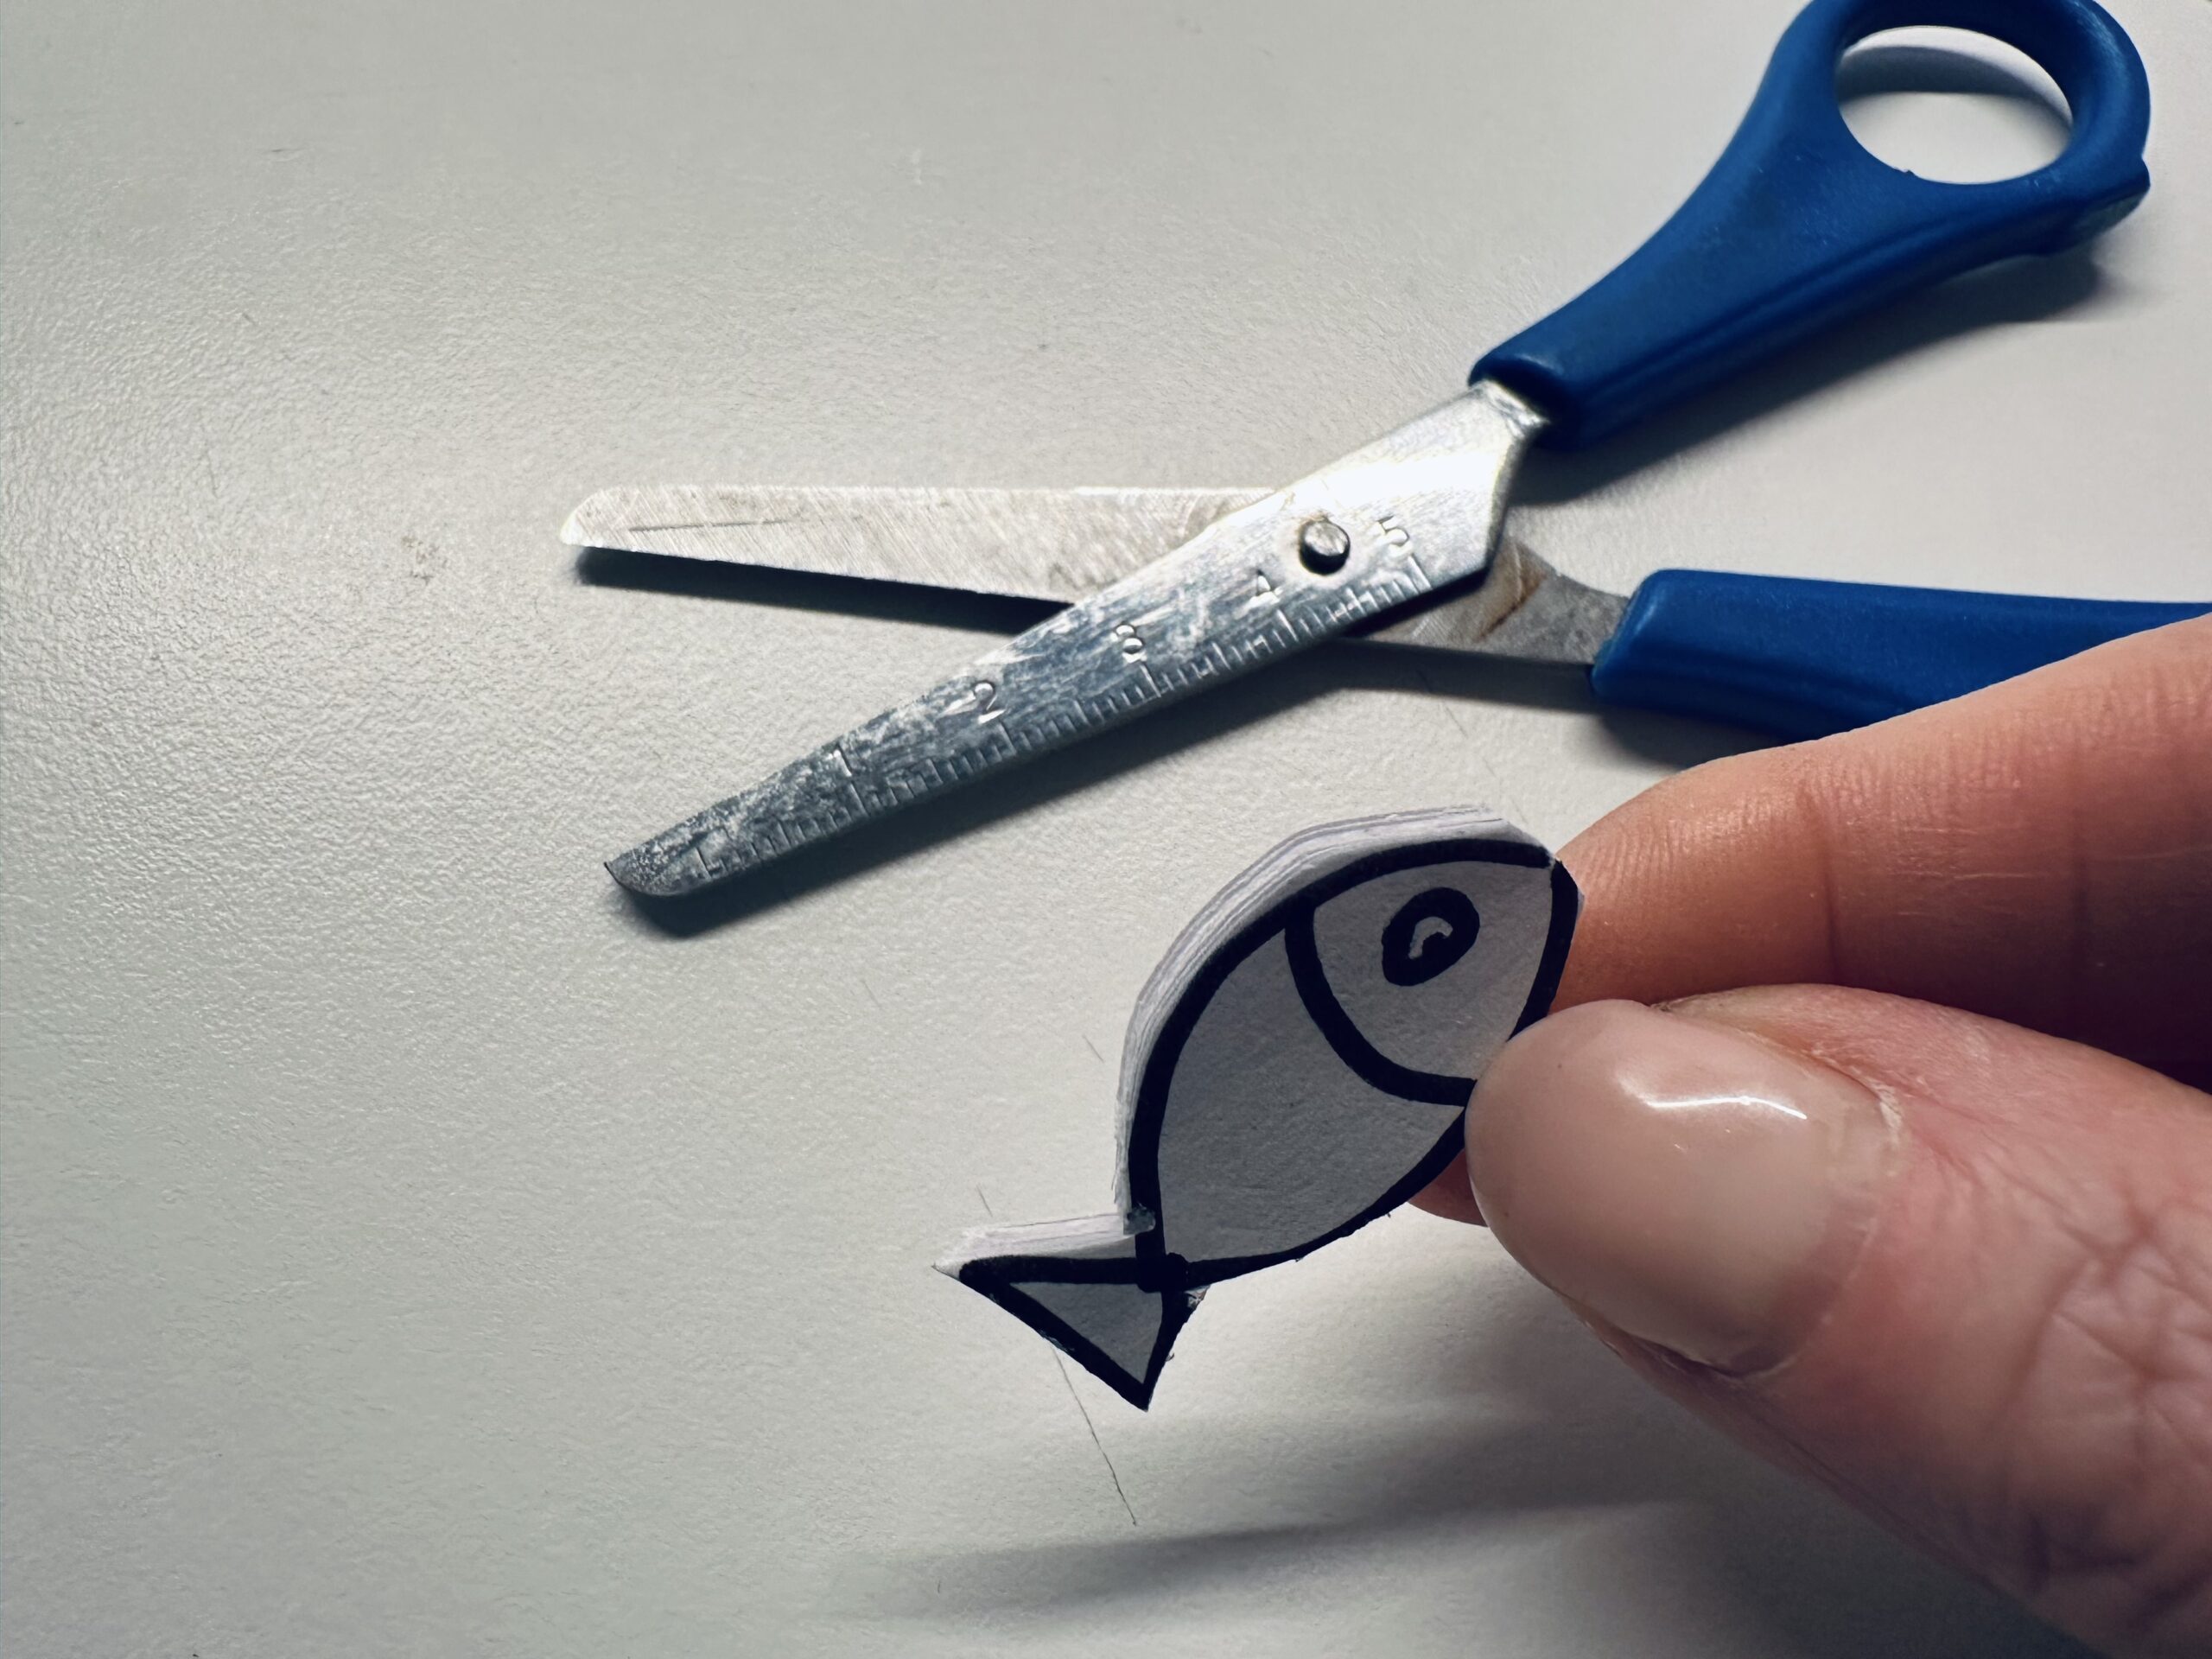


You now have several identical fish.
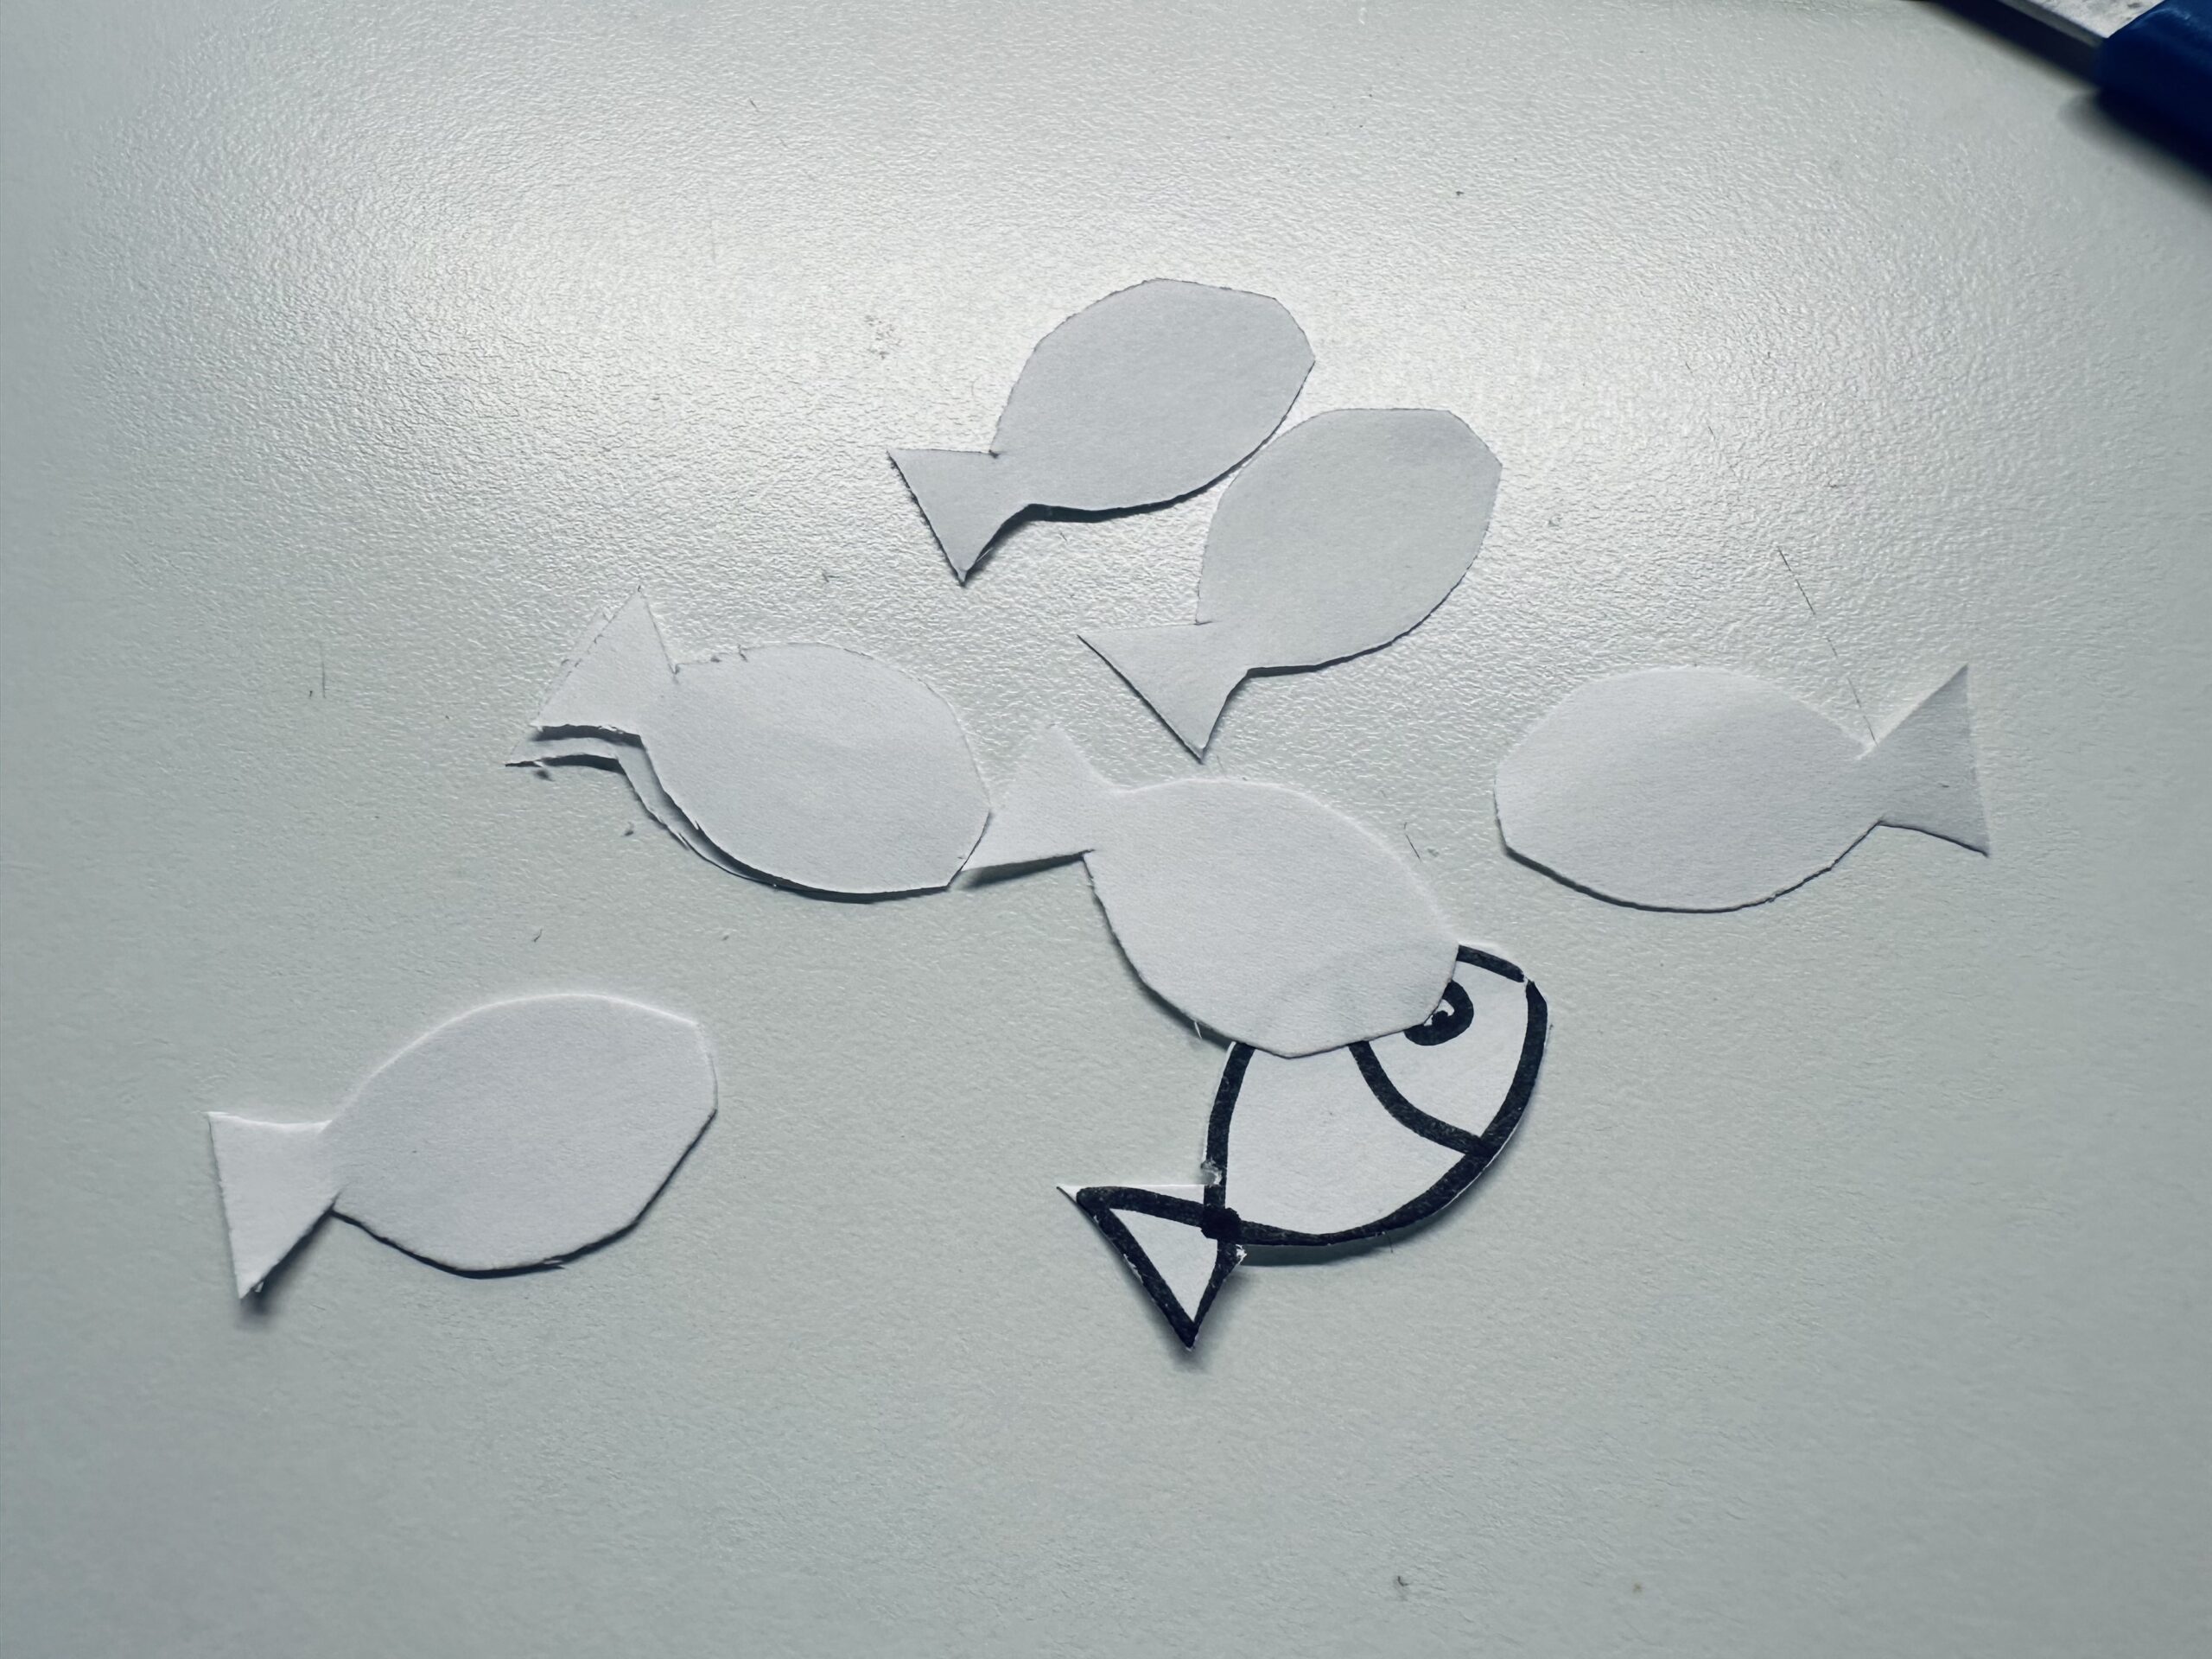


Put it on a paint pad (e.g. waste paper, old newspaper...) and paint around the edges with a felt pen.
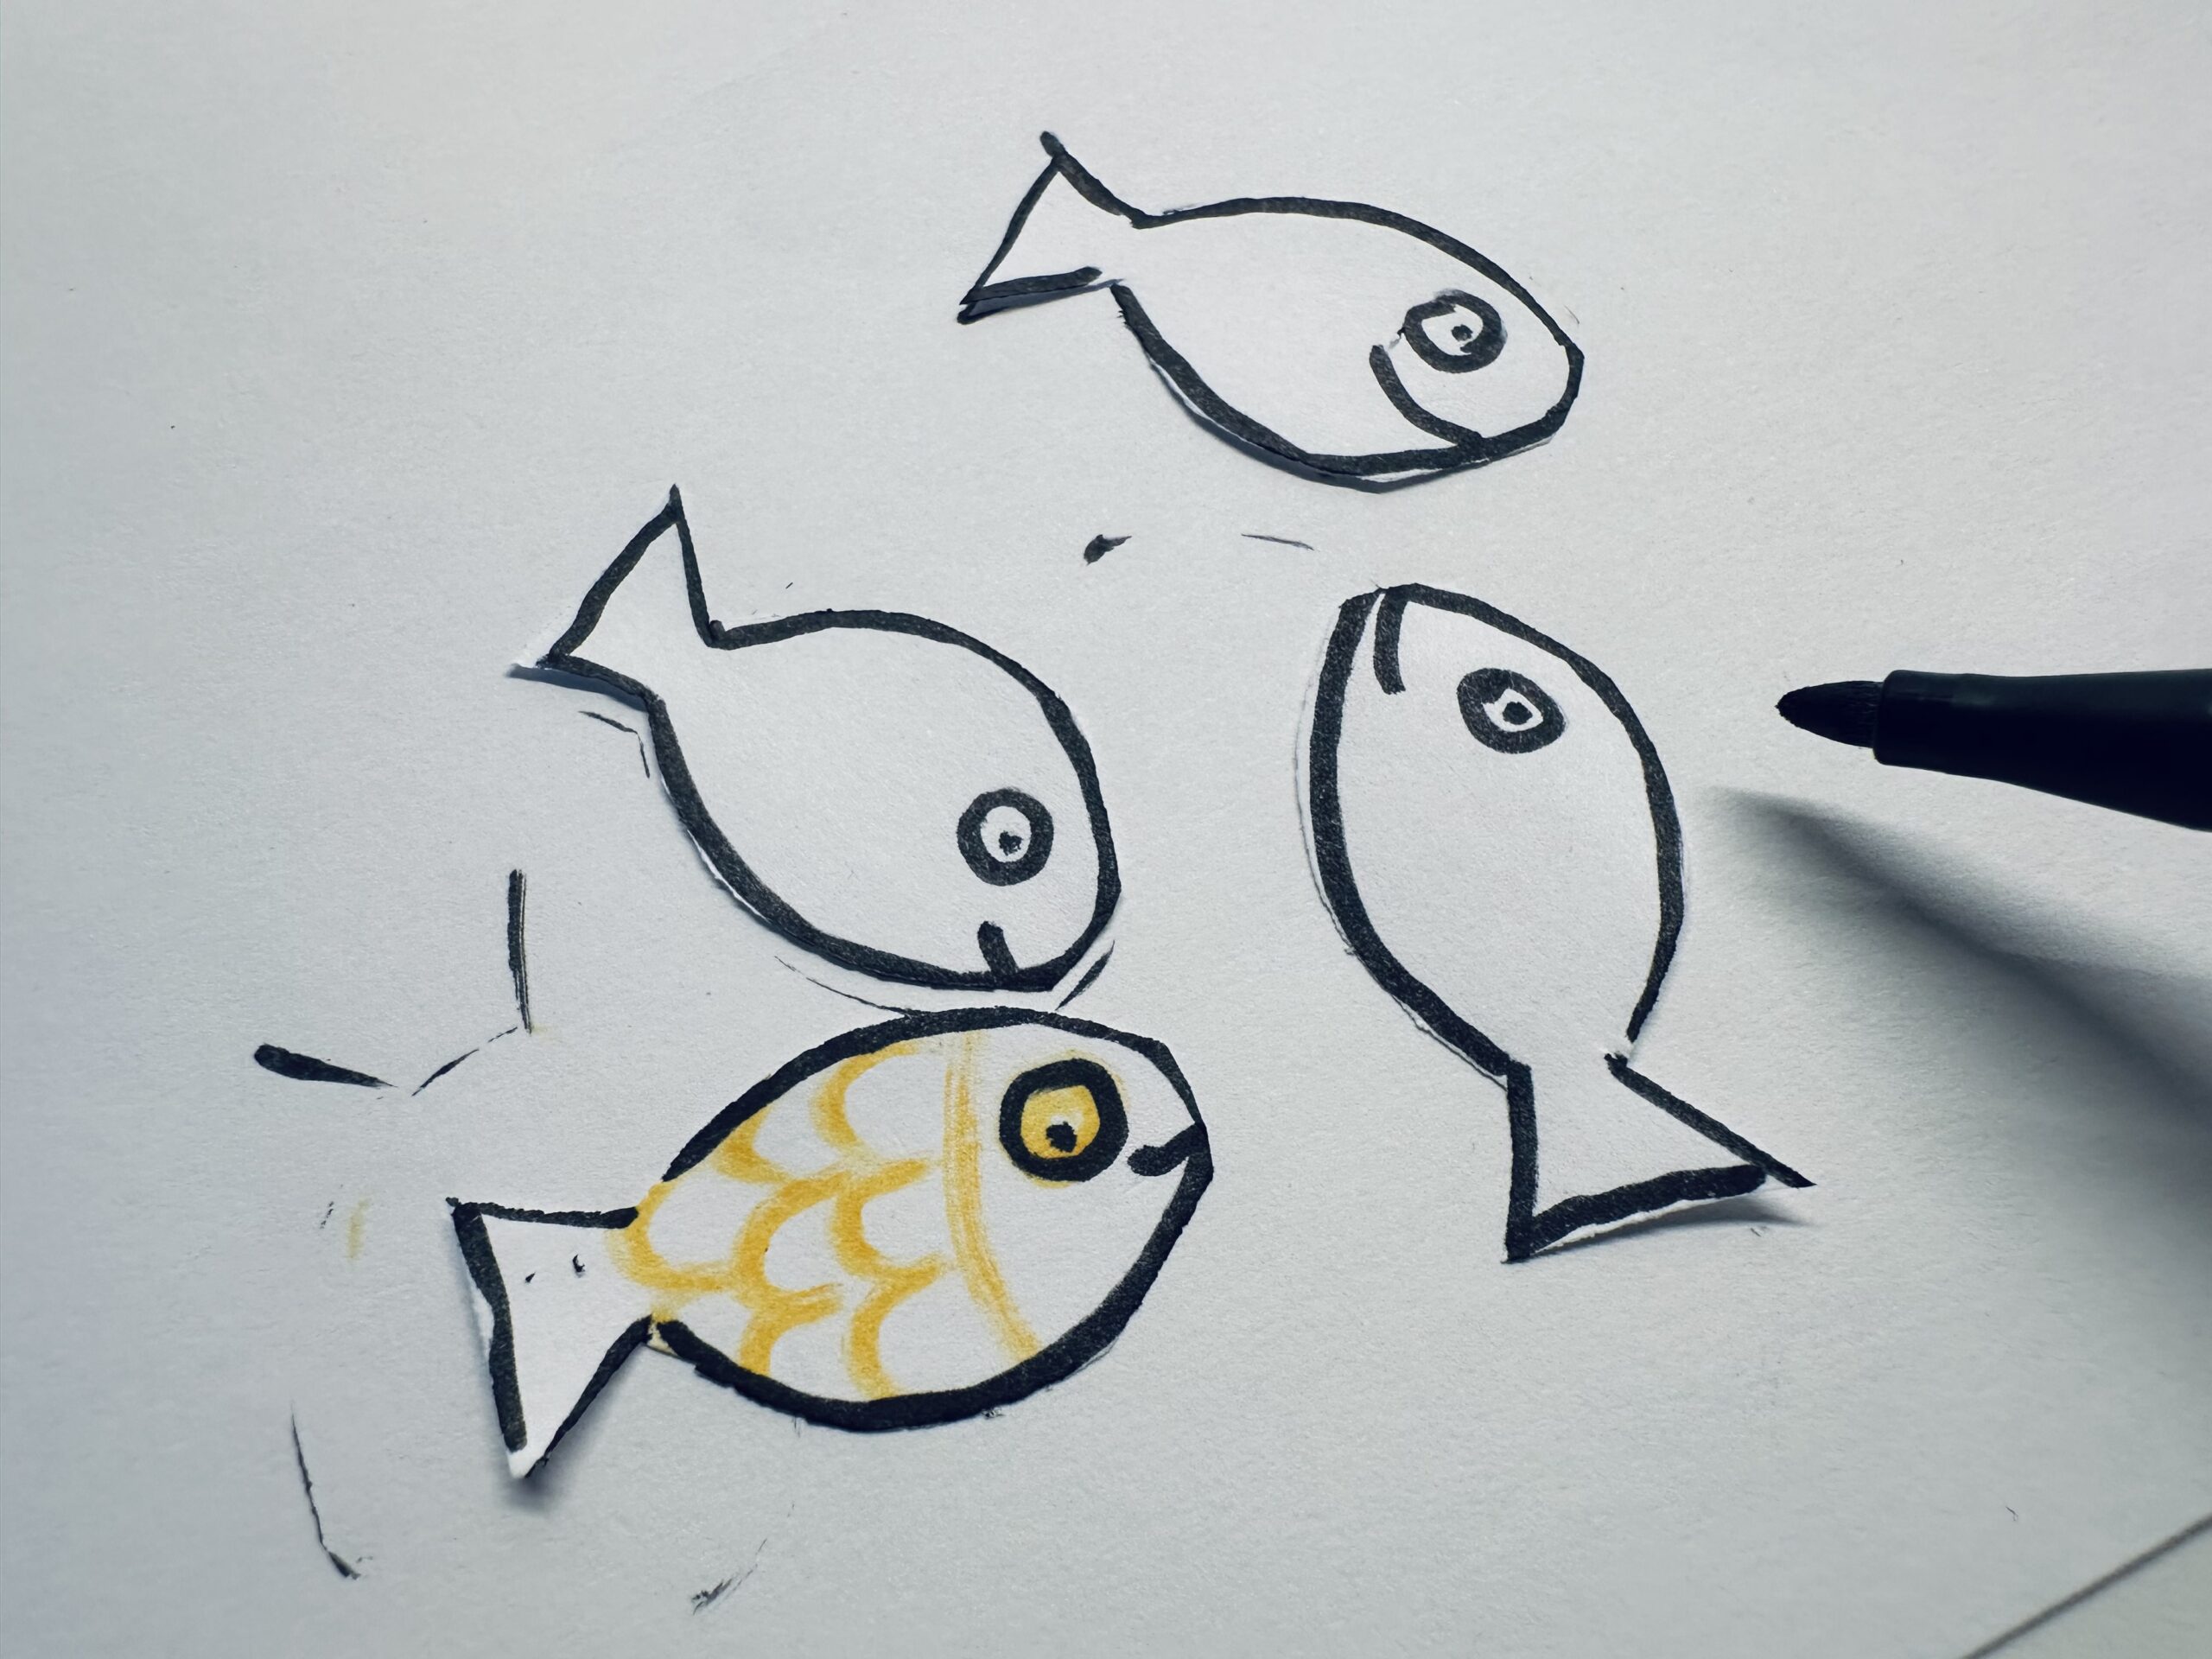


Each fish can be painted differently.


Arrange the finished fish on your picture. As if the diver/snorcher marveled at a swarm of fish.
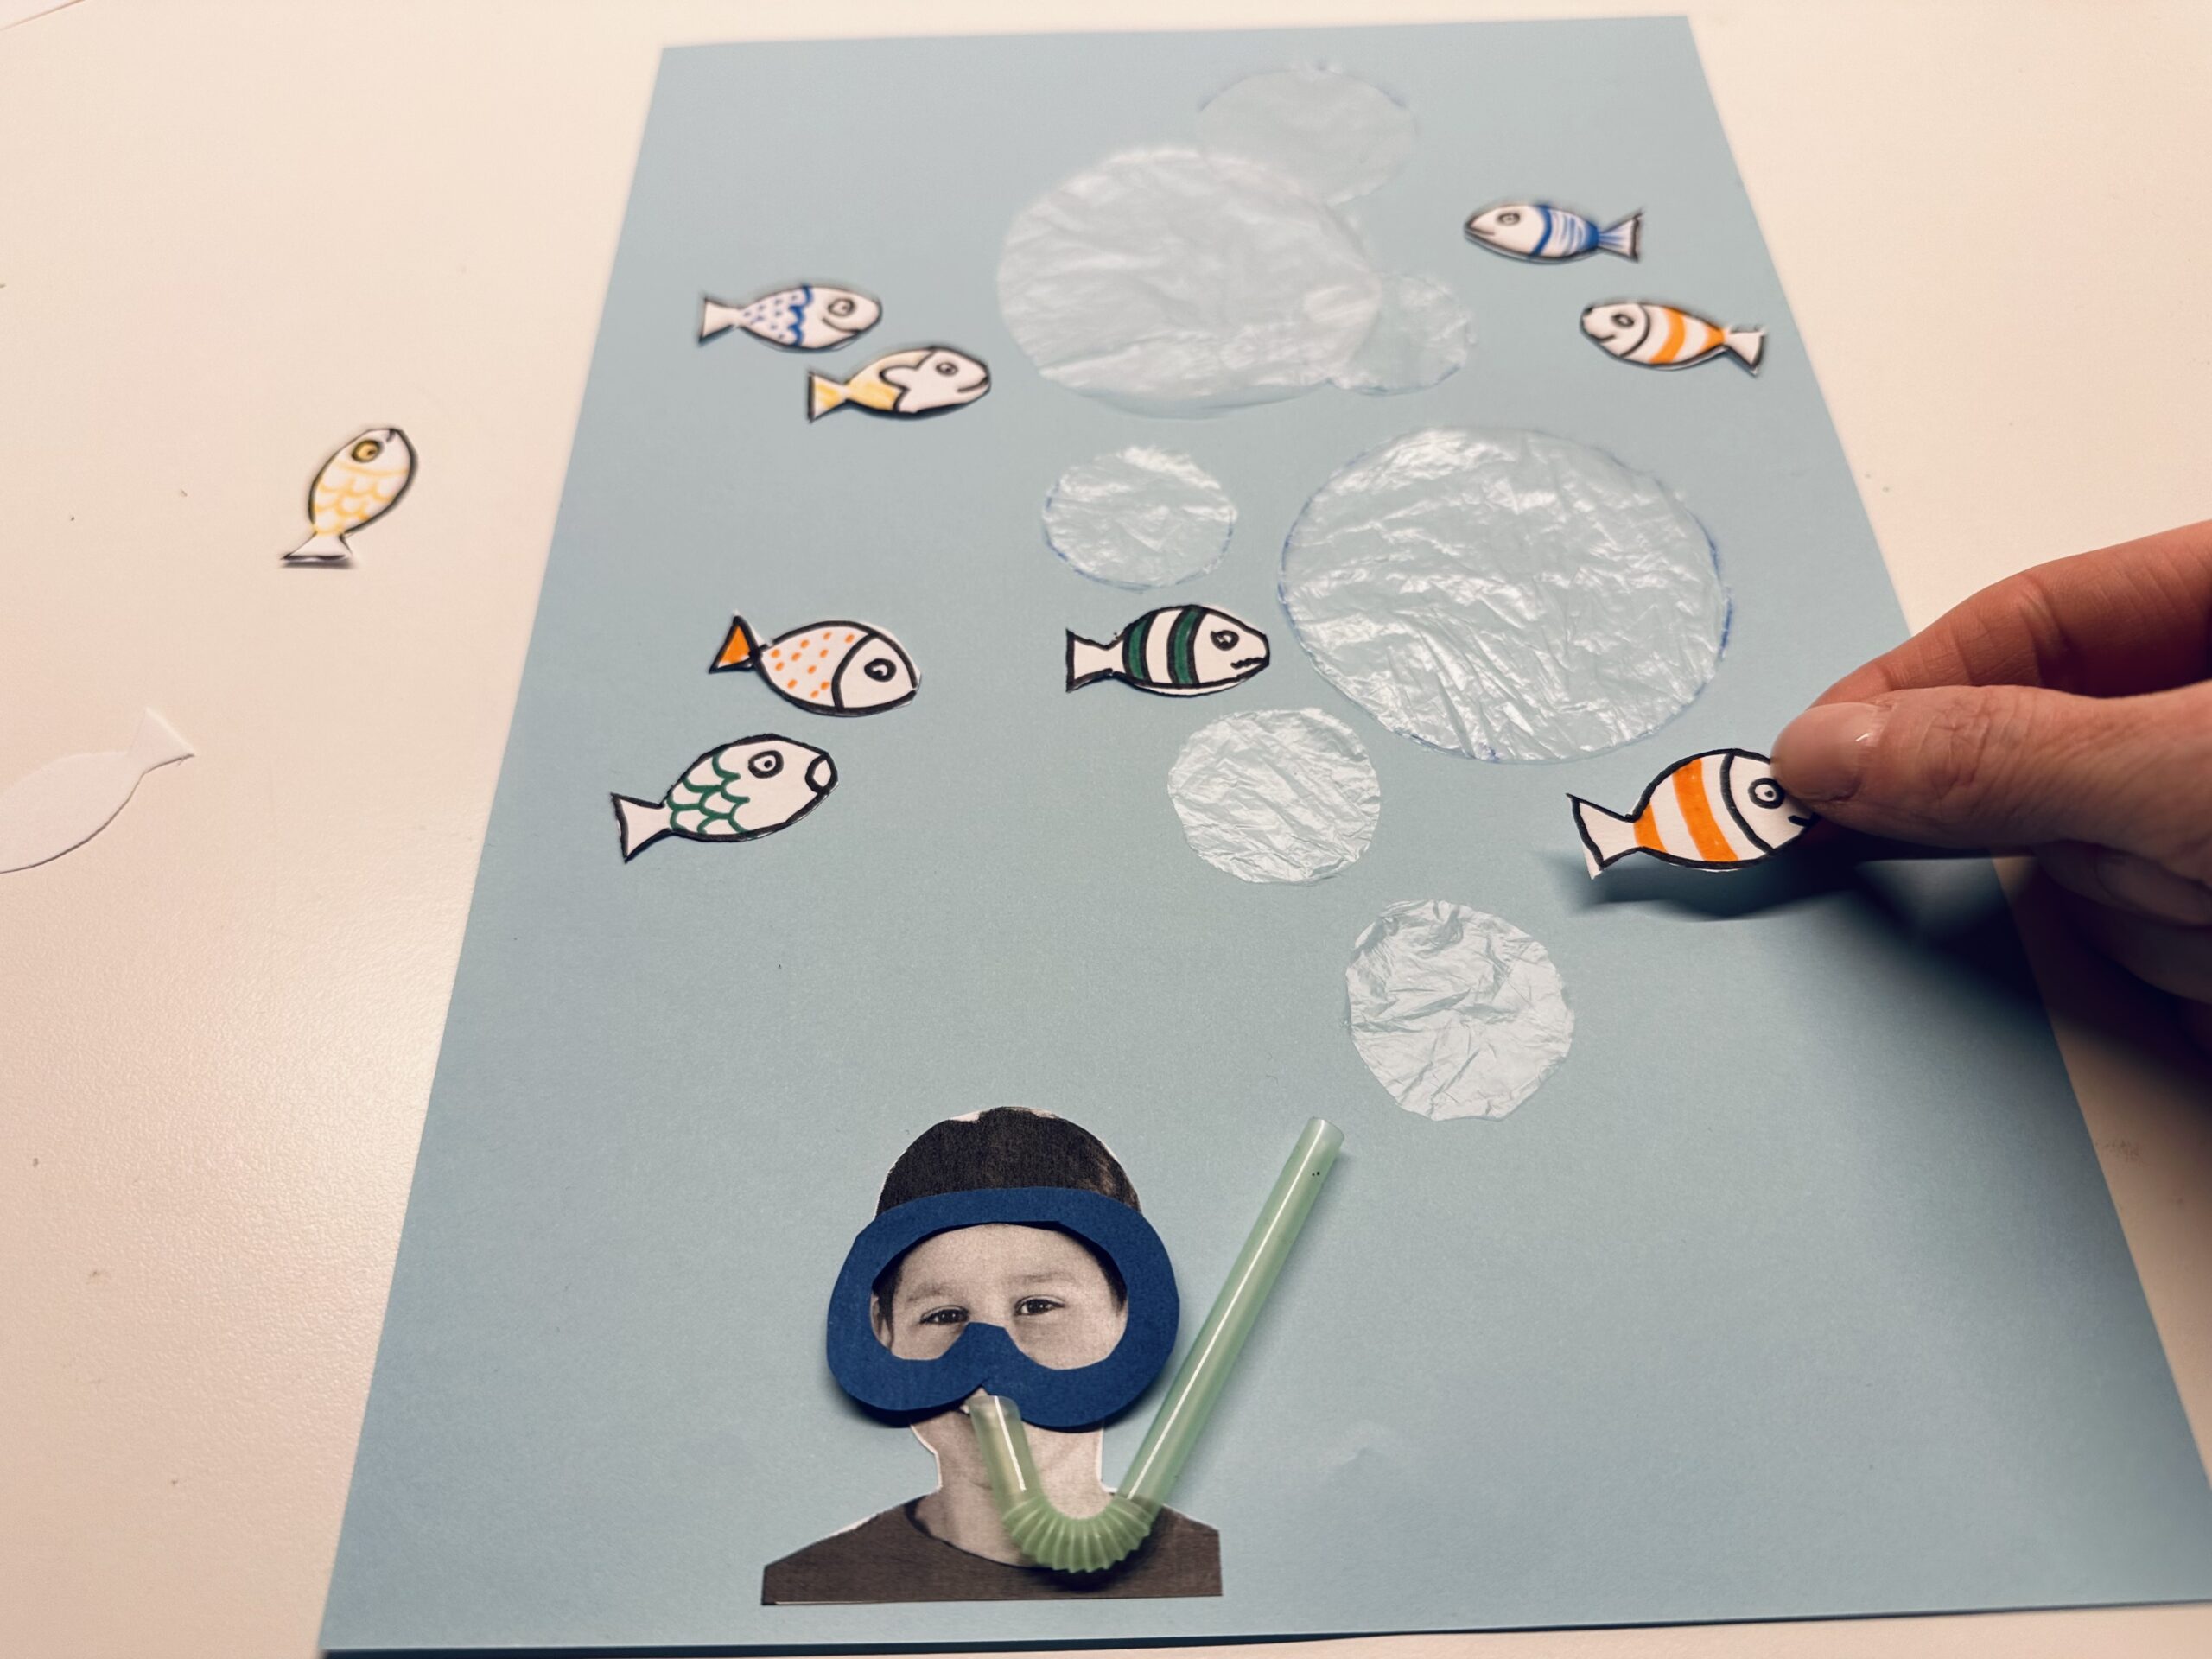


If you like the arrangement, all air bubbles and fish are stuck.
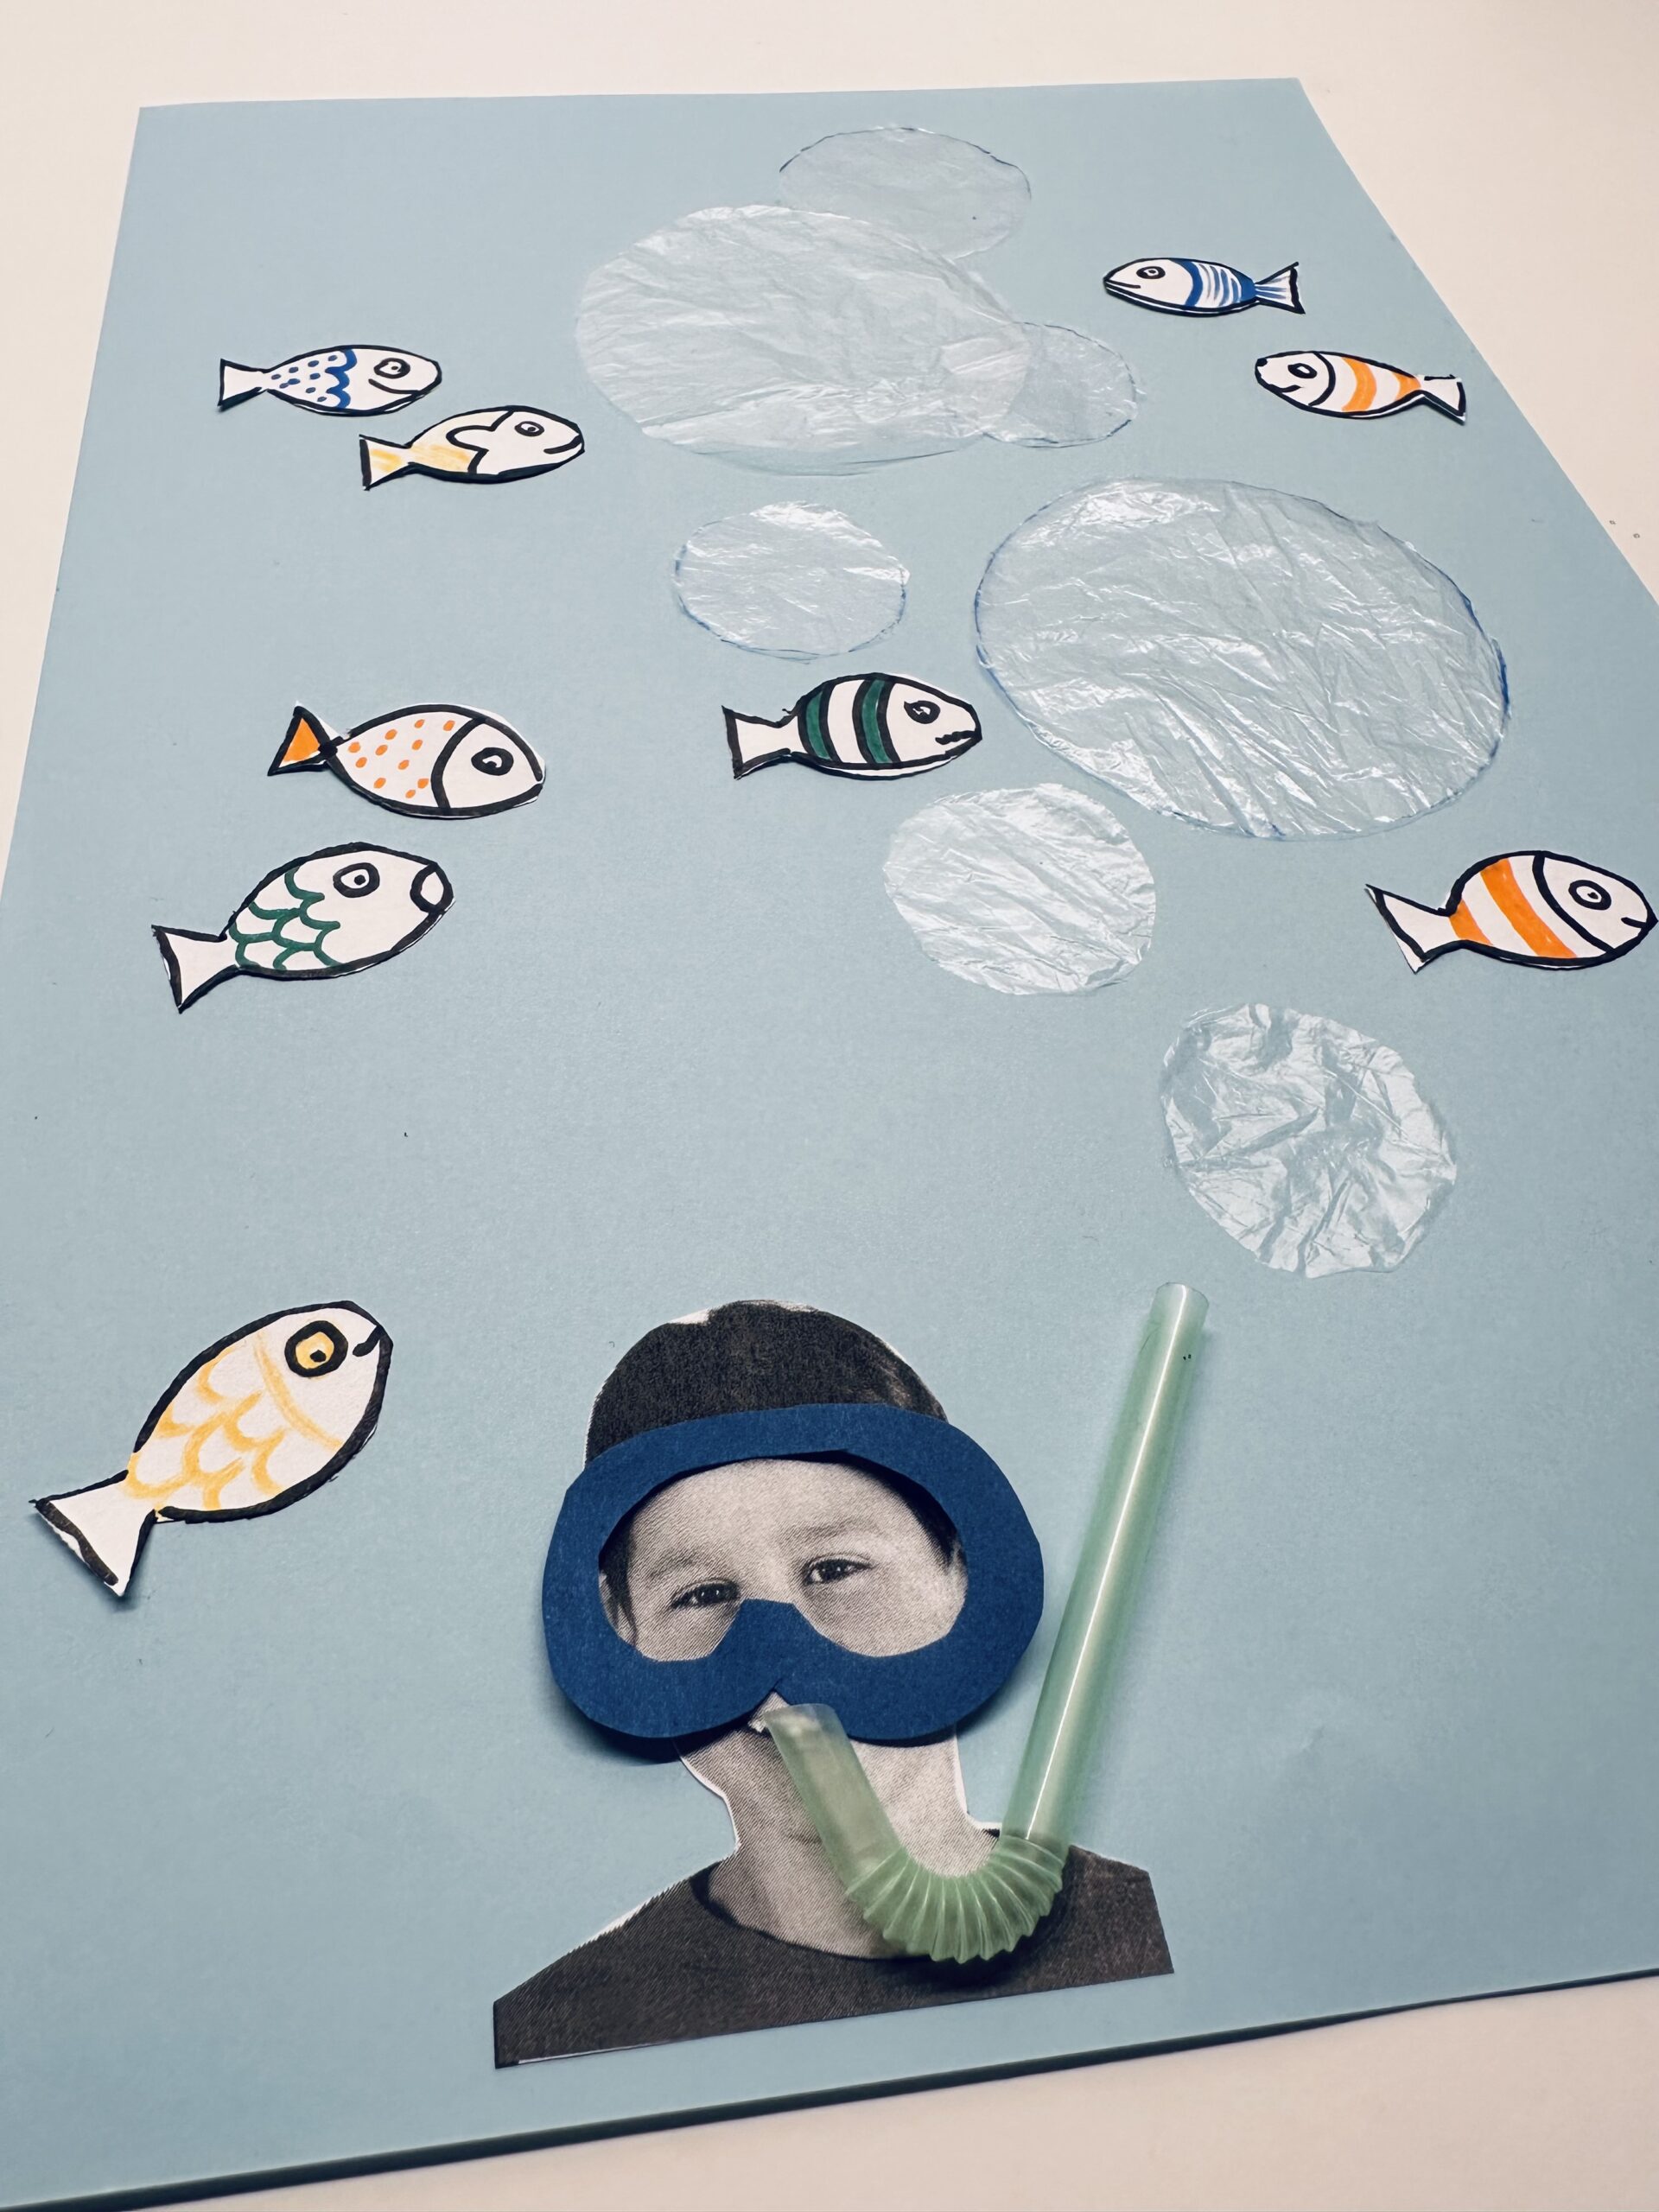


Every fish now needs small air bubbles. Paints them with a white crayon on the picture.


Finished is a great collage with many different materials. Matching the topic: air or underwater world.
Have fun trying out.


Materials
Directions
Take a snack bag or another transparent foil.
Put the screw caps on them in different sizes, they will be your air bubbles. The foil can be double.


Use either a ballpoint pen or a waterproof foil pen to paint the circles.


You can only paint all the circles before you cut them out.


To cut out you need a good scissors, because the foil can not be cut so easily.
Tip: with a fingernail scissors it is also fine.


Cuts out one circle (one bubble) at a time.


If you're done with it, the circles may still be double.


Take a circle in your hand and rub the foil between your thumb and index finger, so they loosen more easily and you can pull the circles apart.


That's how you get two bubbles out of a circle.


Take a blue paper.


Put the air bubbles on it.
Now you can leave the picture as soap bubbles or you make another diver/snorcher.


Take a black-and-white copy of a photo of you, for example.


Cut out your head. You can also leave the outline on your upper body.


Take a colorful clay paper and paint a diver's glasses. It should be the size above the eyes.


Like that.
Make a thick edge so you can cut out the "windows" for your eyes.


Cut out the scuba glasses with the scissors. First around and then the inside. Here you can bend the glasses a little bit to make a cut to pierce in.
Tip: the inside can also be cut out with a pointed fingernail scissors.


That's what your glasses might look like.


For the snorkel you need a straw now. Knock it so that one end goes away from the mouth and the other one points upwards.


It's a piece that looks like it's in the picture.


The diver/snorcher is ready.


Place it at the bottom of your air bubble image.


Sets the air bubbles so that it looks like when air bubbles come out of the snorkel.


Take a strip of paper and fold it half. Fold it several times. The individual pieces are about 2 fingers wide.


Paints a simple fish on the top piece of paper.


This fish can now be cut out and you get several fish with one time.


When cutting, keep the papers together so that they don't slip.


You now have several identical fish.


Put it on a paint pad (e.g. waste paper, old newspaper...) and paint around the edges with a felt pen.


Each fish can be painted differently.


Arrange the finished fish on your picture. As if the diver/snorcher marveled at a swarm of fish.


If you like the arrangement, all air bubbles and fish are stuck.


Every fish now needs small air bubbles. Paints them with a white crayon on the picture.


Finished is a great collage with many different materials. Matching the topic: air or underwater world.
Have fun trying out.


Follow us on Facebook , Instagram and Pinterest
Don't miss any more adventures: Our bottle mail


