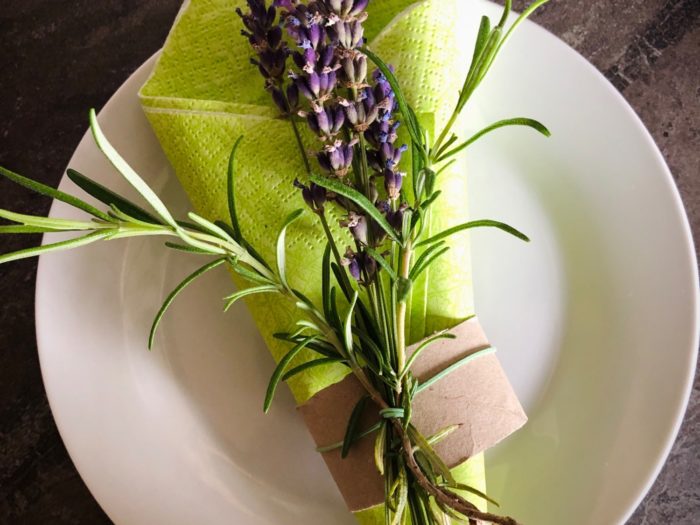
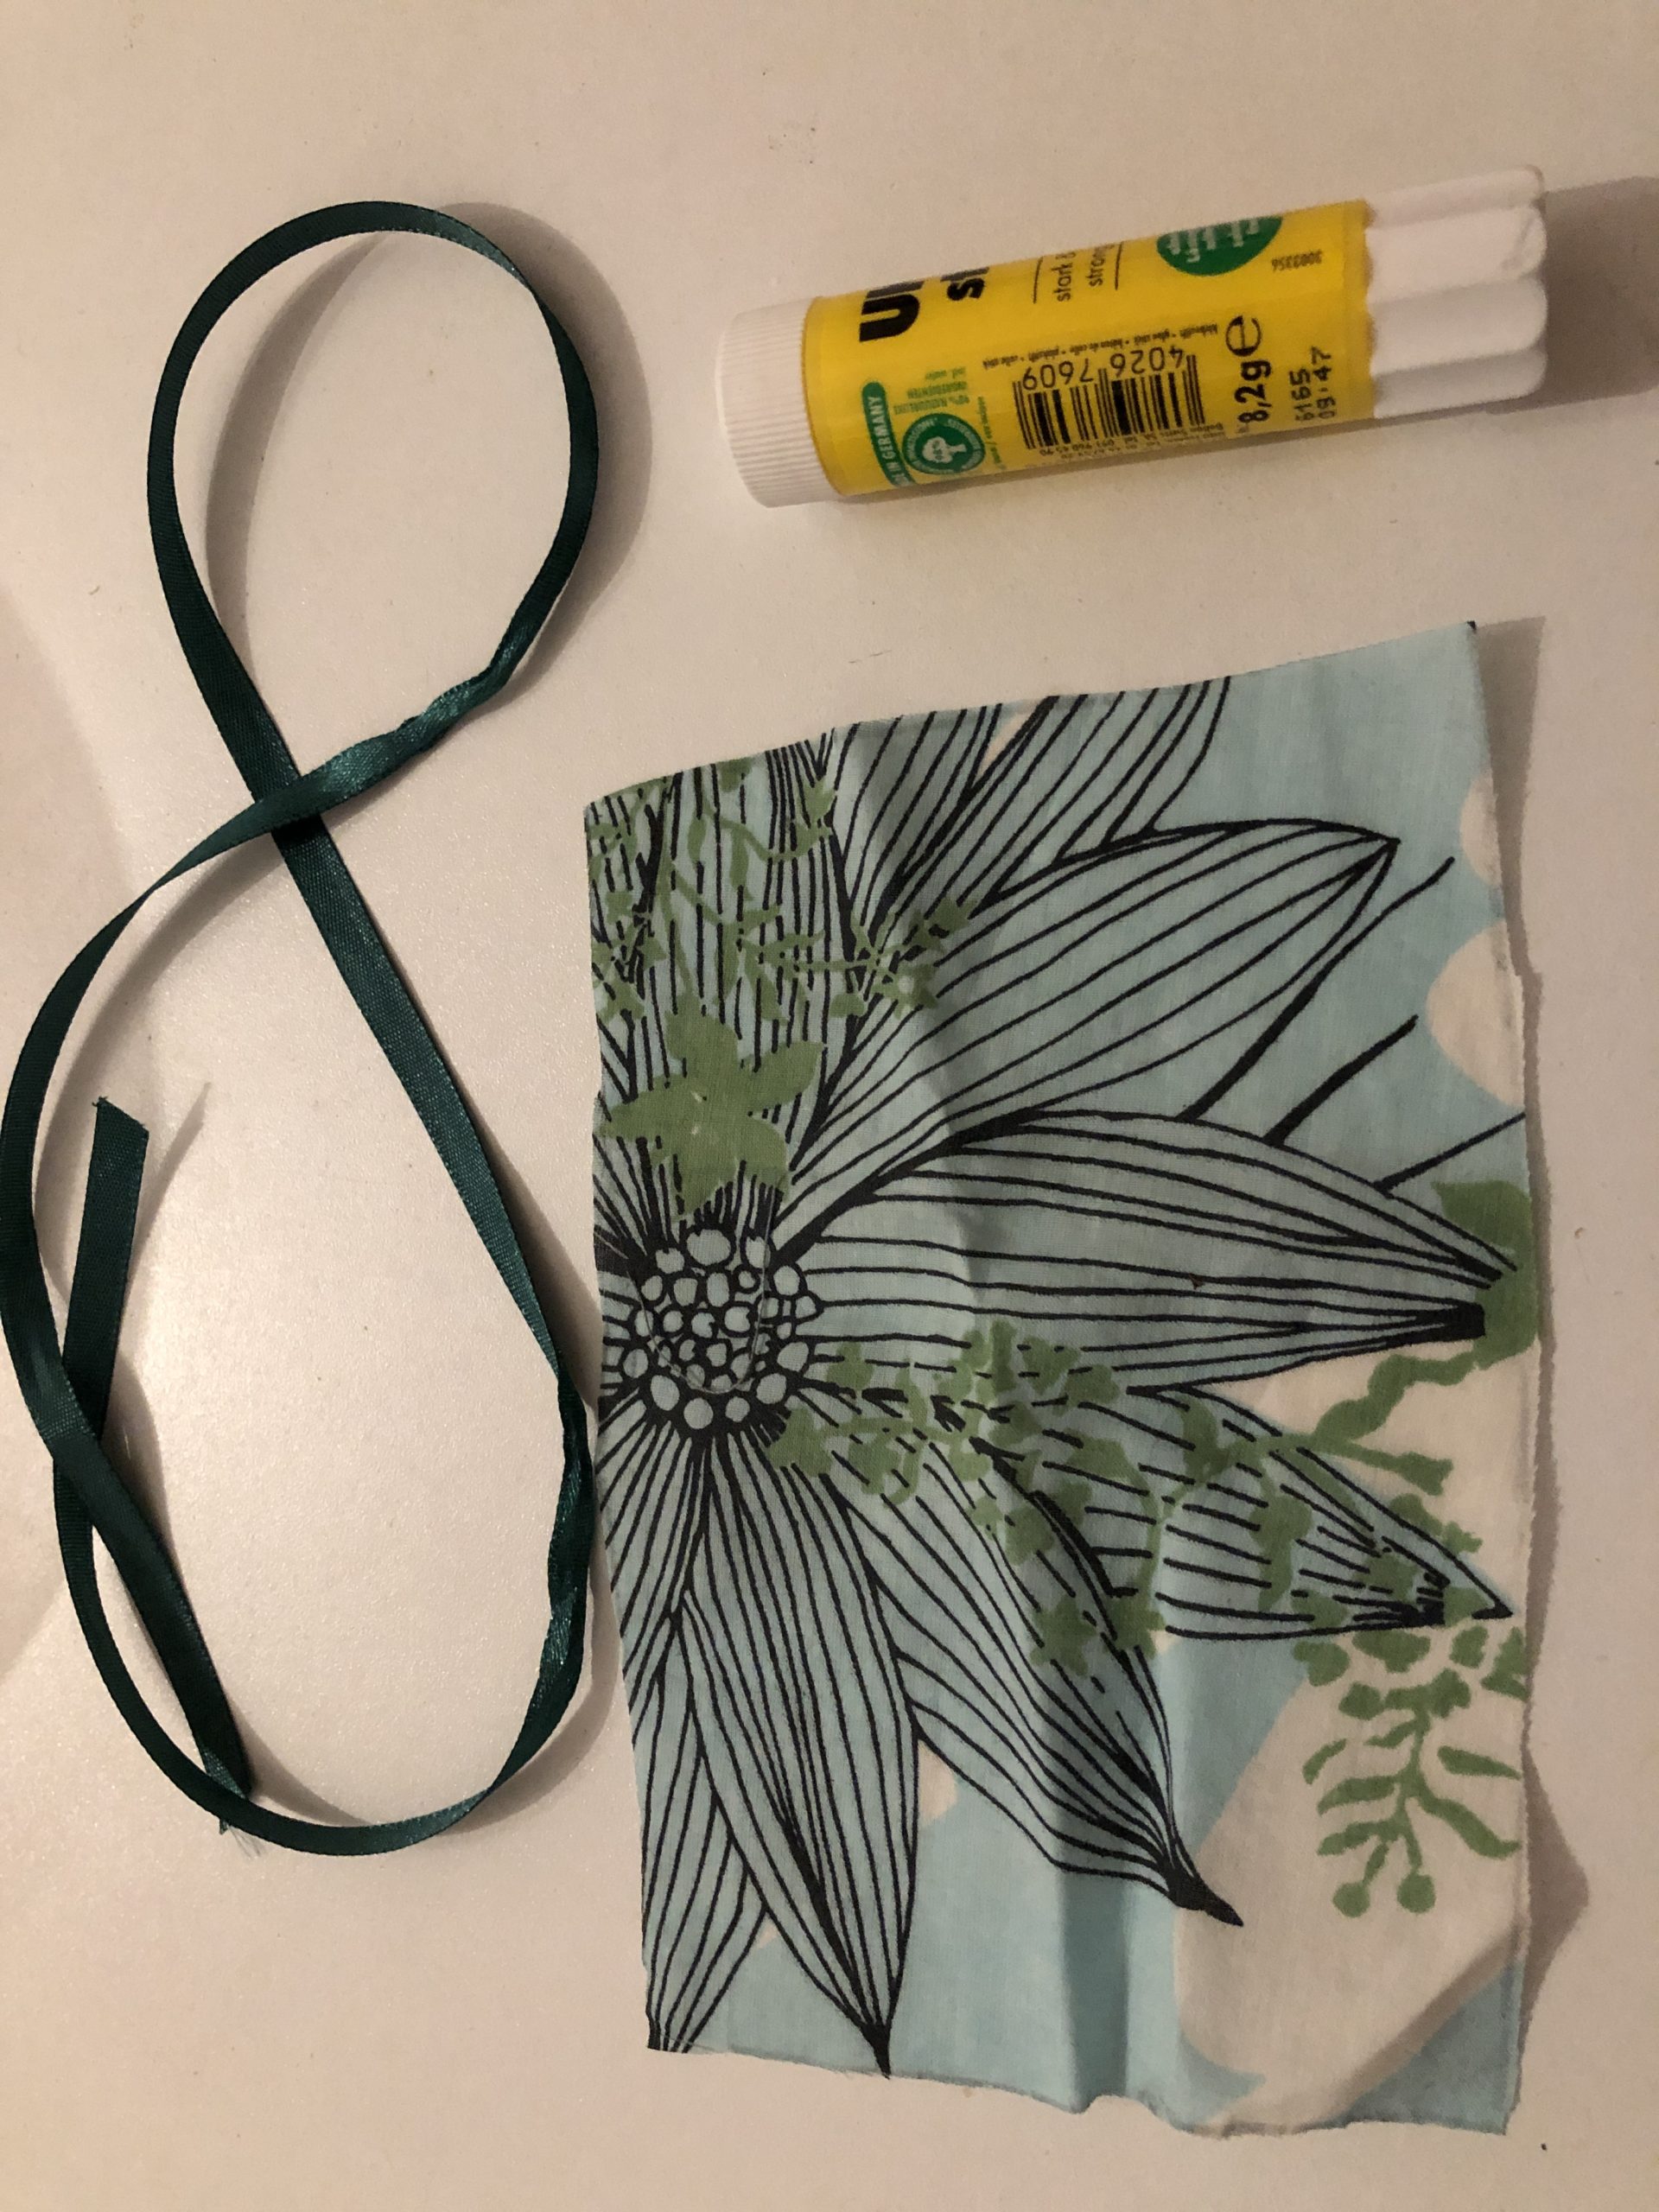
You can make yourself a lavender bag without a sewing machine! See how easy it is. You only need a piece of fabric, a piece of cord, a glue stick and a hot glue gun.
Media Education for Kindergarten and Hort

Relief in everyday life, targeted promotion of individual children, independent learning and - without any pre-knowledge already usable by the youngest!

Cut piece of fabric (approx.10 cm x 15 cm).
Prepare glue pen and tape.
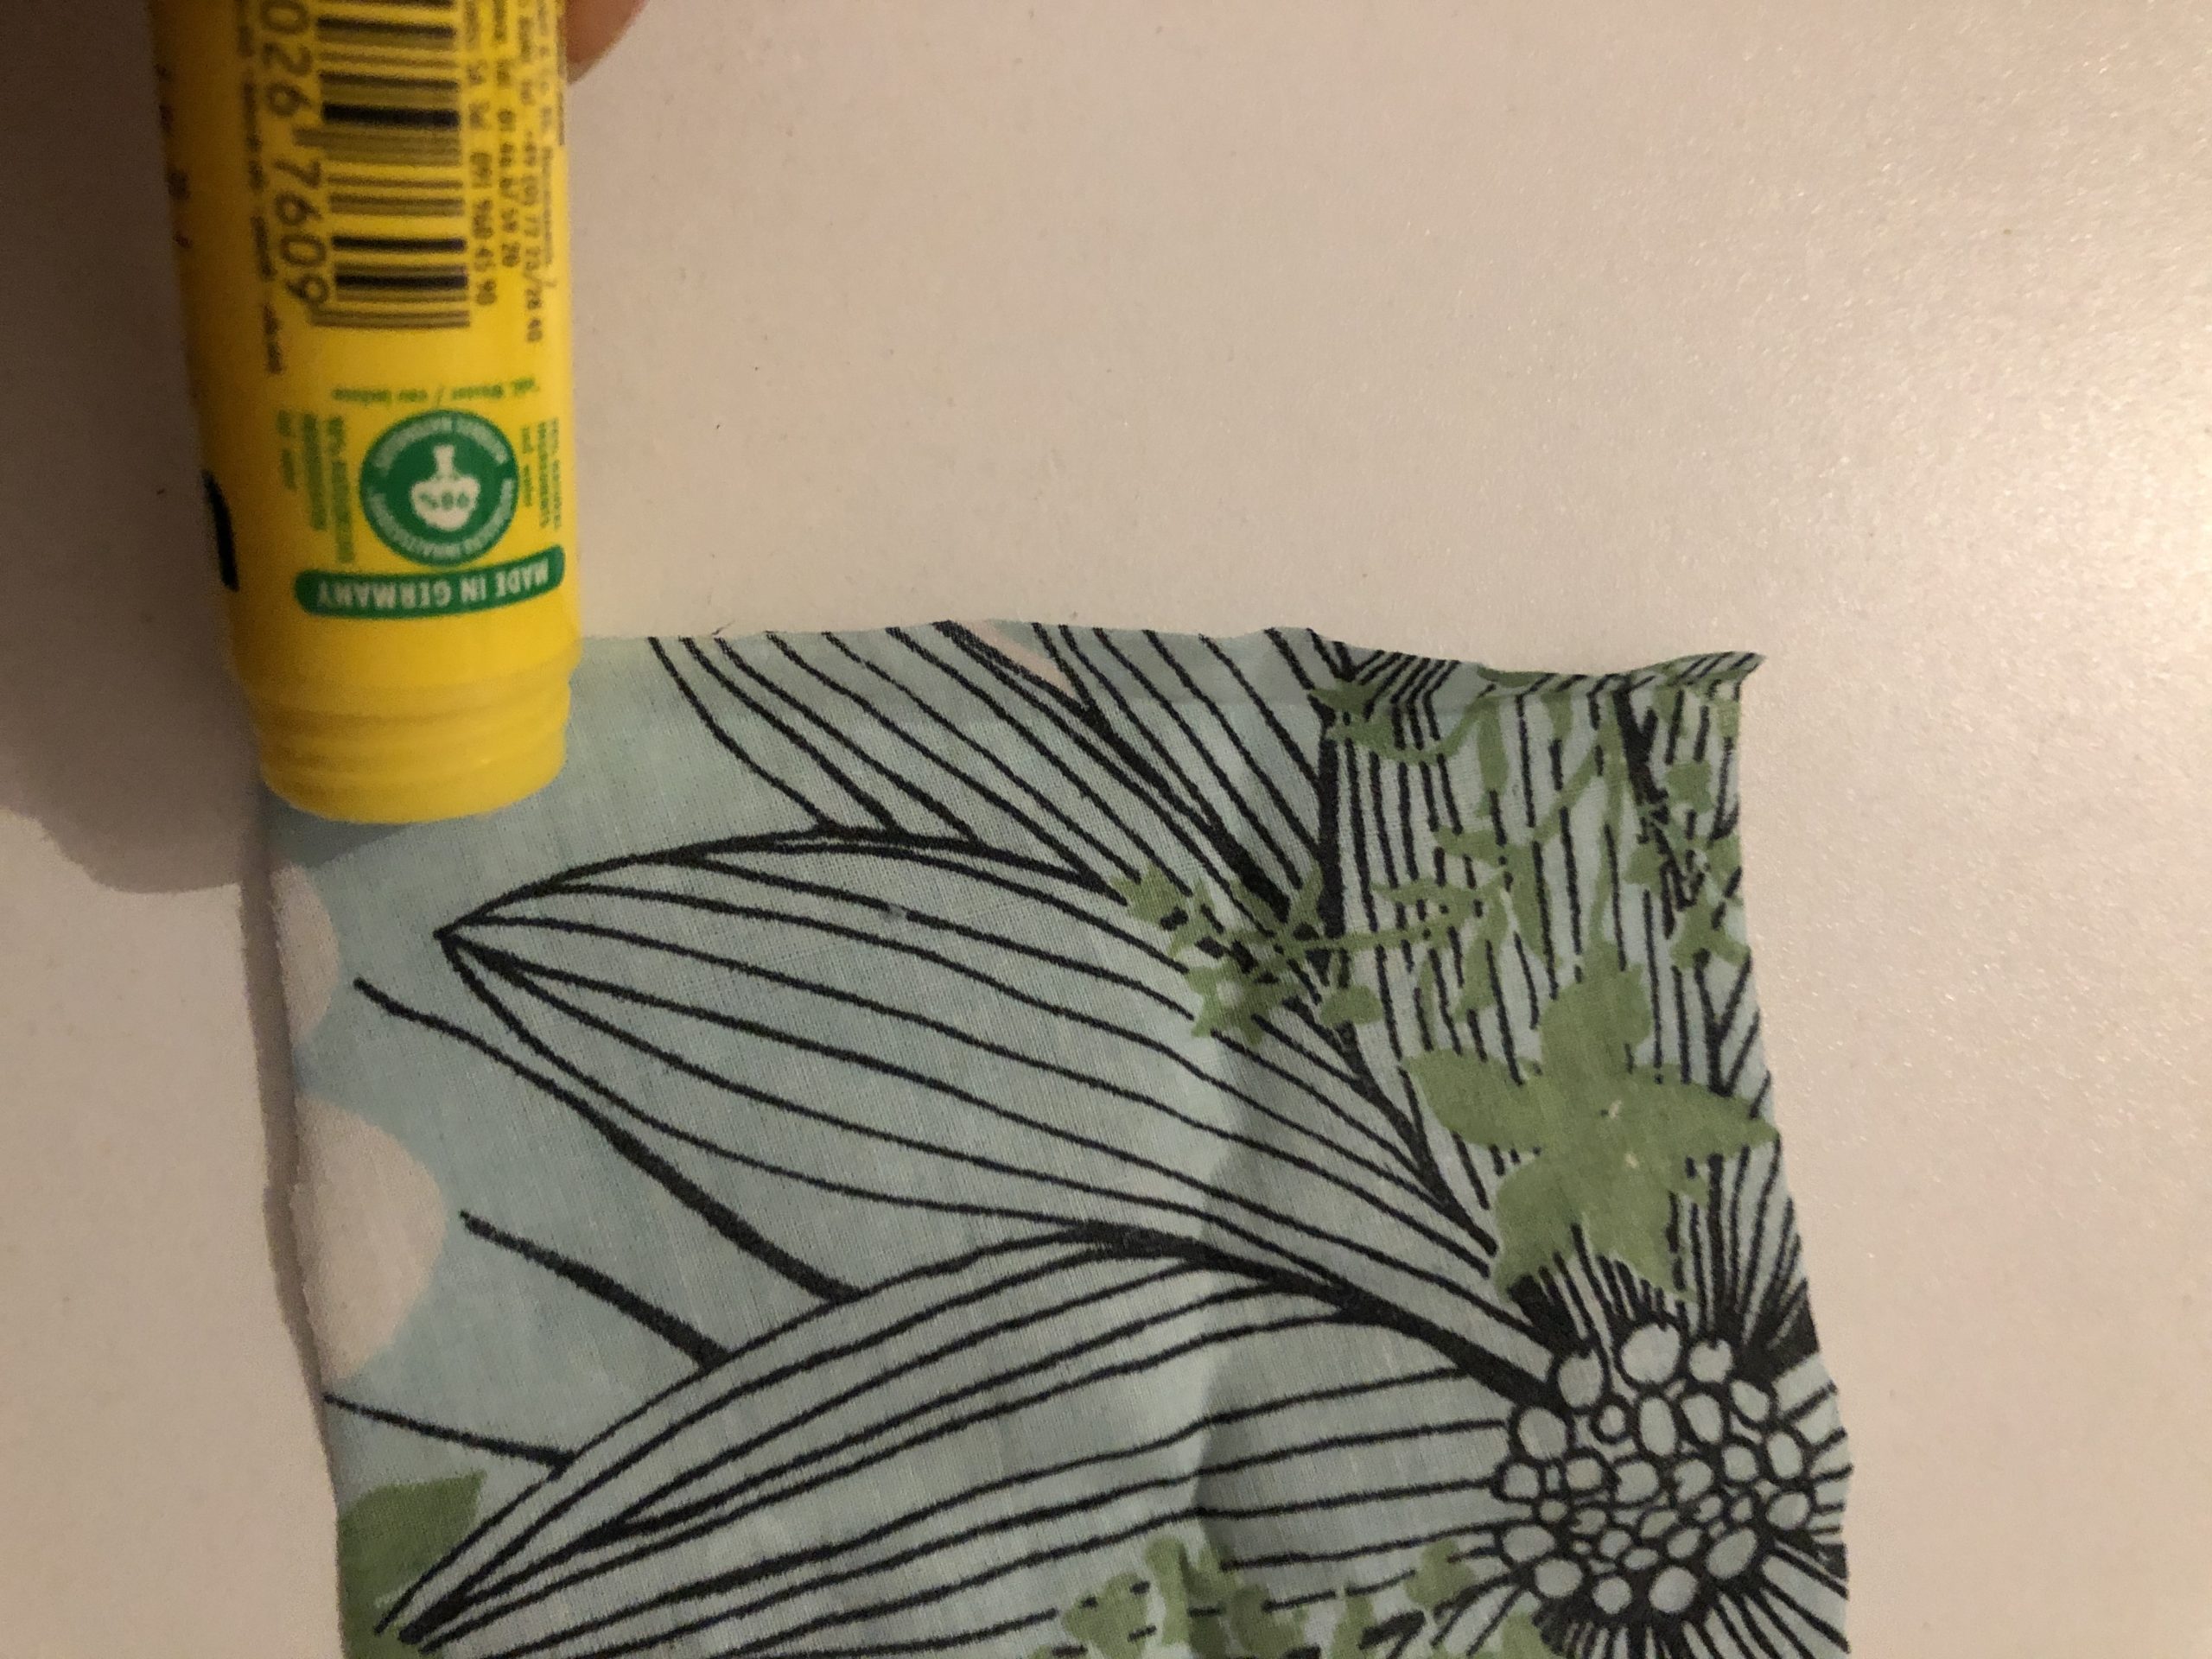
We make a small hem on the piece of fabric by flipping around half an inch and glued with the glue stick.
Well, push it.
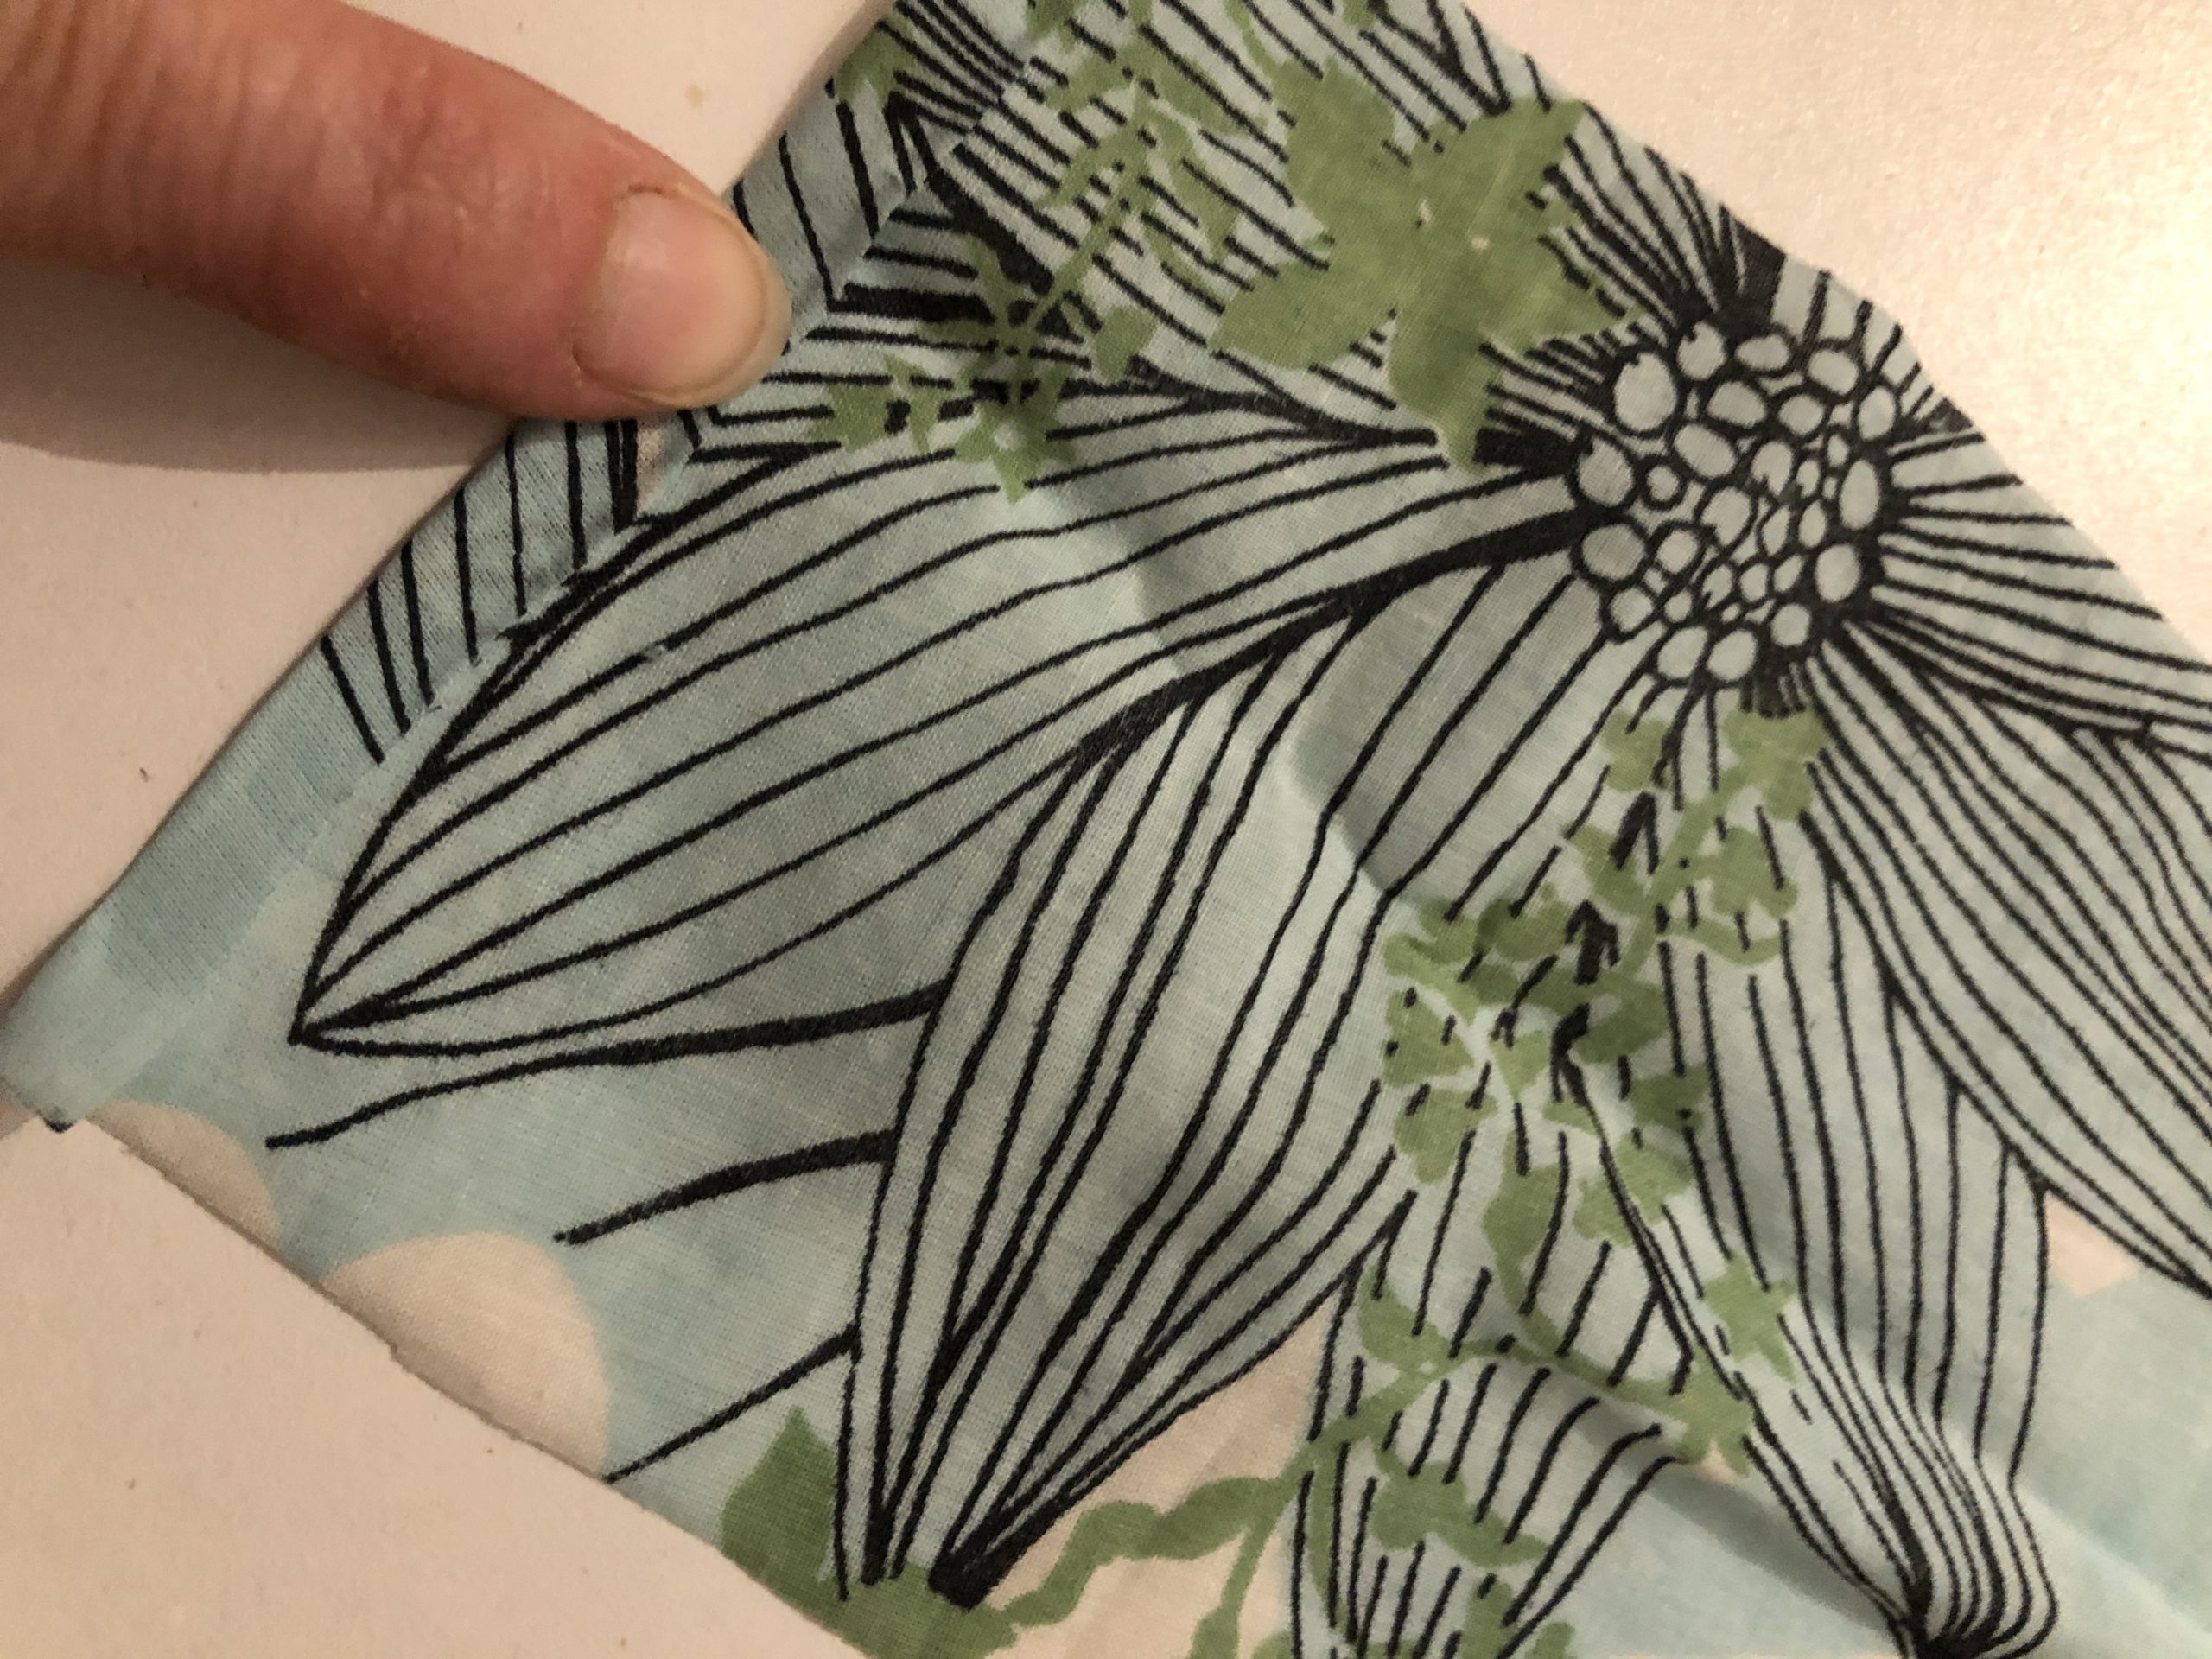
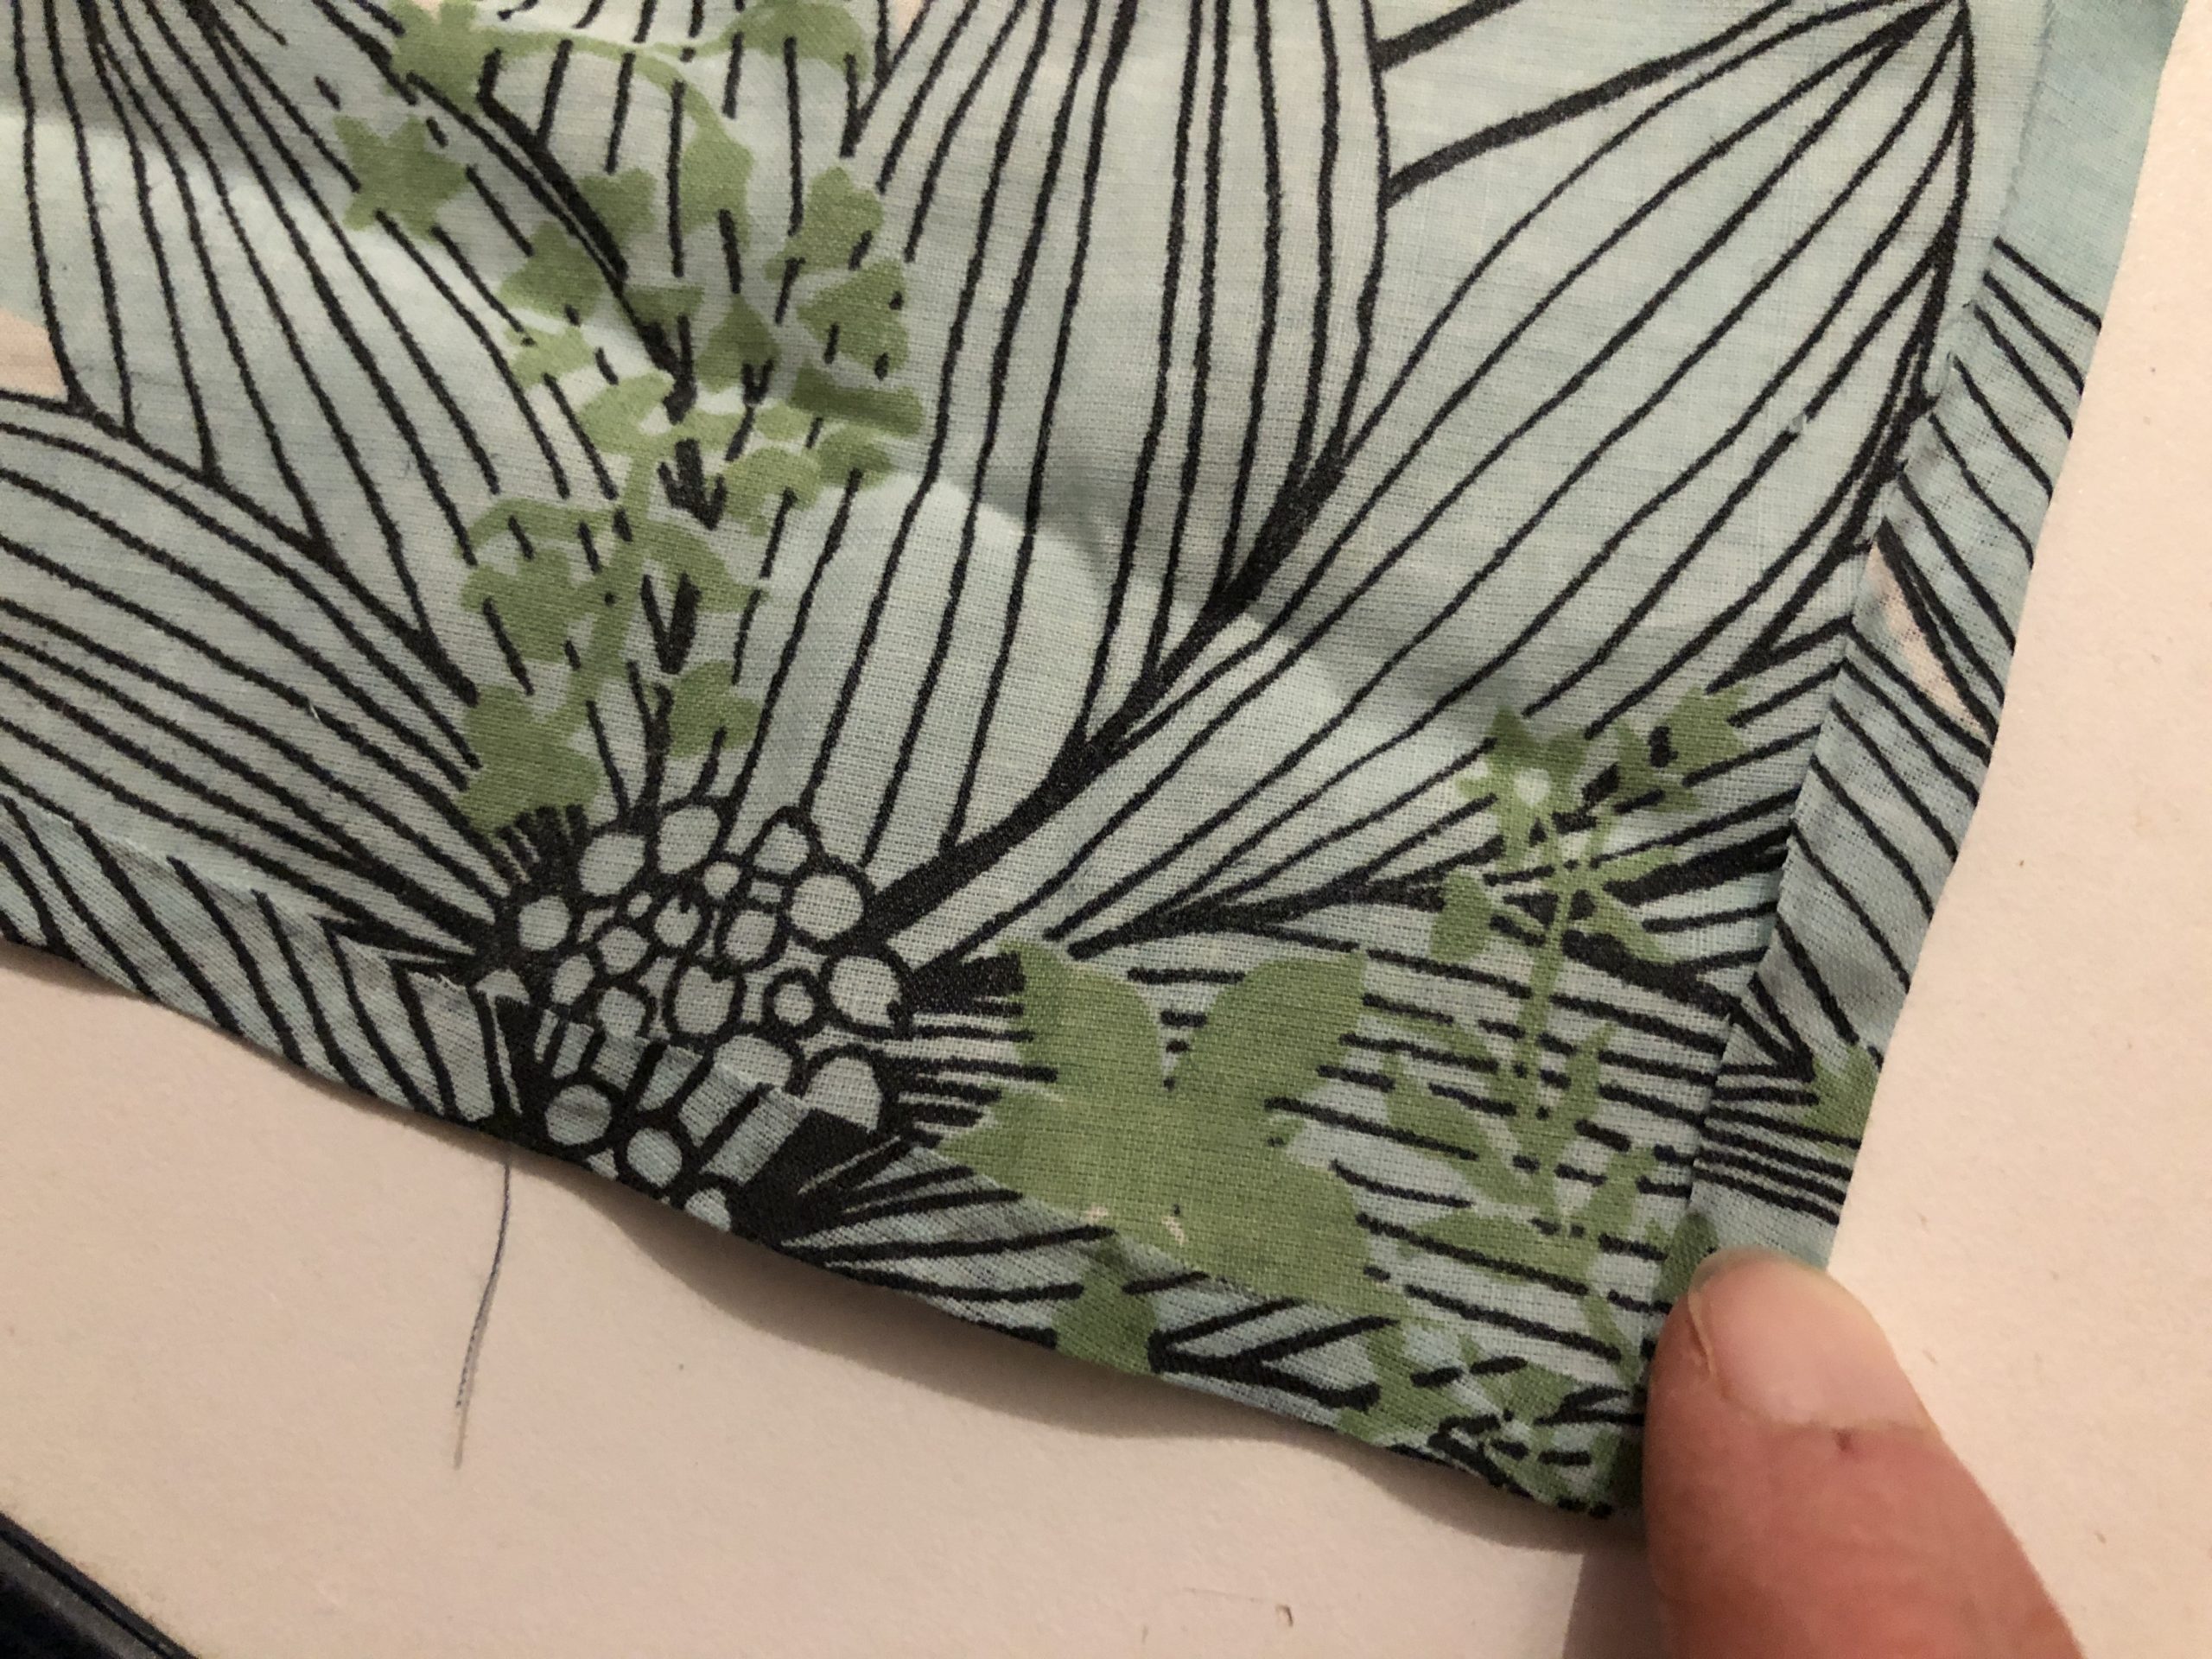
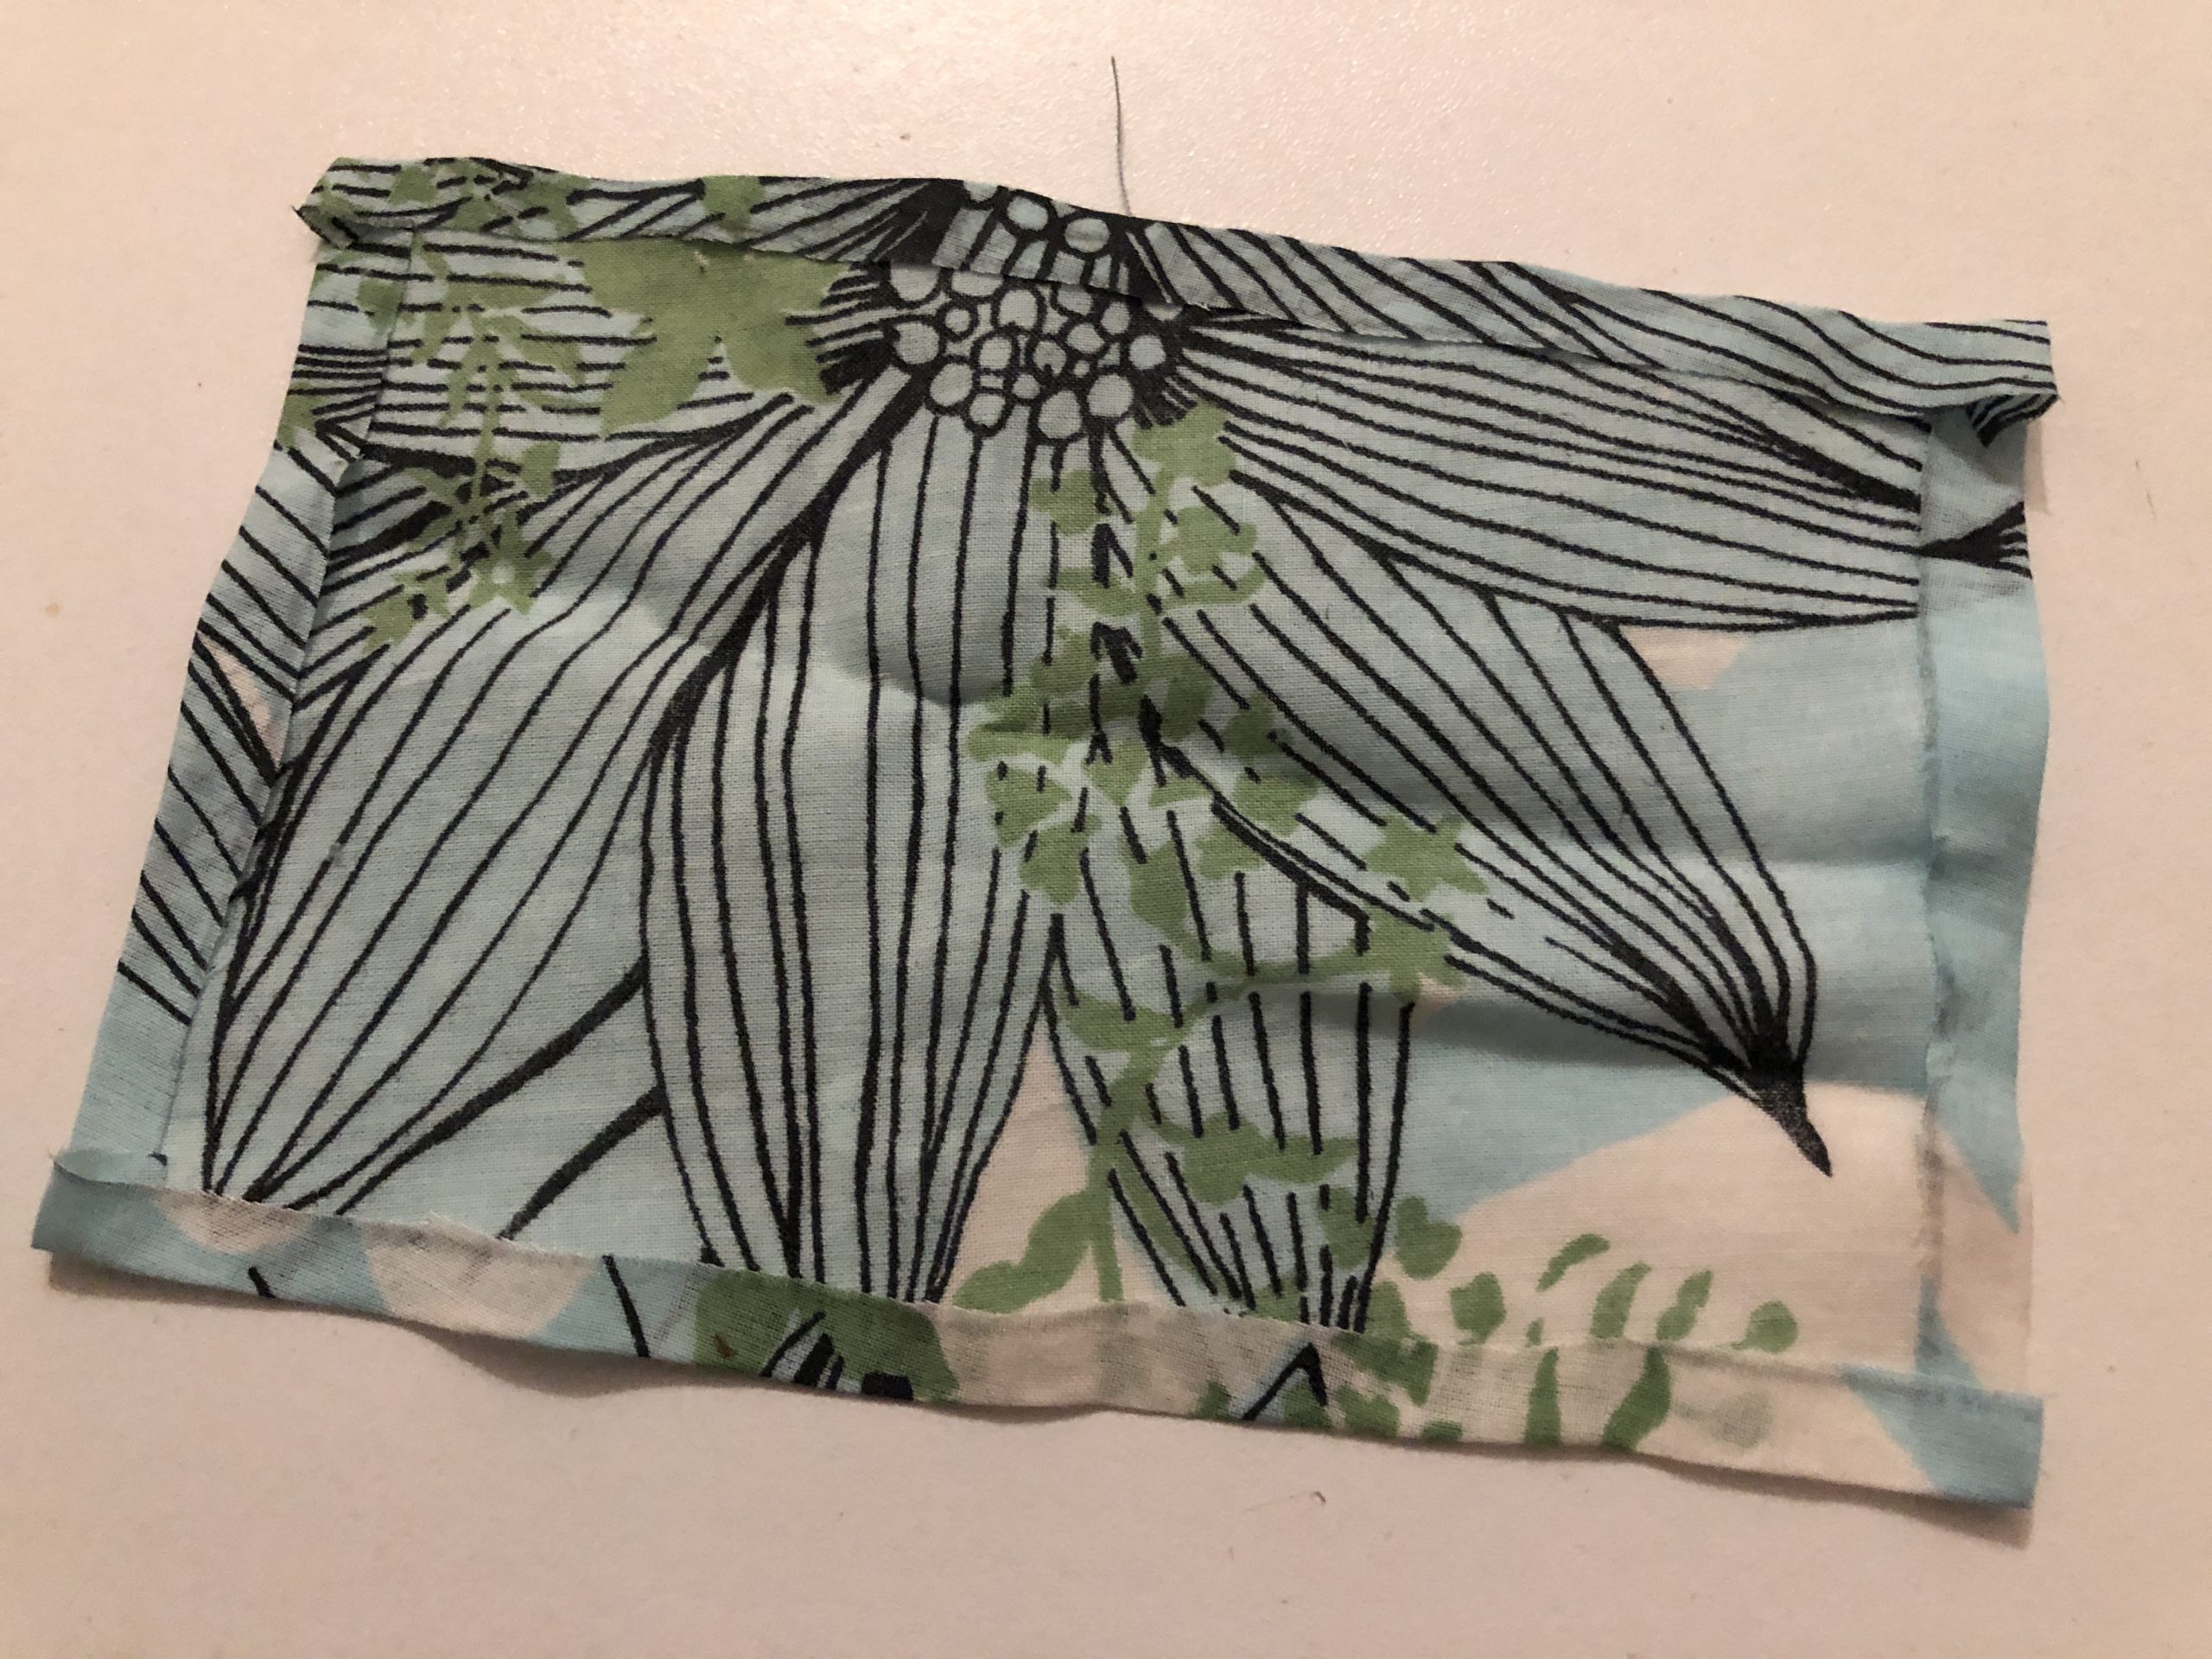
All four sides are turned around 0.5 cm and glued on.

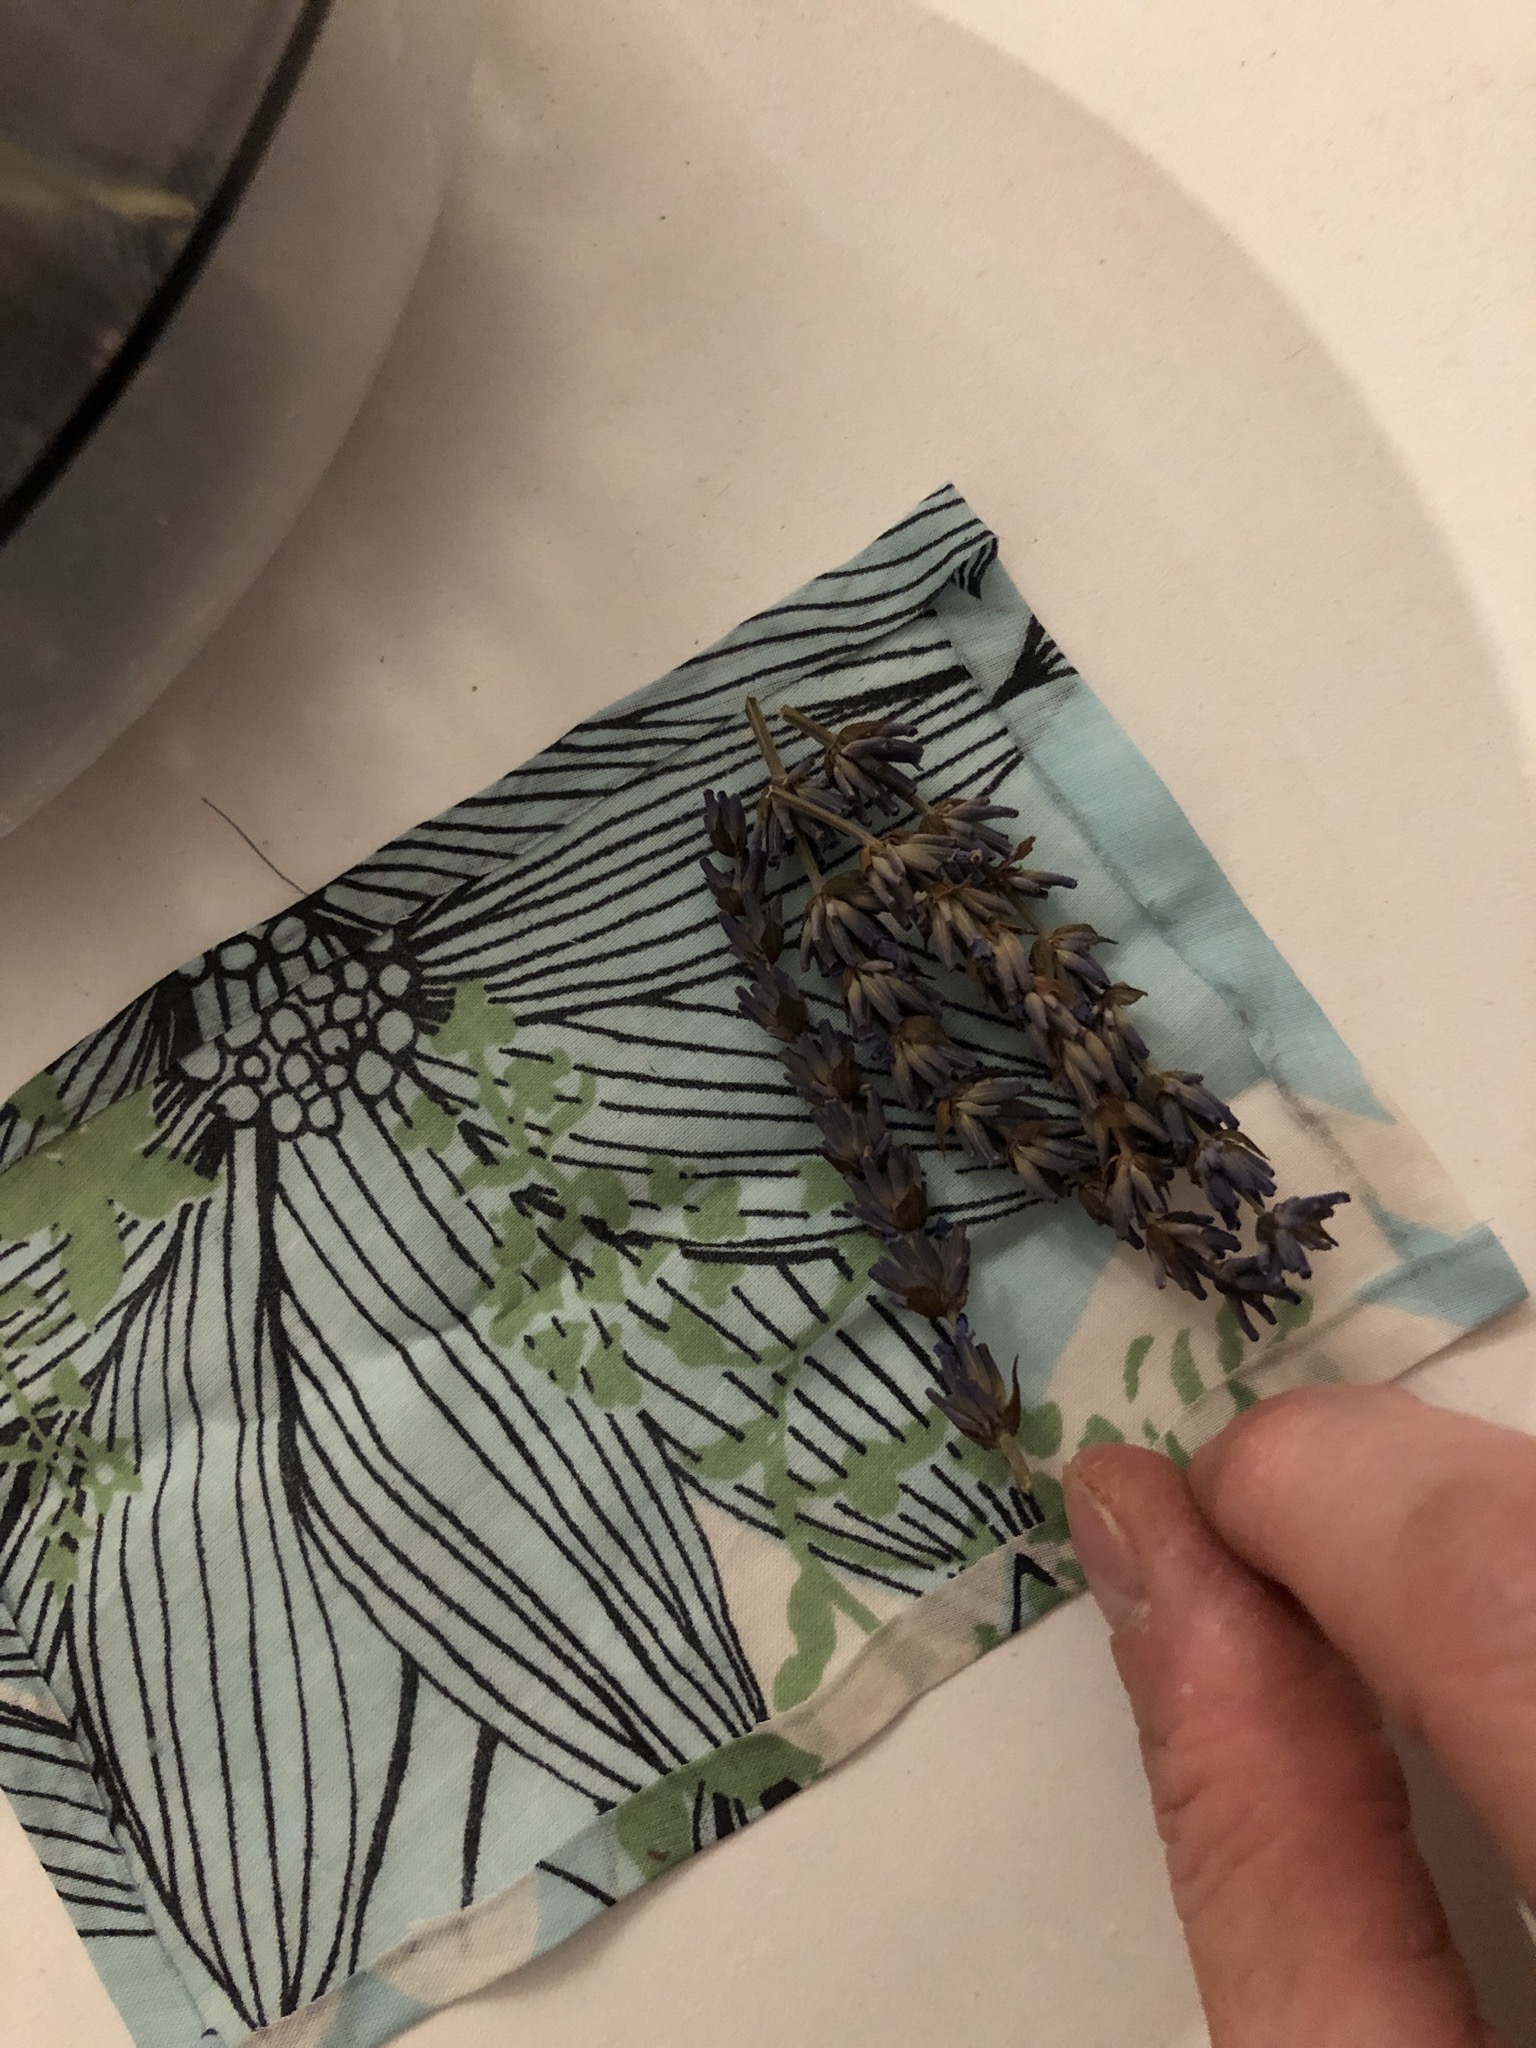
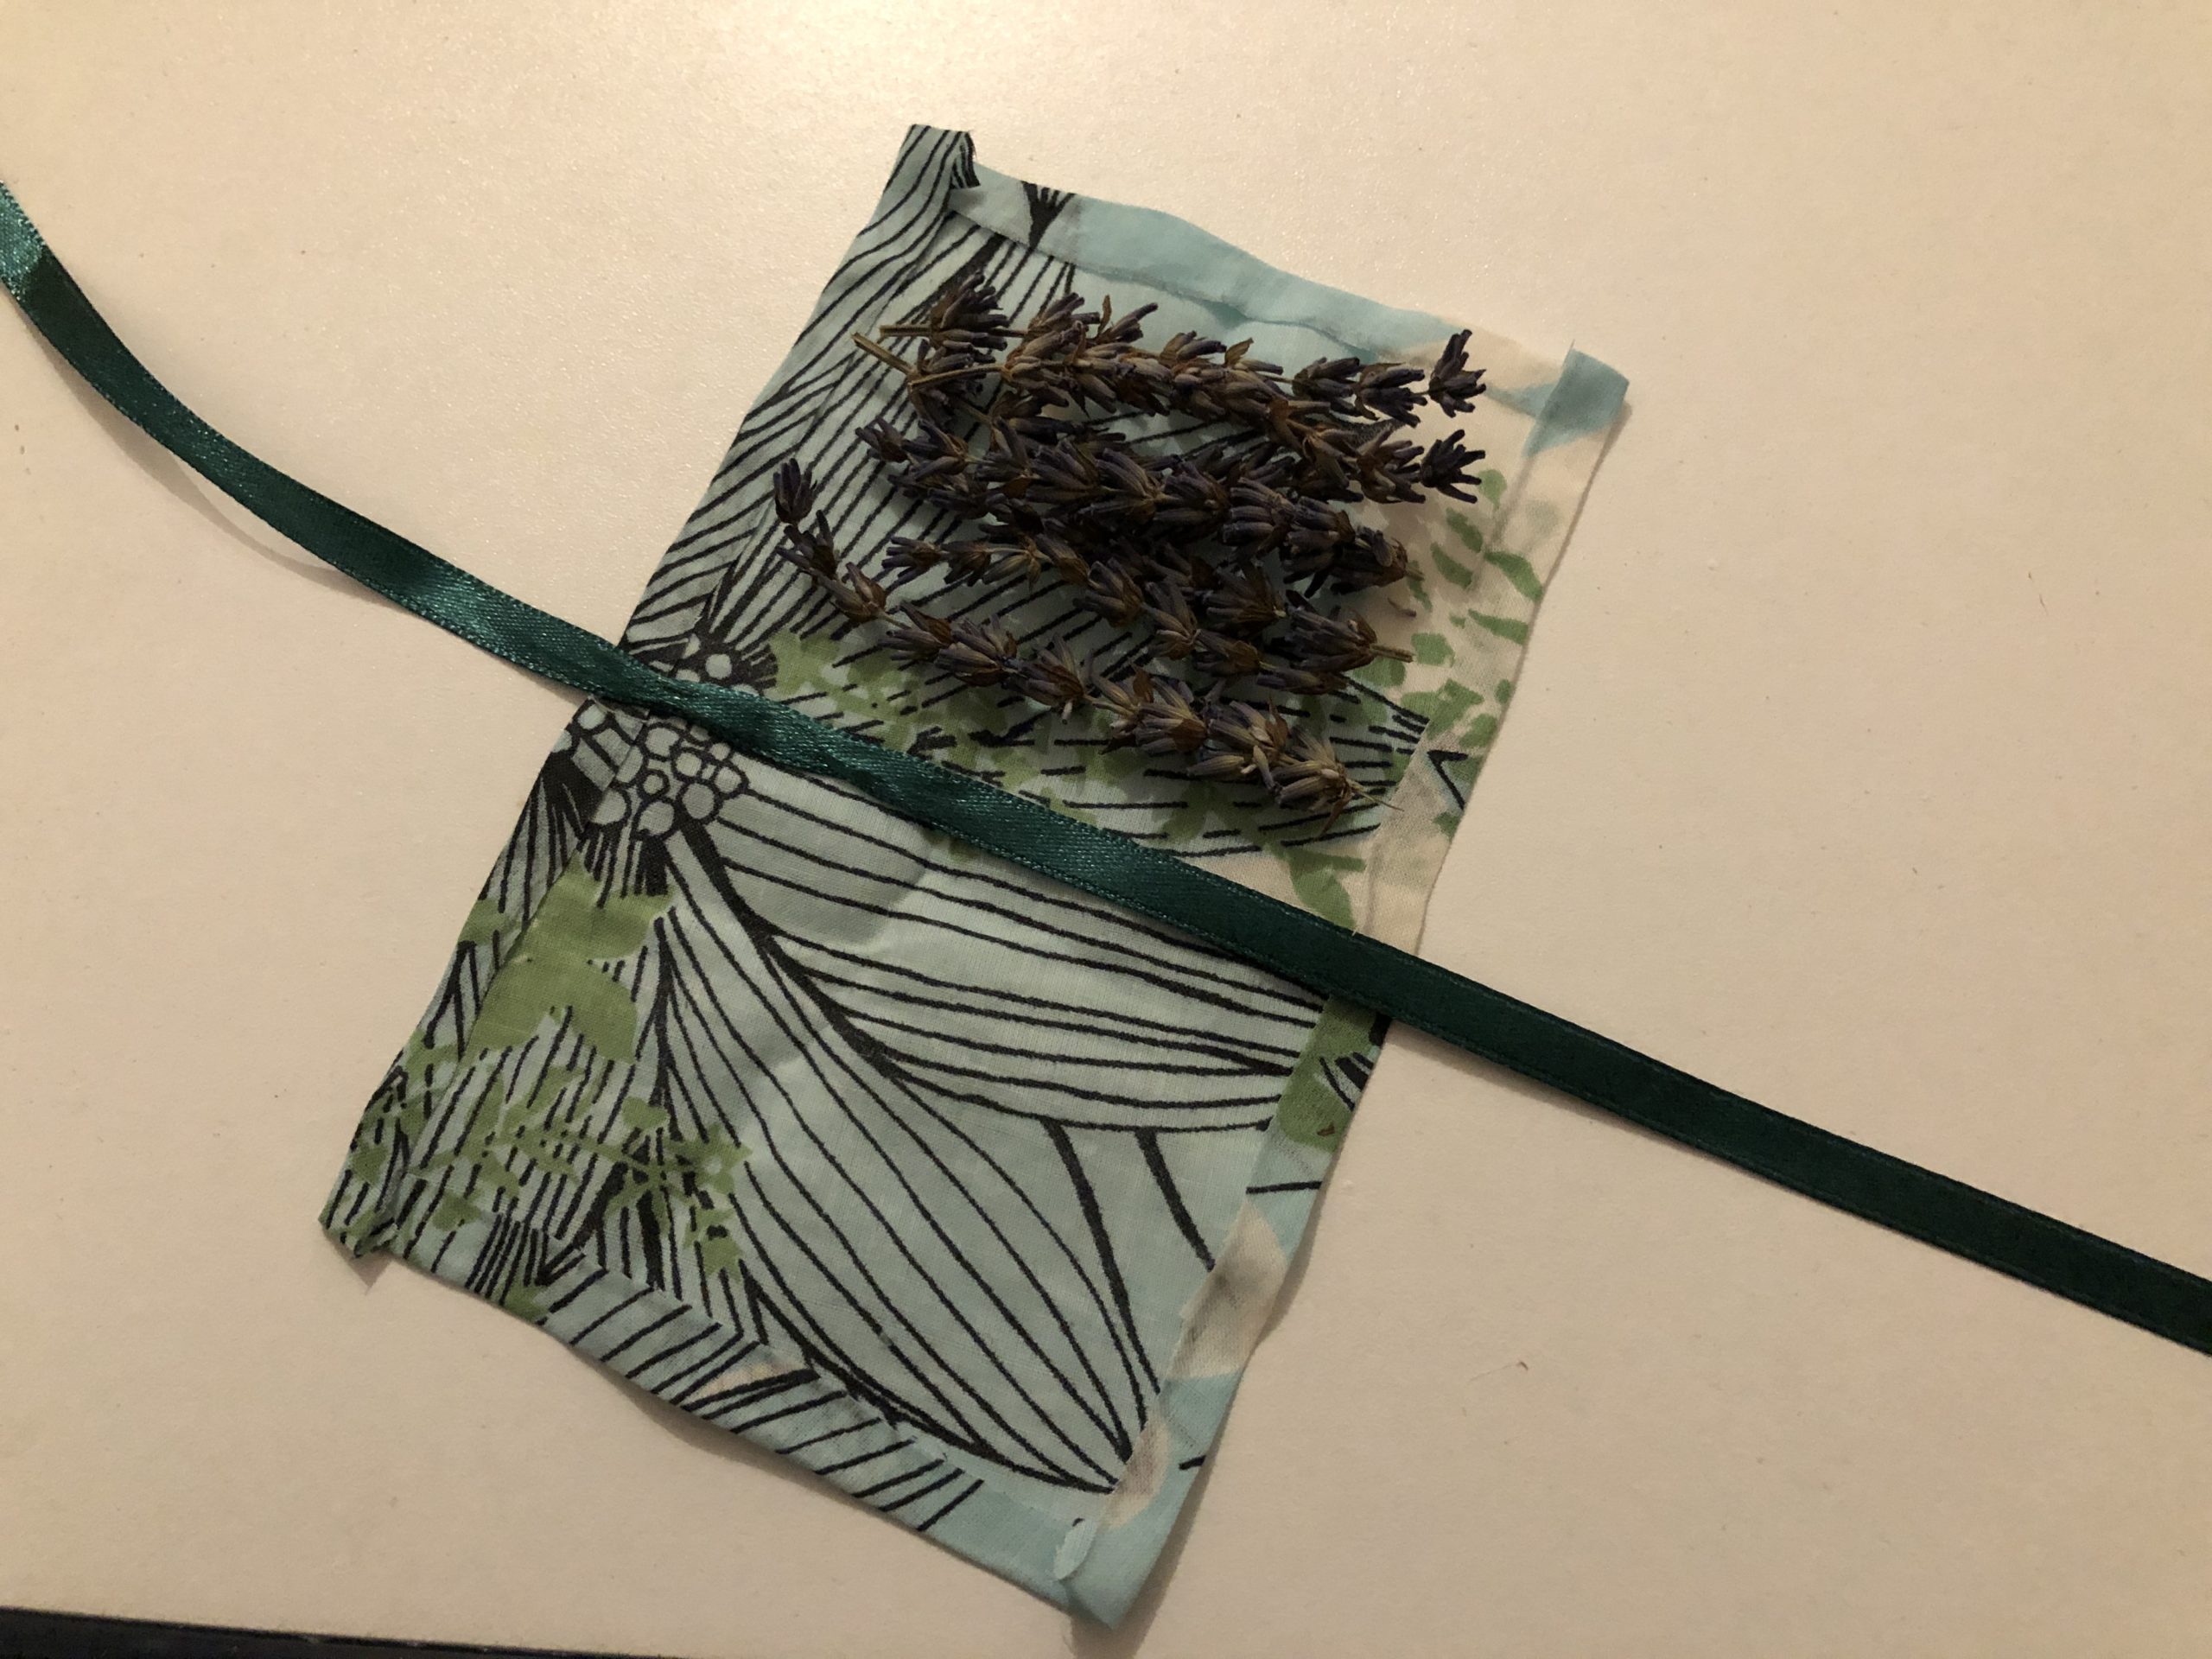
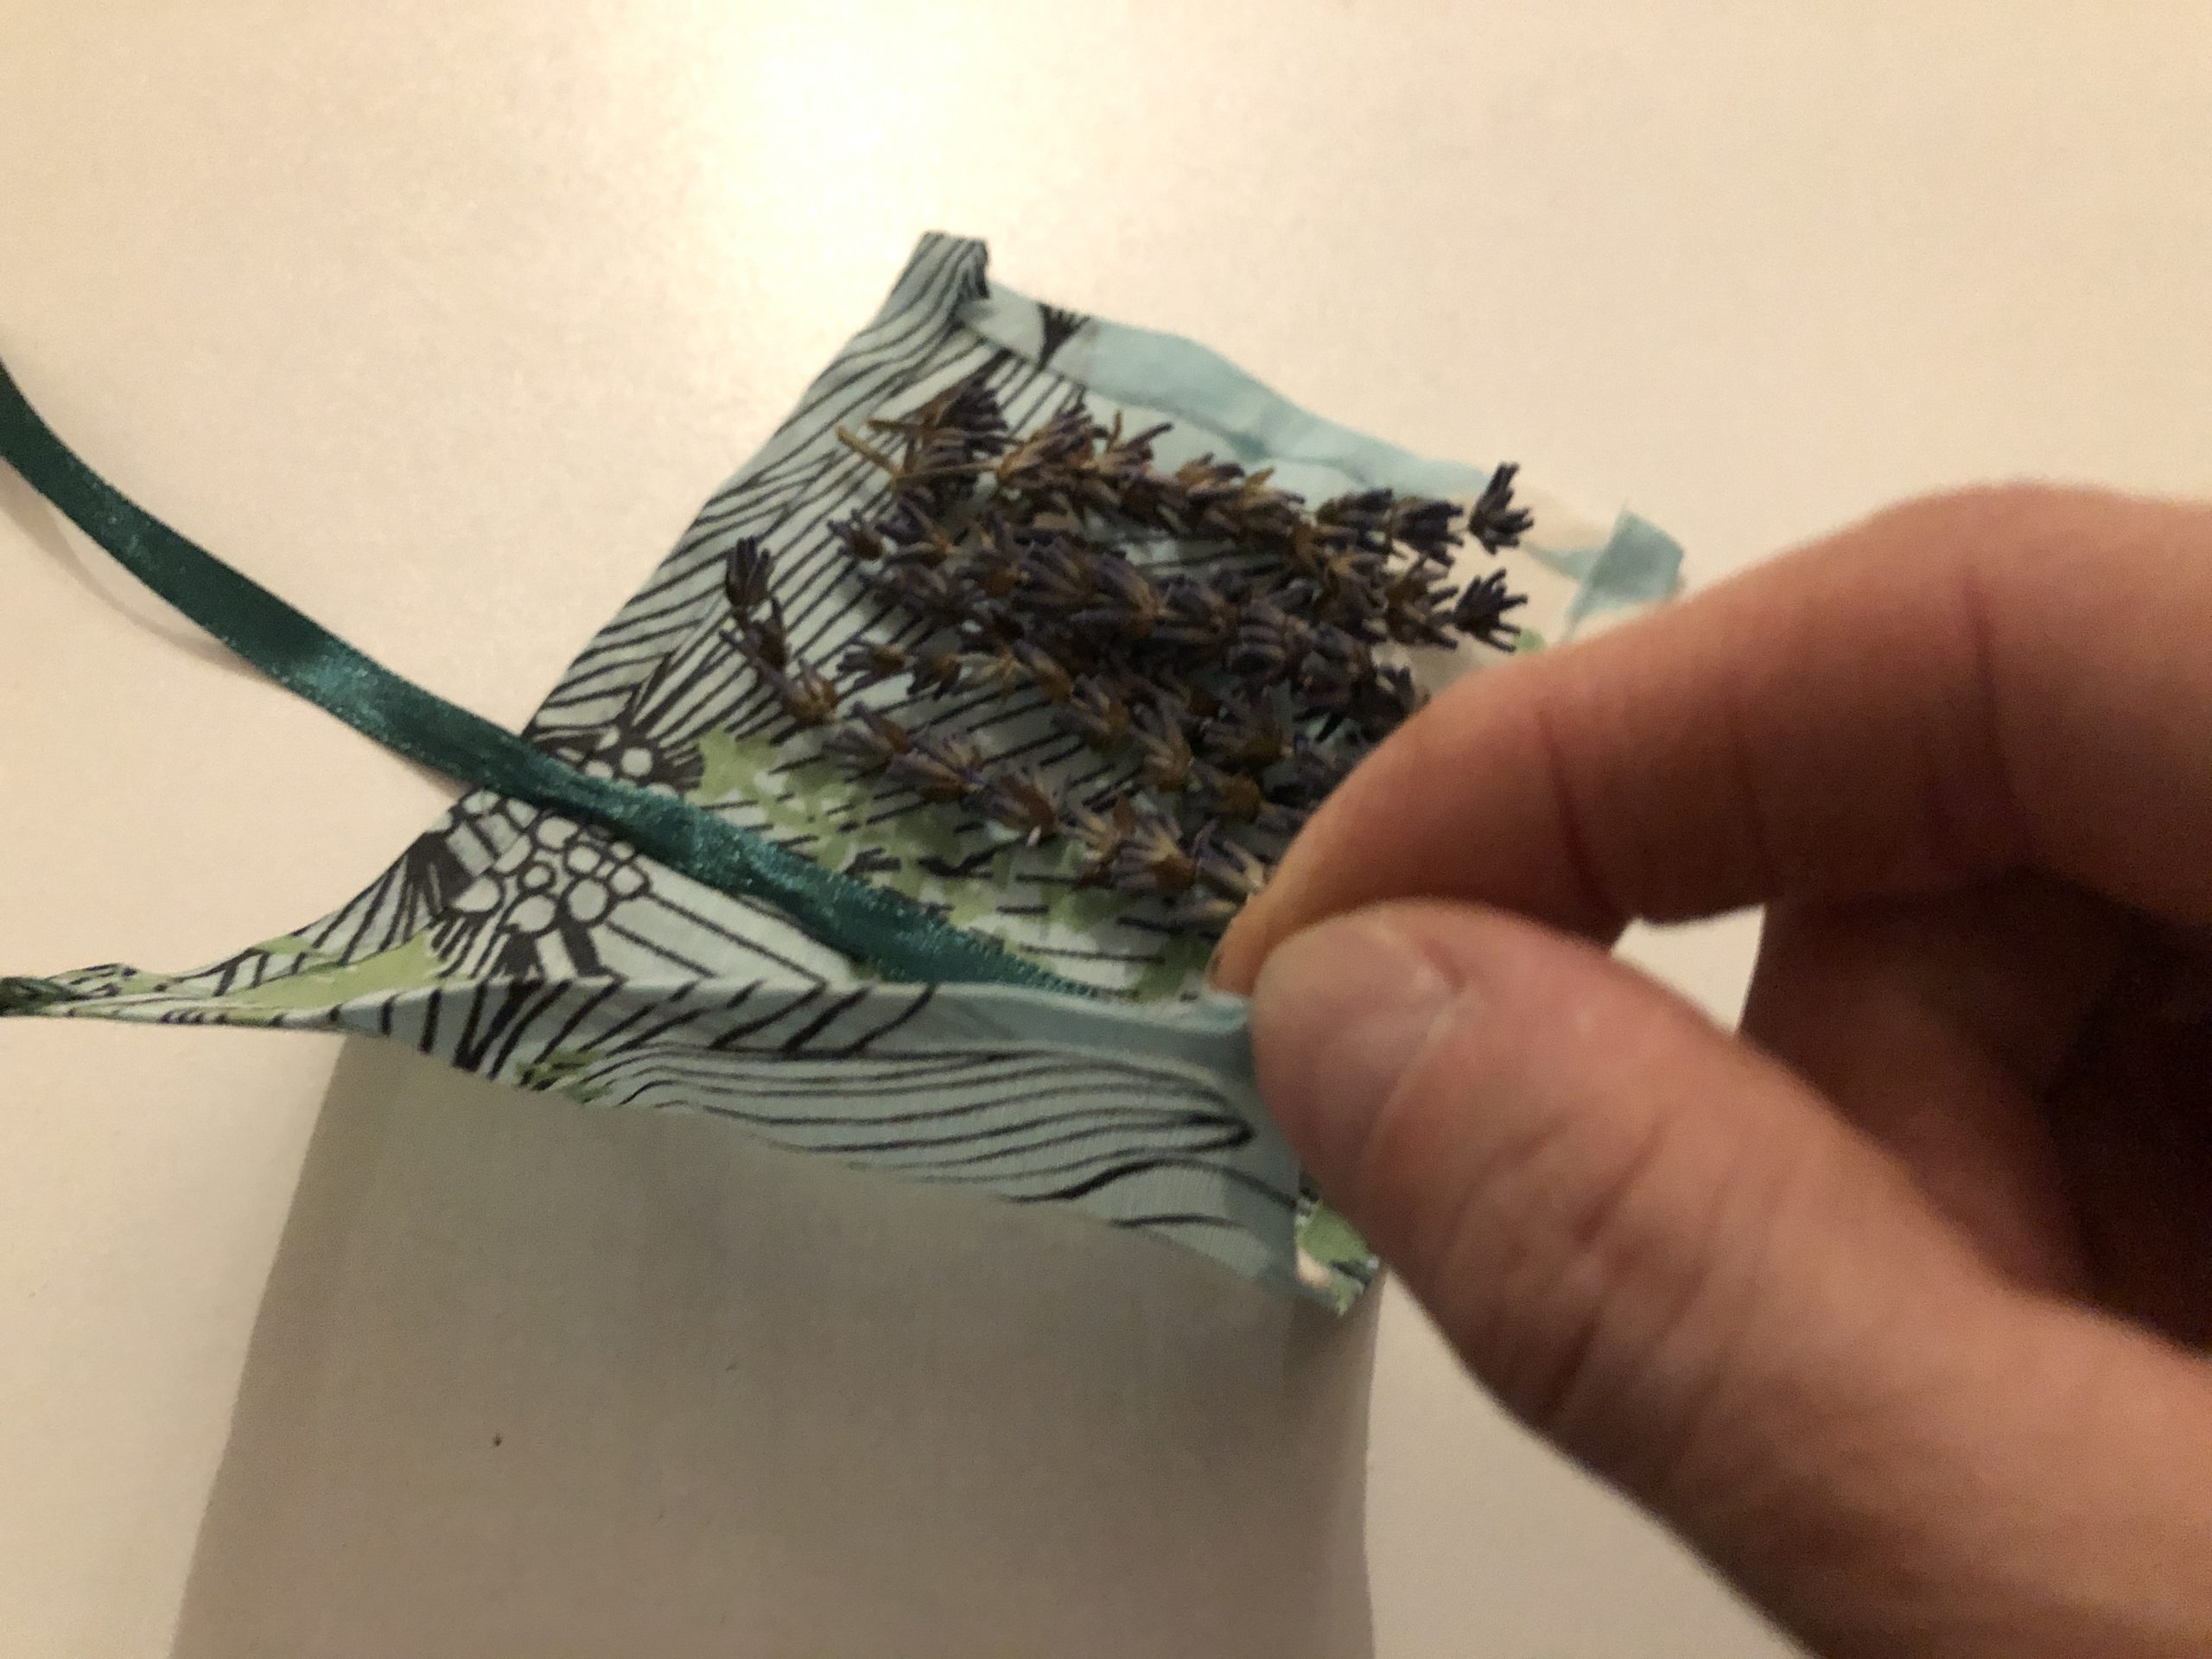
Release the edge (saw) and place one lavender next to the other only in the inner area (to the middle of the fabric).

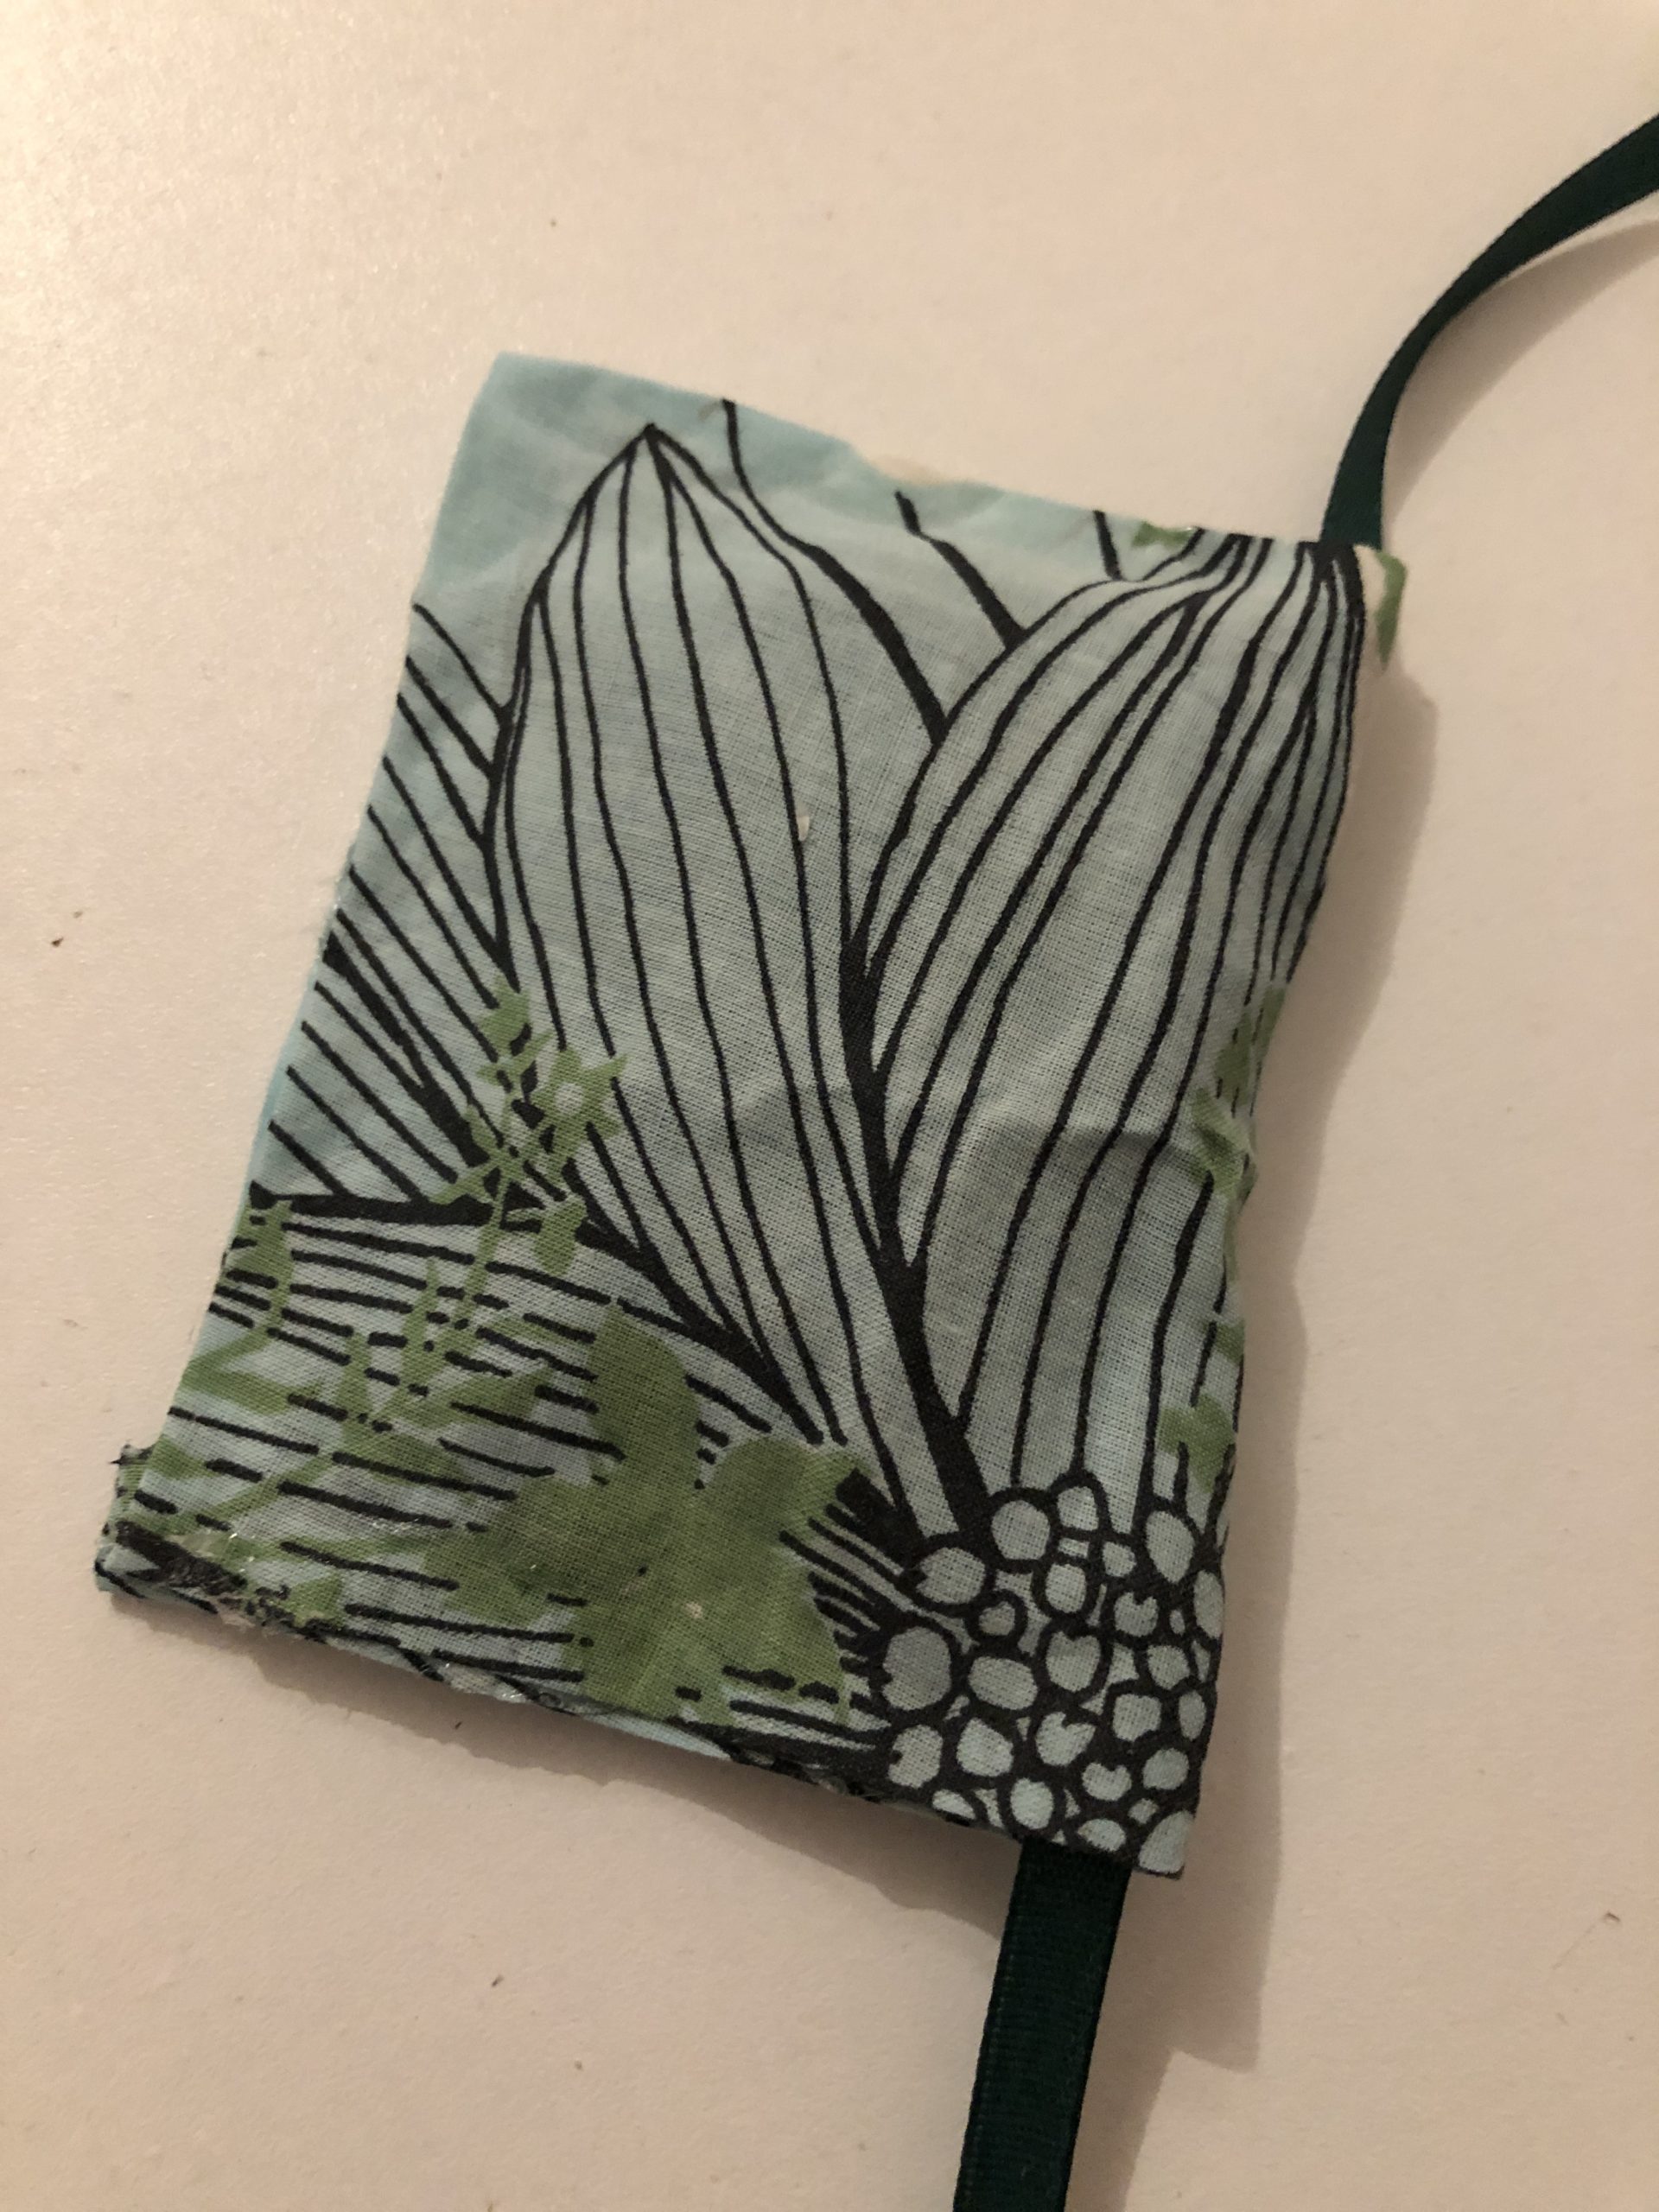
Put the band / cord across the fabric center.
Now fold the piece of fabric in half. Beat the side of the fabric over the other without lavender.
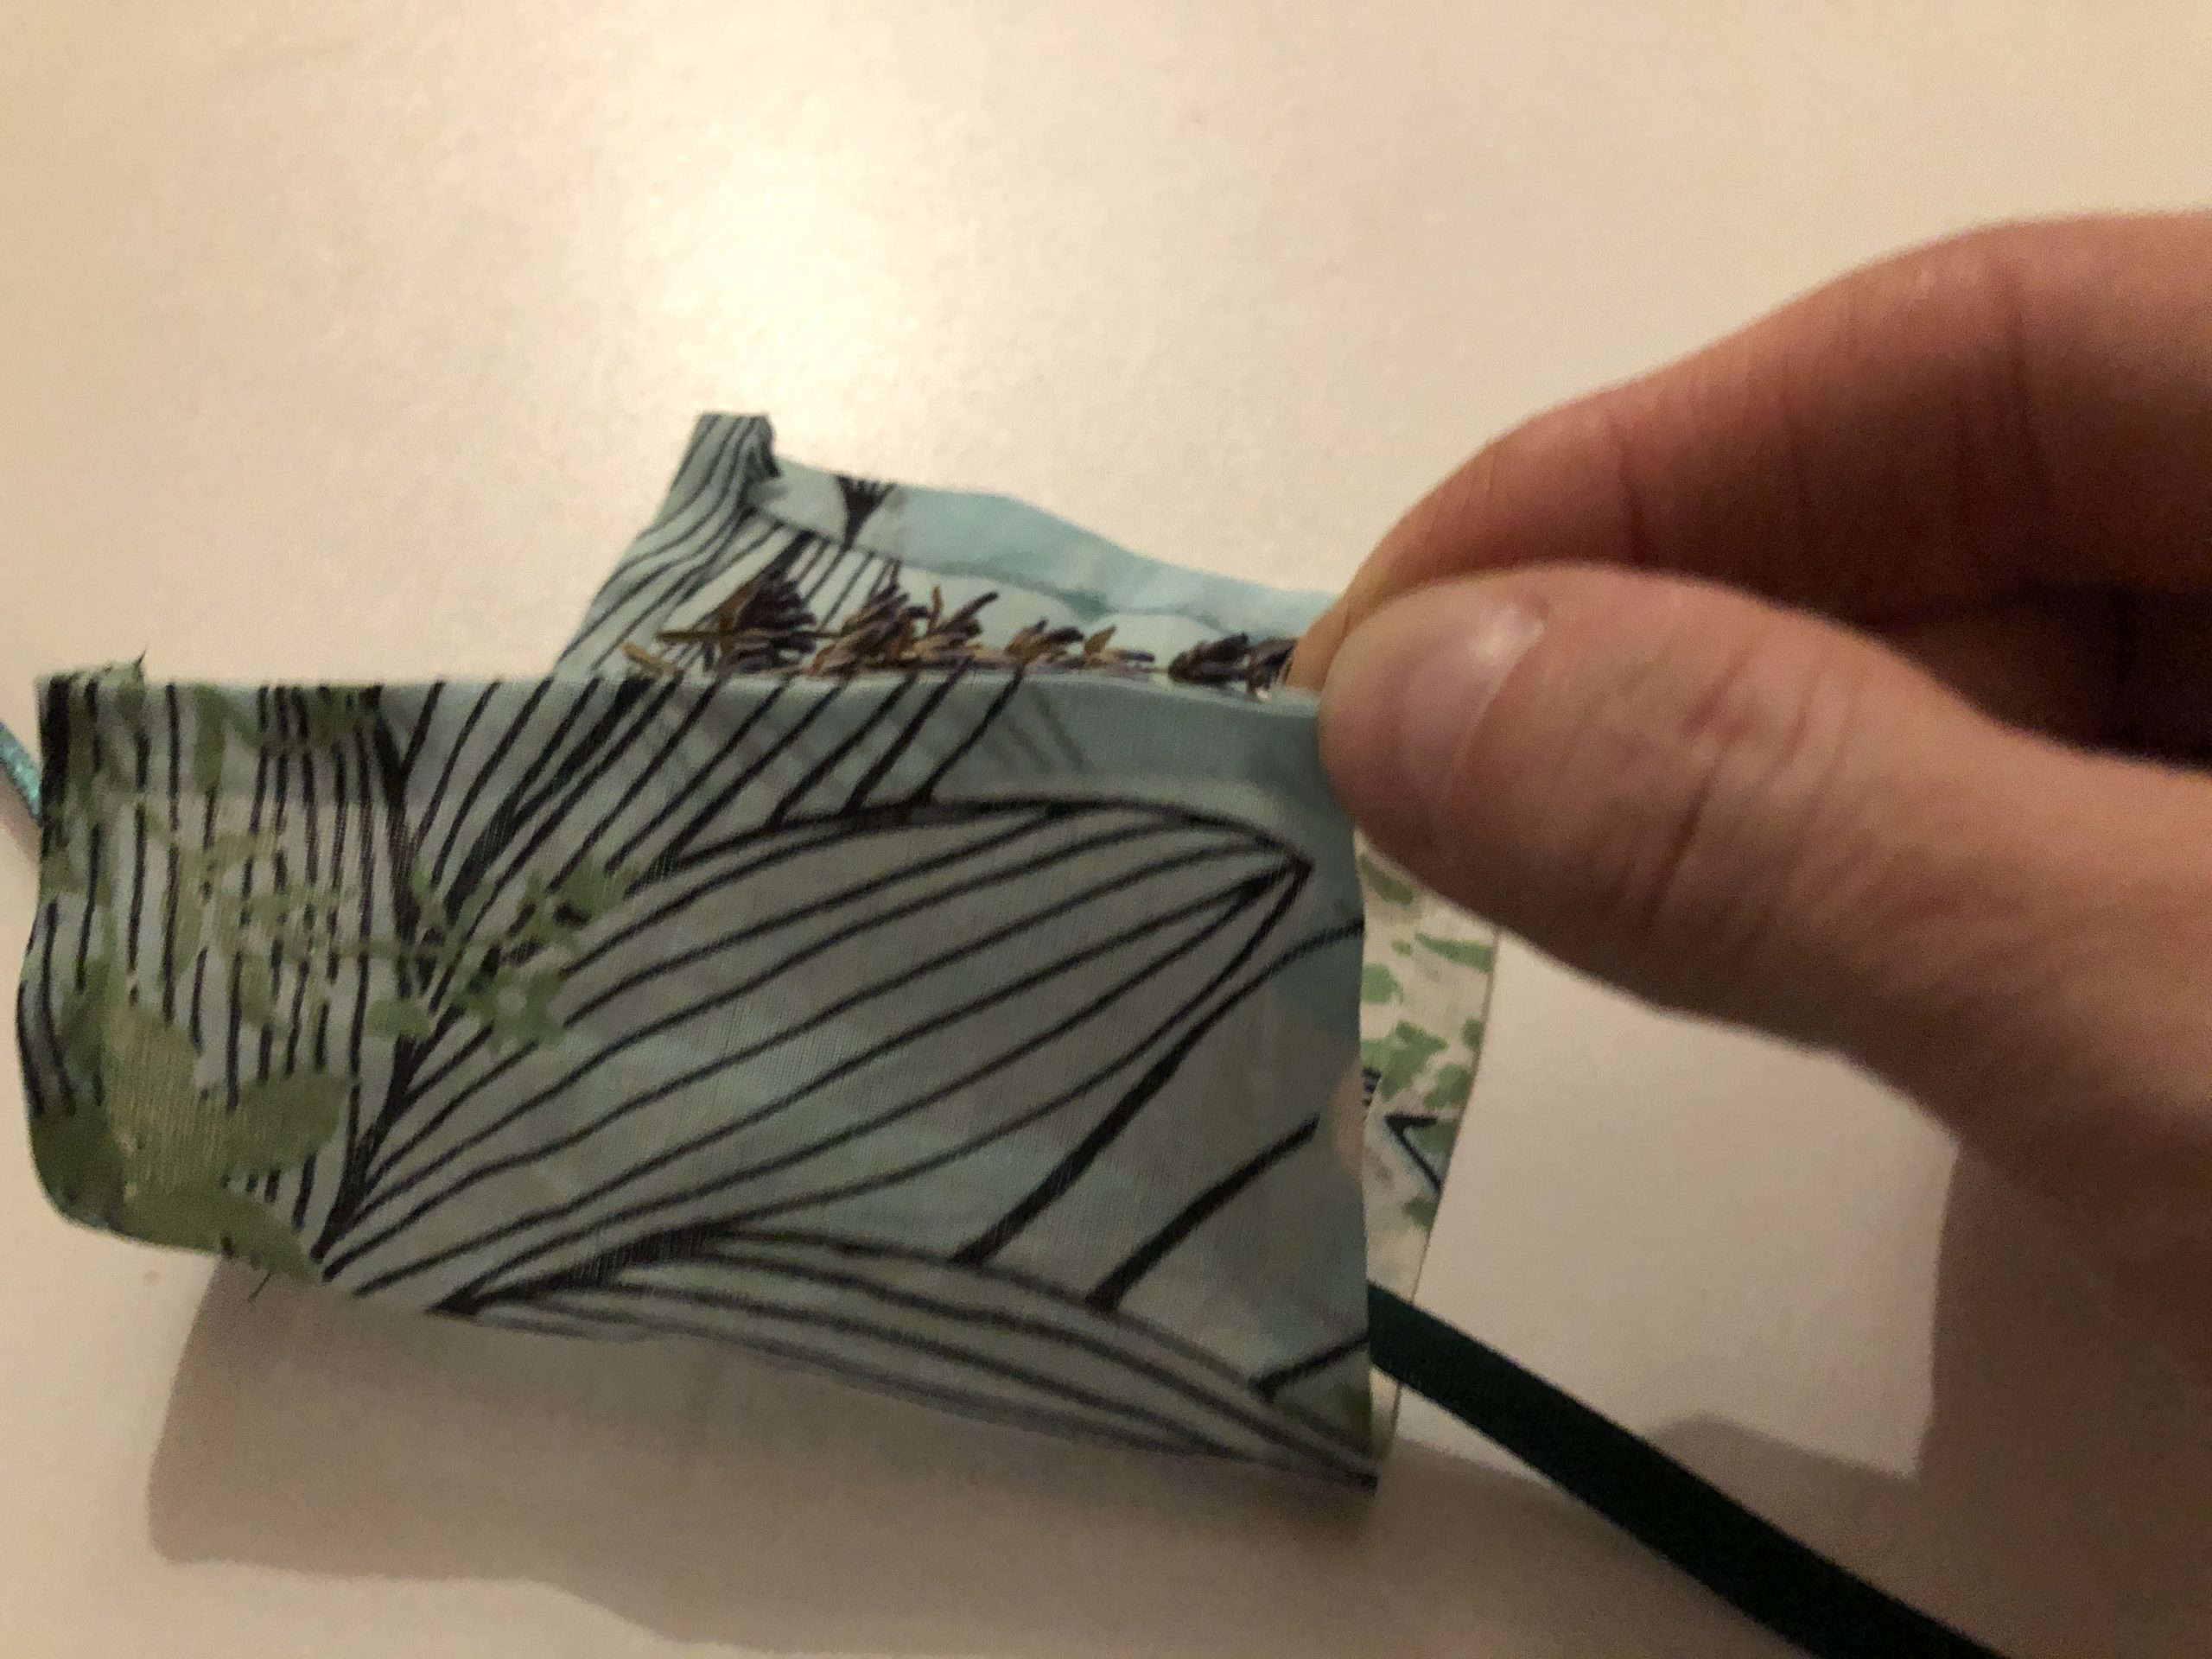
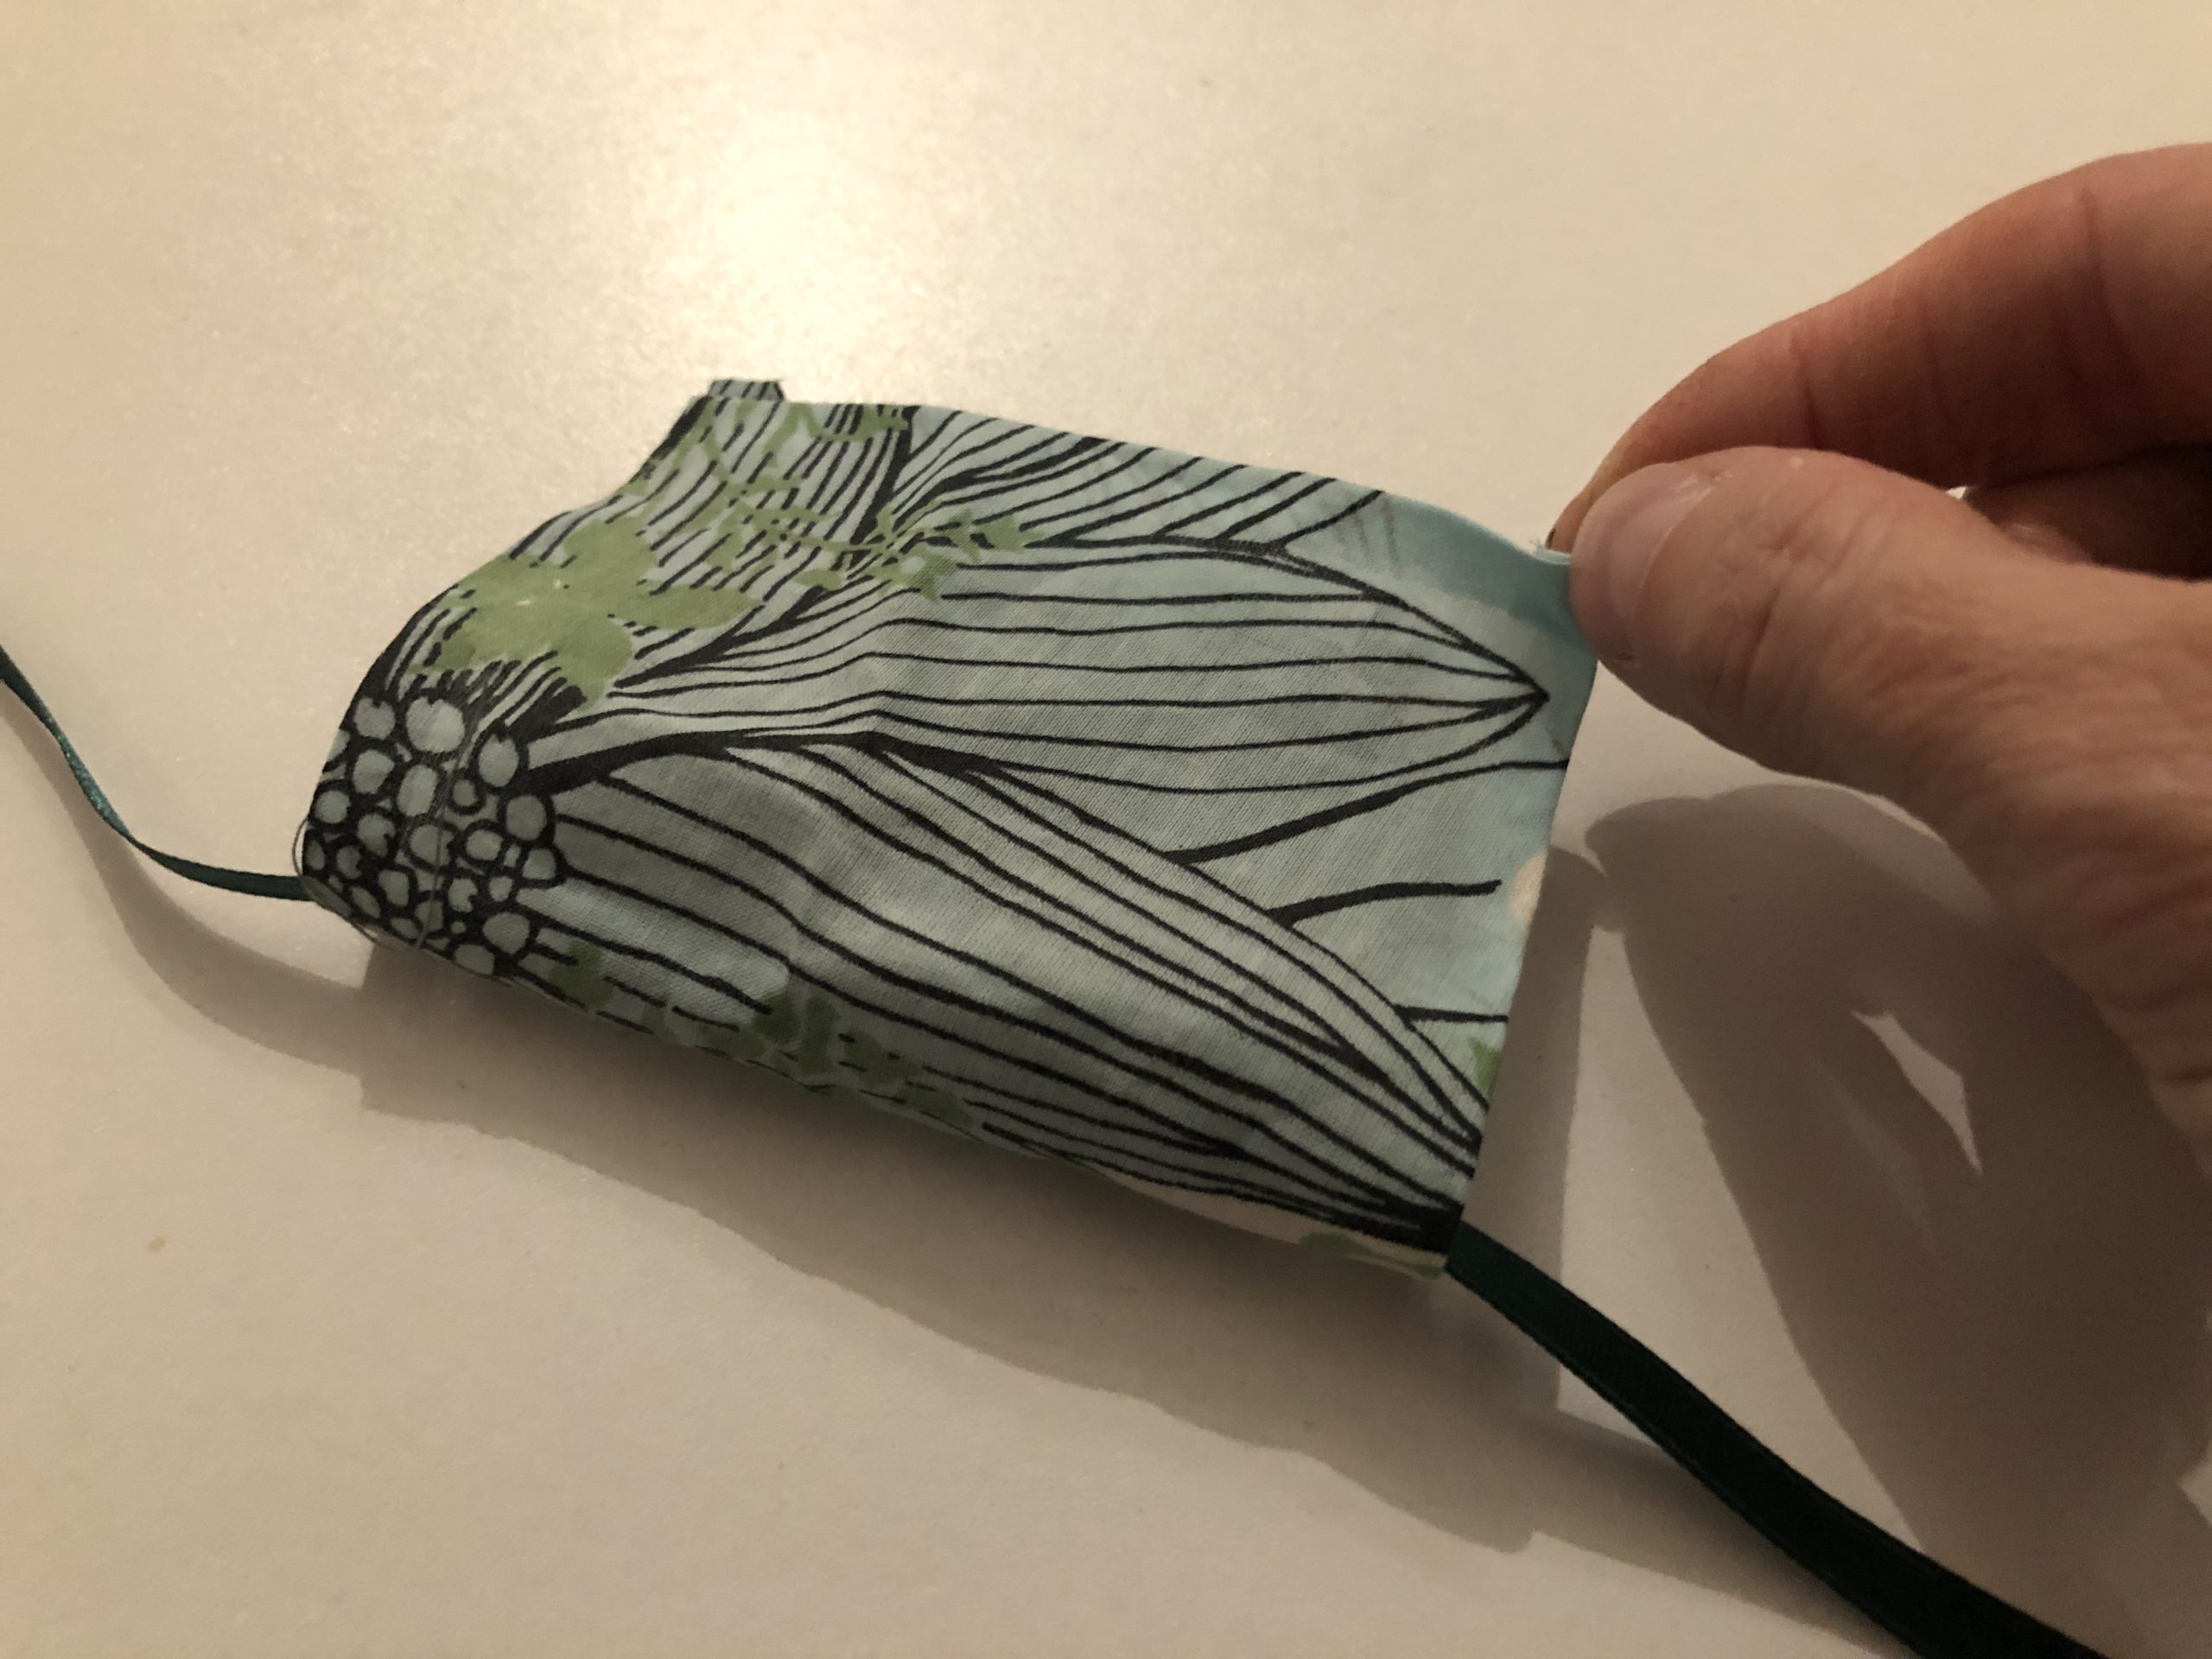
Now the mutually lying edges are glued together with the hot glue! Carefully hot!!!

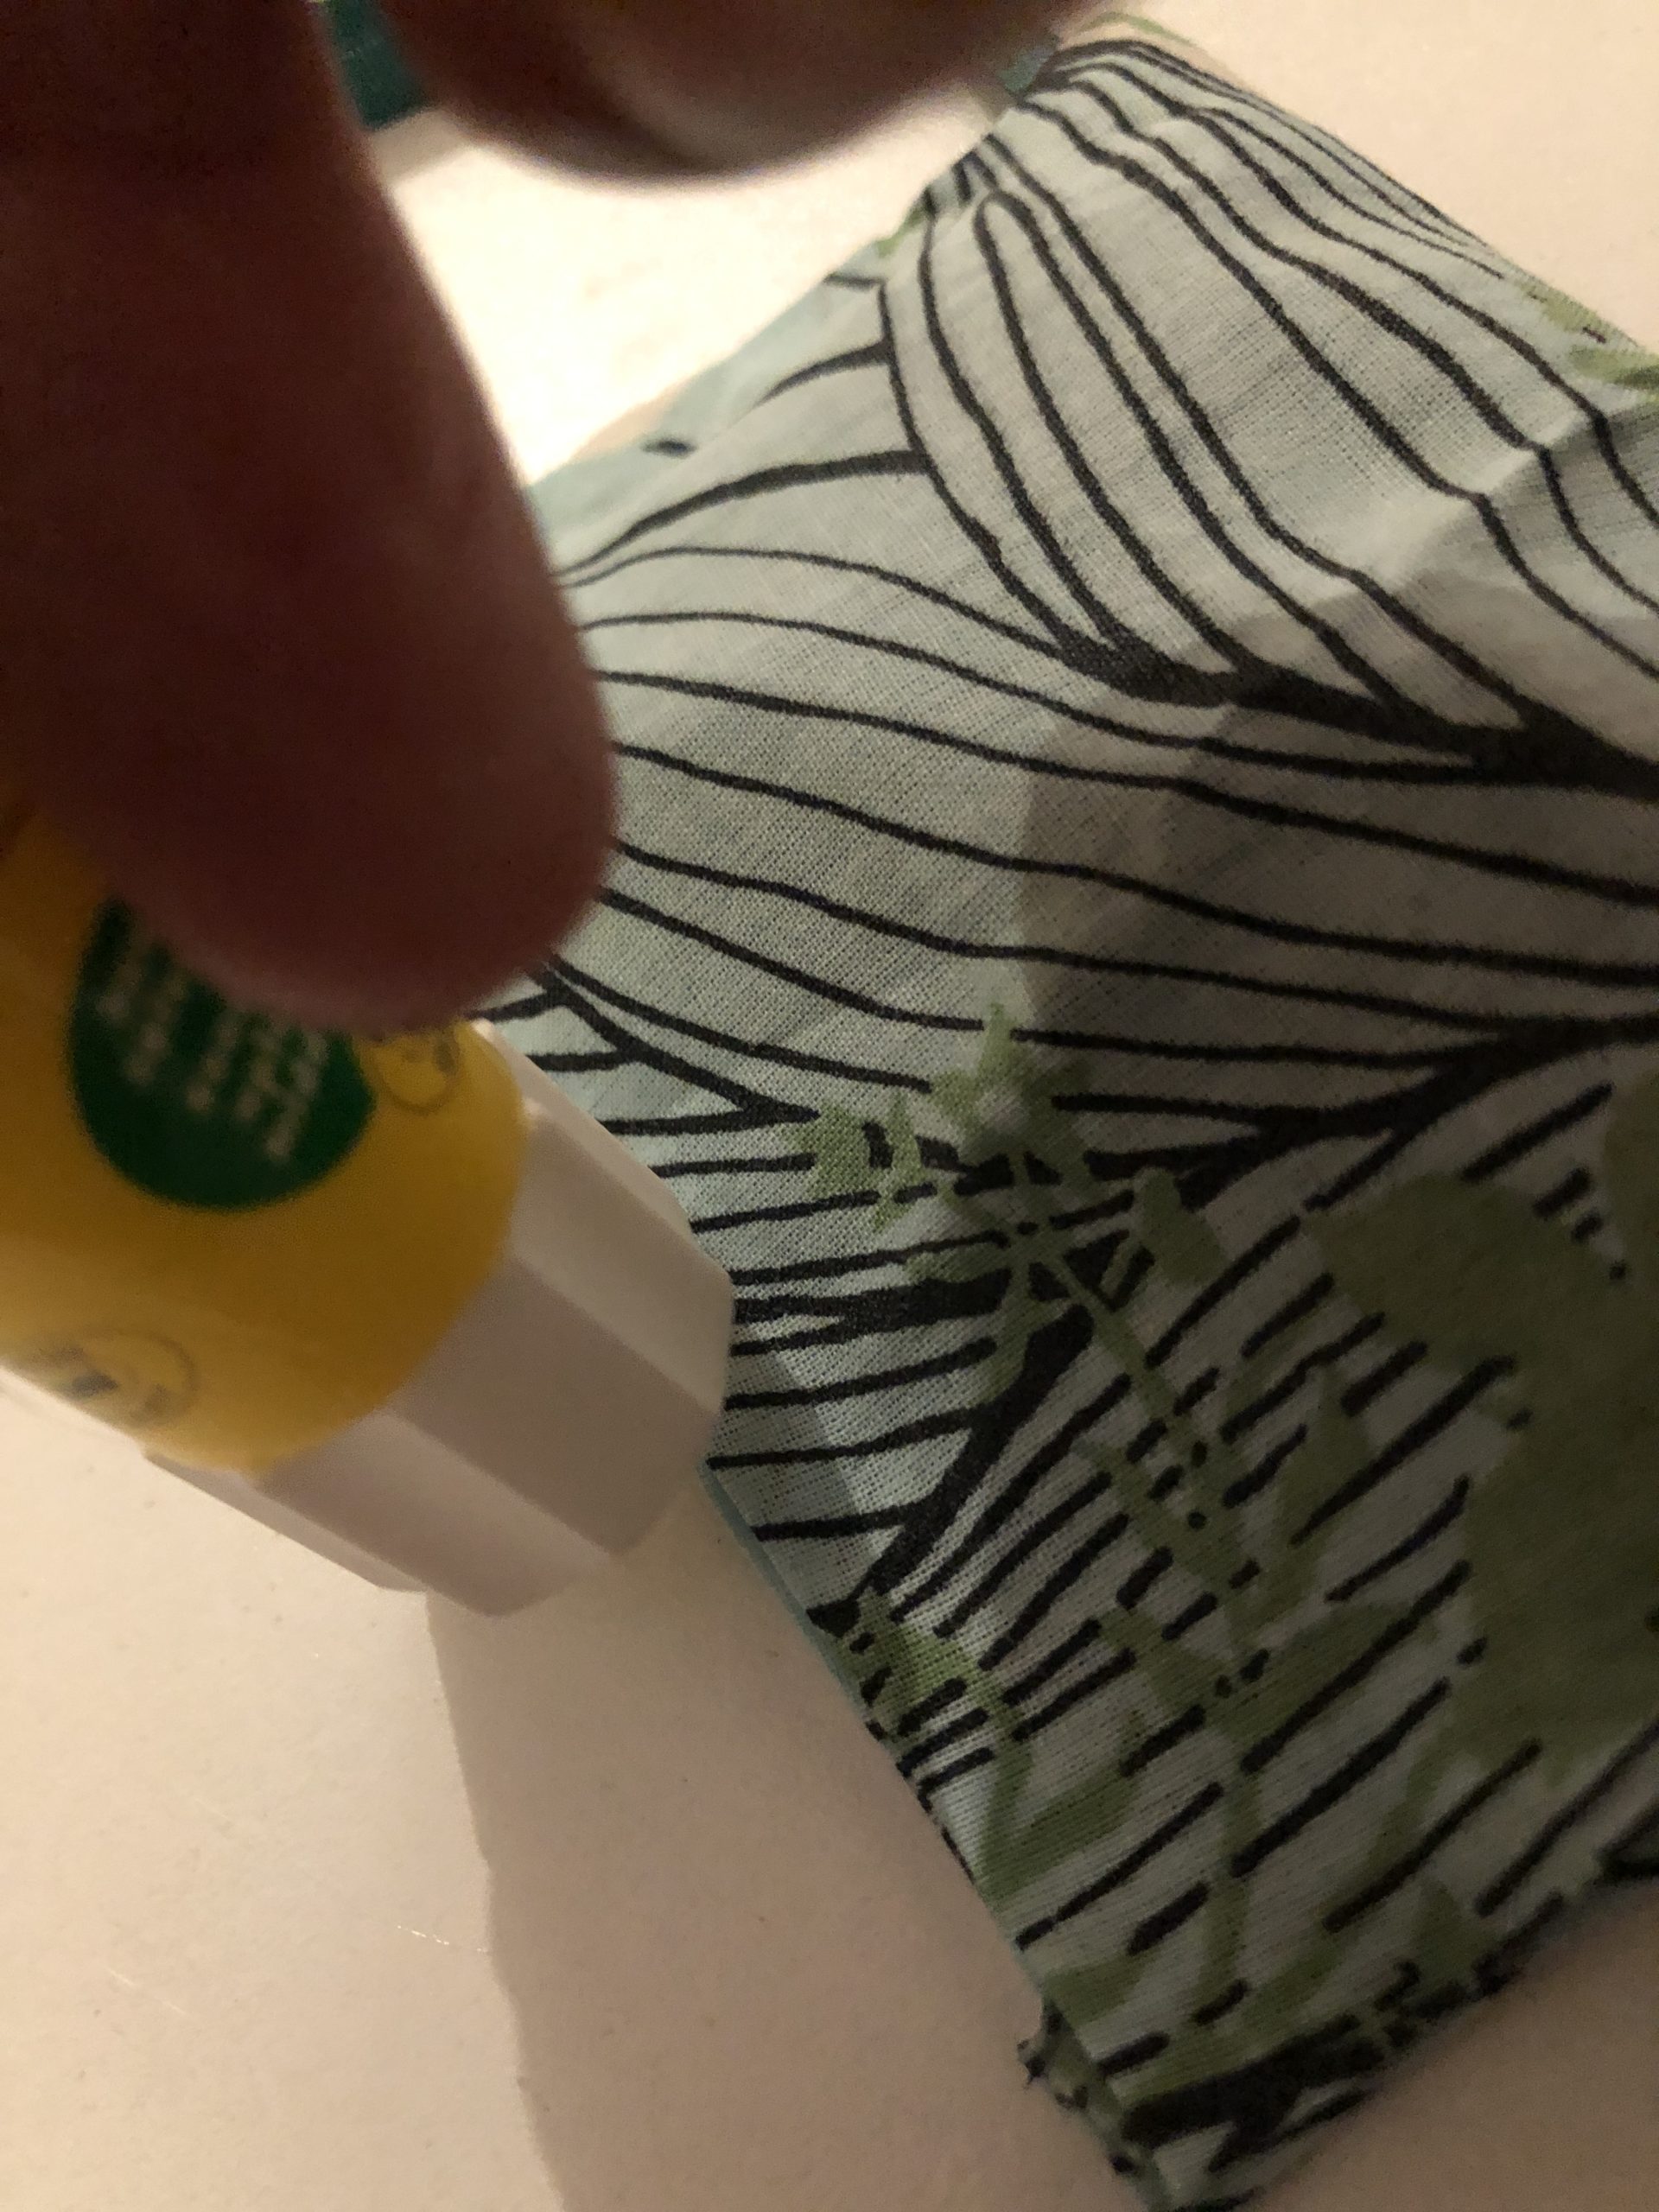
Do not use your fingers when pressing both pieces of fabric! Instead, use the closed glue pen at your hand!
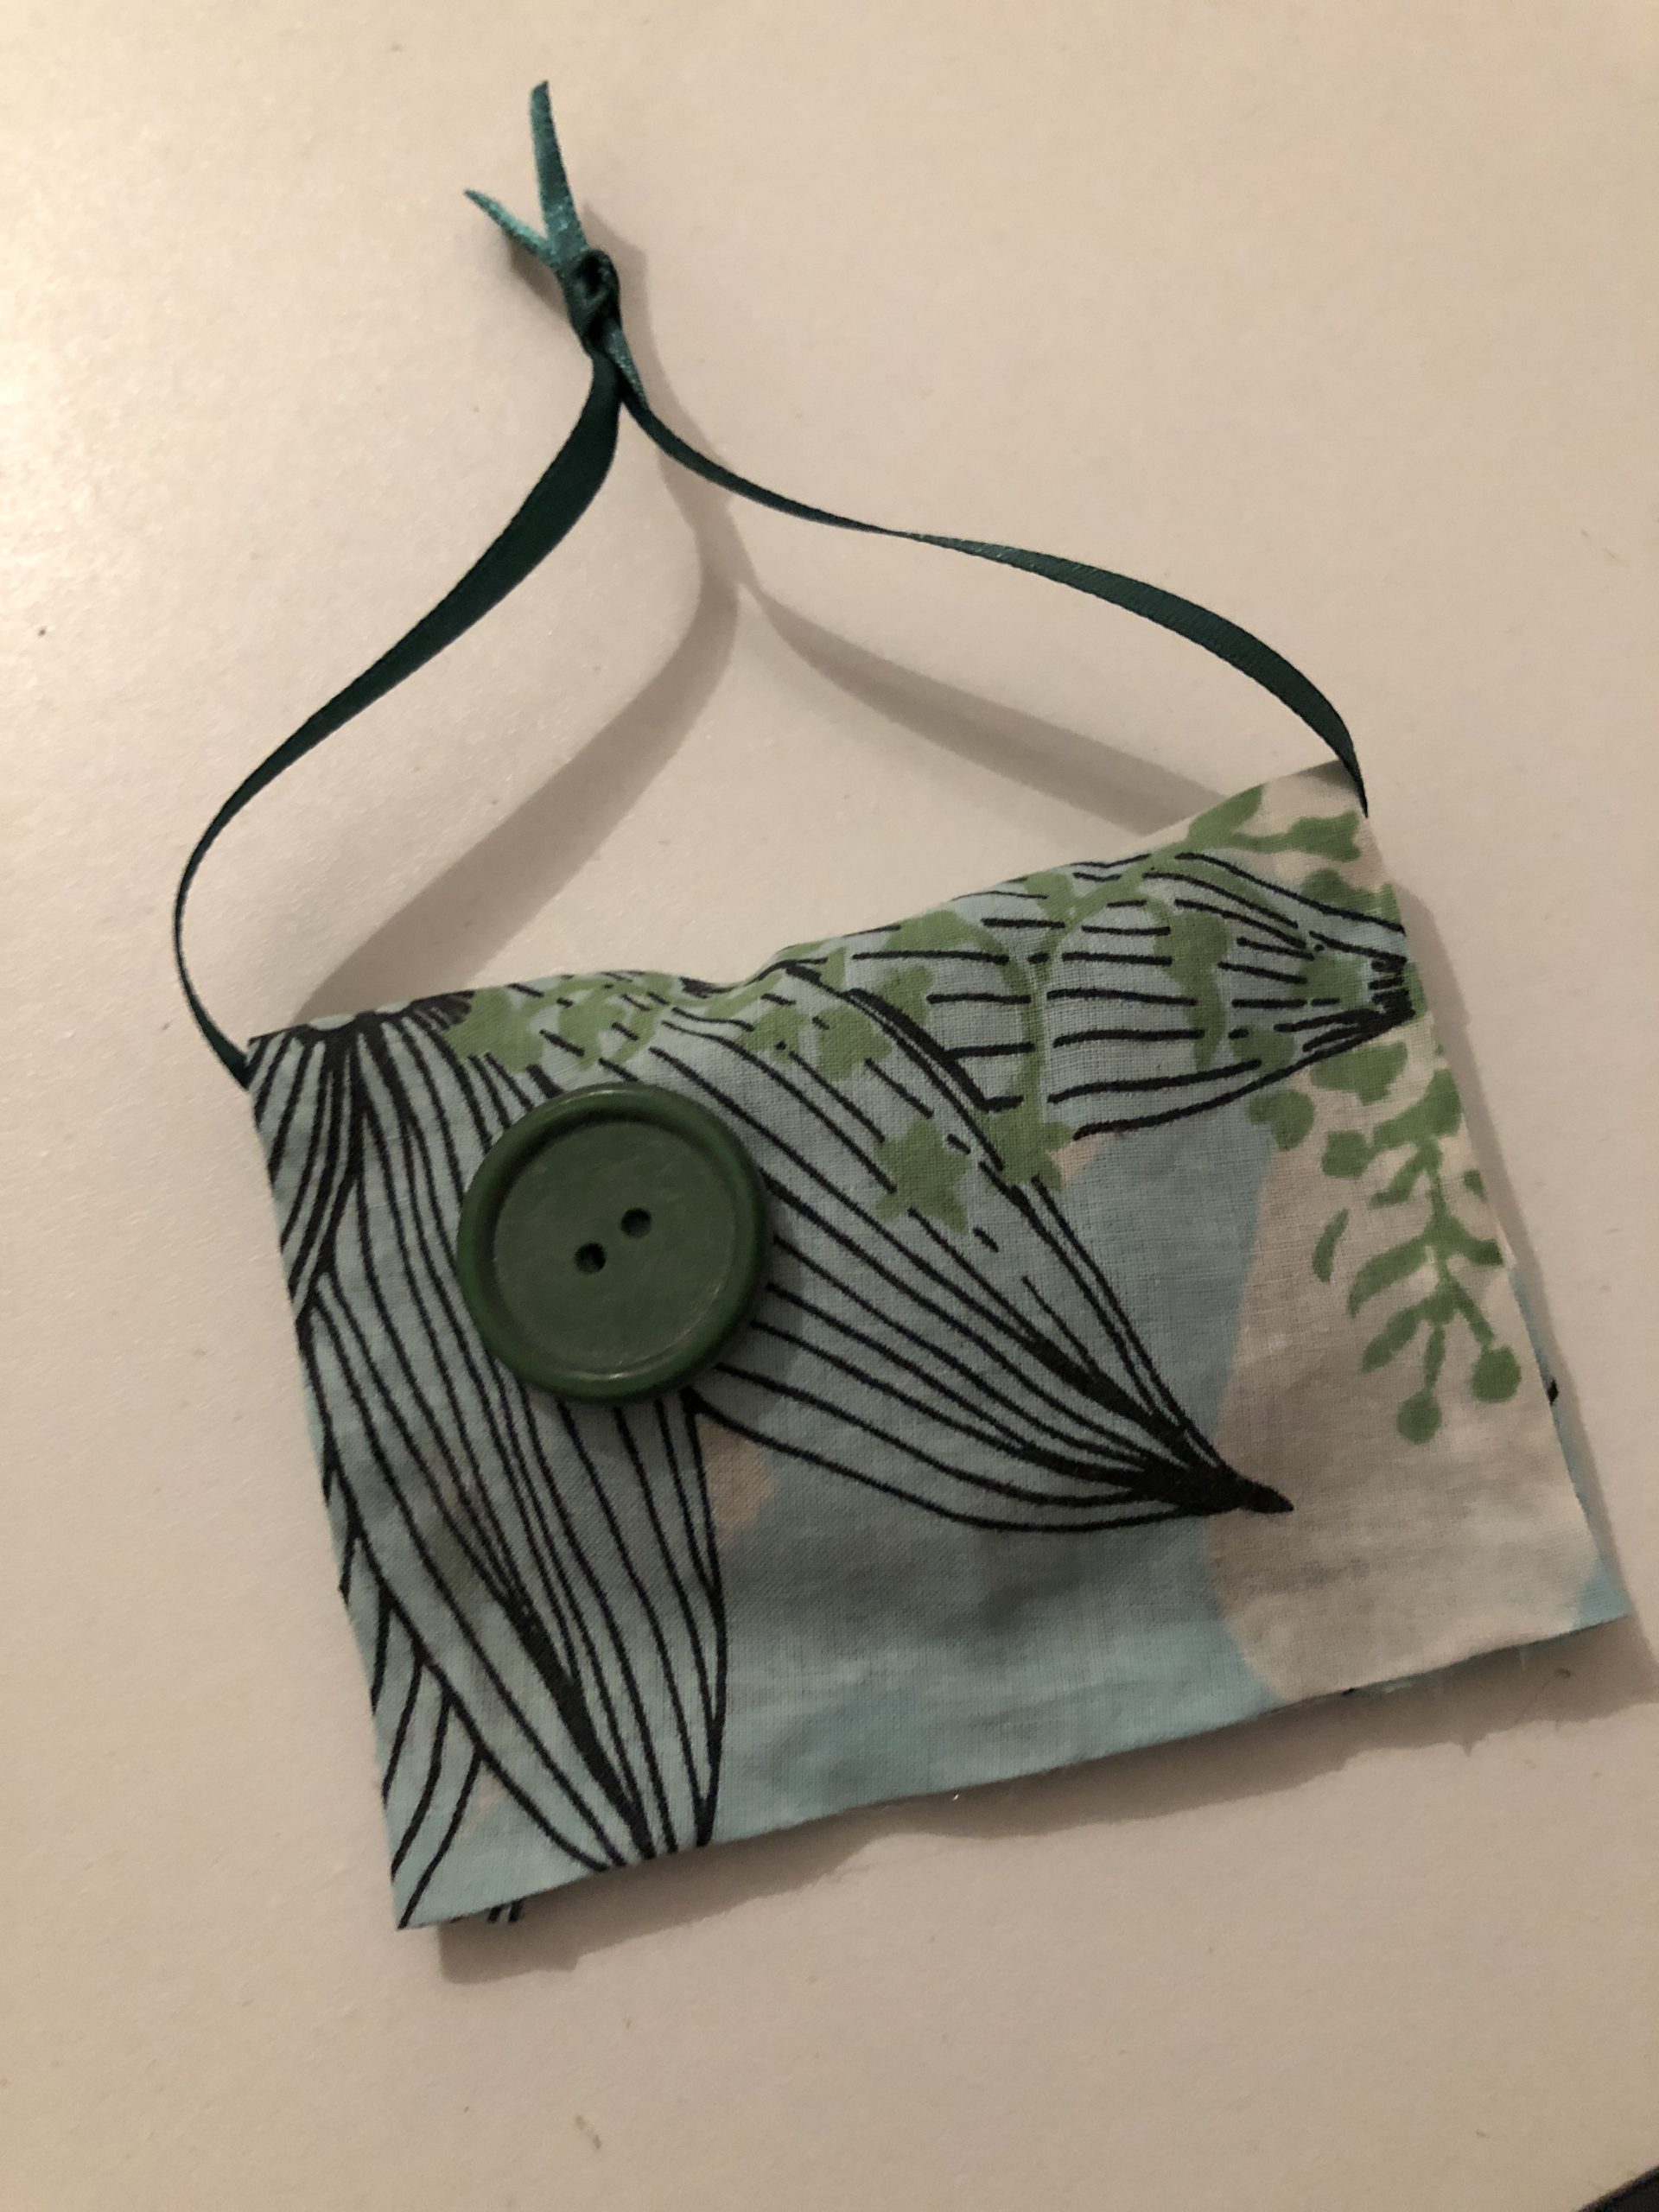
Now tie the tape to the top end.

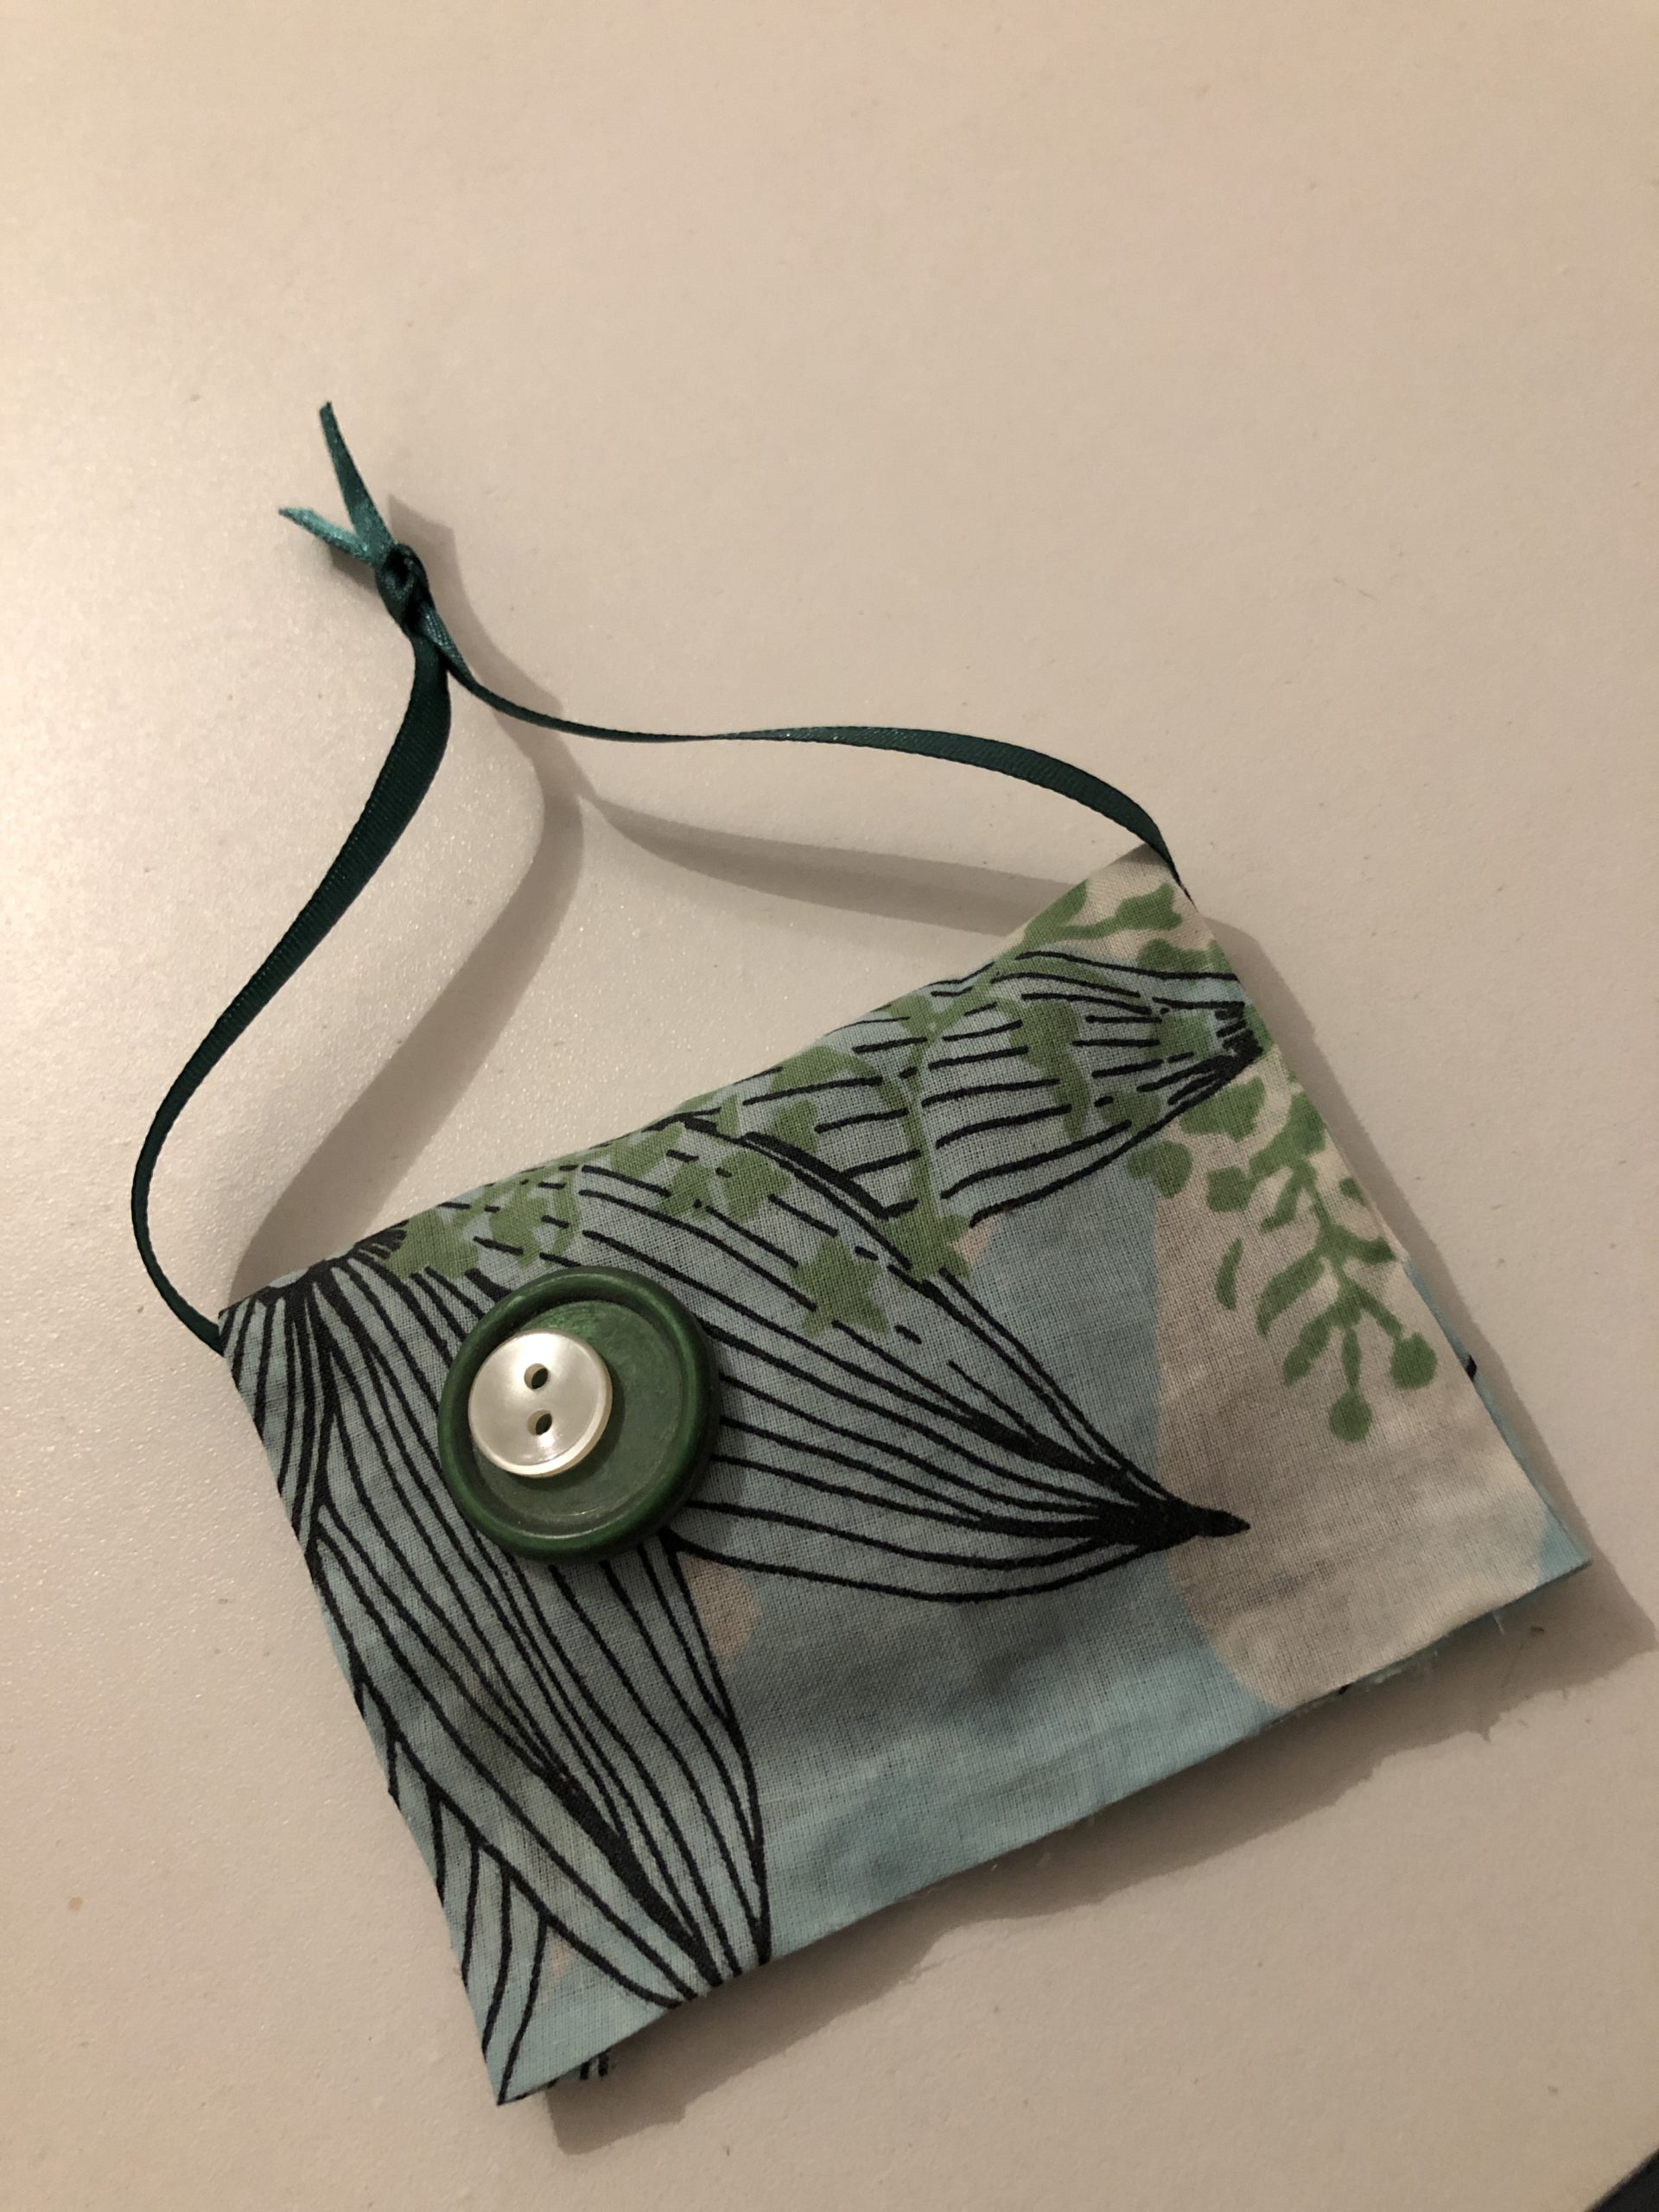
Stick a large button to the decoration. This works fine with the hot glue. You can stick a small button on it.
There's a lavender bag ready where you don't have to sew.
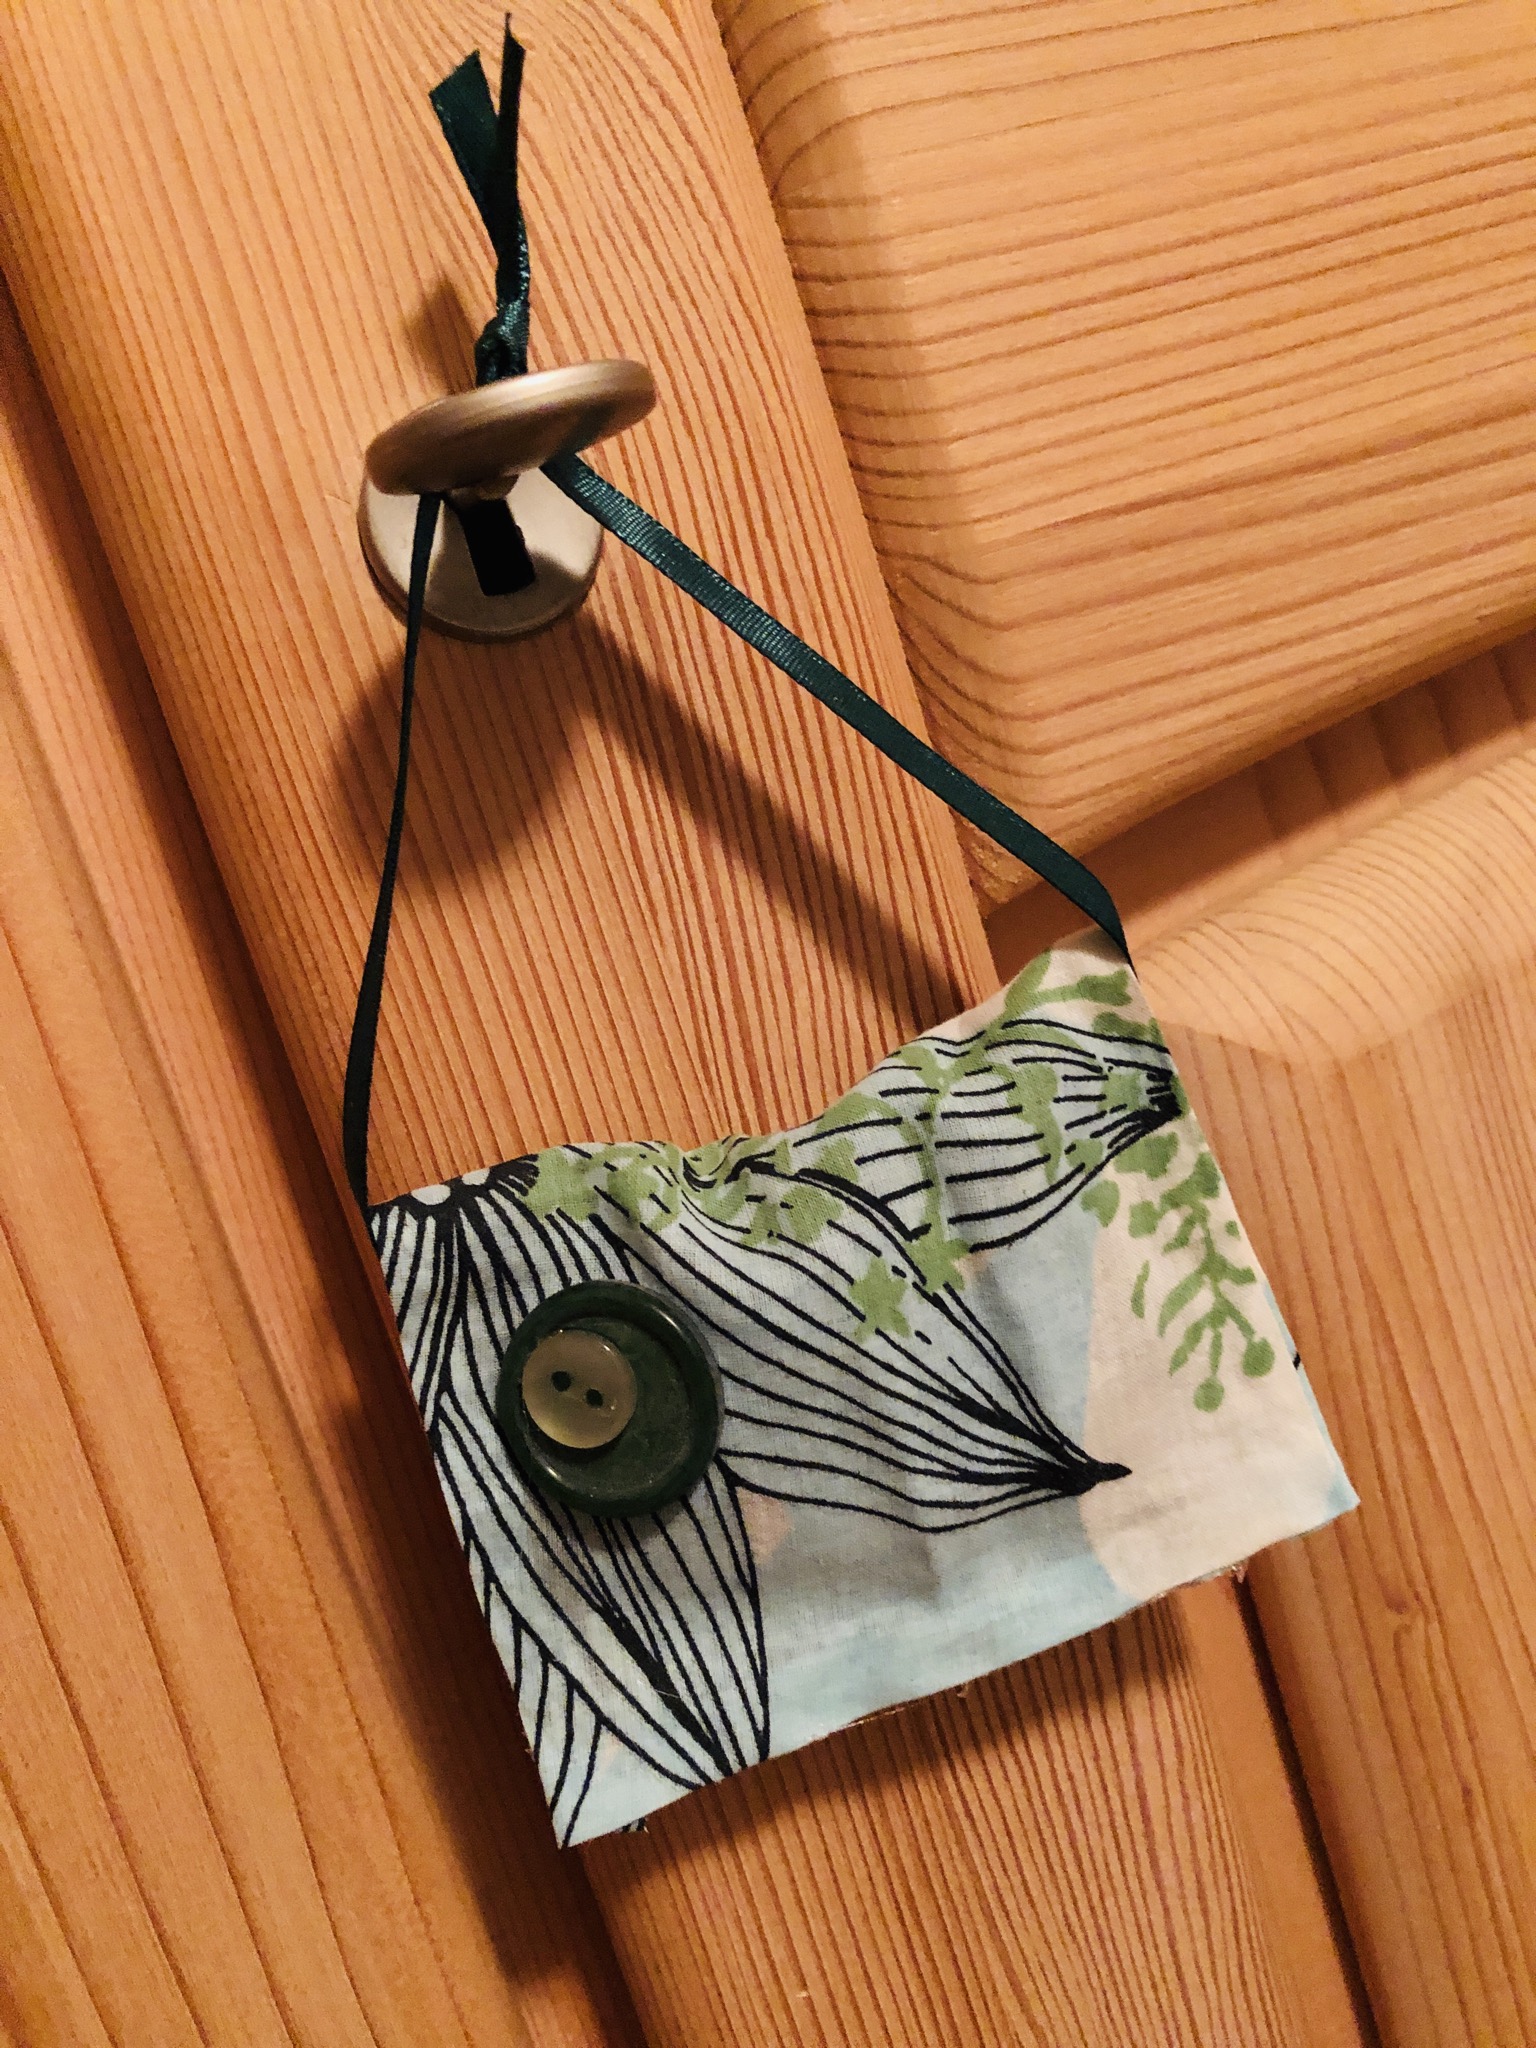
Find a place in the wardrobe or at a closet door. You'll certainly enjoy it.

But you can also give away the bag!
Materials
Directions
Cut piece of fabric (approx.10 cm x 15 cm).
Prepare glue pen and tape.
We make a small hem on the piece of fabric by flipping around half an inch and glued with the glue stick.
Well, push it.
All four sides are turned around 0.5 cm and glued on.
Release the edge (saw) and place one lavender next to the other only in the inner area (to the middle of the fabric).
Put the band / cord across the fabric center.
Now fold the piece of fabric in half. Beat the side of the fabric over the other without lavender.
Now the mutually lying edges are glued together with the hot glue! Carefully hot!!!
Do not use your fingers when pressing both pieces of fabric! Instead, use the closed glue pen at your hand!
Now tie the tape to the top end.
Stick a large button to the decoration. This works fine with the hot glue. You can stick a small button on it.
There's a lavender bag ready where you don't have to sew.
Find a place in the wardrobe or at a closet door. You'll certainly enjoy it.
But you can also give away the bag!
Follow us on Facebook , Instagram and Pinterest
Don't miss any more adventures: Our bottle mail