Sew children's chef hat

AdventurerKatzi
Rating5.012.4 thousand times & (2) DifficultyAdvanced

This children's chef hat fits the children's chef apron. Also great as a carnival costume or for large pizza bakers, cake bakers,, star chefs, and barbecue master!

Media Education for Kindergarten and Hort

Kind bastelt eine Rassel mit dem Navi
The Adventure Navi, the app for DIY projects, enables media education for the youngest.

Relief in everyday life, targeted promotion of individual children, independent learning and - without any pre-knowledge already usable by the youngest!


Titelbild zur Bastel- und DIY-Idee für Kinder '(234) Kinder-Kochmütze nähen'
Material for1 Child
Prep Time10 min.Adv. Time20 min.Total Time30 min.
 White fabricCircle with 42 cm diameter
 Star fabric56 cm x 10 cm
 1 Ruler
 1 Pen
Adjustable variant:
 10 cm perforated rubber
 1 Lighter
 1 Button
All links marked with a shopping cart lead to Amazon - here we have selected products that we would order ourselves and in part also ordered. In a qualified purchase via the advertising link, we as Amazon partner receive a commission, for you there are no costs. You thus support our cost- and advertising banner-free, educational offer.
1

Cut the circle out of the white fabric.
Cut the strip from the star fabric.
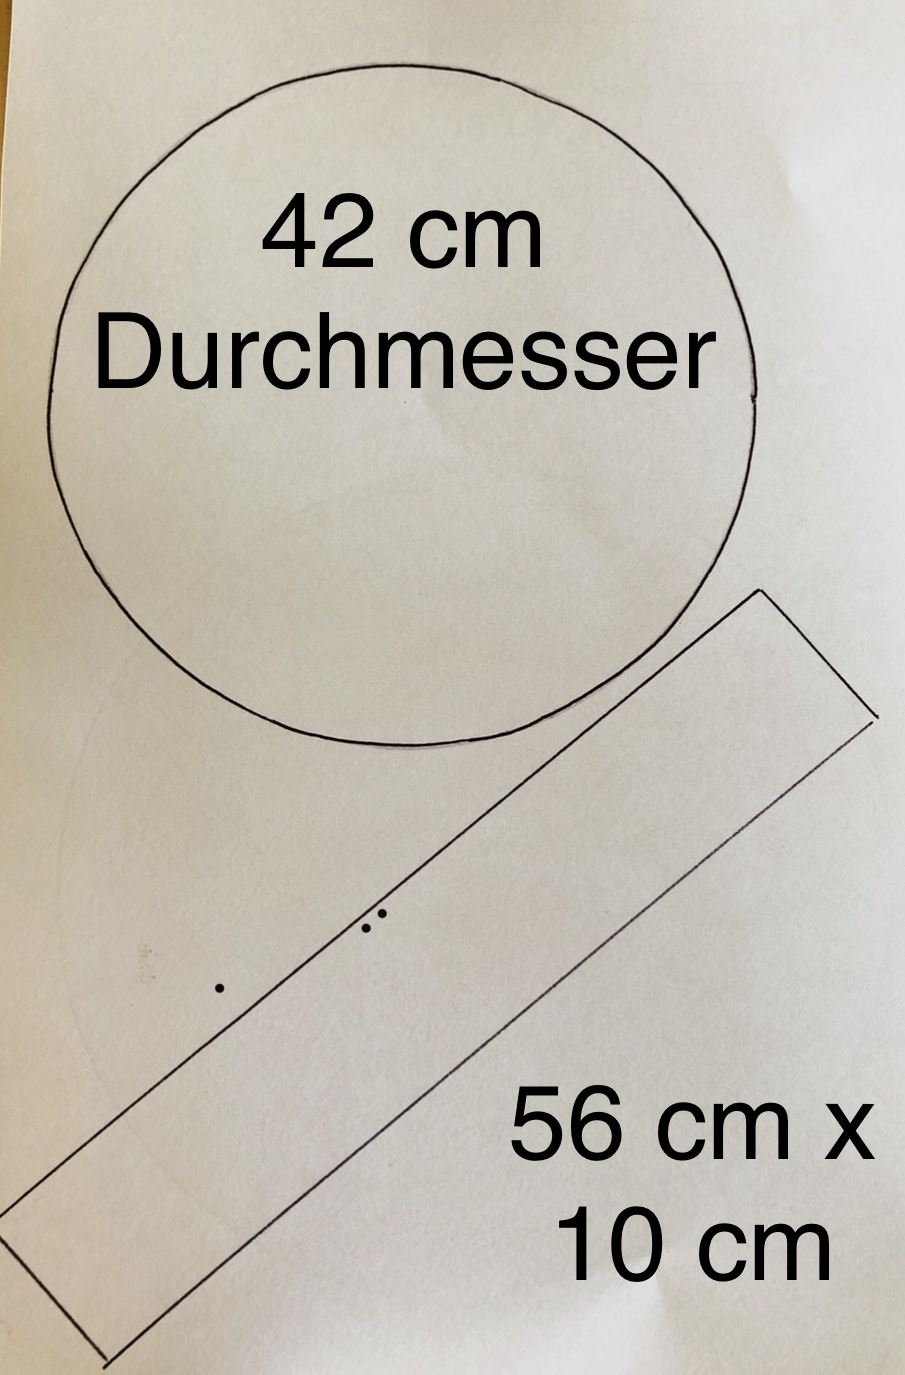
Bild zum Schritt 1 für das Bastel- und DIY-Abenteuer für Kinder: 'Den Kreis aus dem weißen Stoff schneiden.   ...'

2

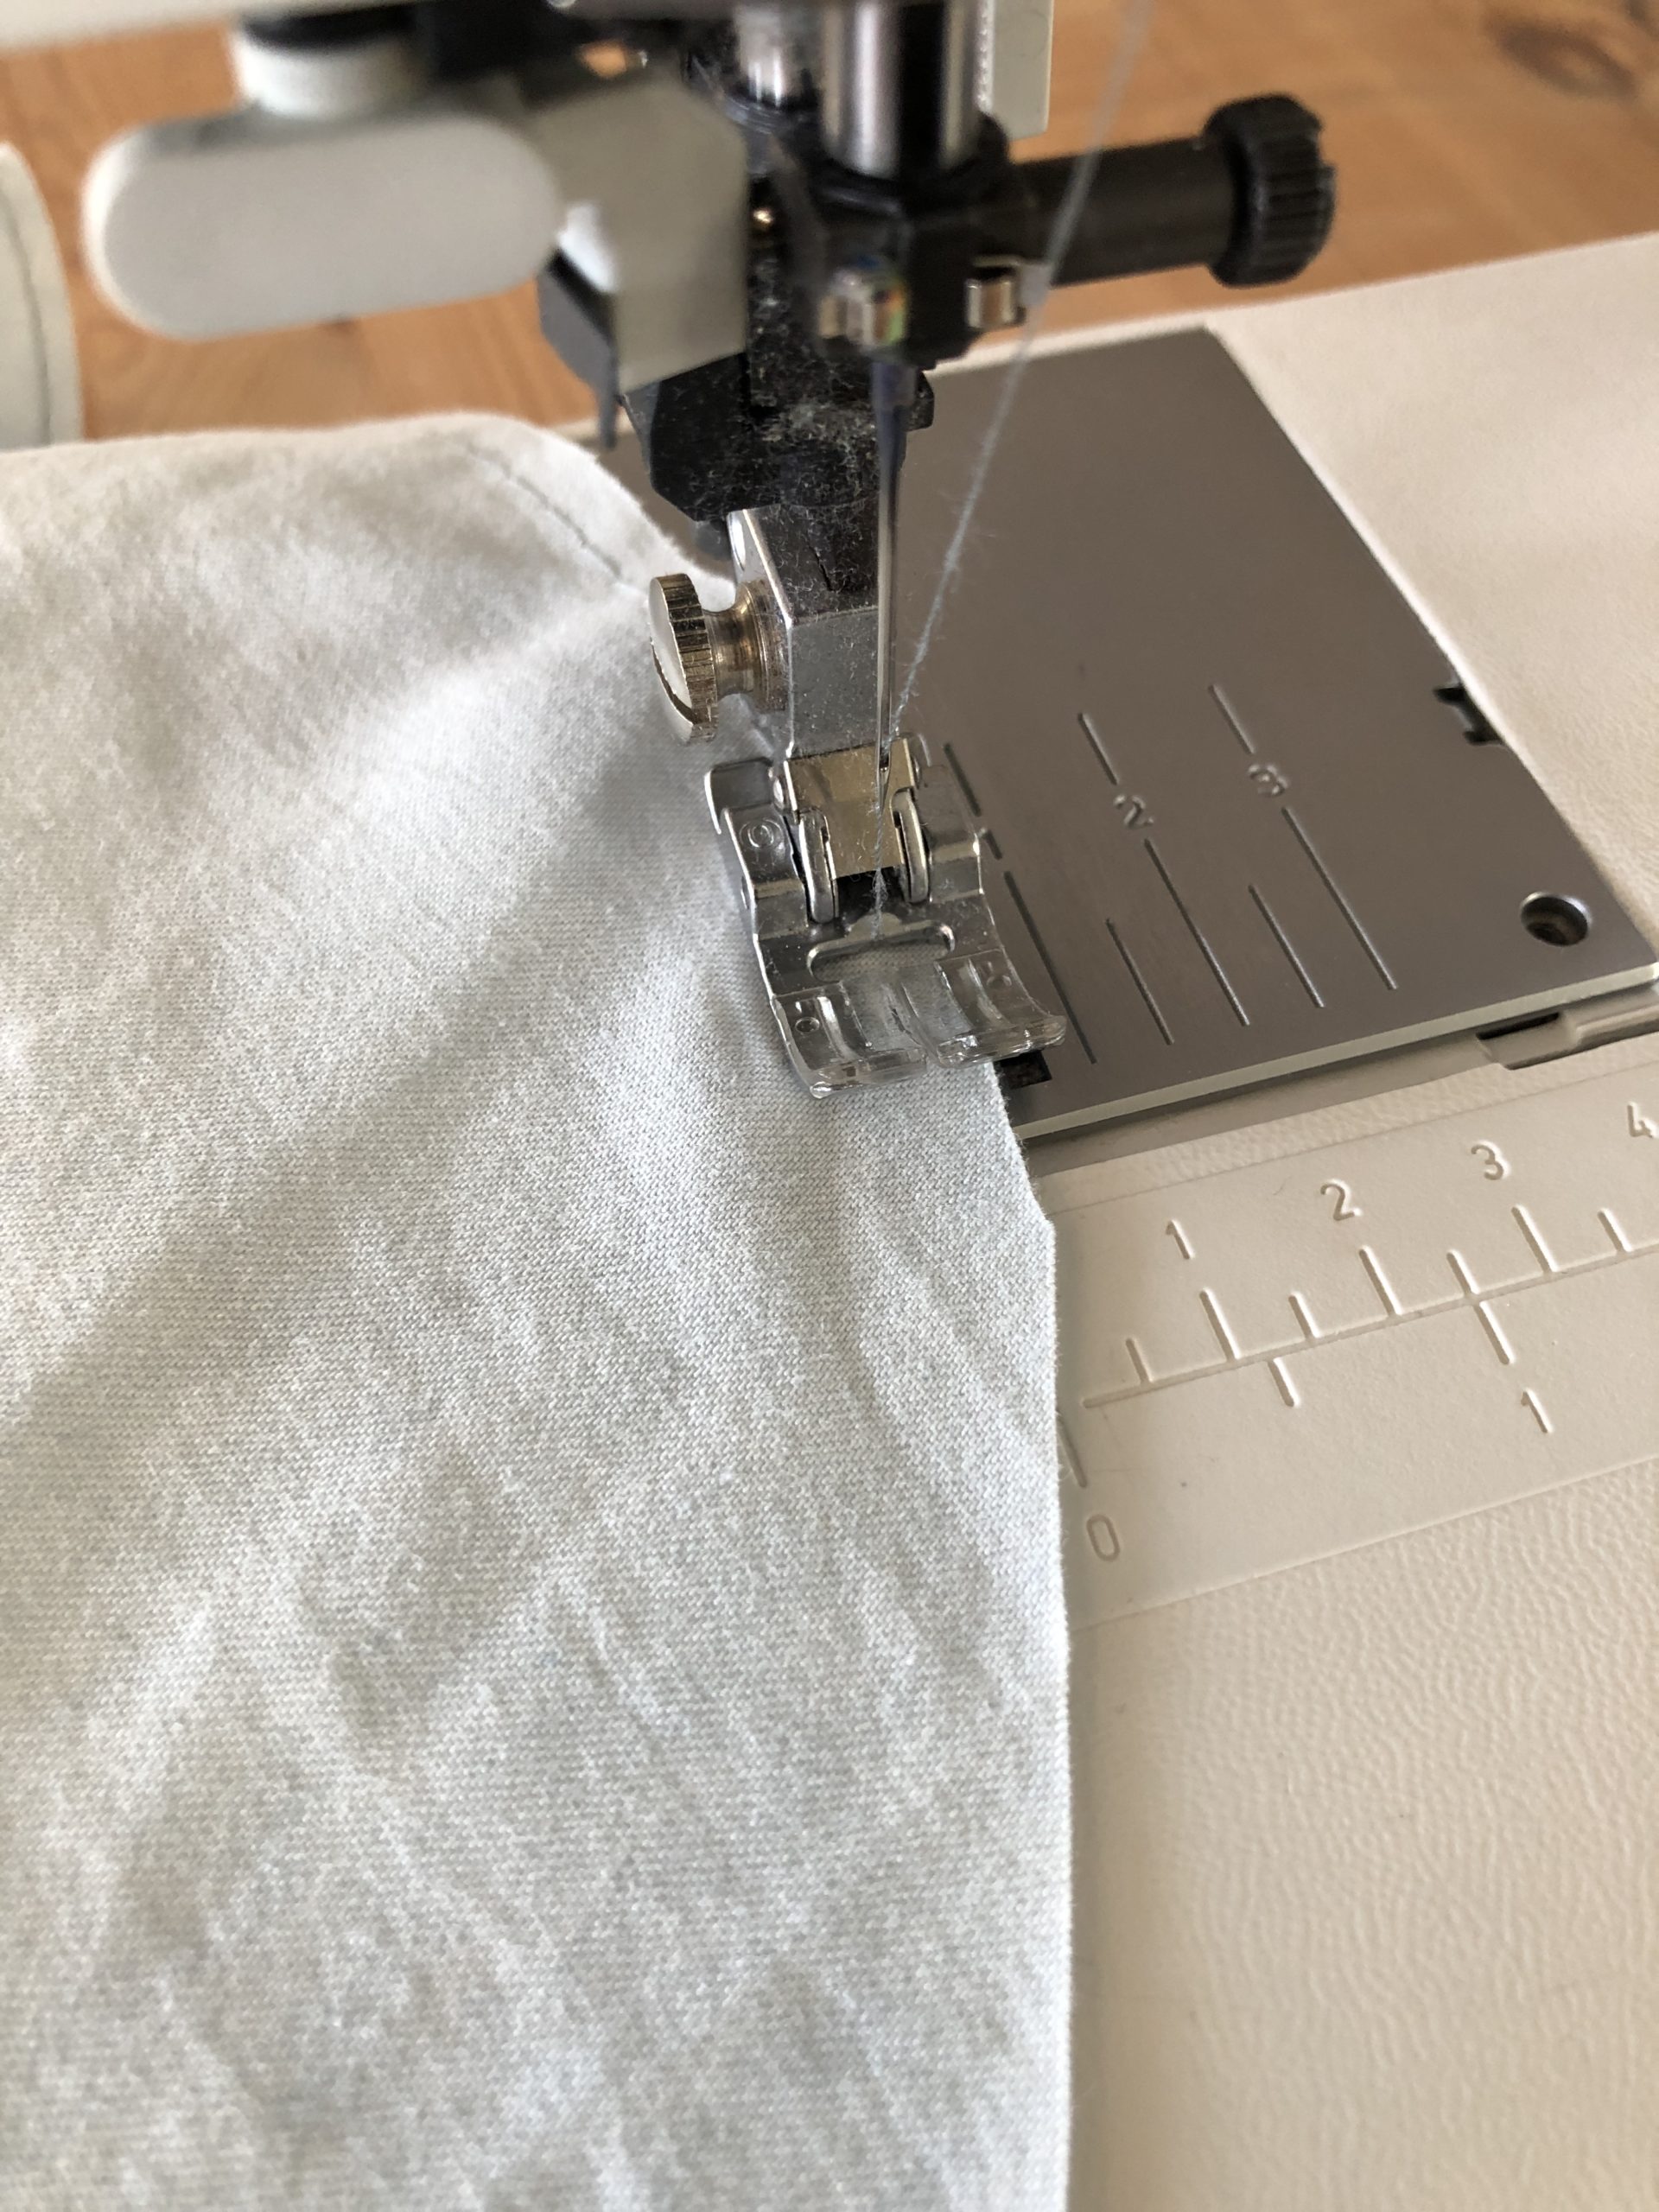
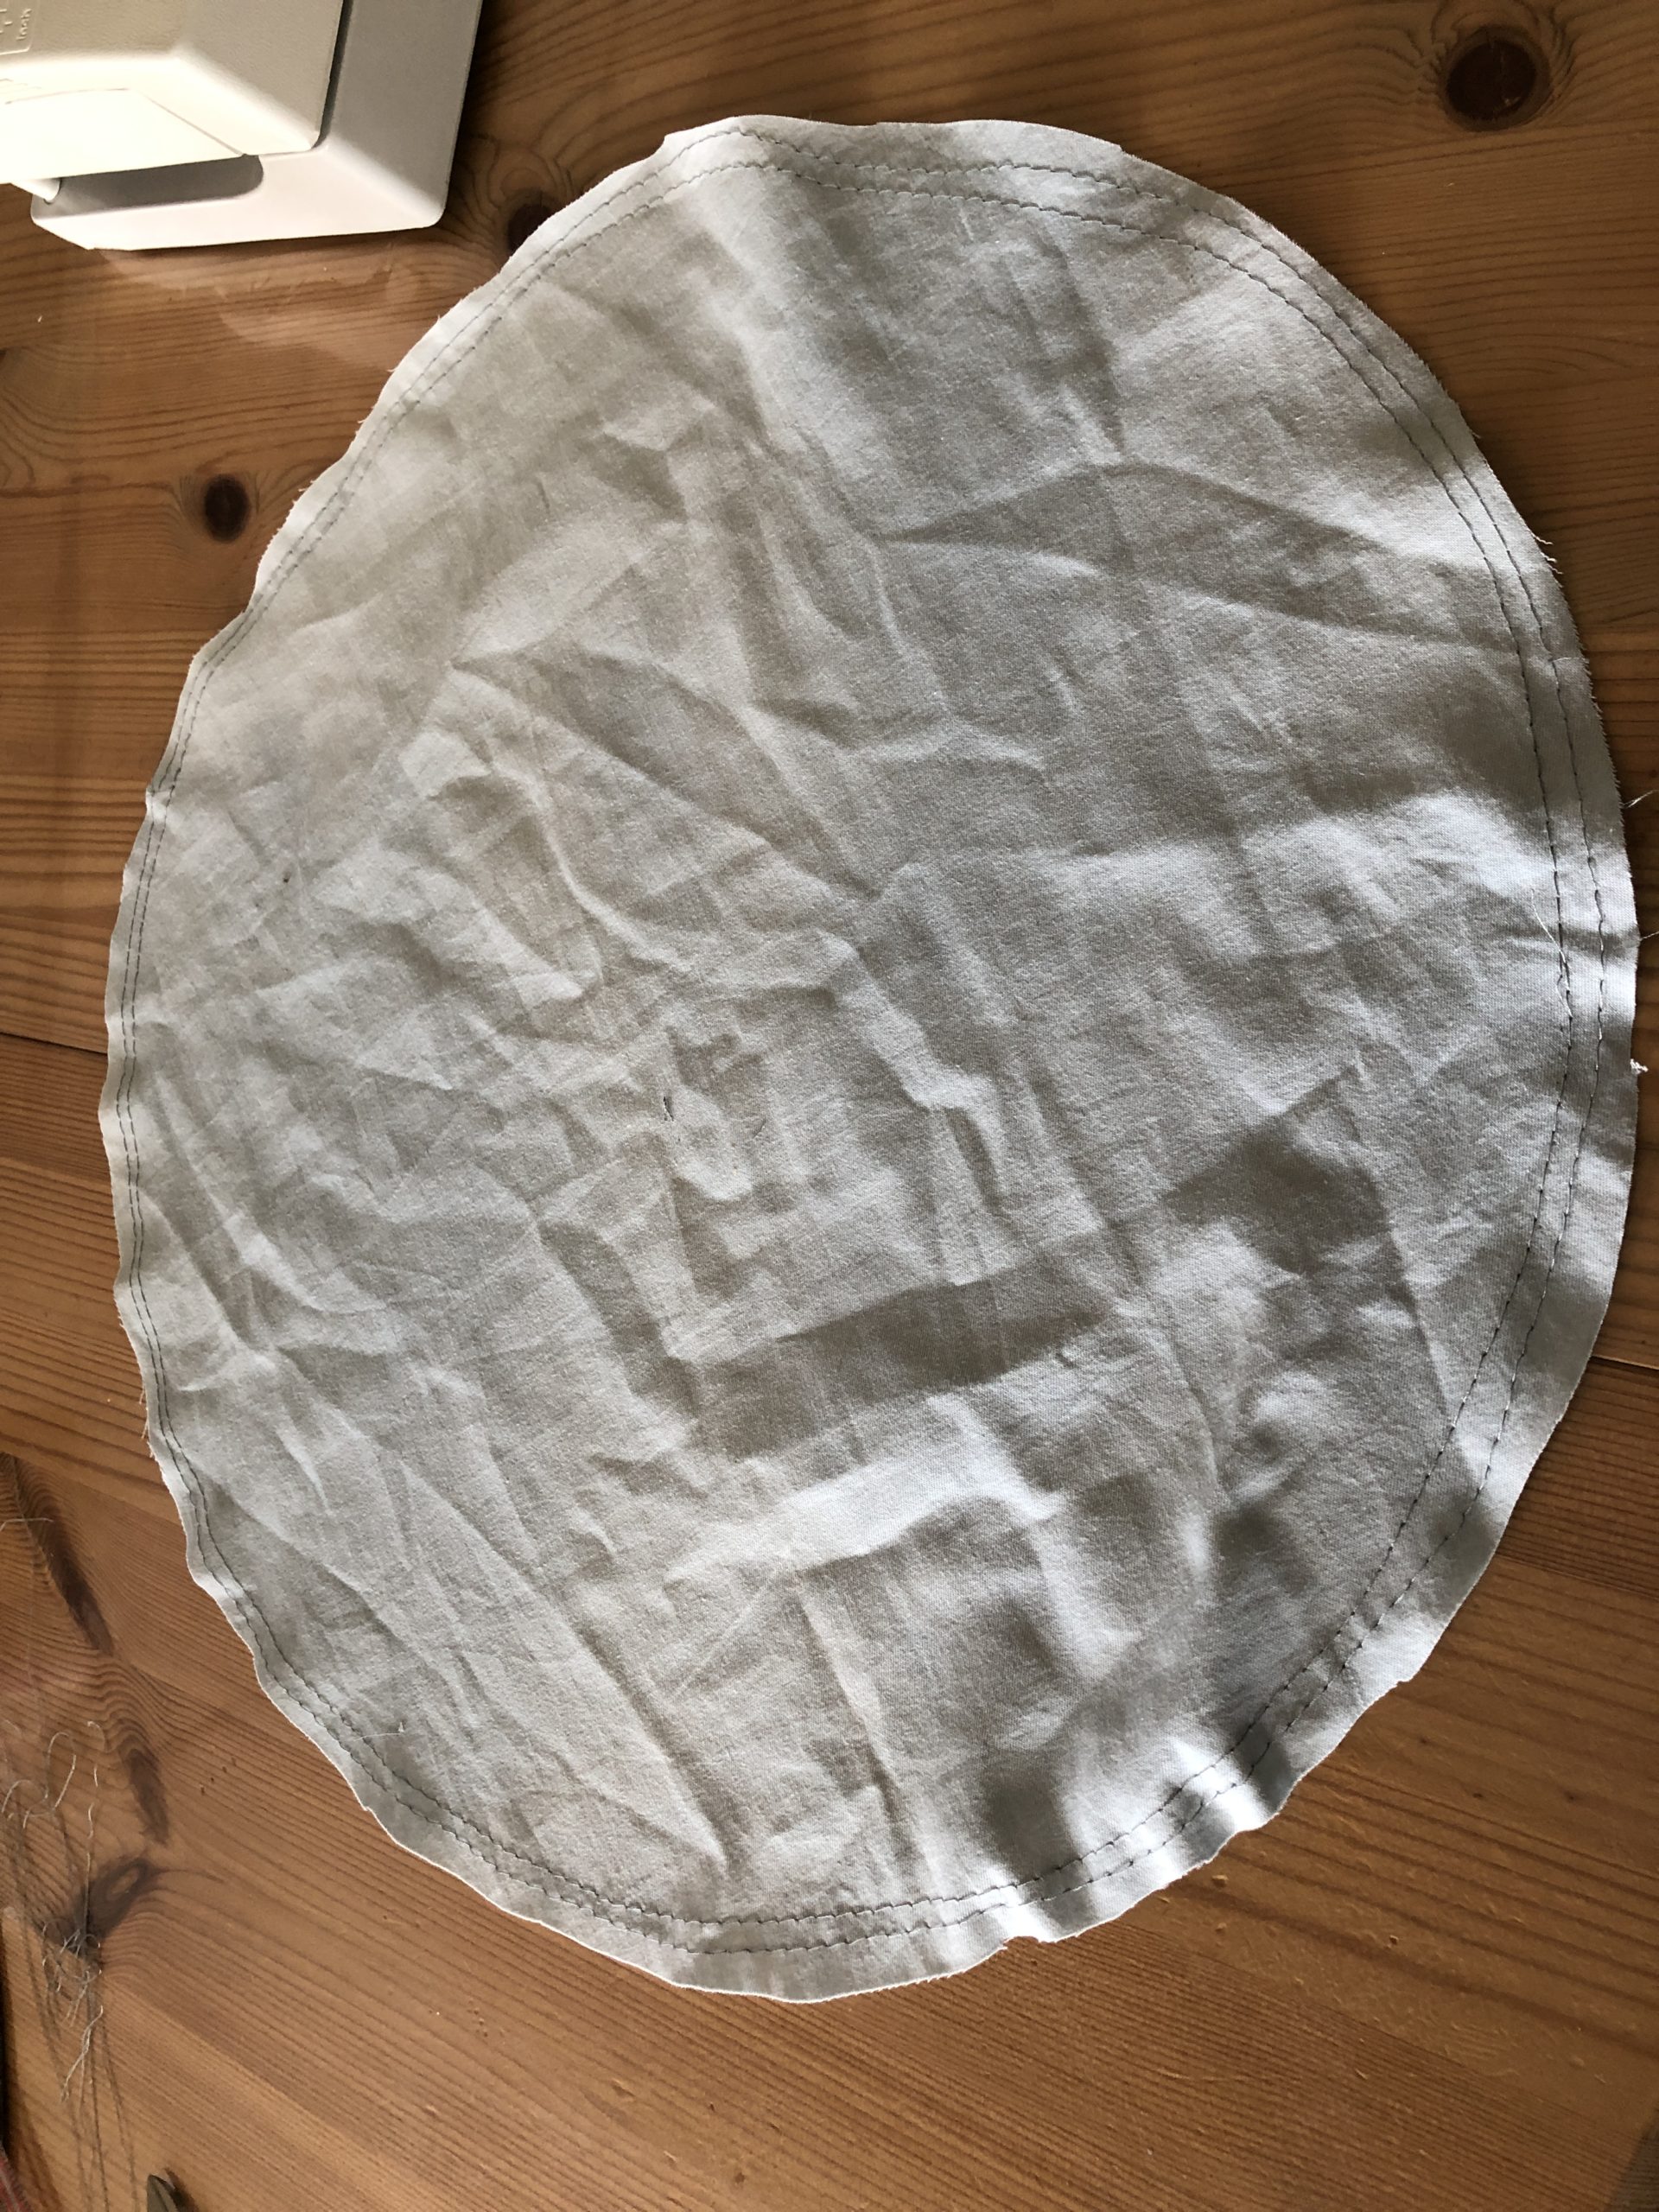
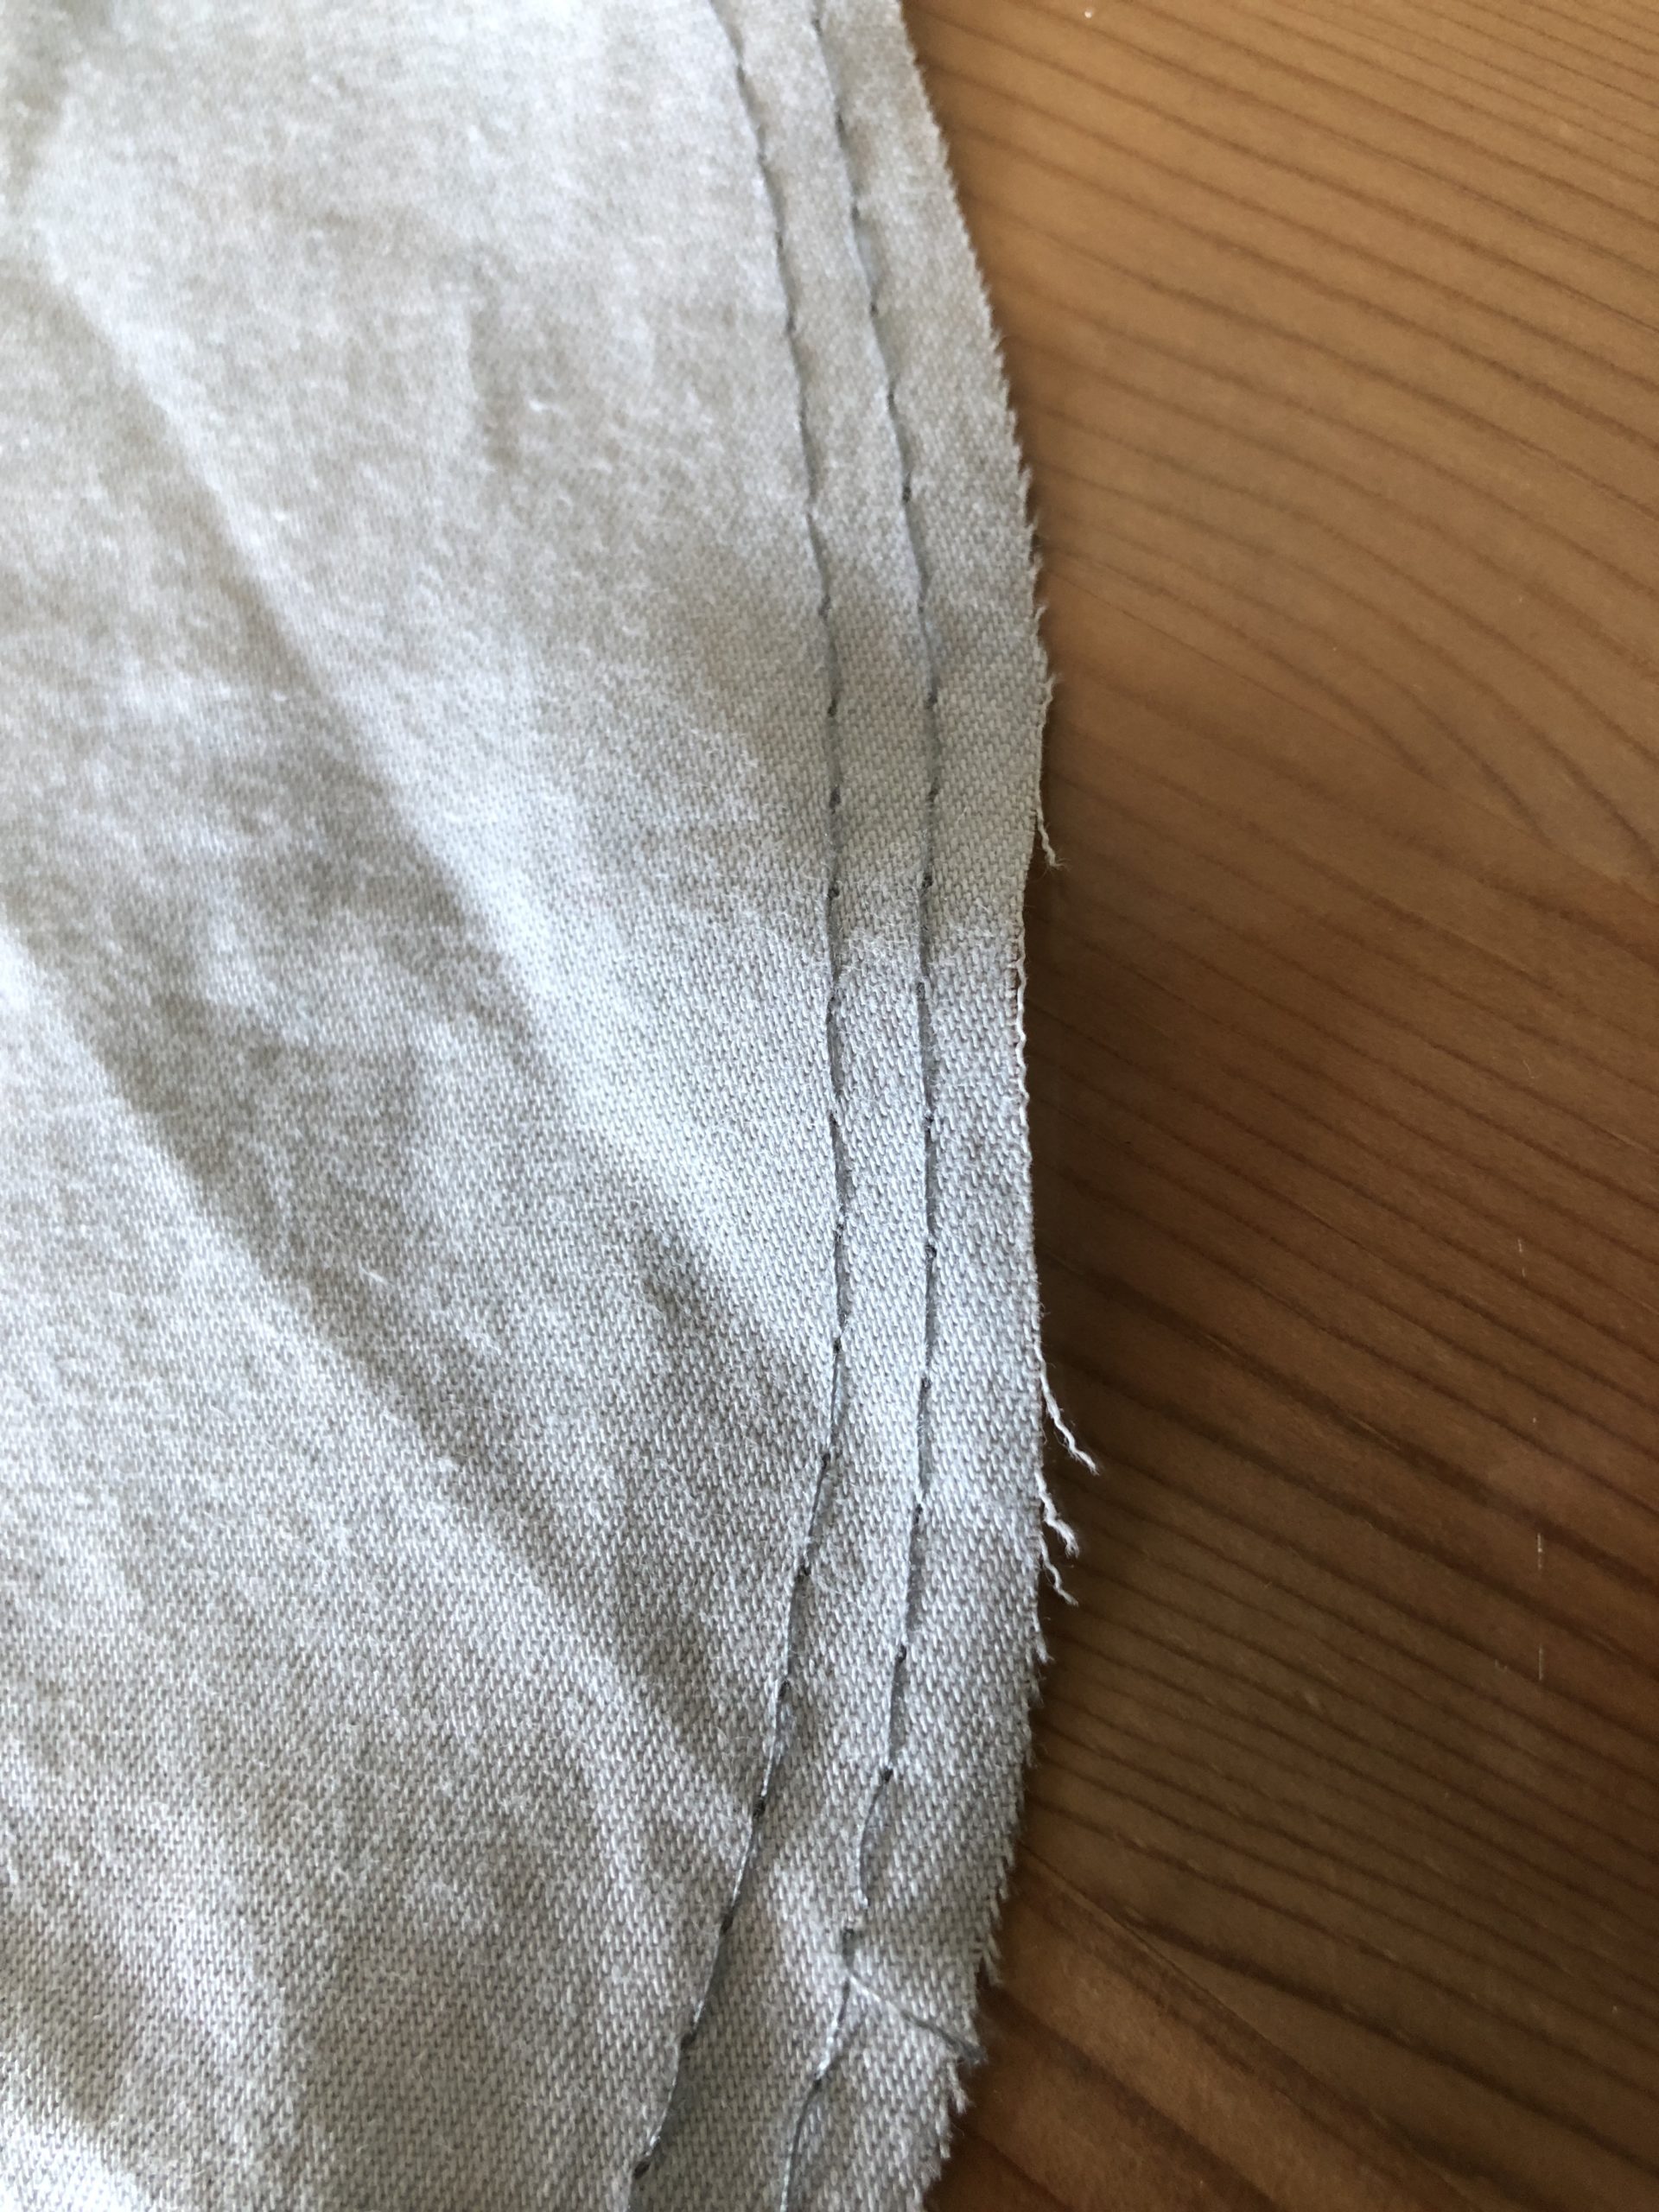
First, the circle is sewed around with two rows (largest runoff).
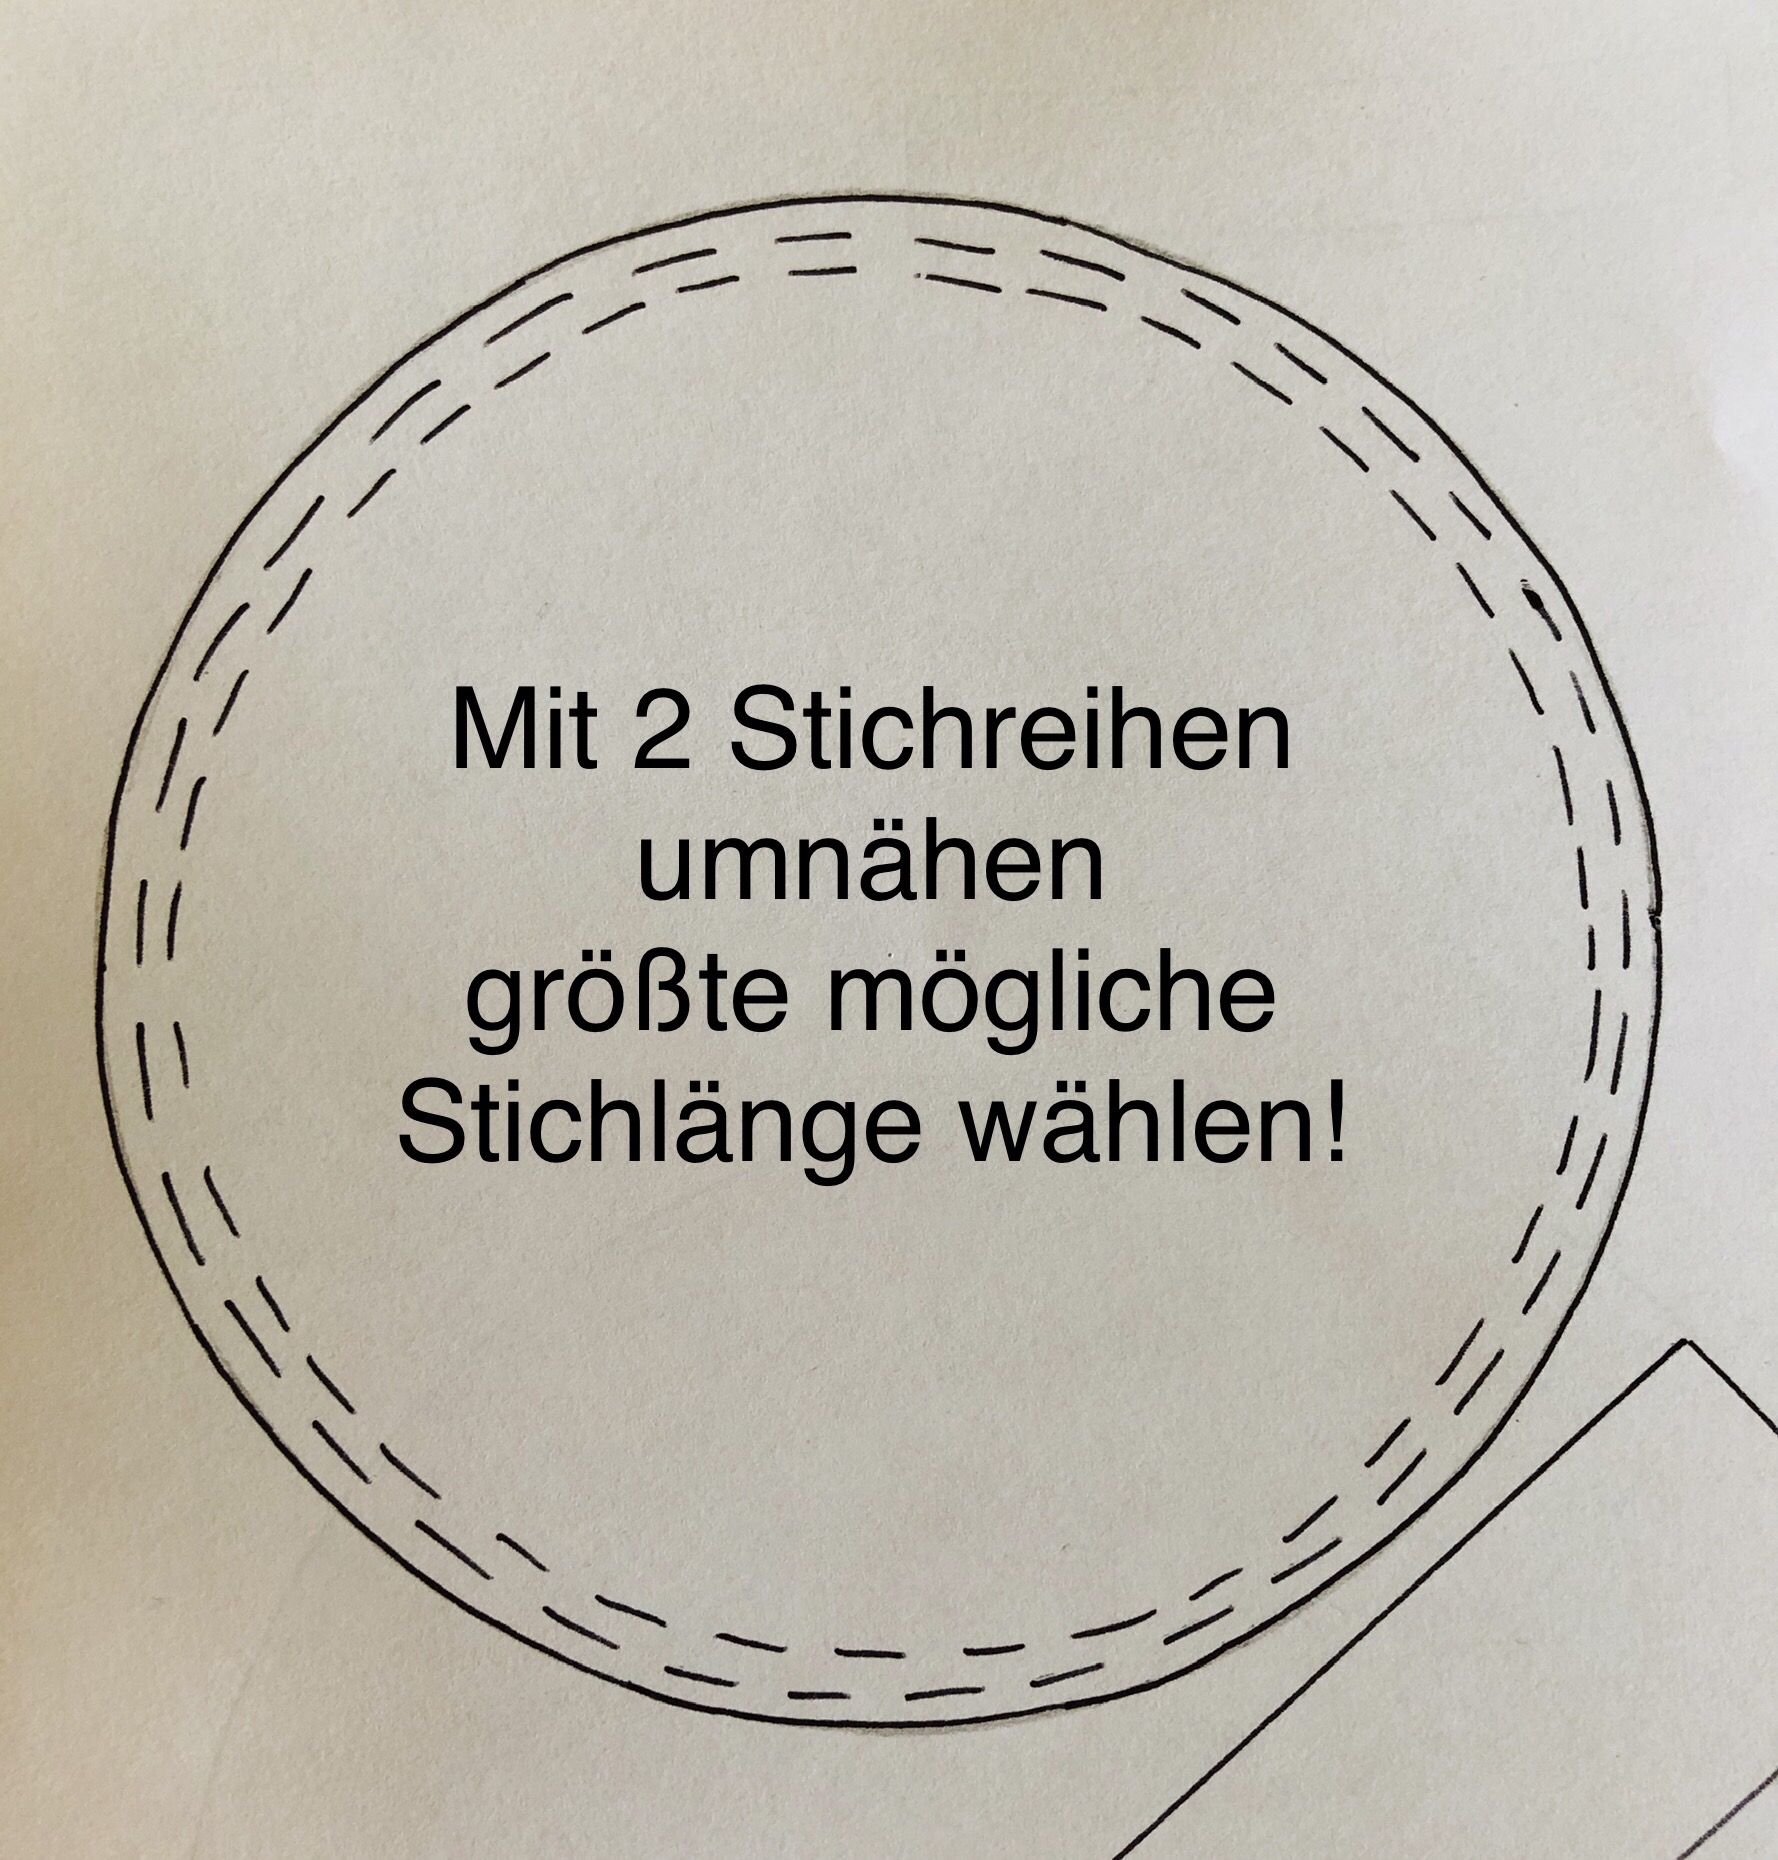
Bild zum Schritt 2 für das Bastel- und DIY-Abenteuer für Kinder: 'Zuerst wird der Kreis mit zwei Stichreihen (größte Stichwahl) umnäht.'

3

2. Bild zum Schritt 2 für das Bastel- und DIY-Abenteuer für Kinder: 'Zuerst wird der Kreis mit zwei Stichreihen (größte Stichwahl) umnäht.'

4

3. Bild zum Schritt 3 für das Bastel- und DIY-Abenteuer für Kinder: 'Zuerst wird der Kreis mit zwei Stichreihen (größte Stichwahl) umnäht.'

5

4. Bild zum Schritt 4 für das Bastel- und DIY-Abenteuer für Kinder: 'Zuerst wird der Kreis mit zwei Stichreihen (größte Stichwahl) umnäht.'

6

Gently pull on one of the threads. This pulls the circle together at the edge.

Bild zum Schritt 6 für das Bastel- und DIY-Abenteuer für Kinder: 'An einem der Fäden vorsichtig ziehen. Dadurch wird der Kreis...'

7

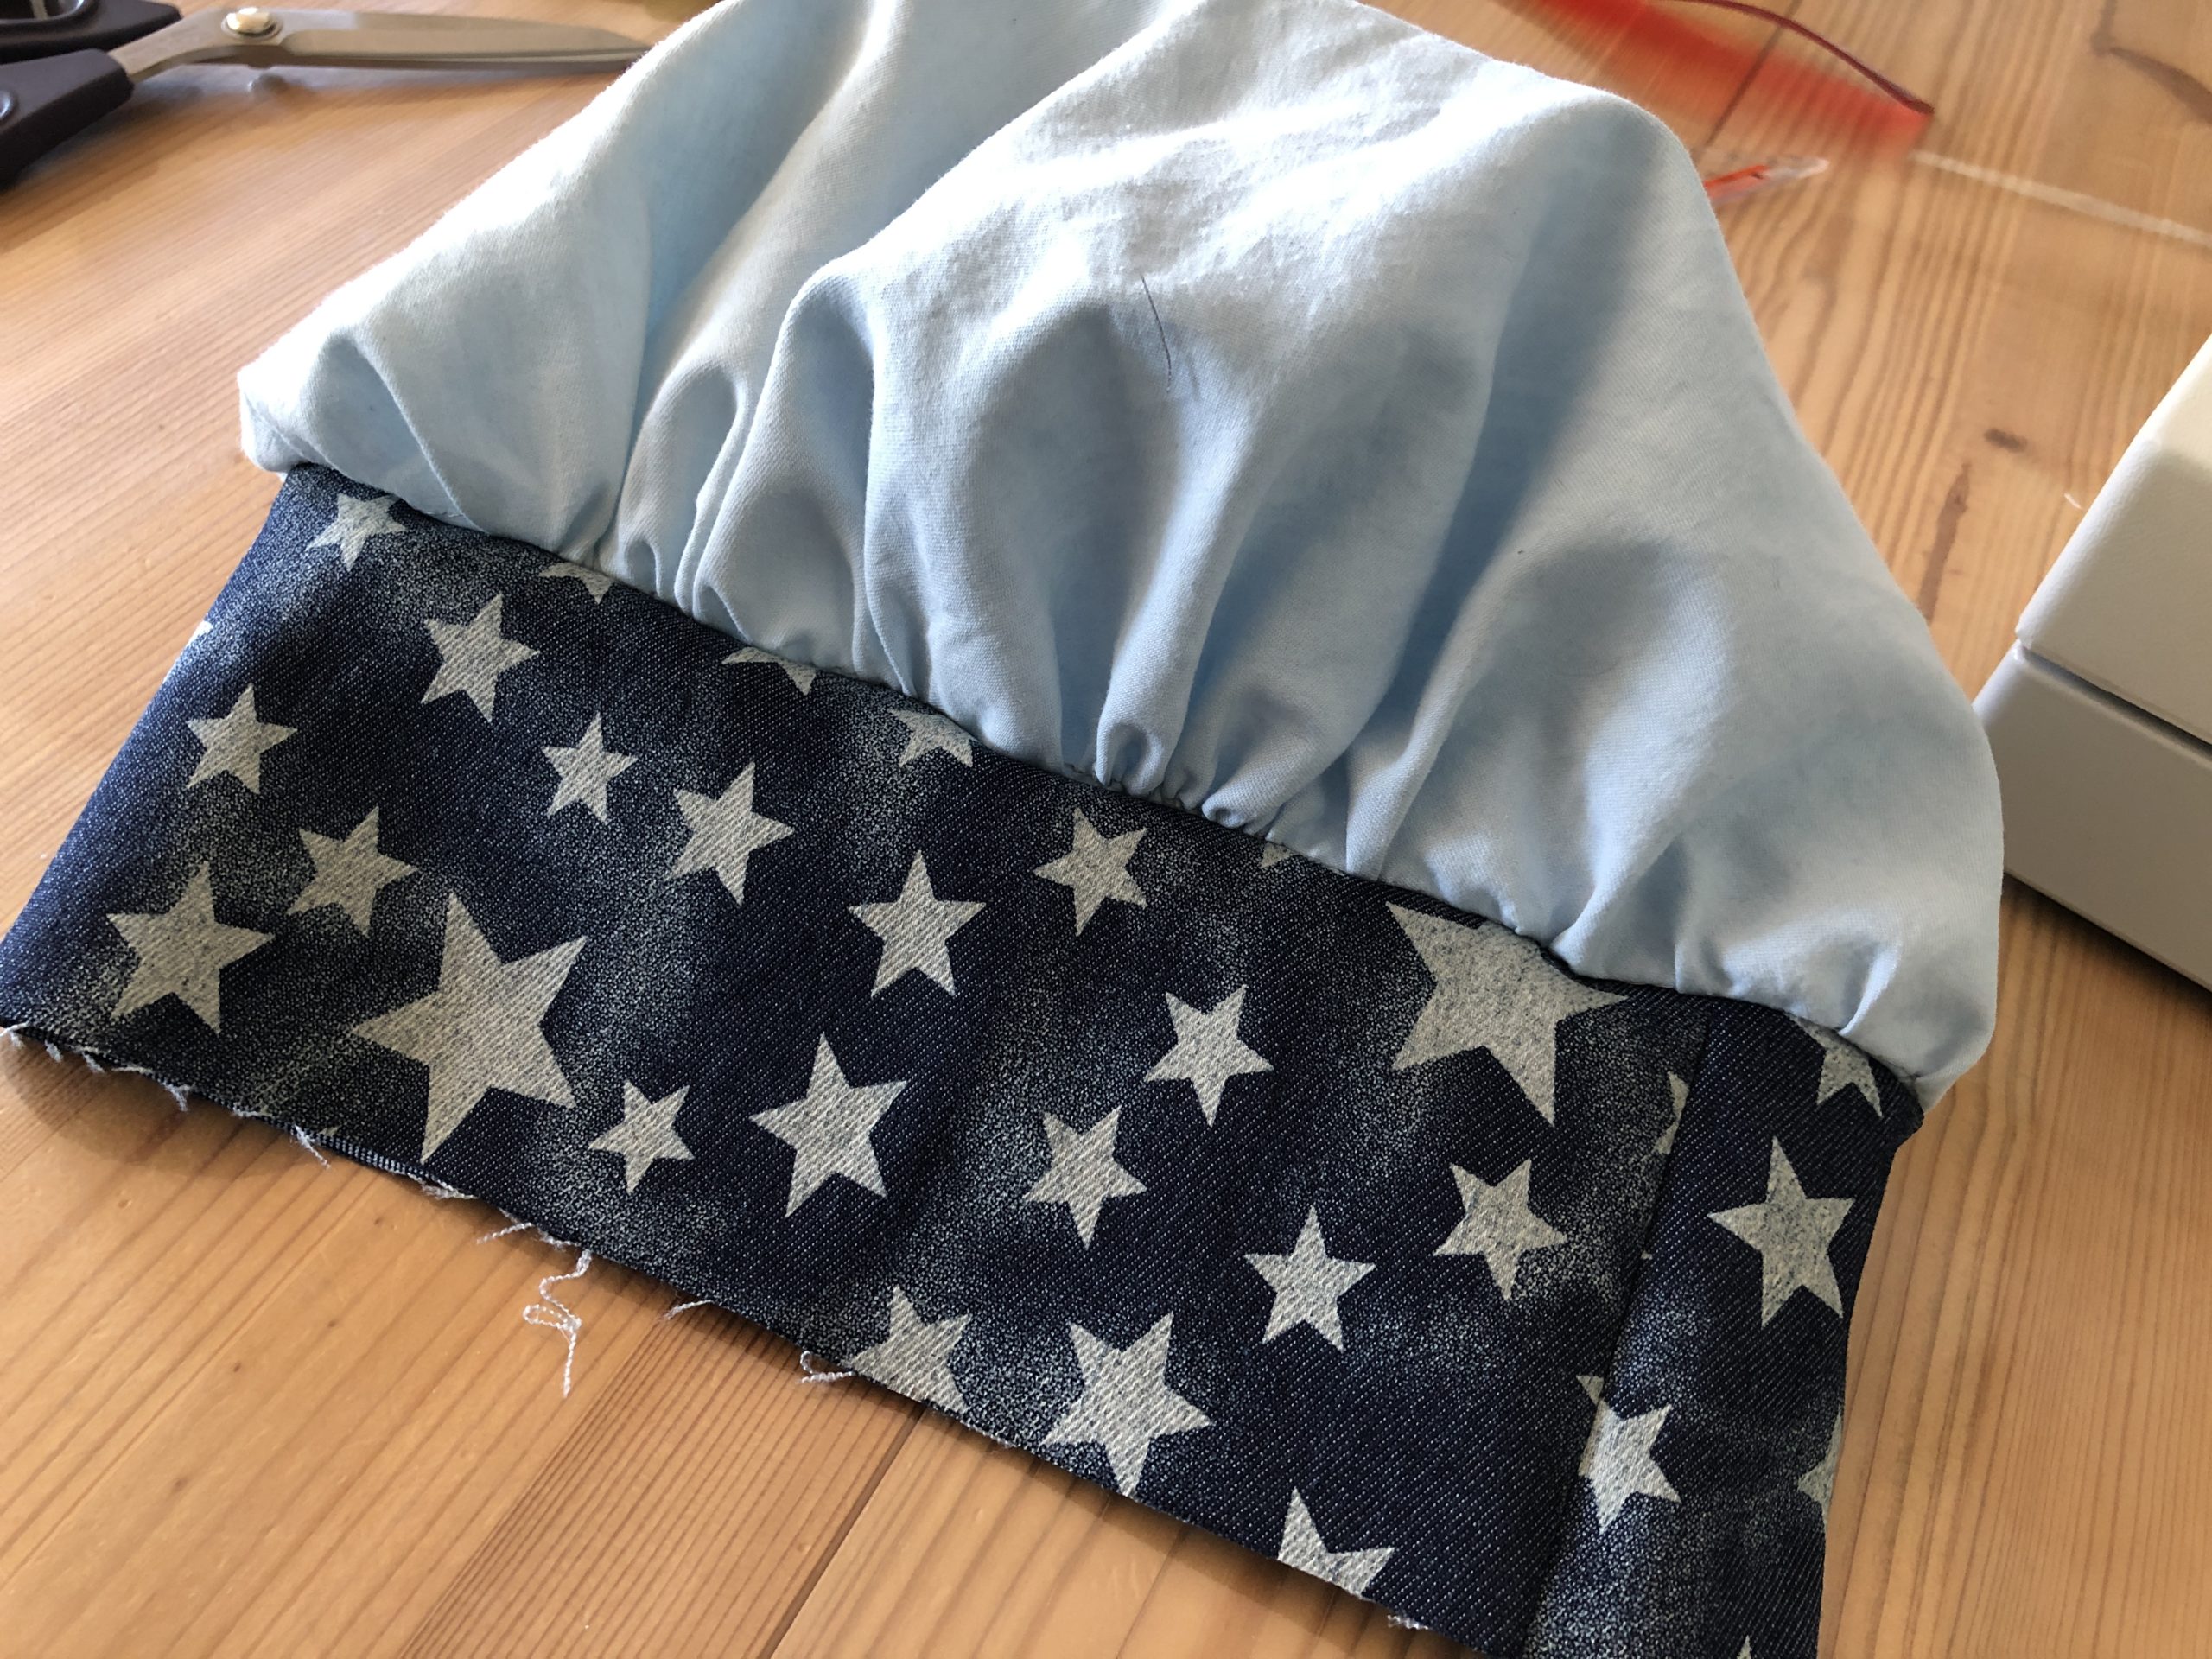
Pull the edge together until the diameter of the circle edge matches the head circumference of the cap.

Bild zum Schritt 7 für das Bastel- und DIY-Abenteuer für Kinder: 'Rand soweit zusammenraffen, bis der Durchmesser des Kreisrandes auf den...'

8

2. Bild zum Schritt 7 für das Bastel- und DIY-Abenteuer für Kinder: 'Rand soweit zusammenraffen, bis der Durchmesser des Kreisrandes auf den...'

9

Now the strip is sewn on the short side on half together. (The beautiful sides are on top of each other!)

Bild zum Schritt 9 für das Bastel- und DIY-Abenteuer für Kinder: 'Jetzt wird der Streifen an der kurzen Seite auf die...'

10

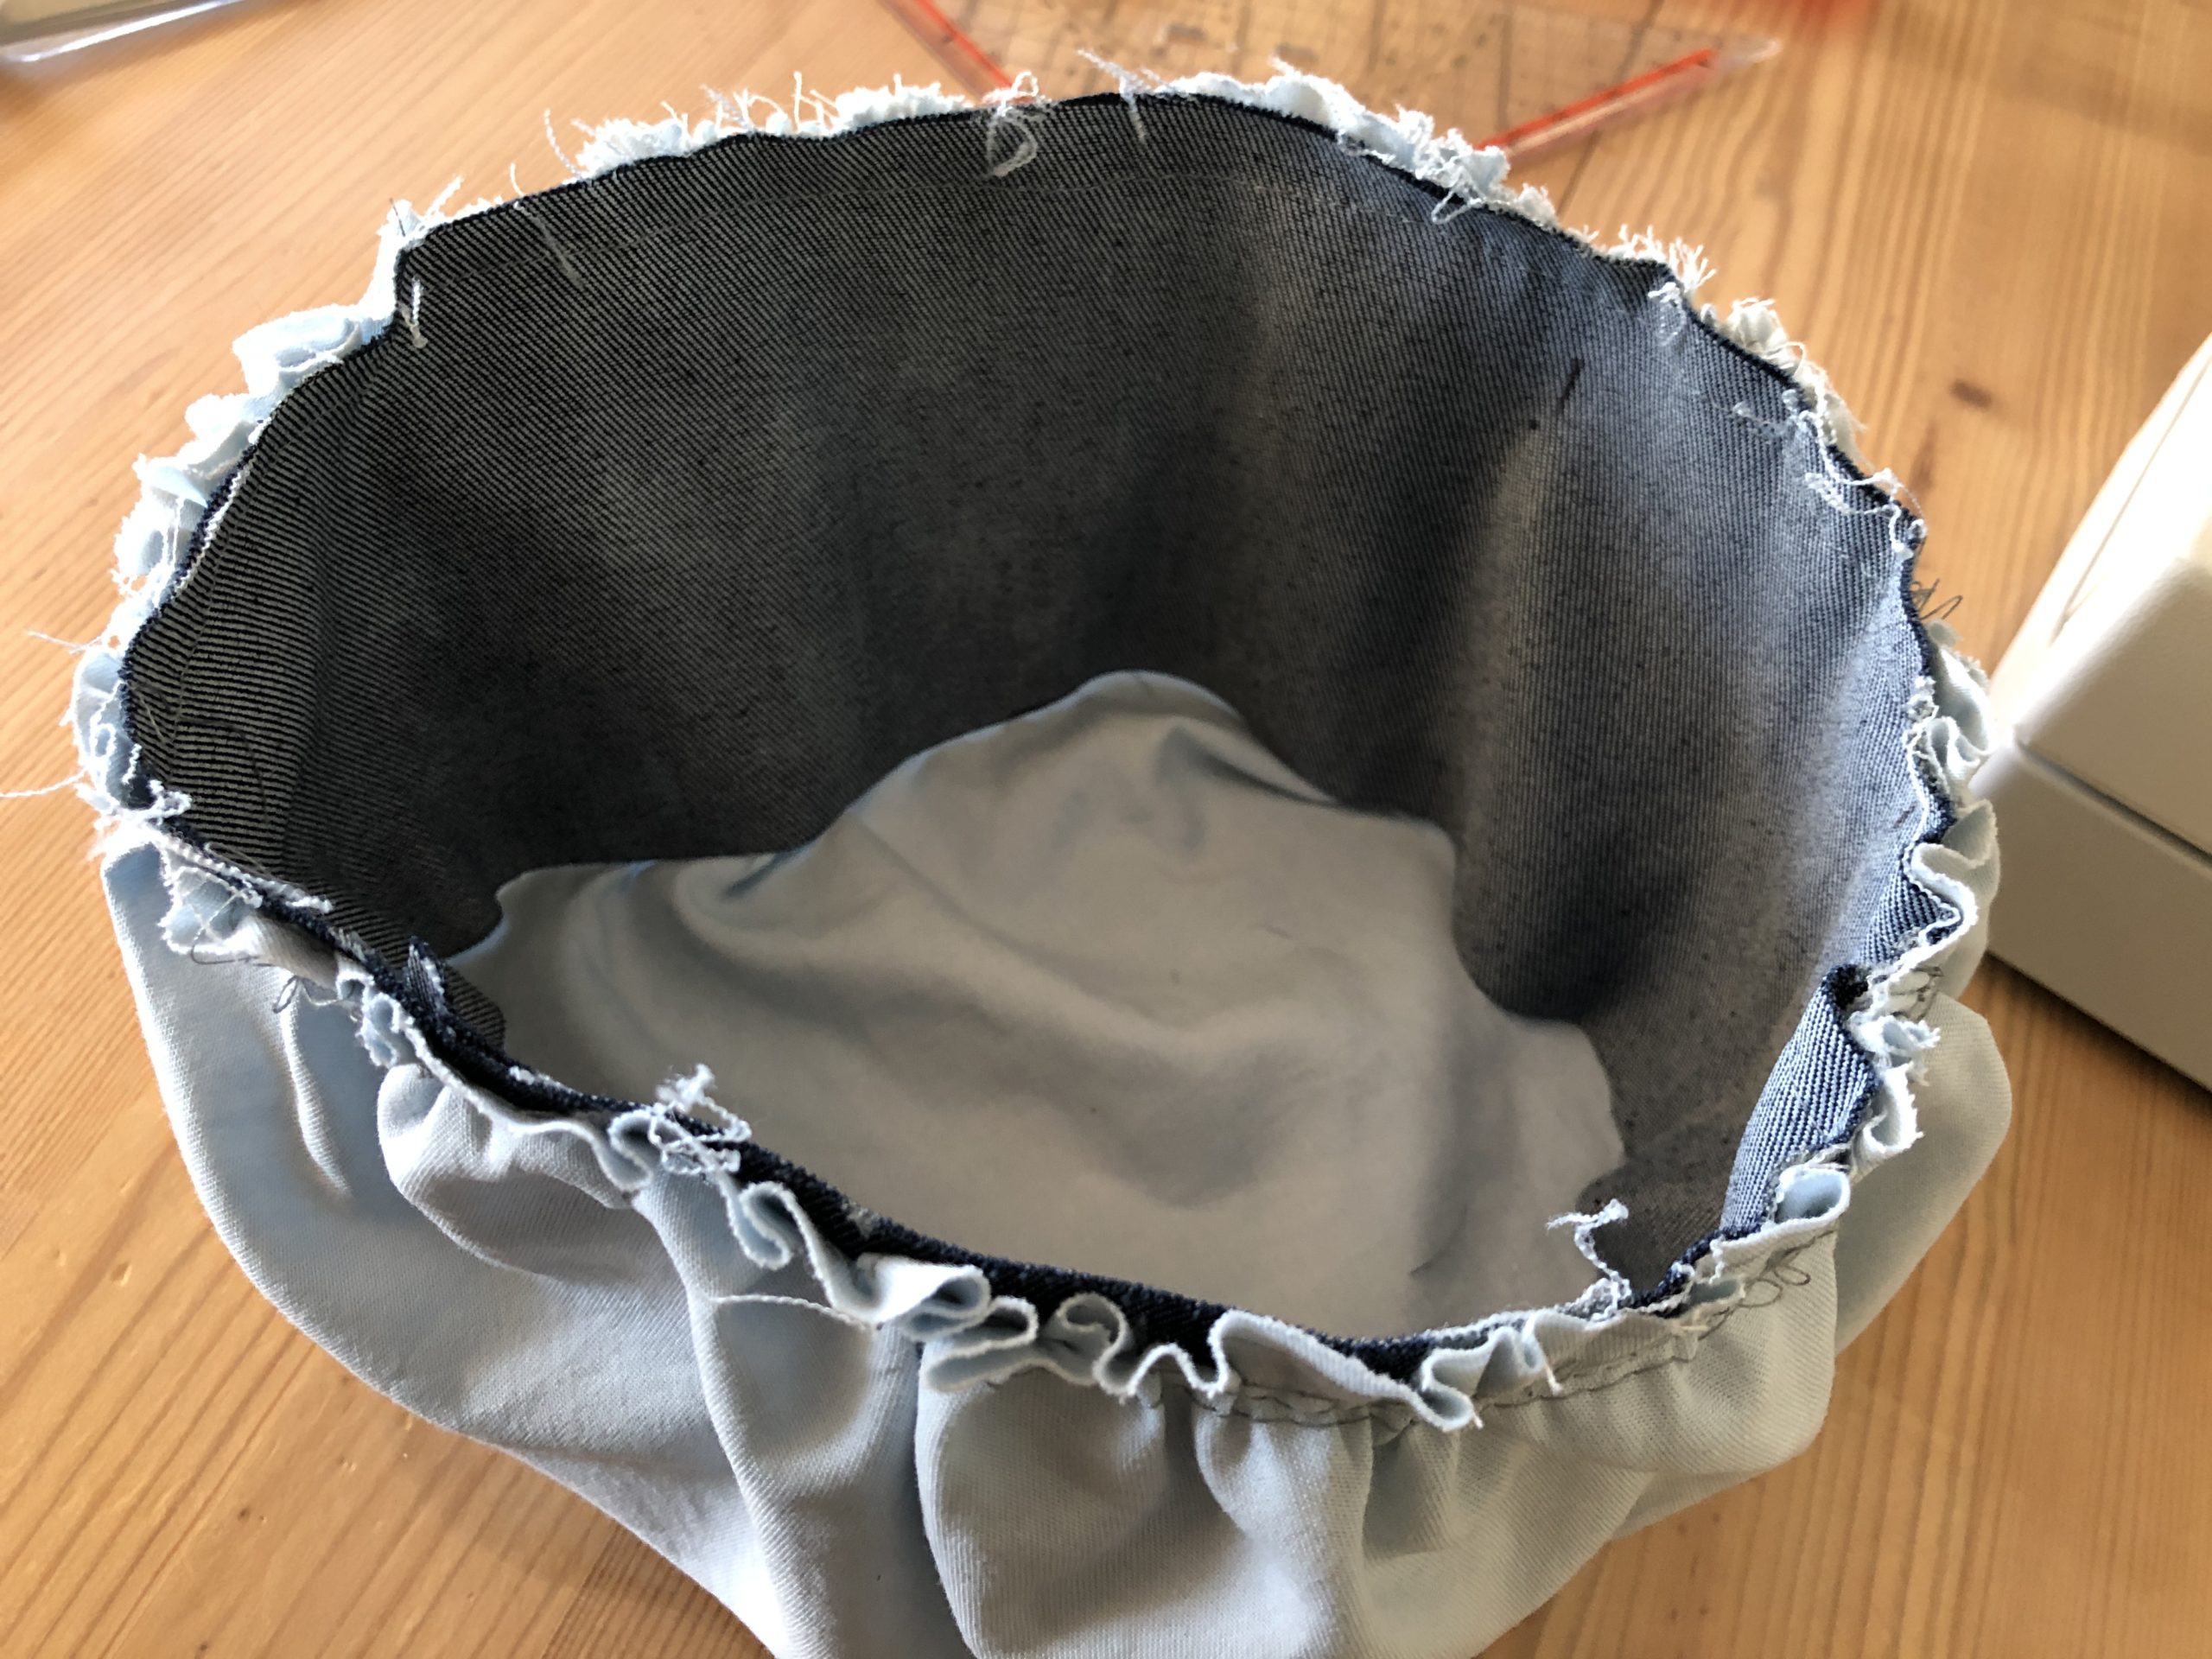
Place the strip in the inside of the drawn circle and stick it together with pins. If necessary, place the ruched edge until the dimensions match.

Bild zum Schritt 10 für das Bastel- und DIY-Abenteuer für Kinder: 'Den Streifen in das Innere des zusammengezogenen Kreises stellen und...'

11

The beautiful side of the strip is on the inside

Bild zum Schritt 11 für das Bastel- und DIY-Abenteuer für Kinder: 'Die schöne Seite des Streifens liegt auf der Innenseite'

12

Sew right next to the existing seam (normal stitch length!)

Bild zum Schritt 12 für das Bastel- und DIY-Abenteuer für Kinder: 'Direkt neben der vorhandenen Naht nähen (normale Stichlänge!)'

13

Turn the fabric around.

Bild zum Schritt 13 für das Bastel- und DIY-Abenteuer für Kinder: 'Den Stoff wenden.'

14

2. Bild zum Schritt 13 für das Bastel- und DIY-Abenteuer für Kinder: 'Den Stoff wenden.'

15

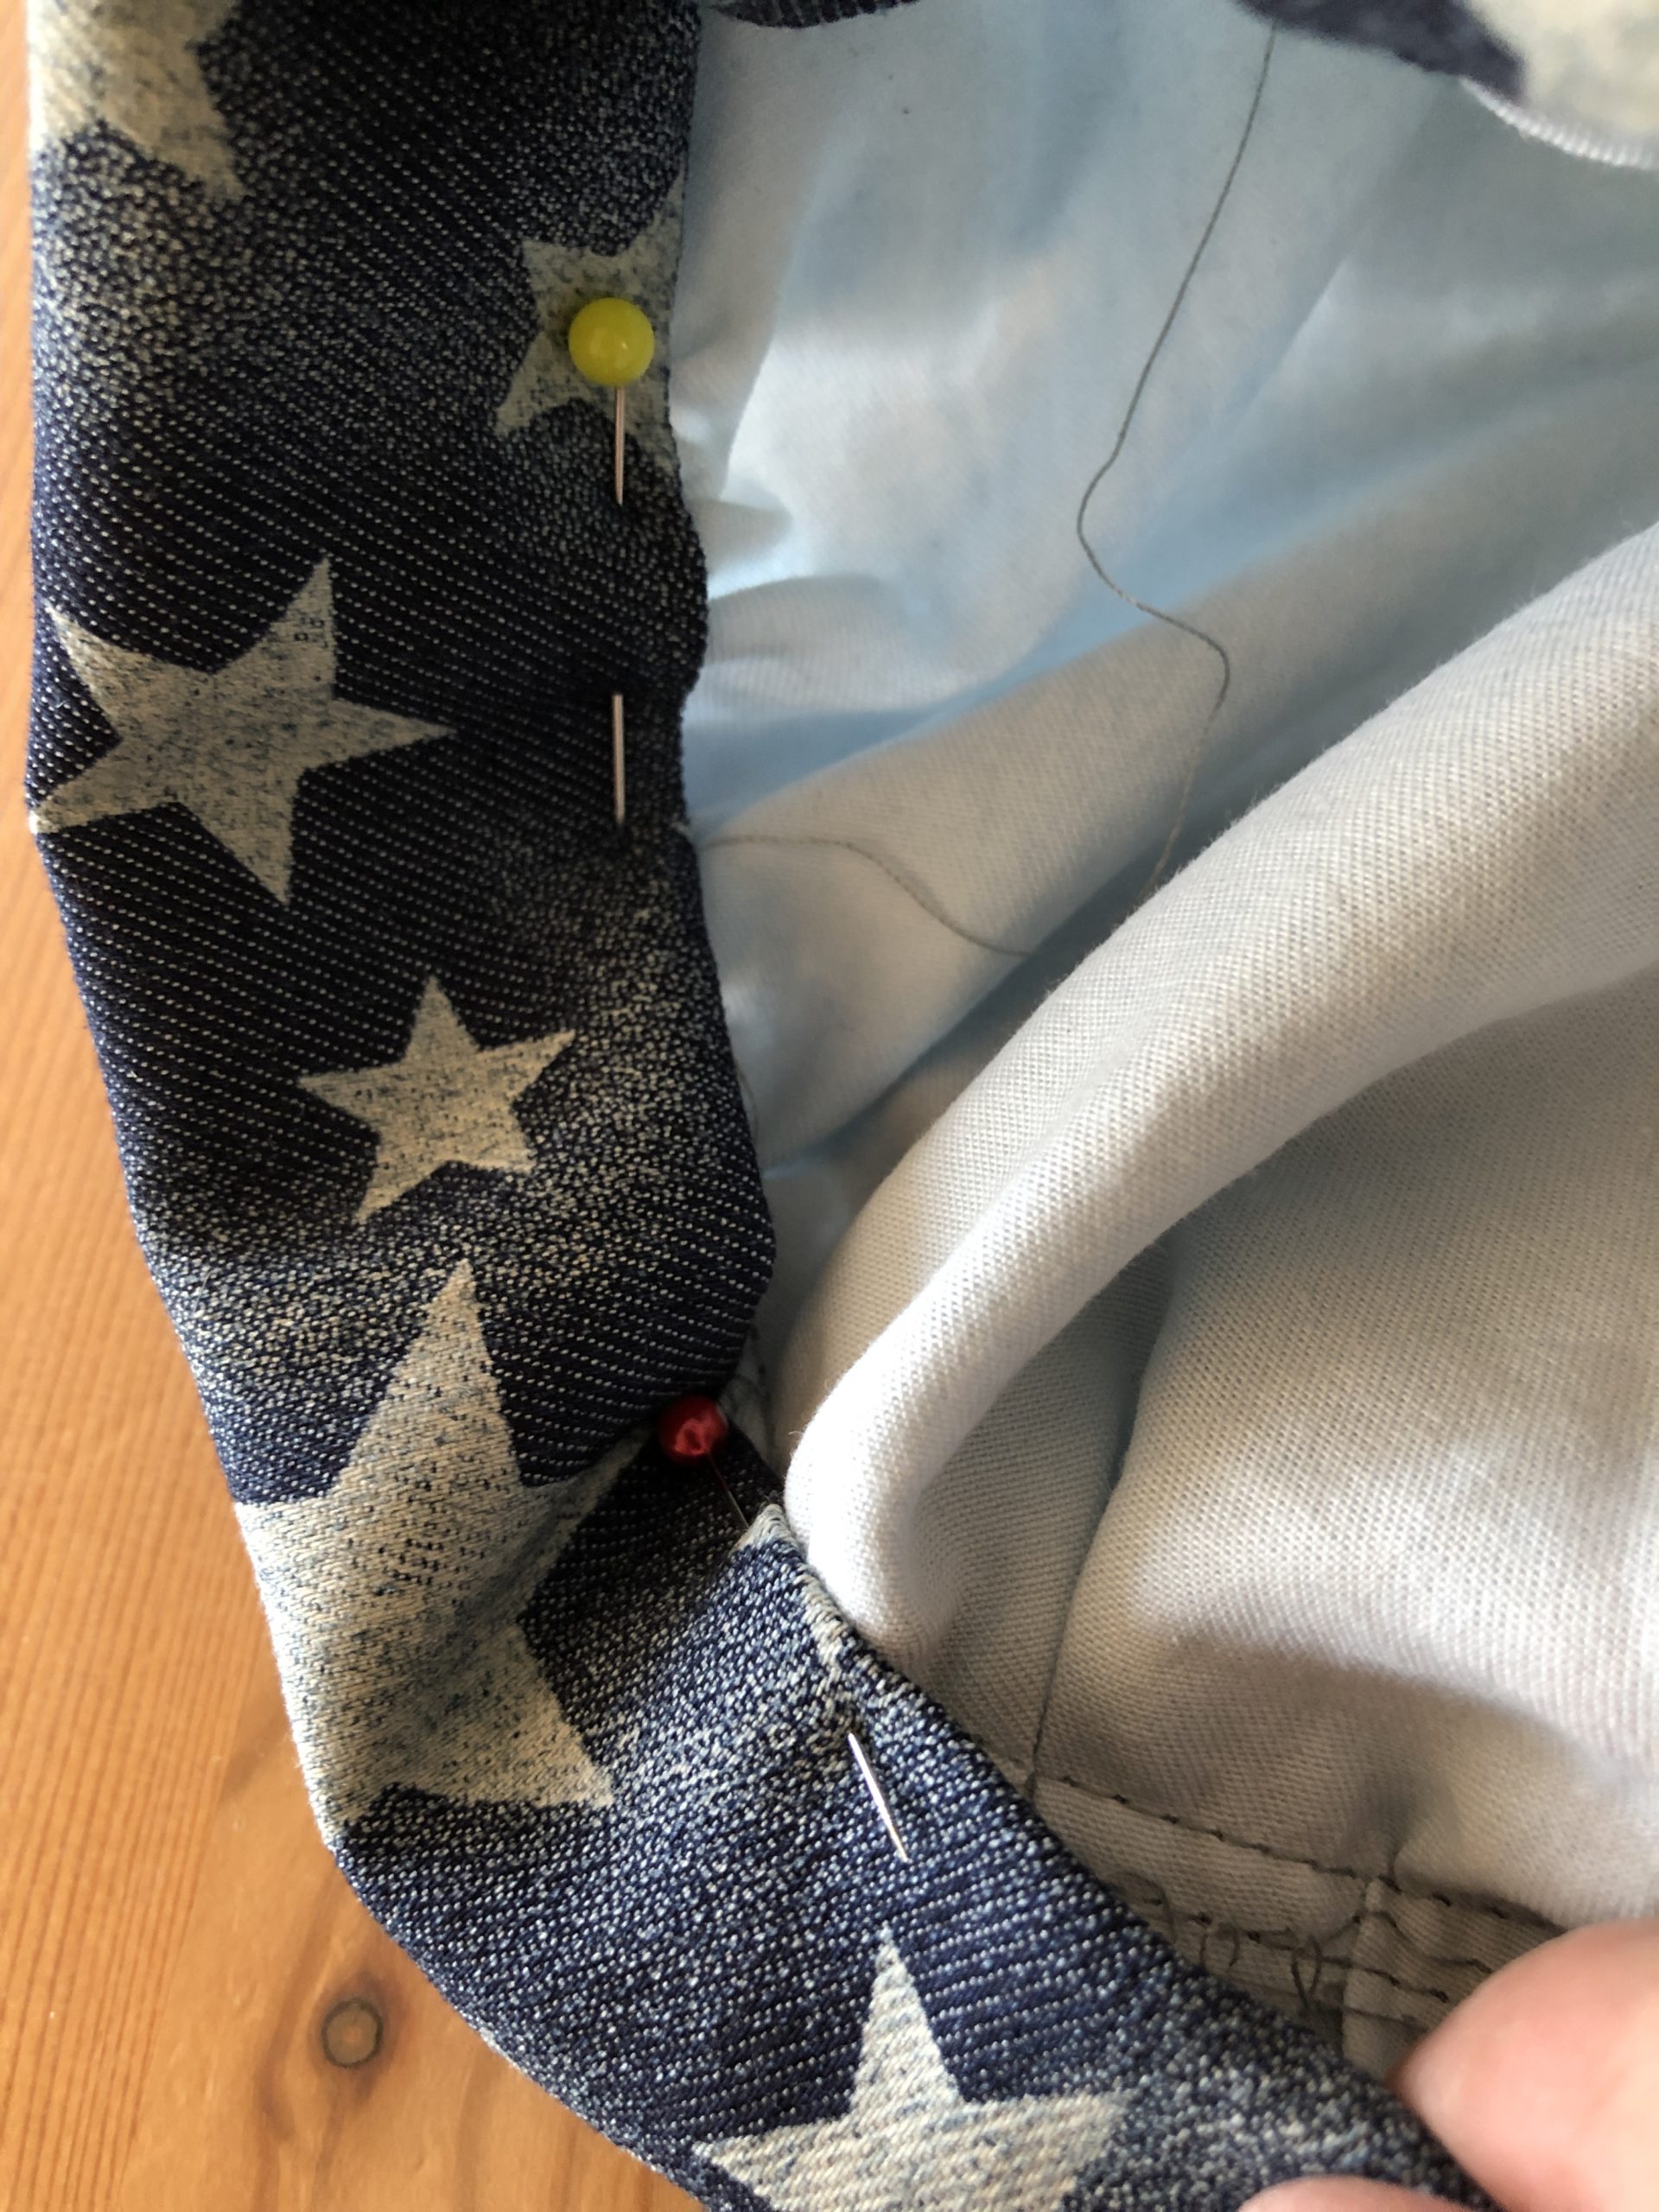
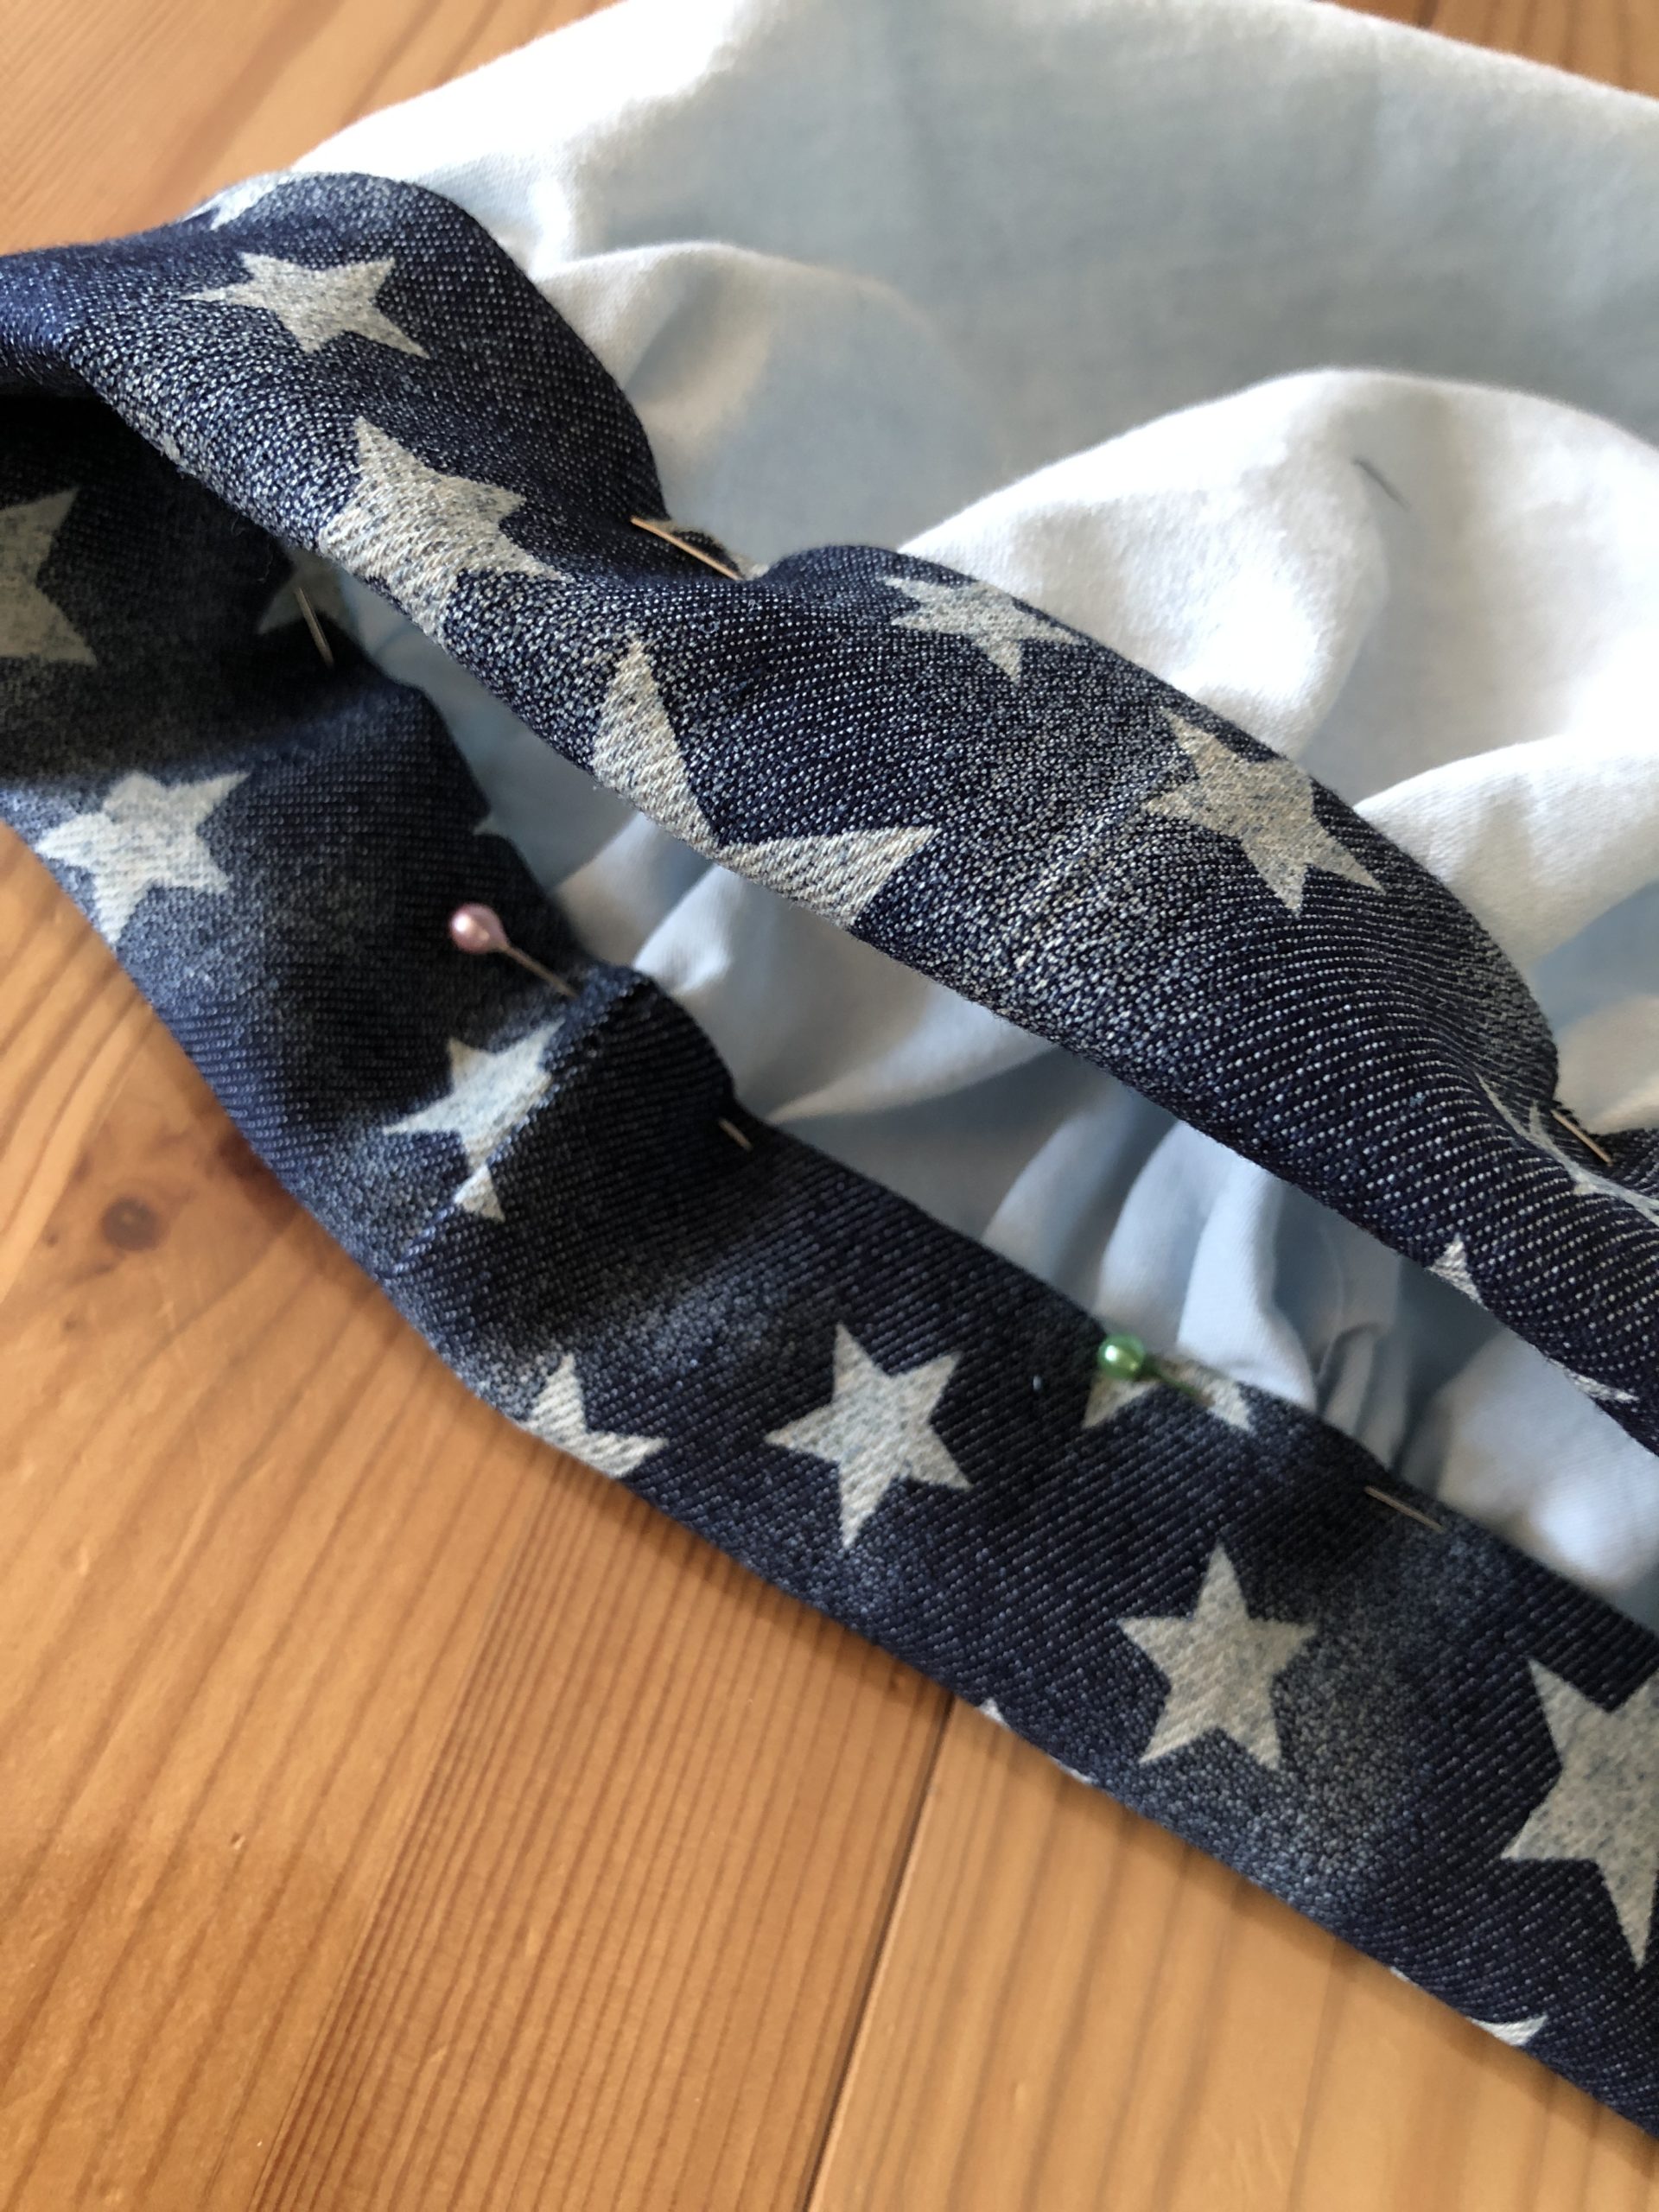
Fold the inside of the cap and double the hem inwards and stick with pins.

Bild zum Schritt 15 für das Bastel- und DIY-Abenteuer für Kinder: 'Innenseite der Mütze aufklappen und Saum doppelt nach innen umschlagen...'

16

2. Bild zum Schritt 15 für das Bastel- und DIY-Abenteuer für Kinder: 'Innenseite der Mütze aufklappen und Saum doppelt nach innen umschlagen...'

17

3. Bild zum Schritt 16 für das Bastel- und DIY-Abenteuer für Kinder: 'Innenseite der Mütze aufklappen und Saum doppelt nach innen umschlagen...'

18

Sew the edge of the hem with a stitch row.

19

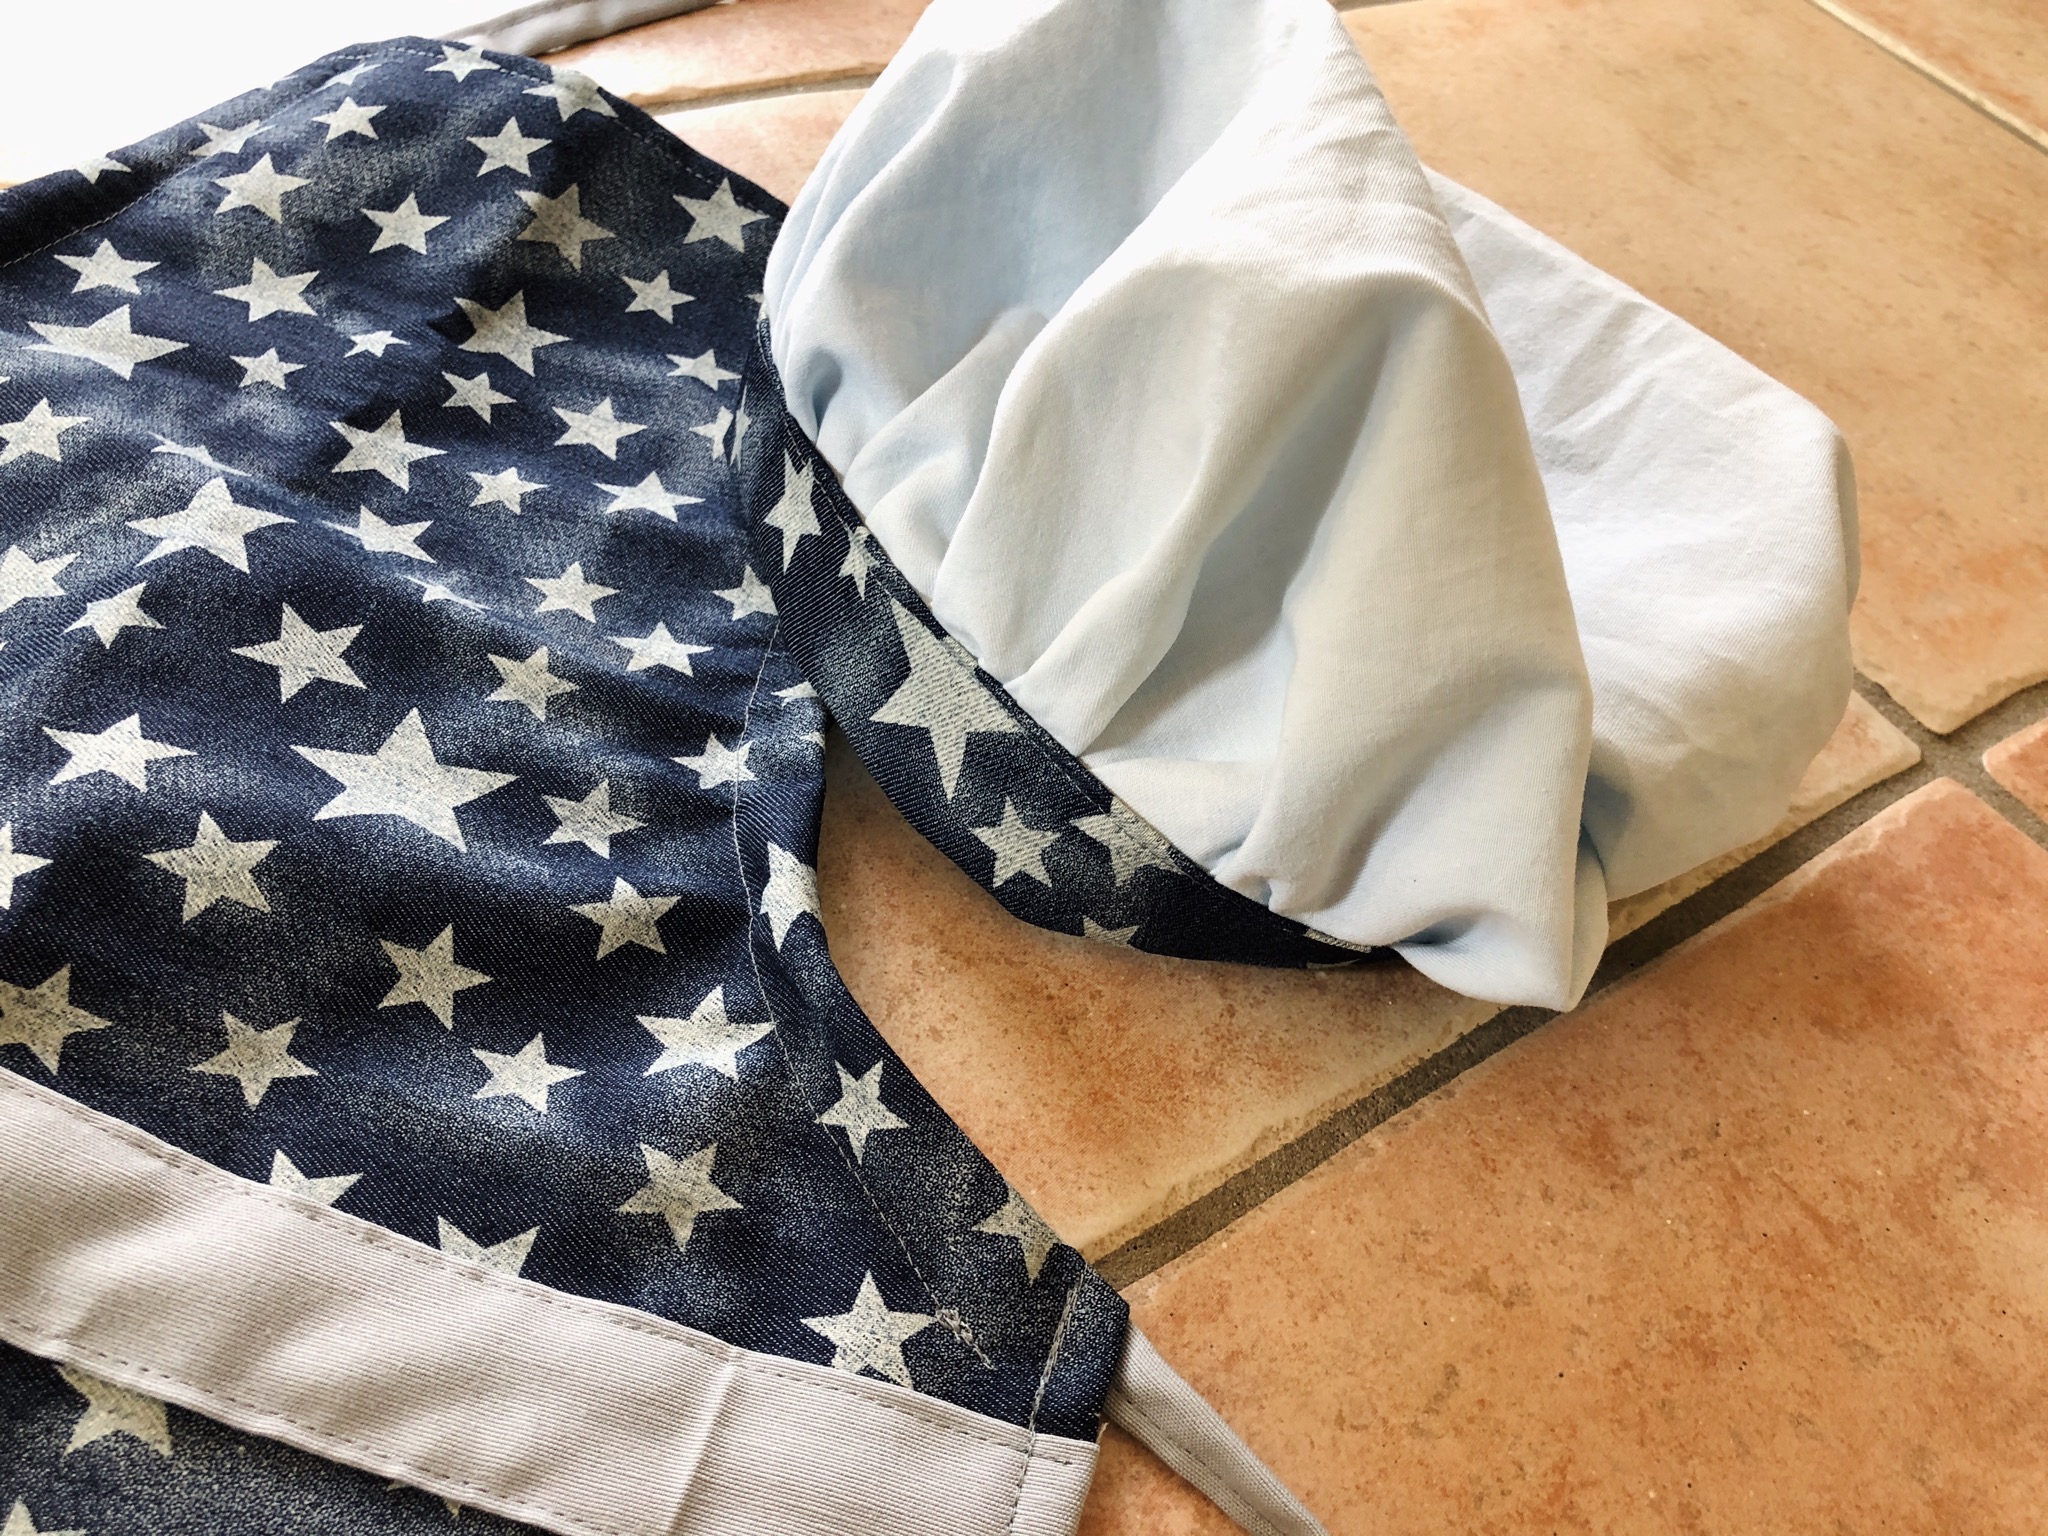
The cooking cap is ready.

Bild zum Schritt 19 für das Bastel- und DIY-Abenteuer für Kinder: 'Fertig ist die Kochmütze.'

Adjustable variant:
20

Cut rubber to a length of 10 cm and merge both ends with a lighter.

Bild zum Schritt 21 für das Bastel- und DIY-Abenteuer für Kinder: 'Gummi auf eine Länge von 10 cm abschneiden und beide...'

21

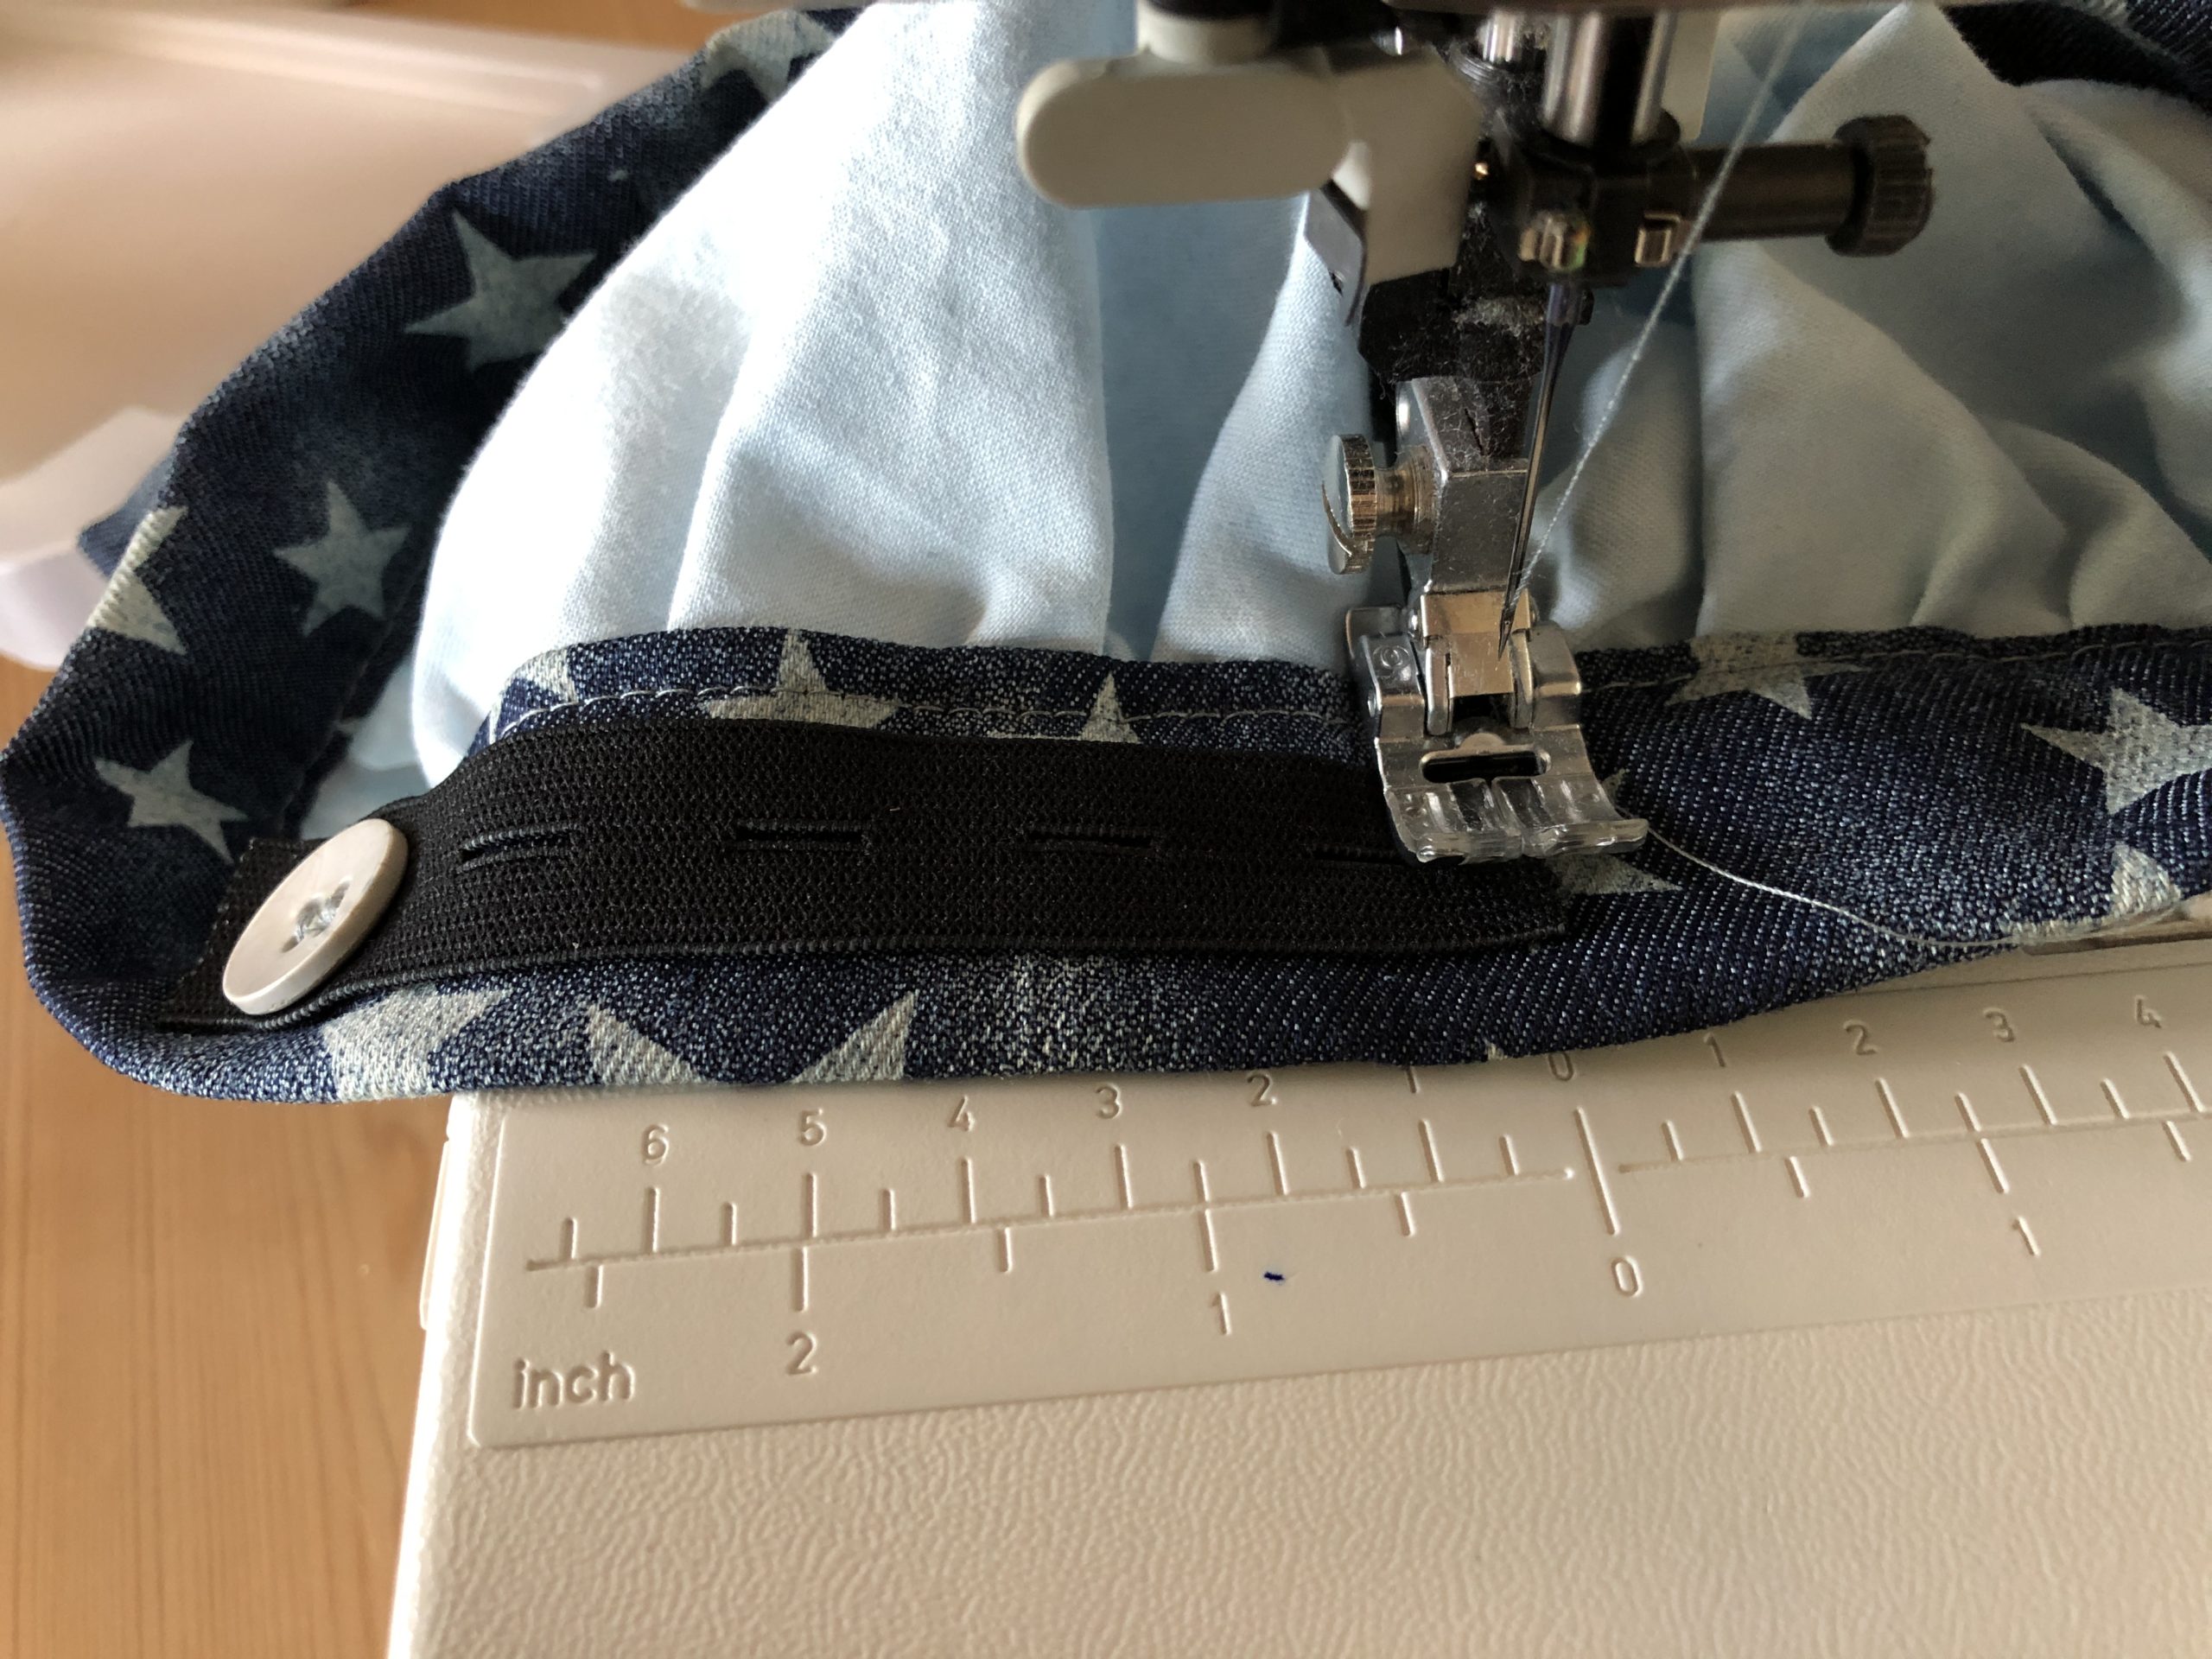
Sew the button on the inside at the hem

Bild zum Schritt 22 für das Bastel- und DIY-Abenteuer für Kinder: 'Den Knopf auf der Innenseite am Saum abnähen'

22

Pull the perforated rubber into the button (first hole)

Bild zum Schritt 23 für das Bastel- und DIY-Abenteuer für Kinder: 'Den Lochgummi in den Knopf einziehen (ins erste Loch)'

23

Place the perforated rubber on the hem and sew it firmly at the end.

Bild zum Schritt 24 für das Bastel- und DIY-Abenteuer für Kinder: 'Den Lochgummi auf den Saum legen und am Ende festnähen.'

24

2. Bild zum Schritt 24 für das Bastel- und DIY-Abenteuer für Kinder: 'Den Lochgummi auf den Saum legen und am Ende festnähen.'

25

3. Bild zum Schritt 25 für das Bastel- und DIY-Abenteuer für Kinder: 'Den Lochgummi auf den Saum legen und am Ende festnähen.'

26

The adjustable cooking cap is ready! With the perforated rubber, the cap fits not only for different head sizes but also "growing" when the child's head grows.

Bild zum Schritt 27 für das Bastel- und DIY-Abenteuer für Kinder: 'Fertig ist die verstellbare Kochmütze! Mit dem Lochgummi passt die...'

27

Maybe this hat is also once an idea for carnival as a cook costume.

Materials

 White fabricCircle with 42 cm diameter
 Star fabric56 cm x 10 cm
 1 Ruler
 1 Pen
Adjustable variant:
 10 cm perforated rubber
 1 Lighter
 1 Button
All links marked with a shopping cart lead to Amazon - here we have selected products that we would order ourselves and in part also ordered. In a qualified purchase via the advertising link, we as Amazon partner receive a commission, for you there are no costs. You thus support our cost- and advertising banner-free, educational offer.

Directions

1

Cut the circle out of the white fabric.
Cut the strip from the star fabric.

Bild zum Schritt 1 für das Bastel- und DIY-Abenteuer für Kinder: 'Den Kreis aus dem weißen Stoff schneiden.   ...'

2

First, the circle is sewed around with two rows (largest runoff).

Bild zum Schritt 2 für das Bastel- und DIY-Abenteuer für Kinder: 'Zuerst wird der Kreis mit zwei Stichreihen (größte Stichwahl) umnäht.'

3

2. Bild zum Schritt 2 für das Bastel- und DIY-Abenteuer für Kinder: 'Zuerst wird der Kreis mit zwei Stichreihen (größte Stichwahl) umnäht.'

4

3. Bild zum Schritt 3 für das Bastel- und DIY-Abenteuer für Kinder: 'Zuerst wird der Kreis mit zwei Stichreihen (größte Stichwahl) umnäht.'

5

4. Bild zum Schritt 4 für das Bastel- und DIY-Abenteuer für Kinder: 'Zuerst wird der Kreis mit zwei Stichreihen (größte Stichwahl) umnäht.'

6

Gently pull on one of the threads. This pulls the circle together at the edge.
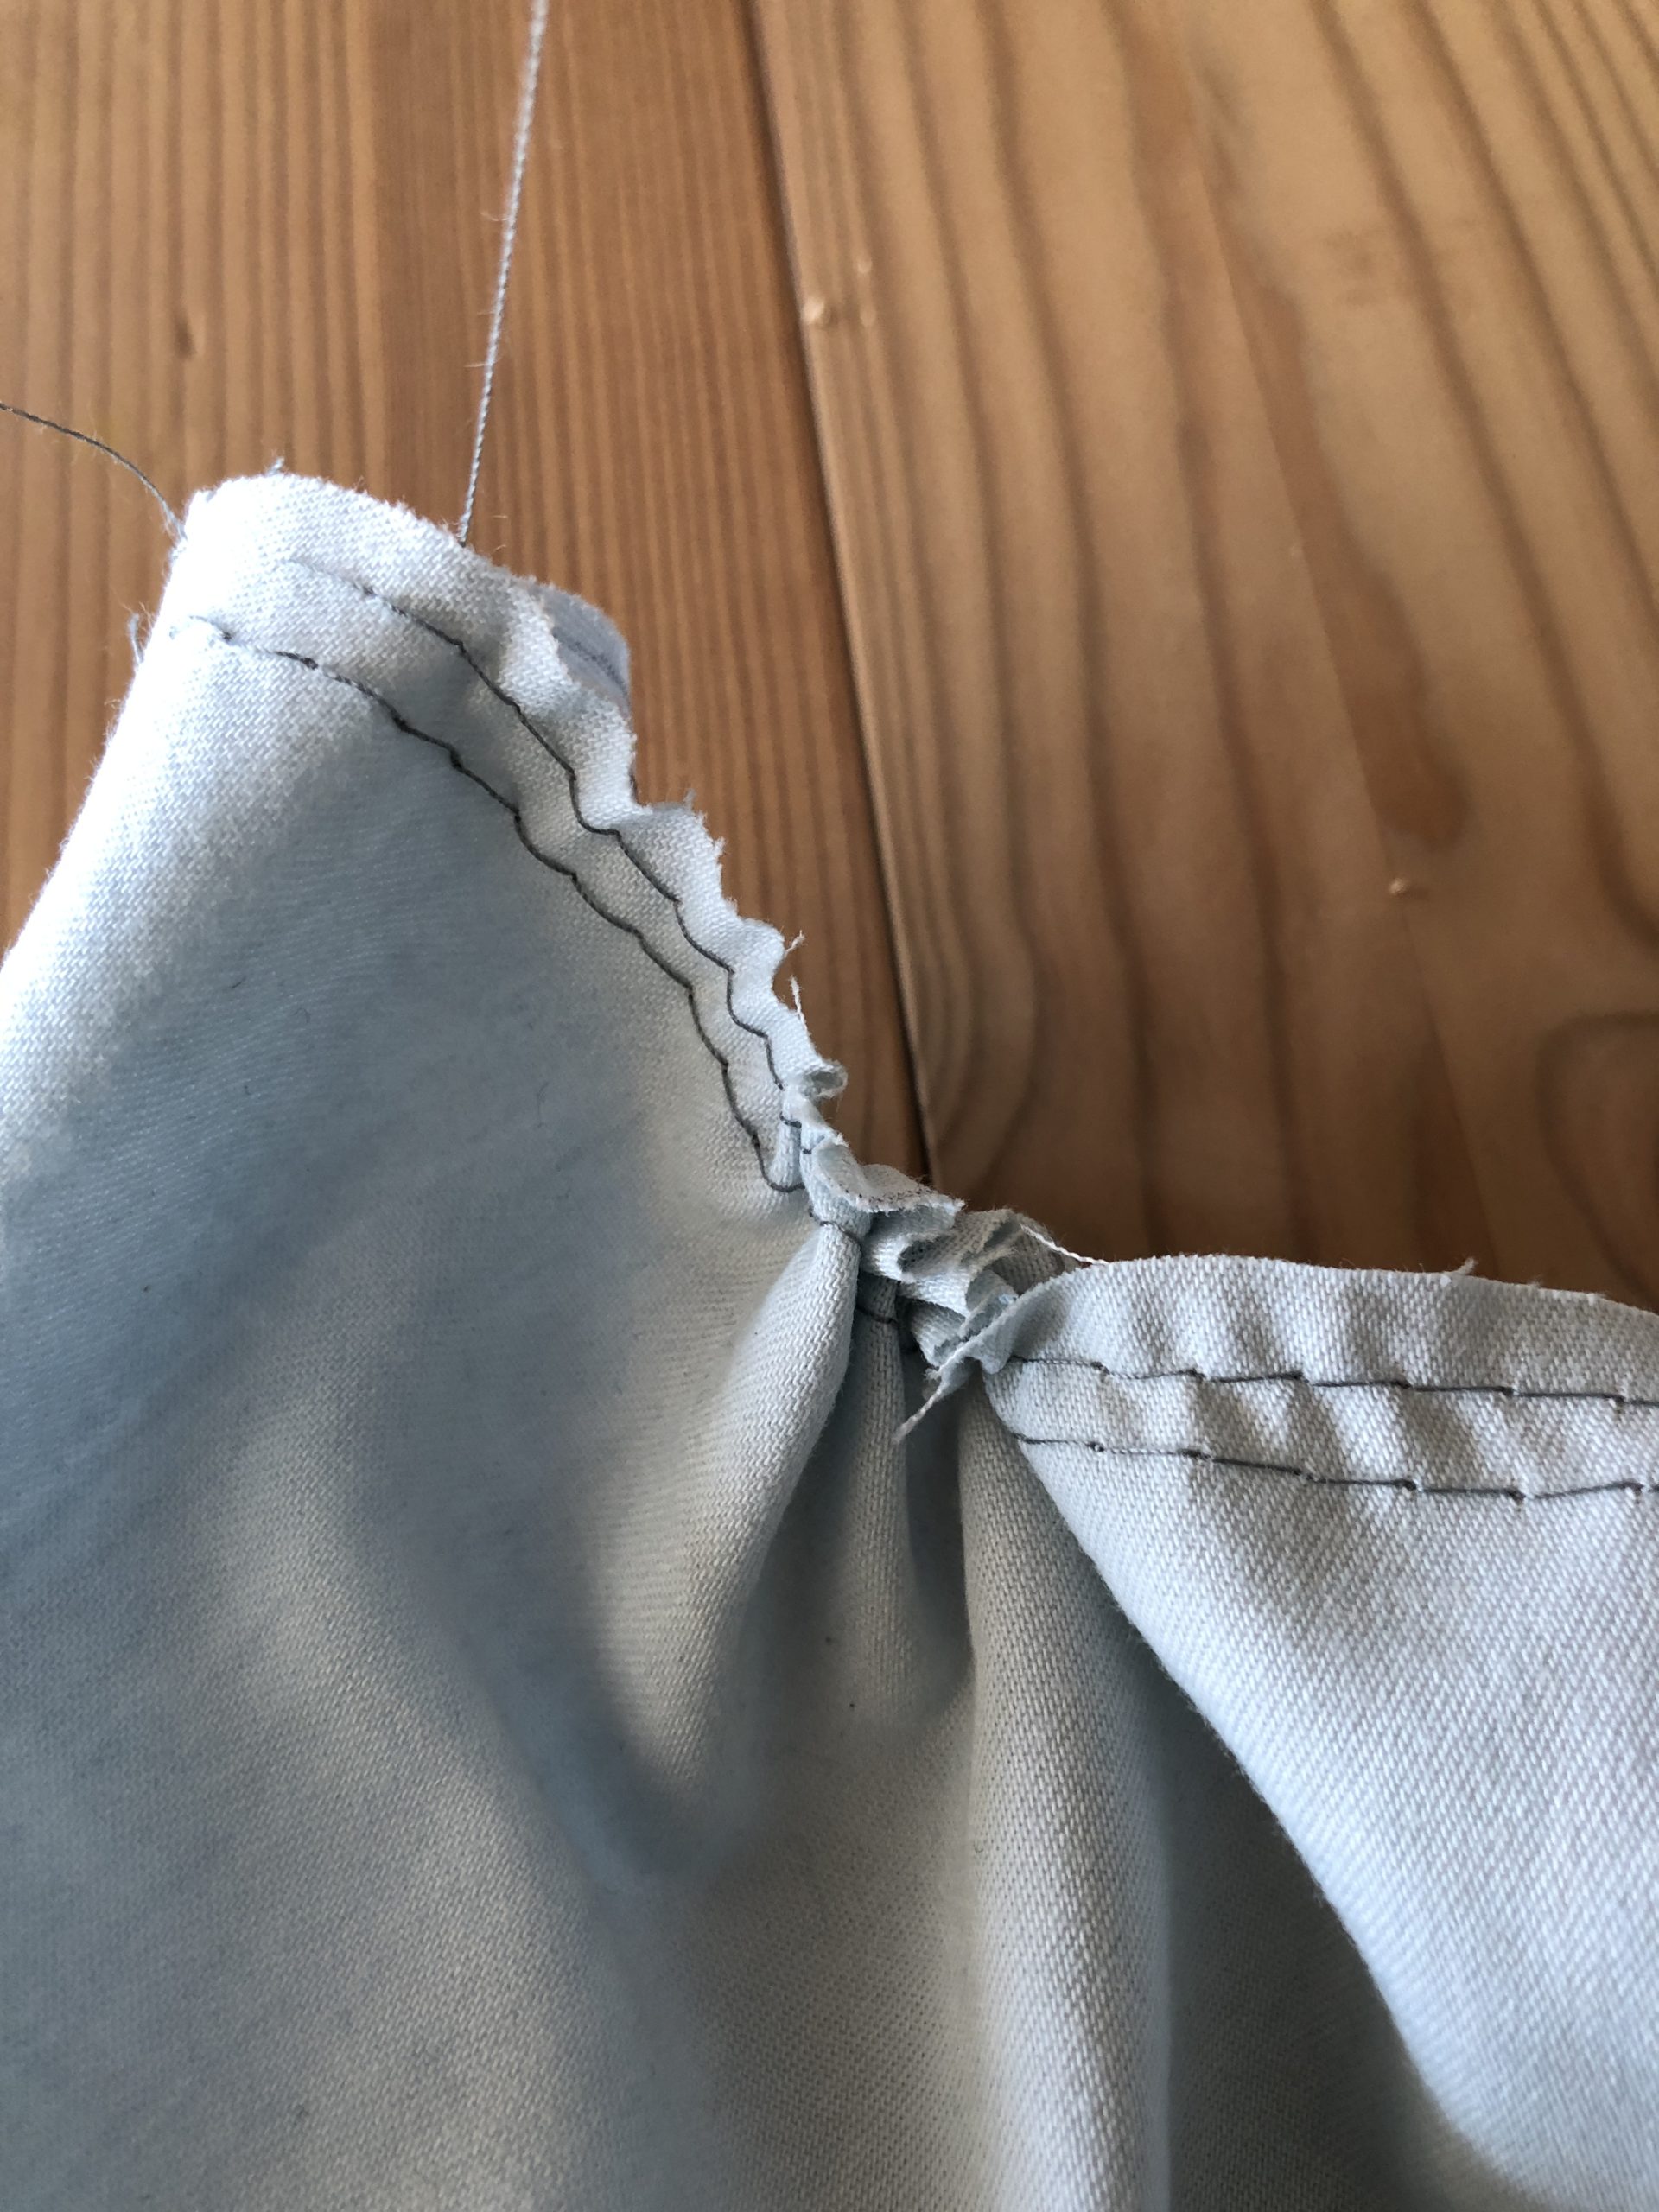
Bild zum Schritt 6 für das Bastel- und DIY-Abenteuer für Kinder: 'An einem der Fäden vorsichtig ziehen. Dadurch wird der Kreis...'

7

Pull the edge together until the diameter of the circle edge matches the head circumference of the cap.
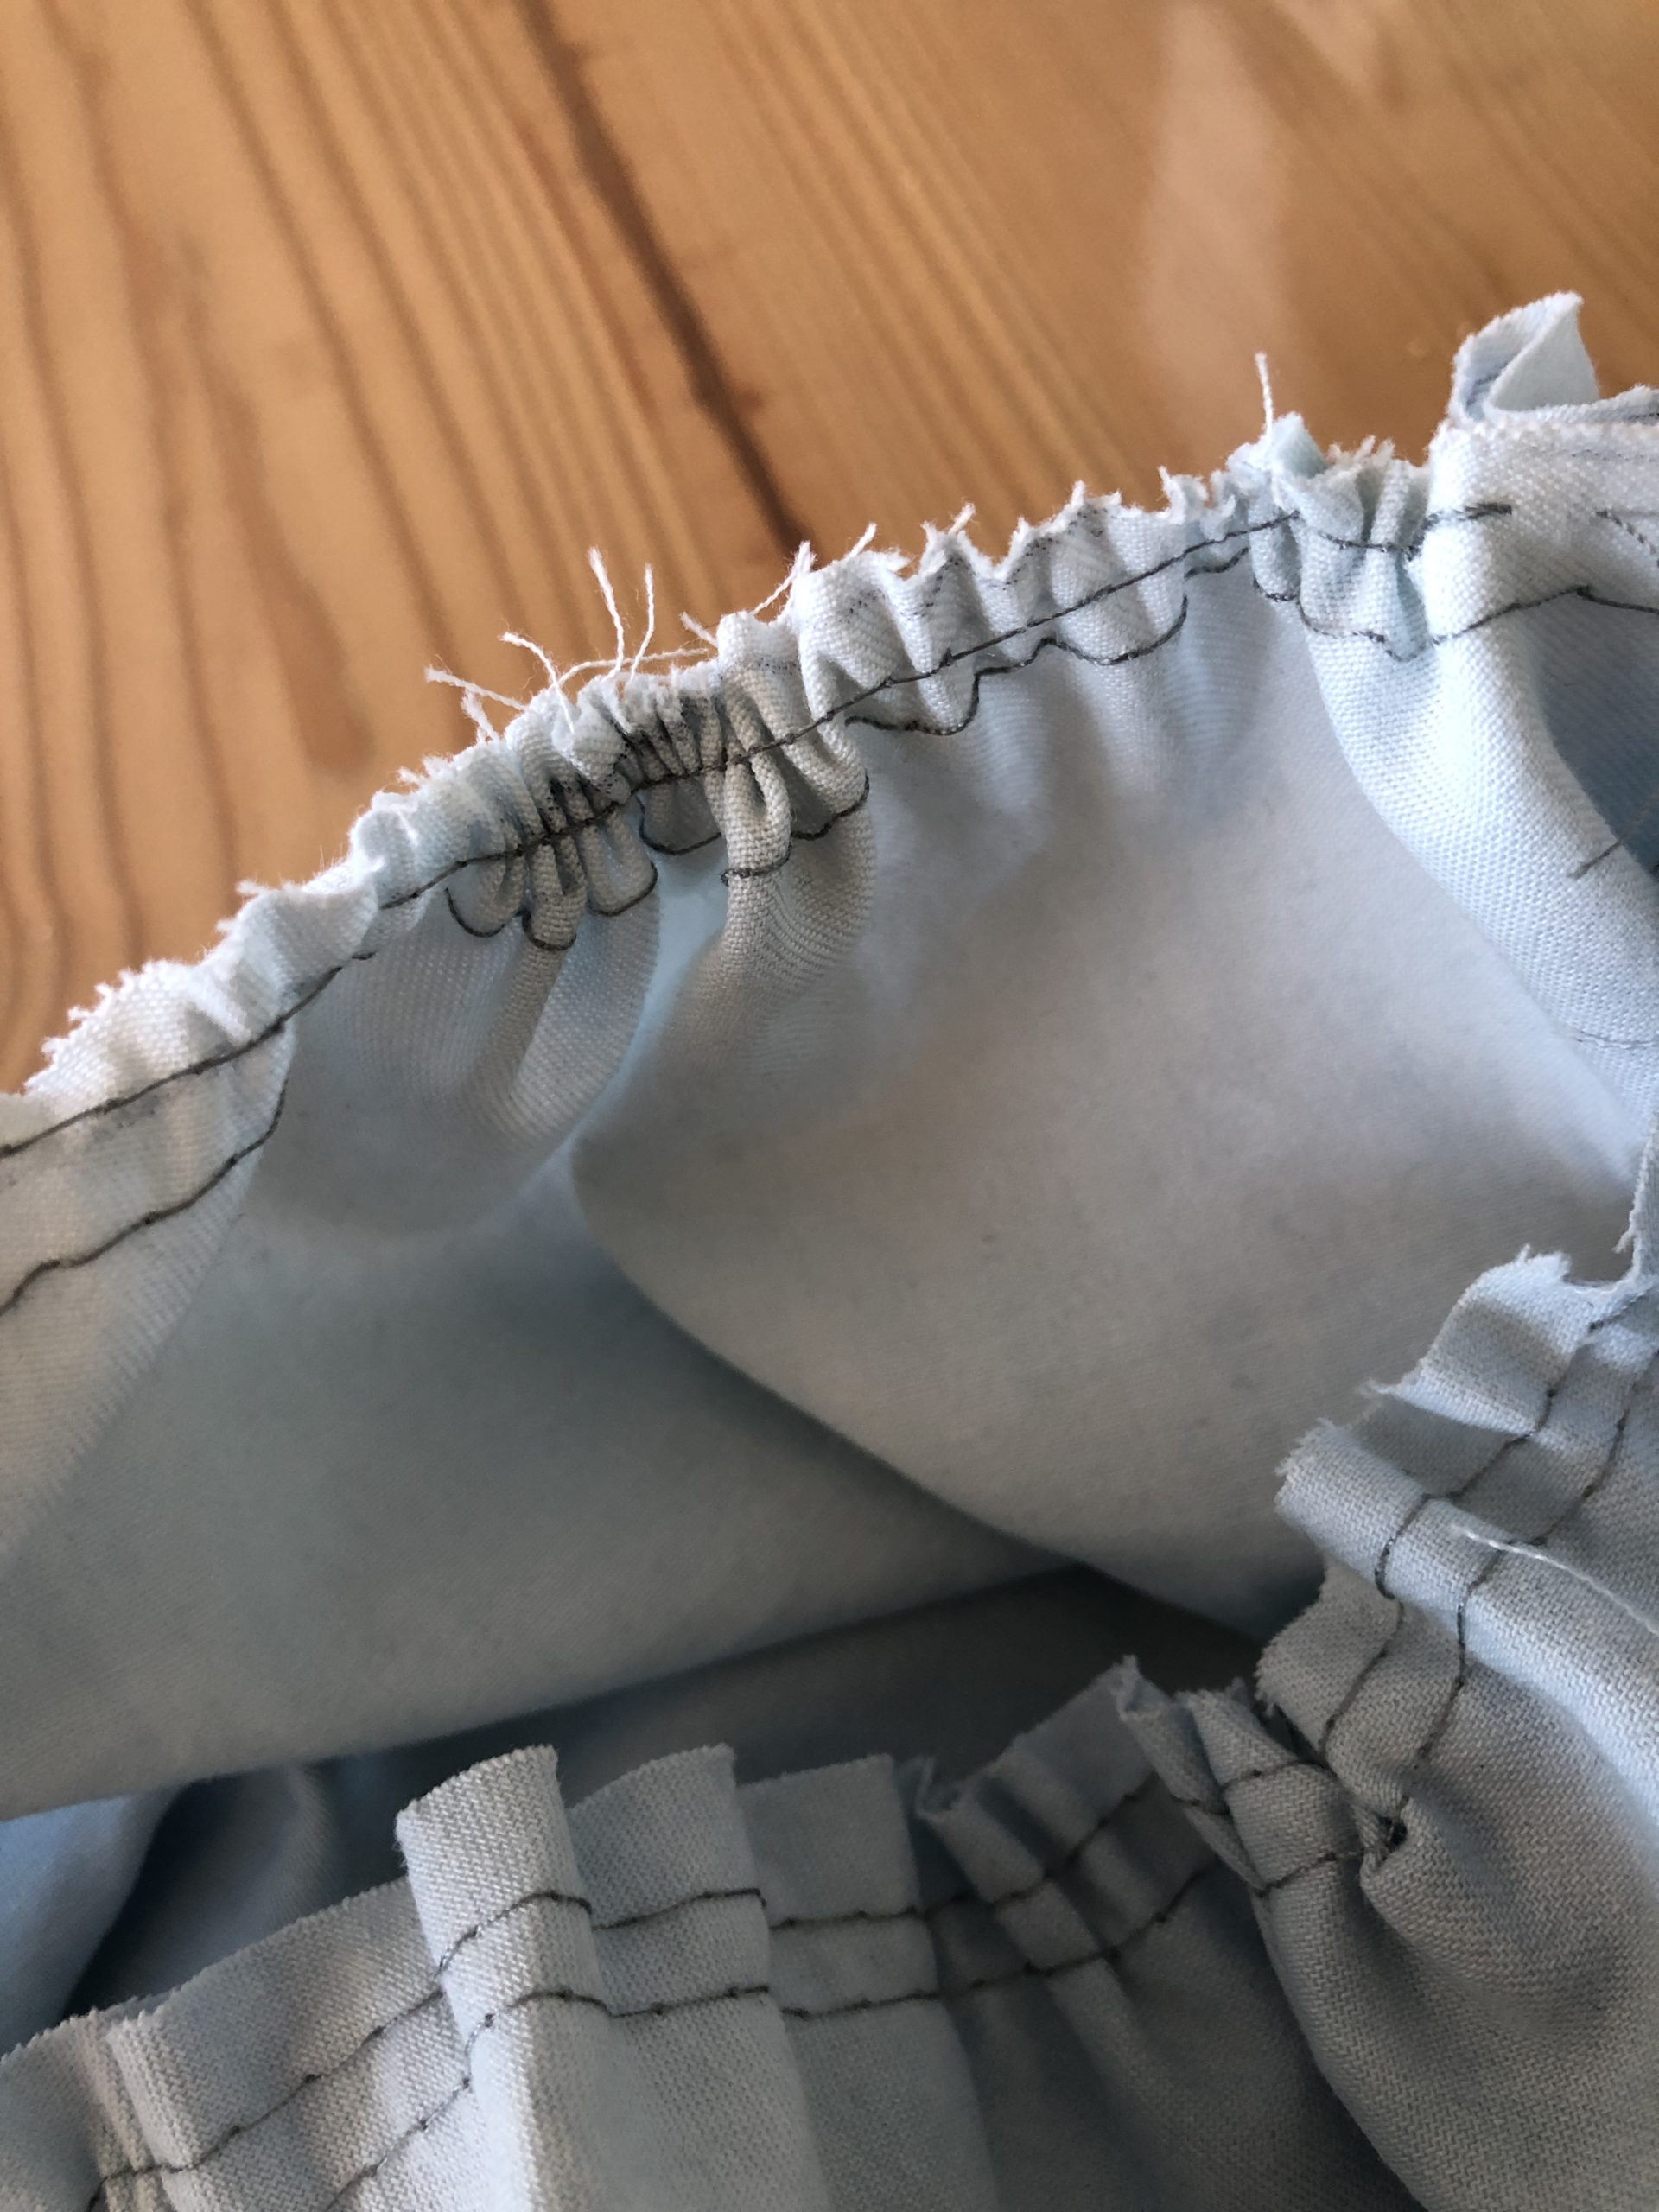
Bild zum Schritt 7 für das Bastel- und DIY-Abenteuer für Kinder: 'Rand soweit zusammenraffen, bis der Durchmesser des Kreisrandes auf den...'

8

2. Bild zum Schritt 7 für das Bastel- und DIY-Abenteuer für Kinder: 'Rand soweit zusammenraffen, bis der Durchmesser des Kreisrandes auf den...'

9

Now the strip is sewn on the short side on half together. (The beautiful sides are on top of each other!)
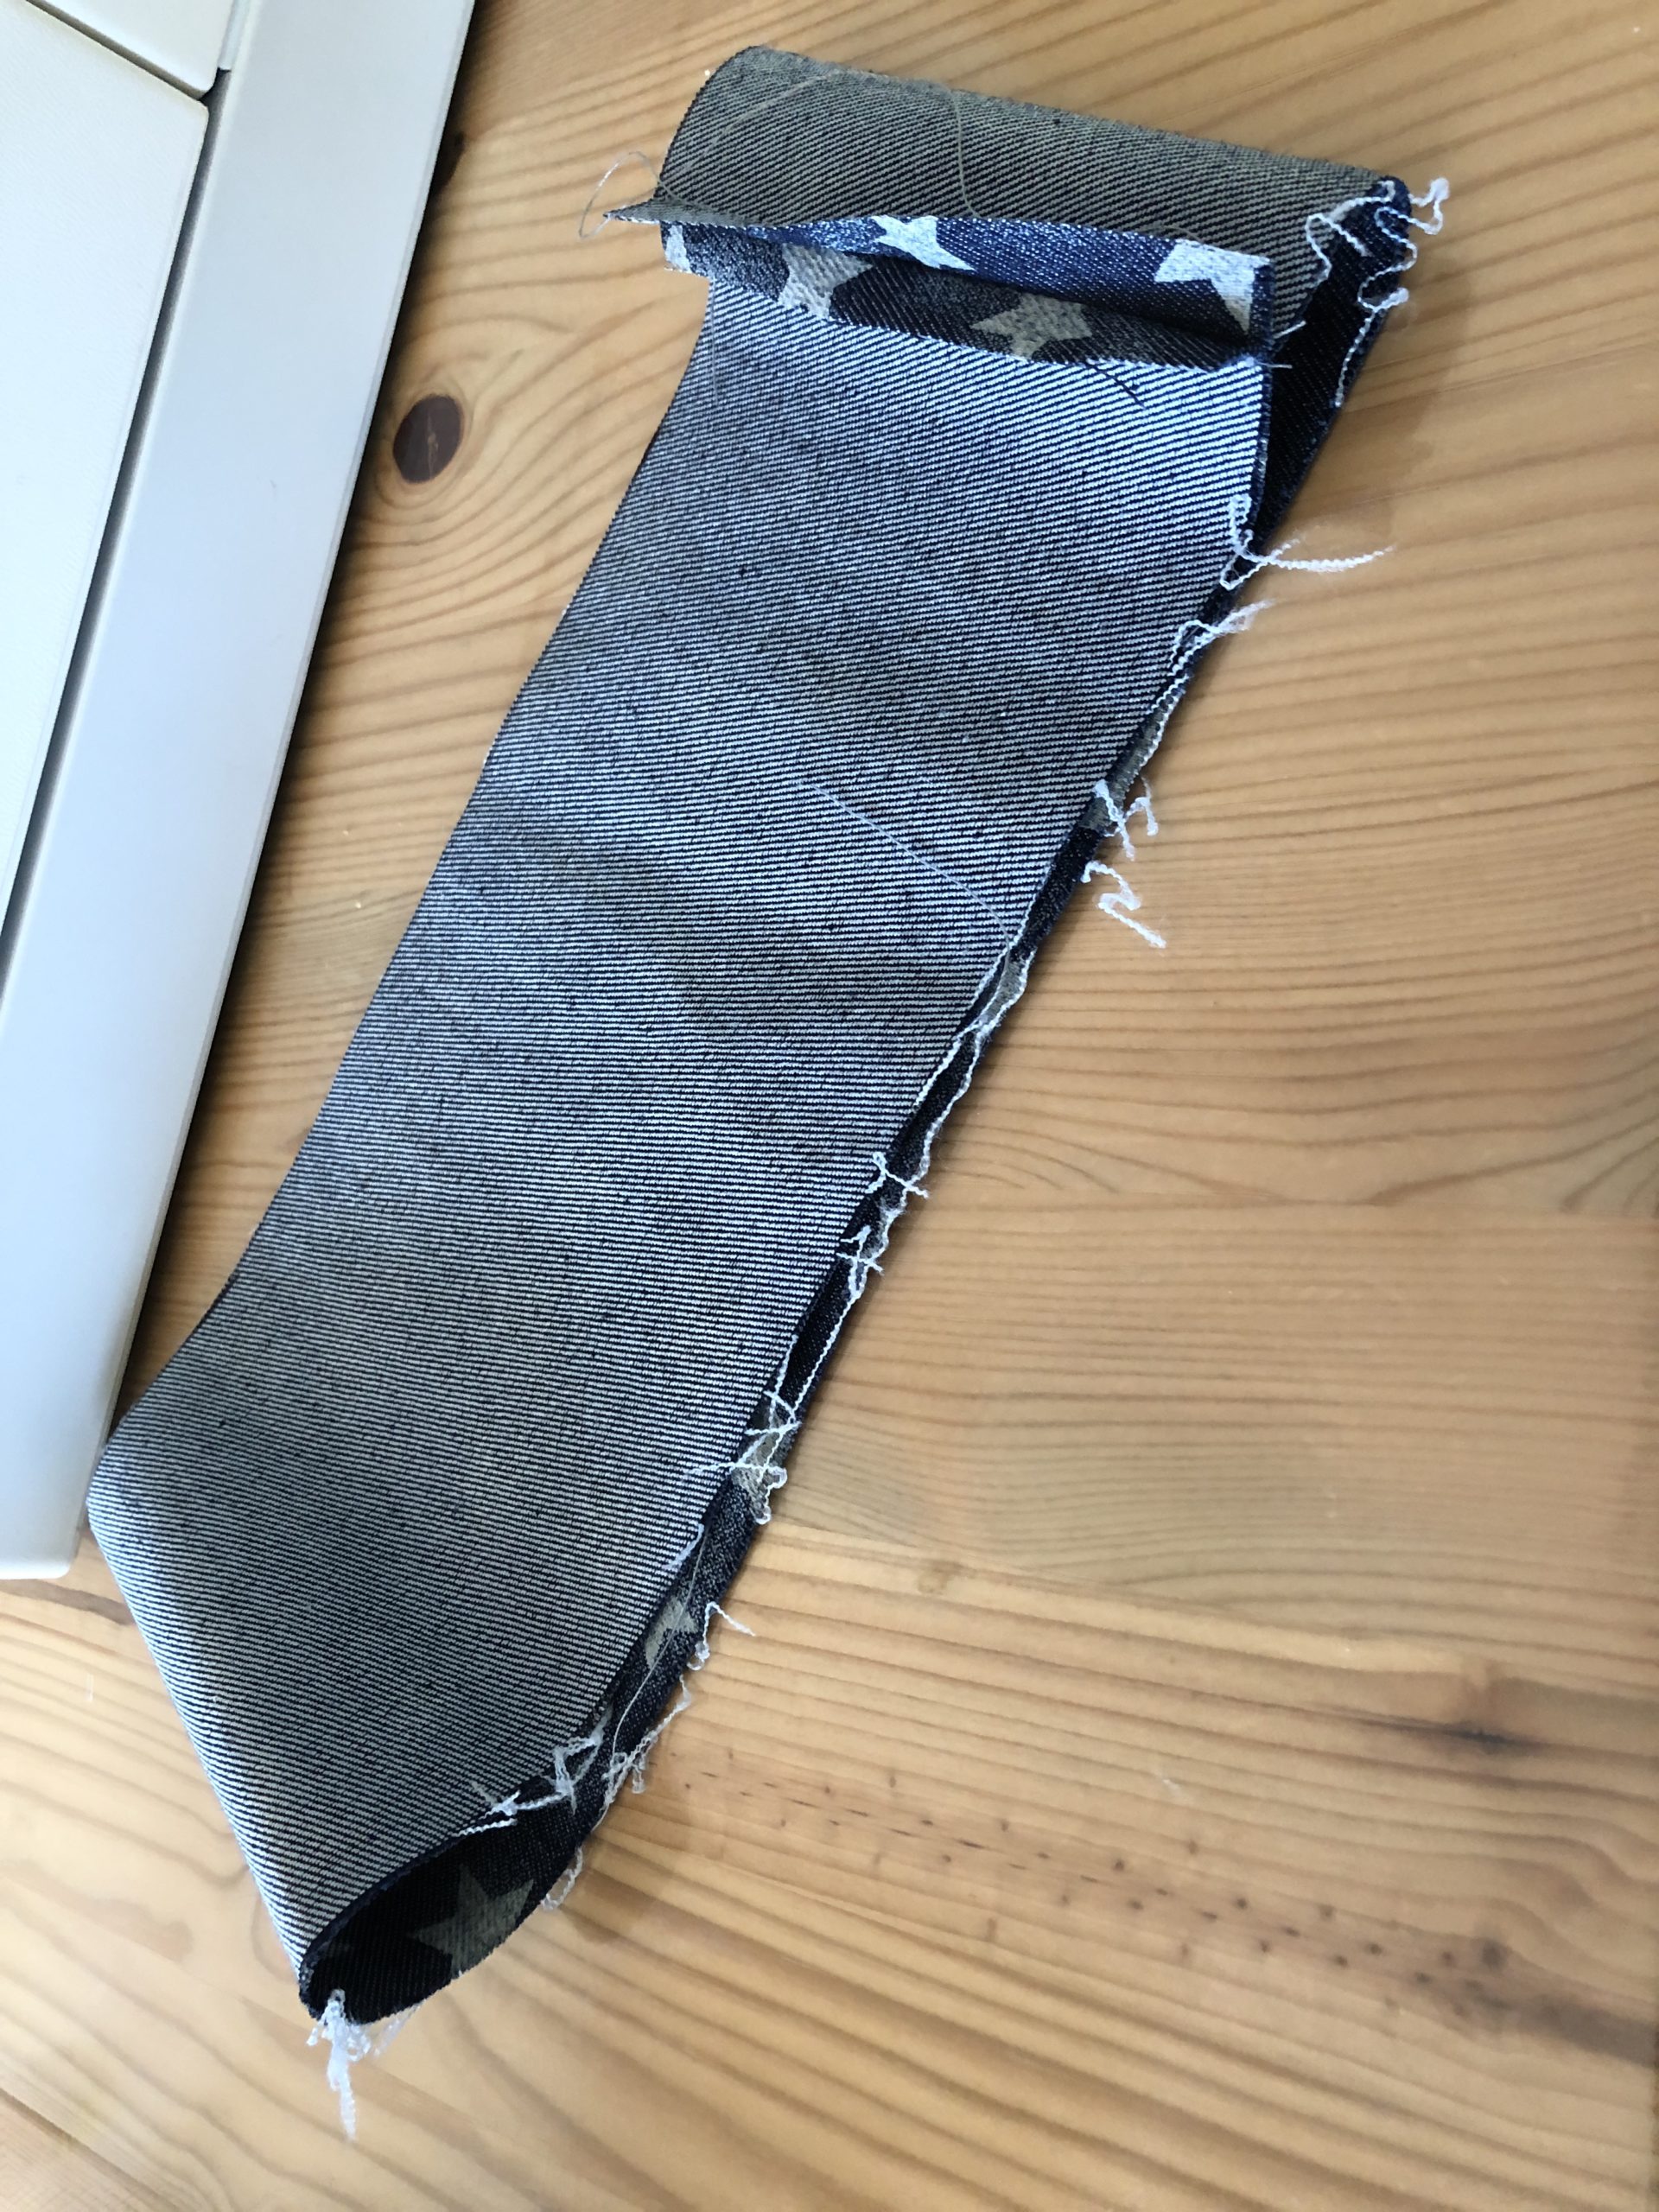
Bild zum Schritt 9 für das Bastel- und DIY-Abenteuer für Kinder: 'Jetzt wird der Streifen an der kurzen Seite auf die...'

10

Place the strip in the inside of the drawn circle and stick it together with pins. If necessary, place the ruched edge until the dimensions match.
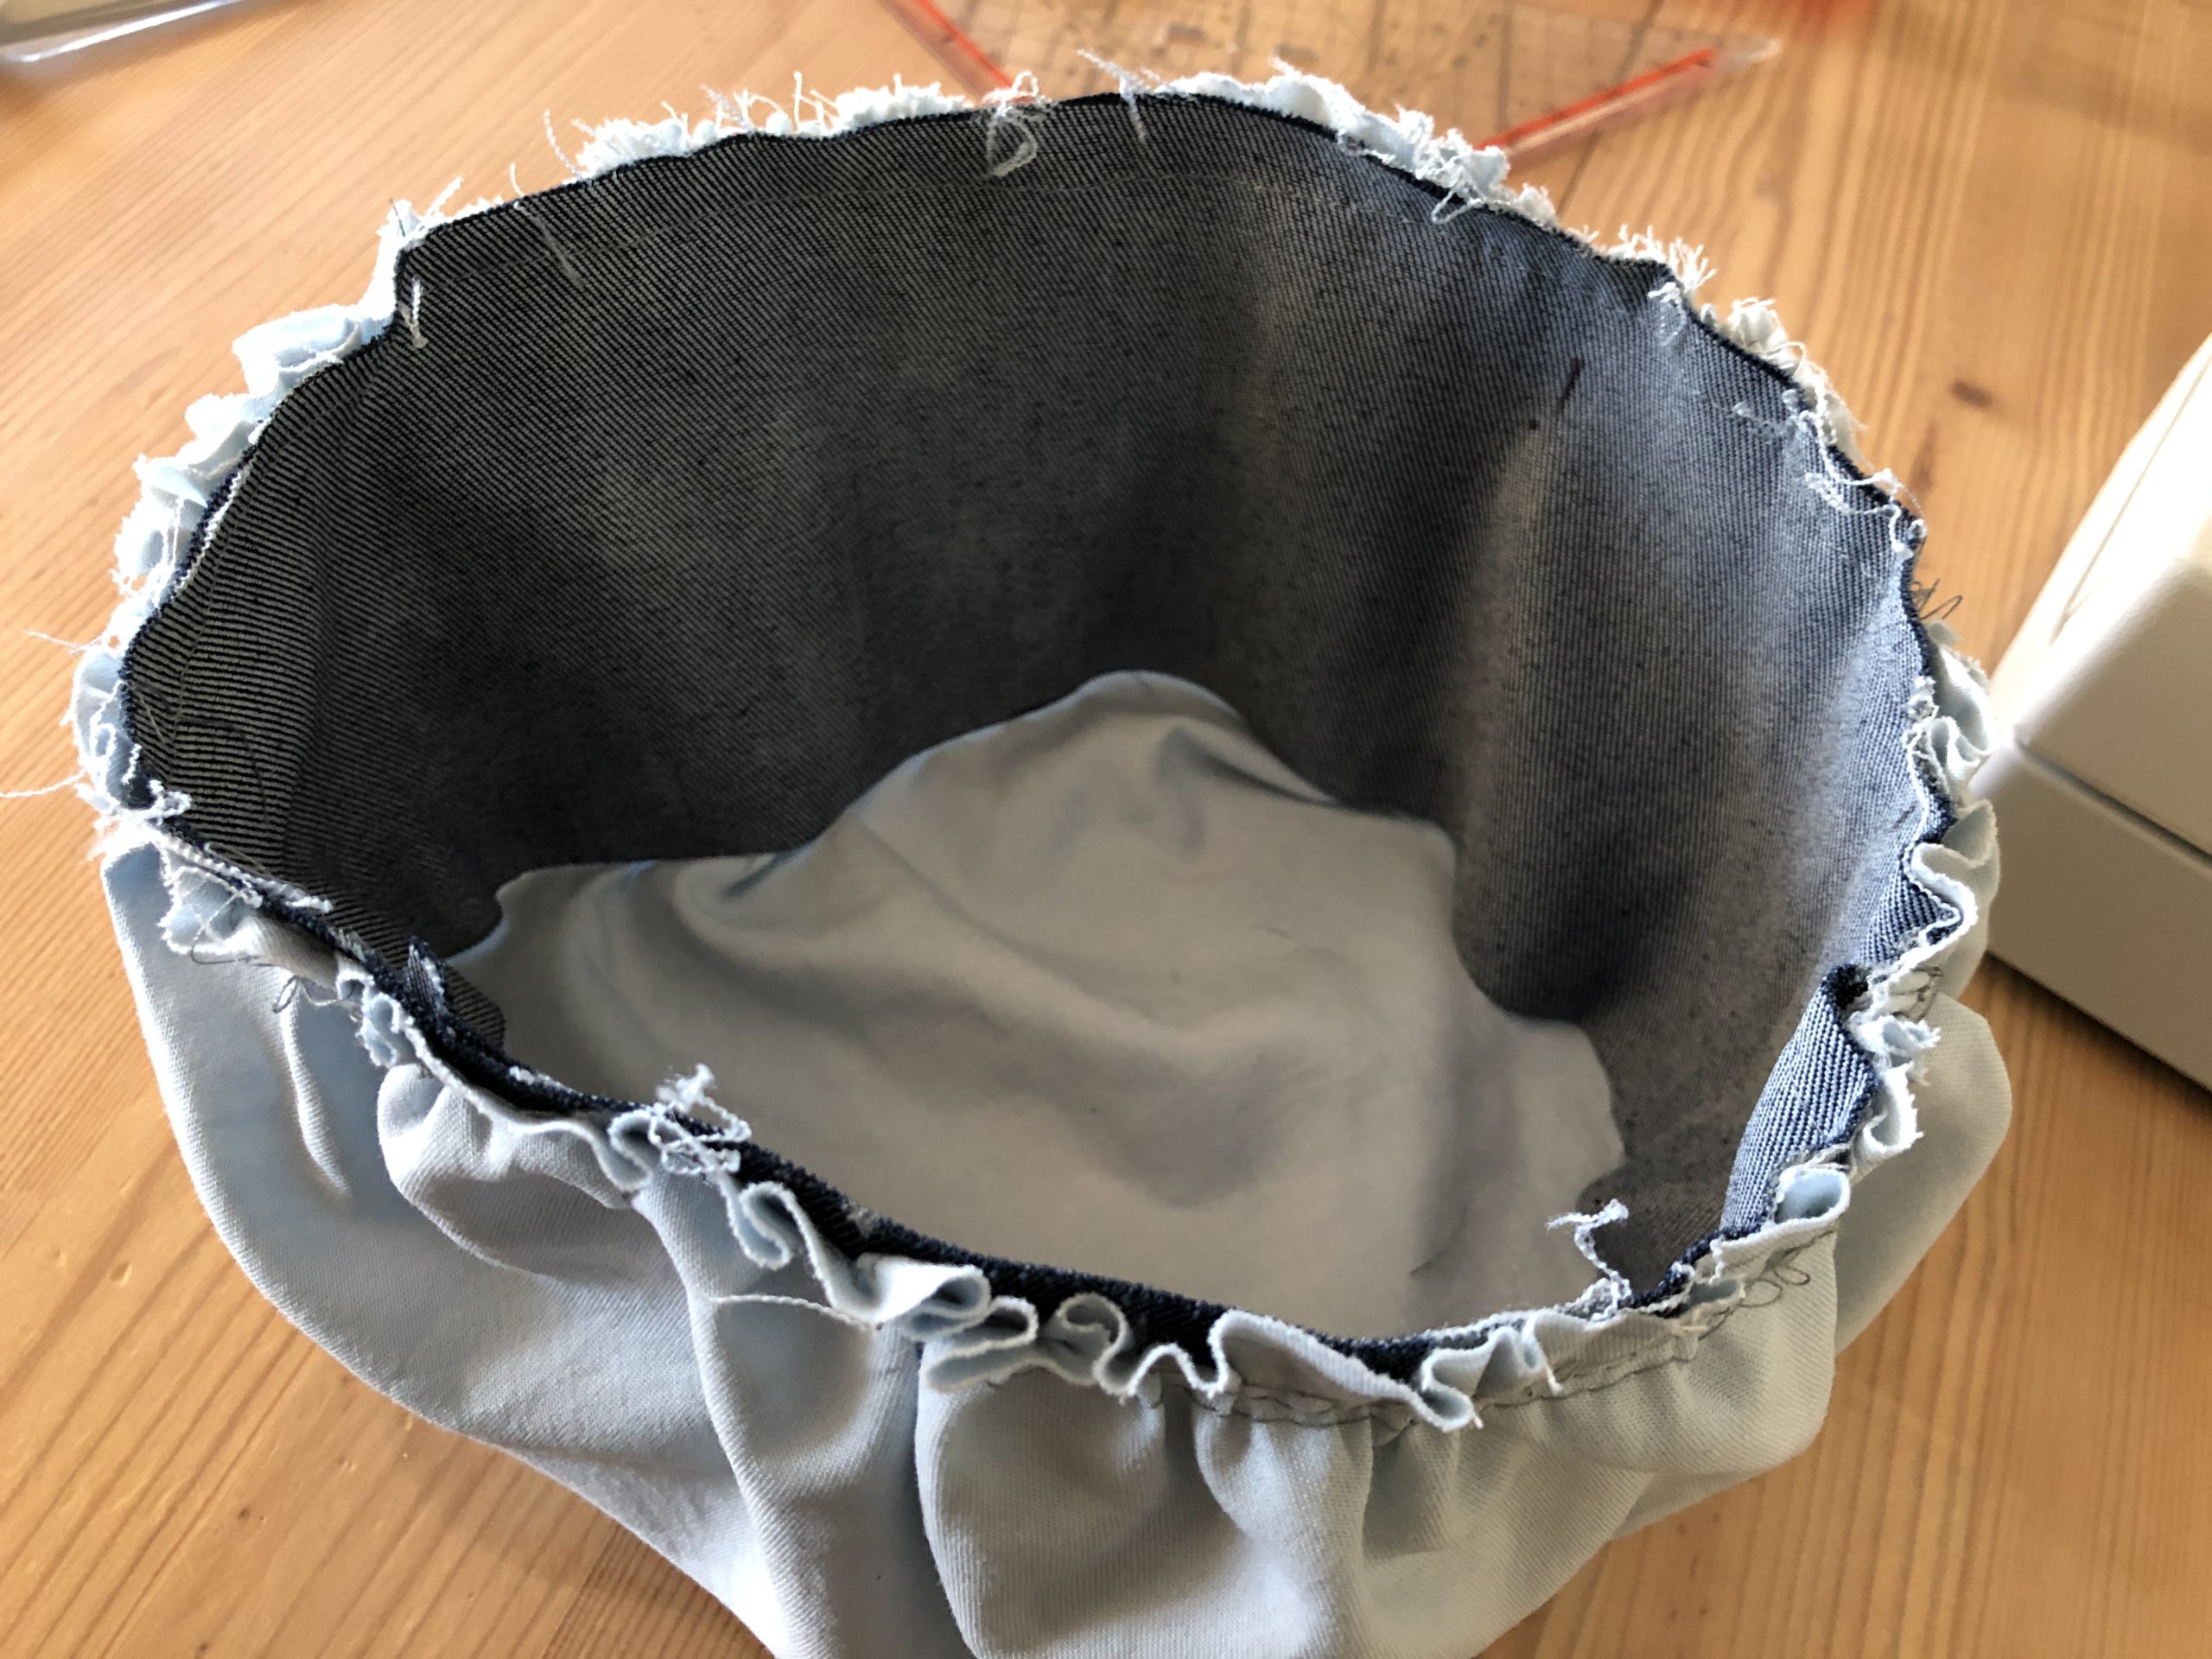
Bild zum Schritt 10 für das Bastel- und DIY-Abenteuer für Kinder: 'Den Streifen in das Innere des zusammengezogenen Kreises stellen und...'

11

The beautiful side of the strip is on the inside
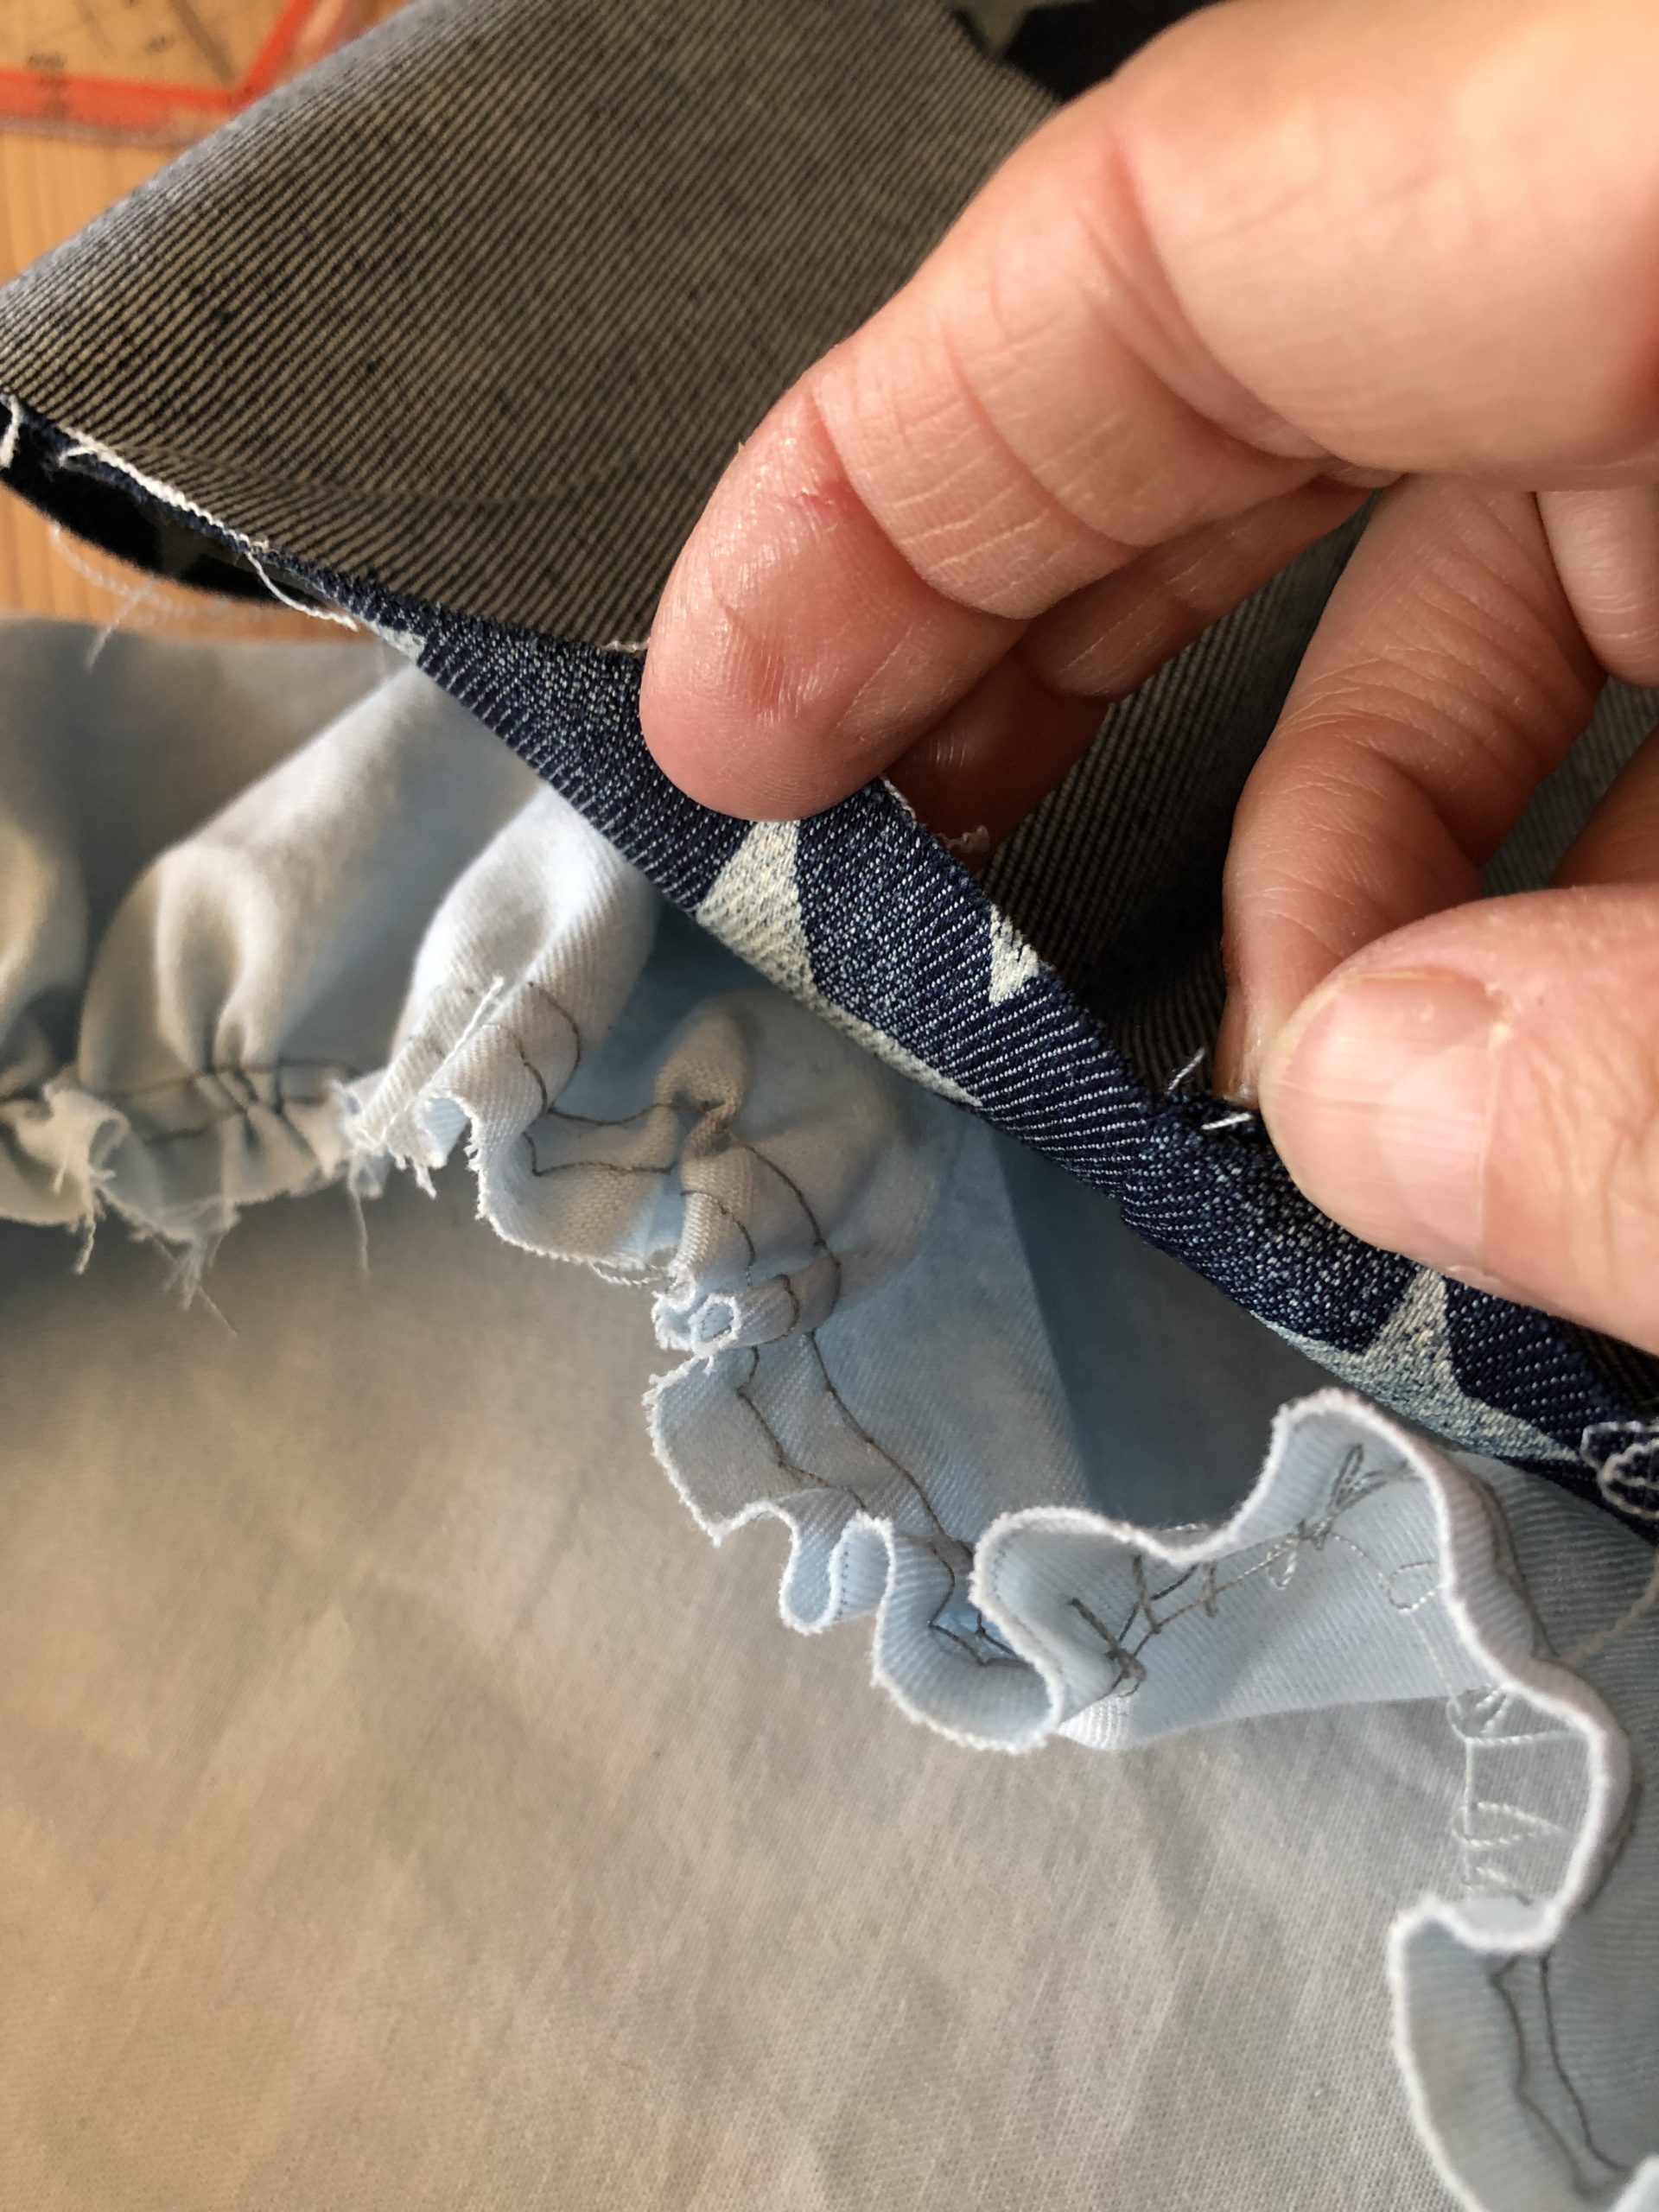
Bild zum Schritt 11 für das Bastel- und DIY-Abenteuer für Kinder: 'Die schöne Seite des Streifens liegt auf der Innenseite'

12

Sew right next to the existing seam (normal stitch length!)
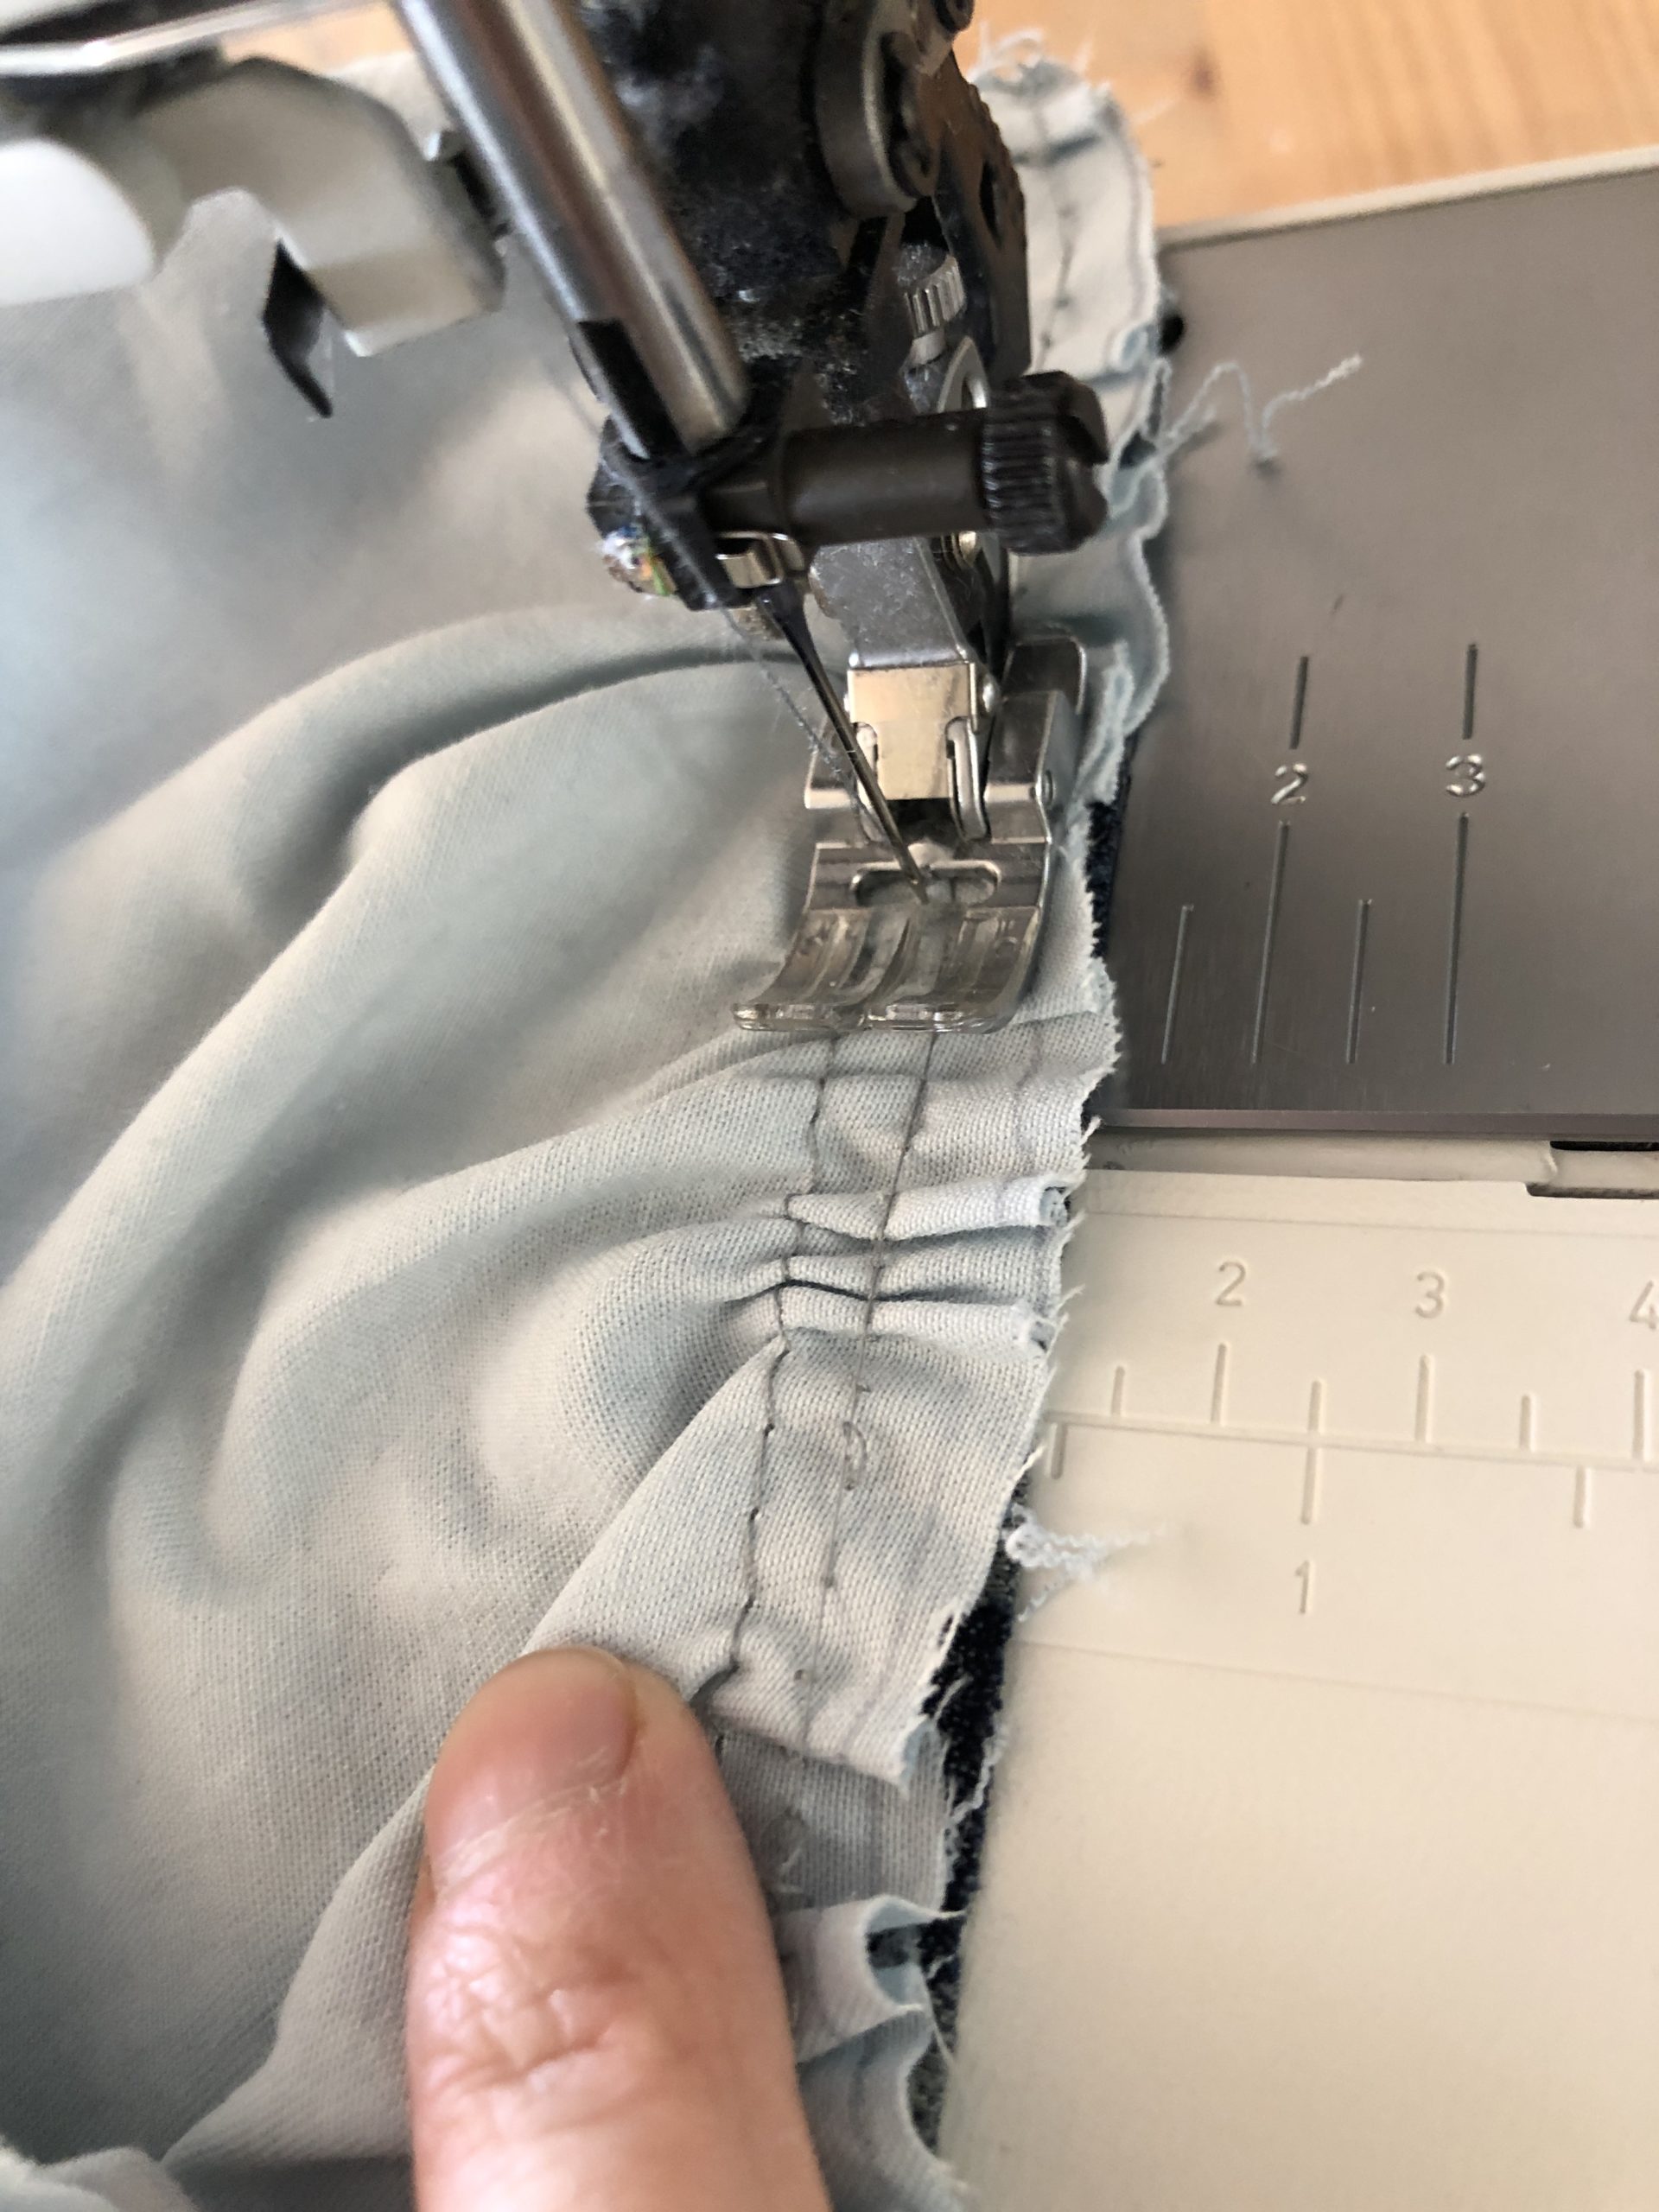
Bild zum Schritt 12 für das Bastel- und DIY-Abenteuer für Kinder: 'Direkt neben der vorhandenen Naht nähen (normale Stichlänge!)'

13

Turn the fabric around.

Bild zum Schritt 13 für das Bastel- und DIY-Abenteuer für Kinder: 'Den Stoff wenden.'

14

2. Bild zum Schritt 13 für das Bastel- und DIY-Abenteuer für Kinder: 'Den Stoff wenden.'

15

Fold the inside of the cap and double the hem inwards and stick with pins.
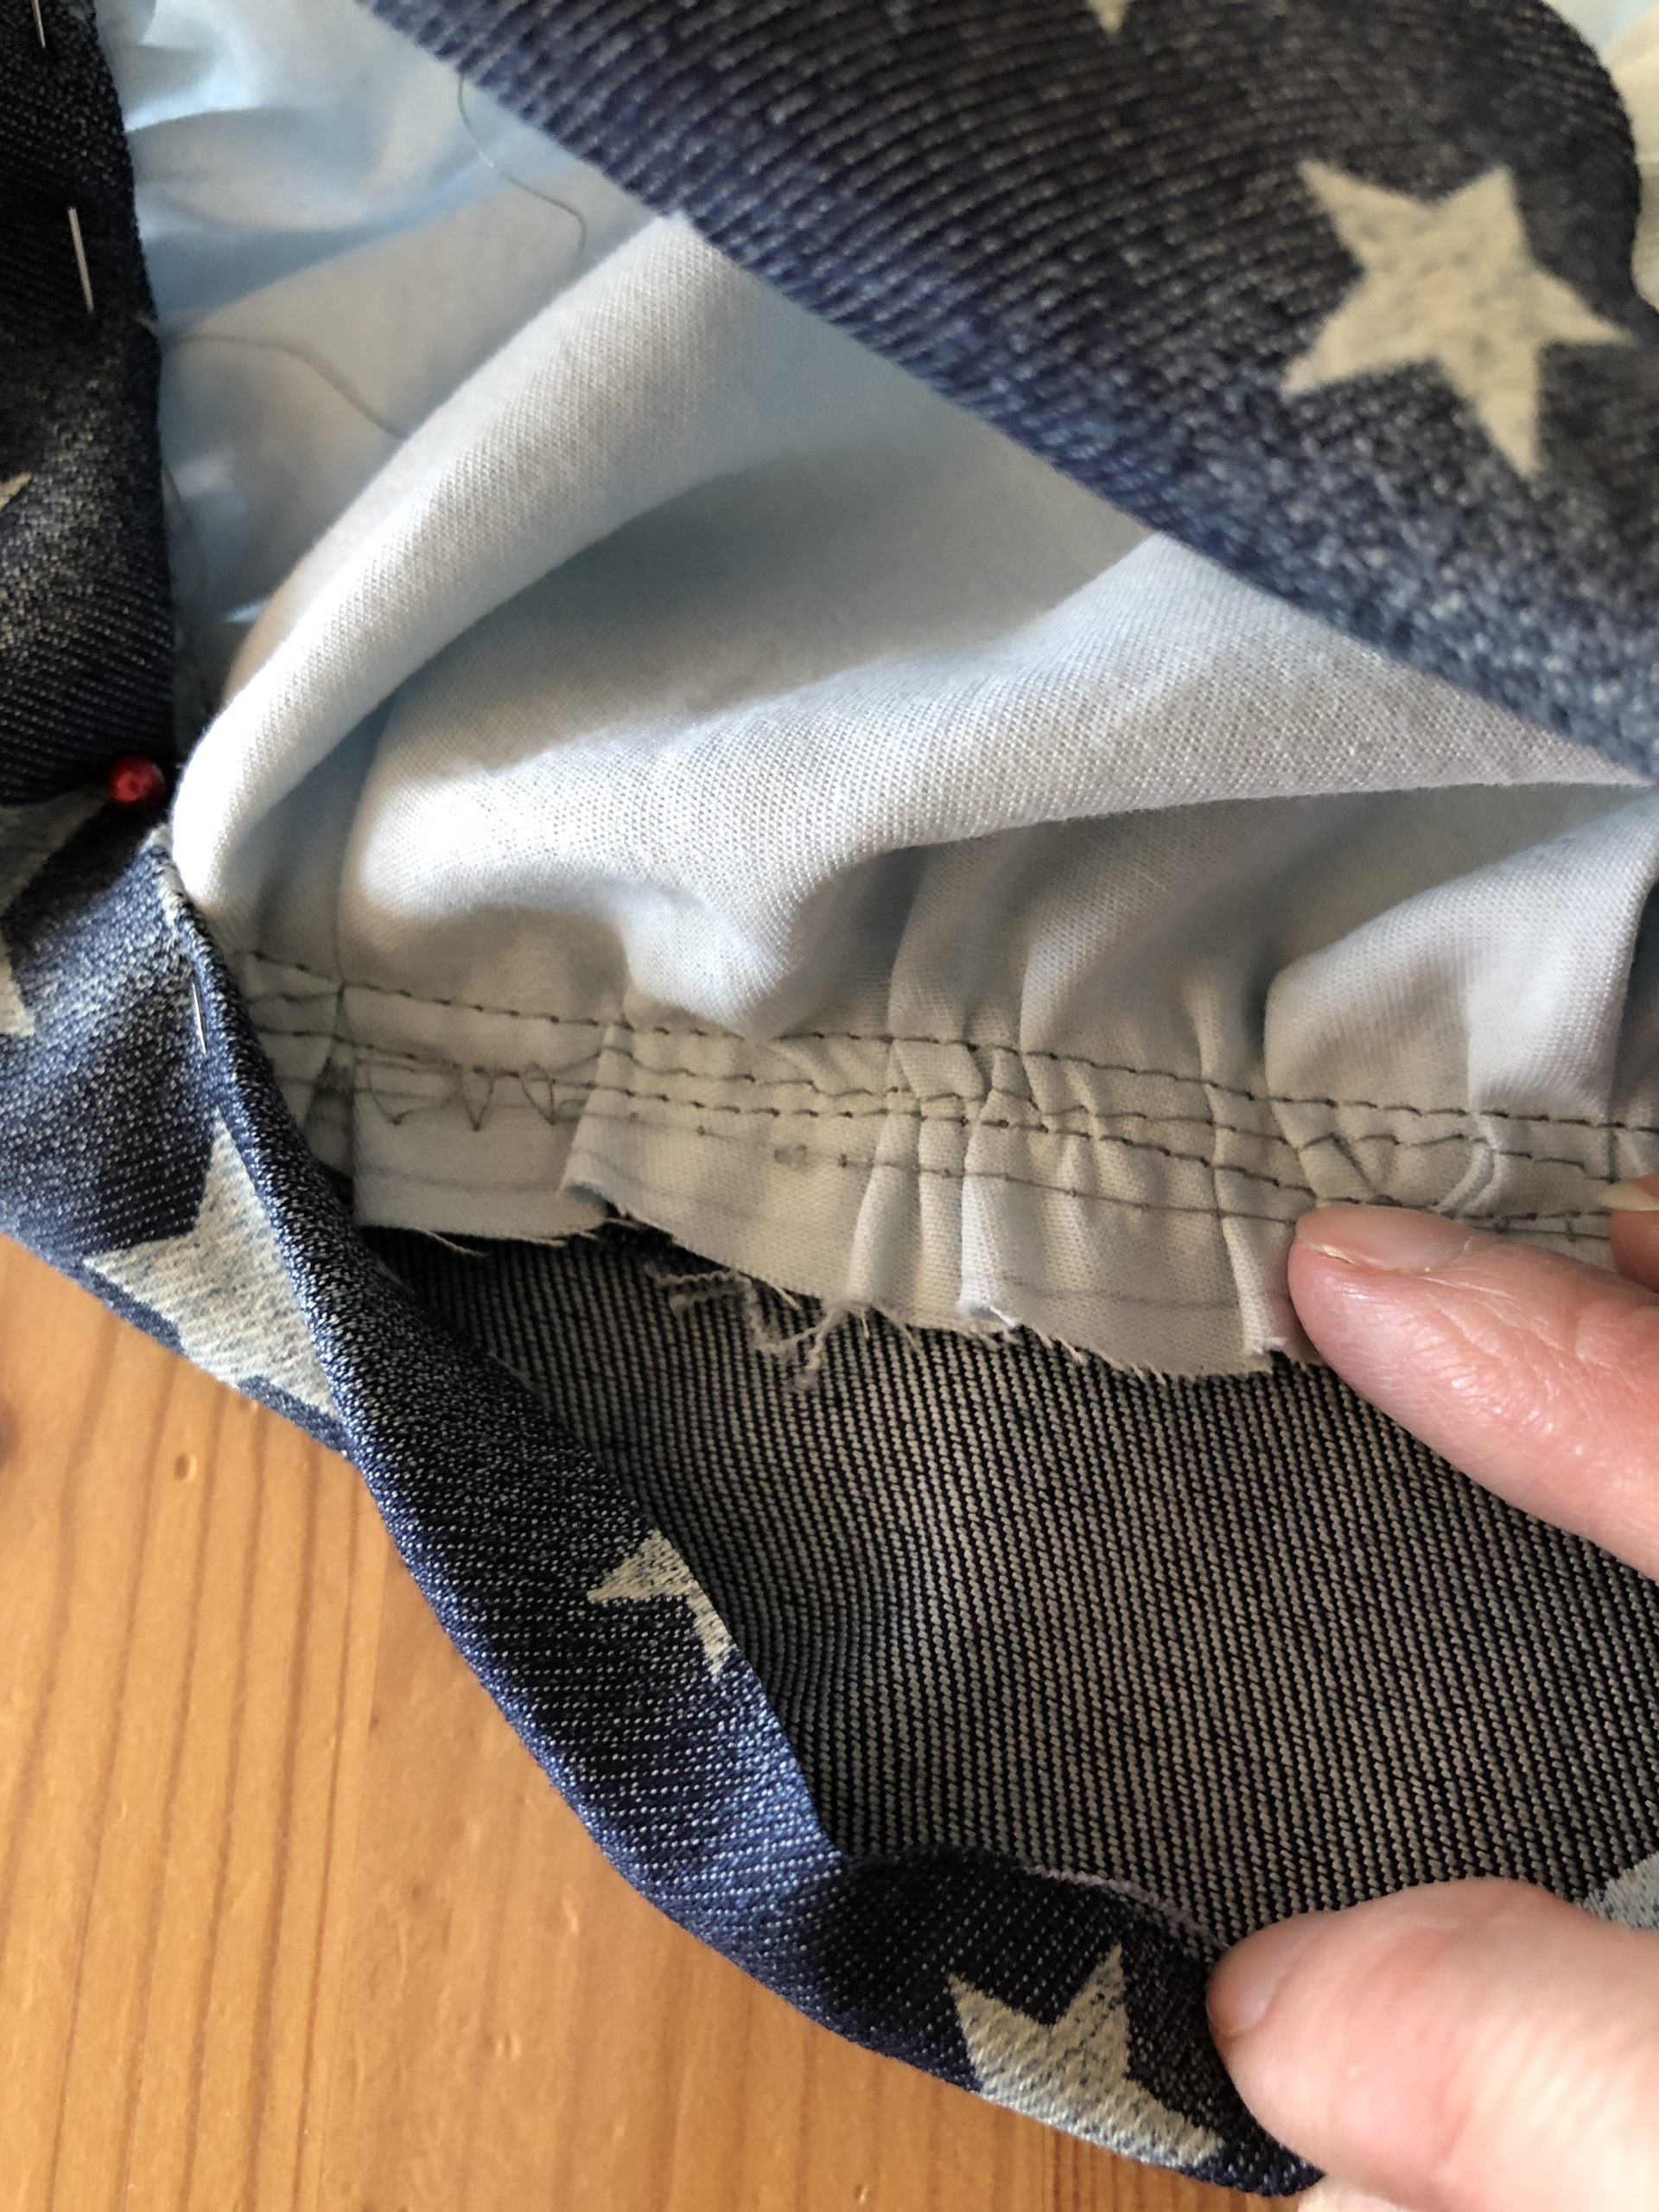
Bild zum Schritt 15 für das Bastel- und DIY-Abenteuer für Kinder: 'Innenseite der Mütze aufklappen und Saum doppelt nach innen umschlagen...'

16

2. Bild zum Schritt 15 für das Bastel- und DIY-Abenteuer für Kinder: 'Innenseite der Mütze aufklappen und Saum doppelt nach innen umschlagen...'

17

3. Bild zum Schritt 16 für das Bastel- und DIY-Abenteuer für Kinder: 'Innenseite der Mütze aufklappen und Saum doppelt nach innen umschlagen...'

18

Sew the edge of the hem with a stitch row.

19

The cooking cap is ready.

Bild zum Schritt 19 für das Bastel- und DIY-Abenteuer für Kinder: 'Fertig ist die Kochmütze.'

Adjustable variant:
20

Cut rubber to a length of 10 cm and merge both ends with a lighter.

Bild zum Schritt 21 für das Bastel- und DIY-Abenteuer für Kinder: 'Gummi auf eine Länge von 10 cm abschneiden und beide...'

21

Sew the button on the inside at the hem
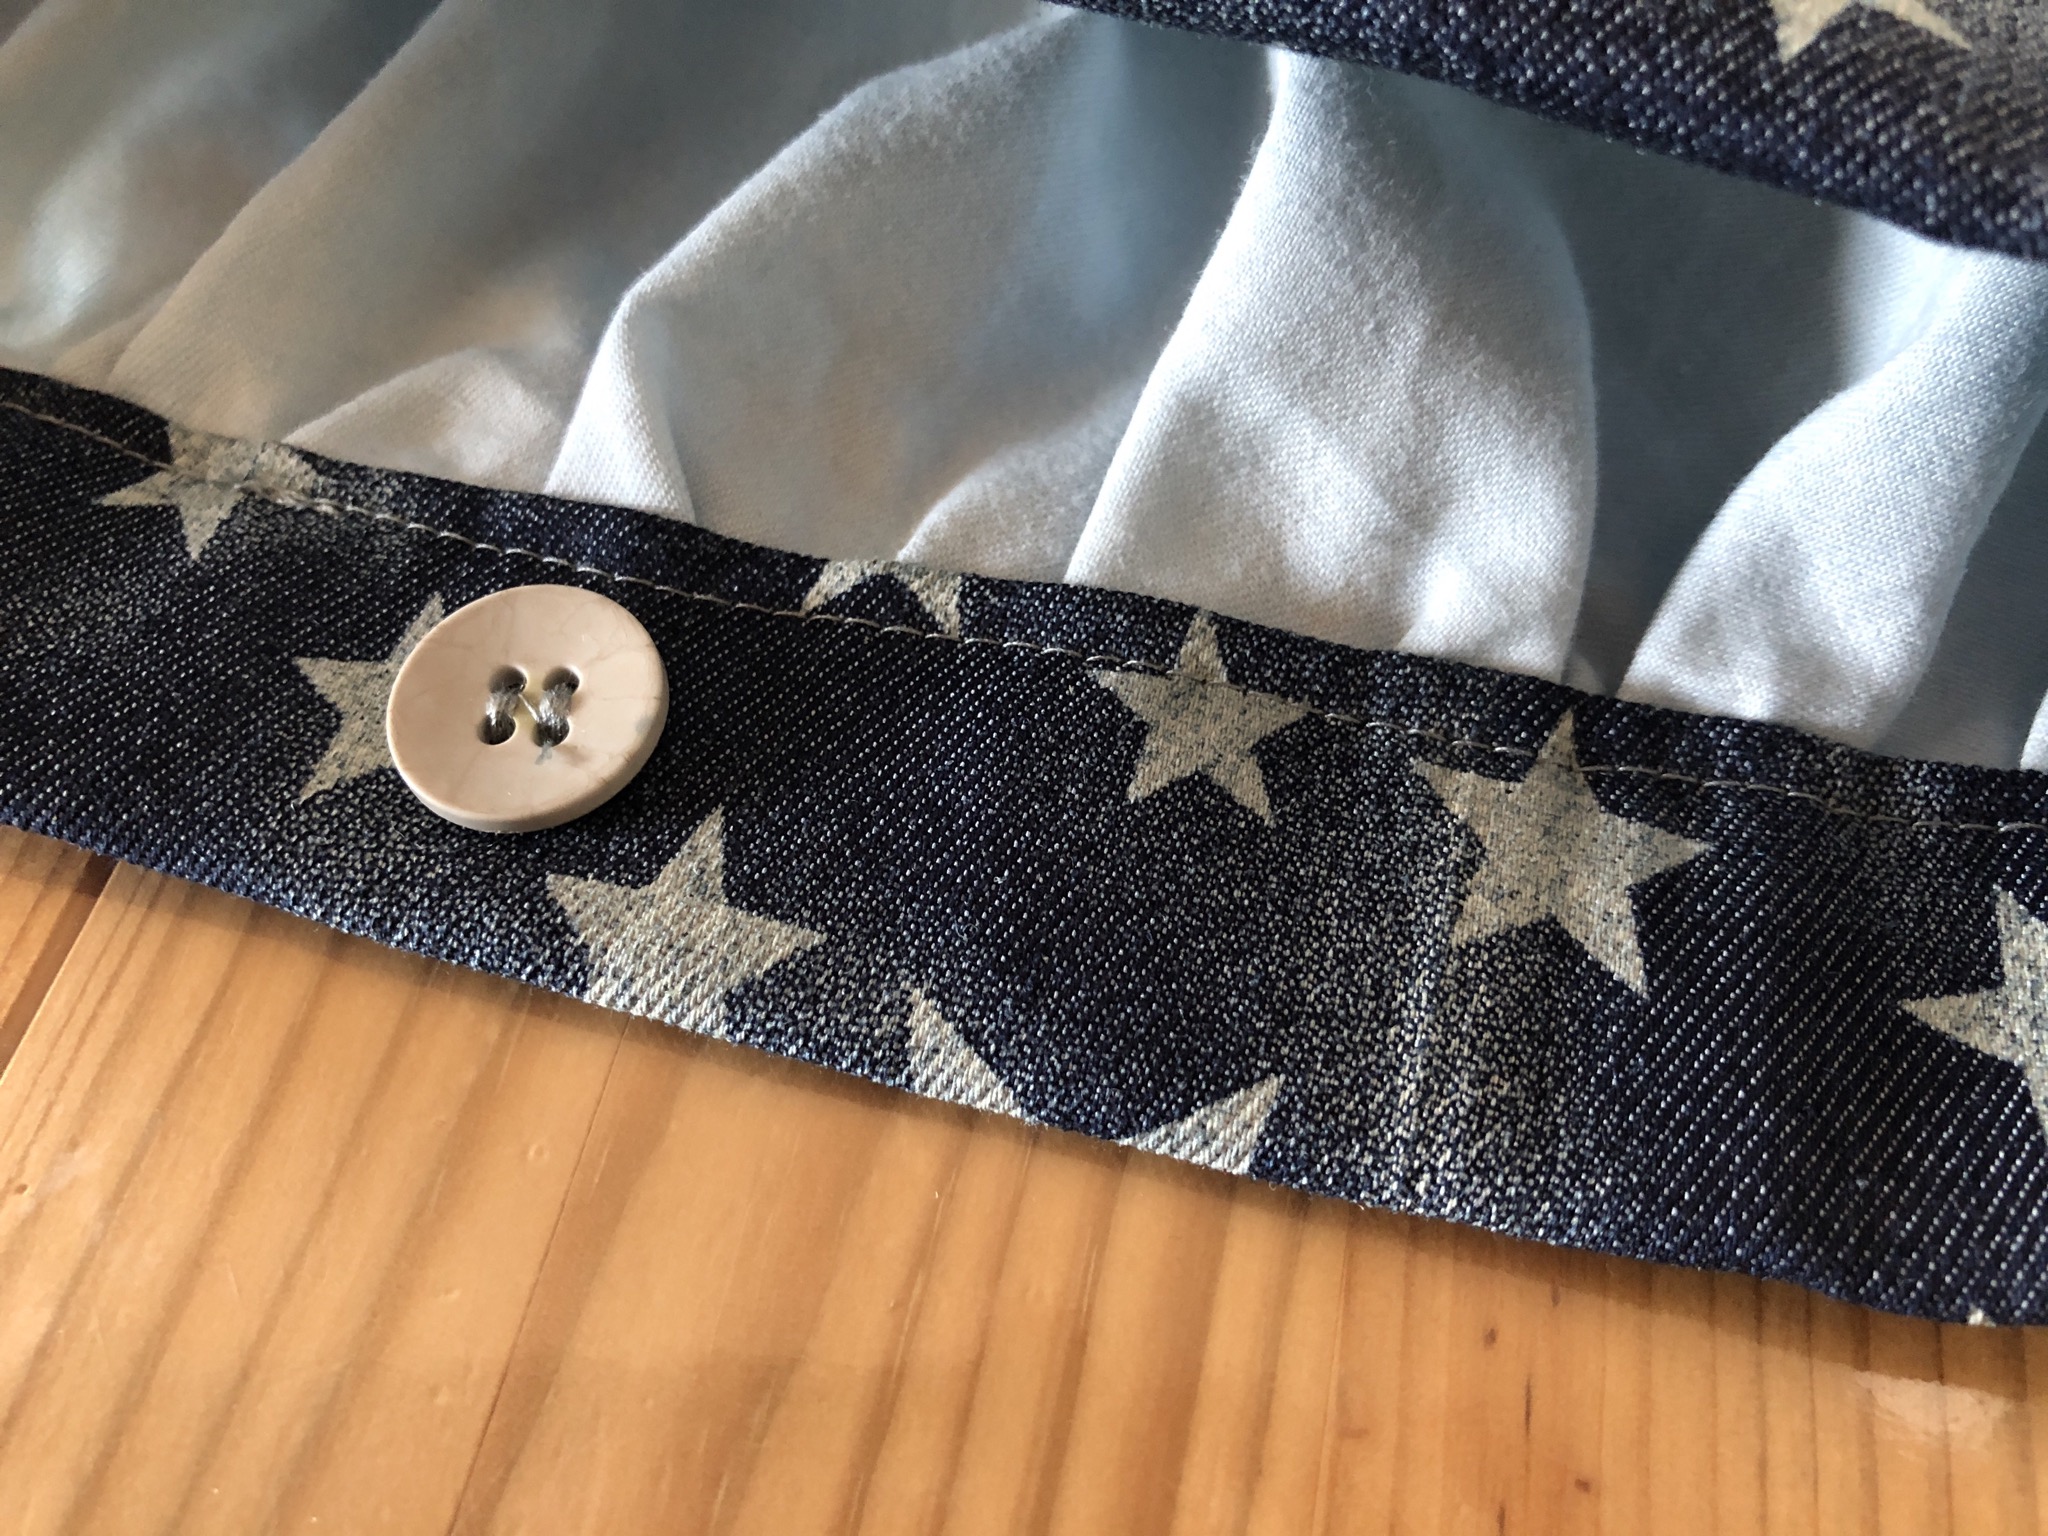
Bild zum Schritt 22 für das Bastel- und DIY-Abenteuer für Kinder: 'Den Knopf auf der Innenseite am Saum abnähen'

22

Pull the perforated rubber into the button (first hole)
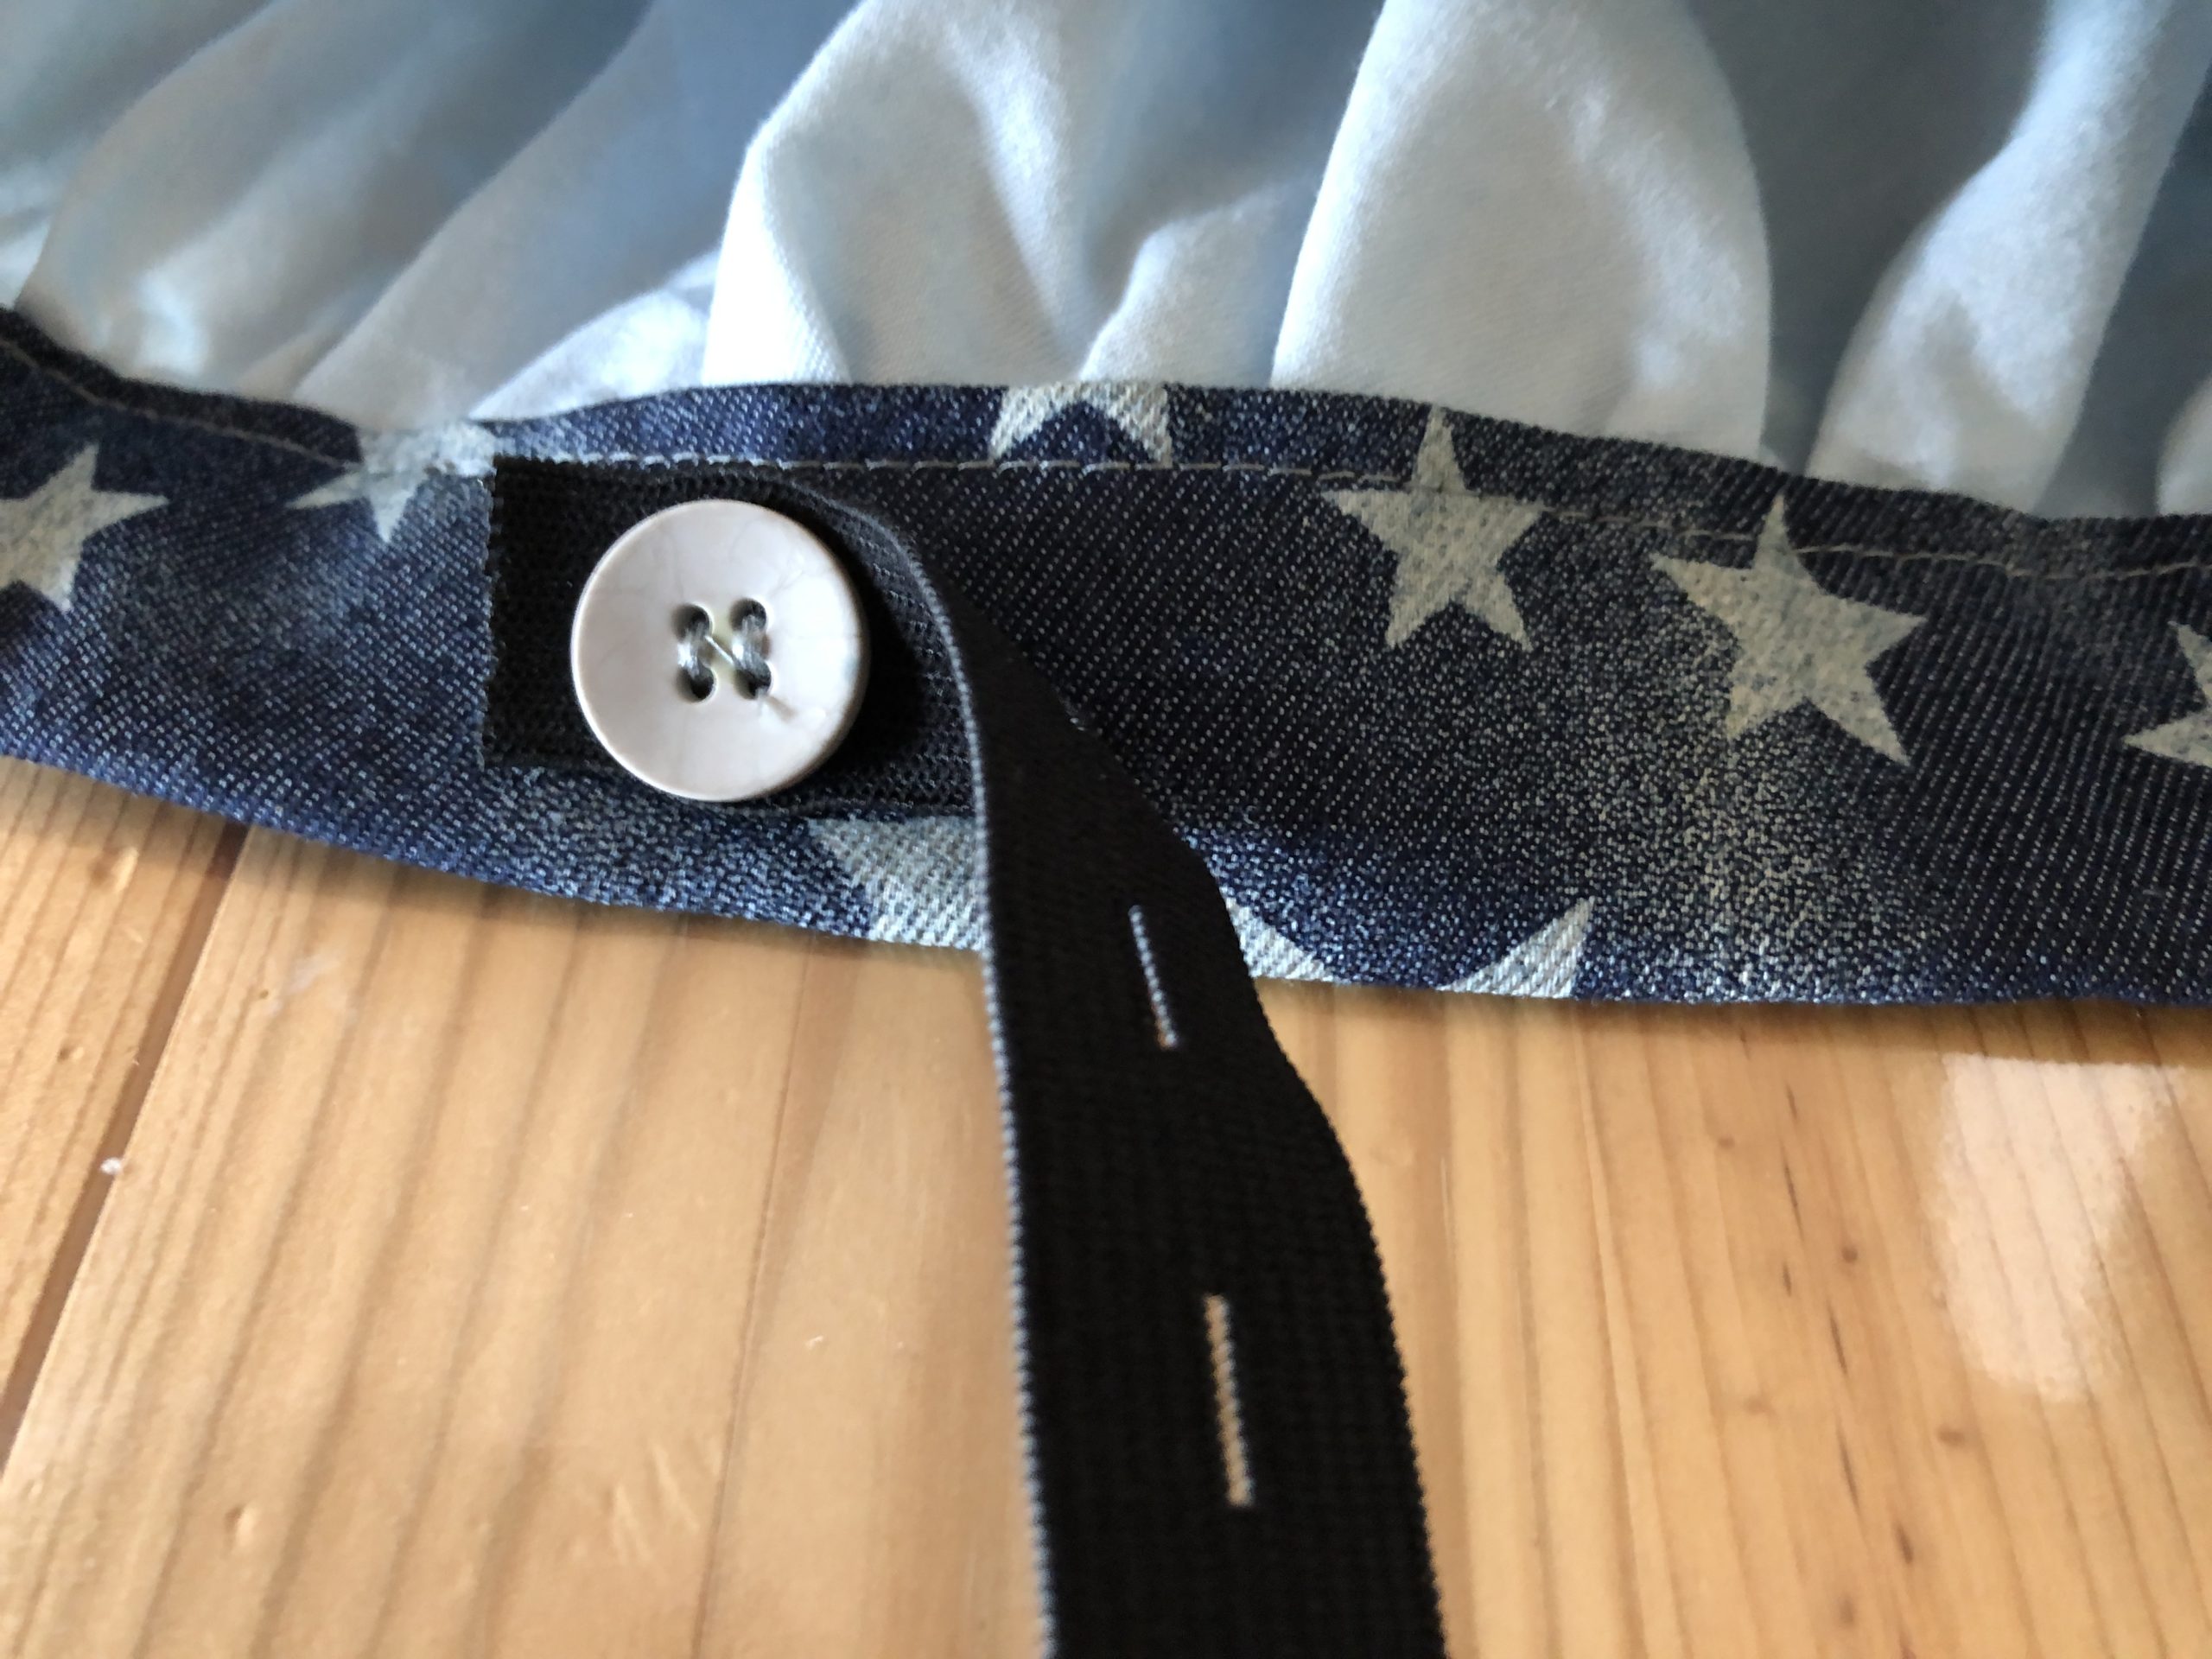
Bild zum Schritt 23 für das Bastel- und DIY-Abenteuer für Kinder: 'Den Lochgummi in den Knopf einziehen (ins erste Loch)'

23

Place the perforated rubber on the hem and sew it firmly at the end.

Bild zum Schritt 24 für das Bastel- und DIY-Abenteuer für Kinder: 'Den Lochgummi auf den Saum legen und am Ende festnähen.'

24

2. Bild zum Schritt 24 für das Bastel- und DIY-Abenteuer für Kinder: 'Den Lochgummi auf den Saum legen und am Ende festnähen.'

25

3. Bild zum Schritt 25 für das Bastel- und DIY-Abenteuer für Kinder: 'Den Lochgummi auf den Saum legen und am Ende festnähen.'

26

The adjustable cooking cap is ready! With the perforated rubber, the cap fits not only for different head sizes but also "growing" when the child's head grows.
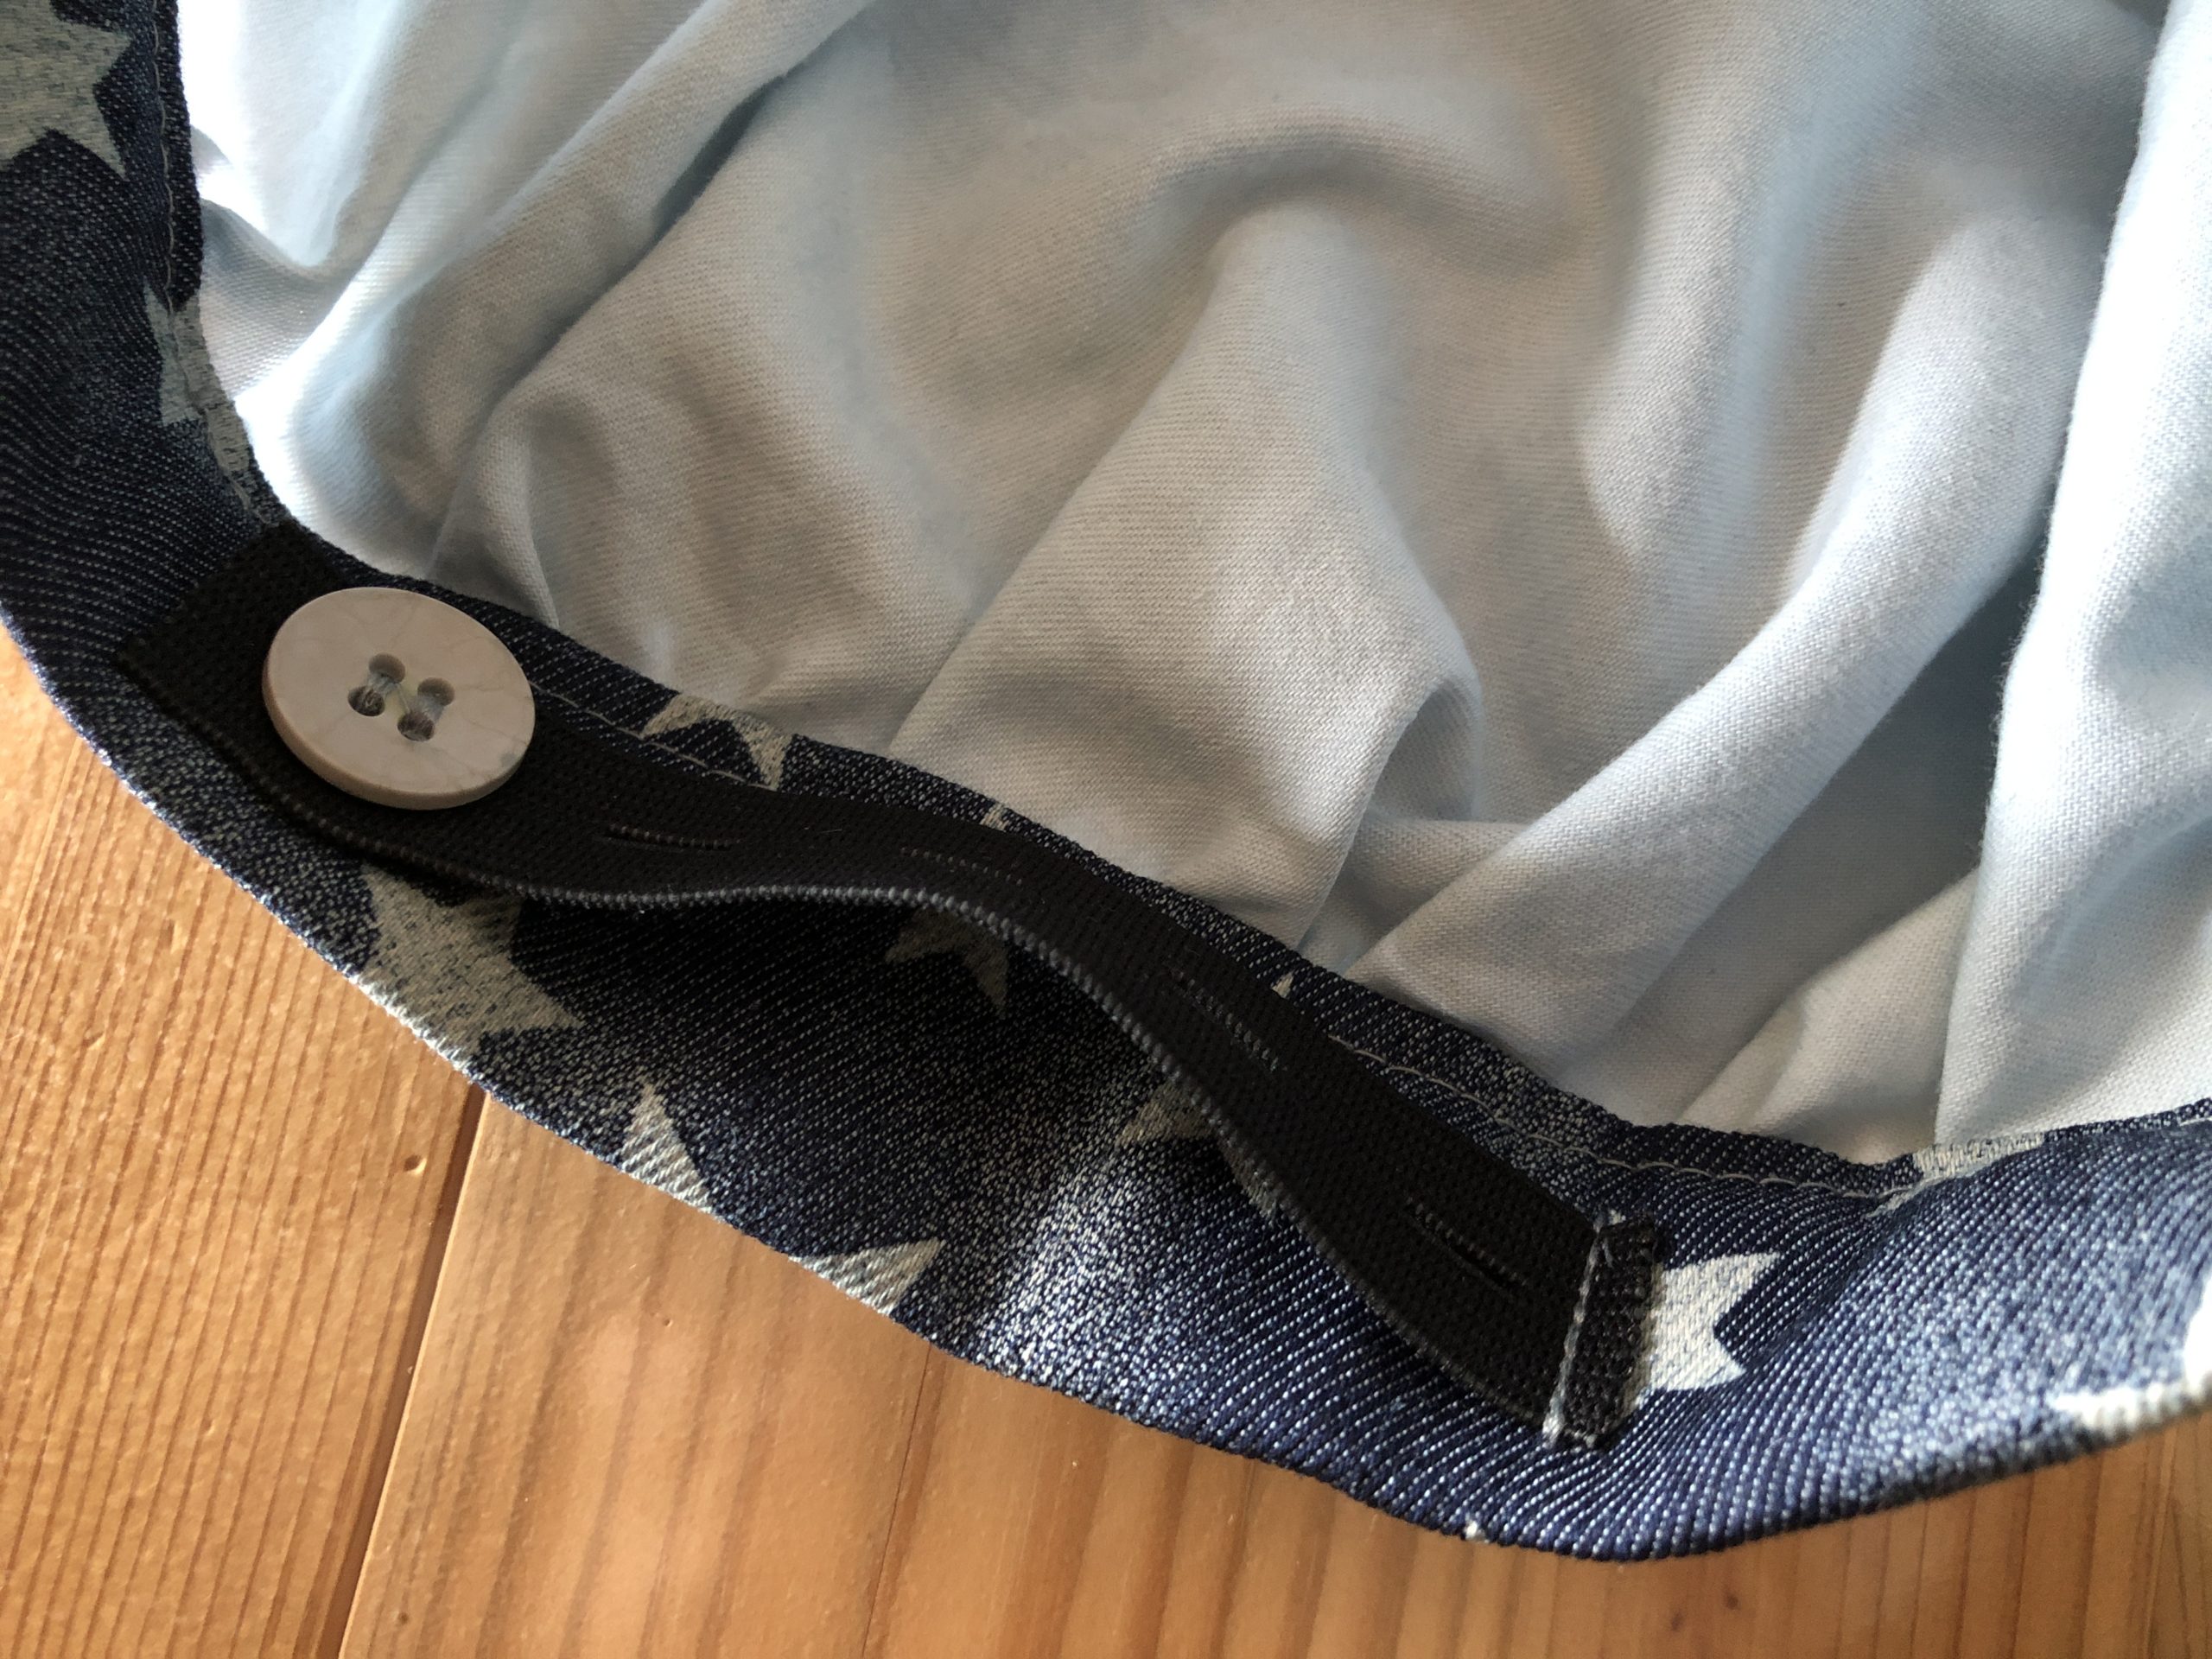
Bild zum Schritt 27 für das Bastel- und DIY-Abenteuer für Kinder: 'Fertig ist die verstellbare Kochmütze! Mit dem Lochgummi passt die...'

27

Maybe this hat is also once an idea for carnival as a cook costume.

Sew children's chef hat

Follow us on Facebook , Instagram and Pinterest
Don't miss any more adventures: Our bottle mail

2 Comments

  1. Dear BaSo, this looks great! Five stars for you! We hope your sunshine cooks and bakes now even better. Thanks also to Katzi for the super reworked offer. Warm, Alice from the adventure market.

Leave a Reply

Your email address will not be published.

The maximum upload file size: 5 MB. You can upload: image, document. Drop file here